Aboard a Junker
Introduction
Salutes go to Skrimskraw, Classy Titan and GearsW for helping with the making of this Guide!
Ahoy!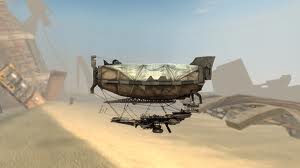 So, you've heard that the Junker is a Galleon light, great for Skywhaling with a Harpoon in its bow and can get 3 guns on target in a perfect trifecta. Well, all of these things are true true, except the first one. The Junker is much more than a lighter version of the Galleon, and it allows and actually encourages a different playstyle.
If you thought a Goldfish was versatile, you haven't played Junker enough. Don't see yourself so much as a Captain aboard a Junker, but more a tinkerer. There's almost nothing this ship can't do.
Ship Stats and Resilience
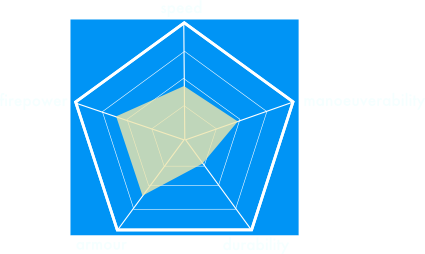 Hull Health: 500
Hull Armor: 700
Balloon Health: 1200
Acceleration: 1.1 m/s²
Radial Acceleration: 6 deg/s²
Vertical Acceleration: 3.3 deg/s²
Max Speed: 26.5 m/s
Max Turn Speed: 9.0 deg/s
Max Vertical Speed: 10.5 m/s
Mass: 200000
Hull Profile: 350 m²
Balloon Profile: 988 m²
Damage states
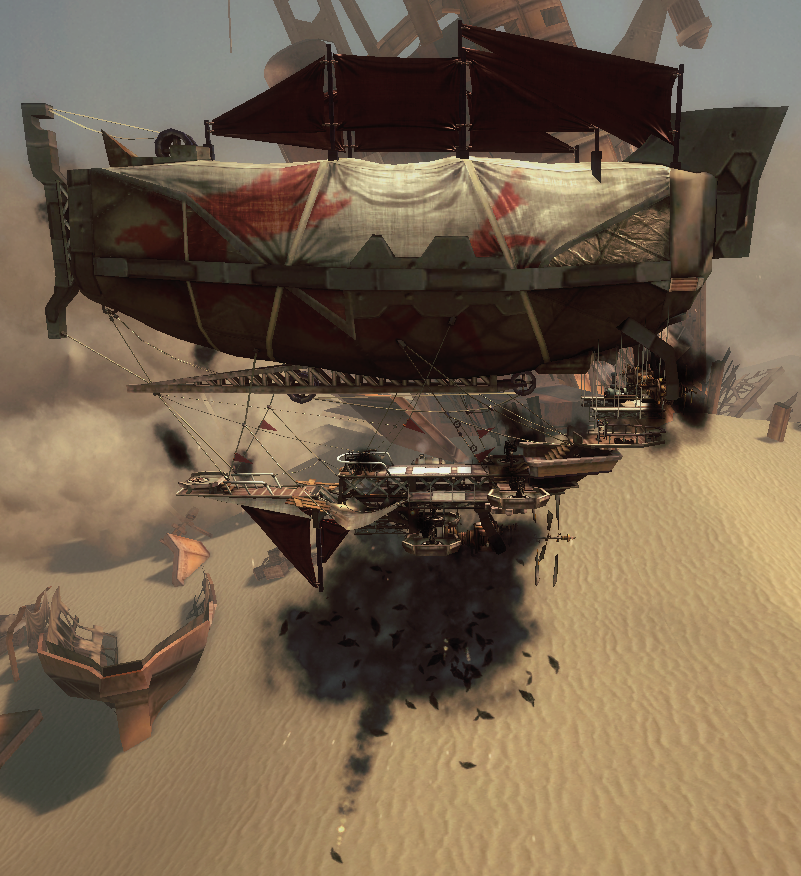
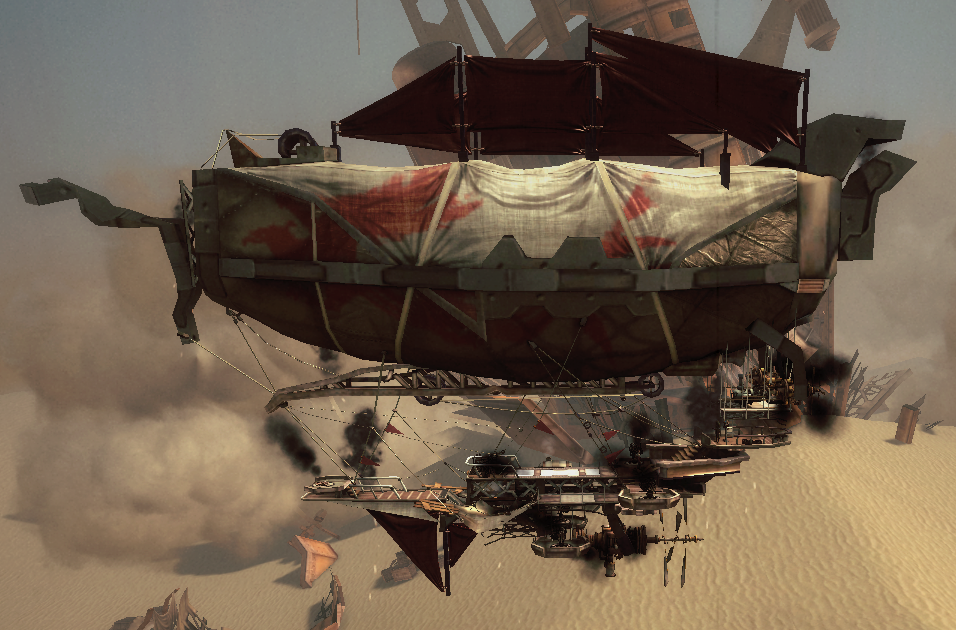
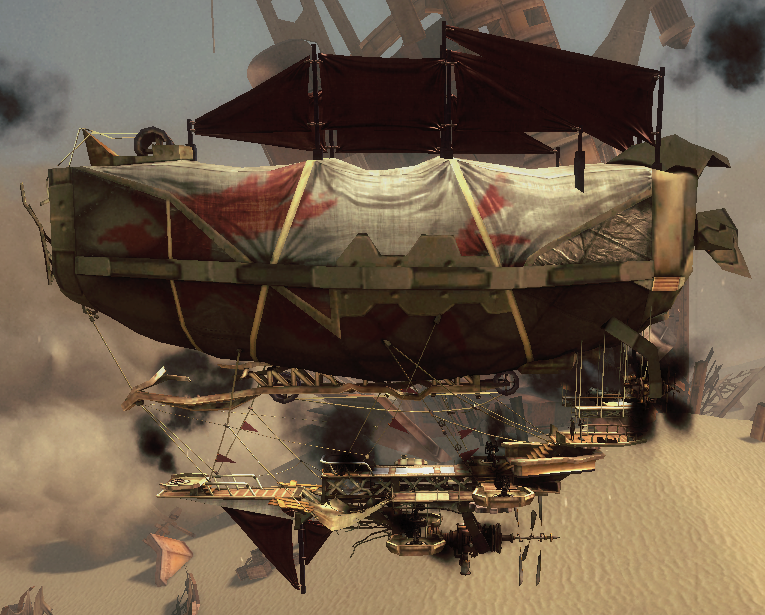
Illustrated here are the visible clues to ship health. Mouse over the images to see which damage state is being shown - thanks to Rainer Zu Fall for his assistance in obtaining these images.
Examples on Loadouts
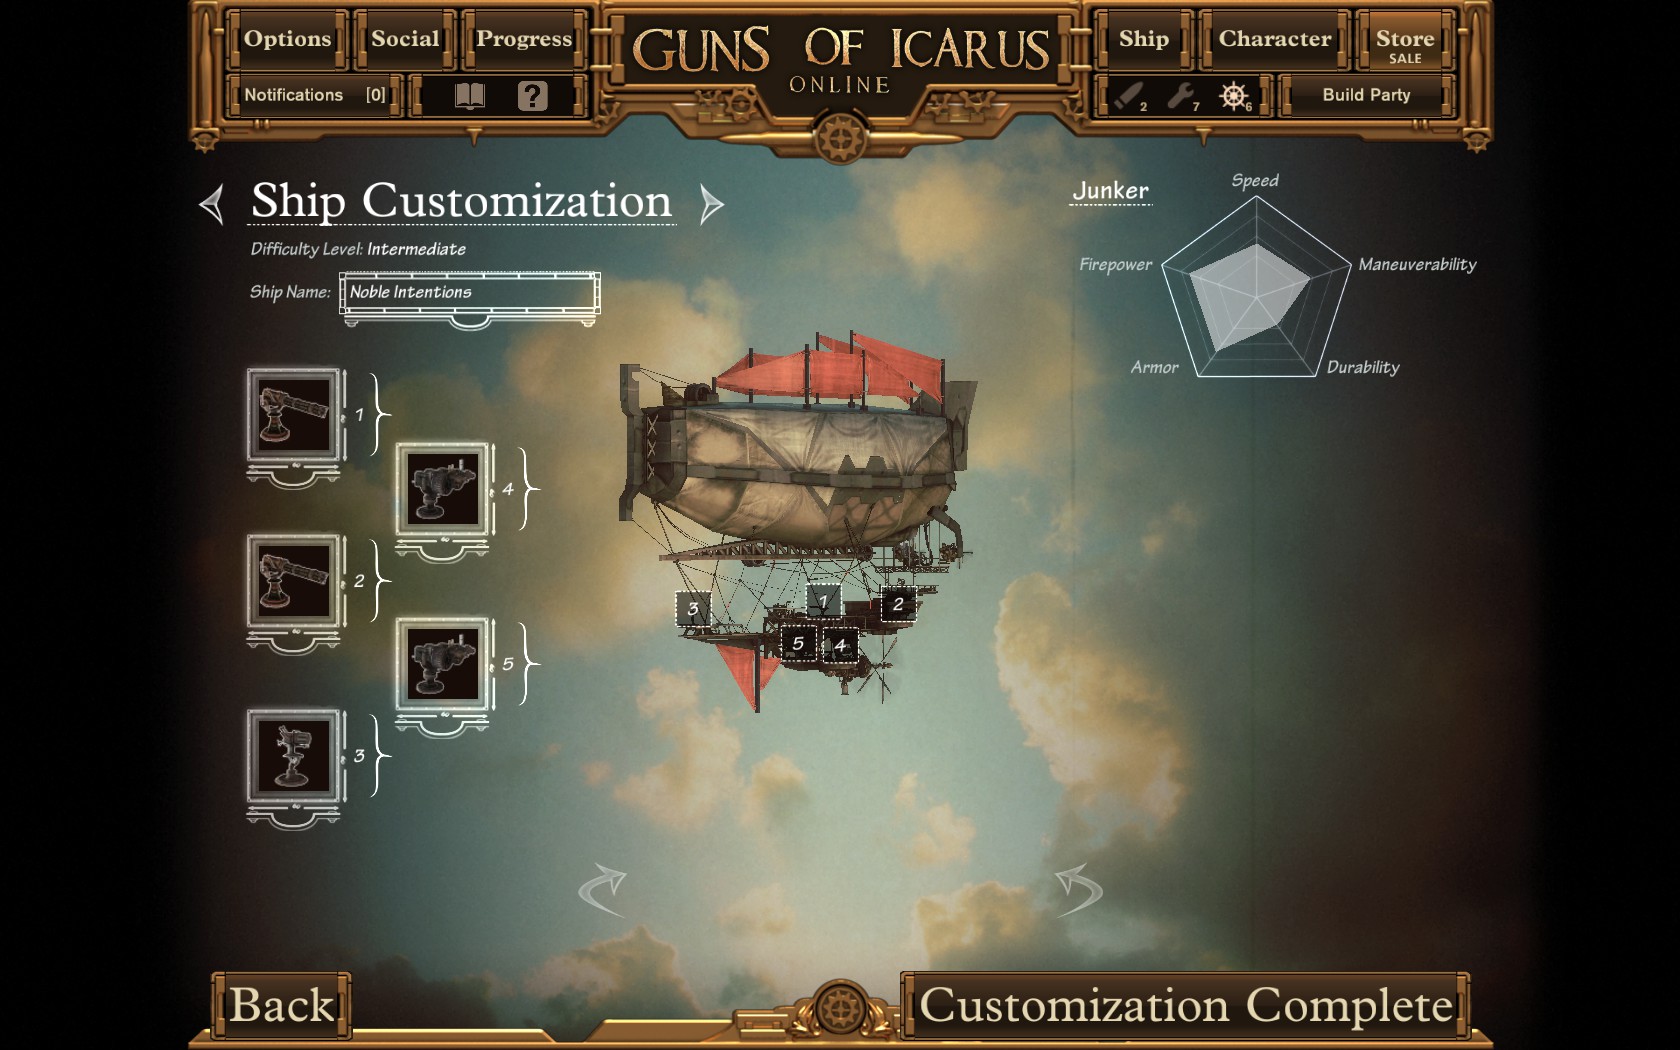 Loading out a Junker is a complex business, but for getting you set up with your Junker we'll keep it simple here - Your front gun is a utility or support weapon. Unless you take a Mercury Field Gun, which quickly loses it's effectiveness once you bring your broadsides to bear, you won't go on a killing spree with it. What you will do is trying to cause havoc on the enemy ship before your other weapons lock on the target. Shatter damage works very well here, because Artemis Rocket Launchers or Banshee Light Rocket Carousels can either take out components of the enemy ship in mid and close range and possibly allow a trifecta, or damage various parts of the enemy ship, keeping their Engineers busy before you hit them with something worse.
The broadsides are what you use to cripple or destroy enemy ships with, they are the most dangerous side to approach a Junker on. Your front gun may hinder a advancing enemy, but it won't inflict enough damage to destroy them. The Junker isn't very fast to turn, but especially with a Phoenix claw fast enough to switch broadsides around even mid combat - be wary though, the Junker is tough, but not so tough to survive a Pyramidion firing at close range you while you turn. 2 weapon hardpoints at every broadside recommend weapons that work together well - gatlings and mortar/flaks are the prime example for this, but also dual shatter damage (banshee/artemis, banshee/banshee), etc. will work wonders. Don't forget that you've got 2 broadsides, too - just as on Galleons, having one side for close range and one side for long range is a viable strategy.
For the example here we'll take a very simple, quite common Junker loadout:
Front: Banshee Light Rocket Carousel
Left Broadside: Mortar/Gatling
Right Broadside: Mortar/Gatling
This build has no long range options, it relies on the Junker's relative toughness to get into mid-close range with the enemy ships and then quickly dispatch them with firing Gatling and Mortar on their hull. The mortar is more difficult to aim than a flak, but even without the right choice of ammunition it's fairly quick to get into and much more devastating than the light Flak.
Let's cover the single positions of the Loadout screen: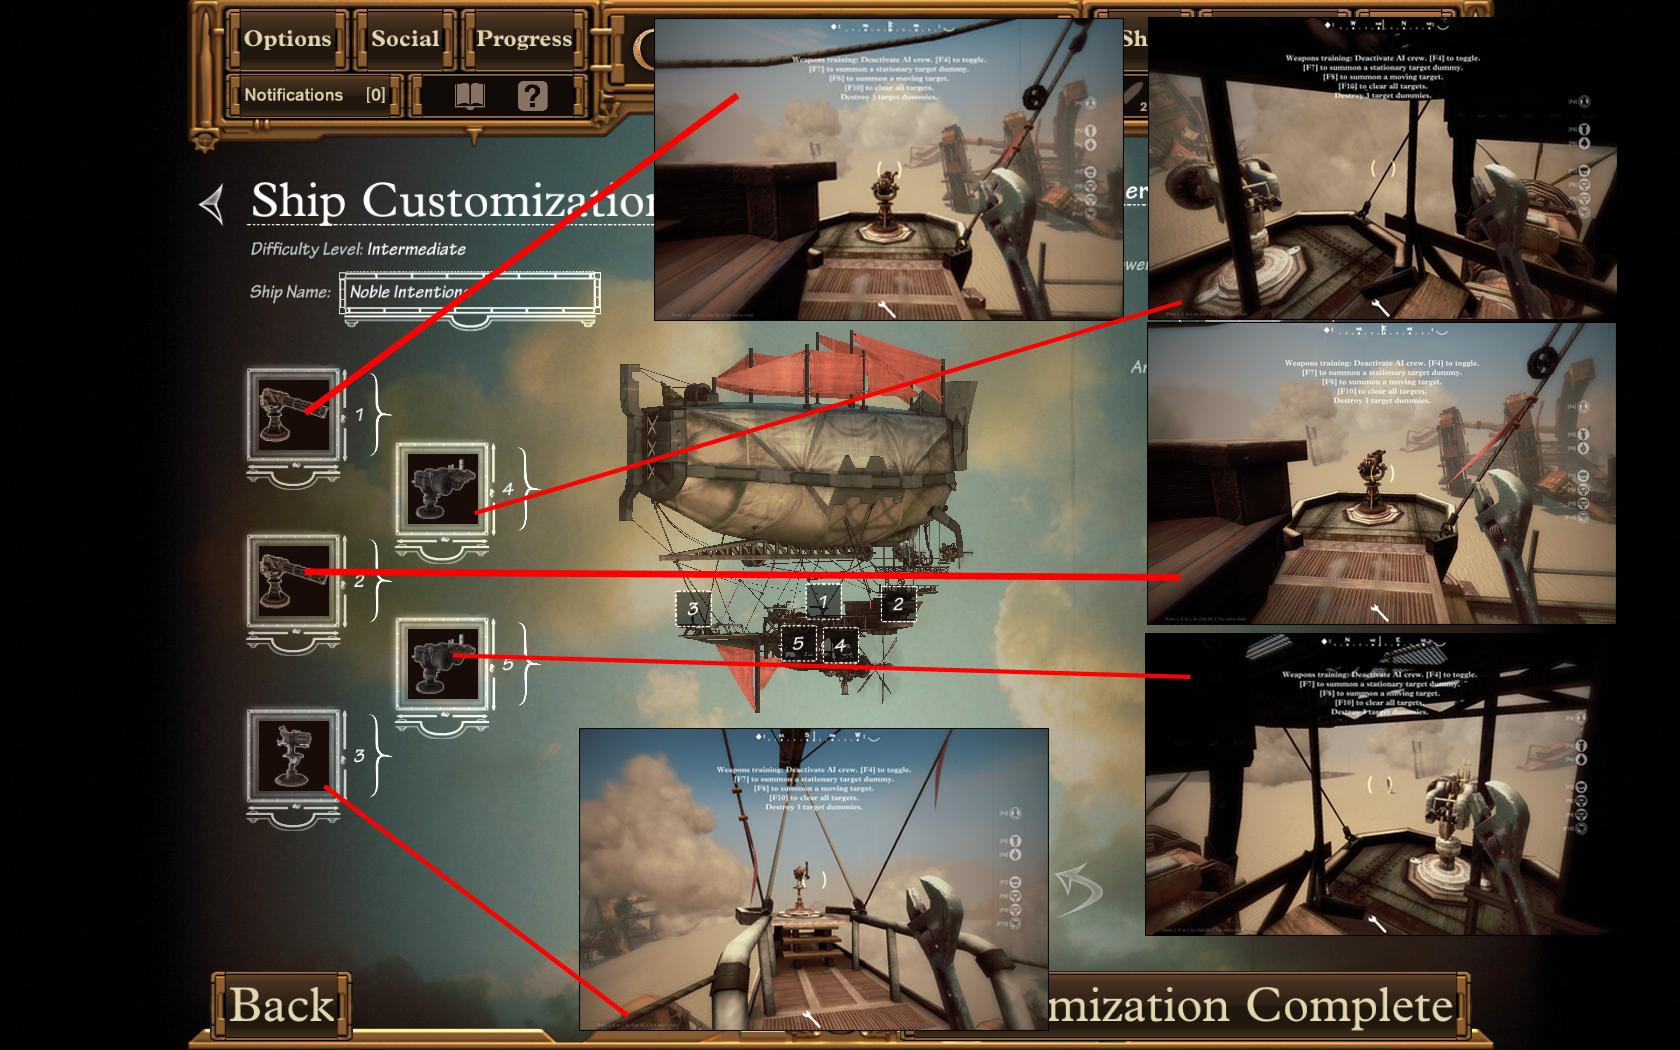
Top Deck - Front The Banshee Light Rocket Carousel provides a firework starter for any ship that's about to be engaged by this build. With shatter damage, in the best case to a variety of components aboard the enemy ship coupled with the chance of starting a fire, the aim is to get the Engineers on the other ship busy and buy time while the Junker turns into position. When pursuing a enemy ship, they aren't as good as a Mercury Field Gun or a Artemis Rocket Launcher on taking out engines, but damaged and burning engines will still slow the other ship down.
Top Deck - Starboard and Port
On the top deck the Whirlwind Light Gatling Gun. The Mortar would have a better firing position from this deck, but a Gatling does it's job much faster than a Mortar and therefore the top-deck Engineers don't have to stay on the gun too long and can keep repairs in check better. Once the Hull Armor of the enemy ship is down, the Gatling won't do much damage anymore and the Mortar has to take over.
Lower Deck - Starboard and Port
The Mortar is typically placed on the lower Deck, together with the Gunner. With the amount of components on the top deck, the 2 Engineers are better suited for gunning there and one can always quickly run down to help, for instance when the Main Engine goes down. To correct it's downward ark, gunners will have to aim high with the Mortar, but the high ammunition it carries allows for some practice shots. Other than that, bringing a Pipe Wrench is - as always - advisable for the Gunner, because it will make it much easier to keep the 2 guns and the Engine on the lower deck in good health.
You will easily be a threat to other ships with this loadout. It's simple and straightforward, the Mortar is a bit difficult to use but rewarding, the Banshee lacks the punctual damage the Artemis and Mercury have, but can also be used without much practice and will surely set something on fire once you're hitting. Once you look at your own Junkers loadout though, you'll realize that there's much more that can be done - e.g.; our next loadout:
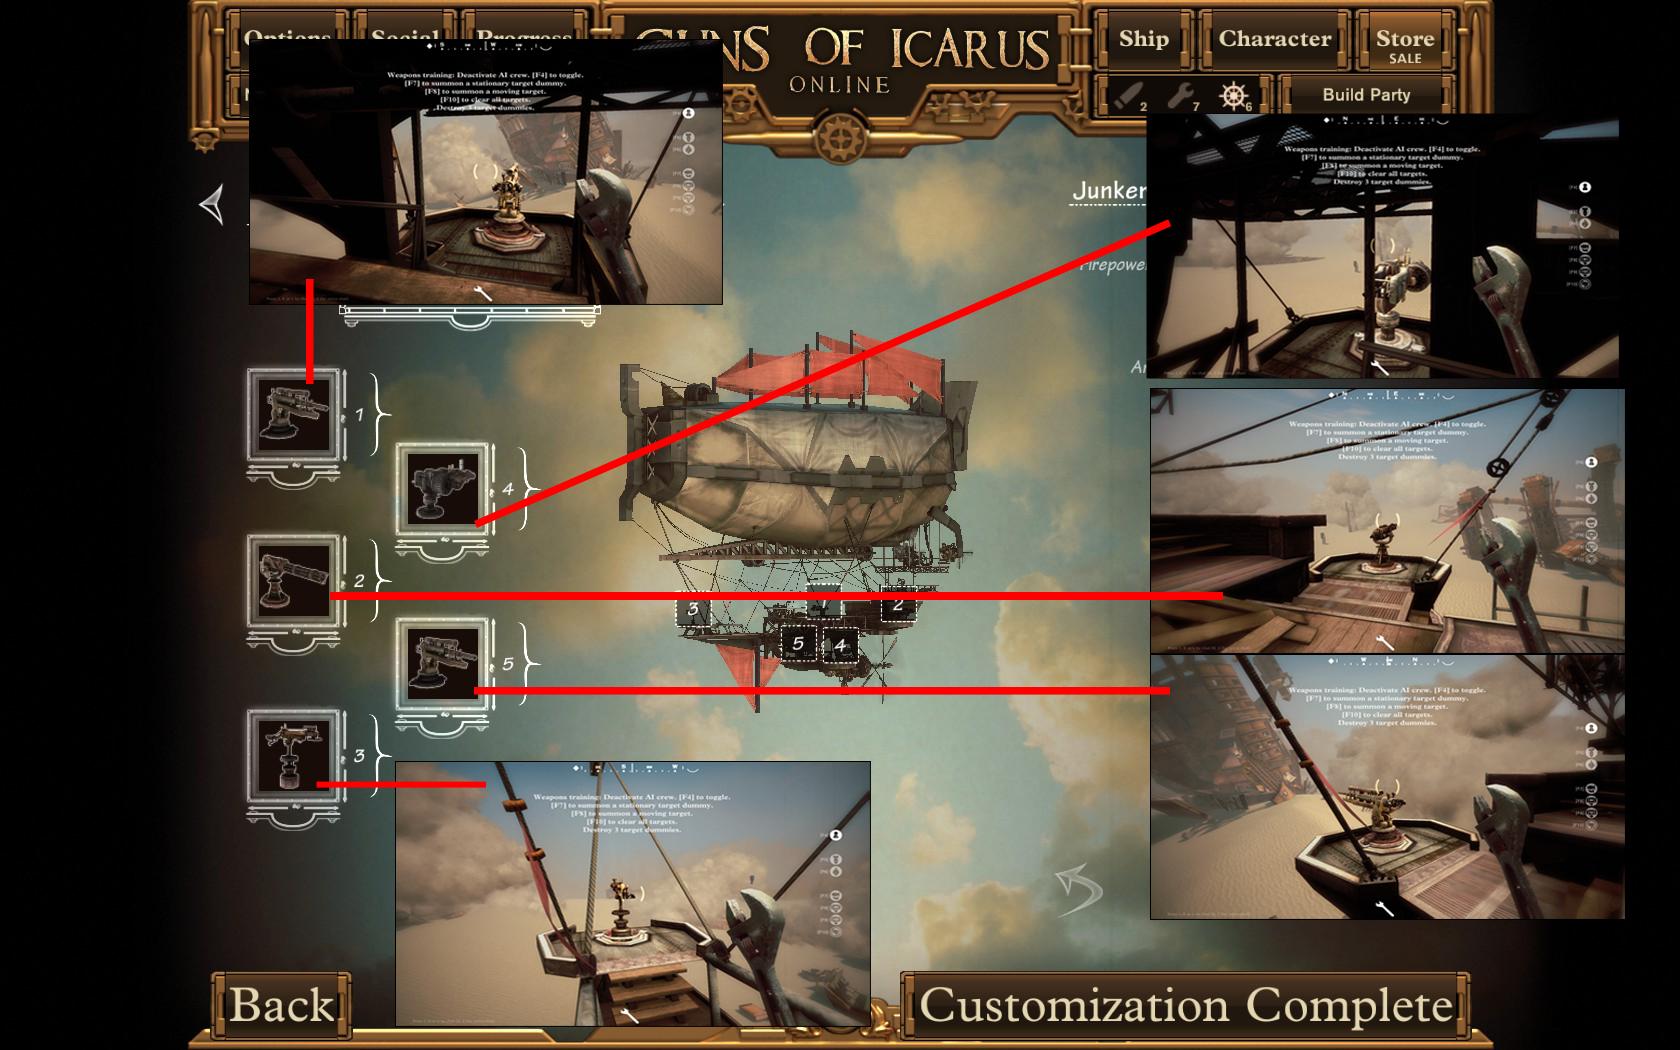
A more versatile and "complicated" Junker loadout looks like this:
Front: Beacon Light Flare Gun
Starboard Broadside: Mercury Field Gun / Mercury Field Gun
Port Broadside: Scylla Mortar/ Whirlwind Light Gatling Gun
 Top Deck - Front
The Beacon Flare gun has one of the widest weapon arcs, and the useful function of lighting up spaces of the map. With it's long reload time it's not optimal for combat use, but with this build it's more for helping with map control. As one side of the Junker specializes in long-range sniping, the Beacon Flare Gun eliminates the cover that enemy ships can gain from hiding in clouds. Scoring a shot on a Balloon with it also is a great diversion!
Top Deck - Starboard and Port
On Starboard is one of the two Mercuries, the positioning here doesn't make a big difference for them as their limited arc only becomes a problem in close range encounters. When you're using the Mercury though, your enemy will be a long way off and effectively hindered to come any further by having two mercuries fire at their ship. On the portside the Gatling sits as the usual Hull-Armor destroyer for close to mid range encounters if a enemy ship sneaks past the Junker.
Lower Deck - Starboard and Port
On Starboard, the second Mercury Field Gun - it works exactly the same as the one above, sniping targets from as far away as possible. A single Mercury already is a threat, if you manage to get both of them firing at the same target though, they'll effectively be crippled or soon destroyed. As with many other light weapons, a single one can deal some damage or distraction, but they only get devastating if used together or in conjunction with others. On port we have a Scylla Double Barrel Mortar waiting for the Gatlingabove to pierce the enemies hull before it unlea explosives on them. Summed up, this build focuses on map control. Summed up, this build focuses on map control. With the Beacon Flare Gun and the Mercury Field Guns you can effectively sit and defend a spot and wreck any ship that tries to approach you. If that fails, you still have one side with close range weaponry to put up a fight!
Engineering on a Junker
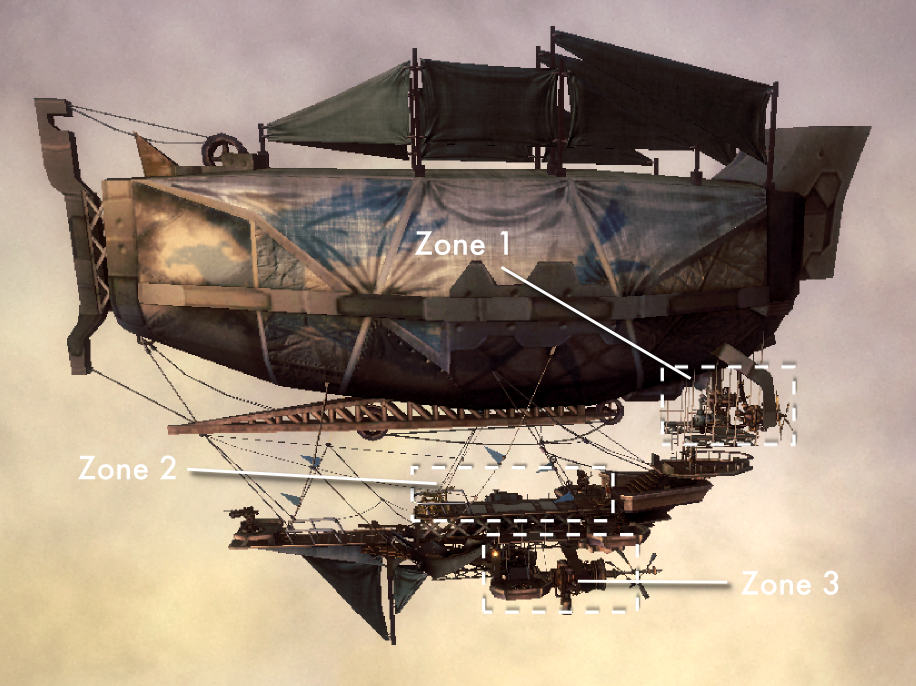
- balloon
- turning engines
- hull
- forward, right and left light gun placements
- main engine
Other conponents
- right and left light gun placements
The Junker only looks like it's falling apart, it's actually holding together quite well, unless you target it with explosives, fire, grenades... Well, you get my meaning. What makes the Junker stay alive despite it's low speed is it's high Hull Armor. You'll come to rely on it a lot, because the Junker doesn't have too many shortcuts for repairing or jumping. Especially running from the lower Deck to the Balloon or Turning Engines is something that will feel like a eternity in combat.
Therefore positioning your Engineers carefully and having a Gunner that takes care of the parts on the lower deck alone can lead to a much more enjoyable flight! Usually you'll have 2 Engineers on the Top Deck, one firing the Starboard/Portside guns and the other either firing with the front Gun (unless the Gunner does that), while the Gunner is stationed on the lower deck.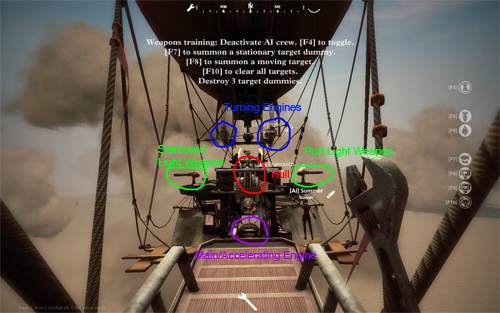
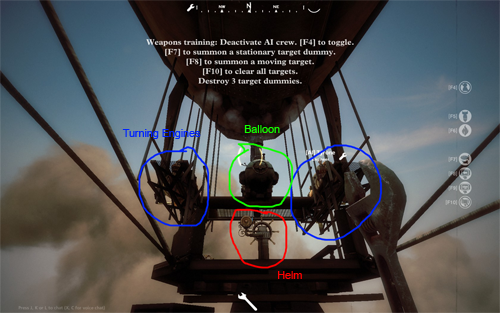 Repairing parts on the top Deck doesn't take a lot of jumping around, but a good amount of running - the Hull is exactly in the middle of the ship, without any gun or another component close. It's high armor allows it to take a hit or two before it needs repairs, but given the low maneuverability of the Junker it'll be under constant fire easily. For reaching the front Gun you can jump over the fence next to the Hull, but getting back to the other parts will require some running again.
The Balloon can be kept in shape easily by hitting it from below, close to the Helm, which can as well be done by the Pilot. You won't have such luck with the Turning Engines though, they require you to climb up one of the ladders which will slow you down a lot.
Buffing the Junker's Hull gives it a higher Armor rating than the Galleon, which looks impressive at first but isn't that necessary in the long run. As mentioned, the Junkers "weakness" are it's Engines. If you find yourself with a lot of spare time, buffing them at the right moment might help getting in or out of a fight a lot, but comparing the long buff duration on the Hull to the short buff duration on the Engines makes it less rewarding again. The Junker's speed problem is easier evened out with the use of Kerosene/Moonshine and a Phoenix Claw. Buffing the balloon is probably one of the best measures though, on maps where there's a lot of cover - while you'll never be able to fly around enemy ships or cover a lot, rising above and falling under them will still grant you advantages!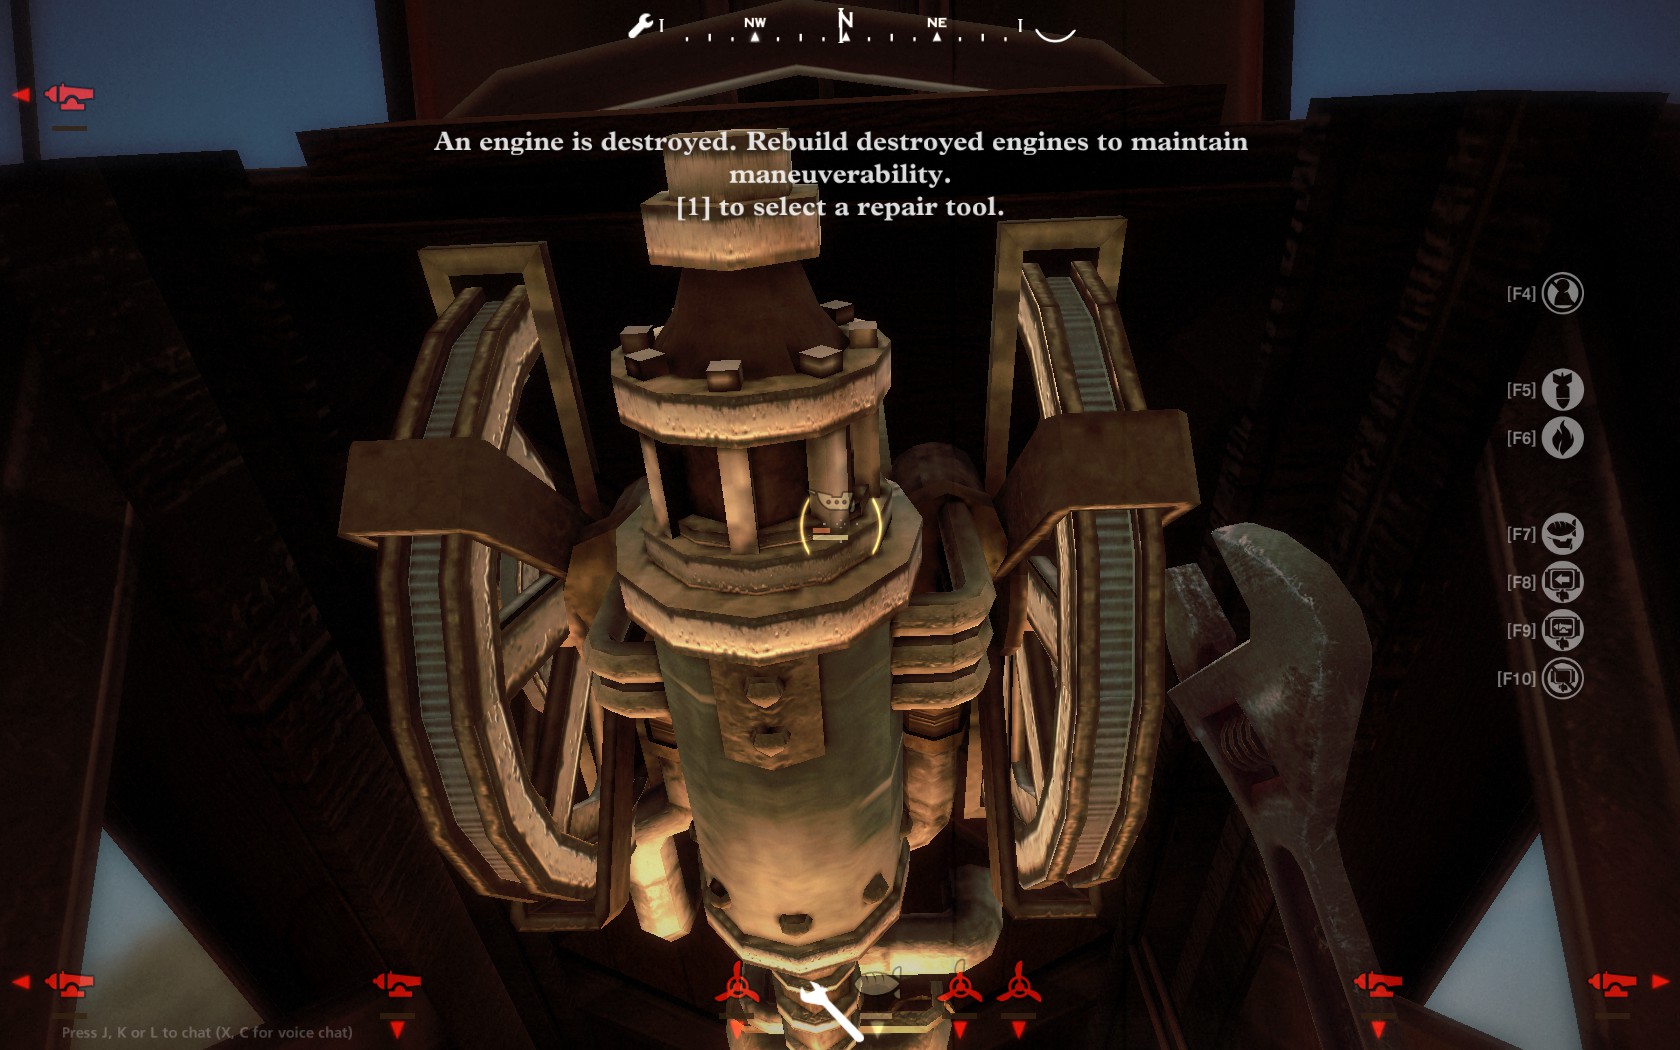
That's the sweet spot from which you can repair the Hull from the lower Deck.
Gunning on a Junker
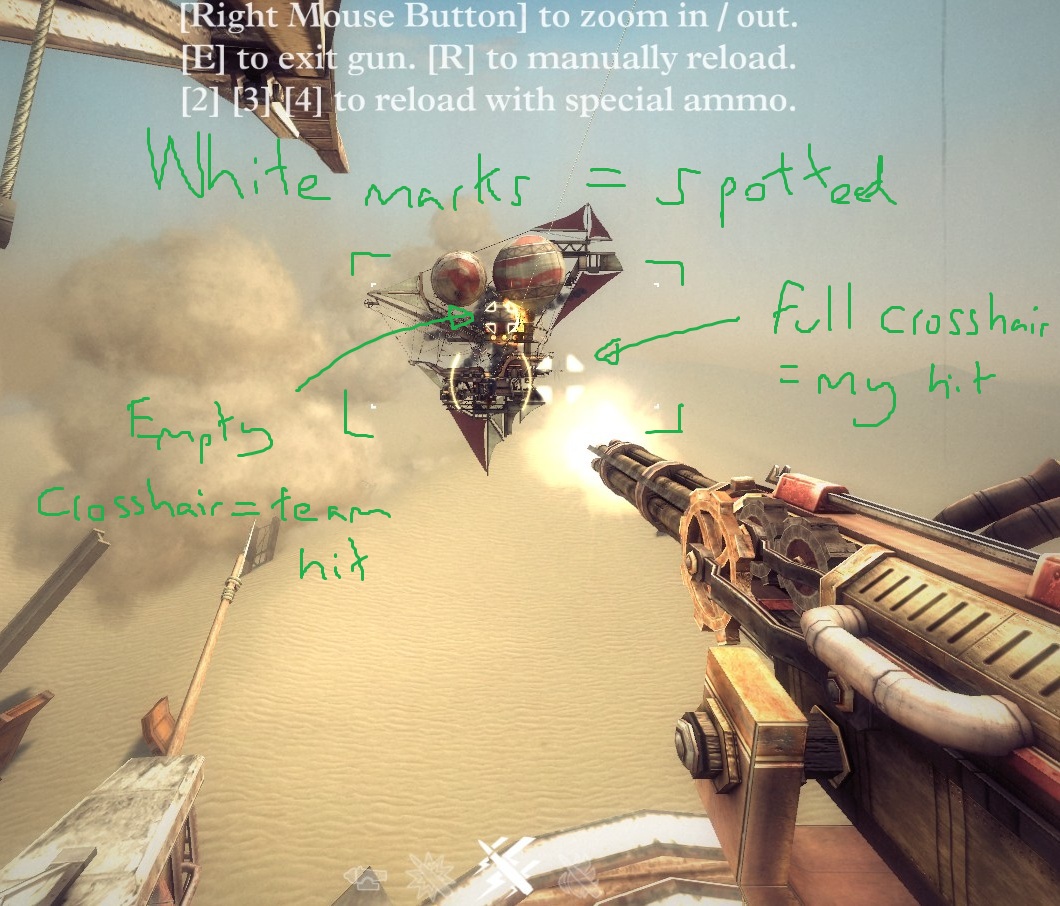
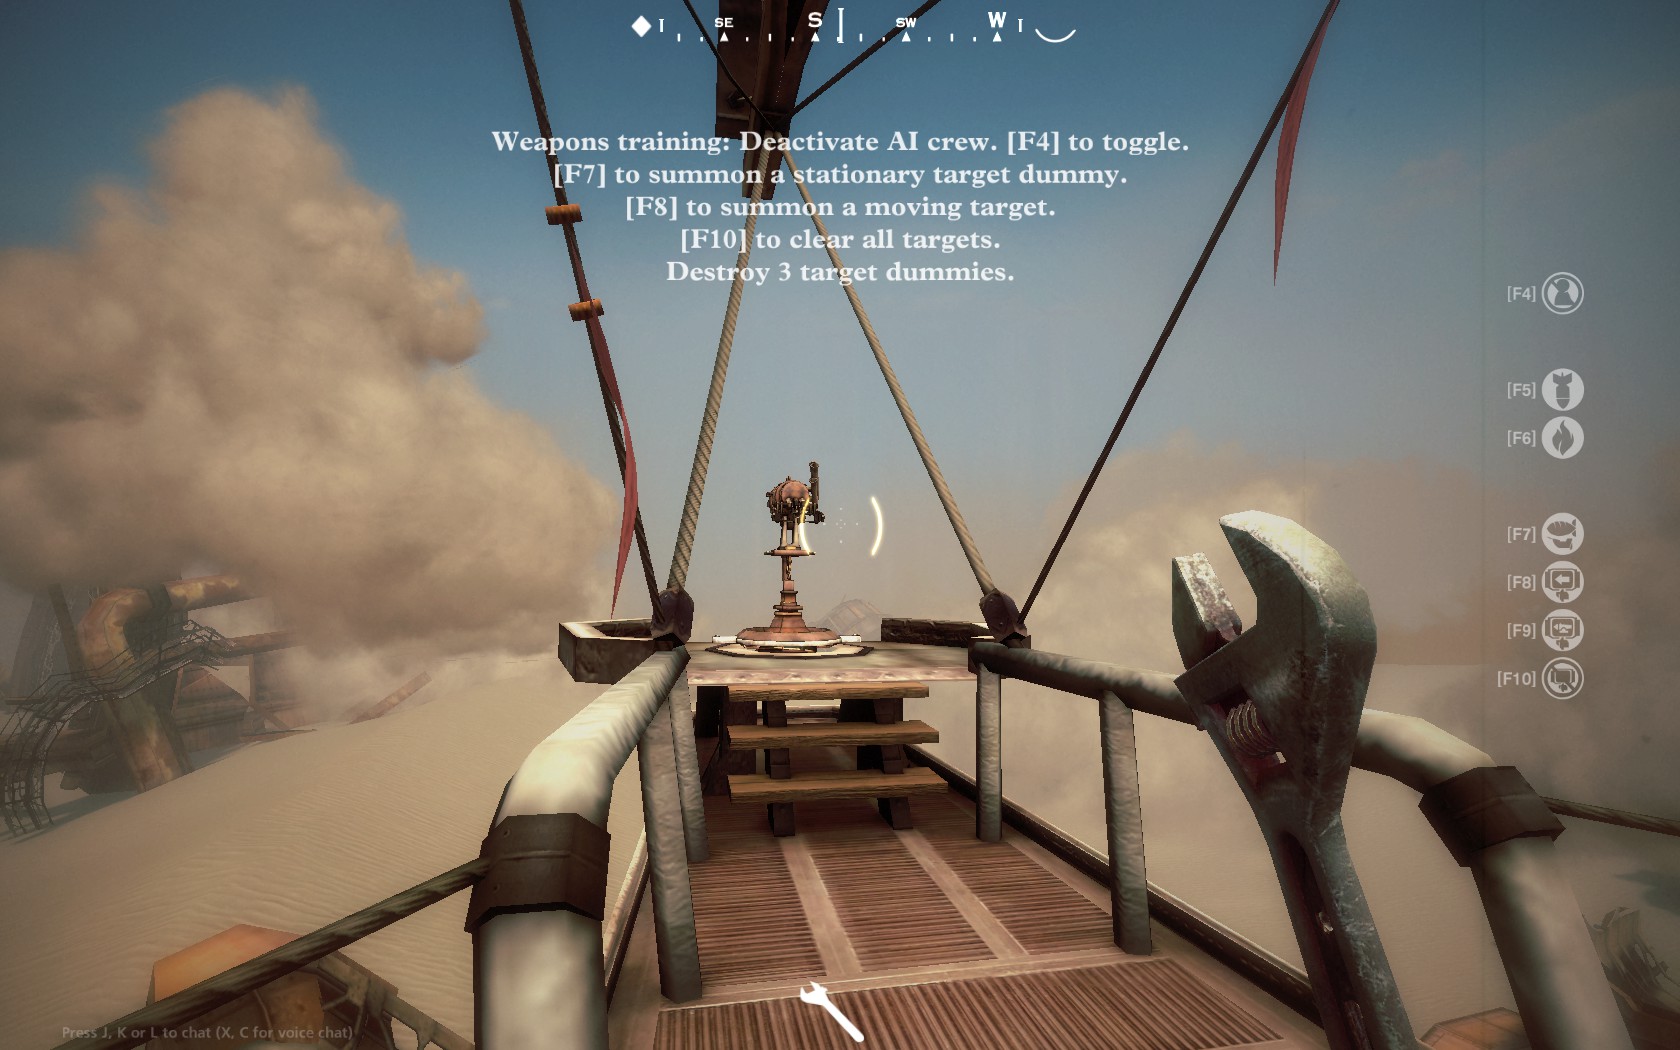 Other than that, using the Front Gun is also not unusual for the Gunner on a Junker - it can be reached easier from the lower Deck than from the top Deck, but it's only important during chases or while approaching enemy ships - the real firefights happen on the broadsides.
Captaining on a Junker
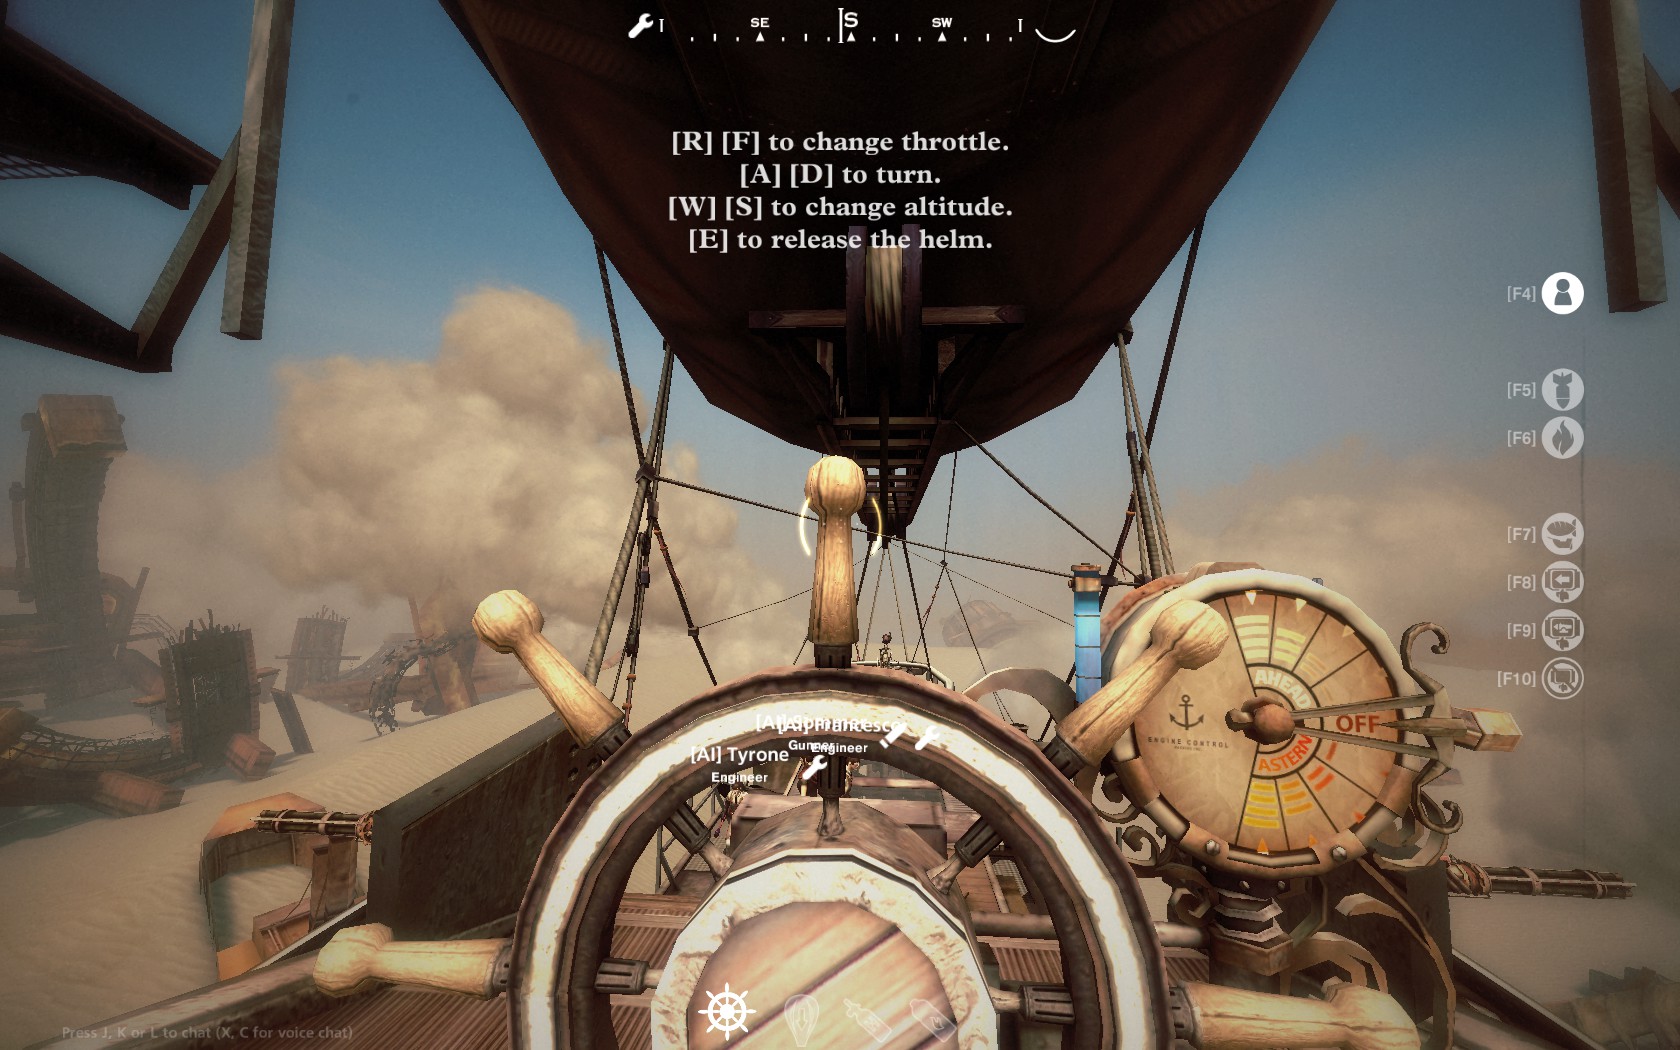 Your biggest problem will be it's maneuverability and speed. You can bring a lot of weaponry into the fray, but it might take a while until you get there, and you'll have to be wary of other ships outmaneuvering you. Your backside is your blind spot, but the Junker is fast enough to turn your broadside unto any advancing ship. Other than that, the slow speed of the Junker makes for calm flying and you'll have lot's of time to think about the upcoming engagement. Careful positioning is important with the Junker, because you won't be able to make mistakes good that easily - just as any other ship, you can hide behind a mountain, but you'll be slower with it than most of them. Having your Main Engine shot out is also a major disadvantage here, and it happens surprisingly often!
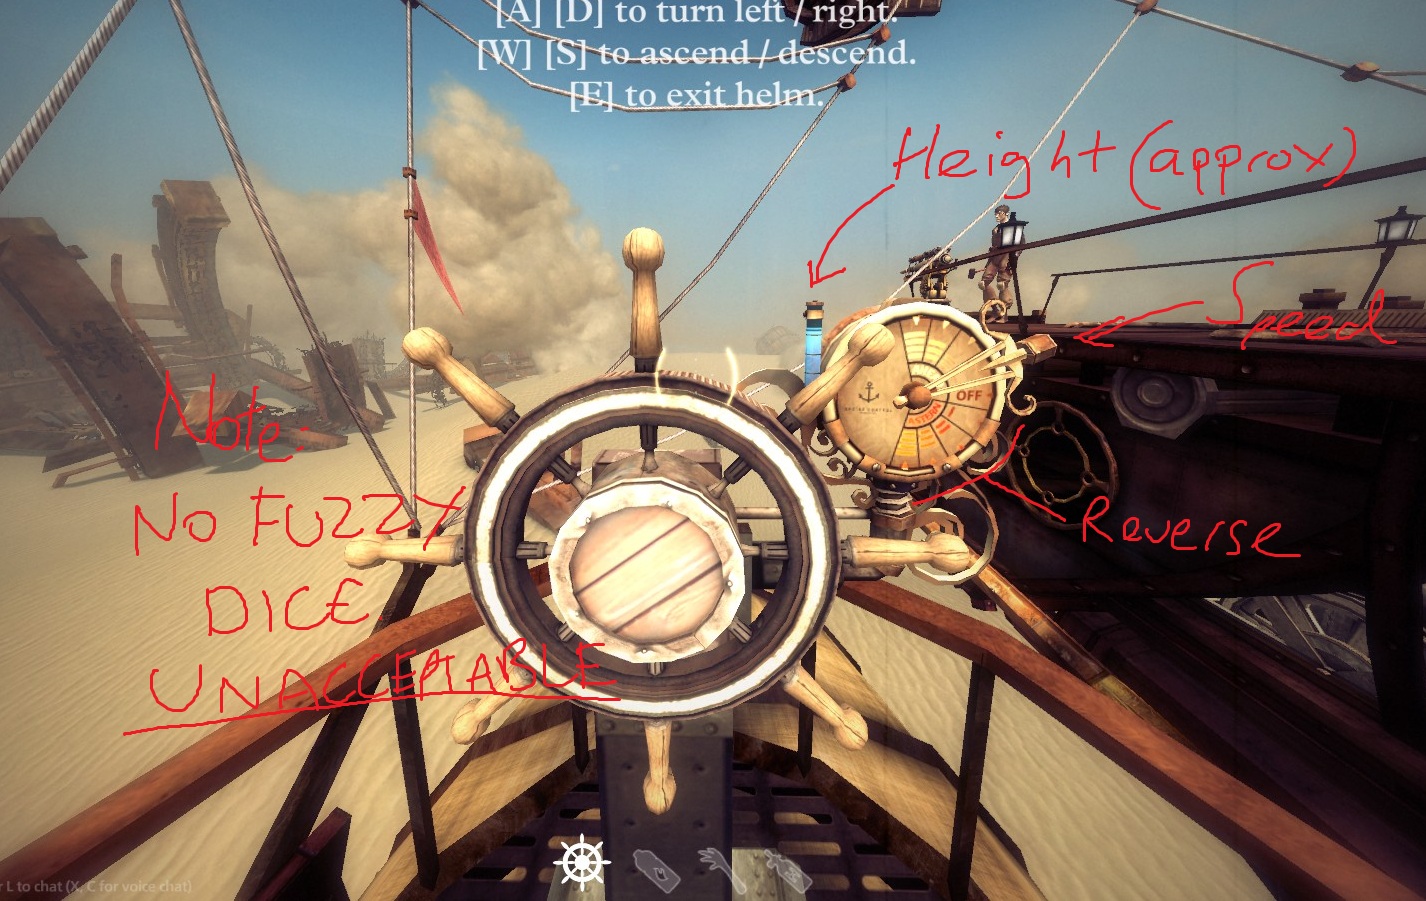
Your view from the Helm is largely unobstructed, and you won't have many difficulties pointing your weaponry at enemy ships. Keep in mind though that it's sometimes only by an inch that your guns can't fire at the target and encourage your Crew to tell you when you need to turn just a little bit more. Just above your Helm is the Balloon, which will be very thankful for a hearty whack with whatever repairing tool you're carrying - on the Junker, Pipe Wrench or Rubber Mallet should do the trick. It'll save your Engineers valuable time, and you can repair damages by
Your biggest problem will be it's maneuverability and speed. You can bring a lot of weaponry into the fray, but it might take a while until you get there, and you'll have to be wary of other ships outmaneuvering you. Your backside is your blind spot, but the Junker is fast enough to turn your broadside unto any advancing ship. Other than that, the slow speed of the Junker makes for calm flying and you'll have lot's of time to think about the upcoming engagement. Careful positioning is important with the Junker, because you won't be able to make mistakes good that easily - just as any other ship, you can hide behind a mountain, but you'll be slower with it than most of them. Having your Main Engine shot out is also a major disadvantage here, and it happens surprisingly often!
Your view from the Helm is largely unobstructed, and you won't have many difficulties pointing your weaponry at enemy ships. Keep in mind though that it's sometimes only by an inch that your guns can't fire at the target and encourage your Crew to tell you when you need to turn just a little bit more. Just above your Helm is the Balloon, which will be very thankful for a hearty whack with whatever repairing tool you're carrying - on the Junker, Pipe Wrench or Rubber Mallet should do the trick. It'll save your Engineers valuable time, and you can repair damages by Hydrogen/Chute Vent/Drogue Chut input yourself!
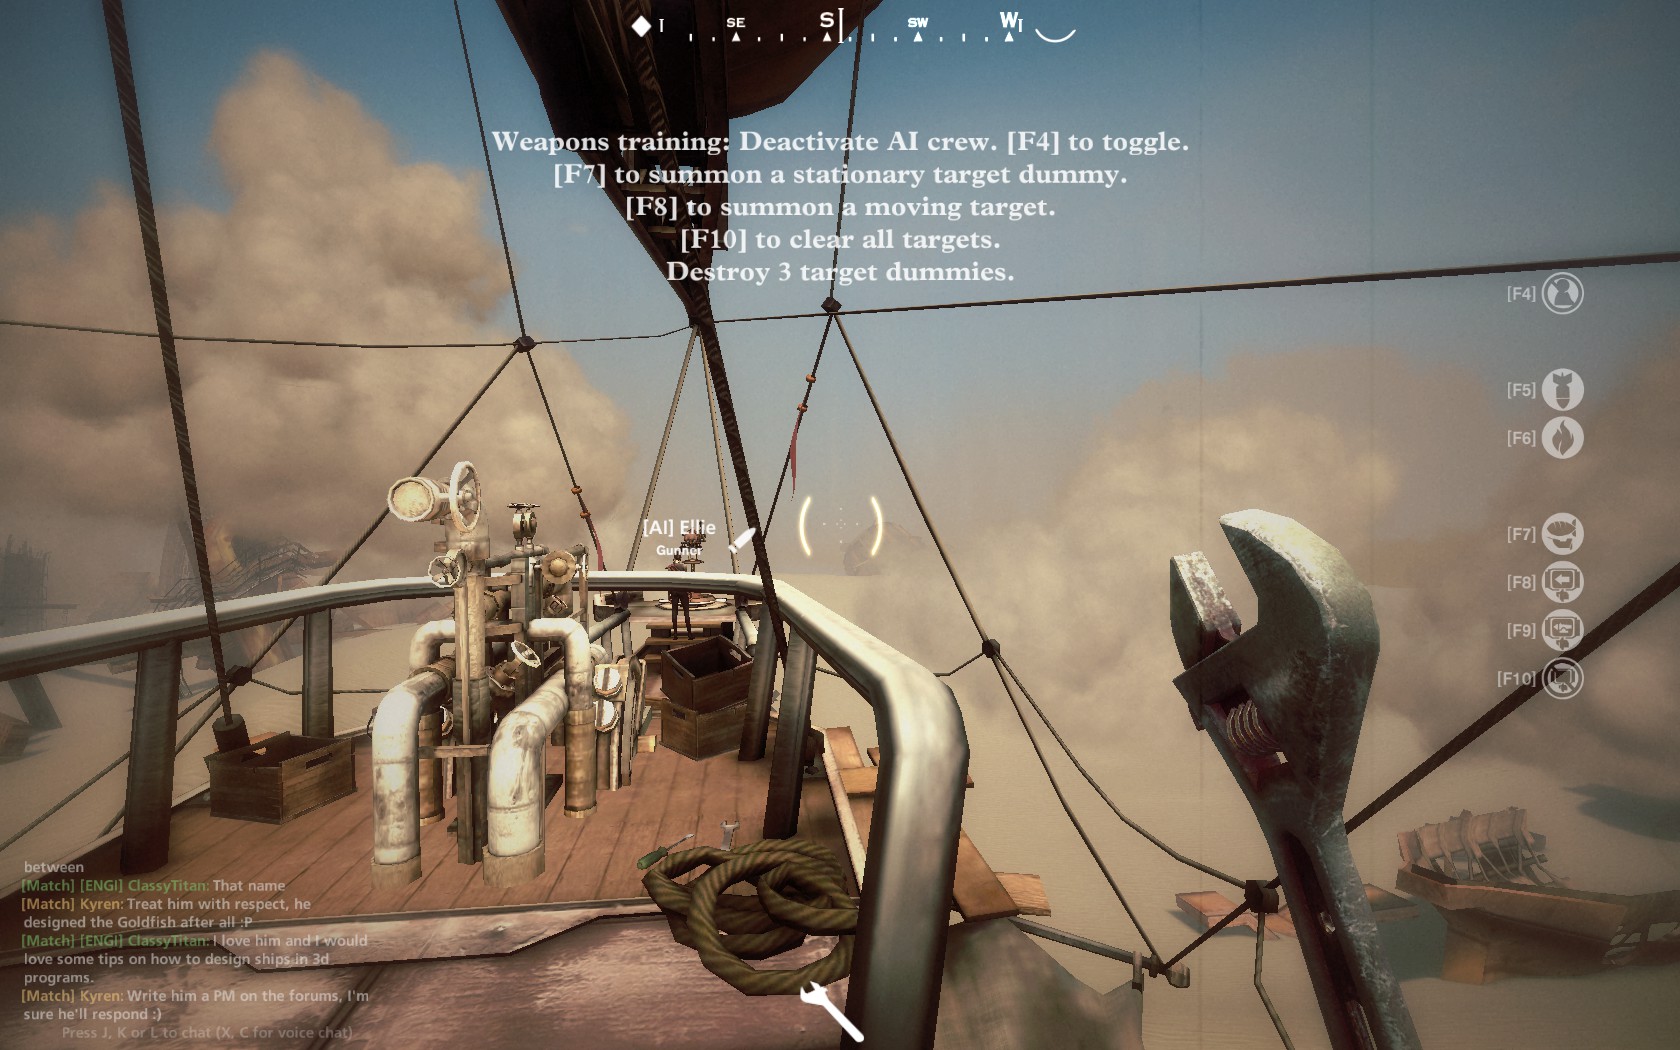 Hydrogen The Junkers high Armor allows it to work as a blocker for allied ships - you can't ram, but you can force another ship to ram or fire on you instead of your ally to save them. Hydrogen will quickly put you in the right position for that! Raising above a enemy ship will also give you valuable time for repairing your Hull if it's in a bad condition.
Chute Vent Comes in Handy in maps such as Fjords where the ground gives you a lot of cover against long range. Where the Junker's speed doesn't allow it to quickly fly behind cover, Chute Vent allows to drop behind them for having a break for repairs.
Drogue Chute Your Balloon is quick to repair due the good position of the Pilot just under it, but especially in mid or long range engagements against Carronades or Lumberjacks it can be great to stay afloat while longer to shoot the enemies weapons out before approaching. It'll buy you firing time!
Kerosene Kerosene really helps on the Junker, it boosts one of your lowest stats - speed.
Moonshine Junkers can technically ram, but it doesn't happen often due to their already low base speed. It can be used to quickly gain maximum speed, but the Junker already accelerates very fast so you won't need this much either.
Impact BumpersJust if you think that you are going to crash a lot into other ships, or that other ships will crash into you - as Junkers are hardly used for ramming, you won't use them much.
Phoenix Claw Nearly a must have, even better when your broadsides serve different purposes - Need to turn from long-range side to the close-range side fast? Phoenix Claw!
Spy Glass Personal preference. If your crew feels up to it, have them do the spotting for you.
Tar Barrel You definitely won't be flying around enemy ships coating them in tar, if you use Tar Barrel, then to hinder pursuers. It might be more effective though to have them push trough under you with Hydrogen/Chute Vent, and then make them face your broadside.
Conclusion
Edit: As of now, the 23th August, this Guide has received several comments on the official Guns of Icarus Online forums which will lead to some bigger additions! The most important: Put your gatling guns on the lower deck, the chance that they'll constantly fire will be higher! Other than that, I'll update this Guide (and the Goldfish and Spire Guides) once I've posted the Pyramidion, Galleon and Mobula guides!
- WAT DO: A Guide on What to Do for Almost Anything★ 5 (643)18k views861 ♥27 minUpdated Apr 16, 2022
- Beginner's Guide: Engineer★ 5 (299)13k views200 ♥9 minUpdated Dec 14, 2013
- Beginner's Guide: Pilot★ 5 (282)11k views221 ♥13 minUpdated May 19, 2014
- Beginner's Guide: Gunner★ 5 (281)11k views188 ♥13 minUpdated May 19, 2014
- Muse in Arms (Gunnery guide for 1.3.9)★ 5 (362)10k views441 ♥45 minUpdated Apr 4, 2015
- Гайд по оружию, инструментам и кораблям!★ 5 (497)9.6k views358 ♥11 minRussianUpdated Jun 16, 2013


- Upgrading to PremiumTeam Fortress 2★ 5 (20k)1441k views11k ♥6 minUpdated May 11, 2022
- No More Room in Hell Official ManualNo More Room in Hell★ 5 (2.8k)569k views2.1k ♥29 minUpdated Apr 22, 2019
- NMRiH Community Hosting GuidesNo More Room in Hell★ 5 (526)351k views653 ♥1 minUpdated Aug 10, 2022
- ULTIMATE GUIDE FOR GAME DEV TYCOONGame Dev Tycoon★ 5 (5.8k)326k views10k ♥4 minUpdated 23 Jan, 2014
- How to 'Git Gud' Soon™MORDHAU★ 5 (2k)318k views3k ♥68 minUpdated Nov 16, 2024
- Лучшие кооперативные игры SteamPAYDAY 2★ 5 (1.5k)315k views2.1k ♥56 minRussianUpdated Apr 27, 2025






This guide was created by its original author on the Steam Community. Are you the author and want it removed? Request removal.