Don't be a Derp: 10 things to know in Spiral Knights
1. Stay together! Don’t run off!
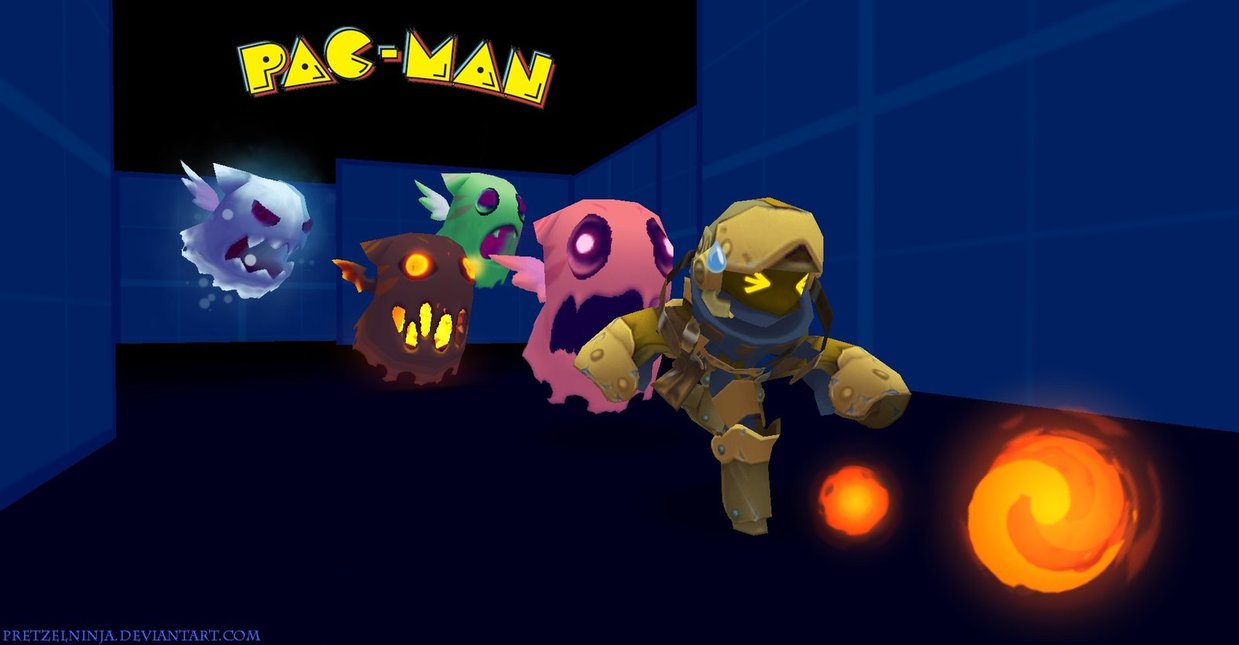 Fun fact: 80 percent of people who wander off by themselves either die or escape with less than half health left. It’s true! Wandering off at any time in your spelunking in the Clockworks, when in the company of others, will usually bring about you or your party’s demise. The solution: staying together. I speak from experience when I say that wandering off will hurt you and your team more than help. Of course, if you are going solo from the get go, that is another story. Staying together allows you the most attack power and support in case you need to fall back. There are 2 scenarios in which you will encounter this problem.
a. Standard Clockwork Tunnels
Fun fact: 80 percent of people who wander off by themselves either die or escape with less than half health left. It’s true! Wandering off at any time in your spelunking in the Clockworks, when in the company of others, will usually bring about you or your party’s demise. The solution: staying together. I speak from experience when I say that wandering off will hurt you and your team more than help. Of course, if you are going solo from the get go, that is another story. Staying together allows you the most attack power and support in case you need to fall back. There are 2 scenarios in which you will encounter this problem.
a. Standard Clockwork Tunnels These aren’t so bad. The rules remain firm, however. Because most of the paths are narrow, monsters can easily block the route ahead, if you aren’t careful. Worse yet, you may find yourself and your party stuck or separated at certain points; especially in the case if you try to back out into an area you were just at.
b. Arenas & Compounds
These aren’t so bad. The rules remain firm, however. Because most of the paths are narrow, monsters can easily block the route ahead, if you aren’t careful. Worse yet, you may find yourself and your party stuck or separated at certain points; especially in the case if you try to back out into an area you were just at.
b. Arenas & Compounds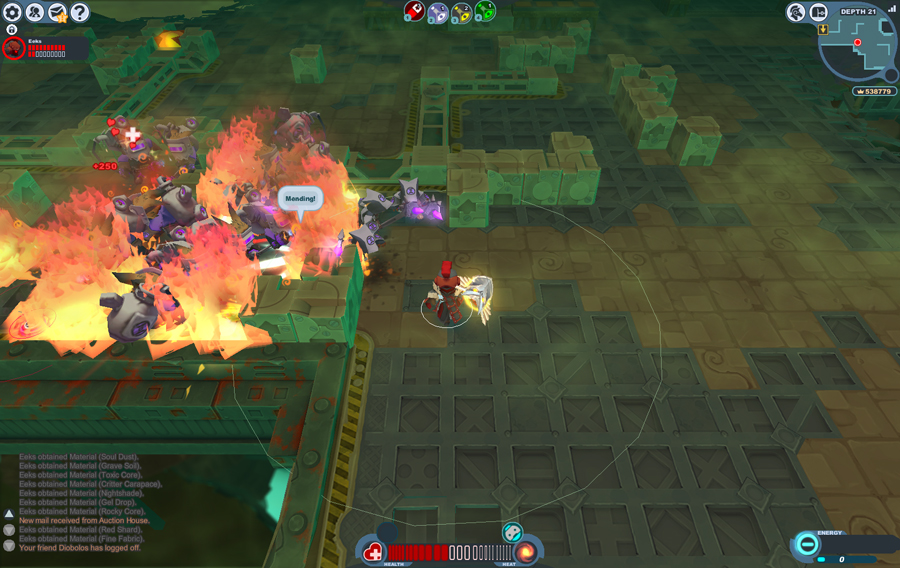 If you find someone wandering off in one of these areas, prepare for maximum pain! Again, I speak from experience of these cases (although I wasn’t responsible for it). There is nothing more aggravating when a person wanders off, only to bring an entire horde of monsters back with them. Keep this in mind when in places such as arenas, compounds, and deconstruction zones. This is especially difficult in areas where there are armies of healers to keep the horde advancing.
Pro tip: Before going into the level, wait for the rest of your party. They may be prepping for the mission or have something to take care of. It is in your best interest to wait on them.
2. You got a shield. Use it!
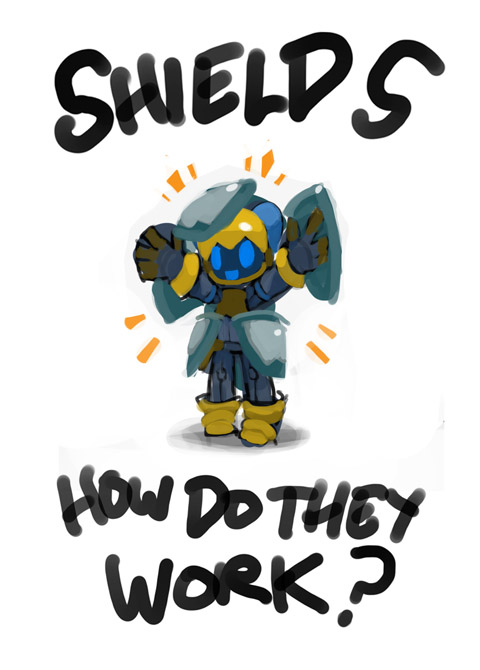 You know- that thing strapped to your arm that says, “Hi! I’m you shield. Please use me.” on the back? Remember these things can totally negate damage while in use. Of course, damage will vary as you get deeper into the clockworks. But these are life savers. Make sure they are up to scratch and to equip the proper shield to counter certain damage types (we’ll talk more about these later).
The Shield Bump
Shield Bumping is a method, when executed properly, pushes back enemies. When an enemy is right next to you and has not attacked, use the shield. The enemy will be sent backwards a good distance, giving you more room to deal with other, high priority targets.
Pro Tip: Some shields can completely negate certain status effects (we’ll talk more about these later as well). So keep your eyes peeled for a shield recipe you like.
3. Battle Sprites- Your best friends
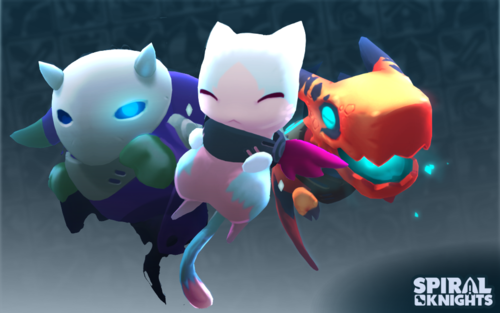 As of recently, battle sprites have found their way into the game. These little fellas can really help when you are in a pinch. Here are some tricks to improve your chances in the Clockworks.
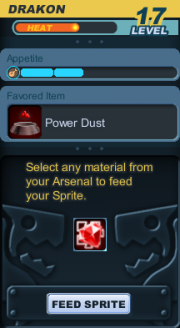 a. Feed me, Seymour- Feed your pet
Simple, I know, but definitely overlooked. Just like weapons, Battle Sprites obtain heat from battles and can level up. This can be sped up when you give them a material, also known as “feeding” your pet. This can be done before a mission in the lobby, or at a gear station. Leveling them up will make them stronger and give you more abilities & perks.
Pro tip: Remember Battle Sprites that are fed higher tier materials give them more heat. Each one also favors certain items over others. These give your battle sprite the most heat, but more times
than not, it is the same item you need to give them to level up. Save these so you can level up your little buddy.
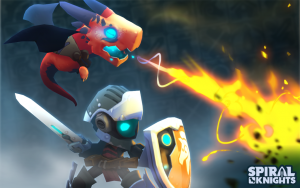
b. Ability Arsenal- Use their abilities!
No matter which Battle Sprite you chose, each one has a unique set of abilities at their disposal. And when you reach a certain level, a new ability will be available for you to use. Know how each of the abilities works and when to use them. Some can give you a shield to help endure a battle, or provide a speed boost for an escape.
c. Perks of the job- Use their perks!
As your Battle Sprite gets stronger, they acquire new perks that strengthen your knight. Some include resistances, damage bonuses to certain monster families, and many more. Properly equip the right one before a mission; it could prove useful later on.
4. A heart is a terrible thing to waste- Health pick ups
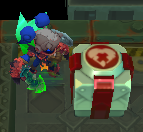 Health is represented in the form of a heart. If you are hurt, picking one up can restore a portion of your health. Hearts can be found from defeating enemies or hidden in red treasure boxes. Depending also on the size of the heart, it will restore more of your lost health. Be mindful that hearts will fade away after a certain amount of time. Do not break open every health treasure box just to have the contents disappear; you may need them for a later time.

Pro tip: Health Capsules, unlike hearts, don't fade away overtime. Use this to your advantage!
Pro tip: Shankles & Wisps can be found within the clockworks. While they don’t drop crowns, they’ll sometimes drop hearts when they’re destroyed, so keep that in mind if you are low on health.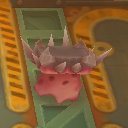
5. Pick your poison- Weapons
There are 3 different weapon types: Bombs, Guns, and Swords (It’s partially why it is called Spiral Knights). I recommend deciding early on which weapon or weapons you want to major in using, as changing you mind later could cost you a lot of crowns. Furthermore, you are given all these weapon types to experiment with early on in the game. Know each of the weapon’s strengths and weaknesses.
Swords: Consisting of all melee weapons, swords are solely for close range combat. These weapons deal a fair amount of damage, and can followed up with 2 additional attacks after the first for most variants. Unlike guns & bombs, the third strike can cause enemies to flinch, canceling their next action. Also, so long as they connect, all charged attacks from any weapon will make enemies flinch as well.
Pro Tip: Some sword variants have charge attack that launches energy projectiles.
Bombs: Explosives that deal damage in a circular area. These weapons deal the most damage out of all the weapon types, but must be charged in order to be used; further, only one bomb can be placed at a time (assuming you don't have any buffs), and each has a delay timer before detonating. However, the longer the delay timer is, the larger the blast radius is. The initial bomb must be placed carefully to inflict maximum damage on the largest amount of enemies.
Guns: These weapons rely on damaging foes from afar, giving the user some extra space to move around. However, they are the weakest when it comes to damage output. Guns usually can have 2 – 3 volleys of shots on screen at a time, depending on the variant.
Pro Tip: Remember that bombs need a full charge to do damage. Swords & Guns don’t have that restriction.
Pro Tip: Some weapons will have more than one damage type (we’ll discuss those next), or status effect (We’re getting there).
6. Know your enemies- A quick look at enemies & damage types
The monsters that are encountered fall within 4 damage types: Piercing, Shadow, Elemental, and Normal. Certain monsters are strong to certain damage types, and others will be hurt badly by them. Here is a quick look at each.
a. Piercing - Dealt typically by beasts & slimes; constructs & slimes are strong against them, while beasts & fiends are fairly susceptible to it.
b. Shadow
- Dealt typically by beasts & slimes; constructs & slimes are strong against them, while beasts & fiends are fairly susceptible to it.
b. Shadow - Usually found as the damage type of fiends & undead; respectively, the dark creatures are strong against it, but Gremlins & slime are very weak to it.
c. Elemental
- Usually found as the damage type of fiends & undead; respectively, the dark creatures are strong against it, but Gremlins & slime are very weak to it.
c. Elemental - The damage of choice by gremlins & constructs; gremlins and beasts are highly resistant to elemental; however, constructs & undead take heavy damage.
d. Normal
- The damage of choice by gremlins & constructs; gremlins and beasts are highly resistant to elemental; however, constructs & undead take heavy damage.
d. Normal - This is the standard damage type which does a fair amount of damage, but has no advantage or weakness. Say an elemental attack hits a fiend; fiends are neither weak nor strong against elemental damage. However, their defences are the same as if normal damage is delt; thus, 'normal damage' is dealt to the unit.
Knowing this, properly equip the best weapons, armor, helmet, shield, & Battle Sprite perk for each encounter. A shadow sword won’t work as well as a standard blaster in a graveyard, and an elemental shield works better than a piercing resistant one in a deconstruction zone.
Pro Tip: Some enemies and bosses will have more than one weakness or resistance. Bring different weapons when encountering these beefy opponents.
7. Proper usage of the Dash & Bash!
Within the last few years, 2 new abilities have been offered to Spiral Knights: the dash and the shield bash. You should know how to use these properly.
a. The Dash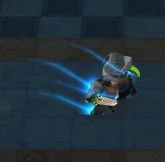
The Dash is a utility ability that allows you to perform a quick hop in the direction of your choice. However, once preformed, it has an 8 second cool down, and you can’t use it again until the cool down is finished. This is a great escape tool, allowing you to evade hordes of monsters and dangerous traps, if used correctly. Don’t use it carelessly (i.e. racing friends/ teammates through the level), as it leaves you more vulnerable when you don’t have it.
Pro tip: Just as quick it can get you out of trouble, the dash can also get you into trouble if you don’t aim your dash correctly, or act recklessly.
b. The Shield Bash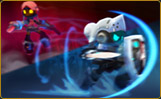
The Shield Bash is an offensive ability that, at the cost of half of your shield meter, preforms a powerful charge that damages enemies and stuns them briefly. This is a nice initiation technique against enemies who haven’t noticed you yet.
Pro tip: Remember that you can’t perform a shield bash until you have a full shield again, so be careful of when and where you use it.
Pro tip: The Shield bash won’t affect enemies with shields from the front. If used on their exposed areas (usually the back), then they are damaged & slowed.
Pro tip: Keep in mind that you can still be damaged when using a shield bash. Time it carefully in order to avoid trading damage with the target.
8. Status Report- Status Effects
While in the clockworks, you’ll come across vials with a variety of different damage effects. While you should know what they’ll do to your foes, you should also know that some monsters will be able to deal these effects to you as well. So I will (as briefly as I can) go over each effect while stating what it will do to the enemy, and to your spiral knight.
 Pro tip: Any said status affect can be removed with the aid of a remedy capsule. Make sure to have some on hand, in case of an emergency.
 a. Stun- This one you’ll encounter the most while in the clockworks. As its name states, the effect will impair the movement and attack speed of the effected creature. This goes for both you and the monster. By default, all monsters will deal this status effect, if there is no status condition (normal status effect monsters). However, some monsters will have this along with another status affect (mostly Lumbers and Trojans). Watch out for these monsters!
 b. Shock- The second most common status effect you will encounter. Any entity affected by the shock status effect, will regularly have their movements interrupted by electric pulses that also damage them with each pulse. Trojans, Mecha Knights & Mecha Knight Kits, by default, will use a self-shock to electrocute anything close enough to them.
Pro tip: Damage caused by shock can be blocked with a shield. It will, however, cause you to stop moving for a time. The pulse is also consistent, and predictable; block accordingly.
Pro tip: Those with the shock affect can also damage enemies that are nearby and also pass the affect to them. This goes for friendly units as well, so be mindful of that.
 c. Fire- Fire, rightfully so, will burn for as long as the affect is active. With each burn, damage is taken. However, the damage delt is not consistent. Sometimes it does a lot, and sometimes it does little to none at all. If you are affected, attempt to negate further damage by finding water globules to put yourself out.
Pro tip: To put yourself out, find a water globule, pick it up, move to a wall and throw the water at the wall.
Pro tip: Fire is unstable, and like the shock affect, it can be passed to other units. Don’t be afraid to share with the monsters!
 d. Poison- Poison, respectively, will cause the affected to not be able to heal for a certain amount of time, as well as having their attack power and defences lowered while in effect. This goes for both knights and monsters. This is good in areas with healers, as it helps to take out priority targets. While in effect on a knight, it is best advised that you try not to take damage during its duration.
 e. Freeze- Freeze, as its name states, immobilizes the target in a block of ice. While in the state, the affected can still attack and defend themselves, but they can’t move. Blocking an enemy attack will free you from the icy bonds, and likewise, attacking a frozen enemy will also free them after a certain amount of attacks. An attack from an enemy may free you, unless the attacker has a freeze status effect chance, in which the freeze might refresh.
Pro tip: If you are partying with others and someone is frozen, a quick slash of a sword, a shot from a gun, or a blast from a bomb will free them. Do this to better your party’s chances in the midst of combat.
e. Freeze- Freeze, as its name states, immobilizes the target in a block of ice. While in the state, the affected can still attack and defend themselves, but they can’t move. Blocking an enemy attack will free you from the icy bonds, and likewise, attacking a frozen enemy will also free them after a certain amount of attacks. An attack from an enemy may free you, unless the attacker has a freeze status effect chance, in which the freeze might refresh.
Pro tip: If you are partying with others and someone is frozen, a quick slash of a sword, a shot from a gun, or a blast from a bomb will free them. Do this to better your party’s chances in the midst of combat.
Pro tip: Lumbers with ice status effects (Silversaps) are exceptionally dangerous, as they will affect both stun and freeze with their attack. Worst yet, every attack afterward will refresh the freeze, so don’t get hit the first time.
 f. Curse- The curse status affect induces a dark spell, marking the affected and damaging them whenever a certain action is taken for a very long time (longer than most status effects). Knights affected will have certain weapons & abilities they can’t use without taking damage. This includes: using your shield, dashing, using the shield bash, using battle sprite abilities, or even using your Pickups. This is rarely seen, but going to the deepest parts of the clockworks will likely have this effect rear its ugly head, and certain events also increase their likelihood.
 g. Sleep- Easily the rarest status effect, save from vials containing it, sleep causes the affected to become immobile and unable to attack. However, the target will slowly start to regenerate health, if left alone. This goes for both knights and enemies, as there were once enemies that could affect it, but have since vanished Slooms & Sloombargos have found their way back into the clockworks. These are good for disabling creatures from battle that could cause significant harm. Remember, that just like freeze, the status effect will wear off if the target is attacked enough.
Pro tip: Like freeze, the status effect will wear off if knights 'wake up' each other with sword, bomb and gun attacks. UNLIKE the freeze status, Knights will have temporary immunity to falling asleep for a few seconds once woken up. Use this to get out of tight areas with monsters with the sleep status effect.
 Pro tip: Be aware that some status affects will actually make certain monsters stronger! For example, oilers (fire based jellies) will regenerate health and ignite their oil trails if they are exposed to fire. Likewise, other enemies are weakened due to certain status effects. Be wary of these enemies!
Pro tip: Know that enemies with status effects take reduced damage from attacks of the same status. For example, a wolver that does poison damage will have a higher resistence to poison than to fire. Conserve weapons and consumables for different areas where enemies without that status effect are present.
9. Resourceful References!
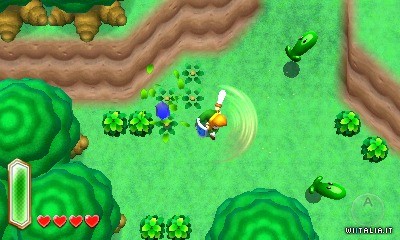
ALegend of Zelda logic- Be a Lawnmower!
For those who are familiar with Legend of Zelda (Link to the Past and onward), slashing at bushes will reveal money and health. Well guess what? Destroying grass and certain breakables will also yield useful items for you to have at as well!
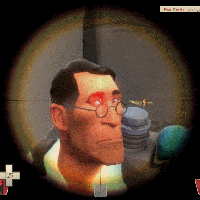
For those who are the slightest bit familiar with Team Fortress 2 (TF2) or other First Person Shooters (FPSs), the enemy will sometimes have a medical unit to heal their units. TF2 logic dictates that eliminating the enemy medic will give your team an edge, as the team with a medic is proven to have the advantage by keeping their team alive. Likewise, as long as there is an active healer, they’ll continue to heal other enemy units. Kill these guys quickly so as to better your team’s chances of survival and starve off the oncoming horde. c. Super Shooting Squire- Blaster Man!
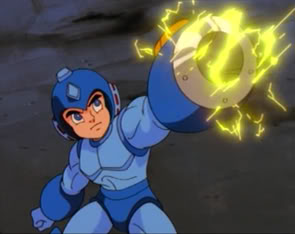
The Proto gun and the blaster line of guns have a reference to Mega Man hidden in how they function. These guns can have maximum of 3 shots at a time; similarly to how Mega Man can only have 3 shots on screen at once, before reloading. Other guns usually have a maximum of 2 volleys of shots; which is the same as Proto Man’s shot count. Likewise, all weapons (save bombs) have the ability use a charged version of the attack, which yields other effects. More importantly, know how many shots you can have at a given time. Time your shots well, and you can have a barrage of shots, without needing to reload.
Pro tip: There are bound to be more beneficial references to be found. See if you can find more. I might even add them to this list.
10. Pickups- Don’t let them sit
 At one point (for reasons I think are silly now), I thought having pickups at the end of a stage could have refunded crowns. Man, I was way off. Make sure to use your pickups. A well timed health capsule can save your life, and a use of a vial can turn the tide of a fight. However, you also need to know when not to use them. If you are facing a small group of non-threatening monsters, think twice before using a vial; it might prove more helpful in another room later on.
And that’s my beginners guide to Spiral Knights. I hope you find this useful. If there is something that I did not bring up that fits in with the 10 subjects, please let me know so I can make it more helpful for entry level players.
All images used for examples in this guide belong to their respective owners.
- Do not fear! Orb hunting tips are here!★ 5 (1.8k)27k views2.7k ♥5 minUpdated Jun 17
- Getting Cash - Ways To Make Money★ 5 (537)25k views561 ♥7 minUpdated Aug 1, 2013
- Spiral Knights - The Complete Guide!★ 5 (1.2k)21k views1.4k ♥106 minUpdated Mar 29, 2022
- The Spiral Sallet★ 4 (171)14k views143 ♥7 minUpdated Dec 30, 2023
- Expert Guide on Maximizing Your Power --- Equipment Sets and More★ 5 (468)13k views622 ♥12 minUpdated Mar 11
- Battle Sprite Skills★ 5 (241)10k views278 ♥10 minUpdated Mar 17, 2015




- Upgrading to PremiumTeam Fortress 2★ 5 (20k)1441k views11k ♥6 minUpdated May 11, 2022
- No More Room in Hell Official ManualNo More Room in Hell★ 5 (2.8k)569k views2.1k ♥29 minUpdated Apr 22, 2019
- NMRiH Community Hosting GuidesNo More Room in Hell★ 5 (526)351k views653 ♥1 minUpdated Aug 10, 2022
- ULTIMATE GUIDE FOR GAME DEV TYCOONGame Dev Tycoon★ 5 (5.8k)326k views10k ♥4 minUpdated 23 Jan, 2014
- How to 'Git Gud' Soon™MORDHAU★ 5 (2k)318k views3k ♥68 minUpdated Nov 16, 2024
- Лучшие кооперативные игры SteamPAYDAY 2★ 5 (1.5k)315k views2.1k ♥56 minRussianUpdated Apr 27, 2025






This guide was created by its original author on the Steam Community. Are you the author and want it removed? Request removal.