Embermount Volcano Ruthless Armour Farm Build
Intro
It has seized me ever since I first played this map years ago.
The story from the cutscene, the ominous build phase music, the flowing lava all around…one can almost sense the immense challenge the four young heroes had in front of them, as their lungs filled with burning air inside this volcano.
And so it had been a high-end map for years, demanding 7k+ or even 8k+ stats, which most could only dream of. It brought me a sea of failure and defeats, too, as I’ve always wanted to conquer this map, yet I always struggled.
Until now.
With the introduction of the Hermit hero and Ruthless difficulty, this once formidable challenge is no more. Here I proudly present to you: a build that finally conquered this map!
This build has improved over many iterations since the initial inspiration crossed my mind. During this process, I put much of what I have learned into the nitty-gritty and nuances of this build. All of these have been shared in the sections below. I hope that they would not only help you understand and master this build but also help you grow in your Etherian journey.
- Aura Monk (Range, Health)
- Buff Beam EV (Damage, Rate)
- Tower Hermit (Damage, Rate)
- Tower Apprentice (Damage, Rate)
- Gas Trap Huntress (Range)
- Range Pylon Hermit (Range)
- Wall Summoner (Health)
- (Optional) Attack Summoner (Damage, Health)
- Upgrader Adept (Upgrade Aura)
TLDR
For those who want the build but not the reading, here it is on DunDefPlanner: https://dundefplanner.com/map.php?load=3489.
It’s a bit crowded there to see clearly, so here’re what they look like in-game: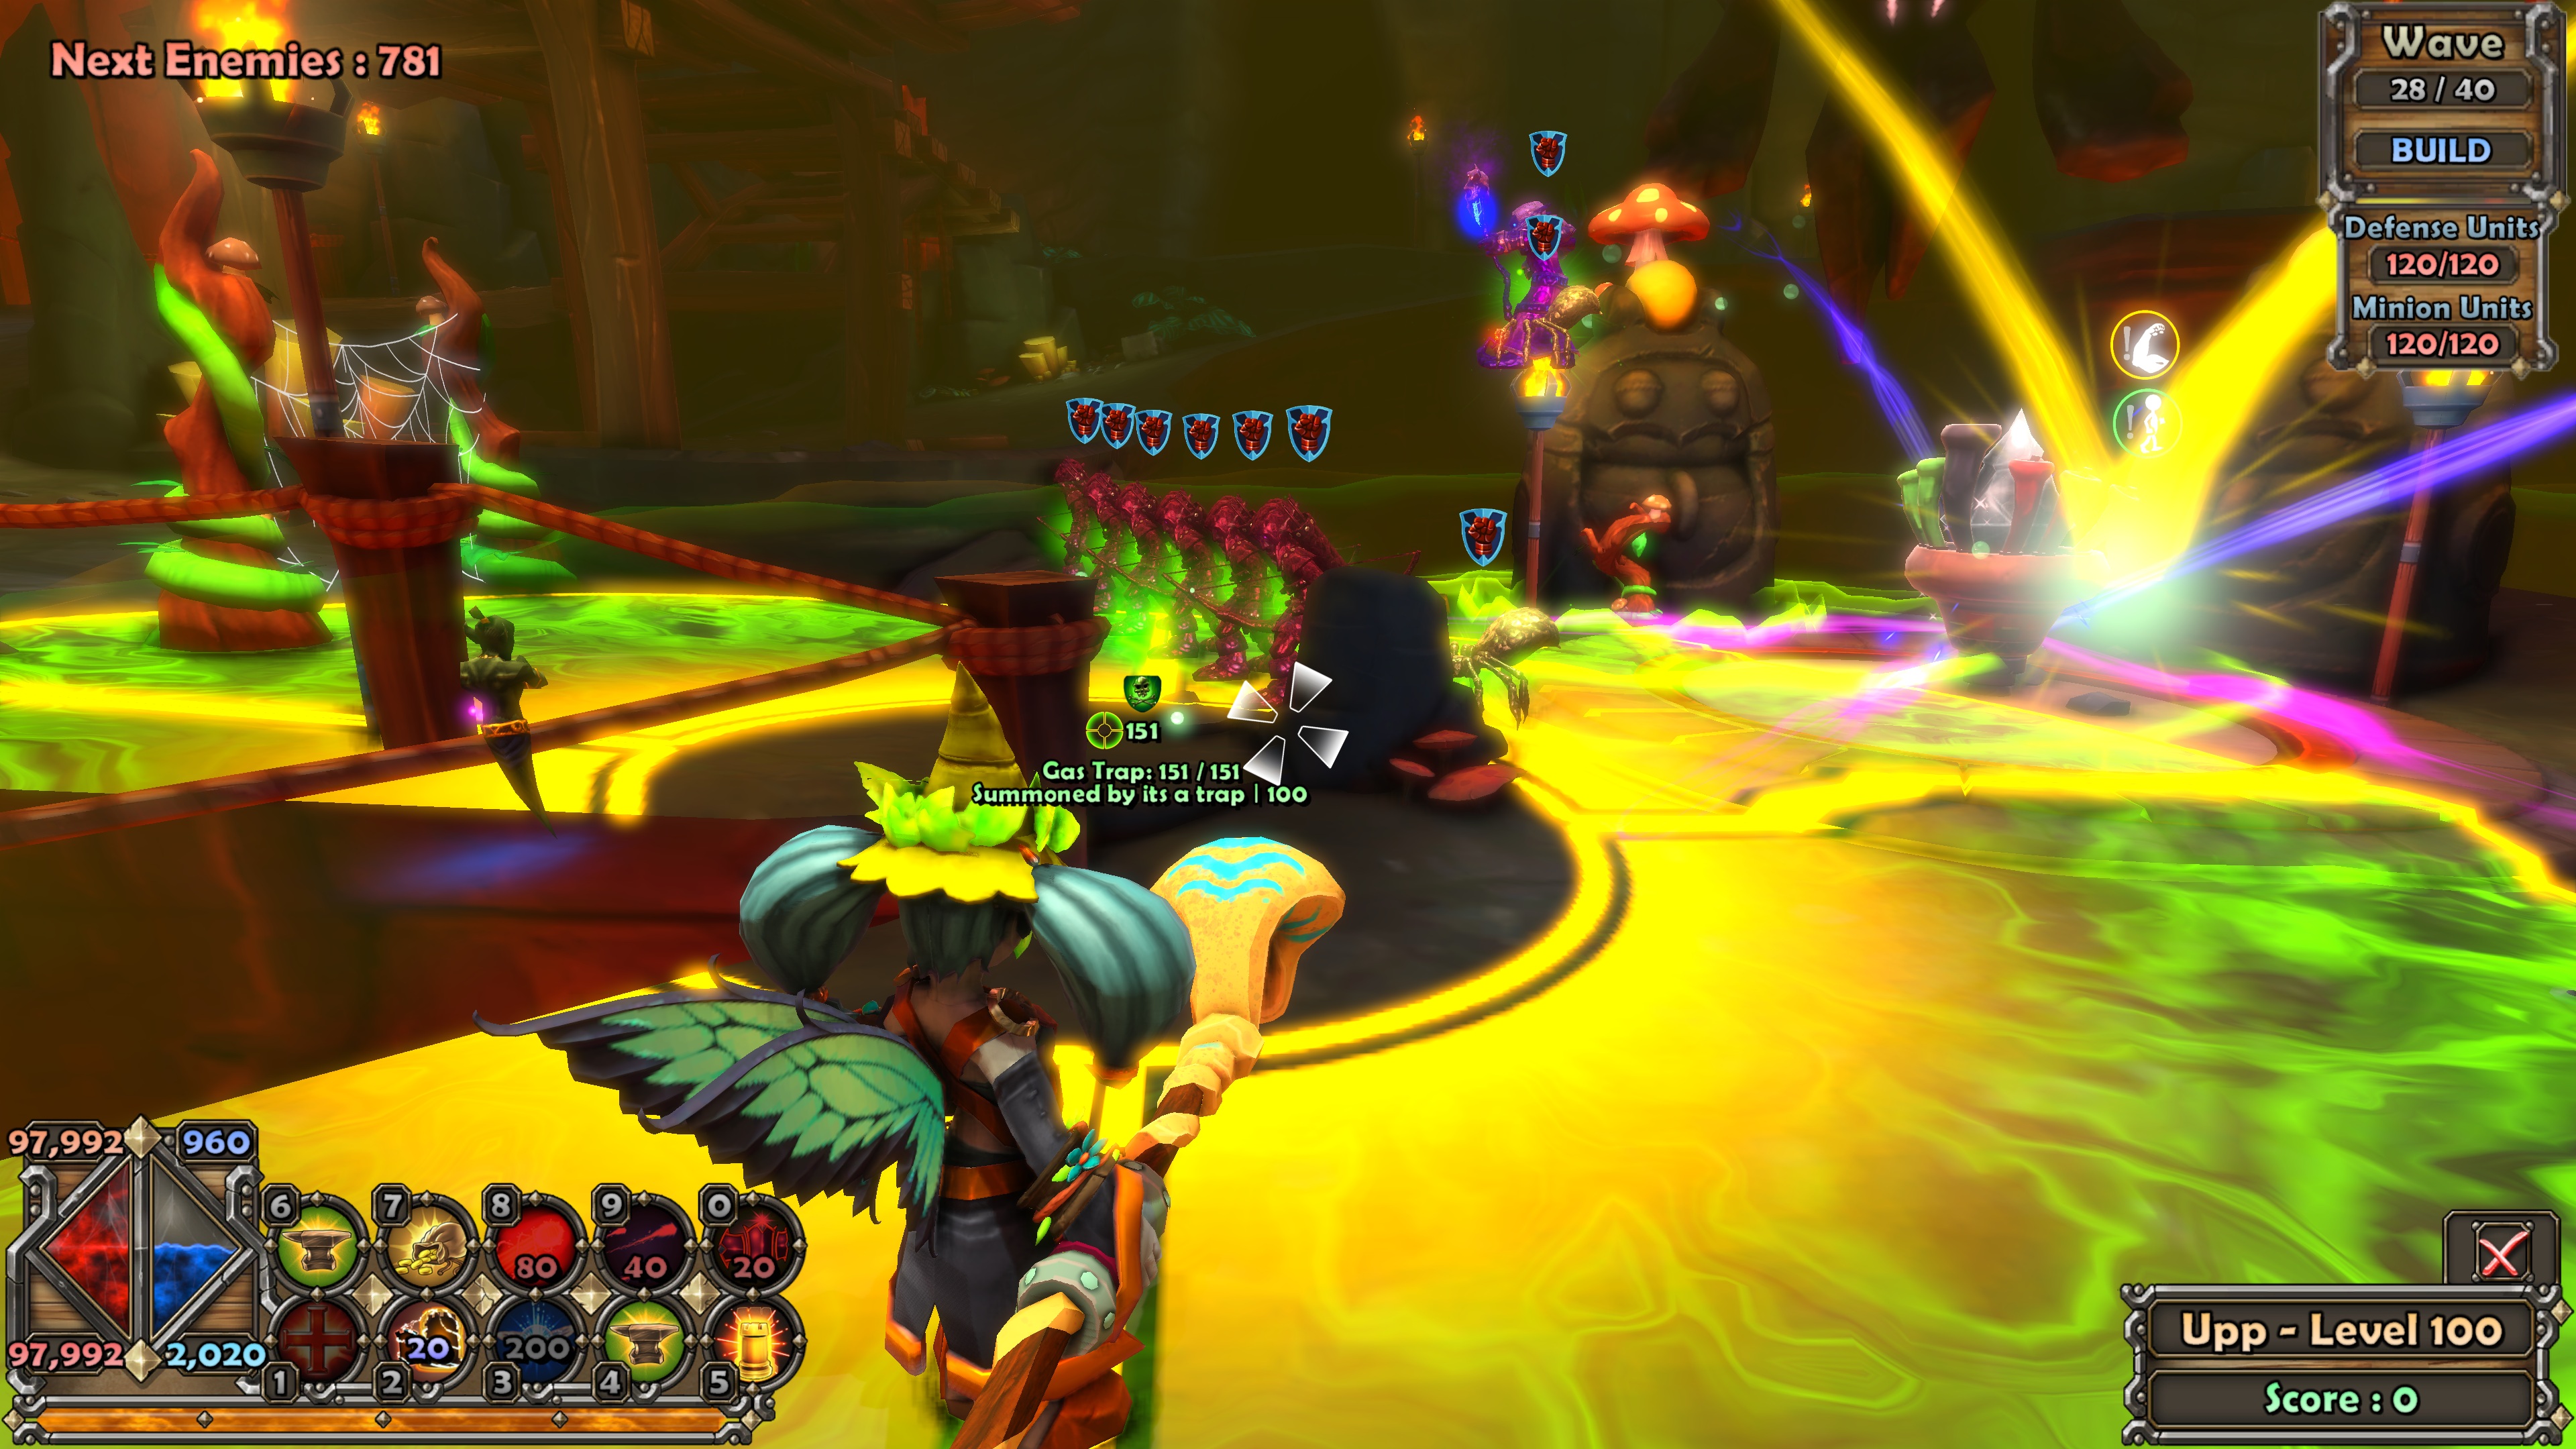
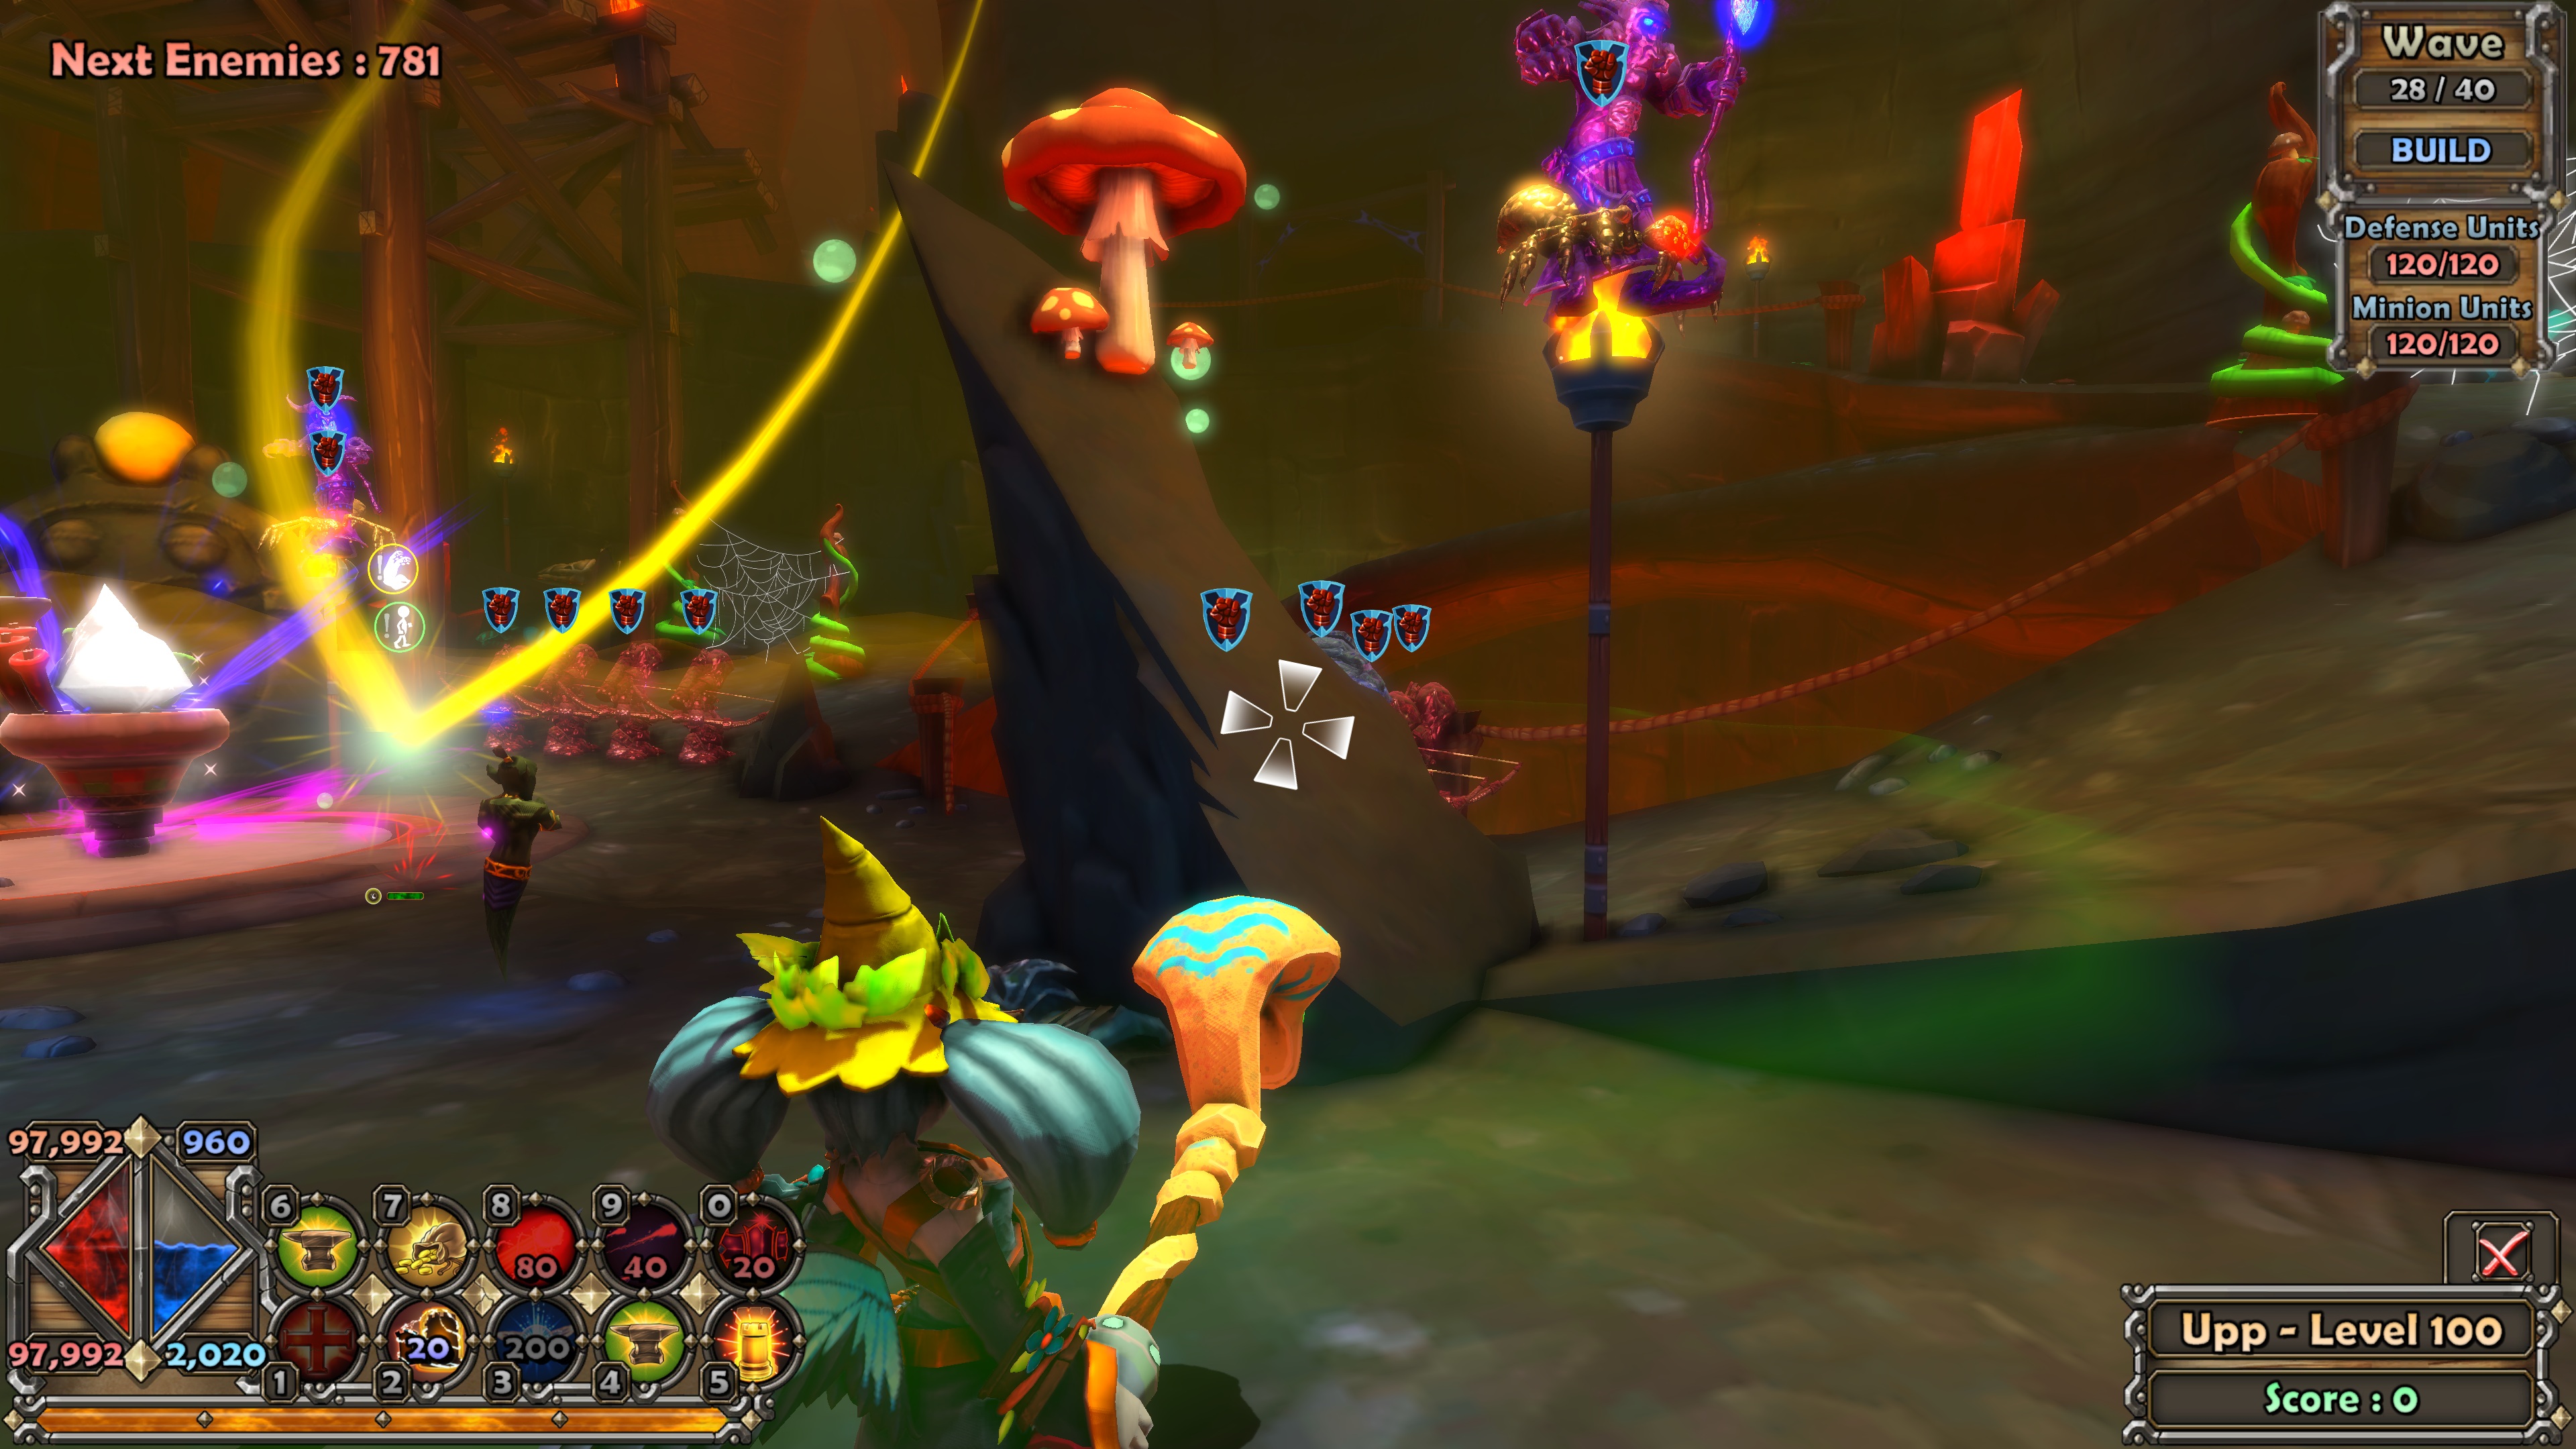
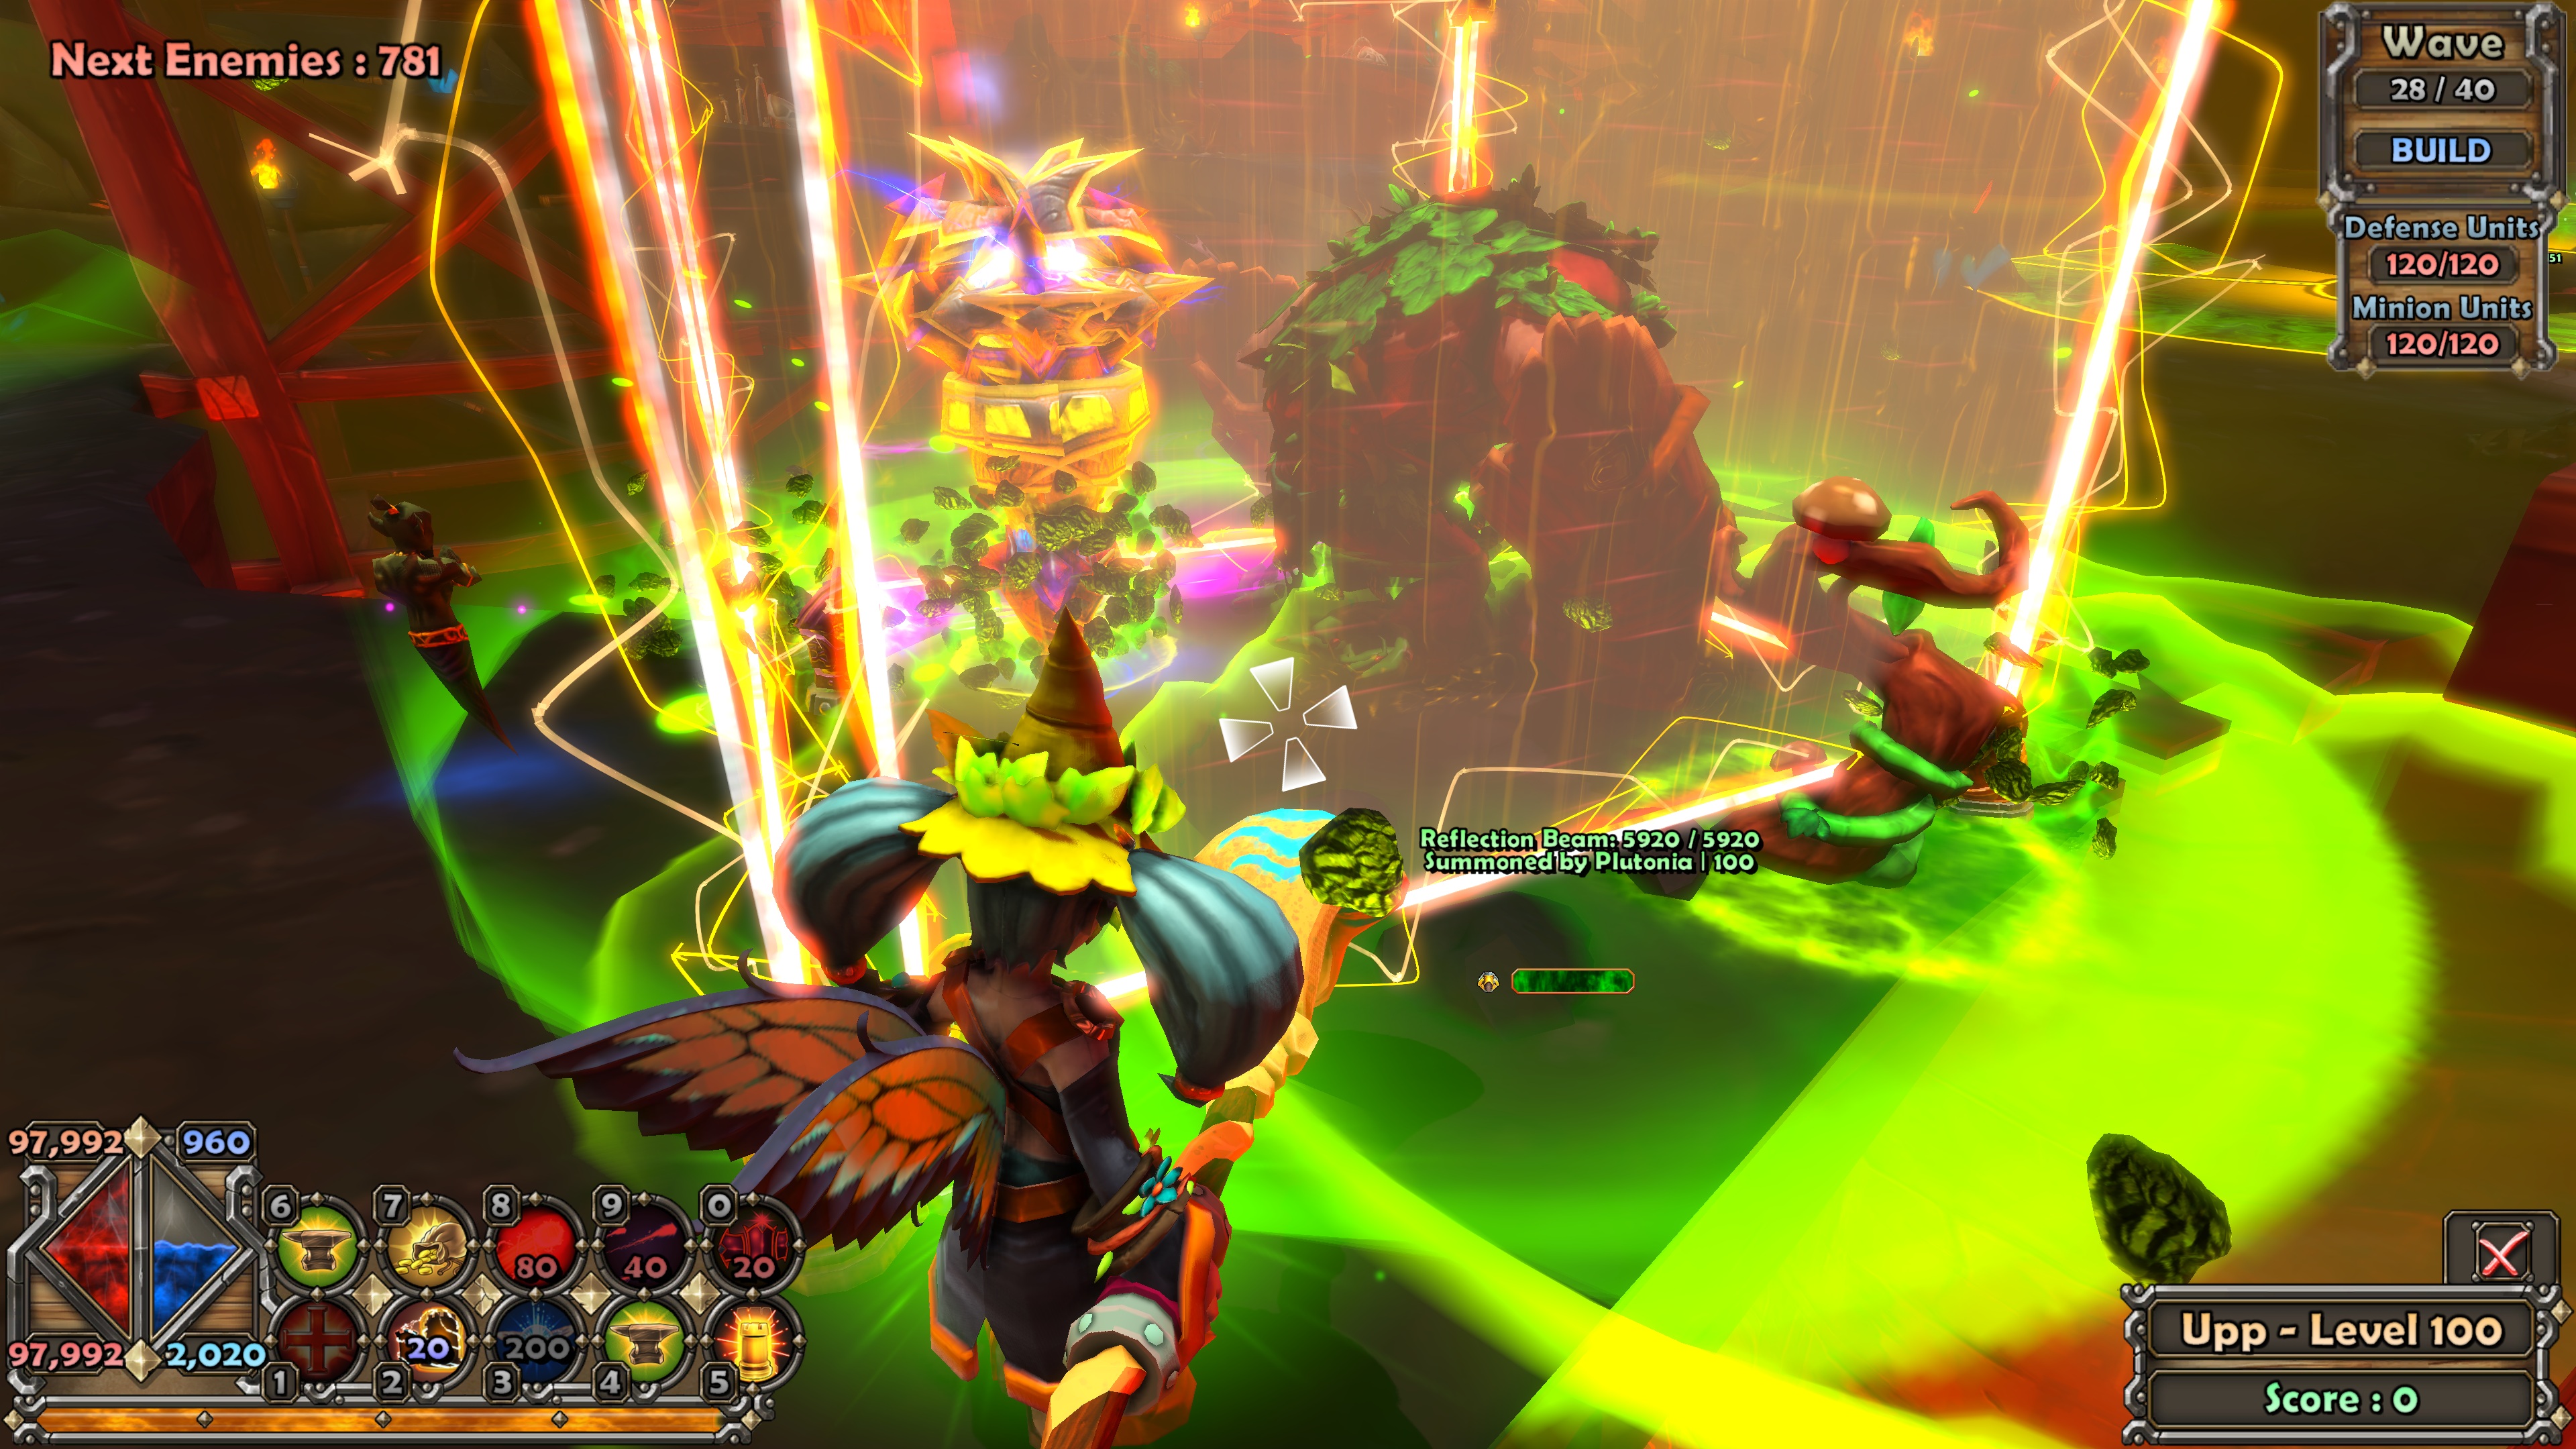
Here's me building them step-by-step: (I will post on my YouTube channel and update the link here once it's ready)
For the curious minds, I encourage you to read below. Many of the details and how this build works were explained there :)
Build Process & the Nitty-Gritty
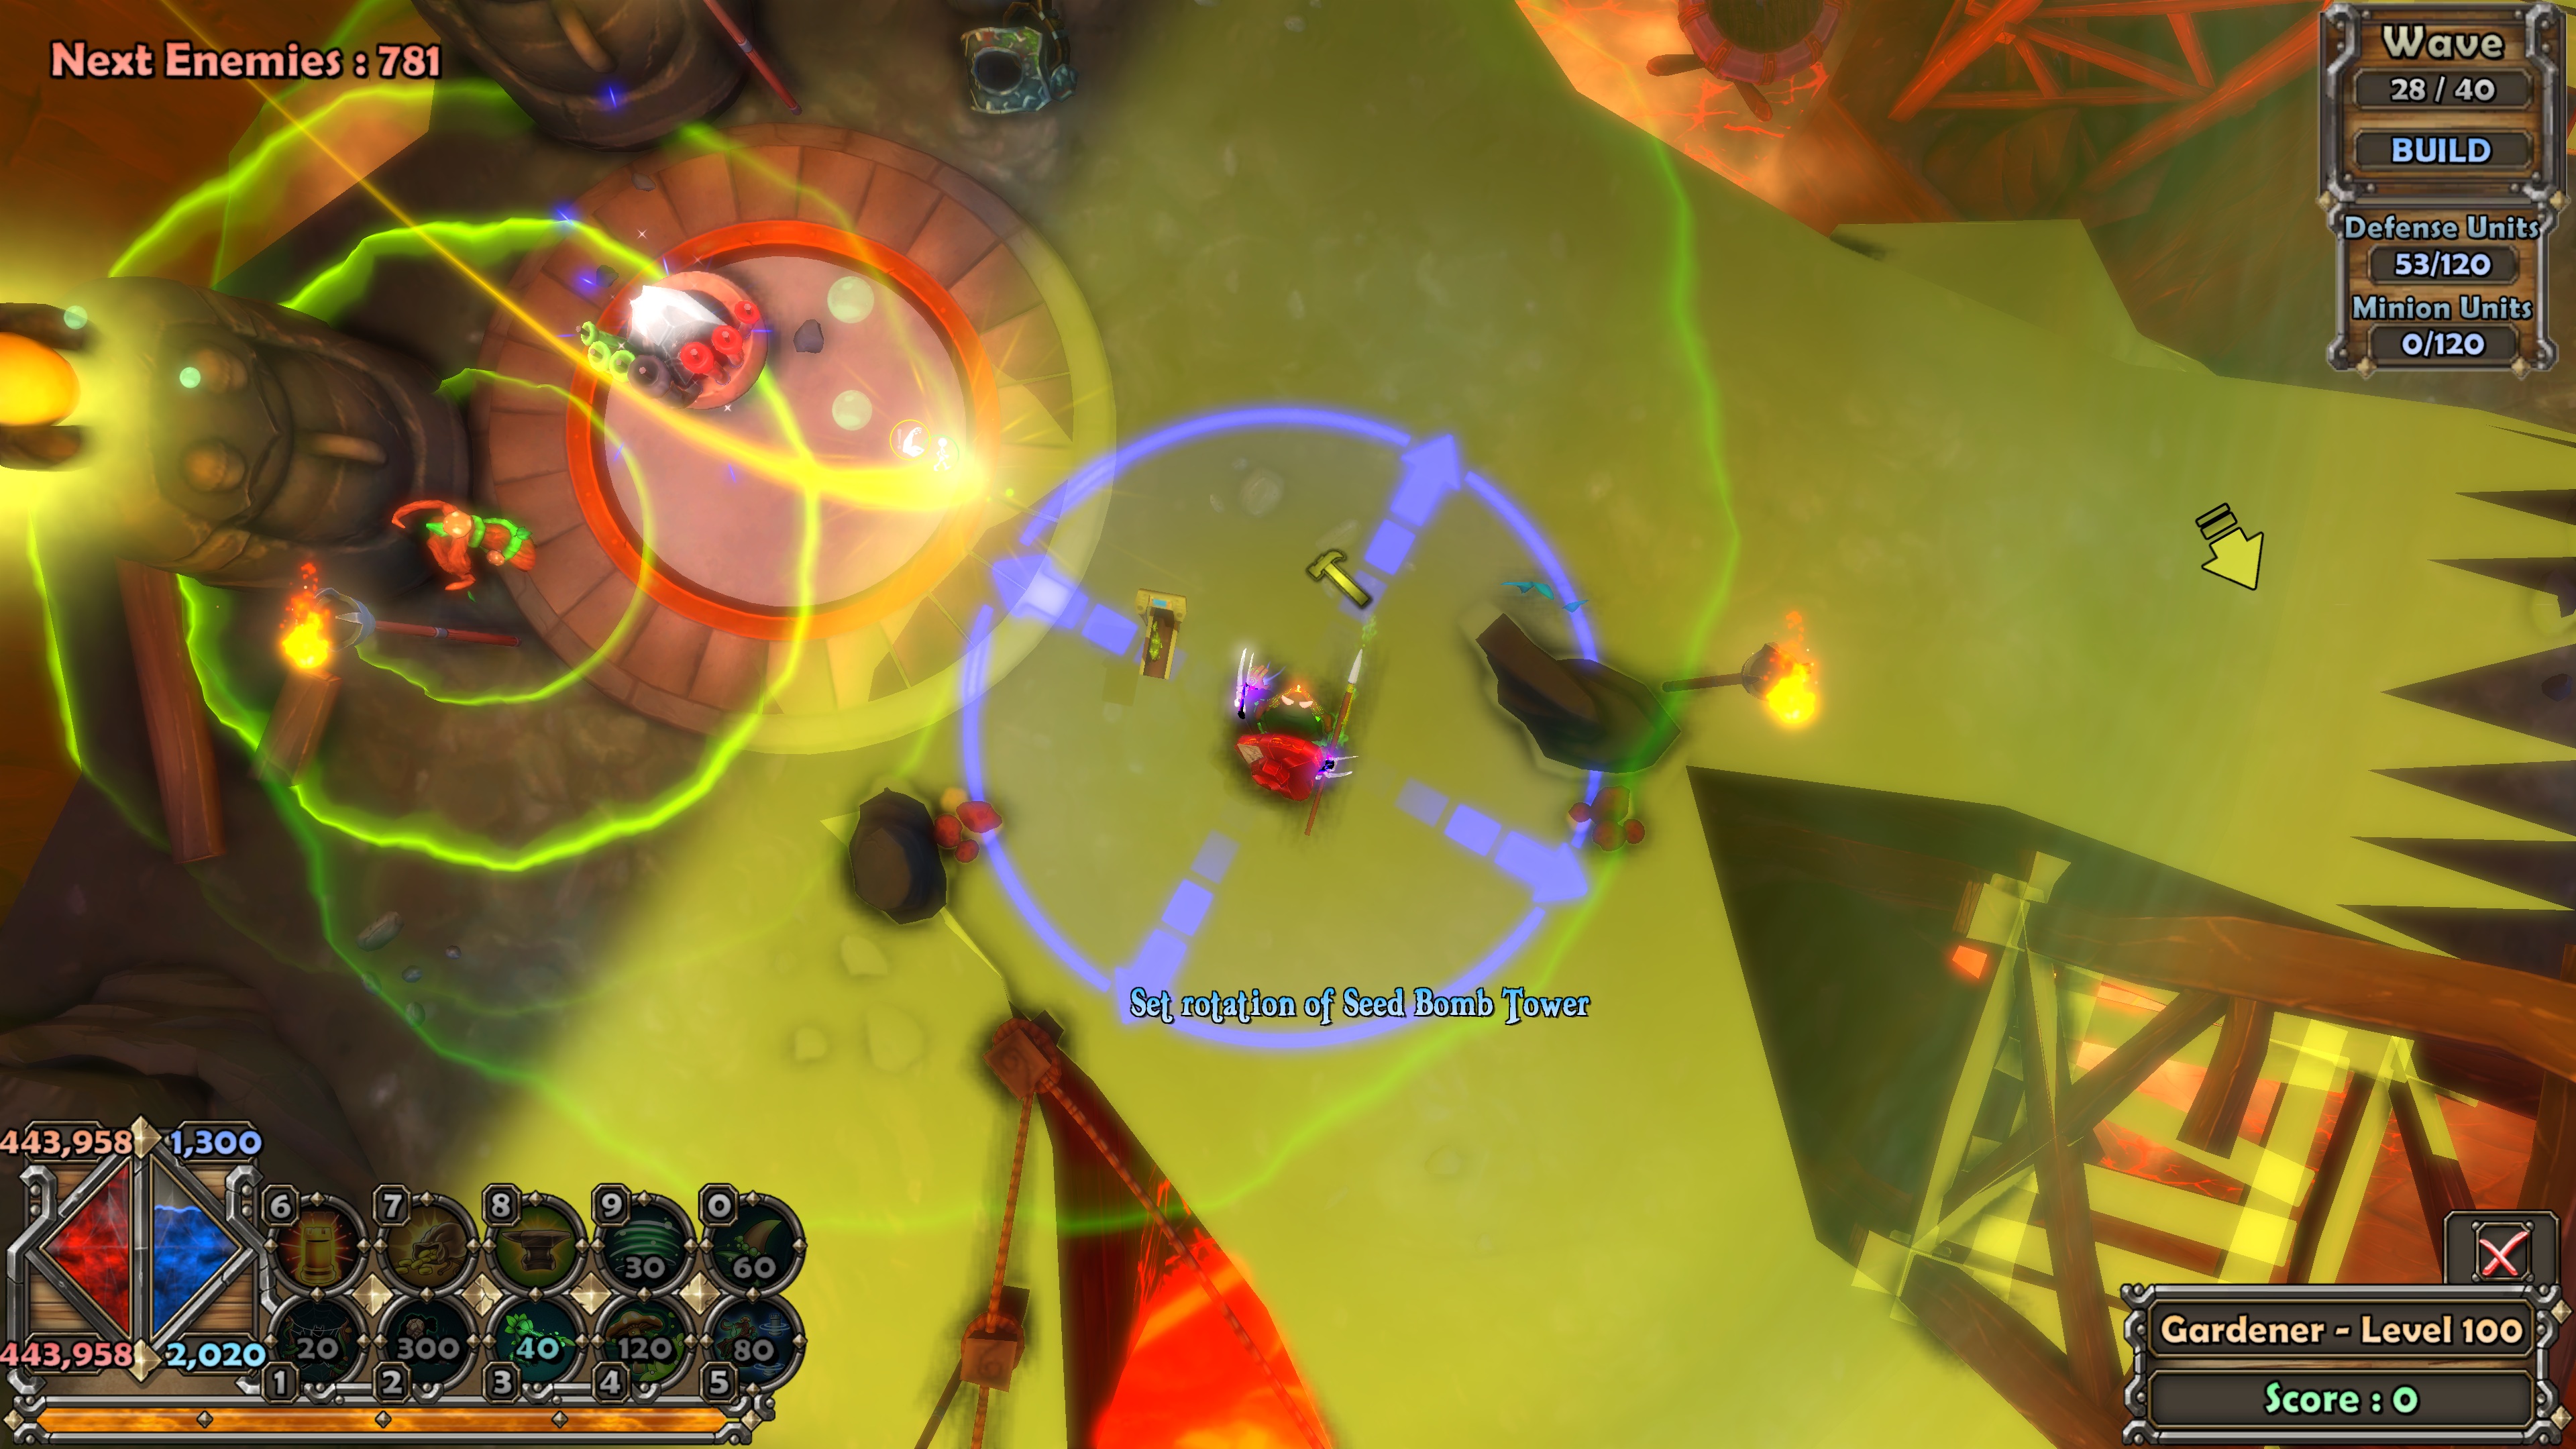
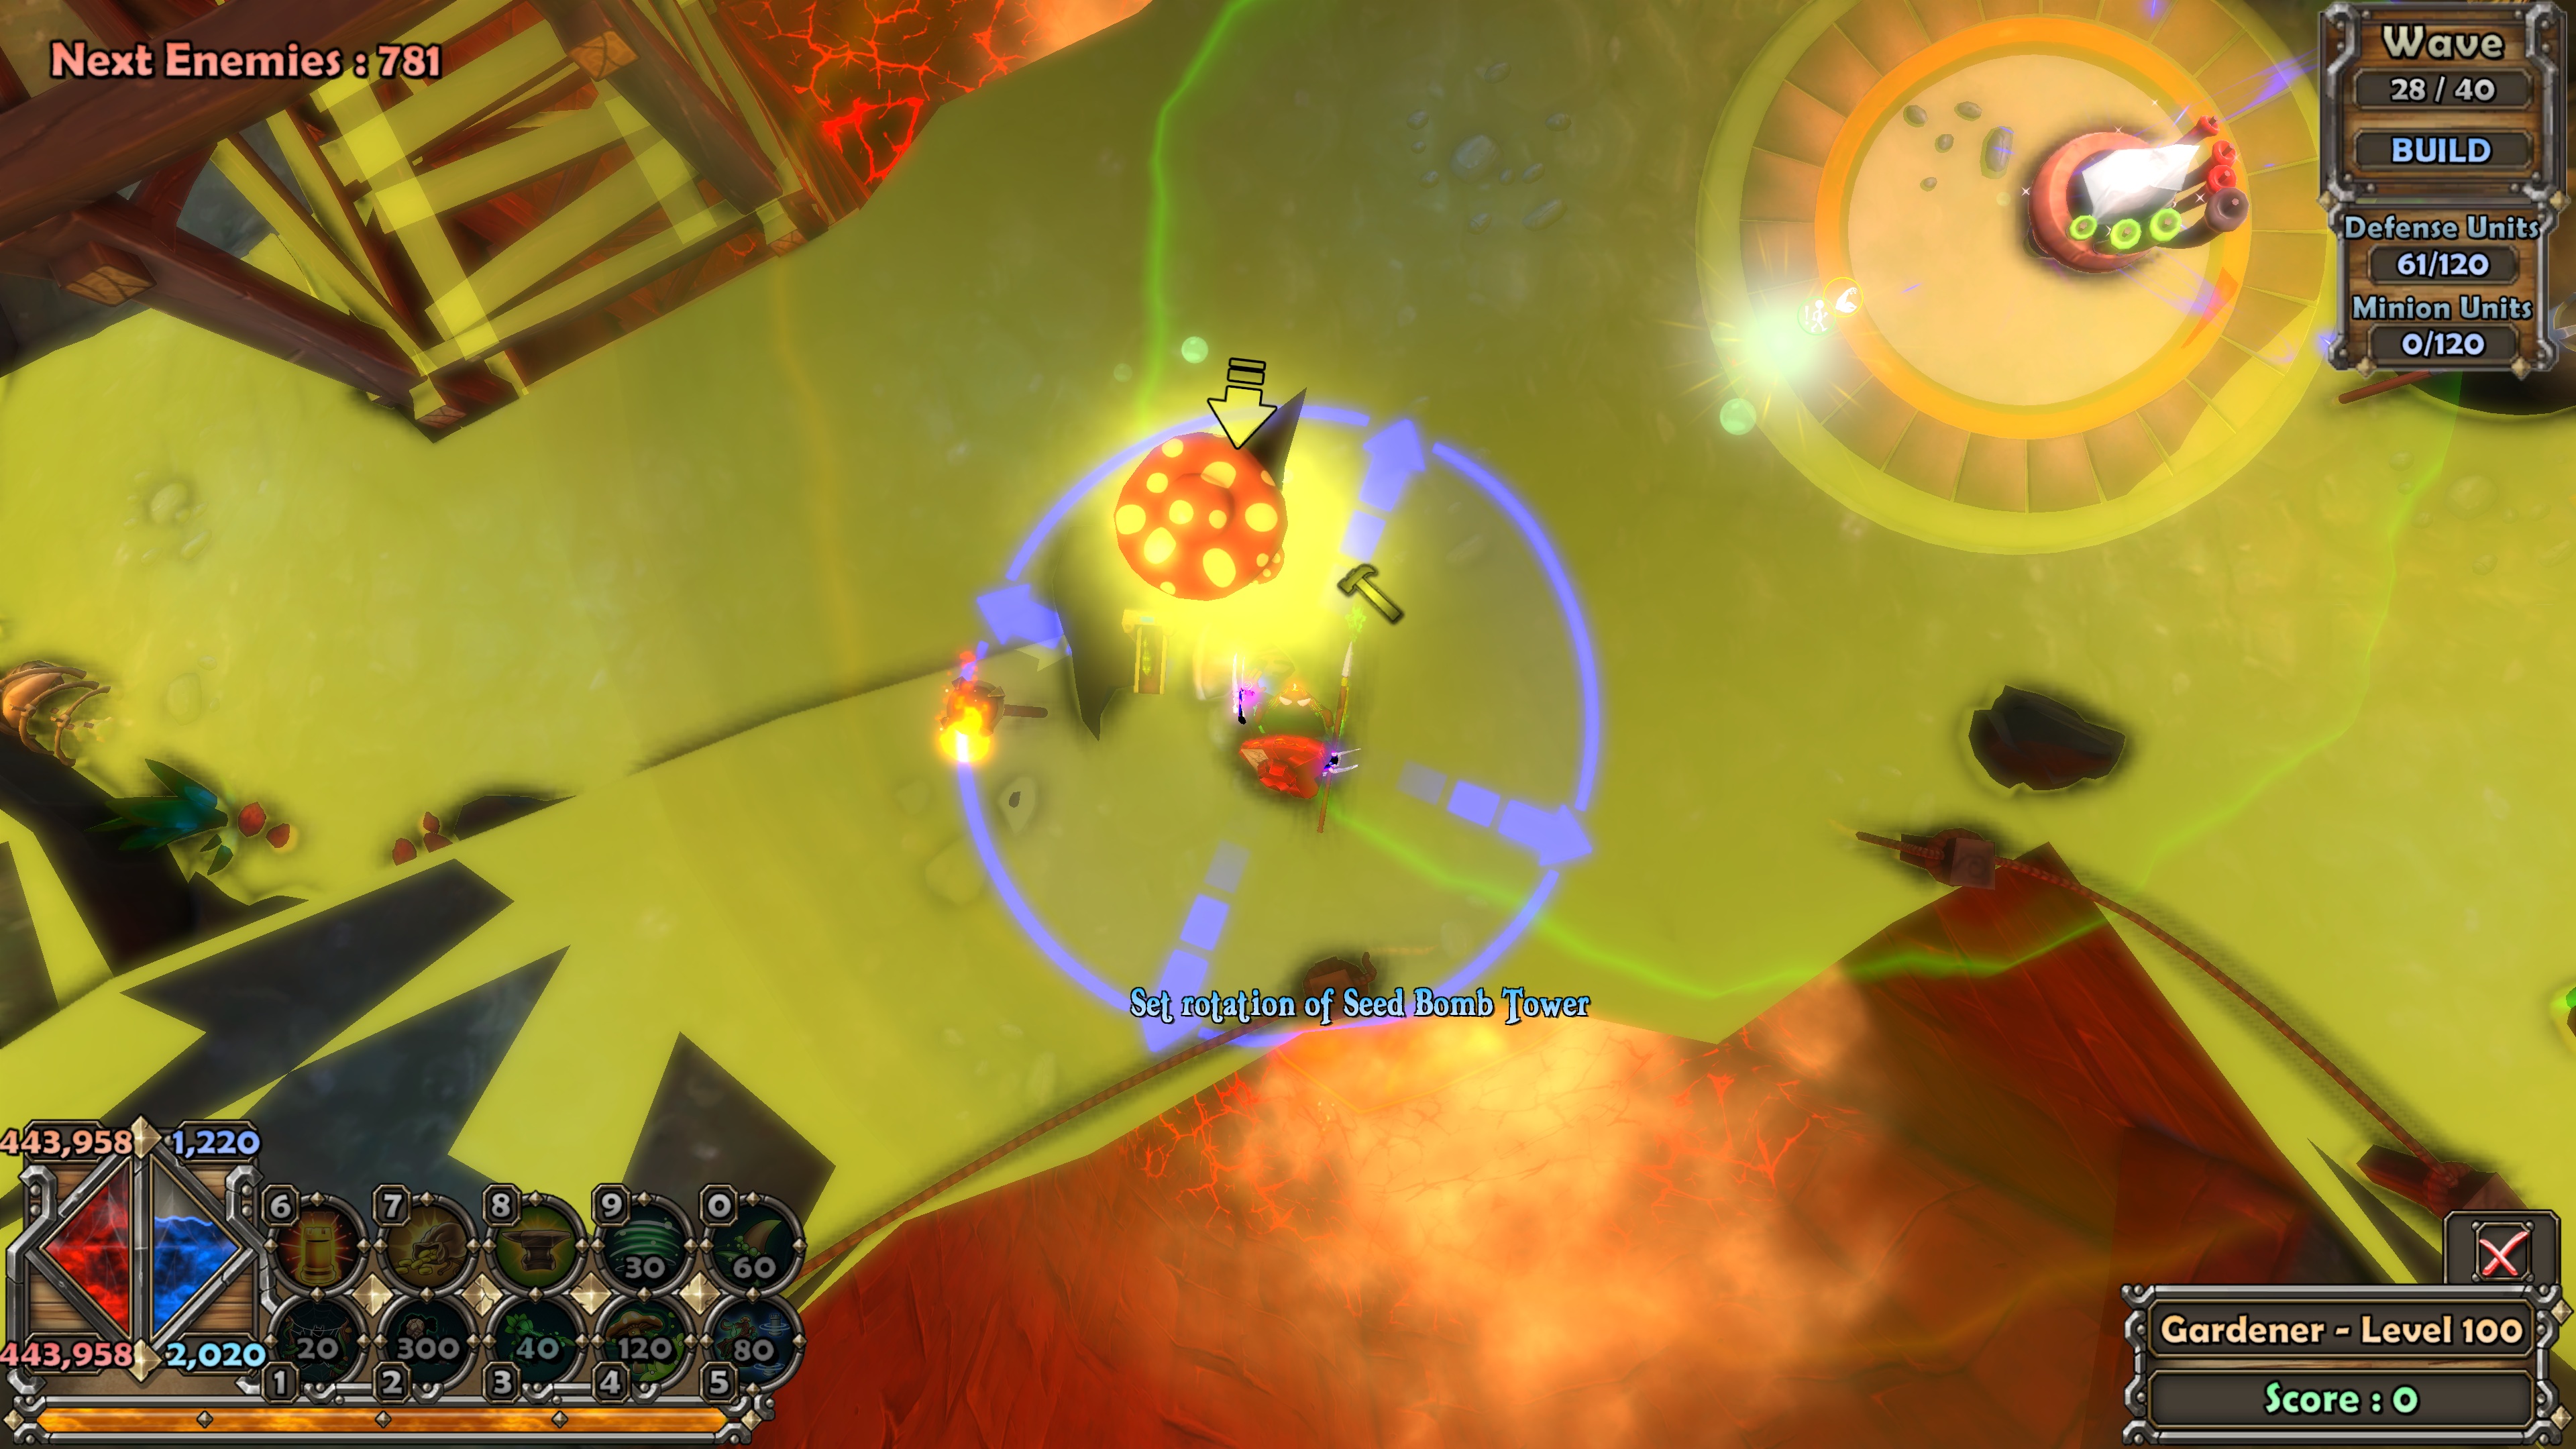
The second one was built this way so it wouldn't get distracted by trash mobs from the far left, and would focus on the middle and right.
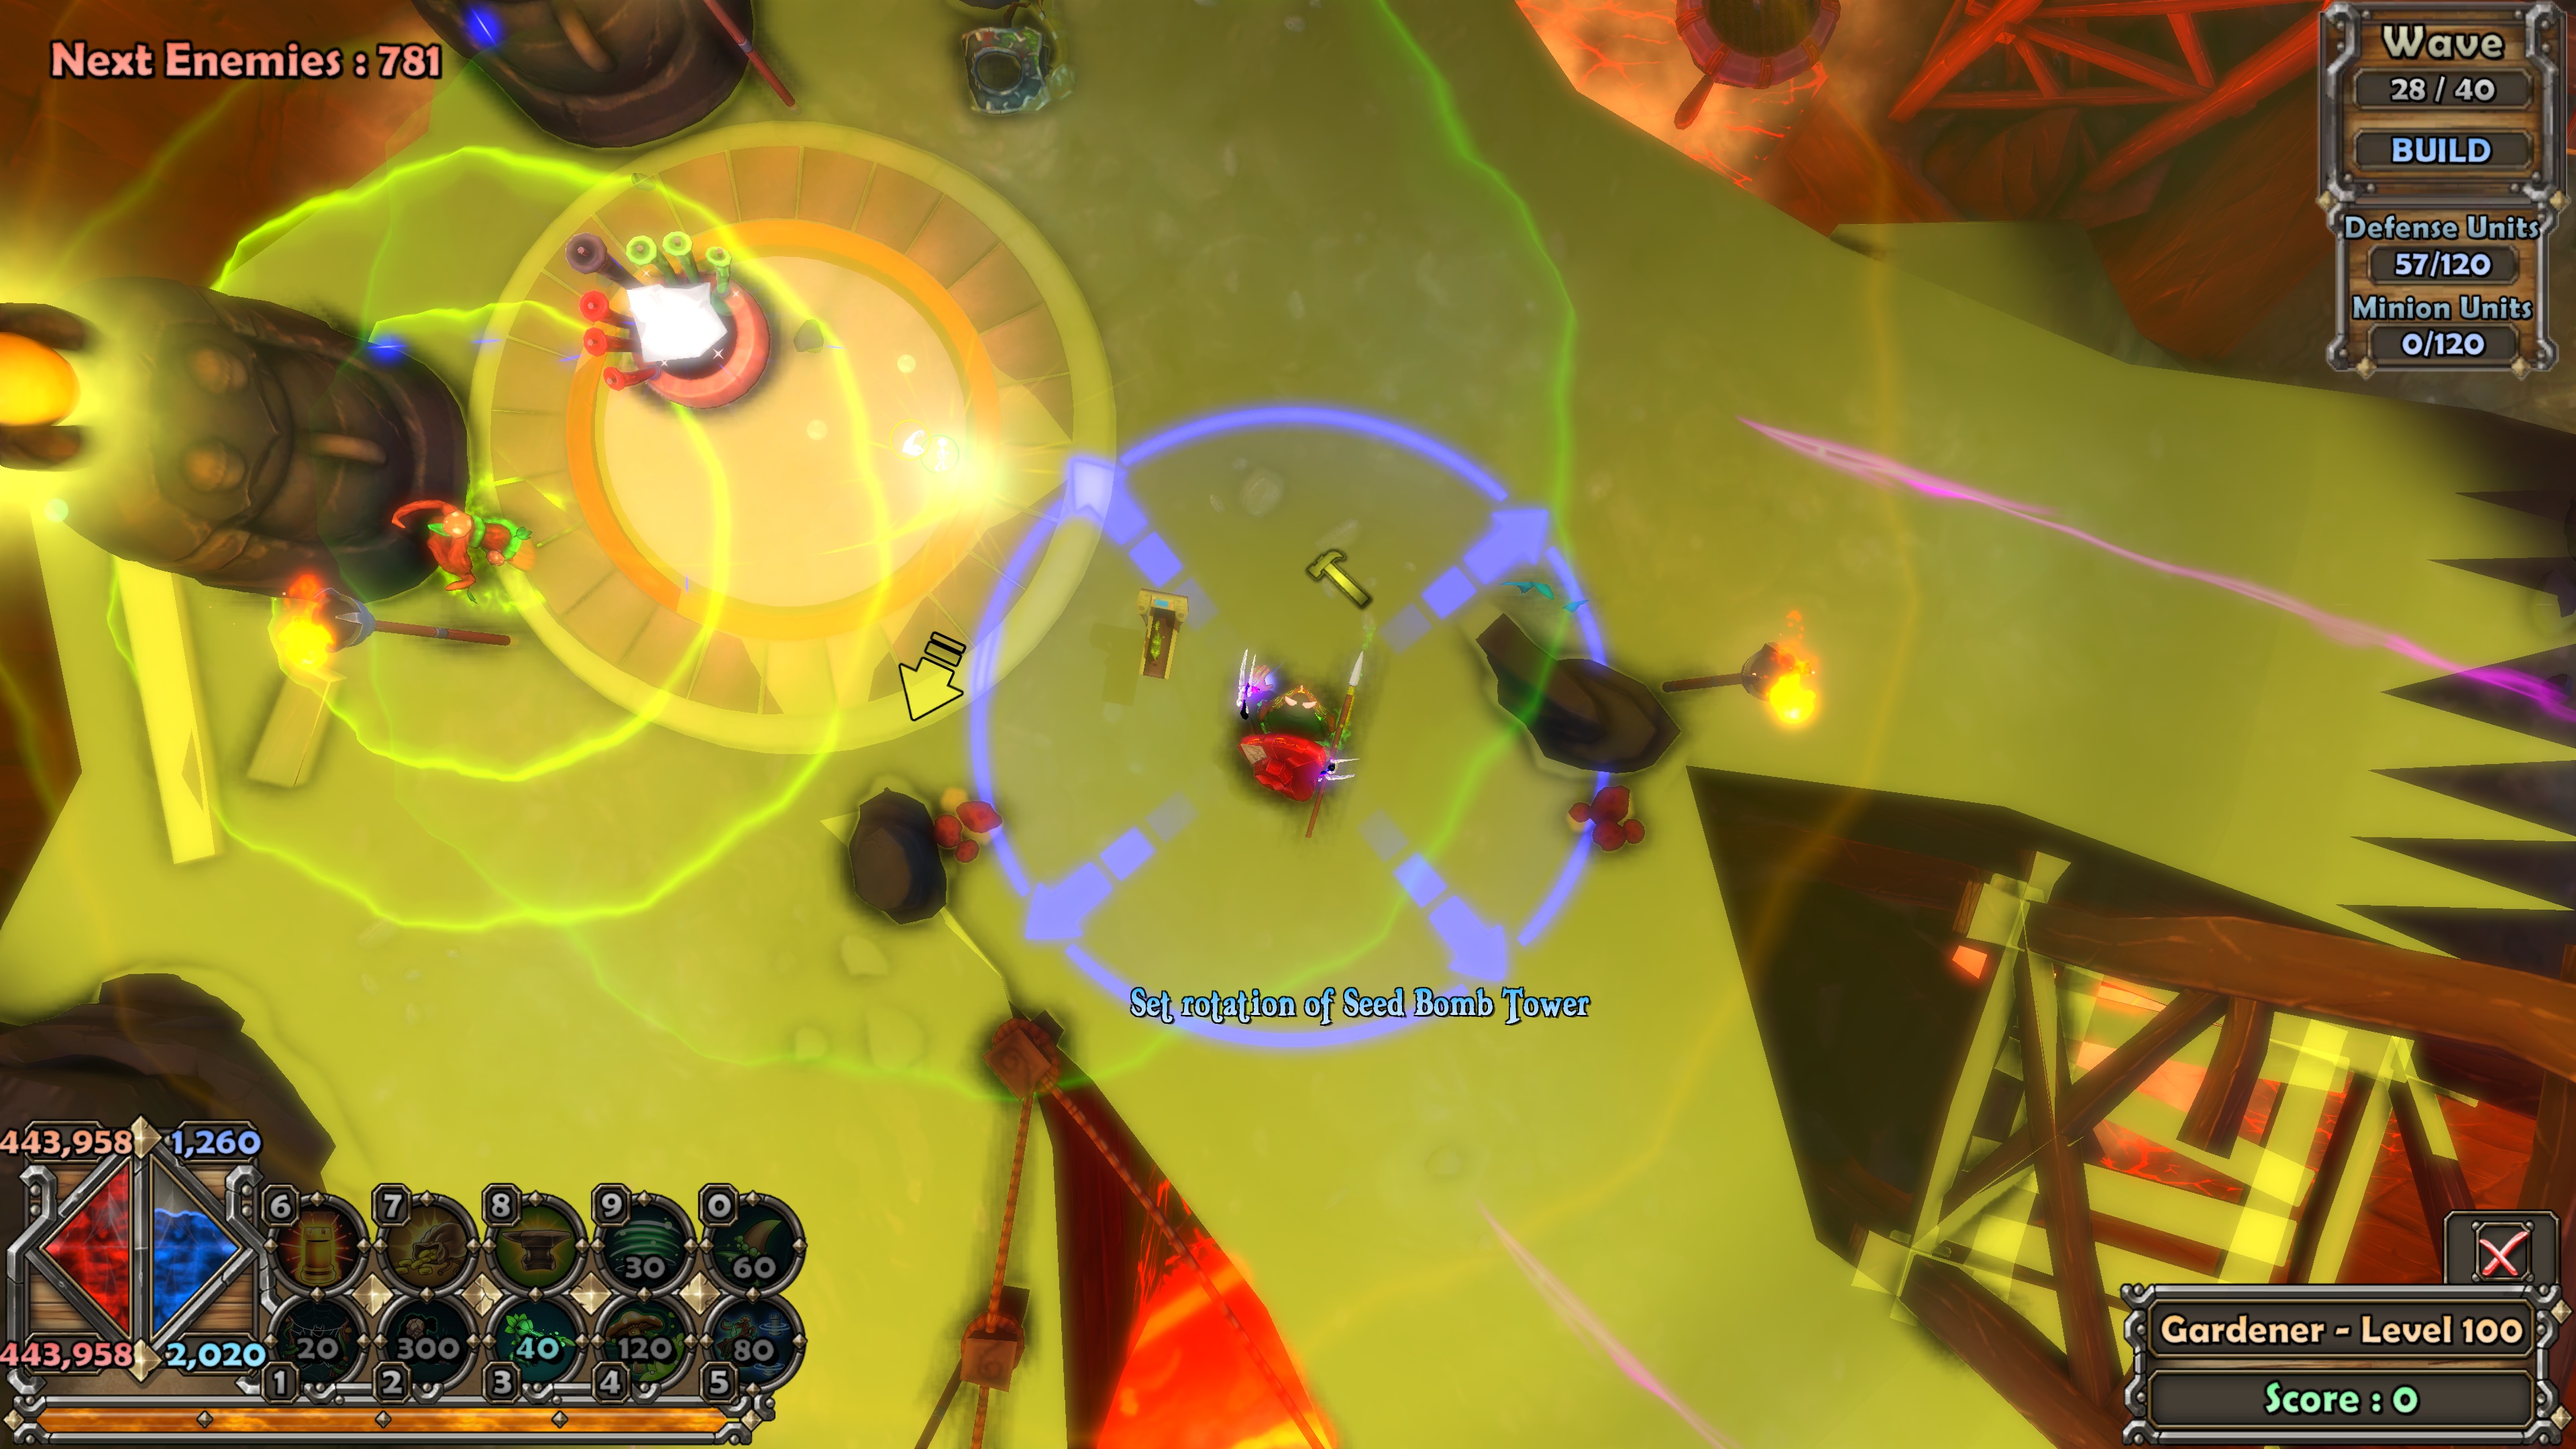
The DSTs here followed the same pattern. Both could focus down ogres or djinns when needed, and could deal with harbingers hiding/stuck behind cover.
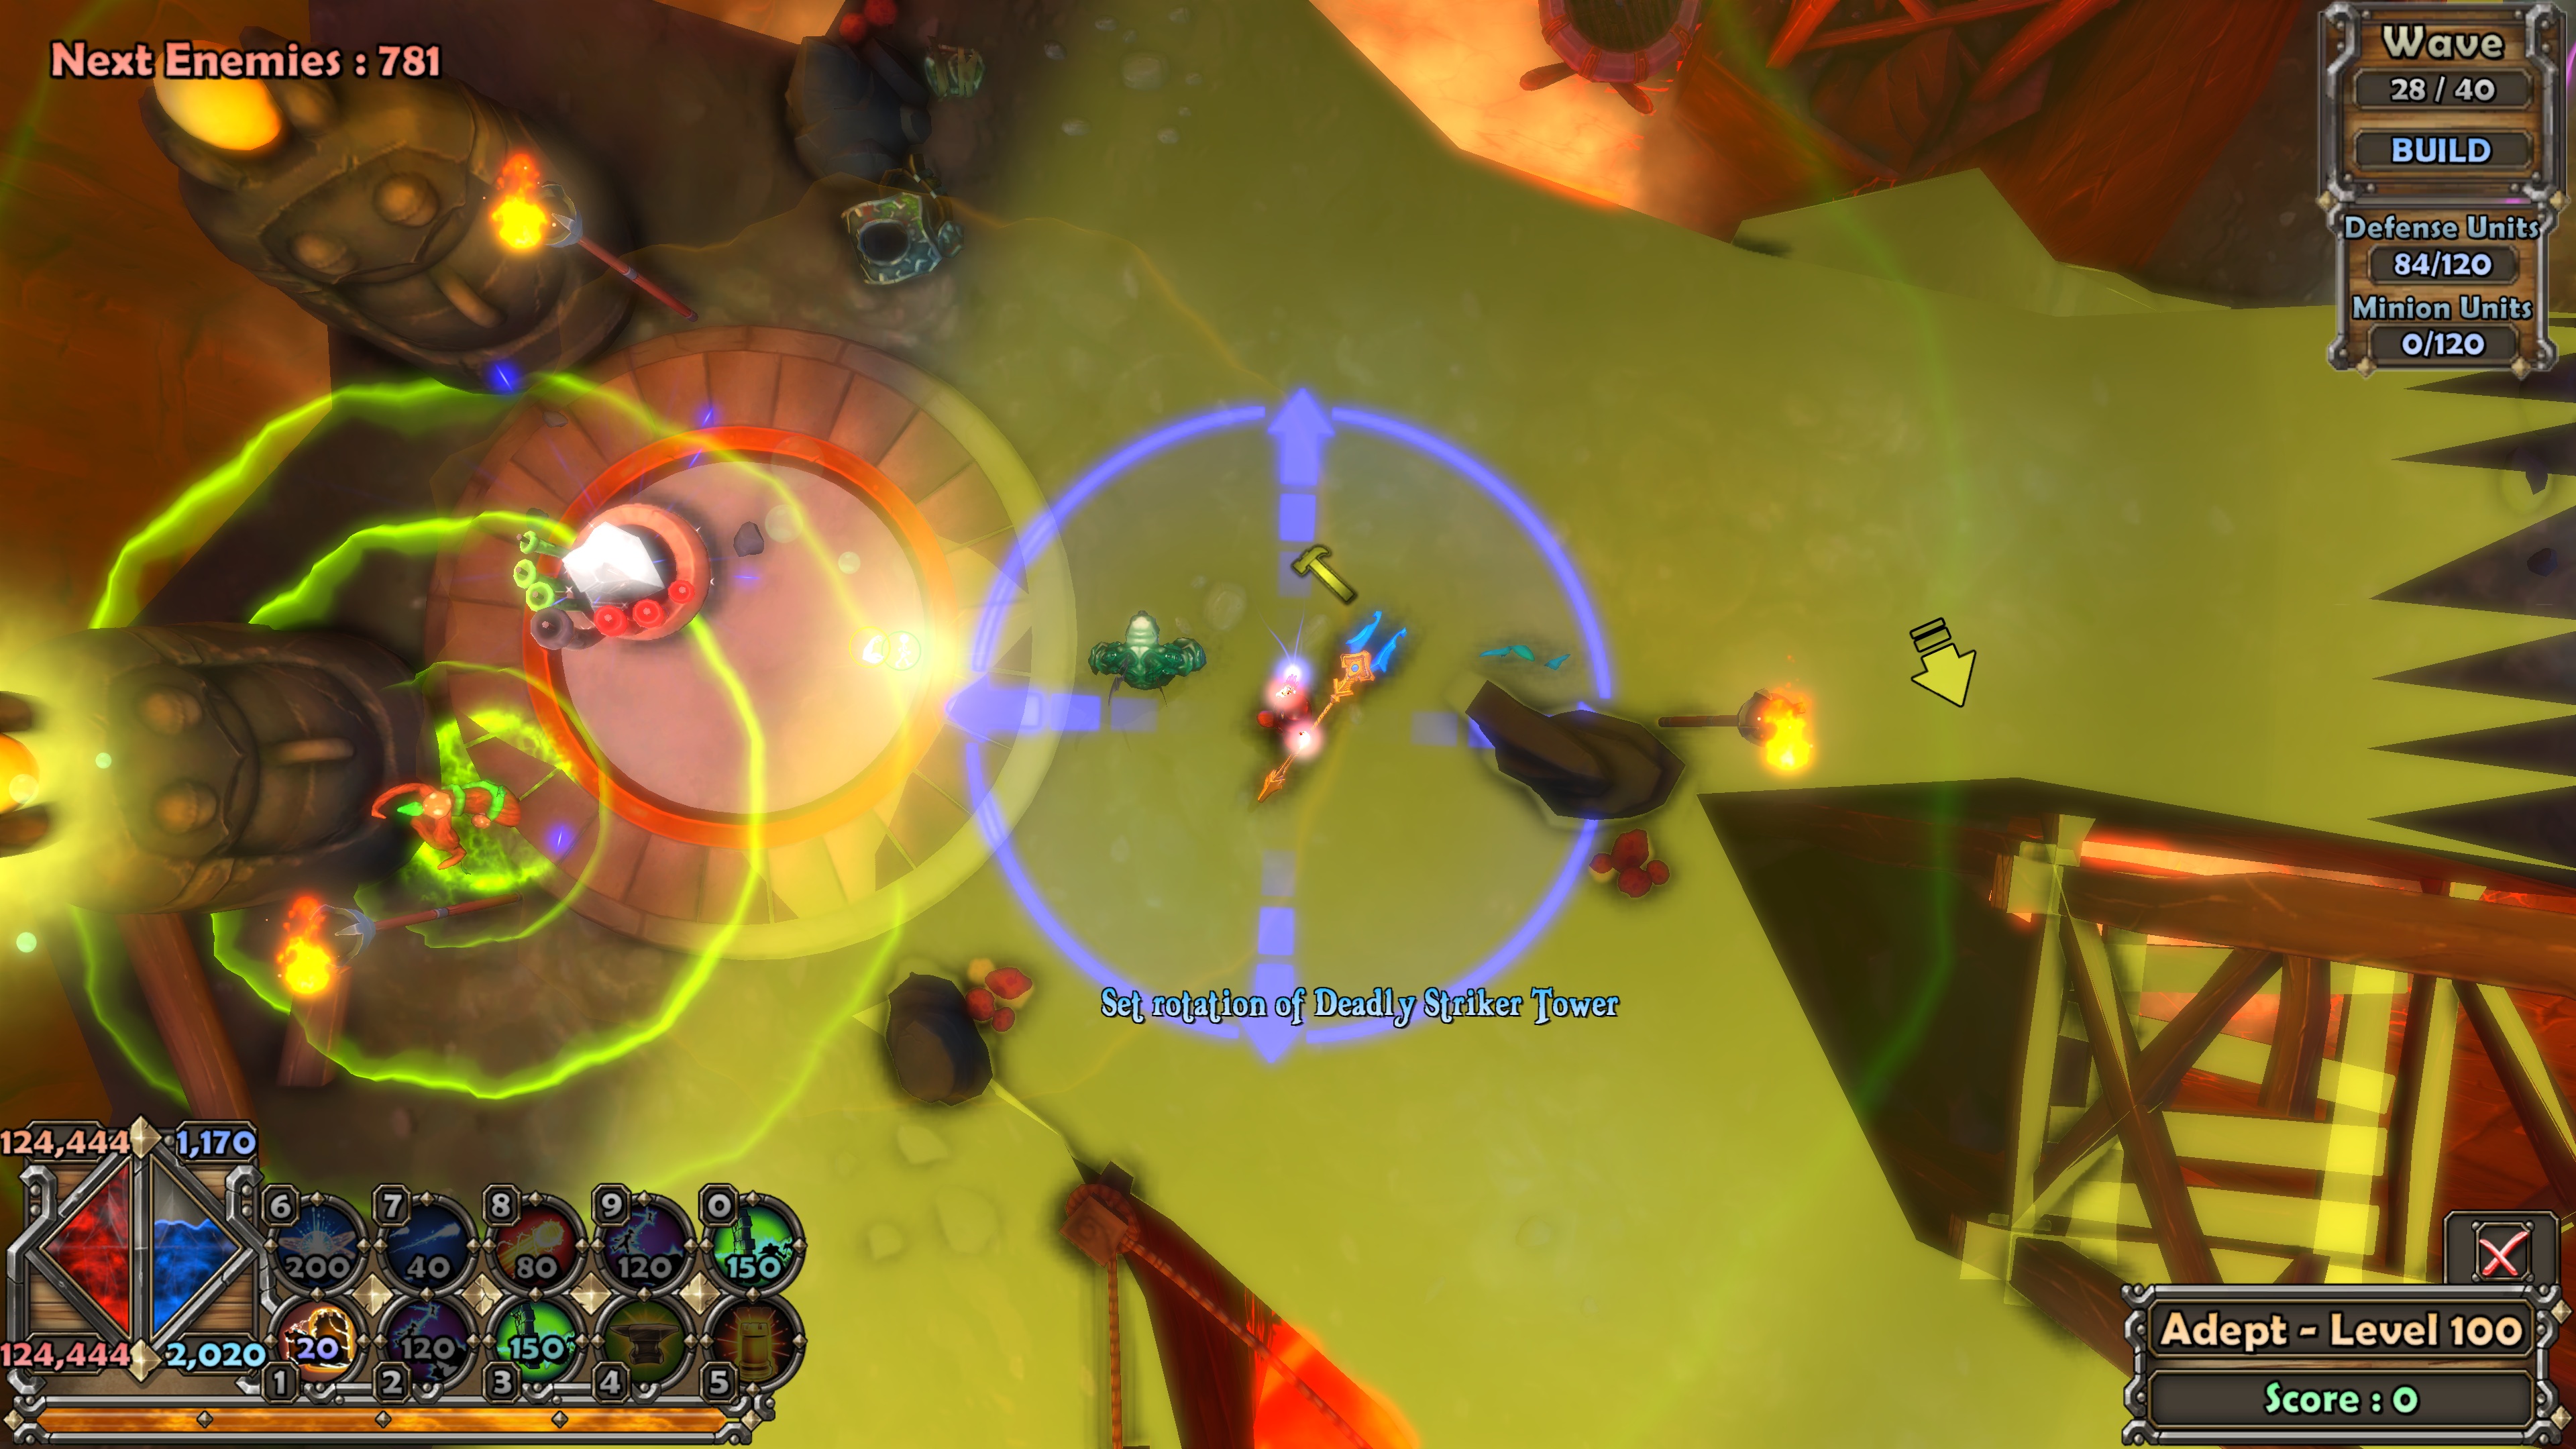
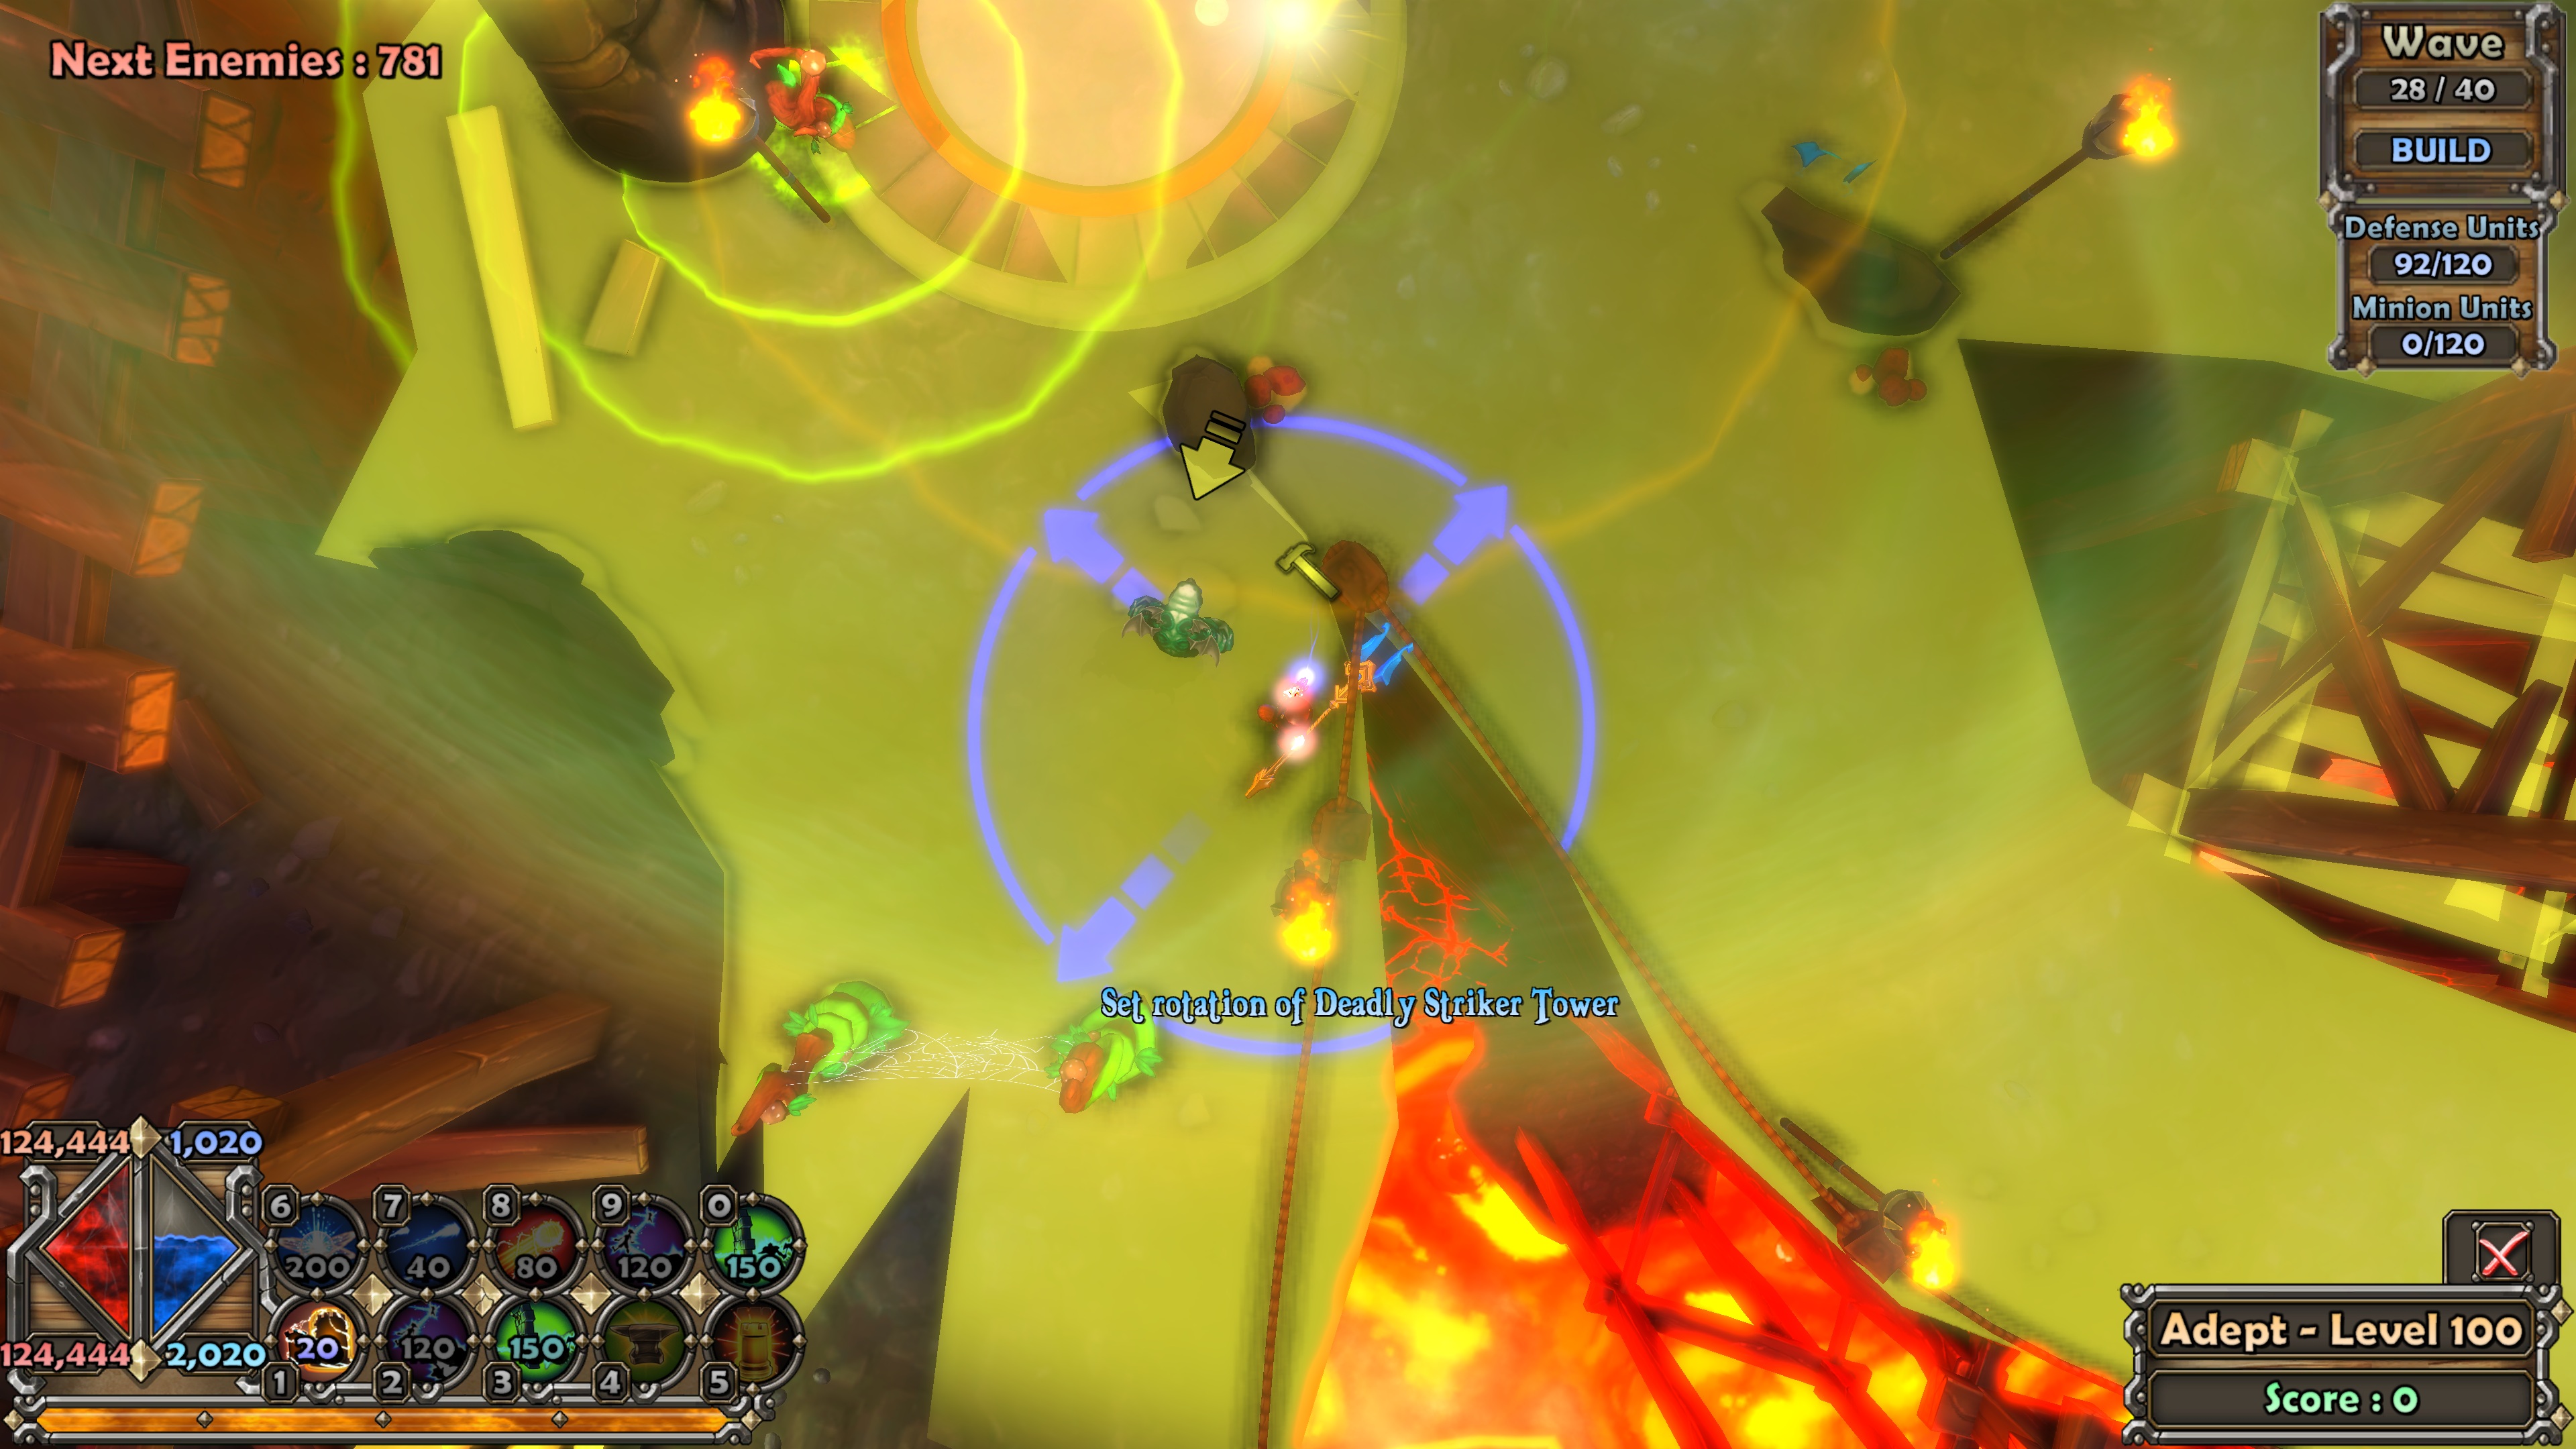
This one would prioritise the left lane and the ogres from the middle.
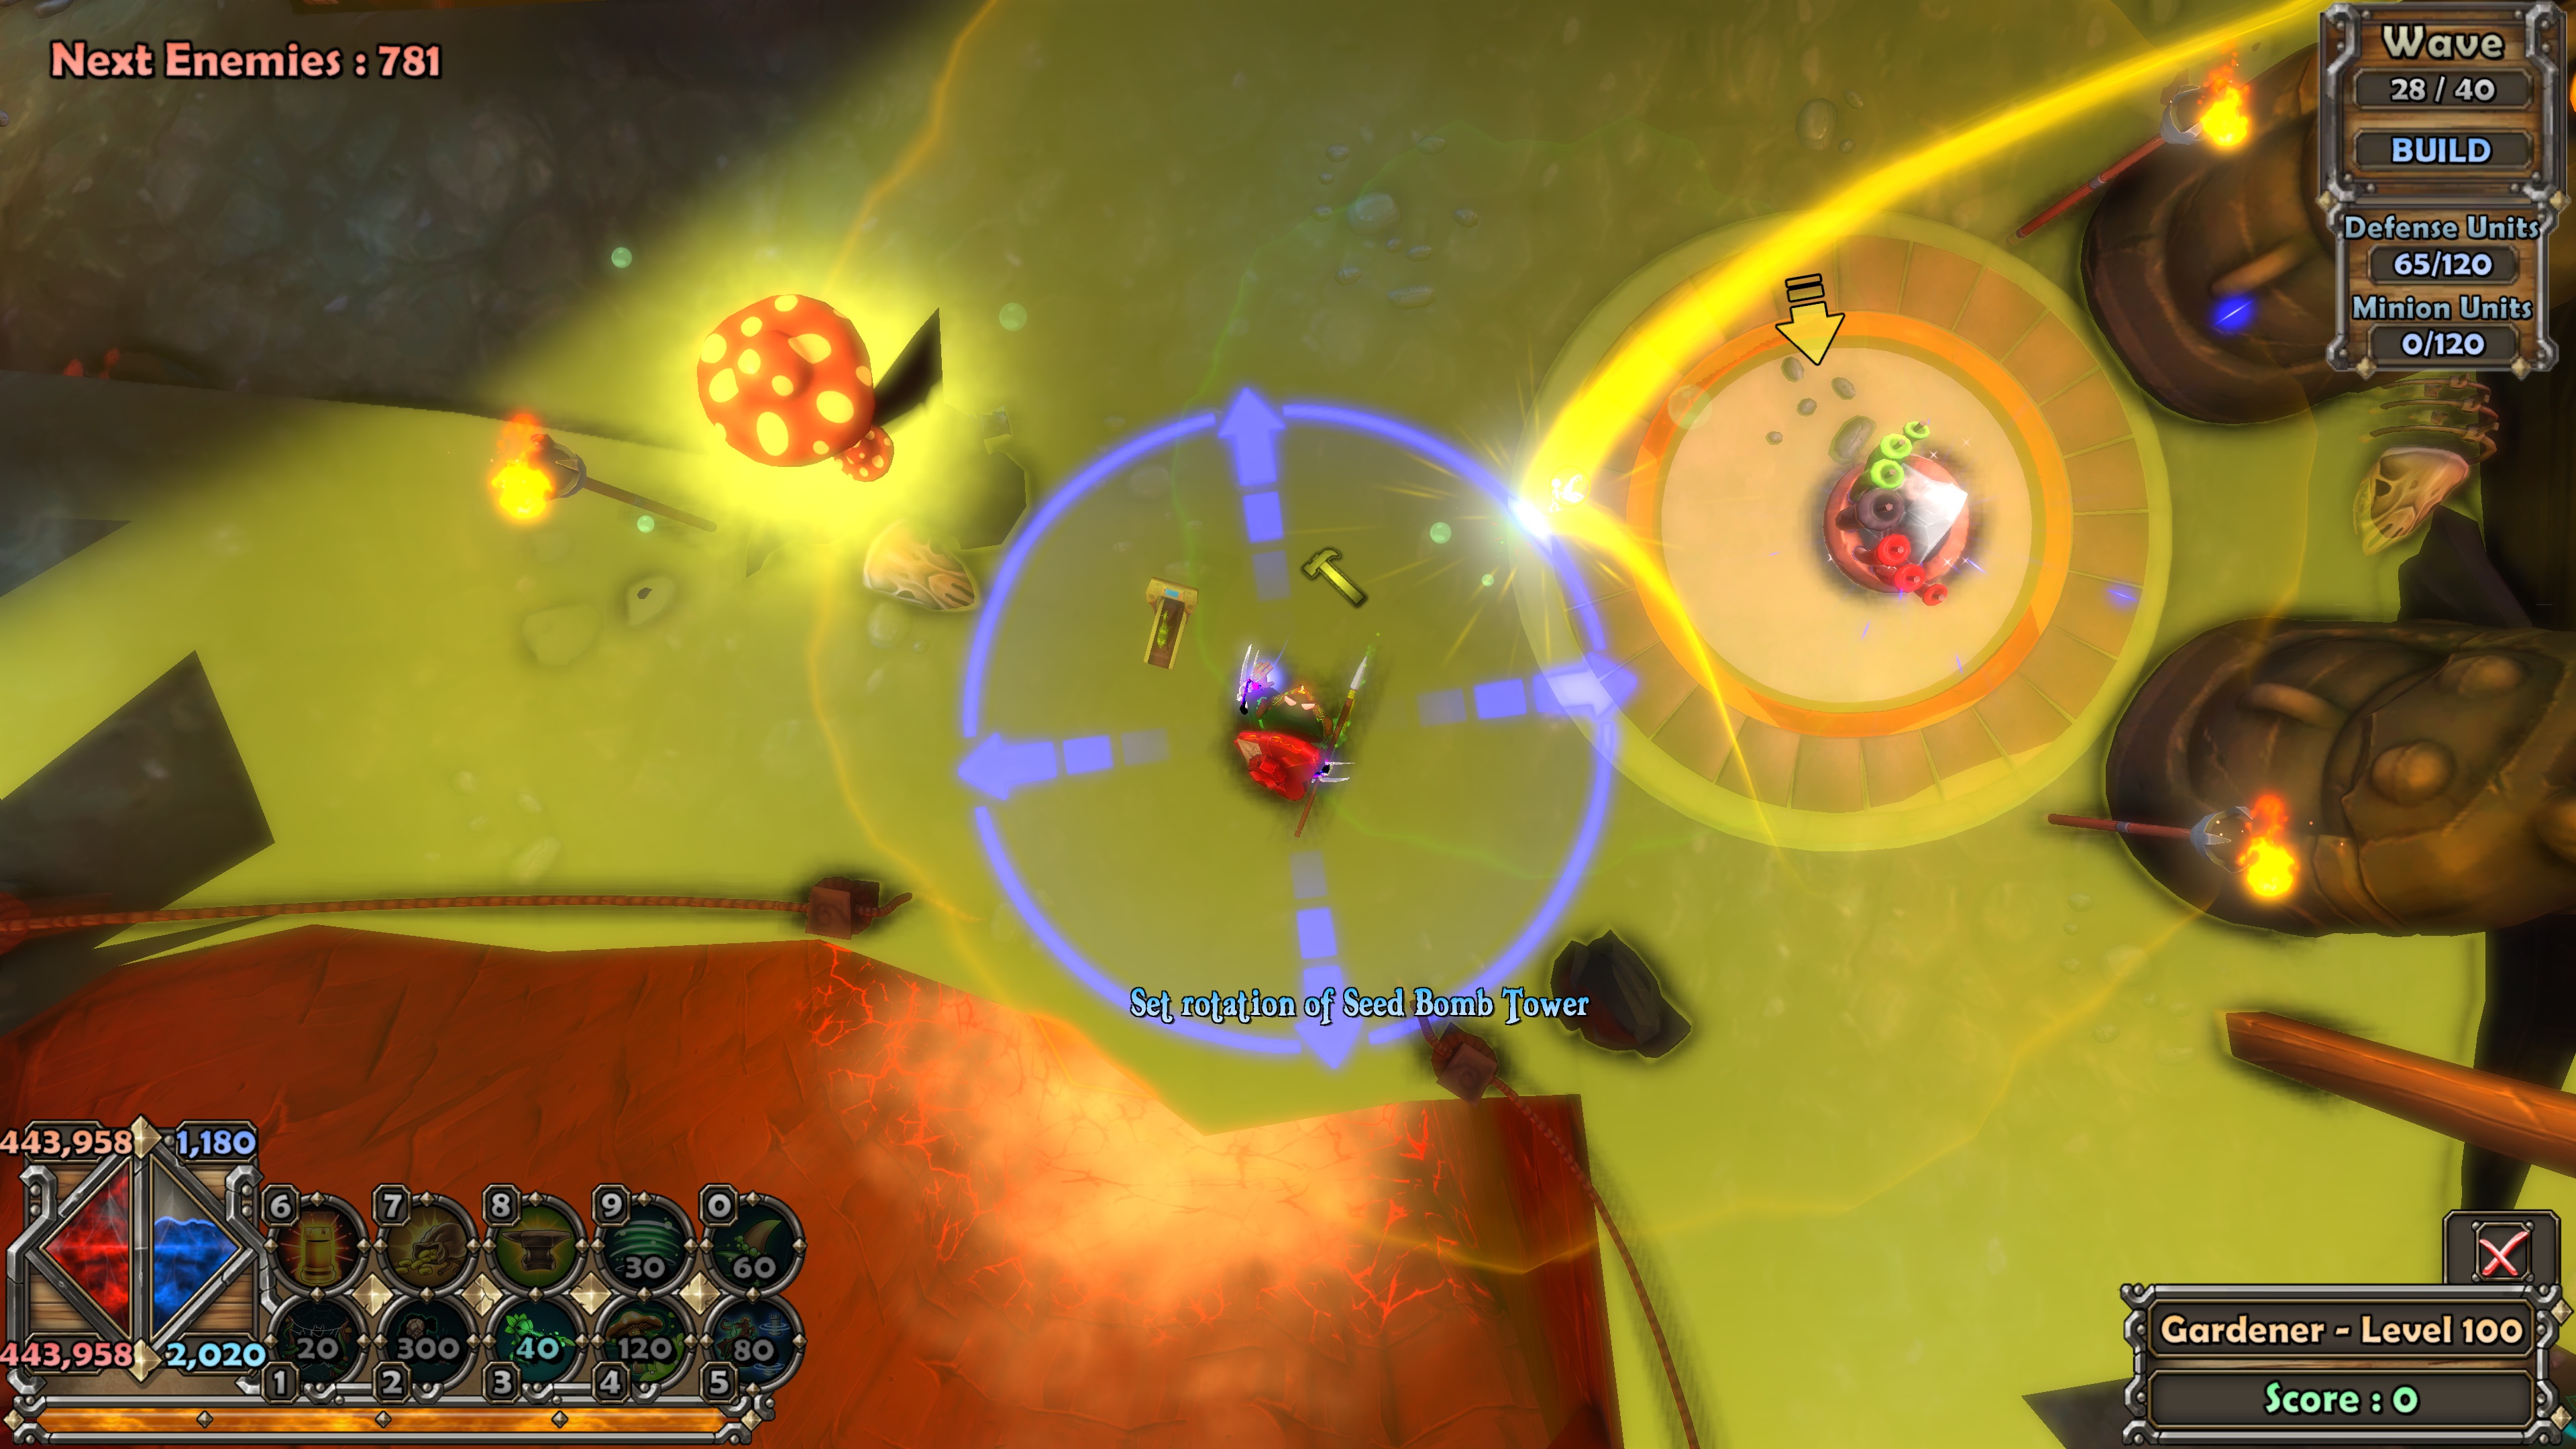
One of the DSTs on this side was changed to counter copters/harbingers stuck/hiding the statue, and shoot down air targets such as wyverns and djinns approaching the crystal from the left.
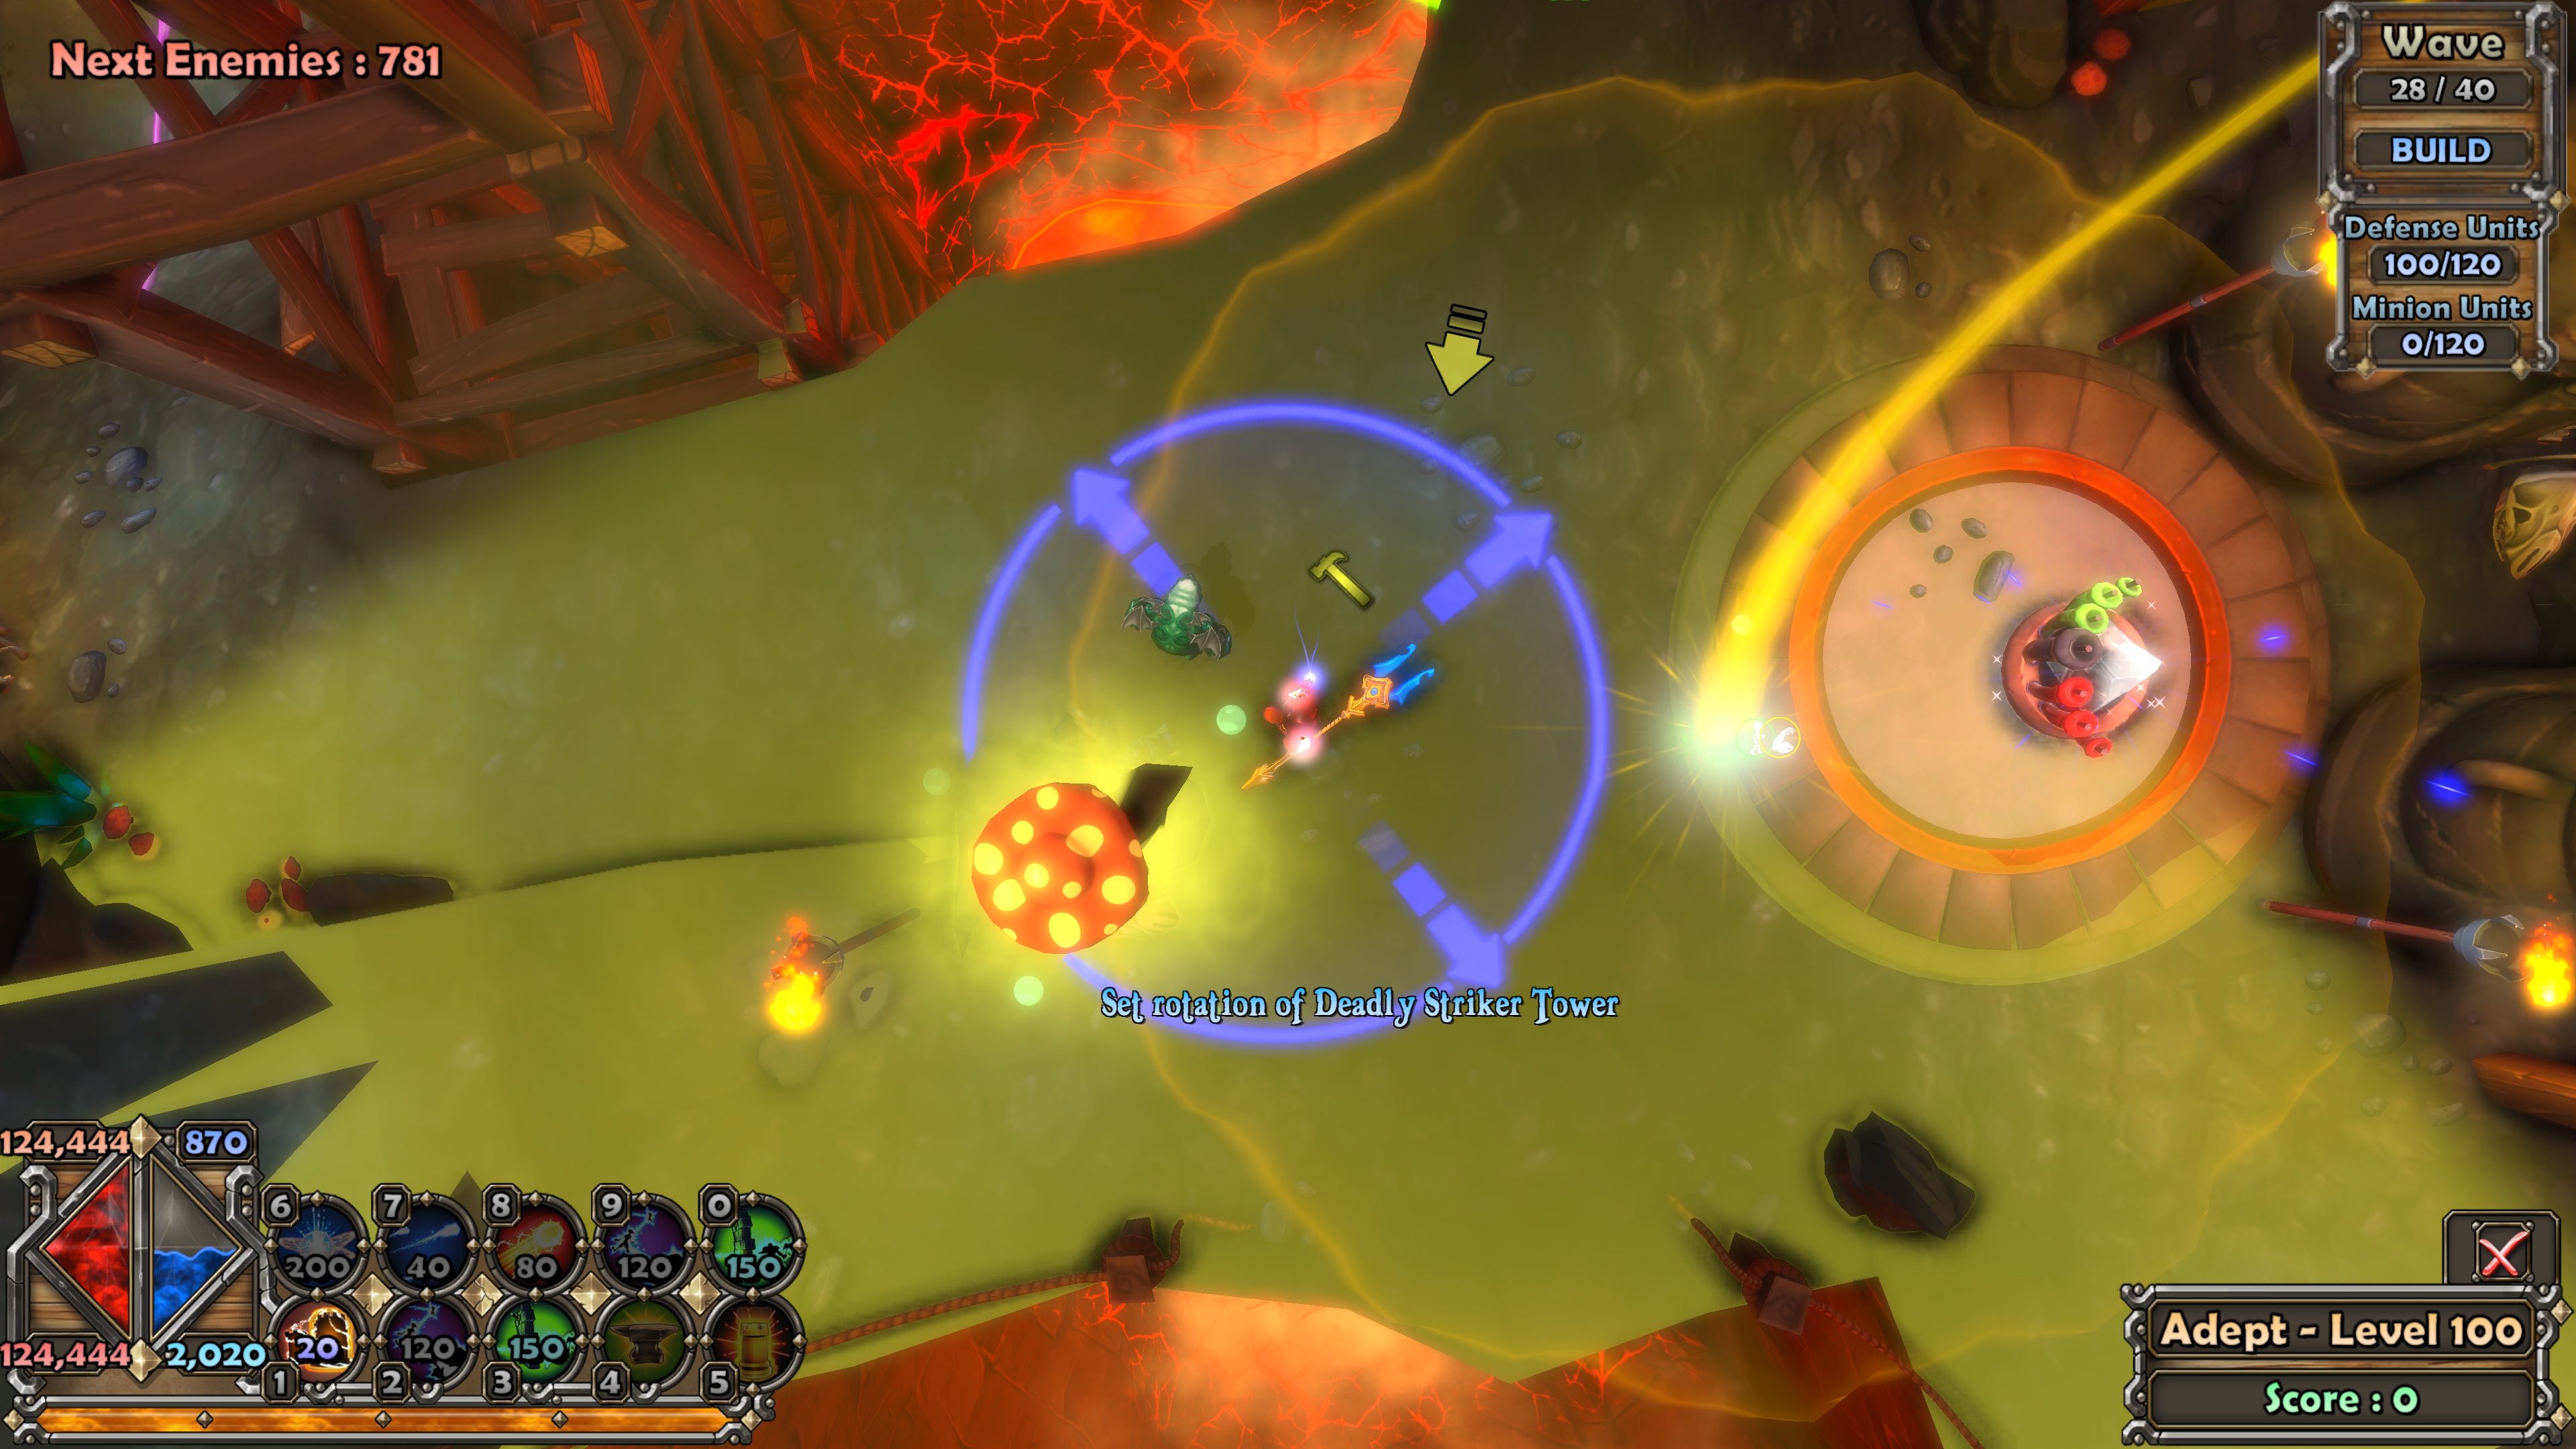
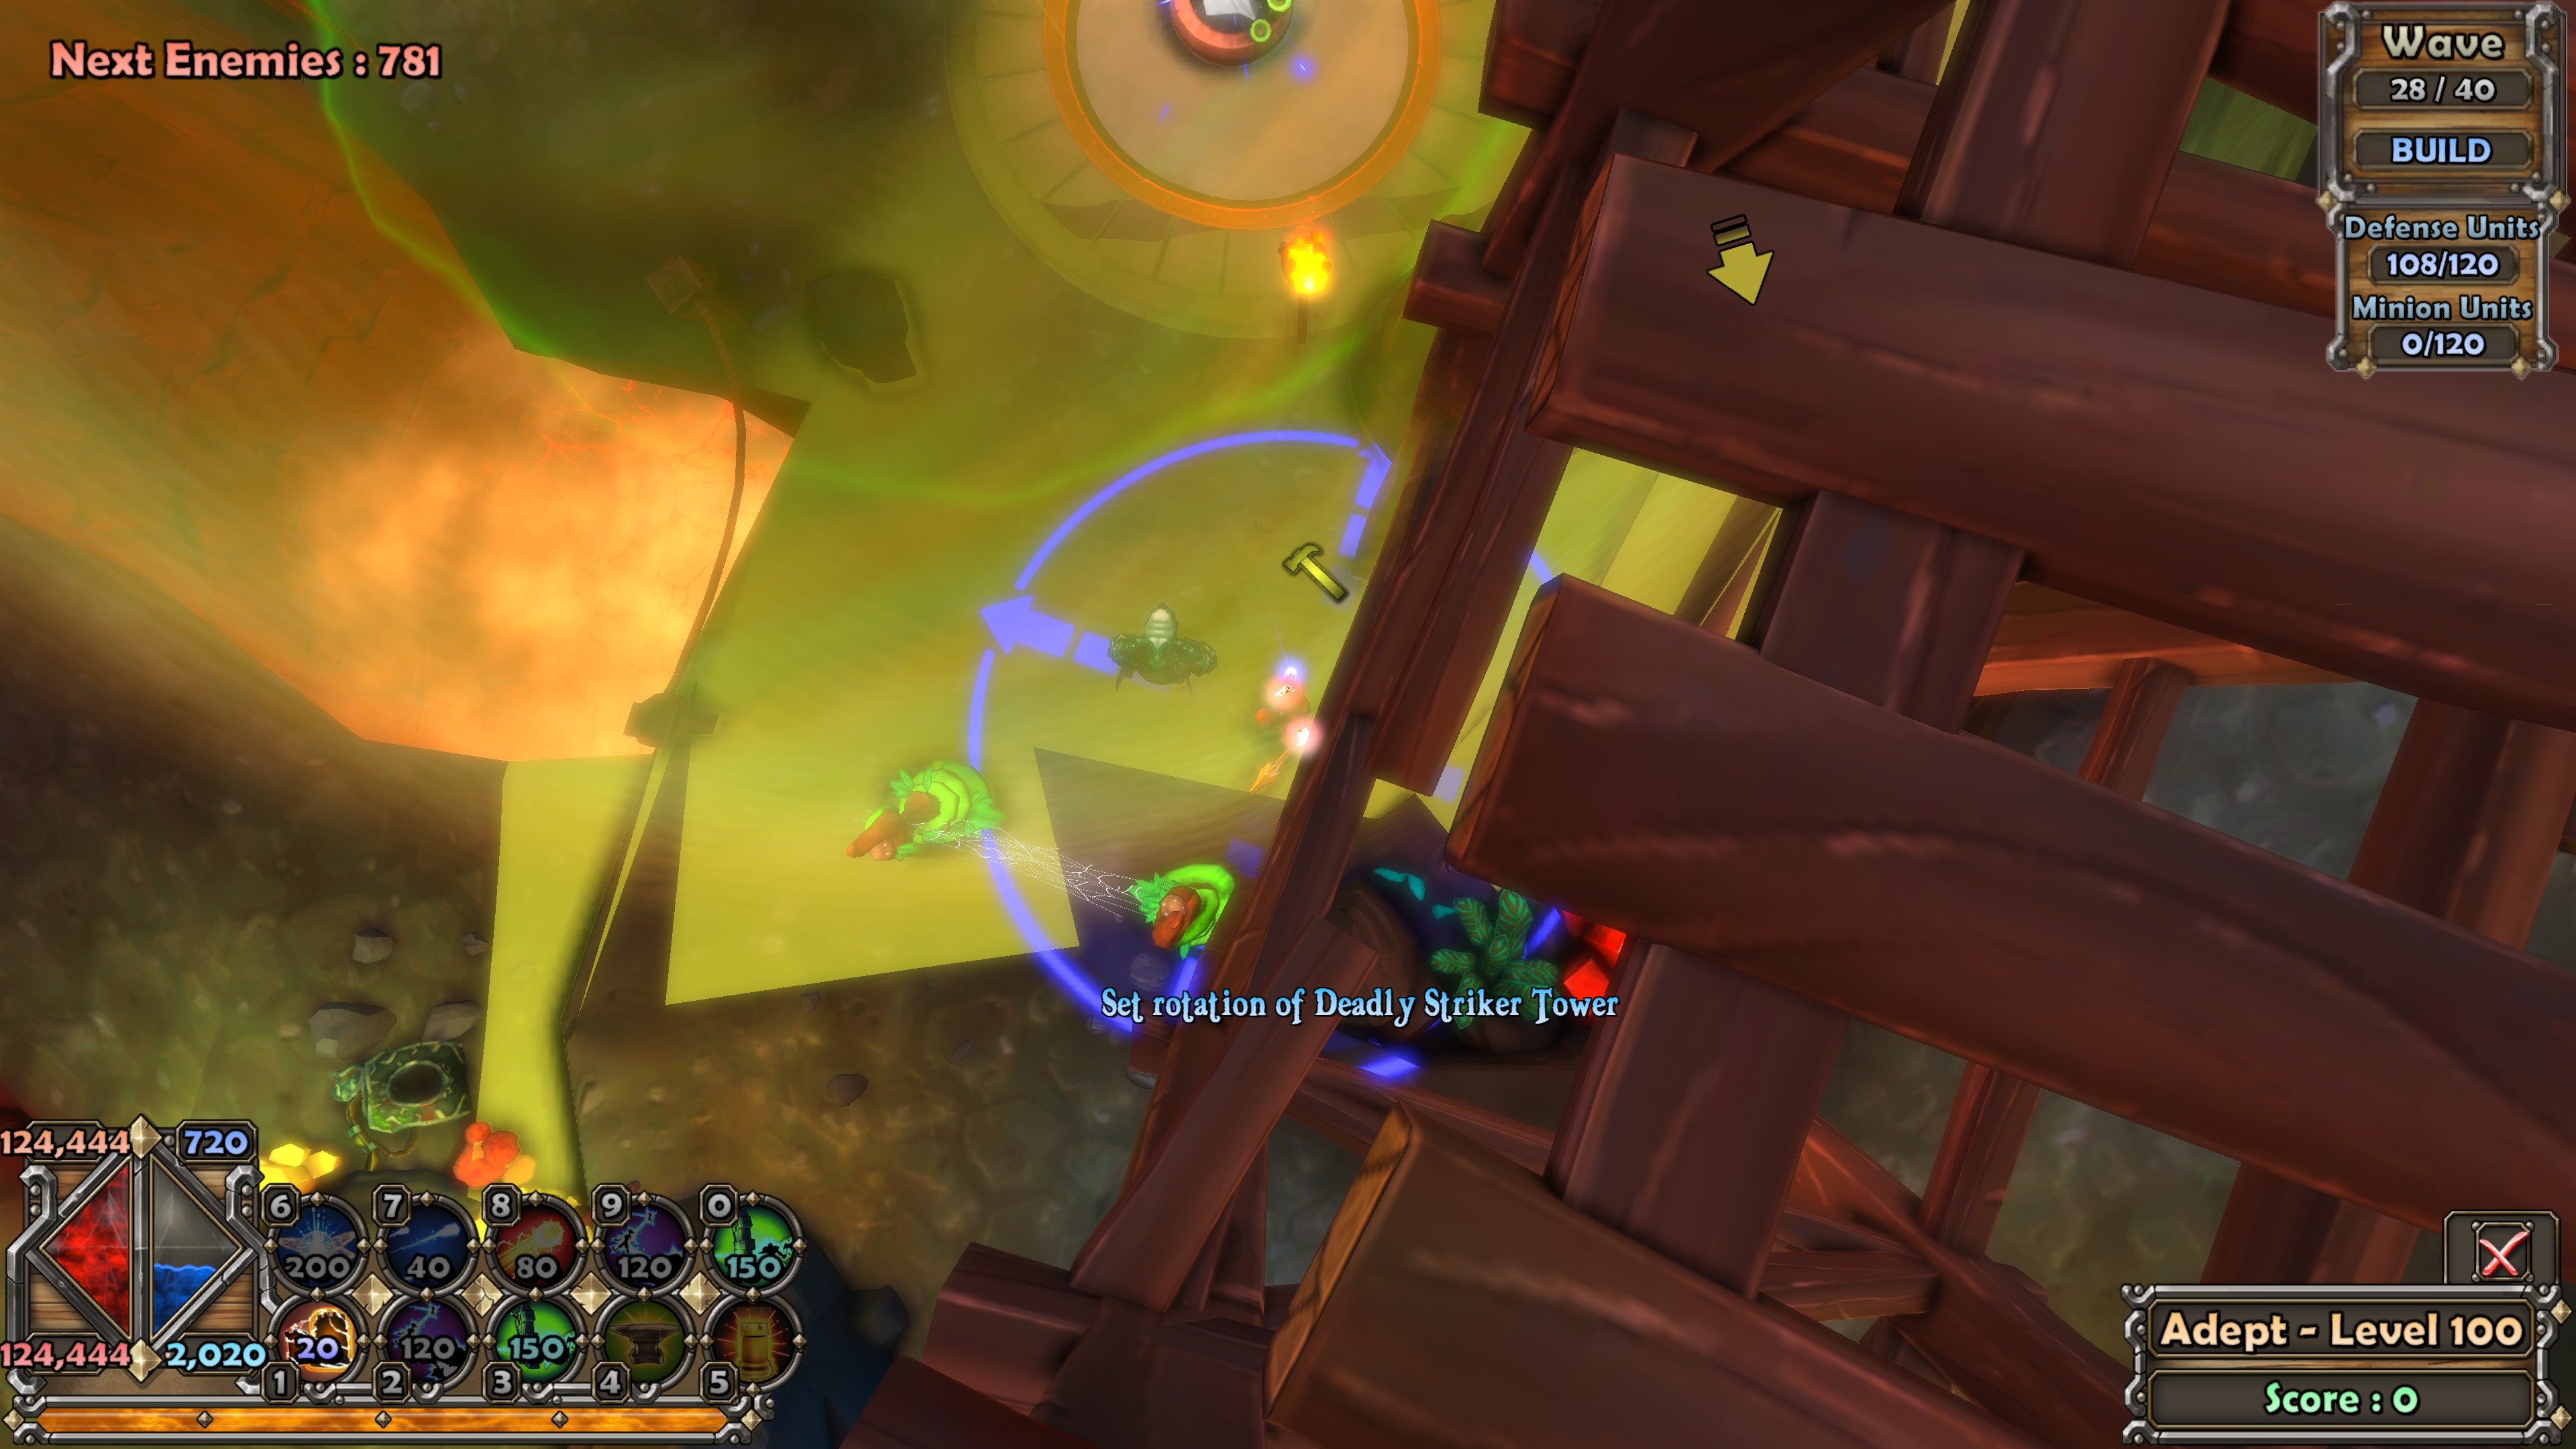
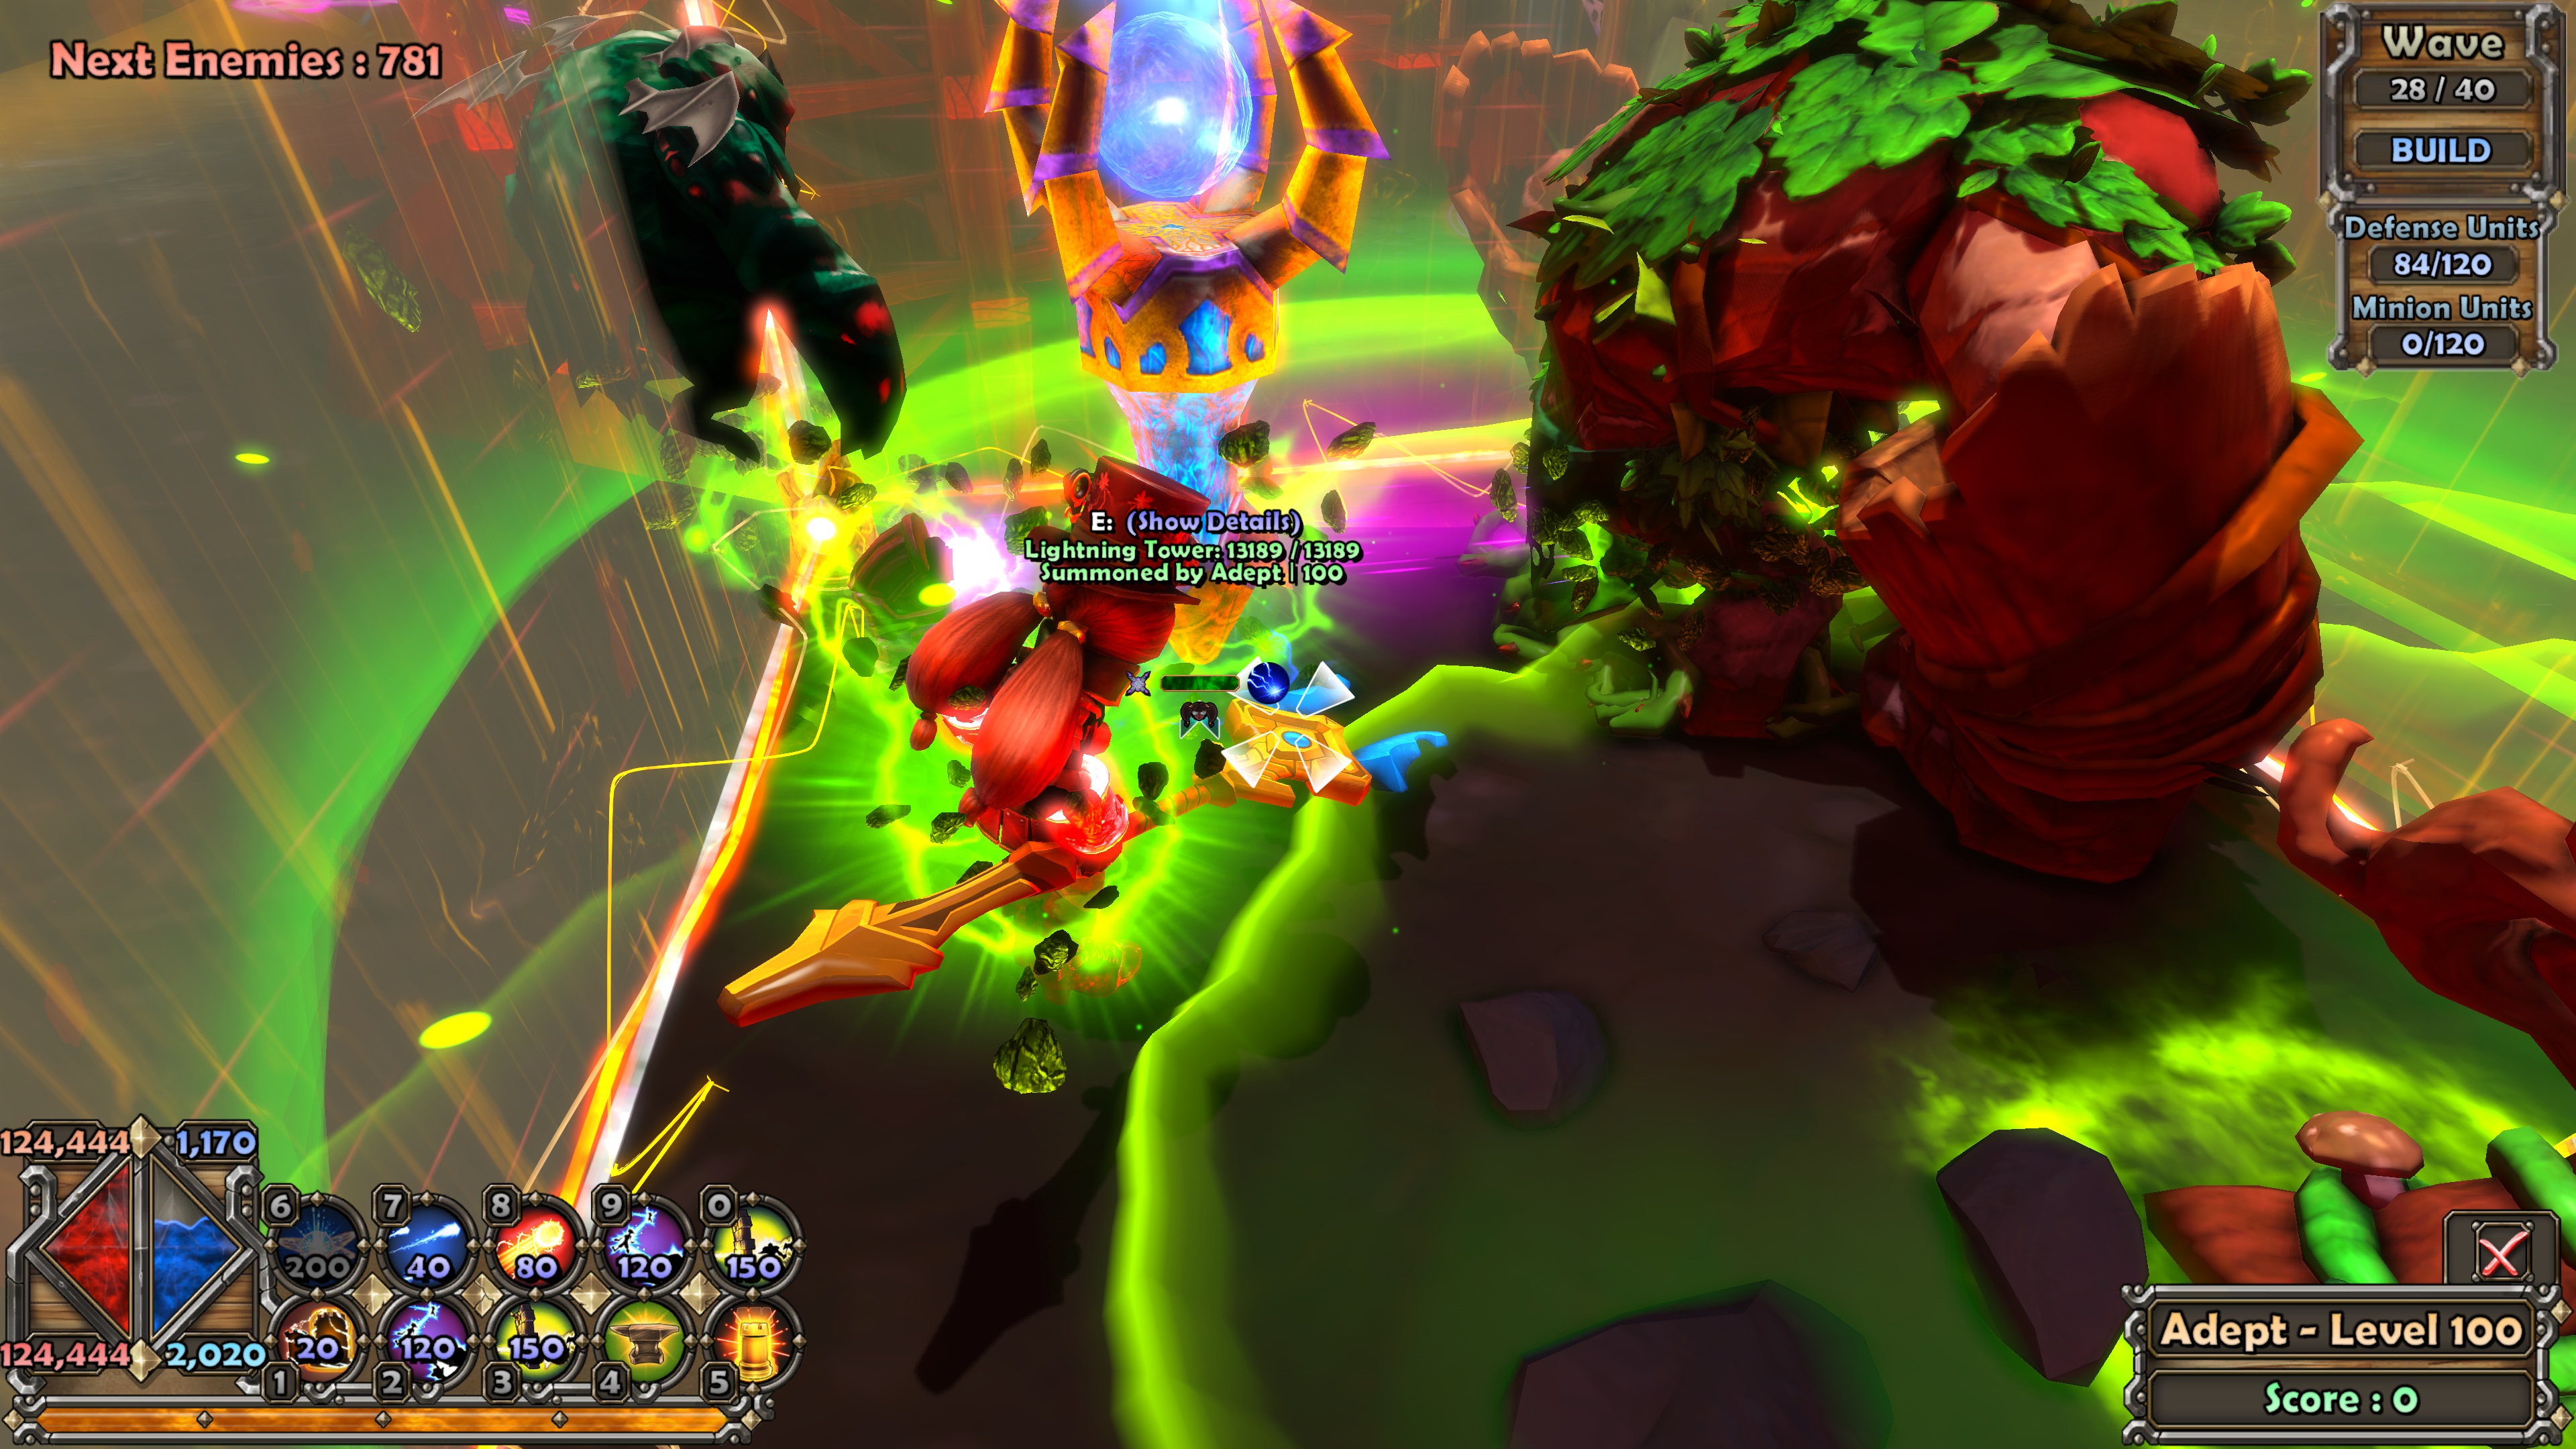 I highly recommend giving the wiki a read on how ogres behave. Once you understand them, they're pretty fun to play with :D
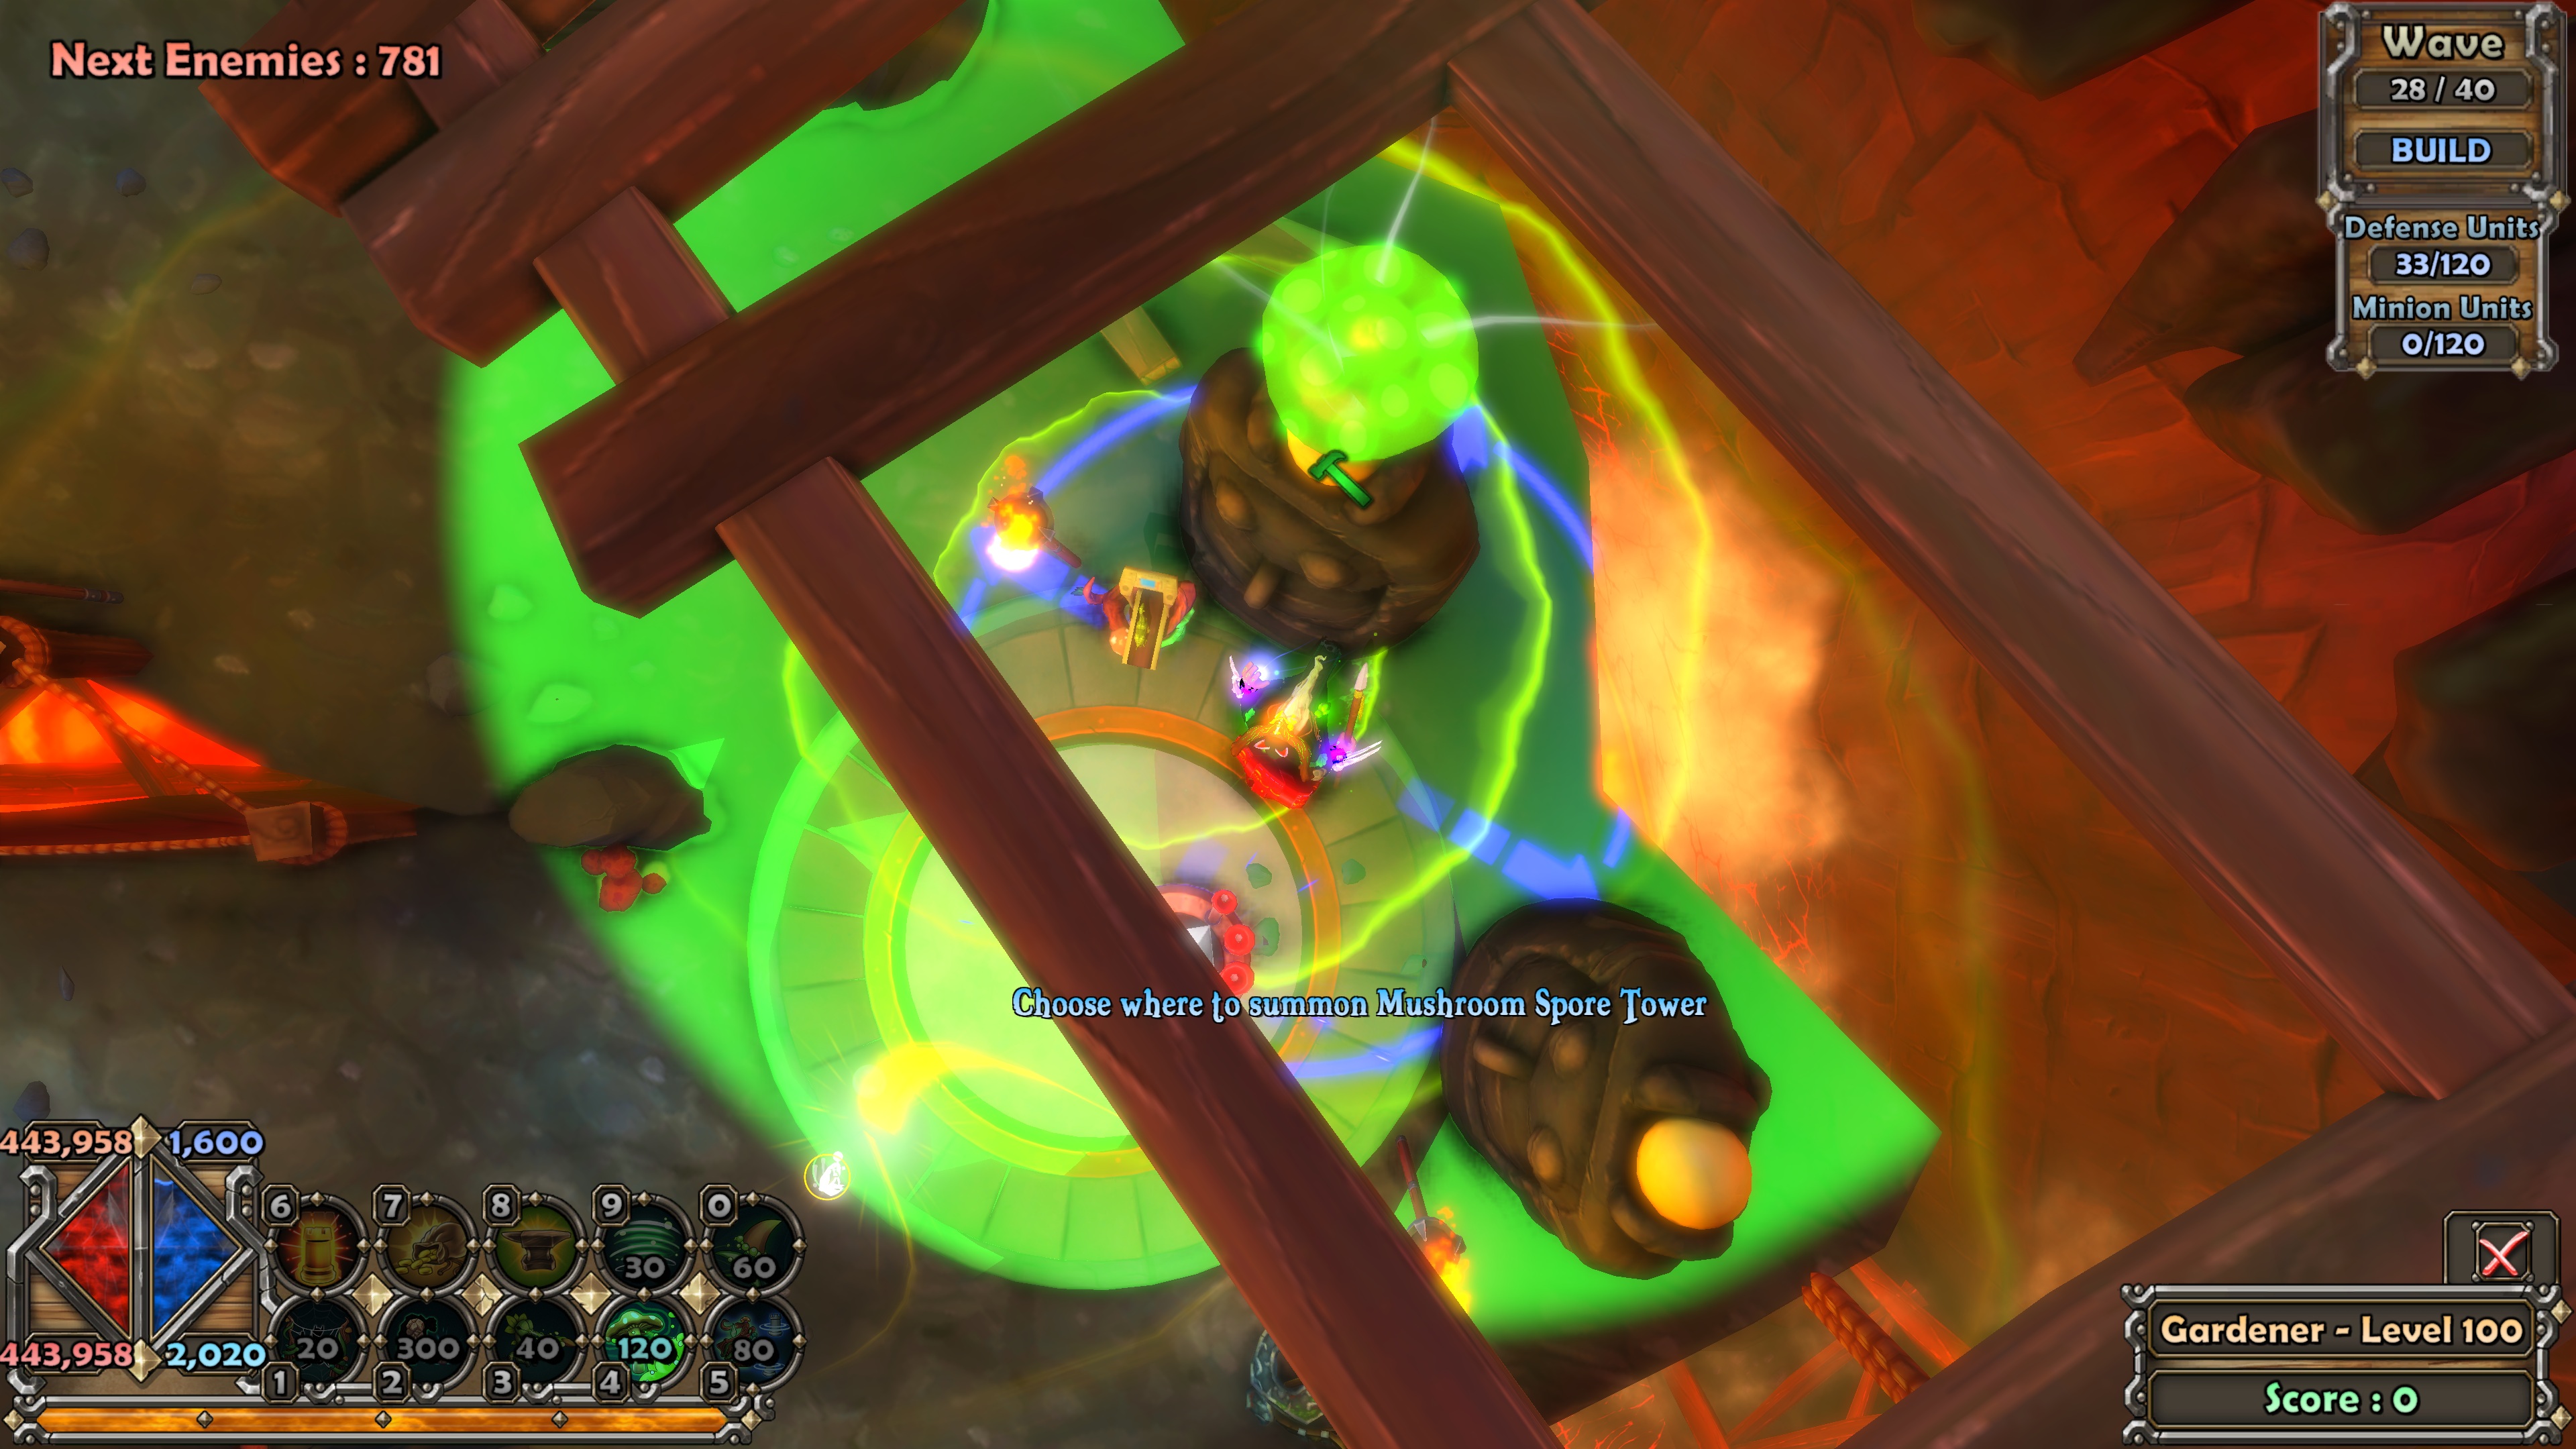
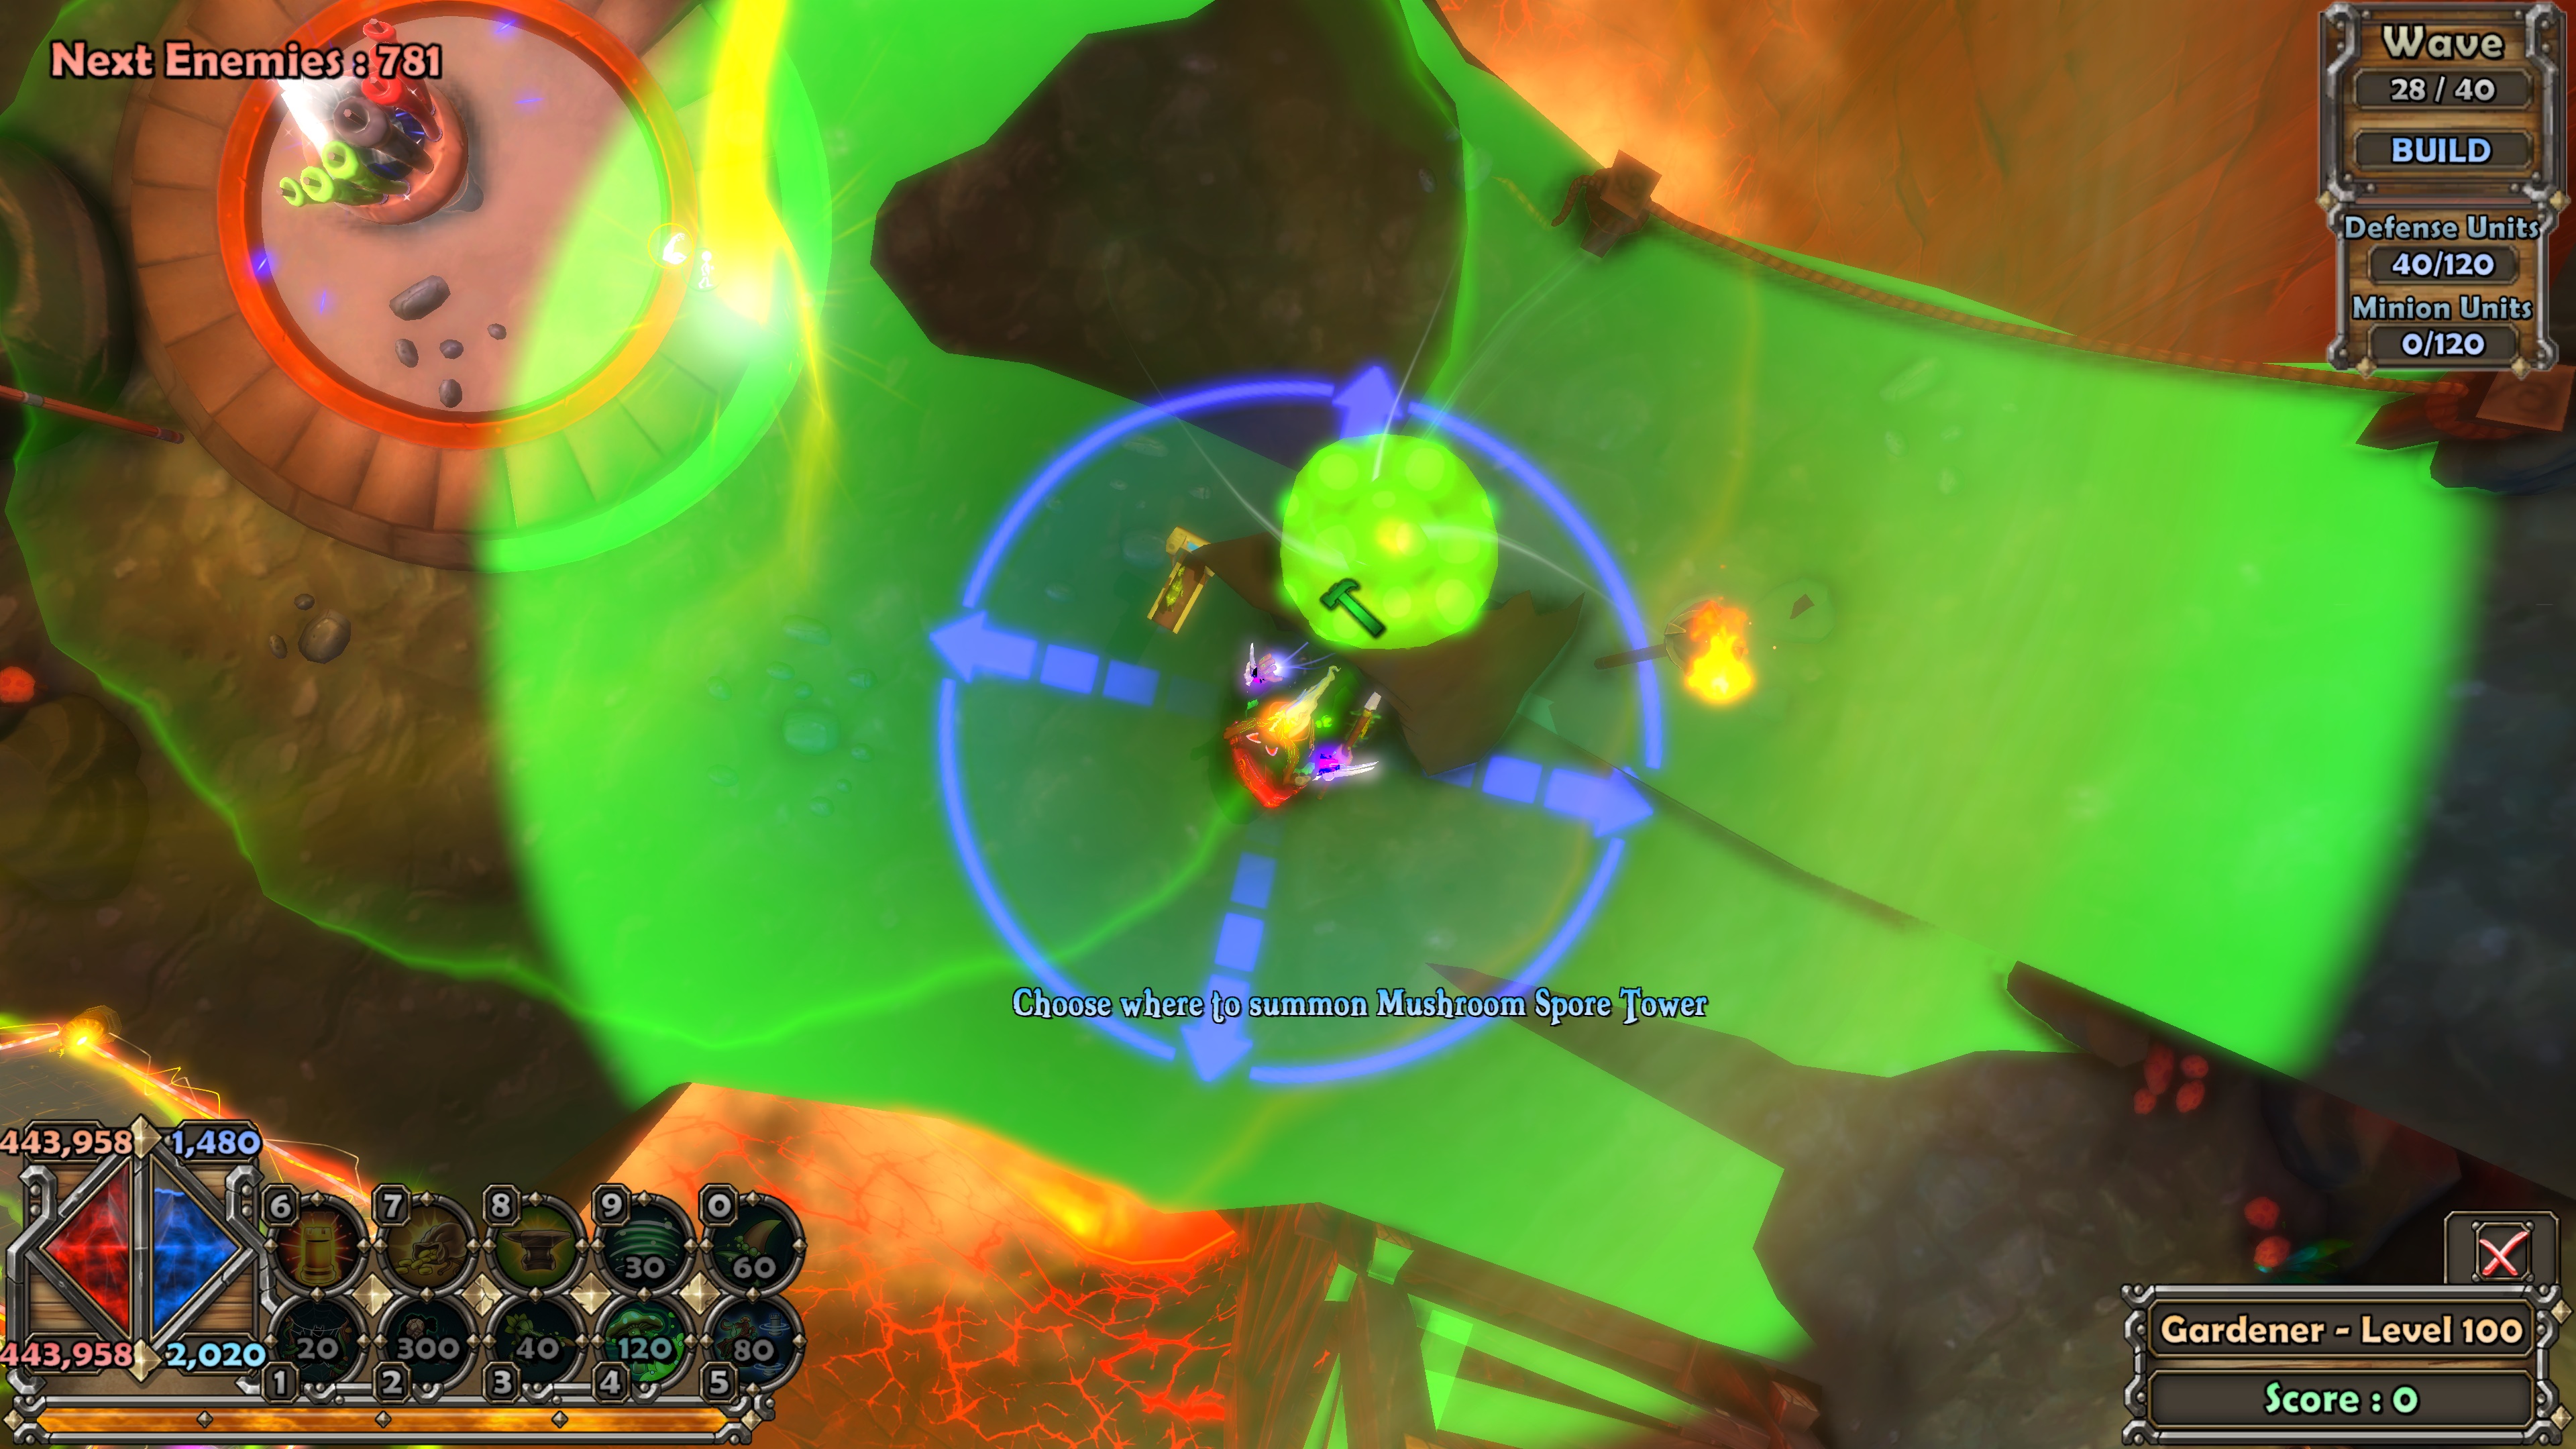
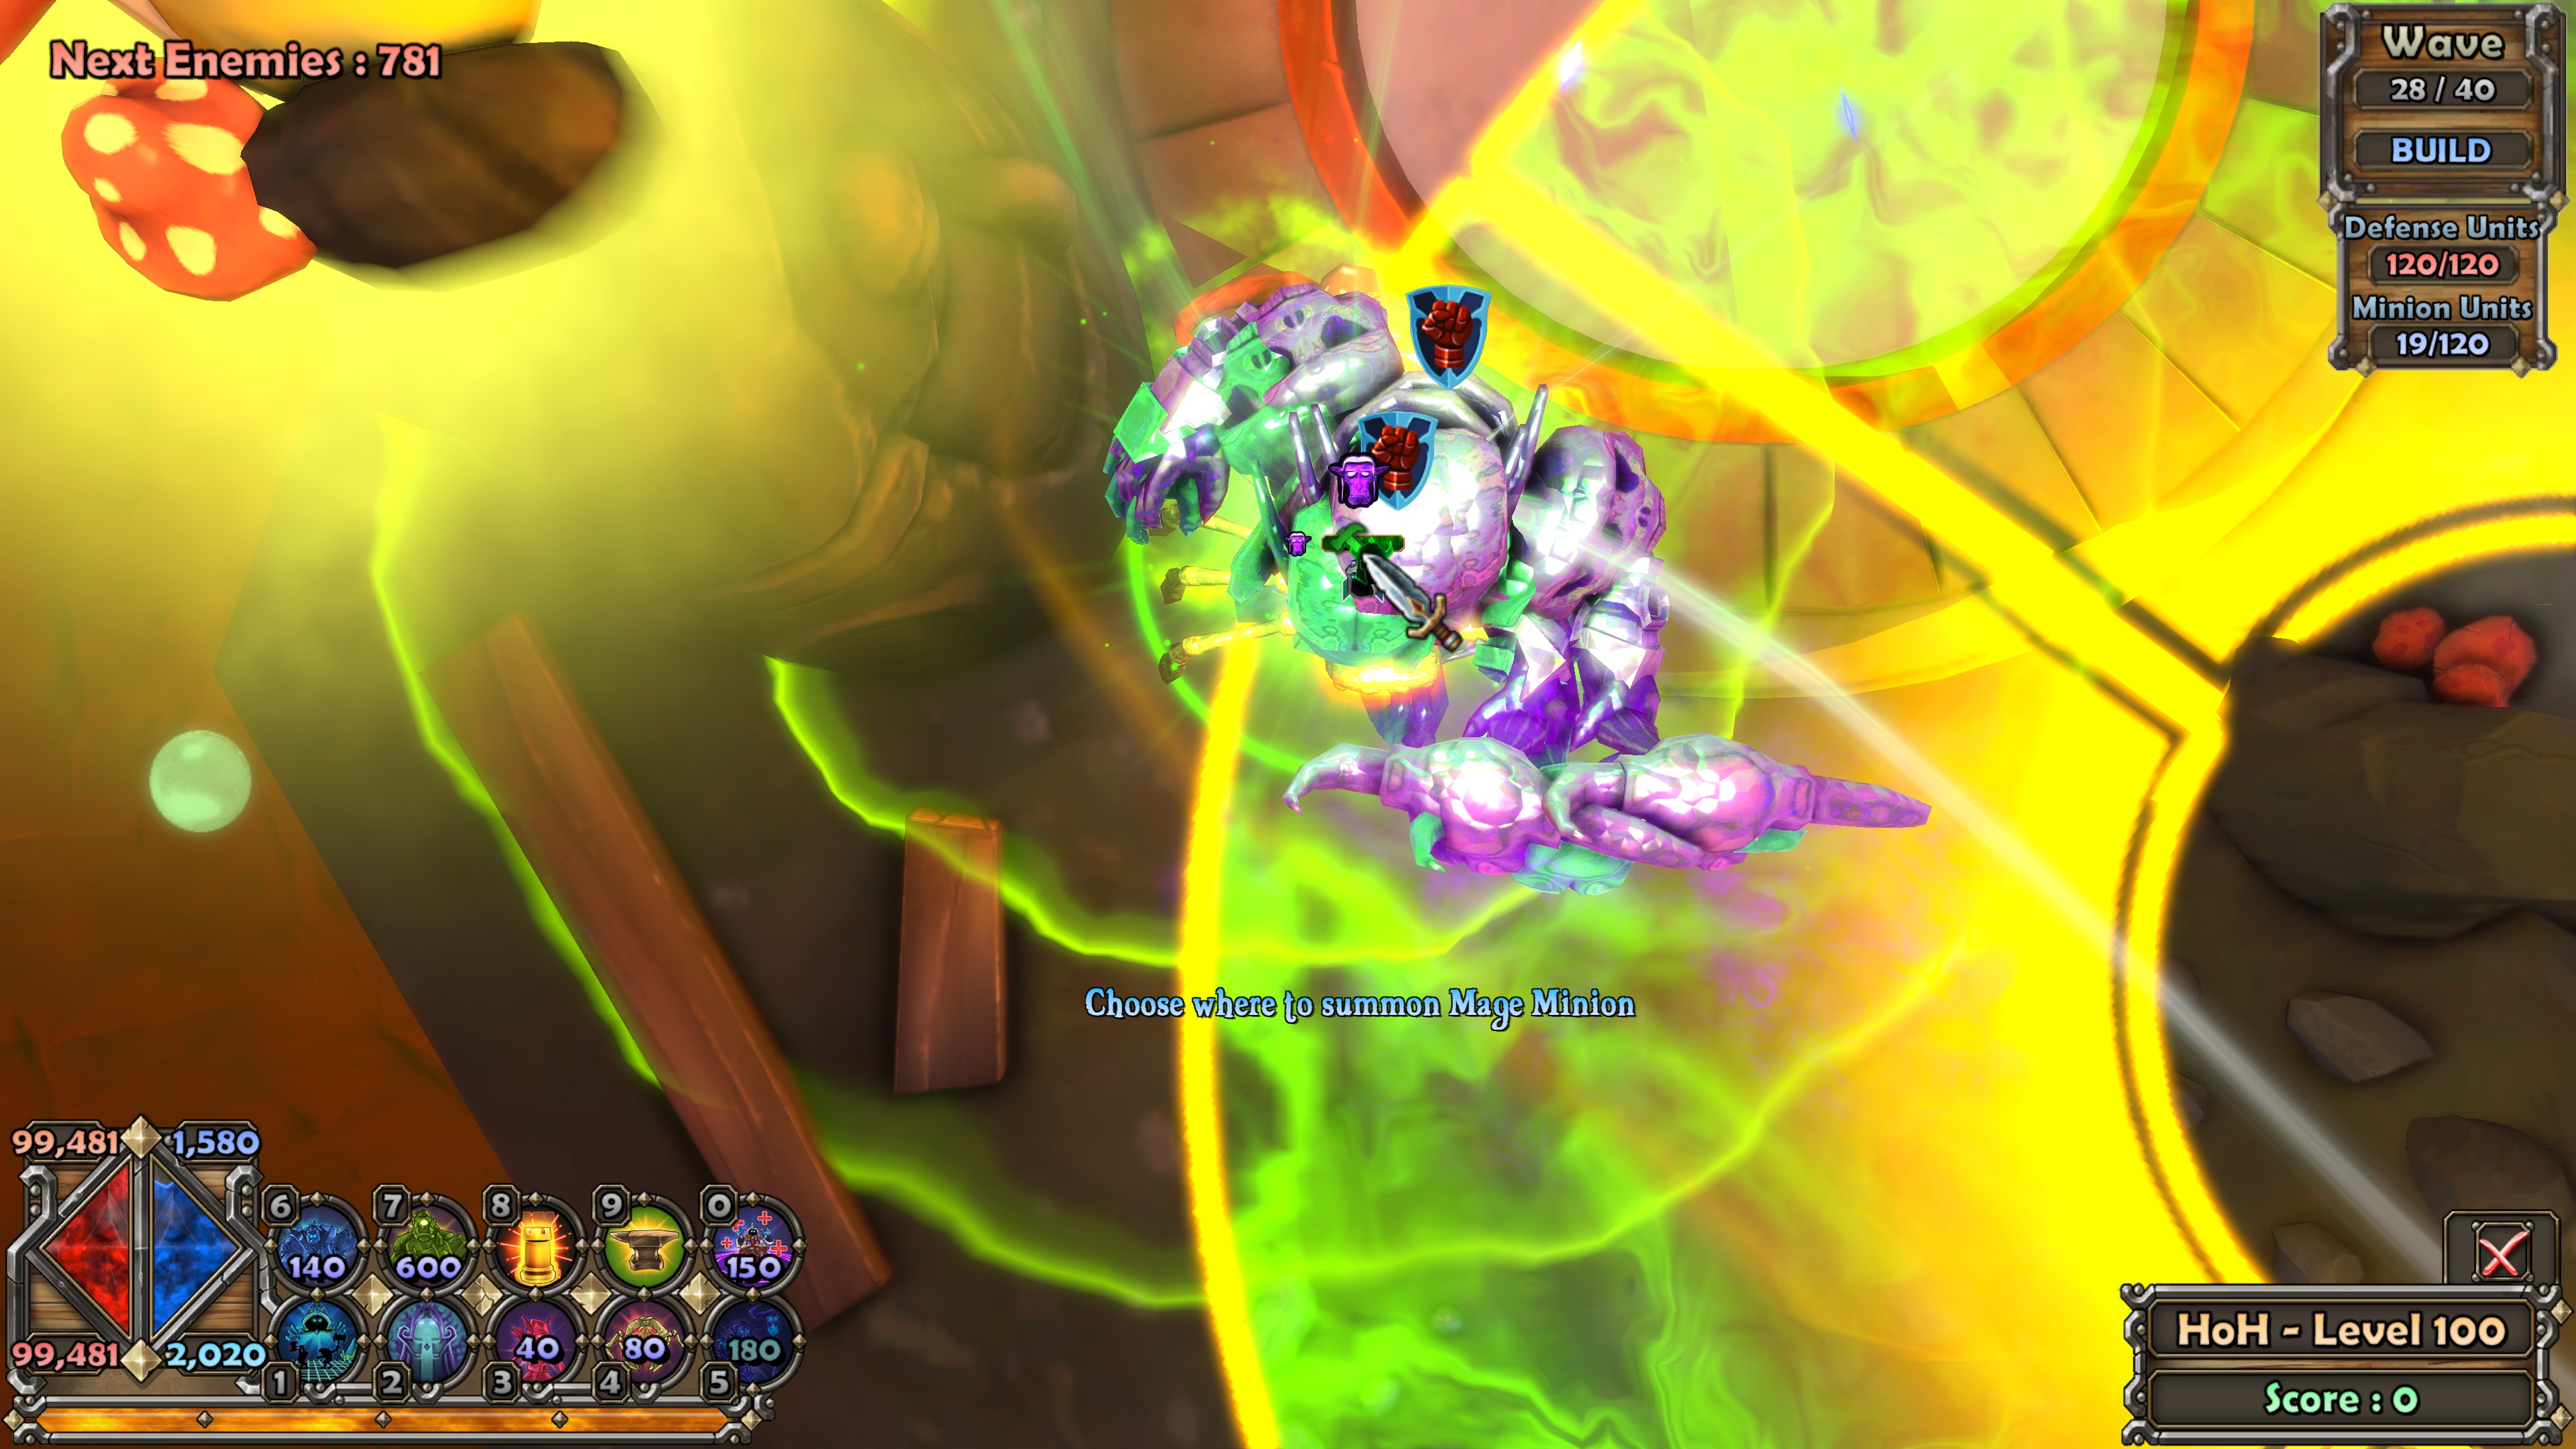
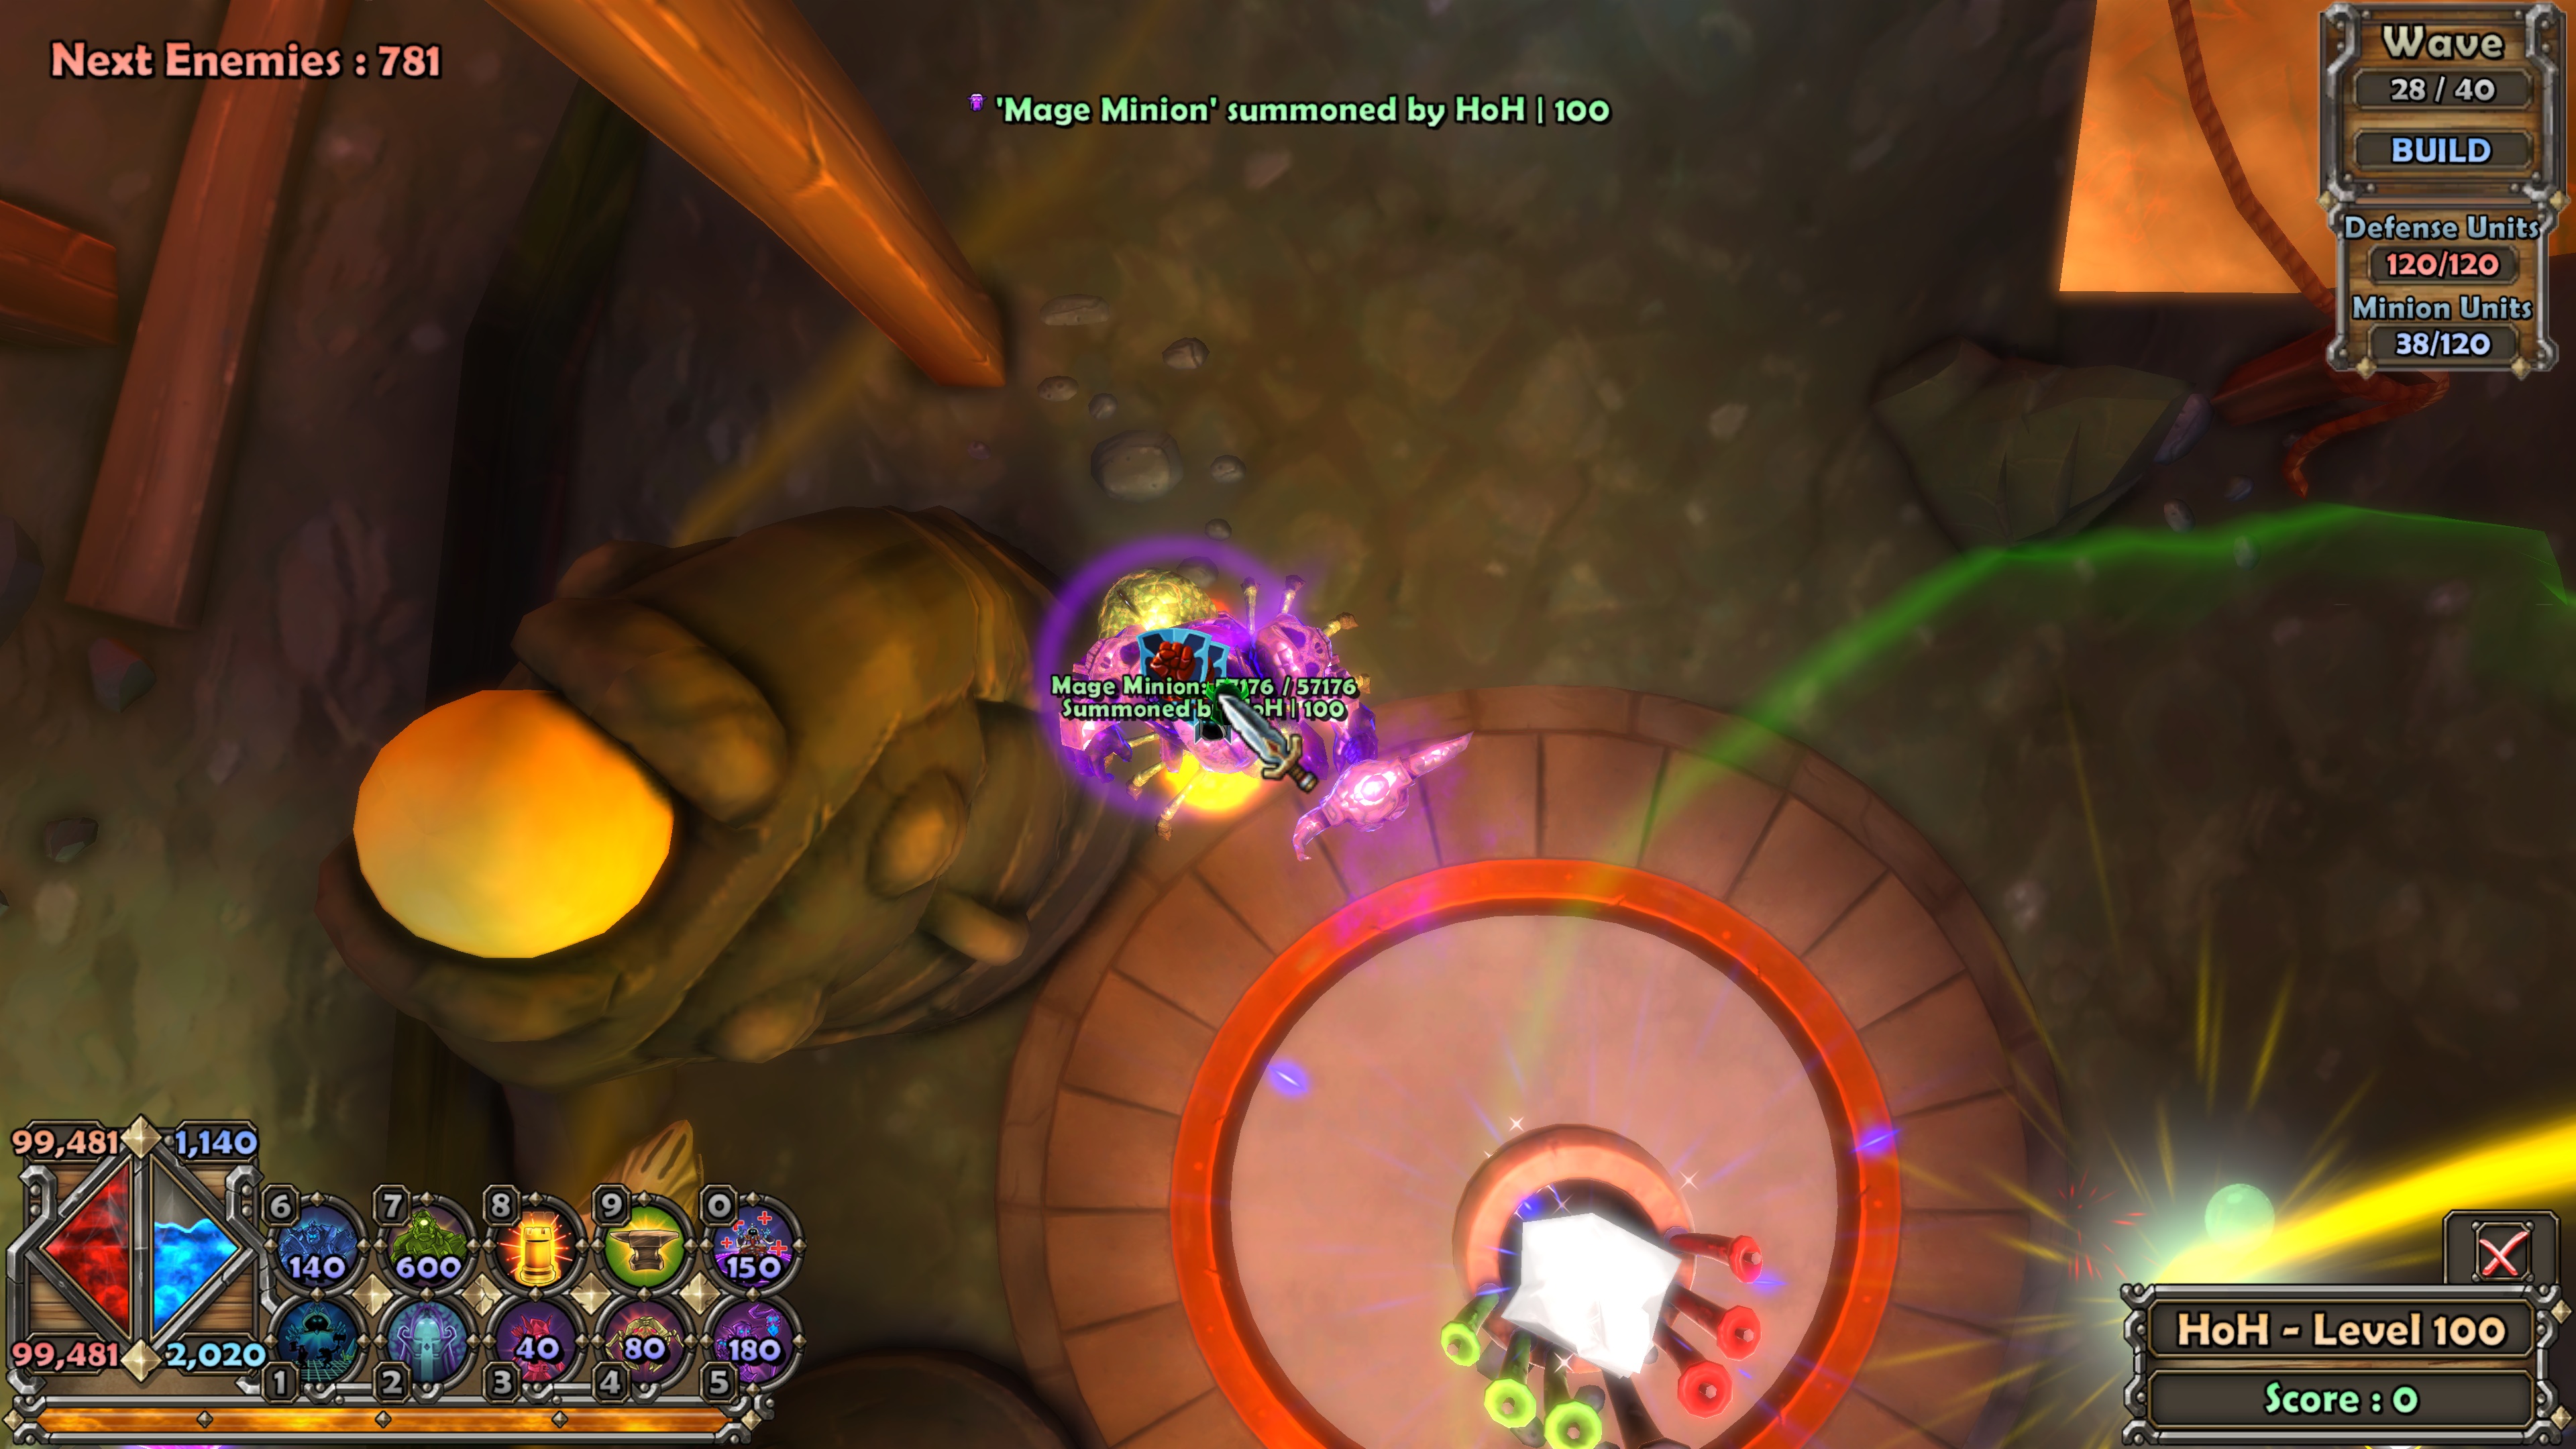
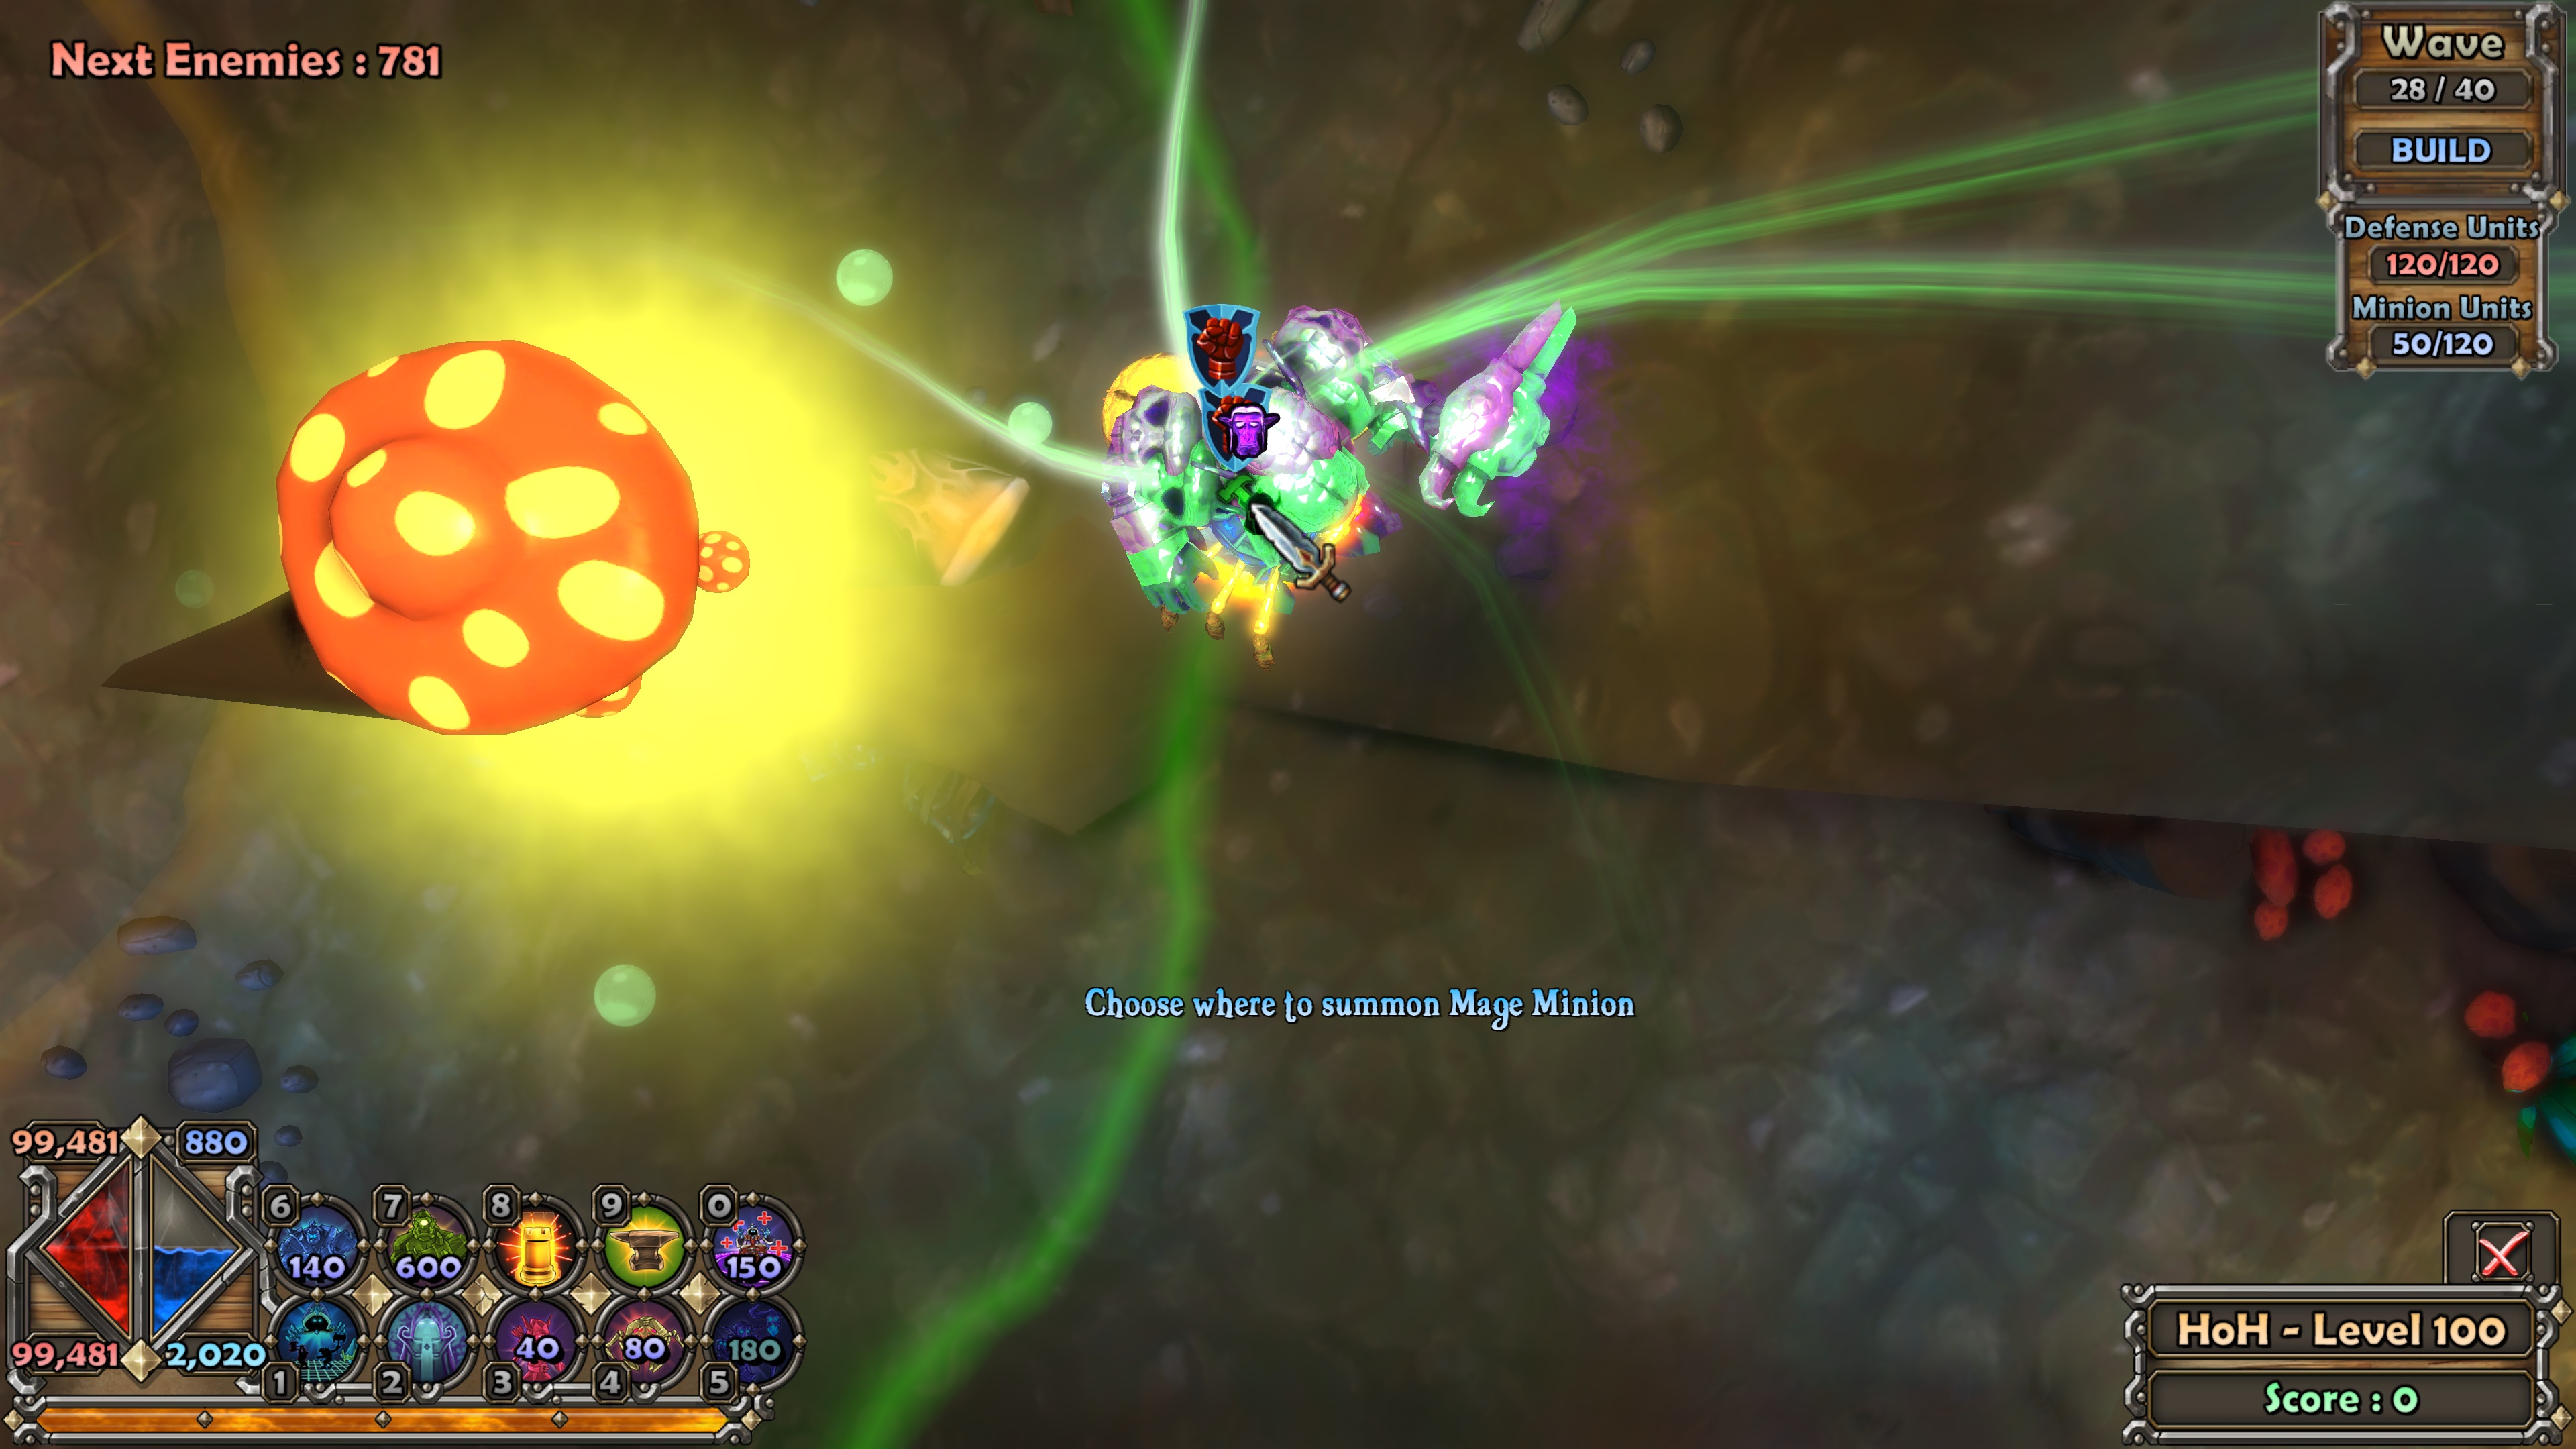
The mages would heal the minion walls behind a safe distance, while easily clearing mass skeletons. They would also add substantial AoE damage output and interrupt djinns, which was partially why I used my attack summoner to build them.
The spiders would provide deadly debuffs to any daring enemy that reached the wall. Together with the mushroom, ruthless mobs would become easy prey.
South crystal had one stack with 1 spider and 3 mages:
North crystal had two stacks.
First stack with 1 spider and 1 mage:
Second stack with 1 spider and 2 mages:
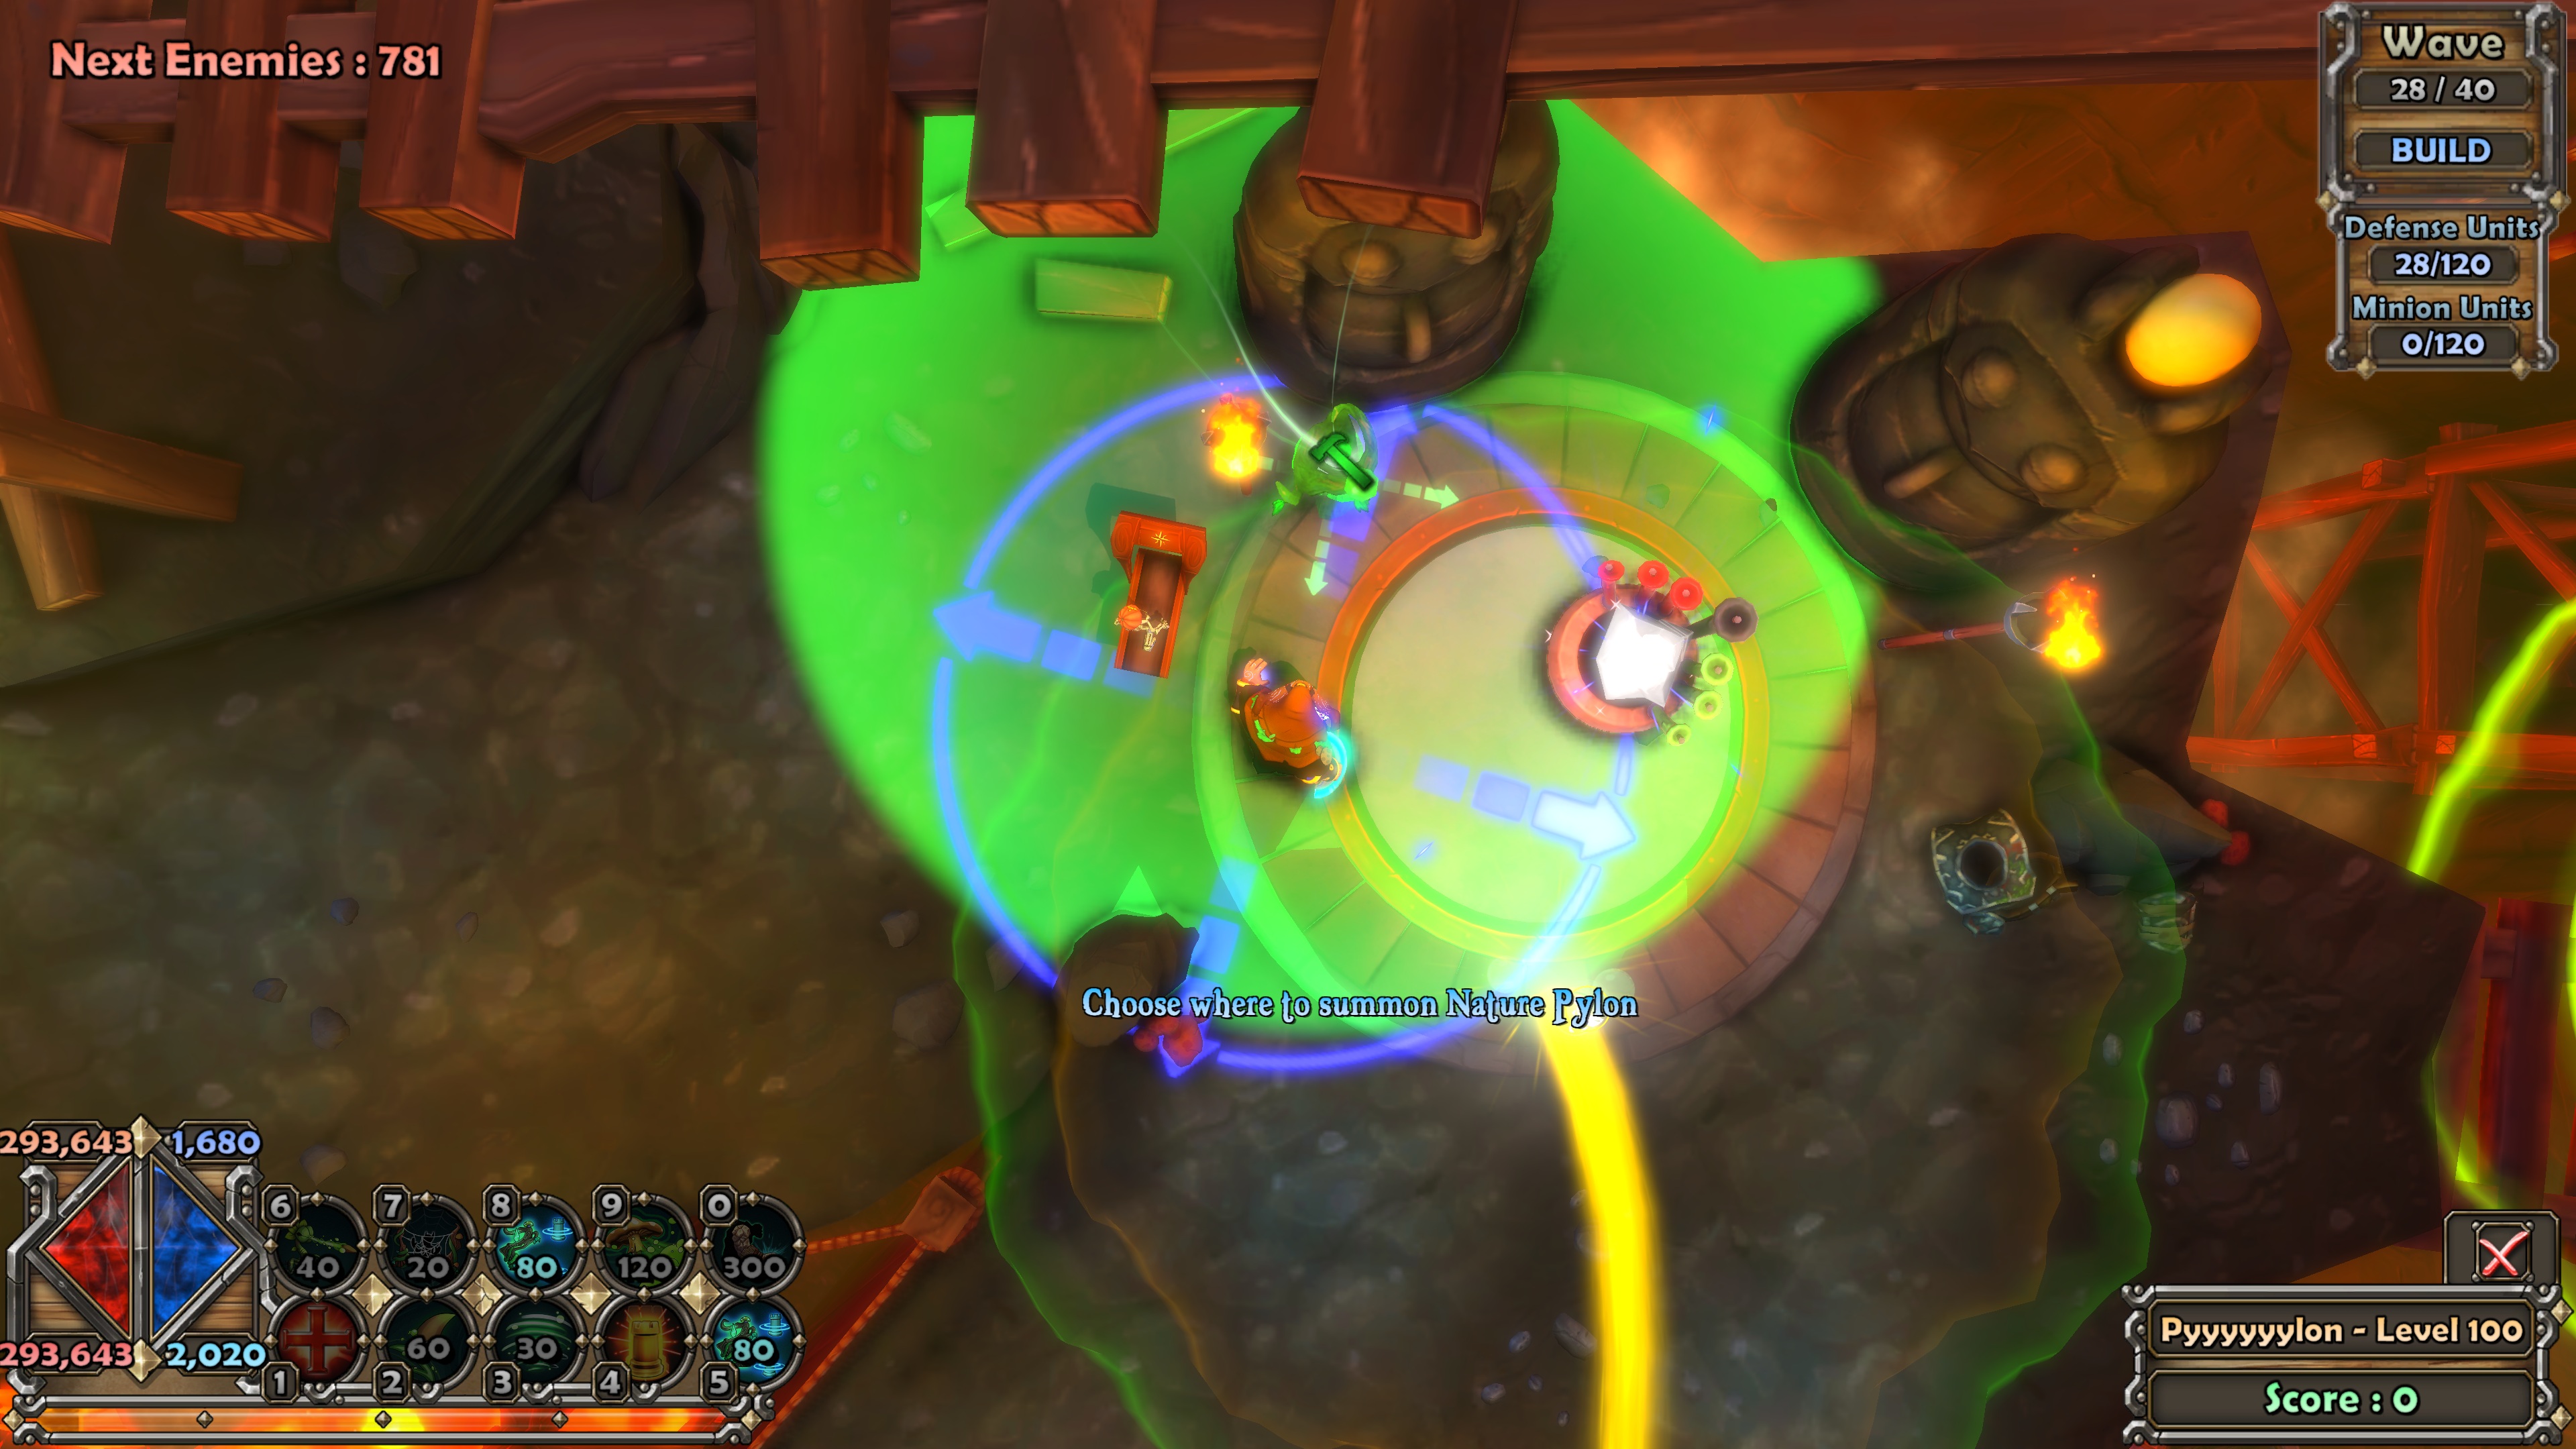
I built my aura stacks on these spots:
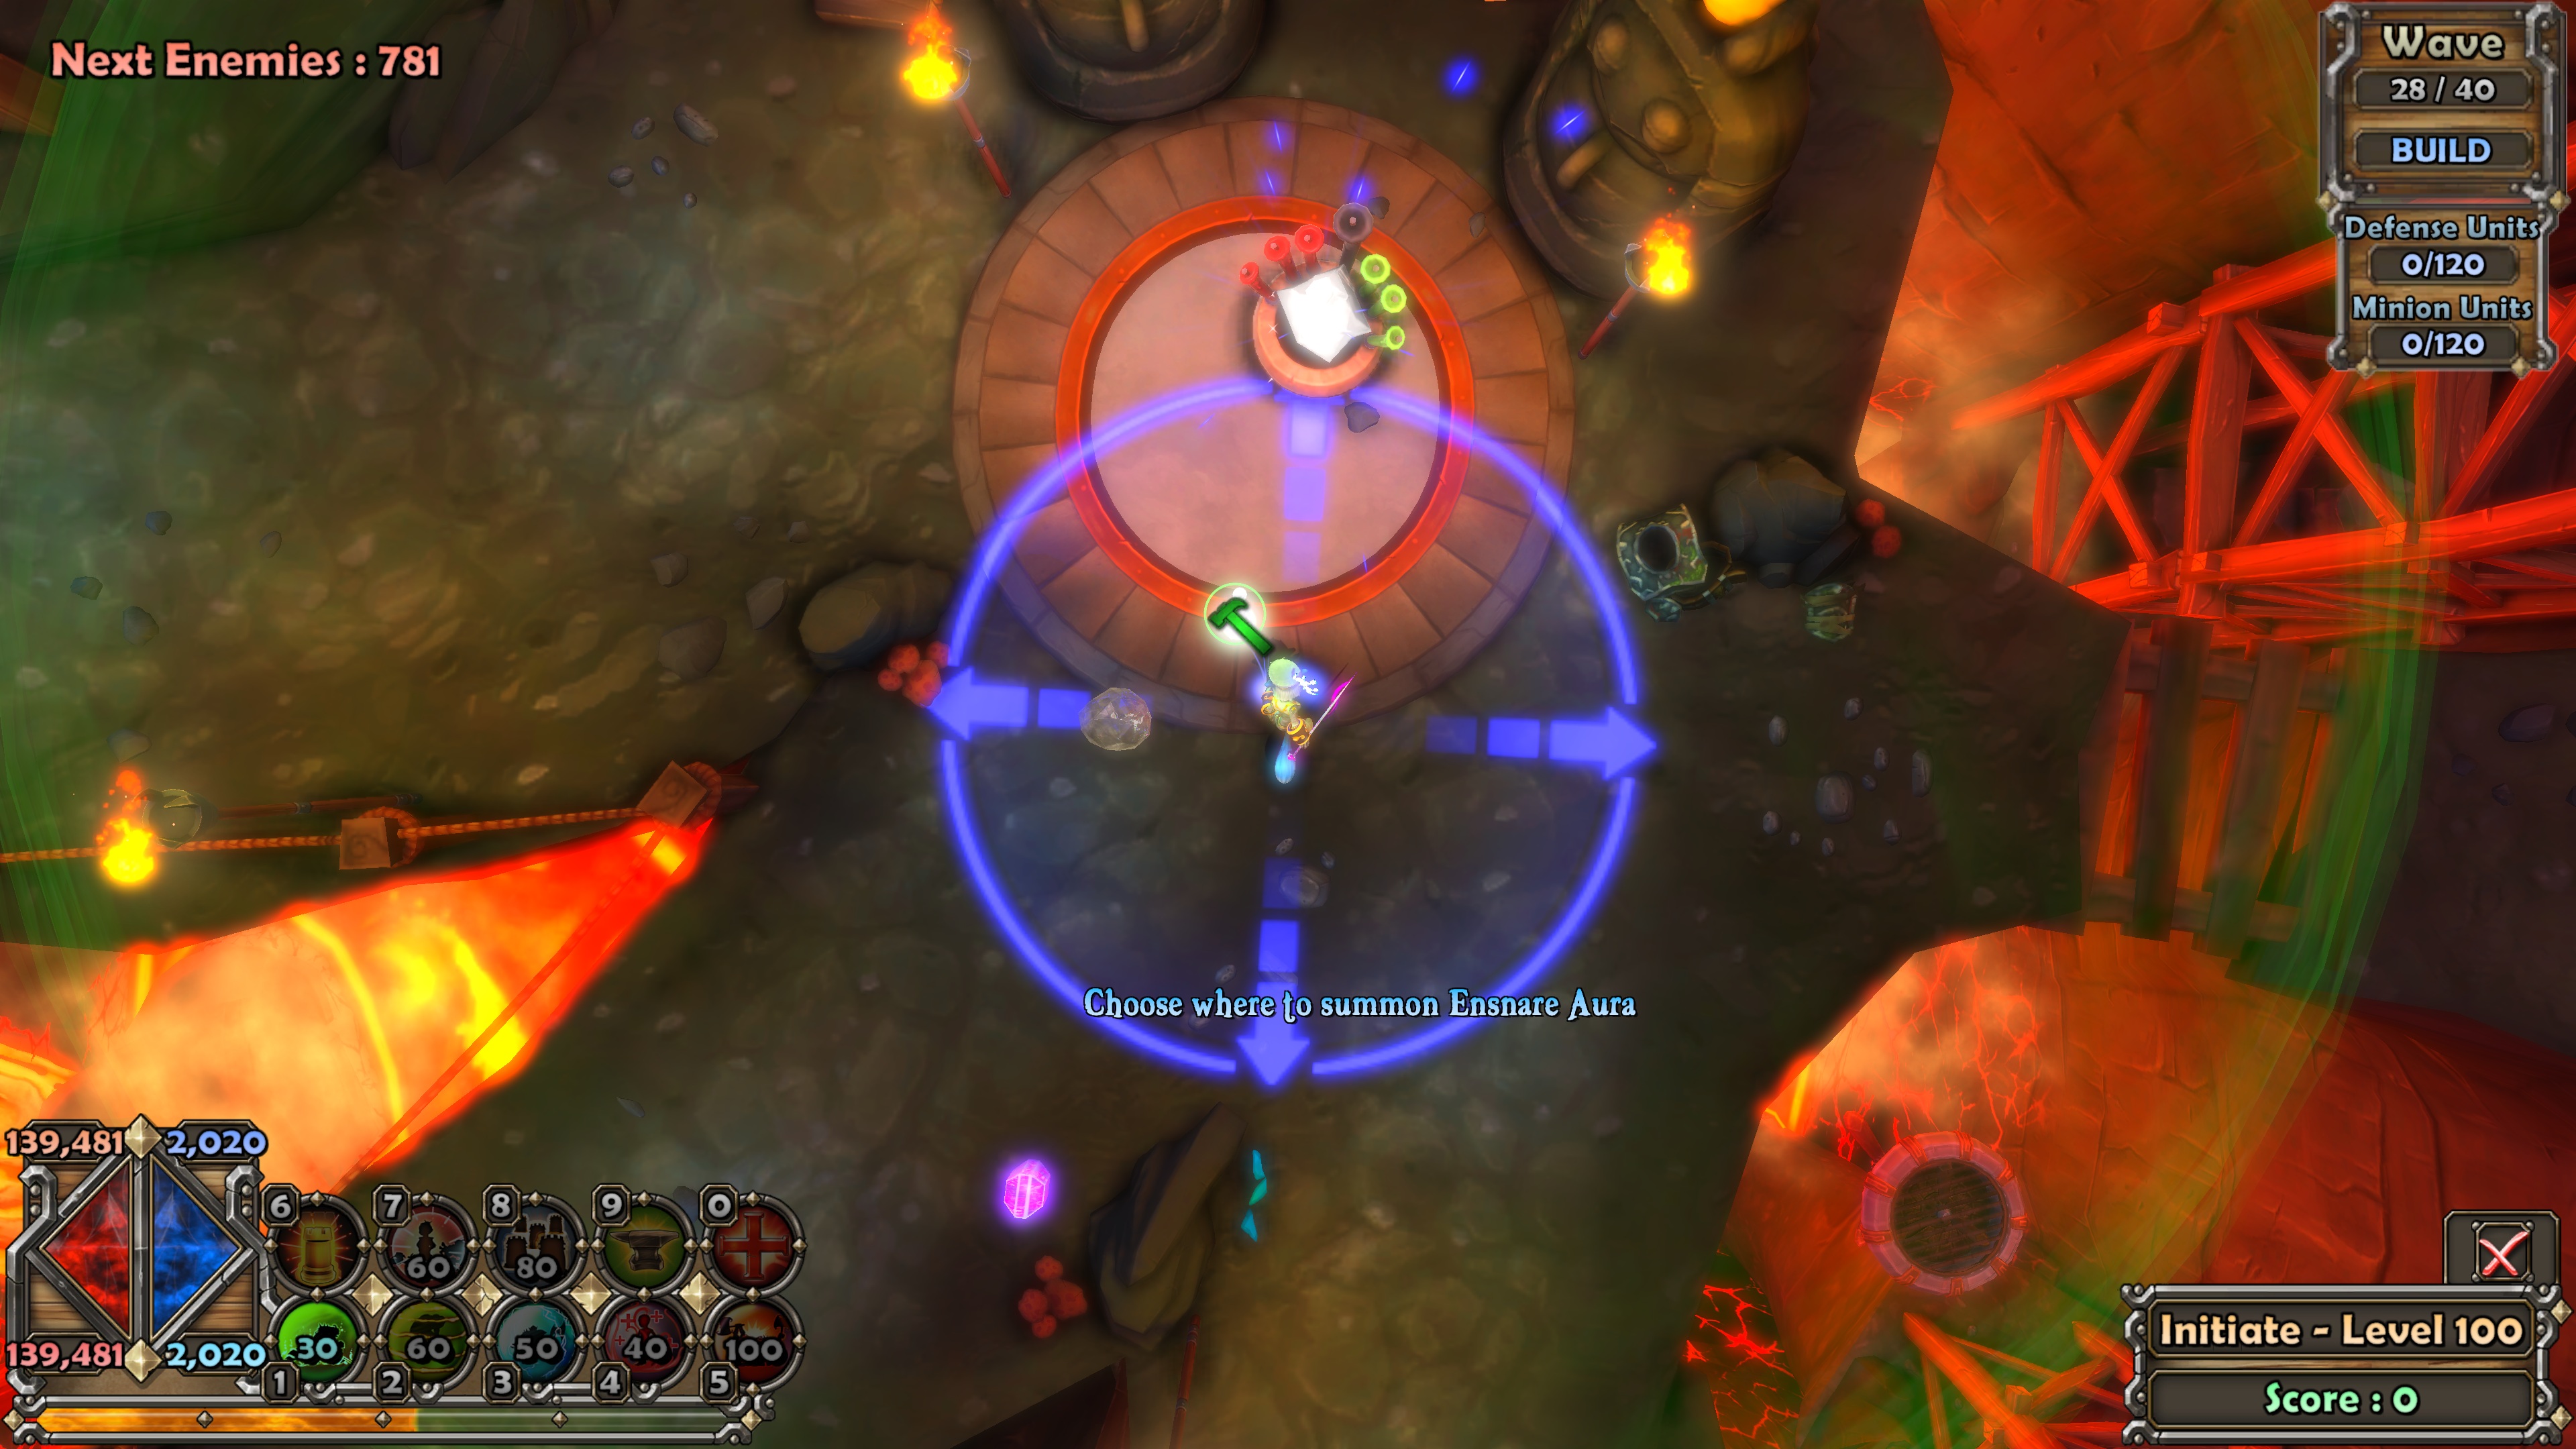
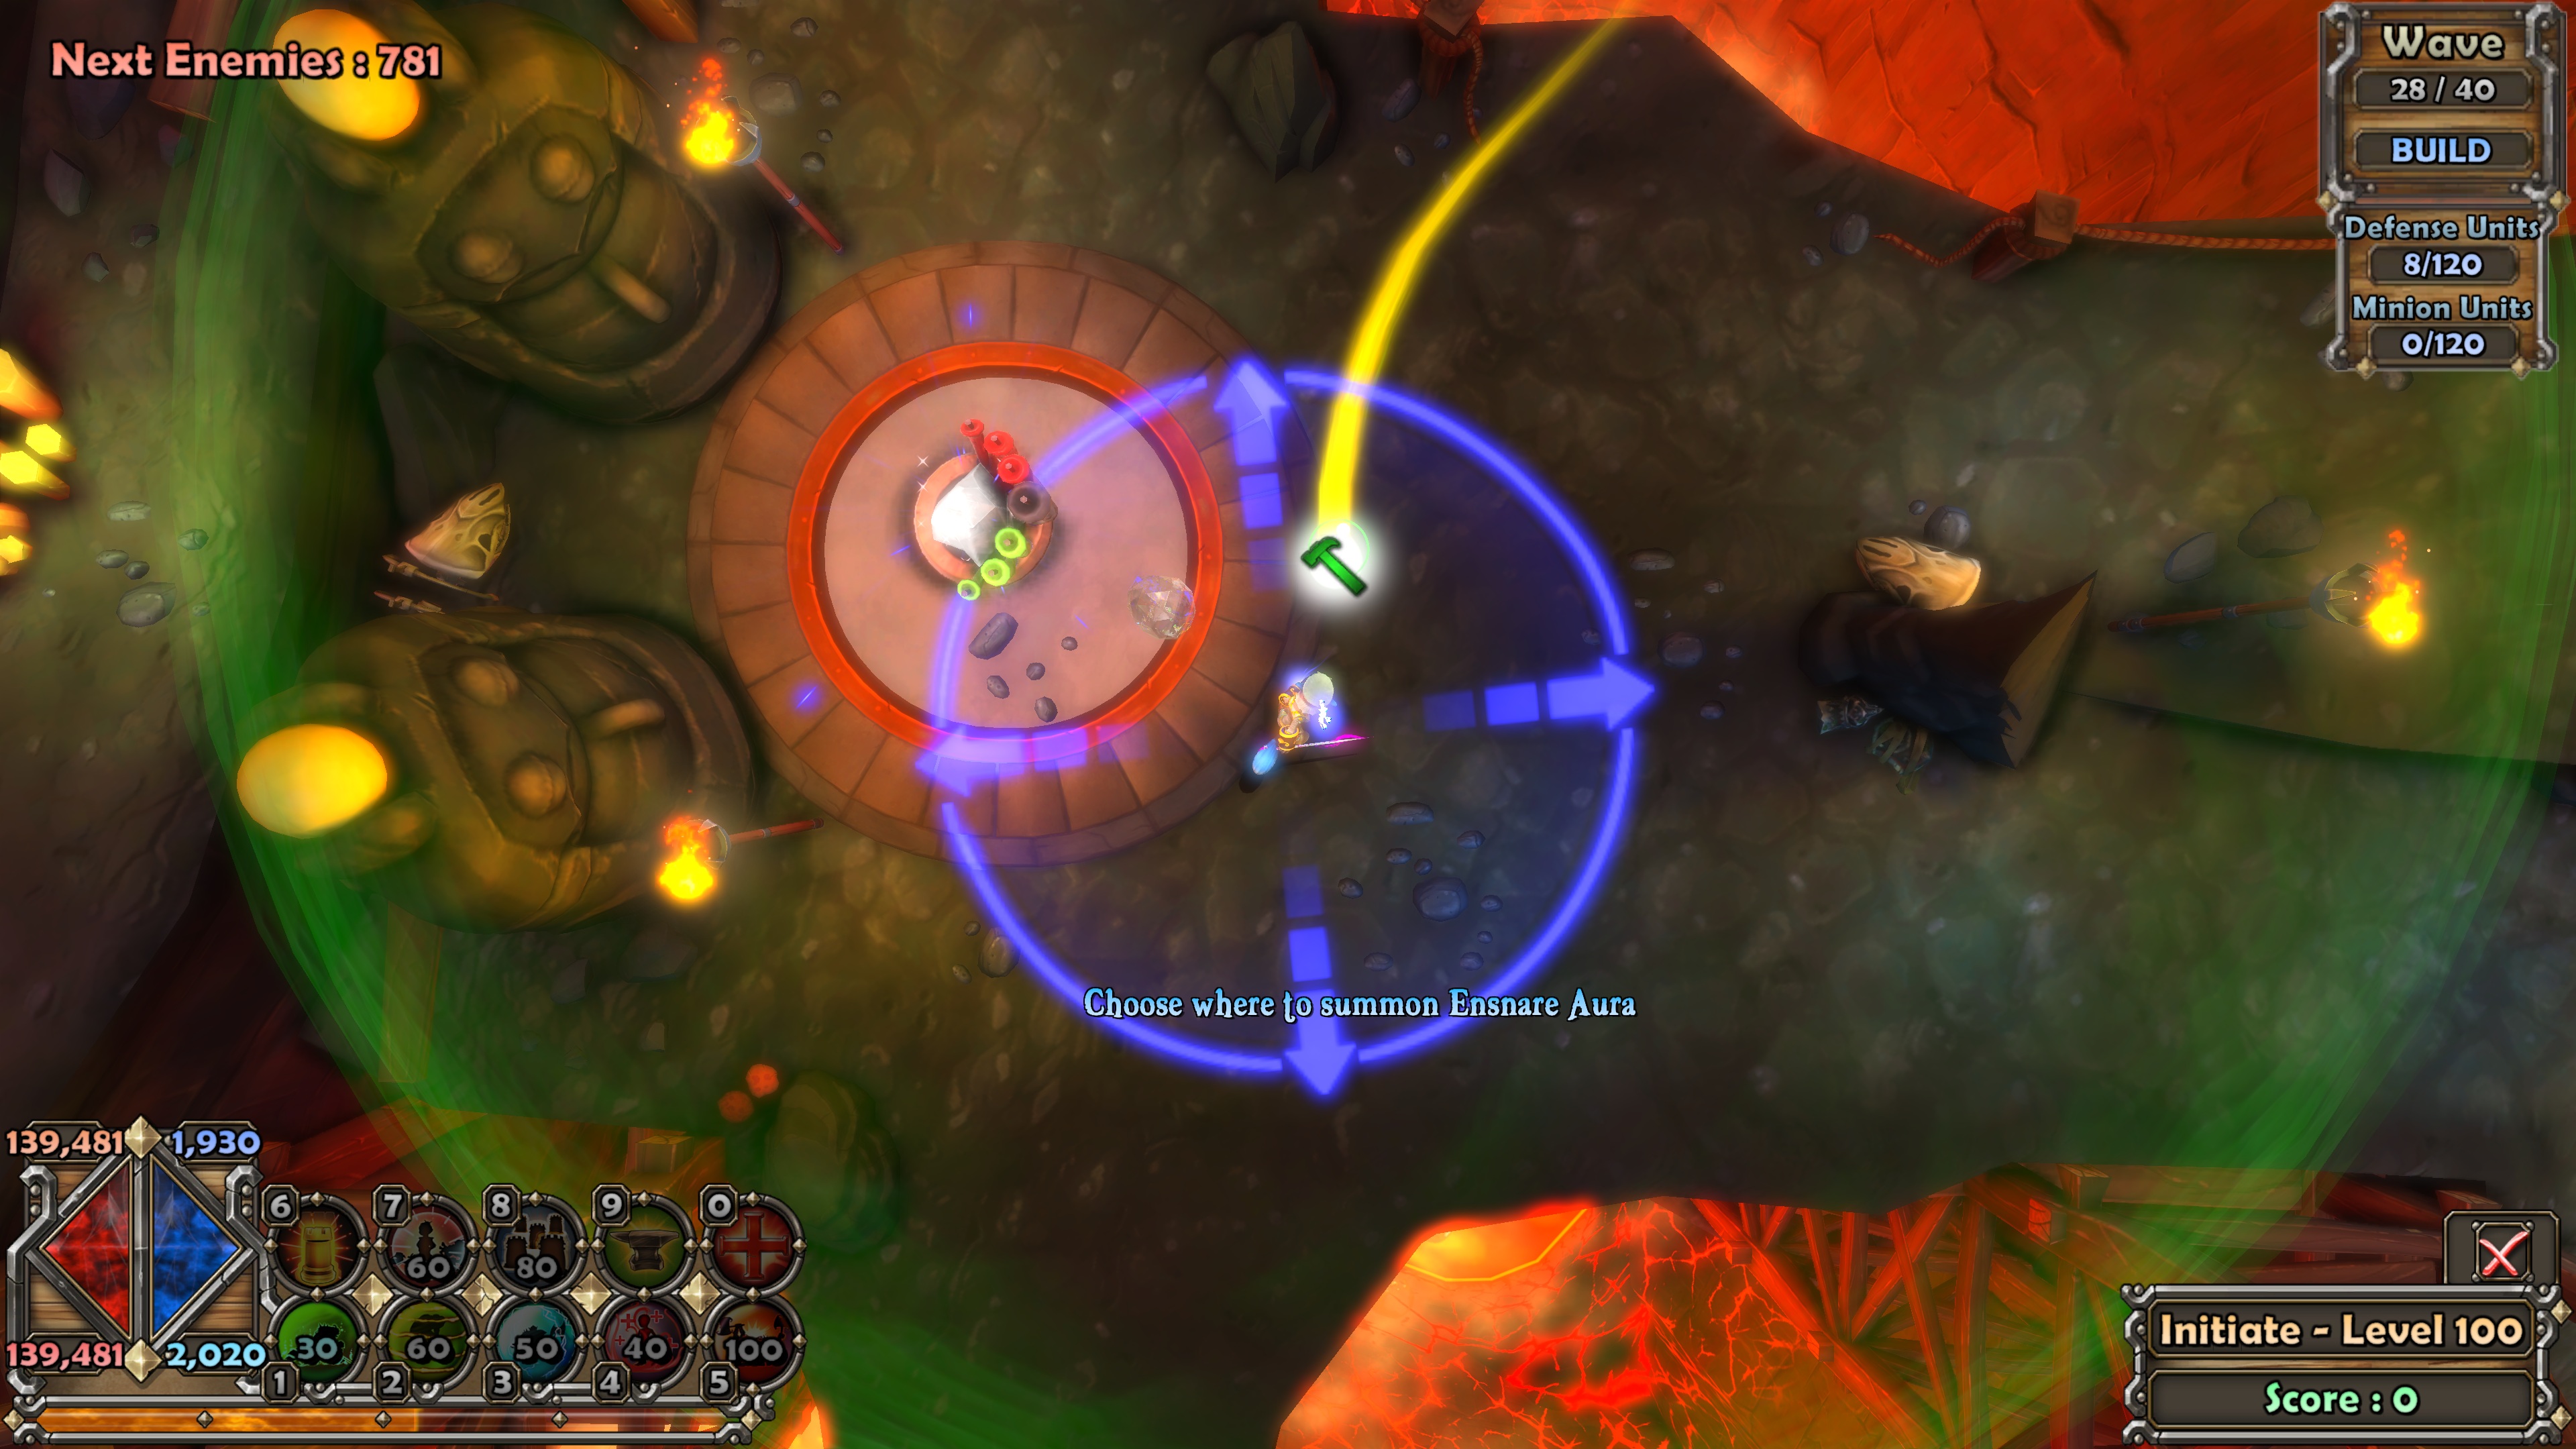
You may adjust them based on your aura size, as long as the range pylon from the centre could reach both stacks:
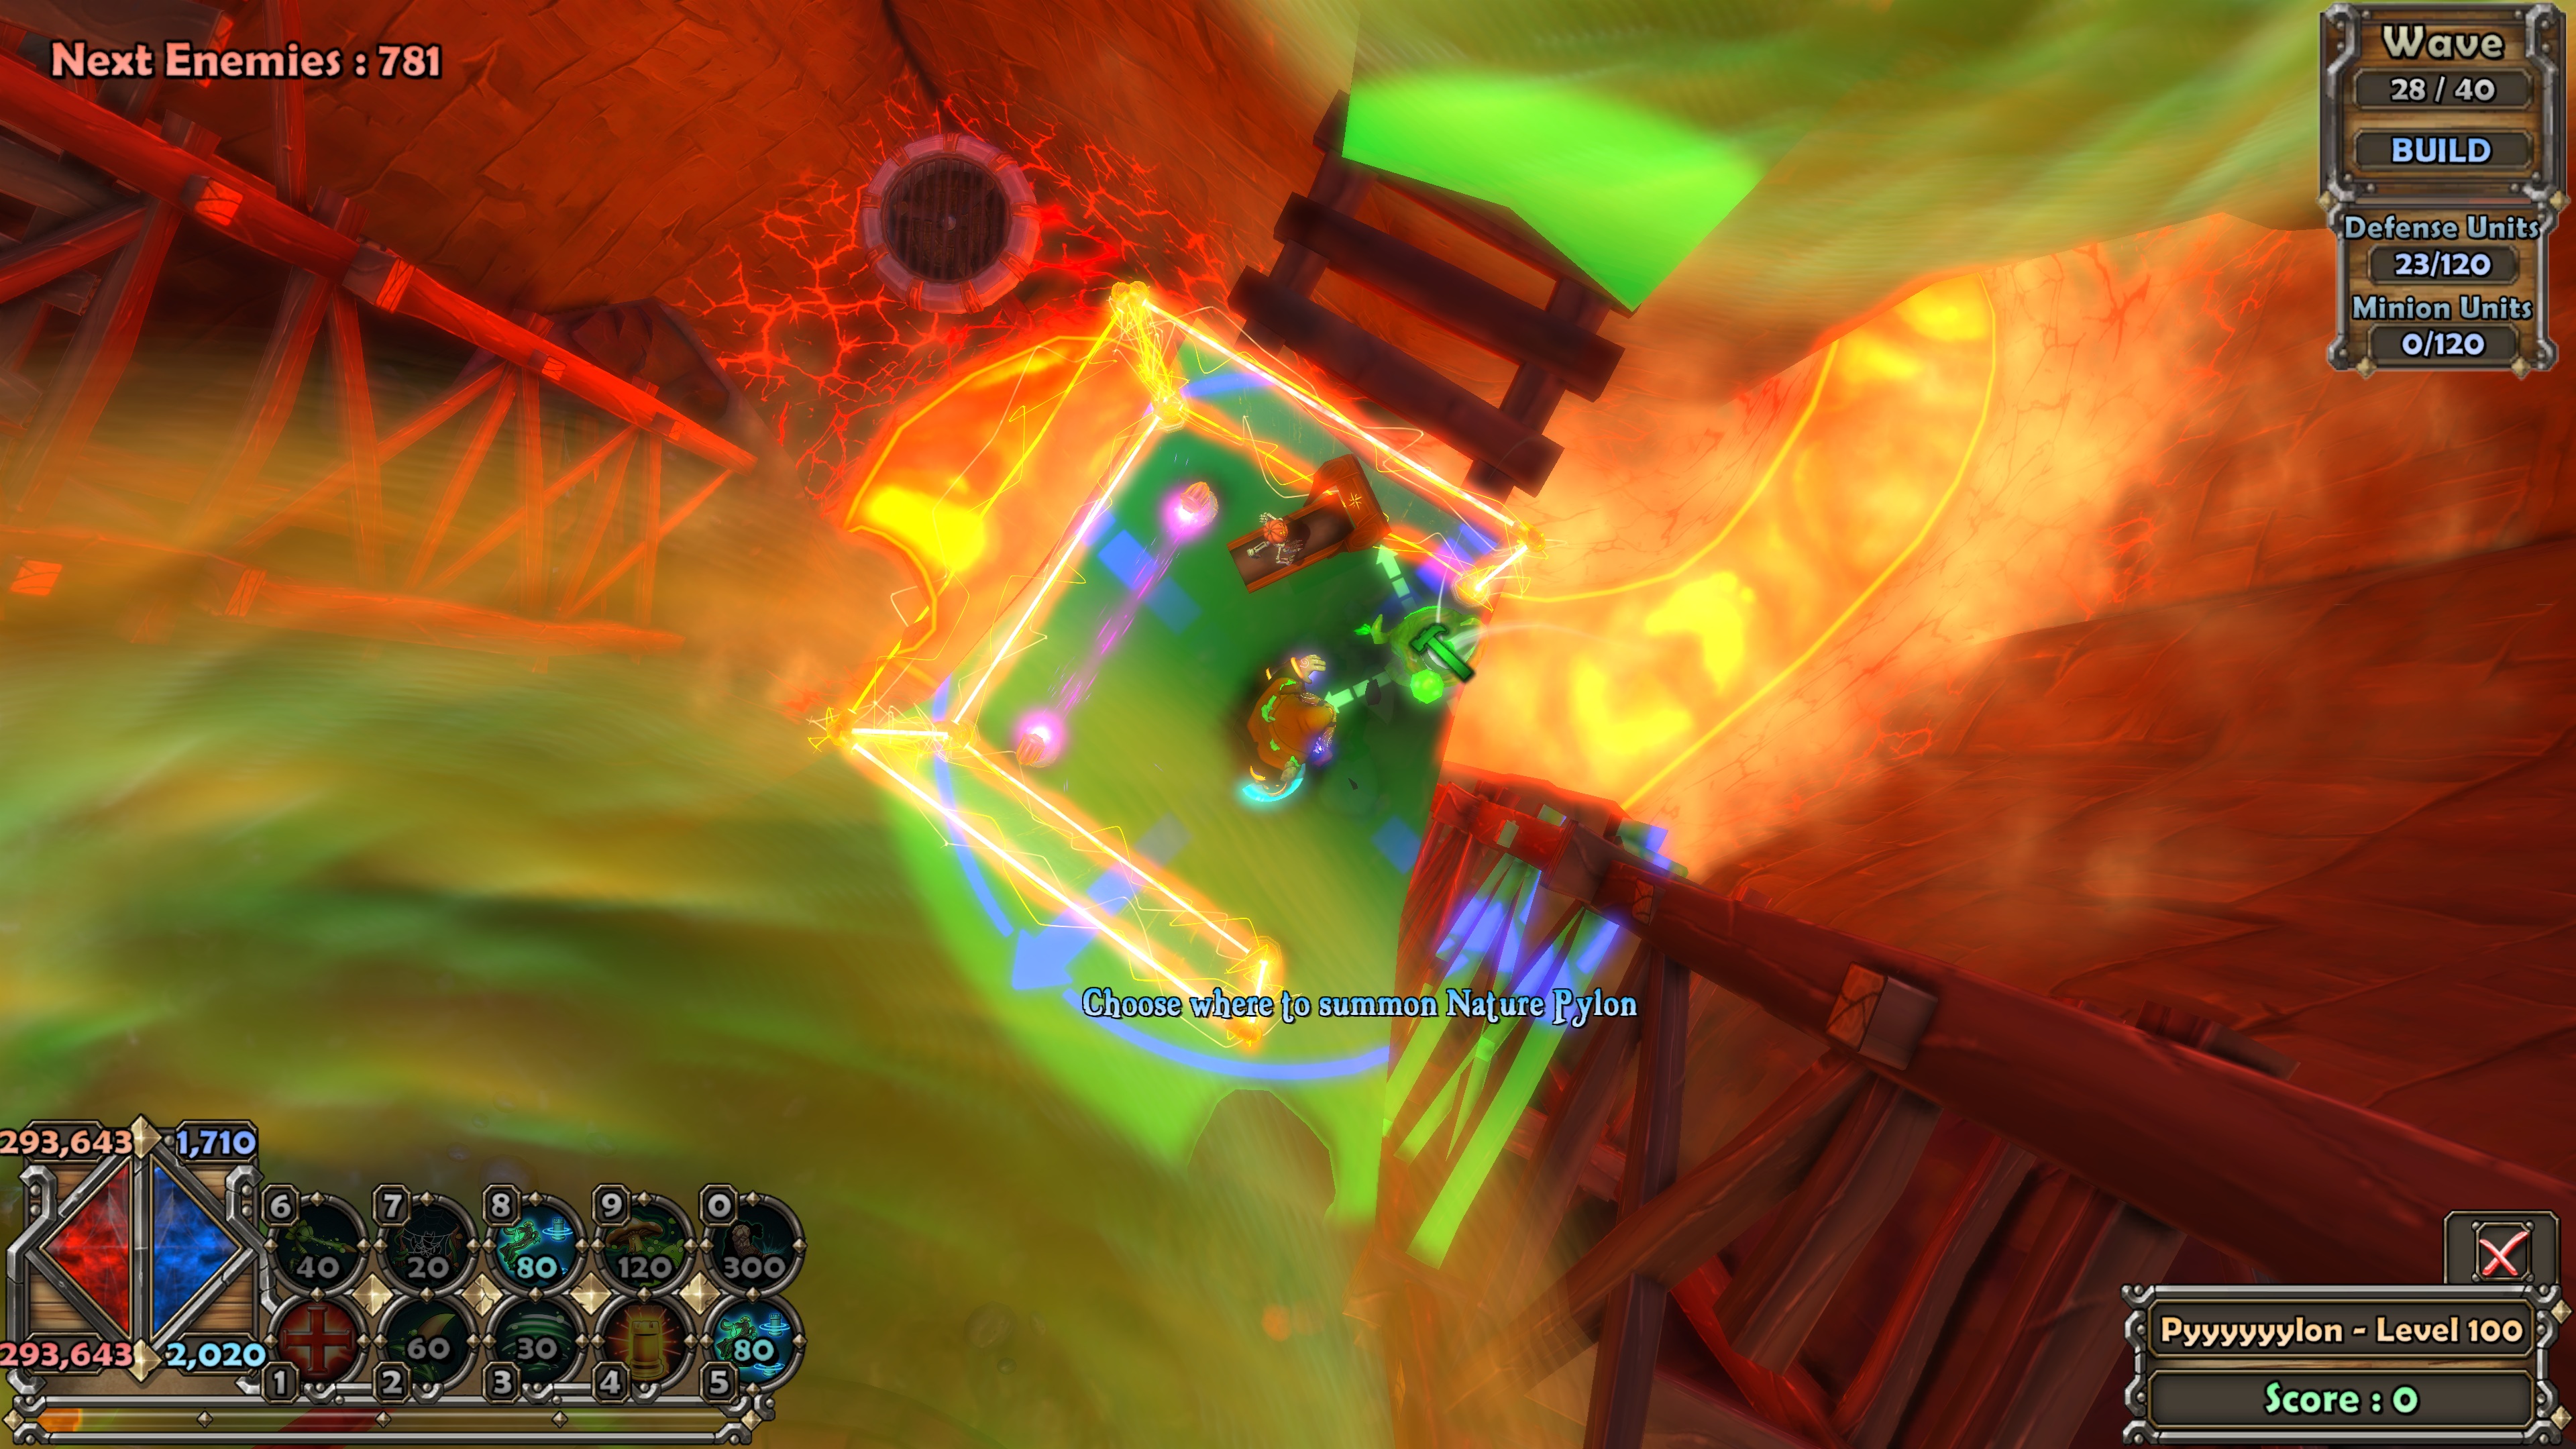
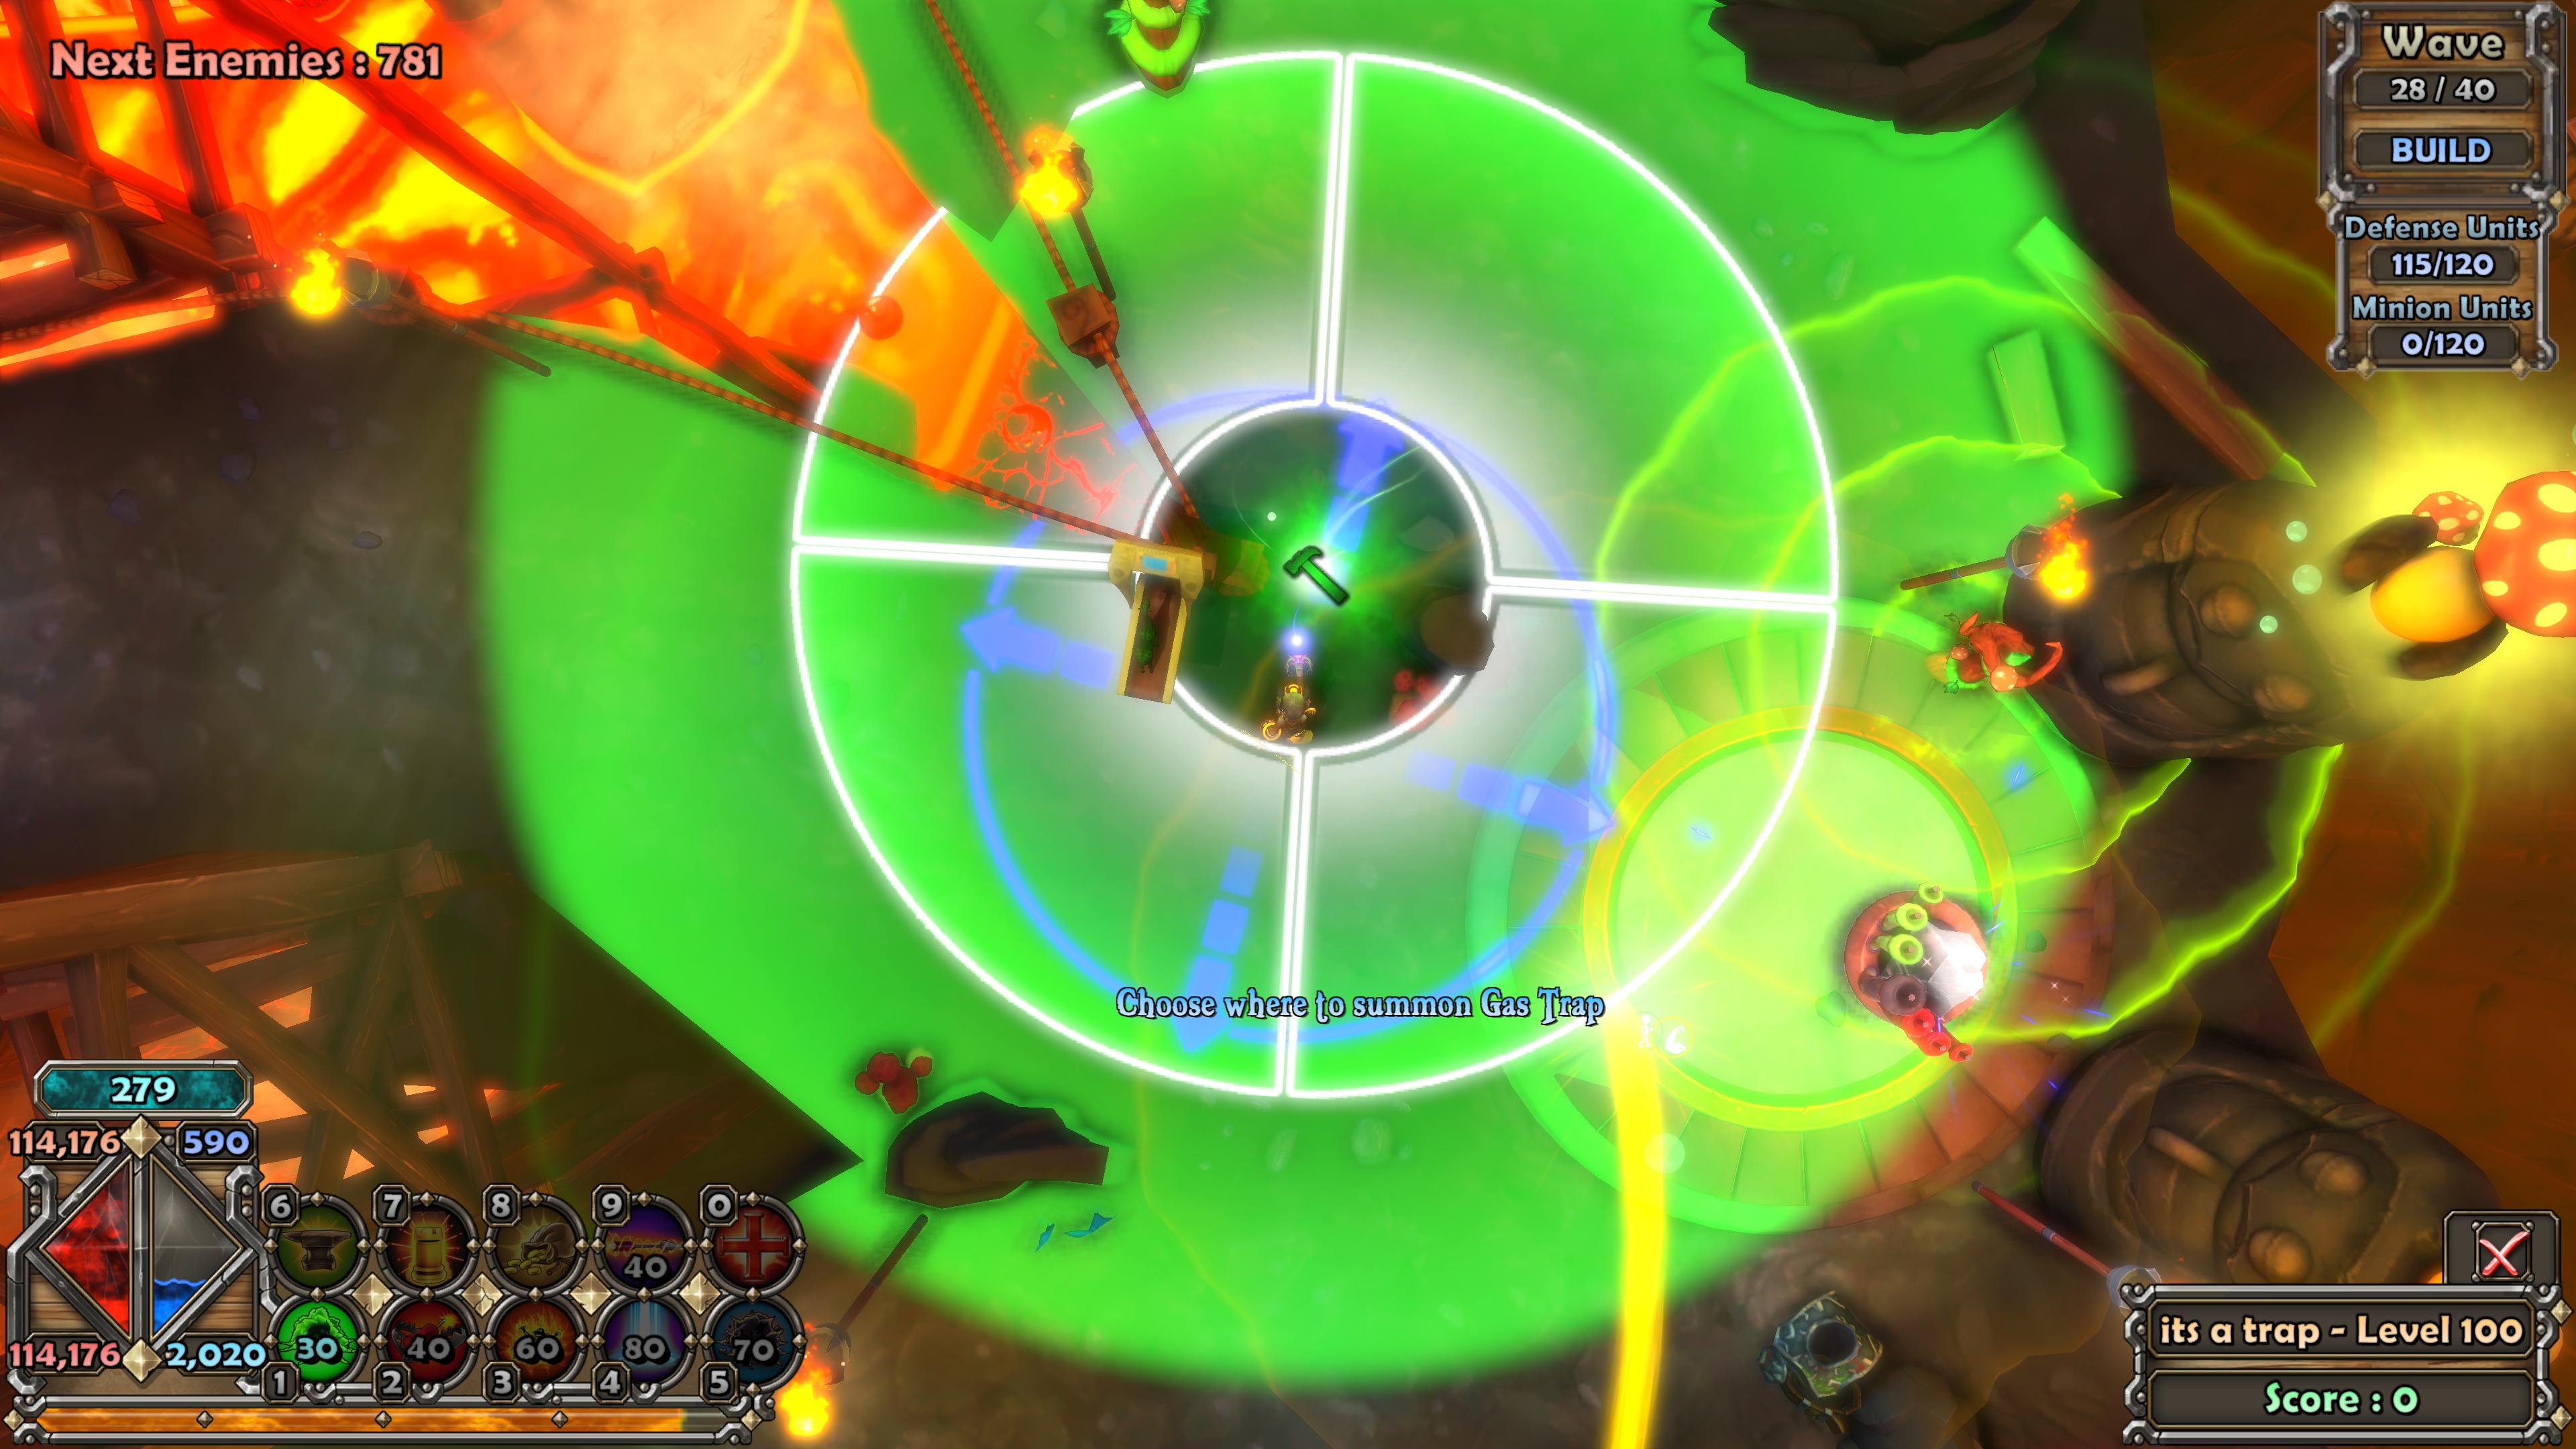
By using a gas trap, a web wall, and ensnare aura, combined with seed bomb tower's explosion damage (plus mage's range attack) and mushroom debuff, enemy mobs no longer group up in deadly formations, for example:
- tanky ogres in front absorbing most of the damage,
- dozens of mages from behind summoning countless skeletons that overwhelm the rest,
- deadly kobolds charging at and demolishing the helpless wall :(
Here's a closer look at the wall-building process.
North left lane:
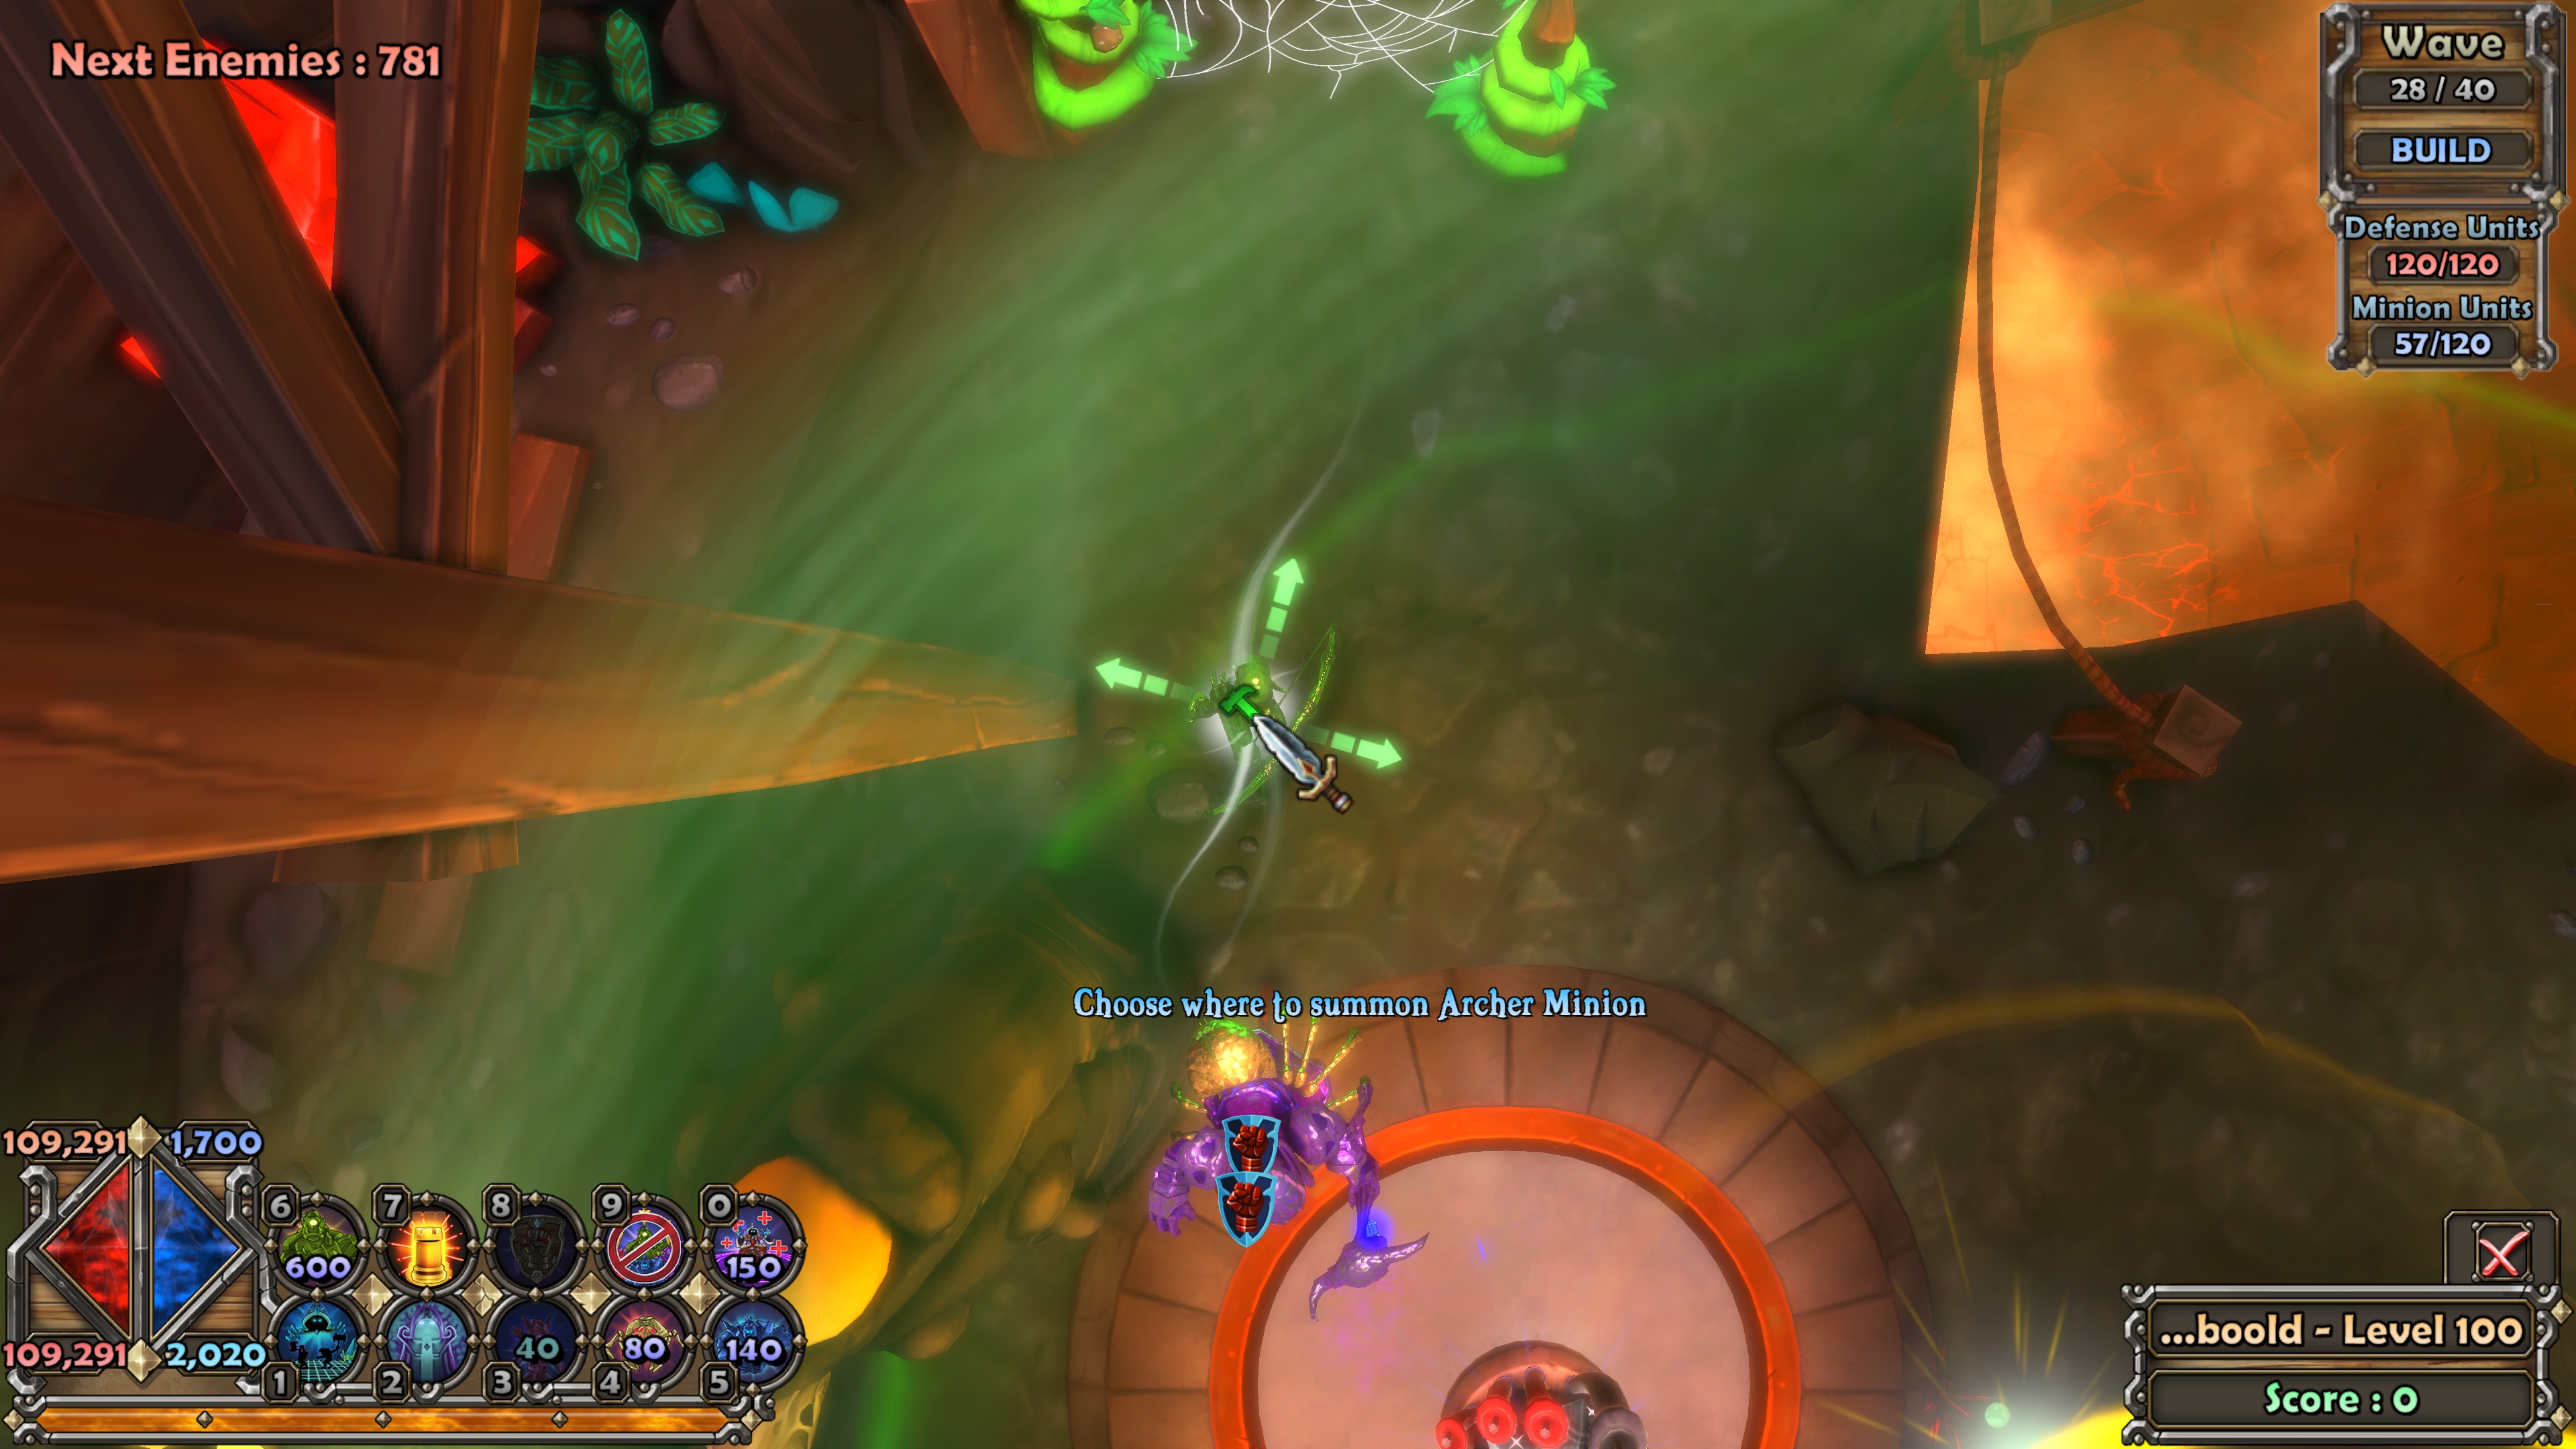
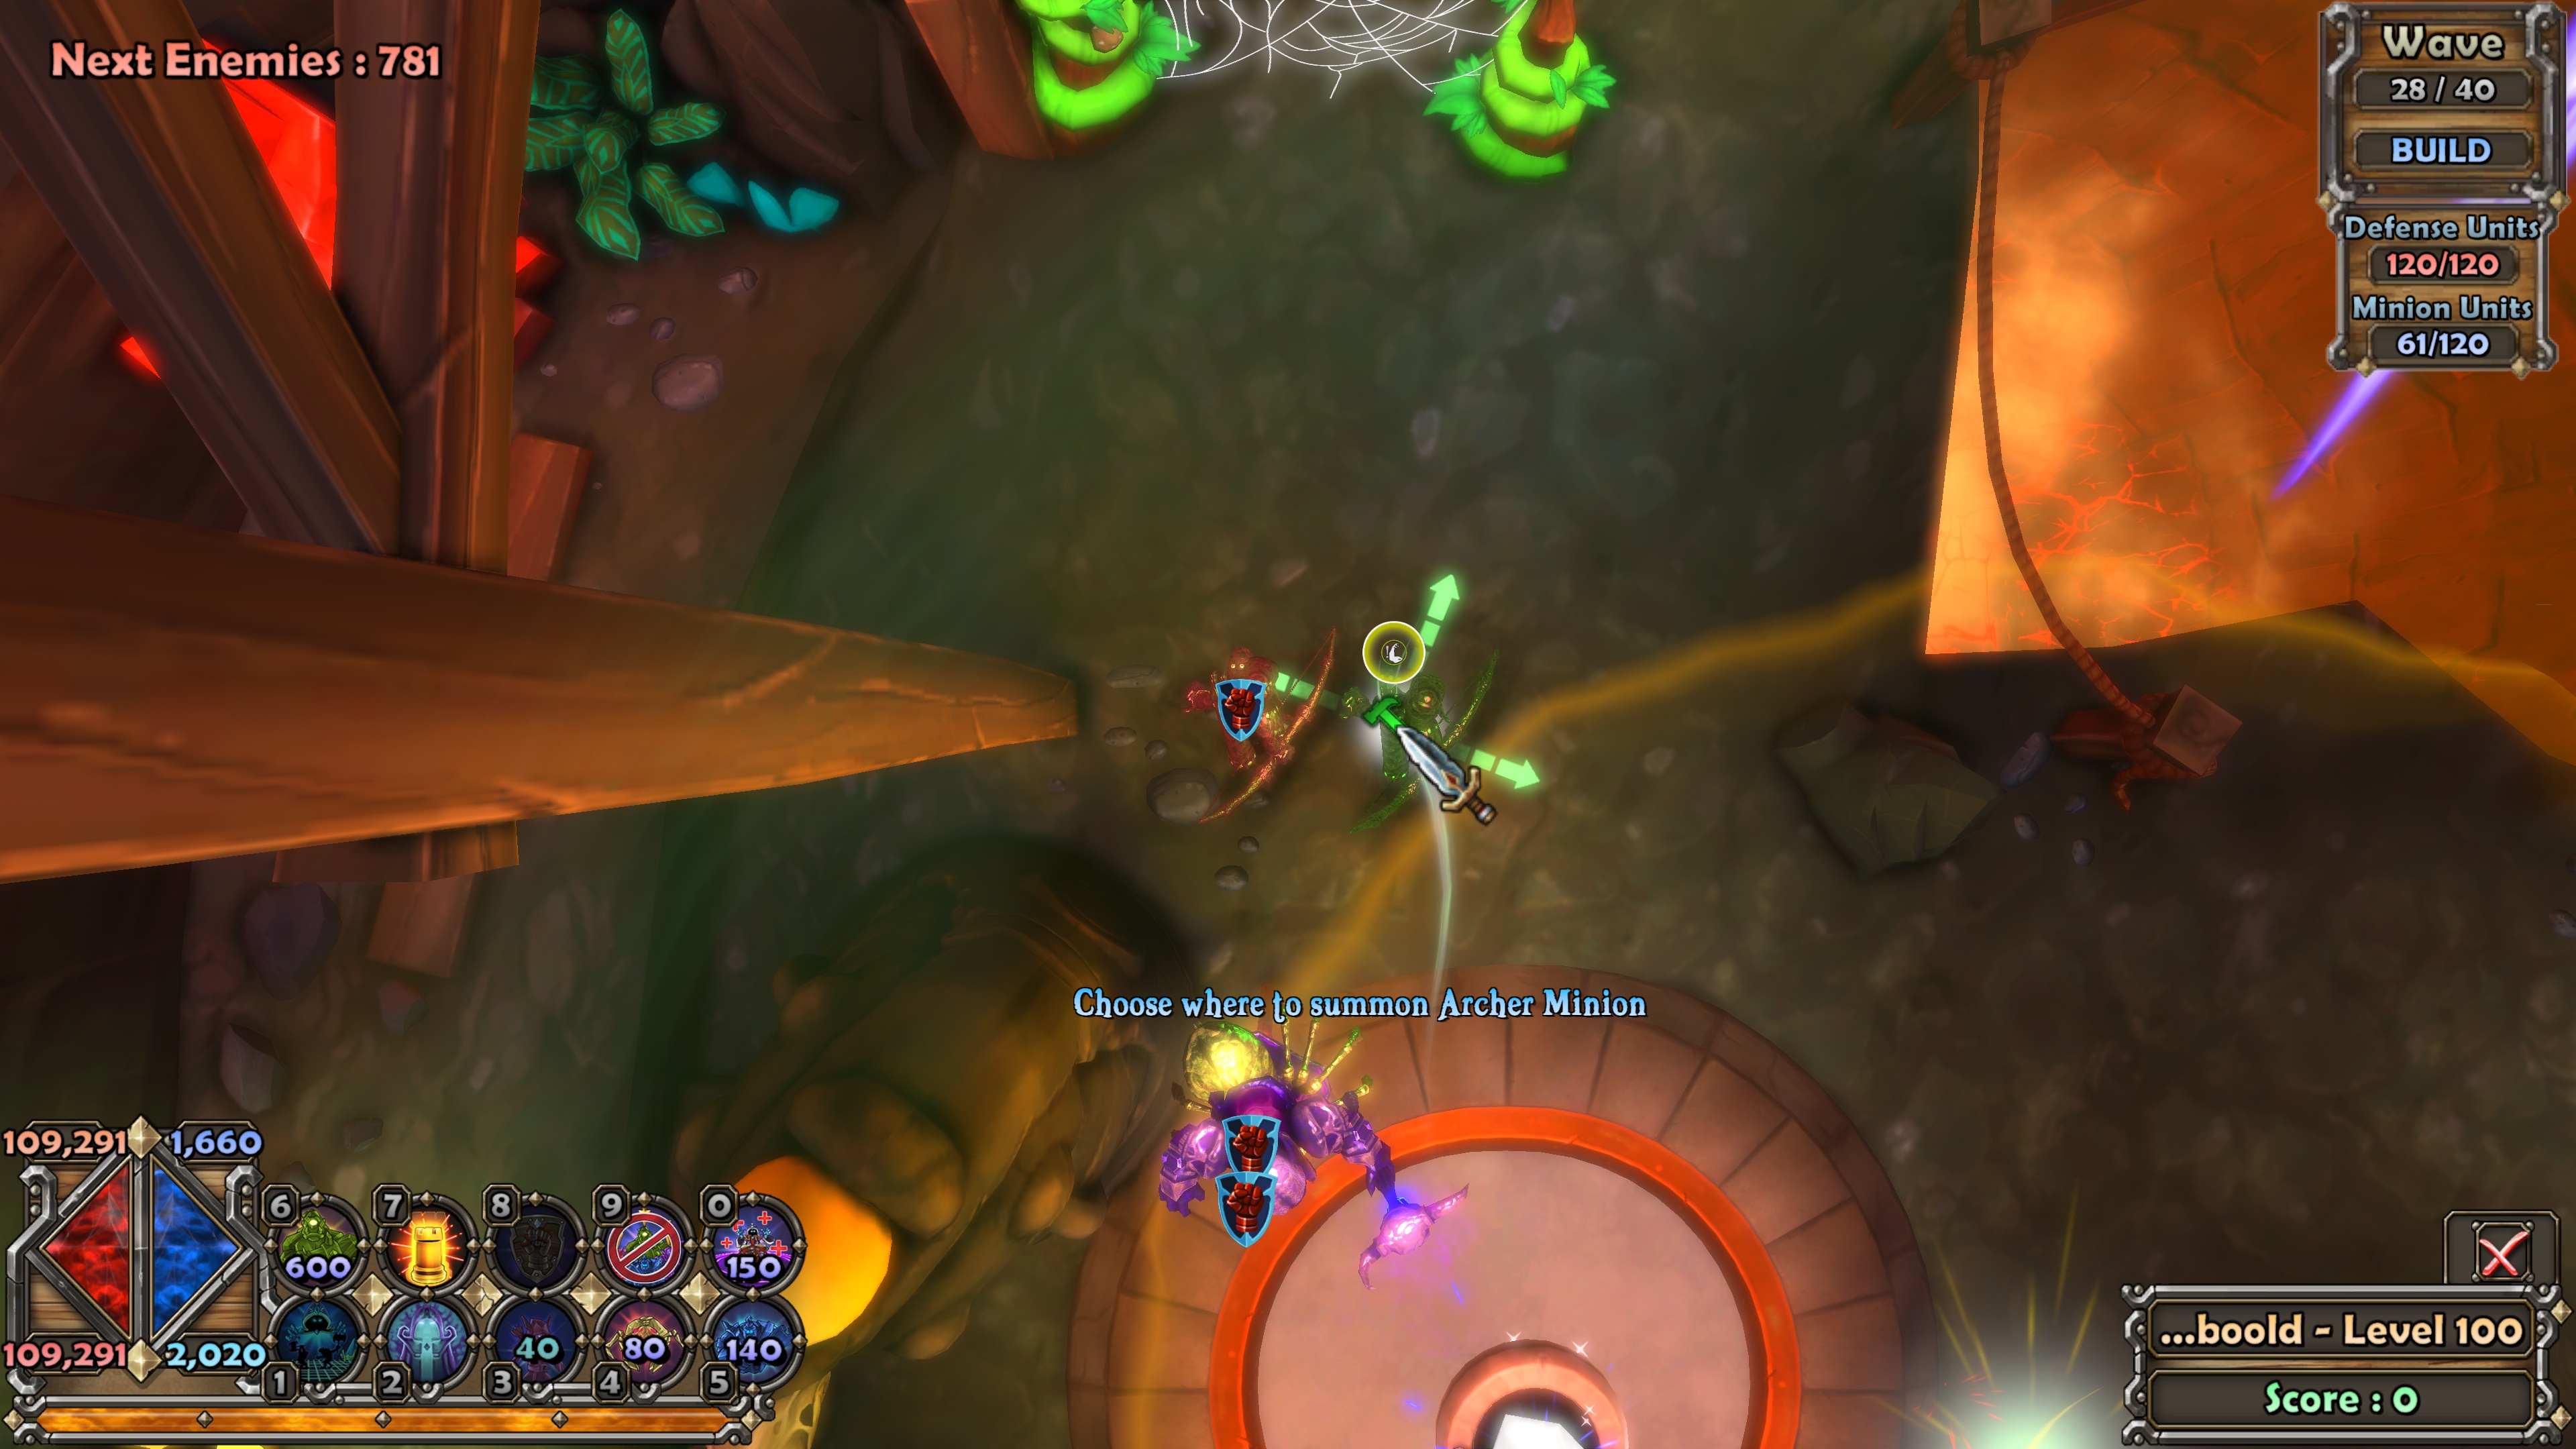
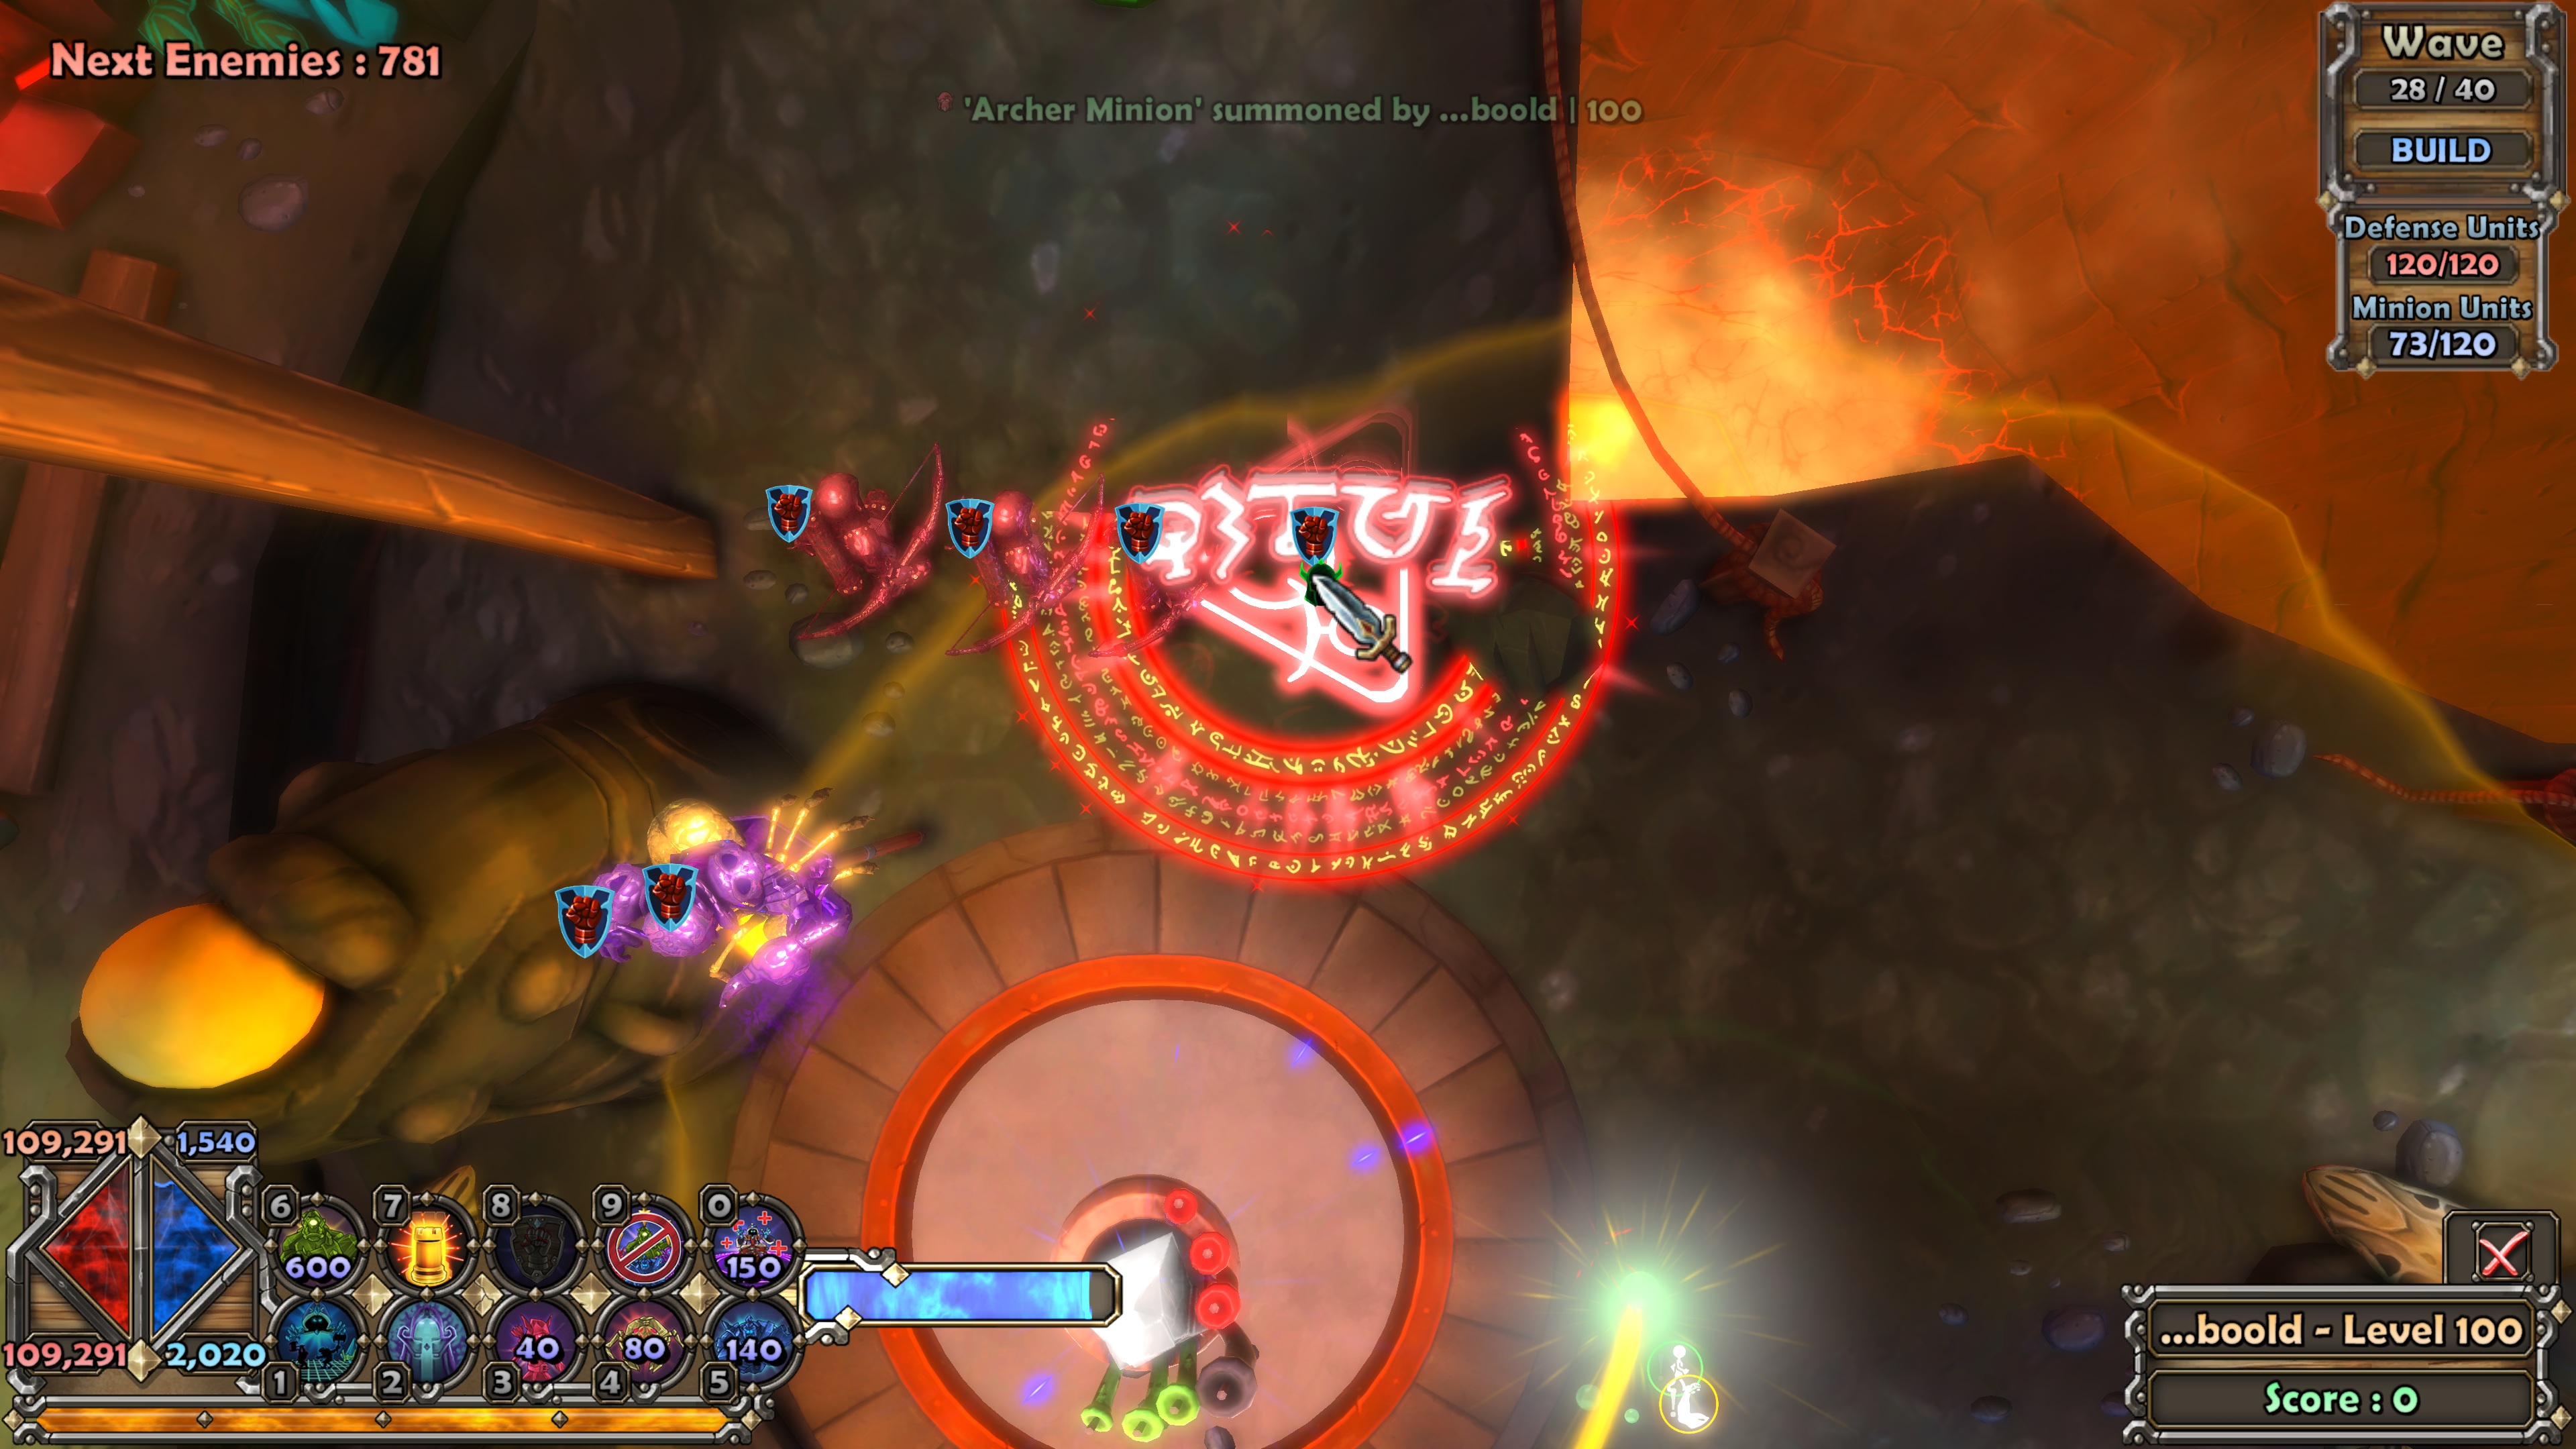
North mid lane:
This lane became very heavy with ogres after wave 35. Thus, the minions here used zero spacing to ensure that even if ogres "pile up", none of them will "flood over". An orc was used to achieve a total blockade of the entire path, with a 4th archer walked there to seal the last gap.
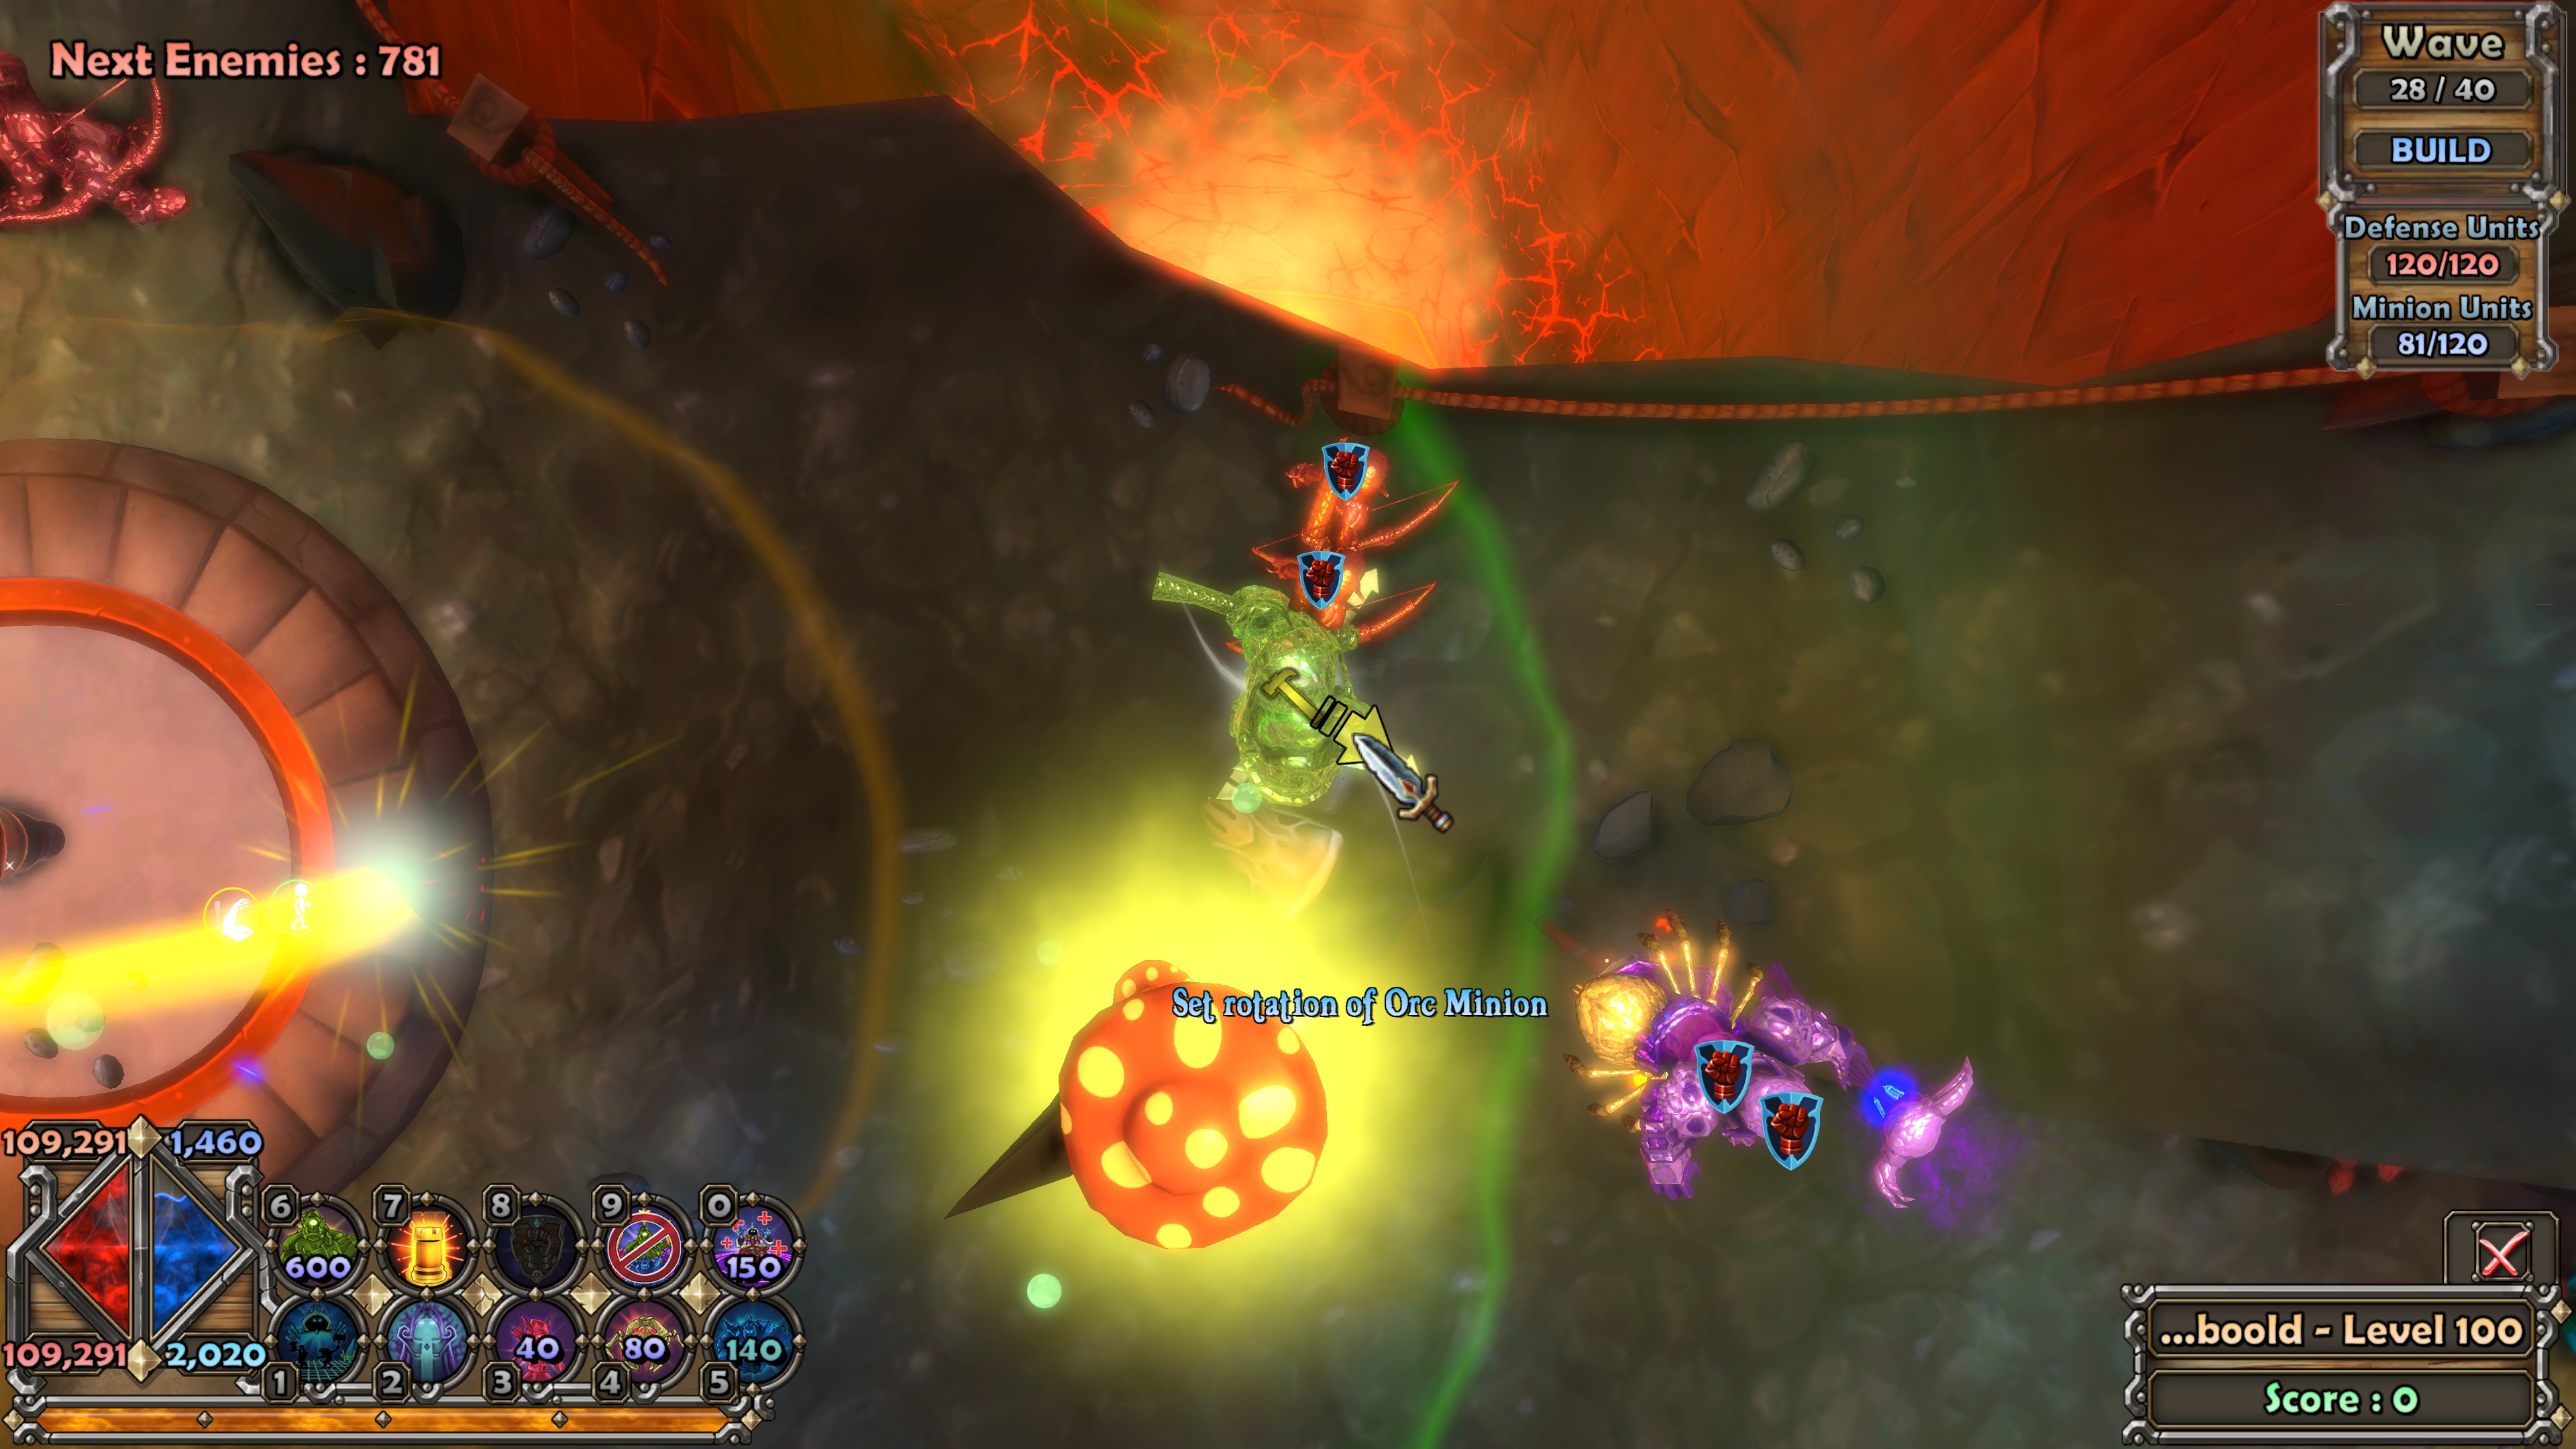
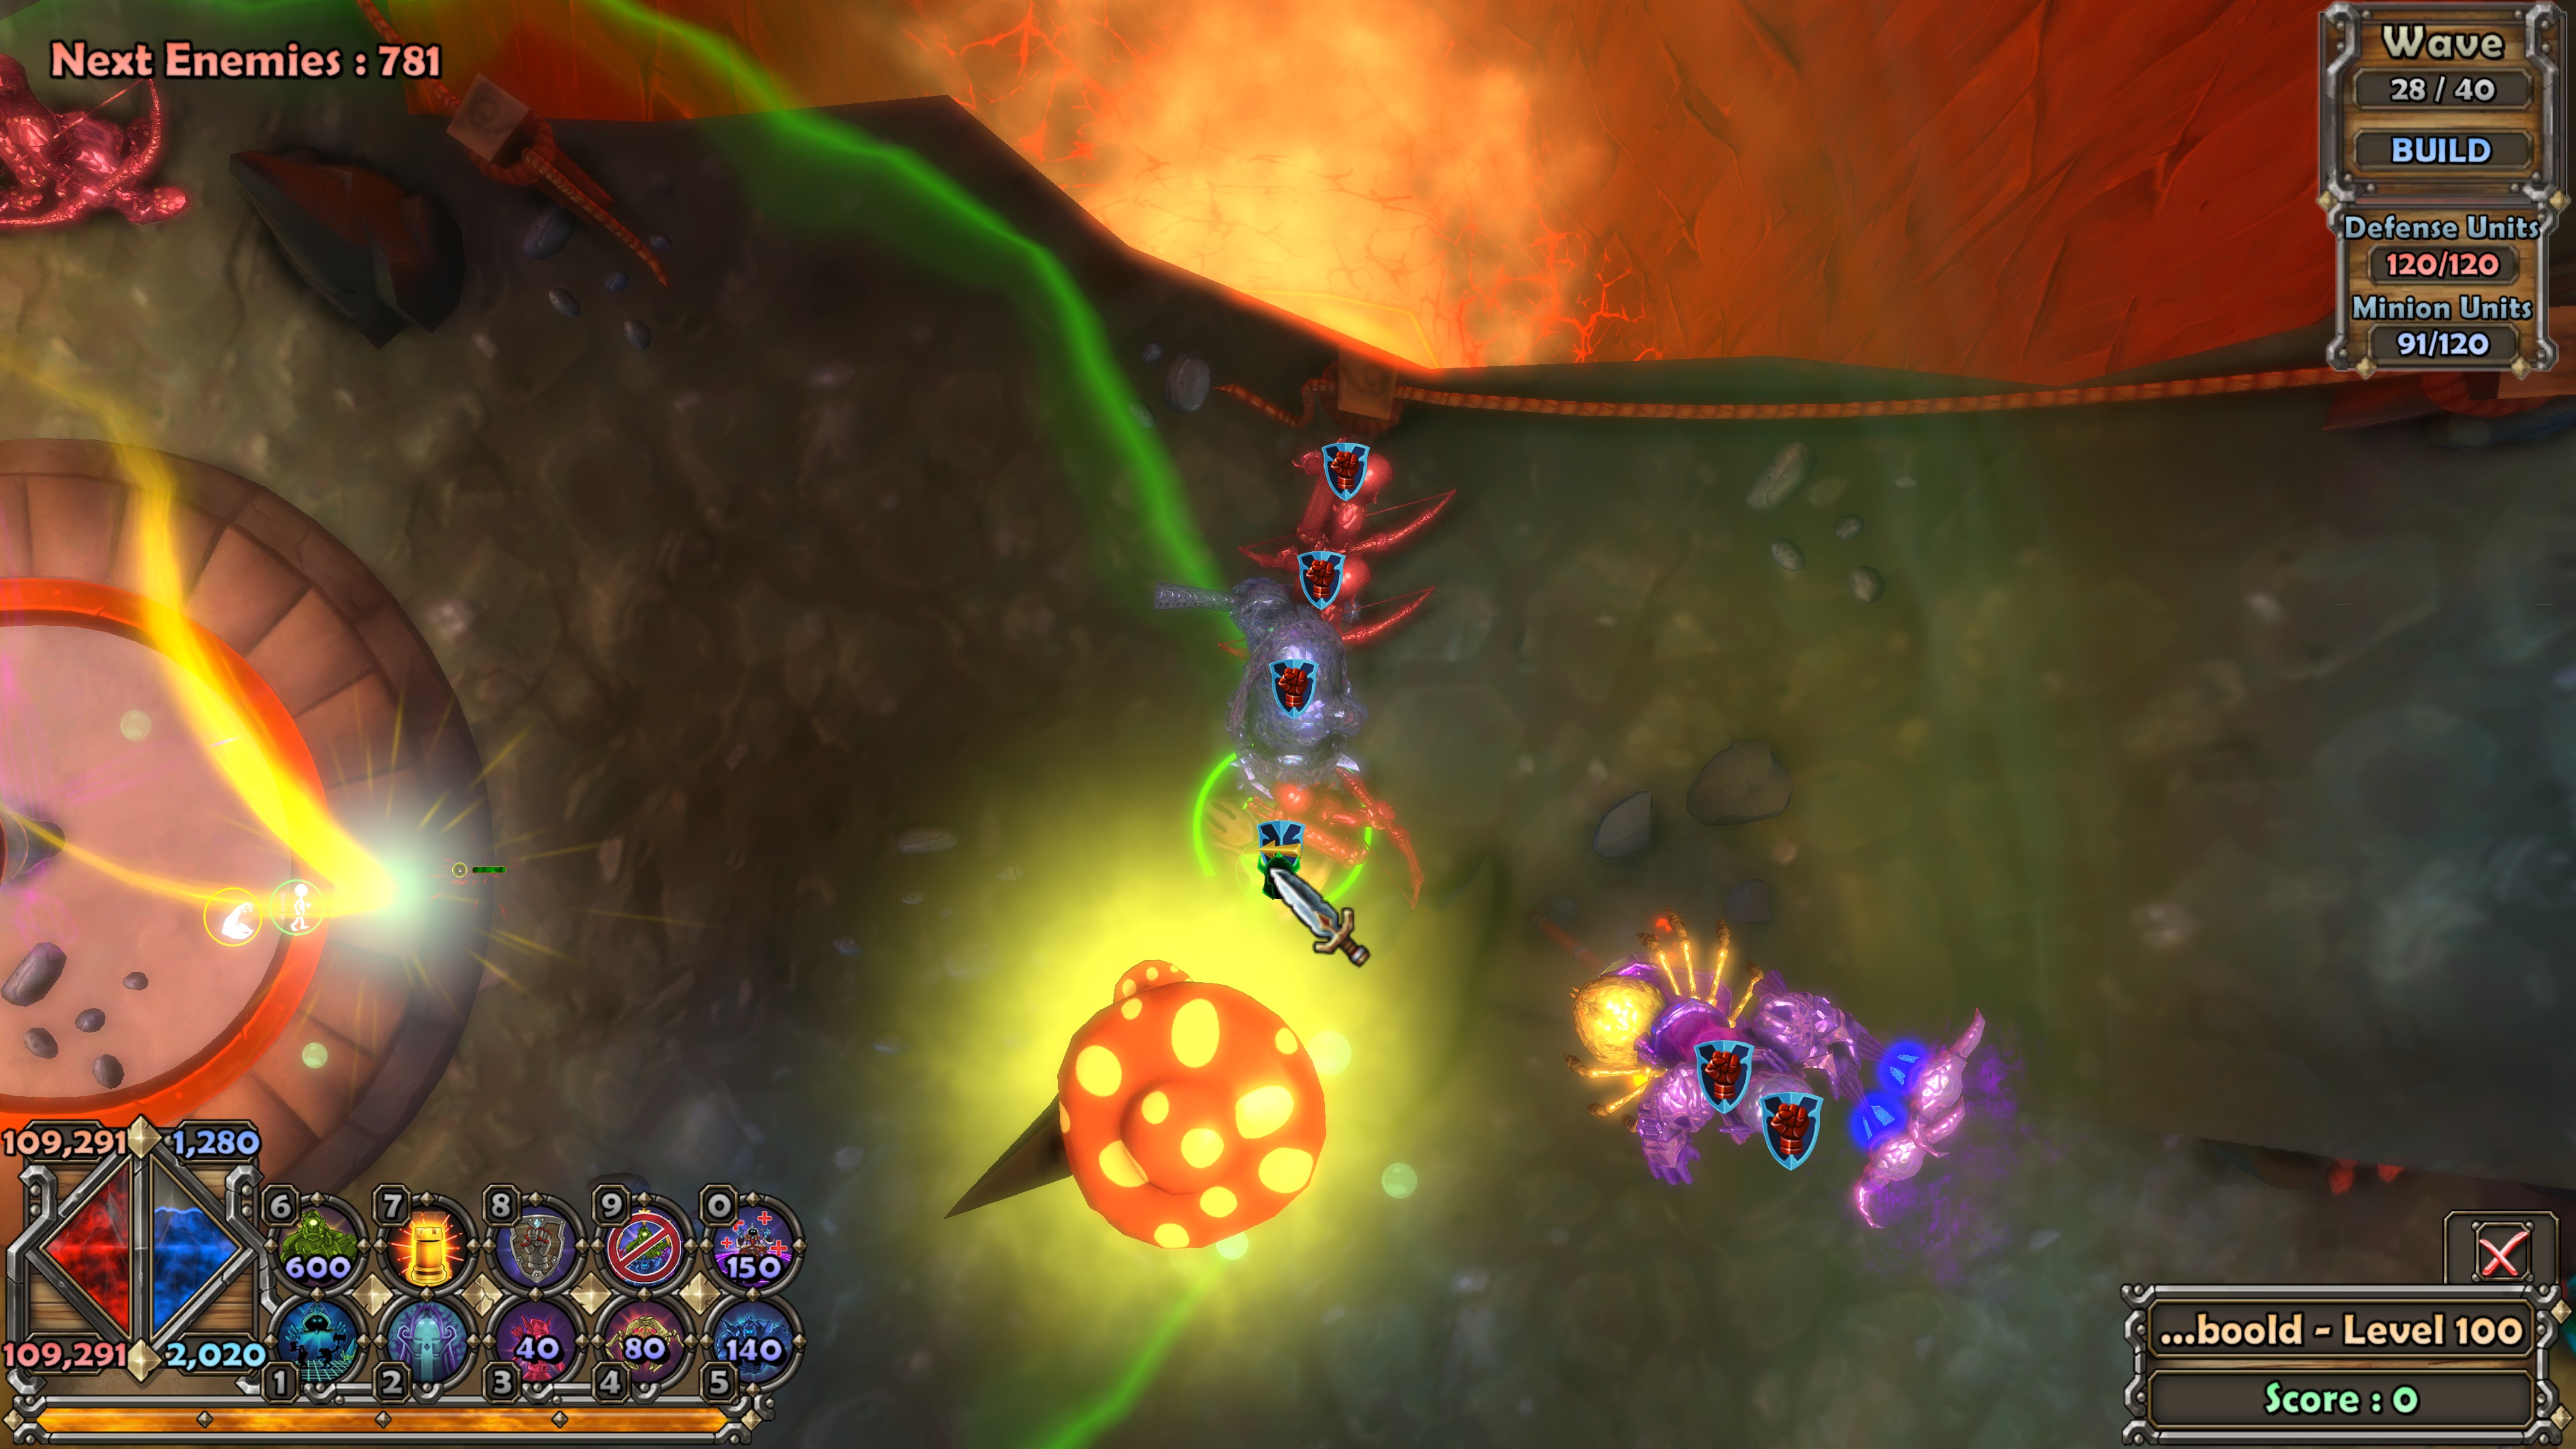
South:
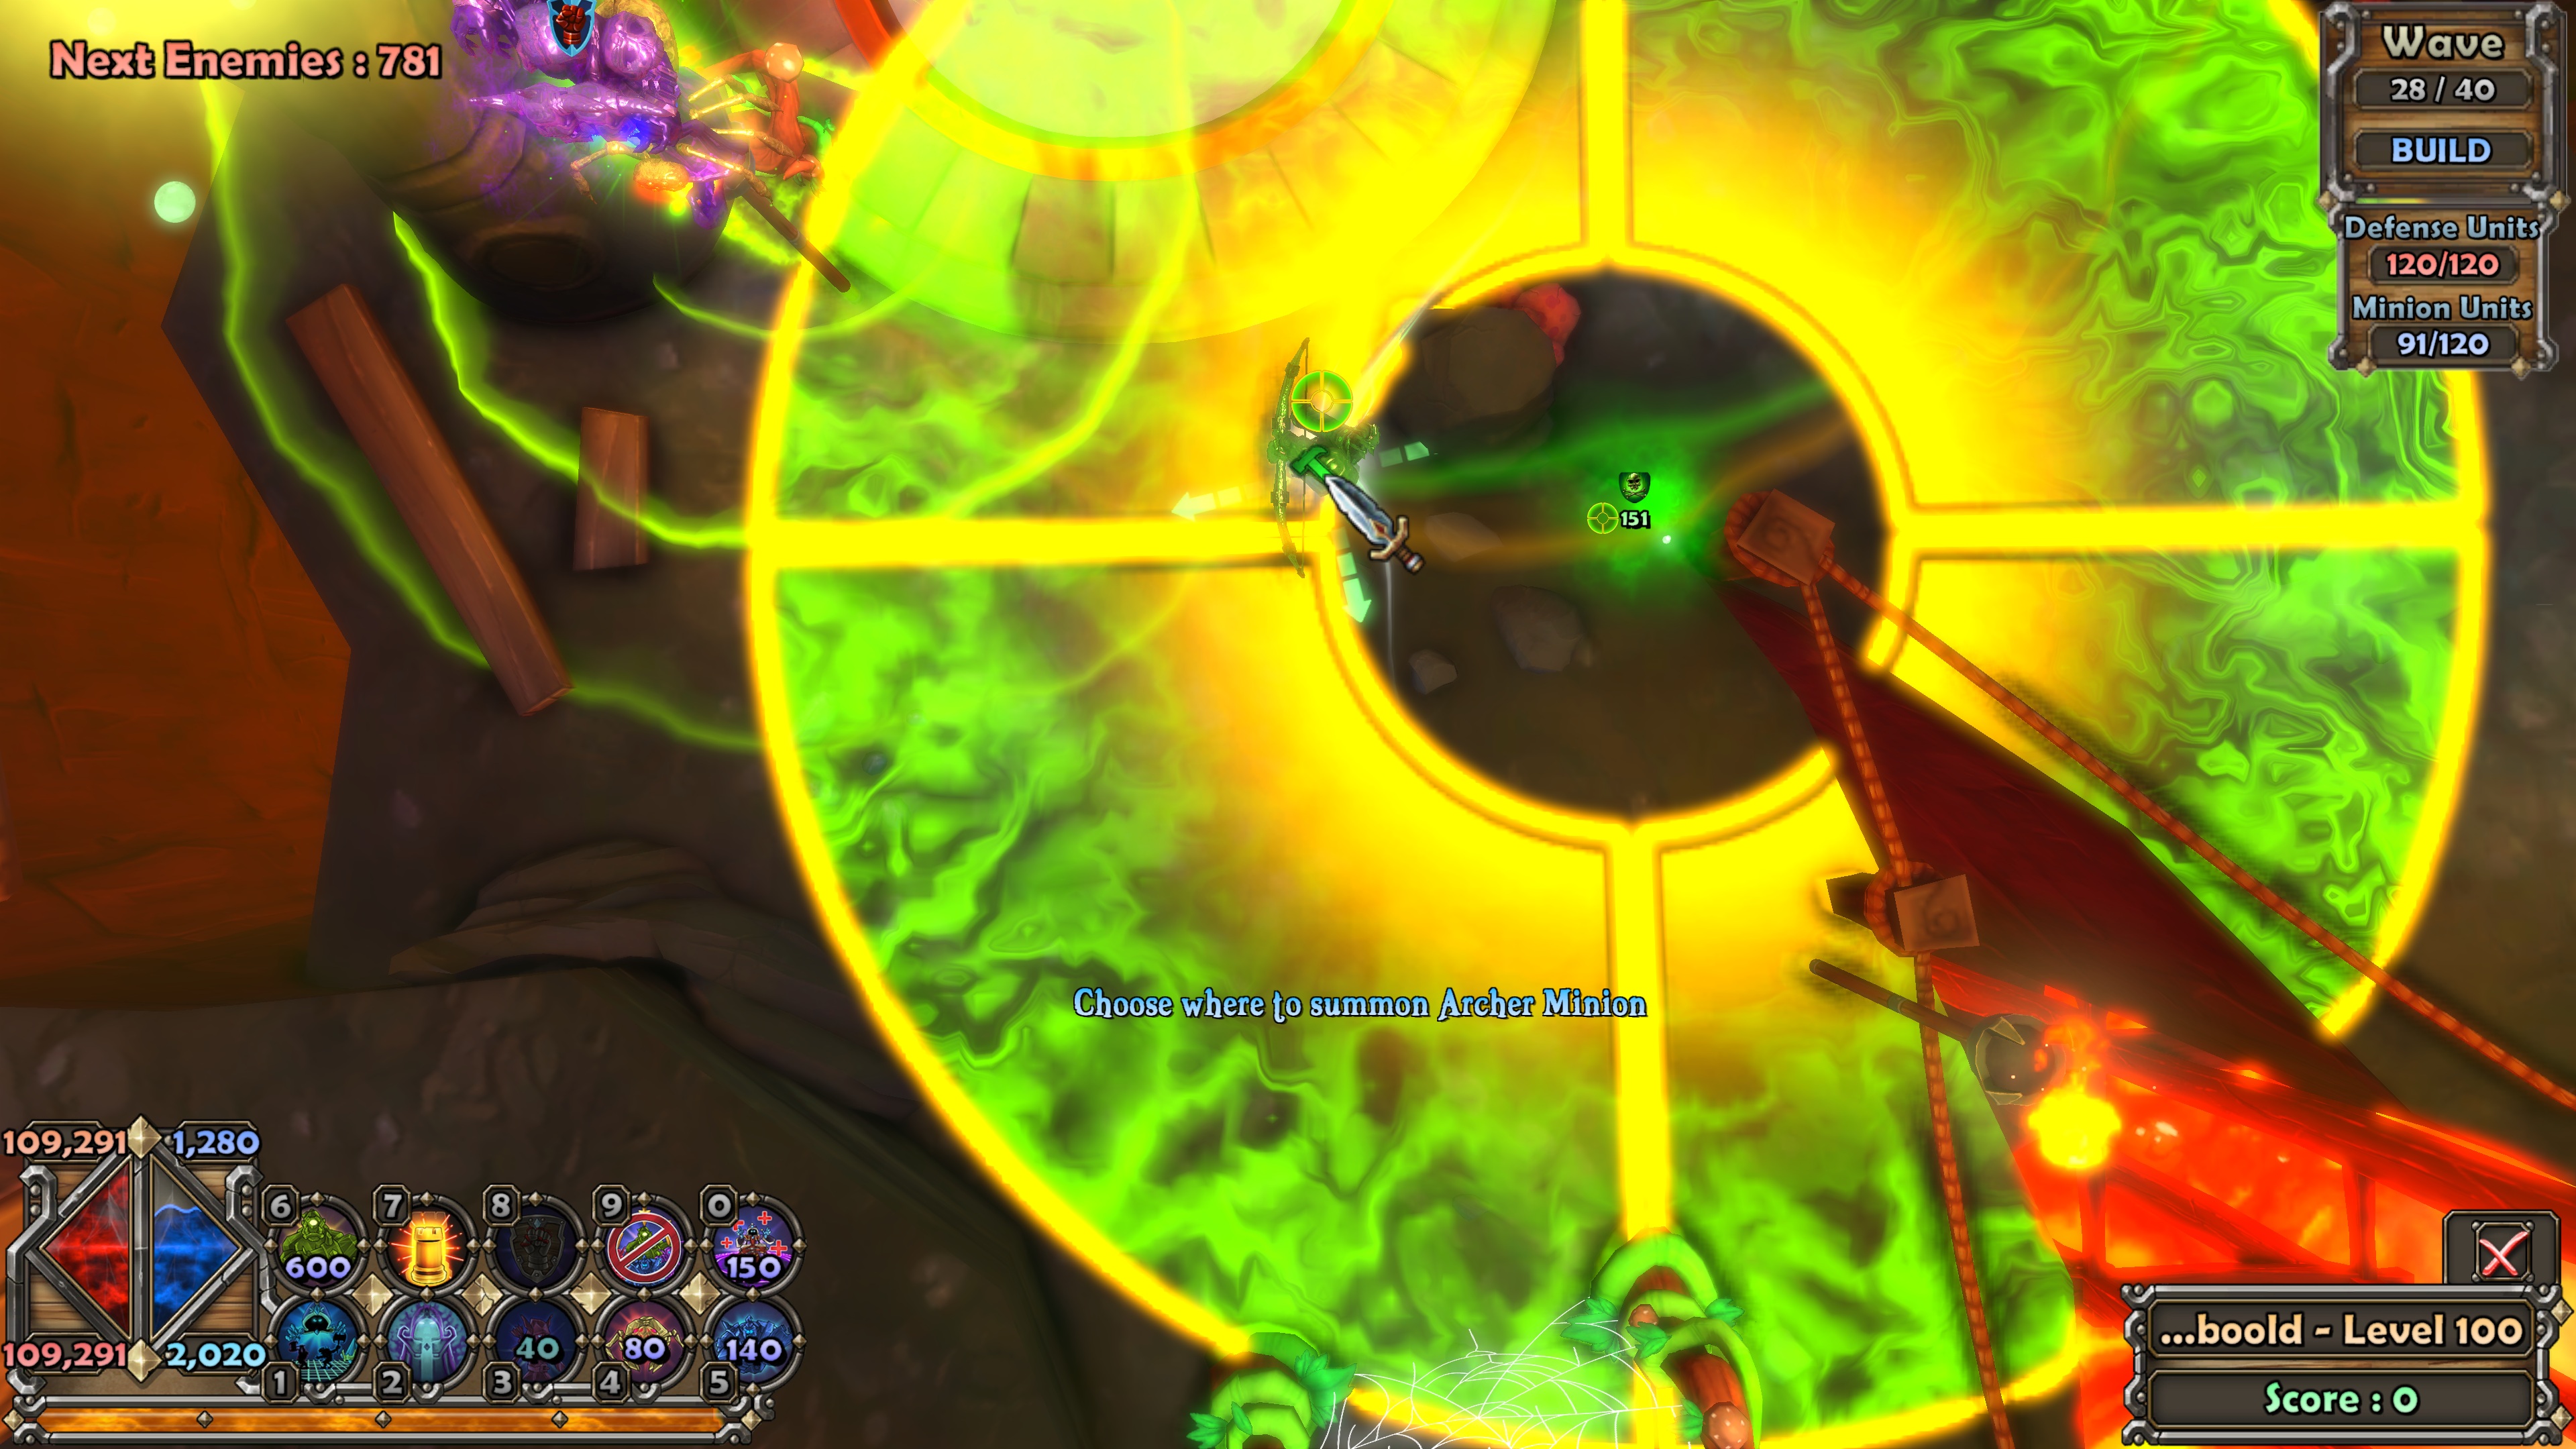
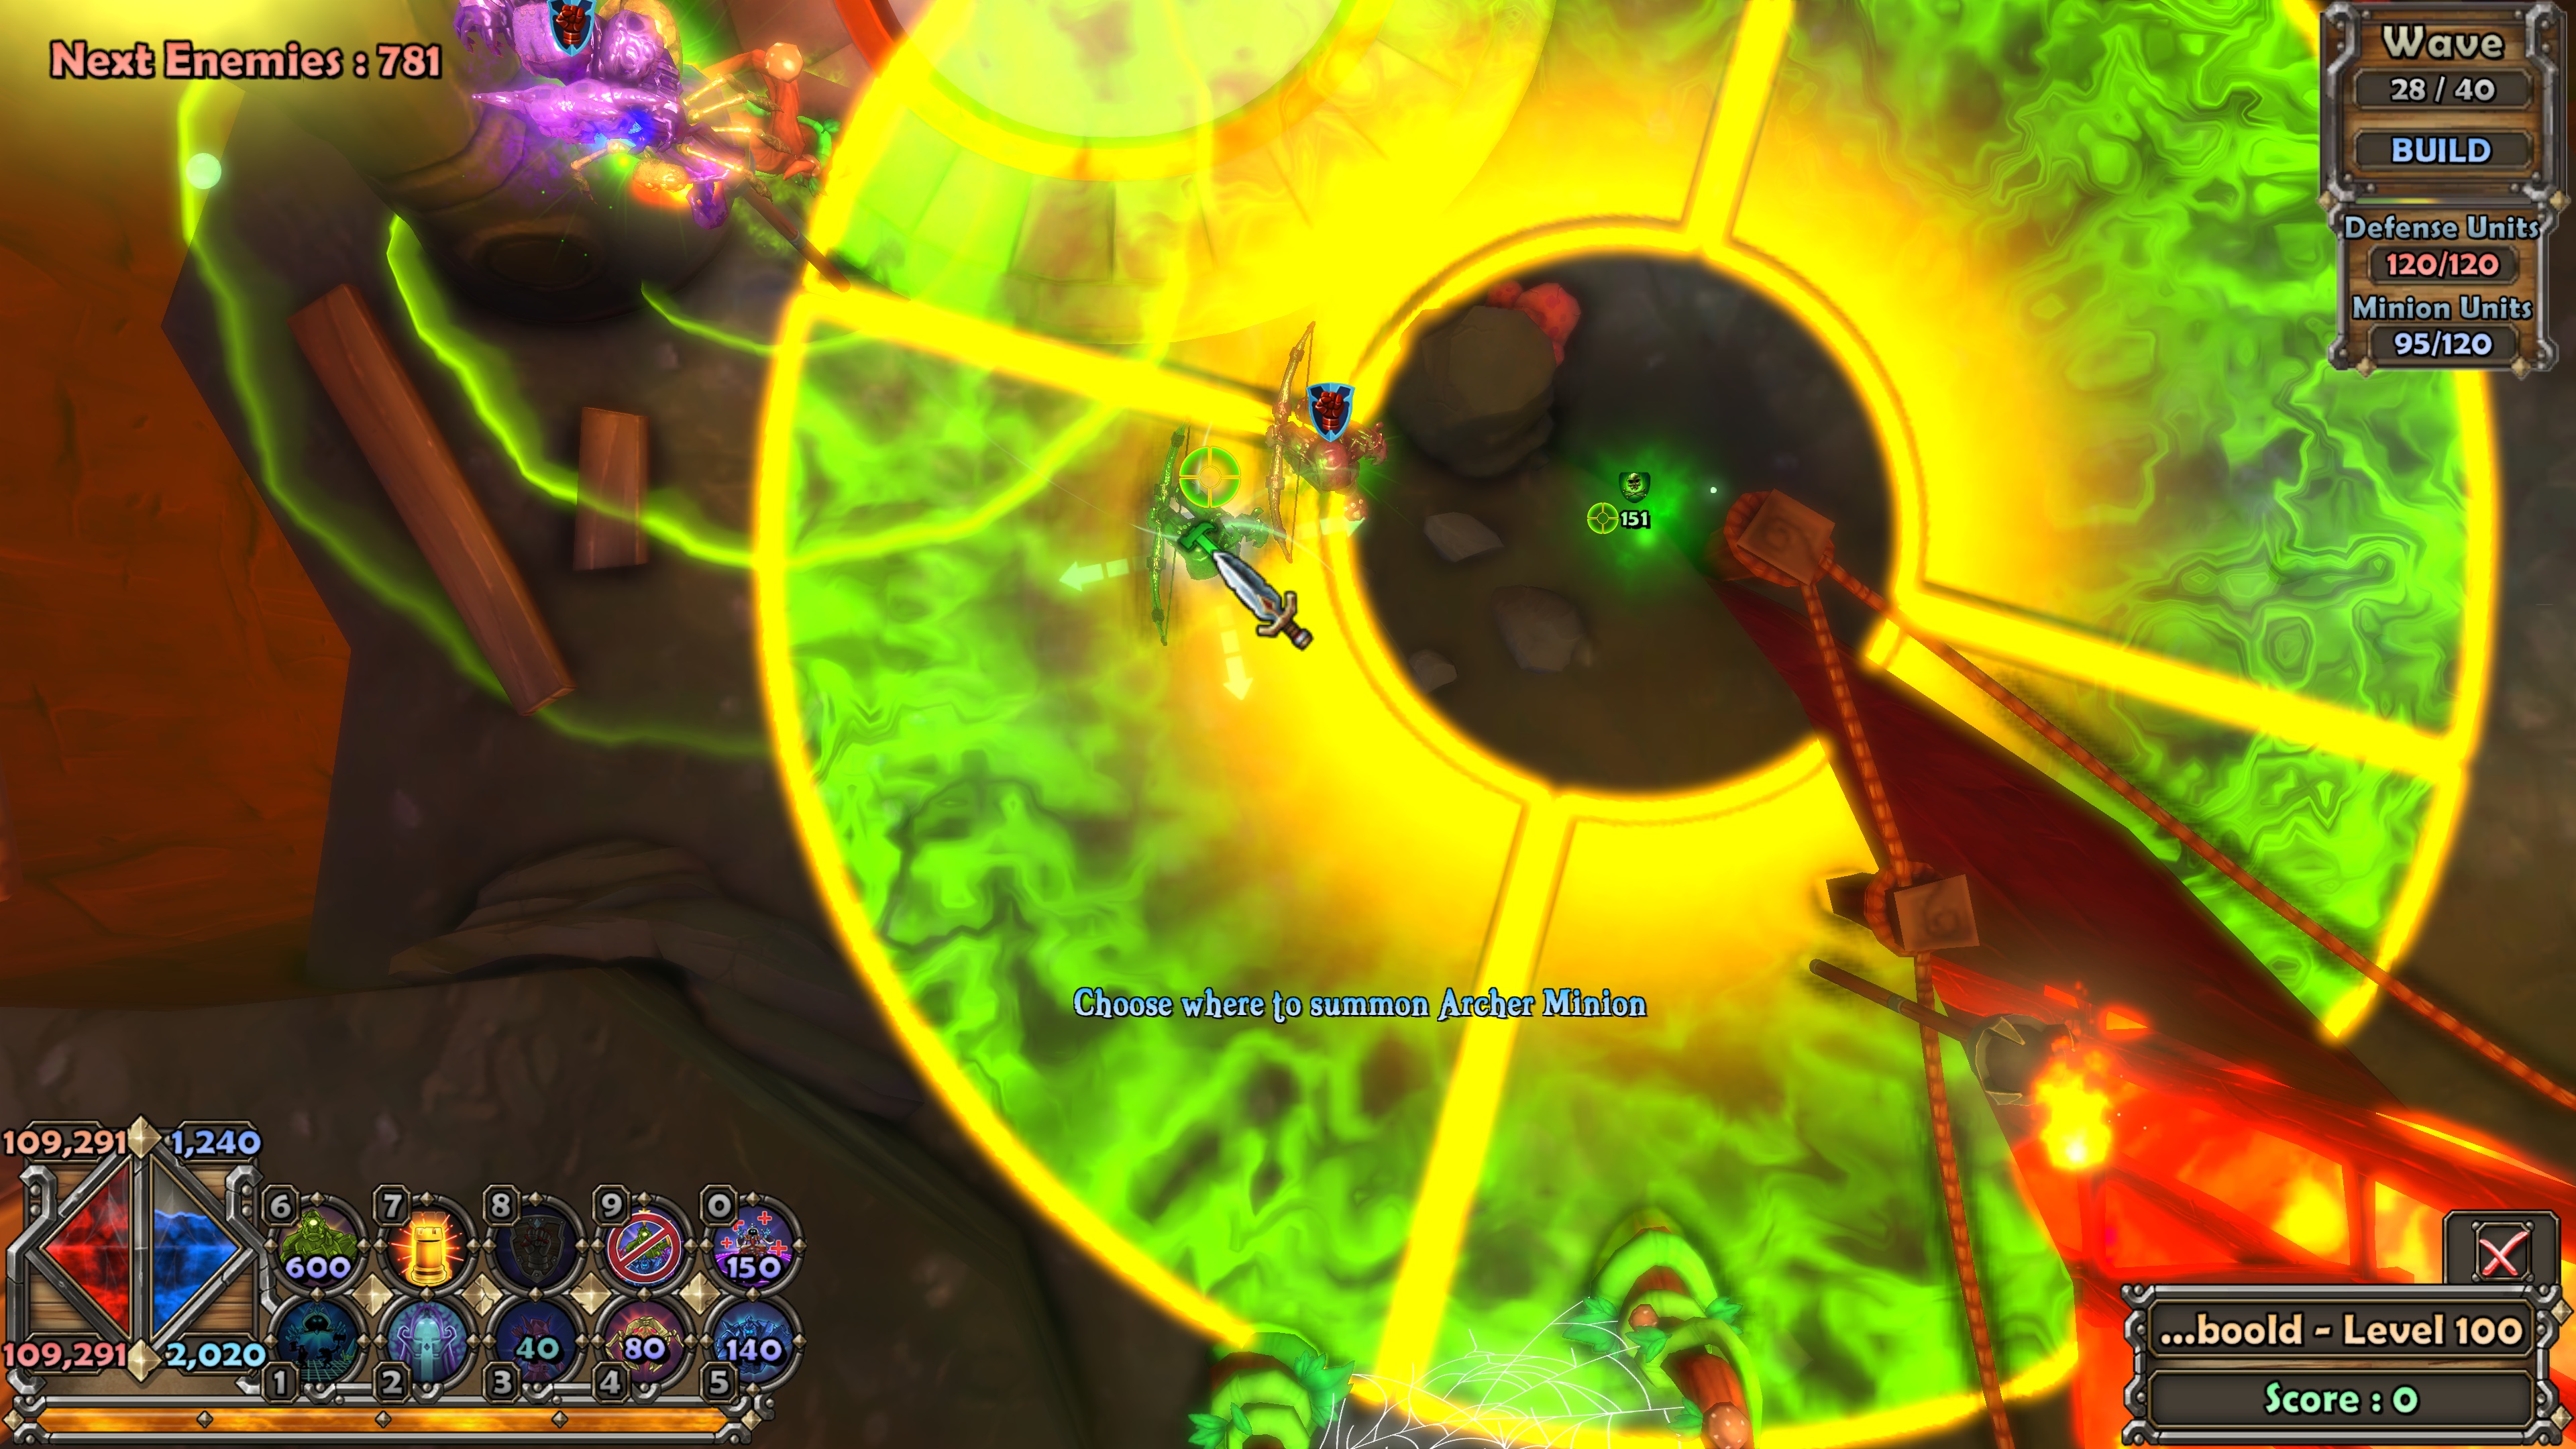
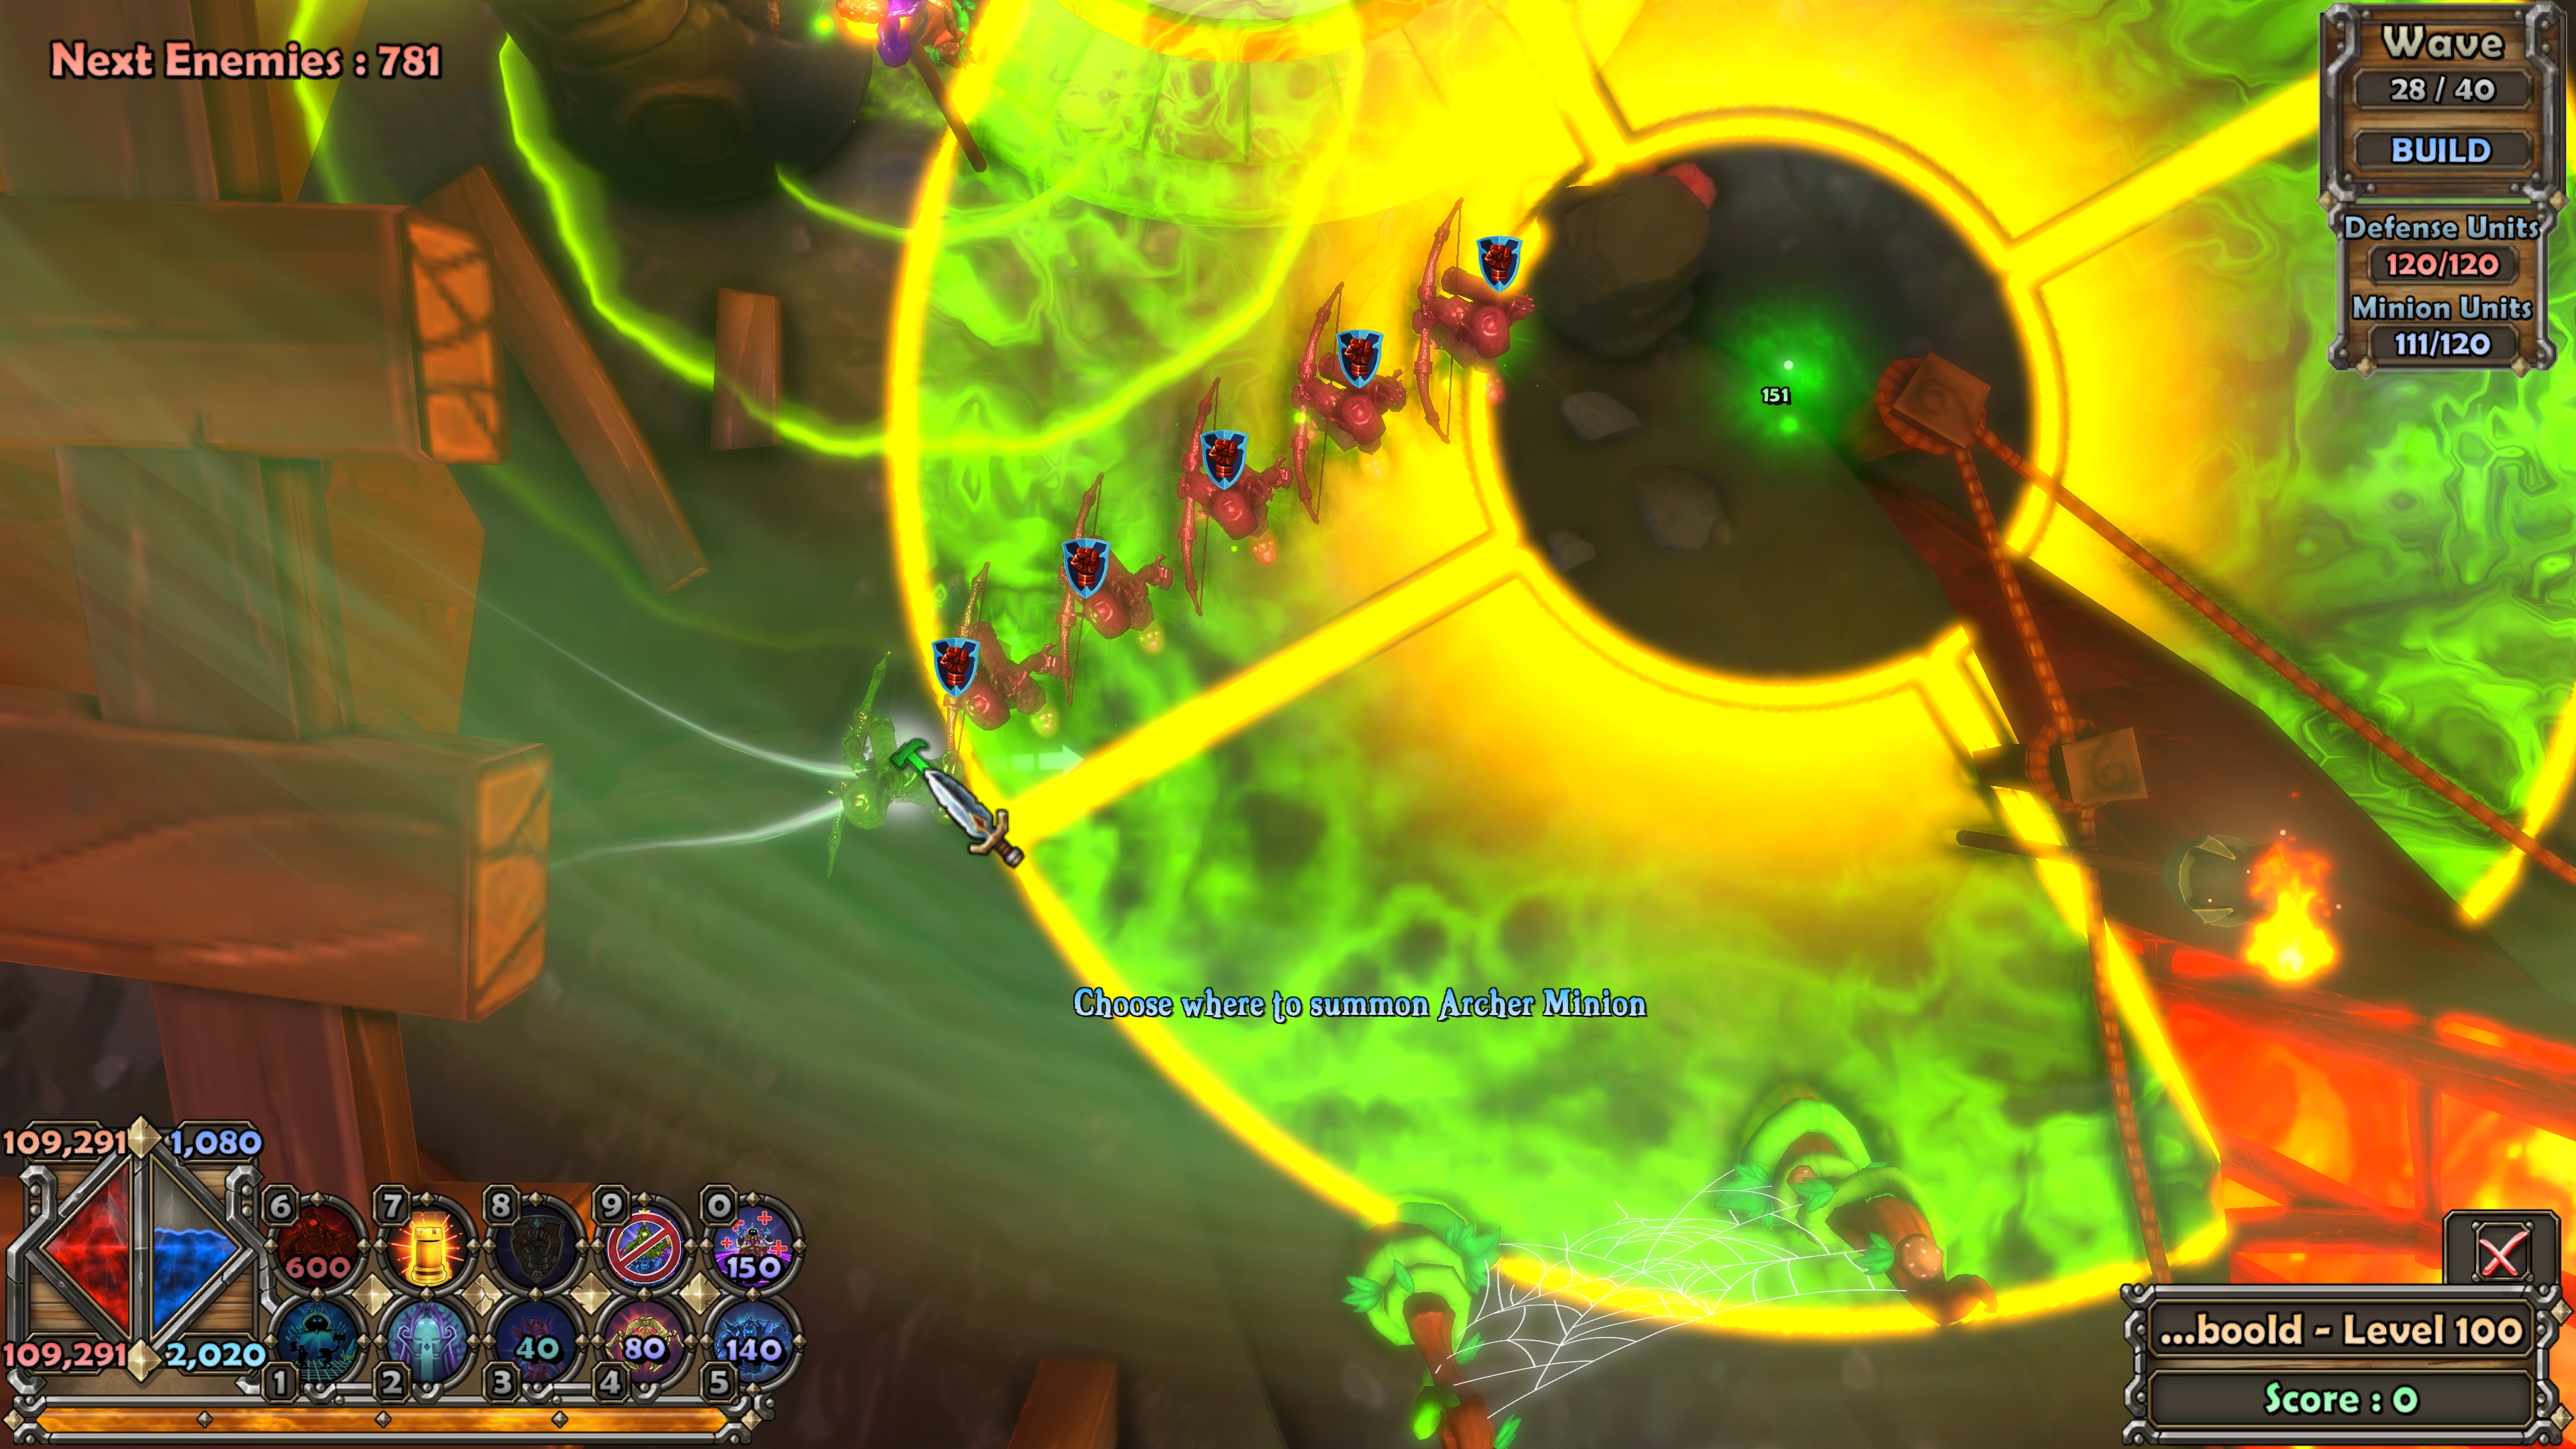
A spider was built using a wall summoner (tower hp) to further seal the gap behind the rock, so that ogres would not easily "climb over" there.
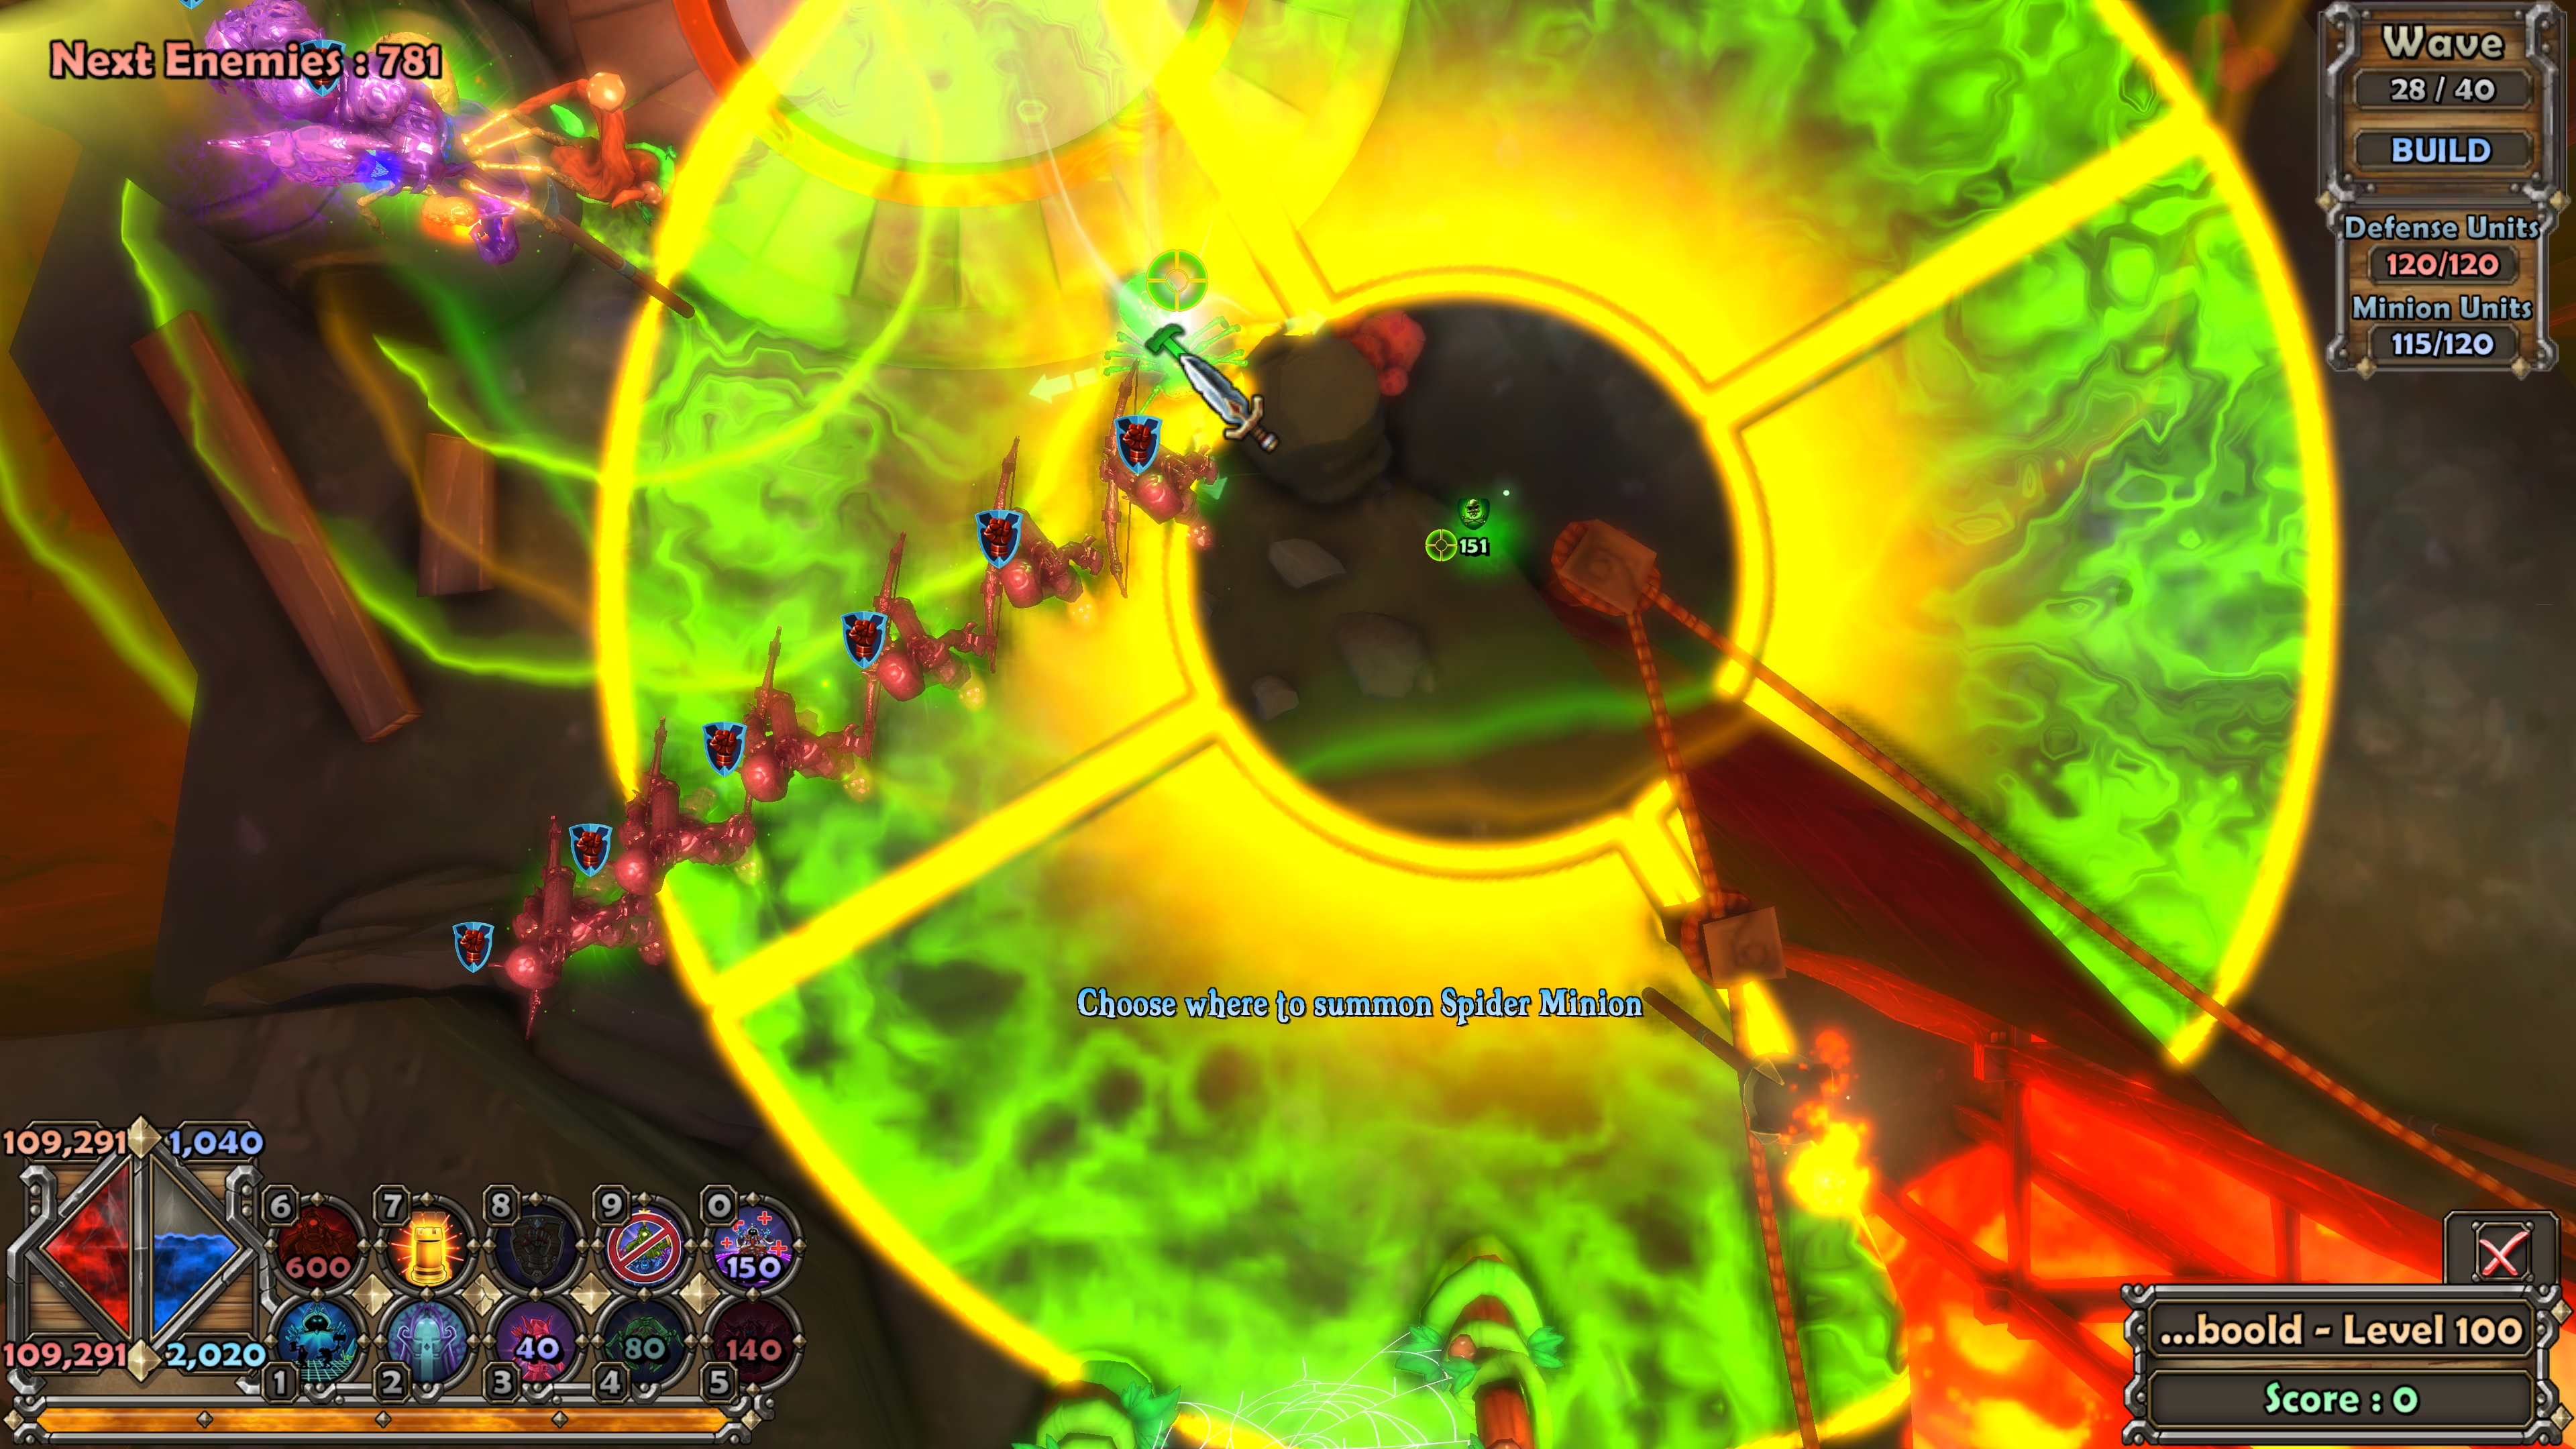 At this point, the build is complete :)
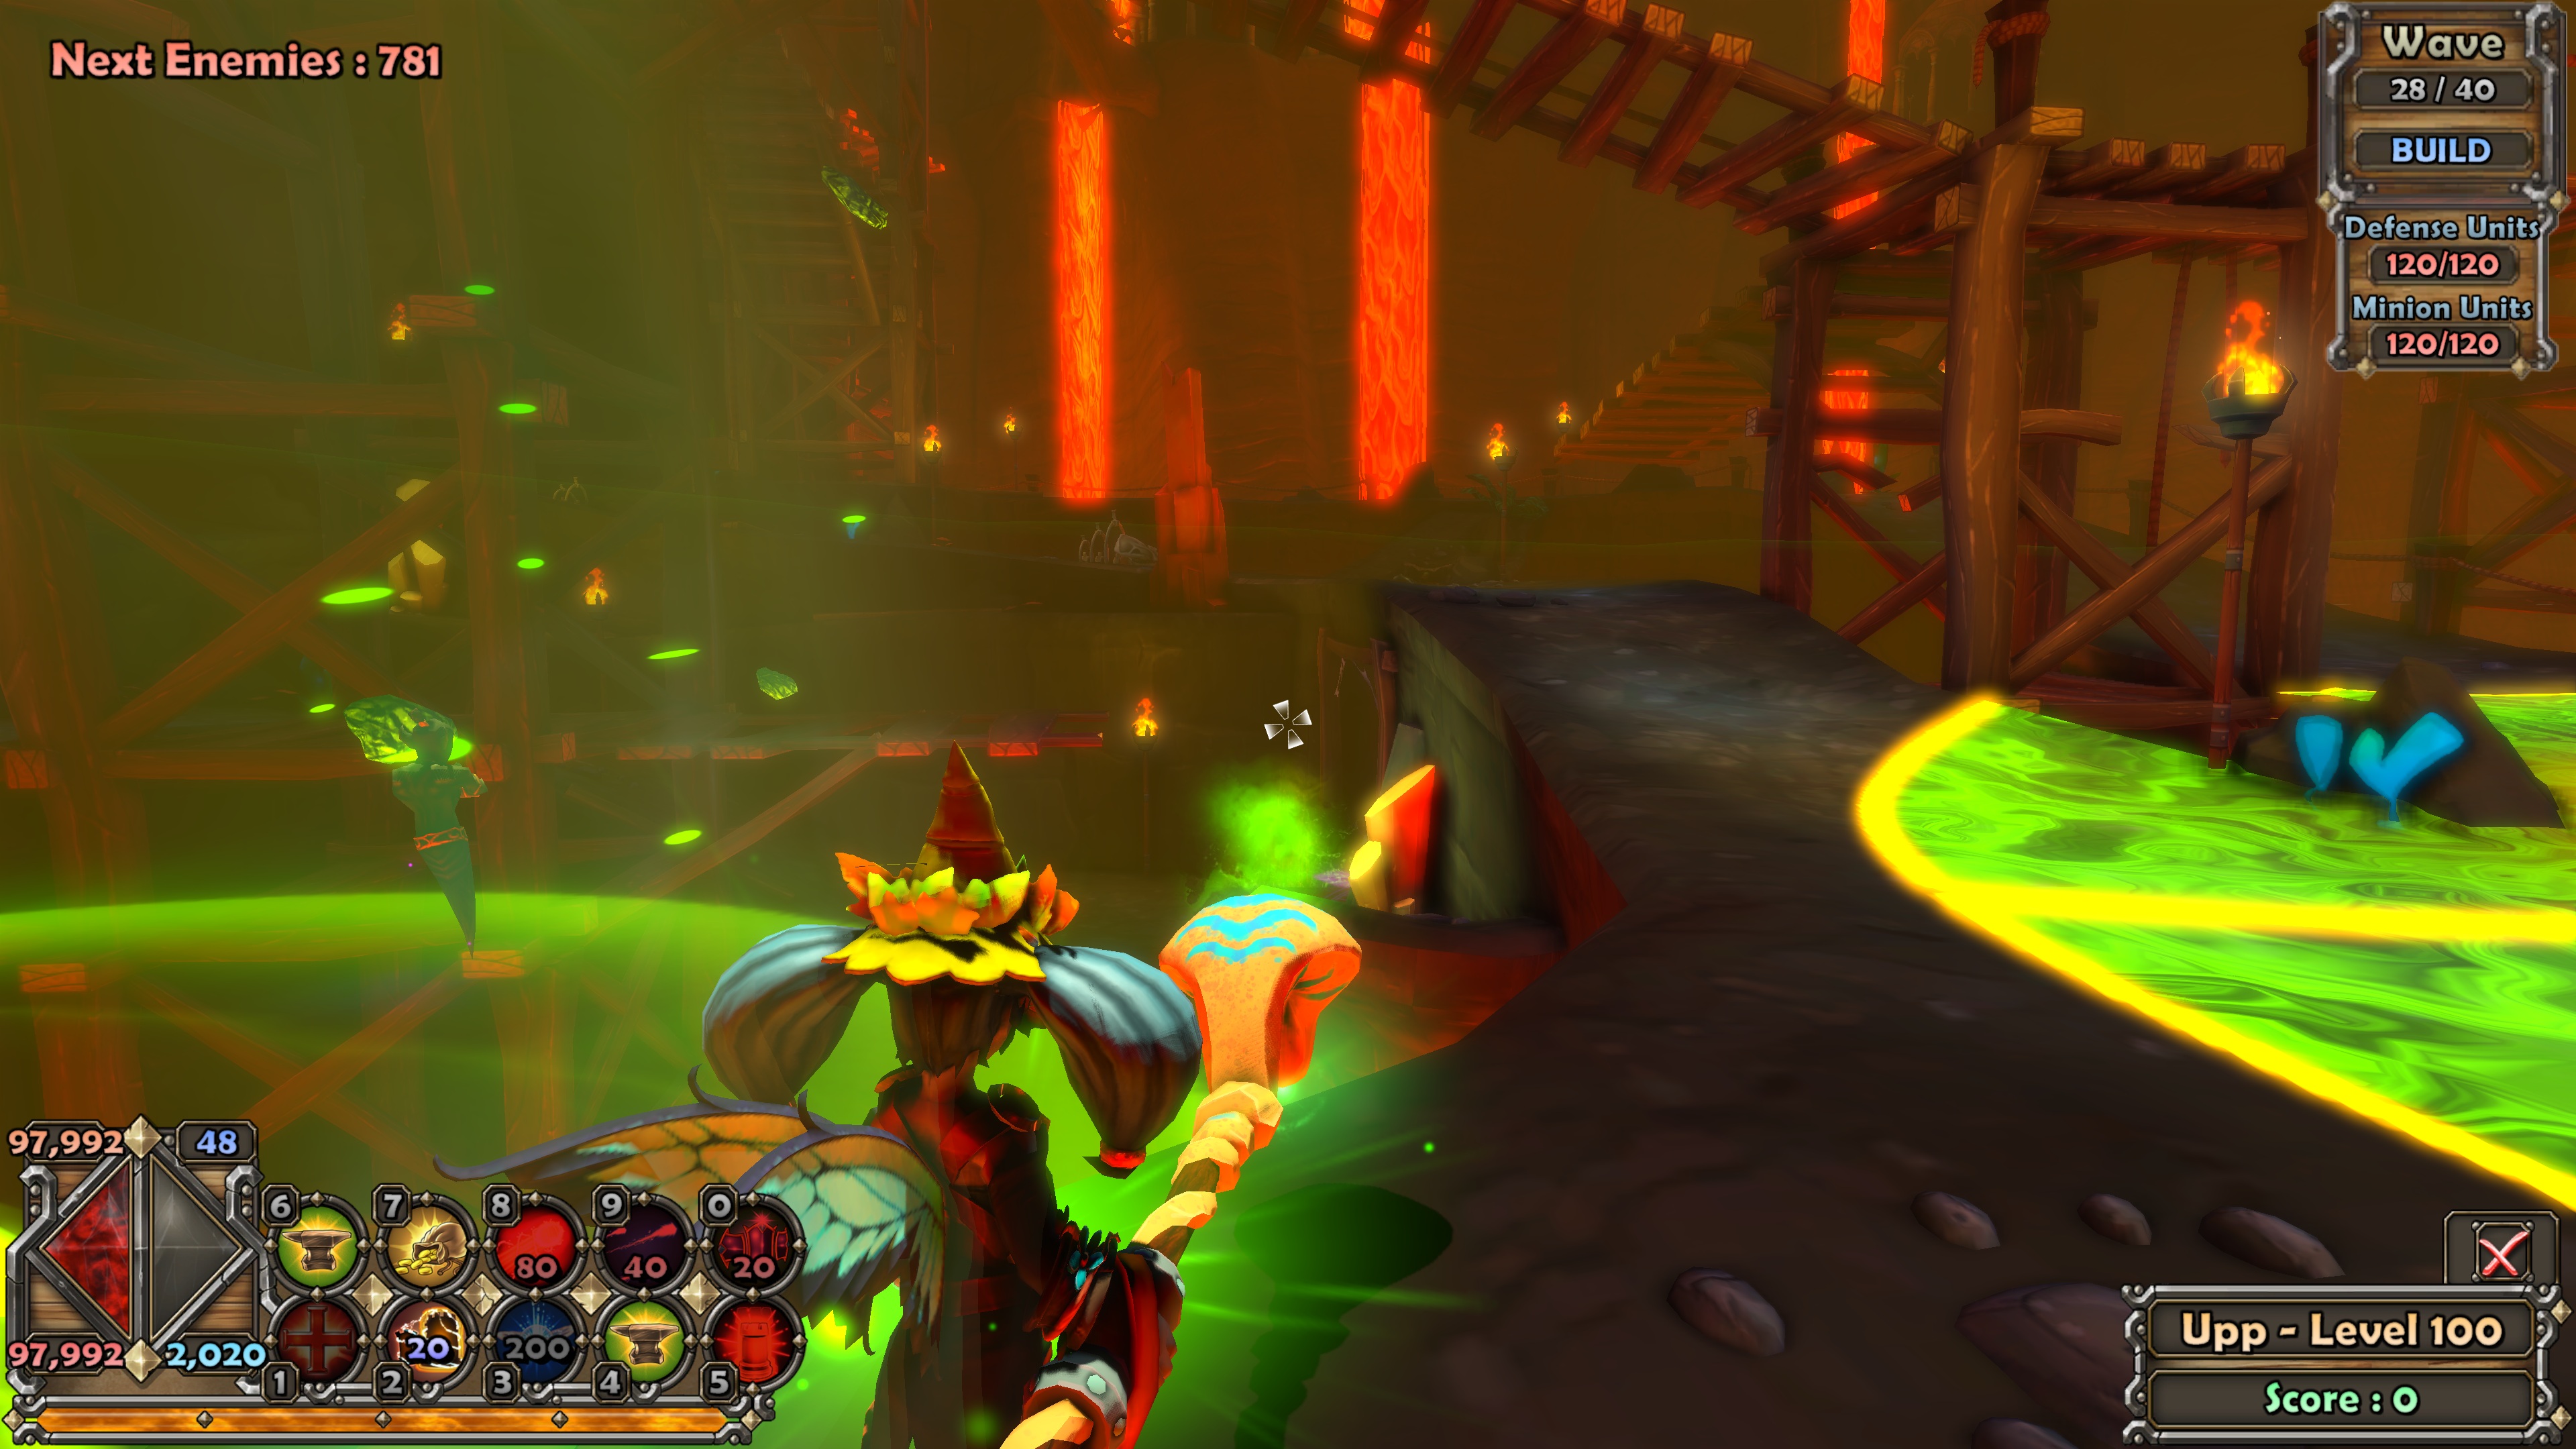
 Just max the pylon and buff beam at the centre, and you're ready to start upgrading in waves.
Below are a few safe(r) spots when doing so:
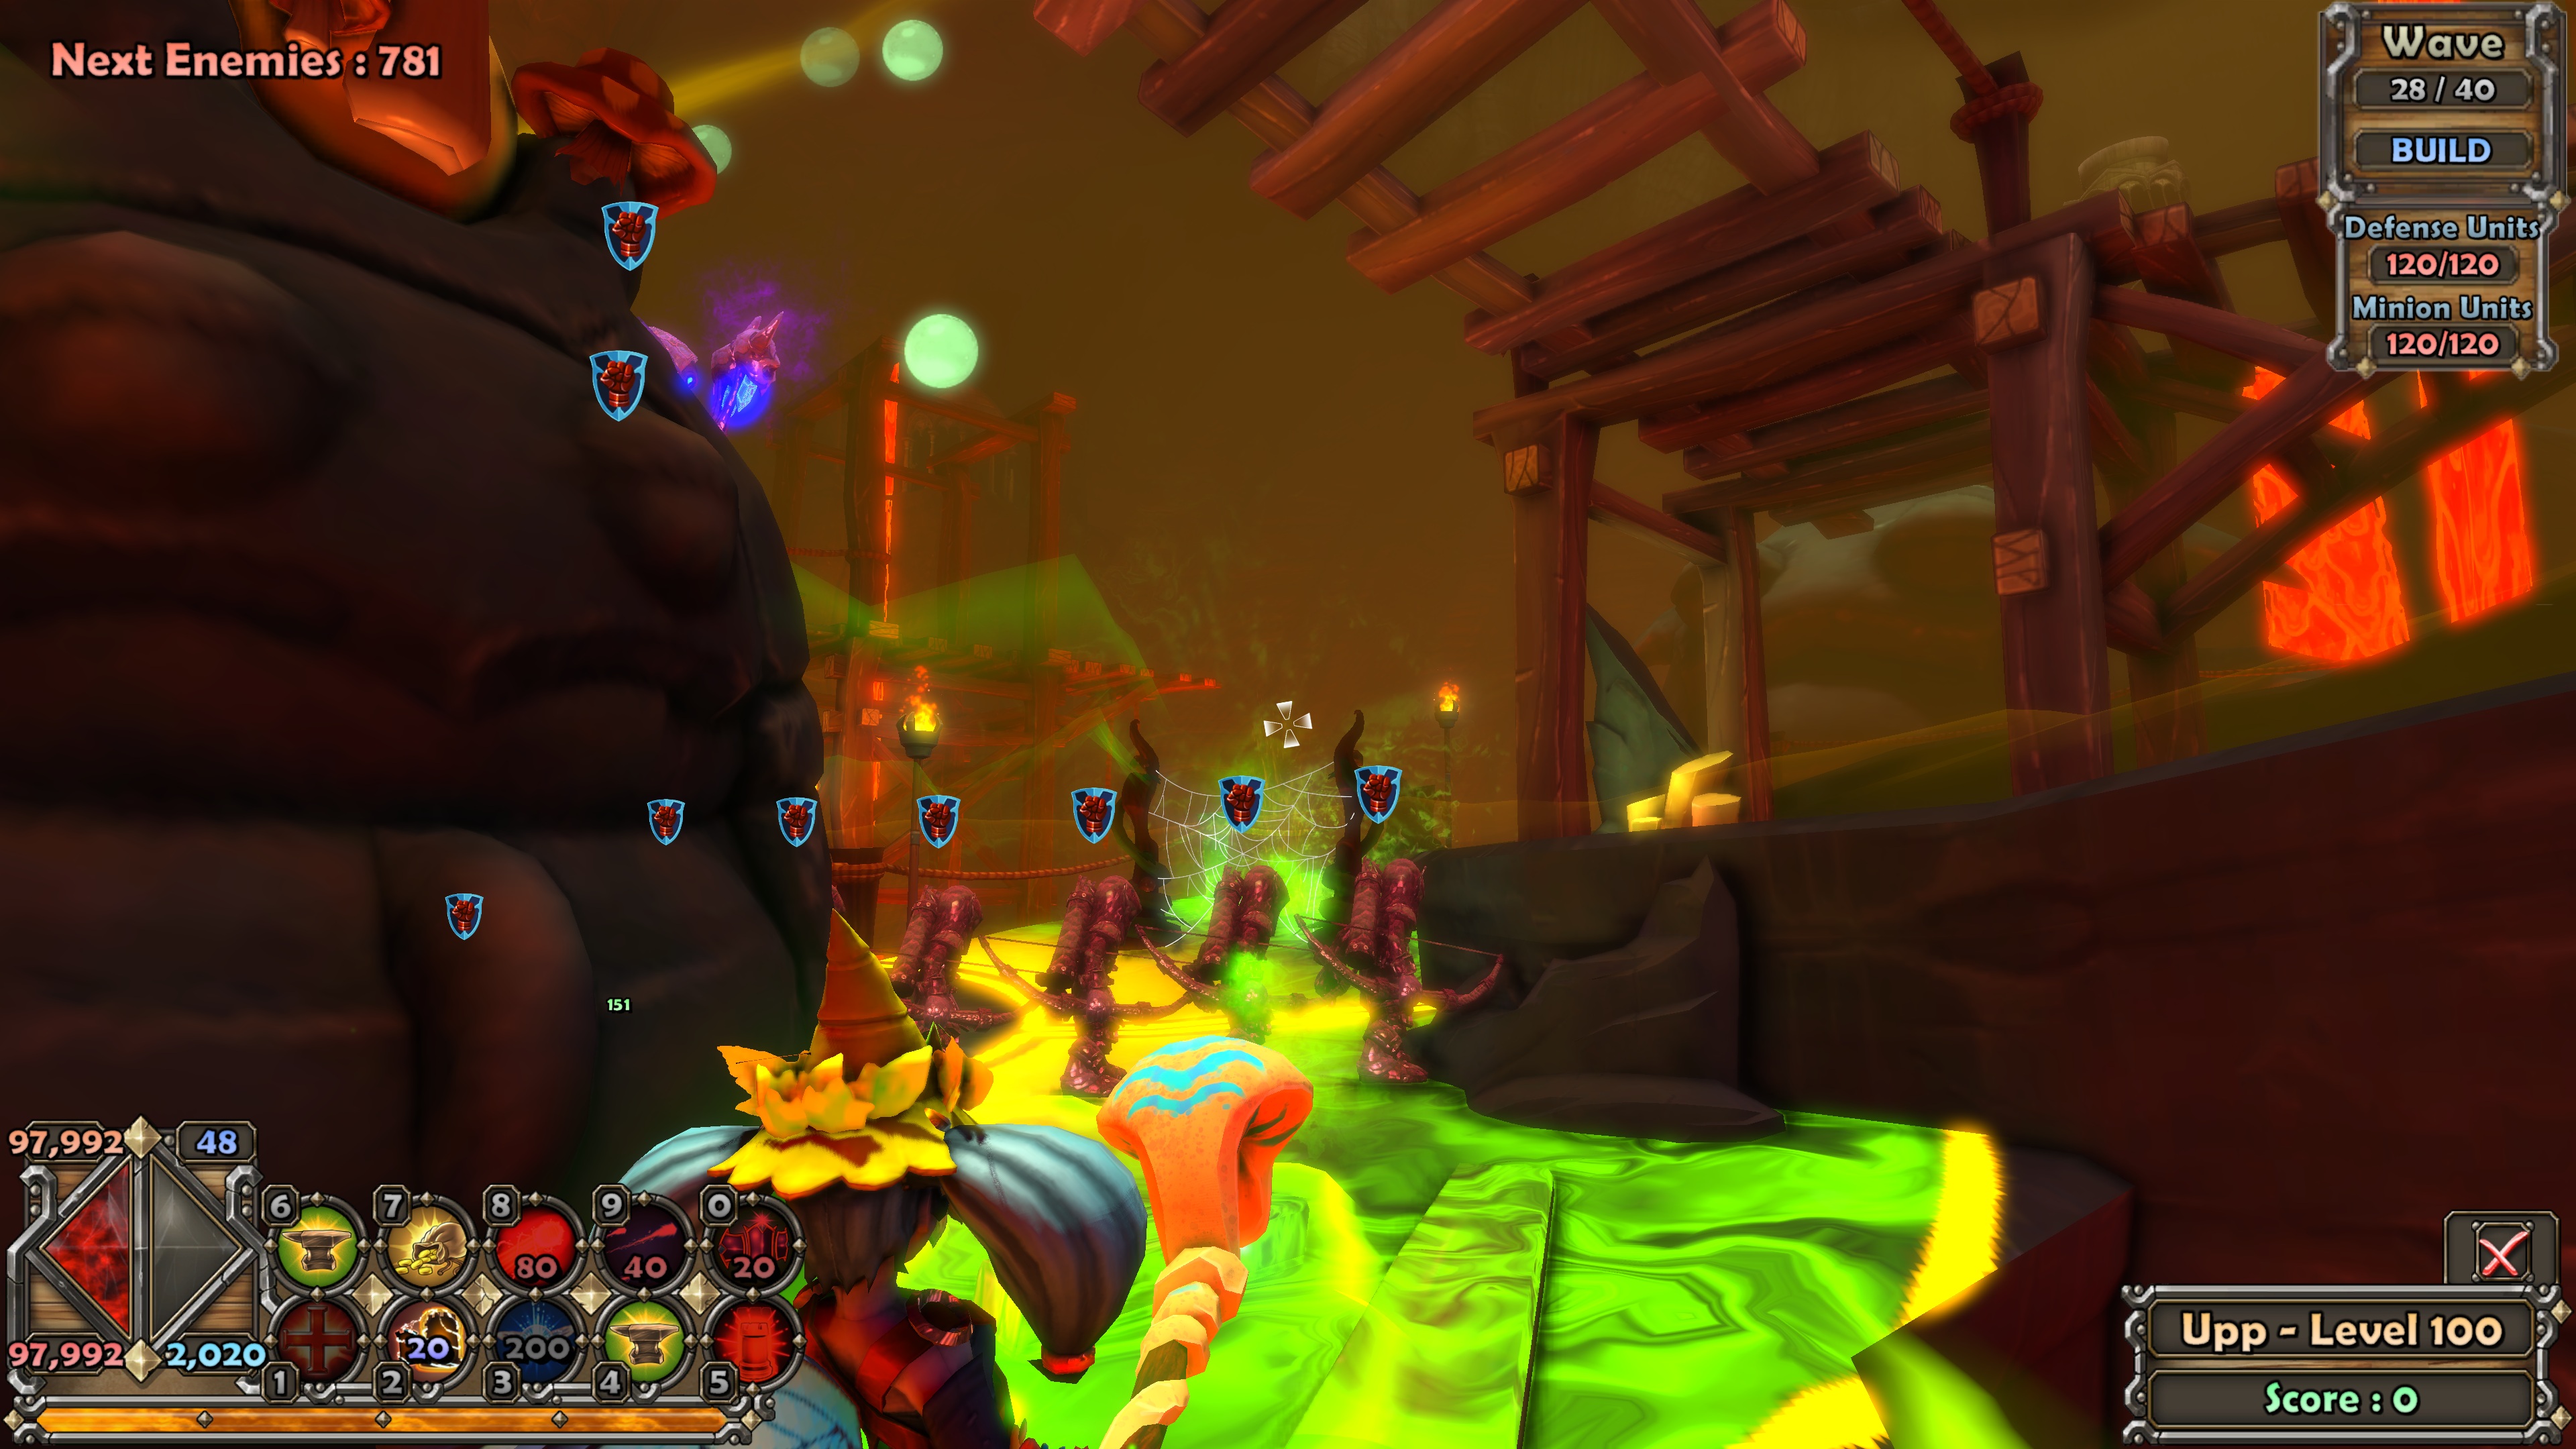
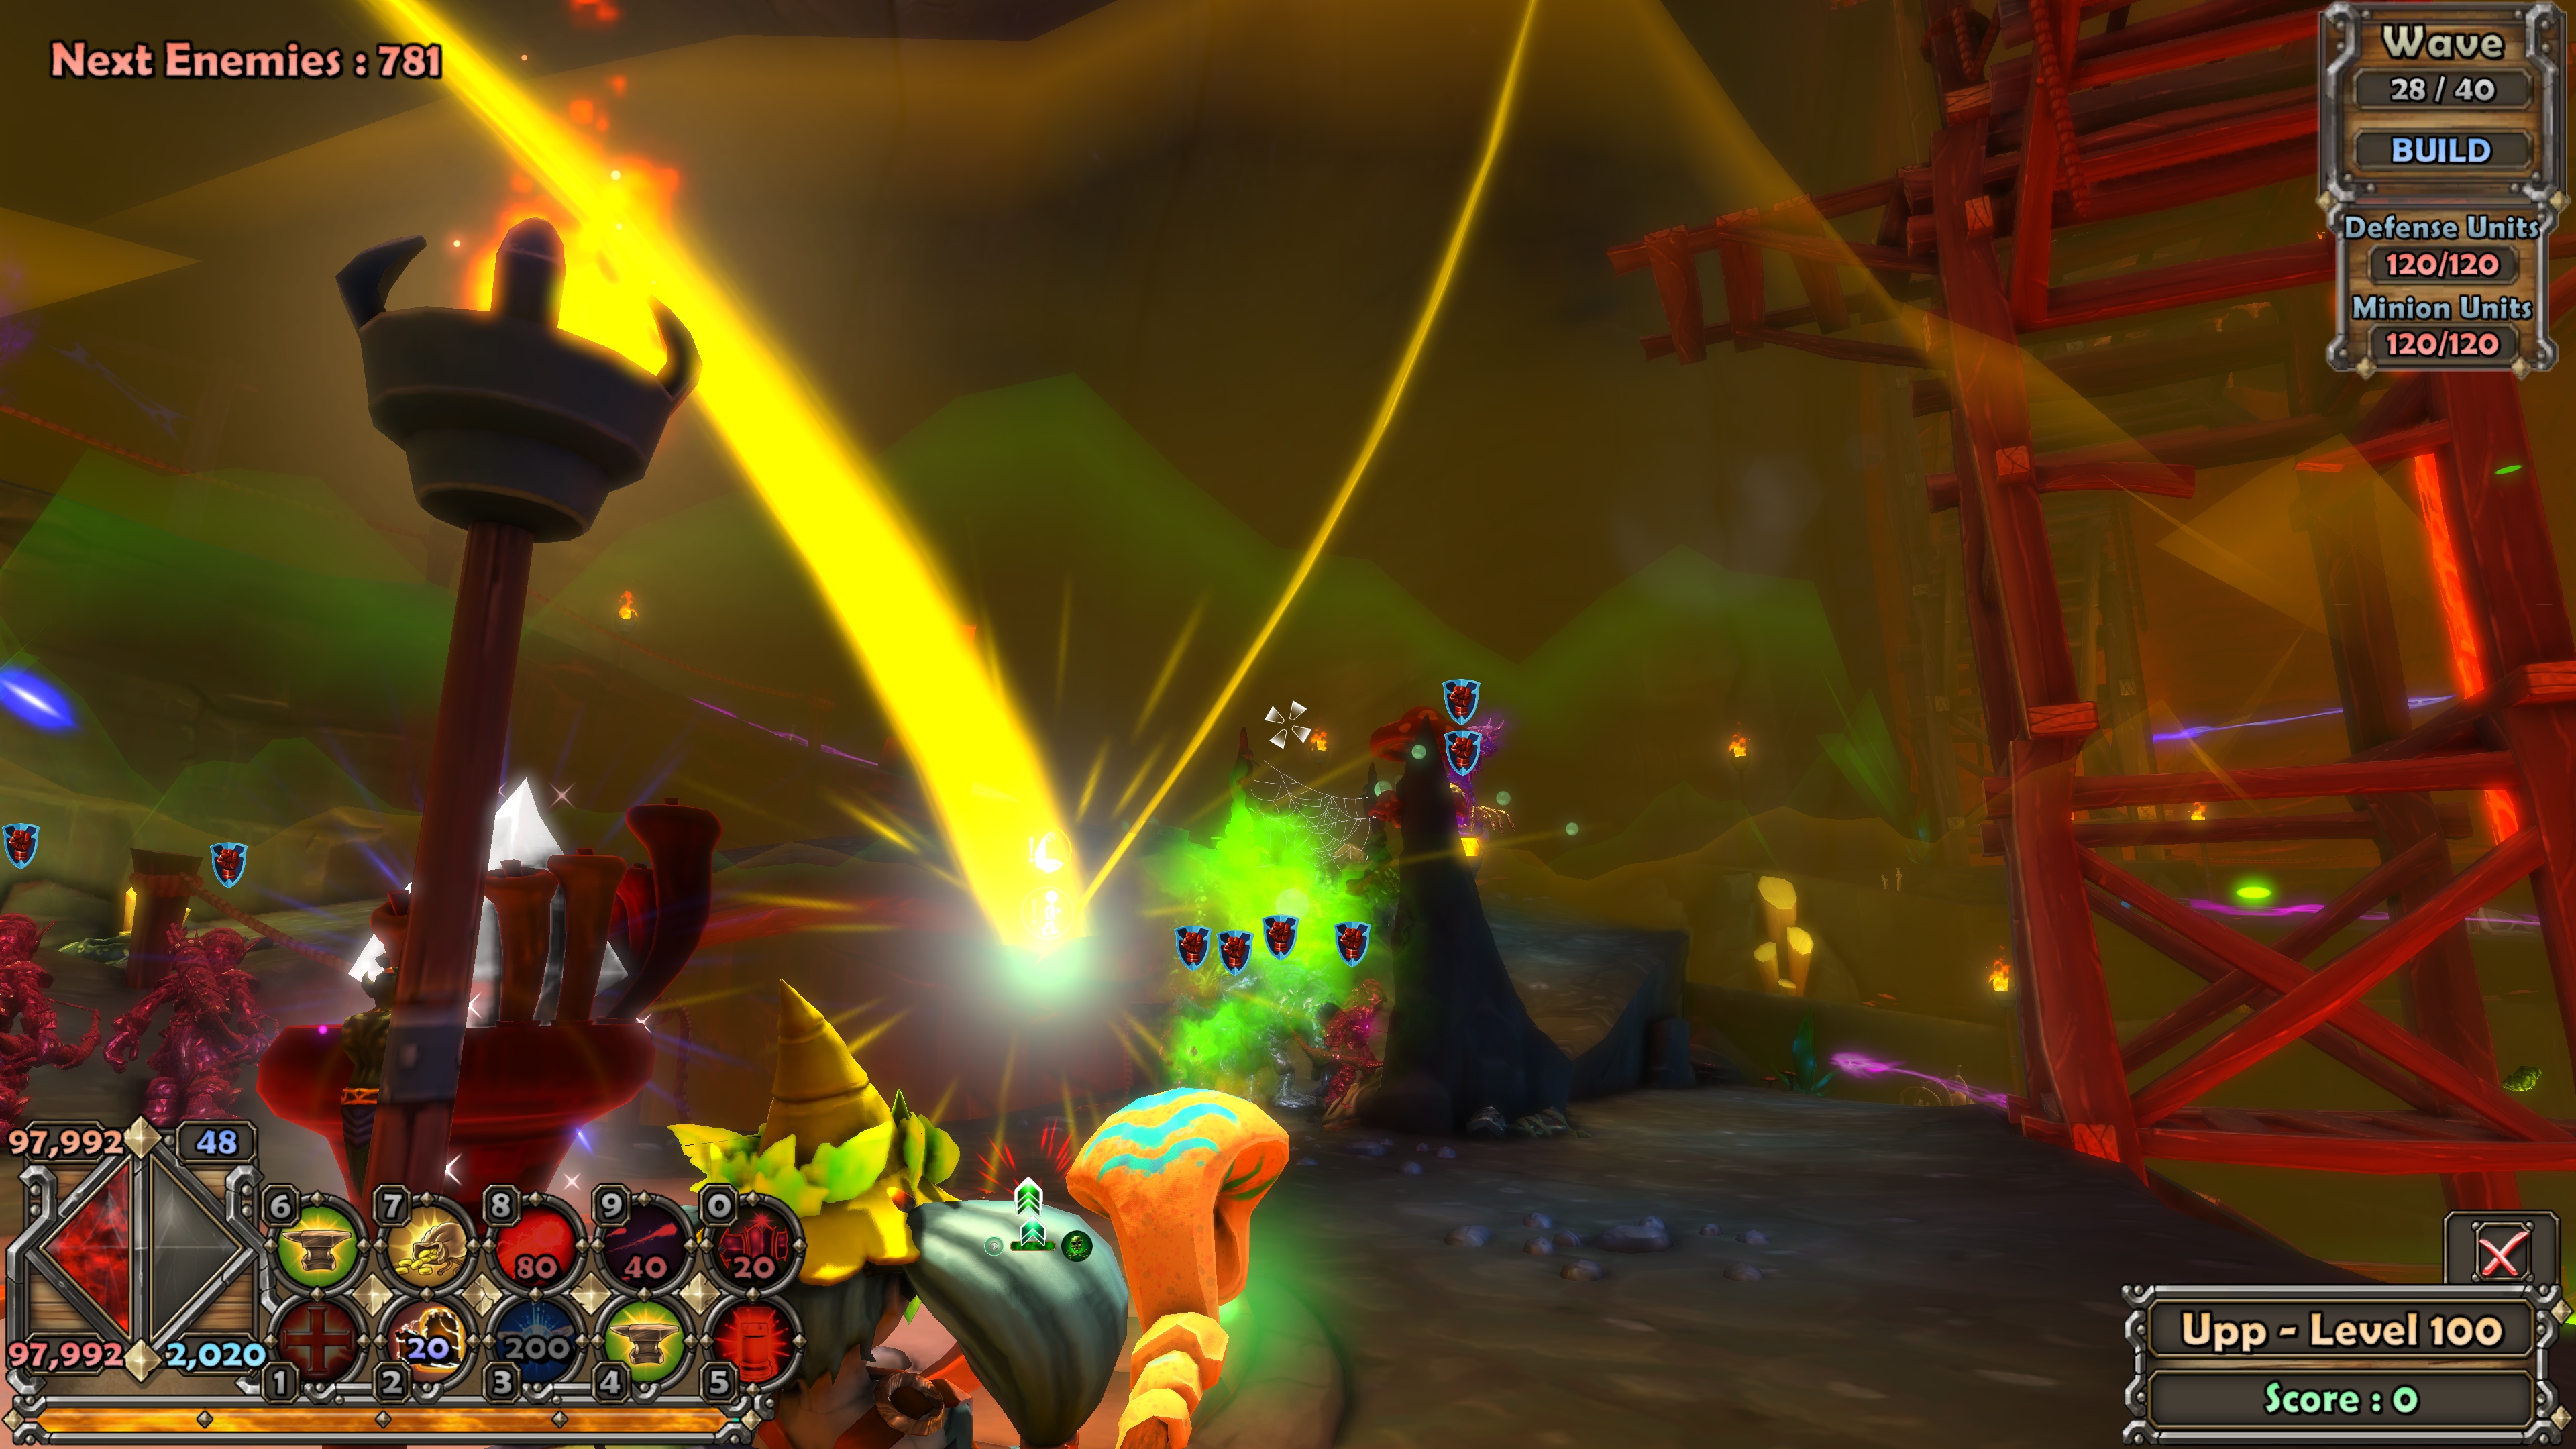
Variation for Campaign & Rebirth Challenge
This build also works well for the regular ruthless/nightmare campaign, without needing a tower boost monk at any stage. Just need to replace the four 1 DU reflection beams with a healing aura :D
I recommend building auras, beams, the gas trap, seed bomb towers, and app towers at the start and adding the golem and minions after the first wave.
For the rebirth challenge (on either nmhc/rlhc), you’ll just need a good hero boost monk (4k-5k+ AB2) and a ranged DPS hero (such as a Huntress with a forest/frozen rifle, or a DPS Apprentice/Jester) with a decent cat (175+) and the boss/mini phoenix would be easily dealt with.
Known Issue(s) & Further Improvements
Without any boosting pets, the firepower from the towers and minions alone will likely not be sufficient to clear wave 40. Thus, it's recommended that two boosting summoners be used. (For example, I used two huntress guardian pets on one of them, and two apprentice guardian pets on the other. This was tested numerous times and has proven to be sufficient. However, if you want to add more, there's no harm :D)
The auras will drain, so it is essential to flash heal mid-wave and keep the auras alive.
It's recommended to flash heal both sides, too, after each wave ends. You'll also pick up mana while doing so :)
The mushroom spore tower on the north crystal side occasionally takes damage. I am tempted to move the mid-lane minions further forward, but within healing range of the mages. It might resolve the problem. I have yet to test this. Feel free to explore and find out :D
Acknowledgement
- hiekka
- DeathDude
- Pat
and more ppl that dropped by randomly and helped with testing with summoners/4P scaling
- Dungeon Defenders 100% Solo Walkthrough★ 5 (564)27k views1.1k ♥87 minUpdated Mar 17, 2025
- Clear the game on Nightmare!★ 5 (727)25k views1.2k ♥27 minUpdated Jun 2, 2017
- Who is the best DPS hero on Nightmare?★ 5 (333)23k views471 ♥18 minUpdated Jun 2, 2017
- Endgame Progression★ 5 (422)21k views1.1k ♥37 minUpdated Jan 26, 2022
- Building your DPS★ 5 (236)20k views563 ♥26 minUpdated Jan 21, 2018
- Chiku's 0 to Early late-game Progression Guide (Updated as of 2026)★ 5 (539)18k views1.4k ♥49 minUpdated Jun 19


- Upgrading to PremiumTeam Fortress 2★ 5 (20k)1441k views11k ♥6 minUpdated May 11, 2022
- No More Room in Hell Official ManualNo More Room in Hell★ 5 (2.8k)569k views2.1k ♥29 minUpdated Apr 22, 2019
- NMRiH Community Hosting GuidesNo More Room in Hell★ 5 (526)351k views653 ♥1 minUpdated Aug 10, 2022
- ULTIMATE GUIDE FOR GAME DEV TYCOONGame Dev Tycoon★ 5 (5.8k)326k views10k ♥4 minUpdated 23 Jan, 2014
- How to 'Git Gud' Soon™MORDHAU★ 5 (2k)318k views3k ♥68 minUpdated Nov 16, 2024
- Лучшие кооперативные игры SteamPAYDAY 2★ 5 (1.5k)315k views2.1k ♥56 minRussianUpdated Apr 27, 2025






This guide was created by its original author on the Steam Community. Are you the author and want it removed? Request removal.