INSIDE Articles | The Weight of Detail
The Weight of Detail
Keep in mind that this is not meant to be a ‘how-to’ tech tutorial – It’s just a brief behind-the-scenes look for fans who want to know a little bit more.
Neon tube flicker
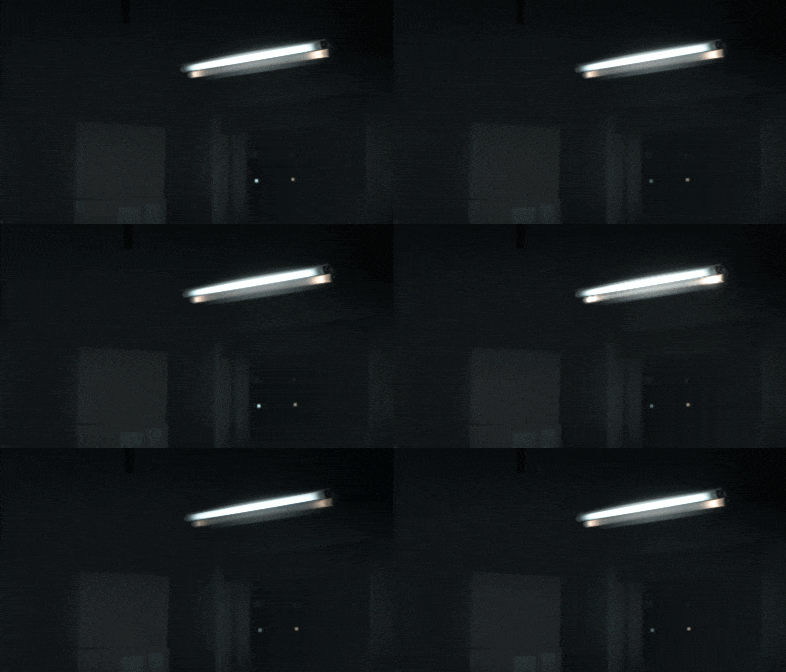
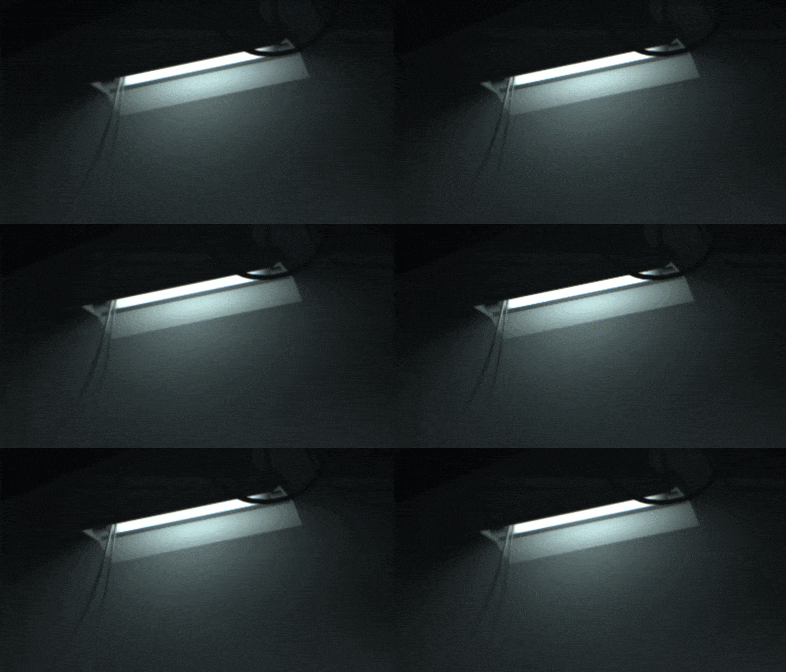 The fluorescent lamps seen throughout the game are quite lifelike in their behavior. As you might expect, aging tubes struggle to stay on.
Some of the ones in the shockwave area flicker on and off to the rhythm of the blasts. Even the ones that are always on have a steady, barely-perceptible flicker.
The curve editor allowed us to plot out the flicker behavior of all the items we added to the list: lights, decal, glow and flare materials, etc.. it could also be hooked up to the sound, so that everything worked in sync. It may seem strange to go so far in depth on a mundane detail like a fluorescent lamp, but as I see it, it plays off the style of the game perfectly.
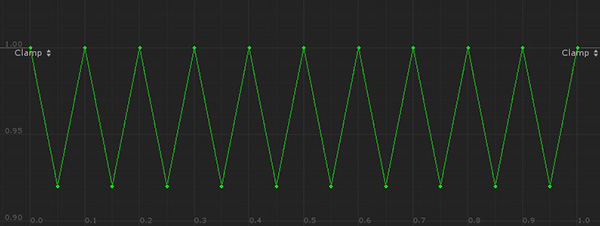
The sparseness of our environments make every detail that is there more significant. So these subtle touches can be appreciated and sometimes even become little moments in themselves (as in the case of the flickering fluo lamp at the end of the shockwave area).
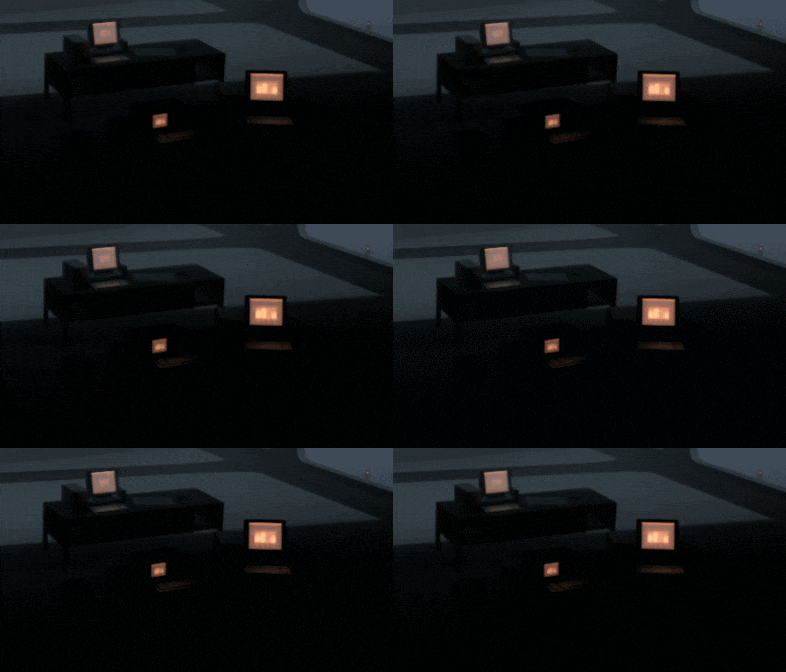
Had to do the CRT screens as well :)
Faked translucency
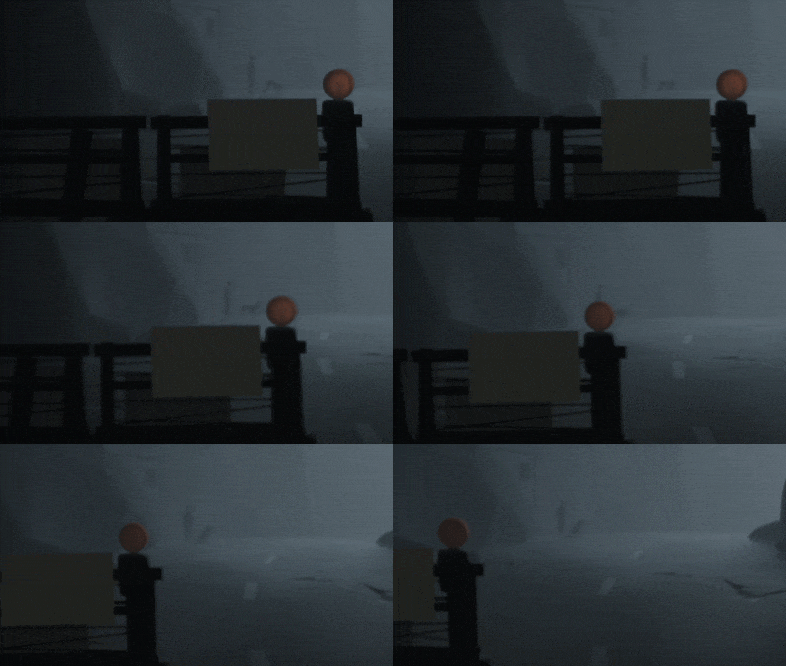 The translucency effect on this warning light is faked using a specular decal. This custom decal is made up of two components: the decal itself (a scalable volume used to project the effect) and a target (an object which tells the decal where the light generating the specular highlight is located).
In this case, I placed the target in the foreground, so that the effect of the decal faded in just as the bright area in the backdrop passed behind the lamp. The result is a completely opaque object looking like it’s letting some of the backlight through.
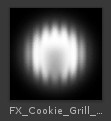 The texture projected by the decal.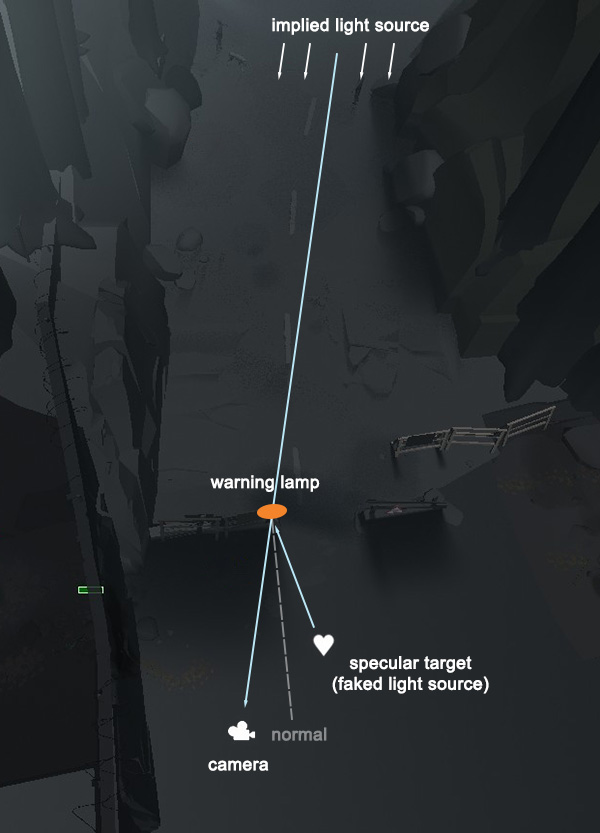
The specular target is positioned to simulate the direction of the implied light source.
Dynamic specular effect
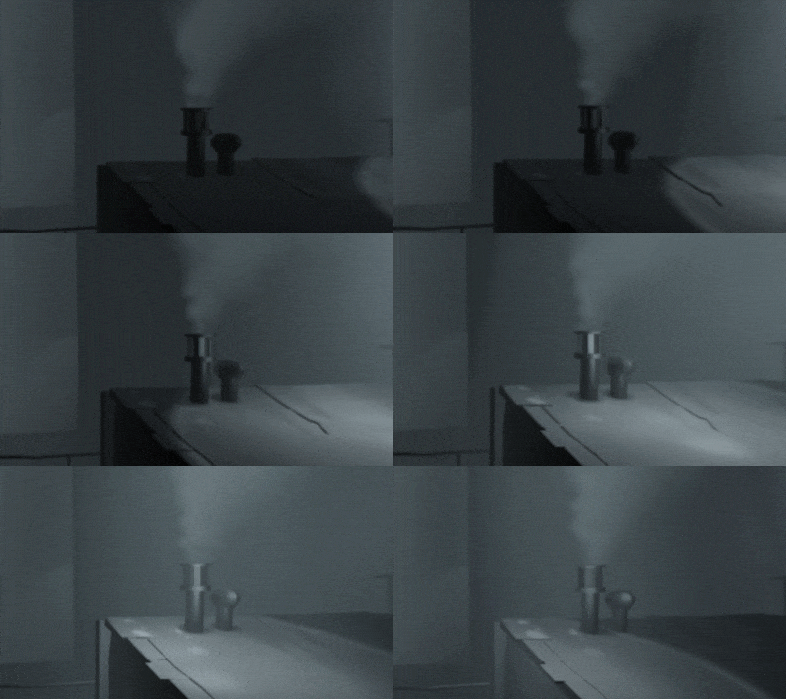 Placing the specular decal target on dynamic objects allowed us to create some pretty nifty lighting effects. The metal chimneys in this rooftop section area good example of how this works: note how the specular highlights follow the movement of the sentry lights.
Ambient occlusion decals
Many of the lights we placed in our scenes were meant to simulate diffuse light and therefore did not cast shadows. To ground dynamic objects like these falling boards, we placed ambient occlusion decals on each one of them. It is these decals that produce the soft shadow blobs under the boards as they flip around and settle on the ground.
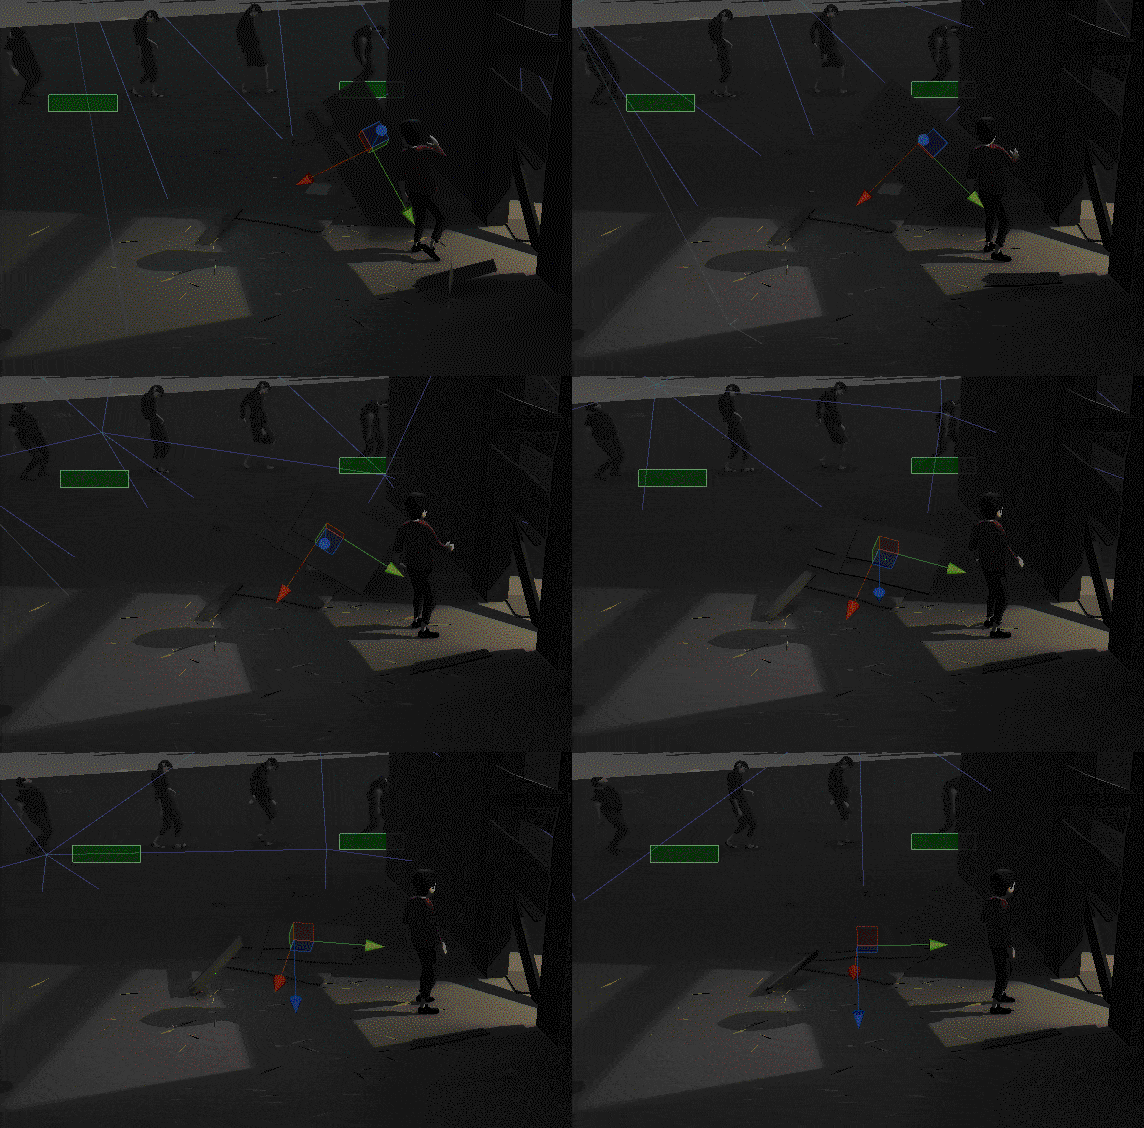
The big blue wireframe you see moving with the plank is the AO decal.
Everything from falling chunks of concrete to the Creature itself had a number of these AO decals placed in them to create this grounding effect.
The Nixie Counter
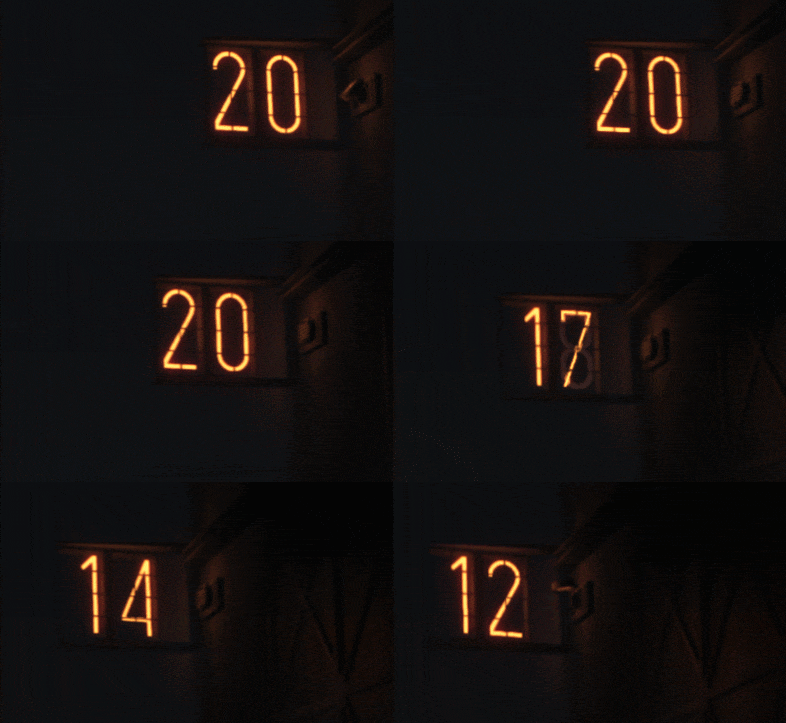 The counter has some pretty complex scripting running it, but I’ll stick to describing how we faded the numbers in and out.
Basically, we didn’t want the numbers just popping on and off because IRL, the tubes take a little time to cool down (and that looks kind of nice).
So Martin Fasterholdt designed a custom script which allowed me to not only fade the intensity of the tubes over time, but also to modulate their color. This is what is creating the feint violet-tinted ‘ghosts’ as the counter cycles through the numbers.
Button effects
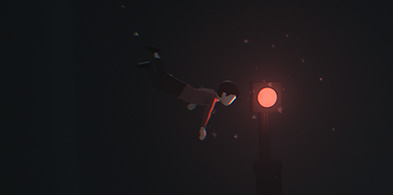 The big red buttons are mostly using a simple setup in which the ‘ON’ state includes a few extra FX items: a red spotlight and/or rimlight decal plus 1-2 Flares to make it seem more glowey. In some cases, however, we had to go a little further..
The submerged buttons also have a special cone-shaped emitter included in the ‘ON’ state. The particles it generates have the same bright red color as the button, giving the impression that it is lighting up the water dust passing in front of it.
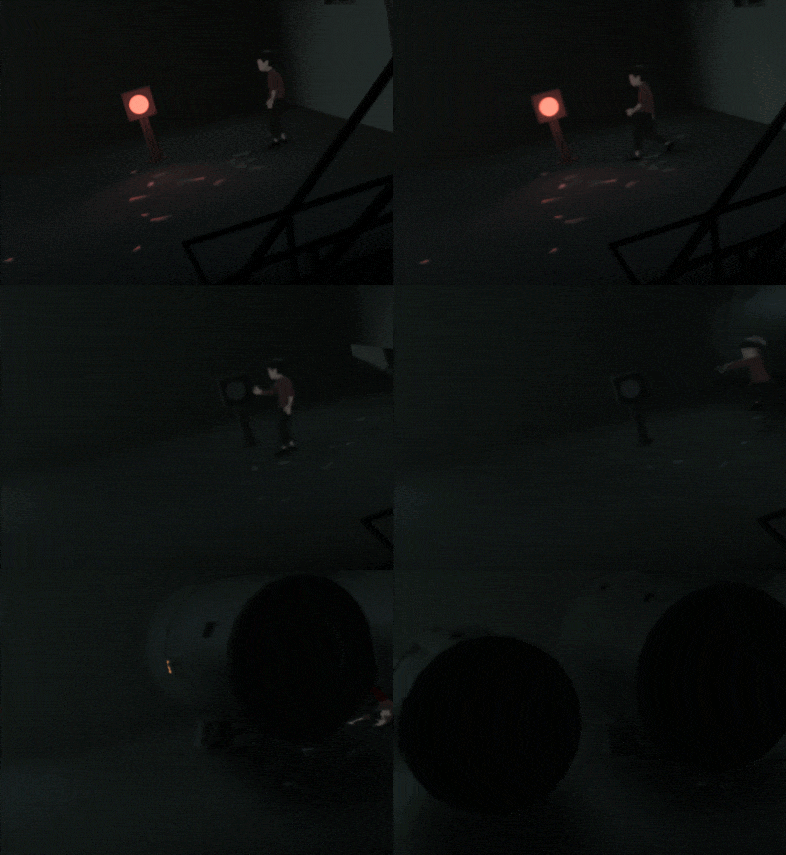 The button that triggers the rolling cylinder chase has a different version of the glass shards prop associated with each of the states; one using a bright red cubemap for the ‘ON’ state – the other using a dark blue cubemap for the ‘OFF’ state.
Mindhat ripple effect
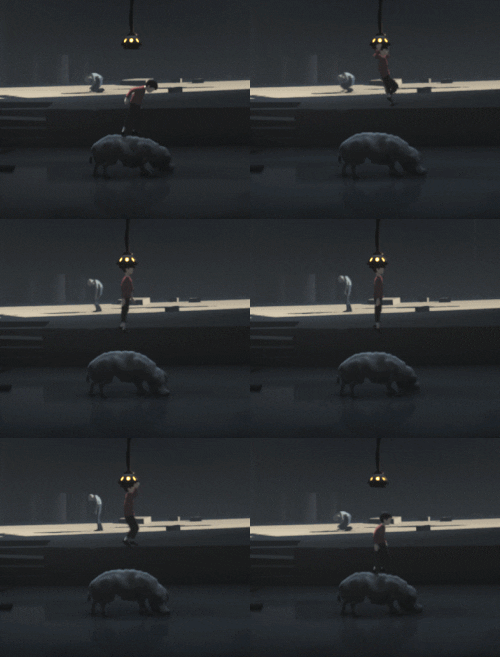 The first mindhat you encounter in the game triggers ripples to appear in the puddle below it. This was done using a simple emitter that spawned normal-distorting particles on the puddle’s surface.
It’s a bit of a hair-raising moment: the mind control, Martin SA’s visceral drone… I thought I would provide a subtle visual echo for that powerful, rolling sound.
Scripted light fades
Another bit of technical trickery happening during this mindhat sequence is a very slow increase in the intensity of the sunlight hitting the backdrop.
As soon as the Boy jumps into the hat, the Directional light and a yellow-tinted fog plane associated with it begin getting stronger, making it seem as though the sun is emerging from behind the clouds..
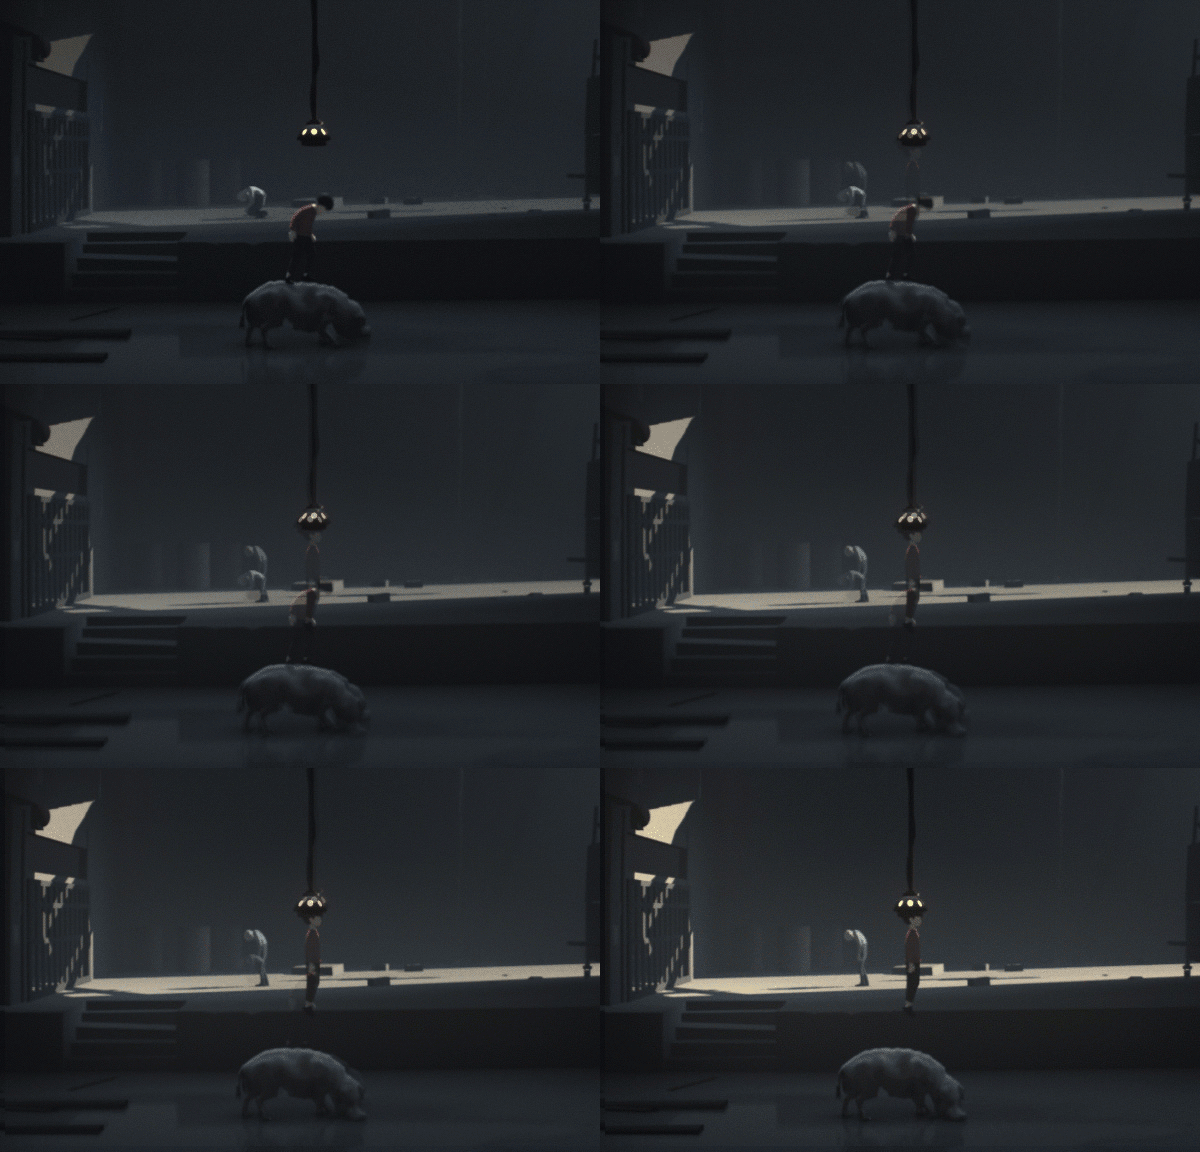
I first considered this effect simply to help the transition between the dark rainy sky we see at the start of the pig chase and the brighter sky we see in the wasteland. But when I synced it with the activation of the mindhat, I think it became more than that – a kind of surreal time lapse.
Original Article by Marek Bogdan, 2017[blog.playdead.com] posted on official Playdead website
- INSIDE - 100% Achievement Guide [Text & Screenshots]★ 5 (1.6k)33k views1.5k ♥5 minUpdated 11 Jun, 2021
- Alternate Ending★ 5 (746)29k views381 ♥1 minUpdated 13 Dec, 2018
- Getting all achievements | Получение всех достижений + Bonus!★ 5 (633)23k views345 ♥1 minBulgarianUpdated 21 Jan, 2020
- Story of INSIDE Explained★ 5 (763)22k views447 ♥24 minUpdated 13 May, 2017
- INSIDE - All ACHIEVEMENTS in 12minutes★ 5 (478)16k views298 ♥1 min
- Walkthrough with all achievements - Прохождение с получением всех достижений★ 4 (248)15k views136 ♥2 minUpdated 16 Jul, 2016





- Upgrading to PremiumTeam Fortress 2★ 5 (20k)1441k views11k ♥6 minUpdated May 11, 2022
- No More Room in Hell Official ManualNo More Room in Hell★ 5 (2.8k)569k views2.1k ♥29 minUpdated Apr 22, 2019
- NMRiH Community Hosting GuidesNo More Room in Hell★ 5 (526)351k views653 ♥1 minUpdated Aug 10, 2022
- ULTIMATE GUIDE FOR GAME DEV TYCOONGame Dev Tycoon★ 5 (5.8k)326k views10k ♥4 minUpdated 23 Jan, 2014
- How to 'Git Gud' Soon™MORDHAU★ 5 (2k)318k views3k ♥68 minUpdated Nov 16, 2024
- Лучшие кооперативные игры SteamPAYDAY 2★ 5 (1.5k)315k views2.1k ♥56 minRussianUpdated Apr 27, 2025






This guide was created by its original author on the Steam Community. Are you the author and want it removed? Request removal.