Legacy of Rust - All Secrets
E1M1: Scar Gate
#1
Go forward through the door, on your left and behind you is an alcove that will close off after 30 seconds from the start of the level.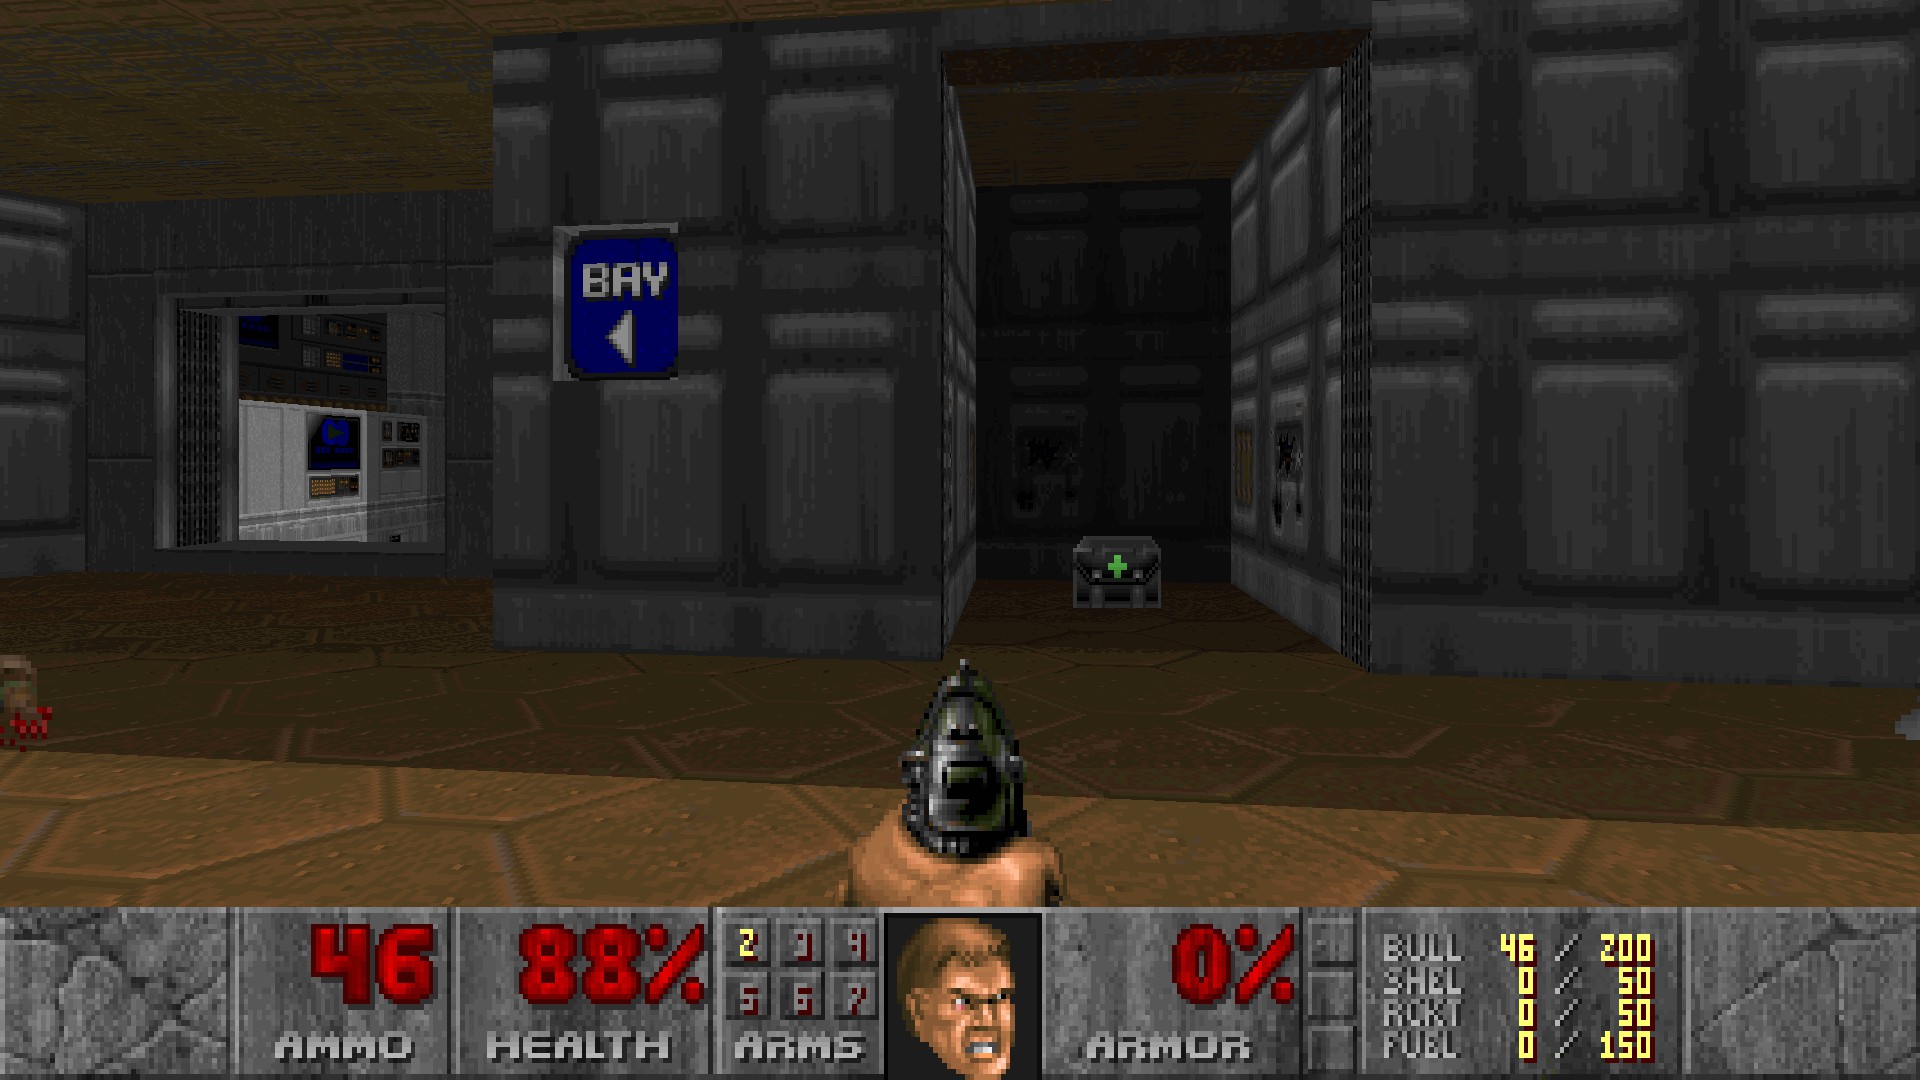
#2-3
After riding the lift down, on your left just past the chainsaw is a hidden wall. Interact with it to reveal a staircase leading outside. (#2)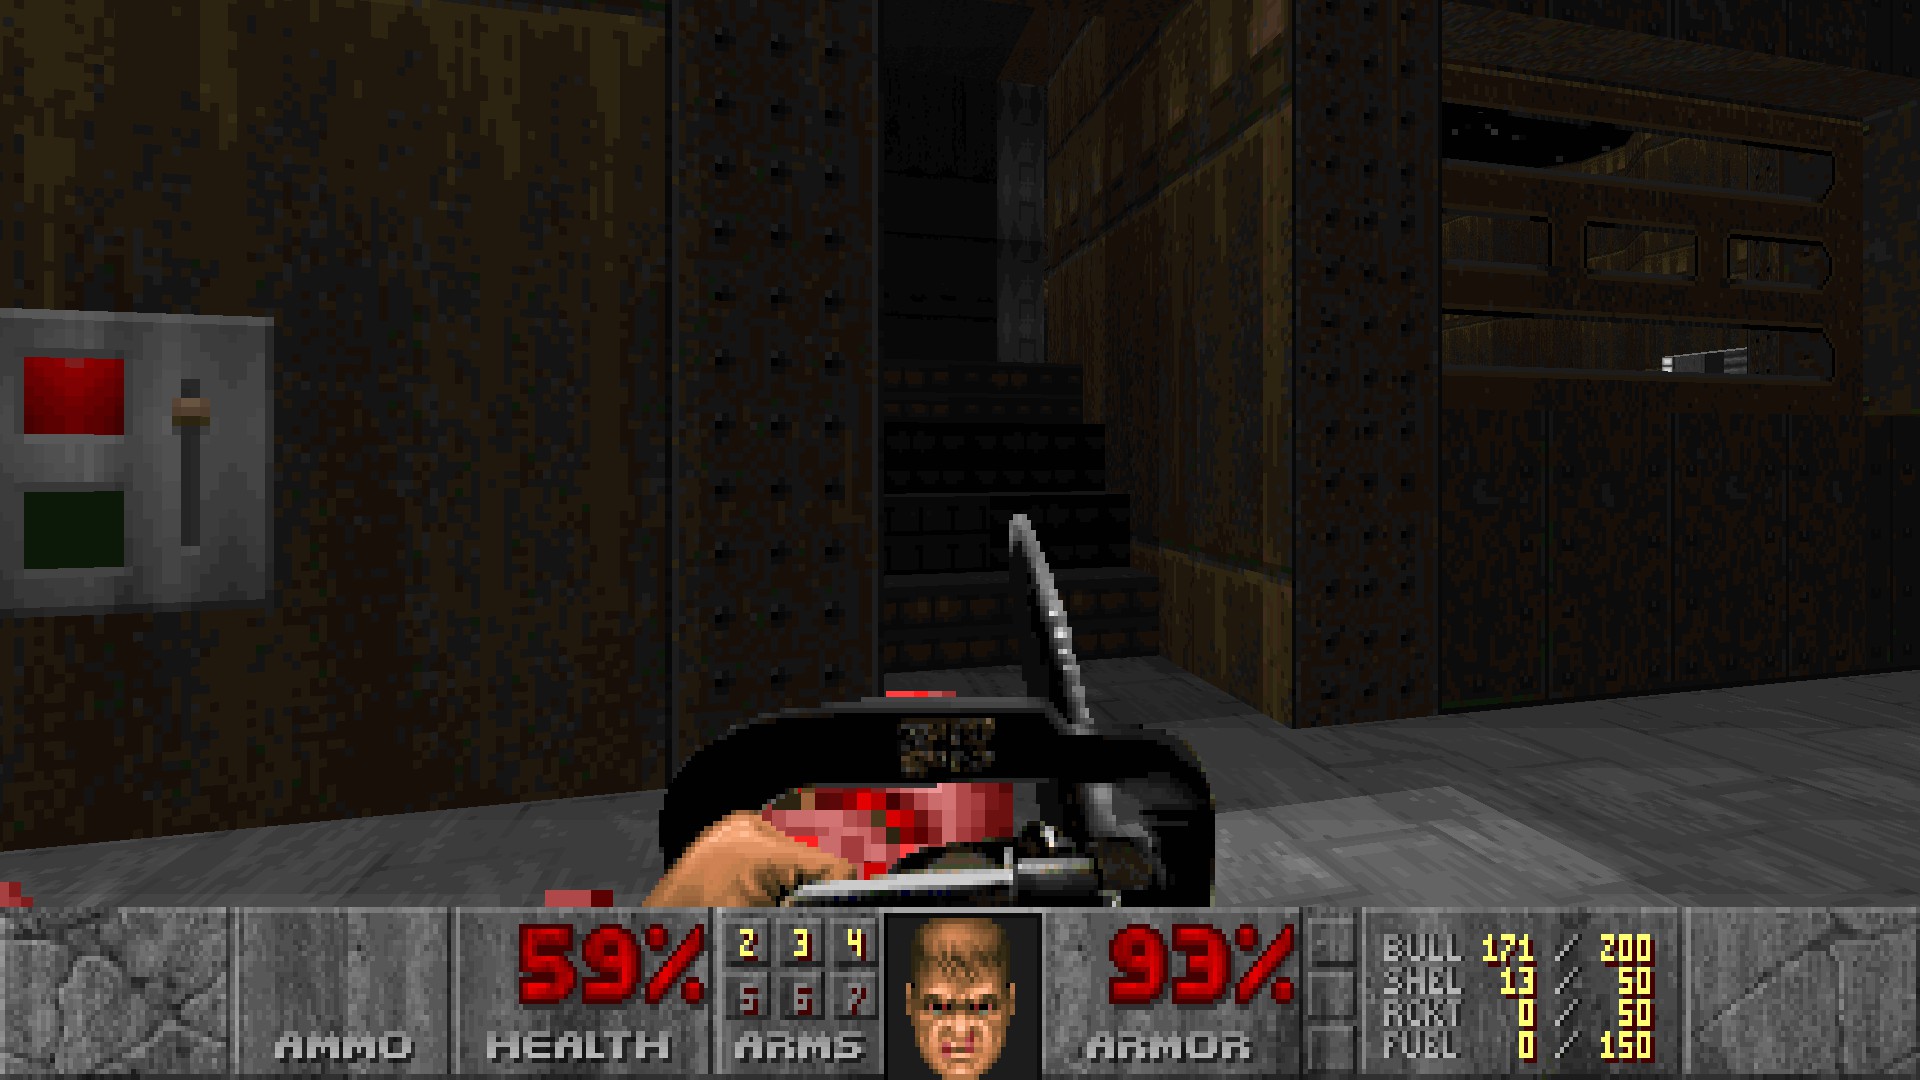 From secret #2, notice a green wall next to a barred window. Open it to reveal a teleporter. (#3)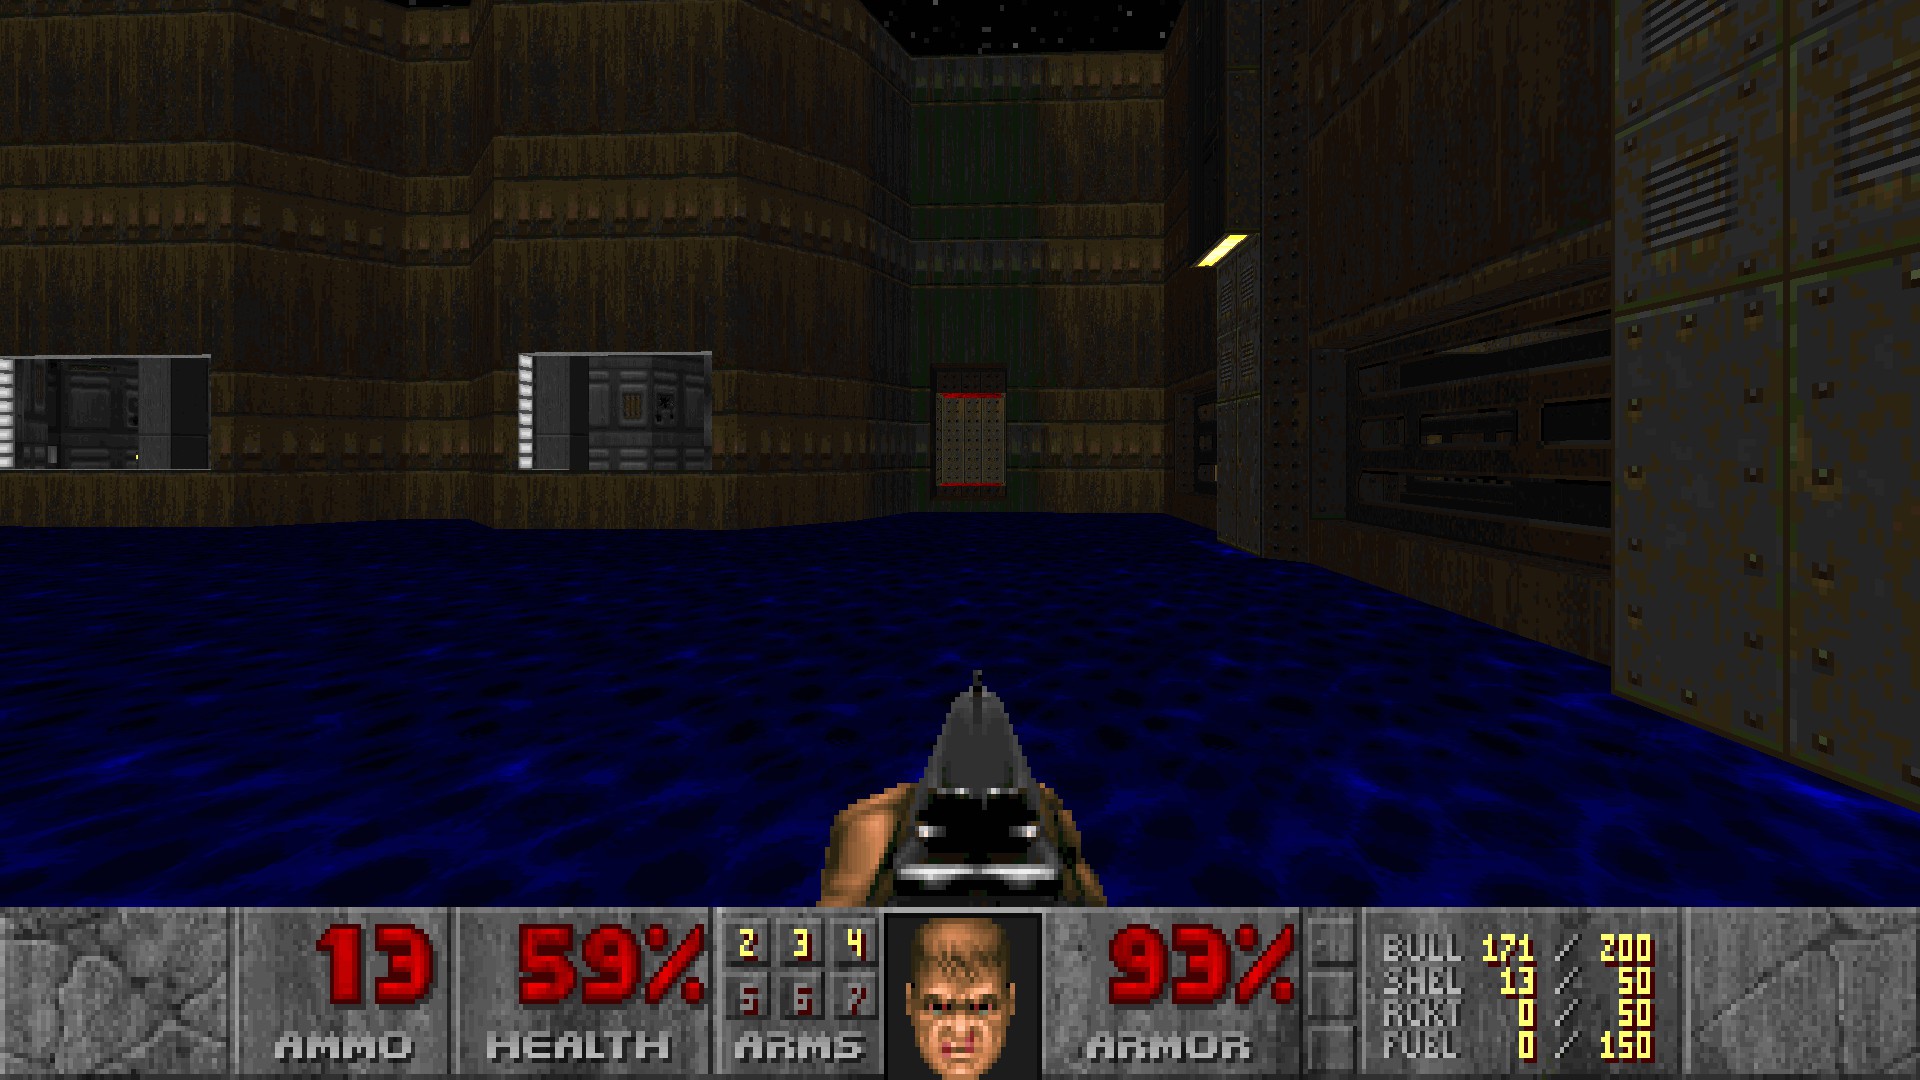
E1M2: Sanguine Wastes
#1
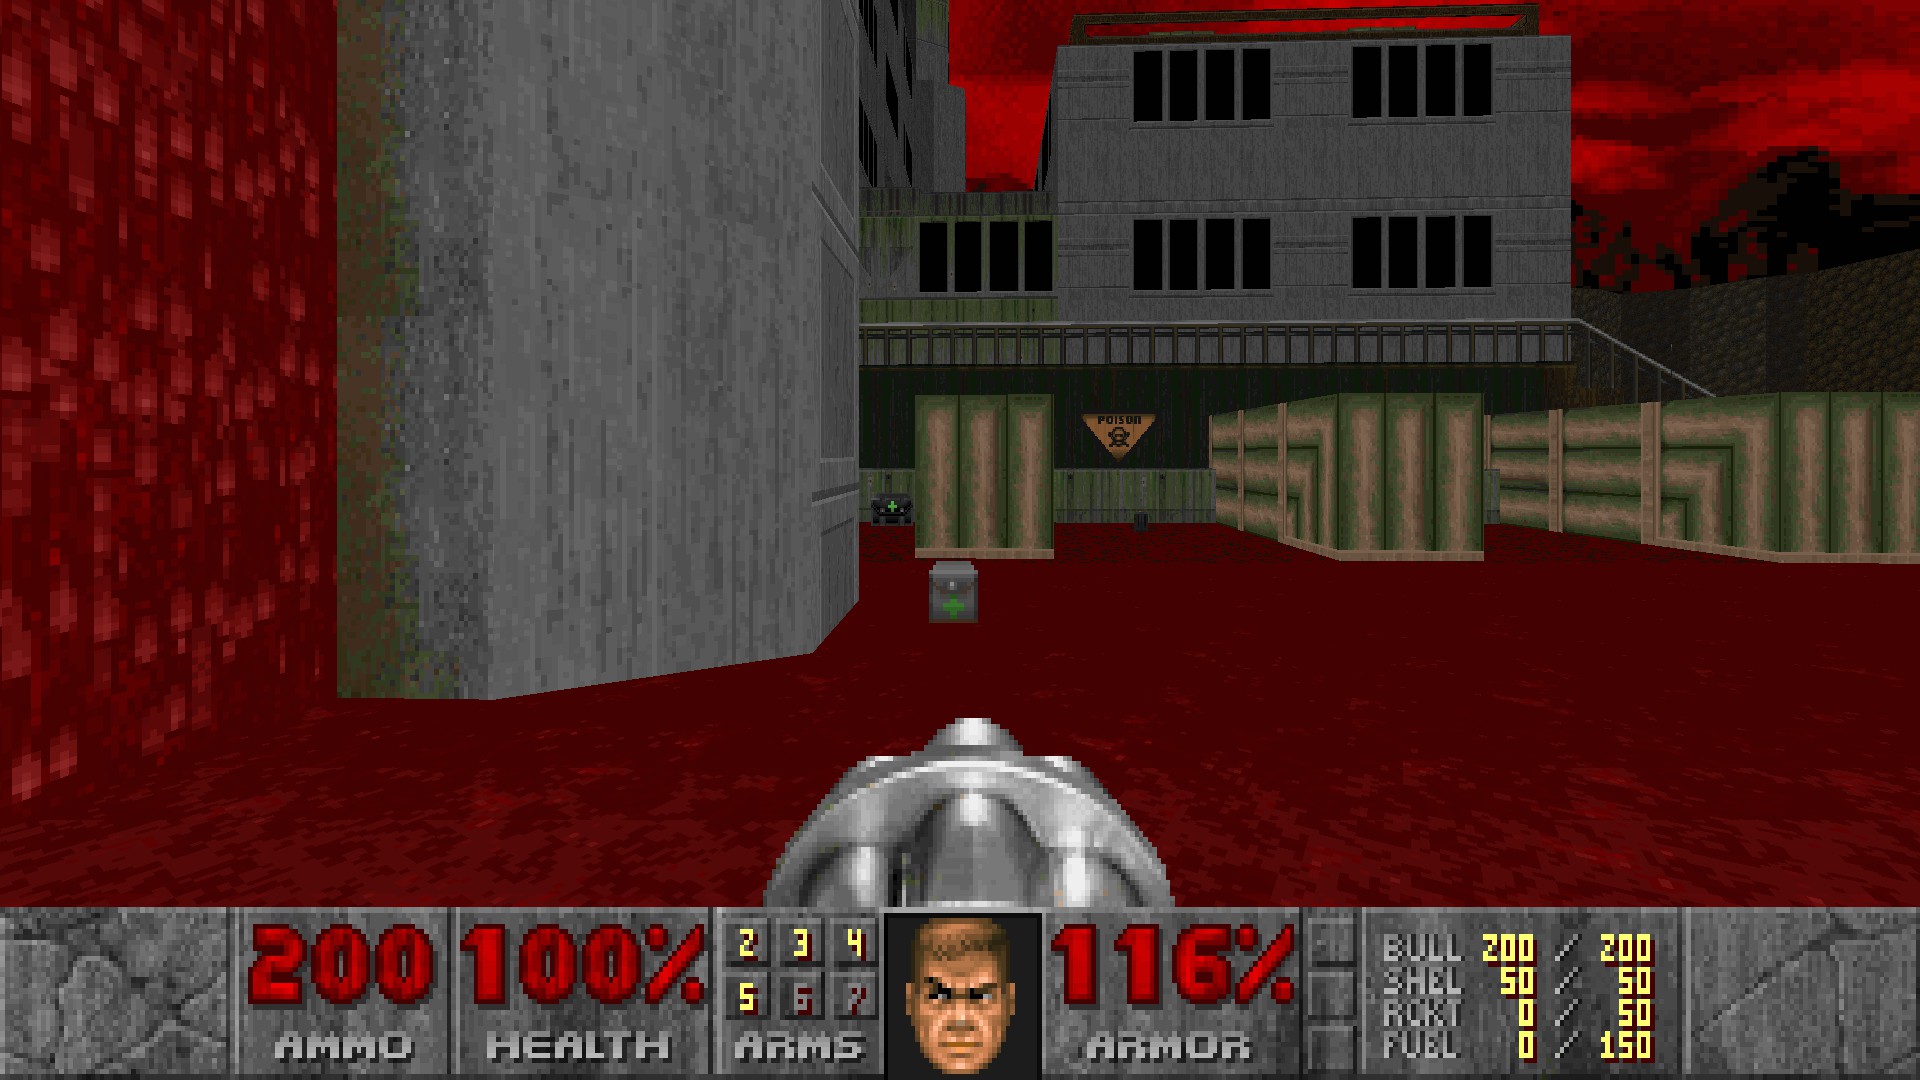
In the open area with the bloodfalls at the back search behind one last pipe at the right corner just underneath the door above to find a berserk pack.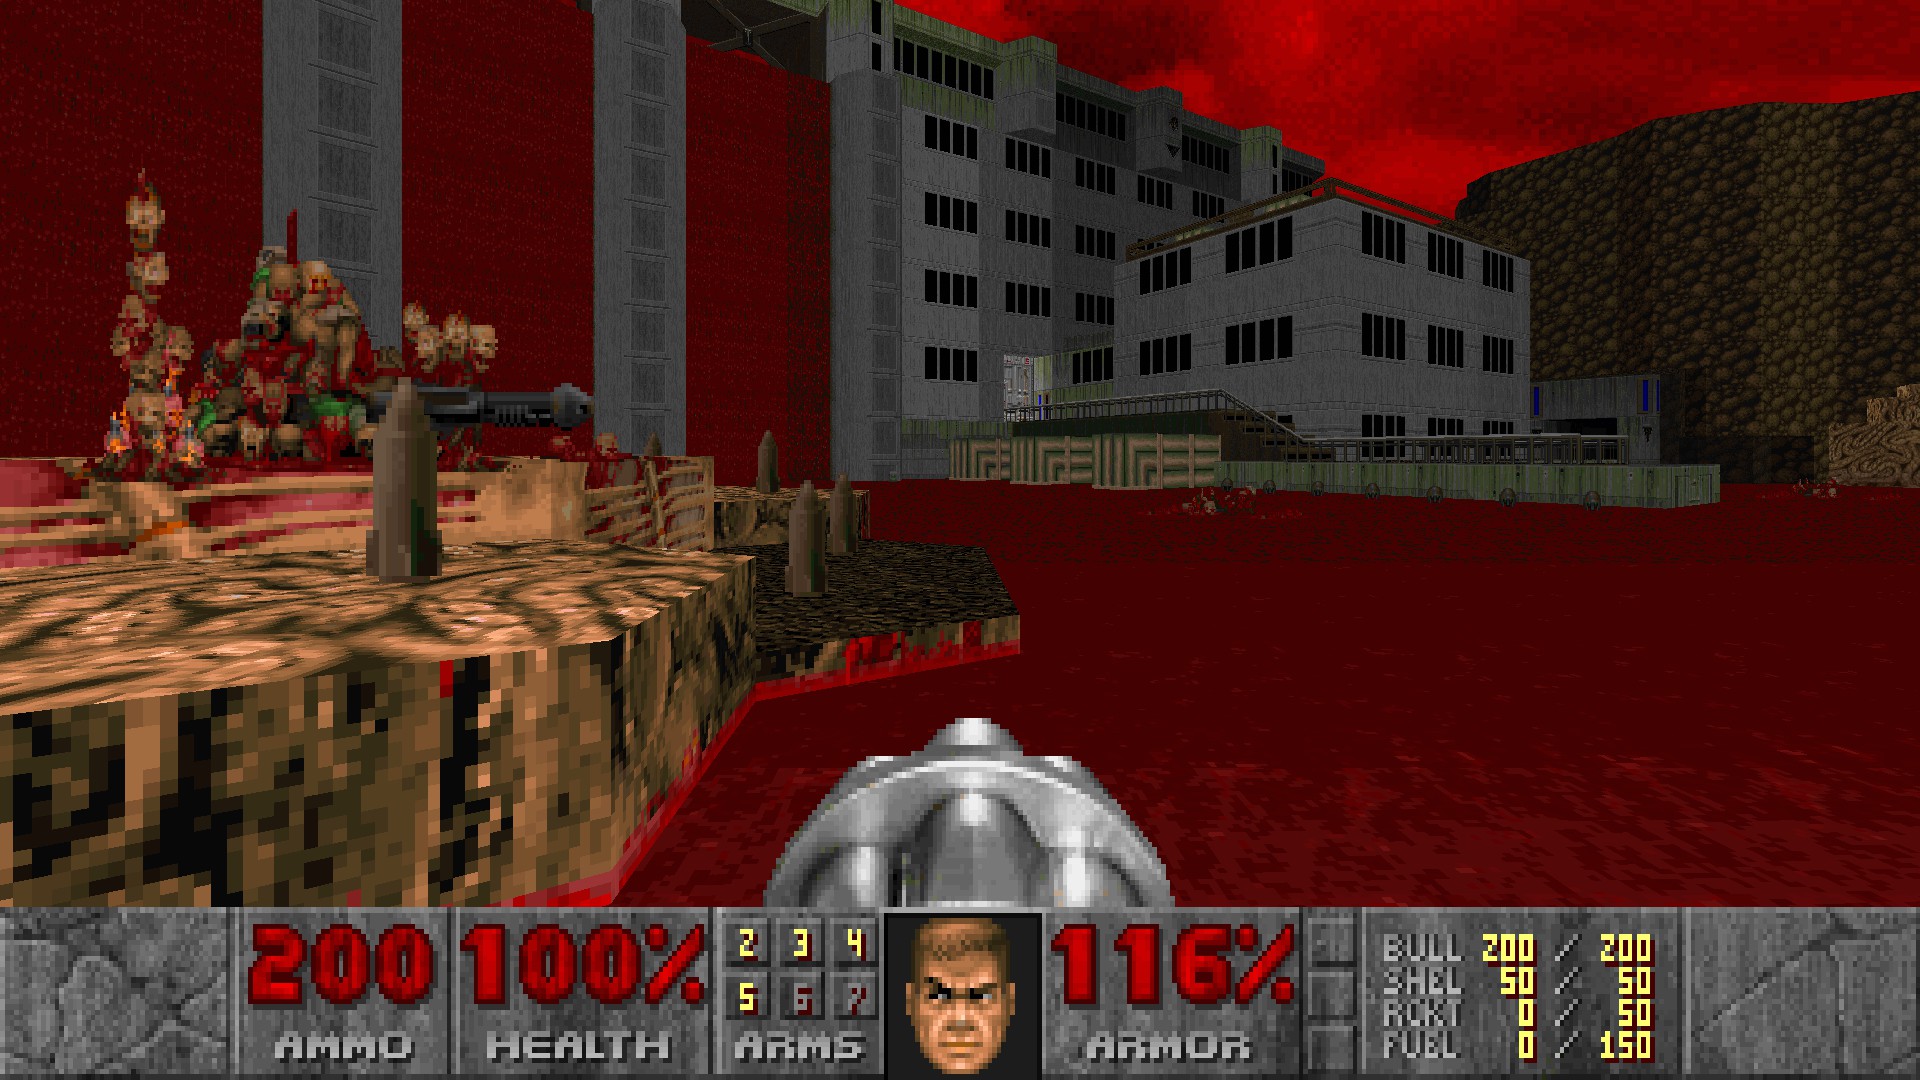
#2-3
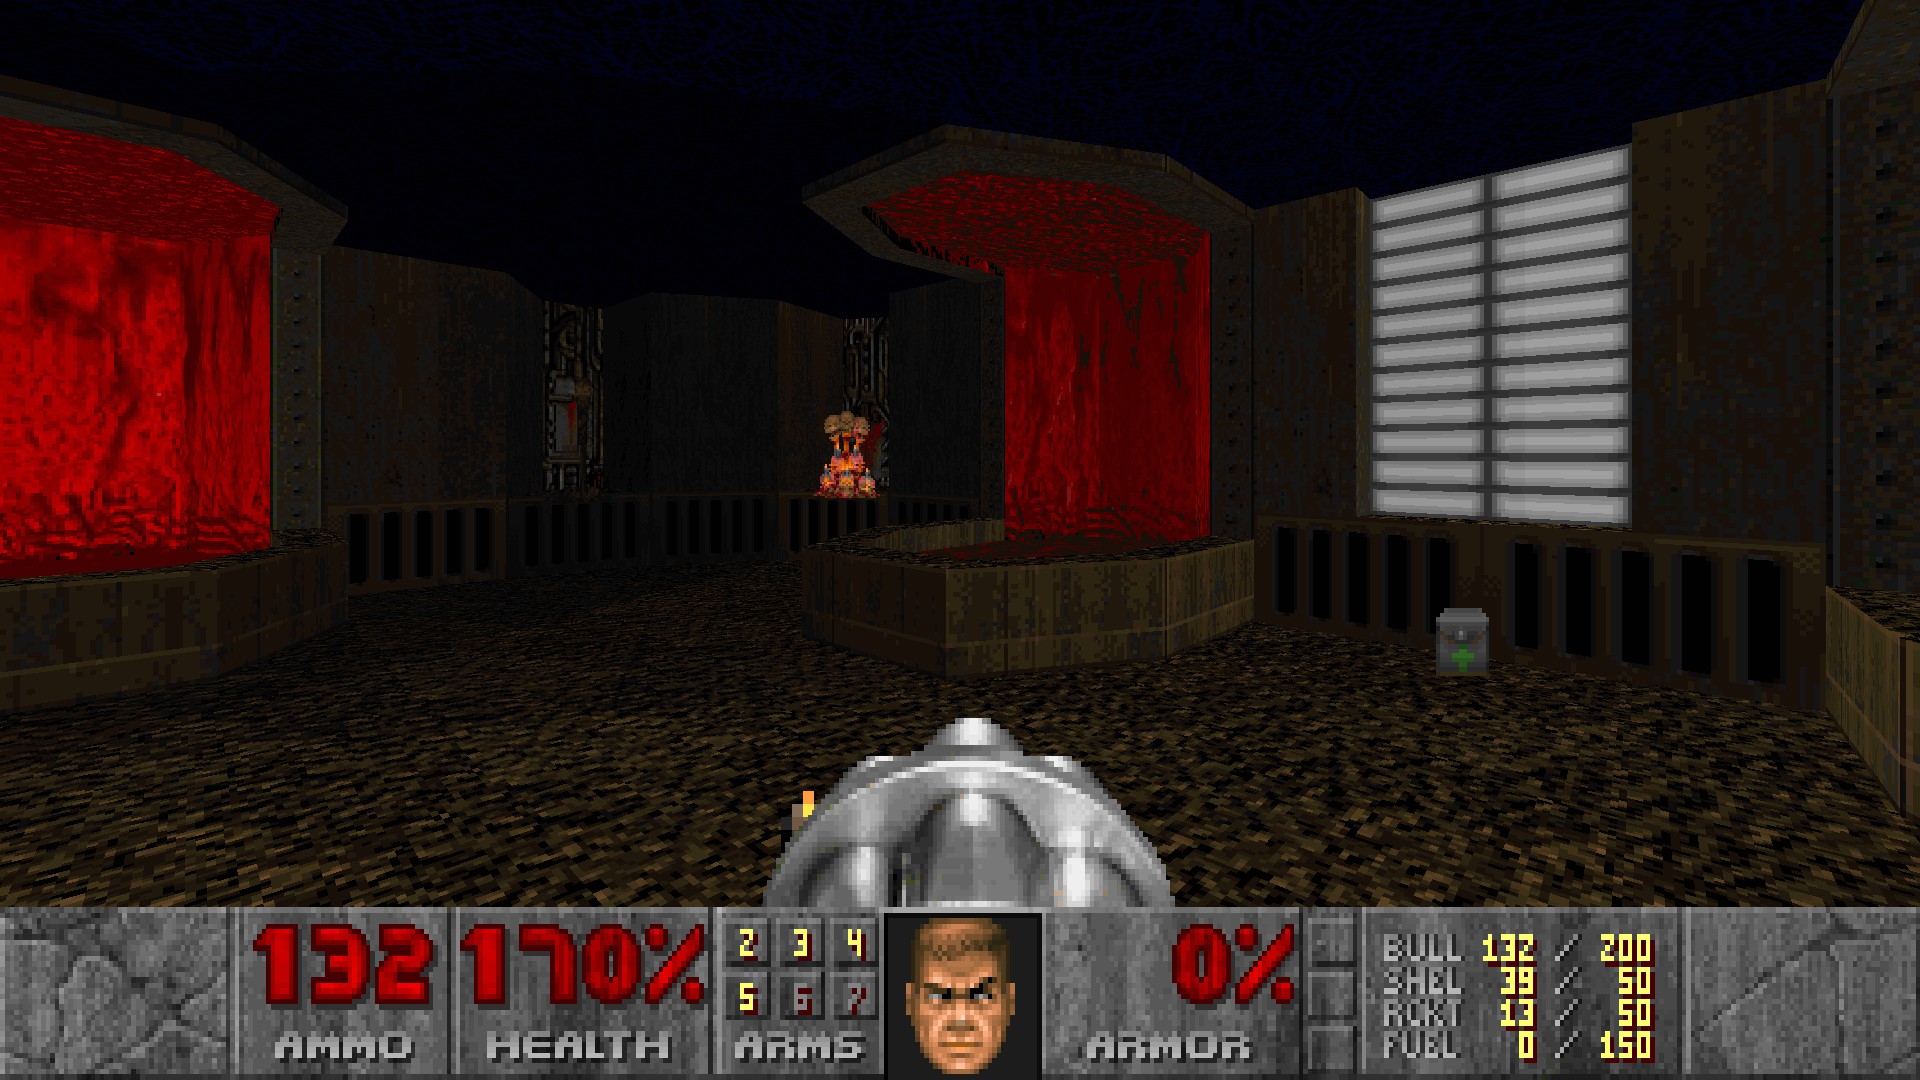
In the room with the star on the floor where you meet the banshee for the first time, picking up a health bonus there will cause several compartments to open behind you. Fall down towards the northwest compartment and follow the path until a supercharge appears. (#2)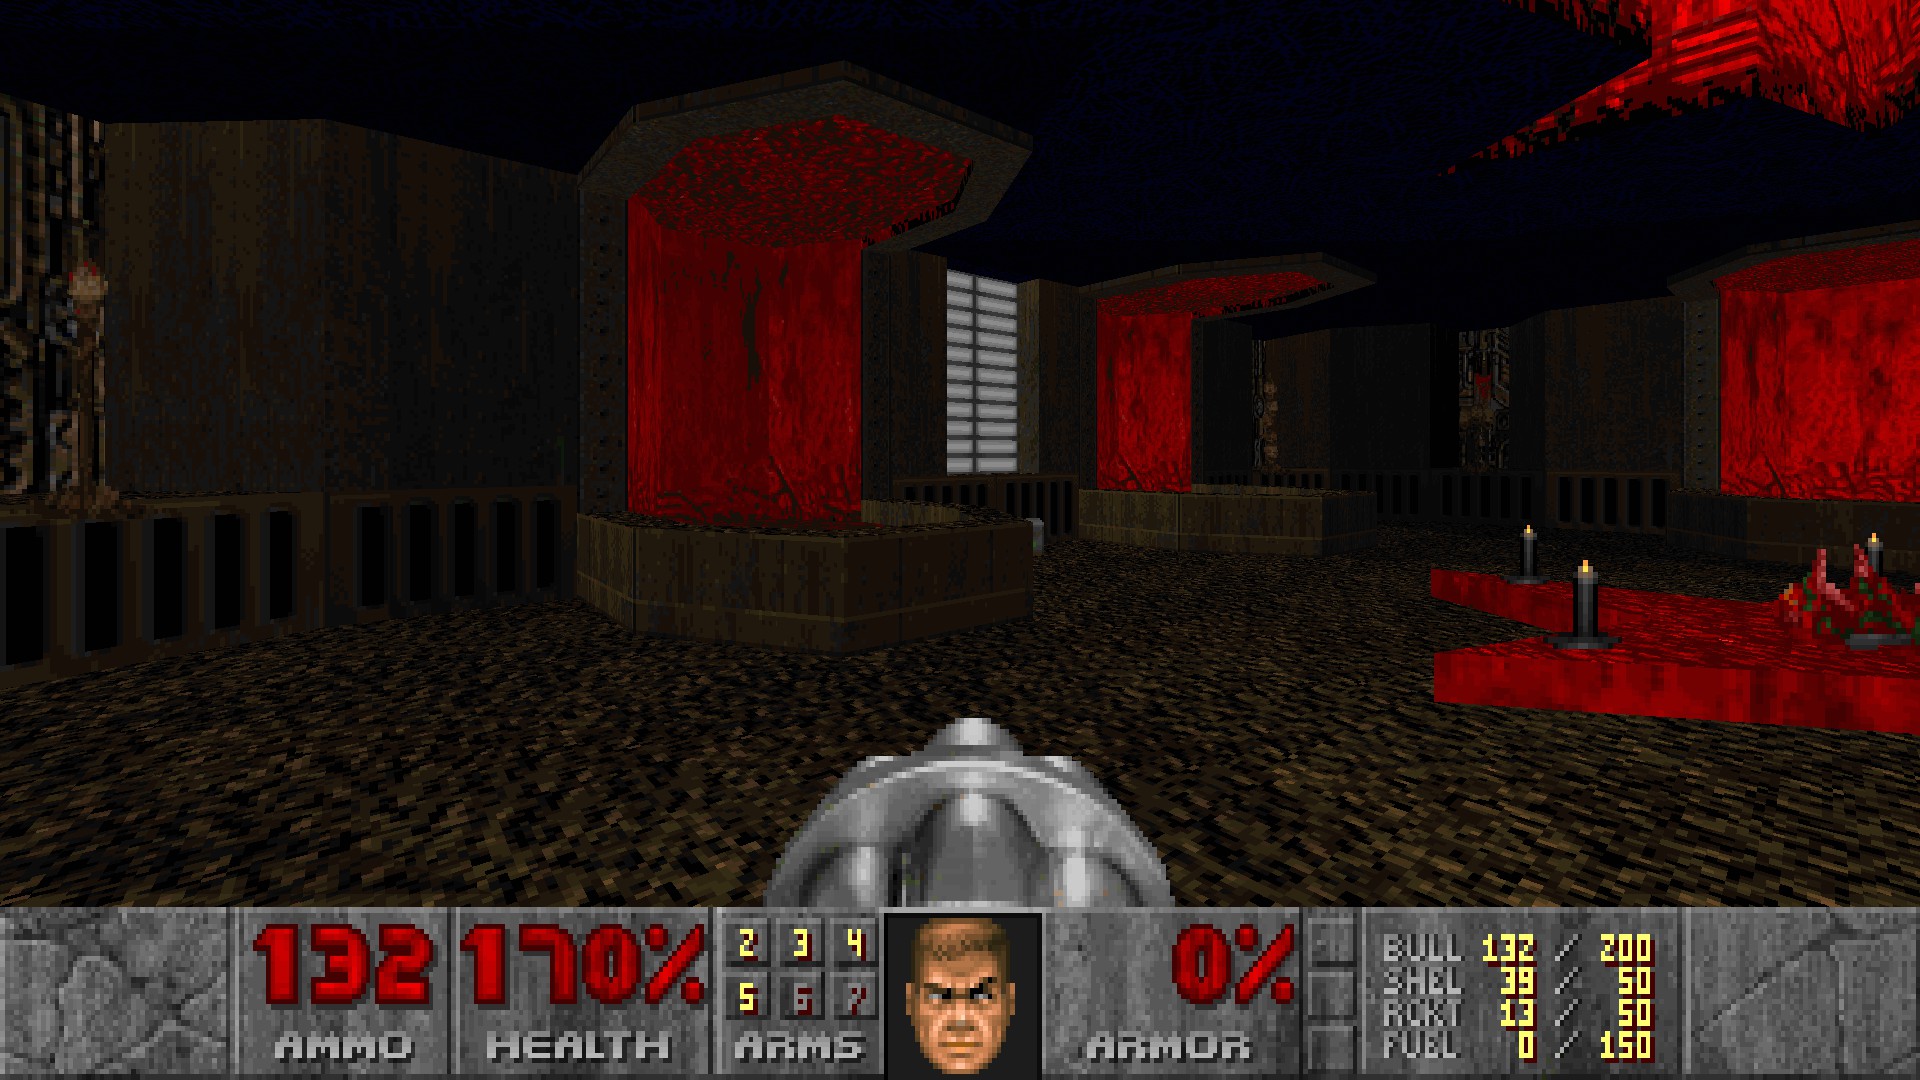
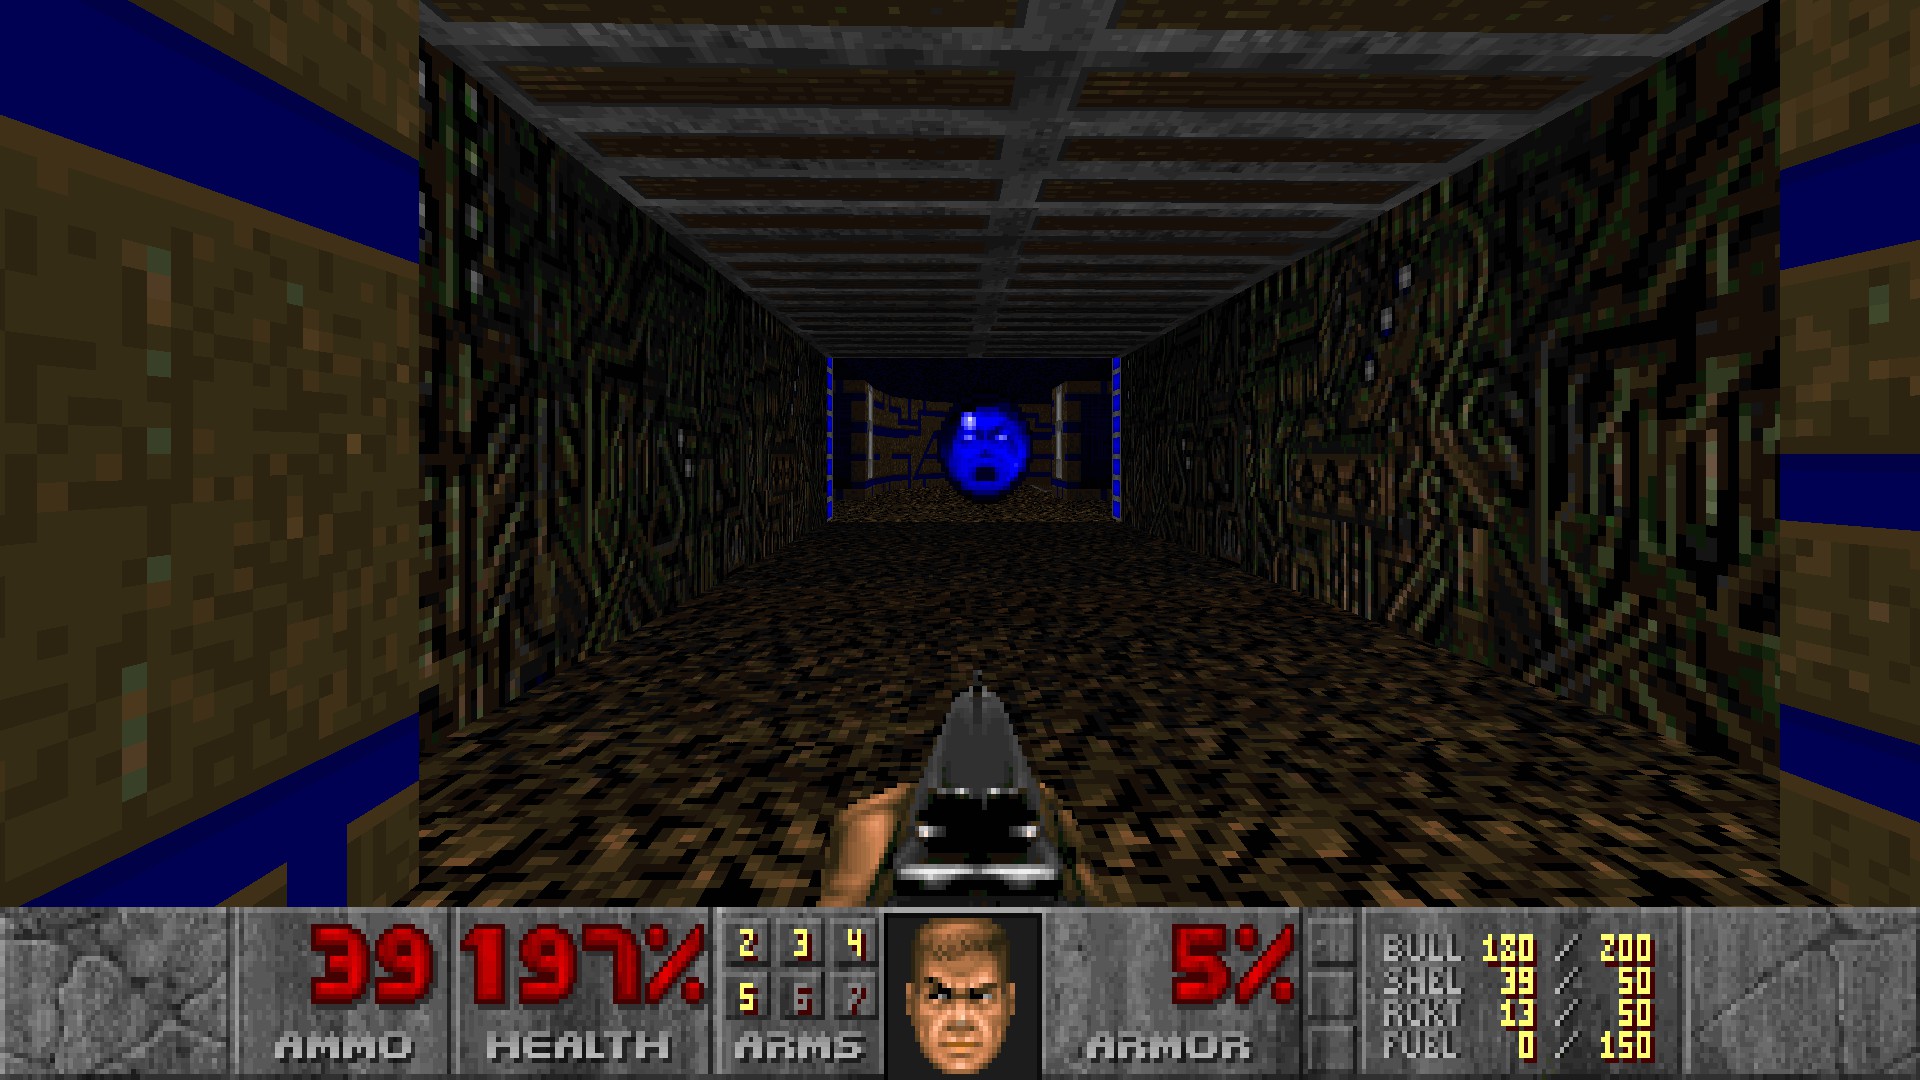
Do so for the southeast one for another secret. (#3)
#4-5
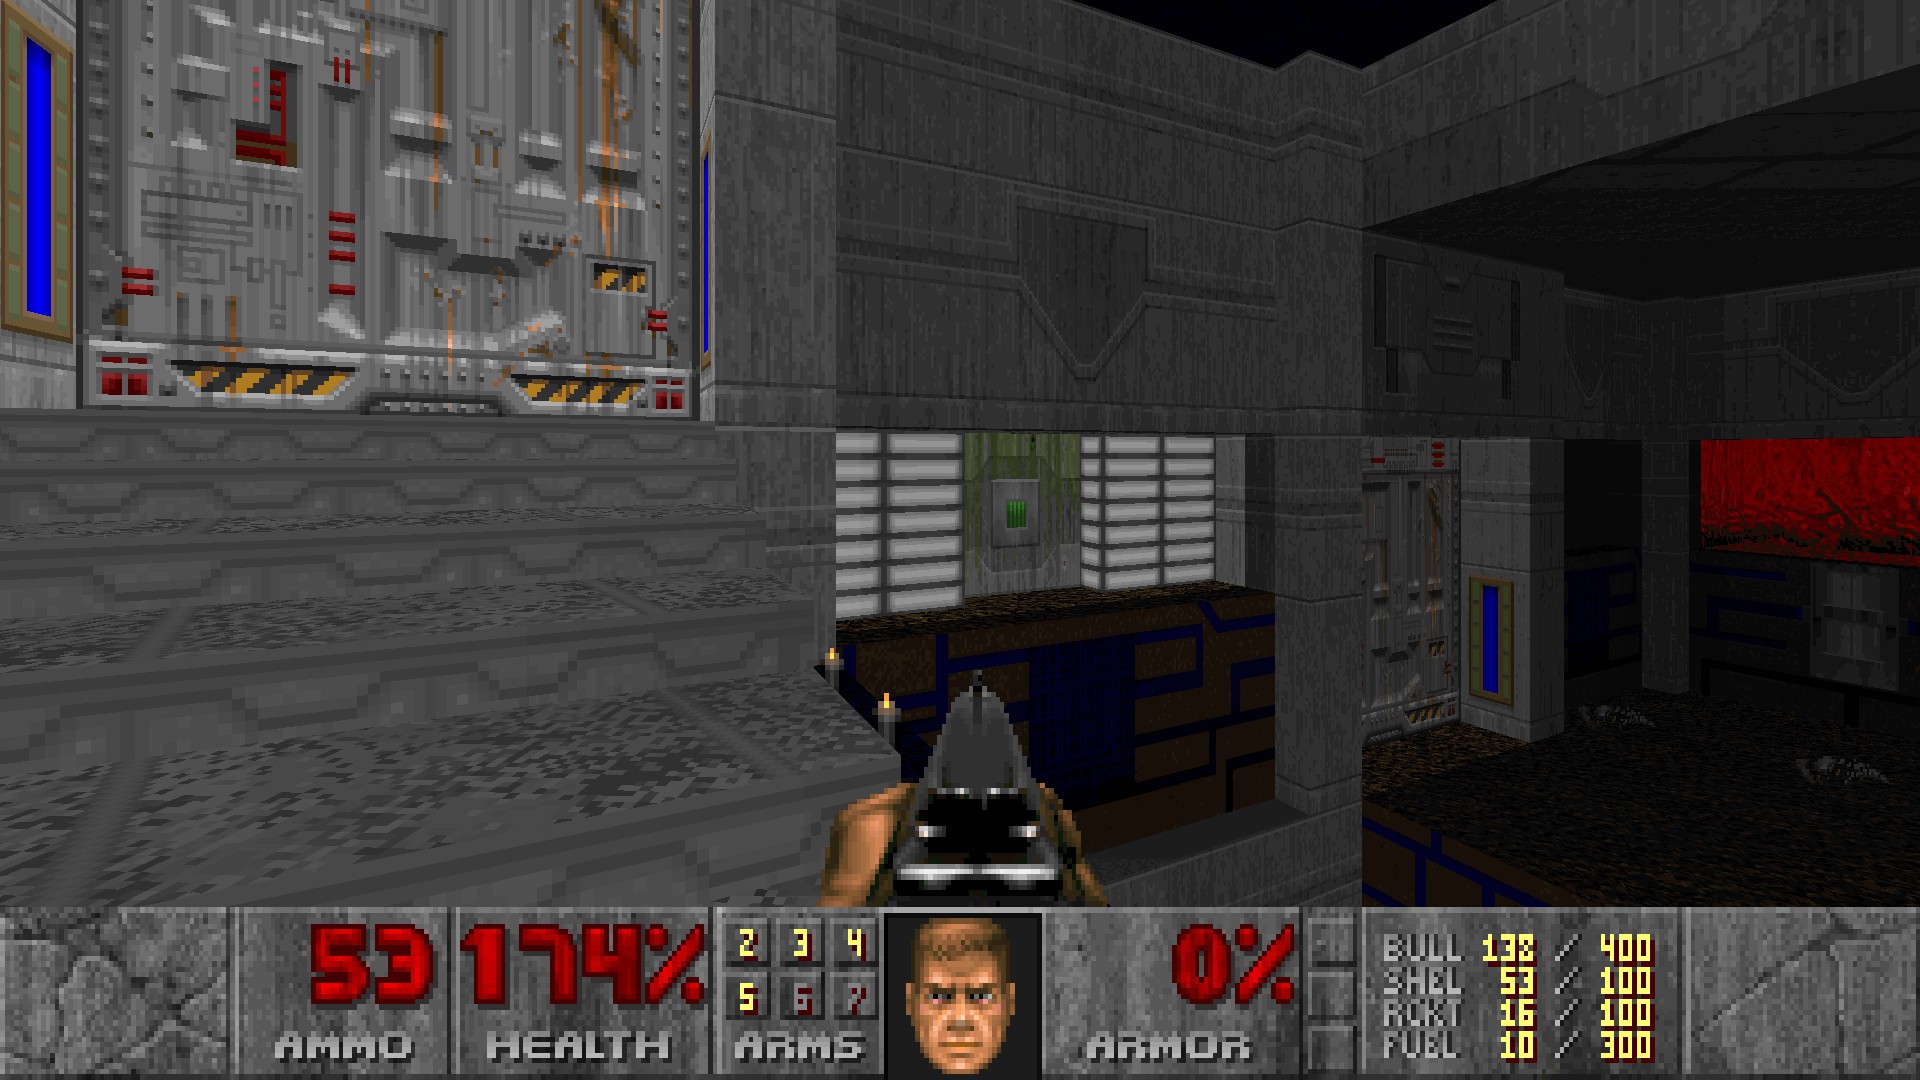
When you cross the bridge using the up & down mechanism you will see a skull in the wall at the other side of a small gap. Straferun across the gap and open the skull to reveal a berserk pack. (#4)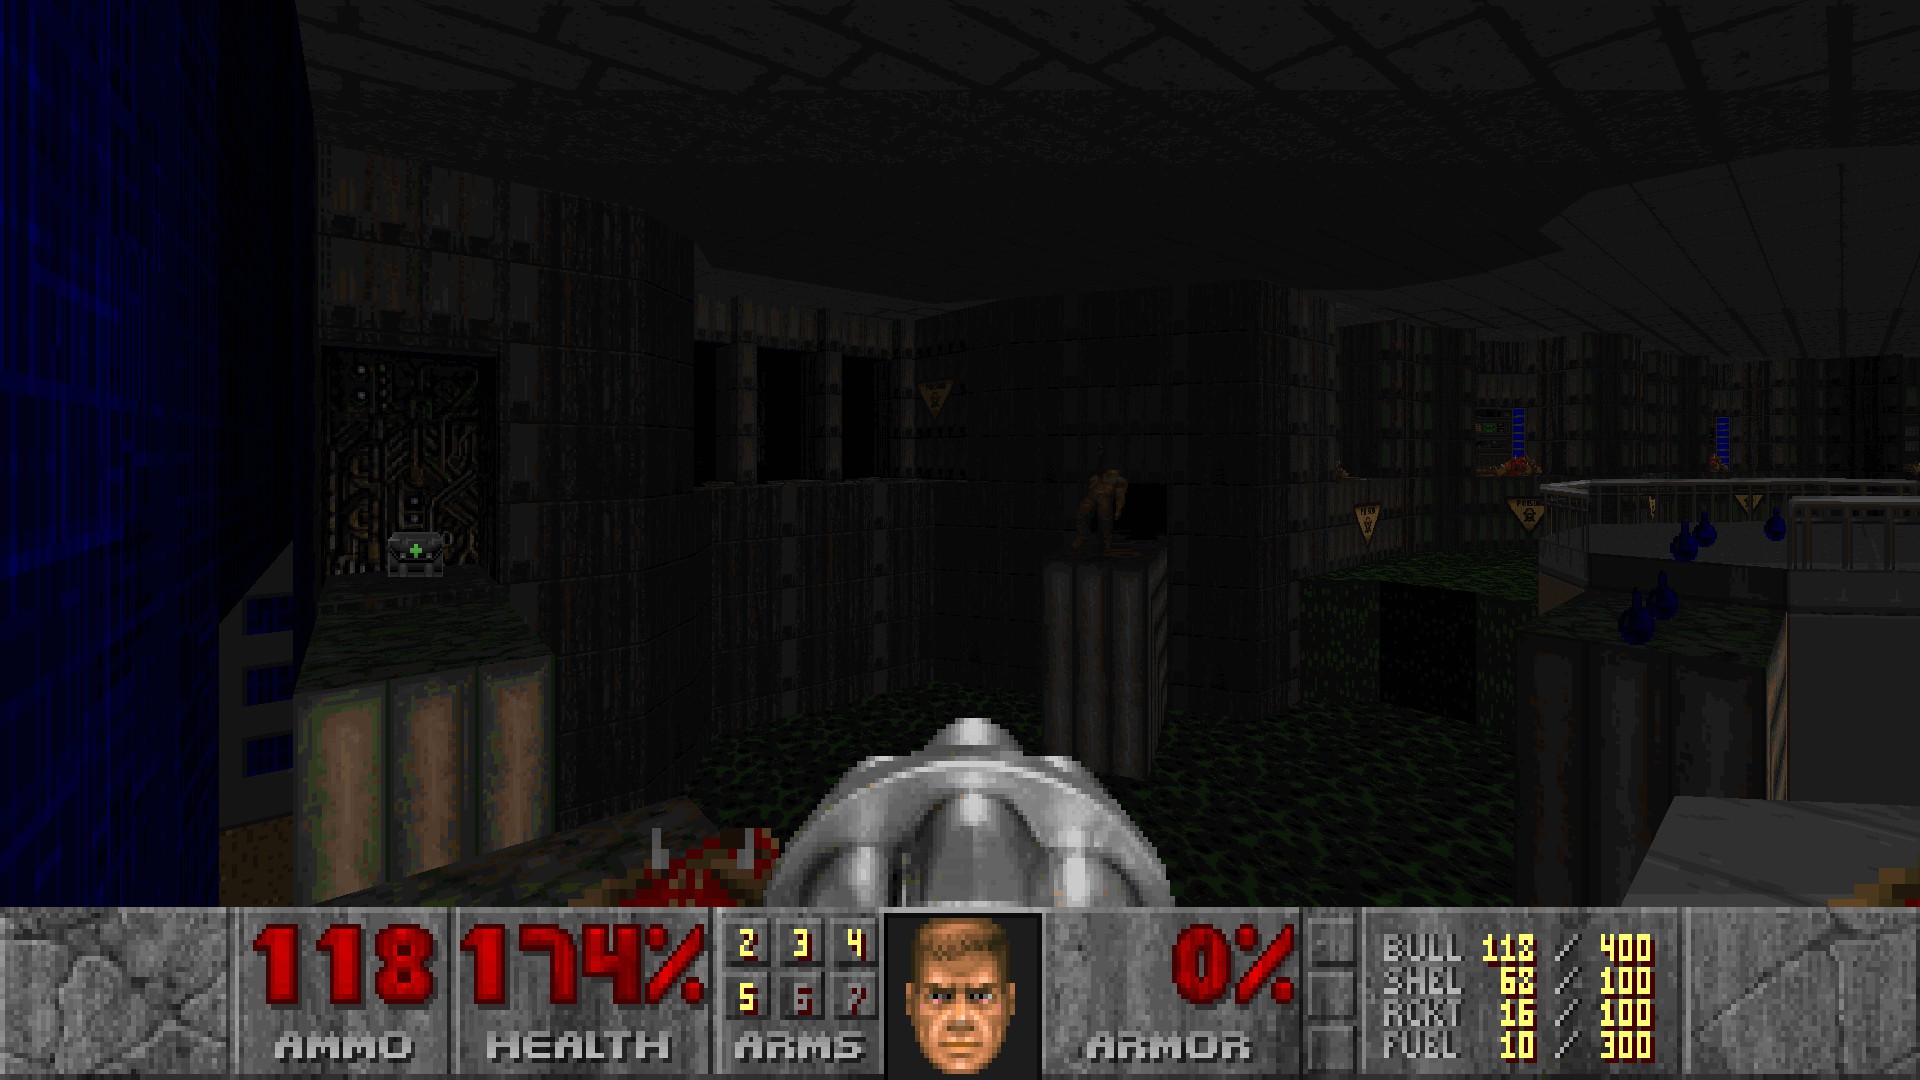 At the end of the bridge you will see a computer area map to your left. The nearby staircase with candles has a stained wall on either side. Open both walls and press the switches to raise stairs to the map. (#5)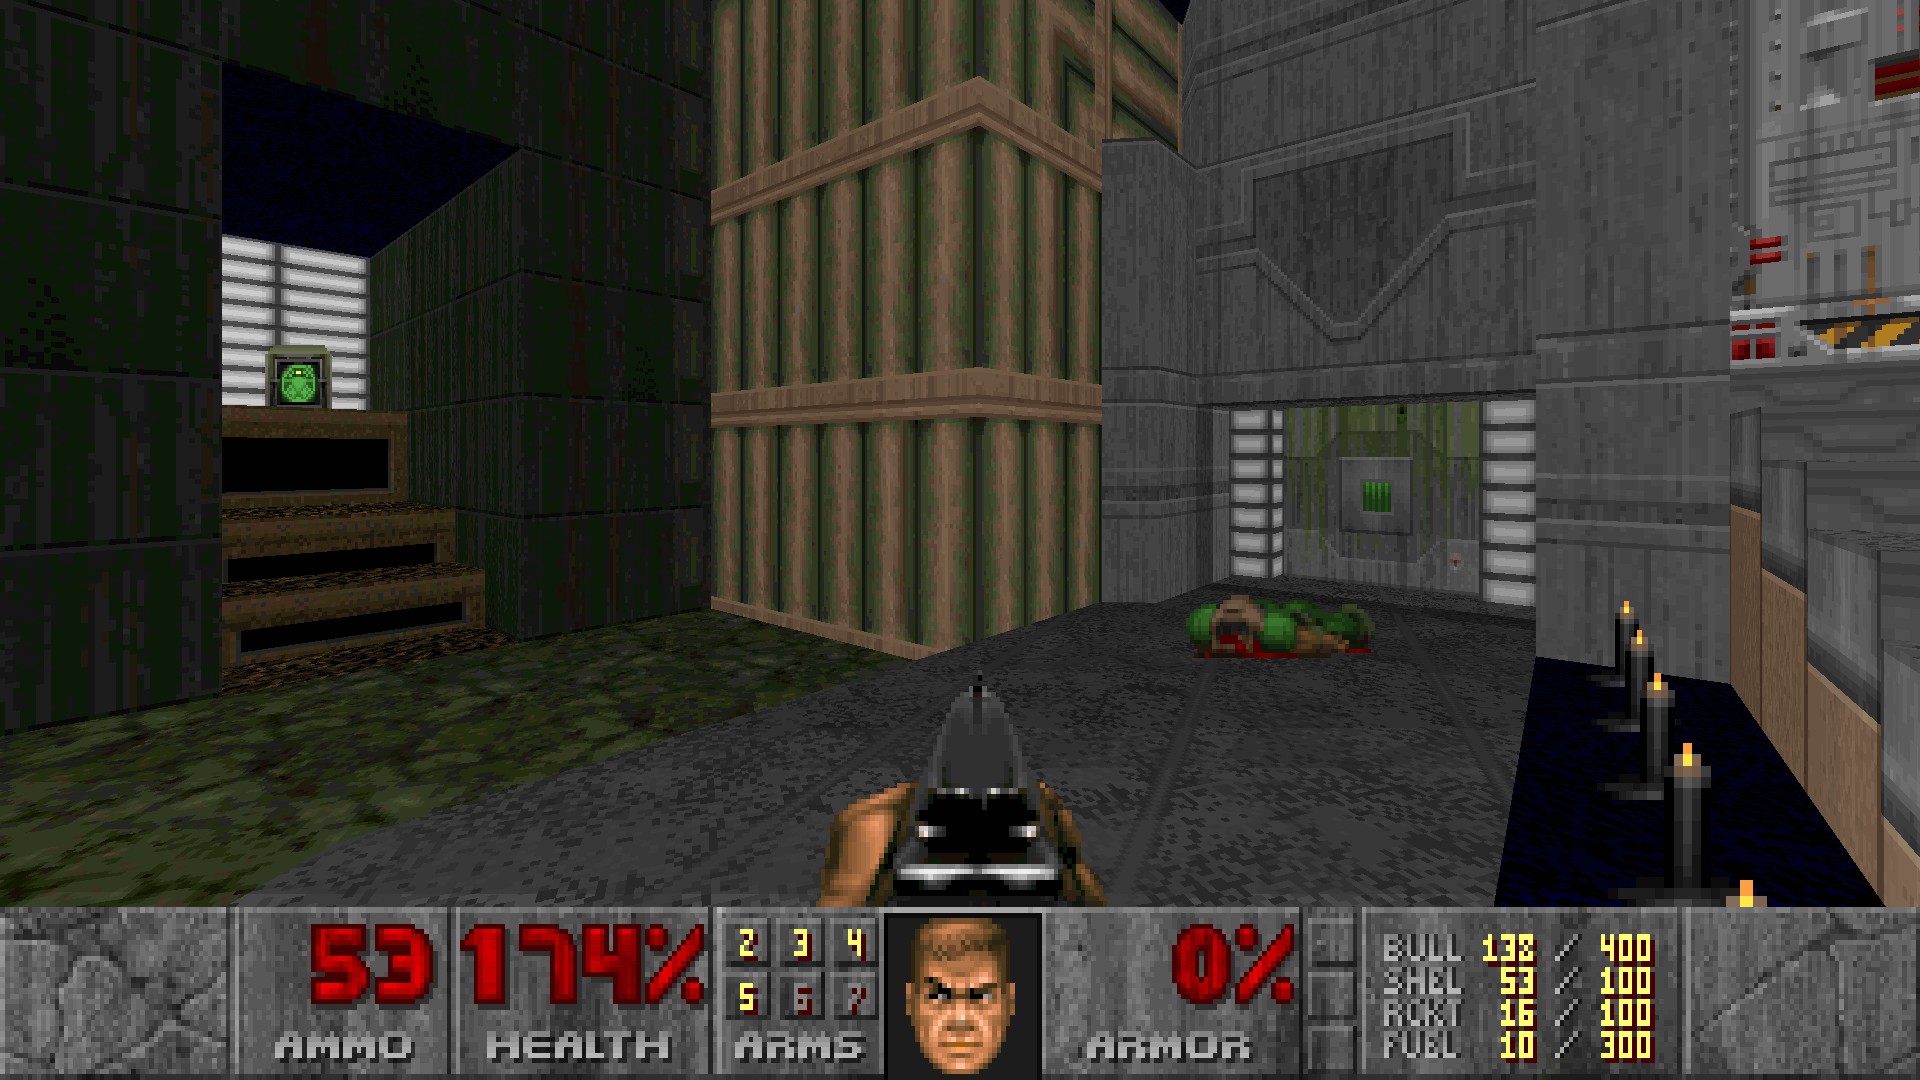
#6-8
A hidden switch is near the skull switch at the top of the building that drain bloodfalls down. Press it and head southwest to a newly-revealed section with a hole in the wall and some hanging corpses inside, then follow the stairs up to find the red key. (#6)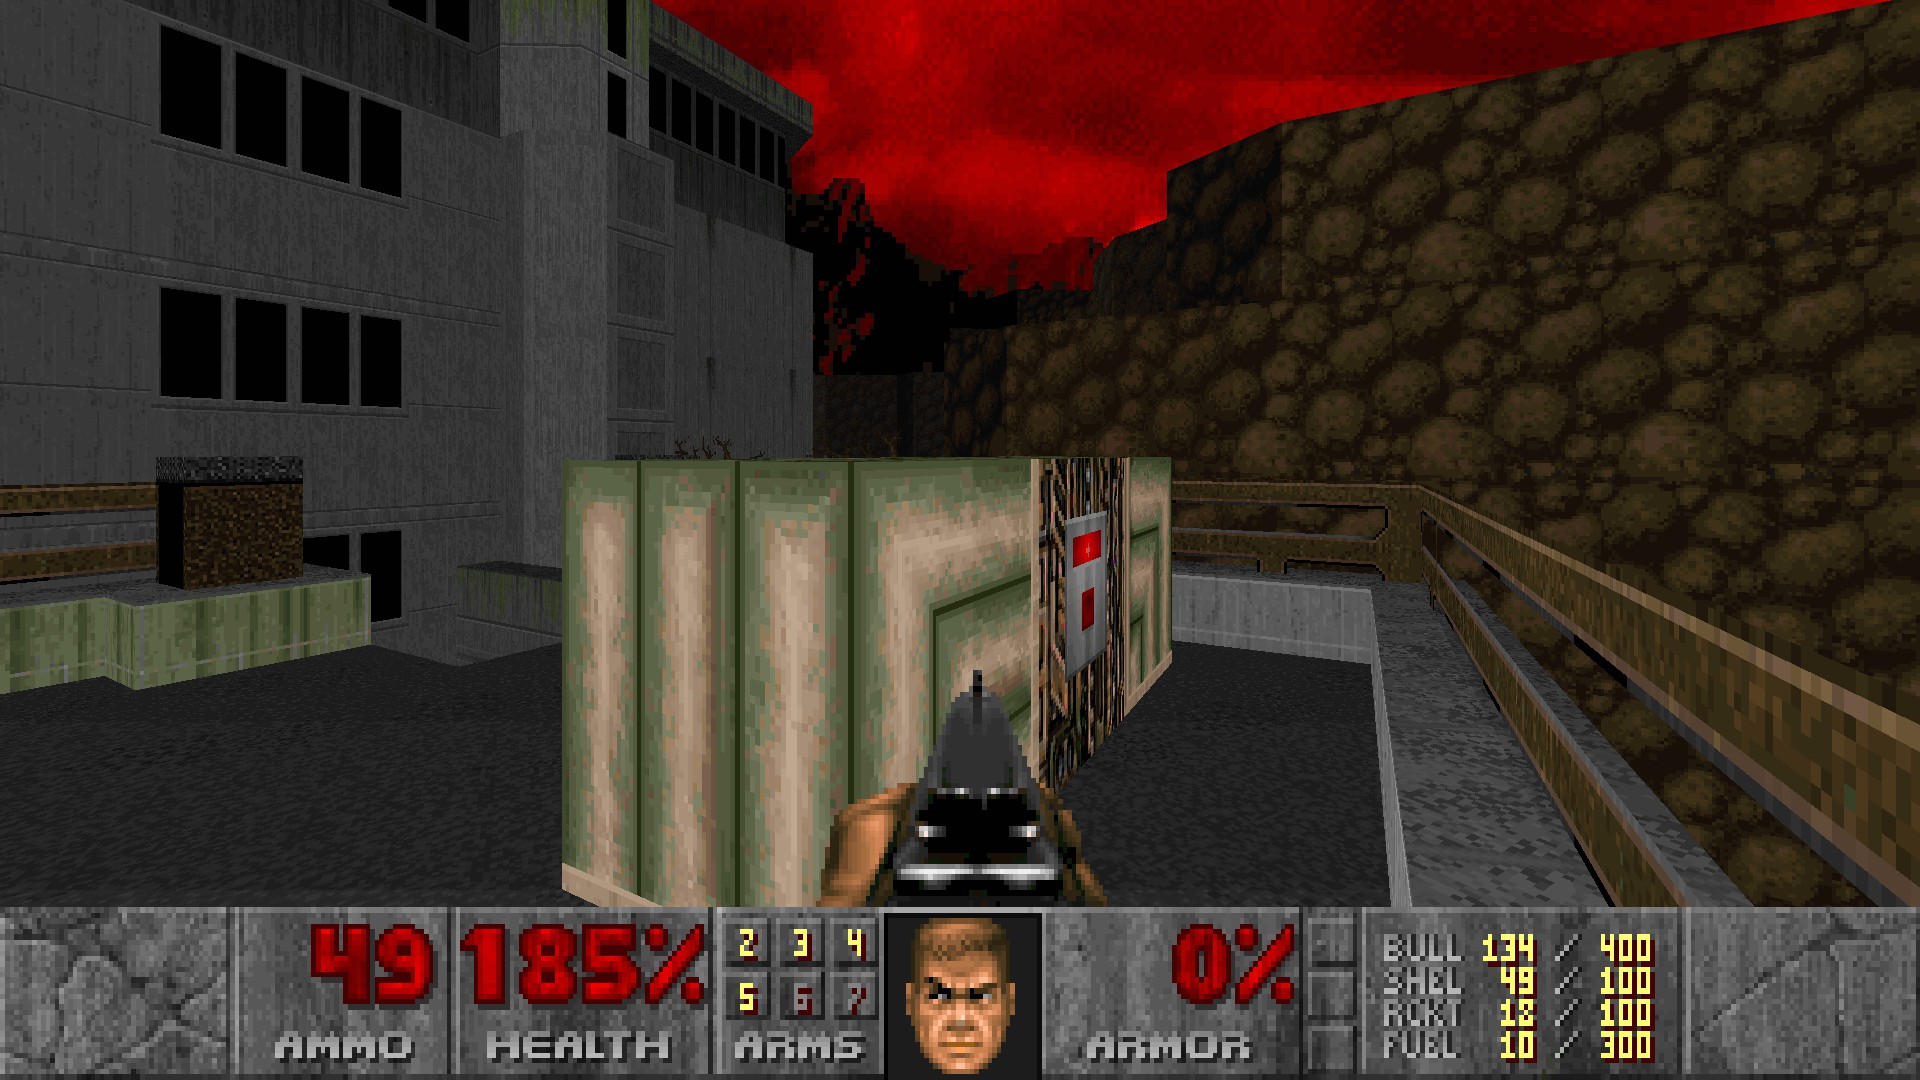
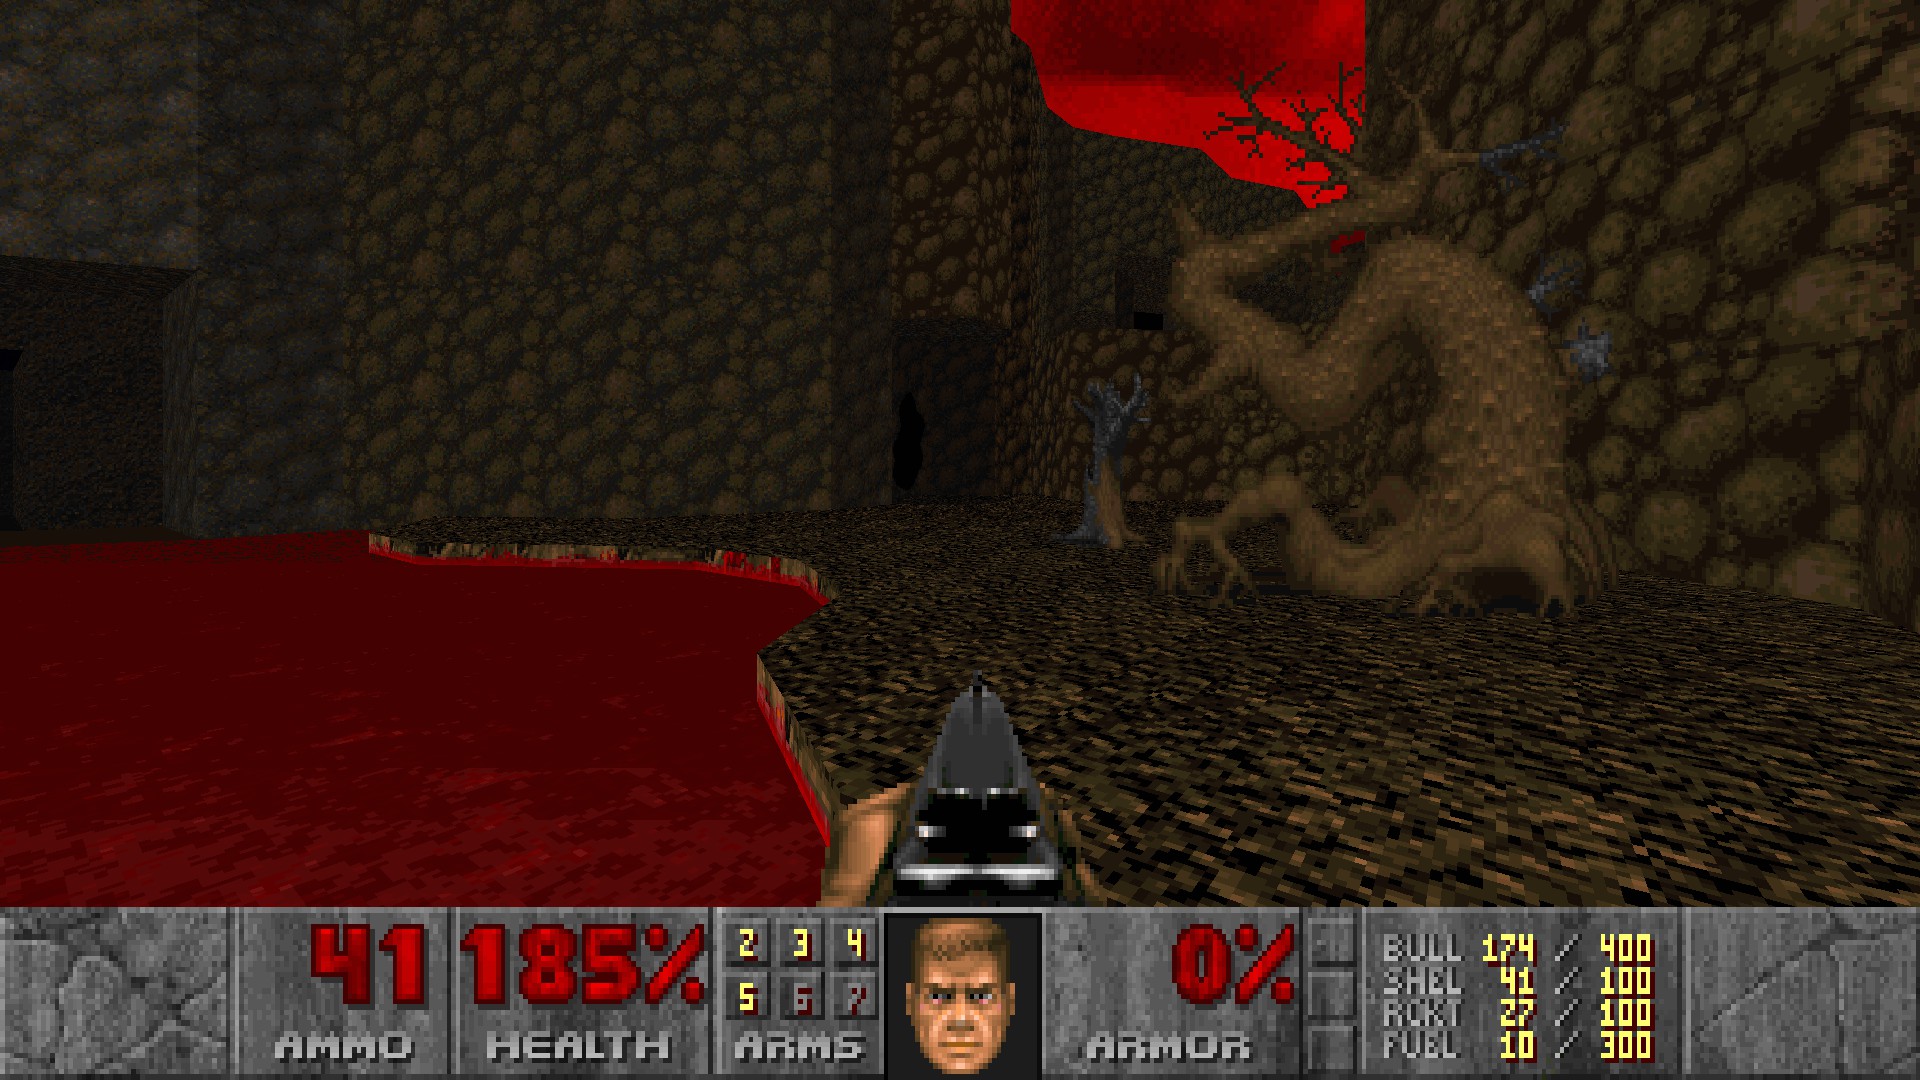
Go back to the top of the building and walk around the brown railing to the southeast to land on a dead marine. (#7)
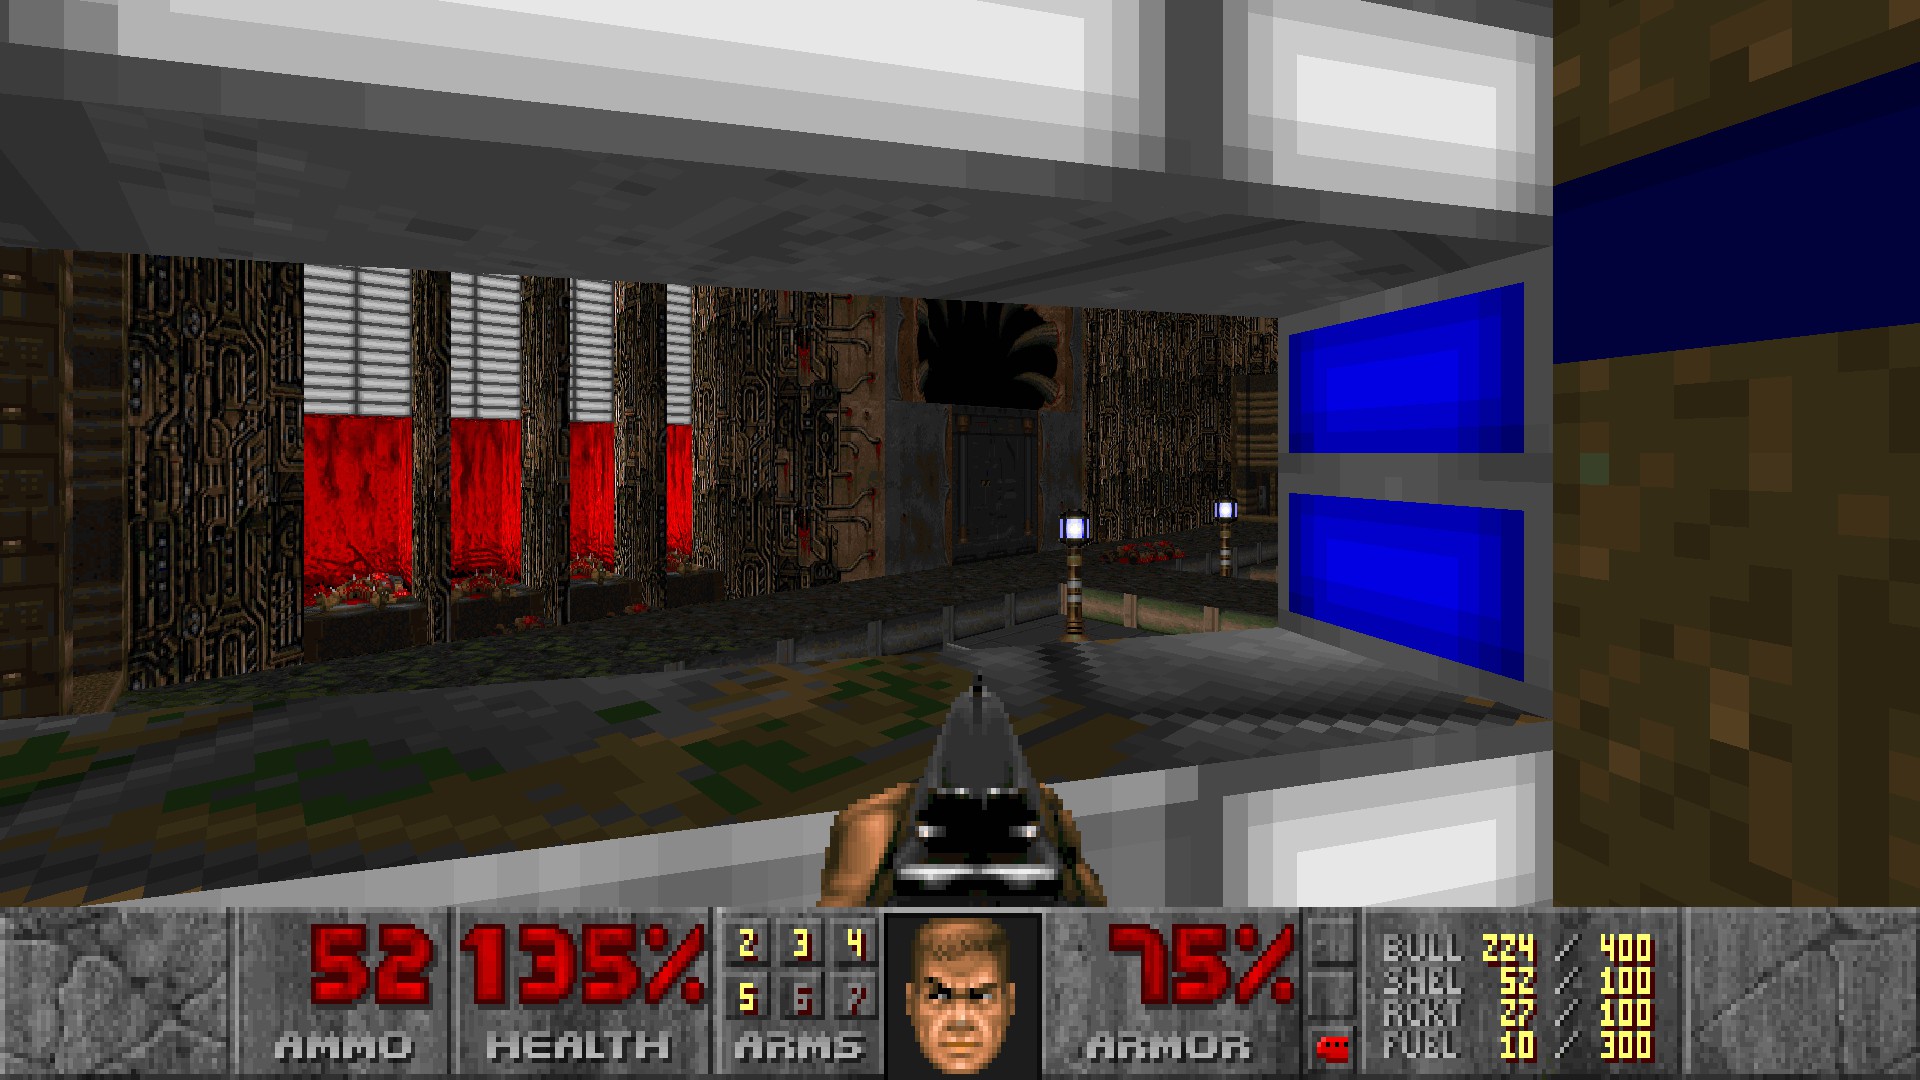
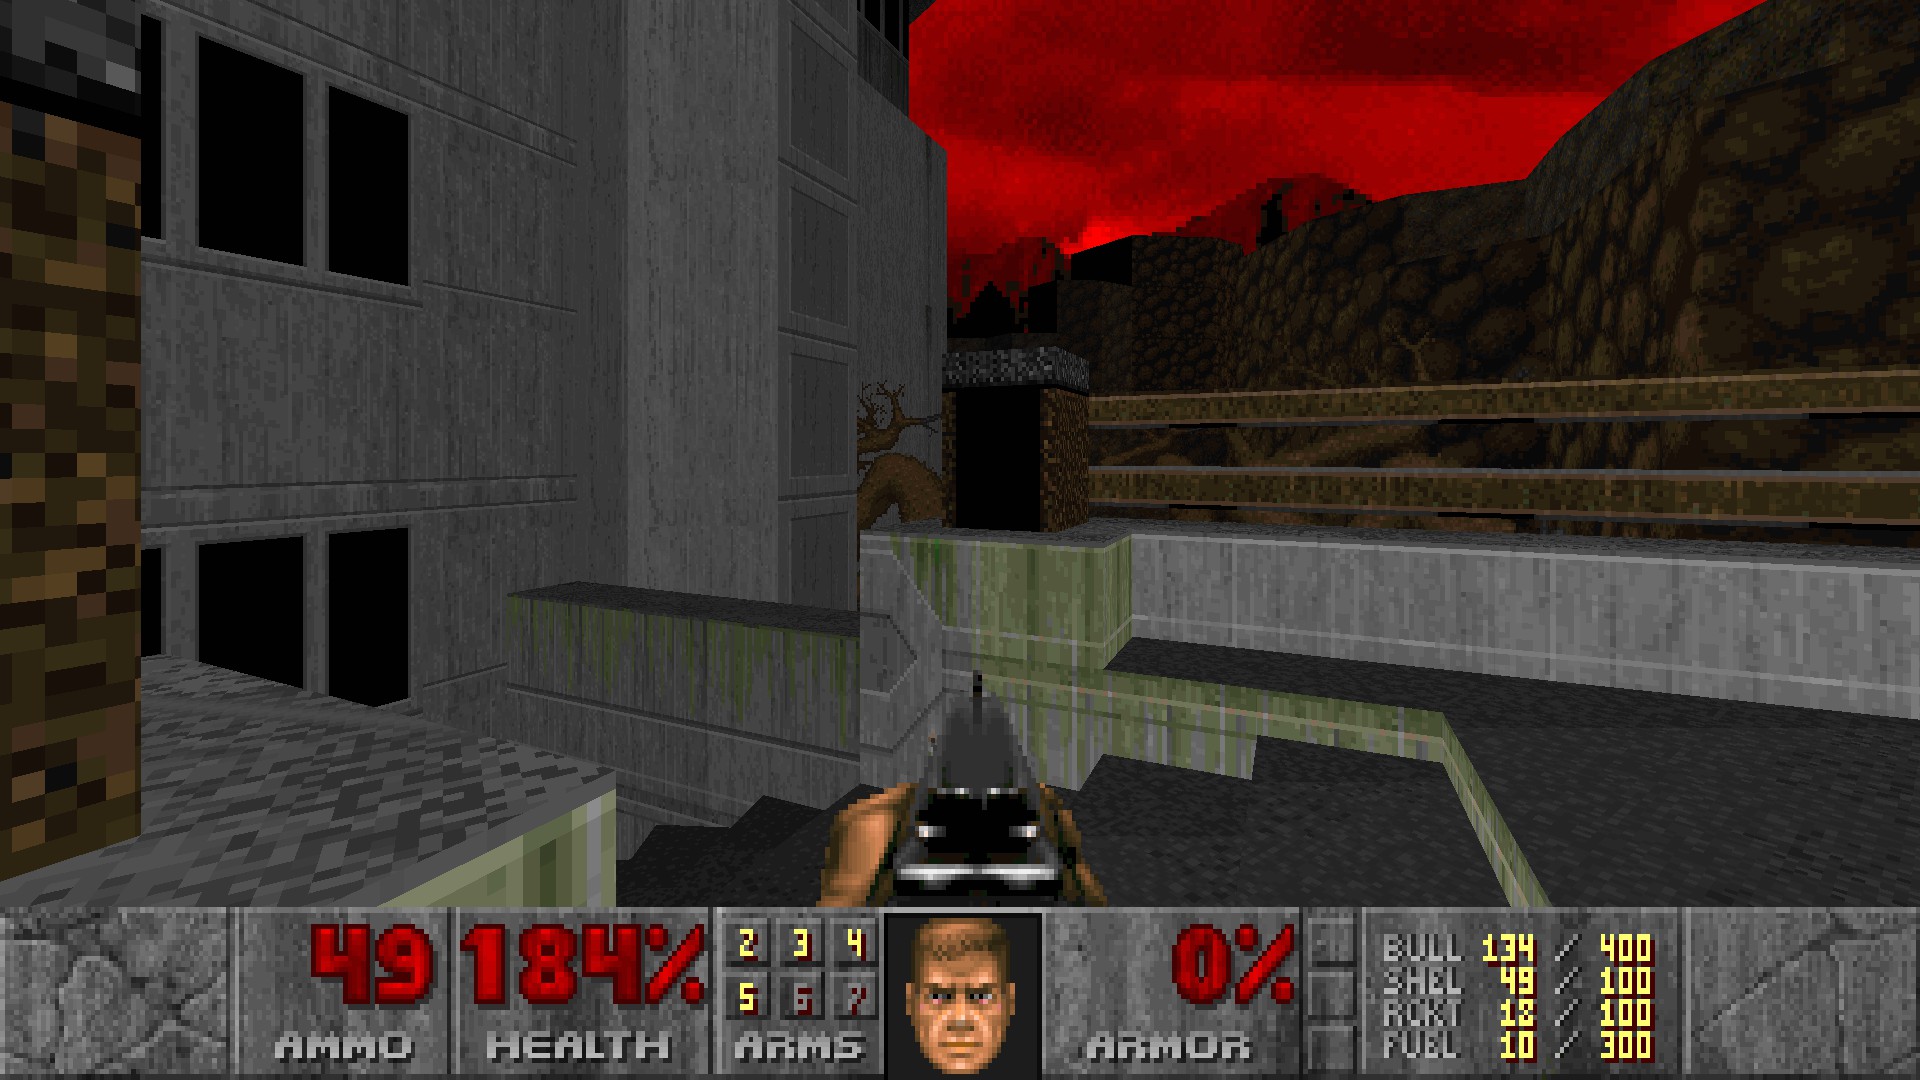 Behind the dead marine is a wall that requires the red key to open. Enter the third alcove that's flashing and press the switch there to see one of the walls with pipes descending, at the start of the bridge. Backtrack to that and ride it up to the exit stairs to E1M0: Ash Mill. (#8)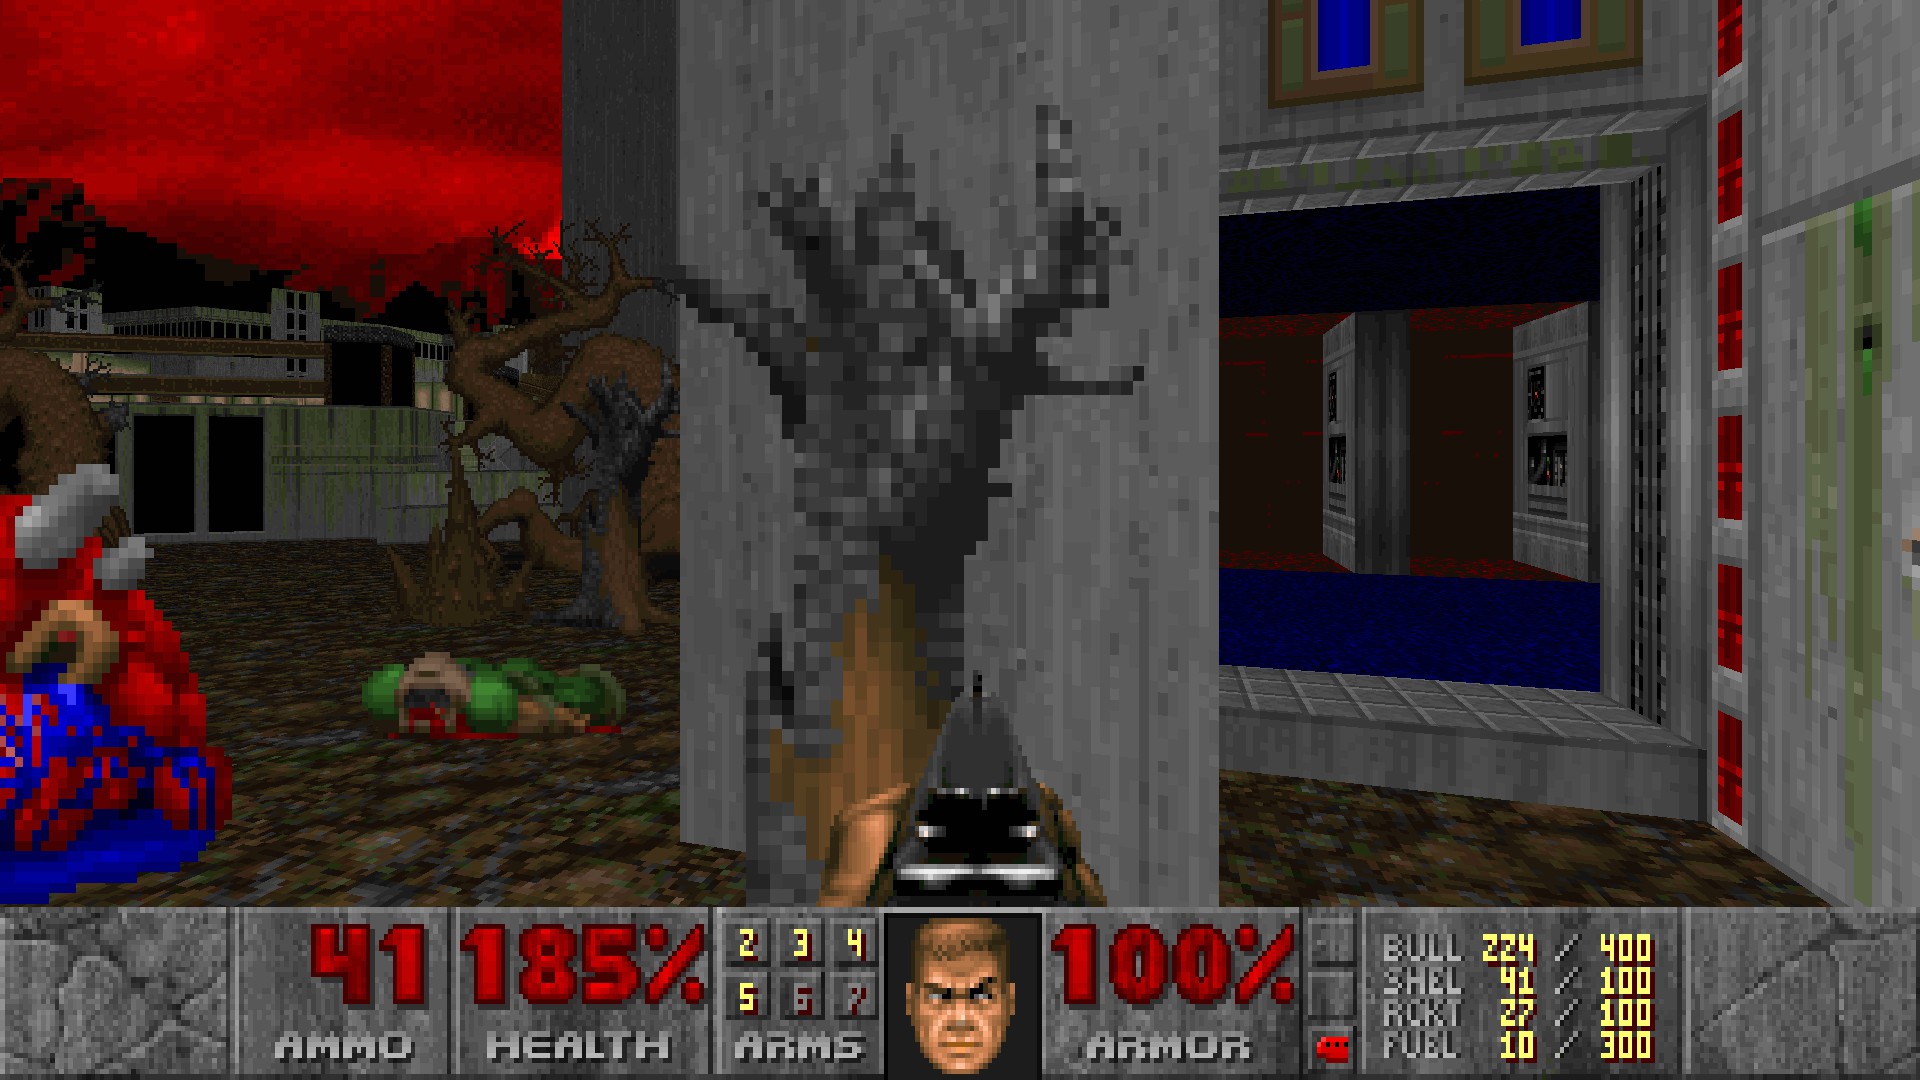
E1M0: Ash Mill
#1
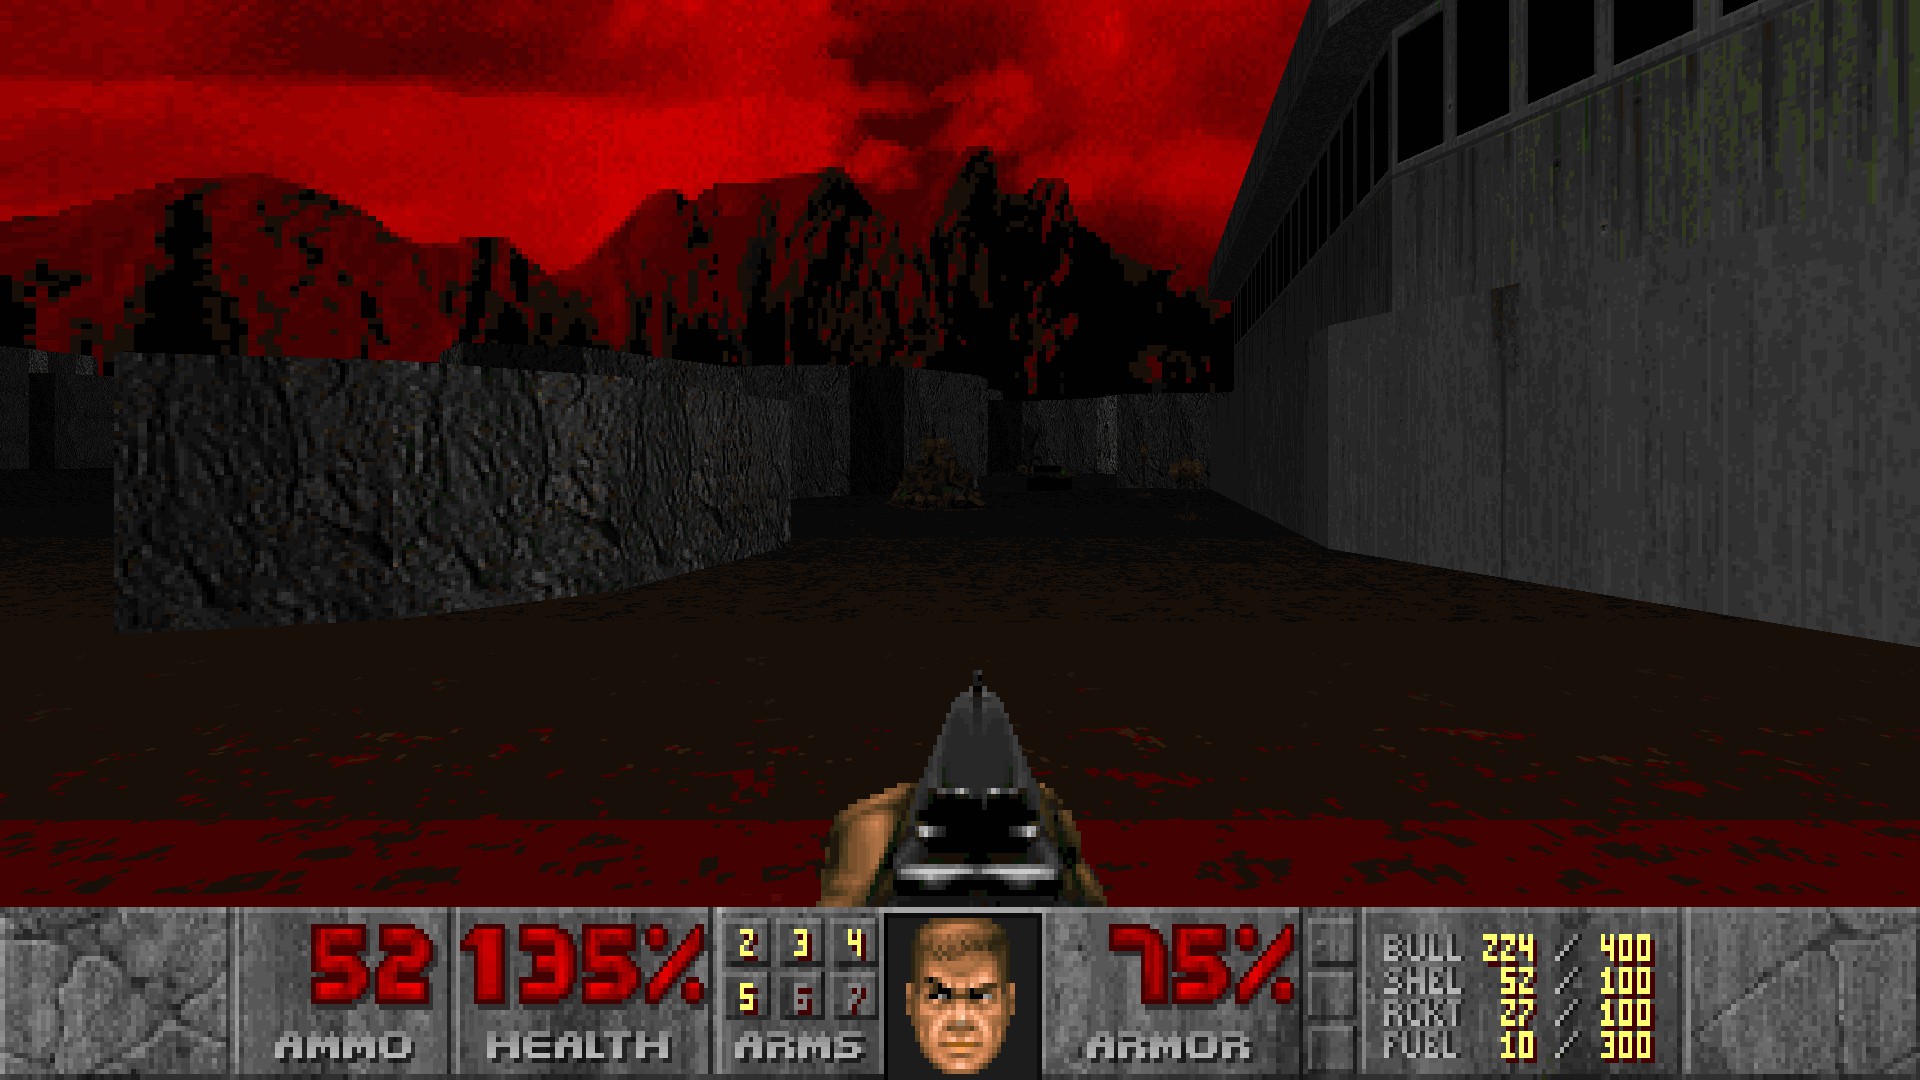
From the starting area, head left and follow along the rock formation. Turn left again once you reach the edge of the formation, and pick up the chainsaw waiting on the platform.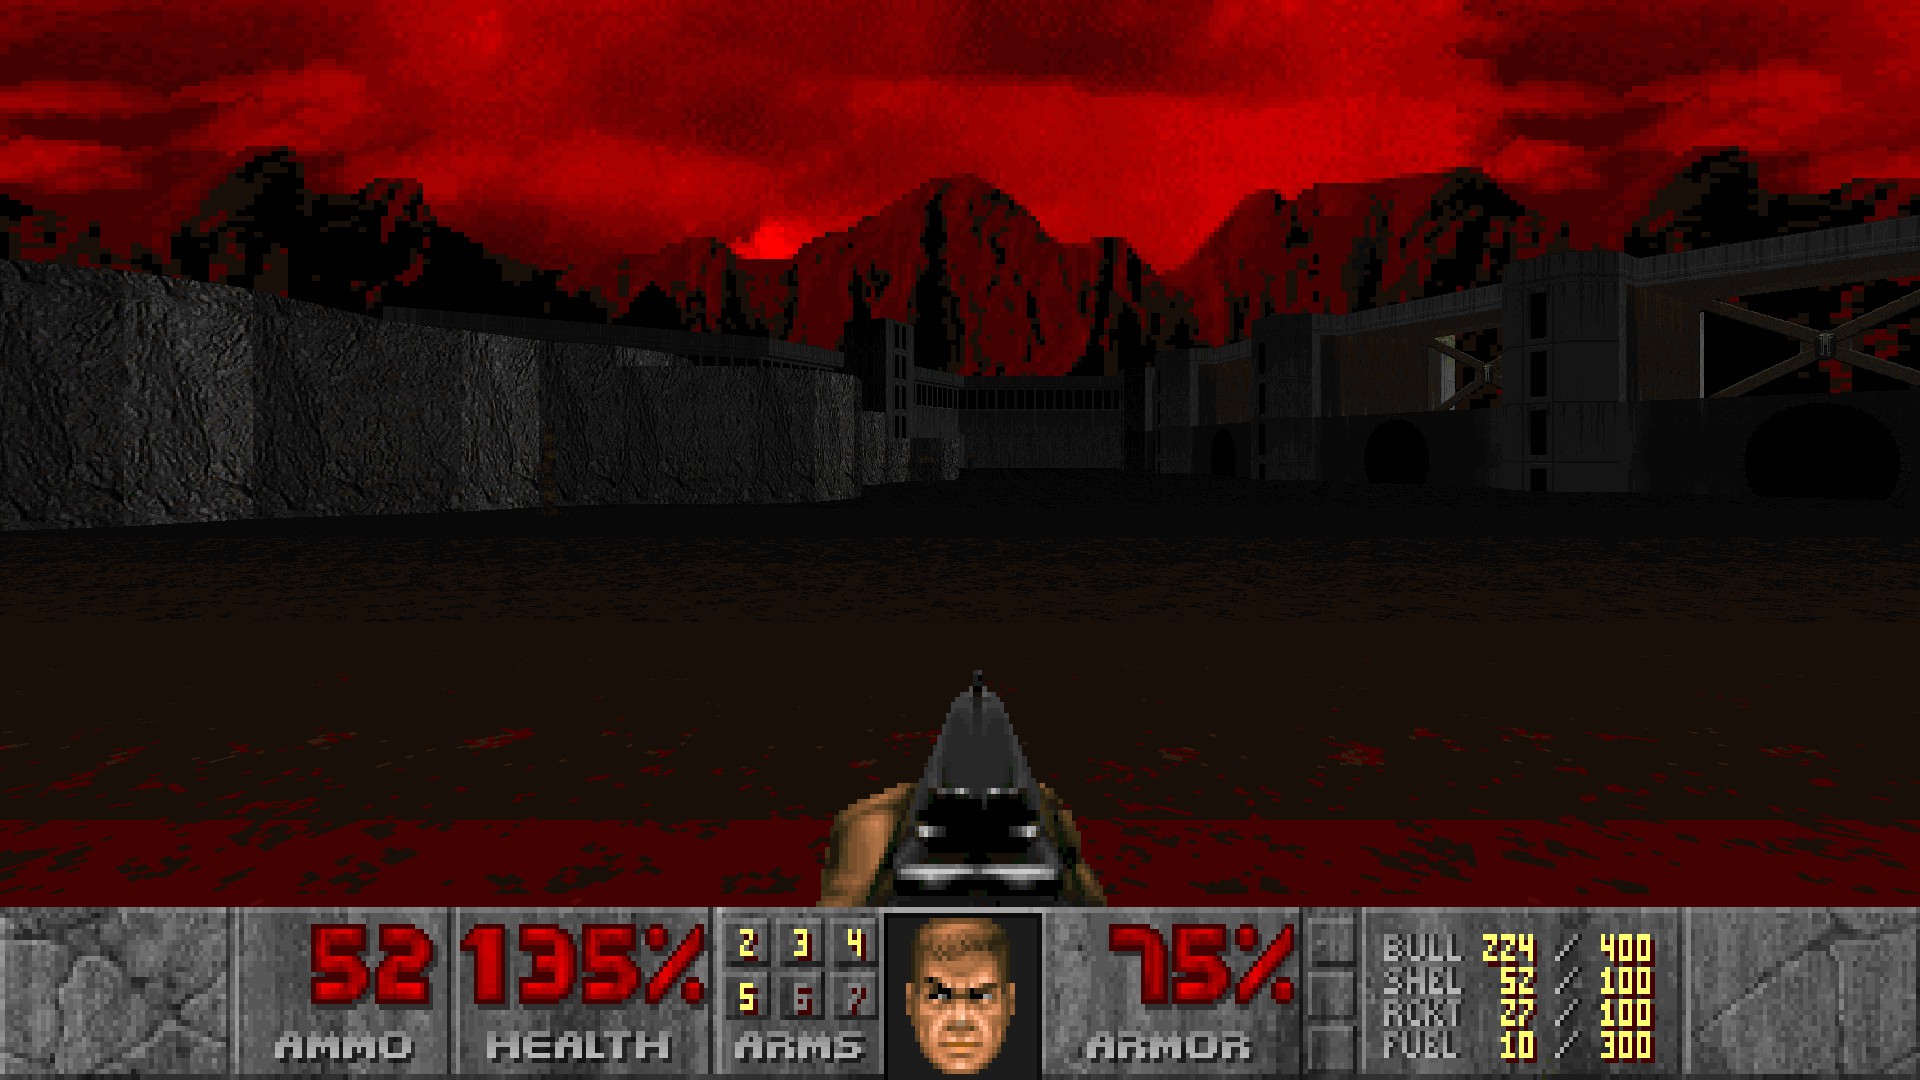
#2
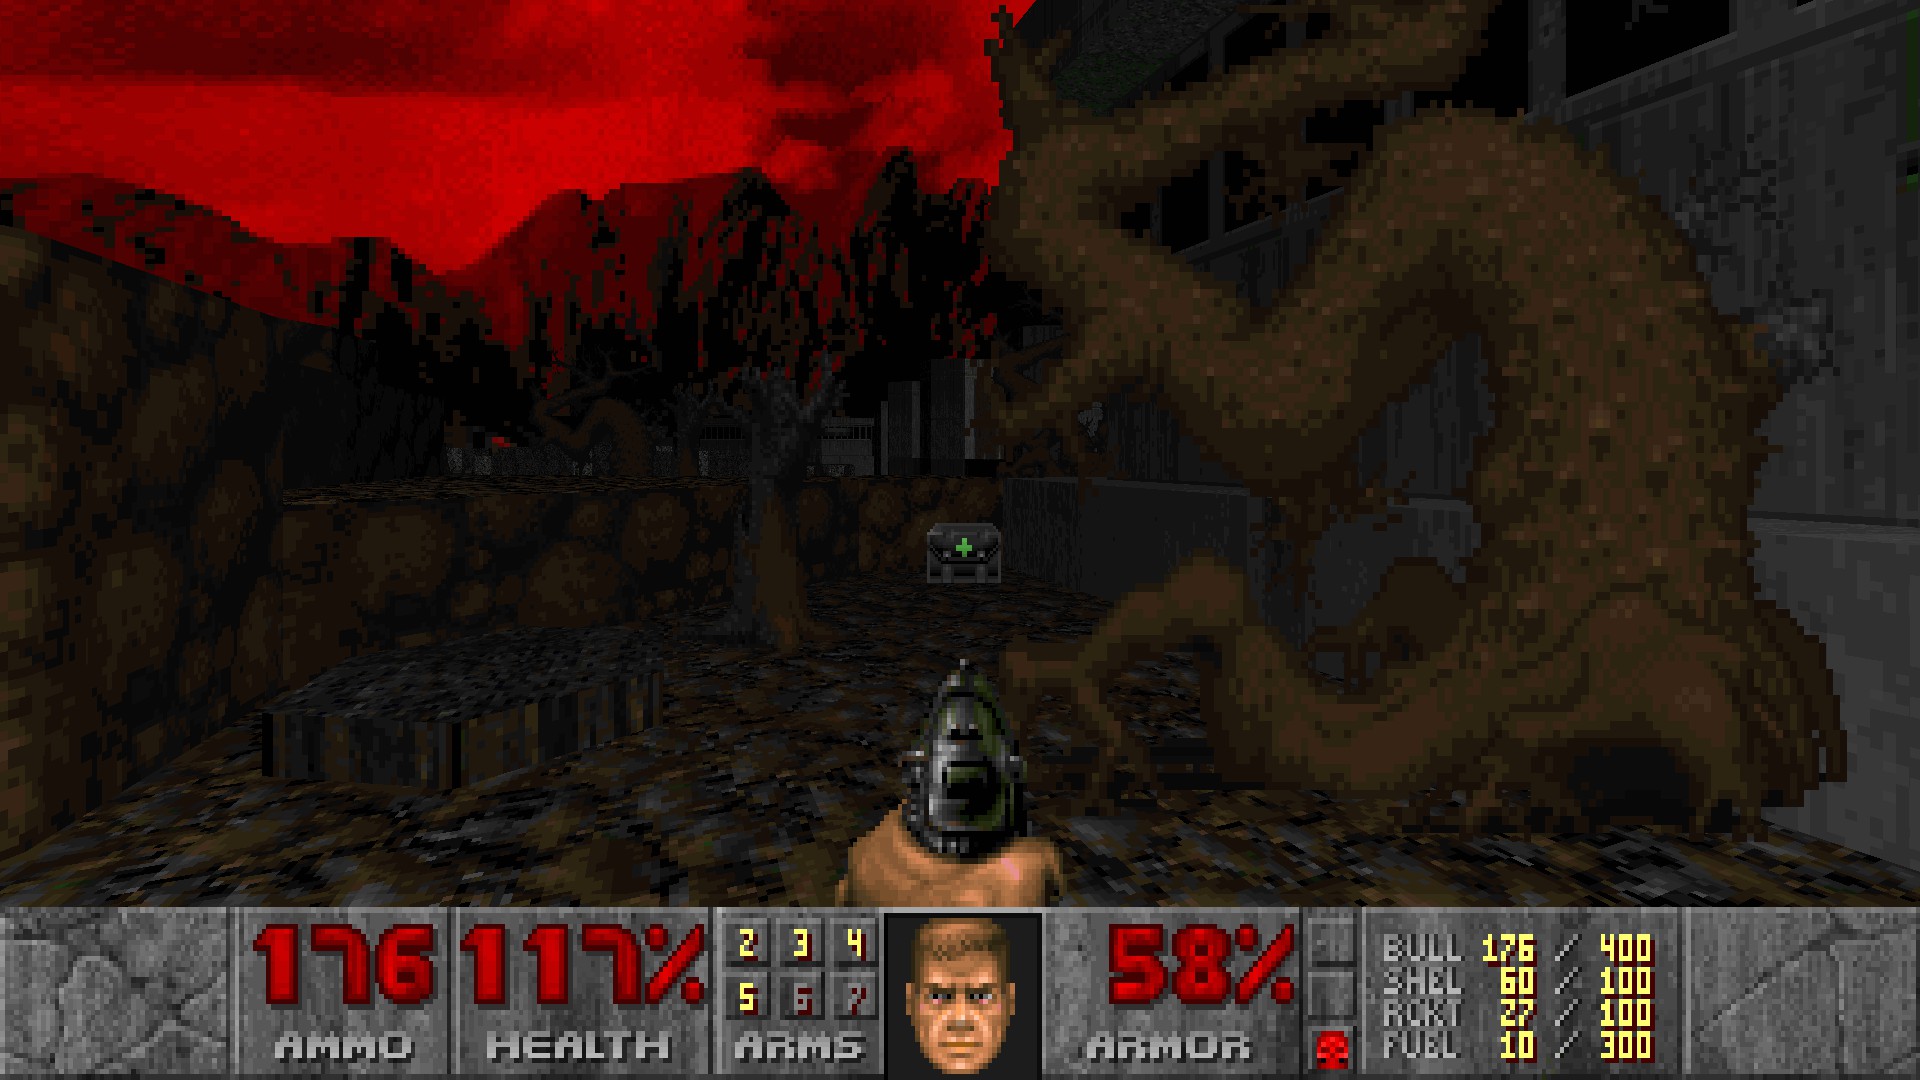
After going through the red door, there's a flight of stairs going down. Immediately turn left after the stairs, shoot any pillars in the way and weave through the trees. A berserk pack can be found at the end of the path.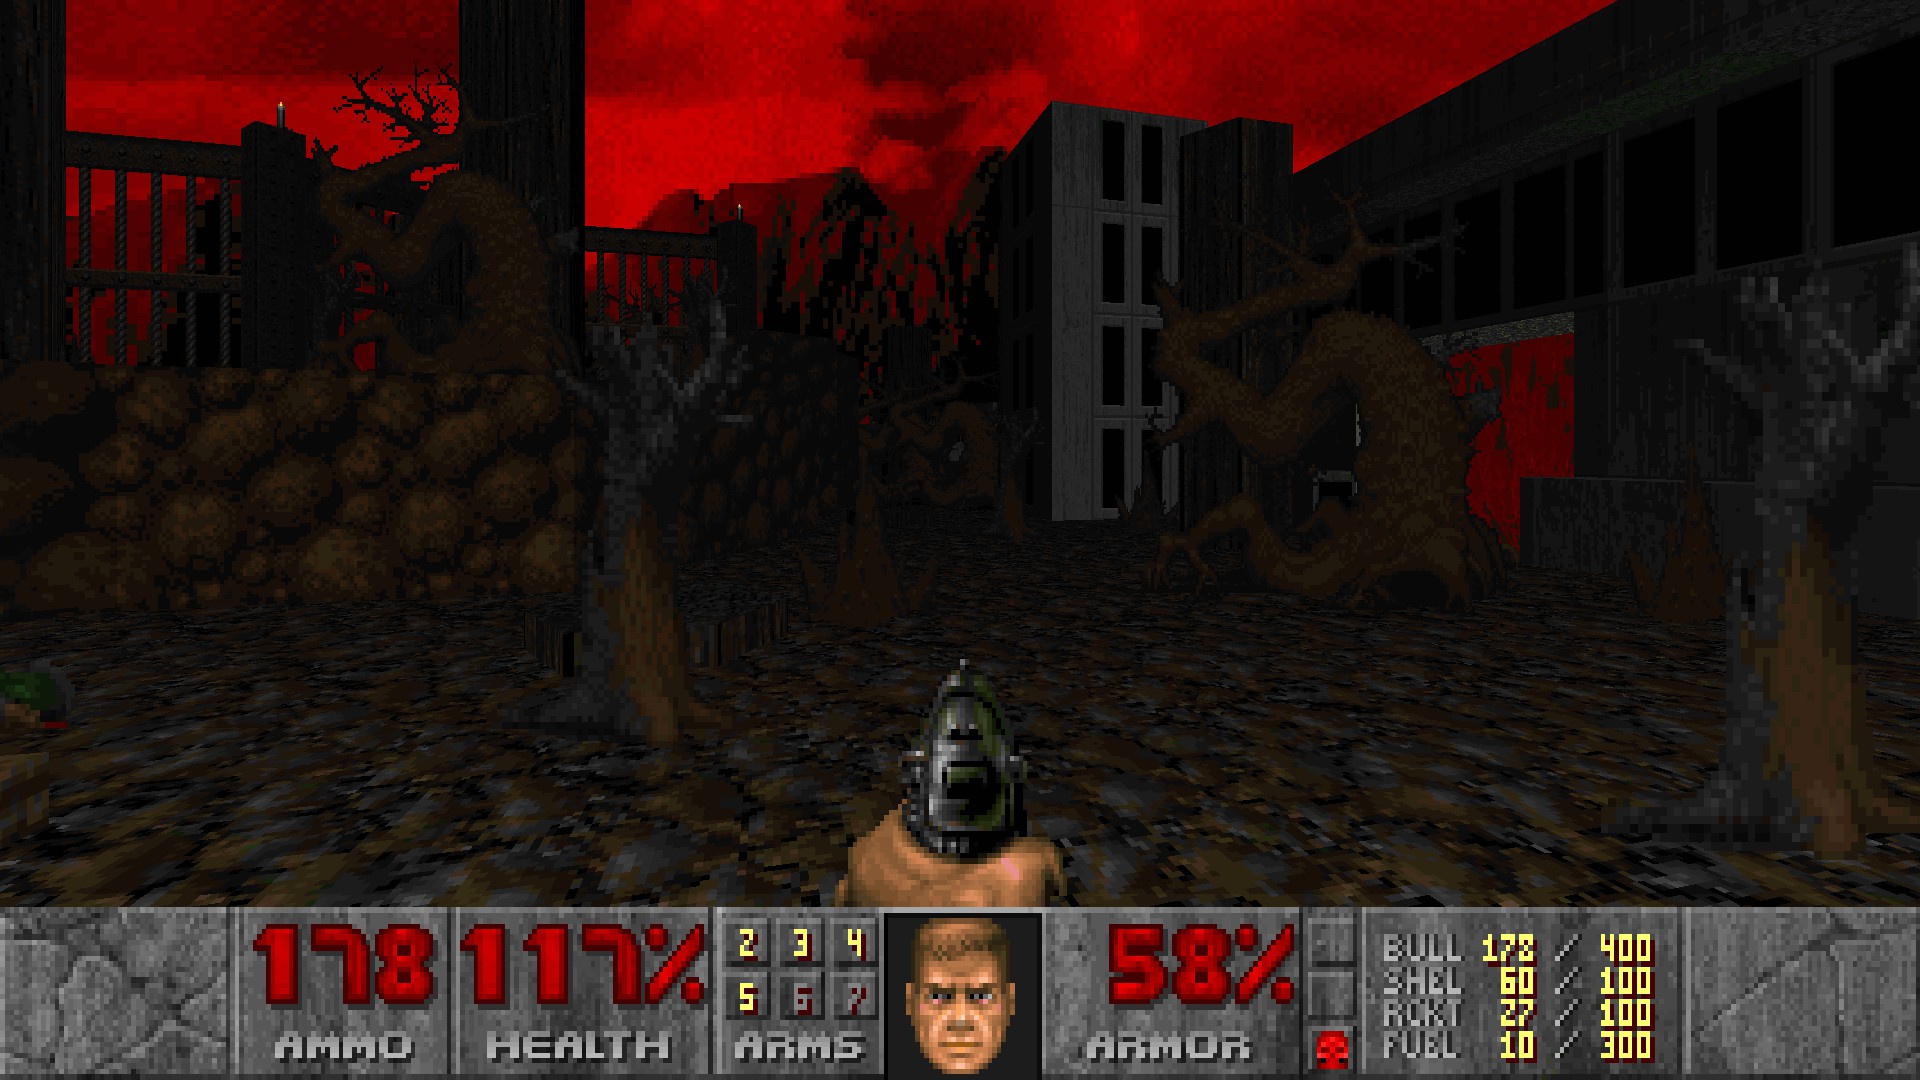
E1M4: Descending Inferno
#1-2
In the second section of the starting crate room, one of the walls before the door to the outside has a different texture. (#1)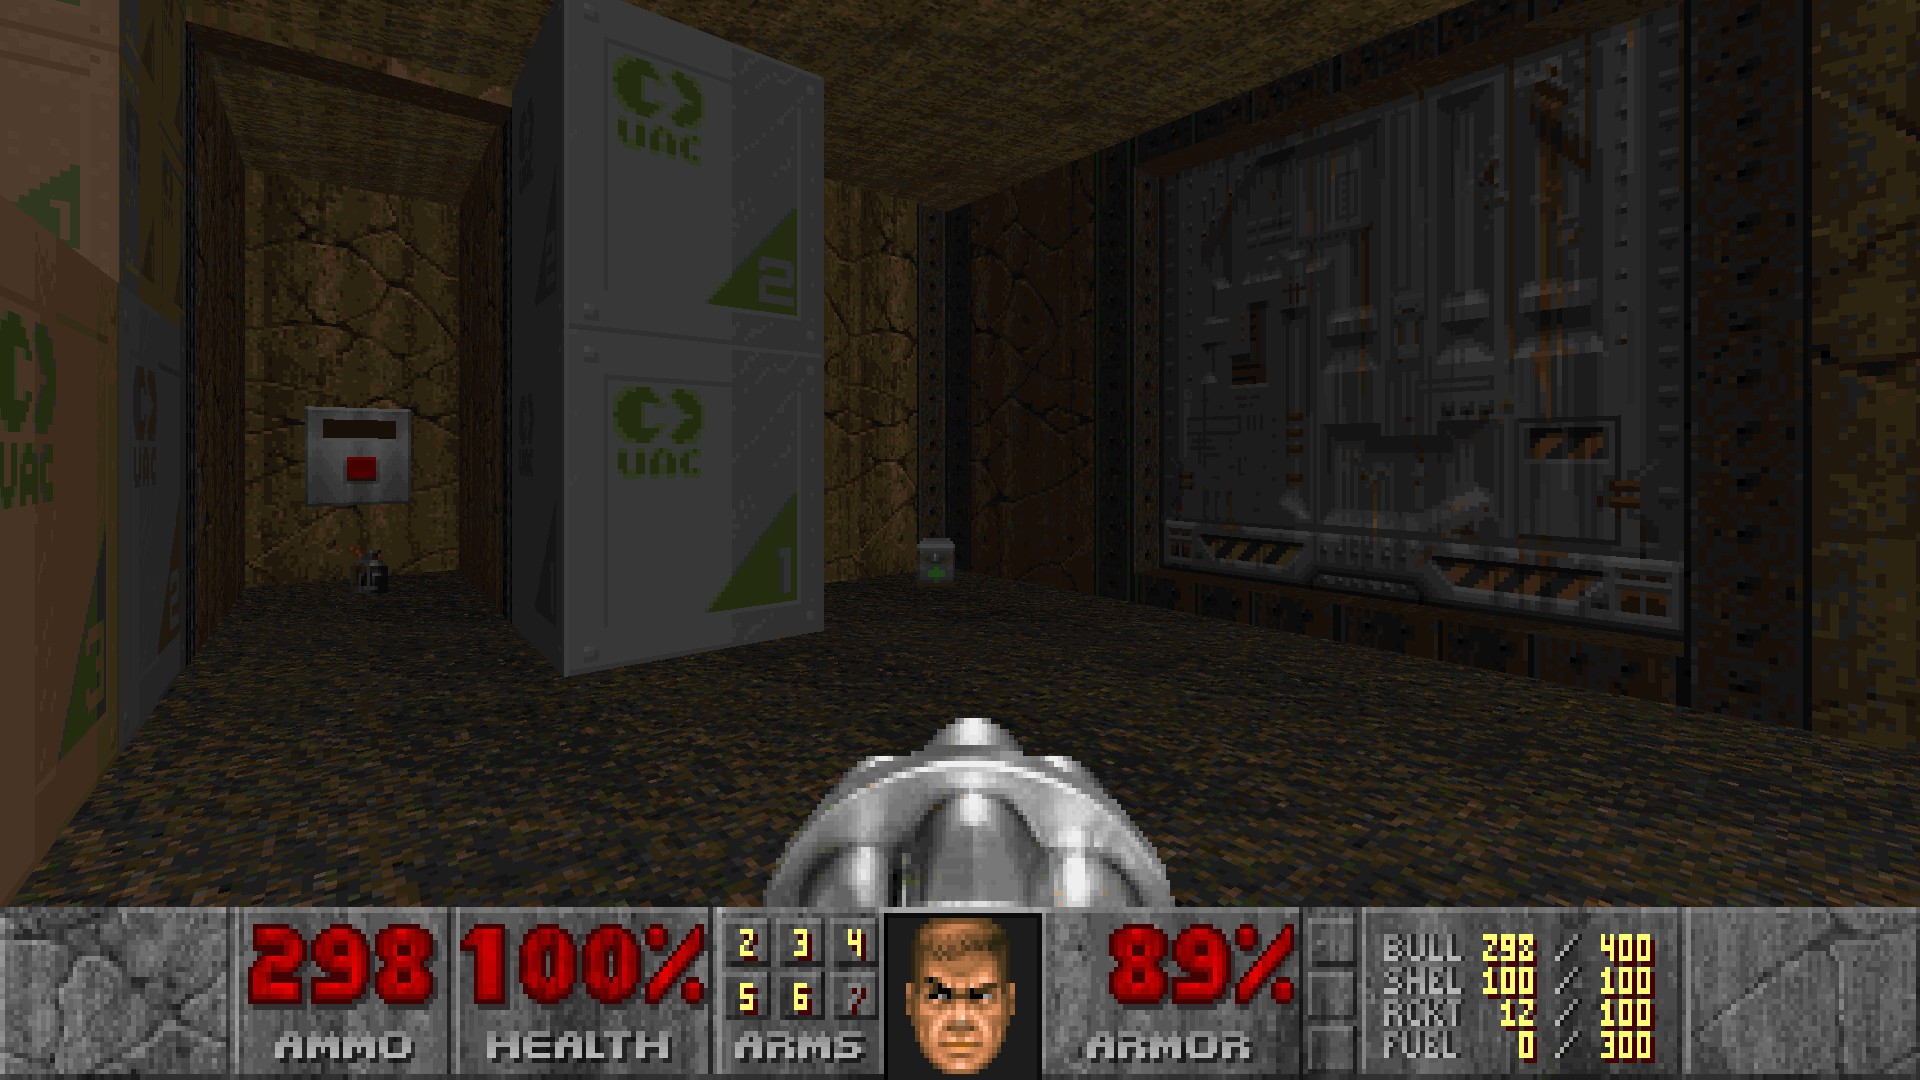 Press the switch there and return back to the first section. Shoot the switch behind the caged imps to open a secret door in the room connecting the two crate rooms, then straferun across to get a supercharge. (#2)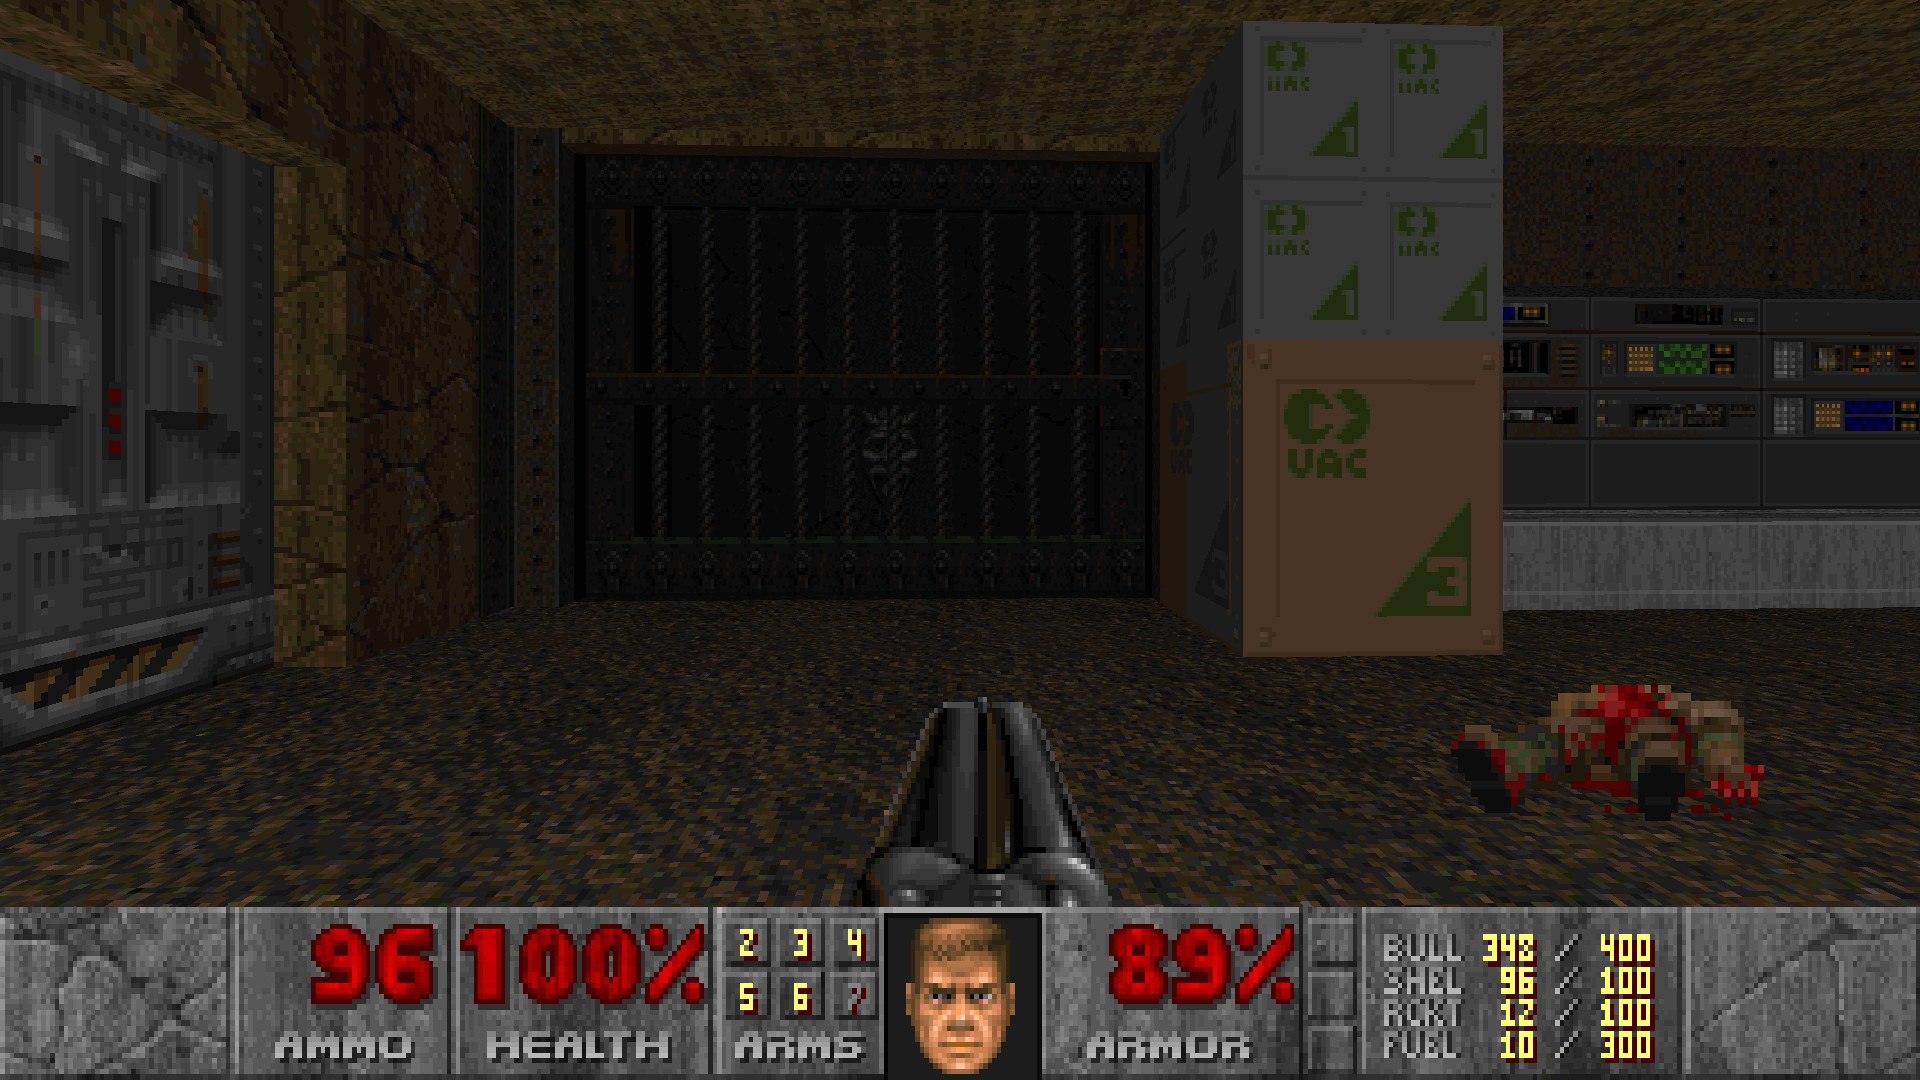
#3
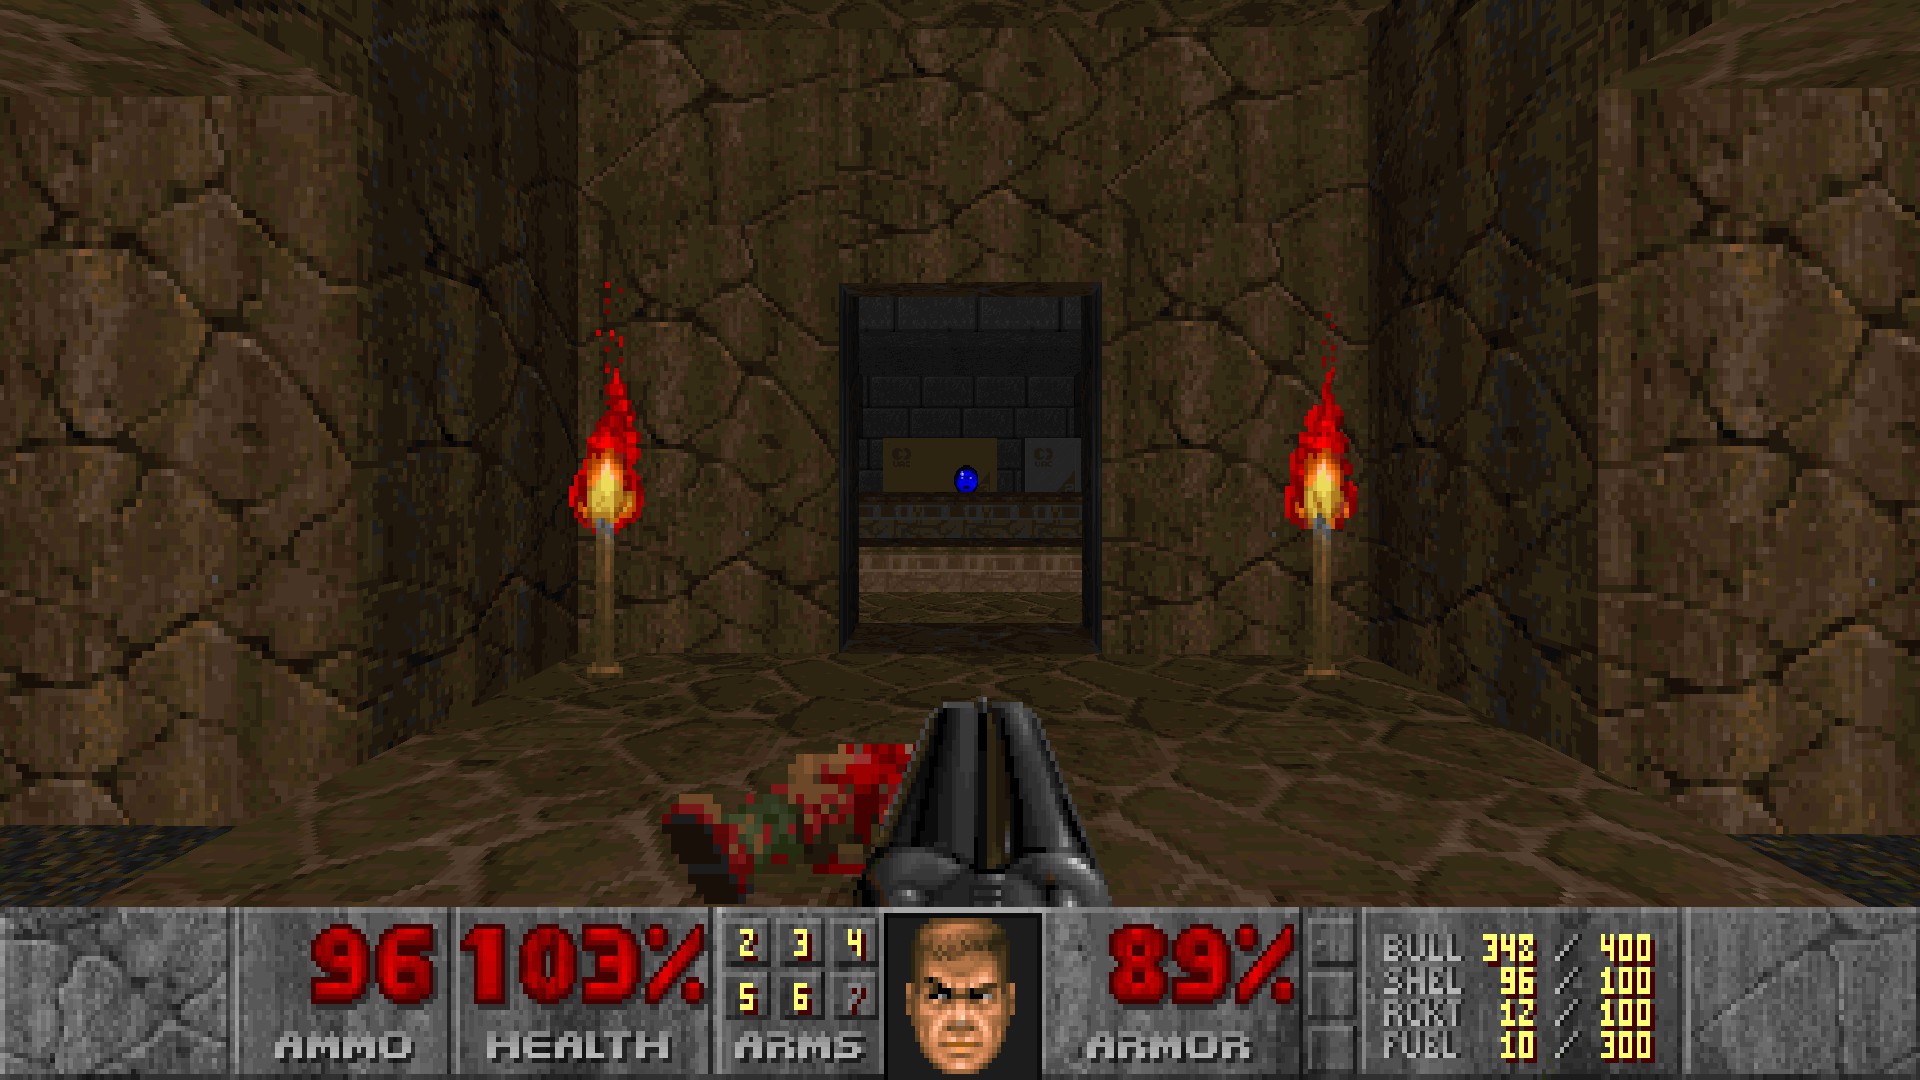
Collect the red key on the lift and backtrack to where the switch for lowering the lift was. An alcove containing a megaarmor and a baron will open up.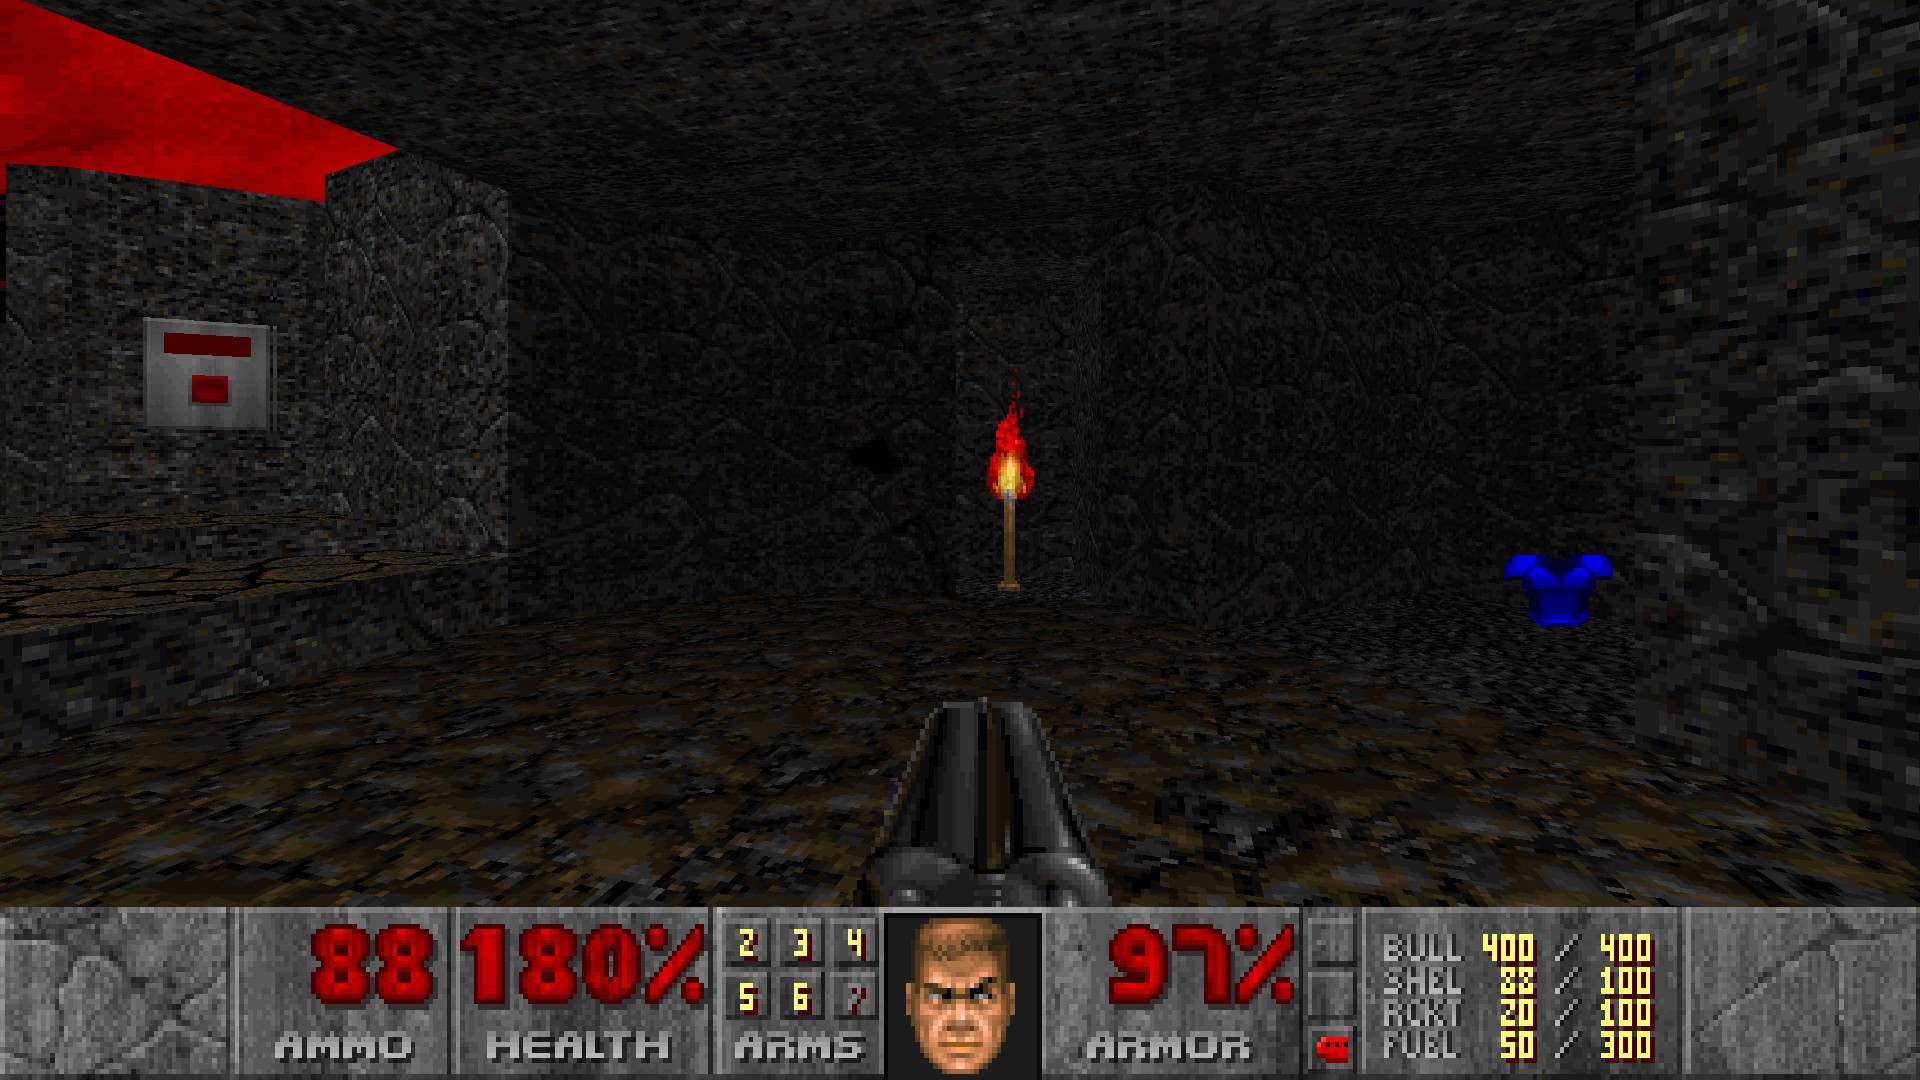
#4
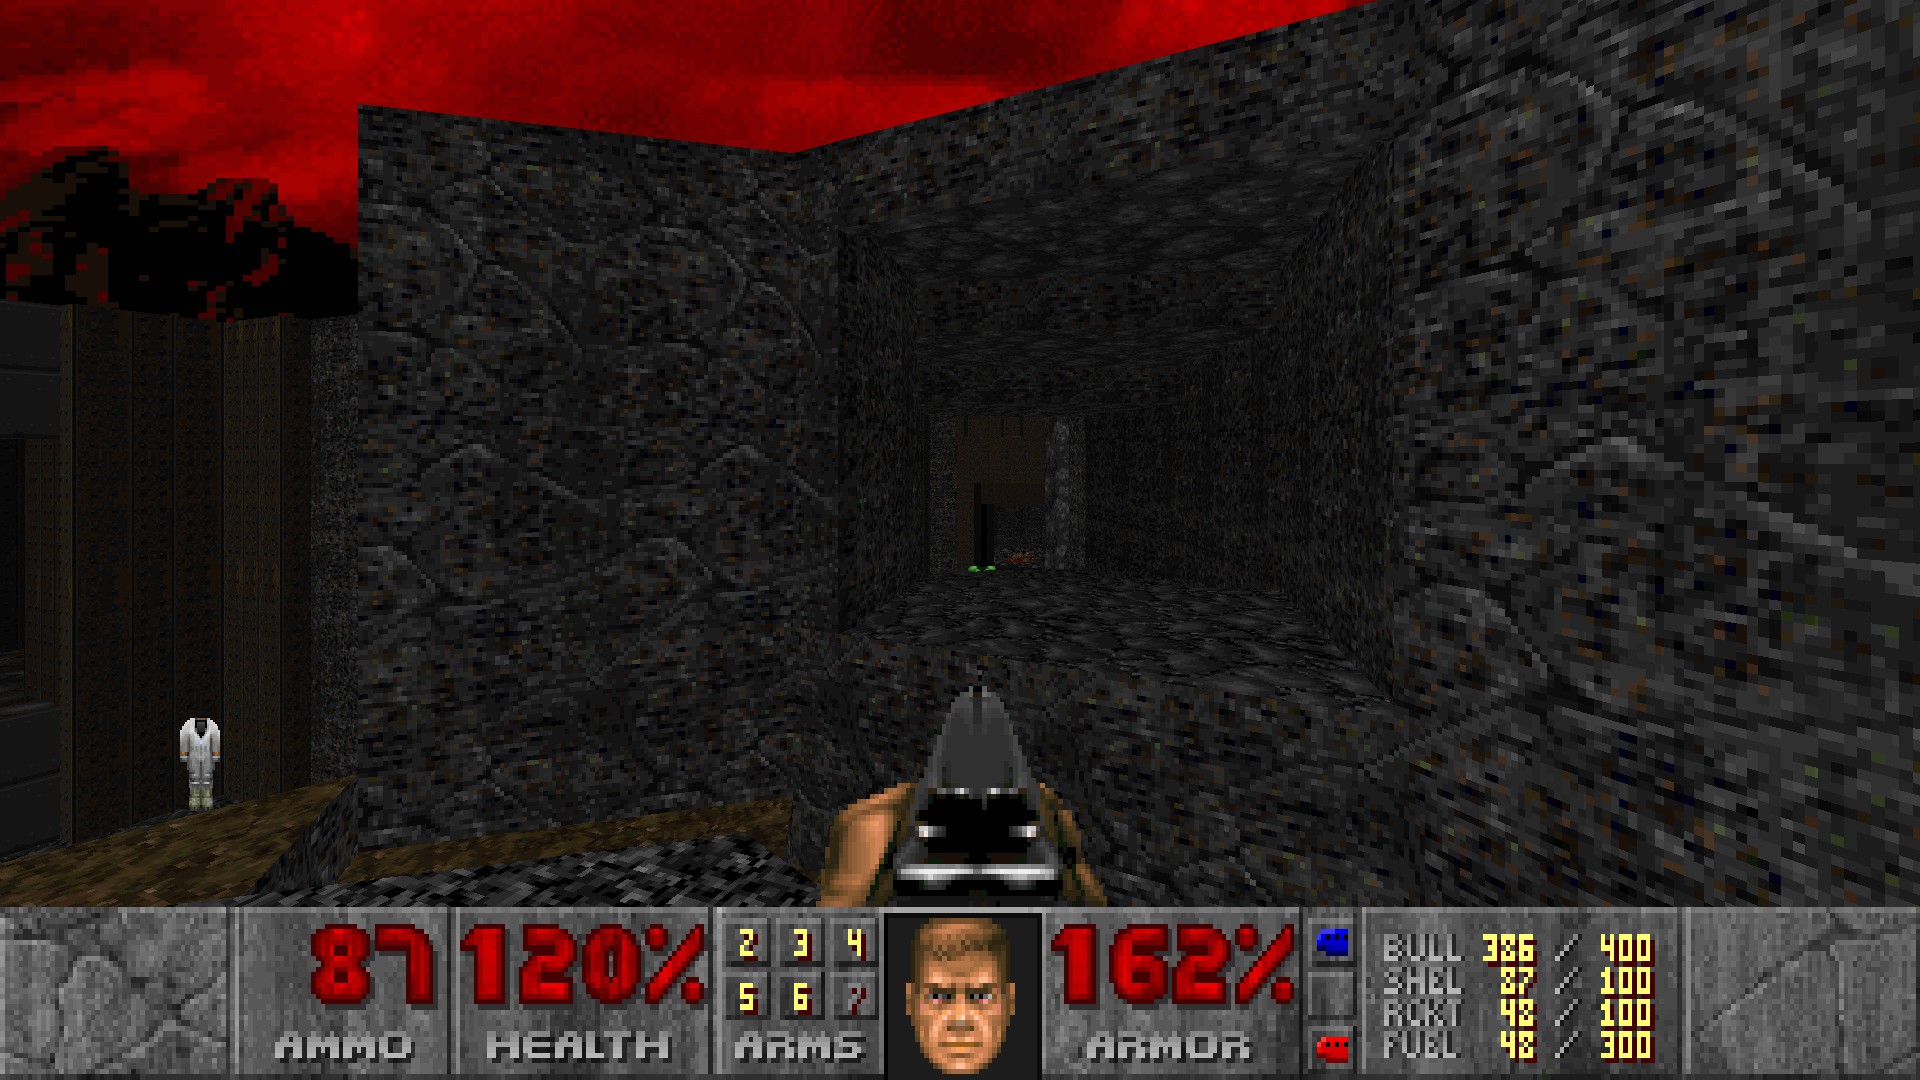
After taking the incinerator, there's a green armor on a crate in the next room. A lava fall nearby the green armor is a fake wall, so go through it and press the switch here. Return to where the incinerator was and straferun through a newly open corridor to get the green armor.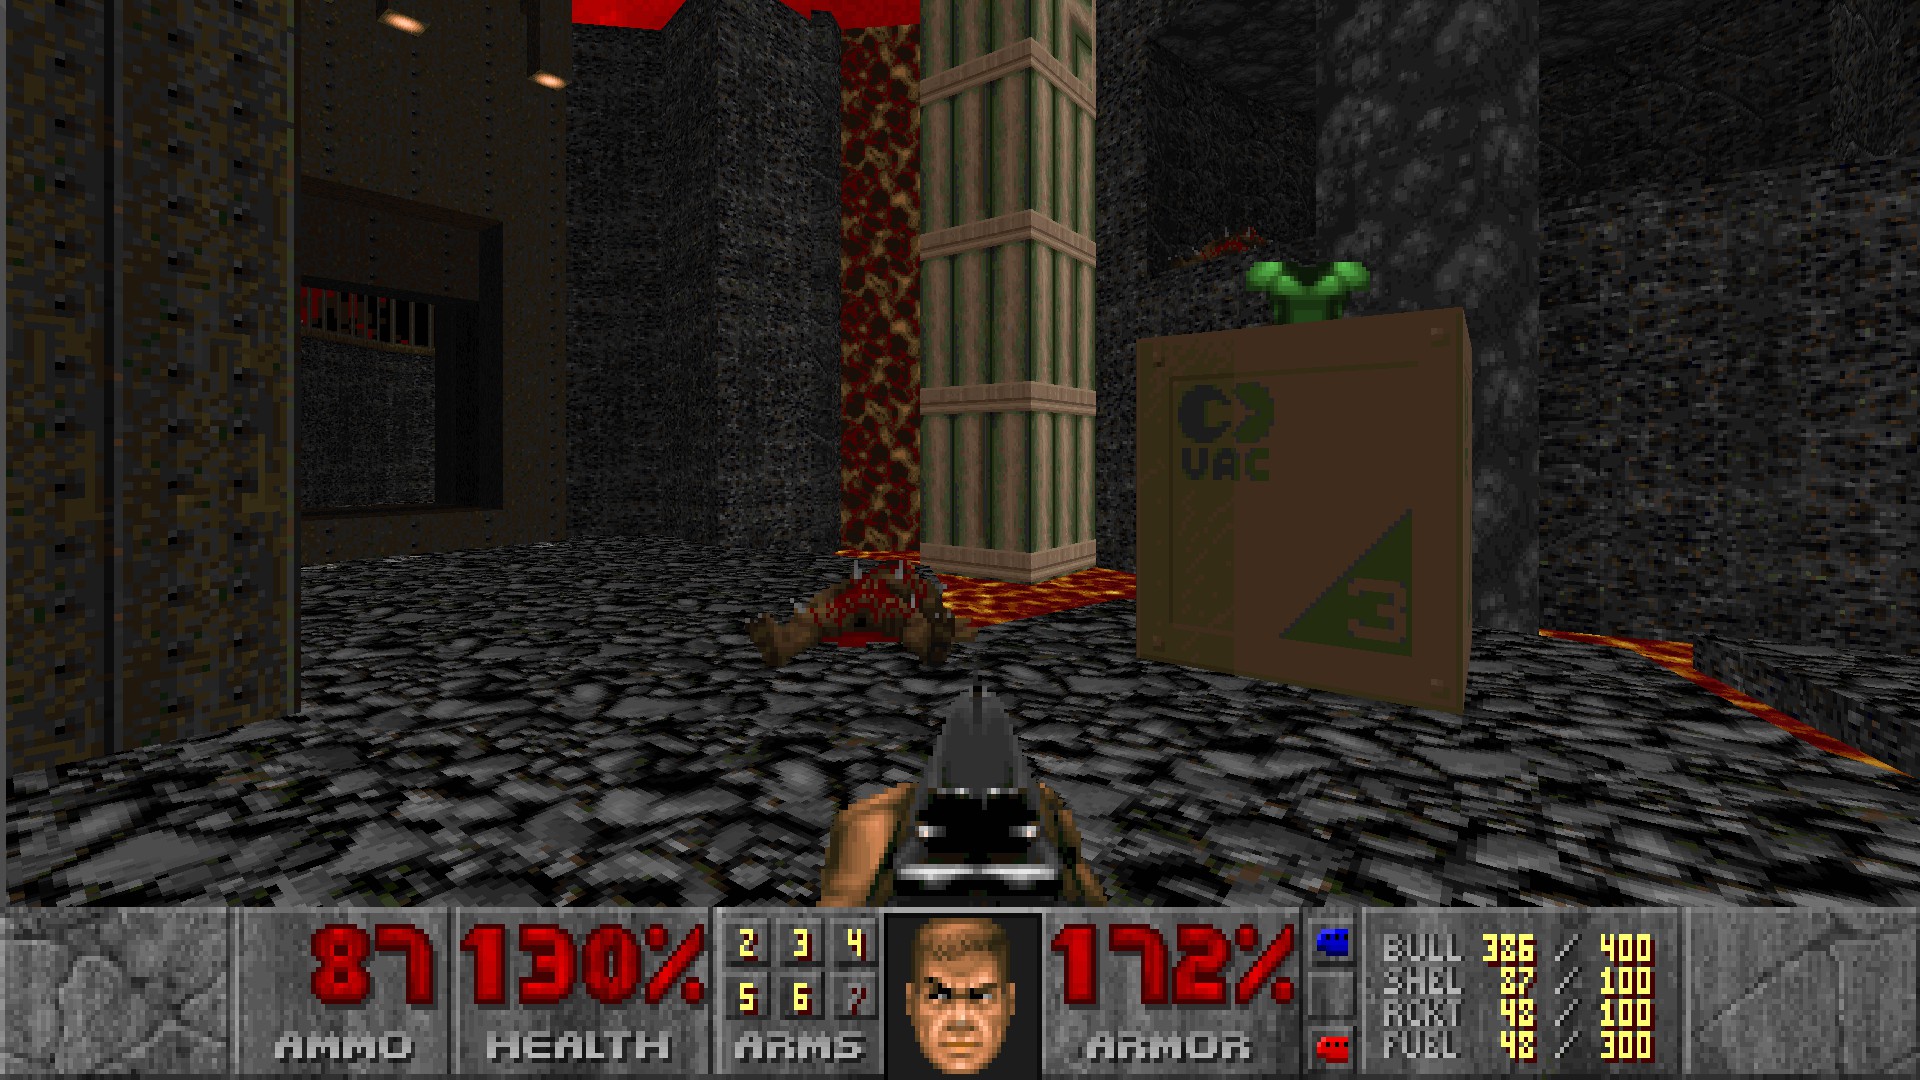
E1M5: Creeping Hate
#1
In the starting area, jump past the platform with the incinerator, and turn right. There's a green armor sitting on a raised platform. Jump towards it to land on a narrow ledge, then hug the wall while moving right to reveal stairs leading to the armor.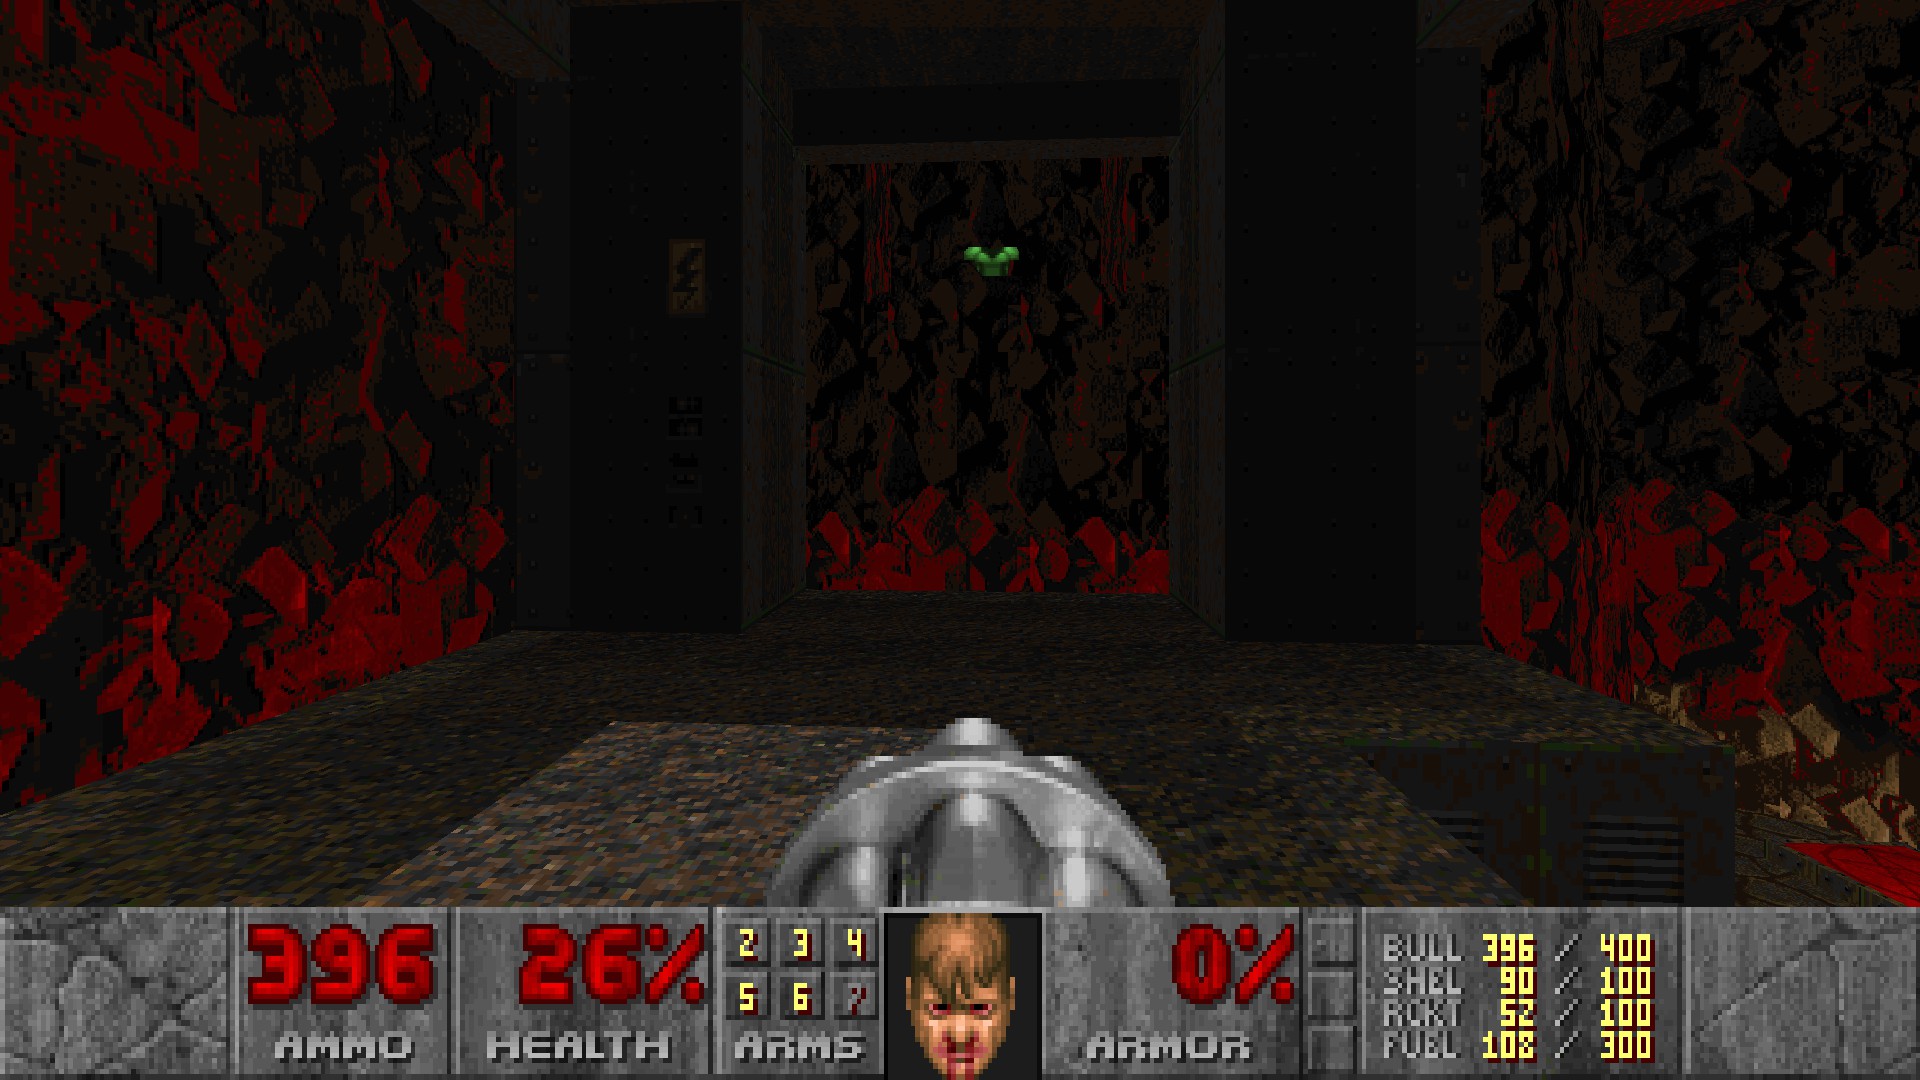
#2
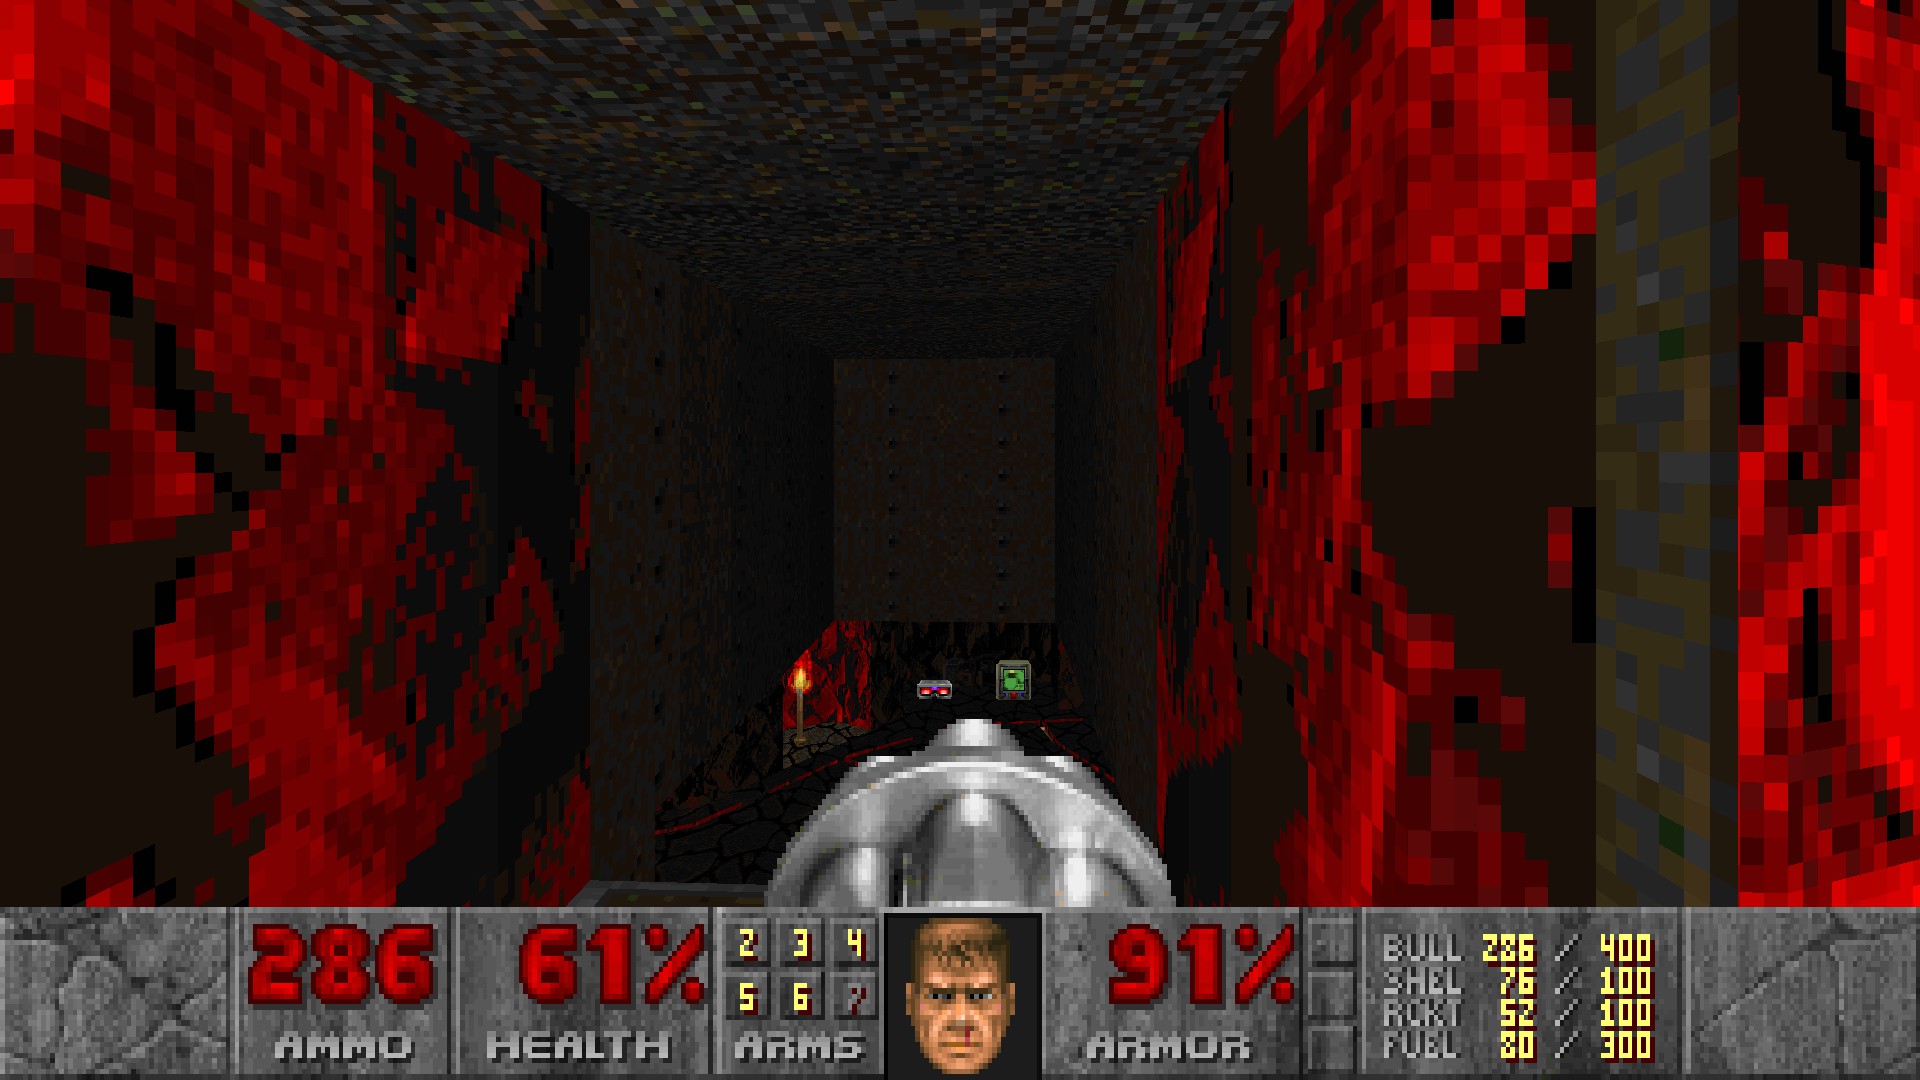
Ride up the lift at the left past the red door and stay on the conveyor belt, and a switch will be revealed in the distance to the left. Shoot it and immediately turn around, where an alcove will open to reveal a chainsaw, a fuel can, a computer area map and a light amplification visor.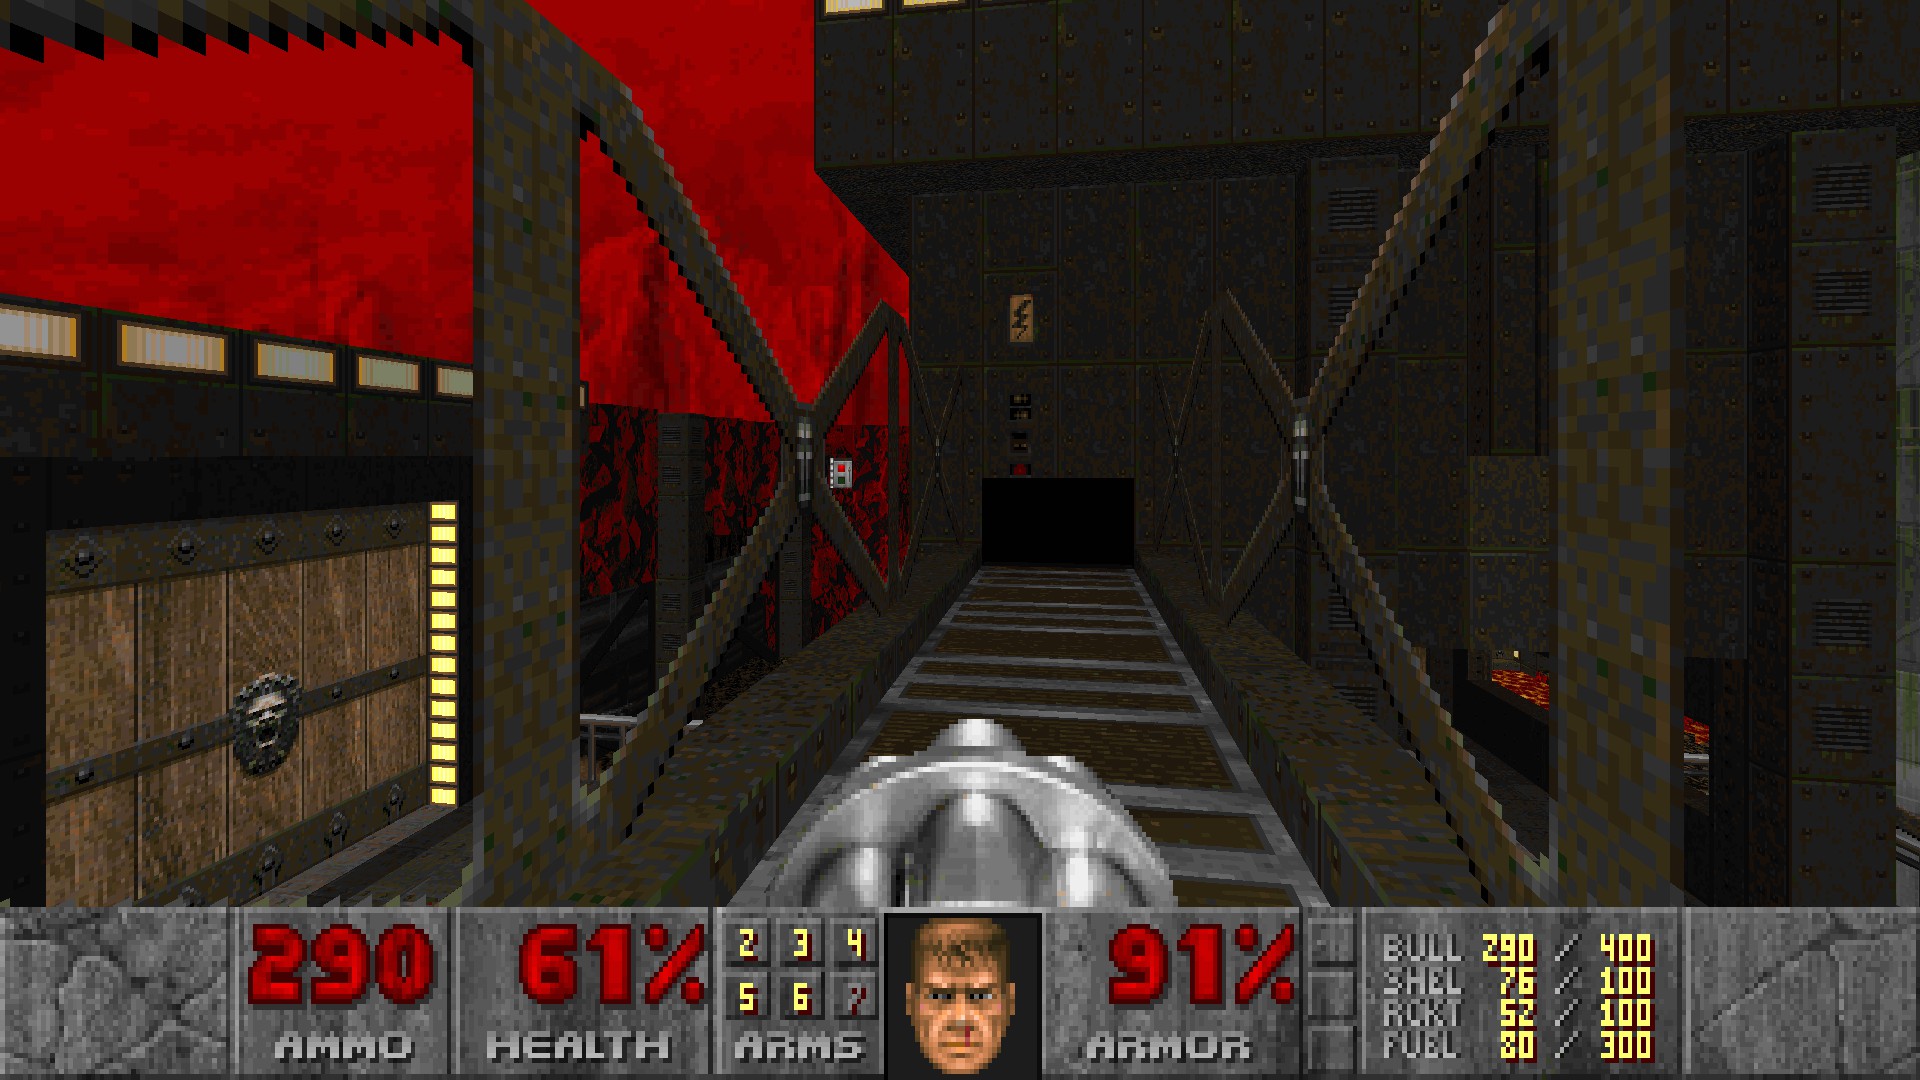
#3-4
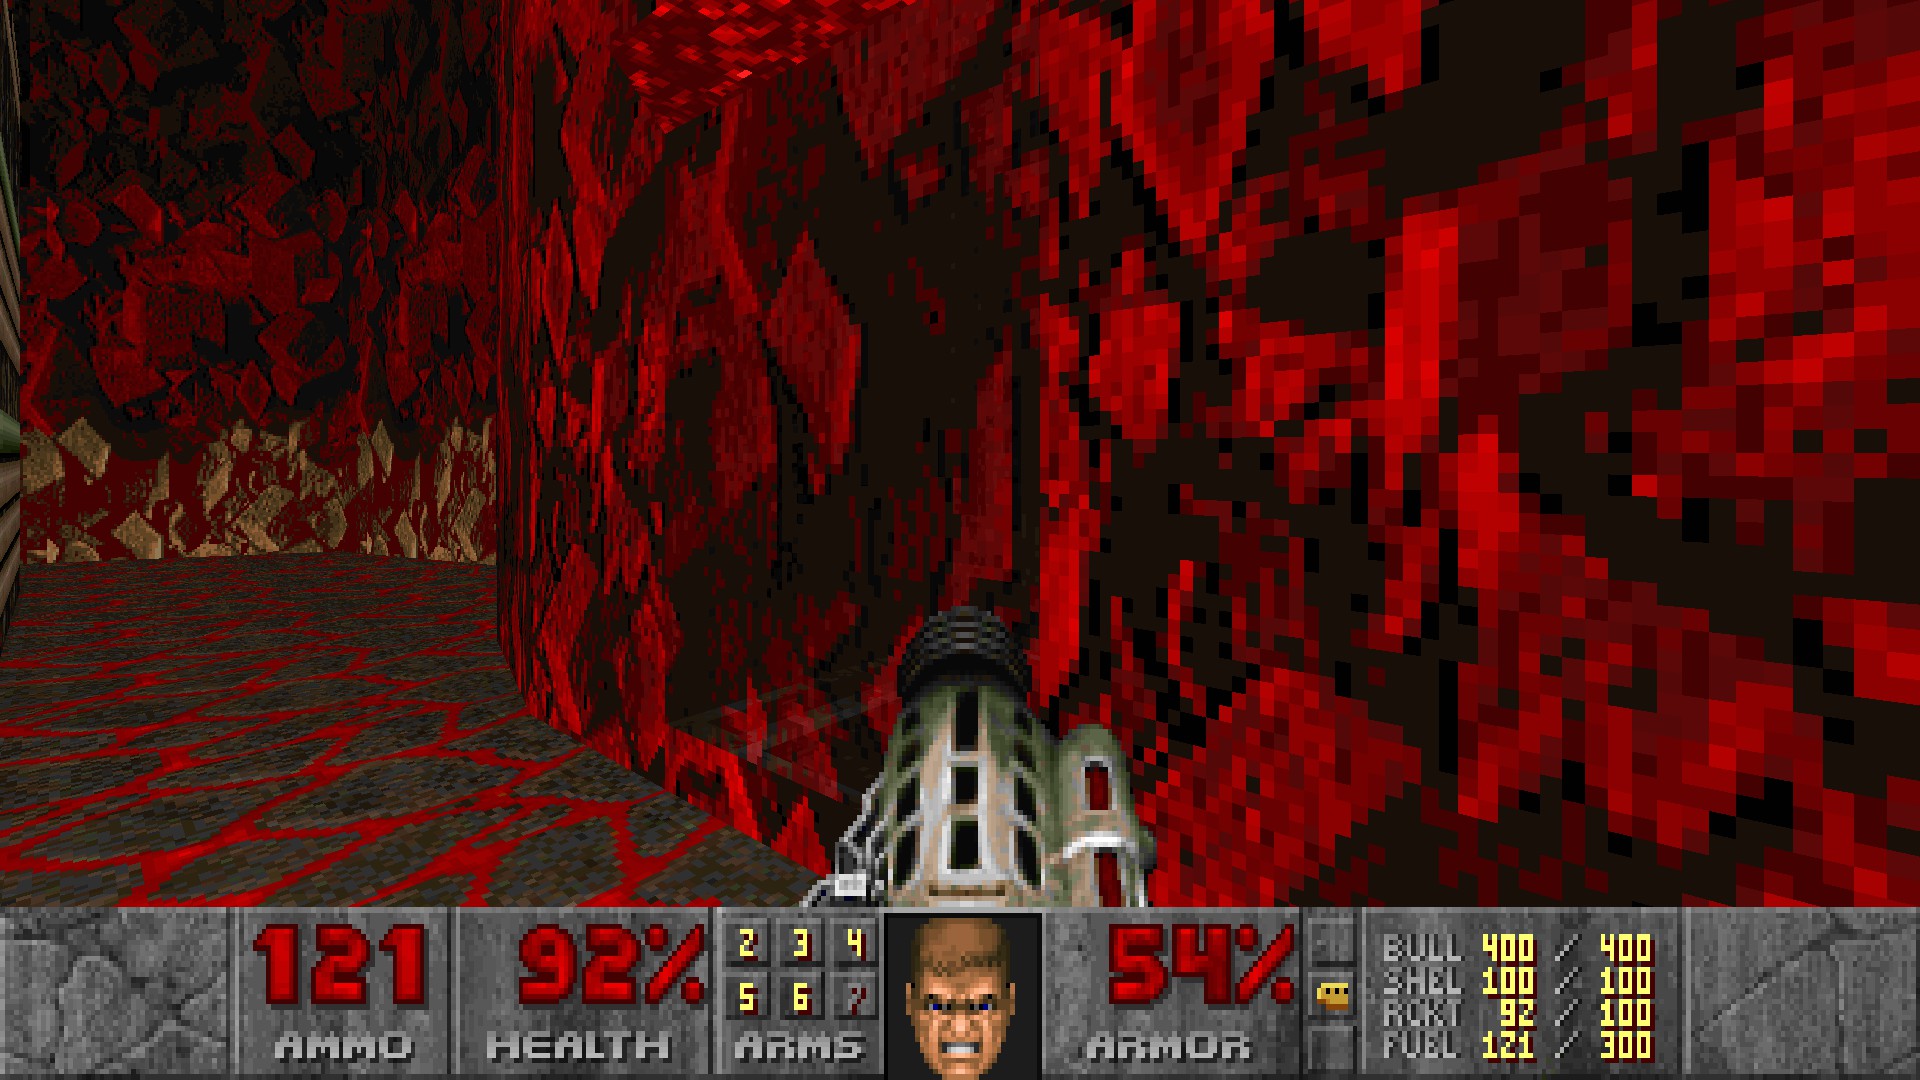
In the blue key room there is a megaarmor sitting on a container. On your way killing the mancubus guarding the switch that unlocks the bars to the lift, interact with a wall to the left of the switch to reveal a green armor. (#3)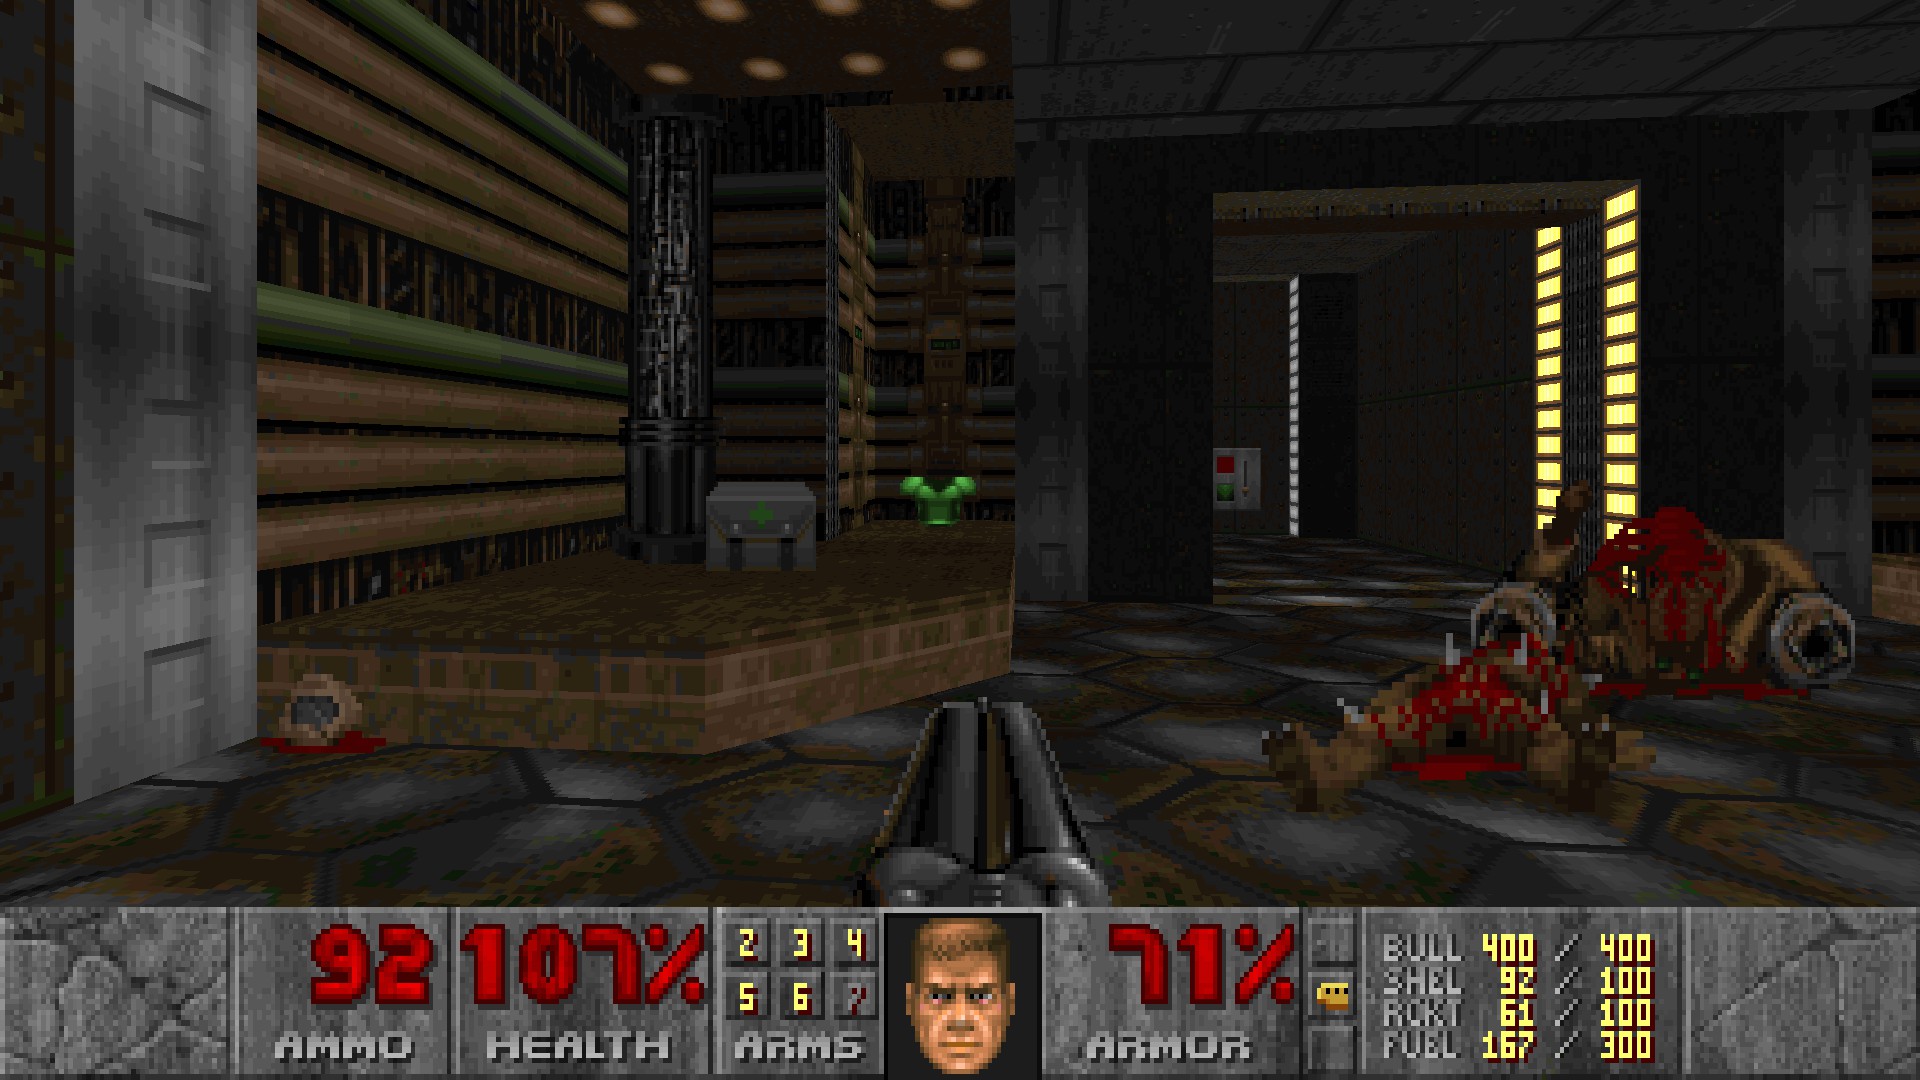 Continue until you kill the cyberdemon guarding the large skull lever to lower the platform with the blue key. Drop down to the right of where the cyberdemon was and move along the wall slightly right from the teleporter to a nook hidden by a partially transparent texture. Walk into it to be carried up to the megaarmor. (#4)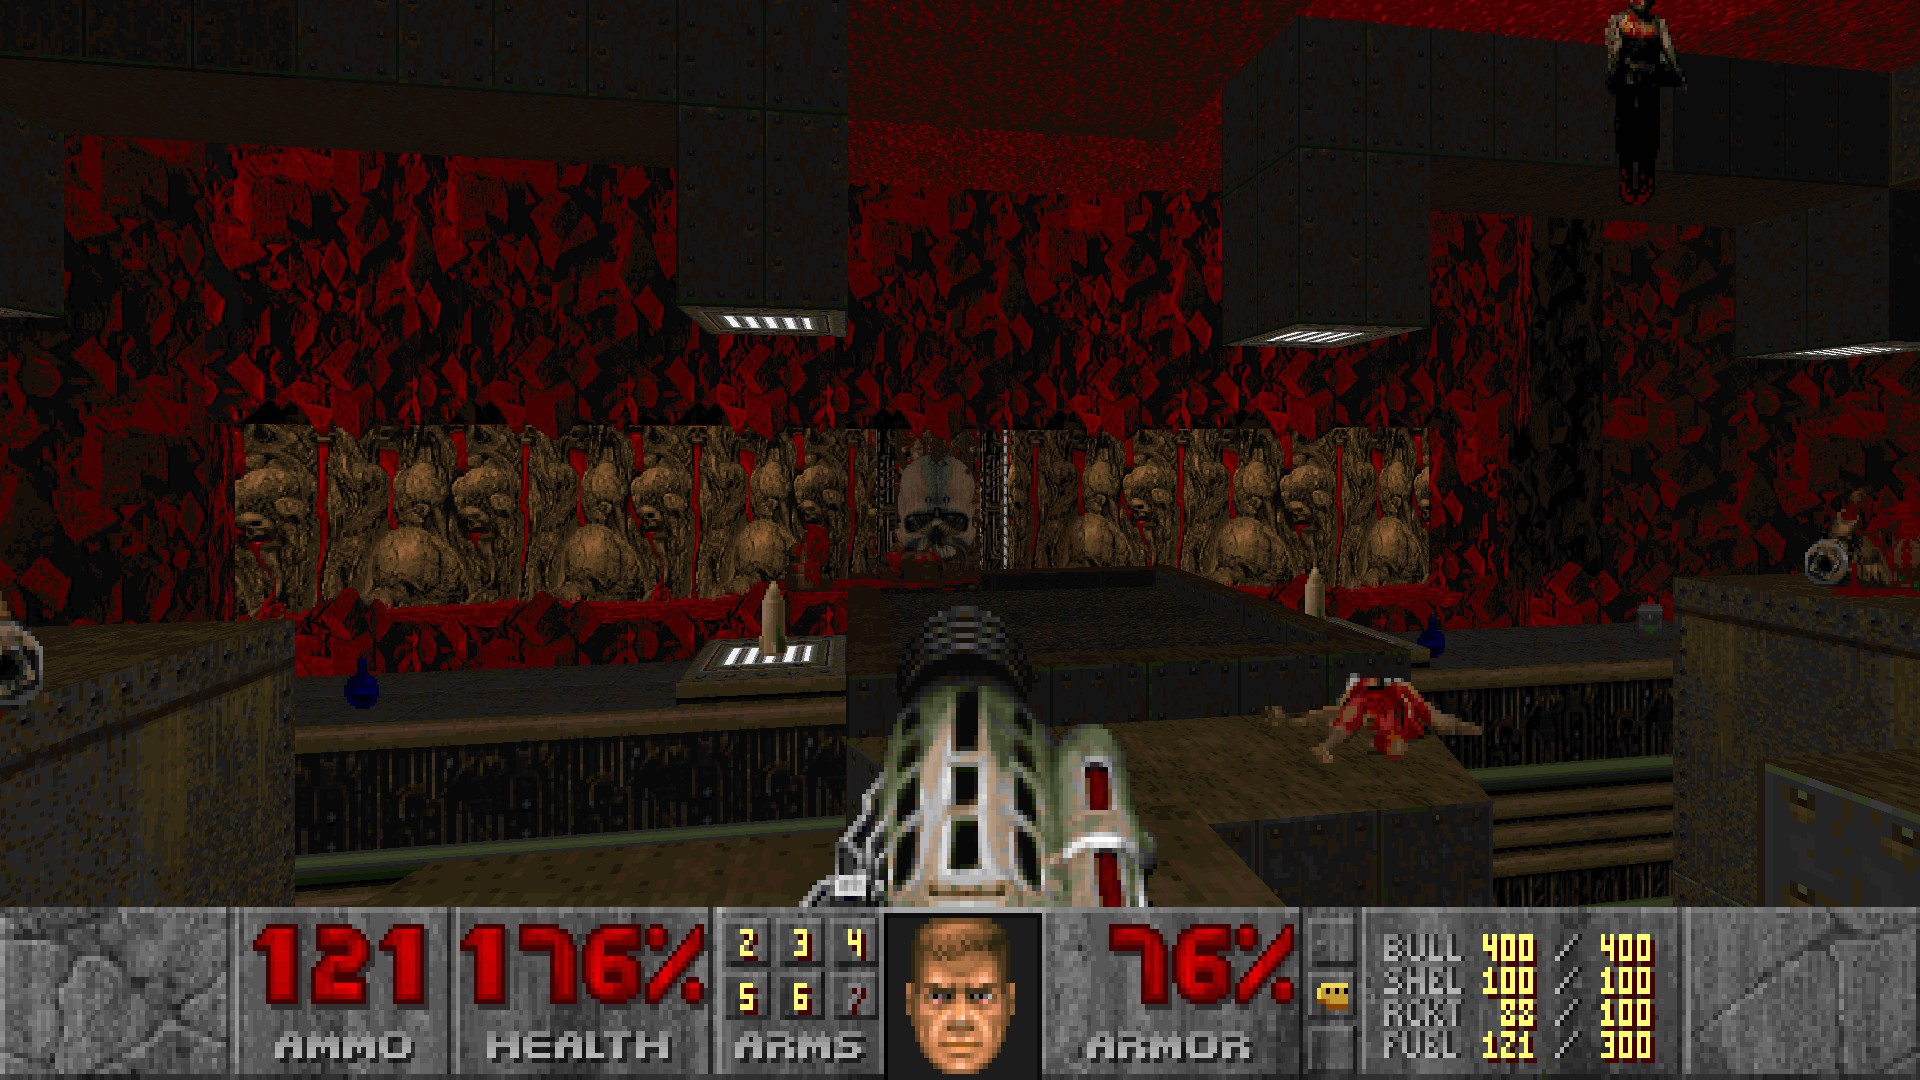
E1M6: The Coiled City
#1-9
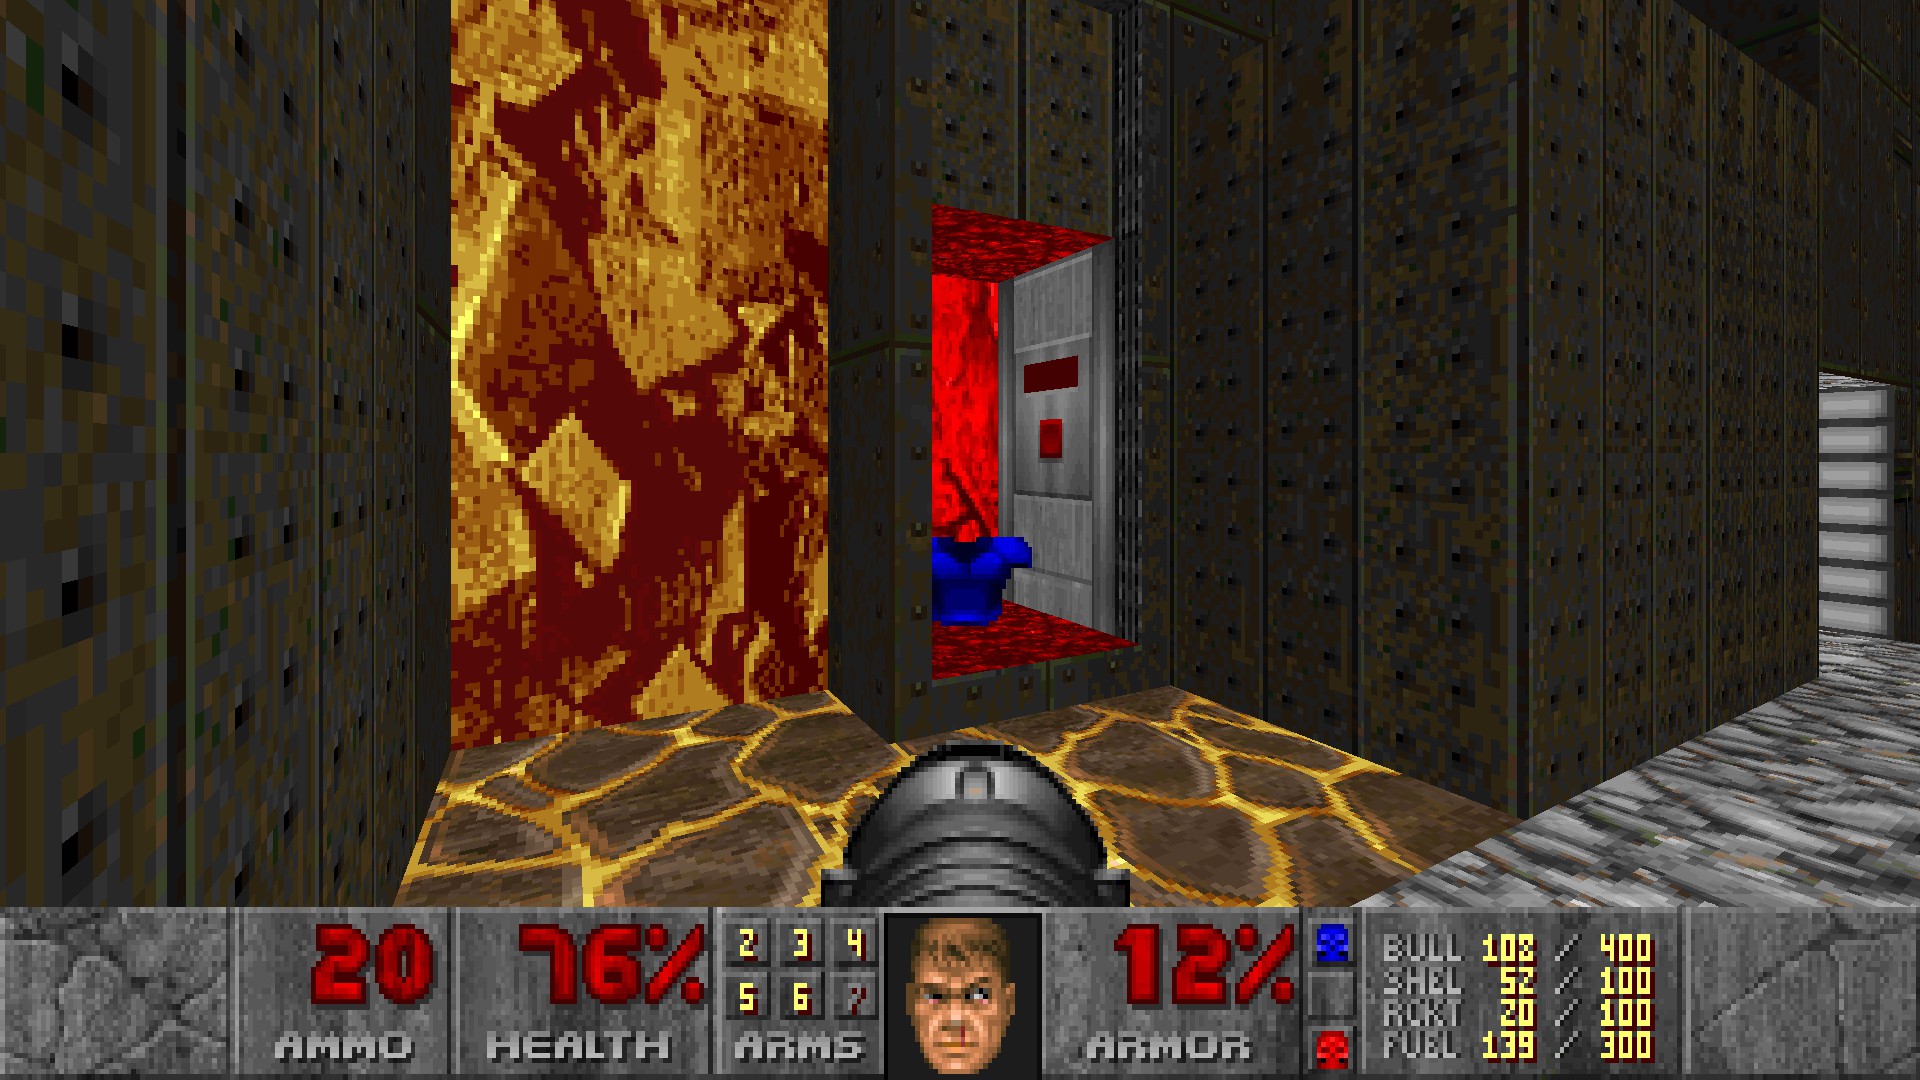
After clearing the room with mindweavers and ghouls, you will arrive at a tower with a locked red gate on the right and a narrow path on the left. Continue moving forward past the gate and drop down to activate the switch on the left, which will reveal a megaarmor hidden behind the lift. (#1)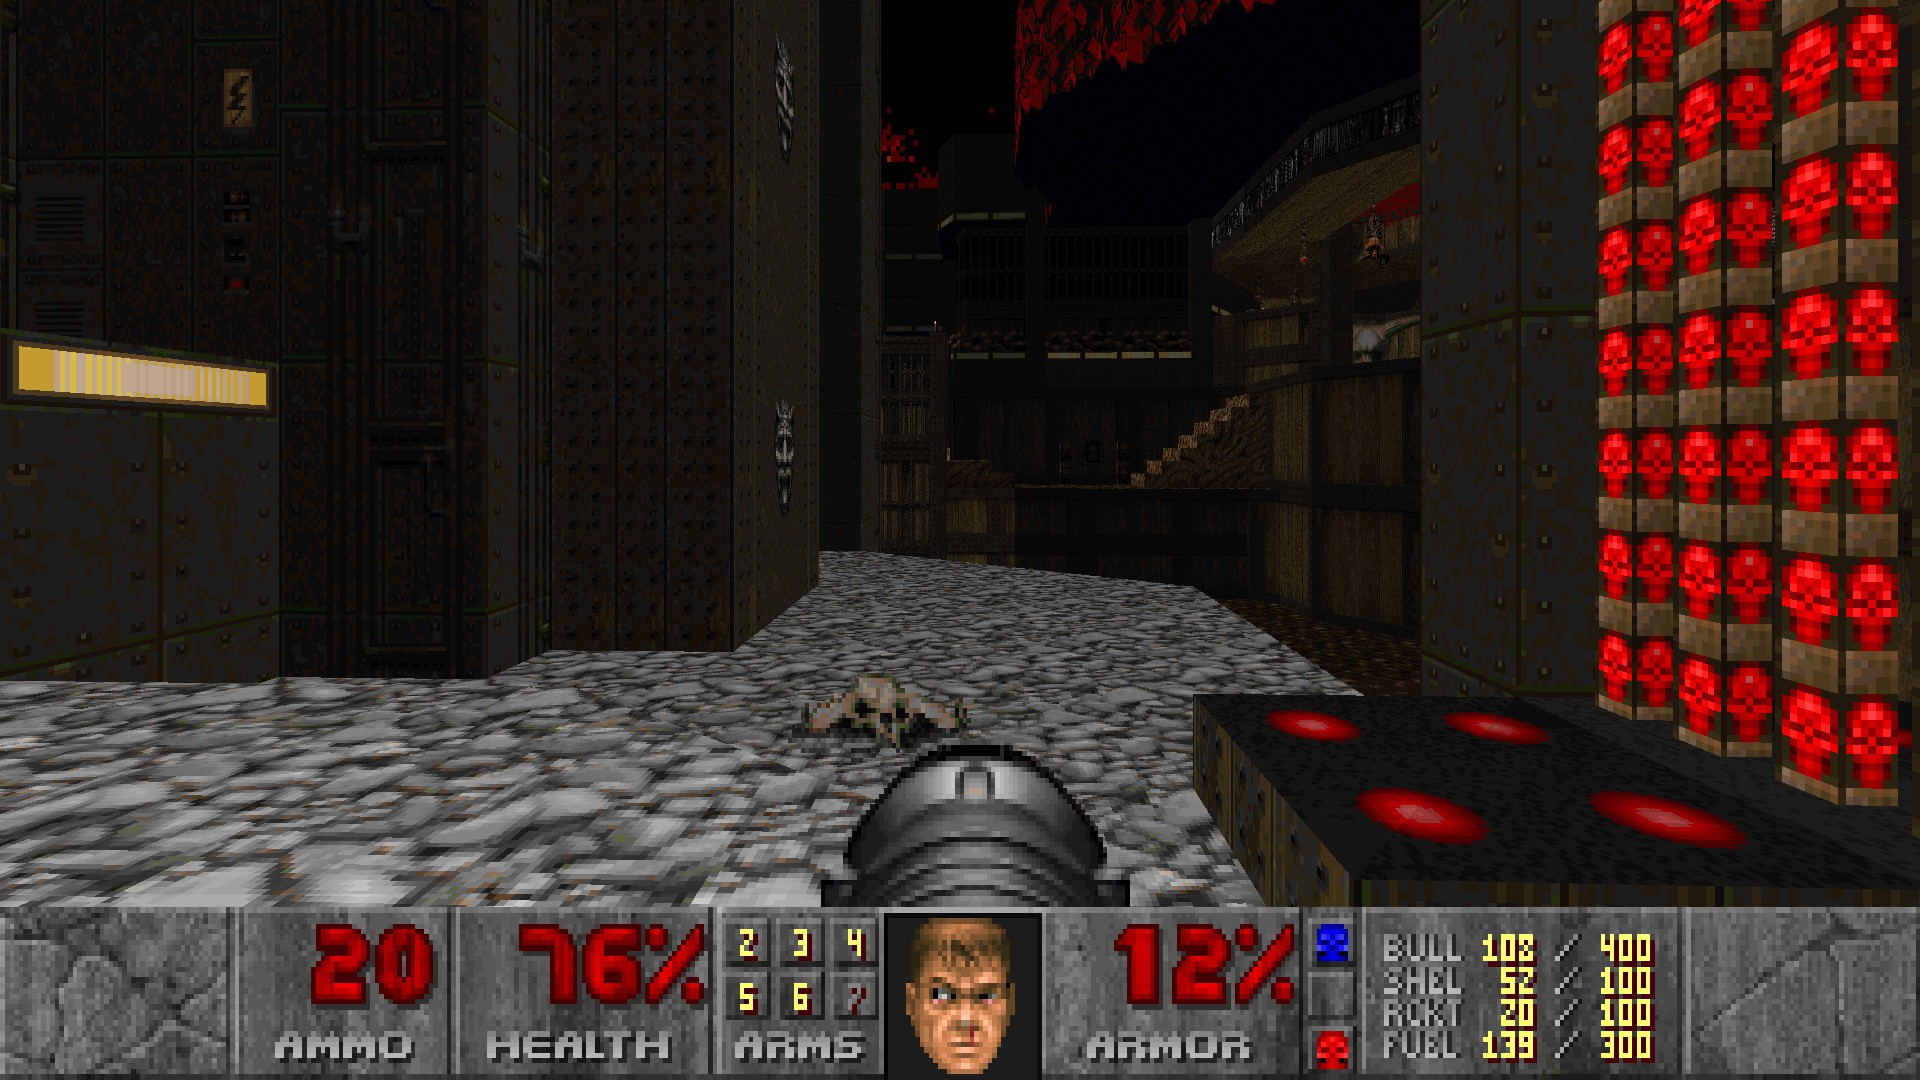
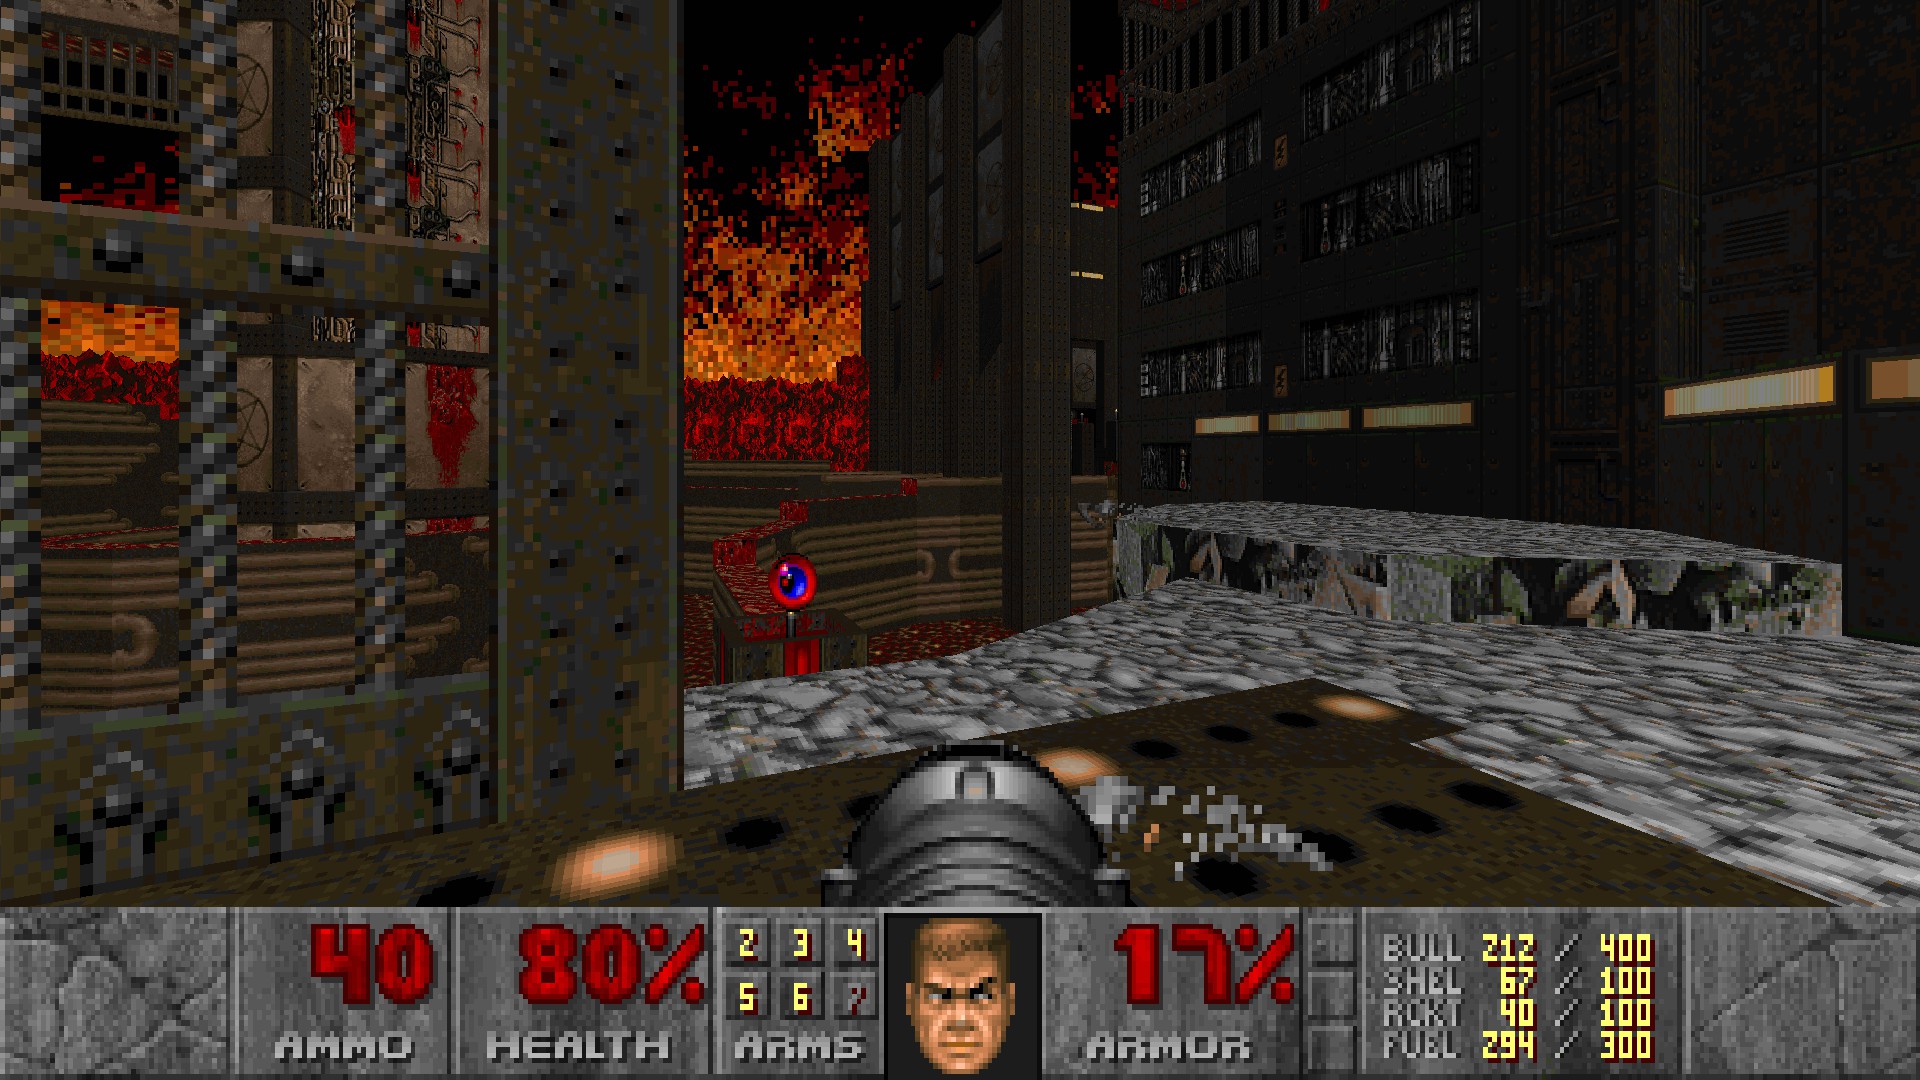
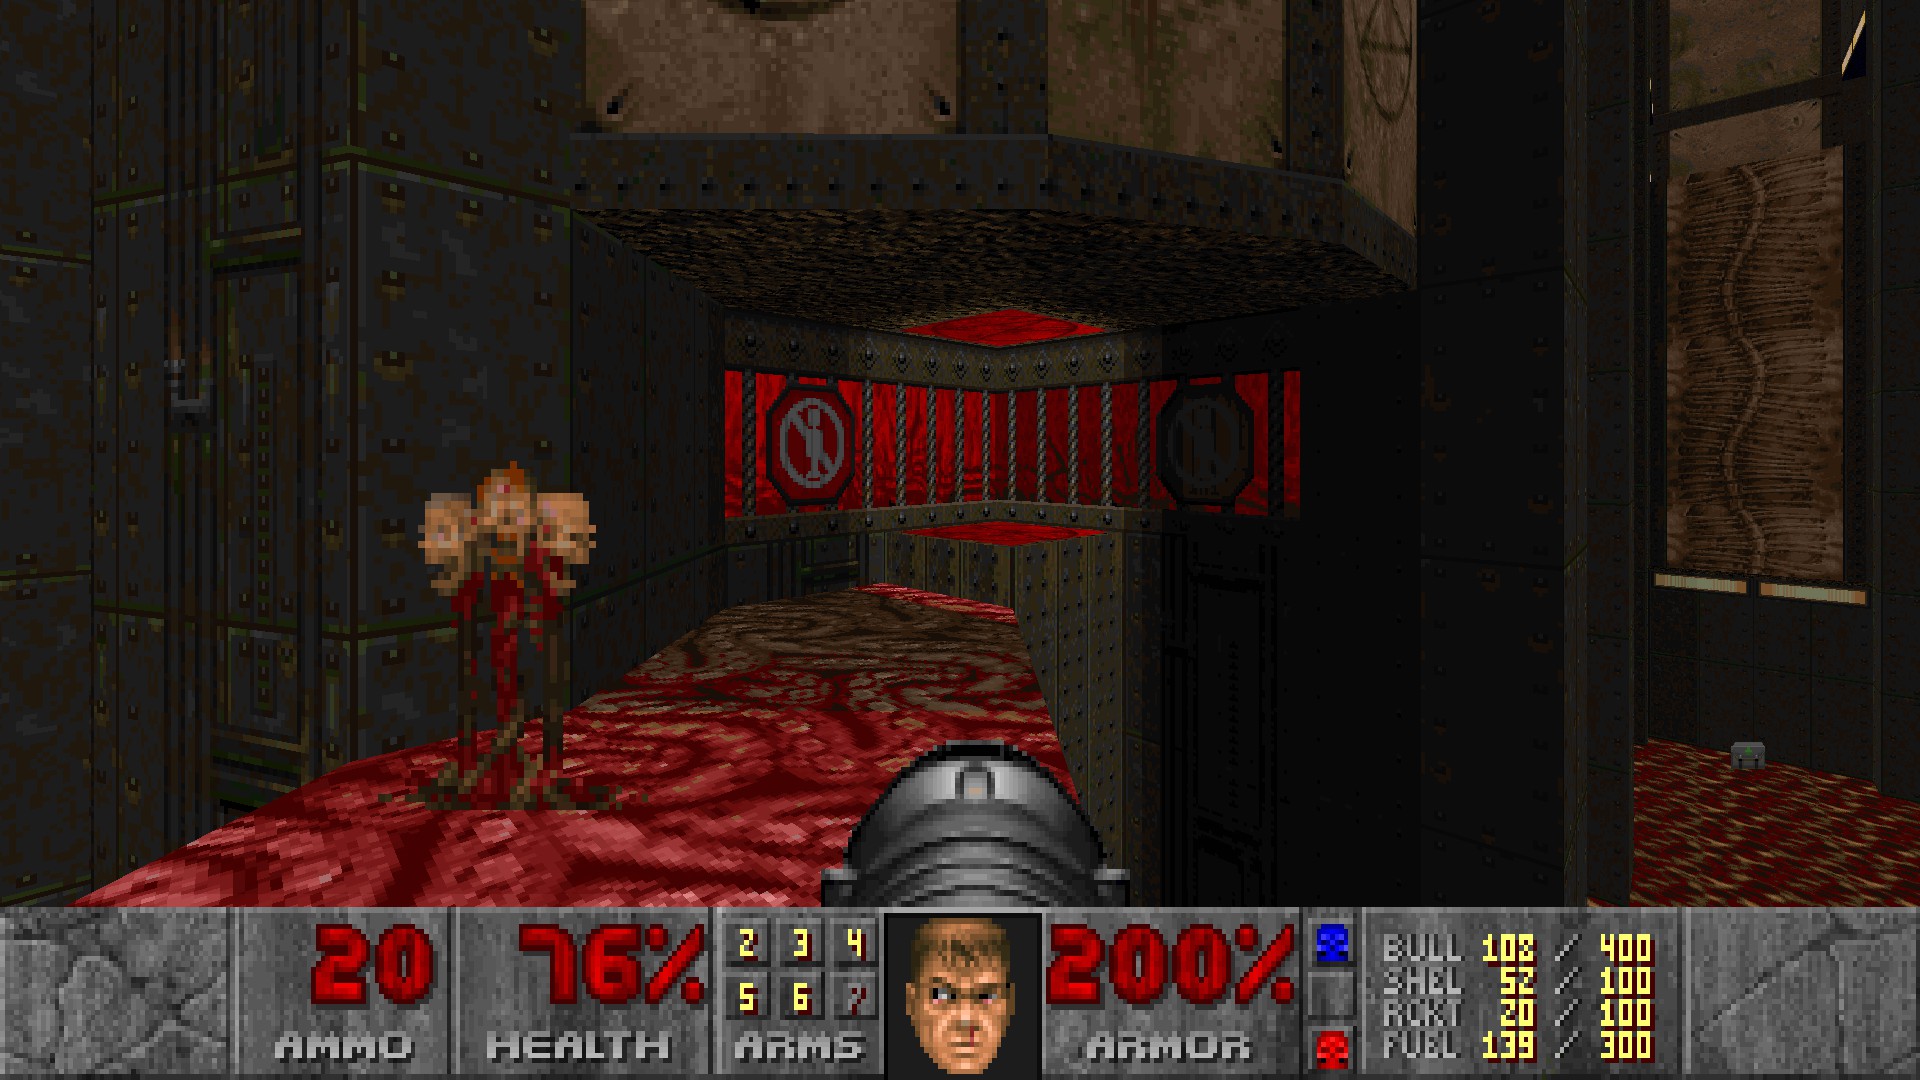
From secret #1 take the narrow path, and take the left path to the teleporter marked with warning signs. Quickly head to the left stairs and look left. There's a teleporter on the wall which will warp you to a supercharge. (#2)
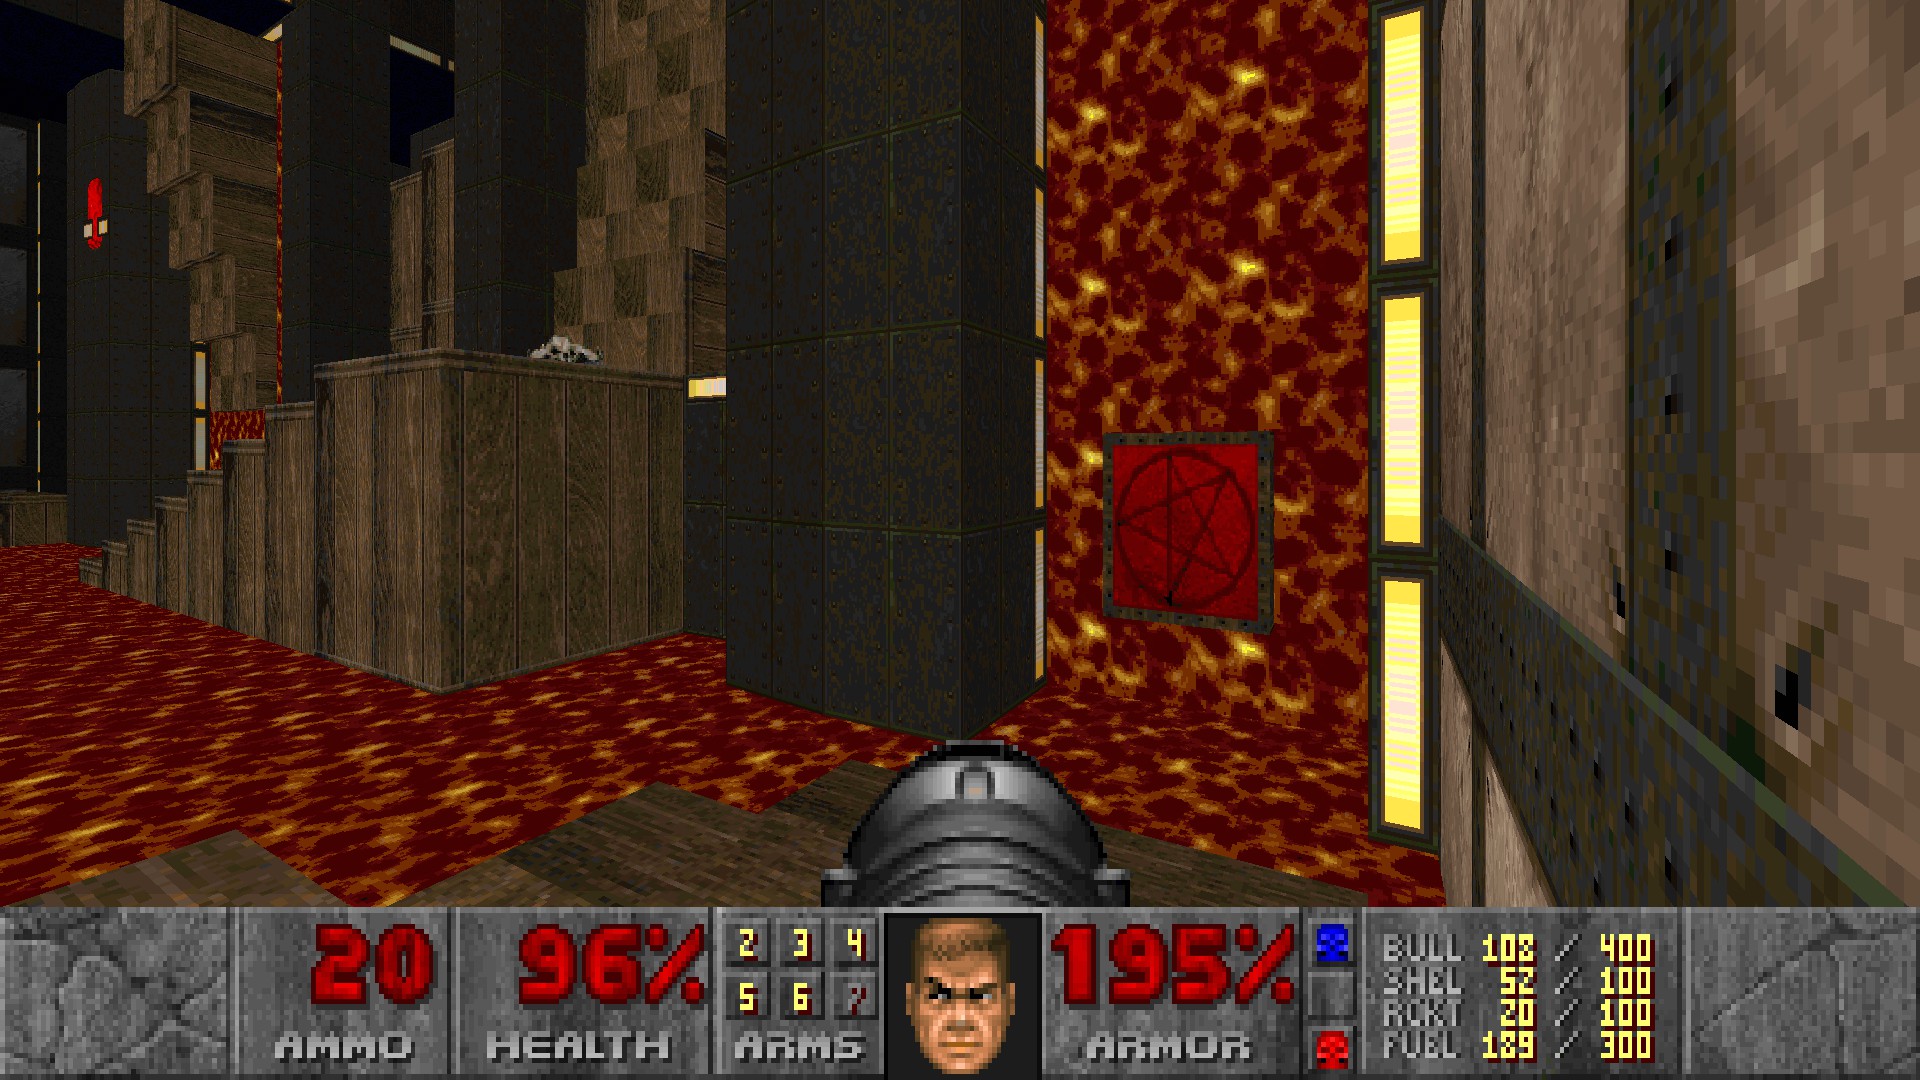 Exit the room from secret #2 and take a right turn. The switch in the next room has two sides, press the one behind it and an alcove with the medikit will lower behind you. (#3)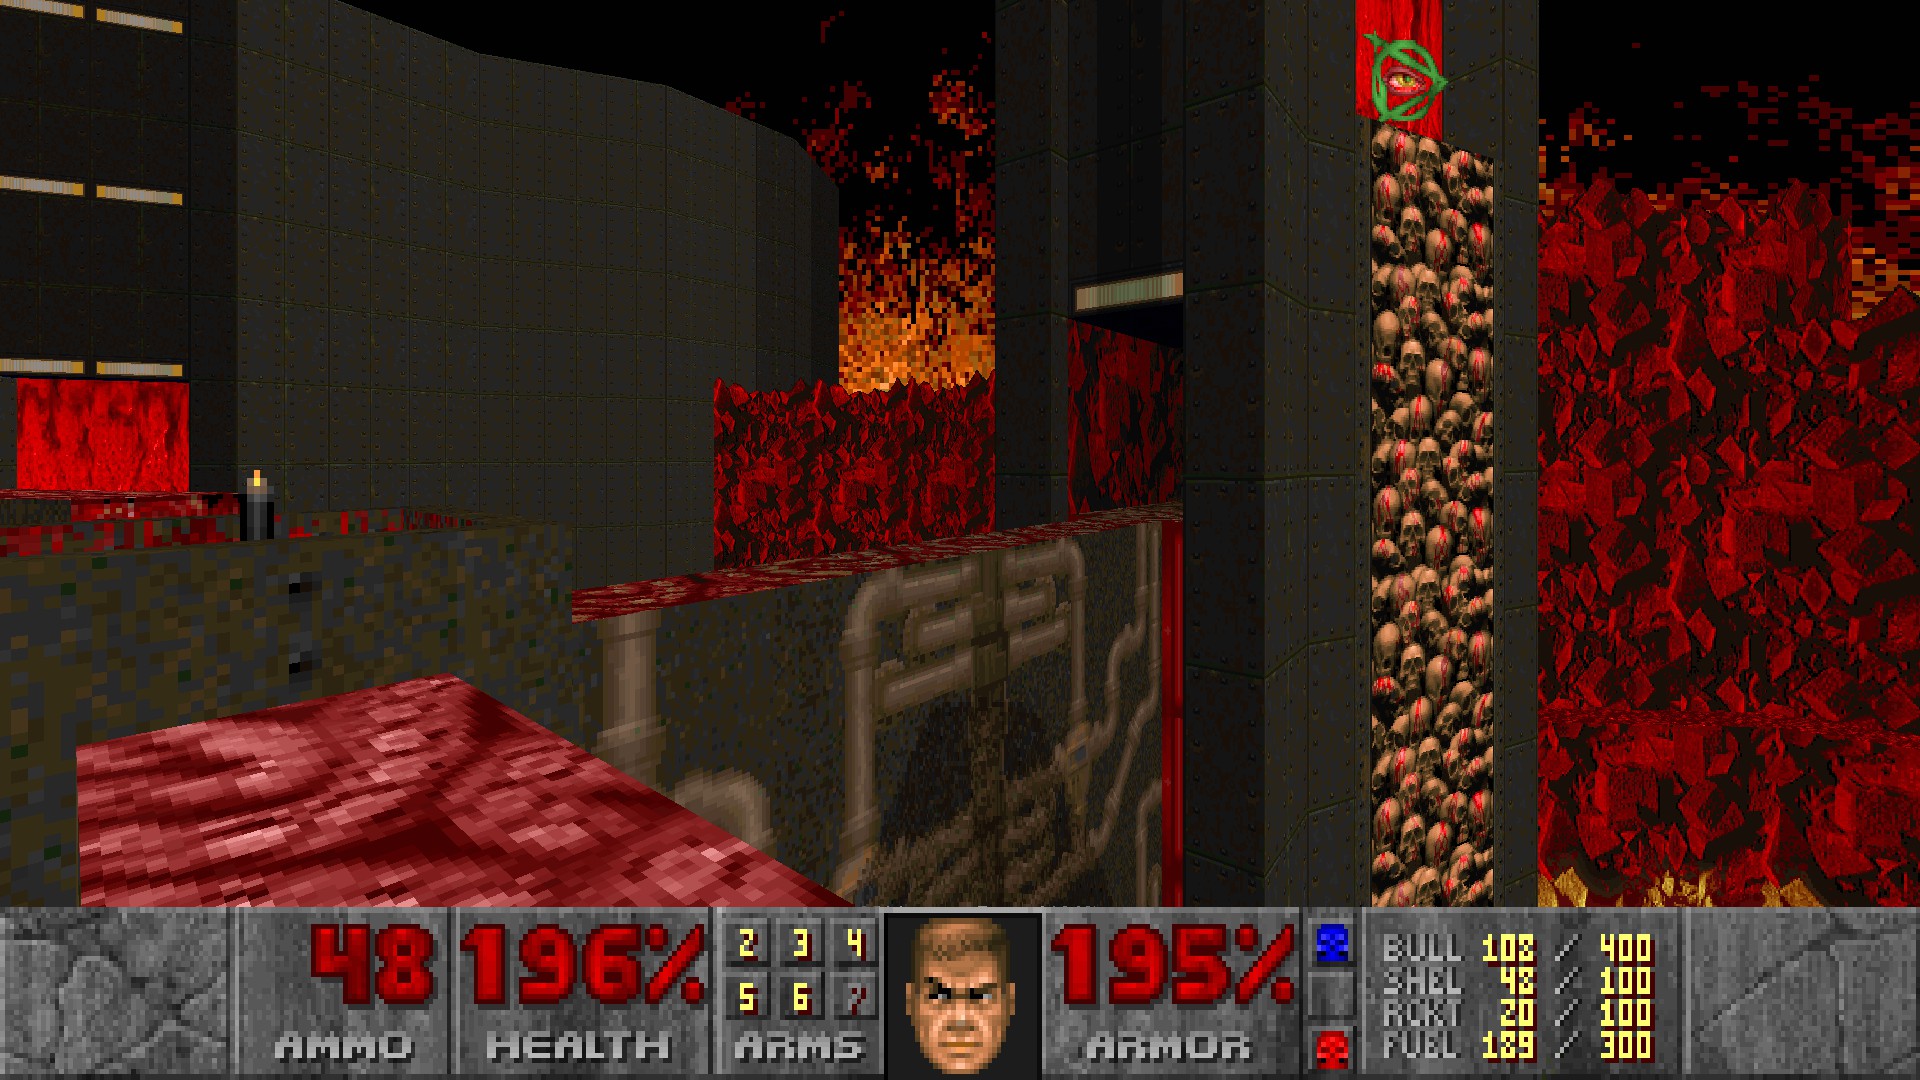
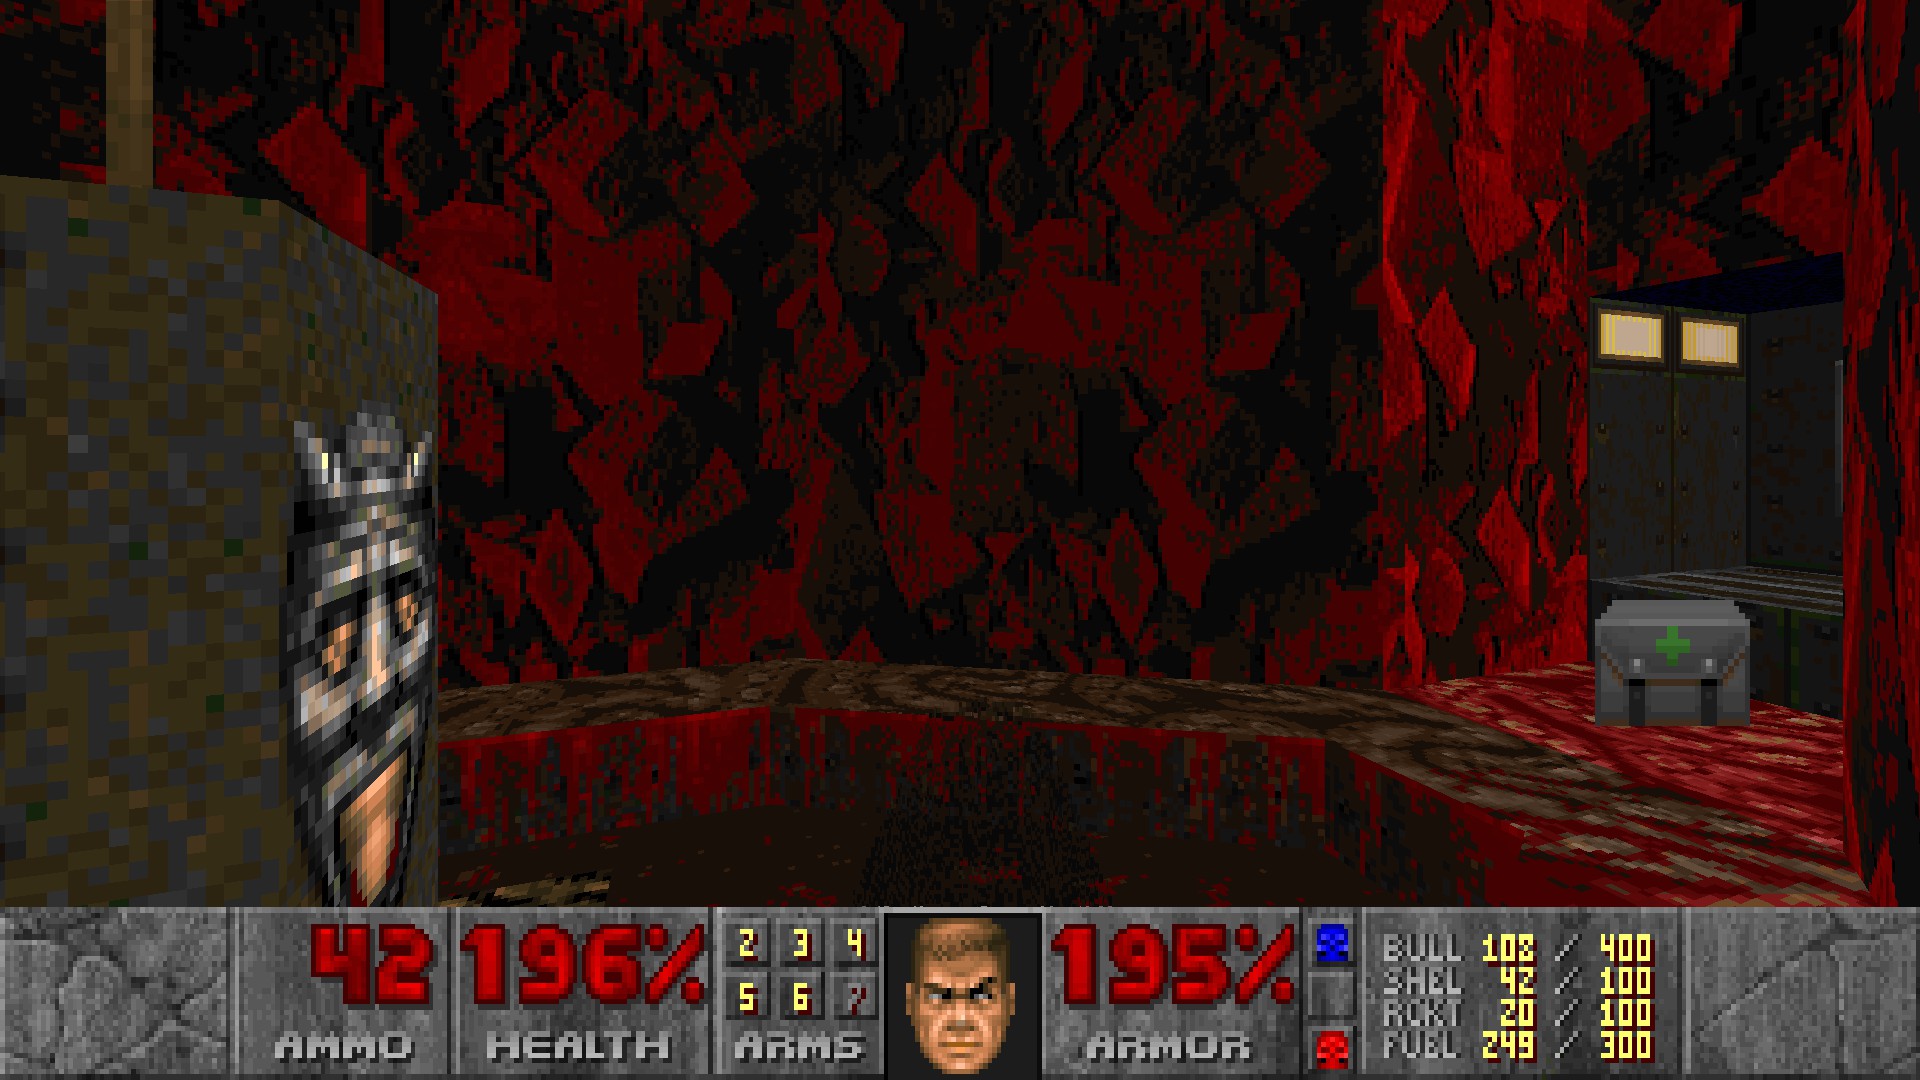
Press the switch at secret #3 and you will be lowered into a cave. Drop directly onto the first step of the stairs with the medikit for another secret. (#4)
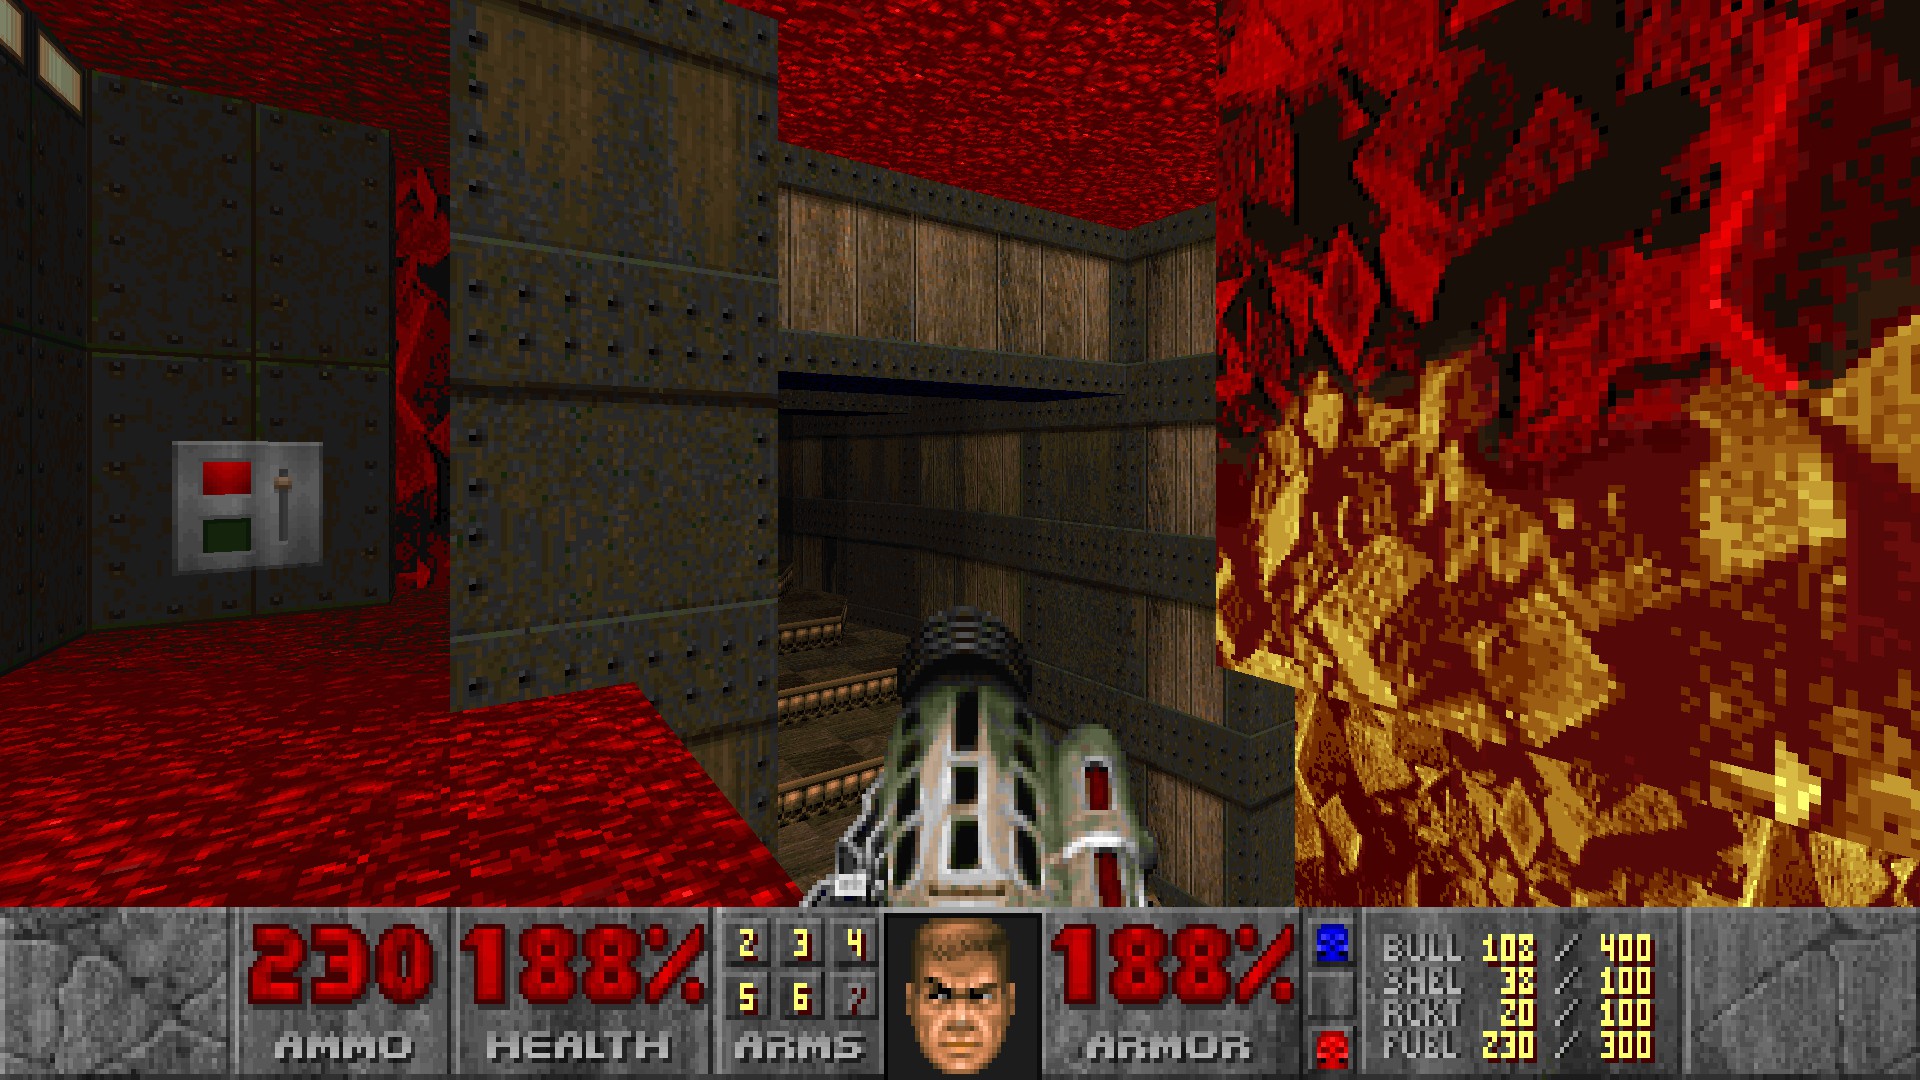 Once you kill the mindweaver at the top of the stairs of secret #4, press the switch on the left wall to open the door directly in front of you and another one on the opposite side. The room ahead contains a mindweaver and stairs with a dead end; at the end of this dead end, there's indented nook with a switch hidden inside. Press this switch, and then another one in the opened section directly behind you to raise a lift to another switch. This switch will lower the floor at the starting area to reveal an invulnerability sphere. (#5)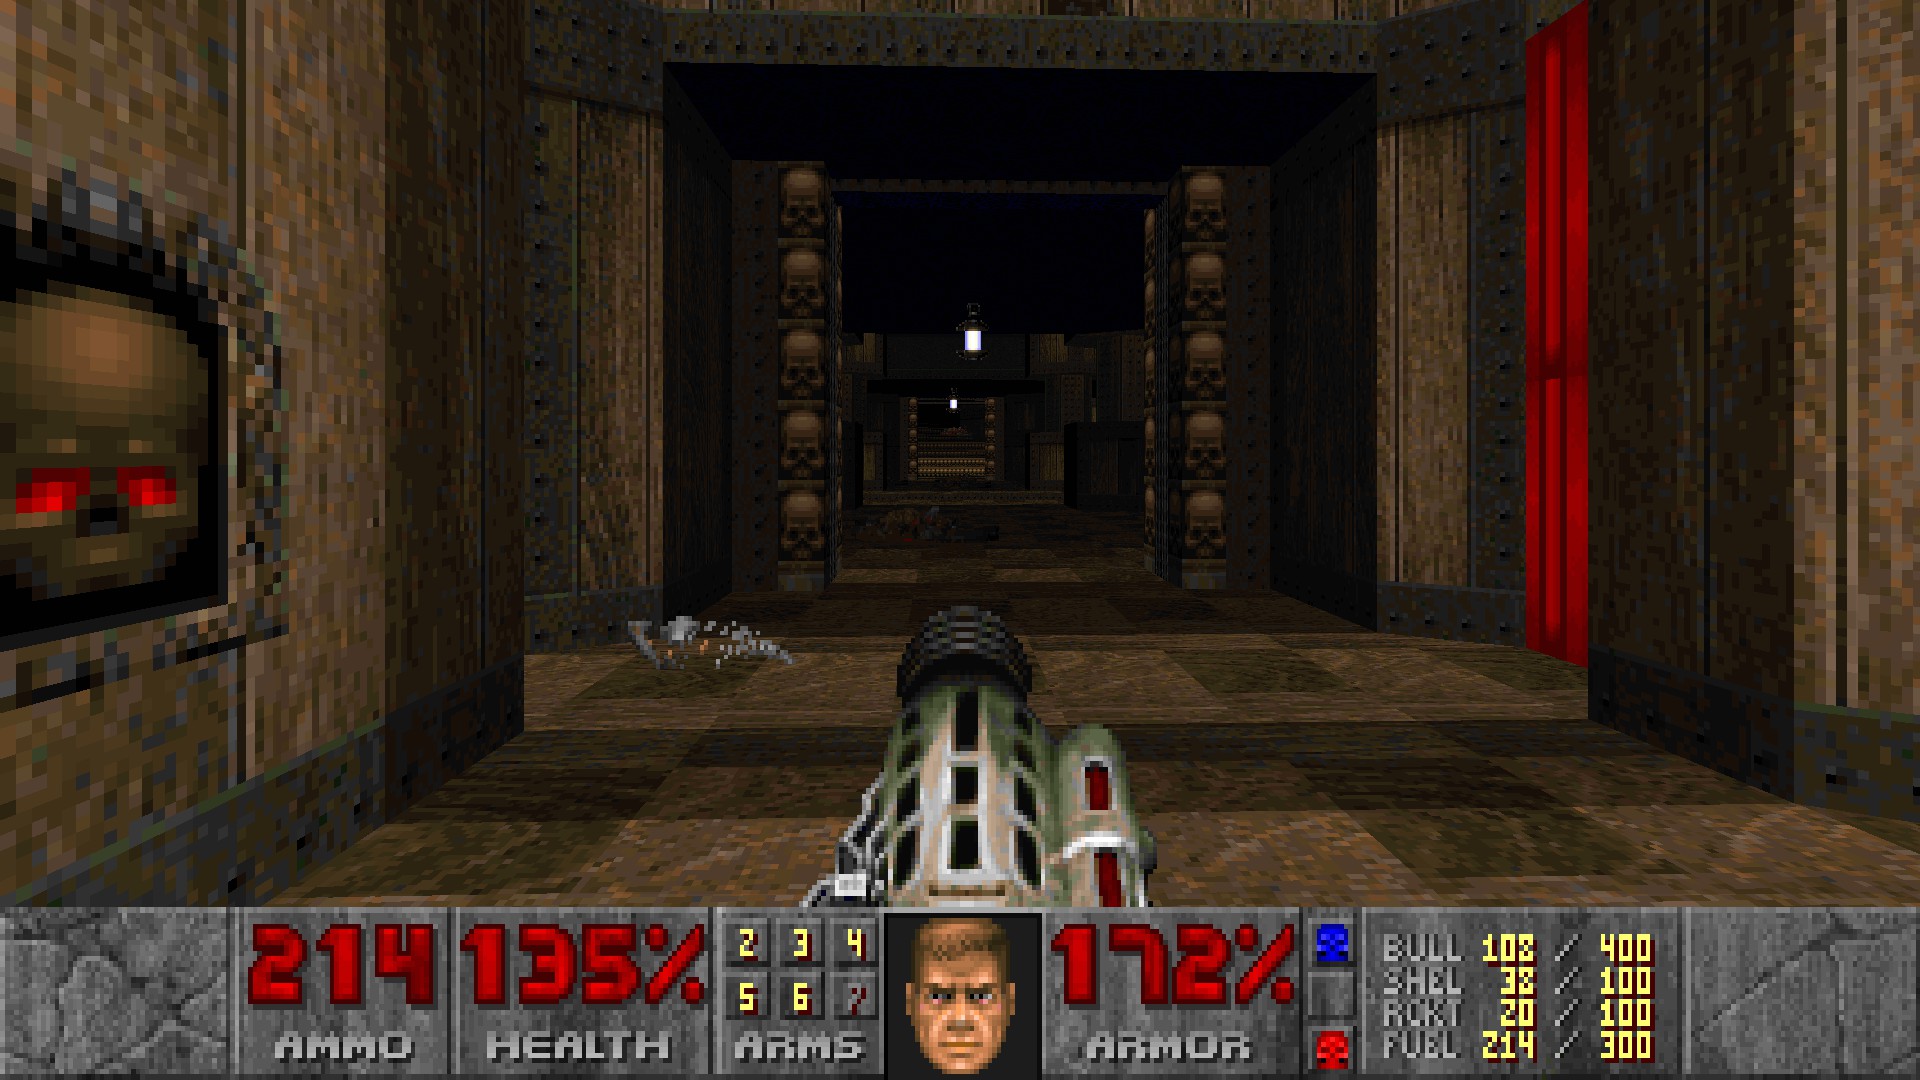
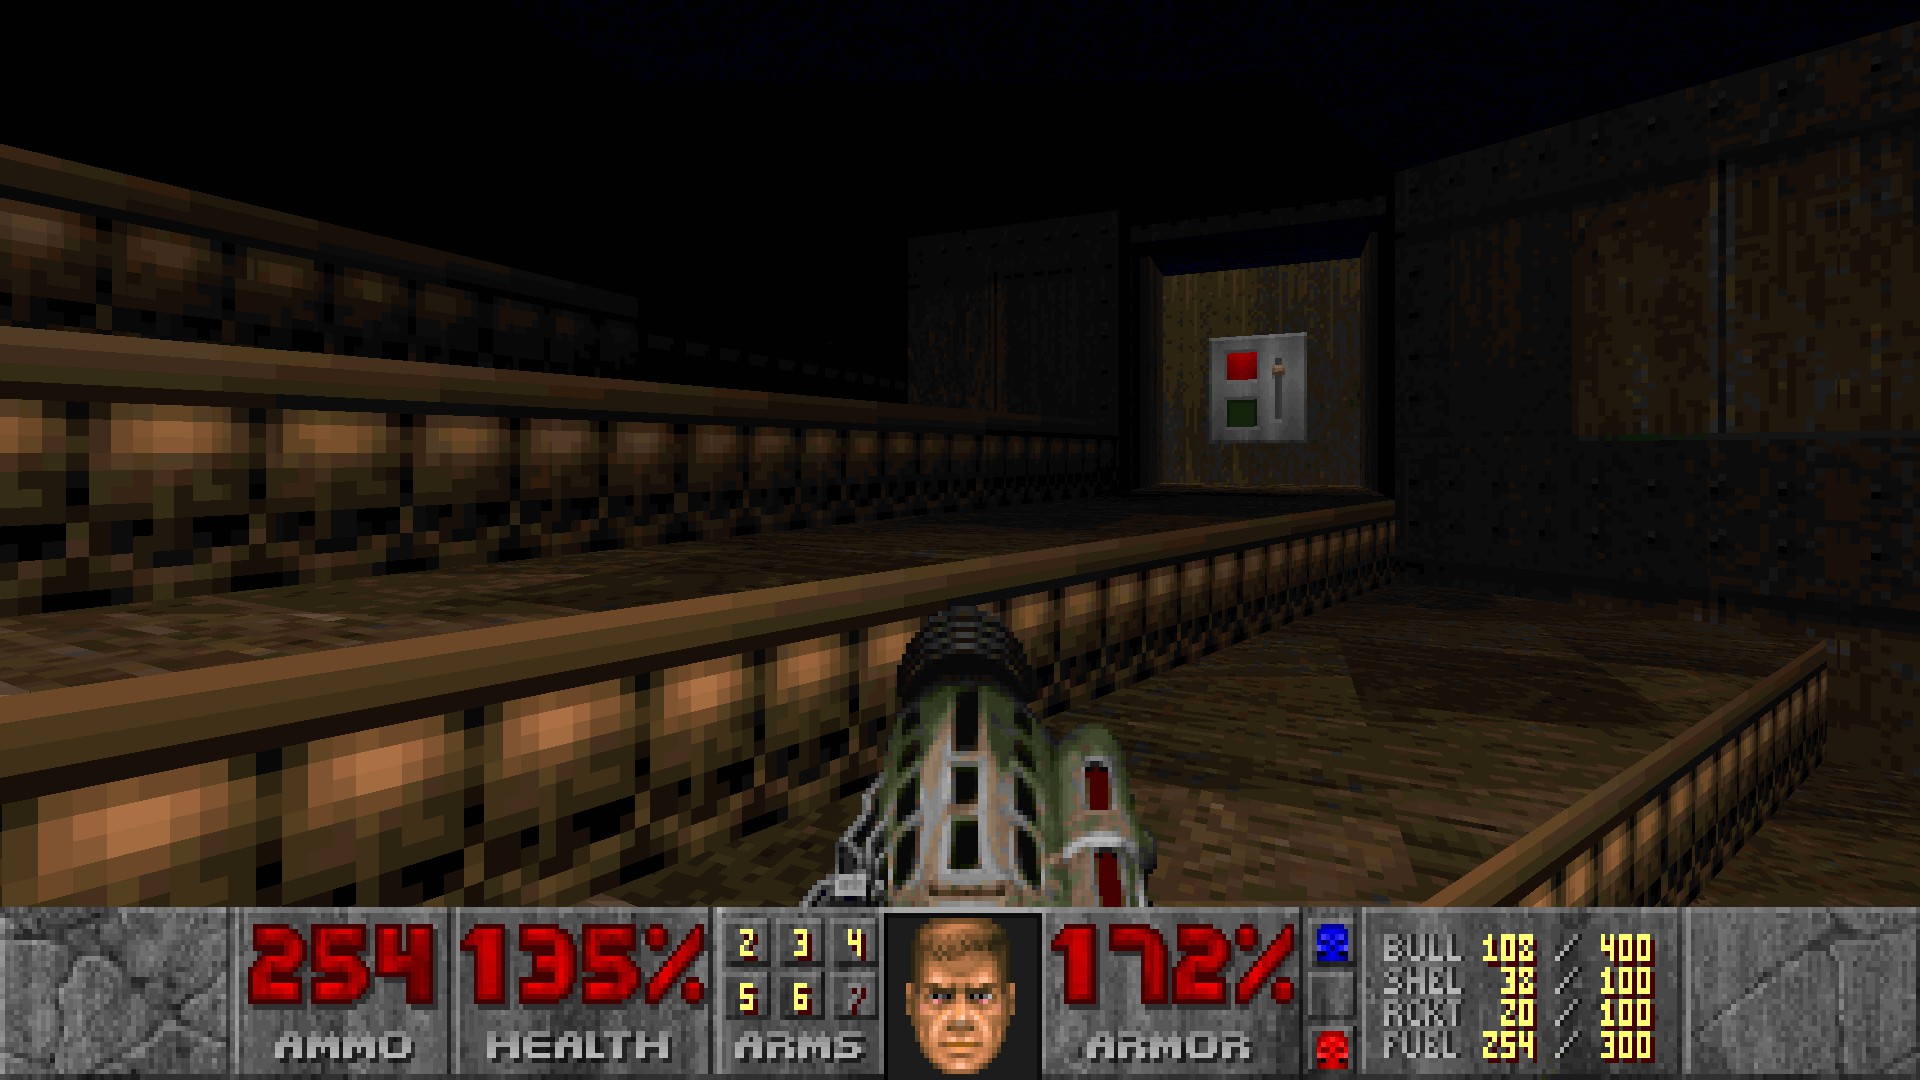
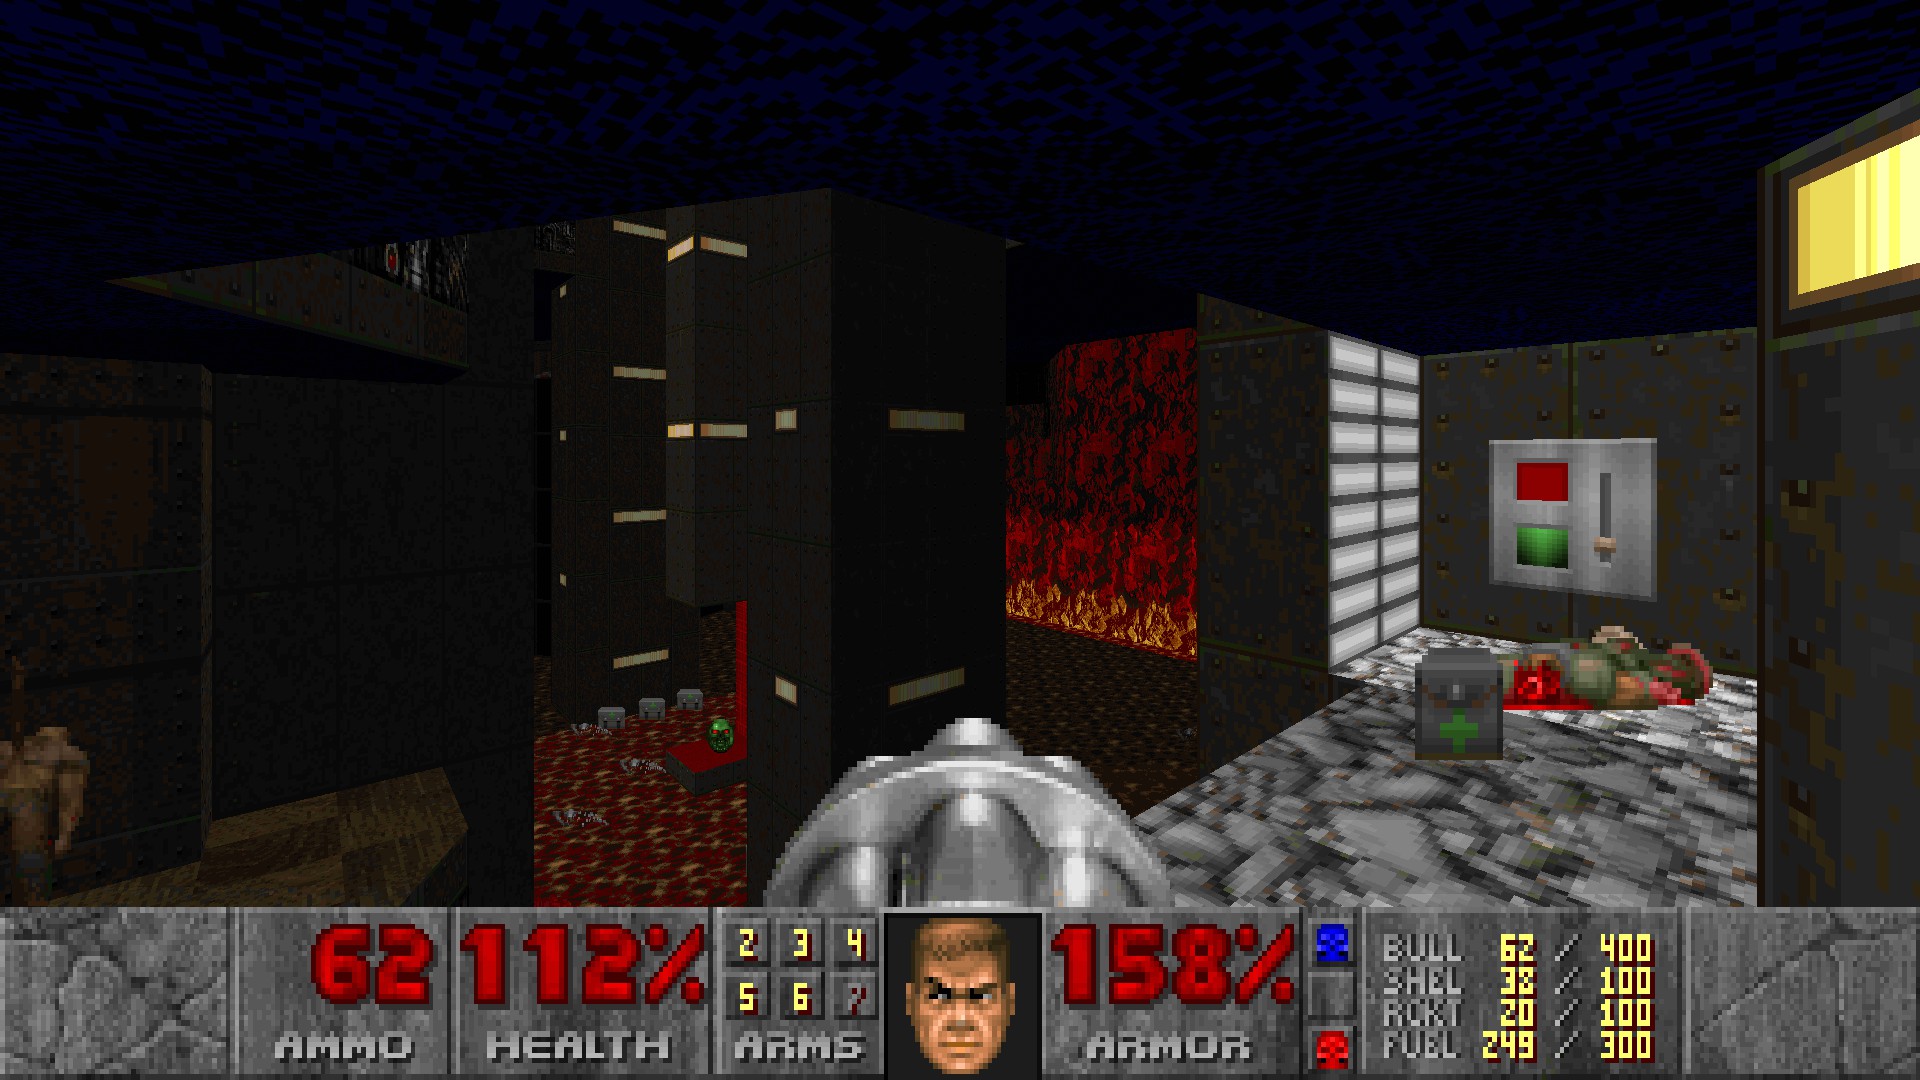 From secret #5, turn right and run into the stairs with an incinerator with fuel cans sitting on the first step. (#6)
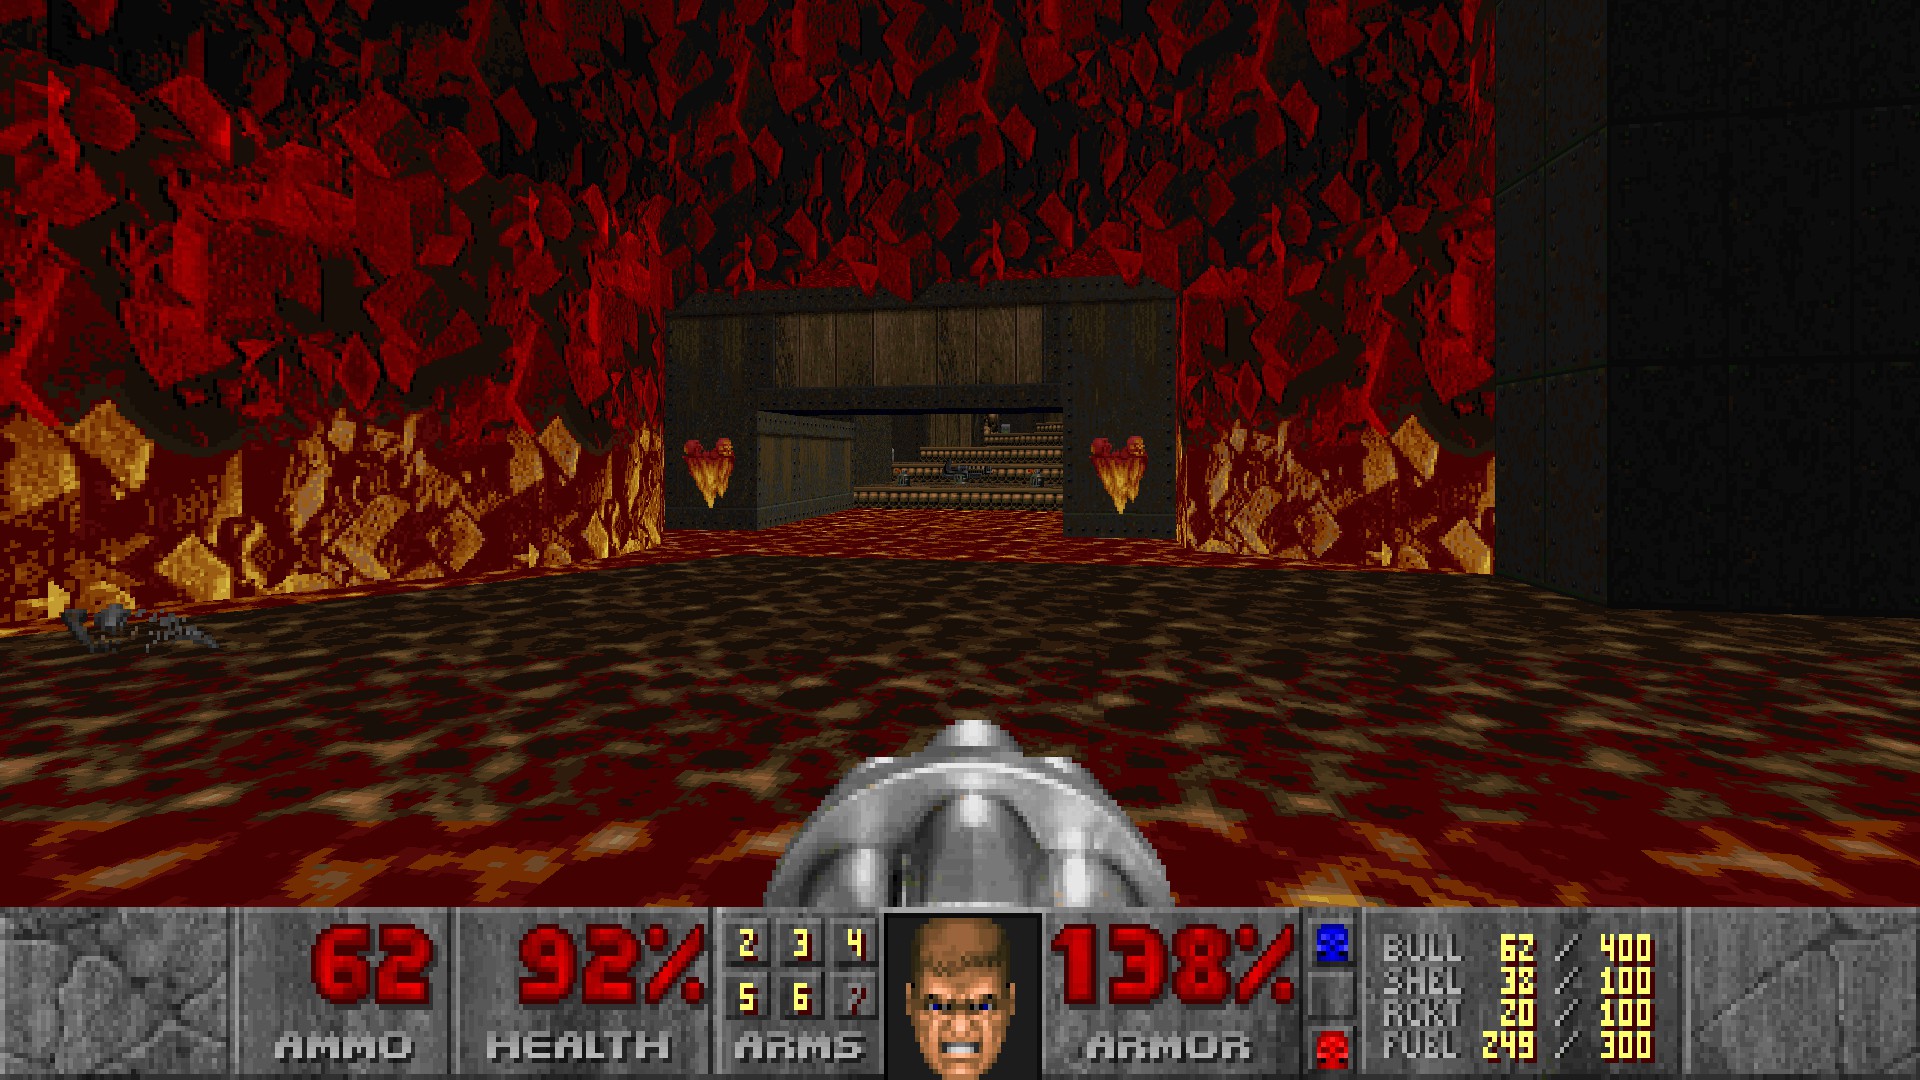 As you go up the stairs from secret #6, there's a green armor under a low ceiling. Shoot the bloody skulls behind it to raise the ceiling. (#7)
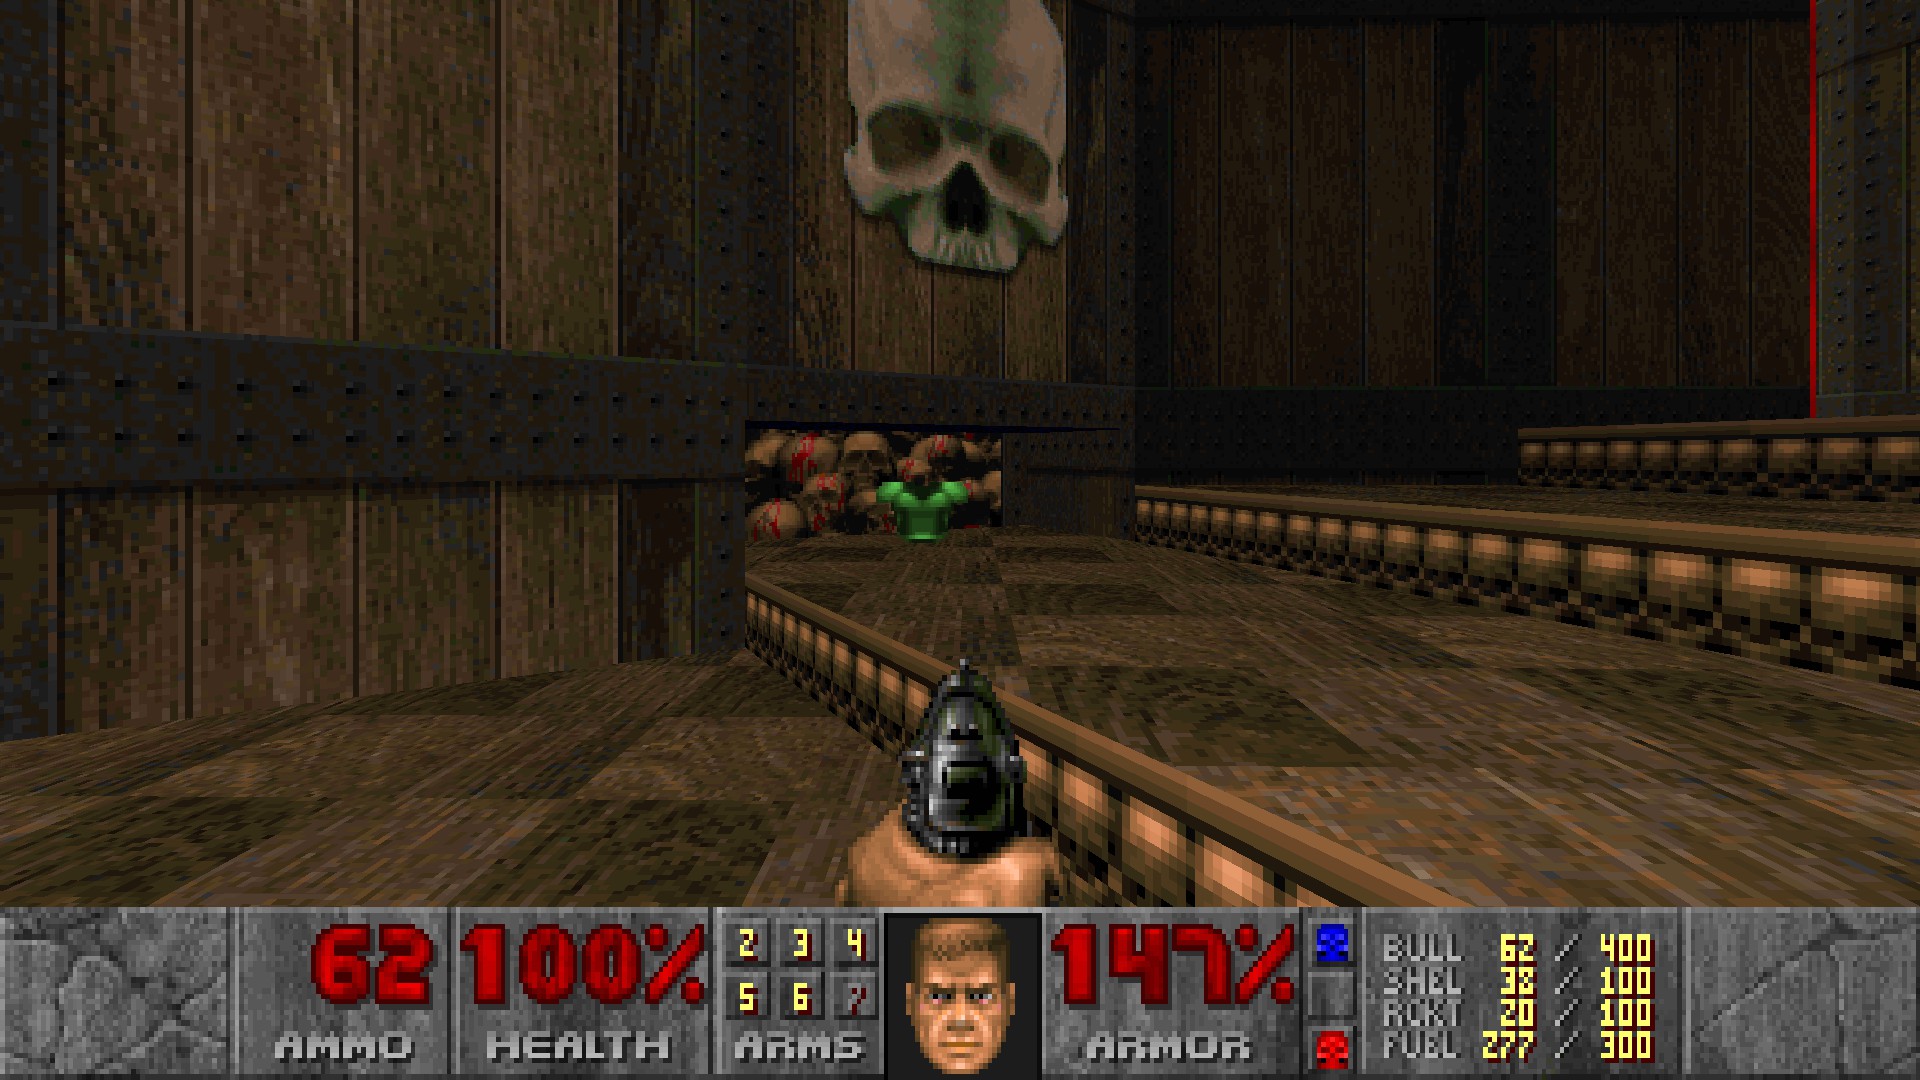 From secret #7, open the door at the end of the stairs. Another door will open right in front of the room you just exited, with a megaarmor sitting on a raised alcove on the left side of the door. Go through the door and press the switch there. The wall will lower, and simply drop down to claim the megaarmor. (#8)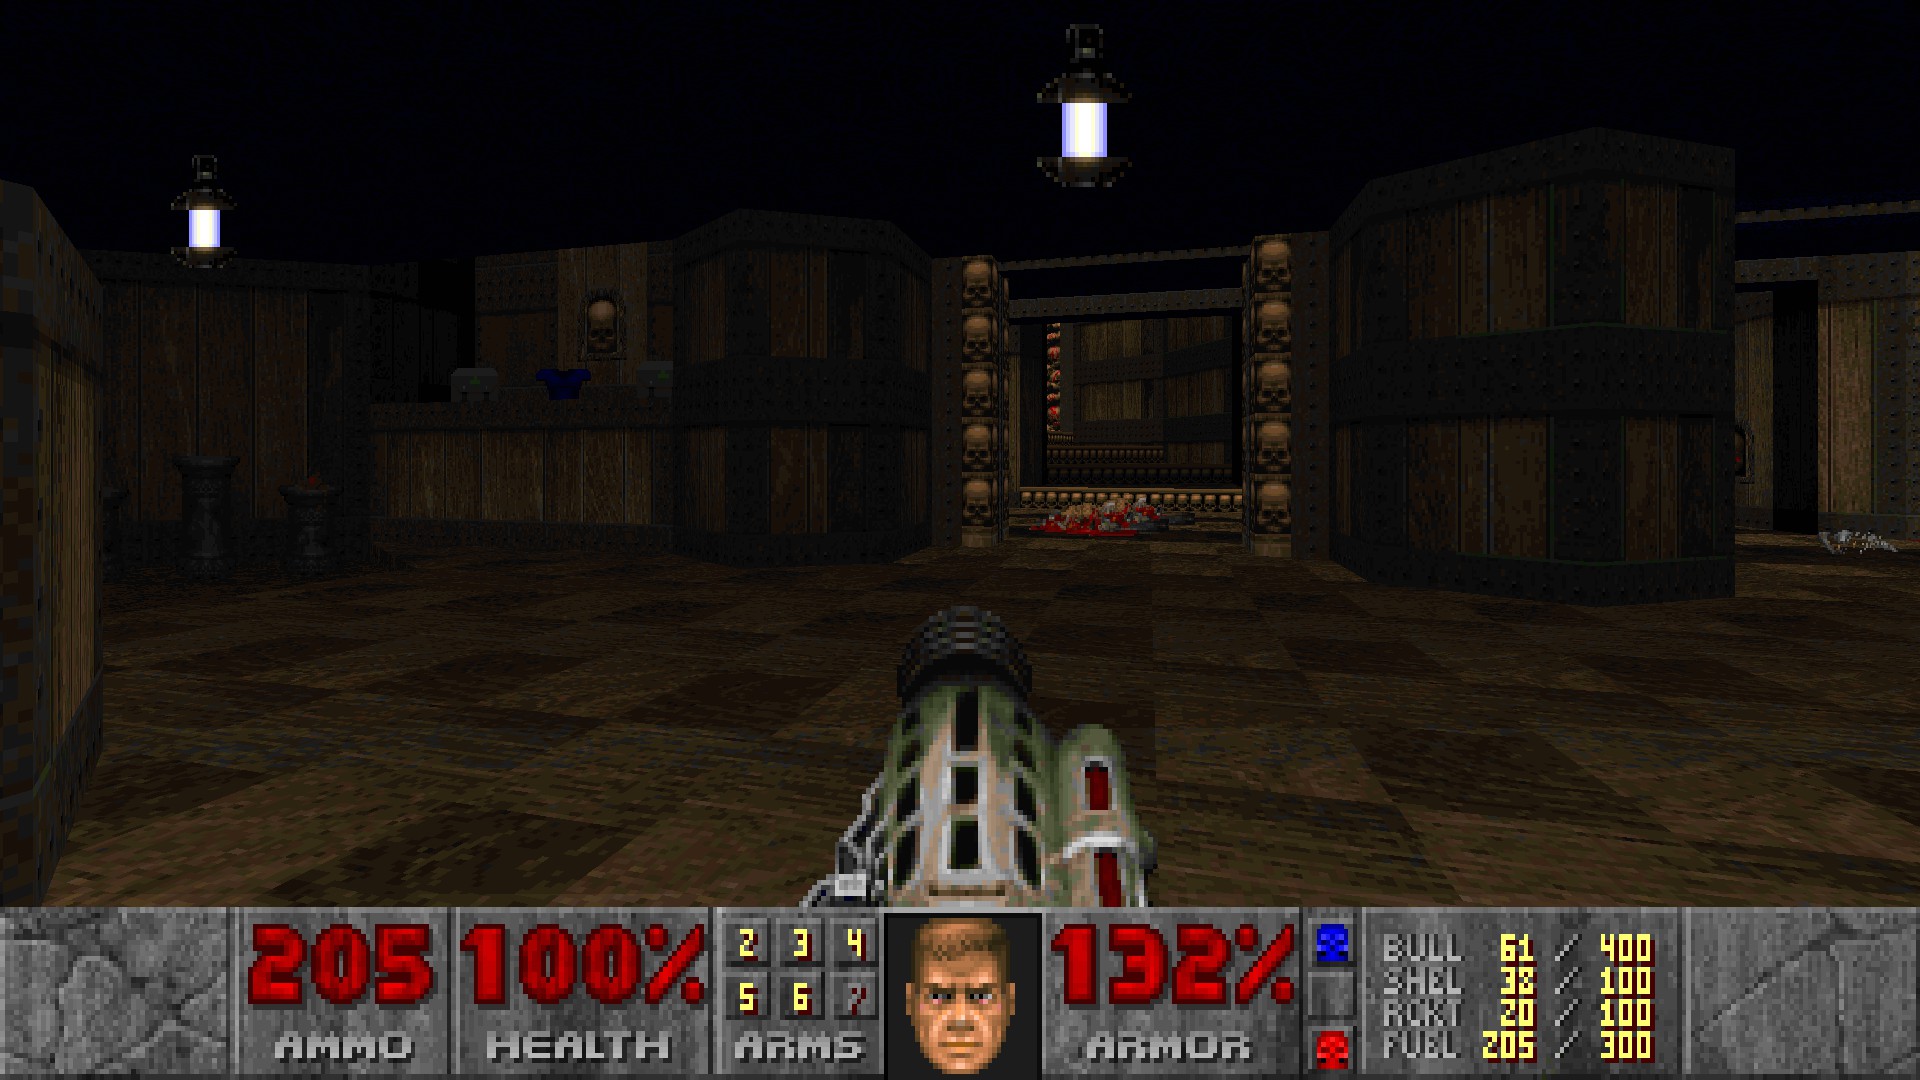
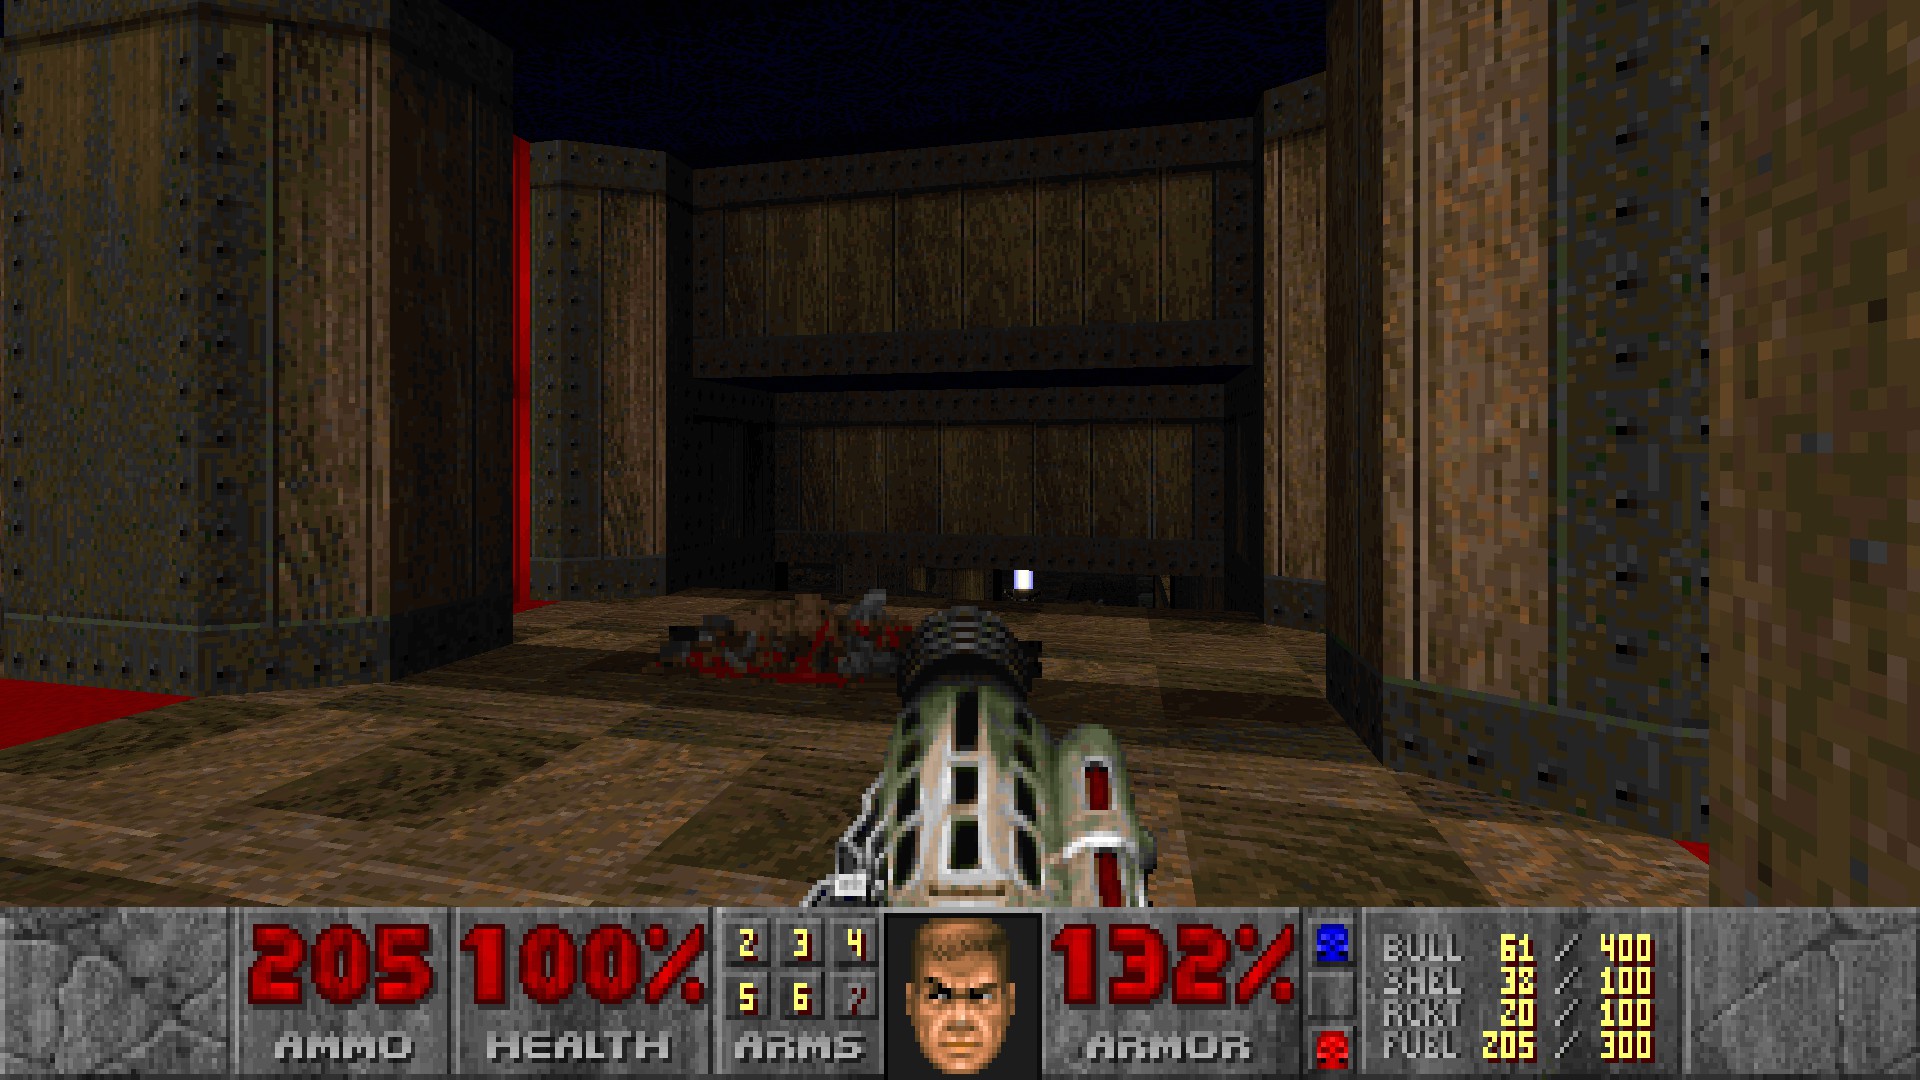
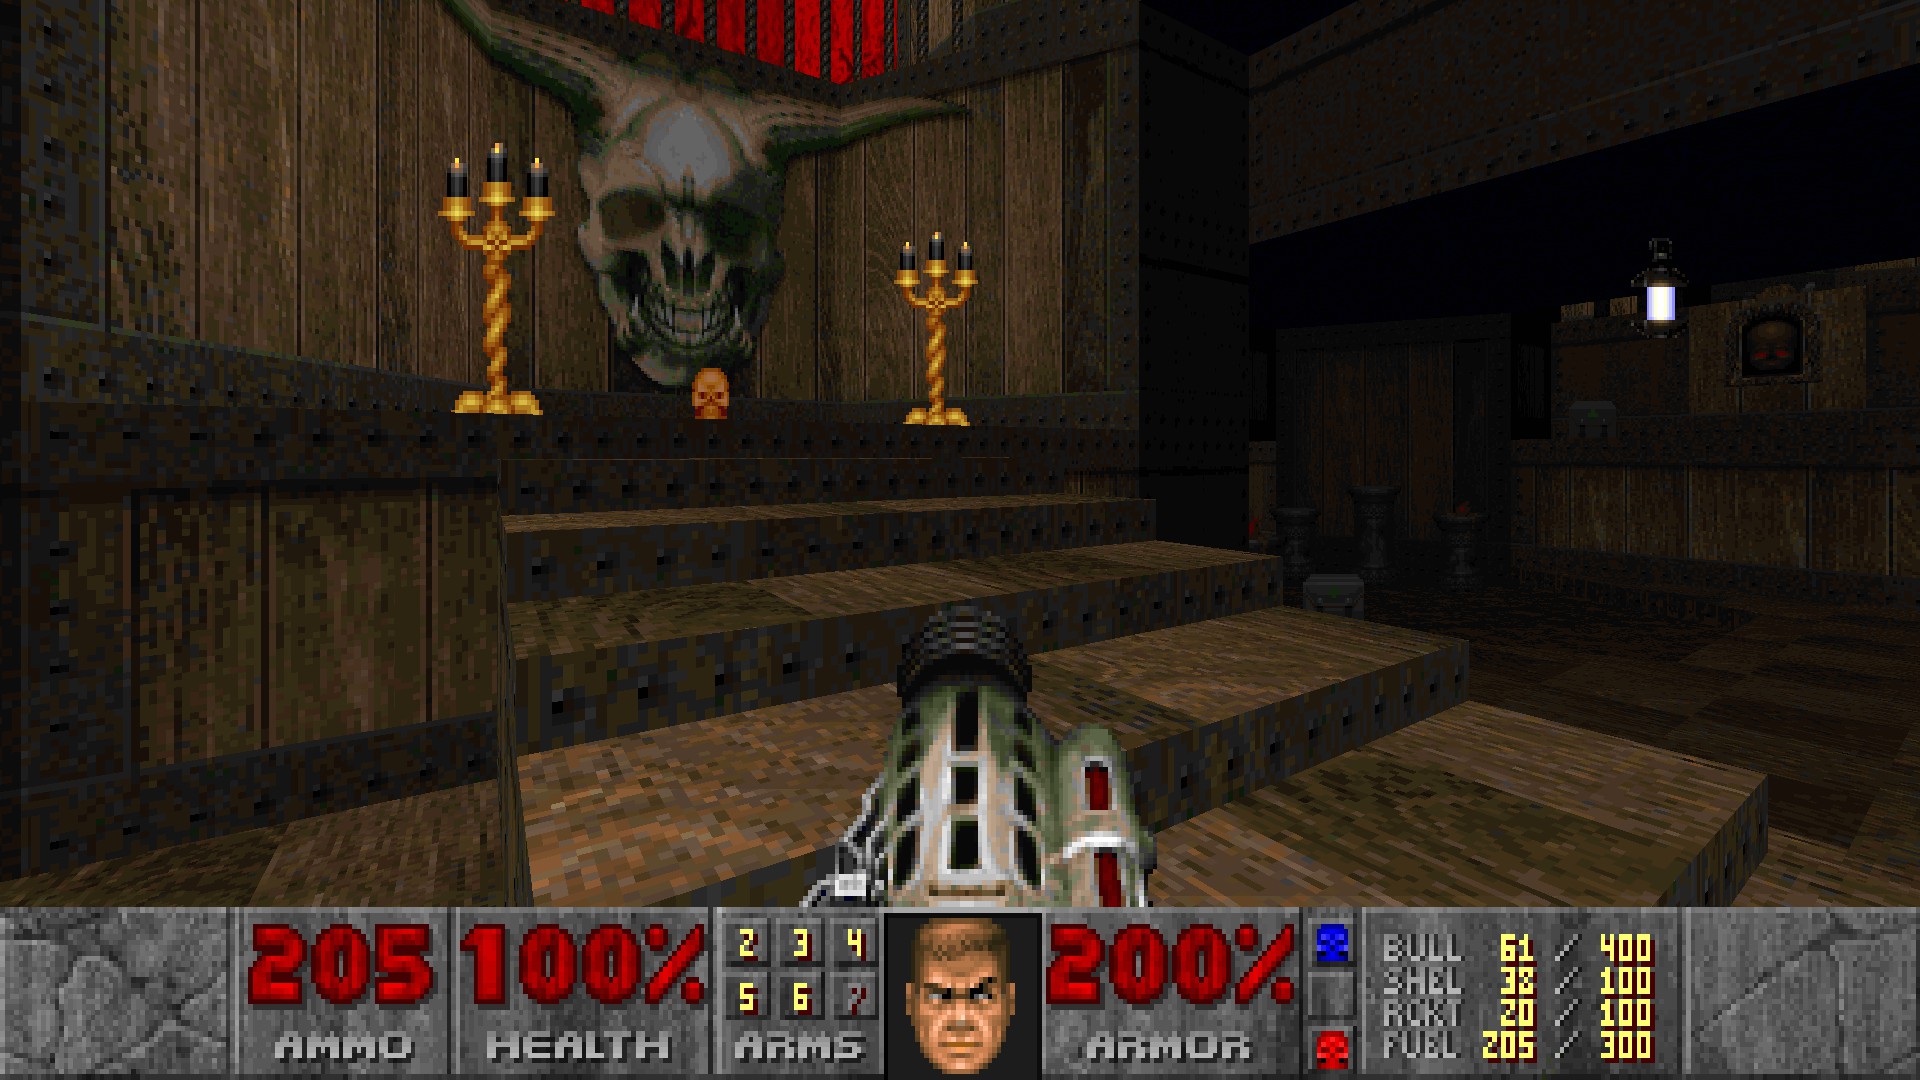
After picking the megaarmor, immediately turn around and press the switch to raise the stairs leading to the yellow key directly ahead. (#9)
#10-12
Return to secret #3 and head left instead. Straferun onto the red wall at the end of the path to lower it, and drop down on the other end of the opened wall to grab a berserk pack. (#10)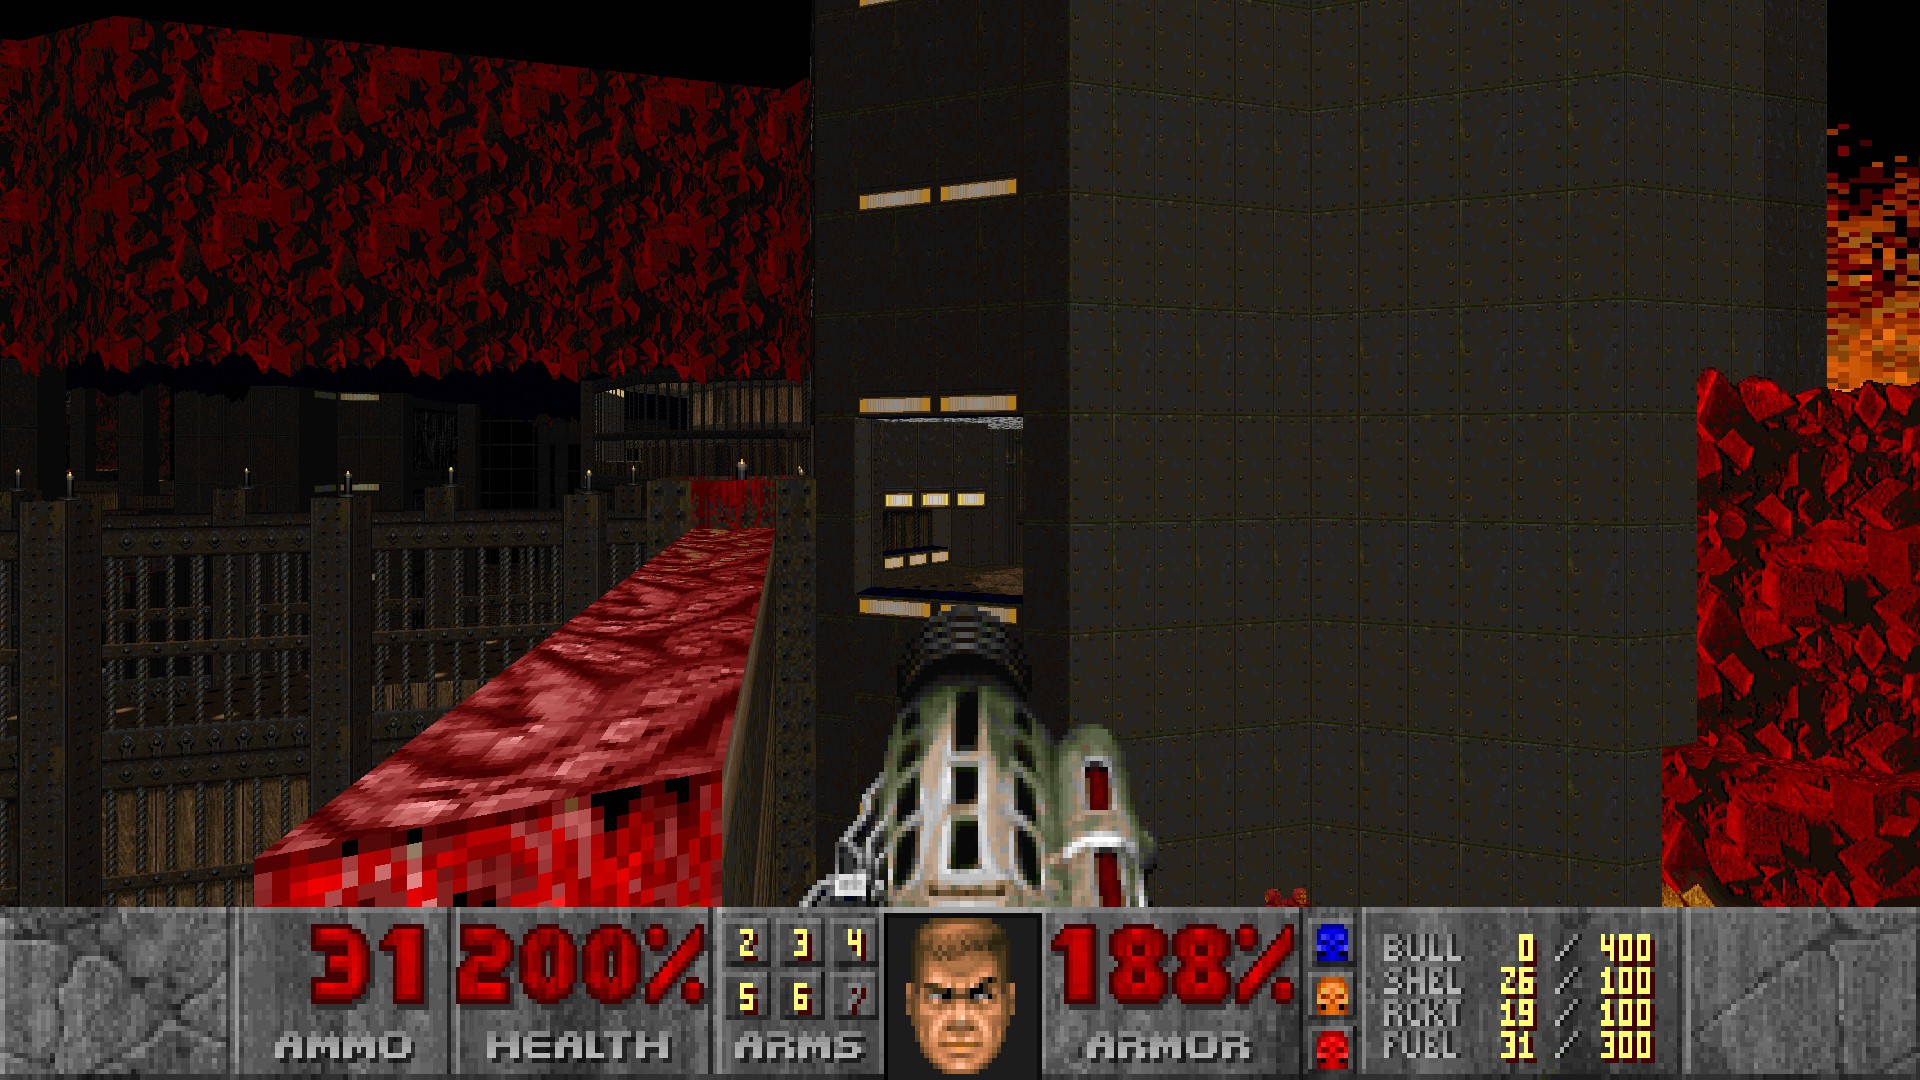 From secret #10, drop down and run through the lava along the left wall until you find an entrance to a small cave, with a medikit sitting right in front of a skull wall. Open it behind the medikit. (#11)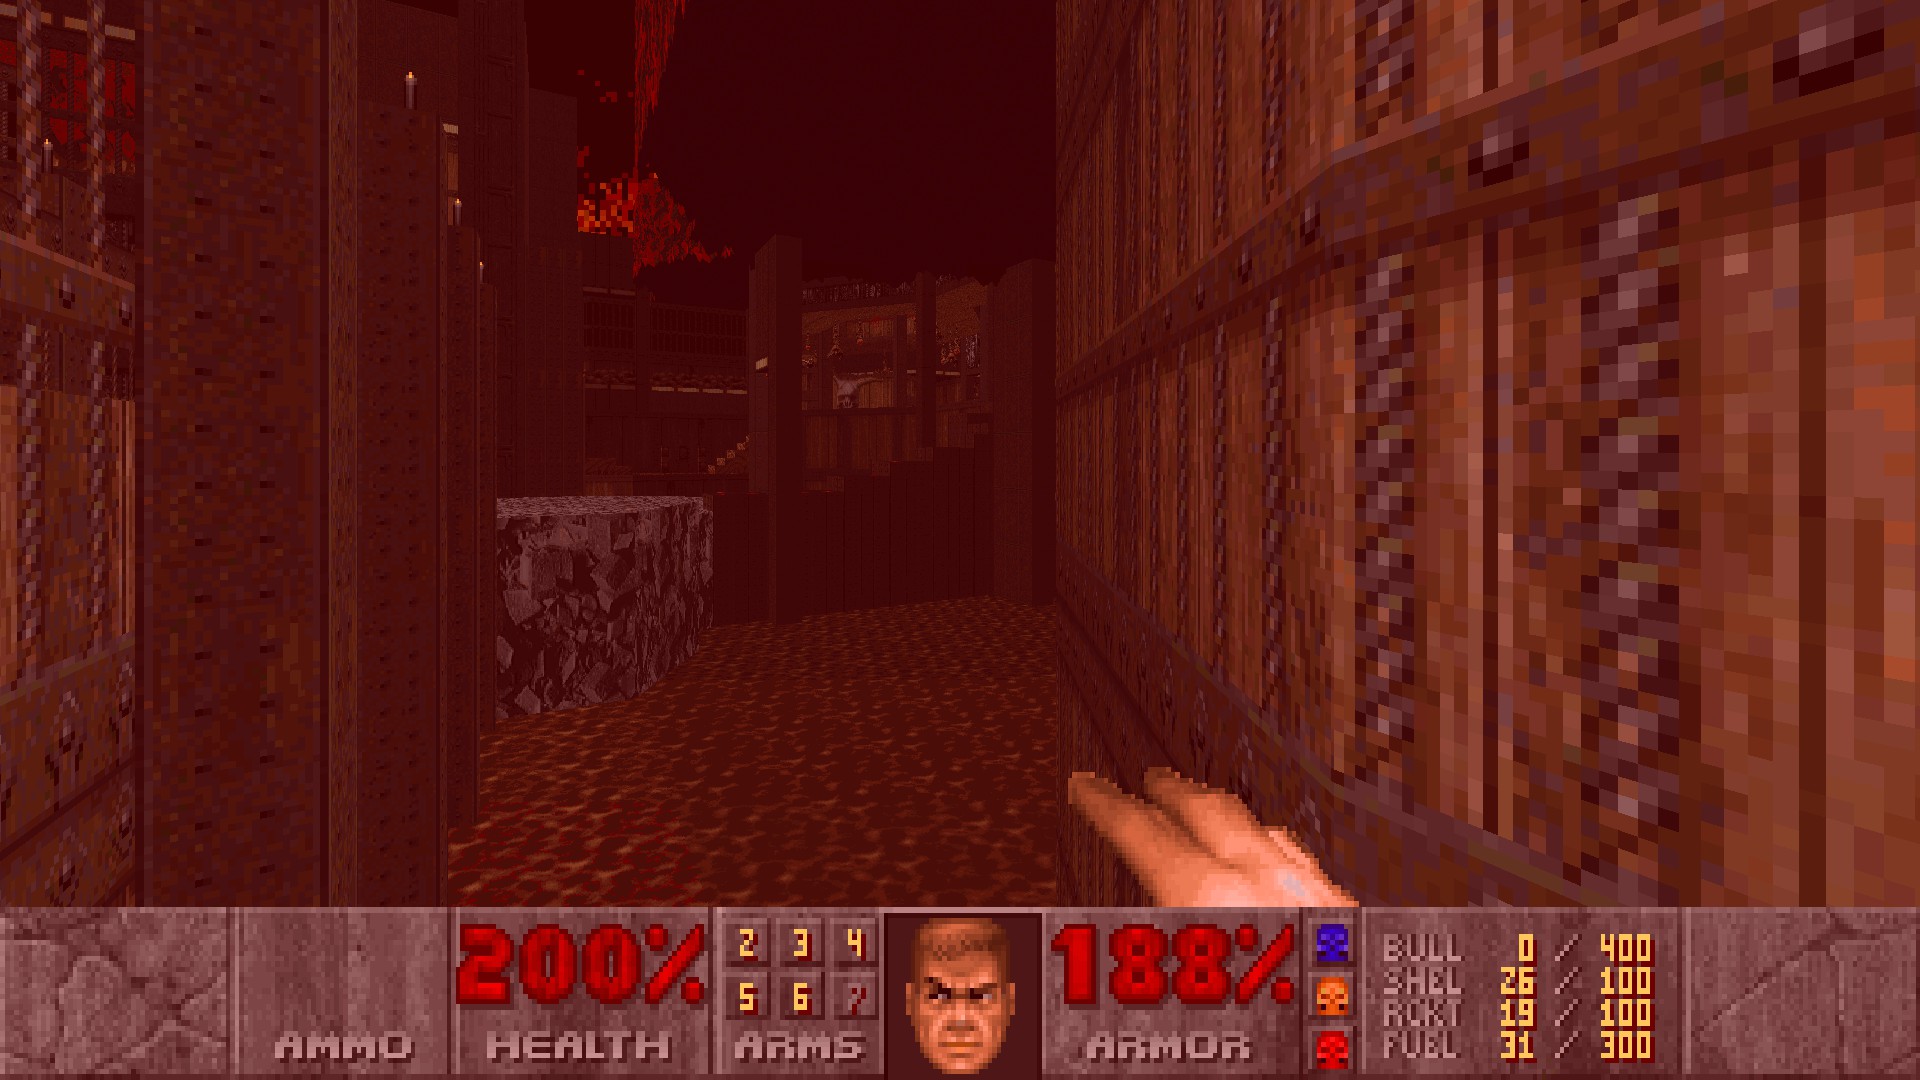
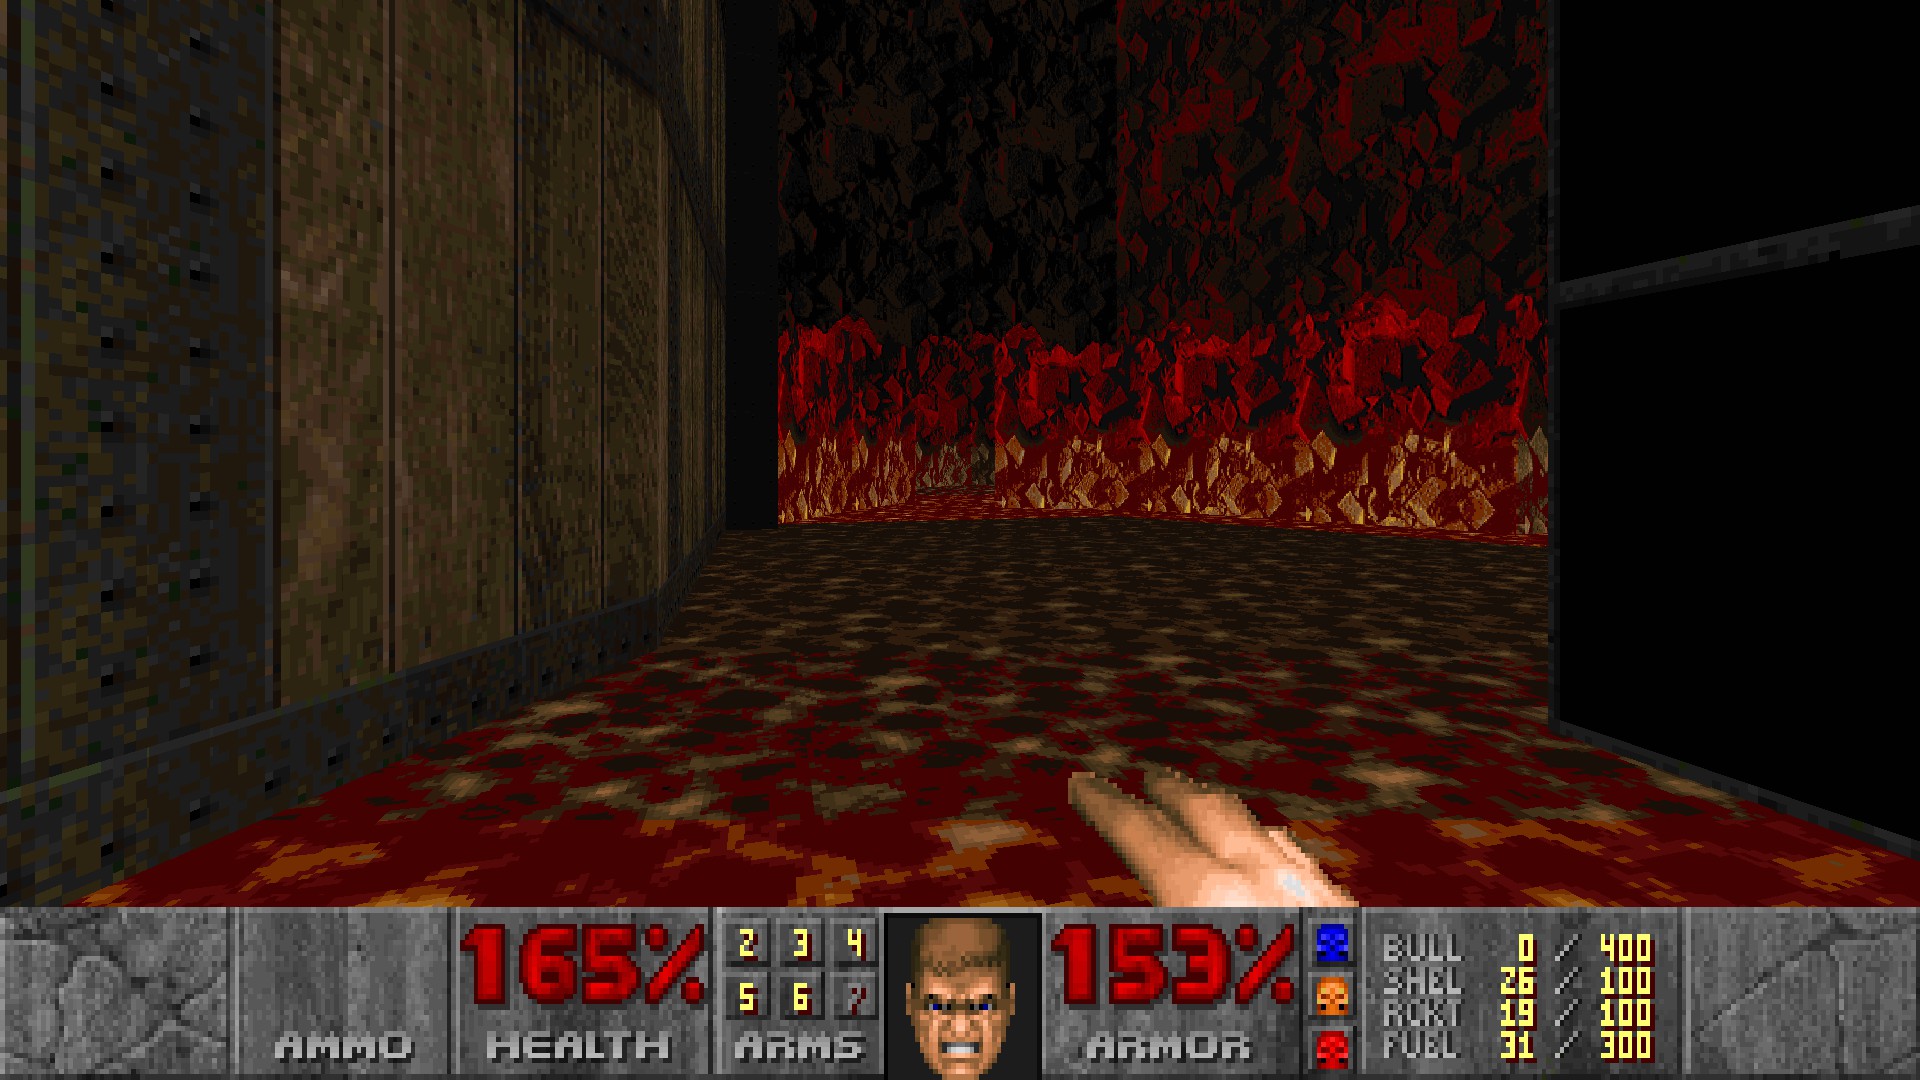
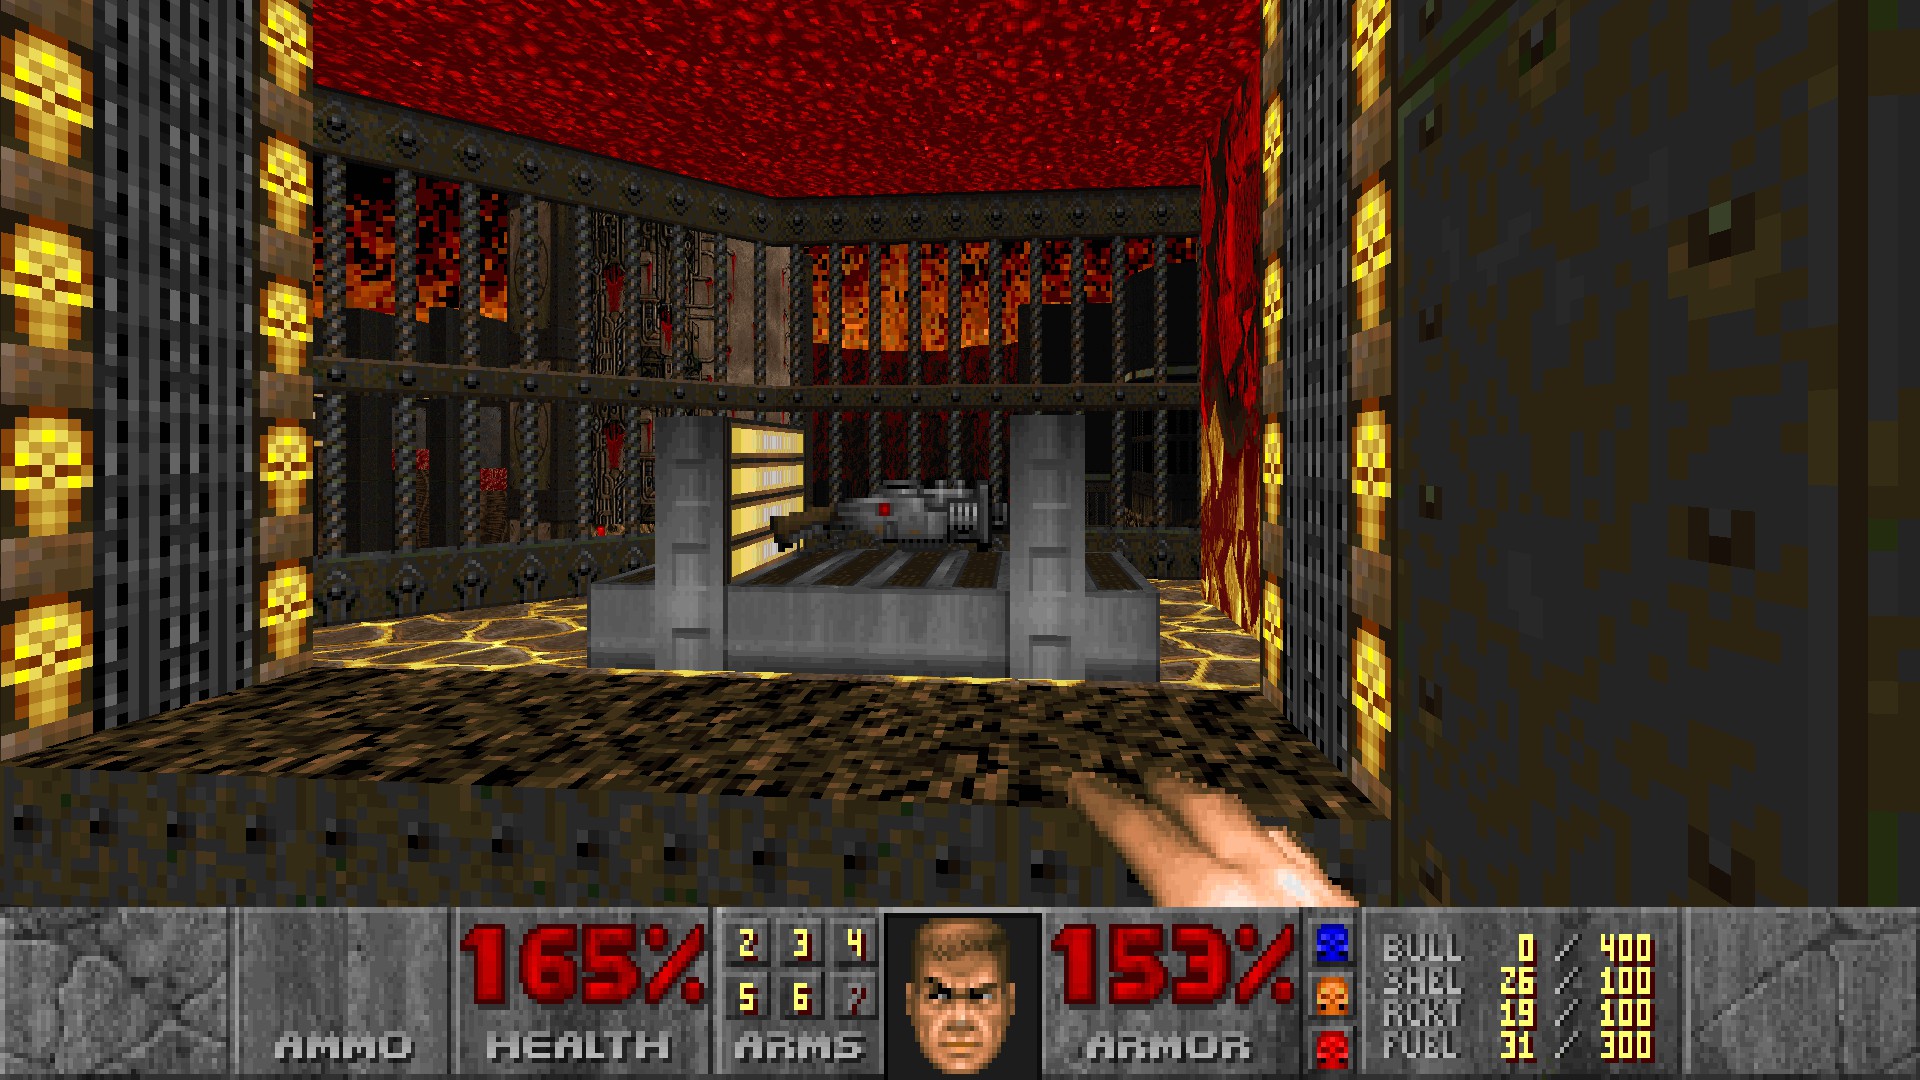
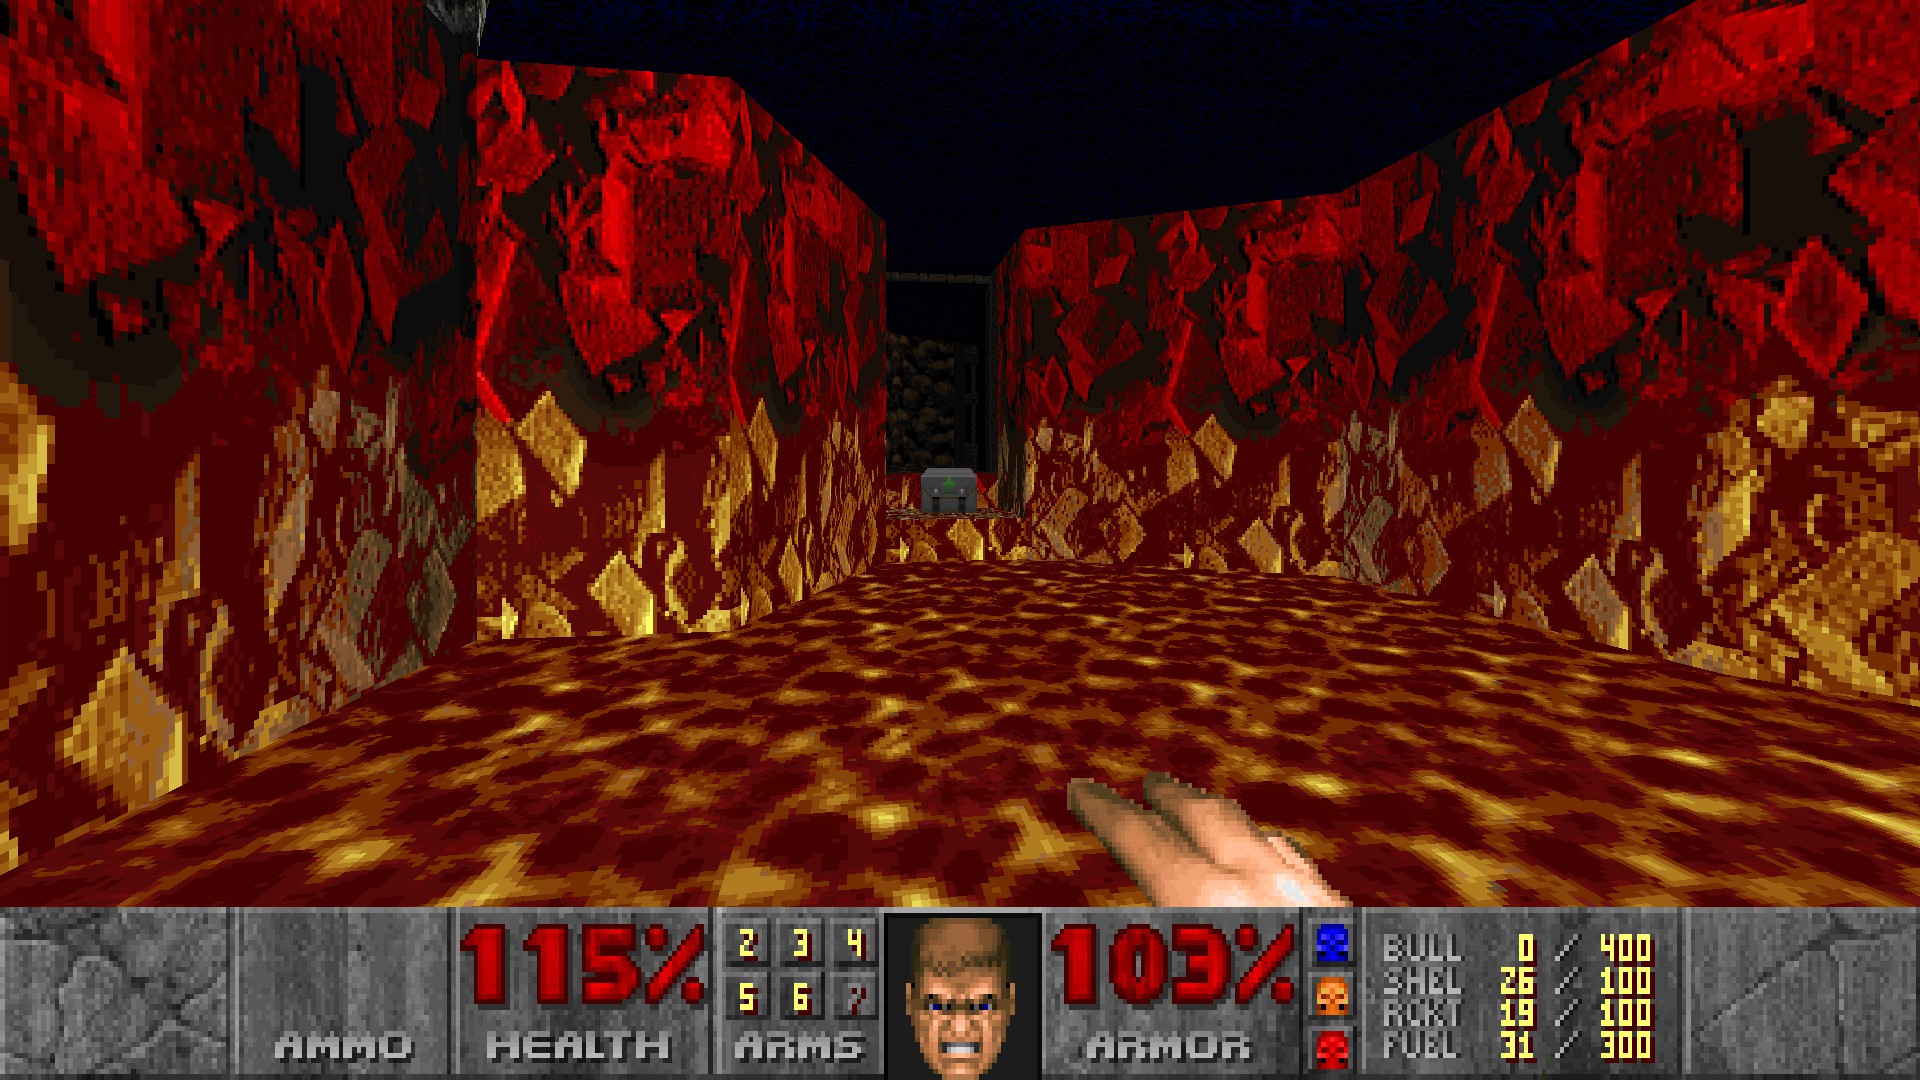 Go back to the tower using the teleporter from secret #11, ride up the lift and enter the yellow door to reveal the calamity blade waiting inside.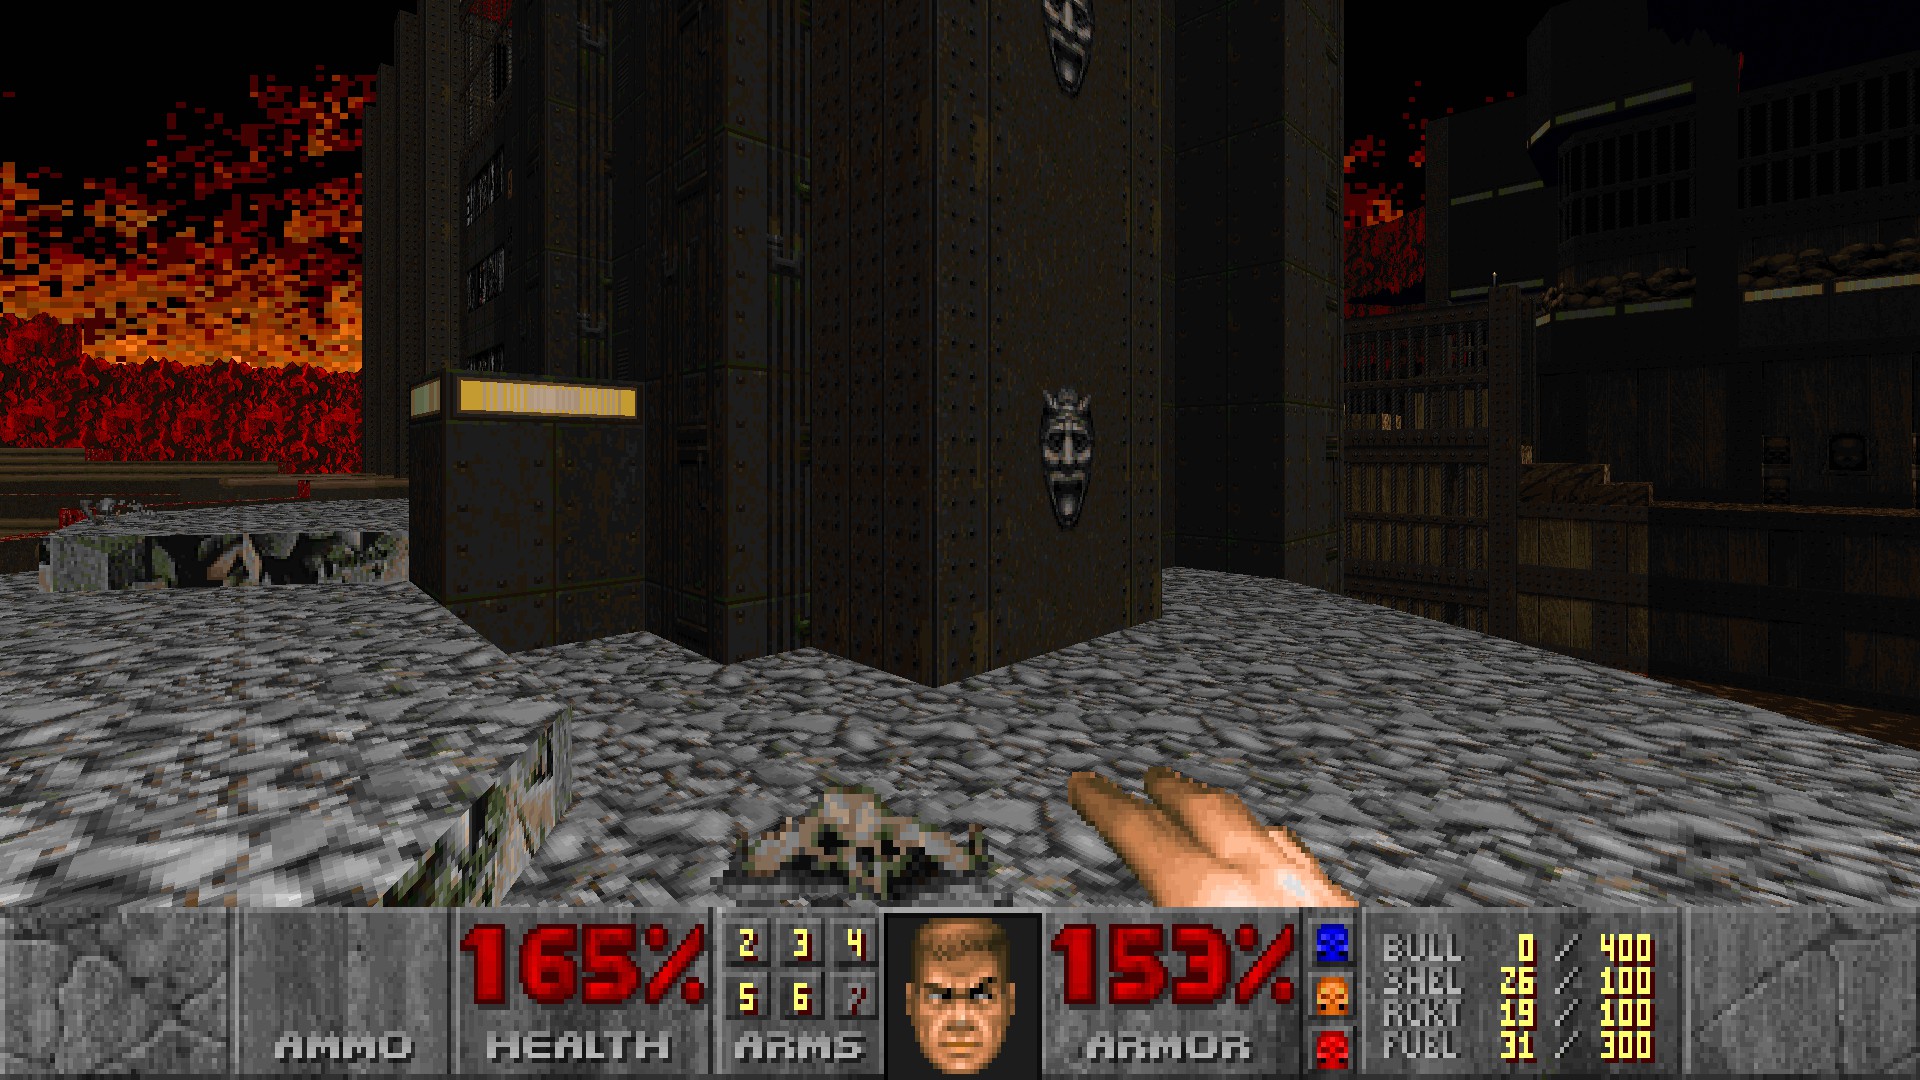
E1M7: Forfeited Salvation
#1-2
From the start of the level, drop down and take a right turn to see a "fountain" with bleeding skulls in front of you. To the right of this fountain, there is a tunnel leading to an invulnerability sphere and a teleporter to the starting area. (#1)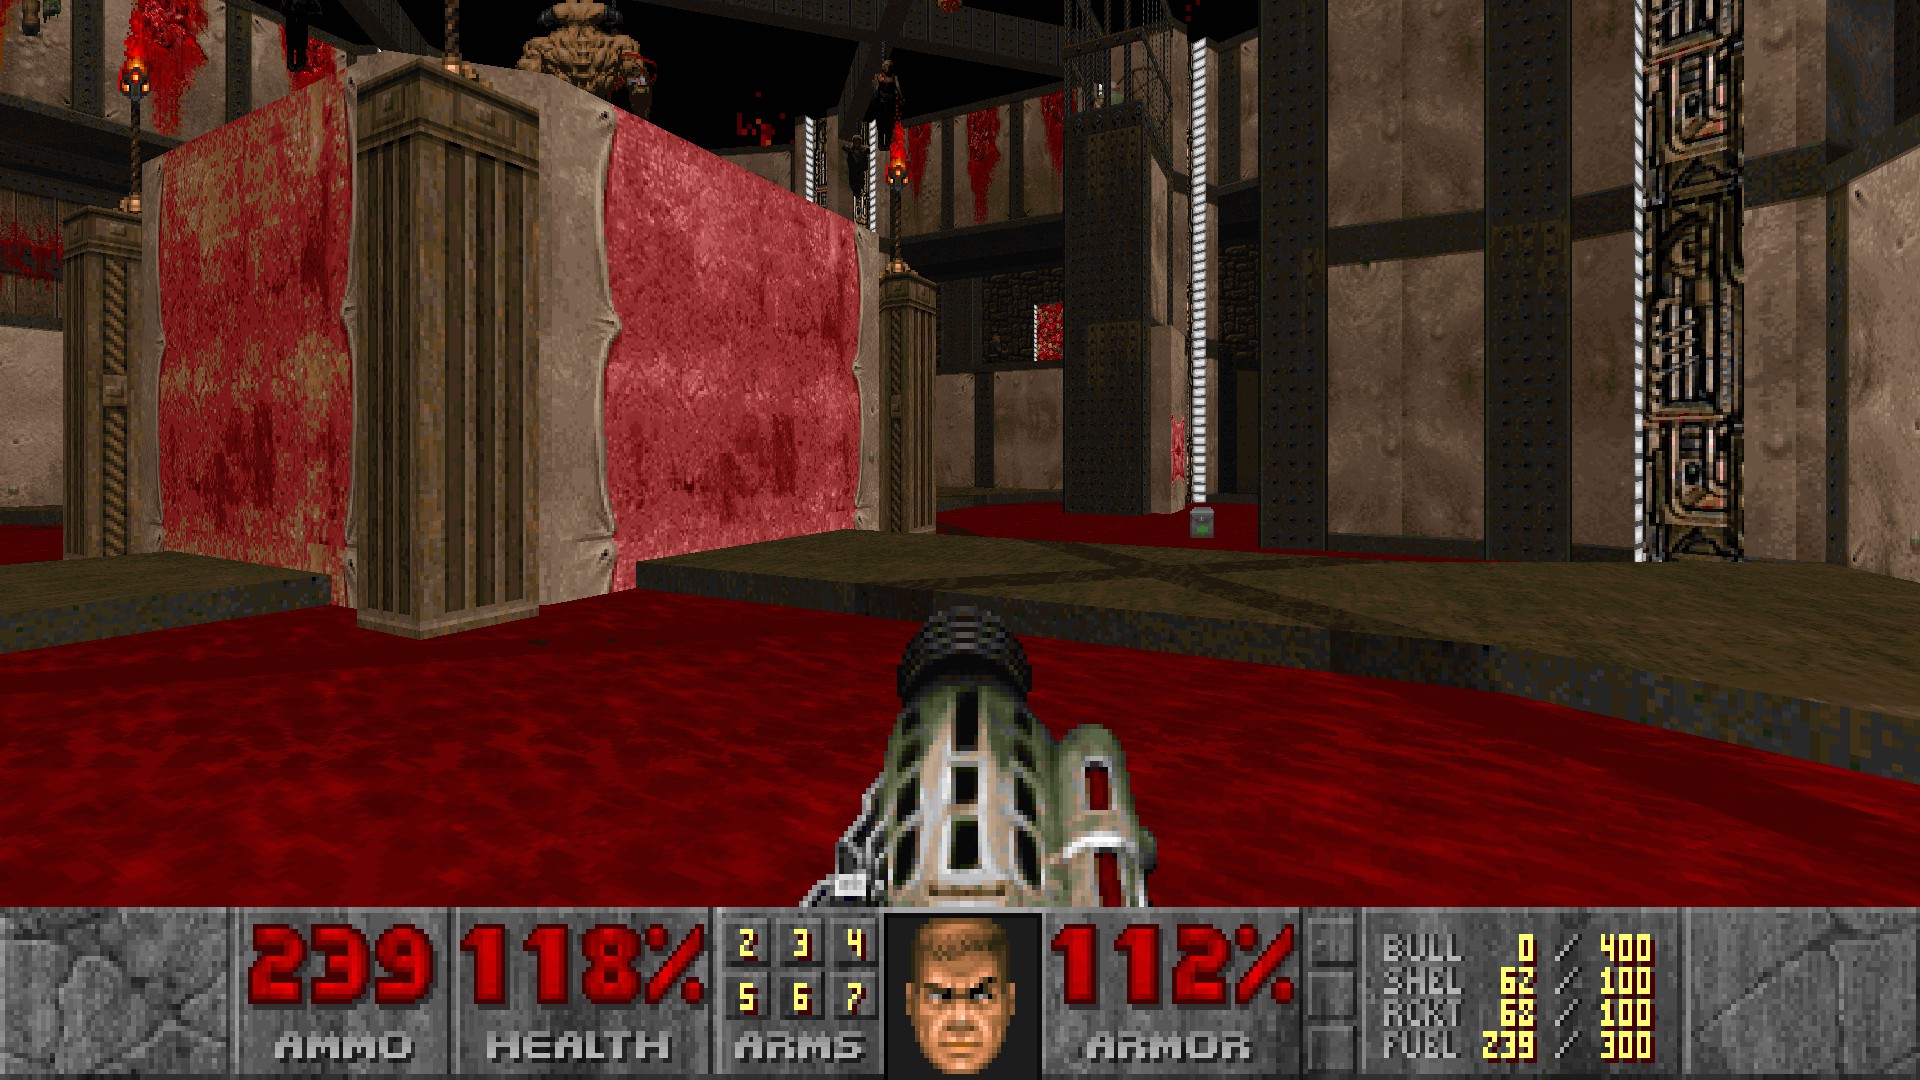
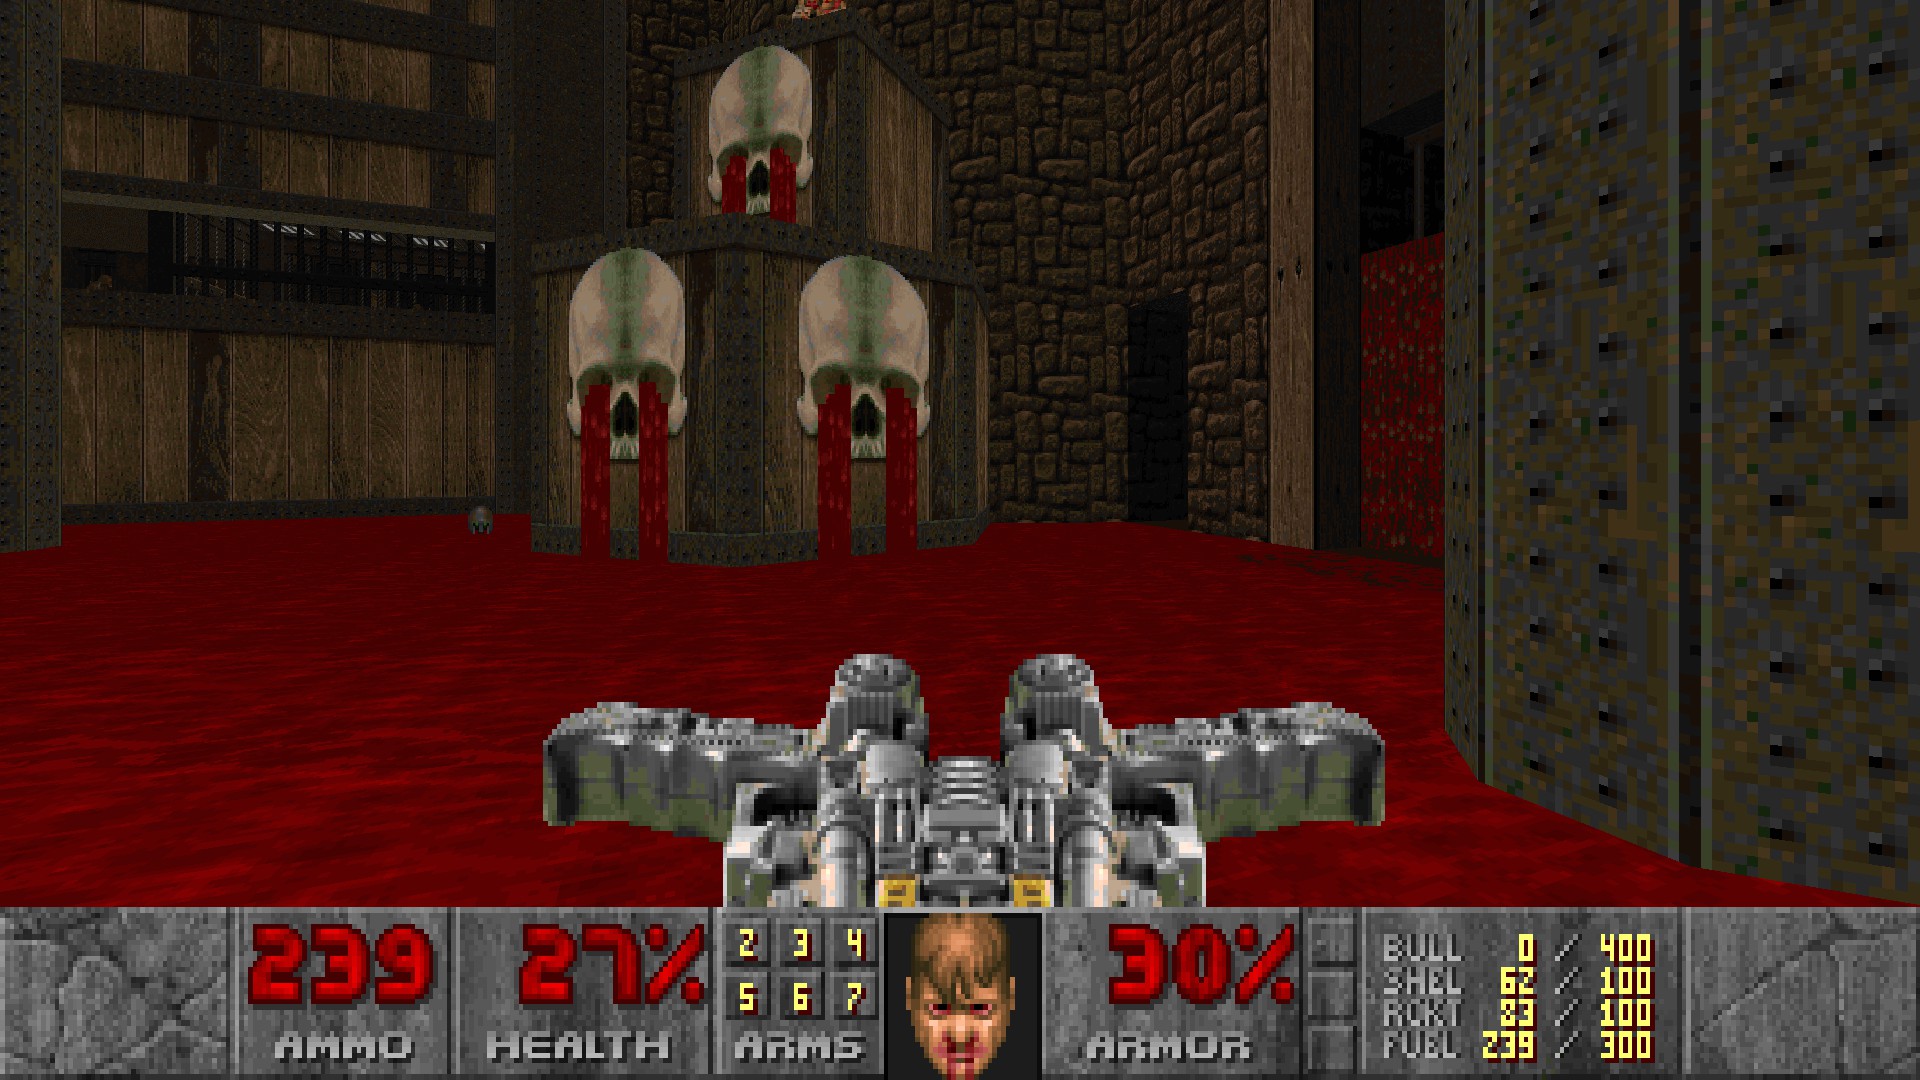
From secret #1, turn left and go past the yellow gate. You should see another skull fountain. Press the switch on the left of the fountain to lower a column behind you with an invisibility. (#2)
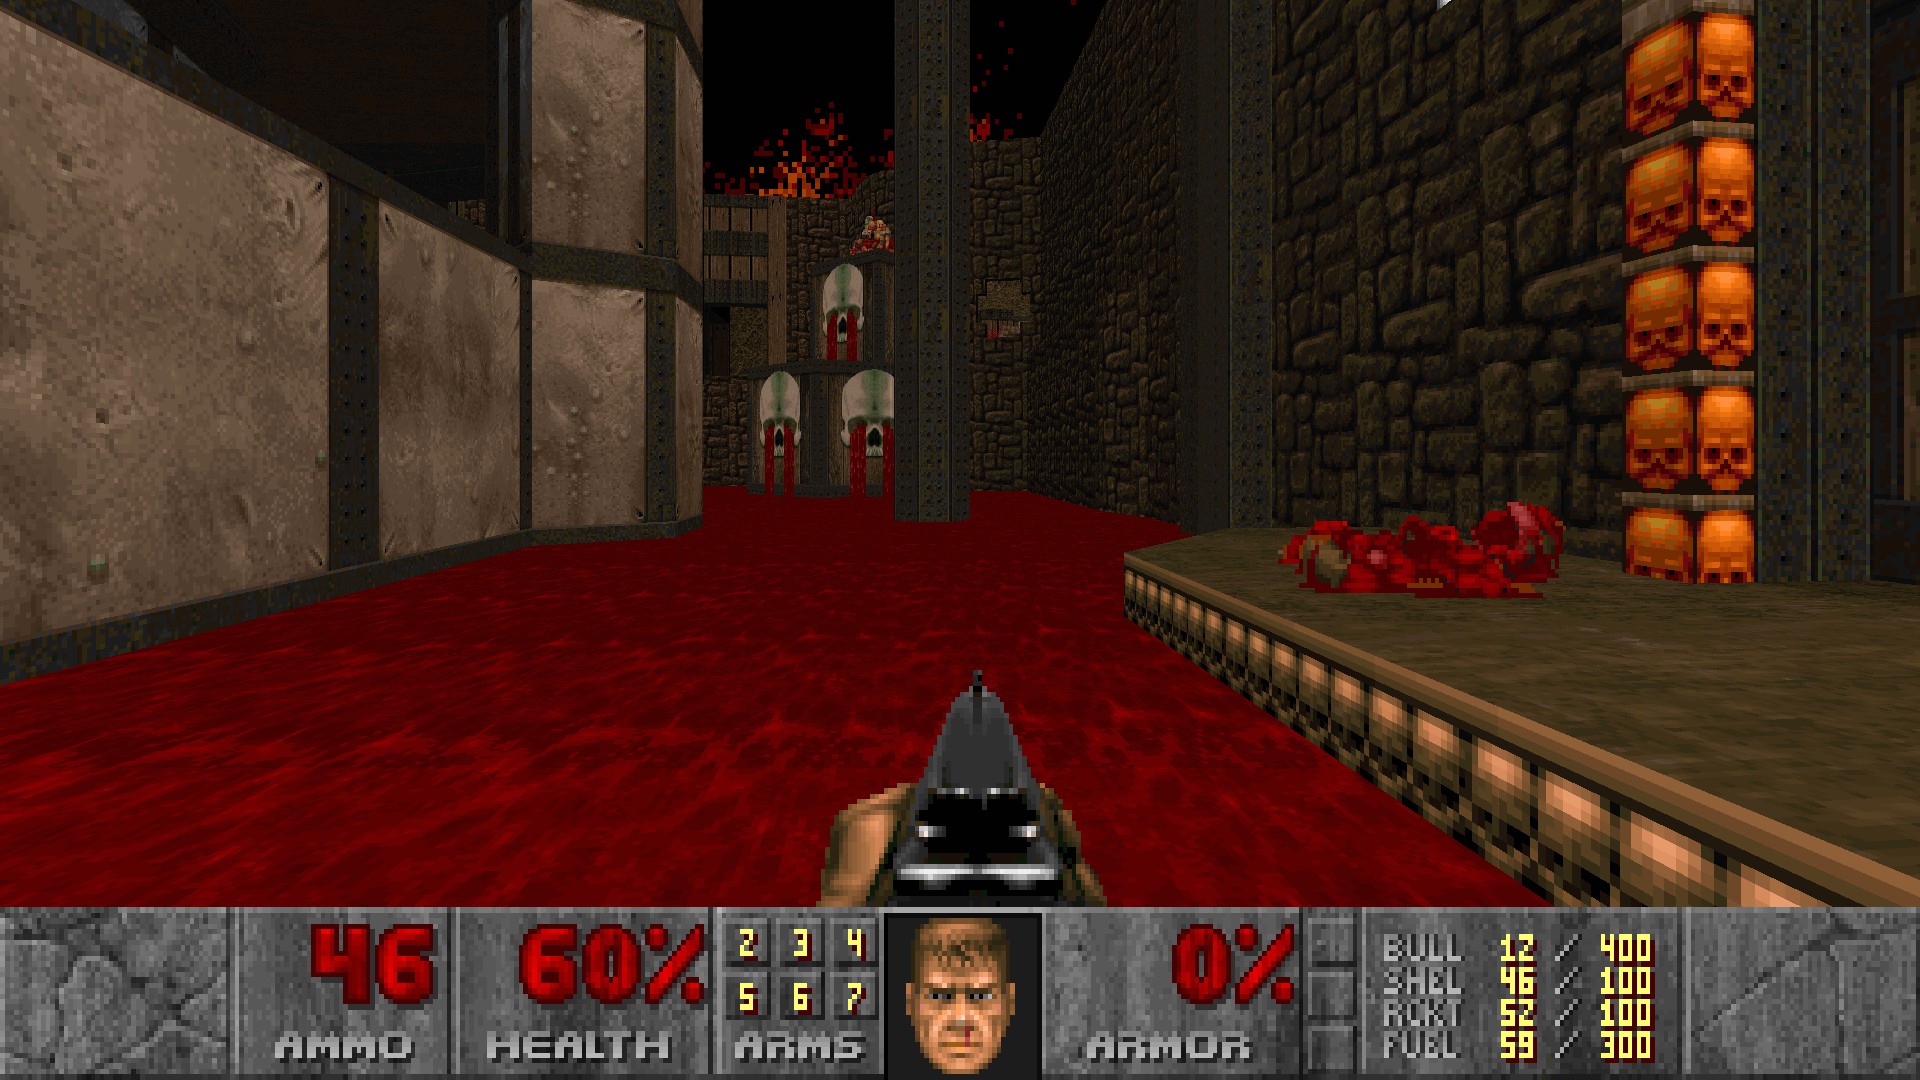
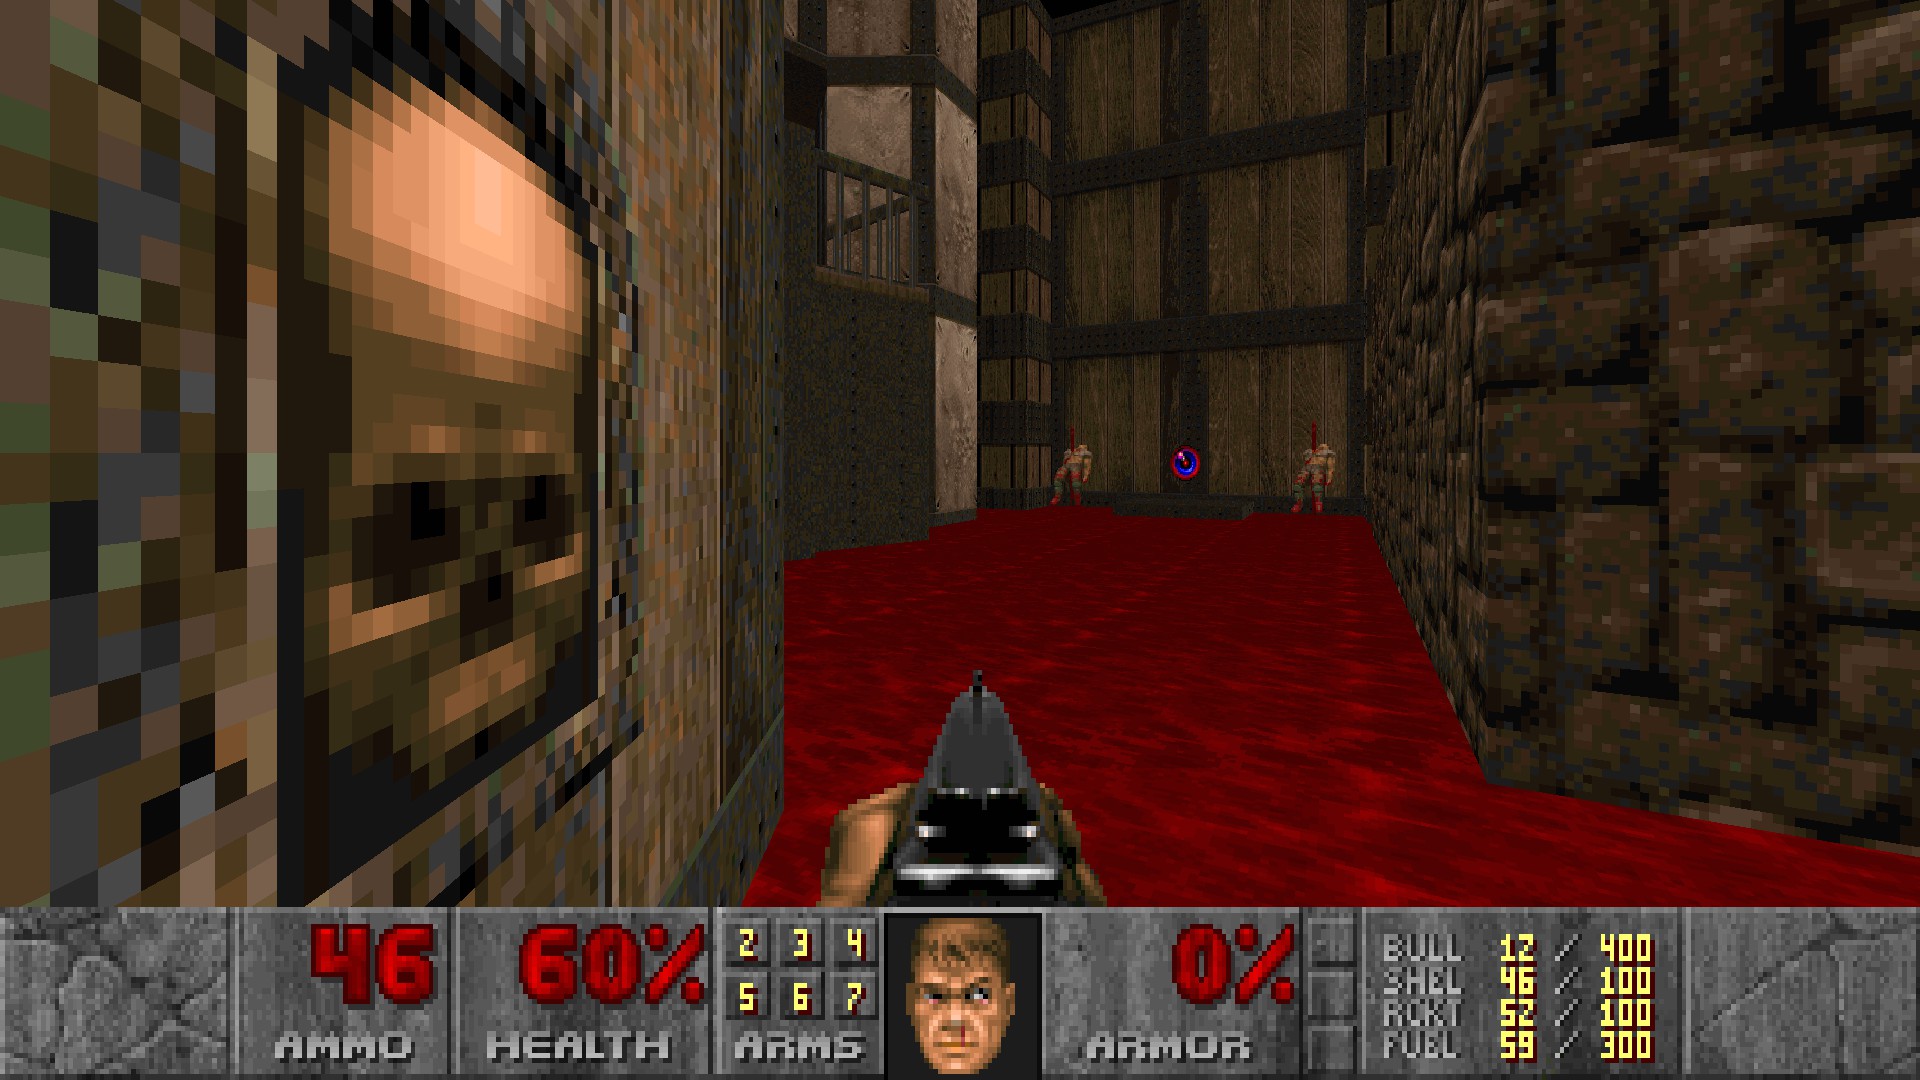
#3
After raising the inner circle walls, turn left at the blue door and jump to the newly accessible teleporter, which will lead to a ledge with a megasphere.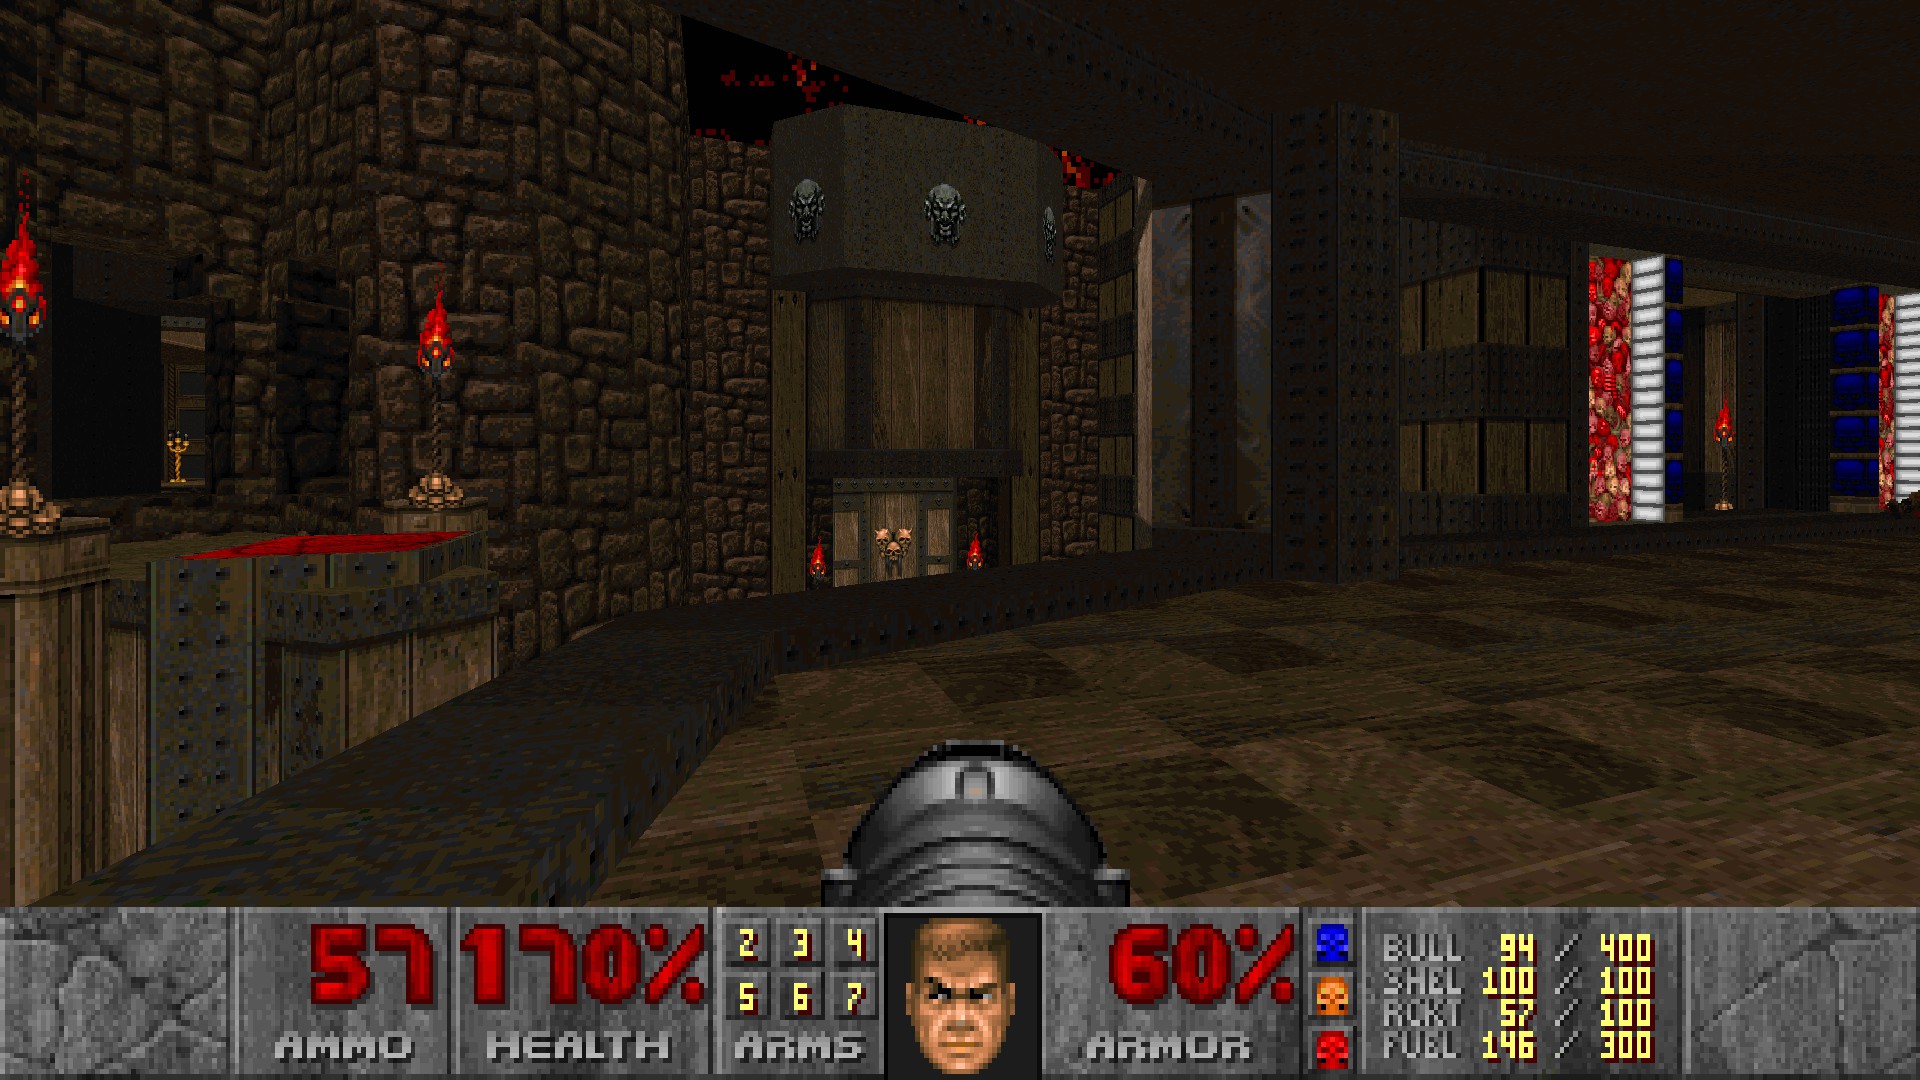
#4
In the yellow key room, go through the window to the left and open the south wall on a narrow ledge.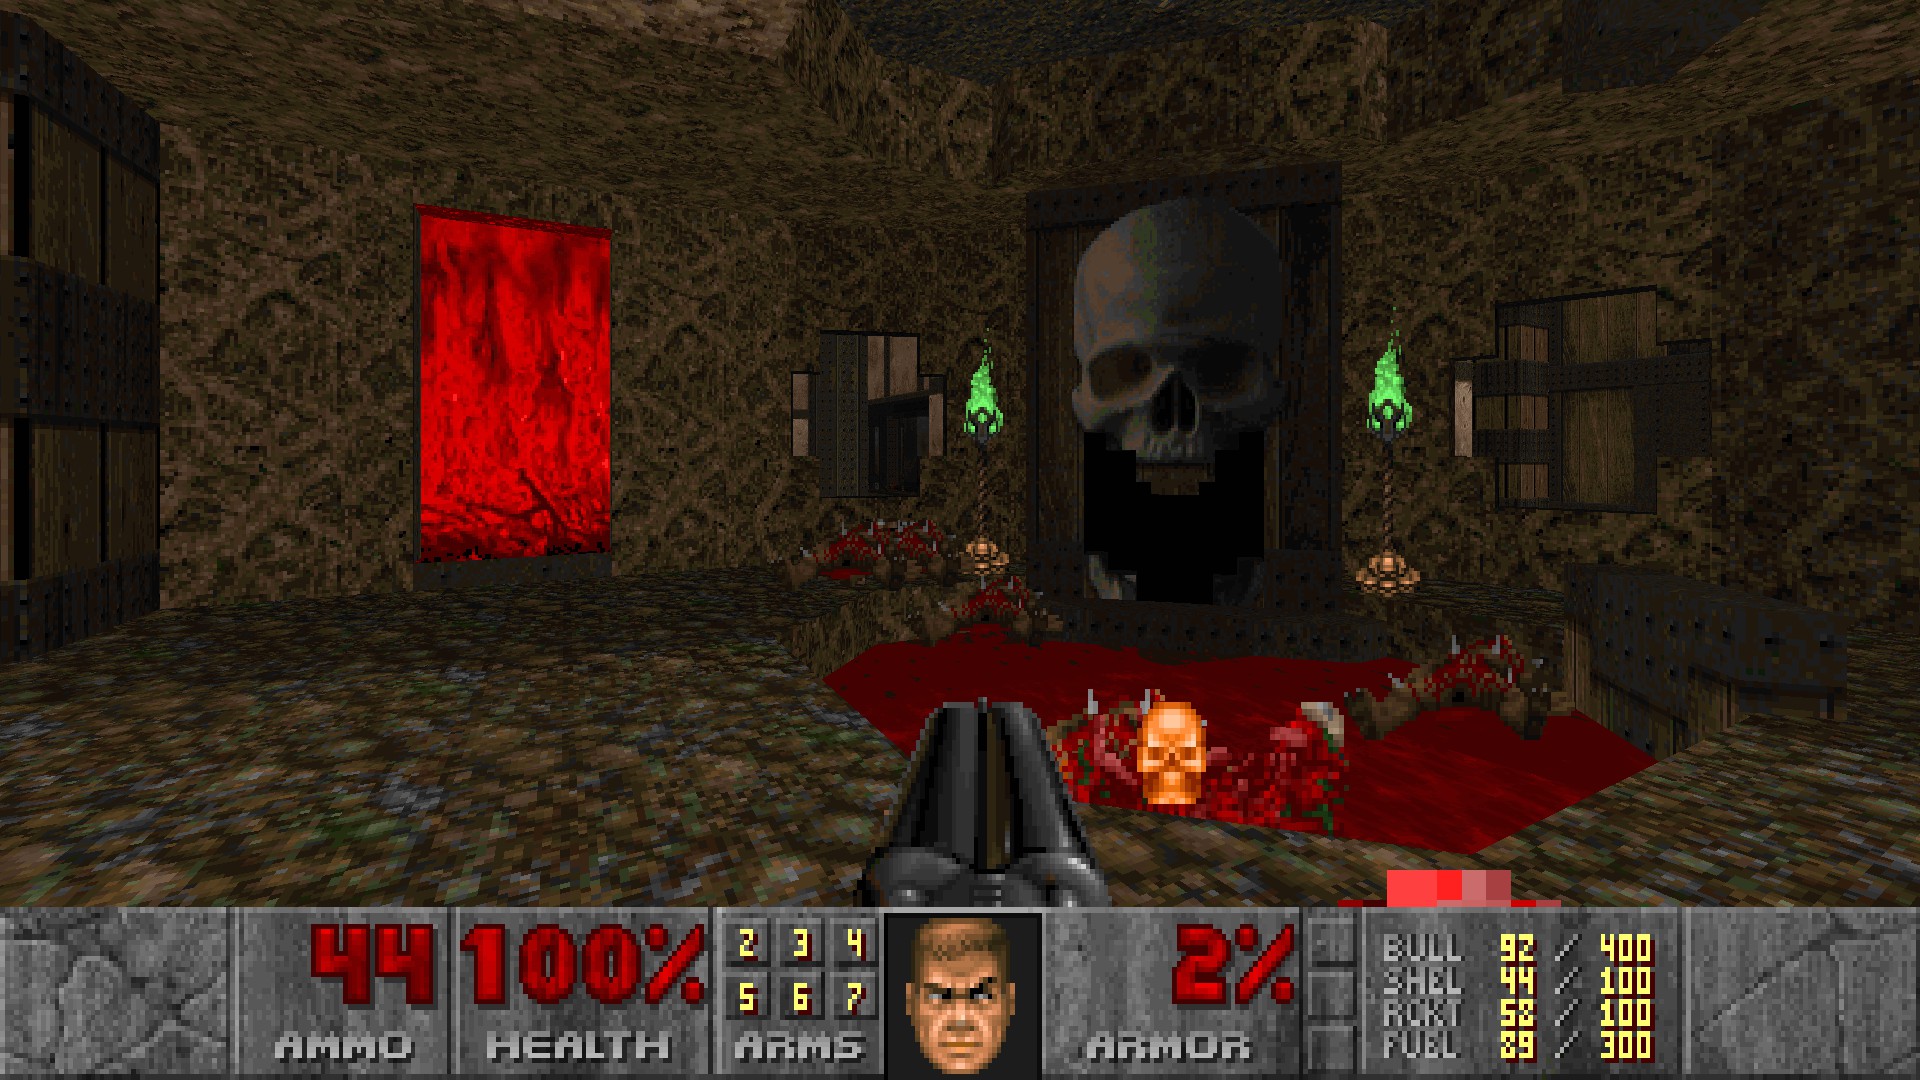
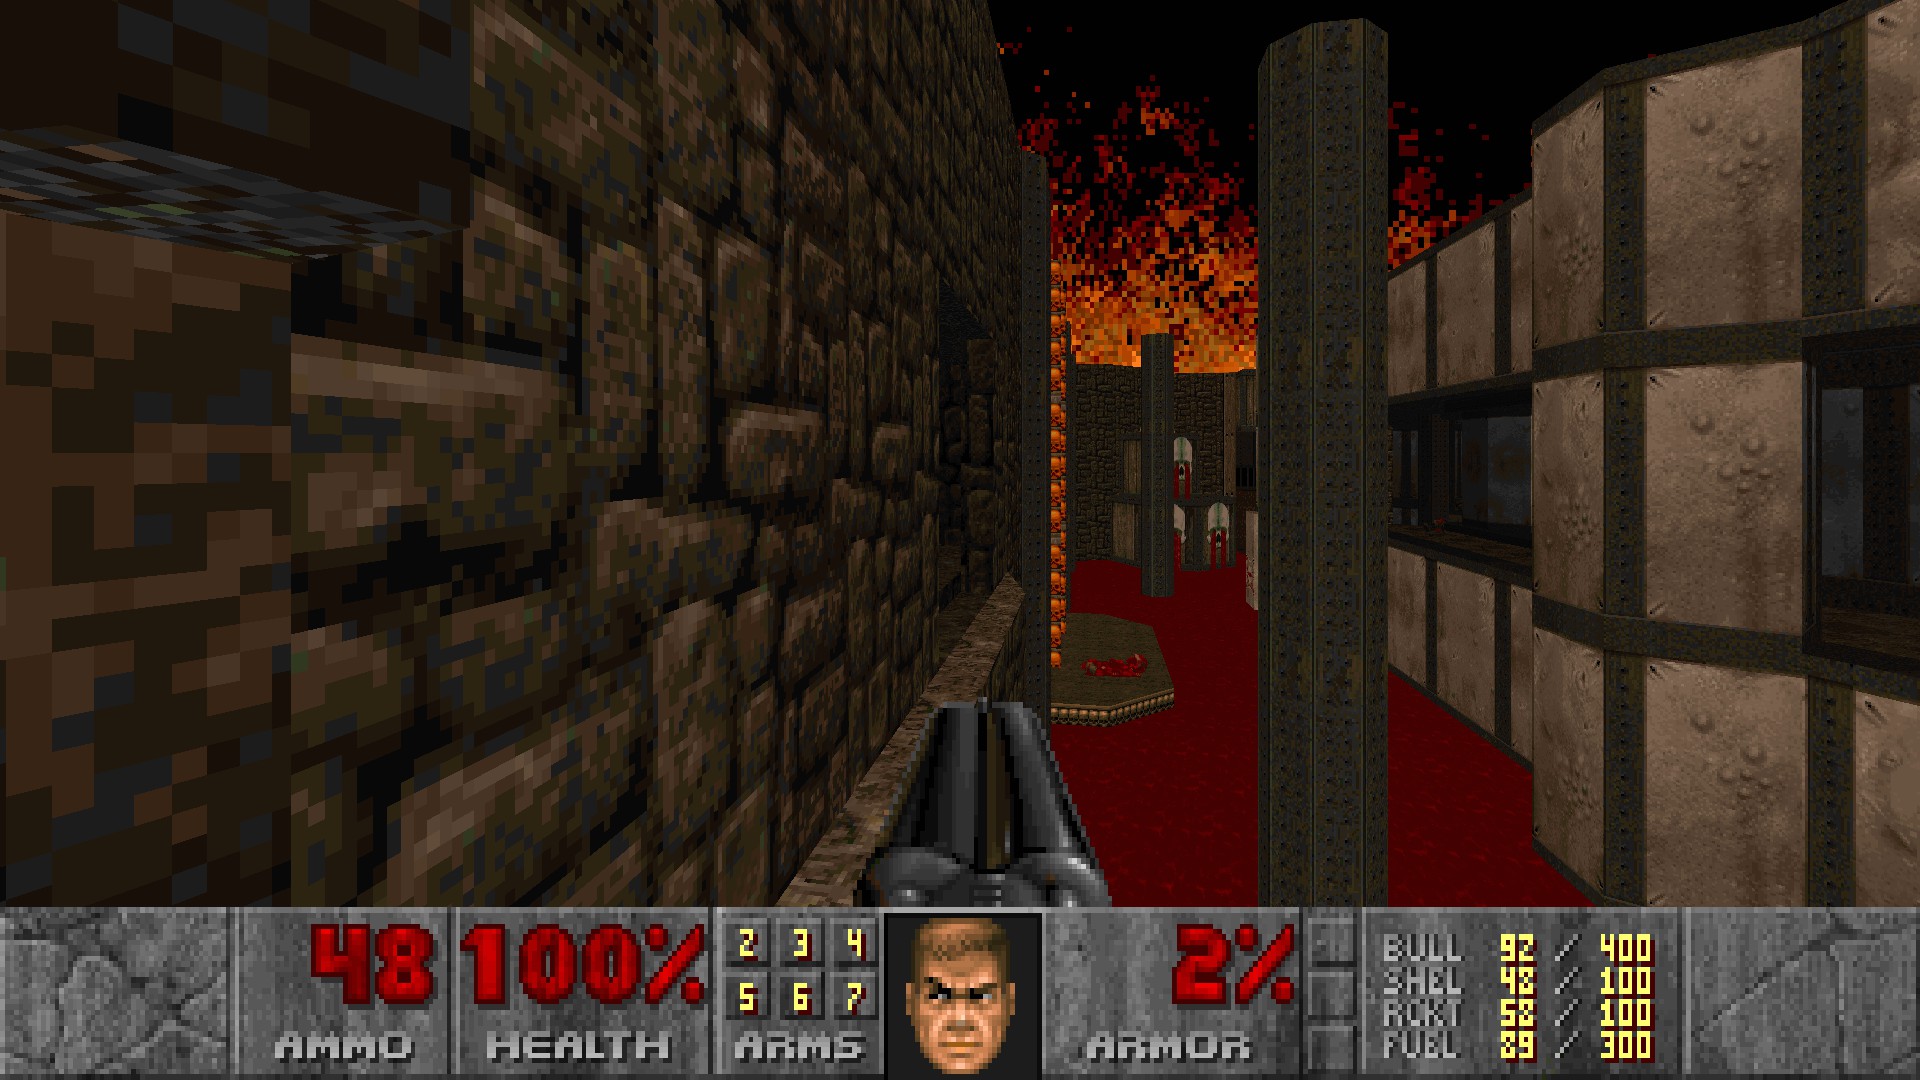
E2M1: Second Coming
#1
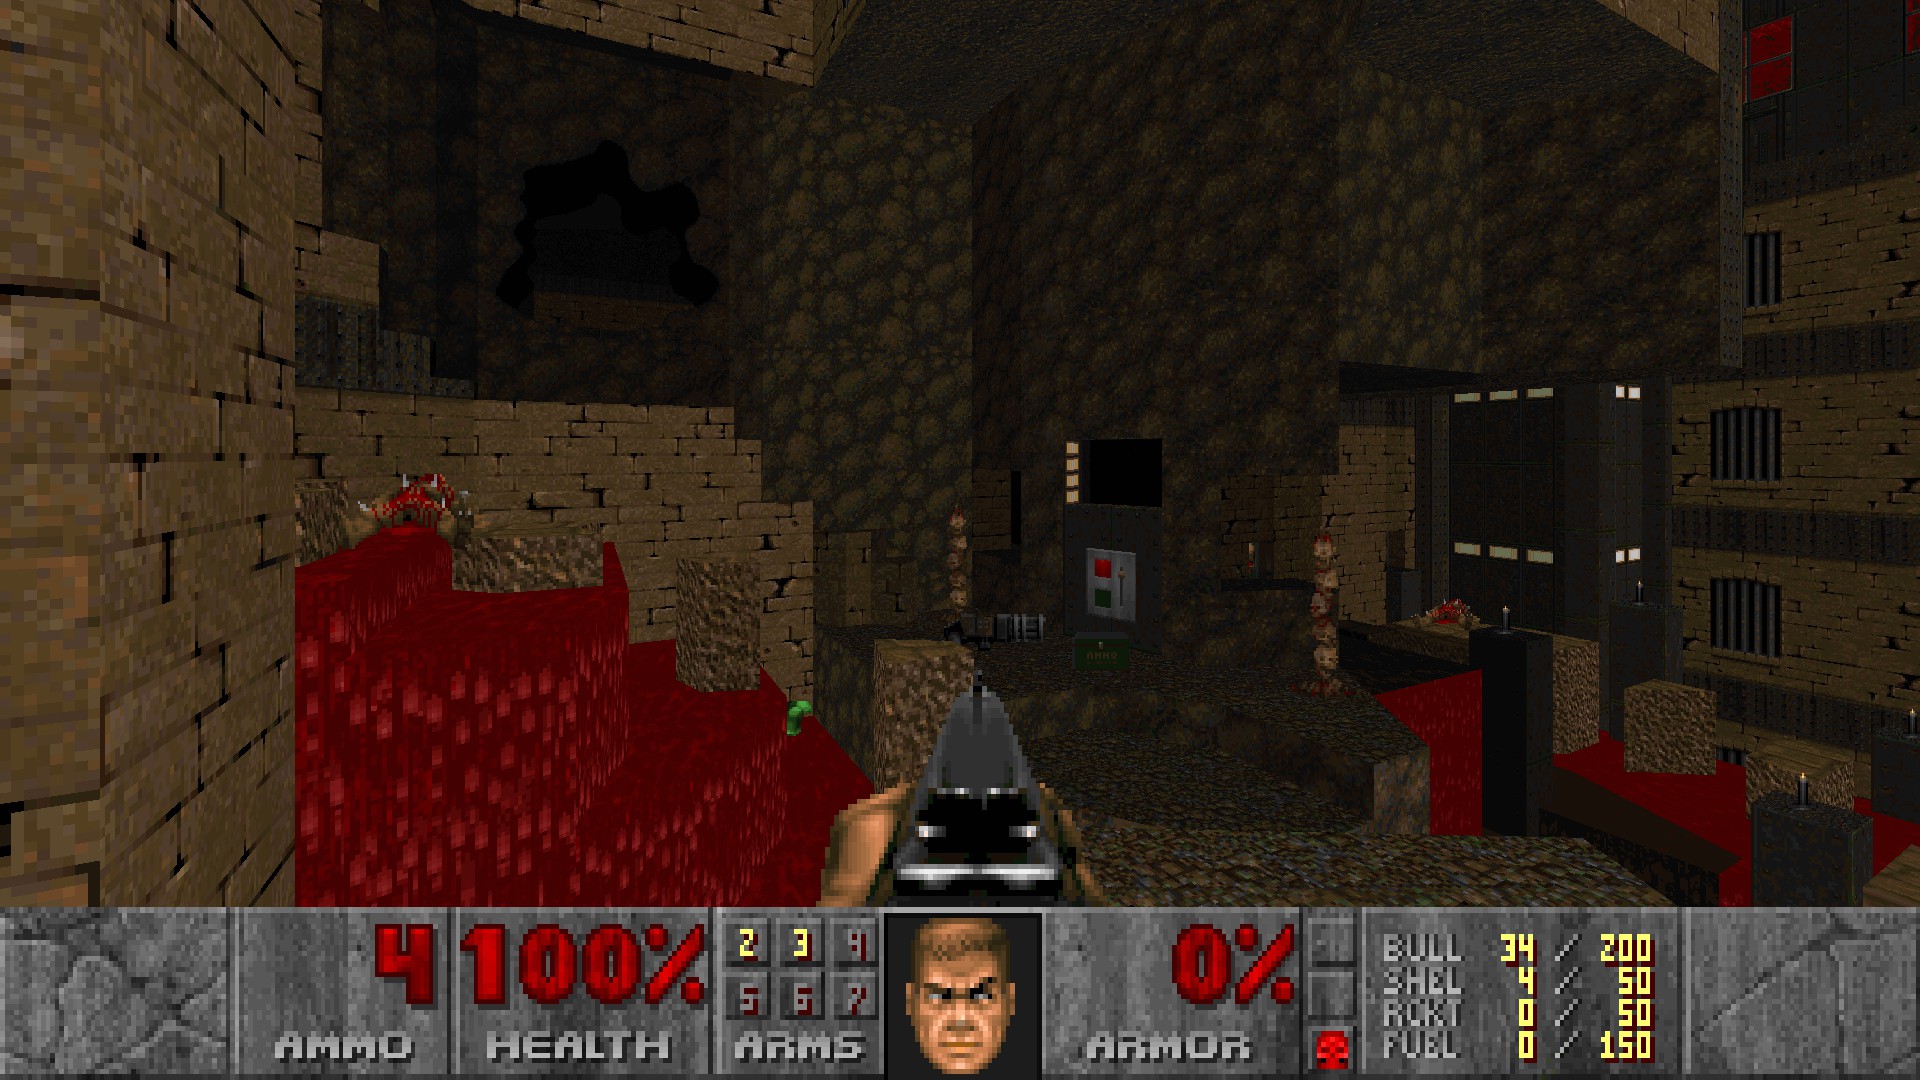
After activating the switch behind the red door, one railing on each side and a bloodfall on the east side will lower. Walk up the bloodfall and drop down to get a green armor below the chaingun.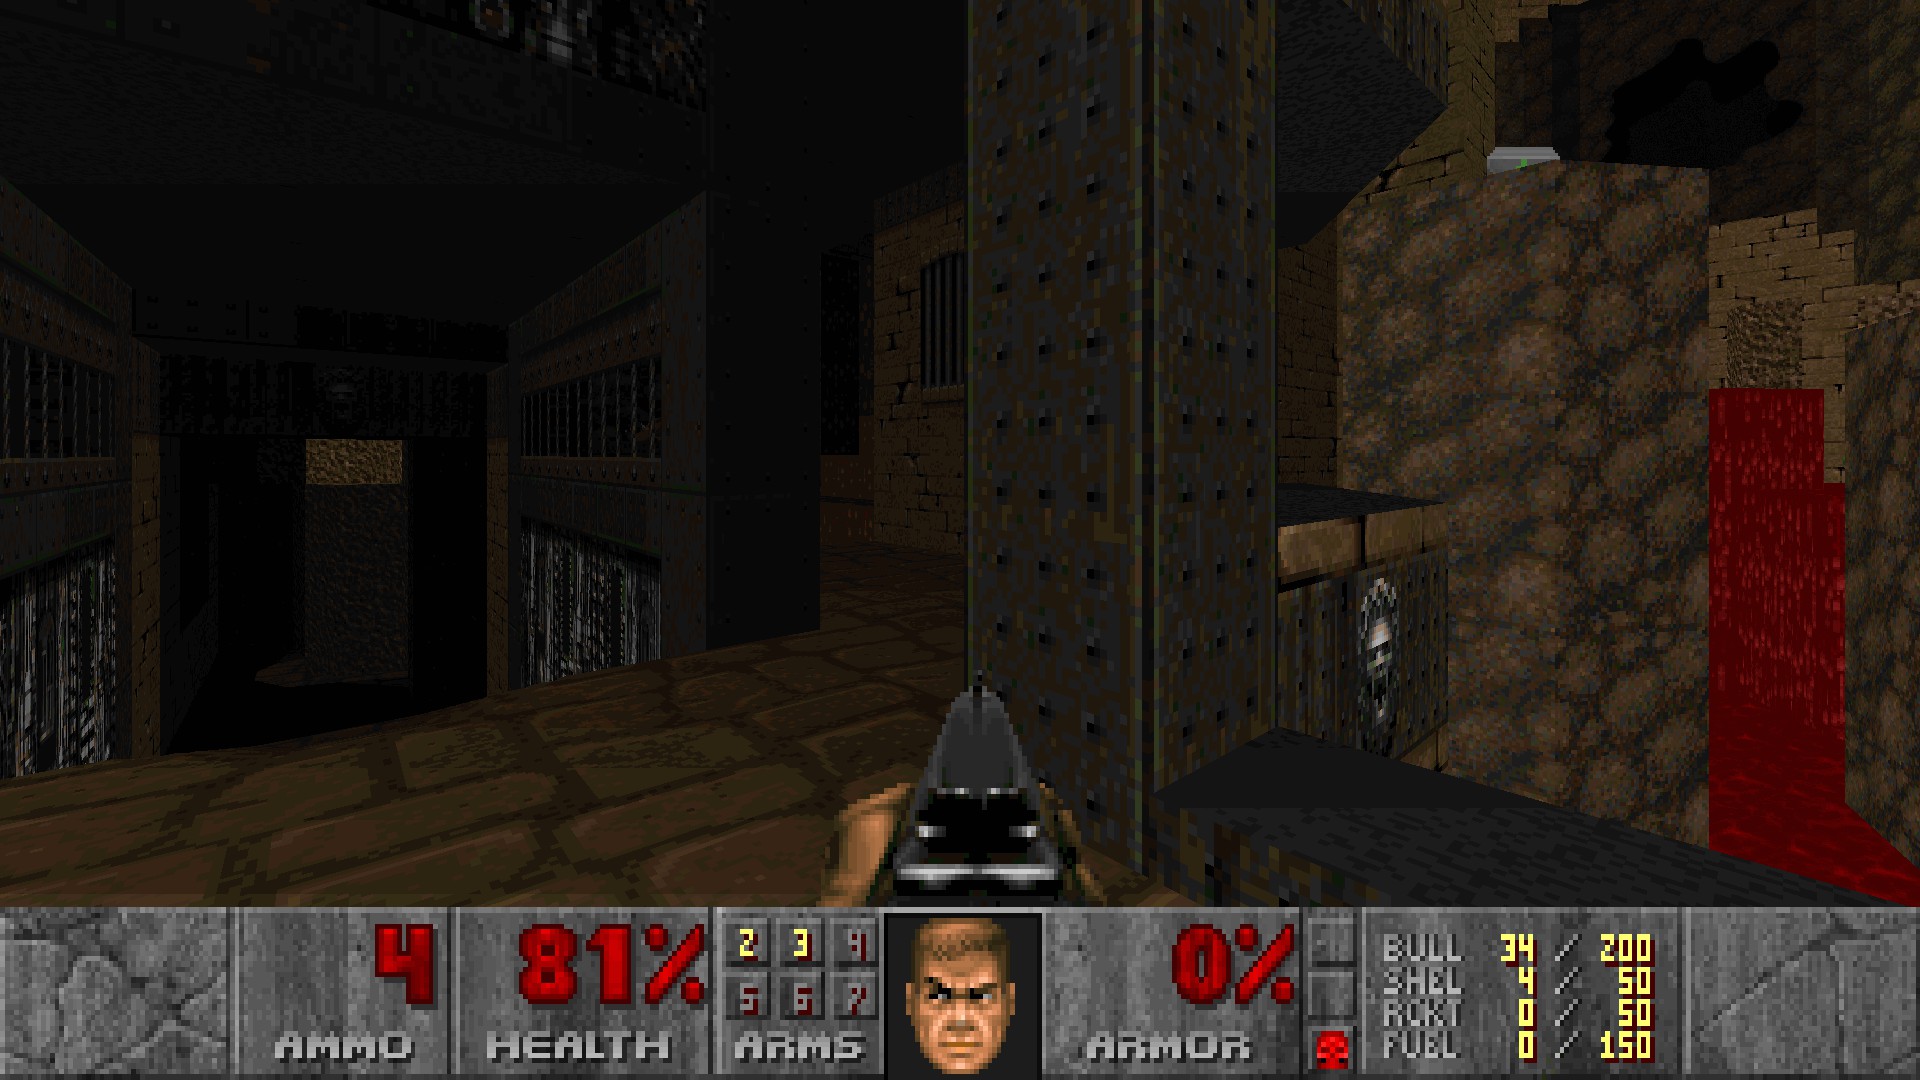
#2-4
In the room with hanging corpses in each alcove, one of walls behind corpses is marked by a nukage at the bottom. Interact with it to reveal a berserk pack. (#2)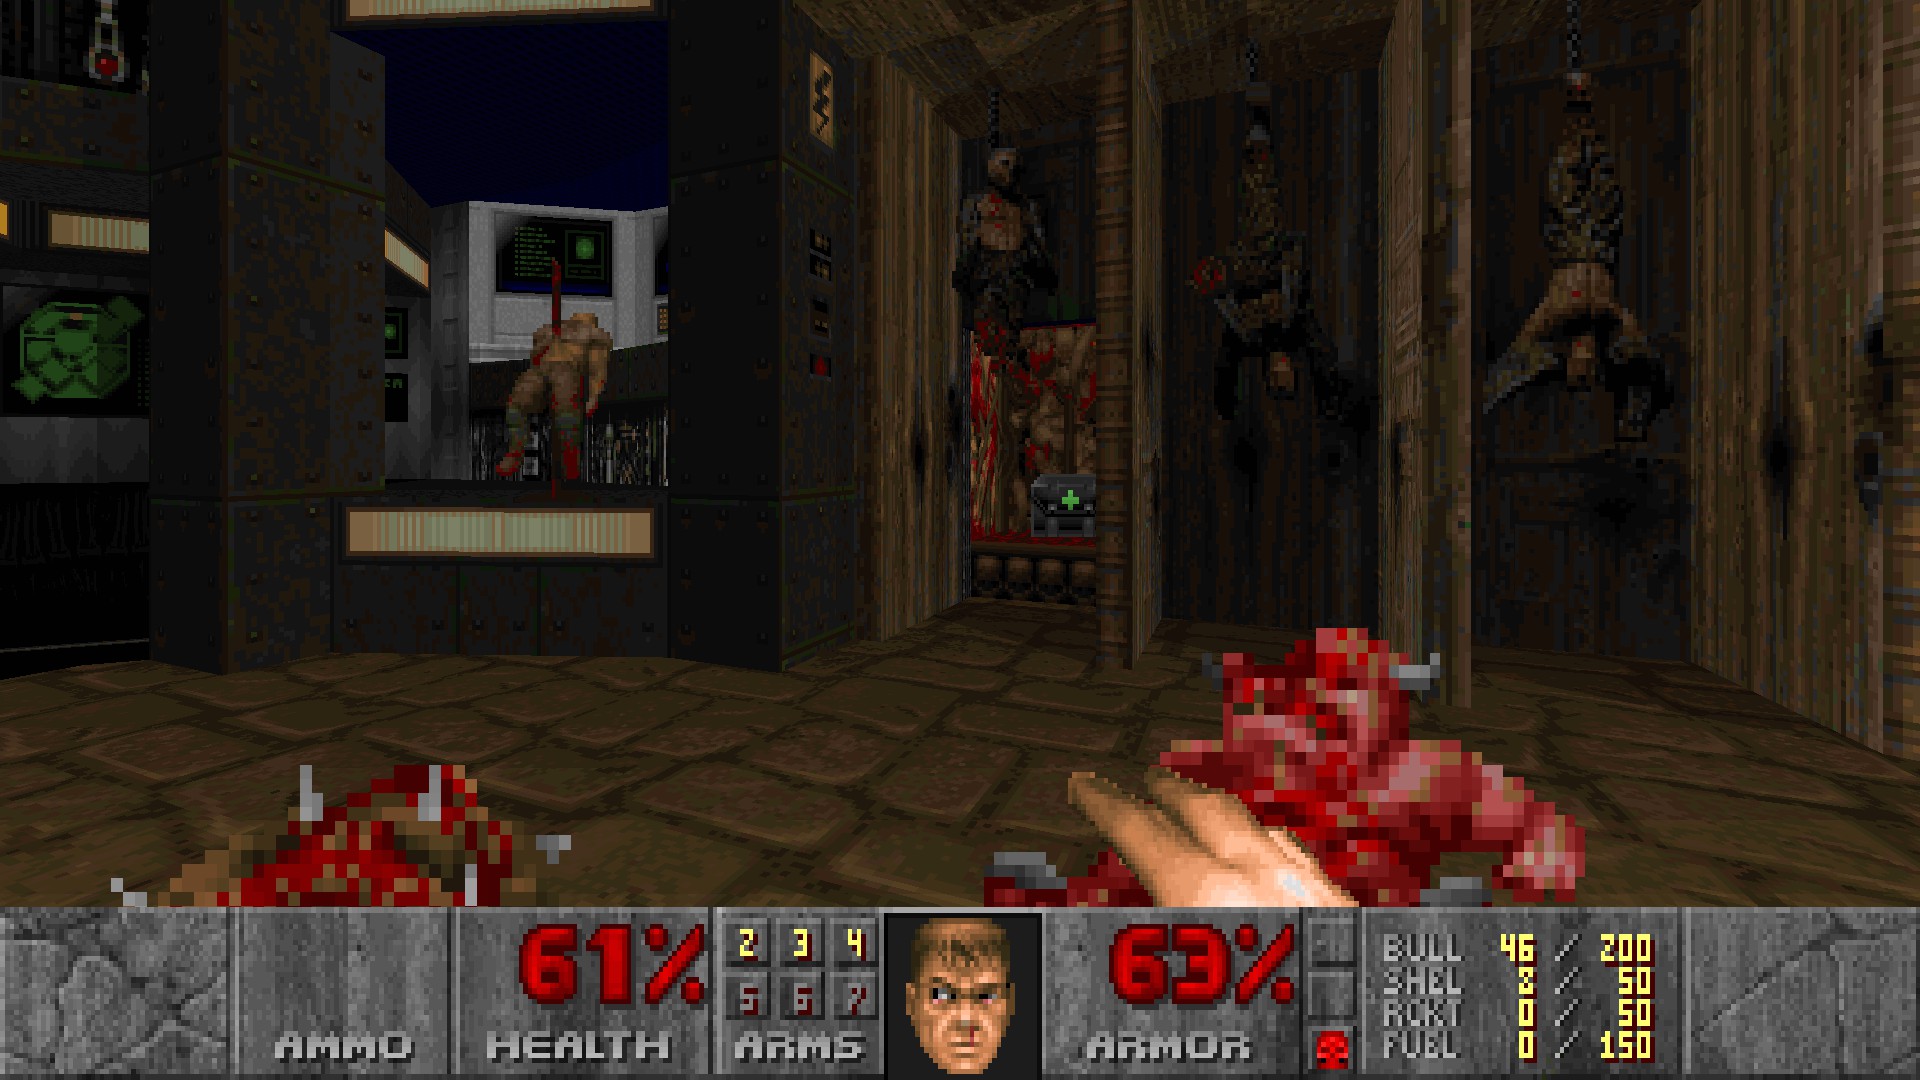 From secret #2, lower the lift next to a broken door behind you to find a button. Pressing it will cause the flesh walls to open containing a supercharge and a mancubus. (#3)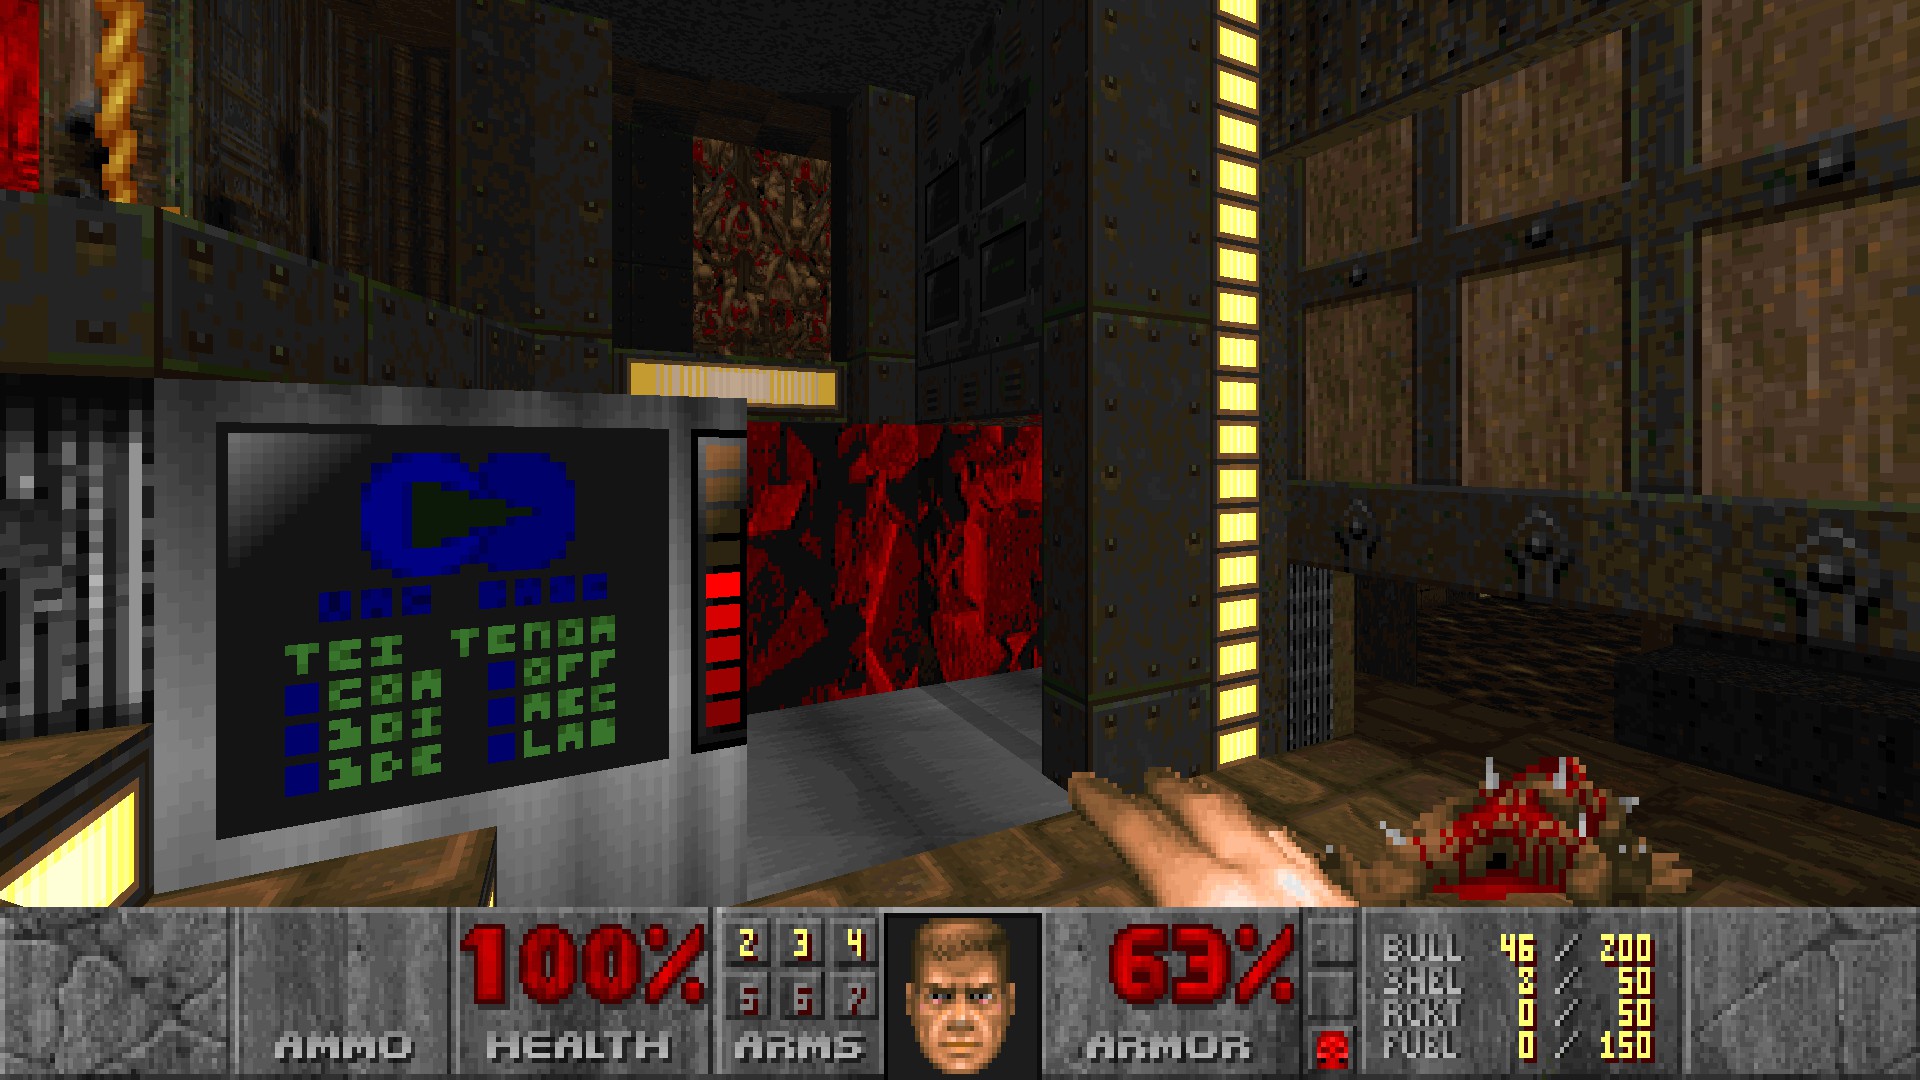
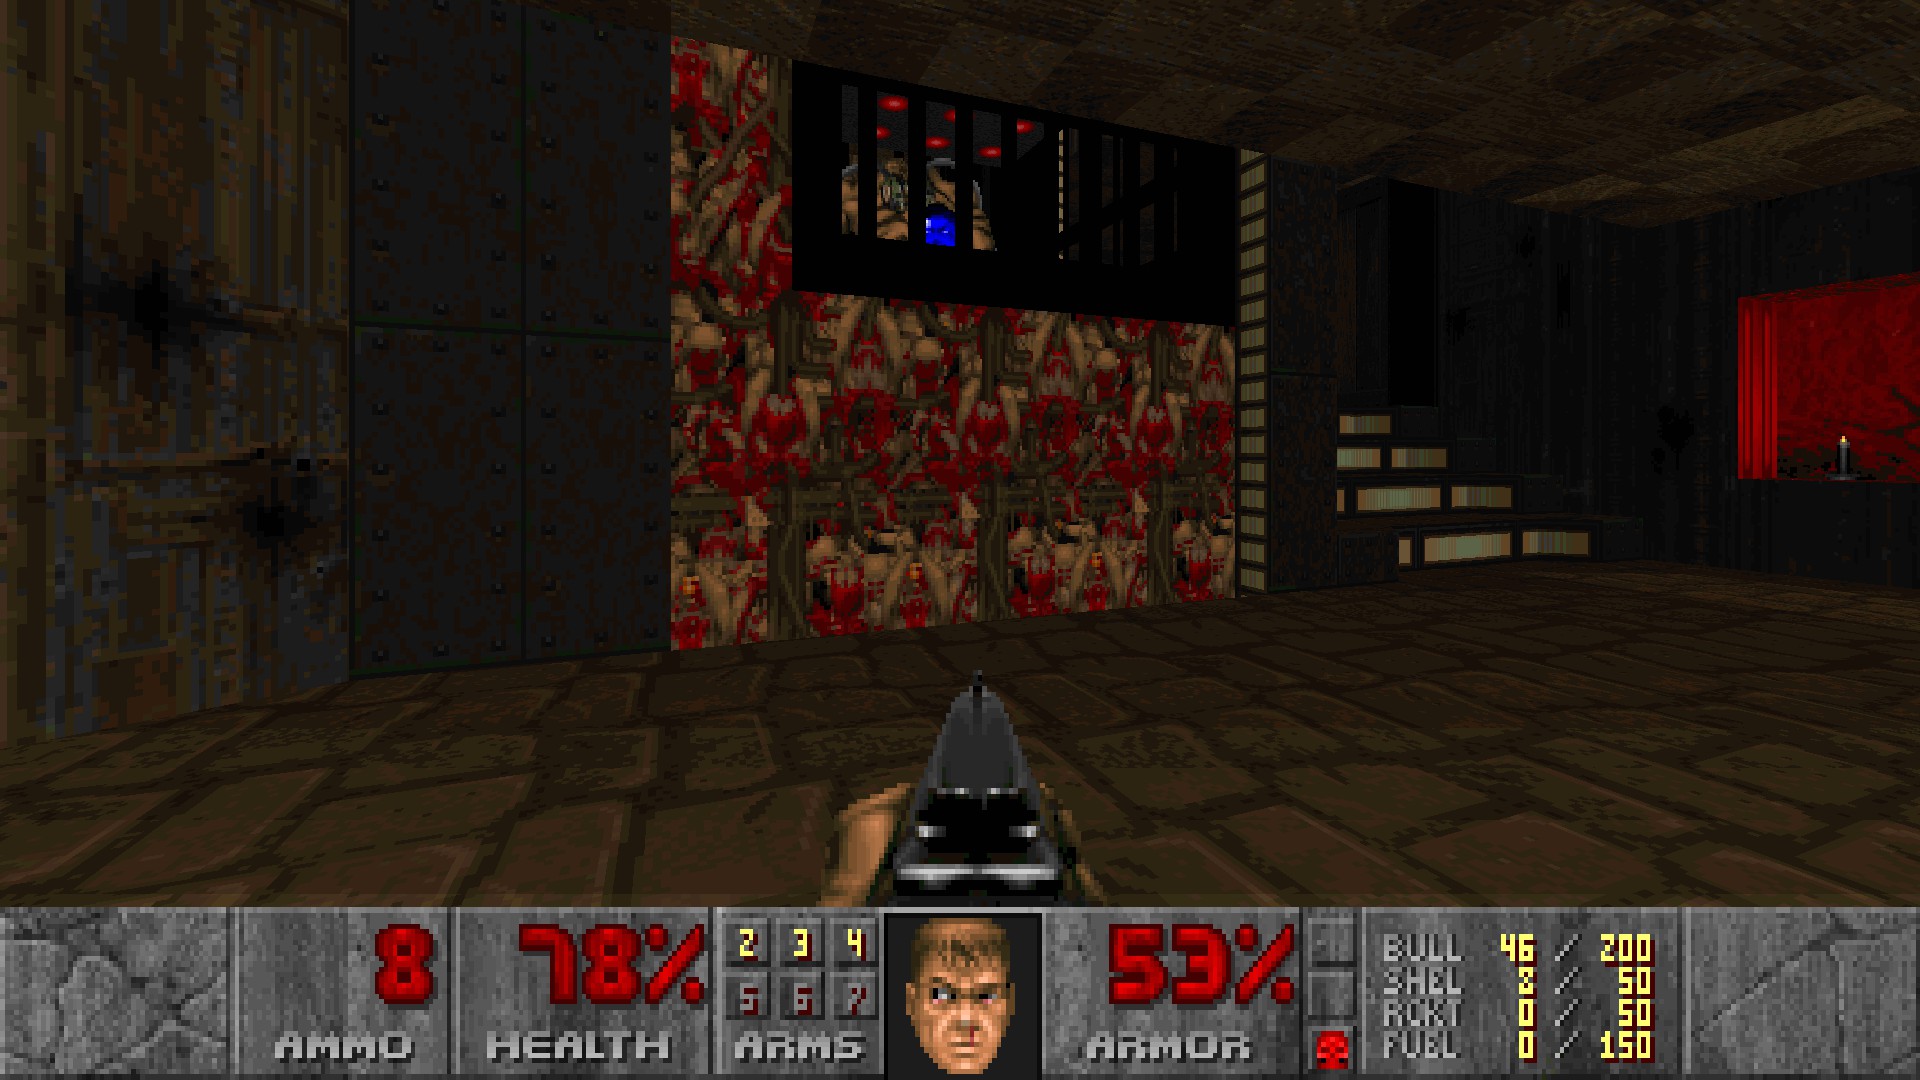
After killing the vassagos, open the left door and enter the teleporter where you can get the supercharge. (#4)
#5-7
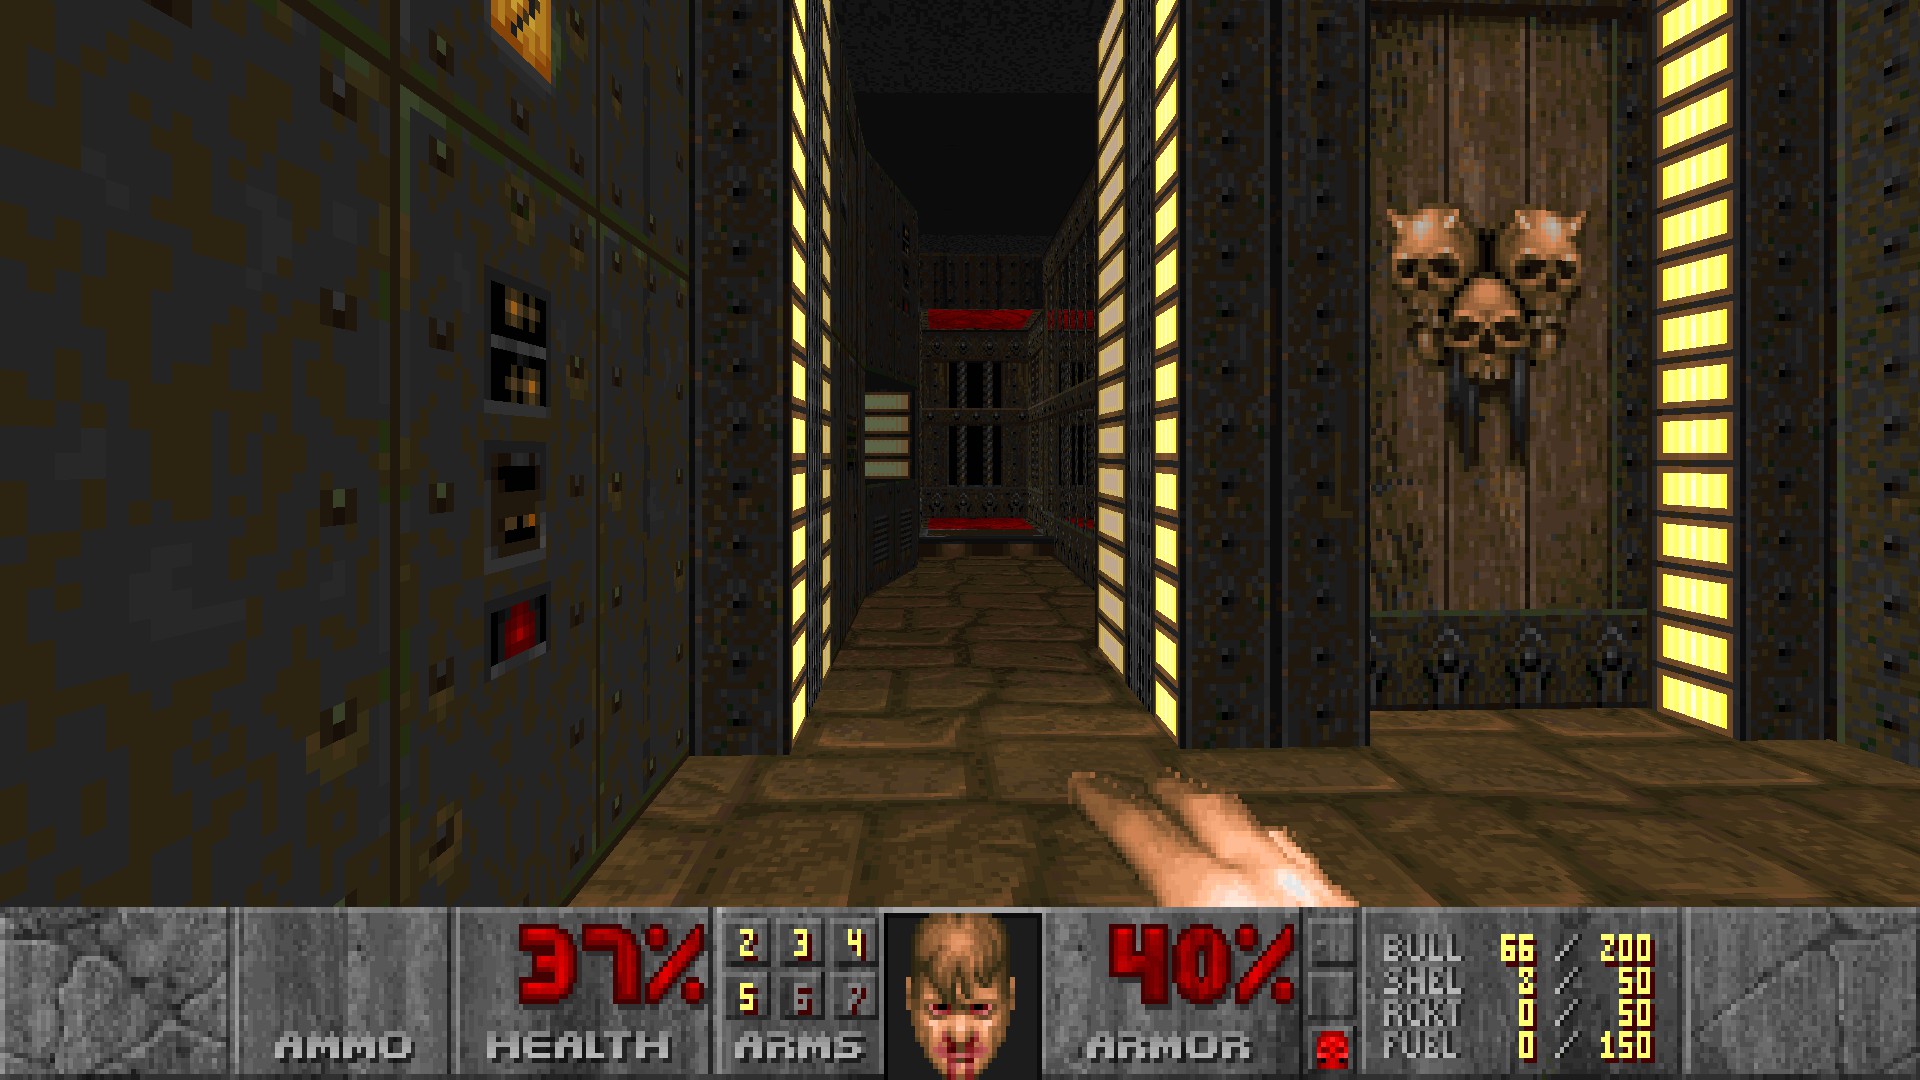
When you enter the northernmost room and flip the large skull lever you'll be ambushed by a vassago and some ghouls. Once they are dead, press the skull switch right next to the first steps of the stairs to temporarily open the side door behind you. Quickly run upstairs, fall down through the columns and get the blue key before it closes. (#5)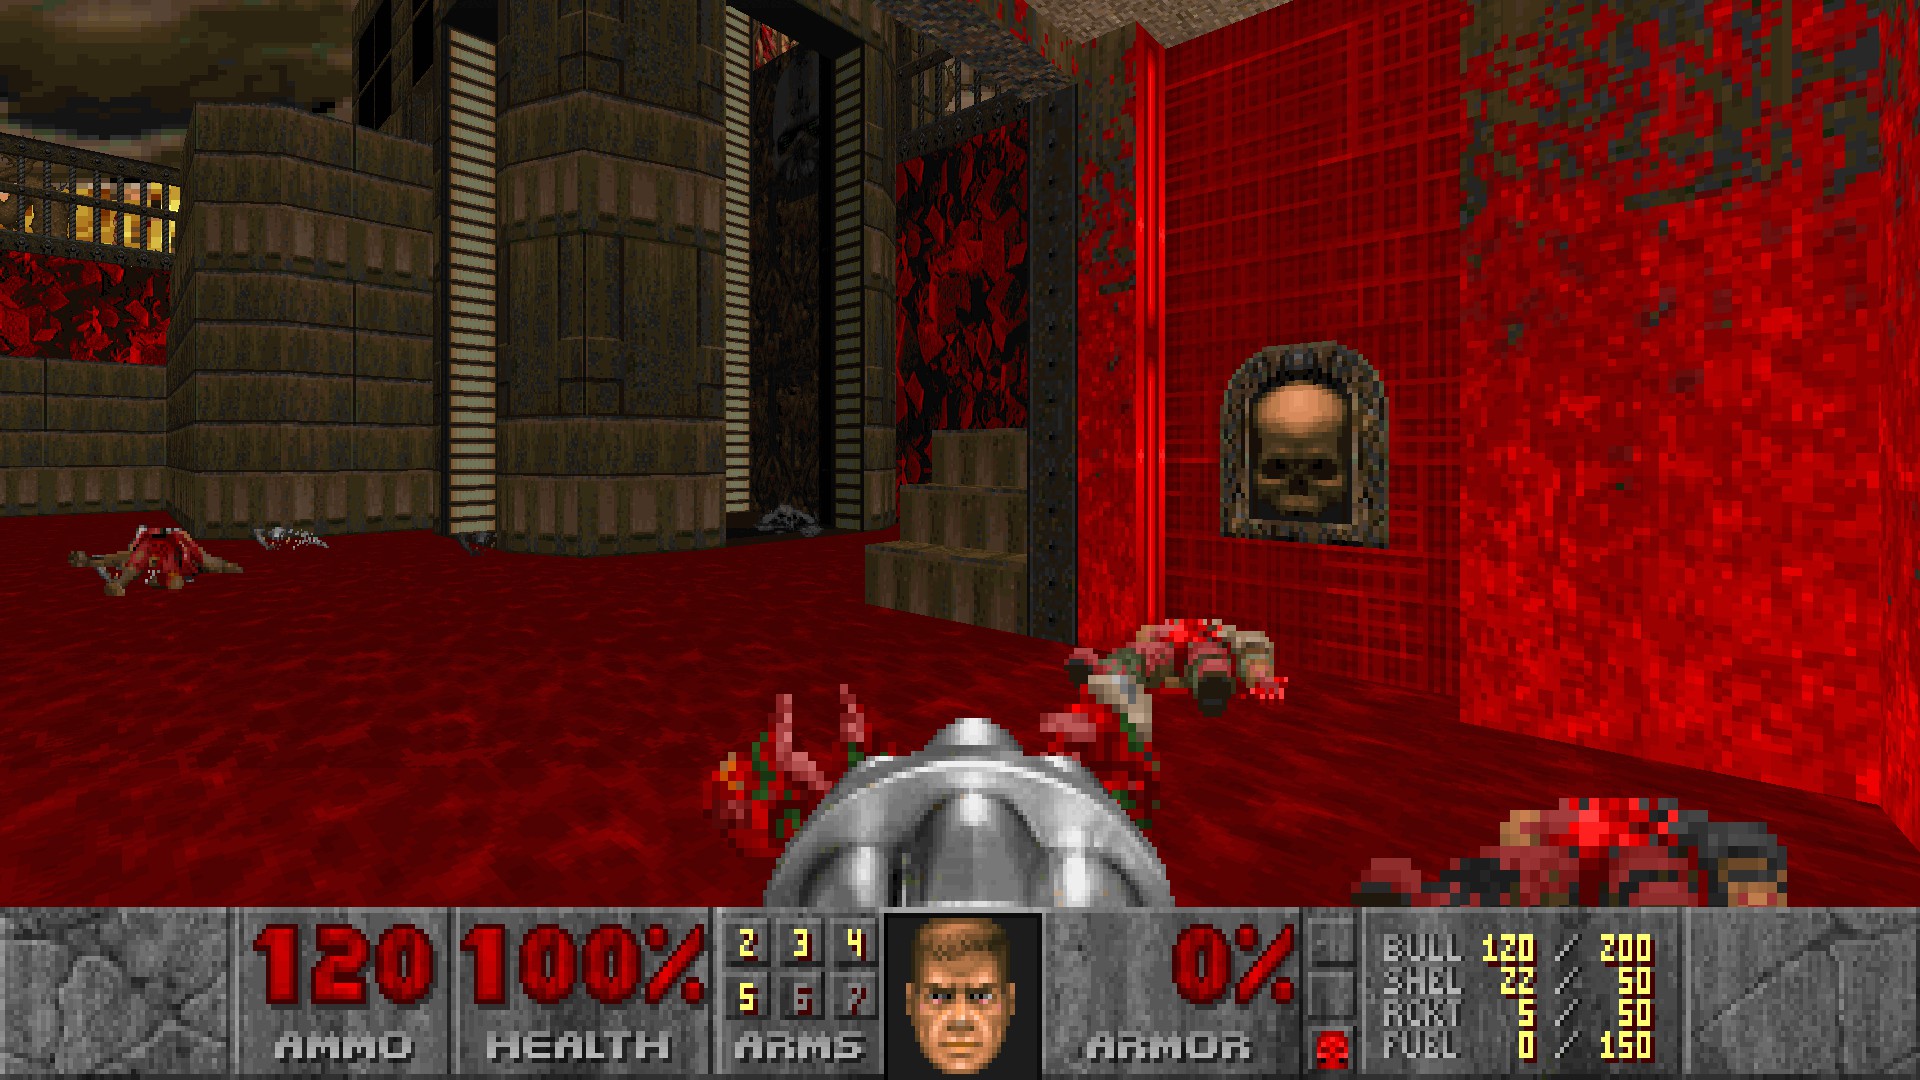
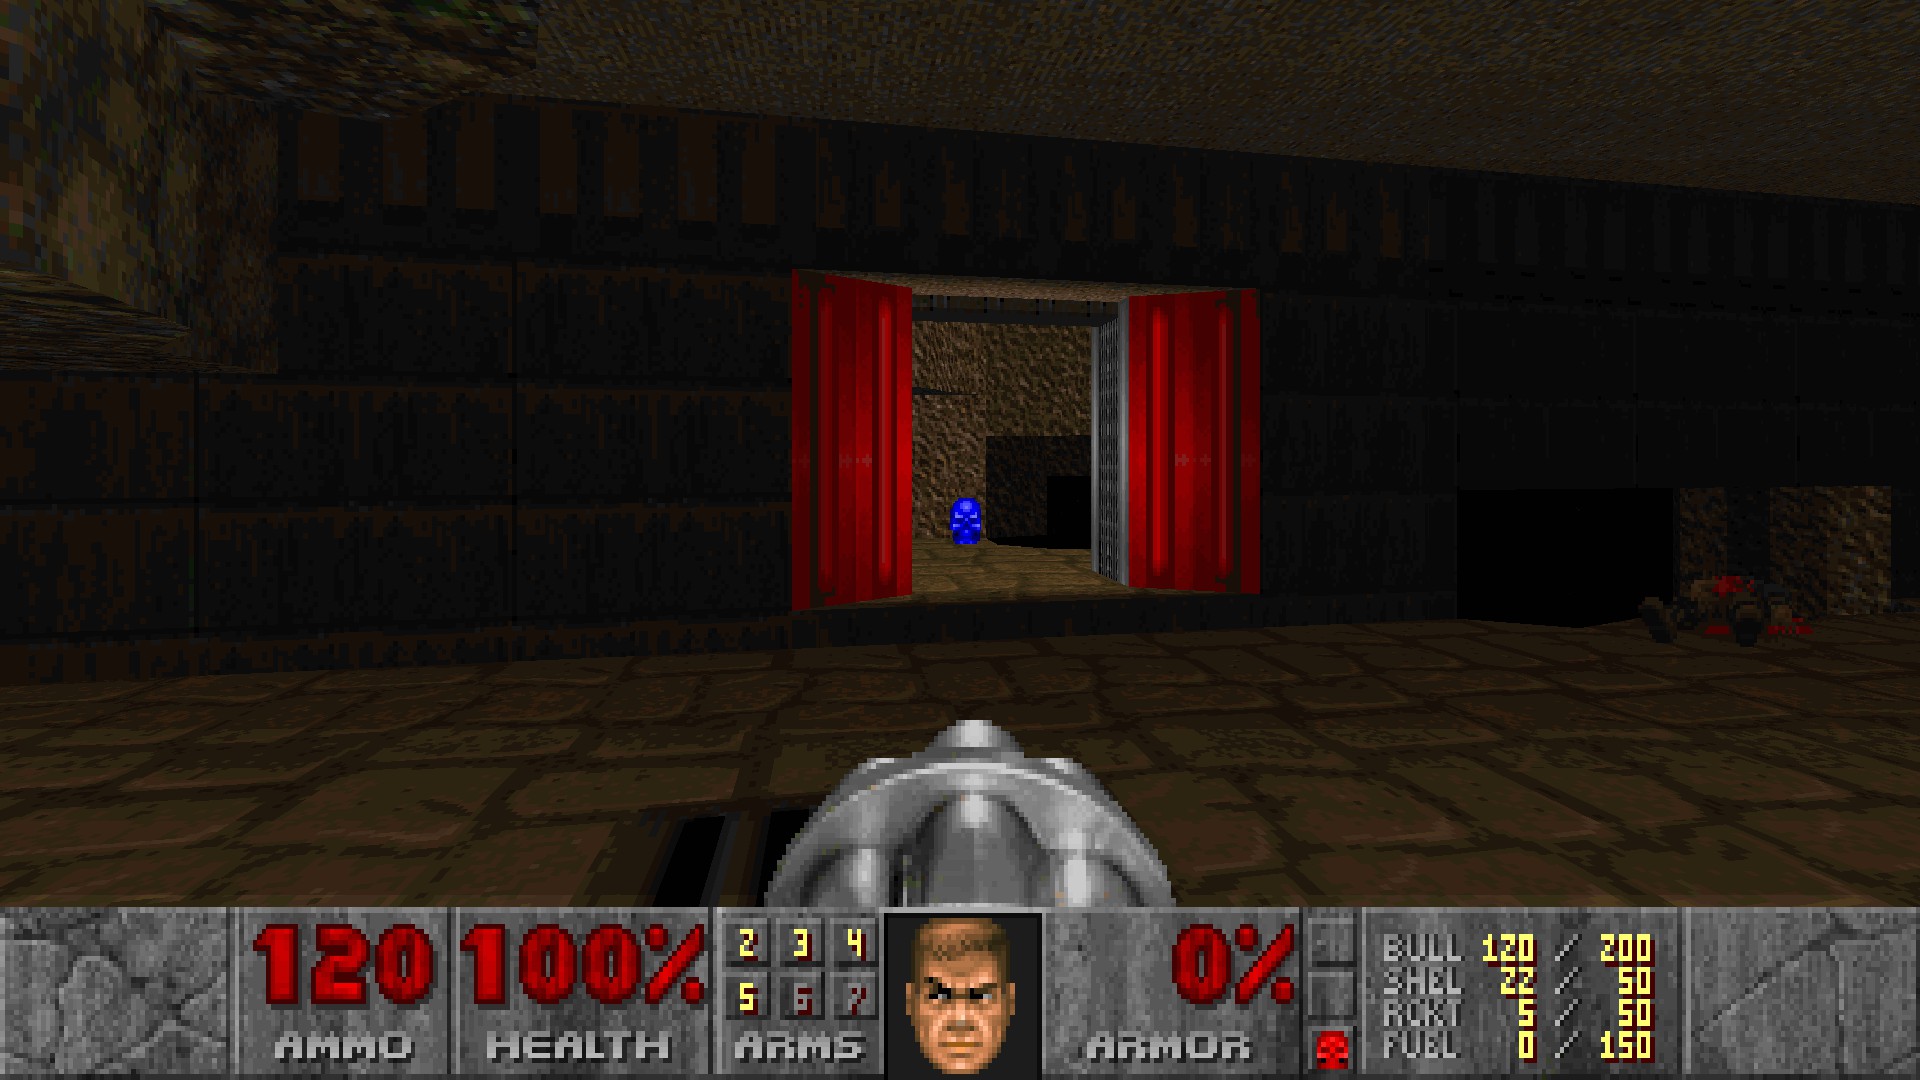
Return to secret #4 and open the right door instead. Open the blue door to claim the radiation suit. (#6)
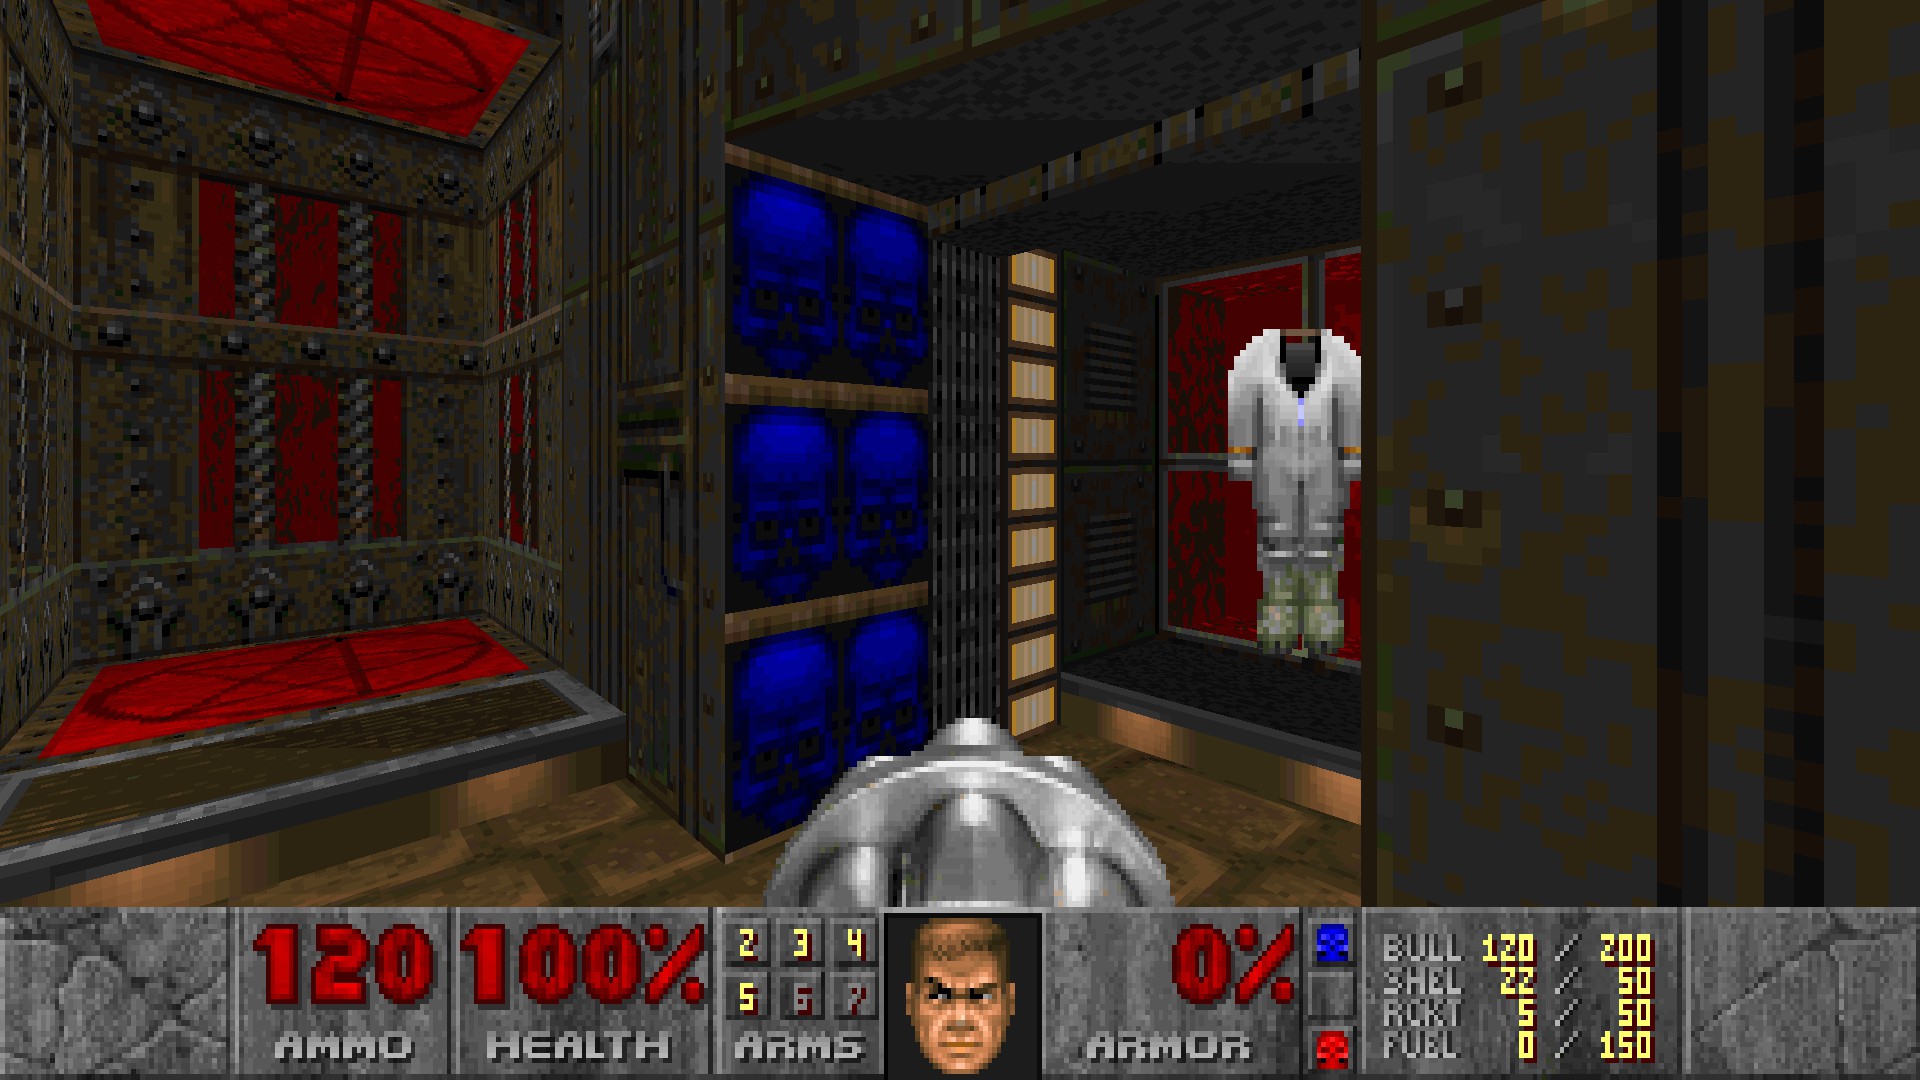 With this suit enter the teleporter past the blue door and walk through lava until you can get the incinerator. (#7)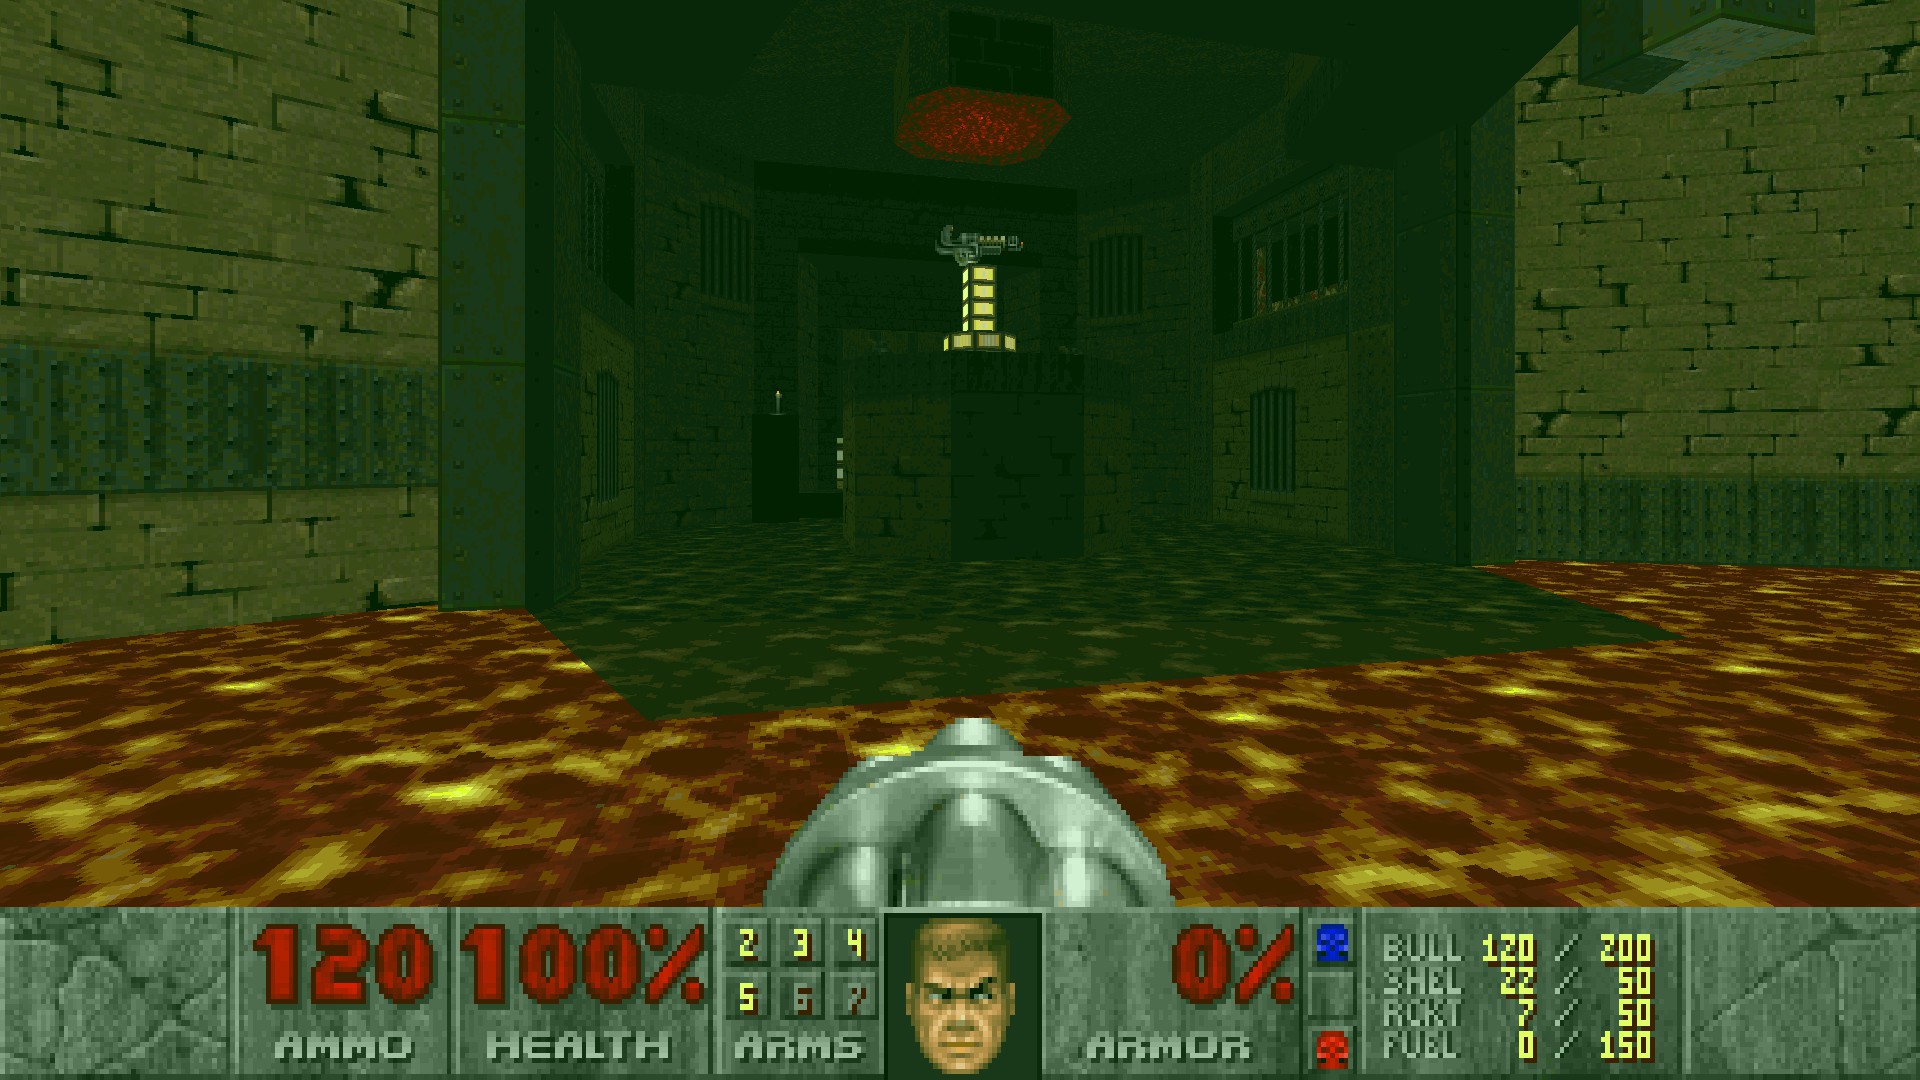
#8
After taking the super shotgun and activating the switch that reveals a red block area, turn right and walk forward directly to find a button. Press it to reveal a berserk pack.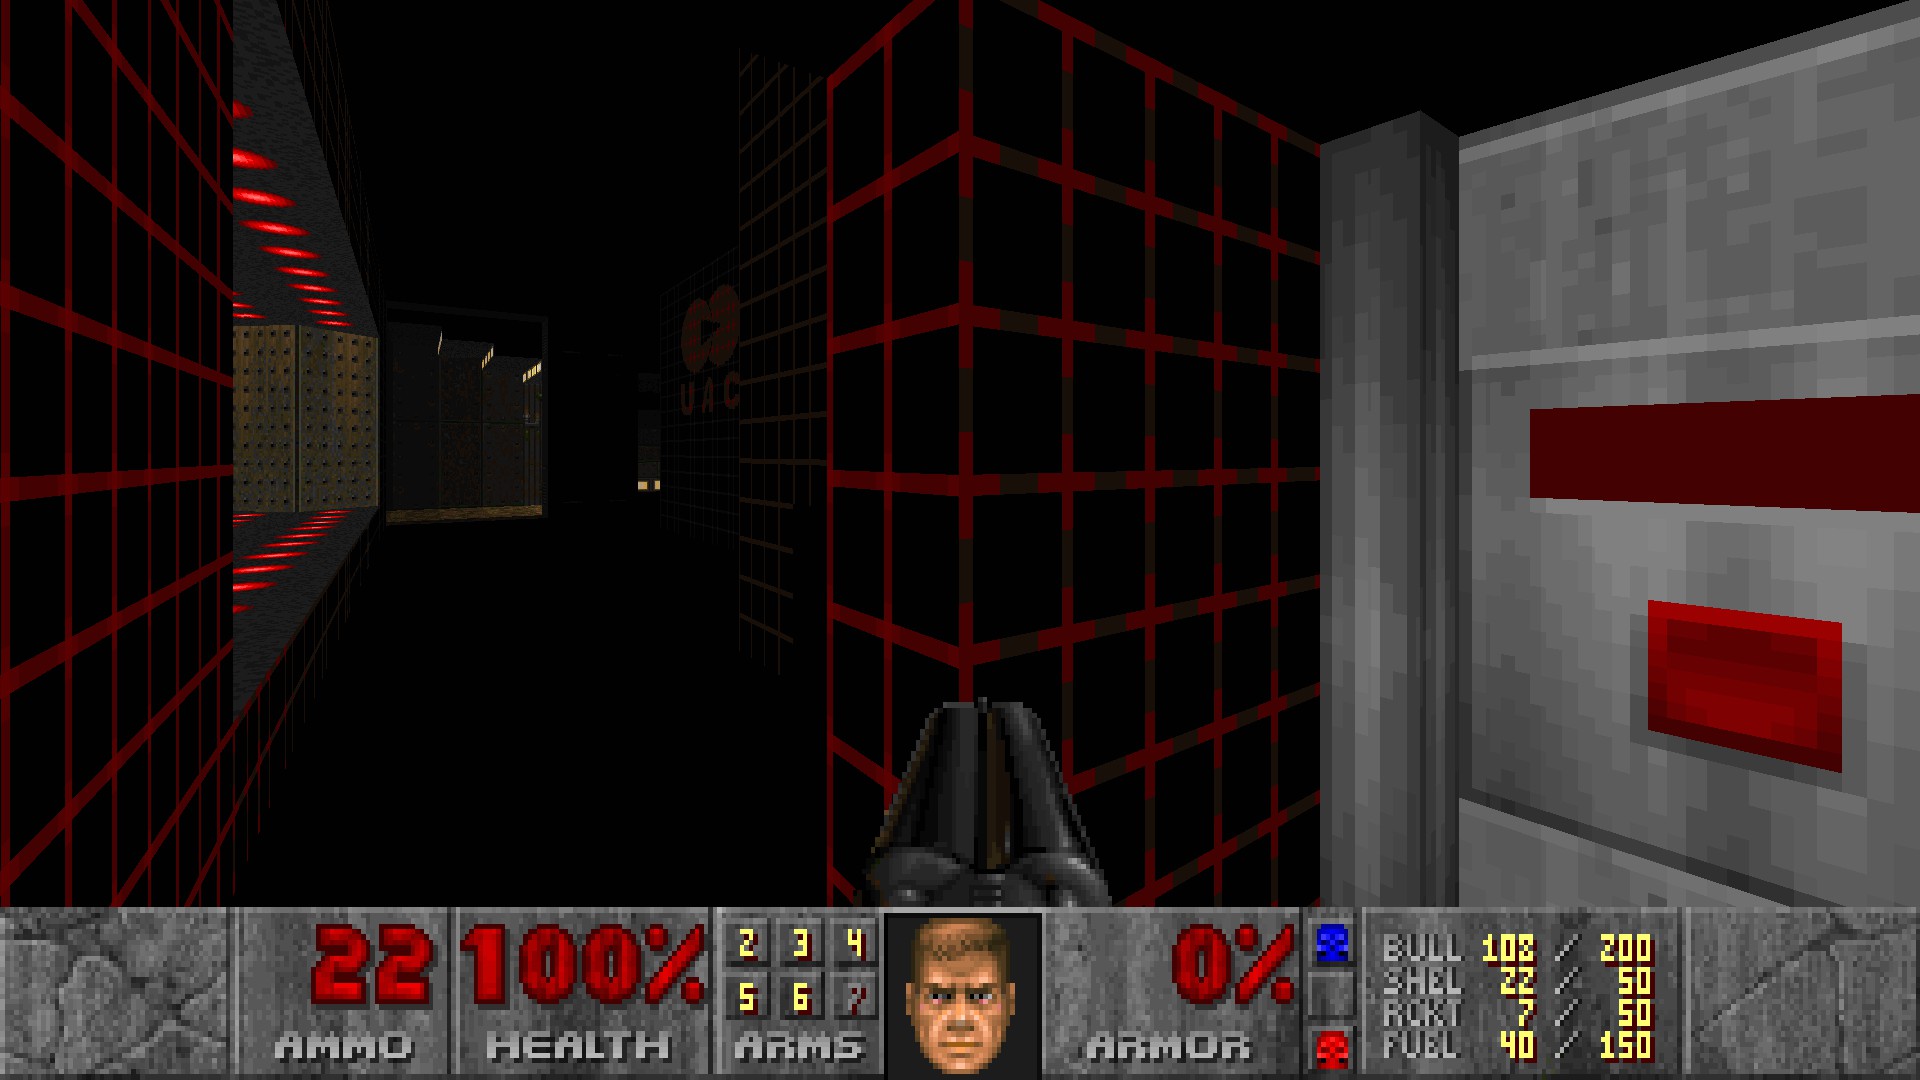
E2M2: Falsehood
#1
To the left of the red door is a wall with a different texture. Interact with it to reveal the incinerator.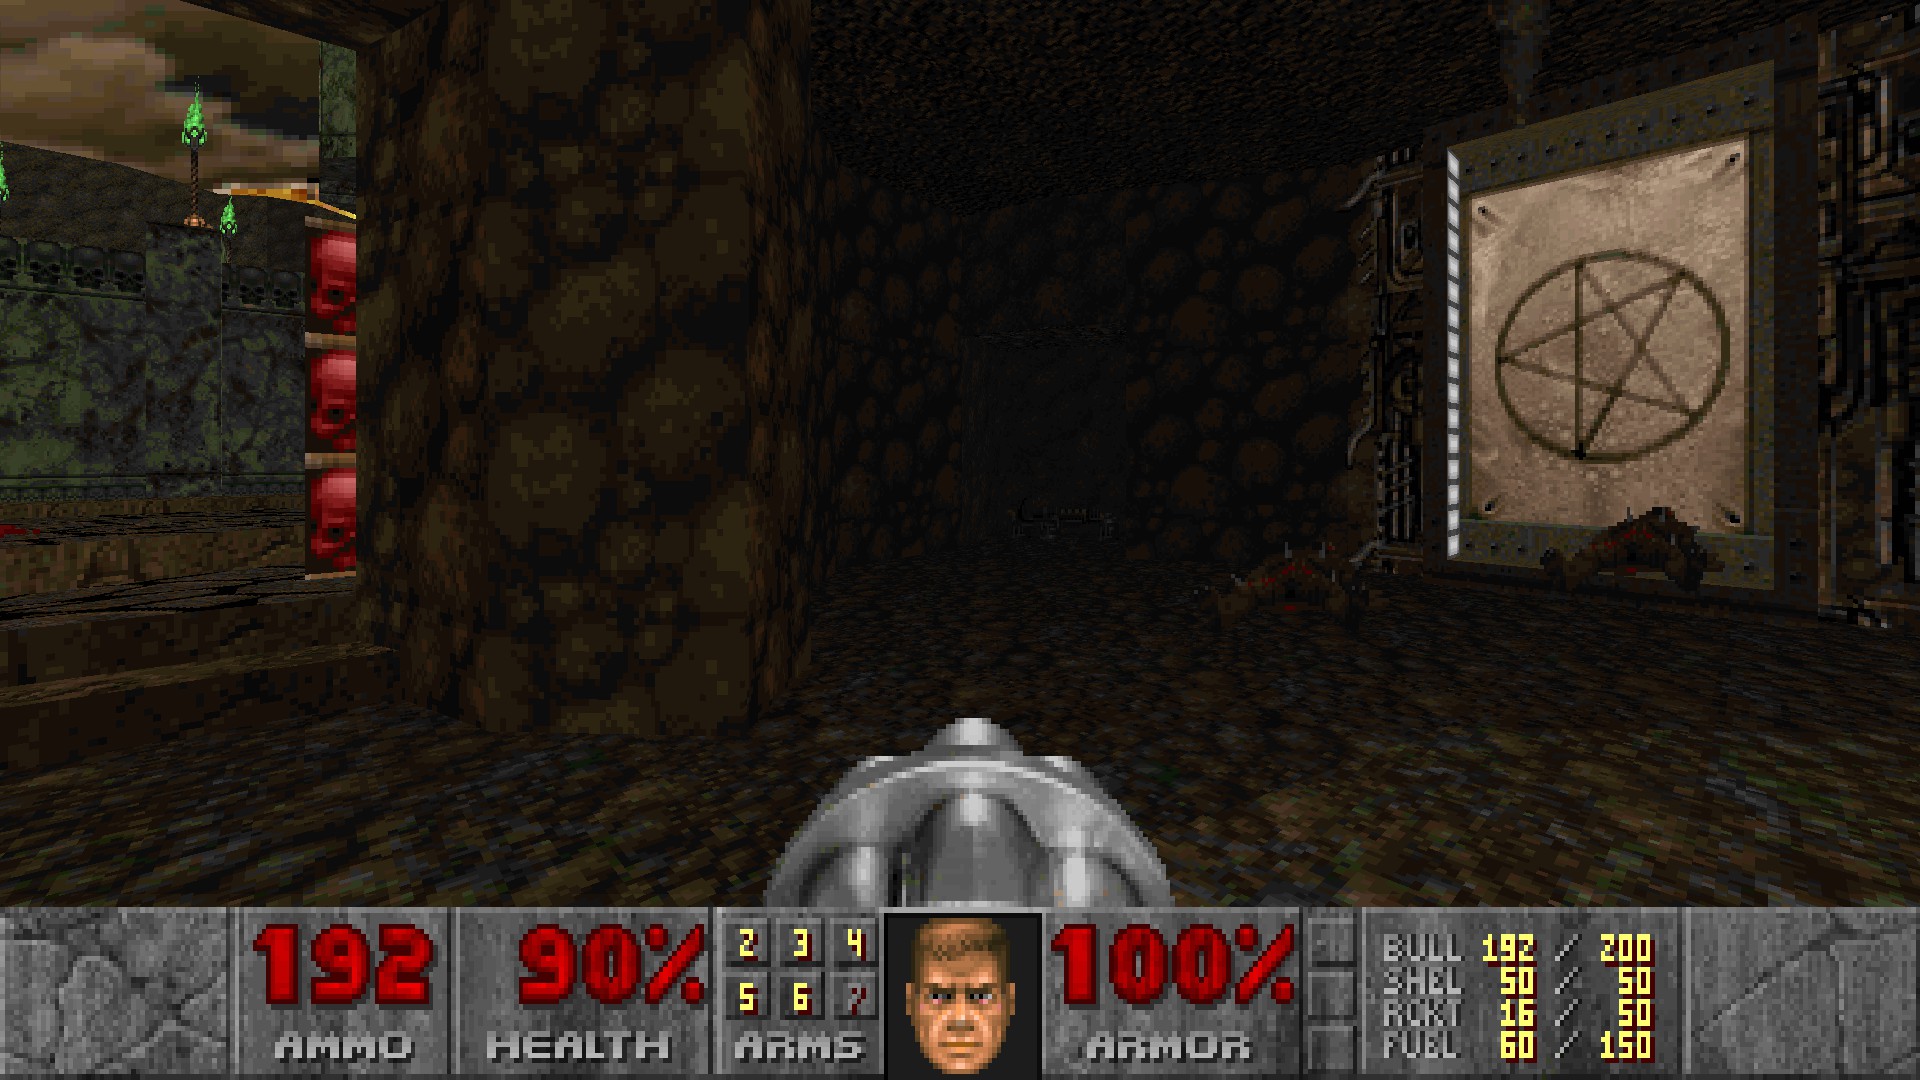
#2
Before activating the second bloody eye switch, walk to the edge of this platform and a button will appear on the opposite side. Shoot it to open a corridor to the left of the eye switch, leading to a megasphere.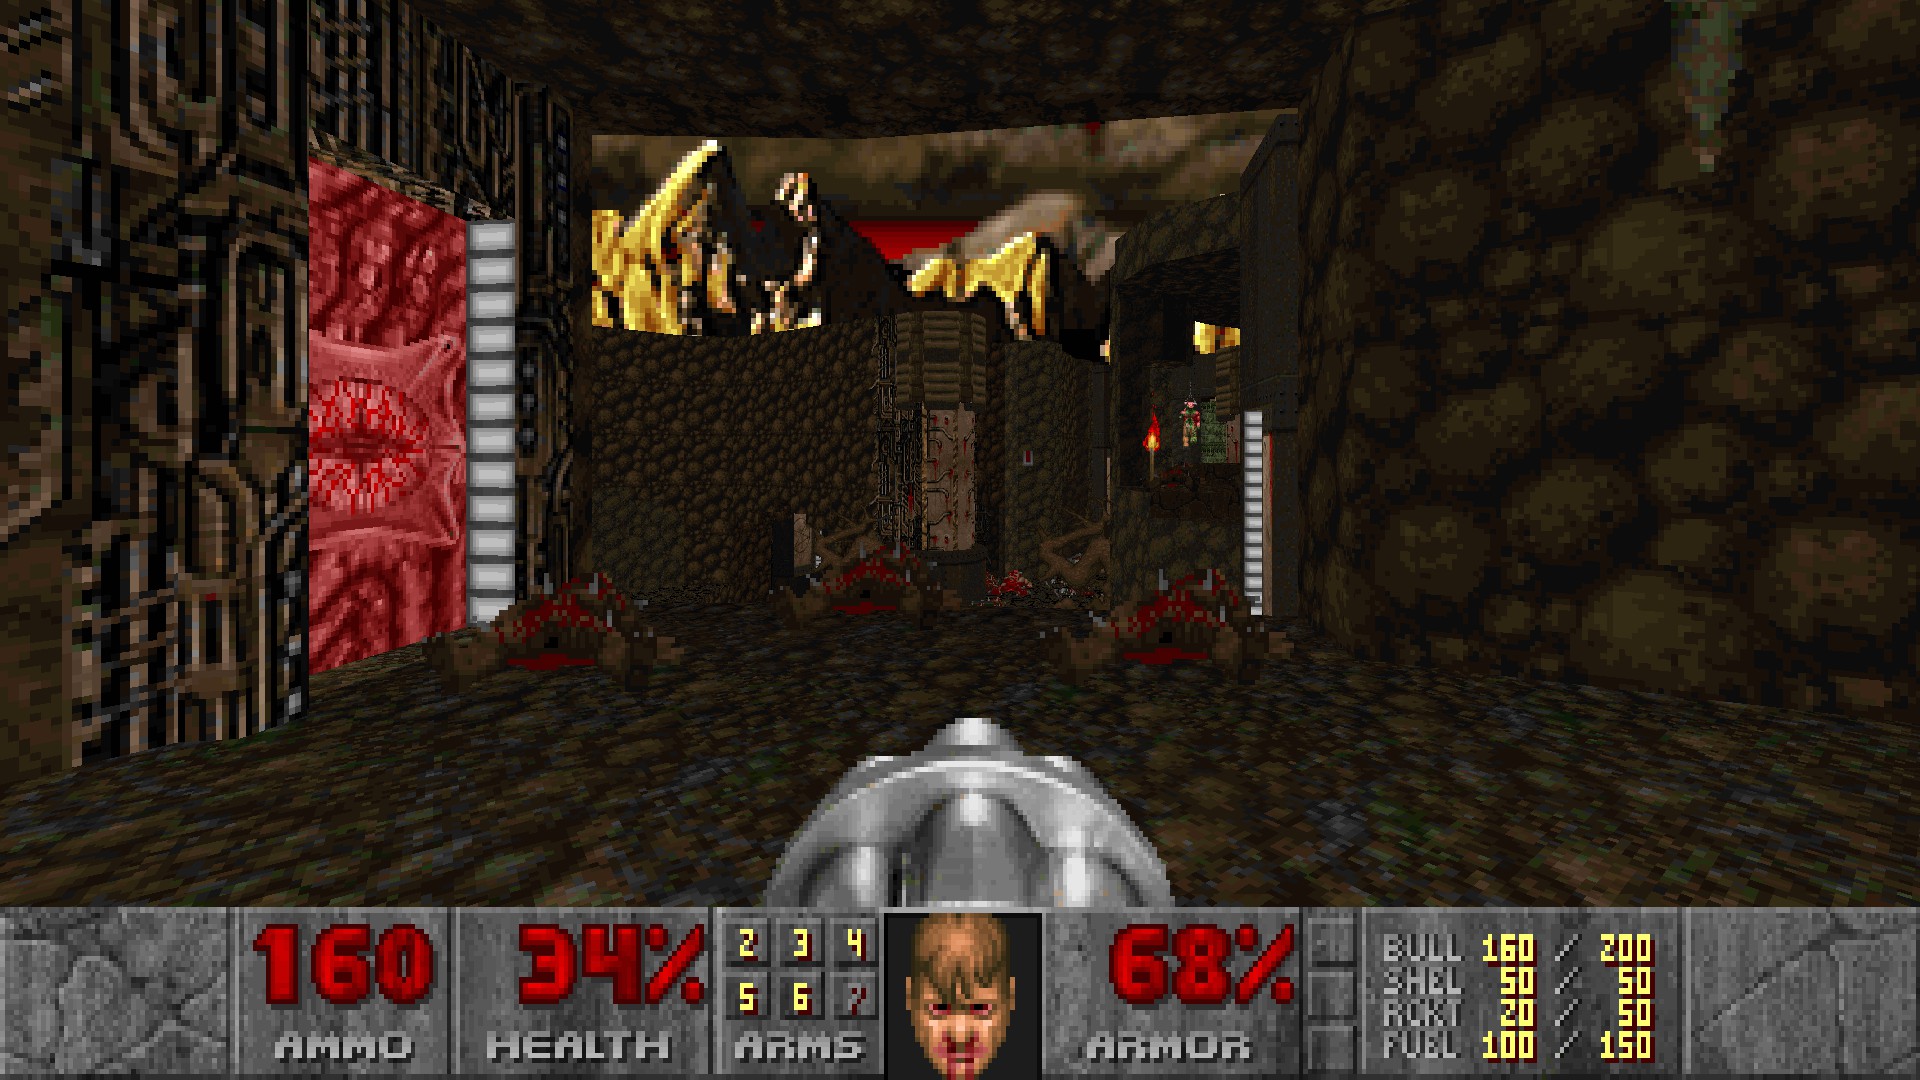
#3
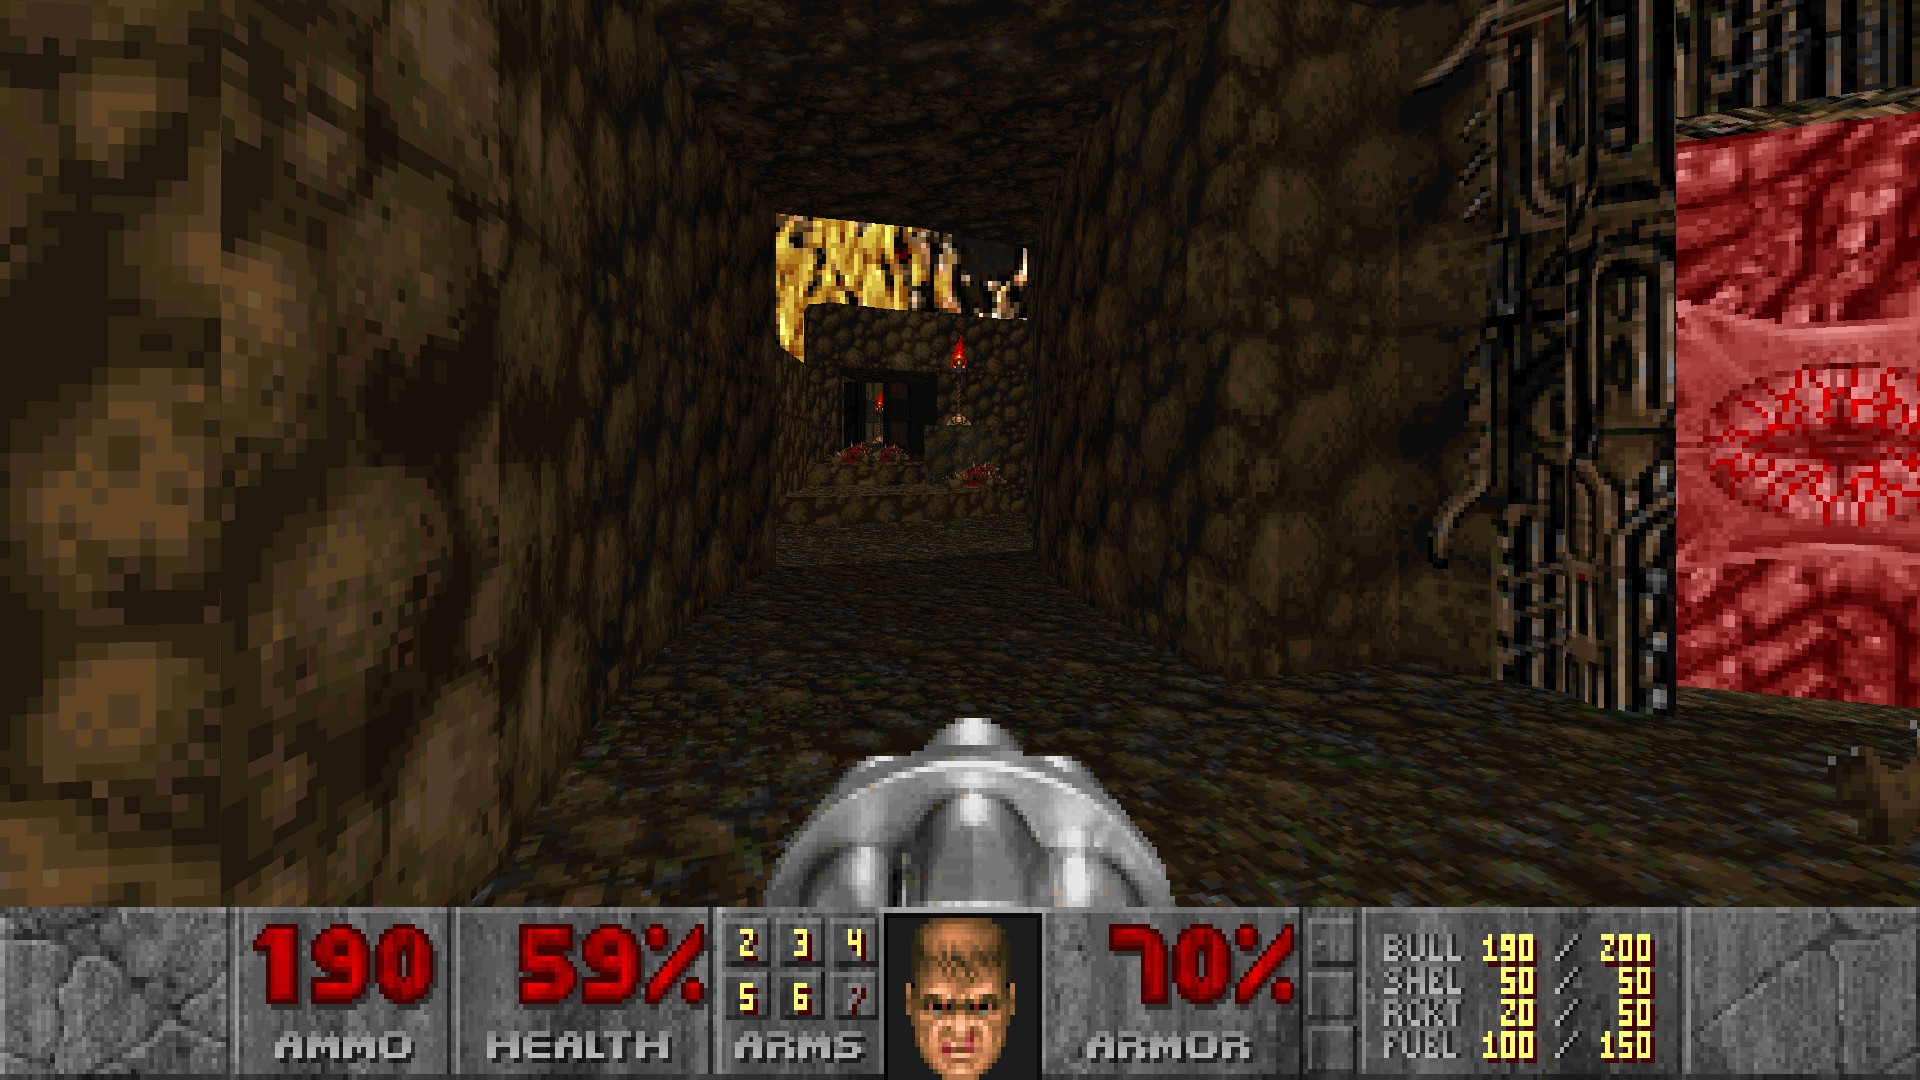
In the room with a berserk pack in the center, drop down to the left of it and head north to find the stairs leading to a megaarmor.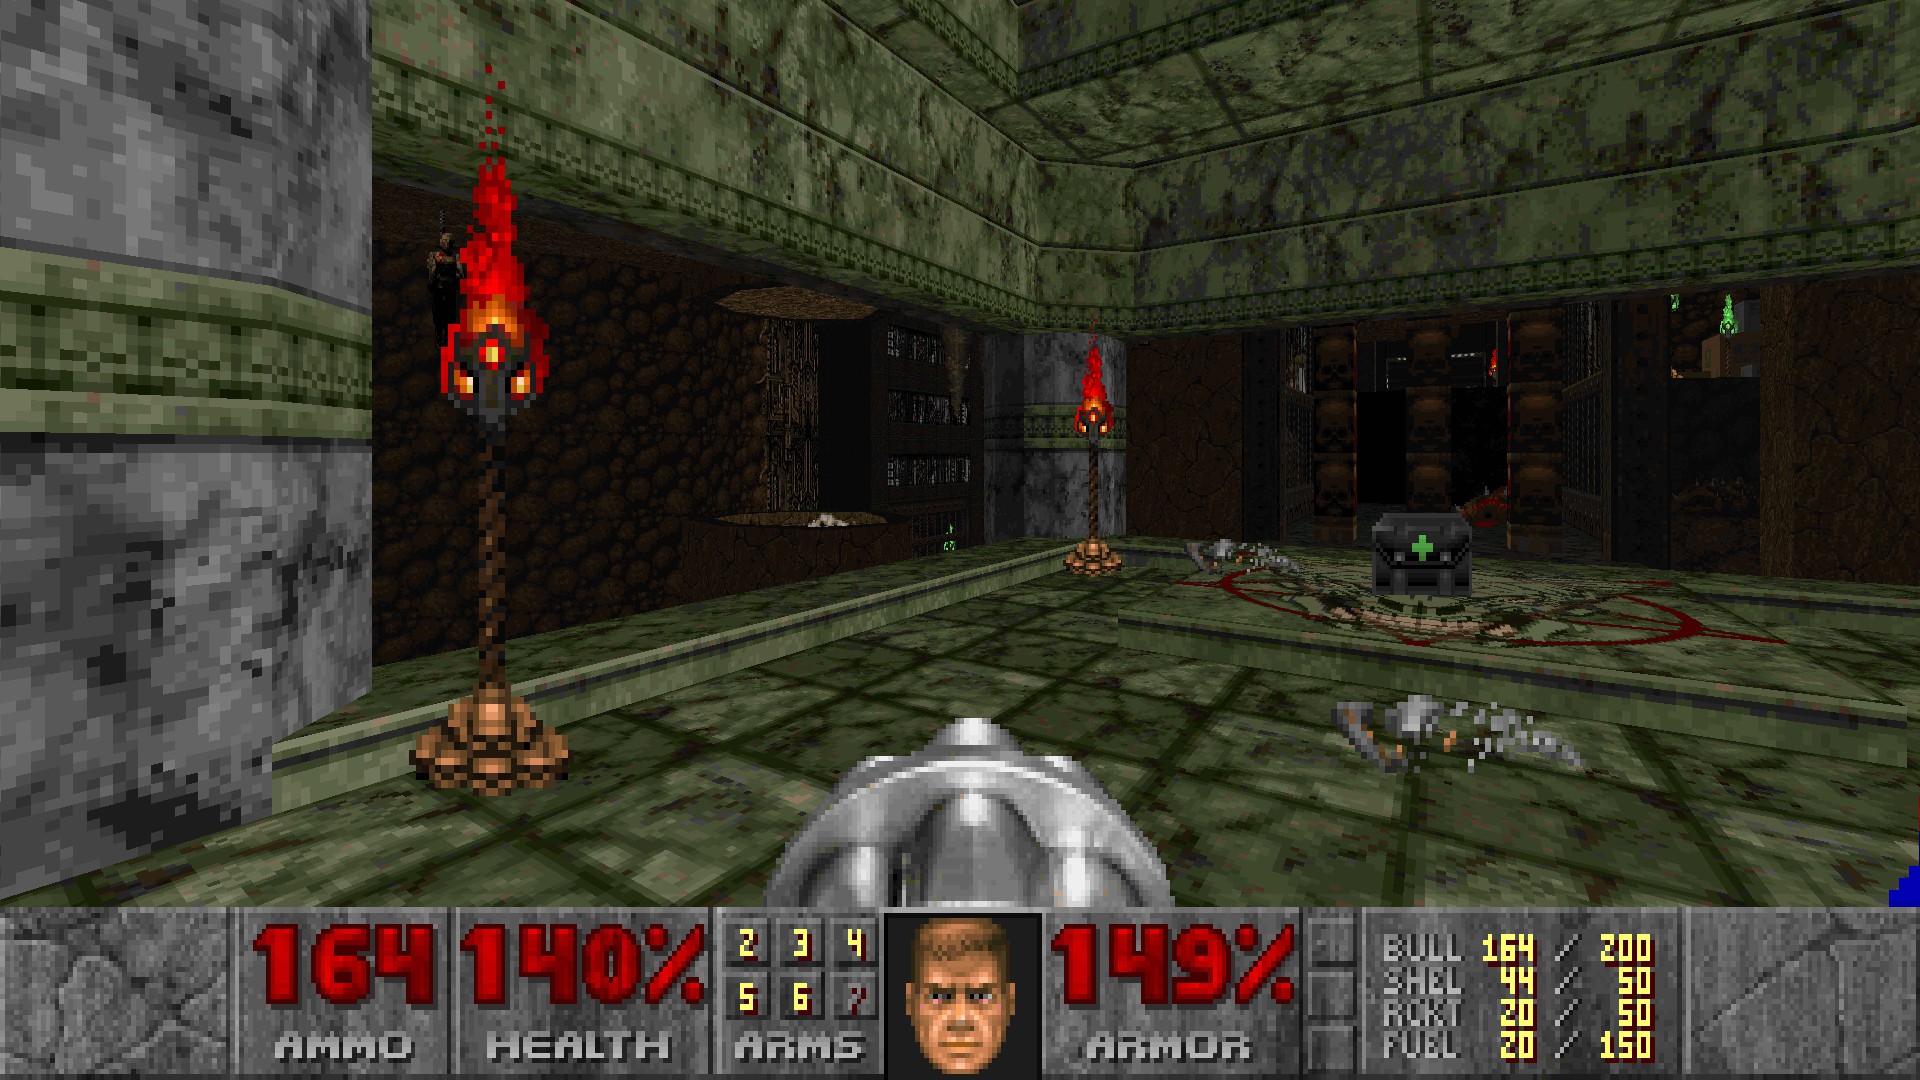
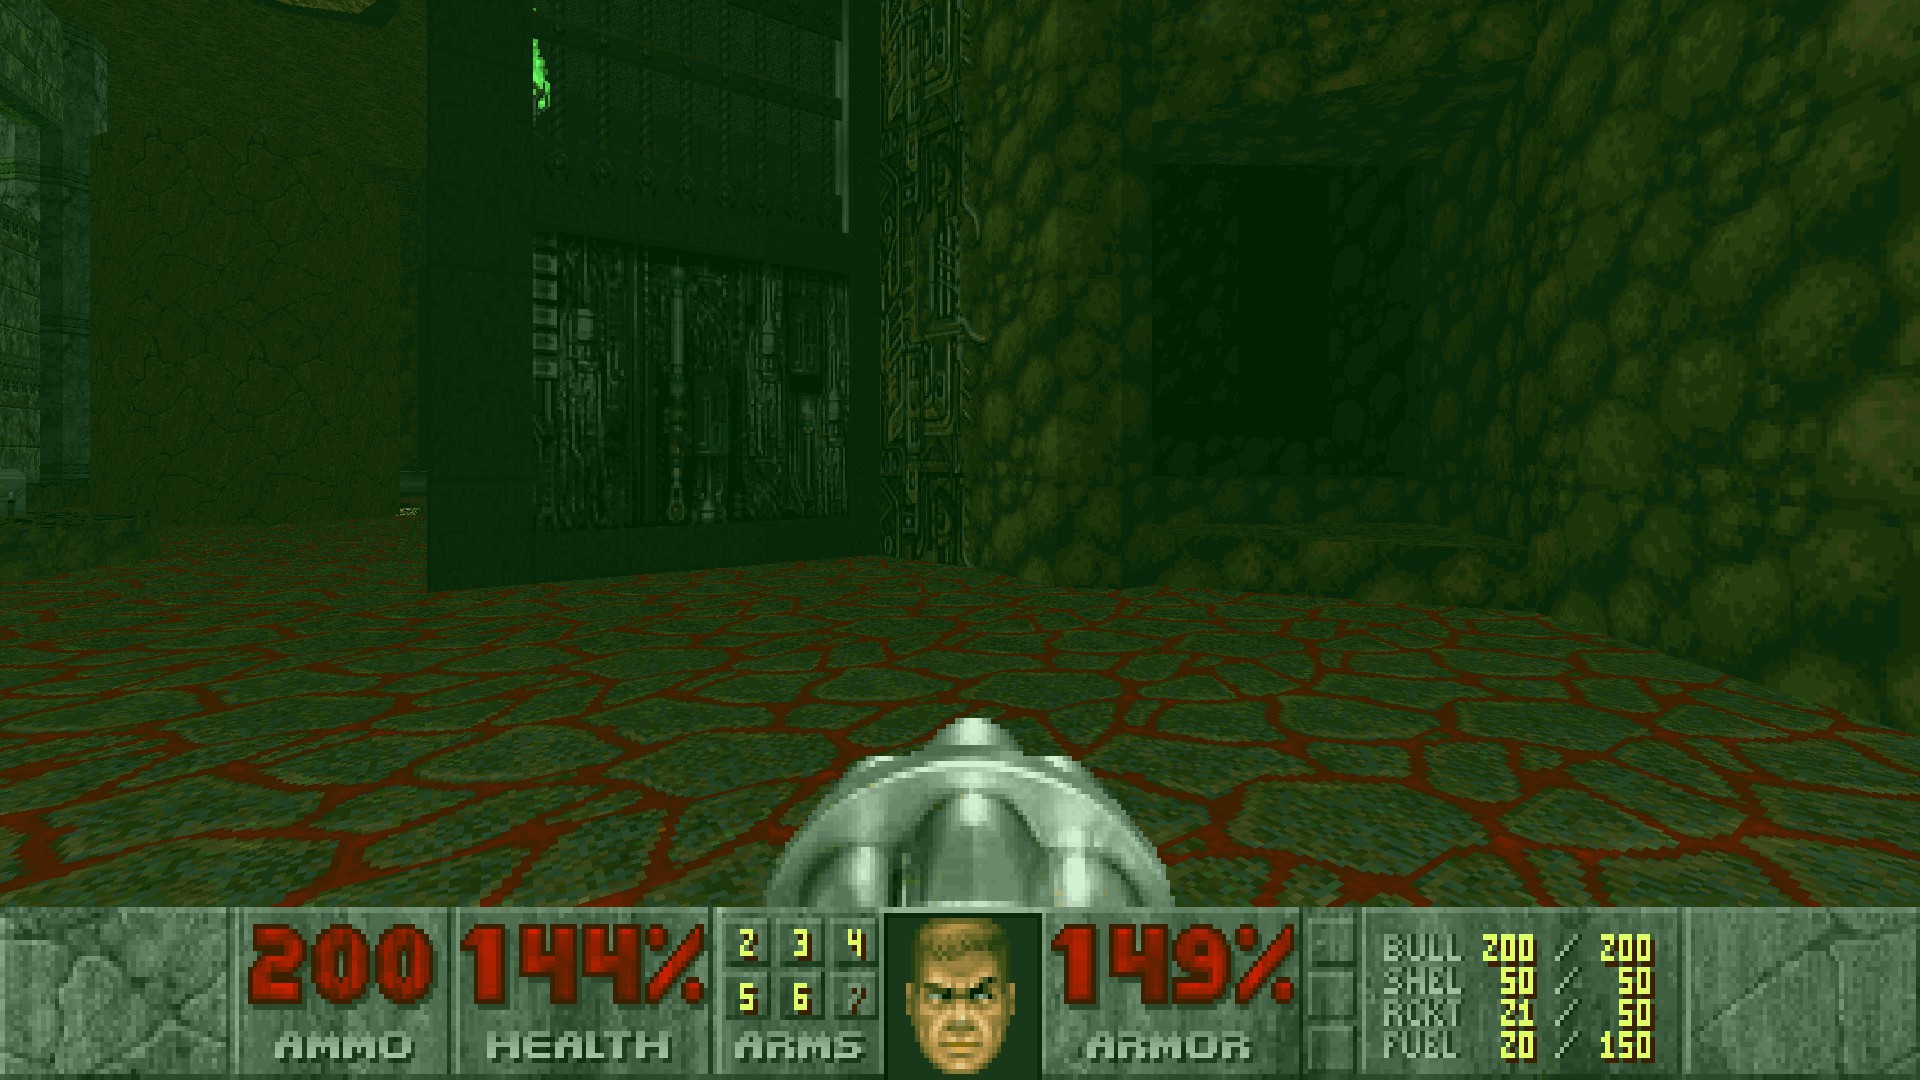
#4
Go through that hole behind the red door to temporarily open the western wall near the red door, containing a green armor and a computer area map.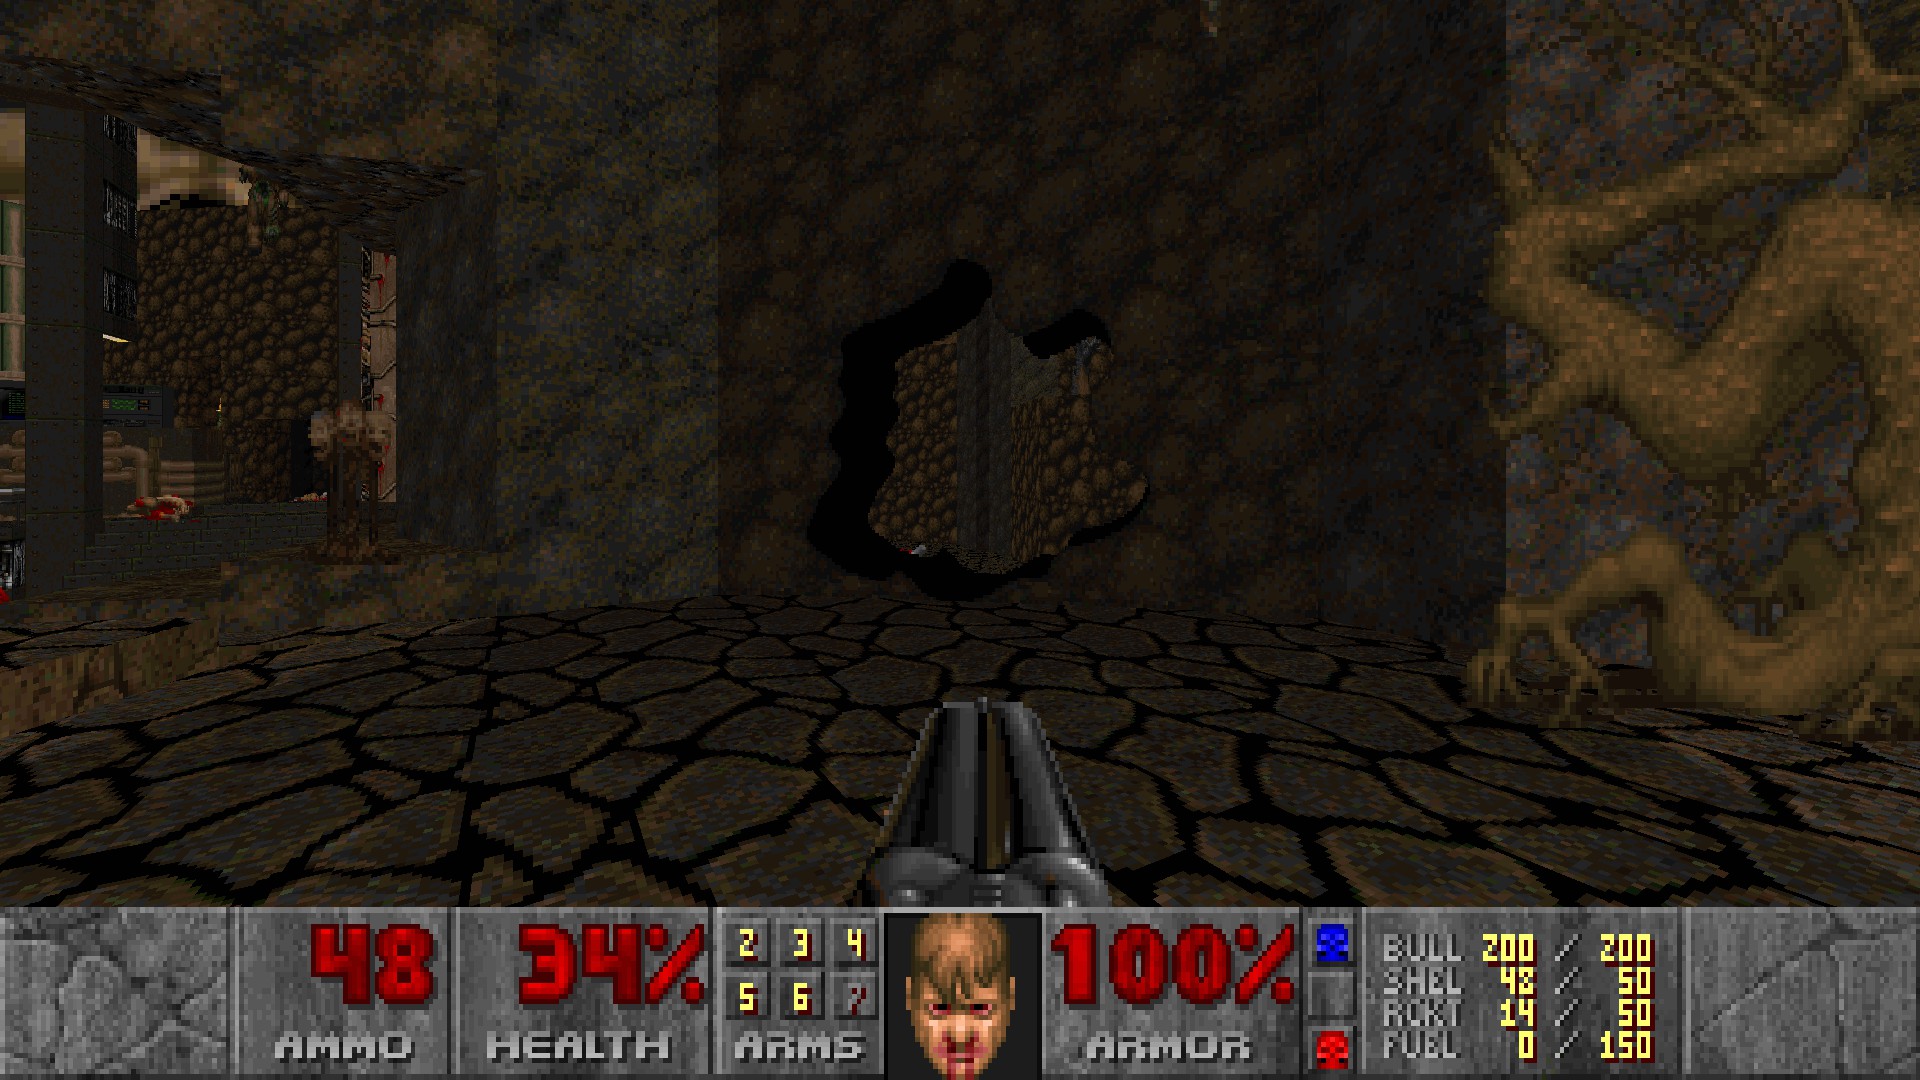
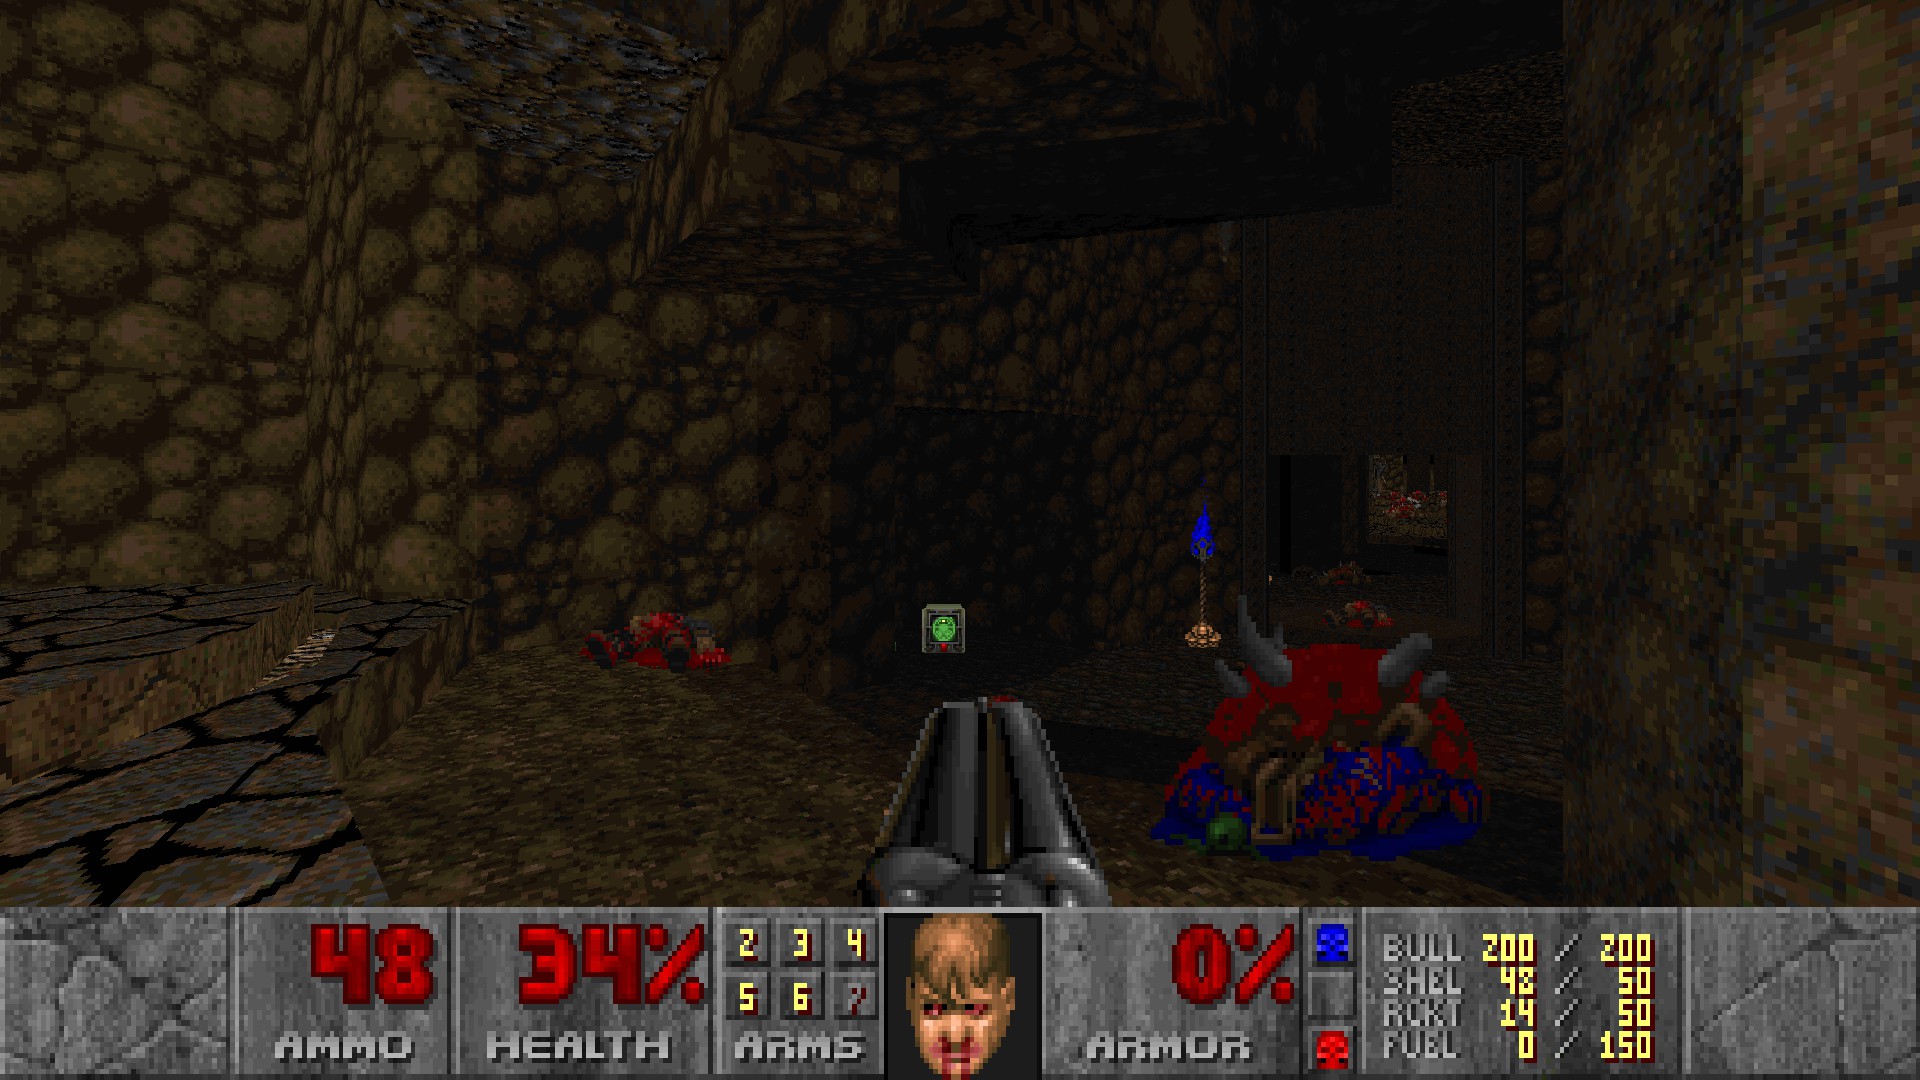
E2M3: Dis Union
#1-2
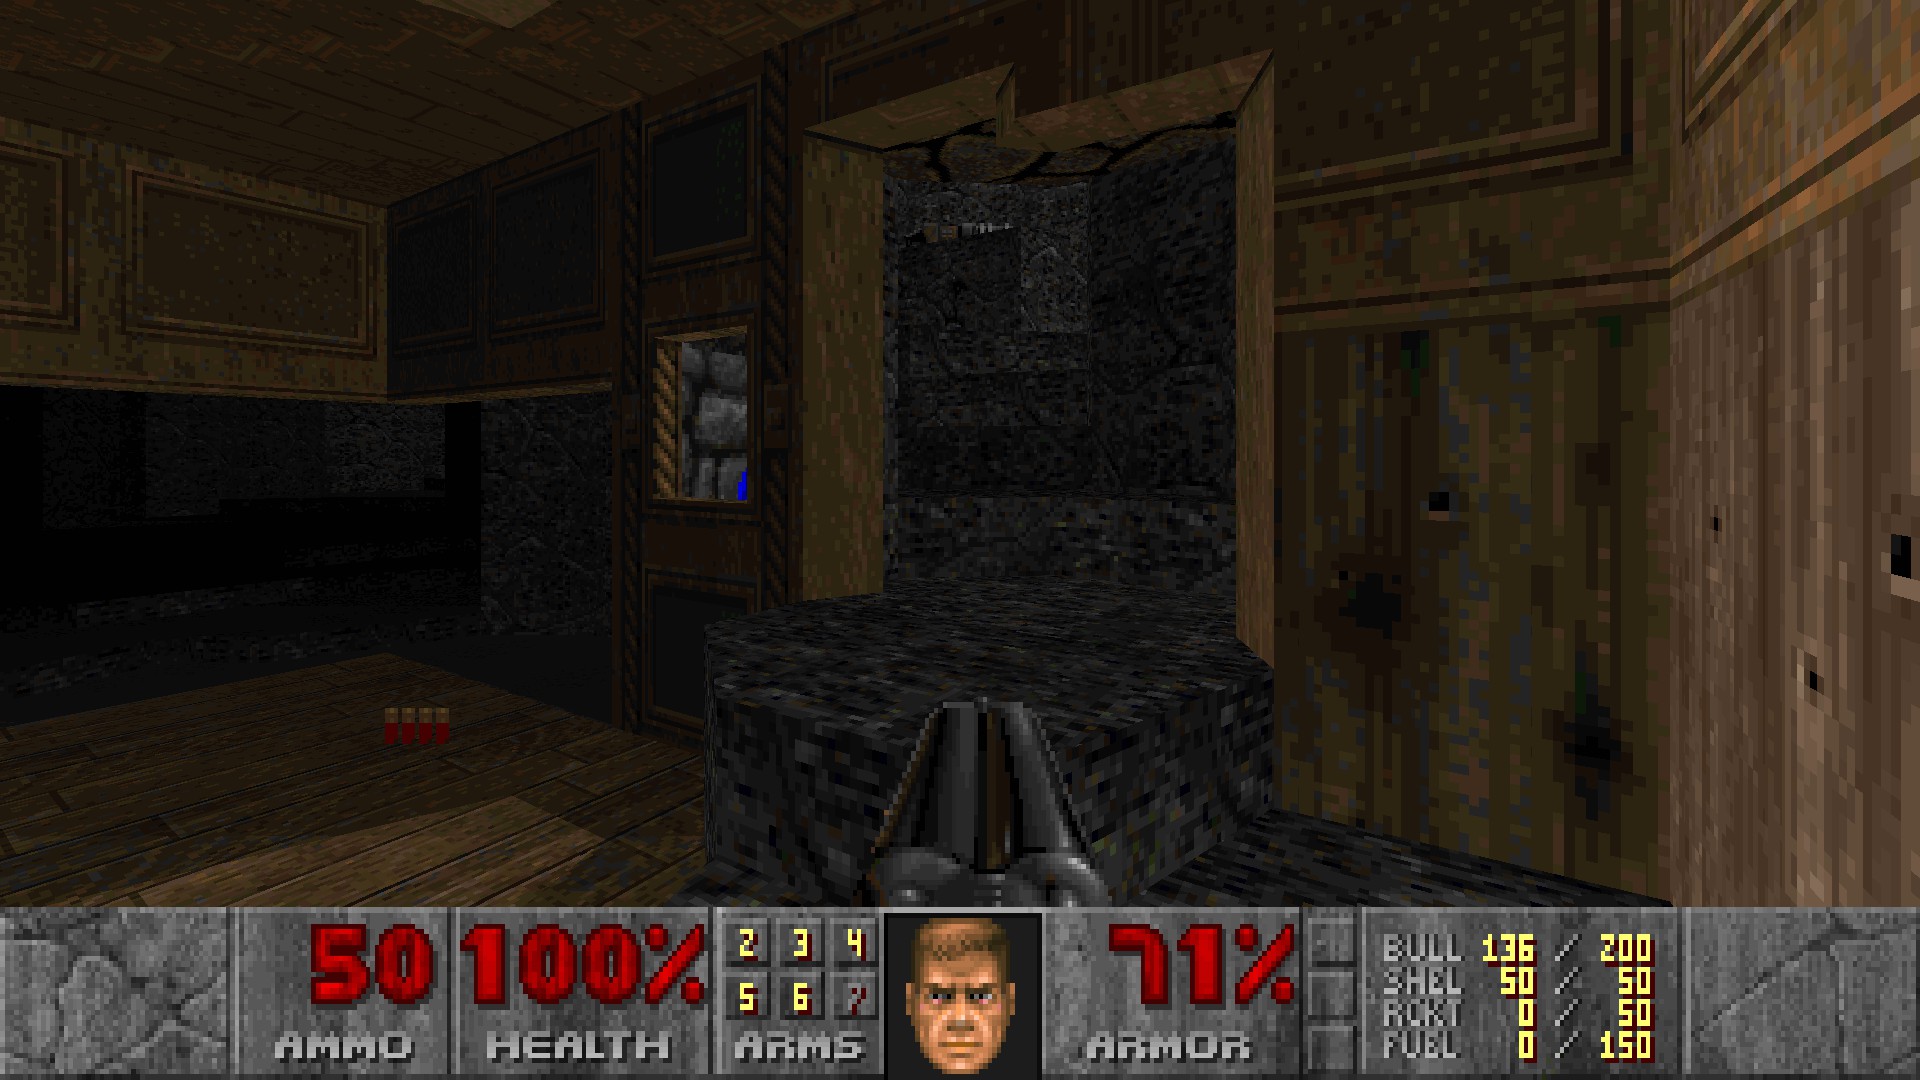
After leaving the starting area, climb up the red platforms and run towards a berserk pack. (#1)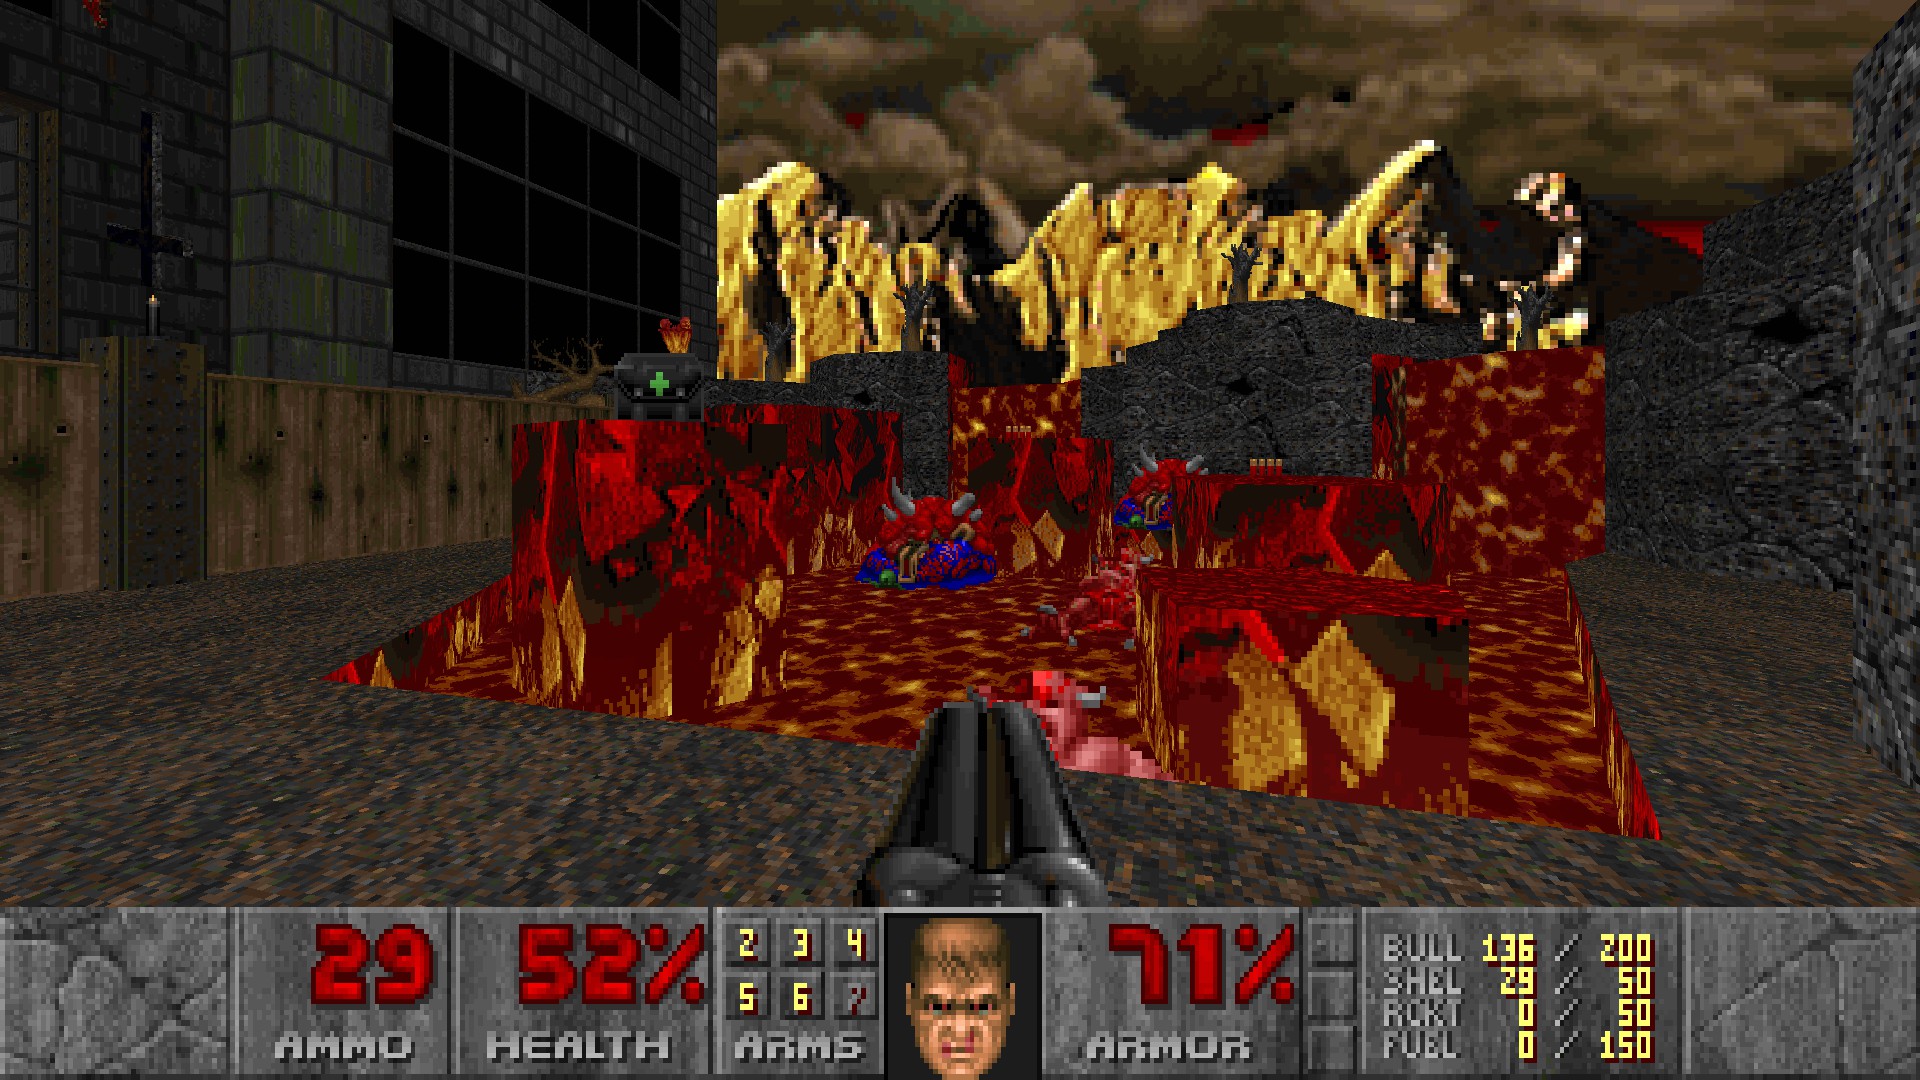 Still outside, one of the candles is missing. Step on it then quickly run to the starting area and get the chaingun there. (#2)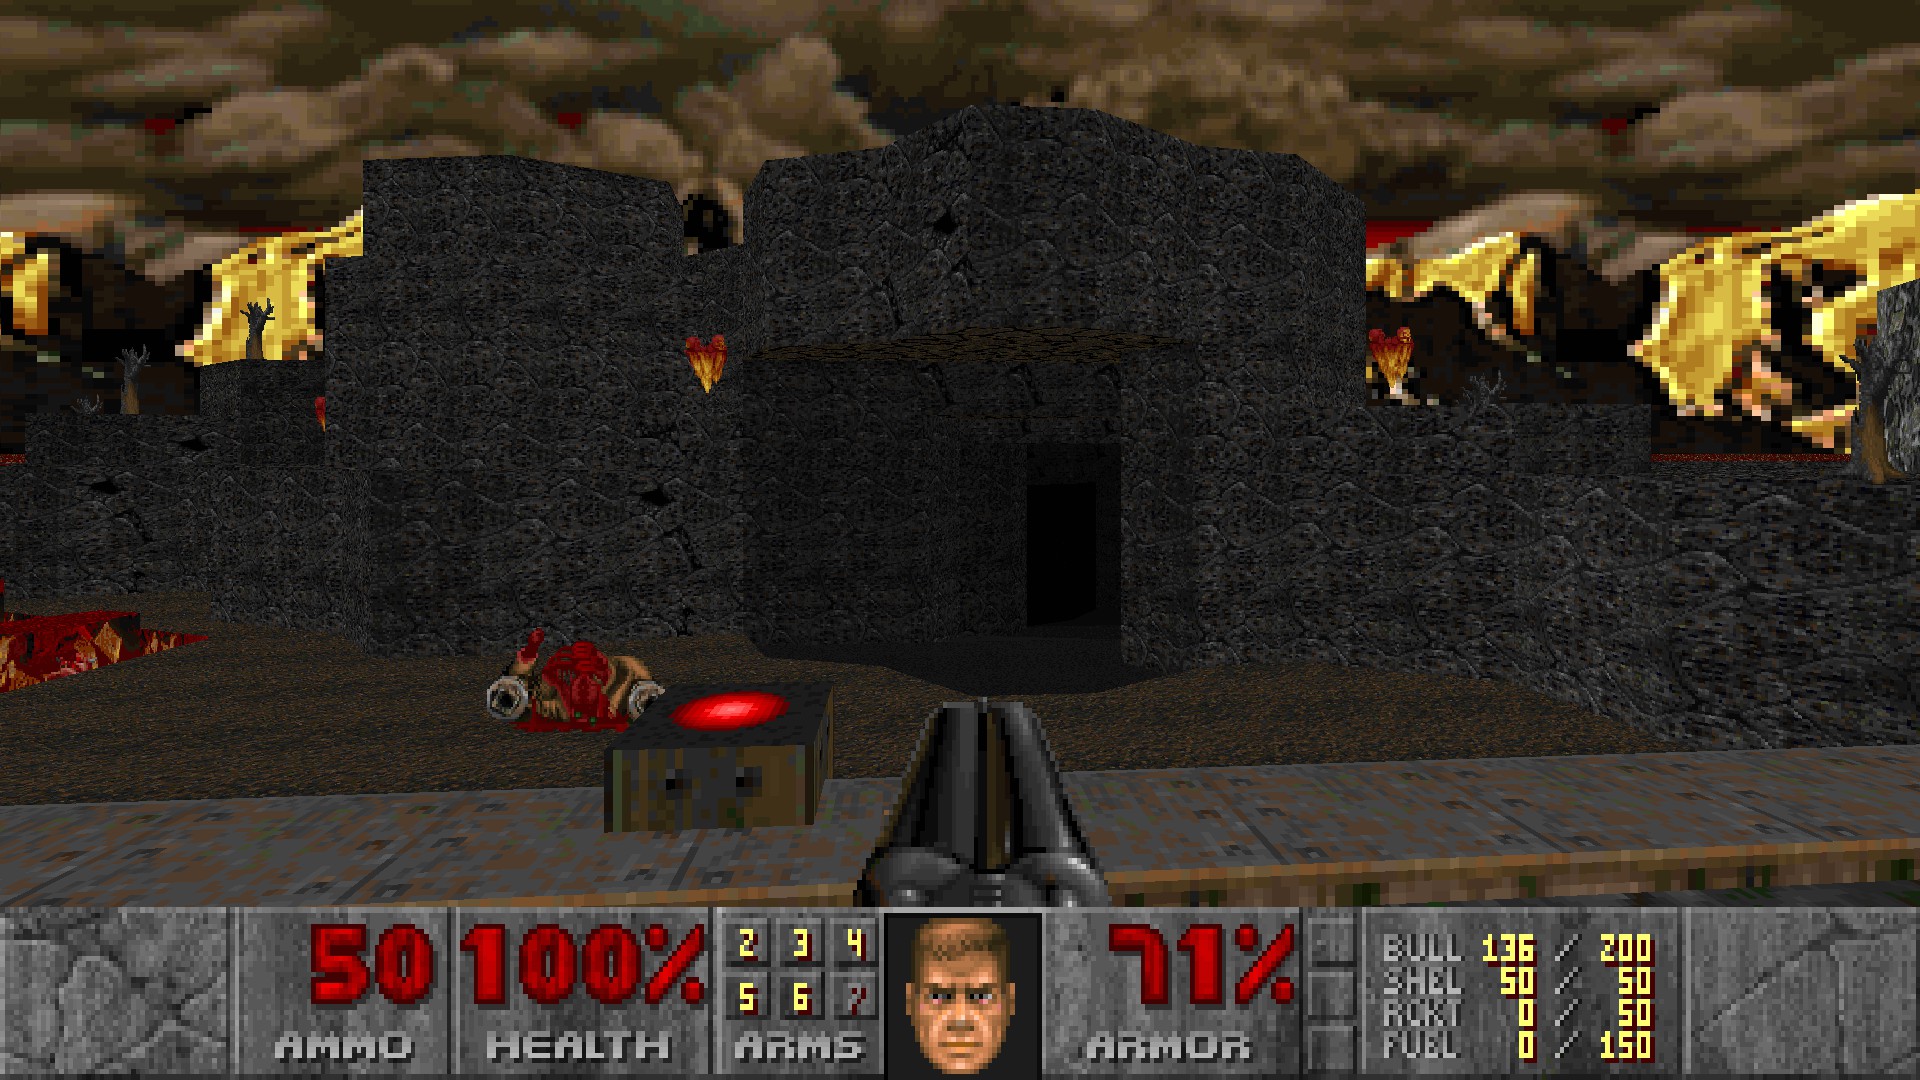
#3
Before riding the lift down, turn around to see two eyes on steps of the stairs. Crossing them will cause an open eye to temporarily lower revealing a button in the nukage pool area. Shoot it to open alcoves containing the shotgun and radiation suit at the start of the lift.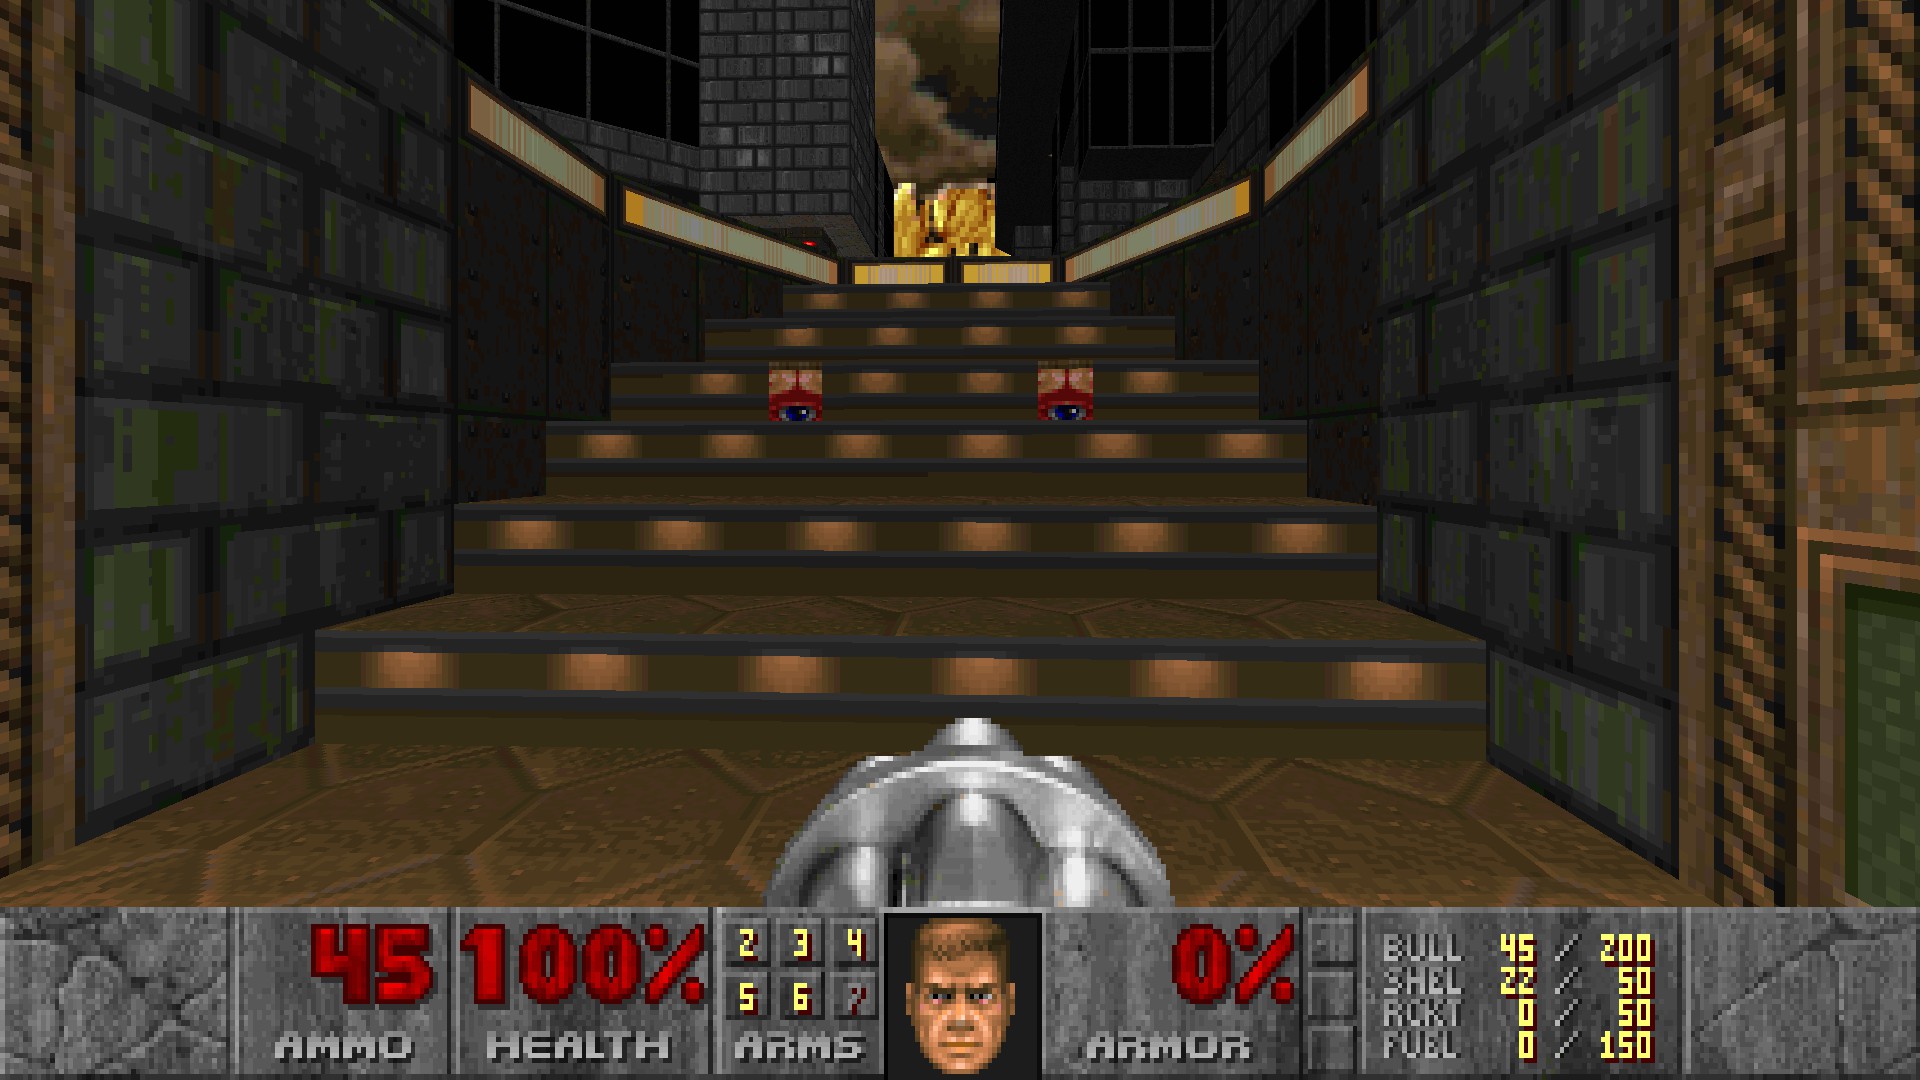
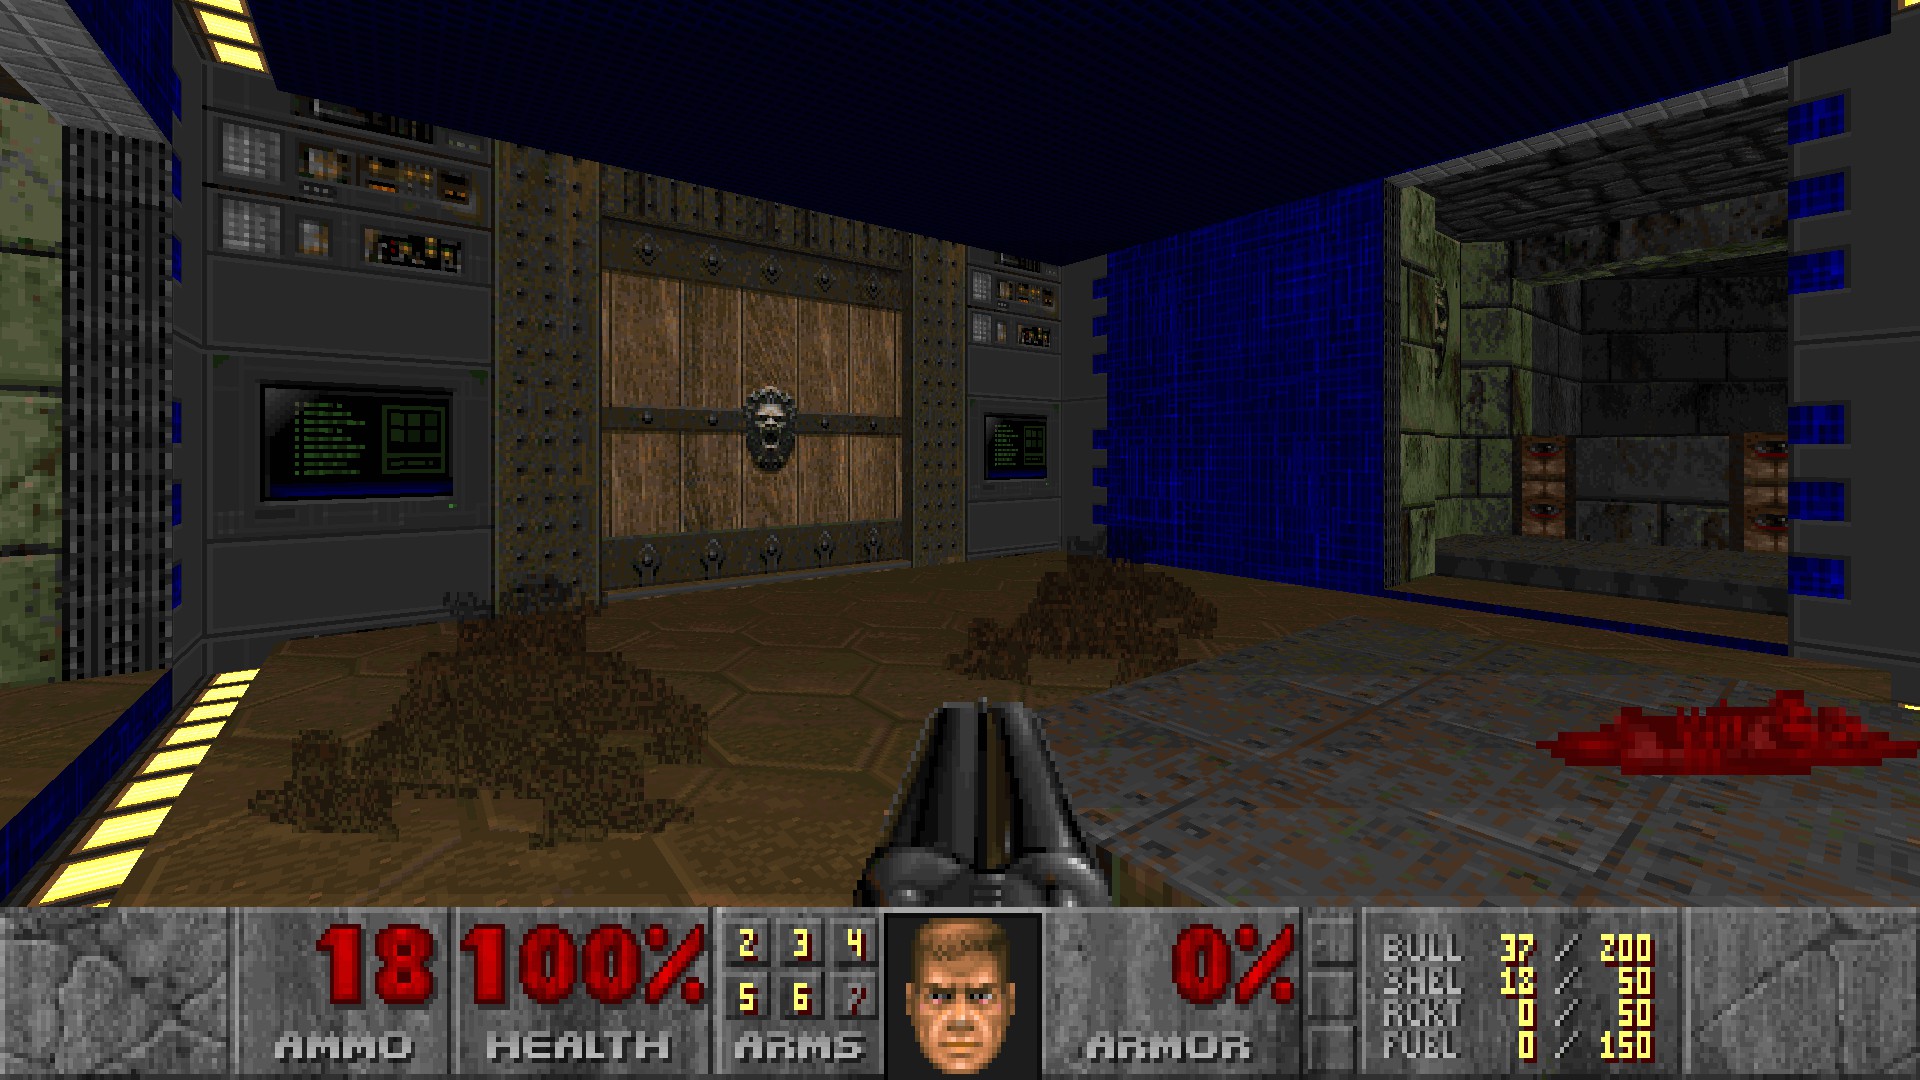
#4-7
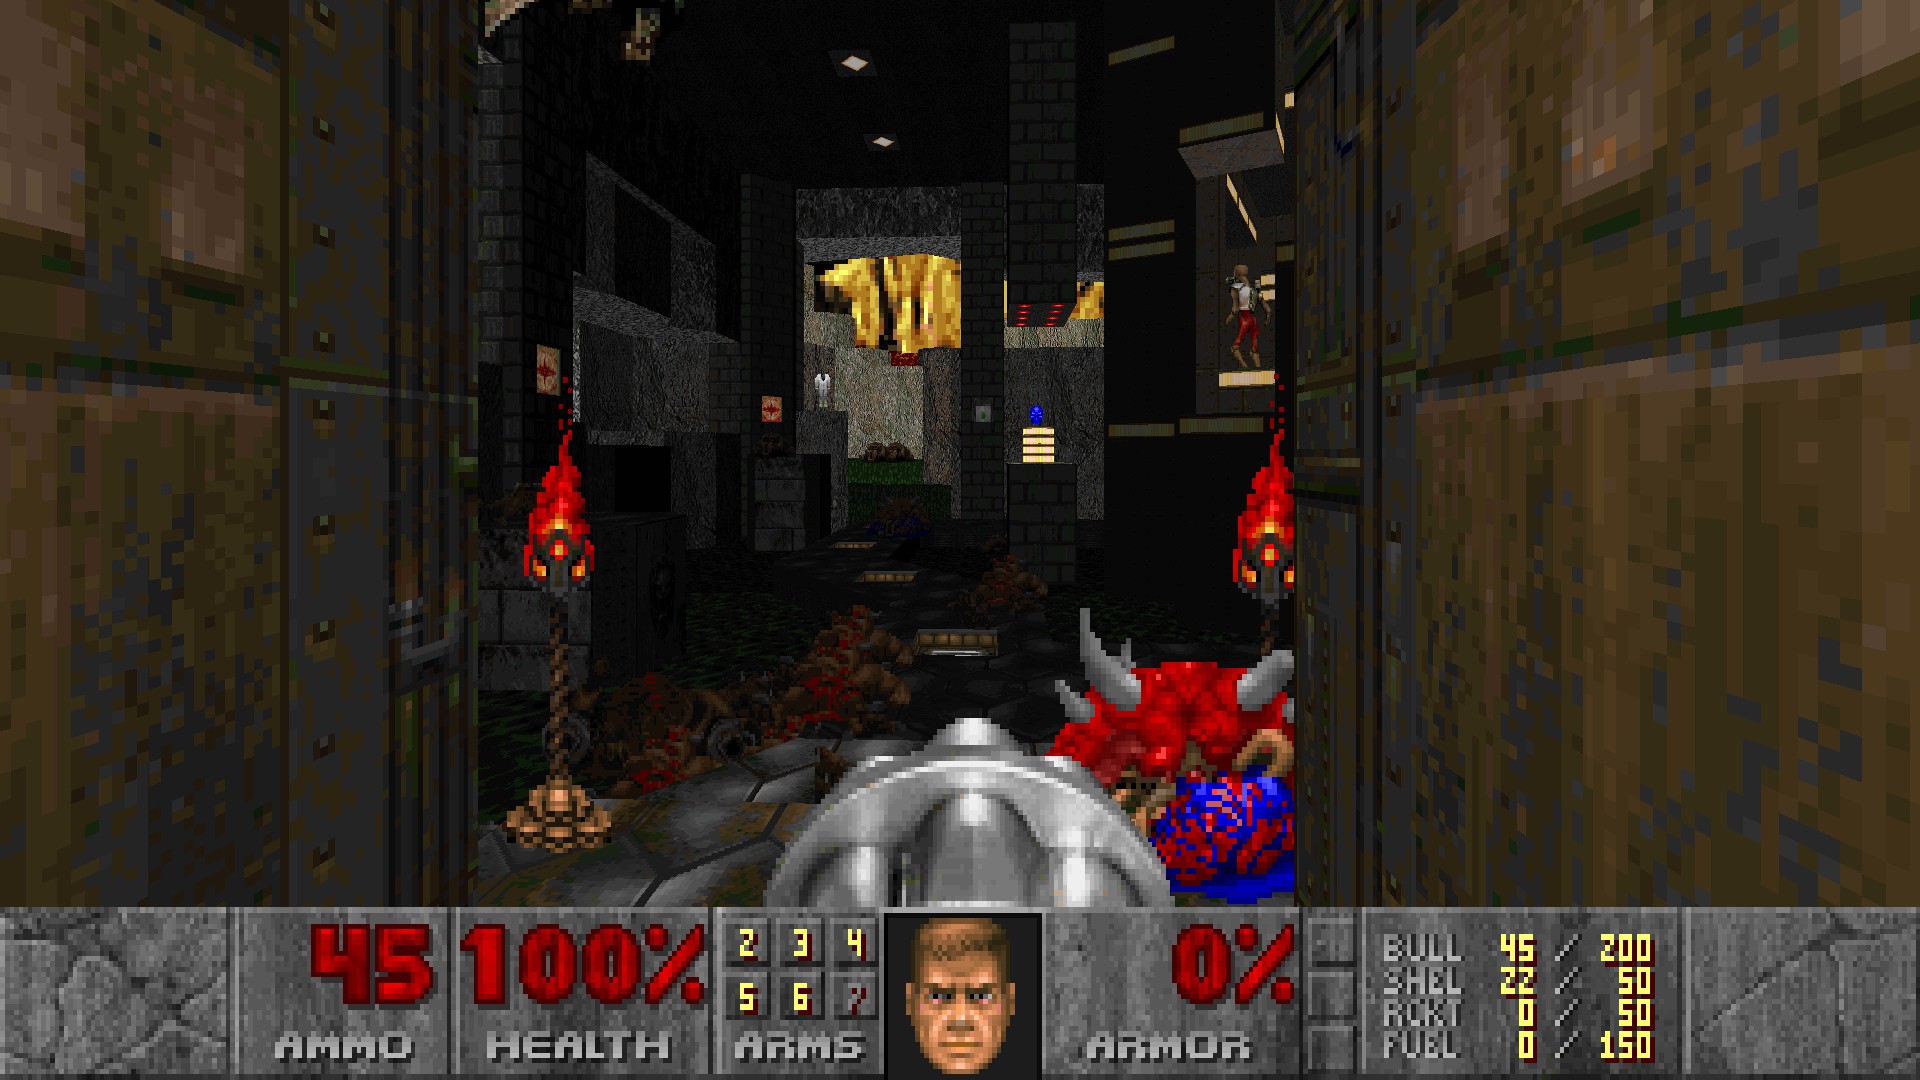
In the yellow key room, there are two health bonuses on a ledge. Straferun jump to them and open a wall behind them to reveal a button. Press it and a wall behind the switch will open revealing a secret switch with eyes on each side. This switch makes the lift up a bit from secret #3. (#4)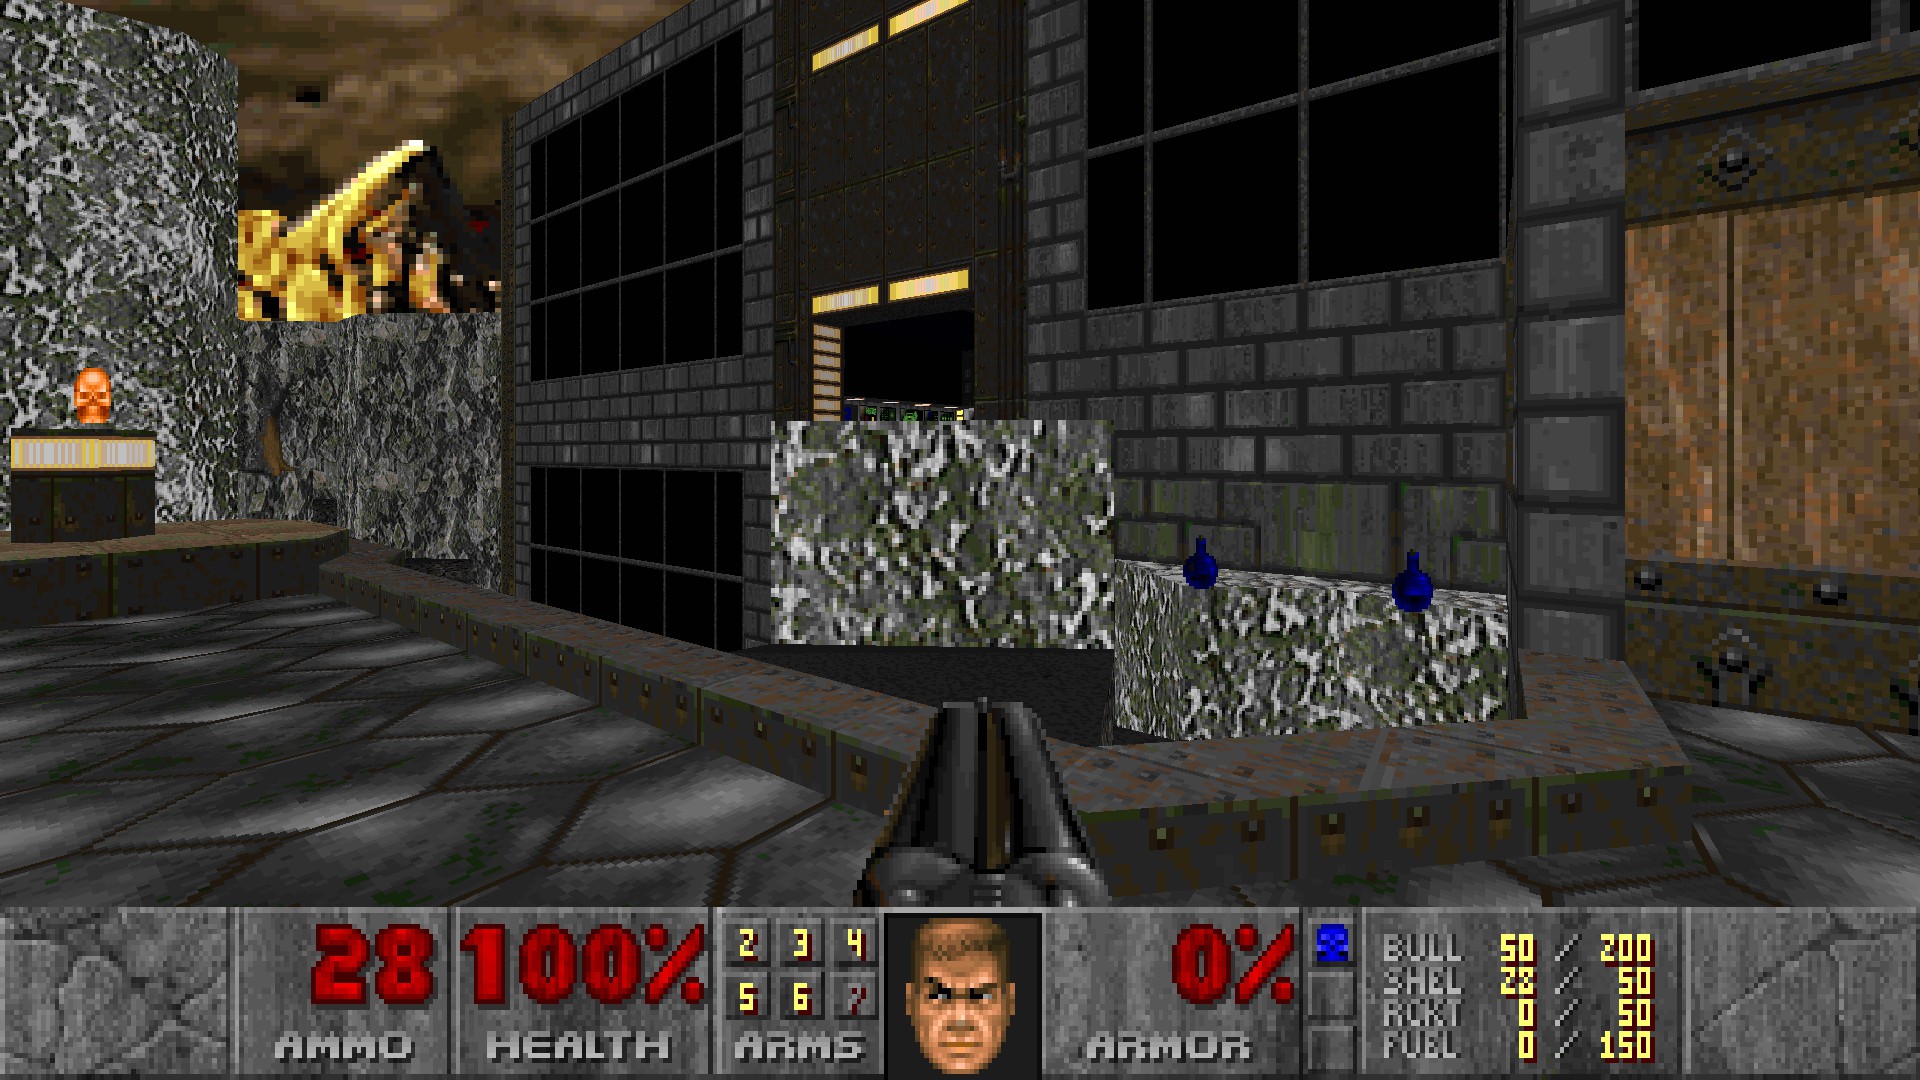
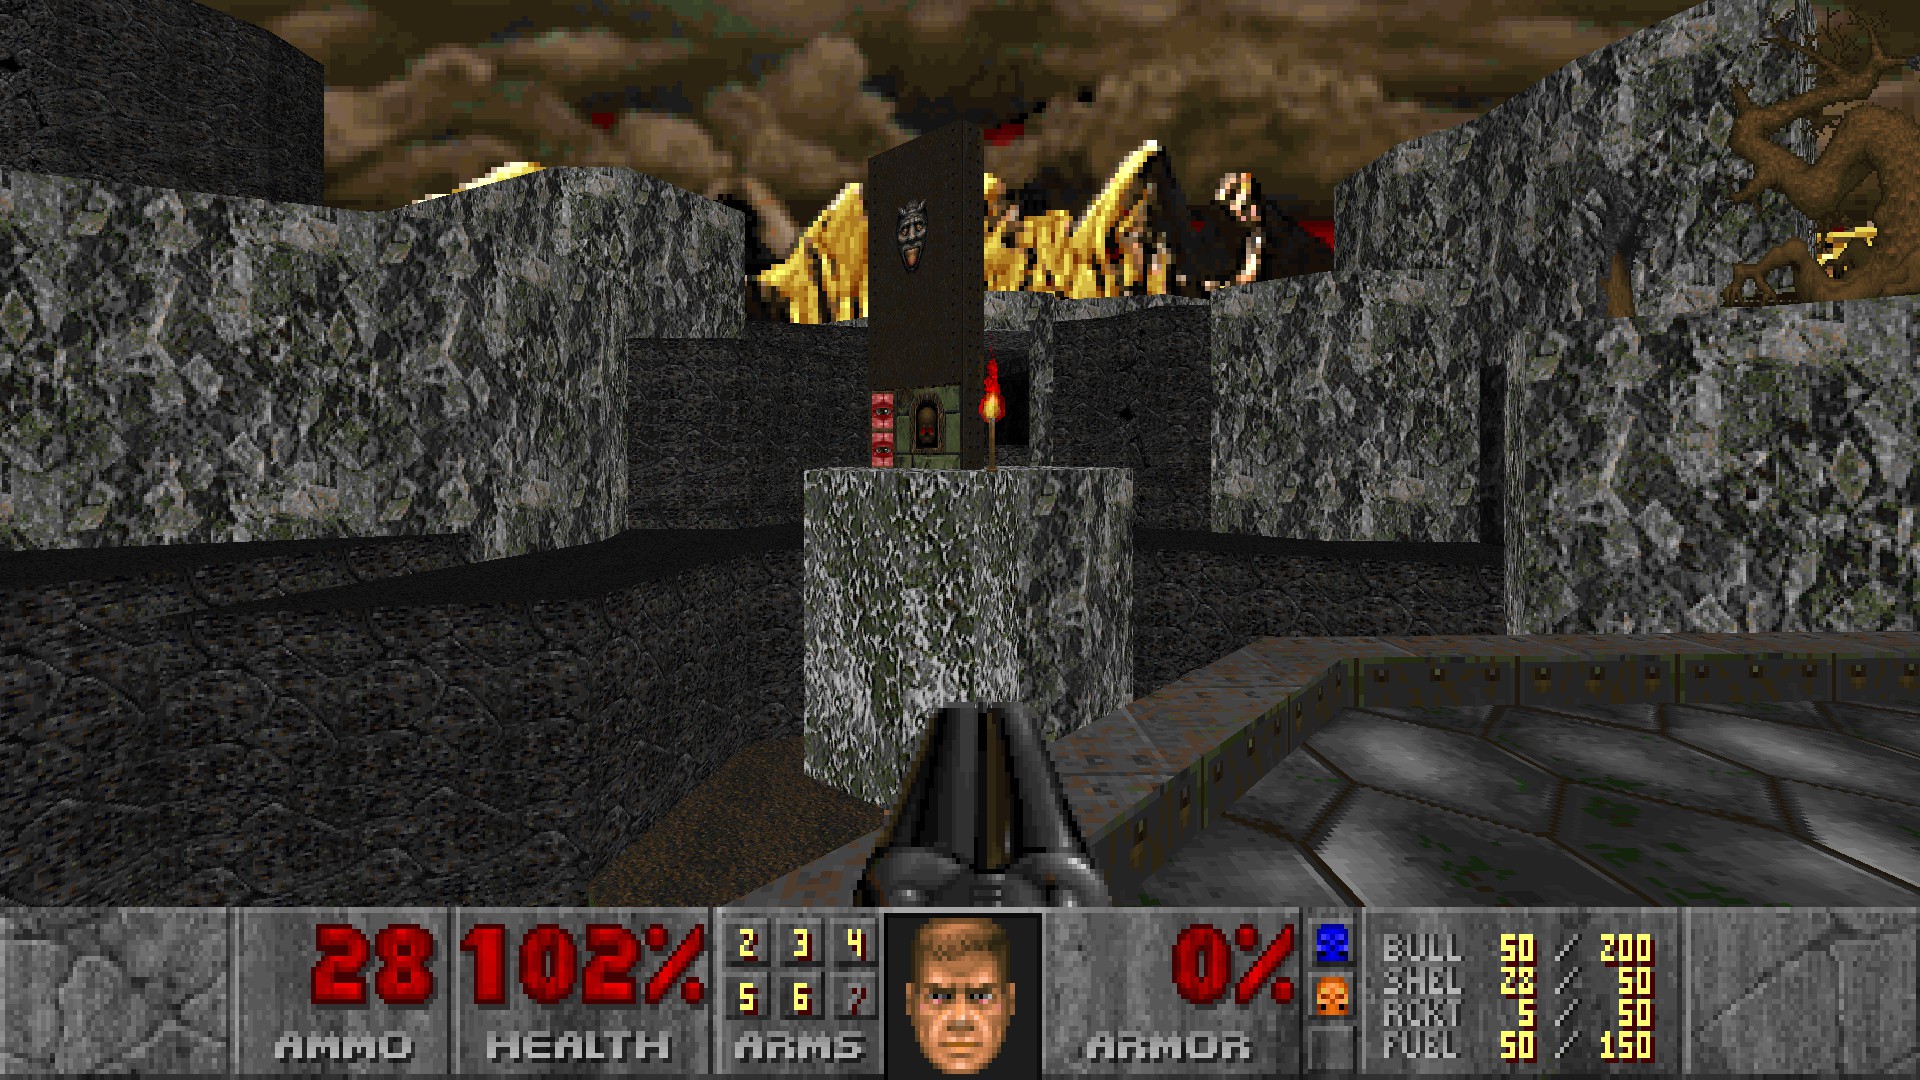
After jumping through the window, you will notice the center platform have risen. Jump to the computer panels with no items and flip the switch there to reveal a teleporter. Enter it and drop down there to get a supercharge. (#5)
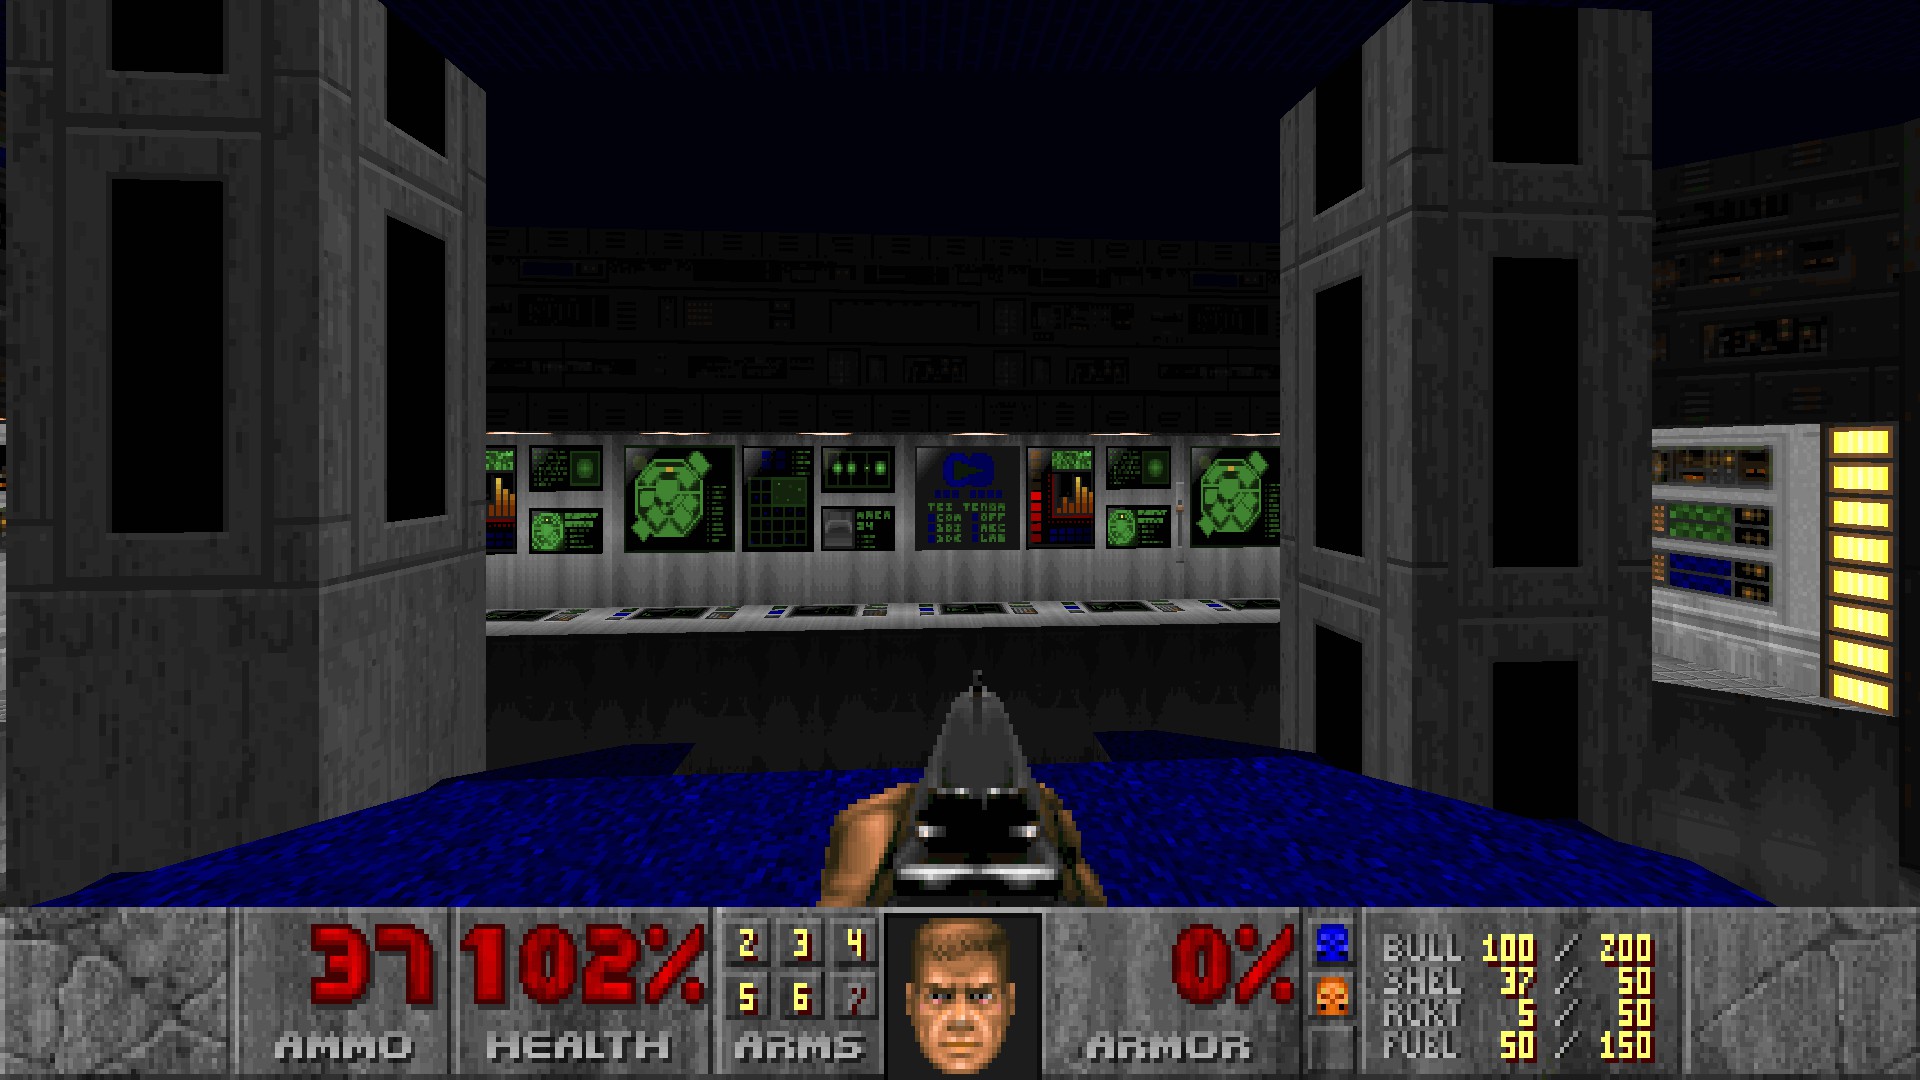
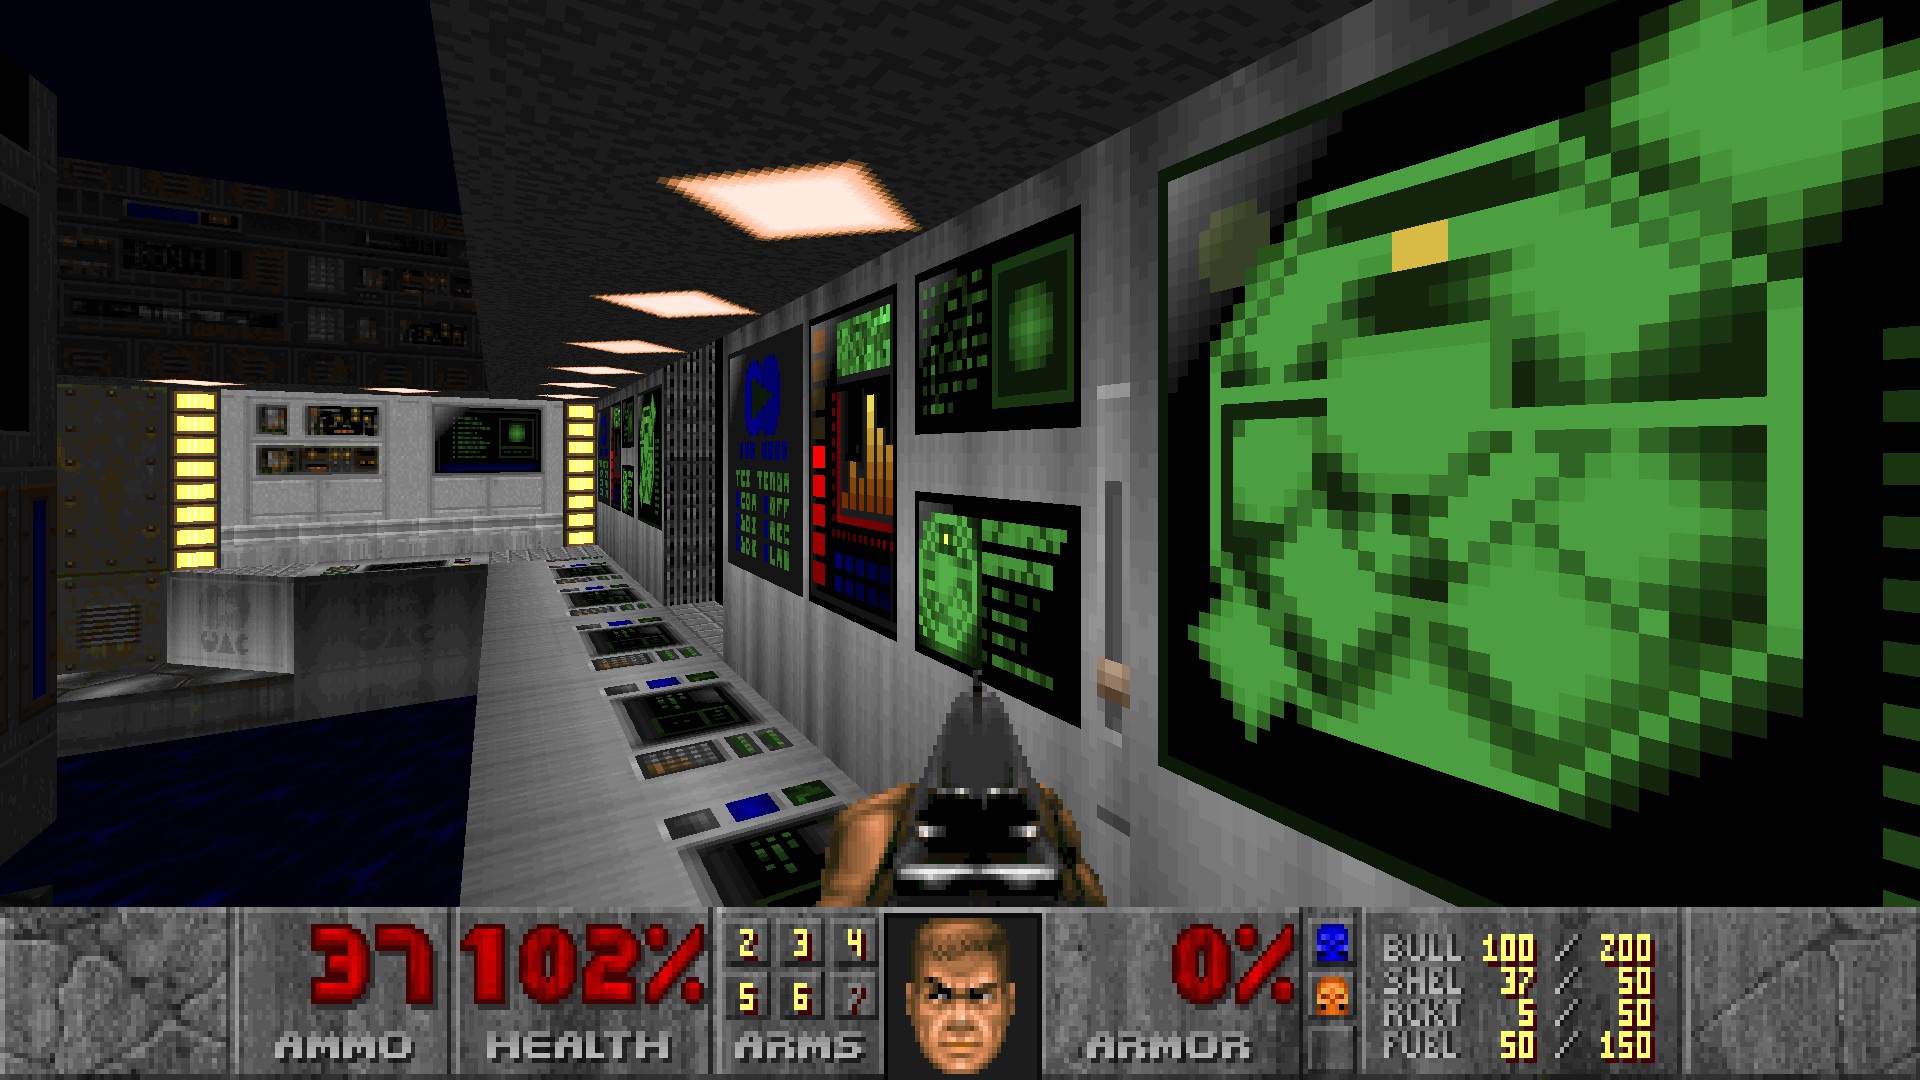
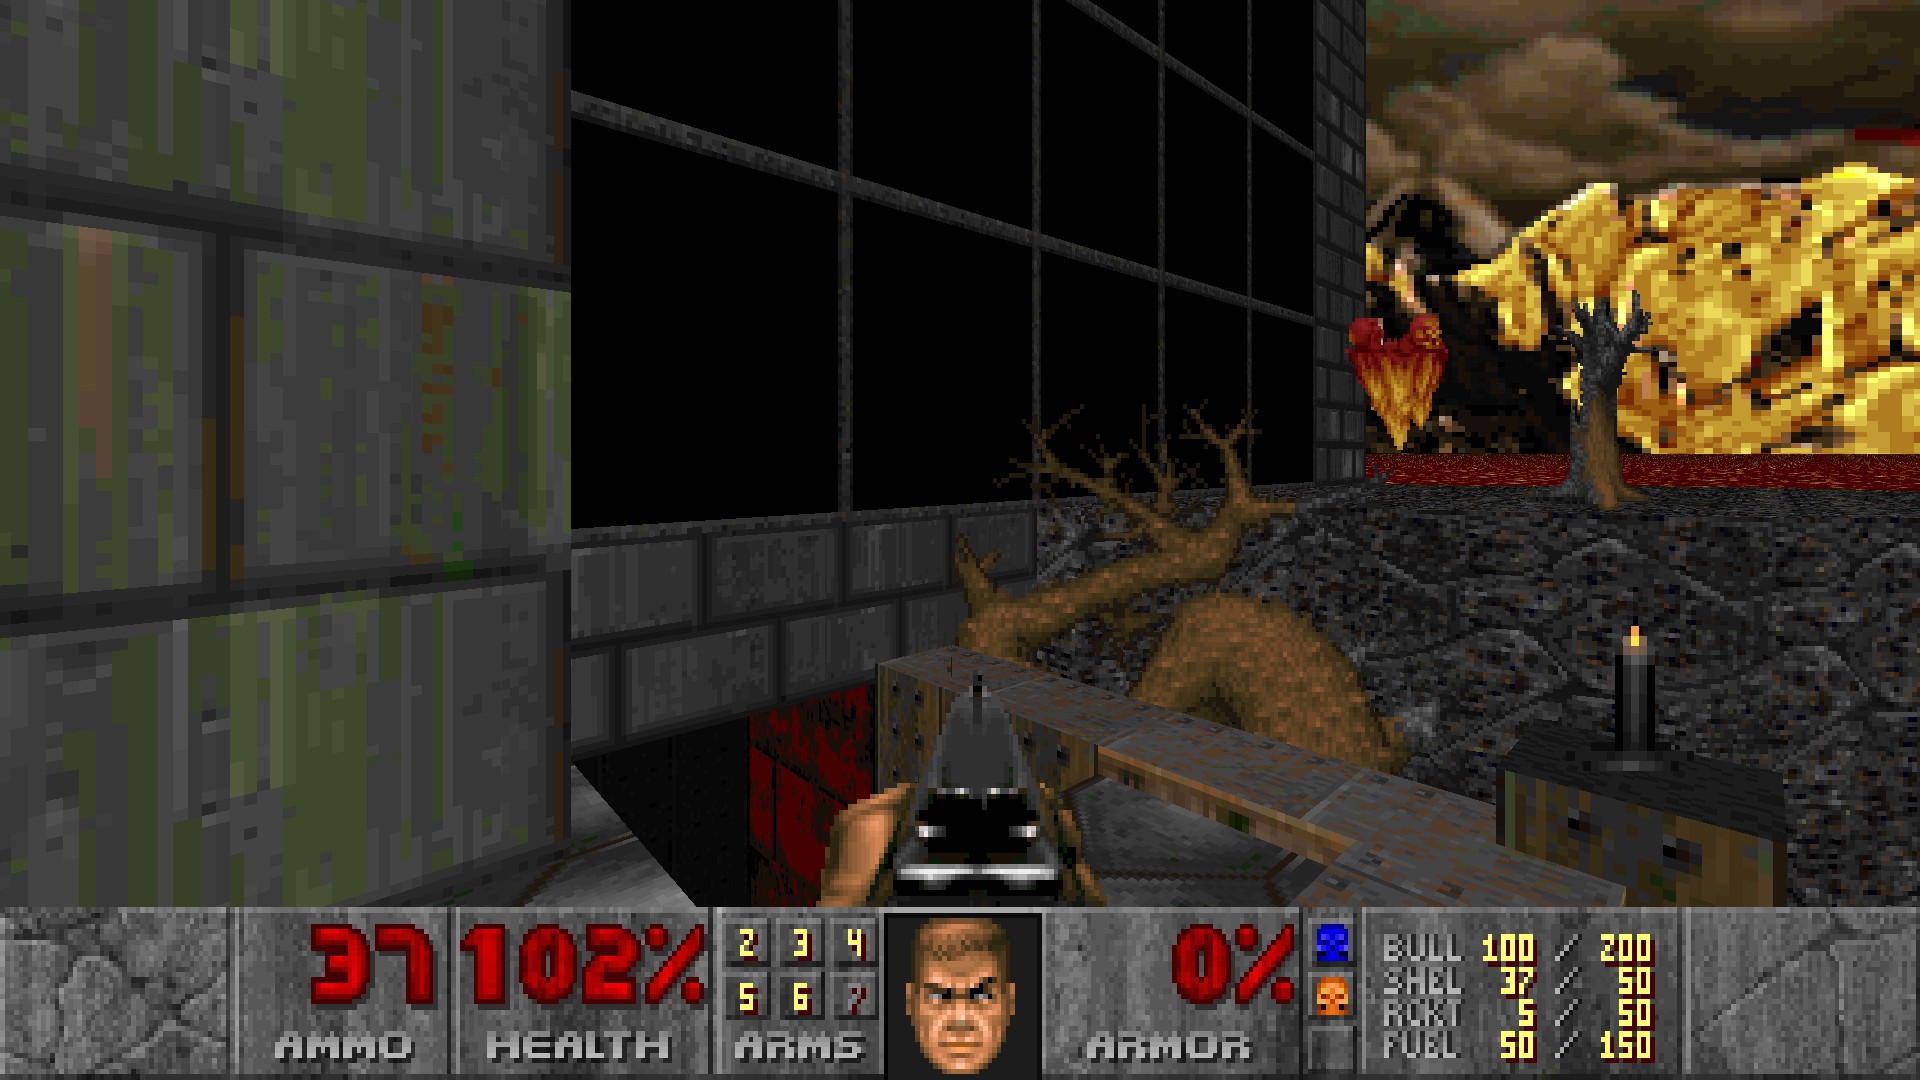 Return to secret #3 and go to a higher level for another secret. (#6)
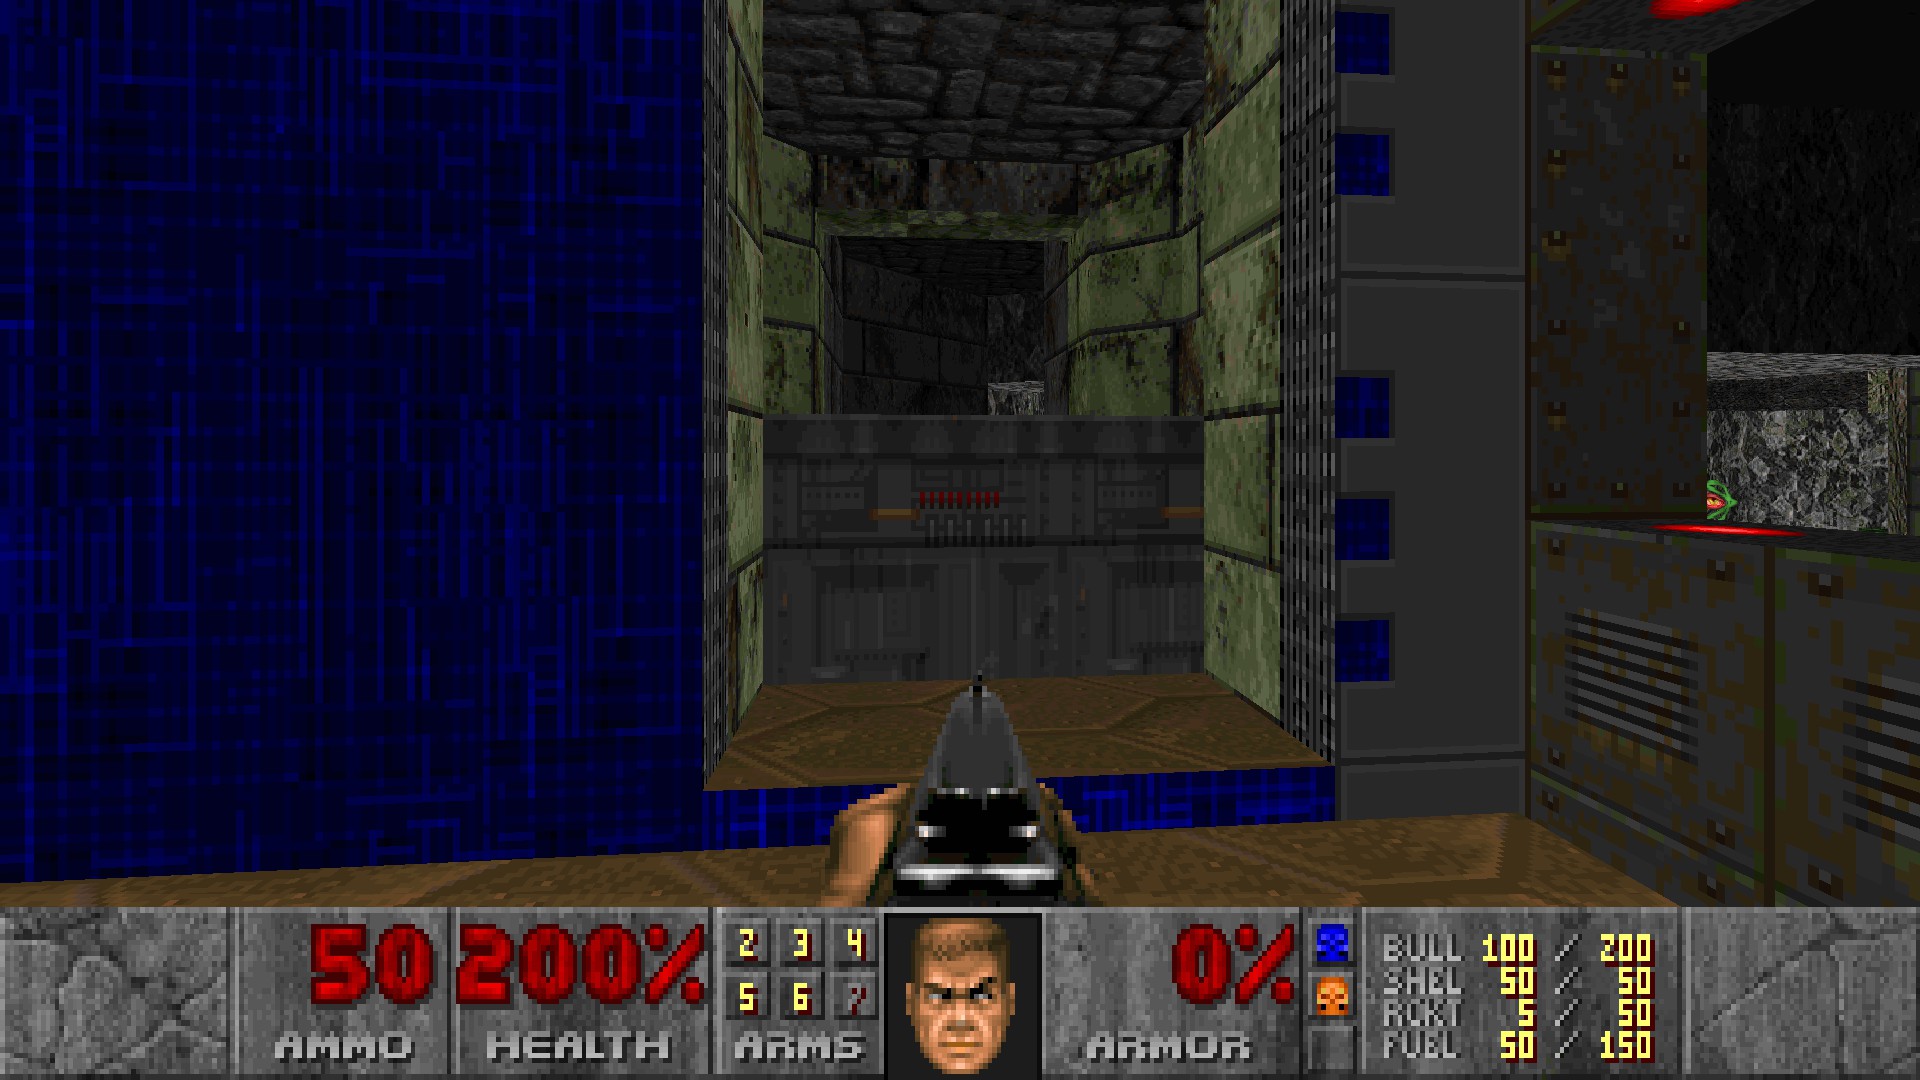 From secret #6, walk forward and straferun jump across to get an invulnerability sphere. (#7)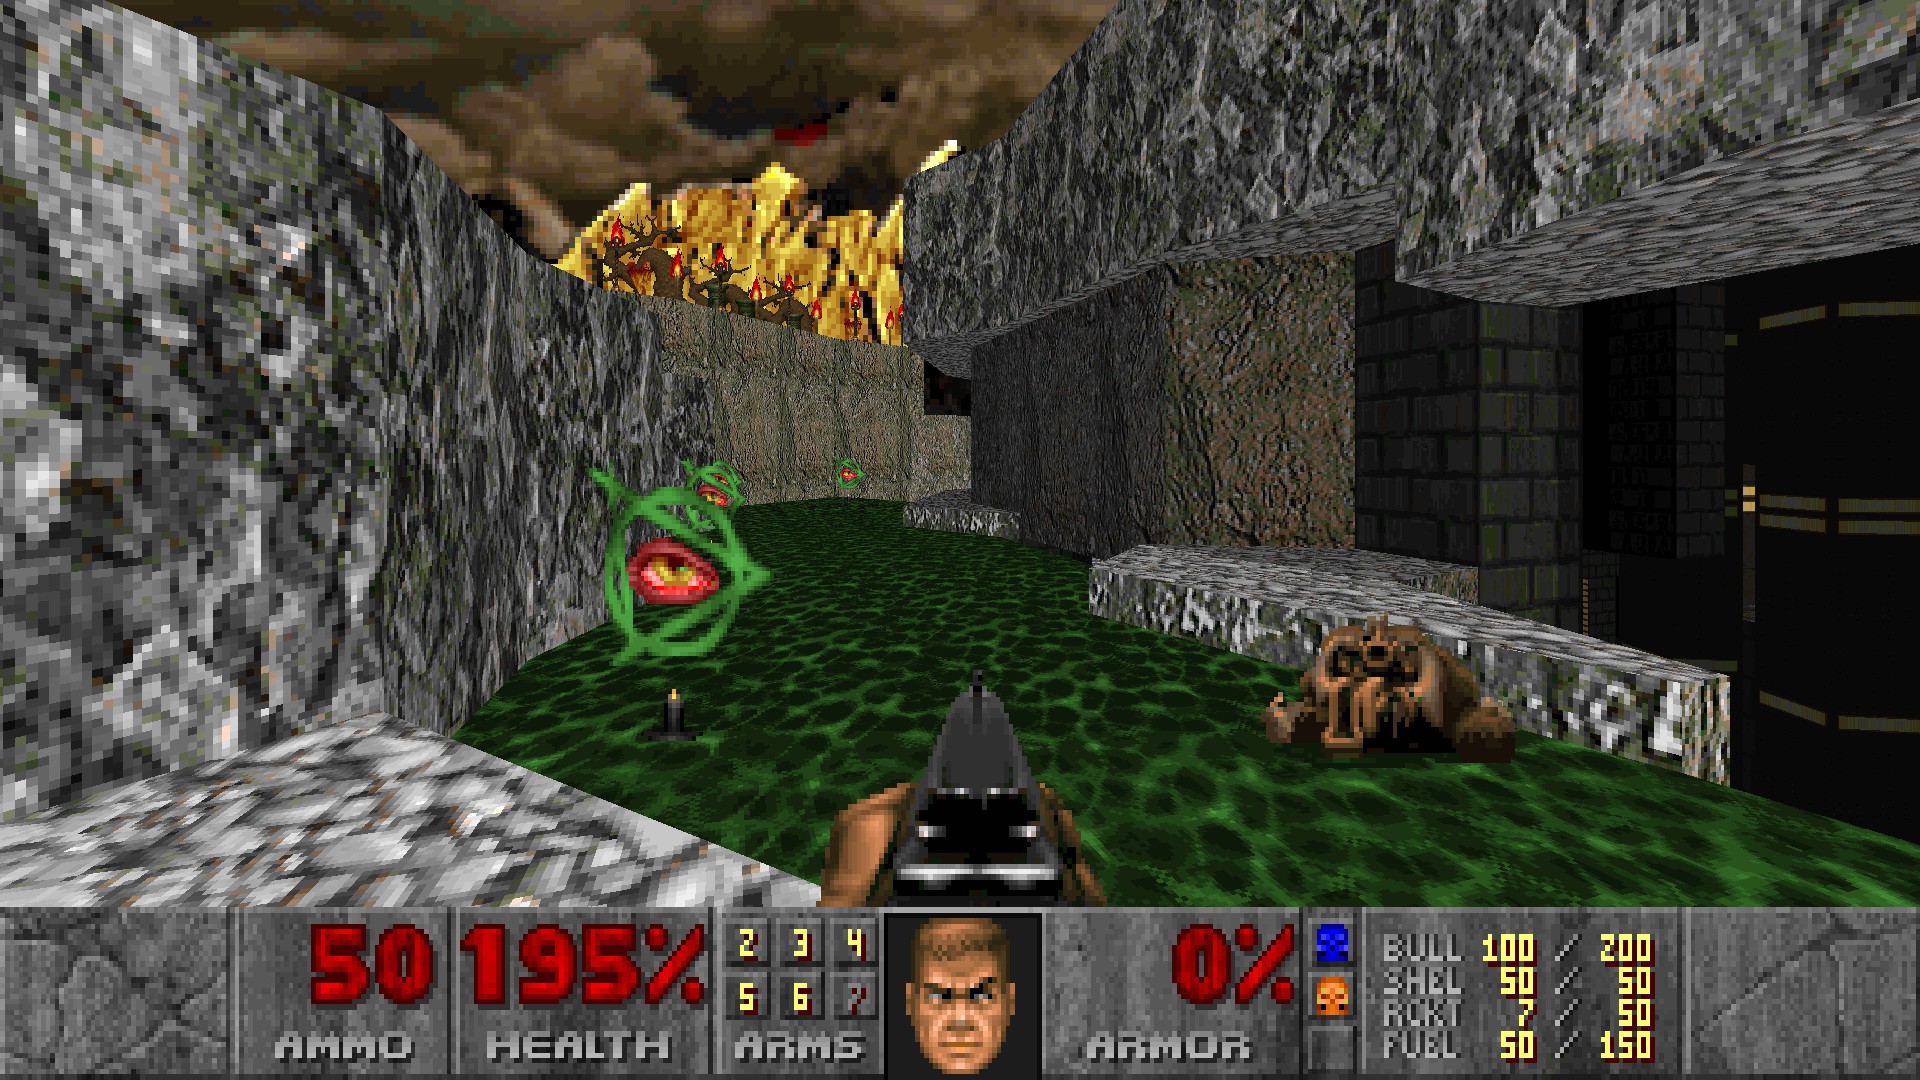
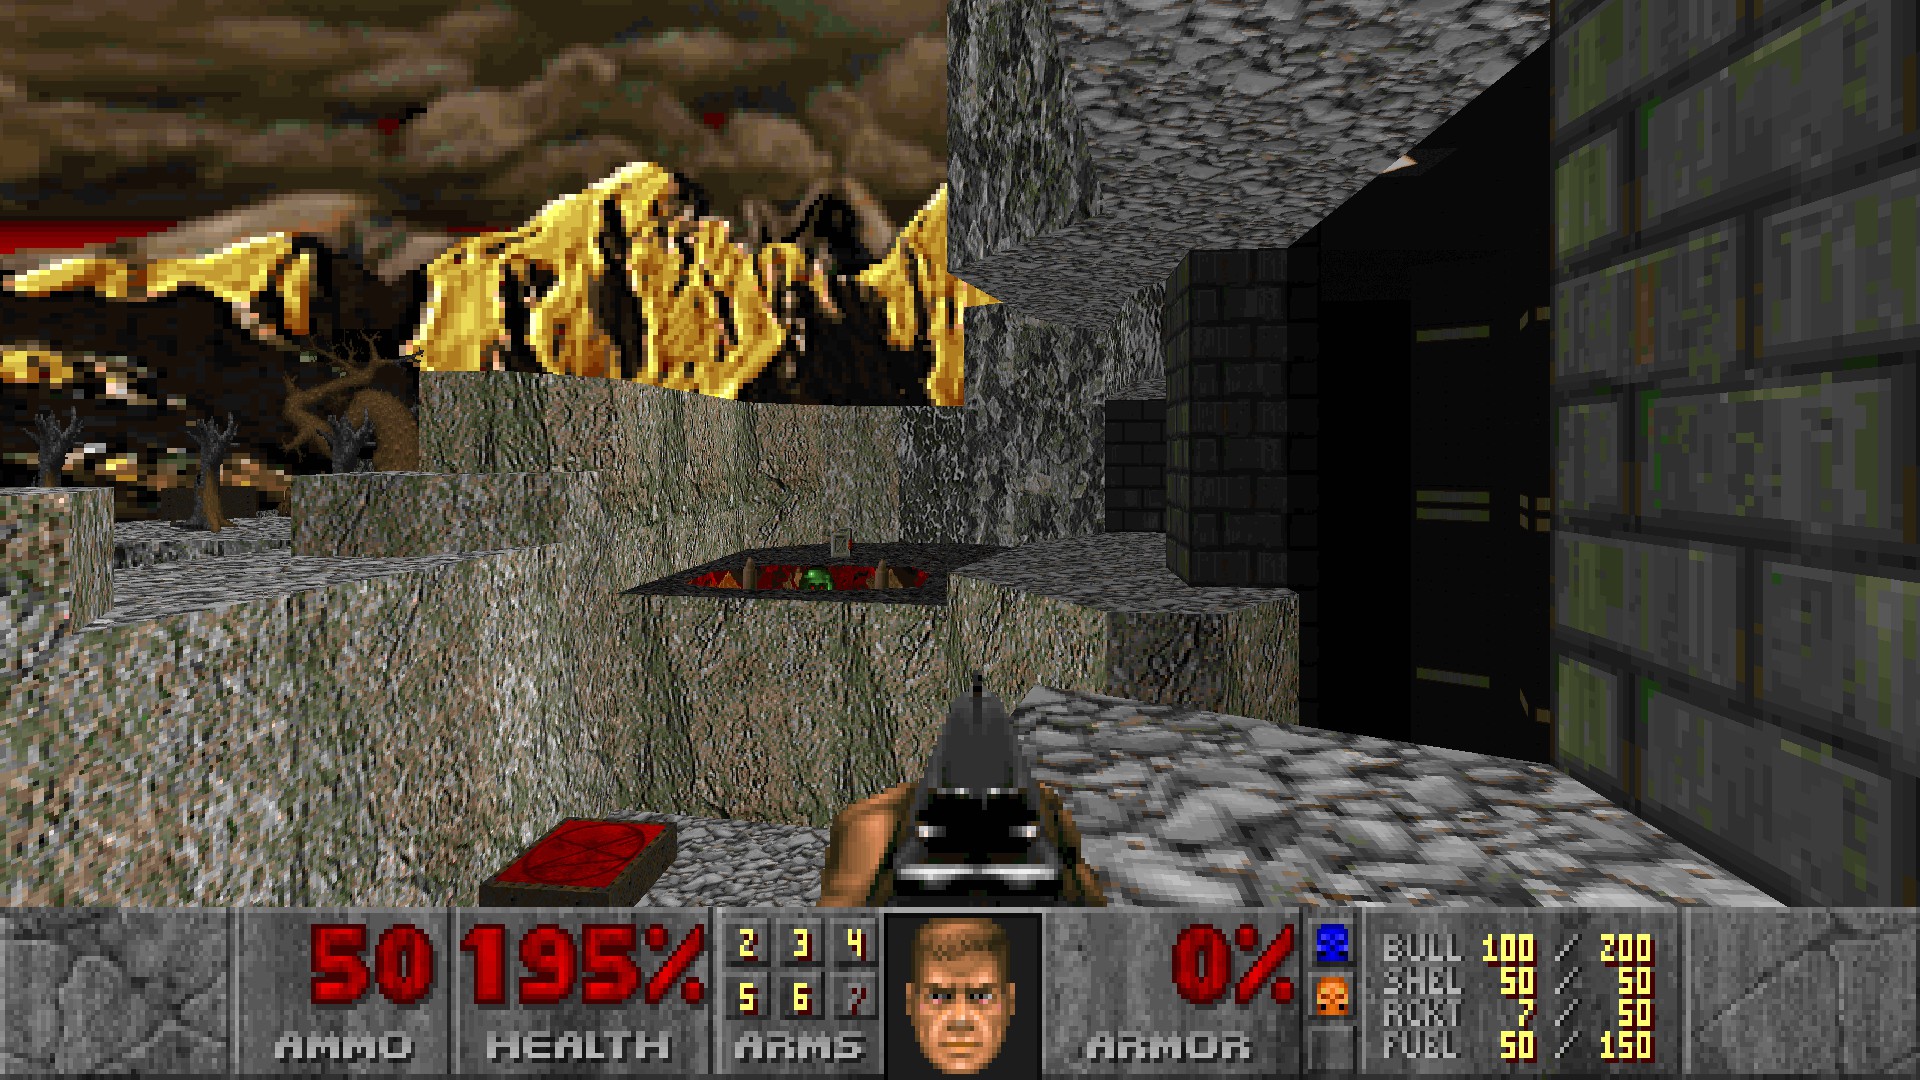
#8-10
In the outside area with three revenants on each red tall platform, immediately run upstairs to the north and fall down to lava with a supercharge waiting for you. (#8)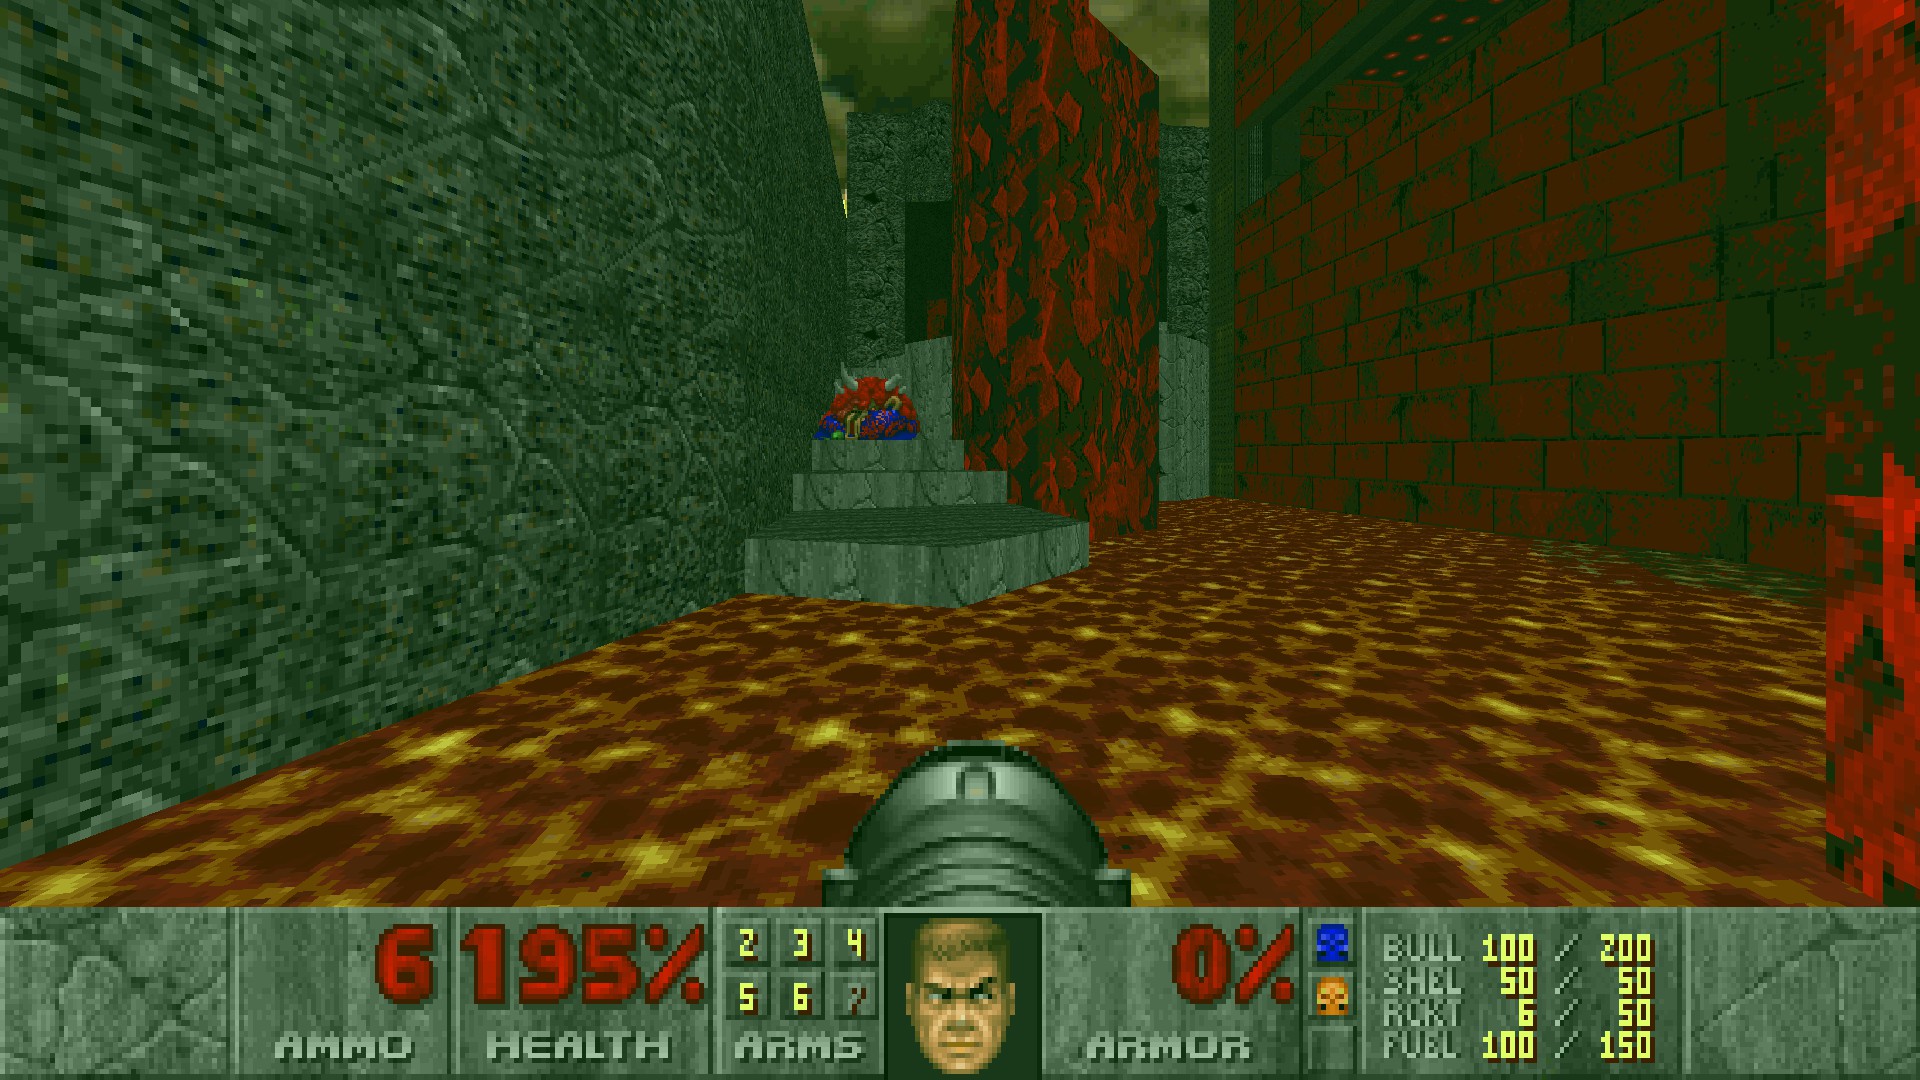
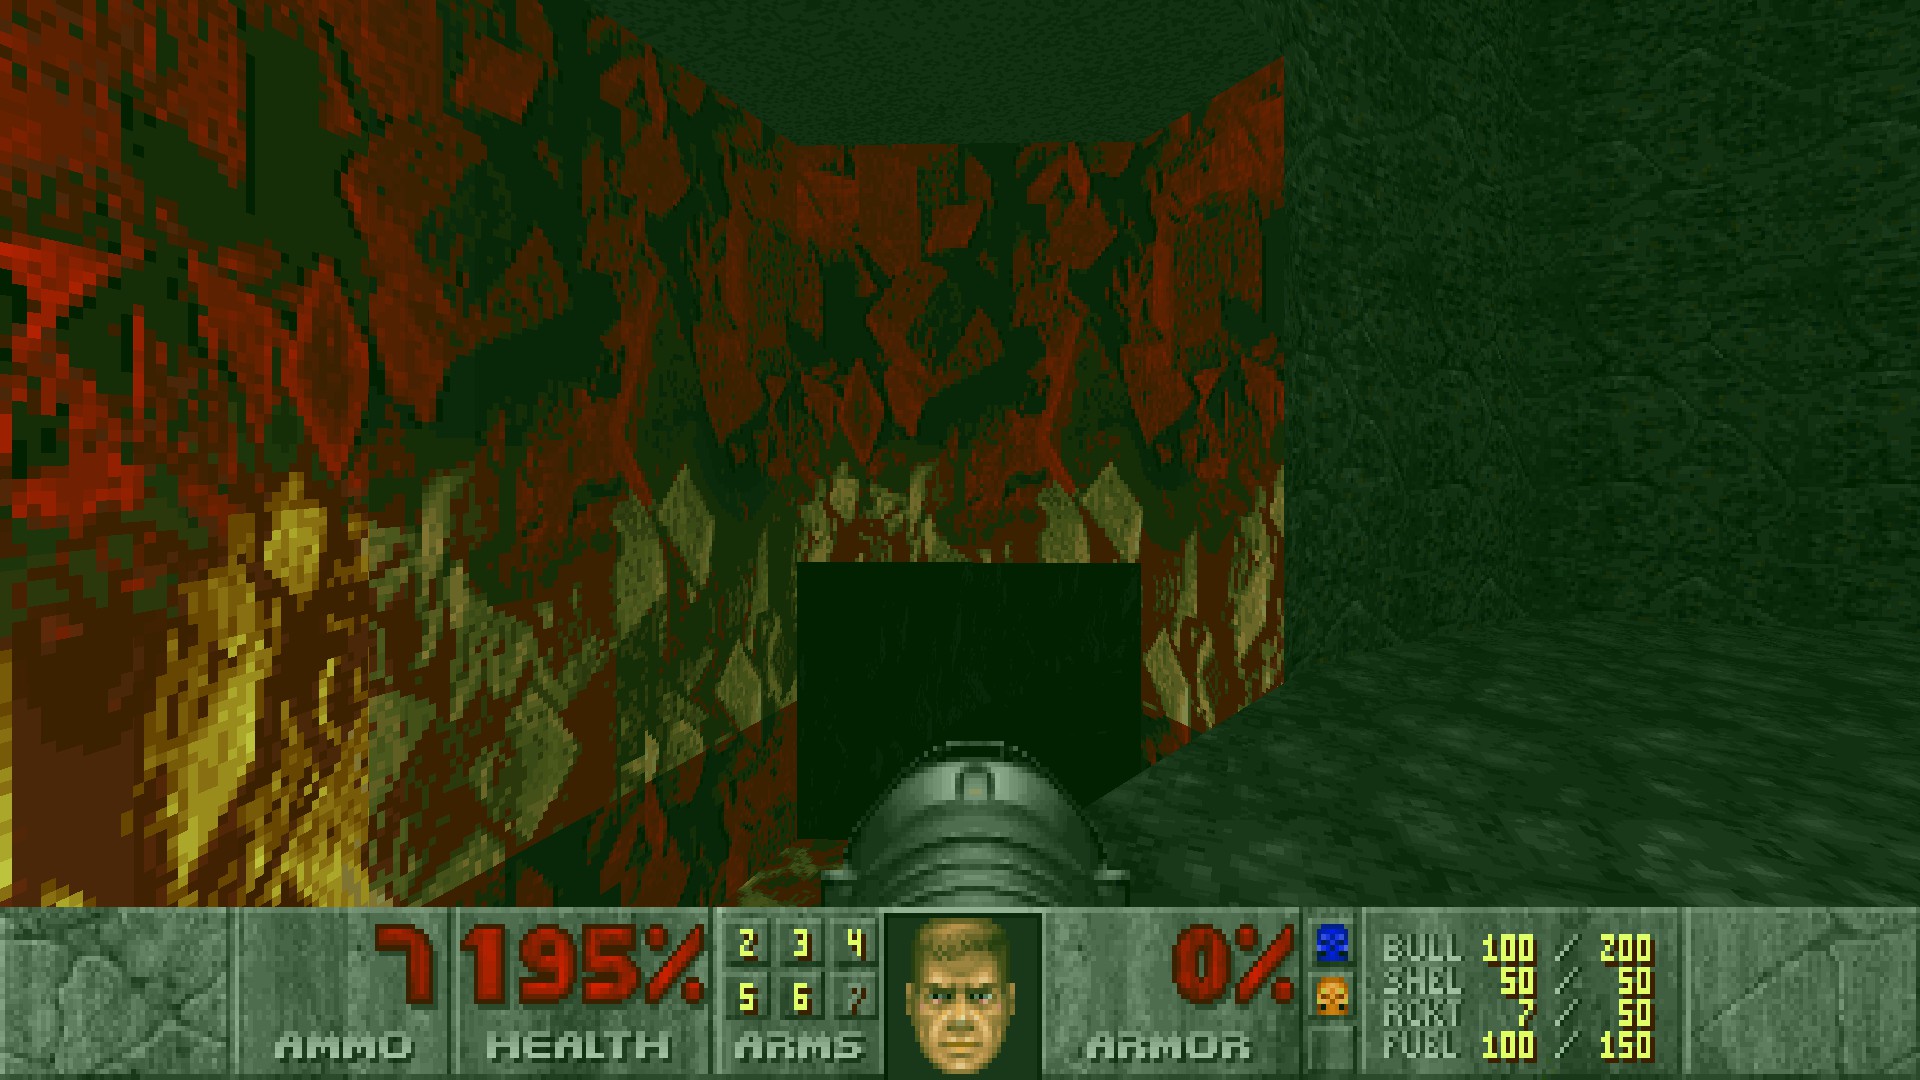
Still in the same area, climb up the stairs at the west and straferun jump to the raised platform with a megaarmor on it. (#9)
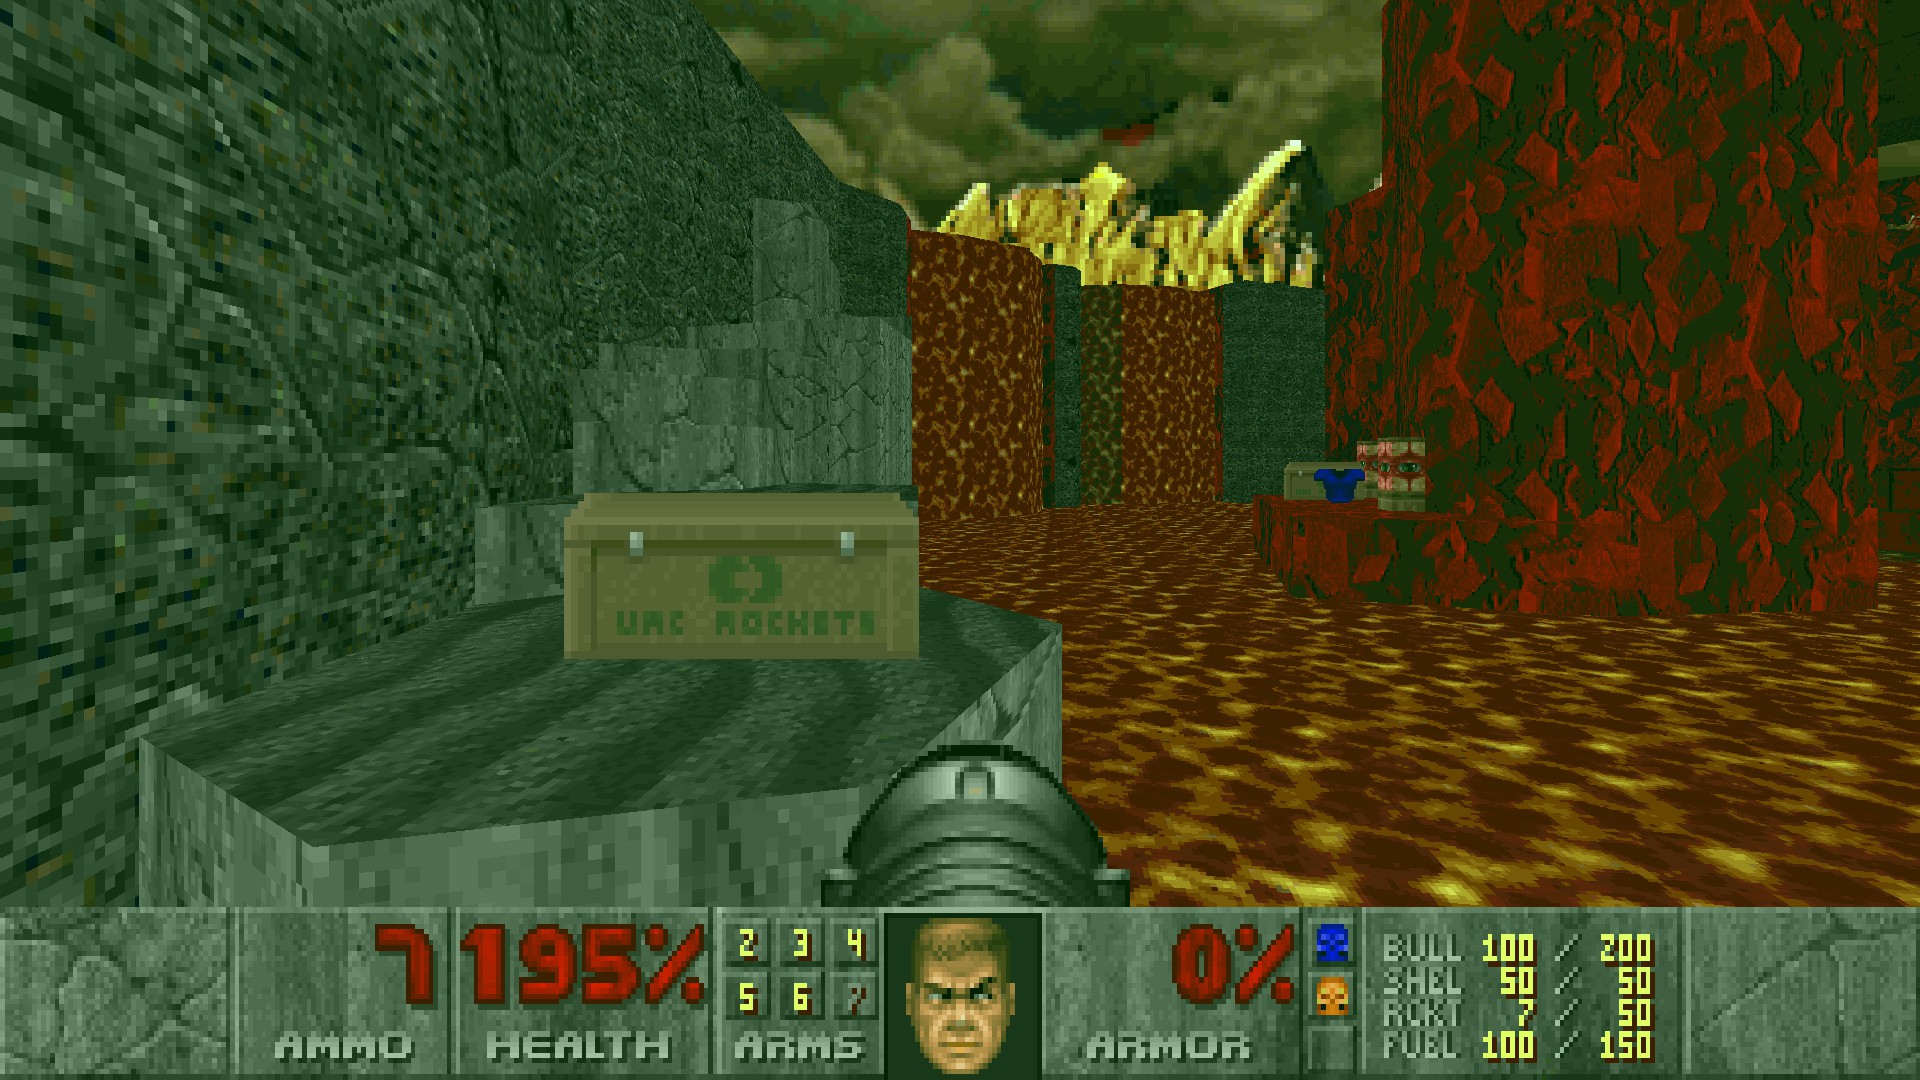 This also lowers the fence behind you so go through it. A wall to your left will open allowing access to exit to E2M0: Panopticon. (#10)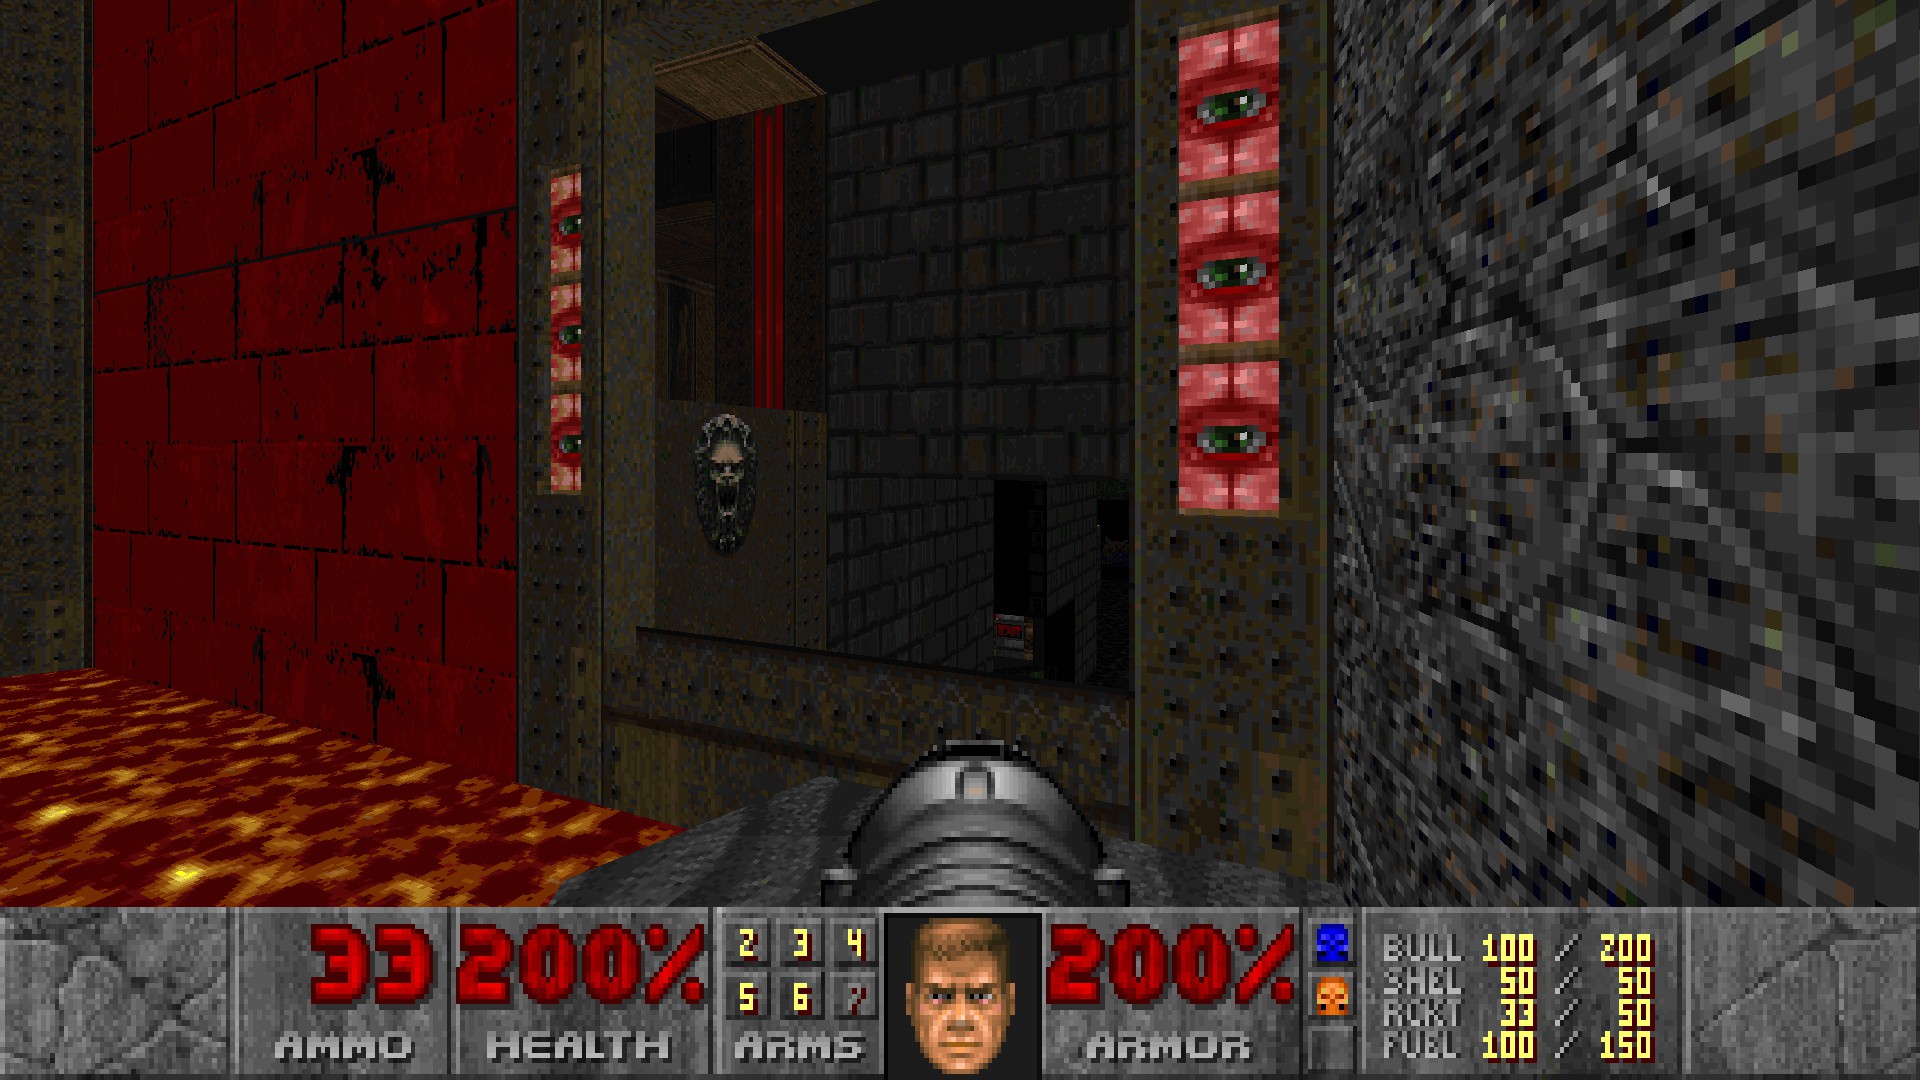
E2M0: Panopticon
#1
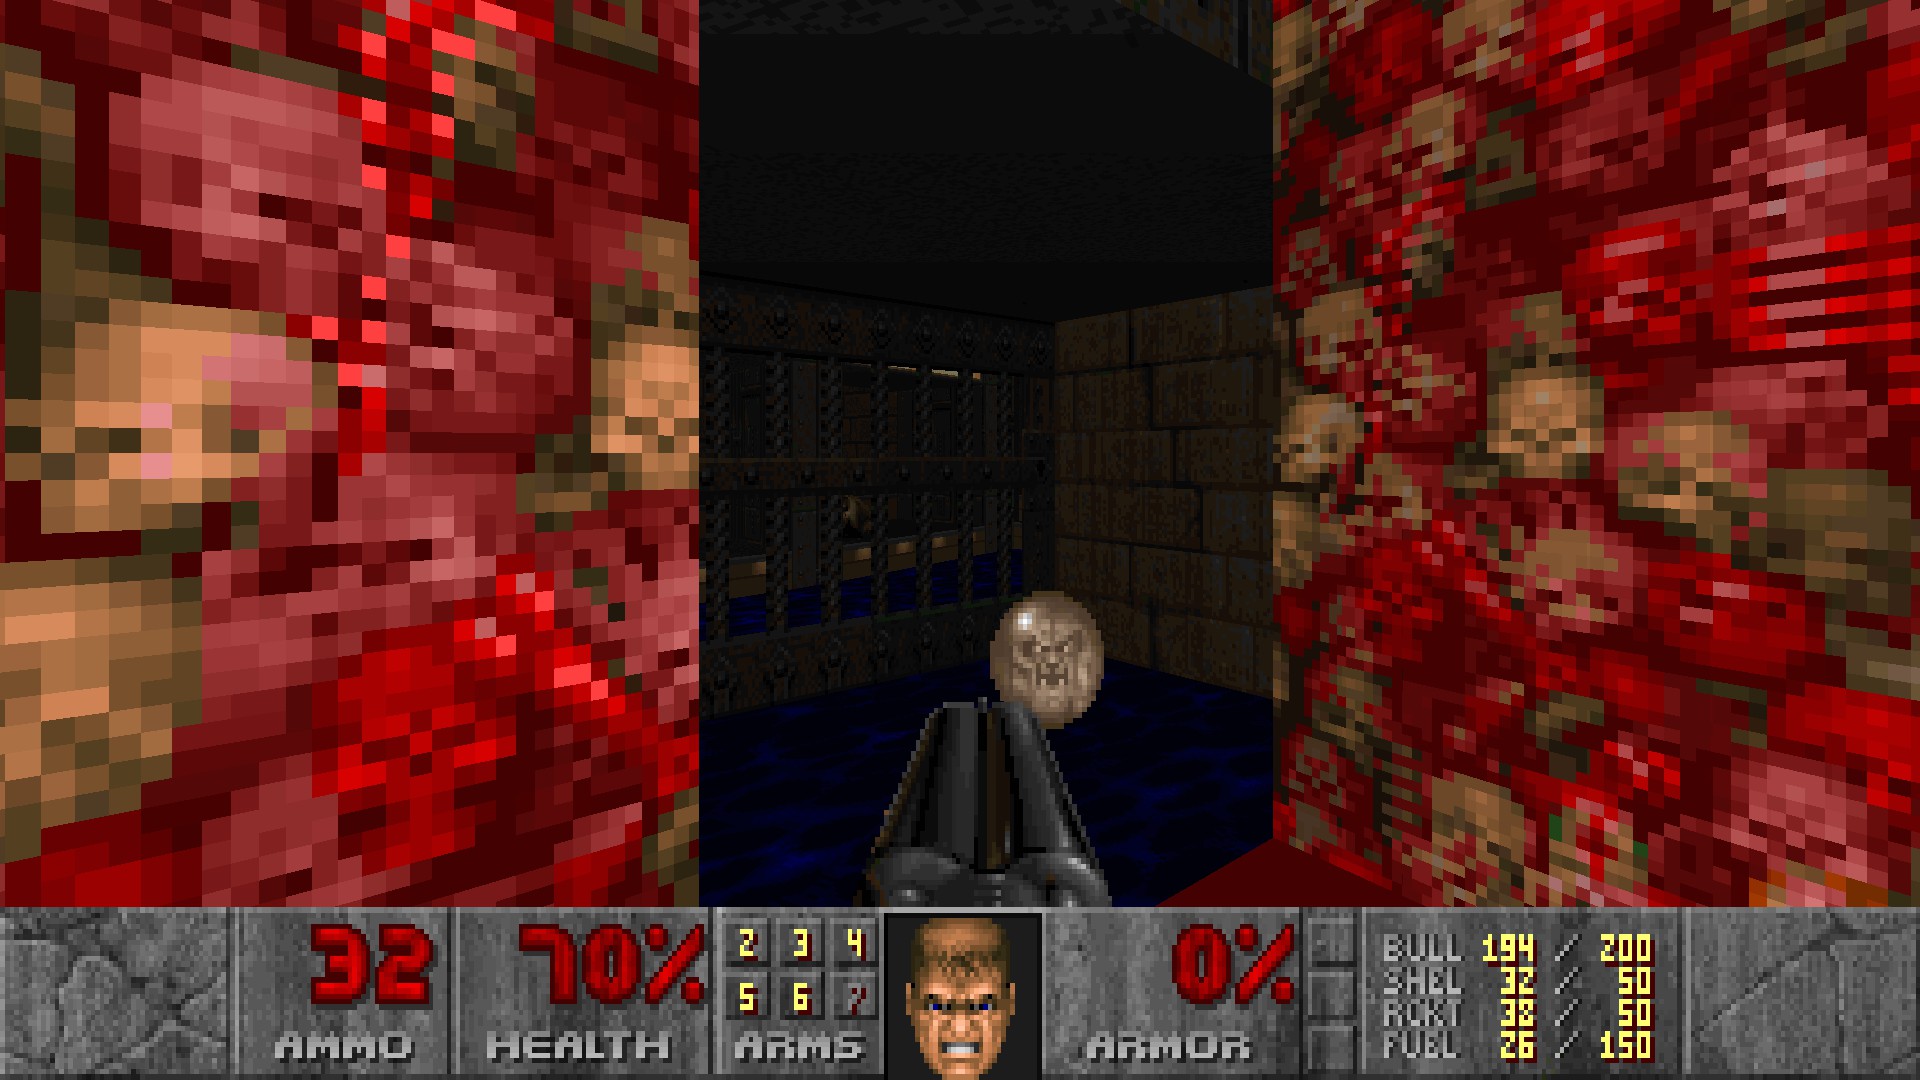
In the maze made of flesh, take a straight path instead the left one where you can get a megasphere.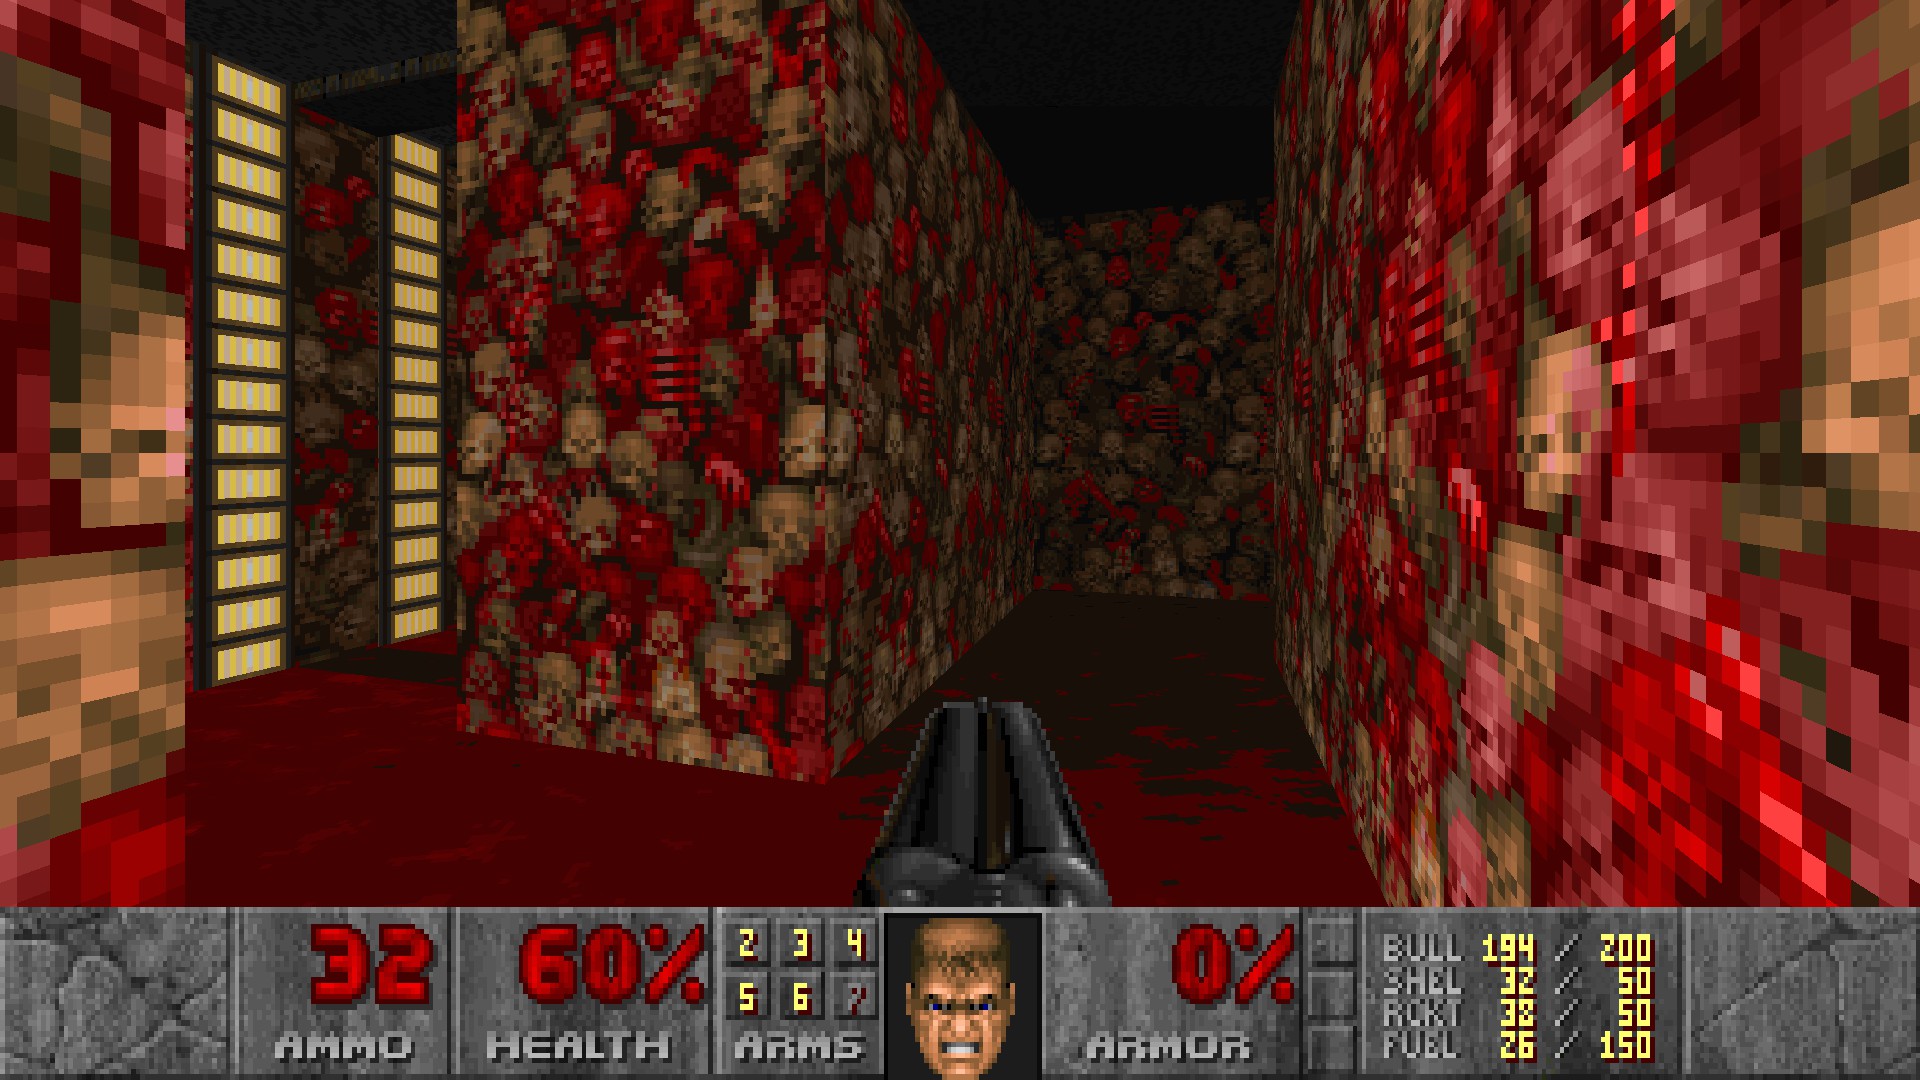
E2M4: Echoes of Pain
#1
There's a wall with a different texture in front of the yellow key. Open it and collect some goodies.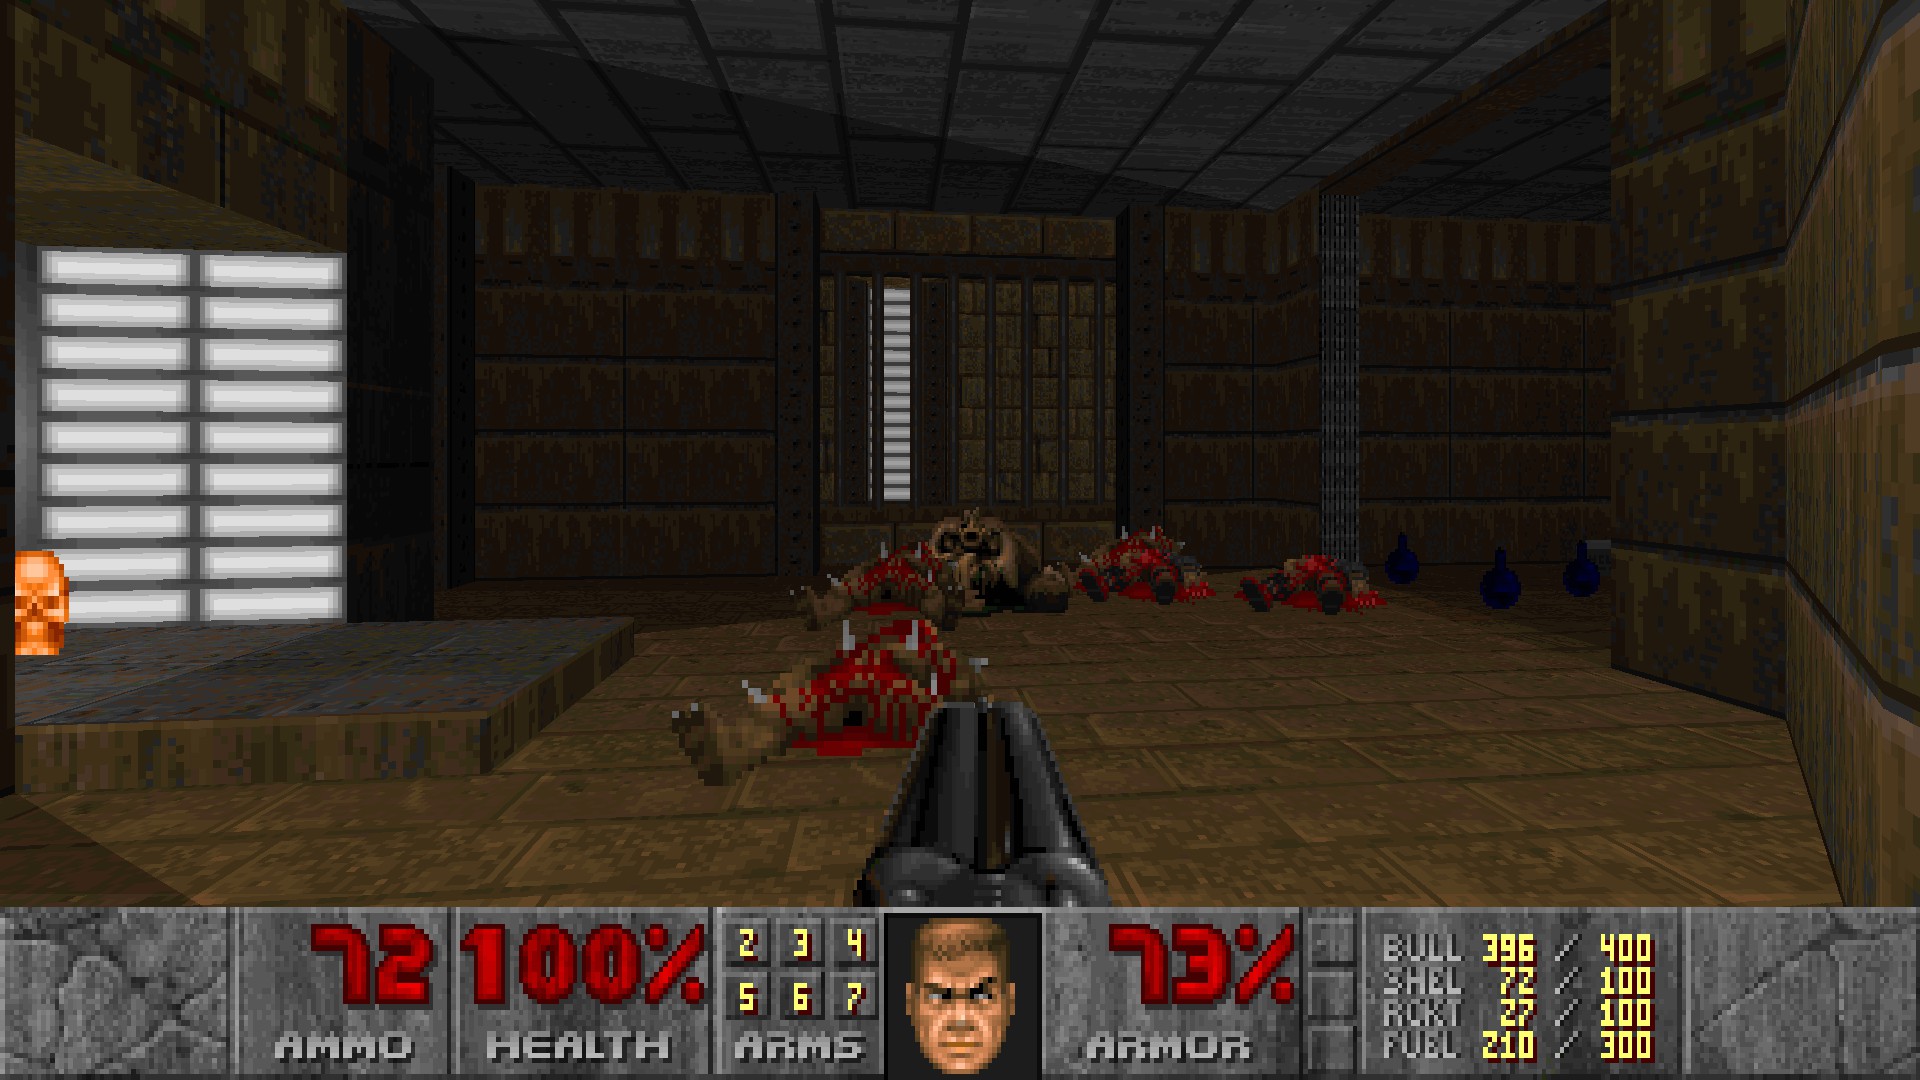
#2
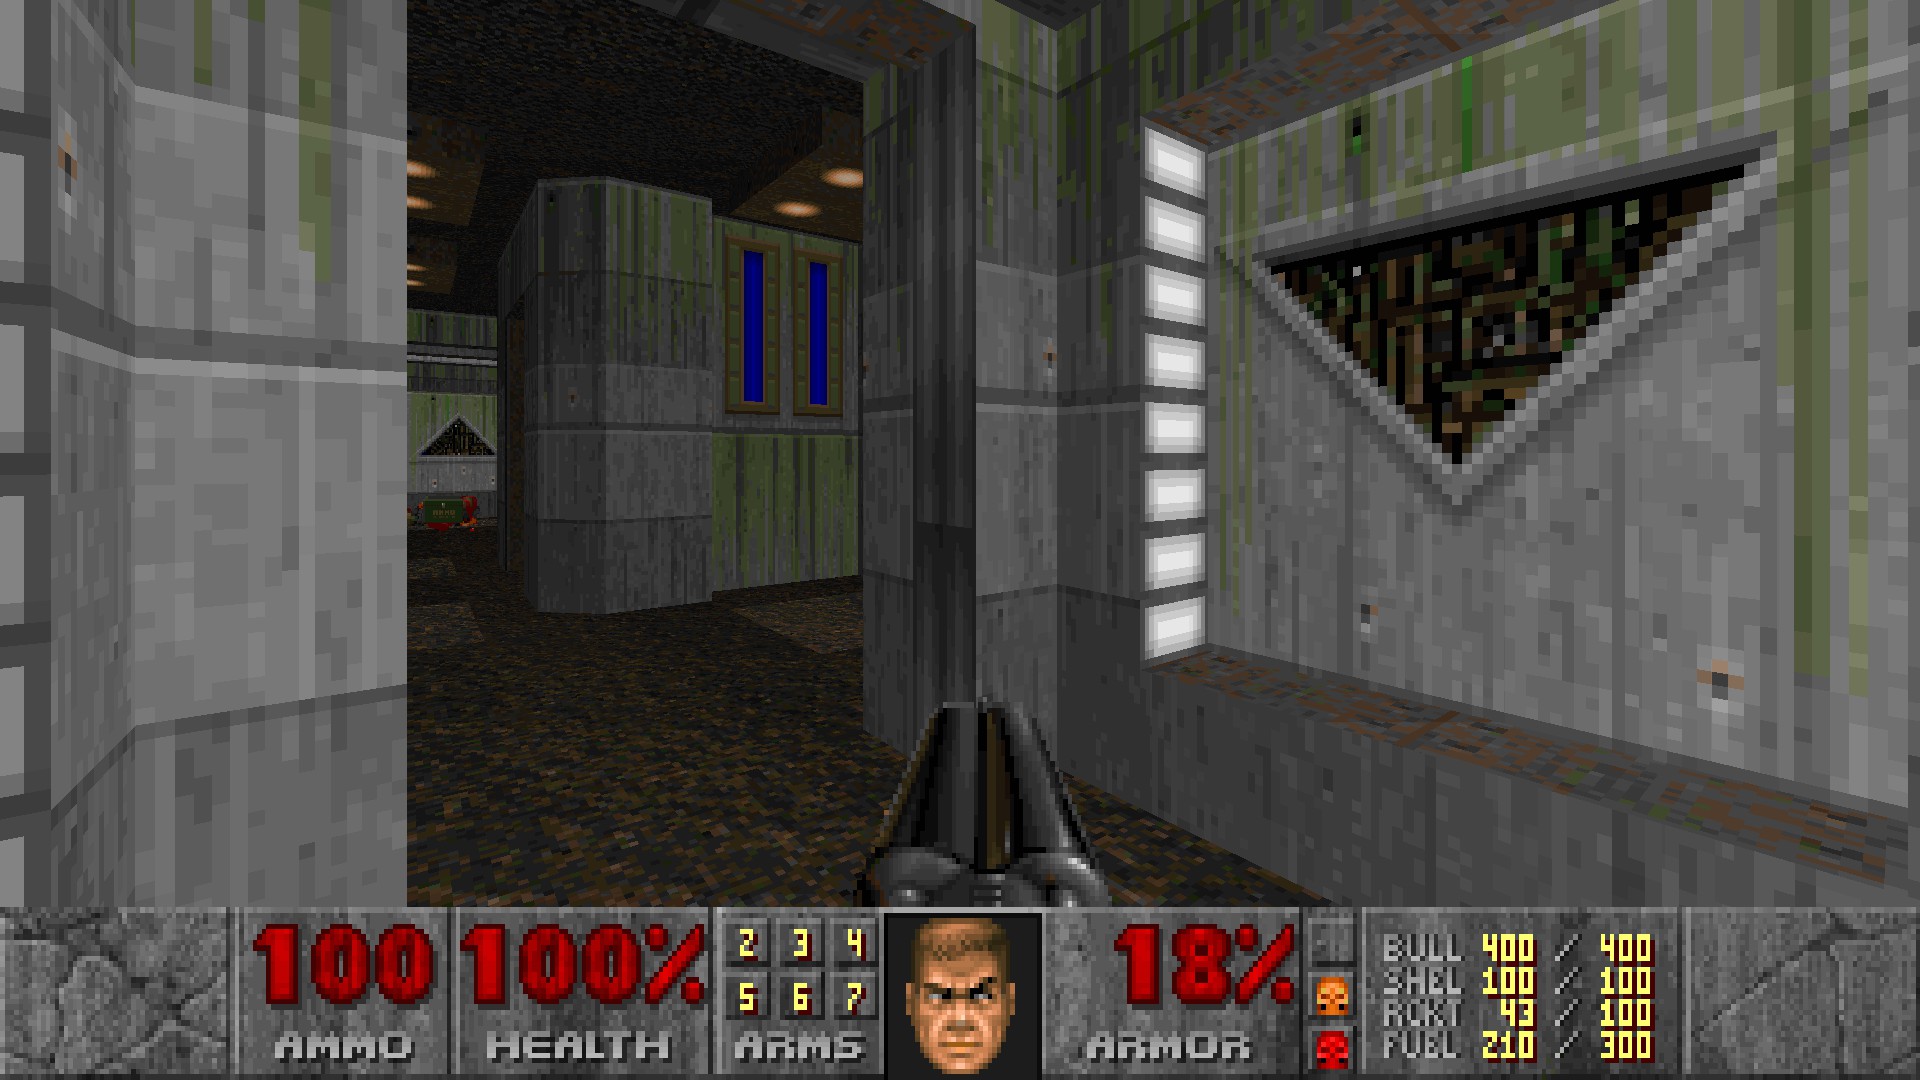
In the room where the yellow key switch was, there's a supercharge behind it. Enter the skull door to the left and check on a southeast compartment for an upside-down triangle in a wall. Interact with it to reveal a teleporter in the center which lead you to the supercharge.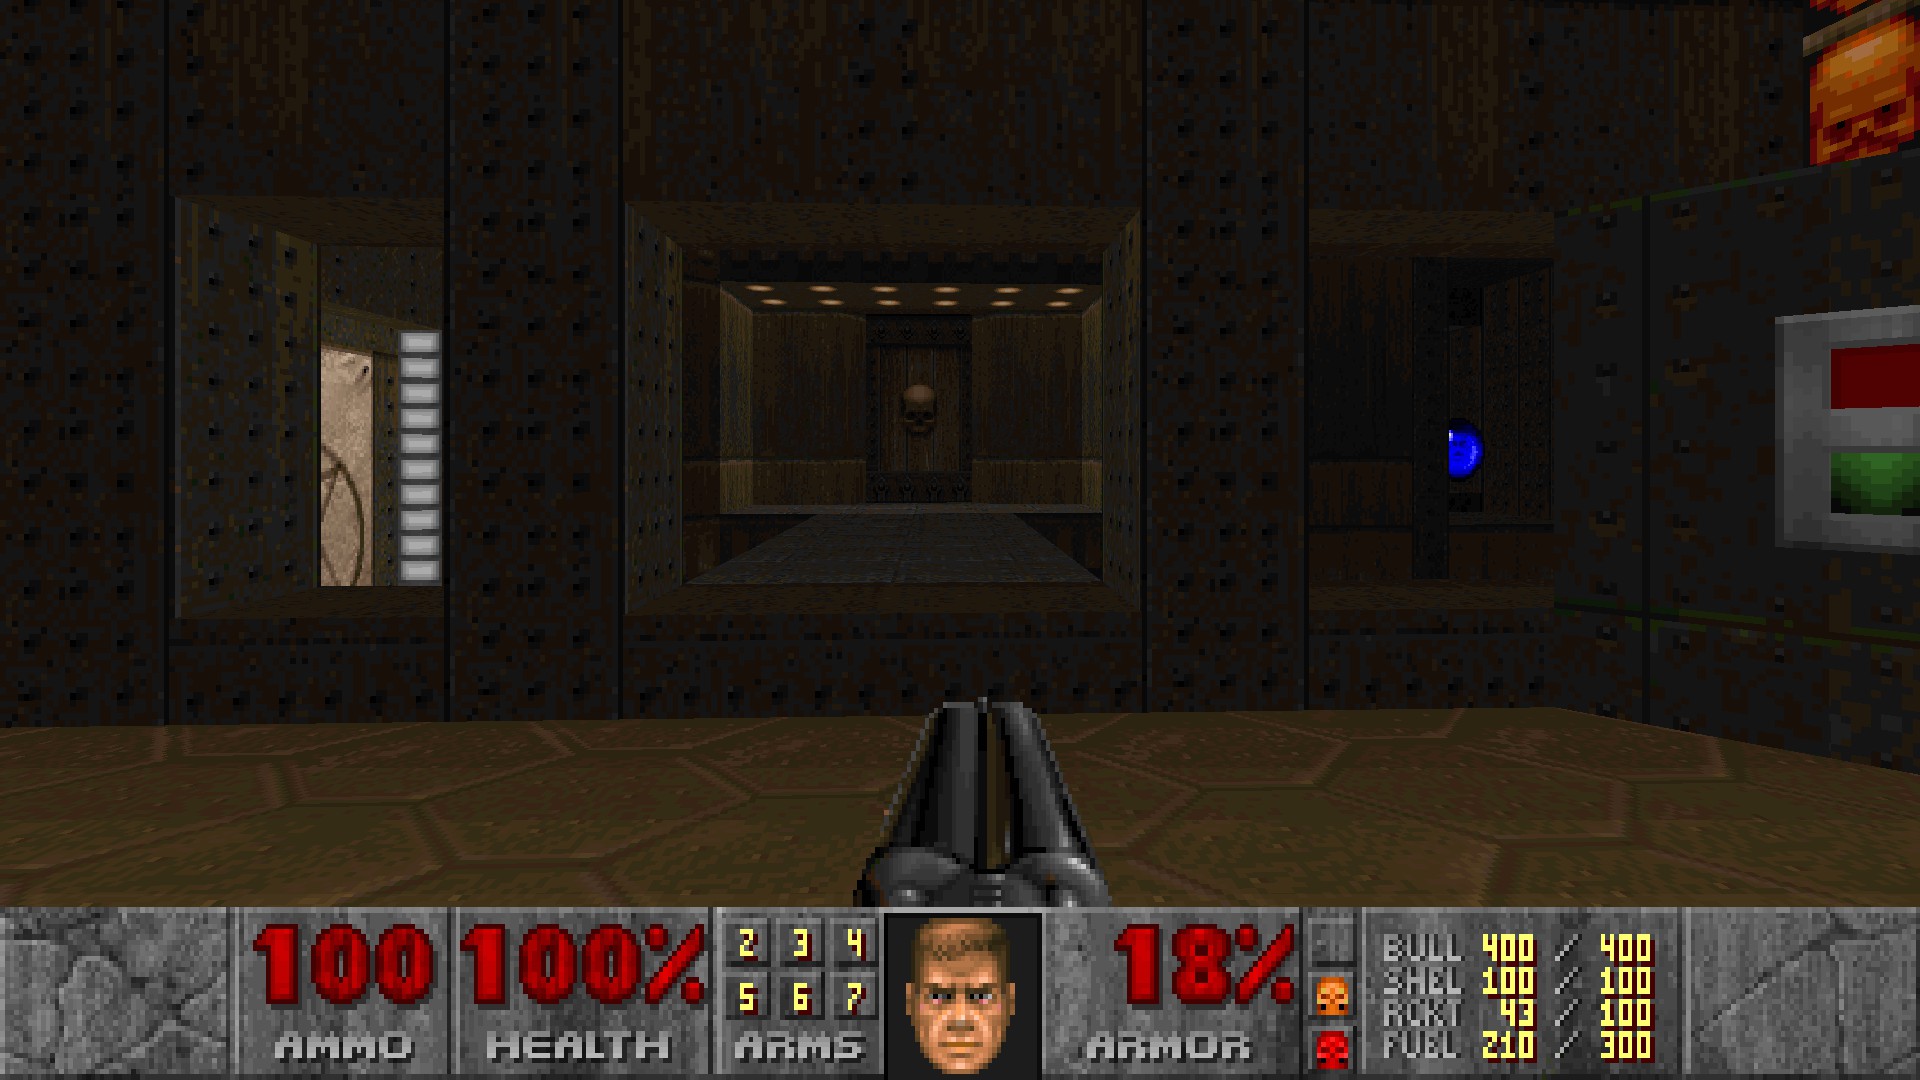
#3
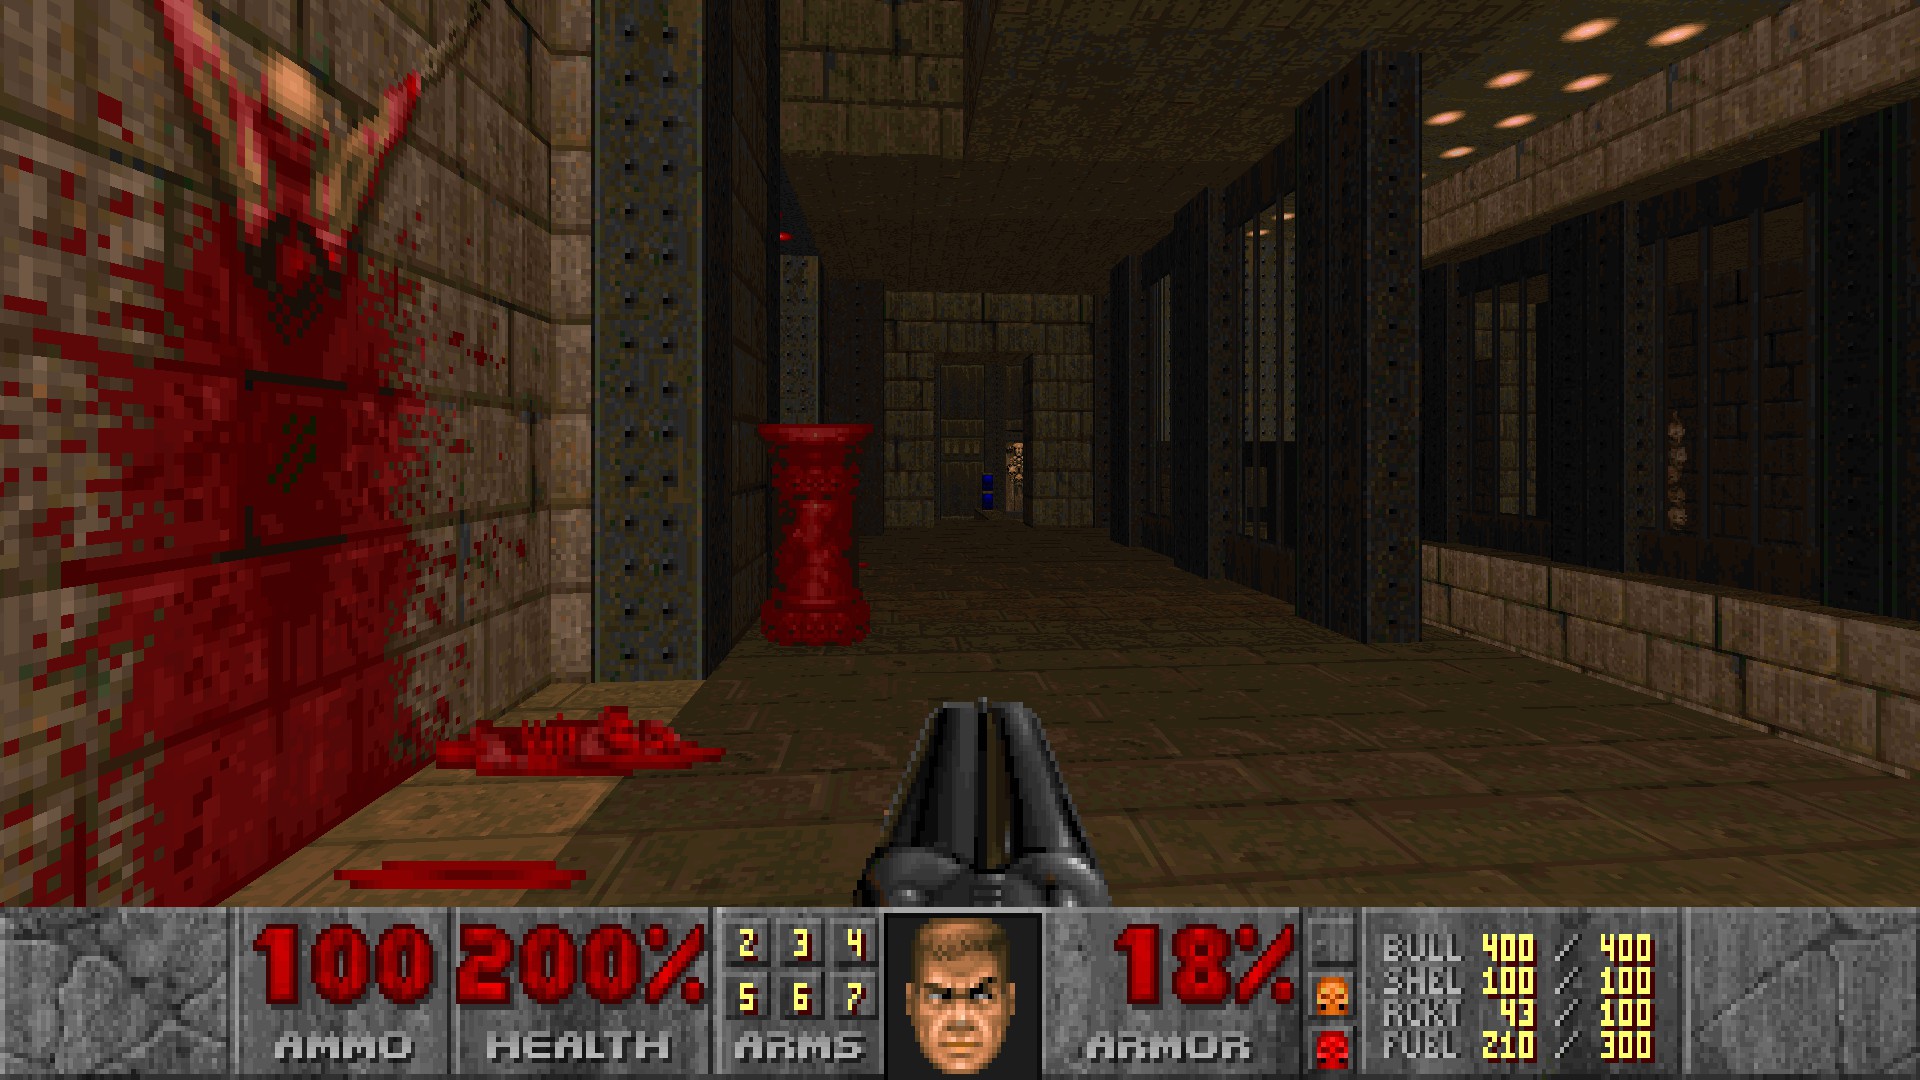
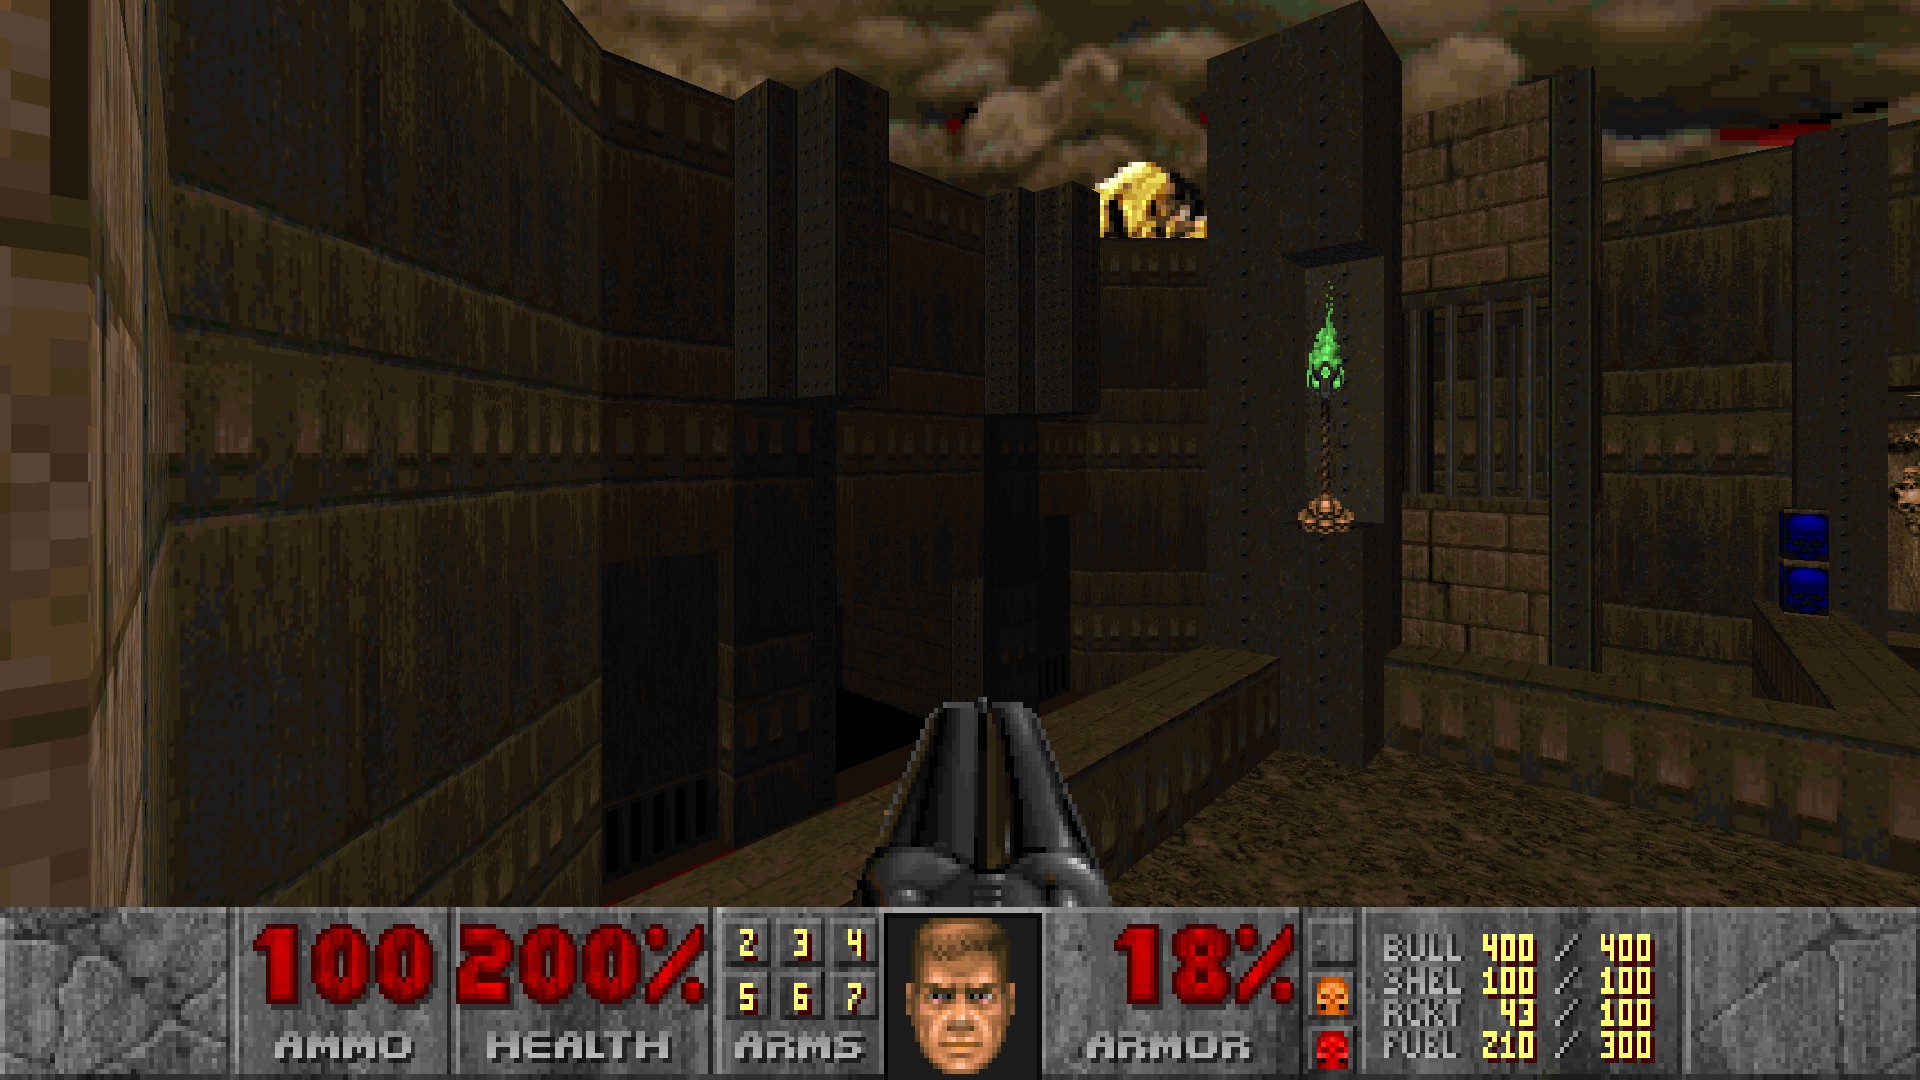
When you enter the room with the fence gate, there's a hole on the ground on the opposite side. Drop down and press the switch at the end.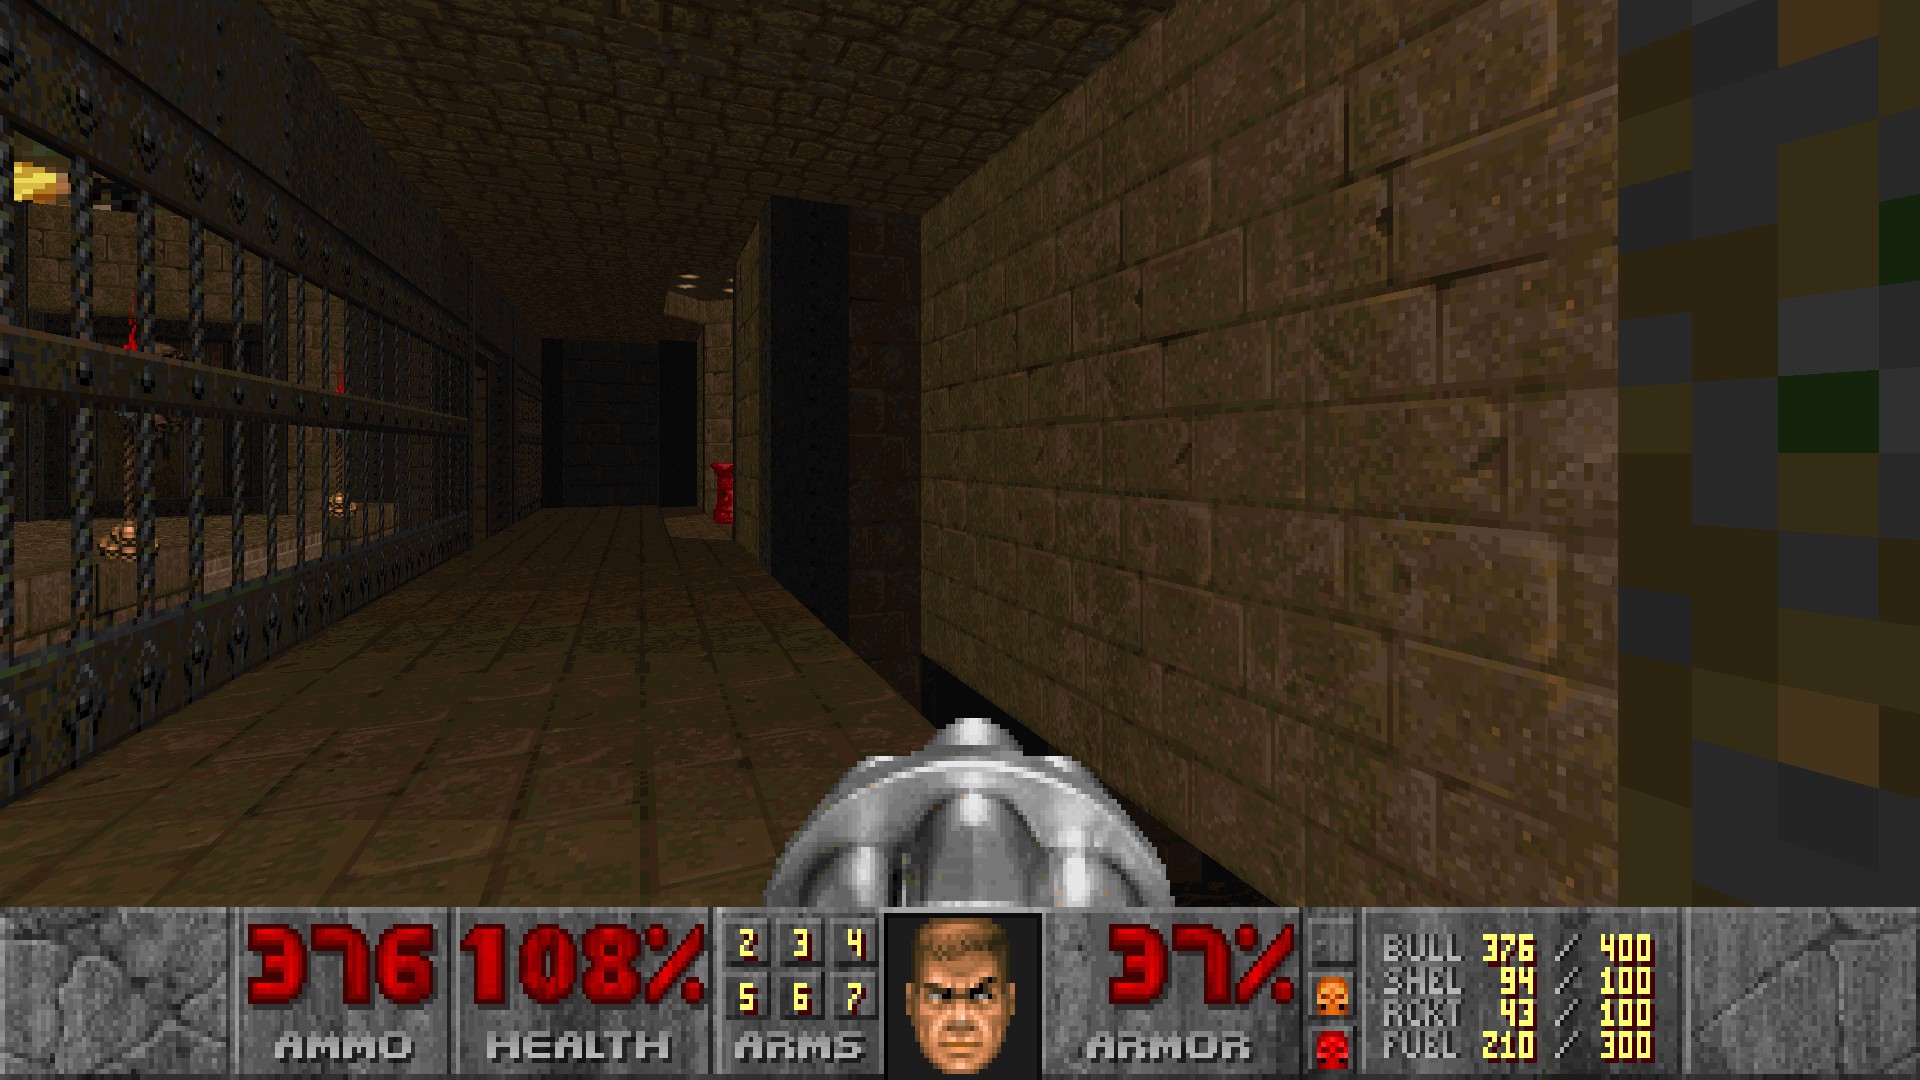
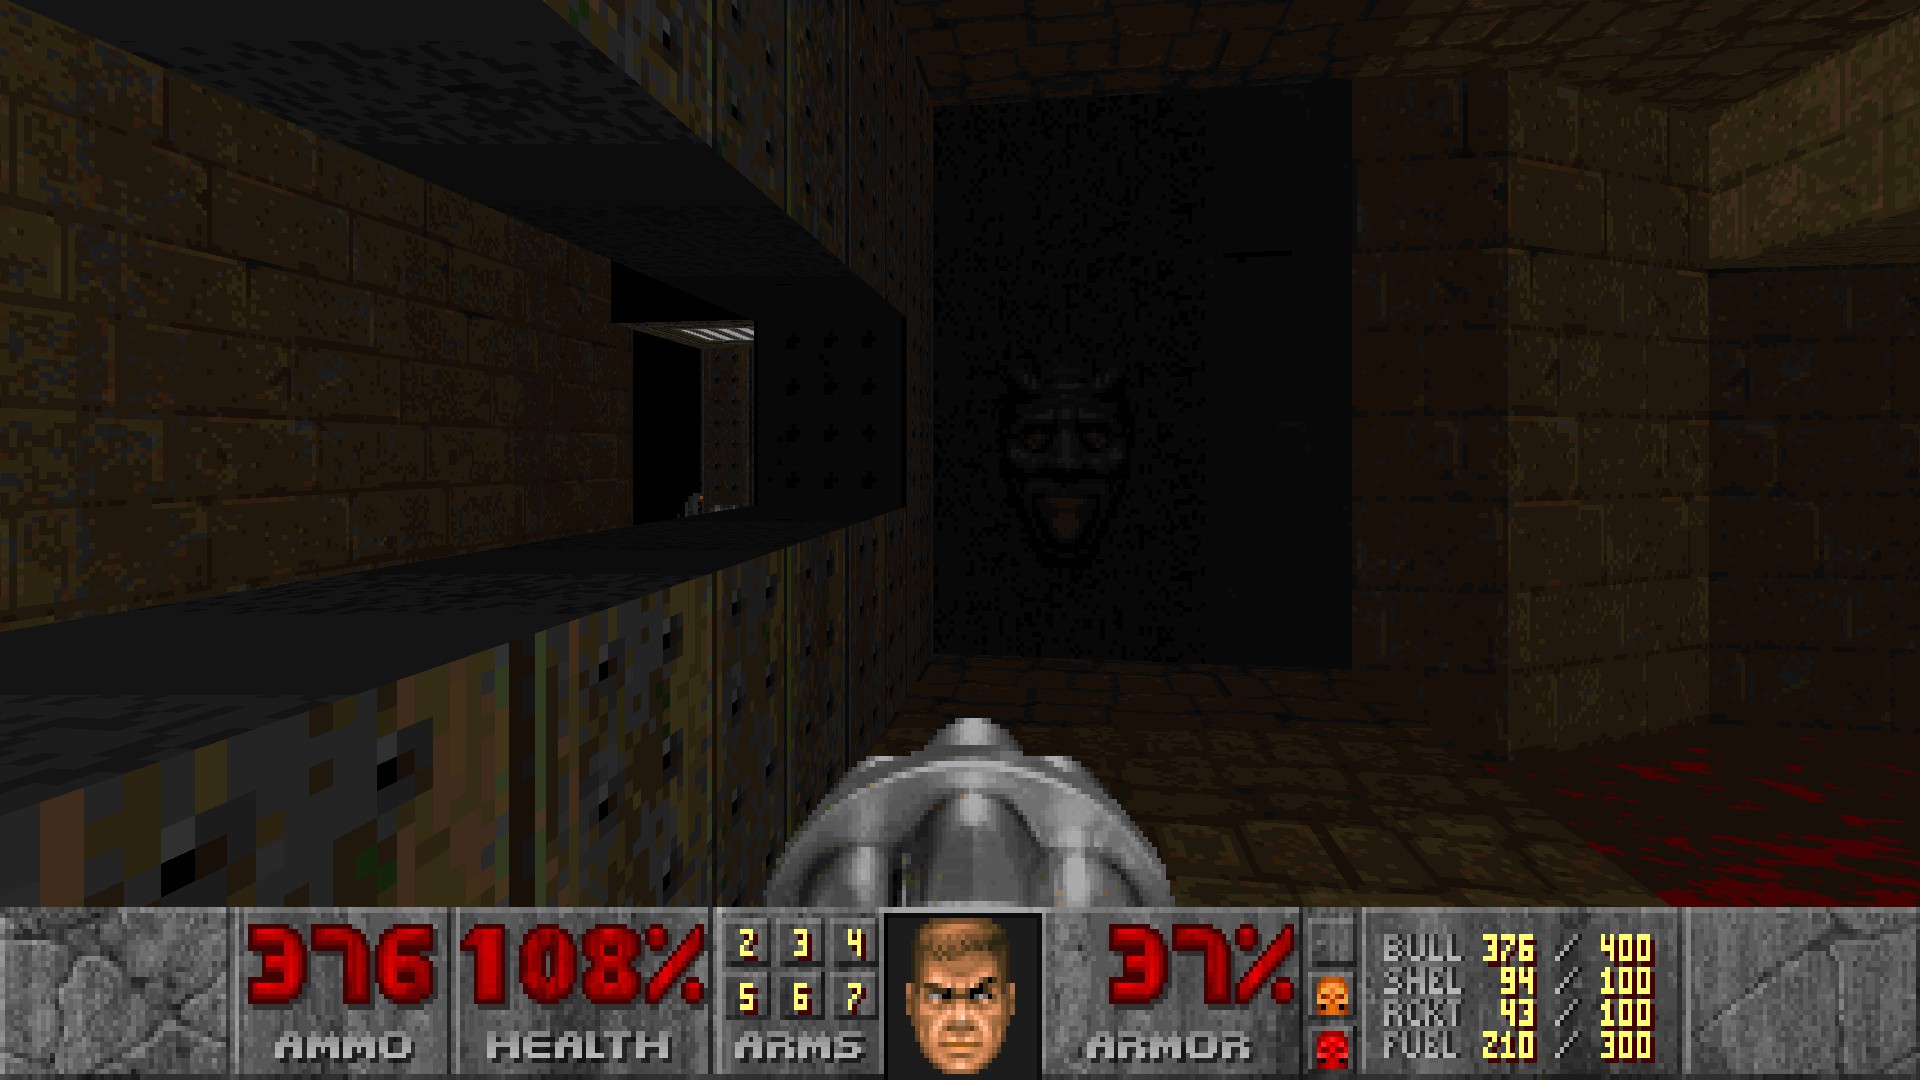
To the left of the blue door is a blood pool which you can straferun over from a doorway to land on. Go through the corridor and claim the incinerator.
#4-5
From the blue door one of the alcoves is not marked with lightning sign above, and a west wall is similarly different. Open it to reveal ammo. (#4)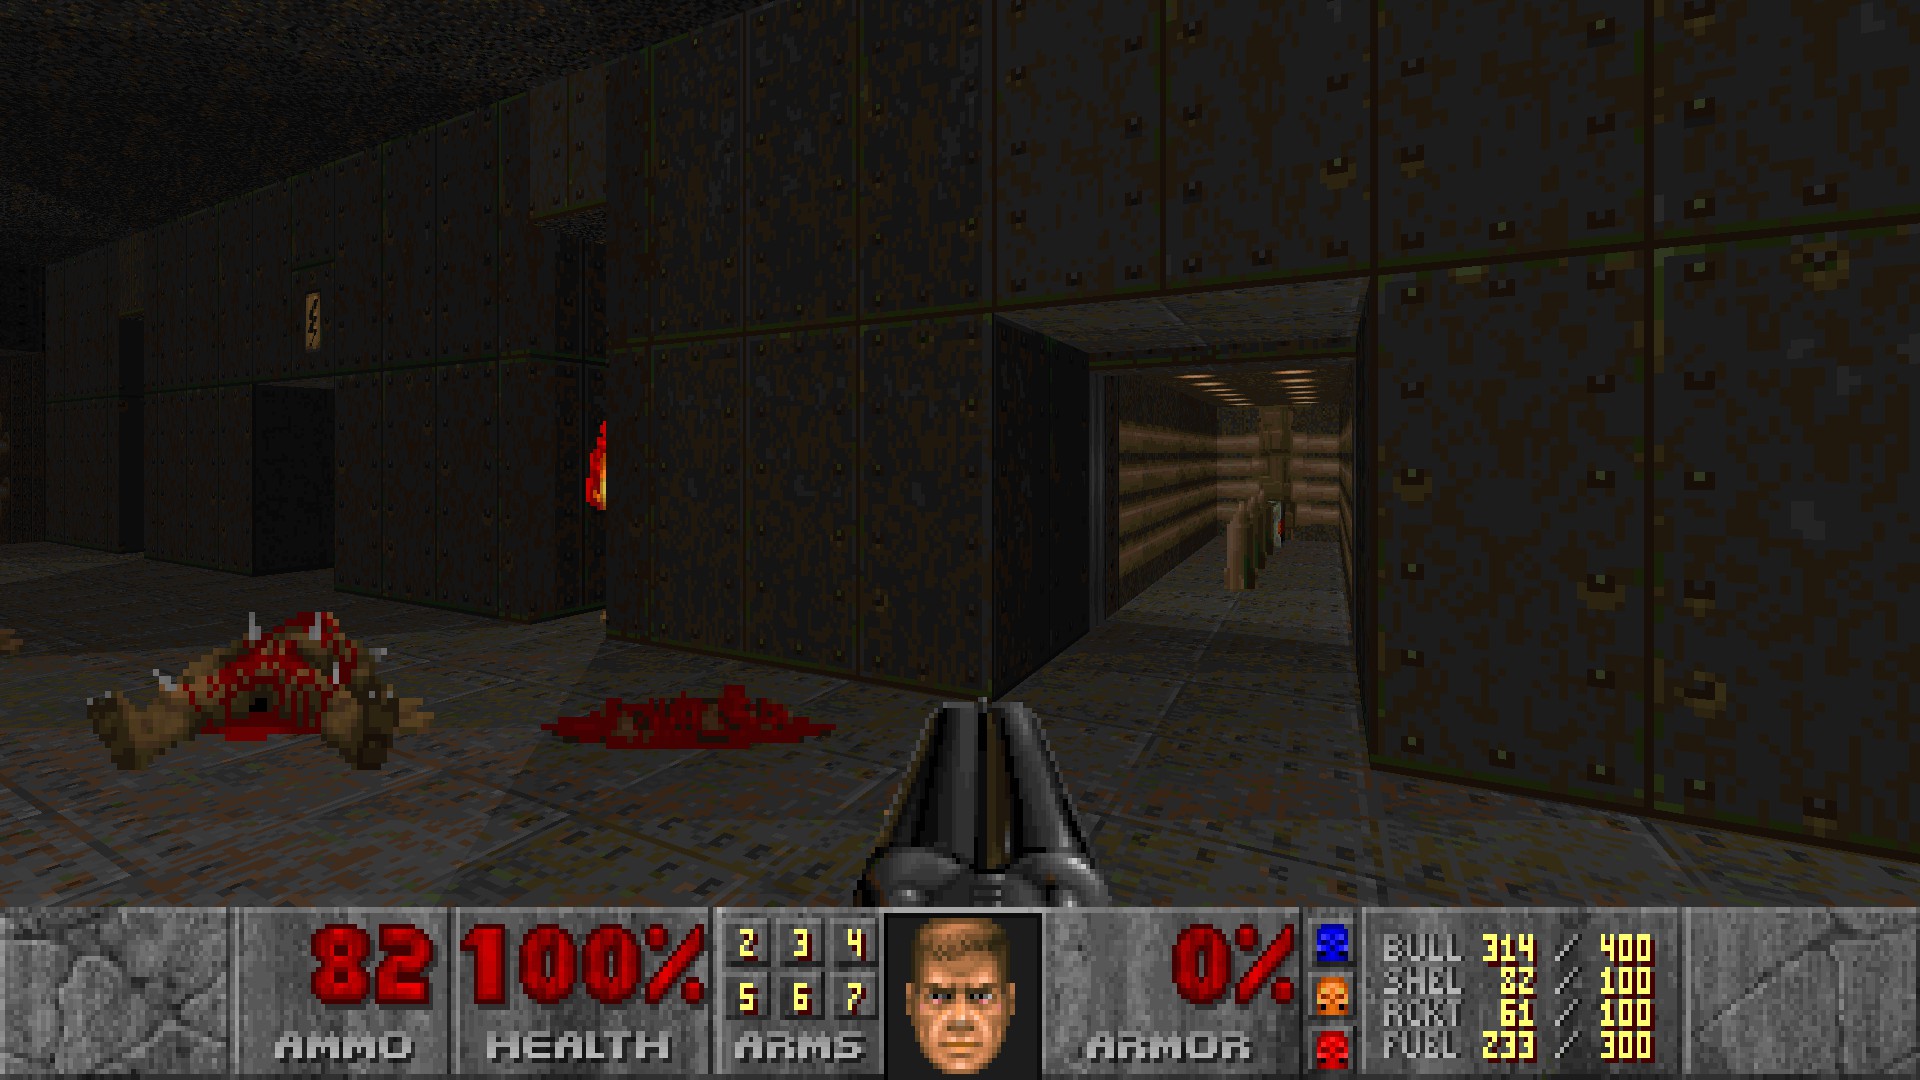 In the same room enter the teleporter there. Immediately turn around and open a wall leading to a megasphere. (#5)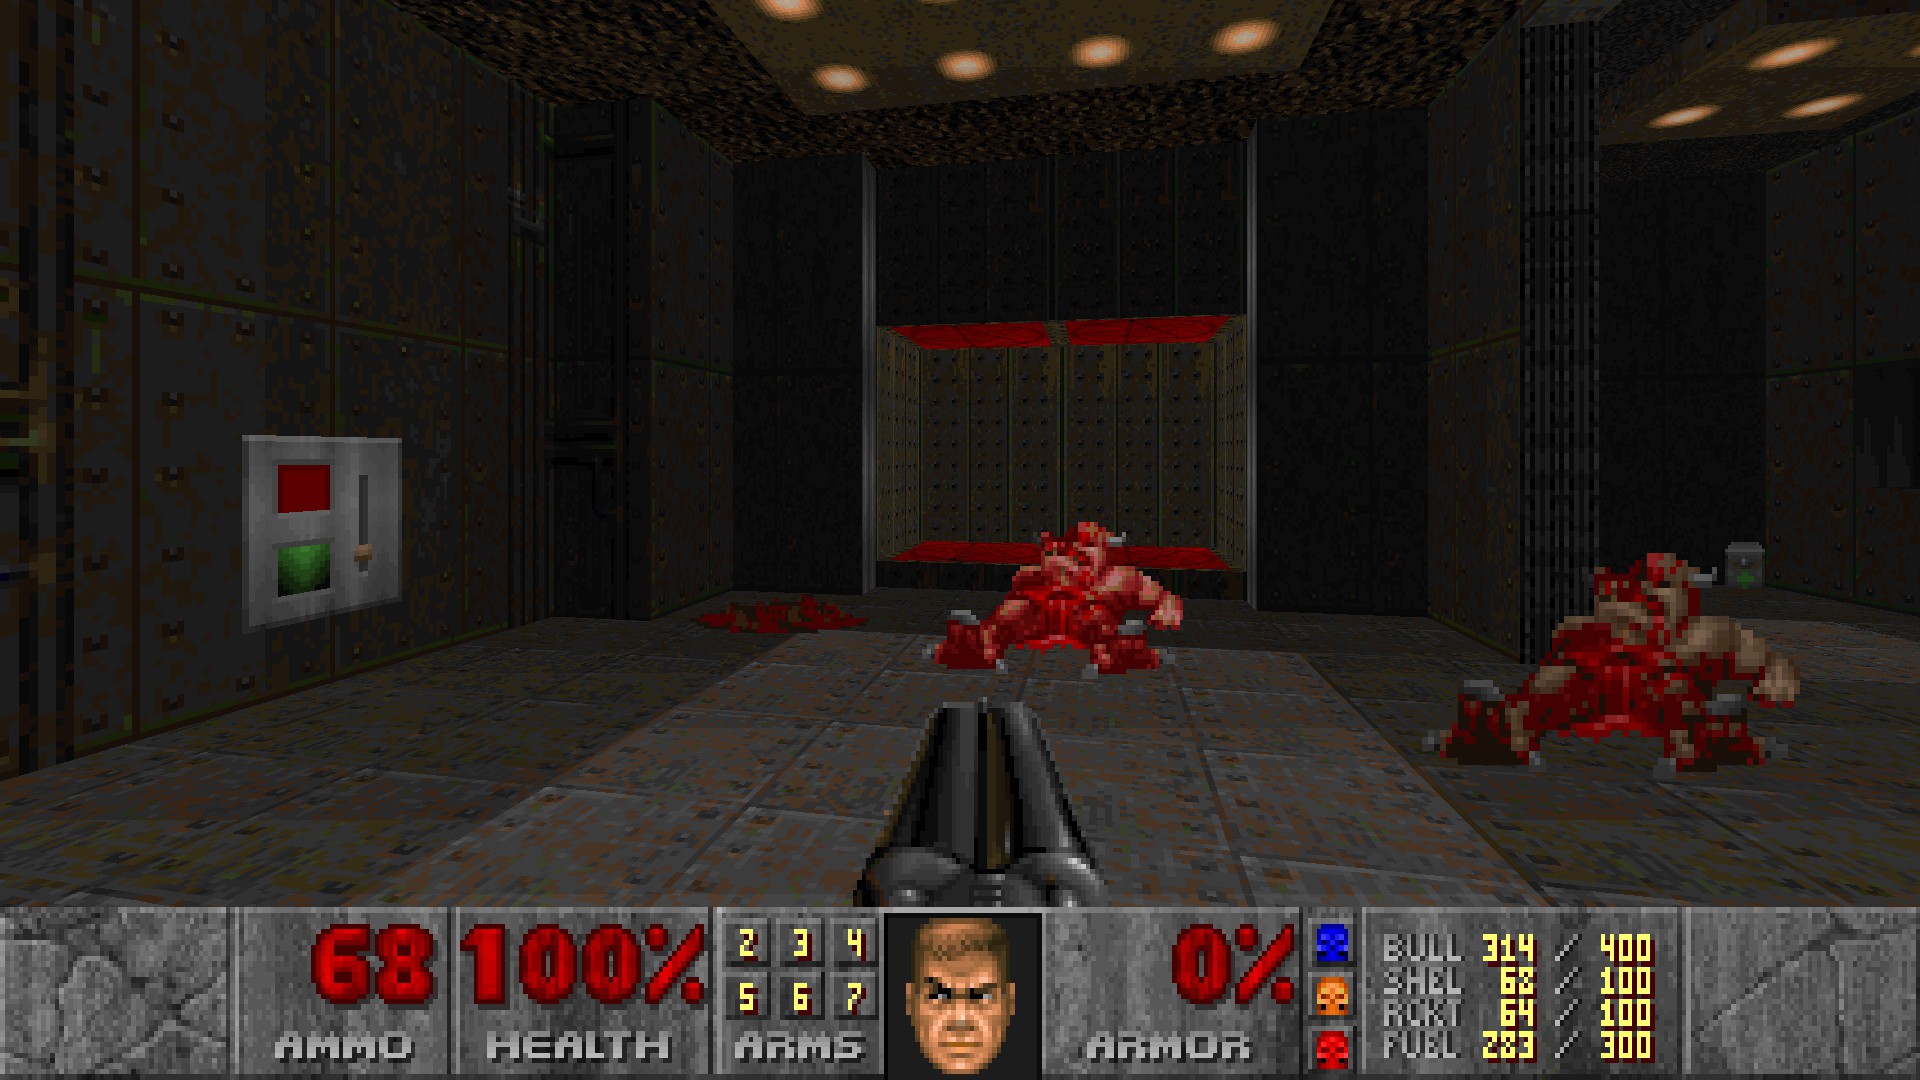
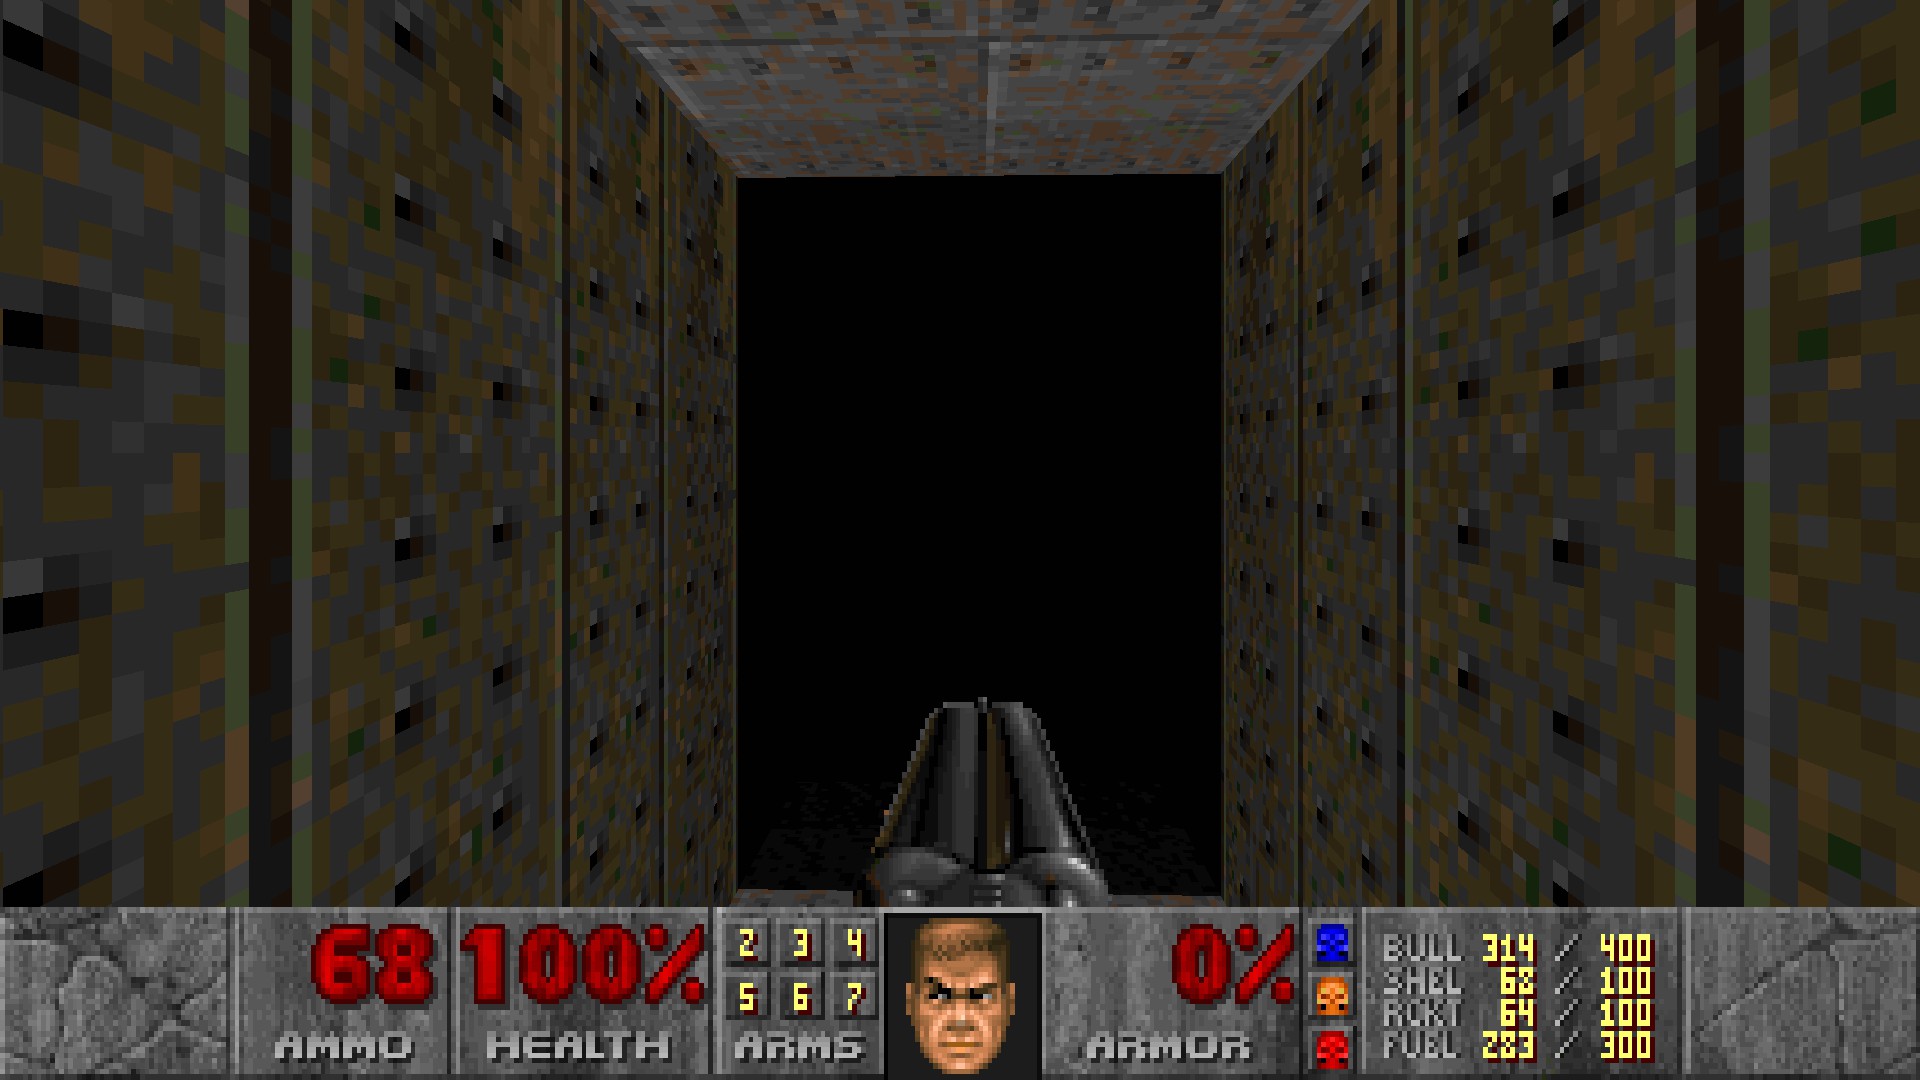
E2M5: The Rack
#1
As you approach the two blue doors, there's a face on a column that'll temporarily lower the lift behind it. Ride it up and grab the backpack at the end of this platform.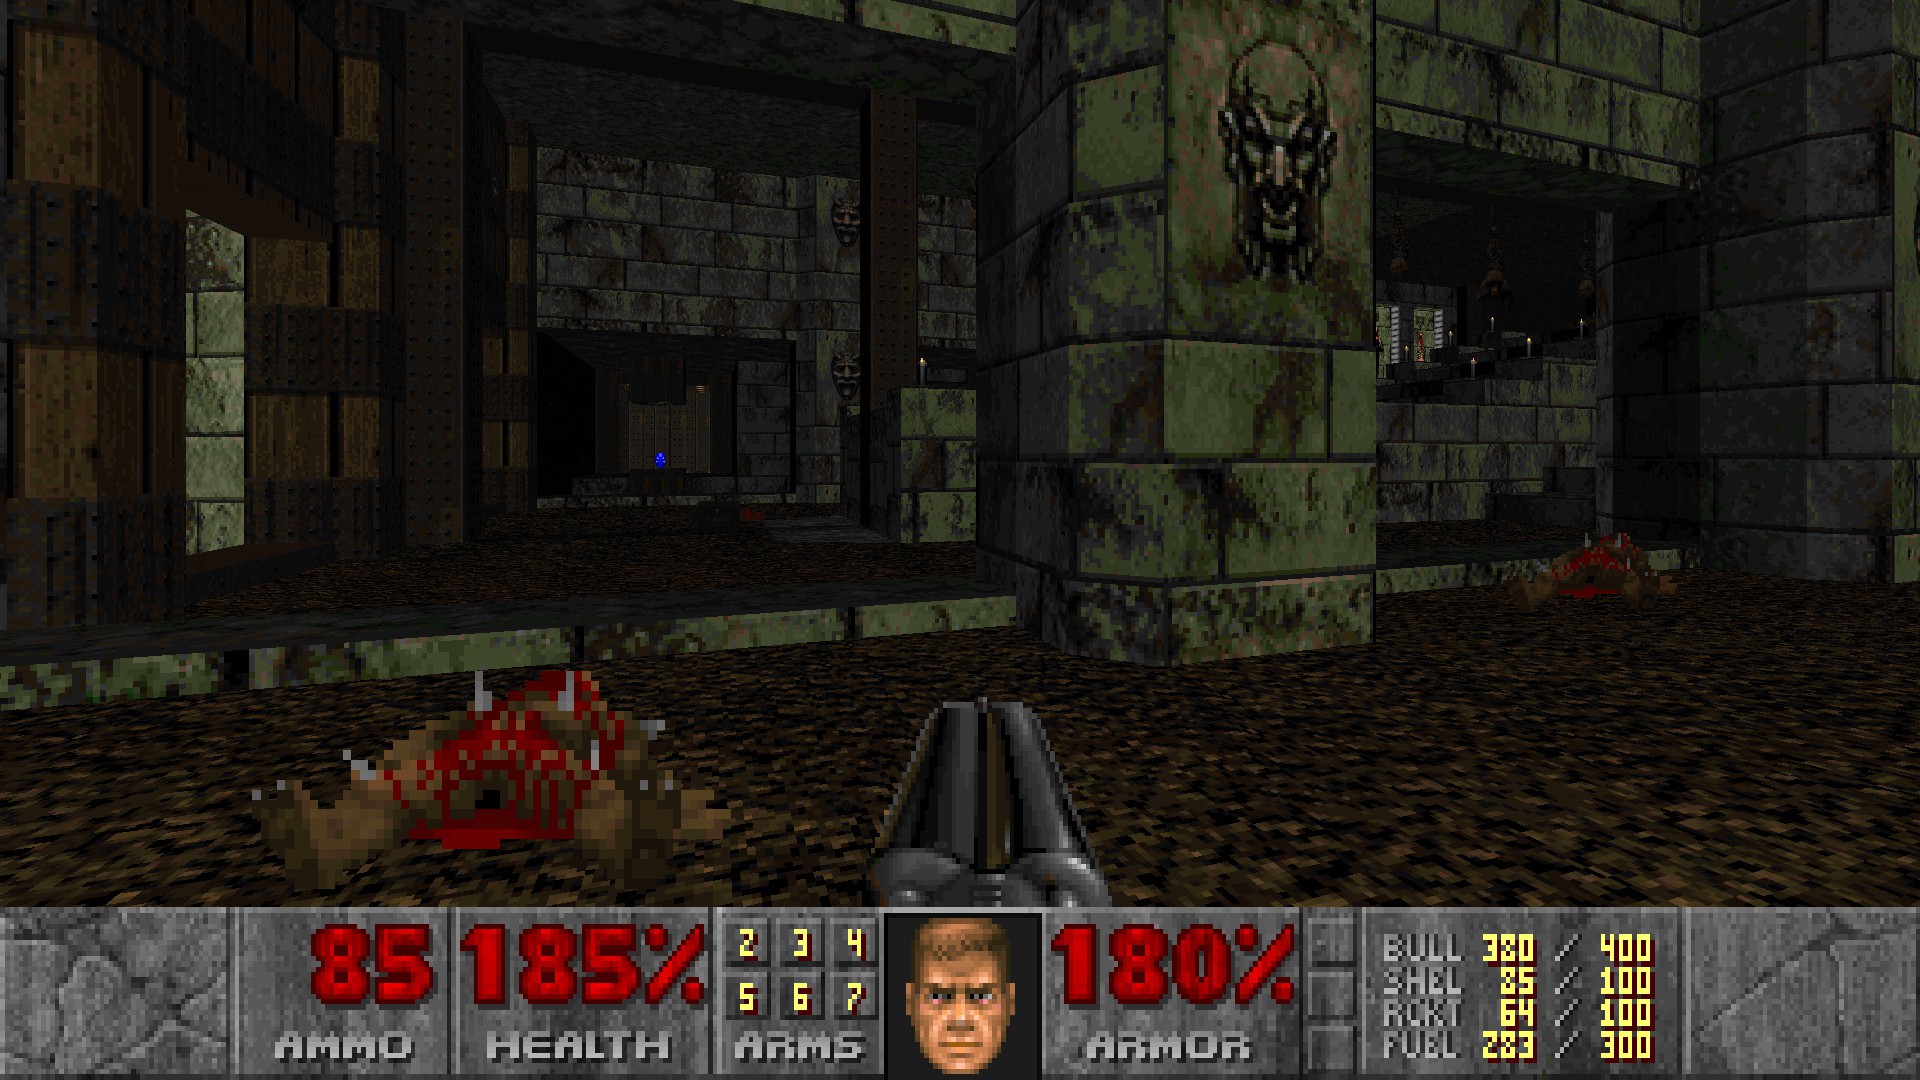
#2
At the cross intersection, go through the red wall to the southeast and press the switch in between two red walls. It will temporarily lower the wall in the southern section where a megasphere can be found.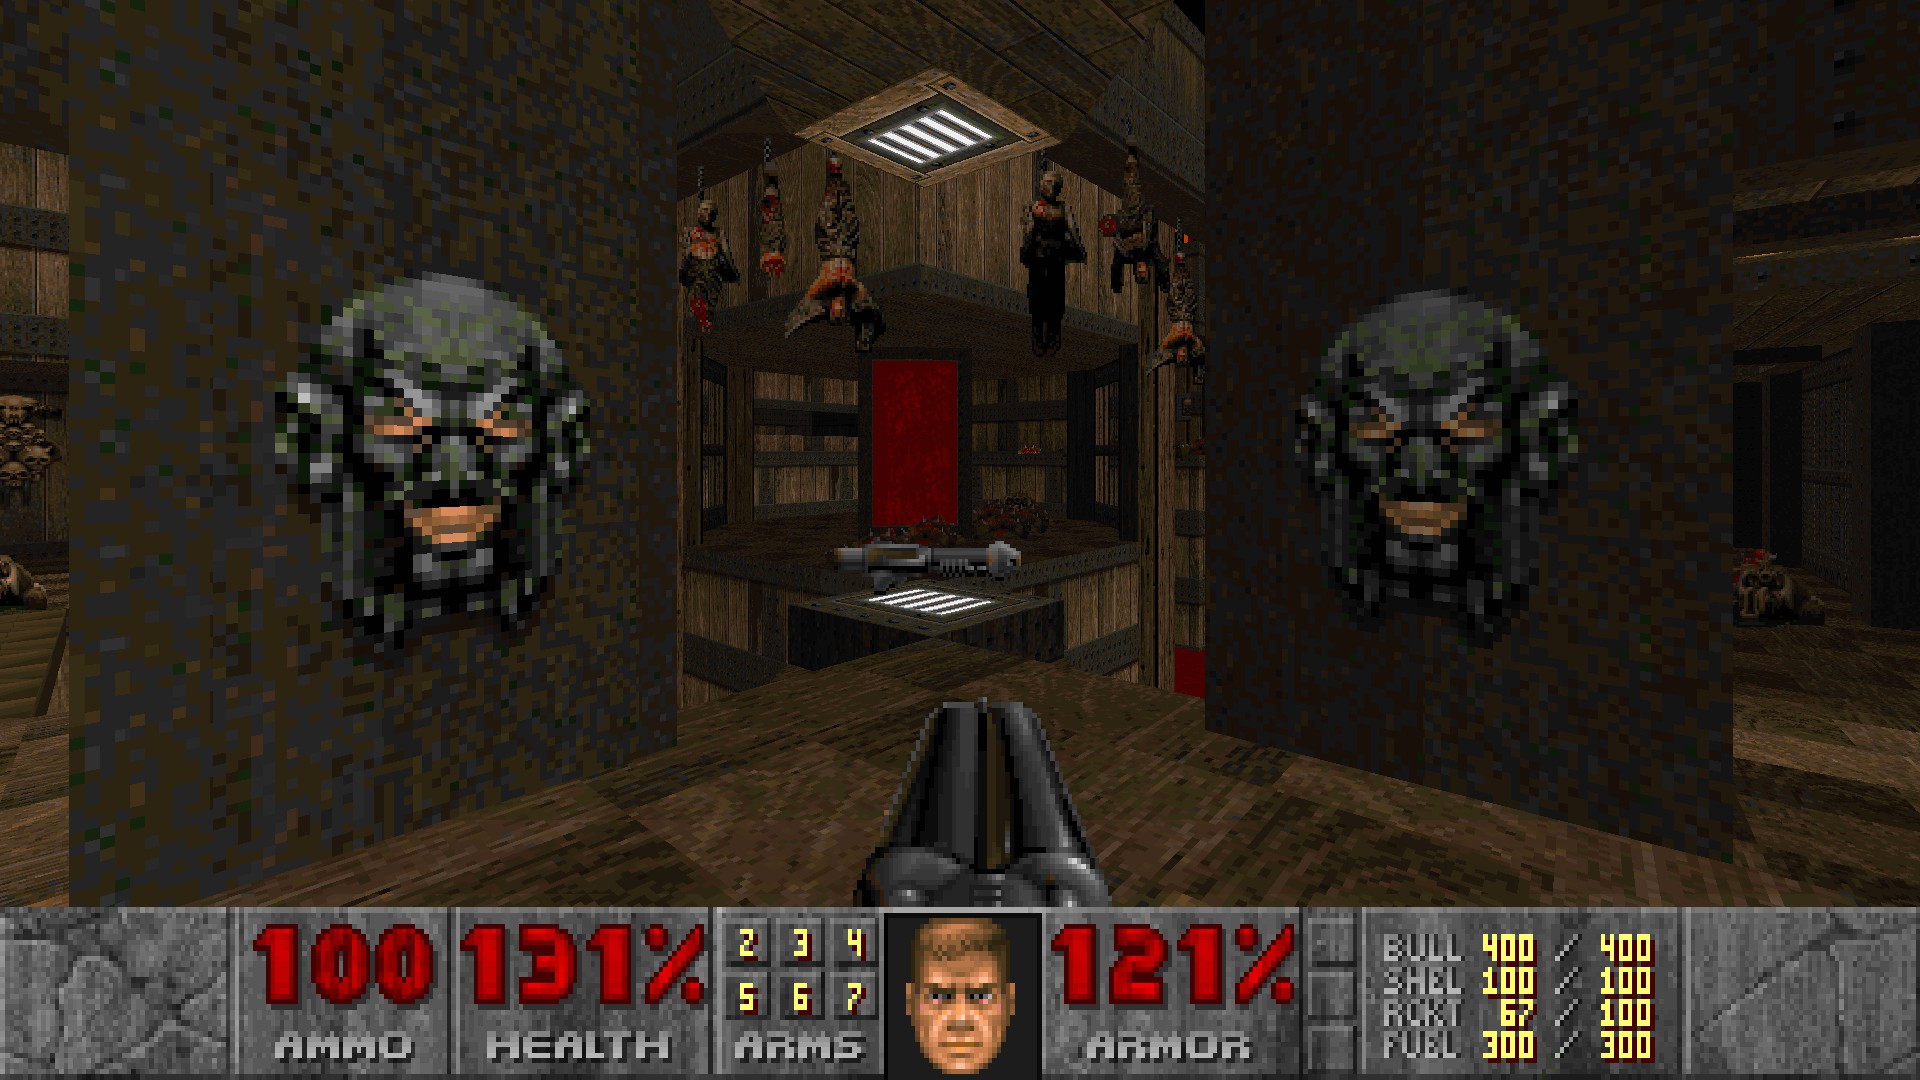
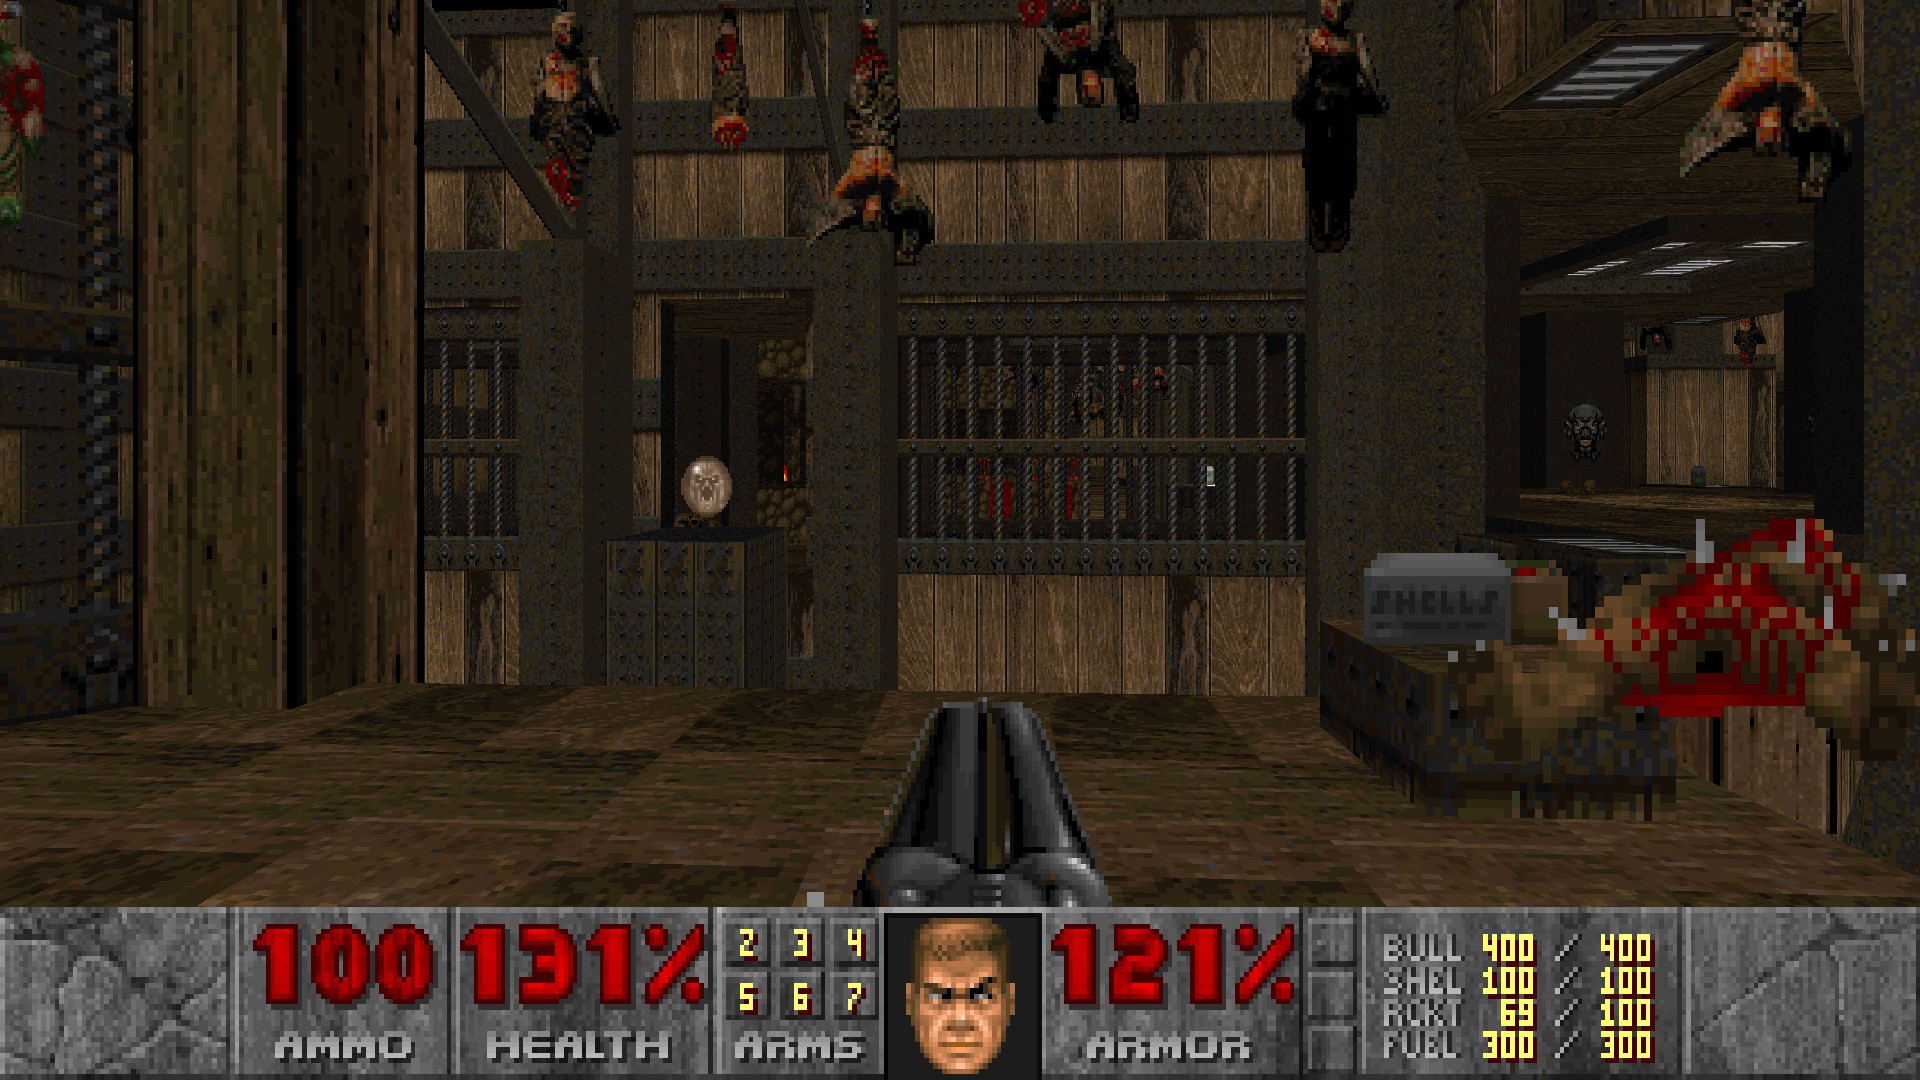
#3
Return to secret #1 after taking the blue key and you will notice a pile of skulls in the wall has lowered. Go through it to get a computer area map.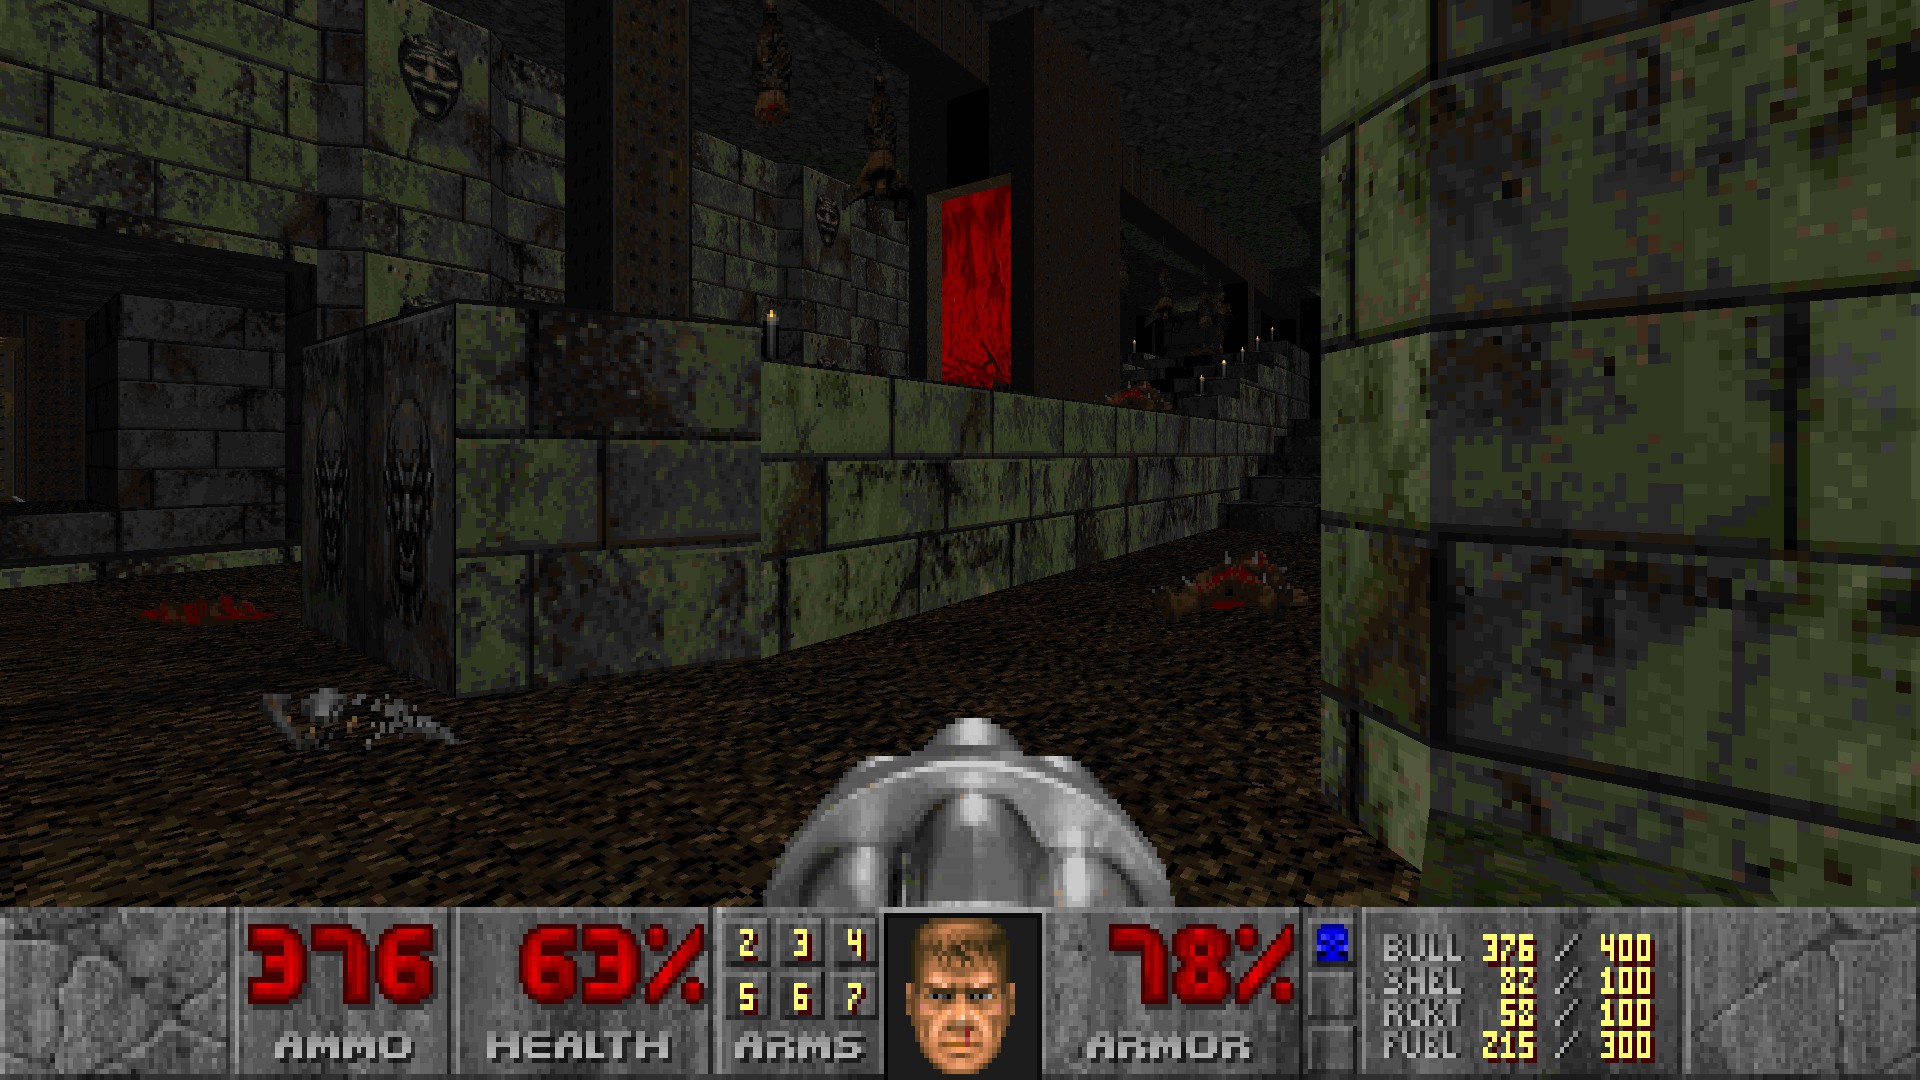
#4
In the room with multiple pillars, open the wall with the crucified baron.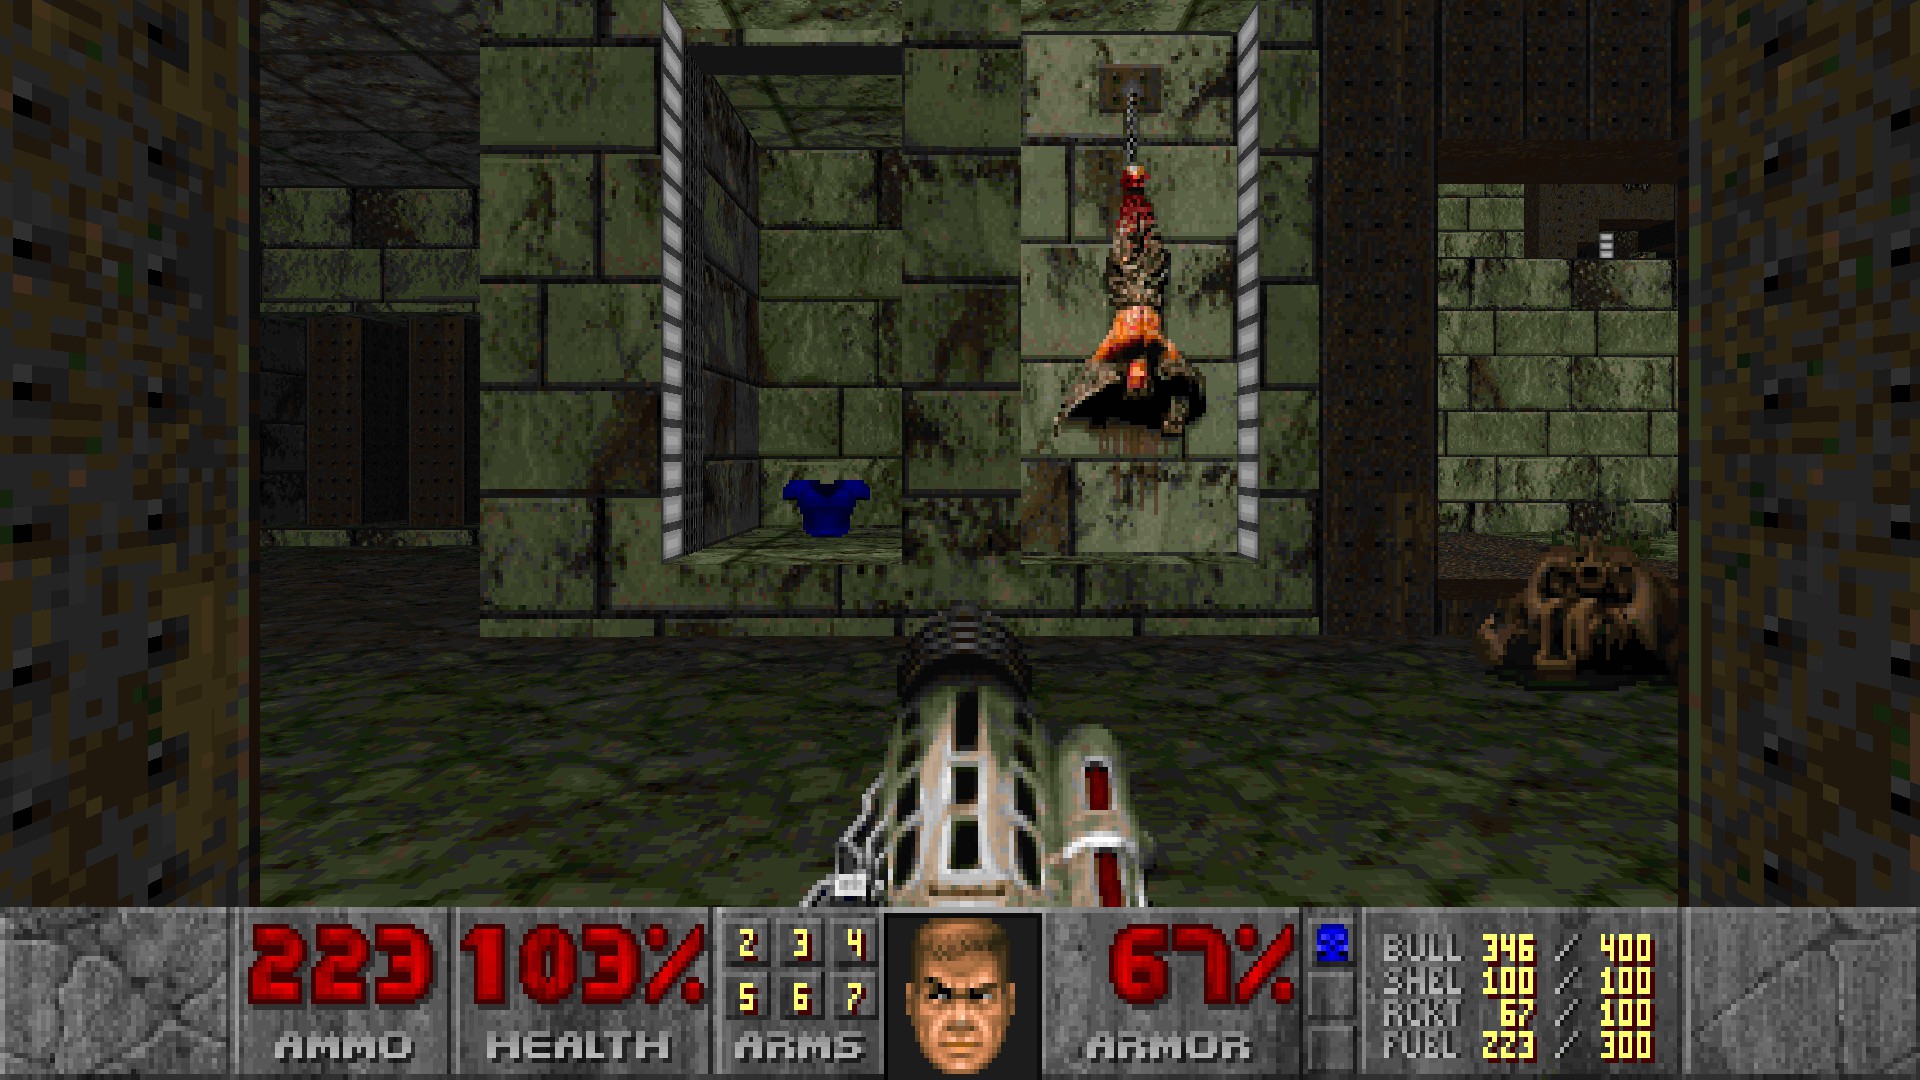
#5
Interact with an impaled corpse in front of the skull switch behind the red door to temporarily lower two walls near the red door, containing three armor bonuses and a switch. Pressing it will lower a wall containing the calamity blade behind the bars for the secret.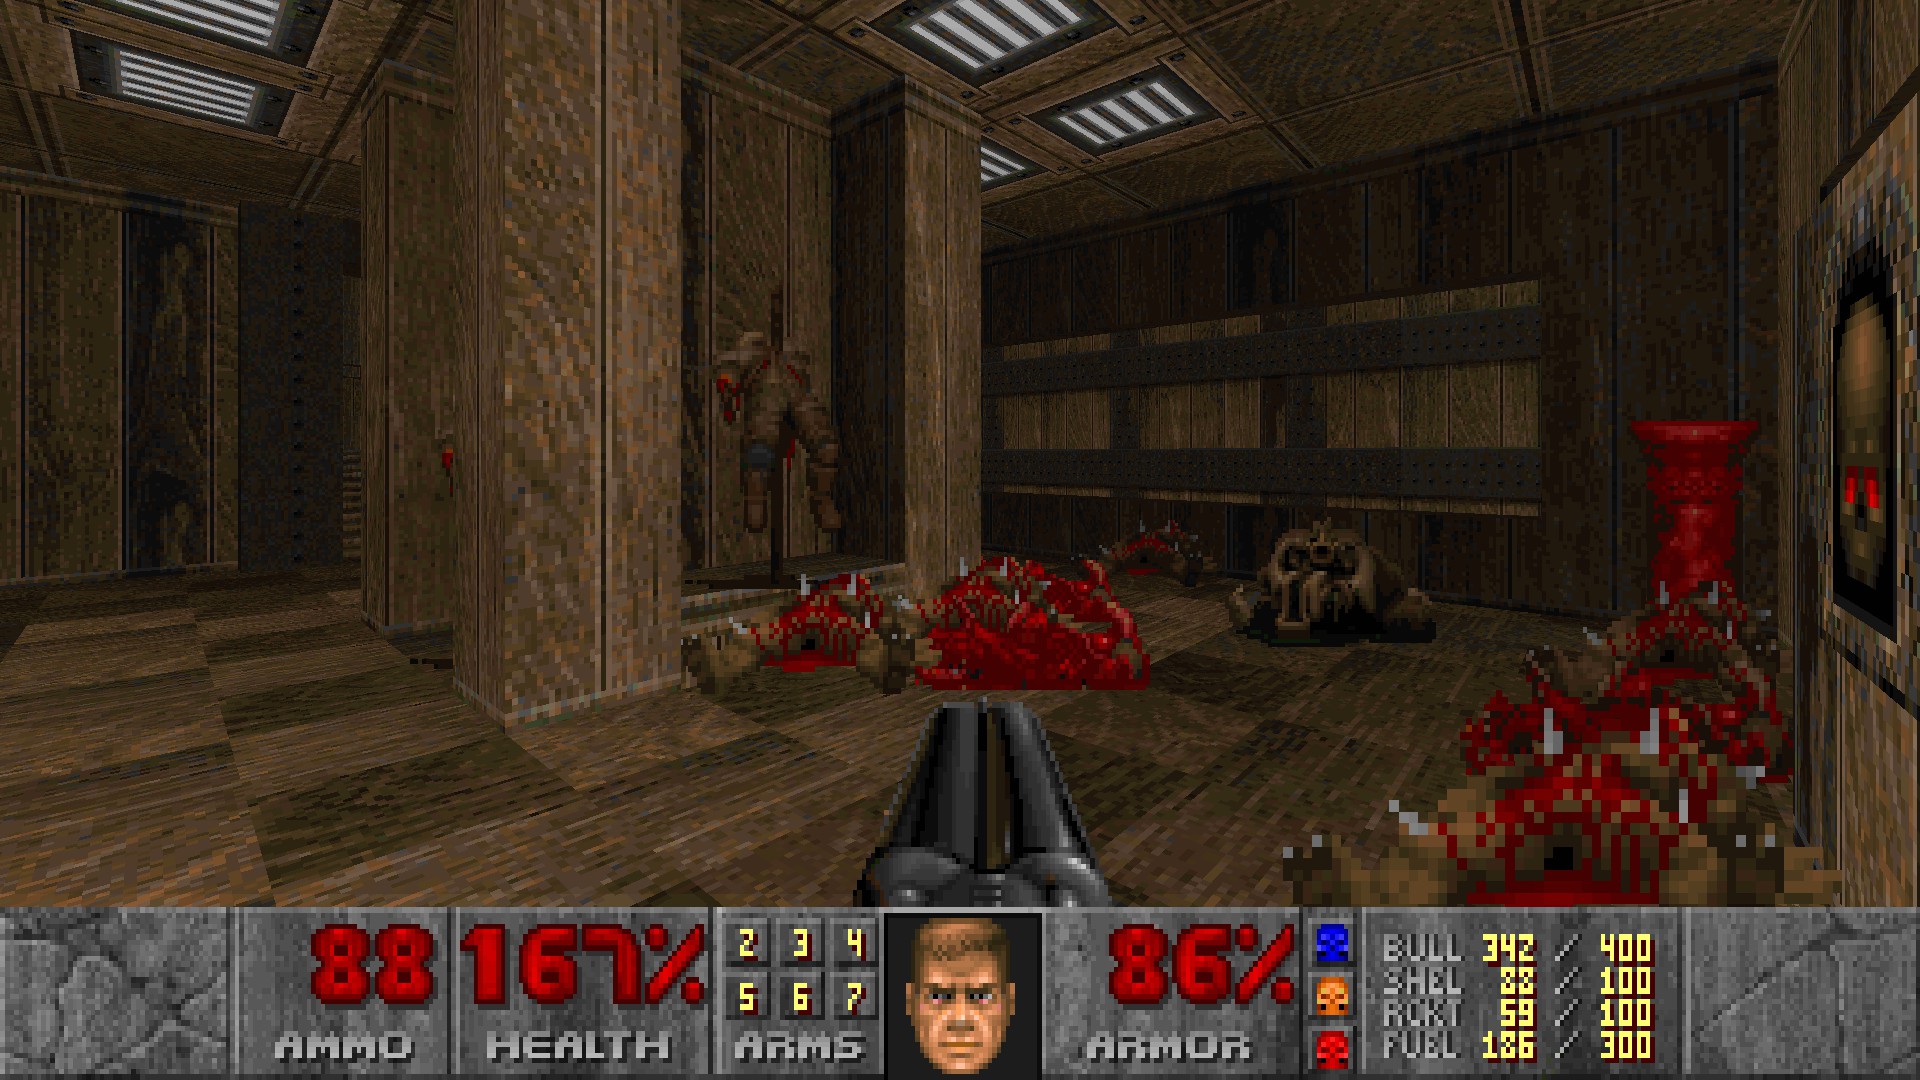
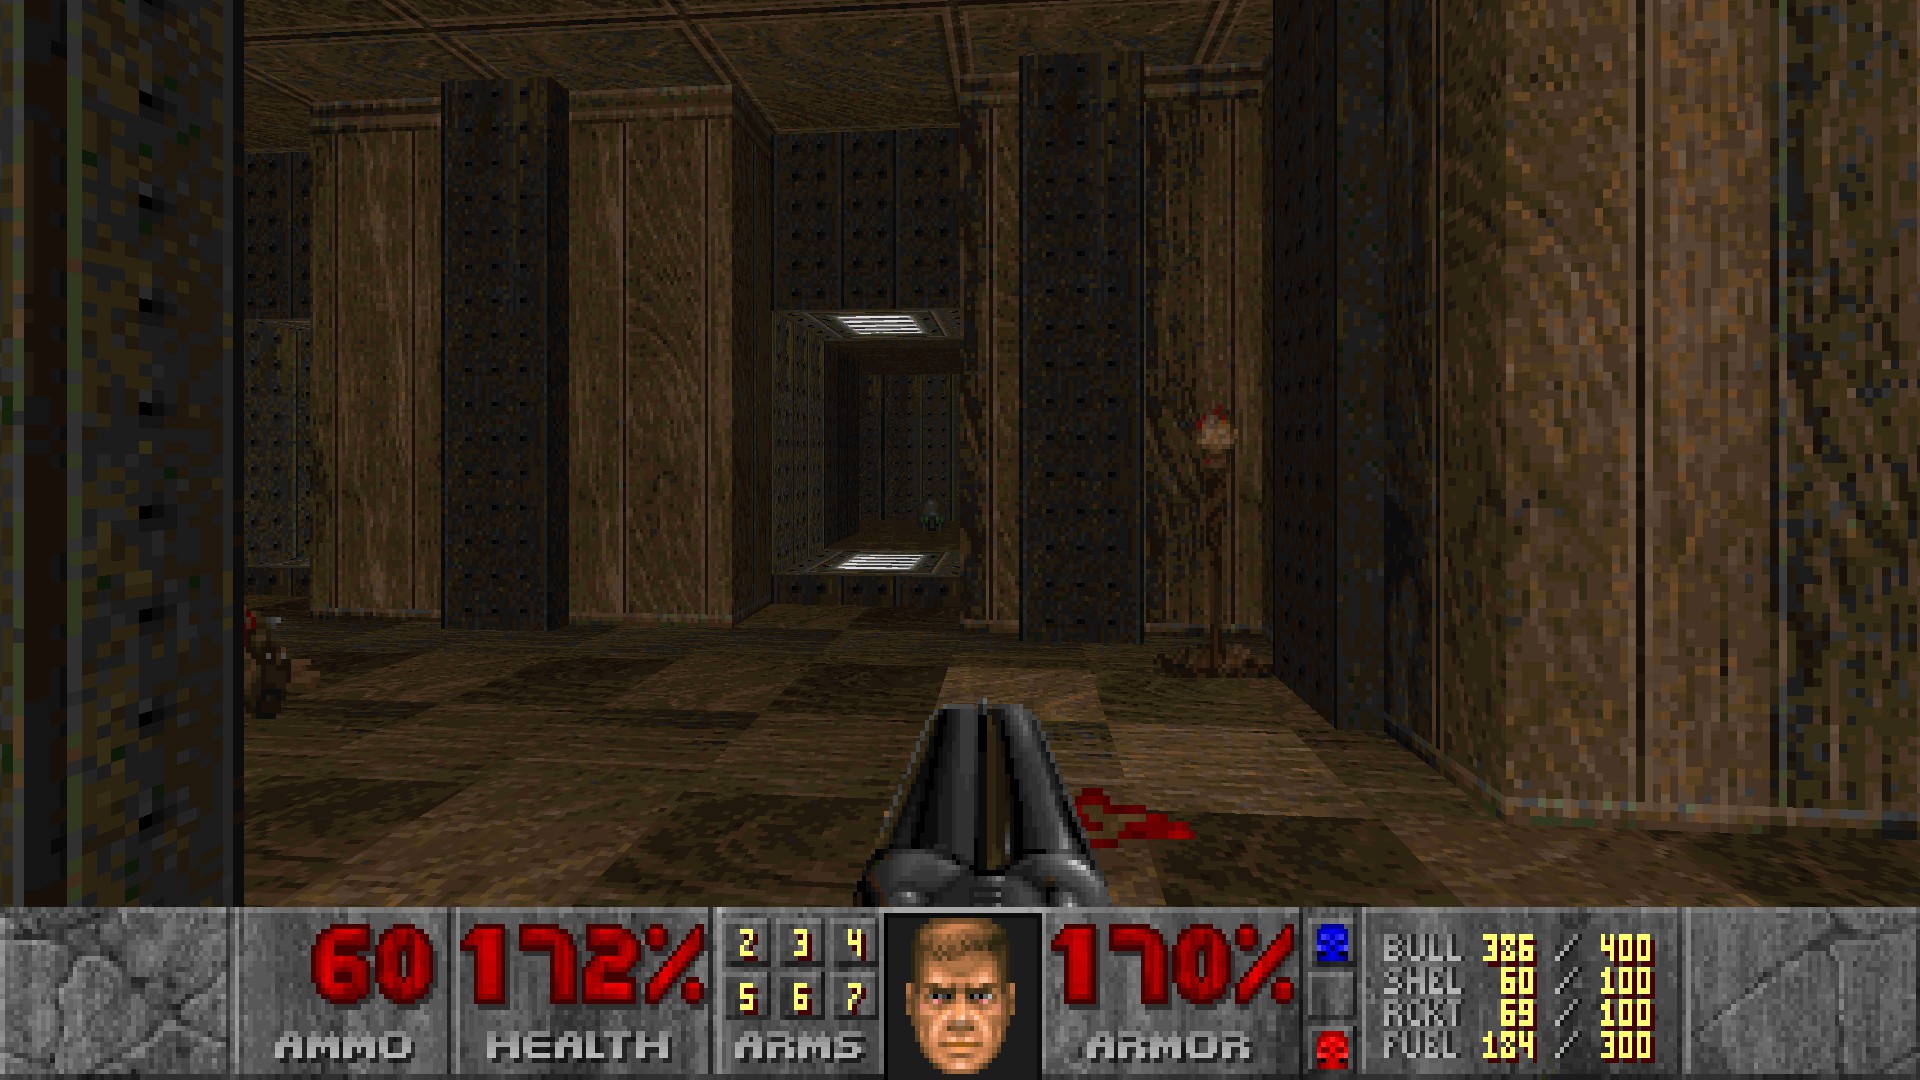
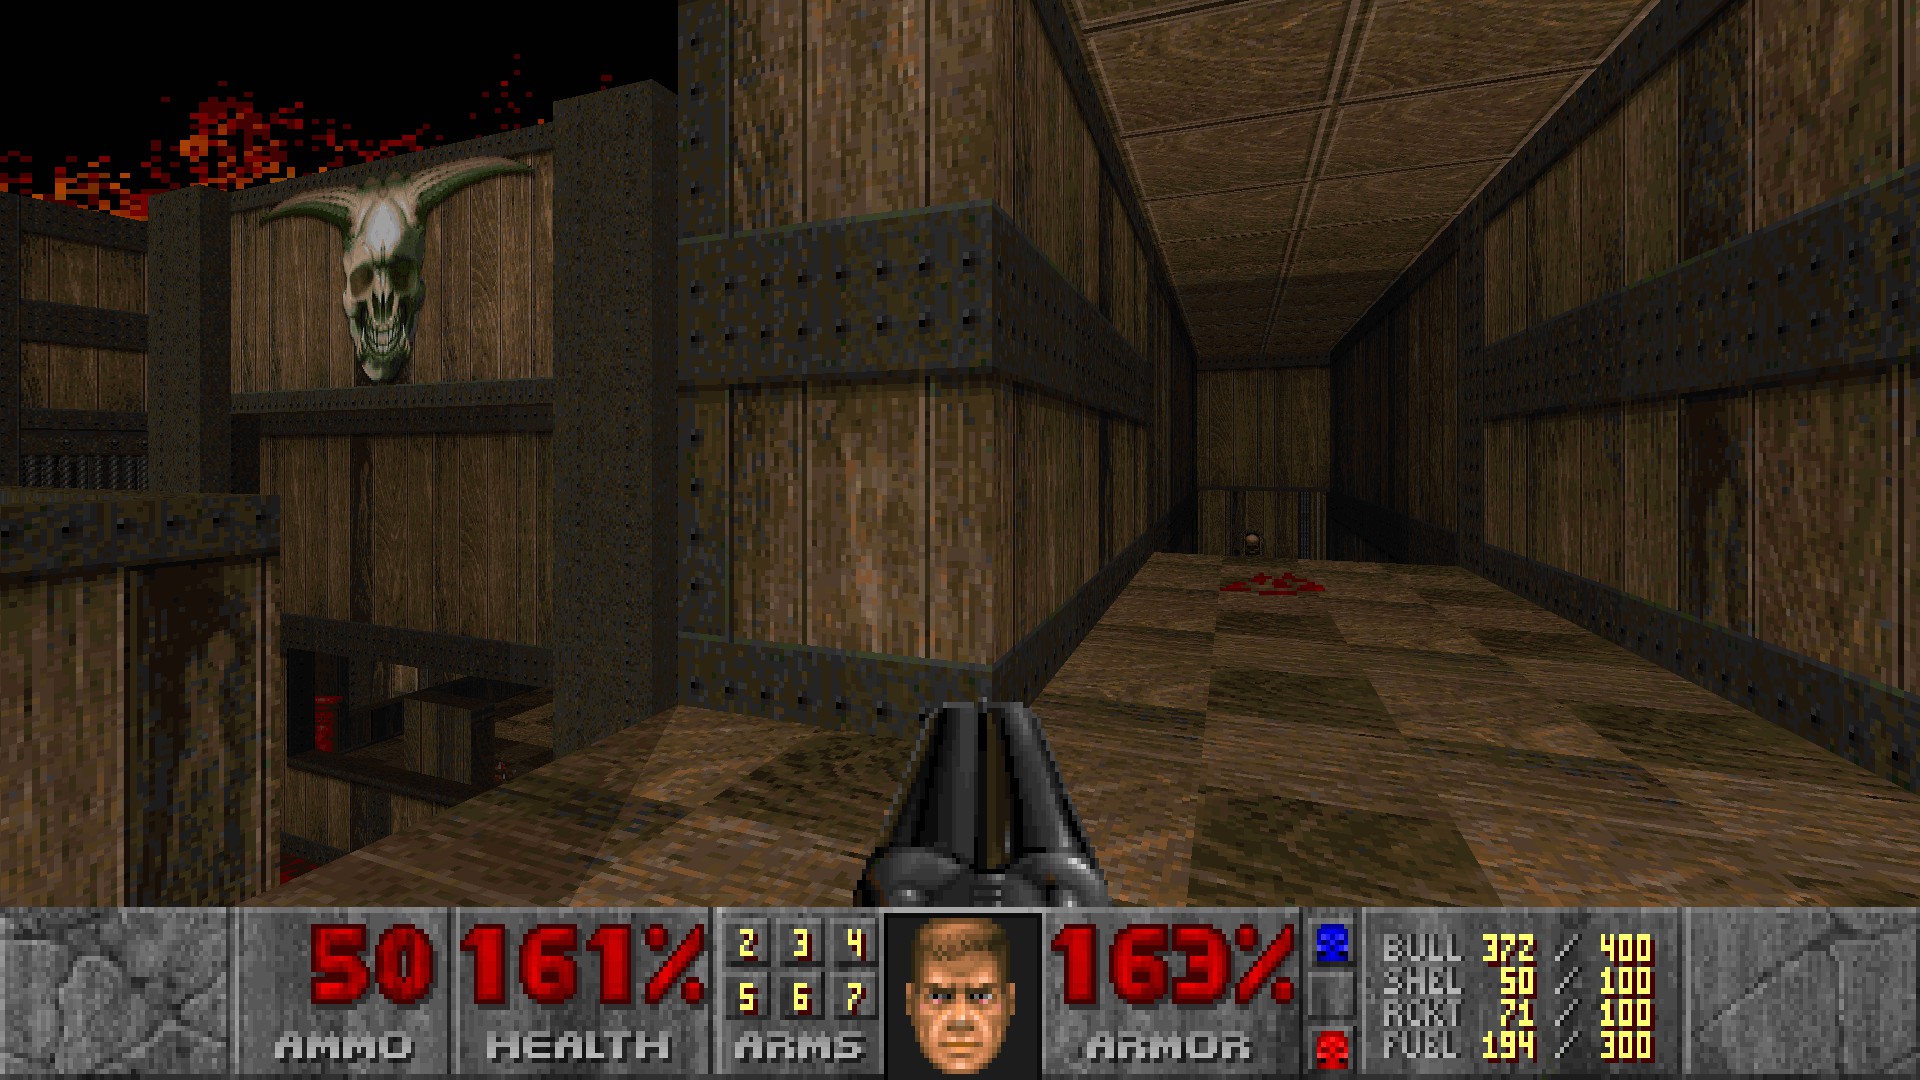
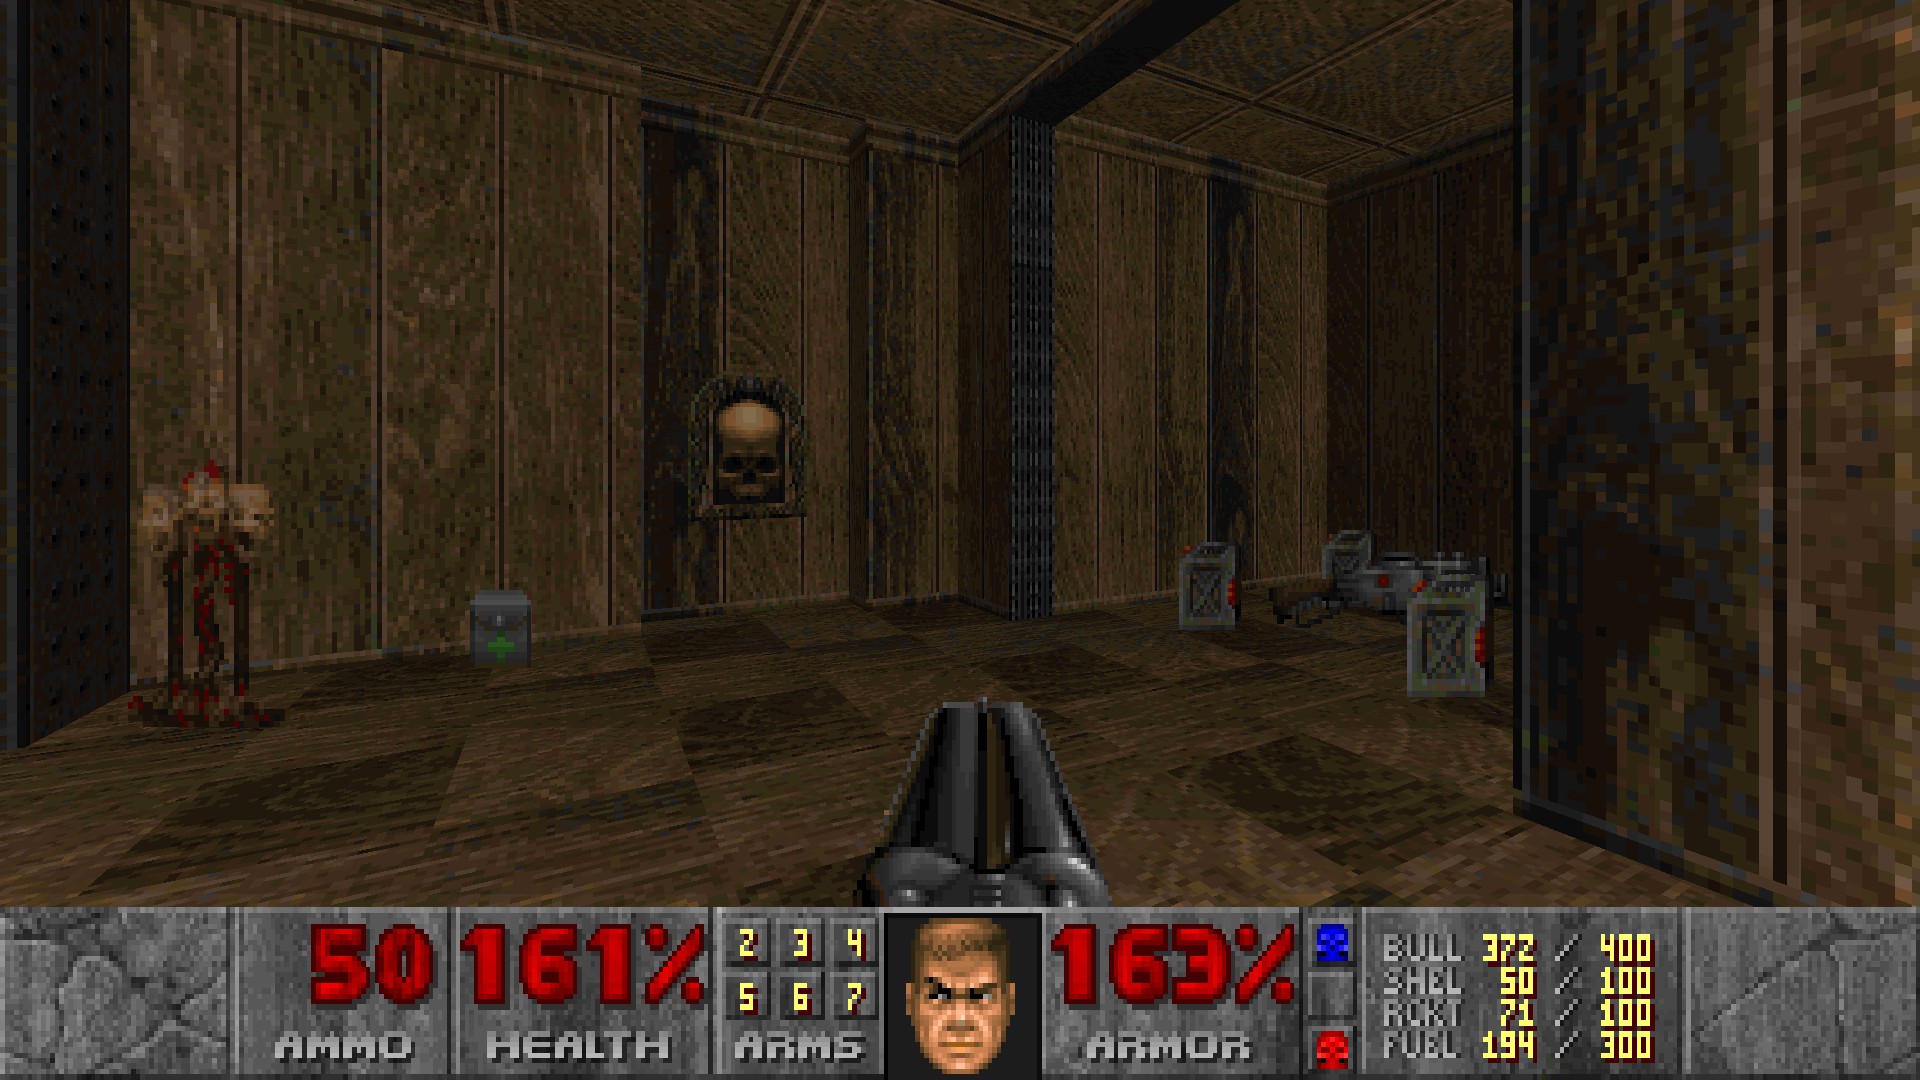
#6
After killing the cyberdemon and activating a couple switches, the northern wall in the east compartment has a hanging corpse instead of a crucified baron. Open it to reveal a baron and a supercharge.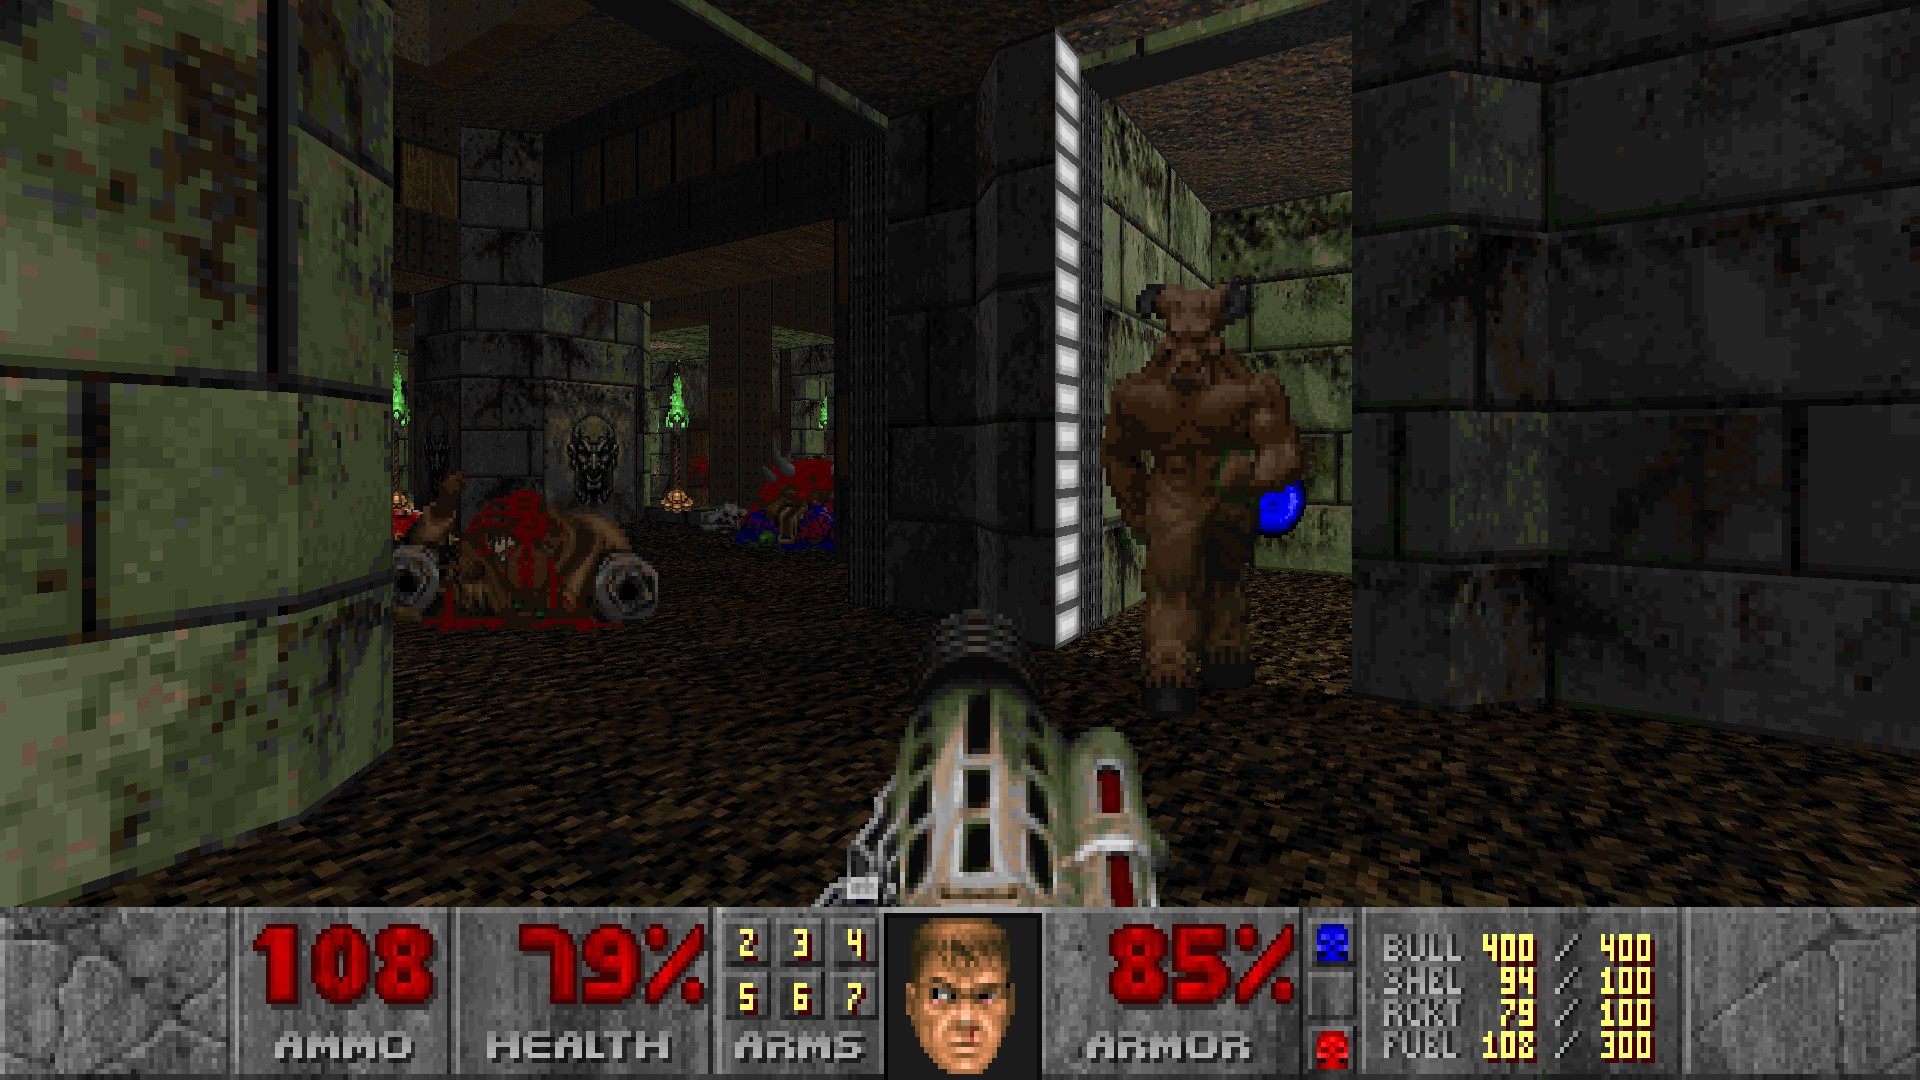
E2M6: Soul Silo
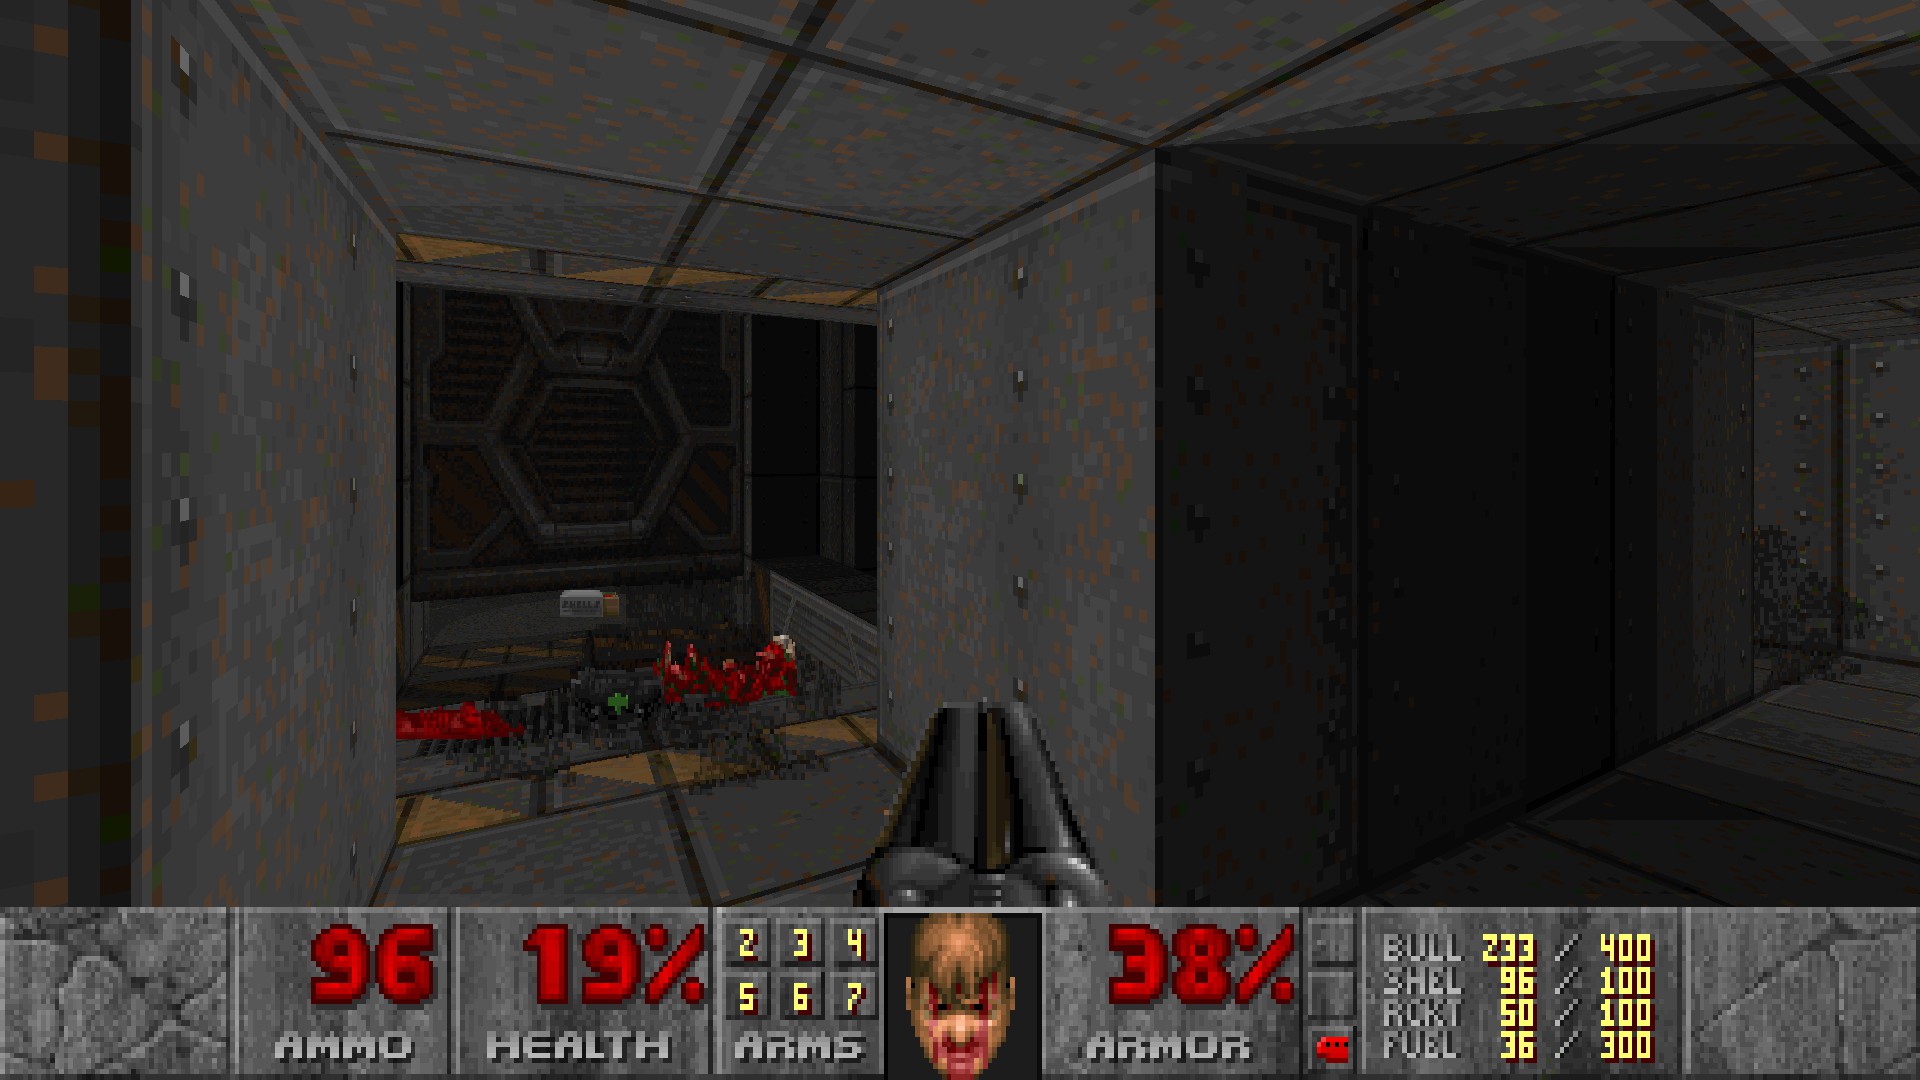
#1
Press the button at the left of the red door to temporarily lower the lift next to the locked door, where a berserk pack can be found at the end of the path.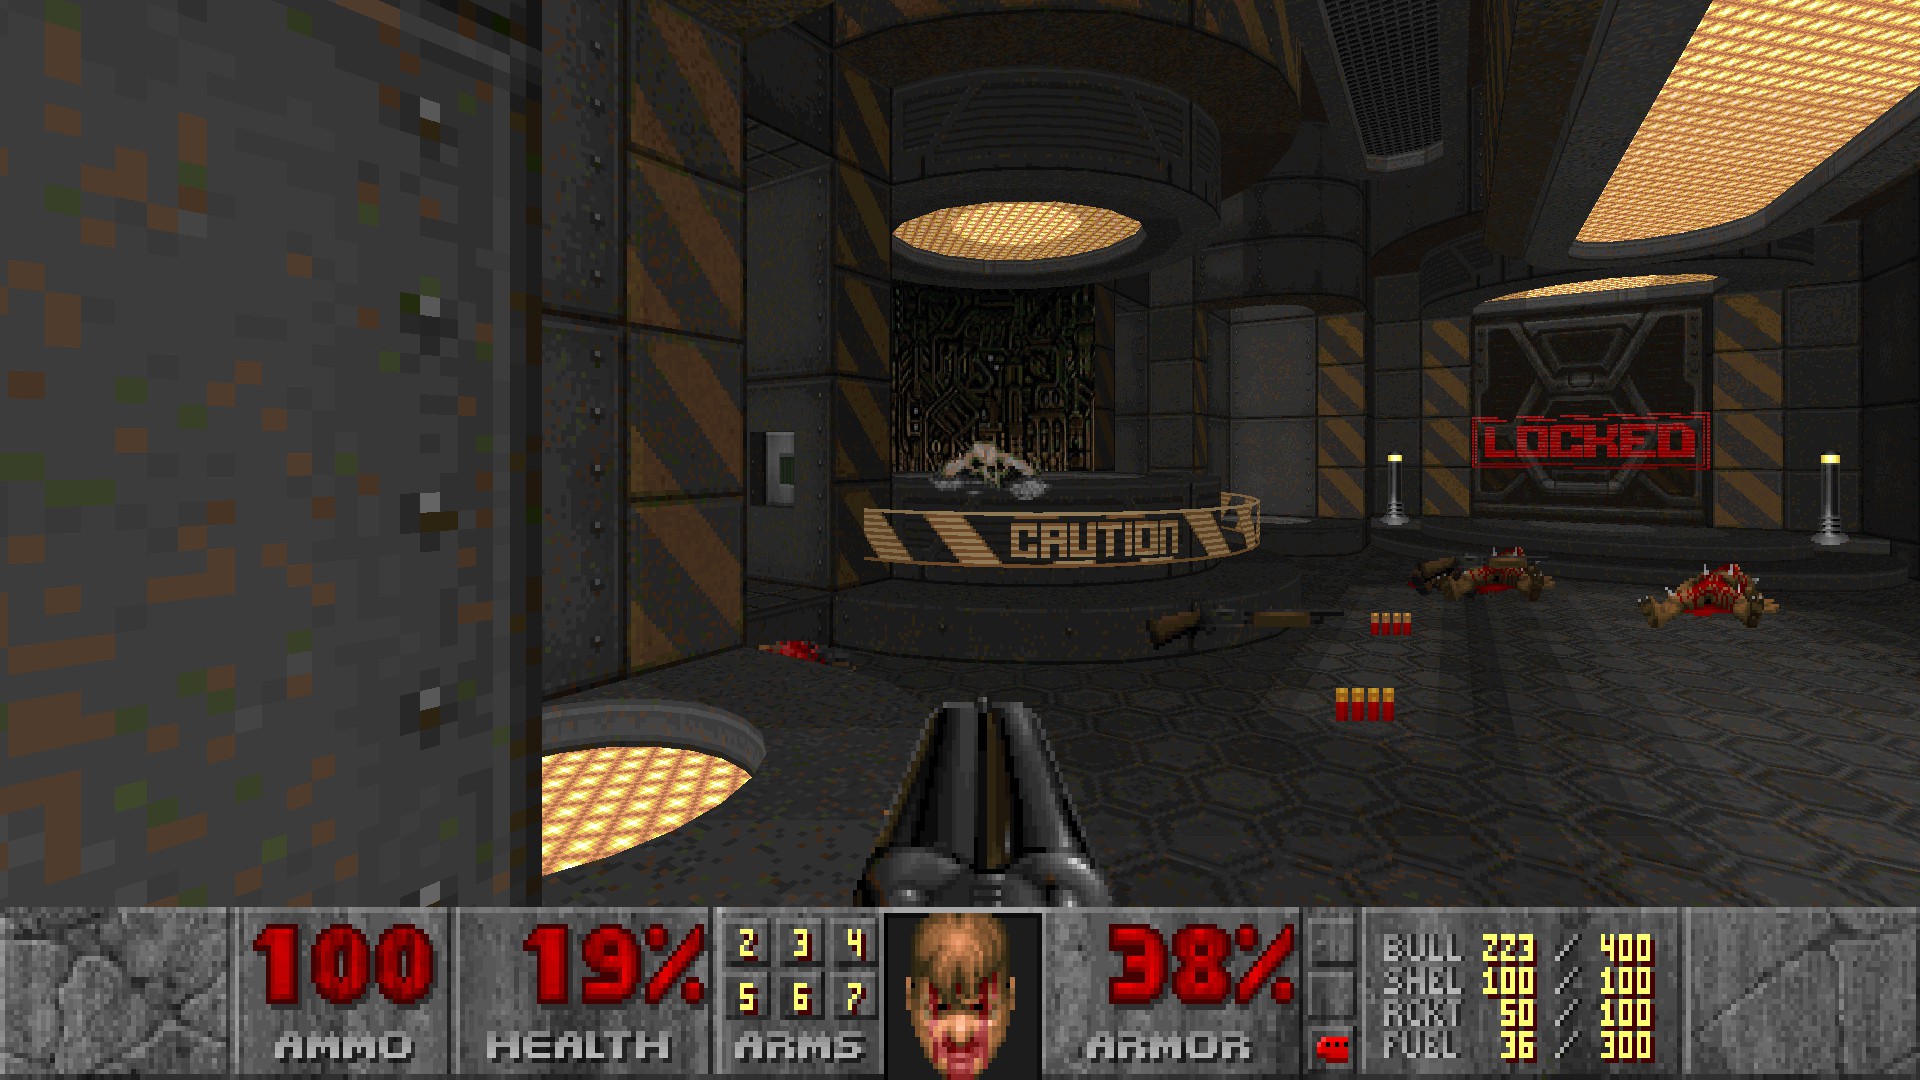
#2
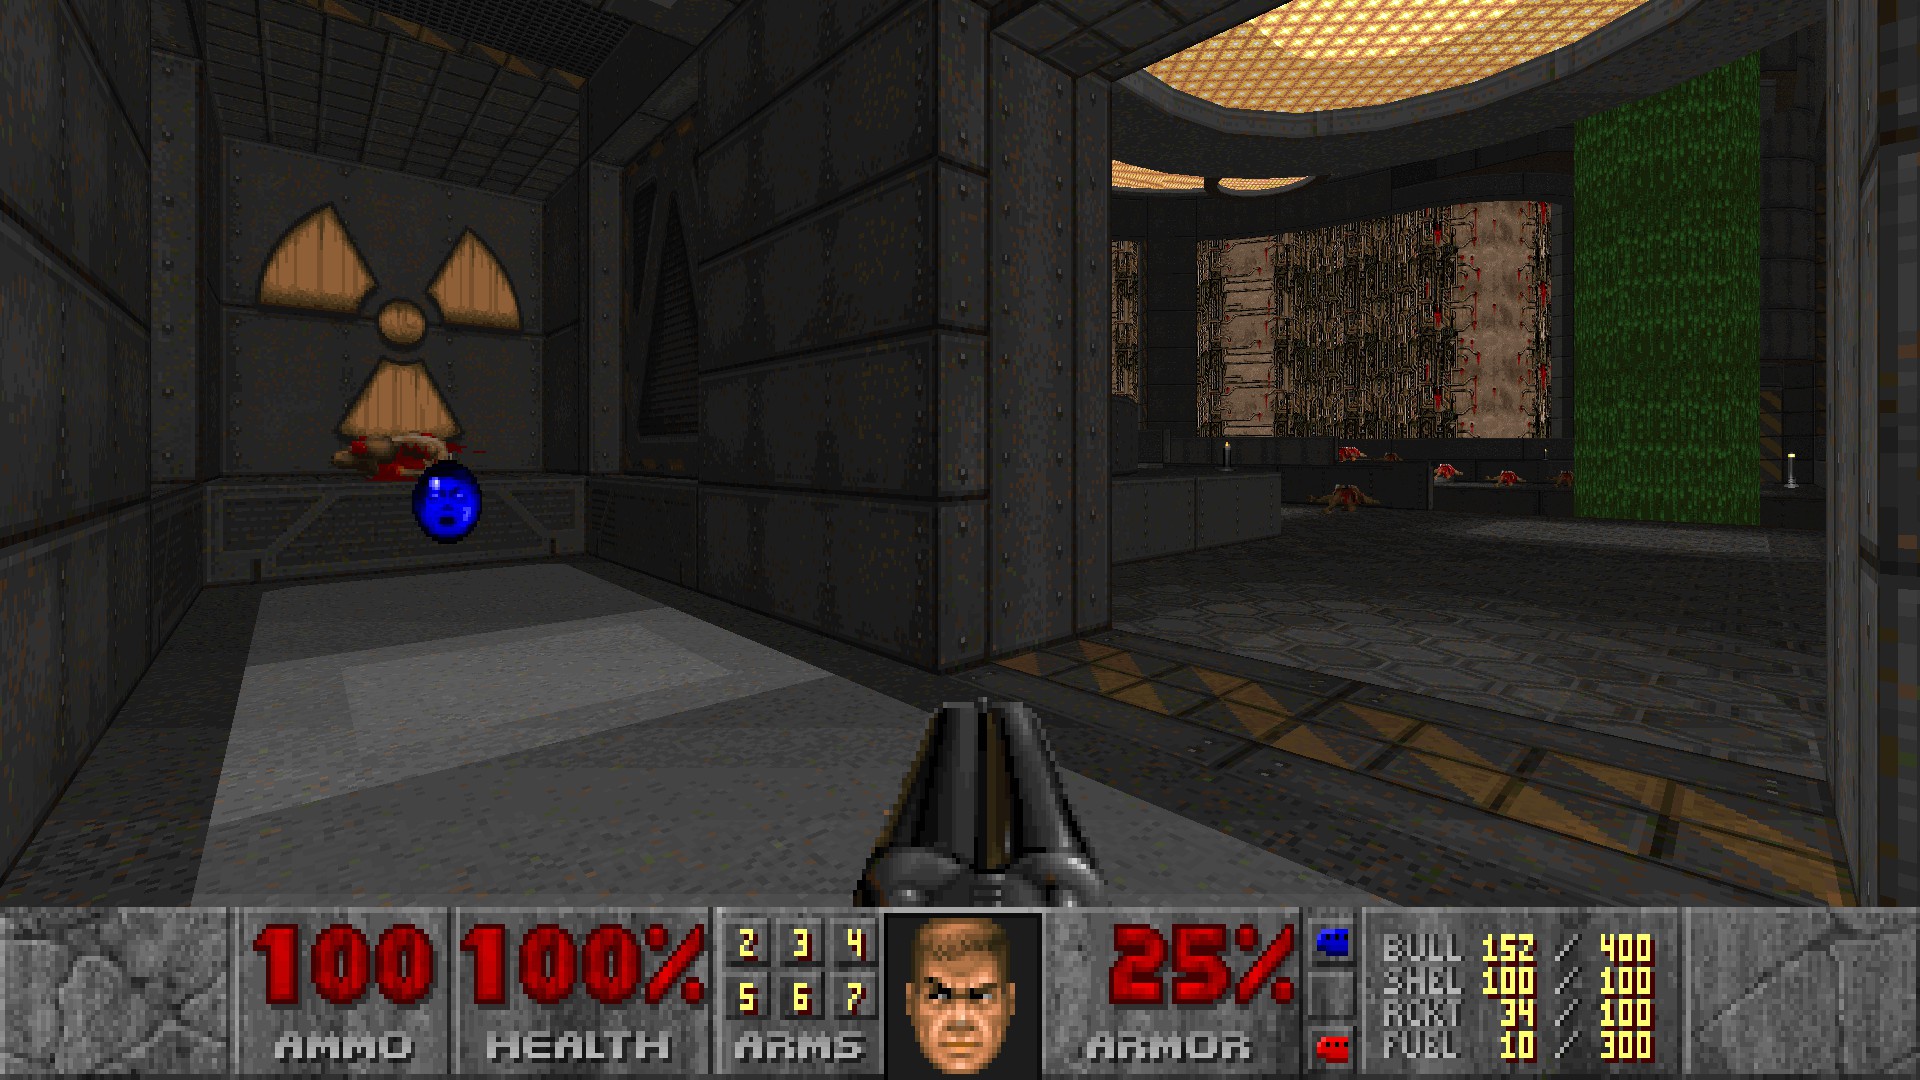
When you enter the first blue door and press the switch there, you'll be ambushed by a lot of revenants on each side. Once they are all dead, enter the north door on the east side to claim the supercharge.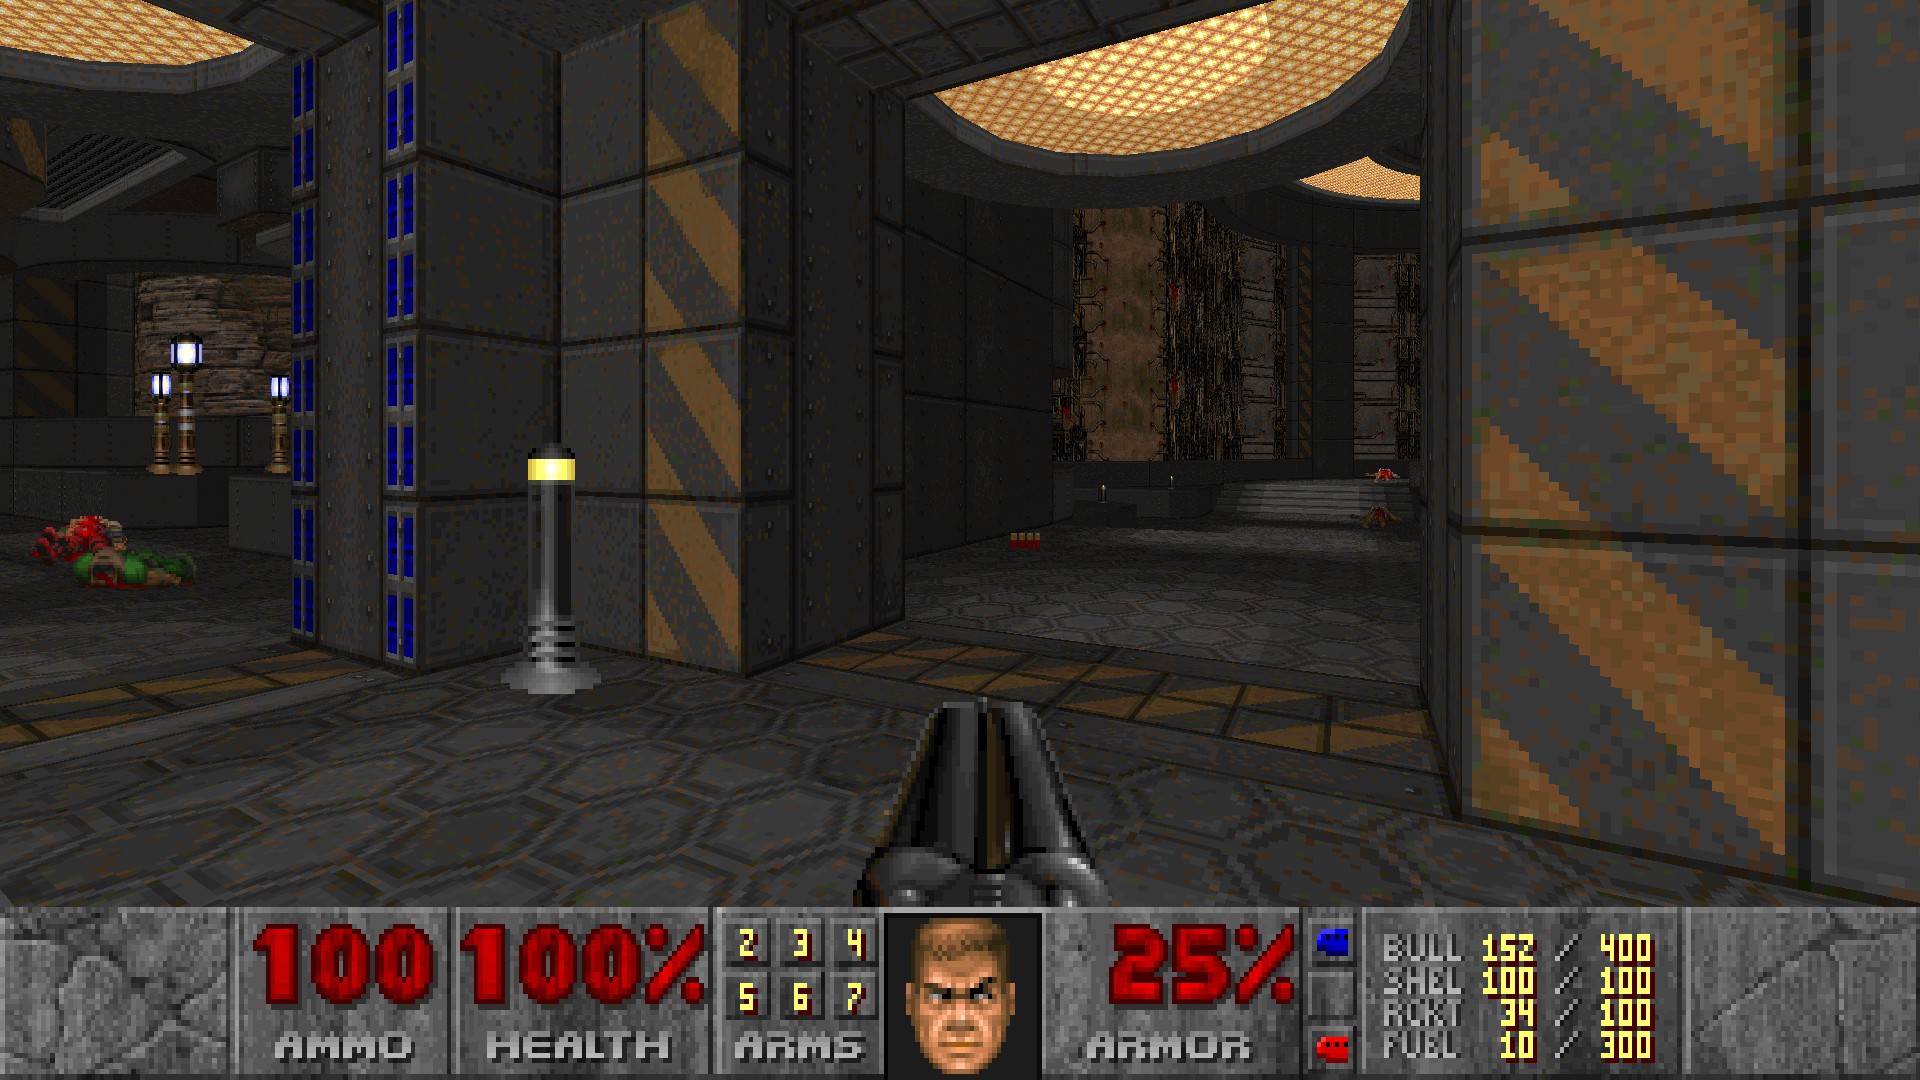
More DOOM + DOOM II guides
- How to run Project Brutality/Brutal DOOM on Steam for Windows! (UPDATED)★ 5 (652)26k views1.1k ♥4 minUpdated May 28, 2025
- Secrets Guide for Episode 1: Knee-Deep in the Dead★ 5 (525)23k views905 ♥10 minUpdated Jan 17, 2020
- List of Doom Engine games on the Steam store★ 5 (593)22k views1.3k ♥3 minUpdated Jul 15
- 100% Steam Achievement Guide for Doom + Doom II★ 5 (966)19k views1.8k ♥6 minUpdated Jan 4, 2025
- DOOM + DOOM II 100% Achievements in 35 min!★ 4 (251)11k views456 ♥8 minUpdated Jun 30, 2025
- All Cheat Codes and Commands - DOOM + DOOM II (2024 remaster)★ 5 (170)8.6k views393 ♥3 minUpdated Oct 26, 2025


🔥 Popular guides
- Upgrading to PremiumTeam Fortress 2★ 5 (20k)1441k views11k ♥6 minUpdated May 11, 2022
- No More Room in Hell Official ManualNo More Room in Hell★ 5 (2.8k)569k views2.1k ♥29 minUpdated Apr 22, 2019
- NMRiH Community Hosting GuidesNo More Room in Hell★ 5 (526)351k views653 ♥1 minUpdated Aug 10, 2022
- ULTIMATE GUIDE FOR GAME DEV TYCOONGame Dev Tycoon★ 5 (5.8k)326k views10k ♥4 minUpdated 23 Jan, 2014
- How to 'Git Gud' Soon™MORDHAU★ 5 (2k)318k views3k ♥68 minUpdated Nov 16, 2024
- Лучшие кооперативные игры SteamPAYDAY 2★ 5 (1.5k)315k views2.1k ♥56 minRussianUpdated Apr 27, 2025






This guide was created by its original author on the Steam Community. Are you the author and want it removed? Request removal.