Map Secrets Part 3: D-F
Intro
To provide a single and complete guide of secrets, I have included all nmo maps from previous secrets guides, credited the original authors and linked their works. I have removed references to deleted guides
For better loading and scrolling, guide parts increased from 4 to 8. Letter b nmo maps are broken into 2 guide parts. All guide parts have a links section that has the previous and/or next part
If you like this guide, give it an upvote (thumbs up) above. Add it your favorites and it's easier to find in the guides section
nmo_daqiao_v1_5 (the bridge)

Get the head near the crushed zombie shortly after using the ladder

Carry the head forward and place it next to the candles under the hanged man

The hanged man will become a boss zombie
nmo_dark_course
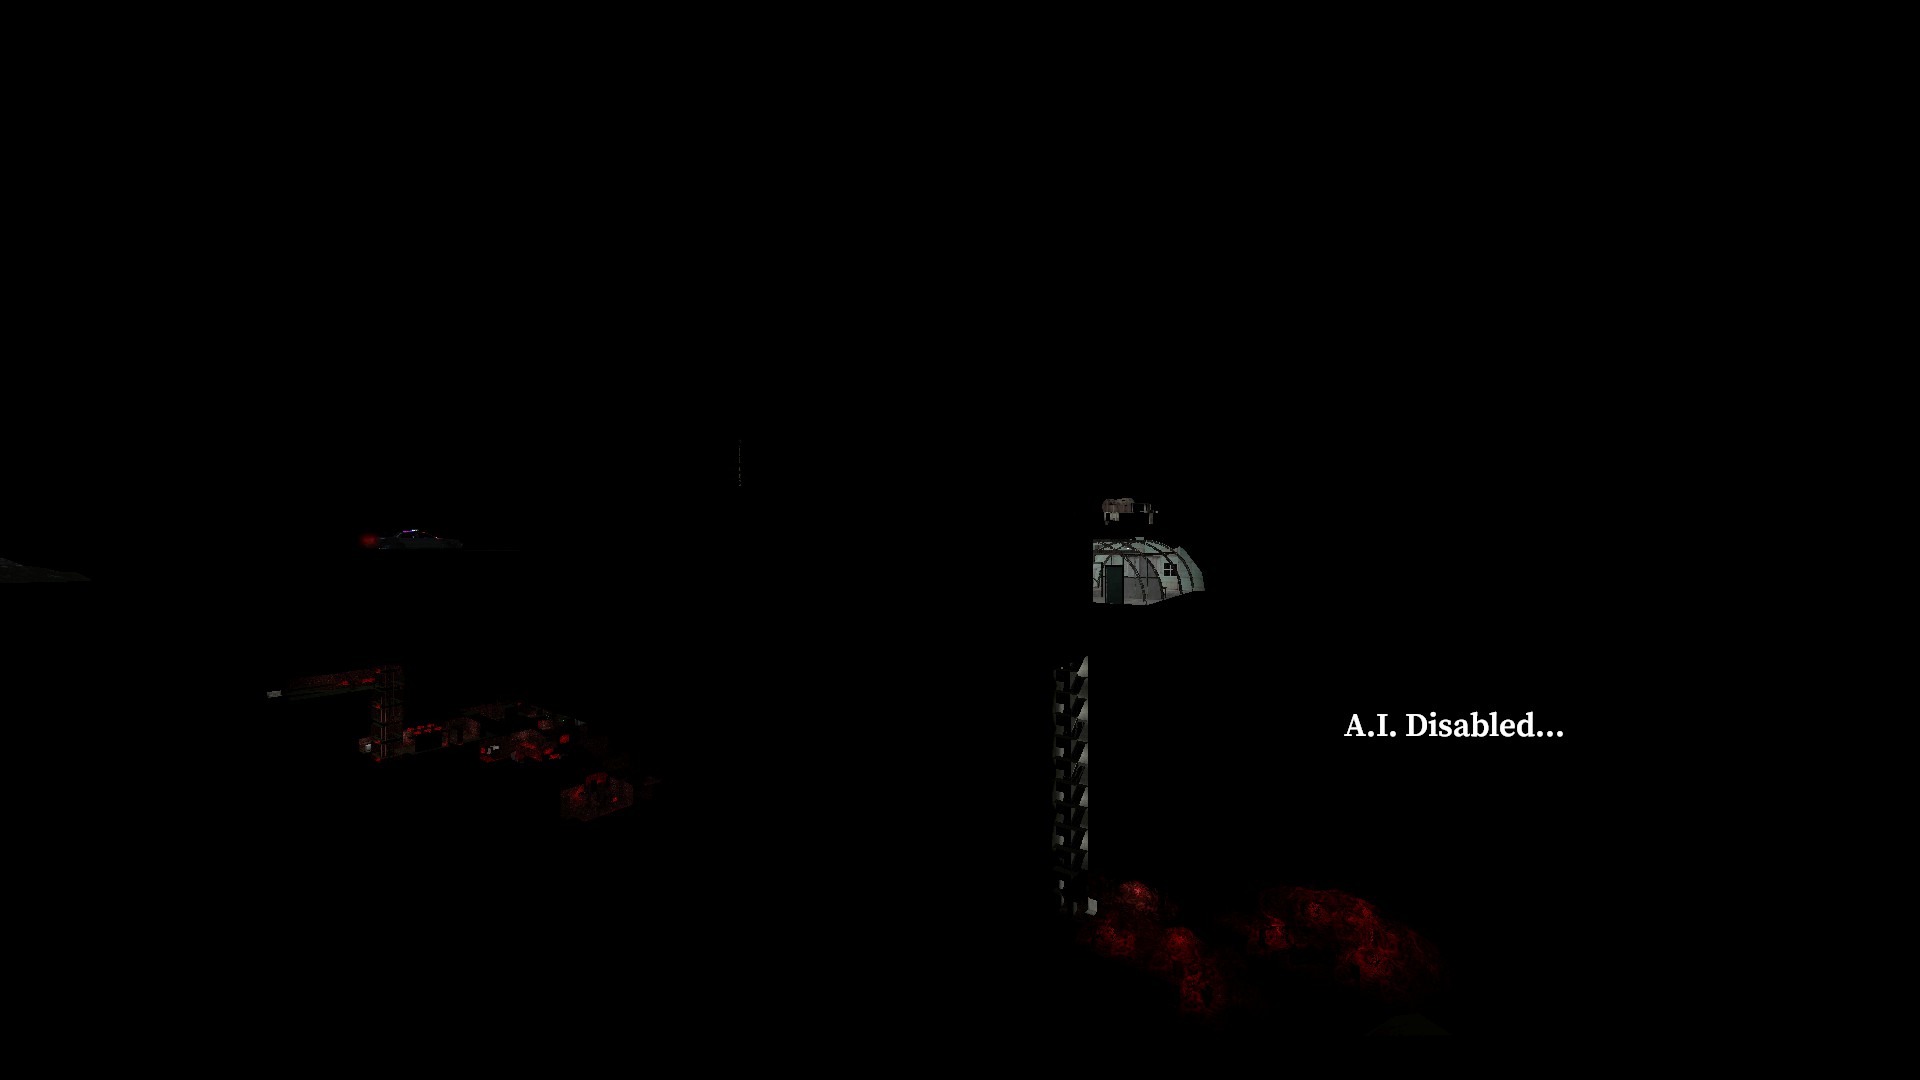
You will have to noclip to this room and it is rather hard to see. It is just behind the starting garage area. It is pure black, a flashlight won't reflect off it's surface and won't work inside of it either
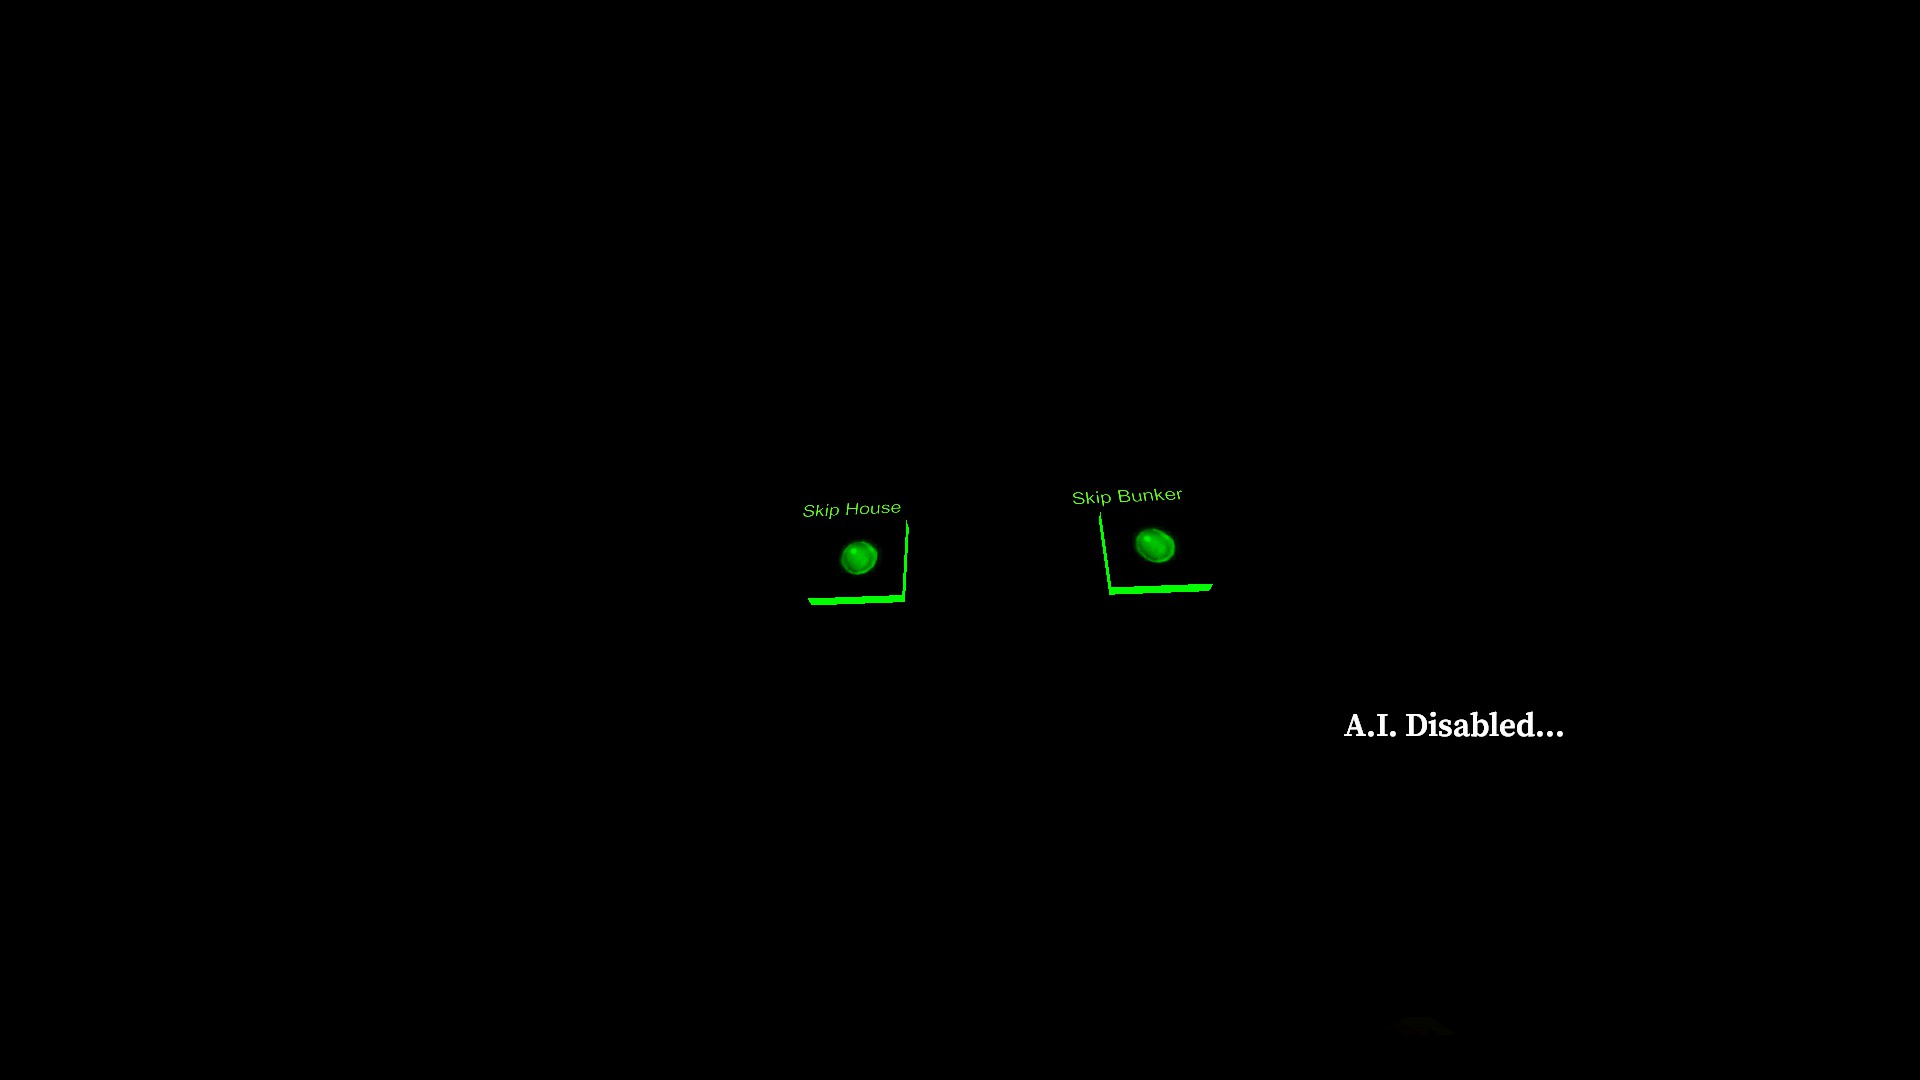
Inside the room you will be able to see two buttons, skip house and skip bunker. If you press either button they will both disappear. In most developer rooms, you will be teleported to the start of a later stage after pressing buttons. That is not the case on this map, you will need to progress through the 2 cutscenes
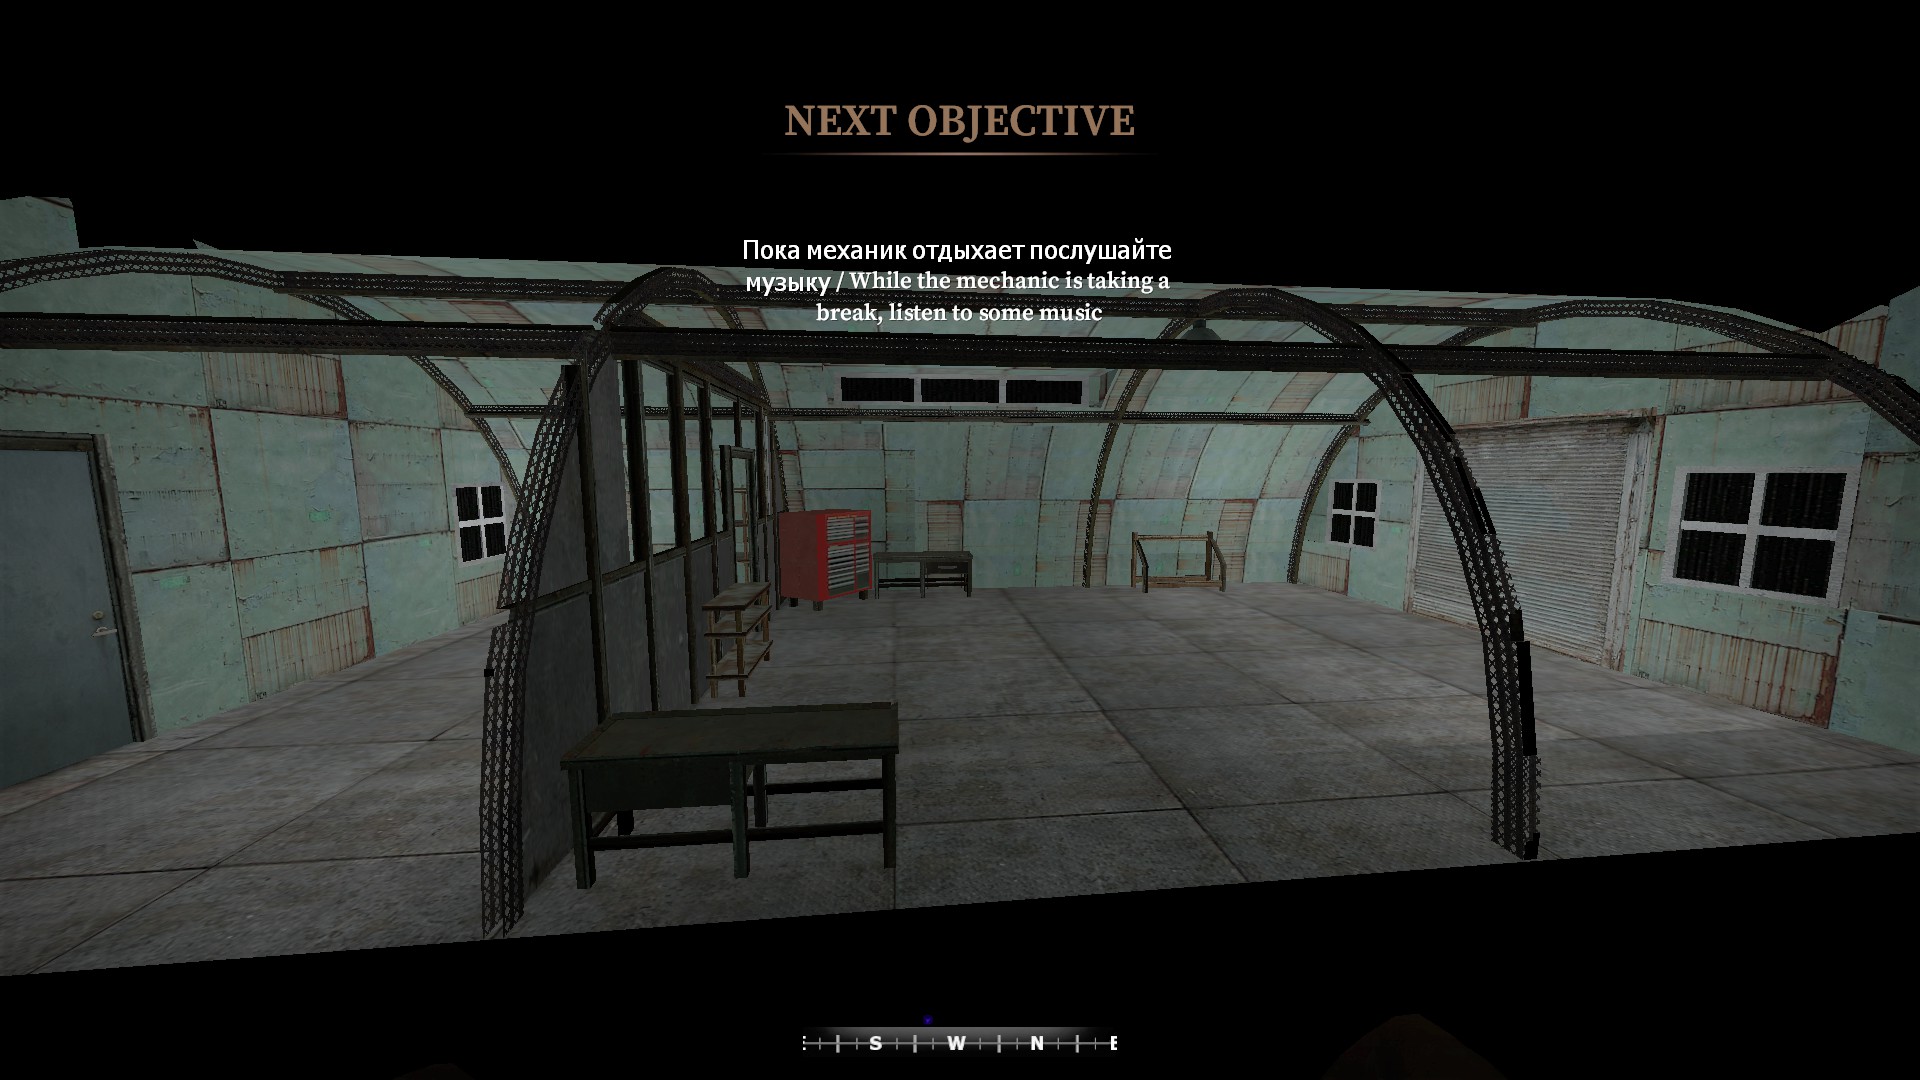
After pressing a button, noclip back to the map start and do the radio, fuel and open garage objectives to start the first cutscene
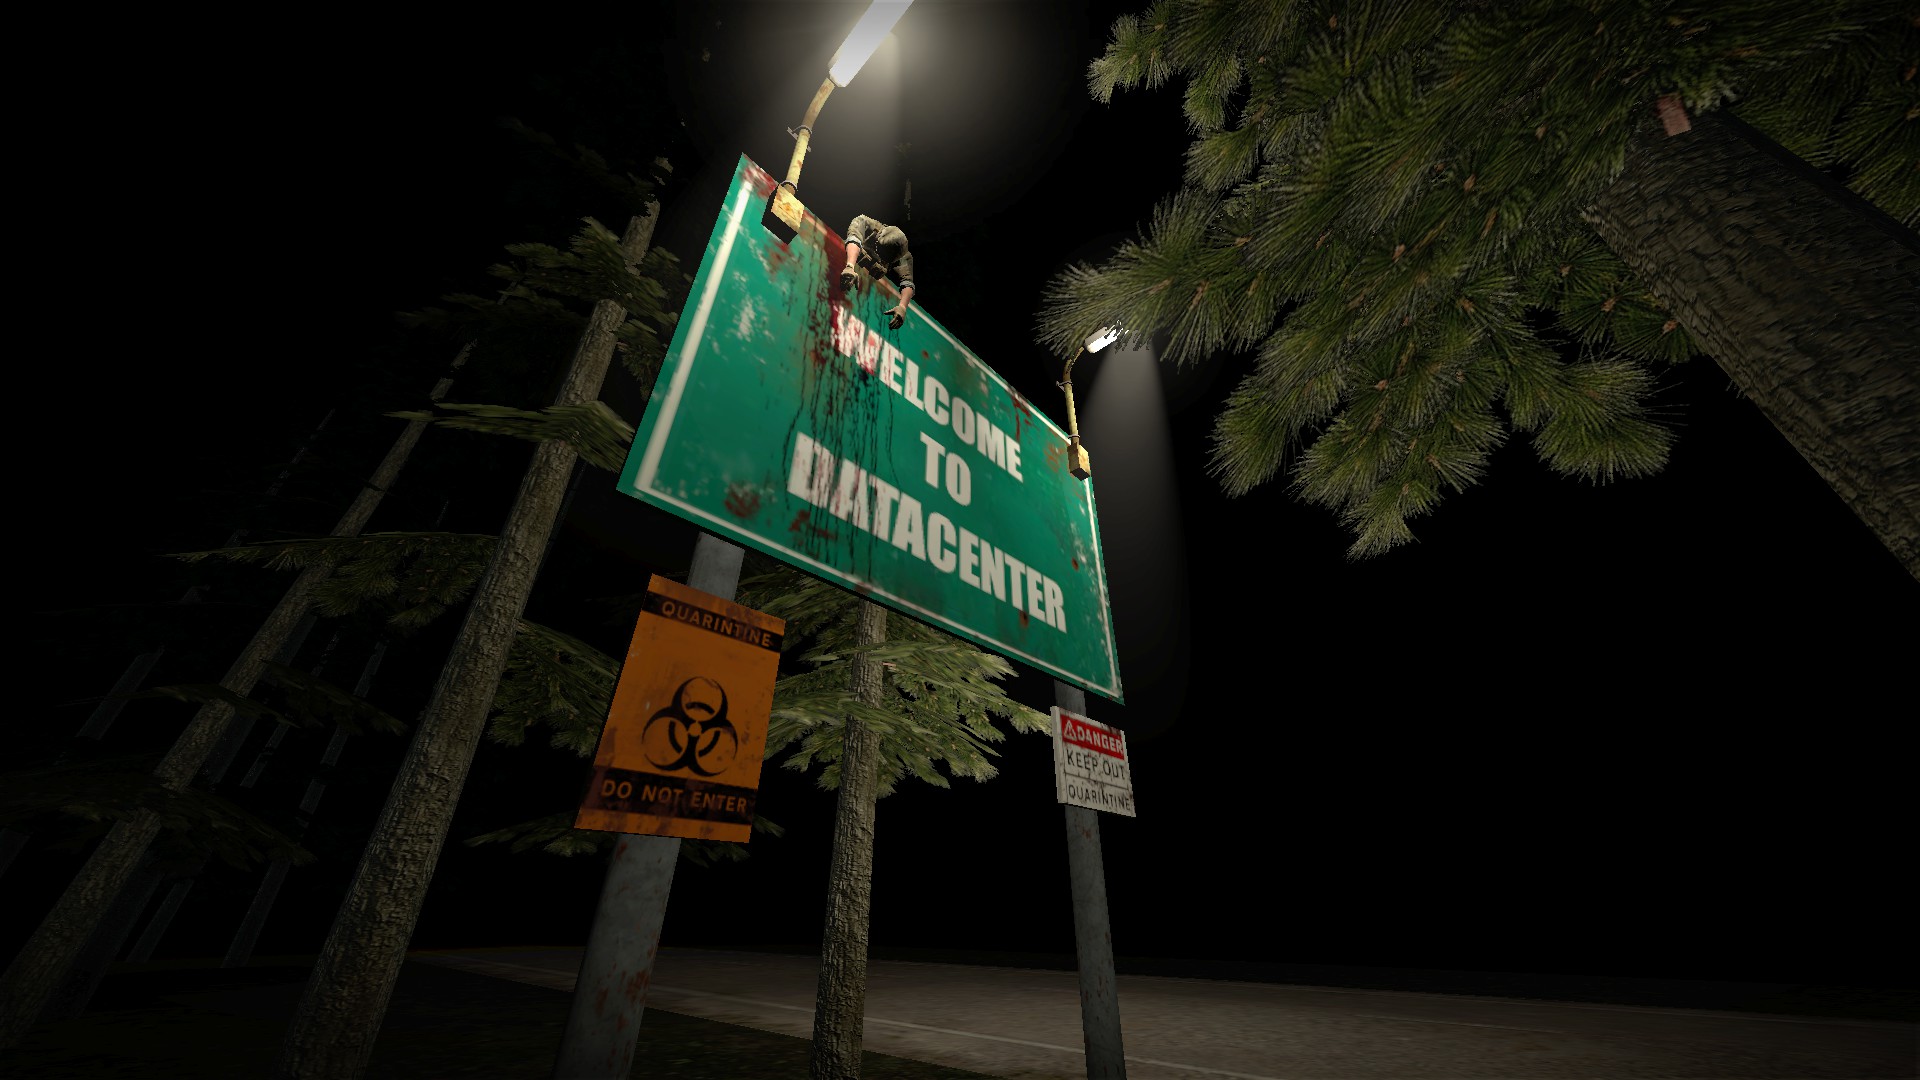
That's a tall sign, quarintine
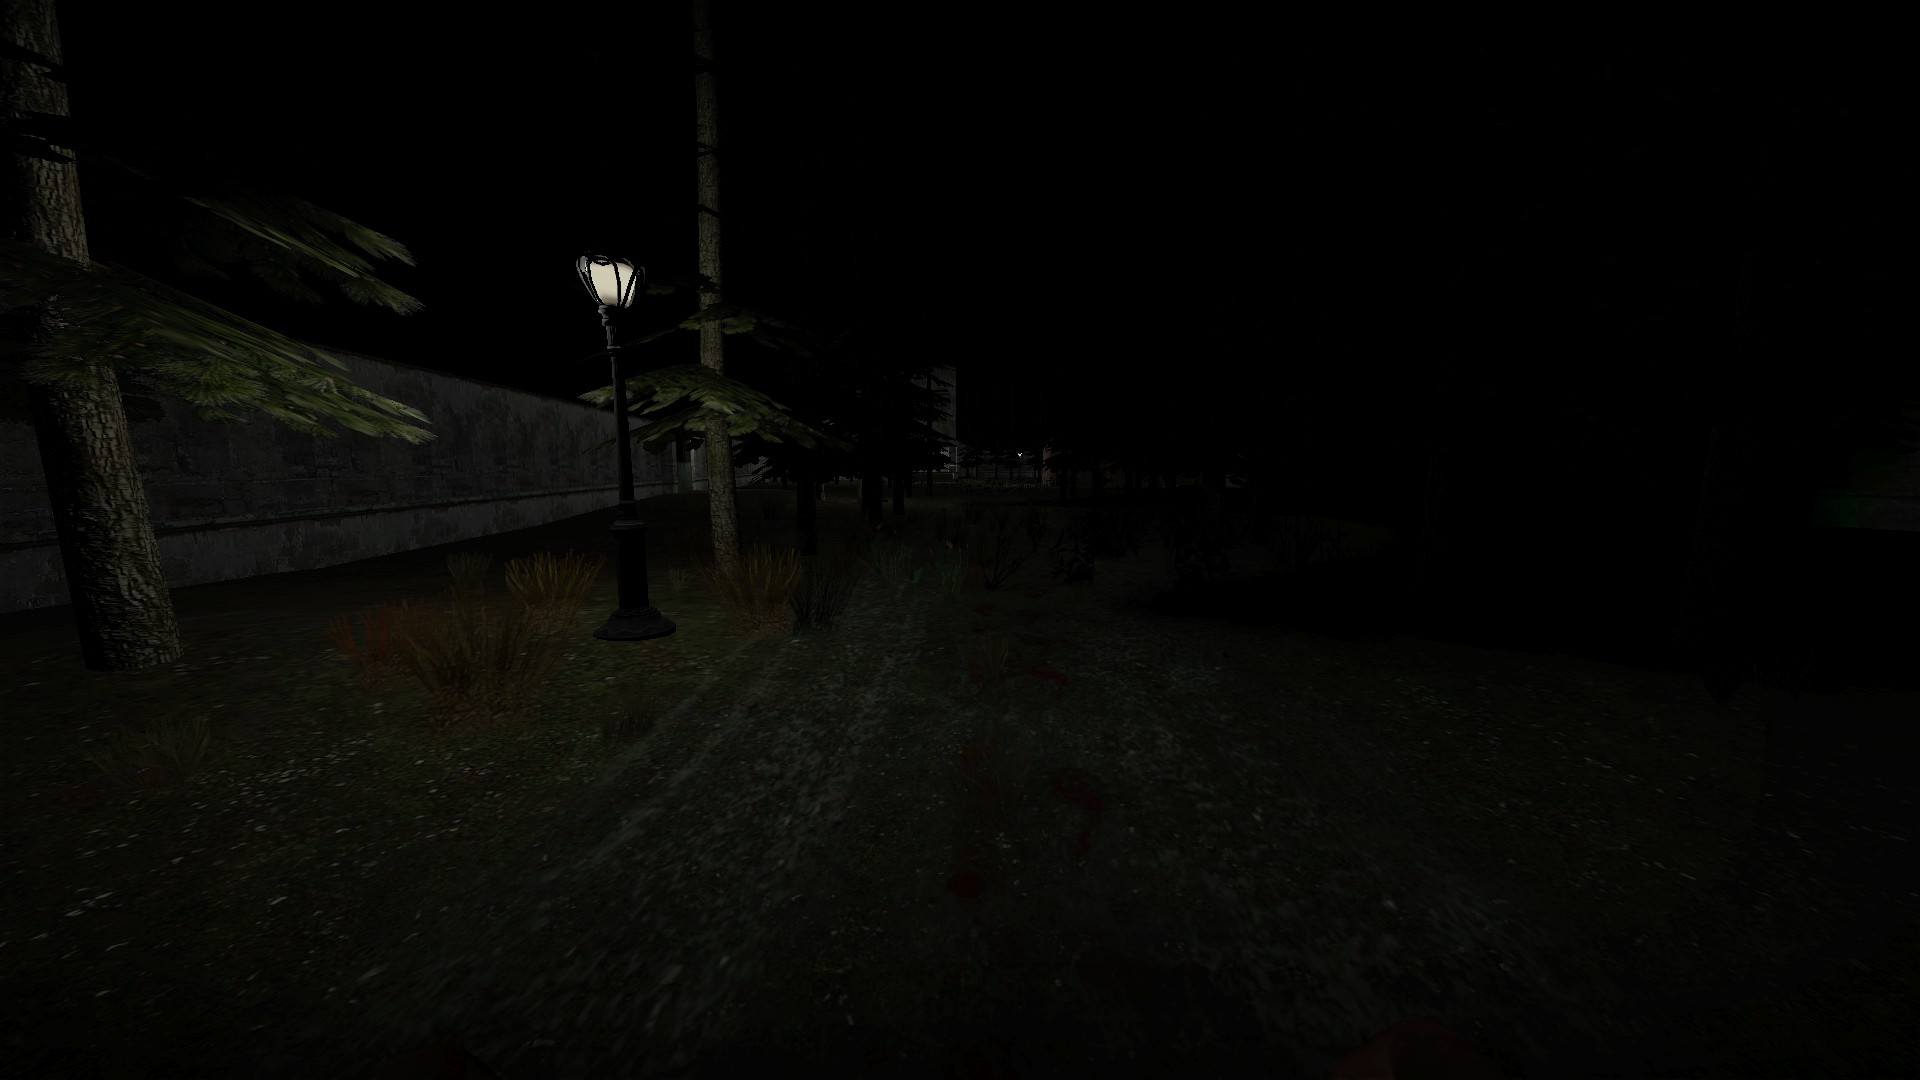
After the first cutscene is over, you will start in the yard outside the house
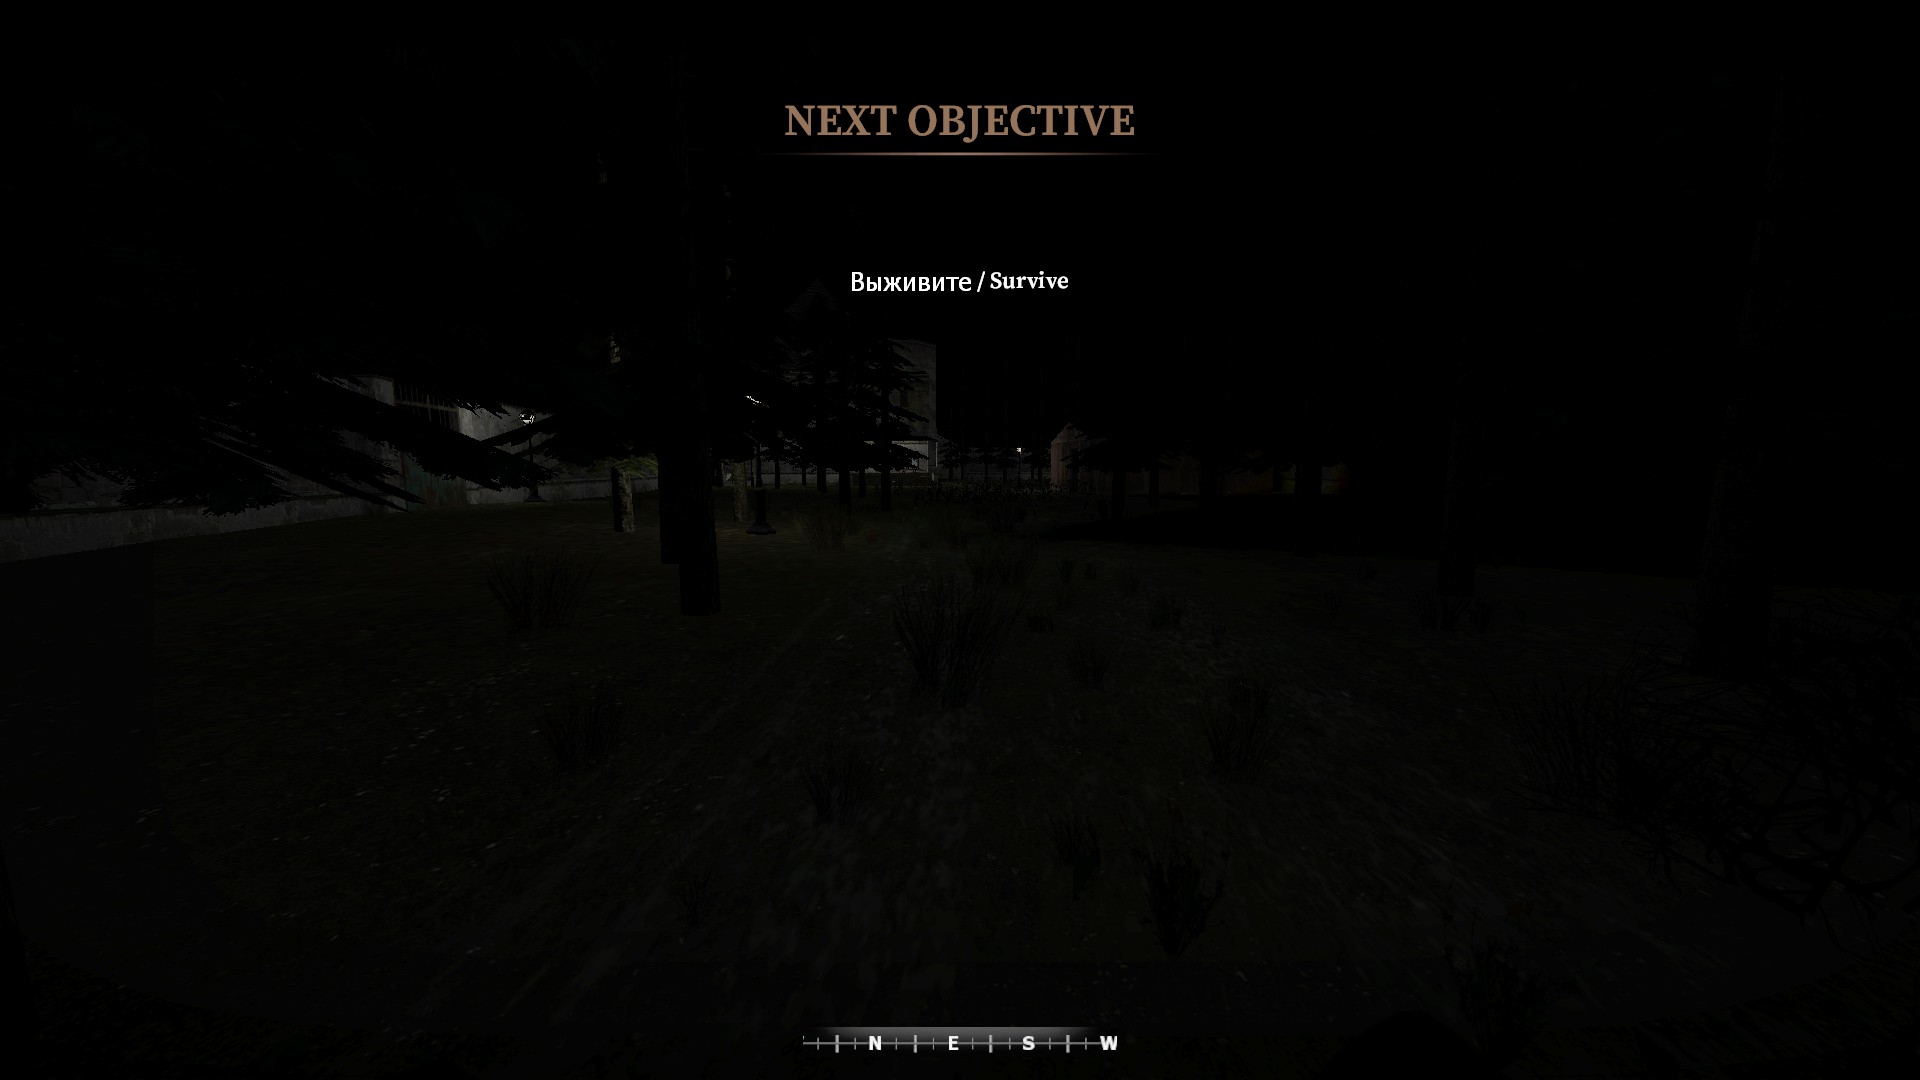
After the car explodes the objective will change. If you pressed the skip house button, you will have the objective: survive (this was the last objective of the house area)
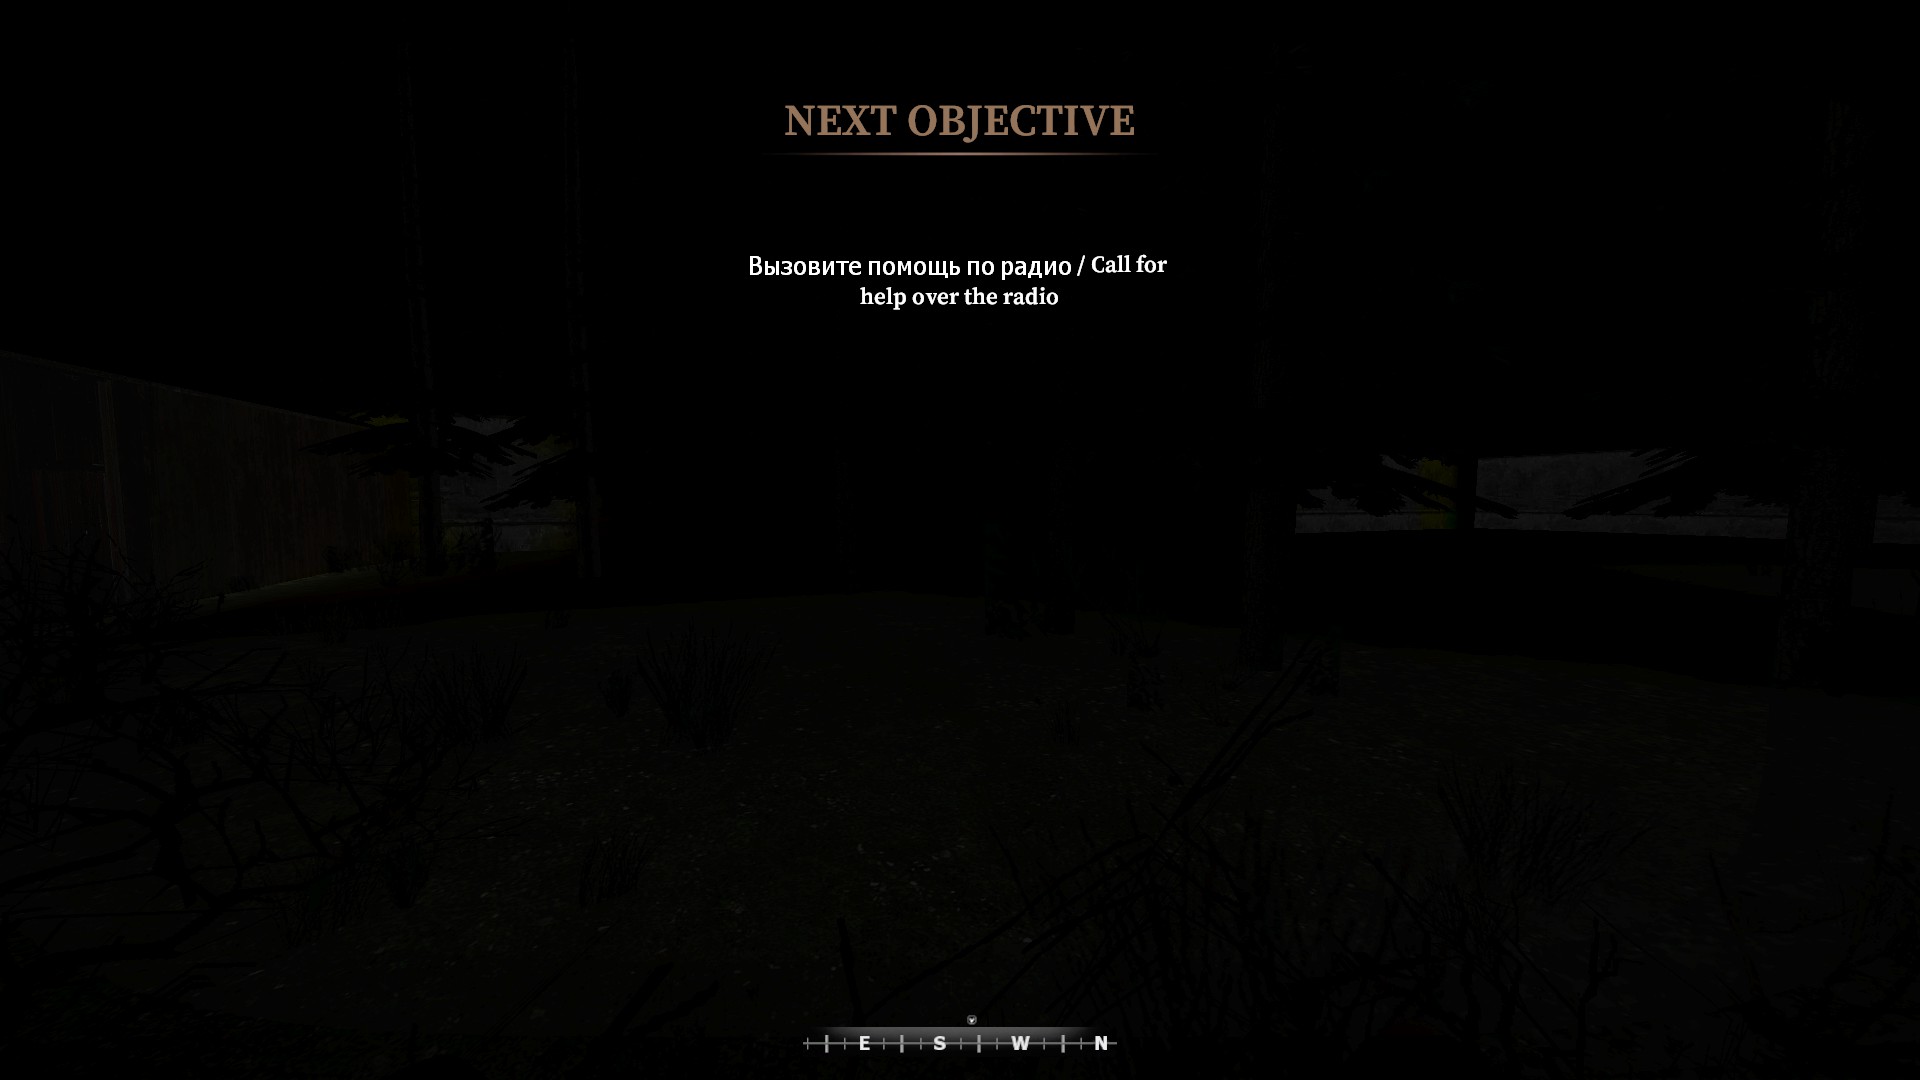
If you pressed the skip bunker button, you will have the objective: call for help from the radio
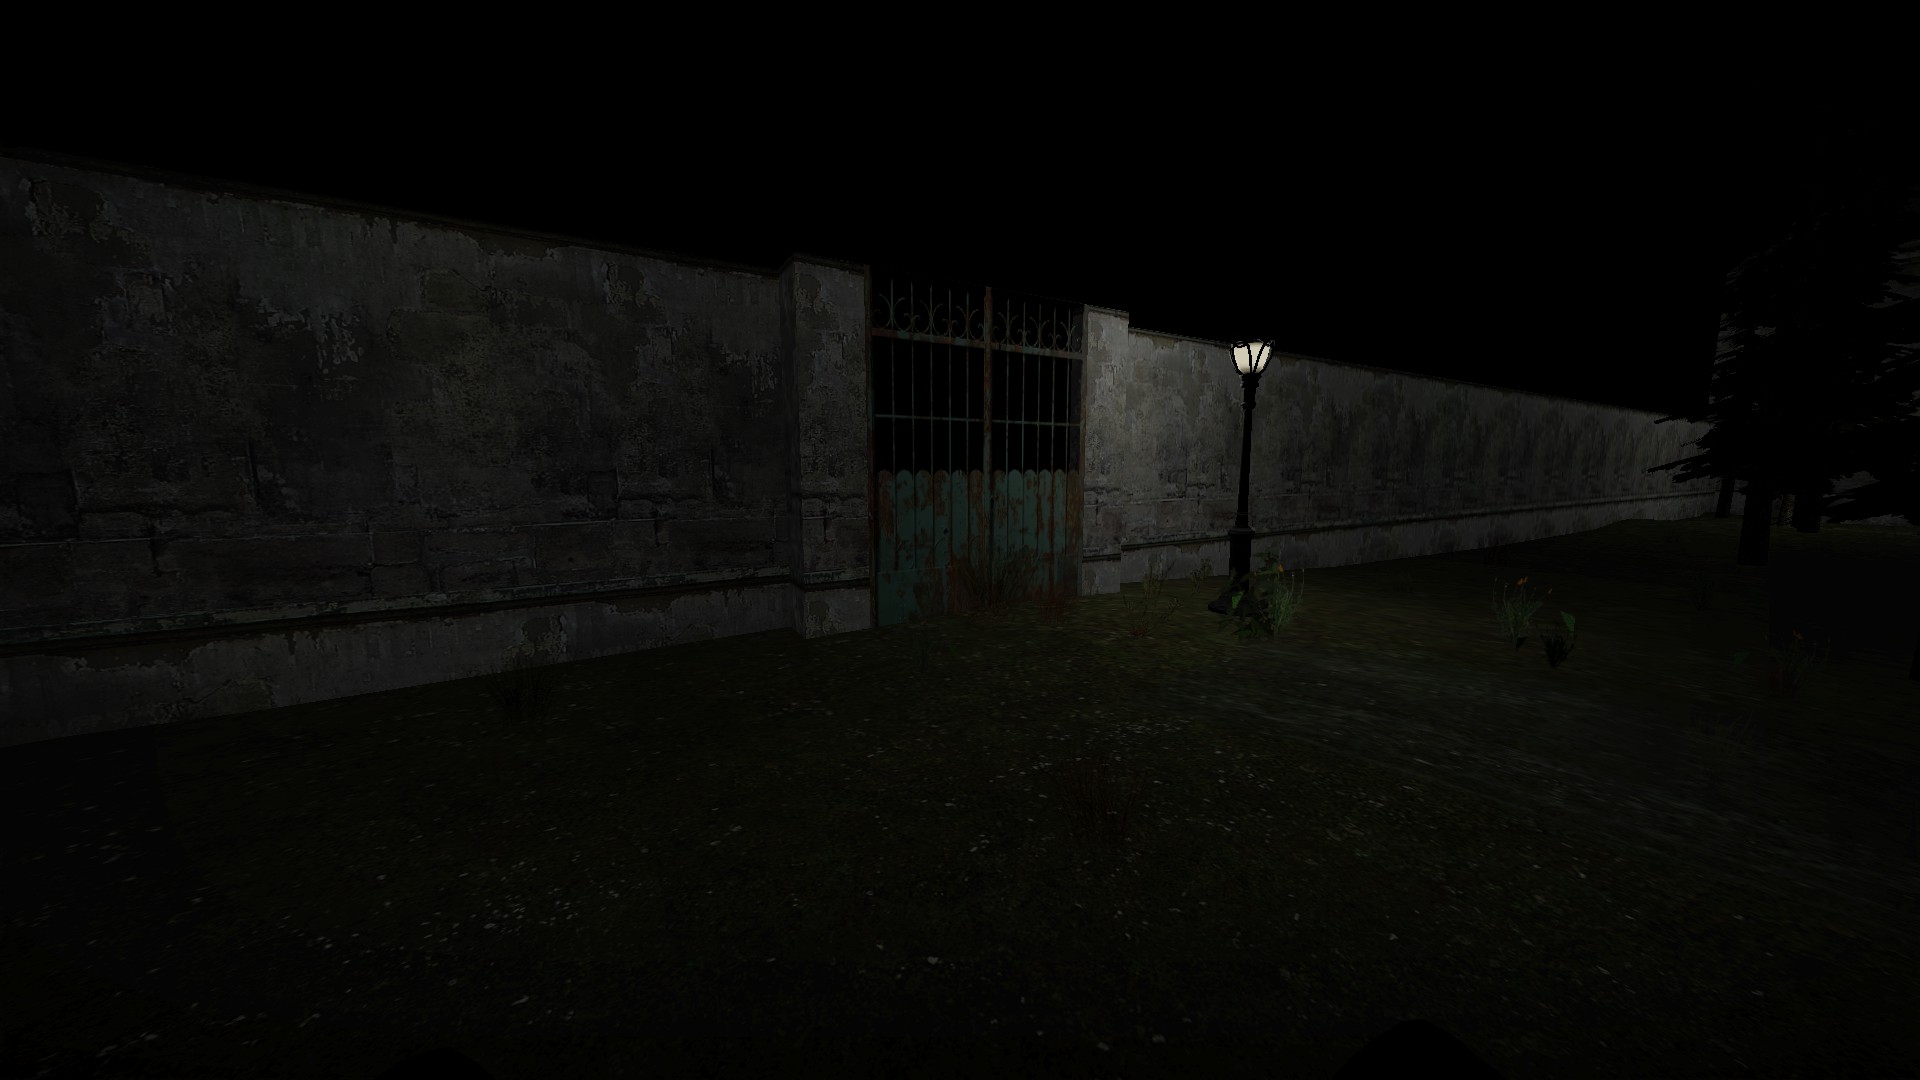
For both objectives, go to the gate at the left in the yard. This will start cutscene 2

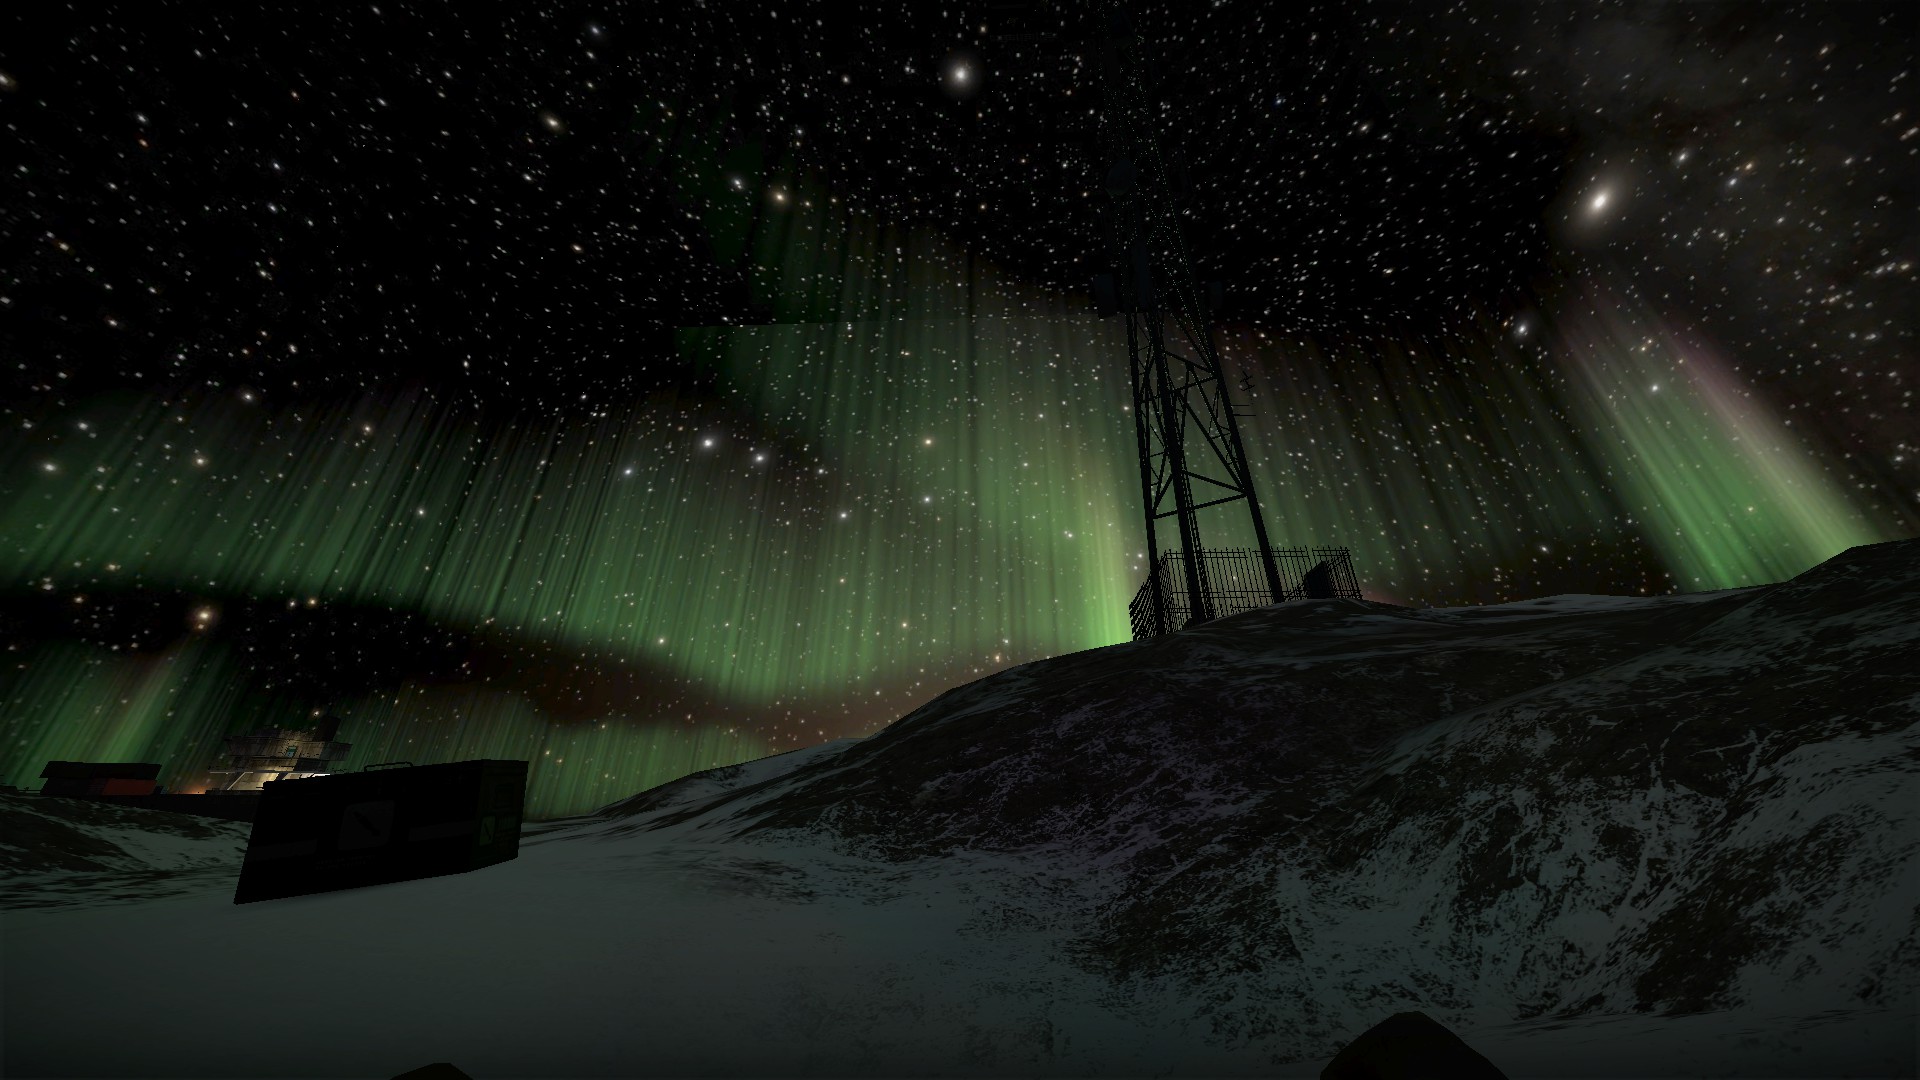
After the second cutscene, you will be dropped down a helicopter rope line onto an island
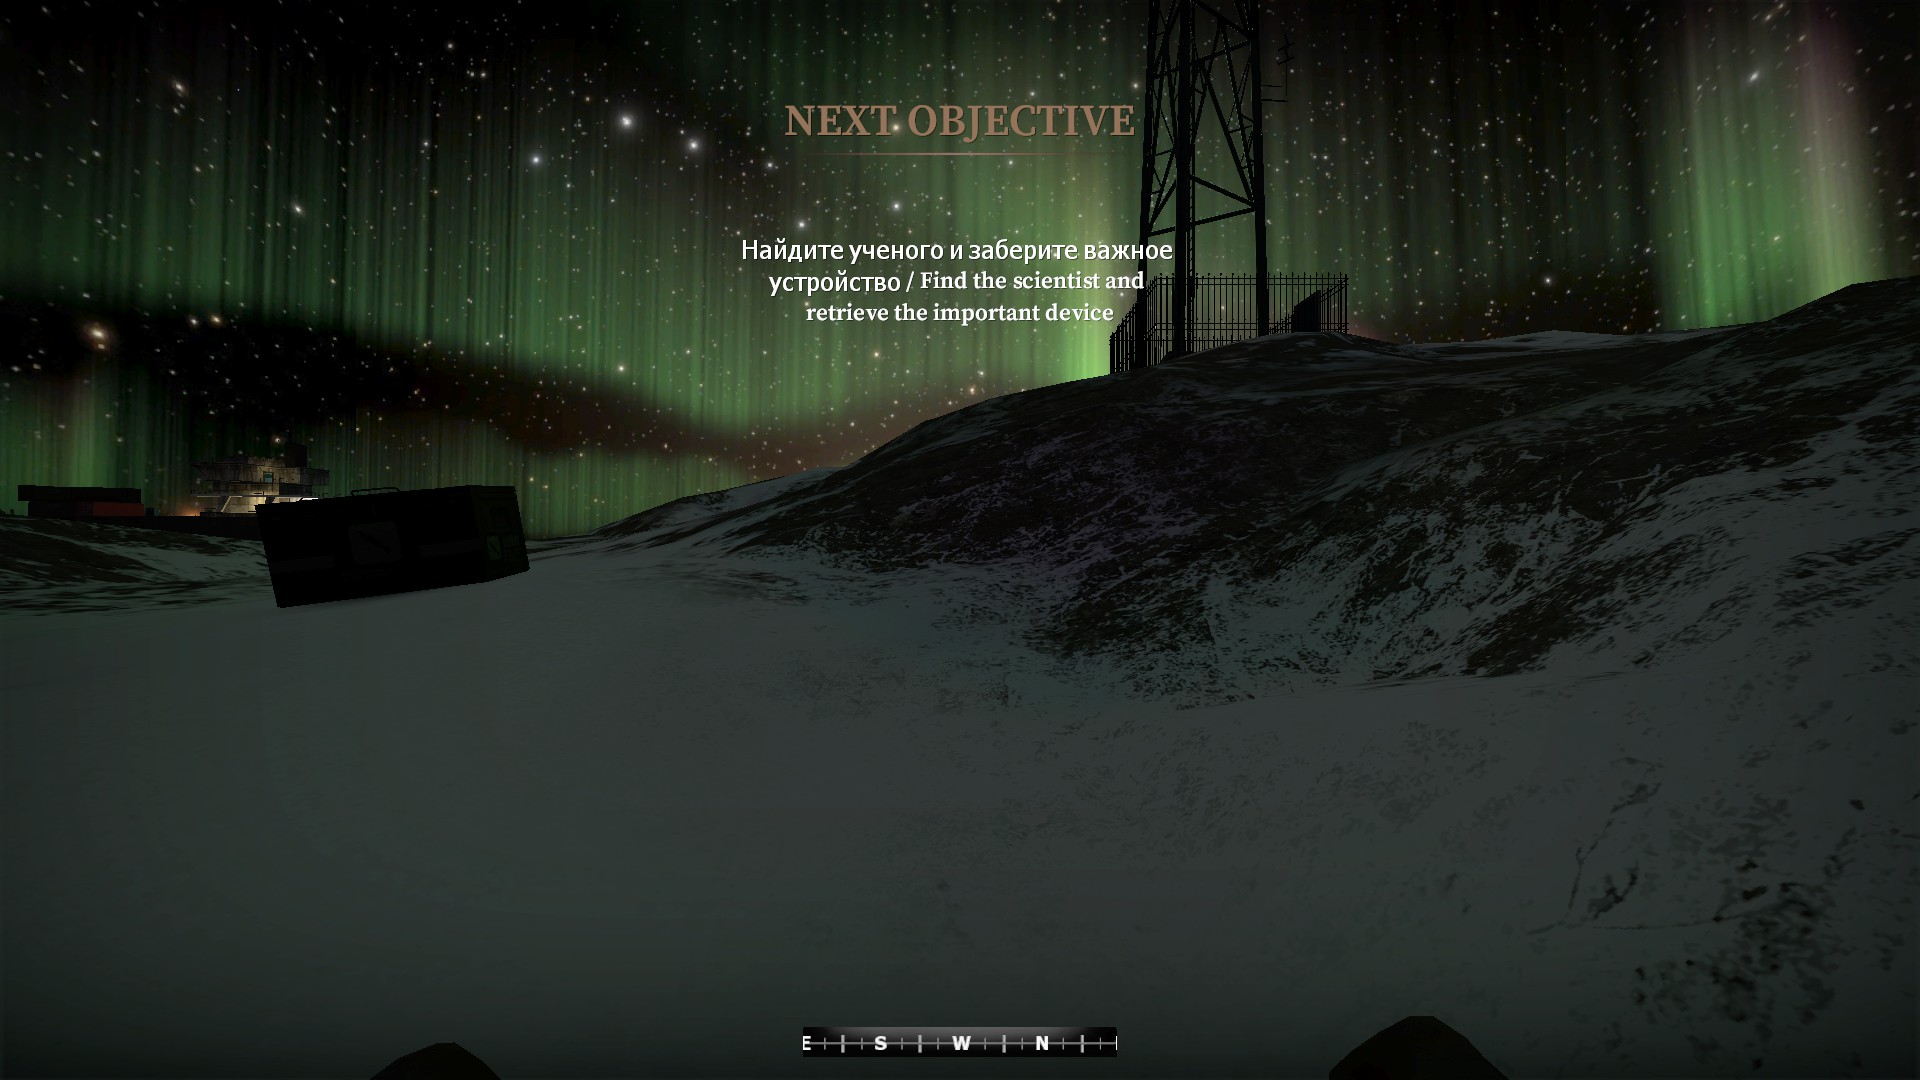
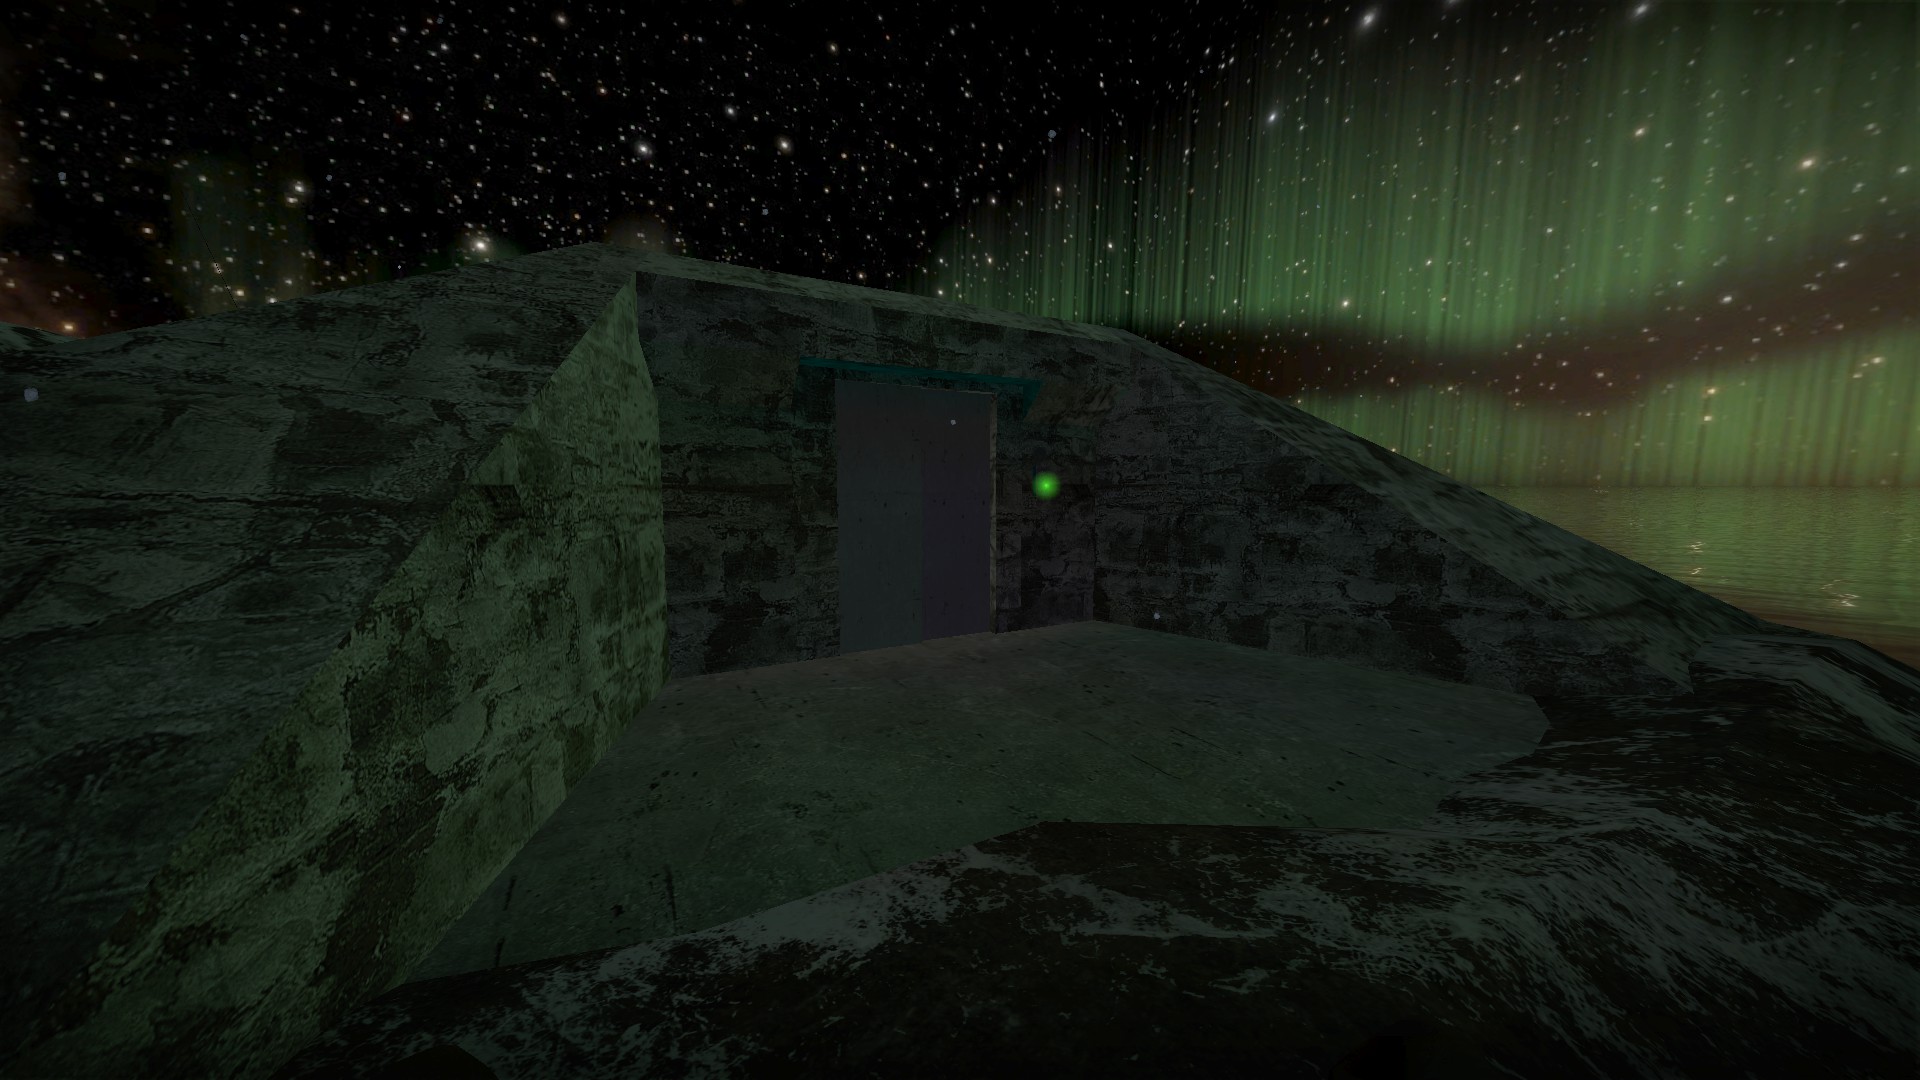
If you just skipped the house, you will now have the objective: find the scientist and retrieve the important device. You will now proceed to the bunker
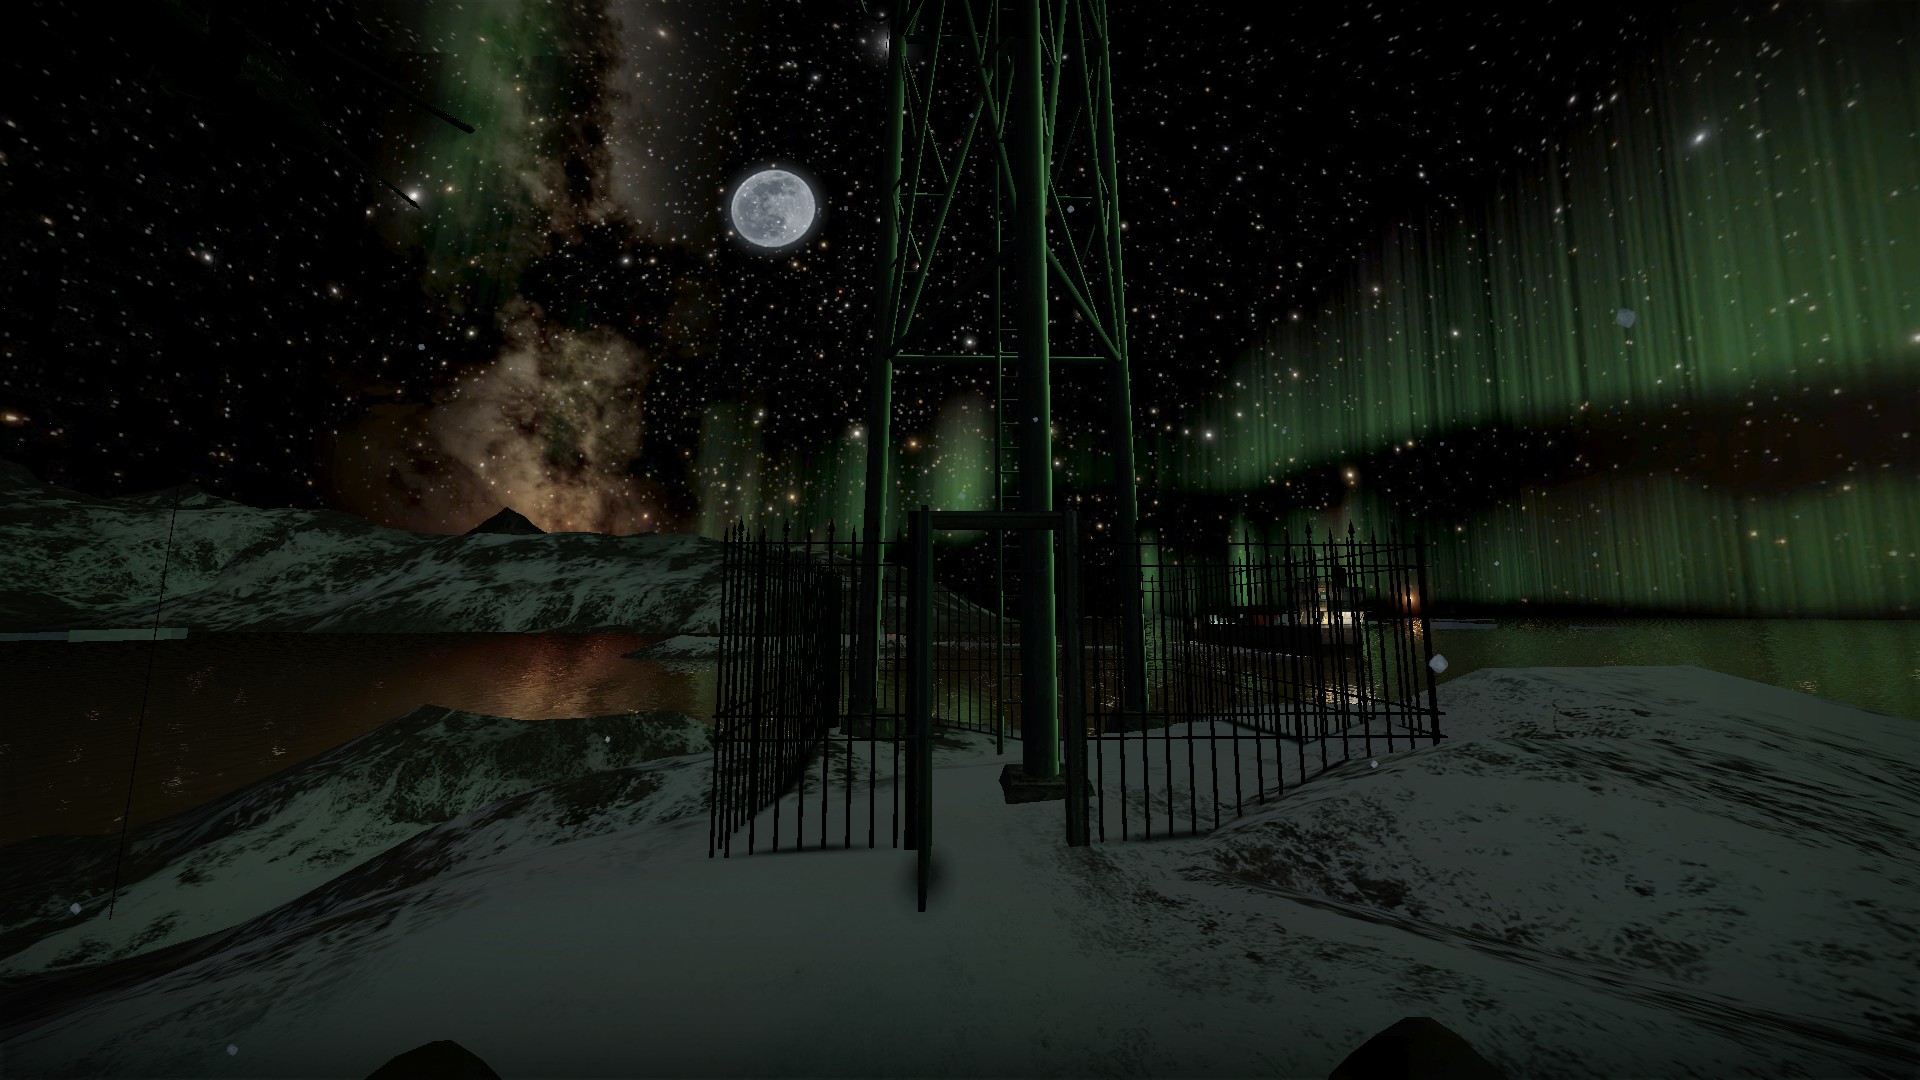
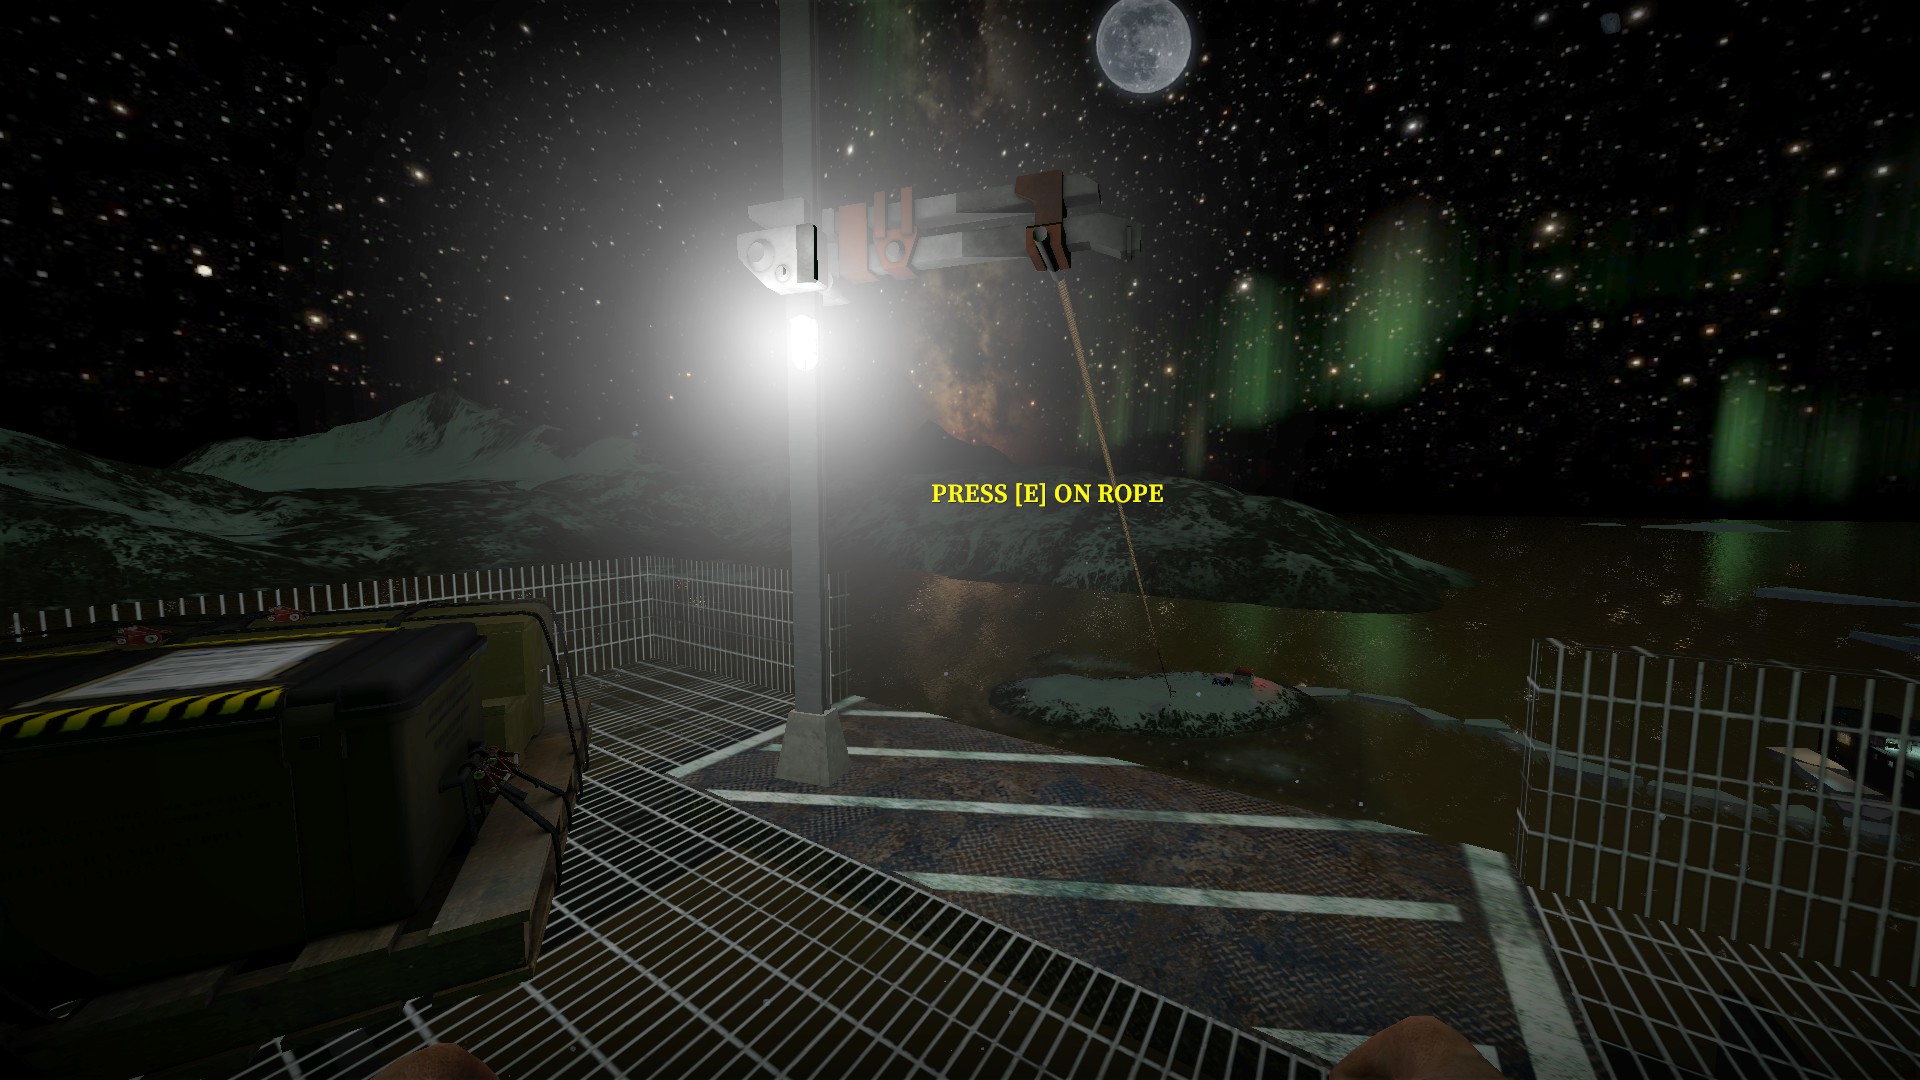
If you skipped the house and the bunker, the tower door will be open. Climb up and zipline across to the radio house
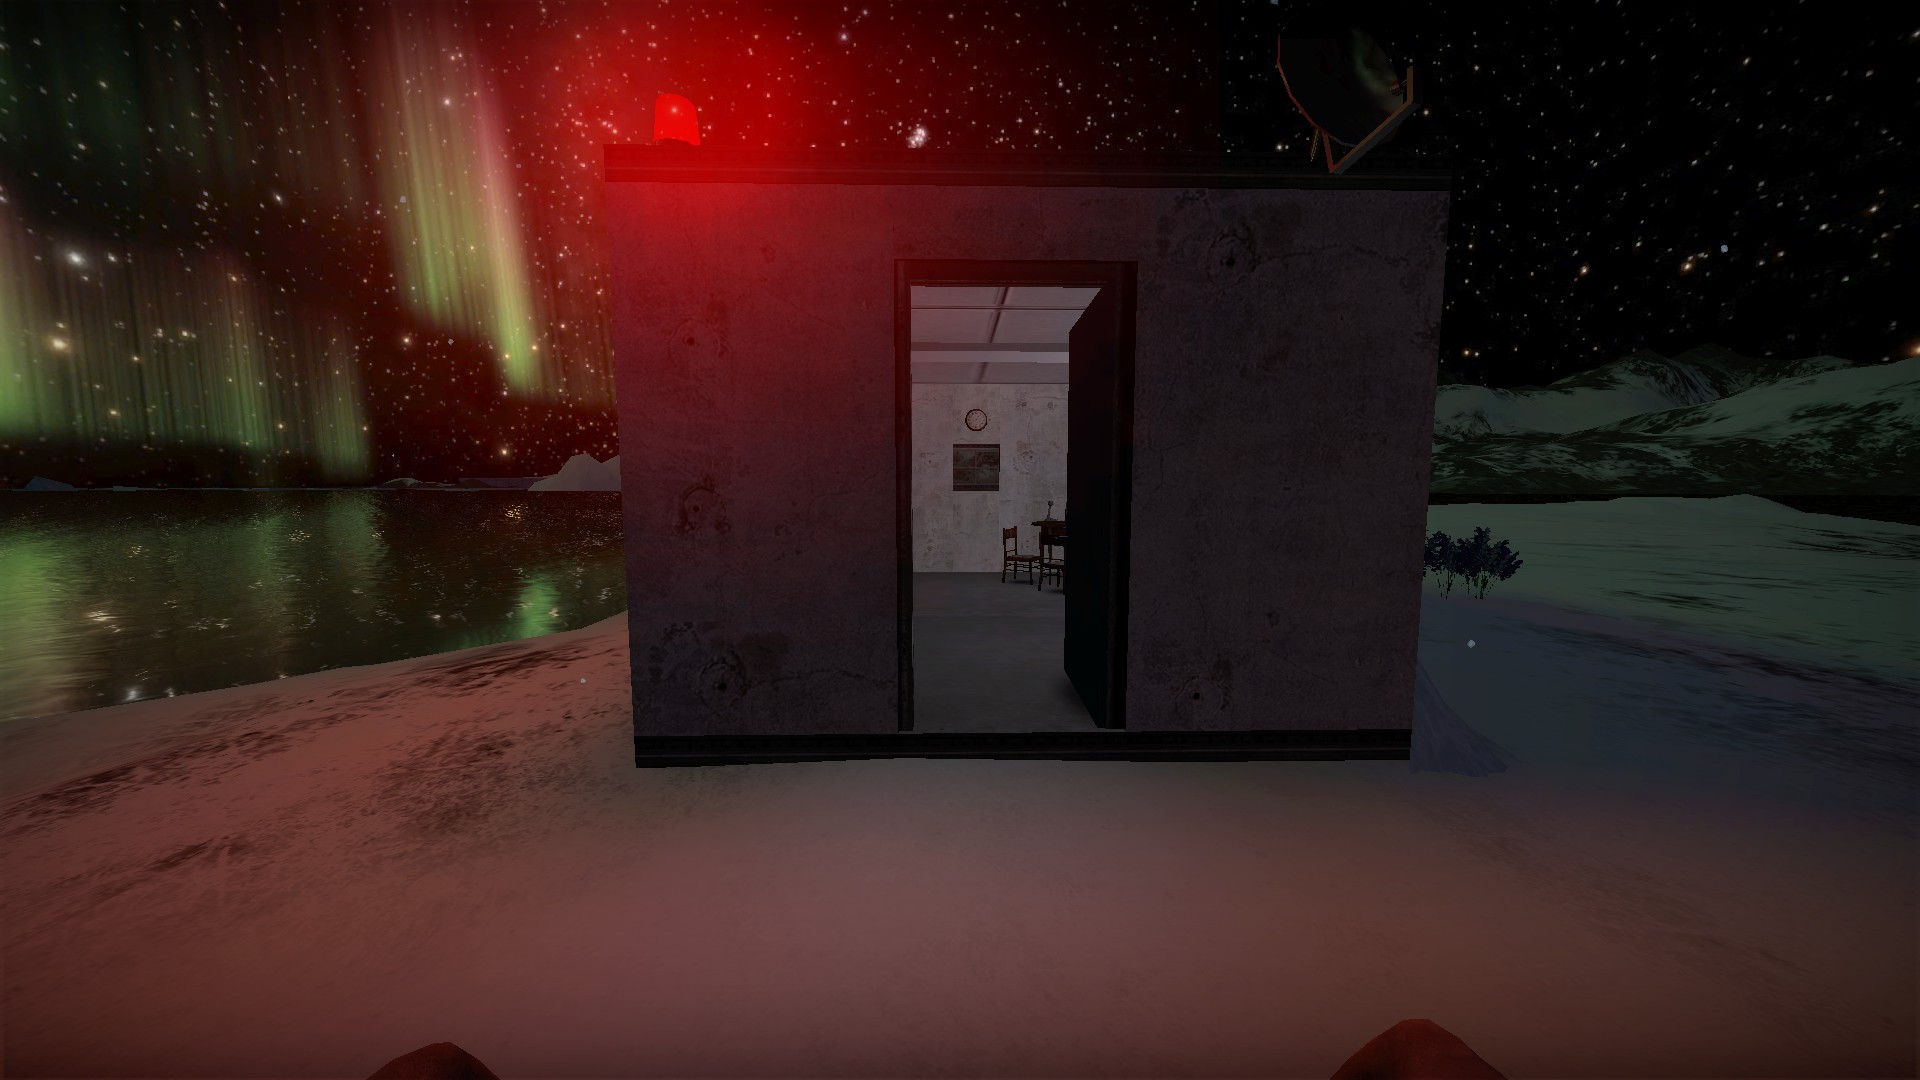
The radio house will open once all players are there. Using the radio inside will complete the call for help on the radio objective
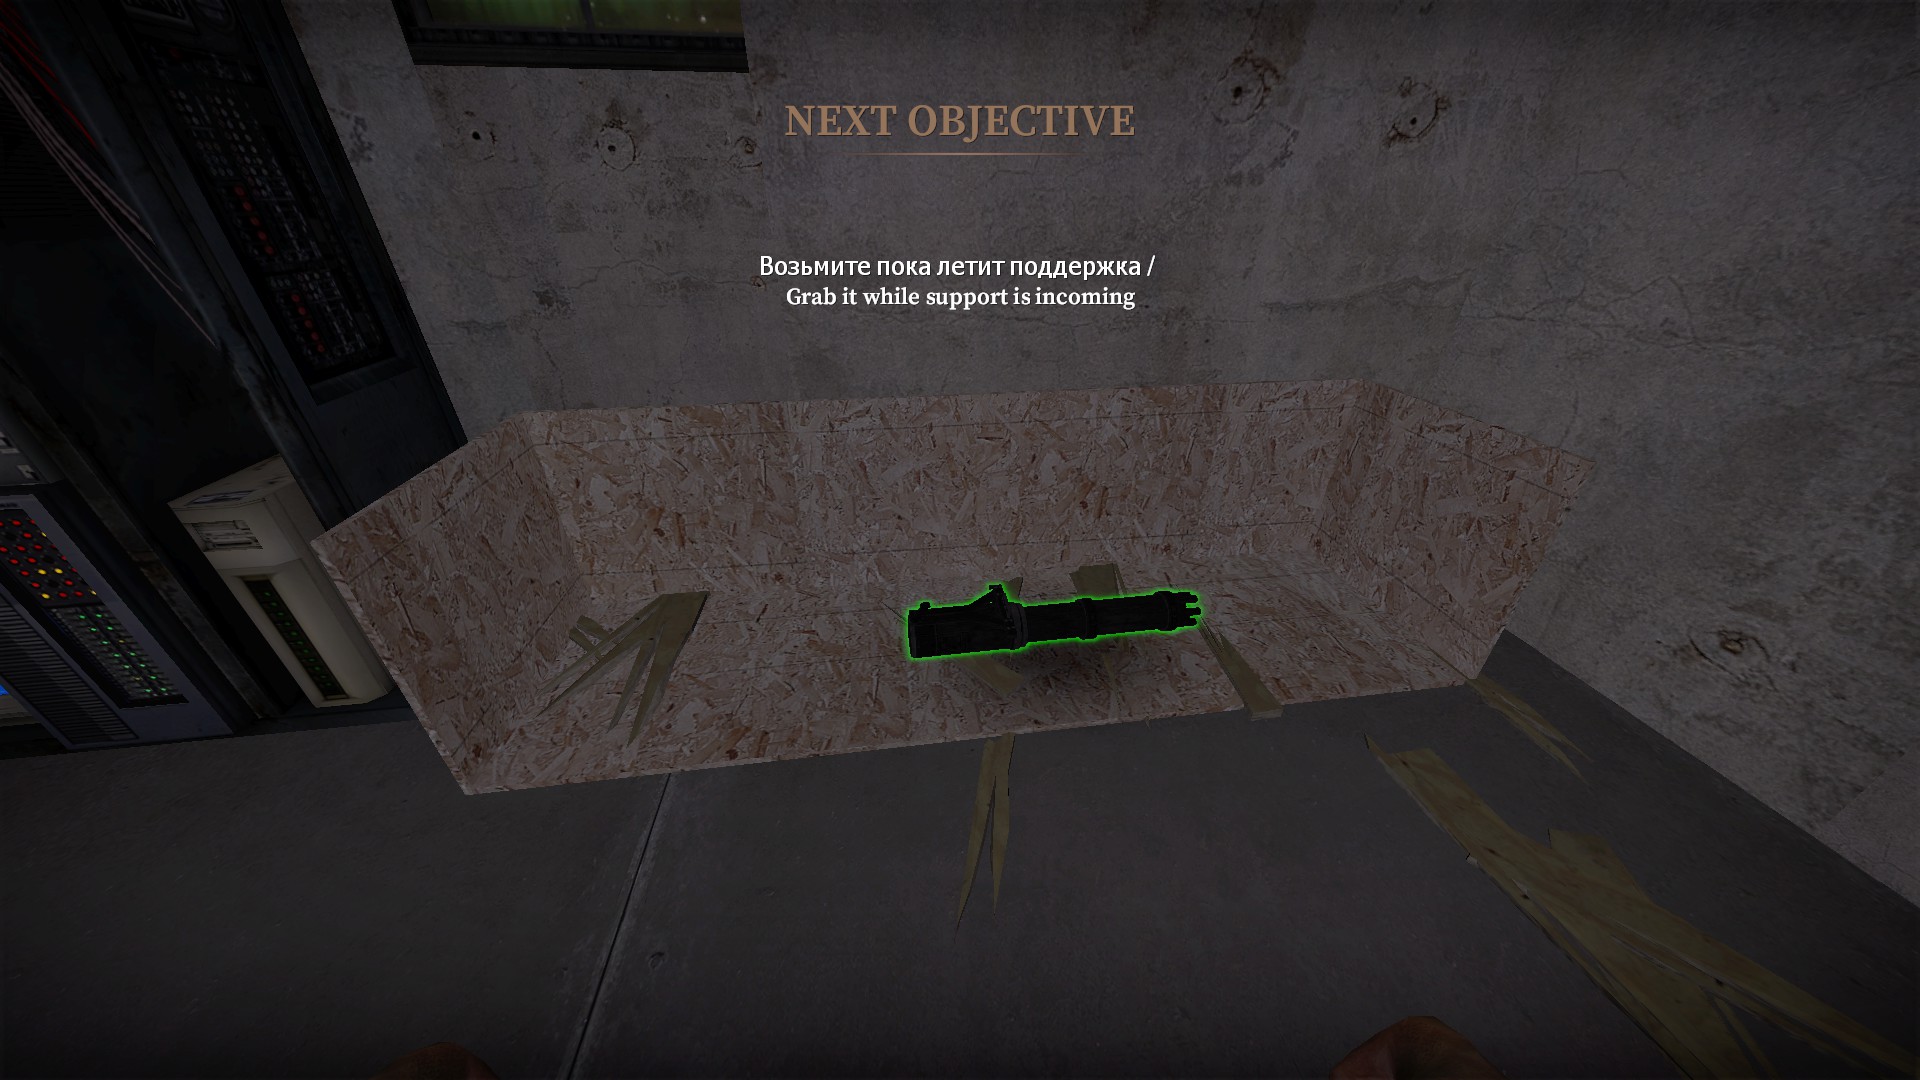
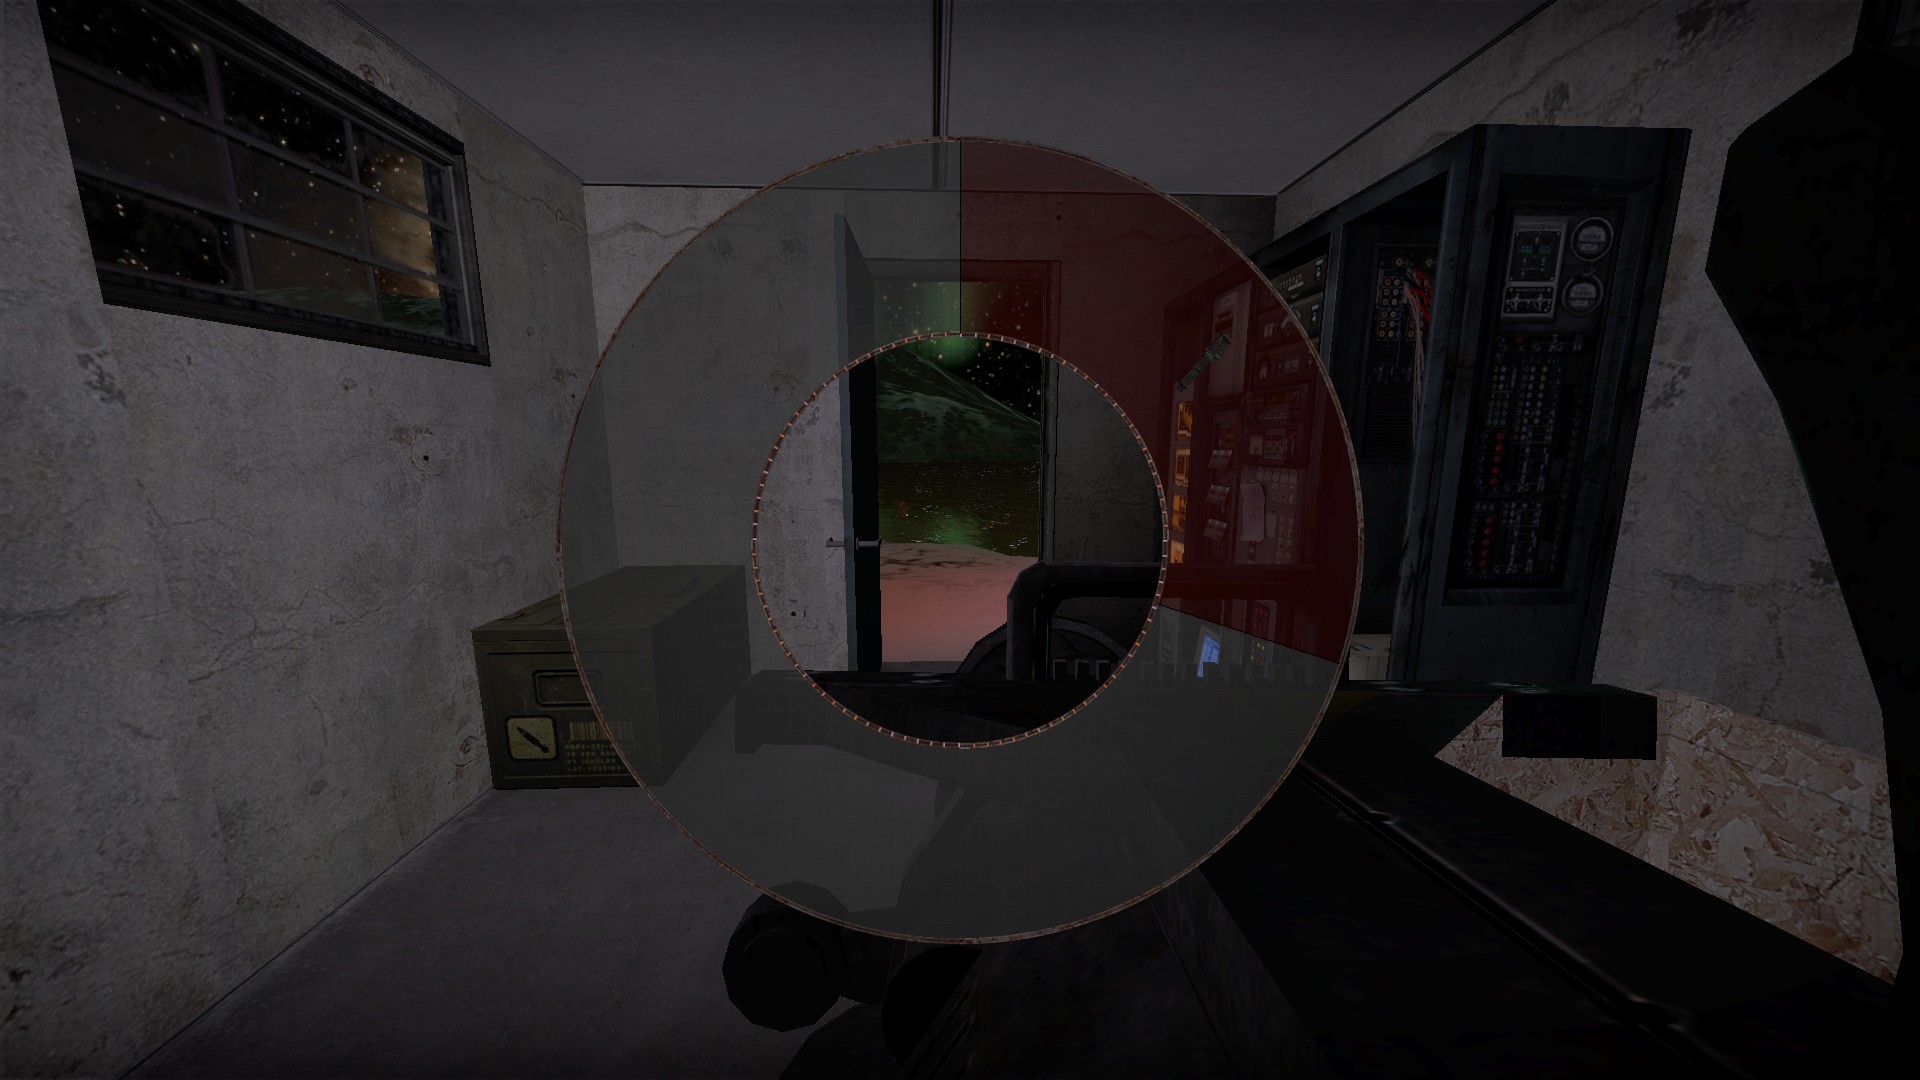
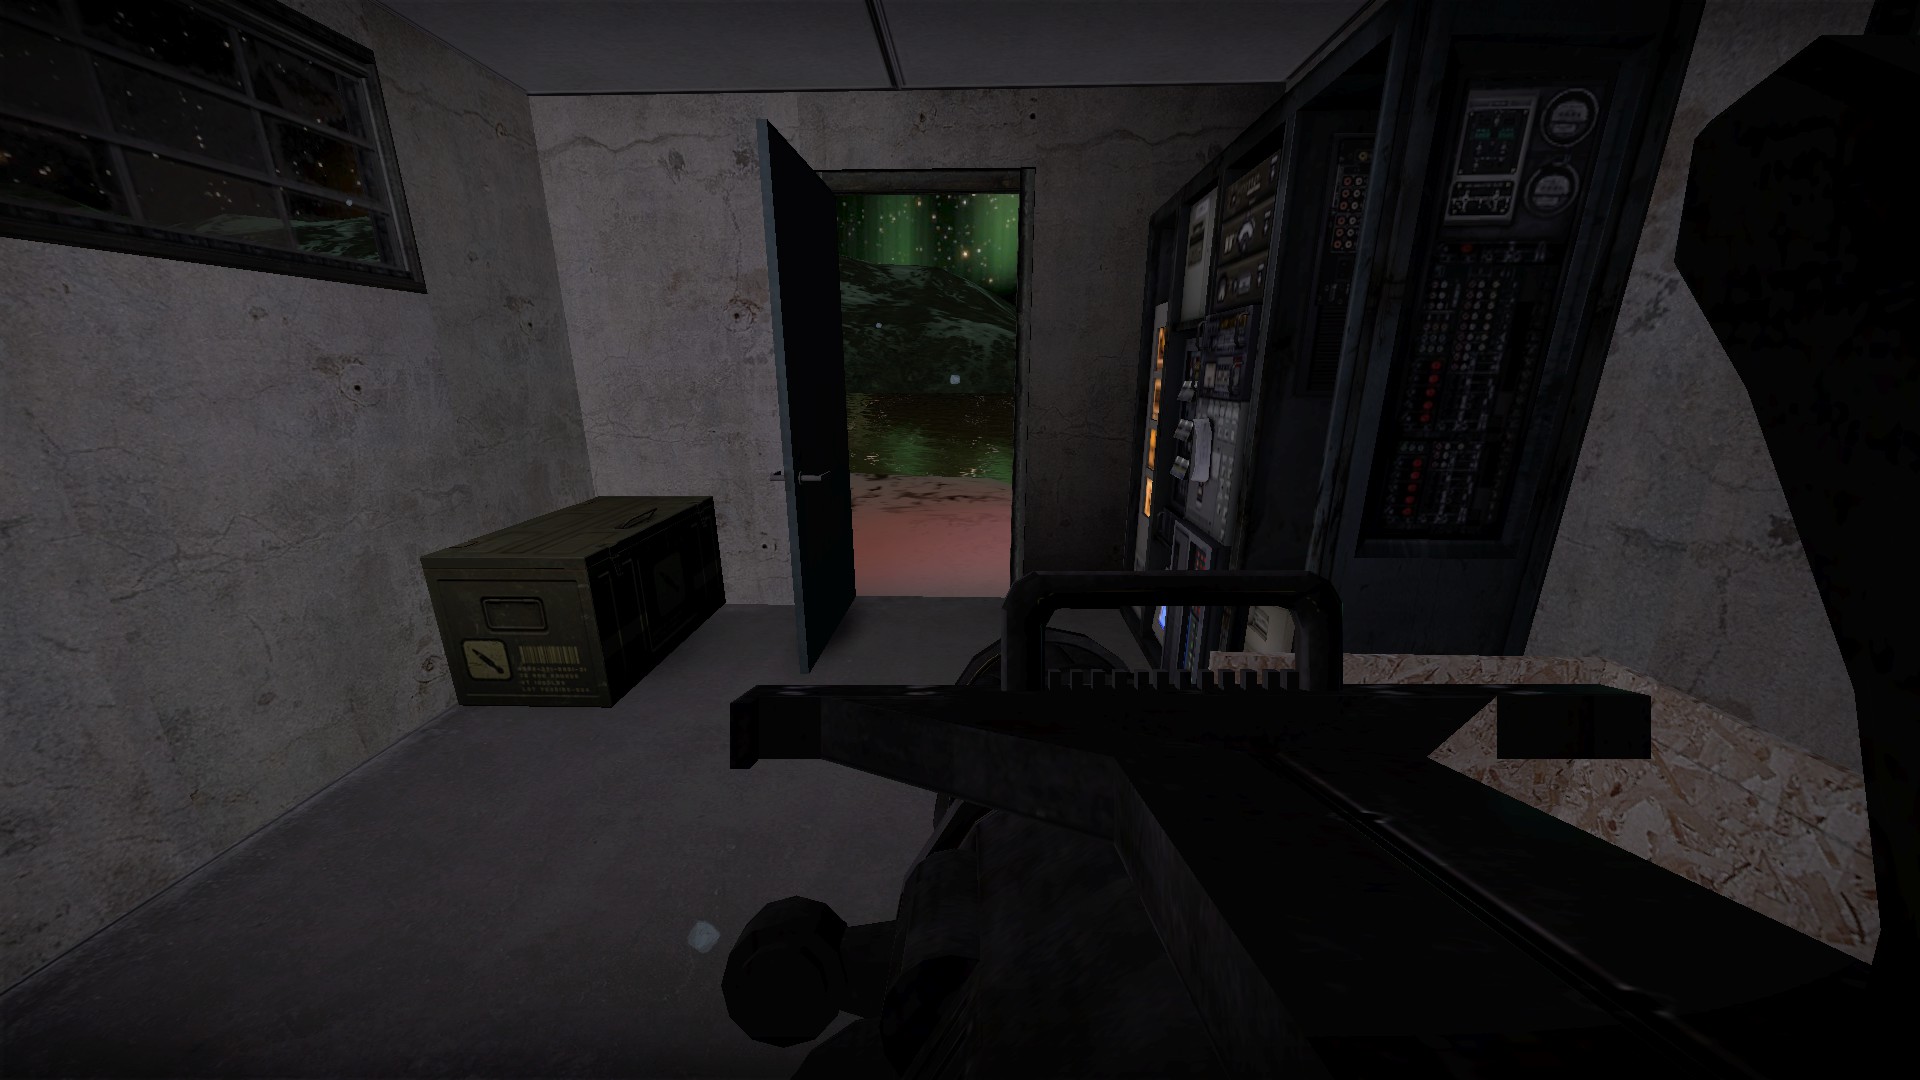
To start the final boss fight, you will need enough inventory space to equip the gatling gun
Custom trail
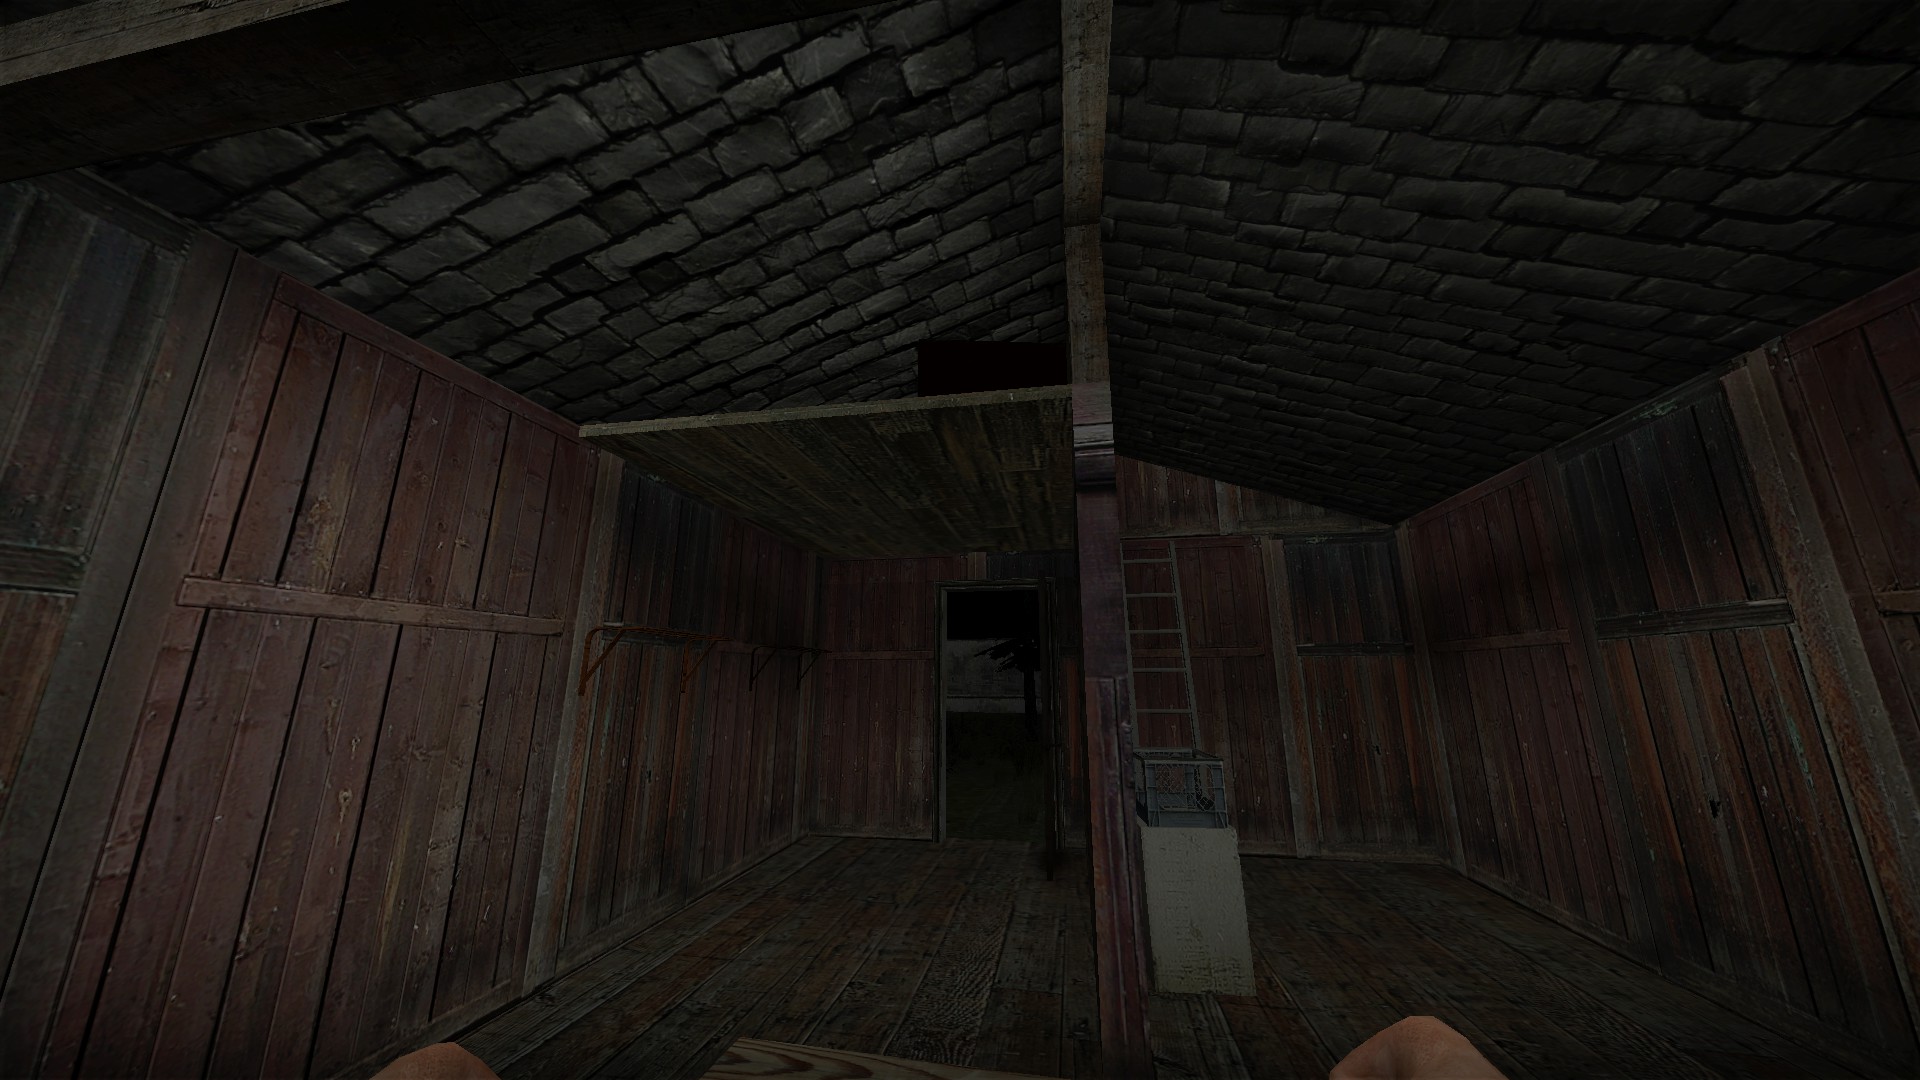
At the start of the house stage, where you get the welder from the shed, there is a black box on top of the shelf above the door
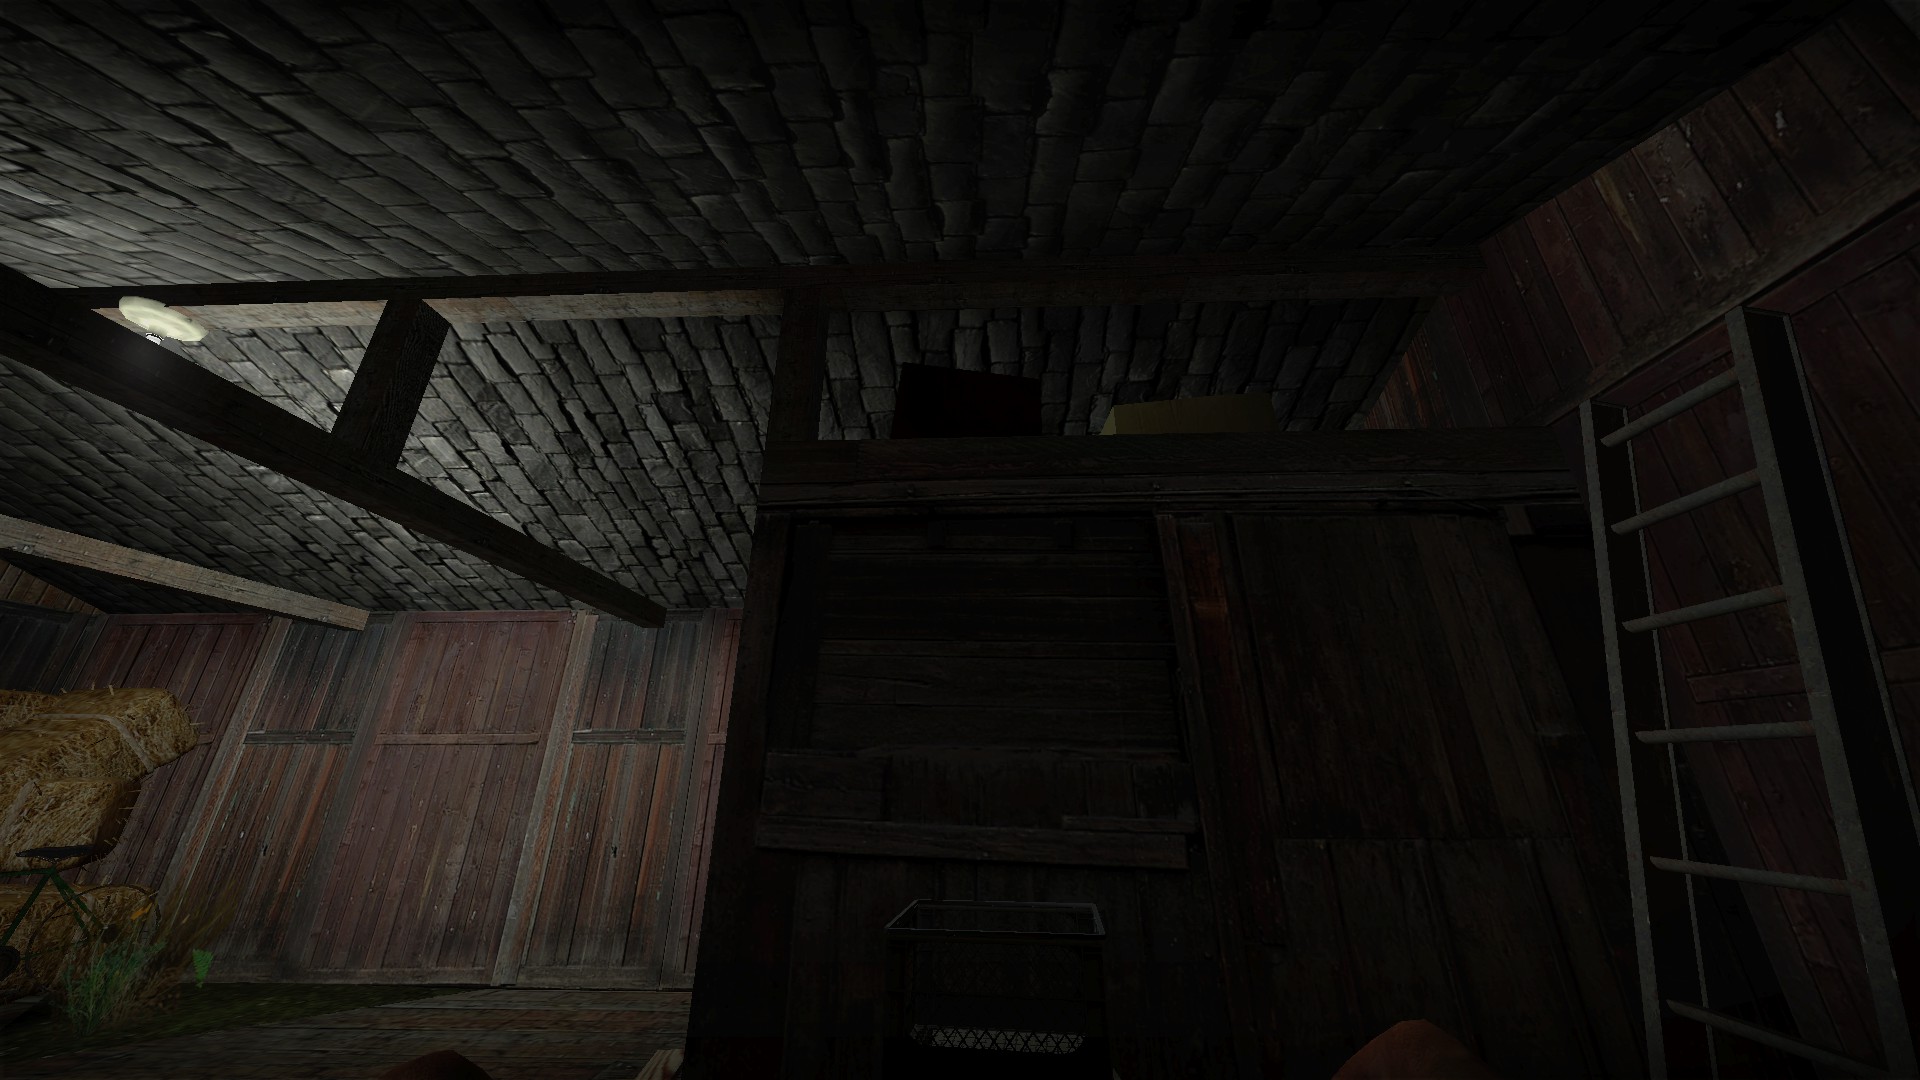
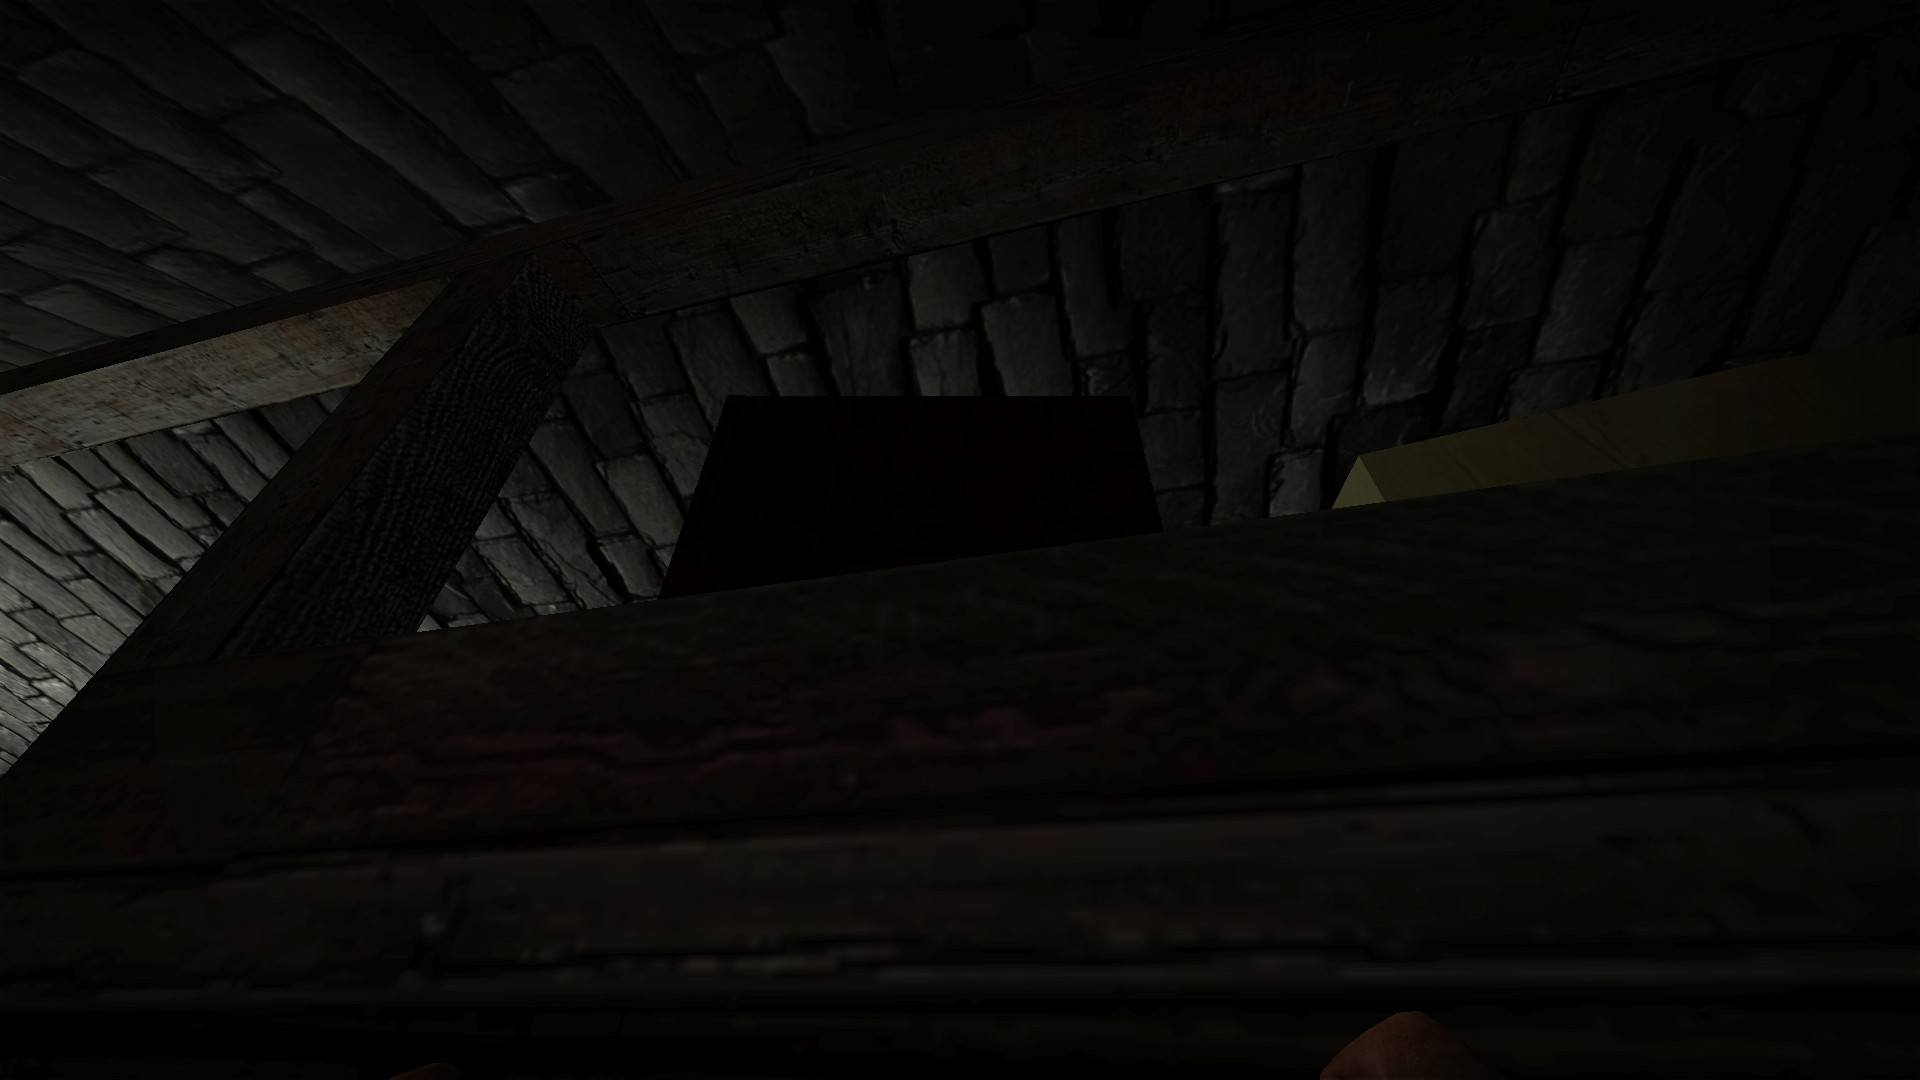
Go around to the side and use the objects there to boost up and break the box
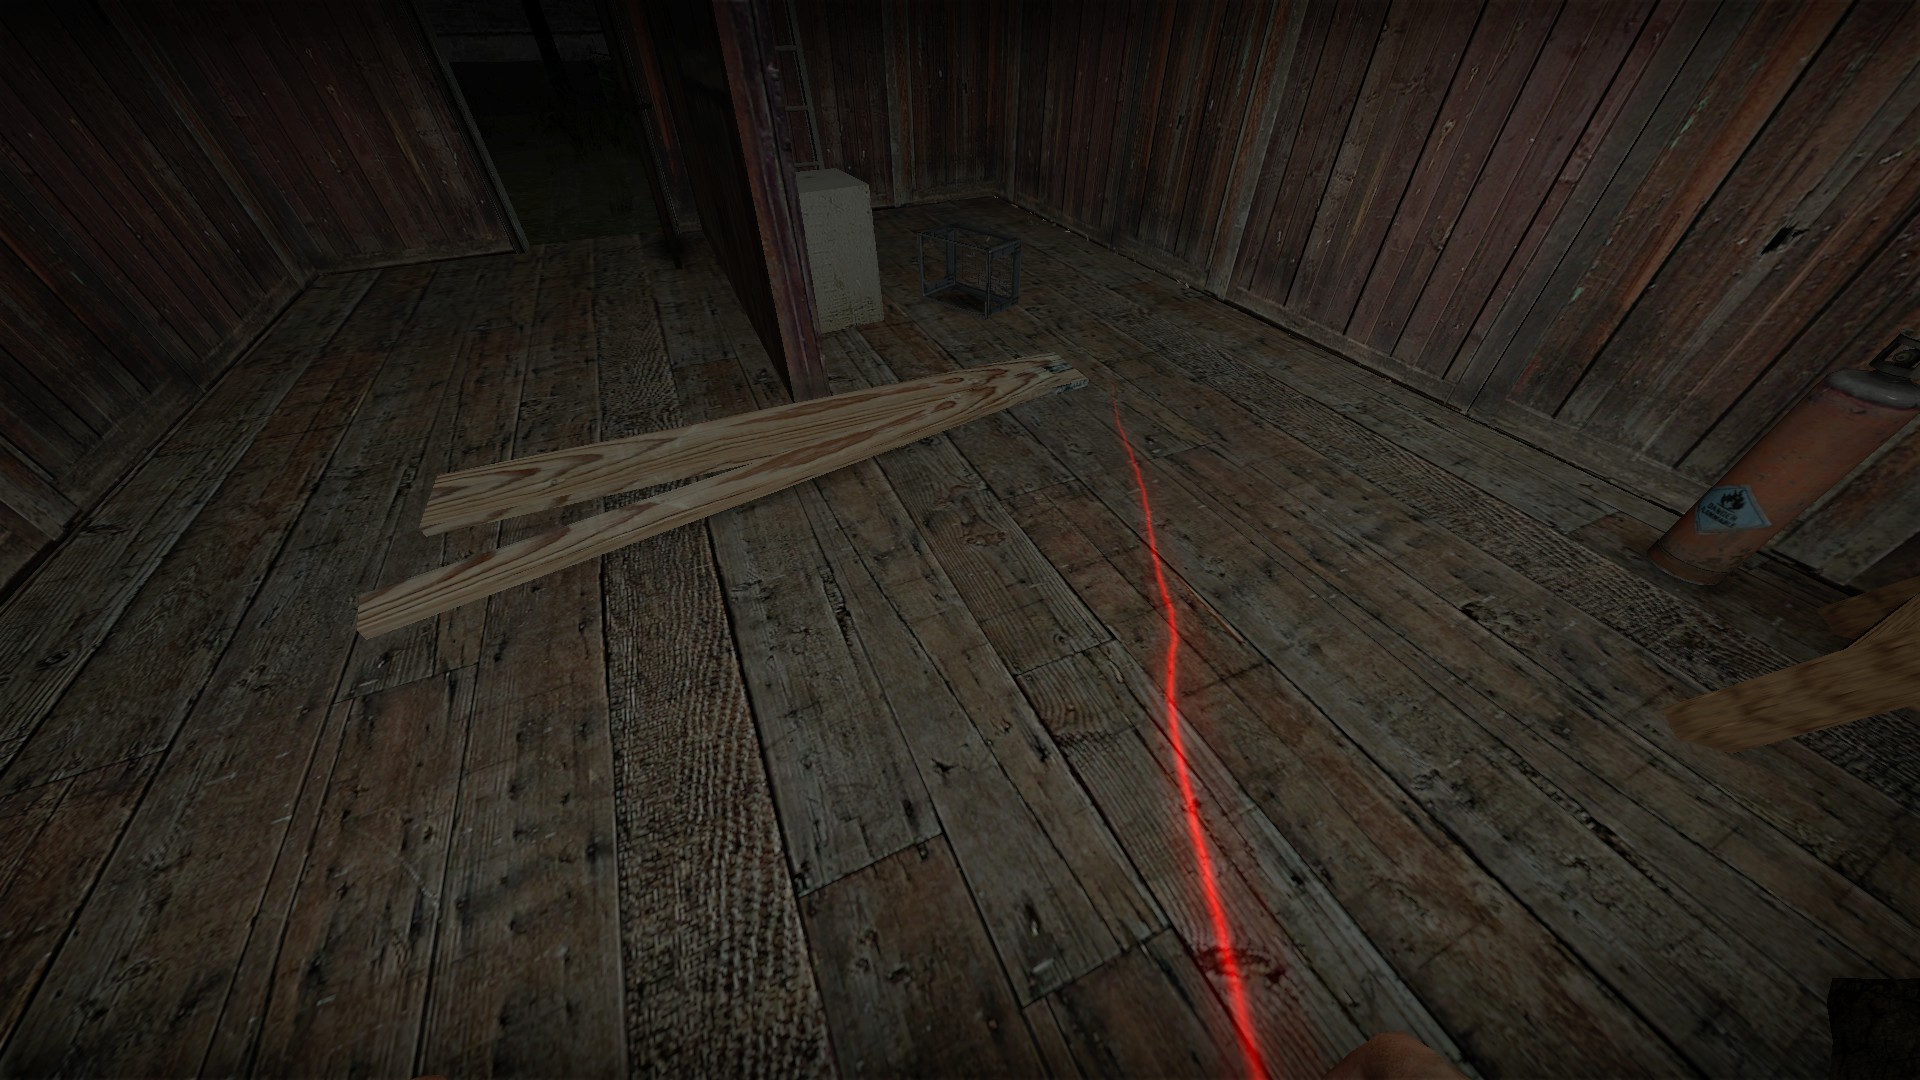
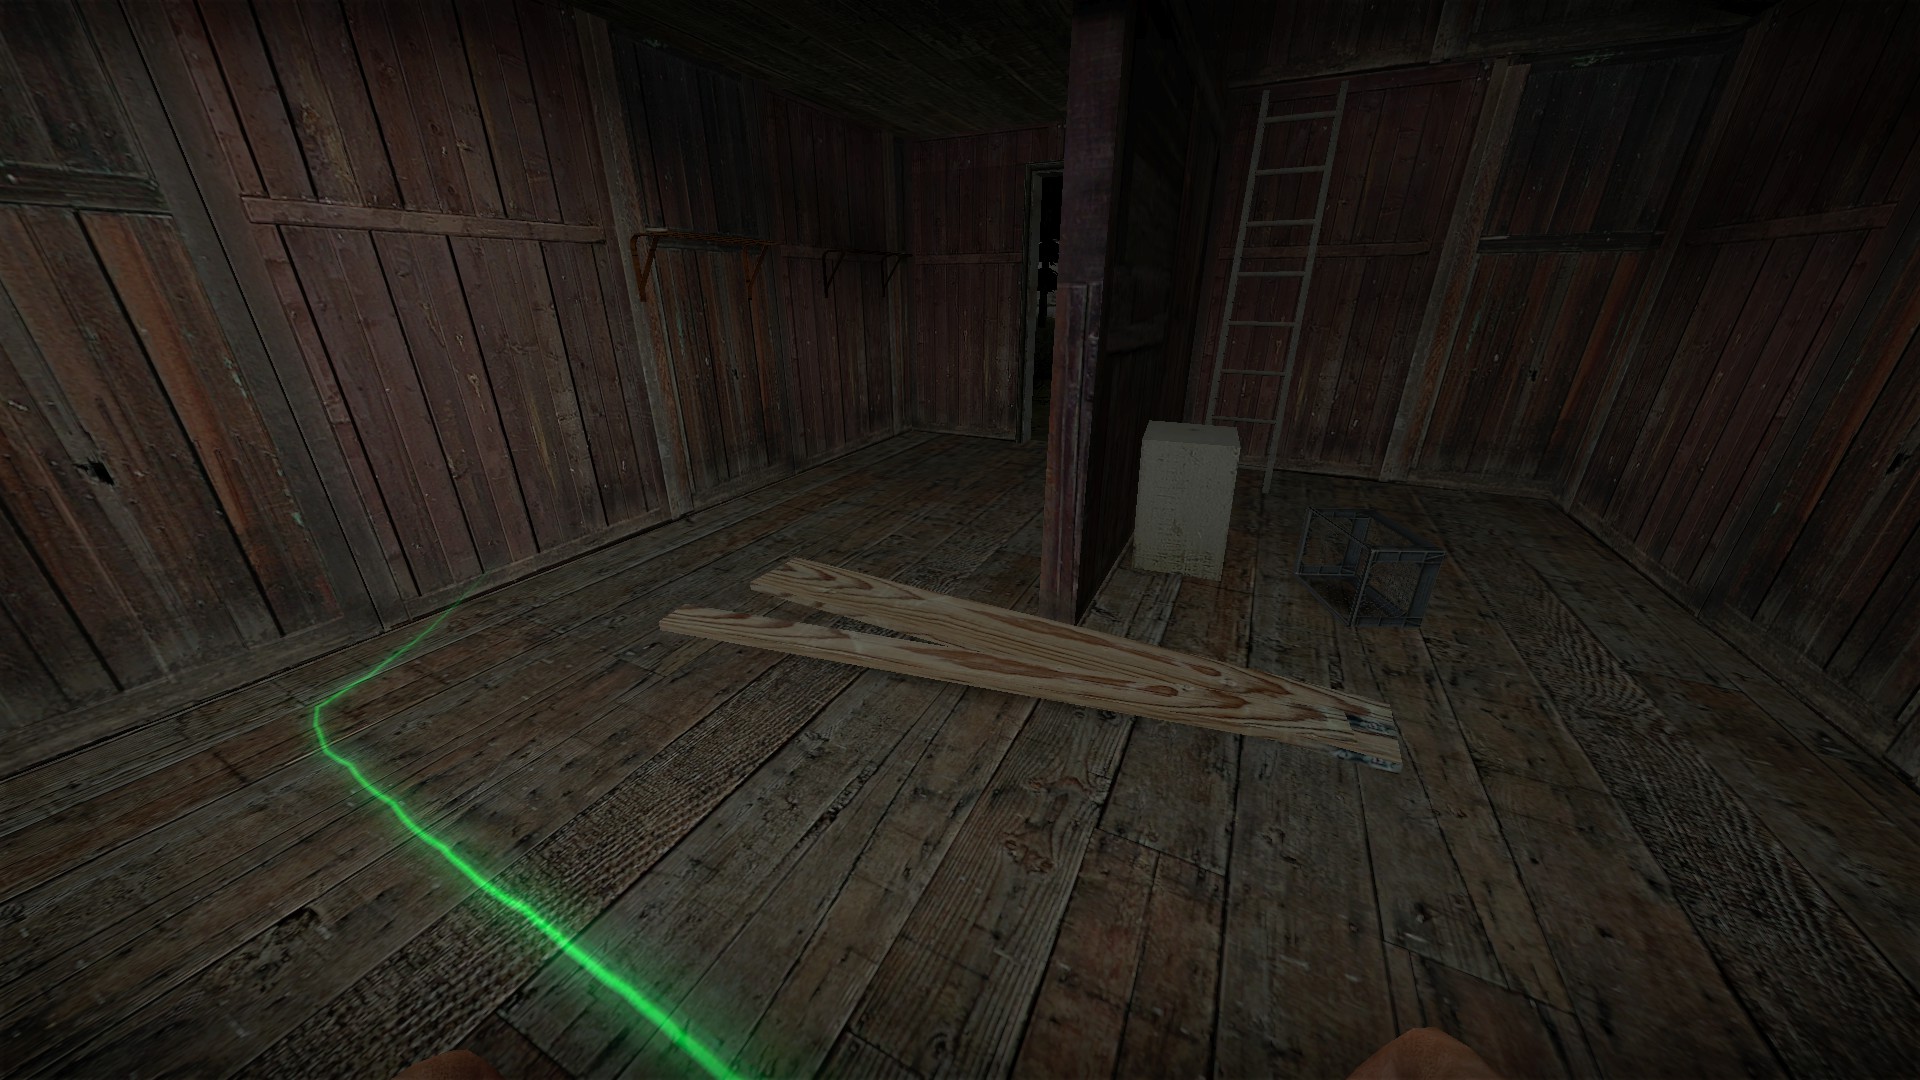
The custom trail is a thin color changing beam
nmo_dark_course (continued)
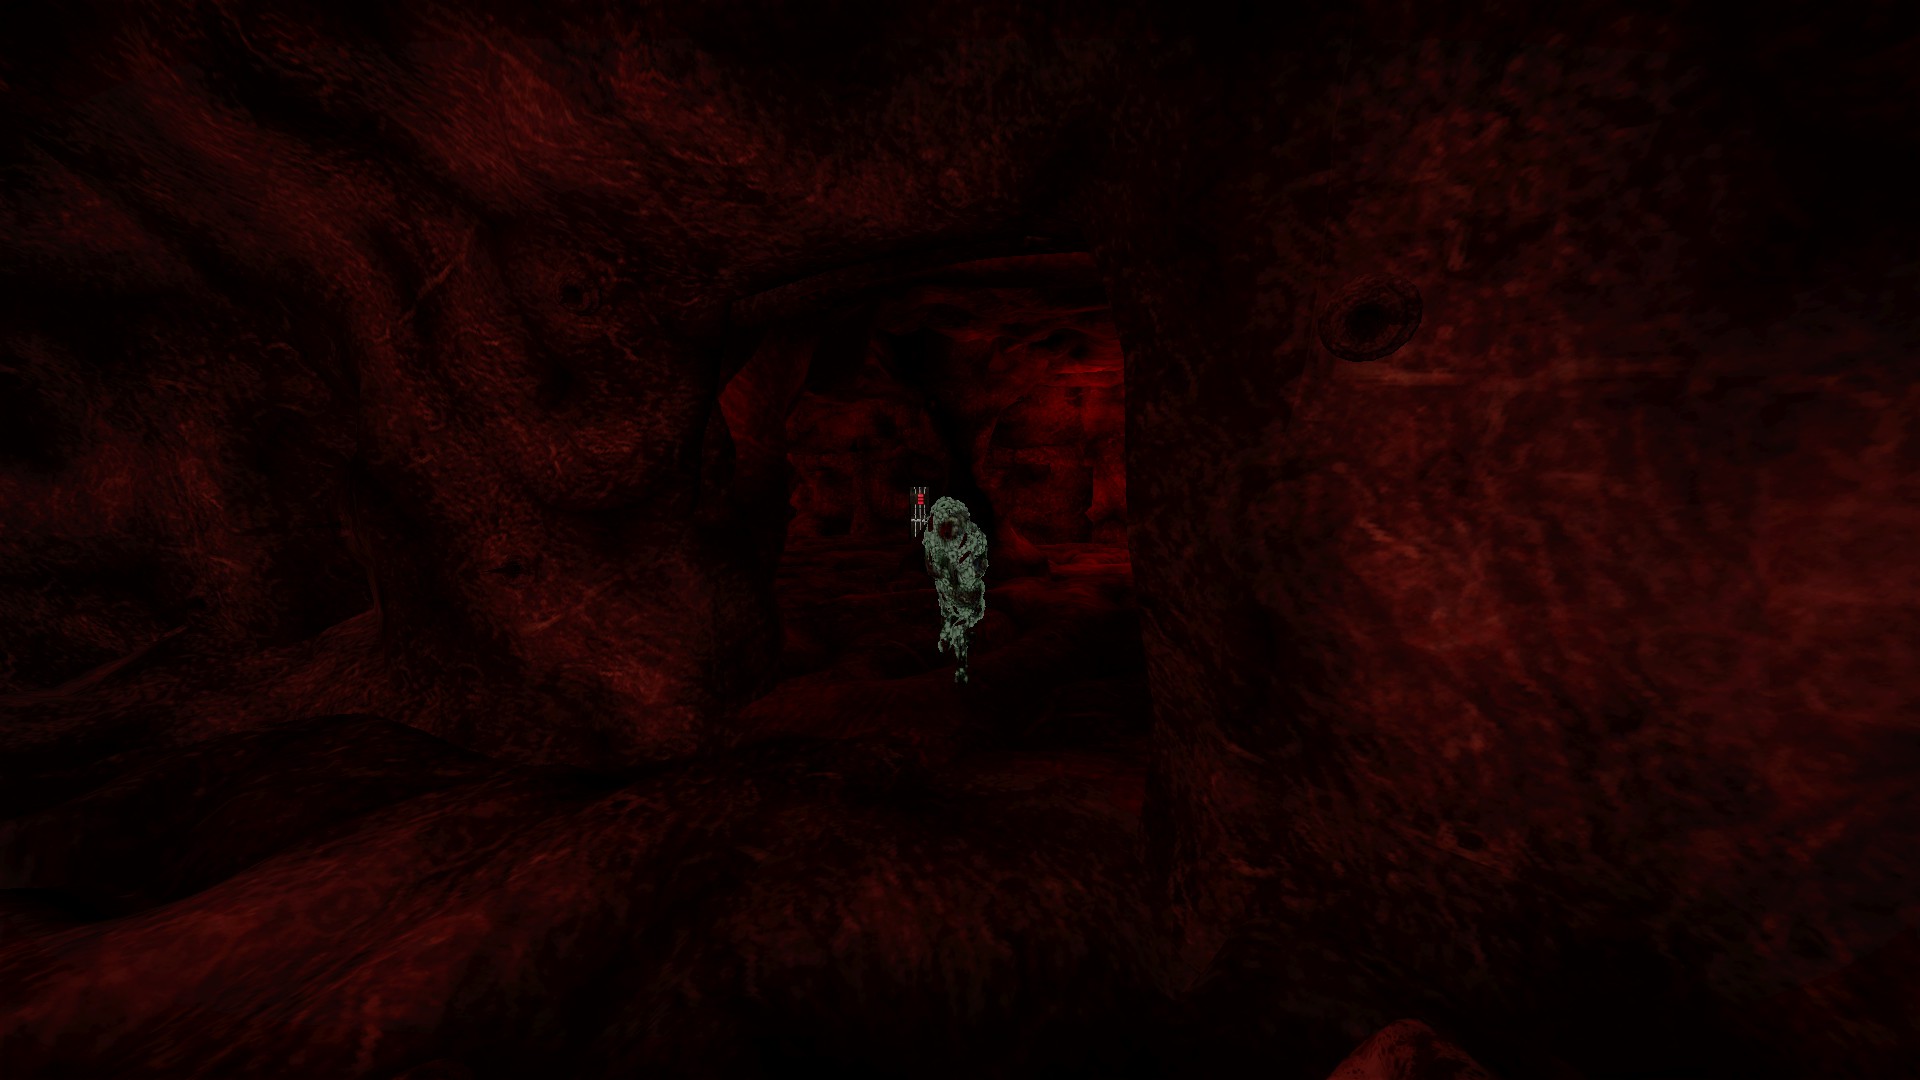
The puzzle at the bottom of the house is difficult and time consuming. It will require teams to work together - or at least not get in each other's way. You will also be under constant attack from the special zombies in this area, and they seem to be unlimited in number
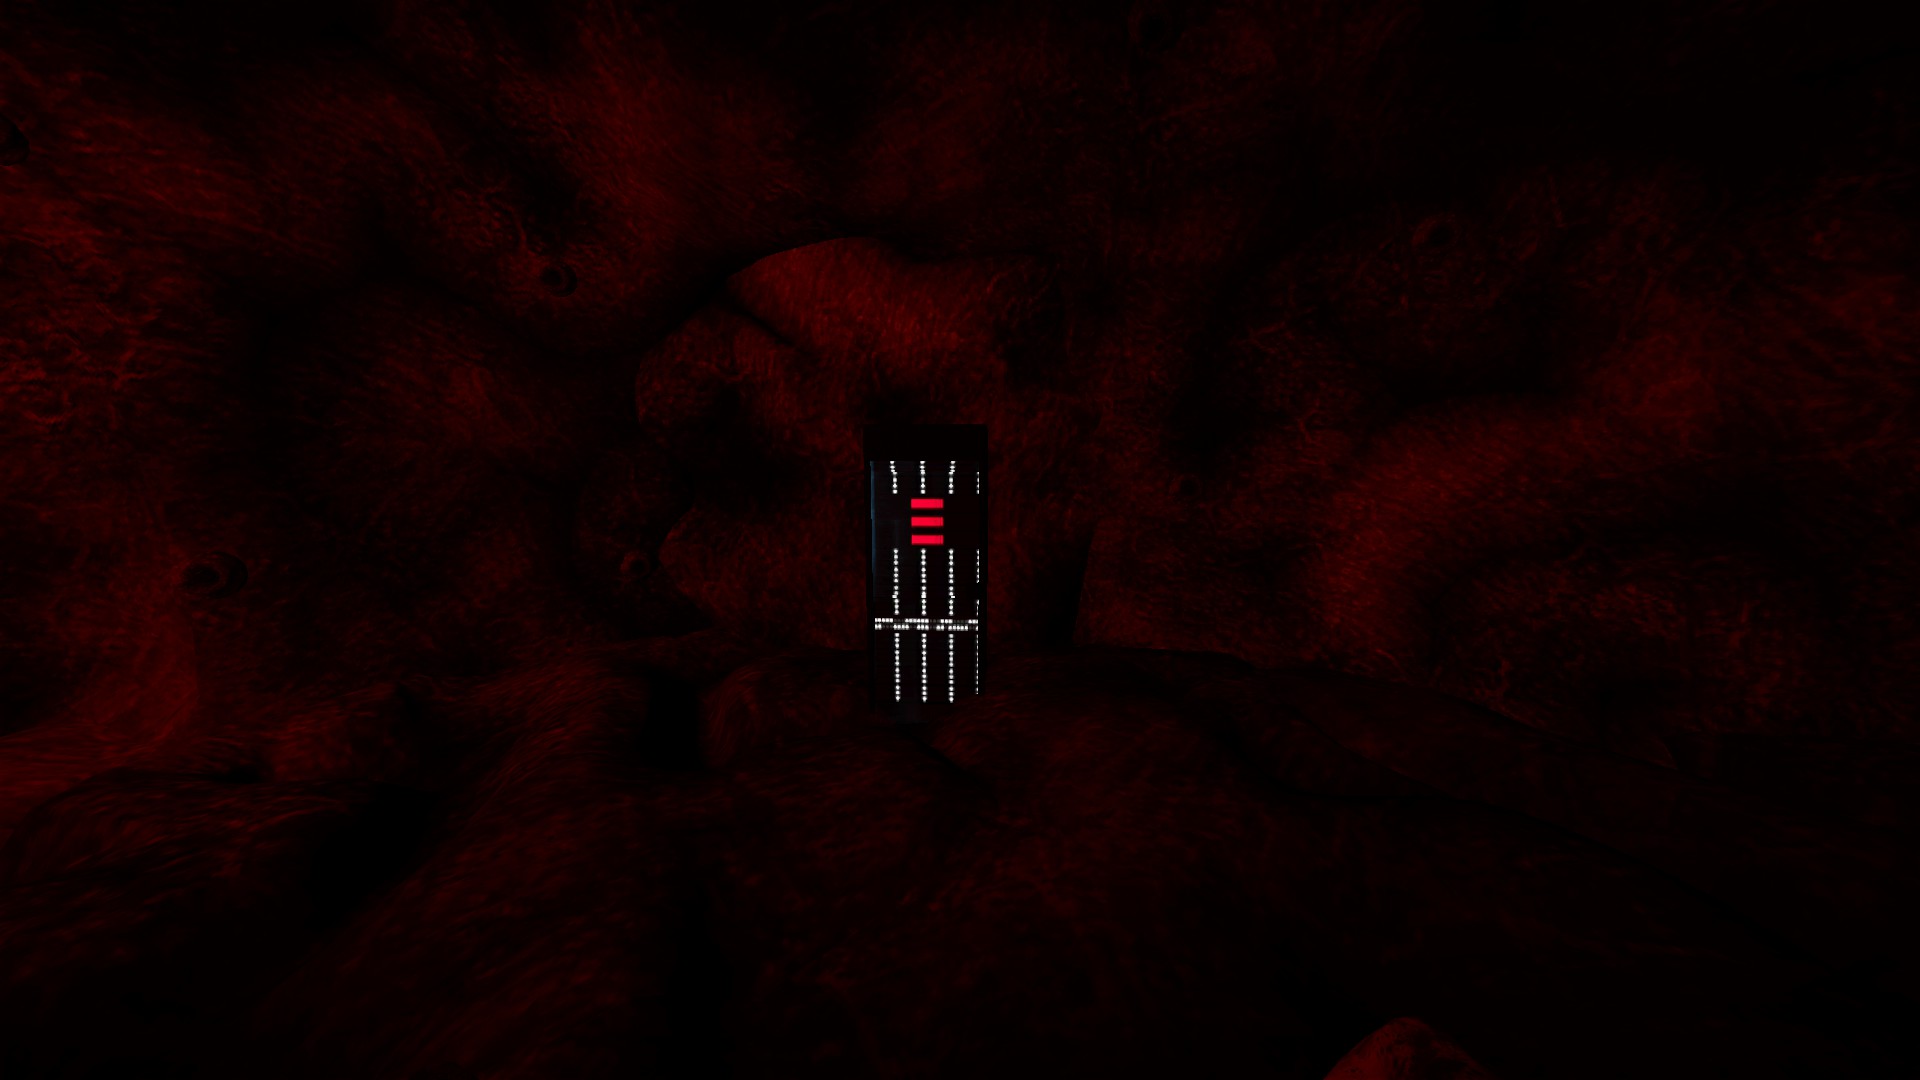
There are 10 panels in this area, each lit with red lights
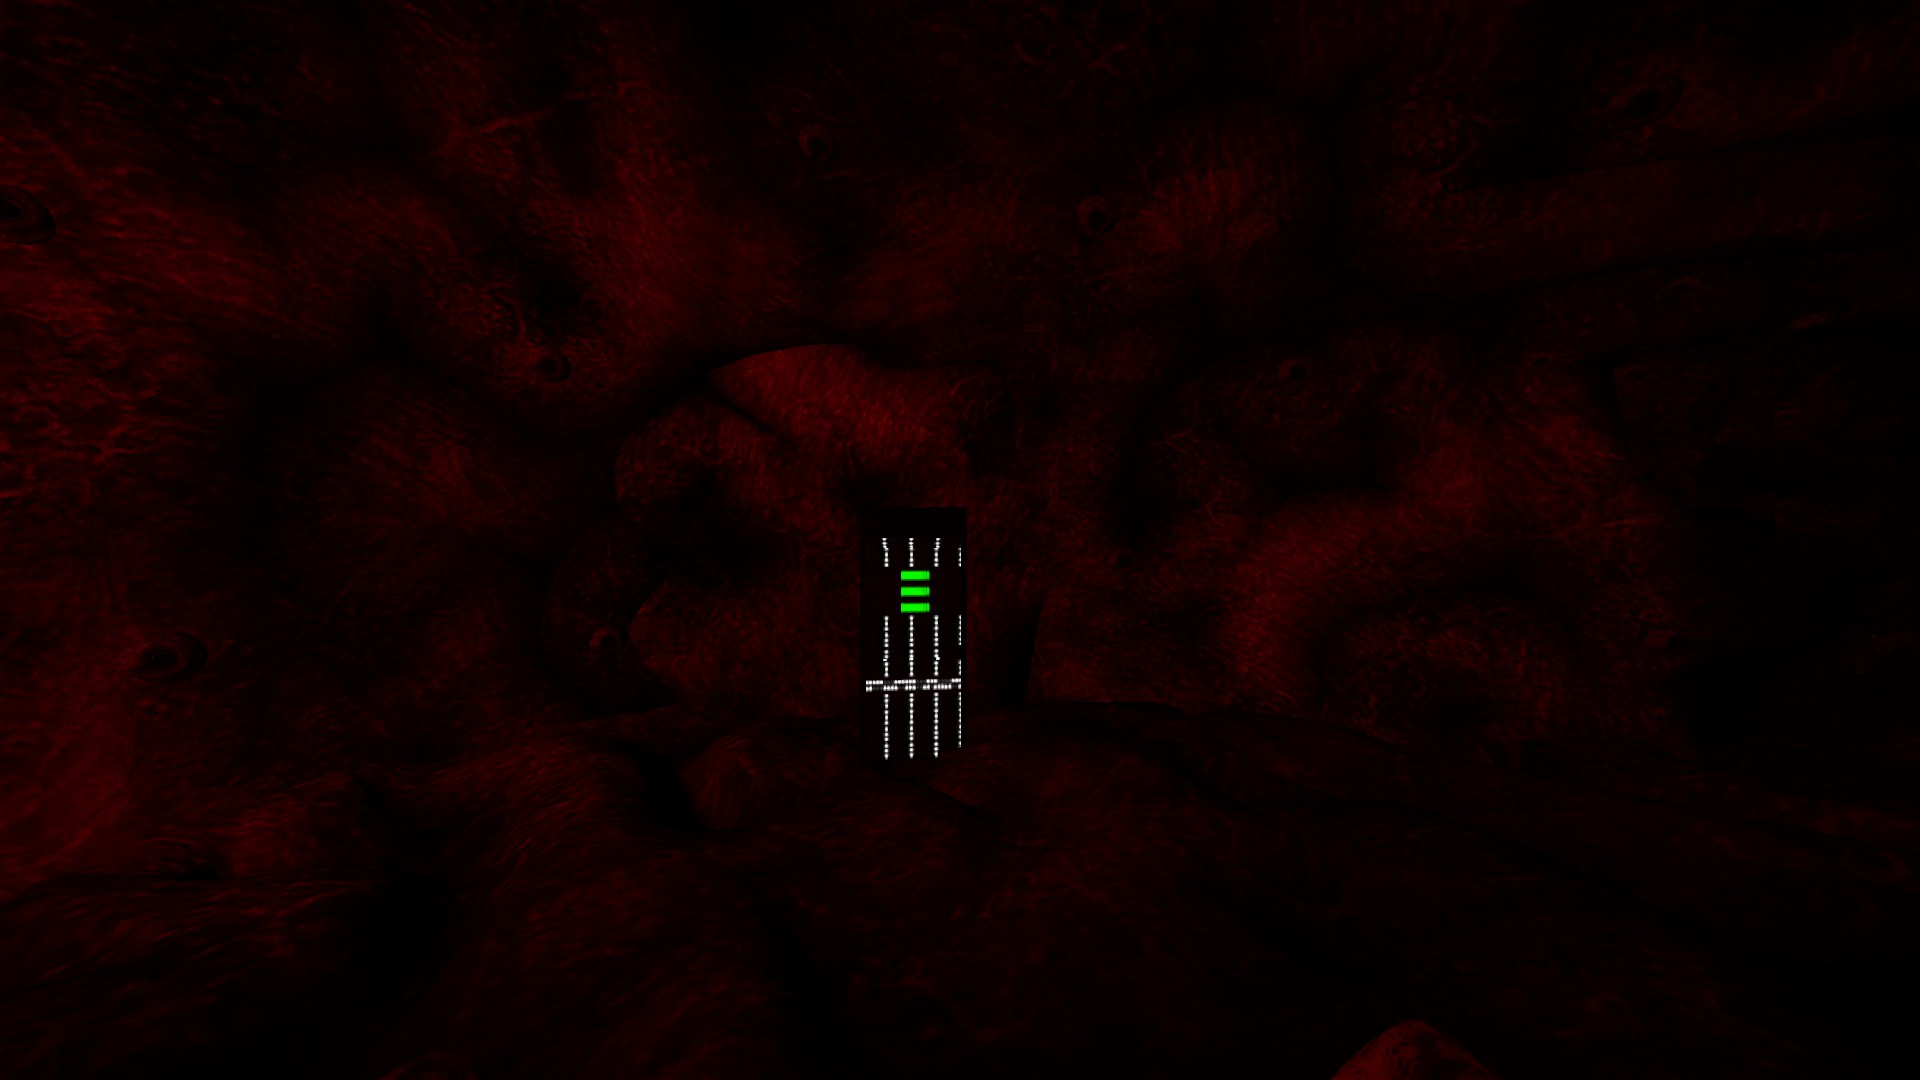
Press e on these panels and one of them will turn green. This is the first code piece, but you will need 4
If you press e on another panel and it is the incorrect one, the light on the first panel will go back to red
You will need to return to this panel and press it again to restart the sequence
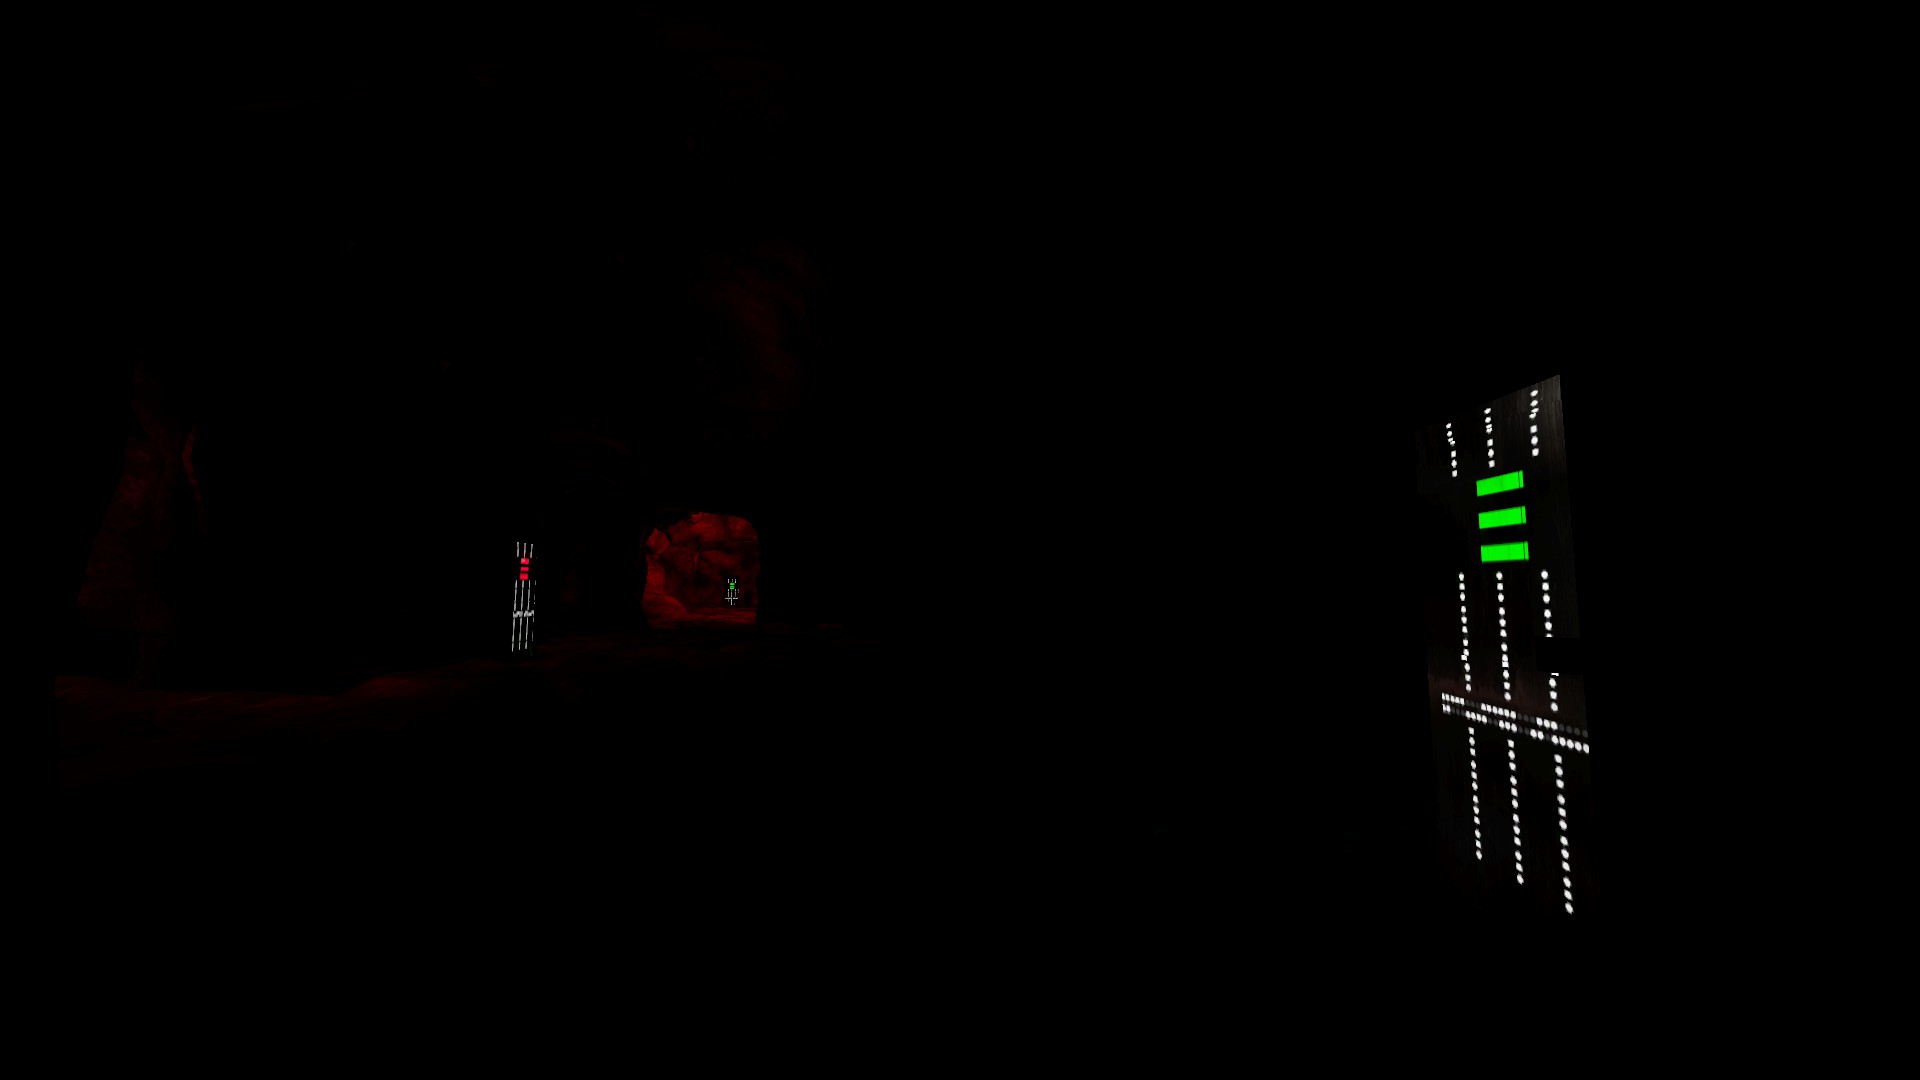
Keep guessing and resetting the panel until you have two green. Now a mistake will reset both. Then keep resetting both panels and guessing until you have 3 and then 4
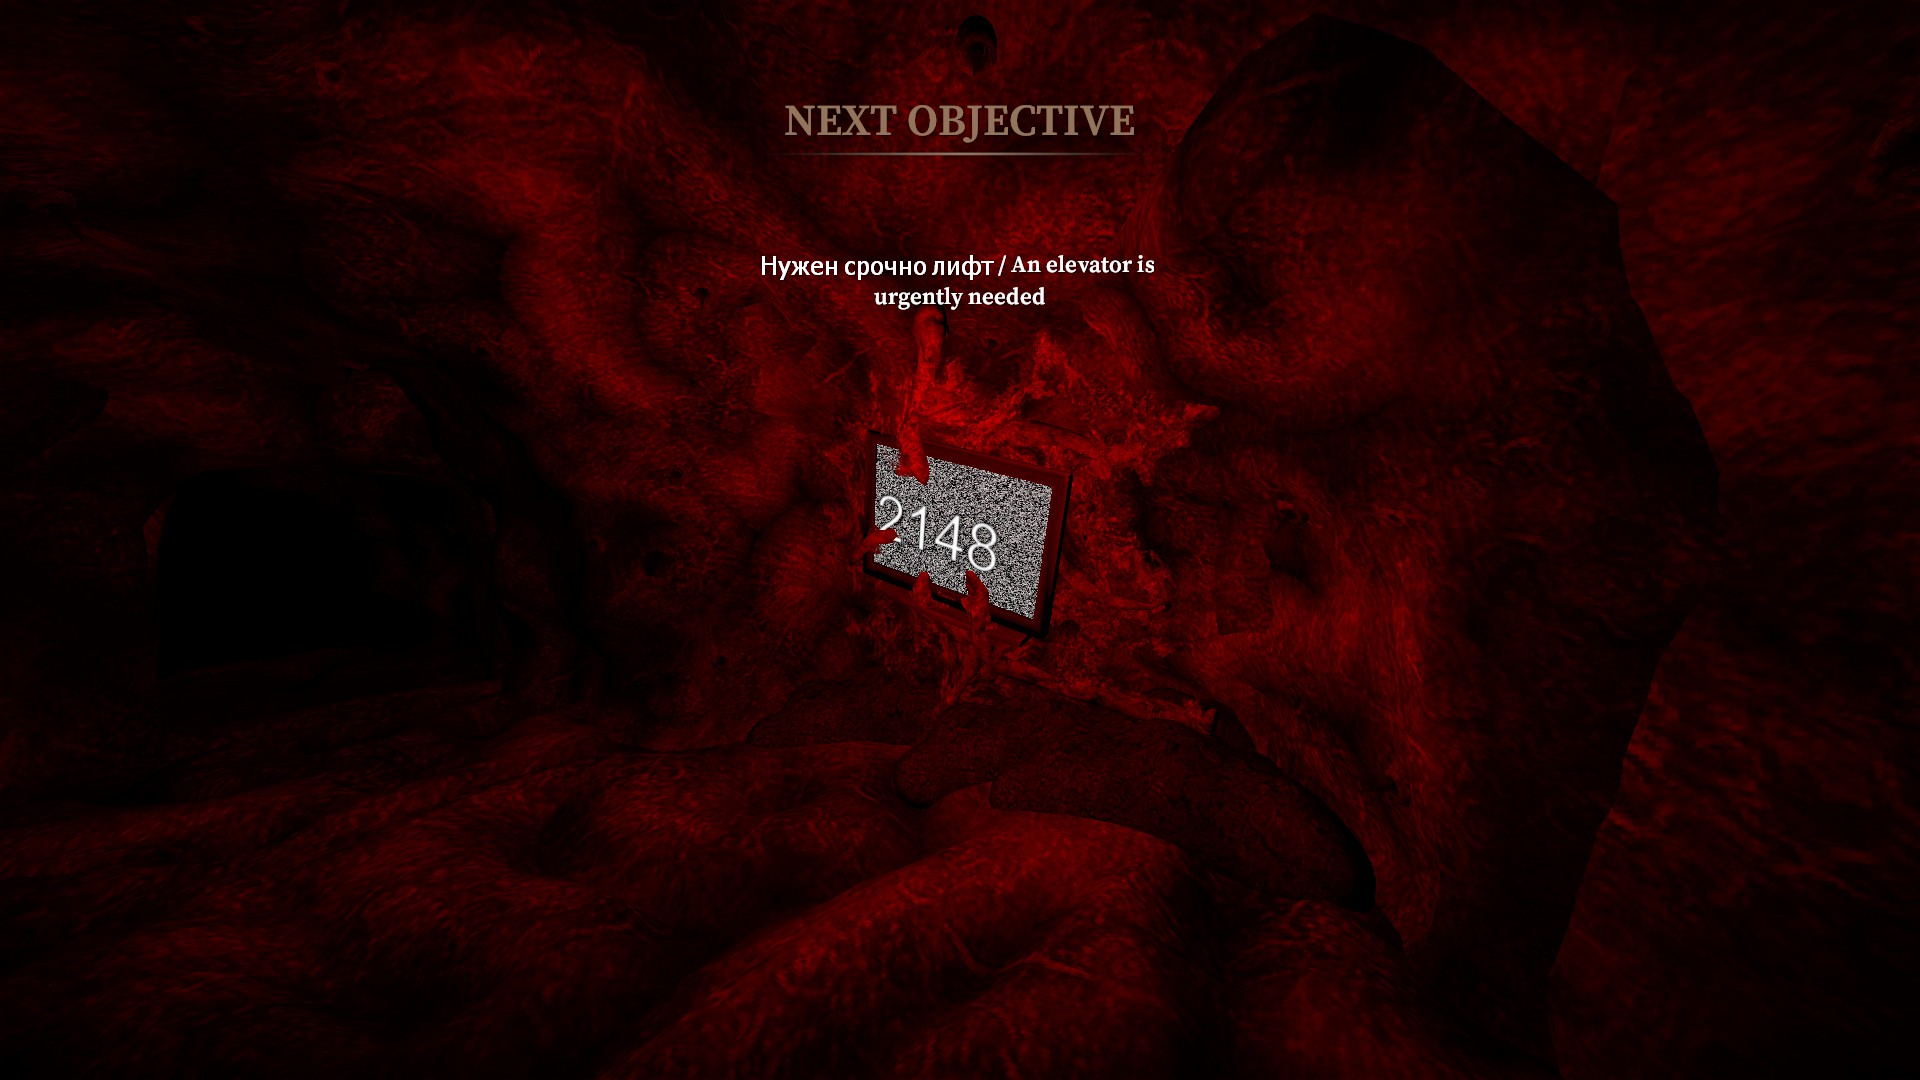
4 green panels will unlock the code. If a team just keeps running around and pressing panels, they will not complete the puzzle. Either have only one person press the panels, or coordinate as a team
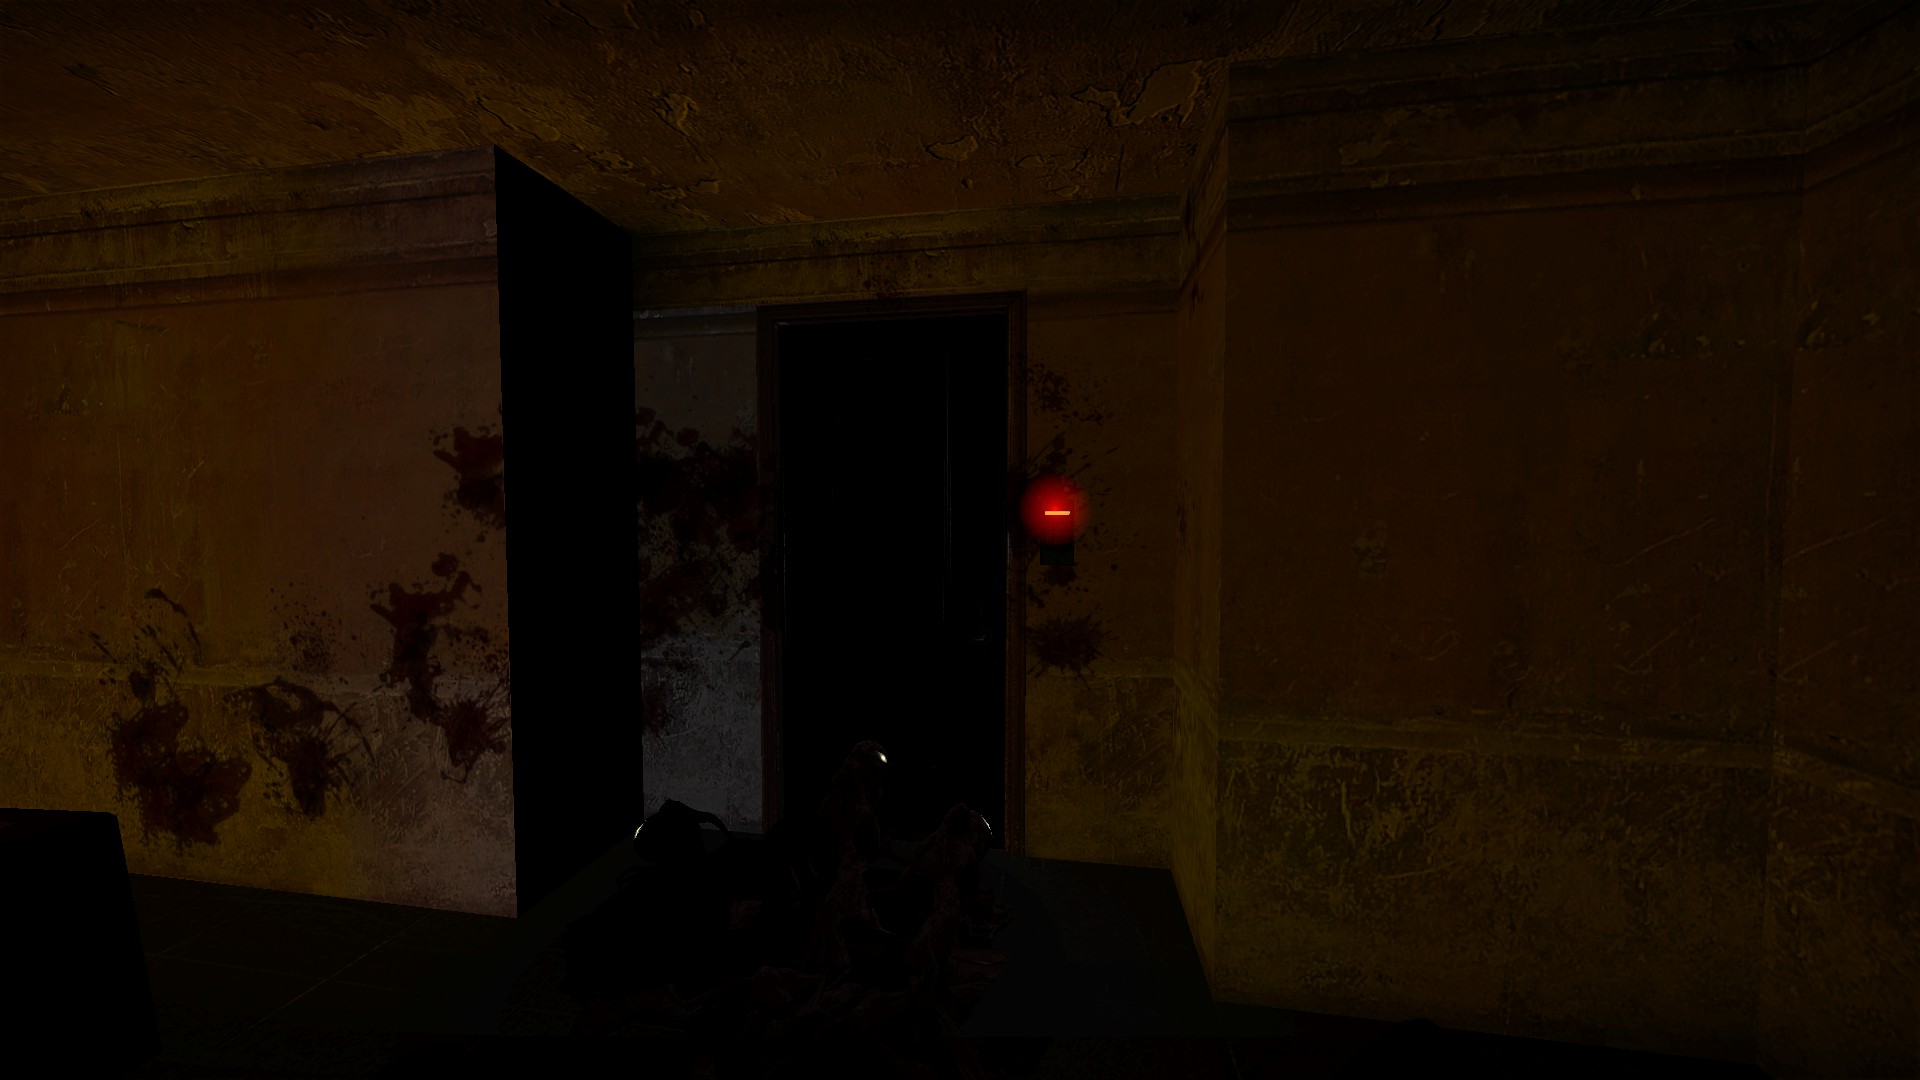
Also, remember the actual numeric code because you will need to enter it at the panel after the elevator
Shot near body on boat

In the freight hold of the boat, look for a ladder to get on top of the shutter

Follow the beam and go through the gap, then drop to the roof with the body

The body will be near a shot
nmo_darkocean_r5

Inside the first warehouse is a lift that you don't need to use

Press the button and crouch as the lift descends to get into the crawlspace below the floor. Slide down the wall then use the button to get back up. Don't ride the lift all the way down or you'll drown Welder areas and chainsaw room secret

In the very unlikely event that a random spawn item in the beginning is a welder, you can cut the locks on these 2 sheds

You could also weld this weapon locker on the 1f of the second warehouse, behind the stairs

And this weapon locker on the 2f of the second warehouse

Also, when you leave the second warehouse, zombies will break out and attack you

If you go to the area the zombies came from, you will find a locked hatch

Welding the hatch leads to a ladder and corridor

The corridor leads to a room with computer and electrical panels

2 of these electrical panels can be broken (one shot with a .308 will do)

One of these panels will reveal a switch that can be thrown

The thrown switch will reveal a code in the room. Unlike anywhere else in nmrih, this particular code is either rng or has a very large number of possible codes

Use this code on the keypad just past the lift for the generator plugs

The secret room has a chainsaw, a fair amount of fuel, a gene, and a medkit

However, if you took the axe from the corridor to get to the electrical room,

The pipe in there started gushing, and you will get a HA-HA. NO. when you interact with the keypad Cool story bro, but where's the welder?

3 welders, all conveniently at the very end of the map

If you want to backtrack, the gate here opens so that you can return to the start Or you can cheat. I recommend cheating

Use a gravity cheat to jump up and slide down onto the rusted pipe at the starting area


At the end of the pipe, jump up high and into the empty truck area

Jump across or over the bridge to the other side

Get the welder and go back the way you came. Now you have a welder at the starting area!


Don't feel bad about gravity cheating on this particular map, there are actually a lot of hidden items and messages from the map creator in otherwise inaccessible areas. Check out these Easter eggs!
nmo_dead_airline_v6

Press the button in the security shack to access the back lot


Break the window at the end of the alley for a secret room


After setting the explosive, break the door on the right in the next area to access a few secret rooms Jason!

Take the Use This yellow gas can with you through the underground area


Emerging from the underground, go left around the ambulance and place the can to destroy the barrier in front of the restaurant

Weld the storage door

Enter as a team as the door will shut behind you and you'll have to fight Jason wielding a machete

When Jason is killed, the door will open, the smoke will clear and you can find an (empty) chainsaw where he broke out of the wall Bar-made Molotov's


While moving the yellow gas can, you'll notice there are 2 red gas cans in the underground area

A medical locker in the underground area can also be opened

Just after emerging from the underground, there is a tank that when approached will give the message: it looks like this tank can still shoot


Hold e on the tank and it will fire and blow a hole in the wall of the nearby bar

Behind the bar you'll get a message: need a canister to make molotov

In addition to the 2 in the underground, there is another red gas can in the next apartment building that you can backtrack with


Bring the red gas cans to the spot behind the bar and they will be converted into molotov's


At the airfield, press the button in the control room to open the hangar
nmo_decimal_m1_v1_4
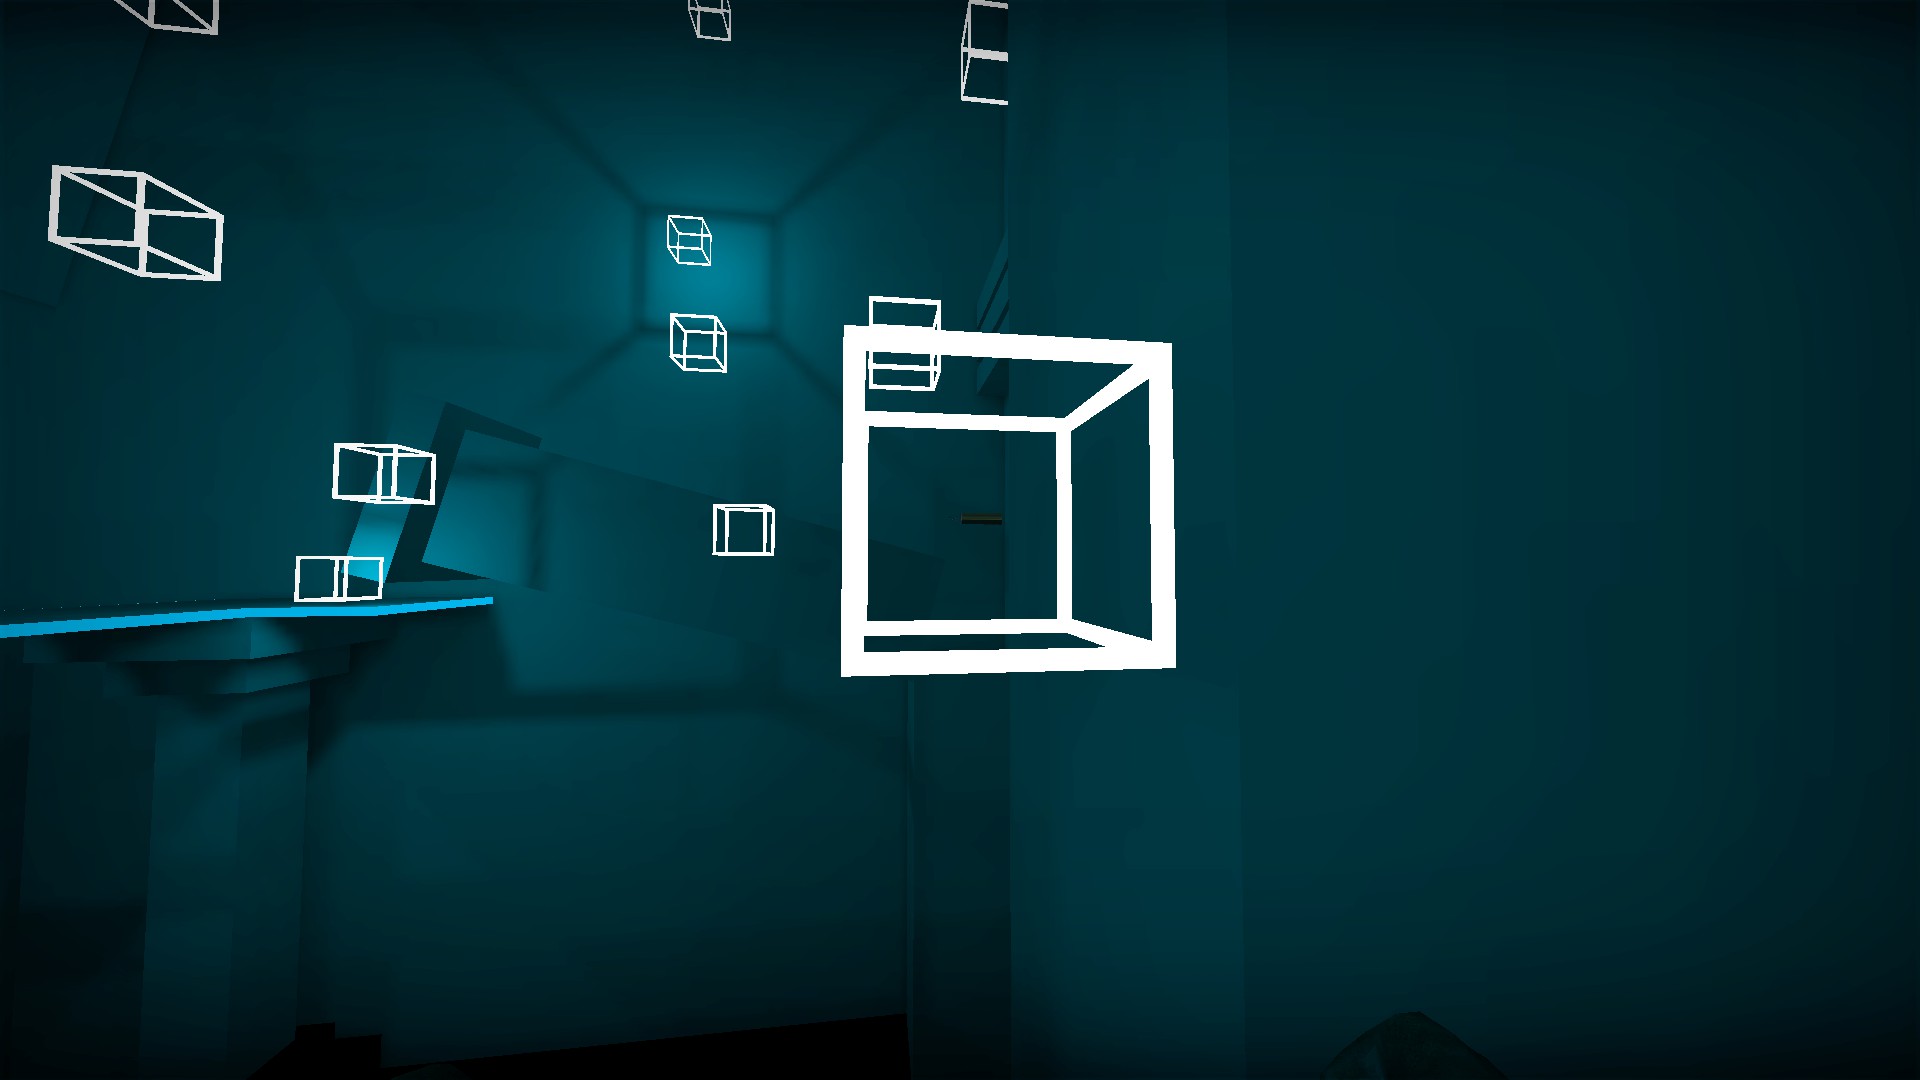
On stage 1 there is tnt in the box just around the first corner
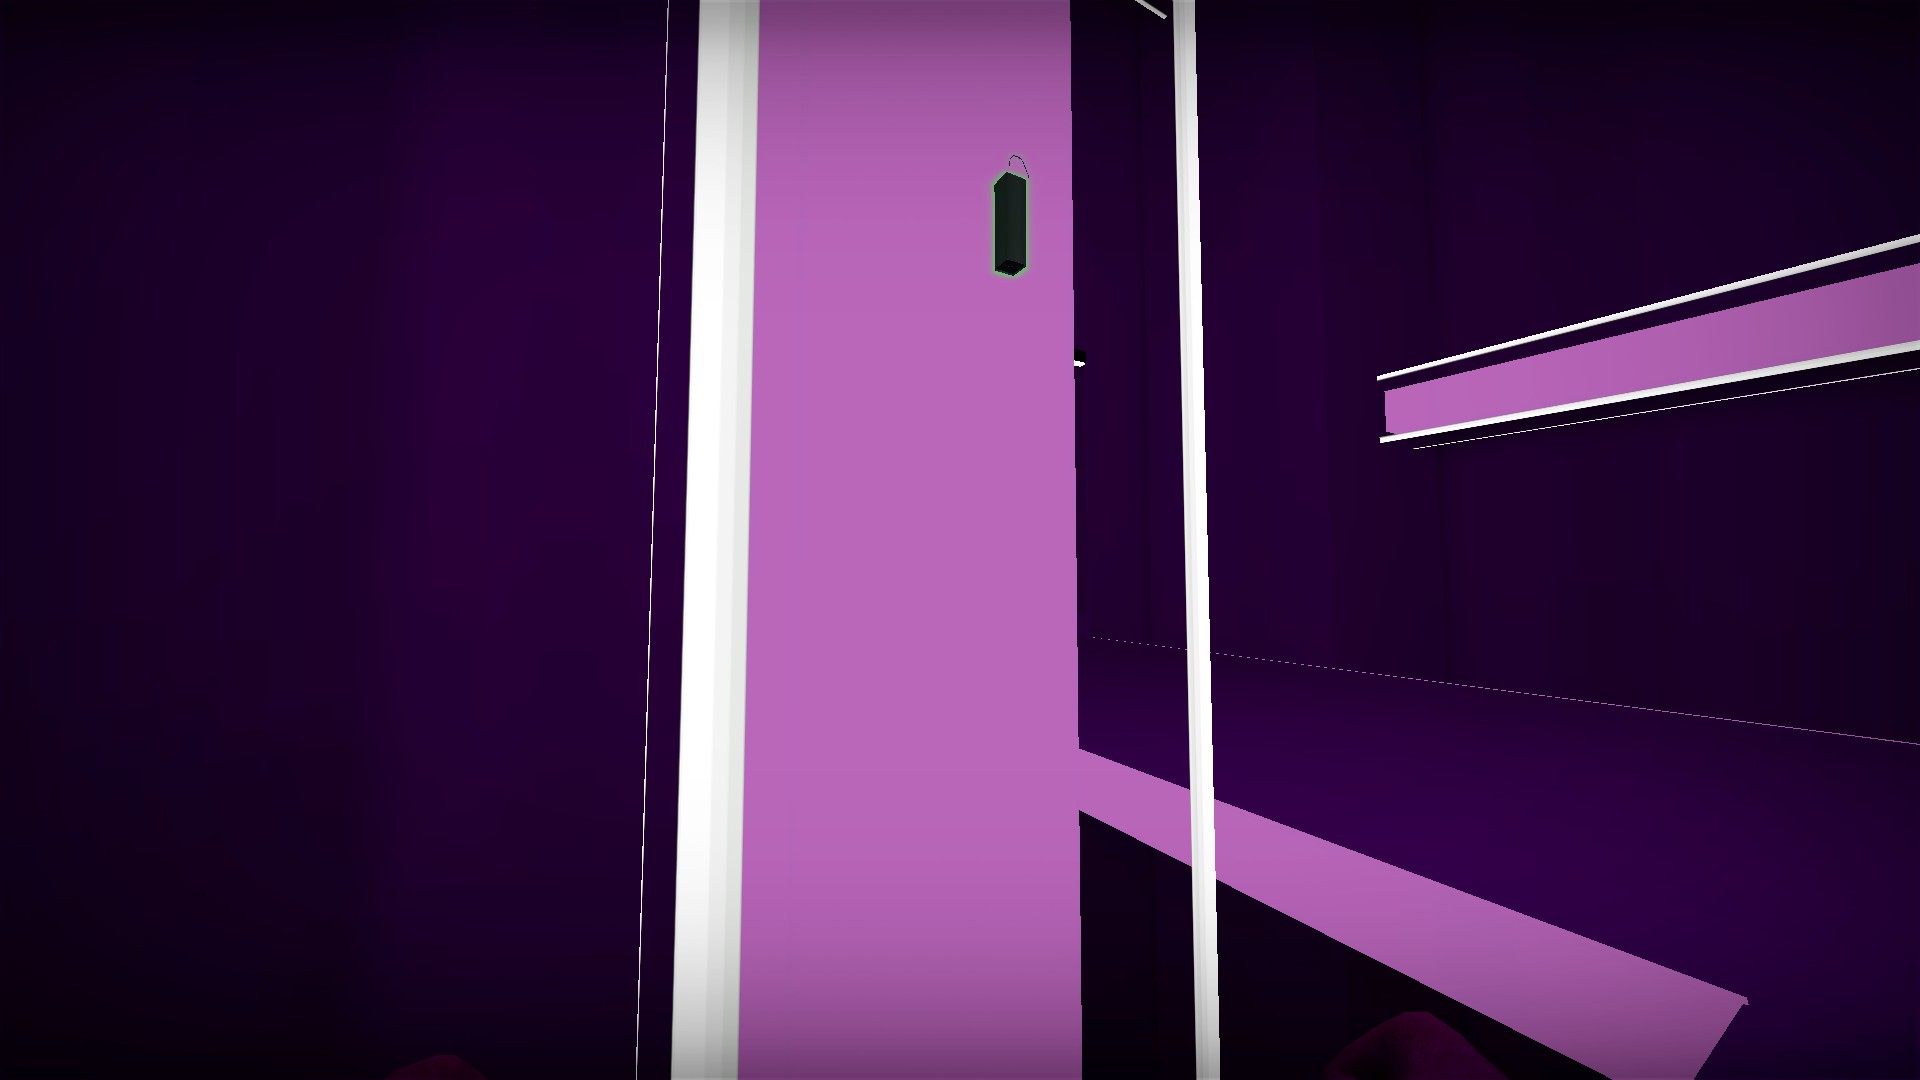
On stage 2 there is tnt on the back of the first purple beam
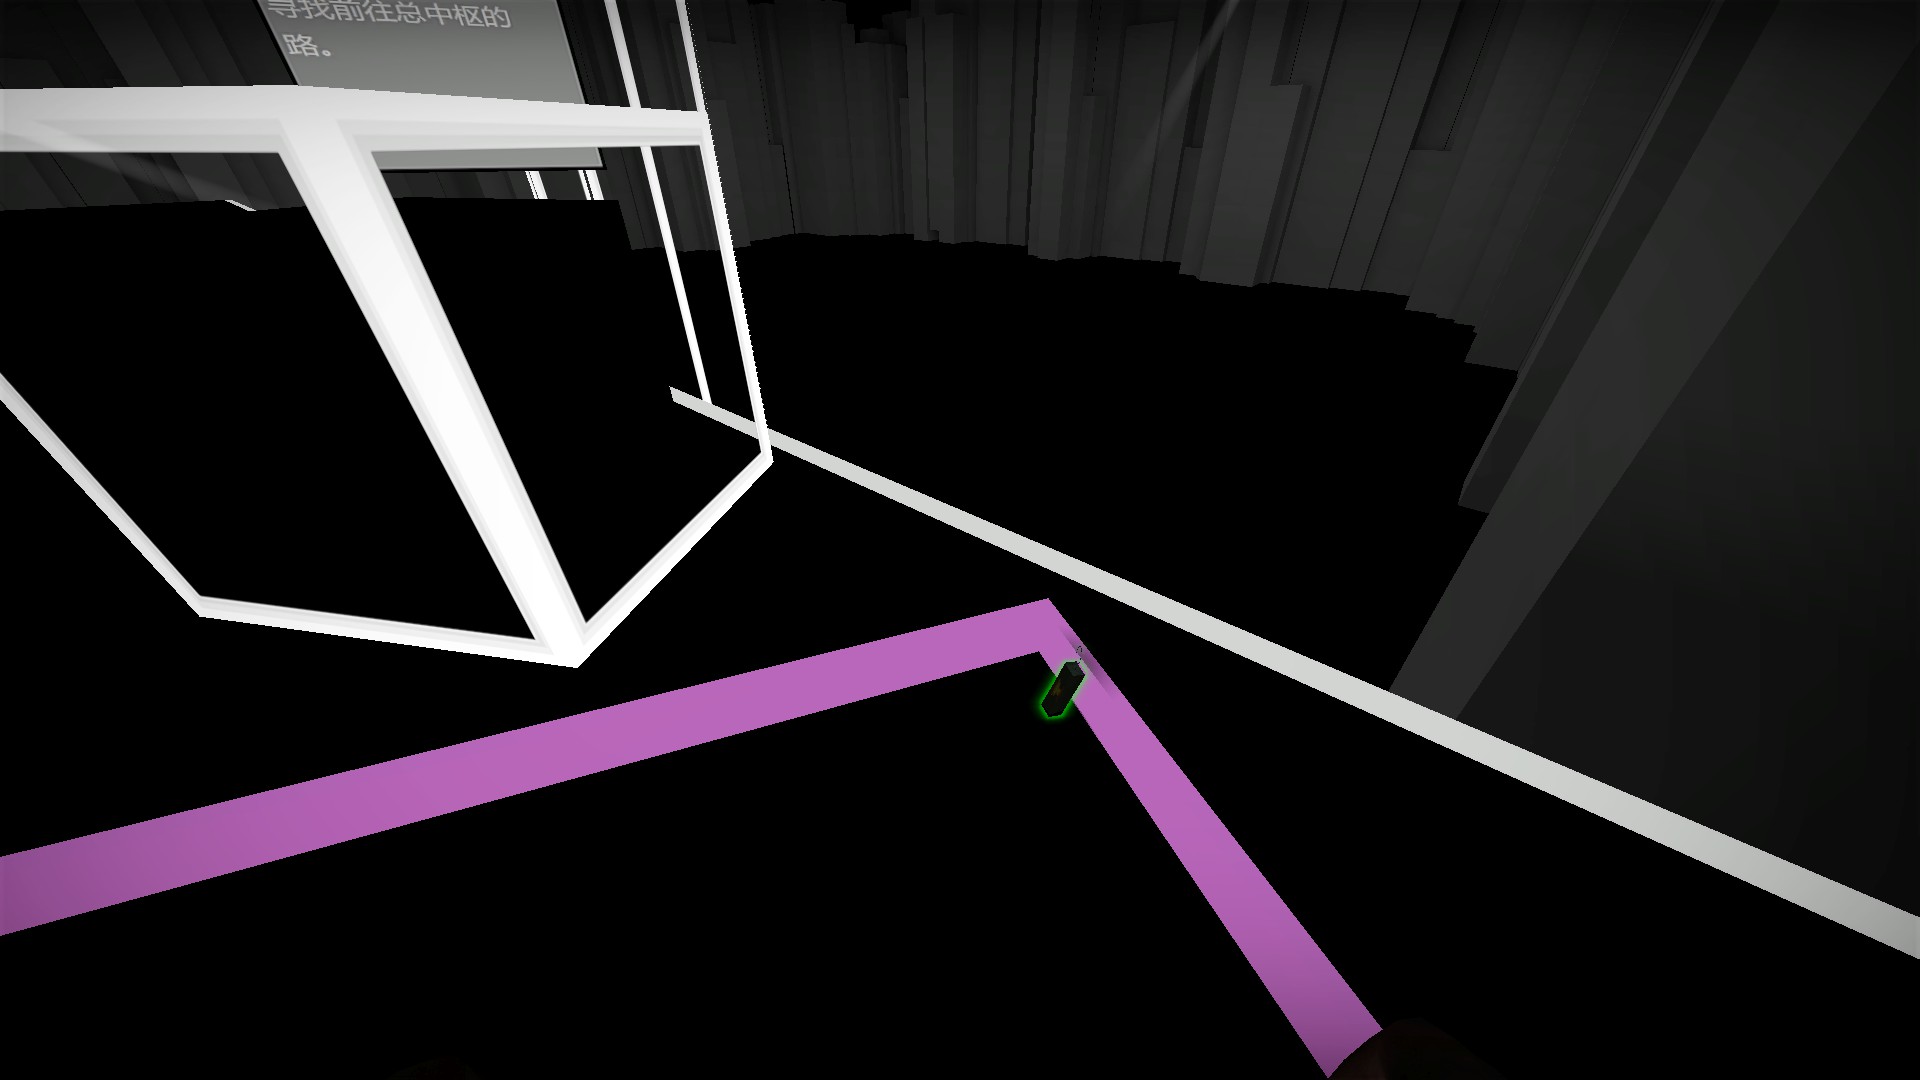
On stage 3, there is tnt right next to the weapon box Teamwork is required to beat stage 2 elevator part
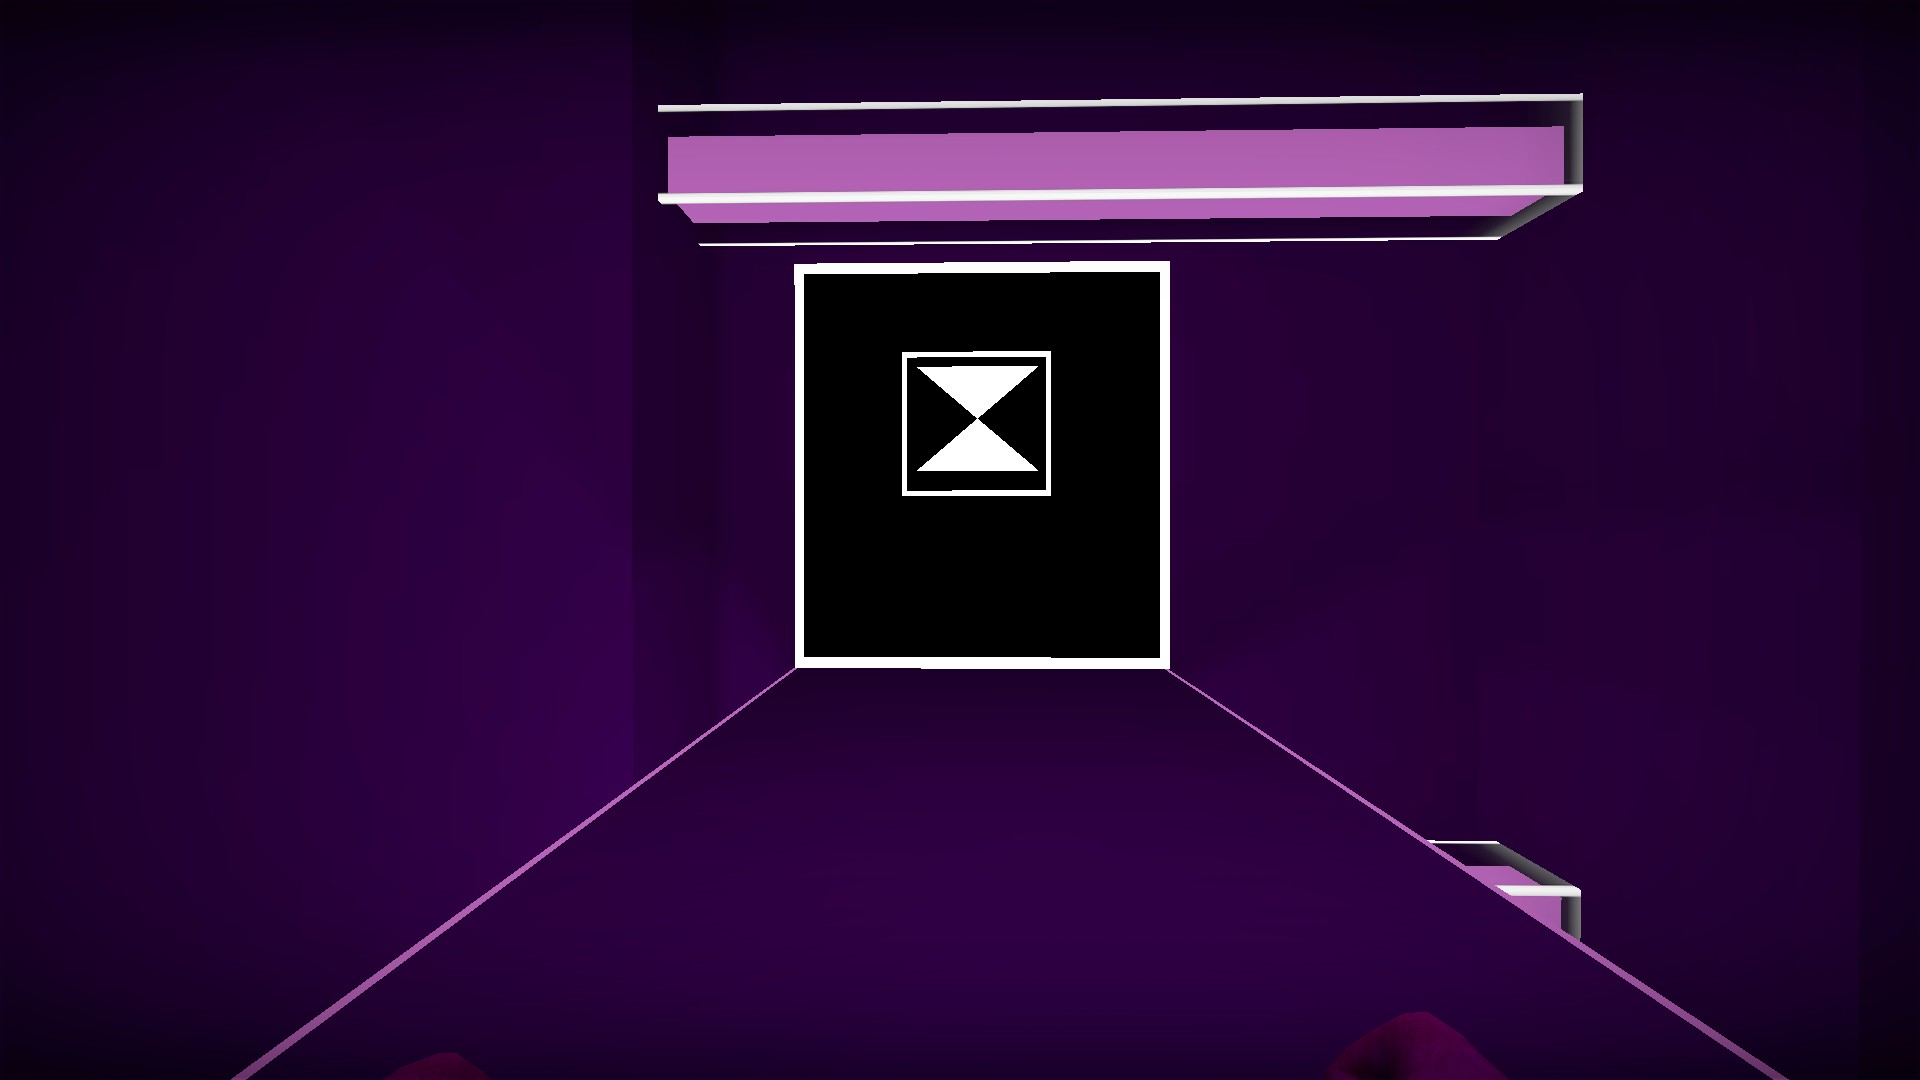
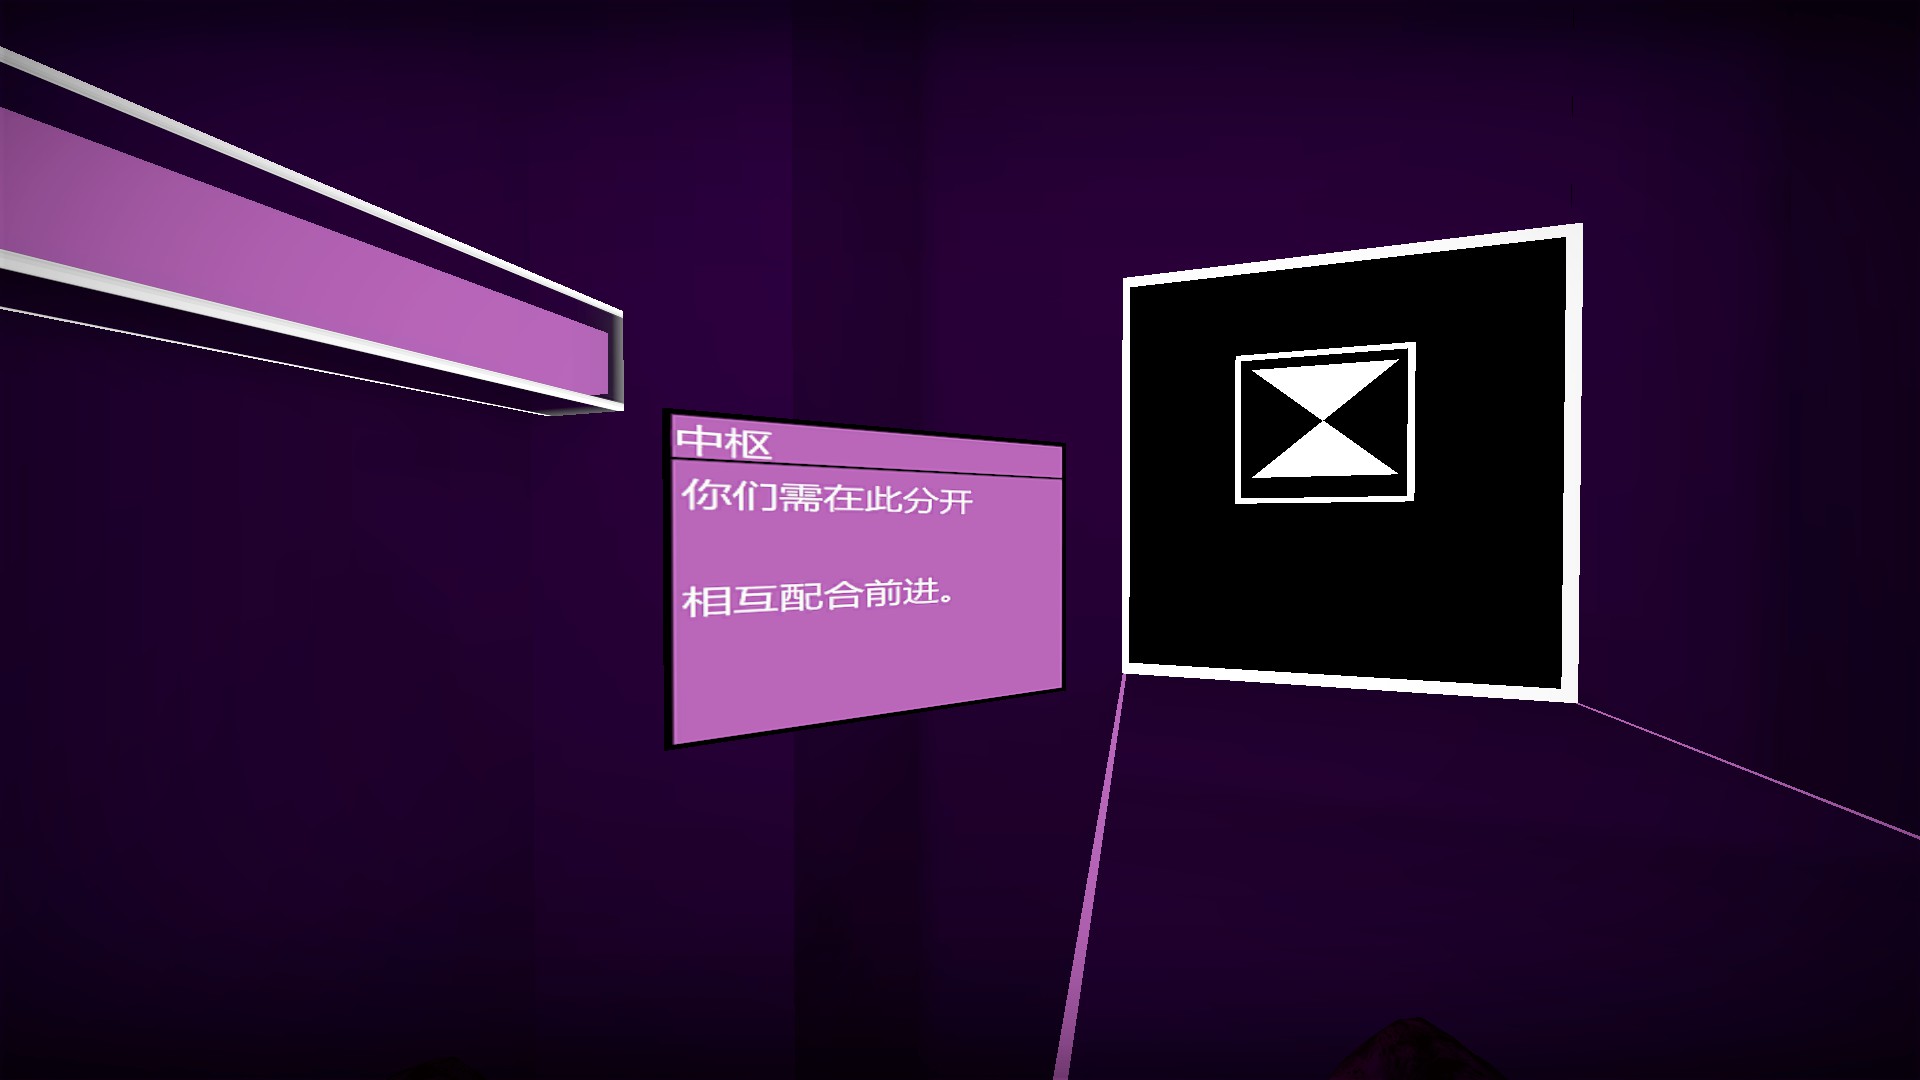
The first part of stage 2 has two elevators, one upper and one lower. You will need the team to split up. This is the translation of the nearby sign
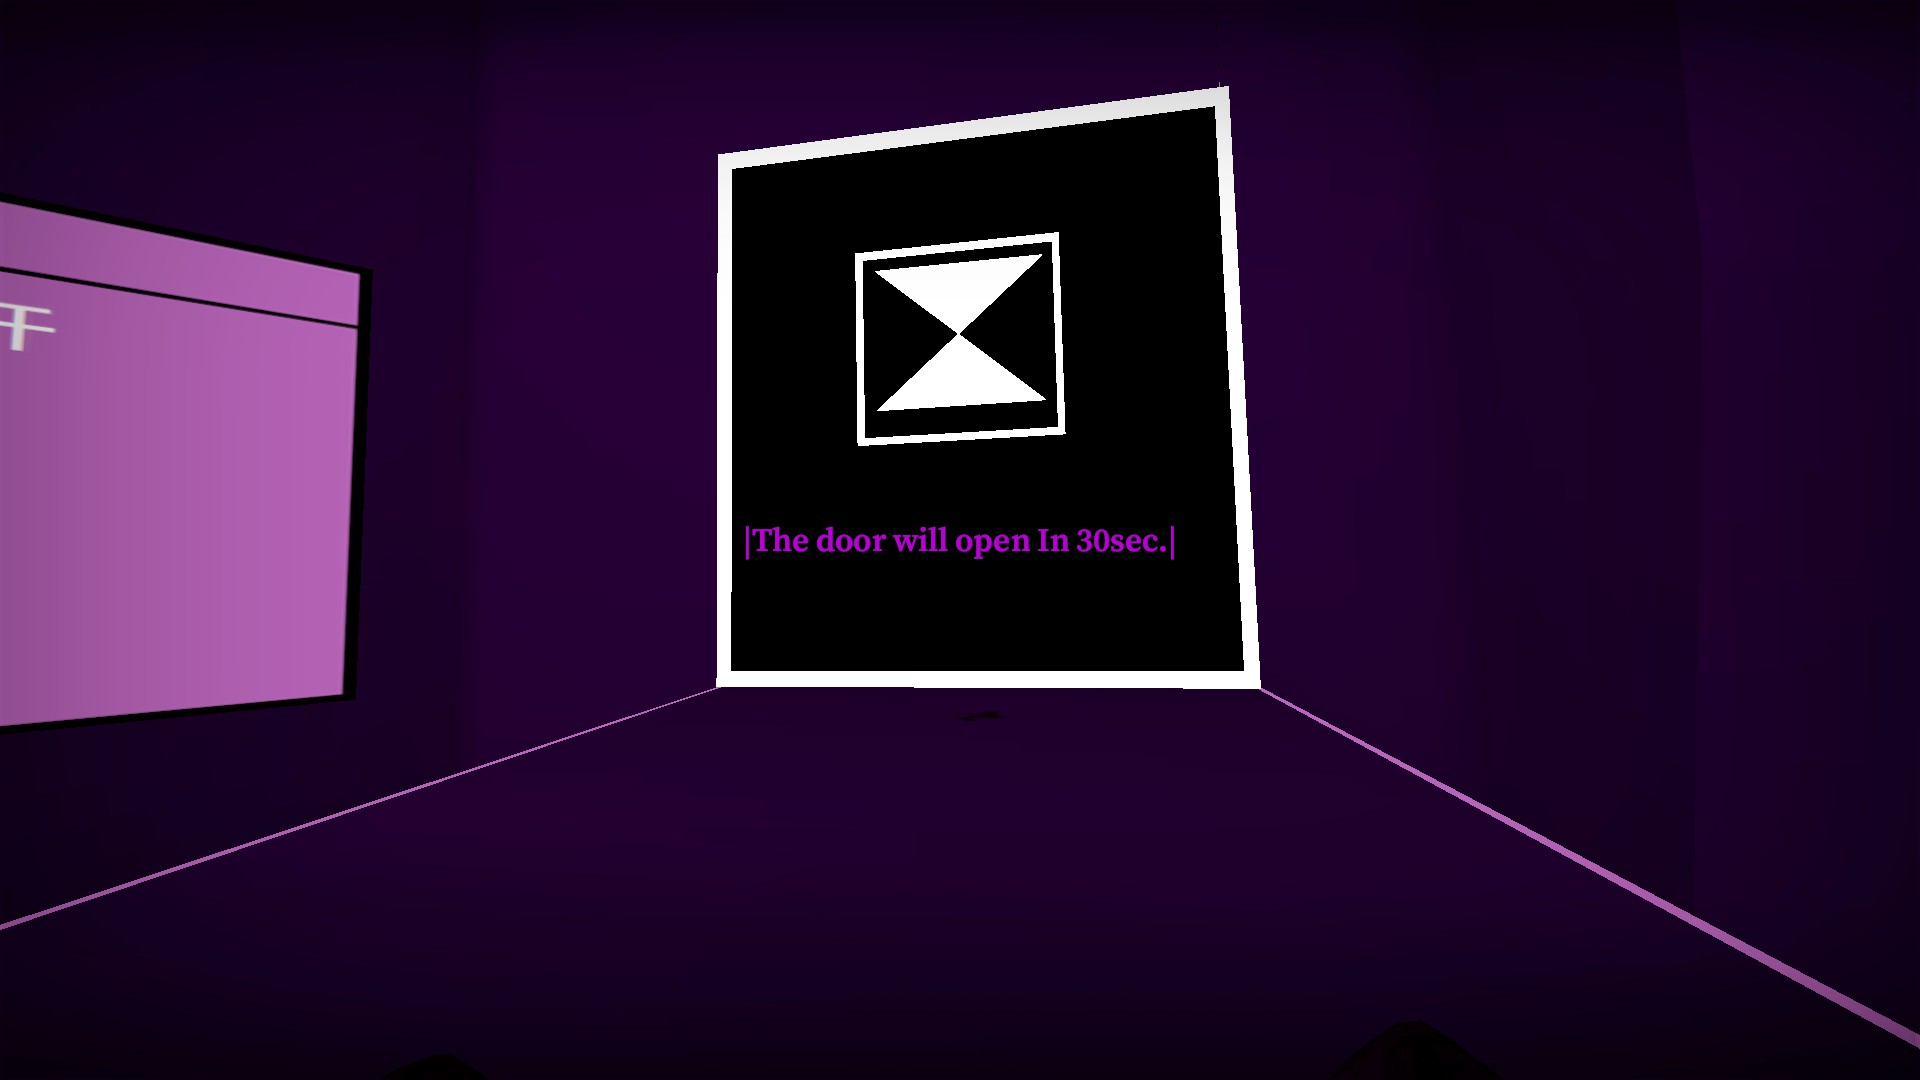
Clear at least 270 zombies and you will get a message that the elevator doors will open in 30 seconds
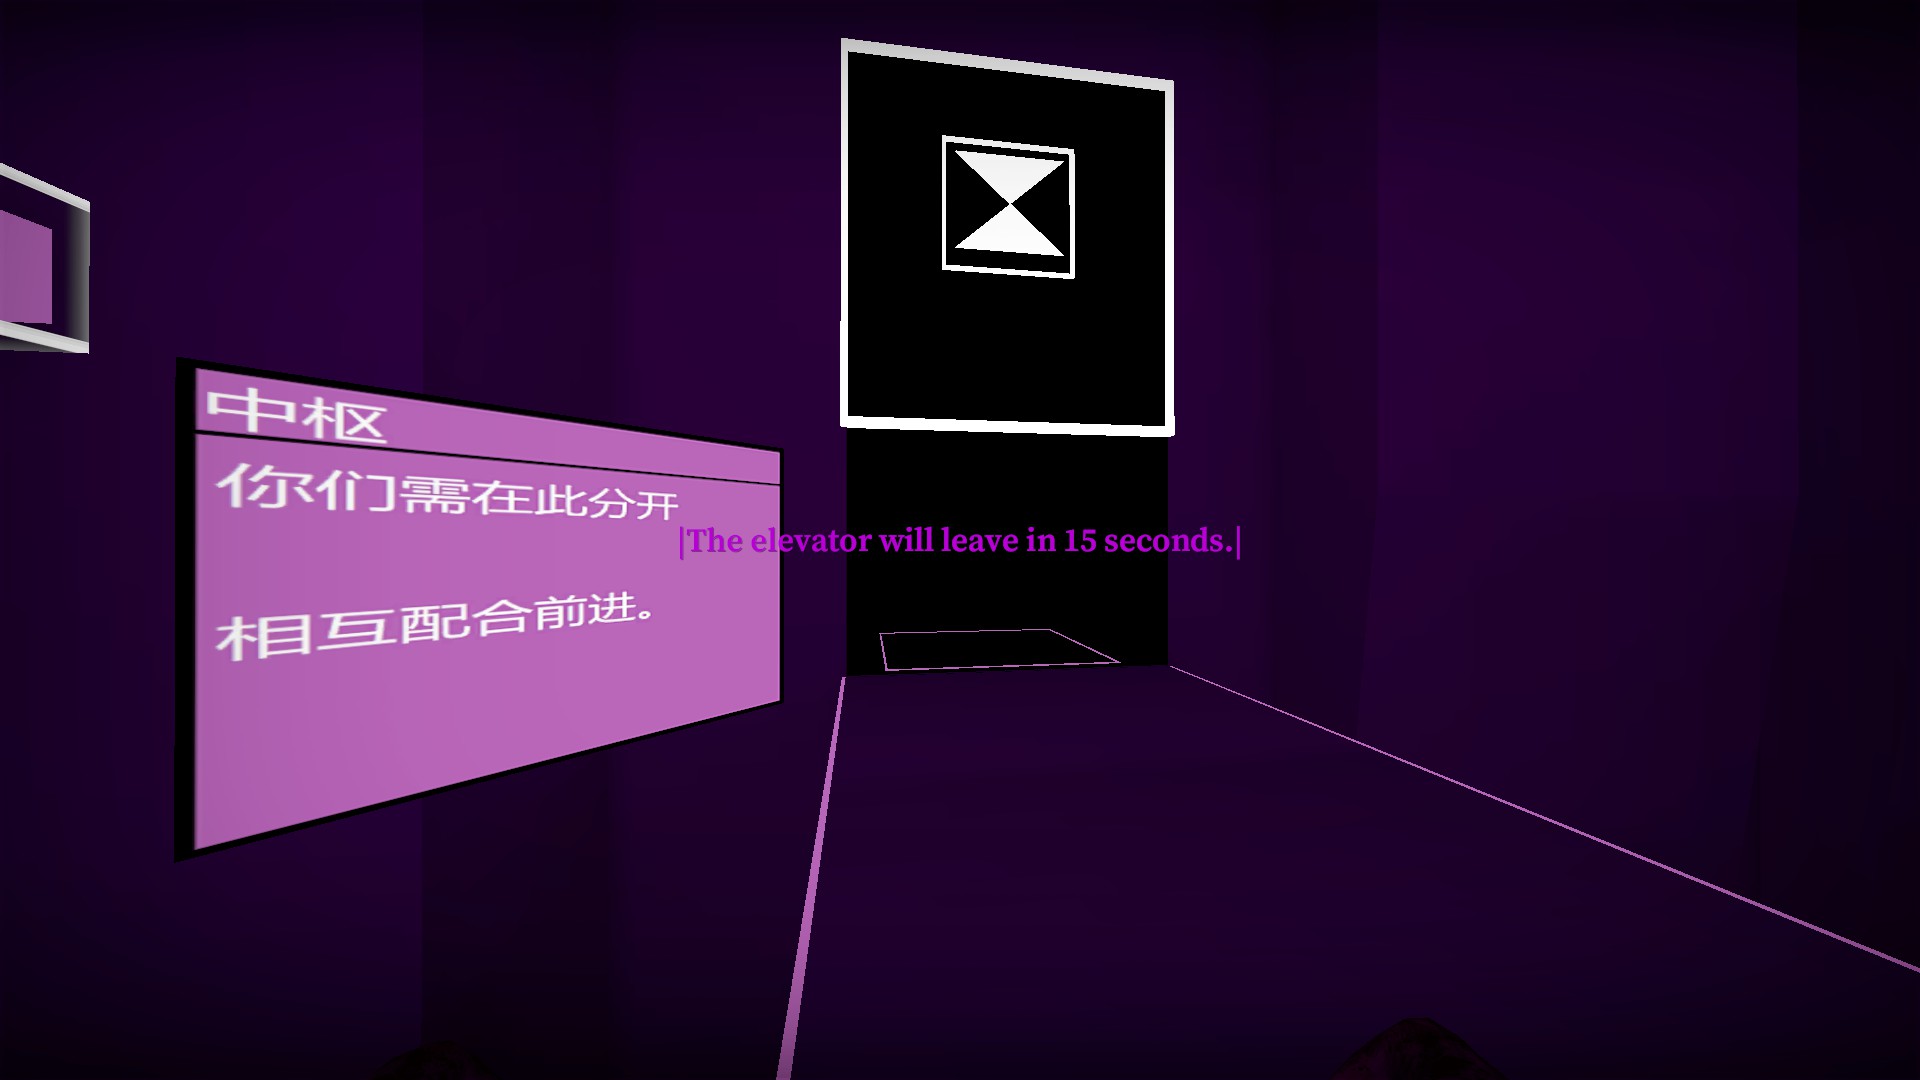
Once the doors have opened, the elevators will leave in 15 seconds. You need players on both elevators
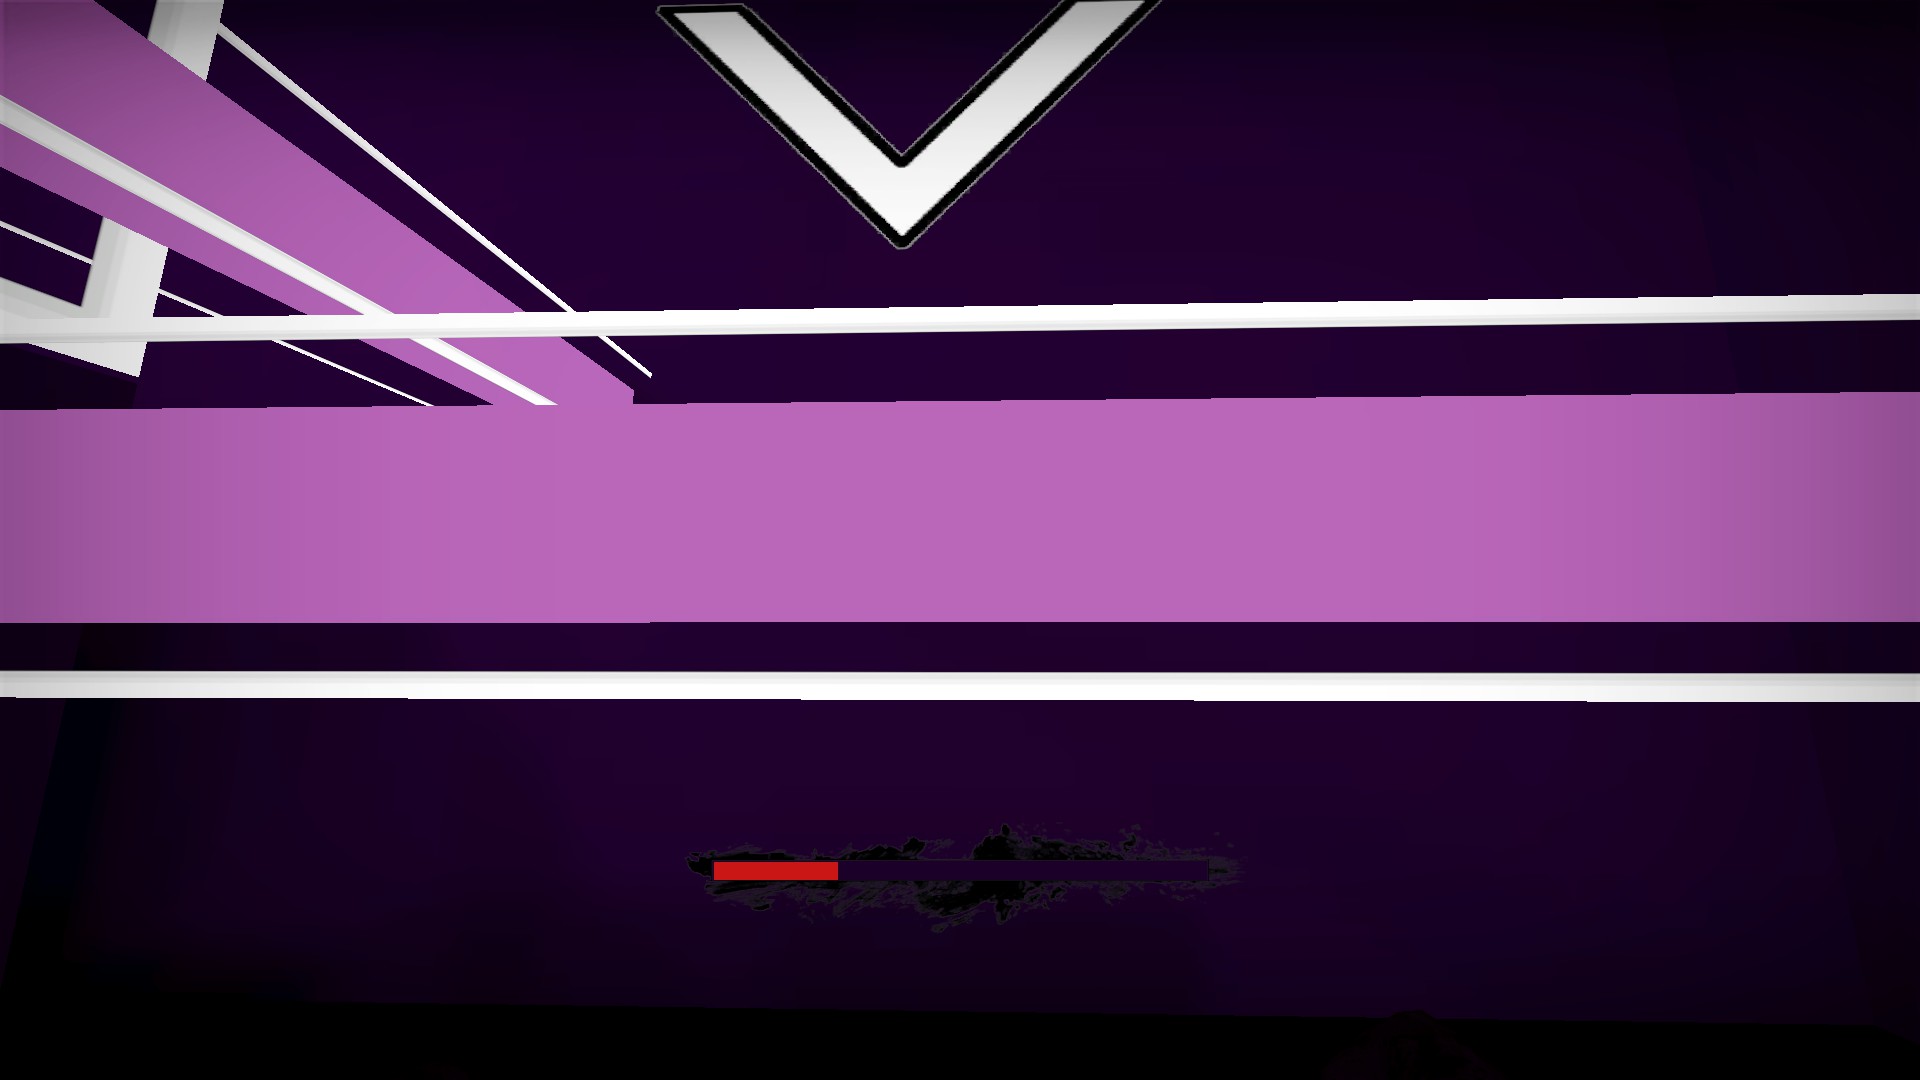
After getting off the elevators, hold e on the highlighted sections to break them. Once both are broken, you will be teleported to the second part of stage 2 Teamwork is also required for the pressure plate puzzle in stage 4
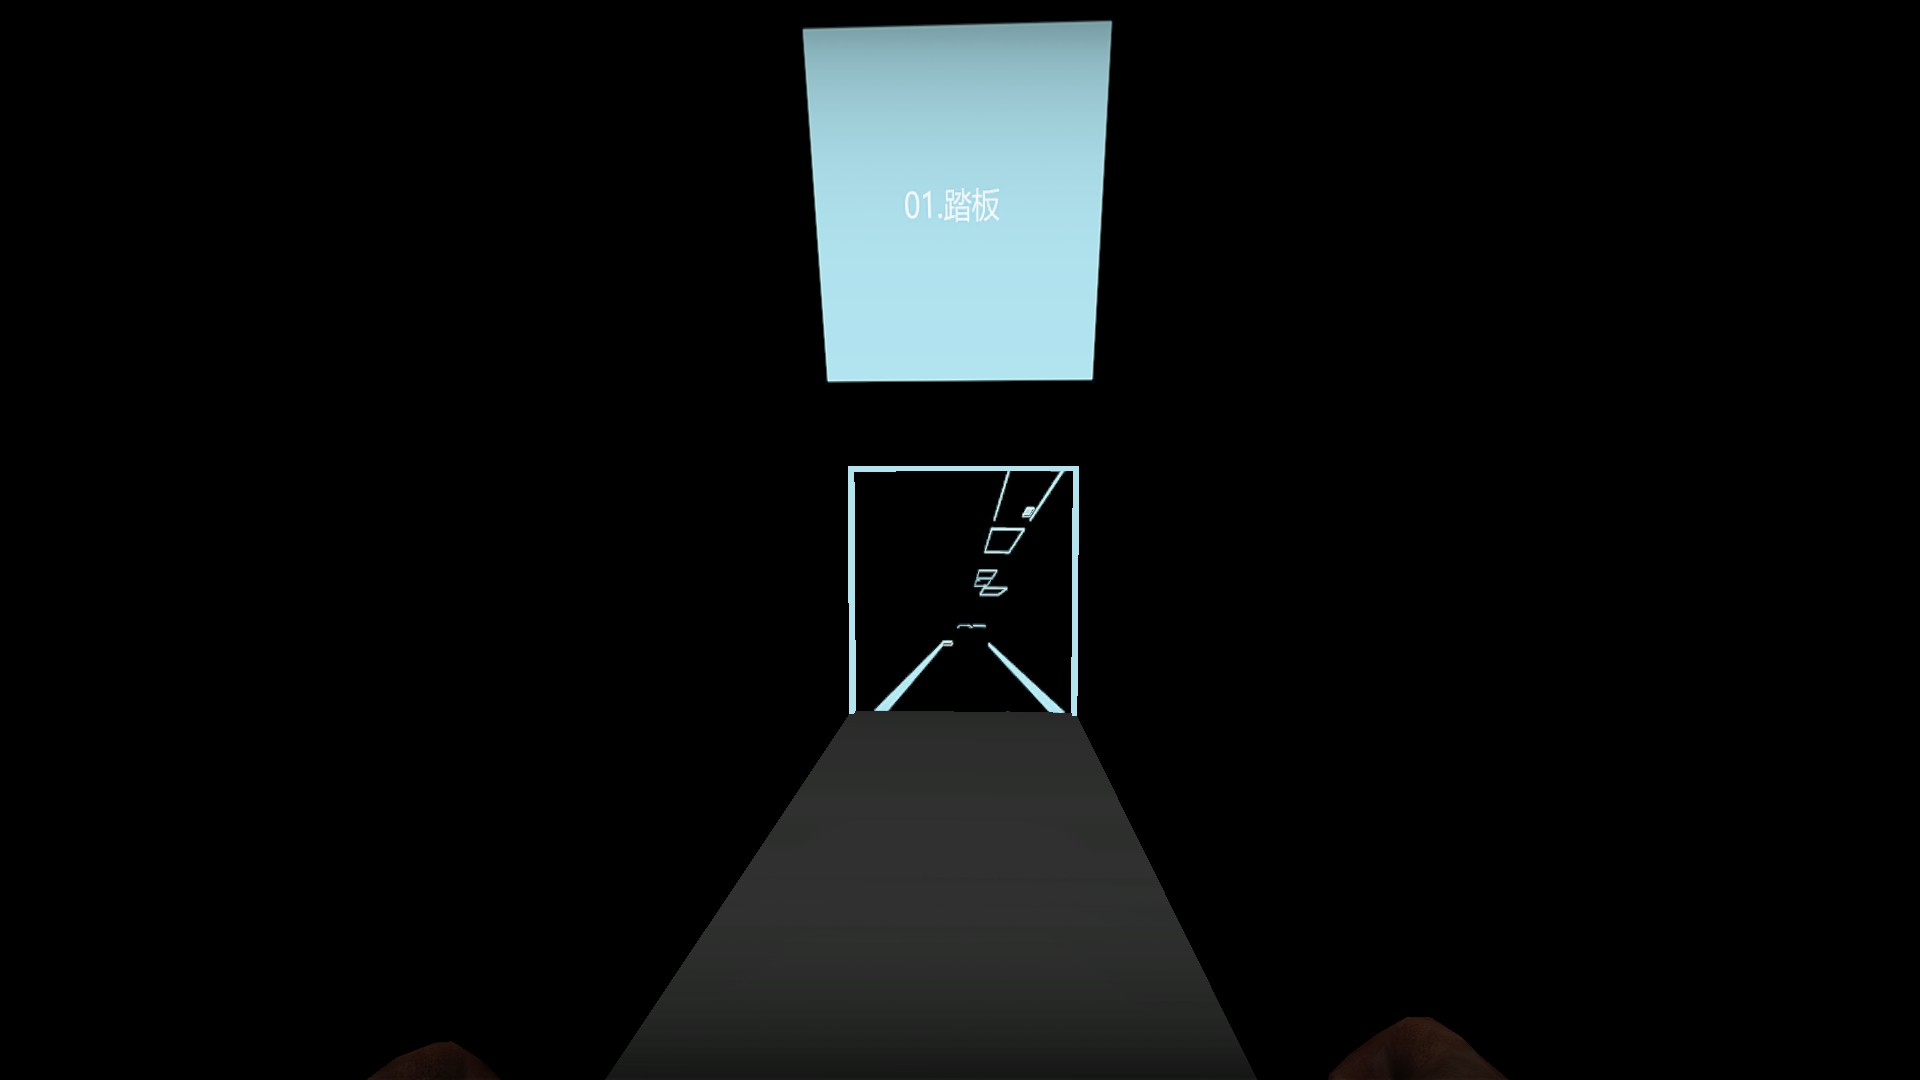
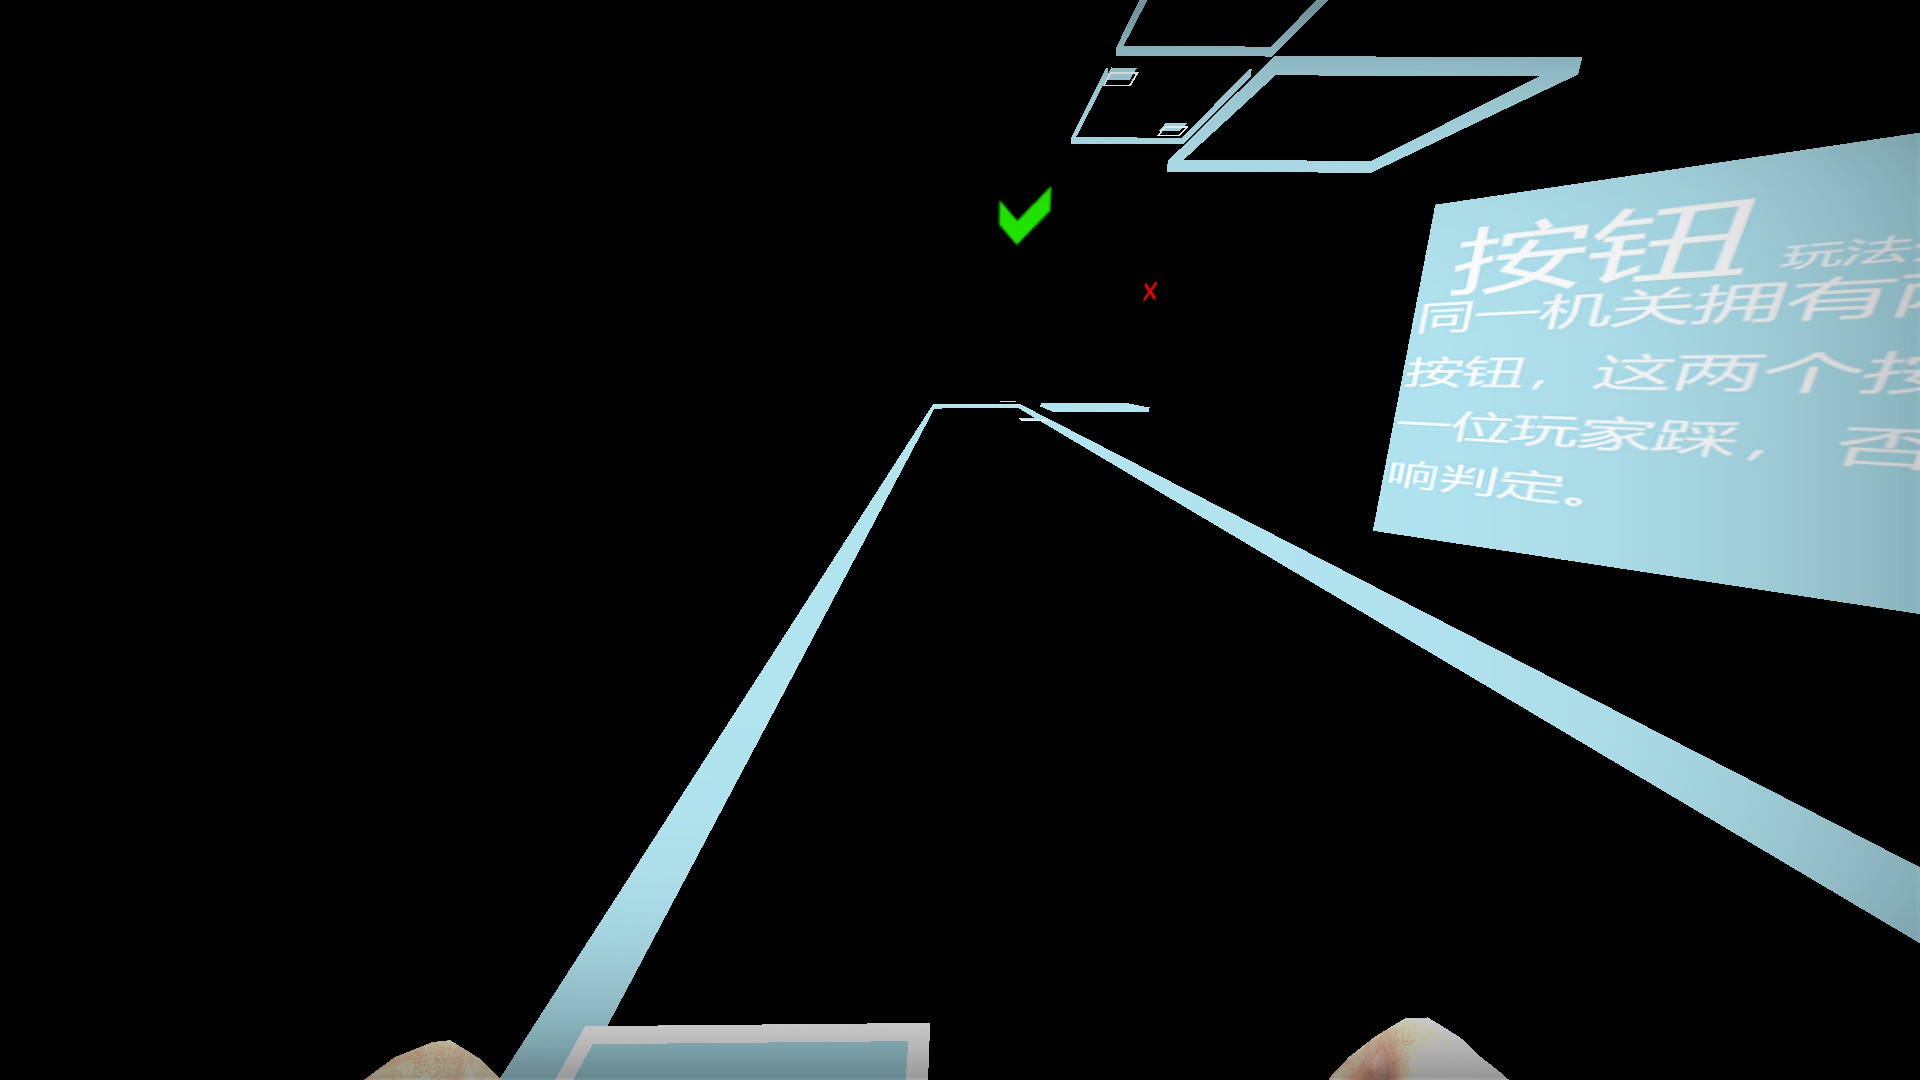
One player will need to stand on the plate so the other can cross
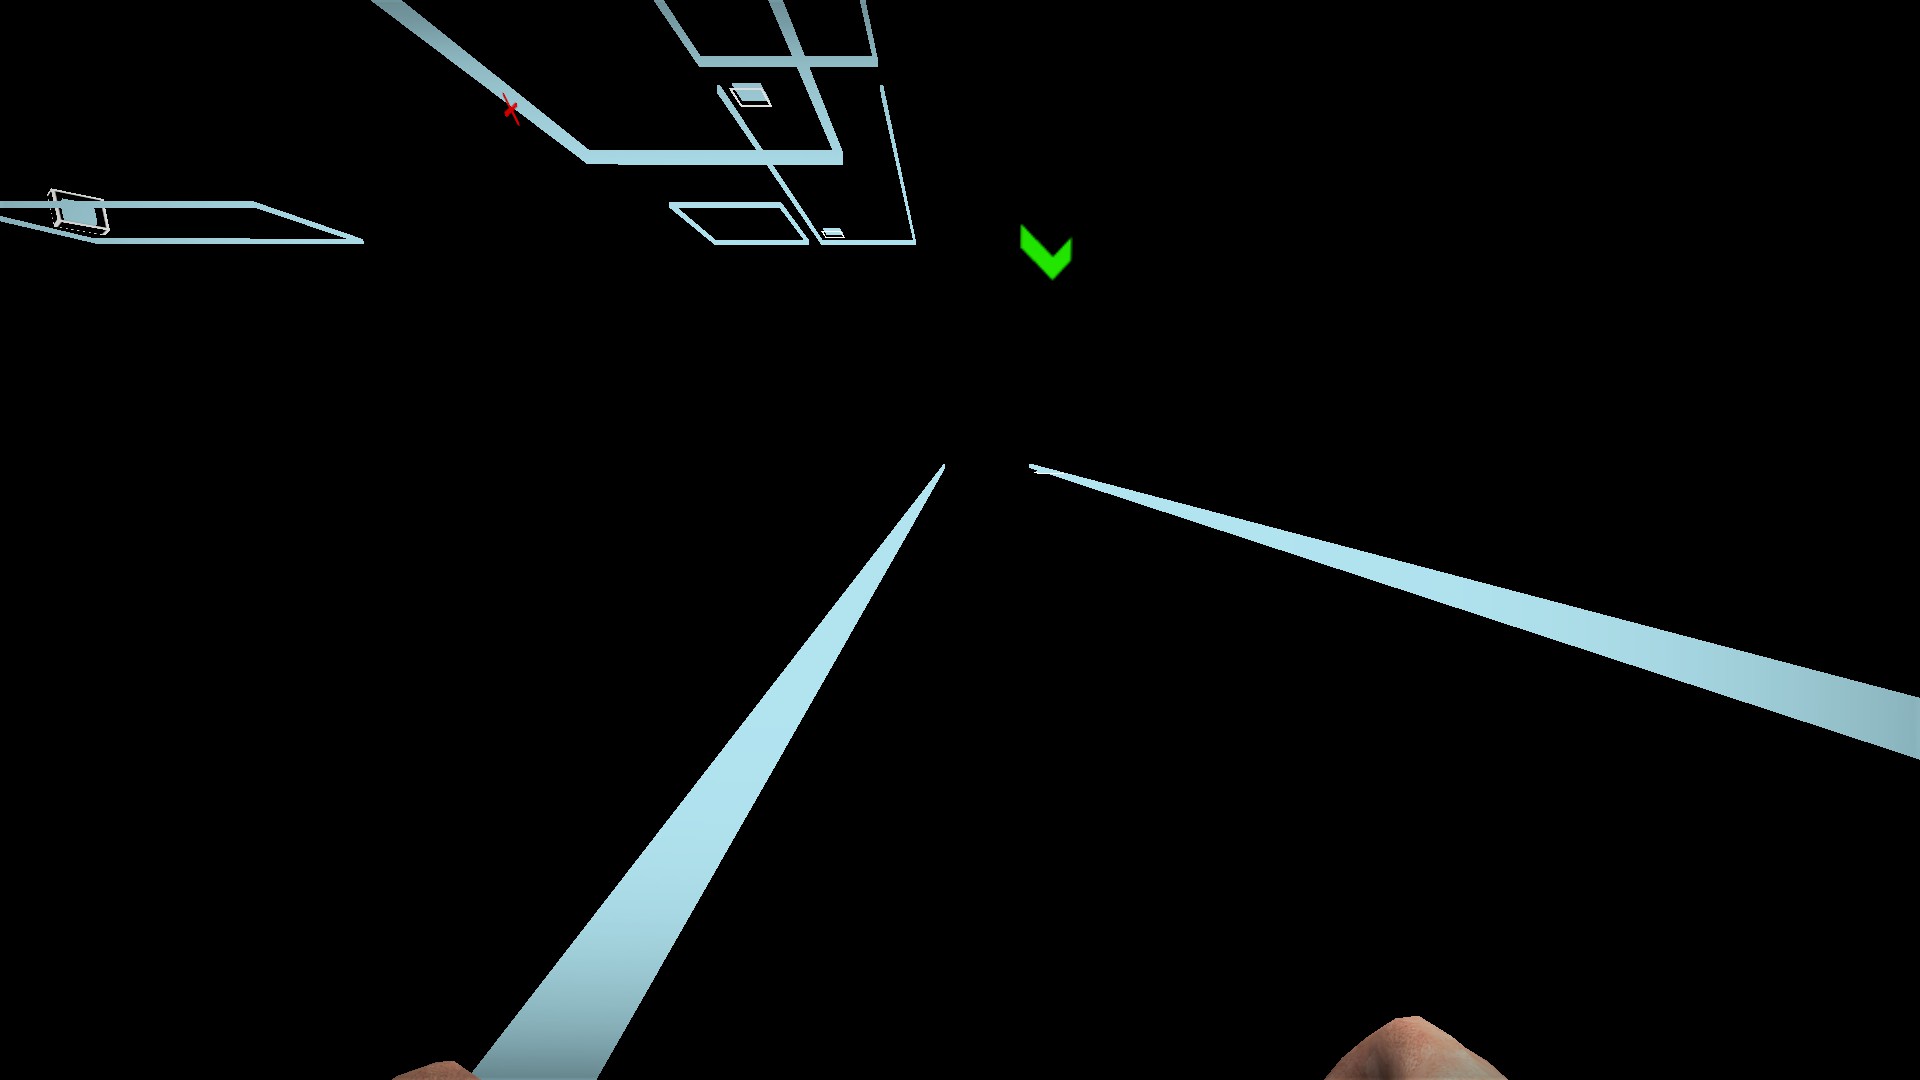
That player then needs to stand on the plate on the opposite side to let the first player cross. Keep going in tandem until you reach the box The normal ending here is the bad ending

If you play to the end of stage 4 and survive the boss there, you will get a THE END after the fight
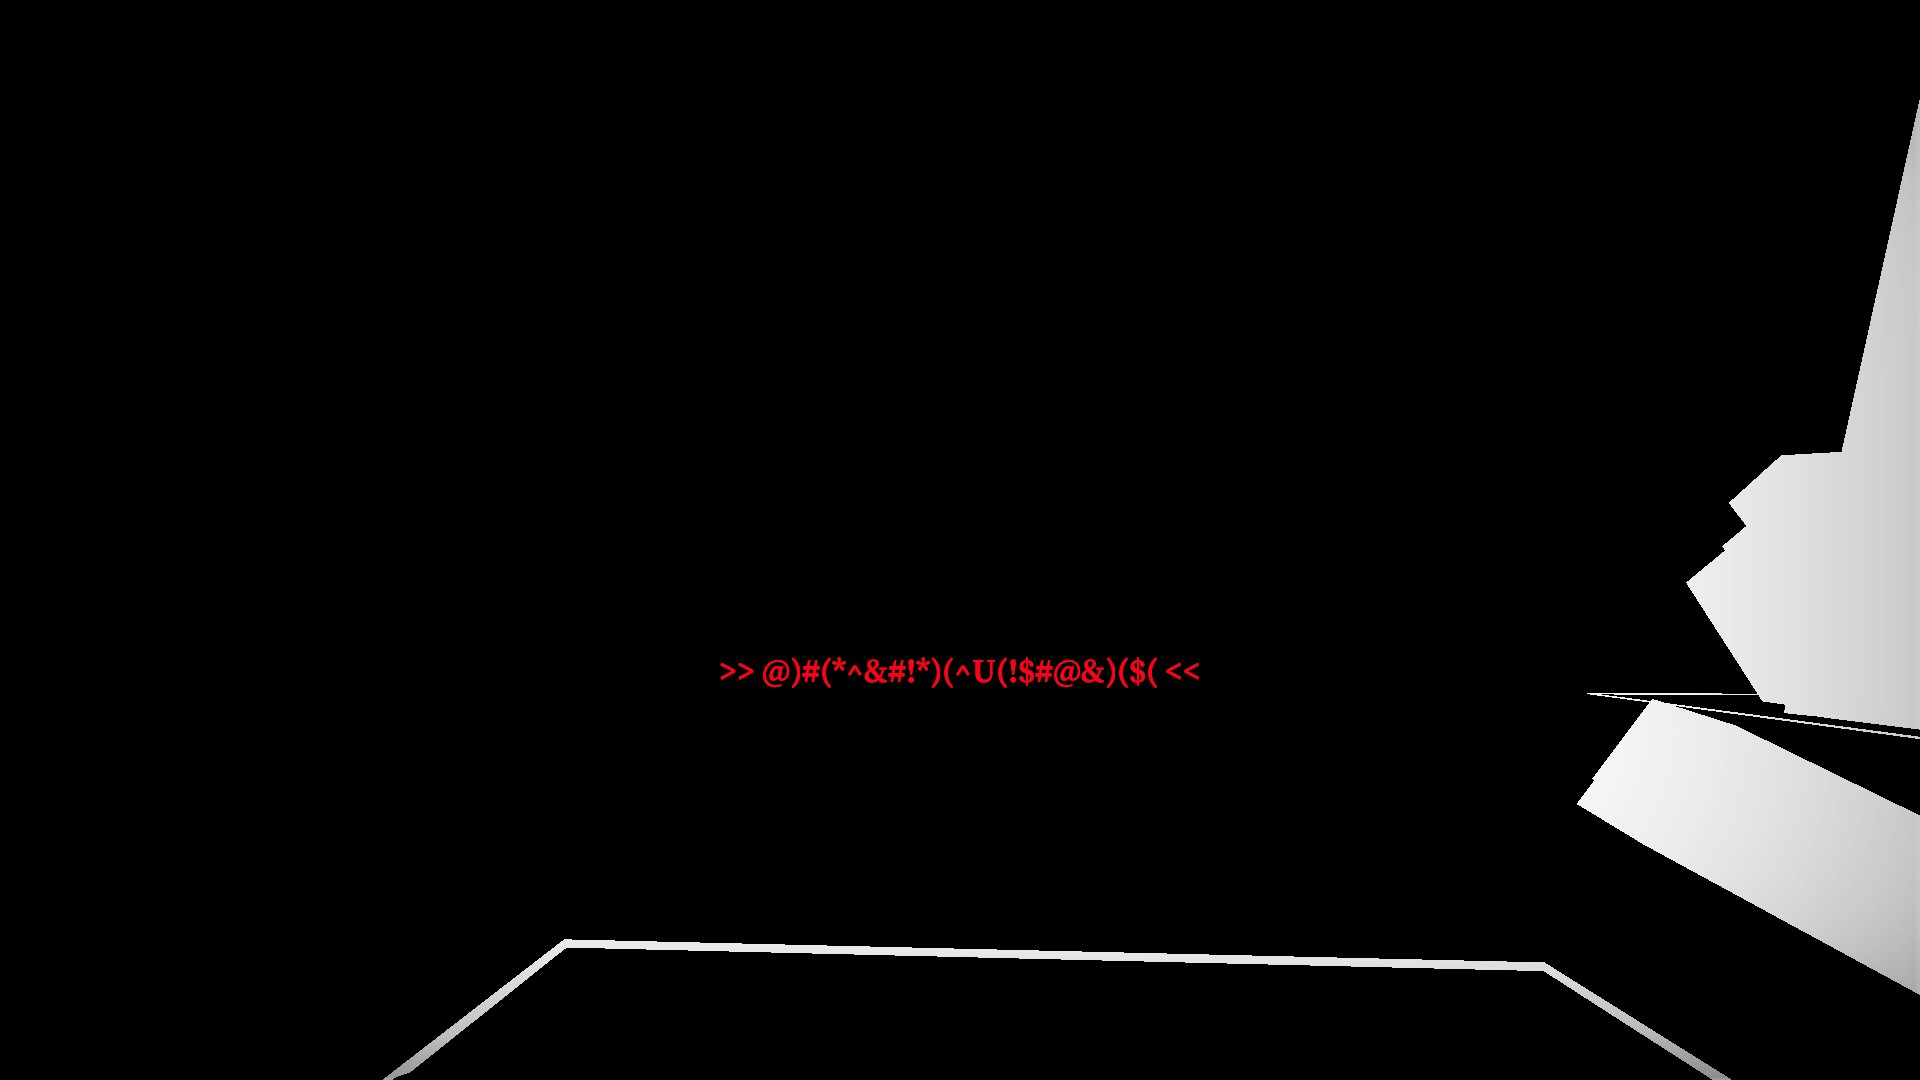
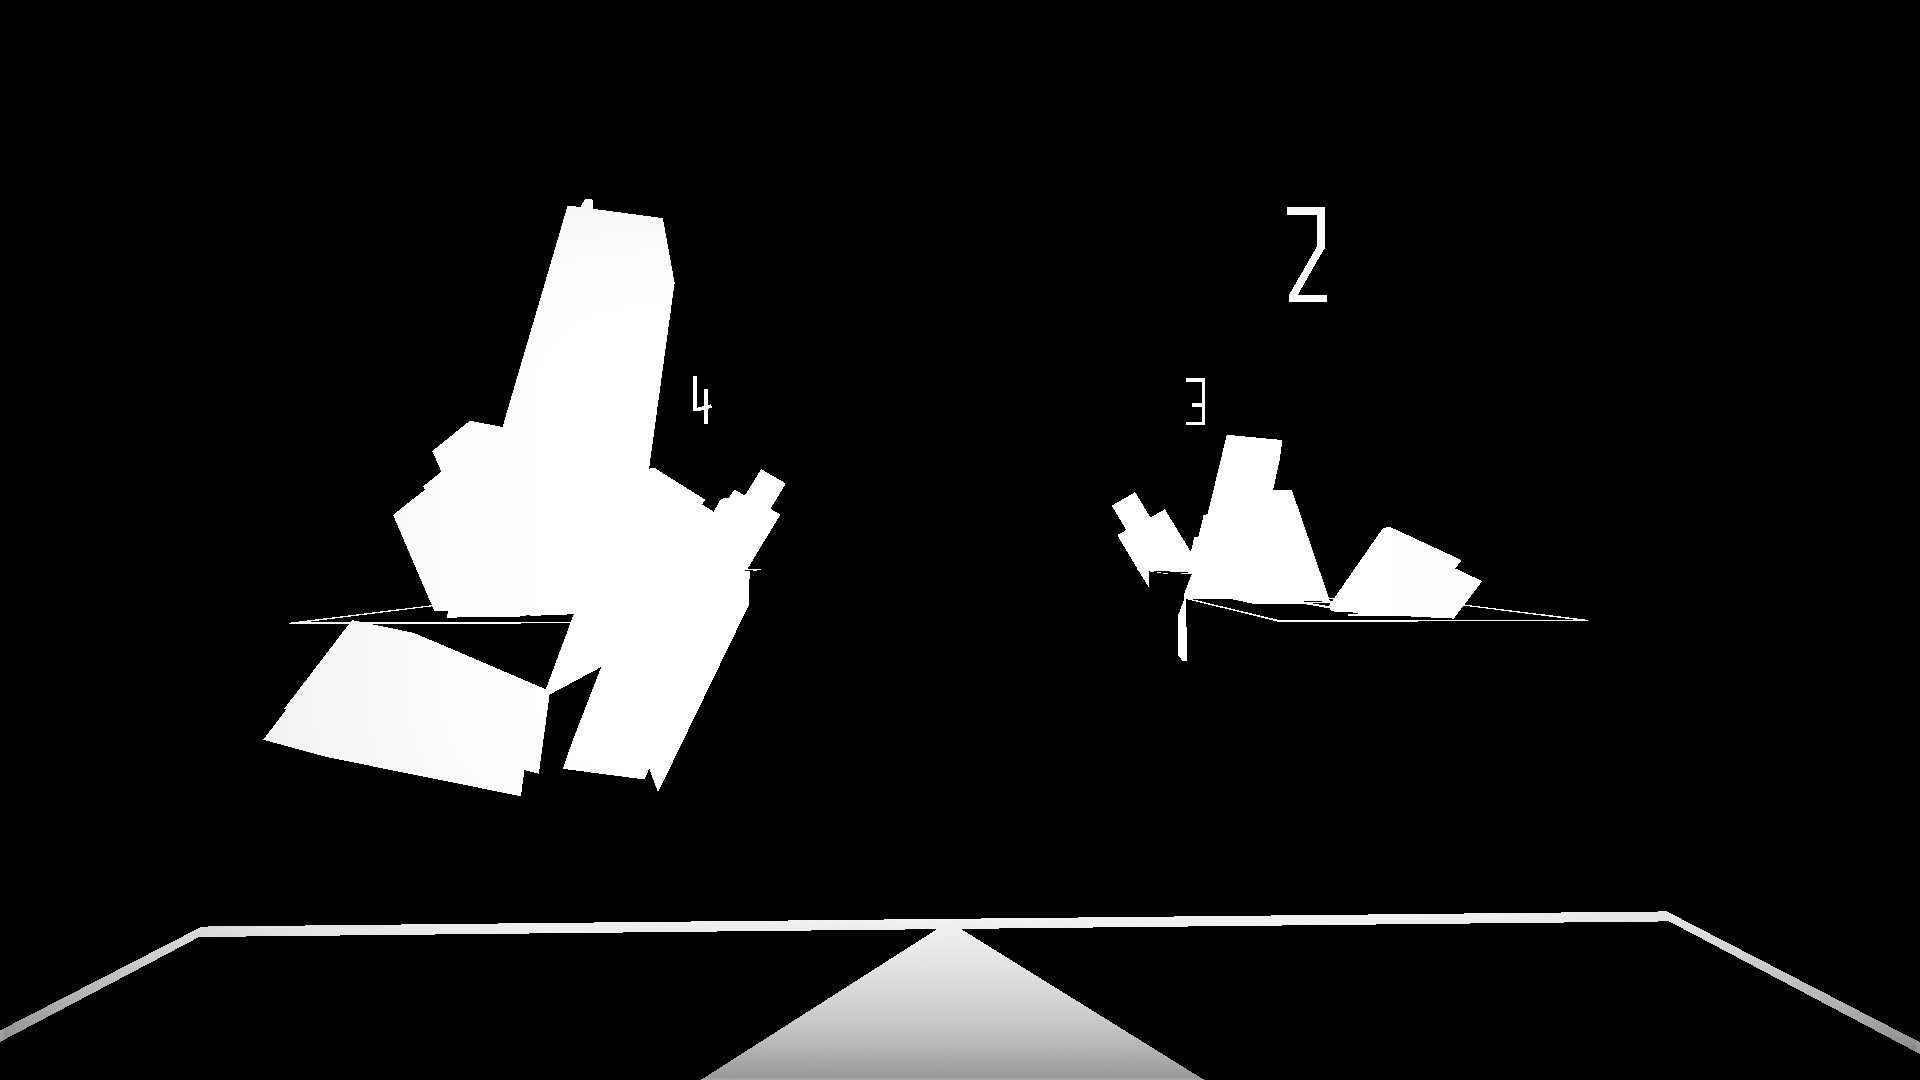
You will then be taken to the bad ending area
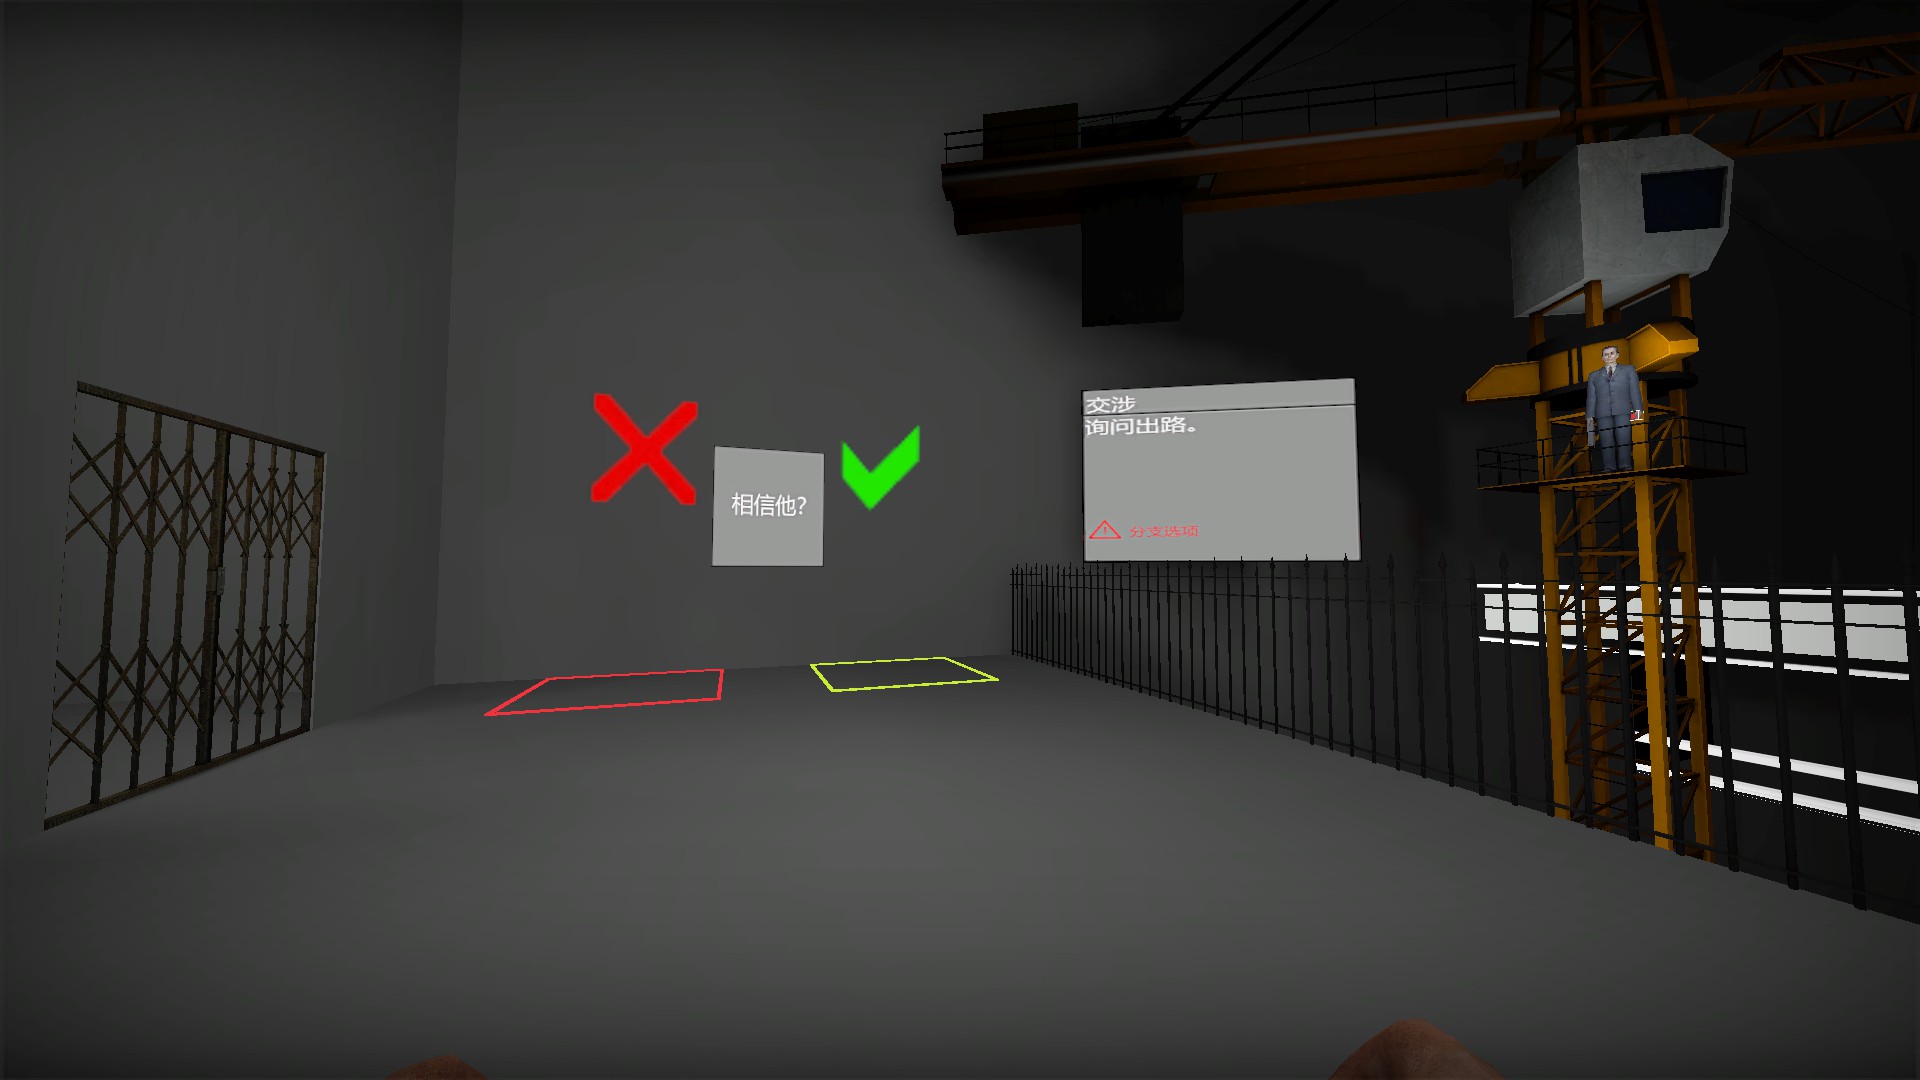
This is the same bad ending area you get if you make the wrong choice (follow/yes) in stage 3. If you make the wrong choice, restart to start at the beginning of stage 3 You will need to unlock the hidden stage 5, while in stage 3, to unlock the good ending
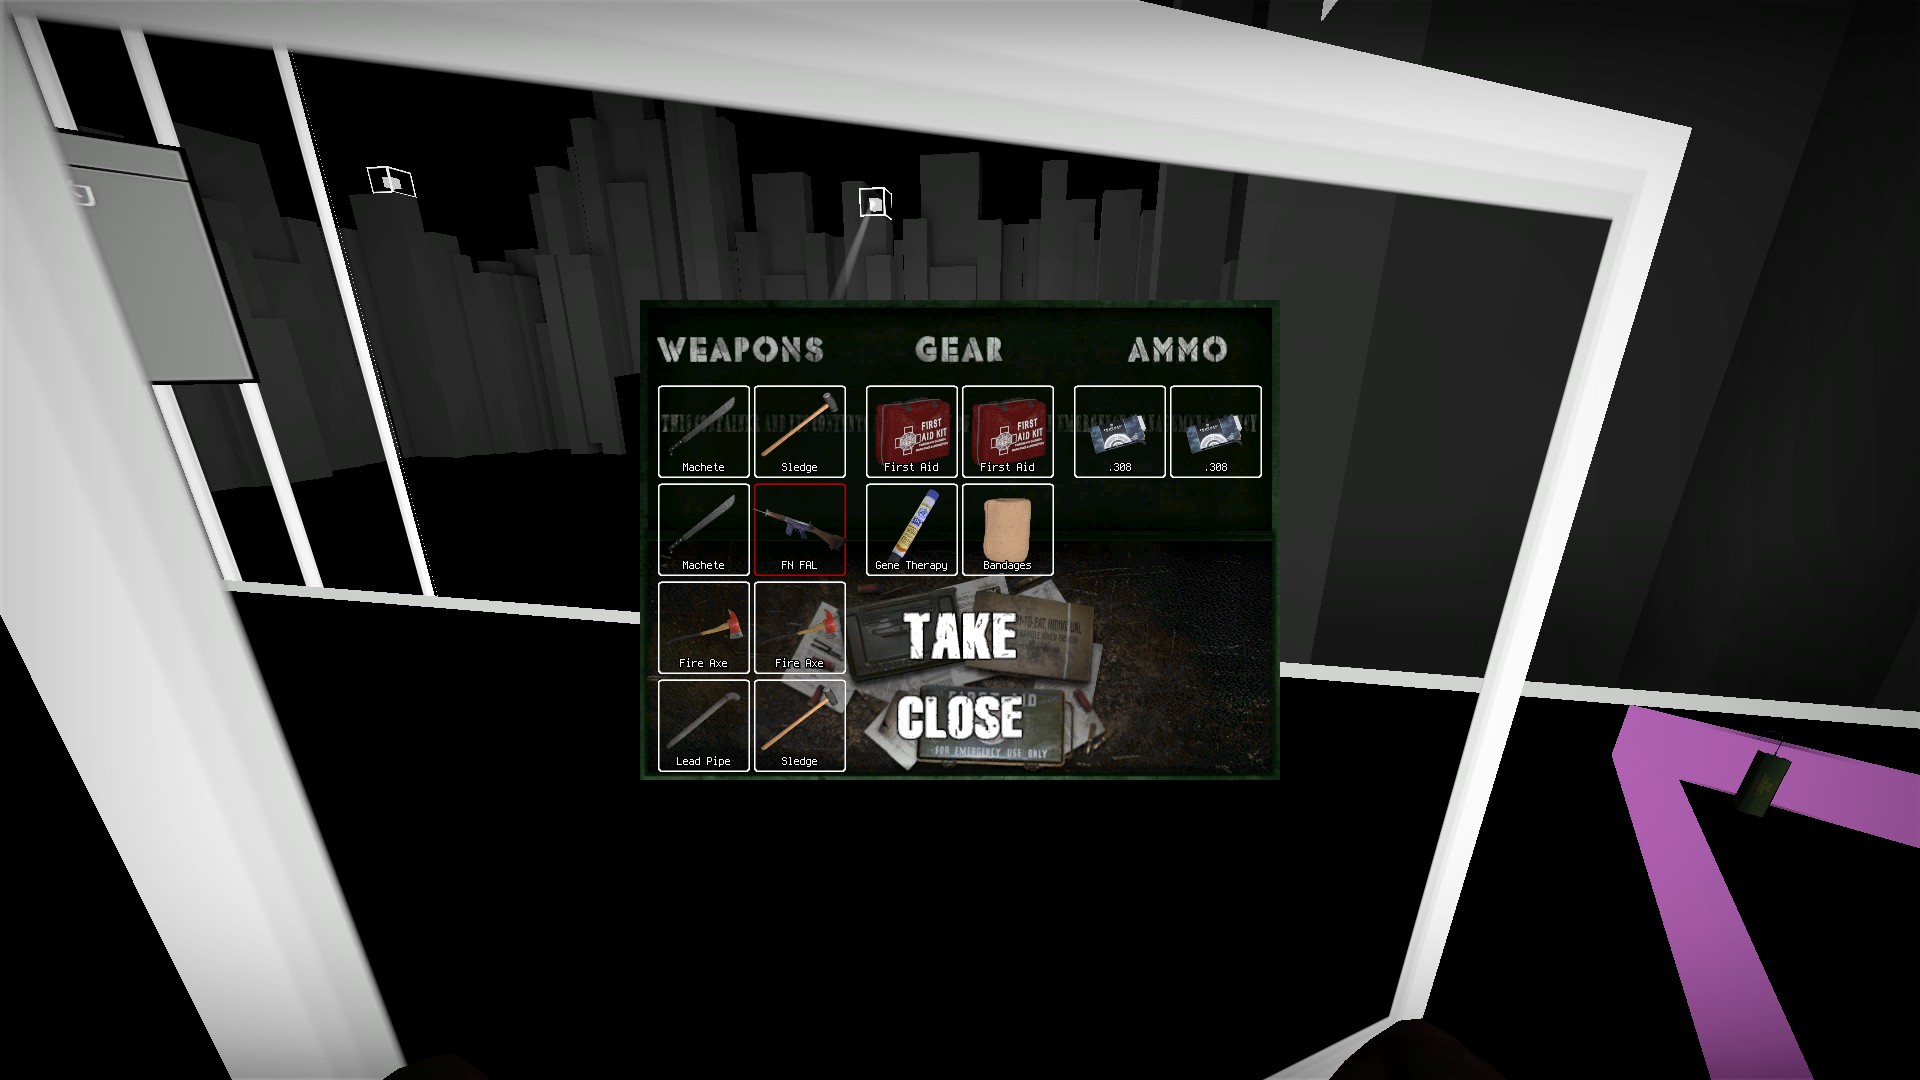
You will need to shoot three key blocks in stage 3. Take the Fal at the weapon box at start and make sure to save enough ammo
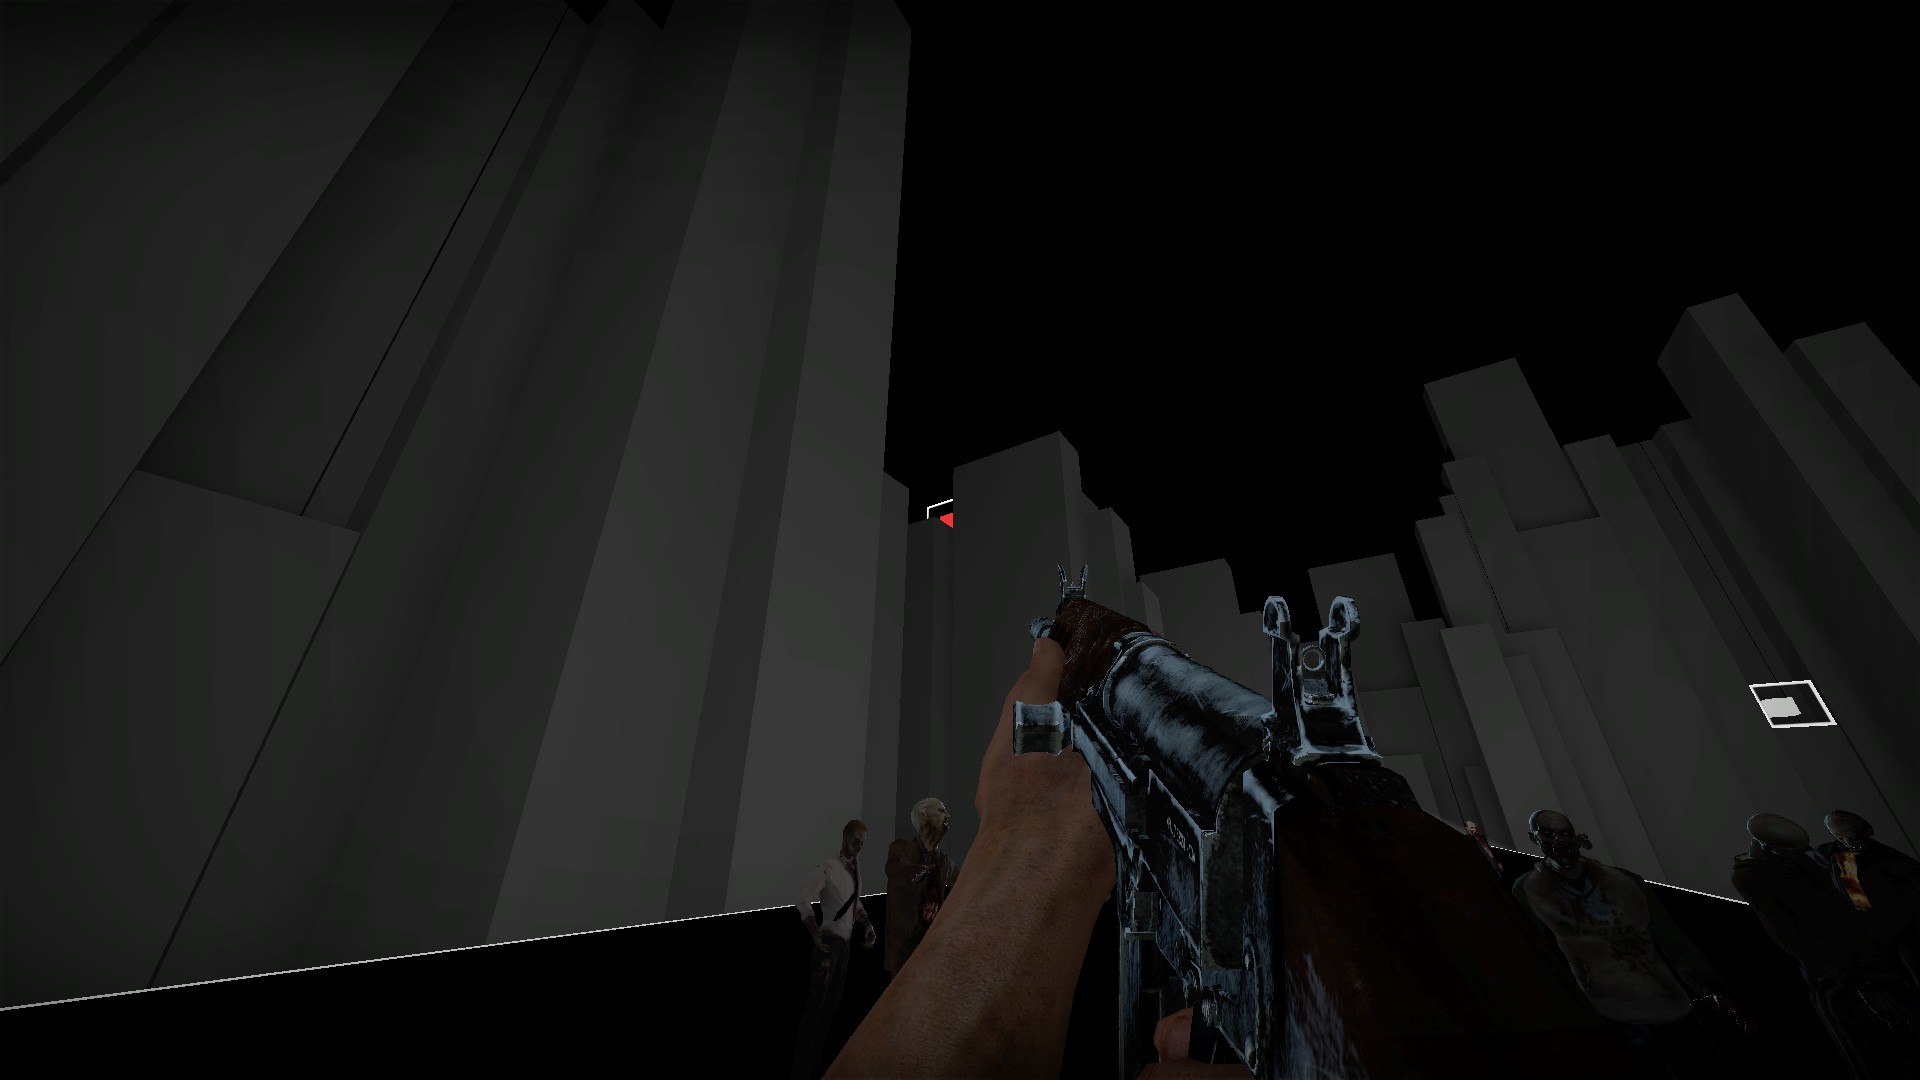
The first key box is high up at the start of stage 3
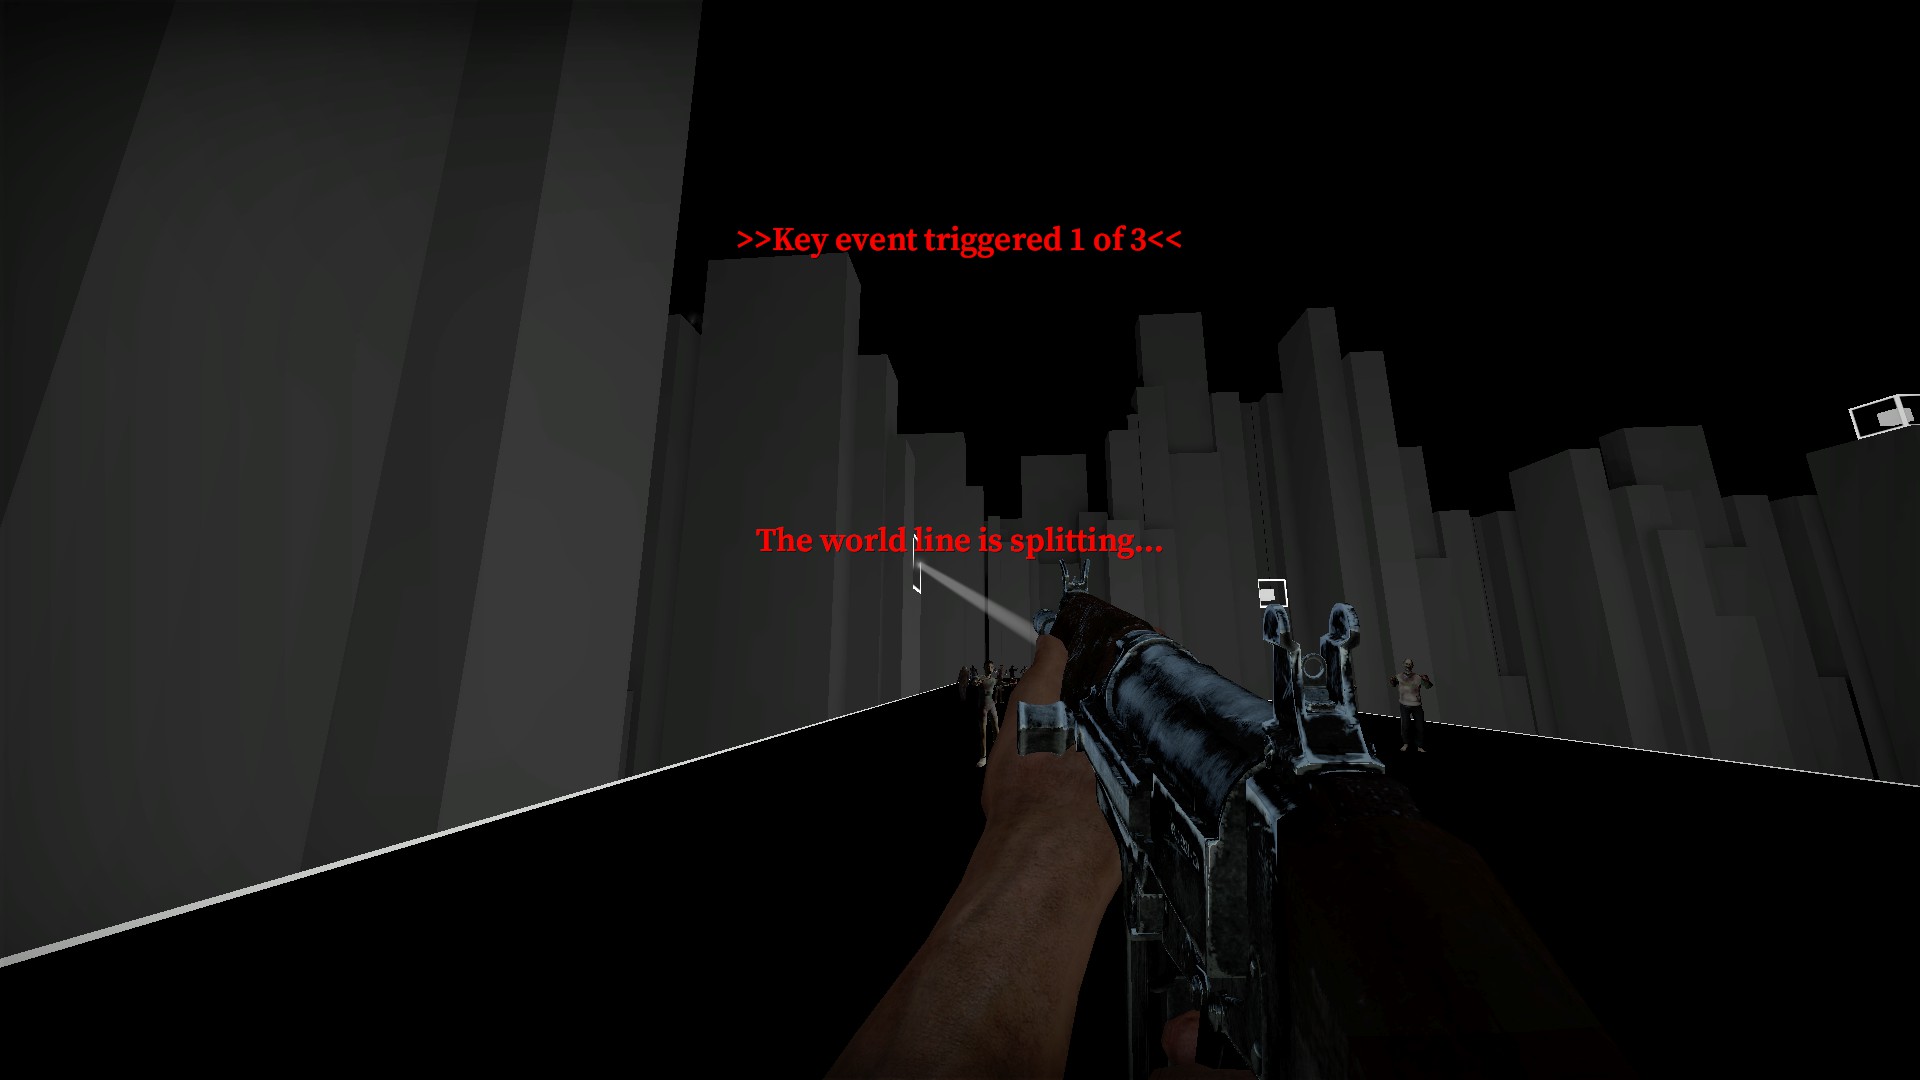
You will get a message when you have broken it - key event triggered 1 of 3
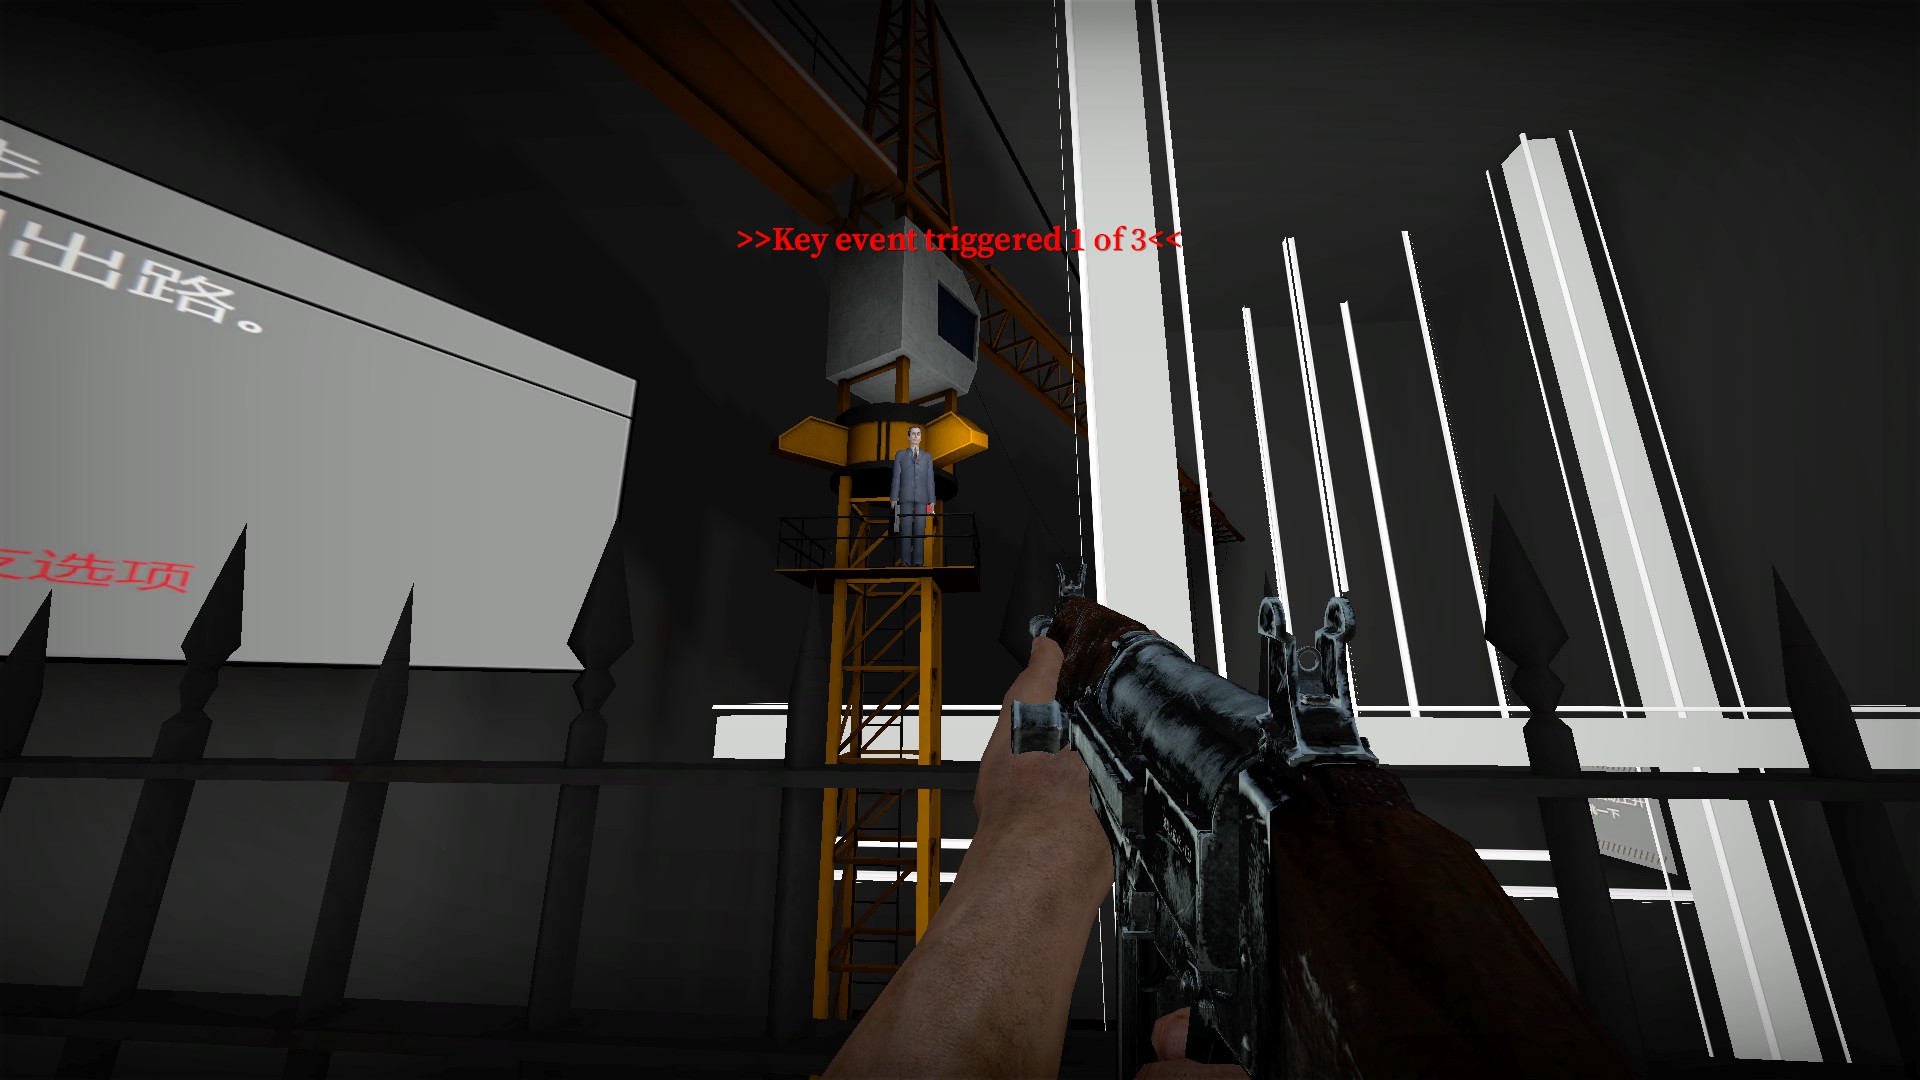
The second key box is in gman's left hand where he offers you the choice
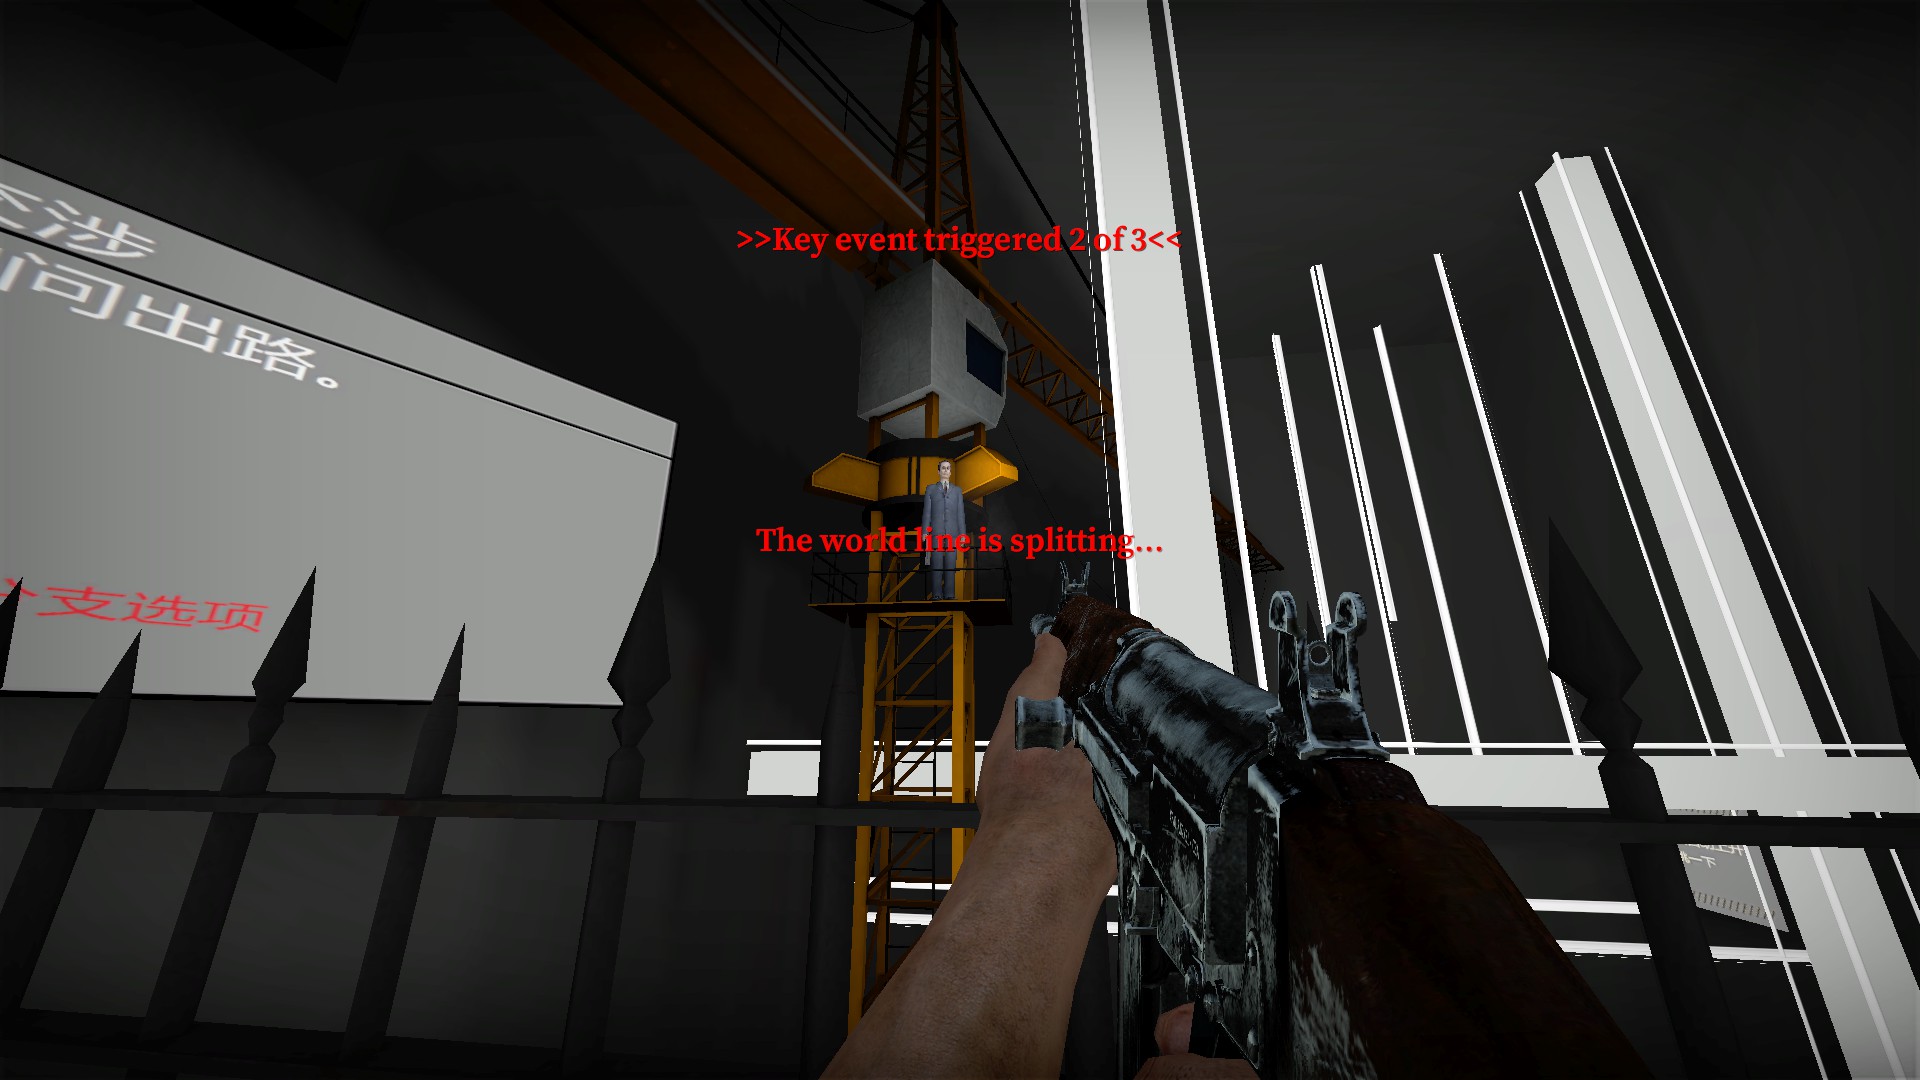
Get as close as you can as the shot is not as easy as it looks
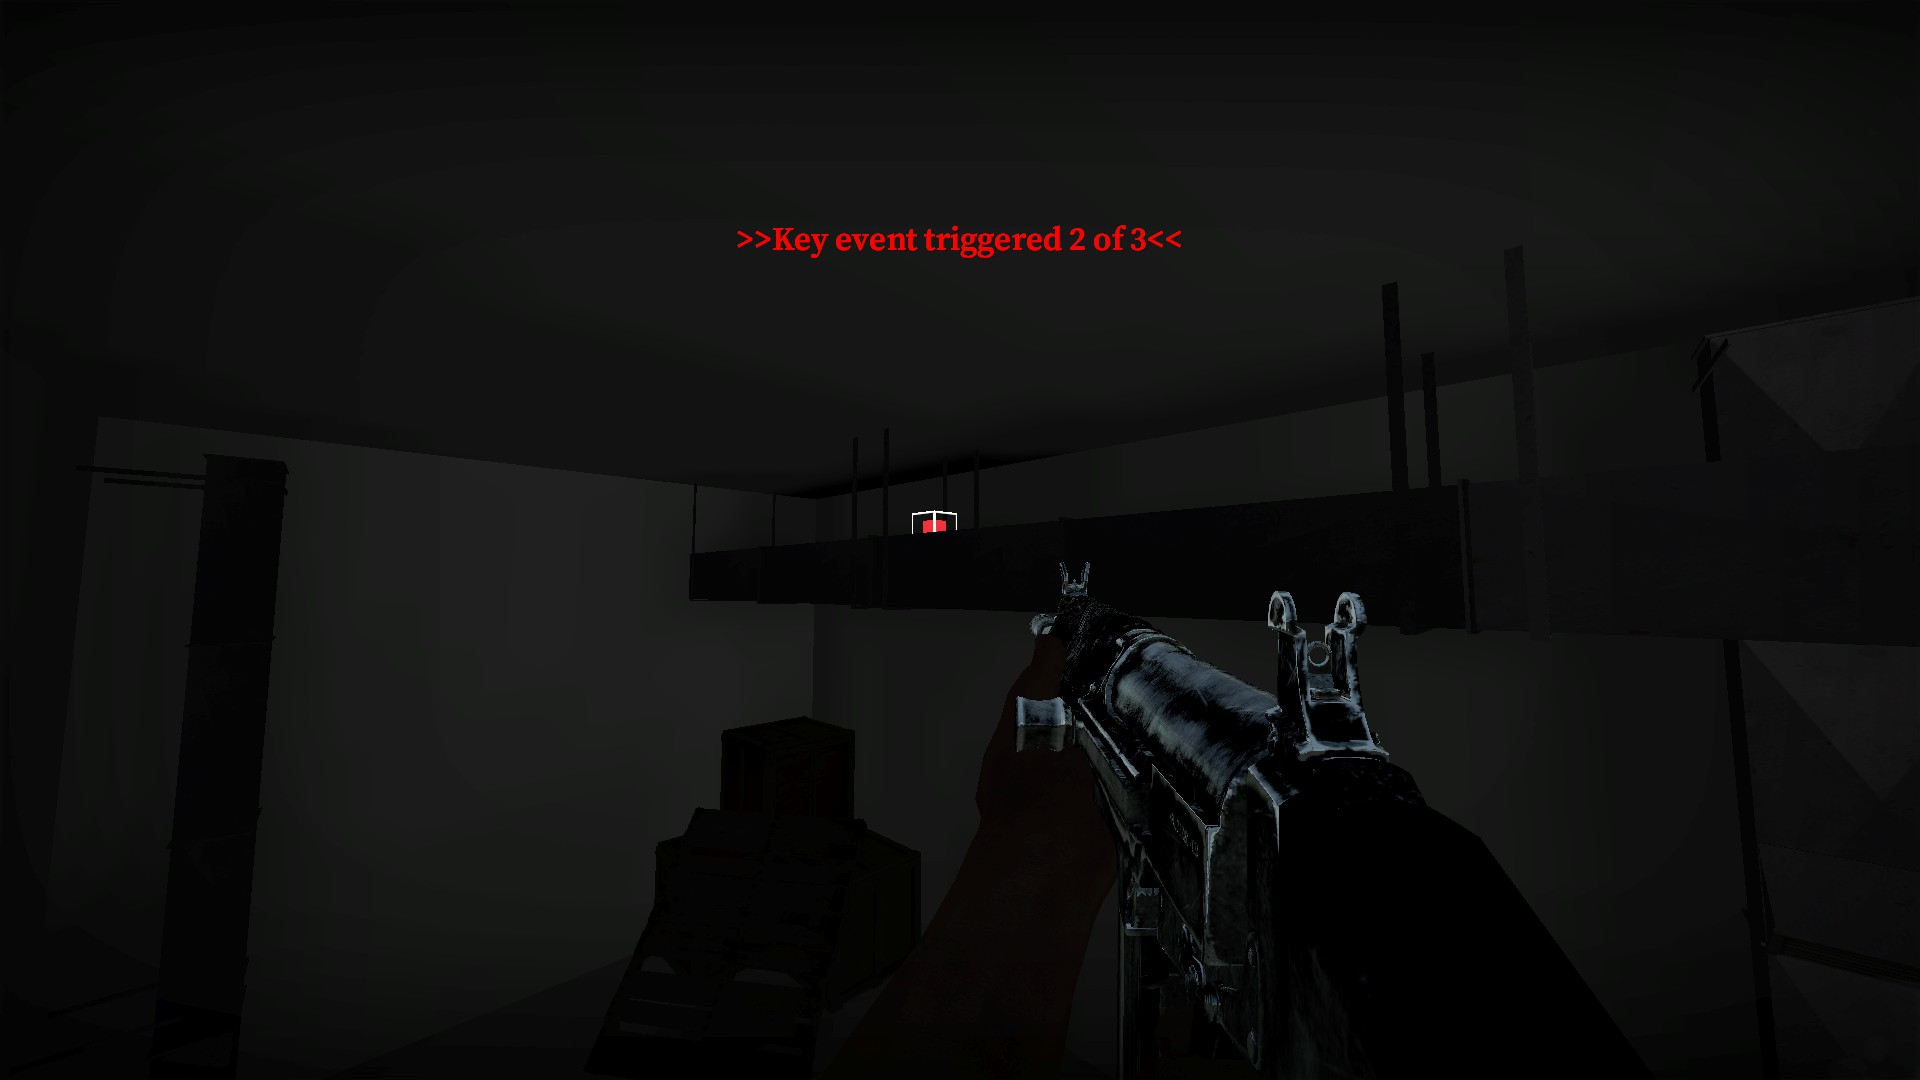
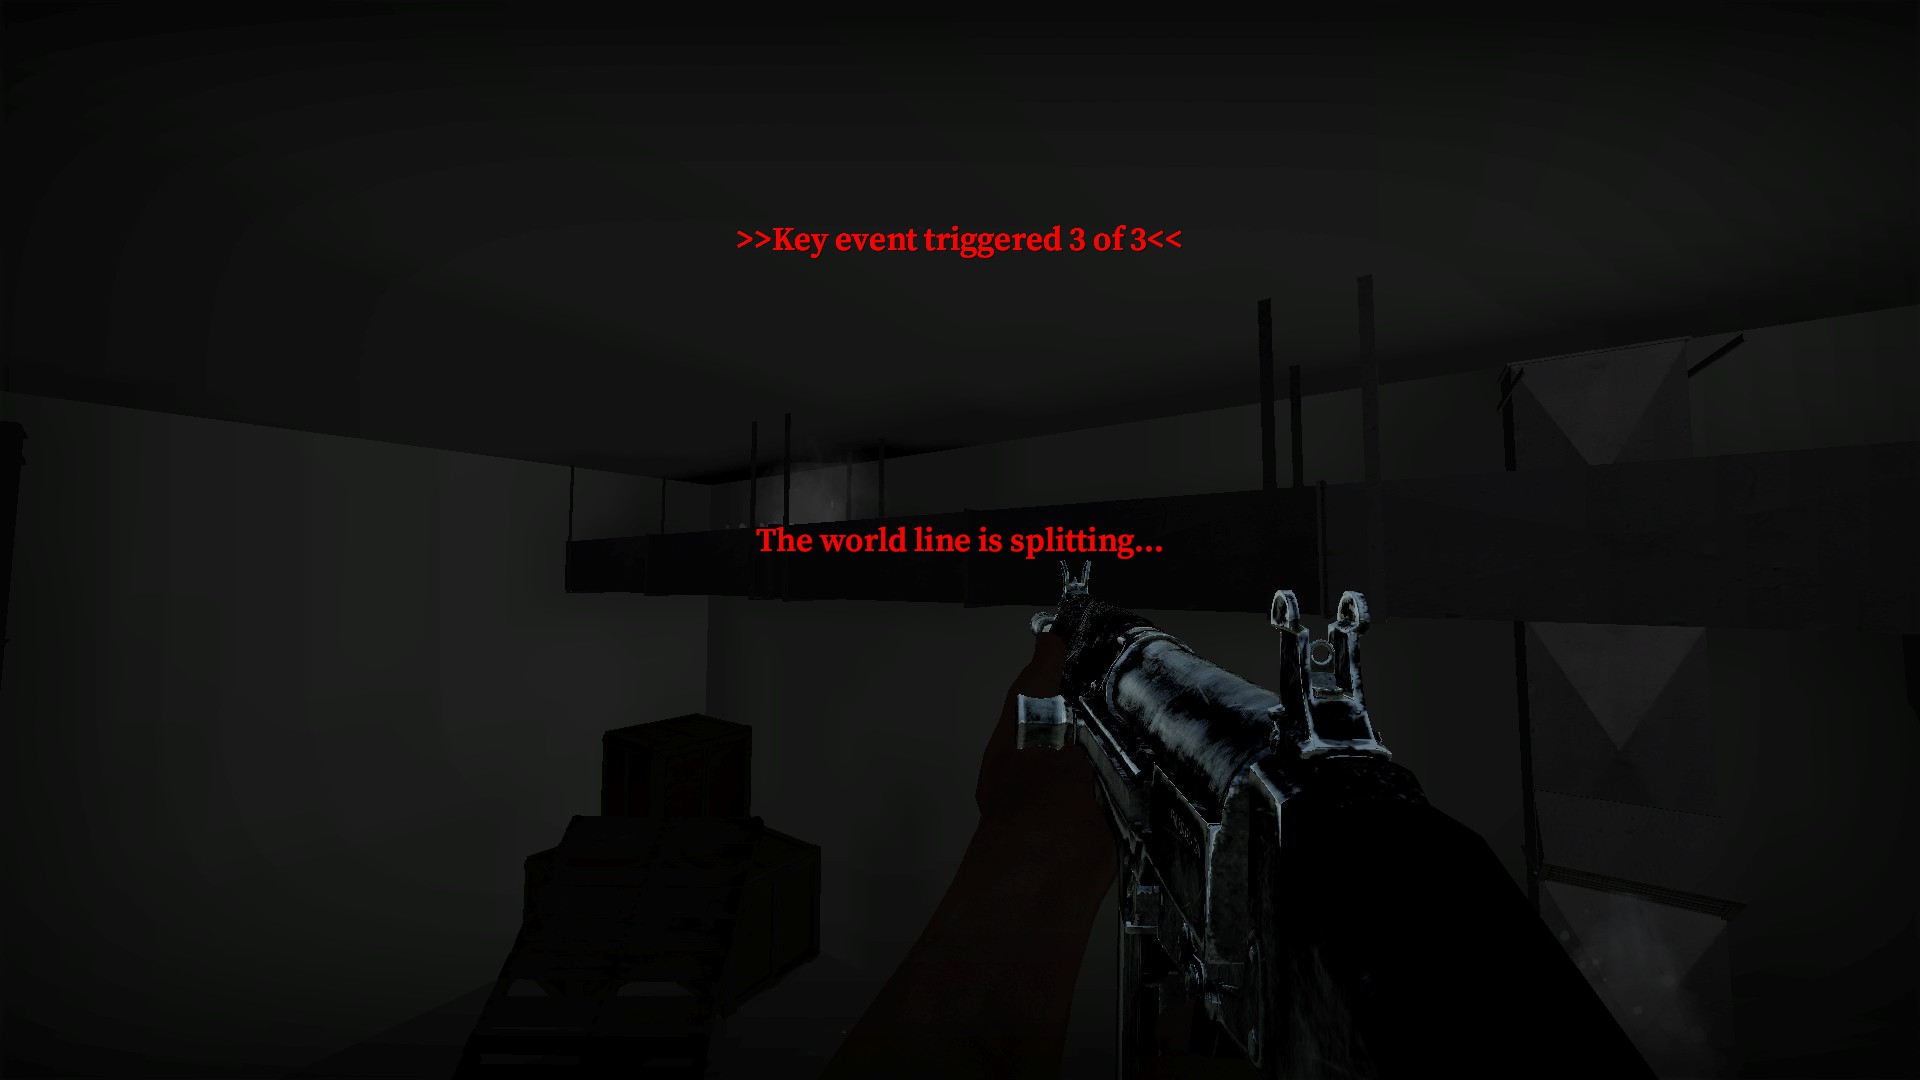
The third key box is up on the top of the vent just after the laser trap. Climb the vents to the left side to get the easiest shot
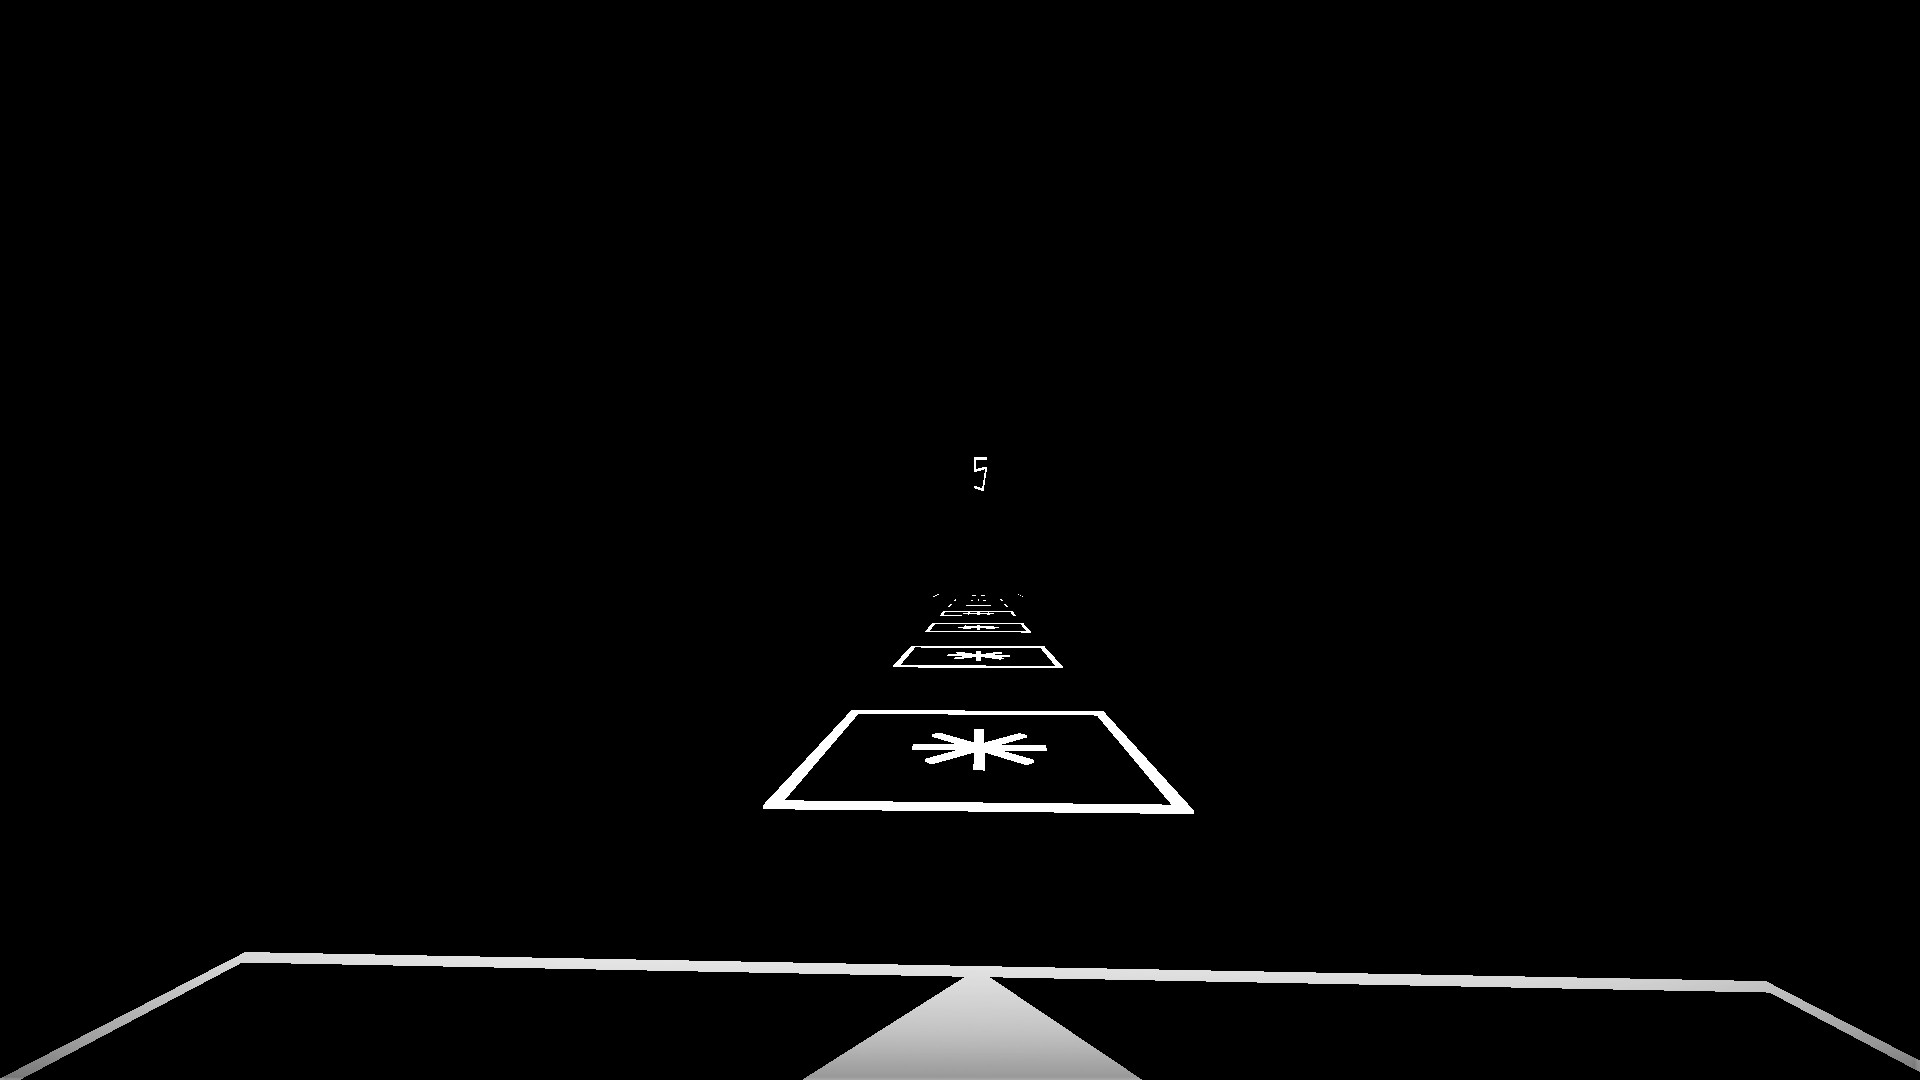
Now when you complete stage 4 you will be brought back to the starting area where stage 5 will unlock
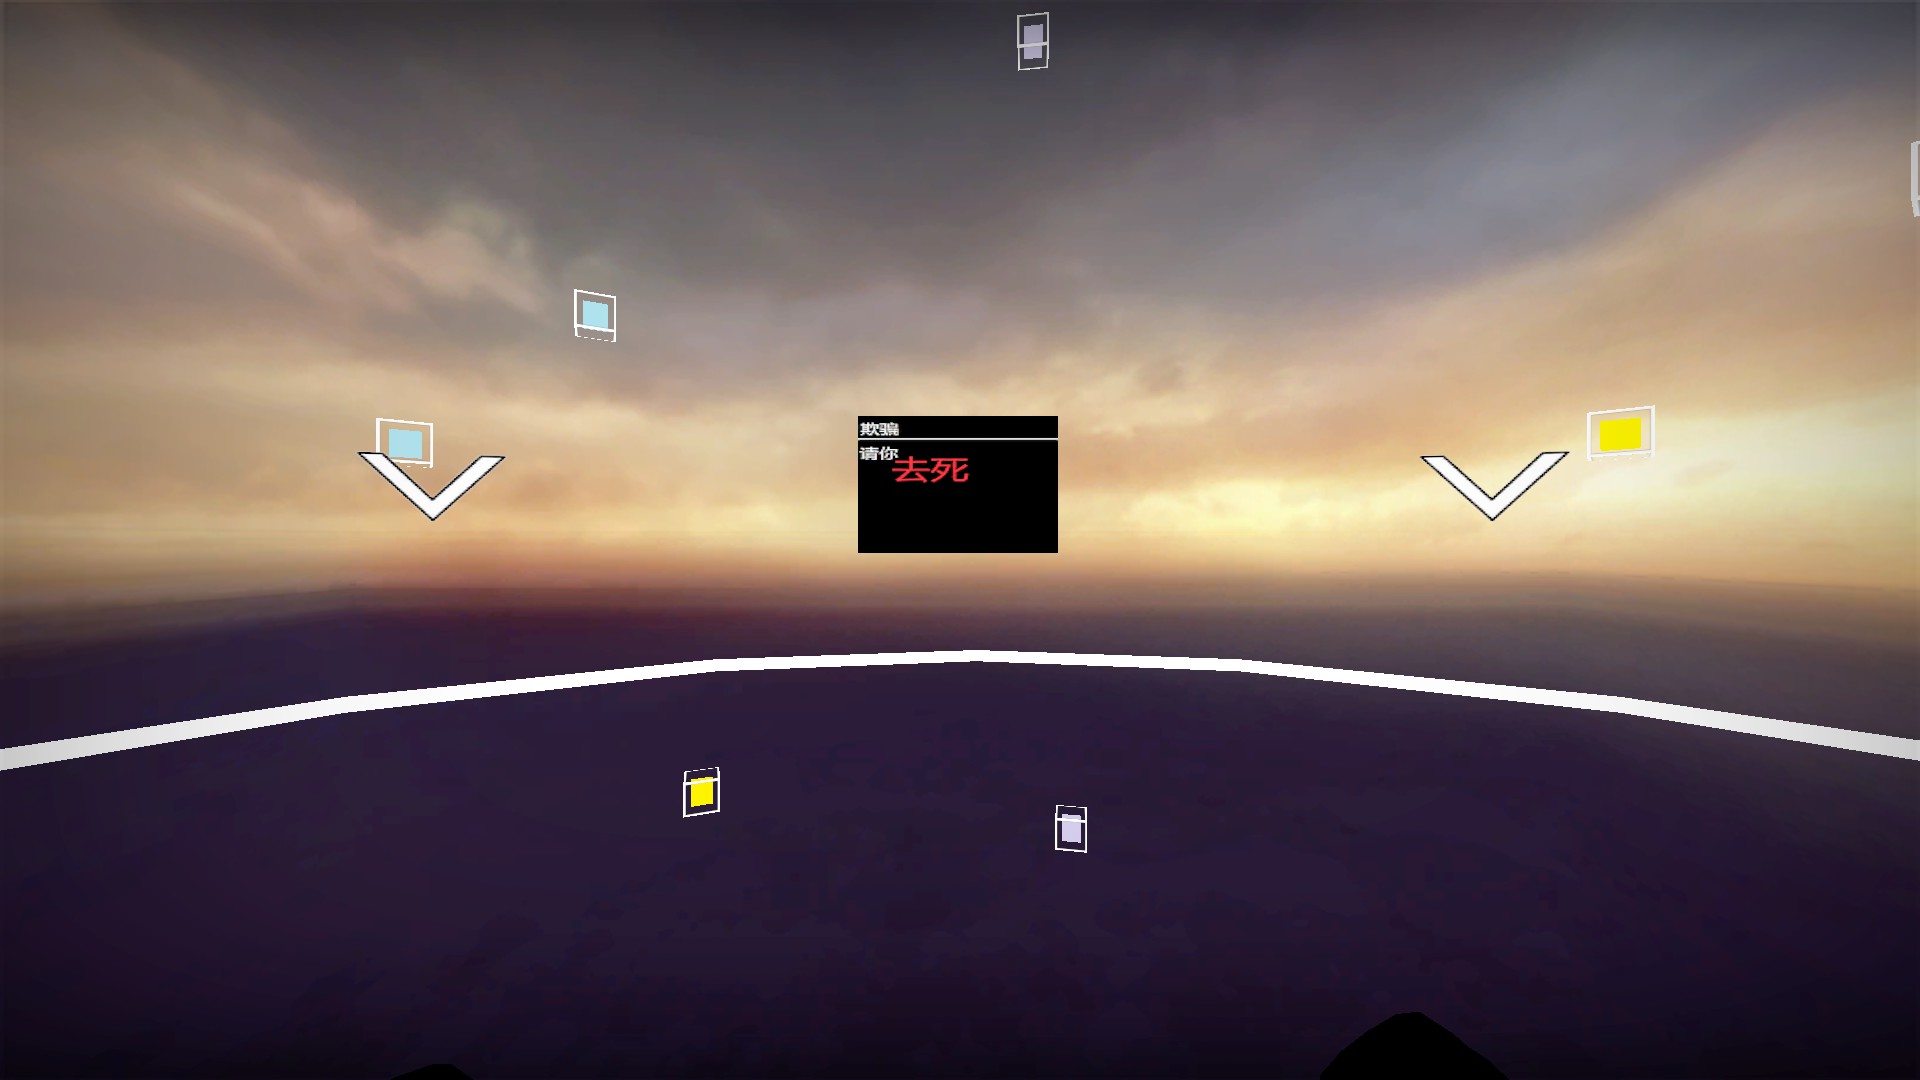
Stage 5 is an even harder boss survival
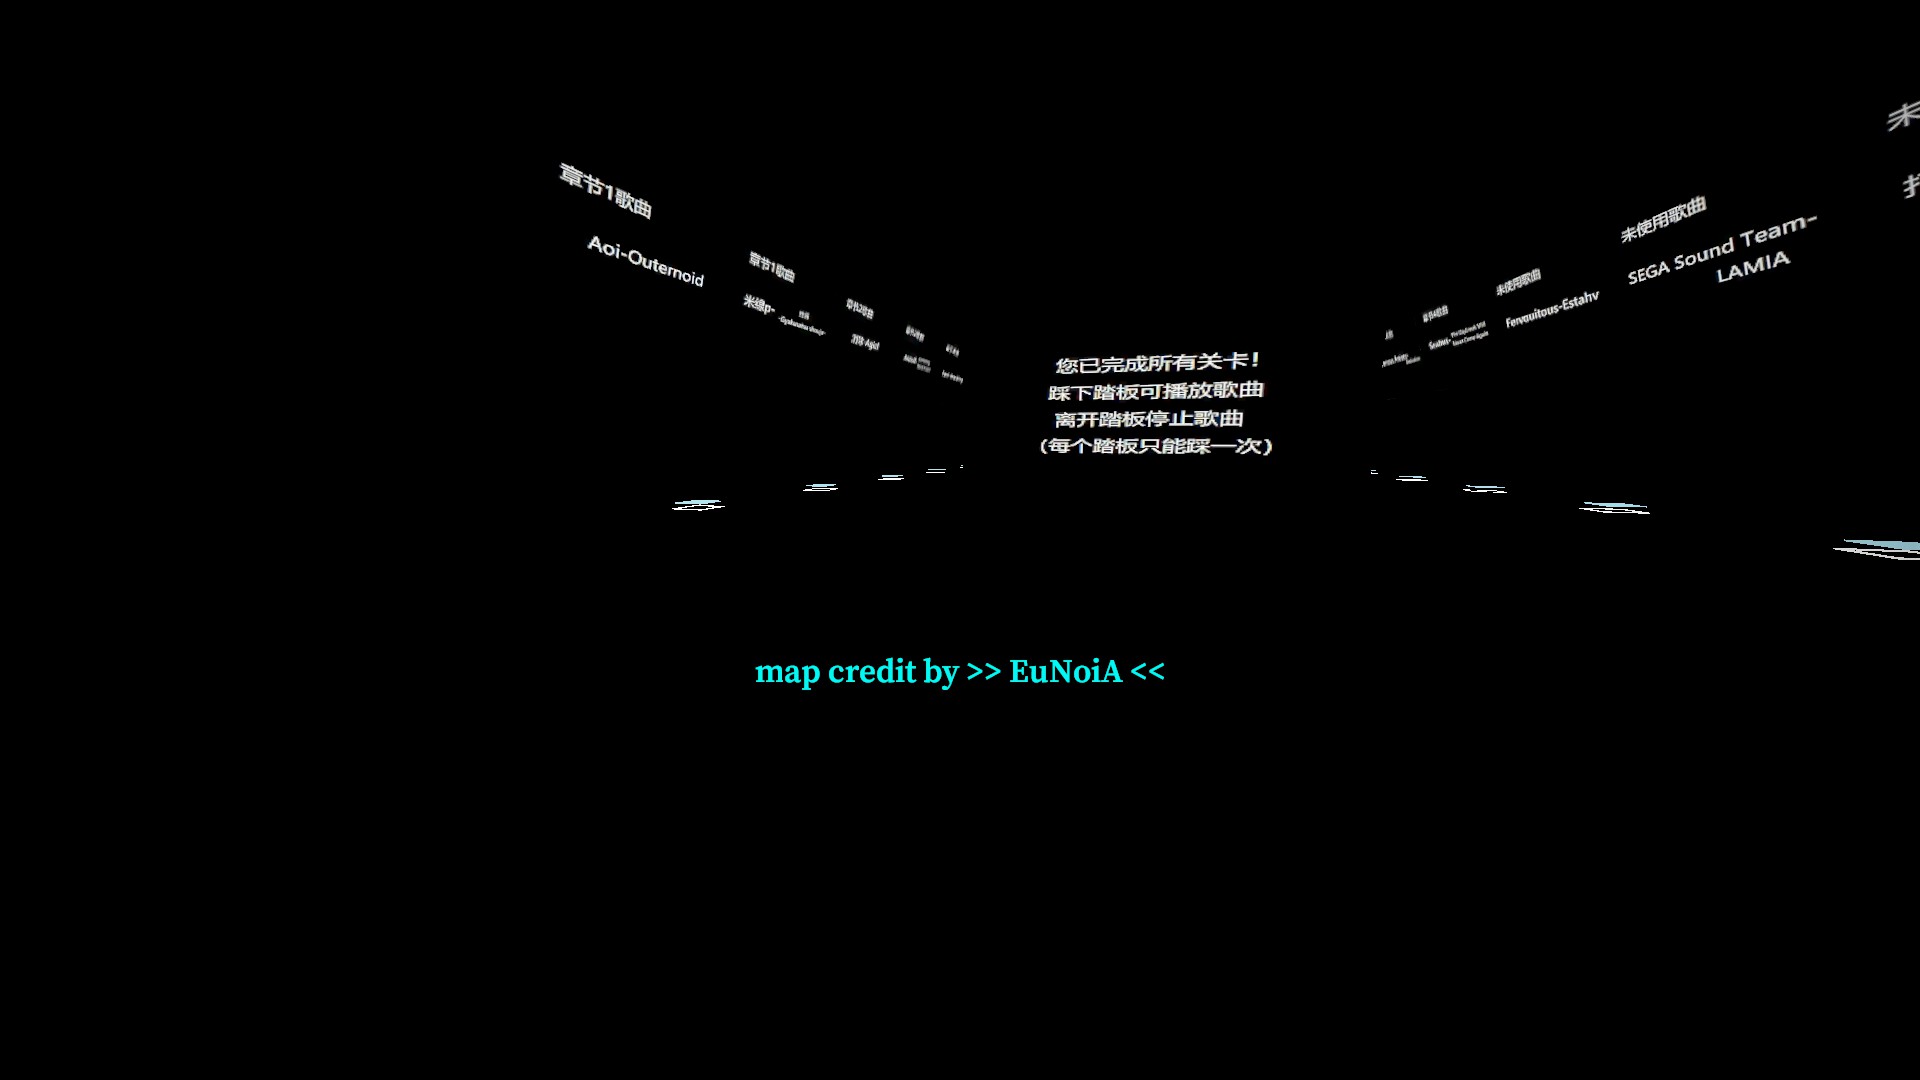
If you make it, you will get the good ending, the developer music room
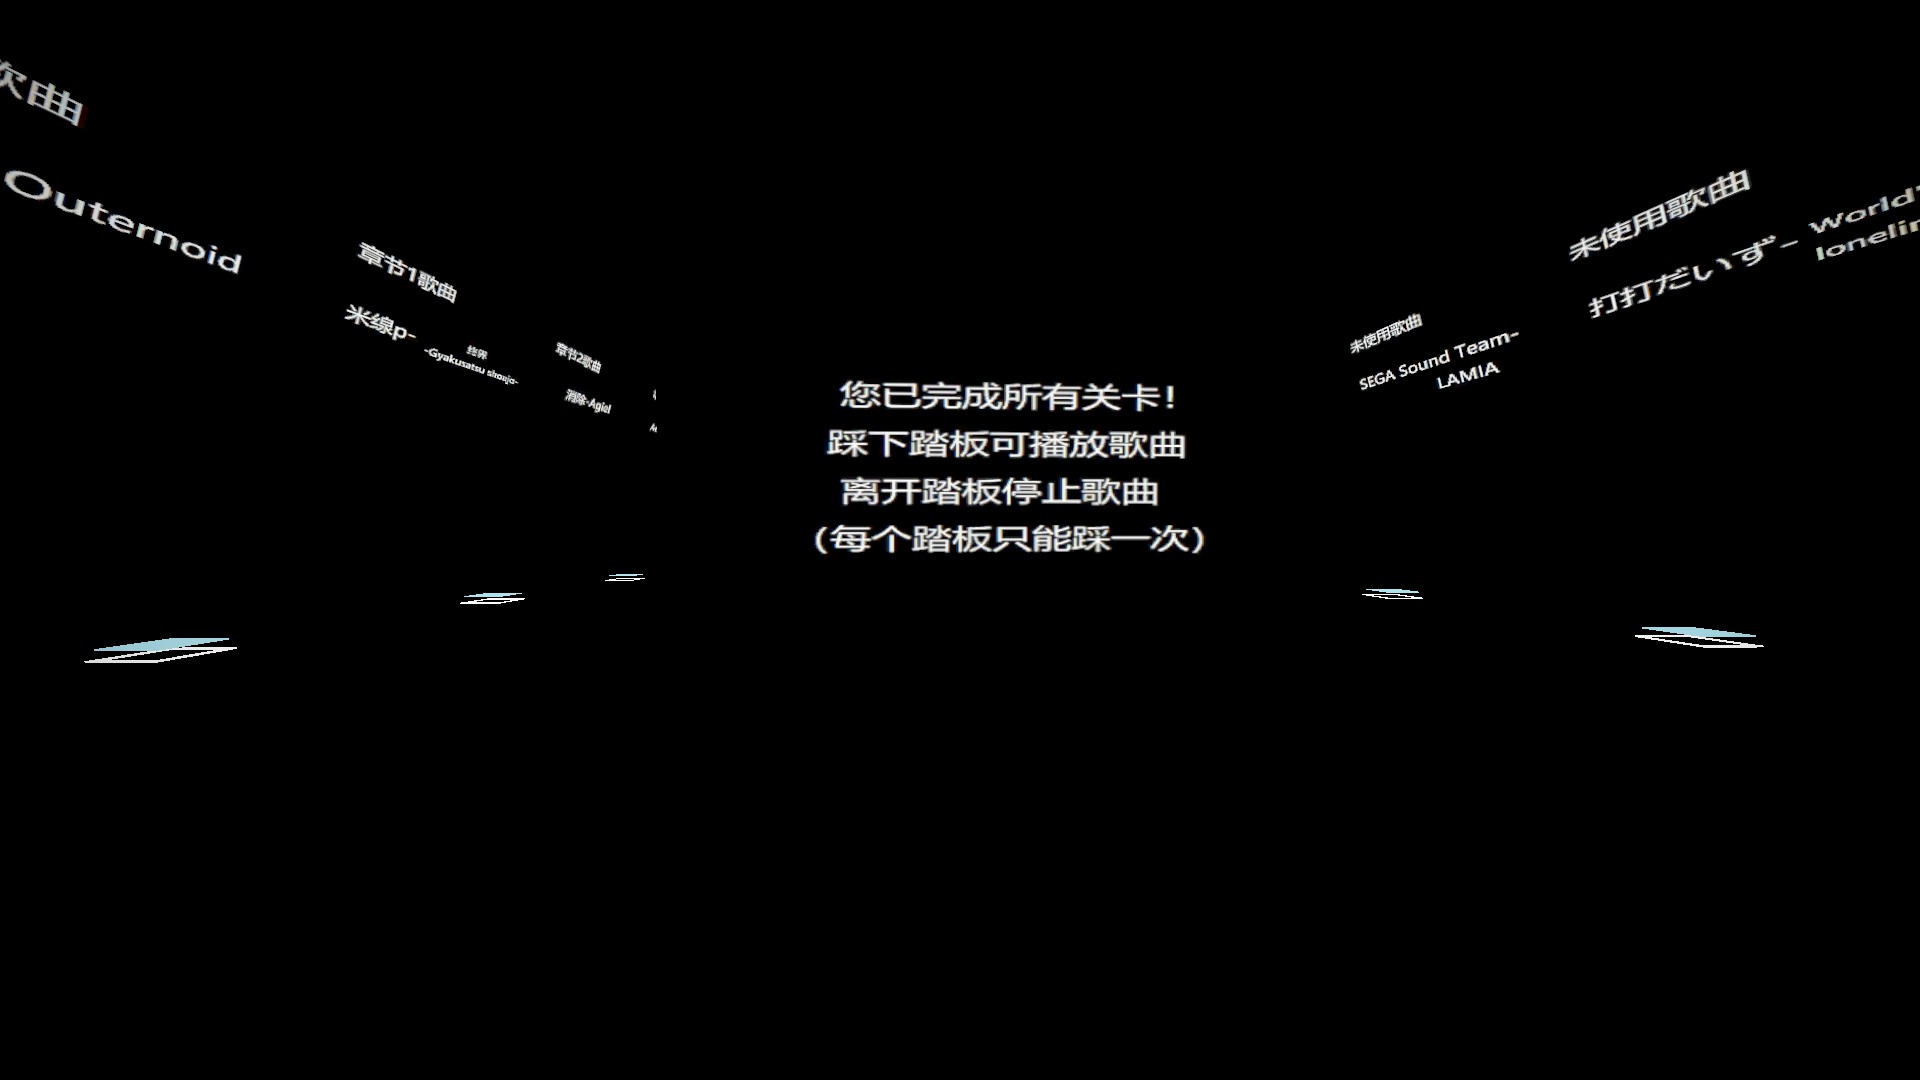
Translation: You have completed all levels! Press the pedal to play a song. Get off pedal to stop song. Each pedal can only be pressed once
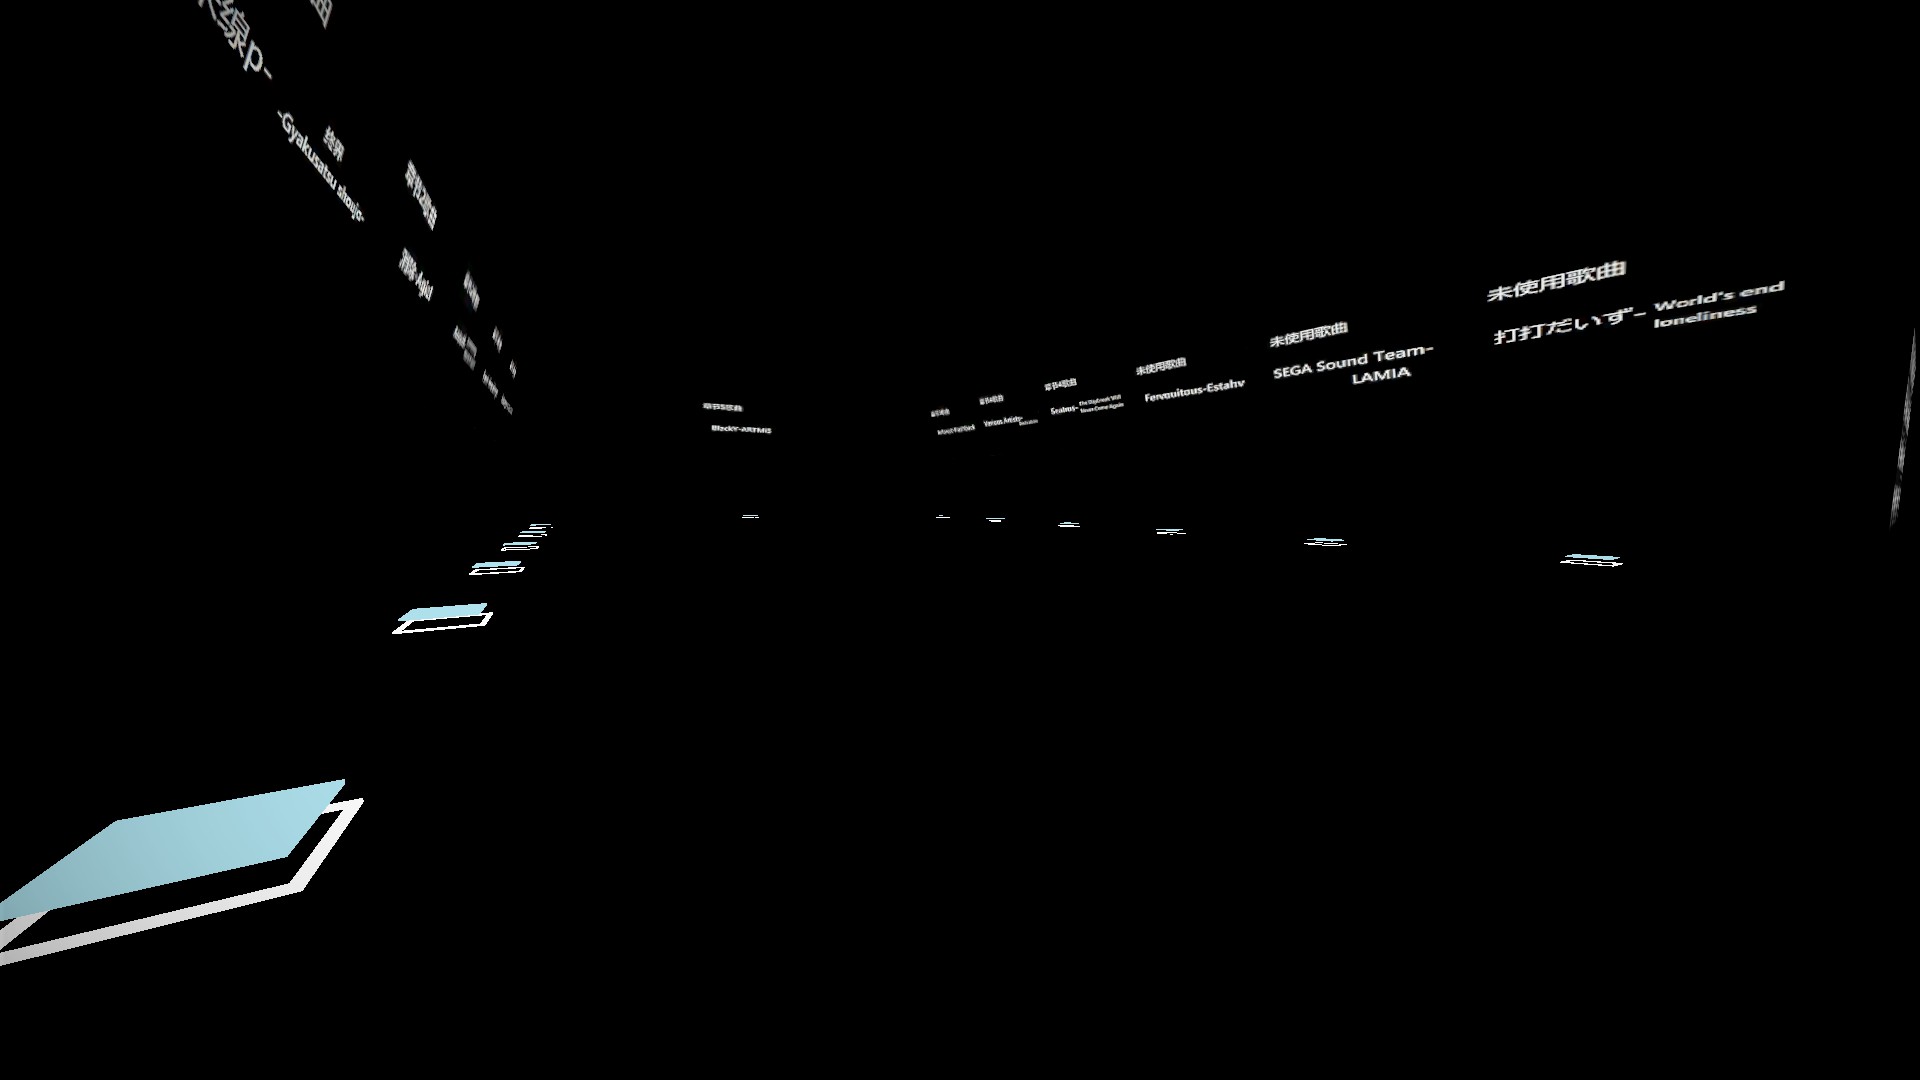
There are a total of 13 pedals here for the 13 different tracks in the map
nmo_delta_m1
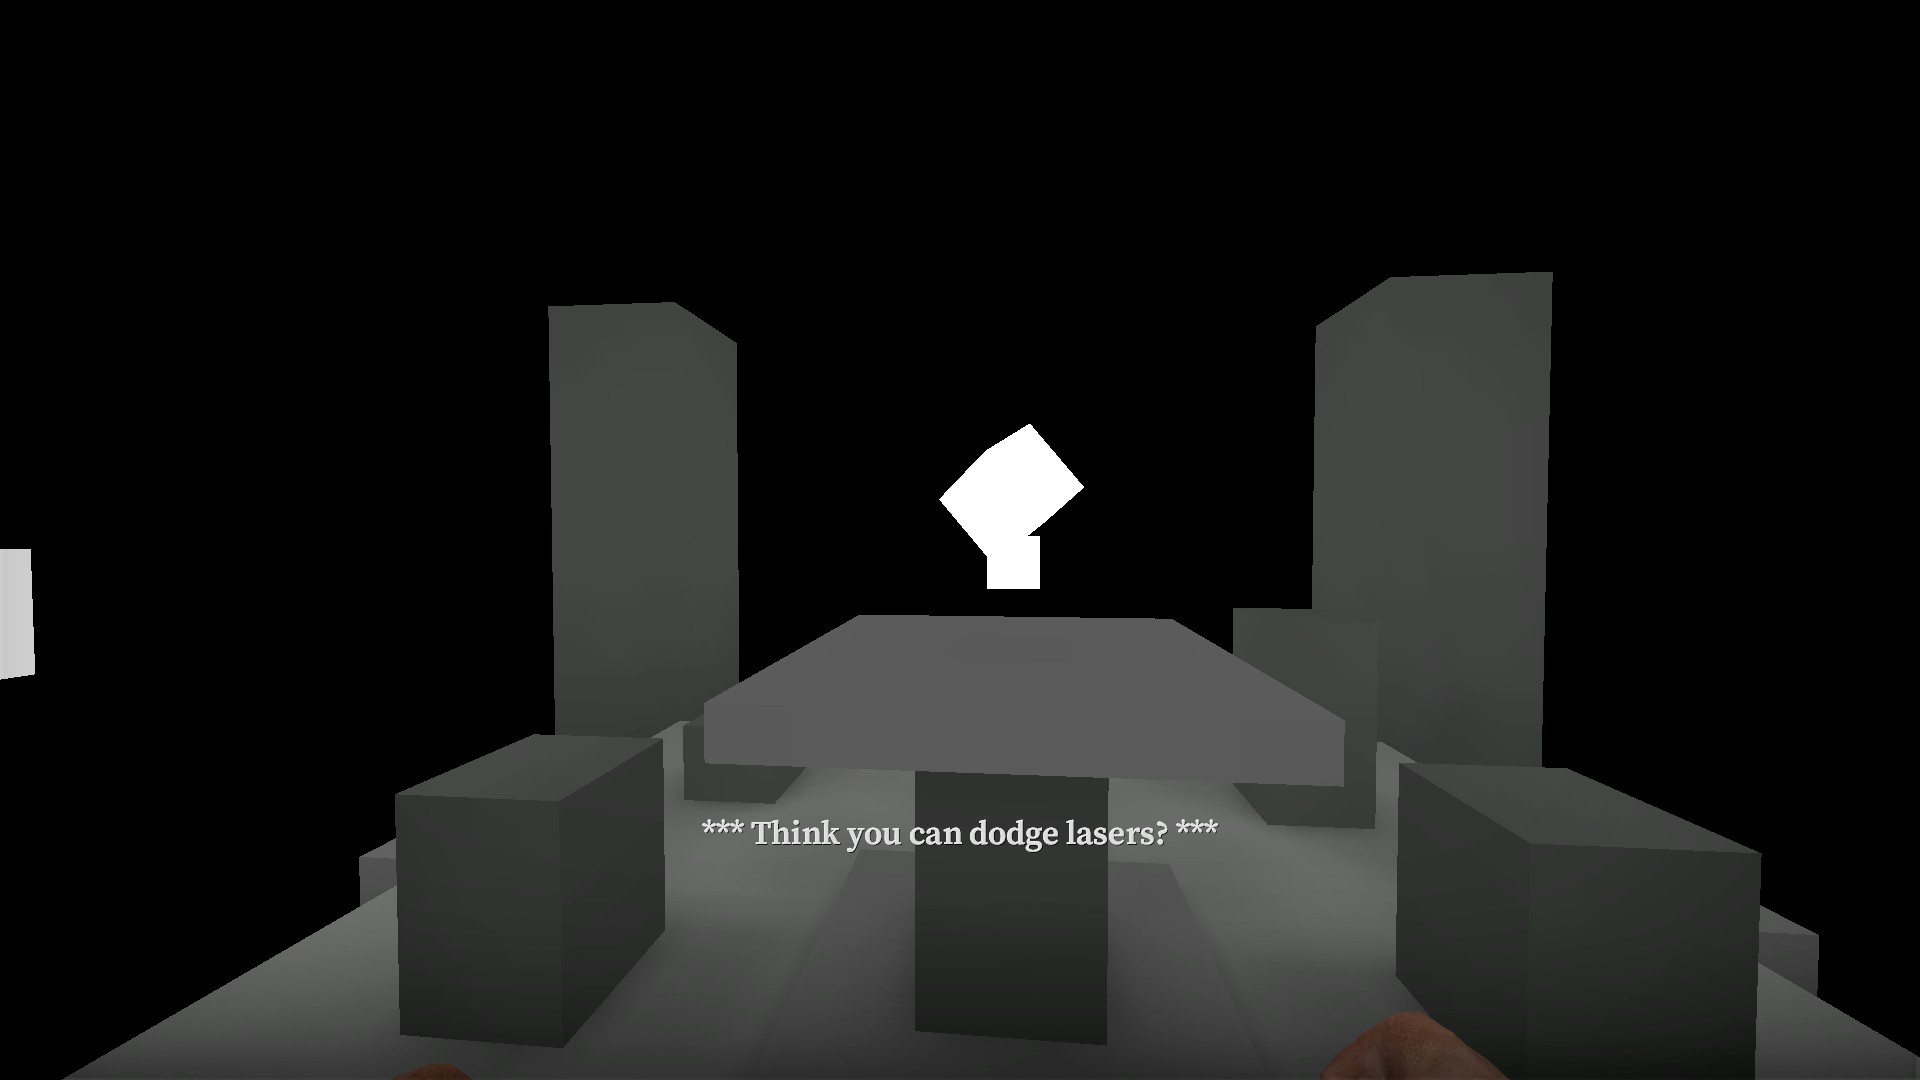
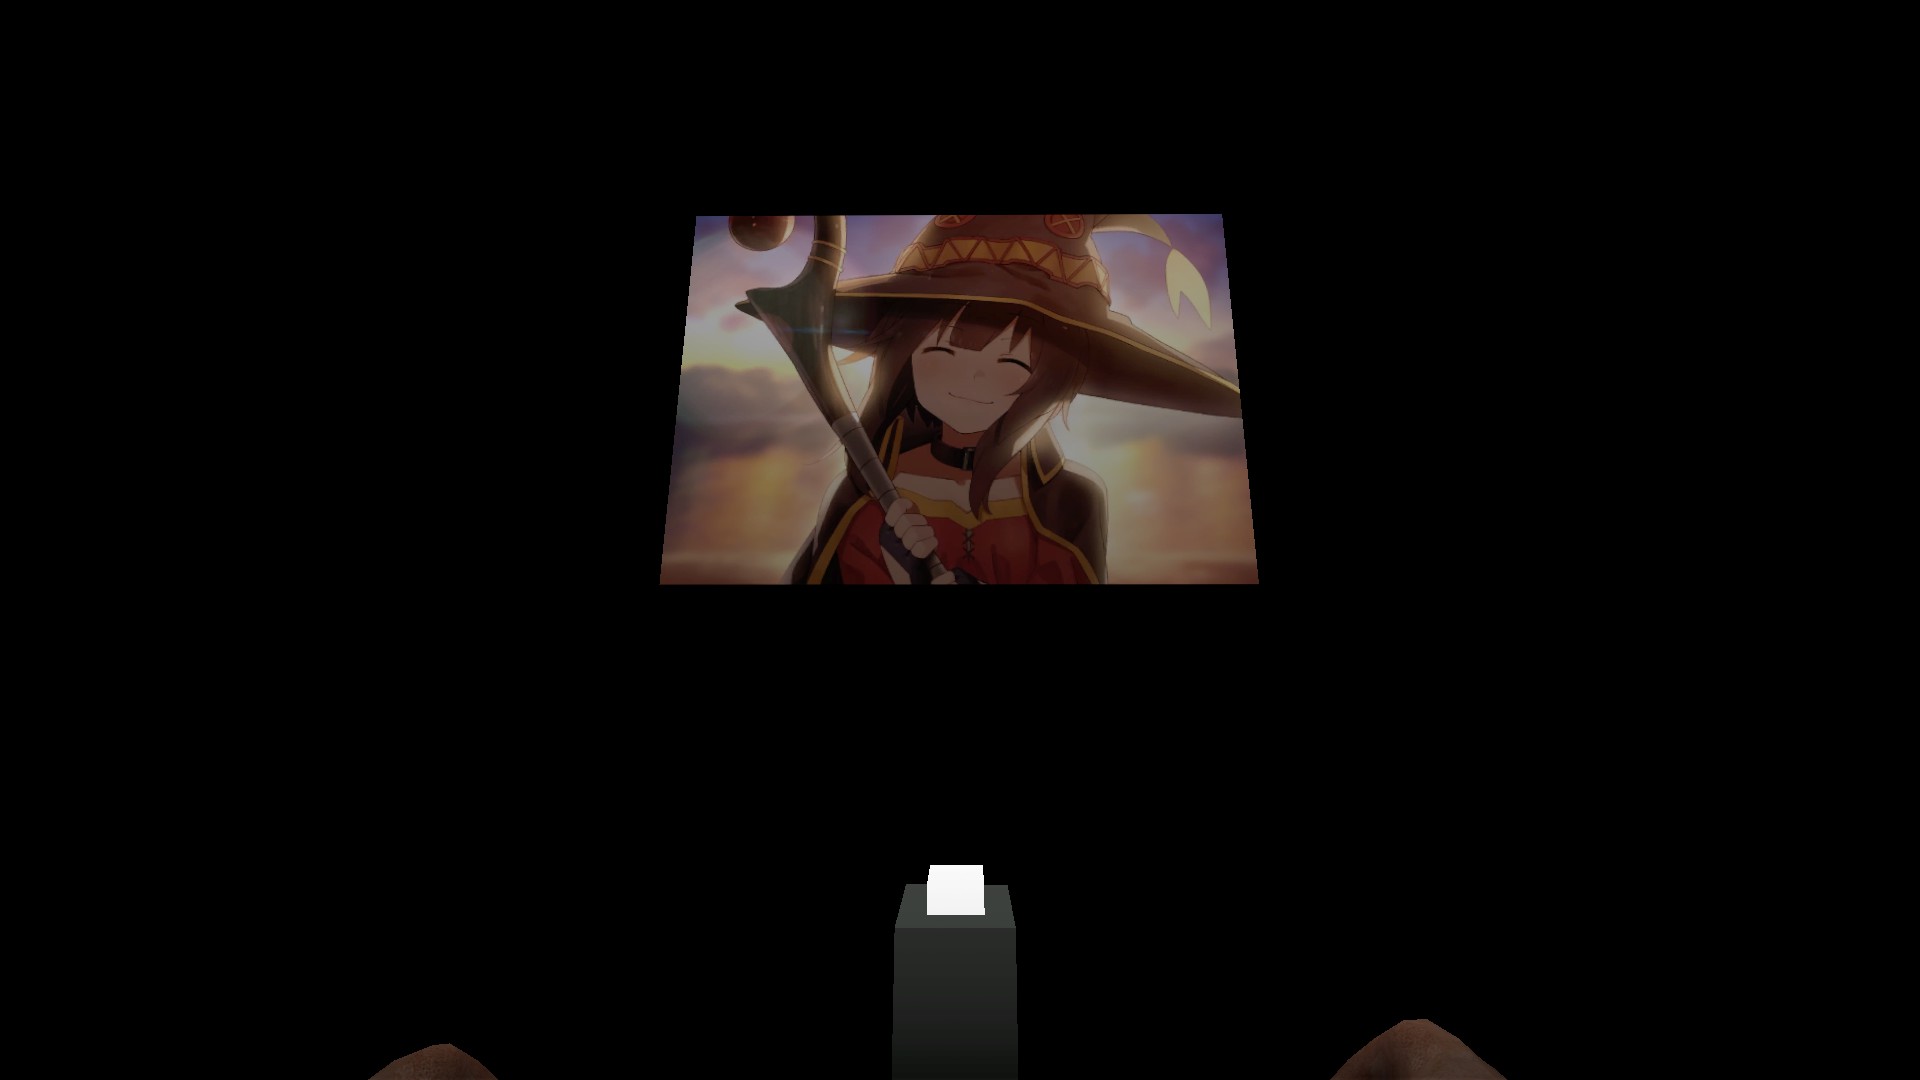
If you can make it to the rotating white cube at the top of the starting area before being teleported to the laser area and then press e on the cube, you will be teleported to a secret room with a witch picture and a button
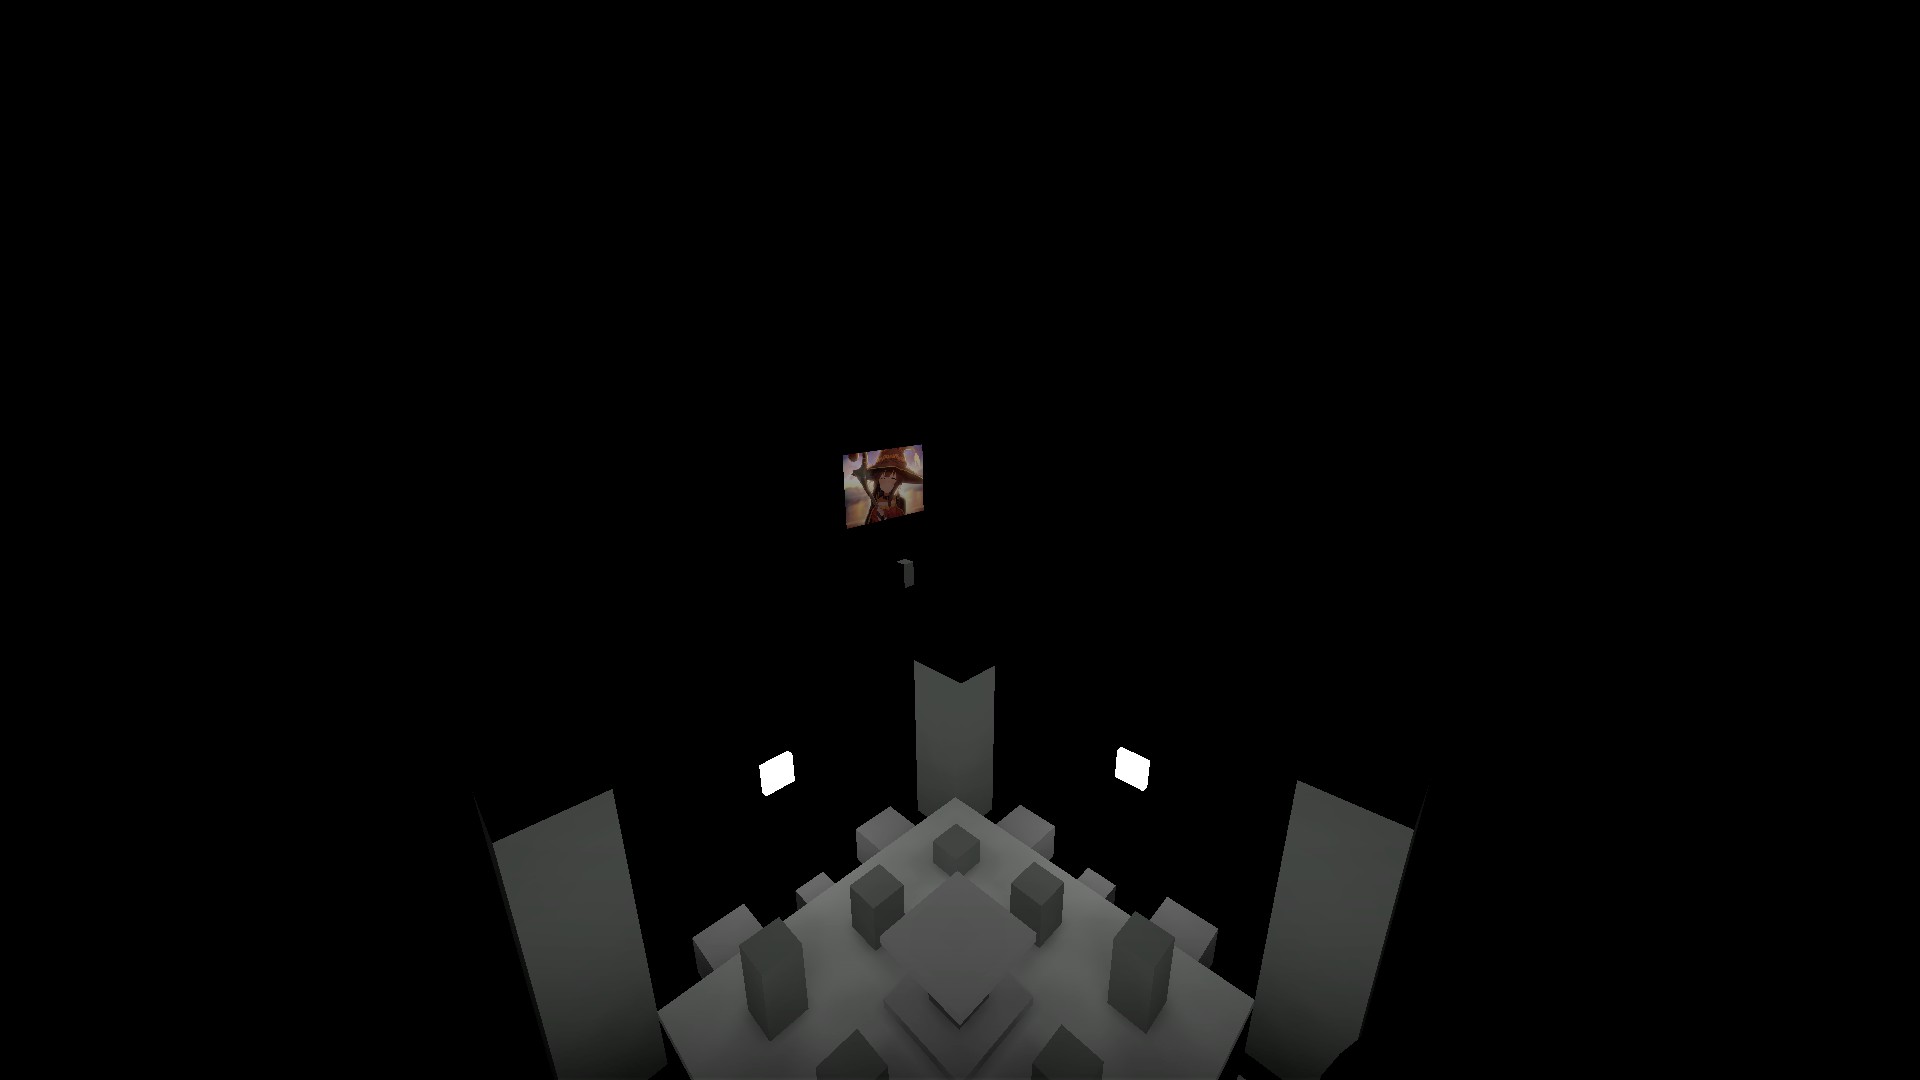
You could also noclip here, it is just above the starting area
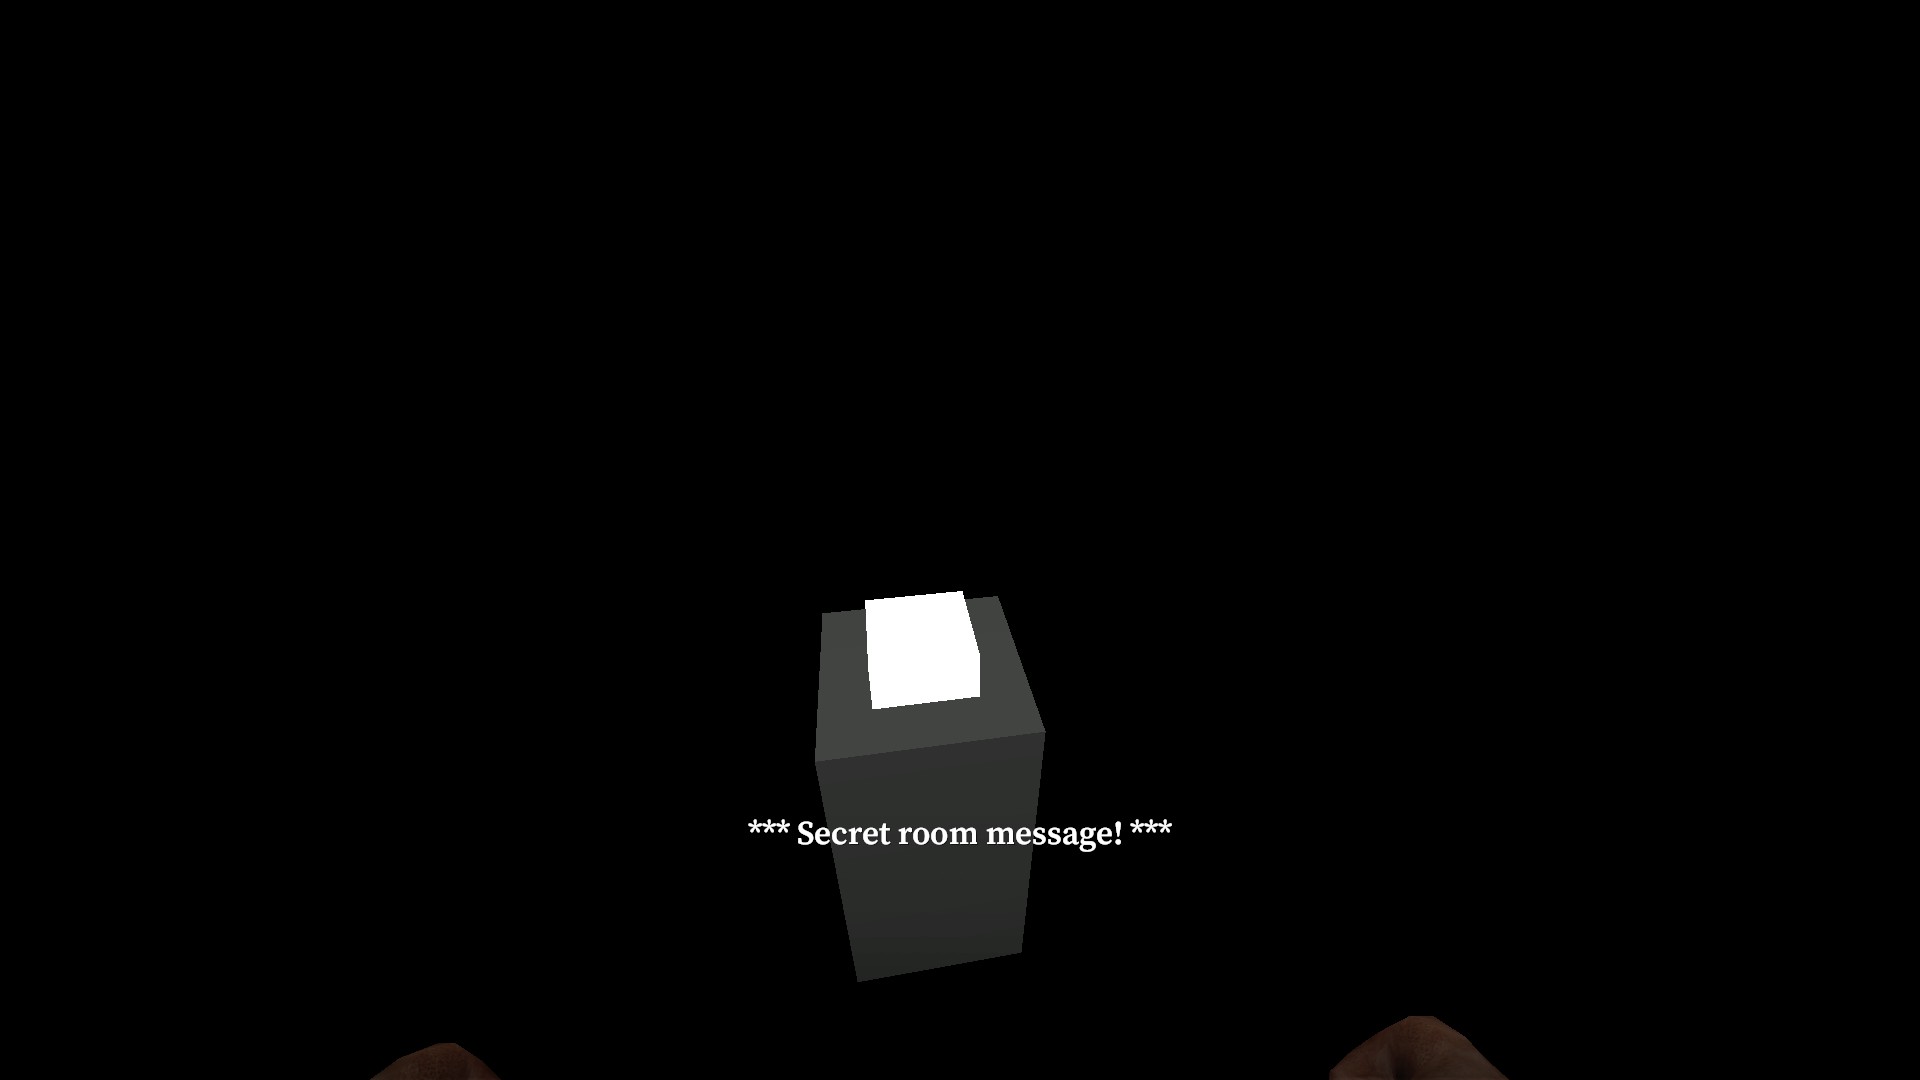
Pressing the button will give you the message: secret room message
nmo_delusion_v2
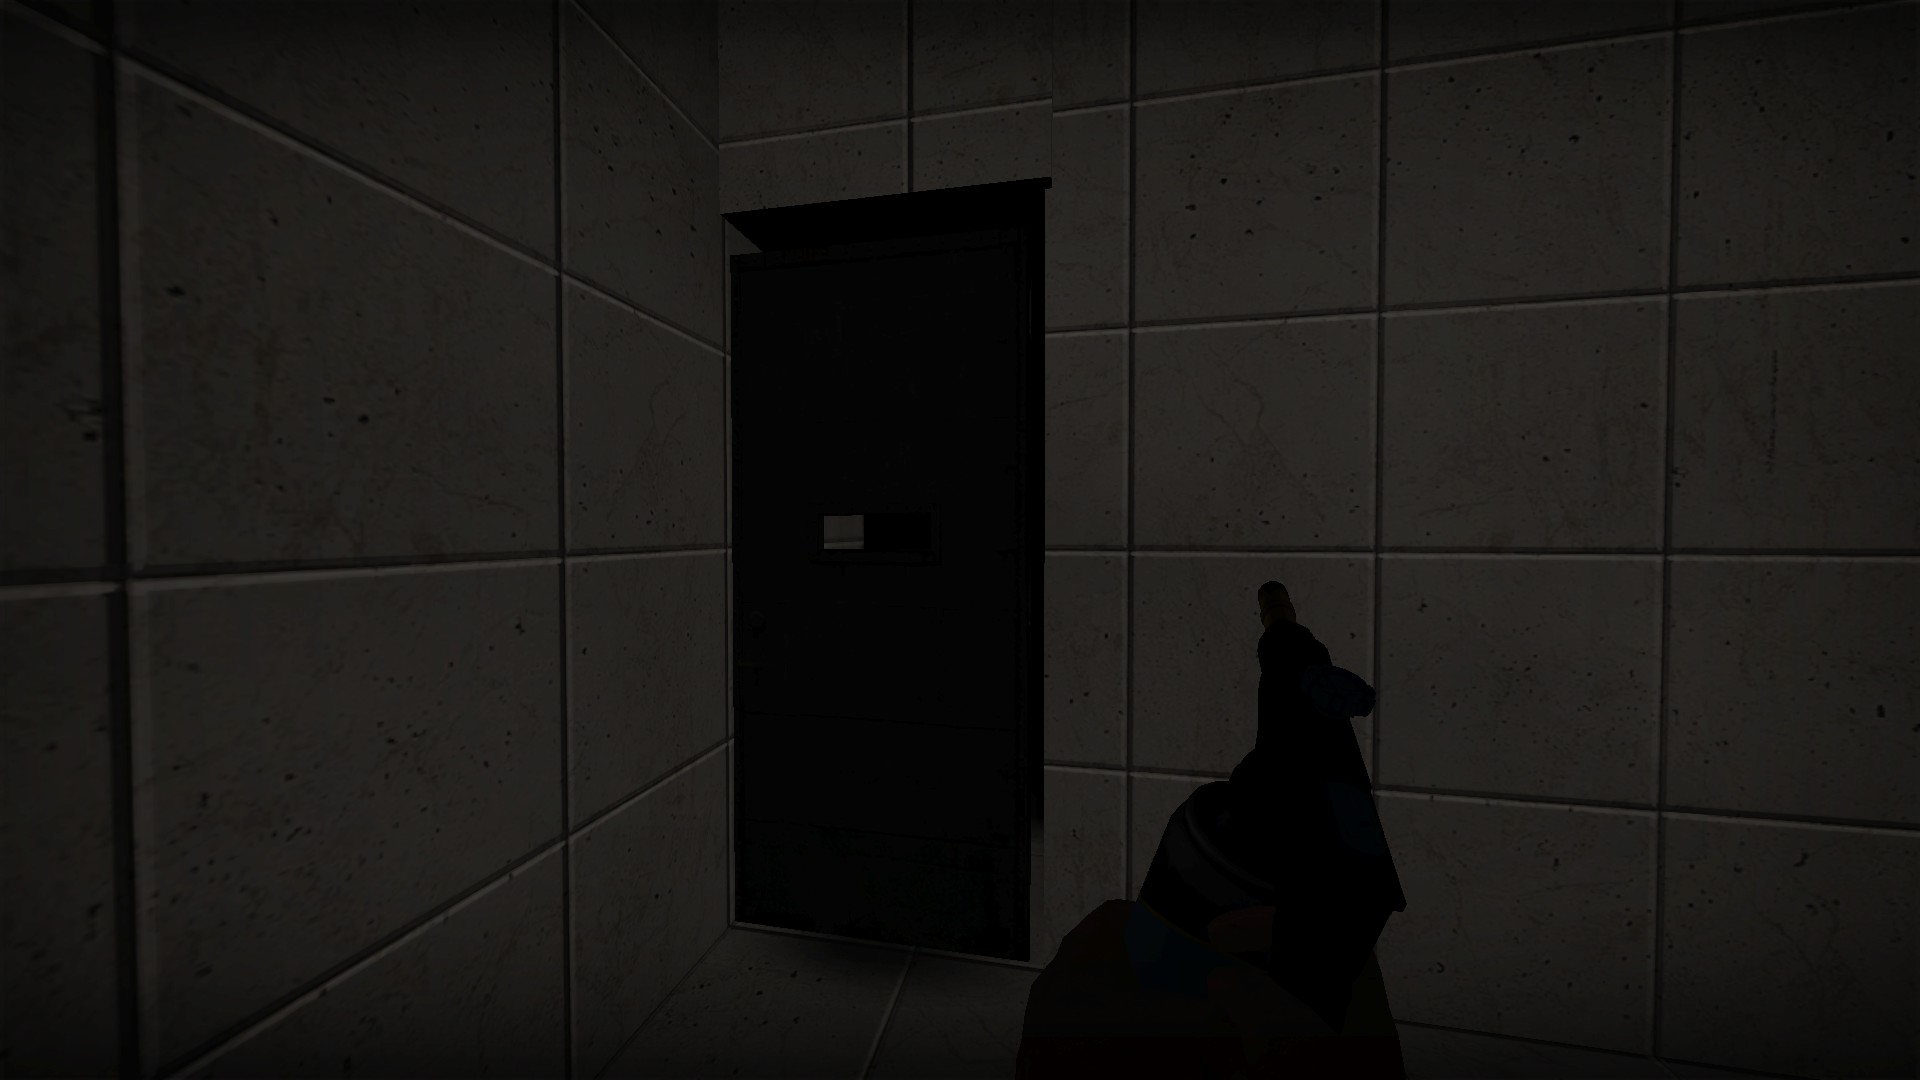
Weld the extra door at the starting area for a machete and 2 9mm's
nmo_desert_skystation_rc1


1428, the sequence the panels are used in


Right behind where you take the elevator down, enter the code in the door in the blue container. It is easiest to enter the code with an aimed pistol

There is a machete, medkit, shot, and 2 weapon boxes
nmo_despair_final


Break the wall under the stairs for a machete and med items
nmo_desperate _escape

Interact with this dufflebag for a .22 and pills


You can drink the red bull on the table in the next room, but it doesn't do anything
nmo_desperate_escape_part2

There is a dufflebag at the start on the train

You can also jump over to the weapon box, but be careful not to touch the rail
nmo_detroit_v4

The radio on the starting 2f will play music


On the 1f, you can press e on the stash Extinguisher locations

The first location is down the hall next to the computer telling you to activate cheat codes

The second location is at the end of the 1f hall next to a soda machine

If it is not in either 1f location, go back up to the 2f and look for the extinguisher behind an opened door Ambush Alley

Heading down the first street the alley on the right has the first possible welder spawn location

But you will be ambushed by a group of runners as you go past this van

The first welder spawn location is behind the van

If you get the welder this early you can use it on the fence here to try to shortcut to the sewers quickly. But be careful of the special zombies


Opposite the alley, a door can be opened and you will find a medkit at the top of the staircase behind Adsa store


If you didn't find the welder in the ambush alley, it may have spawned in the office of the Adsa store

In the back room of the Adsa store, you may find the gun store key

If you slide this key under the shutter, you can pick it up from the outside and don't have to carry it back through the store


The gray box in the truck that crashed into the adsa store can be welded open for ammo Red cross medical


If the welder did not spawn in the ambush alley or the adsa office, it will spawn in the flooded basement of the red cross building

If it did not spawn in the back of the adsa store, the gun store key will spawn under the stairs in the flooded basement. Move the boxes out of the way


There is a weldable gray box that has medical items in the red cross building as well Gun store

Just down and left from the red cross building is the gun store. Use the key that you found in the adsa back room or the flooded basement to open it


Use the welder inside the gun store to open the grate and a gray box in the back

While it has useful items inside, the best use of the gun store is lure a special zombie, such as the burning or growing zombie, into the gun store and then get past them and shut the door, trapping them inside

A direct hit from the horse fountain will kill the burning zombie
nmo_detroit_v4 (continued)

Just down from the gun store is a shed with mallet. Bring it with you to the other end of the street


Use it repeatedly on the red X and the wall behind will eventually break

There is a shot and a good supply stash Art Gallery

You will pass an art gallery on the way to the red X

Punch the scanner on the right until only the top laser is active

Now crouch under the laser and press the red button at the stairs to deactivate the lasers The ghost


Across from where you weld into the sewers, if you get next to the ambulance and watch the road behind, you will see a ghost crossing the street

if you go over the lookout post near where you weld into the sewers, you can find another weldable box in front of the humvee. But there is a lot of runner spam here and the box takes much longer to weld. Avoid this unless you really need the weapons Respawn room


If no one respawns in the respawn room in the sewer, you can shoot the lock off with a .357 or .308. Aim just under the handle Manager's Office


If you press the button here and push into the wall next to it, you will be teleported to the cubemap. There isn't anything there and you will be teleported back after about a minute. The button only works once

This button only works if this trigger on the 1f is done. I have not figured out what needs to be done to get this trigger to trip consistently, although I have gotten it to work several times. You can see it with the showtriggers_toggle command in the console. Other than disappearing, it will not give any audio or visual cue that it has been tripped

Press e on the remote in the manager's office to change the channel on the tv Access card secret

You will find an access card in one of the cubicles of the 2f

Bring it to this machine on the 1f, you'll hear a Nice and get a gene Underground Secrets

Press e on the laptop on the 2f to open the secret door


Now head to the underground (you will need to have done the objective in the manager's room to unlock this). Press e on the light switch to turn them on


You can crouch jump through the wall here


The supply room may have a chainsaw


There is also another secret here, you can crouch jump through the shelf at the back for 3 tnt

Only one person needs to go through this long hallway with fire and steam traps


After you get through the hallway and break the wall, hold e on the valve of this large tank to turn off the system

You can now safely move through this hallway, the last steam will not hurt you
nmo_deviation

Press this button in the shack opposite the locked gate

Backtrack to the FMO building and the door will be unlocked

Take this key from the shed where you get the gas

Use it to open a 2f room with a sniper rifle in a nearby building


Once the power is back on in the freight area, press the button in the security shed to slide back the gate for items


Take the key by the body in the warehouse and use it downstairs for a secret room with a bow and arrows

In the ending area, get the fuse in the bathroom of the barracks


Use the fuse on a nearby building to open the hangar
nmo_diaotu1_v5_3
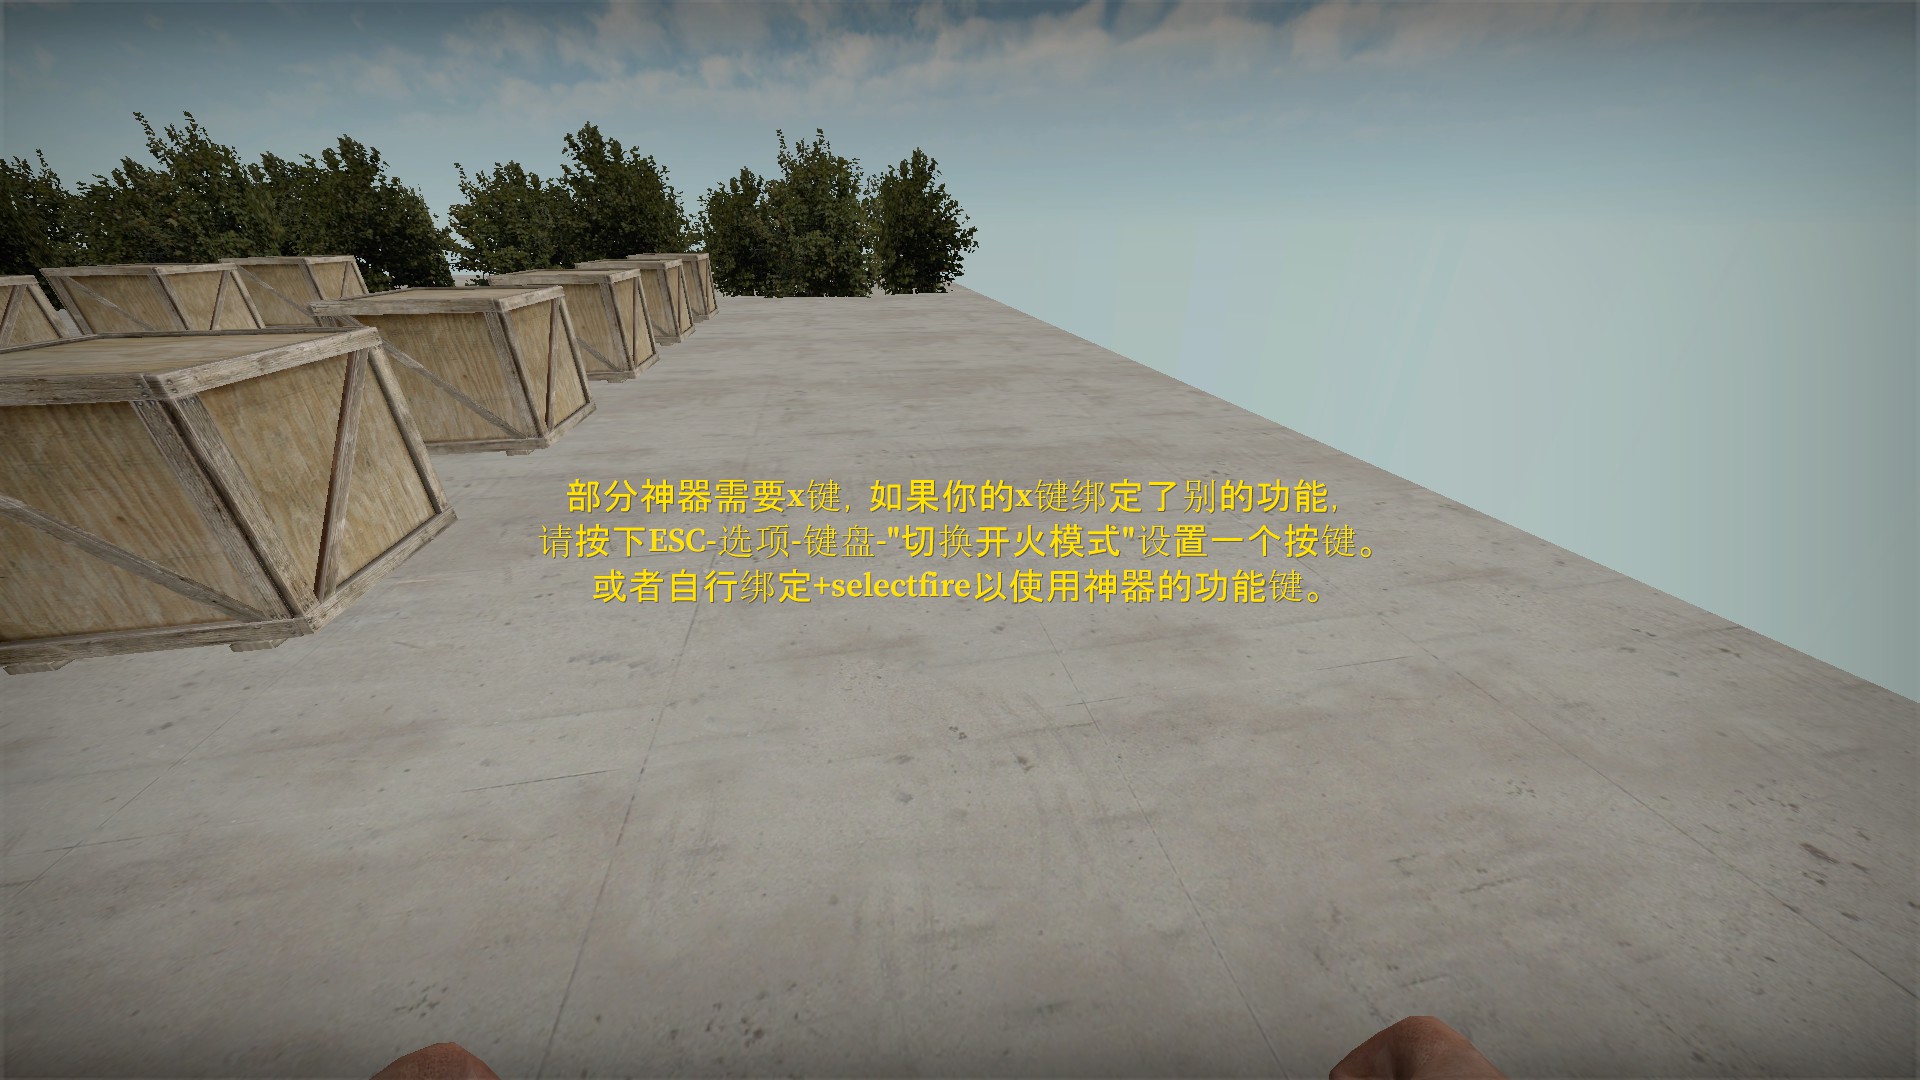
"Some special features require the X key. If your x key is already bound to another function, please press ESC - Options - Keyboard - 'Toggle Fire Mode' to assign a key. Alternatively, you can bind +selectfire to use the tool's function keys."
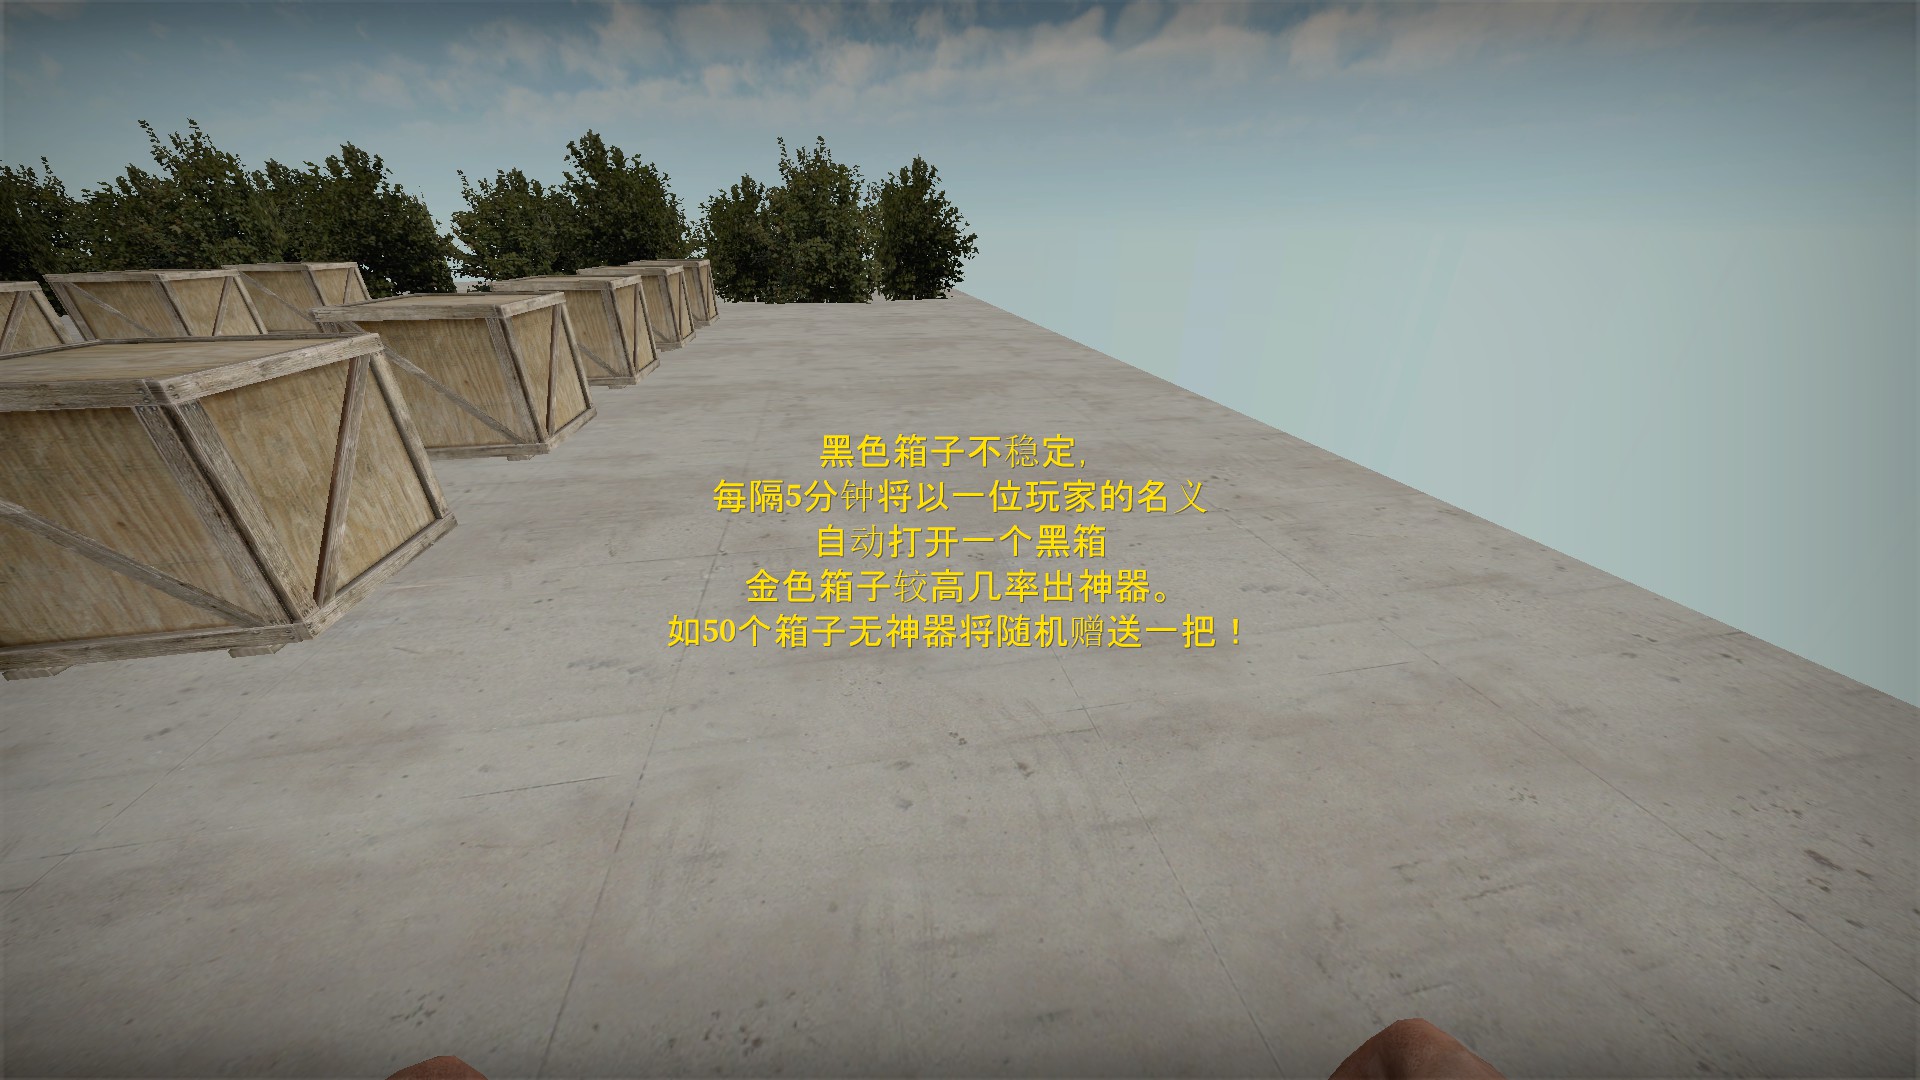
"The black chests are unpredictable; one will automatically be opened every 5 minutes in the name of a player. The gold chests have a higher chance of containing powerful artifacts. If no artifact is found after 50 chests, one will be randomly given away!" How to win
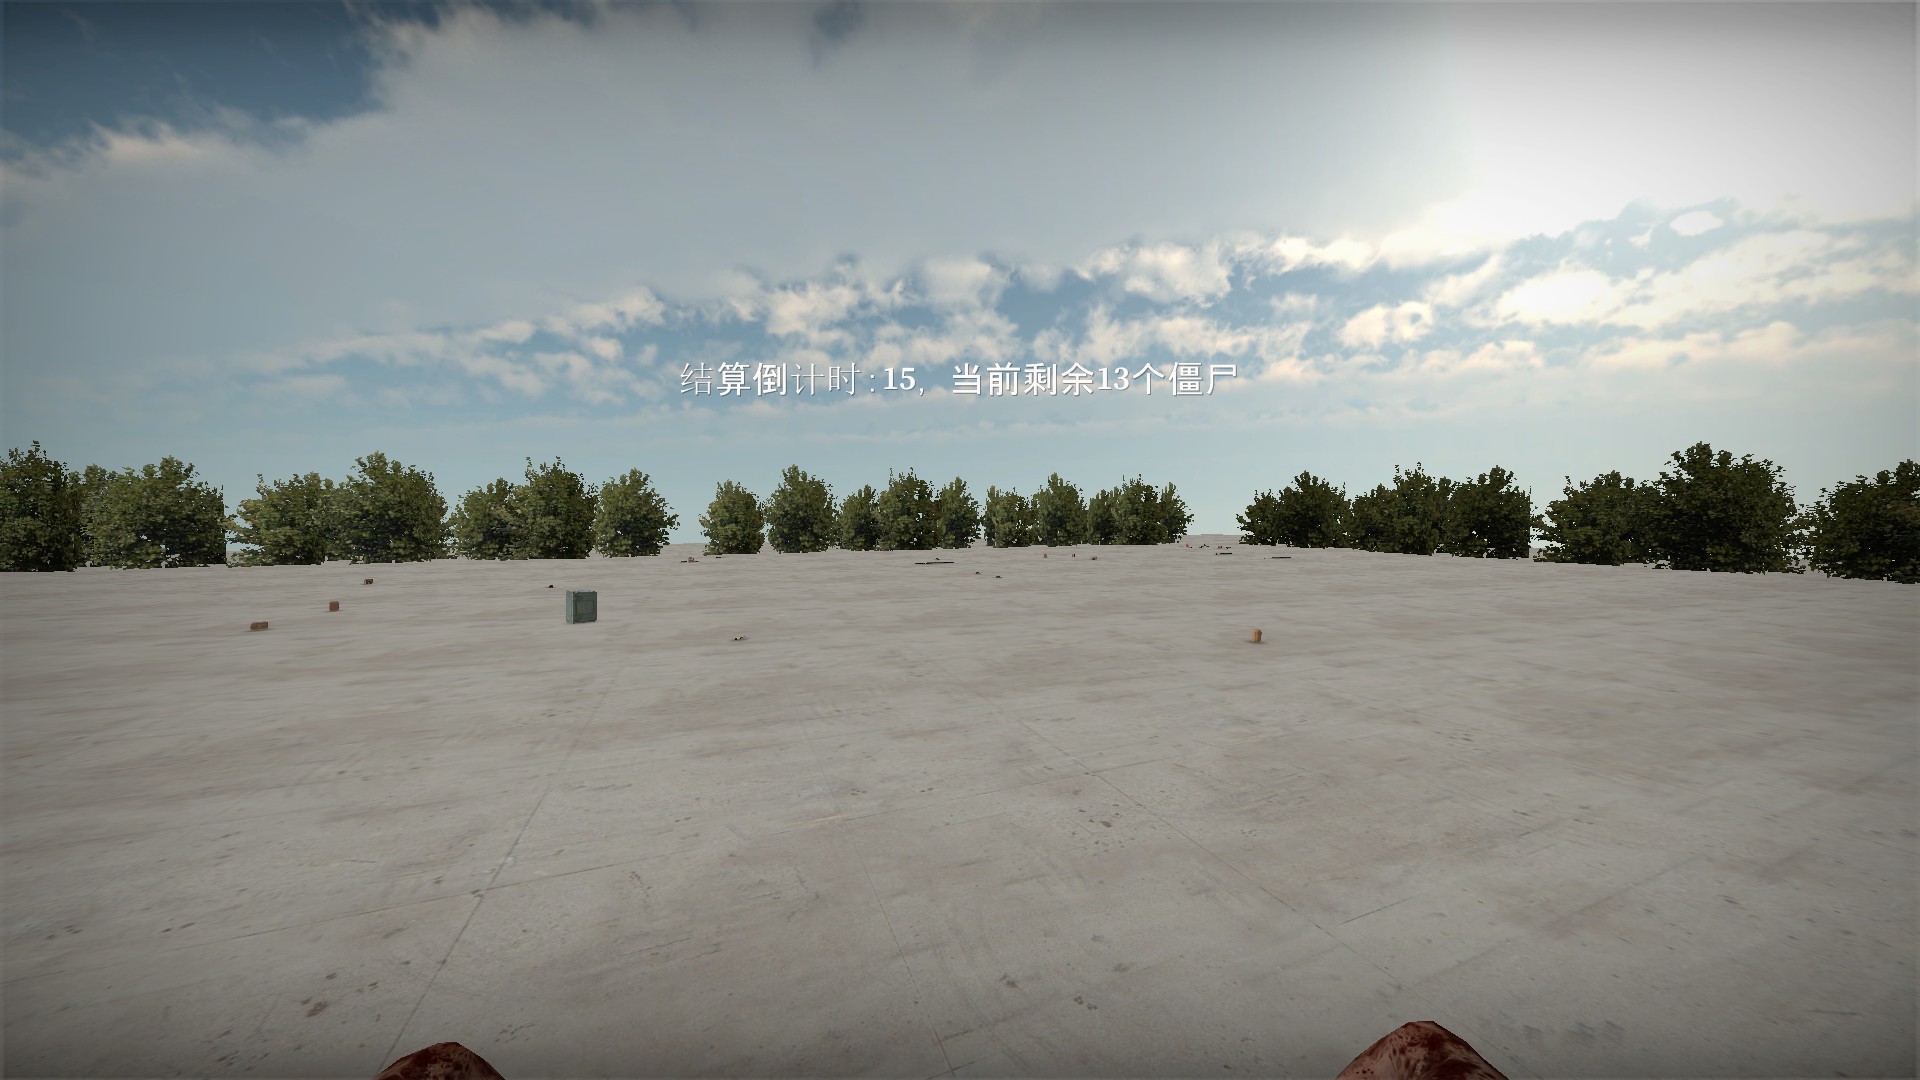
11 rows x 28 boxes per row = 308 boxes. Break all boxes and you will get a 30 second timer to kill all remaining zombies to extract. Try to save one of the gold boxes for the end as it is less likely to have a zombie spawn
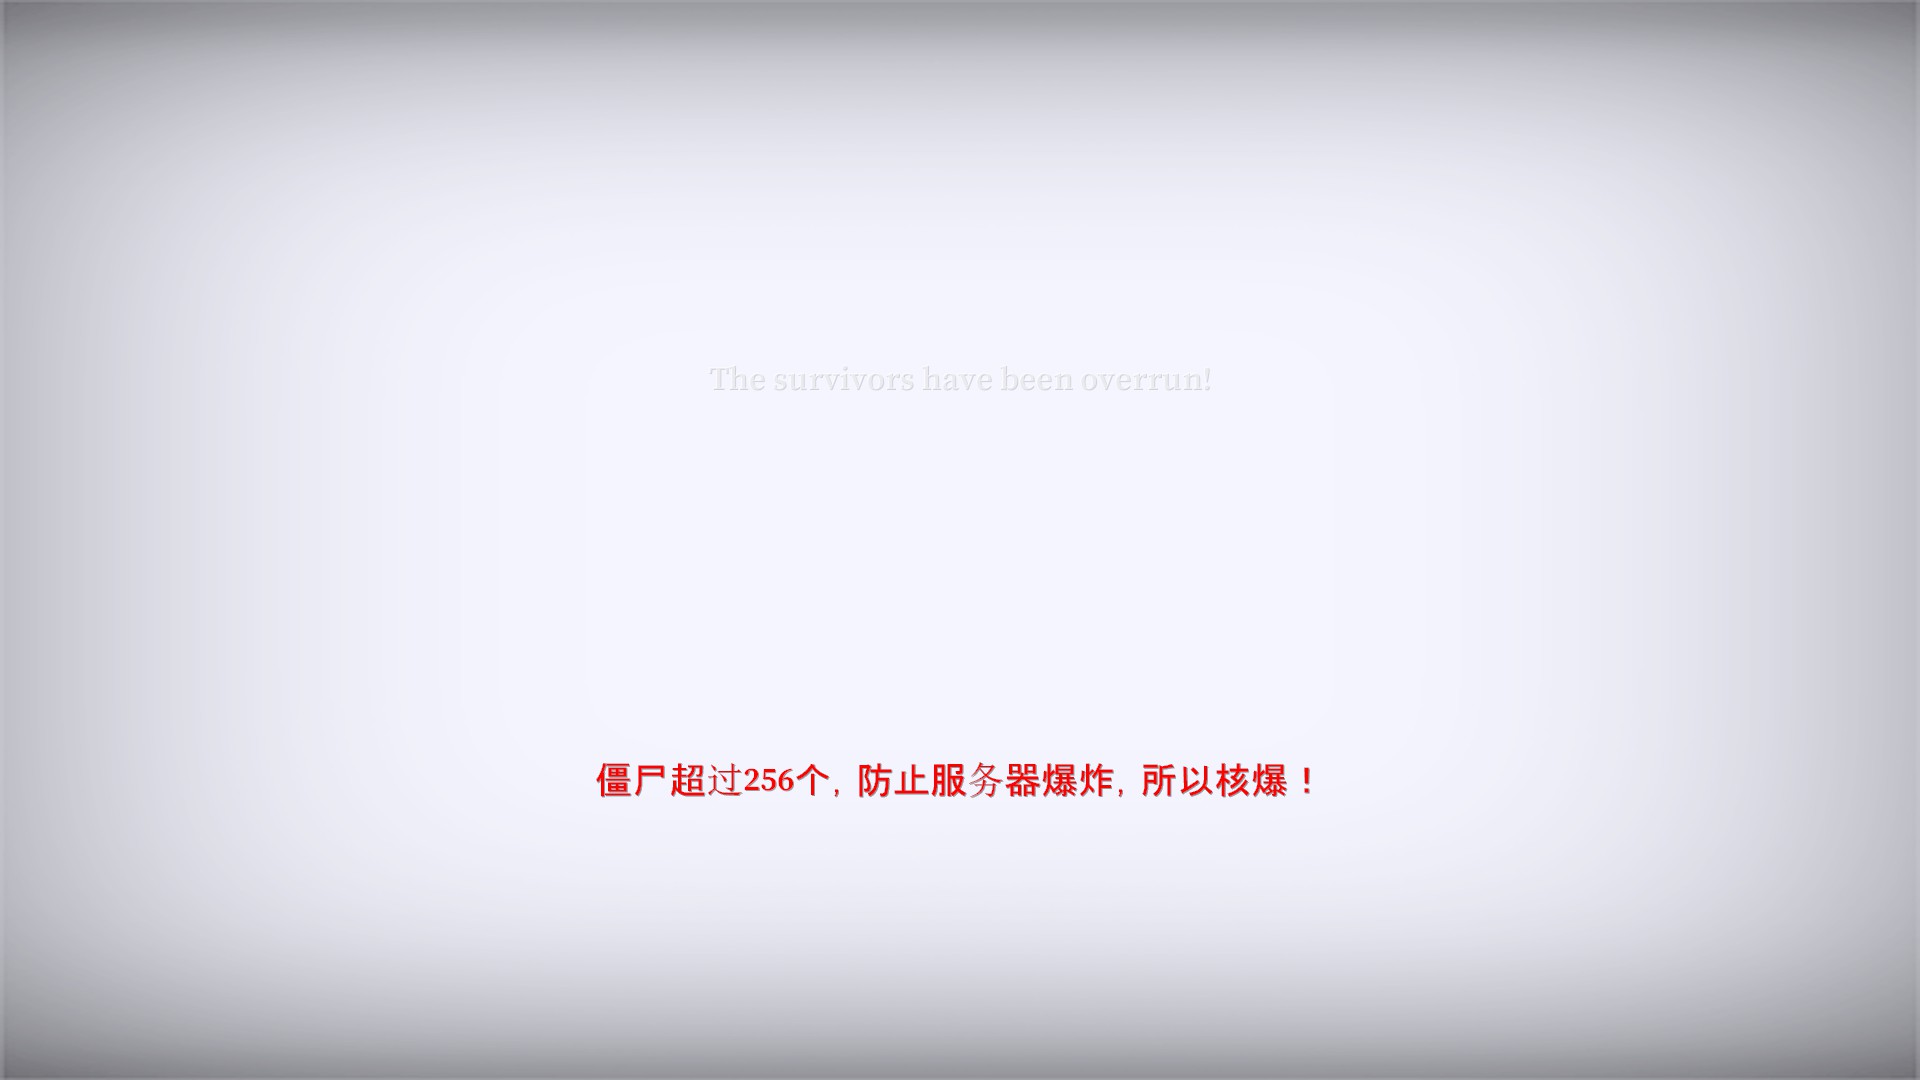
Break the boxes slowly and carefully. If there are more than 256 zombies on the map at any time, the extraction will give up on you and the map will be nuked Blue energy balls
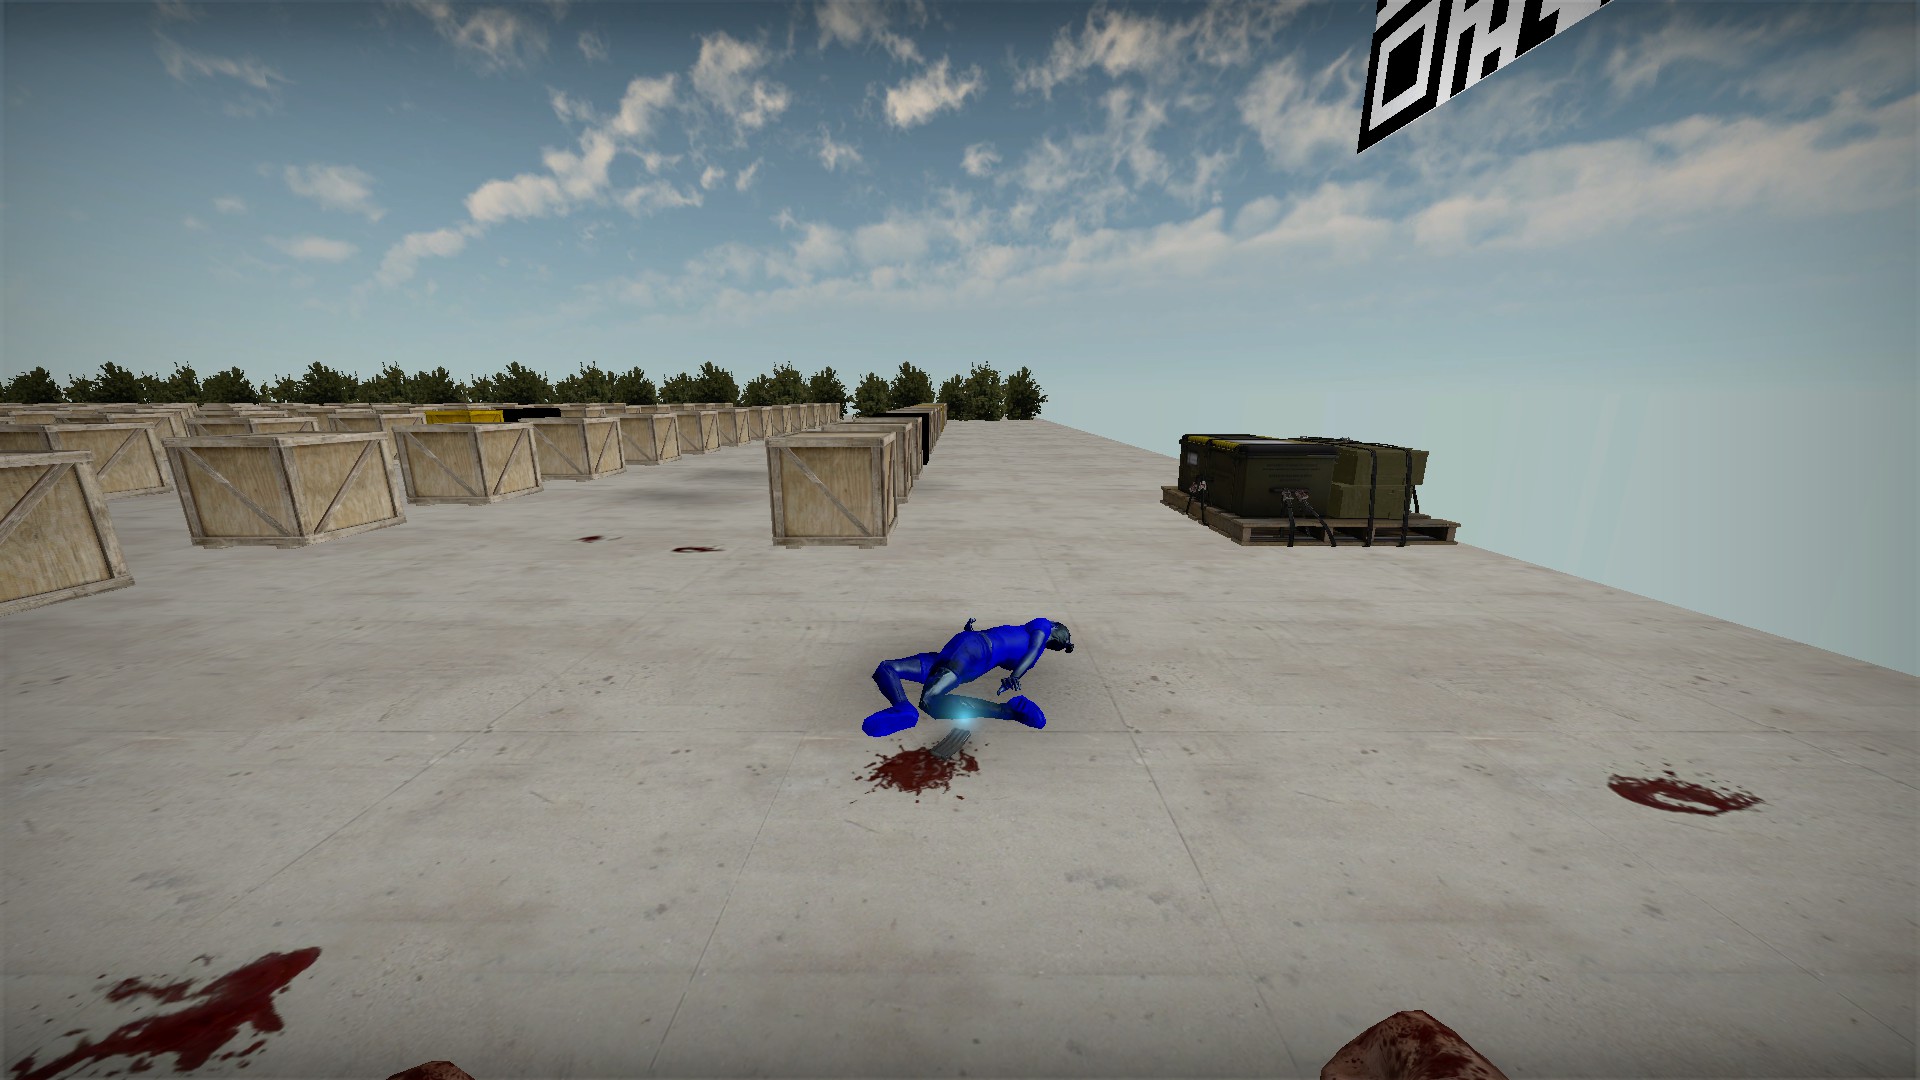
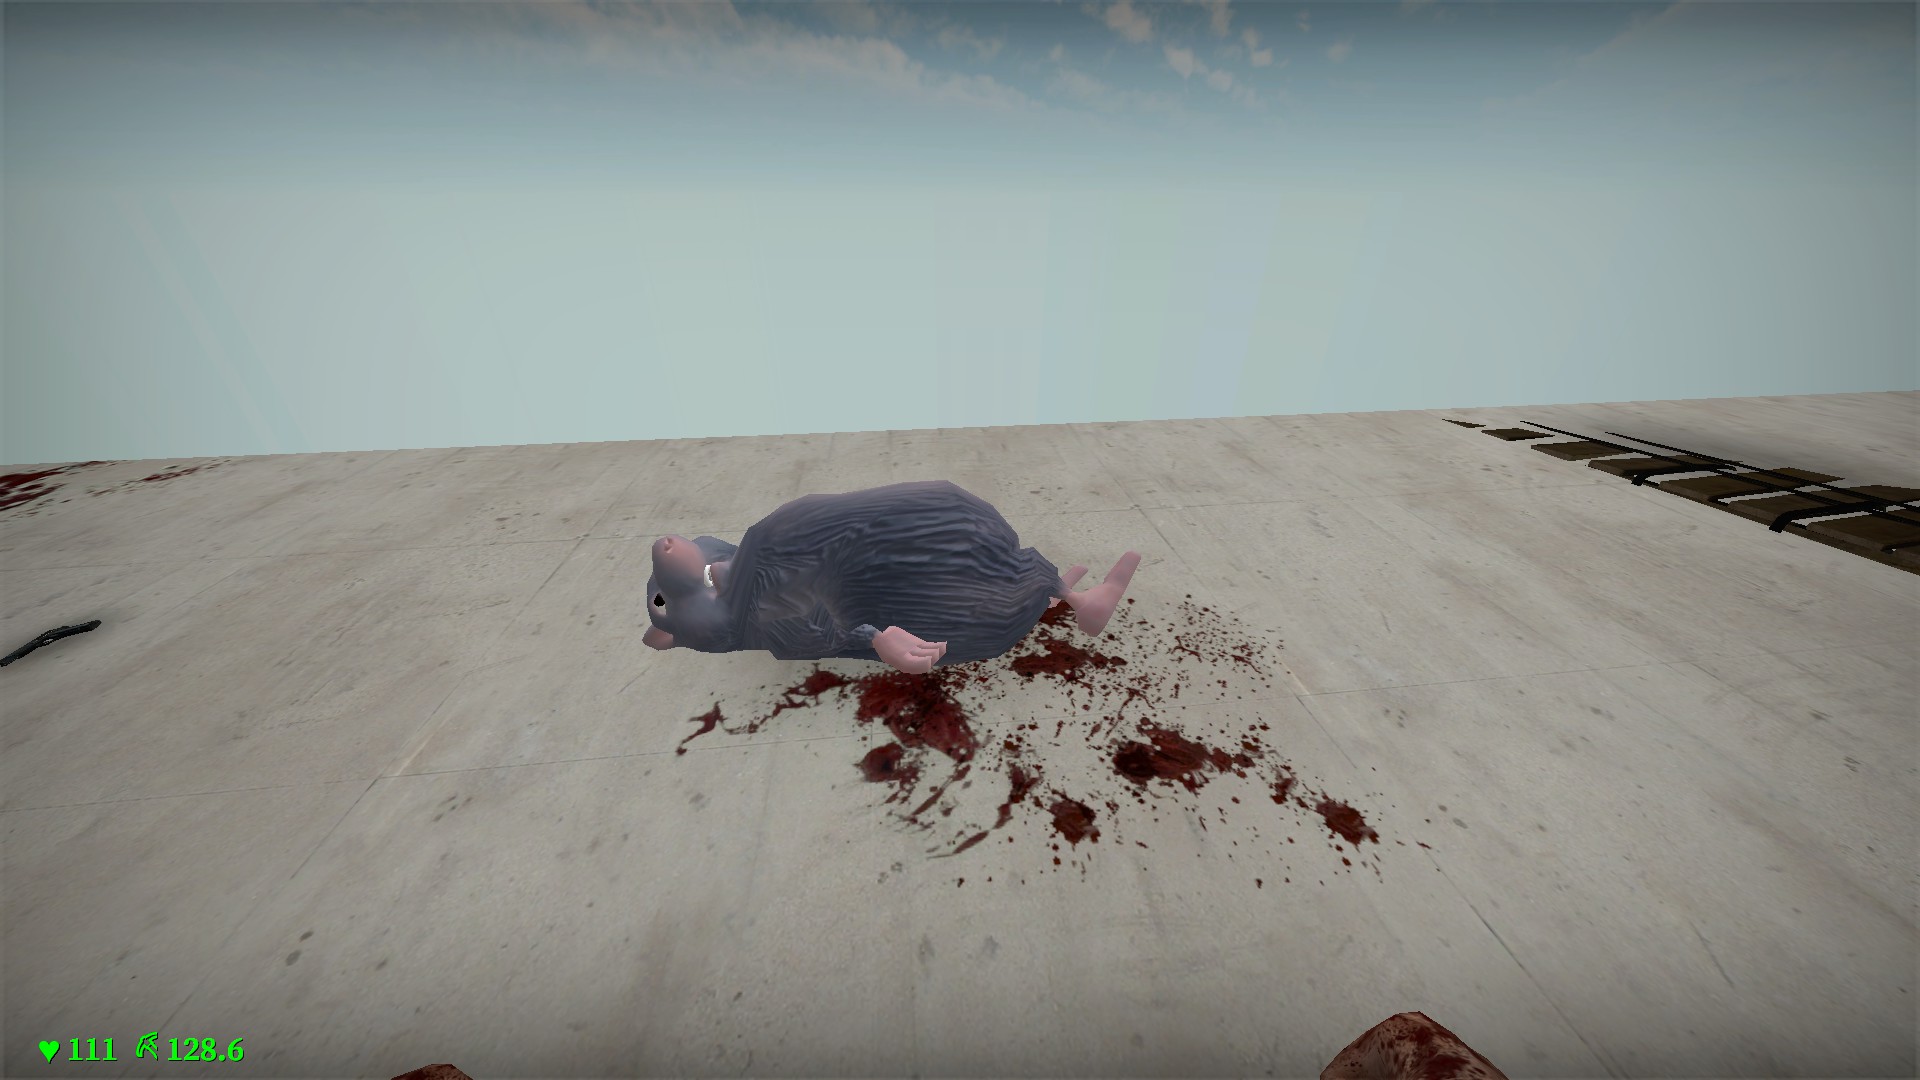
Zombie's and Bosses will occasionally drop a small blue energy ball when they are killed. Just walk over it to pick it up, each one will add 1hp to your health. You will get this increase even if you are at or over 100hp. However, it does not add to your maximum heal-able health. If not picked up, they will disappear after 10 seconds Some boxes are good
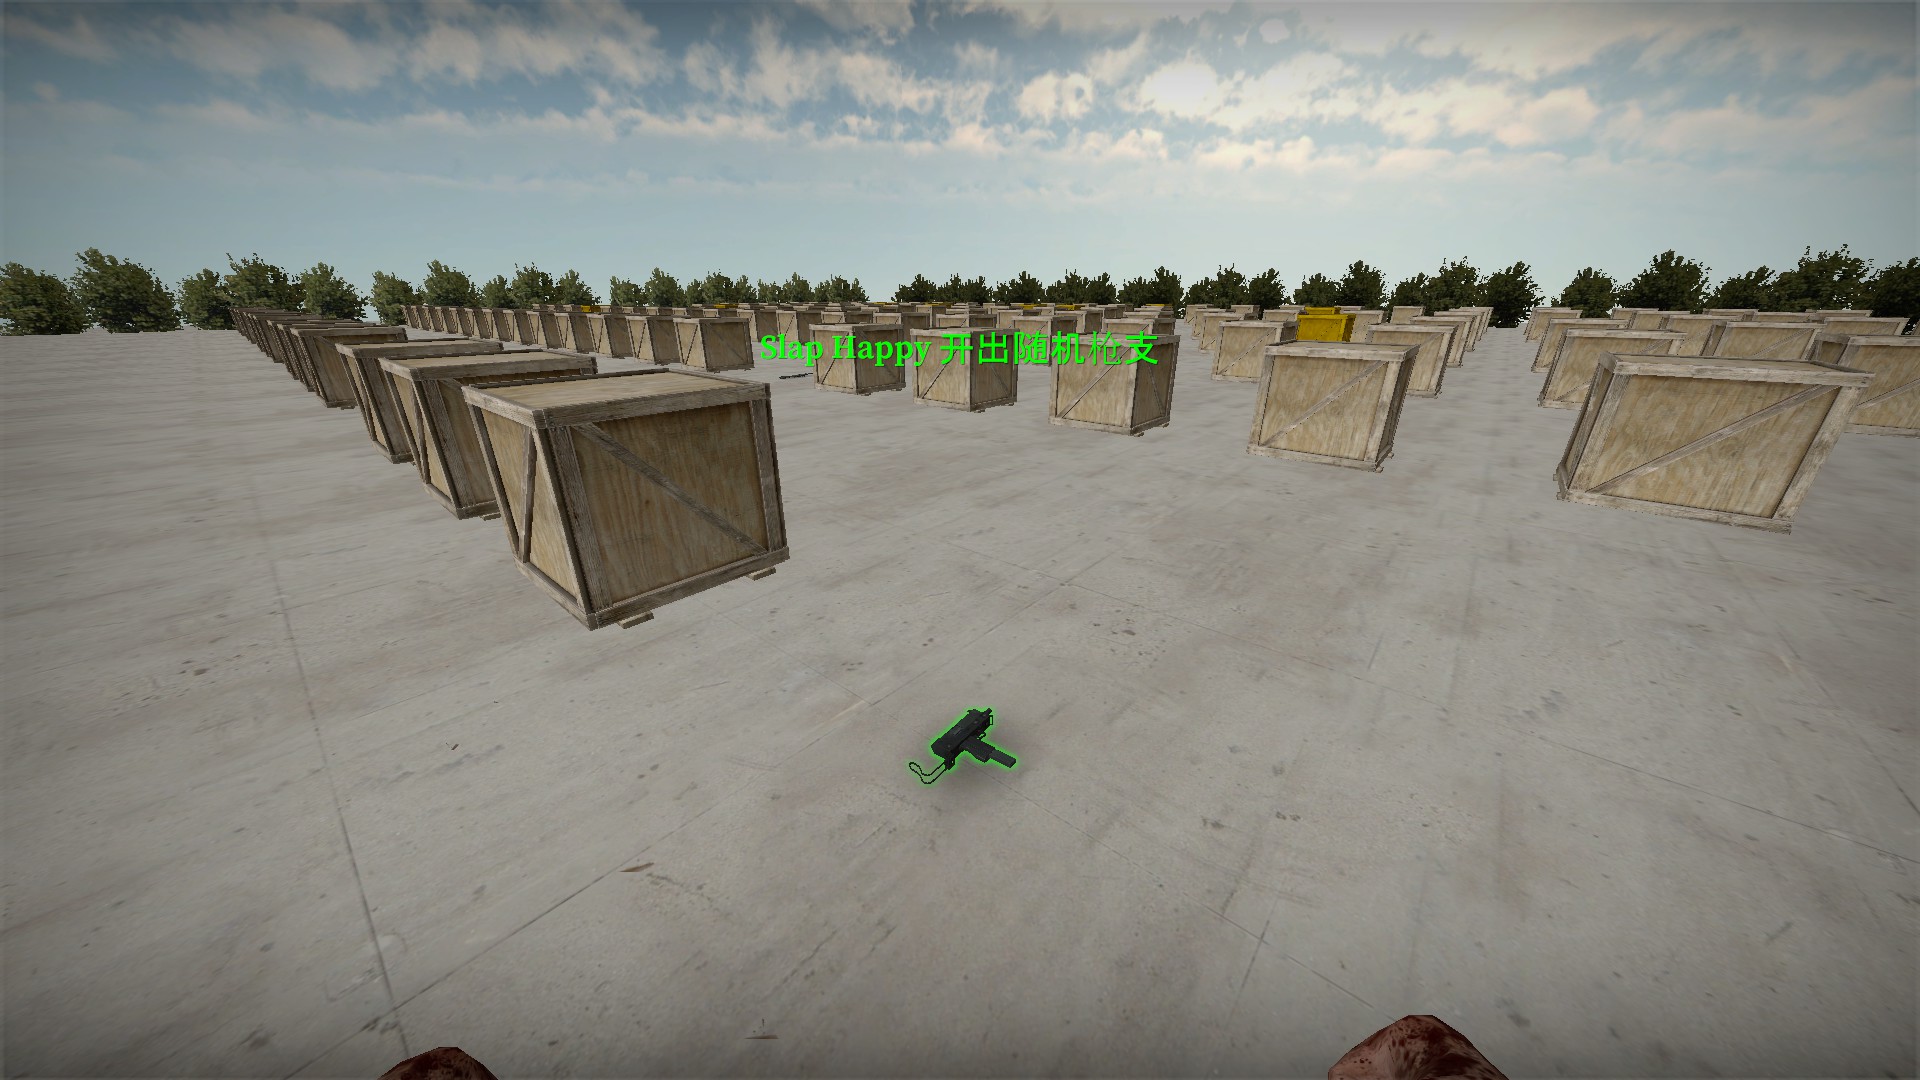
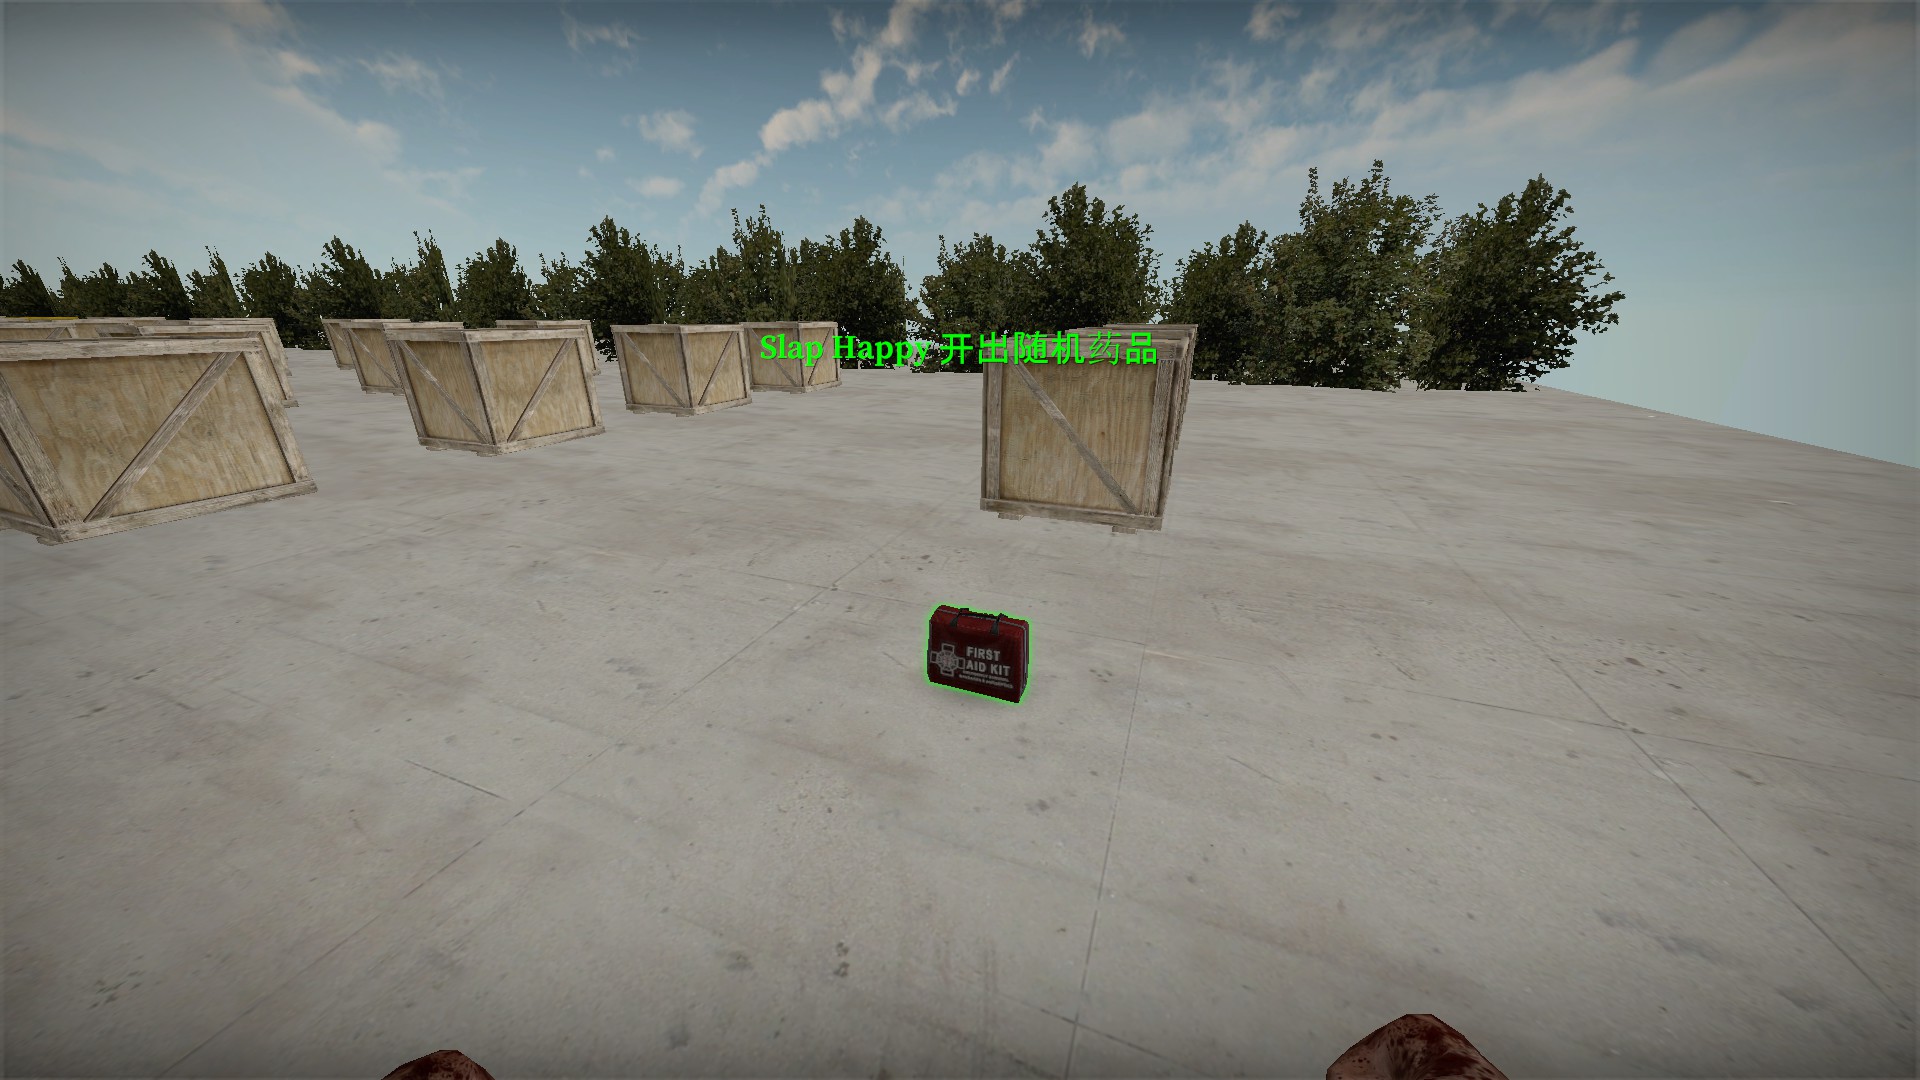
Boxes may contain firearms or medical items
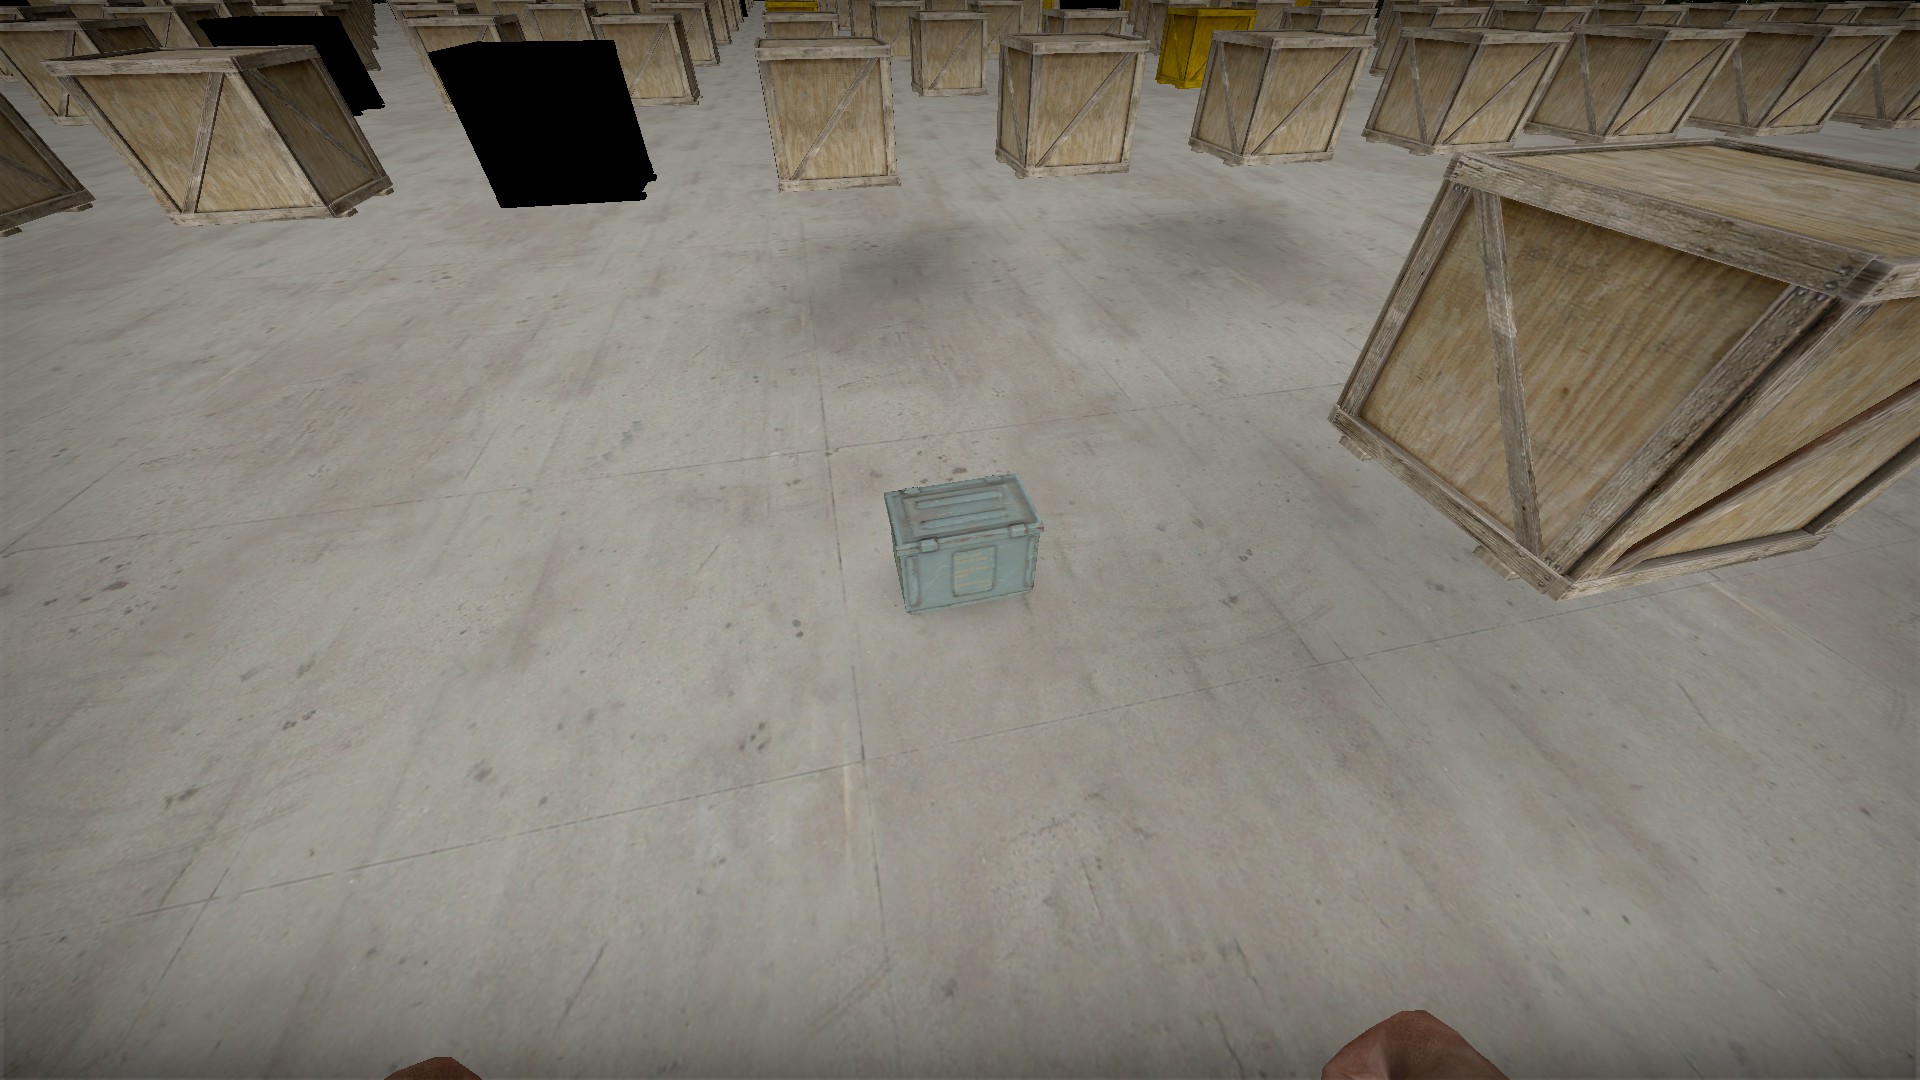
Boxes may drop a small gray box that is a weapon box
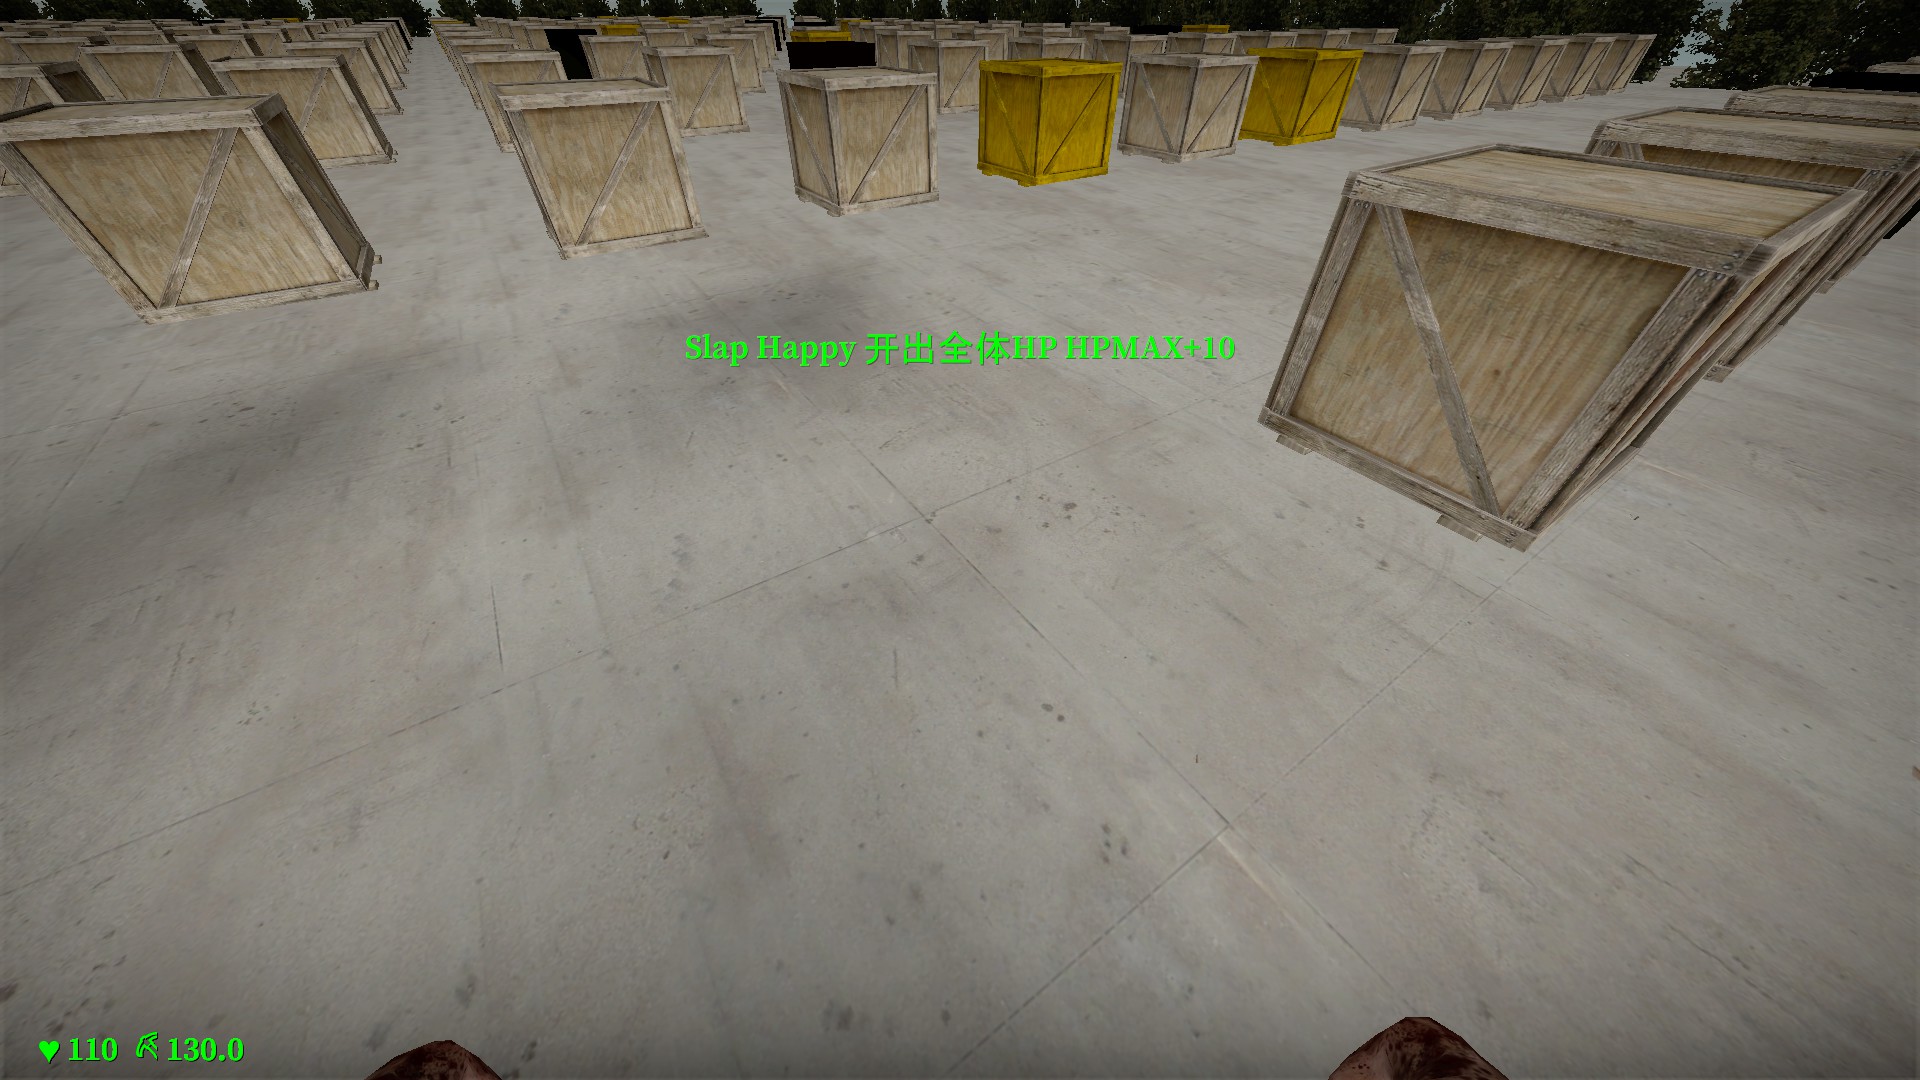
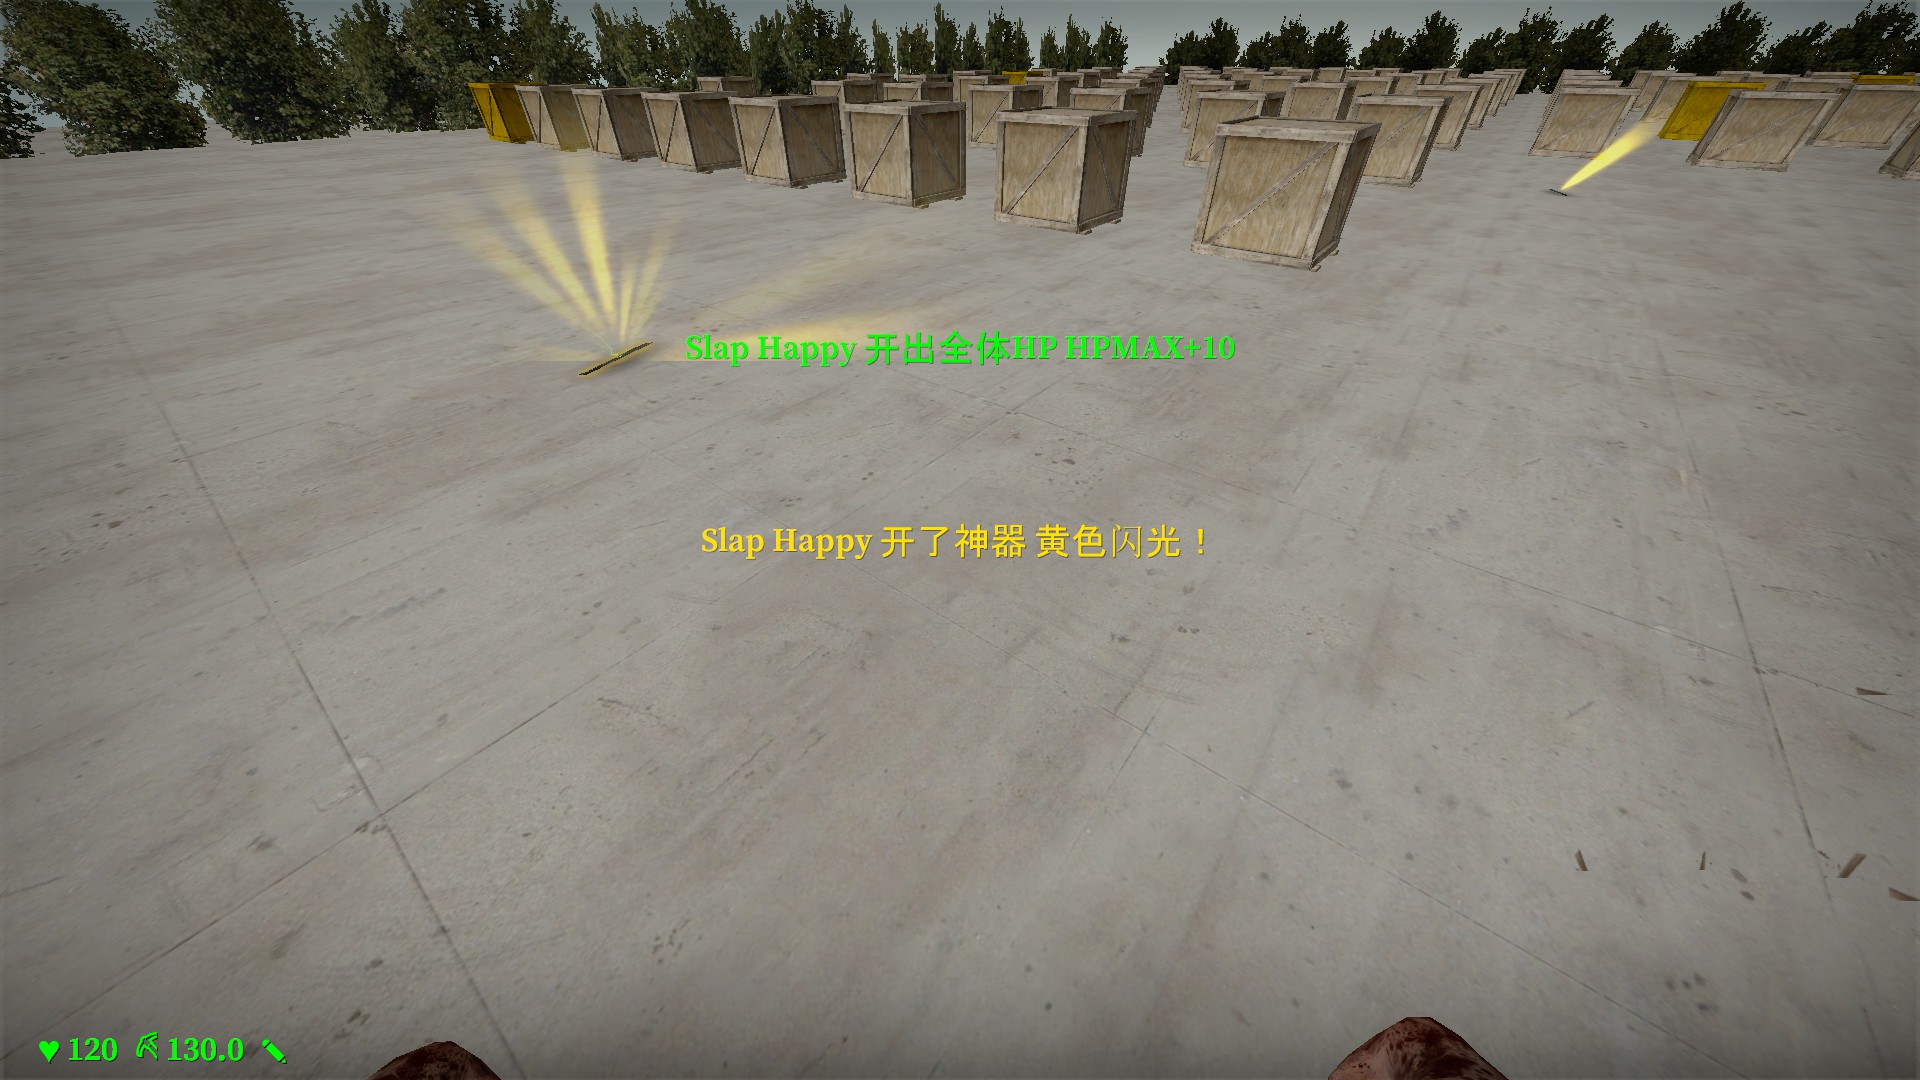
Boxes may boost maximum health of the player that opens them by 10hp. These effects will stack. This new maximum health is heal-able
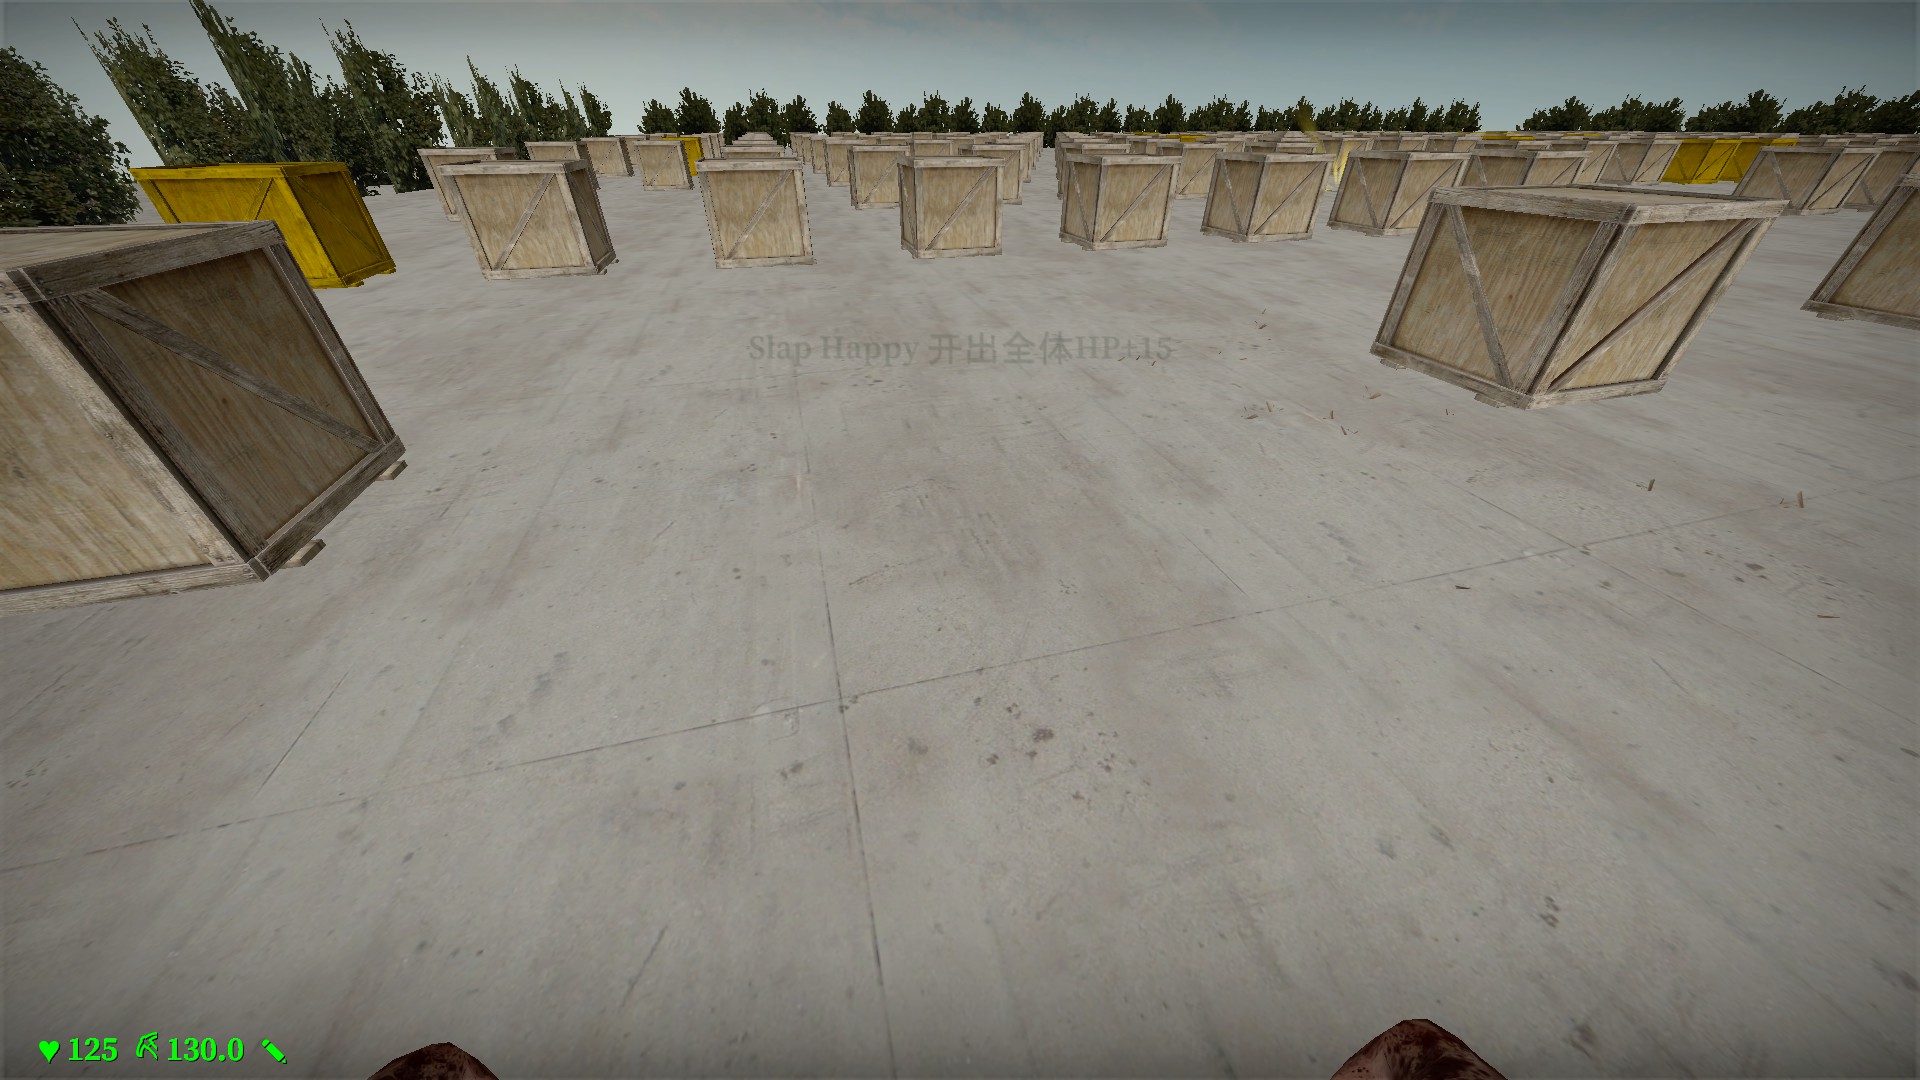
Boxes may add 15hp for all players. You will get this increase even if you have over 100hp. However, this does not increase your maximum heal-able health Special machetes
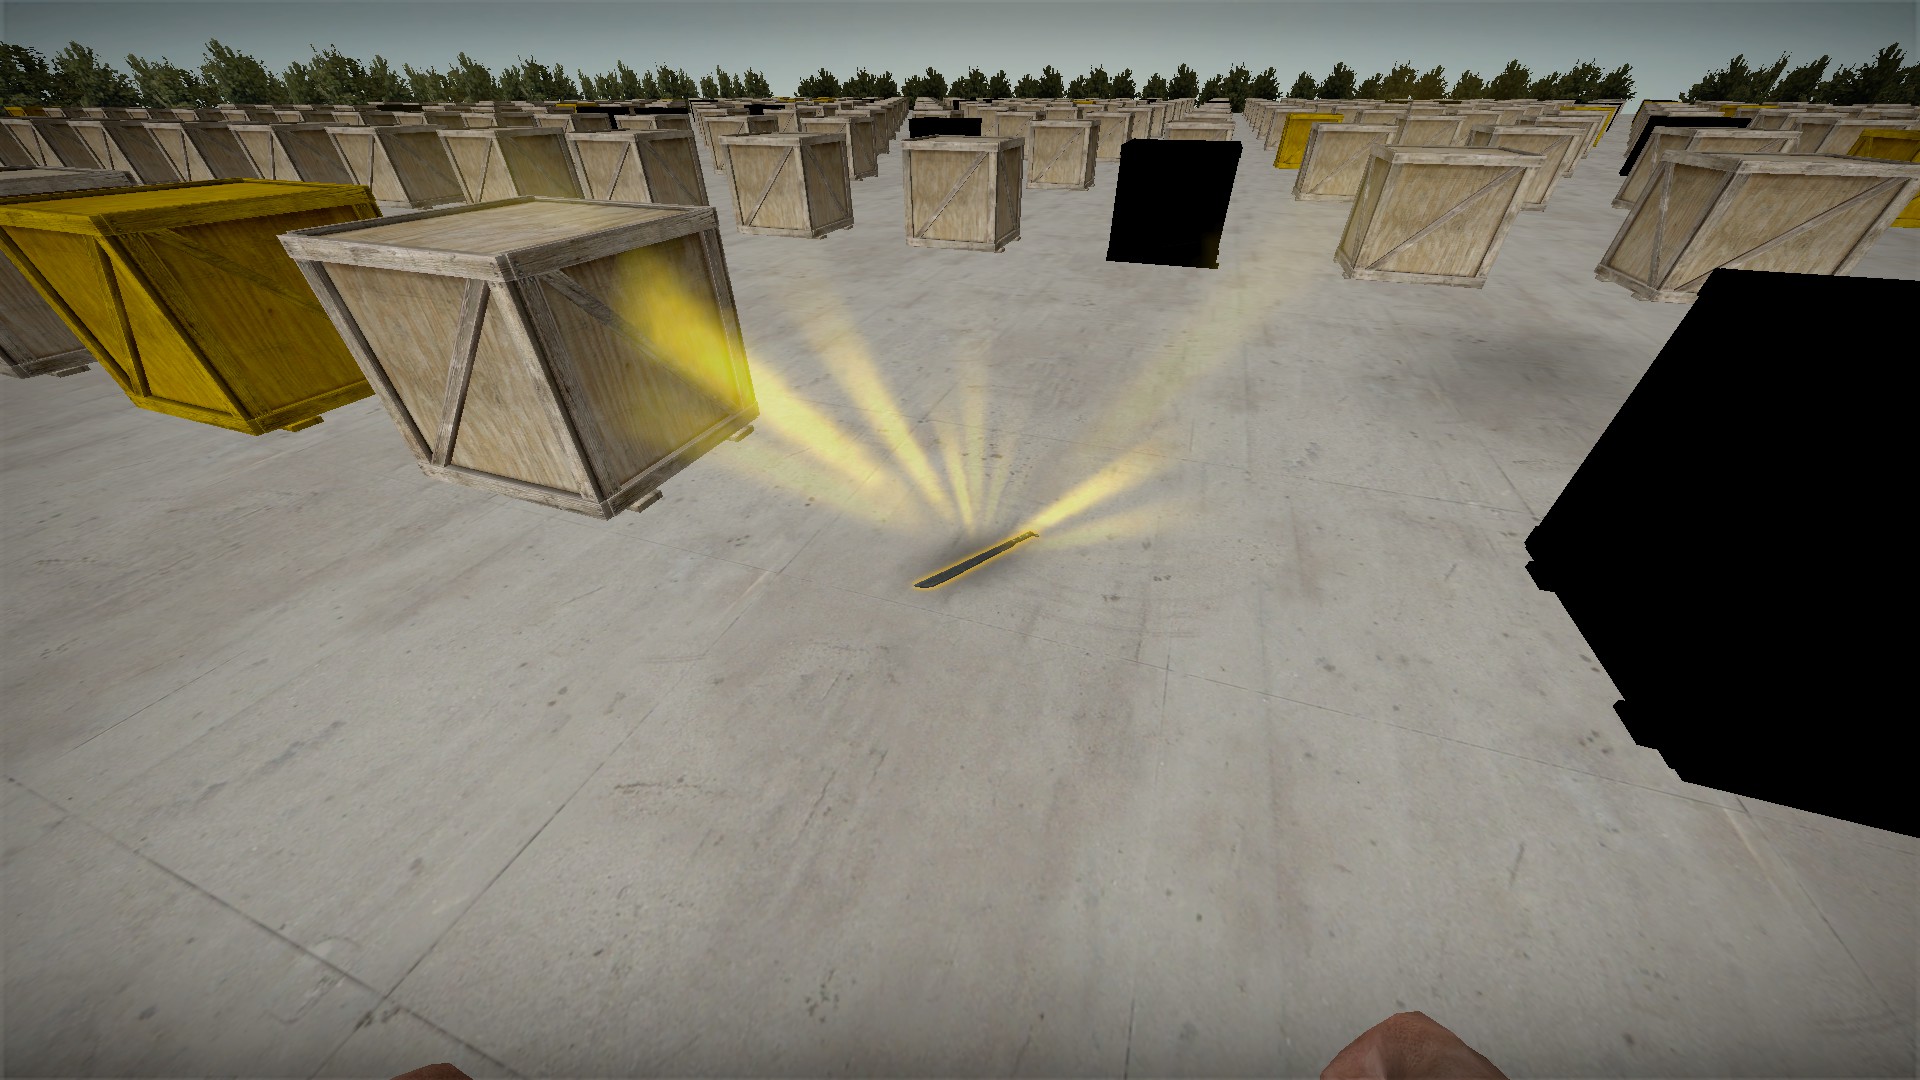
Boxes may drop a special machete. There are 6 types. I have included the full translation of their descriptions, but Skill A and Skill B do not work on any machete. Passive abilities and the X key do work Impermanence machete
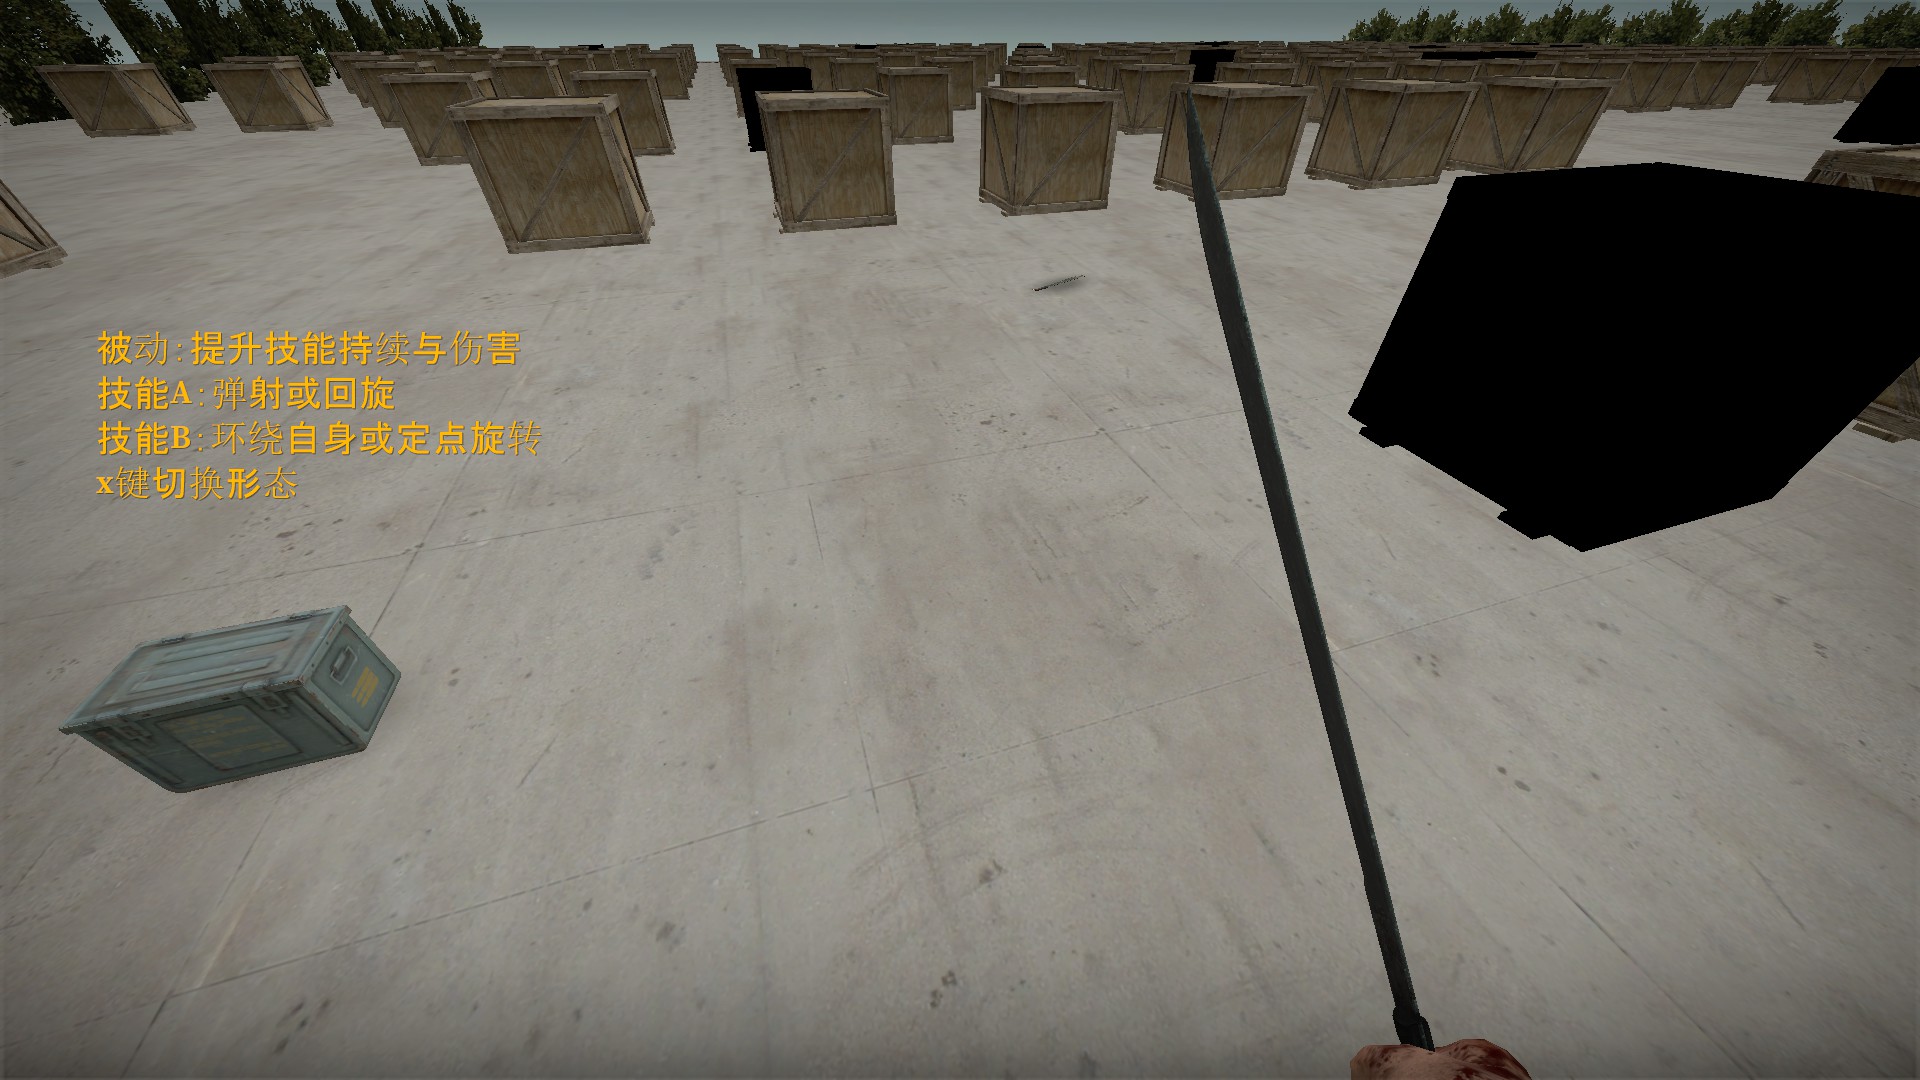
Passive: Increases skill duration and damage, Skill A: Launch or Spin, Skill B: Rotate around oneself or at a fixed point, X key to switch modes
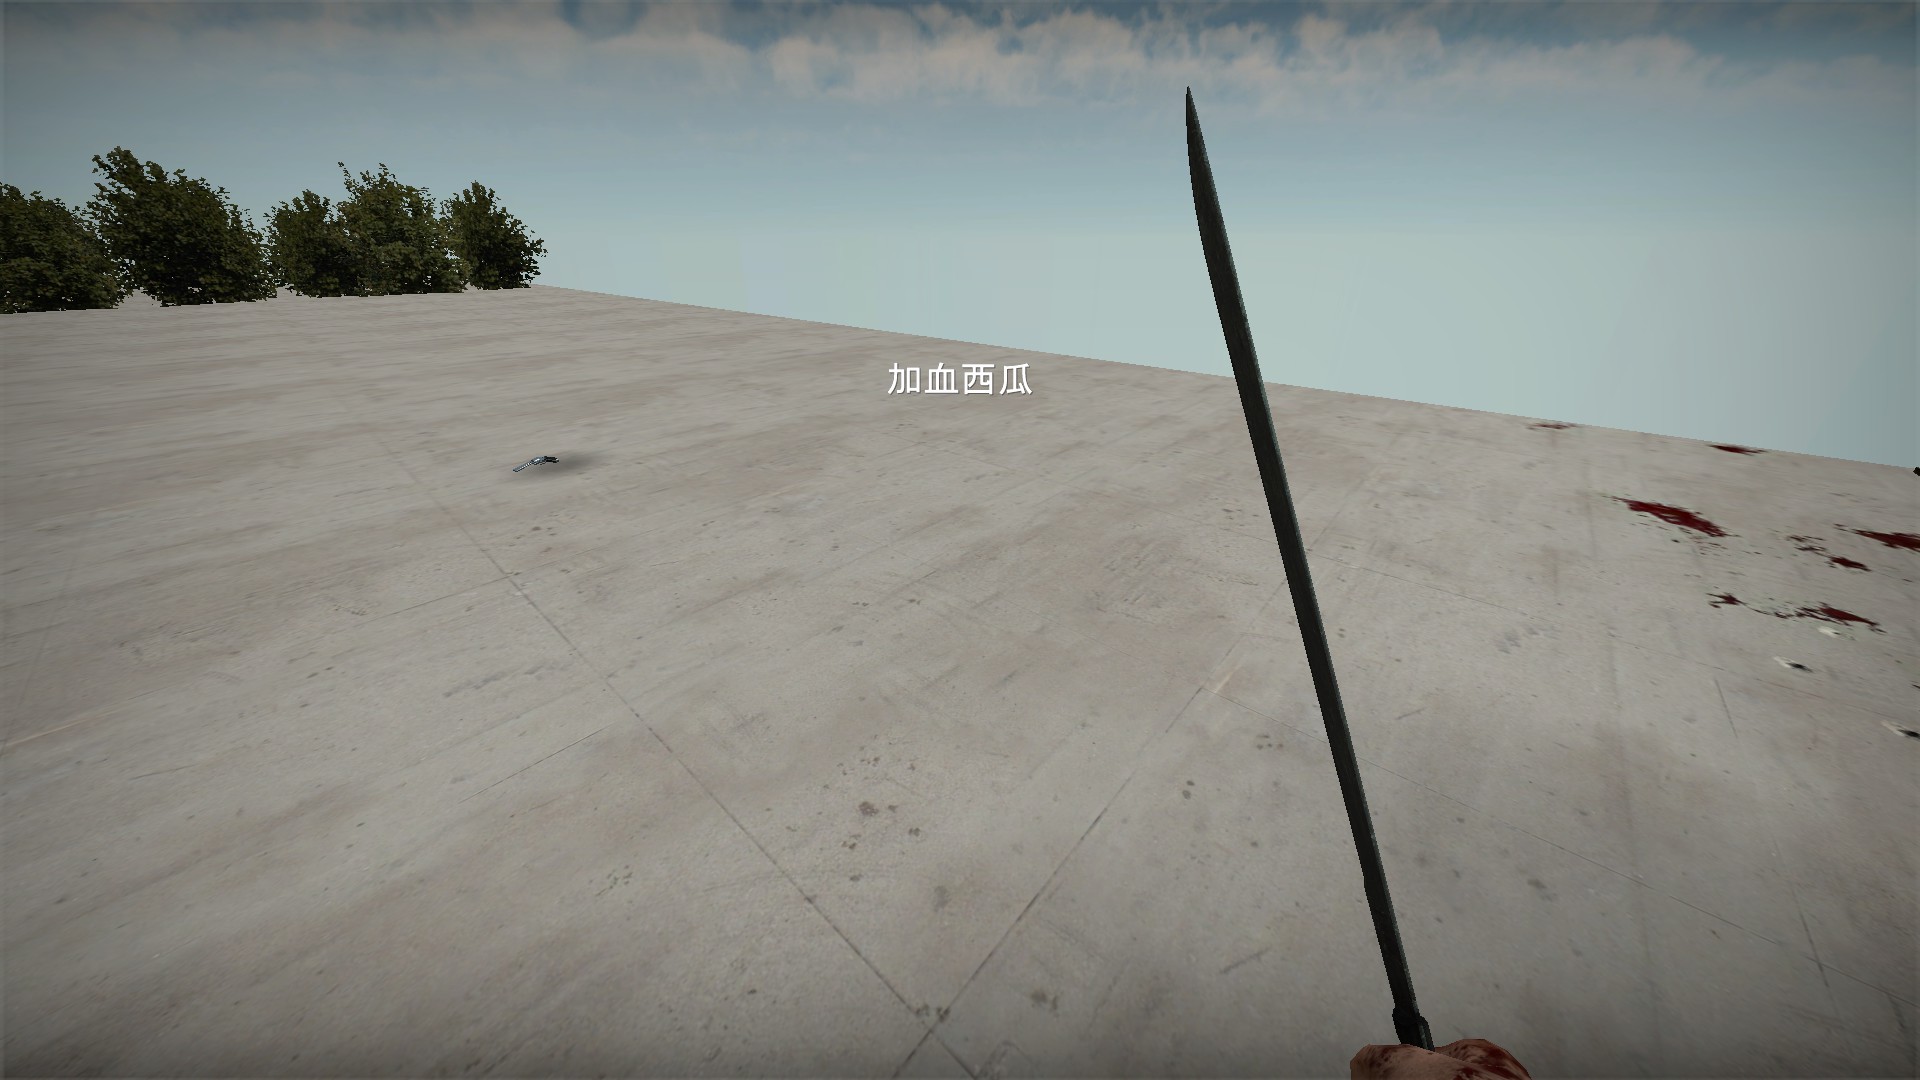
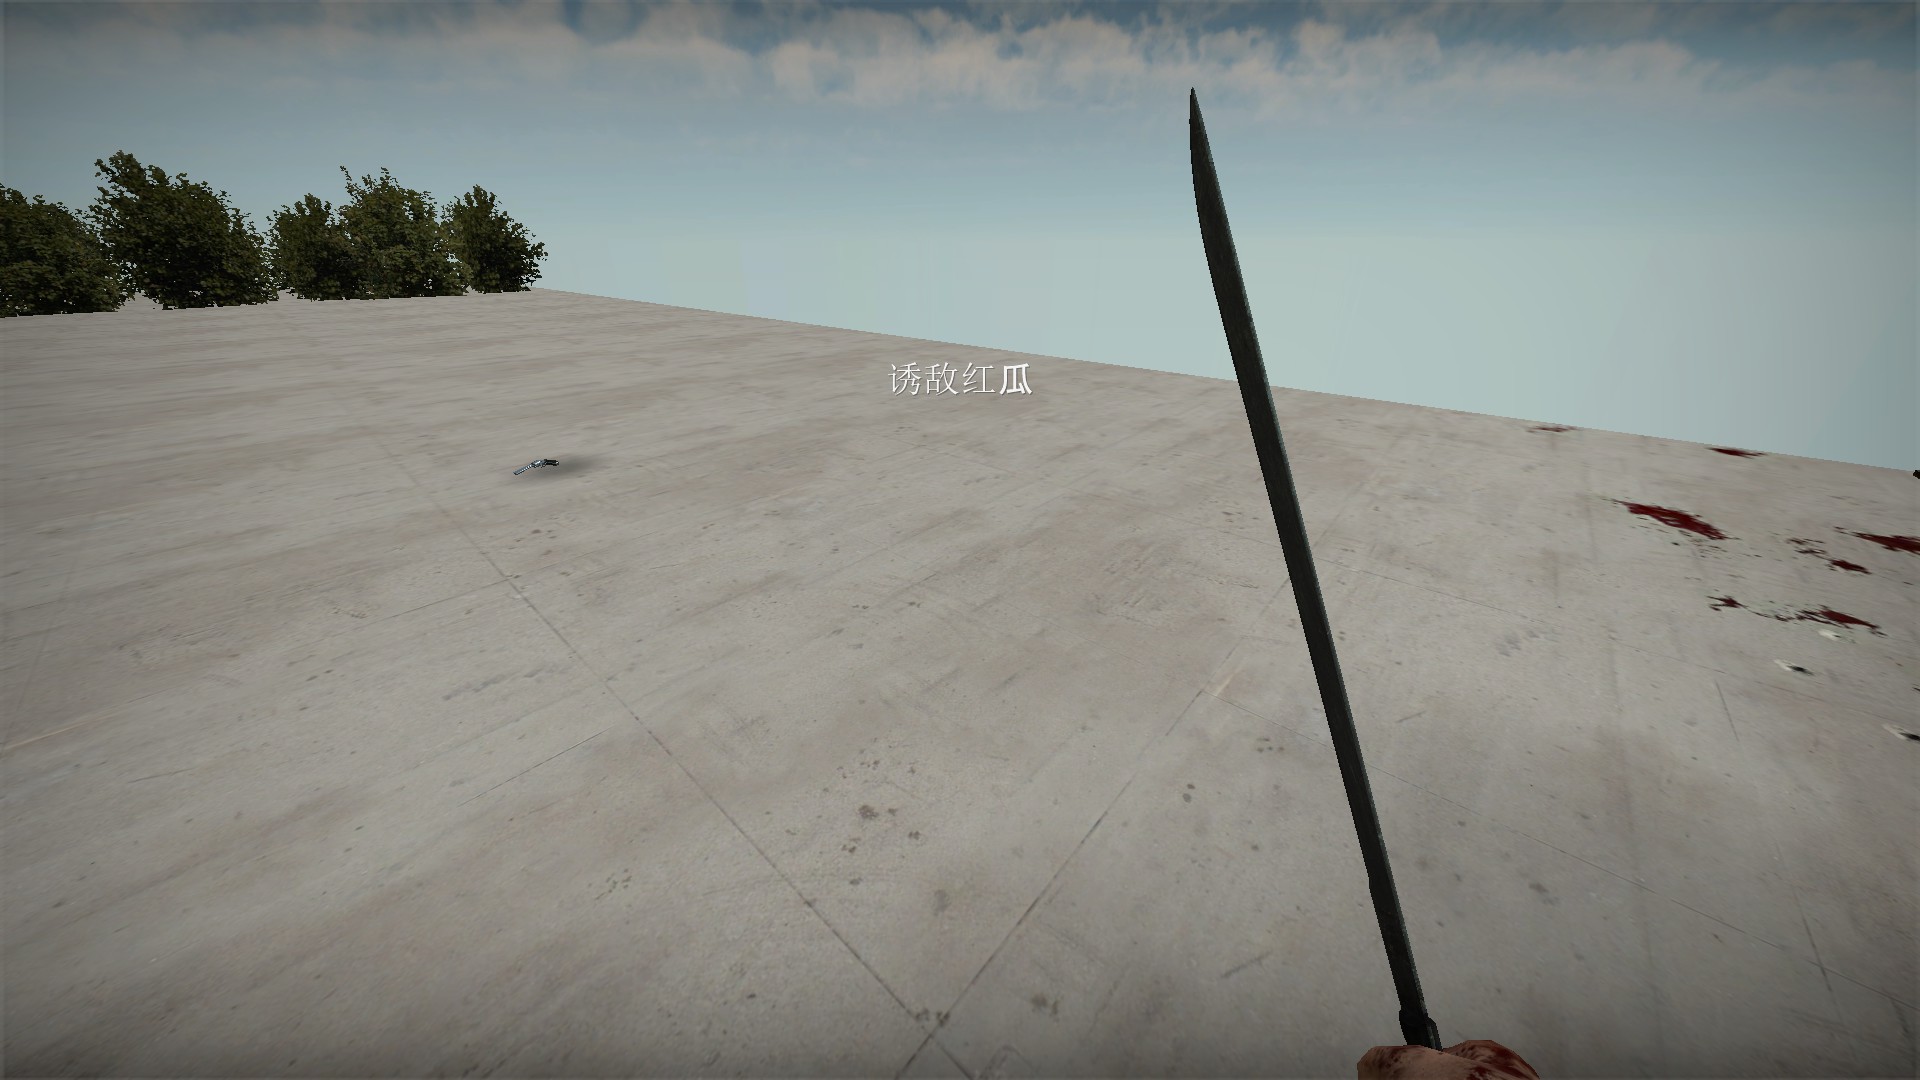
The 2 modes can be toggled with the X key, but Skill A and Skill B do not work Magical Watermelon machete
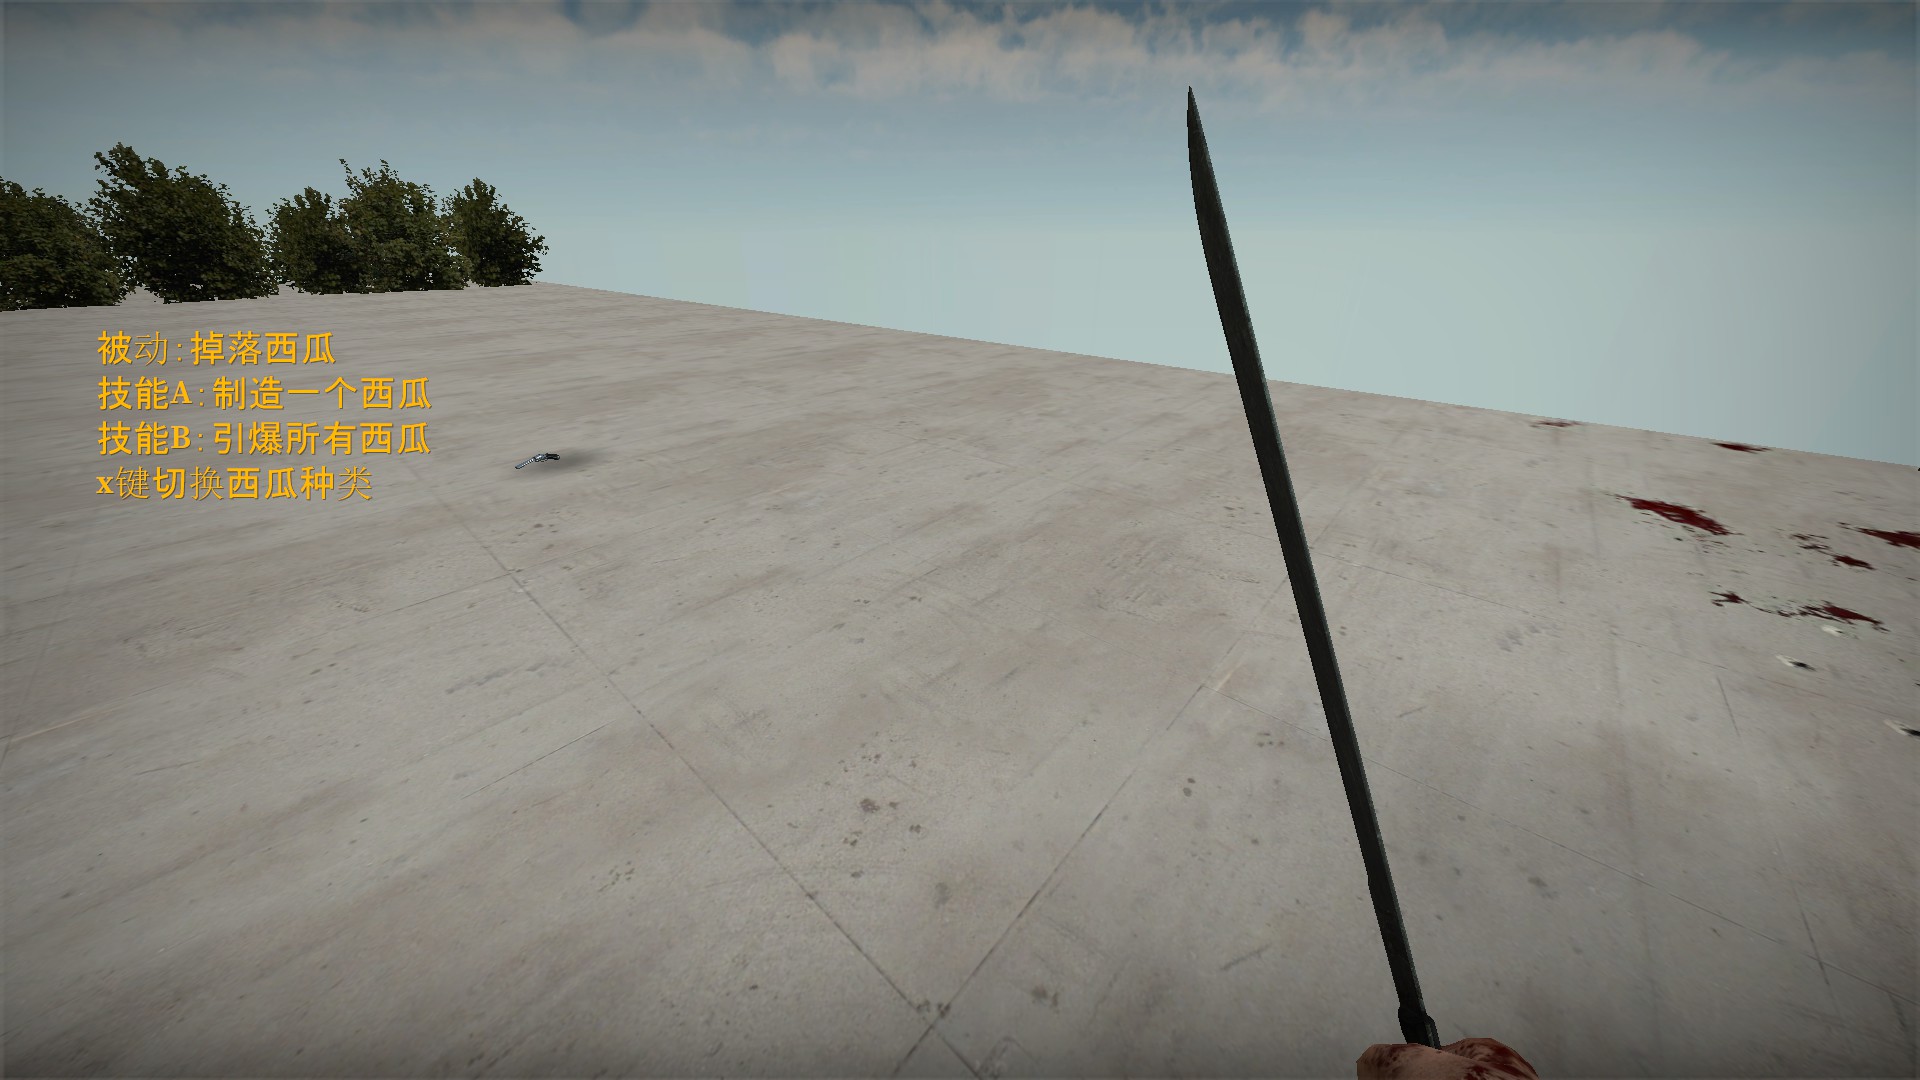
Passive: Drop watermelon, Skill A: Create a watermelon, Skill B: Detonate all watermelons, X key to switch watermelon types. While this machete has 4 modes, it only spawns 3 types of watermelon: green, red, and black. Hit enemies to spawn watermelons
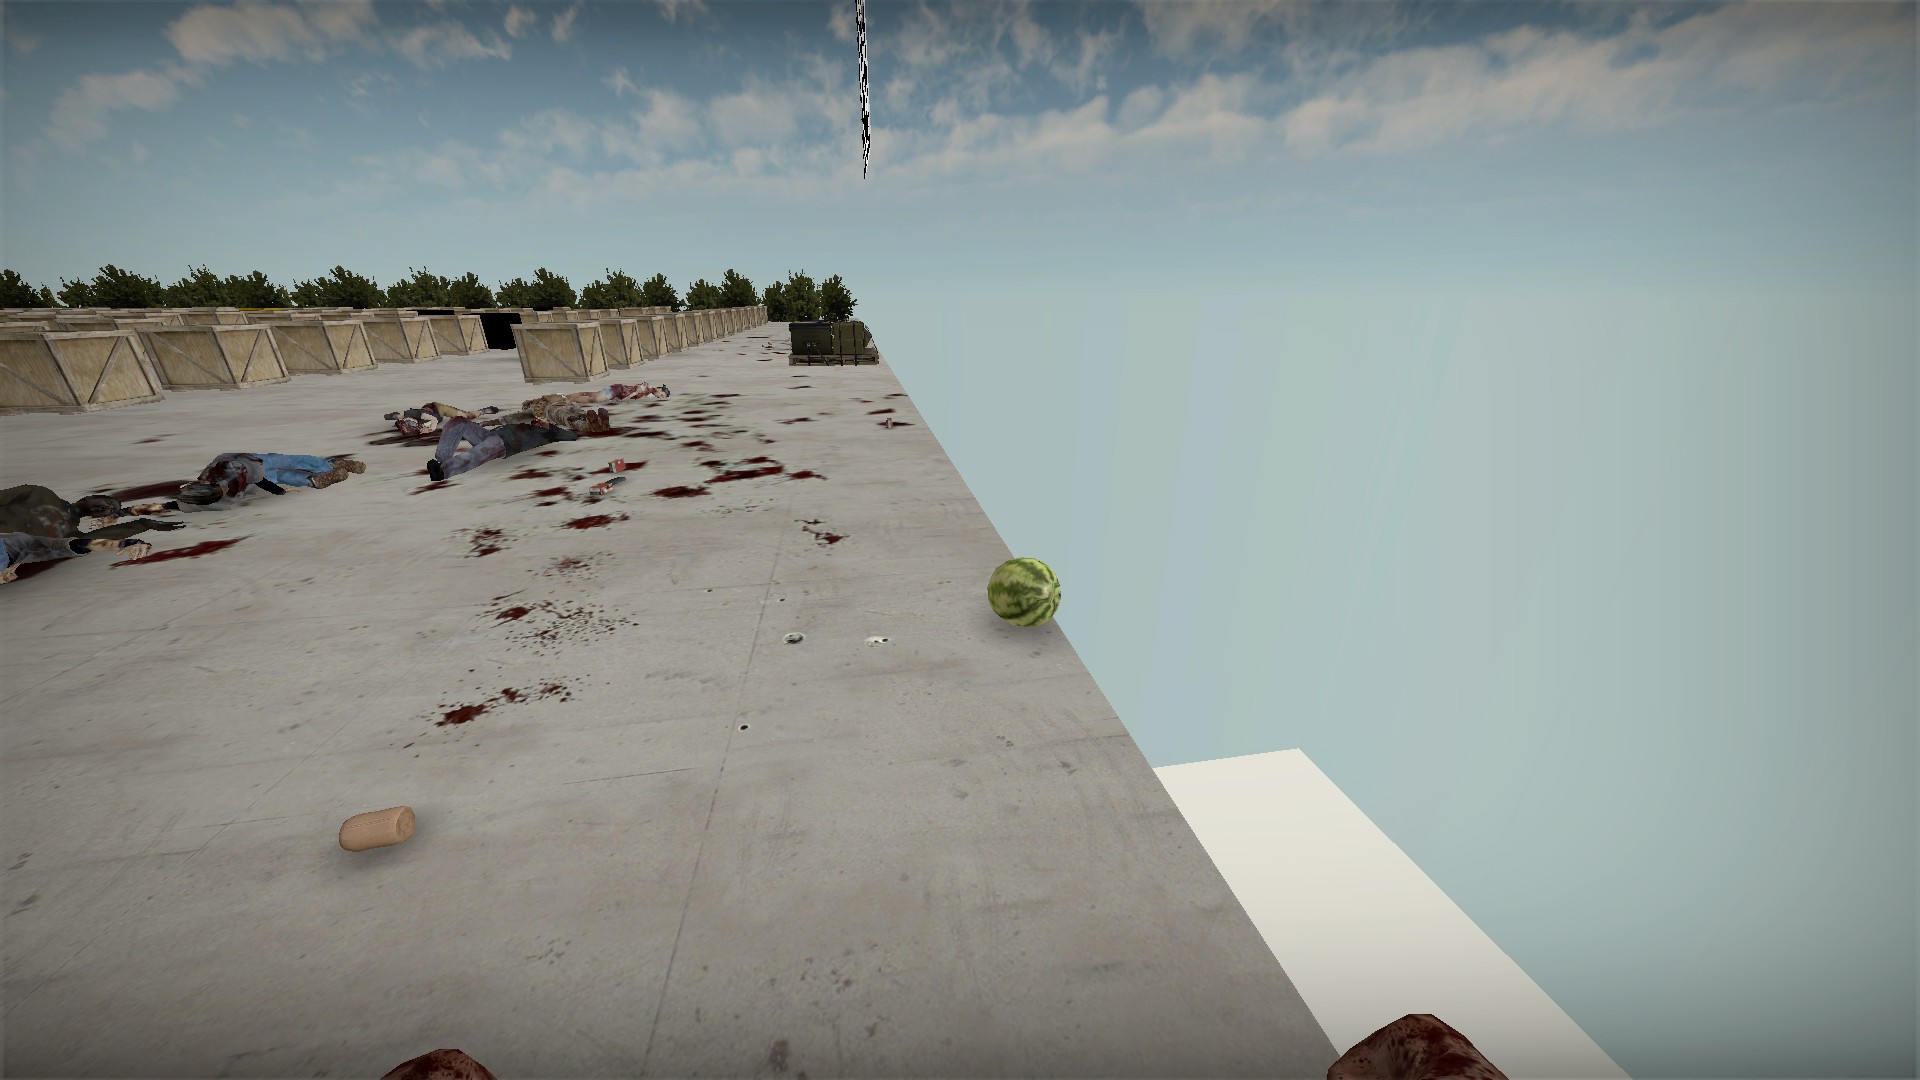
Green watermelons don't do anything. They were likely intended to work with Skill B
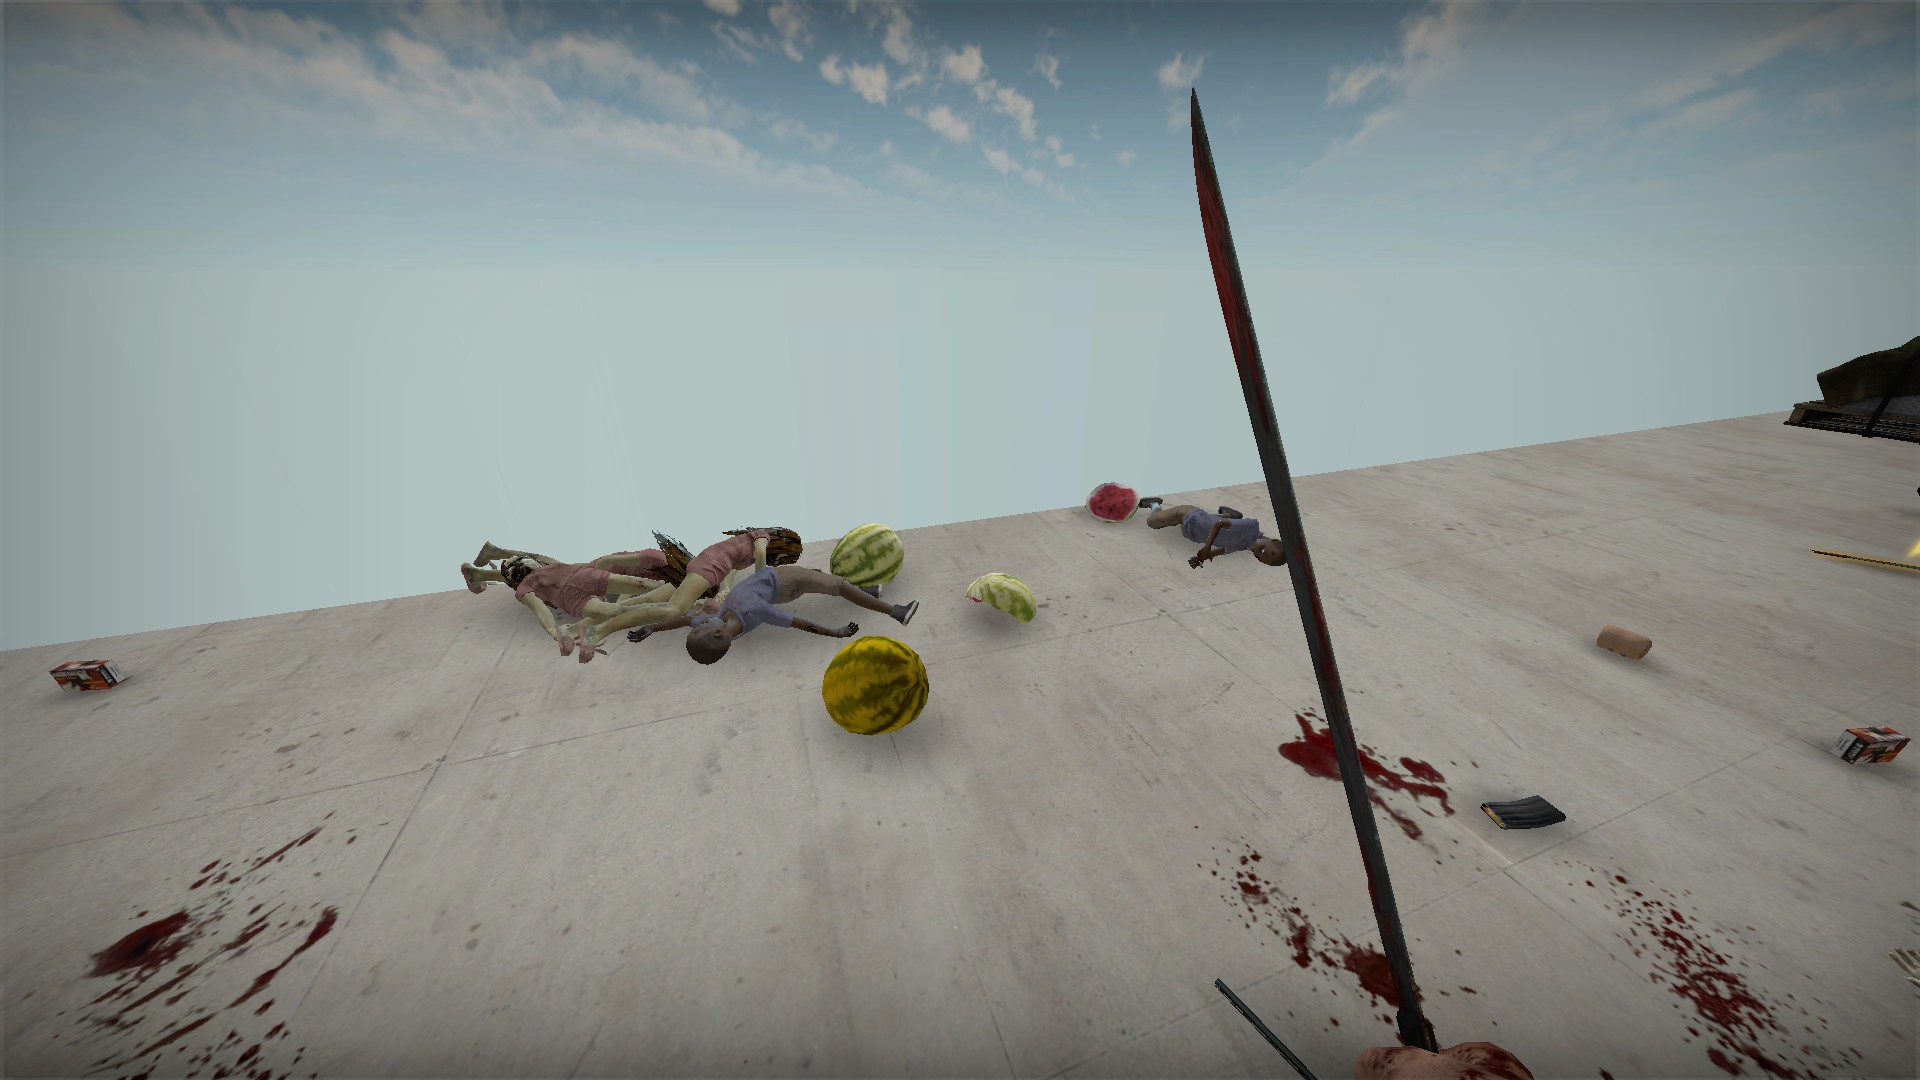
You will occasionally get a yellow watermelon among the greens but it also does not do anything
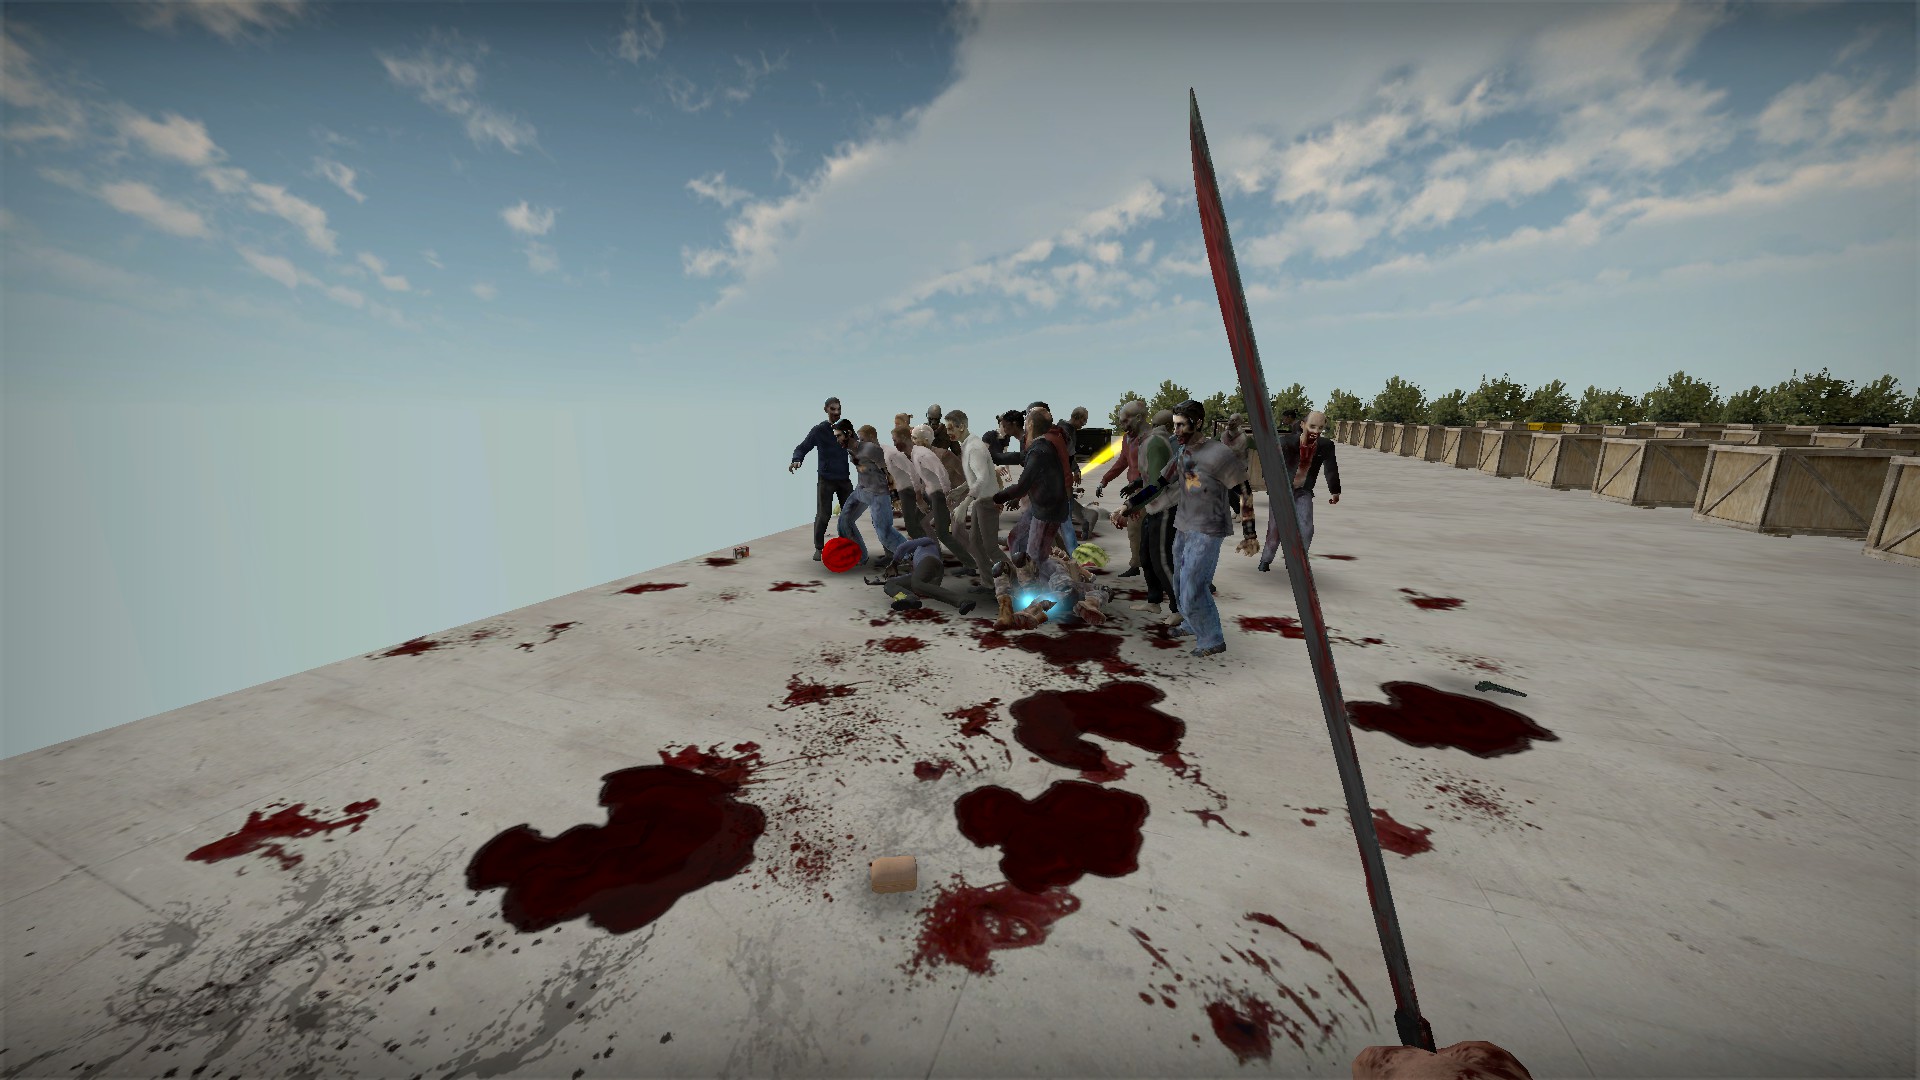
Red watermelons will lure zombies
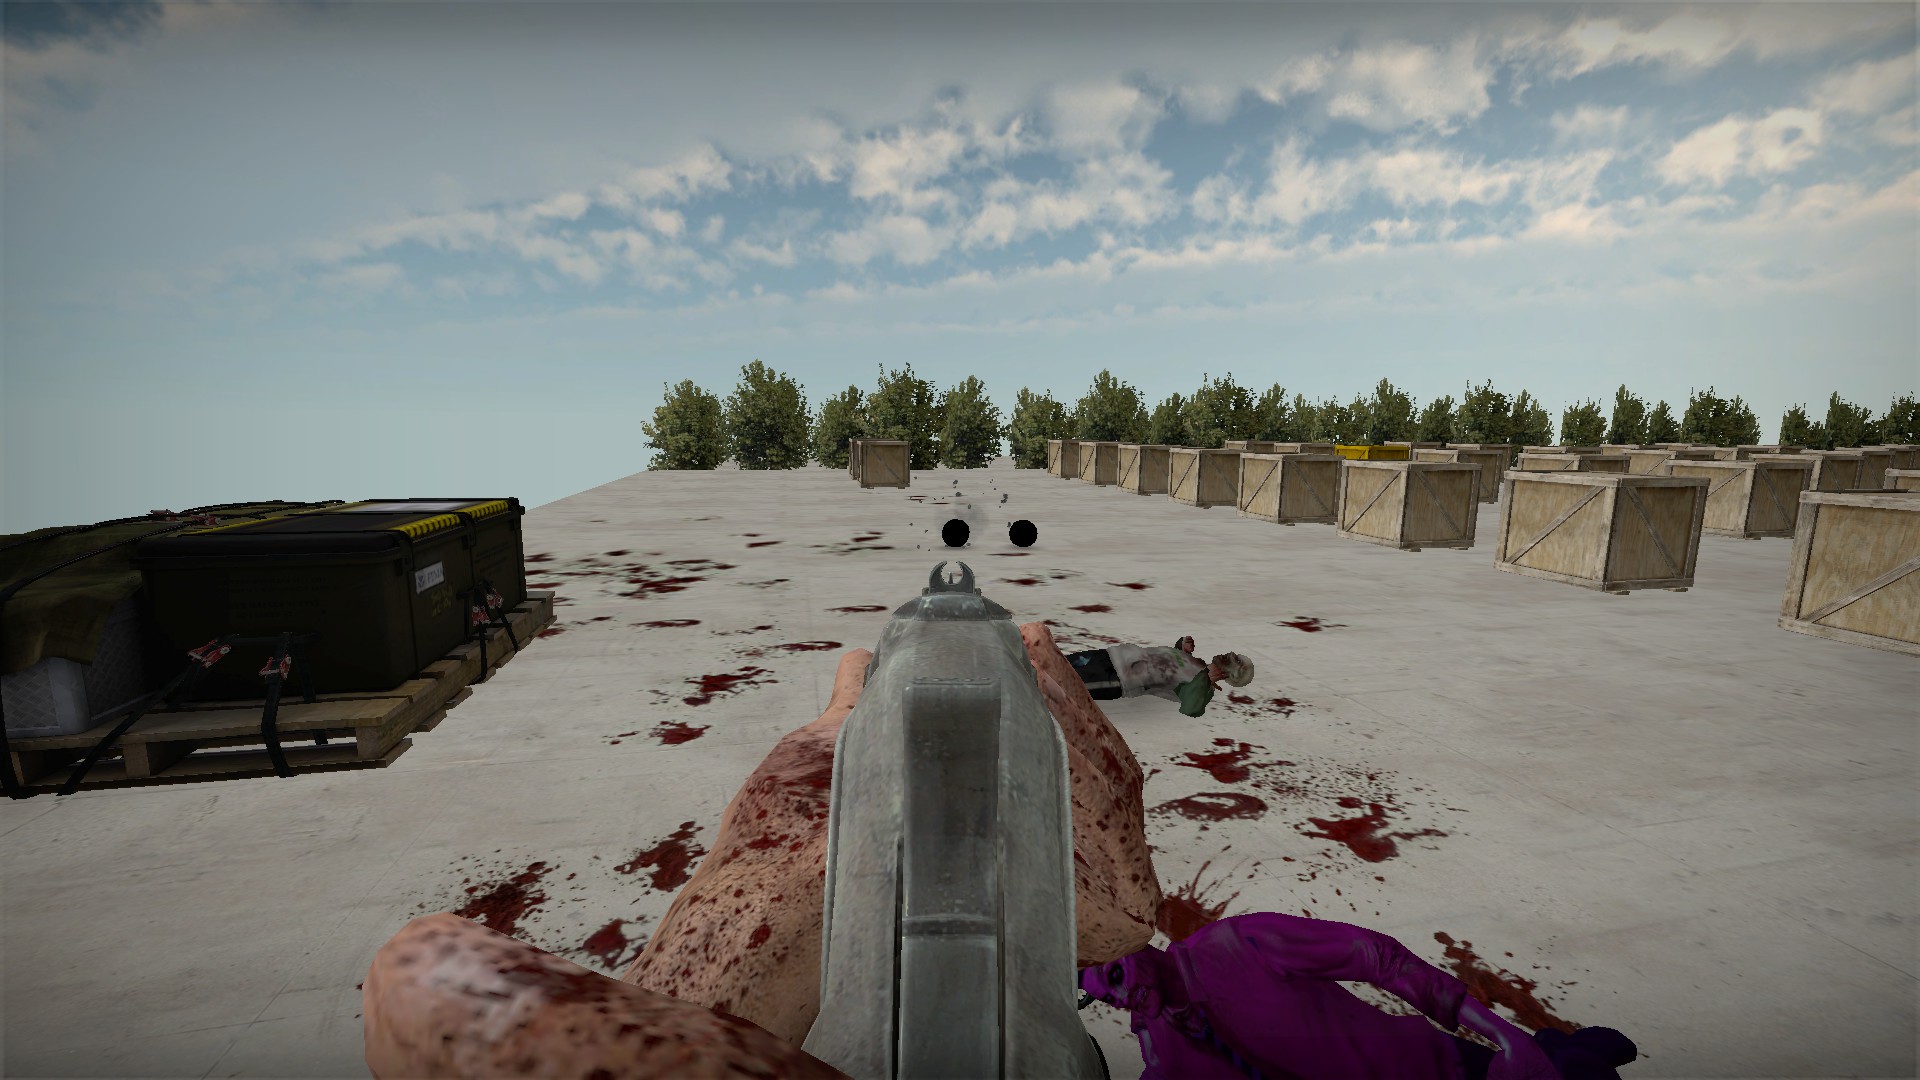
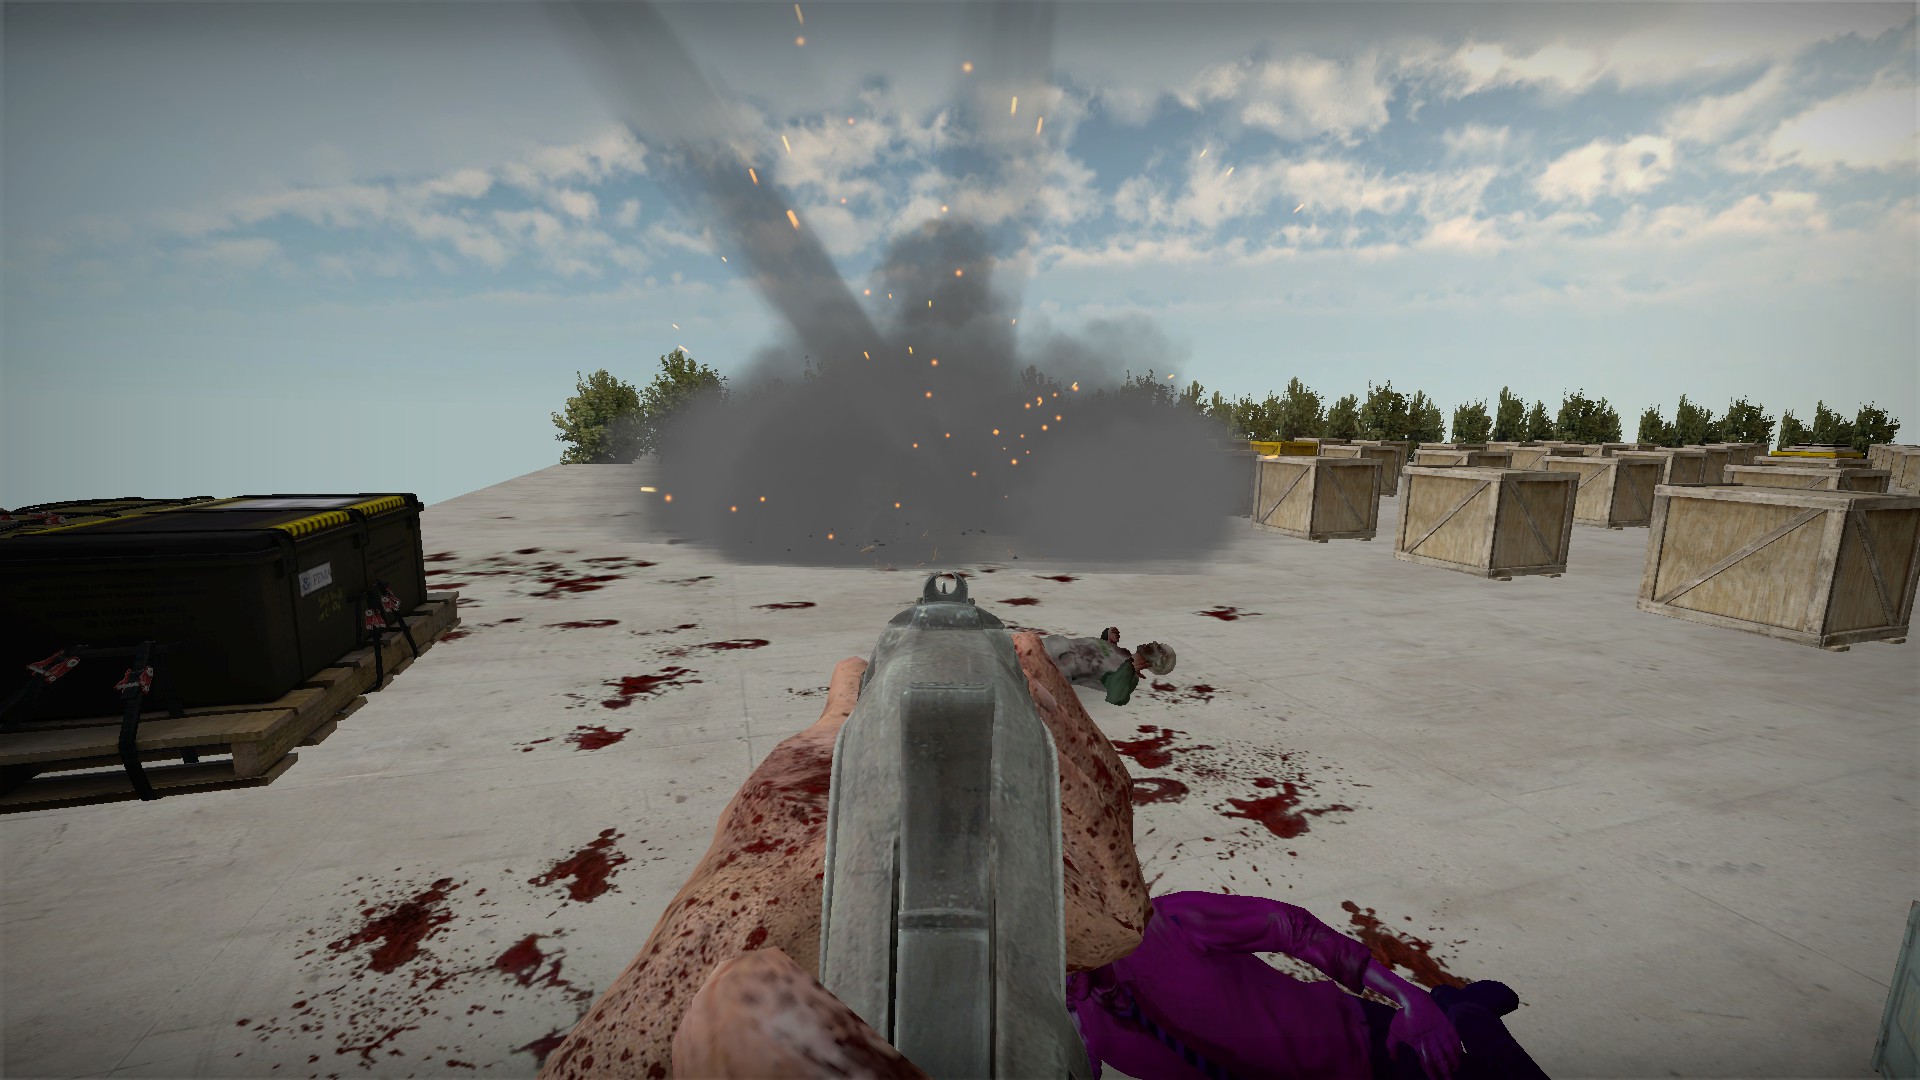
Black watermelons explode when hit or shot. The explosions will not damage players Star Meteorite machete
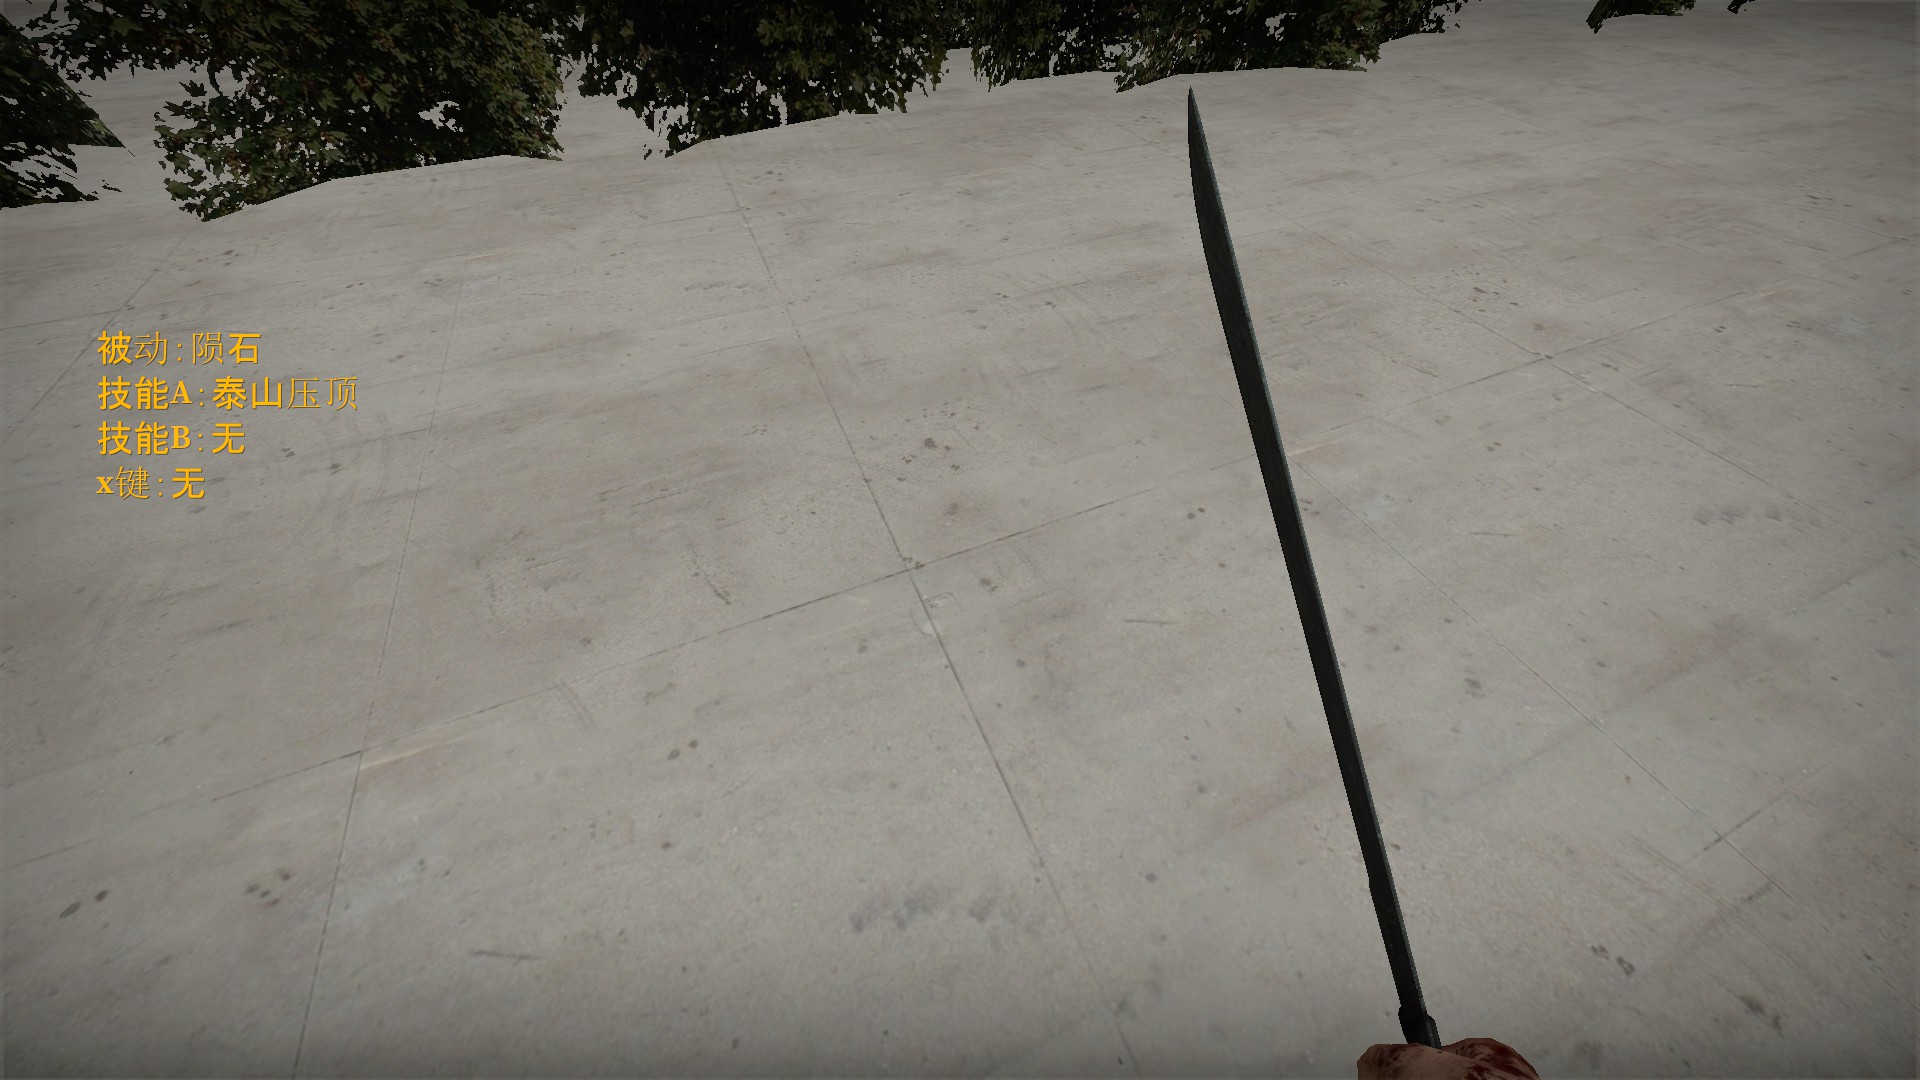
Passive: Meteorite, Skill A: Mount Tai pressing down, Skill B: None, X Key: None
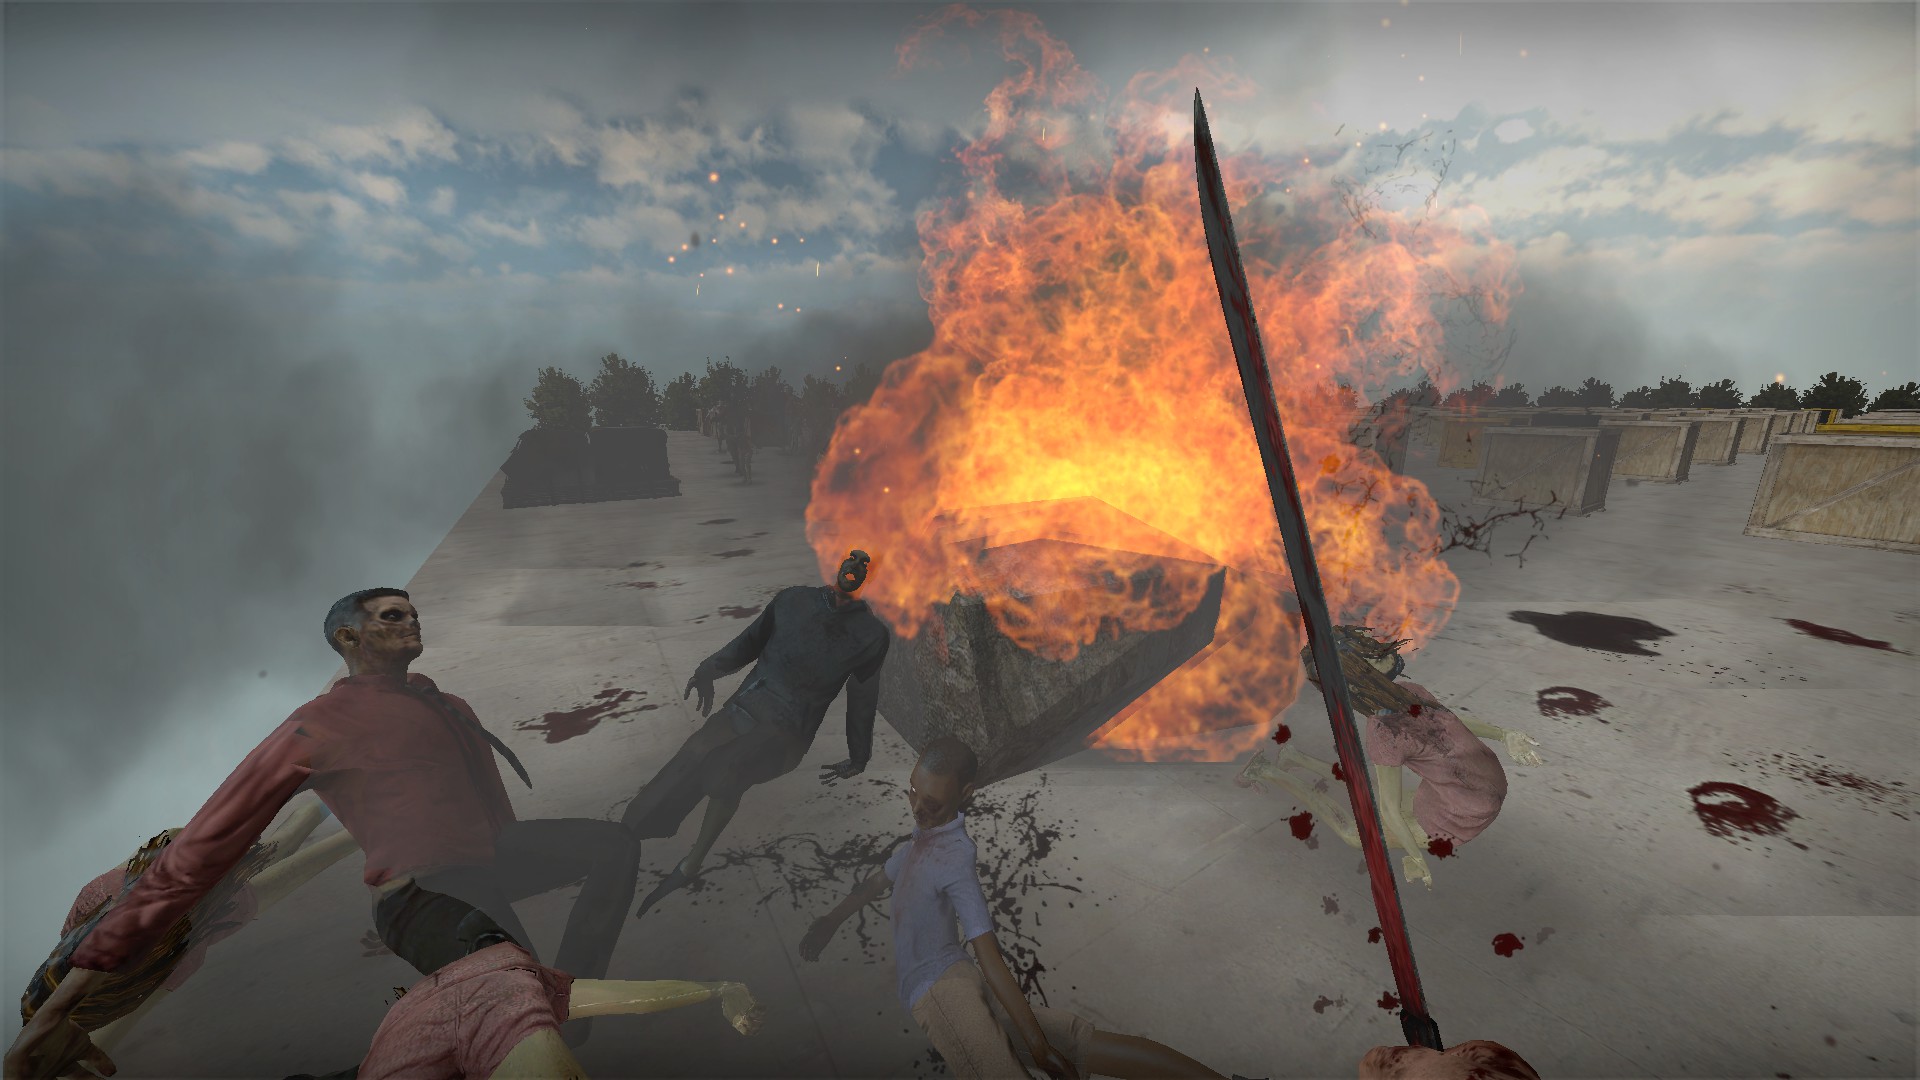
Slashing with this machete will occasionally drop a meteor on your target Moon Slash machete
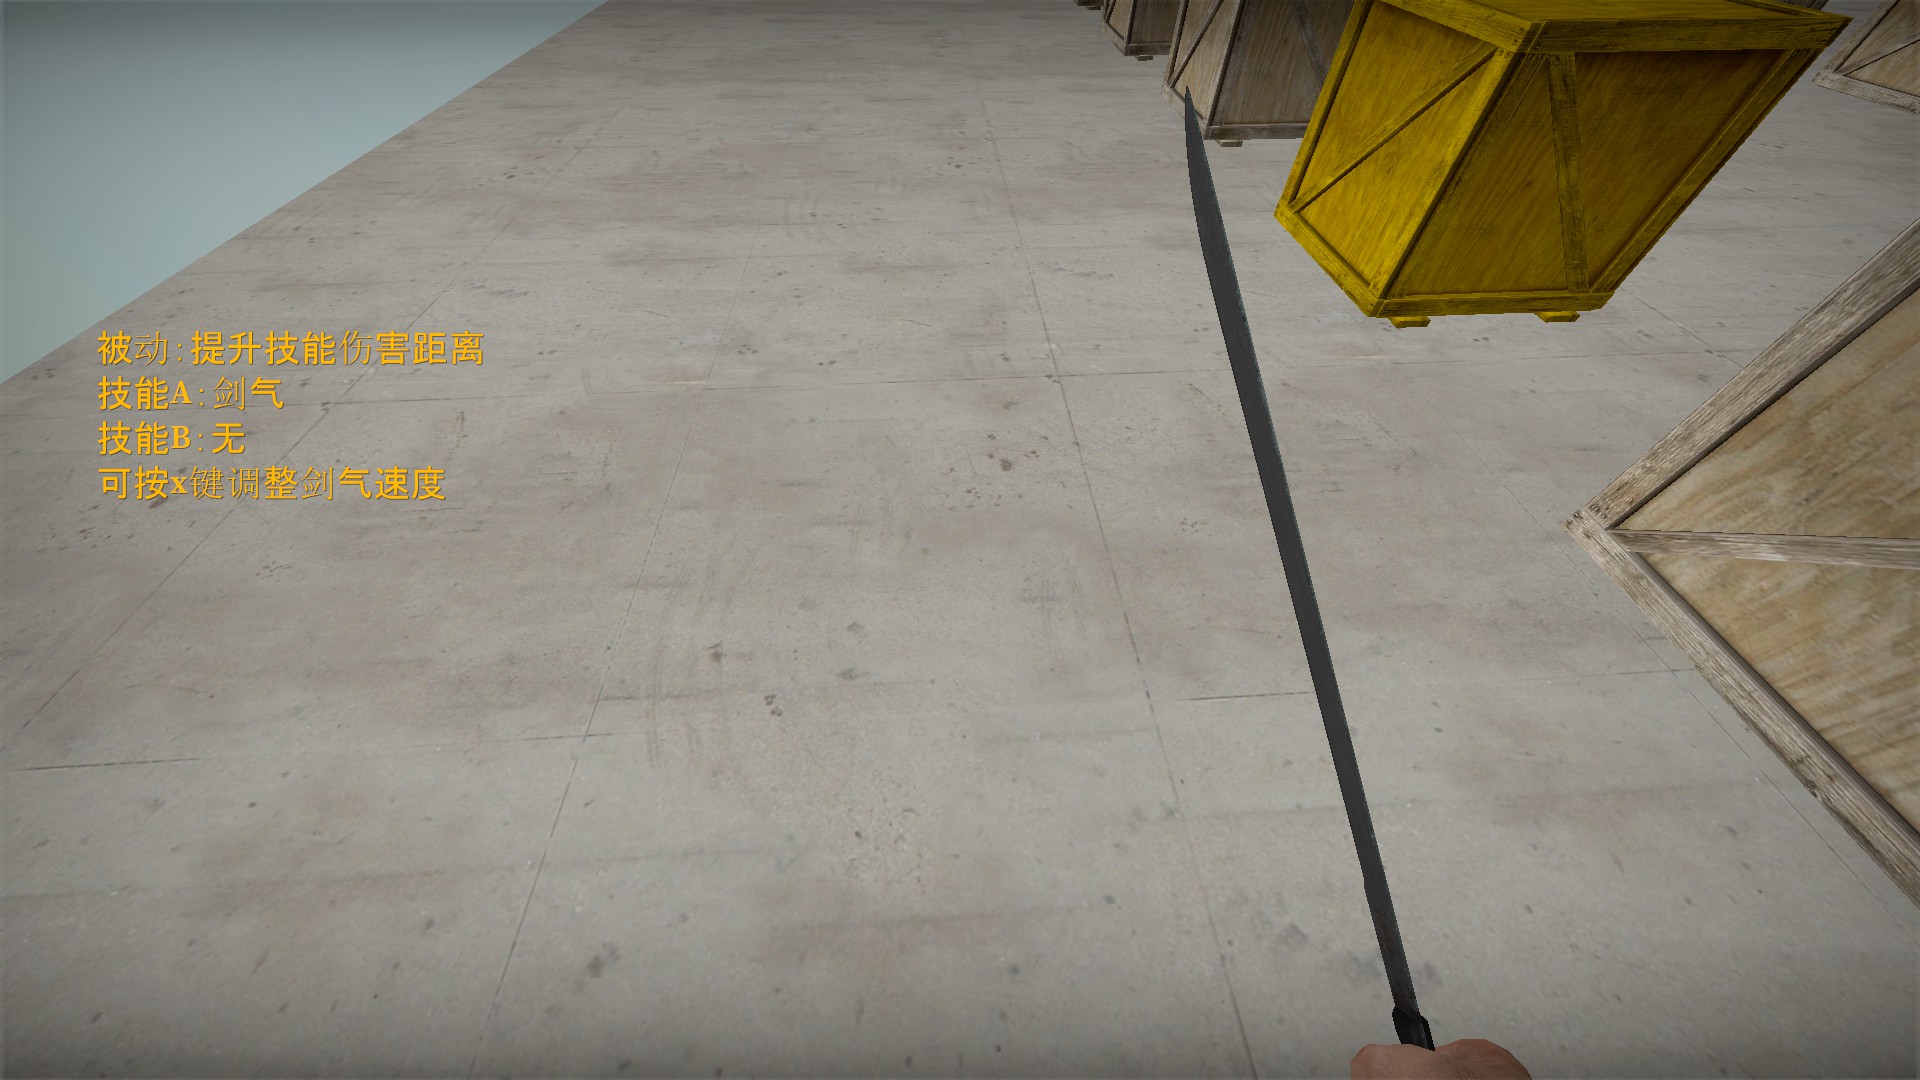
Passive: increases skill damage range, Skill A: Sword Qi, Skill B: None, You can press the X key to adjust the speed of the sword energy
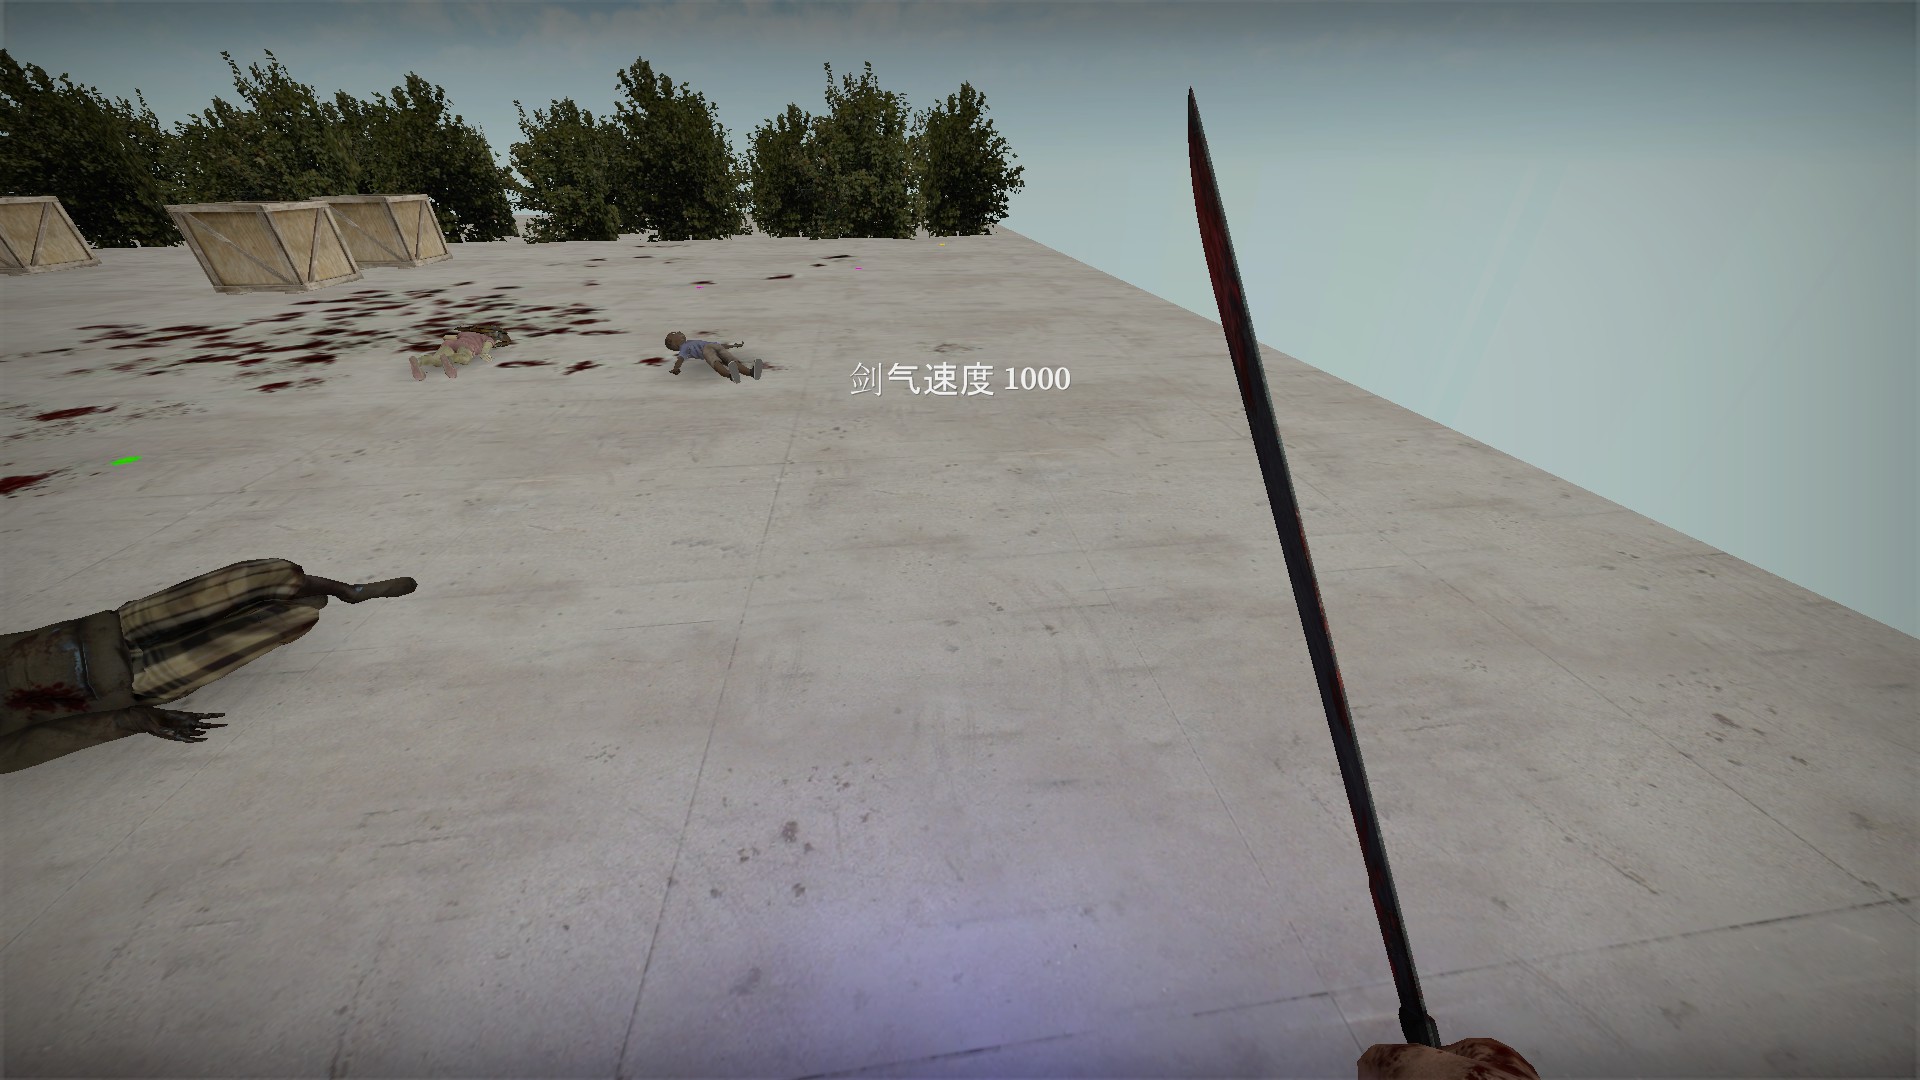
This machete recharges and the X key will toggle between 200-1000, but Skill A does not work
nmo_diaotu1_v5_3 (continued)
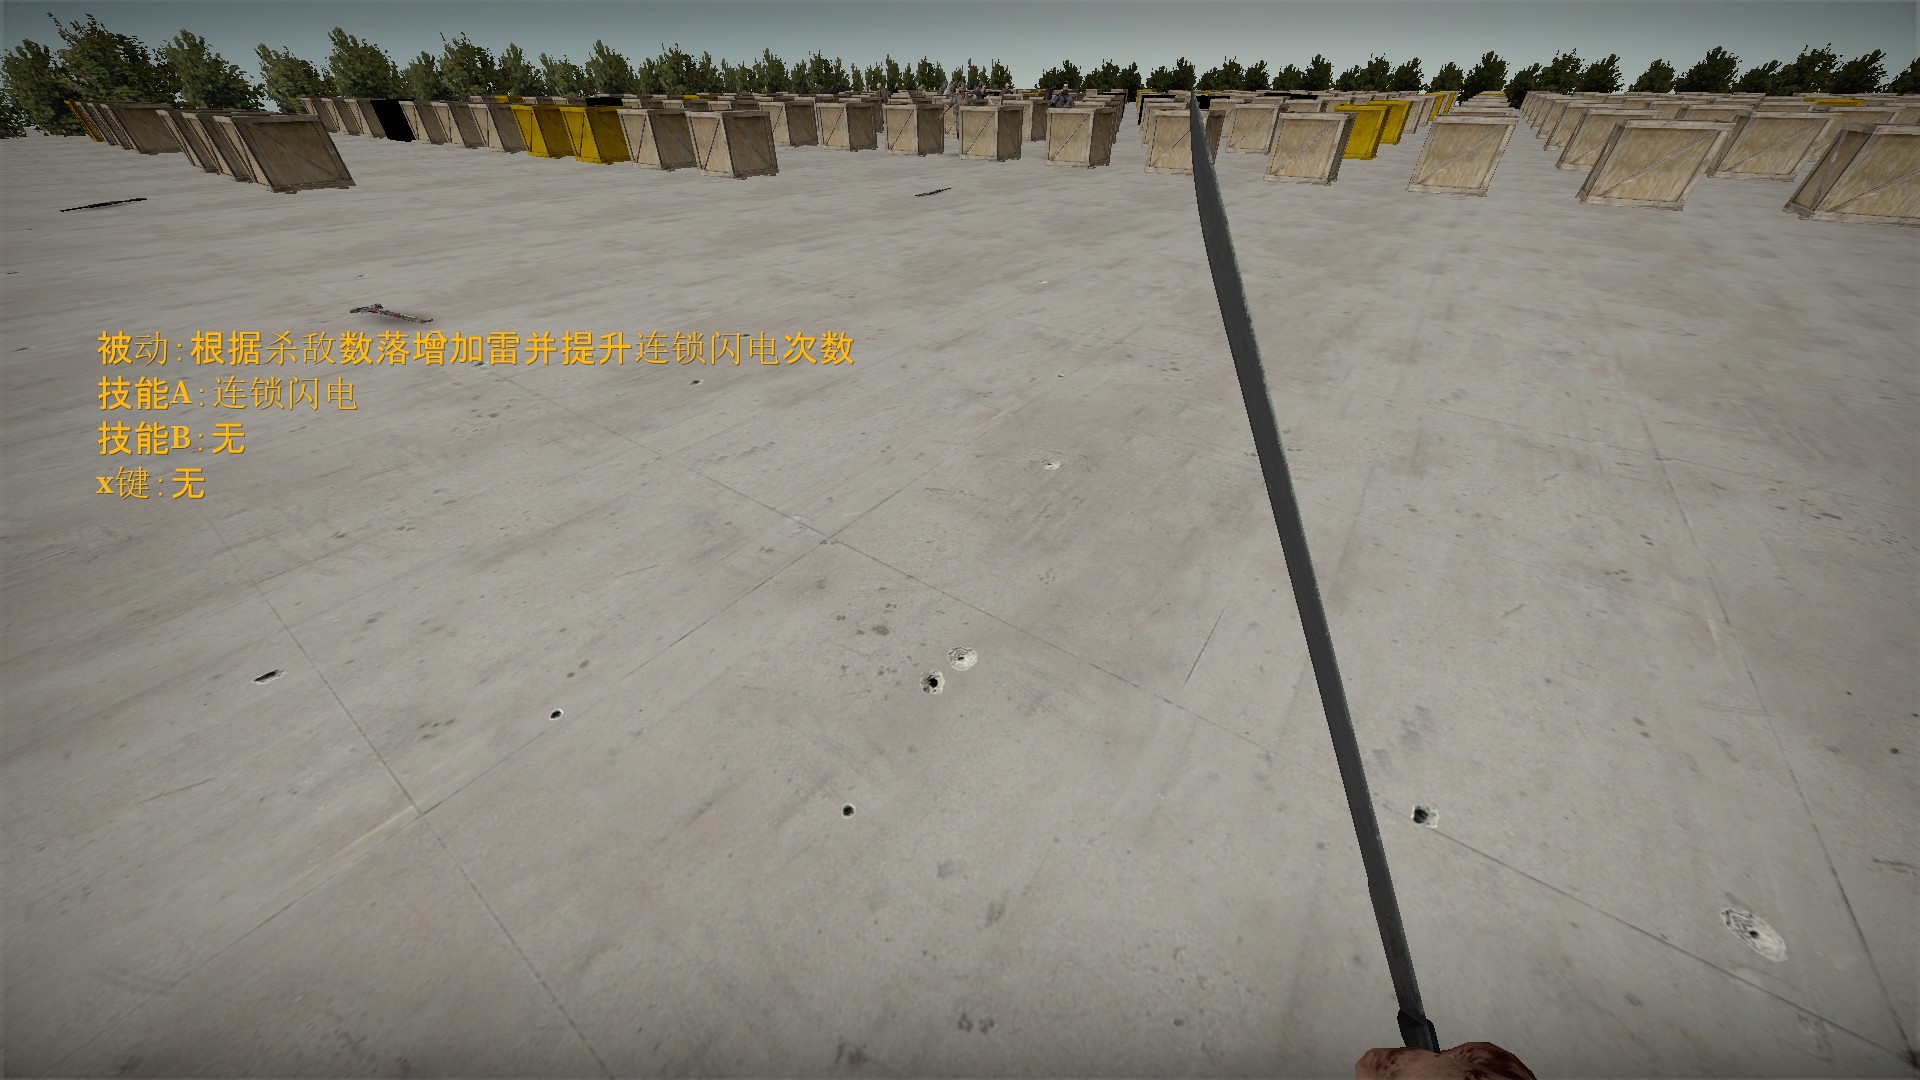
Passive: increases the number of lightning strikes and chain lightning counts based on the number of enemies killed, Skill A: Chain lightning, Skill B: None, X key: None
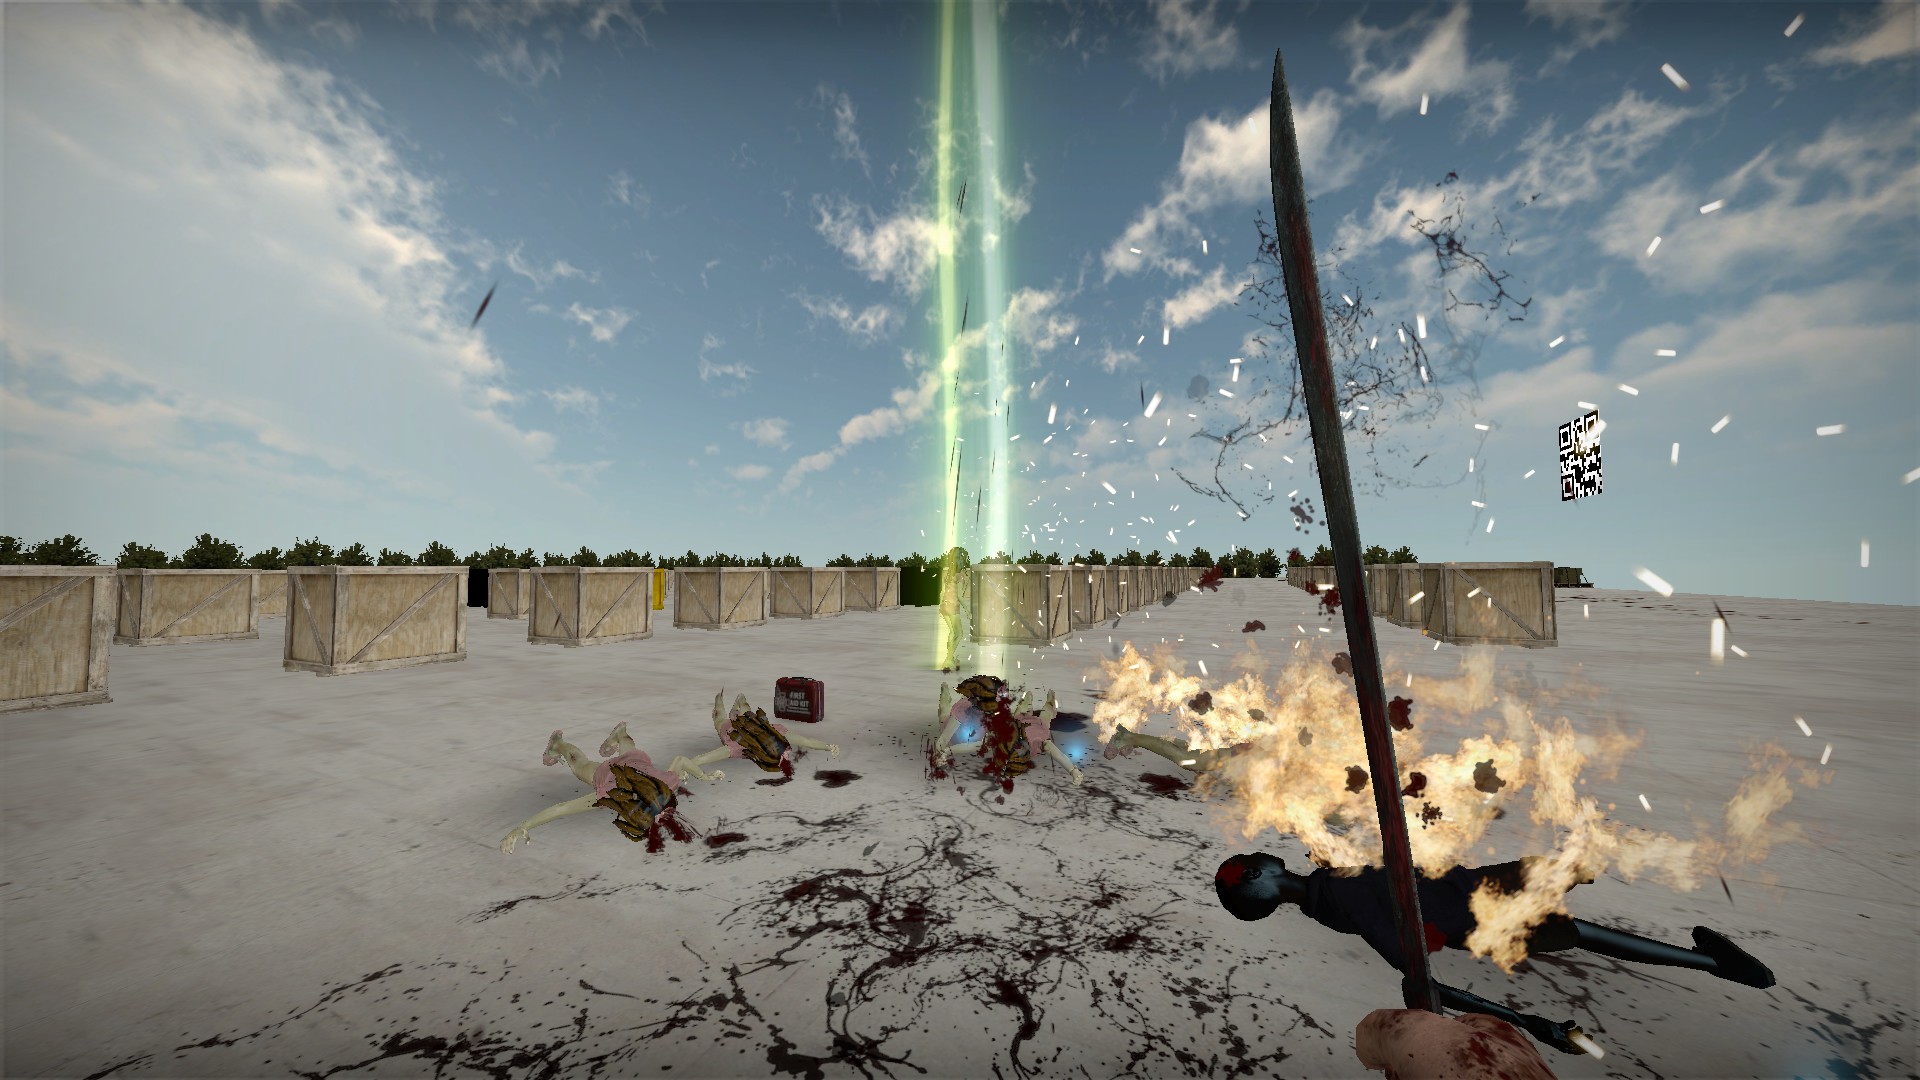
Killing enemies will charge and then release a green lightning attack. Killing multiple enemies with the final charging strike will result in multiple lightning strikes Yellow Flash machete
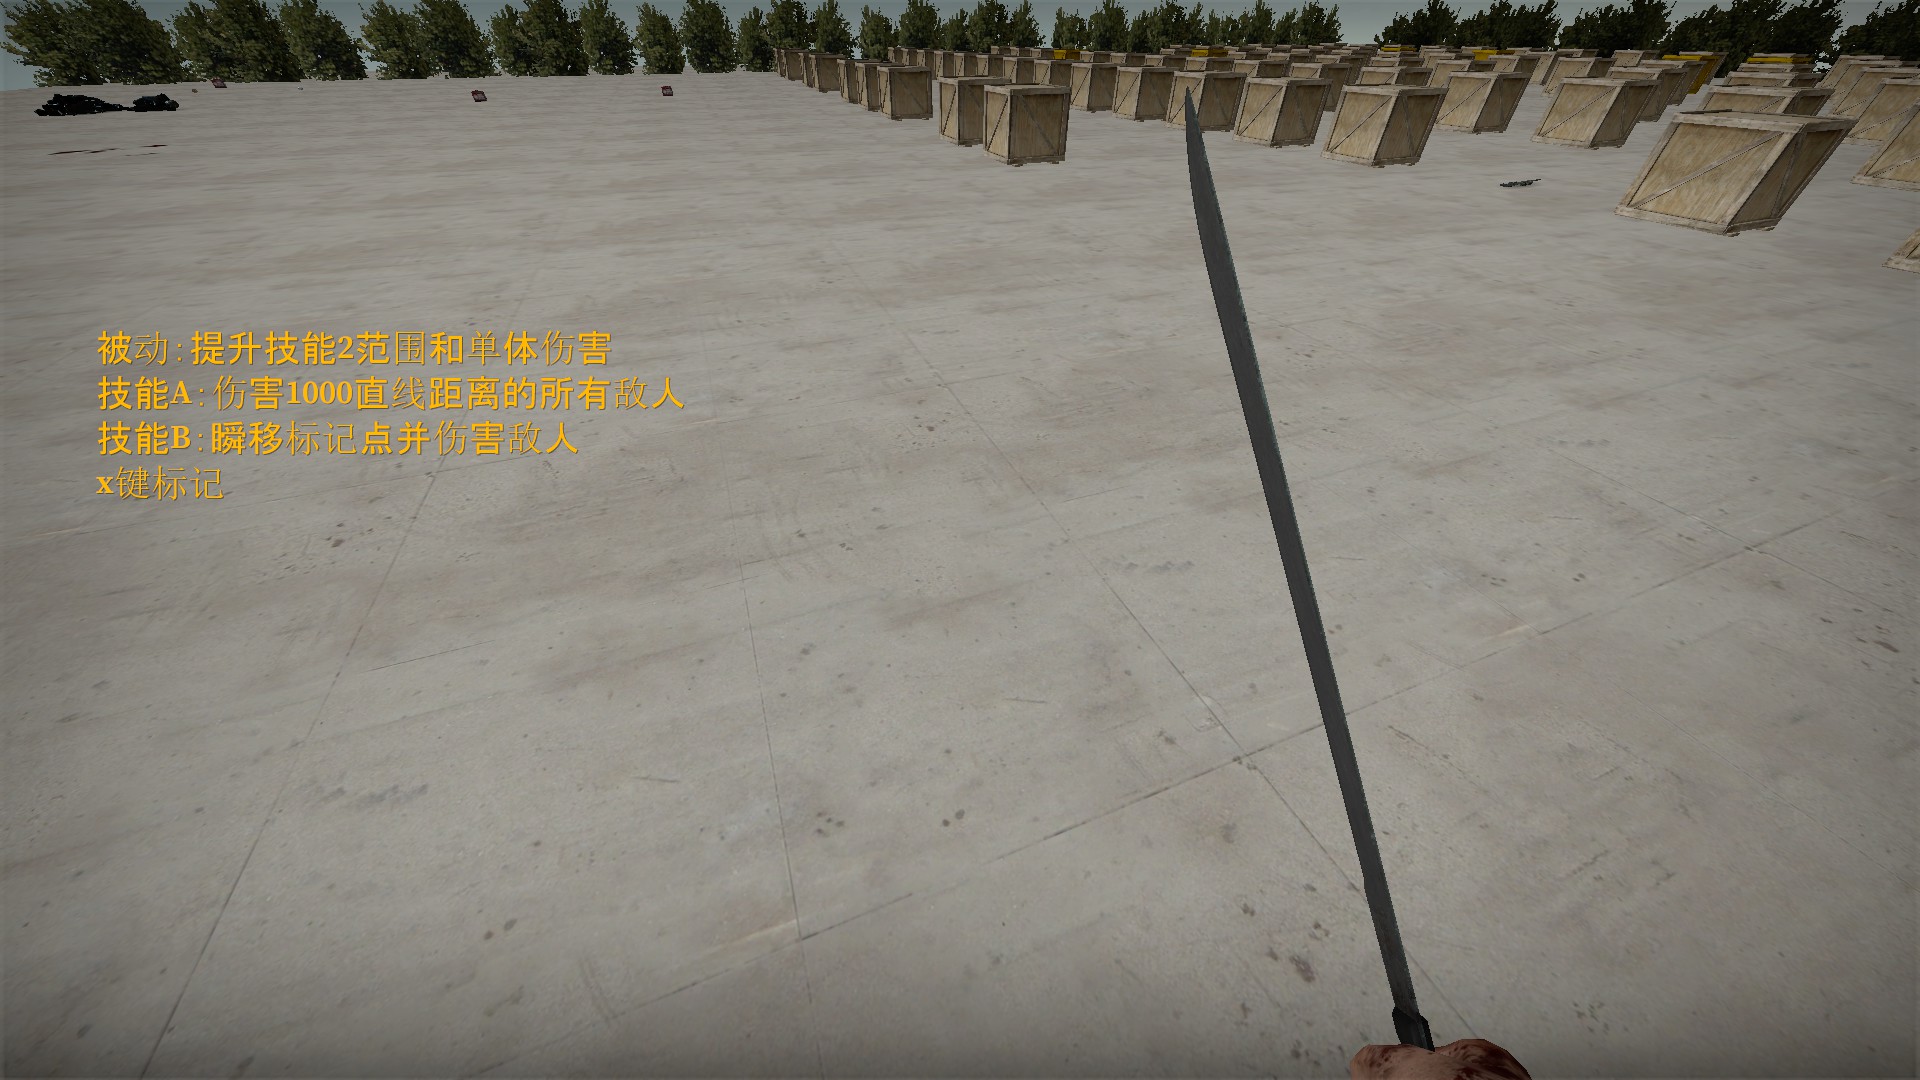
Passive: increases the range and single-target damage of Skill B, Skill A: Deals damage to all enemies within a straight line of 1000, Skill B: Teleport to the marked point and damage enemies, X key: Mark
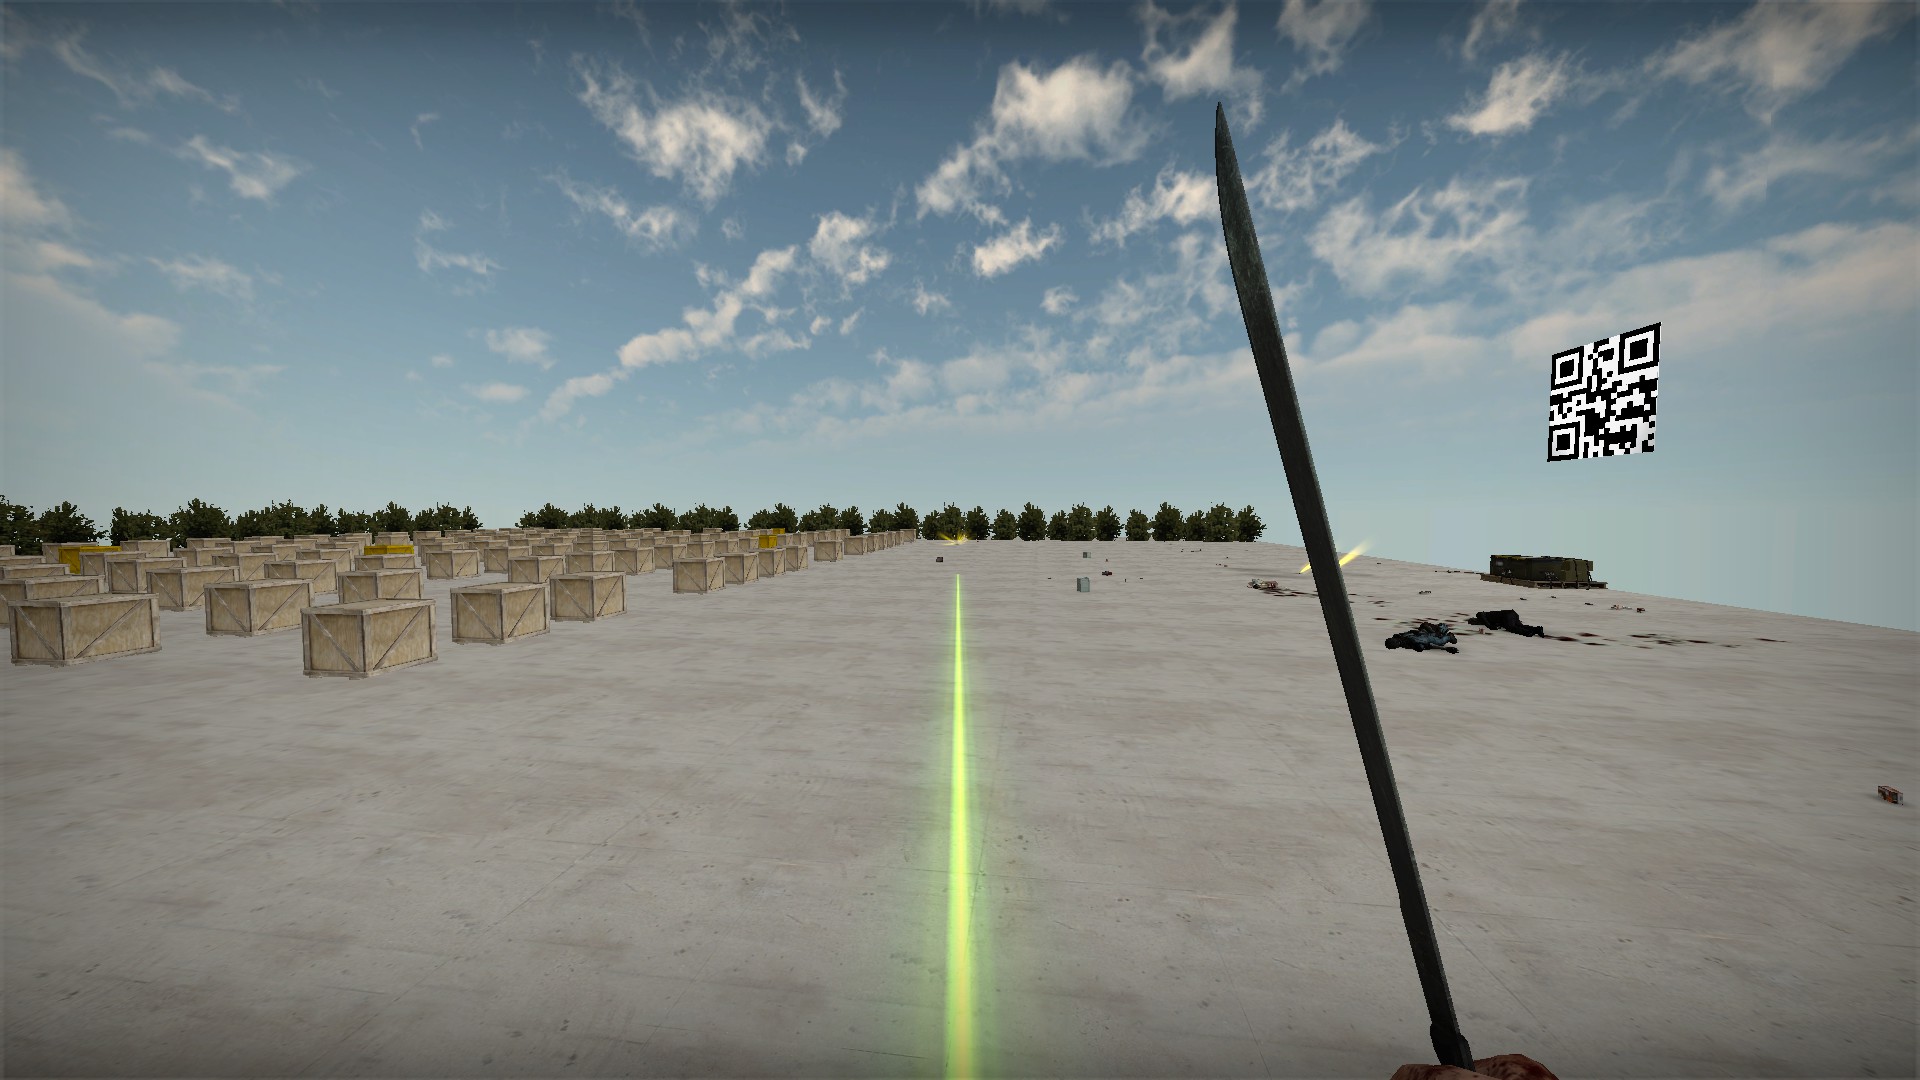
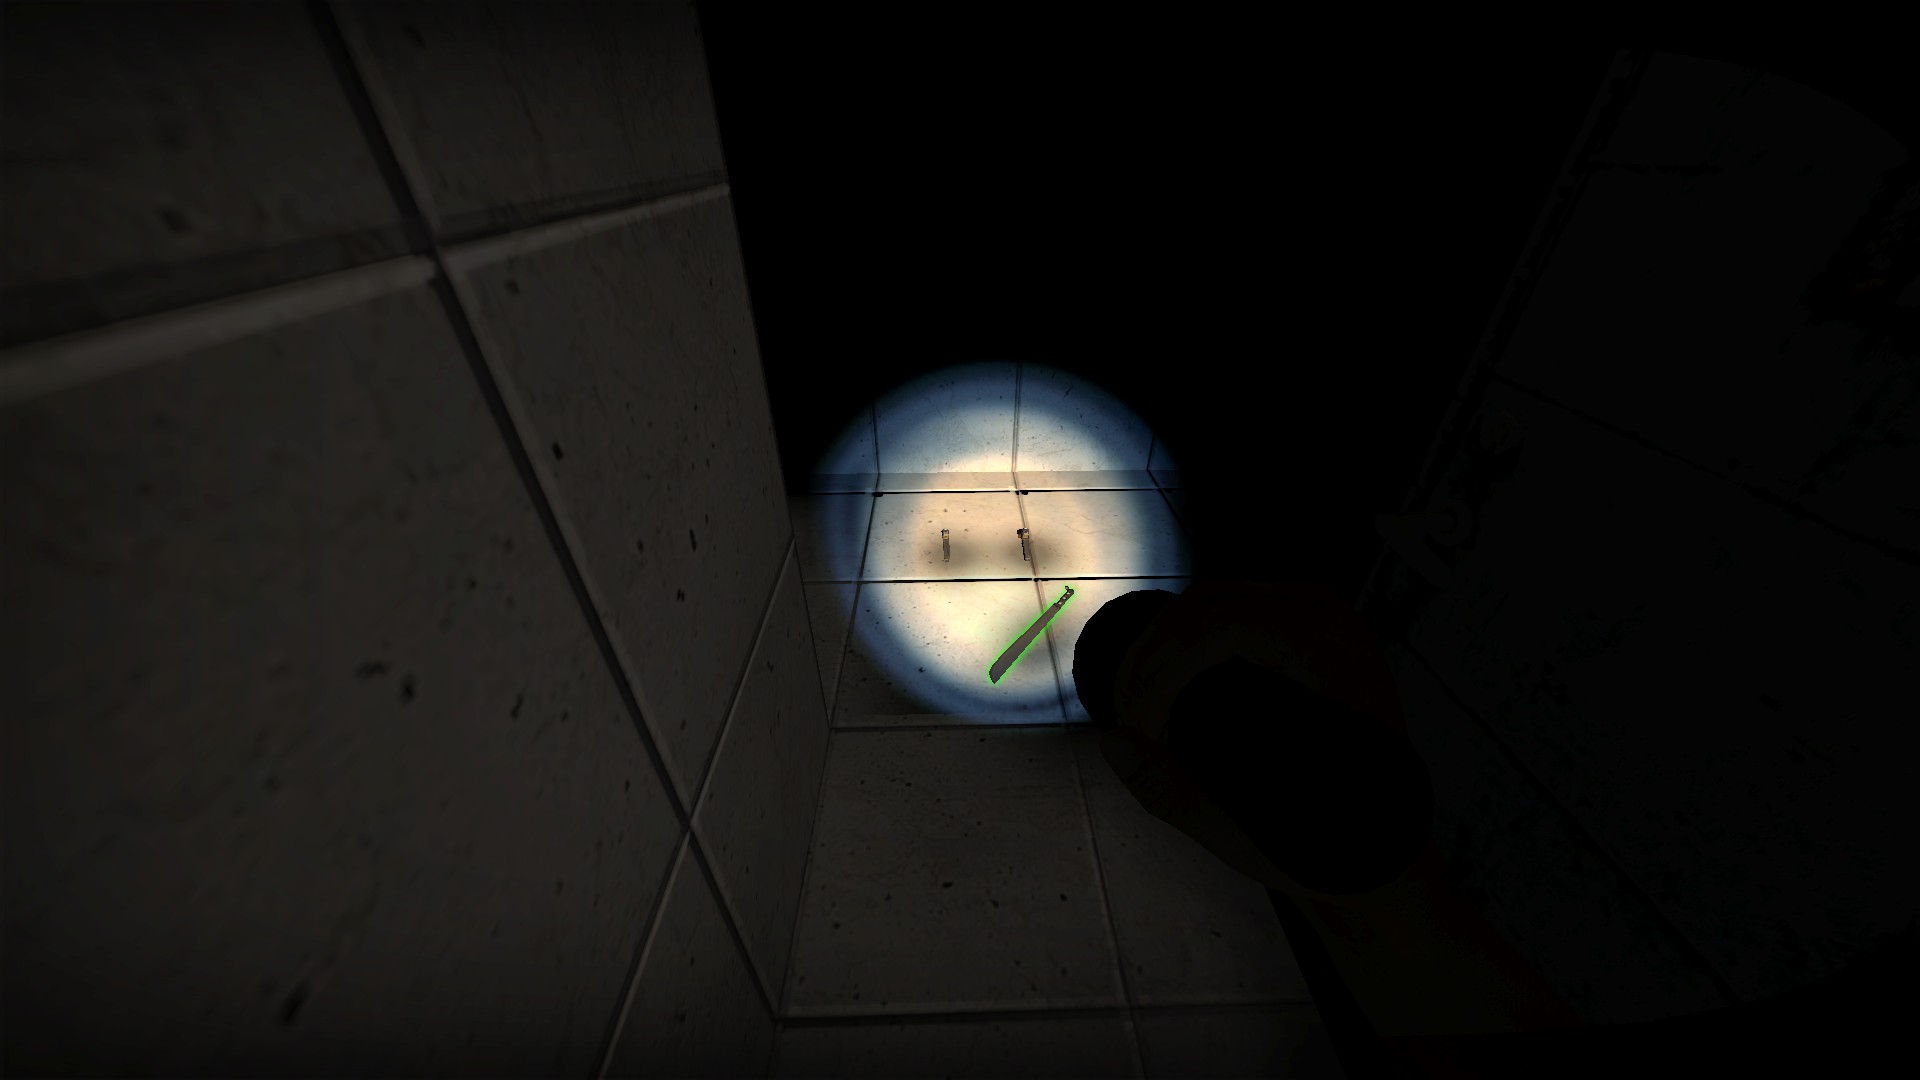
The Yellow Flash machete will also give you a green trail
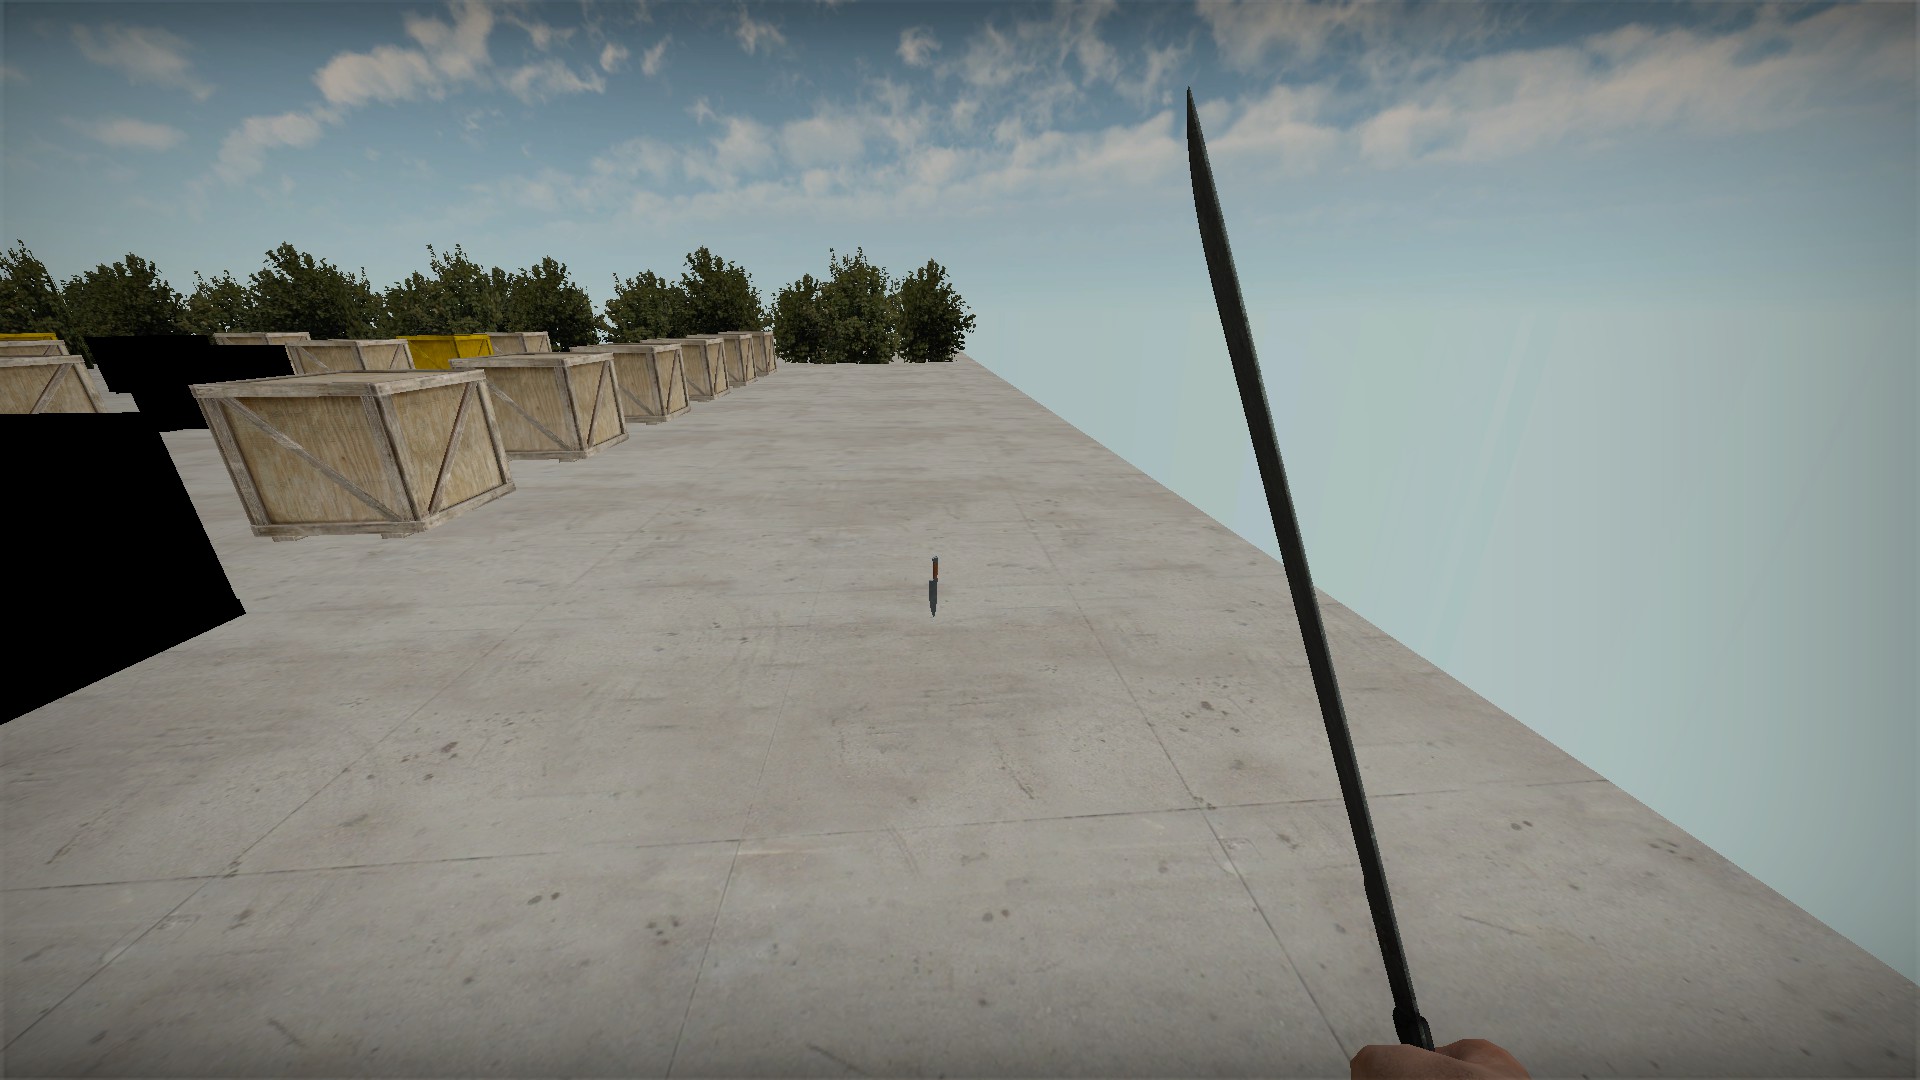
A knife will serve as the mark and can be moved with the X key
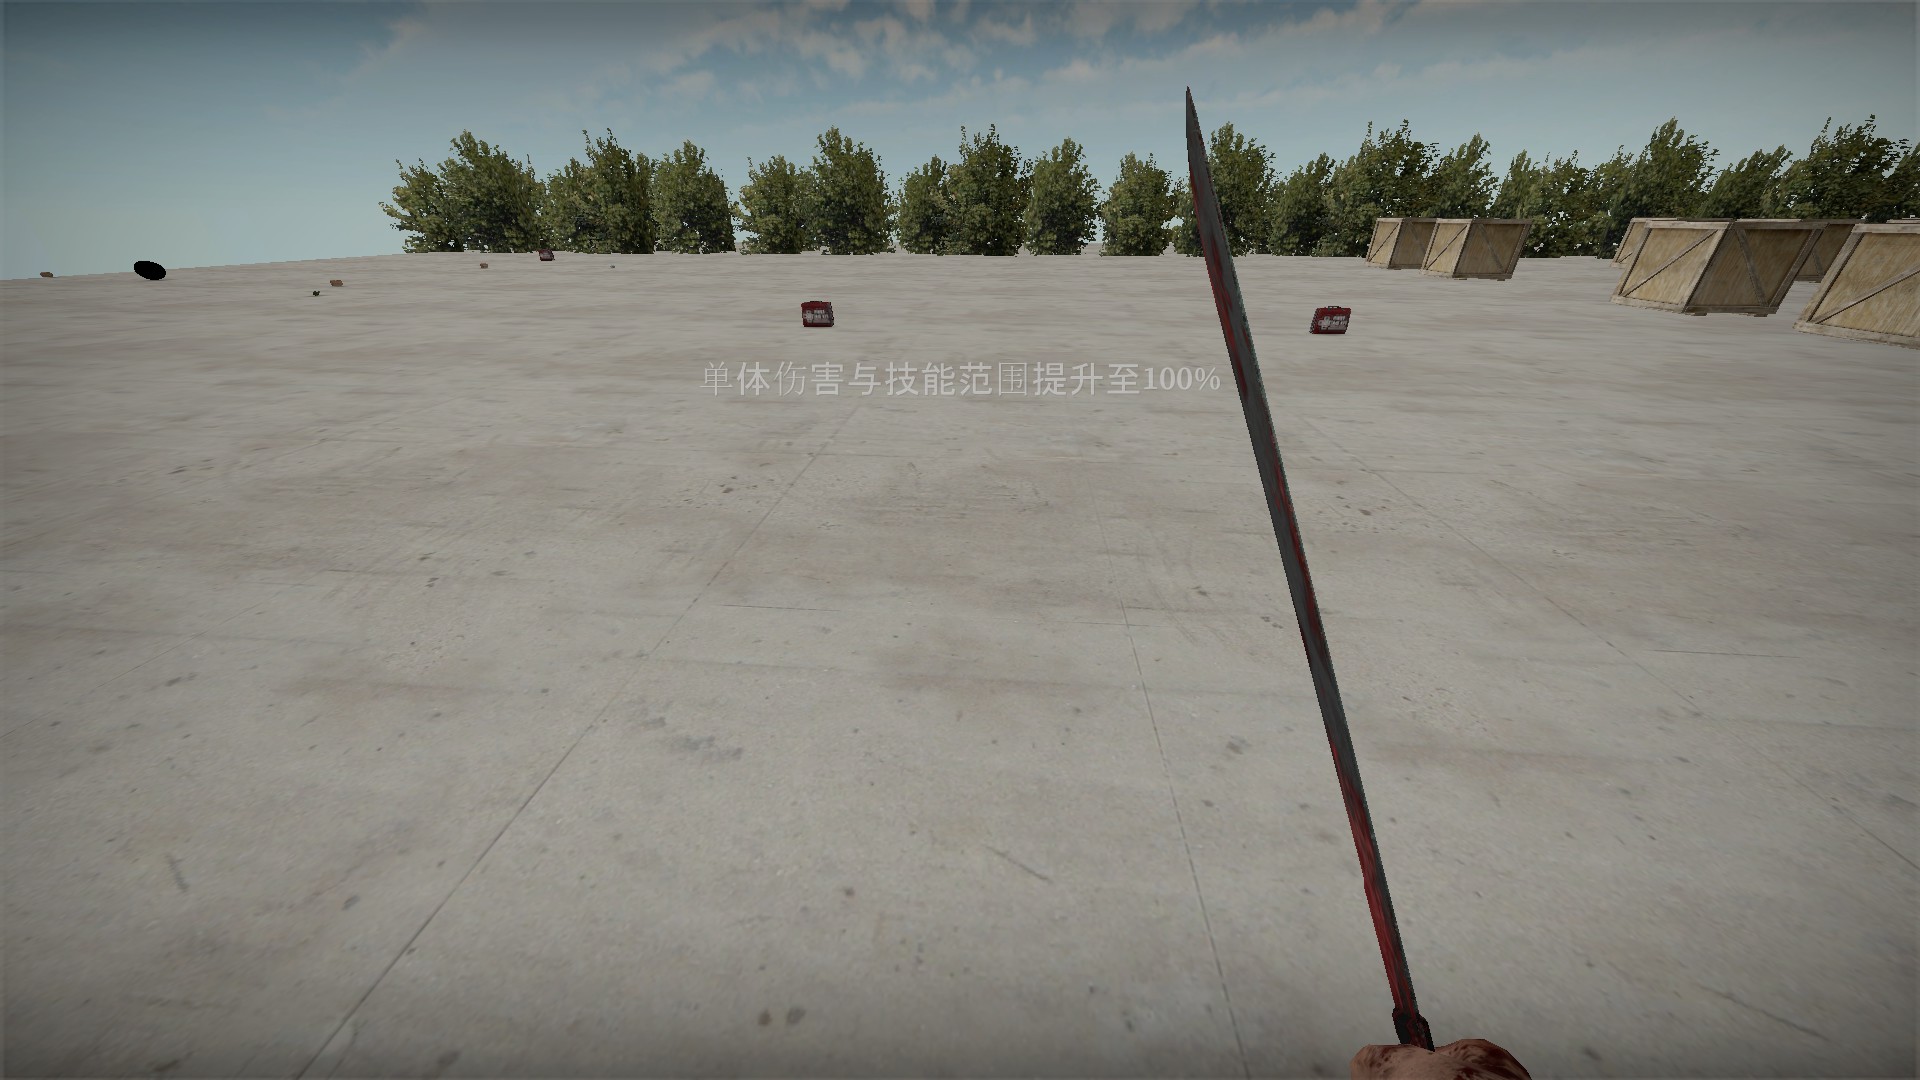
This machete will charge up, but Skill A and B do not work
Most boxes are bad
Bad effects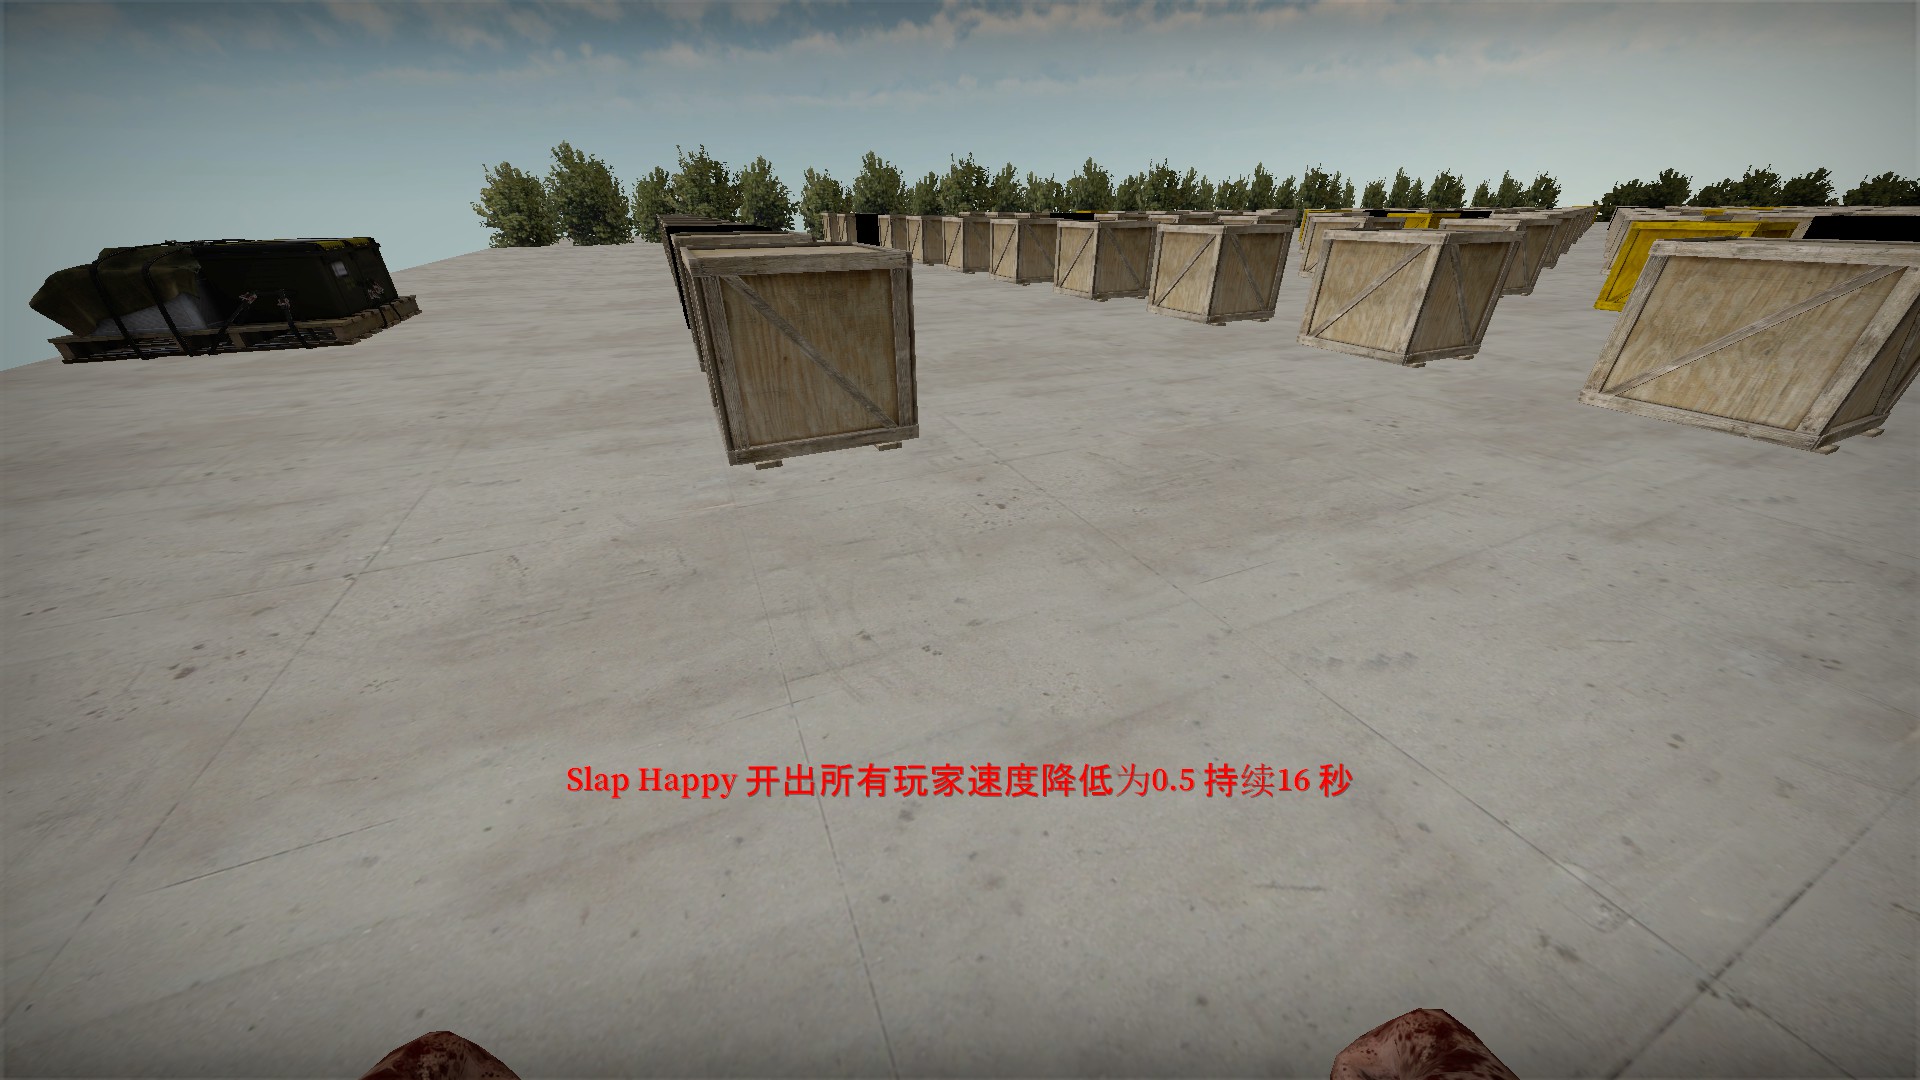
Slow all players to 0.9-0.5 speed for 5-20 seconds
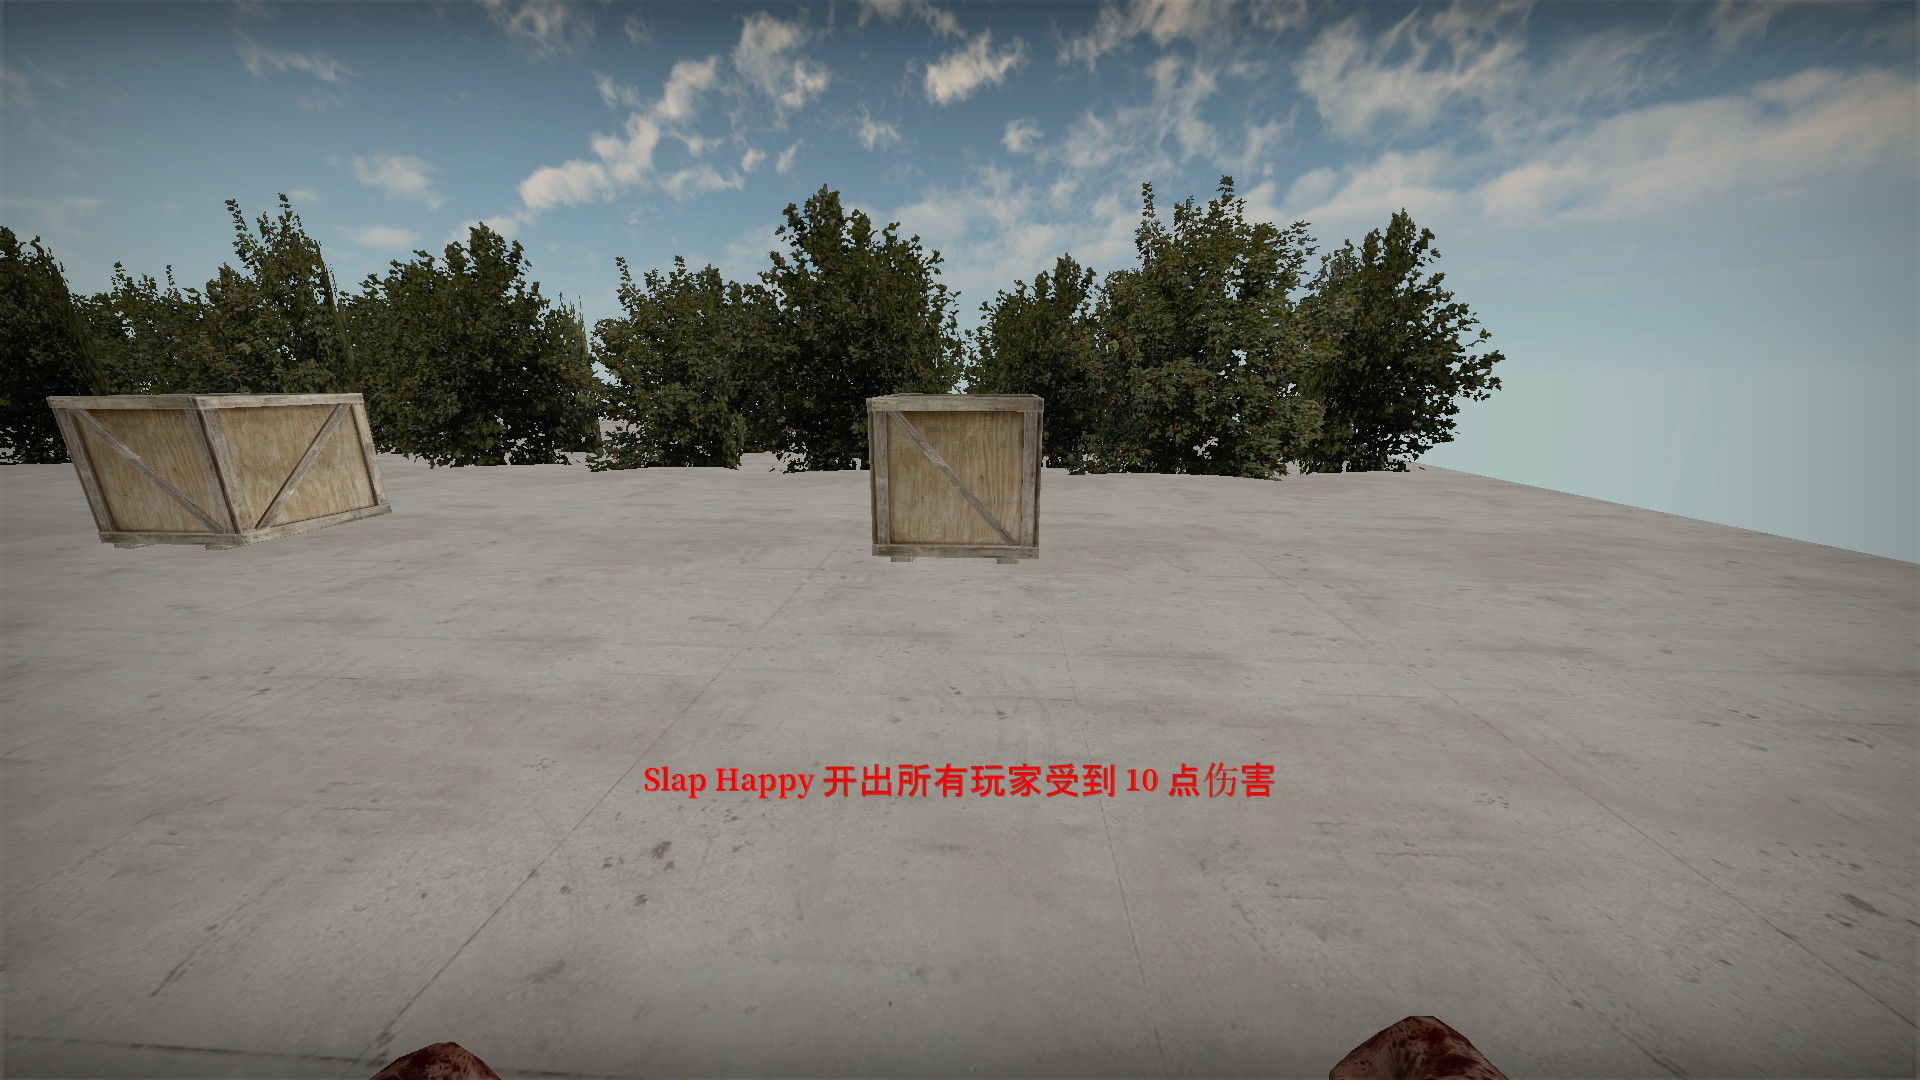
Damage all players by 1-10hp
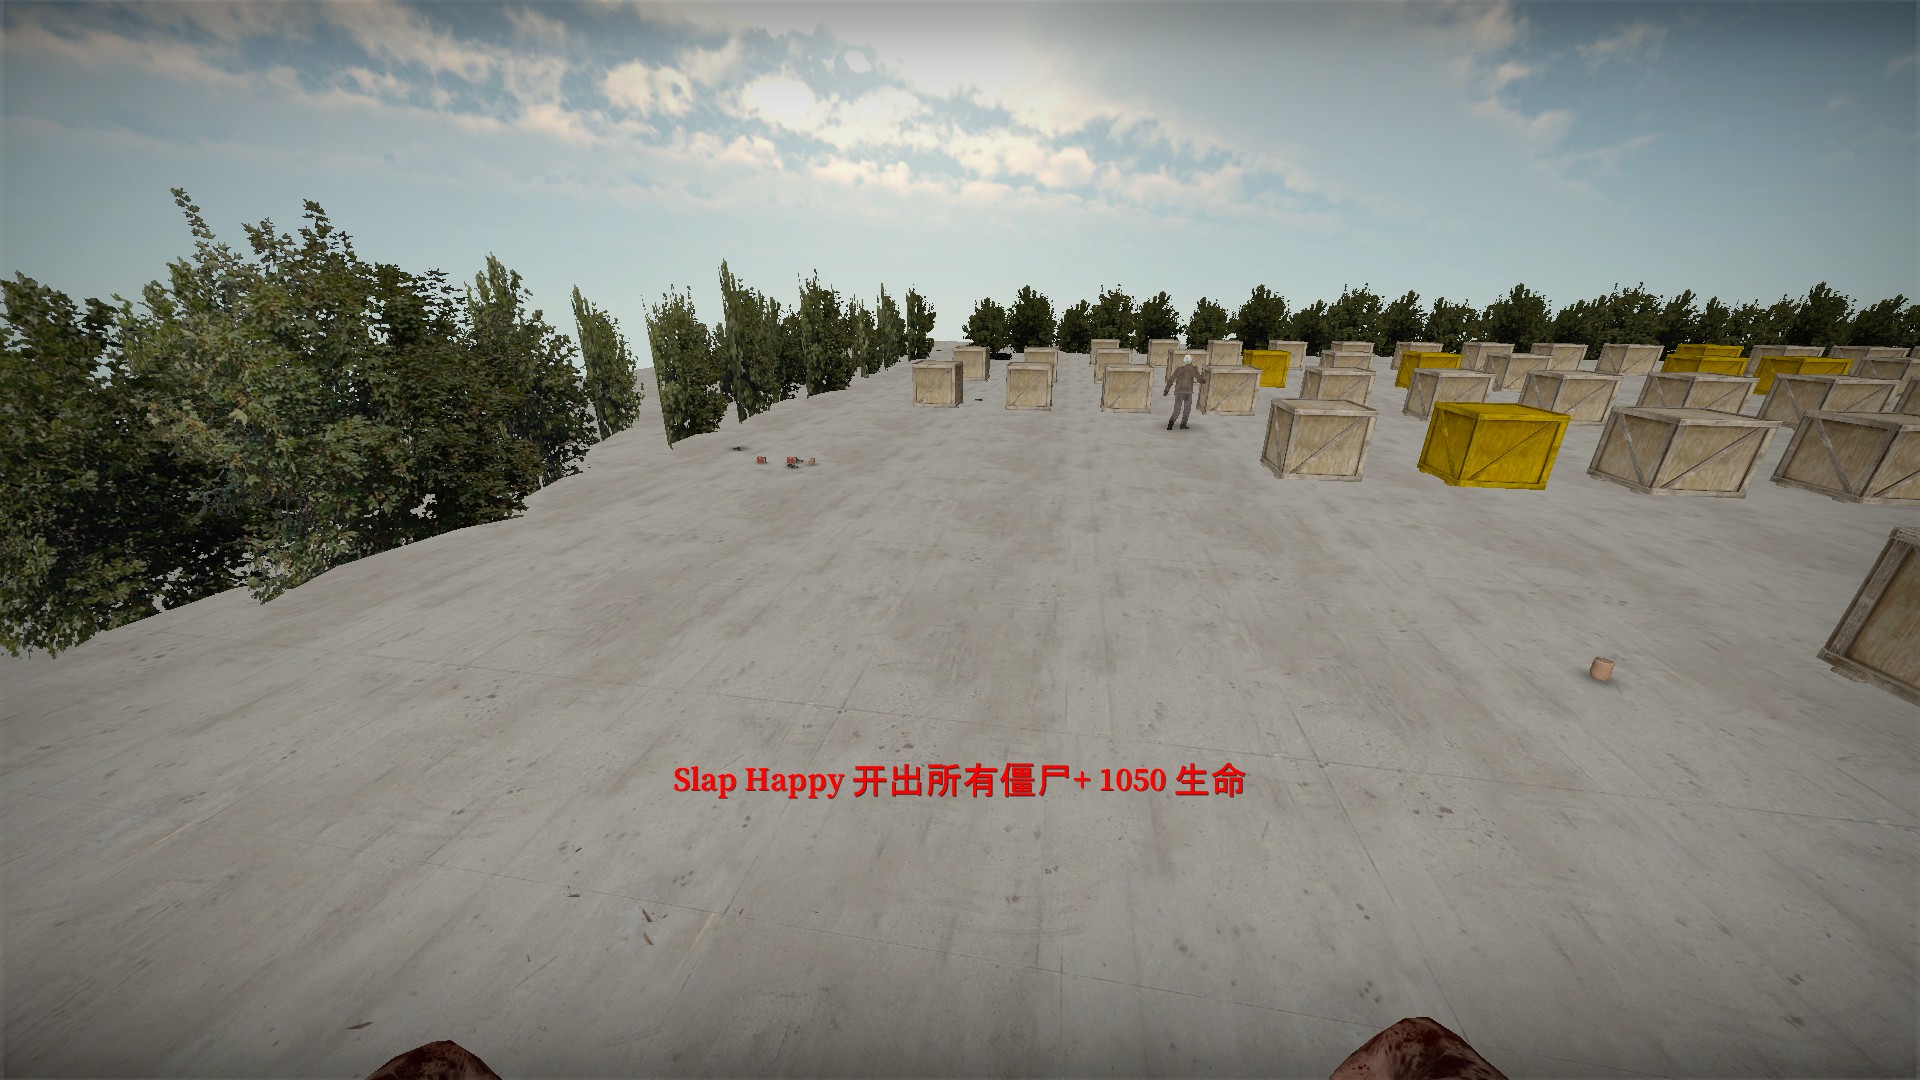
Increase health of all zombies and bosses that have been released up to +1050hp each Zombie spawns
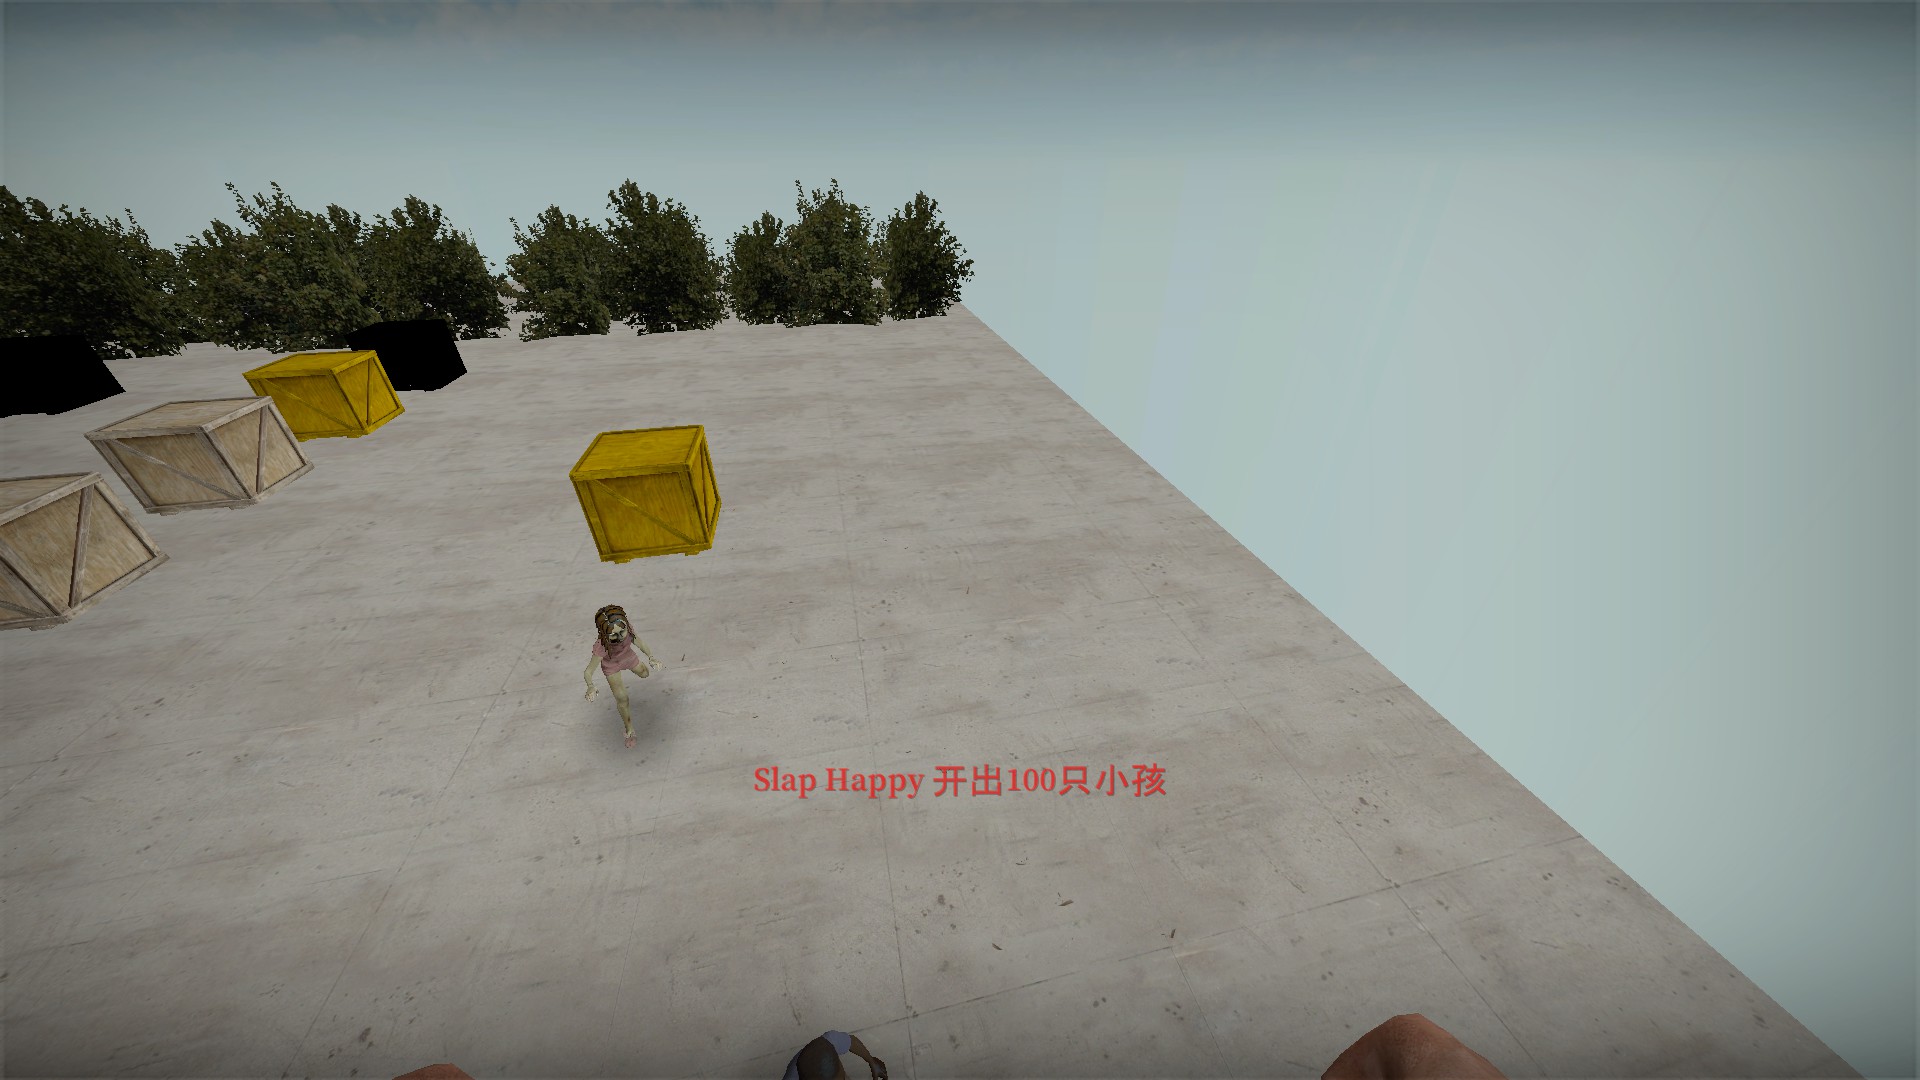
Between 1-100 zombies can spawn from any box. It will be runners, children, or a mix of both
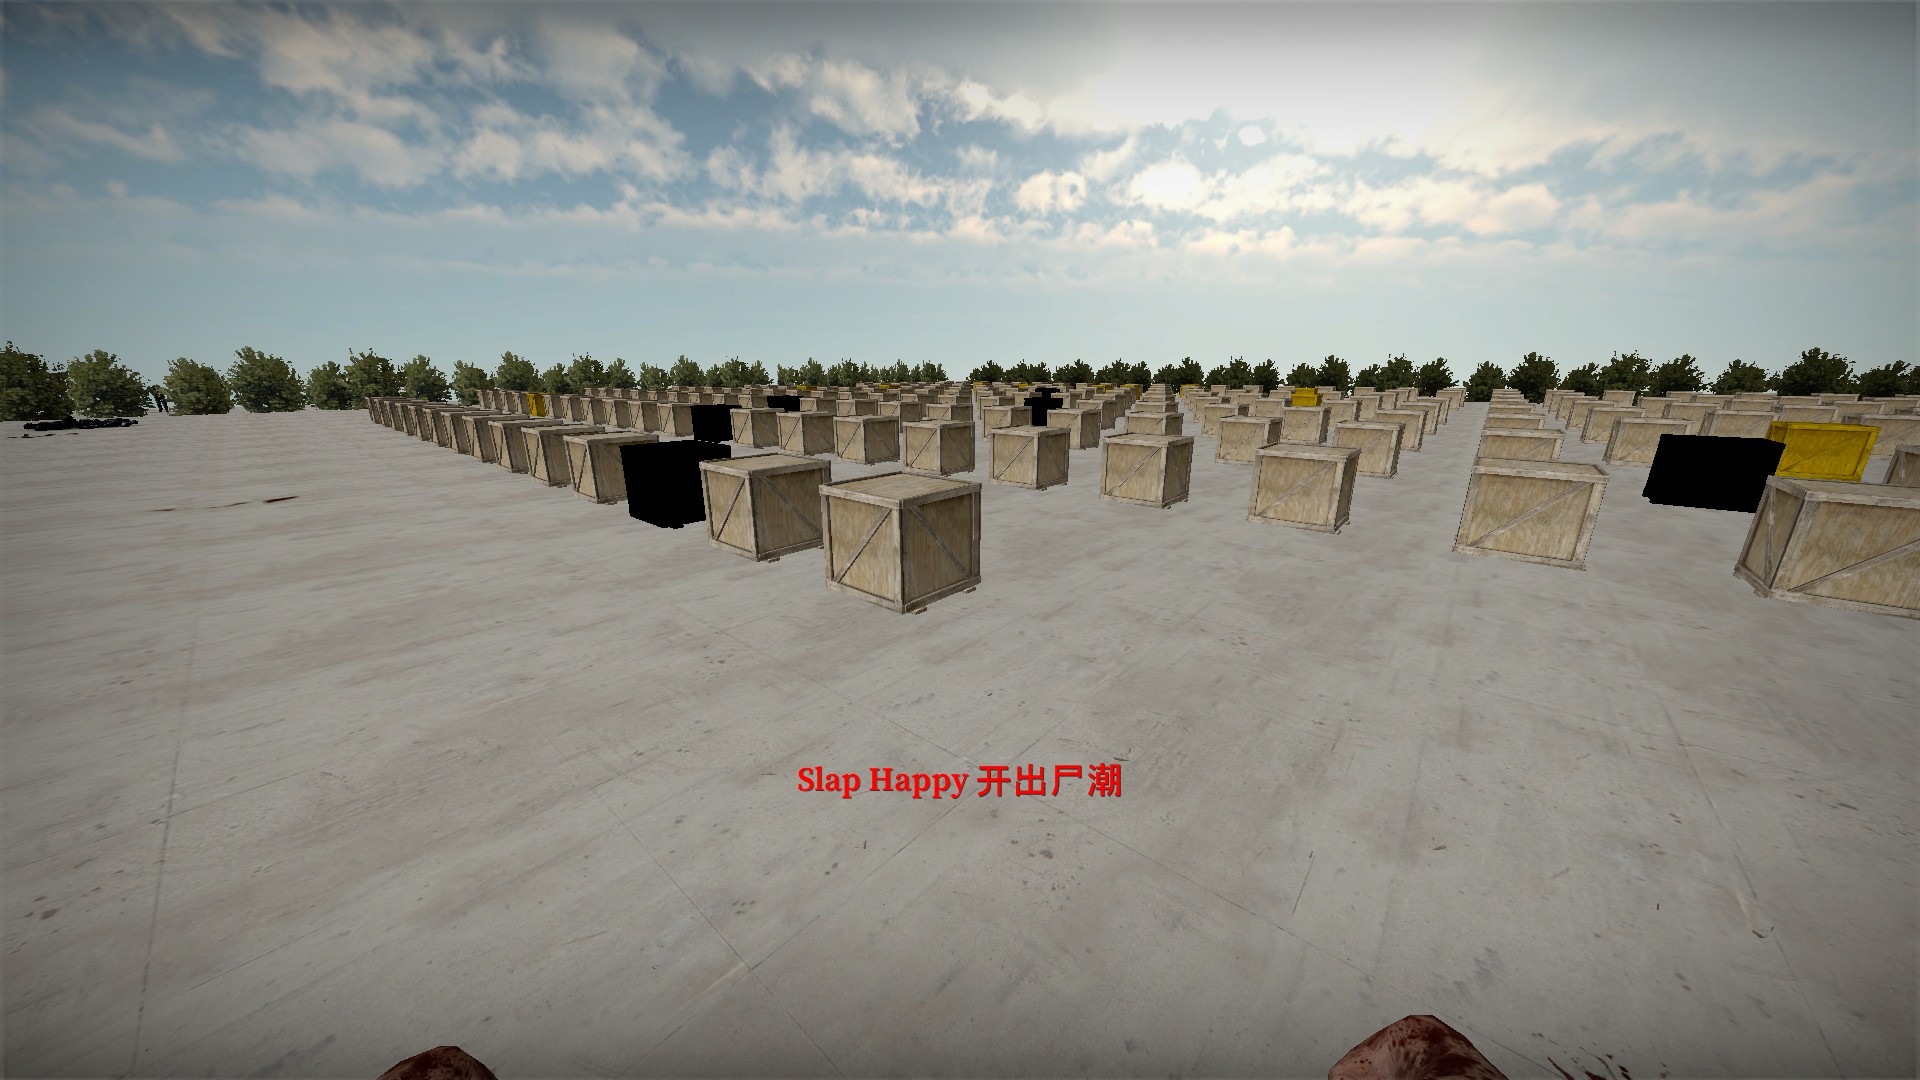
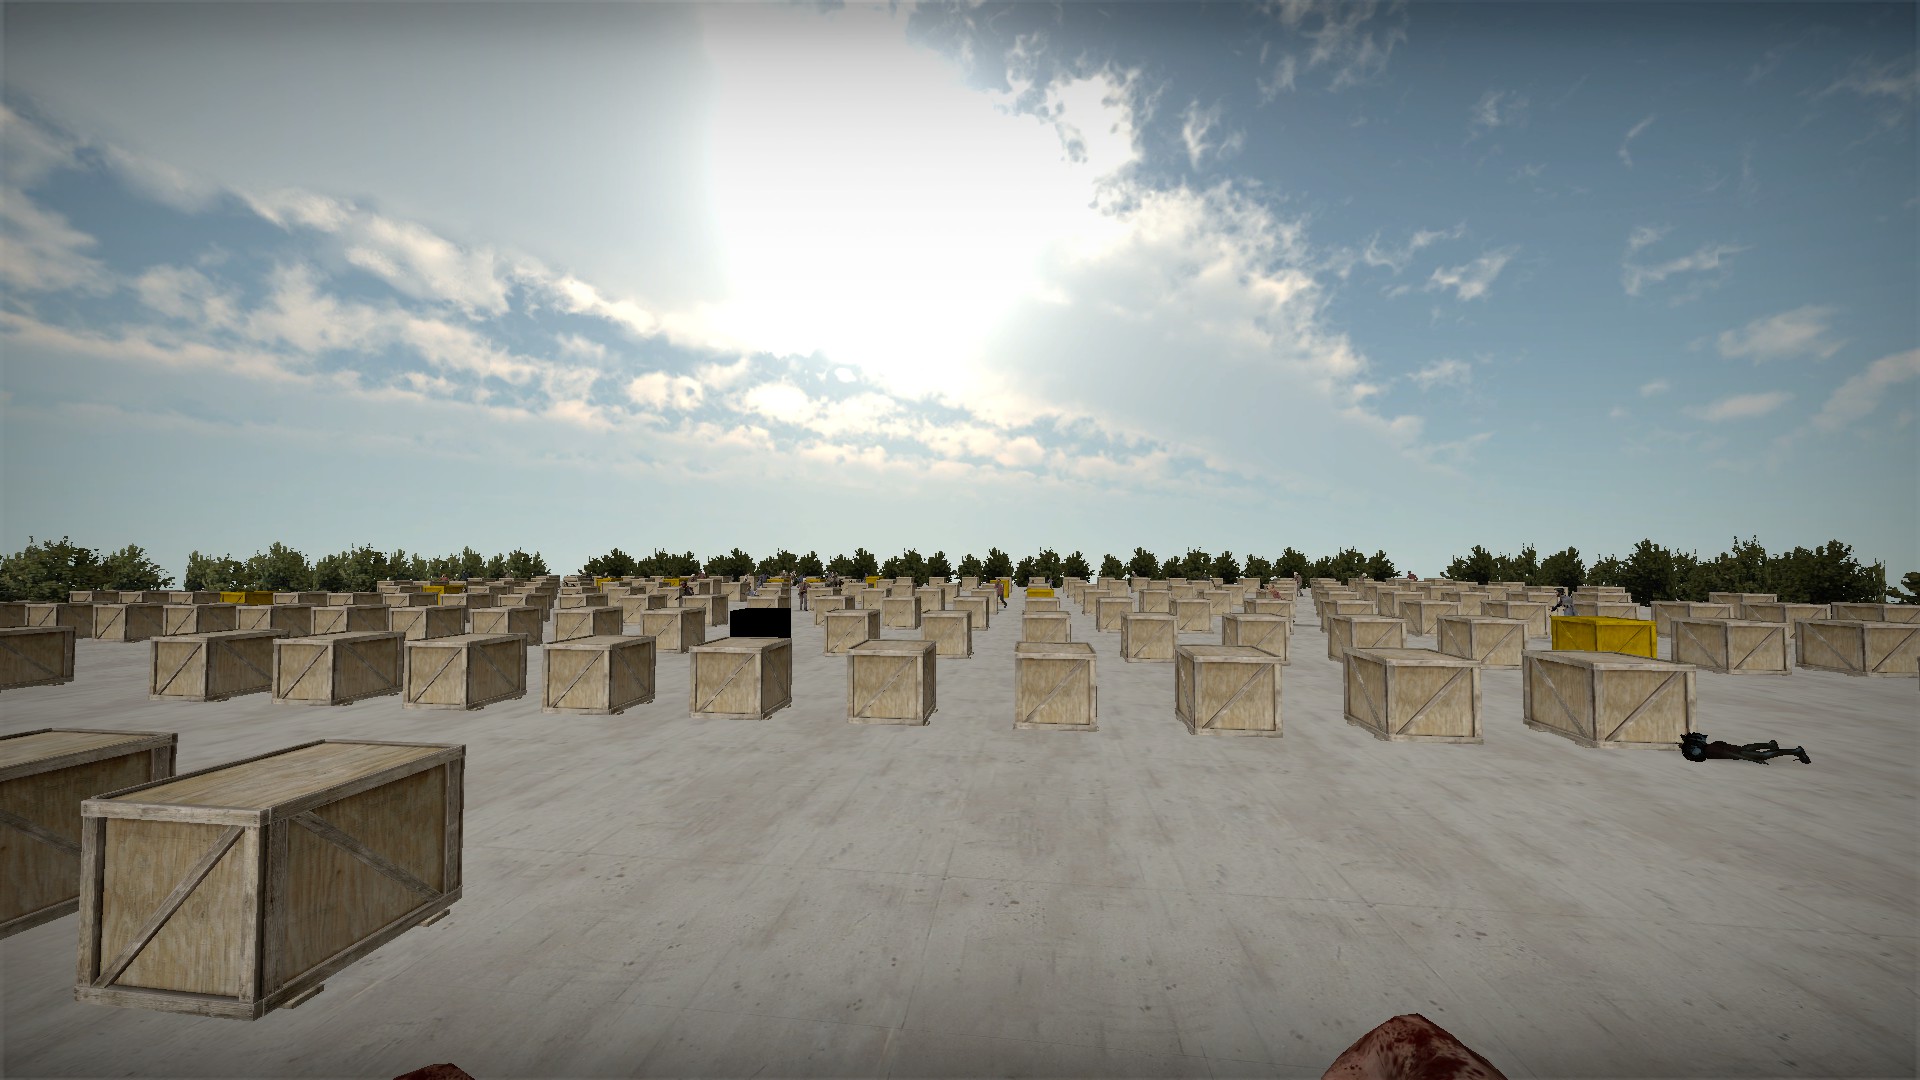
A horde of zombies may spawn in the trees just off the map instead of from the box. You will not get an exact number of the zombies in the horde, but they are always large groups and will spawn from the trees on all sides. Hordes will become more common as the map progresses
nmo_diaotu1_v5_3 (continued 2)
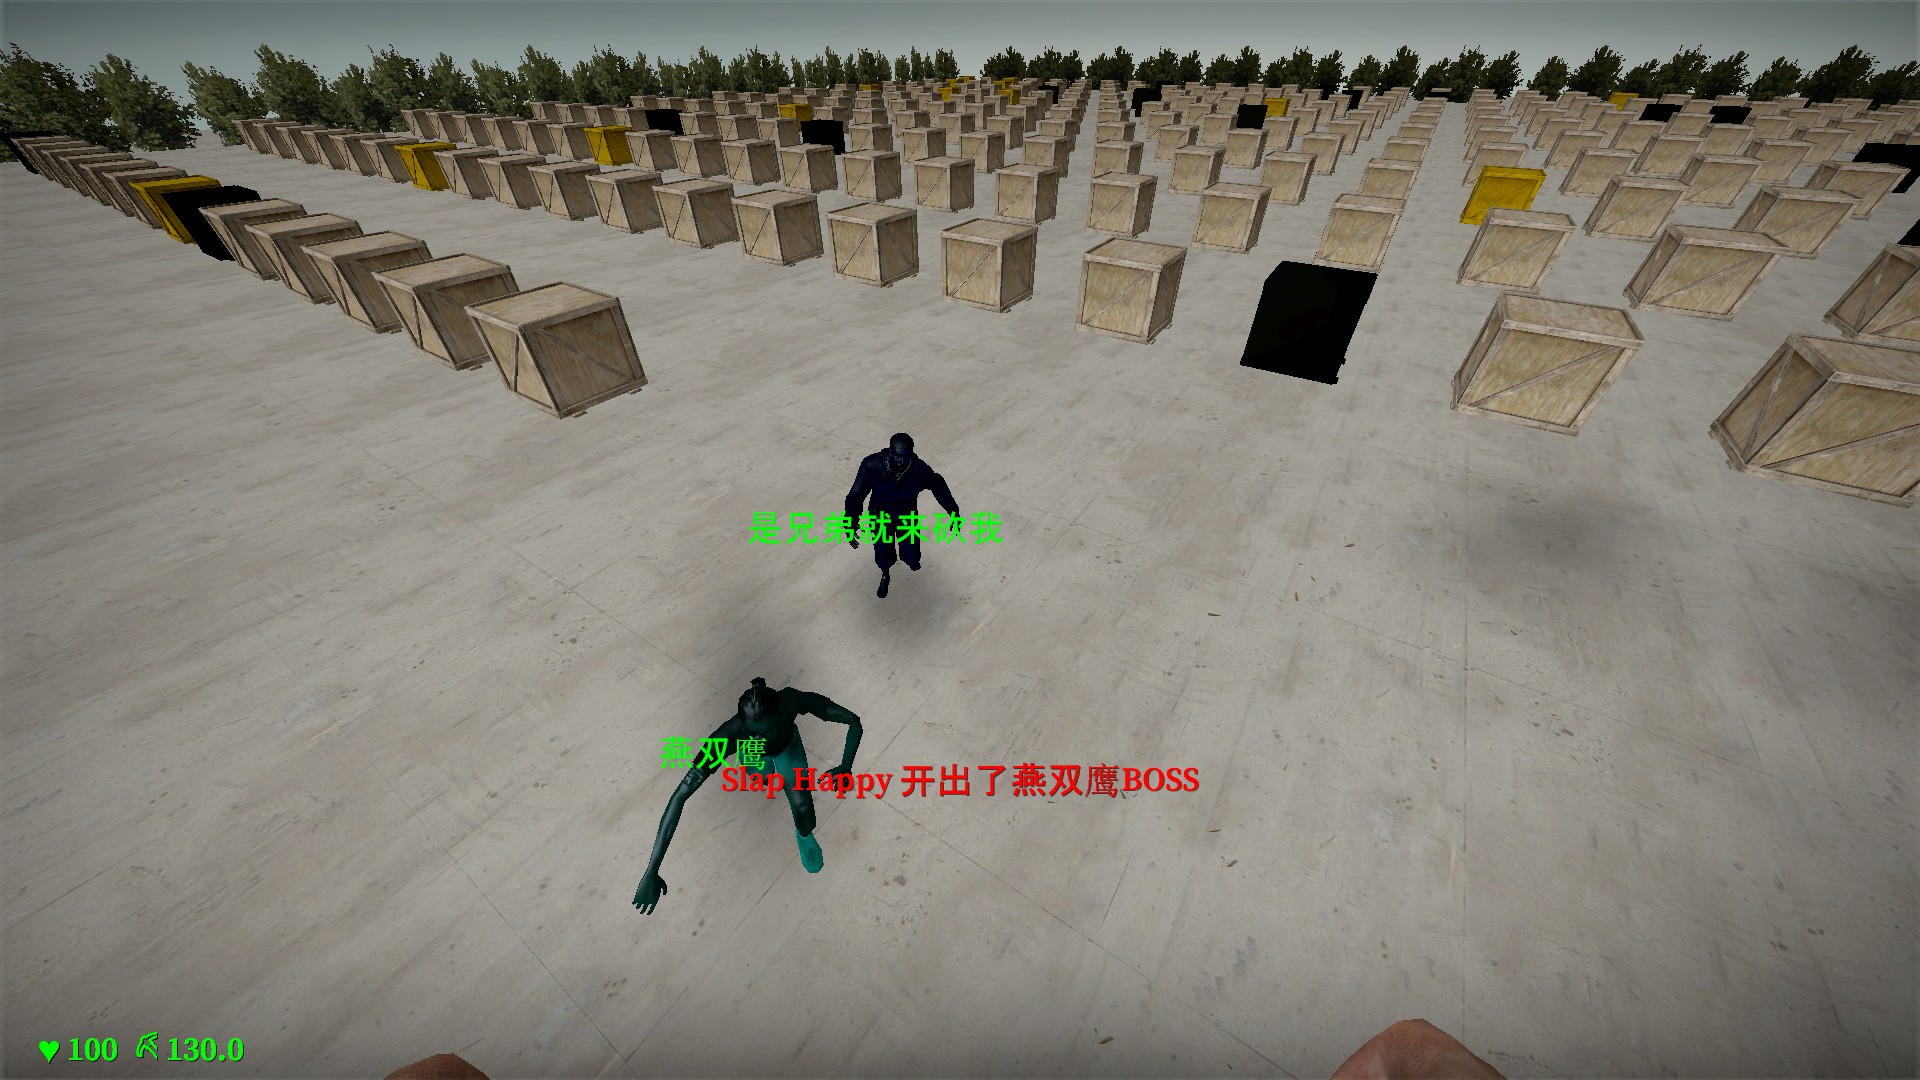
There is usually only one, but there can be two bosses released from the same box. The map calls this a double eagle Fish-Slacking Guy
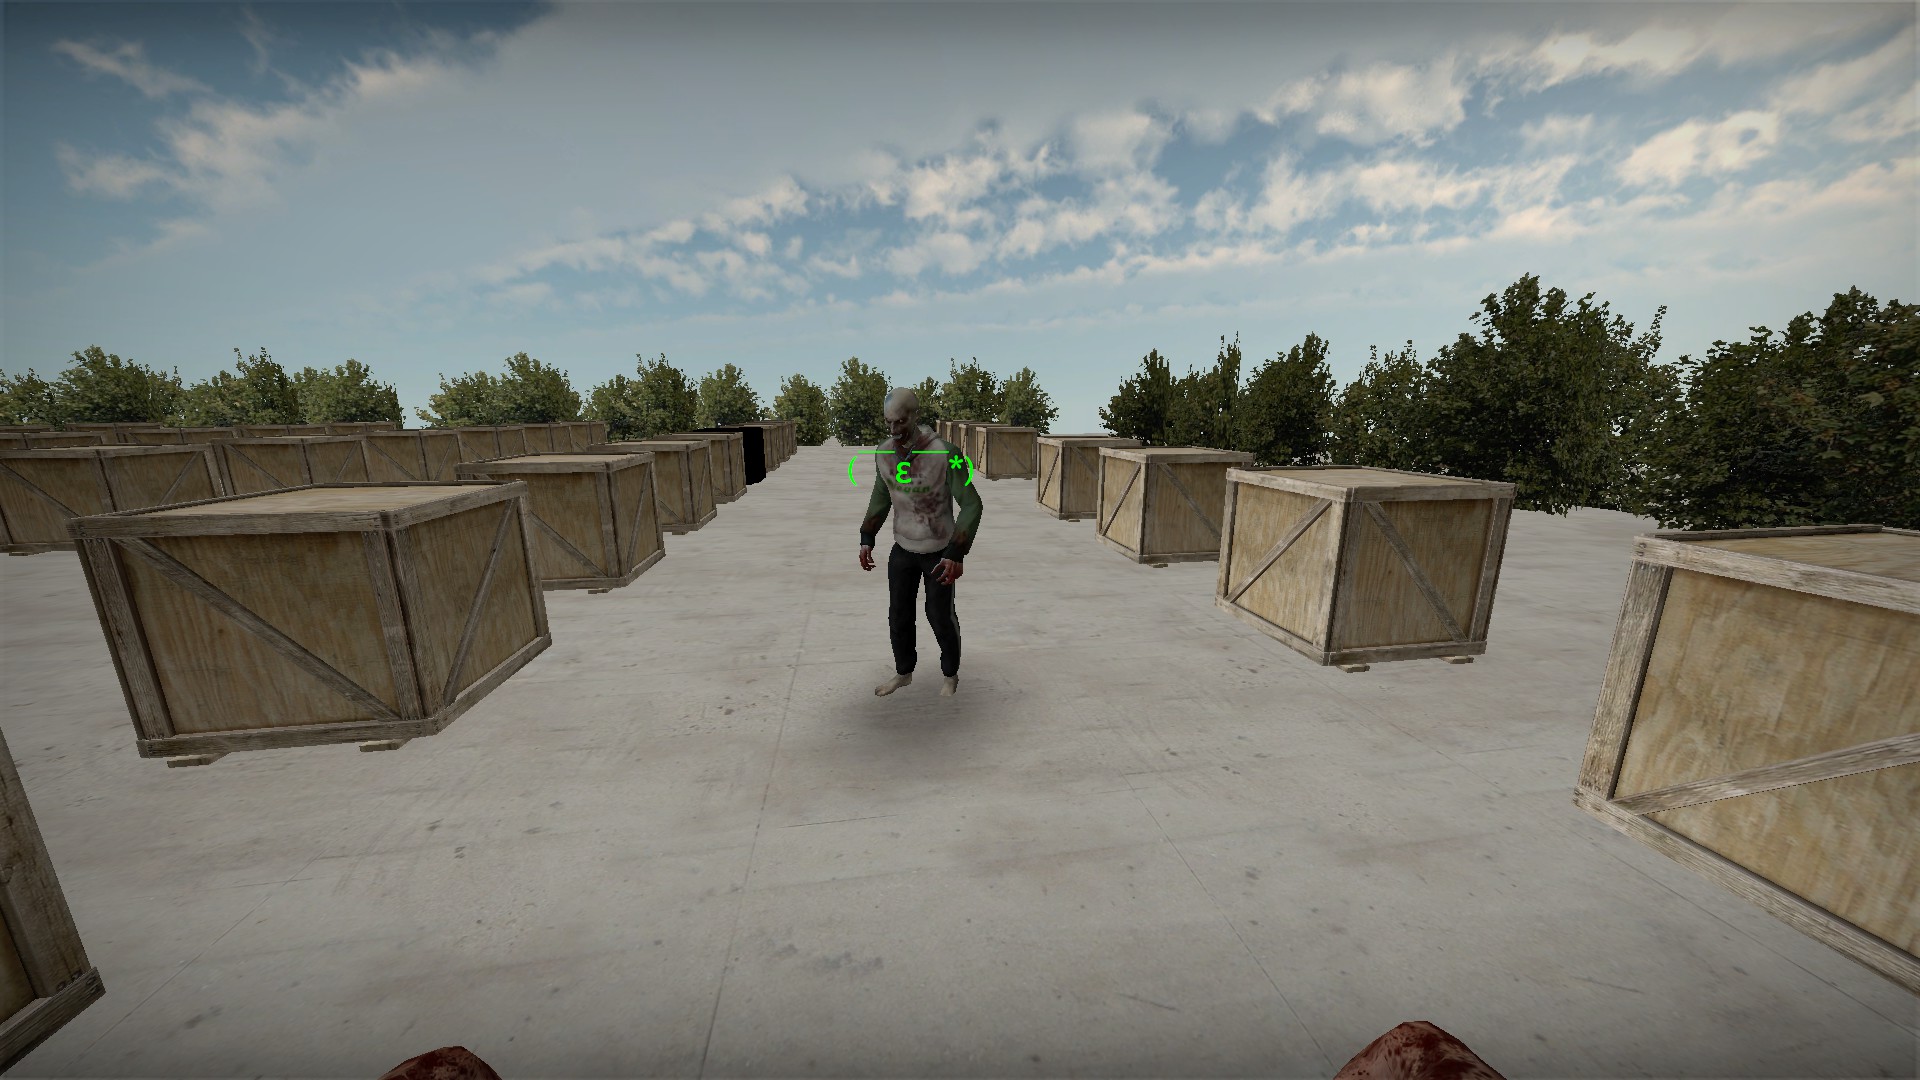
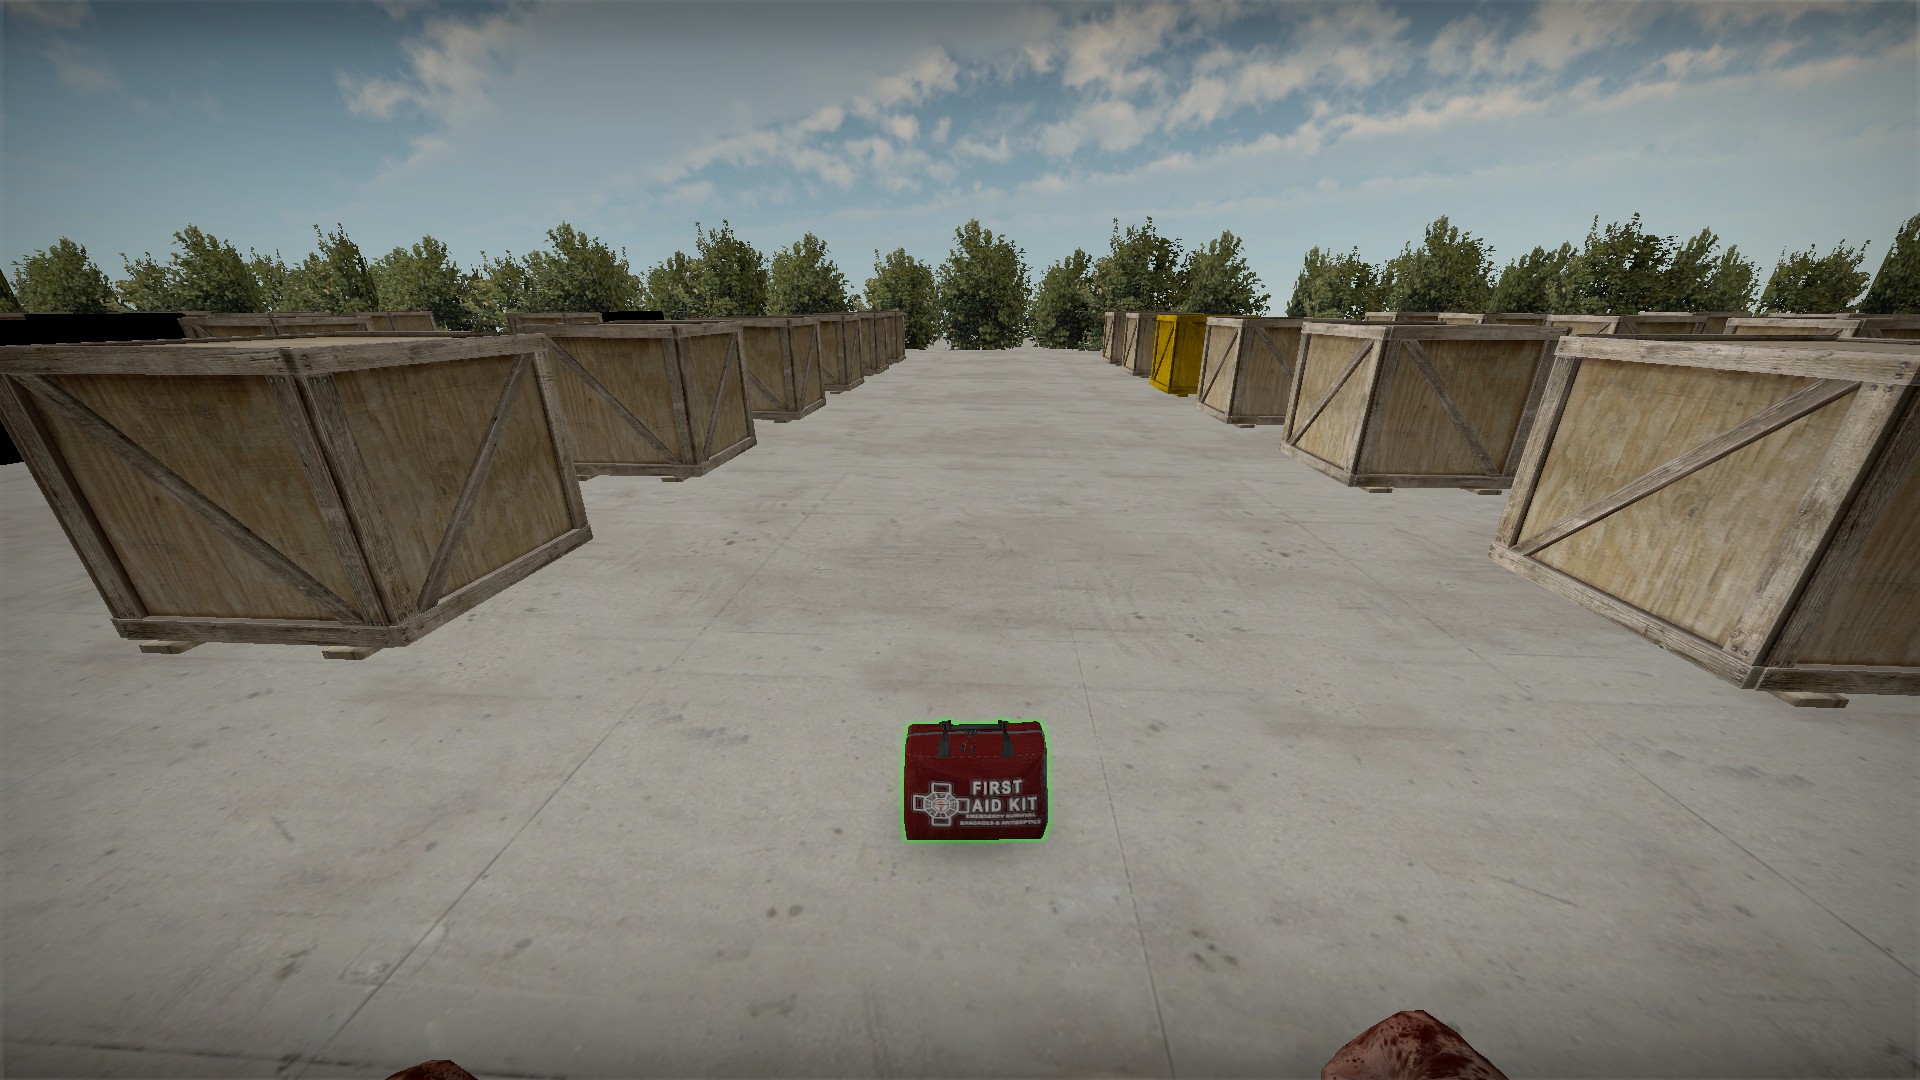
This boss is actually harmless unless attacked. If it is not attacked, it will disappear in about 30 seconds and will leave a medkit behind
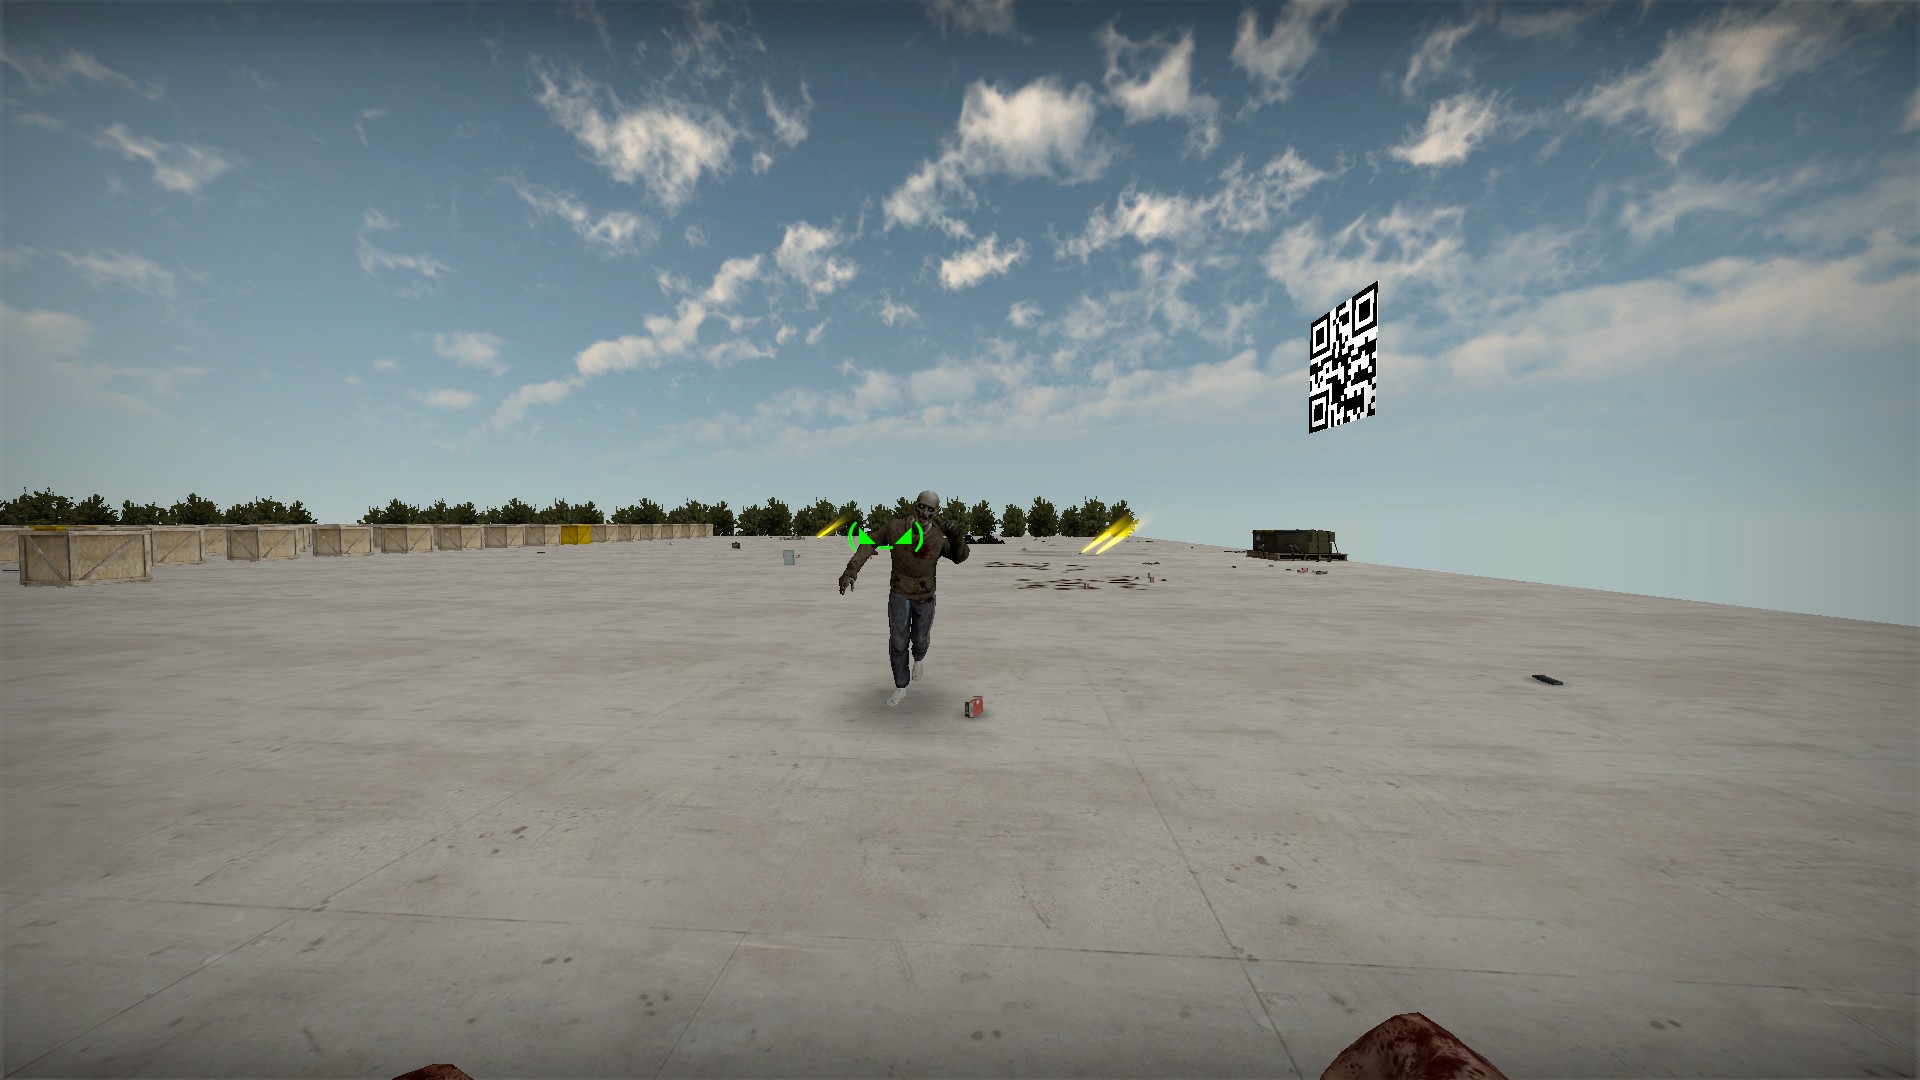
If it is attacked, it's expression will become angry and it will attack until killed
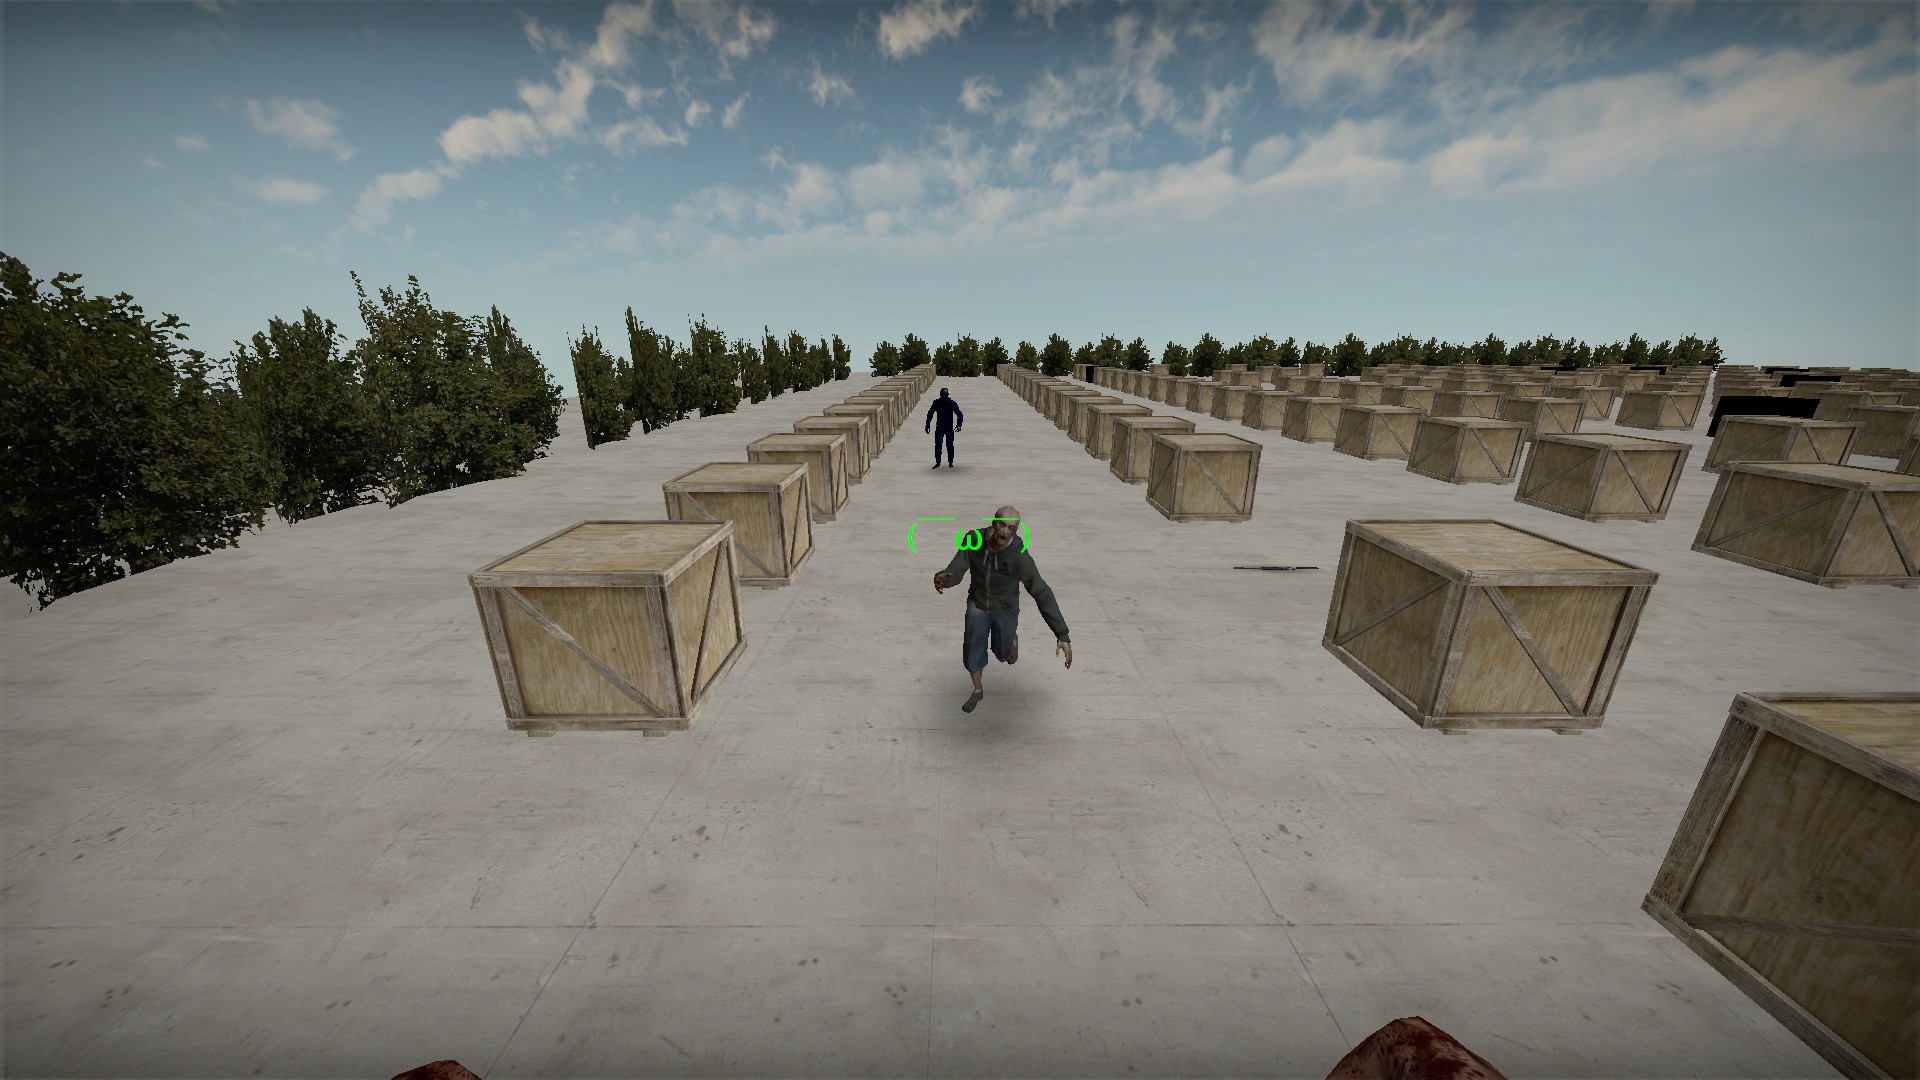
If it is part of a double eagle set, this boss has a slightly different nametag and will just attack you once it has been released Healing boss (green)
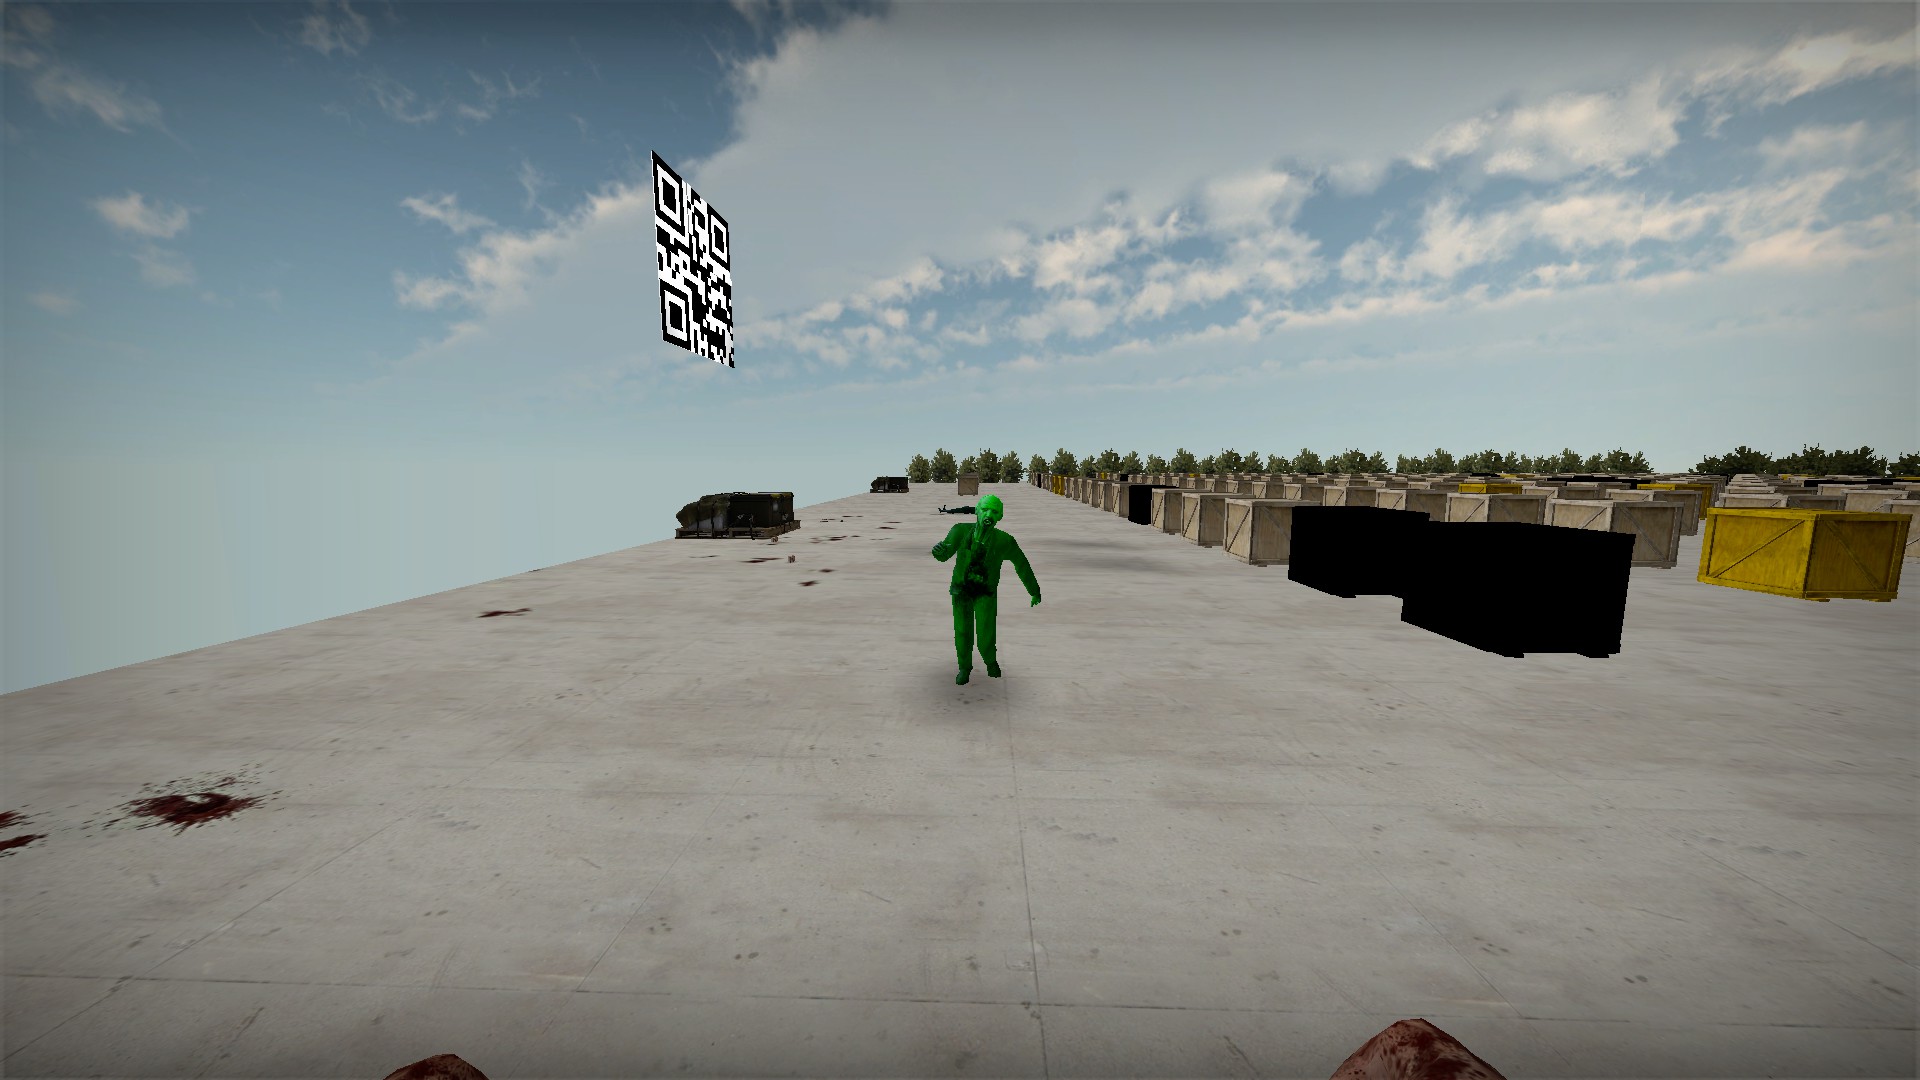
The green zombie has lots of health and can heal nearby zombies including bosses. Don't let there be more than one, as they will heal each other Jumping Mouse (rat/Mr. Chumps)
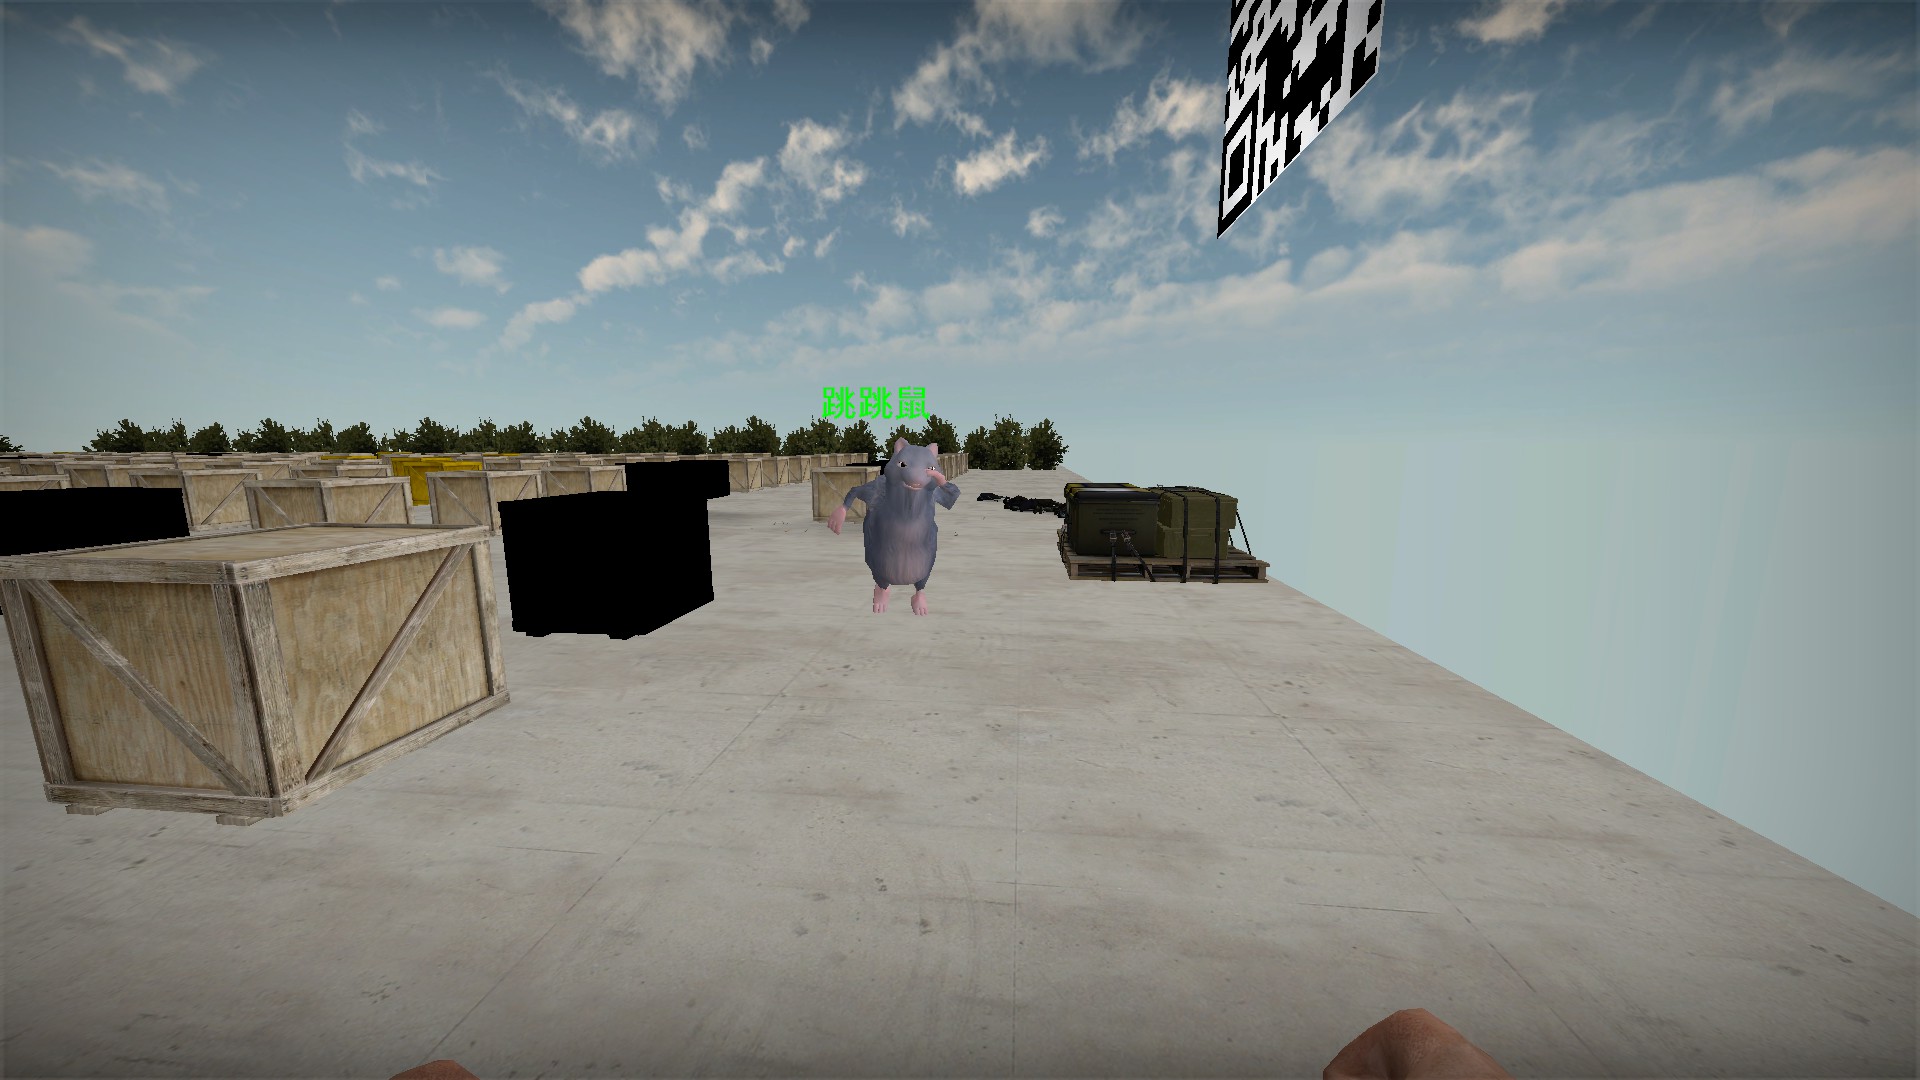
Has high health and is hard to hit as it jumps when it attacks Poisonous Guy (smoking zombie)
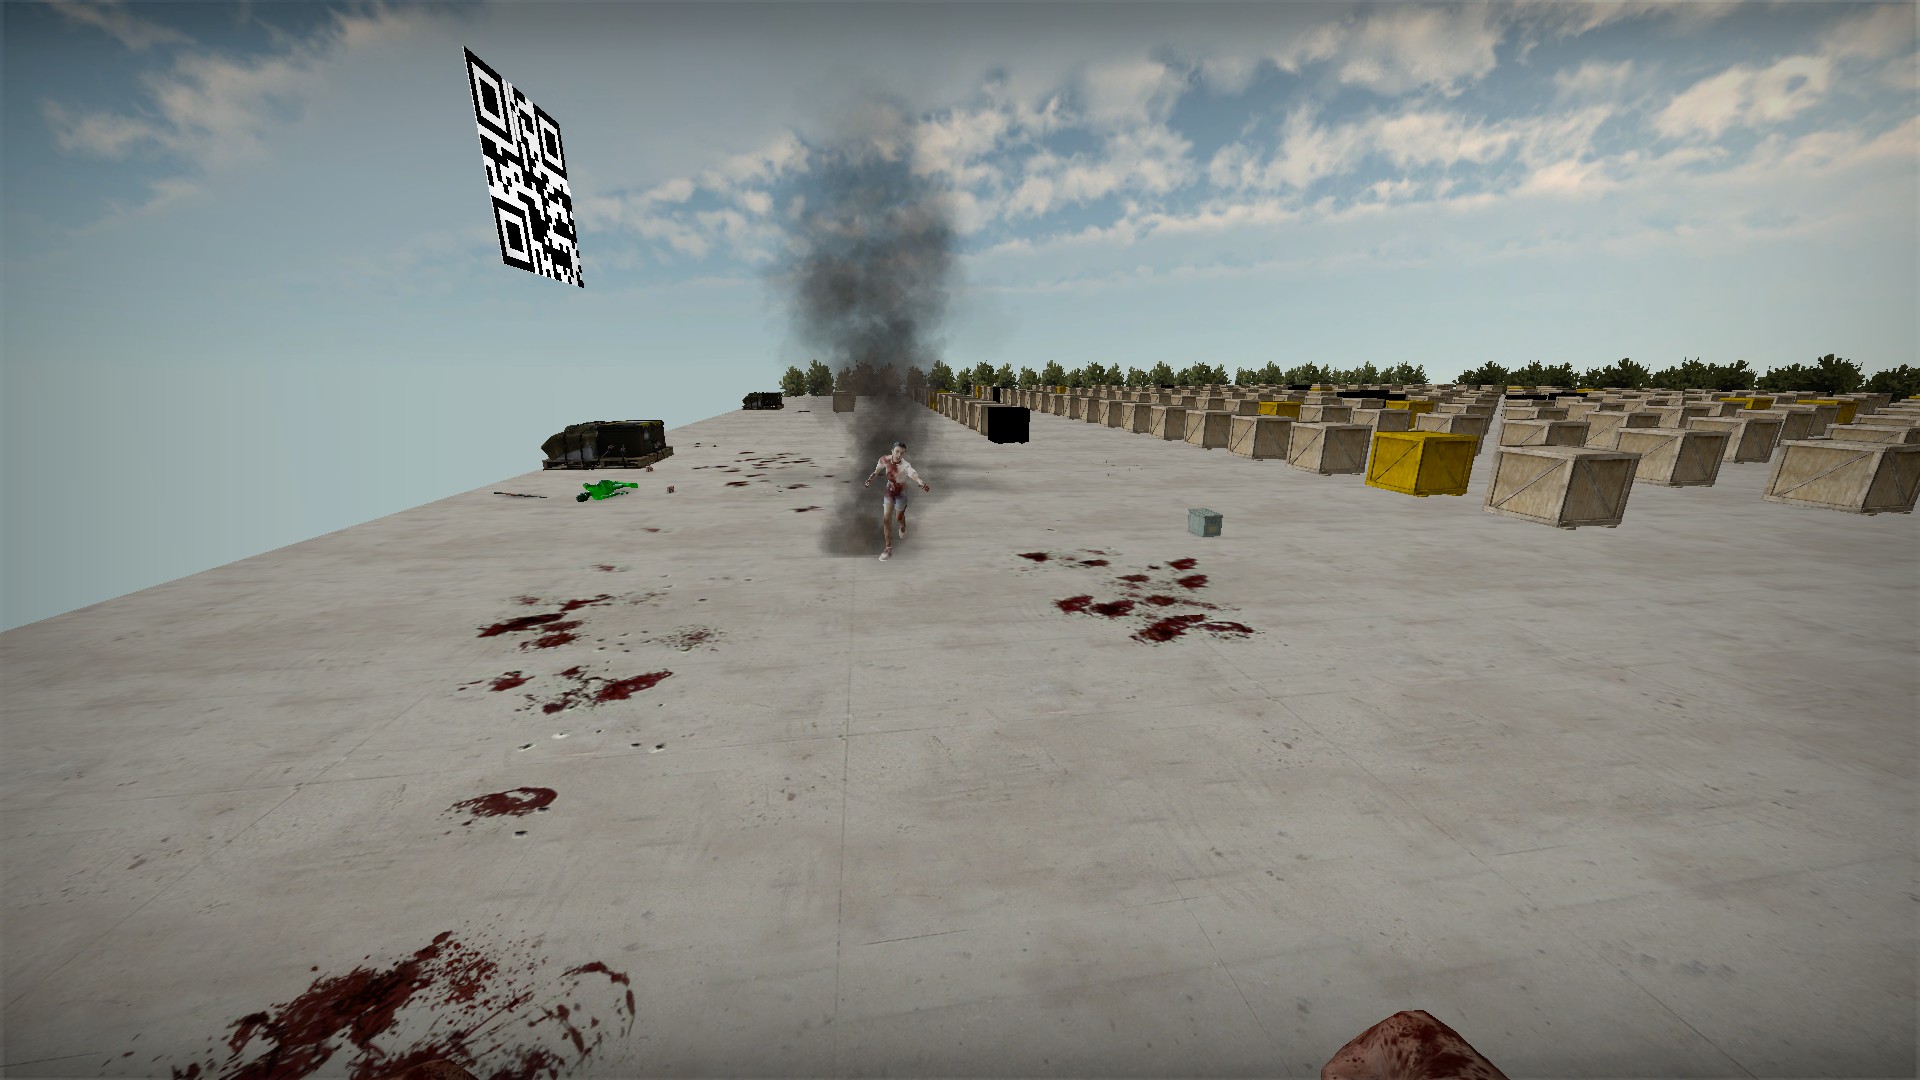
This zombie will damage and infect (poison) any nearby players with its poison cloud Solo boss challenge (purple)
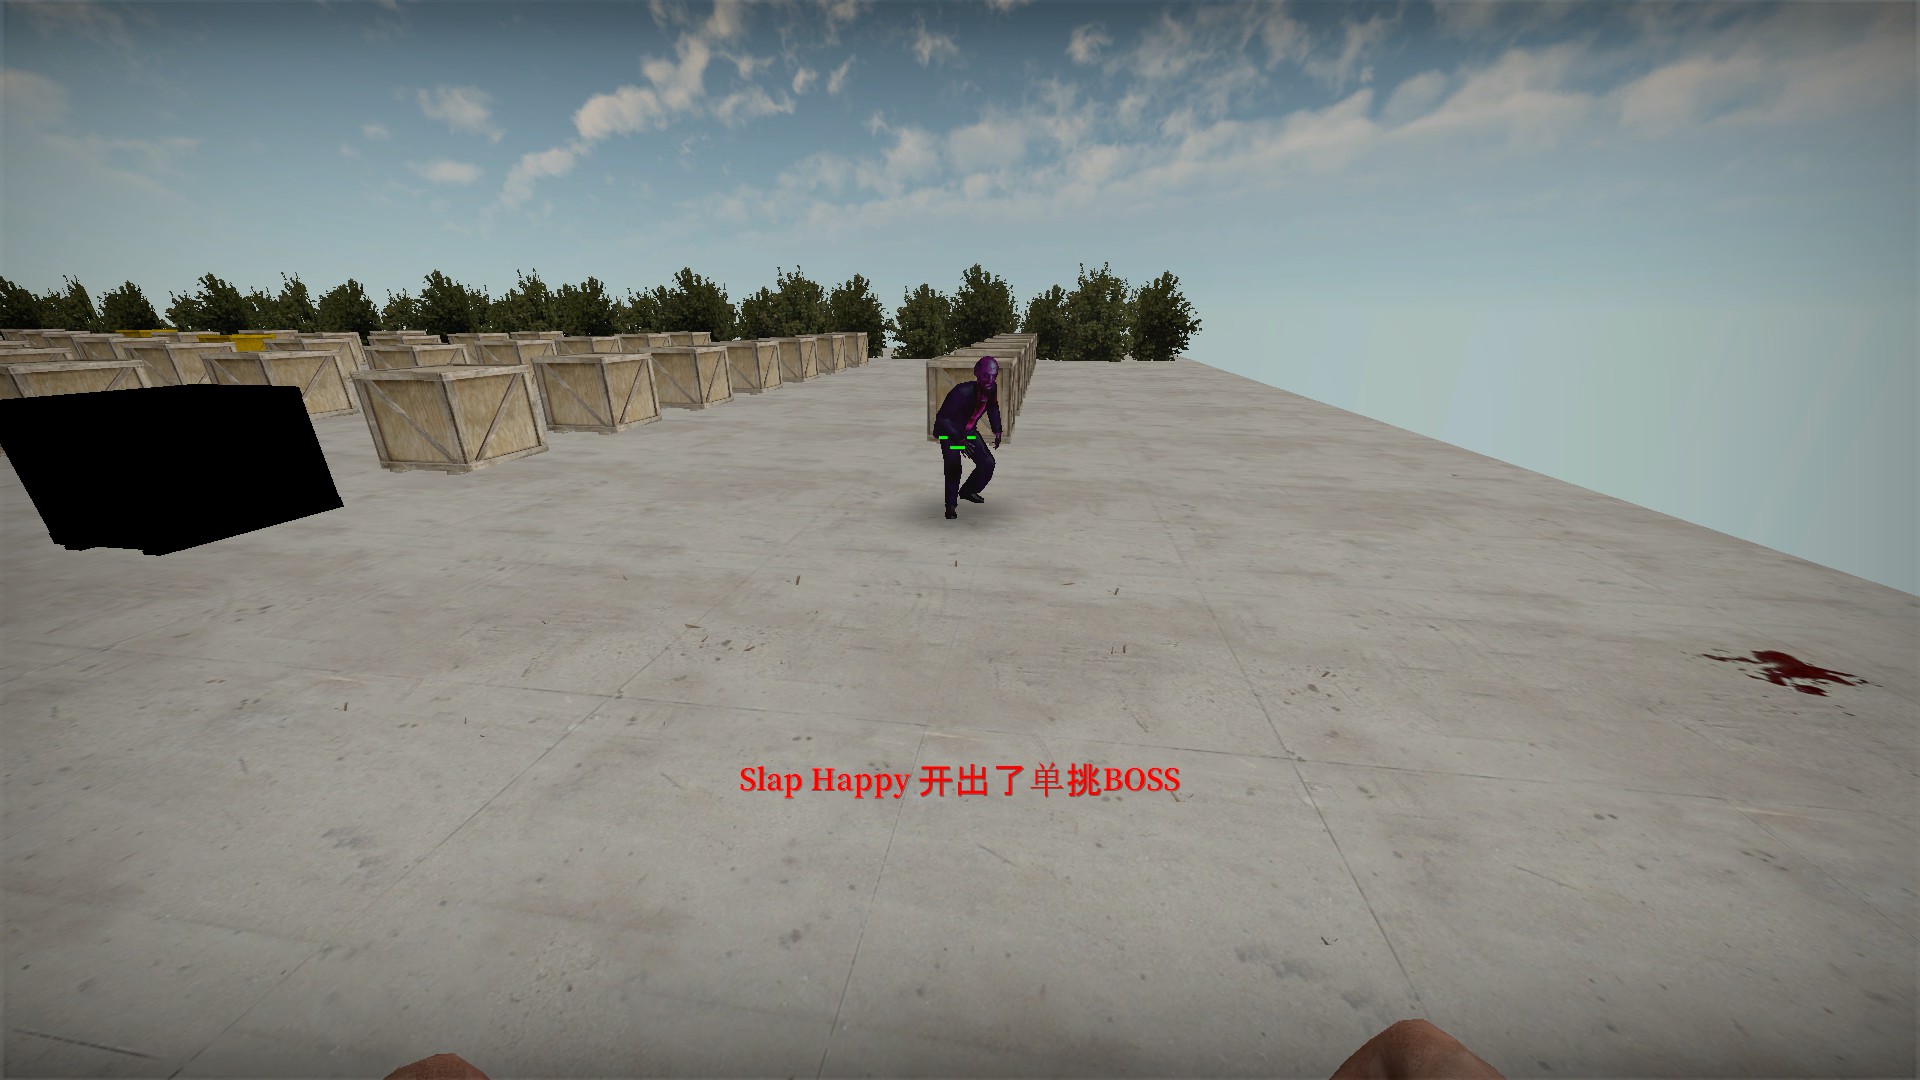
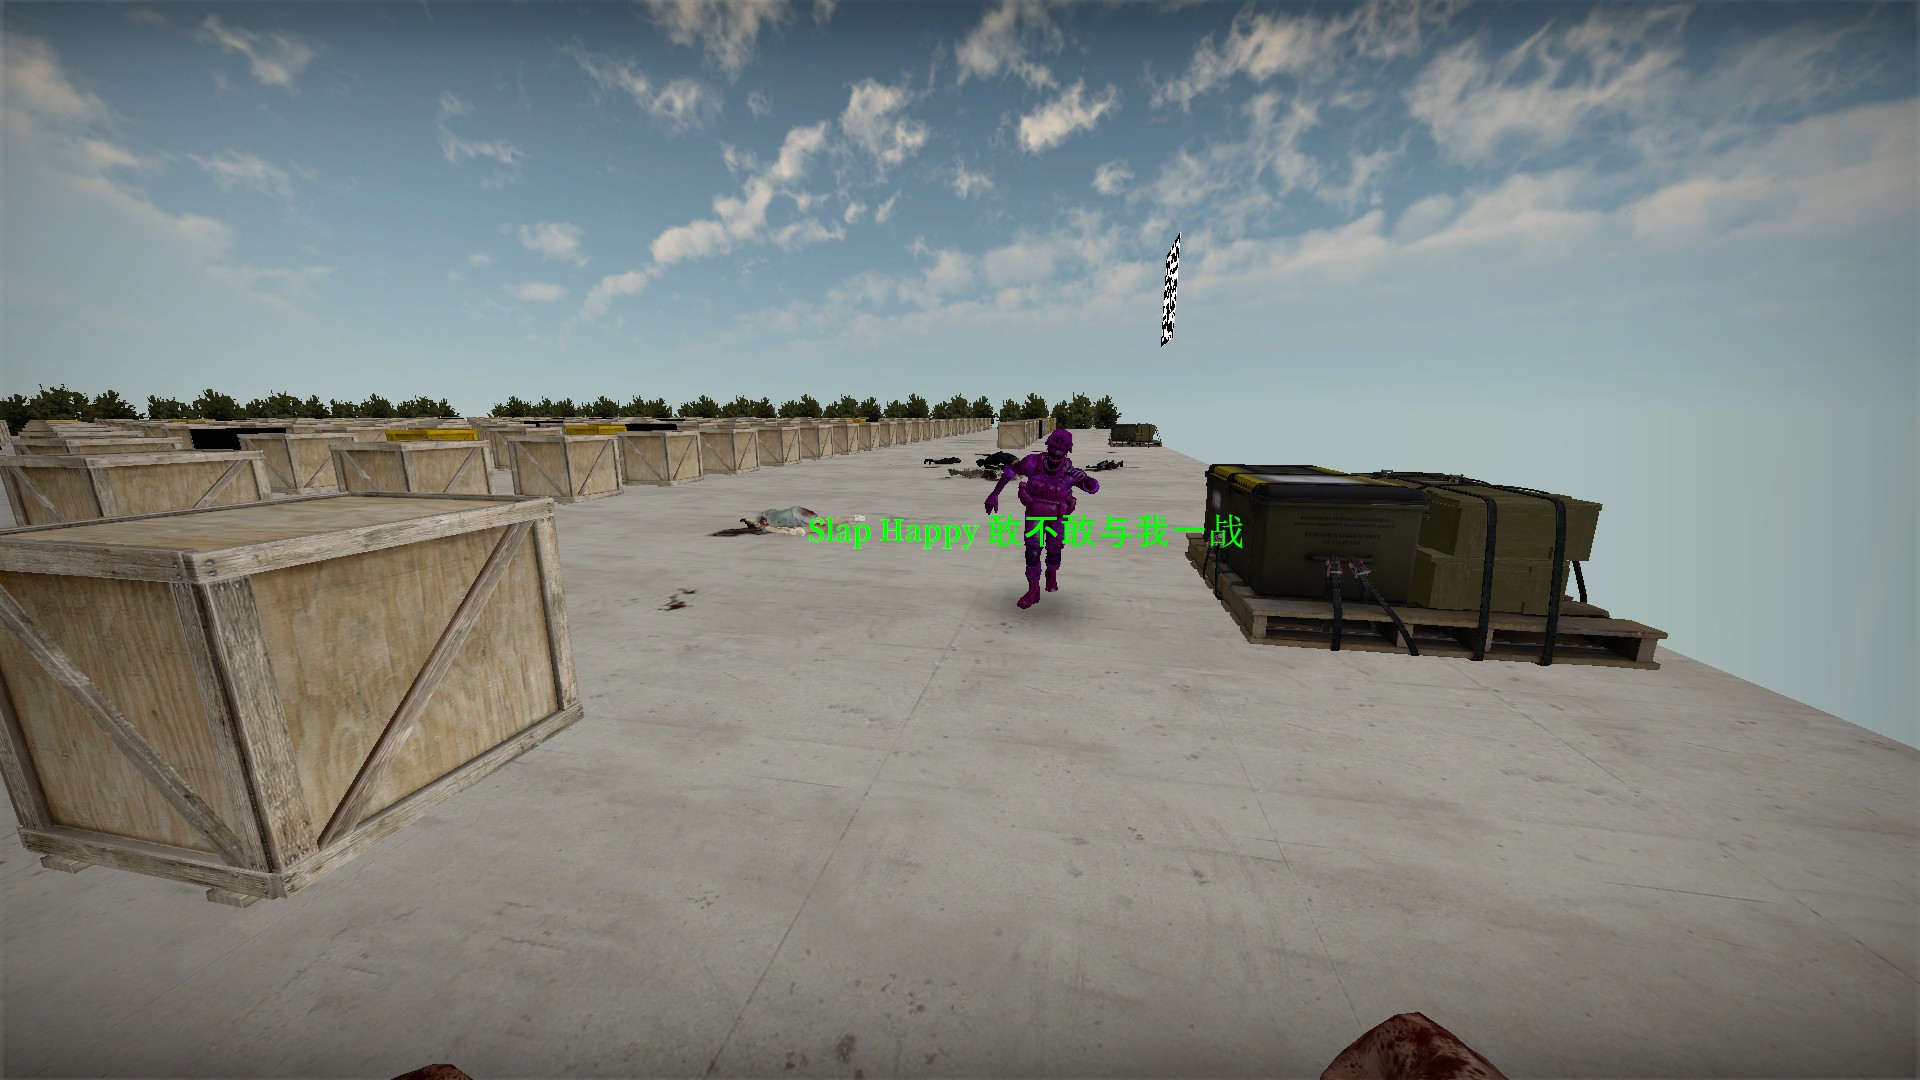
This boss will change its angry expression (-_-) to a nametag that includes the player name that unlocked it in a taunt. This boss can also grow and shrink slightly. Immune to damage from the chainsaw The Brother (invisible)
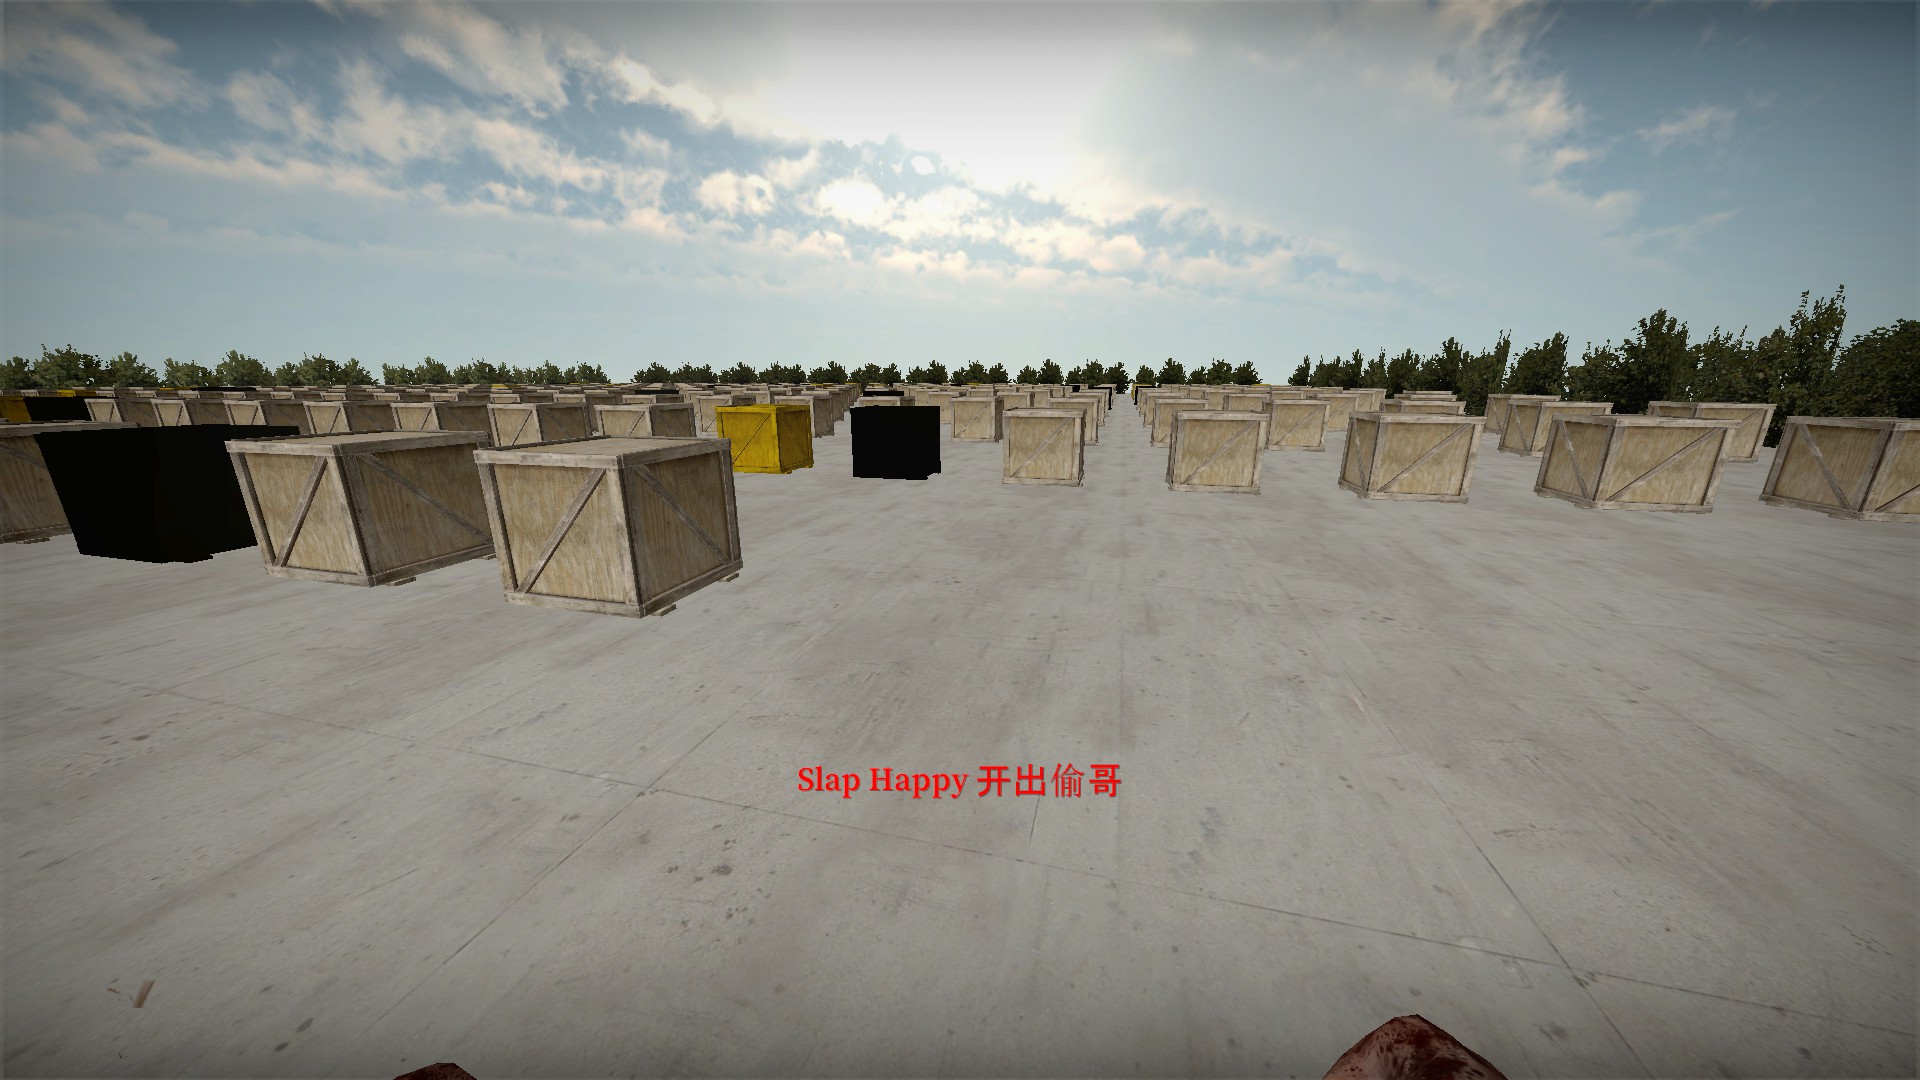
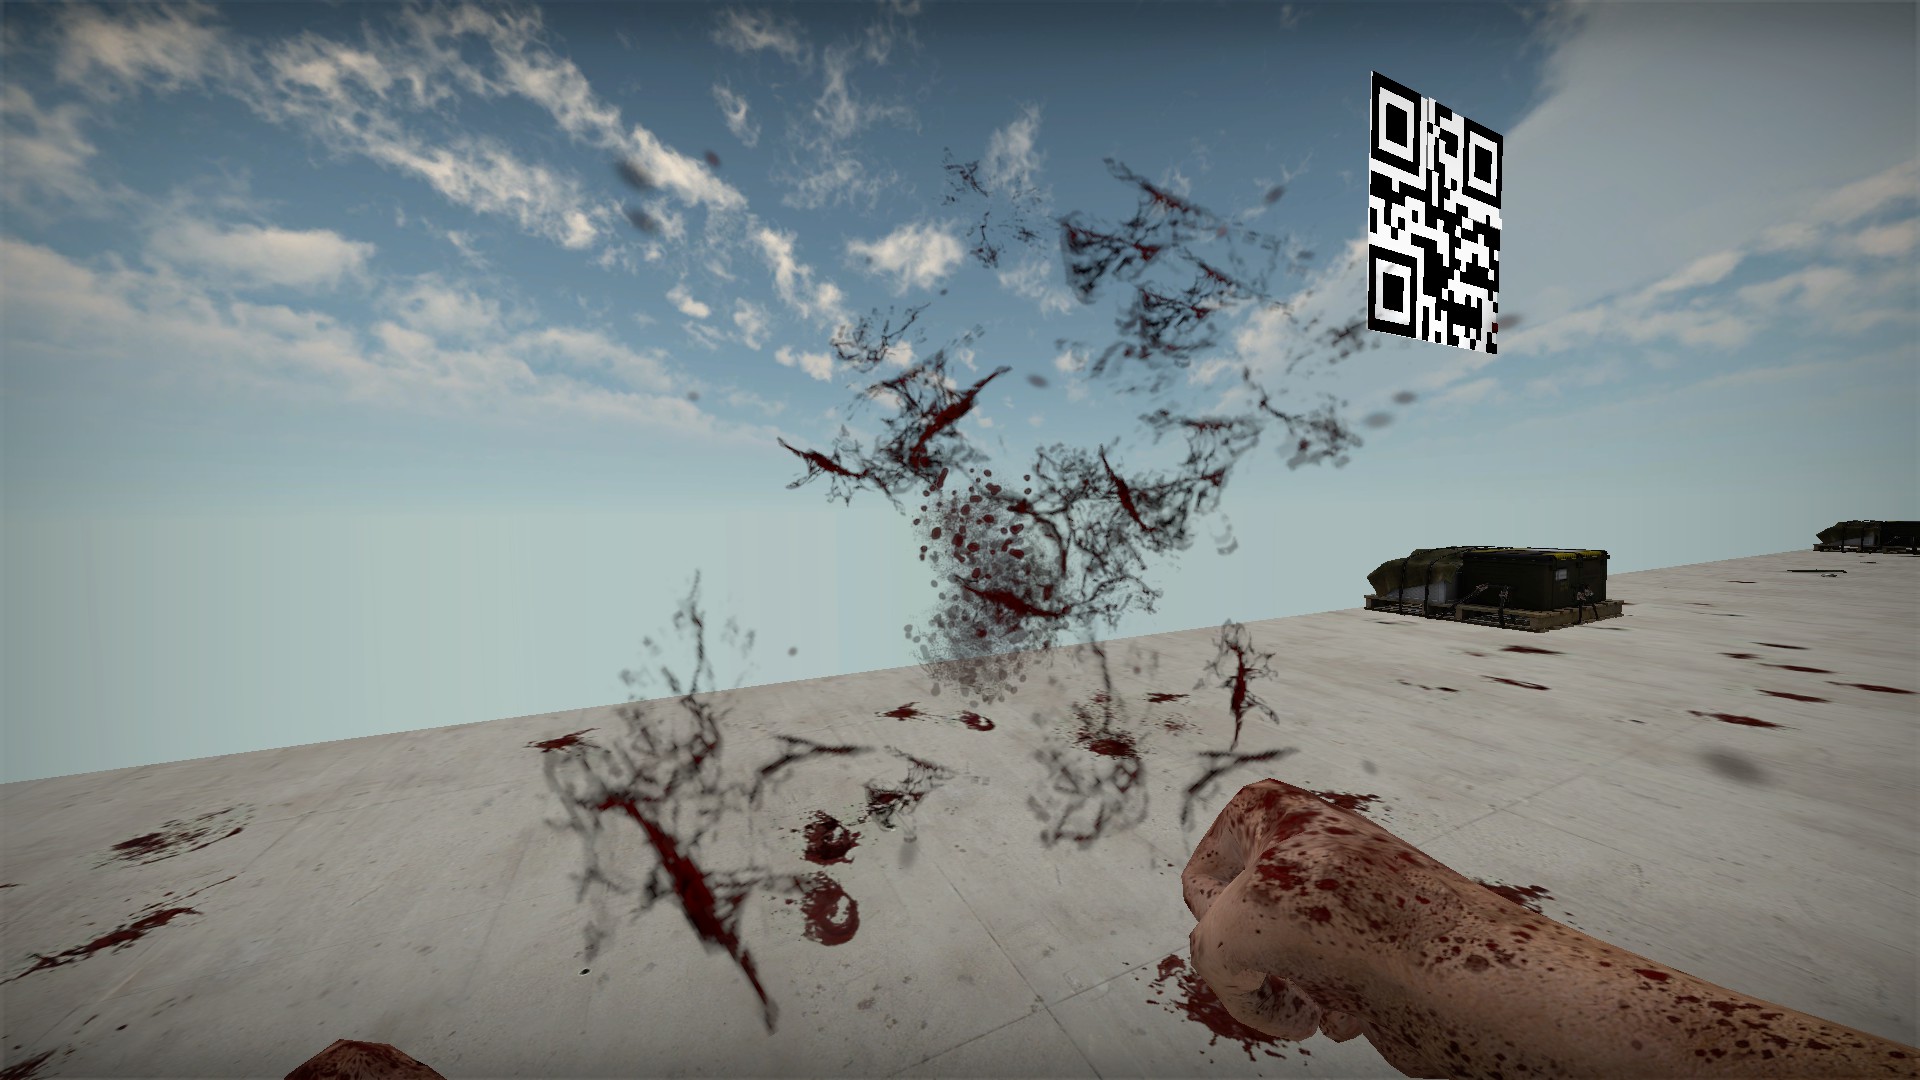
If you get the above red text the invisible boss has been released. Briefly, it will be momentarily visible The Troublemaker (zombie Wally)
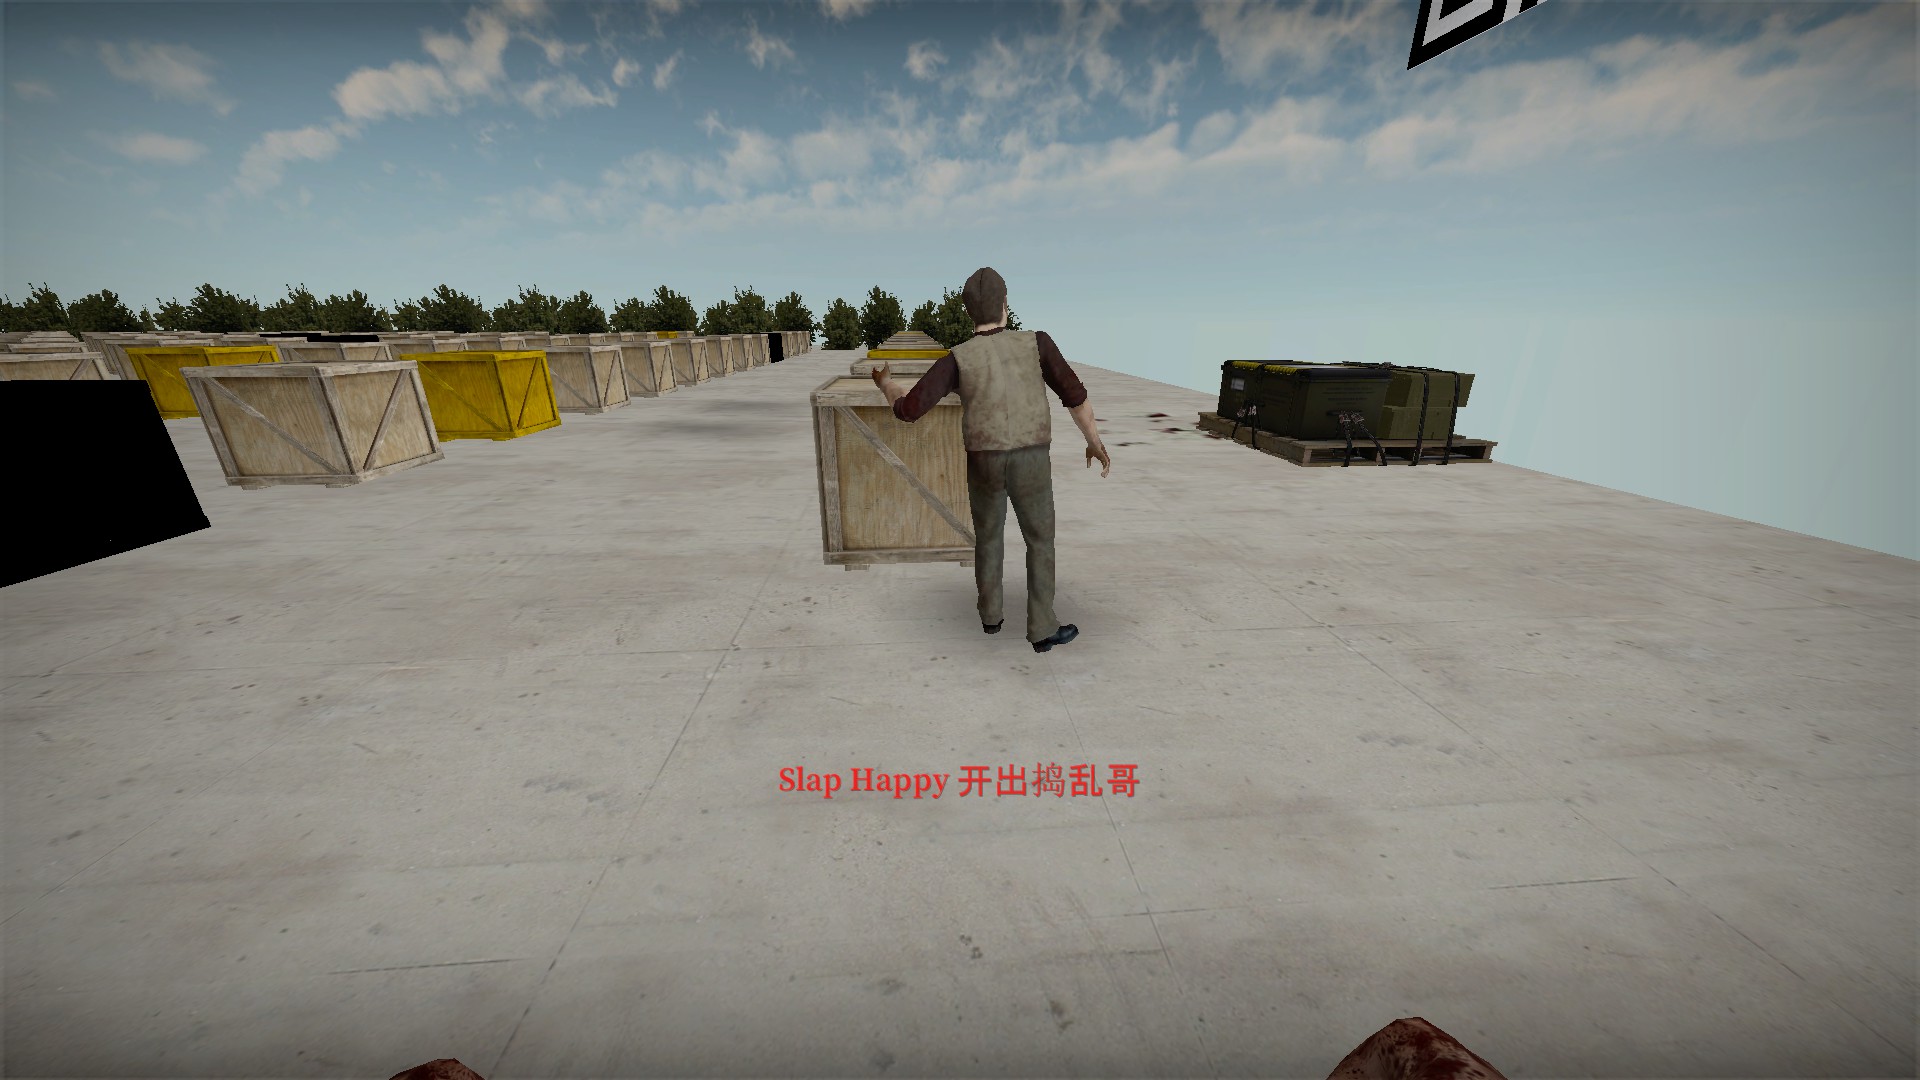
This boss will attack you, but it will also break nearby boxes. Kill it quickly Transgender (changes from male to female and blue to red)
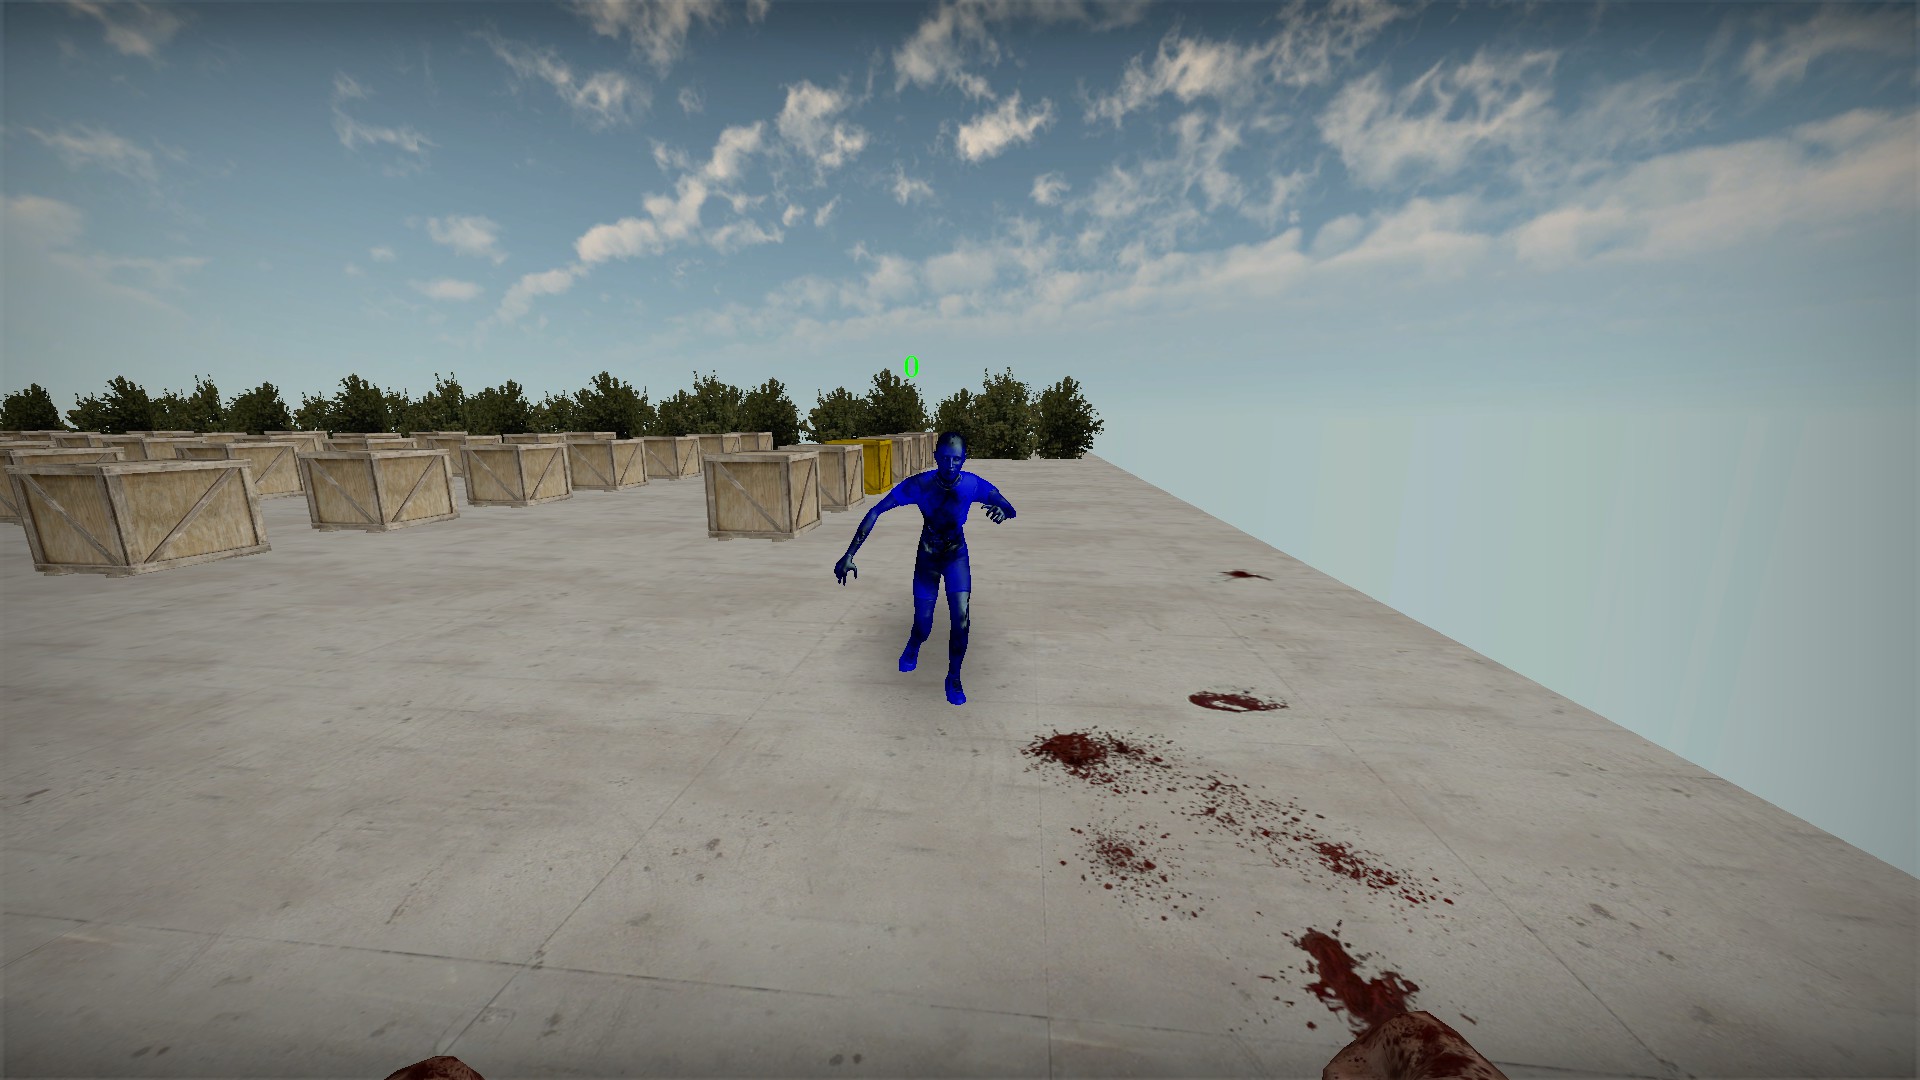
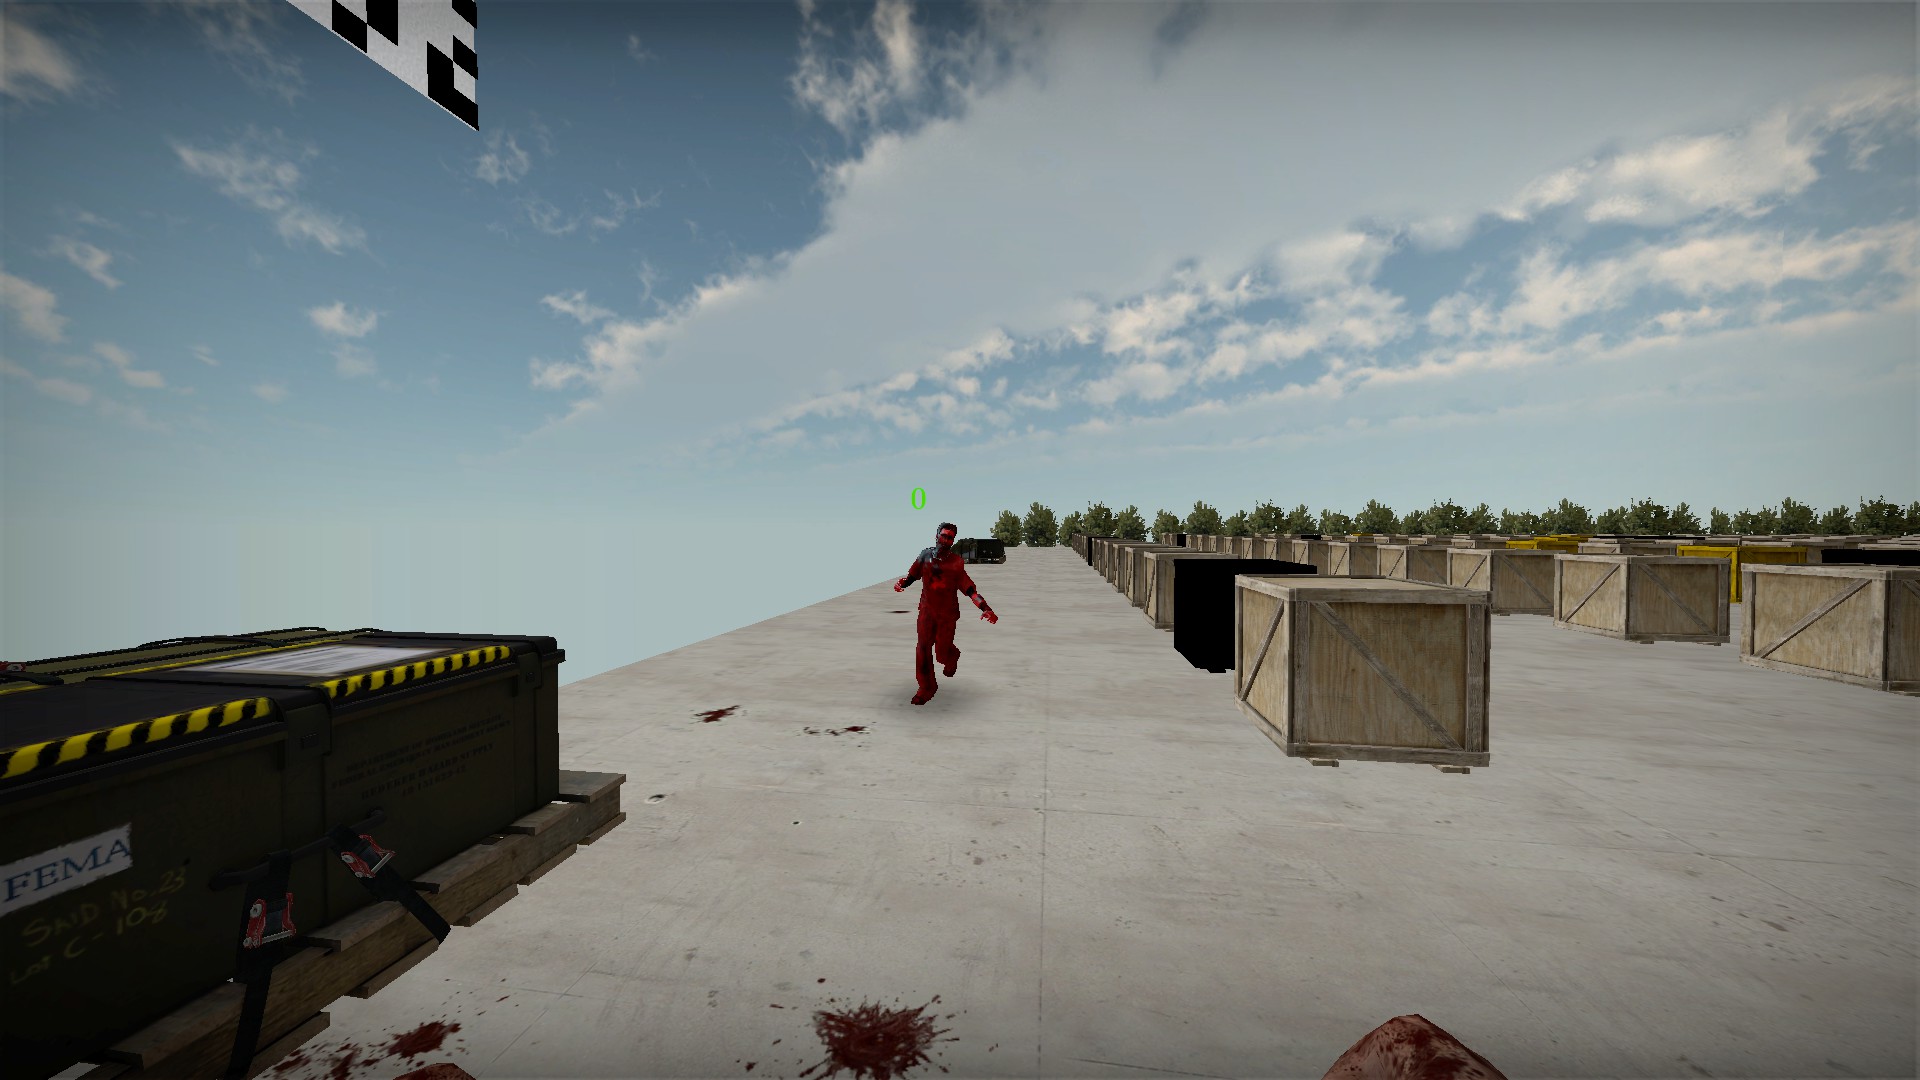
This zombie has a 4 second timer over its head. When the timer reaches 0, it can change color. The blue form can be damaged by melee weapons while the red form can be damaged by firearms. If you hit this zombie with the wrong kind of attack for its color, it will give out a little tee-hee laugh. If you do this enough its health will be restored Yan Shuangying (greenish blue)
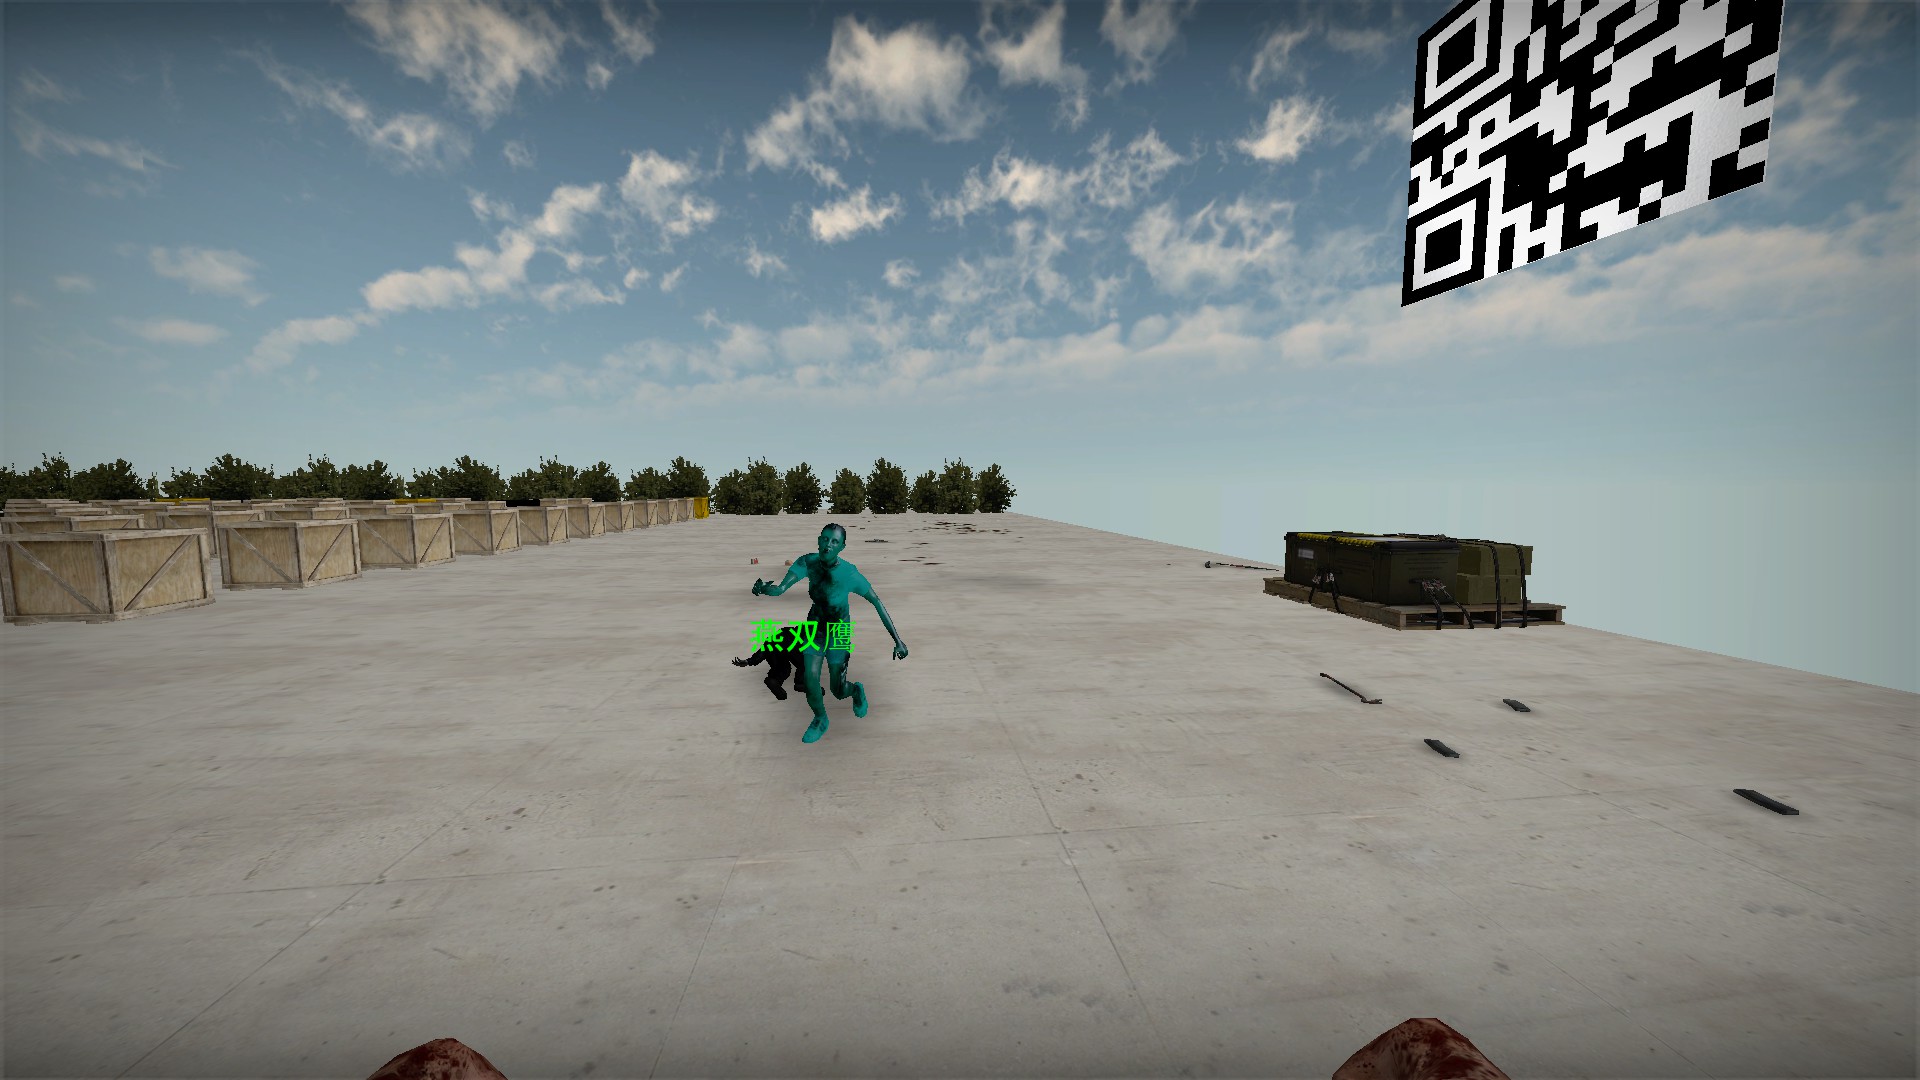
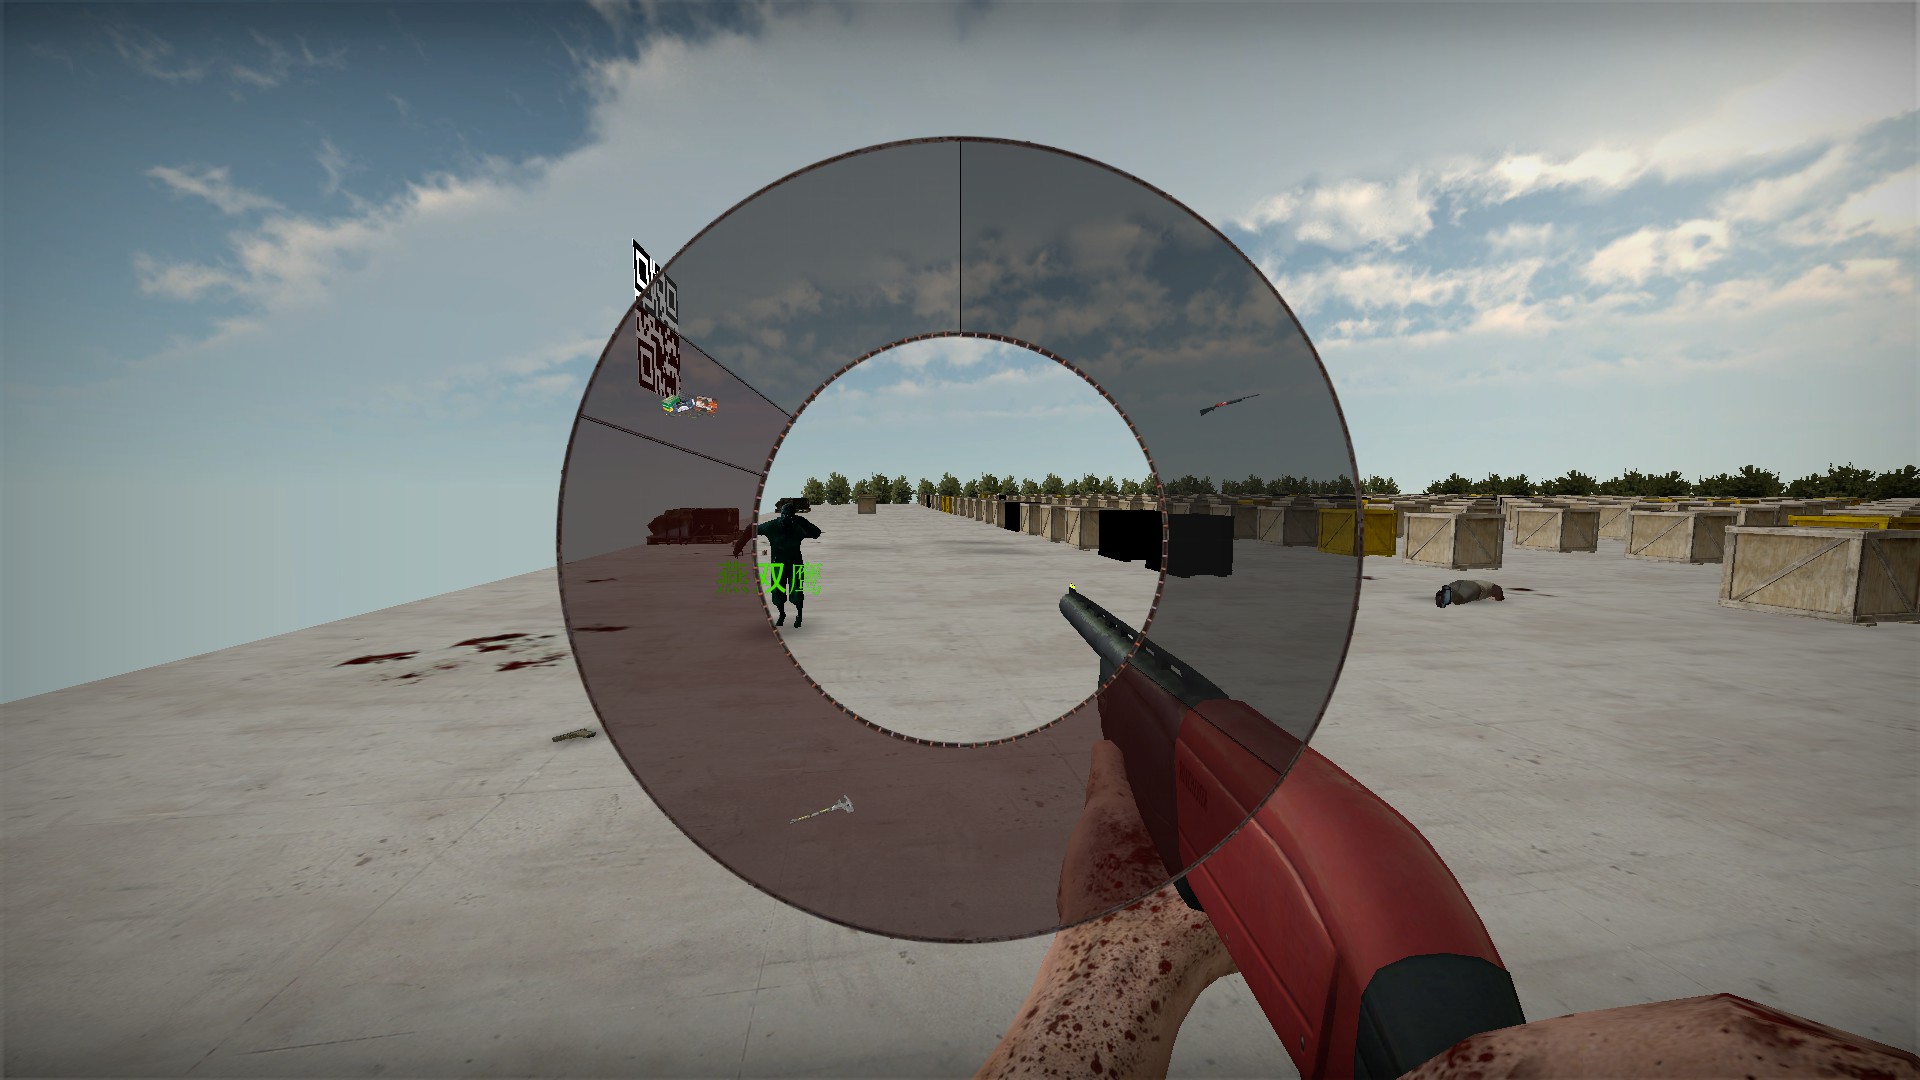
This boss will cause your firearms to unload. You will hear an audio cue when it does this. Must be killed with melee weapons. Immune to damage from the chainsaw Zha Zha Hui (blue)
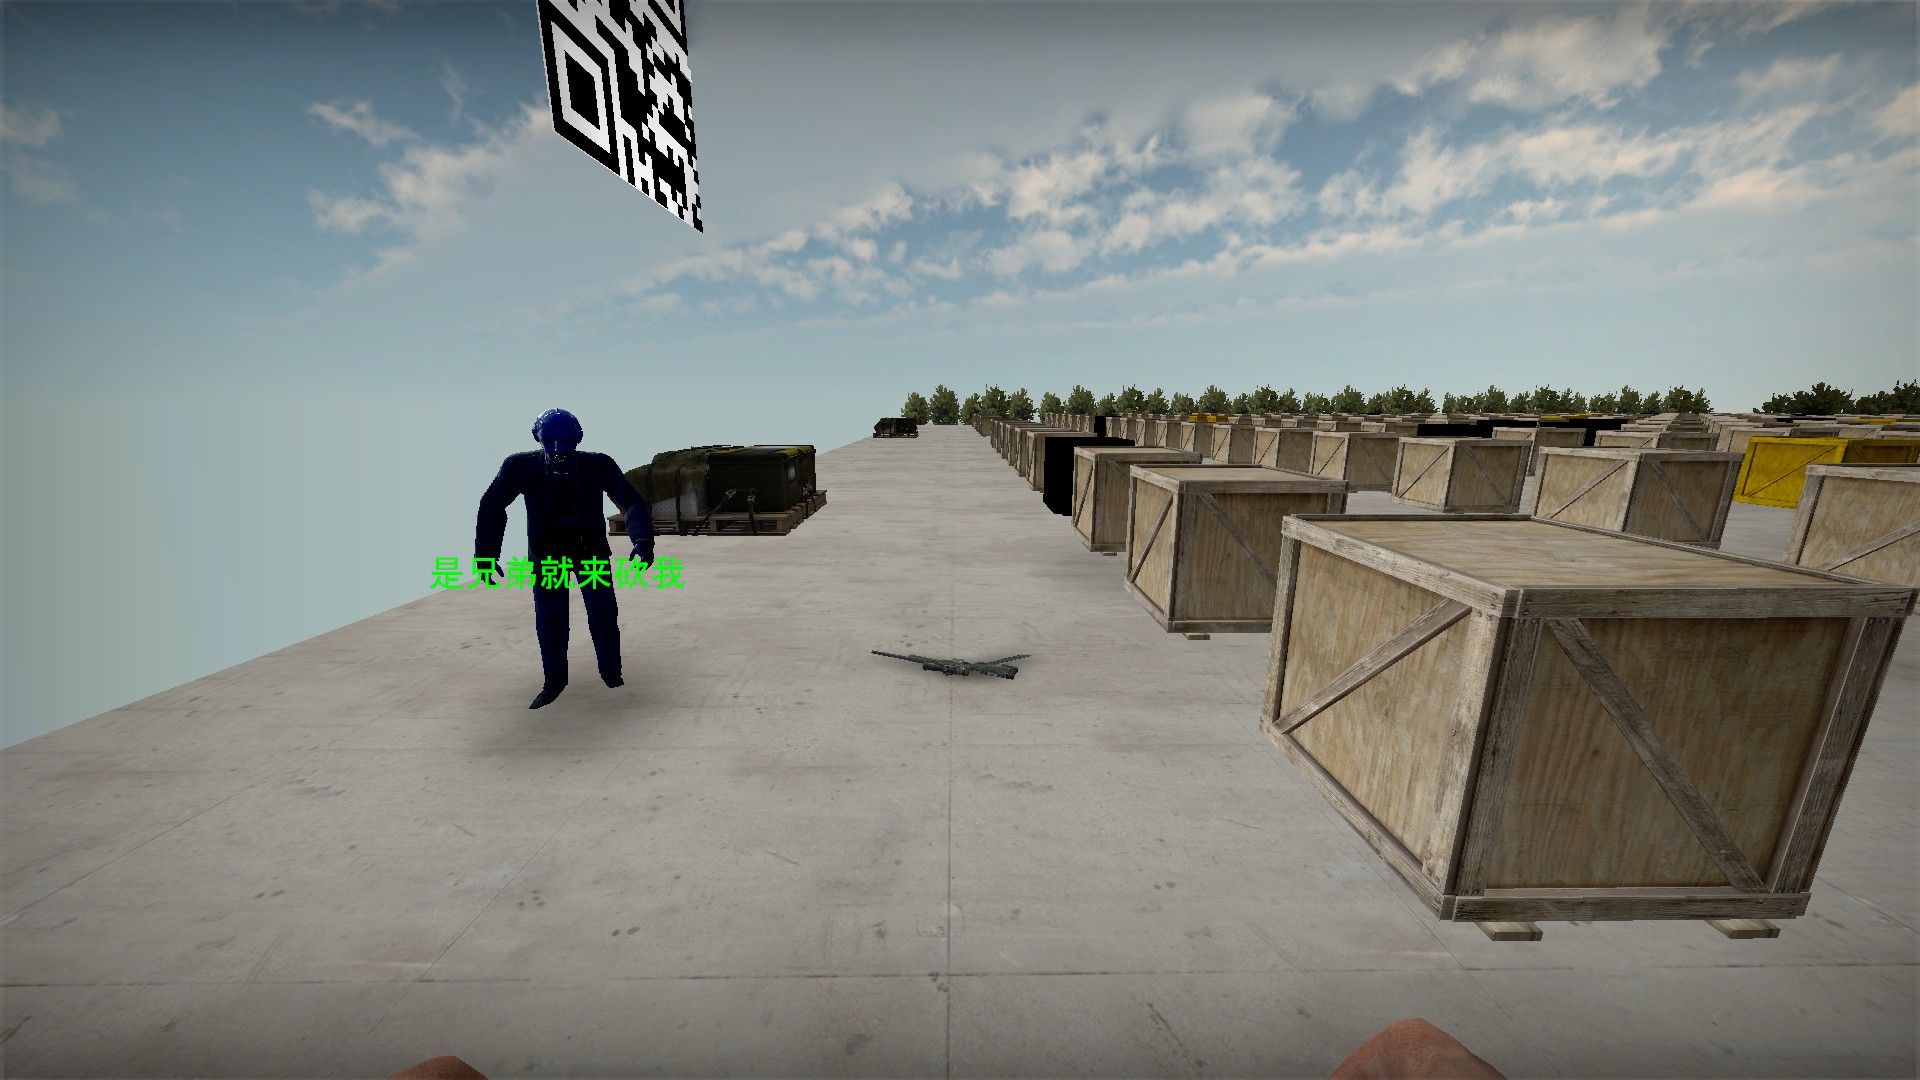
If you are nearby, this boss can cause you to drop all firearms and melee weapons. You will hear a long audio cue when it does this (maybe telling you to drop your weapons). Shoot it from far away or use your fists
nmo_dimension_time_b5


You will find glowing stacks of cash. Pick it up for +3 points. The first one is on some boxes in the store with the first camera. You can find up to 12 stacks of cash Code shutter


Remember the code from the store and backtrack down the stairs to use the code to open the shutter. Behind is an area where you can buy health items and another stack of cash More cash

You will find the next stack of cash just before the door to the keys and fuses area Watcher path

If you get the path that leads down after the camera and fuses area, look for a stack of cash in the corner of the tunnel just after the first encounter with the eyes Sewers path

If the path continues in the sewers, look for a stack of cash in the bathroom between bosses Subway station


The paths will converge at the subway station. Go behind the camera and up to the 2f for 2 more stacks of cash Shot

It isn't really hidden, but be sure to pick up the shot before the elevator with the mannequins Clock area - cash

The security office has a stack of cash on the desk

And the janitor's closet has a stack of cash on top of the locker Clock area - hidden room

Near where you find the ladder on the train platform, jump up onto the trash bin and then the light fixture behind it

It's not an easy running jump to the next light fixture, but it can be made in single jump


jump up to the area above the platform entrance and break the wall where it glows green. Use a melee weapon or firearm


The hidden room has tnt and 2 stacks of cash Secret cash at last train station


The locked door at the last train station can be opened for a secret stack of cash if you backtrack here with the blue key from the next area Bar

The last stack of cash is in the bar at the end of the street, on the bar
nmo_disanshijie_v2
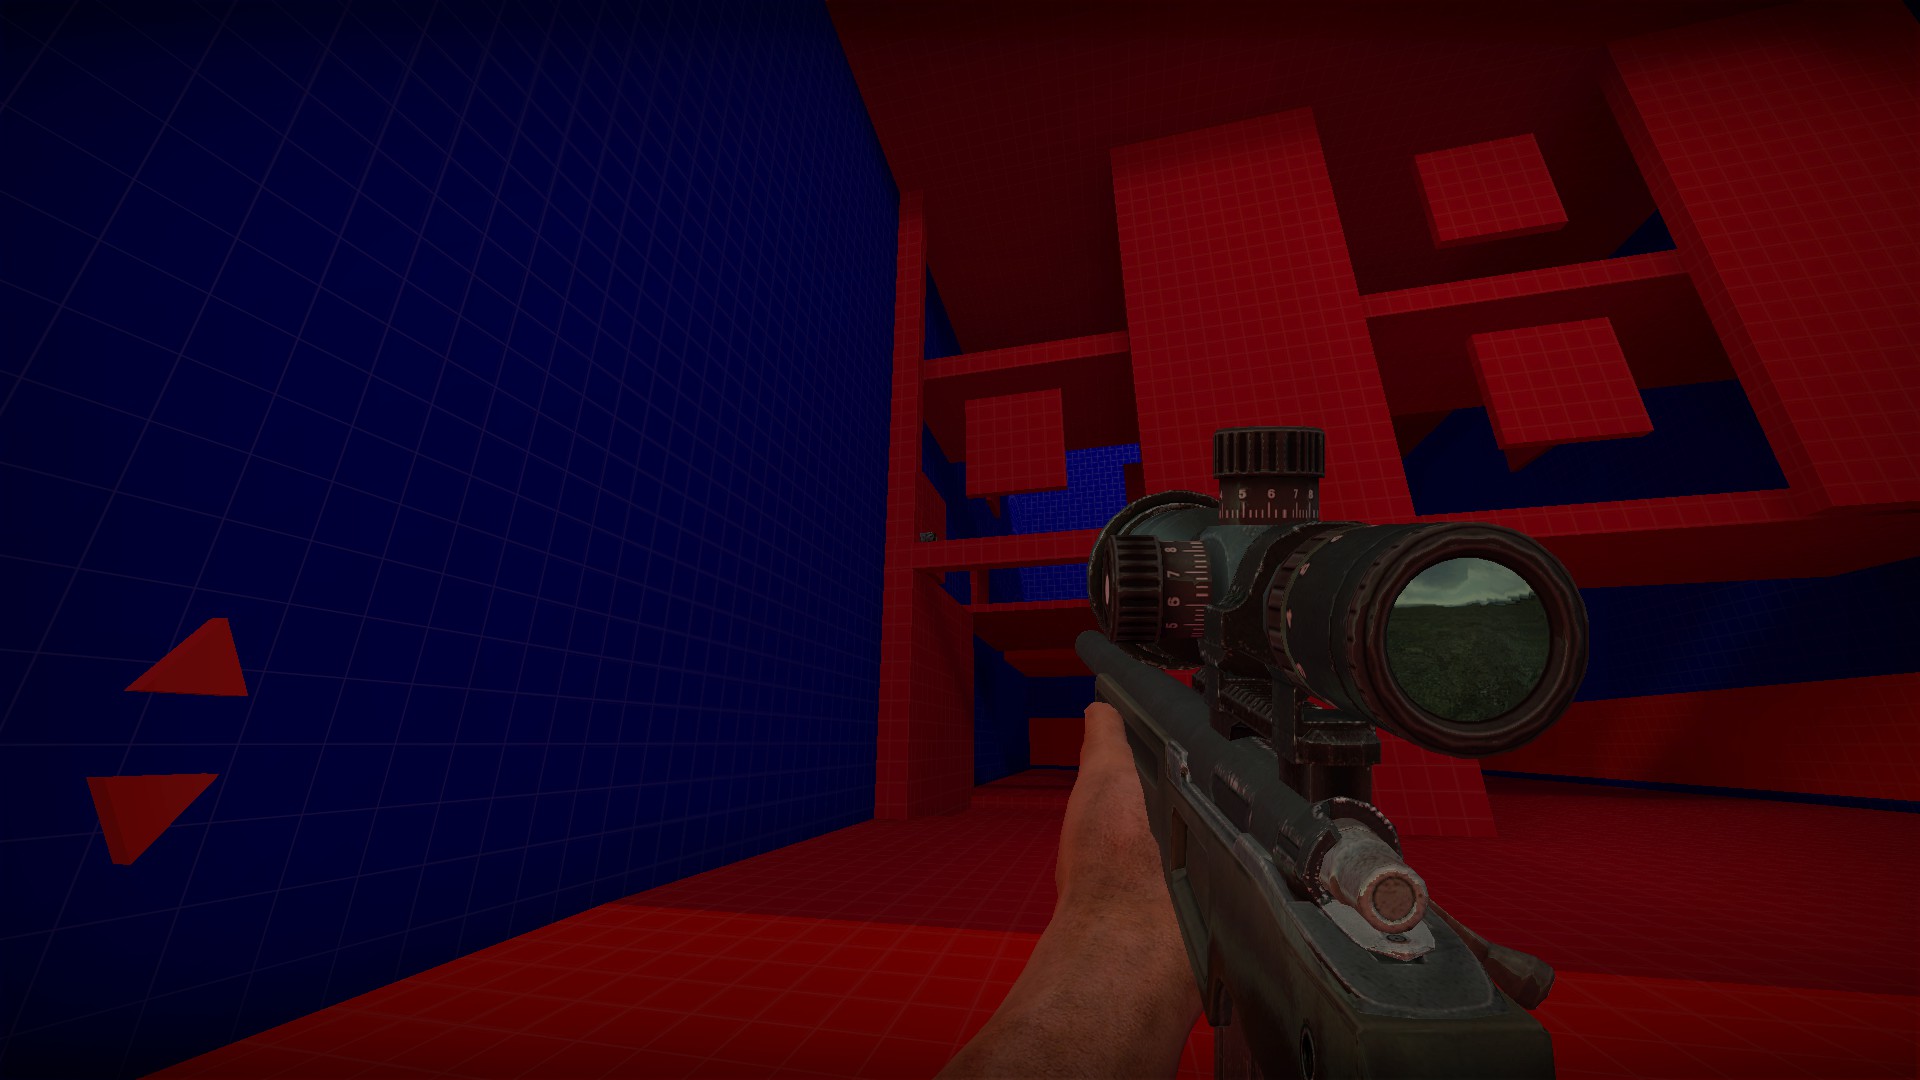
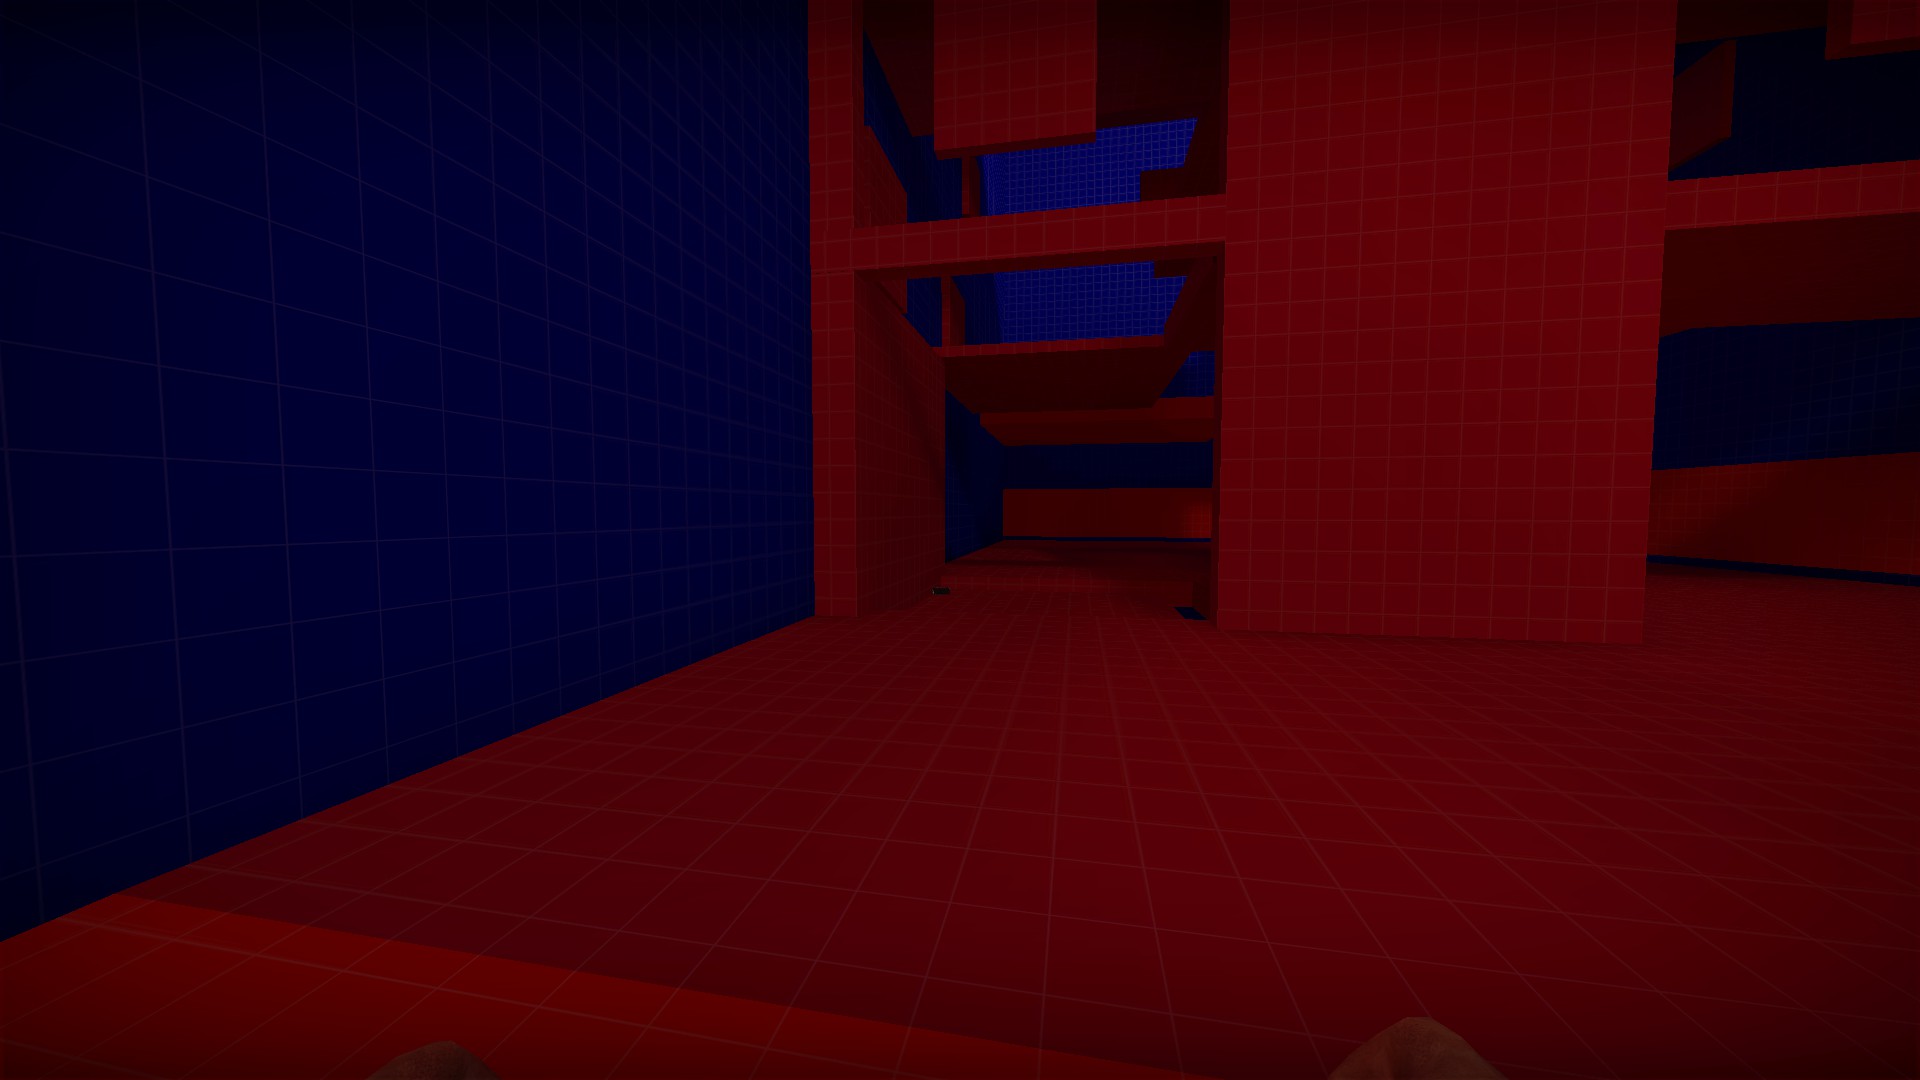
The easiest way to get the medkits in the red and blue area is to shoot them down
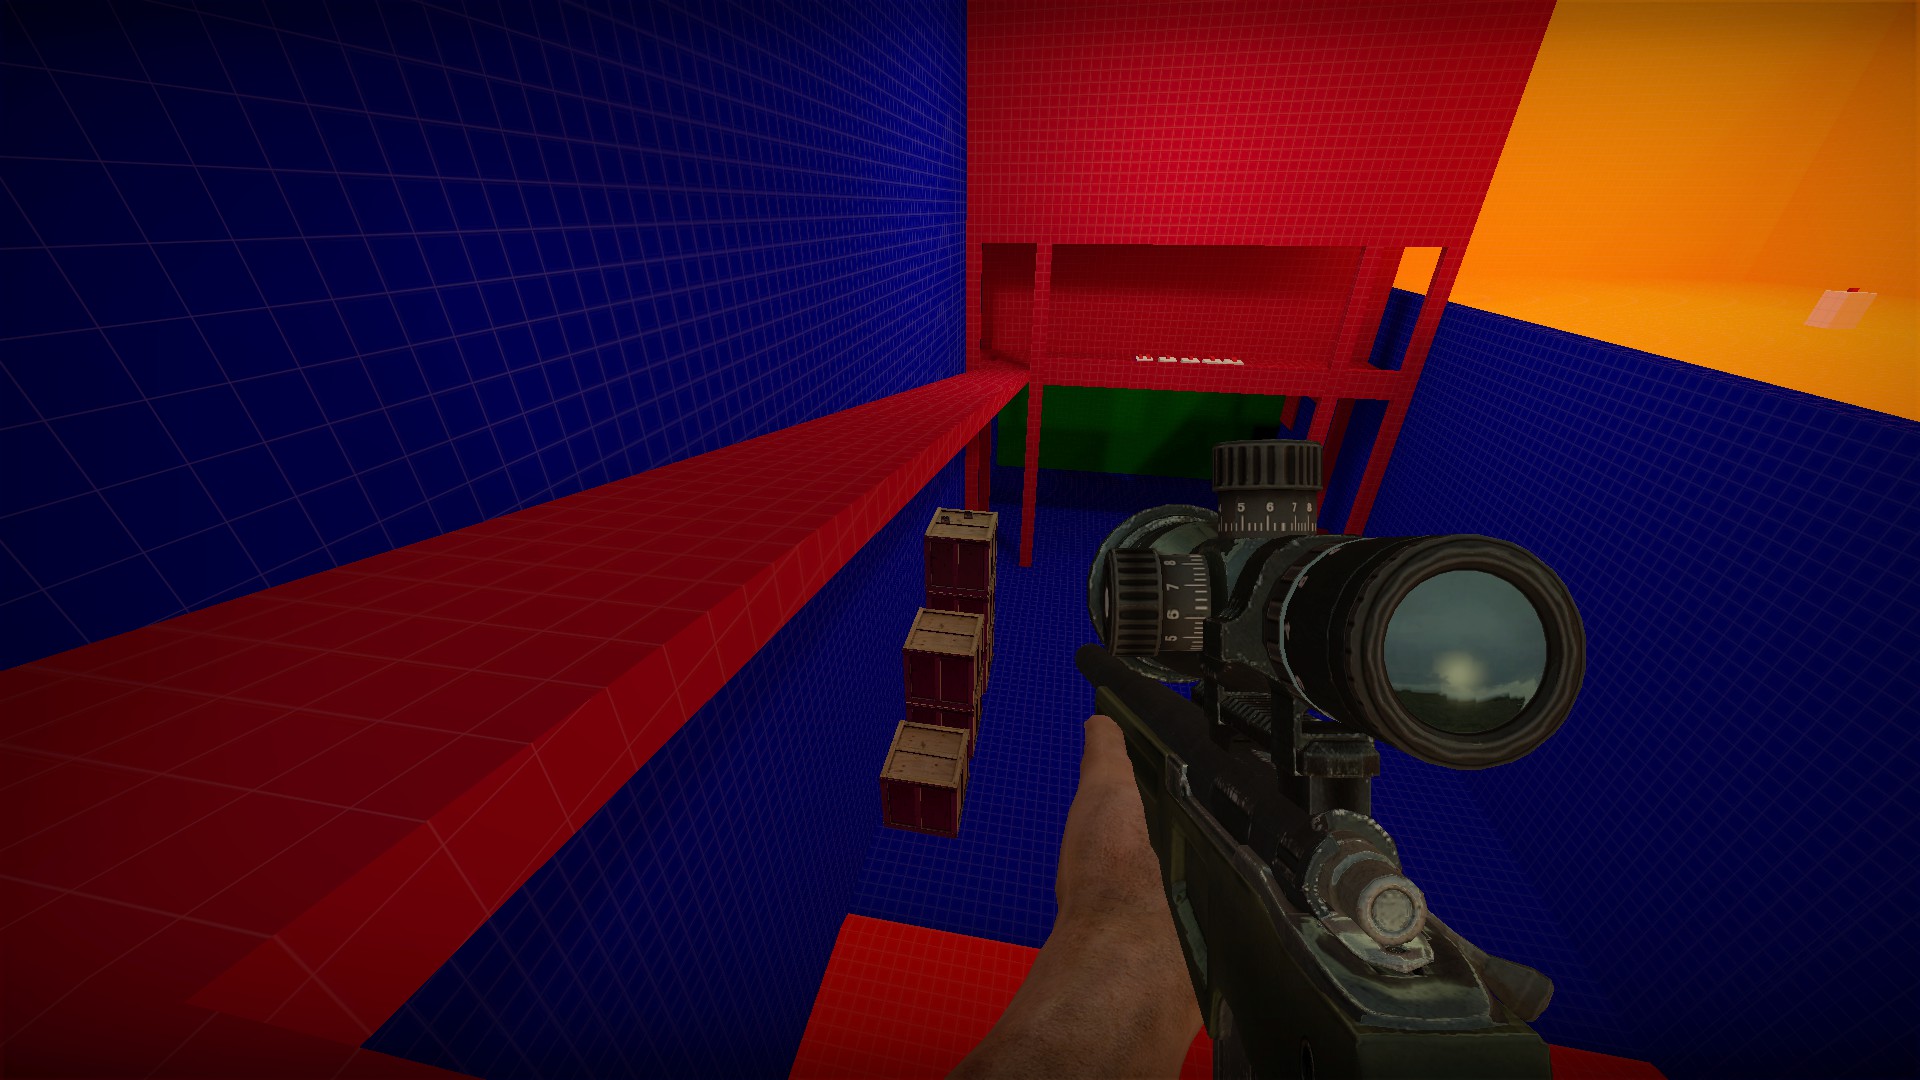
It will take several shots to get the medkits down off the boxes
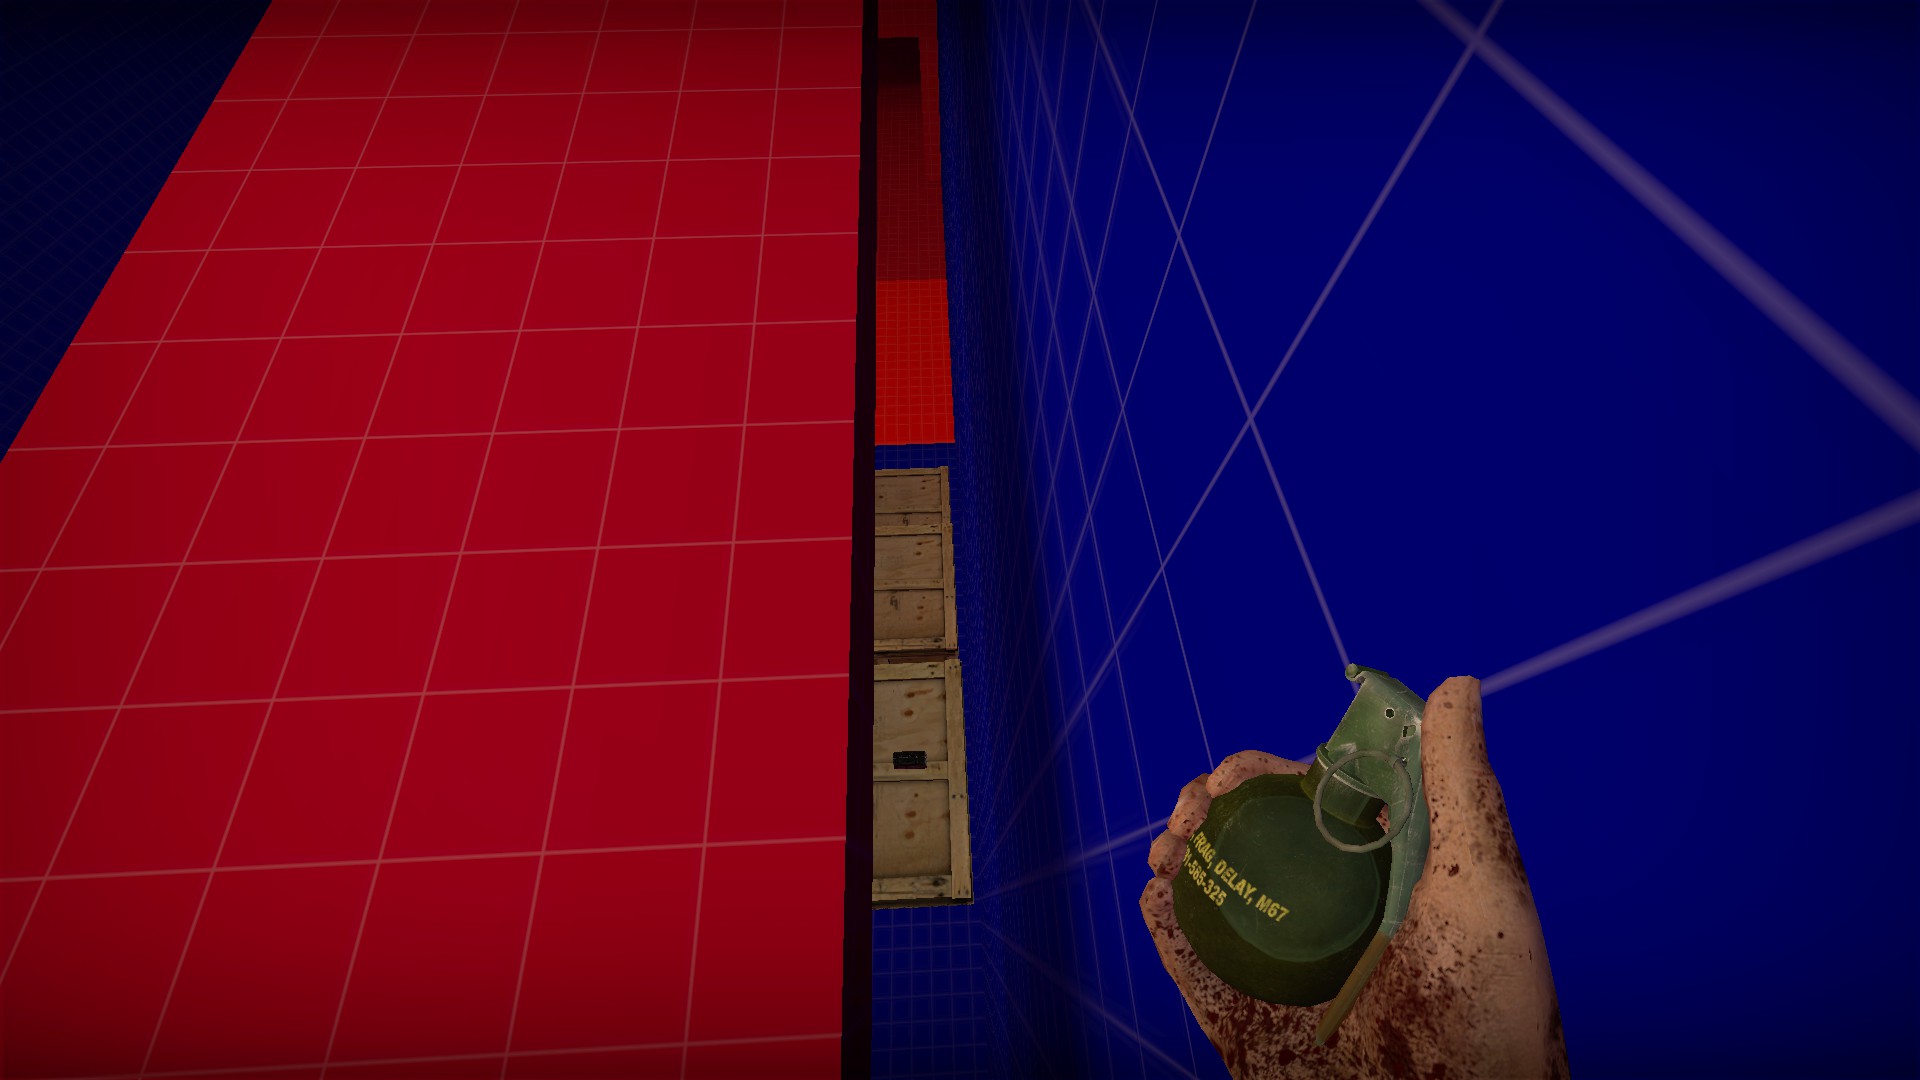
But if you were lucky enough to get a grenade, you can drop it directly down and blast the medkits off Chainsaw
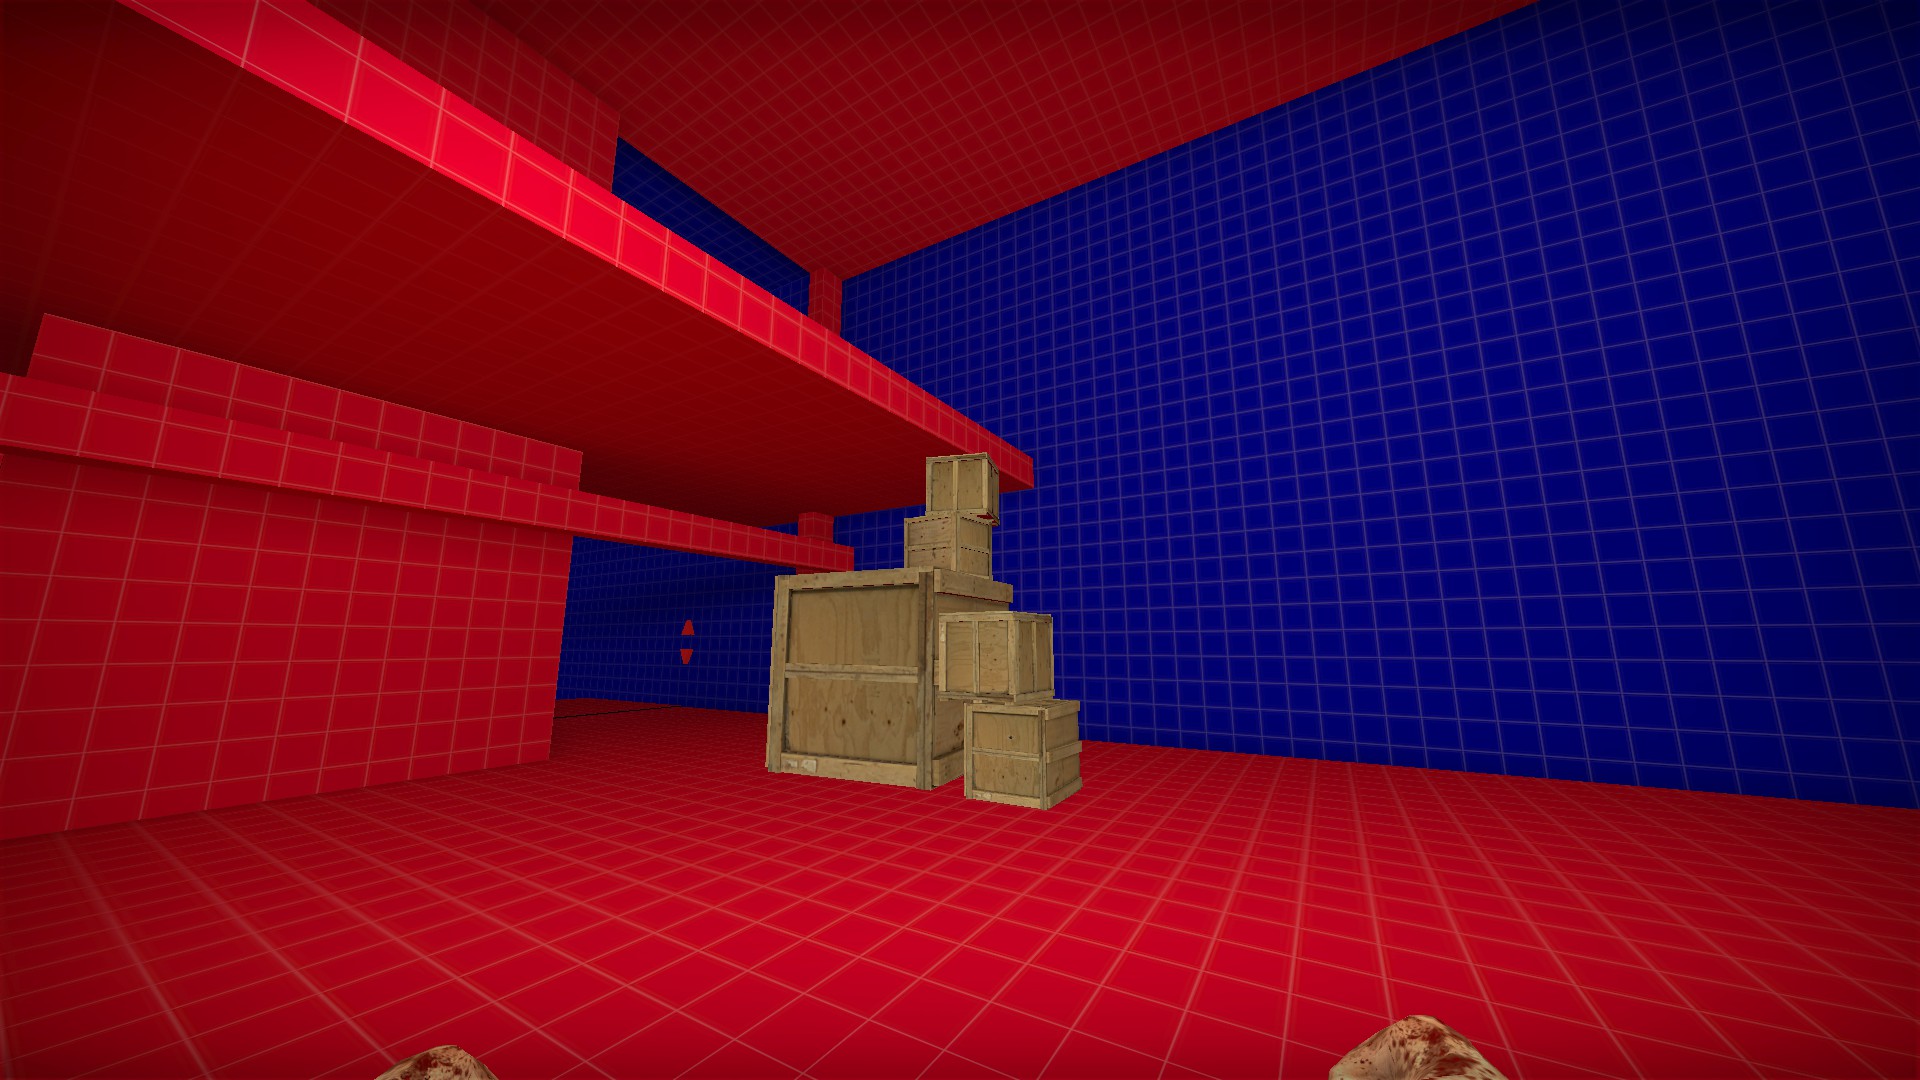
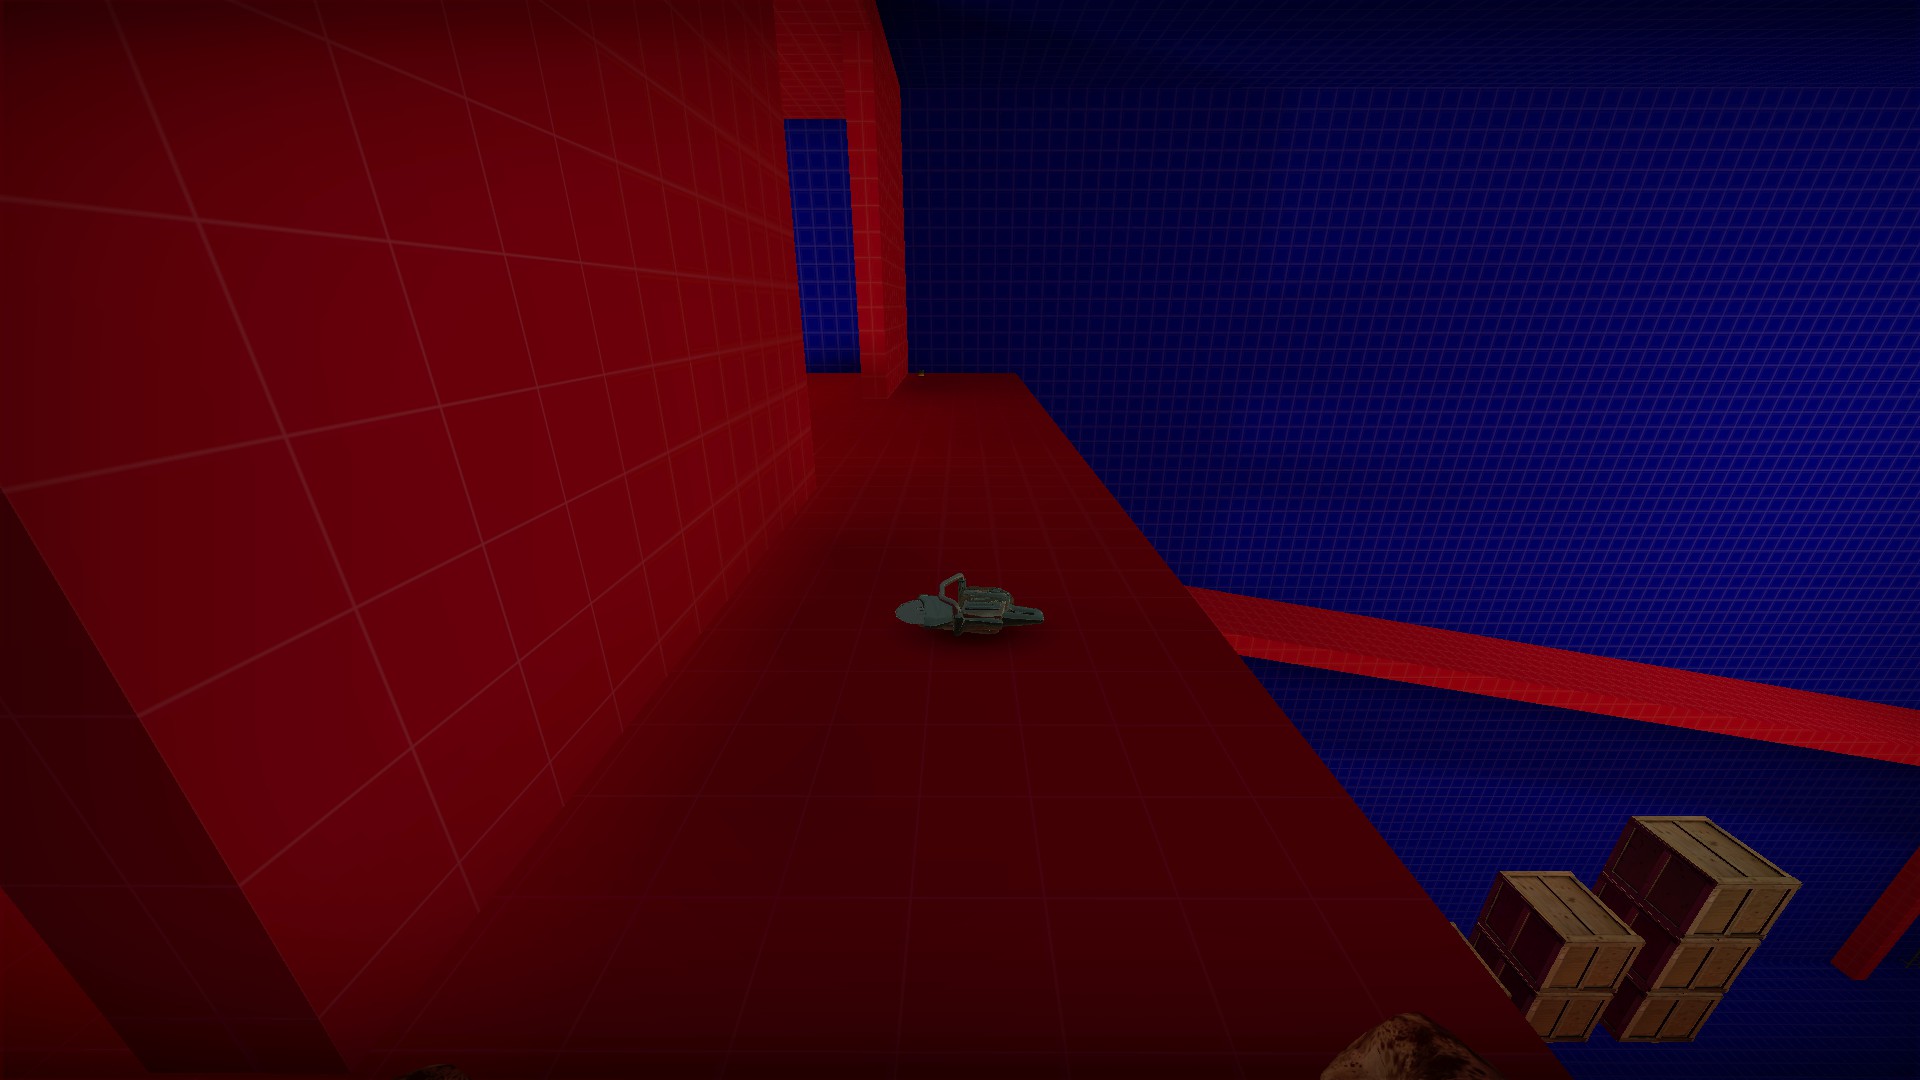
Use a medium box and the small boxes to build stairs to reach the chainsaw Items on rafters
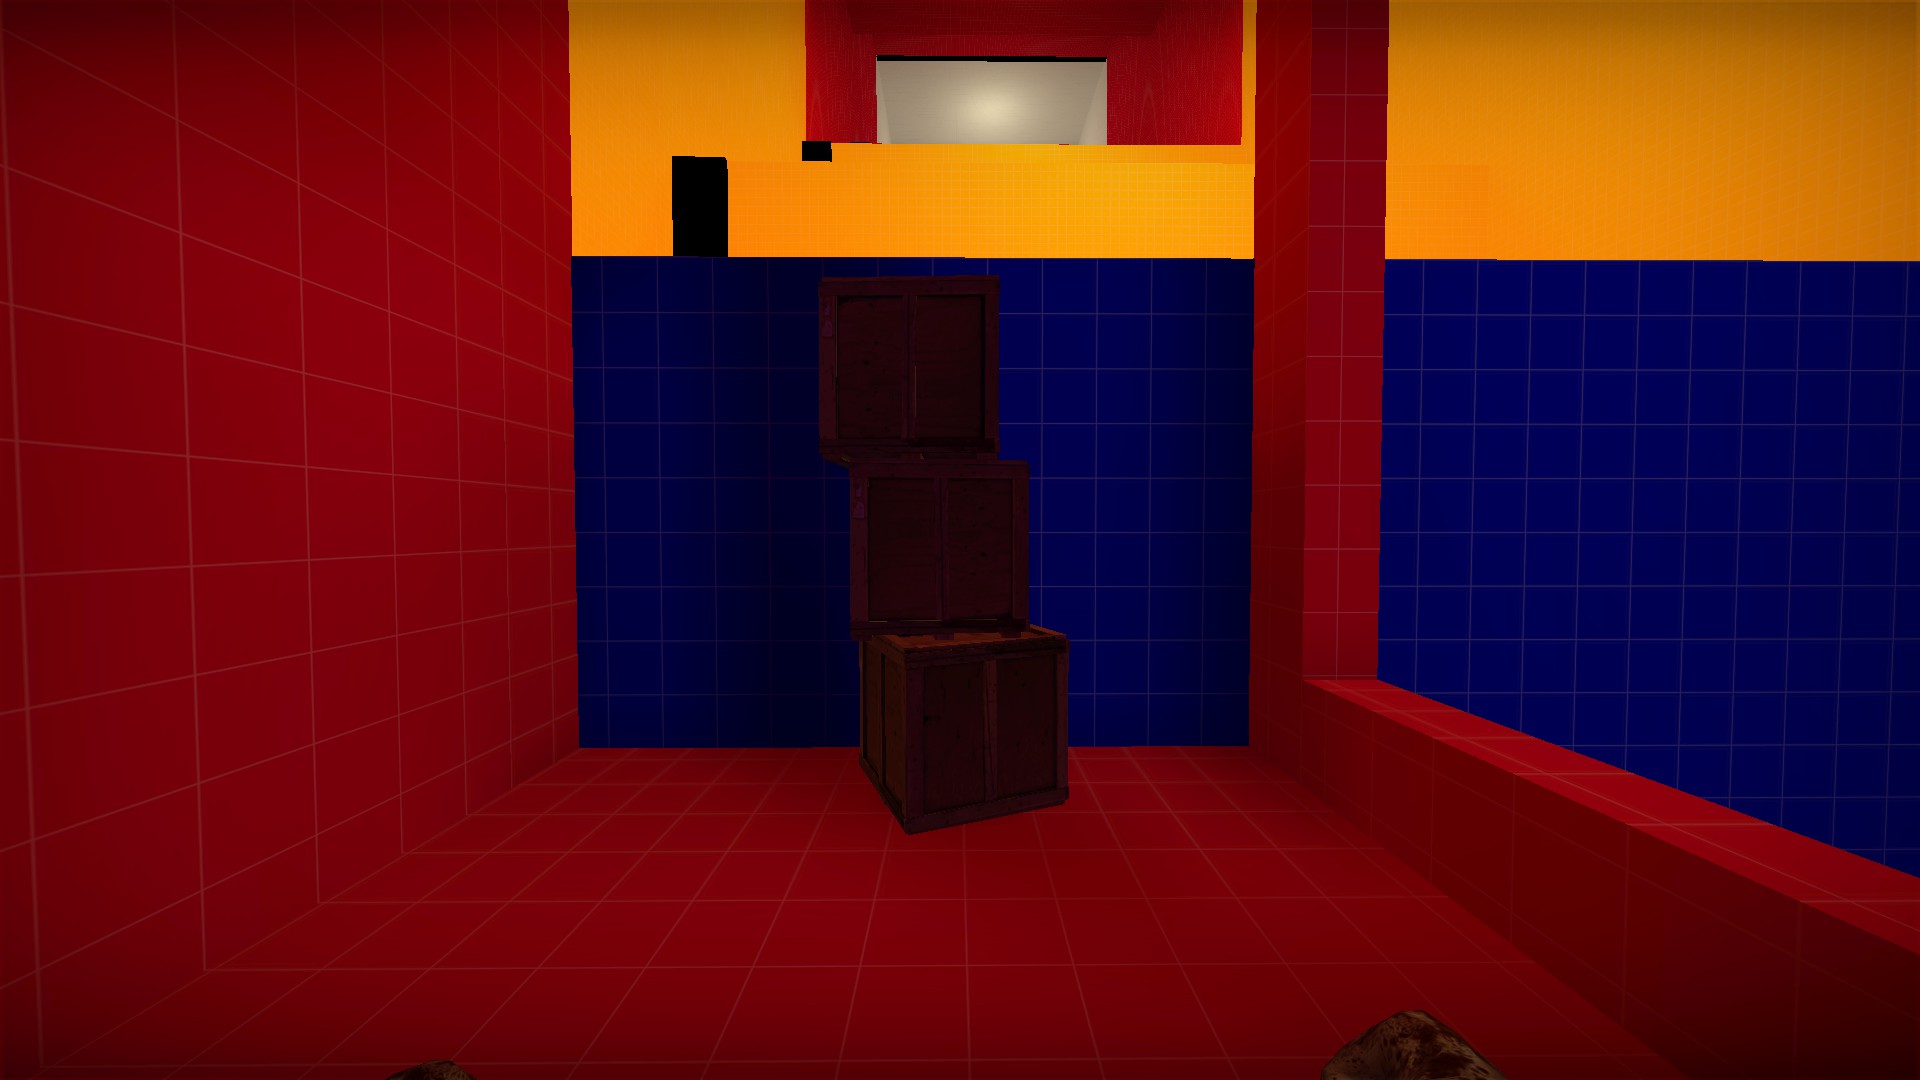
After you have opened the large green door, use some of the small boxes to build a staircase to return to the previous area
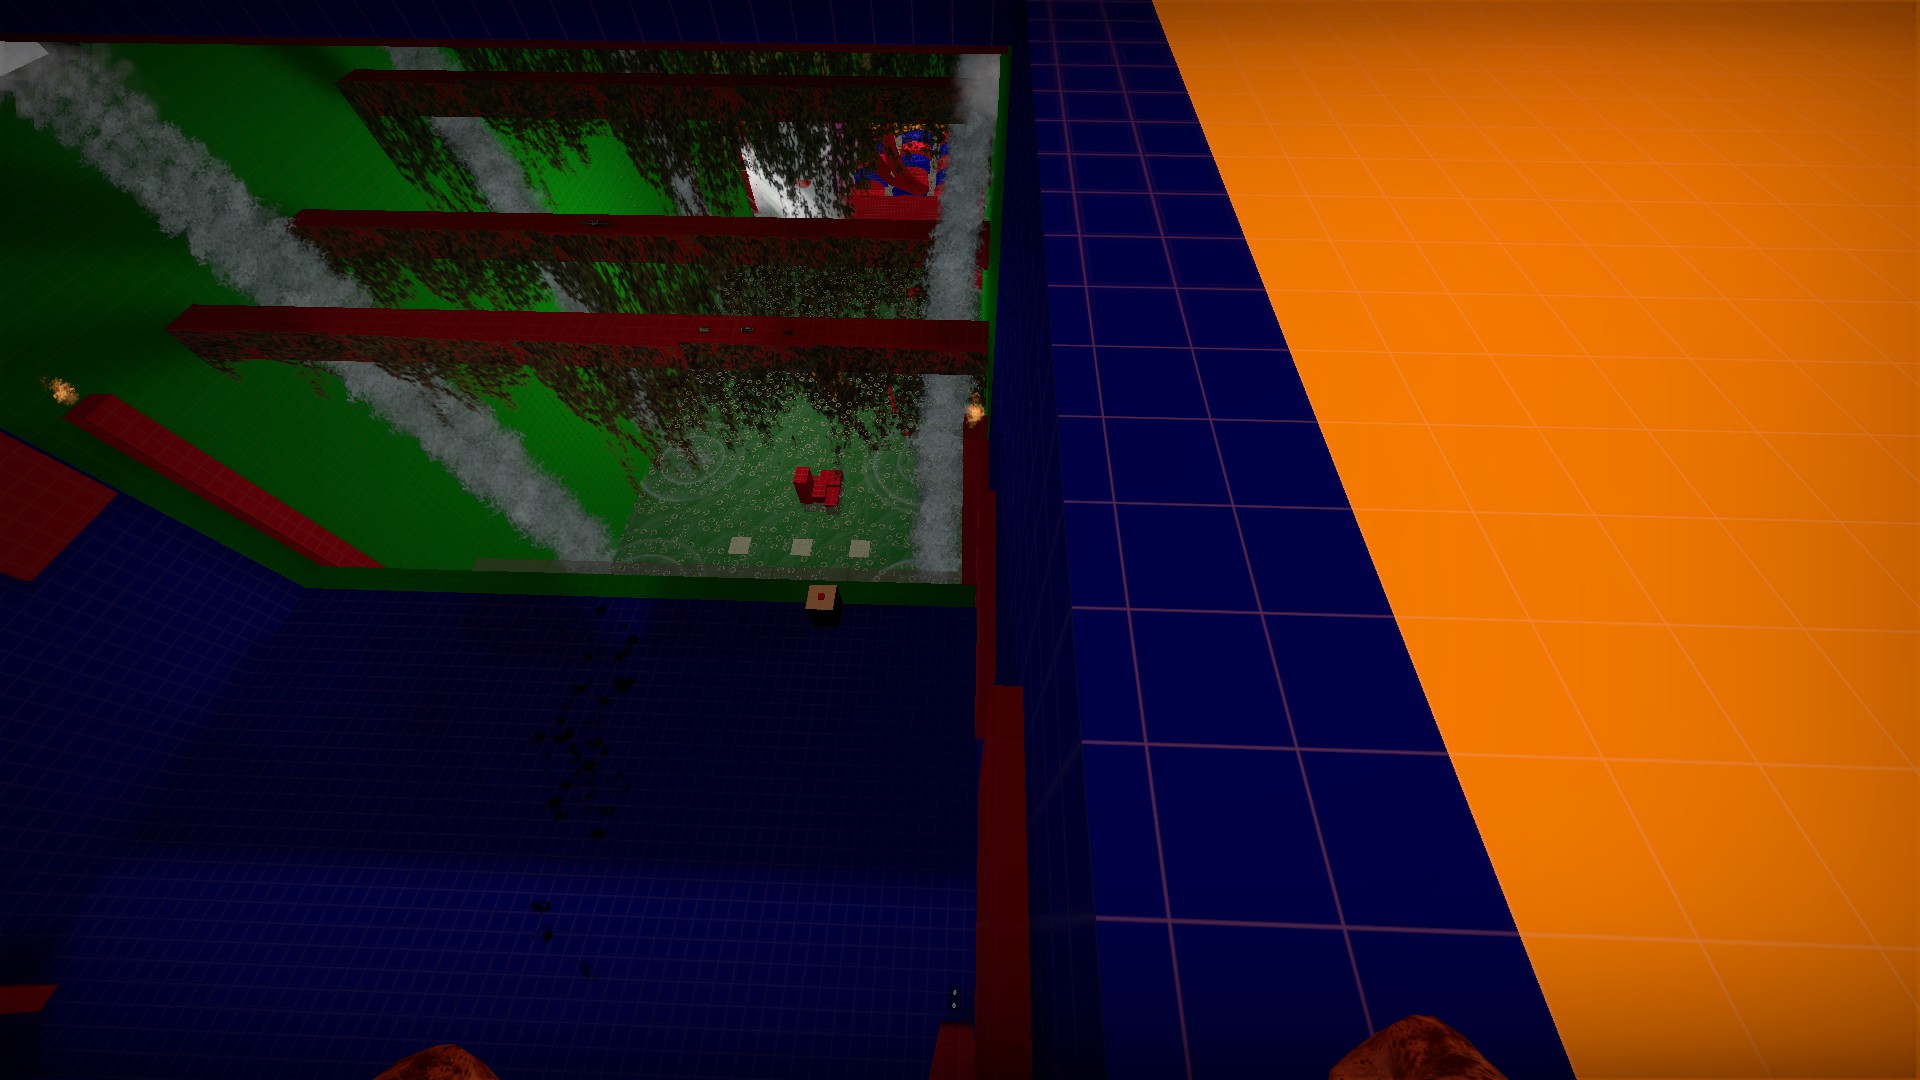
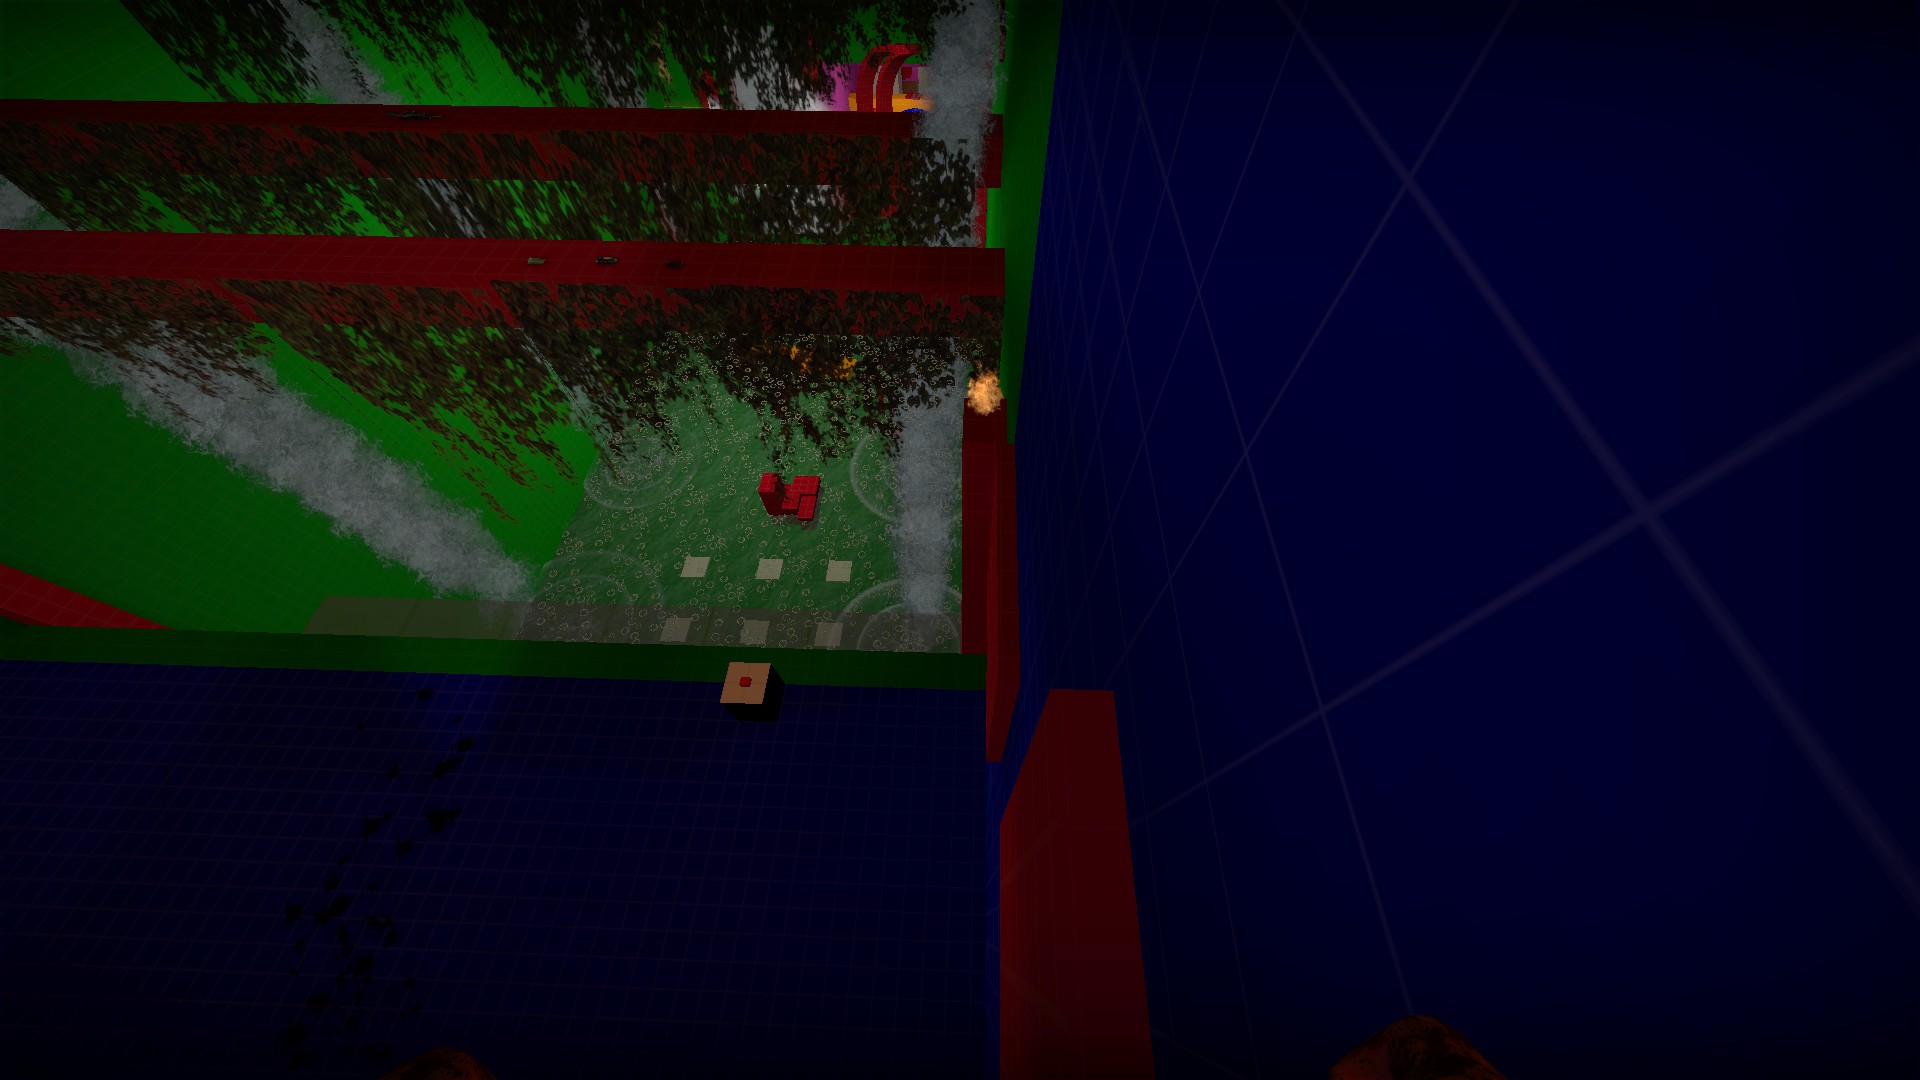
Head over to the ledge and drop down to a series of platforms. The fire will not burn you
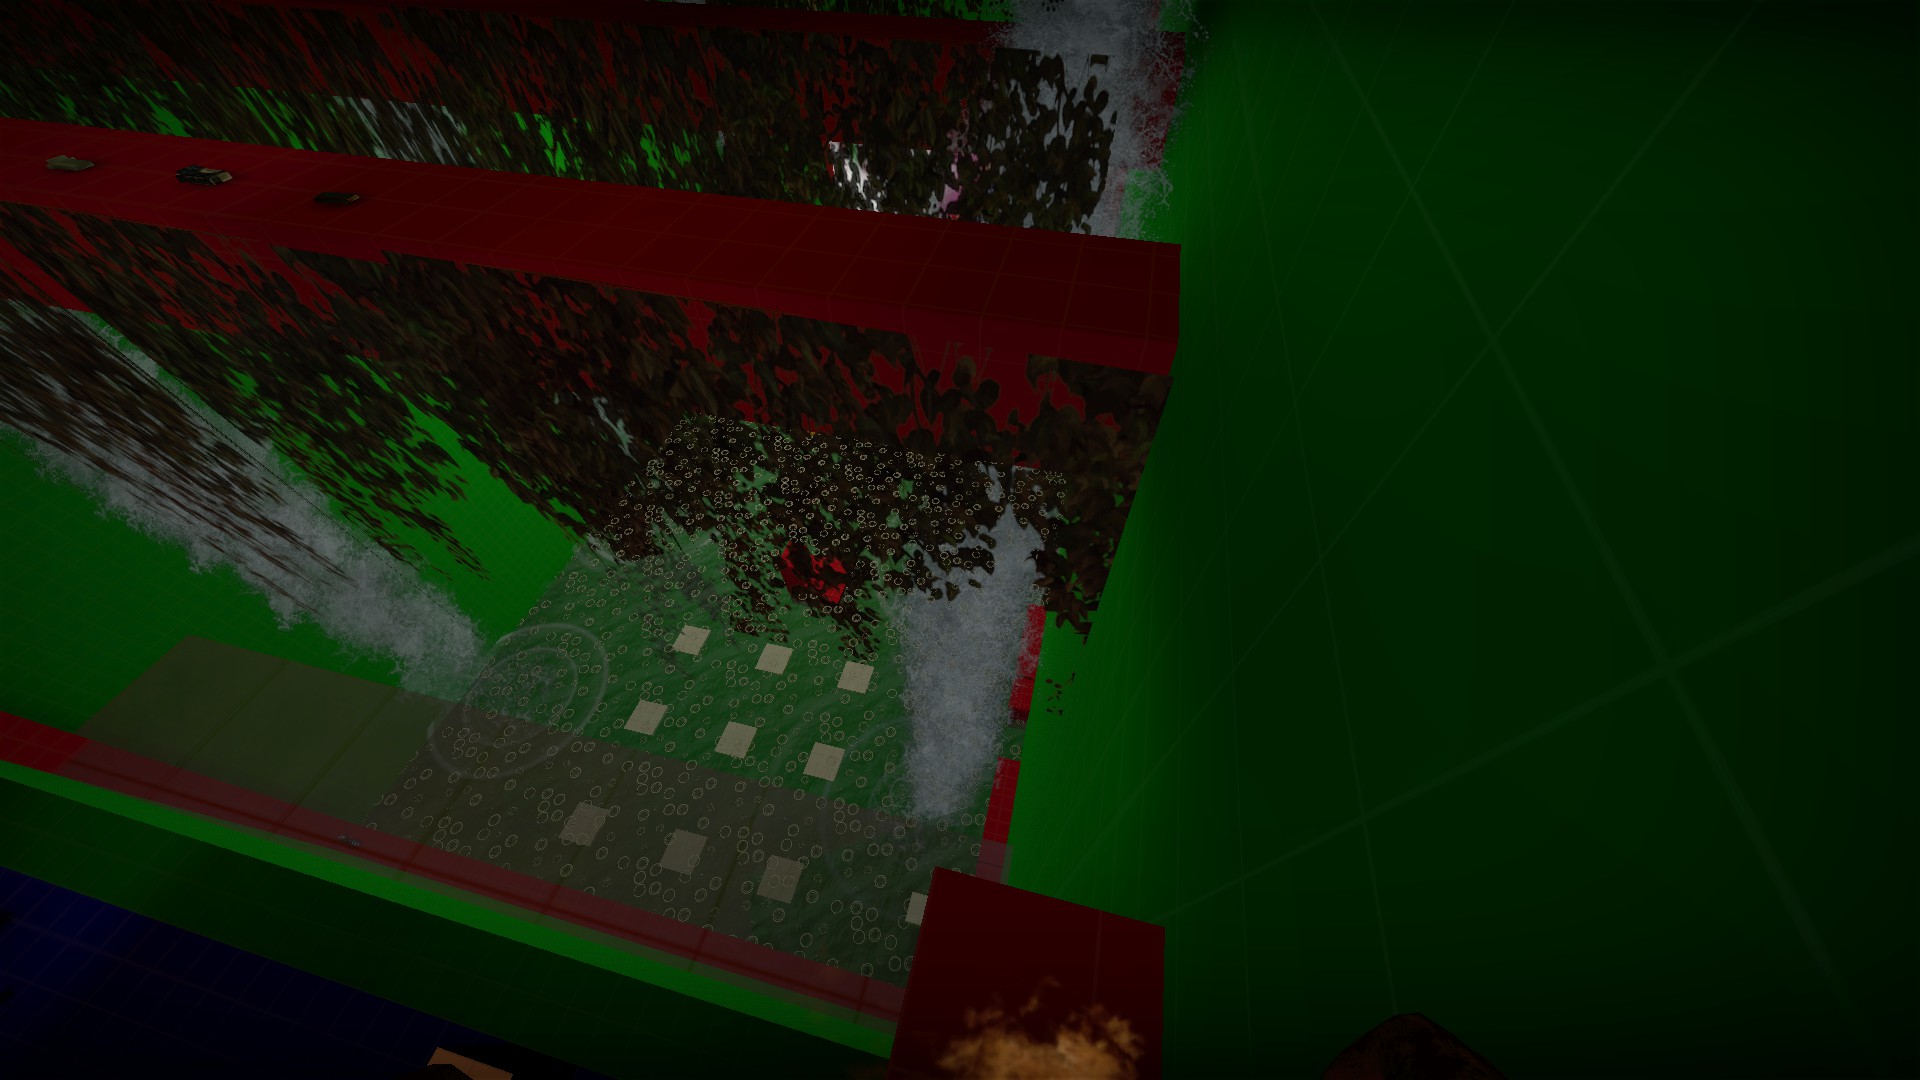
Running jump over to the first rafter and grab the ammo. From there, you can running jump to the next rafter
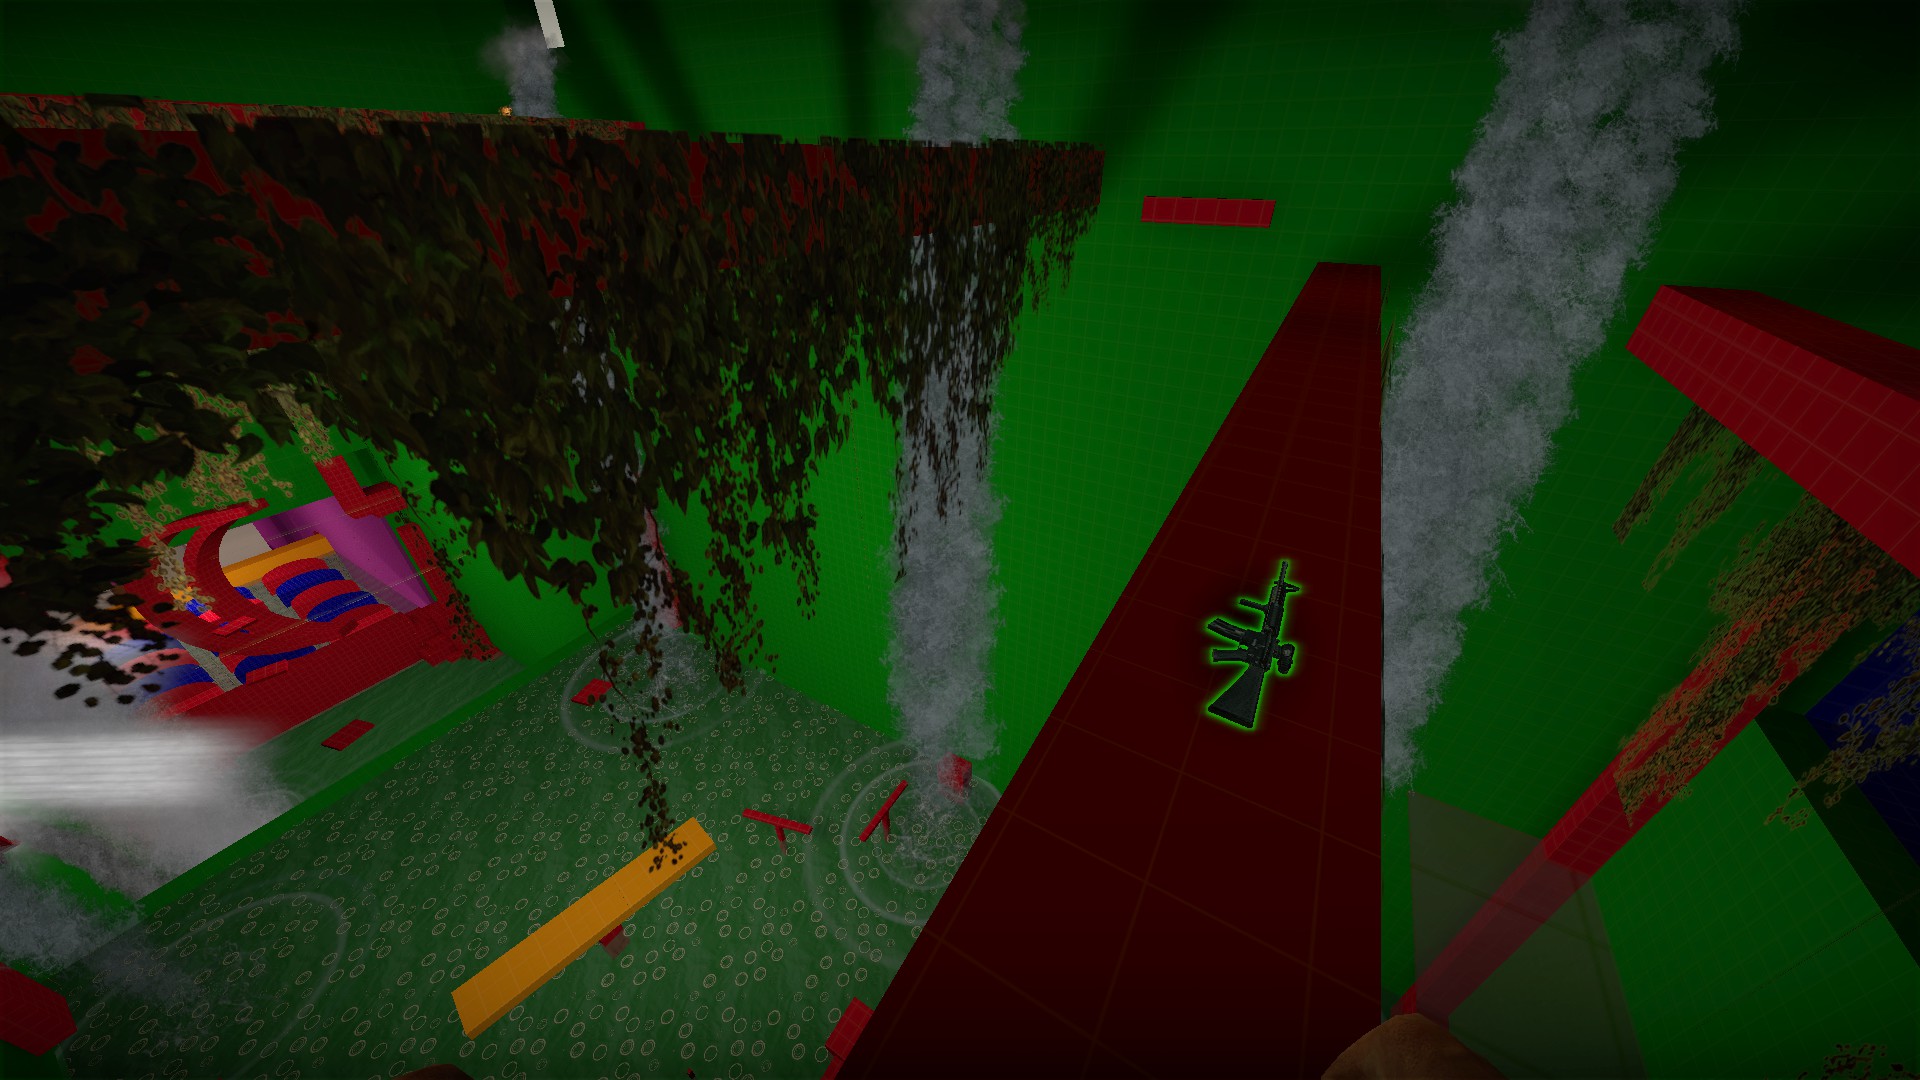
Grab the m16 and use the platform on the wall to jump to the next rafter
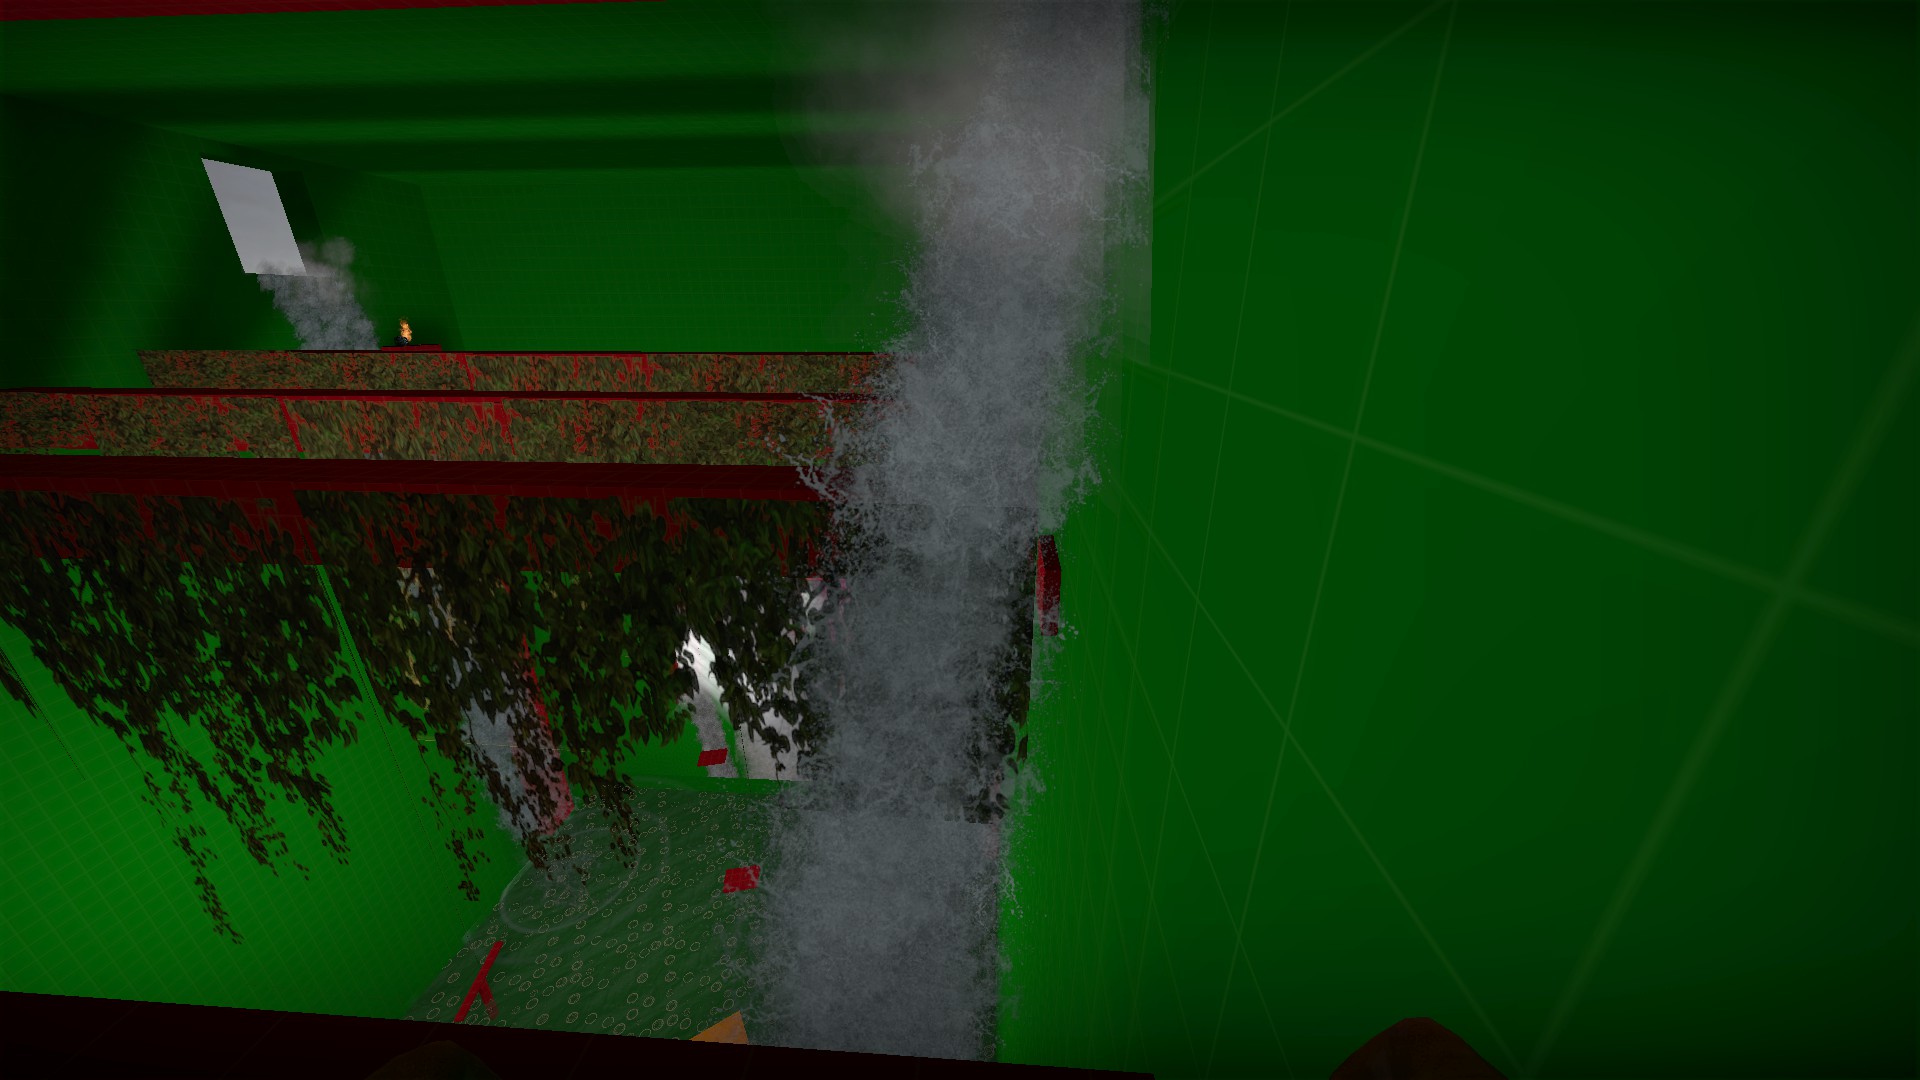
On that rafter, use the platform under the waterfall to get to the next rafter
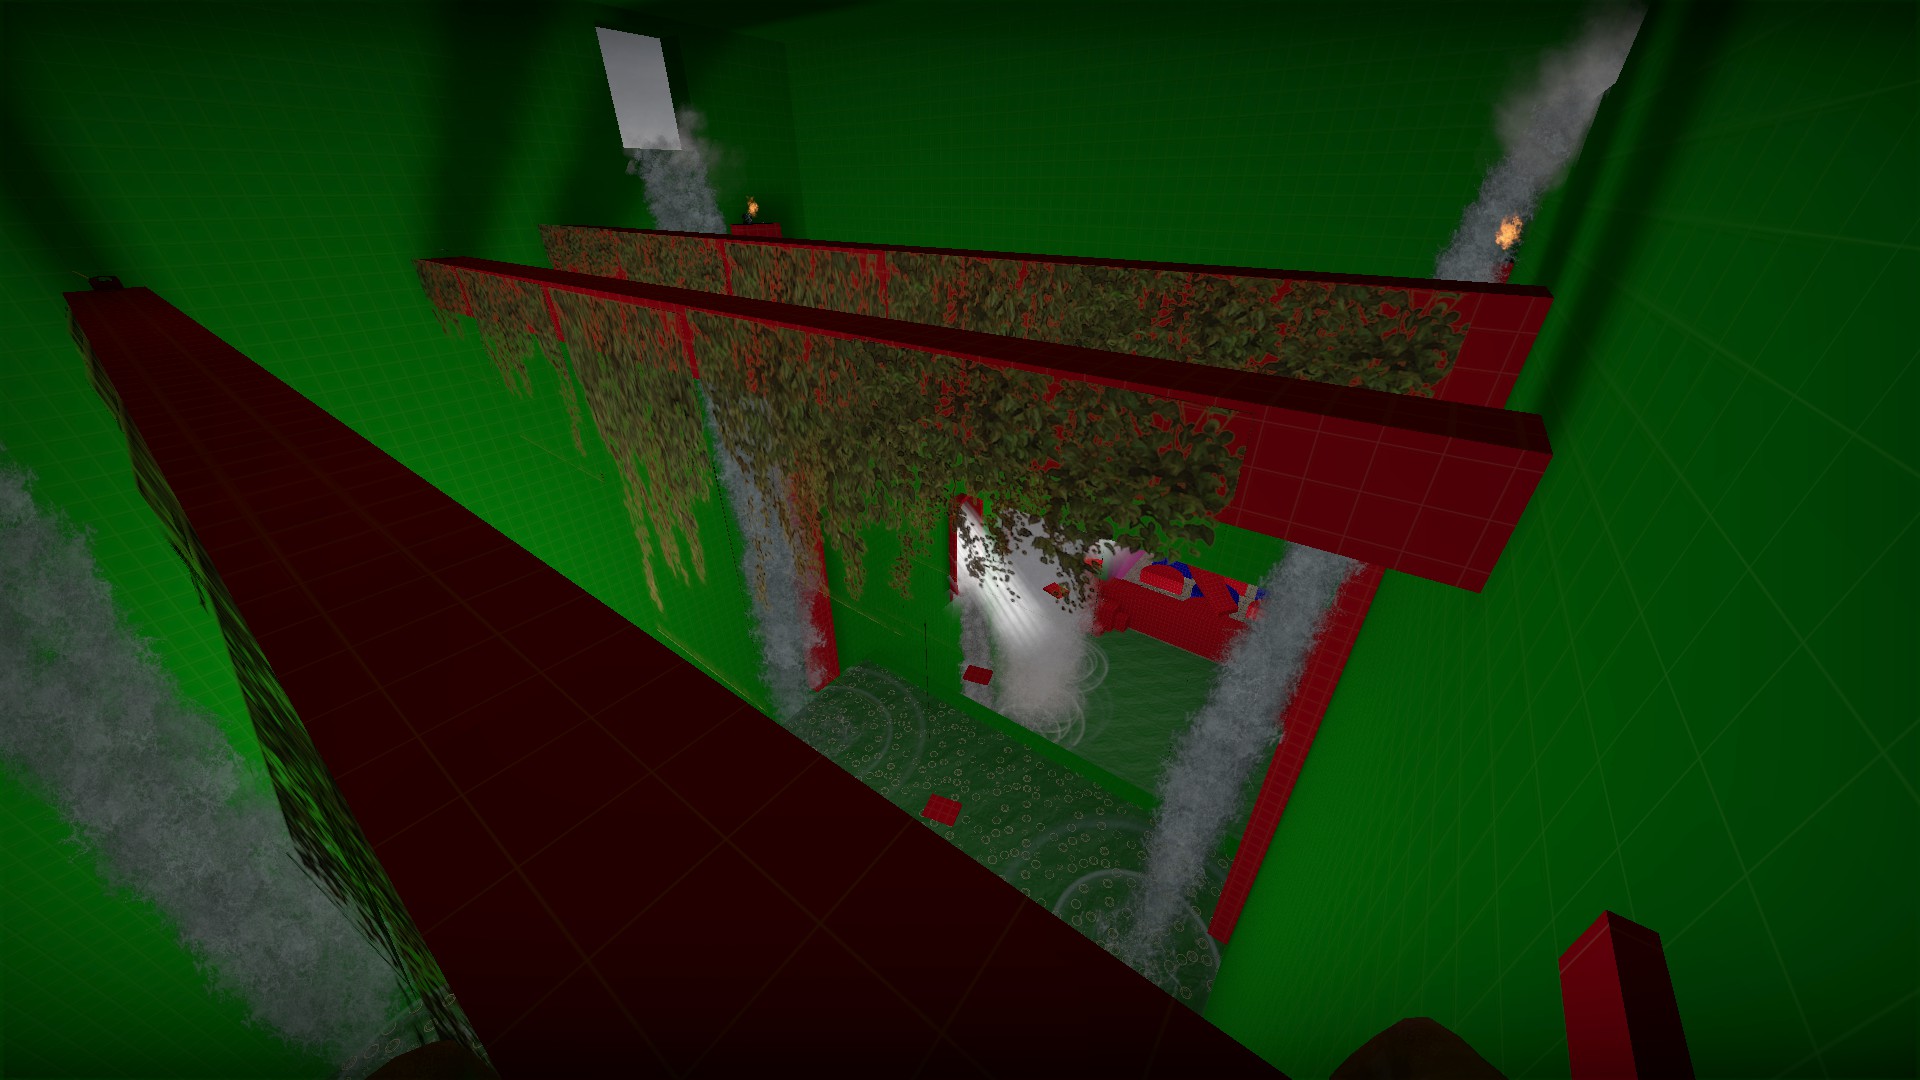
Head over and get the fuel, then return and running jump to the next rafter
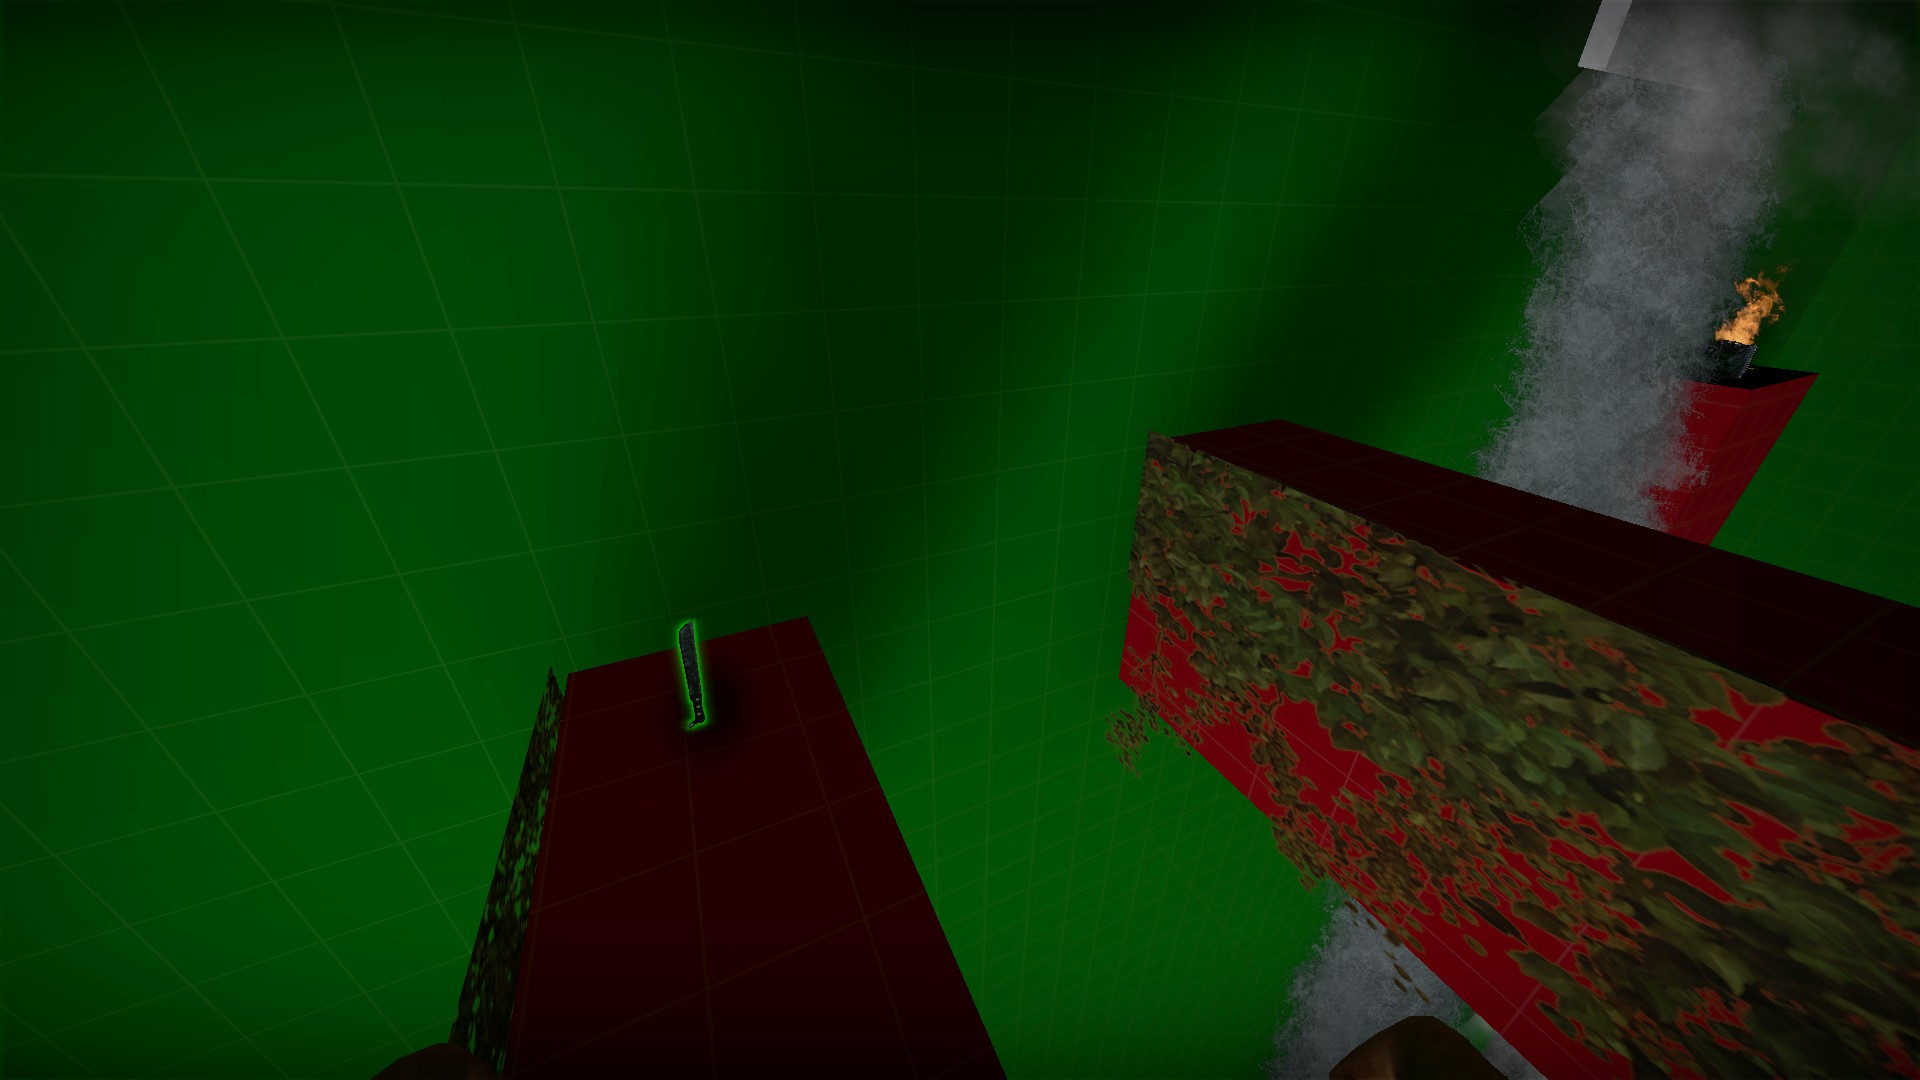
Grab the machete and jump to the next rafter
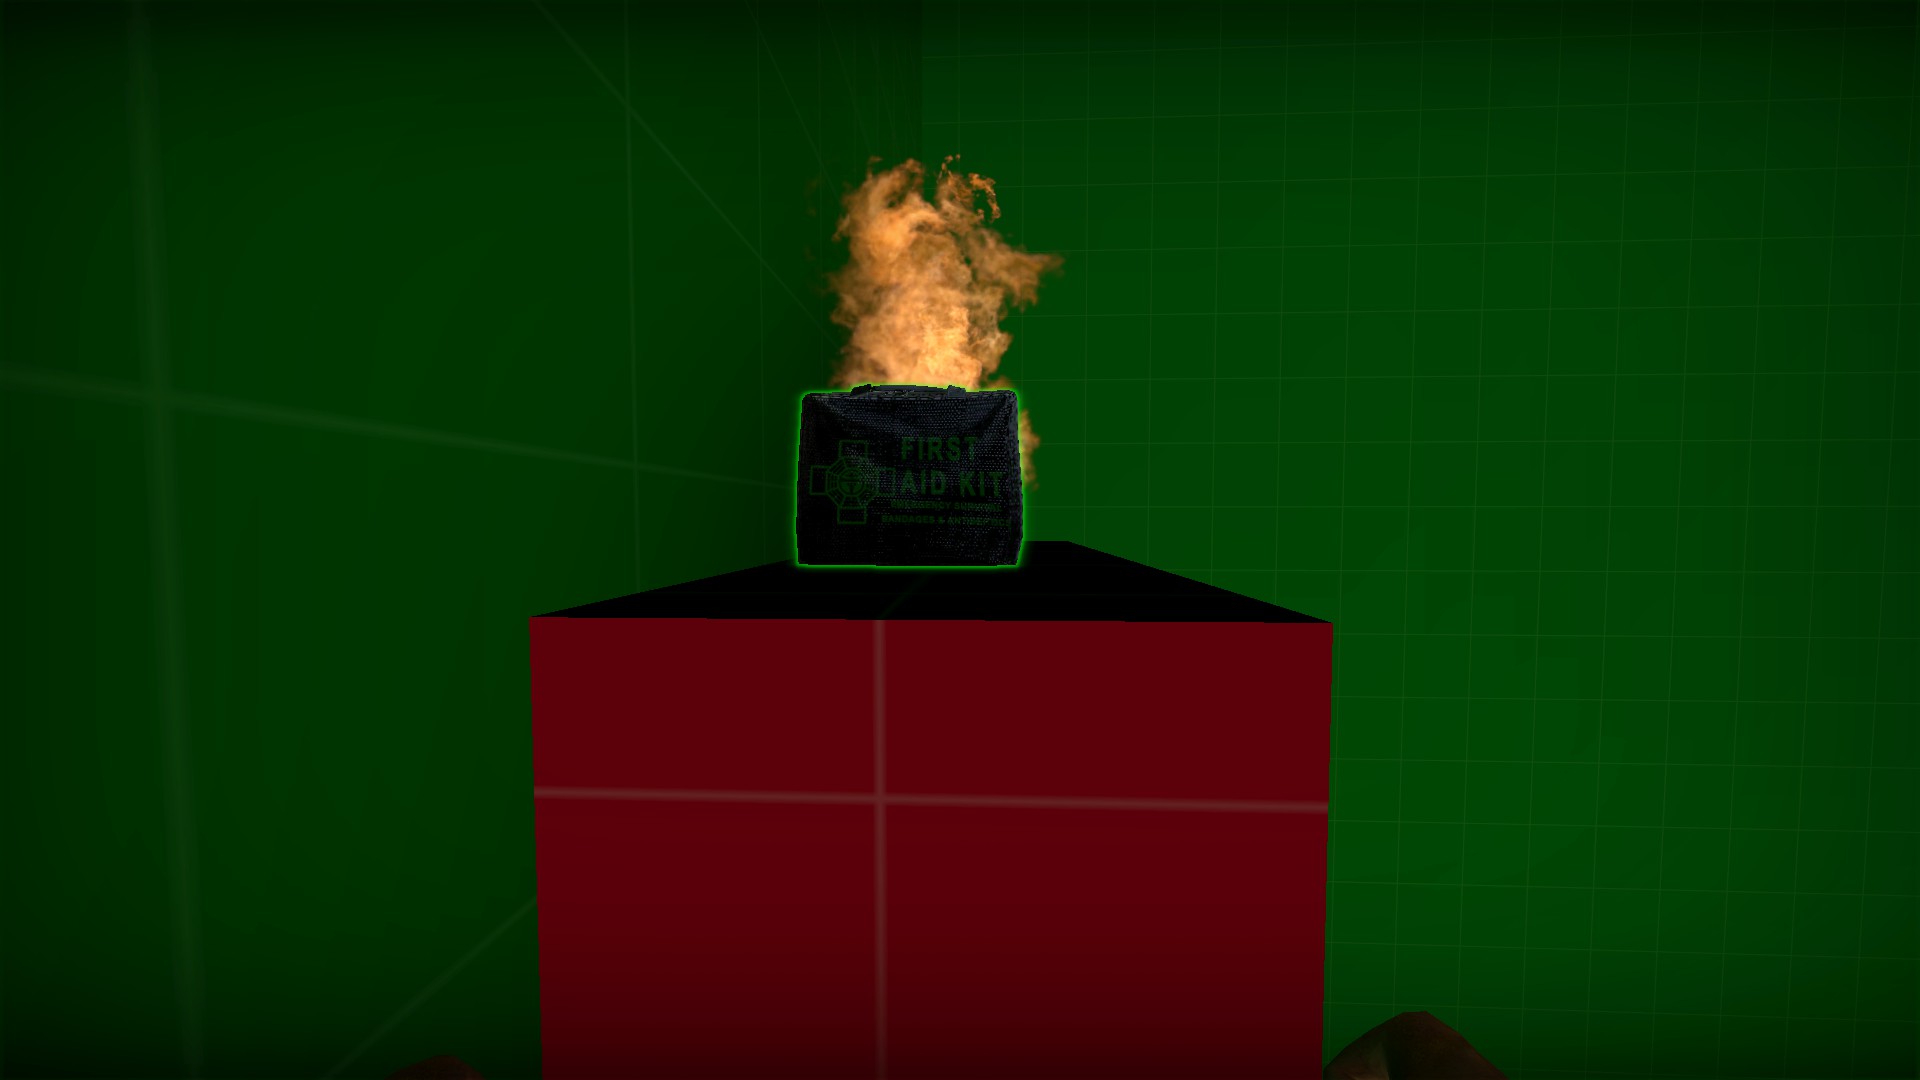
Do a running jump to the last platform. You won't make it, but the pillar is climbable
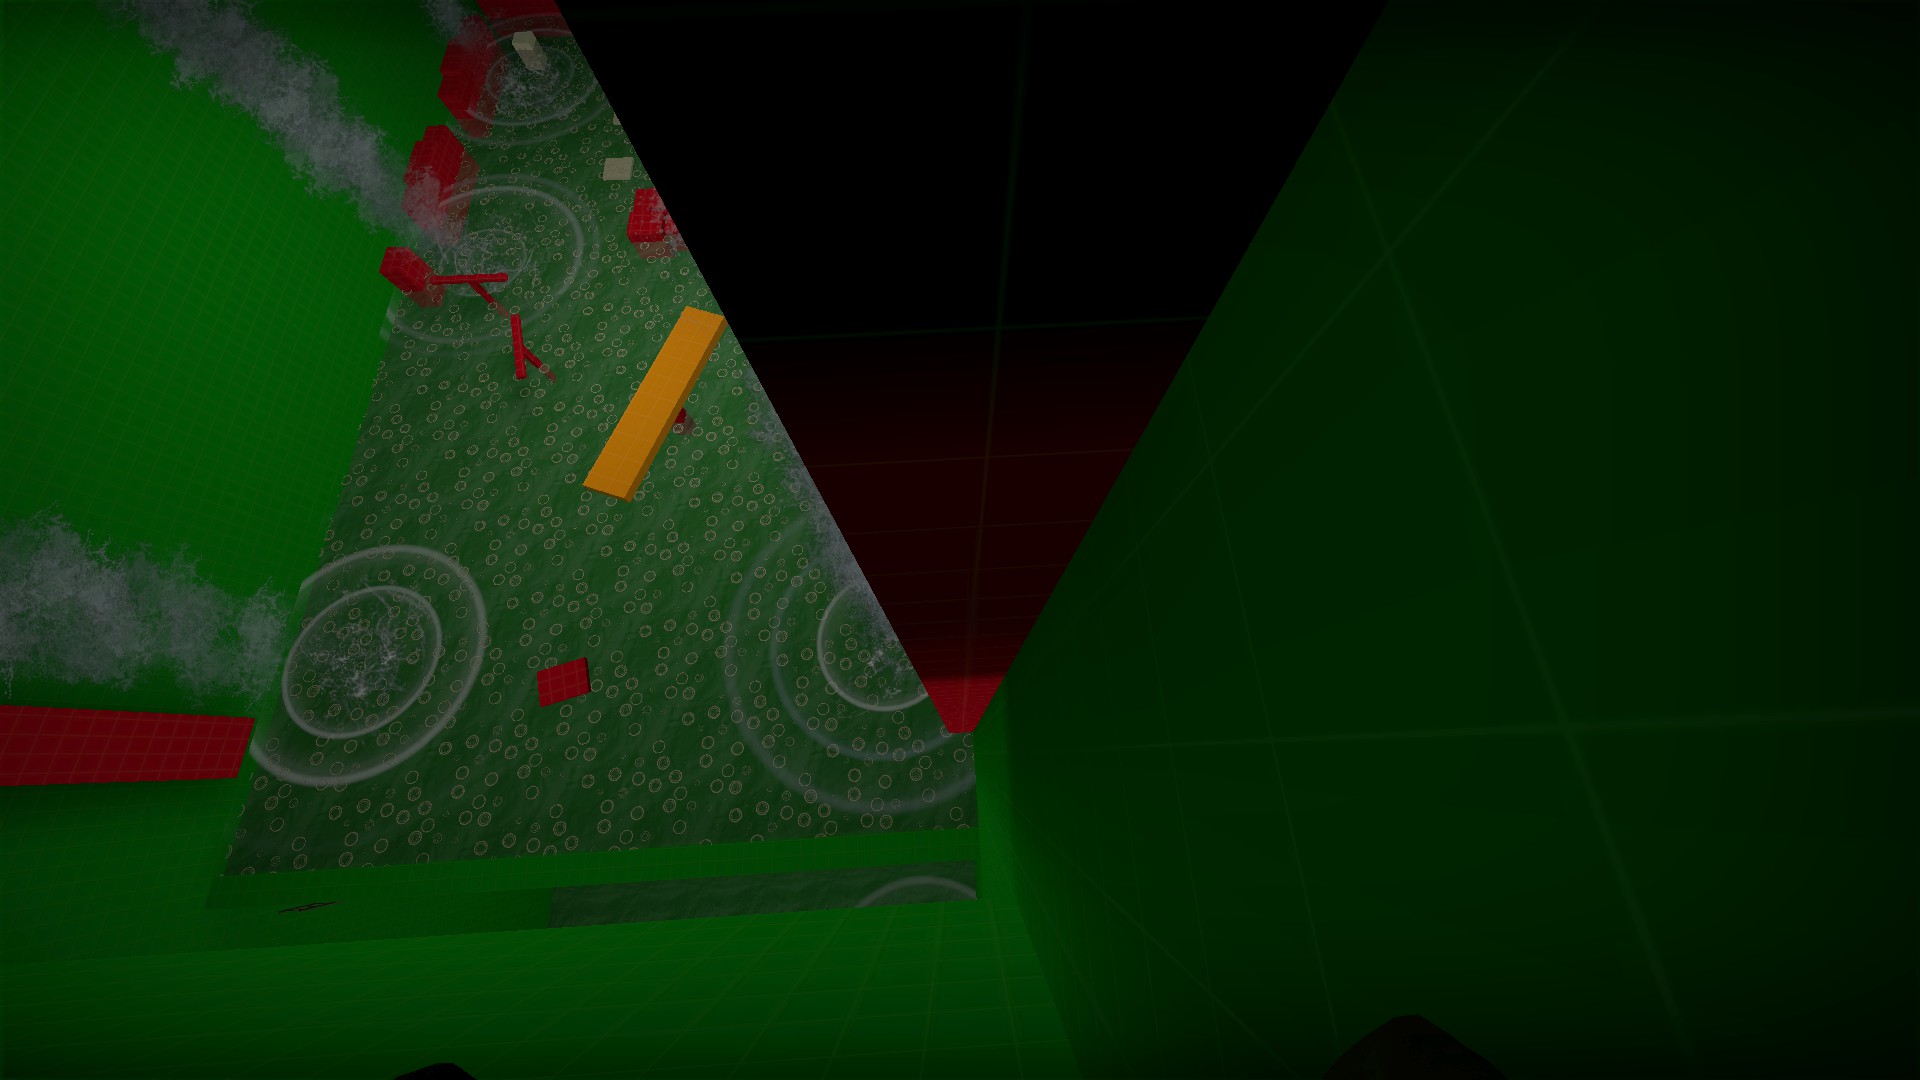
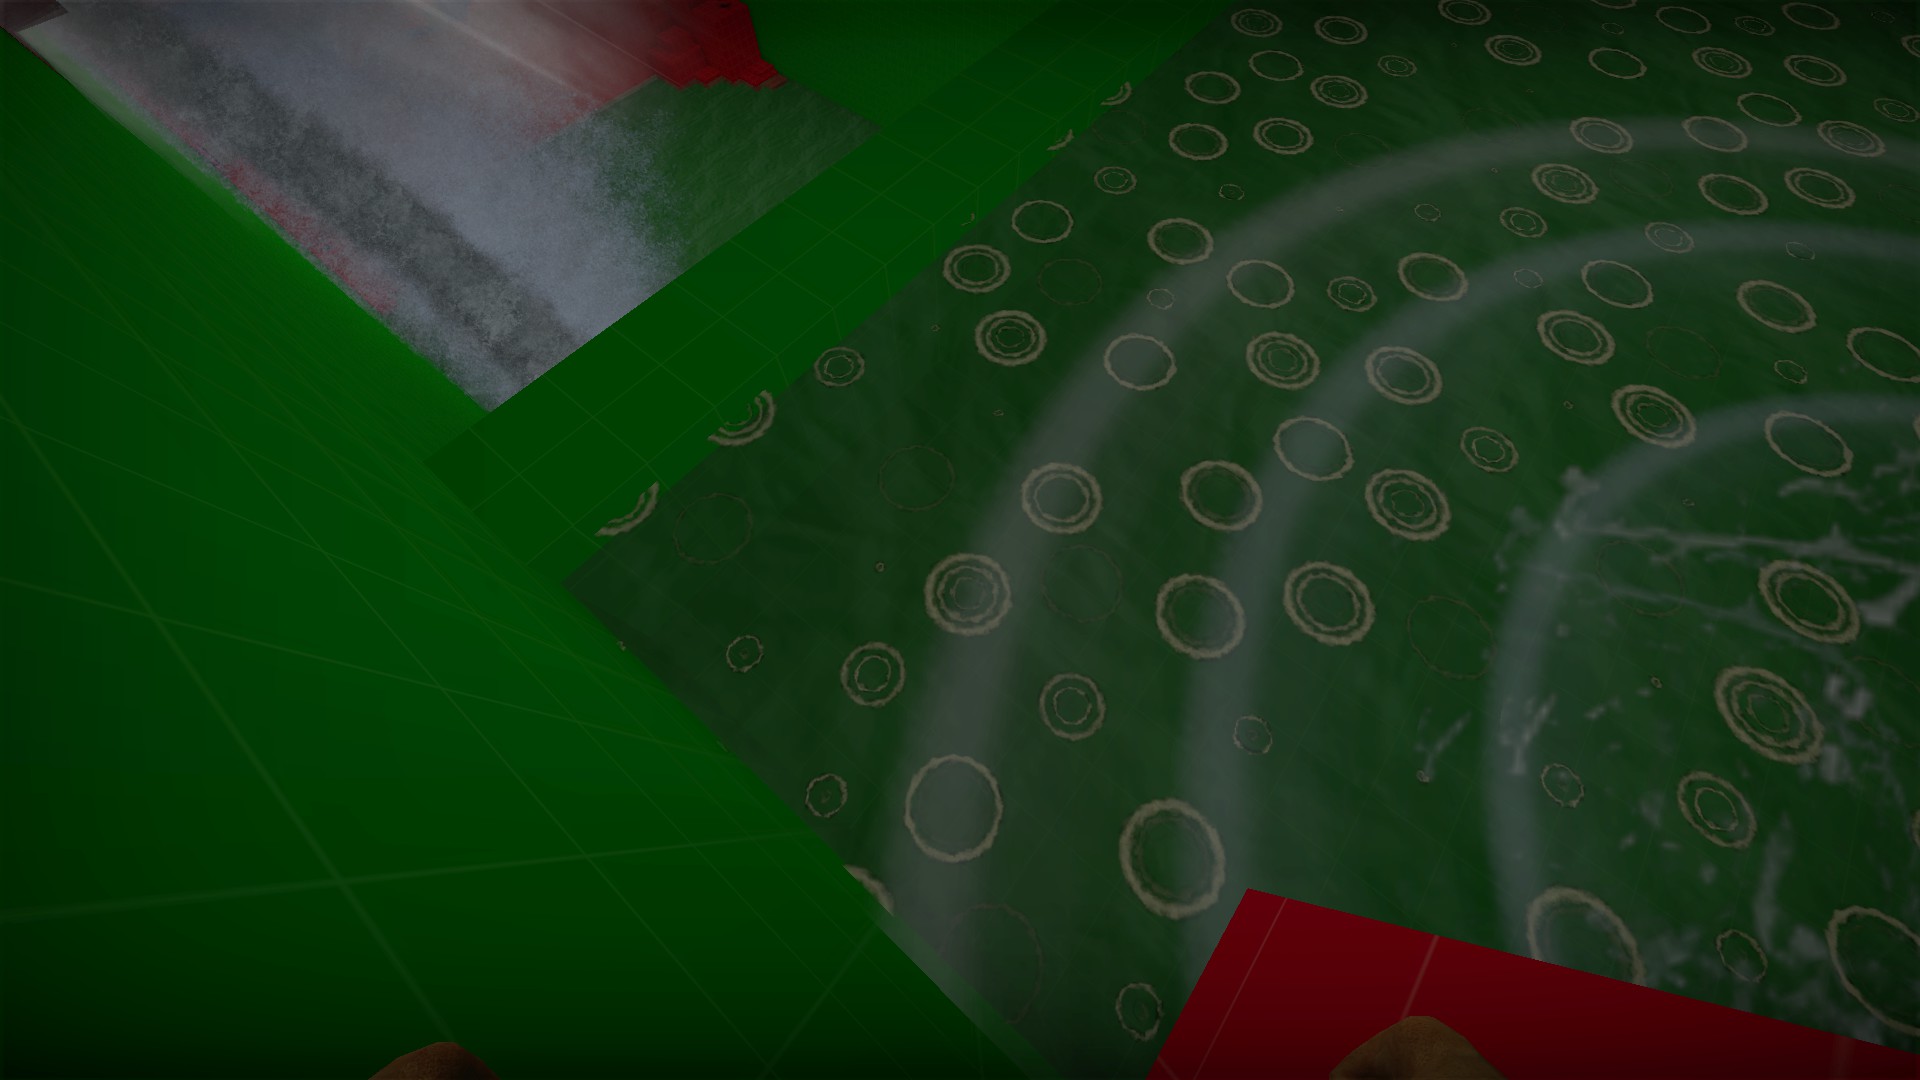
Grab the medkit and shot, cross over (fire will not burn you), and then climb down the other side of the pillar and jump across out of the pool Breaking platforms puzzle solution:
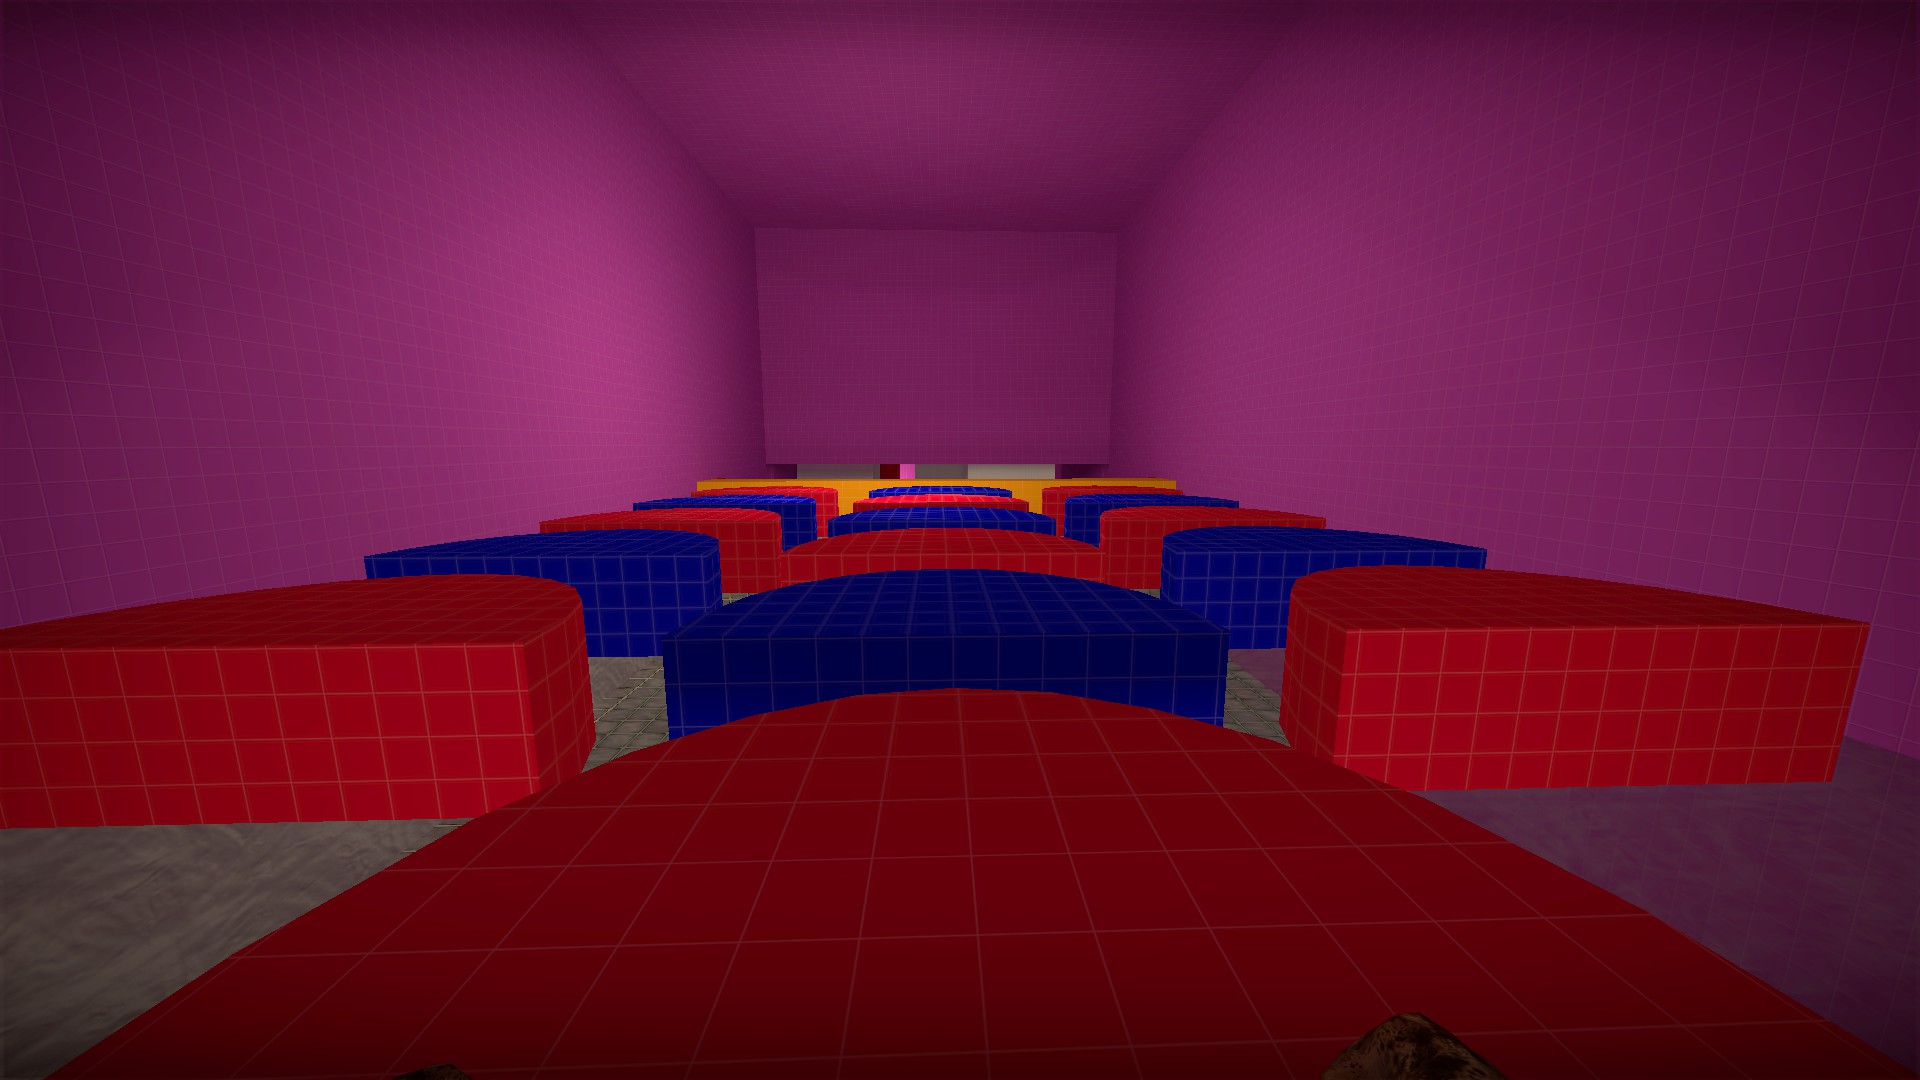
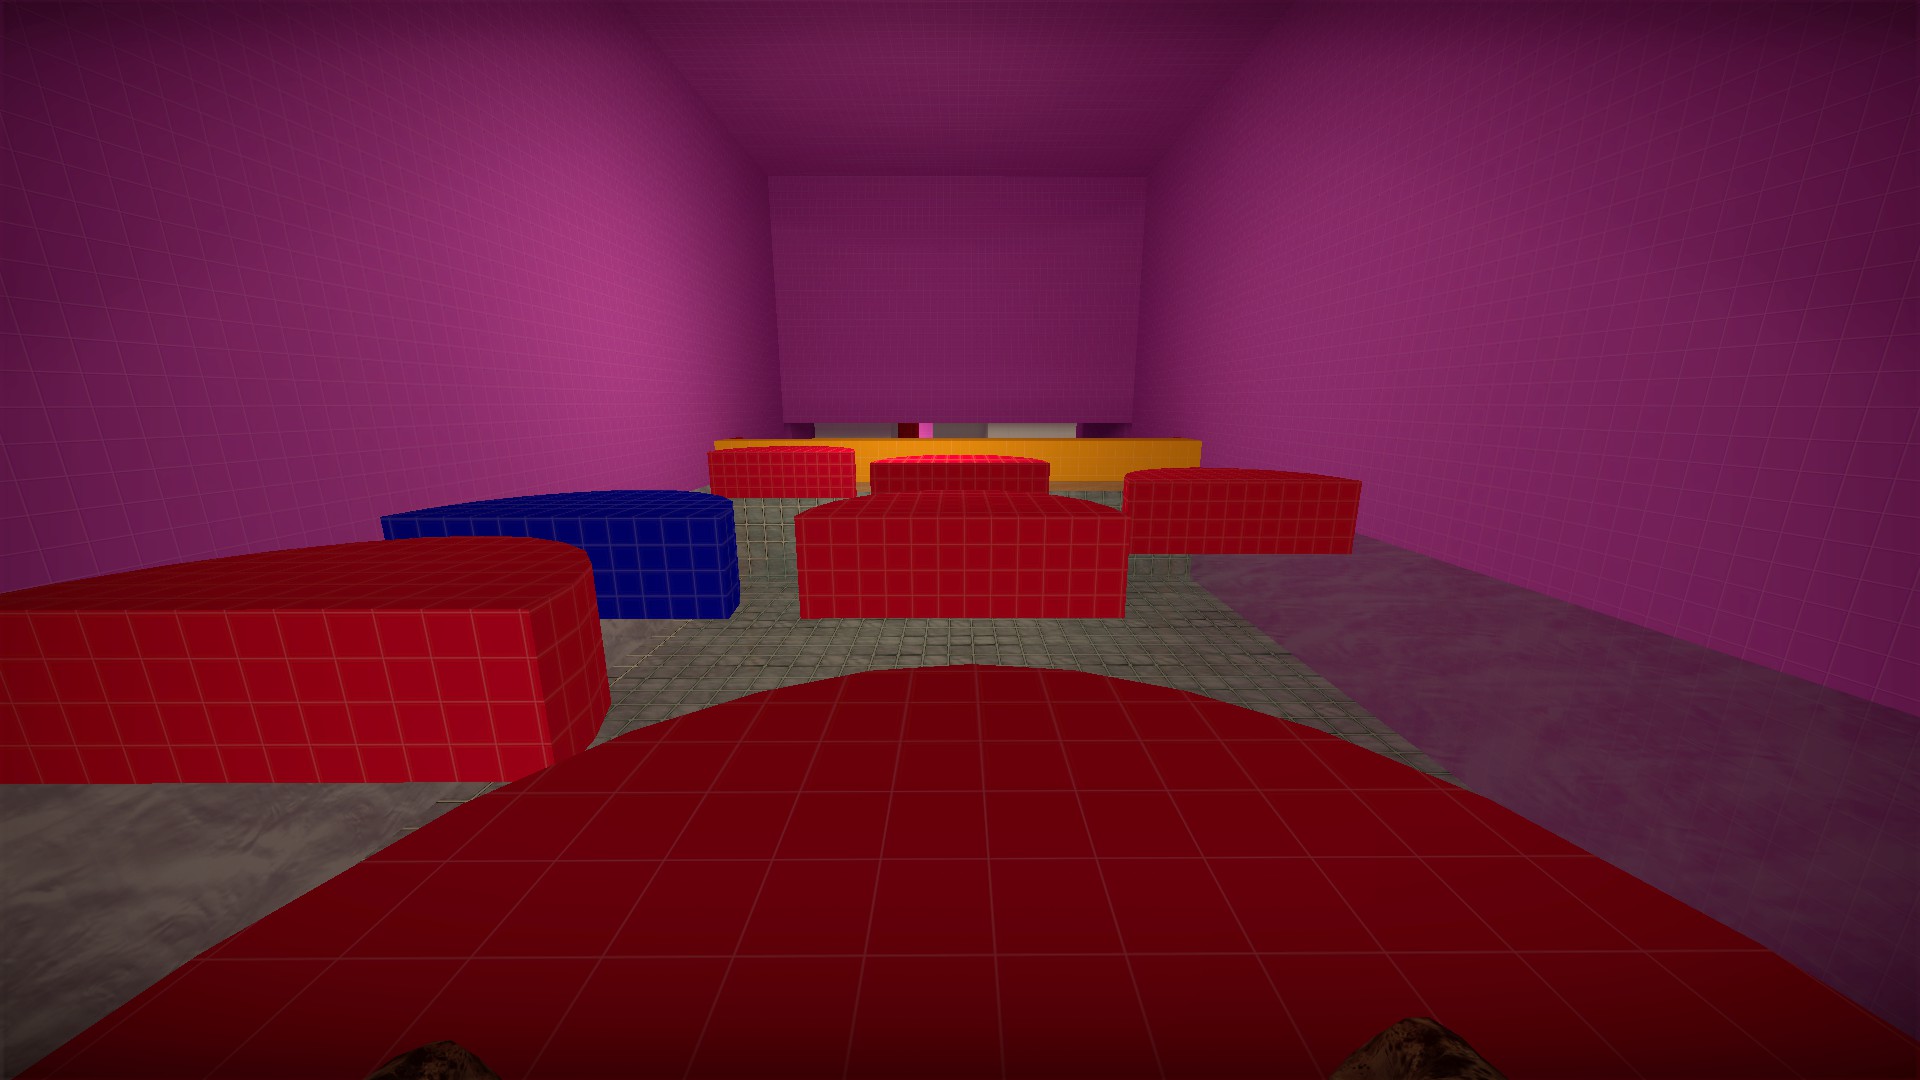
nmo_division_a1


Head to the top of this fire escape in the starting area for a hidden firearm


At the microphone outside, head to the top of the nearby fire escape for another hidden firearm
The secrets that will be available to you from here until the ending outpost area will depend on the map path that you get
Fire escape chainsaw

If you get the path that leads off the roof of the garage, head to the first fire escape

You can make the jump up to the ladder in single jump, then head up the fire escape for a chainsaw Weldable room - garage trash


You can weld open the metal door in the garages

There will be an item


And the gray trash bag is a partial weapon box Hidden room - sewers

At the end of the sewers, you will see an opening into a room on the 2f

Go up, cross the bridge, and head to this opening from the left side, then crouch jump to the opening


The room will have a chainsaw and a dog picture Hidden room - generator area

In an alley across from the generator, you will see a door on the 2f

To get to this door, head around the helicopter crash to the next alley

Crouch through the hole in the fence

Then climb up onto the dumpster and then onto the top of the open lid

Then crouch jump to the nearby roof

Then jump over to the roof with the door


Inside is an item and a cat picture Hidden room - store loading dock


At the store loading dock, jump up onto the railing and then jump to the top of the doors


There will be a firearm and a dog picture Hidden room - outpost area

In the back area of the restaurant is a walking dead door with a nearby grate


Break the grate and follow the vent to a hidden room with a few items and another cat picture Weldable room - outpost area gun store


You can weld open the optional gun store at the ending. It has mostly been looted, but there is some ammo, meds, and a firearm
nmo_djinn_t3
No fall damage on this map
Recharge messages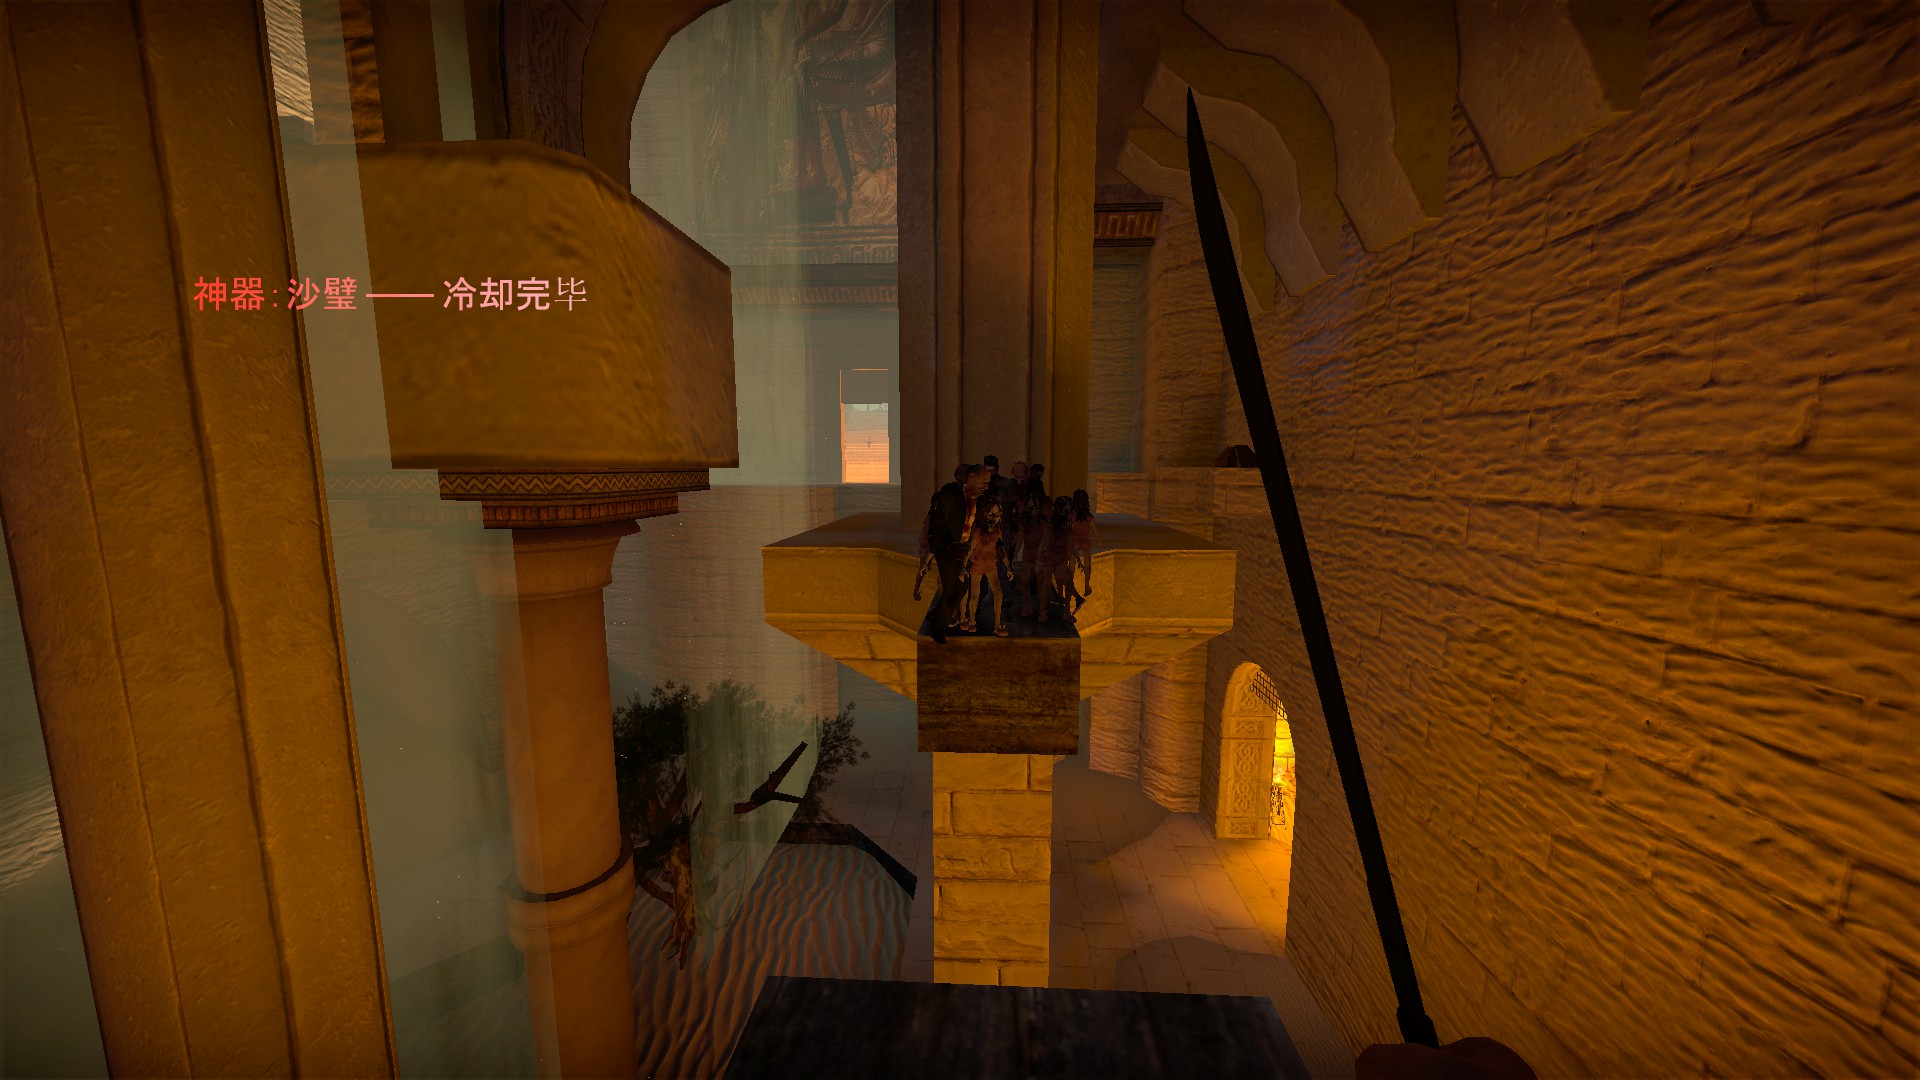
When the ability of a special machete has recharged, a message will appear onscreen Healing machete
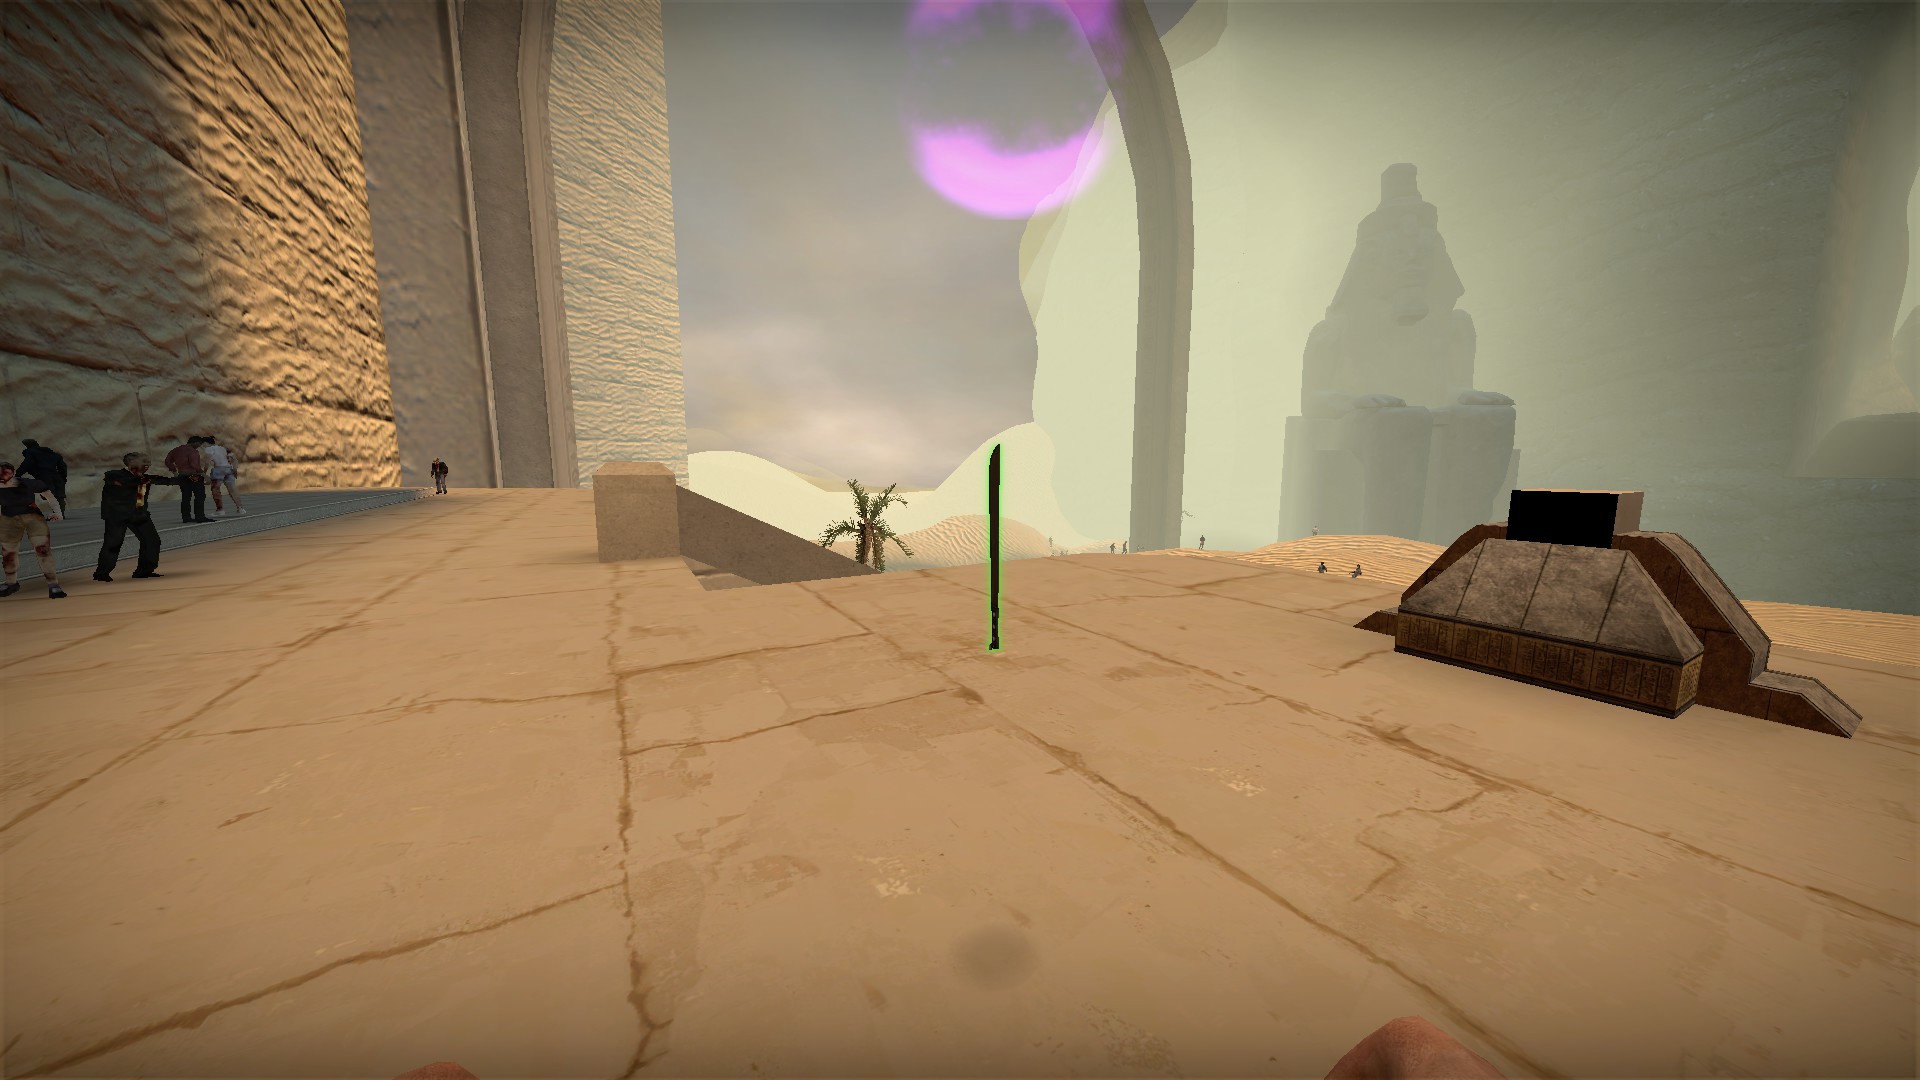
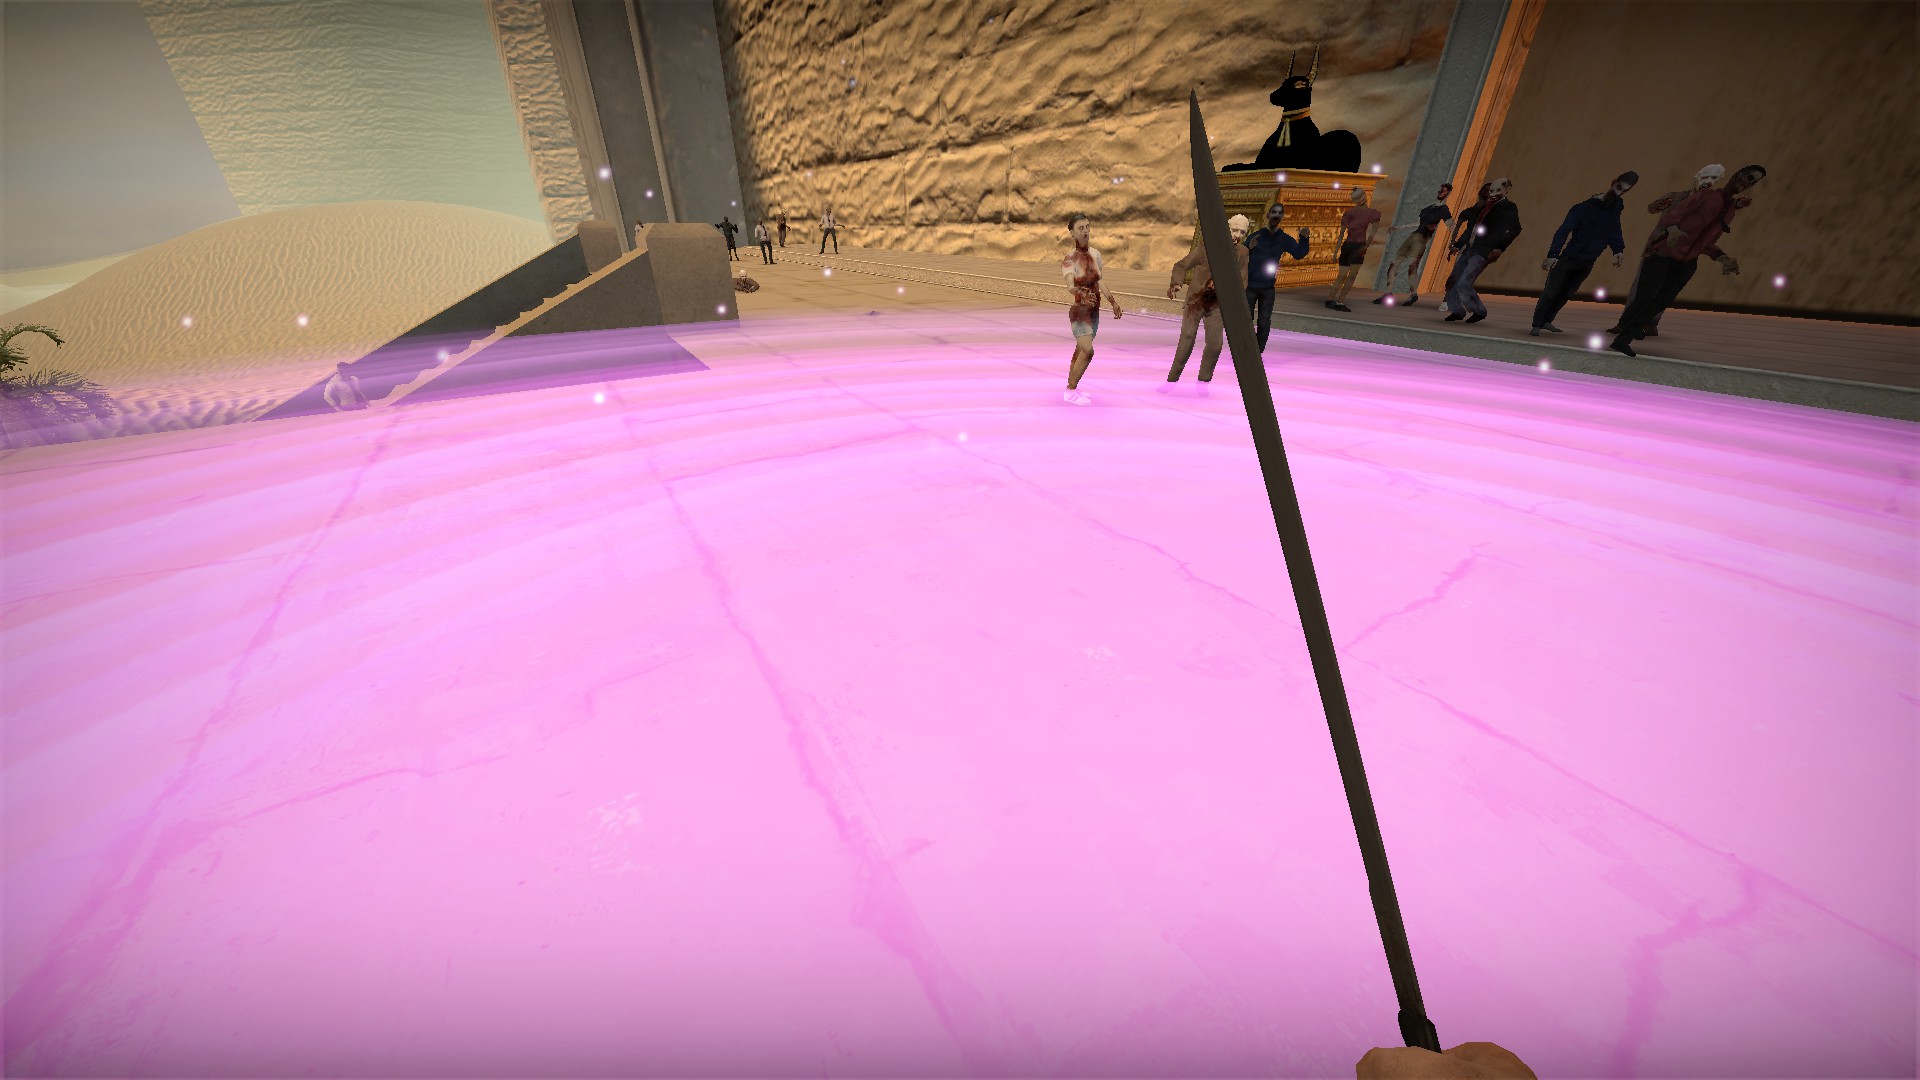
Look up and press e to use. It will heal you and nearby players in the pink area of effect. Slowly heals up to 75 hp per use. Stay still and let it heal you, the effect does not follow you once it has been started. 5 minute recharge
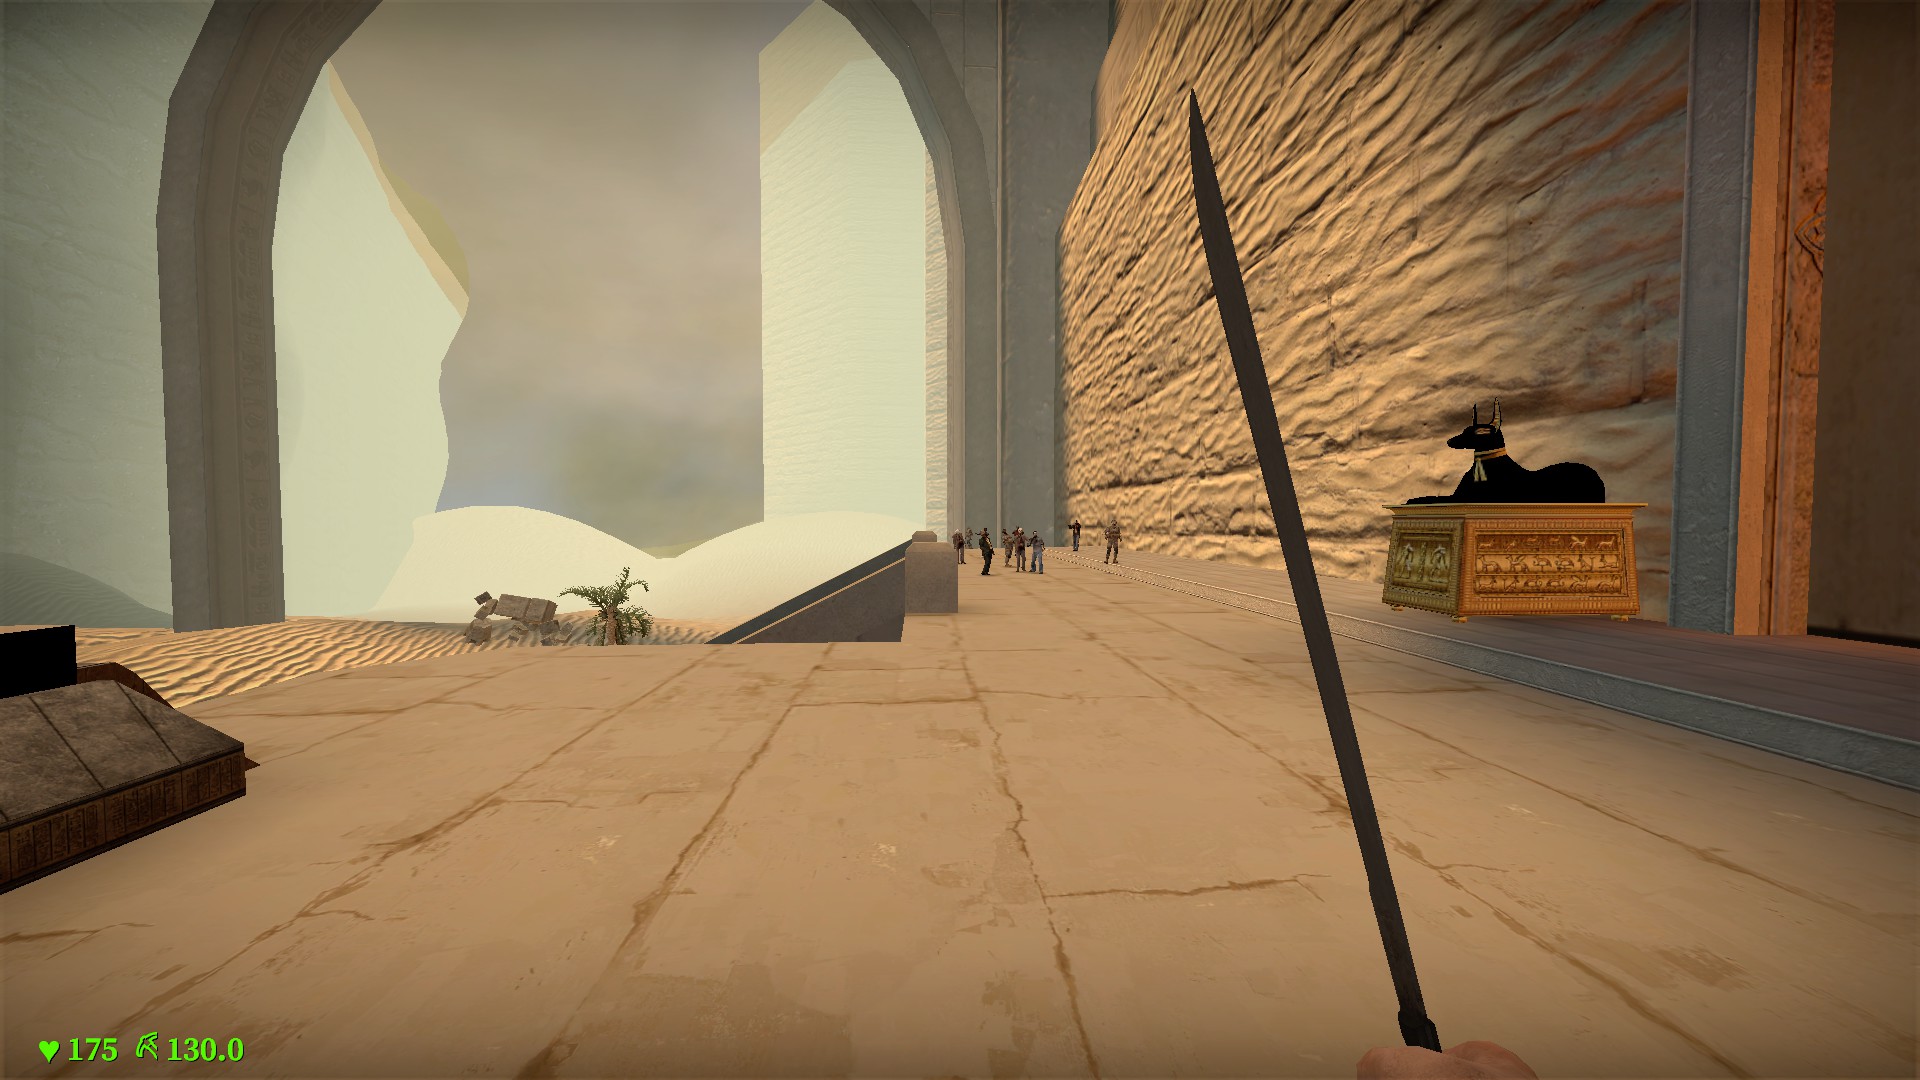
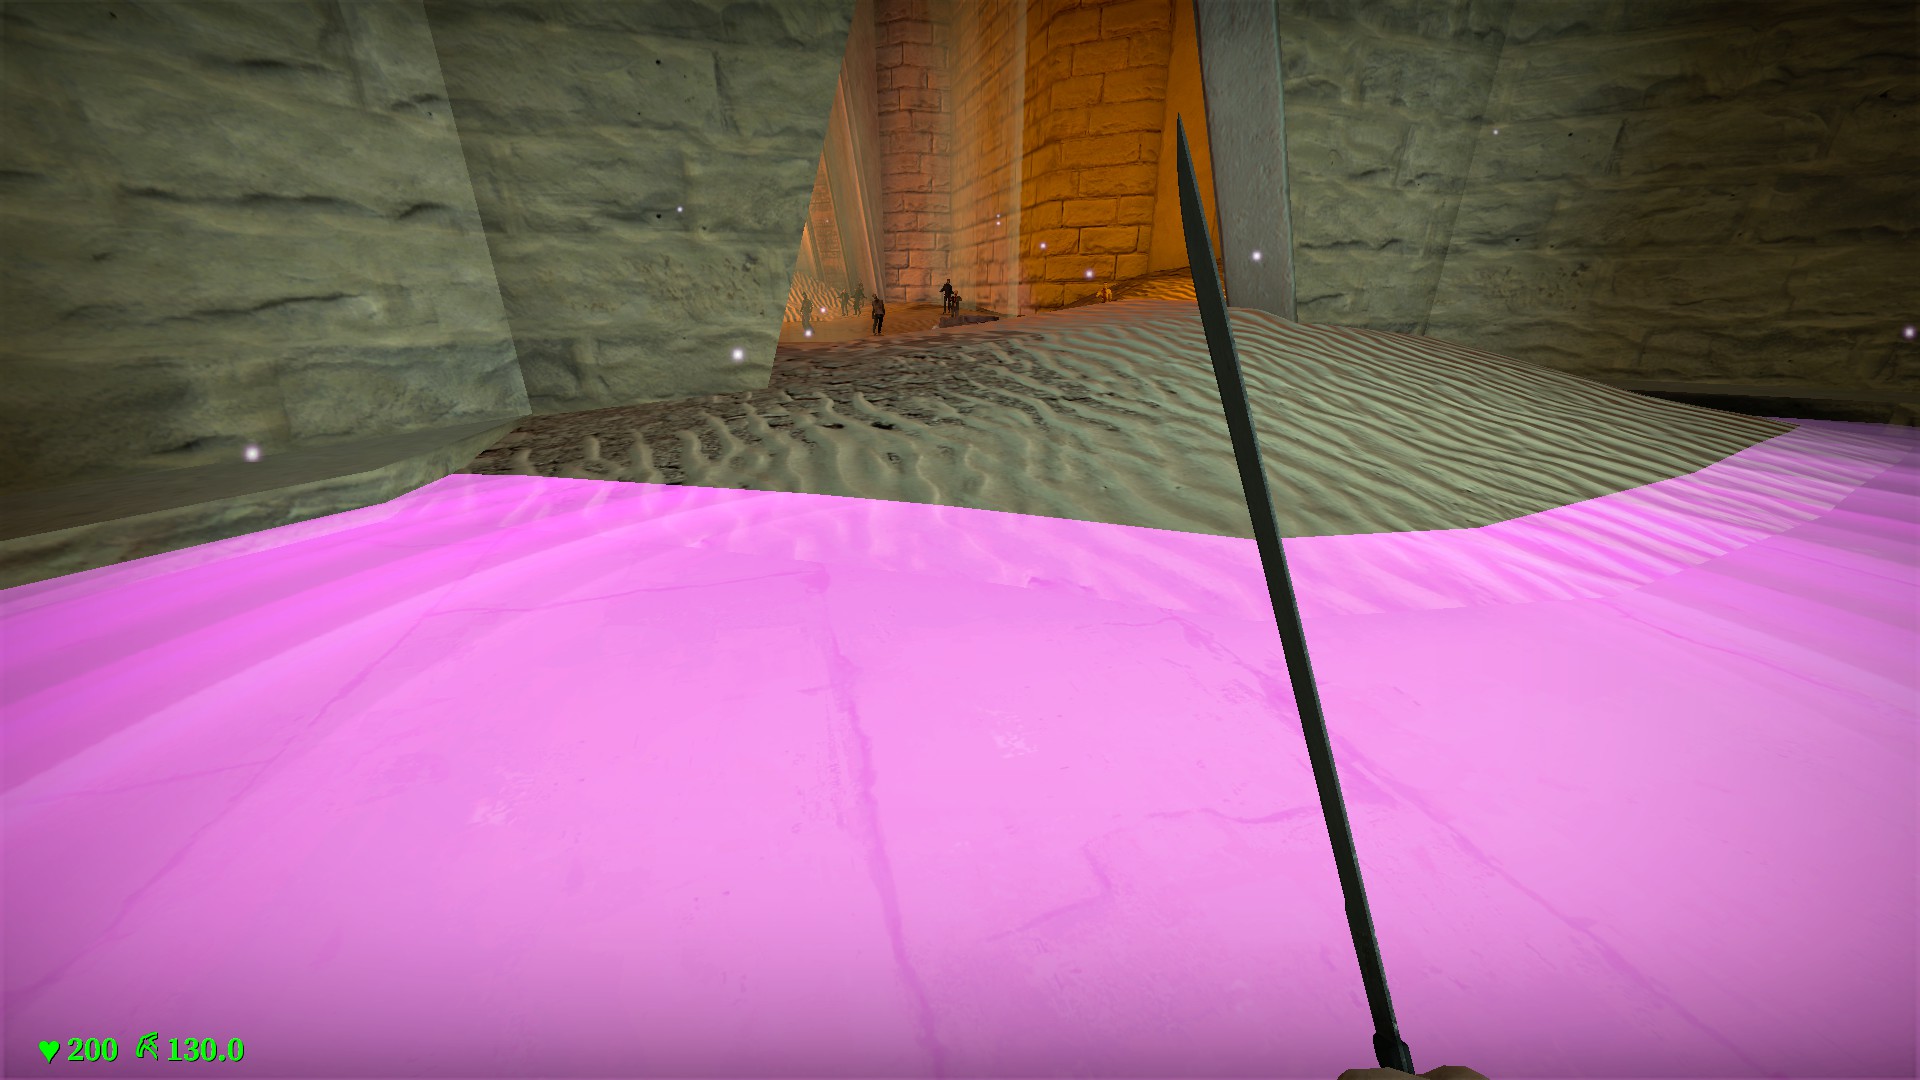
It will also heal you up to 200hp, and this new base hp is heal-able Weapon box machete
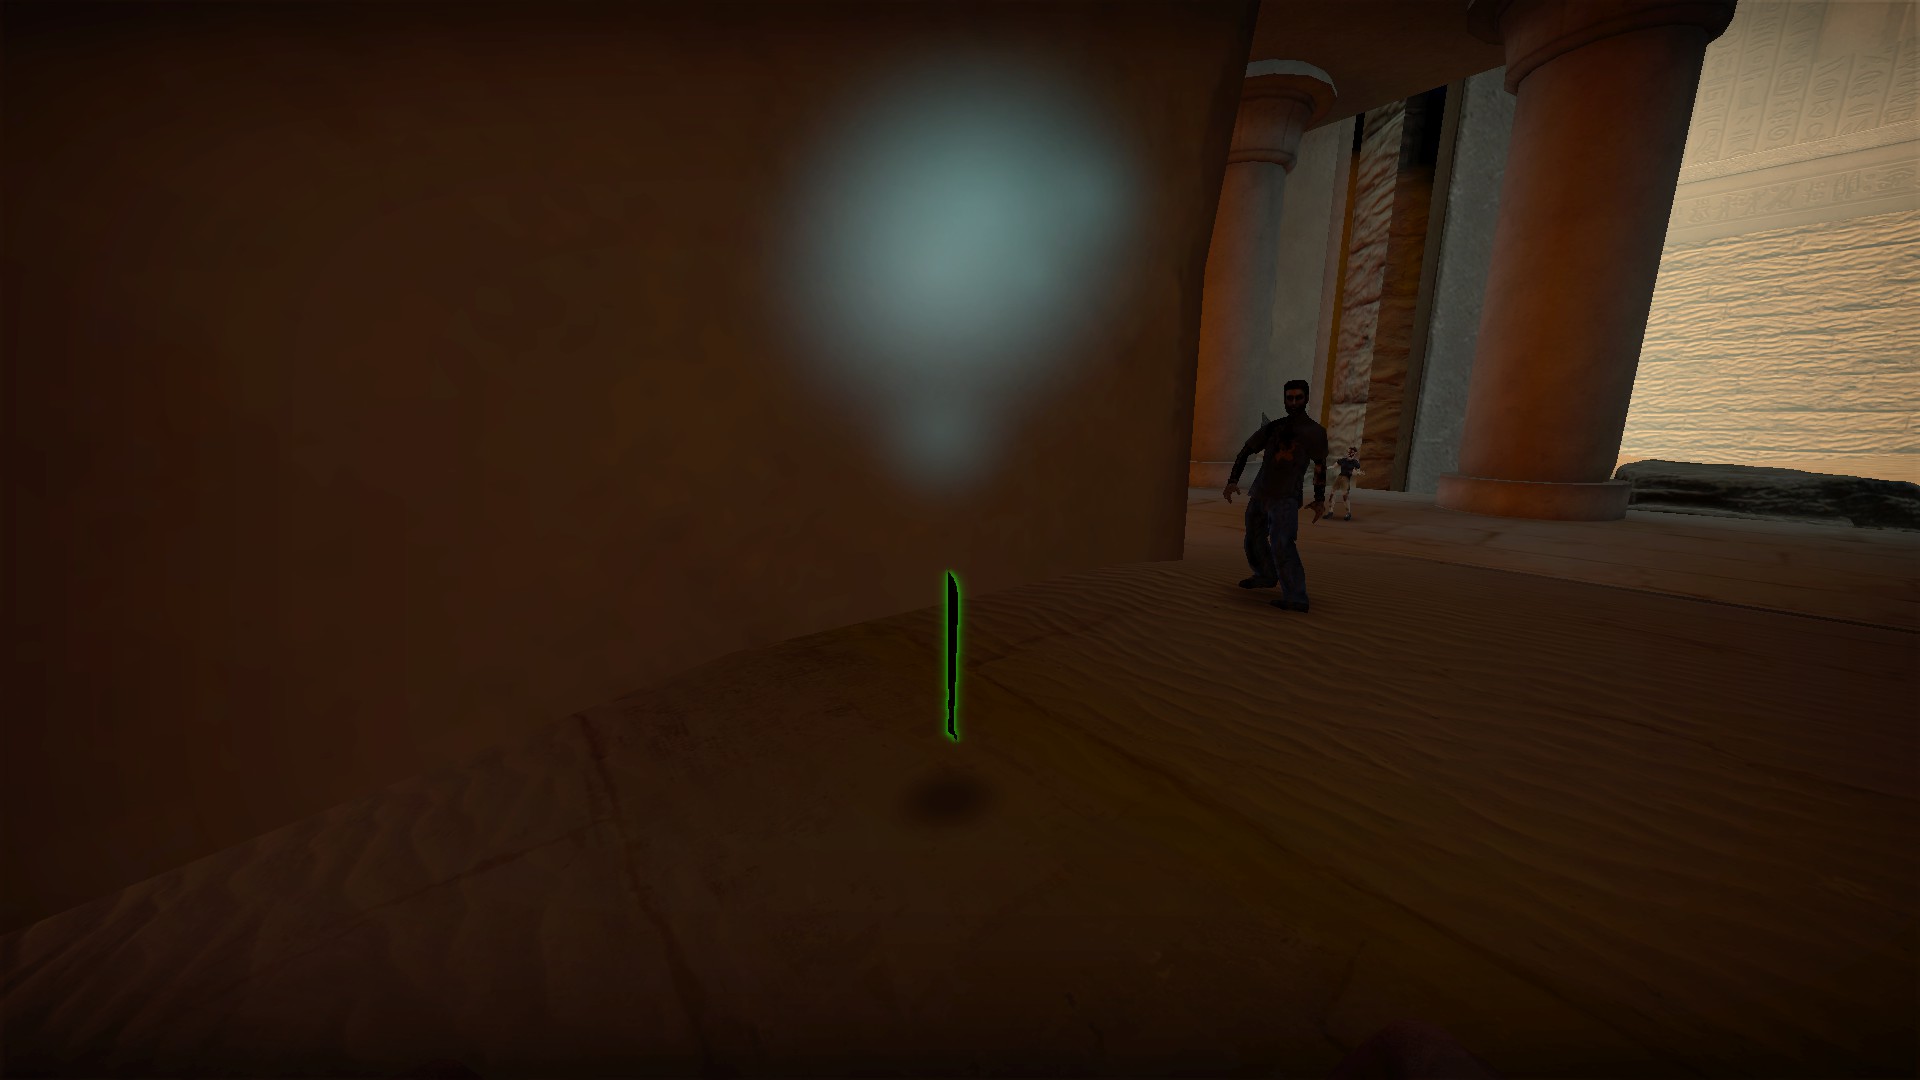
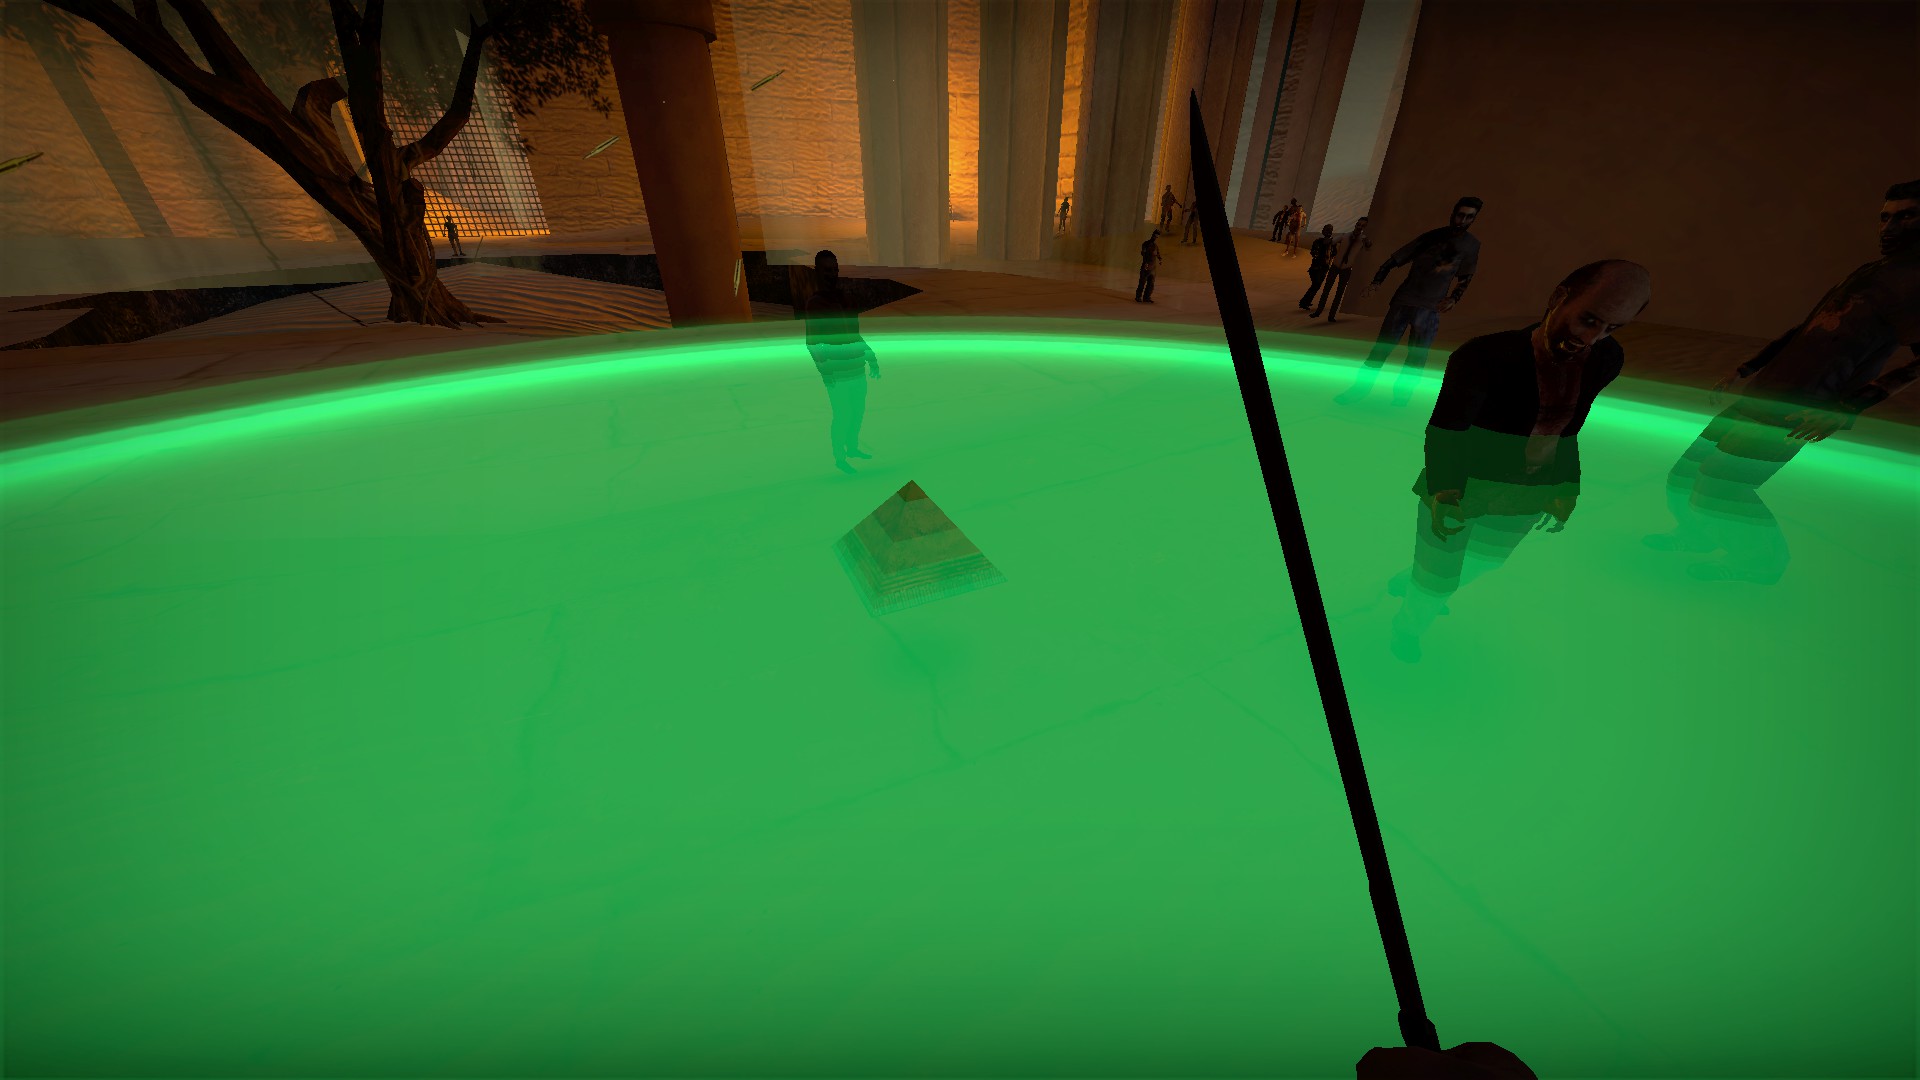
Look up and press e to use. It will drop a weapon box in the middle of it's green area of effect. 5 minute recharge Pyramid machete
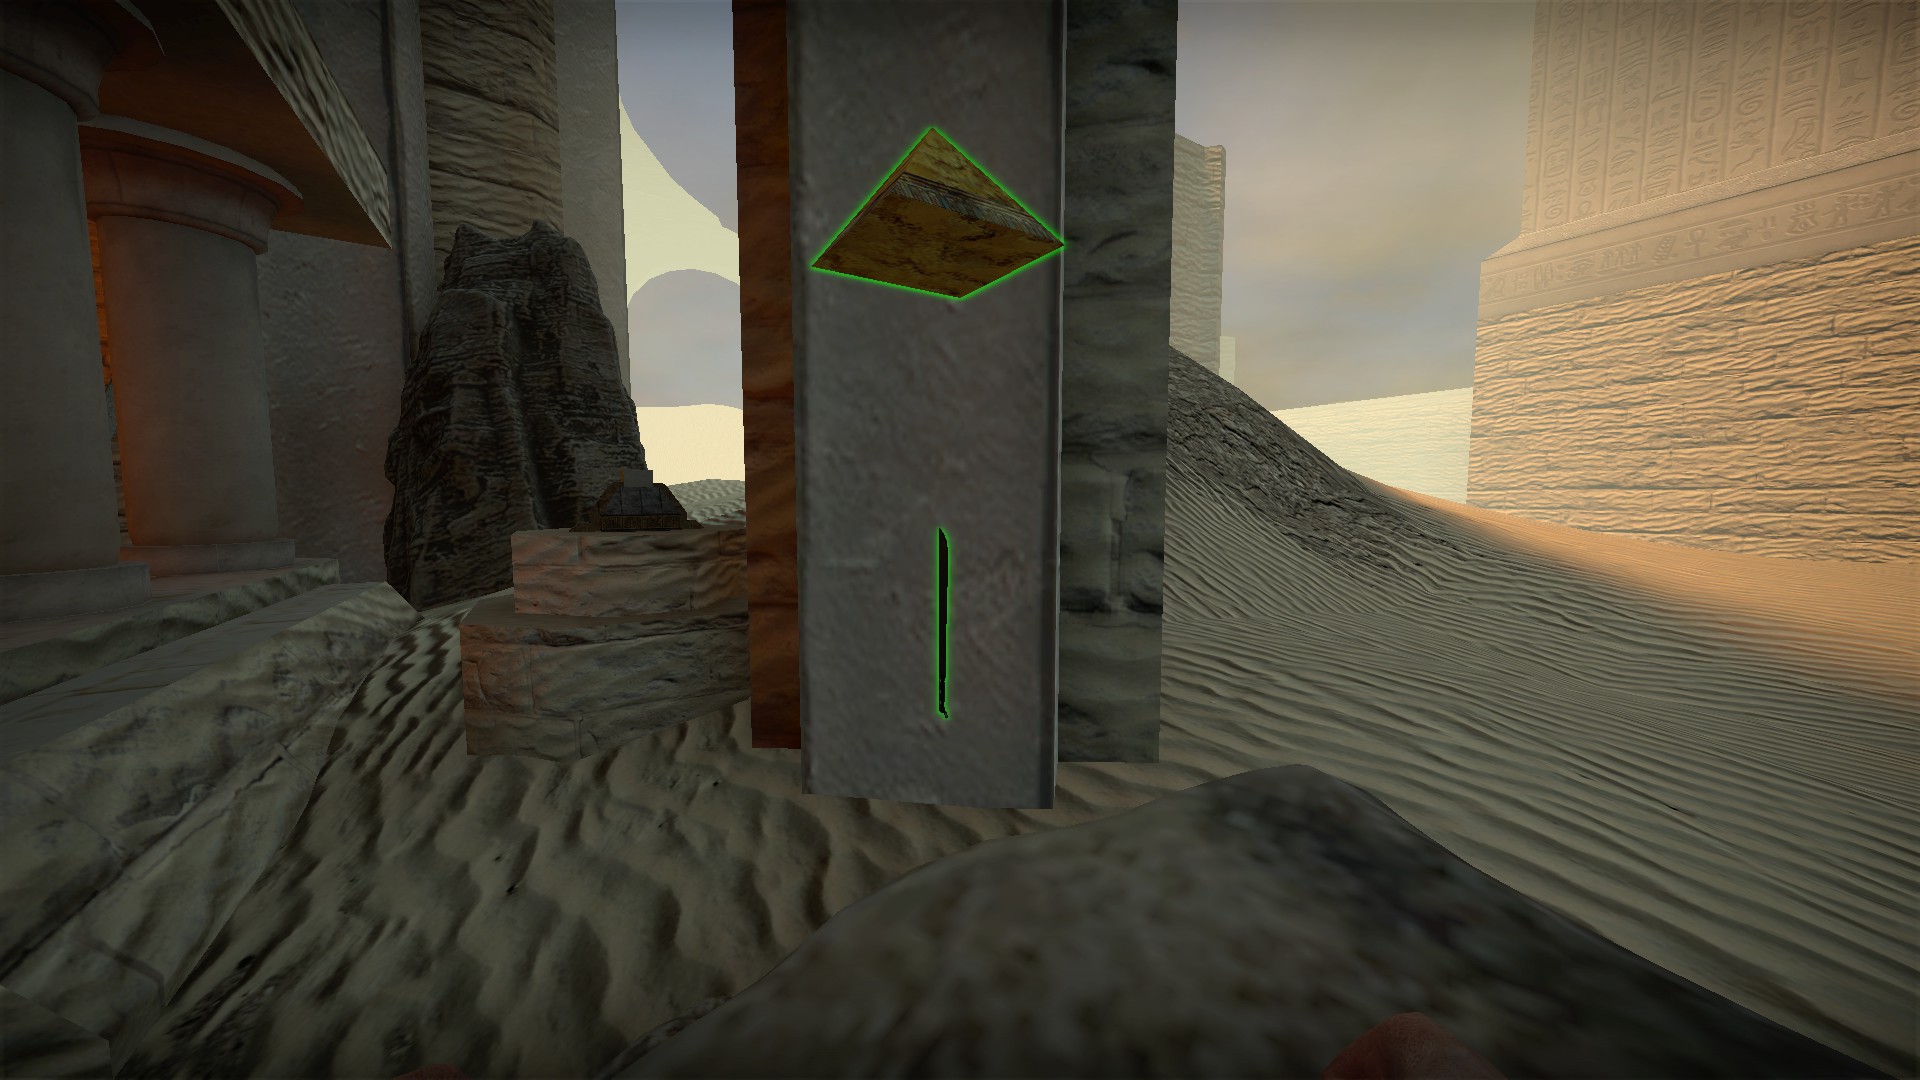
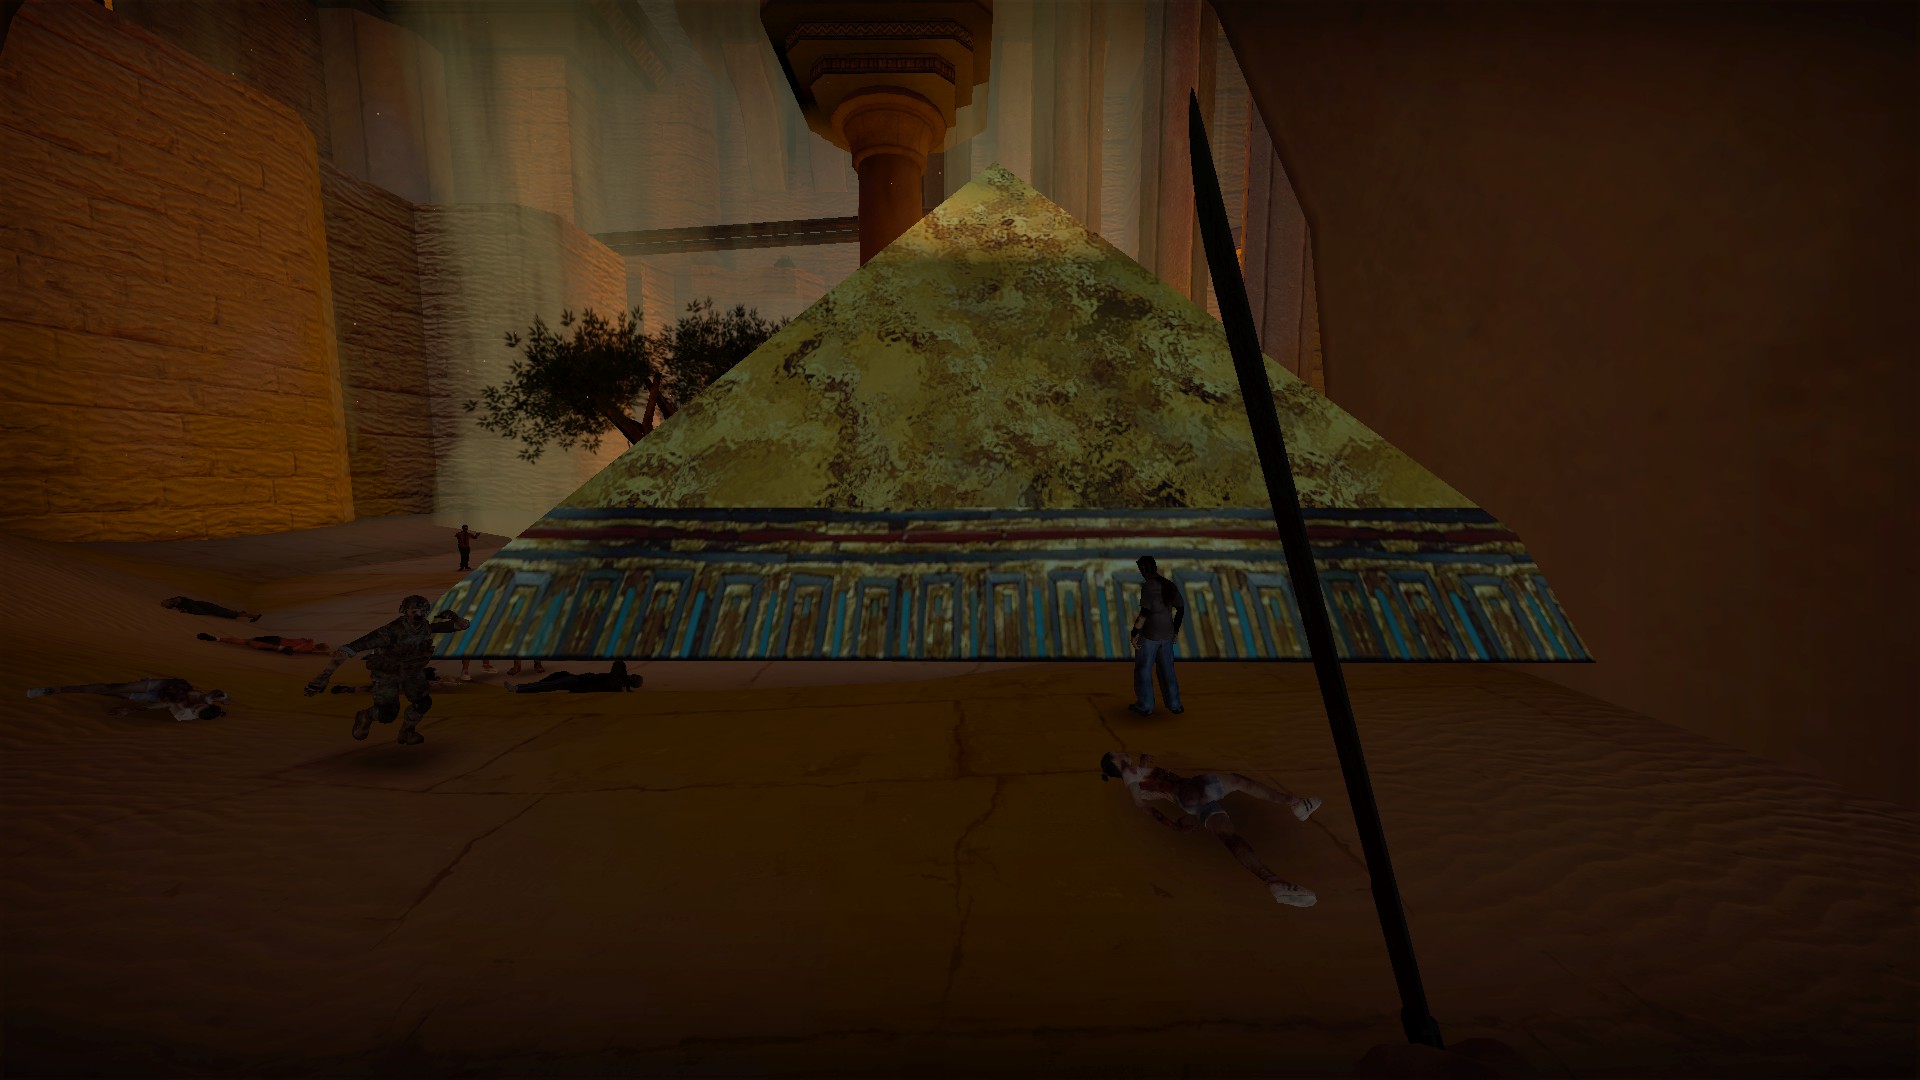
Summons a pyramid in front of you that will crush zombies inside. 3 minute recharge Sandstorm machete
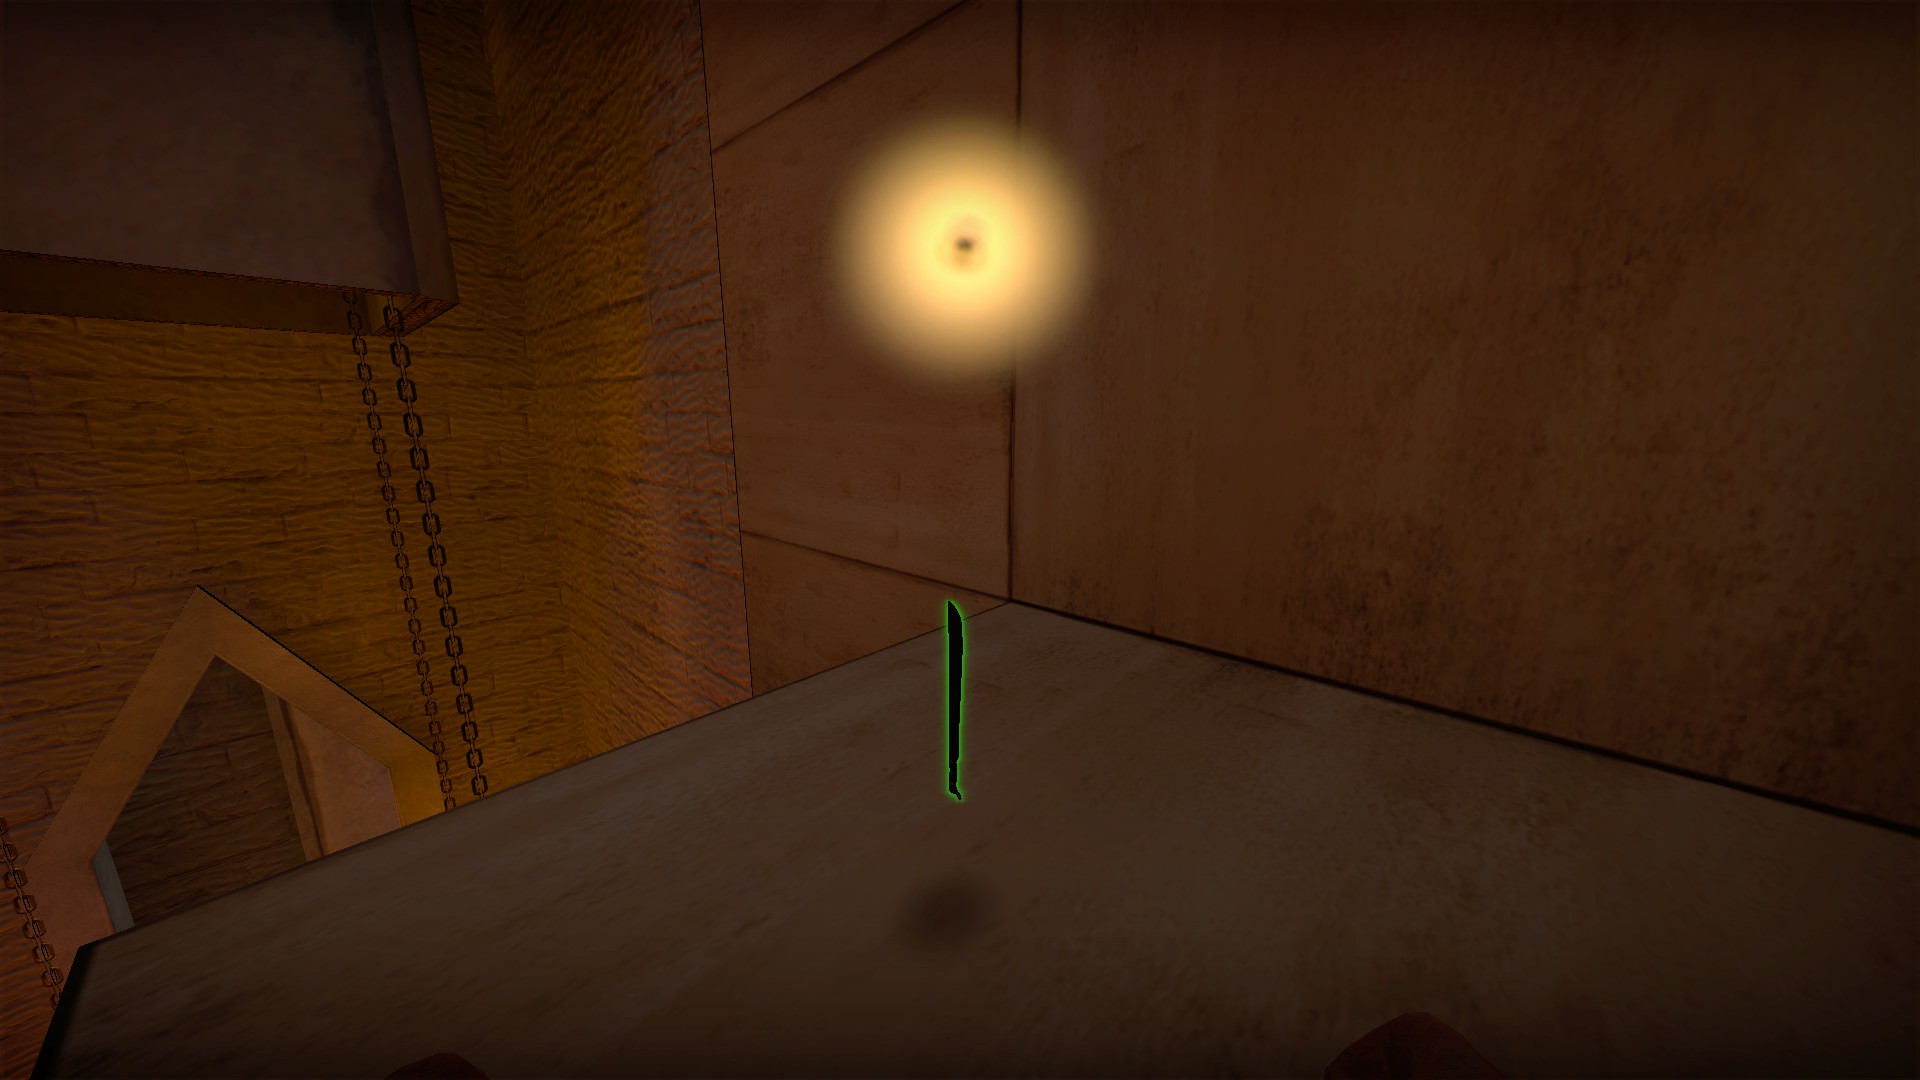
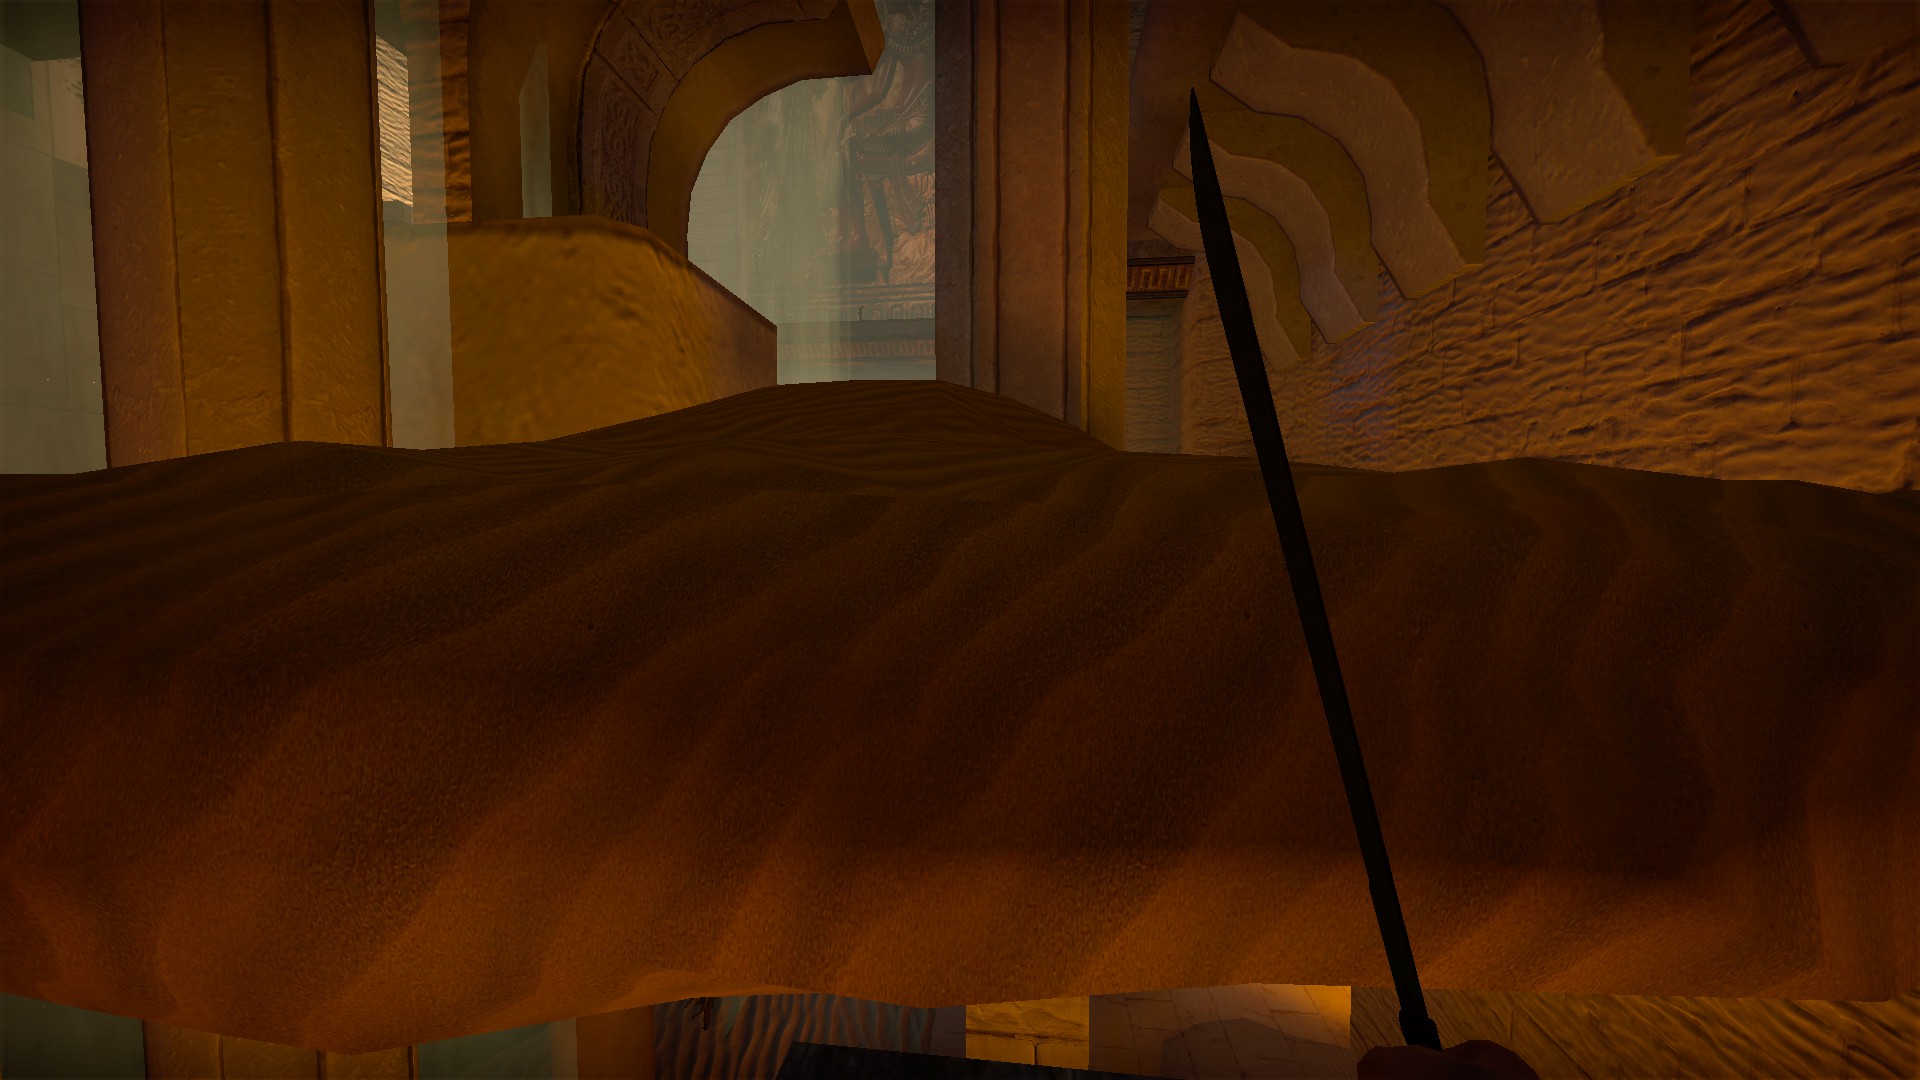
Creates a sandstorm in front of you that will kill zombies trapped inside. 3 minute recharge Whirlwind machete
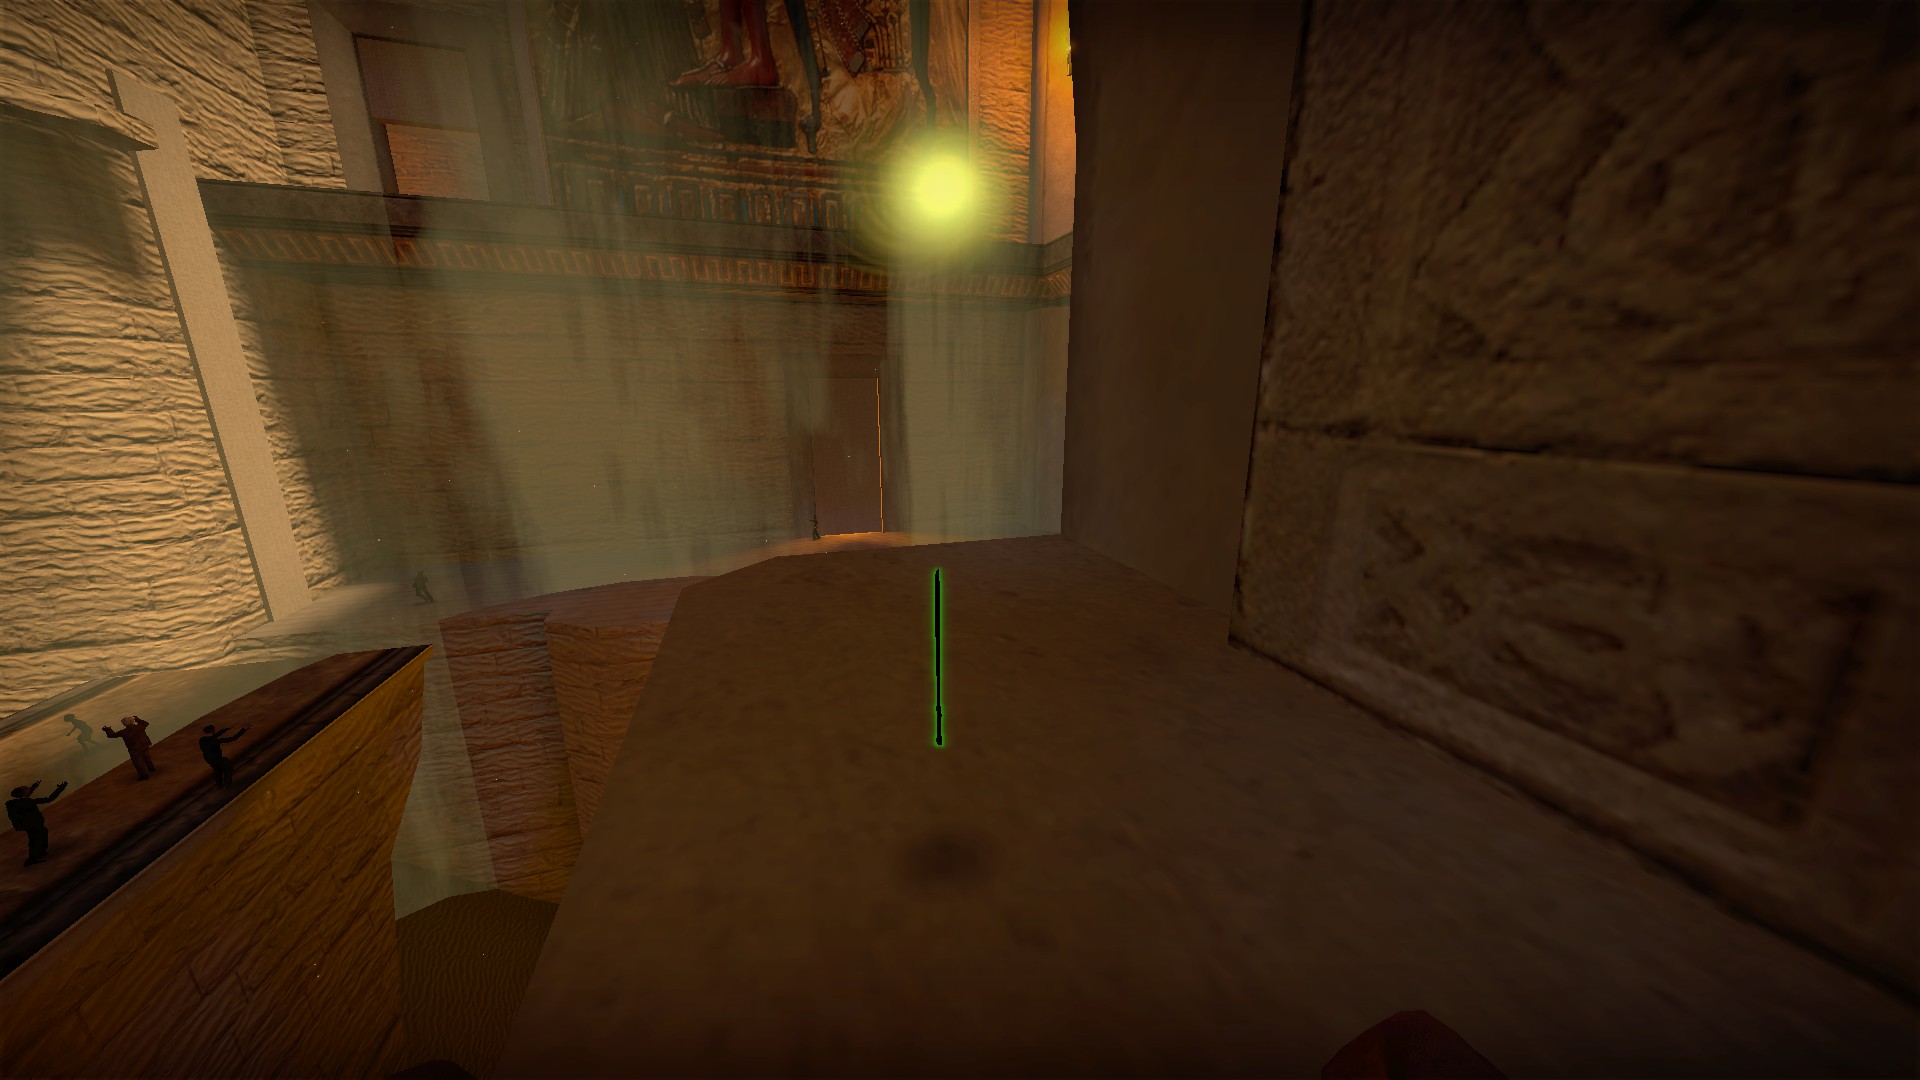
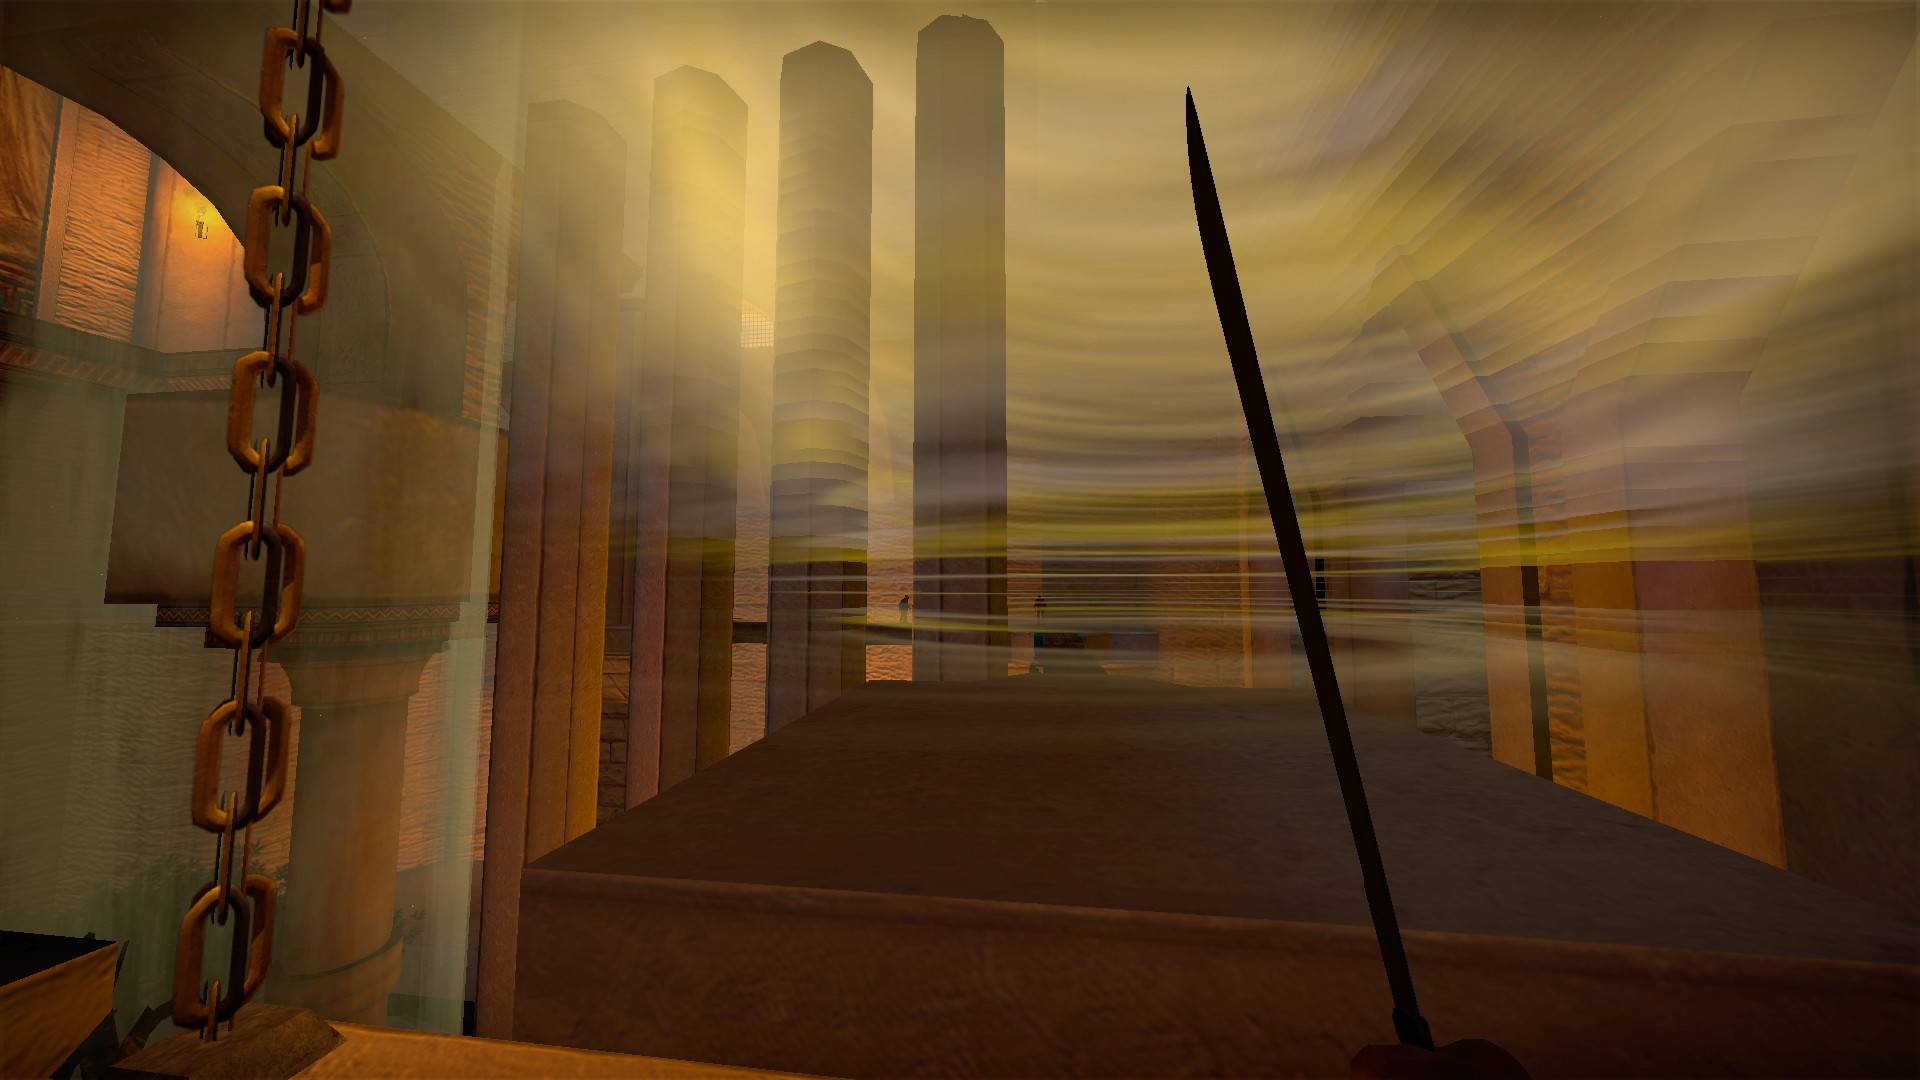
Creates a whirlwind with a large area of effect that can be used to push zombies off the platforms. The effect lasts for about 10 seconds and it will move with you. 3 minute recharge
nmo_doom


Drop down from the starting area for a hidden machete and med item

There is another machete behind a platform in the first large room
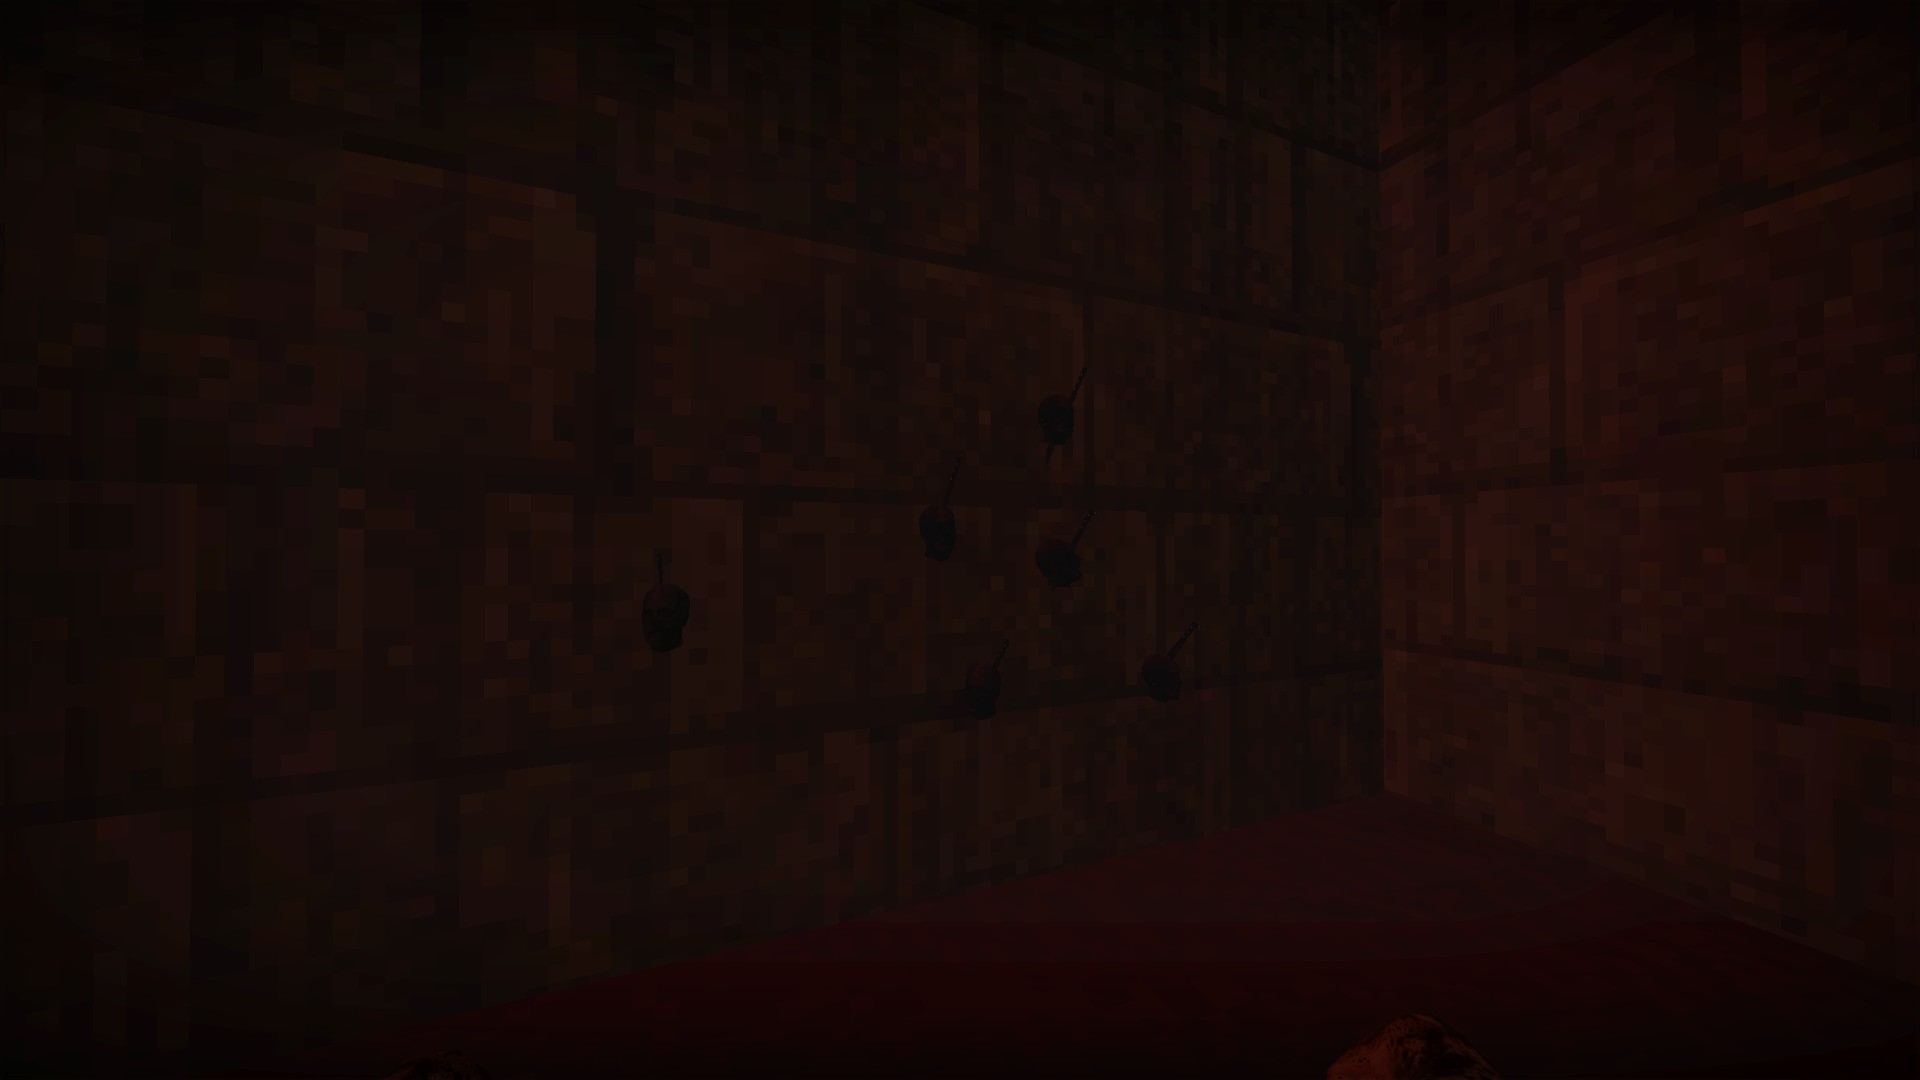
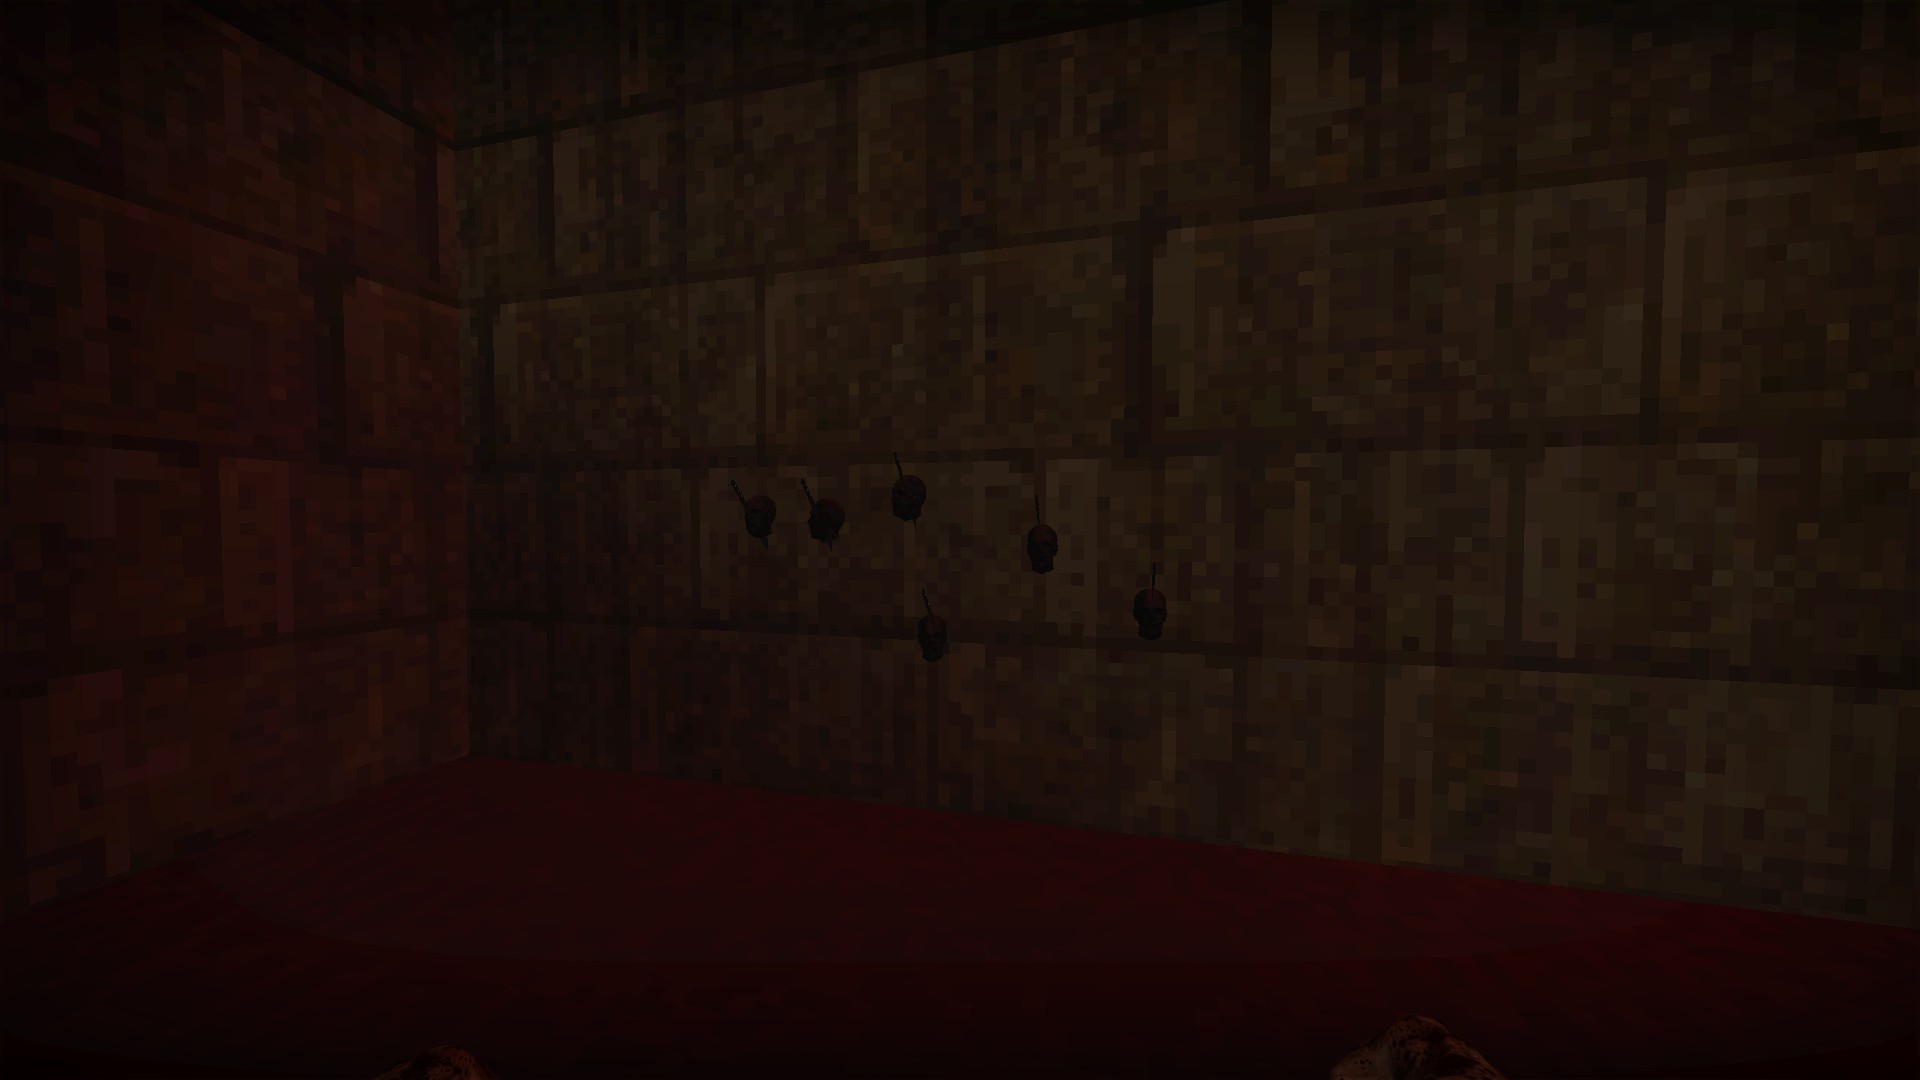
There are 12 more machetes sticking out of heads in the courtyard area Kill large zombie for extra supplies
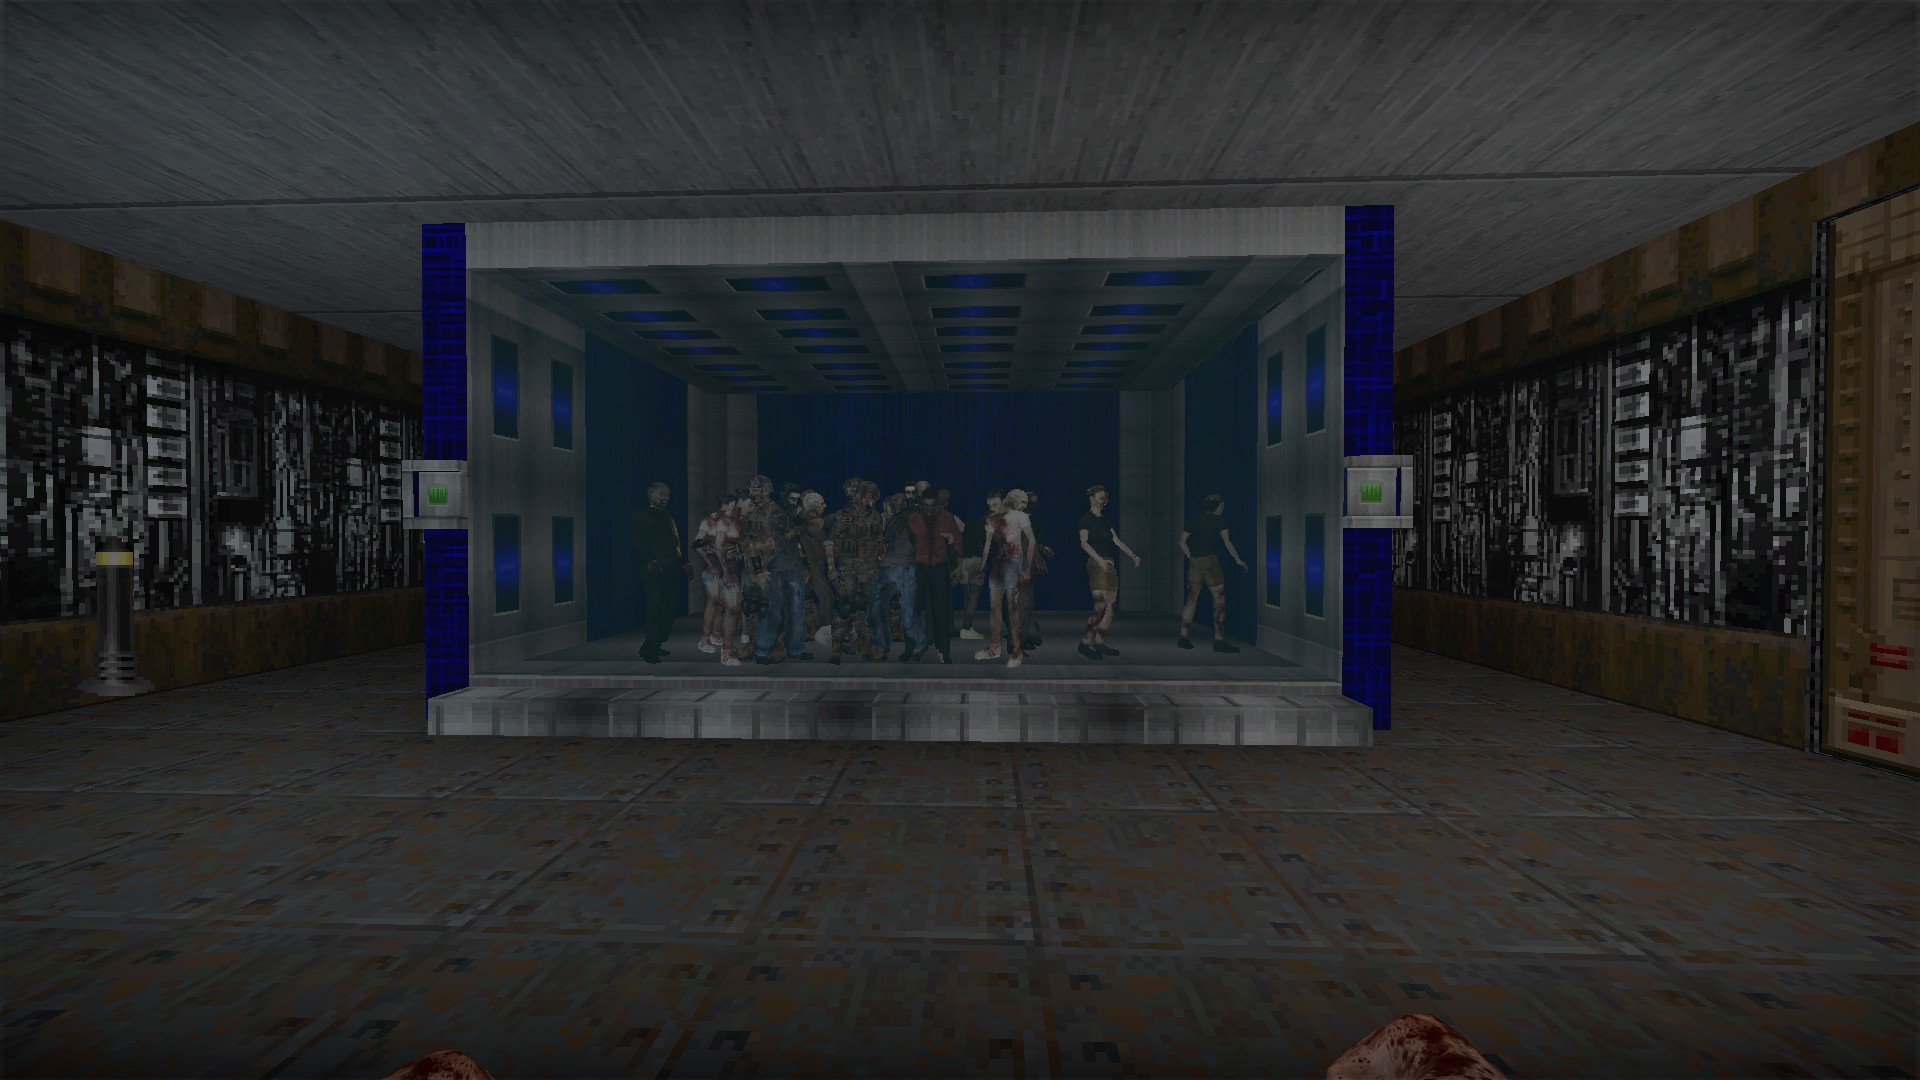
You can open this enclosed room of zombies by pressing the button on either side
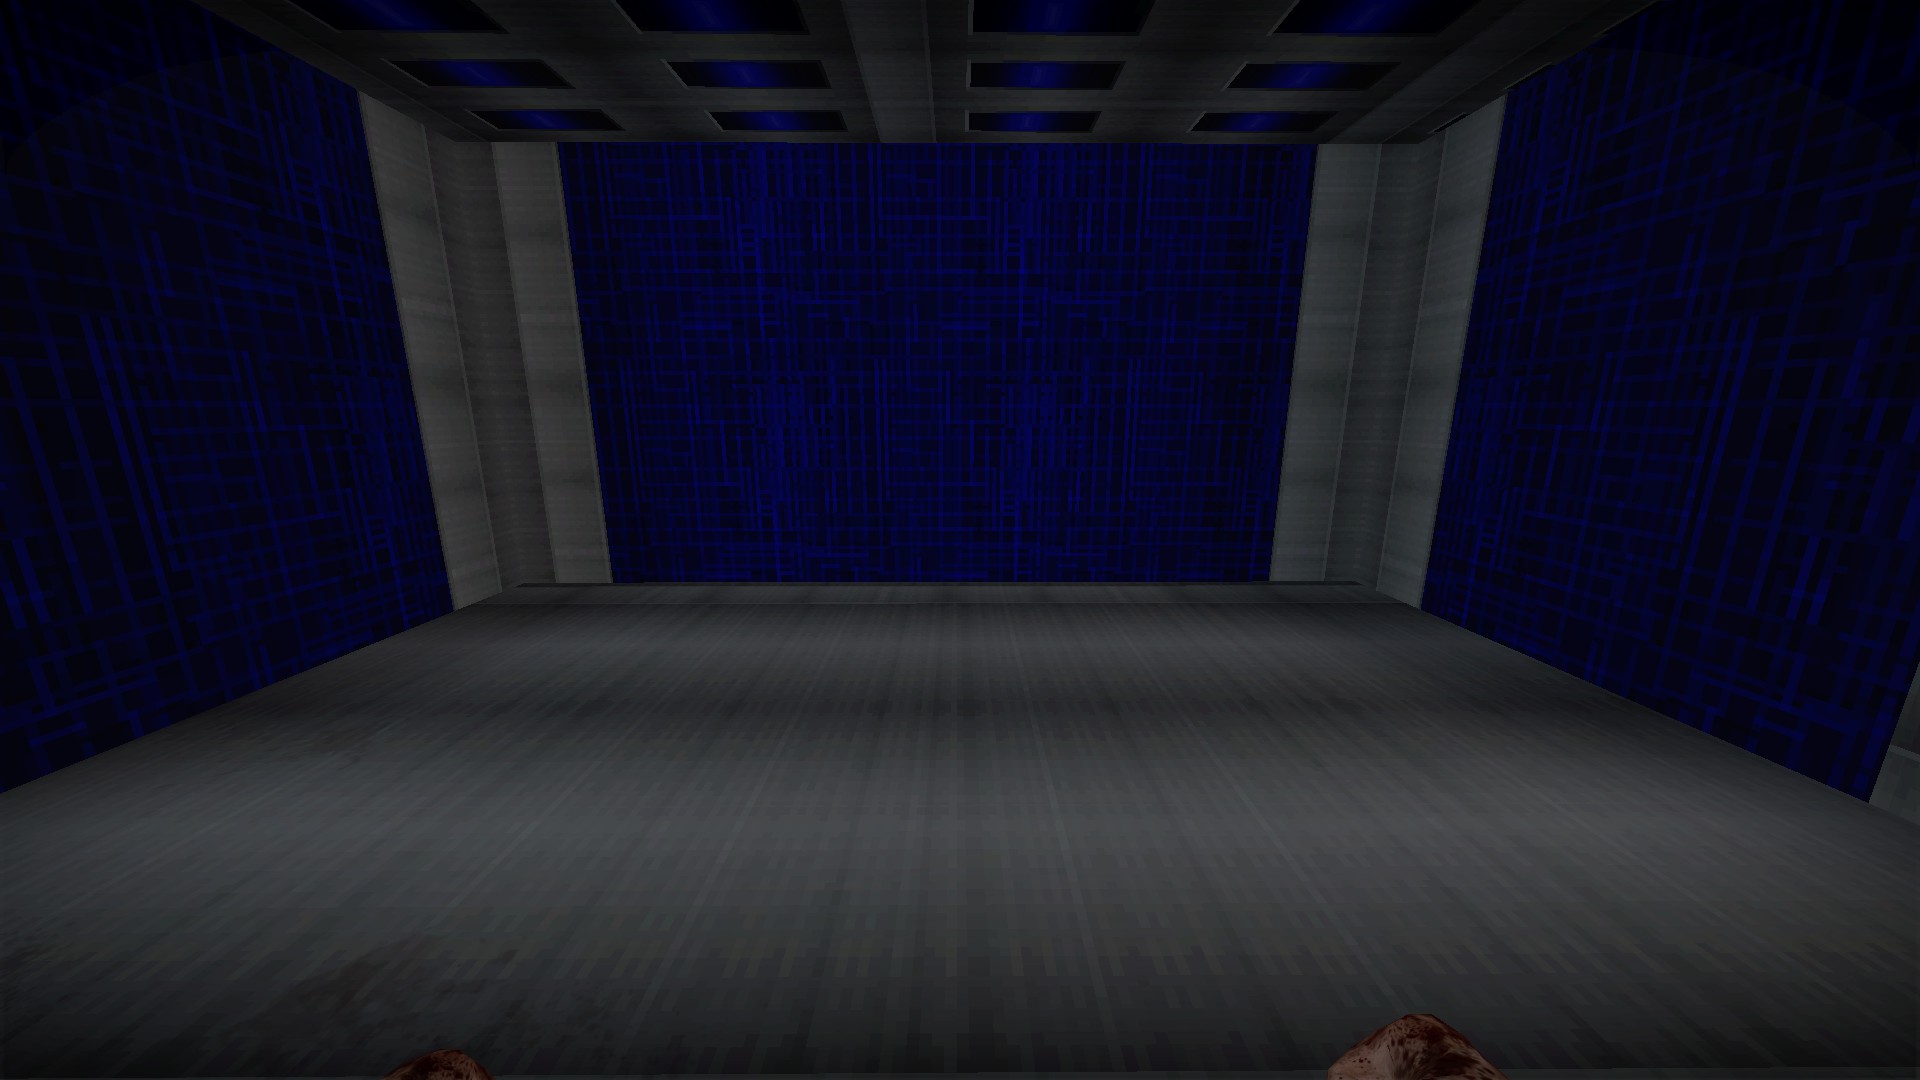
The room behind will be empty
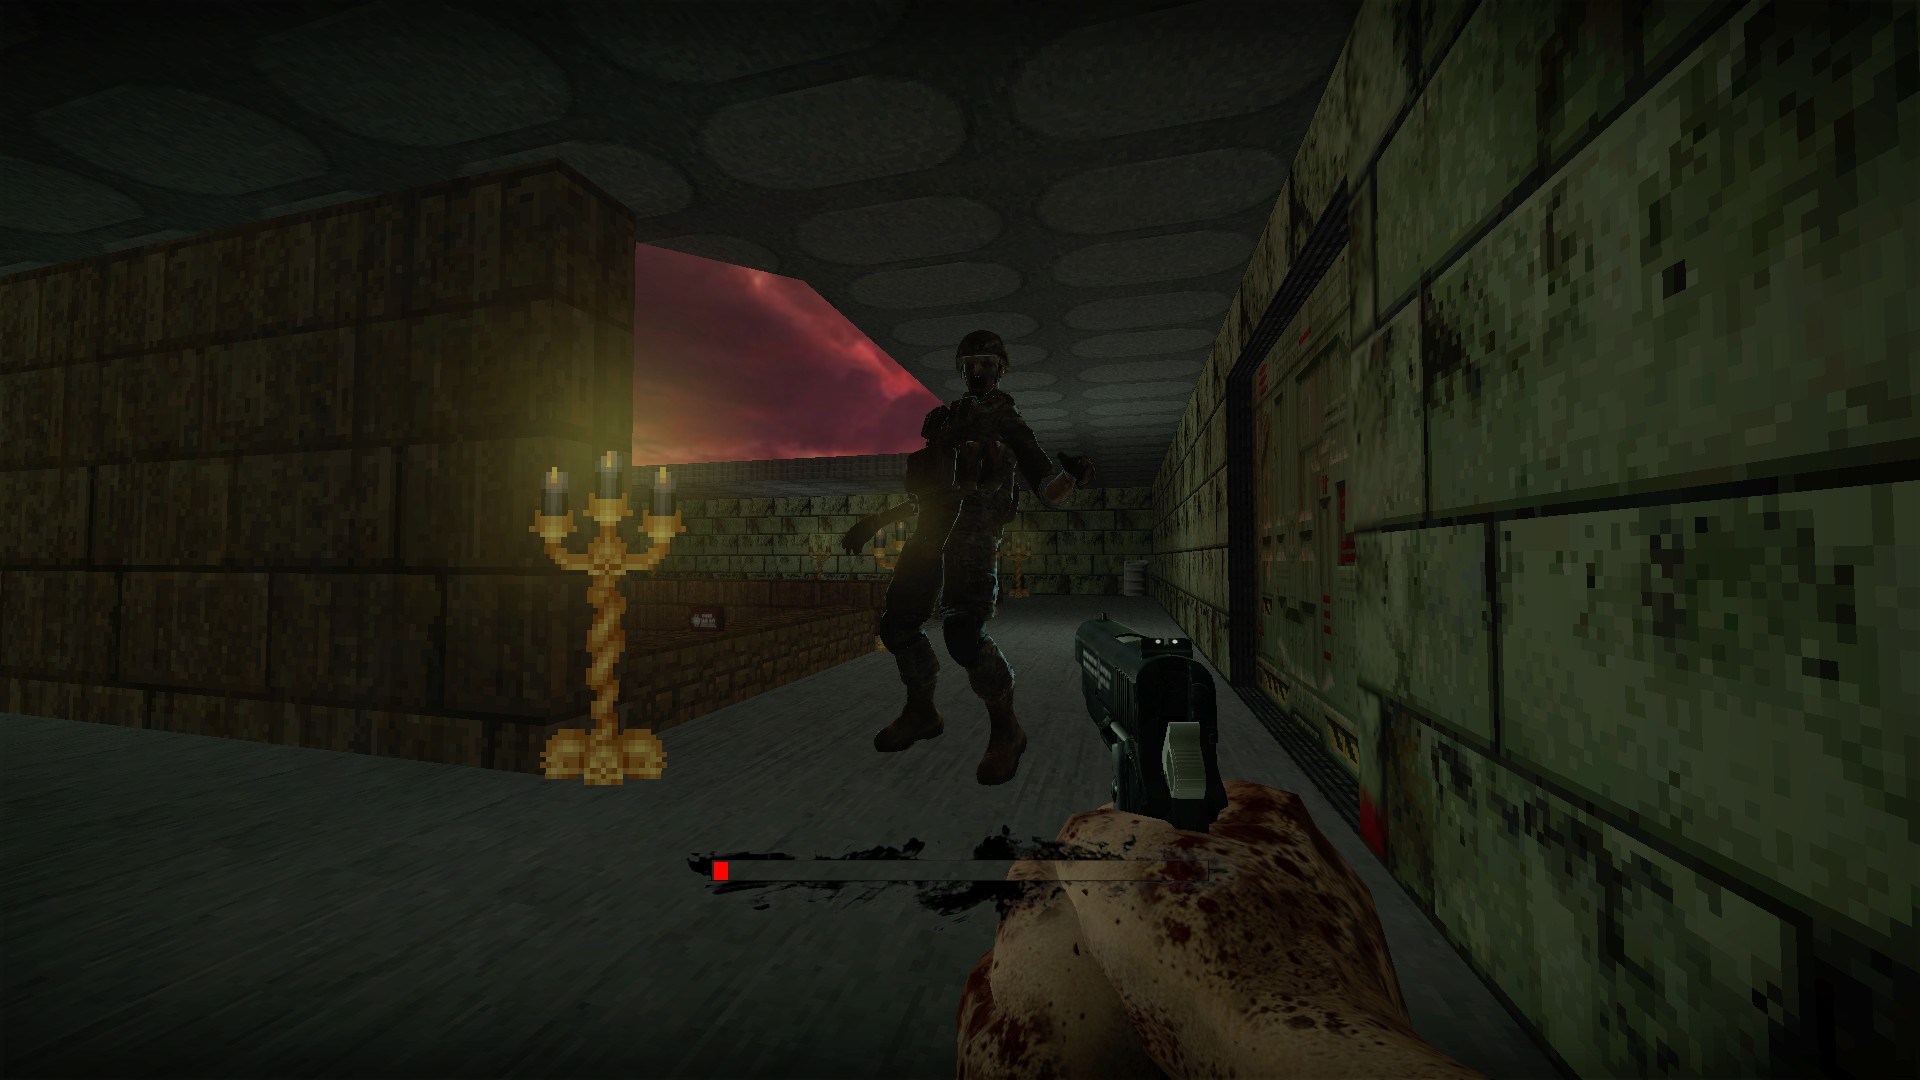
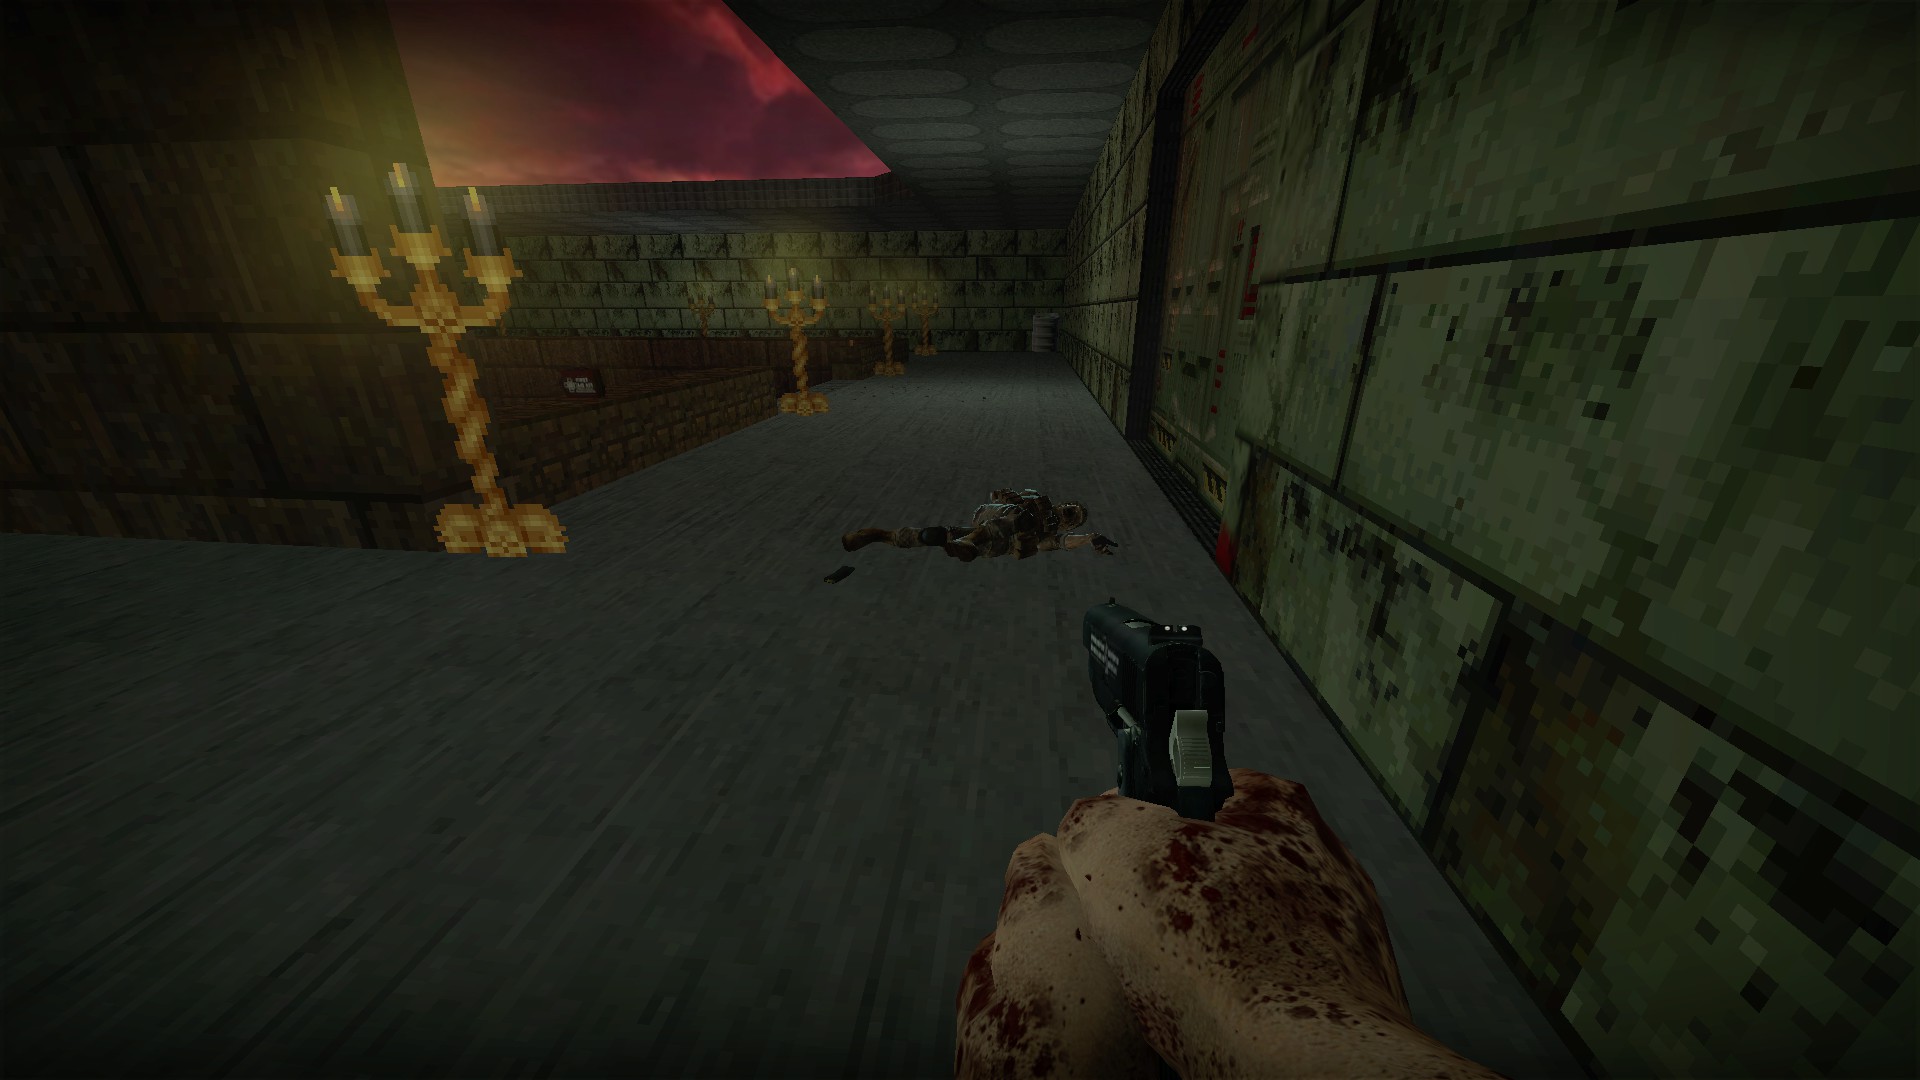
Kill the large zombie in the courtyard area
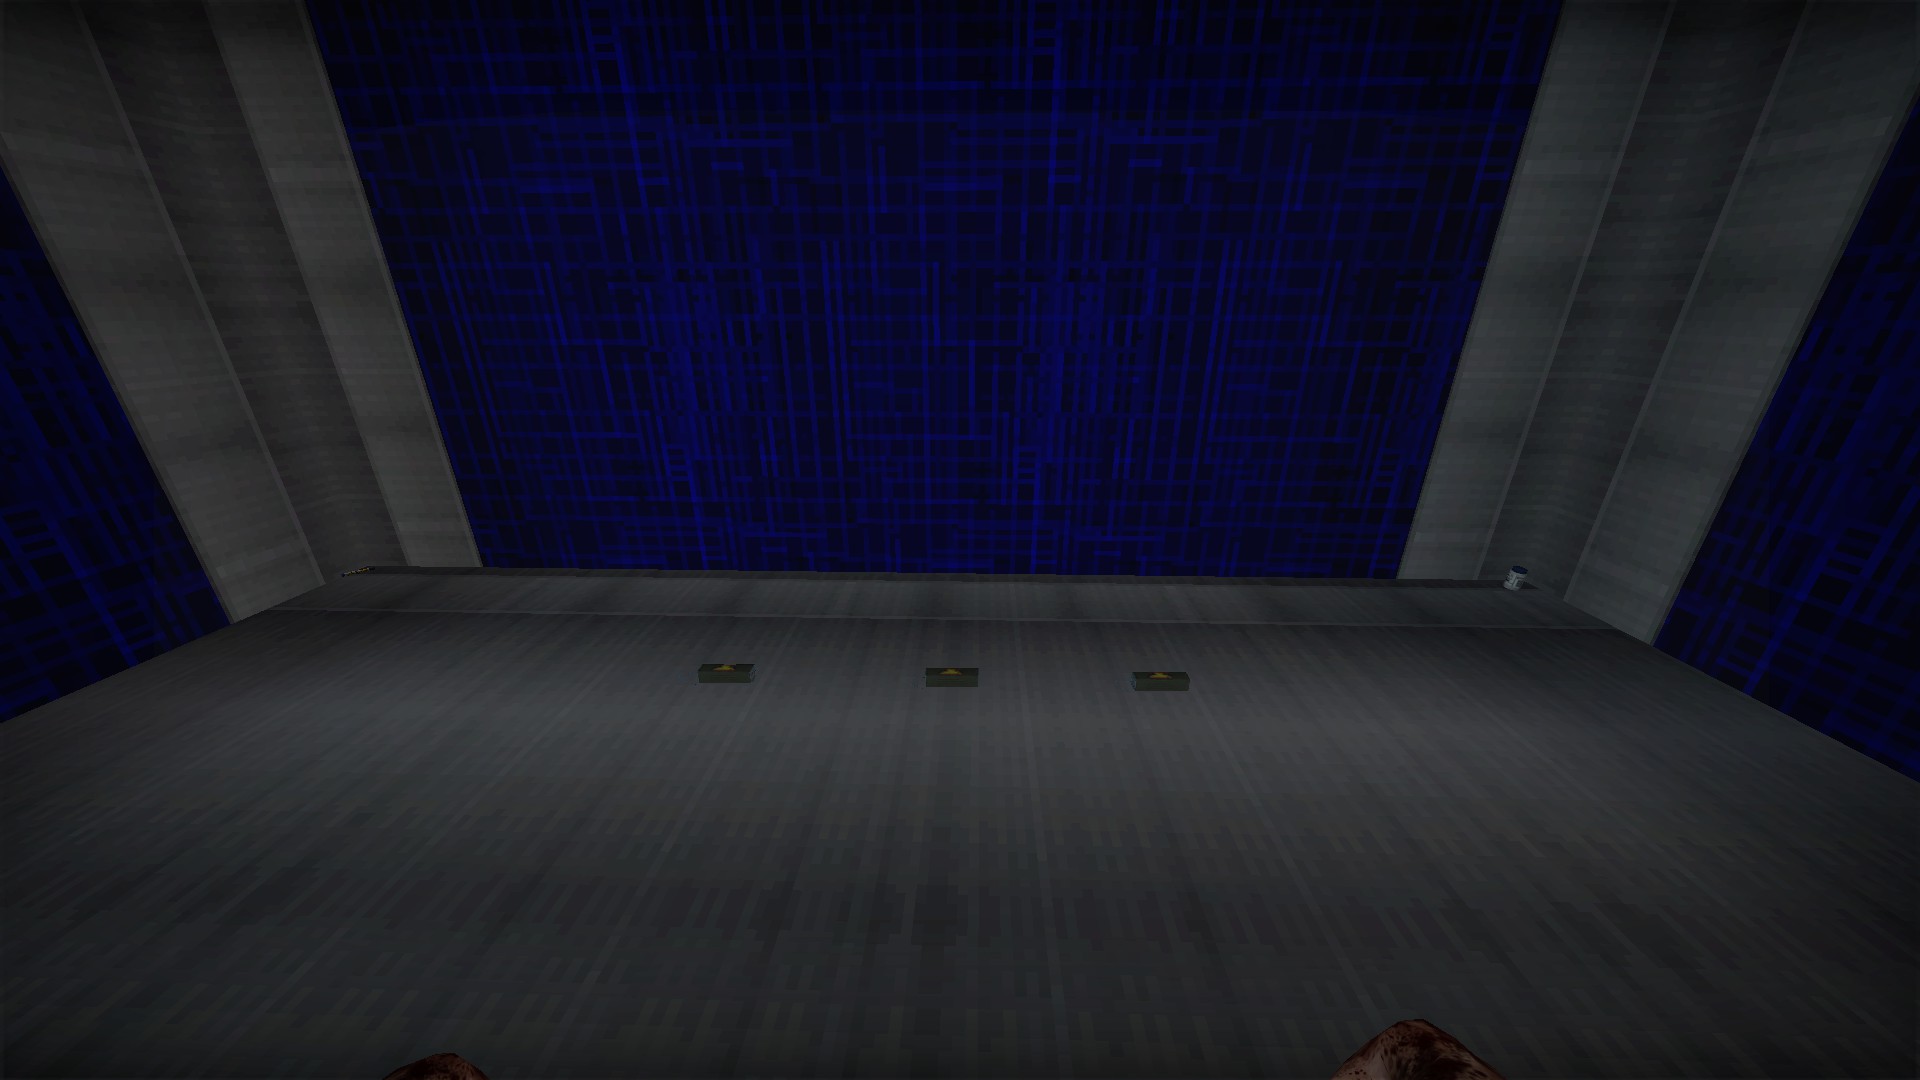
And you will find 2 medical items and 3 tnt in the enclosed room Kill the wave of children upstairs for an easier ending
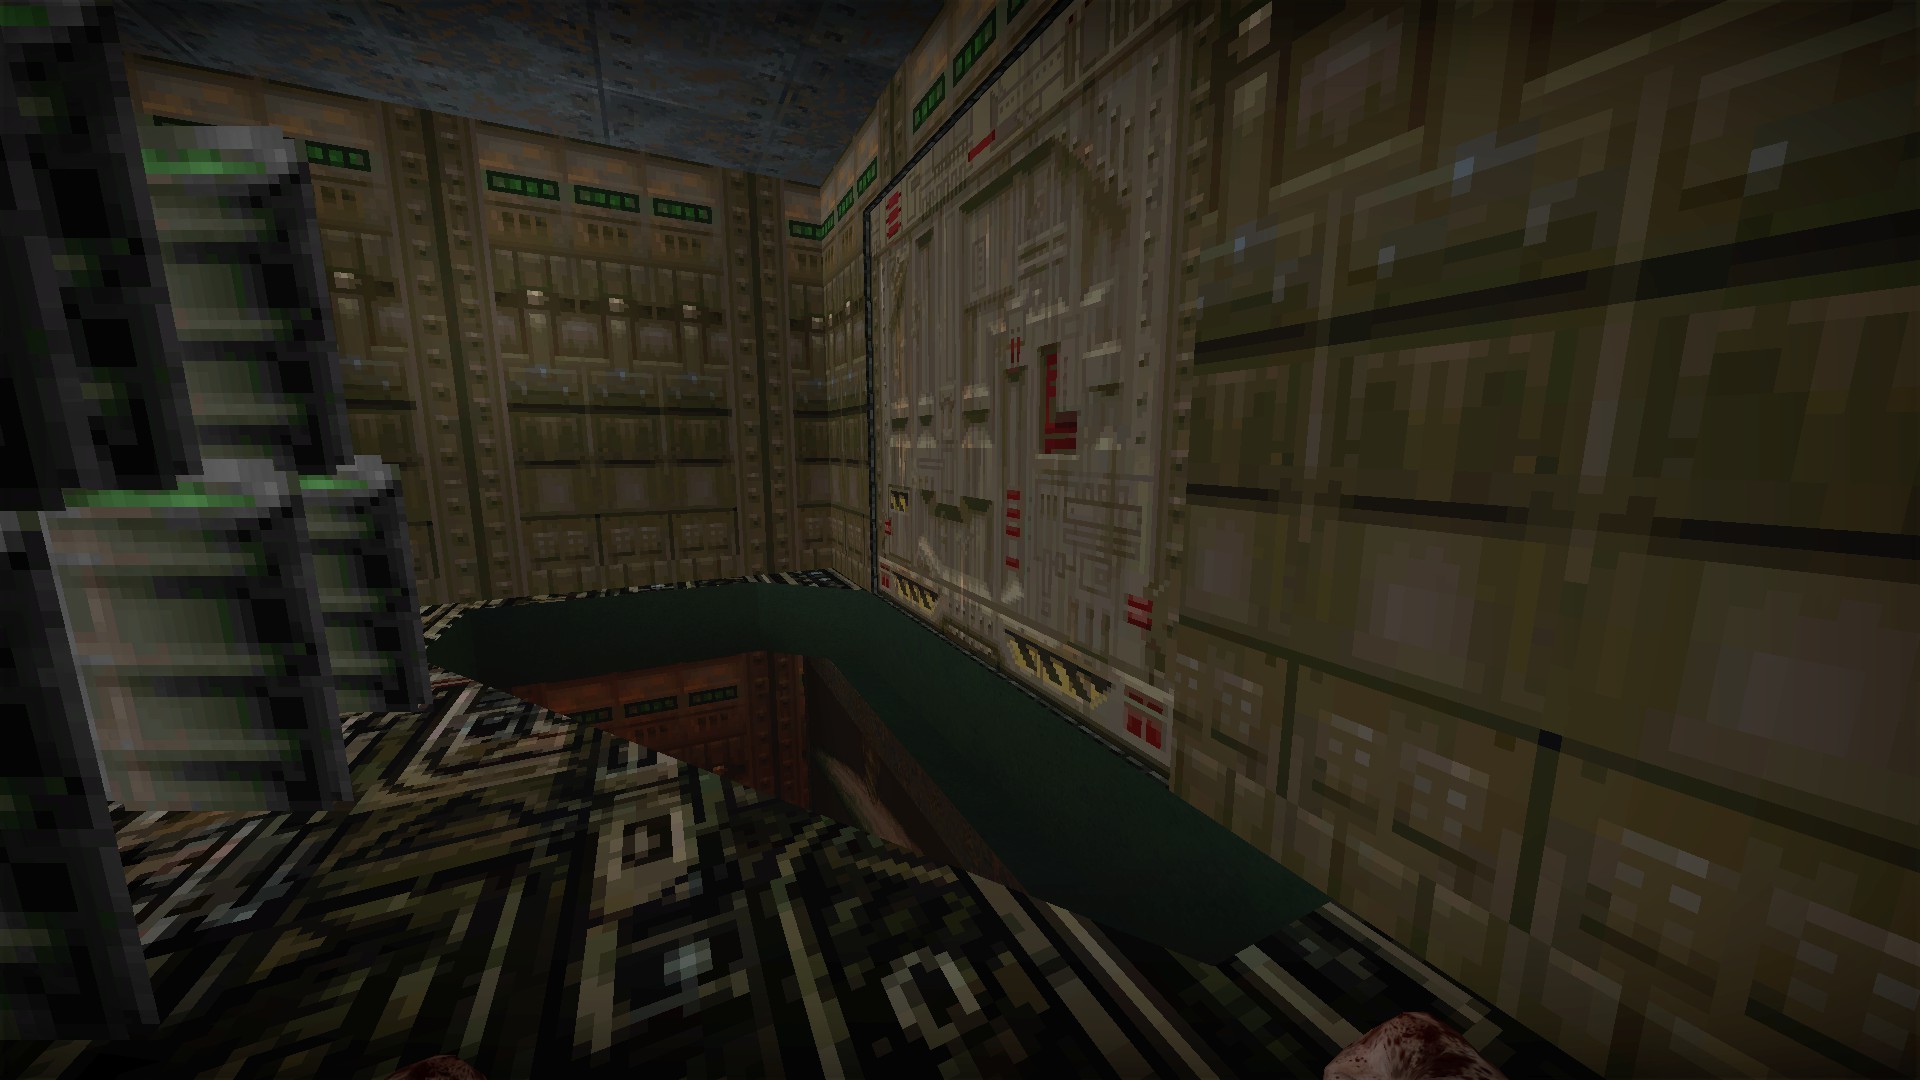
If you jump through to the left at the door to the last area, you can avoid the drop
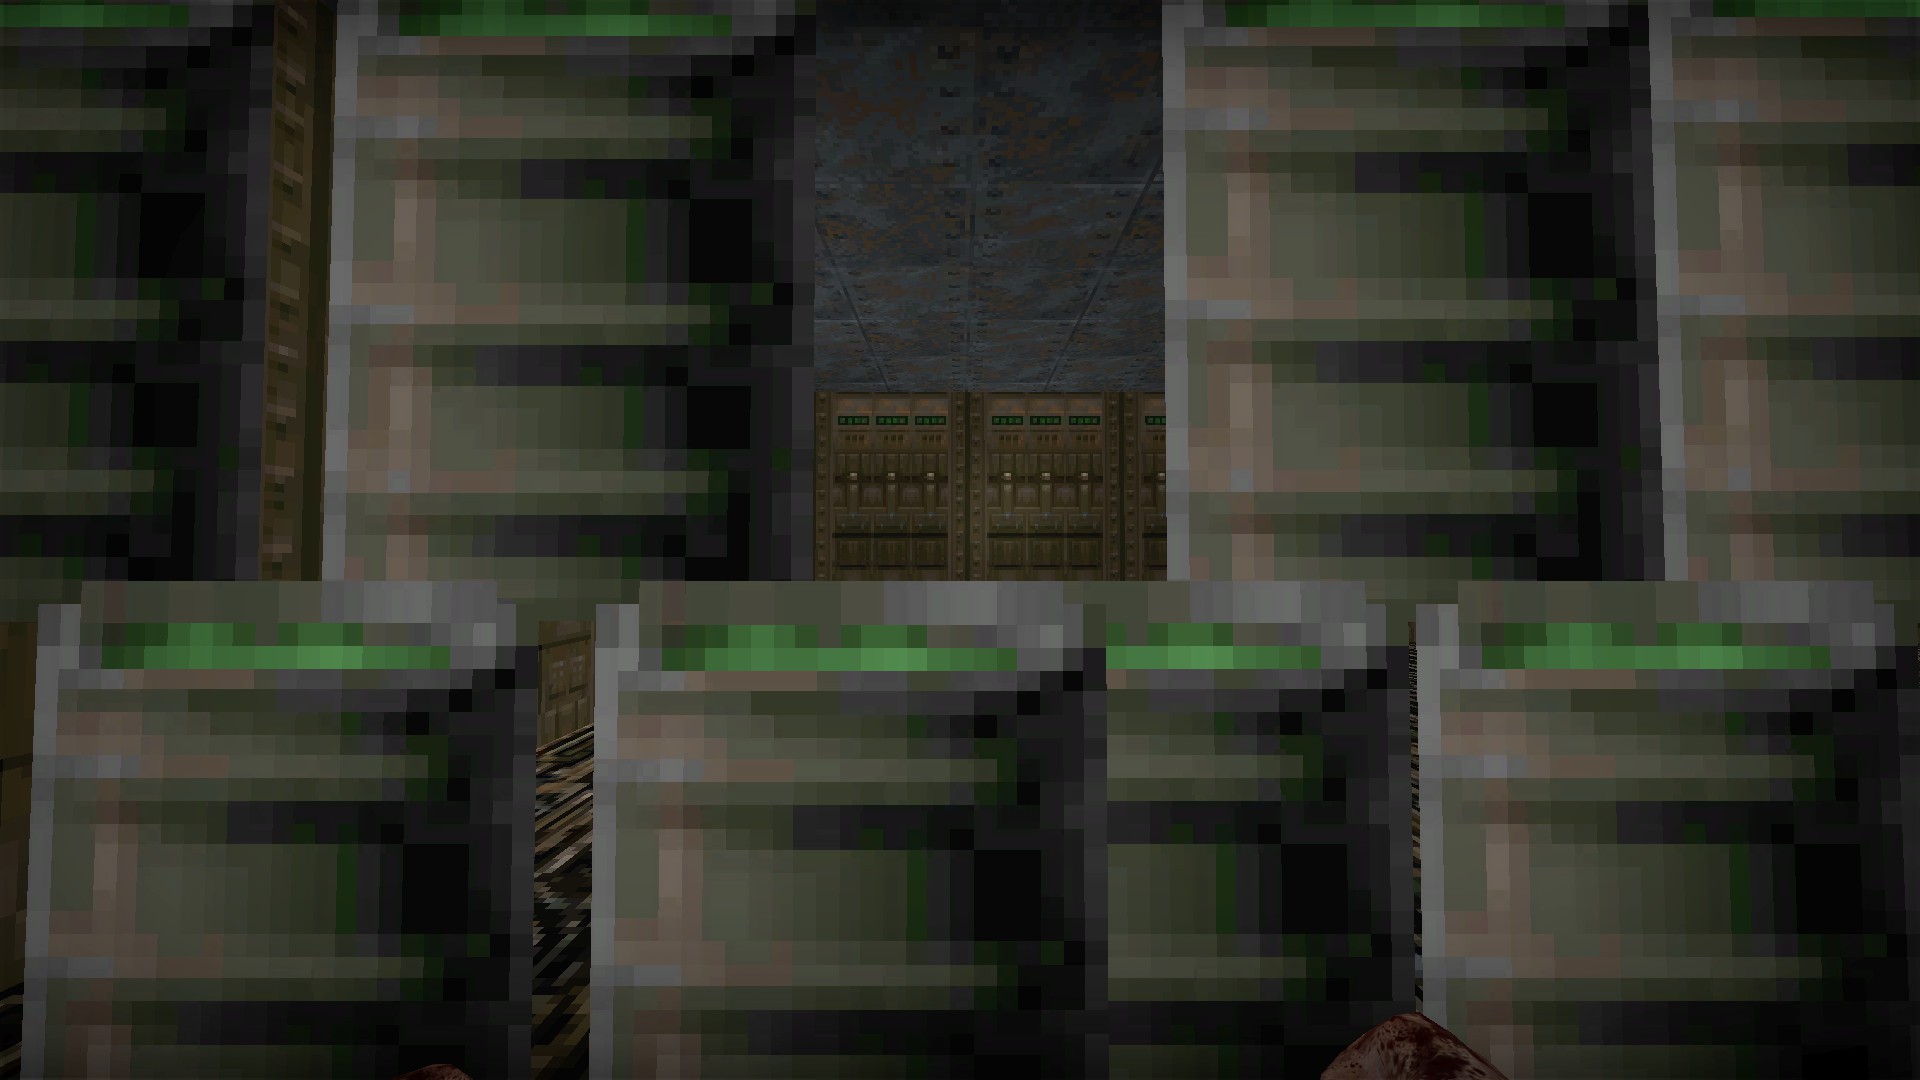
Then crouch jump through the gap in the barrels
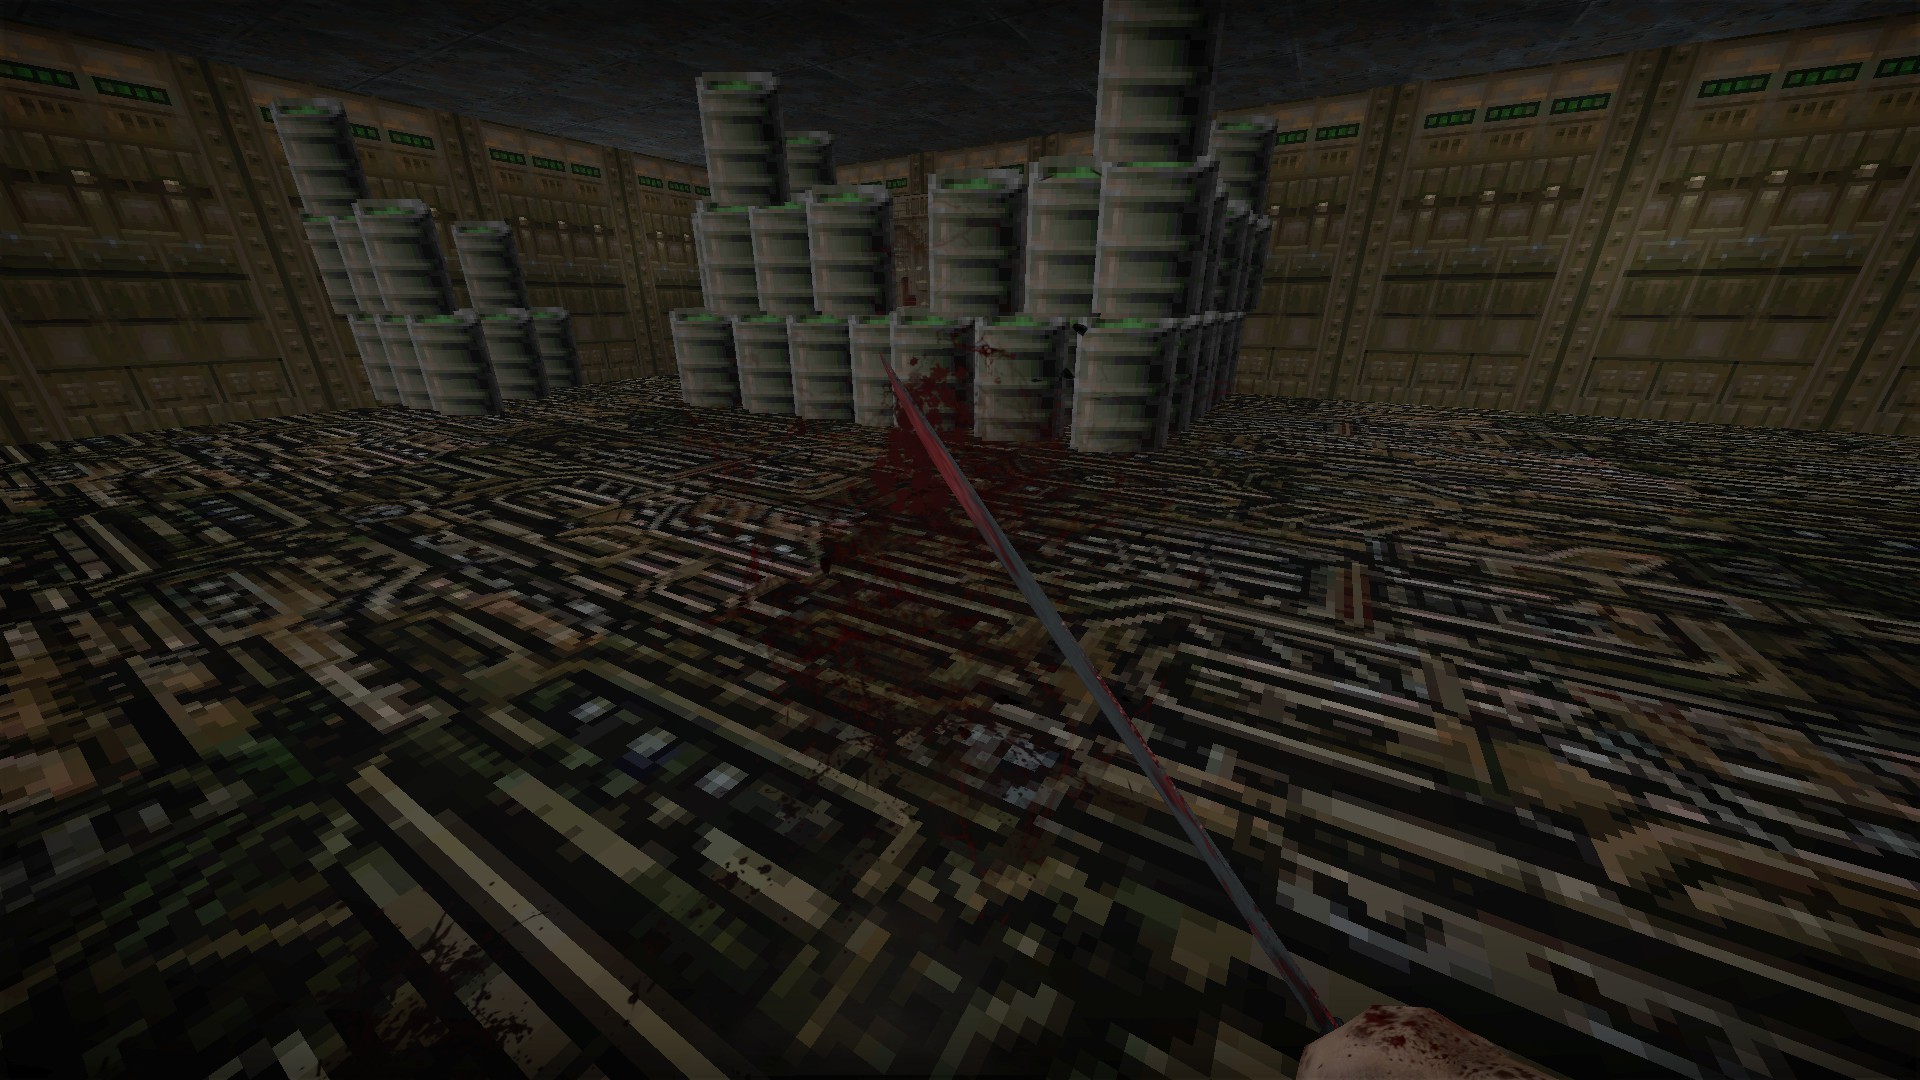
You can now kill the wave of children that falls from the ceiling in the ending event. The children will be invisible but cannot hurt you as they are not technically spawned in yet
Last secret missing
From Pla3 (map maker), comment in guide Breakpoint-C: As for the last secret, I won’t reveal it, but there’s hidden dynamite on the map with a rare drop chance
nmo_downtown_v3-p1 (&p2)

Check the mailboxes for weapons and ammo

Turn on the lights

At the police station, the door on the left is the respawn, but unlike with other maps, you can decide when to use it

The door on the right can be welded and has shotguns and ammo in the shelves
nmo_dreamin_v4_1
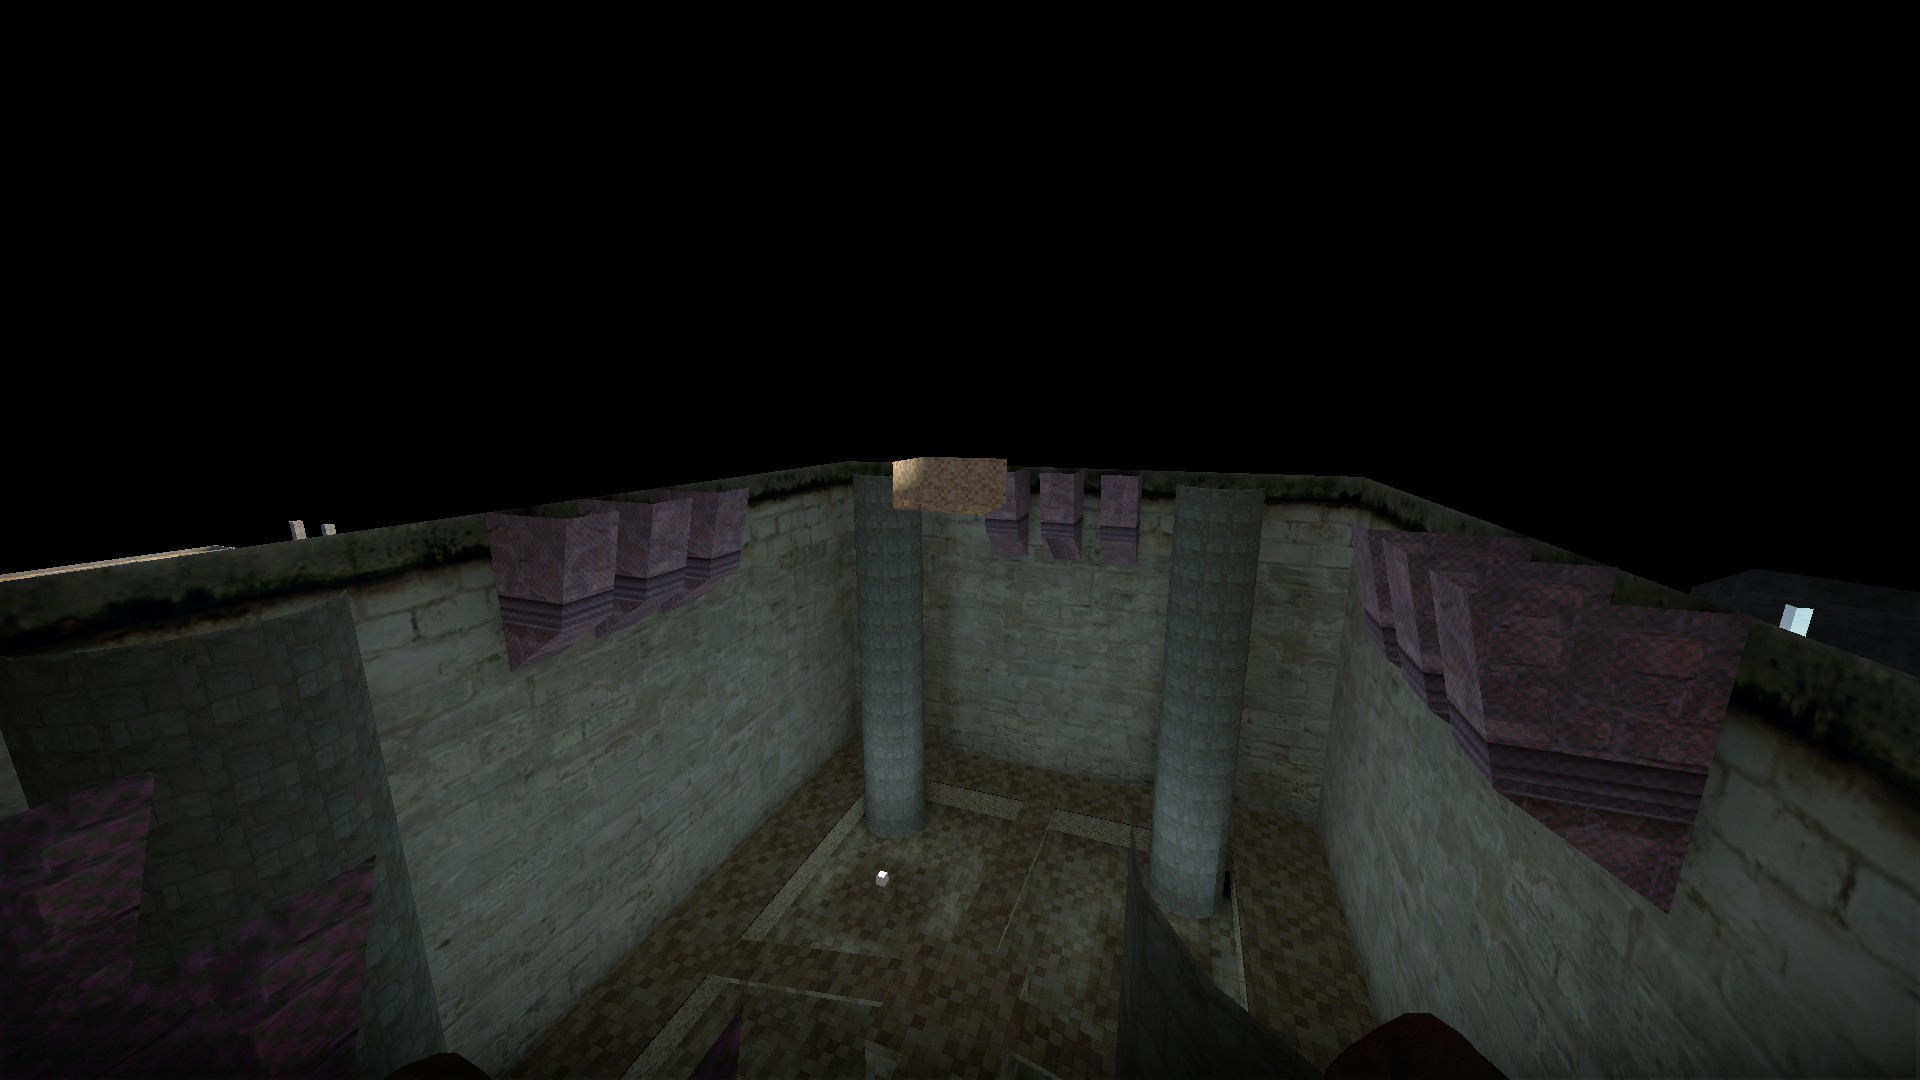
All 3 stages share the same starting area. The developer room is just above it. You will need to noclip here
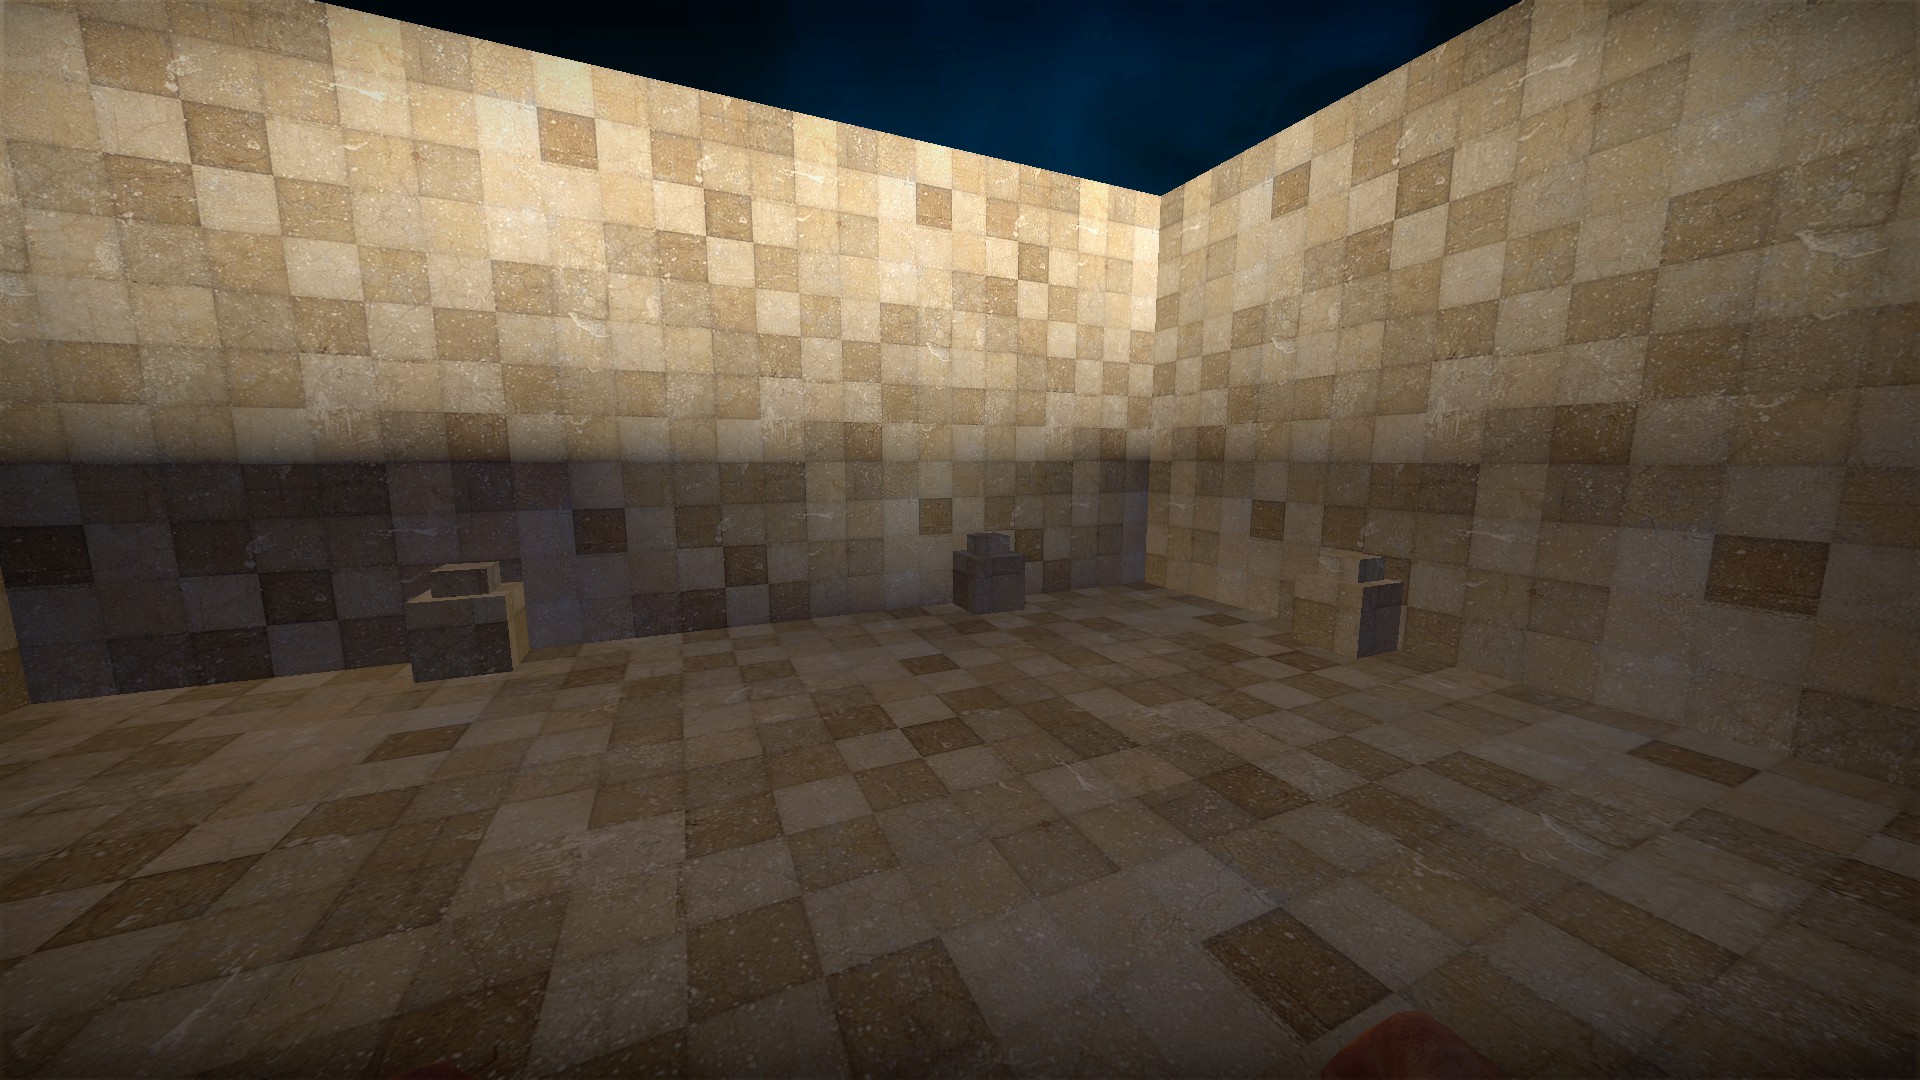
Left to right, the three buttons will take you to the map's 3 stages White machete - healing
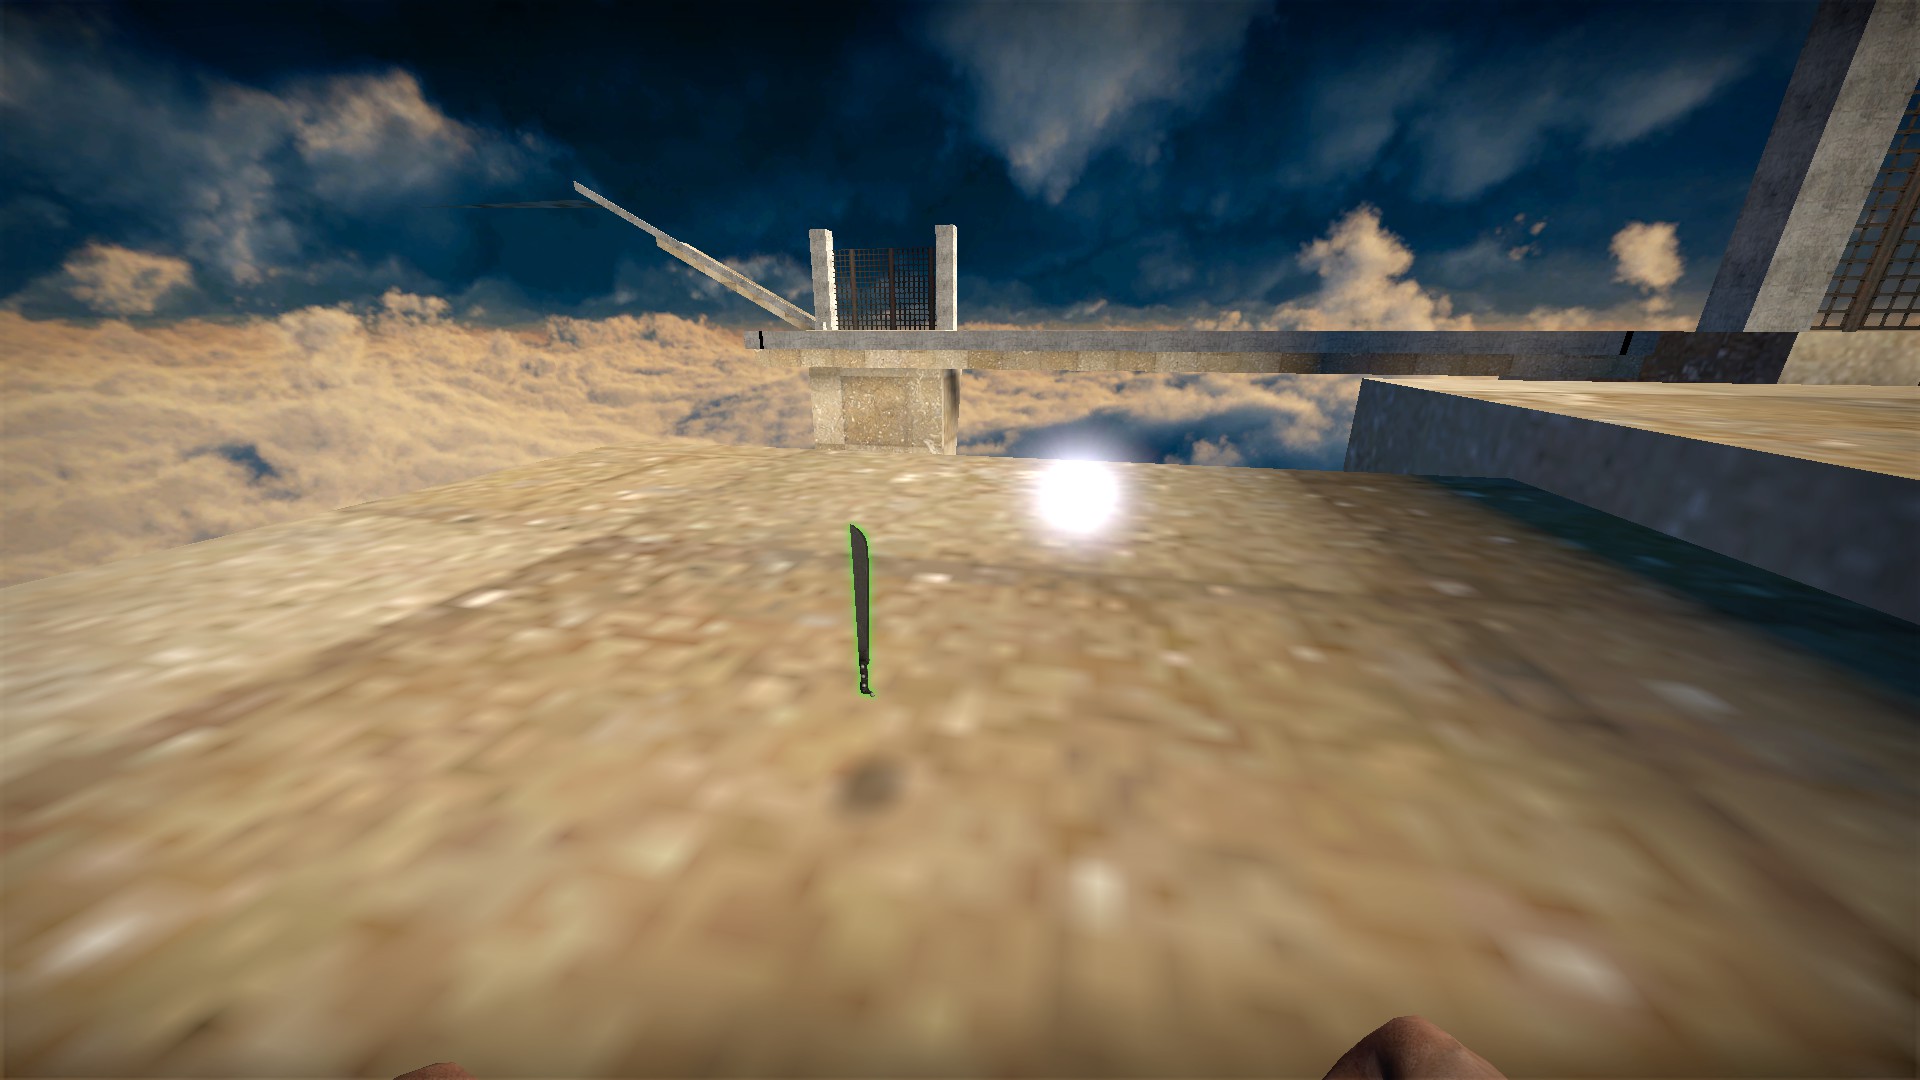
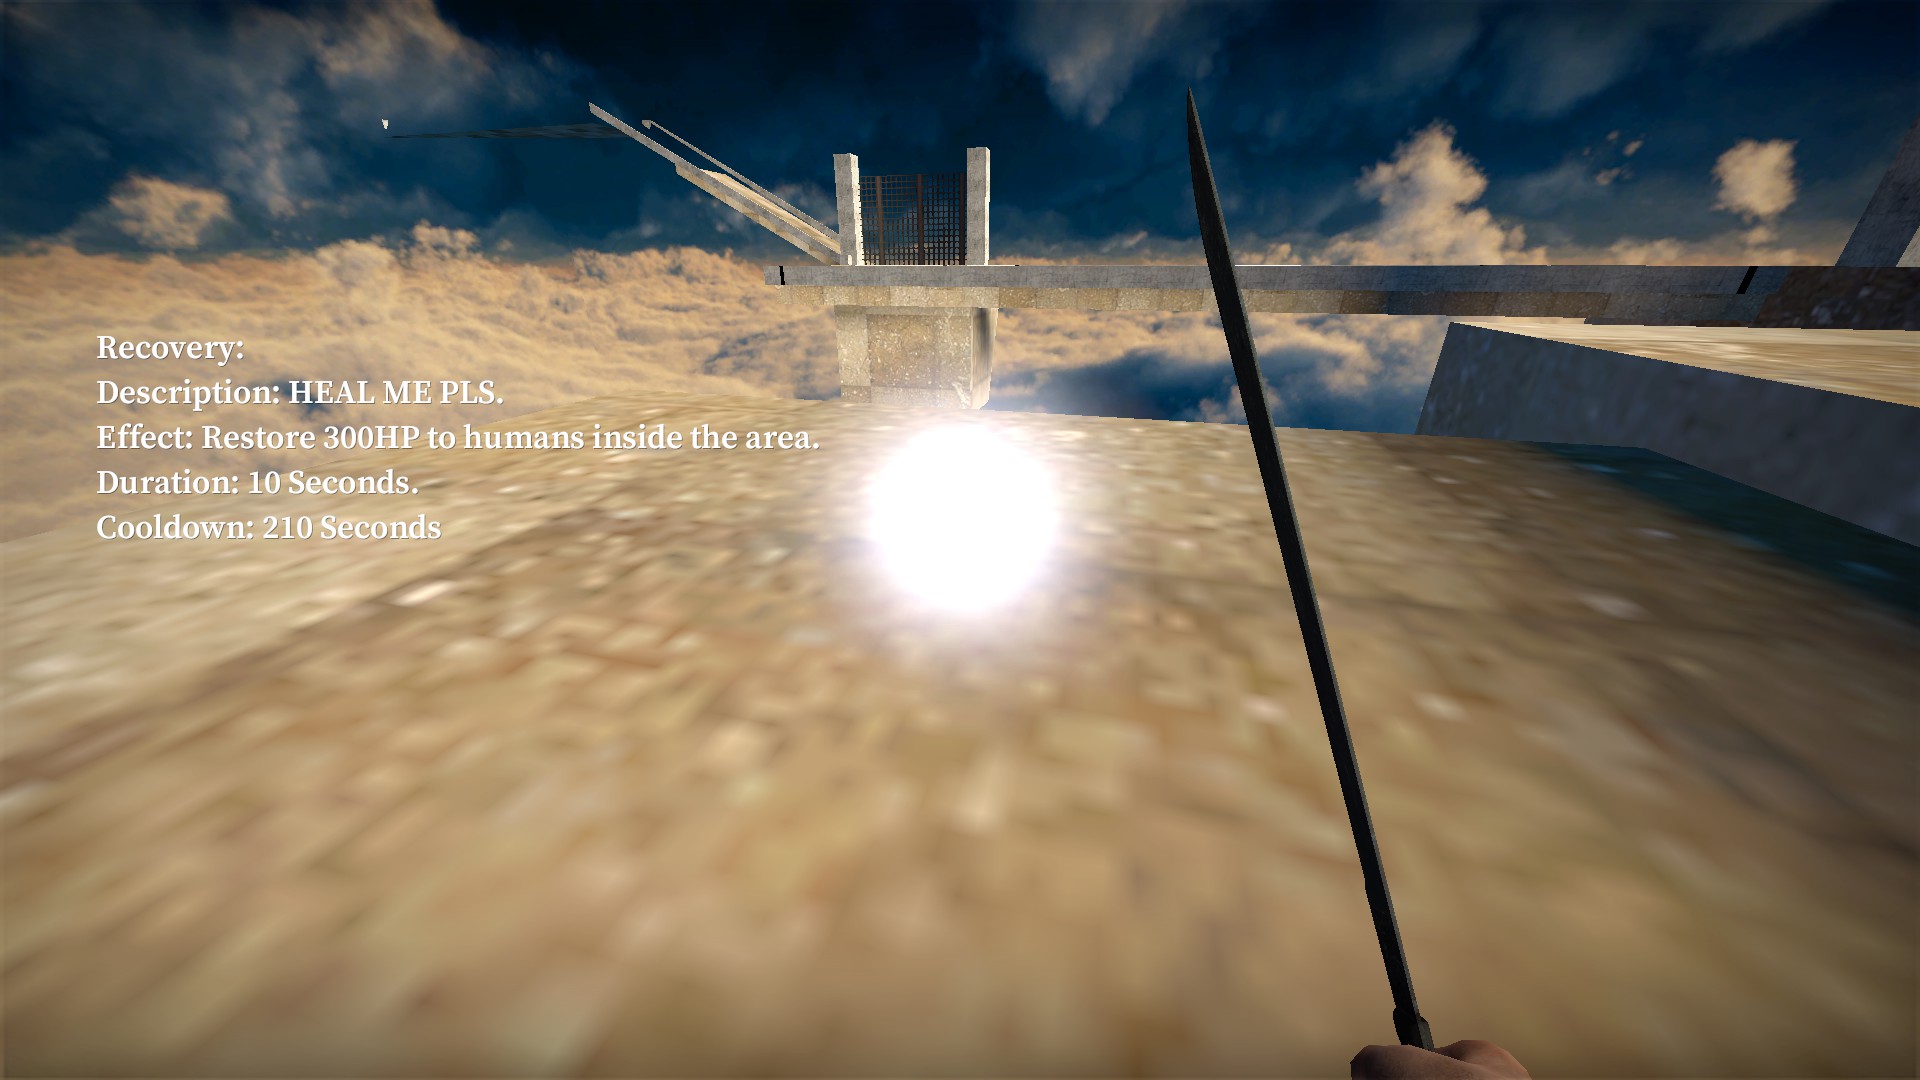
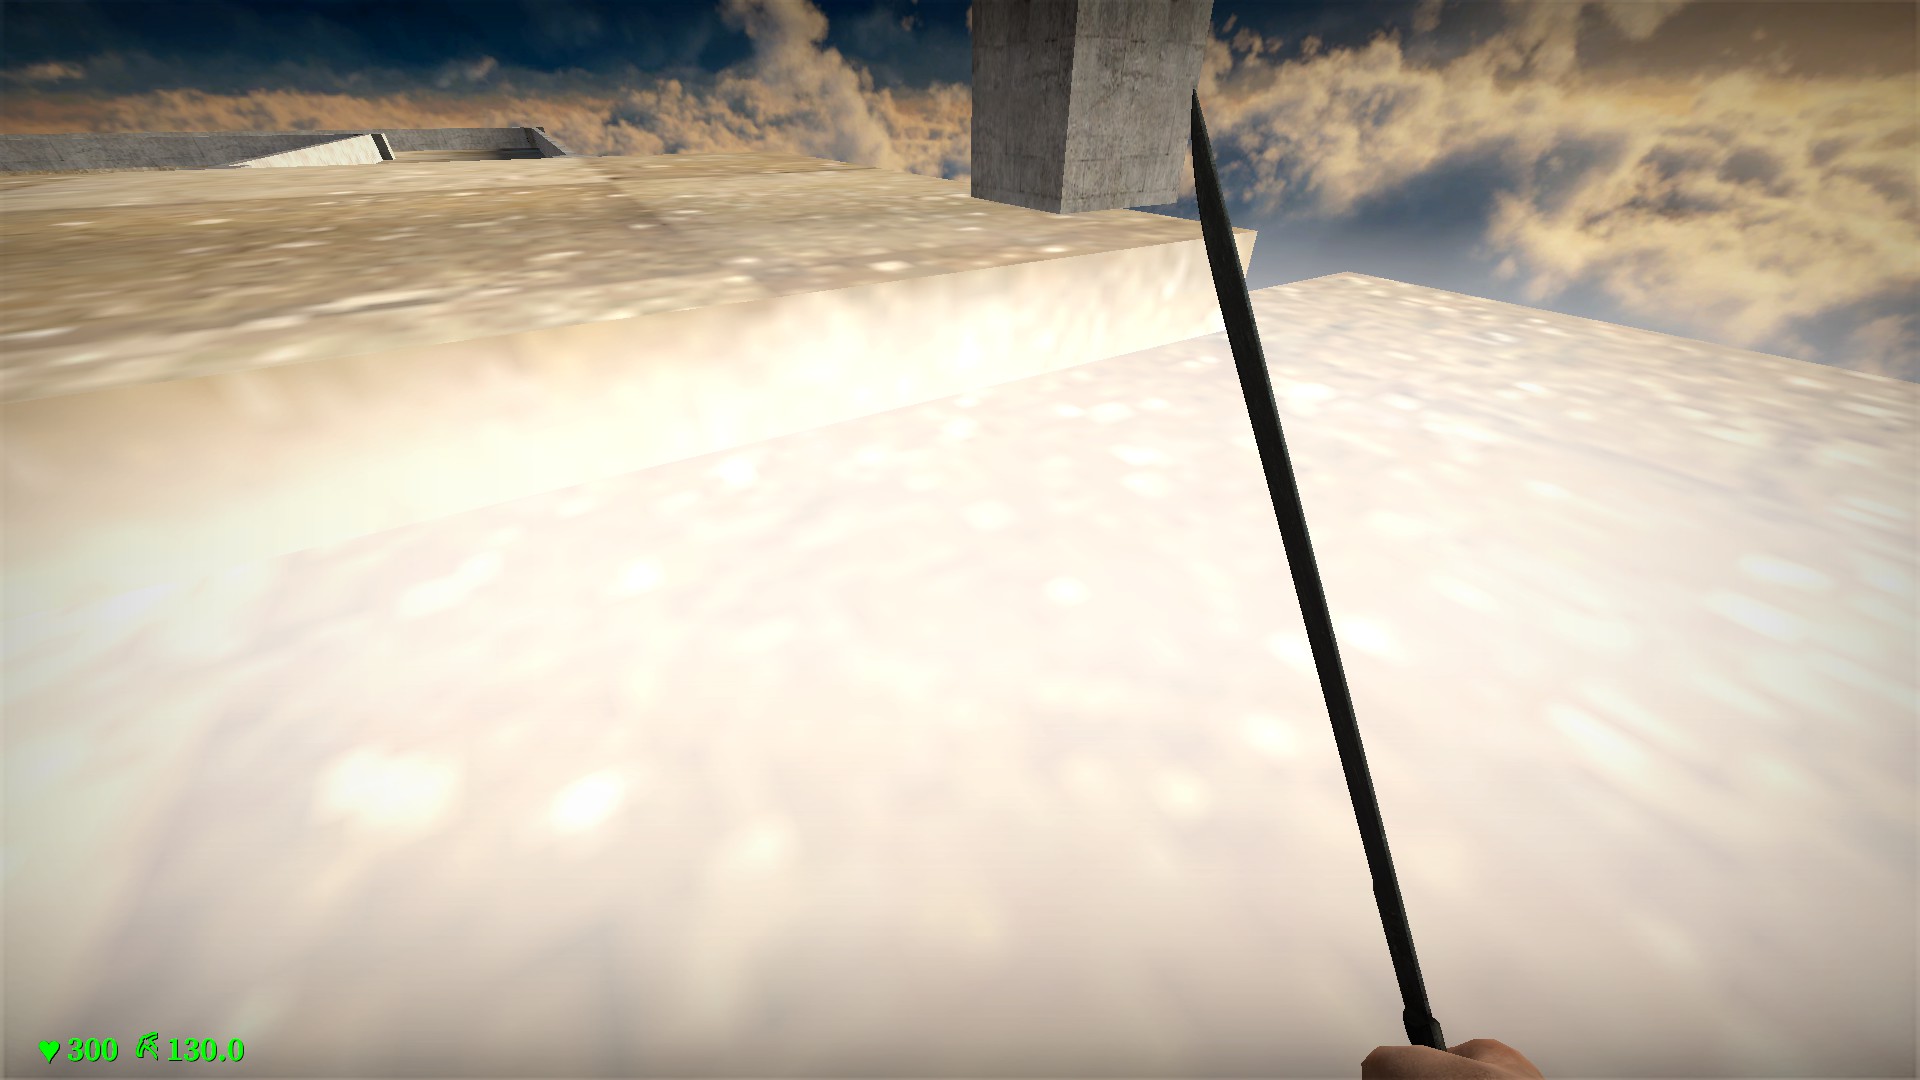
Will heal you and nearby players over 10 seconds to a new 300hp base and this base is heal-able. The healing effect will move with you
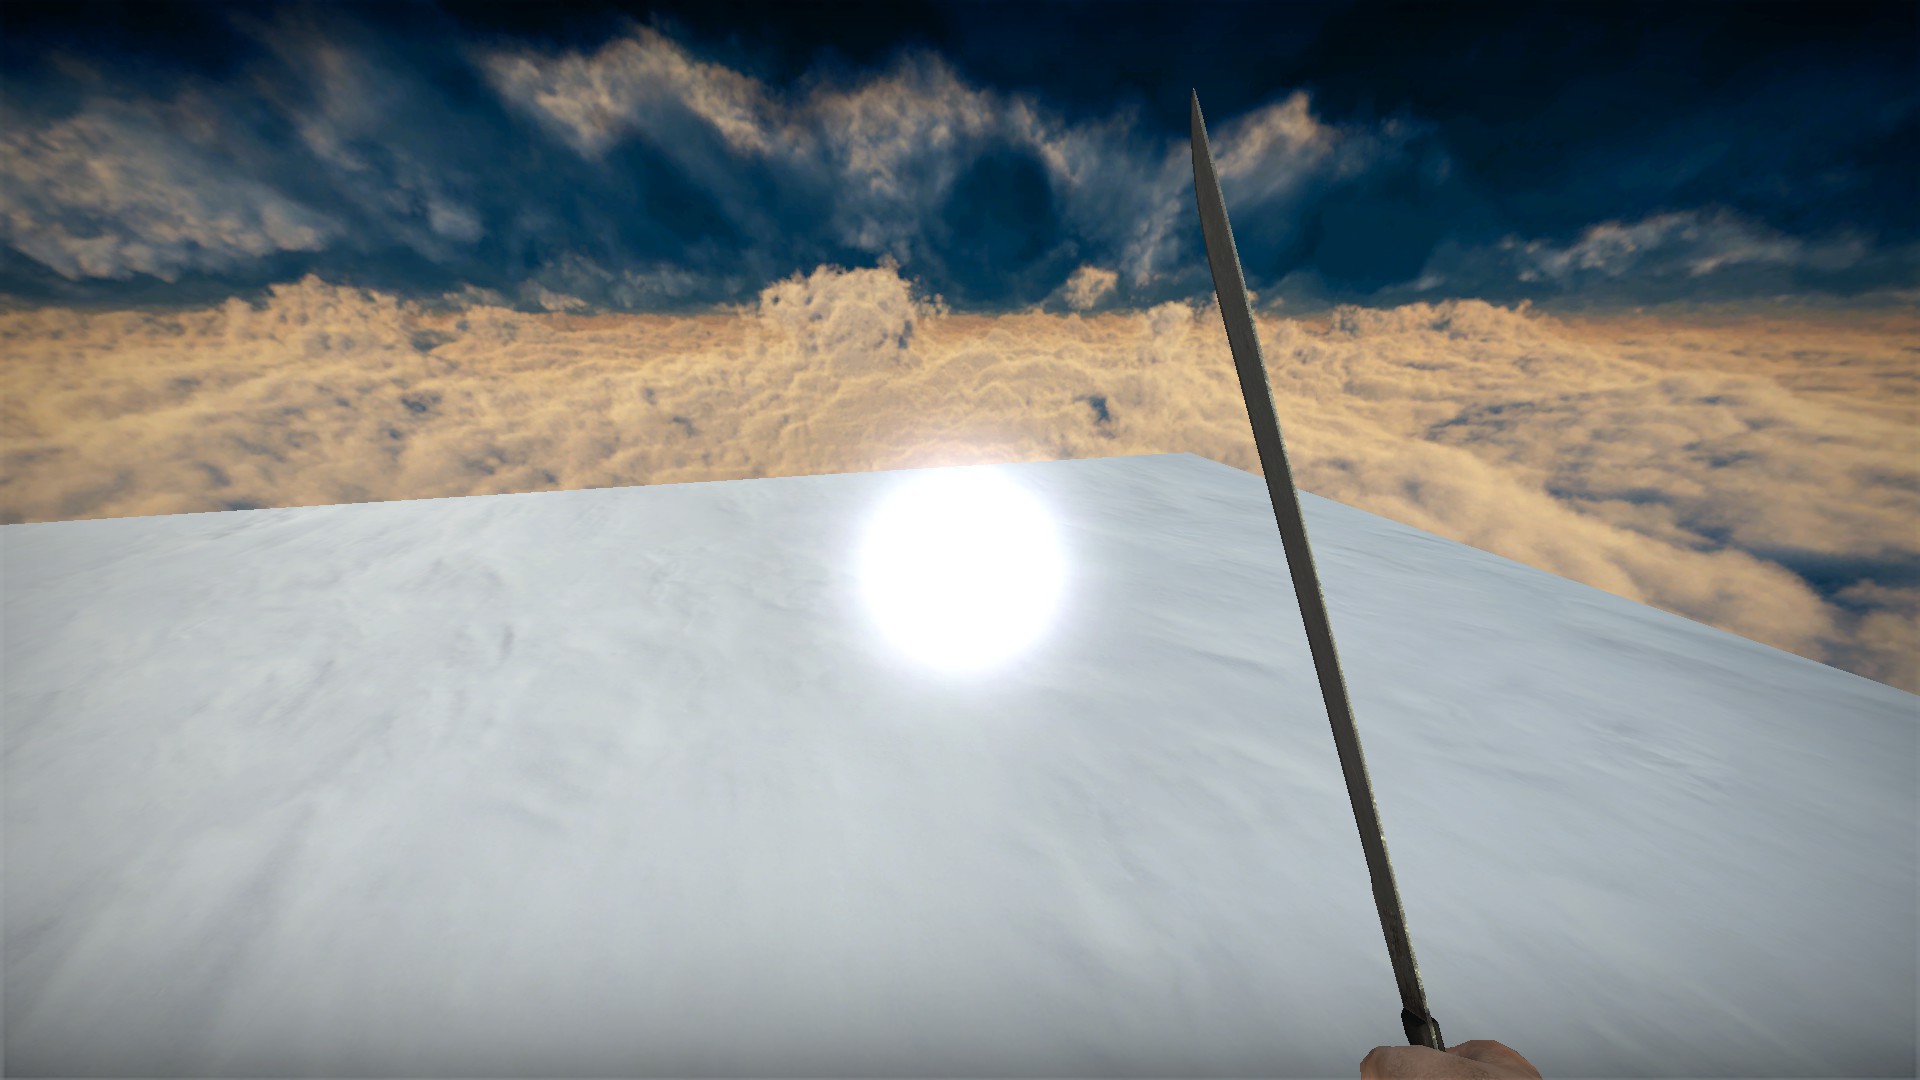
220 second cooldown (3 minutes, 40 seconds). When the white energy has returned, the machete is ready to be used again Purple machete - speed boost
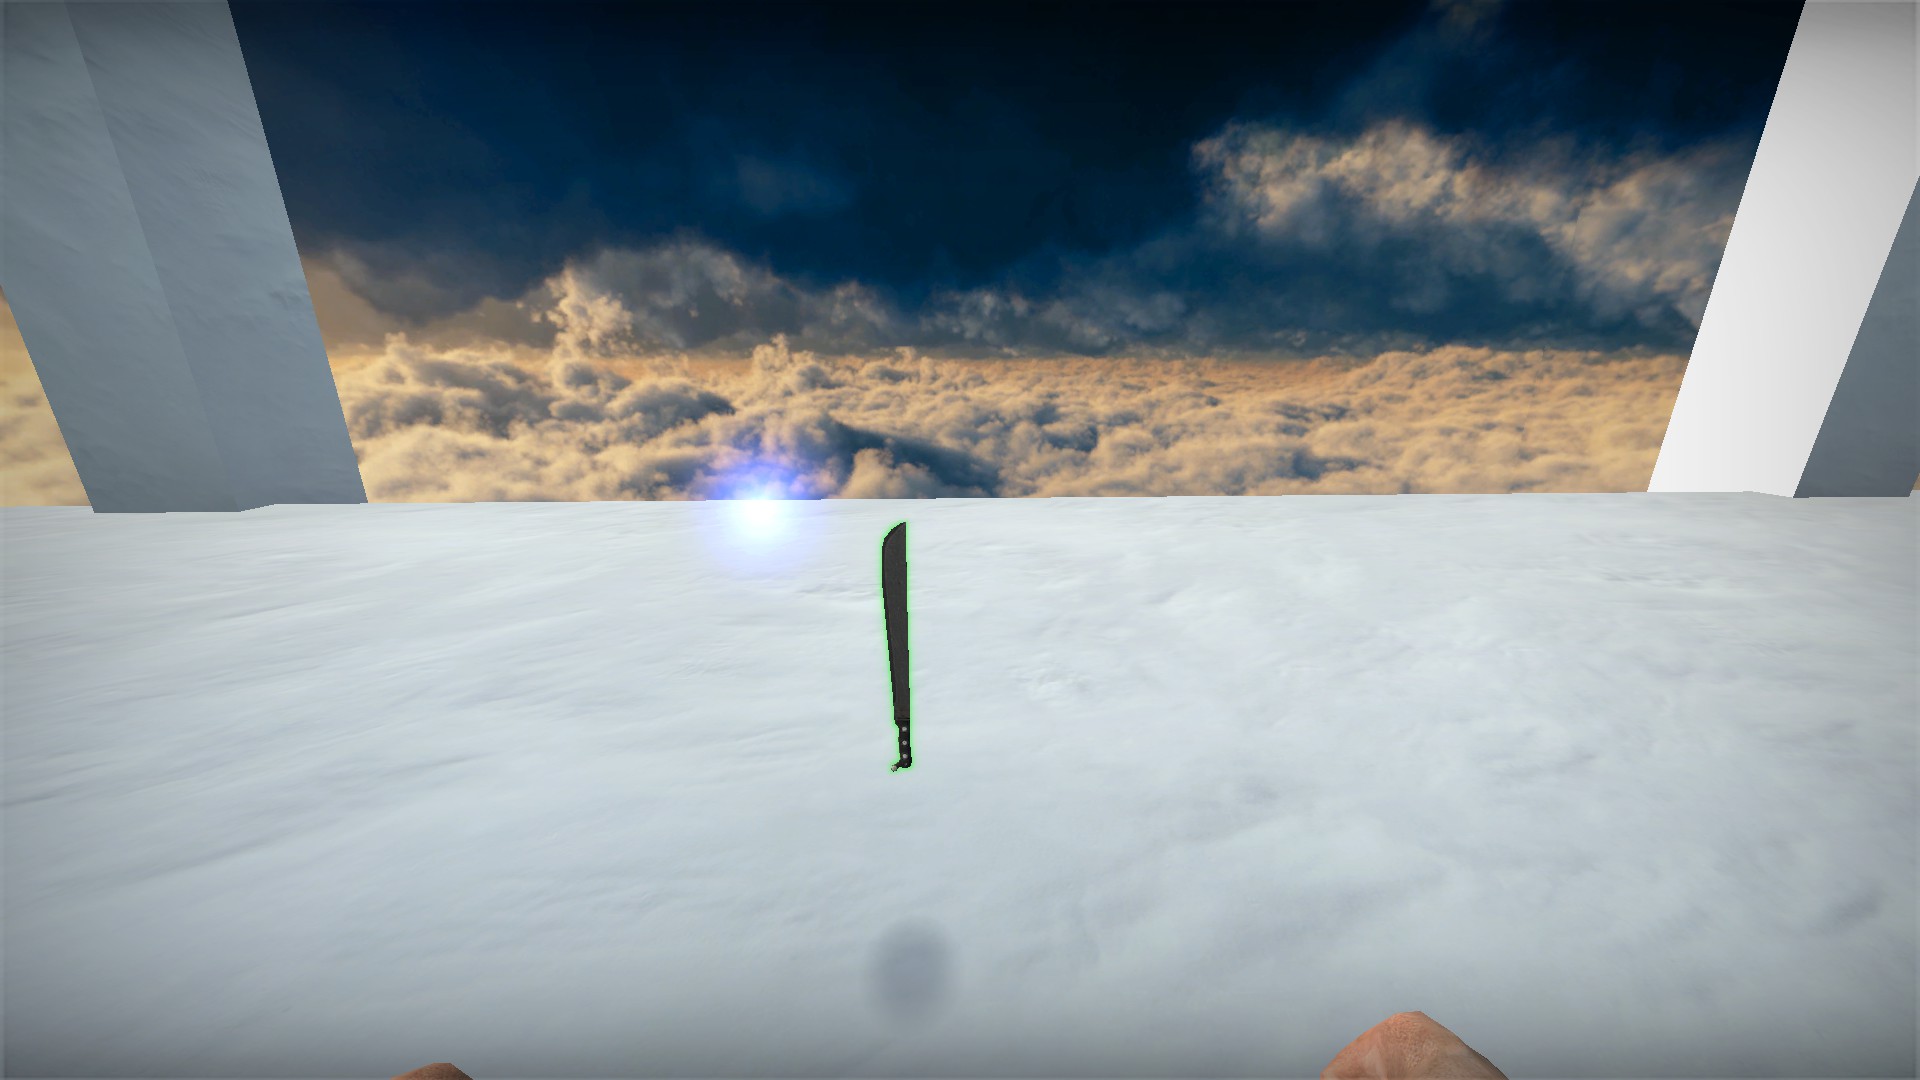
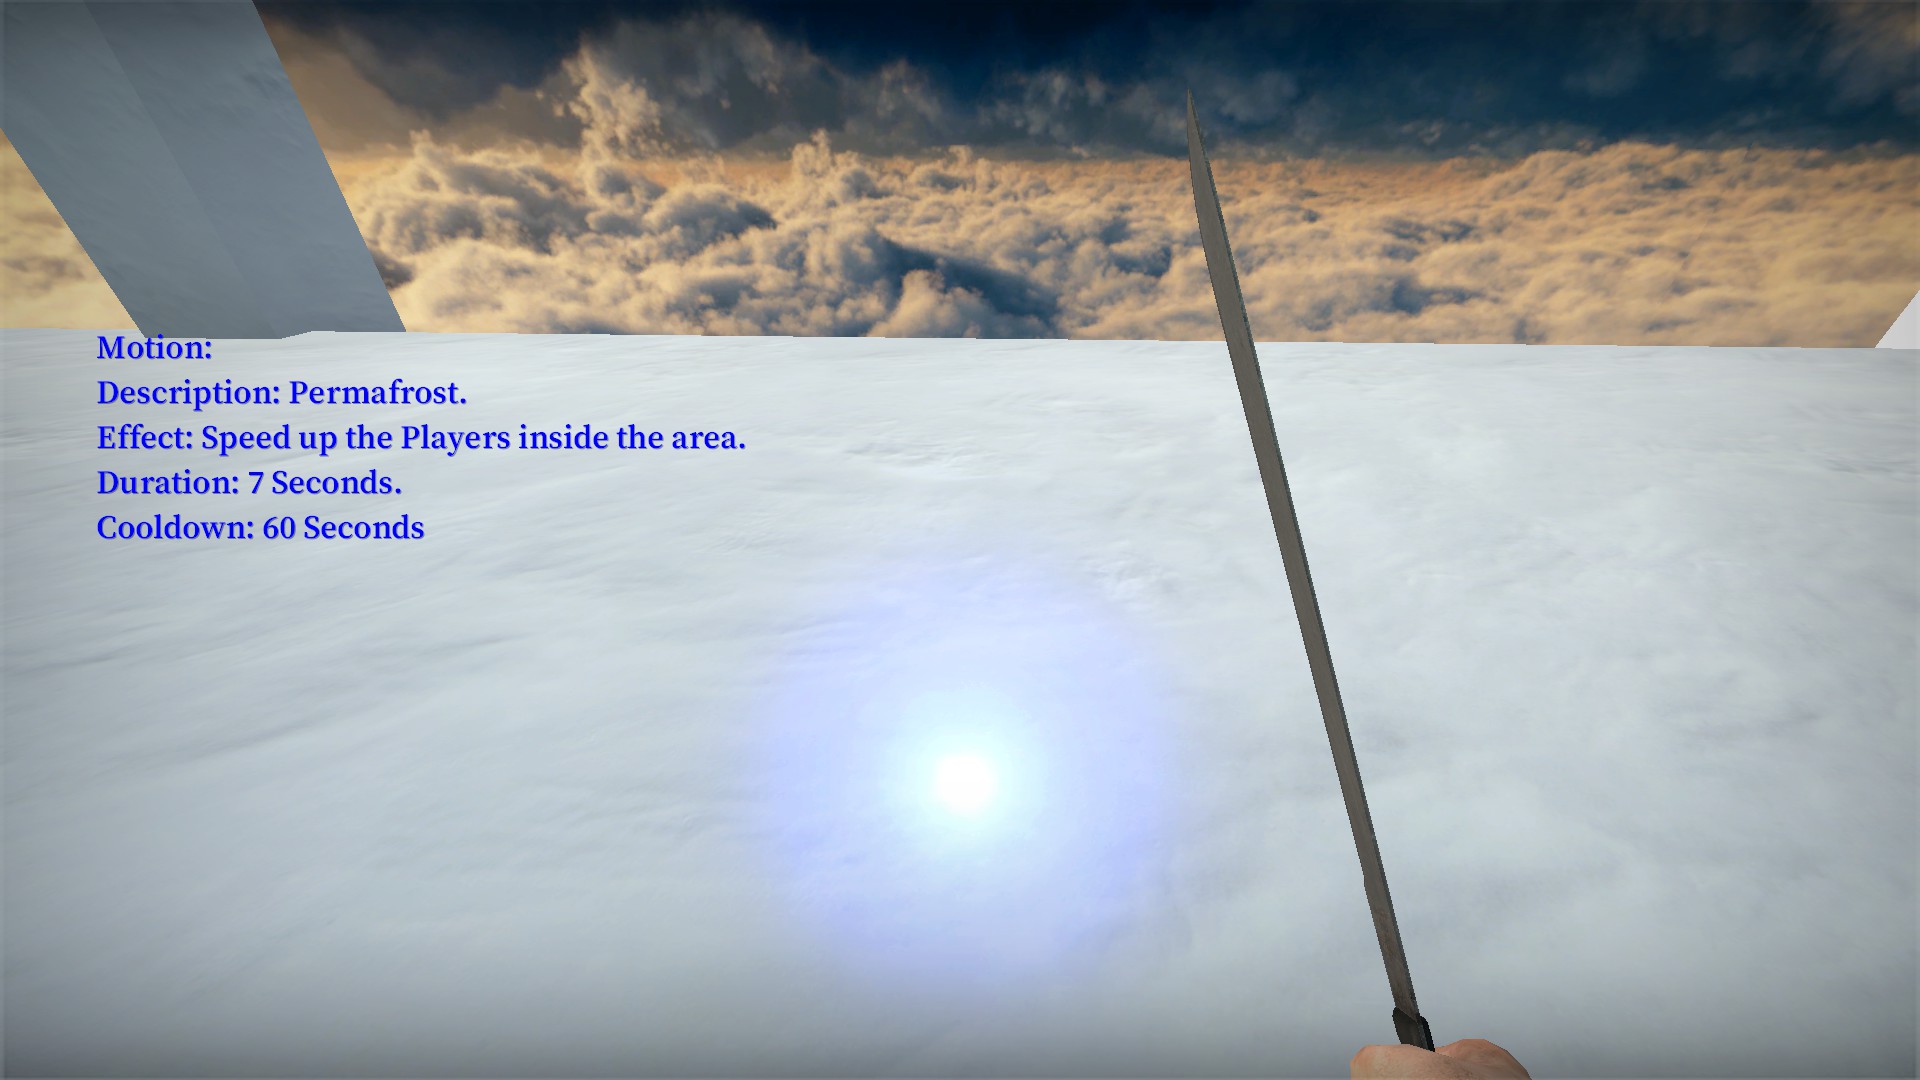
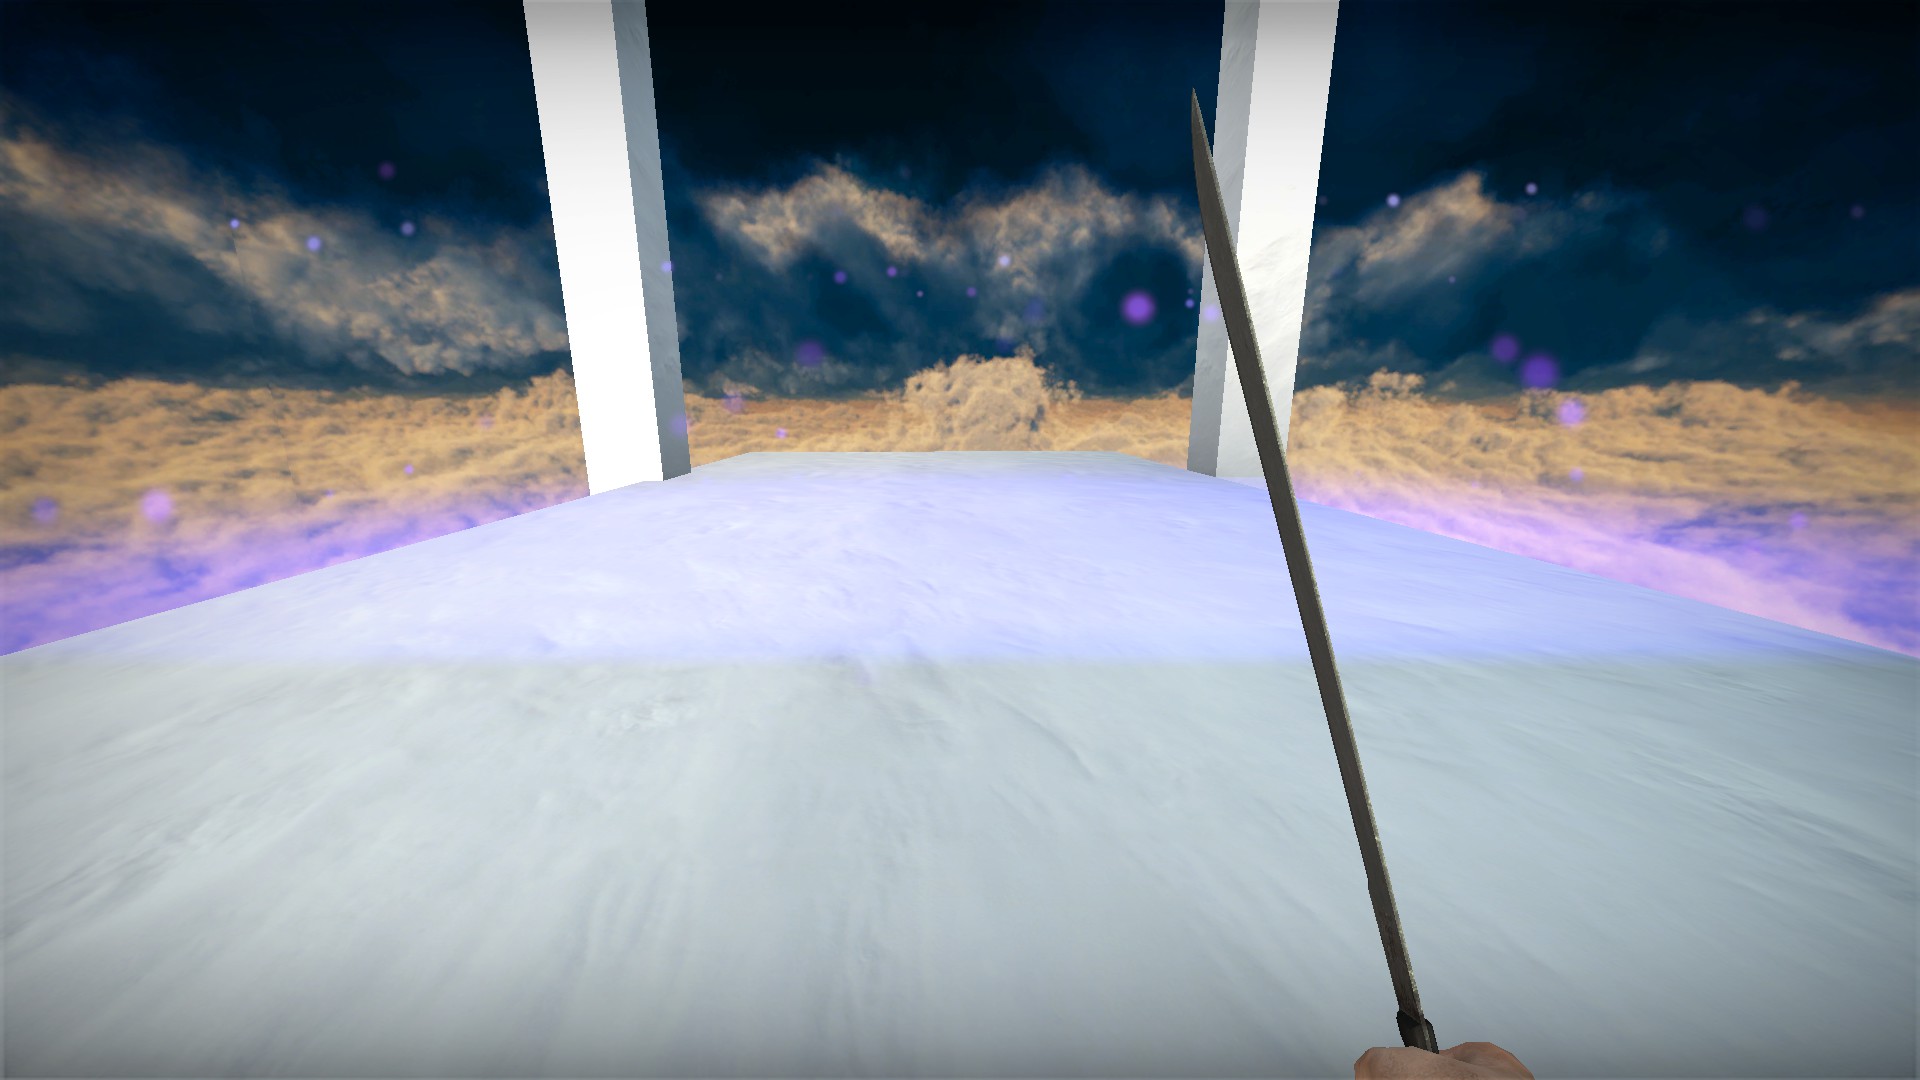
Provides a speed burst to you and nearby players for 7 seconds
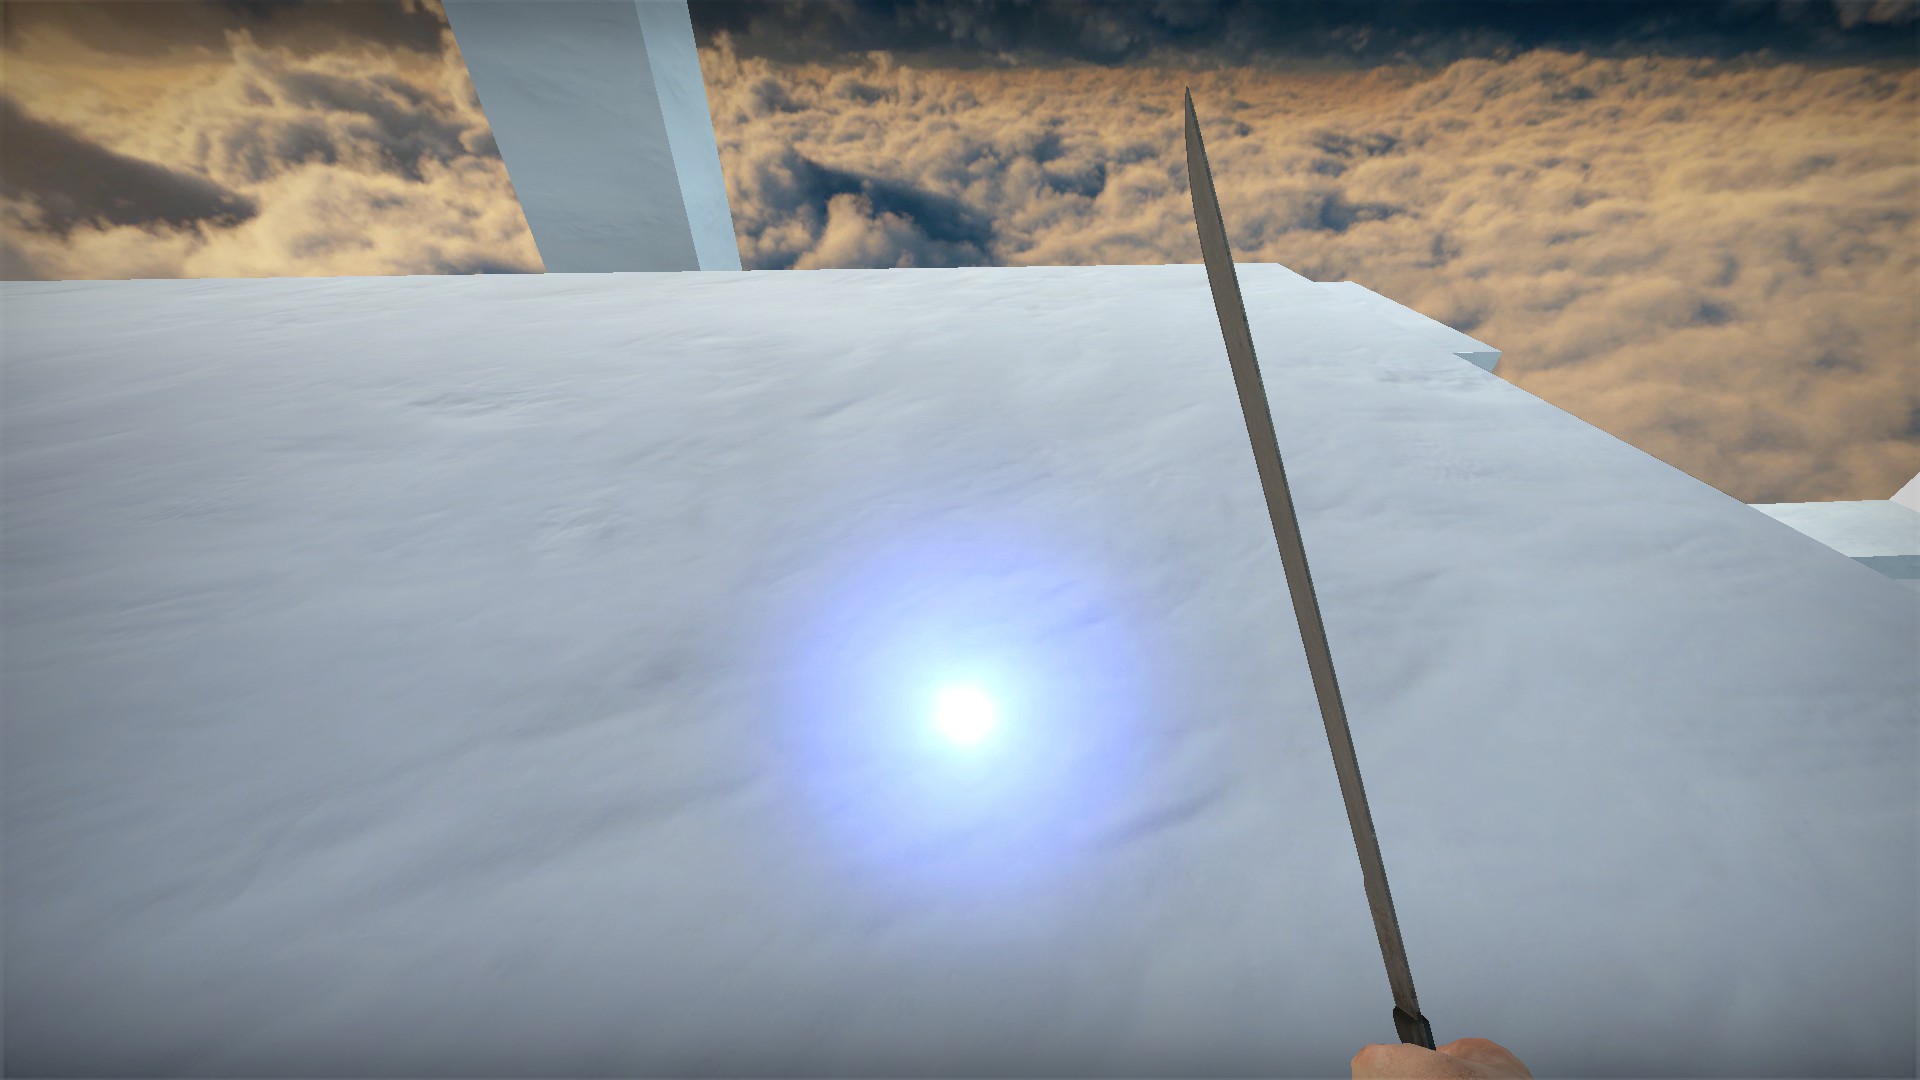
1 minute cooldown. When the purple energy has returned, the machete is ready to be used again Green machete - wind attack
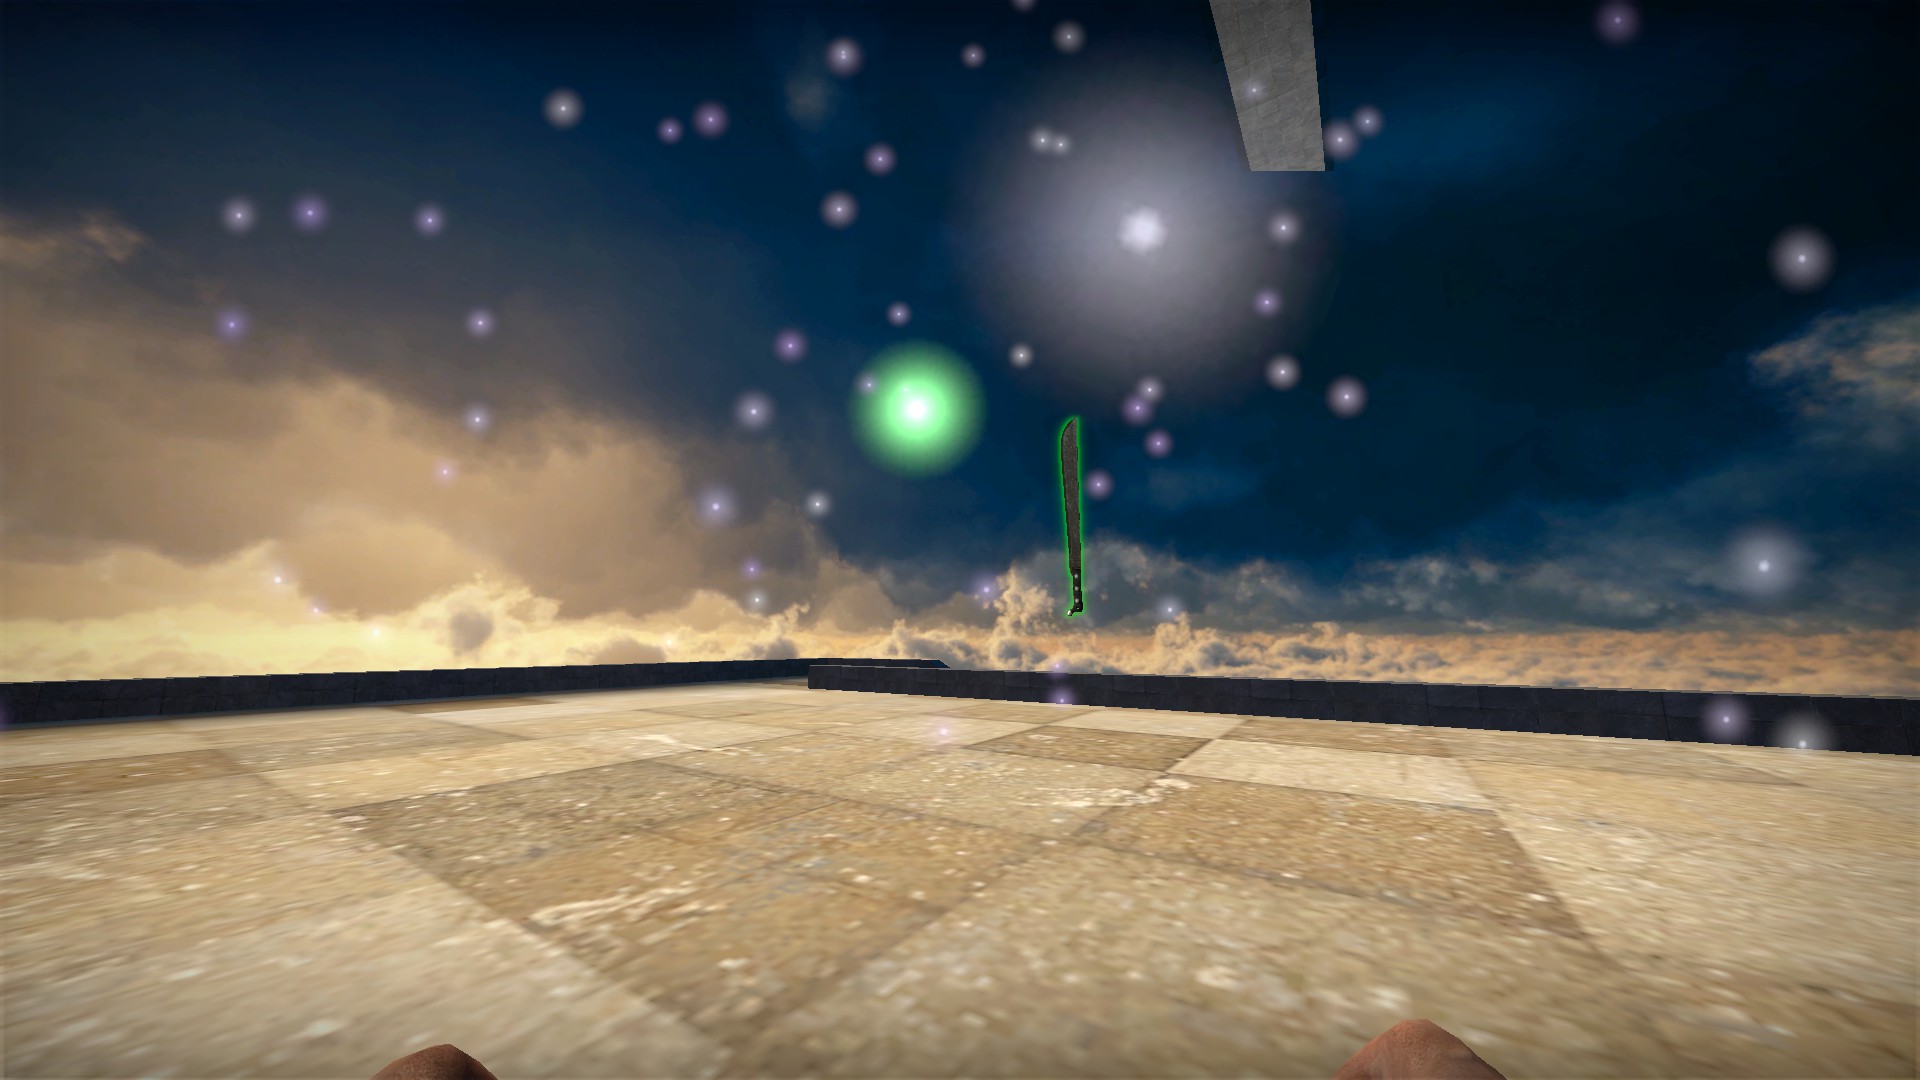
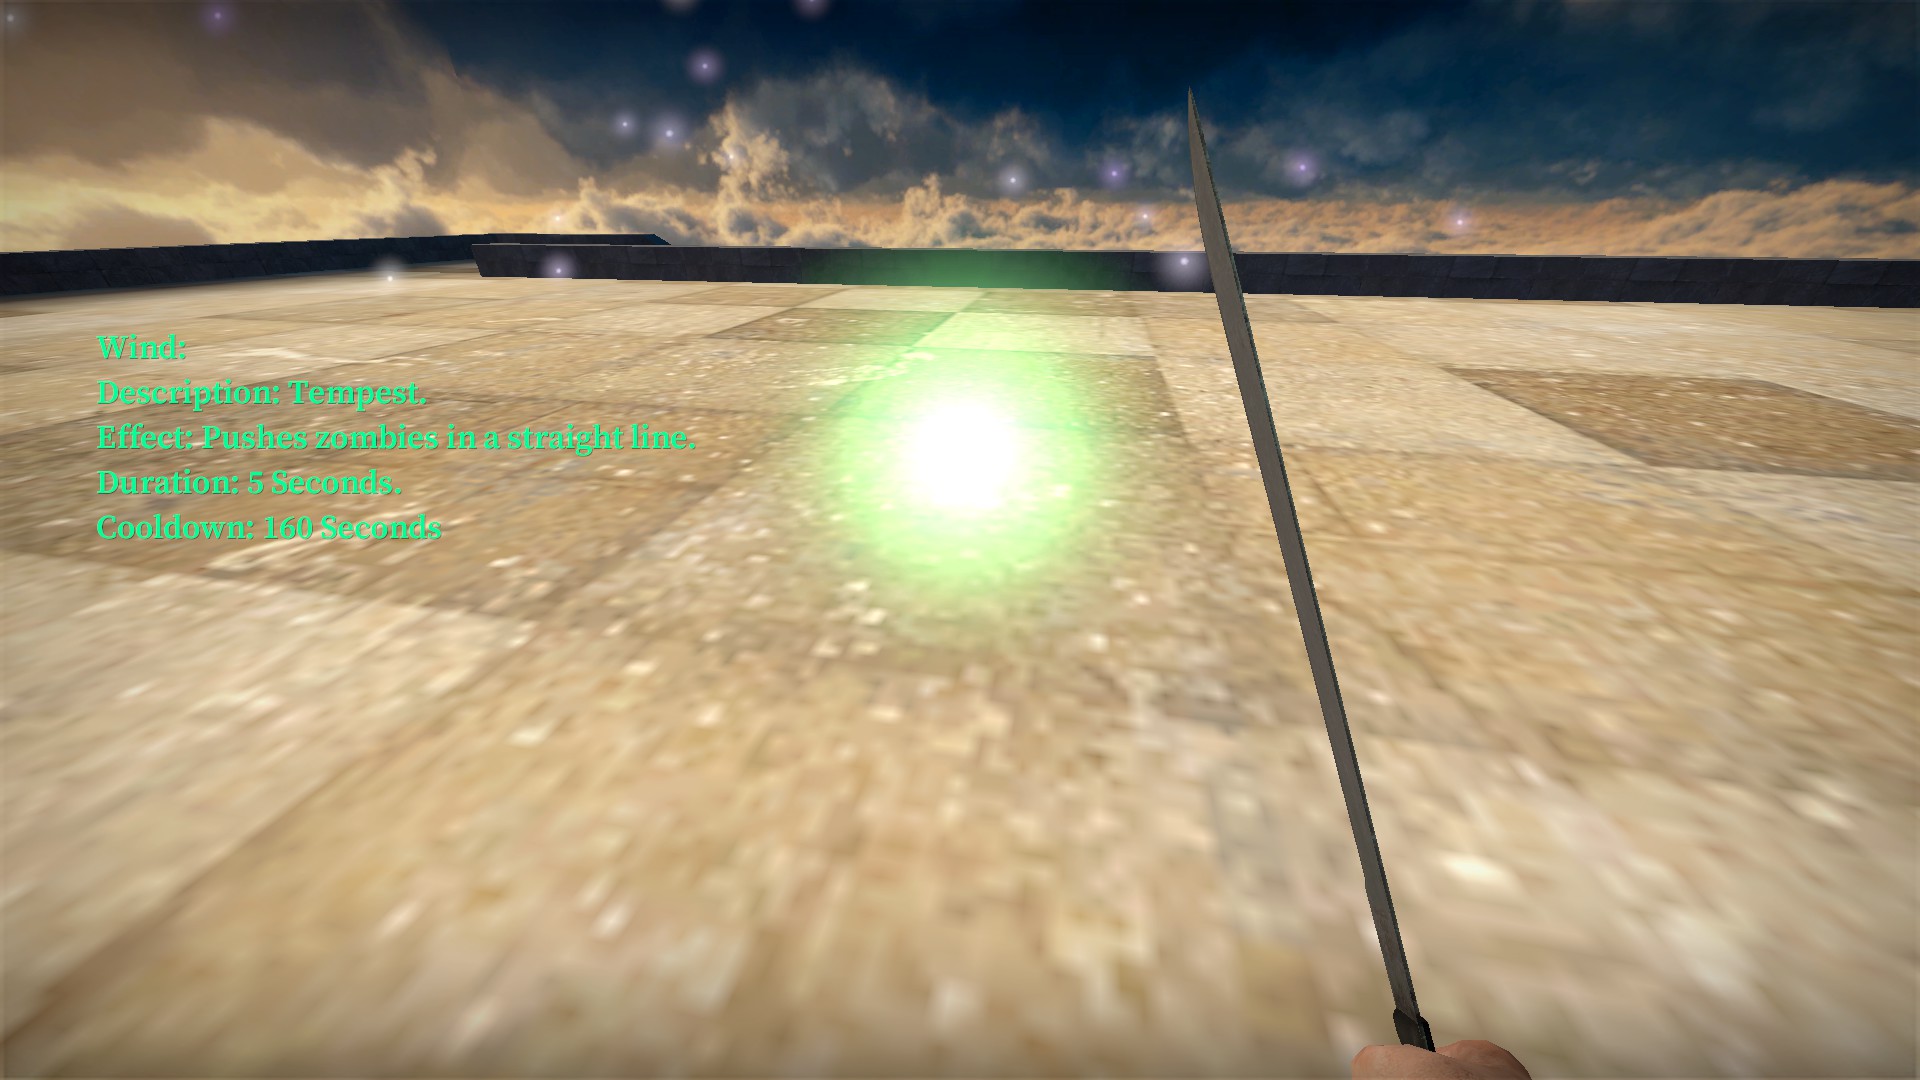
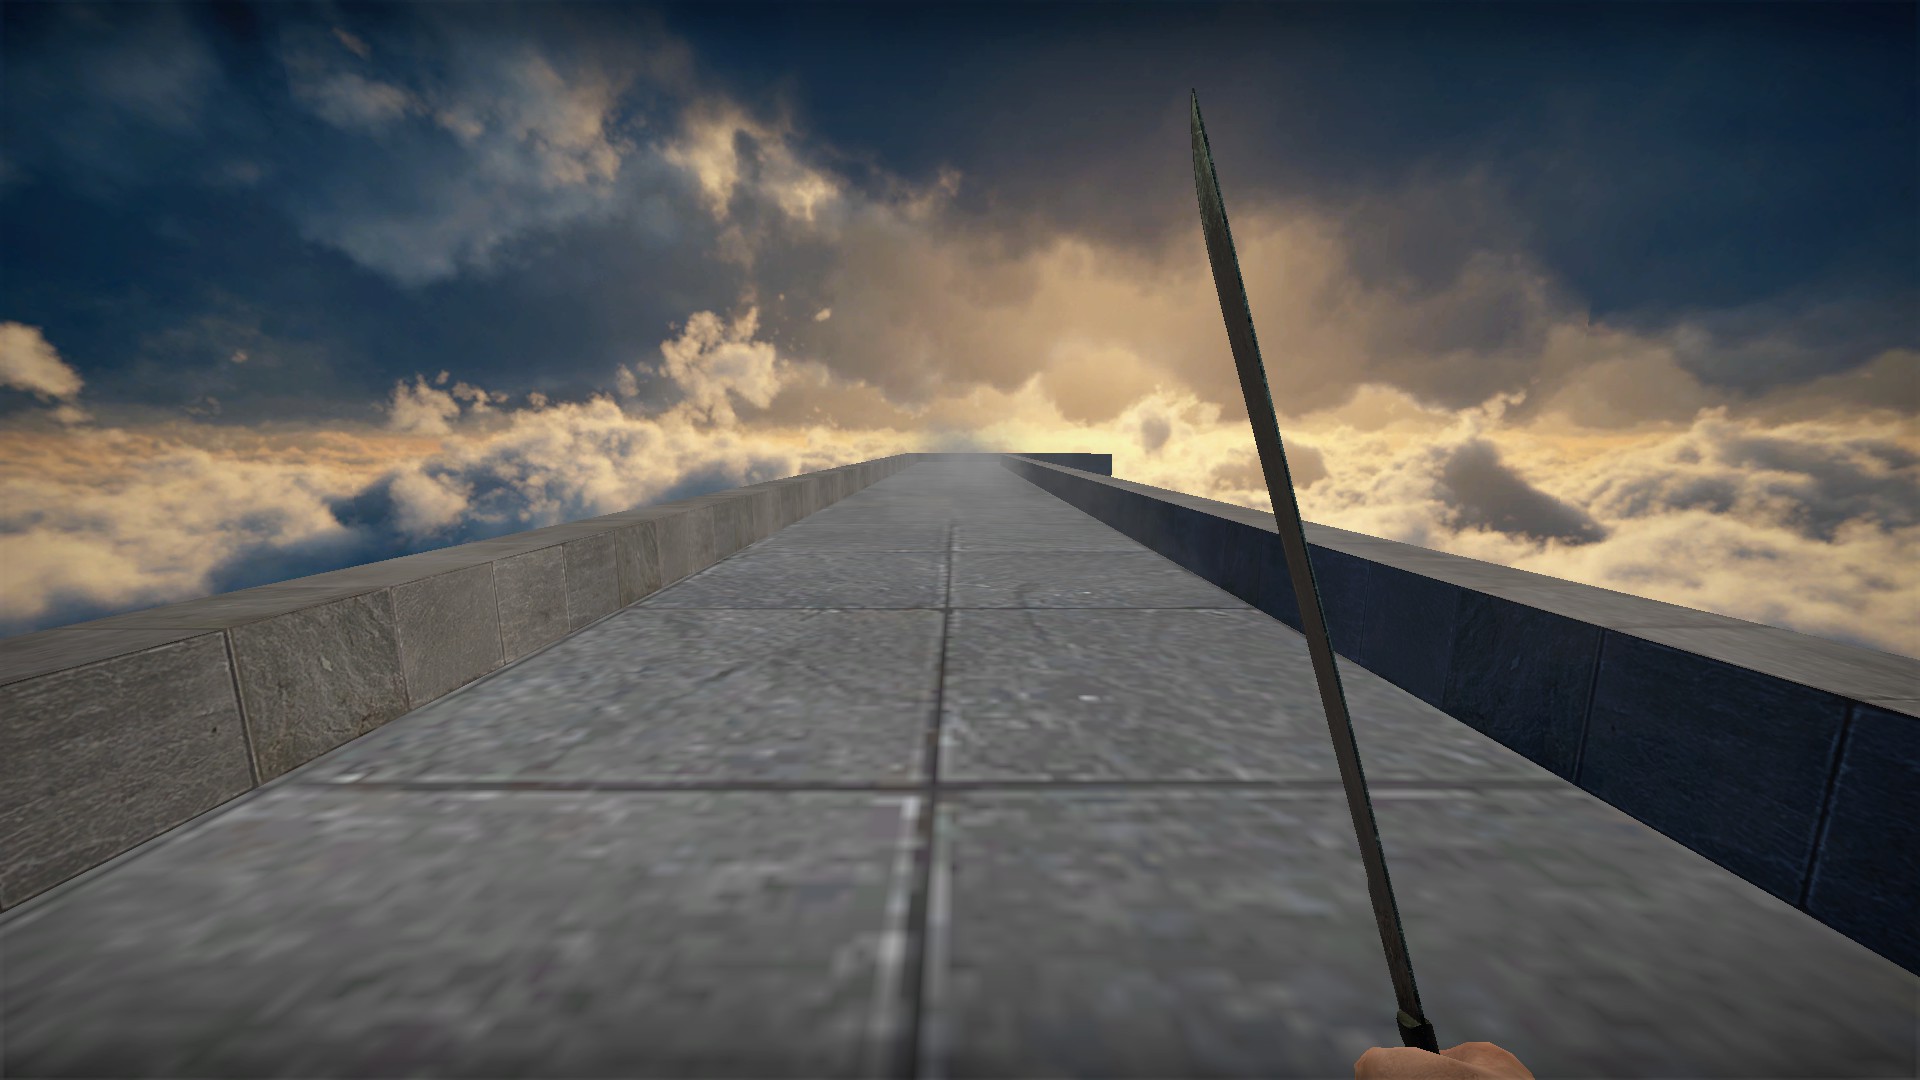
Pushes zombies forward in a straight line for 5 seconds
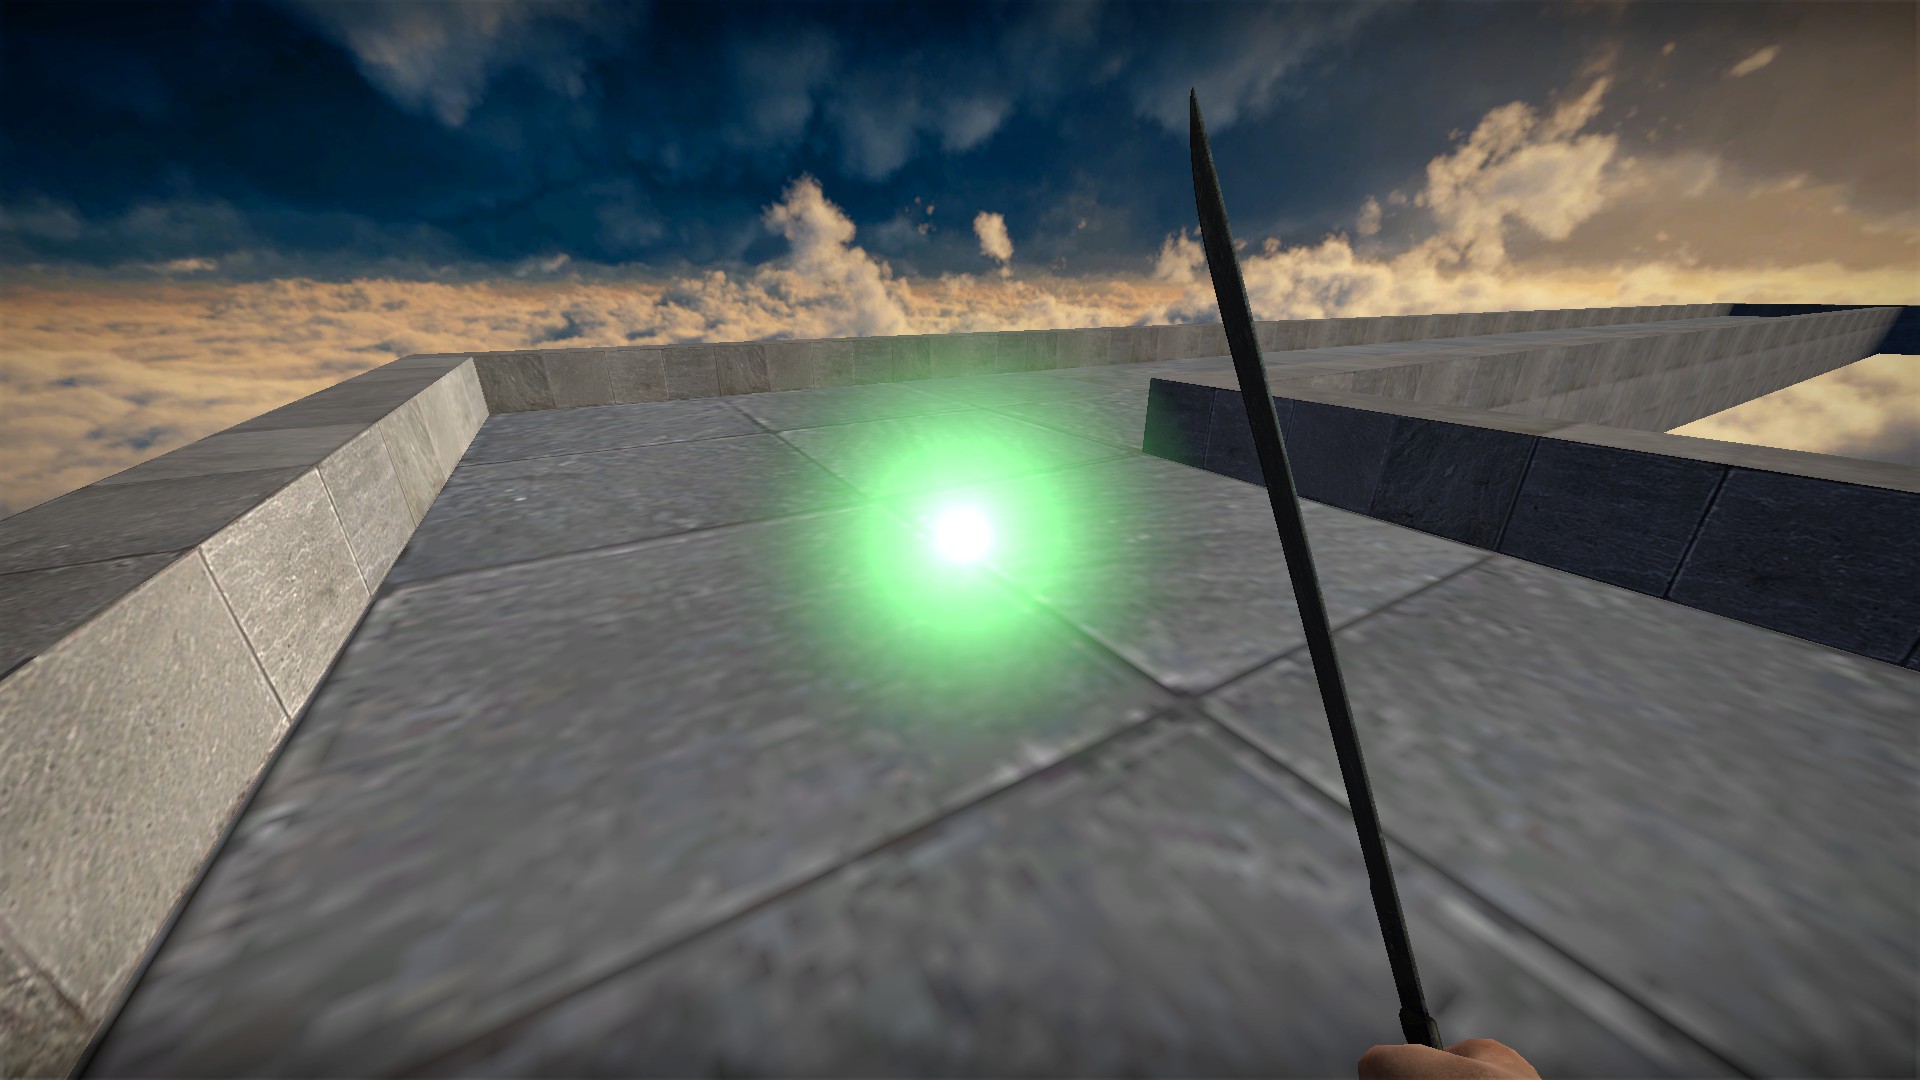
160 second cooldown (2 minutes, 40 seconds). When the green energy has returned, the machete is ready to be used again Blue machete - snow attack
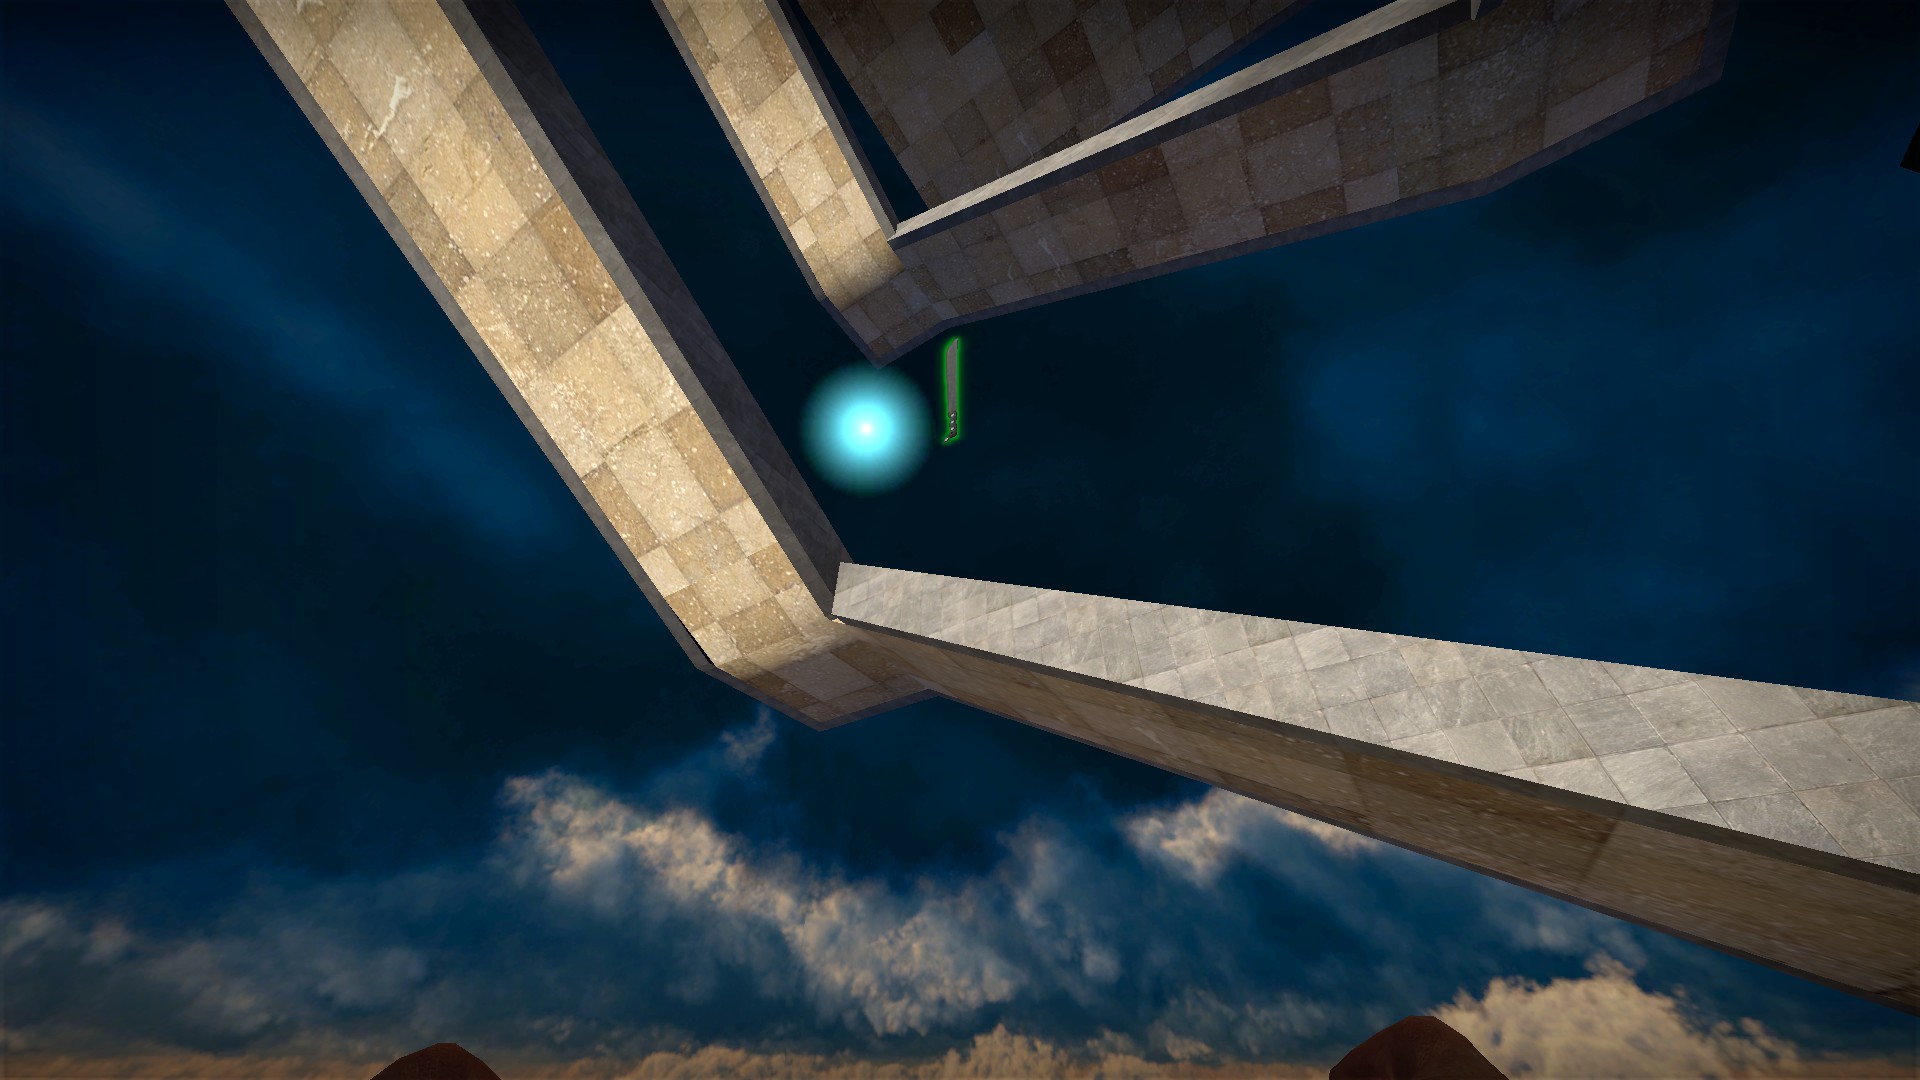
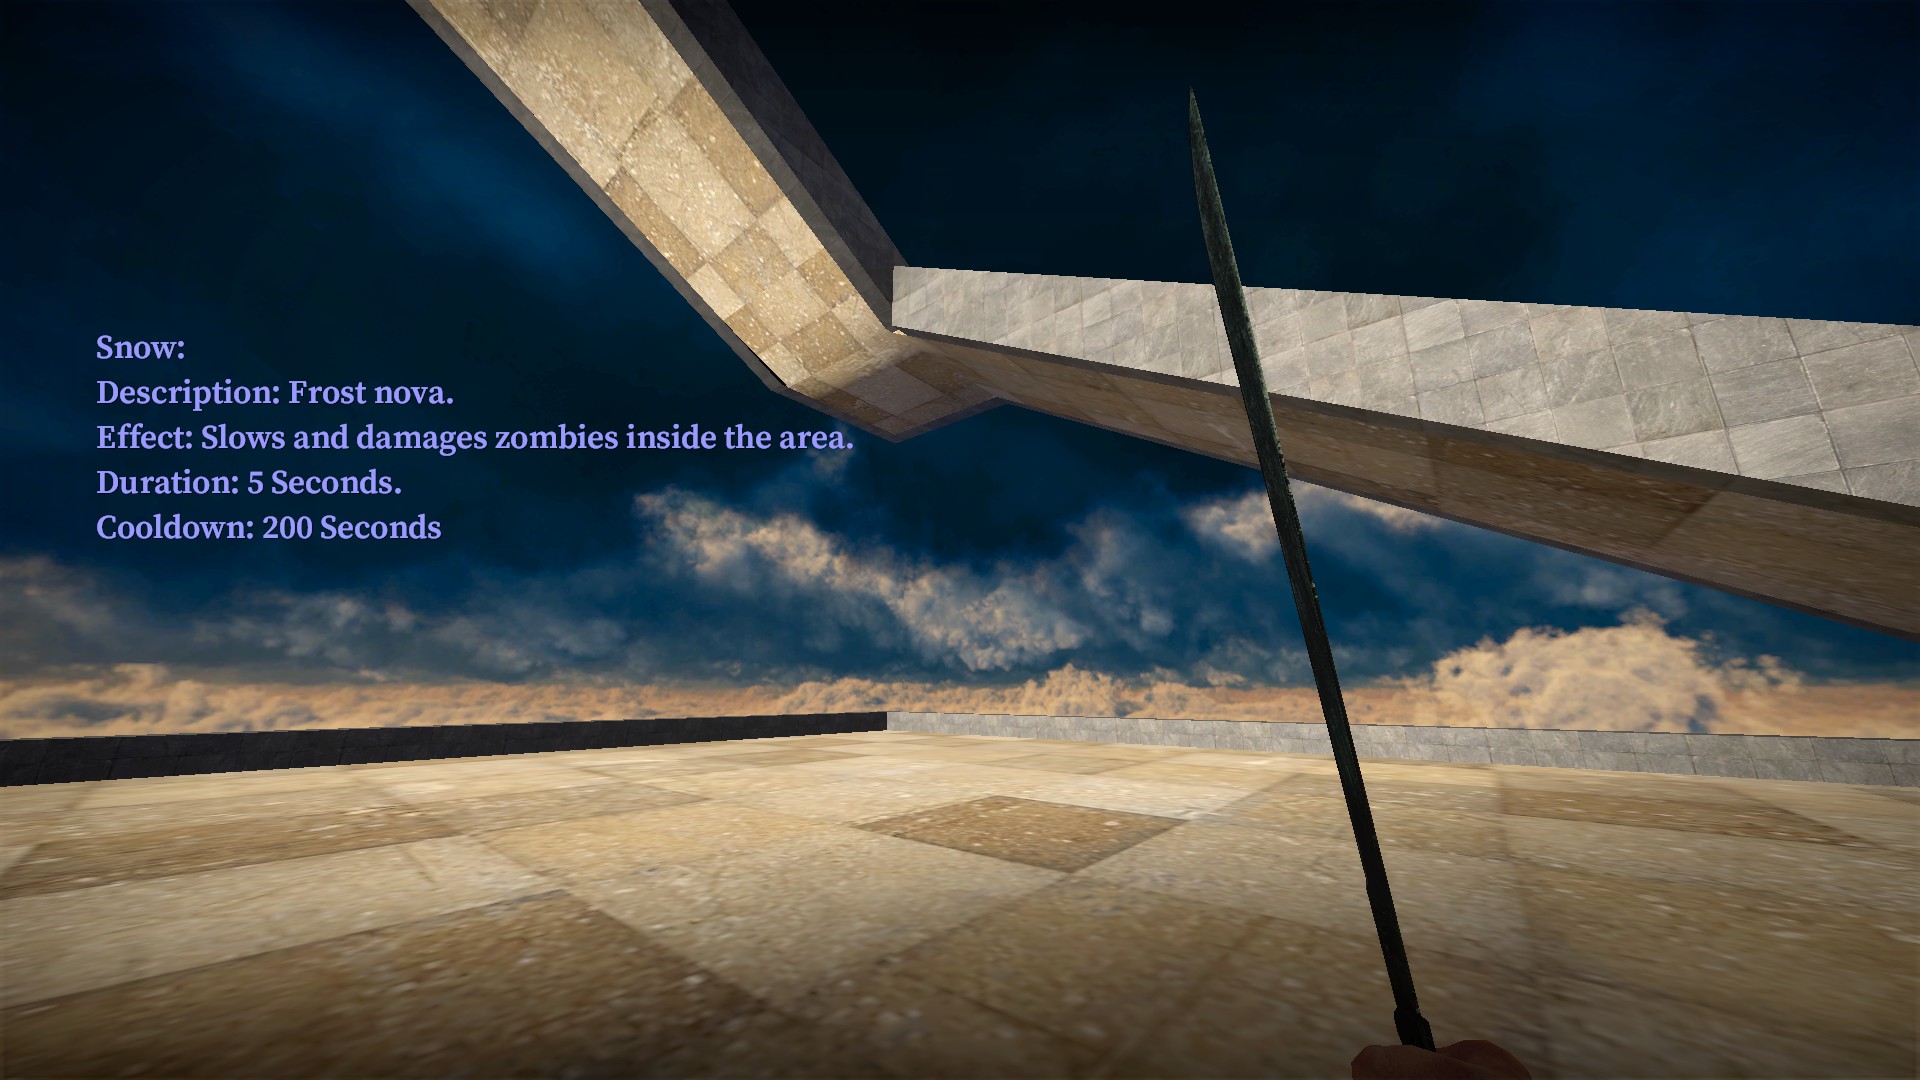

Slows and damages zombies in a wide area around you for 5 seconds
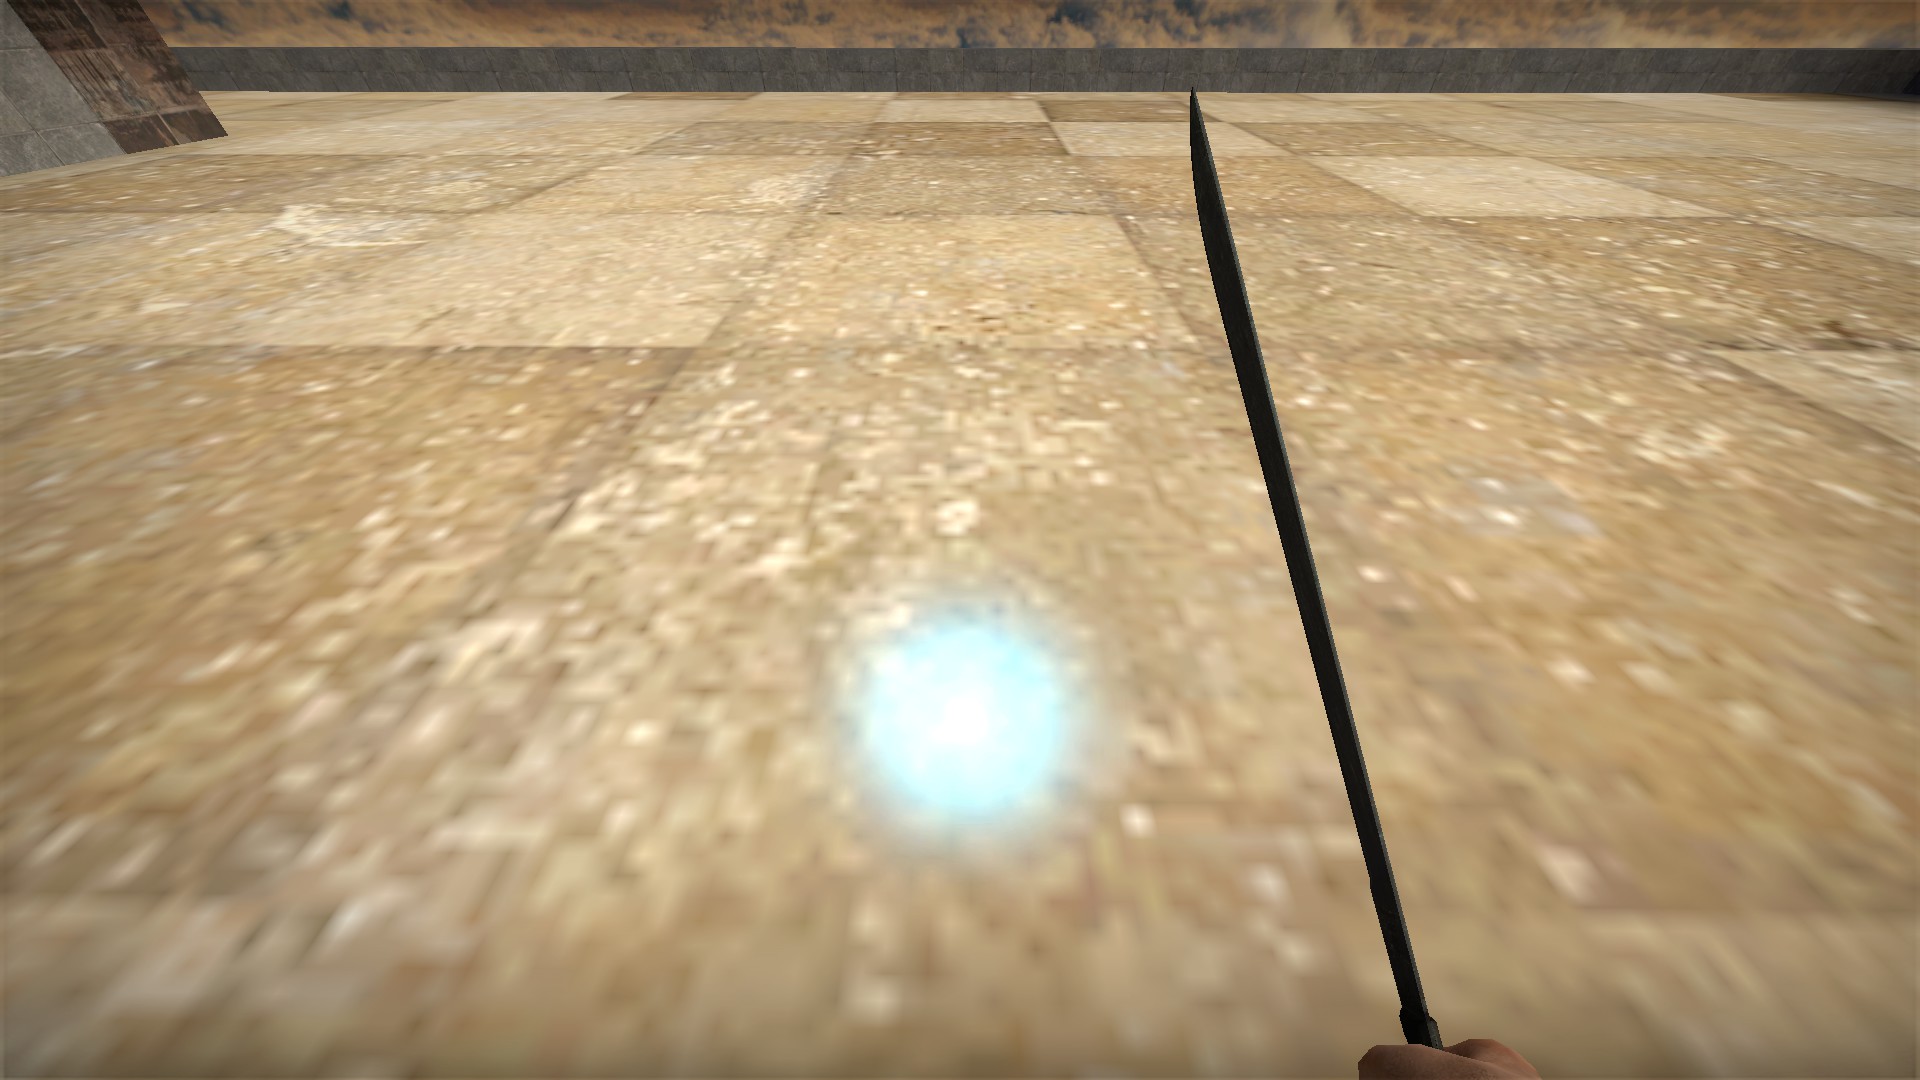
200 second cooldown (3 minutes, 20 seconds). When the blue energy has returned, the machete is ready to be used again
nmo_emergency_2807


The 1911 case is opened with the code 3001, which is later visible from a respawn area


Bring the watermelon from the start all the way to the hospital at the end for a secret room with weapons and genes


There is a head in the stairwell that can be taken deep in the hospital for a secret

There is a keypad at the bottom of the staircase of the starting building

 2849. This code is only visible in spectate behind the pharmacy in the mall
Entering this code will summon 2 giant zombies outside the mall entrance. It's an extra tweak to difficulty if you want it


Bring the seagull outside the mall entrance to the hospital for a room with 3 pickaxes, these are not melee weapons but moveable items with blades deadly to the zombies


Break the glass at the Sir Smoke Alot! and bring the weed plant to the hospital for a weapon box

The gun store on the 2f of the mall can be welded


On the way to the yellow key, open this locker for a shotgun and shells


Get the mini-helicopter near the yellow key and bring it deep in the hospital. It will open a phone that will teleport the player to the top of the shopping mall. Players who miss the helicopter escape can use this teleport to escape

Hop into the nearby hovercraft


Press e inside and wait until your hands disappear

Left mouse will give you lift, and wasd will steer


In the gun store, use the same code as before, 3001, to unlock the keypad safe


Take the boombox from the gun store to the hospital for a room with 3 health boxes and c4
nmo_emergency_b1
Upgrade to 2807. The Safe at start, Watermelon, and Seagull secrets are all the same. Head secret removed. Gun store safe removed. Boombox replaced by Breakable Giraffe. Giants code enhanced. RV added. Body armor added to both gun shops. Coffee machine added to Weed secret. Traps added. Mini-helicopter secret changed
Breakable Giraffe
Found on the floor in the starting area. Easily breakable just like the watermelon


The Giraffe will open the 3 med box and c4 room that the Boombox did in 2807 Here there be giants 2

At the bottom of the staircase of the starting building, there is a locker with a keypad. Enter the code 2849

This code is still only visible in spectate behind the pharmacy in the mall


This code will summon more giants than before, including the radio giant. It's an extra tweak to difficulty if you want it RV


Press e to open the RV. There is a random item inside Body armor in both gun shops


After welding into the mall gun shop, you will notice two body armor vests

The vest does not heal you but it will reduce the damage you take by 1/2 or more - an 8hp damage zombie child strike will only do 4hp, a 15hp zombie adult strike will only do 7hp (game rounds down)

The vest will also reduce the damage taken when bleeding. You will still be slowed, but the 1hp/second drain on health will not happen

This damage reduction effect does not stack, but each vest will only reduce between 55-60hp before it stops working, and this effect does stack - taking two will reduce 110-120hp (you will need to heal yourself, but the vest will continue to reduce damage). Leave the other vest for a teammate if you have one but take both if solo


There are 2 more vests in the later gun shop that can be picked up as well. These will also stack with previous vests, taking all 4 solo will reduce up to 220-240hp damage

However, the 2 vests closest to the counter are just background and cannot be picked up Weed secret coffee machine

The Weed is still found in the Sir Smoke Alot's window


The Weed now unlocks a room with a weapon box and coffee machine


Press e on the machine to dispense a cup, then press e on the cup to drink. Gives 2x speed Avoidable traps

Just past the mall respawn, jump the tripwire and the nearby shutter will not open and let out a group of zombies

Just before the yellow key, don't press the green button. It will open the shutter and let out a group of zombies Mini-Helicopter Secret

The Mini-helicopter is still found next to the yellow key


The Mini-helicopter is still used in the same place and will still teleport players next to the hovercraft, but the hovercraft is now on the top of the hospital instead of the top of the mall, which will make flying to the extraction much easier. However, I do not recommend trying to fly the hovercraft after drinking coffee


Jump in the hovercraft and press e, then wait for your hands to disappear. Use lmb for lift and wasd to steer
nmo_endless_dream_v4
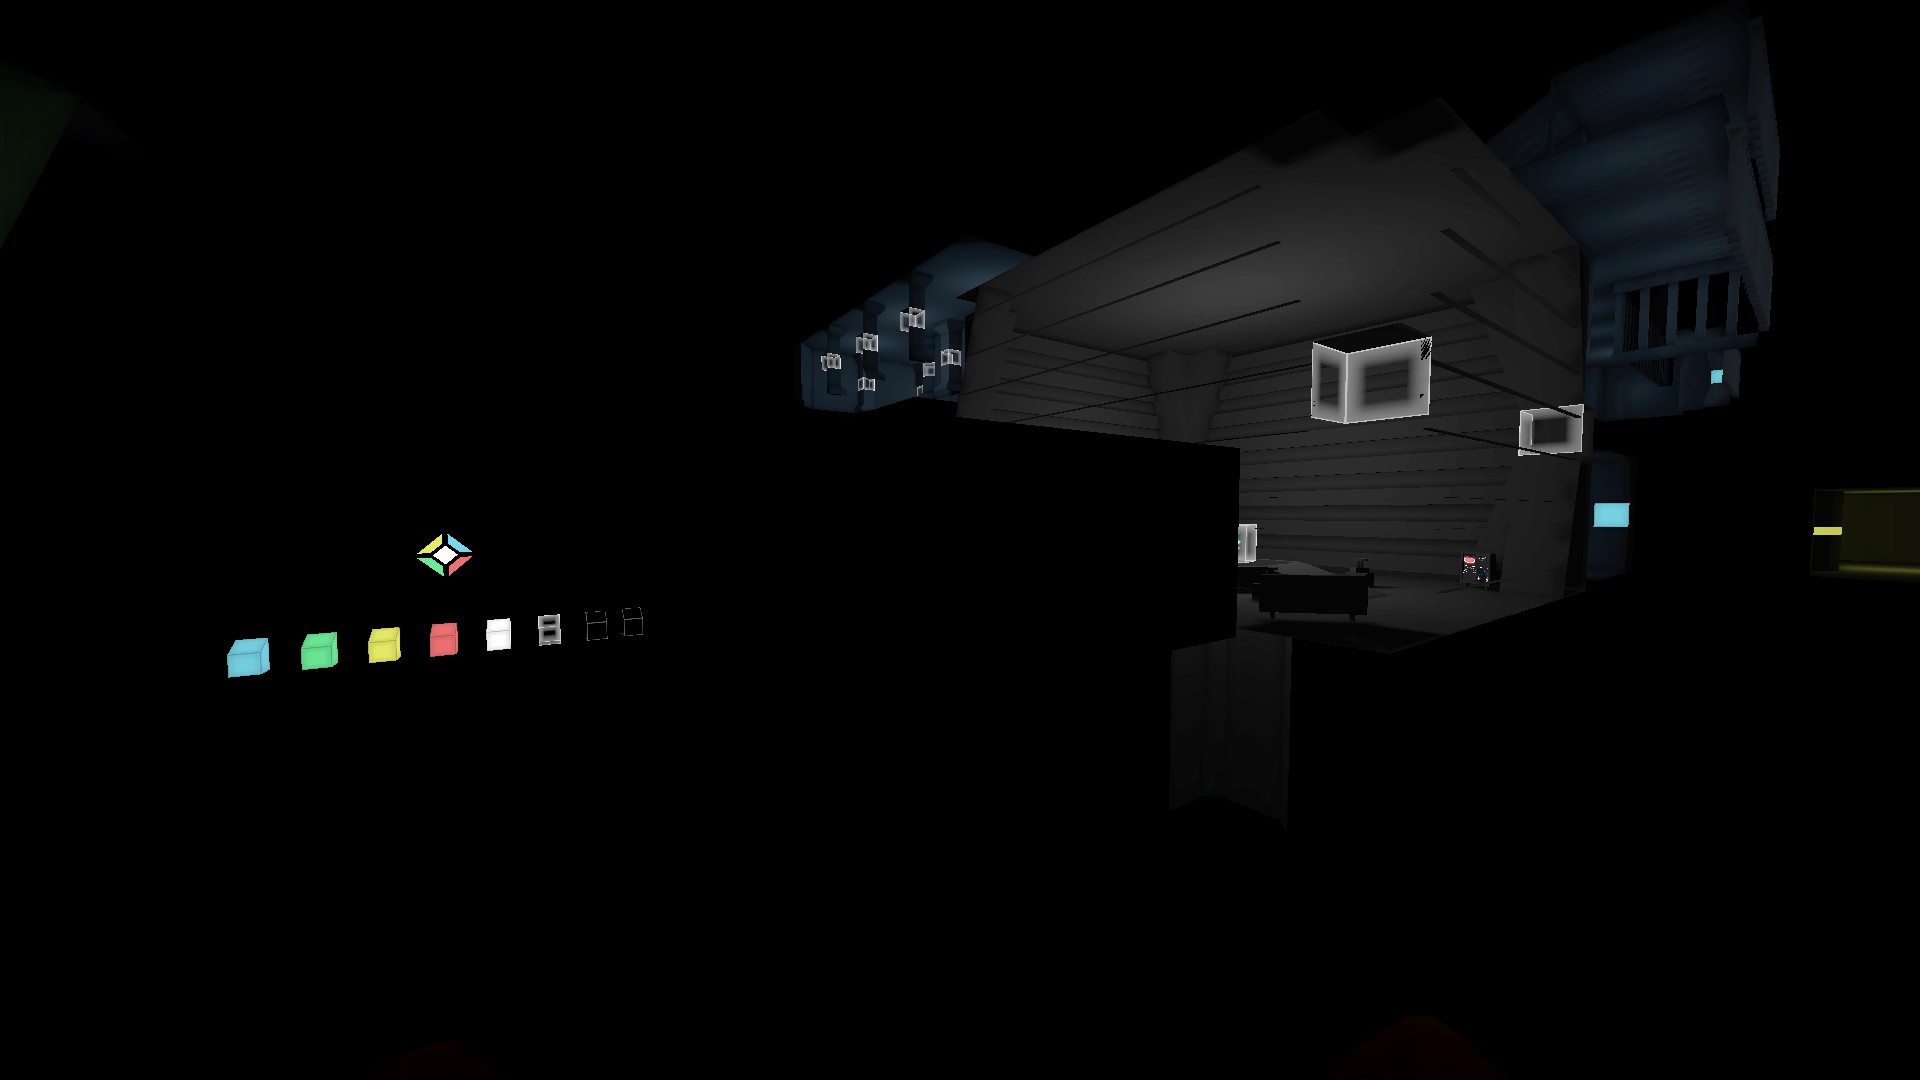
In a dark room near the starting area. You will need to noclip here
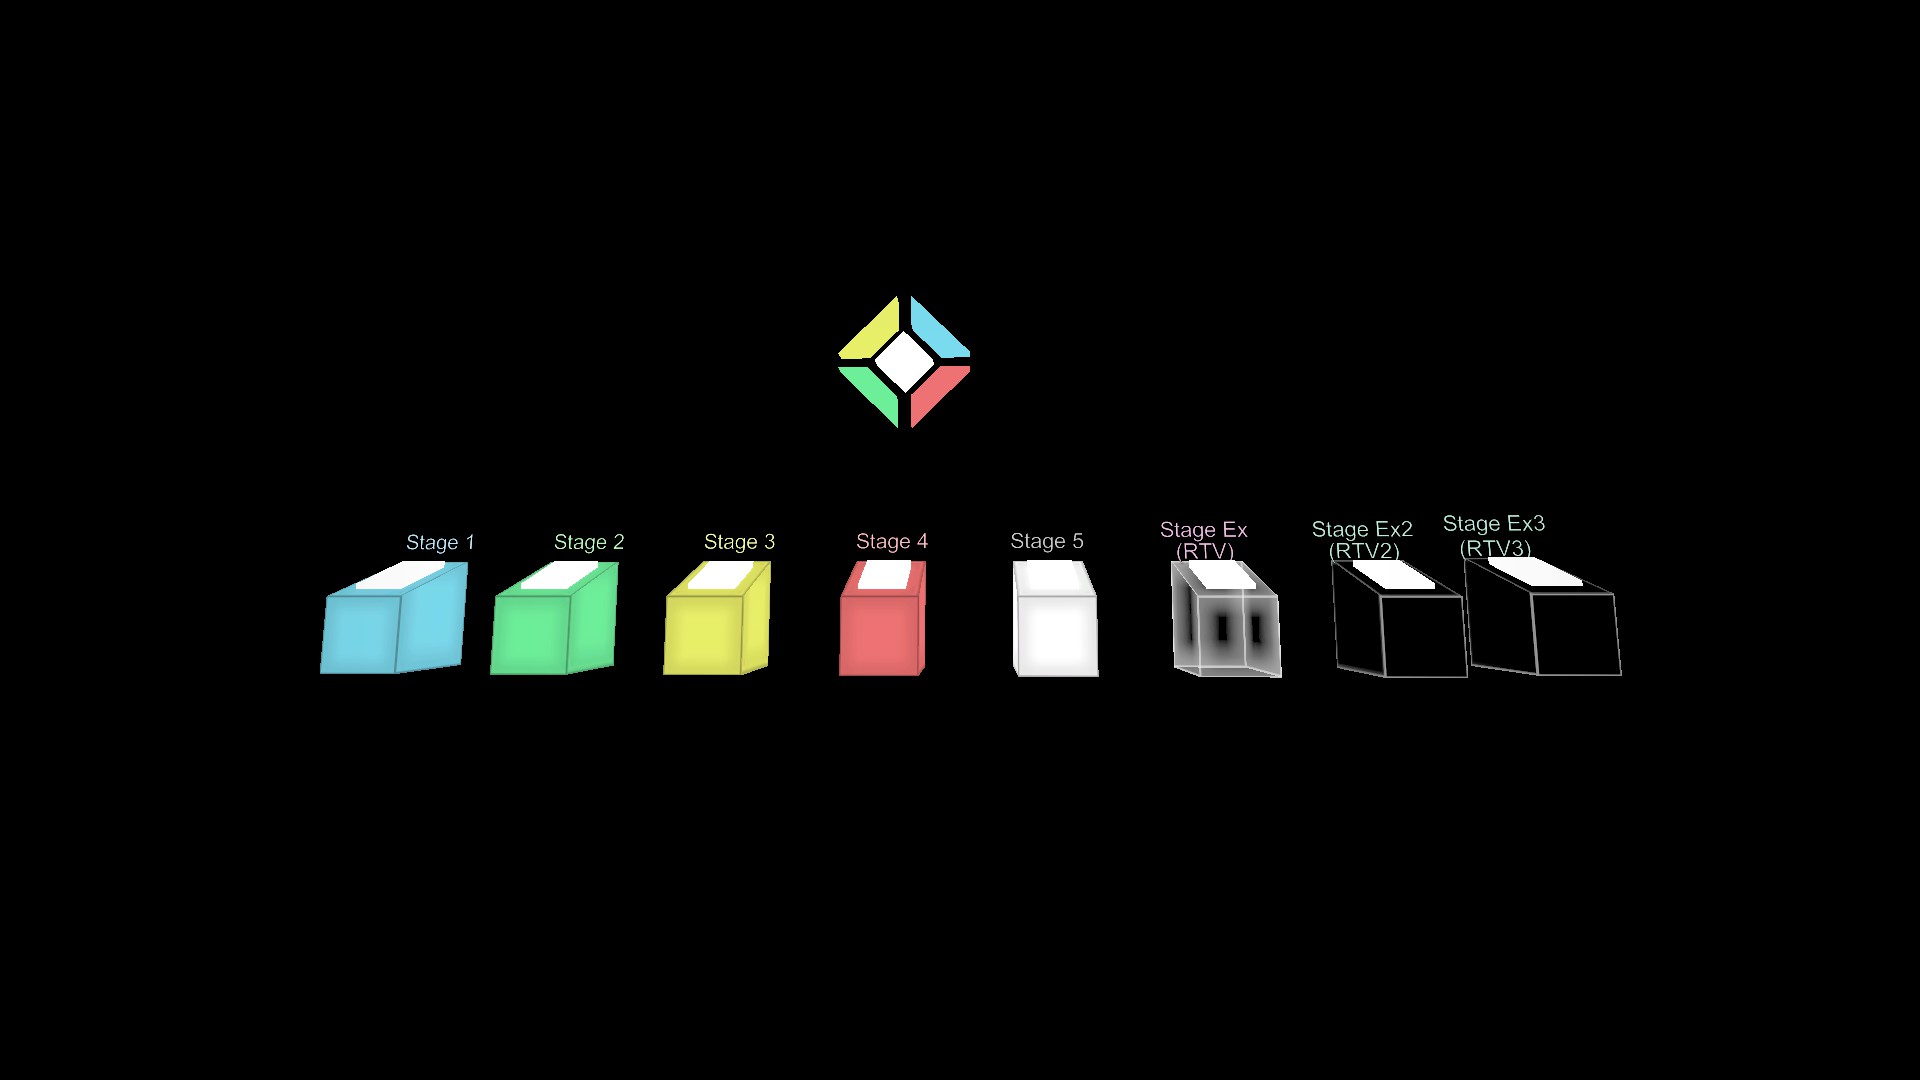
Use the buttons to be taken to the map's 5 main stages and 3 survival stages Infinite ammo
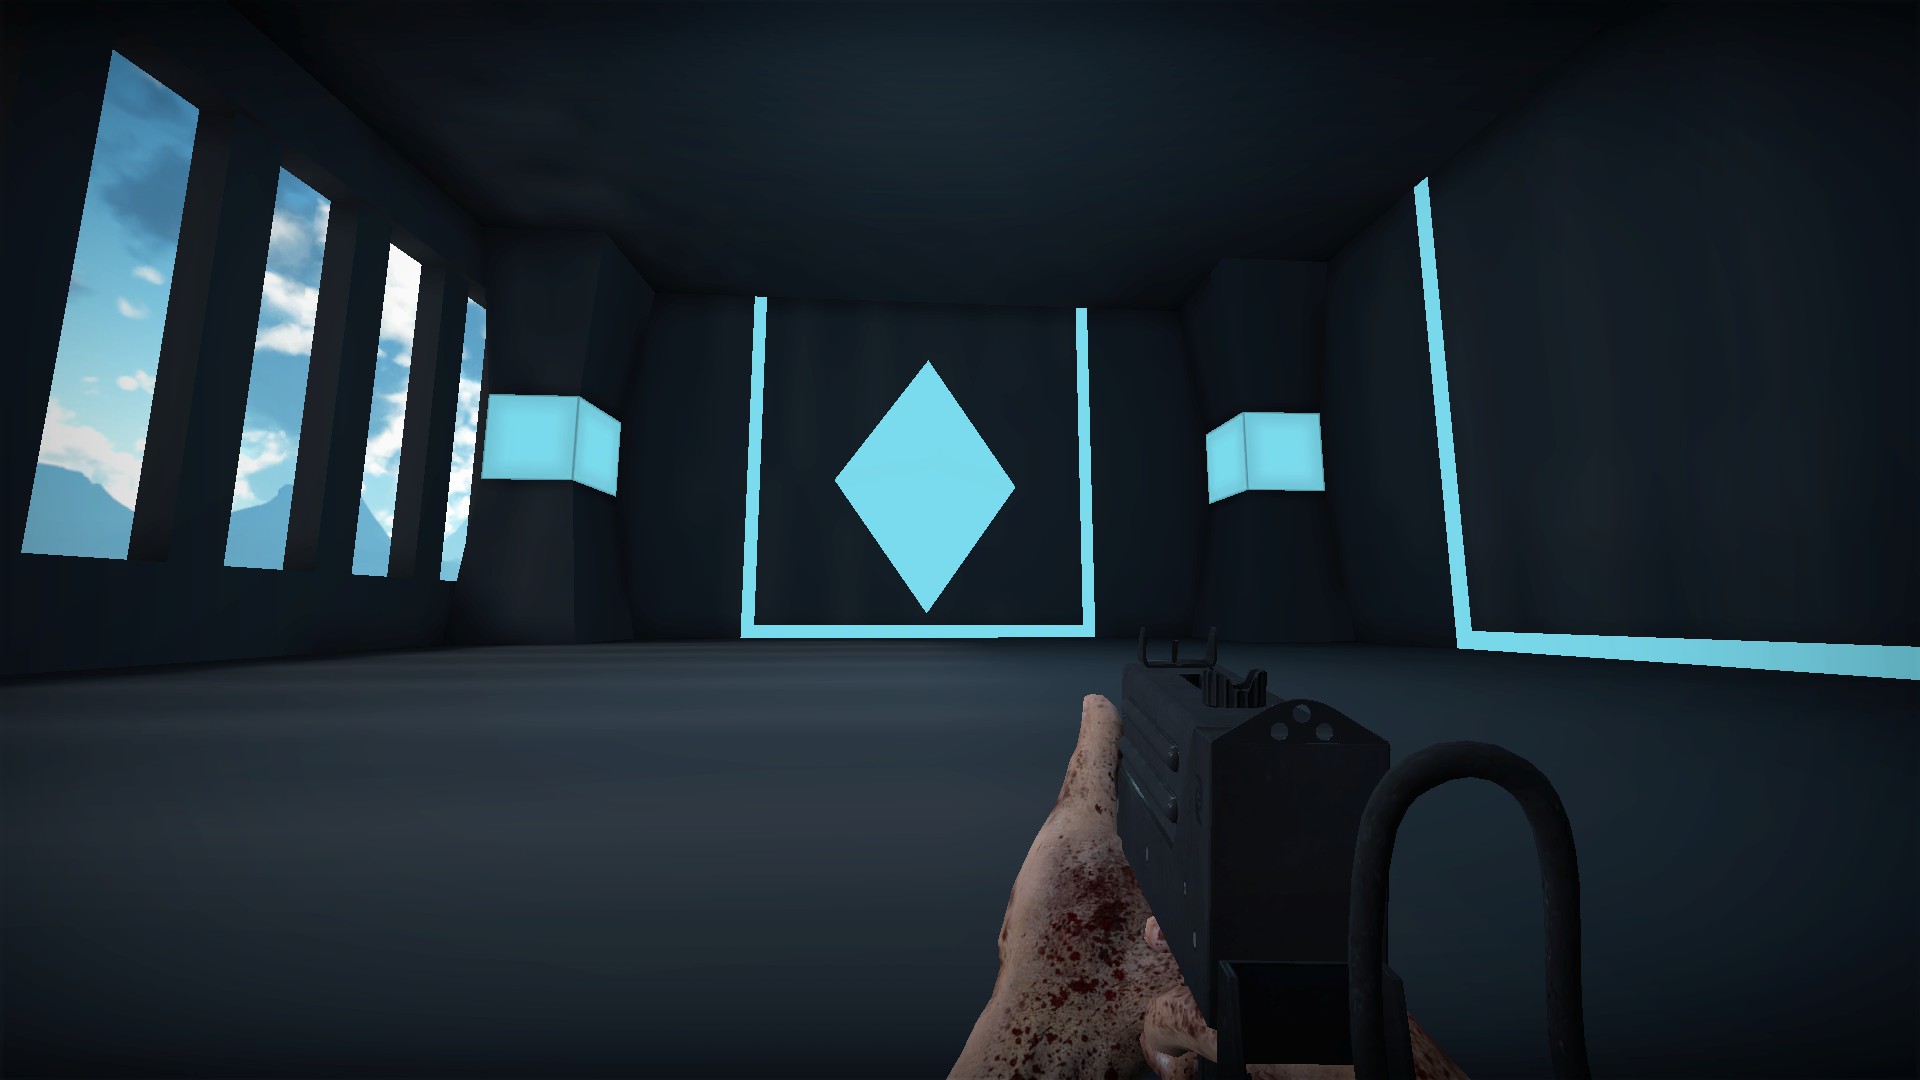
On the blue and white stages, you will have infinite ammo for the boss fight and the remainder of the stage
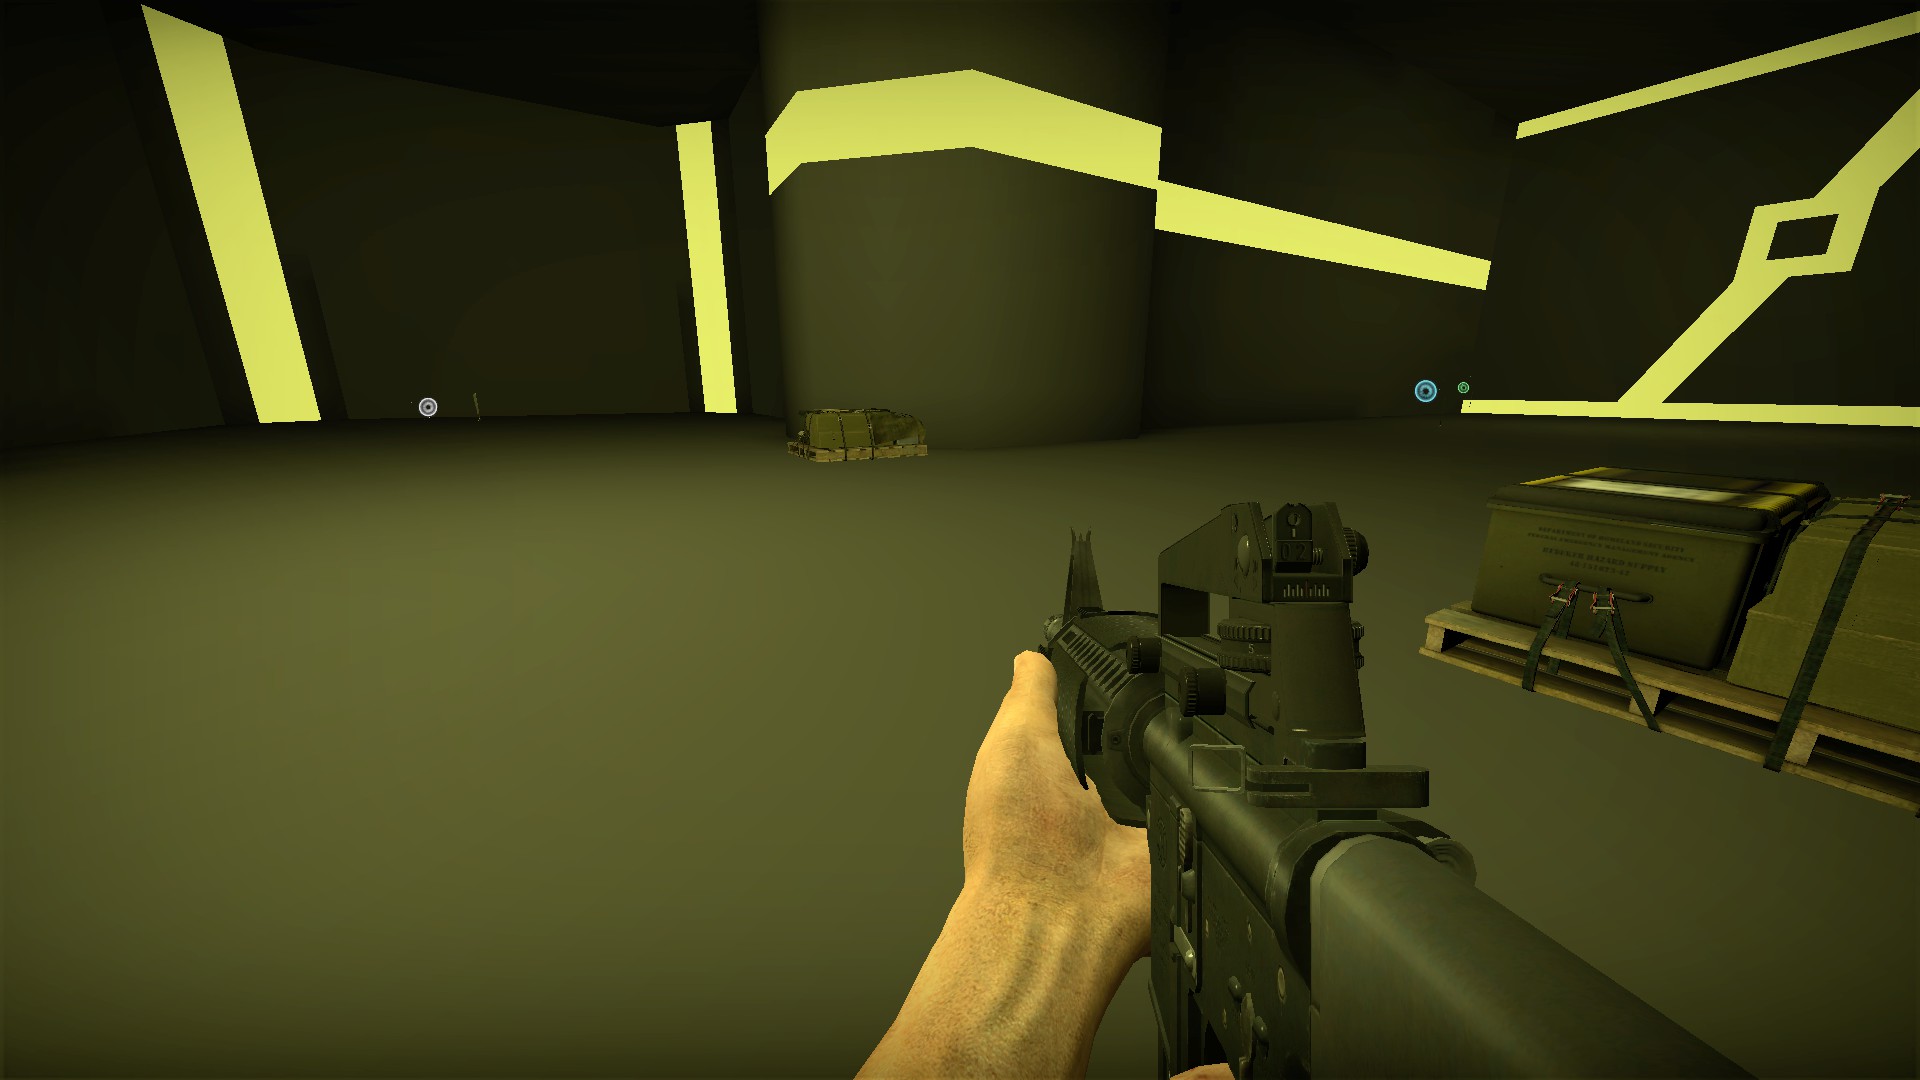
The yellow and red stages have infinite ammo from start to finish Yellow soul machete
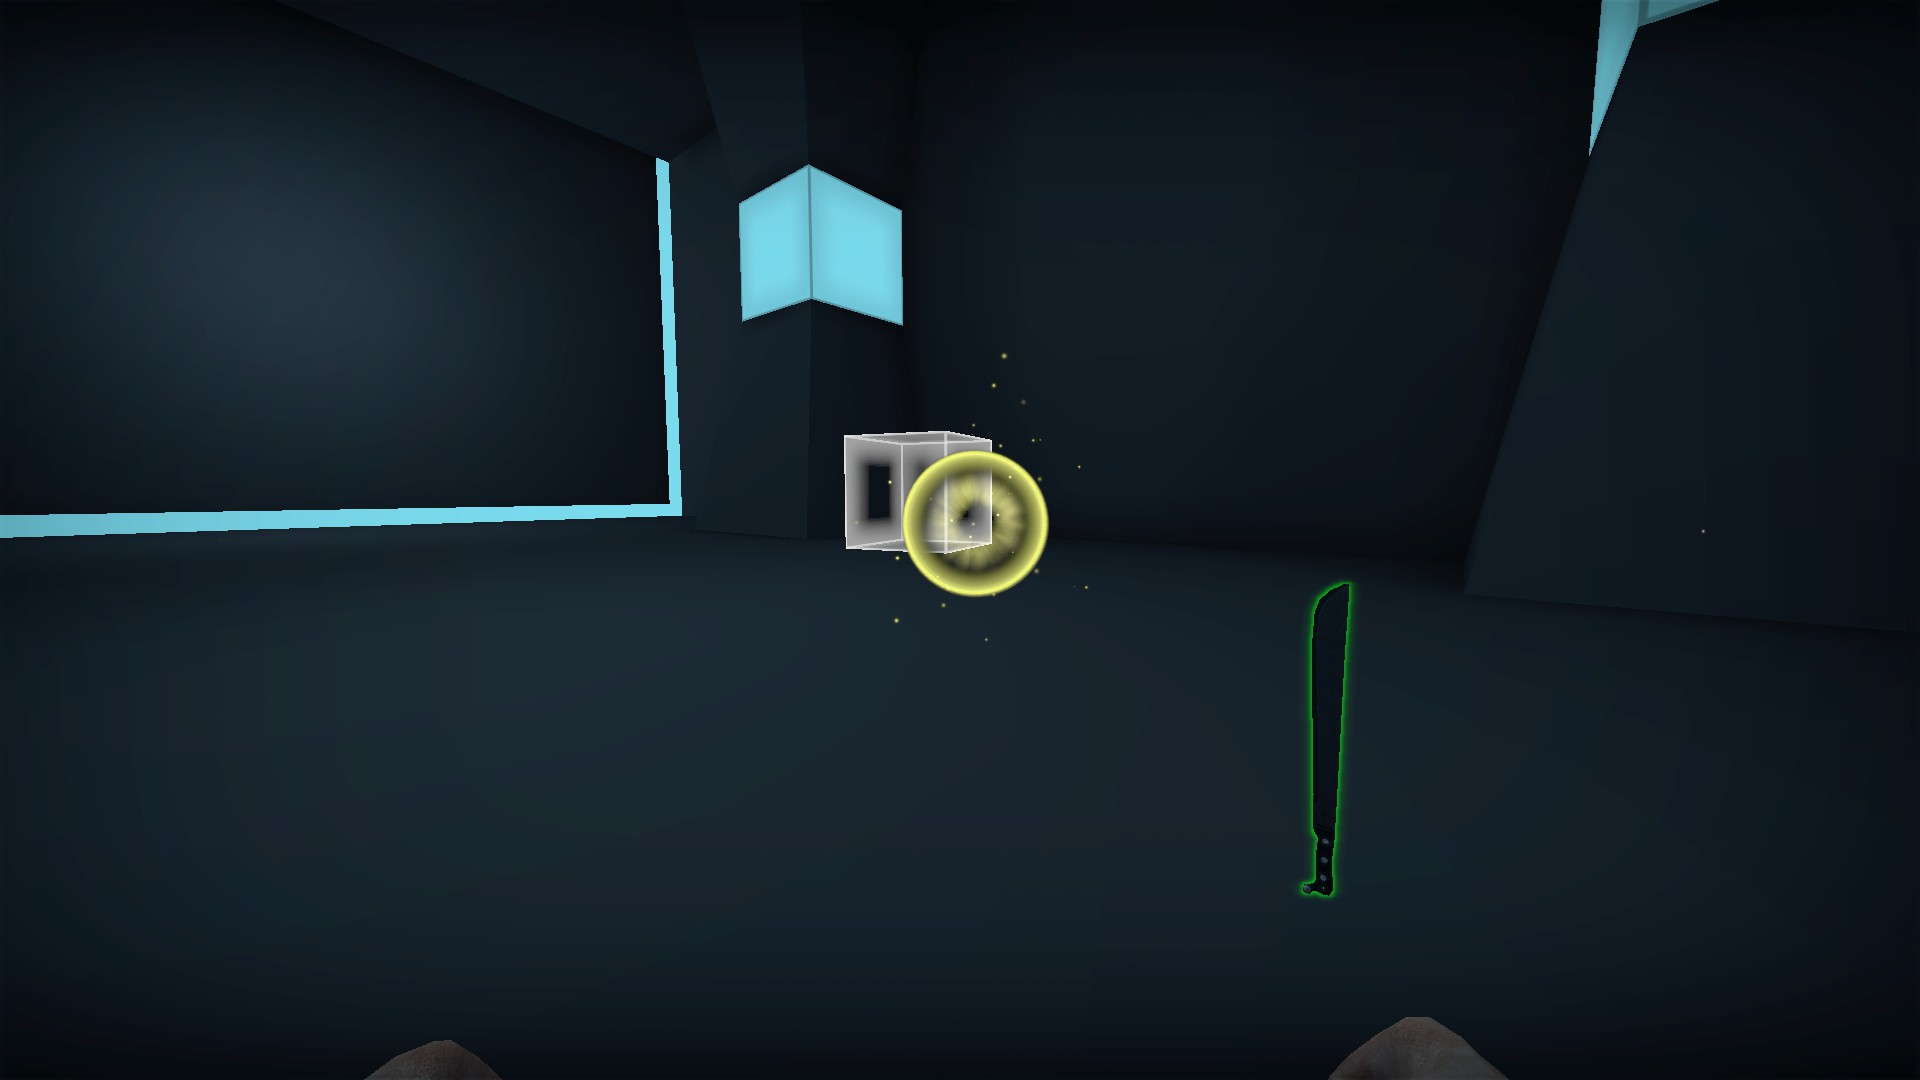
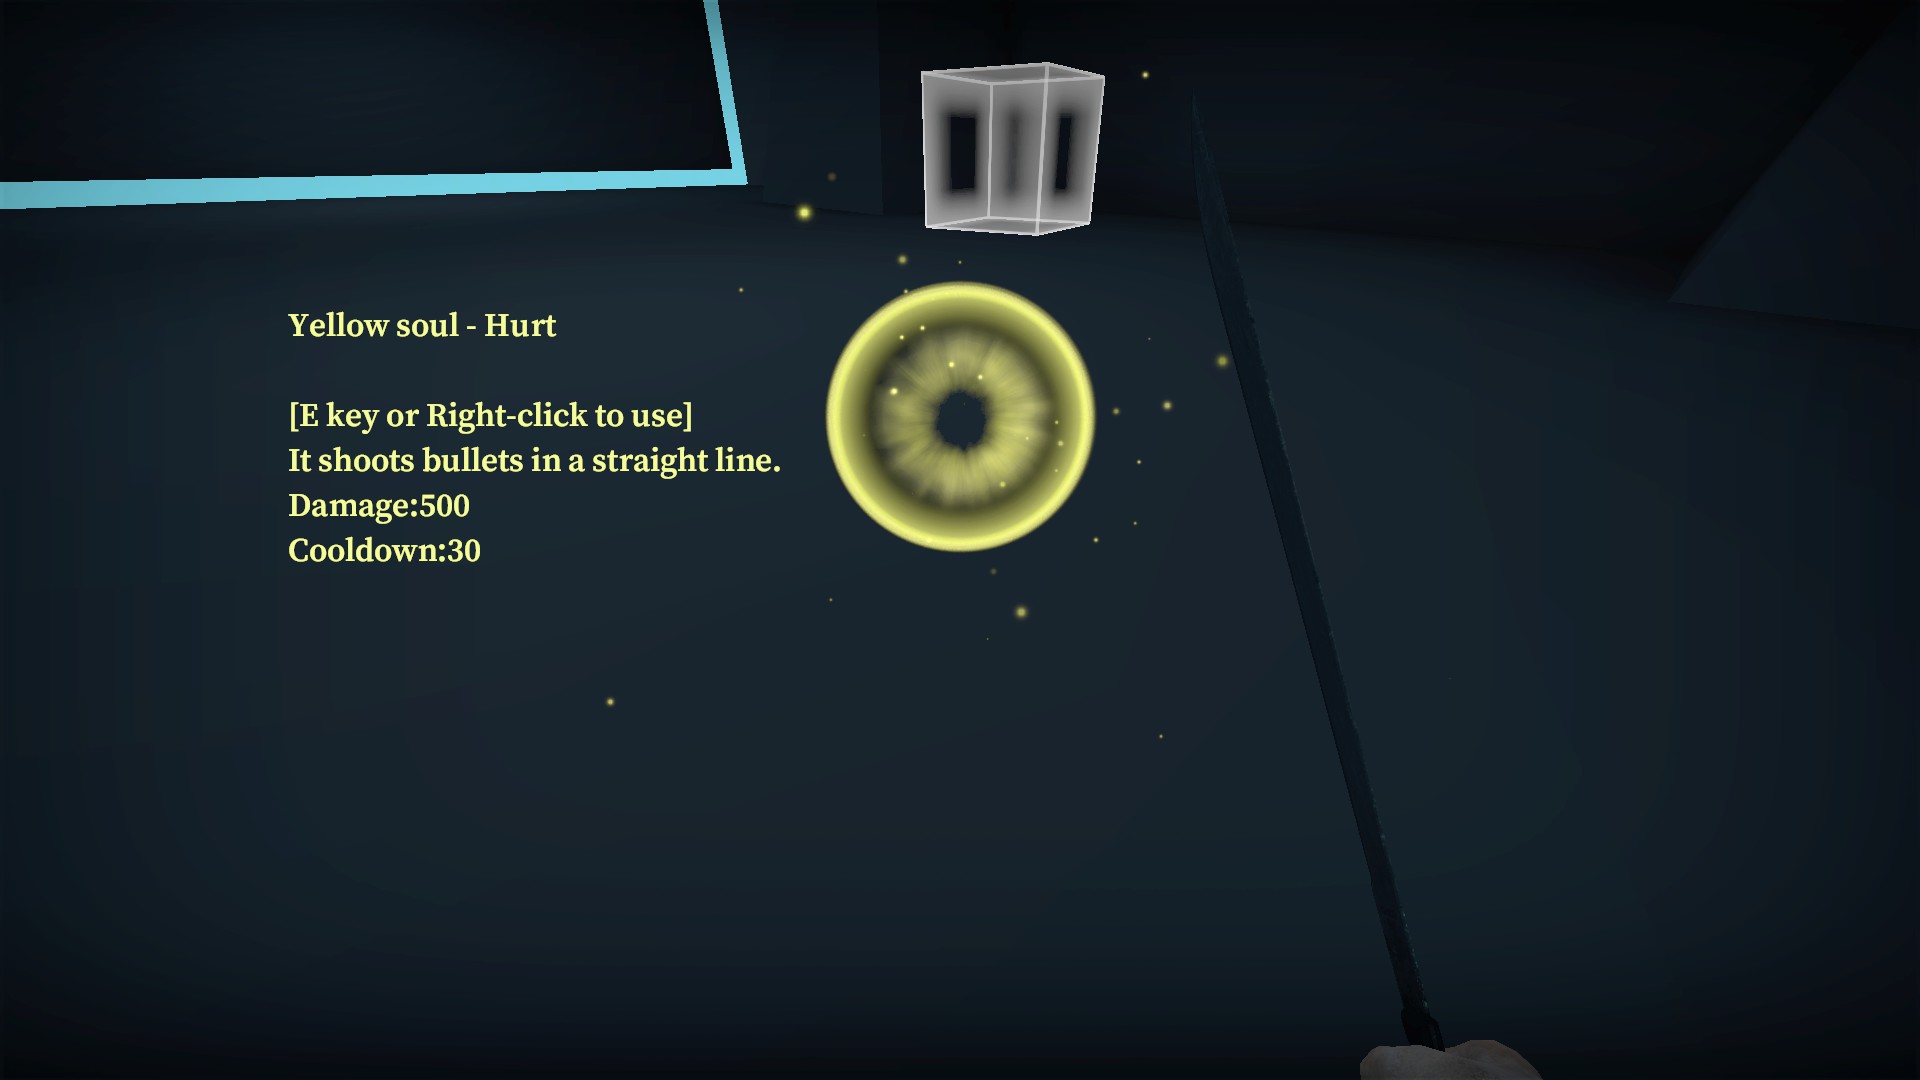
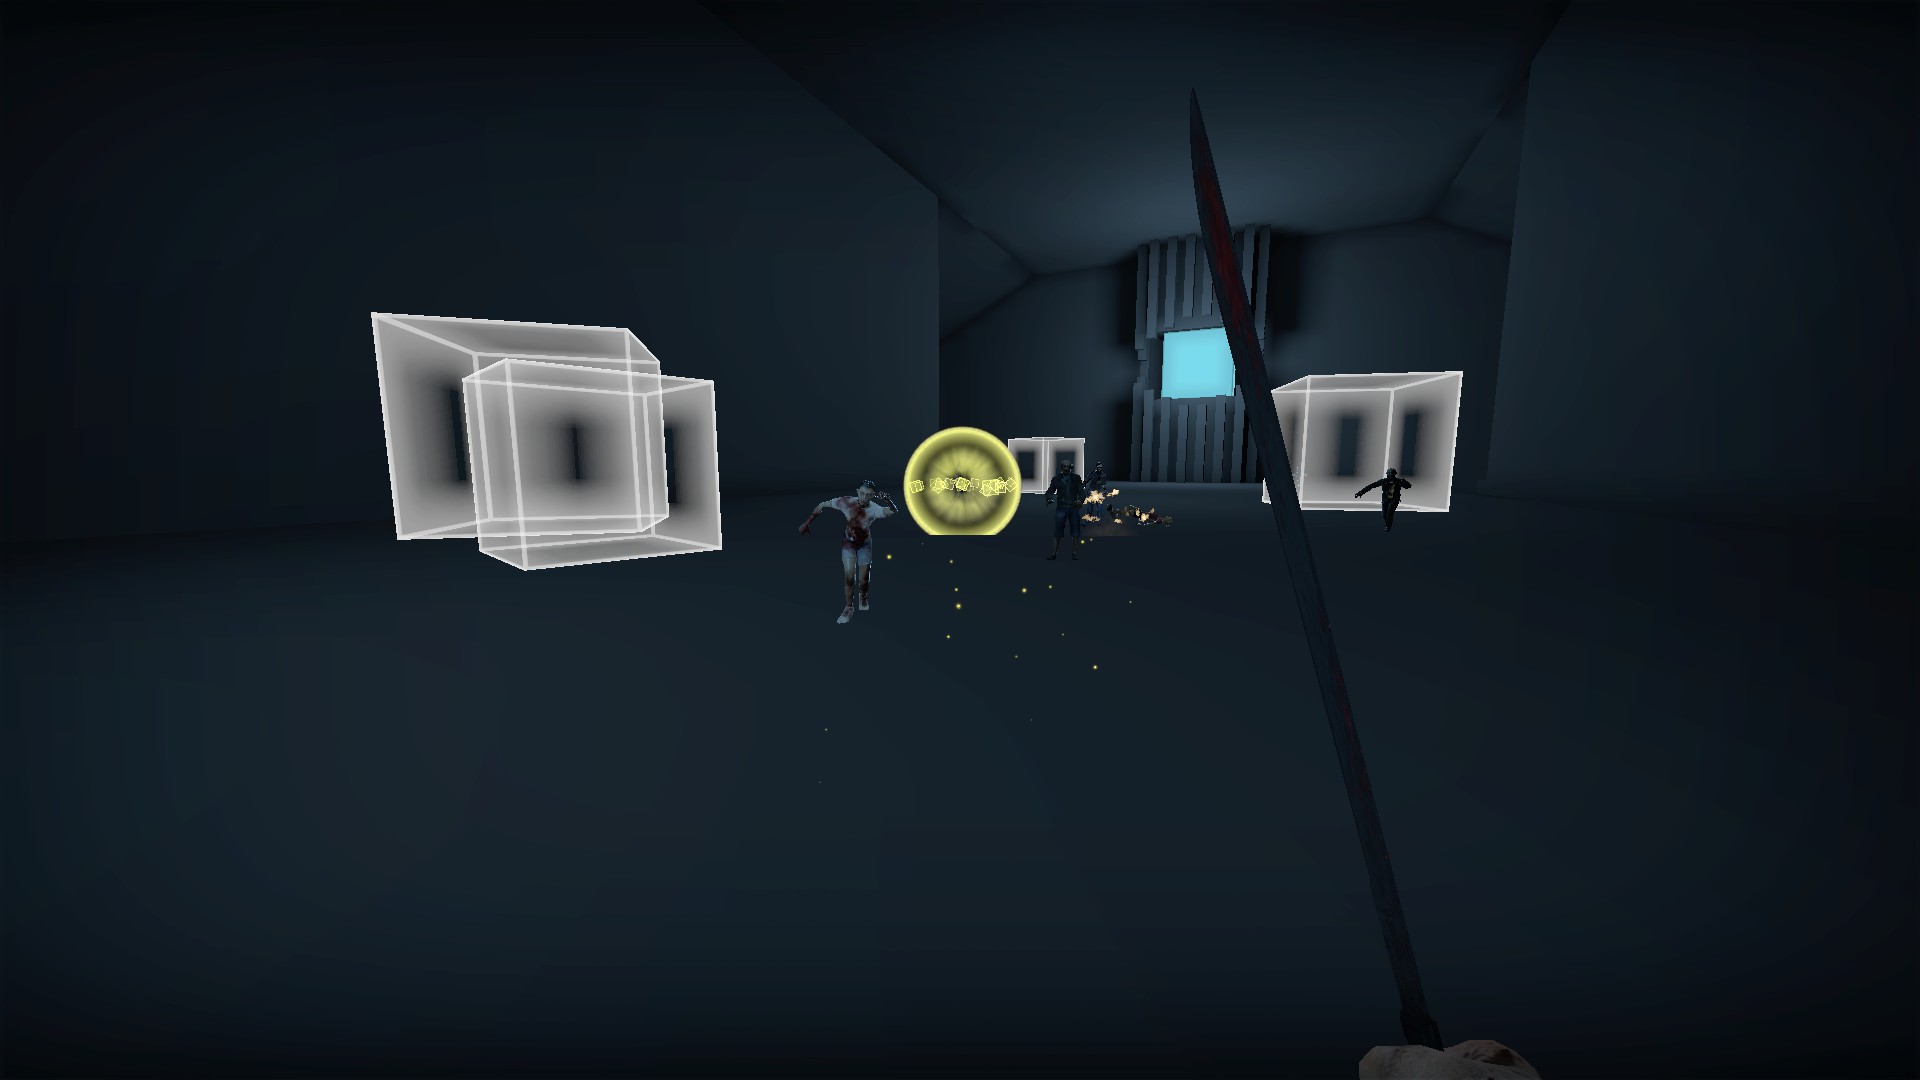
Press e to use. Shoots a large yellow orb in a straight line that kills zombies it contacts
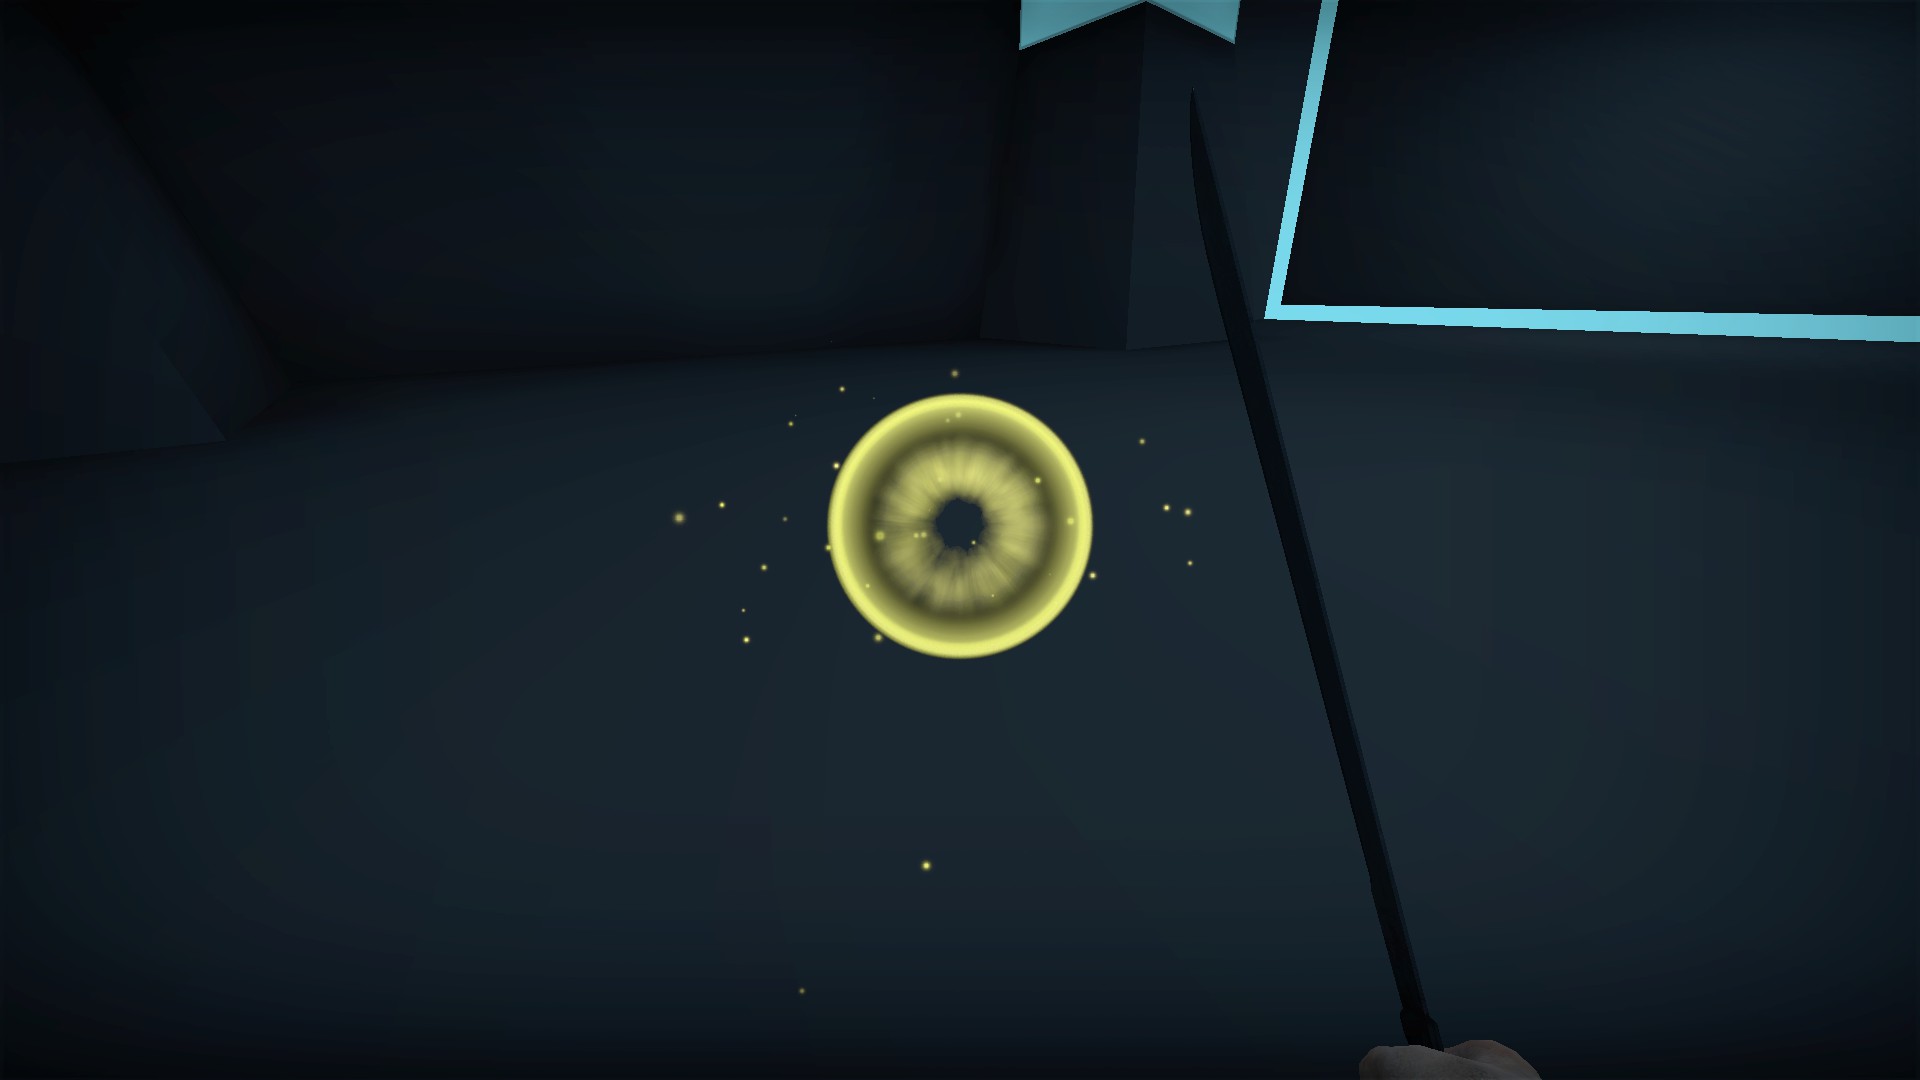
30 second recharge. When the yellow orb has returned, the ability is ready to be used again White soul machete
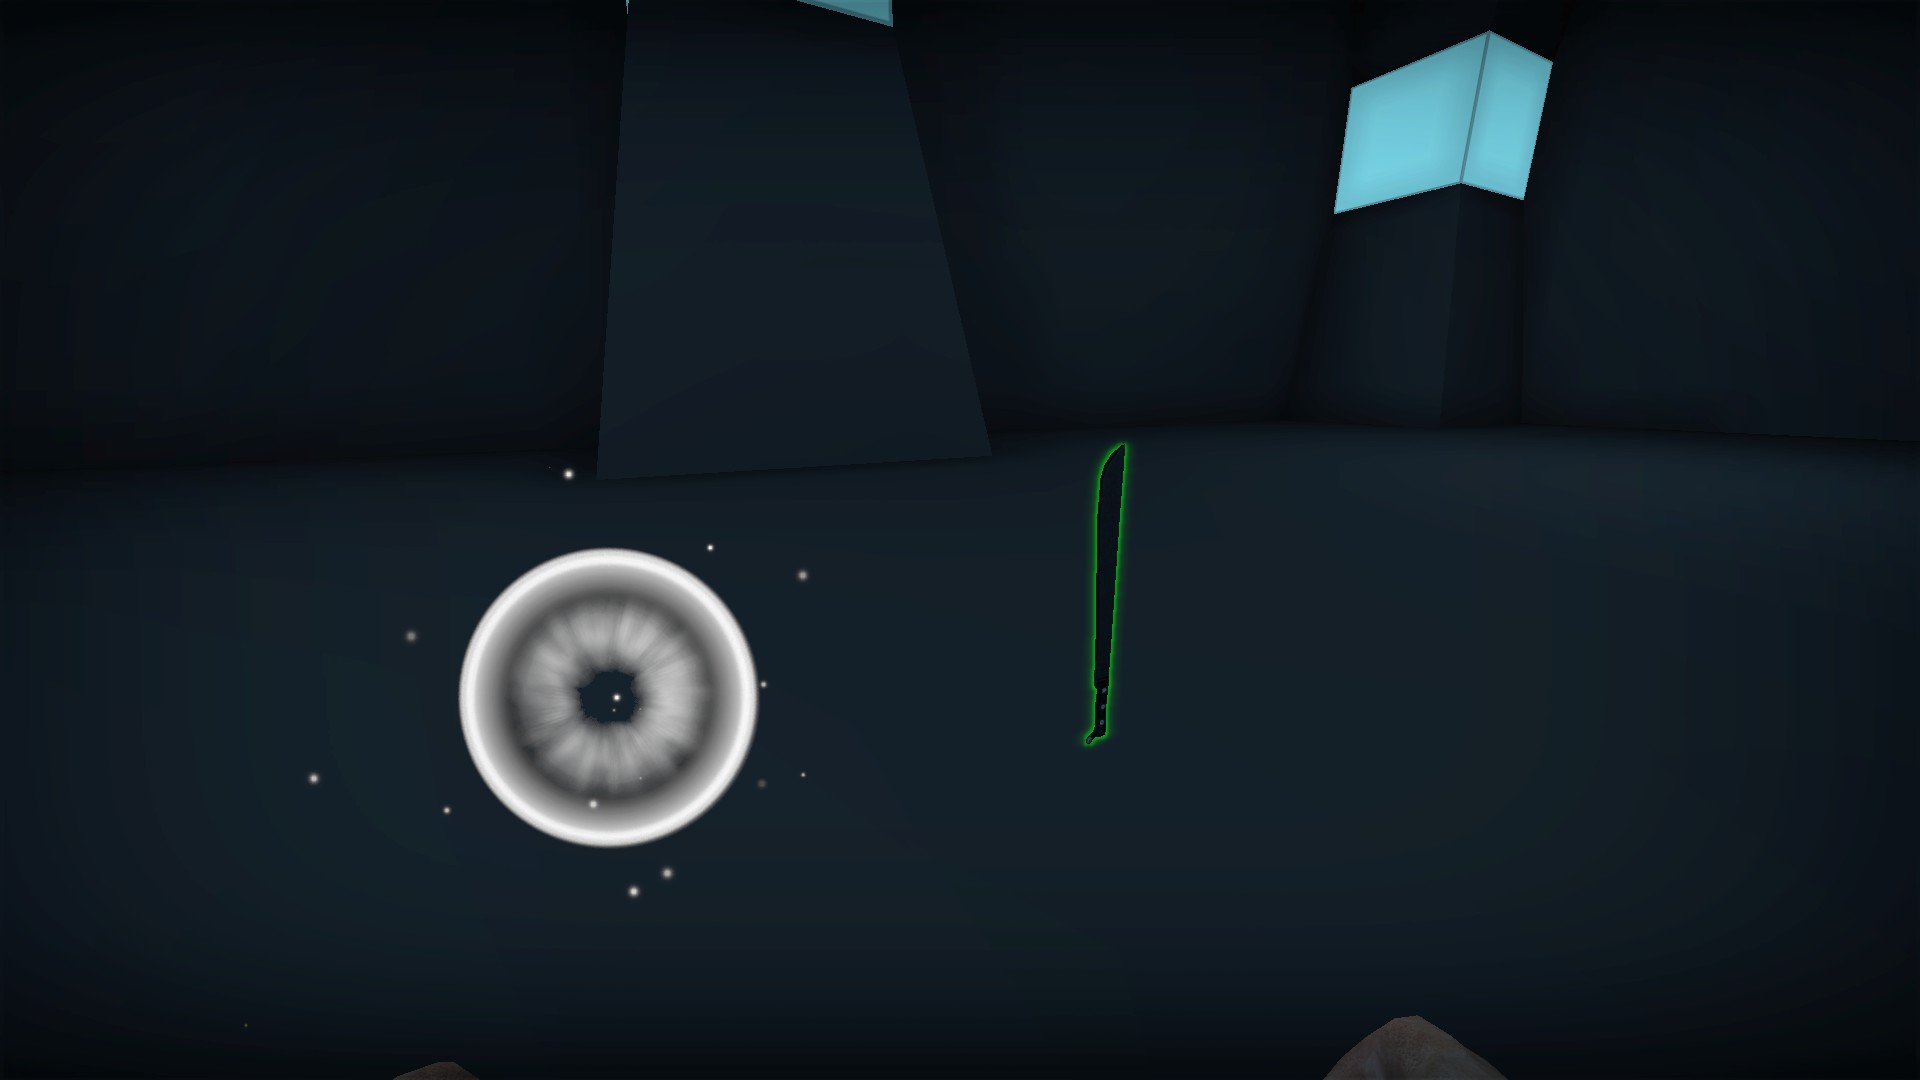
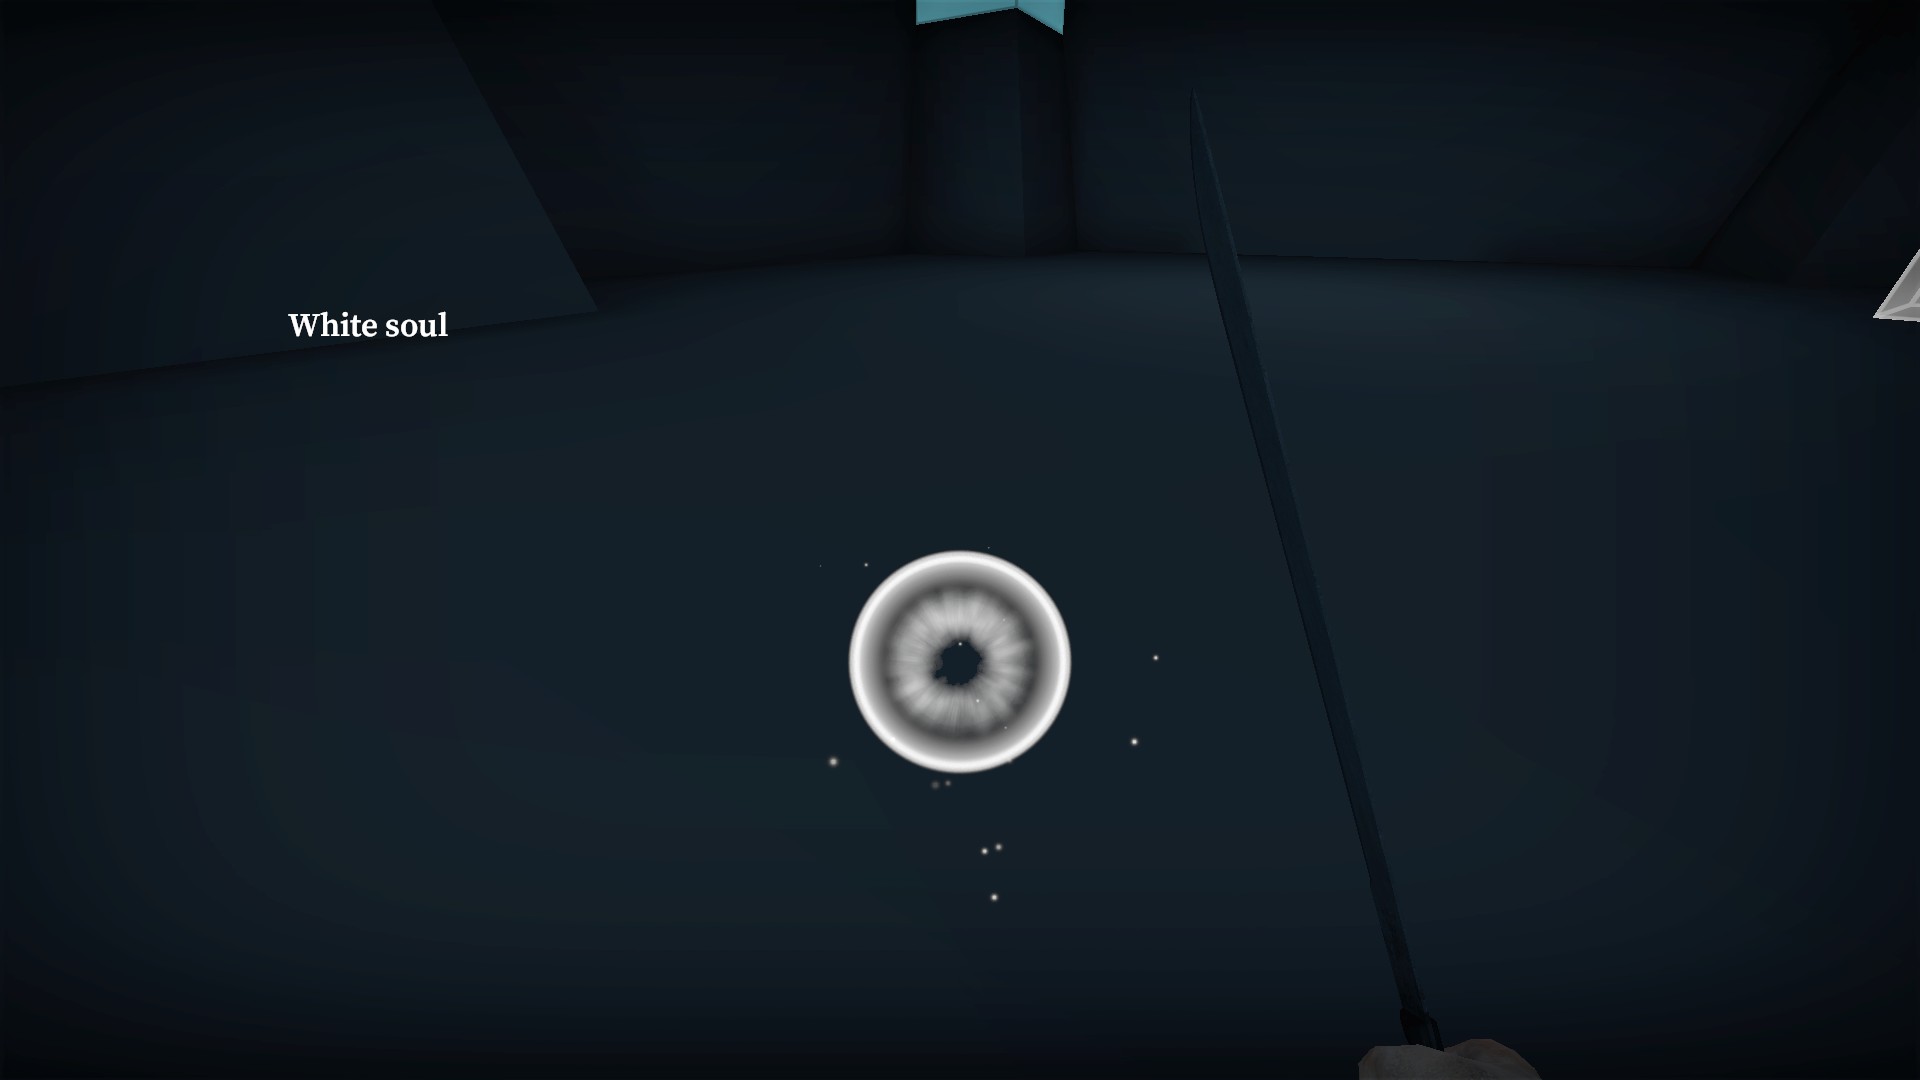
Press e to use. I'm not sure what it does
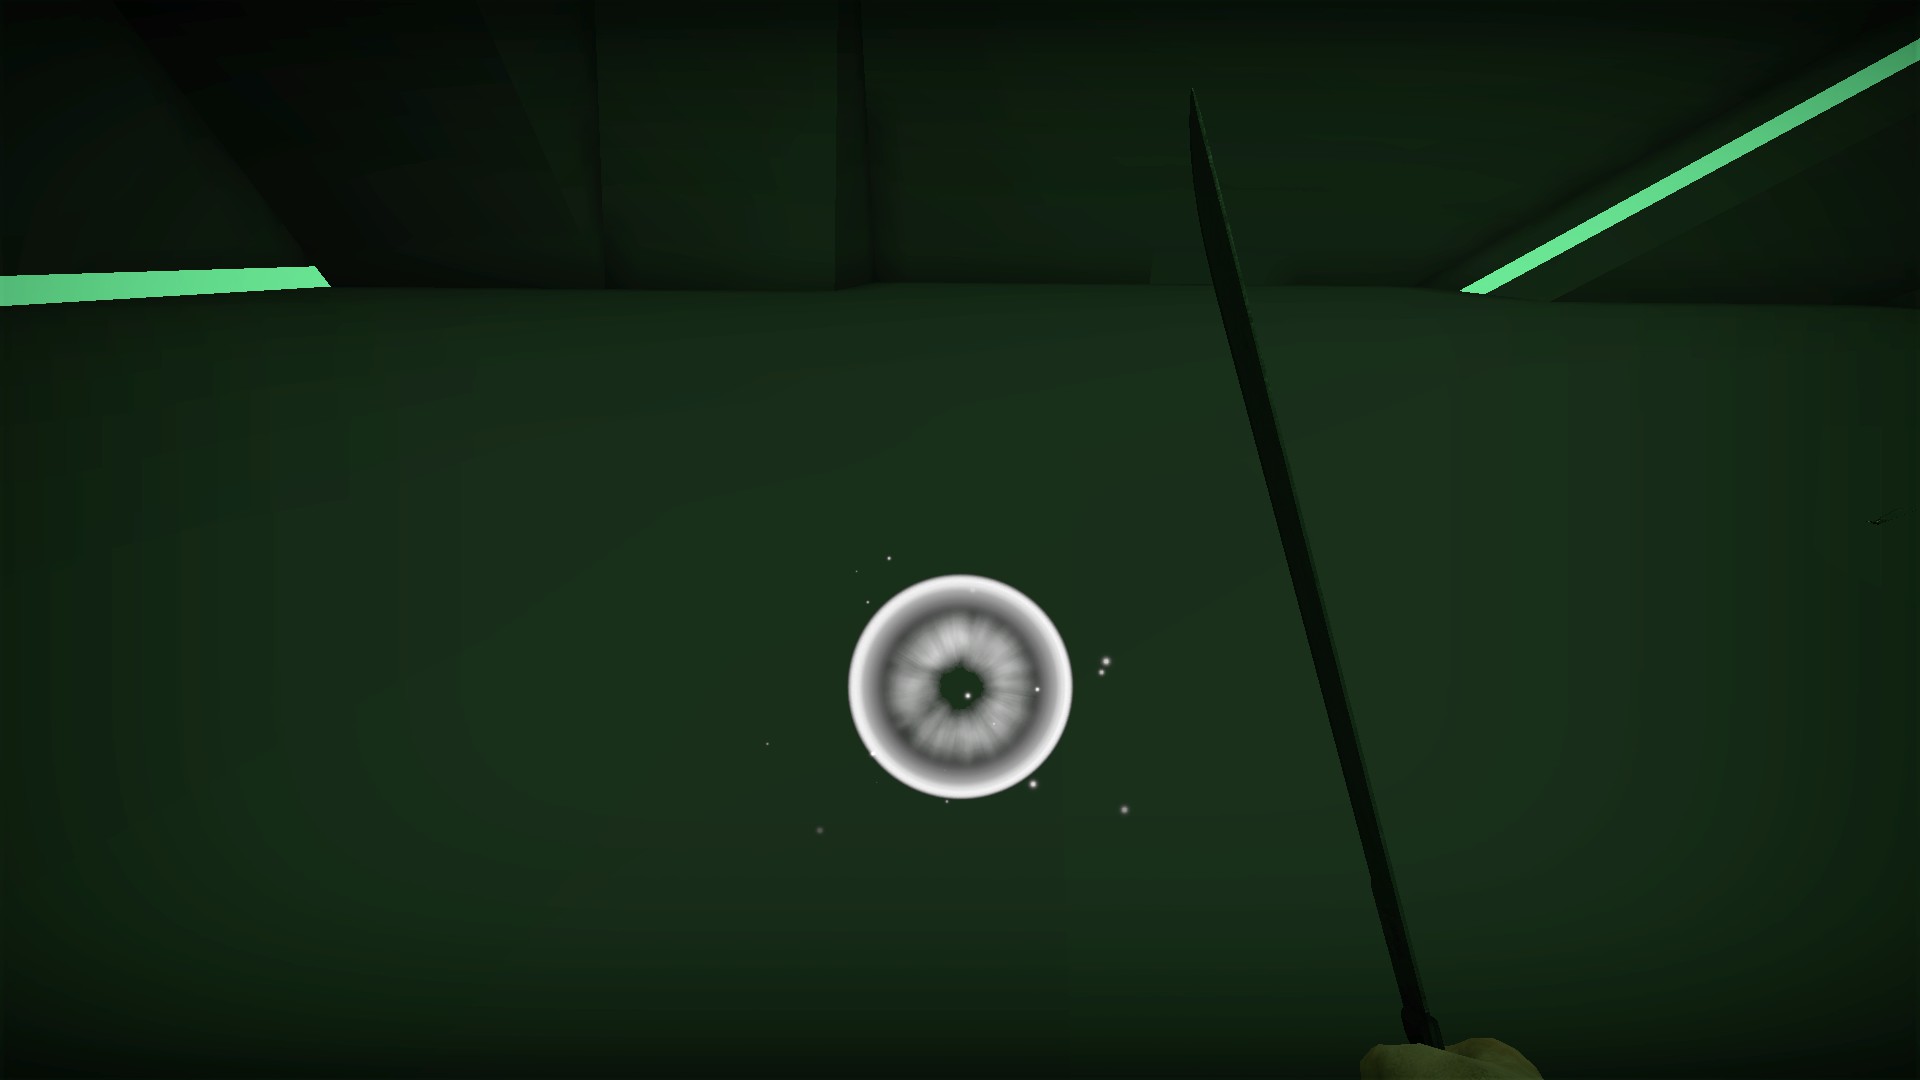
Although the orb returns in a few seconds, it takes 140 seconds before the ability can be used again Blue soul machete
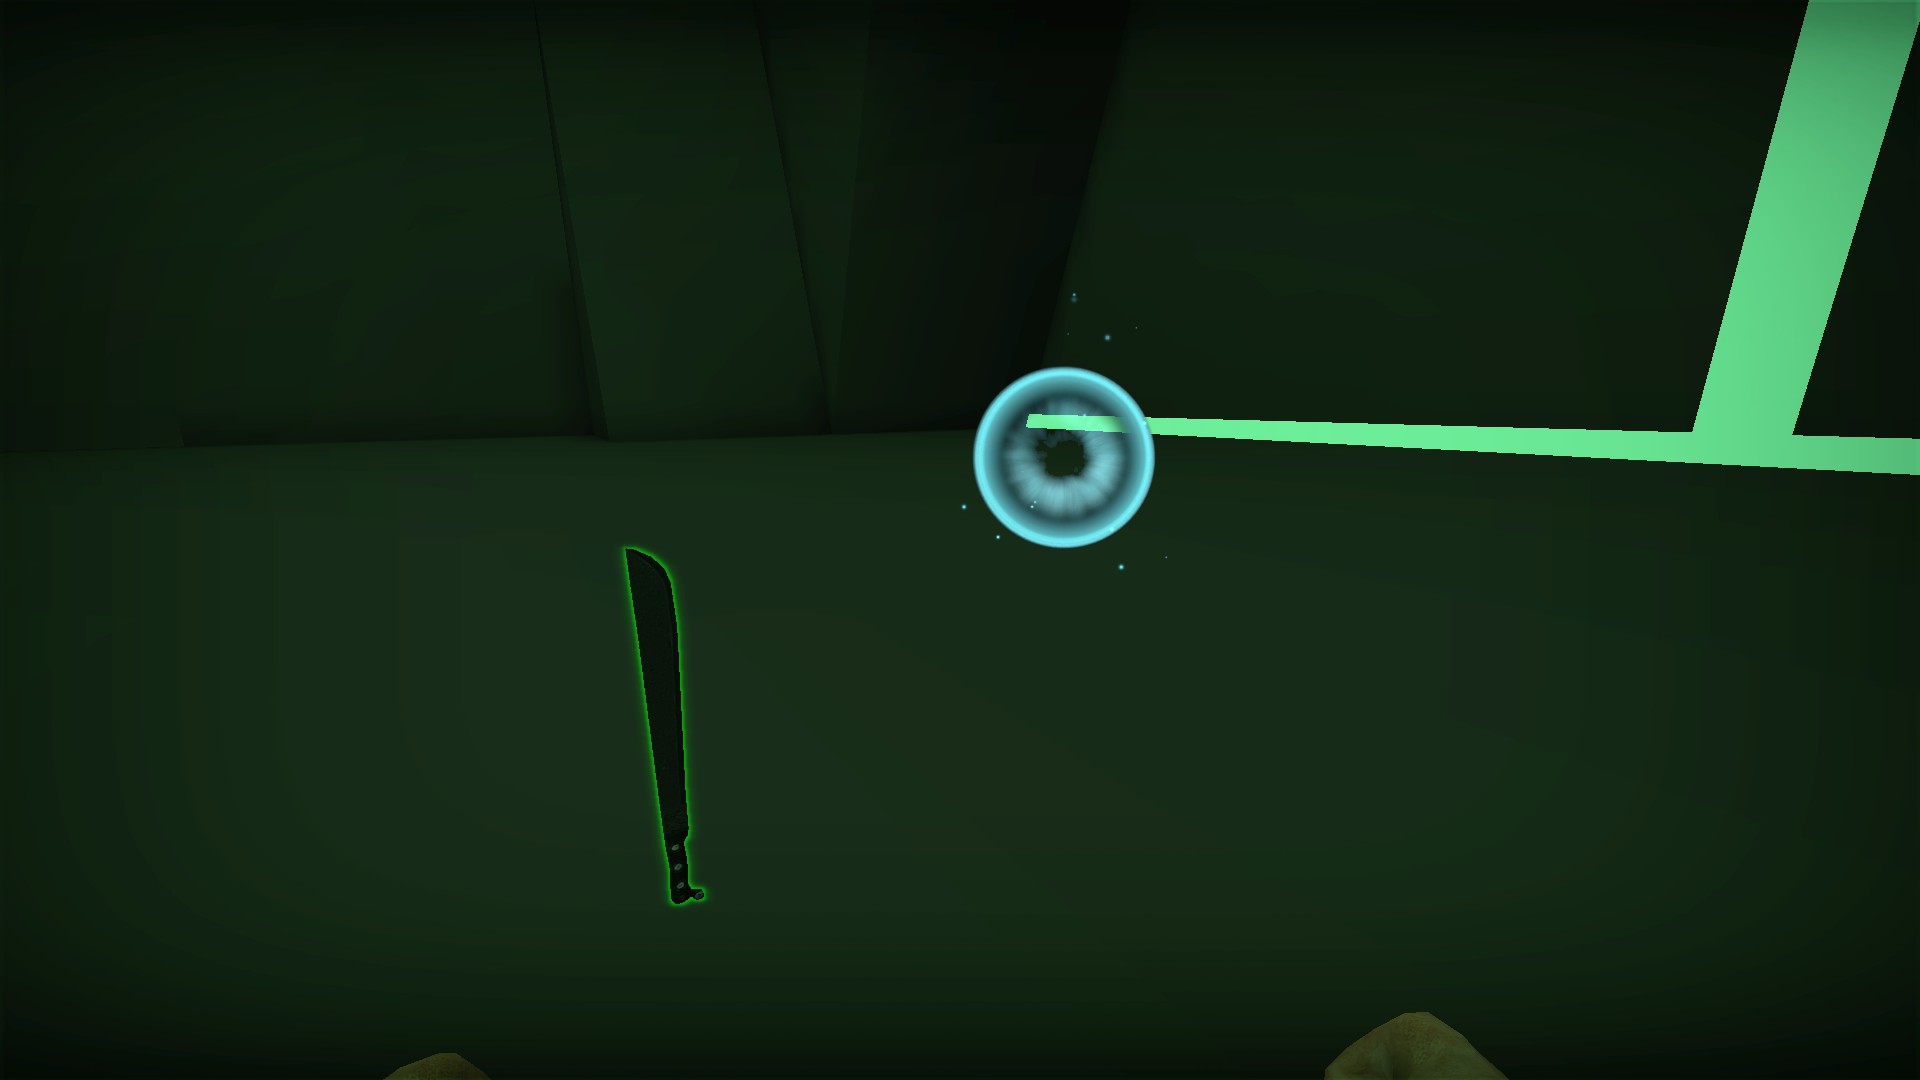
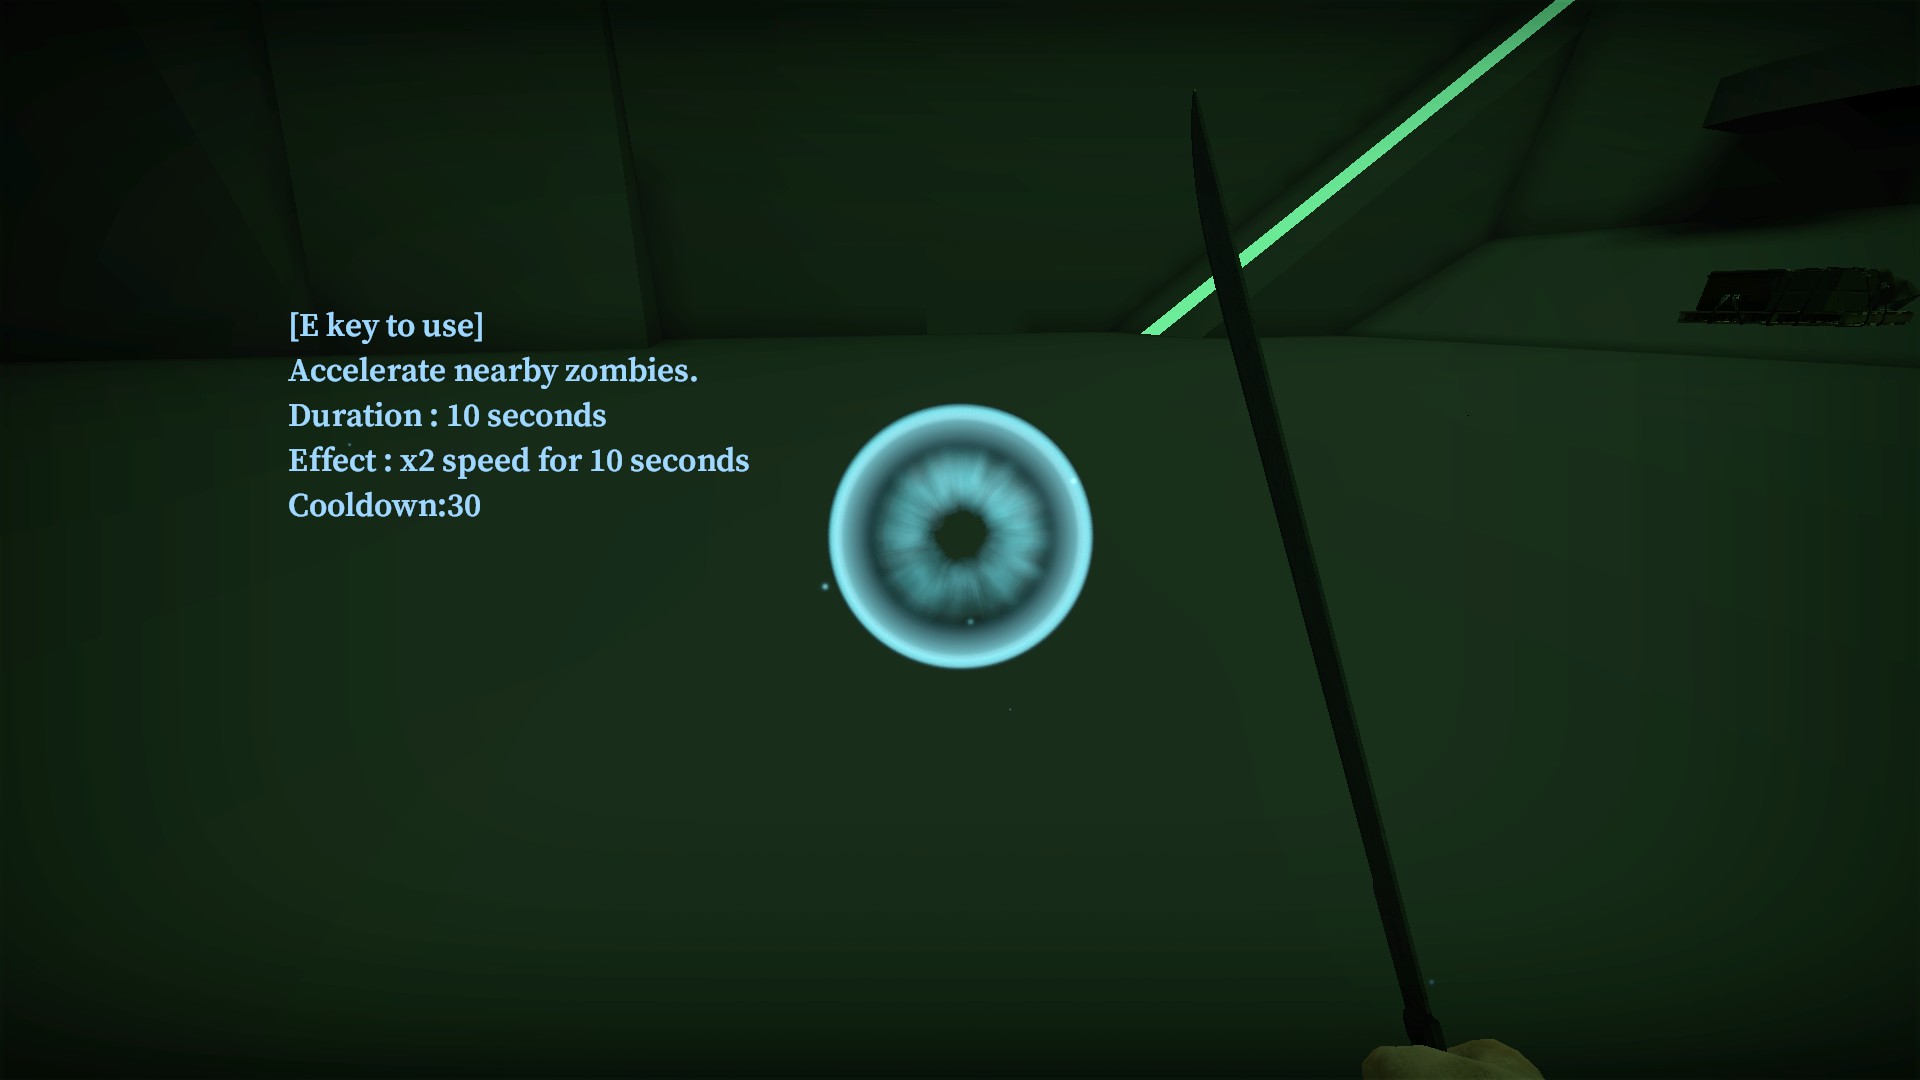
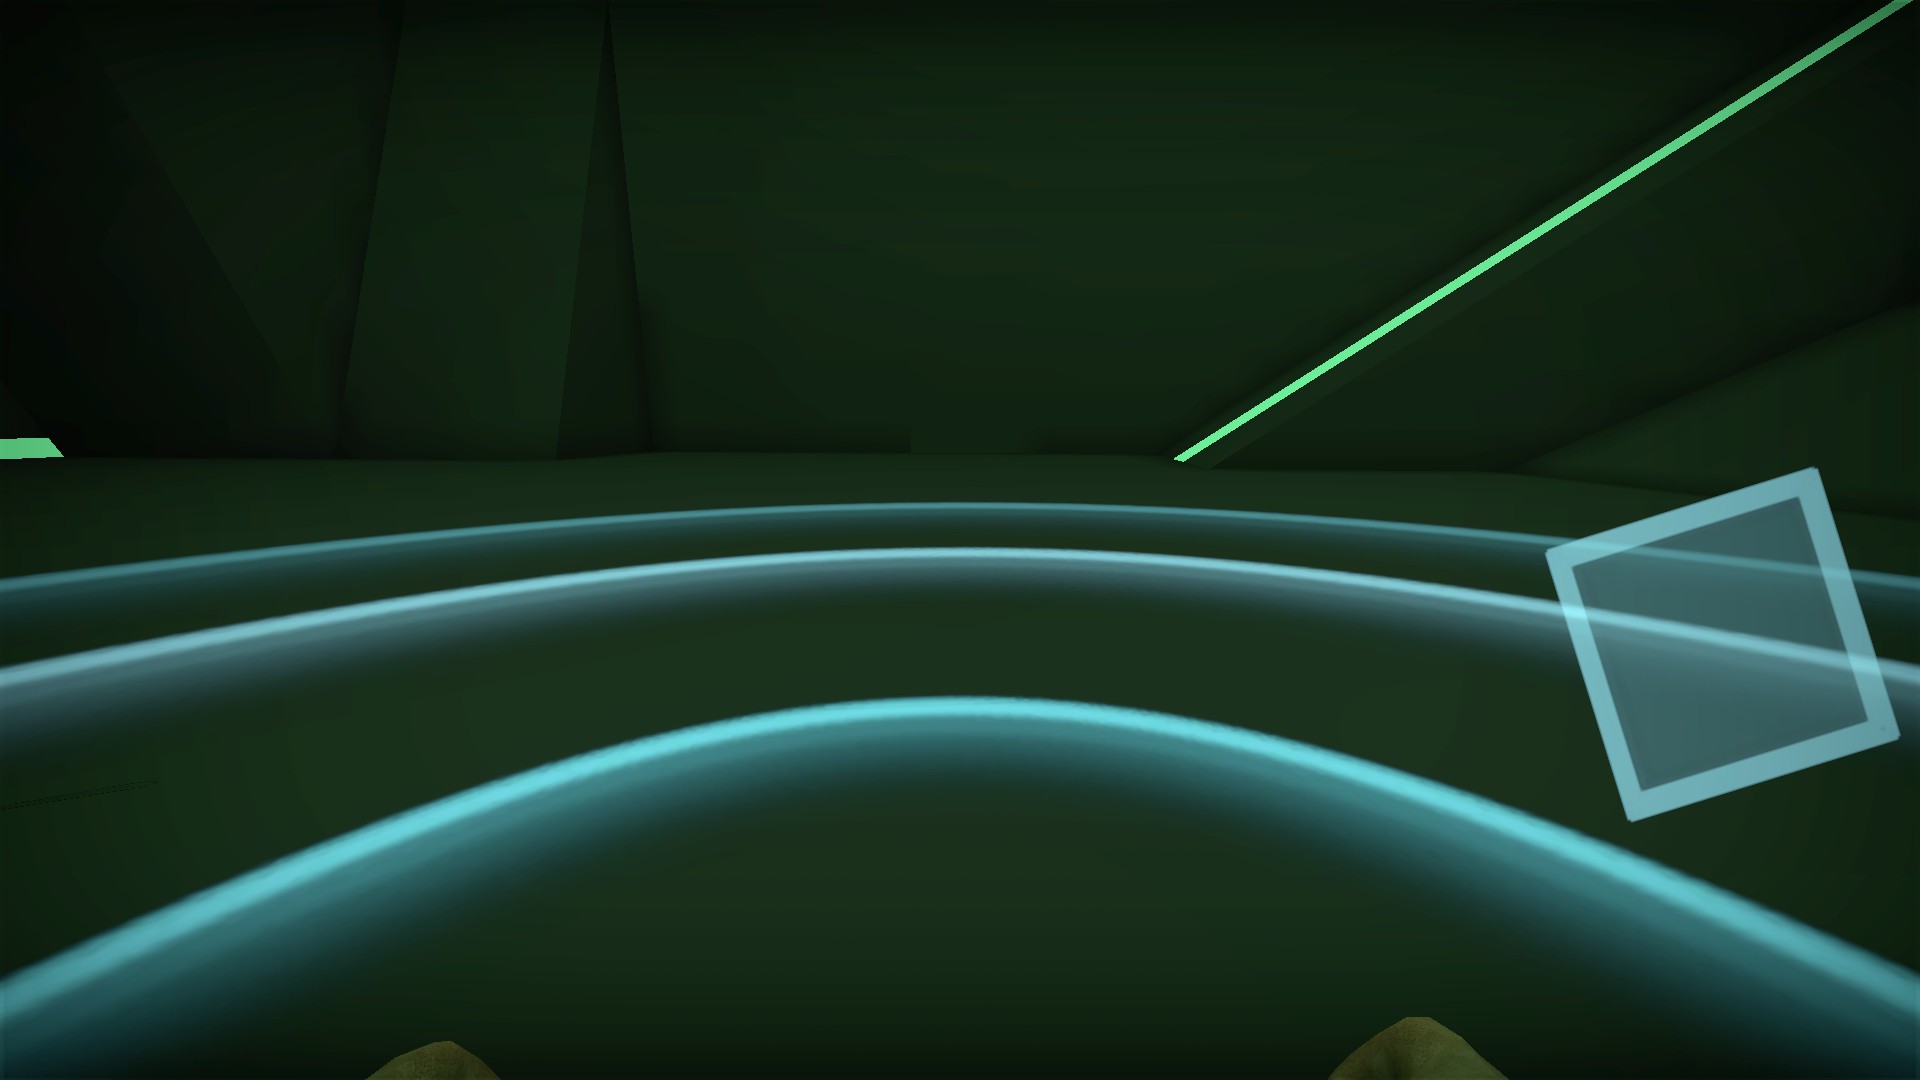
Gives you and nearby players in its area of effect 2x speed for 10 seconds. The effect will move with you
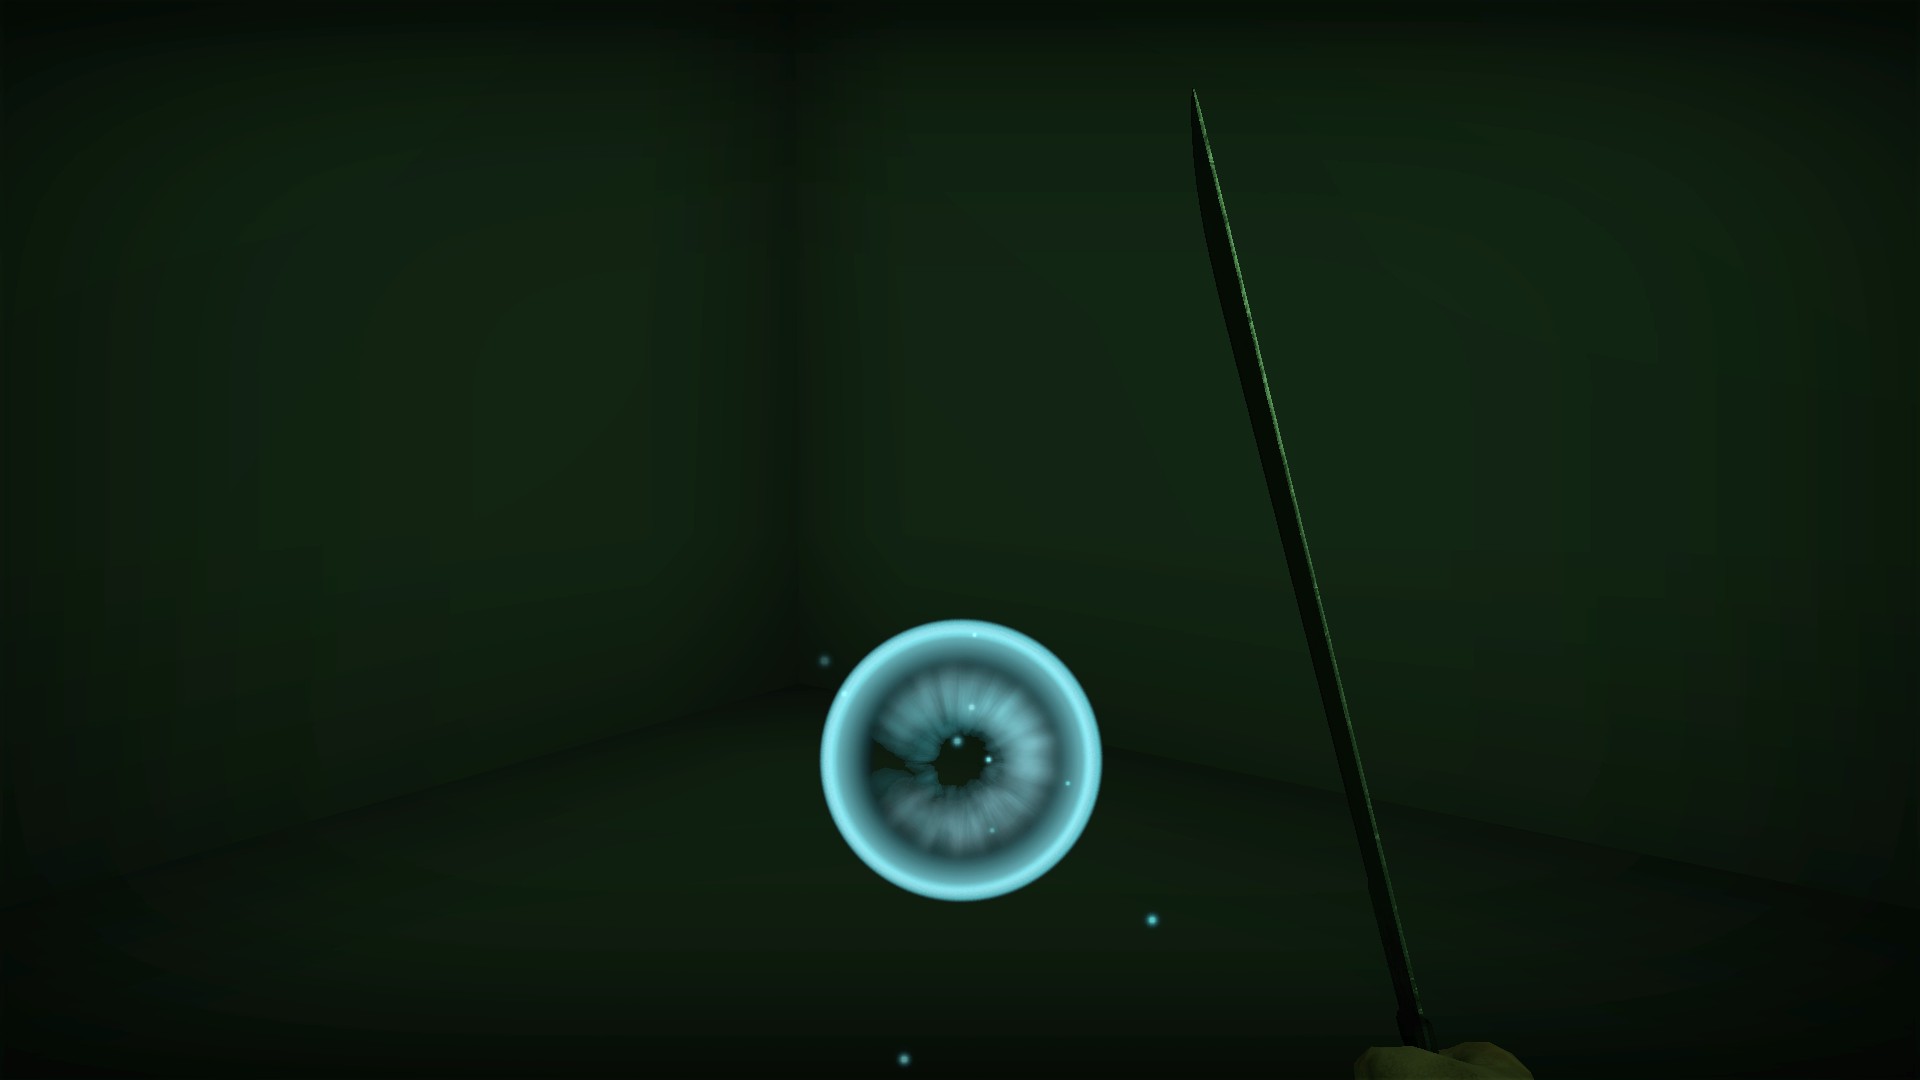
30 second recharge. When the blue orb has returned, the ability is ready to be used again Green soul machete
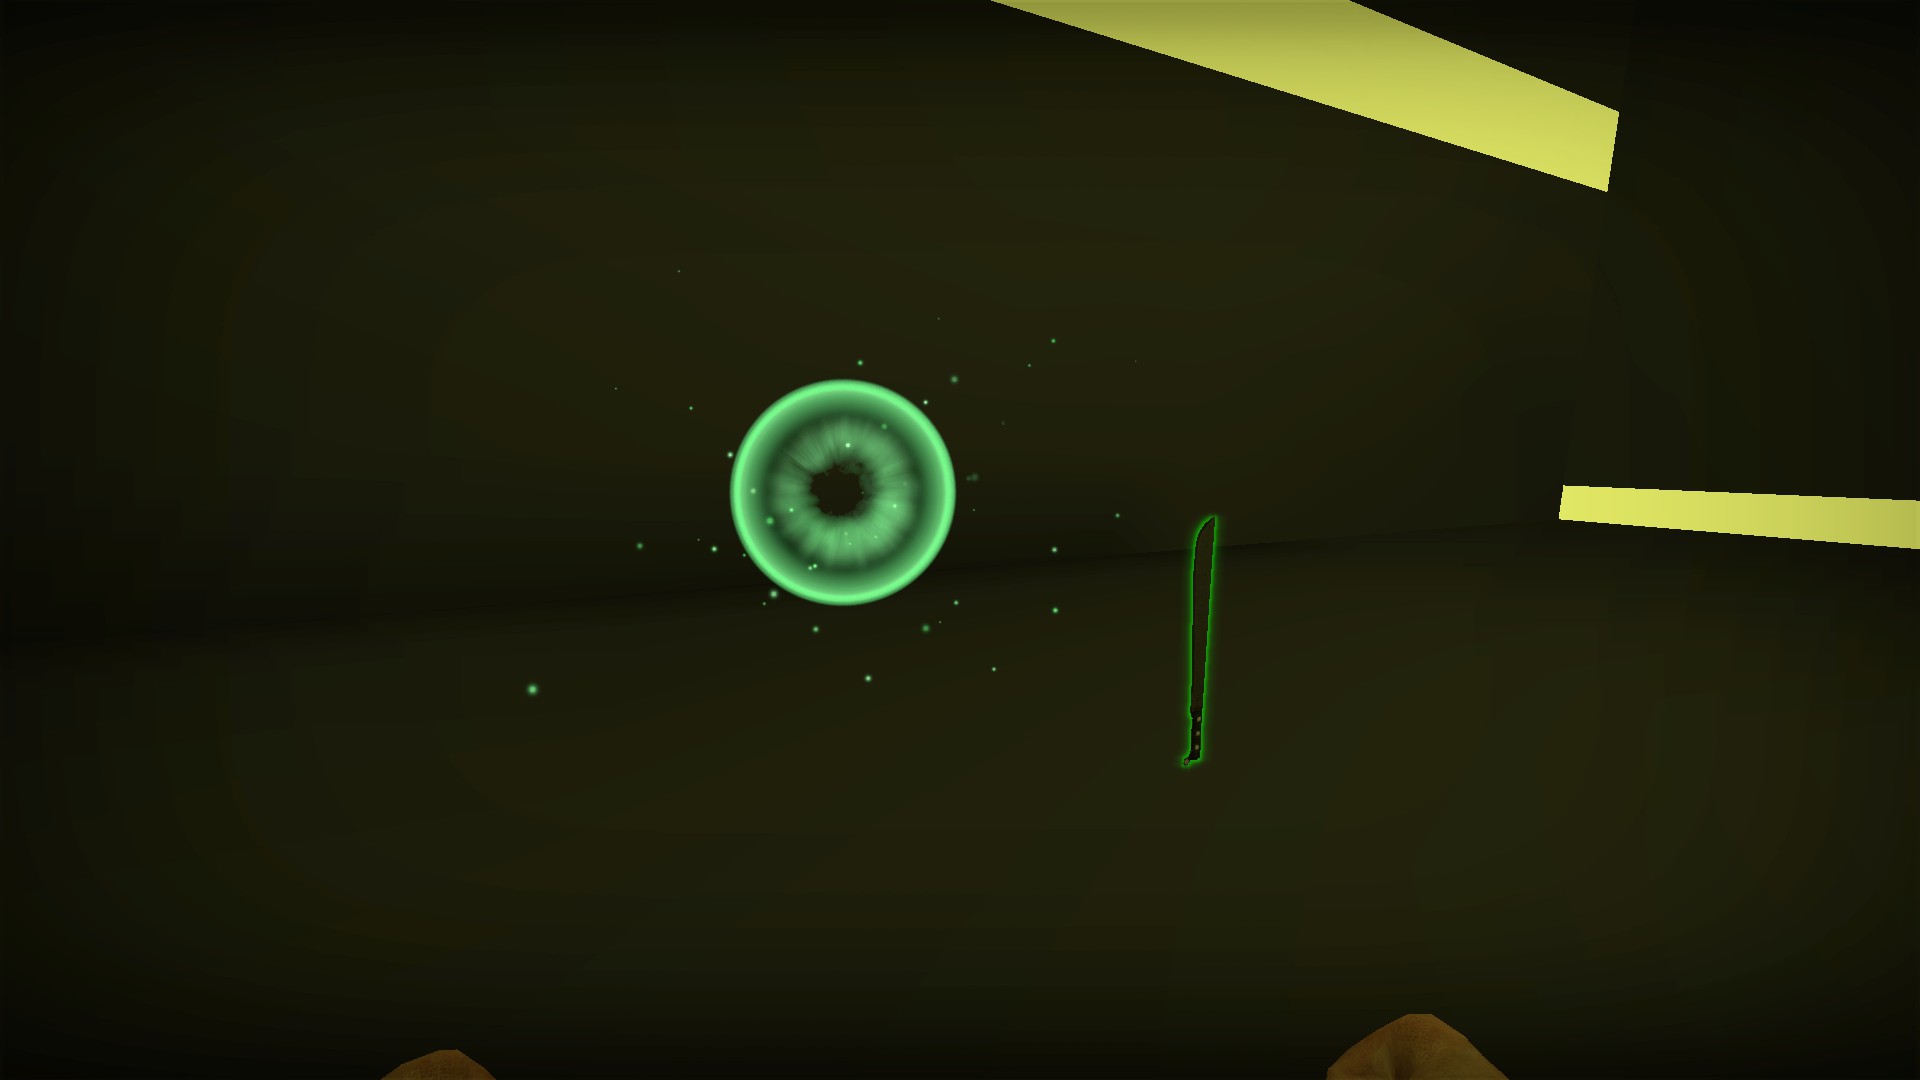
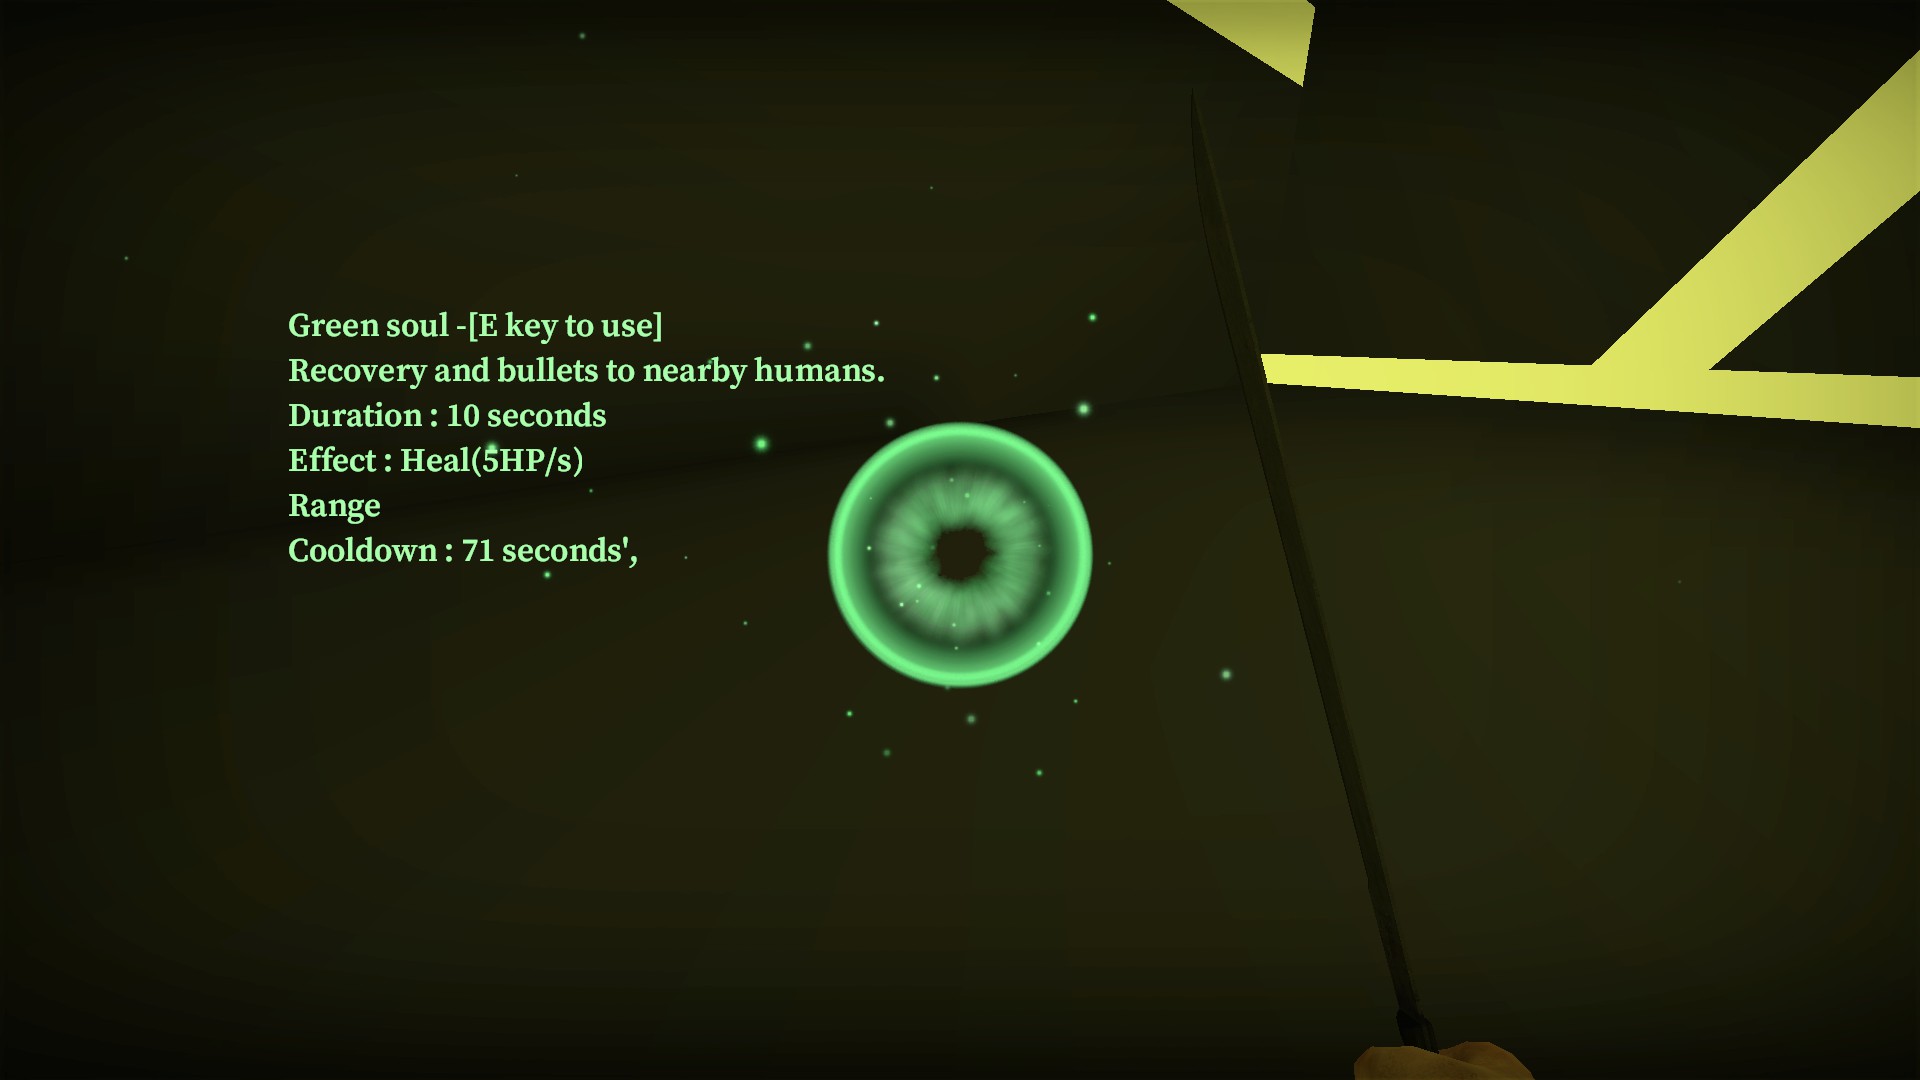
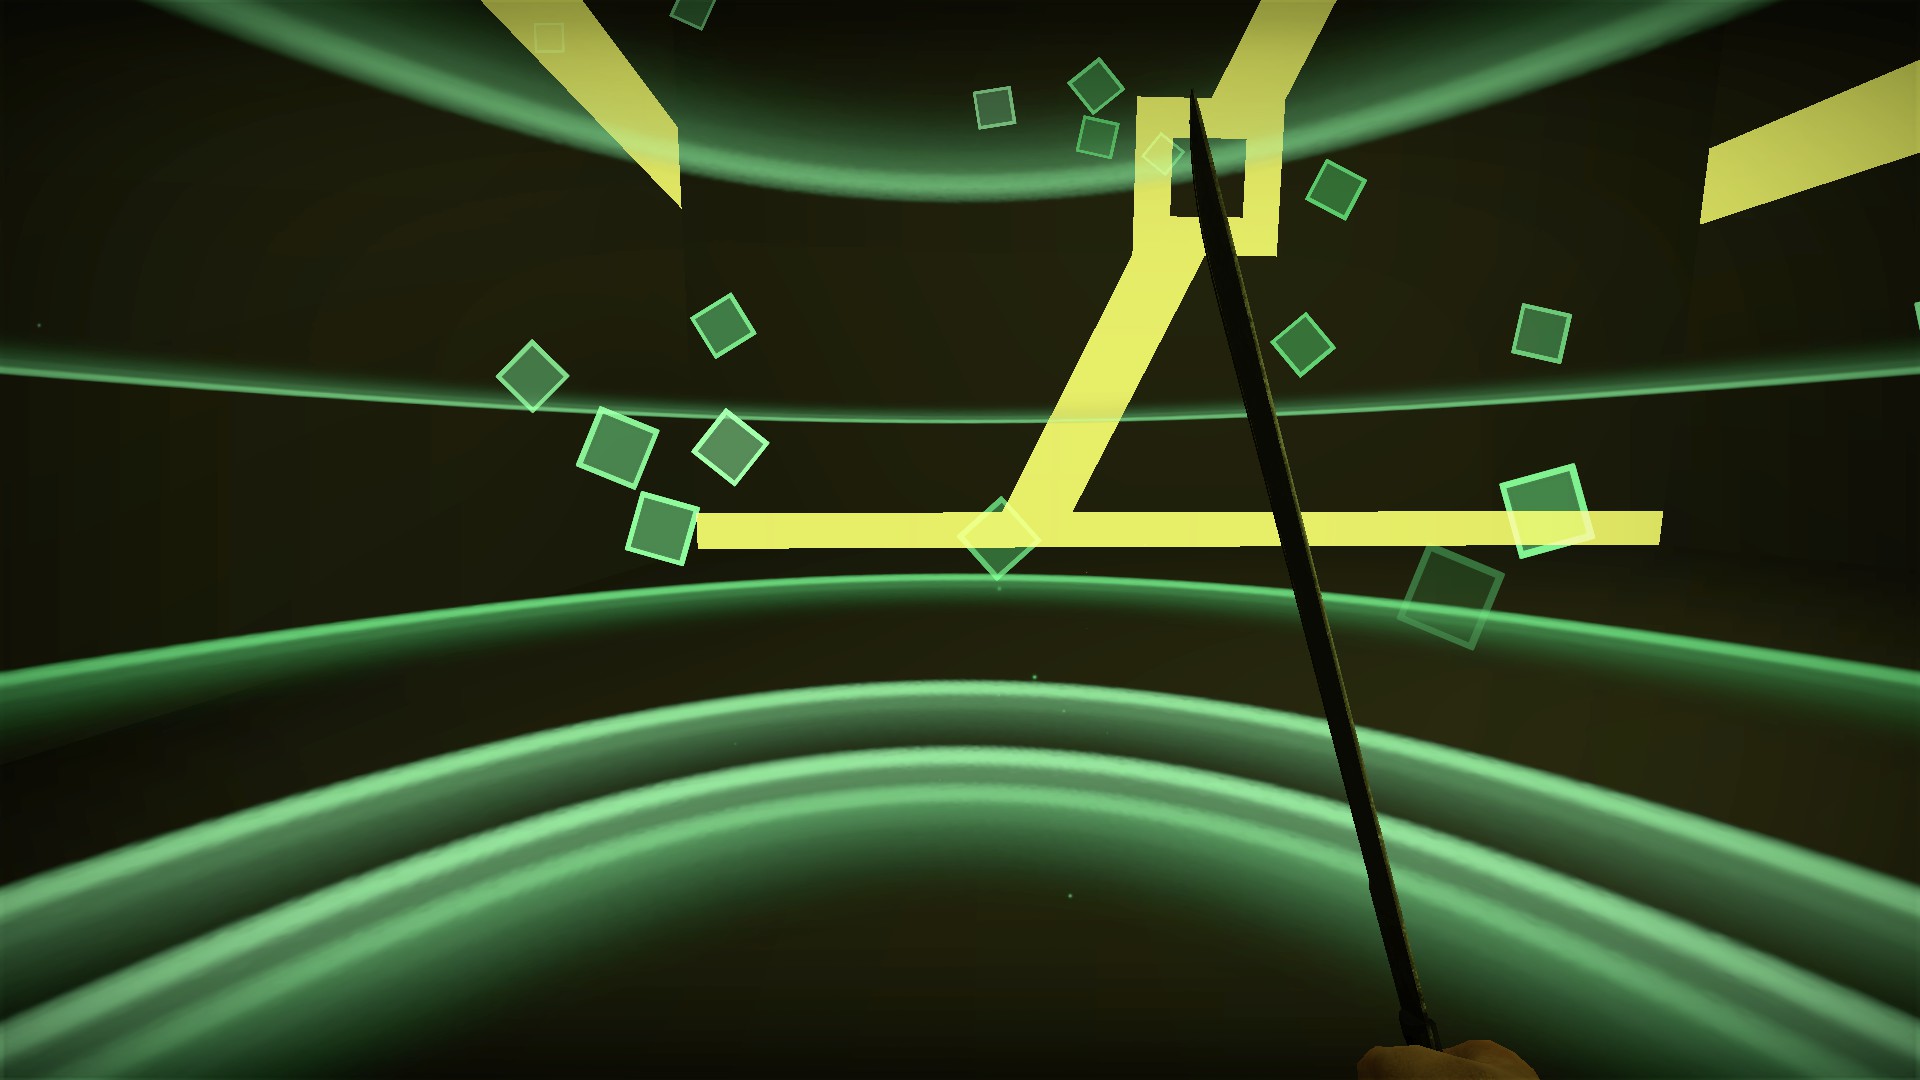
Heal players in its area of effect by 5hp per second for 10 seconds up to 100hp. Does not restore bullets. The healing effect will move with you
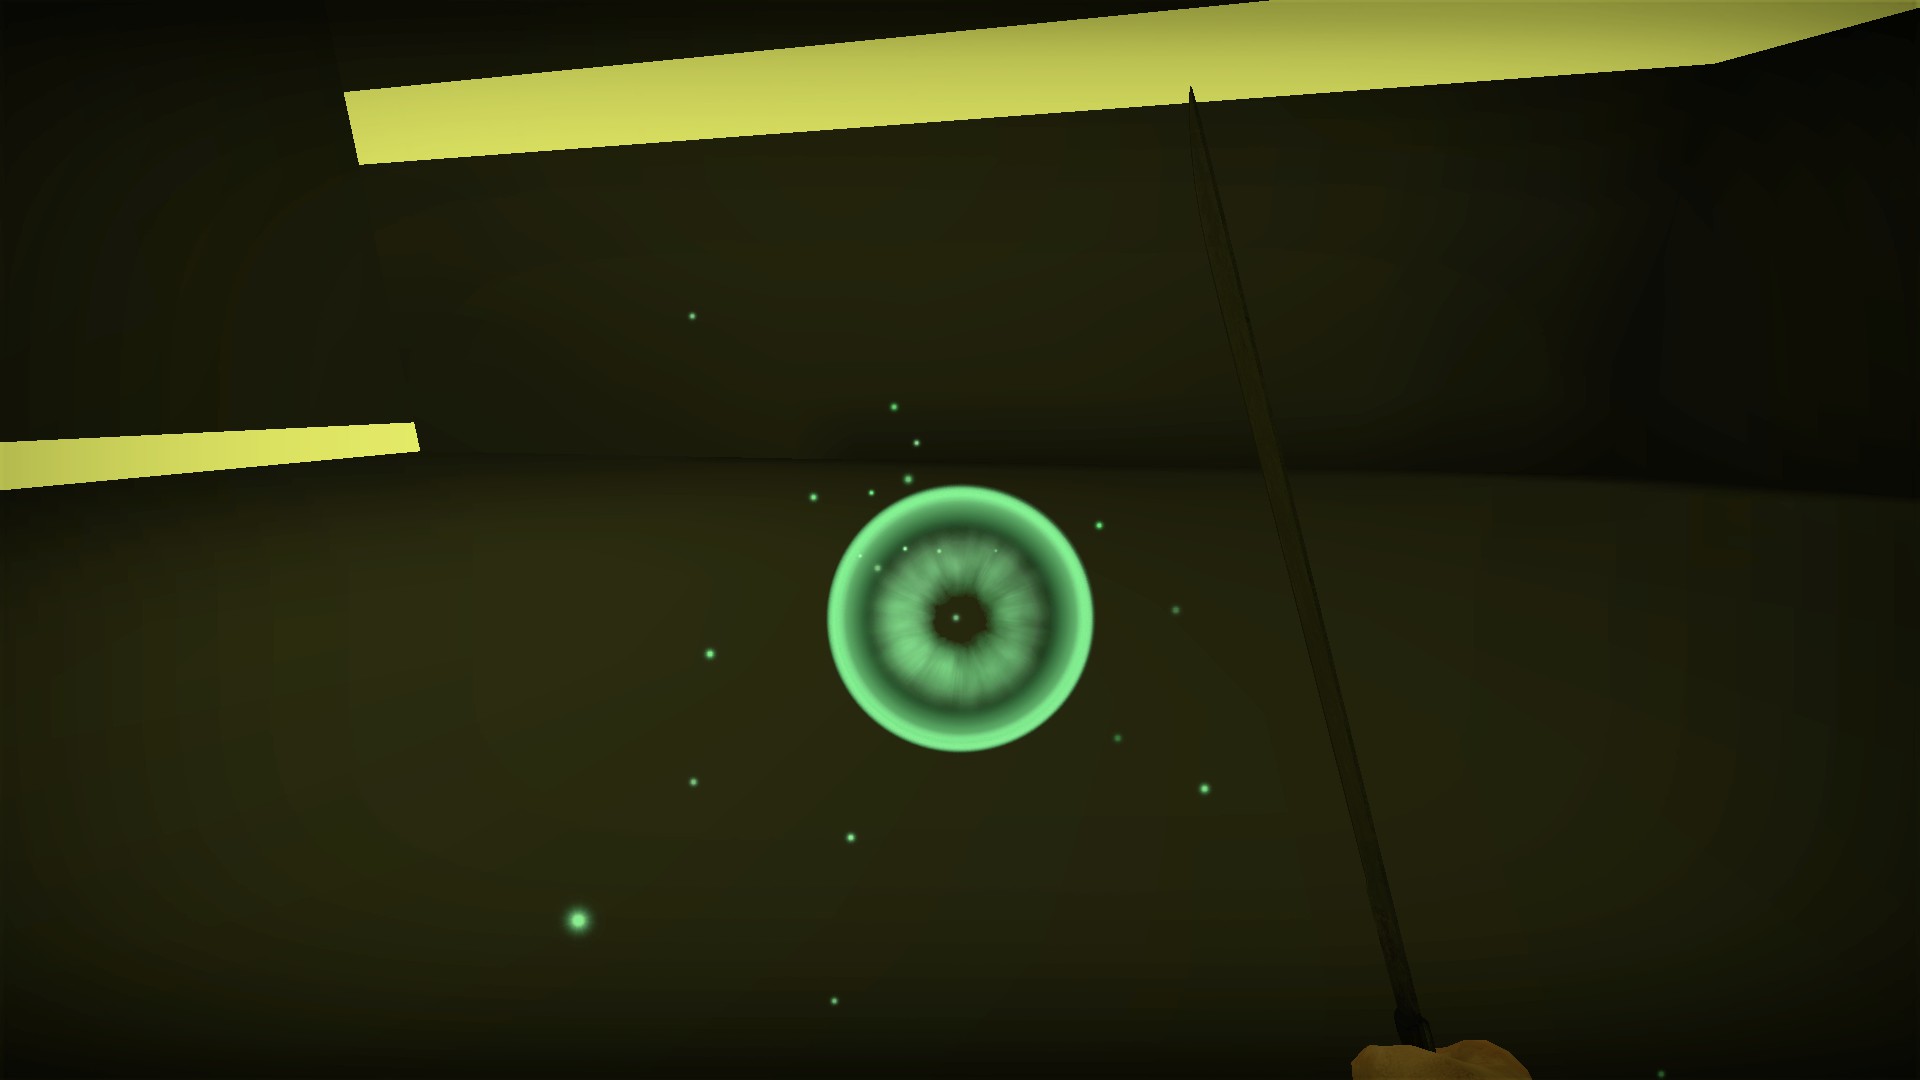
71 second recharge. When the green orb has returned, the ability can be used again Red soul machete
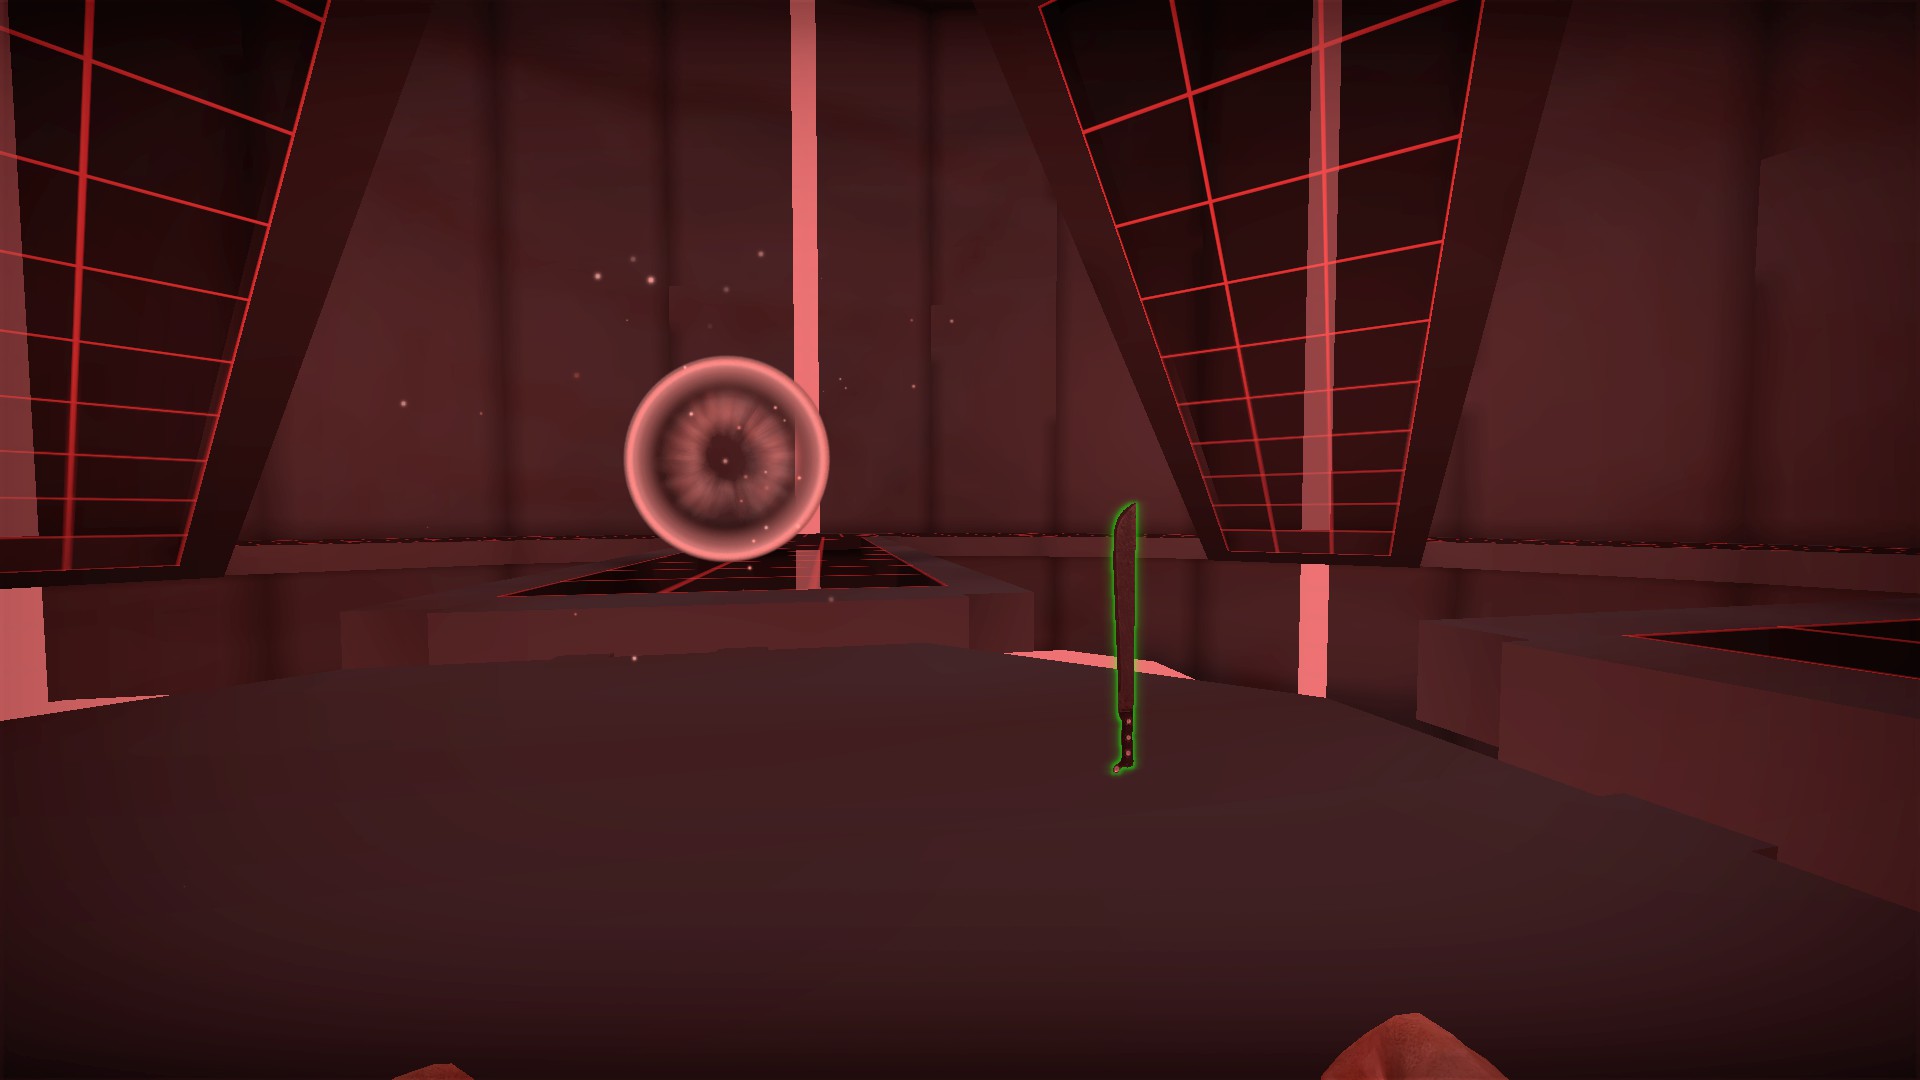
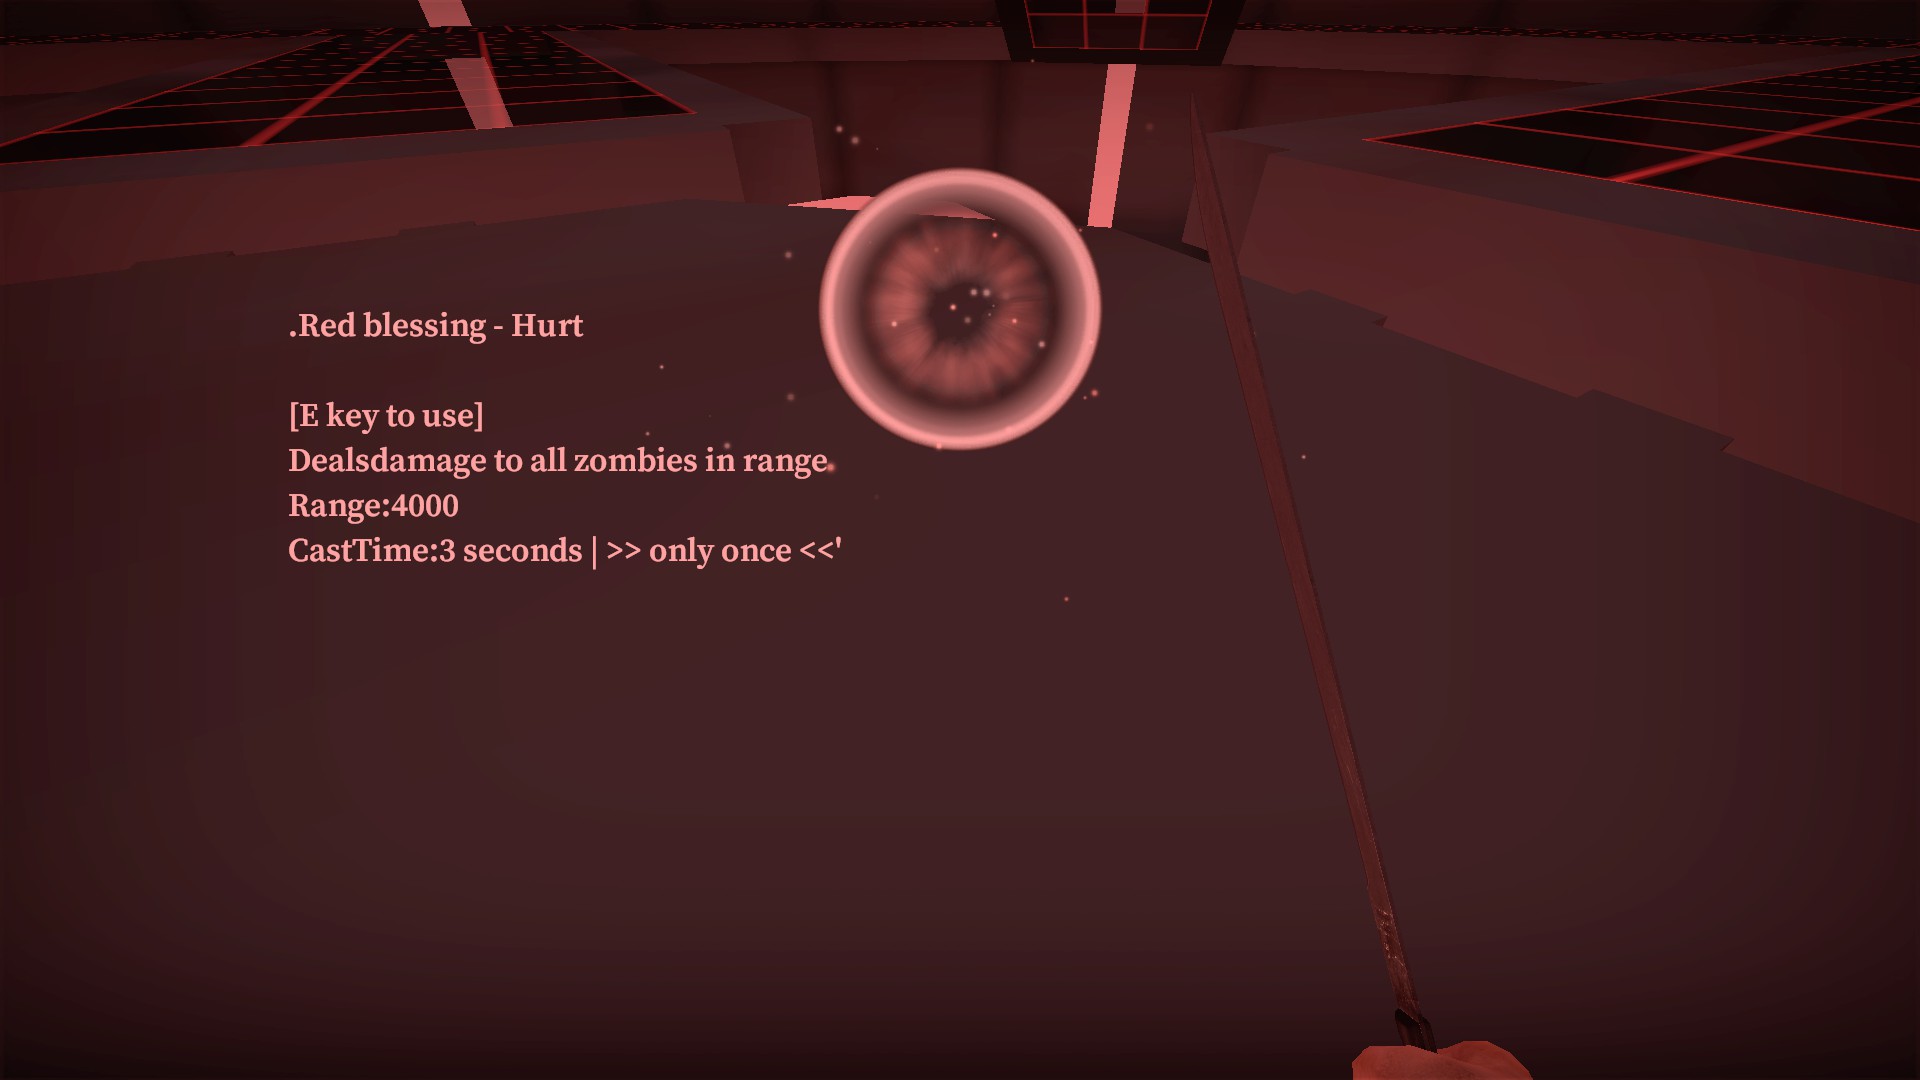
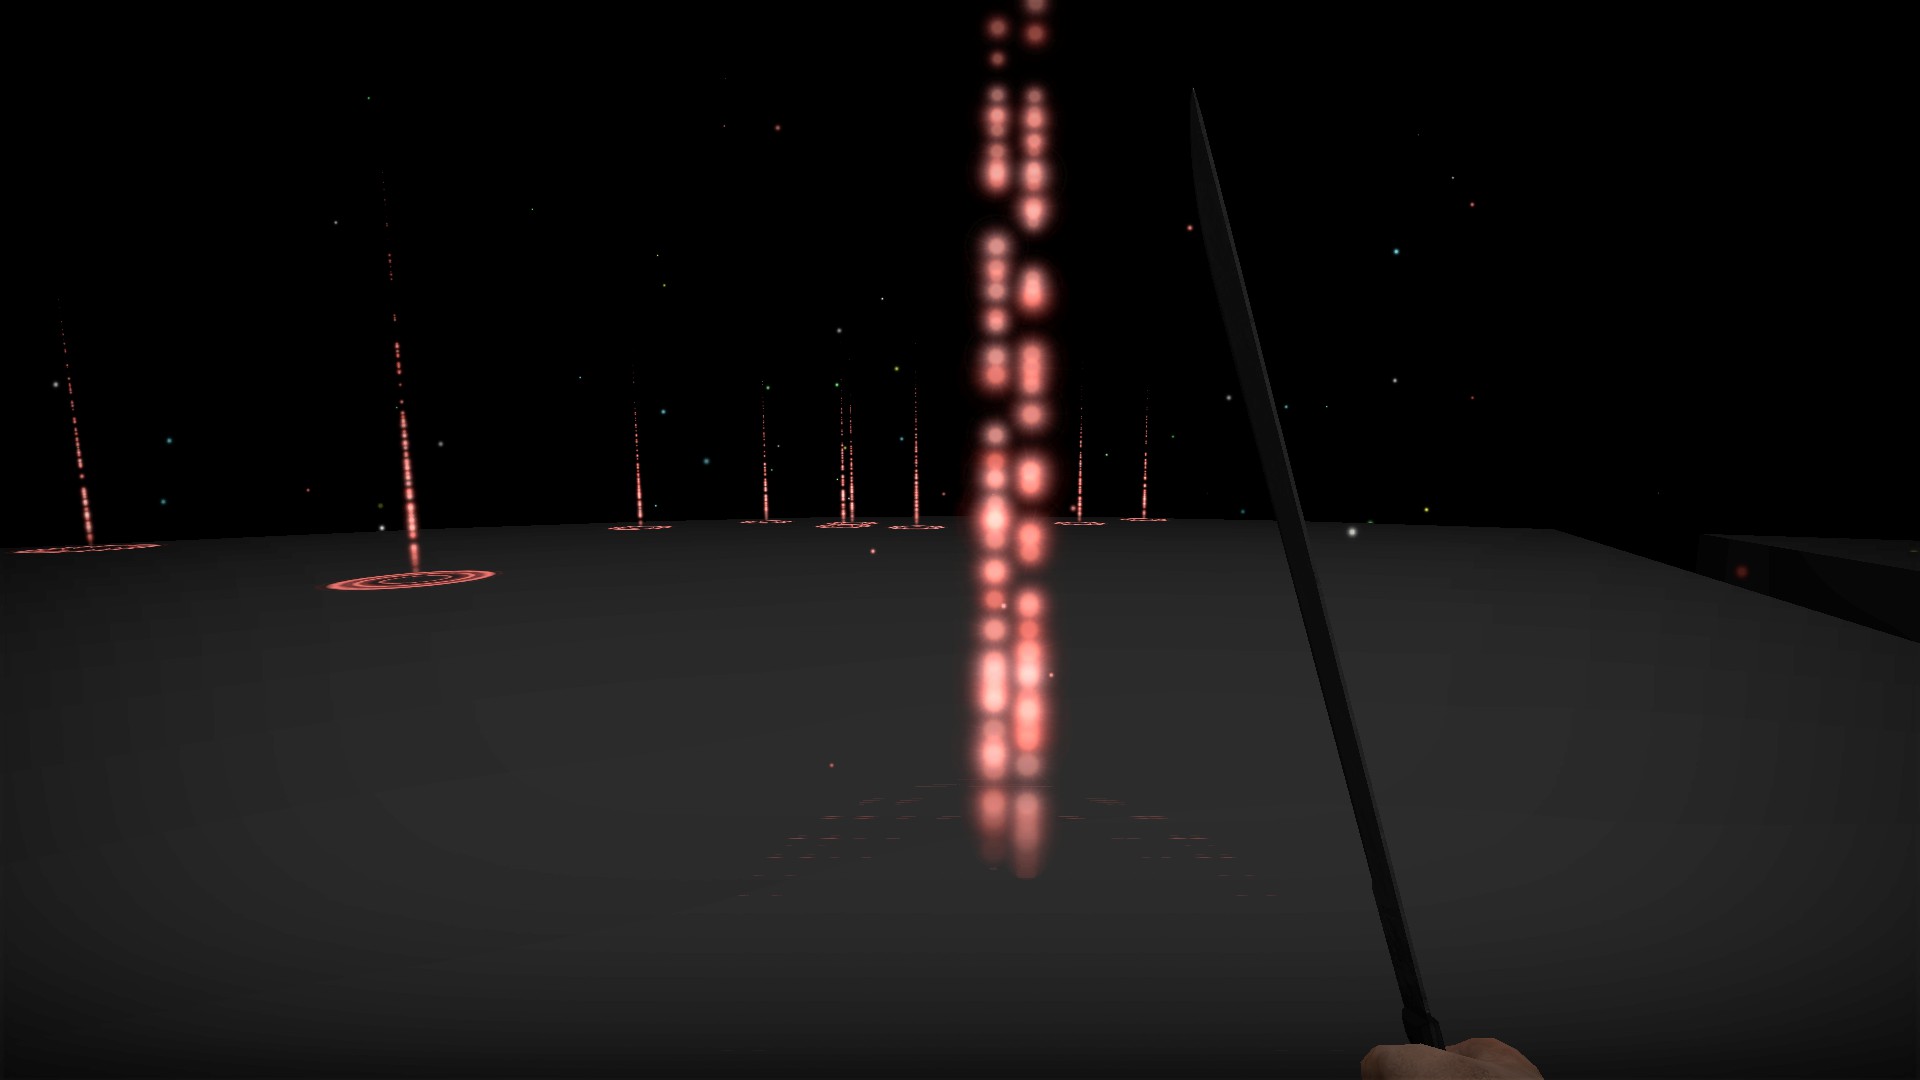
Kills all zombies in a very wide area for 3 seconds. Can only be used once White blessing (energy) machete
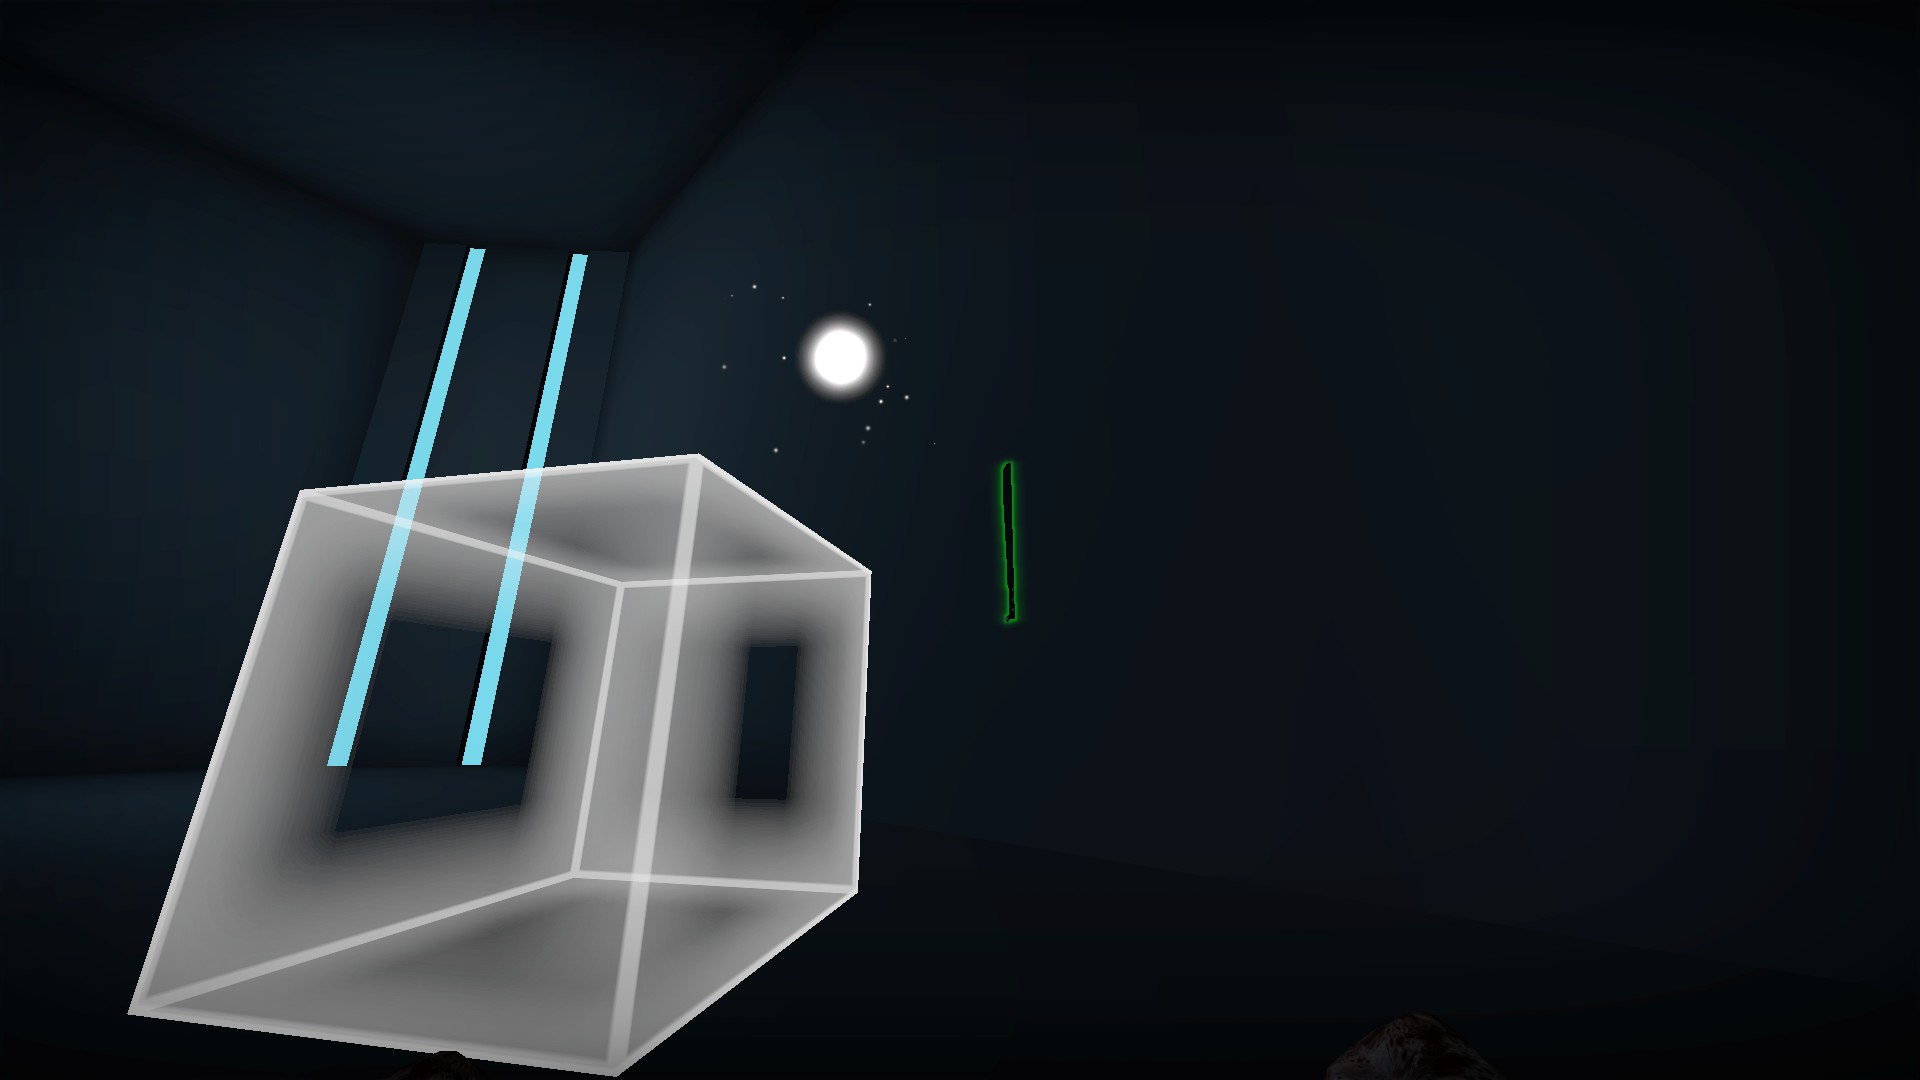
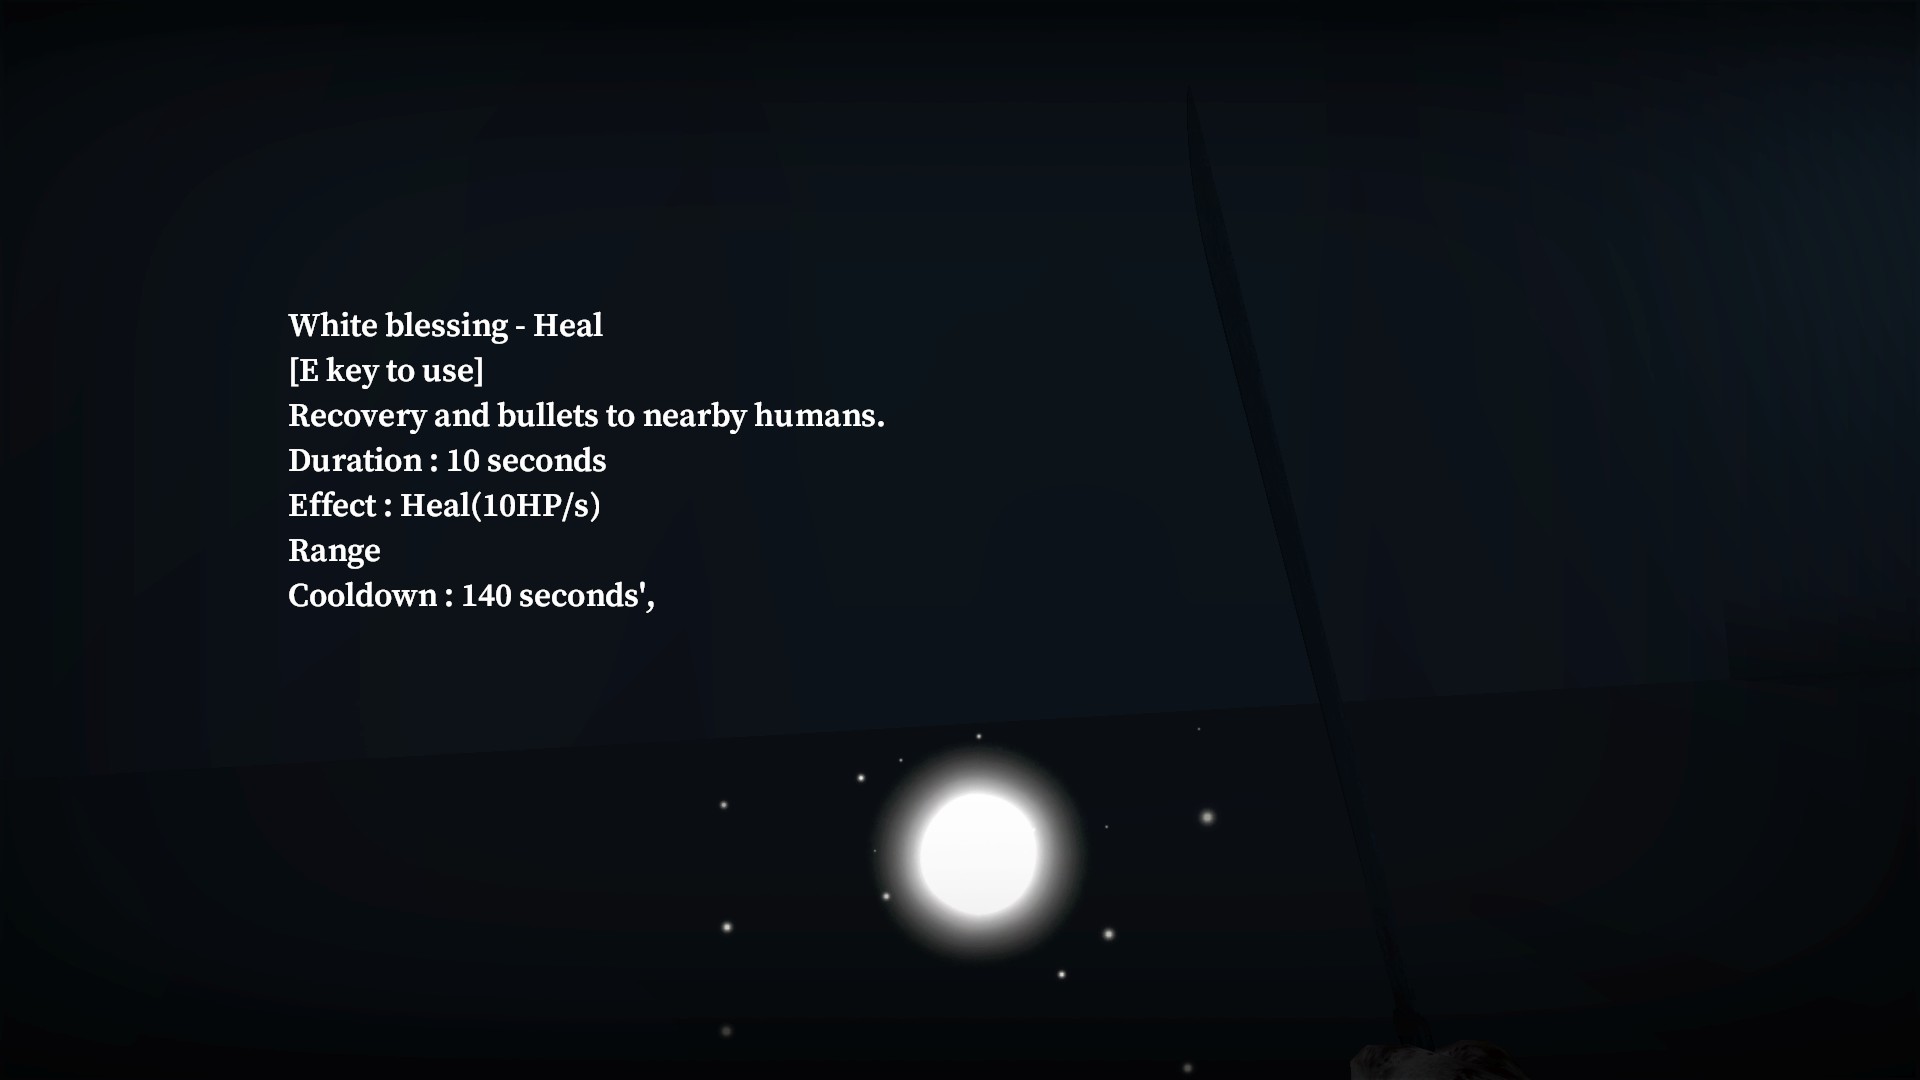

Press e to use. Heals you and nearby players in its area of effect by 10hp per second for 10 seconds up to 100hp. Does not restore bullets. The healing effect will move with you
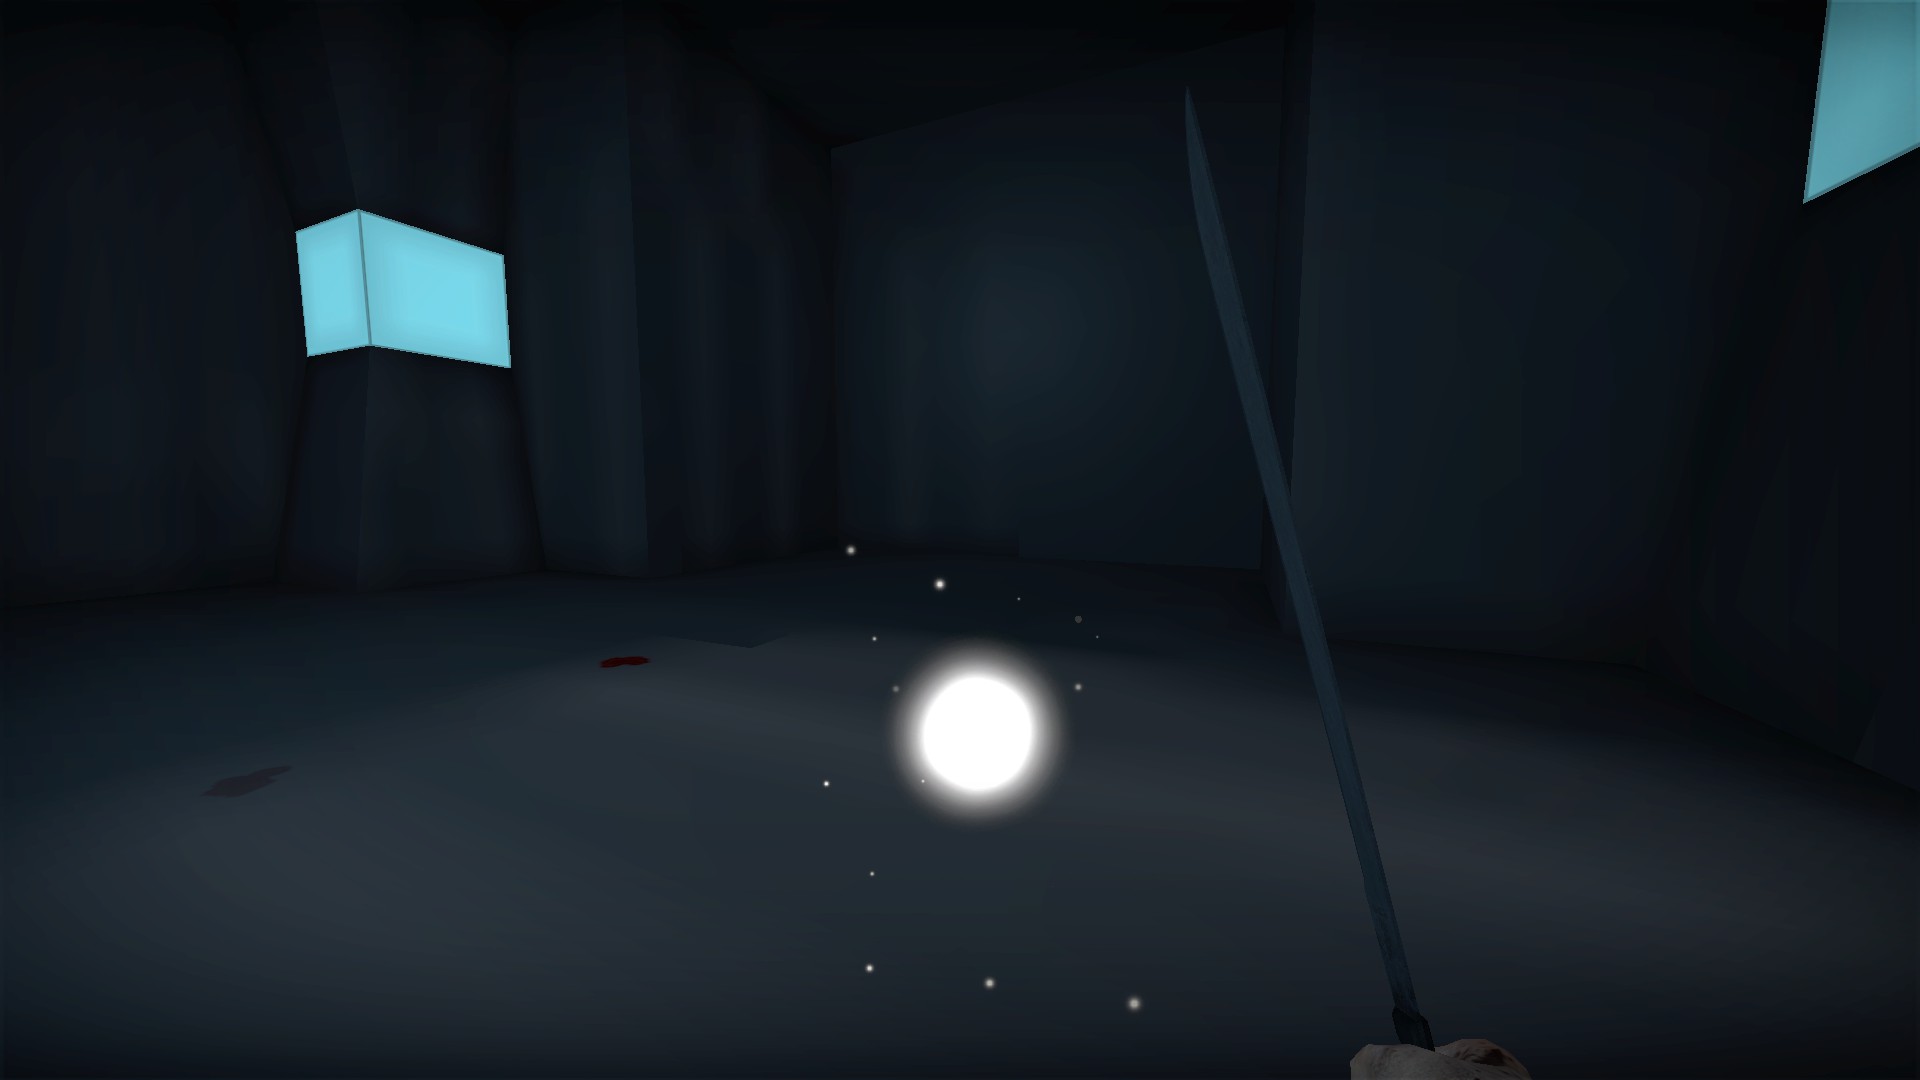
140 second recharge. When the white energy has returned, the ability is ready to be used again Blue energy machete
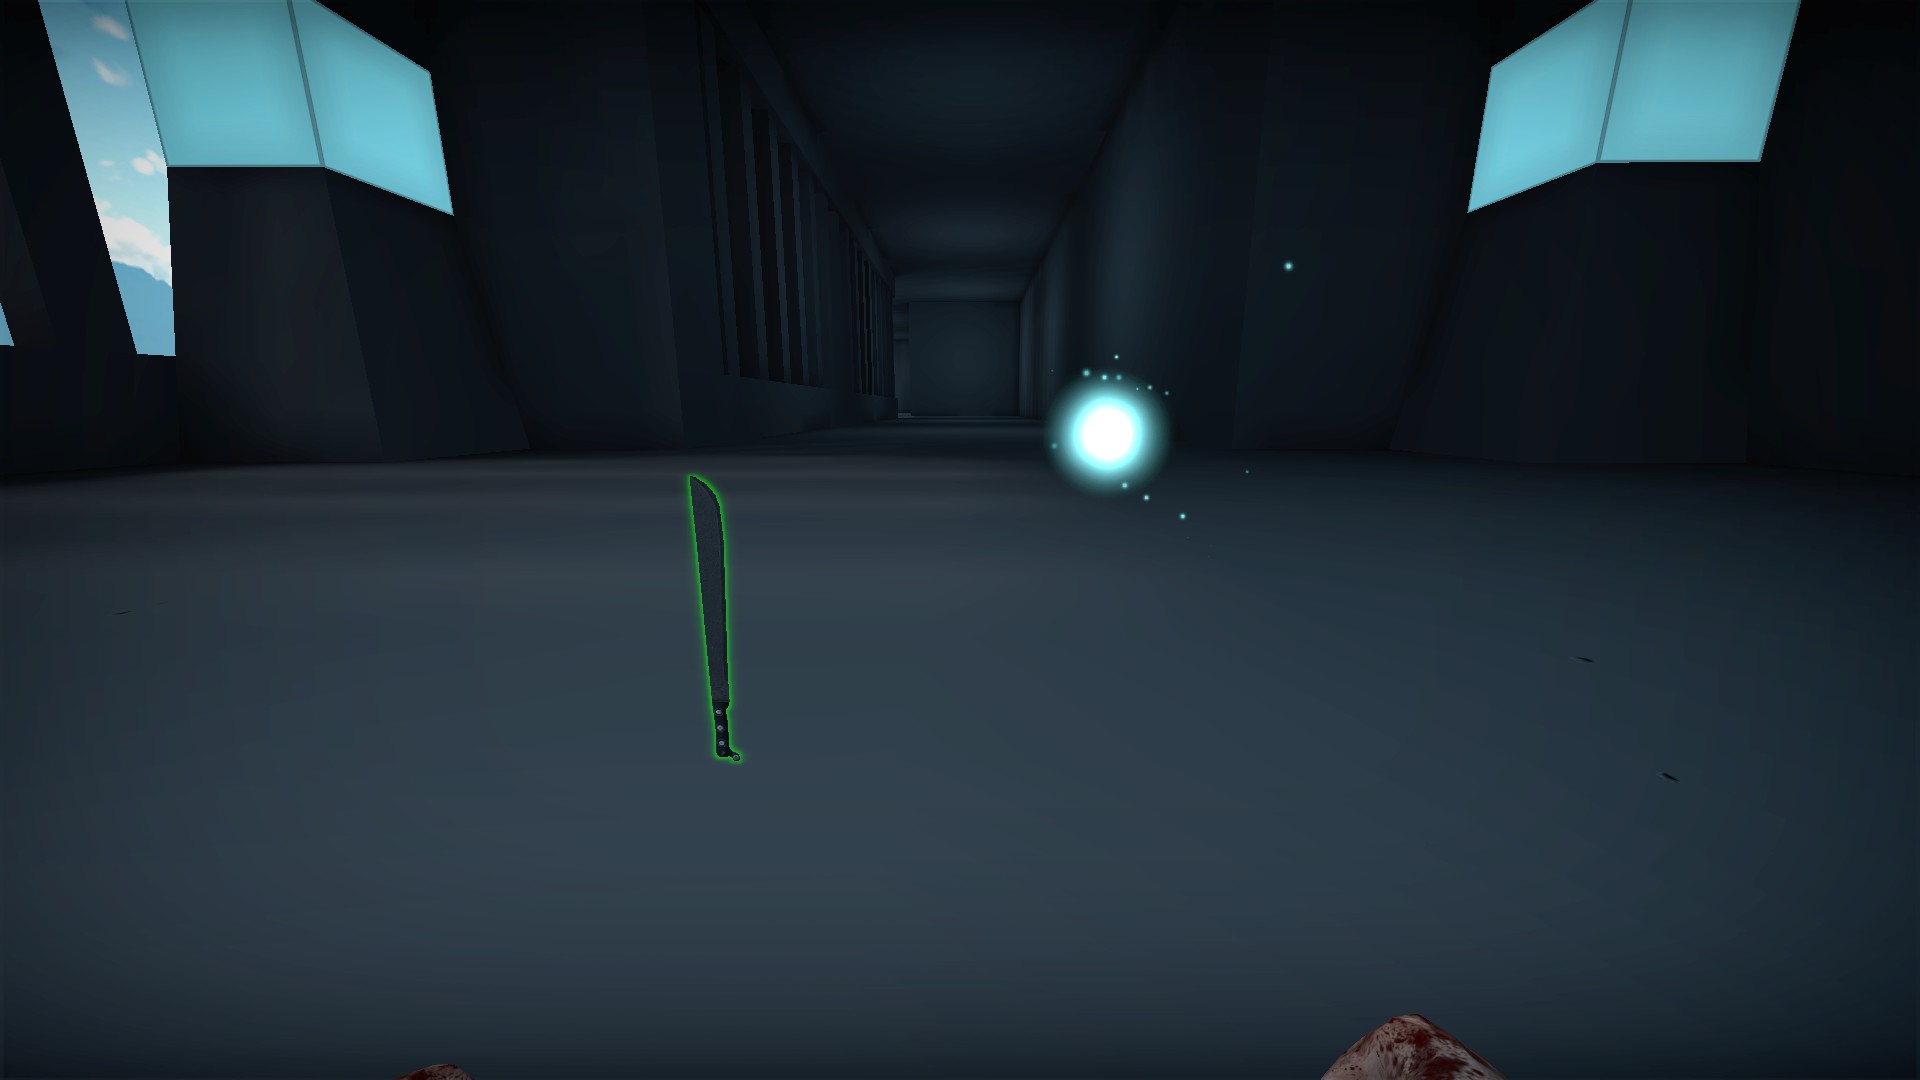
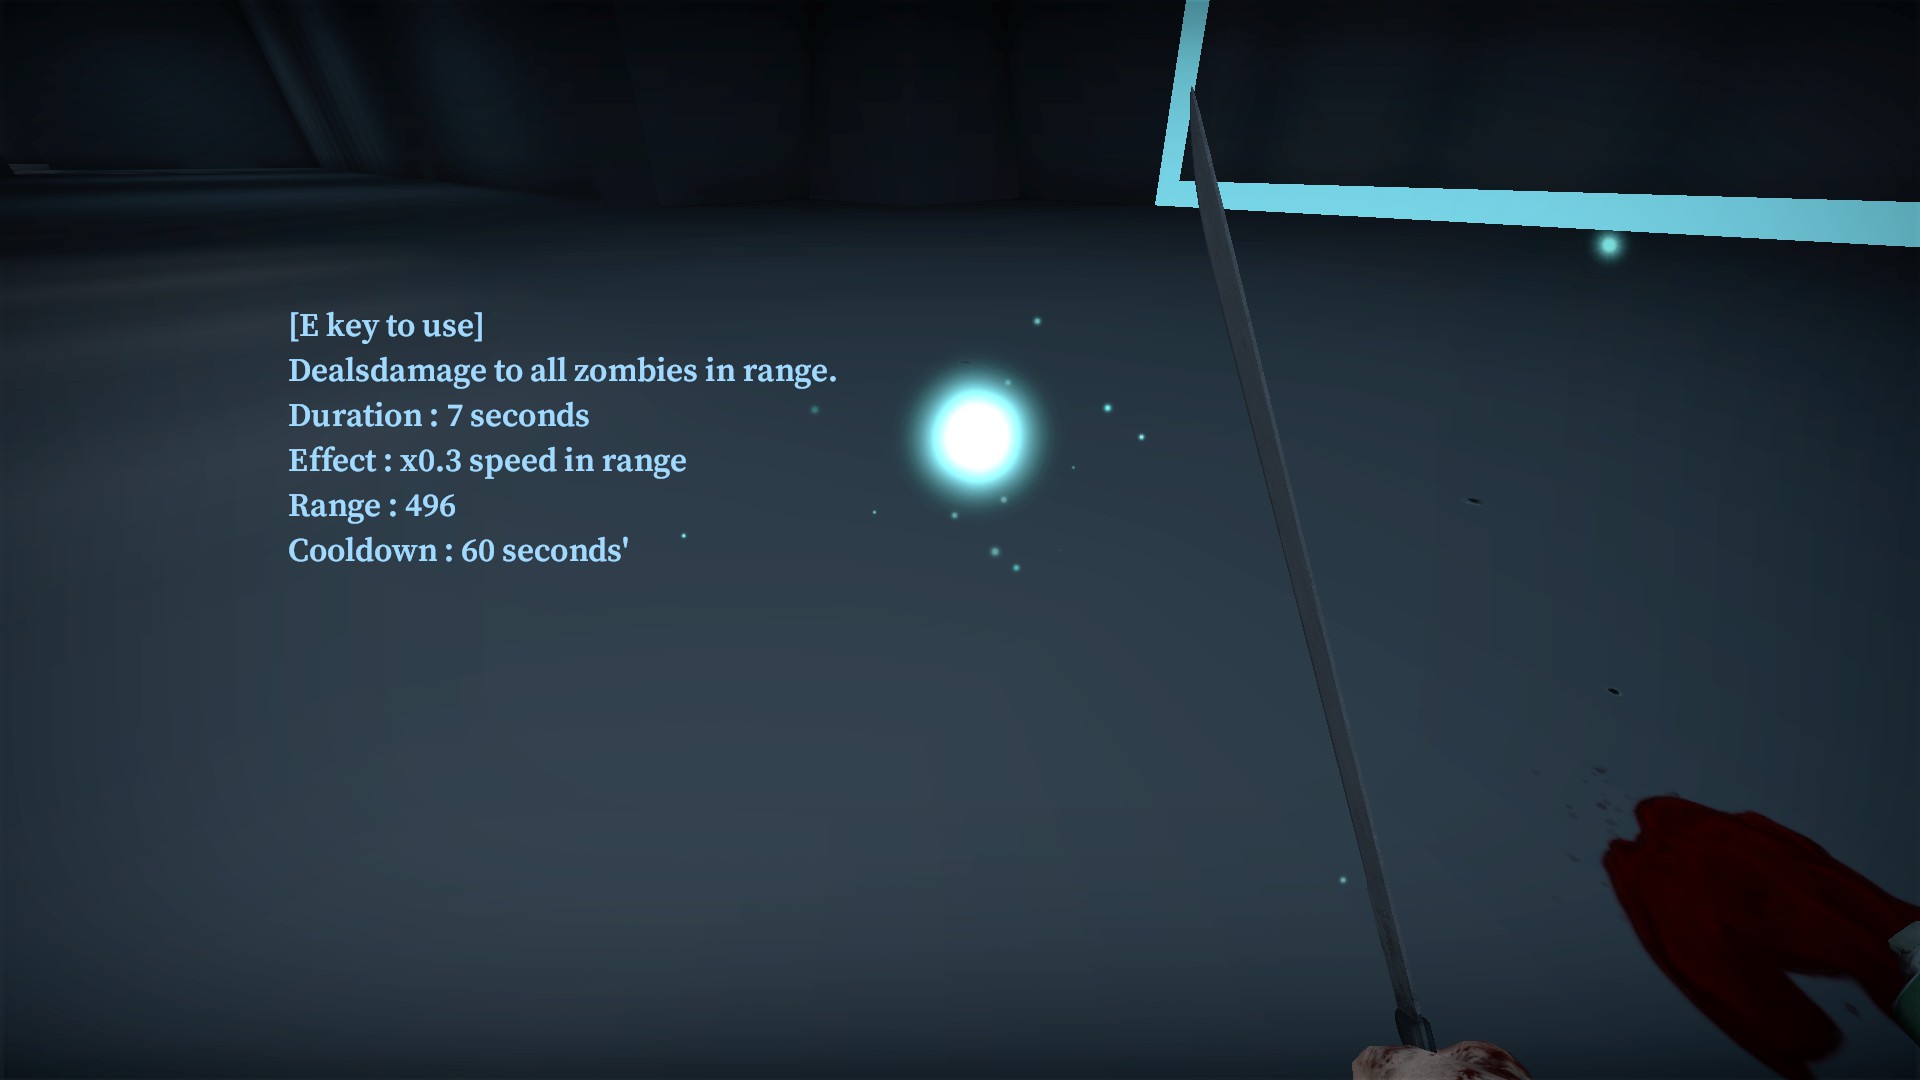
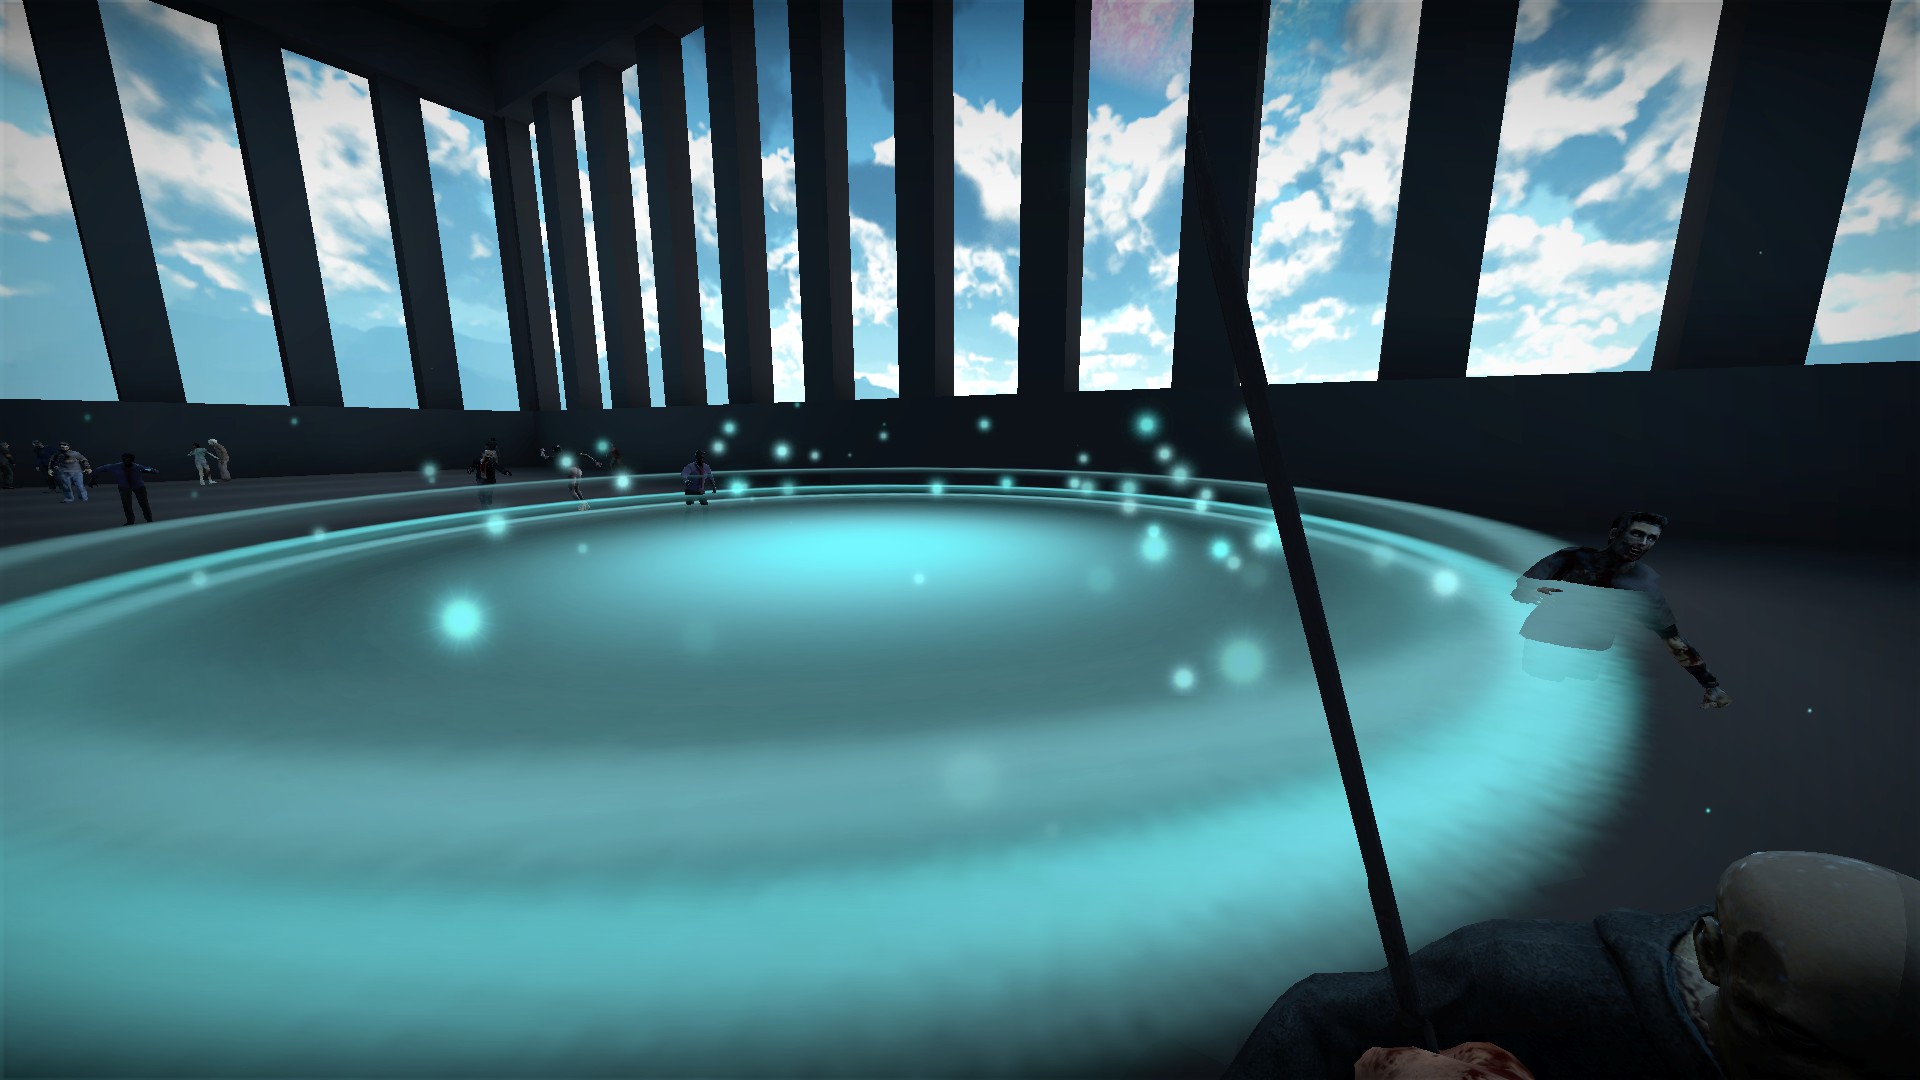
Press e to use. Creates a large blue circle area in front of you (not around you) that will slow down and damage zombies in it for 7 seconds. The area of effect will not move with you
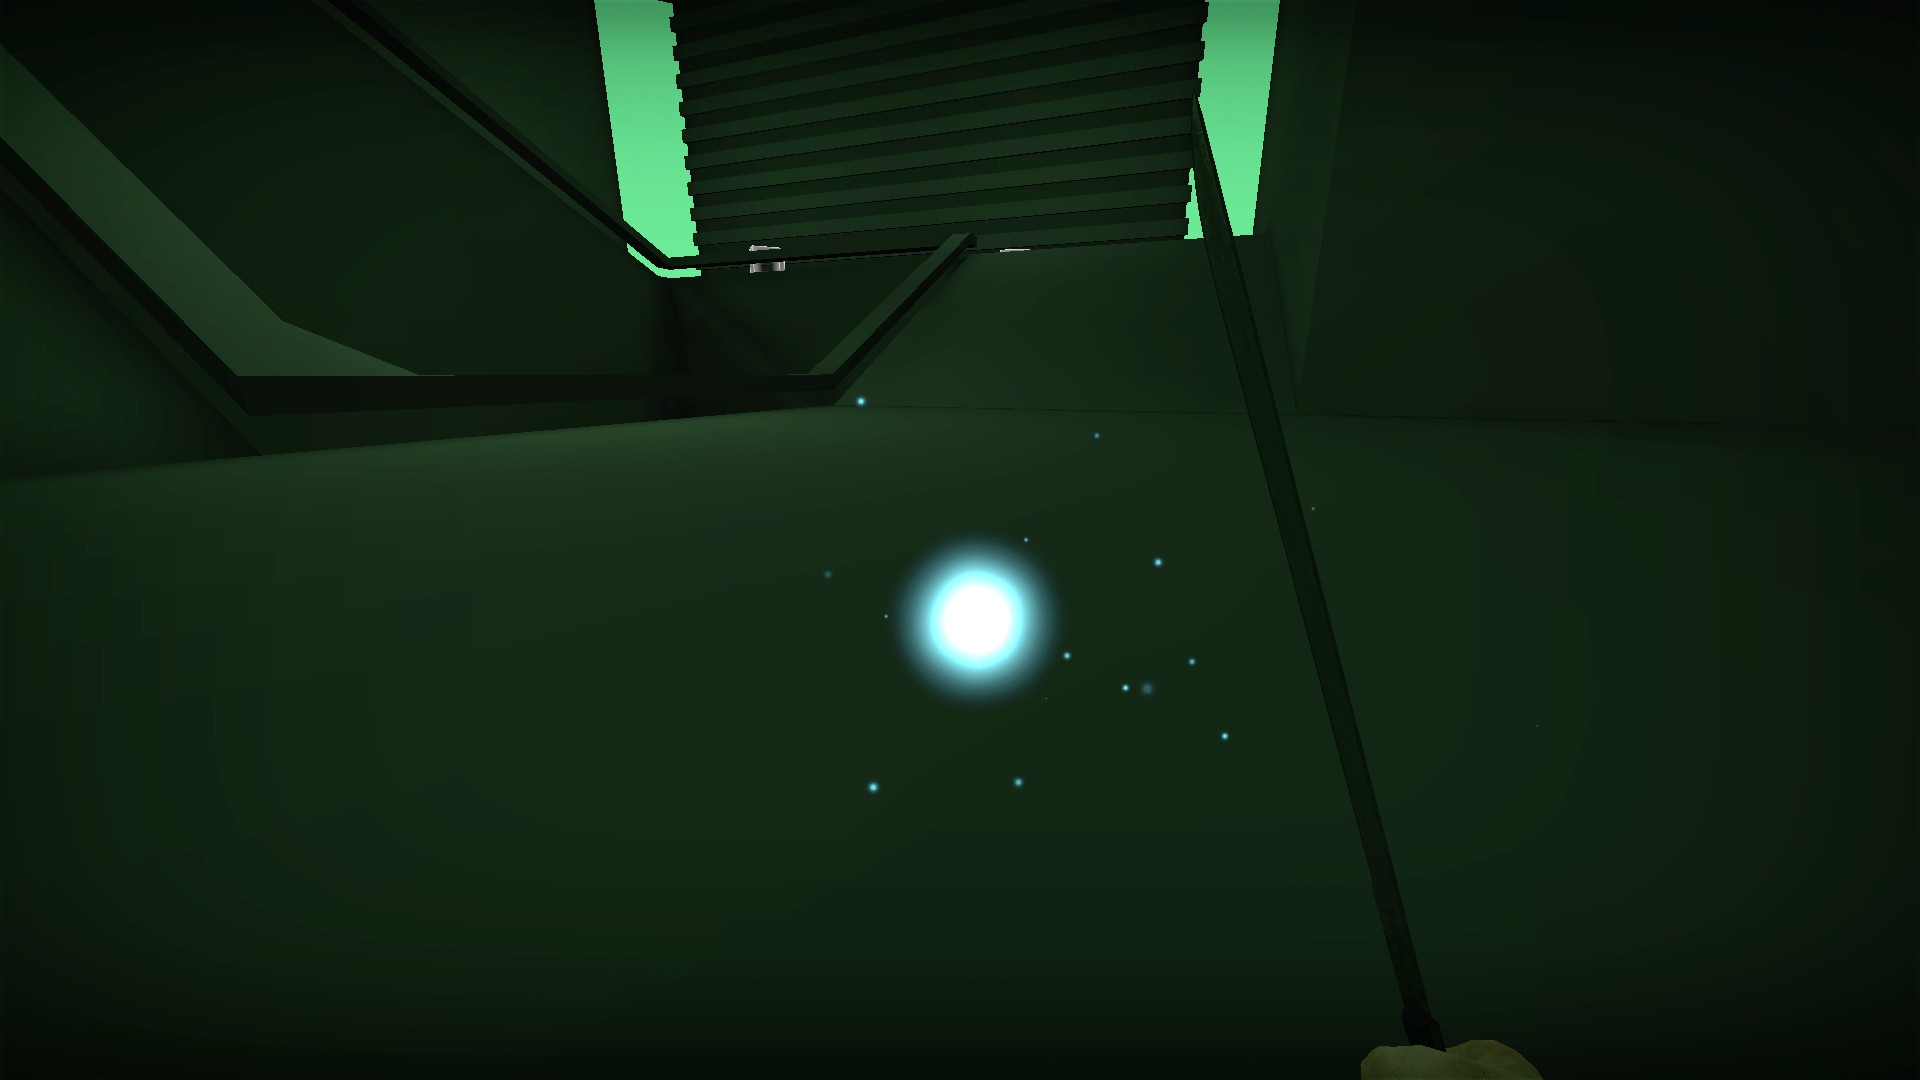
60 second recharge. When the blue energy has returned, the ability is ready to be used again Green energy machete
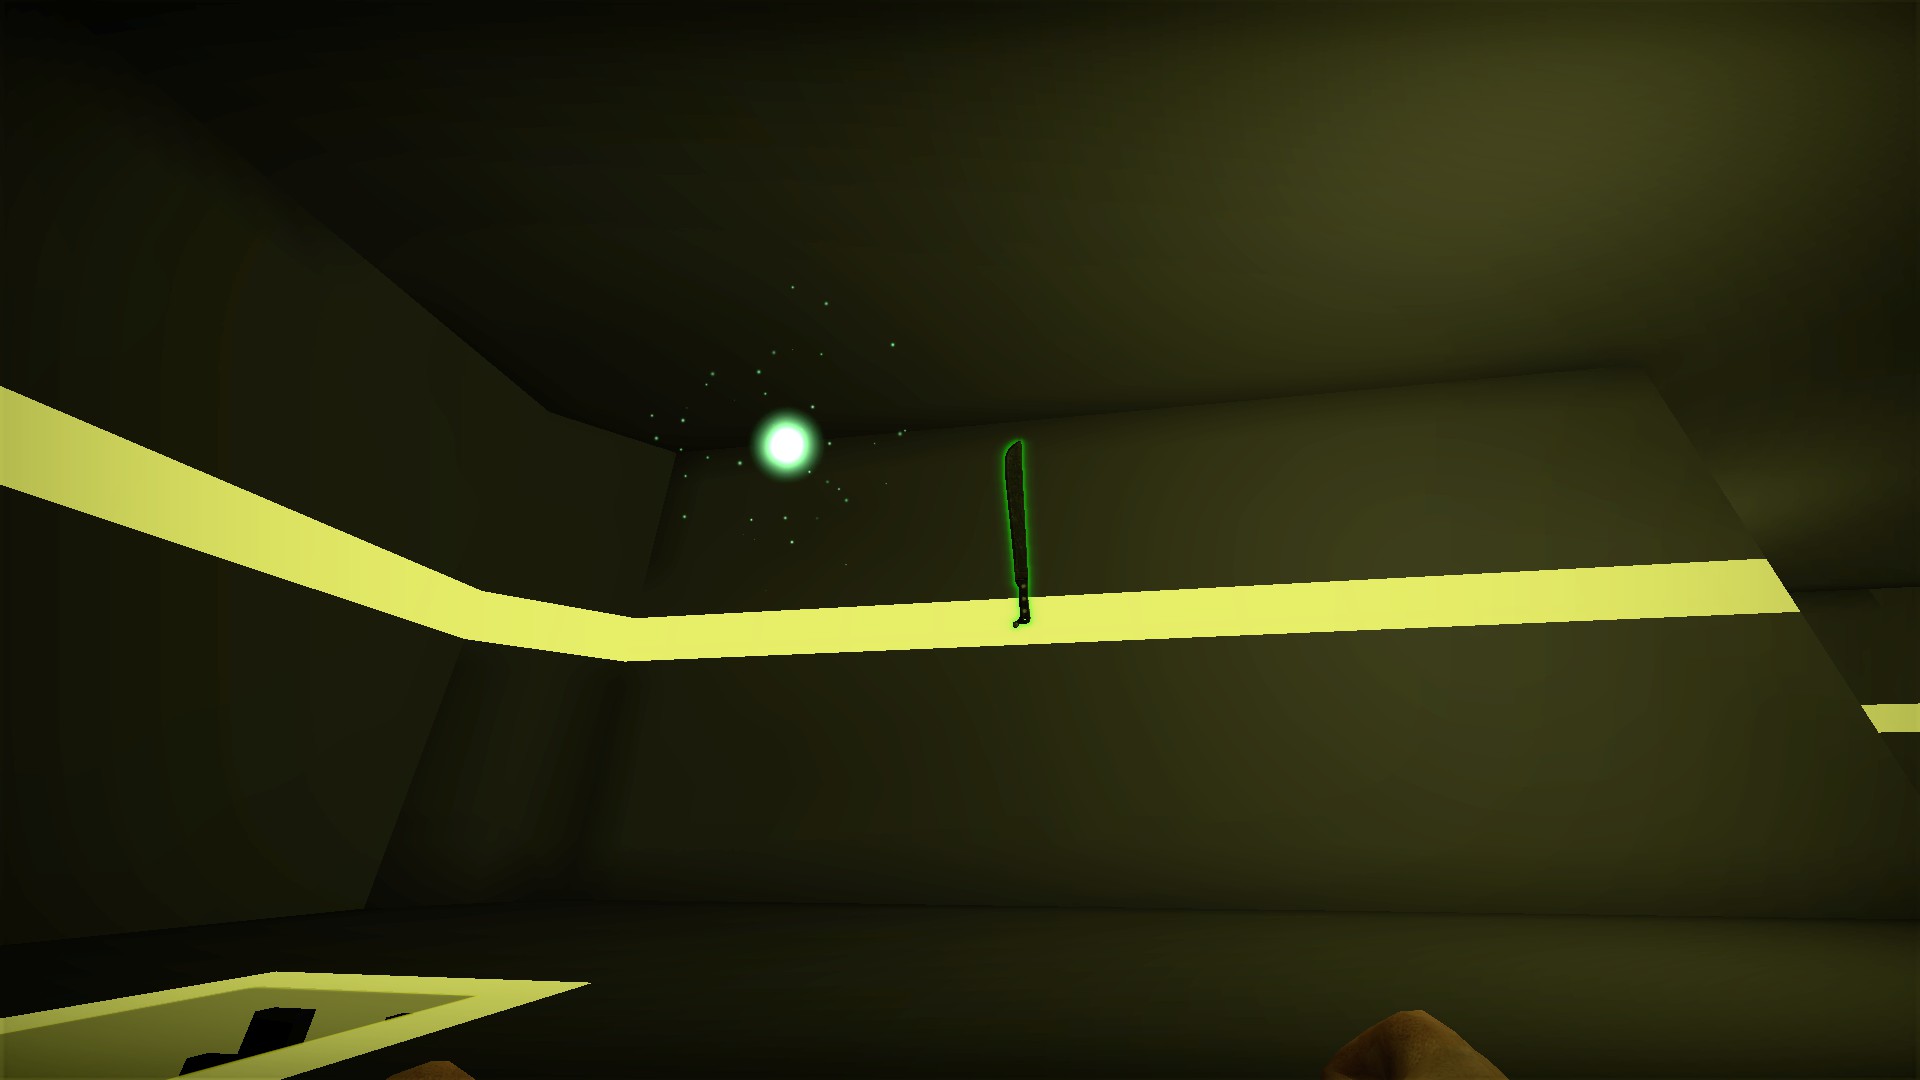
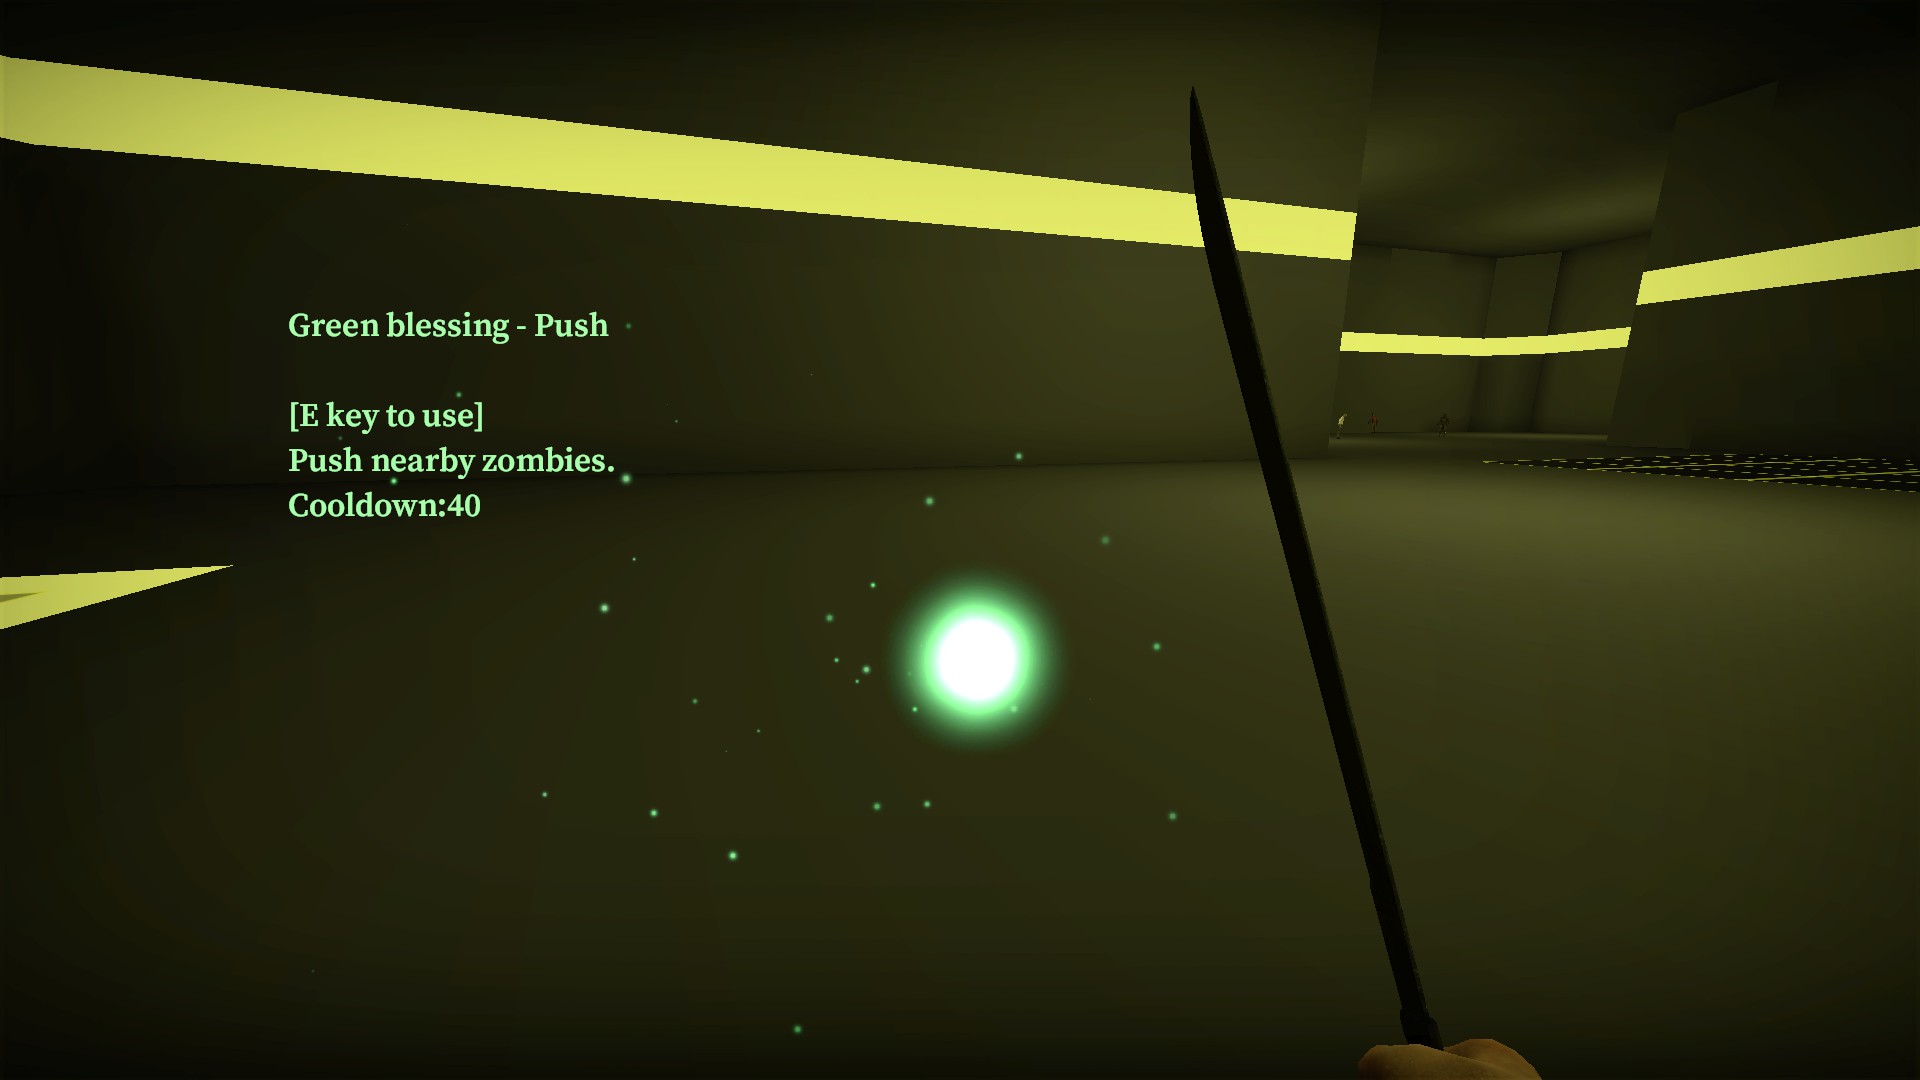
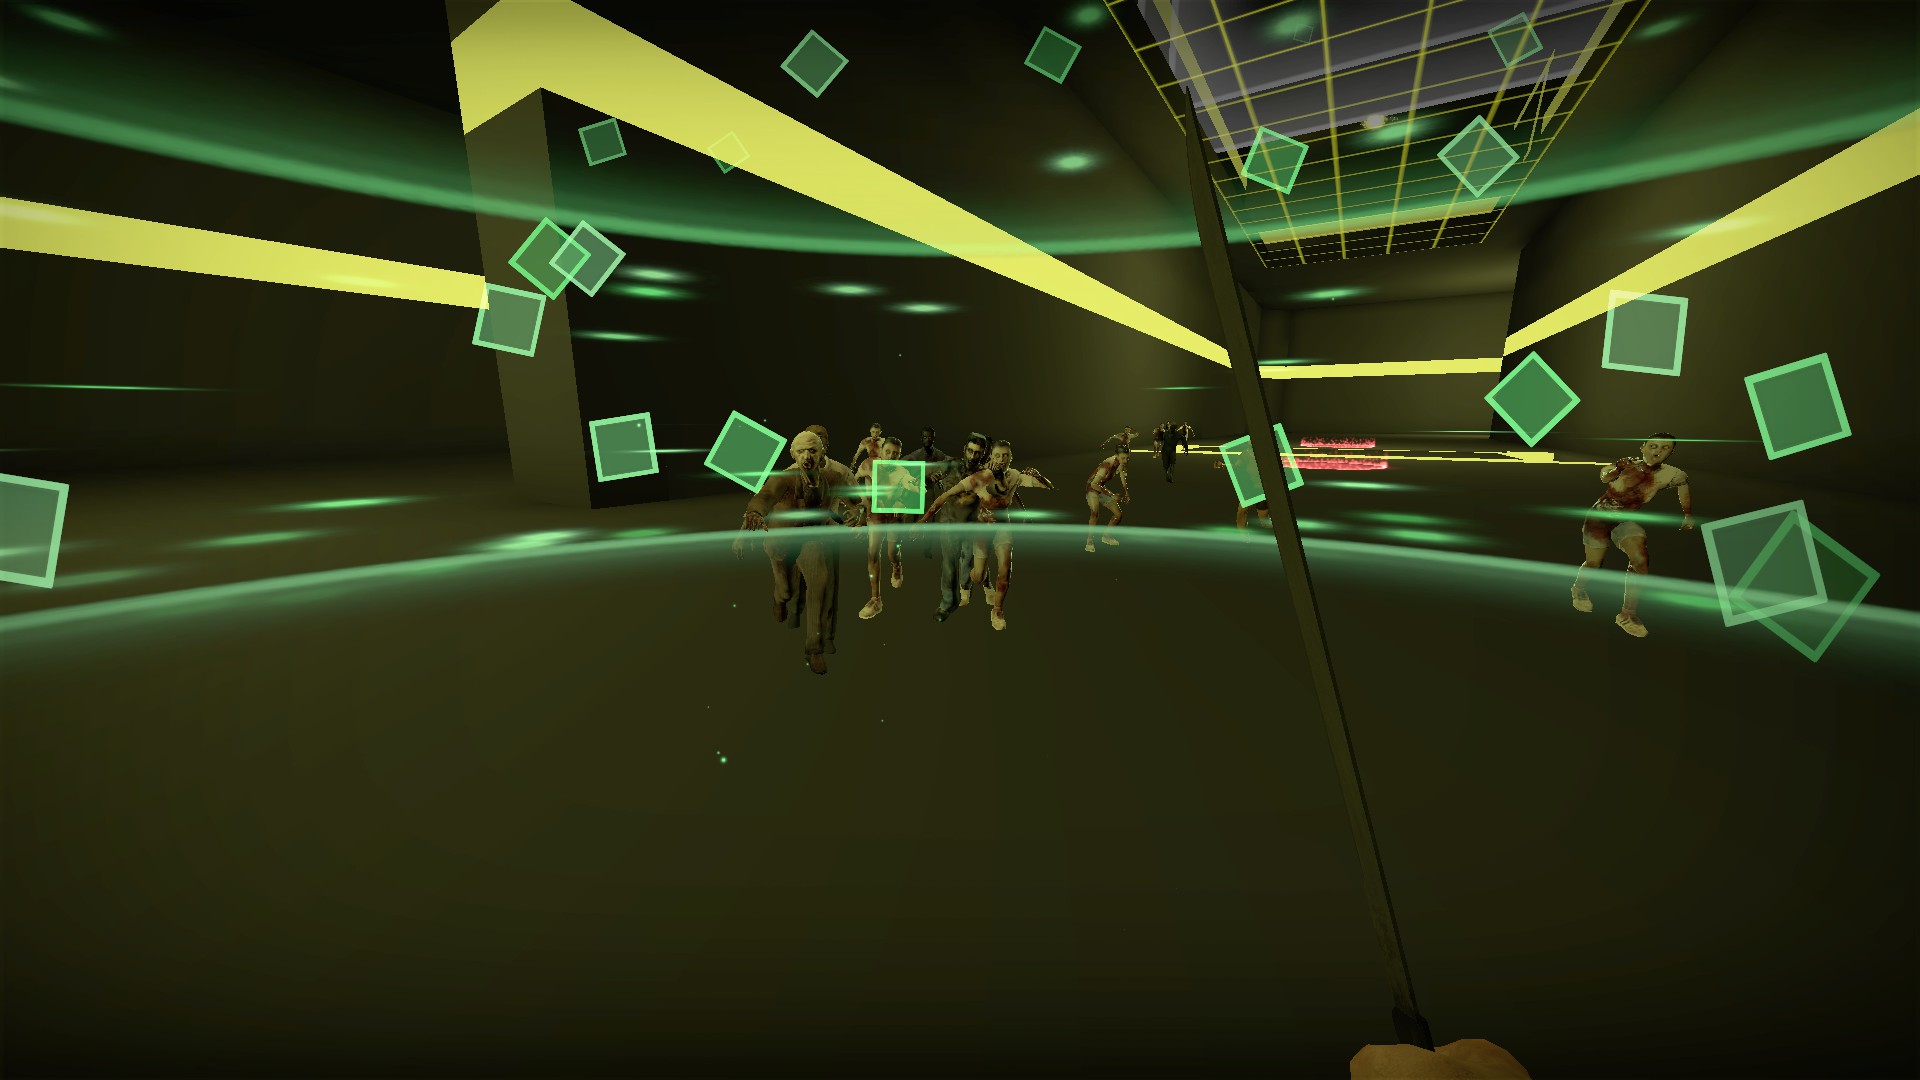
Creates a defensive circle for 8 seconds around you. Zombies will be pushed outside the circle and cannot enter. The effect will move with you
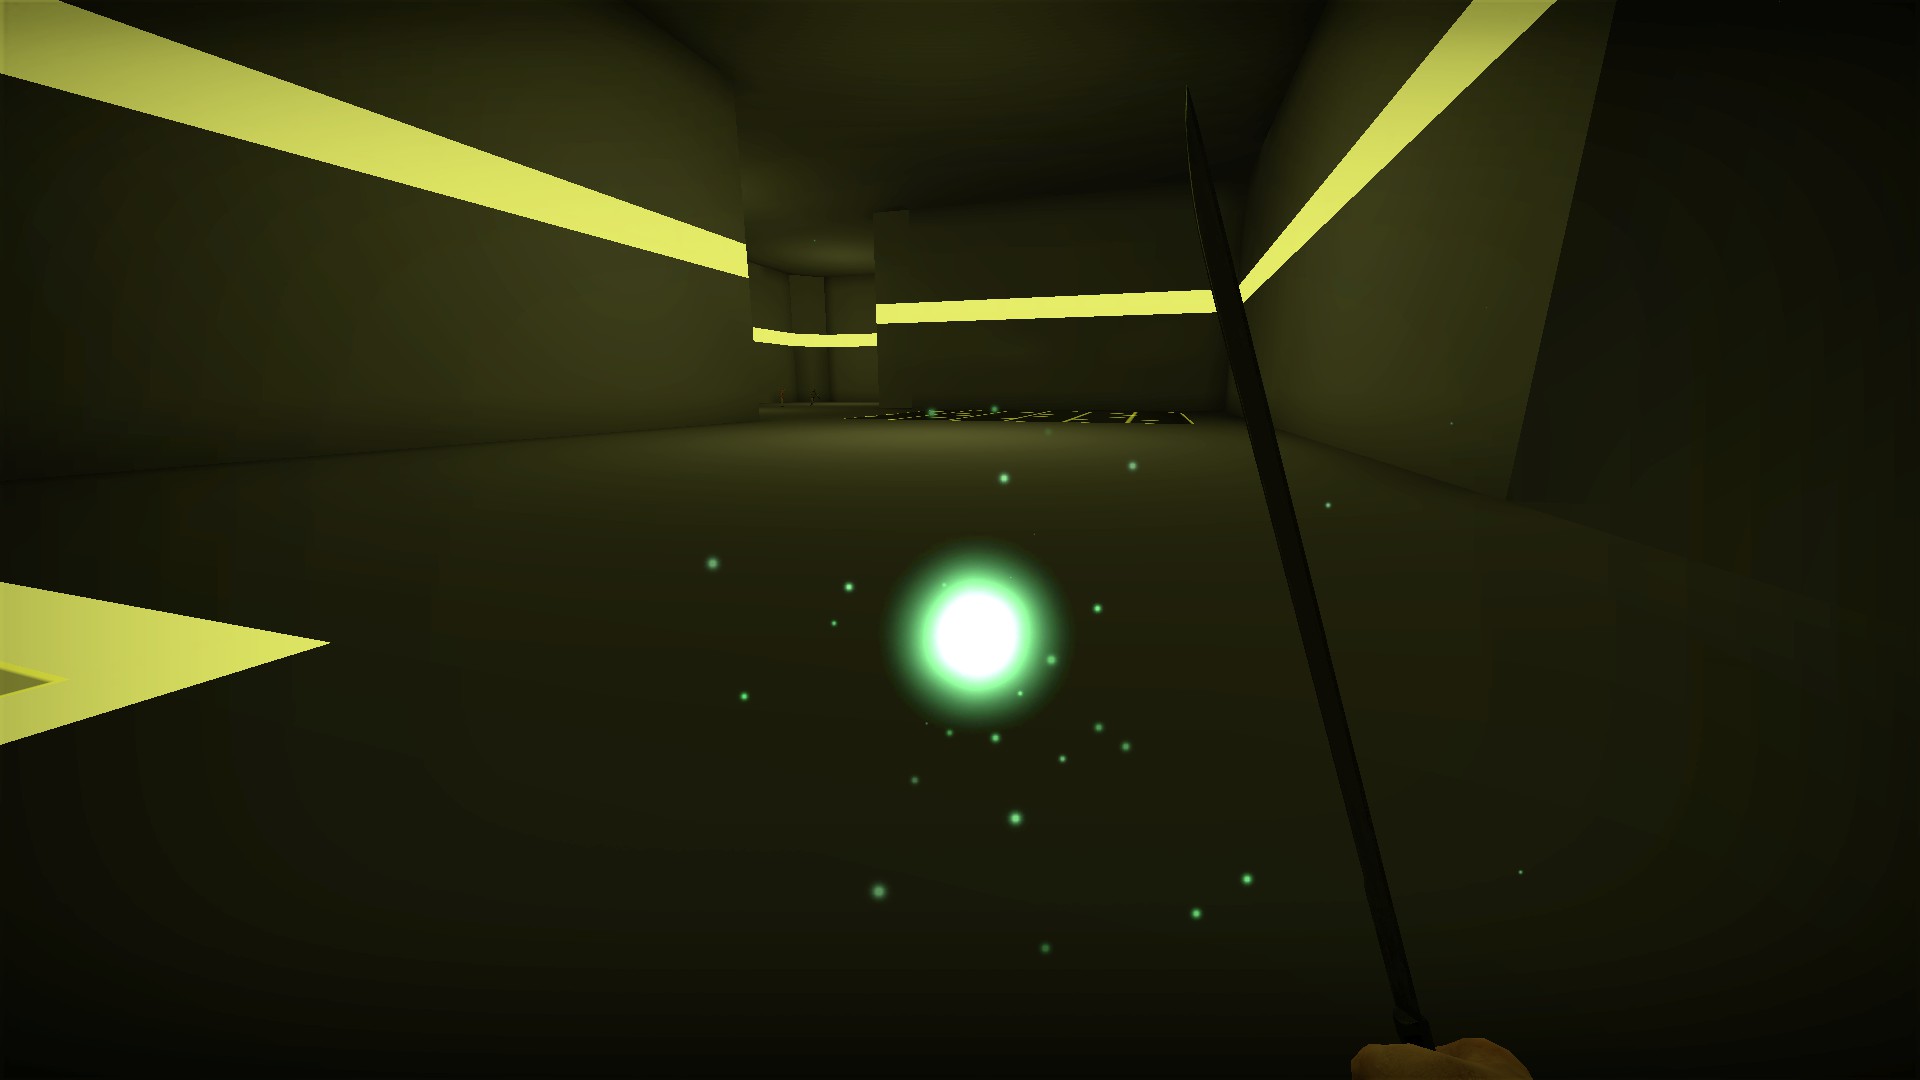
40 second recharge. When the green energy has returned, the ability is ready to be used again
nmo_endless_dream_v4 (continued)
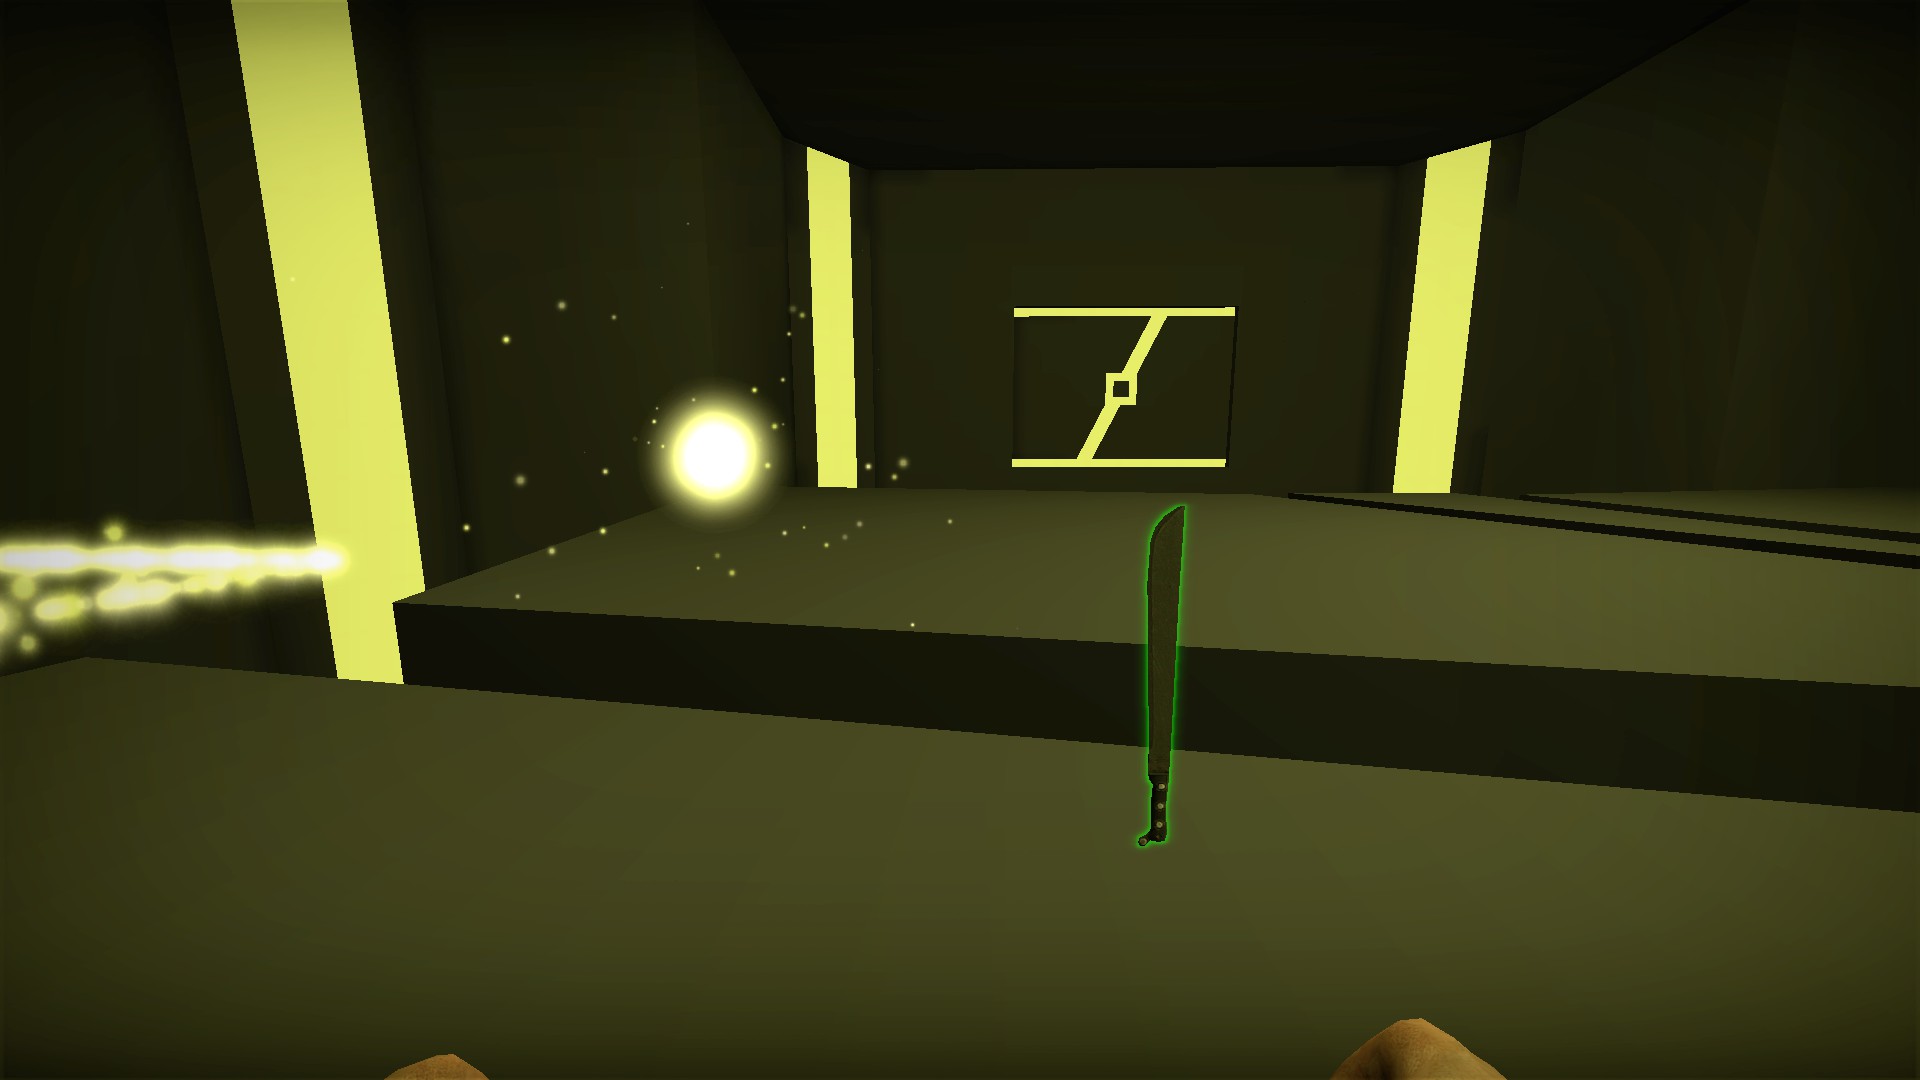
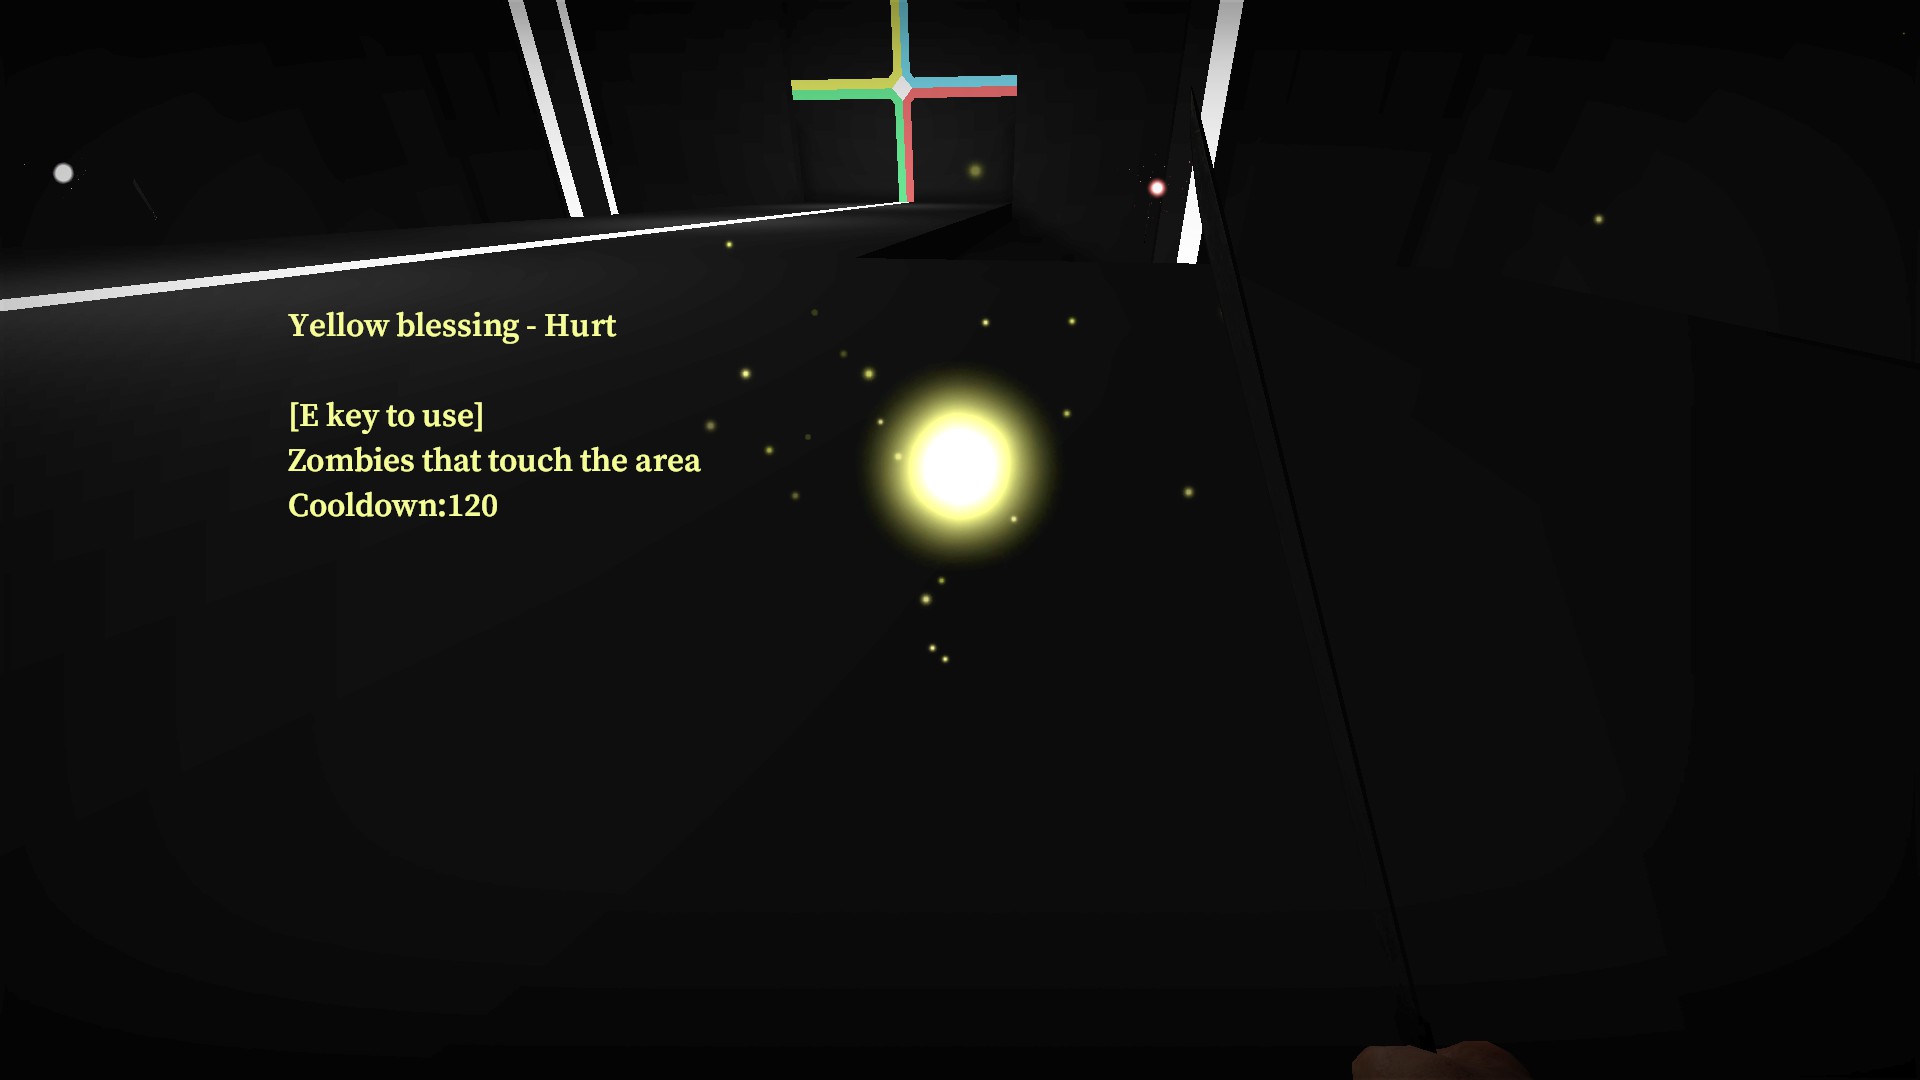
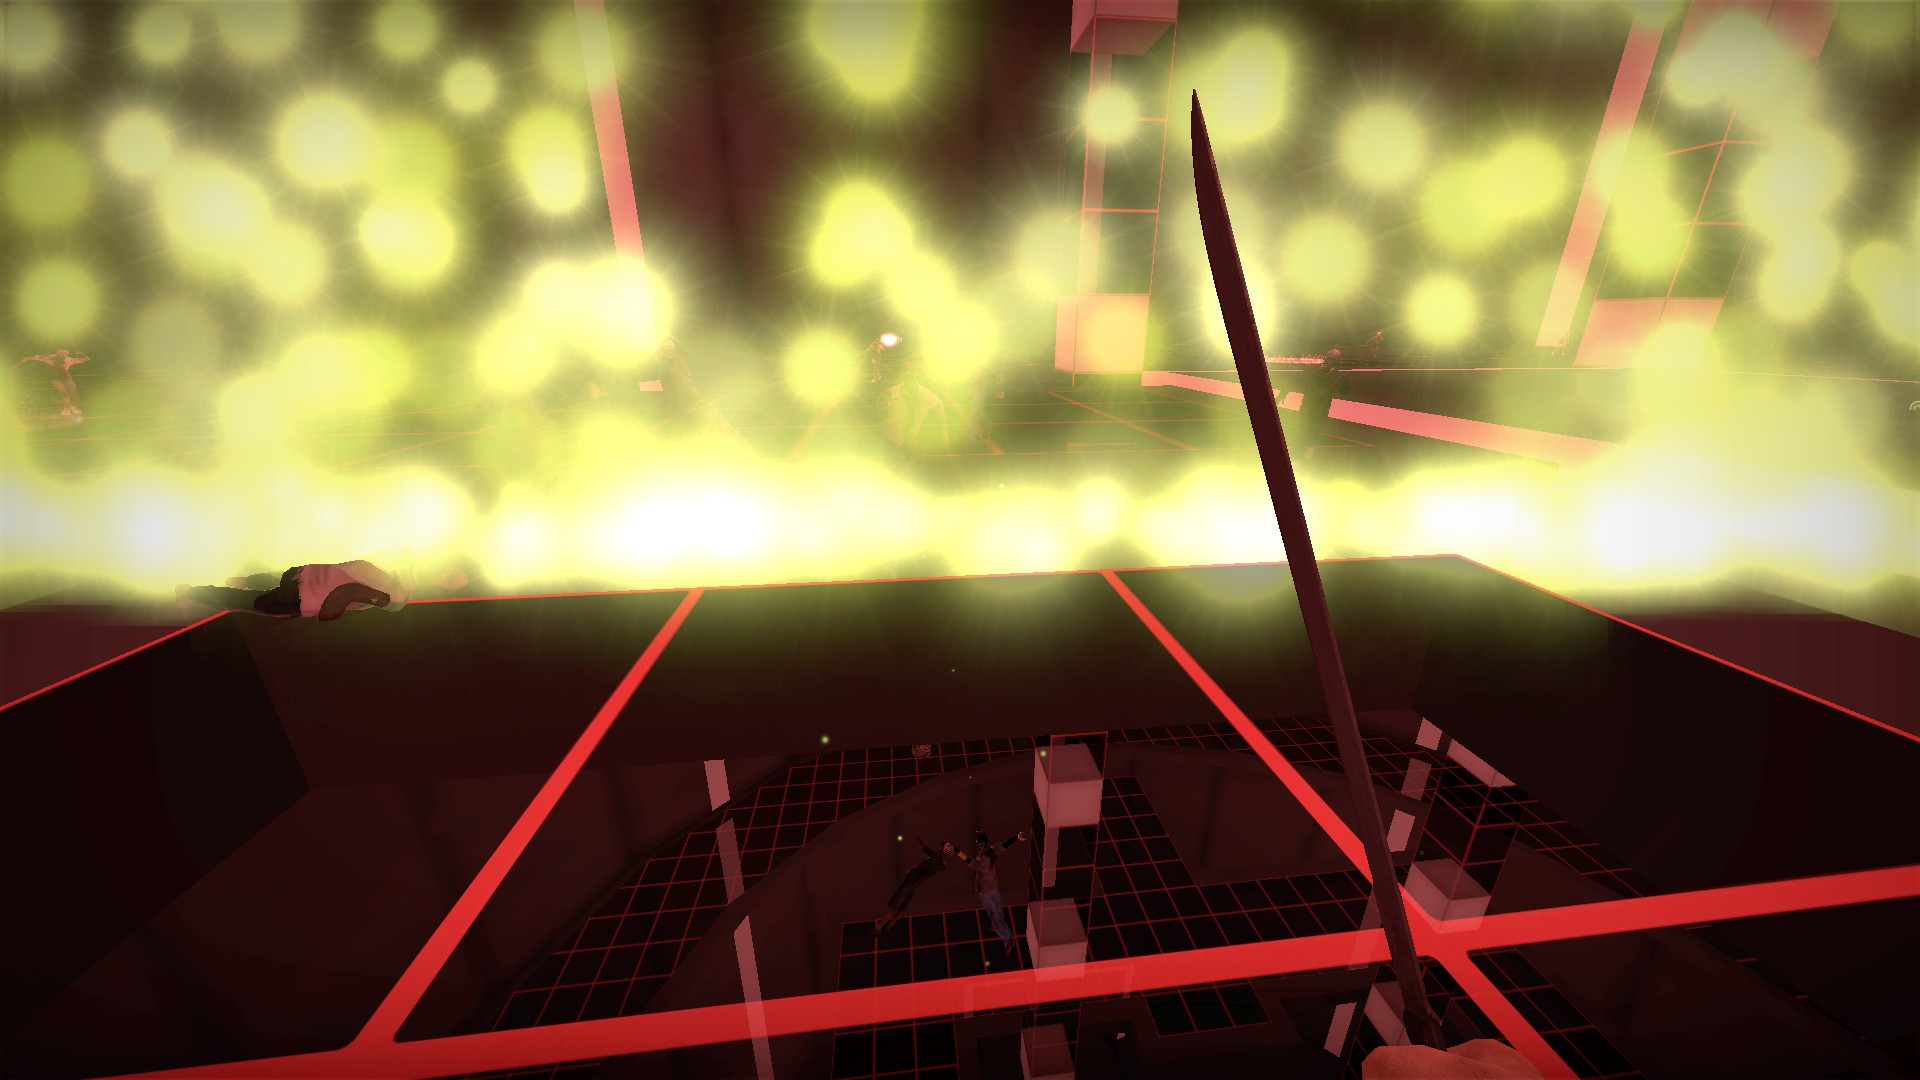
Creates a large wall in front of you for 10 seconds. Zombies that contact the wall will be killed

2 minute recharge. When the yellow energy has returned, the ability is ready to be used again
Red energy machete
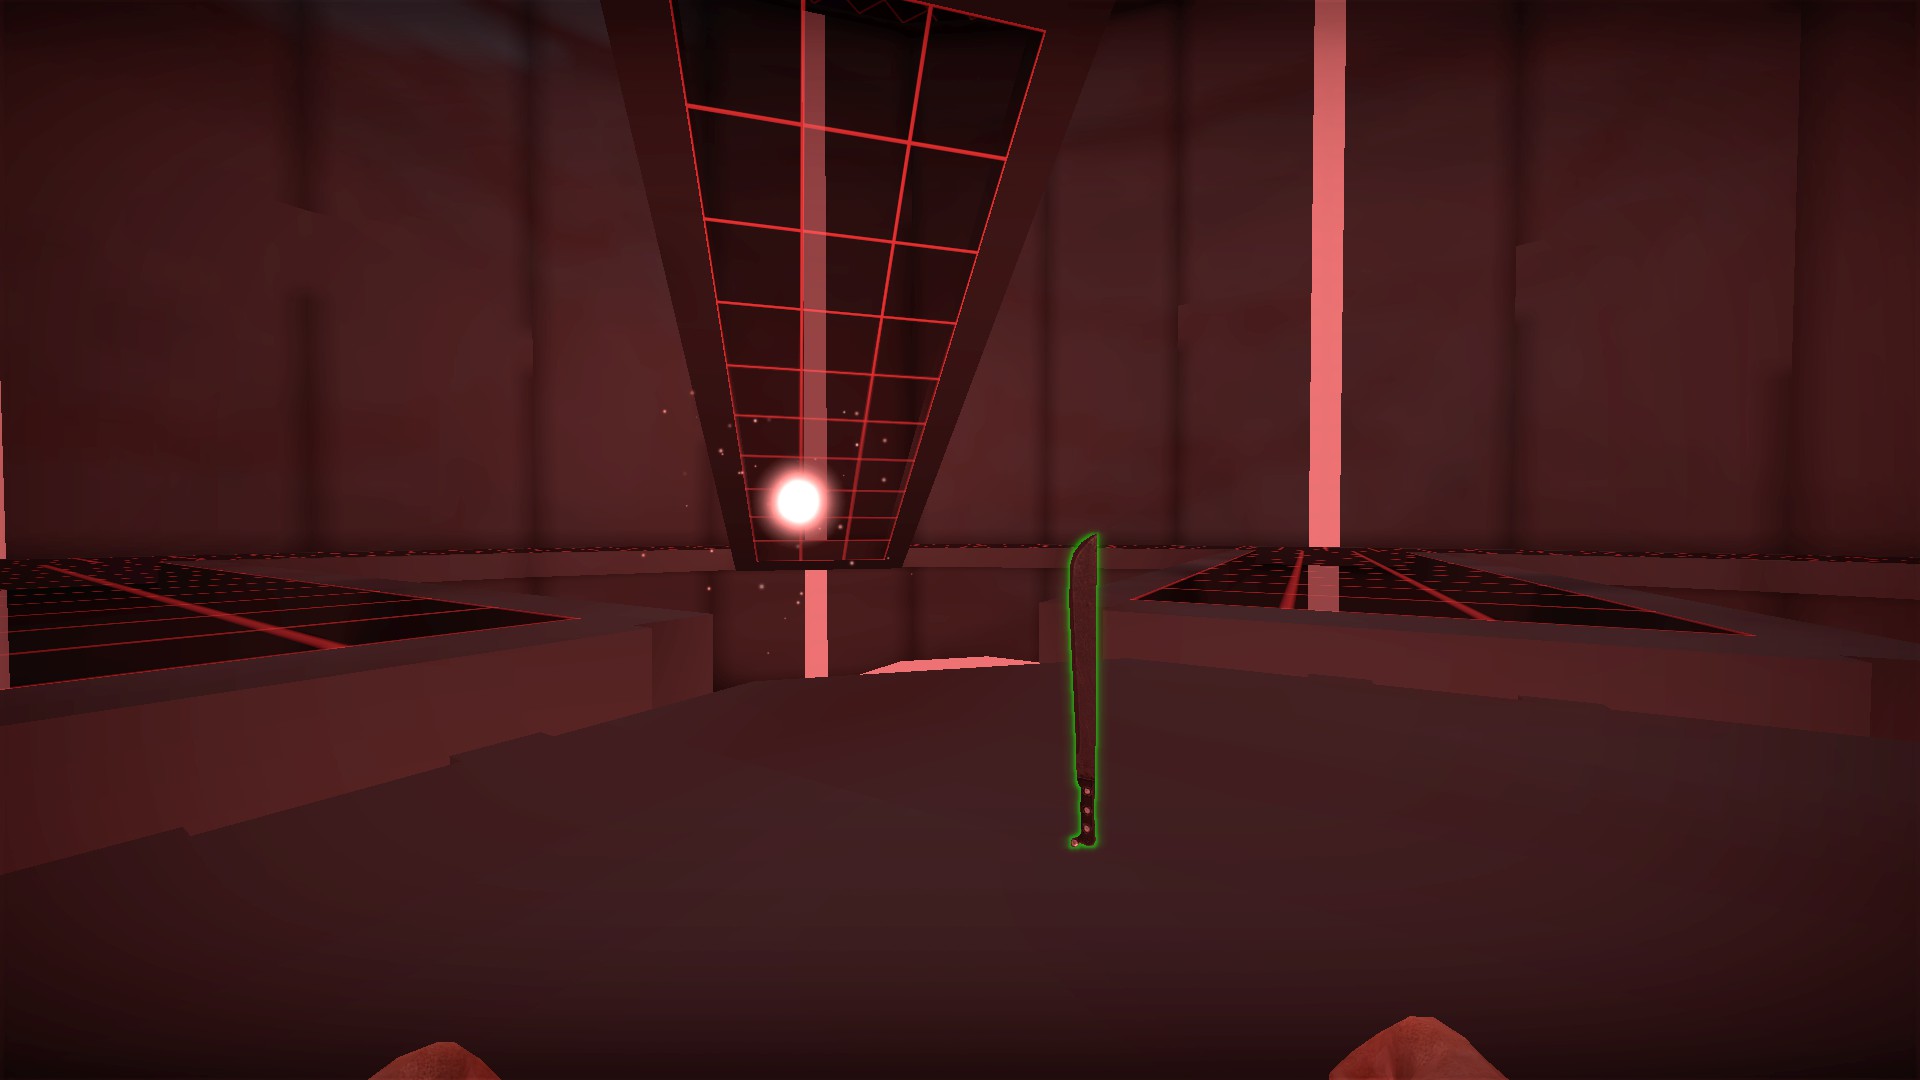
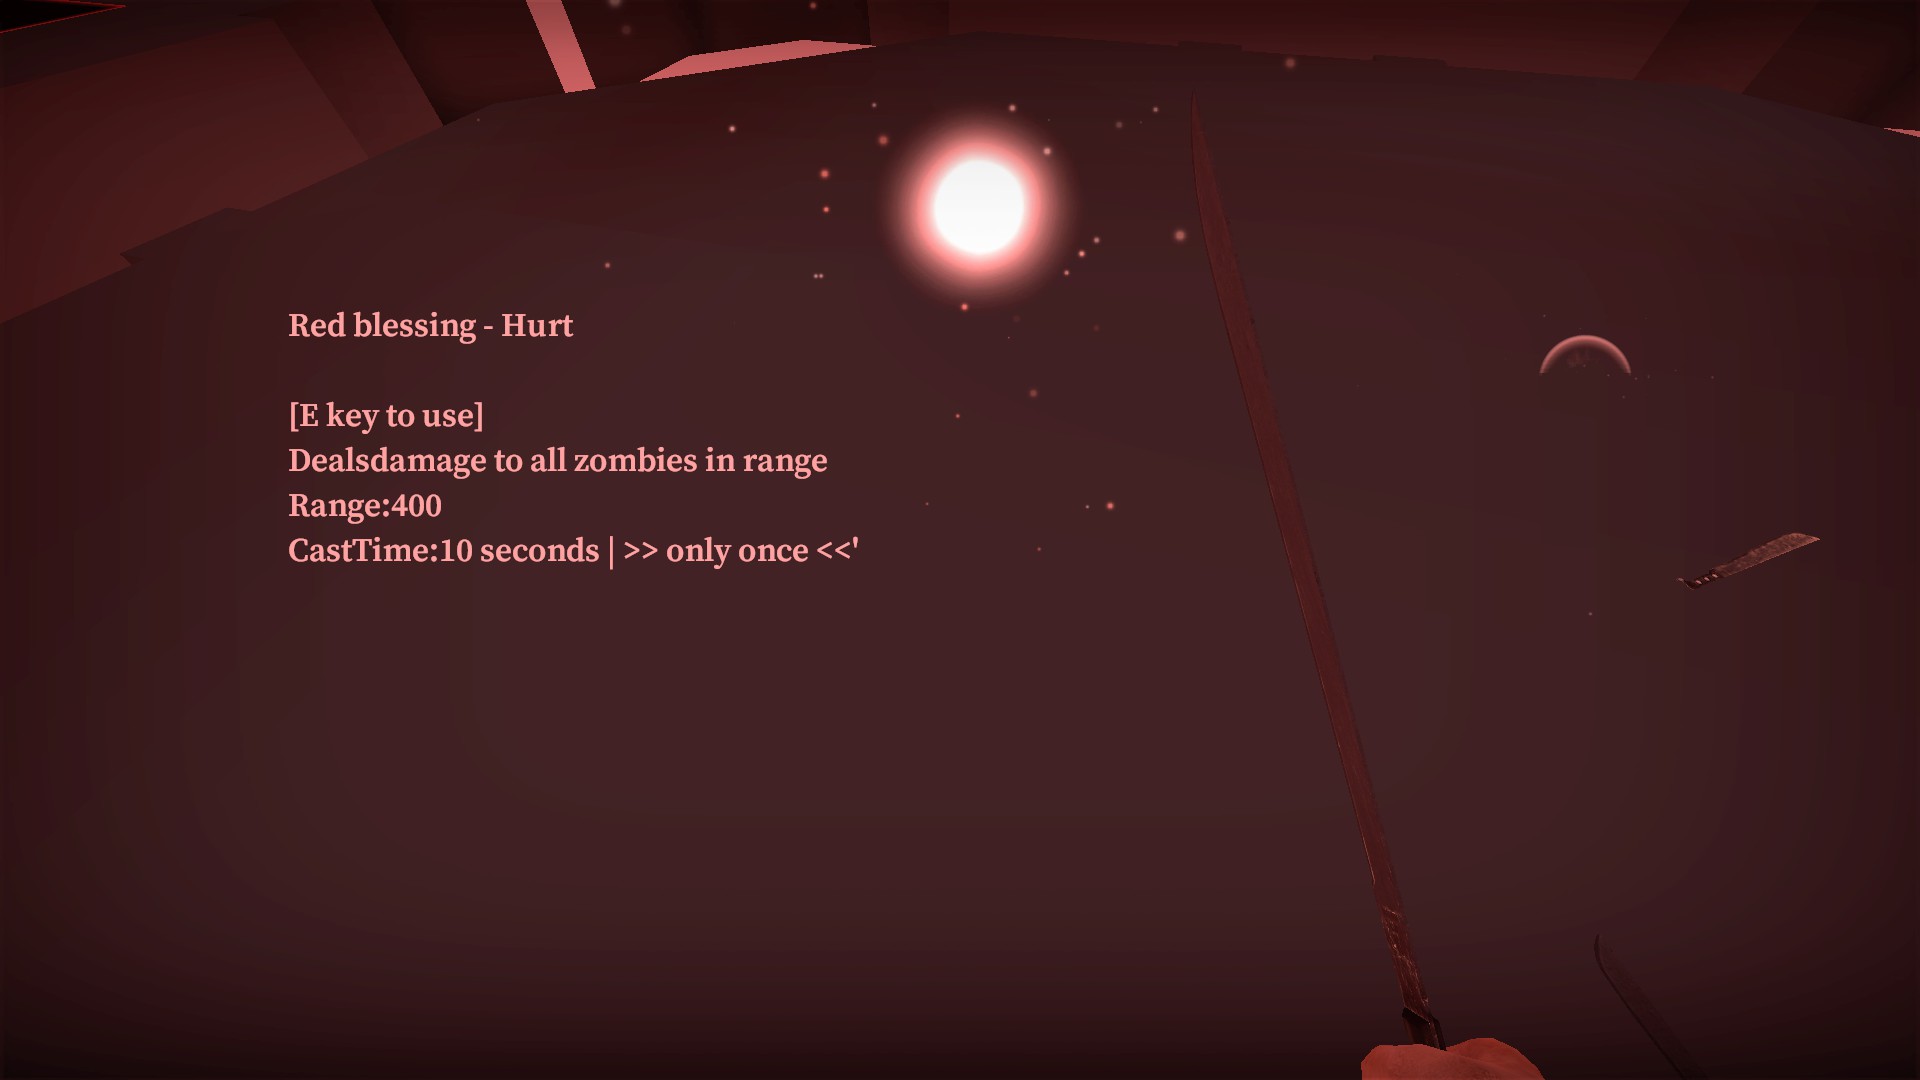
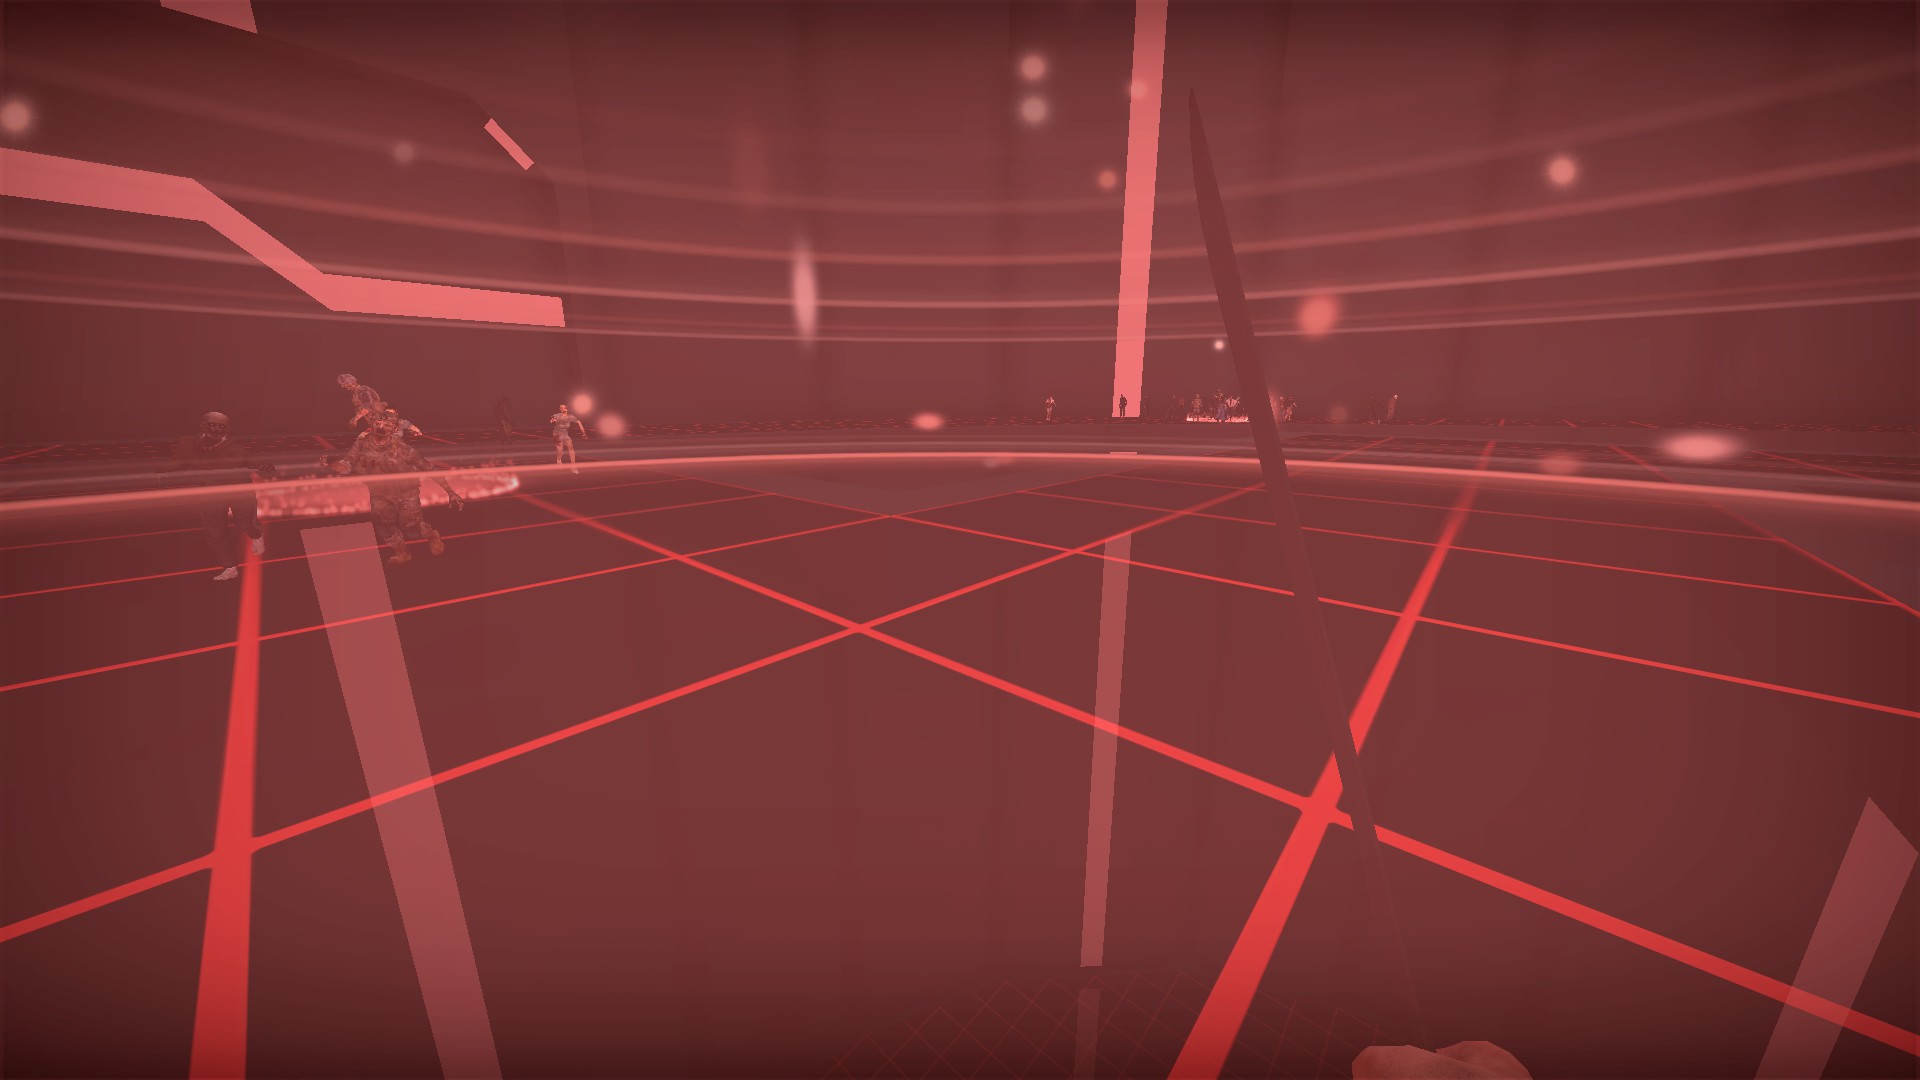
Kills all zombies in a very wide area for 10 seconds. The area of effect will move with you. Can only be used once
nmo_escape_mplay_b7


In the starting area, inspect the body for a code to the nearby locker. The code changes


Inspect the body in the room near the generator for the code to the room near the exit
nmo_escapetheworld_z31s_v2
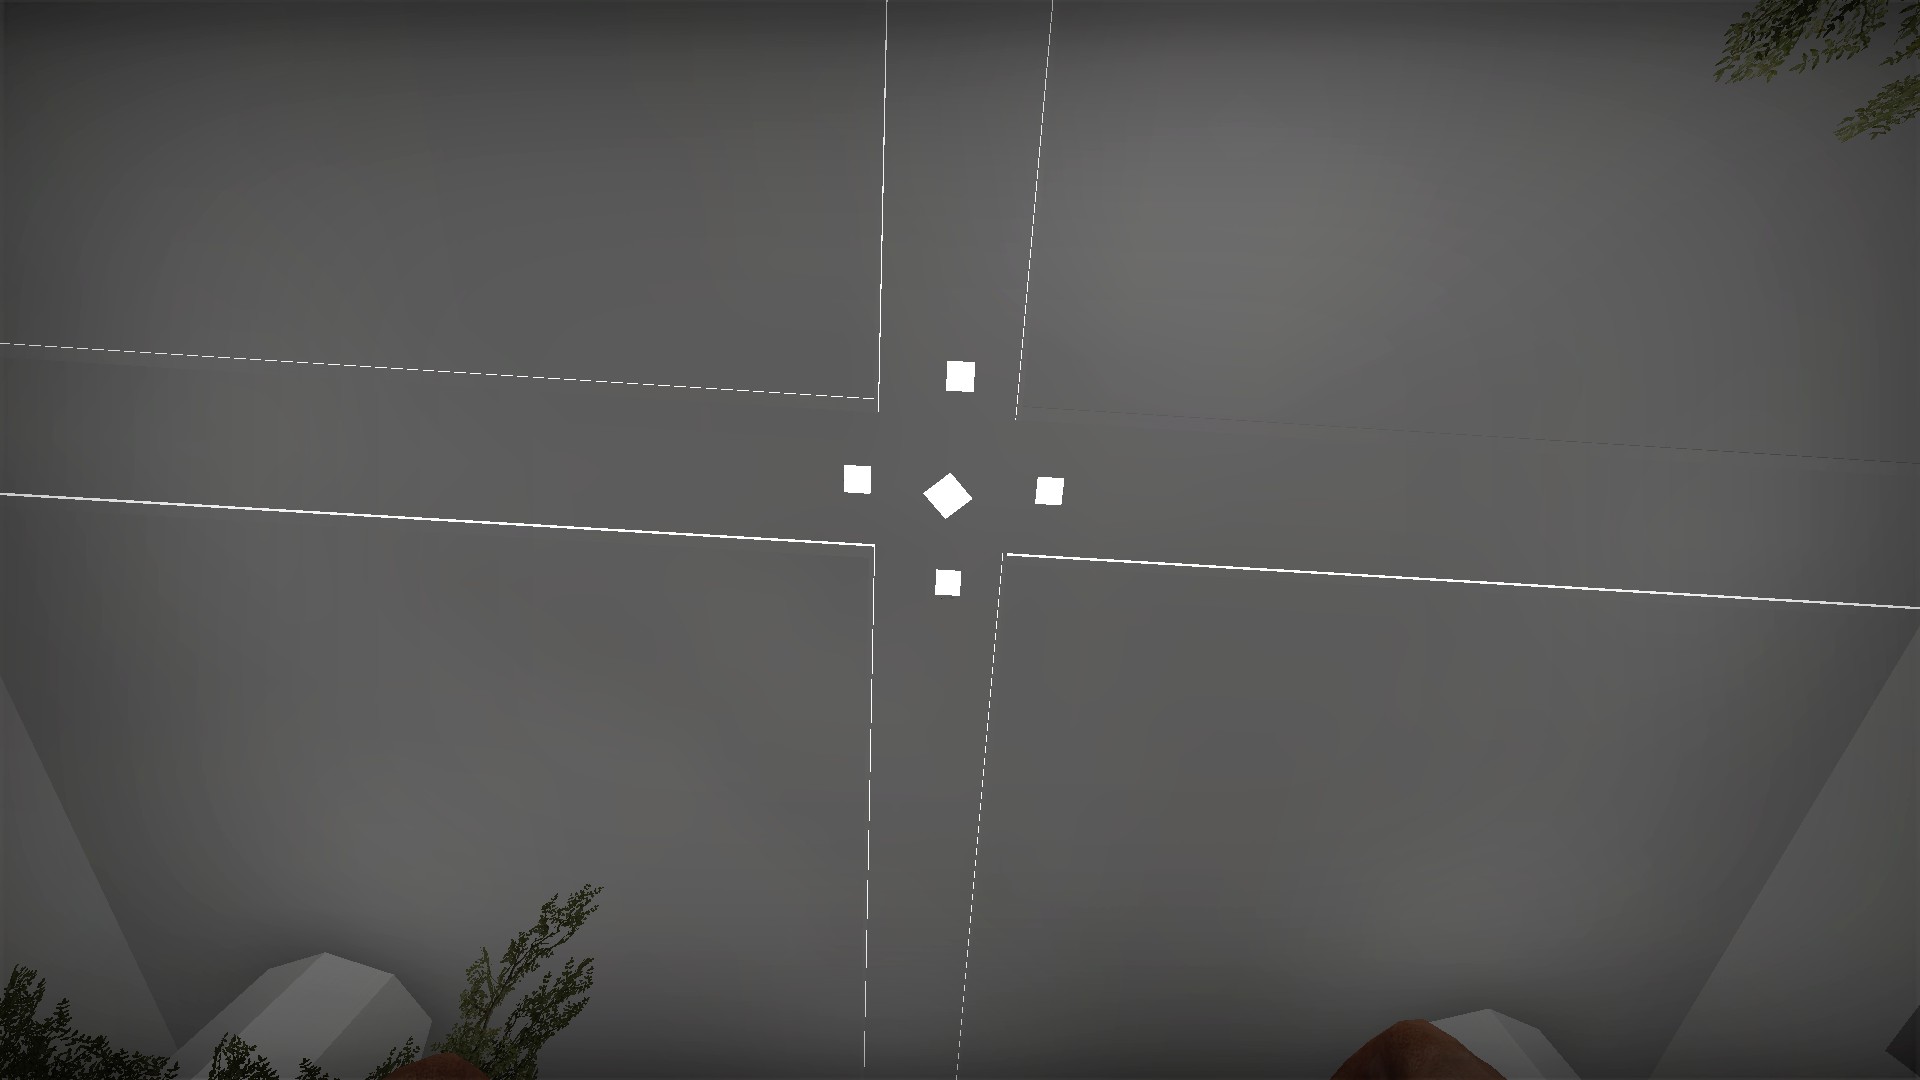
Instead of in a separate room, the developer buttons are high up in the starting area. You can noclip or low gravity up to use them
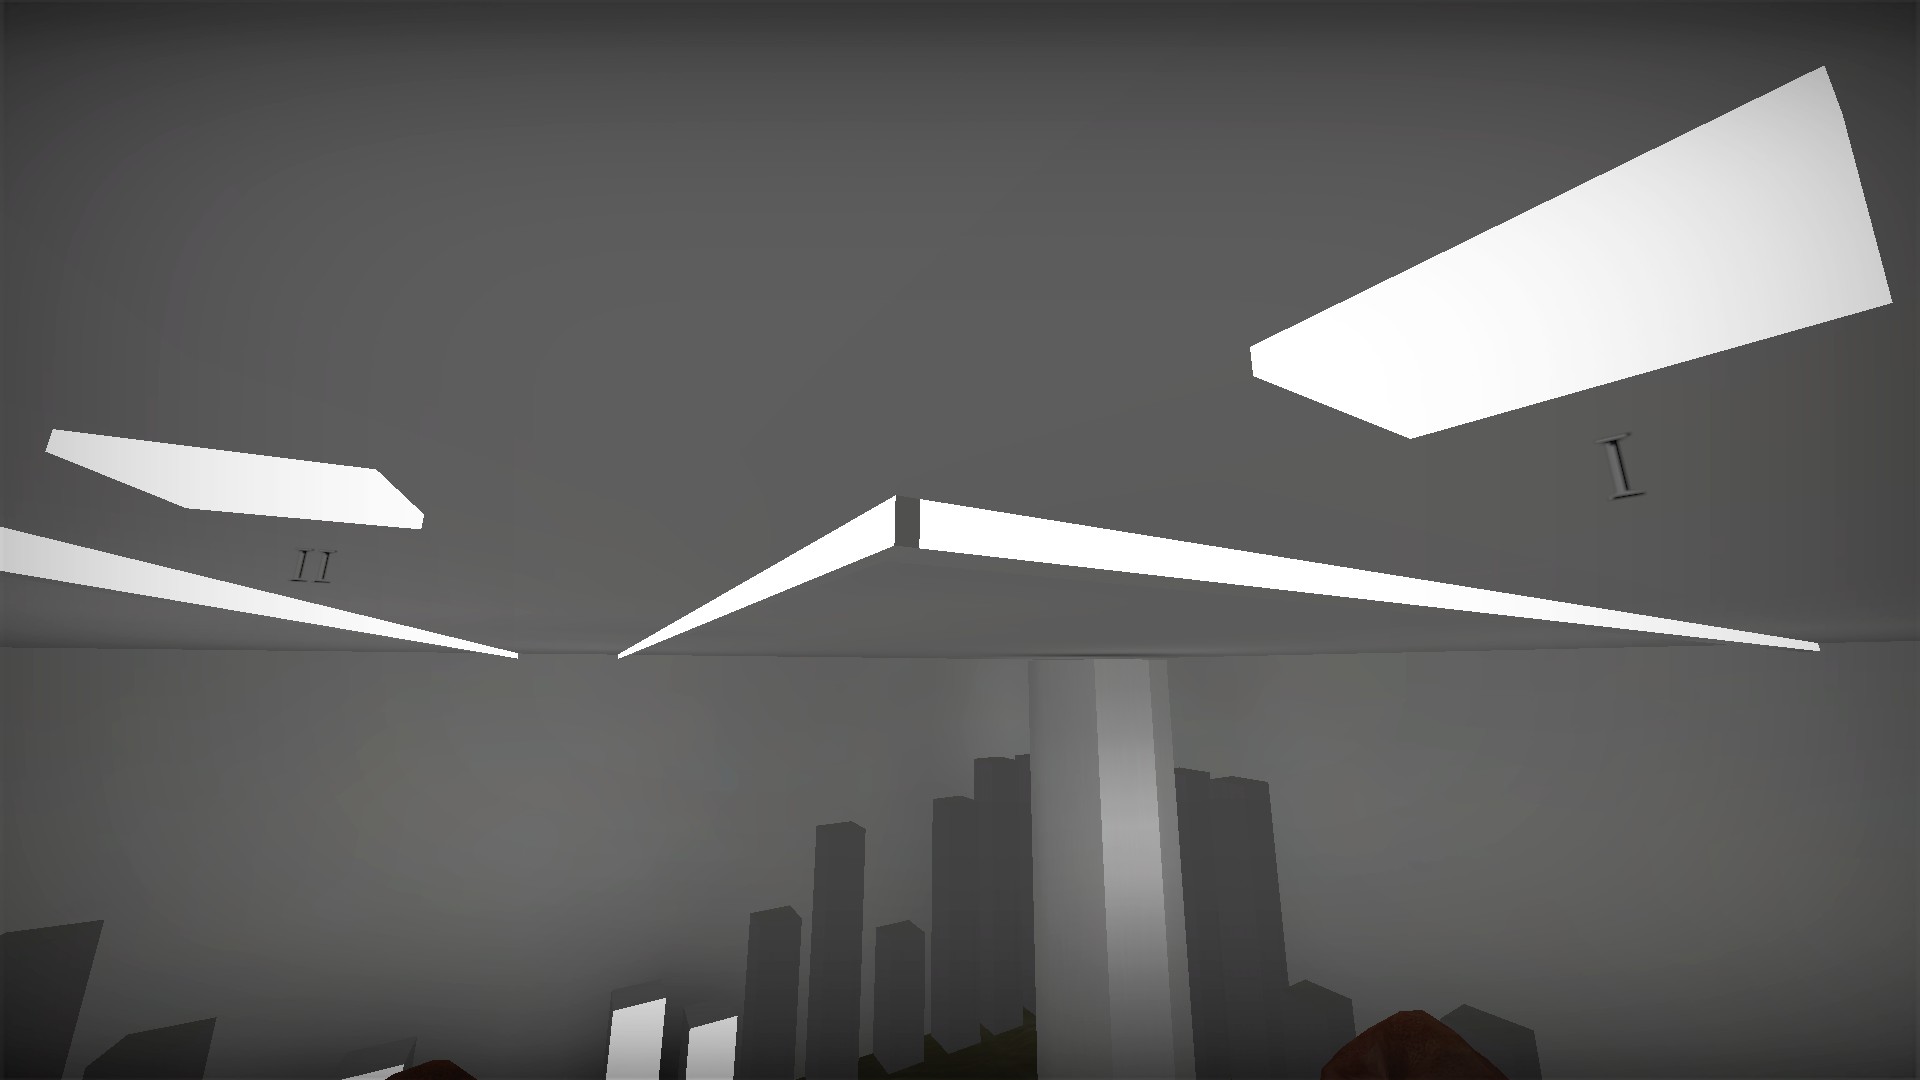
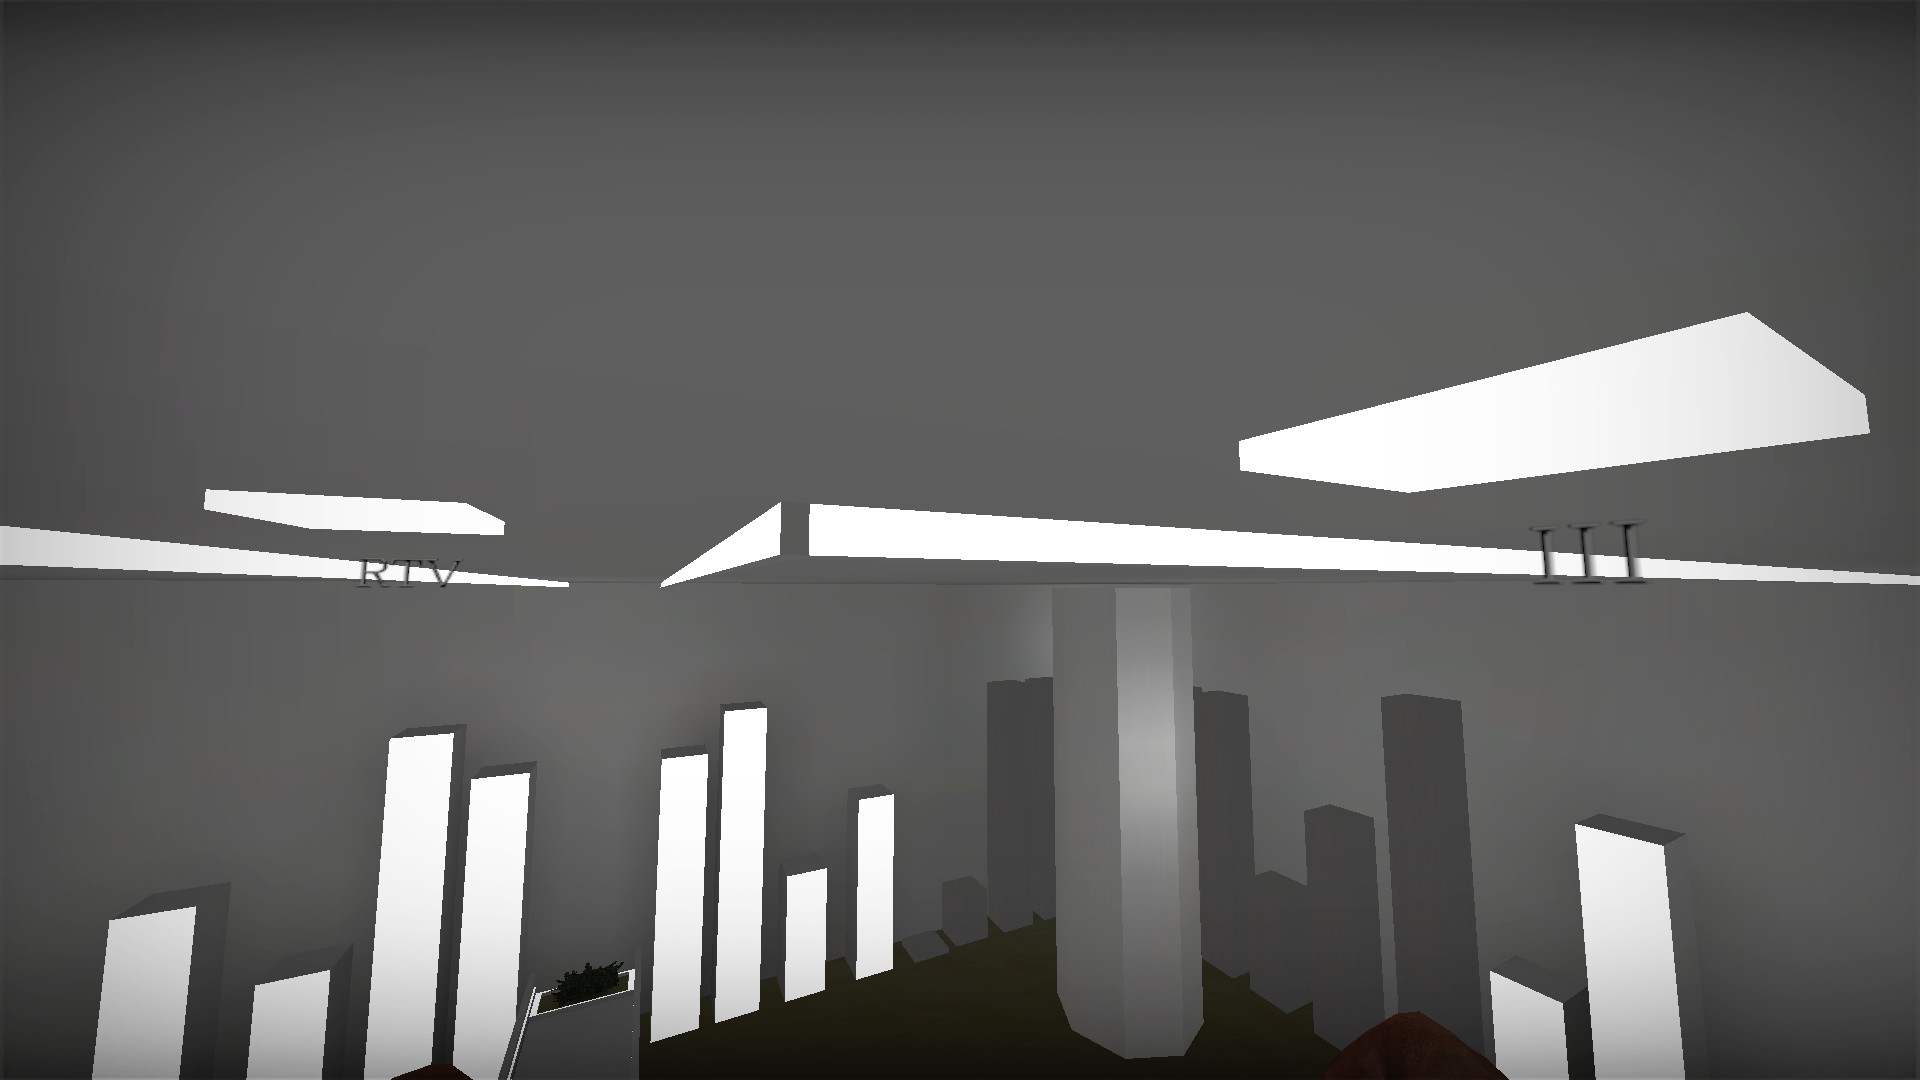
The buttons will take you to the map's 4 stages. The RTV button will take you to the boss stage
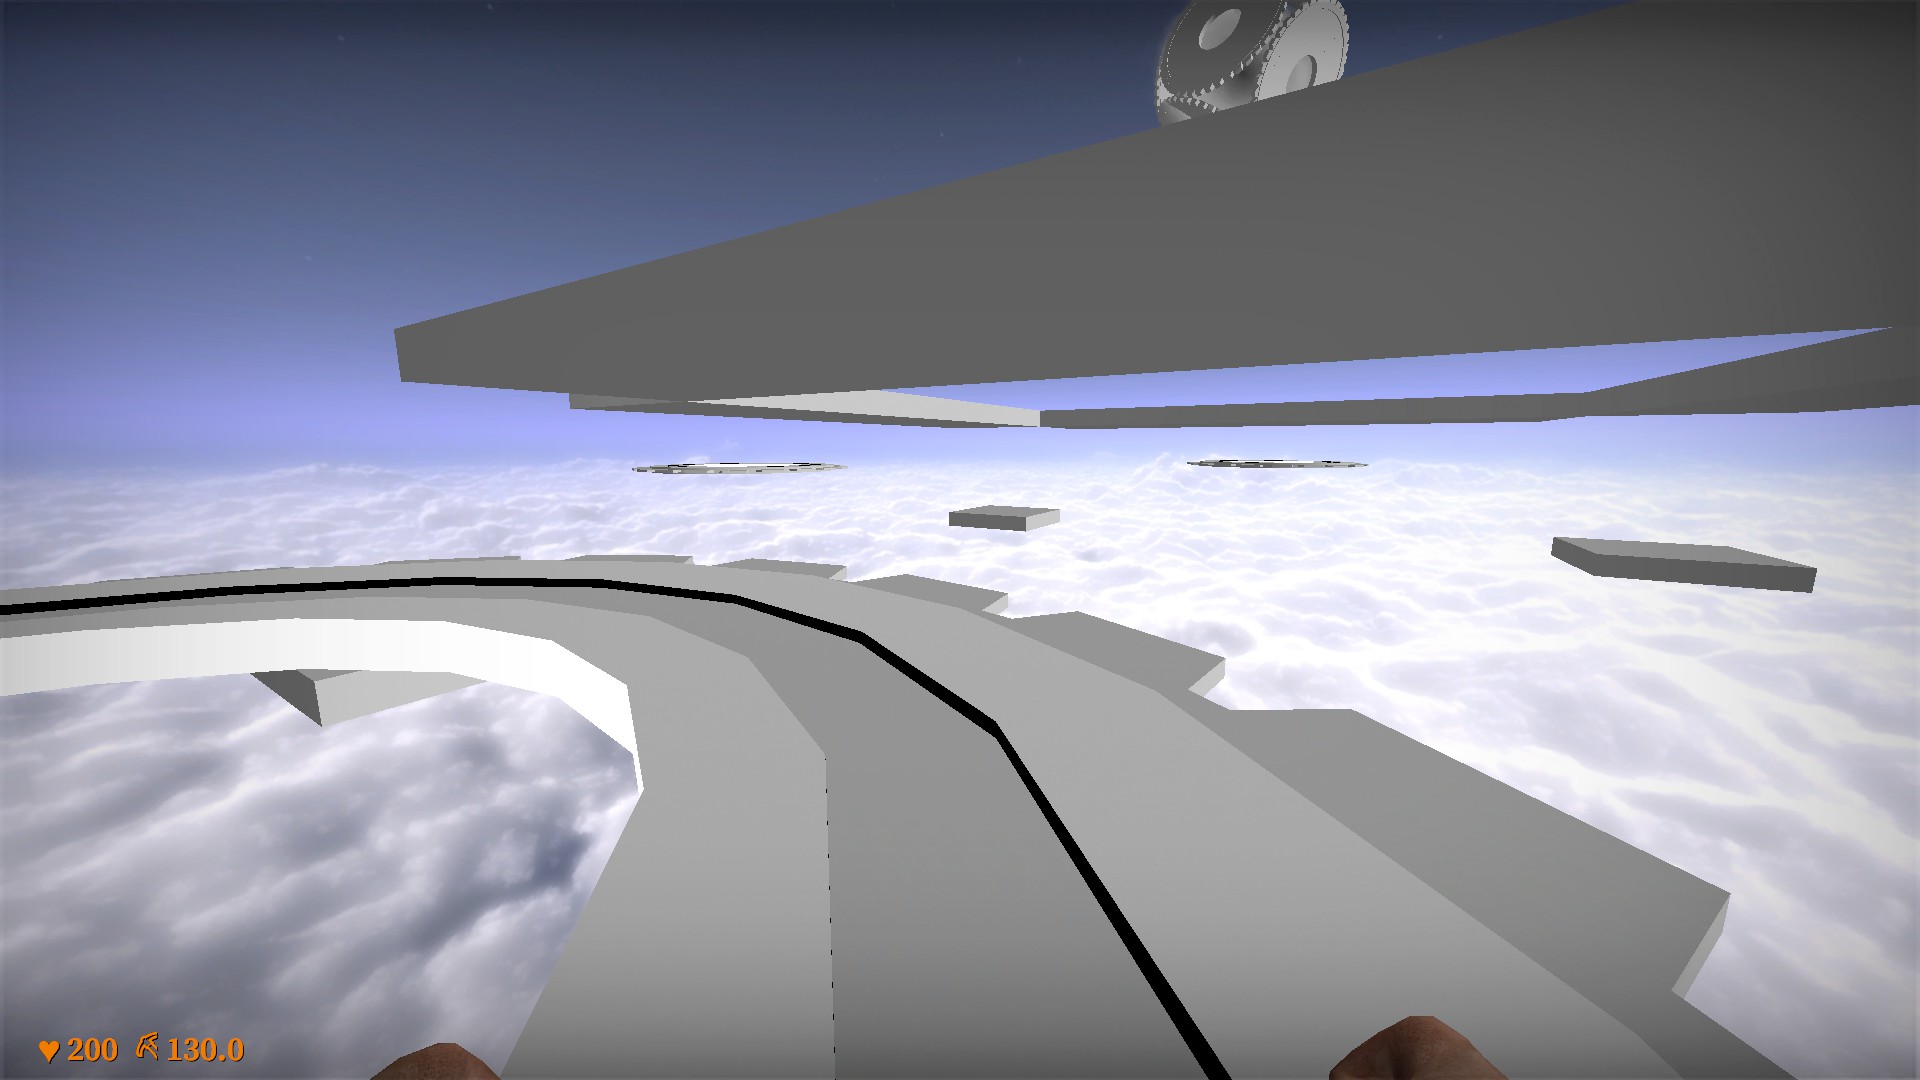
Base hp is increased to 200 in the boss stage
nmo_eschaton_a2_1
Developer buttons
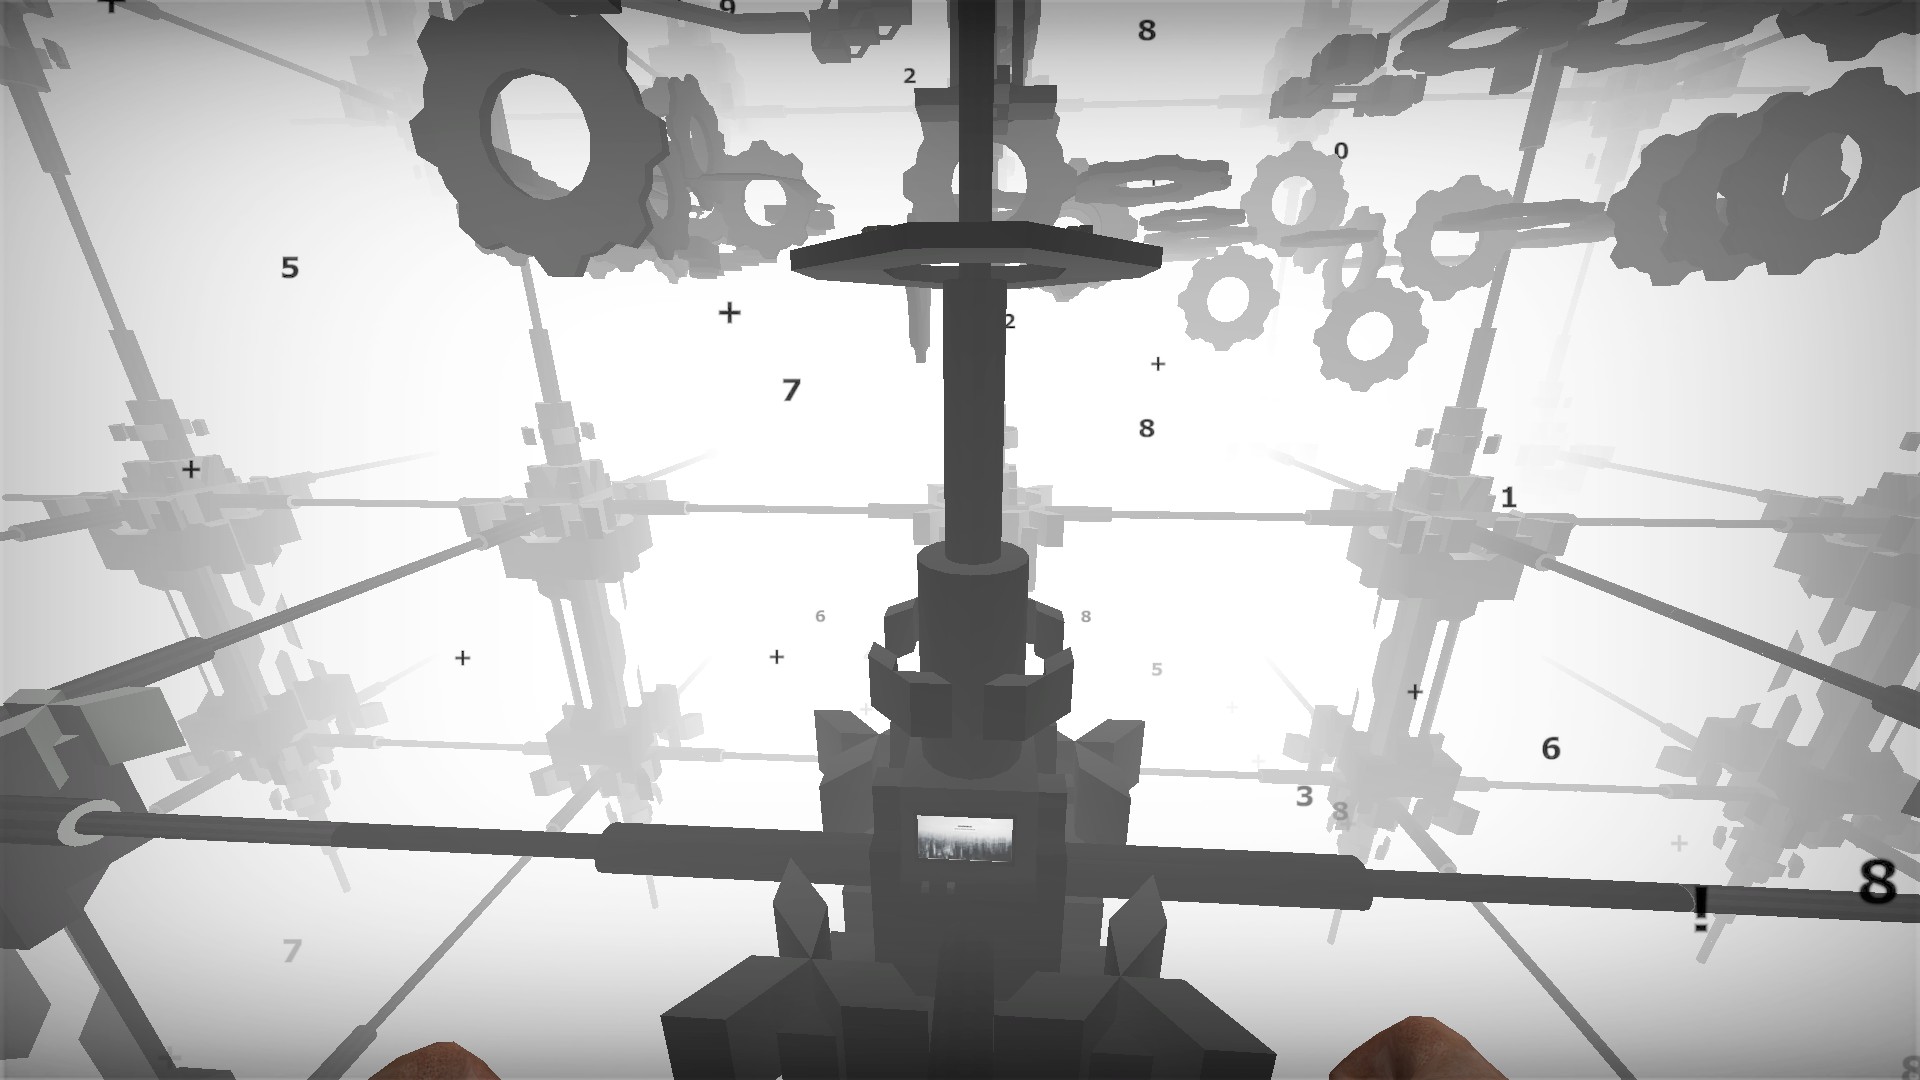
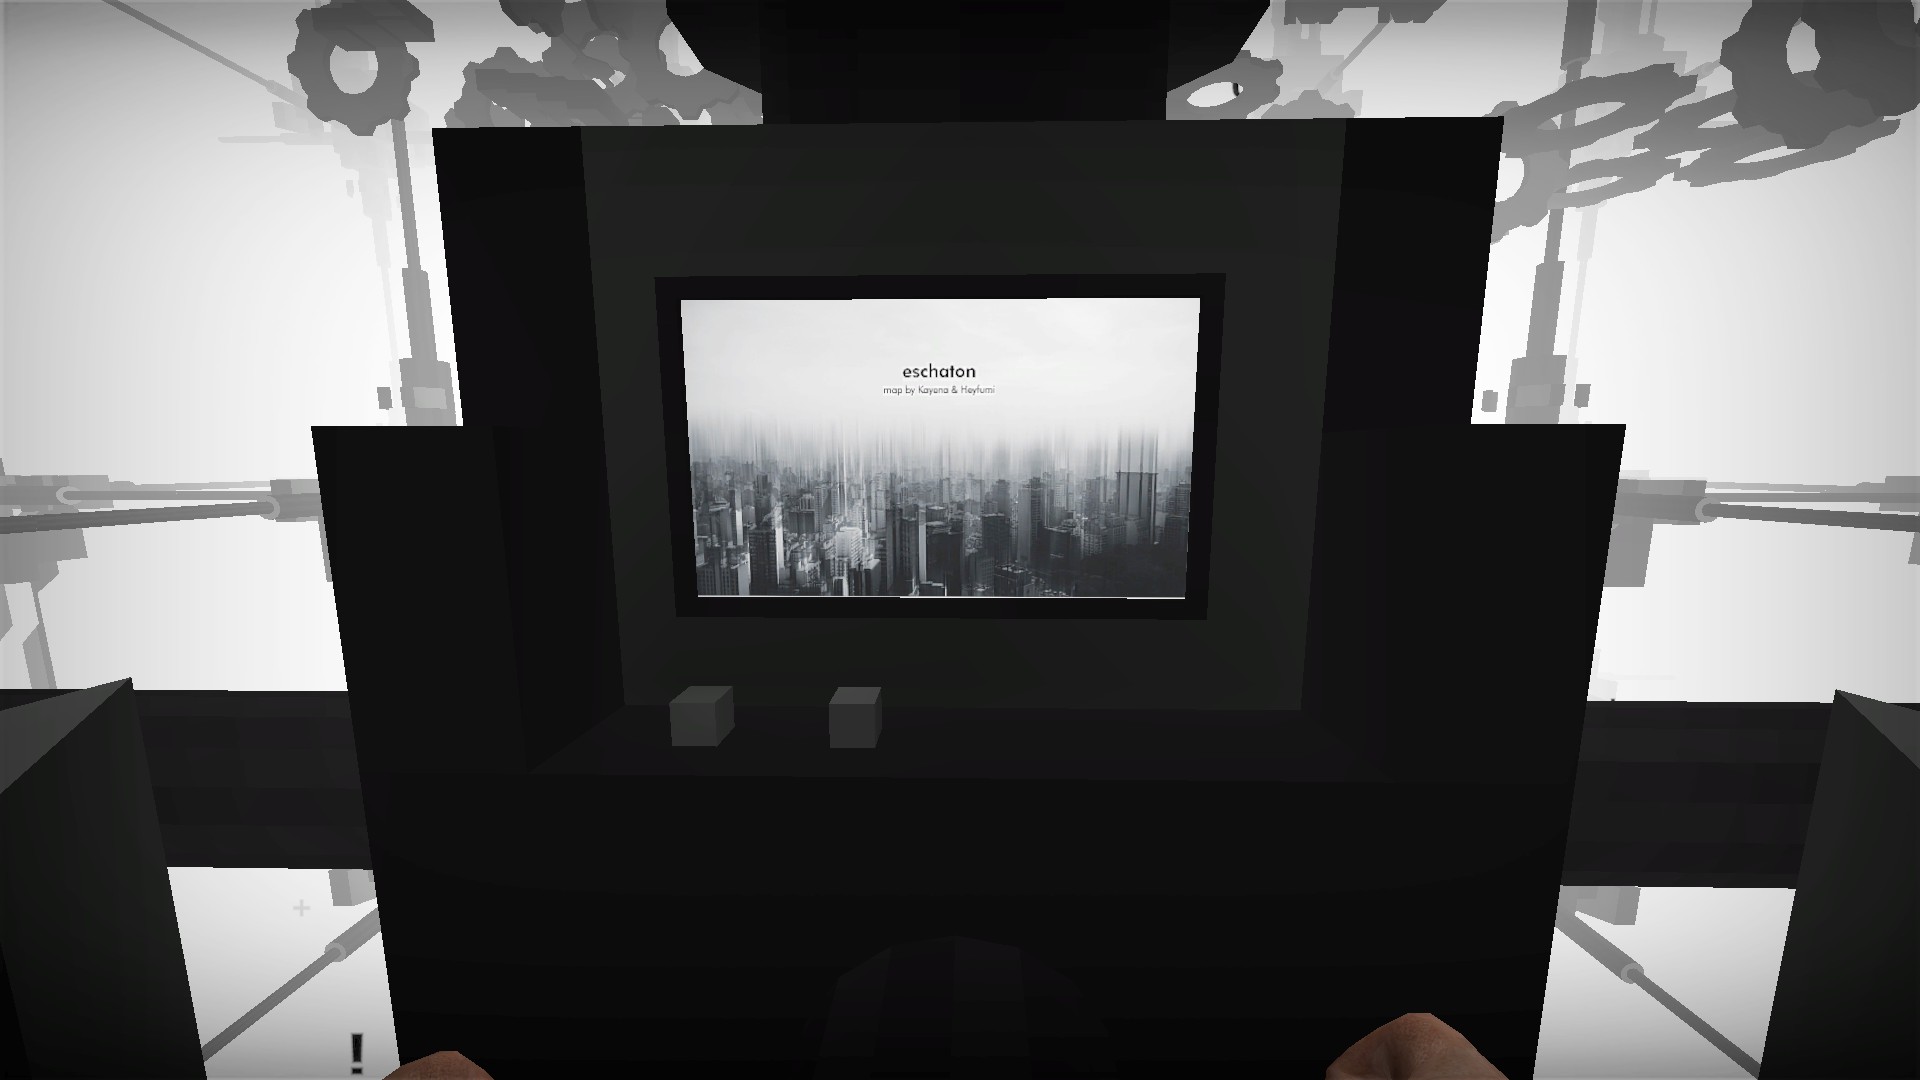
Not a separate room, but on the pillar just below the starting area. You can drop to these or noclip here. The 2 buttons will take you between the map's 2 stages
nmo_escorted_y9v1


At the start, climb up the fences and ambulance, then jump to a stash of items Med locker


Just before the stairs to the roof, hold e to open the medical locker in the bathroom Welder locations

1 - Just after you drop down to get the ladder, look behind the bookcase


2 - In the alley, jump over the car and go around the corner

3 - Near the van at the end of the alley


Weld the shutter, then push it in Clear the house objective bug

A group of zombies is supposed to spawn in the house, and the objective is completed by killing all of them. But sometimes this group does not spawn. If you are playing solo, make sure not to kill one of the zombies in the alley, lure it into the house and then kill it

If you are playing with a team and all of the zombies in the alley were killed there is another option. Have one team member go forward and get infected, then return to the house. Wait for them to turn and then kill the zombie to clear the objective
nmo_etea_v3
You can fall to your death at many points, but this map has no fall damage
Medkits at start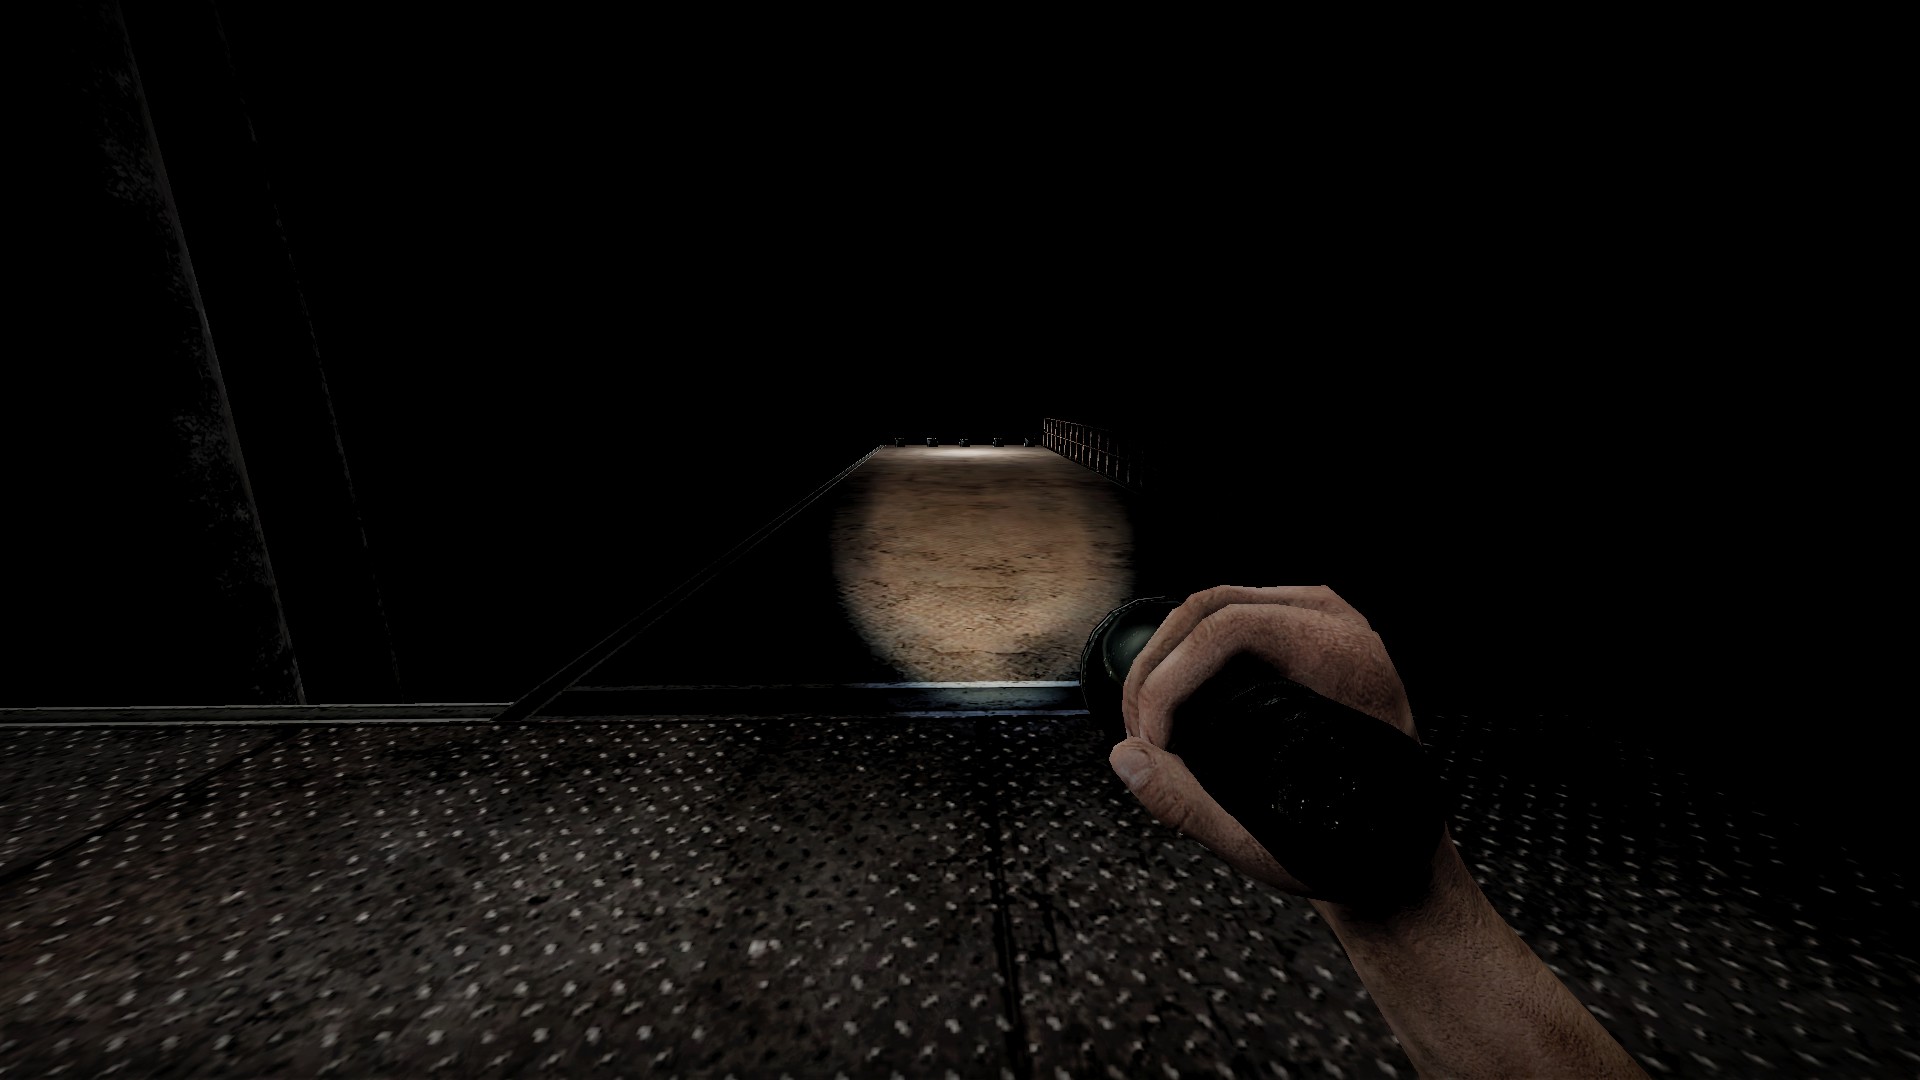
At the map start, there are 5 medkits at the end of a breakable section of the walkway. If a player walks onto the breakable section, they will fall and the 5 kits will as well
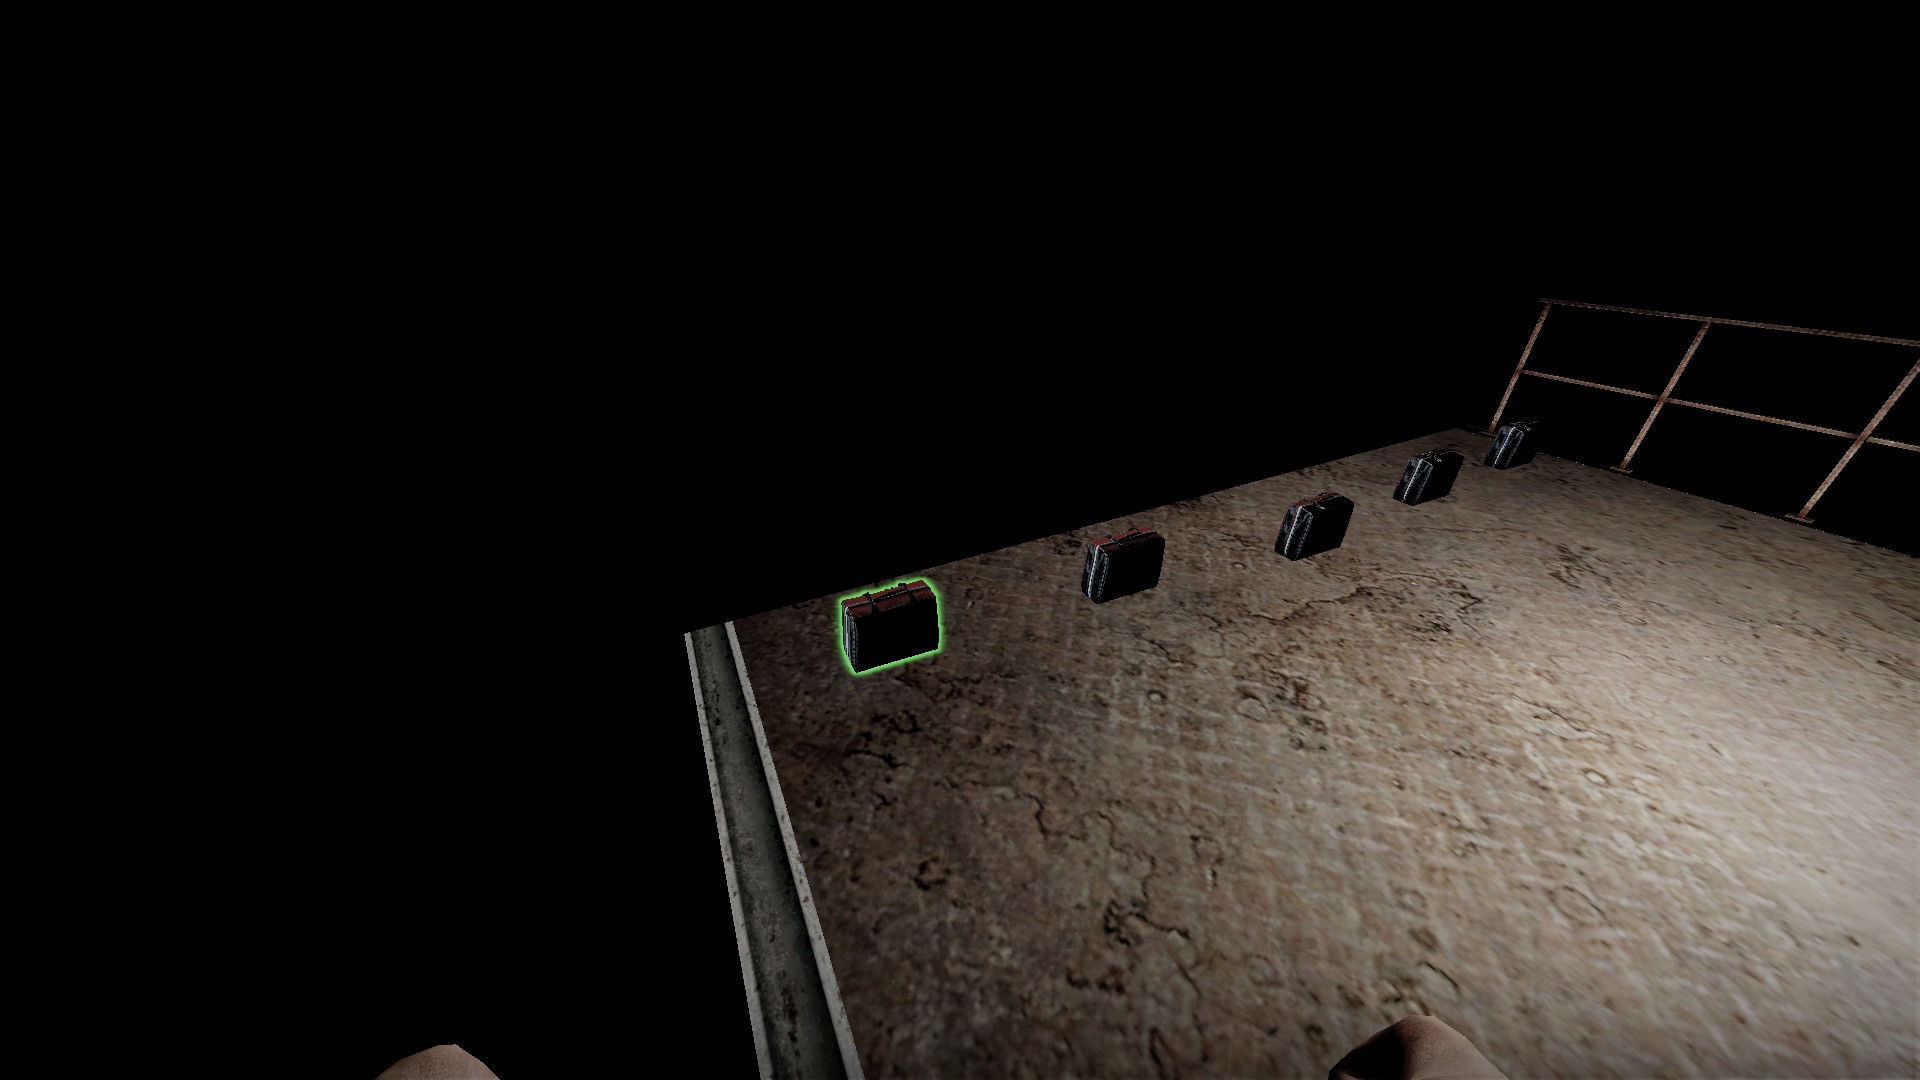
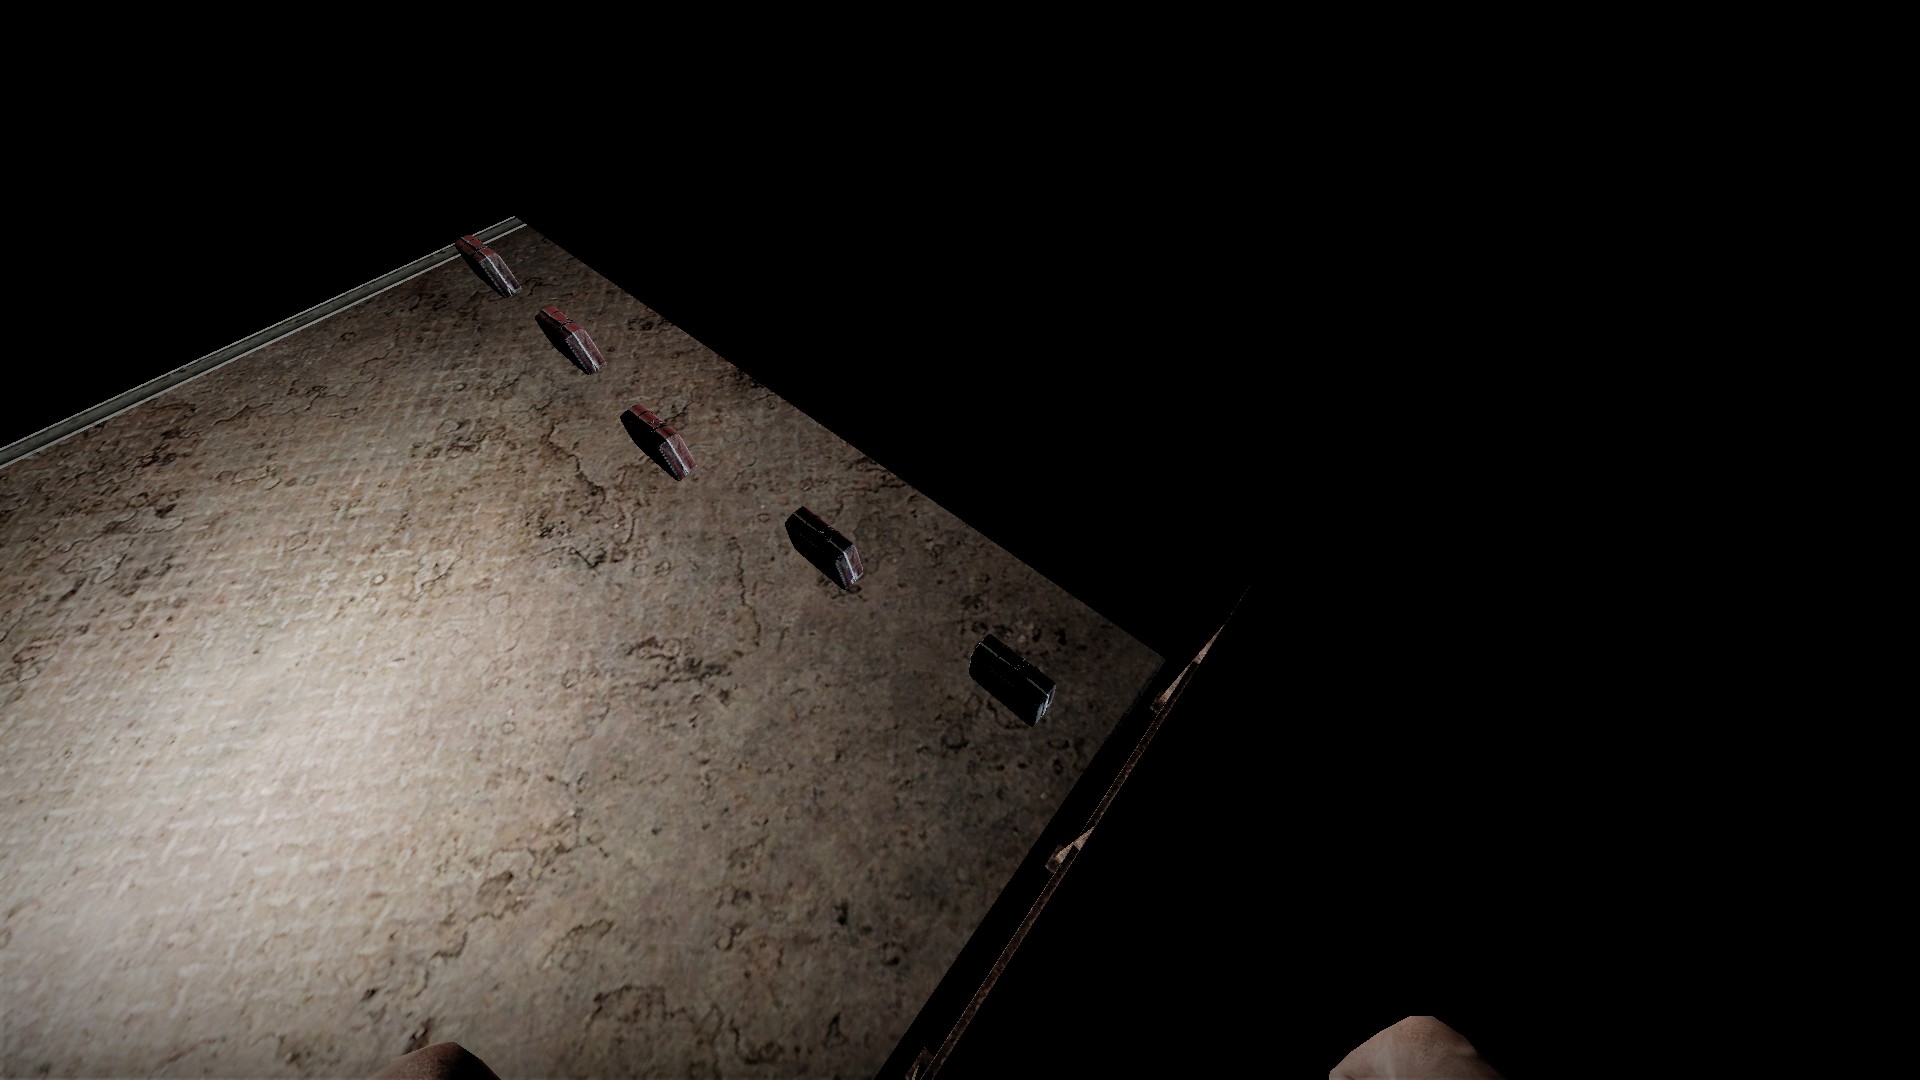
Safely pick up most of the med kits by walking along either edge Chainsaw
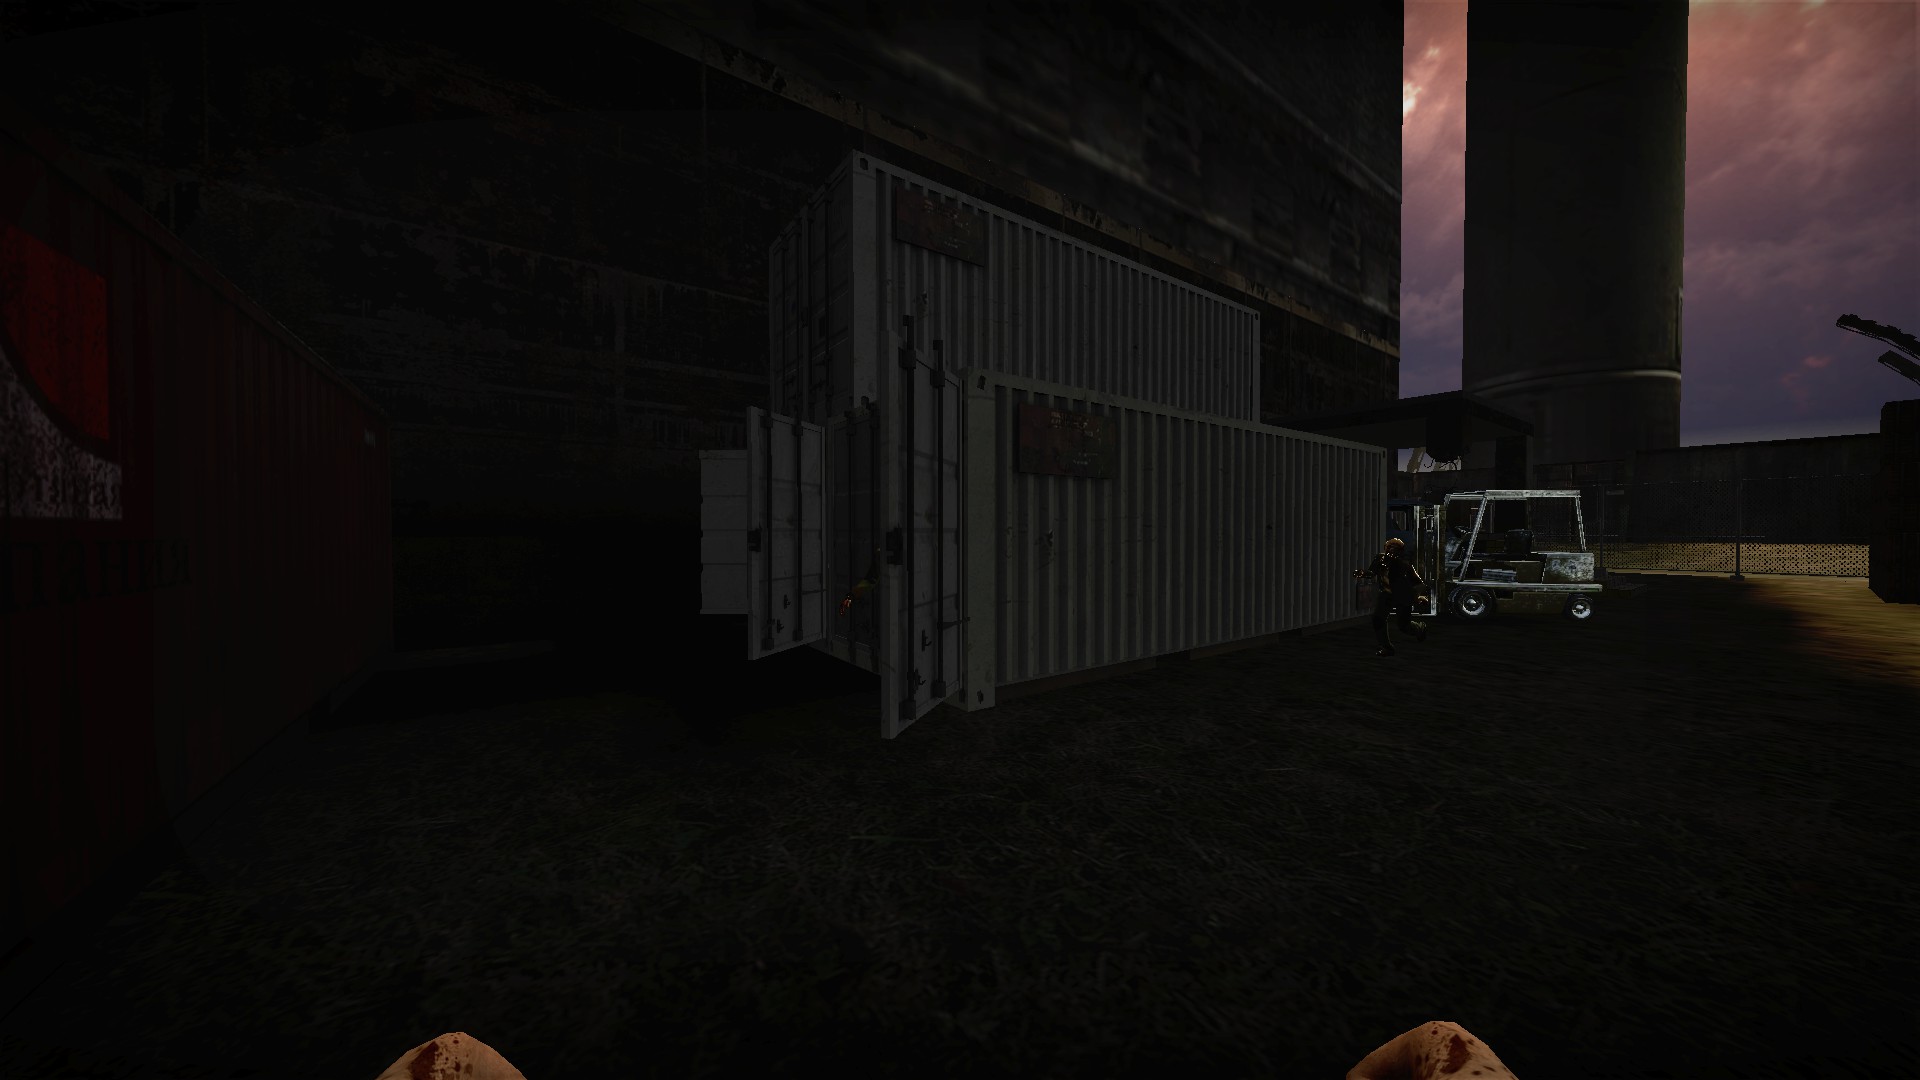
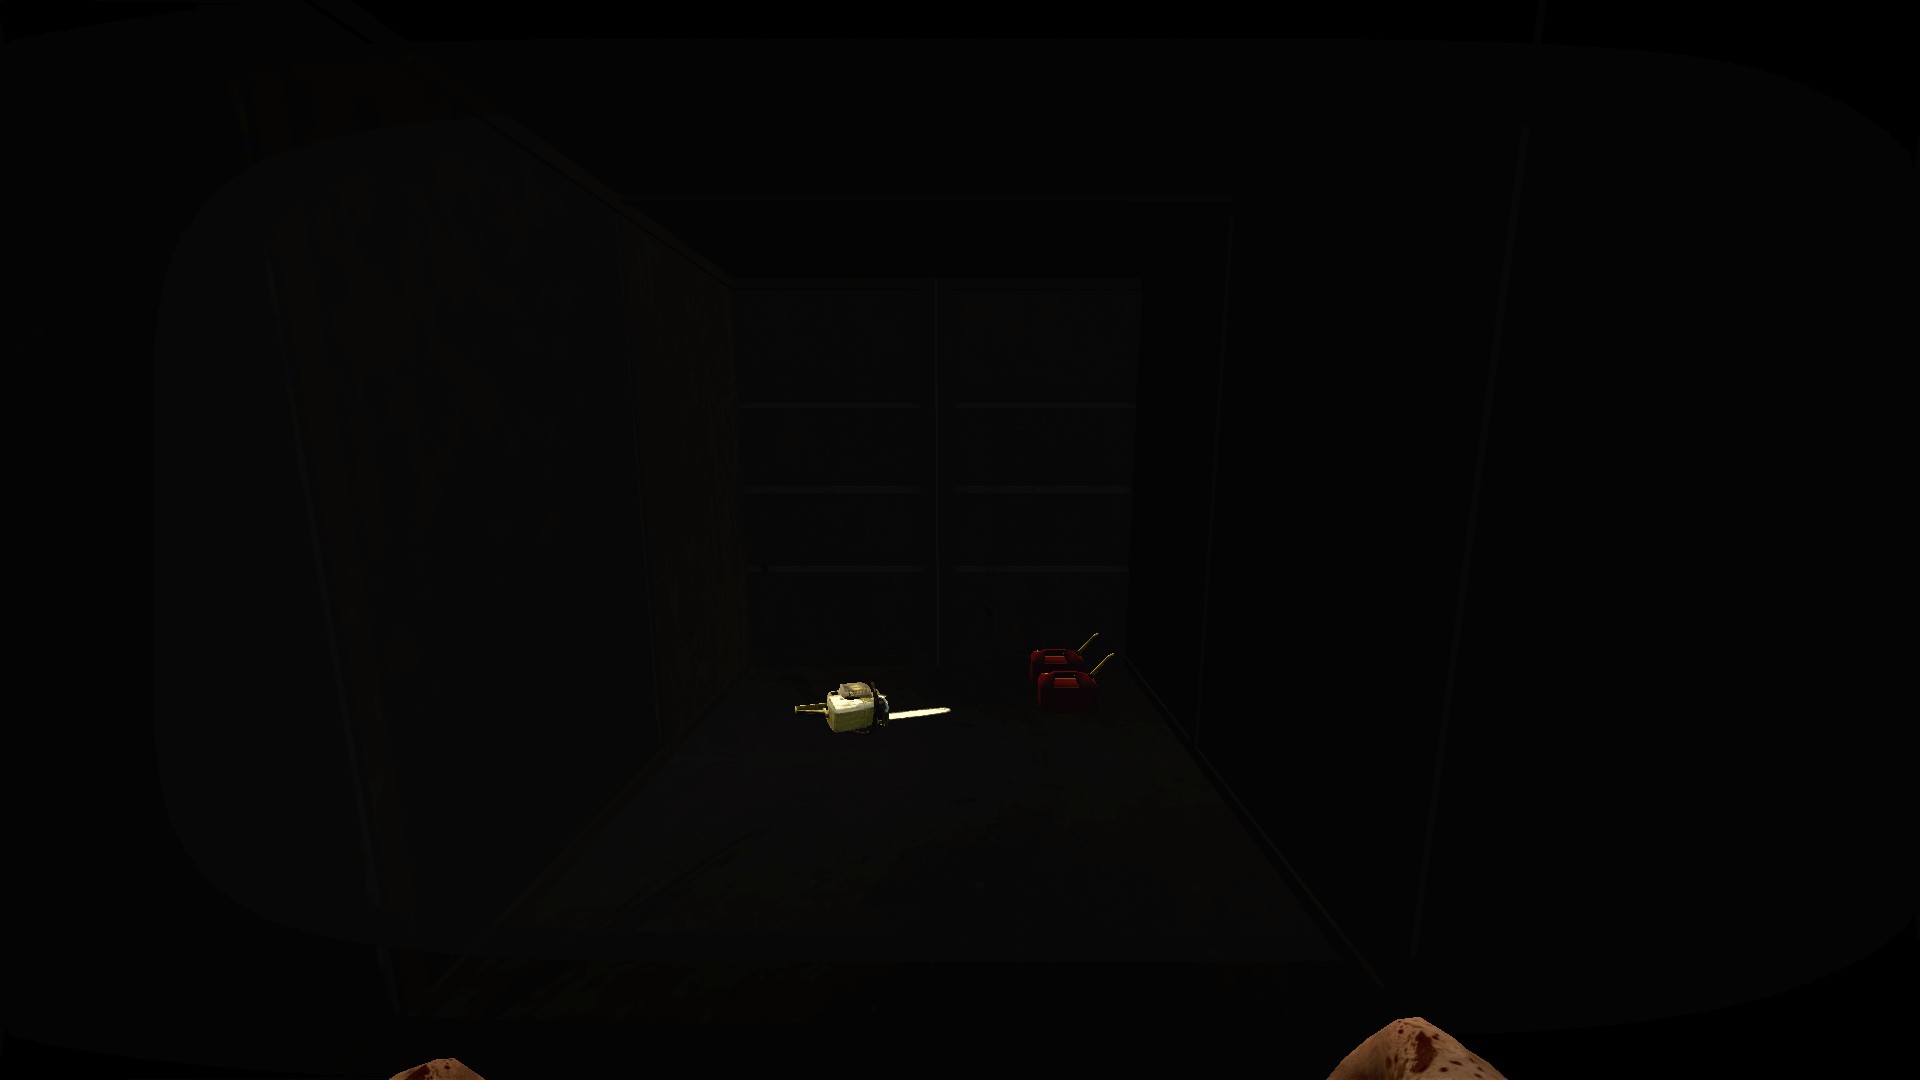
Where you first get outside, check the back container for a chainsaw and fuel
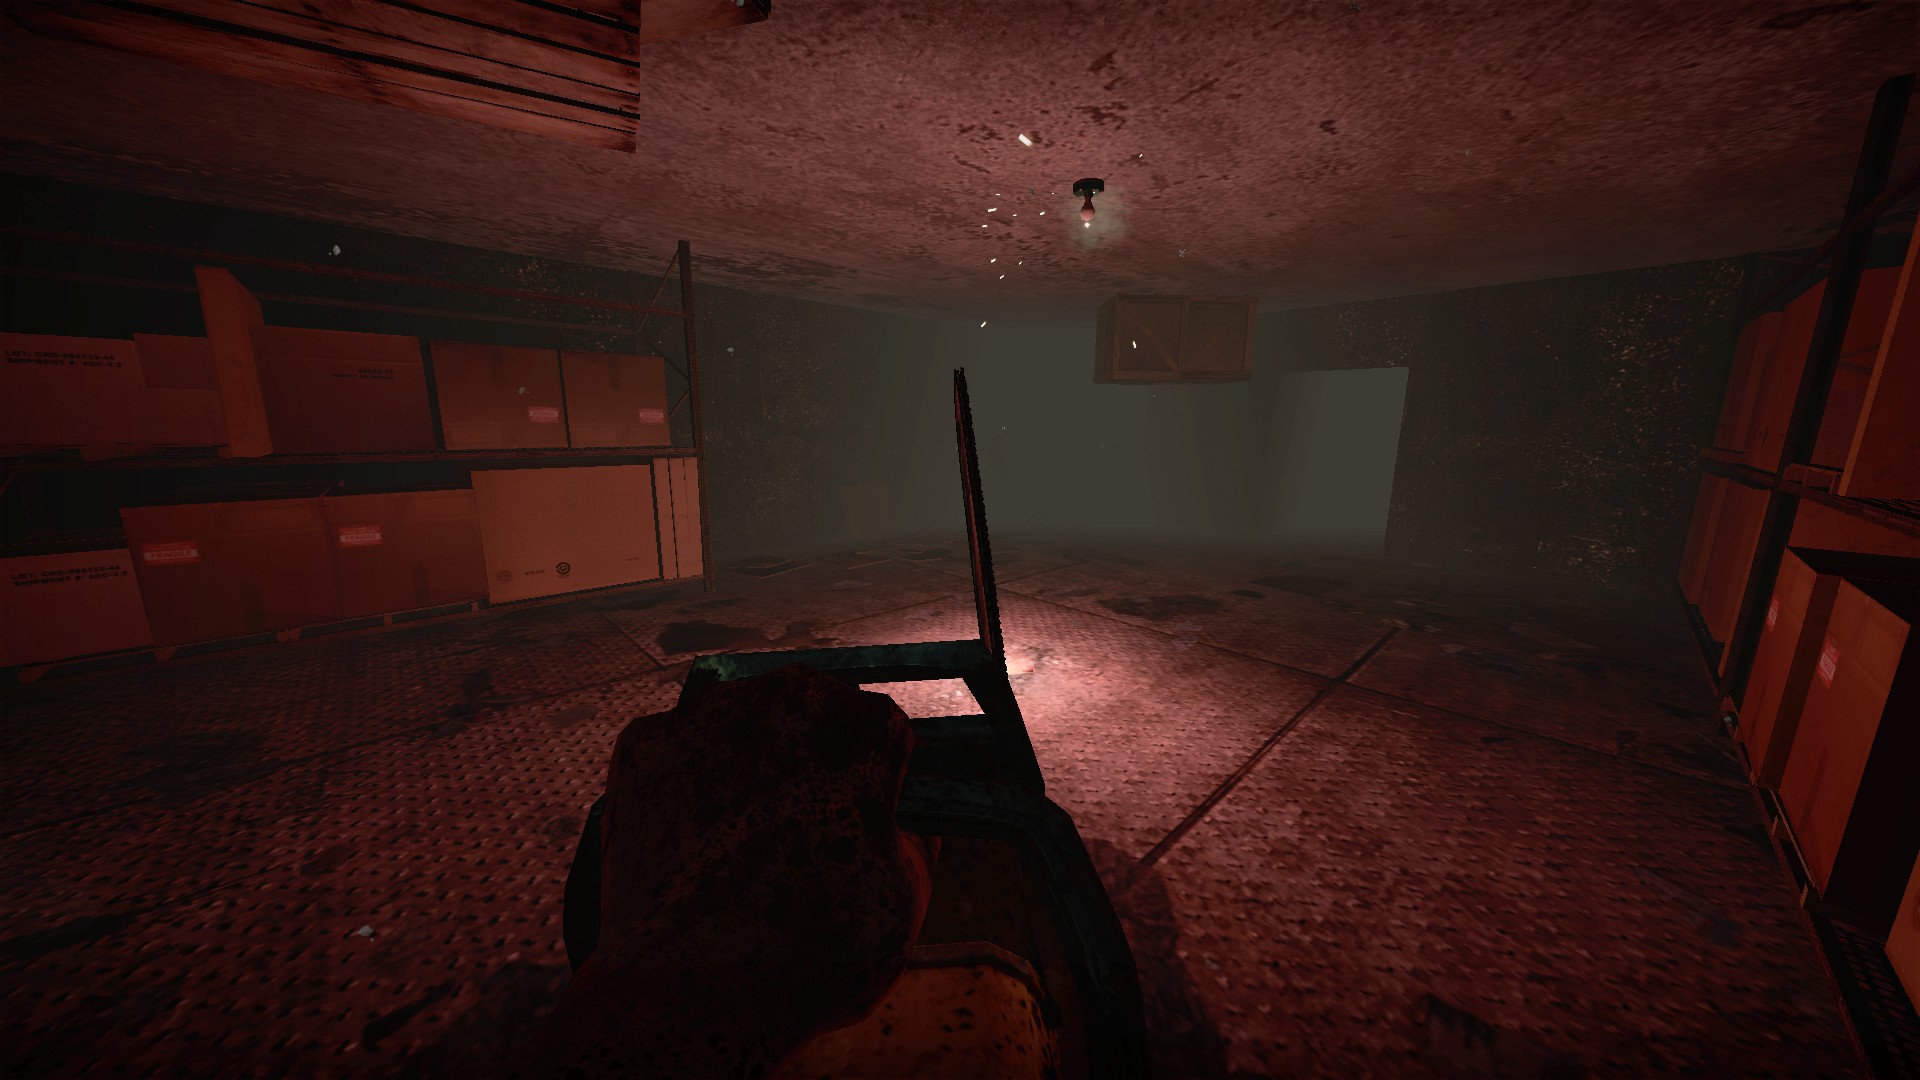
This weapon is very helpful later as it can be used underwater Underwater explosives
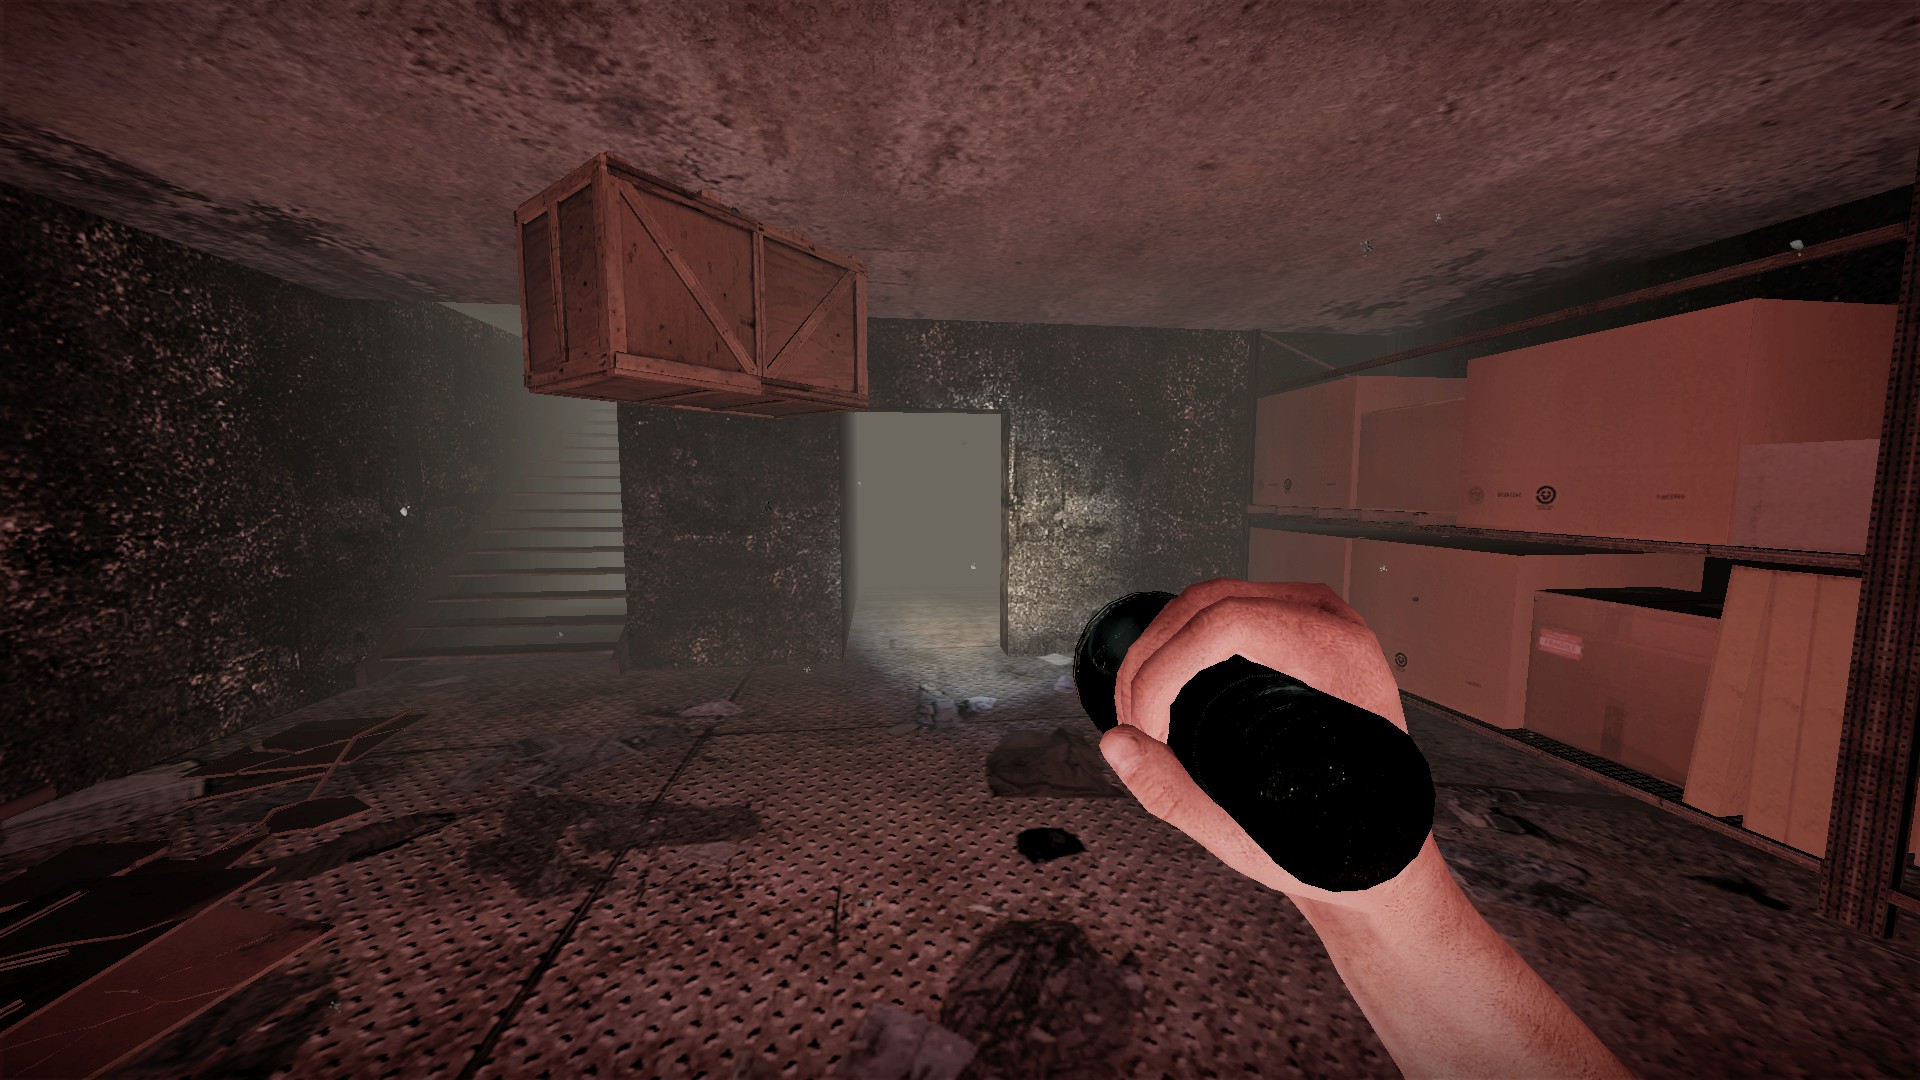
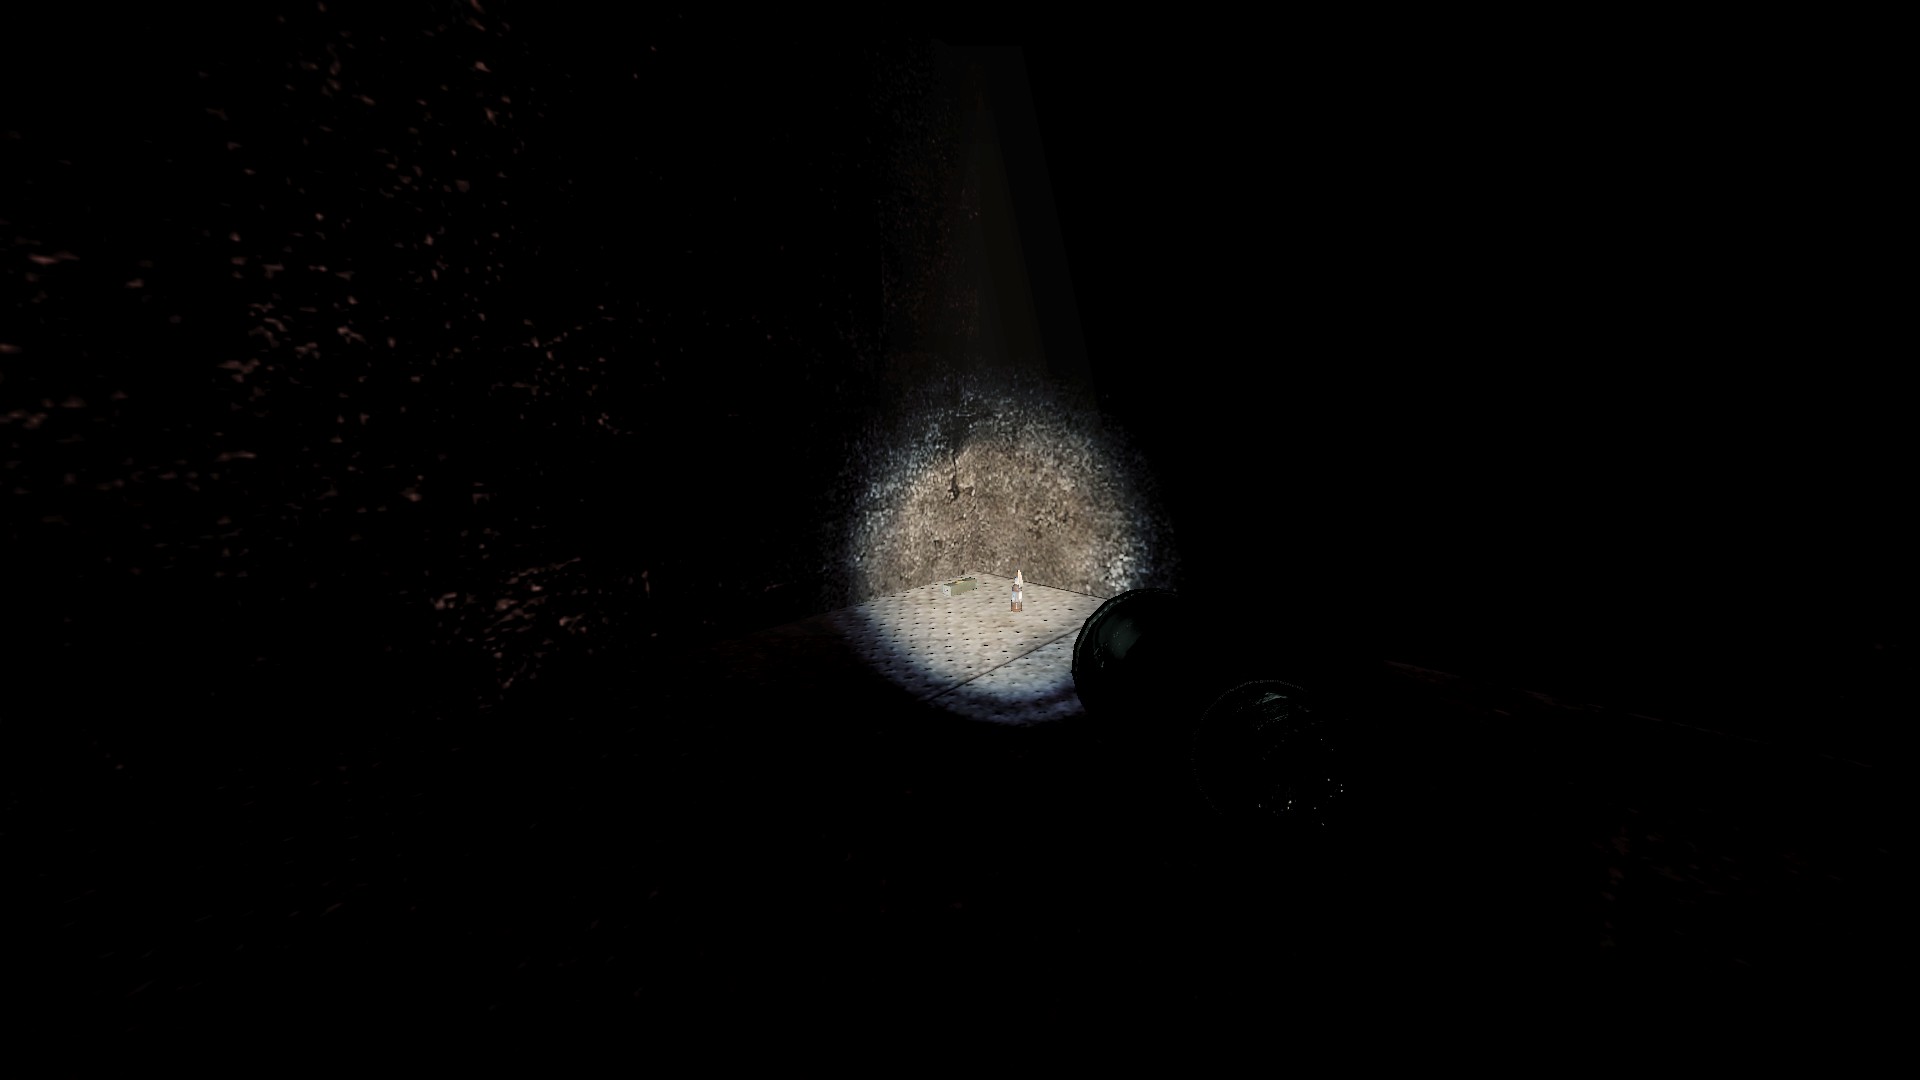
Check the extra room in the underwater area for a tnt and molotov Meteor apocalypse machete
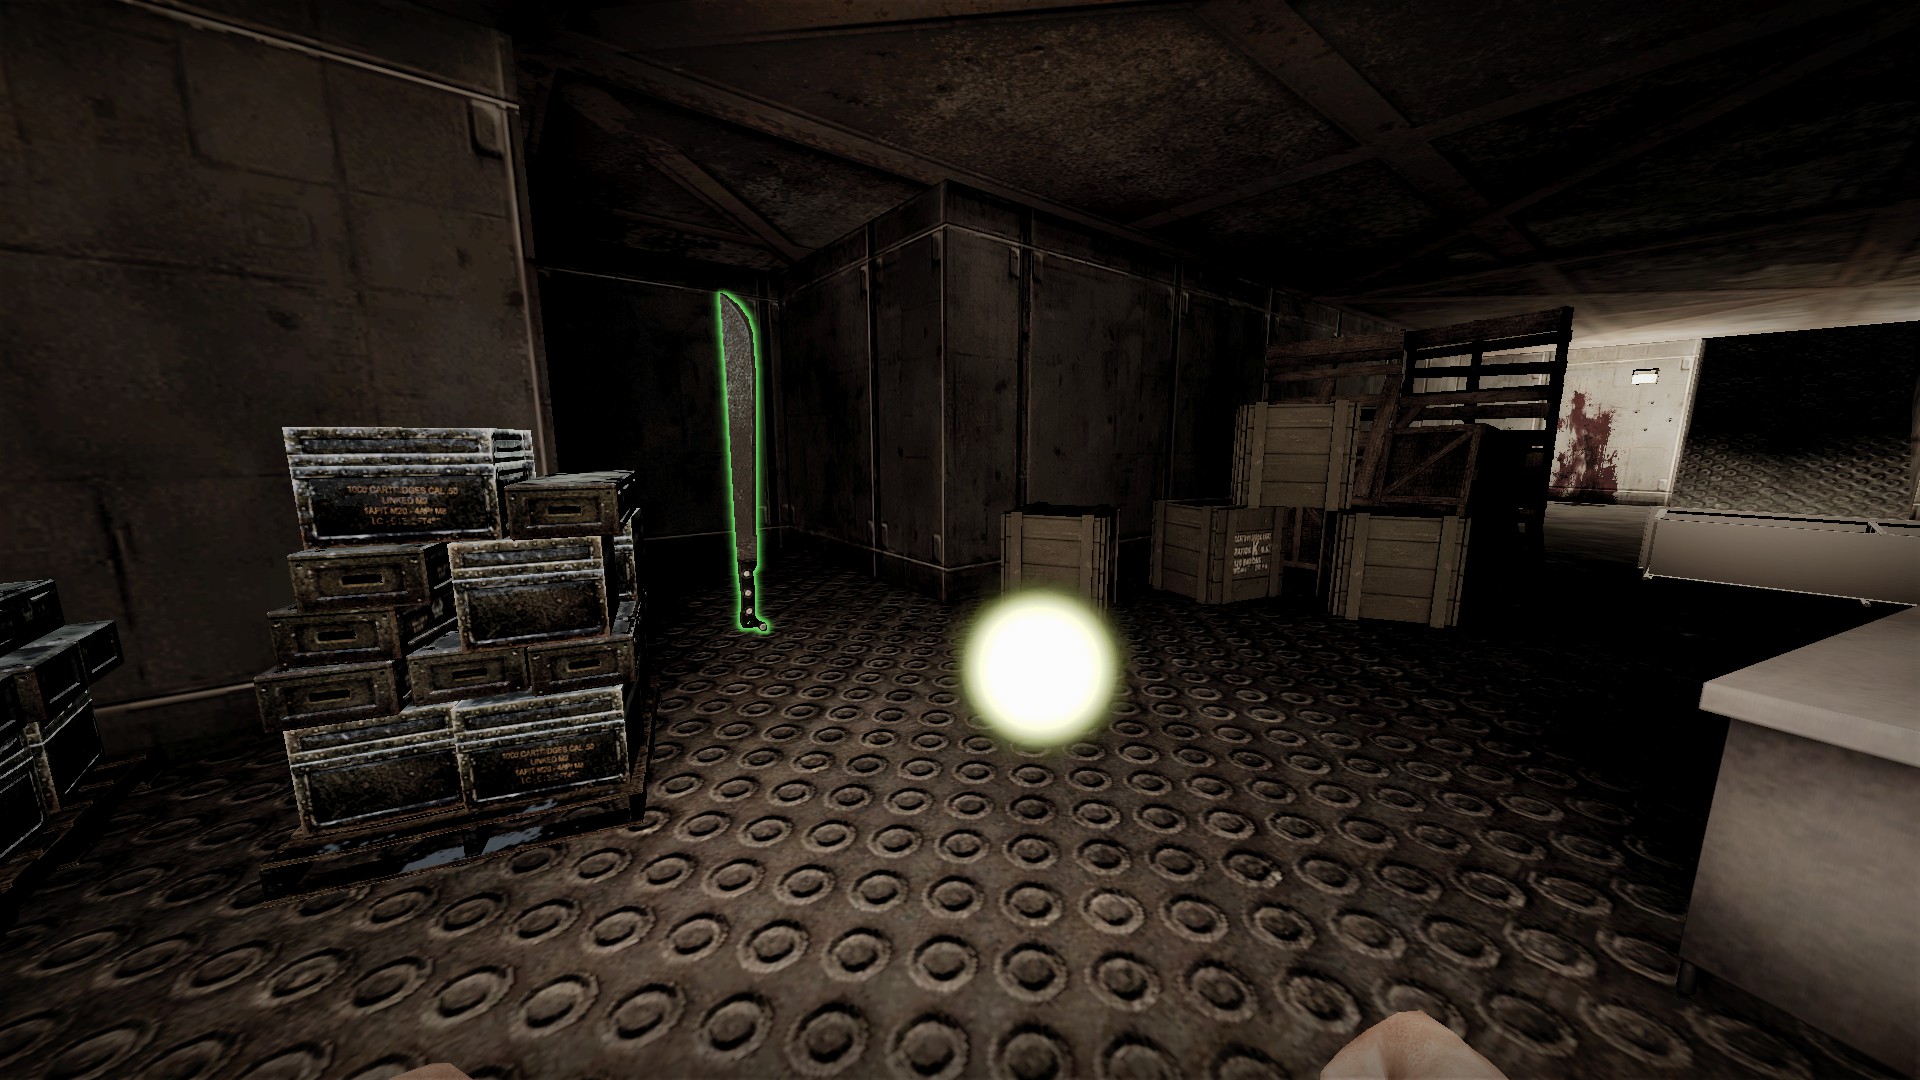
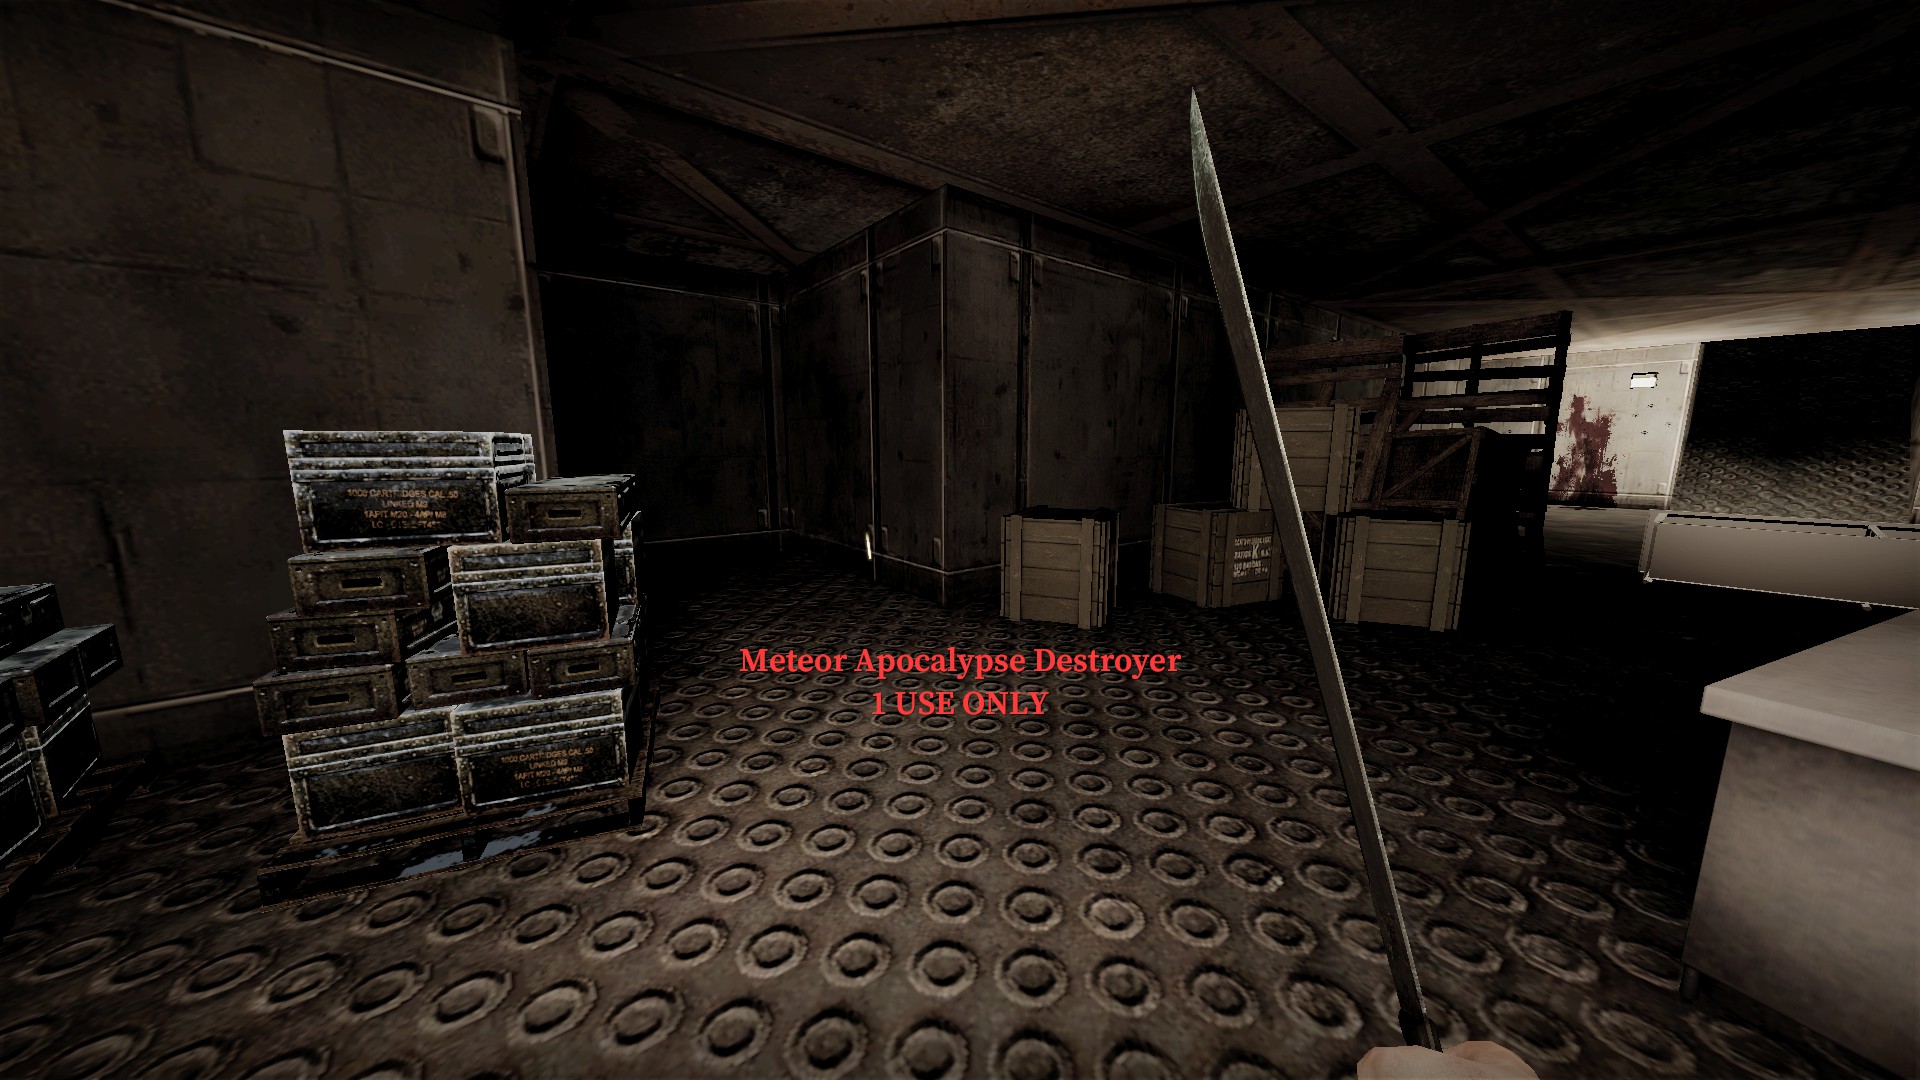
One time use, but it cannot be used prematurely
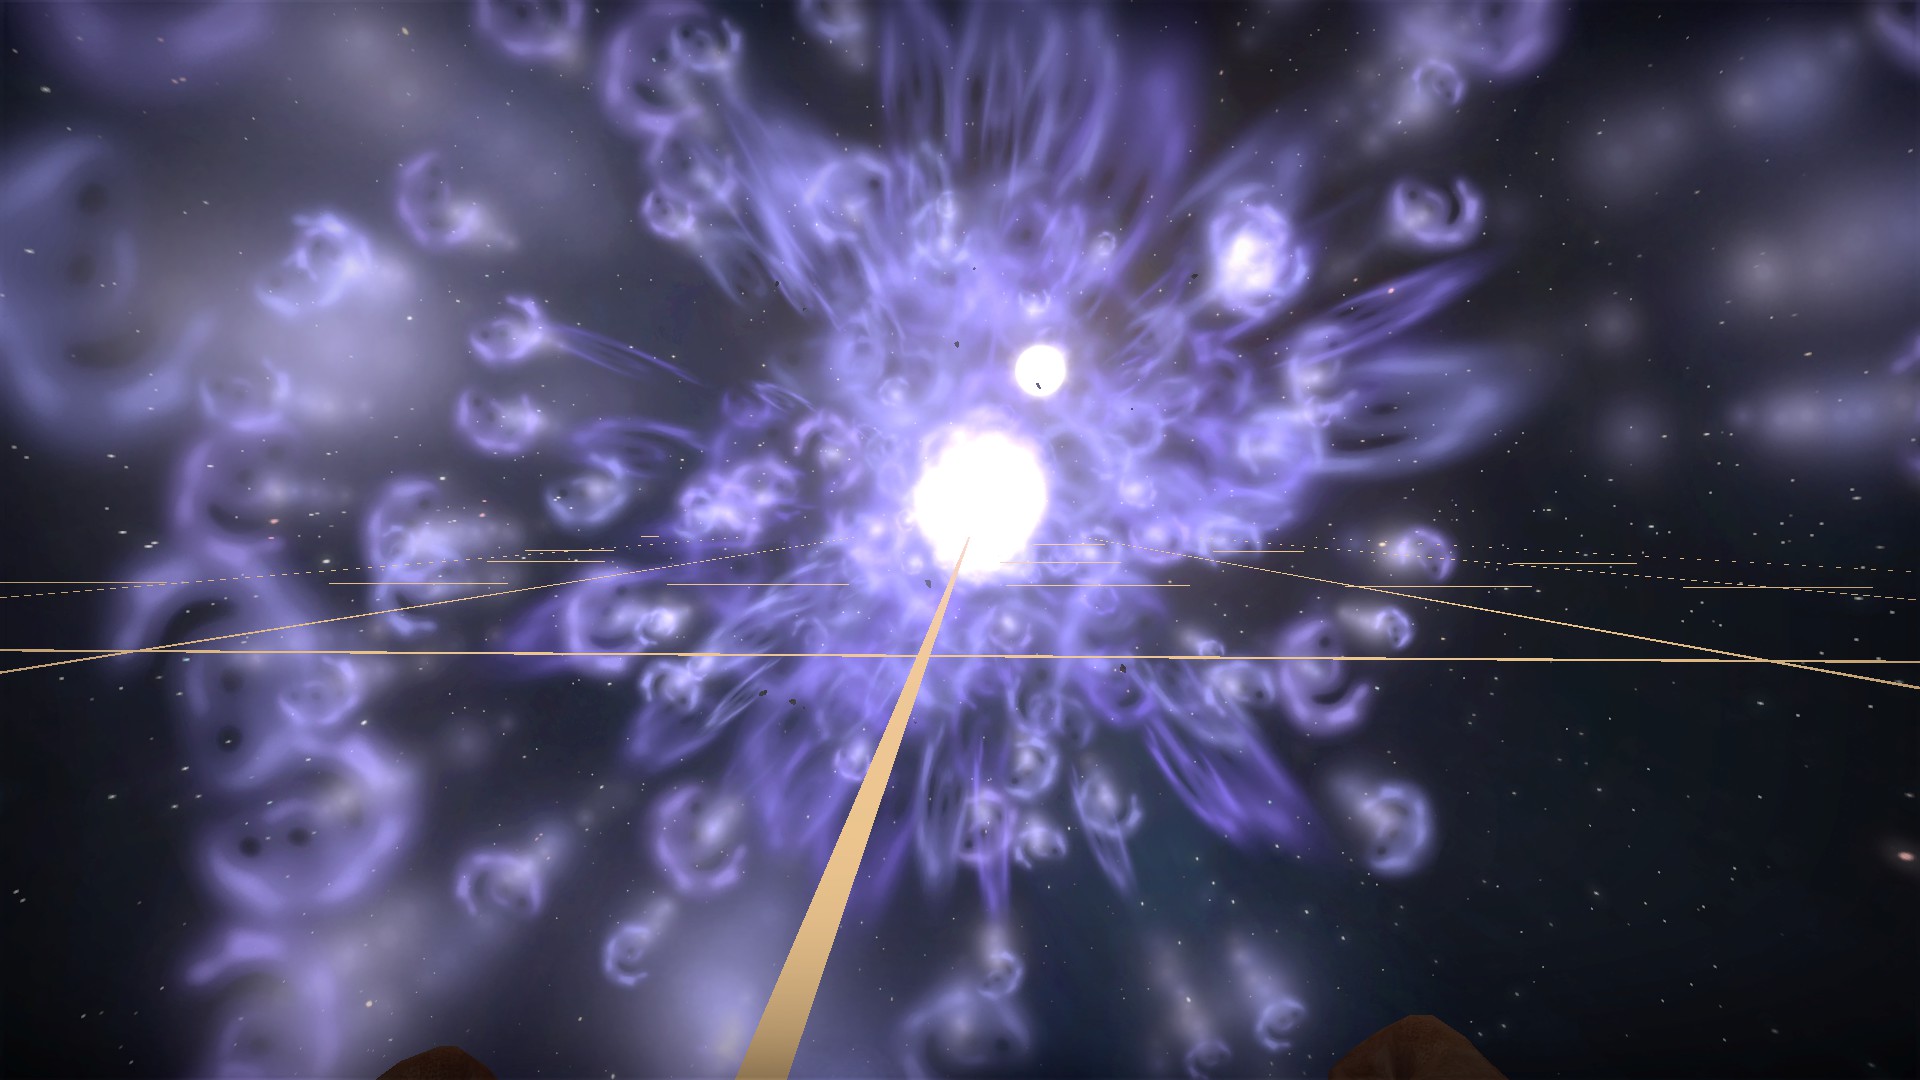
You use it to destroy the big meteor at the end. Unlike all other special machetes, crouch while pressing e to get it to work (credit to michael.px). It does not work consistently Bunker secret (beware)
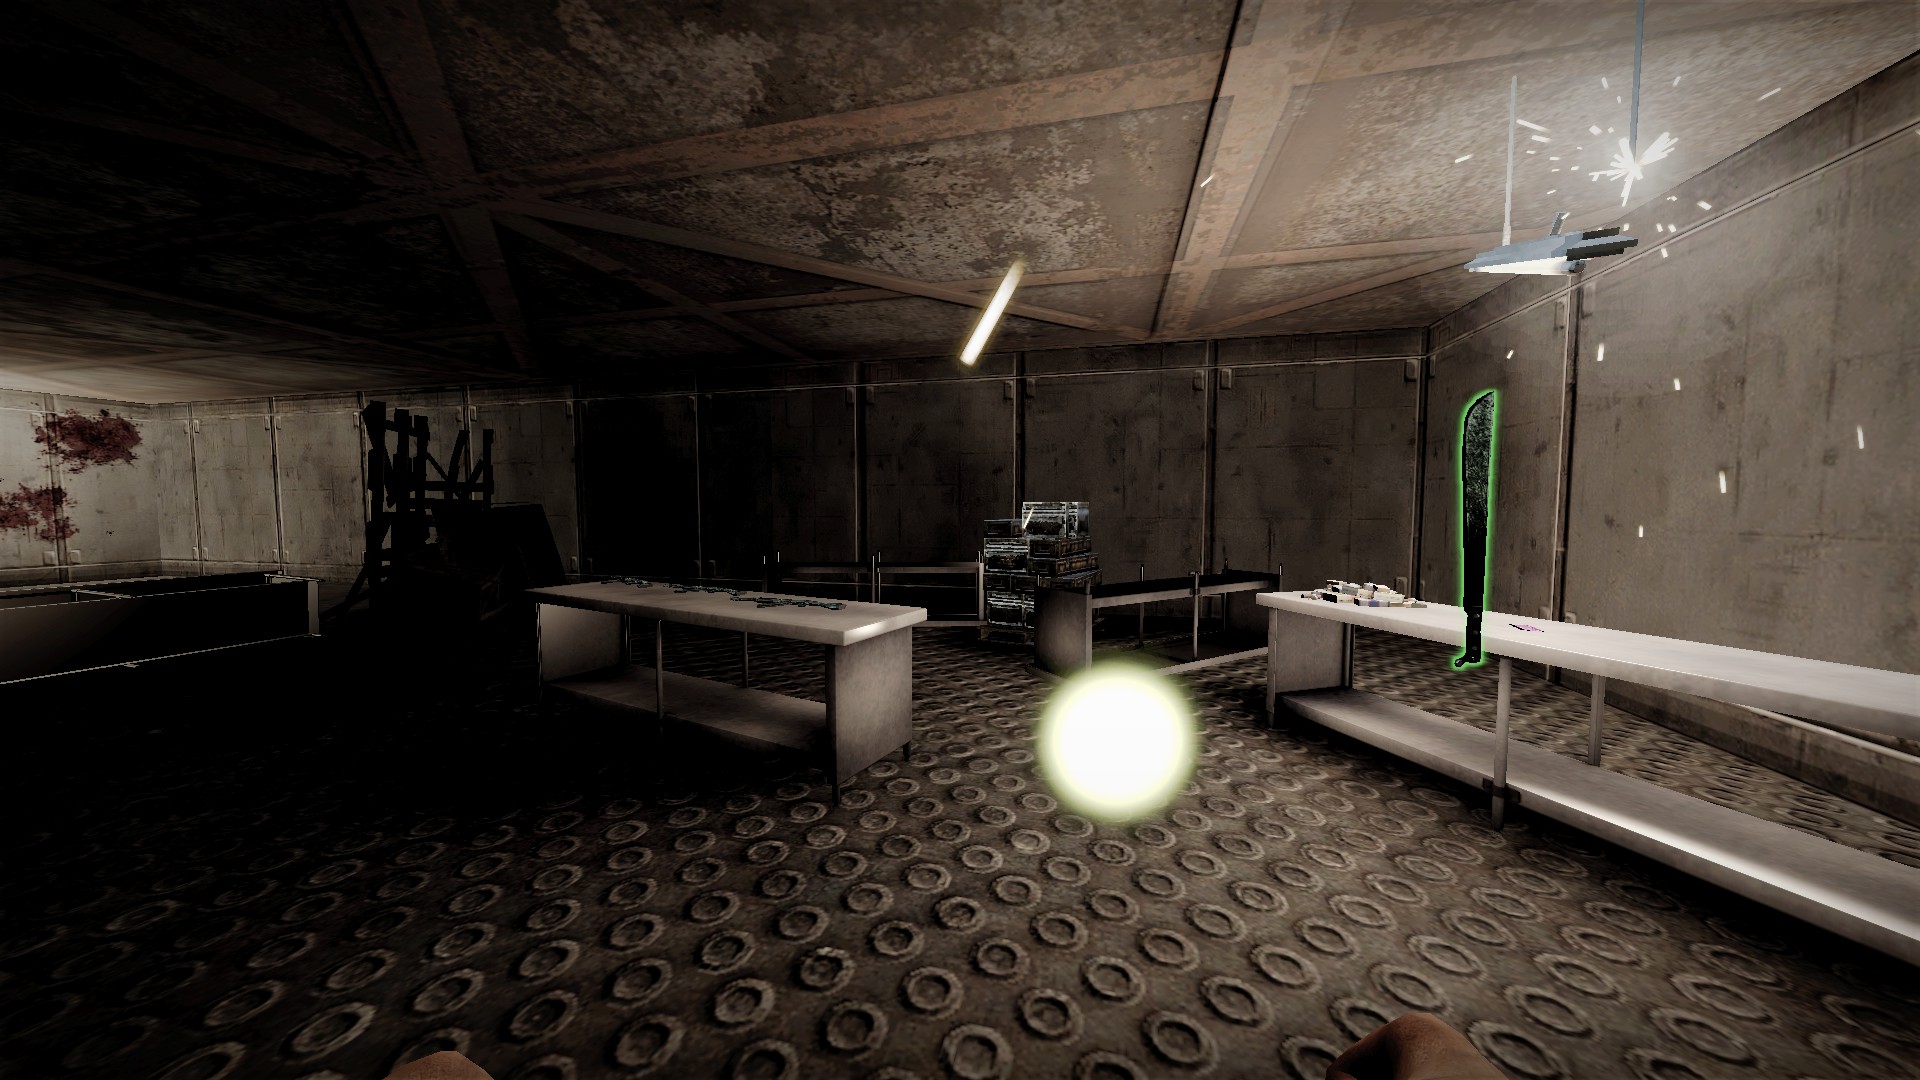
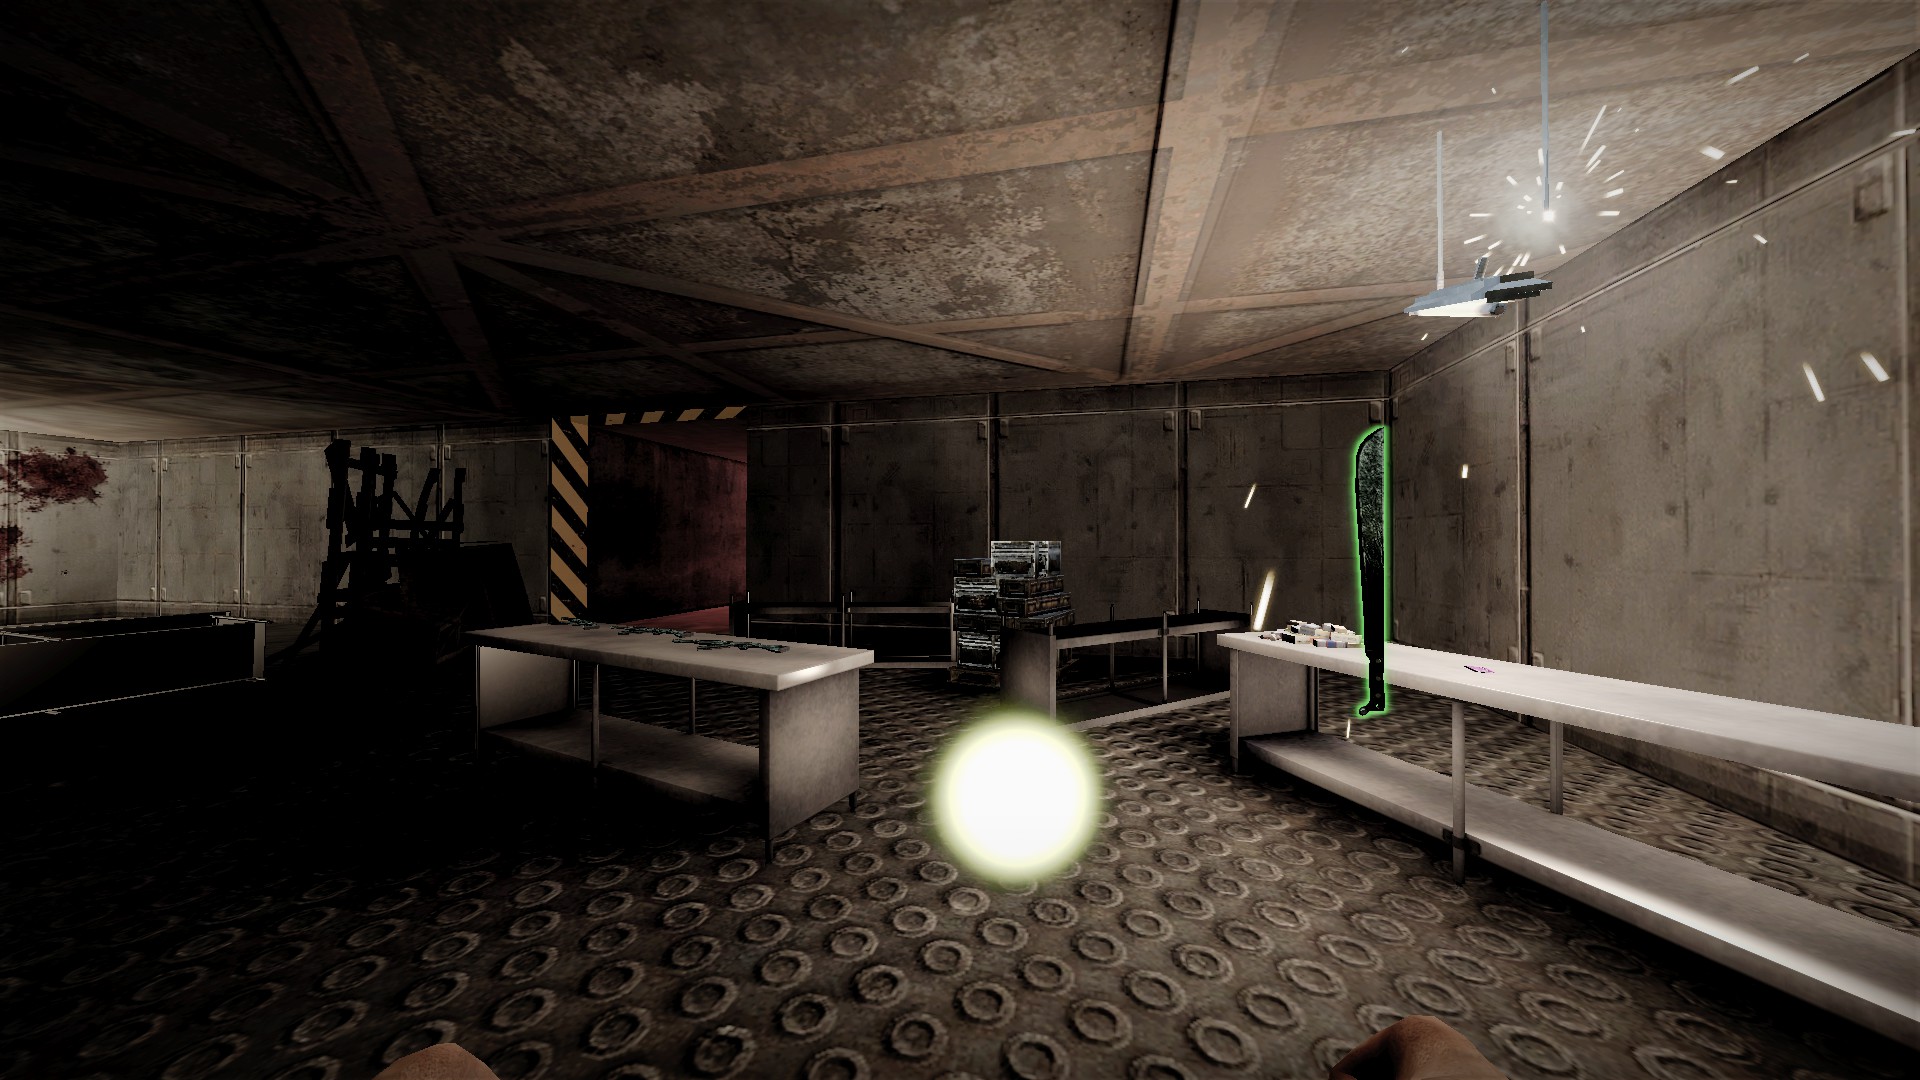
In the bunker where you find the special weapon, you can break open the wall behind the barricade for a secret area
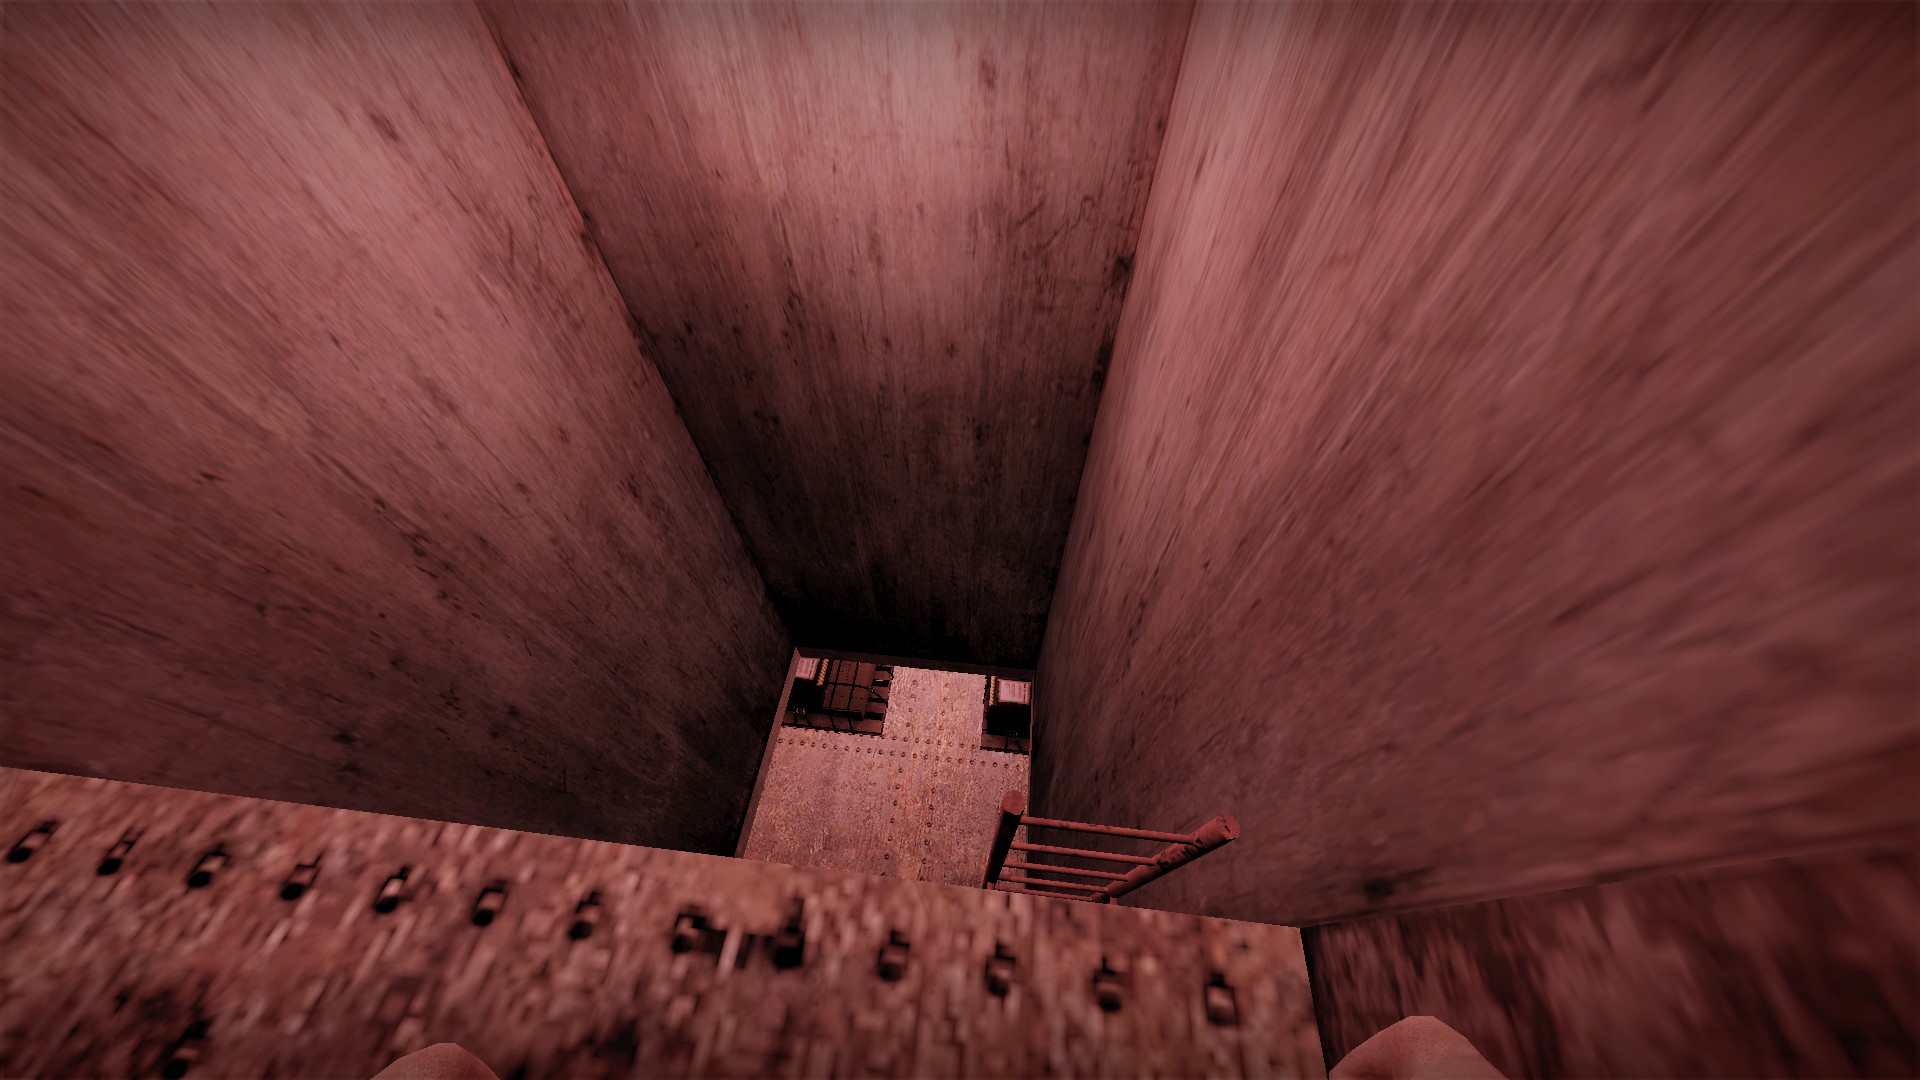
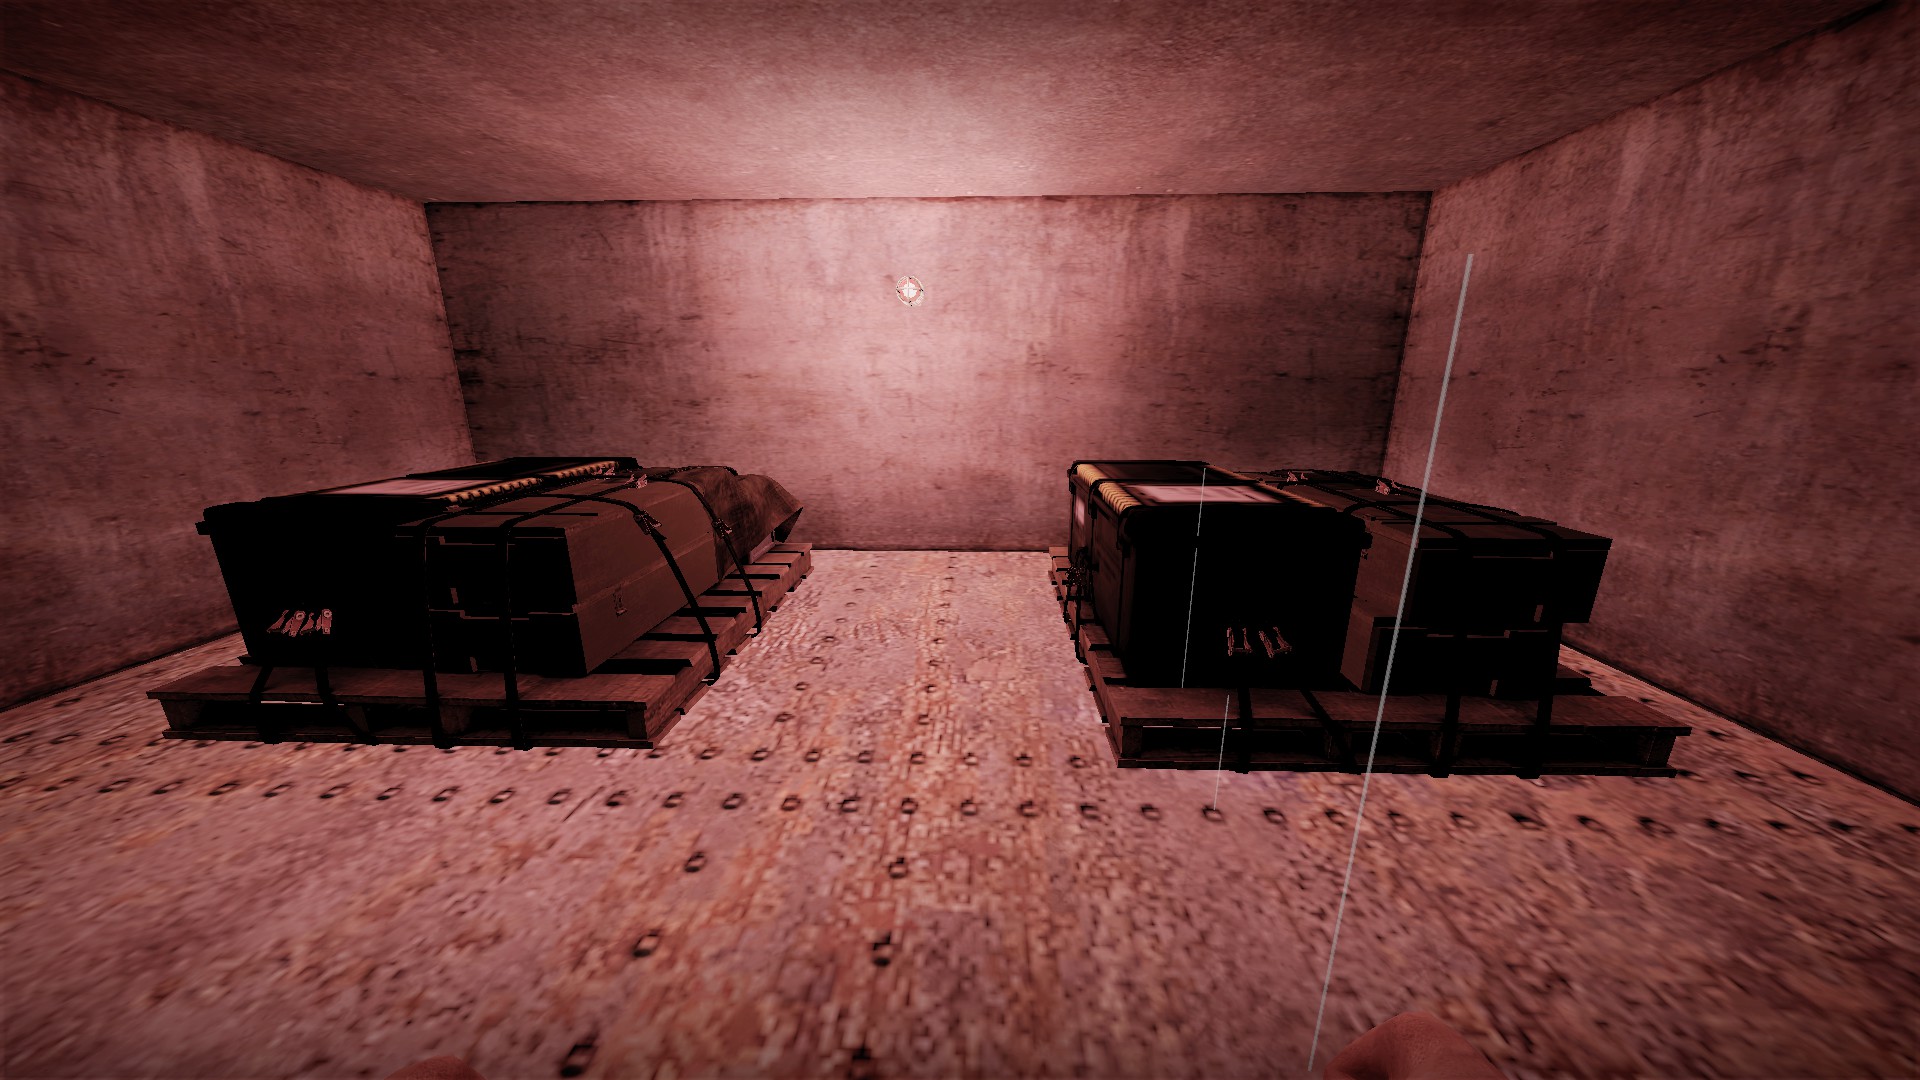
Be wary of this area currently. Although you can easily drop down and get supplies from the 2 weapon boxes...
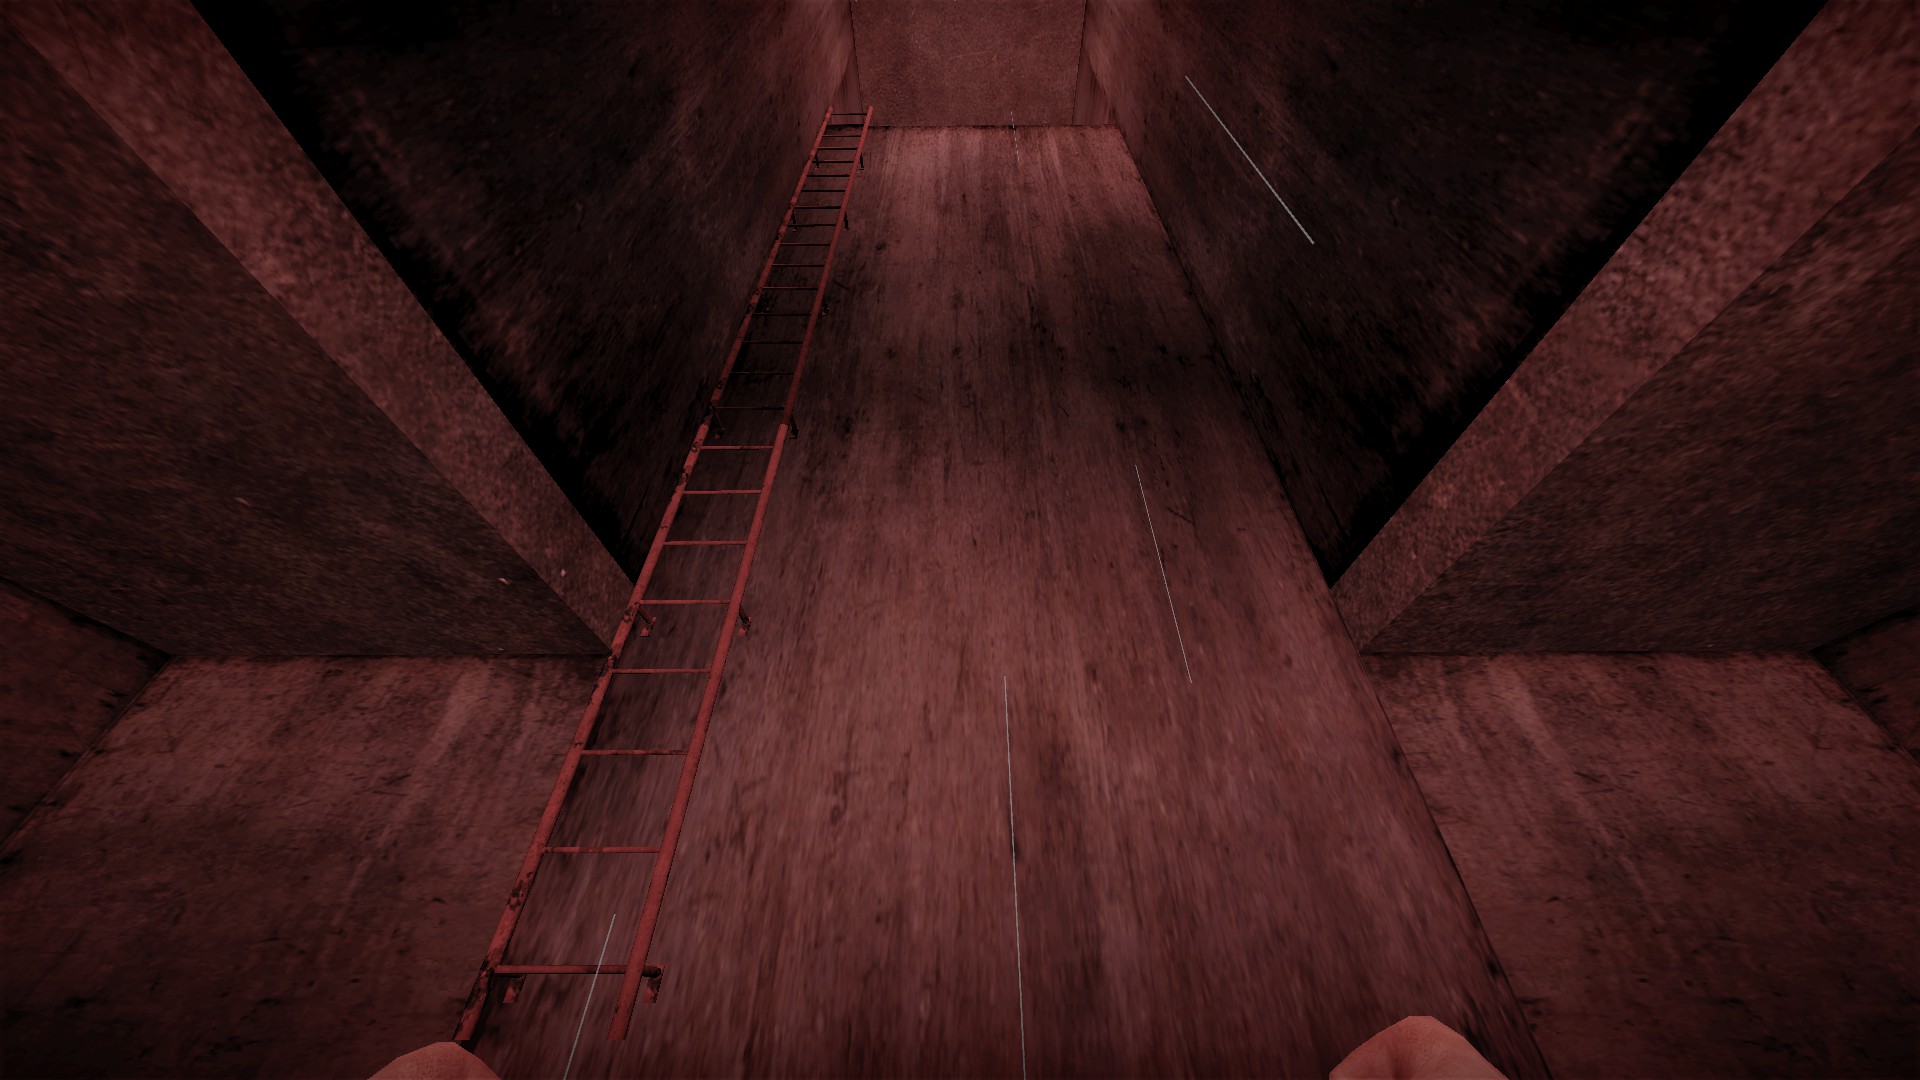
The ladder to get back out is broken. Unless you have another way out, at least one member of the team needs to not drop down. If one player makes it back to the trucks, everyone will teleport
nmo_evocation_prelude_v2


In the starting area, jump and break the boards for a shotgun


Break the bookcase near the phone for a box of items


Move this bookcase to cut off the runners


When you come back to the hall, the ghost will appear and the cross will fall

Use the cross on the last bookcase in the library, it has a cross shaped indentation

This will open a small room with a note and an item box

The item box has a welder in it

Break the red skull to kill the hallway ghost


In the maze, take the lantern with you, it will show the path by lighting arrows

When you reach a circle of candles, keep going straight for a secret


The door opens with 2 pressure plates, place the lantern on one and stand on the other to open

There are some items and a note


When you reach the end of the maze, teleport the lantern through first so you will have it in the next area

Break the other door of the building for items


In the open building, take the lantern with you up to the attic and use it to physically push open a block for a secret area


Break open the next building for items including a hidden medkit in the ceiling
Secret Ending 1
You will need 3 secret puzzle pieces and 3 items: baby. block, and giraffe


Go to the area with the weldable locker, weld, then remove the brown box for a hidden button underneath, press this button to open the wall


Teleport to the lake area, examine the list there for the code 1836, use it to open the safe for the puzzle piece Puzzle Piece 2


In the early room with a cogwheel, break a bookcase for a secret room with a gene, a note and a code on the wall: tstdcsdt


Go down to the maze, take the second left passage to the door with triangle, diamond, circle, square. Use the code tstdcsdt to open for the puzzle piece
nmo_evocation_prelude_v2 (continued)
This won't be available until after returning from the maze

In the hallway with the long boards, run to the right and fall through the hole


This will teleport you to a small room, find a candle, place it on the table and light it to get the puzzle piece

The giraffe is also in this room, teleport it out before you leave Block

The block is found in the area where the ghost attacked from after the yellow key was used Baby

The baby needs a code to open, but it's already in the room: the lights on the left show the number sequence and the lights on the right show the number
In the shot above the left is red, white, orange, yellow
The right is 3 red lights, 4 white lights, 3 orange lights, 5 yellow lights: so code is 3435
There are 15 lights on the right side, so the code number will always add up to 15 (3+4+3+5=15)


Place the items, use the batteries to start the survival event, and throw the switch when it highlights. You will get a message that the secret ending unlocked


The tunnel after the elevator will now turn left and in the next area you can go through the door on the left

You will be teleported to an outdoor area with the gate from the loading screen


Follow the blue glow sticks to two graves and press e, then return and the gate will open Secret Ending 2
You will need to unlock secret ending 1 first

After throwing the secret ending switch, go back to the starting room and answer the phone. You will get the message meet me at the lake

Go to the lake area by using the teleport after the welded locker

Pick up the key from the ghost at the lake

Teleport back and use the key on the V door in the hall leading to the welded locker

The room will have the code 7459. This code will not work unless you come here first

At the secret ending room, you can now input the code on the door on the right

Secret ending 2 is much more challenging than 1
nmo_existential

At the start of the map you'll be given the vague objective: ...do it for our families...

Parkour your way up to a key above the starting area

Use this key to open the locked door

Use the welder inside to cut into the next area
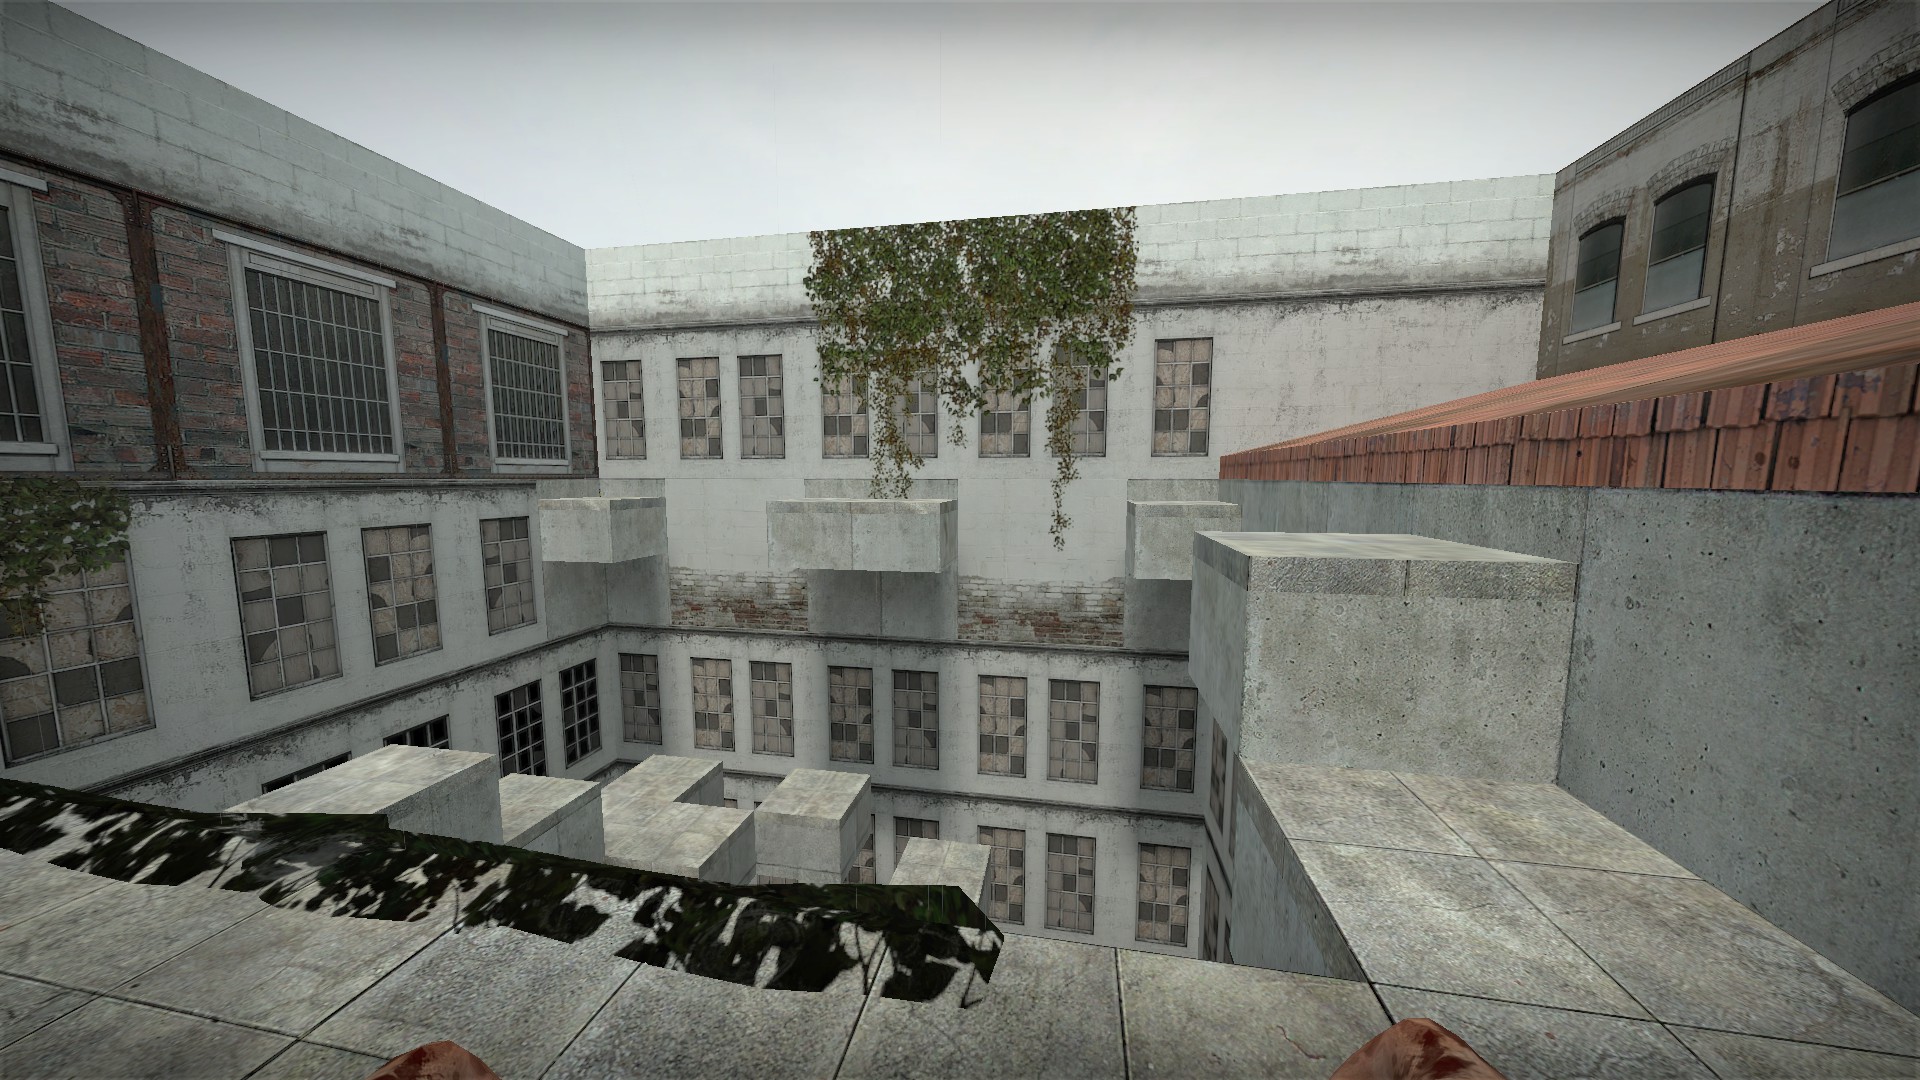
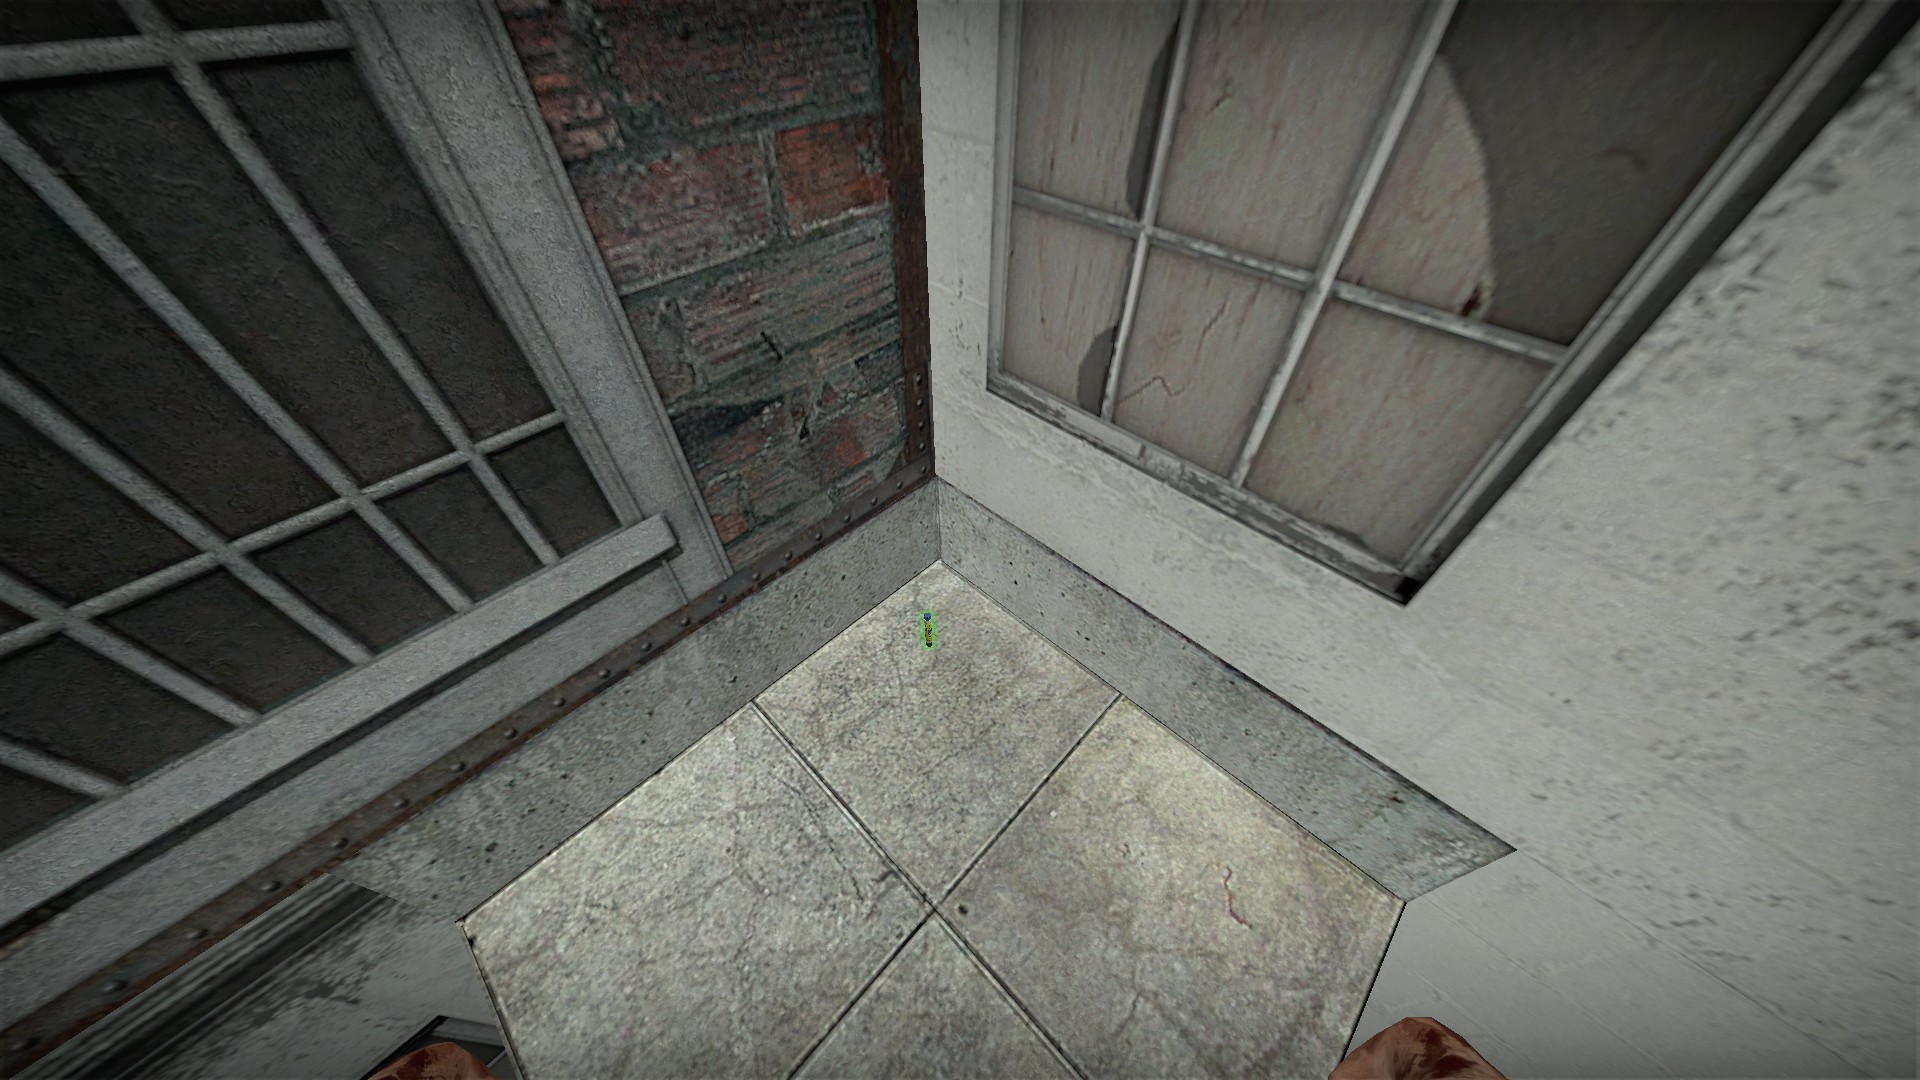
Before heading down, you can parkour across the roofs at the top for a gene therapy in the corner

Parkour to the end of the map to get the family picture

Bring it all the way back to the locked room where you found the welder and place it on the altar there

This will open the escape at the starting area
nmo_exodus_dawn_v1


There is an easy to miss sniper rifle at start

If you come out of the water onto the red pipes, you can jump to the top of the railing and get the resupply box here


You can pick up the lockbreaker on the table and use it to break the lock on the lockers


When passing the train cars, be sure to turn around and look in them as one has a weapon box and special medical item. The special medical item cures up to 15 hp and will not heal over 100
nmo_exodus_ruse_v2


2 of the doors in the first area don't have handles but can be opened and have supplies


The mine can be shot


Use the lockbreaker to open the fenced area


There is a flare that can be carried, it is useful when you need more light trying to connect the switches

There is a shortcut here if you climb on top of the boxes, break the grate and go through the vent

You will pass through an area with a large fan and medkit


The end of the vent will drop you right in front of the backup power switches for the elevator

There is also an extinguisher right there to put out the fires


There is a hidden machete and shot at the top of the stairs

And the radio at the bottom of the stairs can be played
nmo_exodus_final_v3

There are medical items in the refrigerator and freezer at start

You can board up the runner spawn location

But it is much better to push the nearby boxes to block the spawn


Pick up the valve when you find the c4. Bring it through the map to the final area and use it there to open a shutter for a weapon box and other supplies
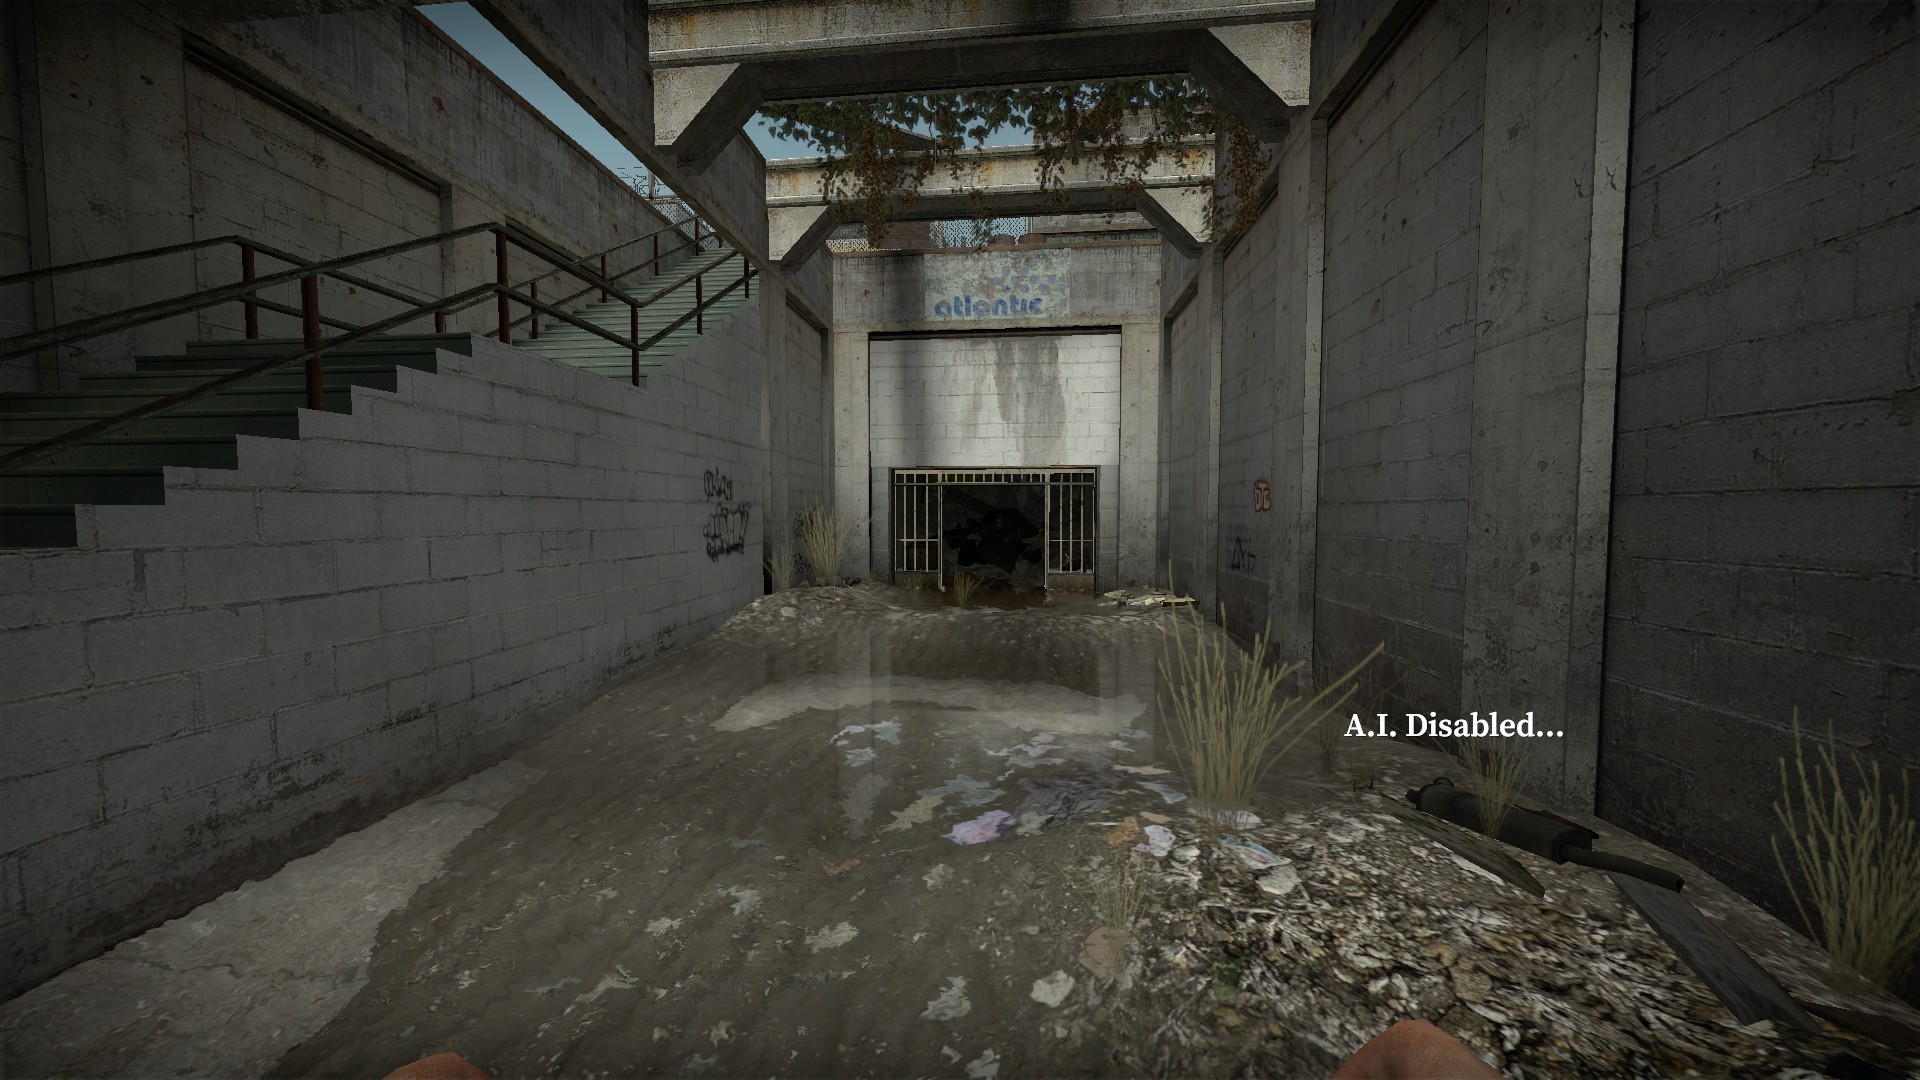
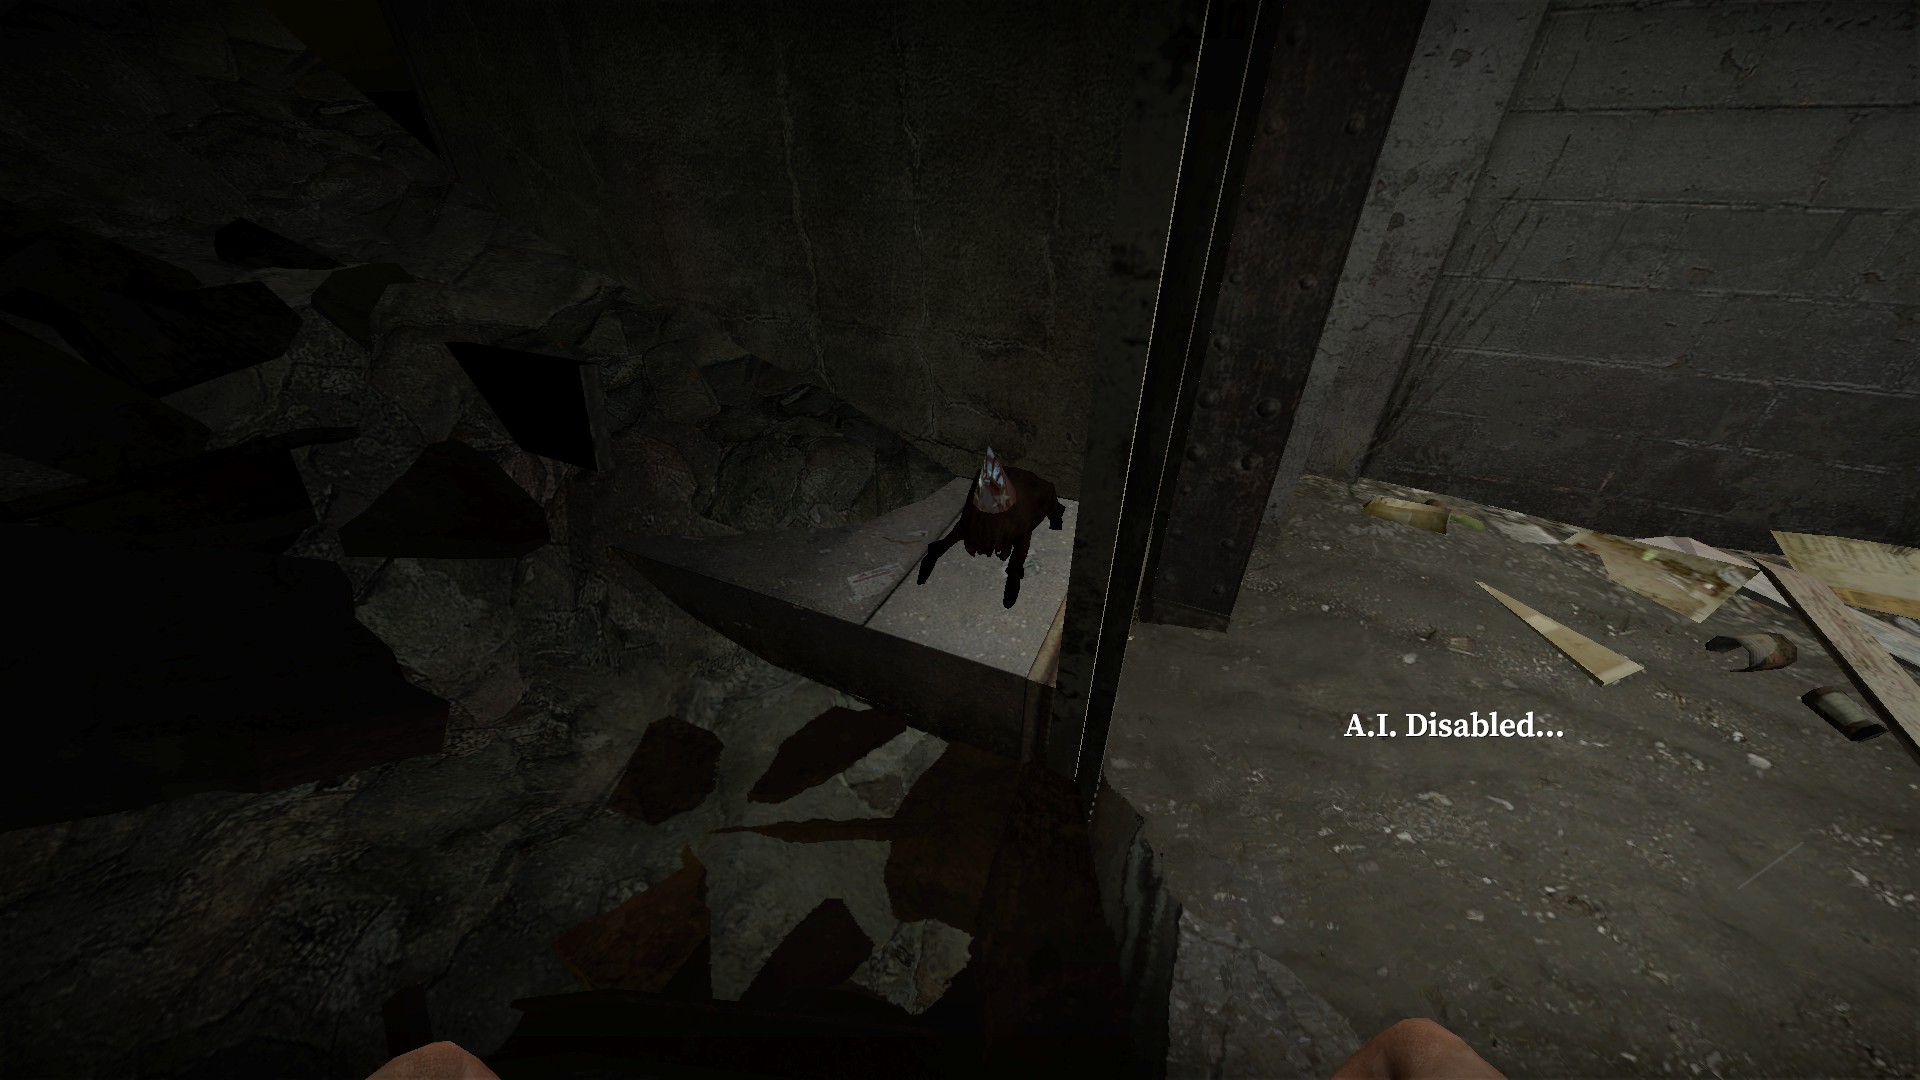
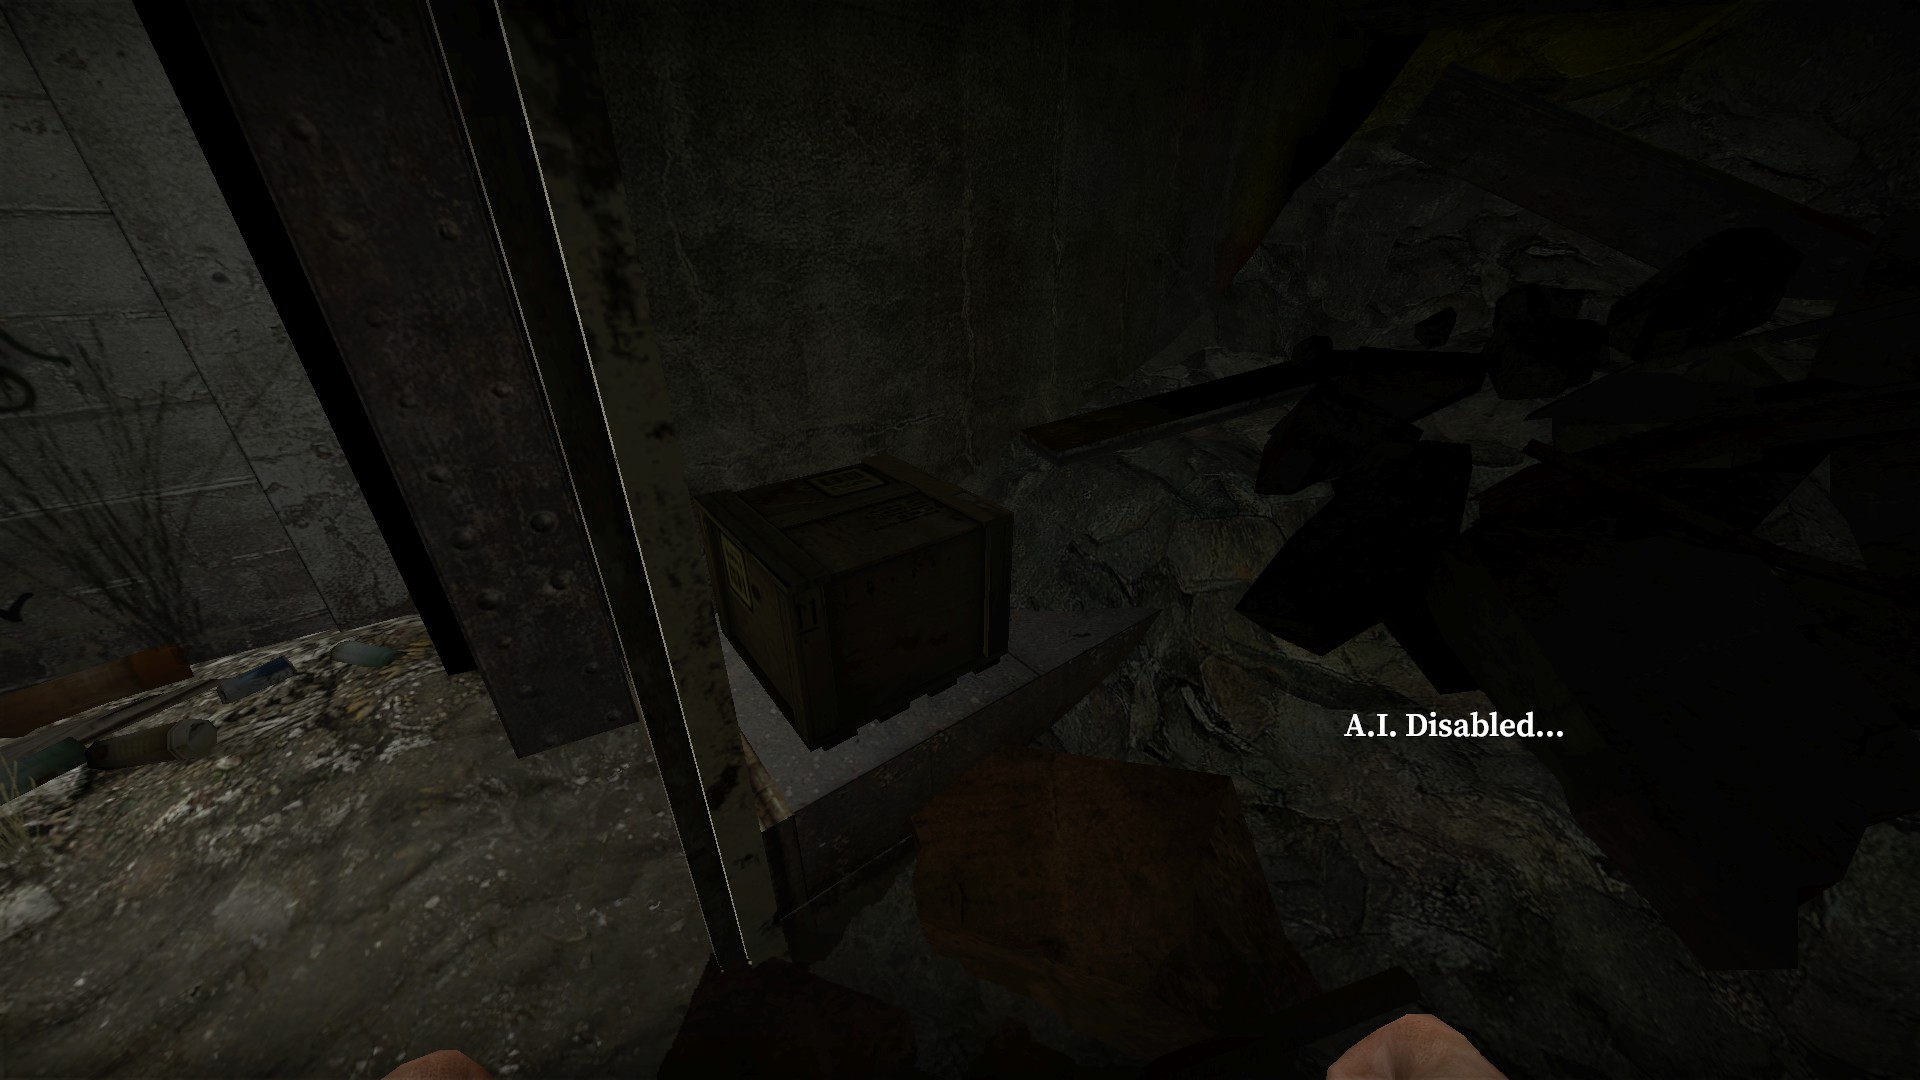
Head to the back of this area before going up the stairs. There is a moveable headcrab with a party hat (just an Easter egg) and an ammo resupply box


Grab the wrench as you head through the back of the garage and use it to break the lock off of the medical cabinet behind the car


You will find two more unlocked medical cabinets that can be opened for supplies


You can climb up to a secret room with a good stash of supplies in the final area, but the climb up and down is quite difficult as you will need to be on the very edge of the ledges to climb up and down the pipe
nmo_experiment_v3fix


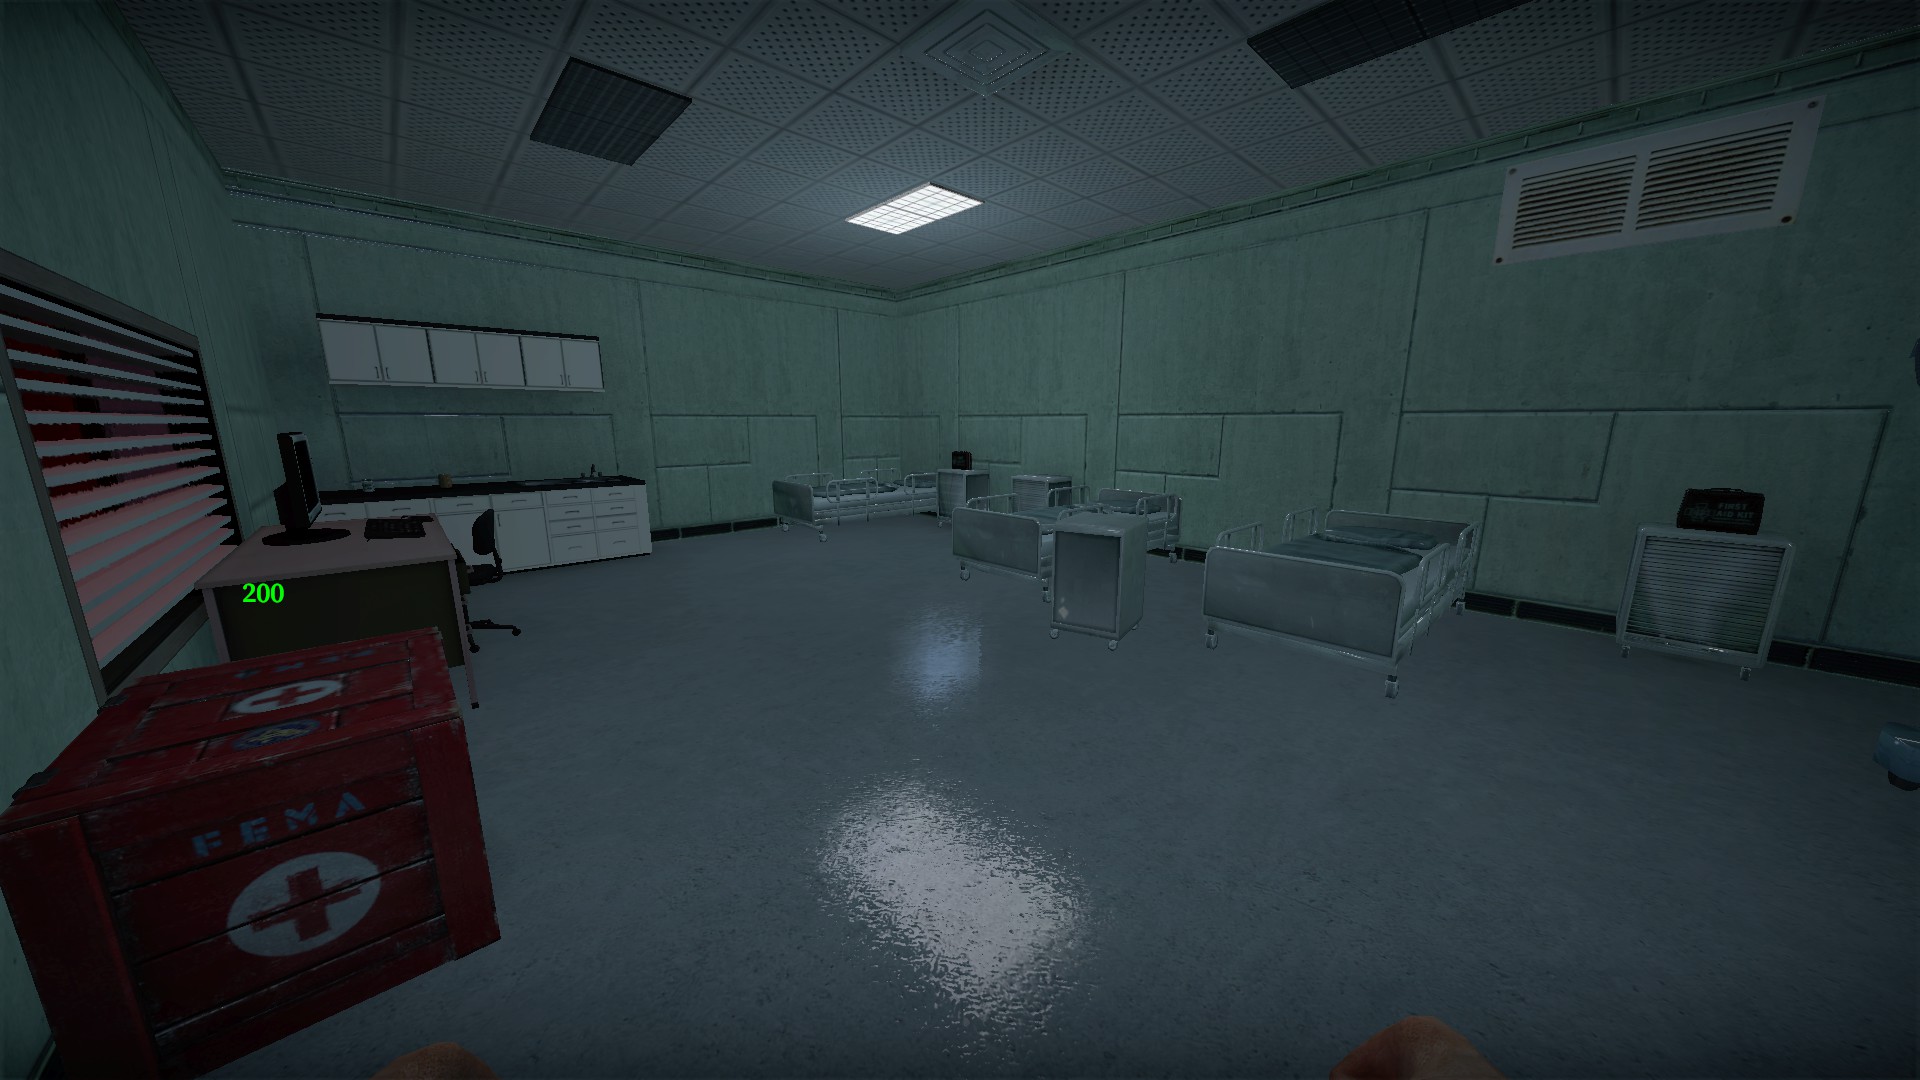
Bring the fresh watermelon from near the start down the elevator and use it to open the medical area. The spoiled one and the smaller ones from the vending machine will not open this door Boarded up office

Crouch to shoot the boards and open the area. There are good supplies inside
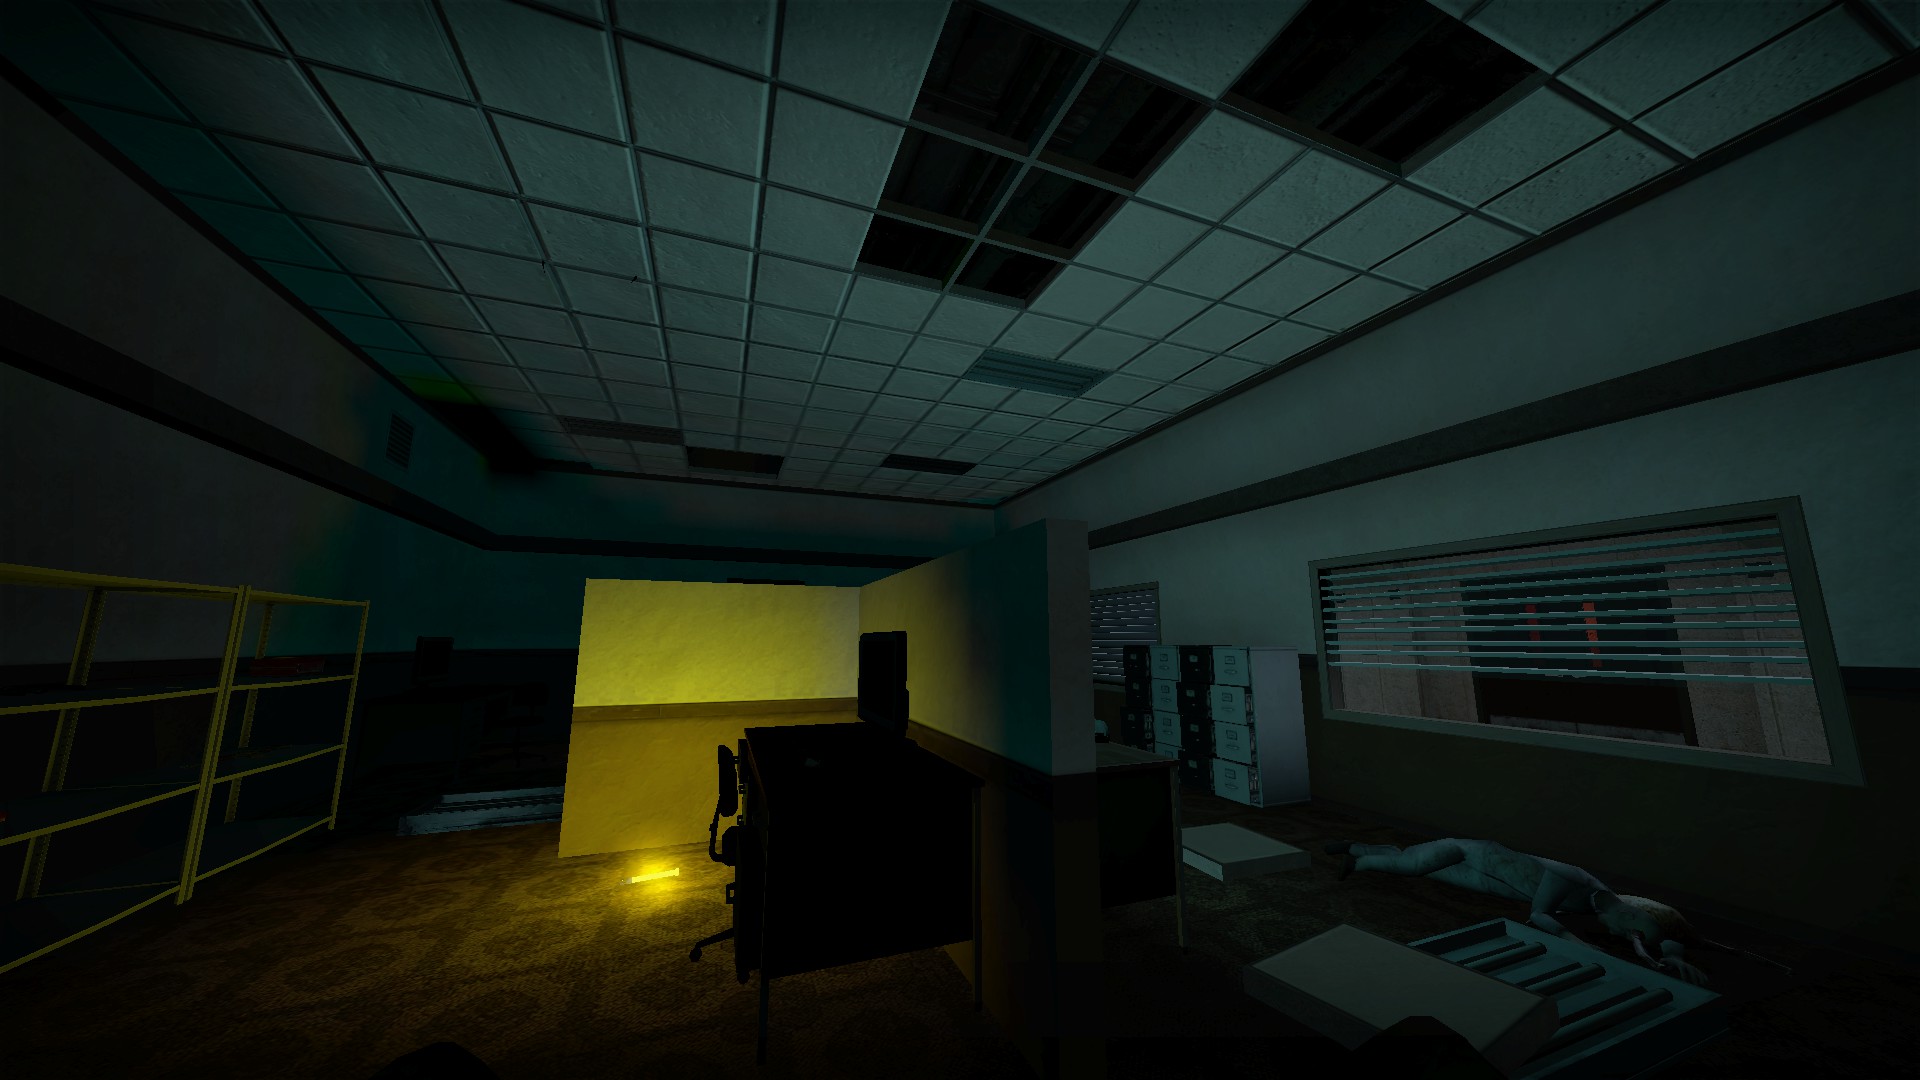
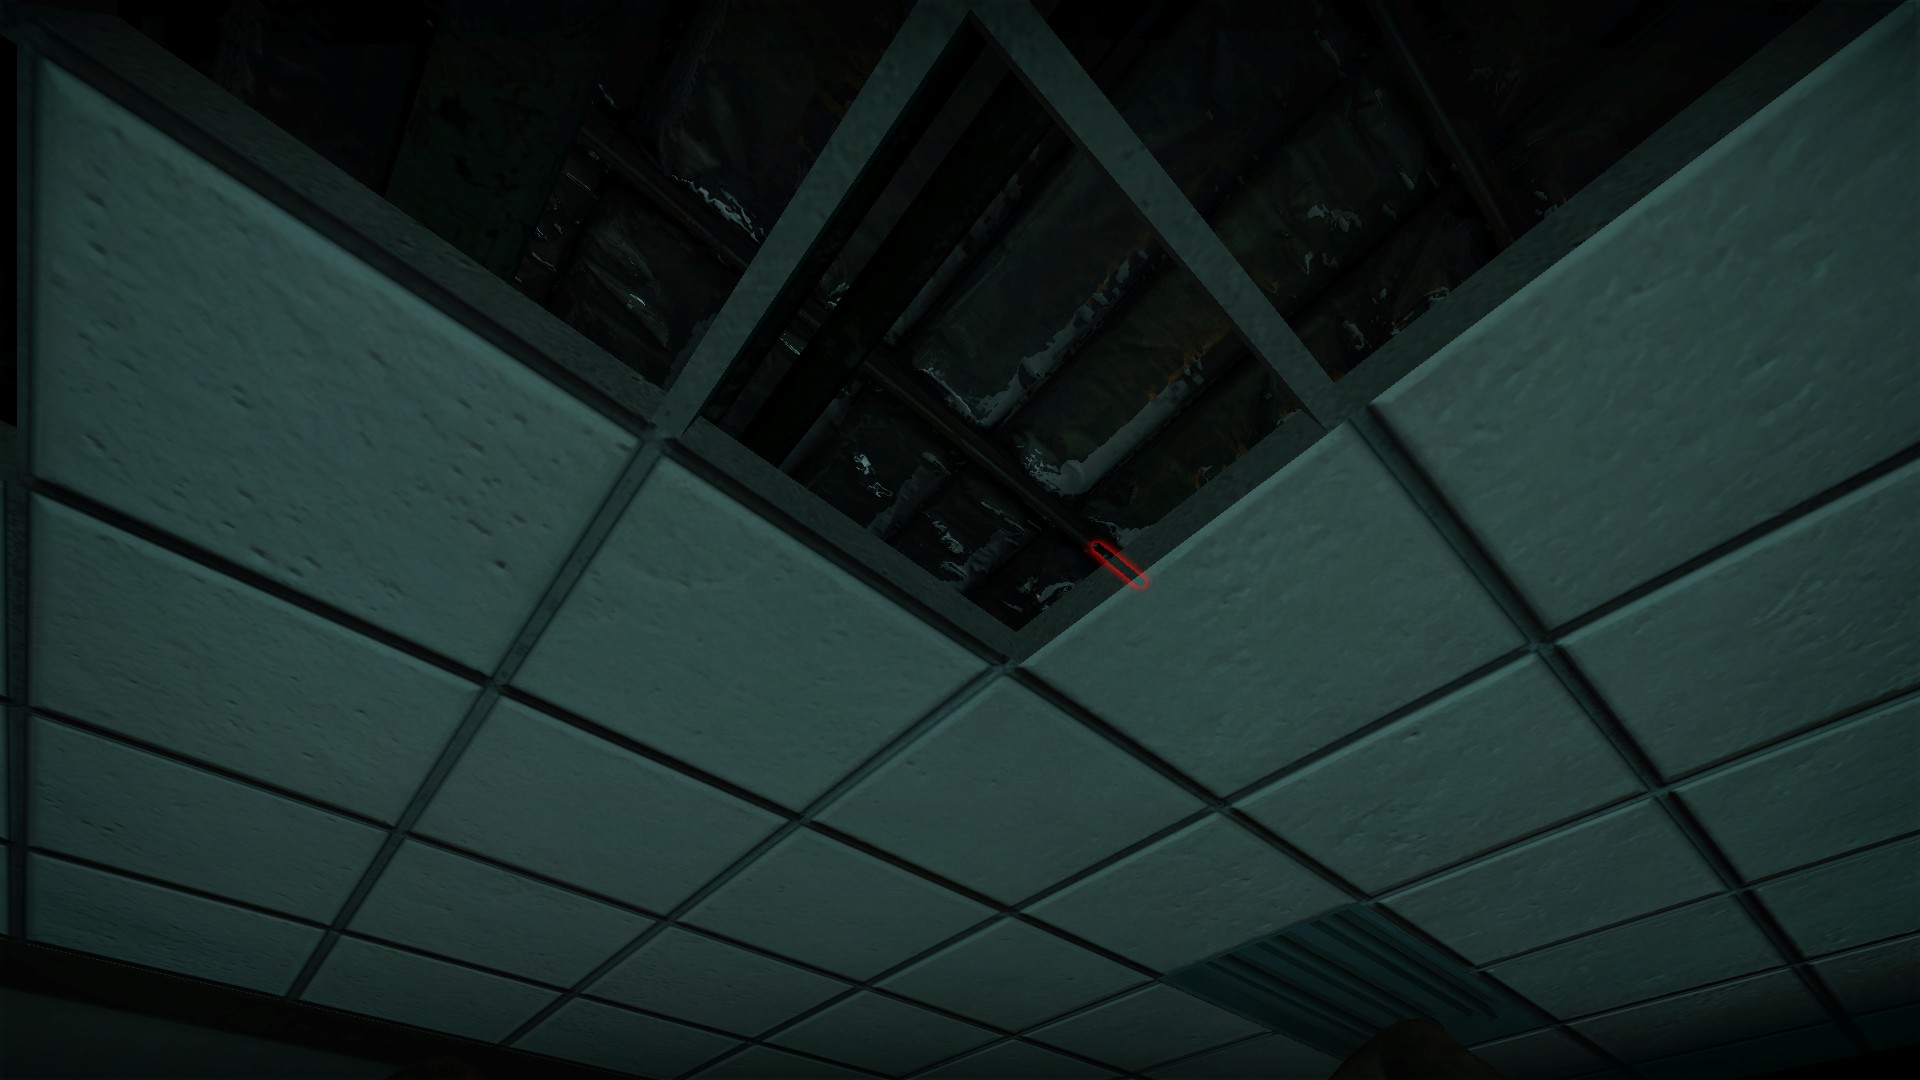
In this area, climb up onto the desk and the top of the cubicle wall to find a shot in the ceiling tiles (credit to goku)
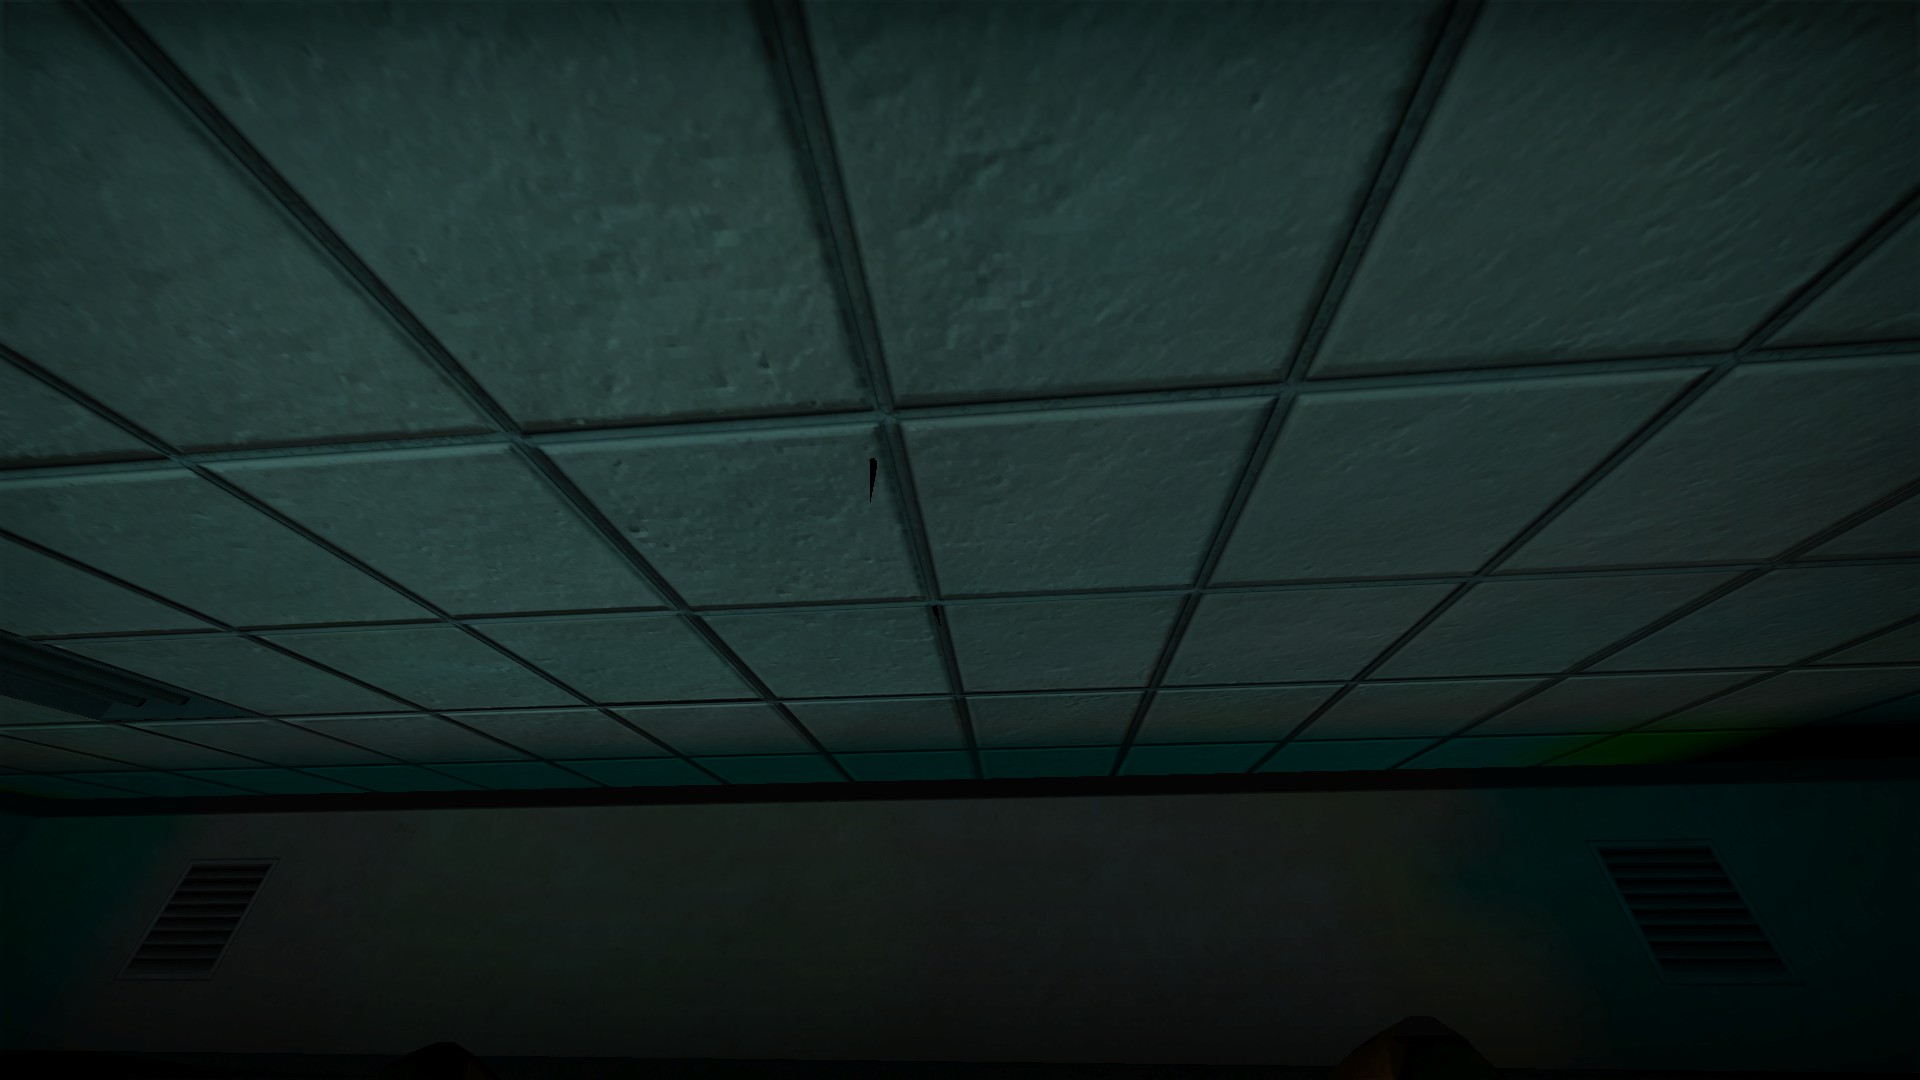
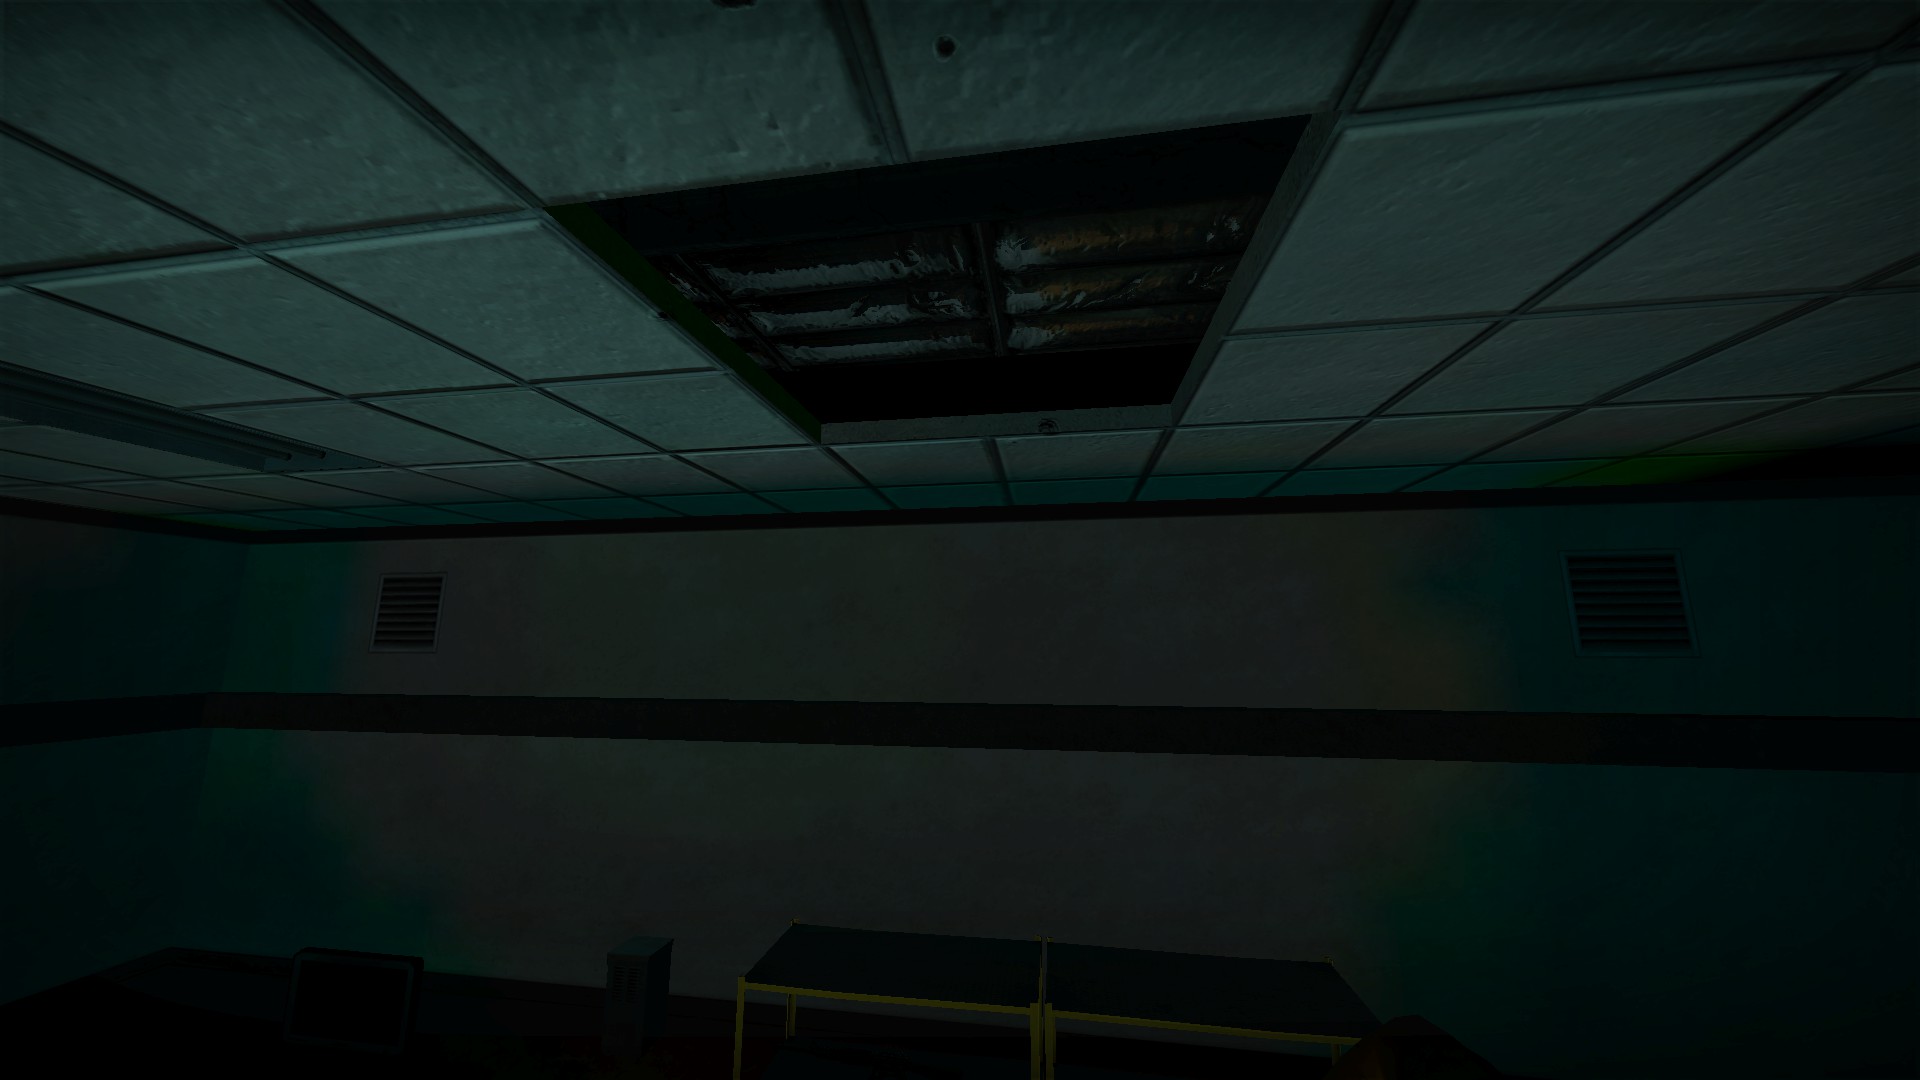
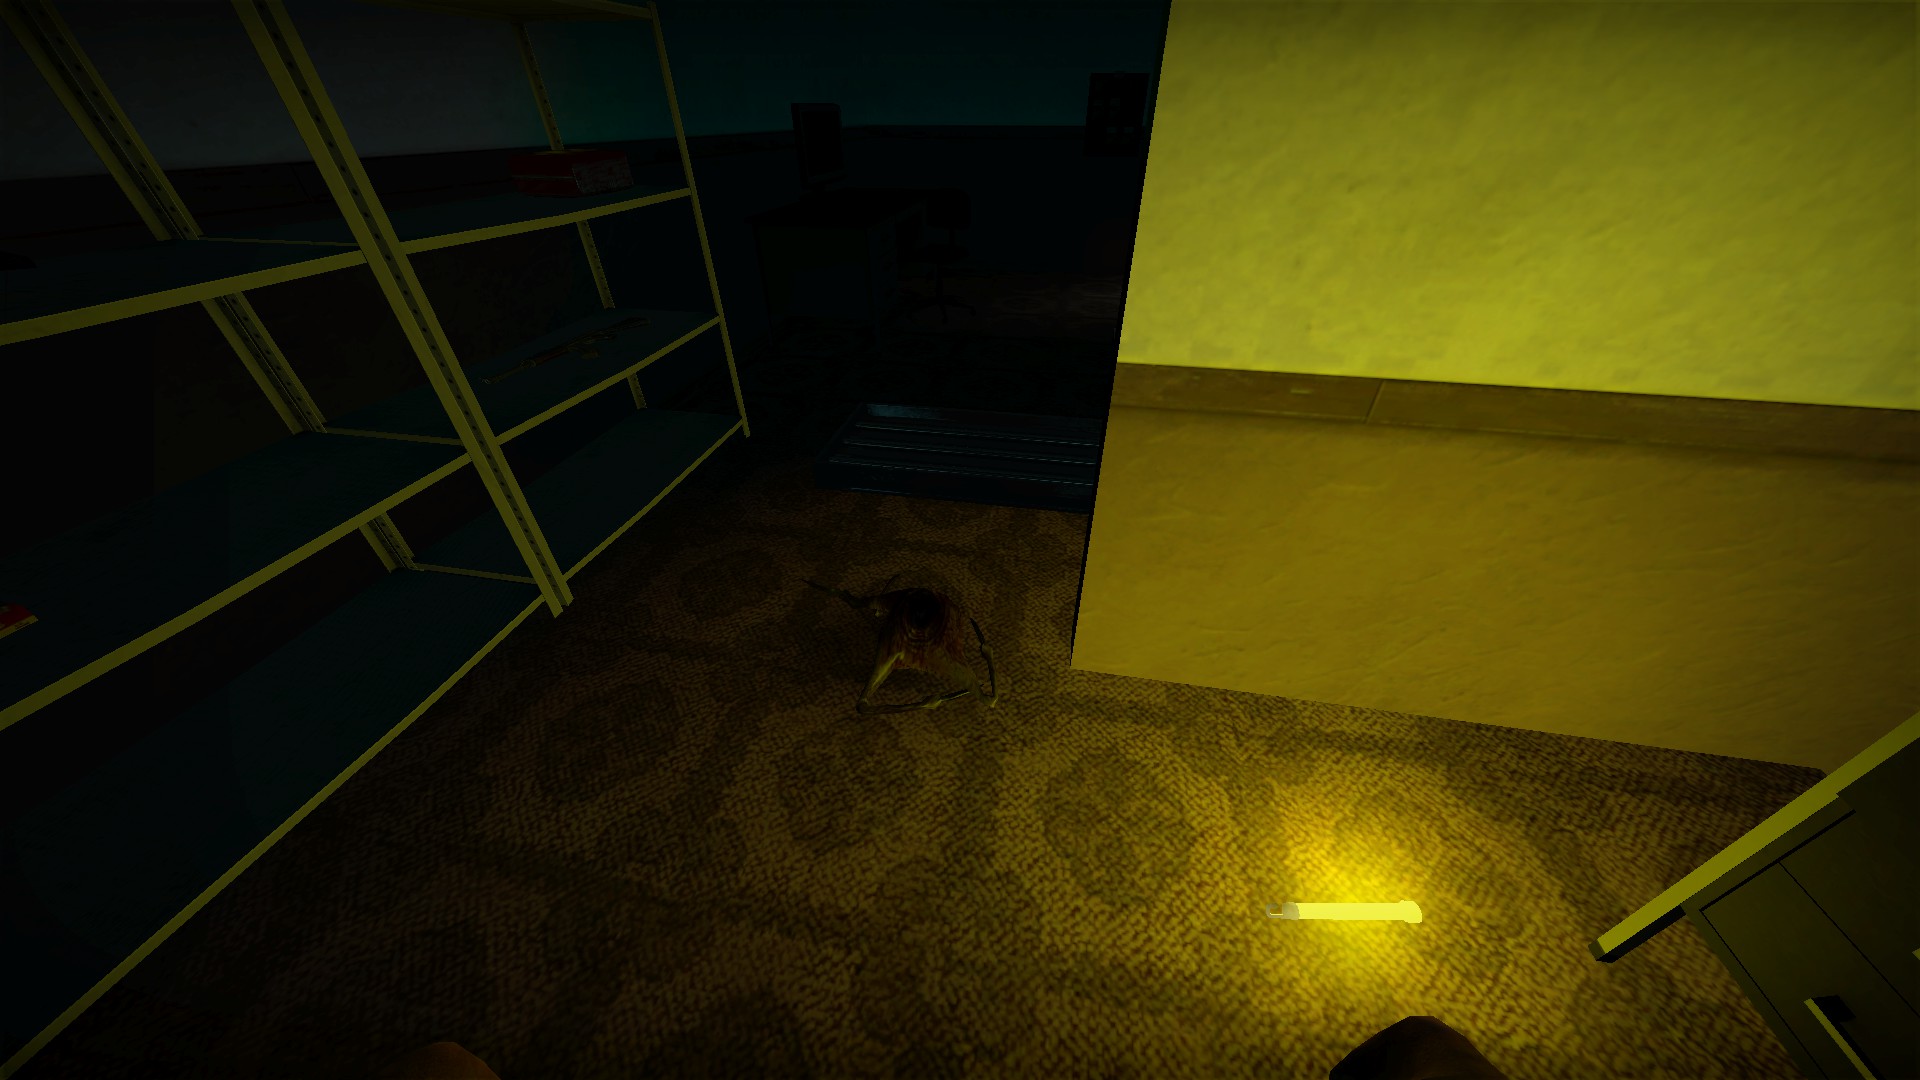
While you are up there, you can also break the tiles in front of the shelves for a dead headcrab. It's just an Easter egg Vending machine


Press e on this vending machine to get items/small watermelons until you run out of cash Machete
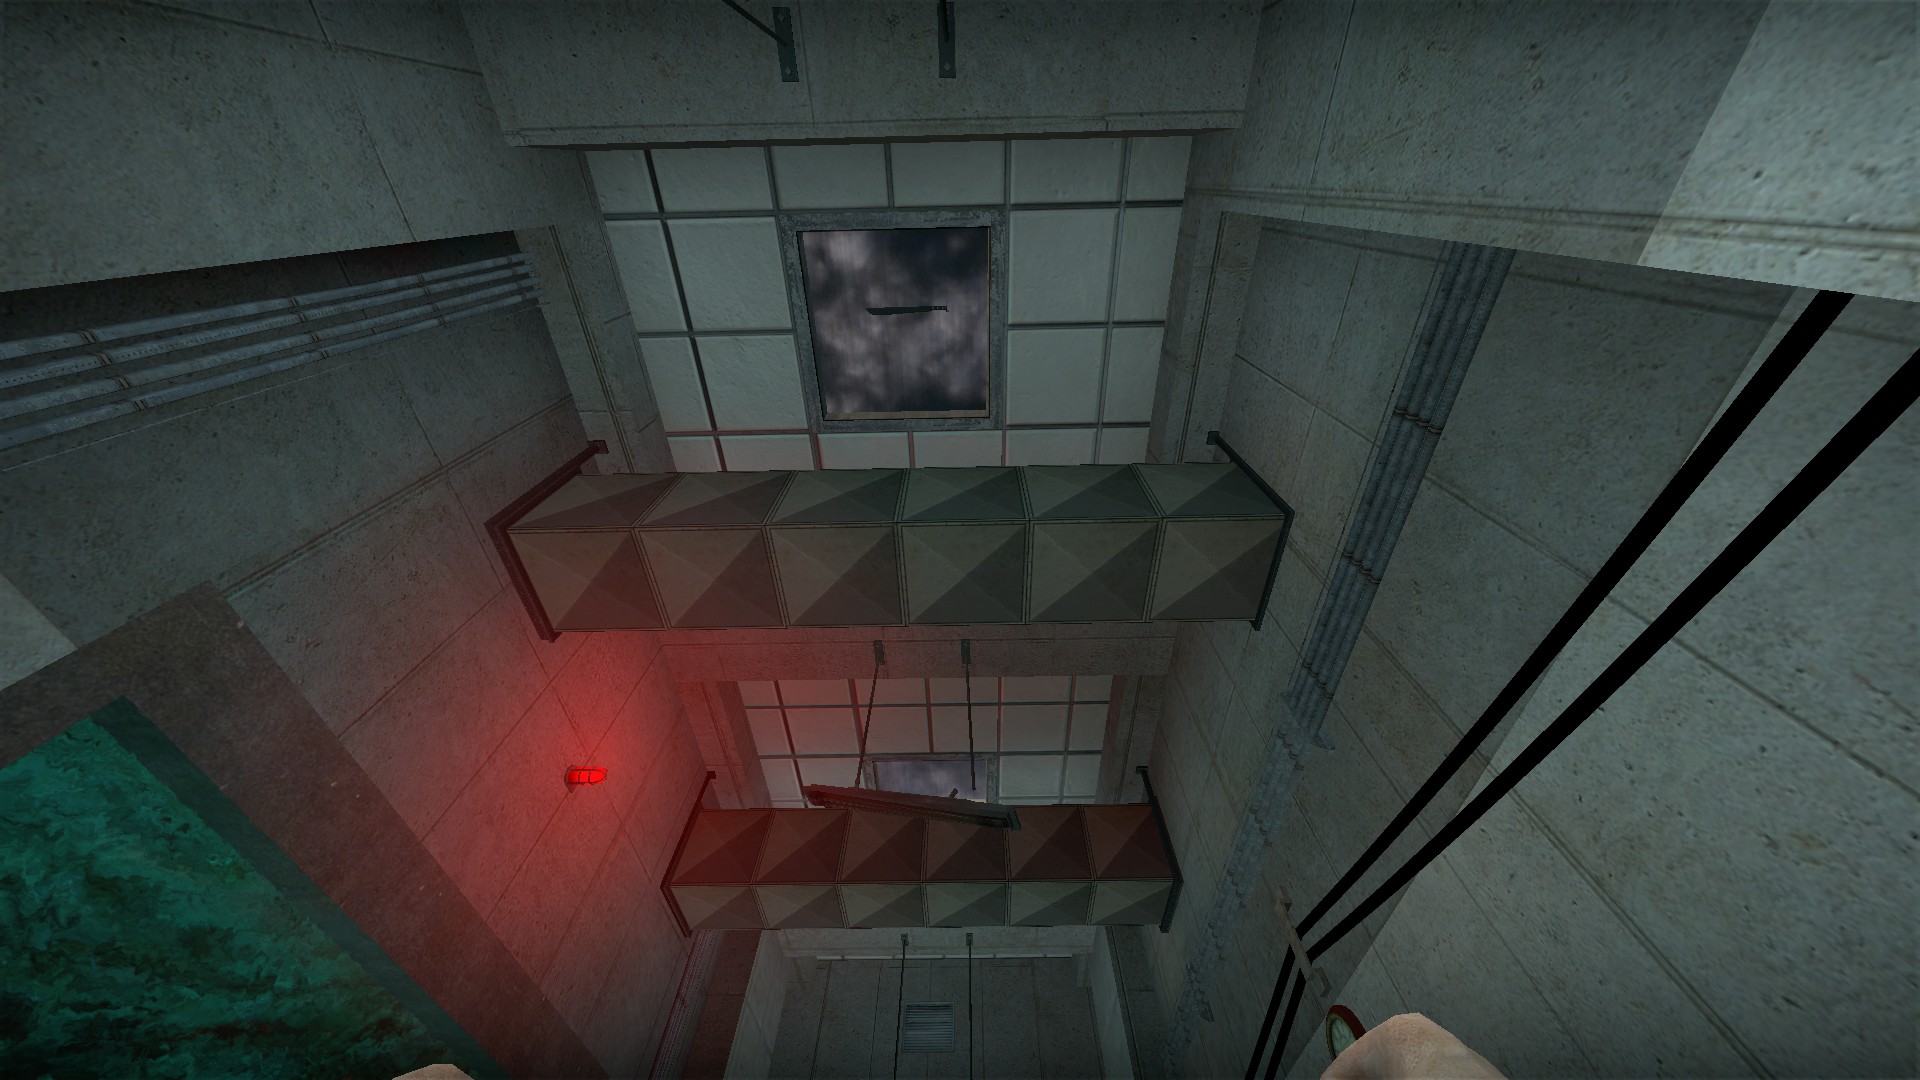
Near the aquarium, look up to see a machete above the window
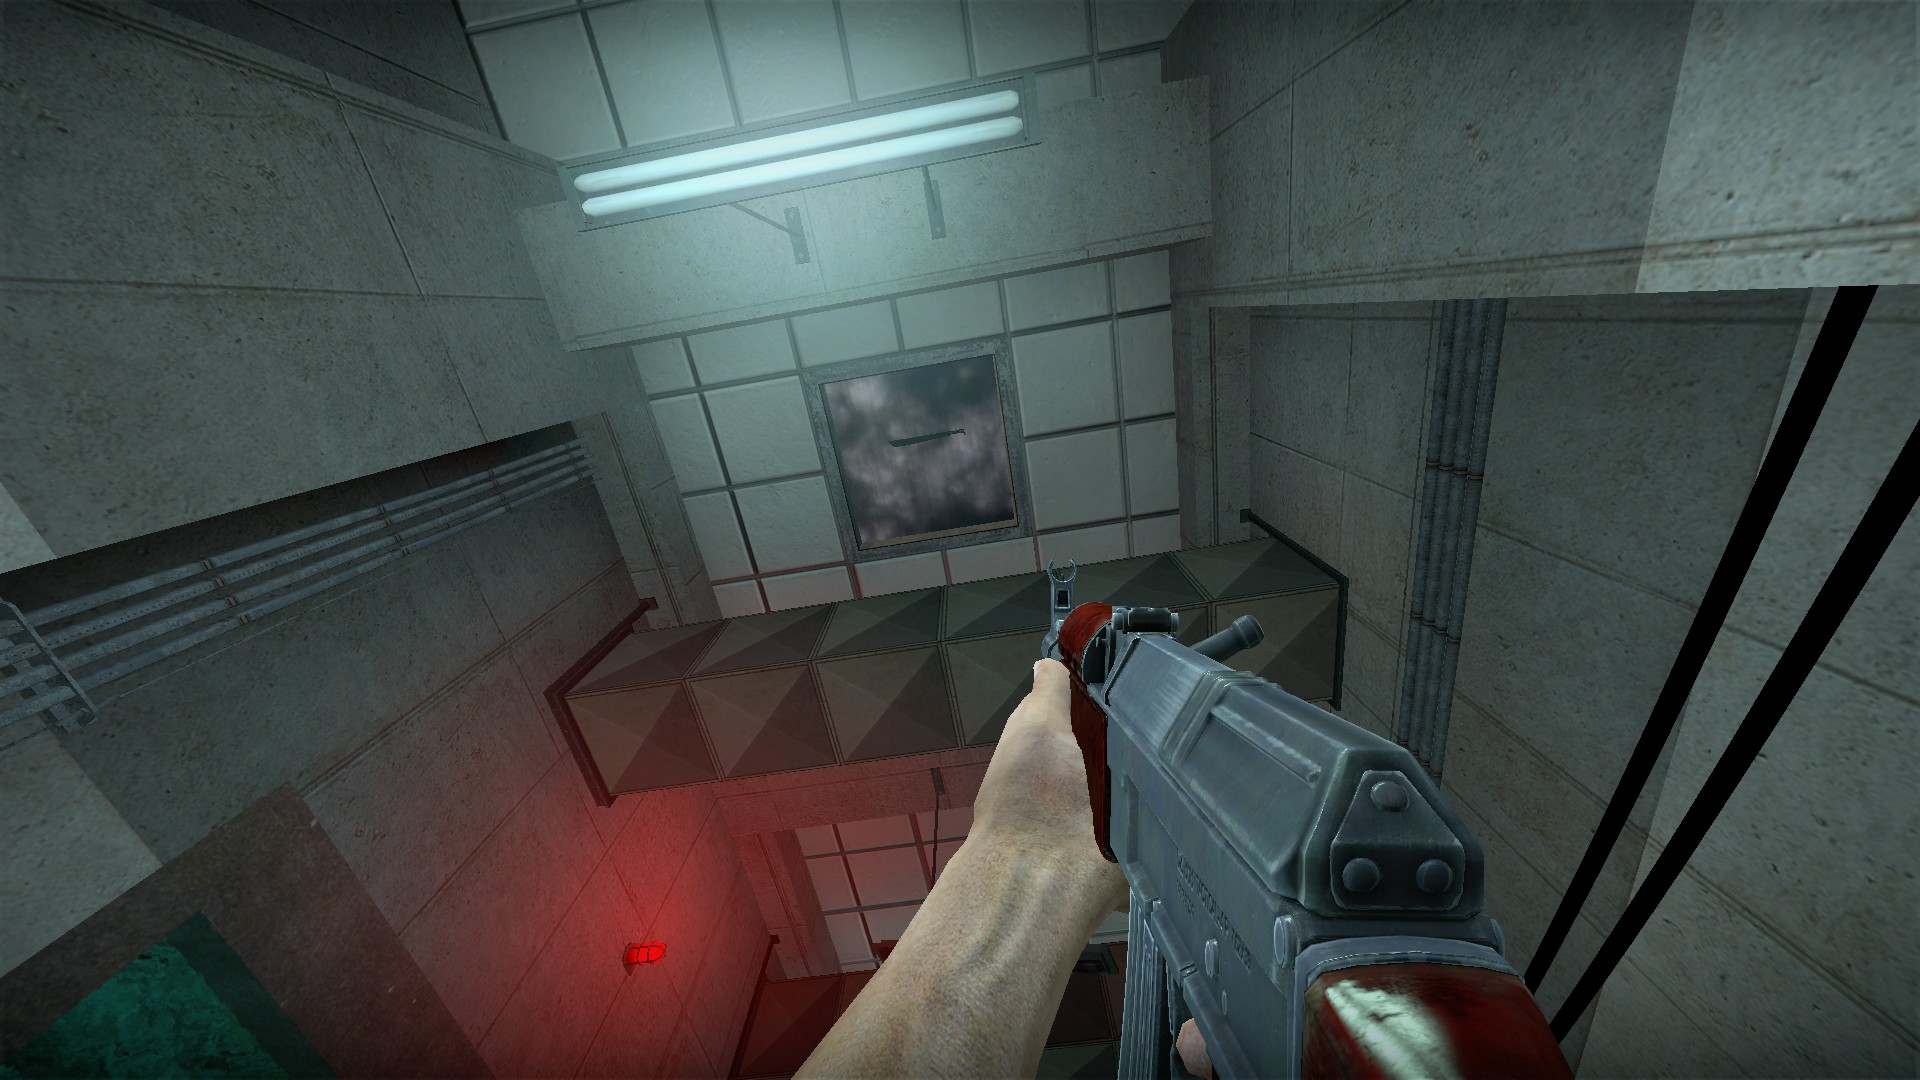
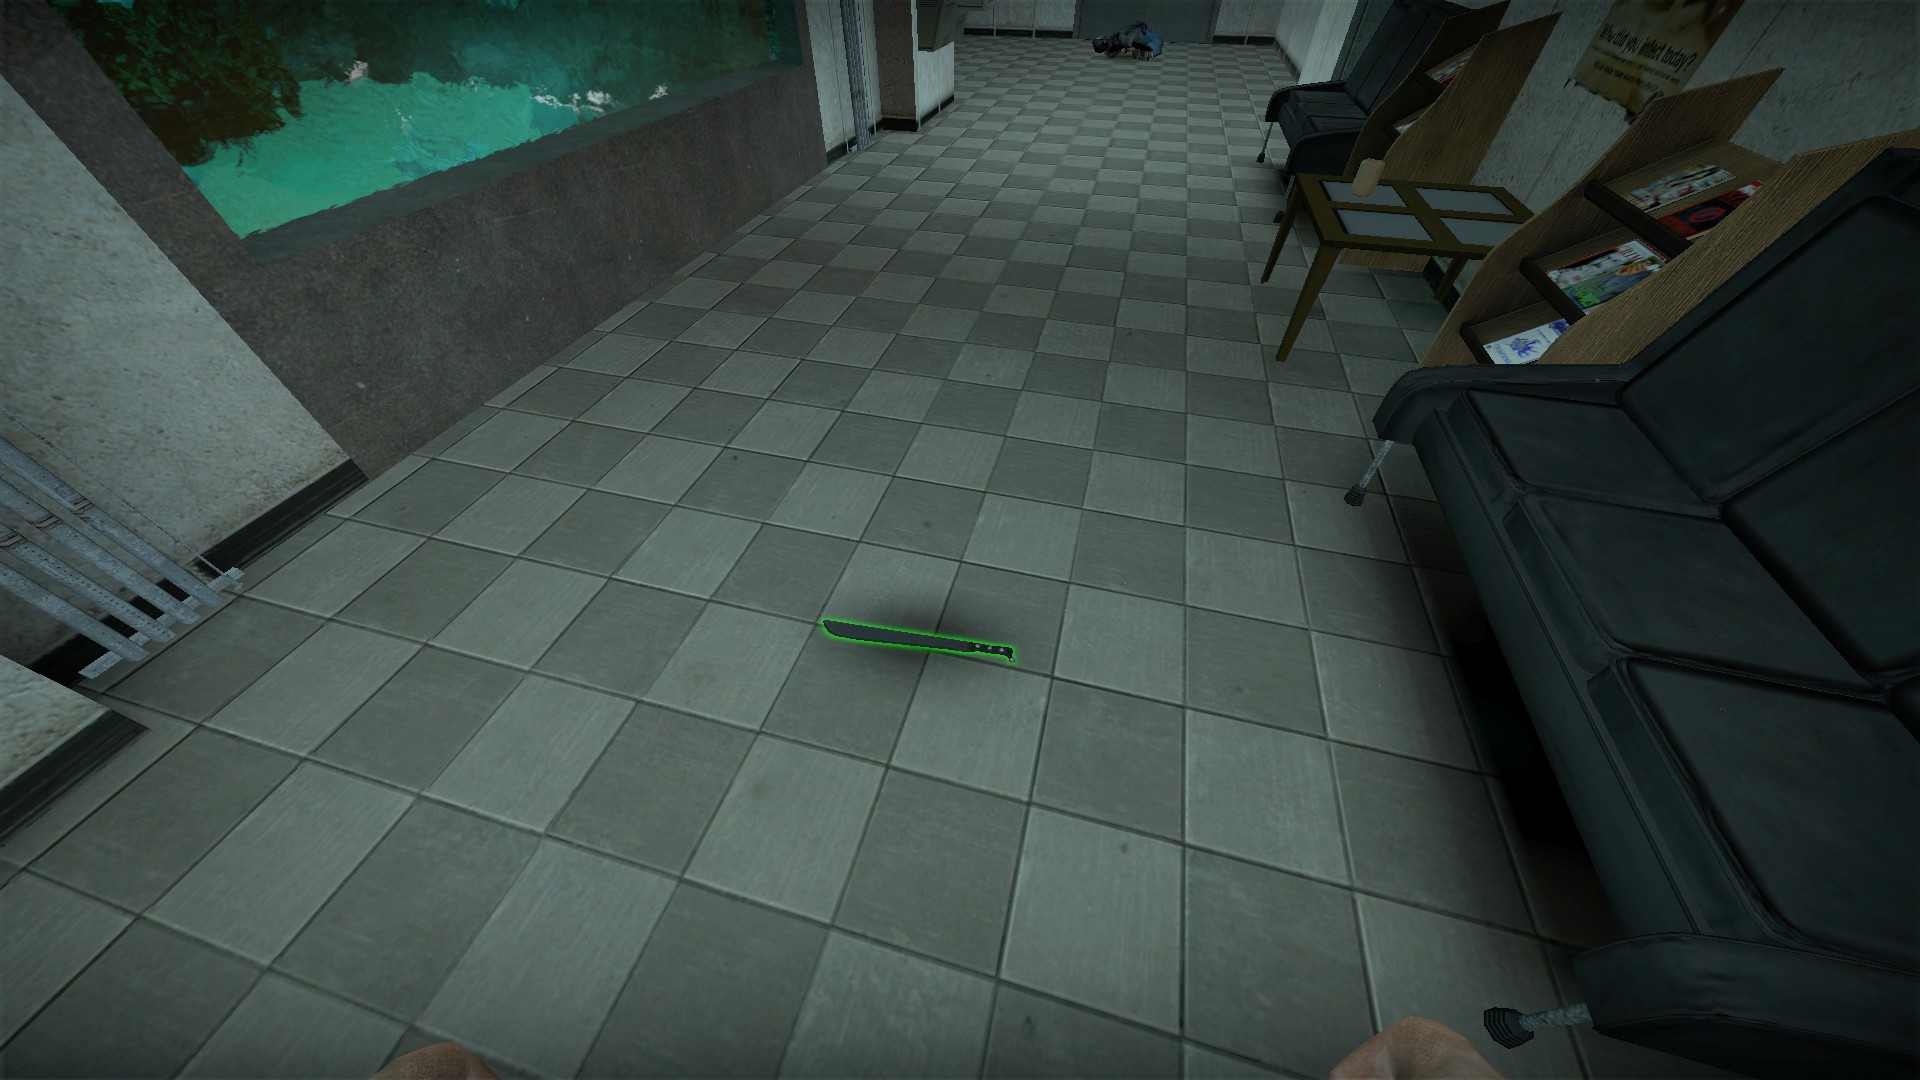
Shoot the window to grab the machete (credit to goku) Howling zombie
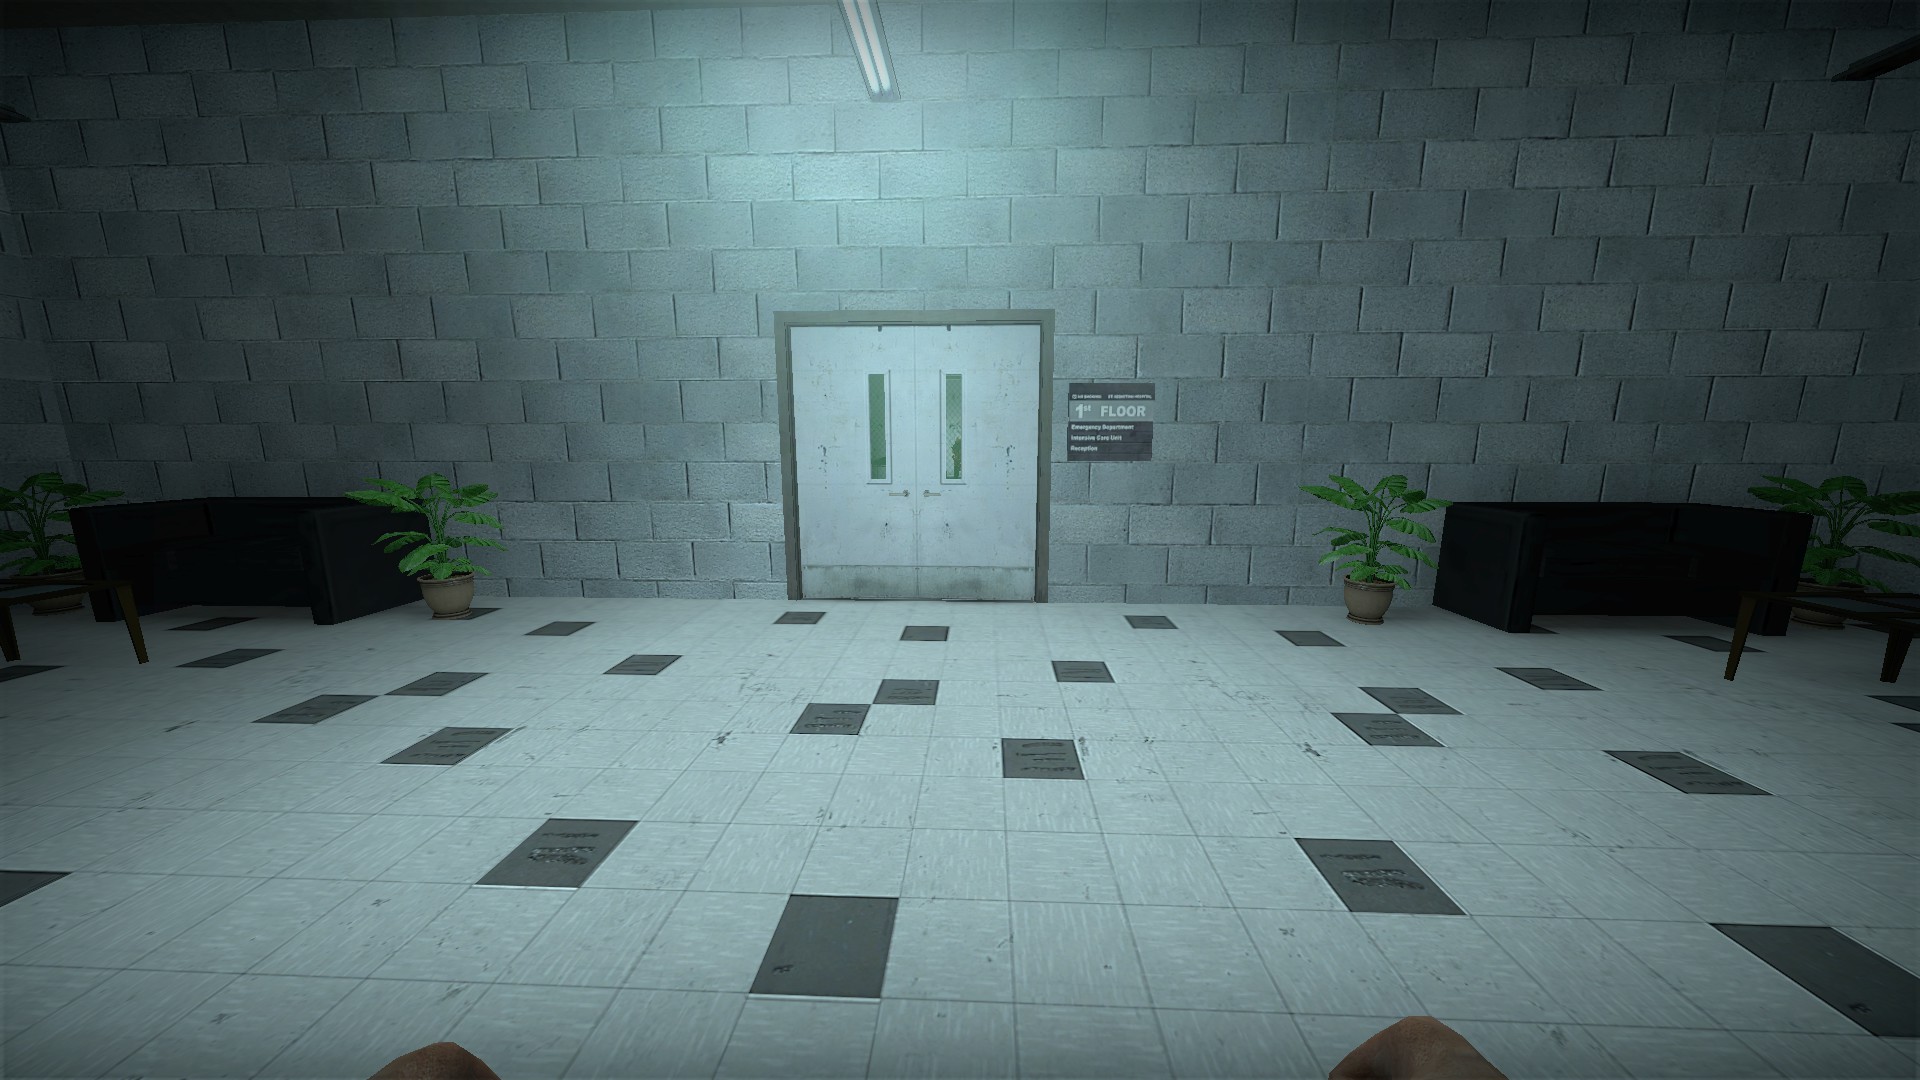
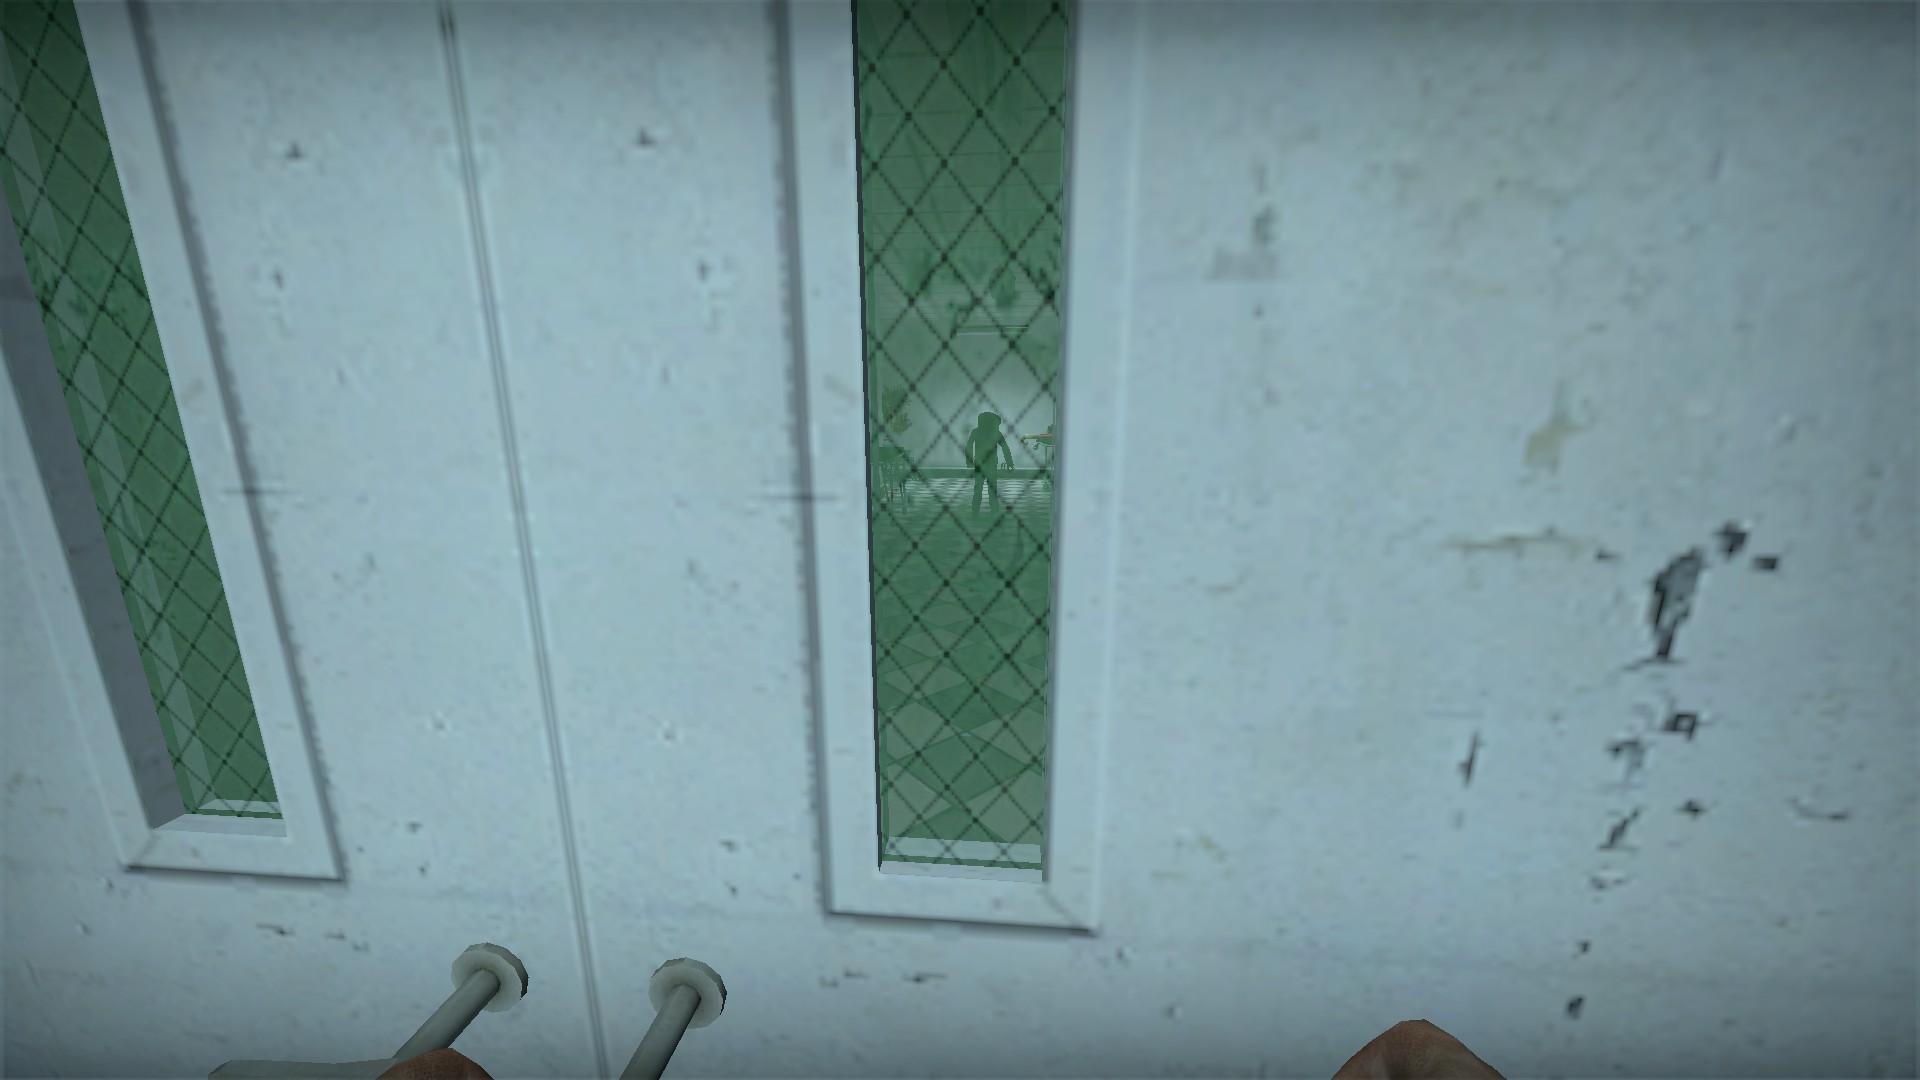
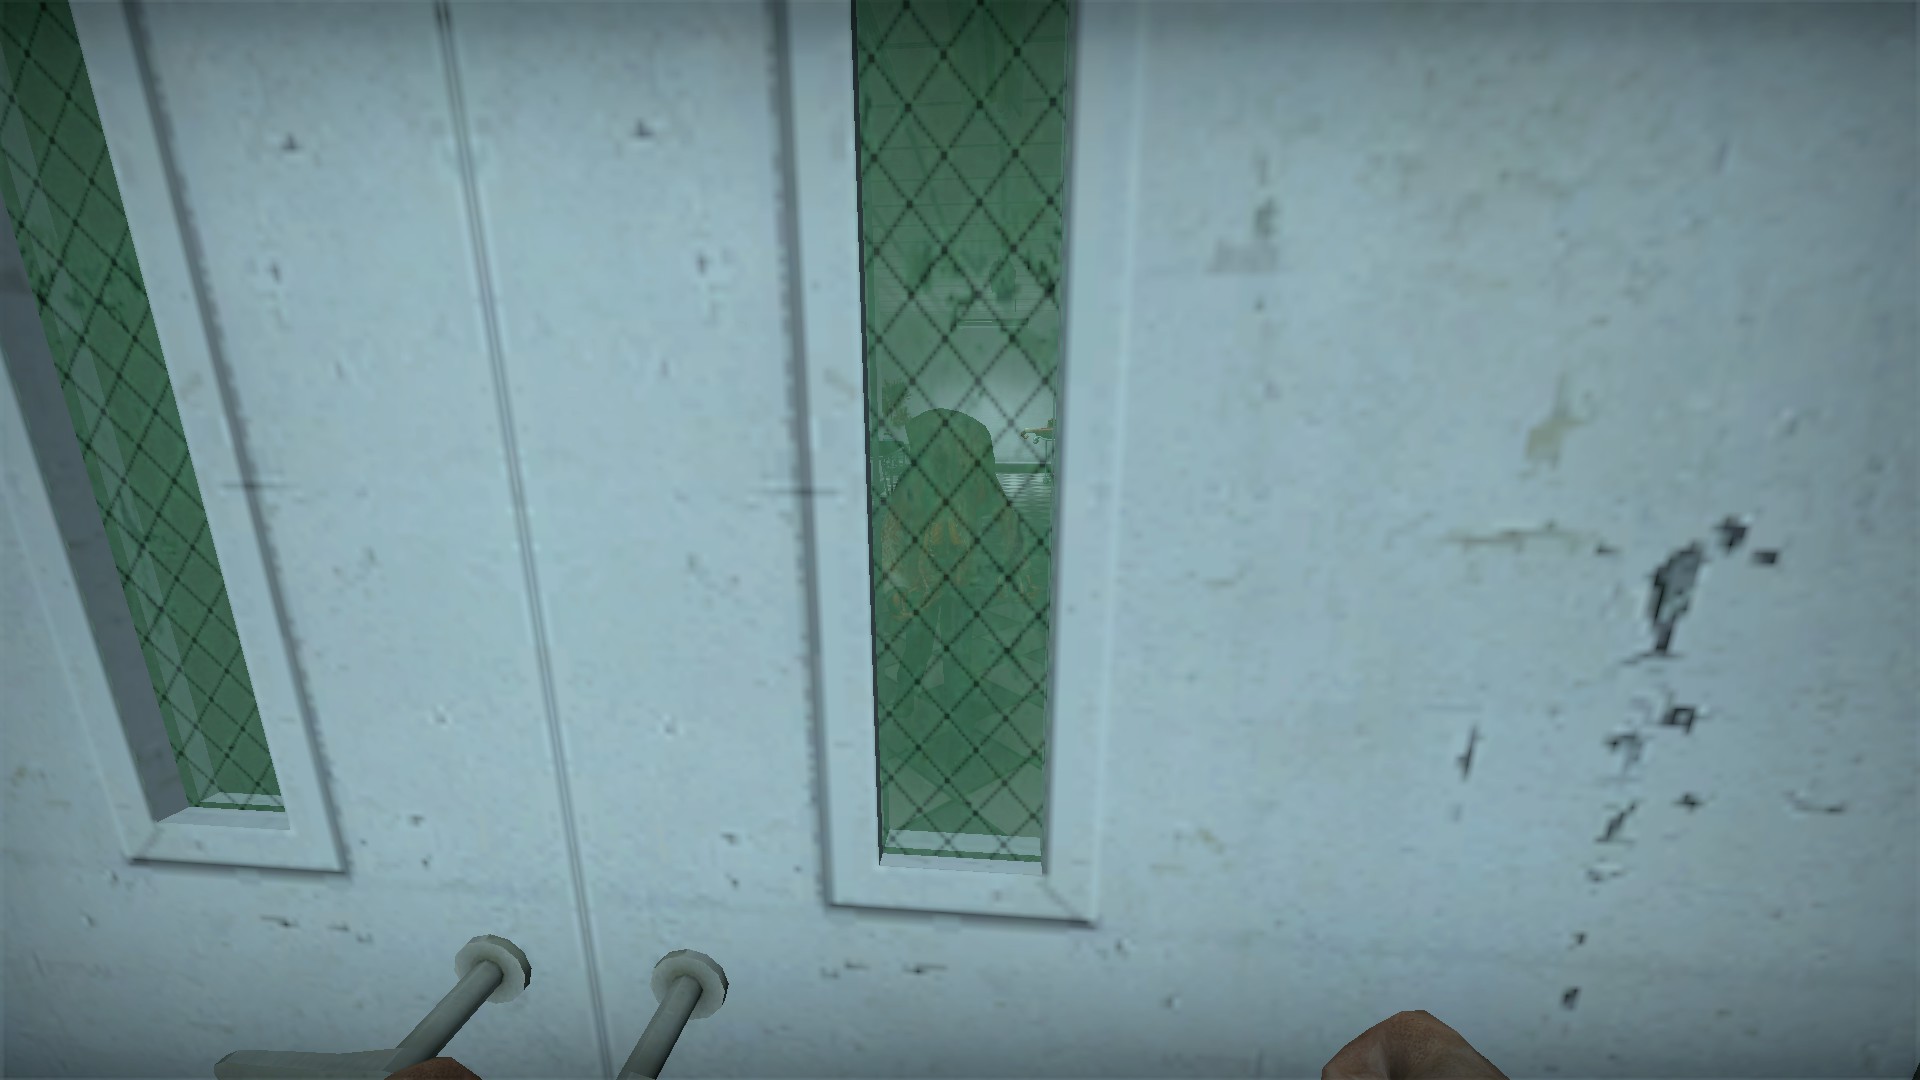
When you approach these doors, if you watch through the glass you will see a zombie behind advance to the door while loudly screaming. It will beat on the door when it reaches it
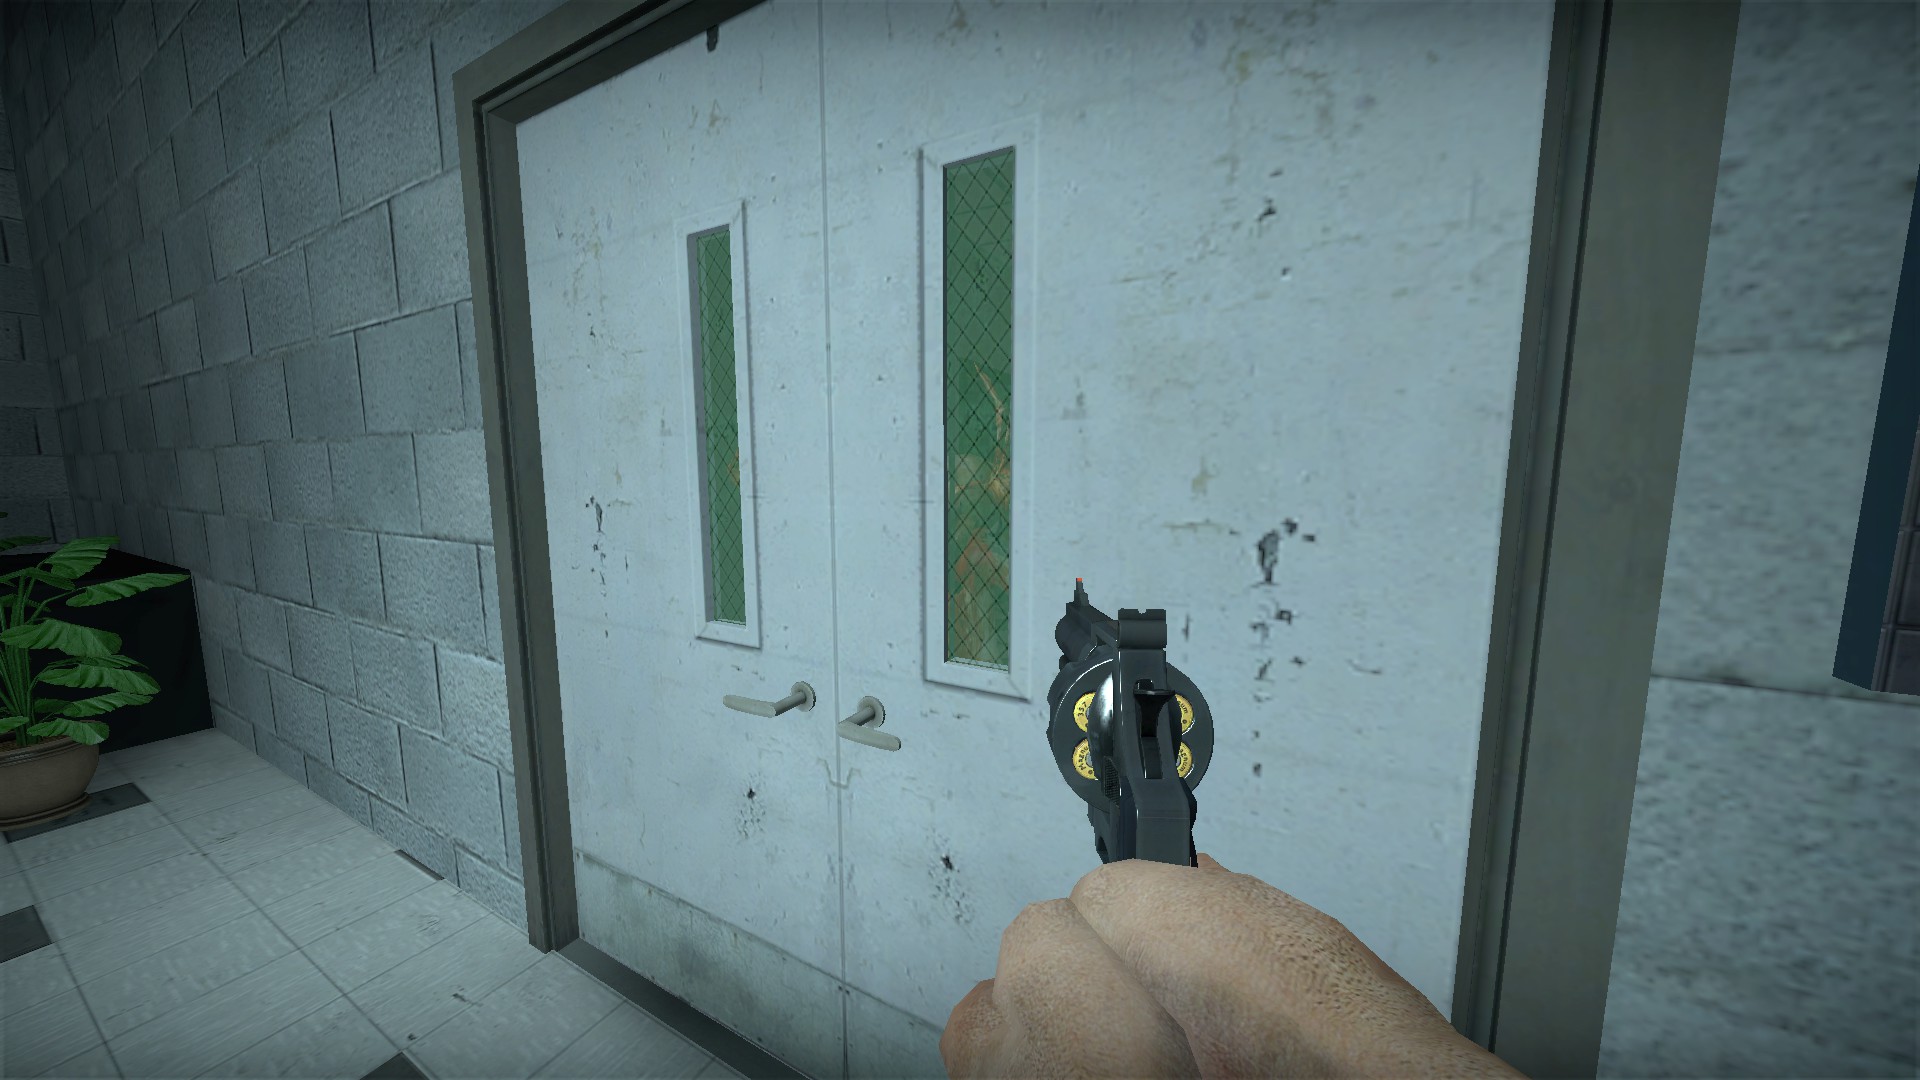
You can use a .308, .357, or a molotov to put it out of it's misery. Just an Easter egg Welder
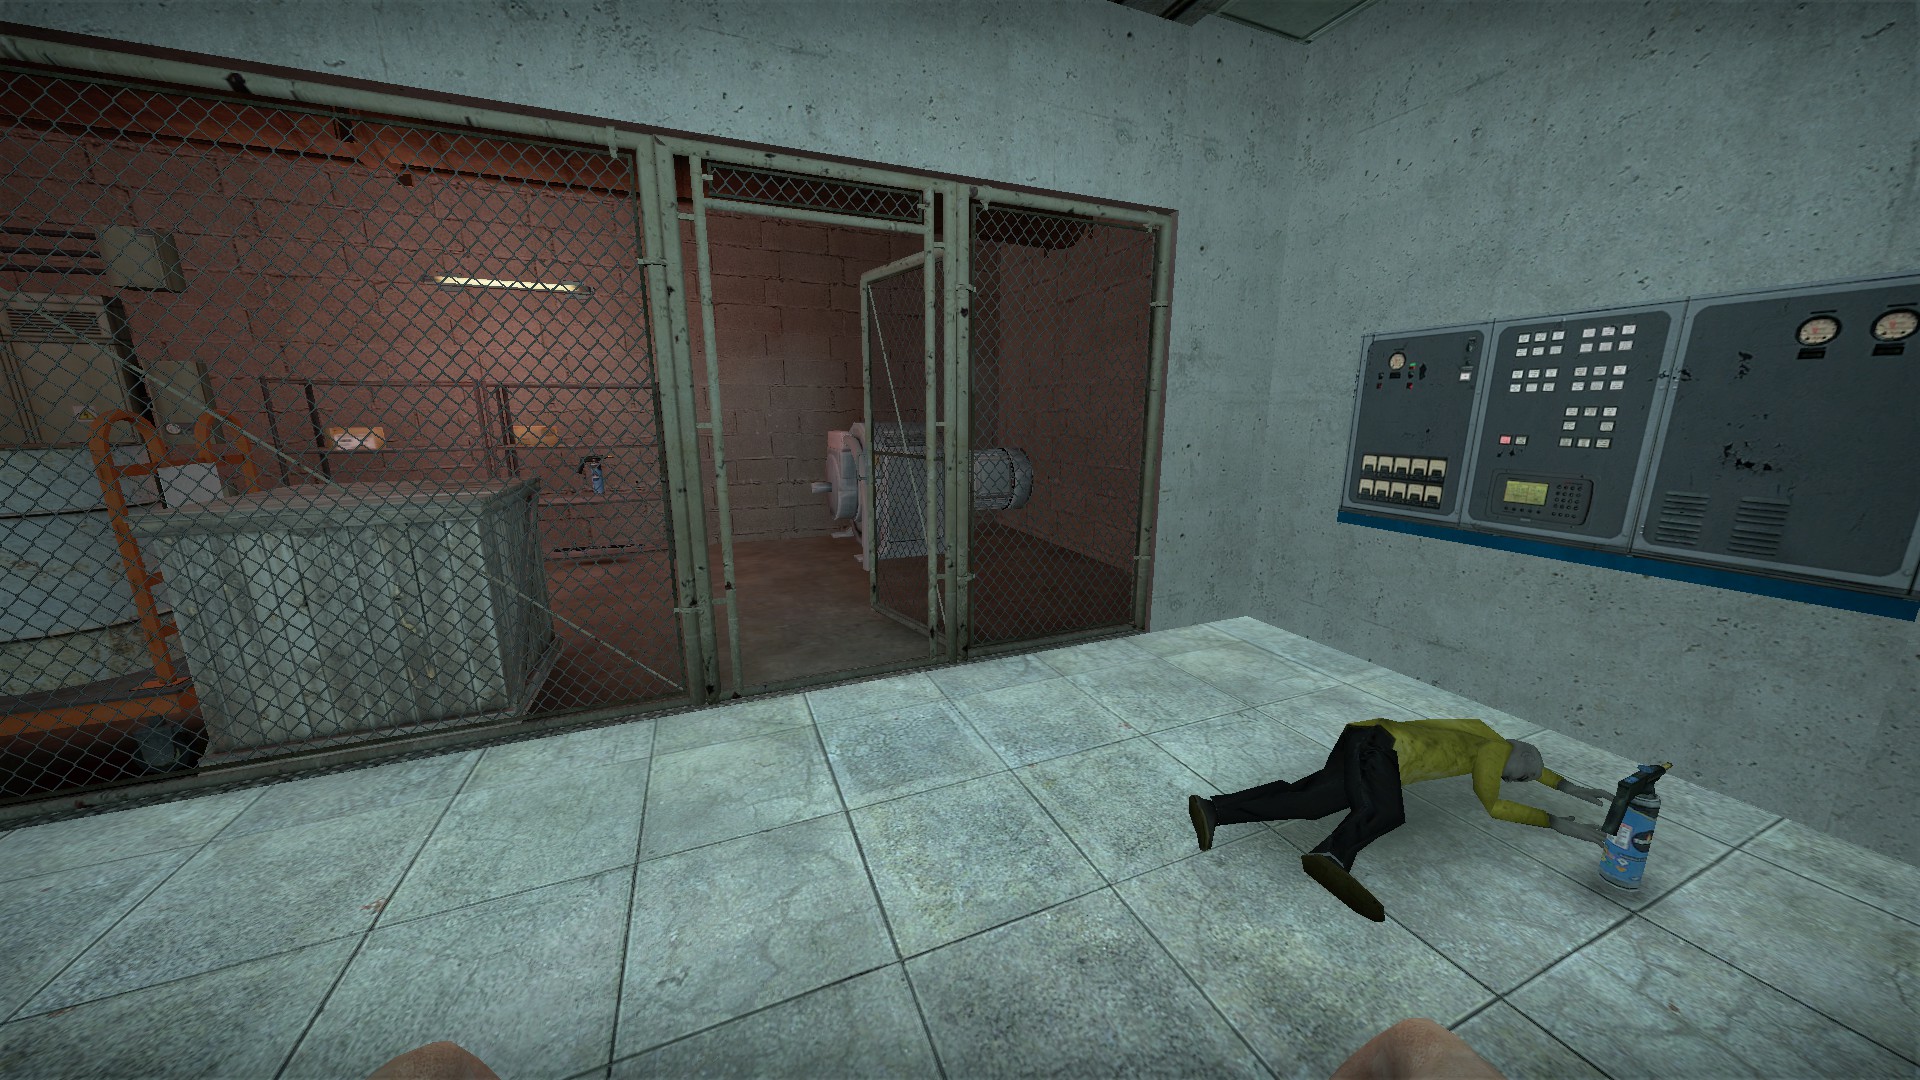

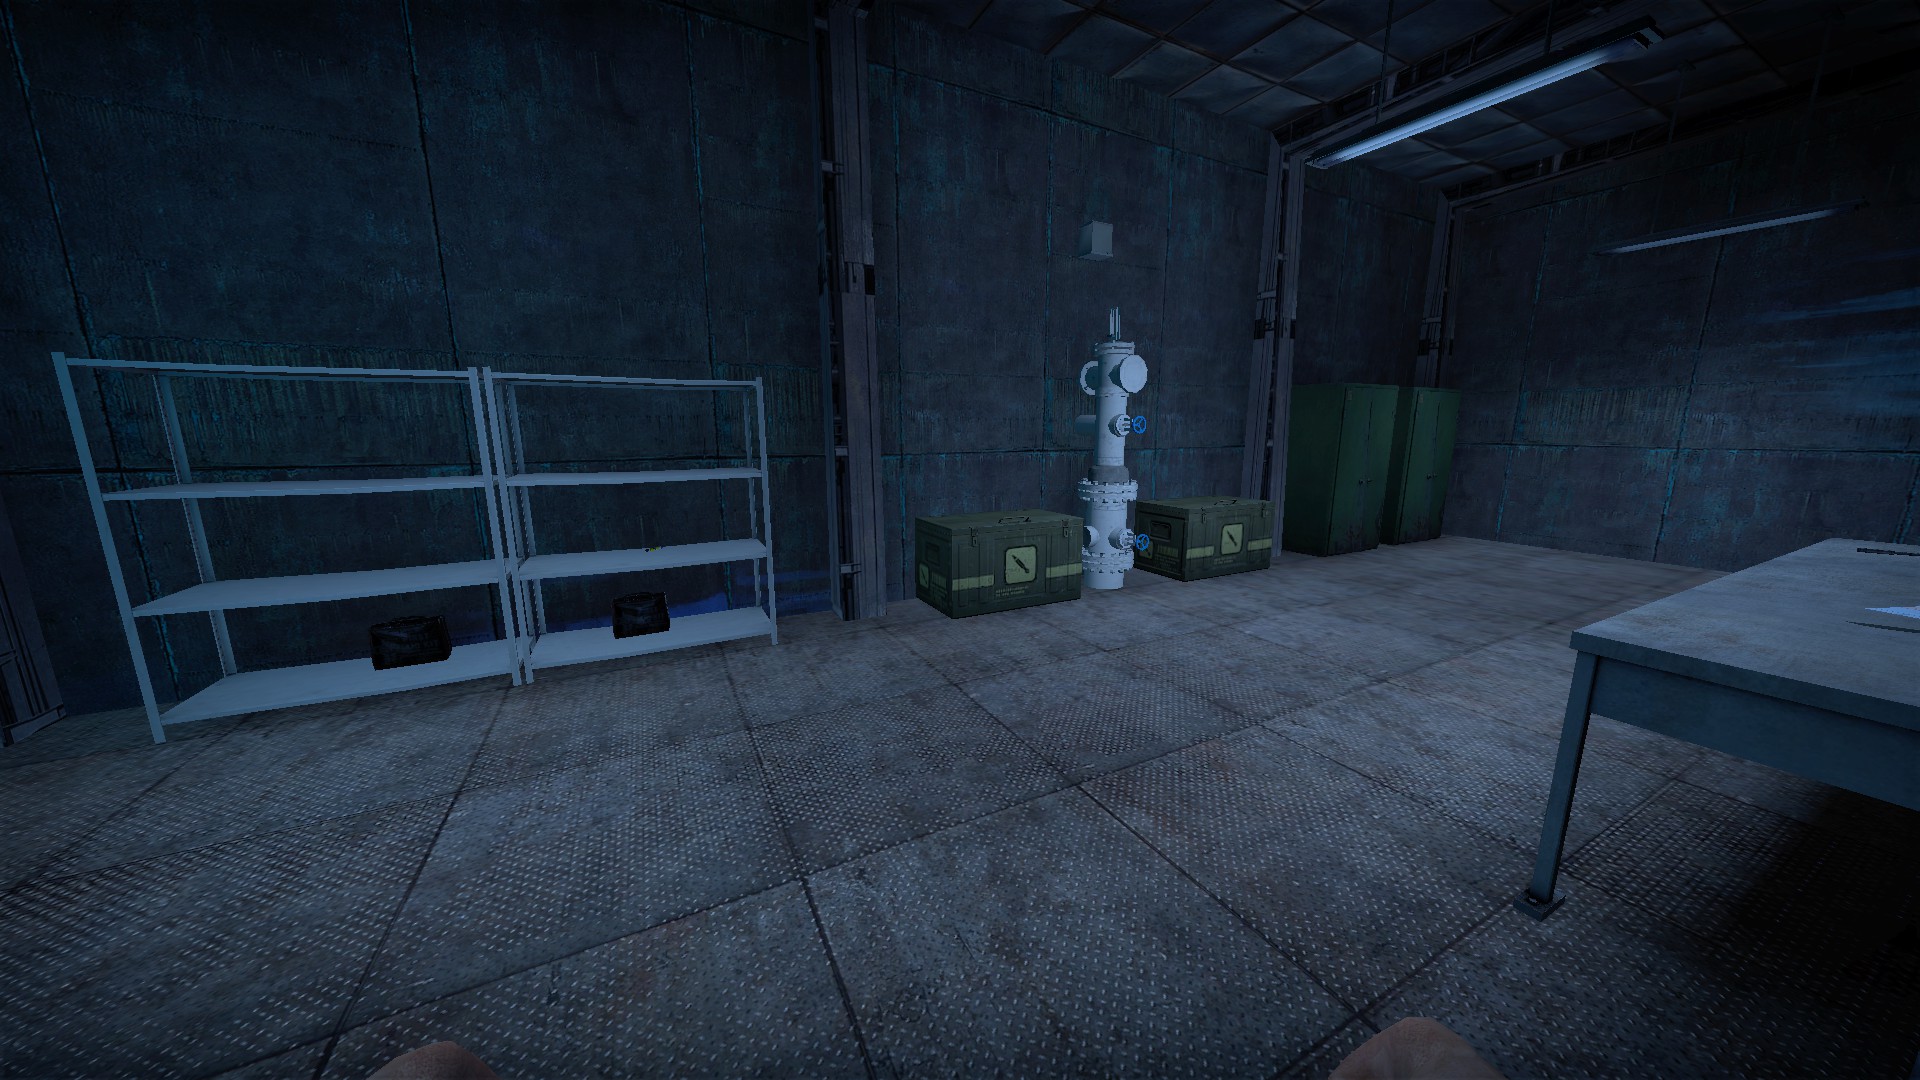
Bring the welder with you (there are 2 just past the elevator) for an armory later Spare a square


In the bathroom, grab the roll of tp (not the paper towels) and slide it under the locked door to open the stall. There will be a medkit and shot Figurines
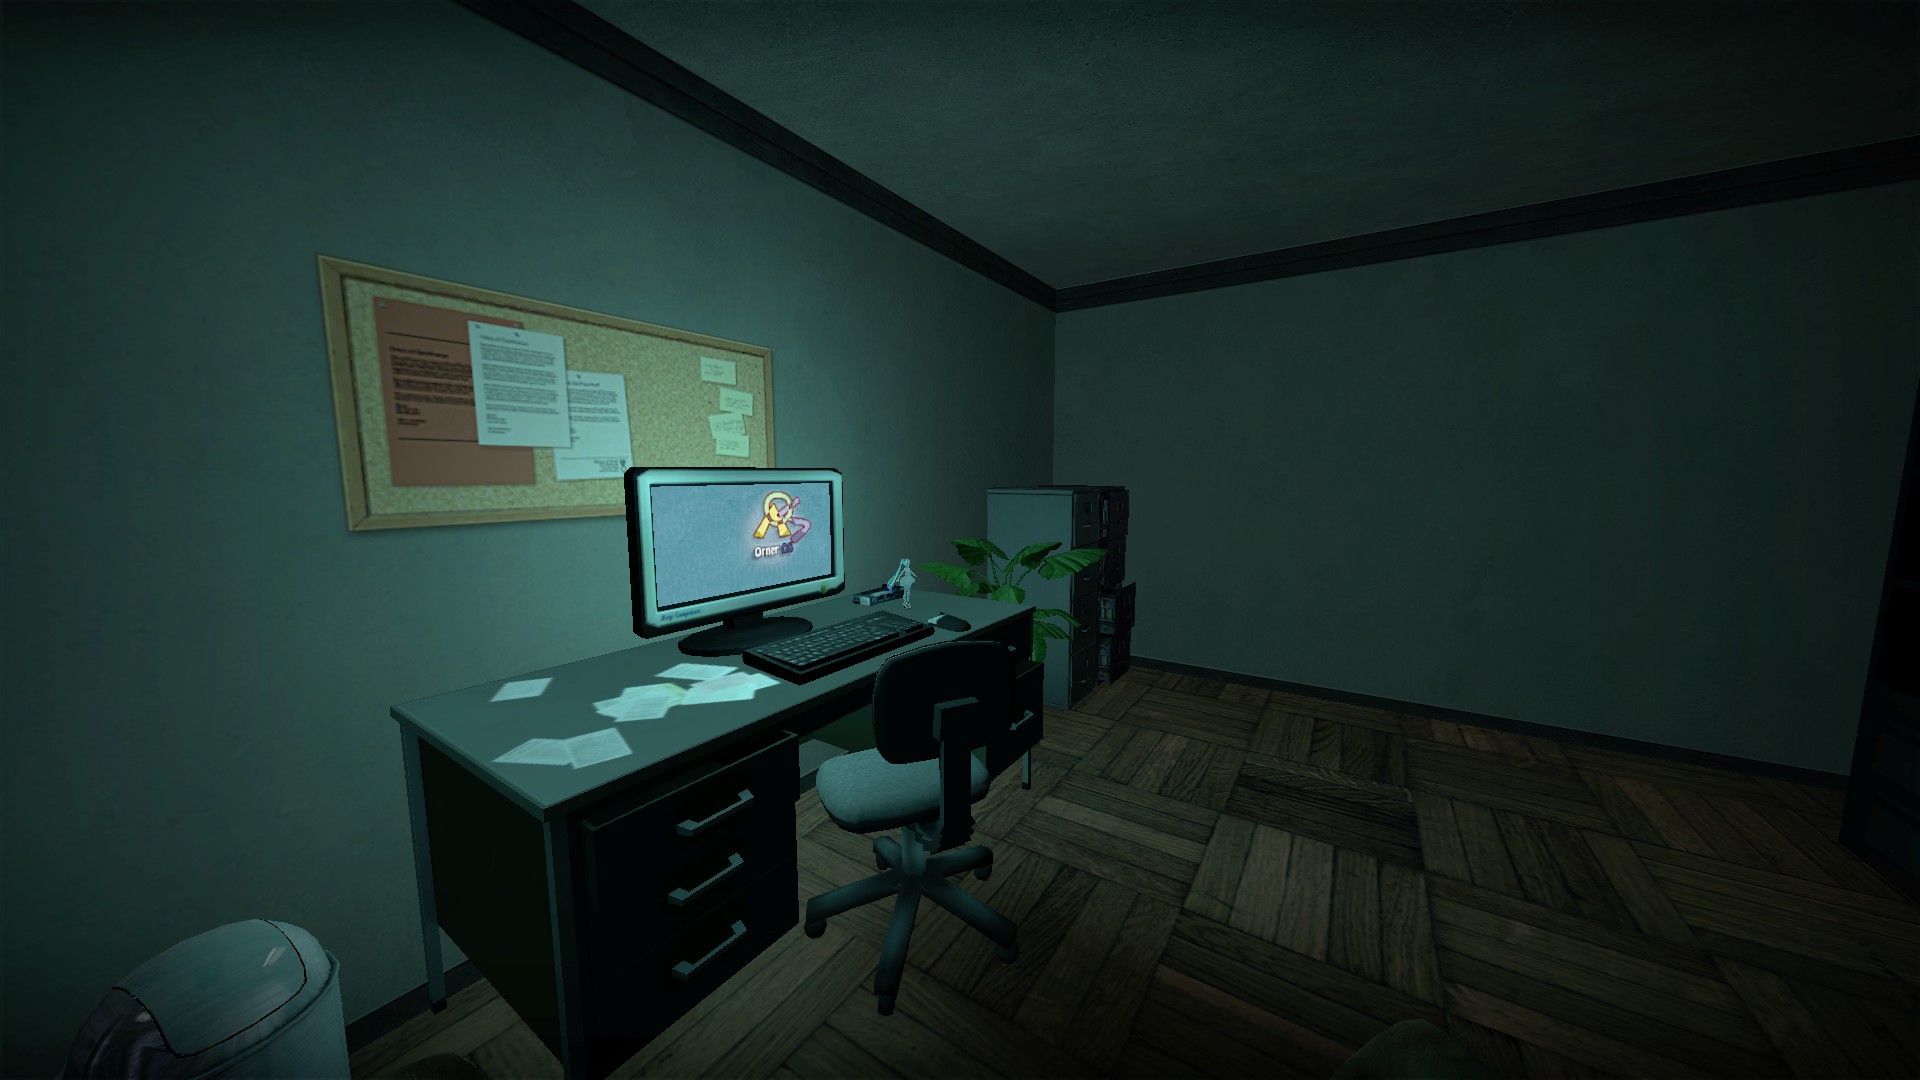
You will find 2 figurines, one is in the Cpt. CrypticMist room
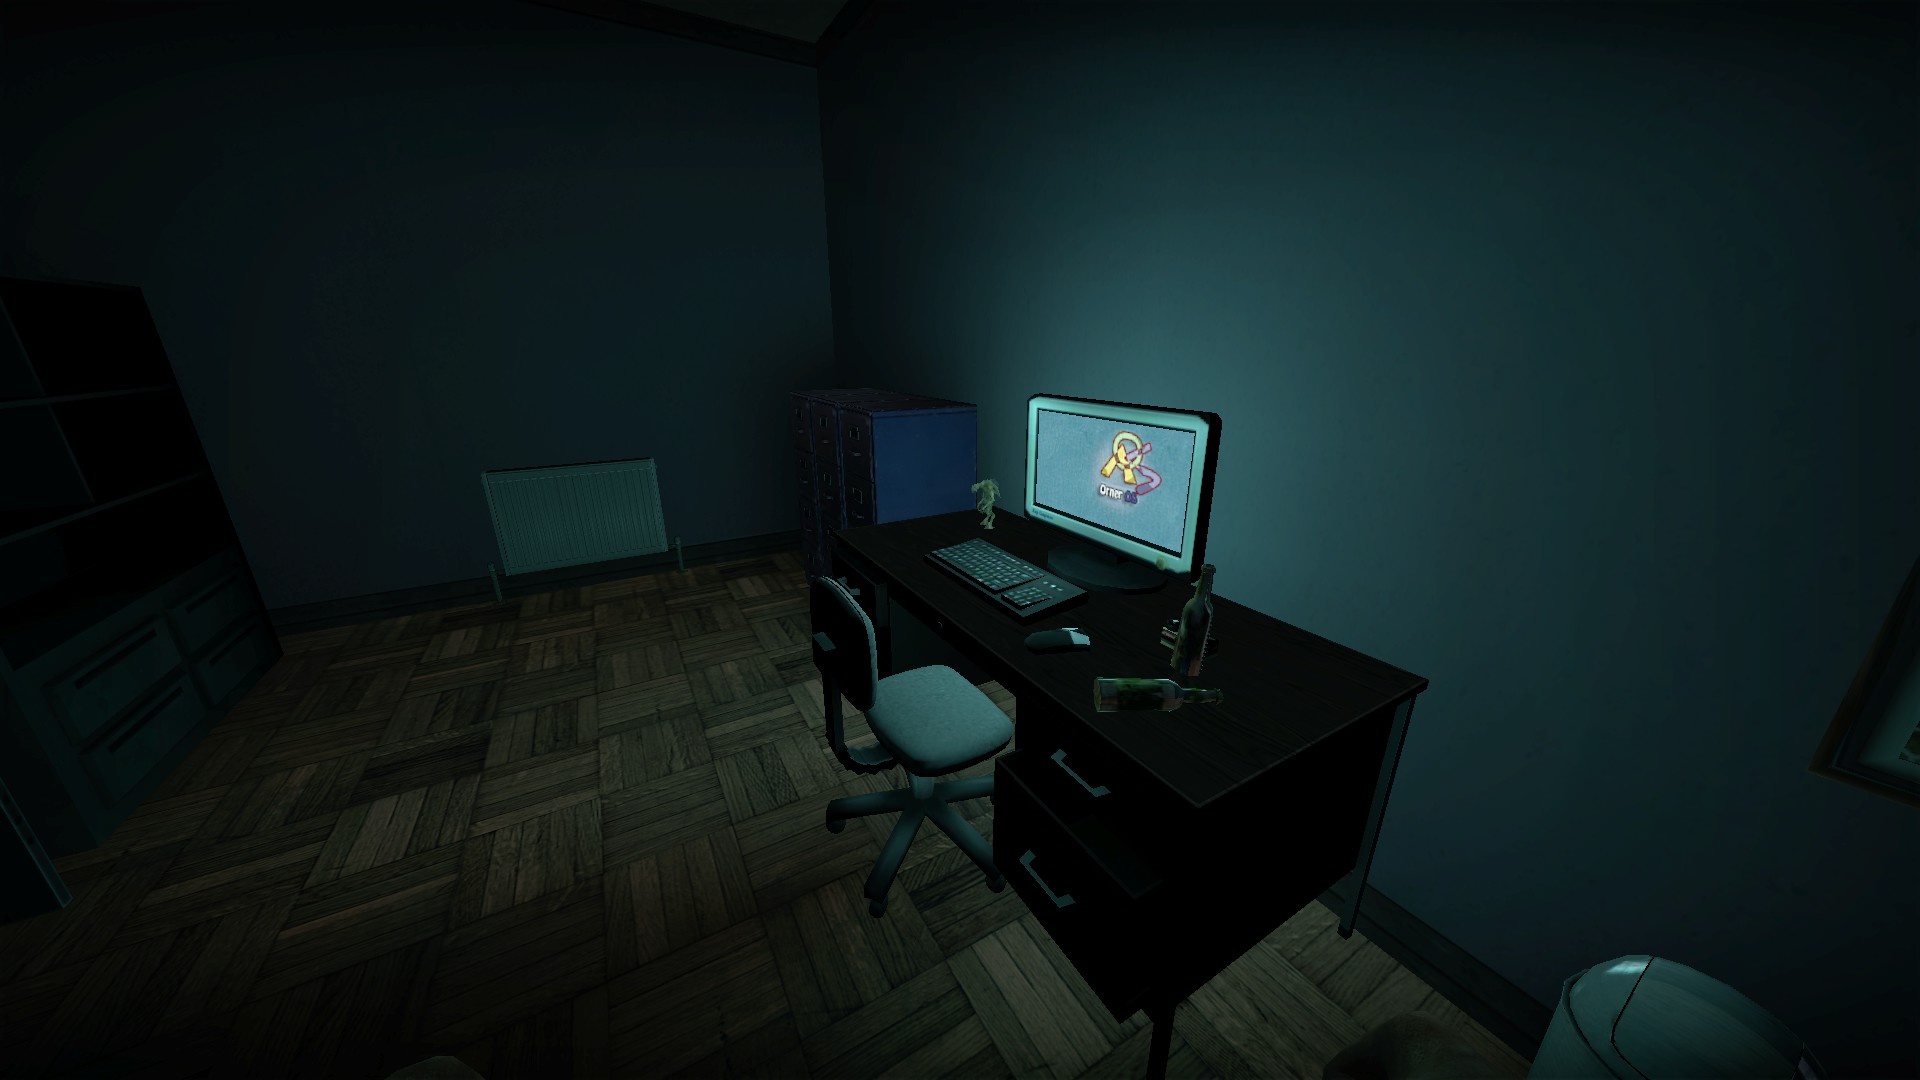
The other is in the Dr. Kevin room
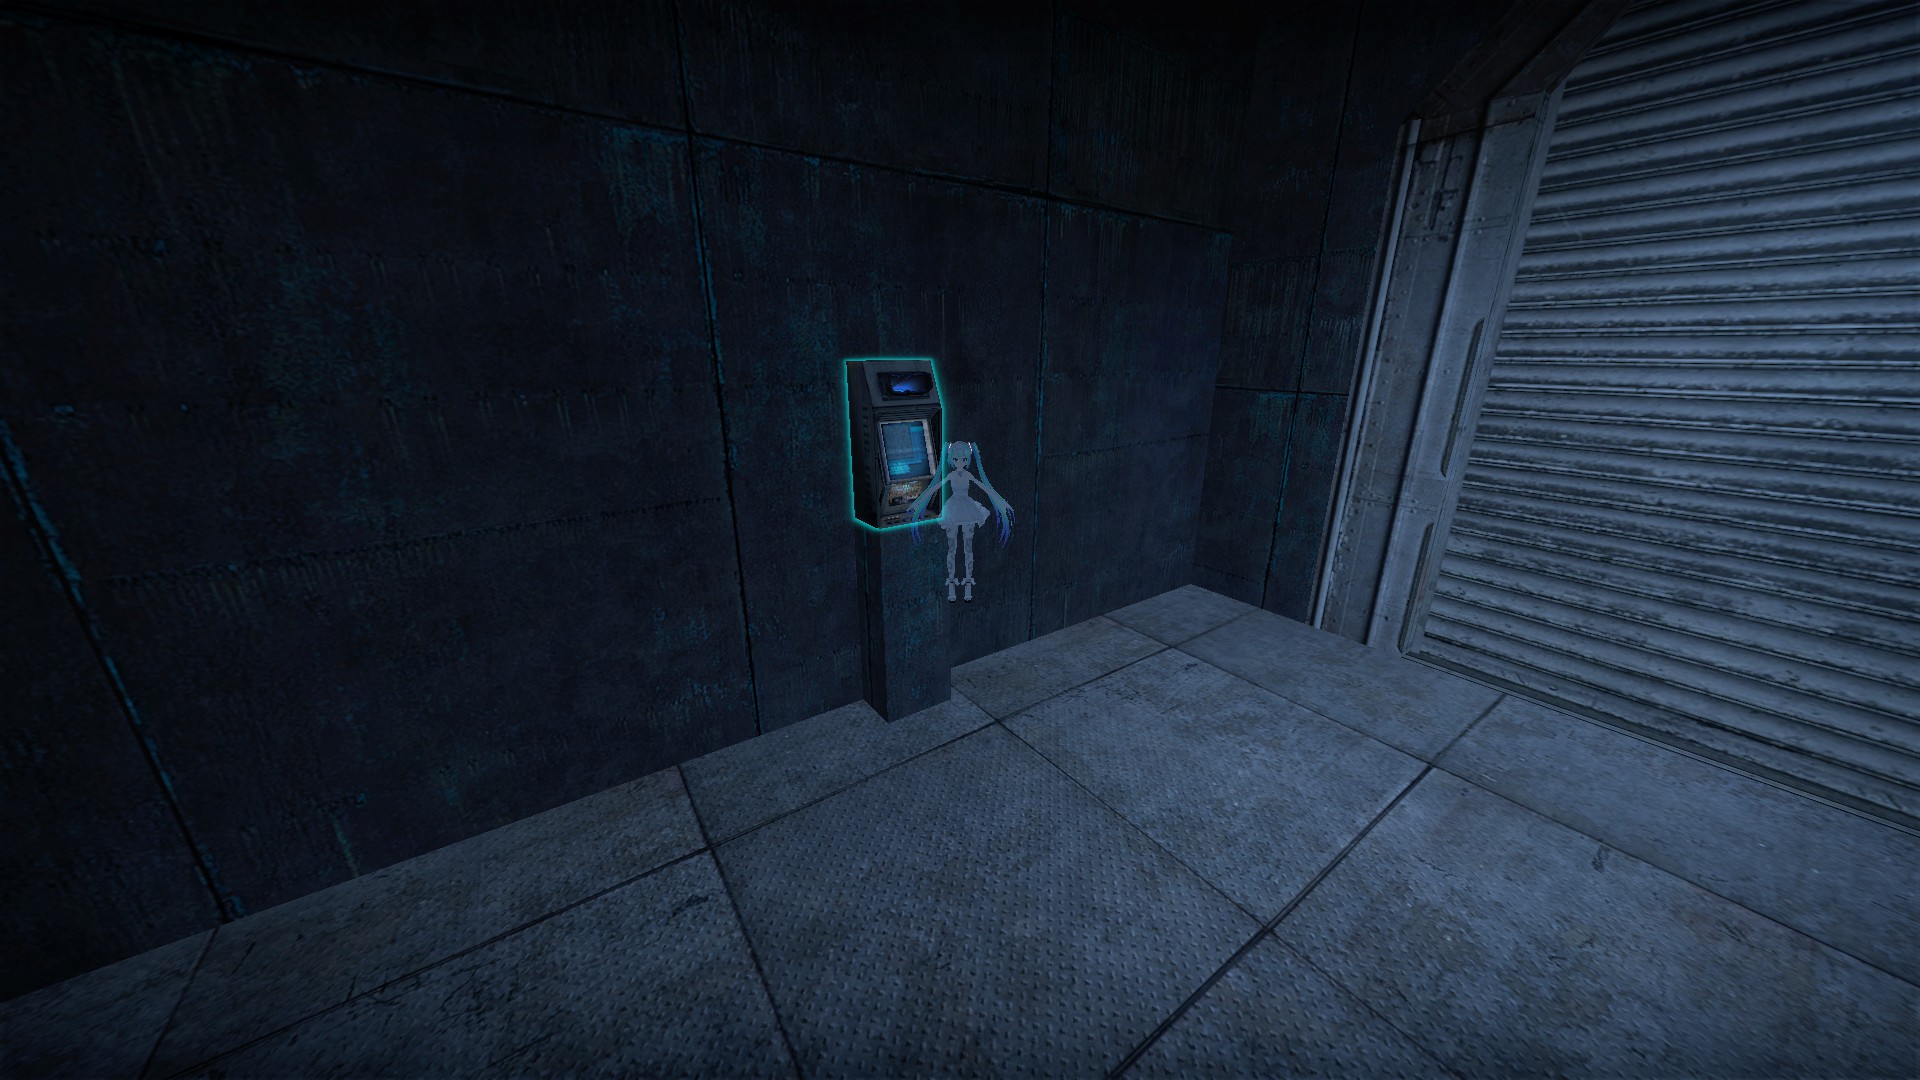
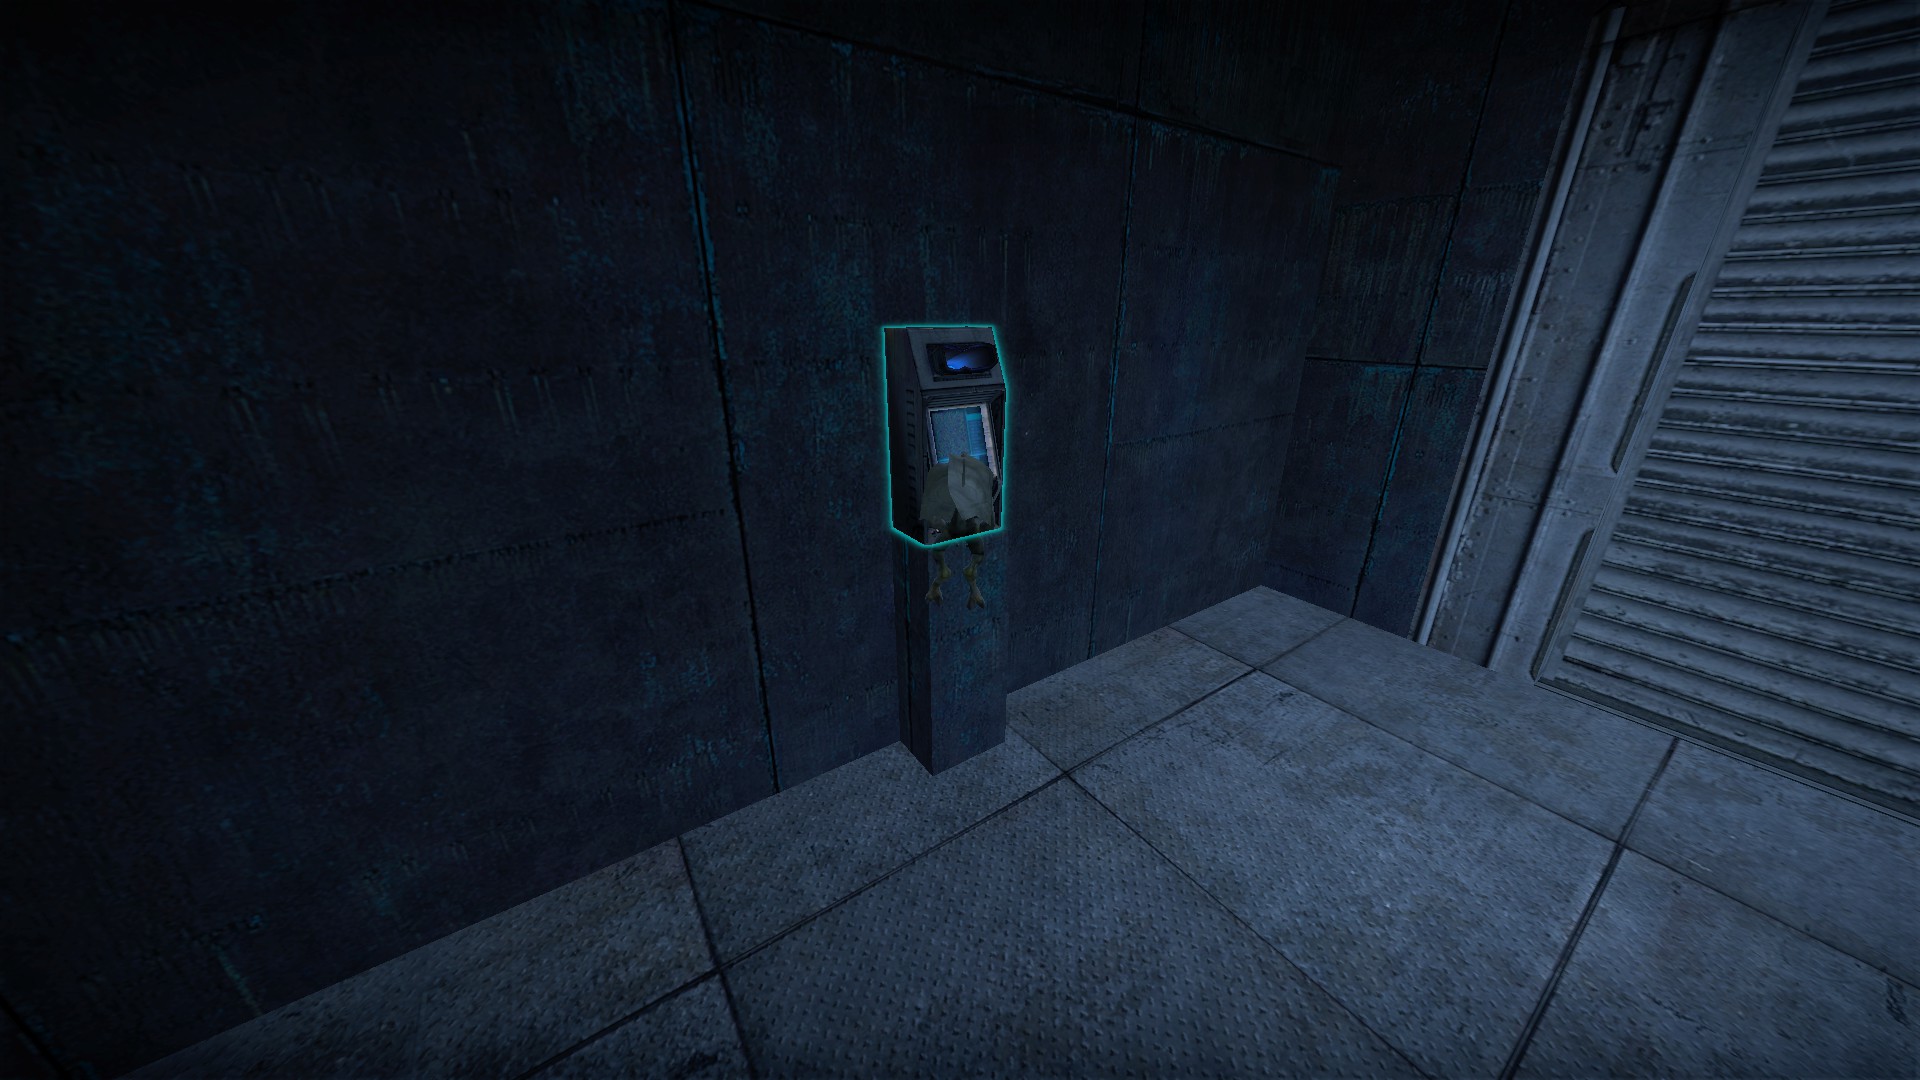
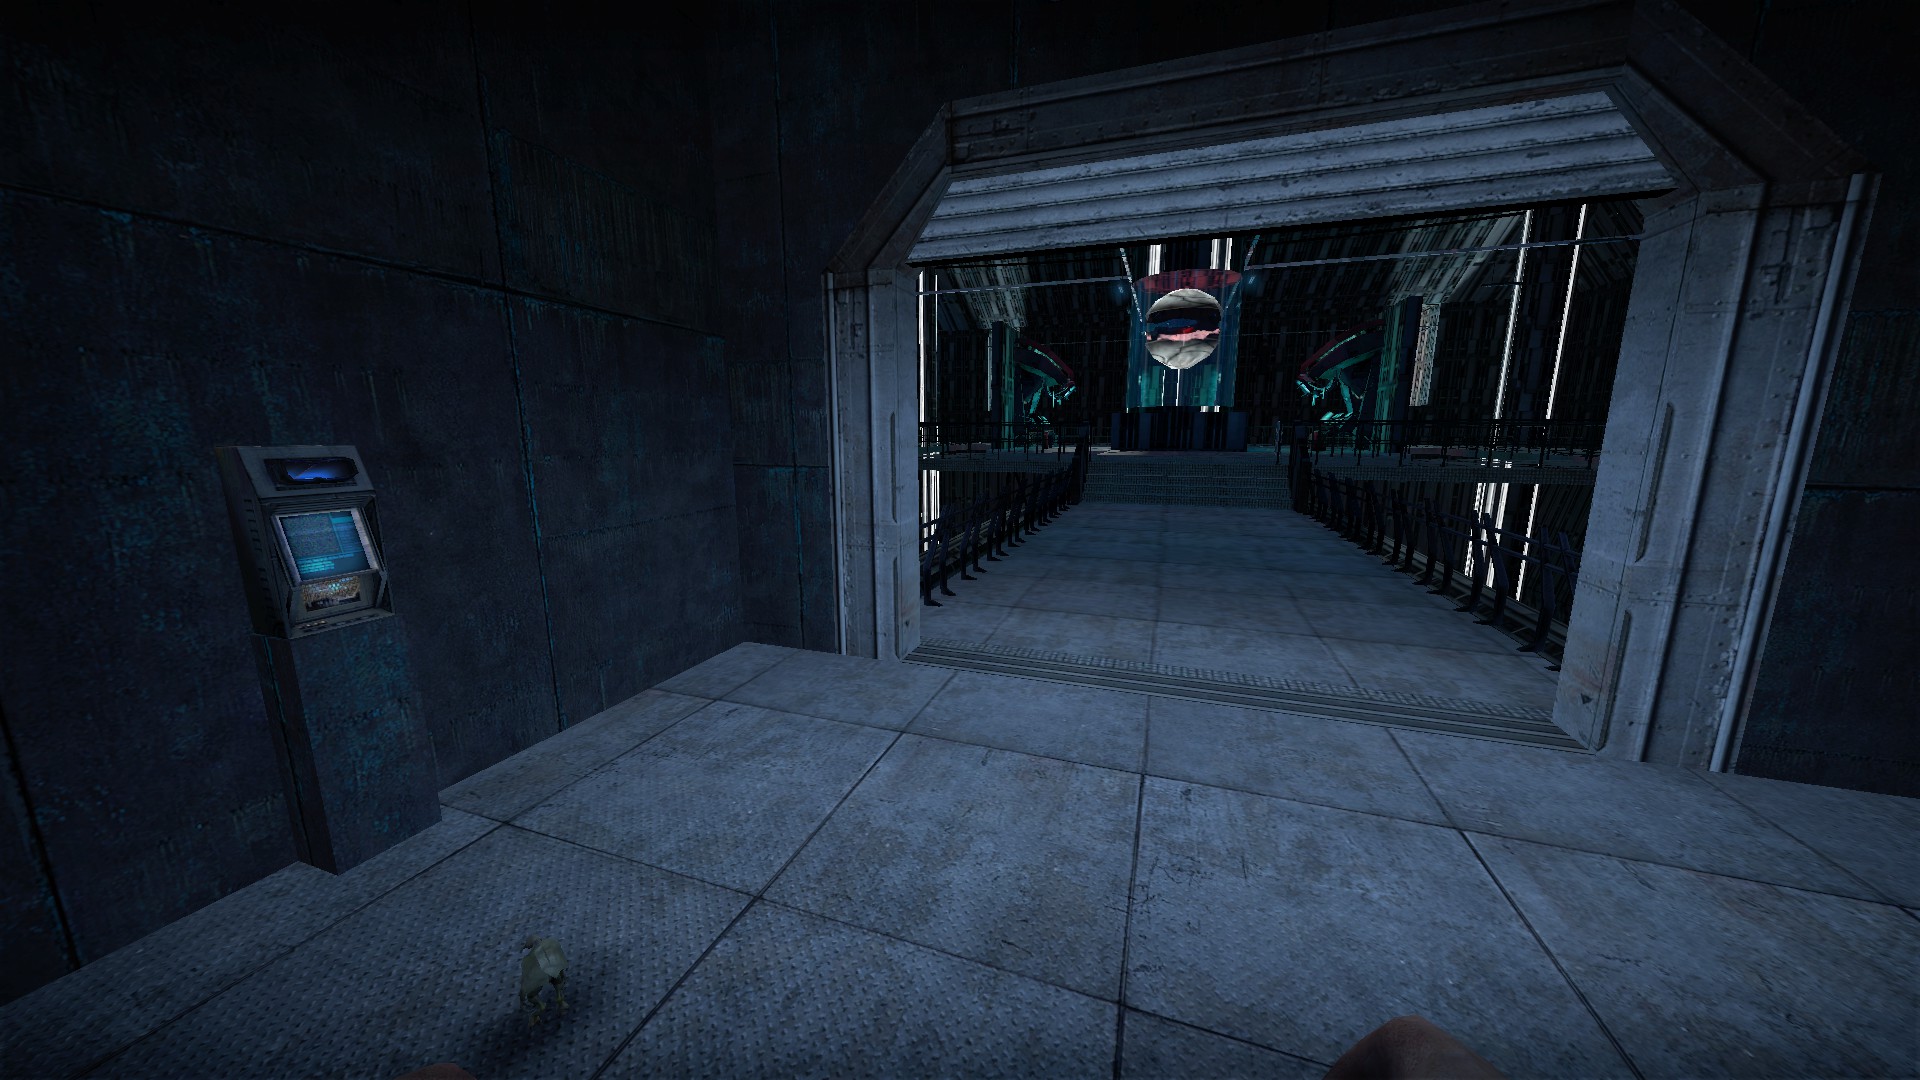
Either figurine can be used in the scanner instead of the head to open the interfaces room
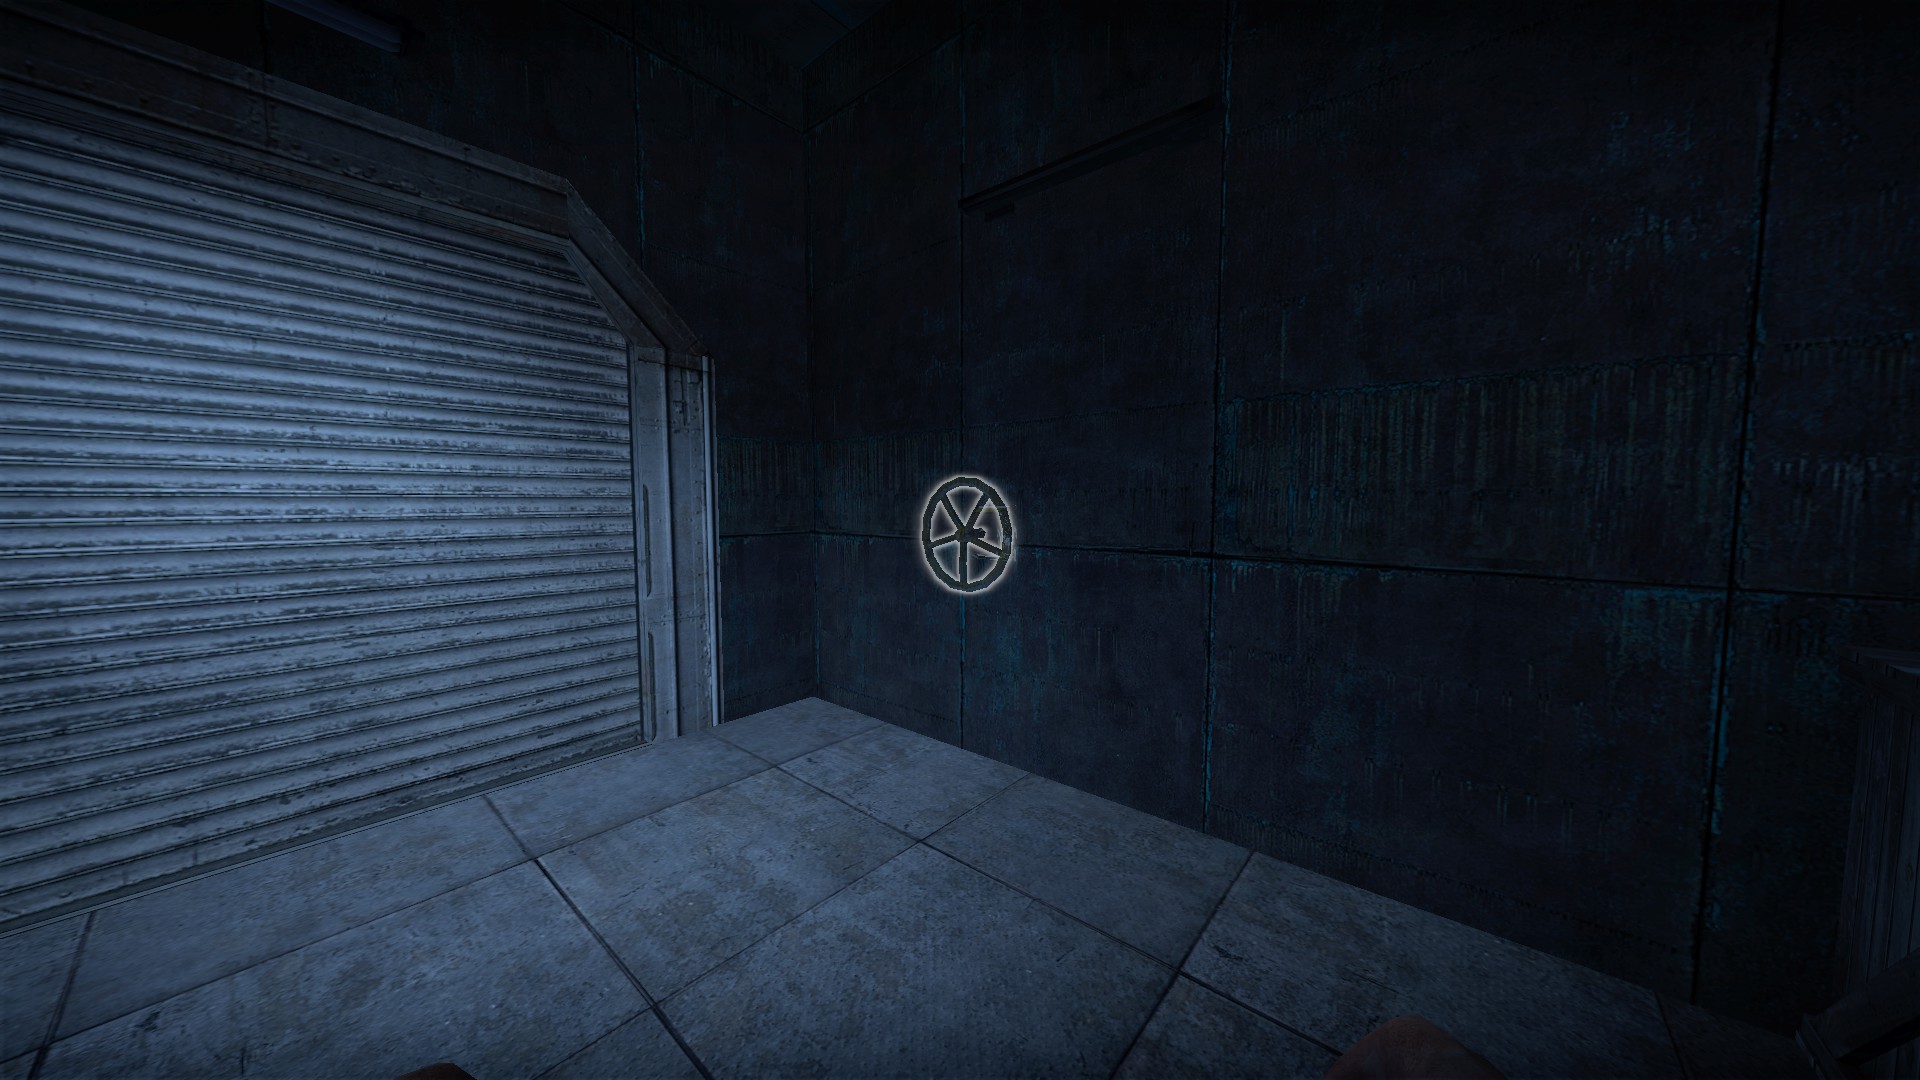
If the objective is to find the crank instead of the scientist's head, do not use the figurines. They will still open the door, but do not complete the objective. If you then enter the interfaces room, you will break the map by skipping the crank objective
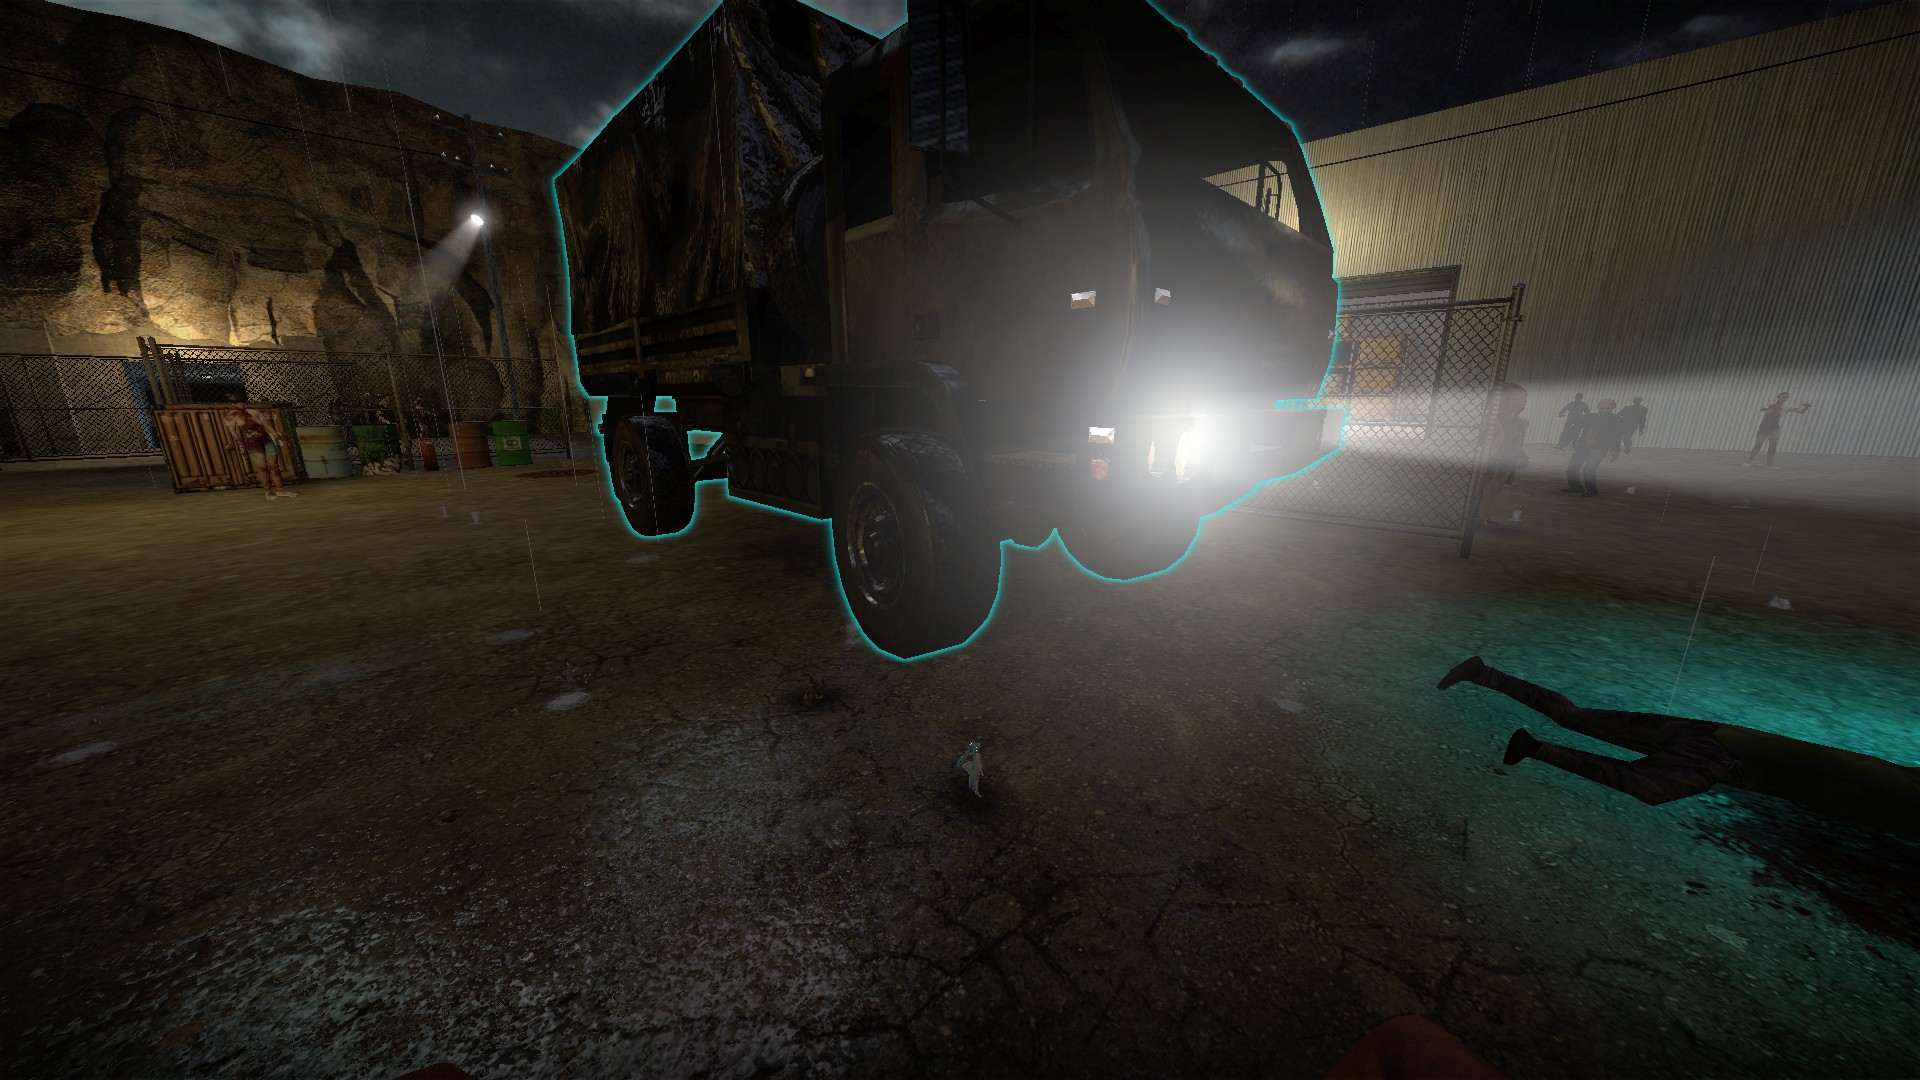
Both of the figurines can be loaded into the escape vehicle but only after all of the objective items have been. You will get a sound effect of Yeah or Nice for saving the figurines Med stations

Use med stations to heal to 100hp. The first is just past the 2 large doors
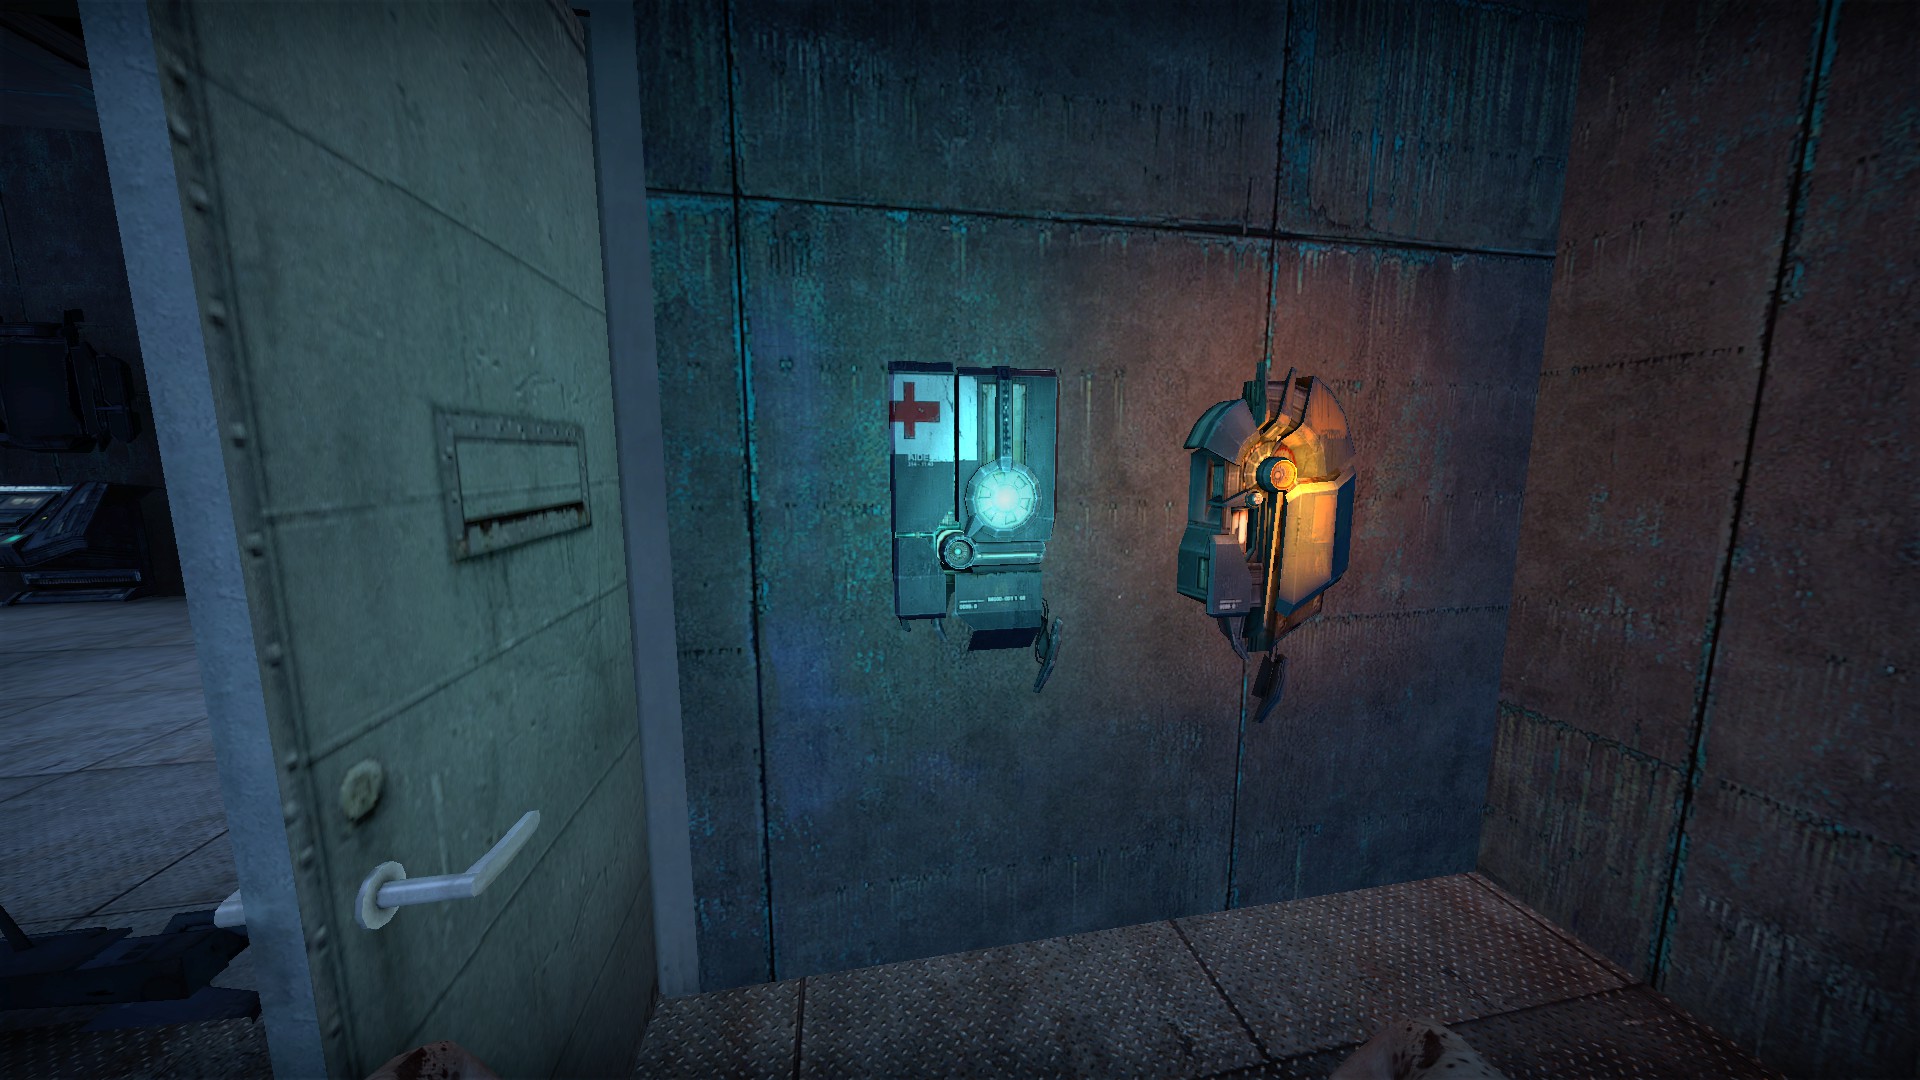
The armory unlocked by the welder has another med station
nmo_extra

Just past the start is a trailer with a secret stash

Climb to to top of the pallet jack and jump to the top of the nearby boxes

Make your way up to the top of the truck

Get onto the open door then slowly ease your way so you fall into the trailer


Then crouch jump over the boxes and make your way to the stash of a Fal and a grenade
Easter egg

There is an apartment above the burning records store. It's the only optional area

Inside are a few items including a flare gun near a computer. You can read the computer screen in spectate or noclip for an Easter egg
nmo_facility_v5
Getting 10 Hula dolls will unlock a secret armory in the basement of the final cabin
Most Hula dolls can be picked up with e, but several will need to be shot
There are 3 sets of Hula dolls, each one has a doll in the starting area. The sets do not mix and match

A1 is in the starting area behind a box

A2 is in the sewer, in the back corner of the area with the water

A3 is on the scaffolding near where you get the radio, it must be shot

A4 is in the dark office near where you get the radio, under the desk

A5 is in the area with the transformers on the way to the satellite dish

A6 is on top of the boards as you leave the facility

A7 is behind a block near where you input the code

A8 is behind a monitor in the offices

A9 is under a table near where the breaker is thrown

A10 is under the porch of the last cabin

A11 is in the cabin. It is extra Set B

B1 is behind the bright light in the starting area

B2 is in the trash can right after you leave the starting area

B3 is in the sewer, where the water splashes in

B4 is at the end of the hall where the radio is

B5 is on the crane near the respawn

B6 is near the boxes in the electricity area

B7 is in a corner of some boxes in the facility

B8 is behind the monitor where you input the code

B9 is in a tent in the campsite

B10 is on the porch of the final cabin Set C

C1 is at the back of the room where the zombies break out in the starting area, in the bucket

C2 is in the sewer, behind a barrel where you weld

C3 is below the walkway to the radio area

C4 is behind the barrels near the battery

C5 is near where the radio is used, jump across to the other trailers and the Hula is around the corner

C6 is on top of a transformer and must be shot

C7 is high up on the shelves of the facility and must be shot

C8 is behind a plant in the offices


C9 is very well hidden underneath the traffic cone

C10 is in the waterfall

C11 is in the basement of the final cabin, near some pallets Reward

You will get a message when 10 dolls have been collected


And an armory will open in the basement of the cabin
nmo_falloutlimbo_v5

Grab the access card near the vtol

Kill the plant monster and use the access card on the card reader next to it. You will hear a sound that it has worked


This will disable the turret and let you pick up the items that spawn behind the fence. You may need to do this to get the welder, but do it for the supplies even if the welder isn't here

You can use this turret in easy mode

The injector (near the bandage) will automatically restore 100hp when touched

The moveable radio here plays lots of different music, and can also have special effects like shaking the map or exploding. Press the tuning buttons when sparking to play the next song/effect

The jukebox on the 3f will play different music


Be careful on the 4f and 5f as they have large c4 traps with nearly invisible trip wires. Hold e on the trip wires to disable


In the electrical room on the 5f you can break the door and access the bottom of the stairwell. There is a body with an item. If the access card has fallen through the cracks of the elevator (it has collision), it can be retrieved here

There is a moveable bomb in the 5f armory, but be careful as even a small drop can detonate it

Be weary of special items, the one on the right will help, the one on the left will not The cat room is located on the 4f and requires you to collect 4 fallout statues to open

The first statue is in the classroom on the 1f

The second statue is on the 3f, hidden behind a machine where the robot and jukebox are

The third statue is on a bunk bed on the 4f

The last statue is in the power plant area of the 5f

You will get a message that the secret is open

The cat room has a special weapon on easy and medium. It will not have one on hard

You will pick up a glock 9mm when you pick up the special weapon. The special weapon will fire anytime you press lmb, so switch to your fists to fire it exclusively. The special weapon has 15 ammo in easy and 10 in normal difficulty, but it is powerful and has good penetration. When its ammo is used up you will get a sound and the lockbreaker/clip item will disappear Second special room

In the cat room, approach the batman picture to be teleported

You can press e on the head to get a short music number

Teleport back using the left picture, the right one kills you
nmo_falloutlimbo_v5 (continued)


Before leaving the complex, go to the 2f where there is a malfunctioning door. Shoot the panel on the other side to open it


In addition to normal med items, there is an injector and 3 bottles of red pills that can be picked up. These are anti-radiation pills. Have 3 different players pick up these pills

If you have taken these pills, you can disarm the nuclear bomb in the next part without taking damage from the radioactive water


After emerging from the vault, pick up the access card and use it on the nearby card reader to disable the sentry gun
nmo_farewell_world_v2
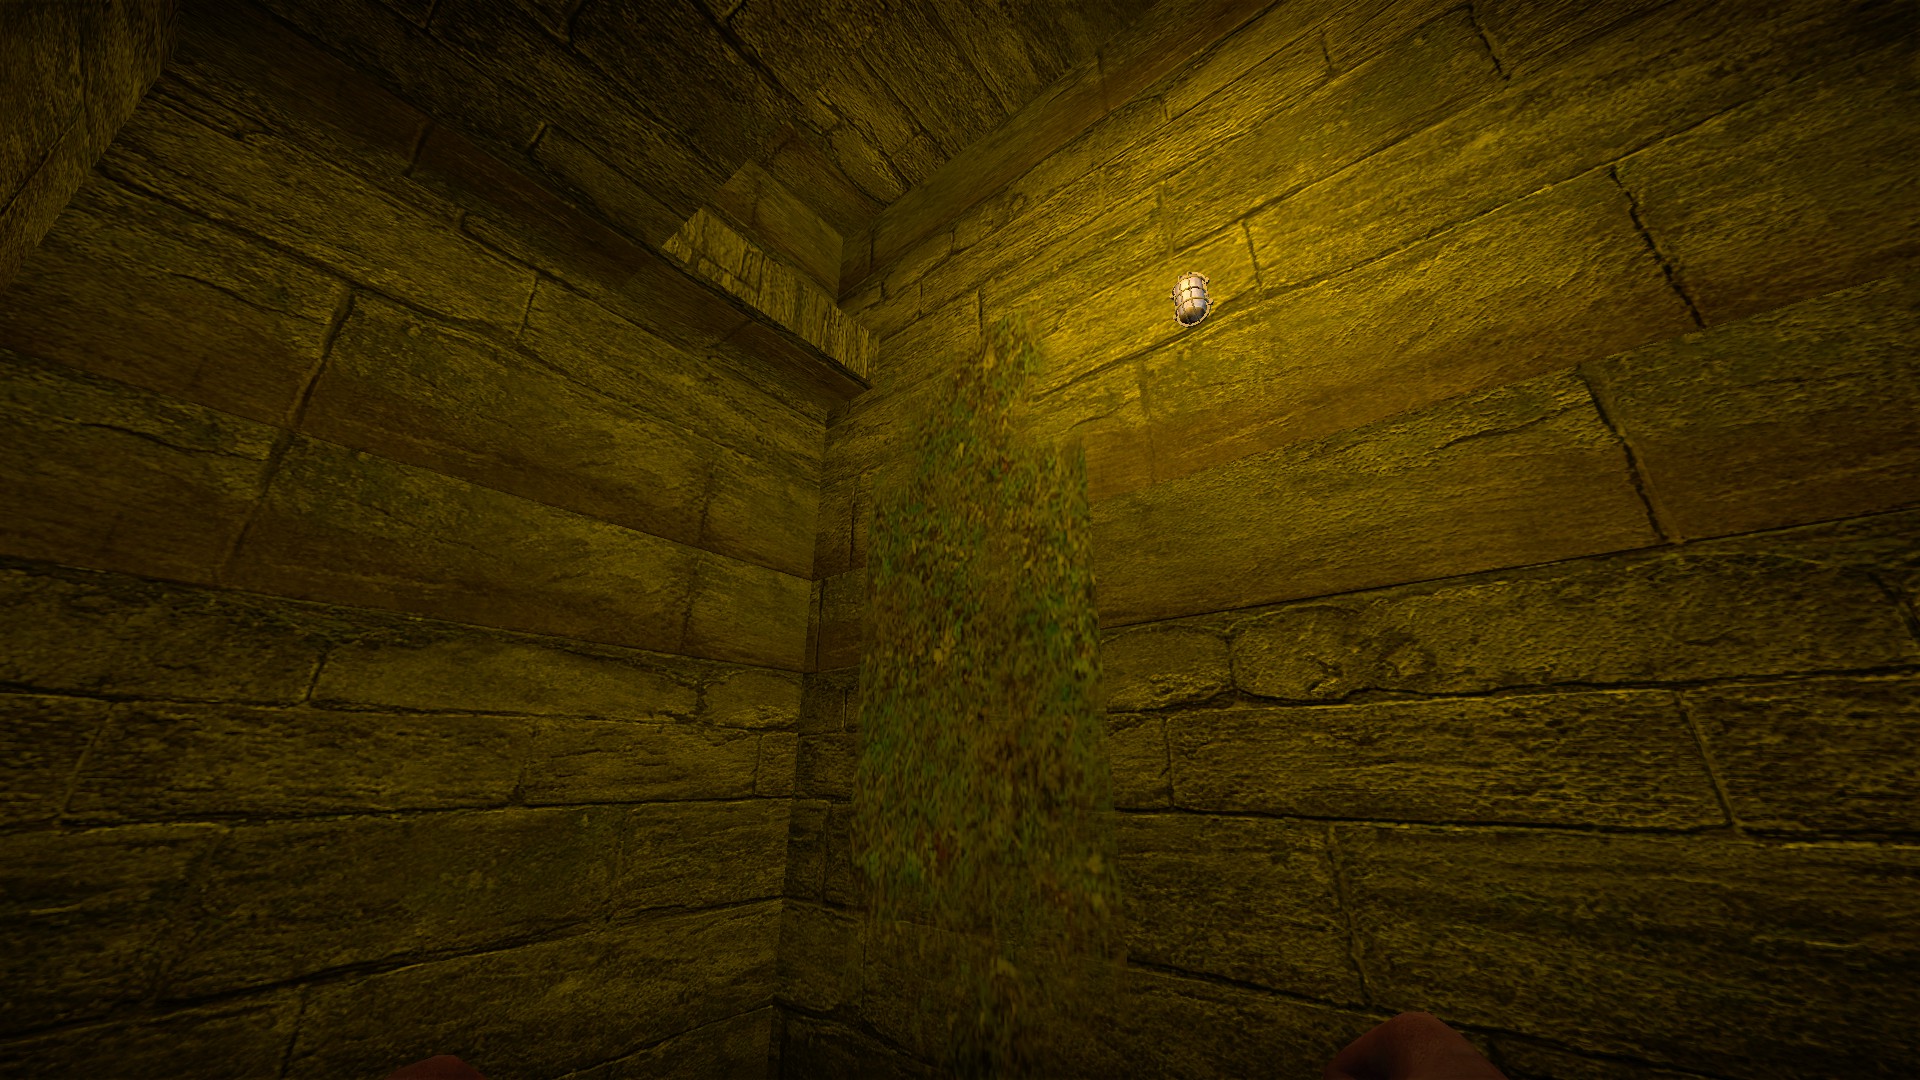
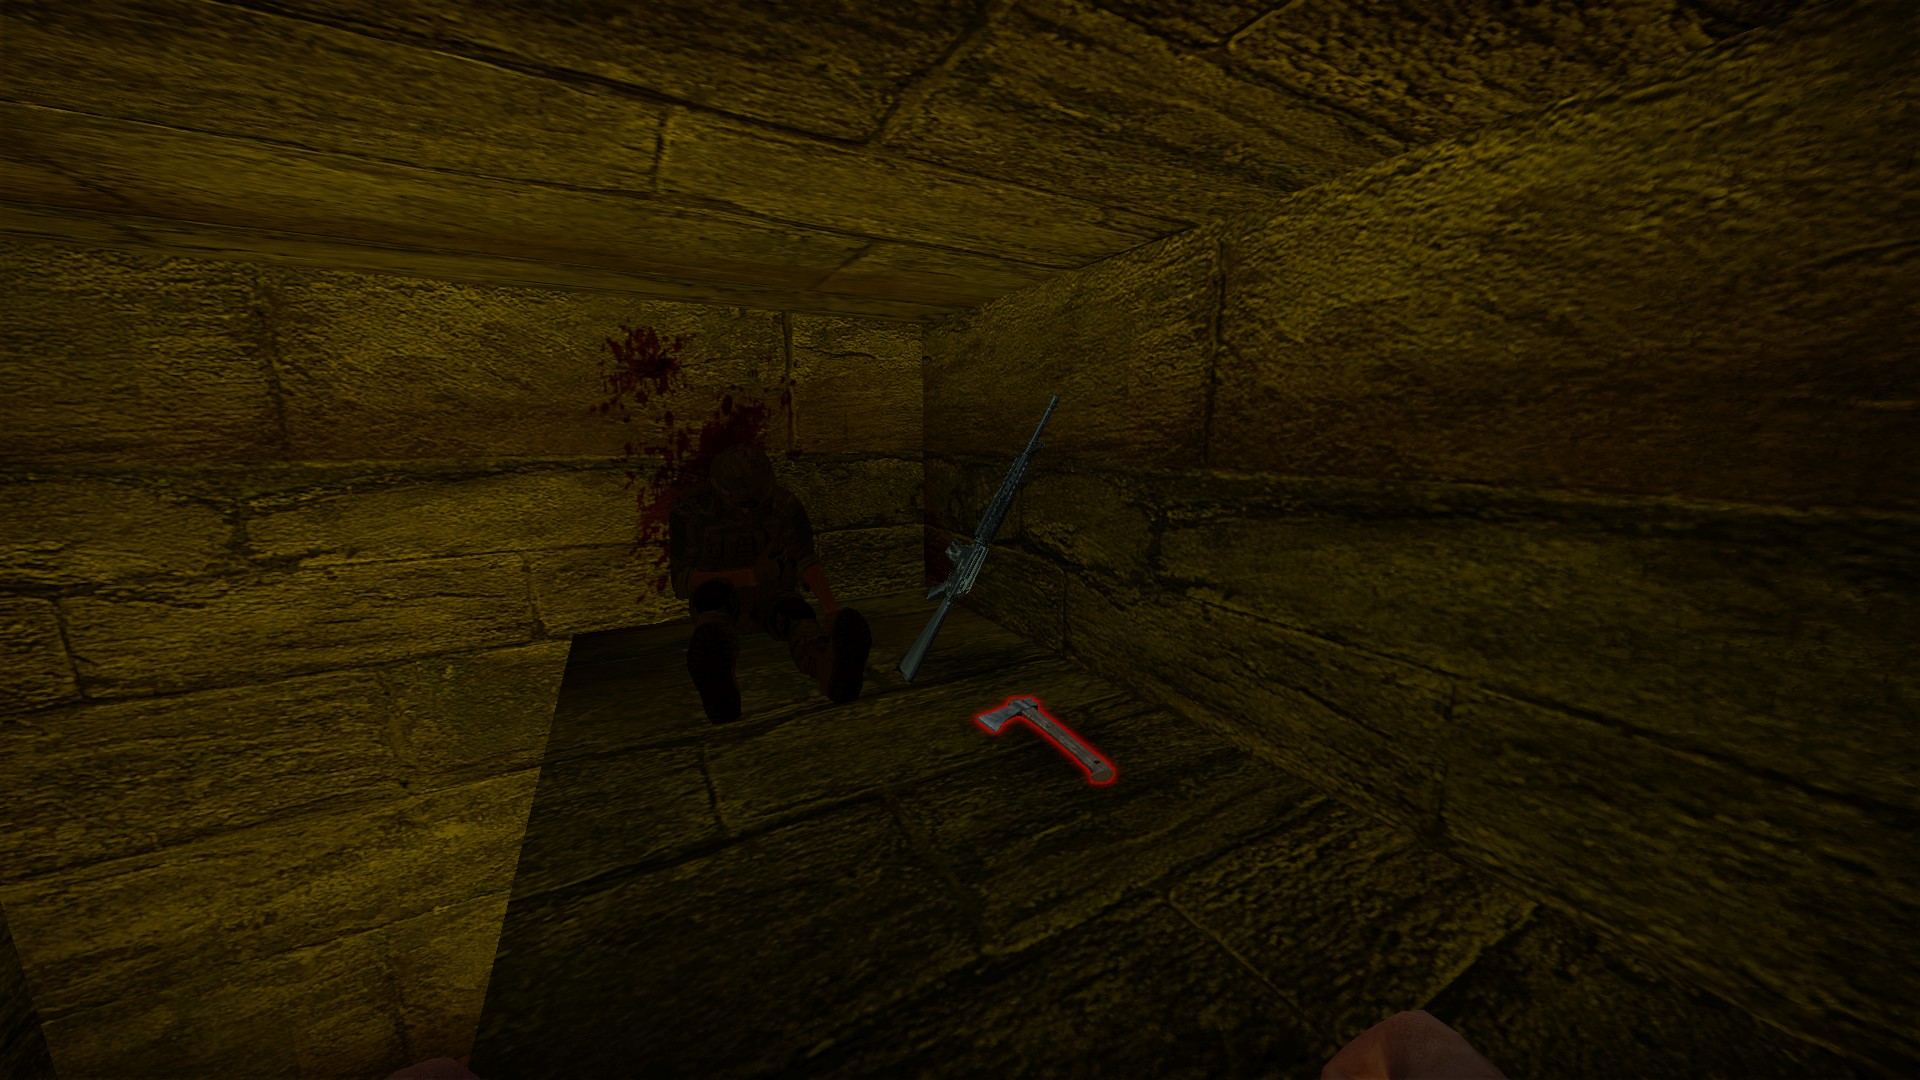
At the first corner of the main starting area, climb up the moss to reach the ledge above for a melee and m16 near a soldier's body
nmo_farewell_world_source_v4
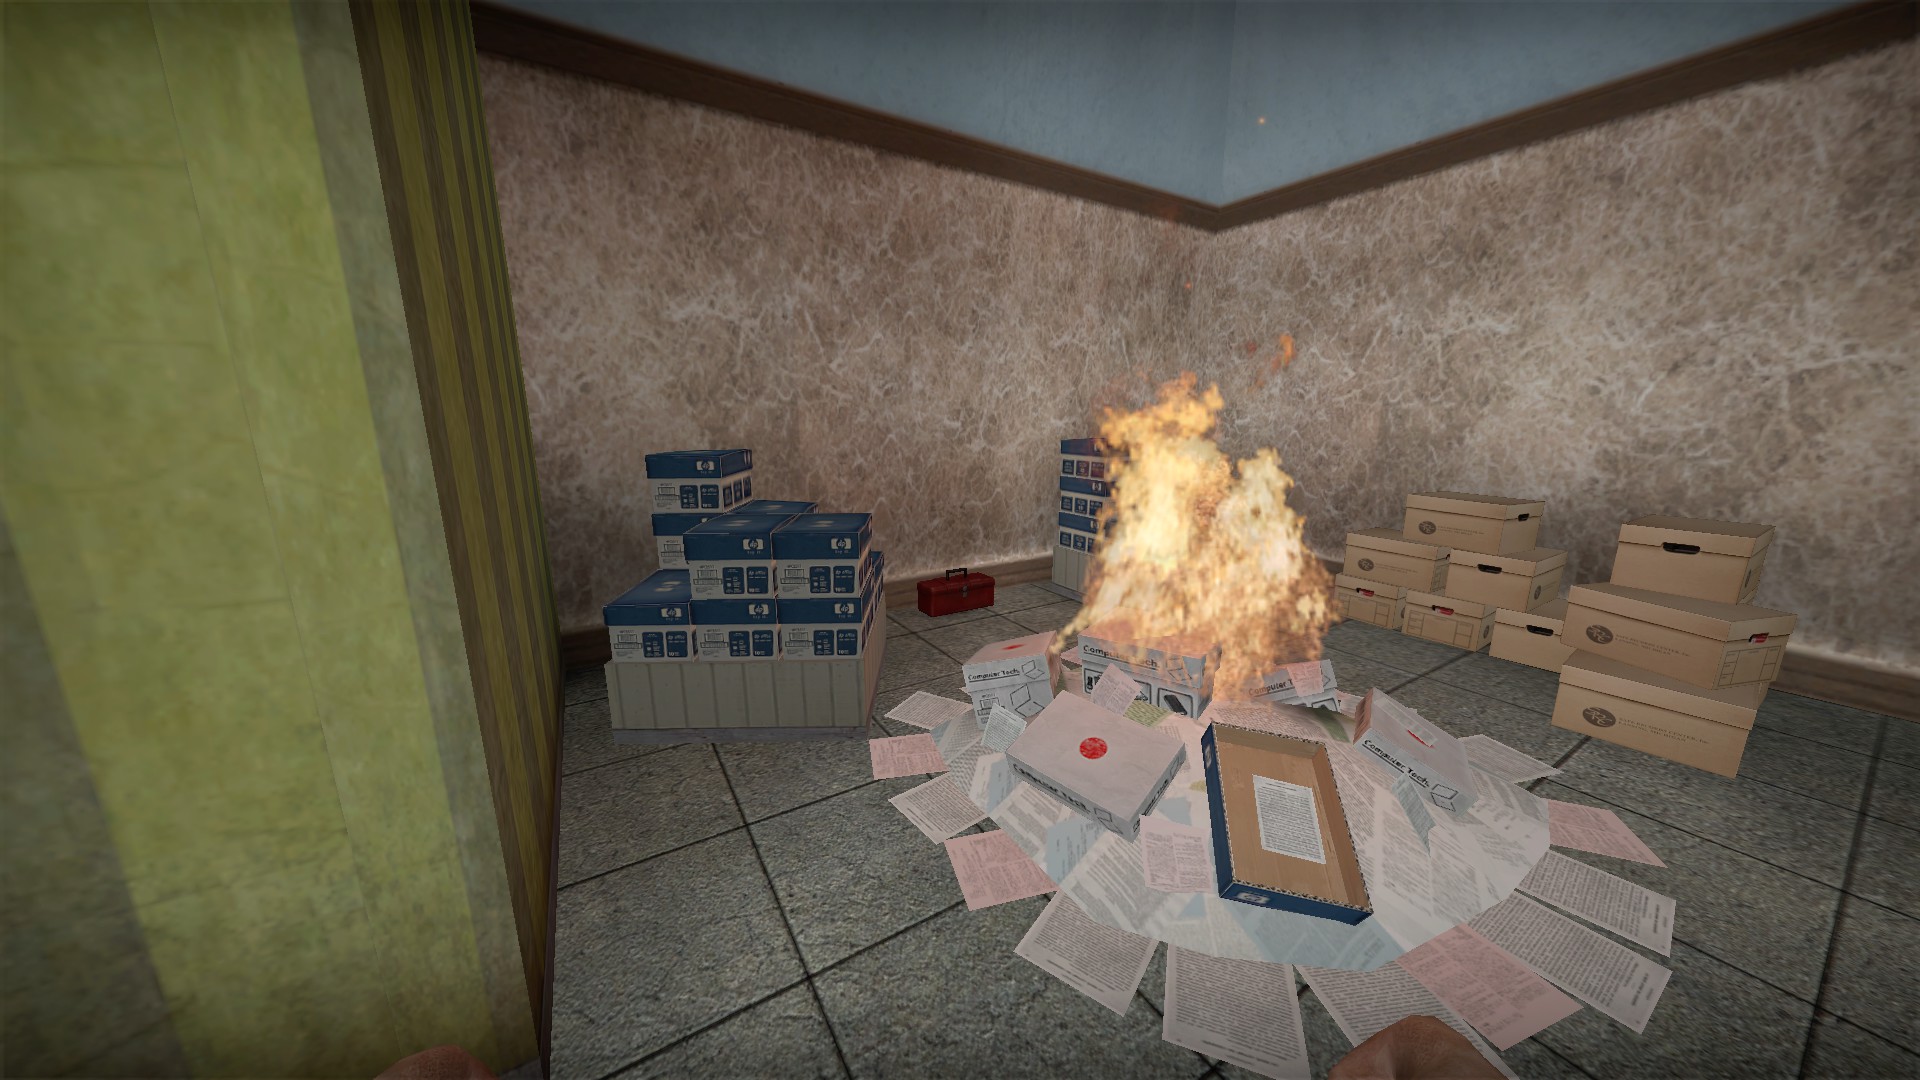
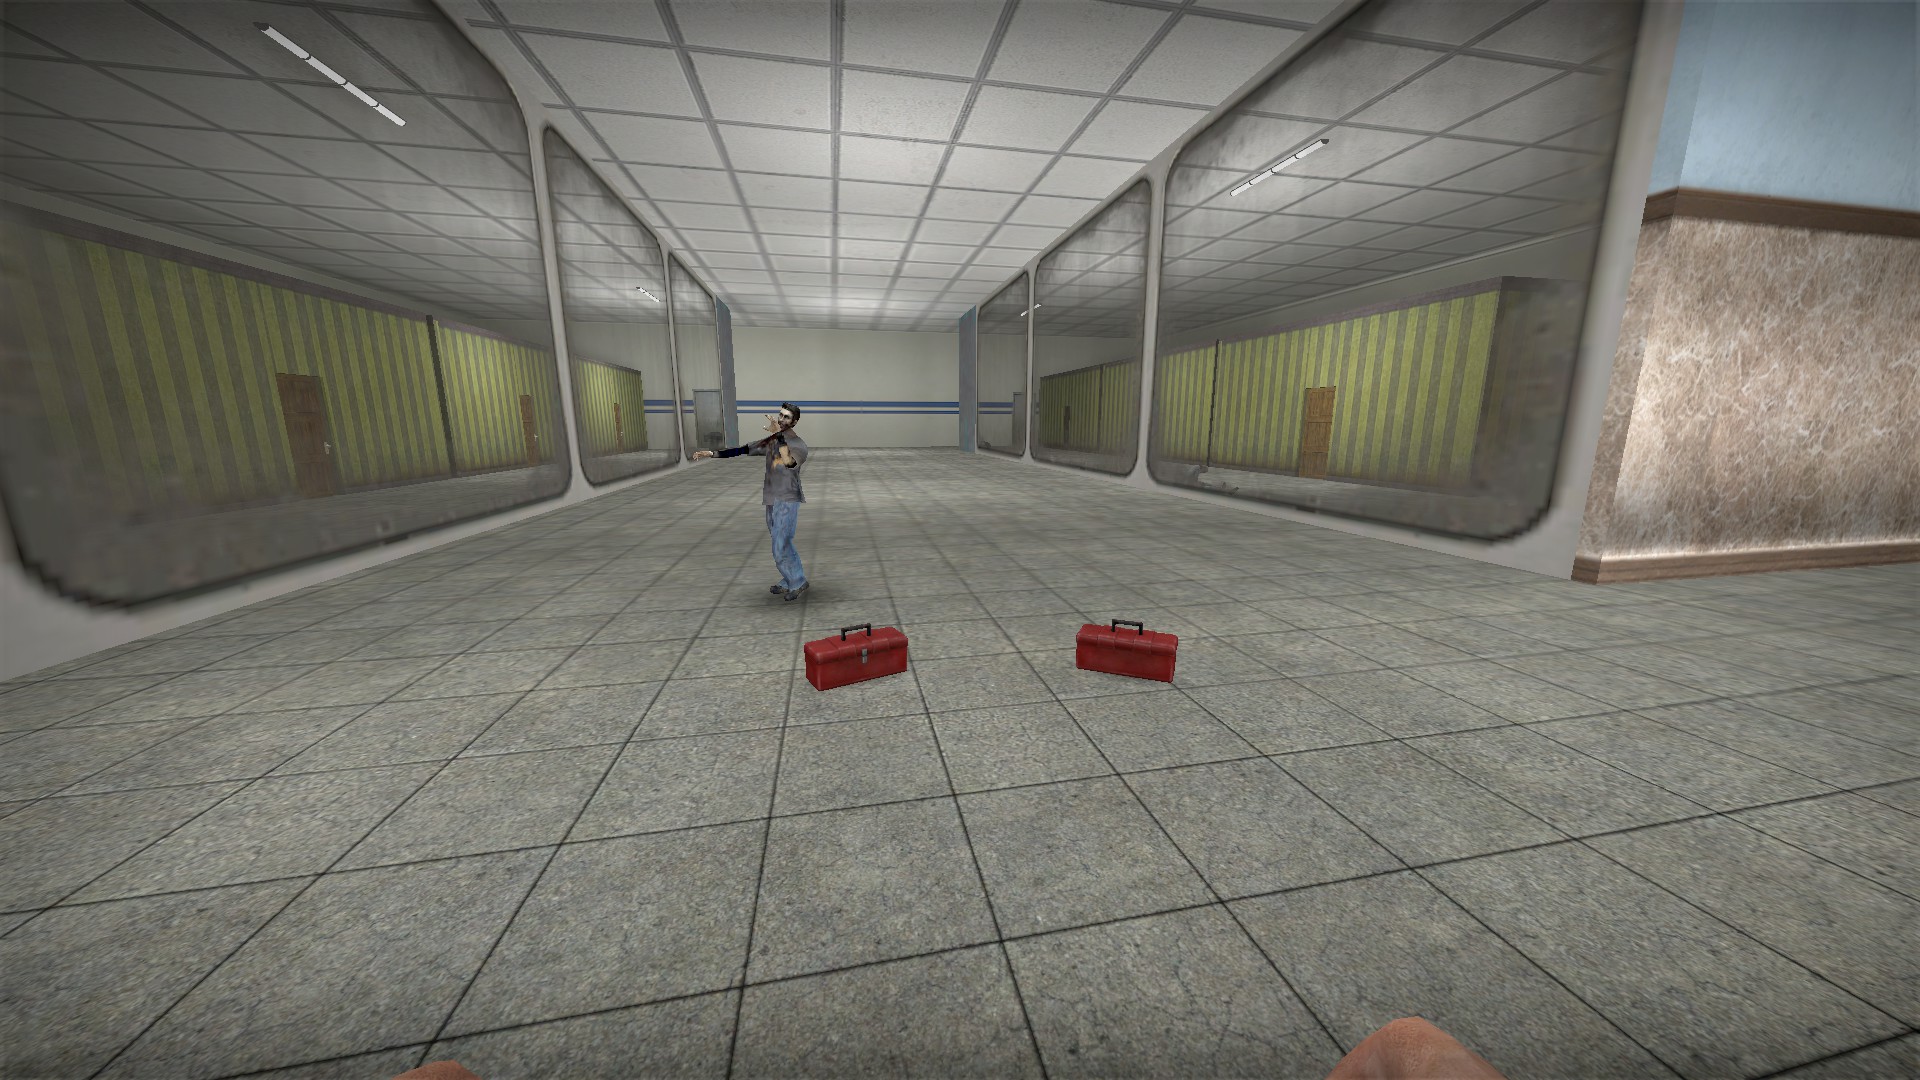
In the starting area, you will find a red toolbox
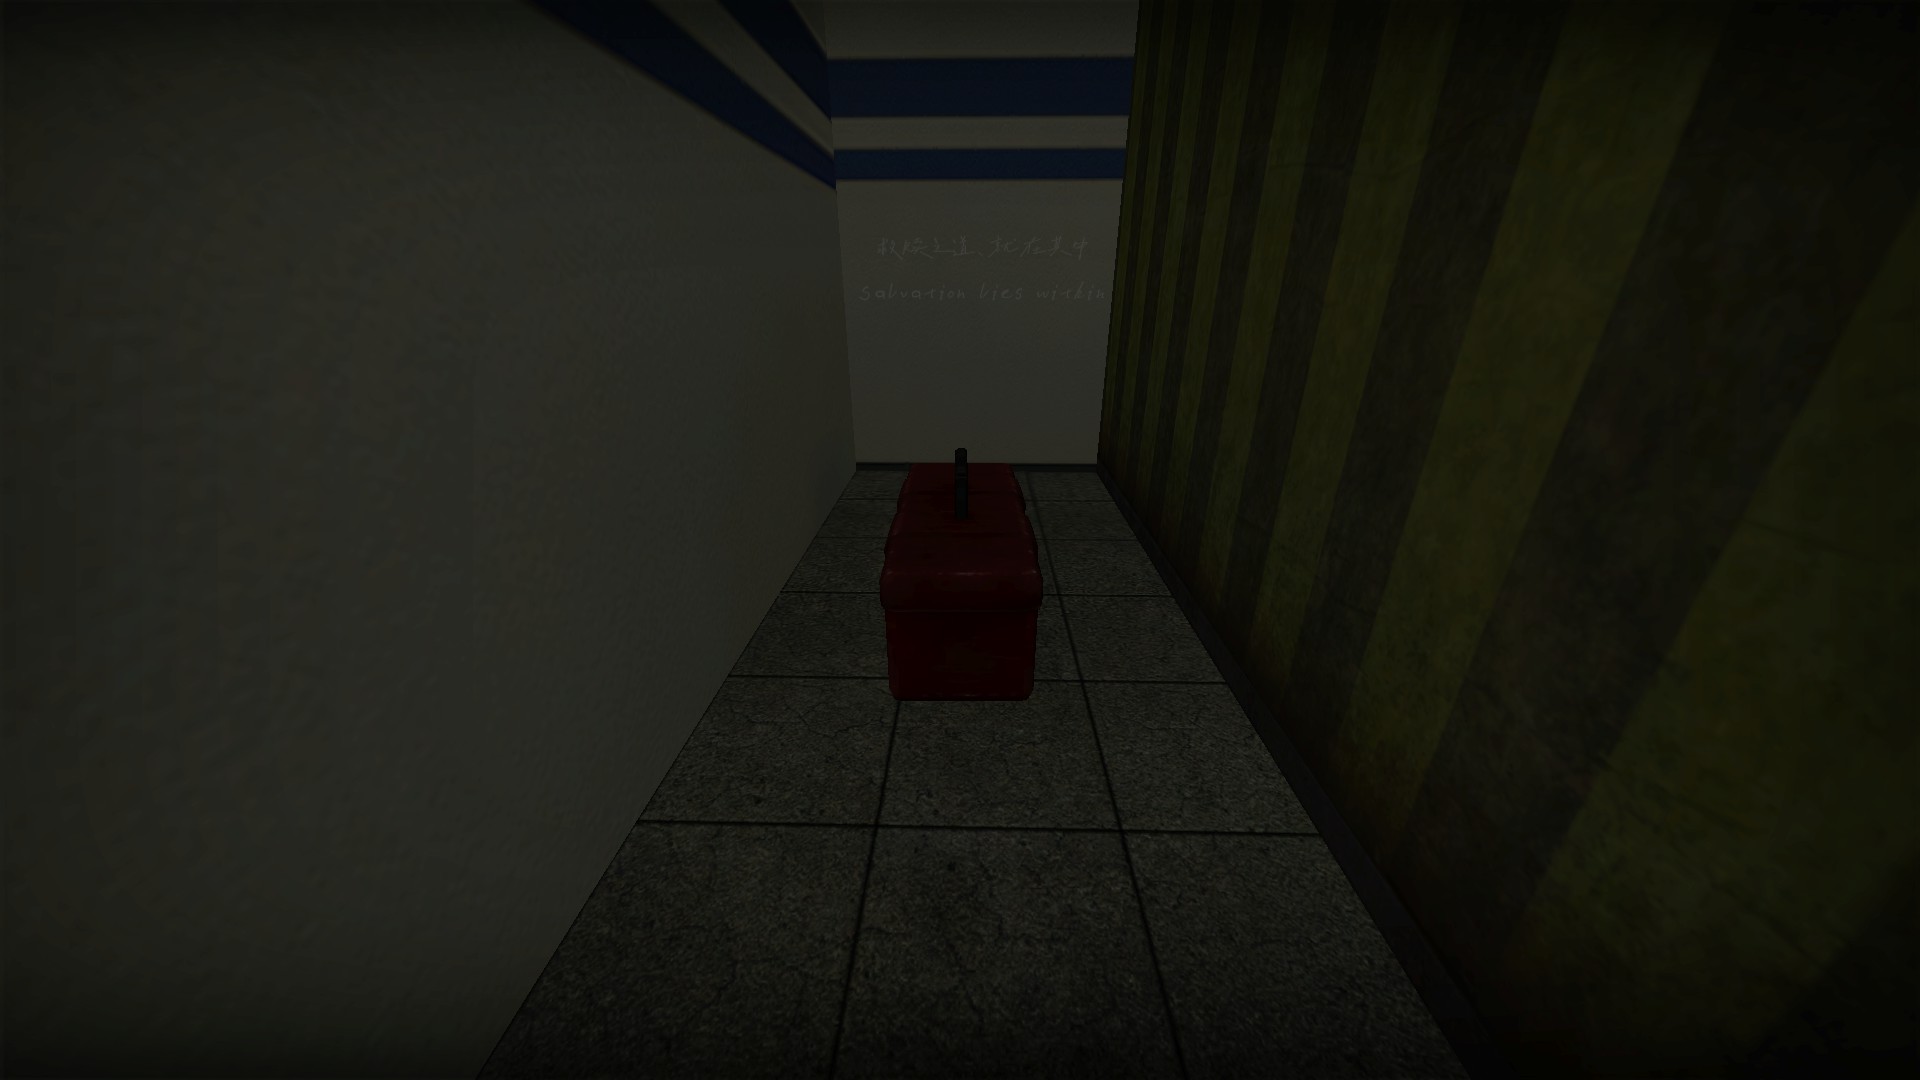
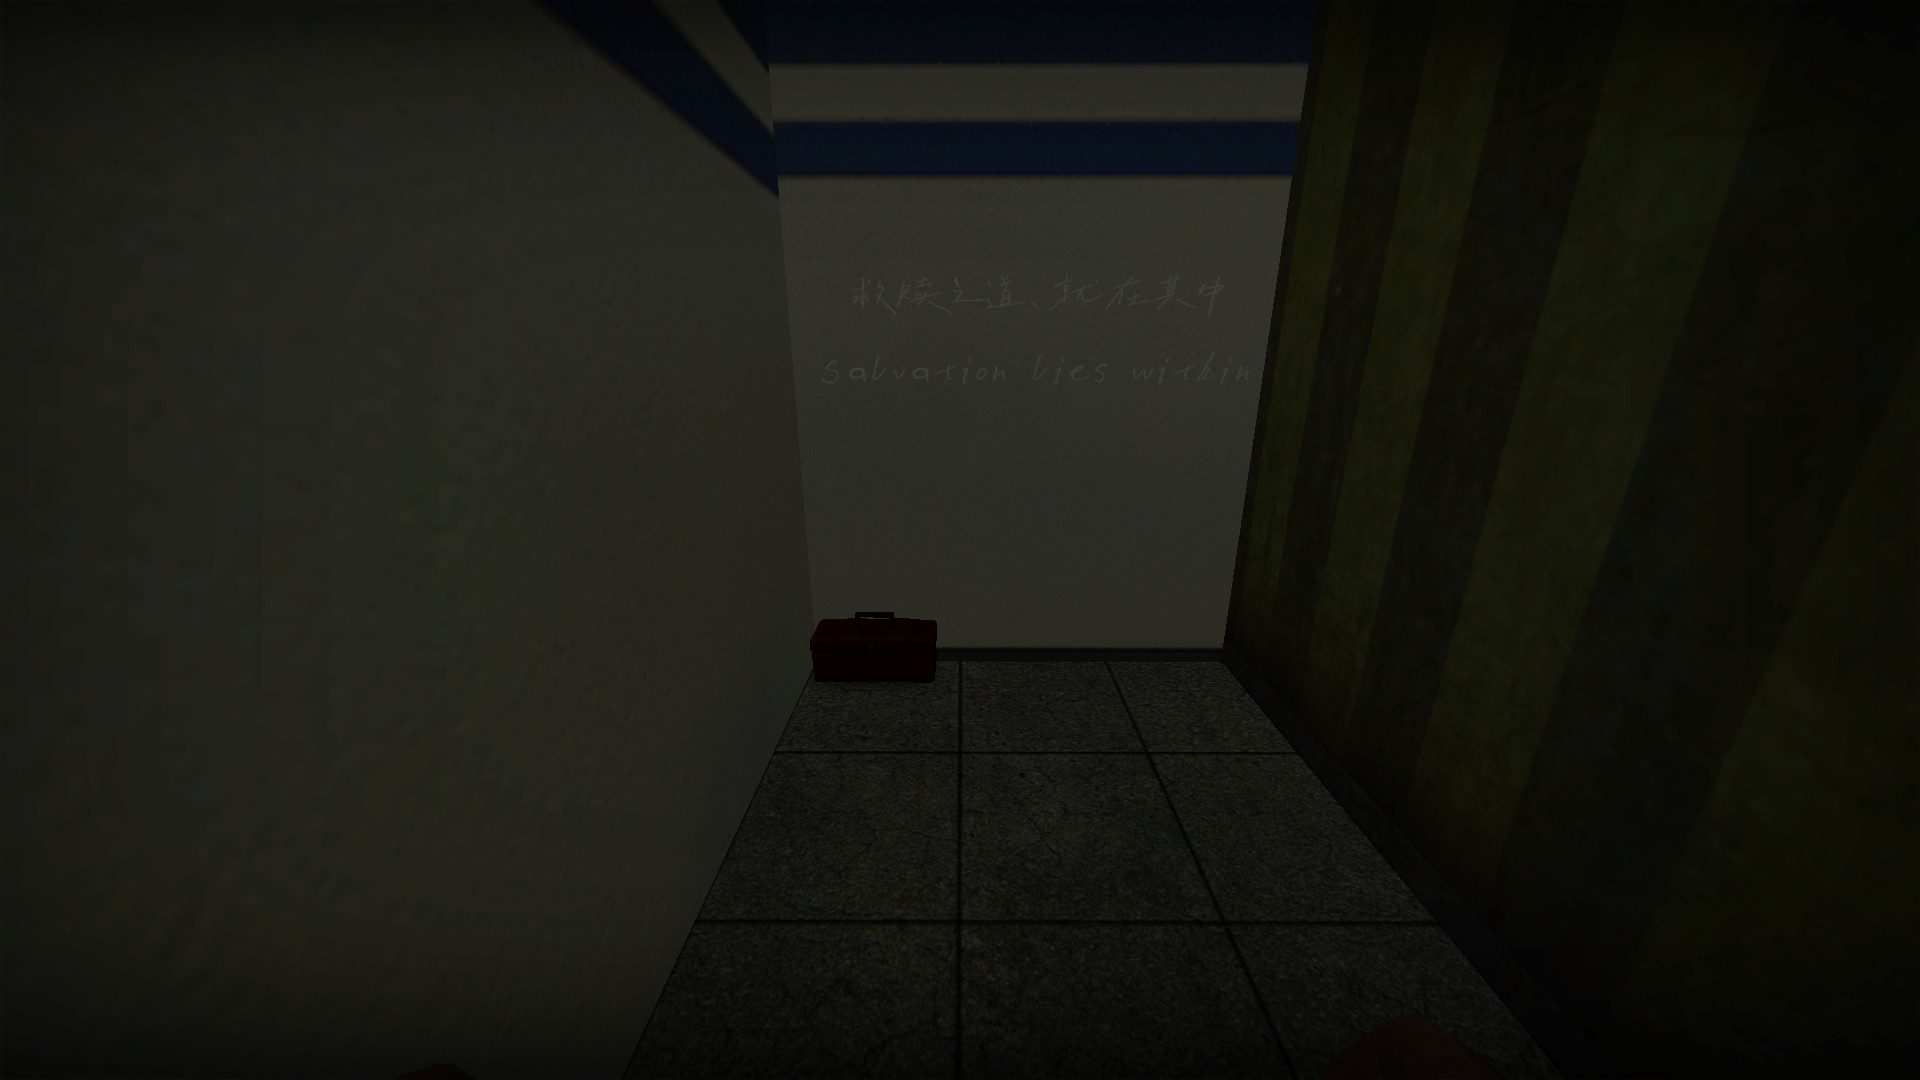
In one of the corners of the starting area, you will find writing that says "salvation lies within." You can place the toolbox there
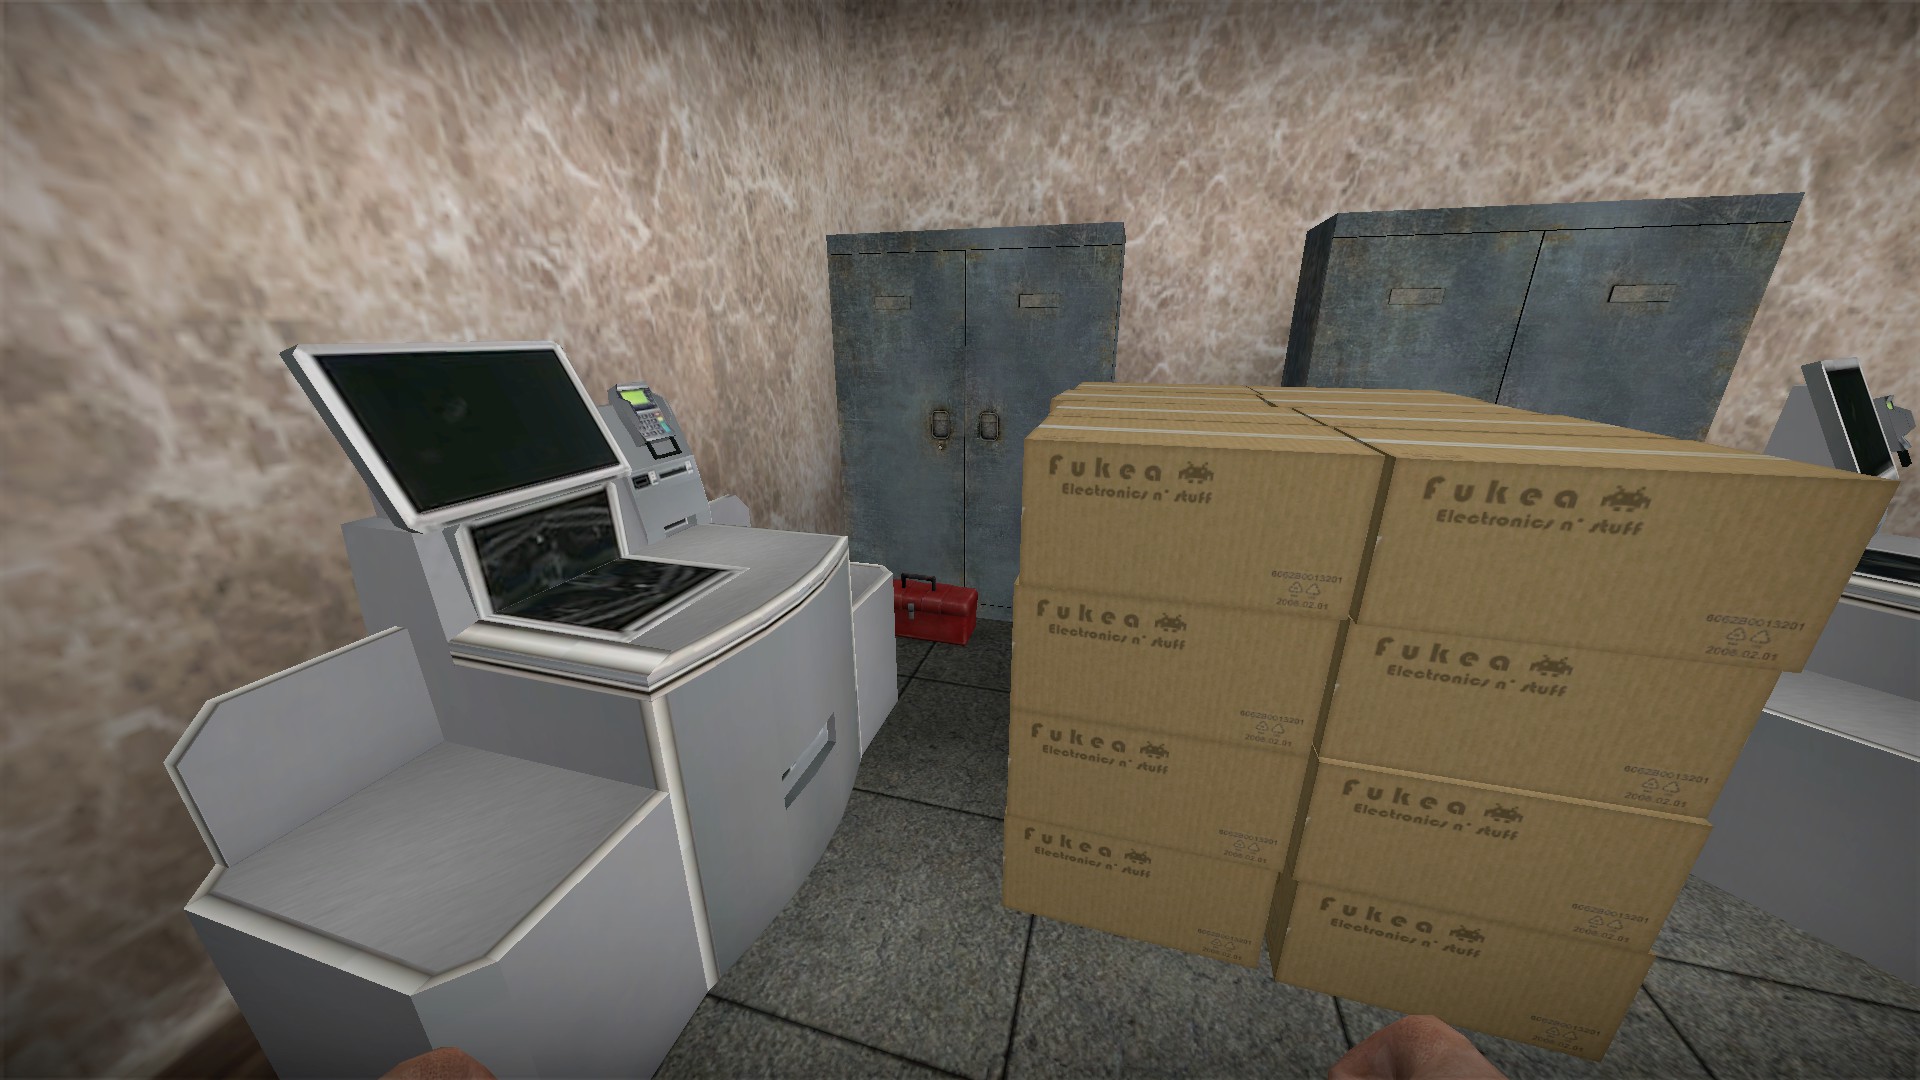
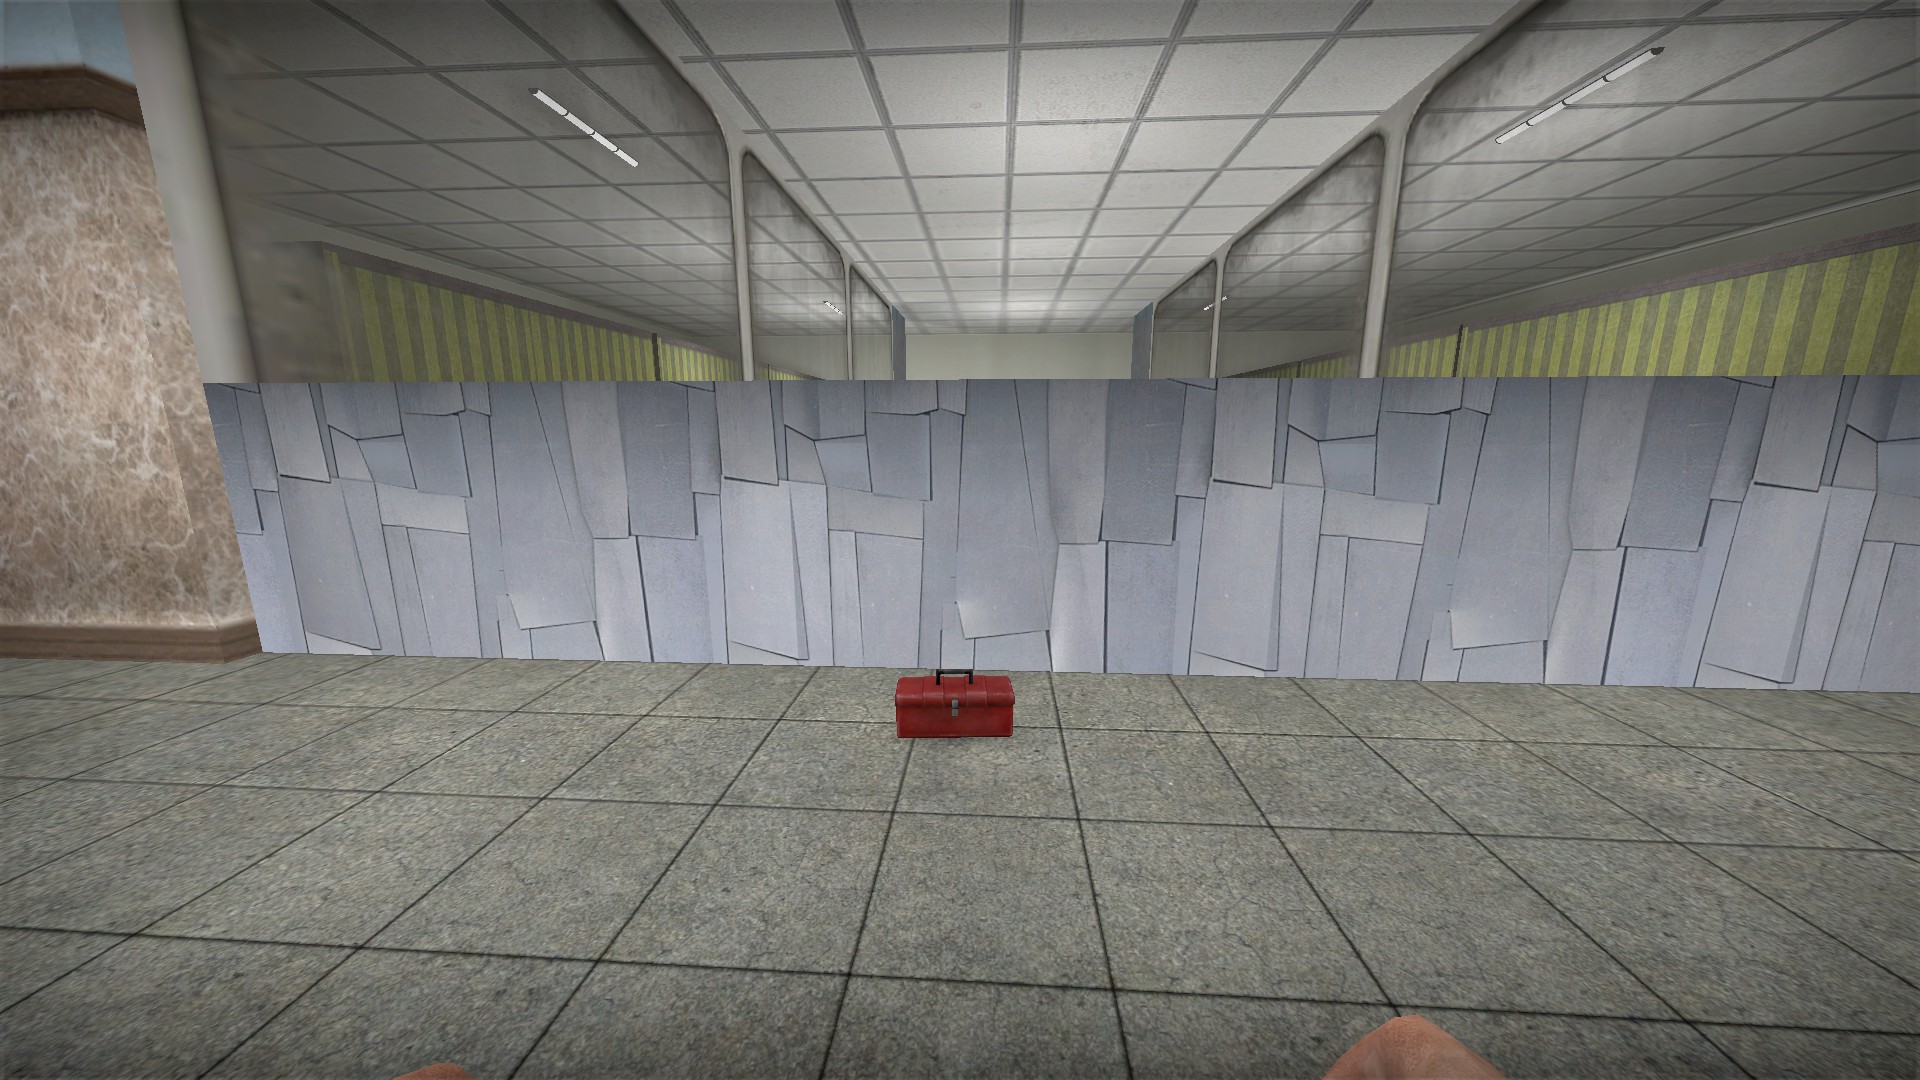
Just outside the starting area, you will find a second toolbox, but you cannot place it now due to the barrier created by the AI
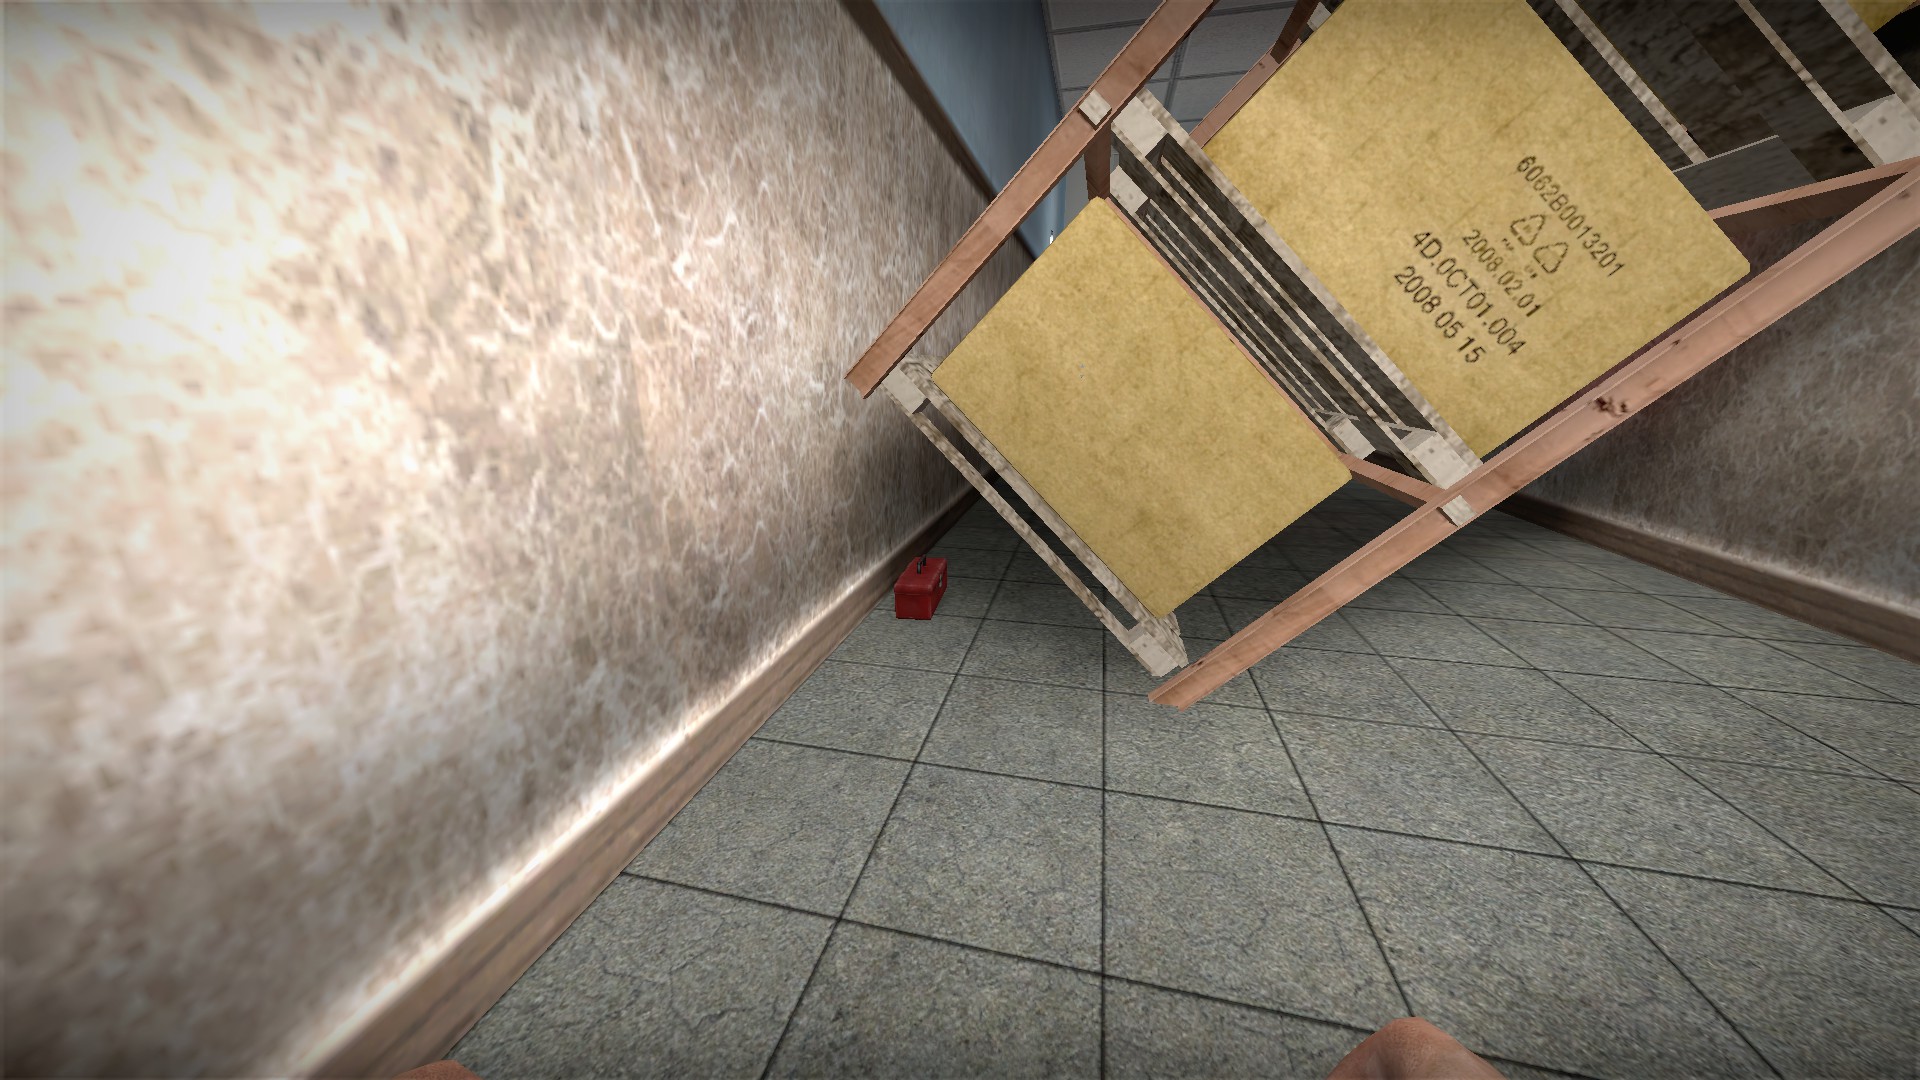
There is a third toolbox just past the elevator
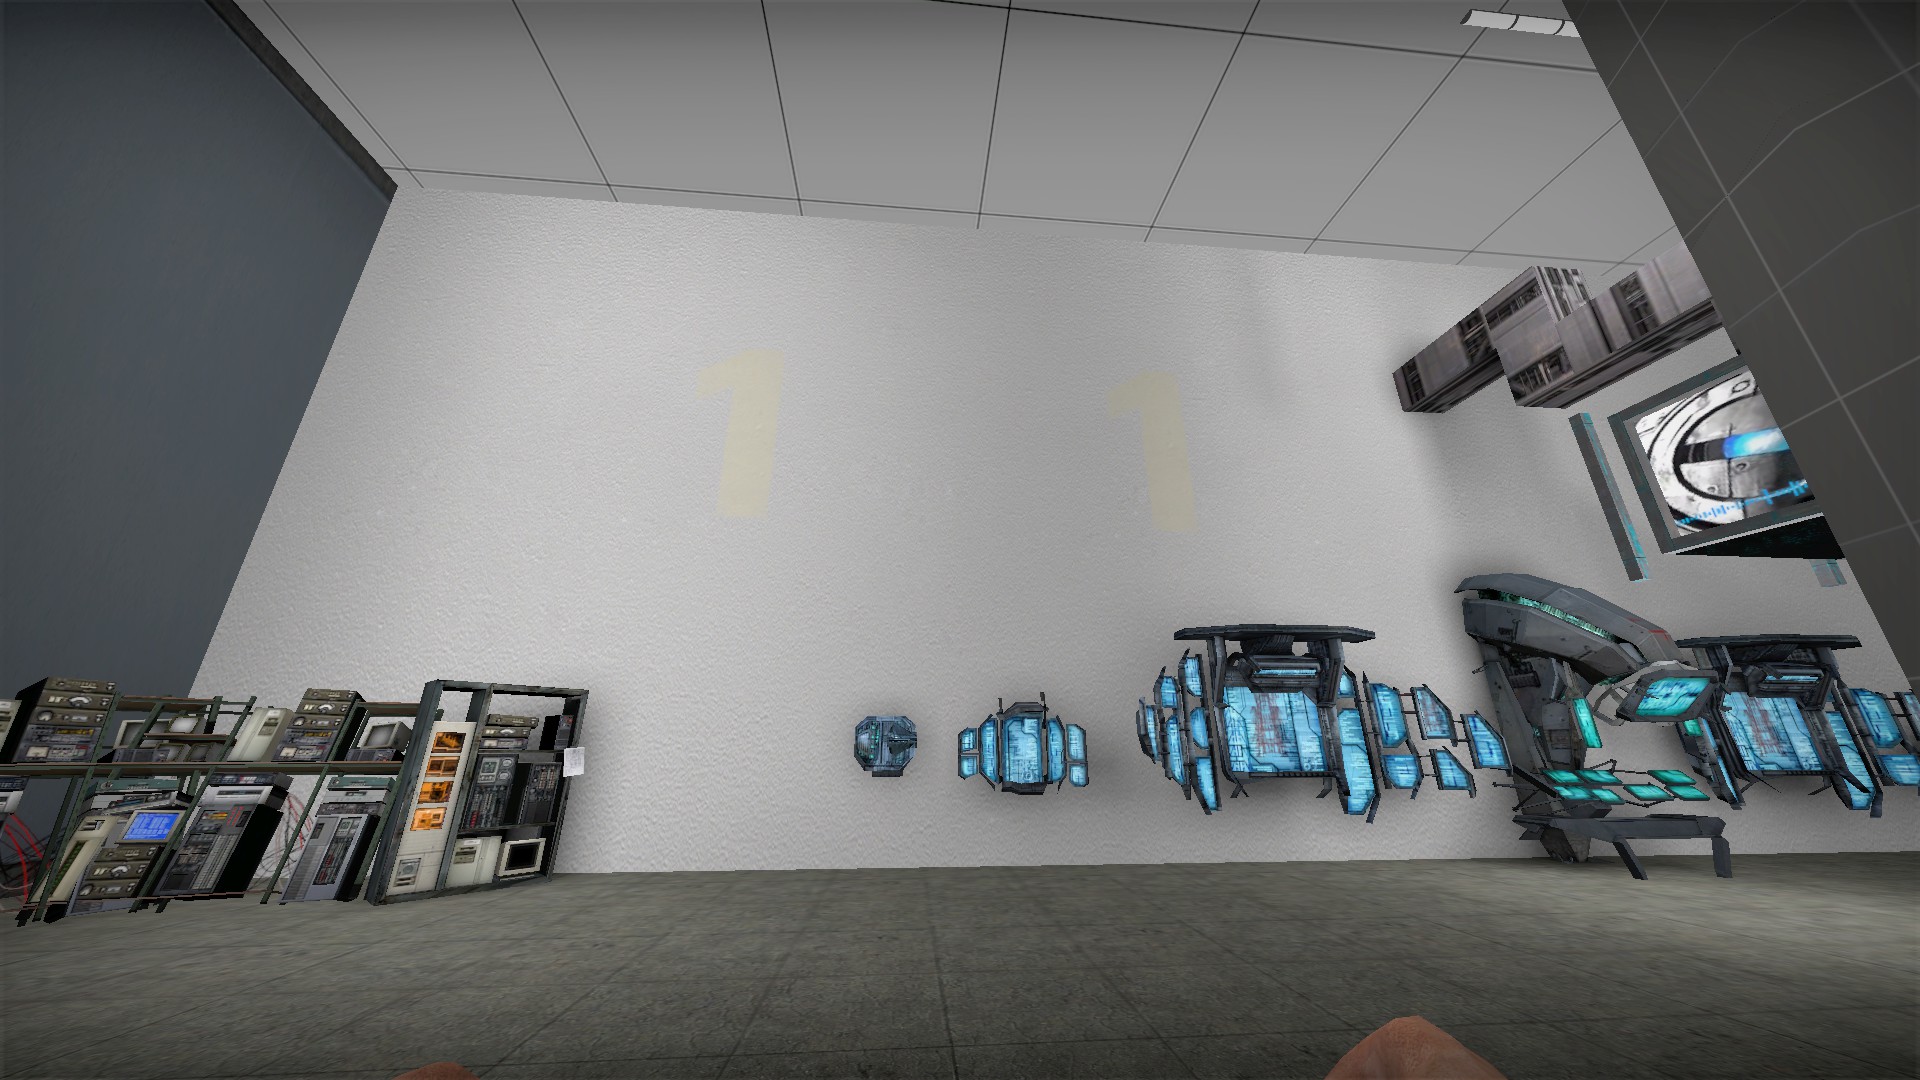
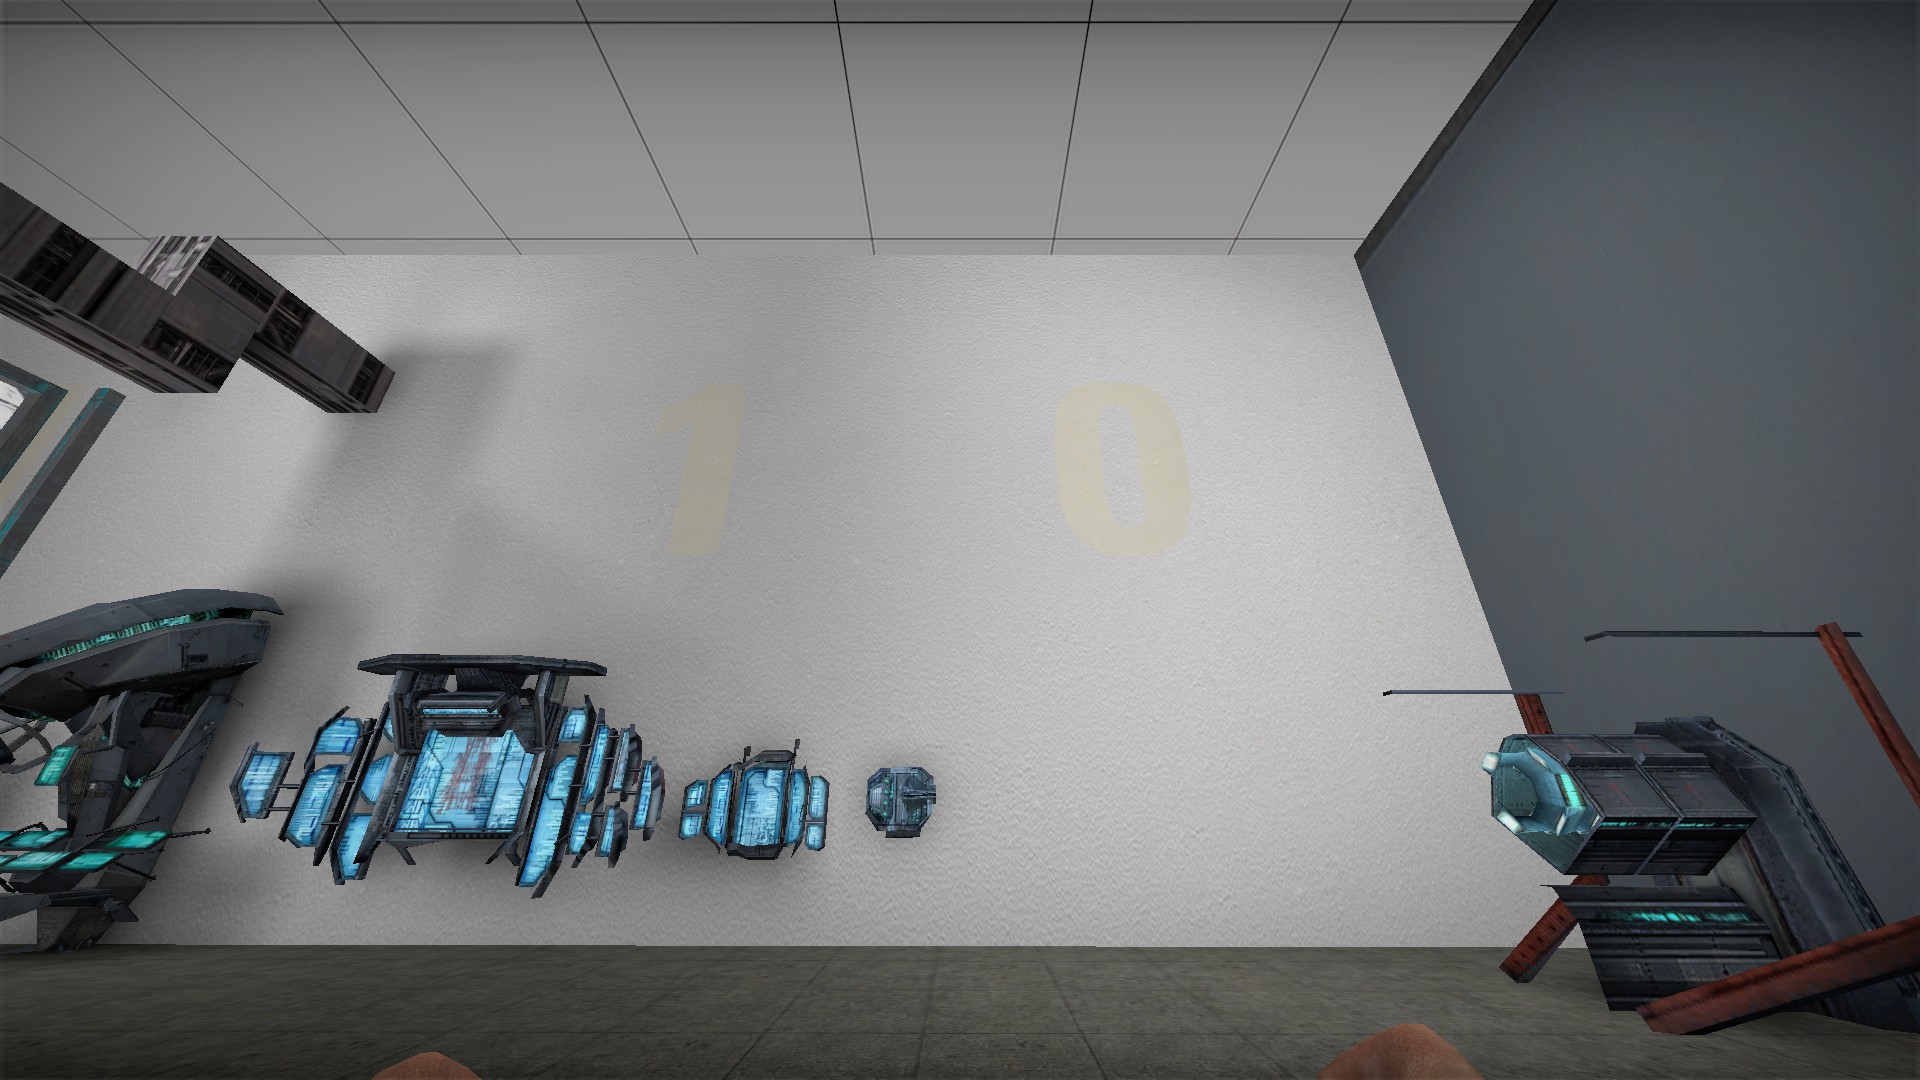
In the AI room, you will notice 4 faint yellow numbers on the wall with the AI. They combine for the code 1110
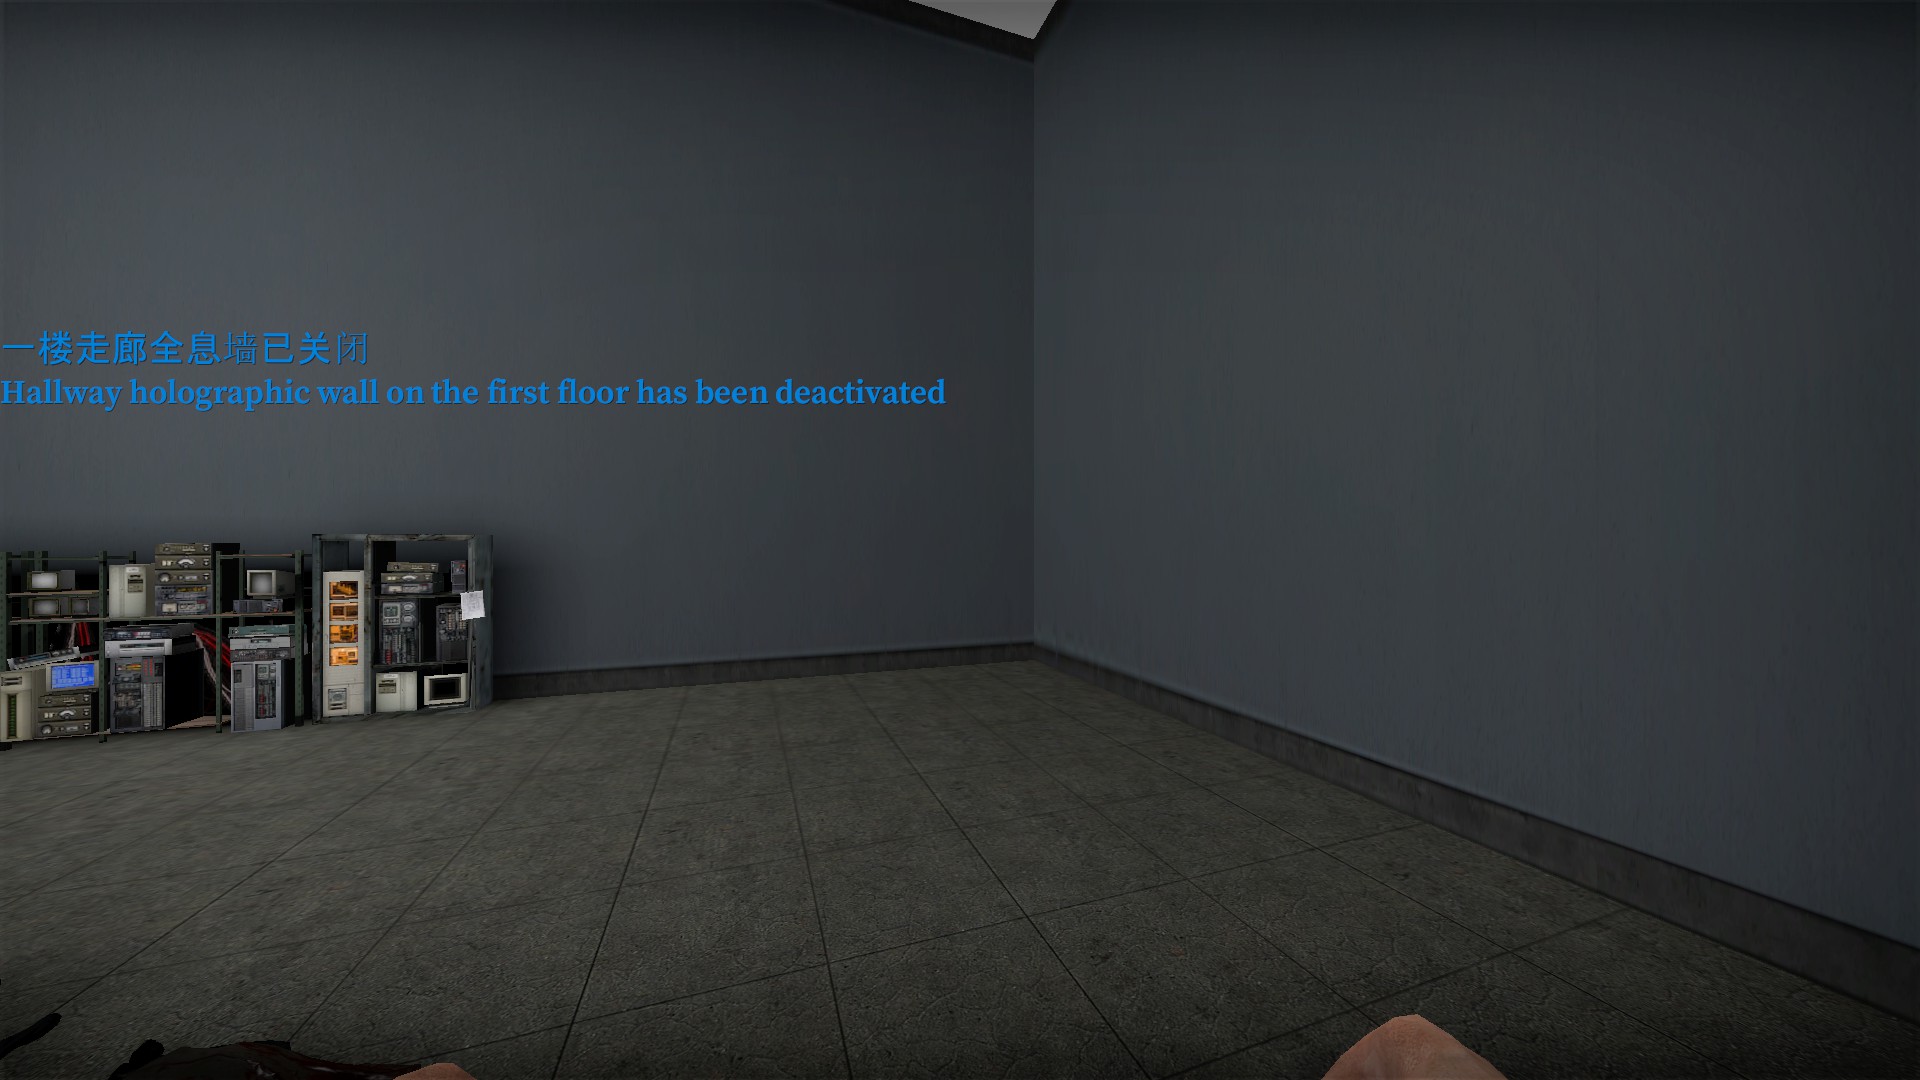
After the AI is destroyed, you will get a message that the holographic barrier has now been disabled
Destroying the AI will also destroy the barrier in the starting area, allowing you to place the second and third toolboxes
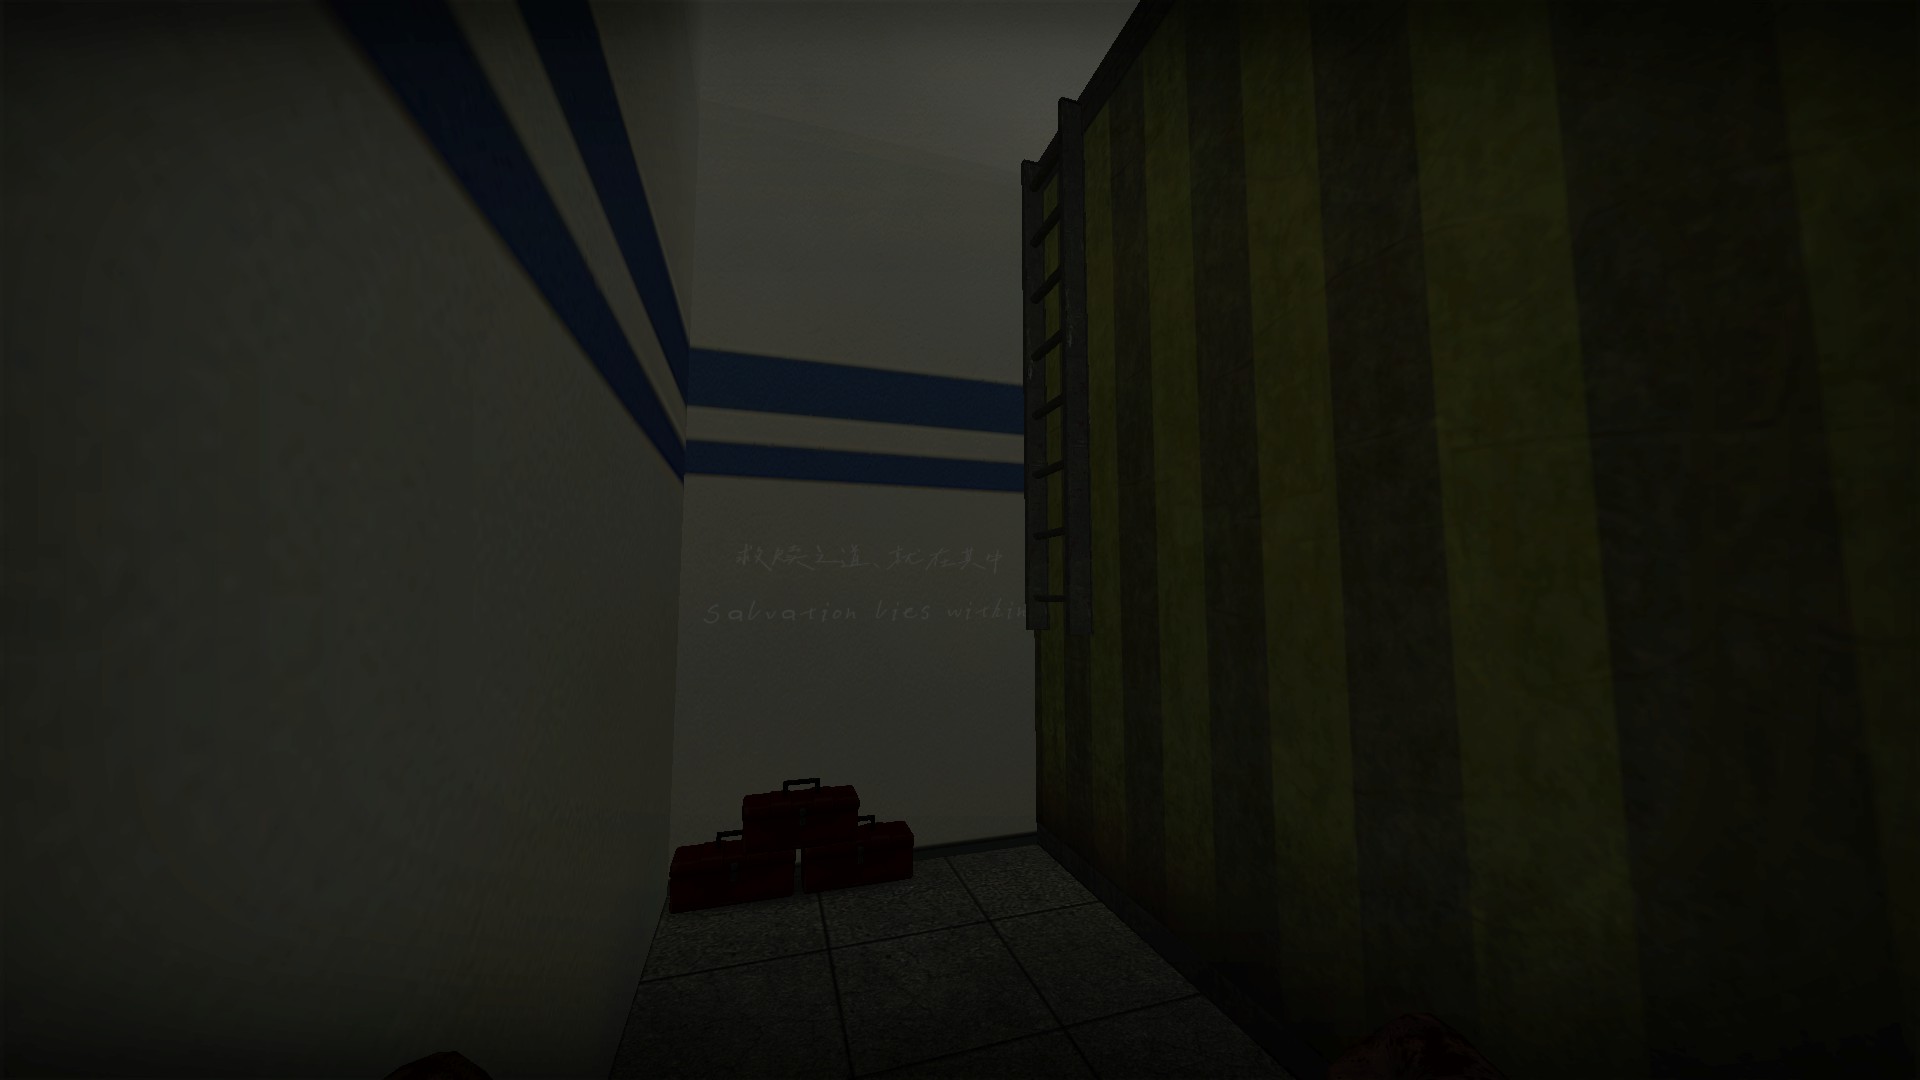
When the third toolbox has been placed, a ladder will appear
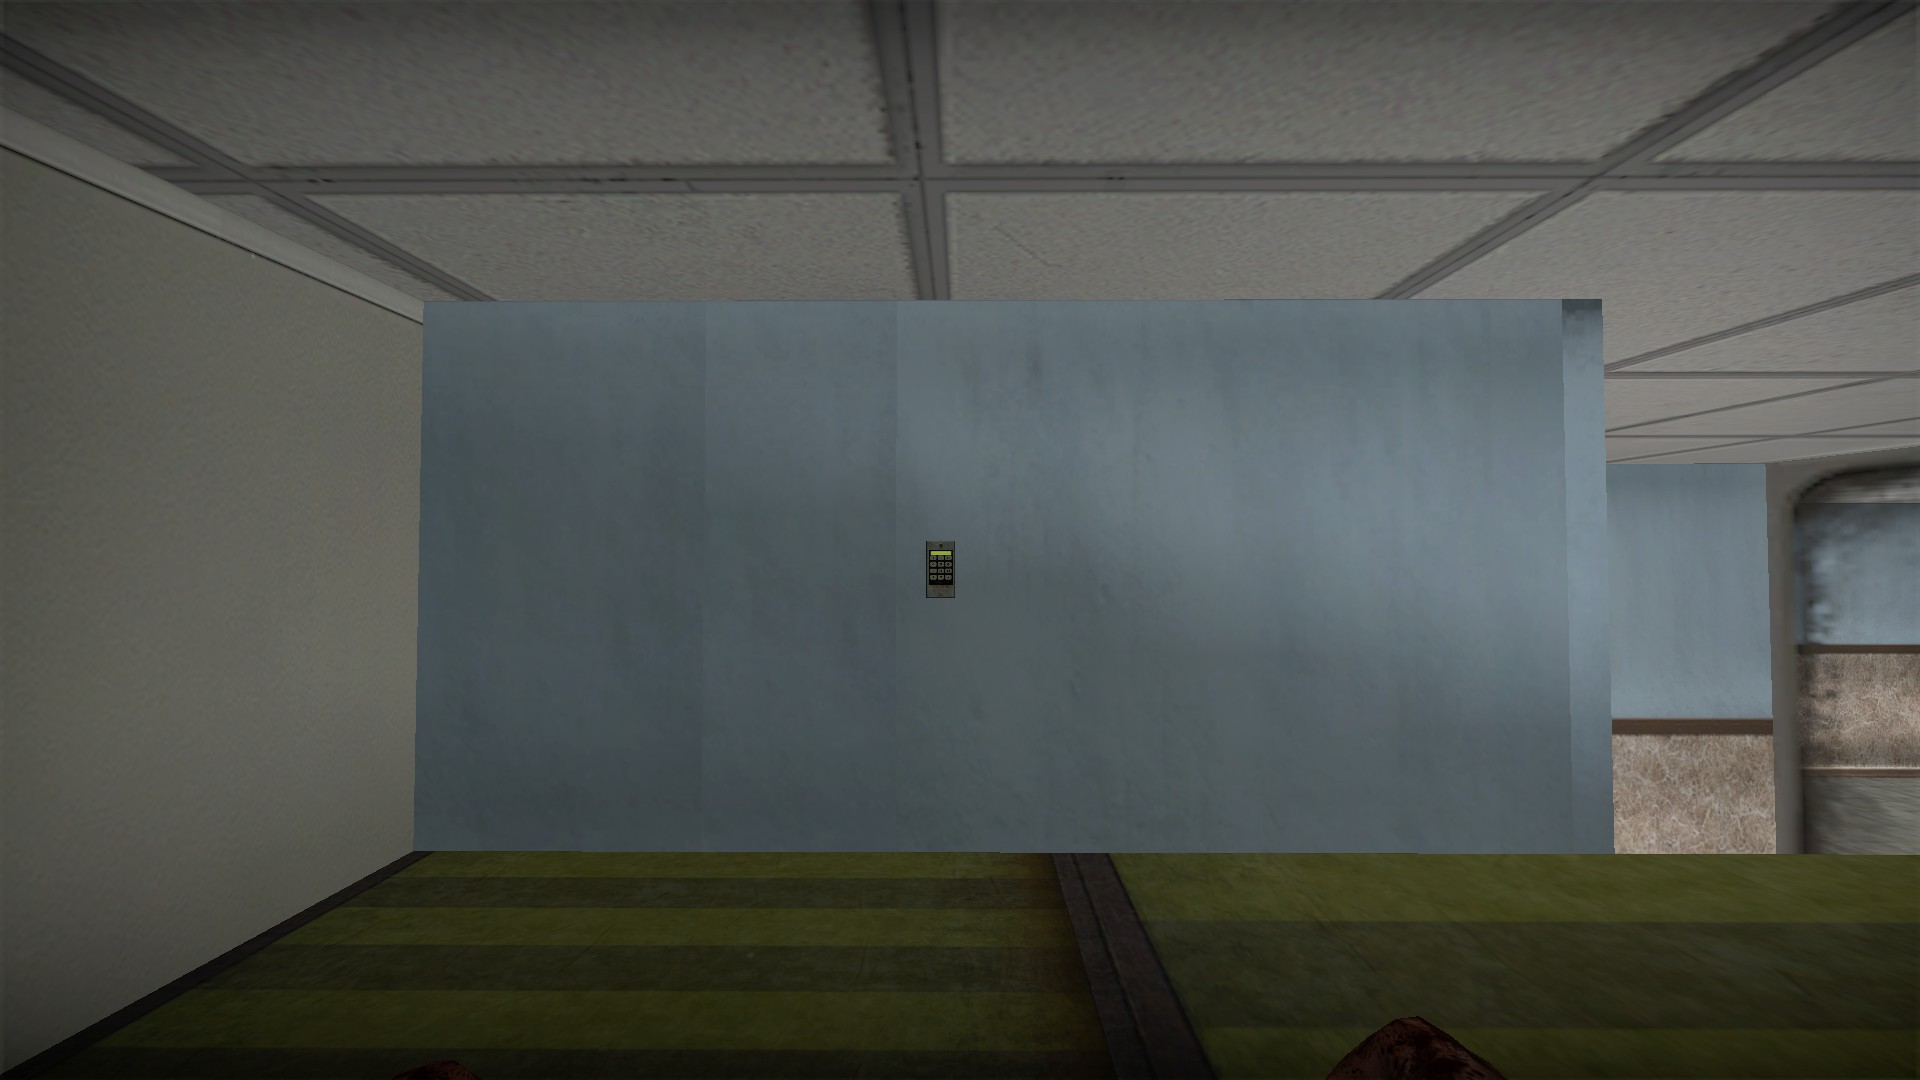
Take the ladder up and you will find a keypad at the end
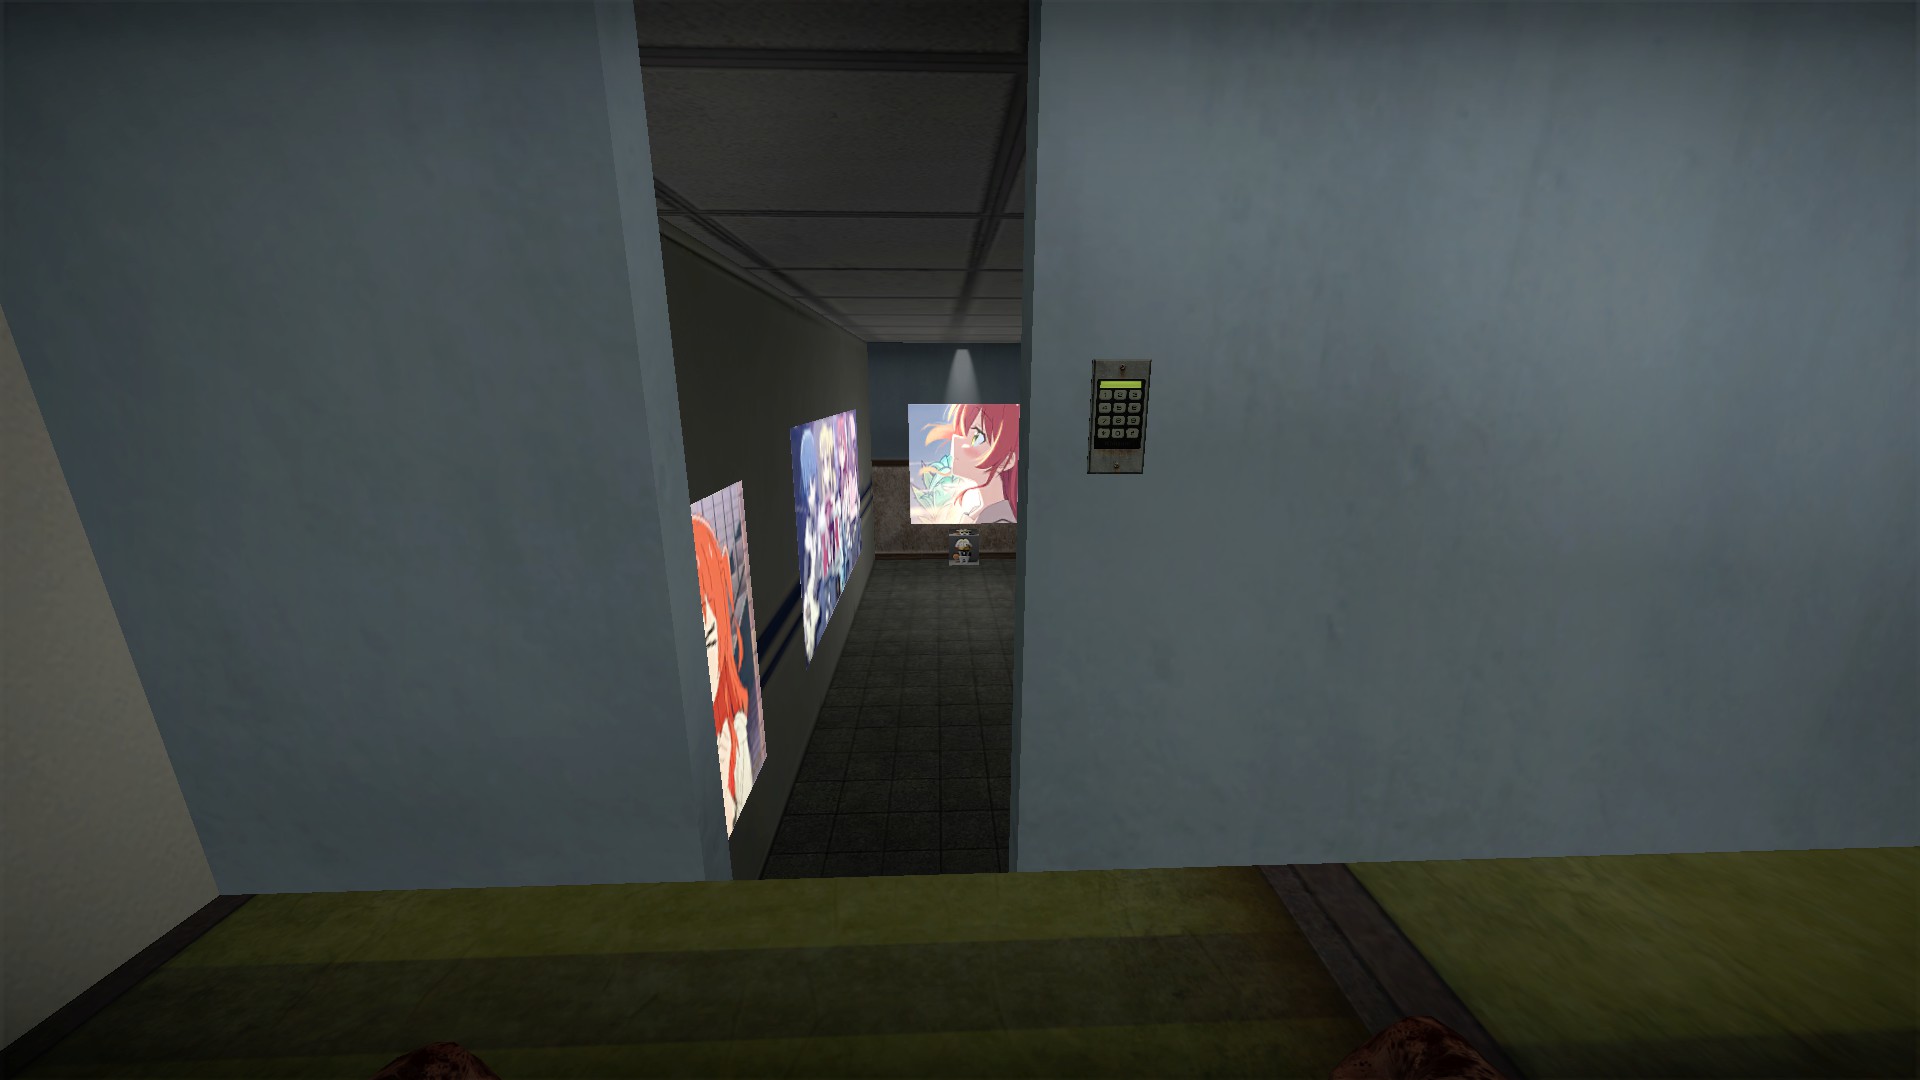
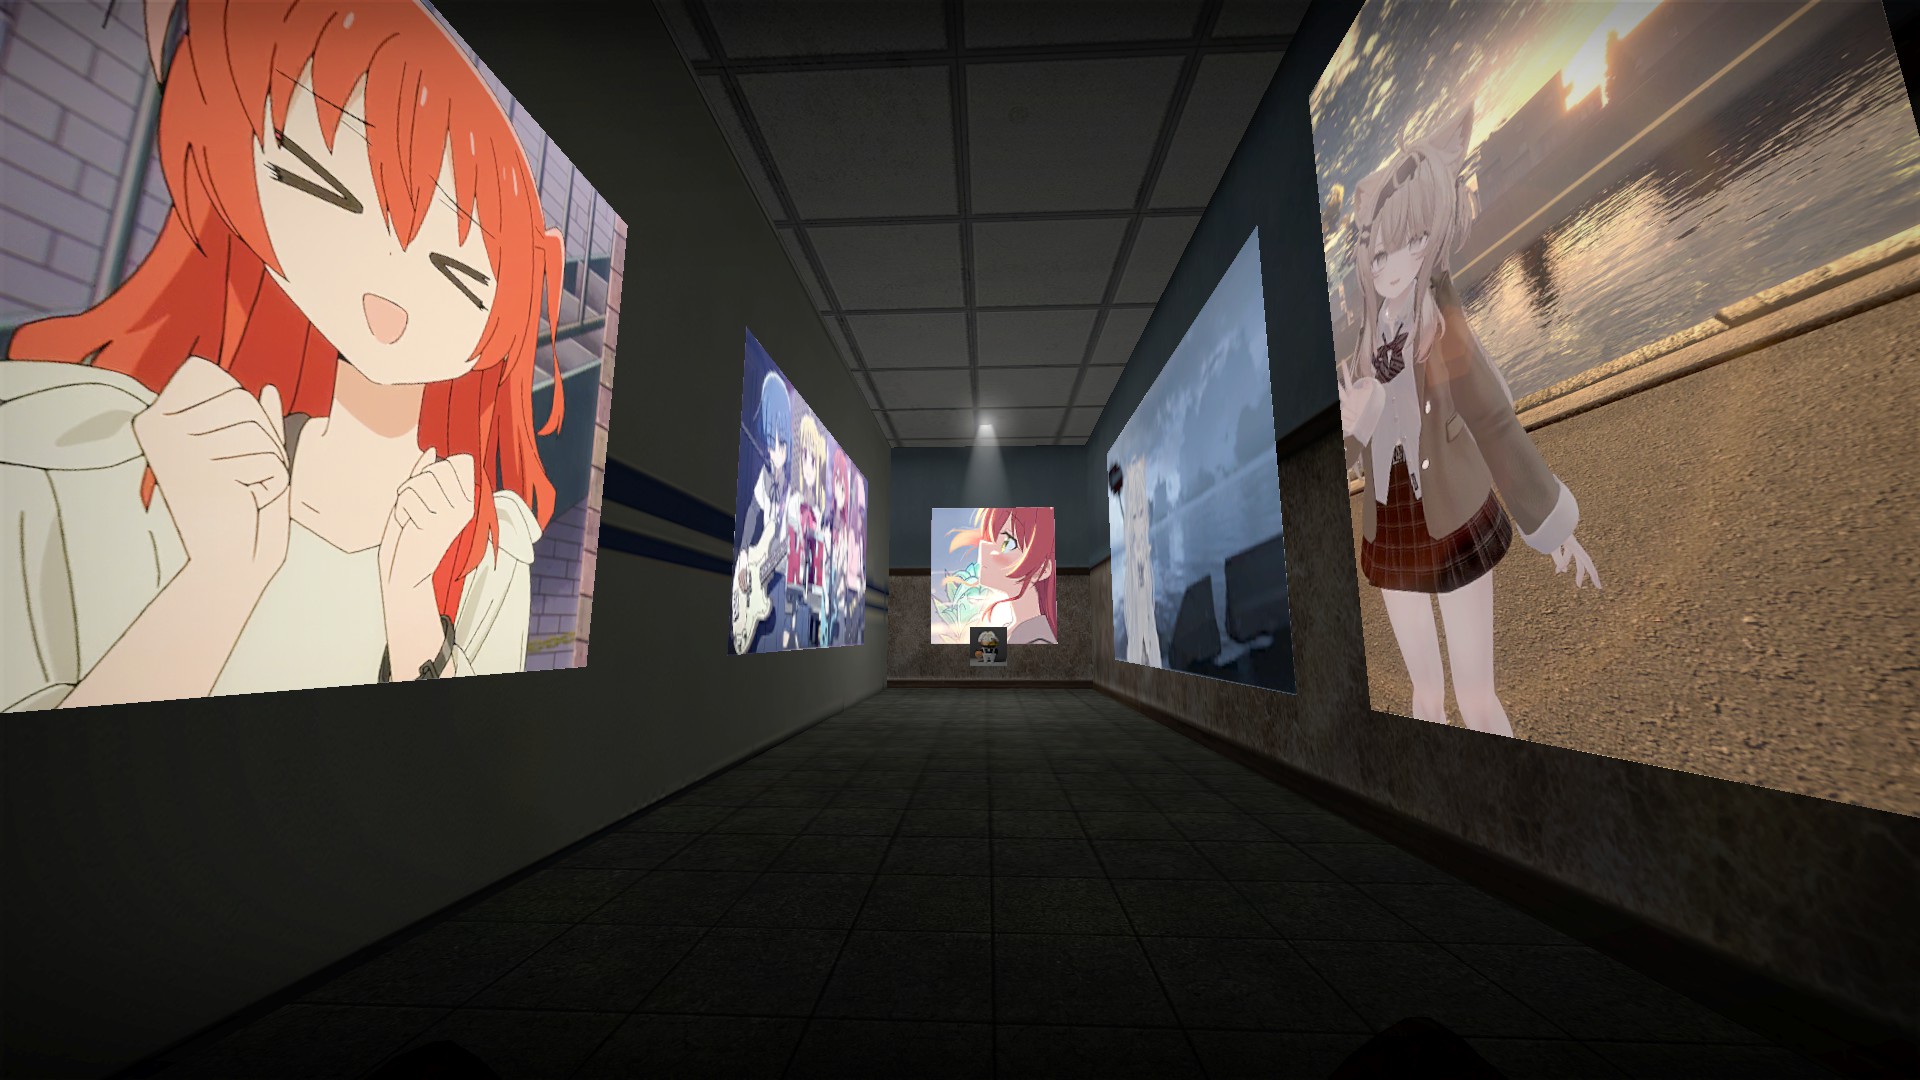
Enter the code 1110 to unlock the secret room
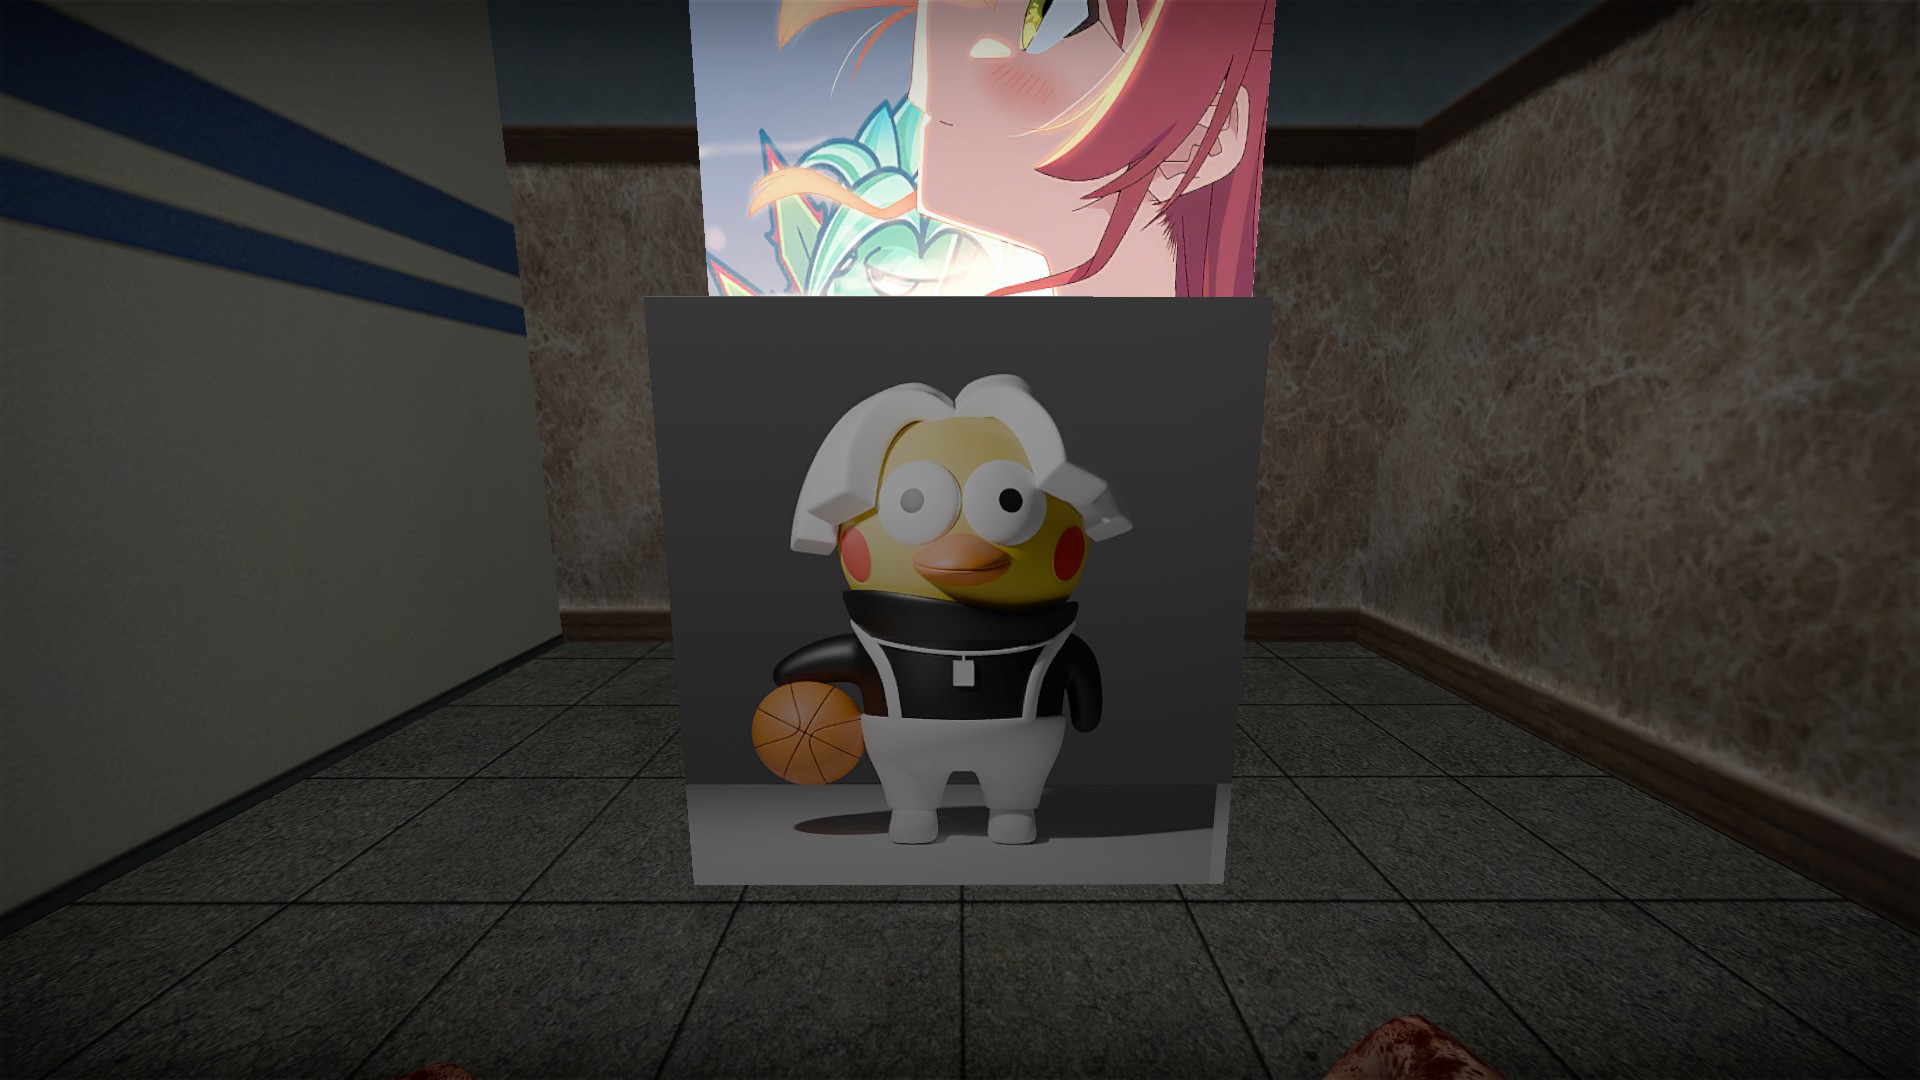
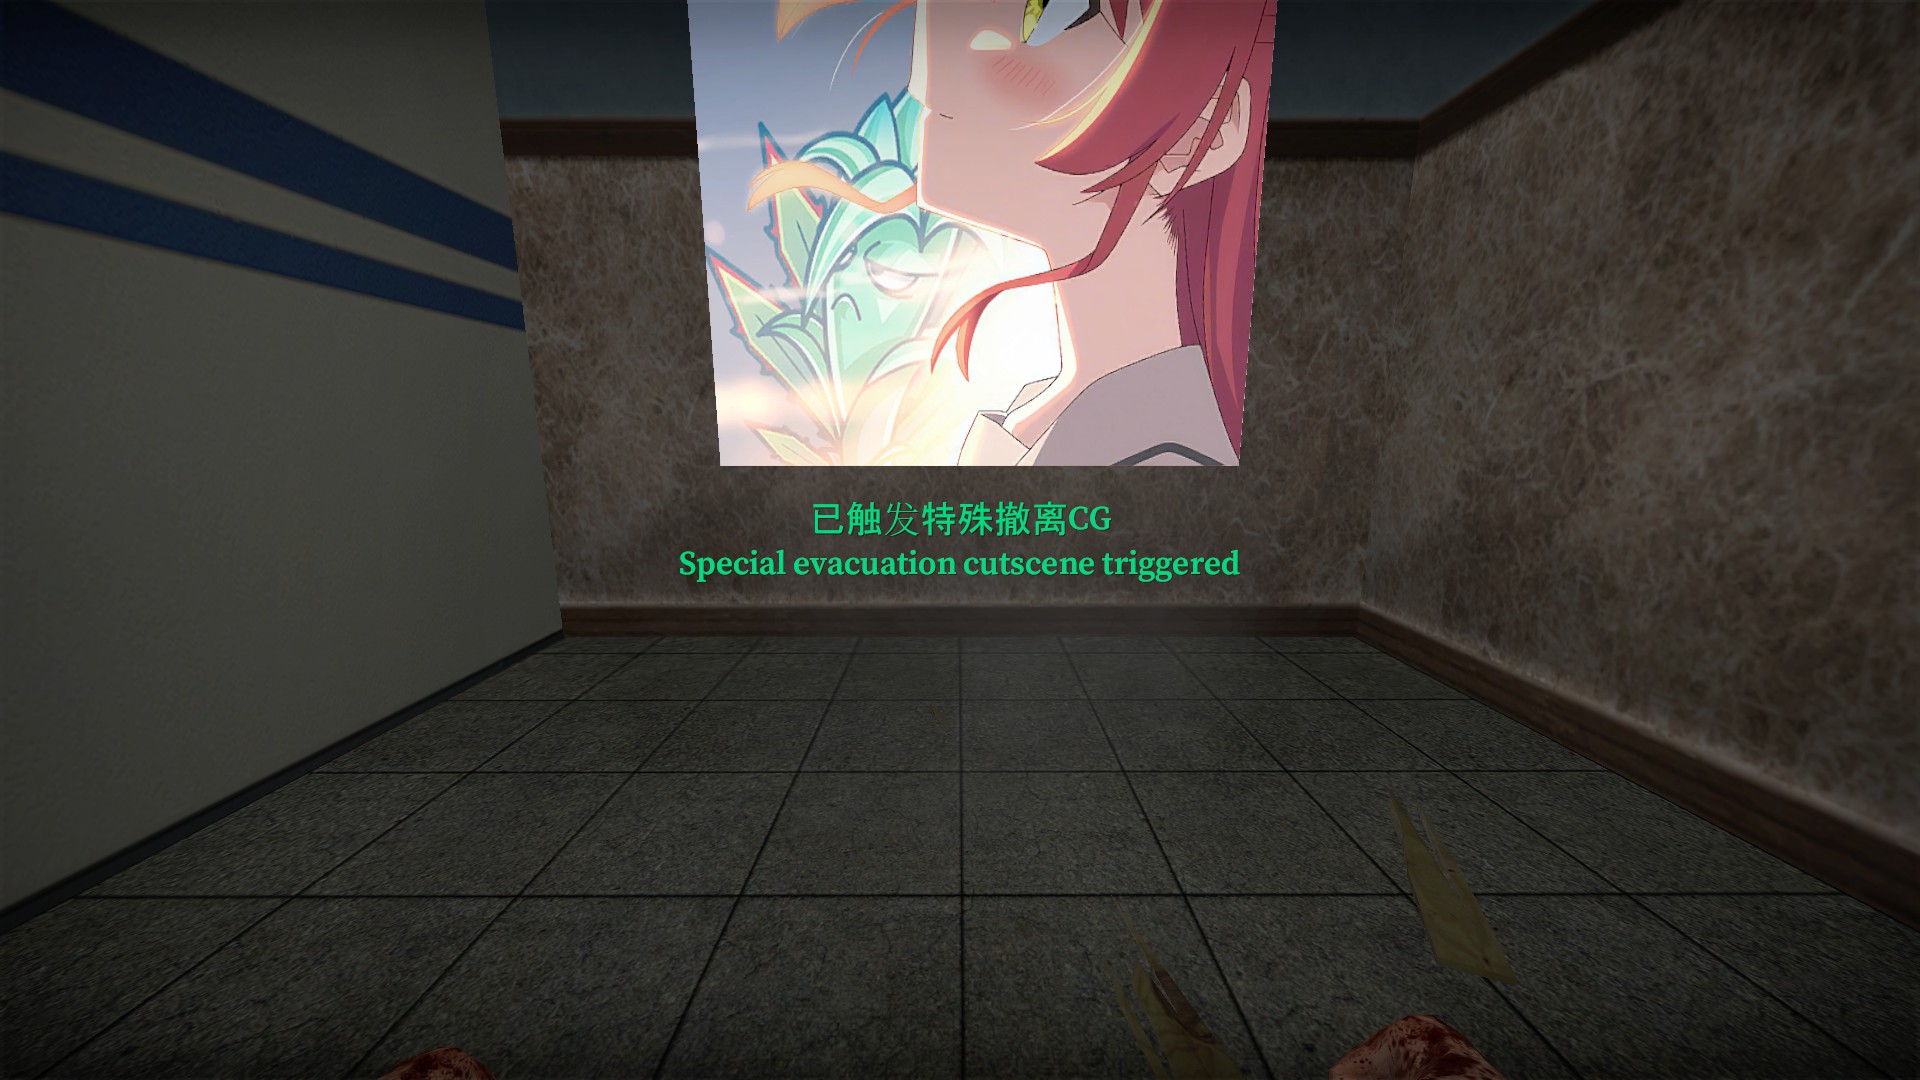
Break the block at the end of the secret room and you will get the message: Special evacuation cutscene triggered
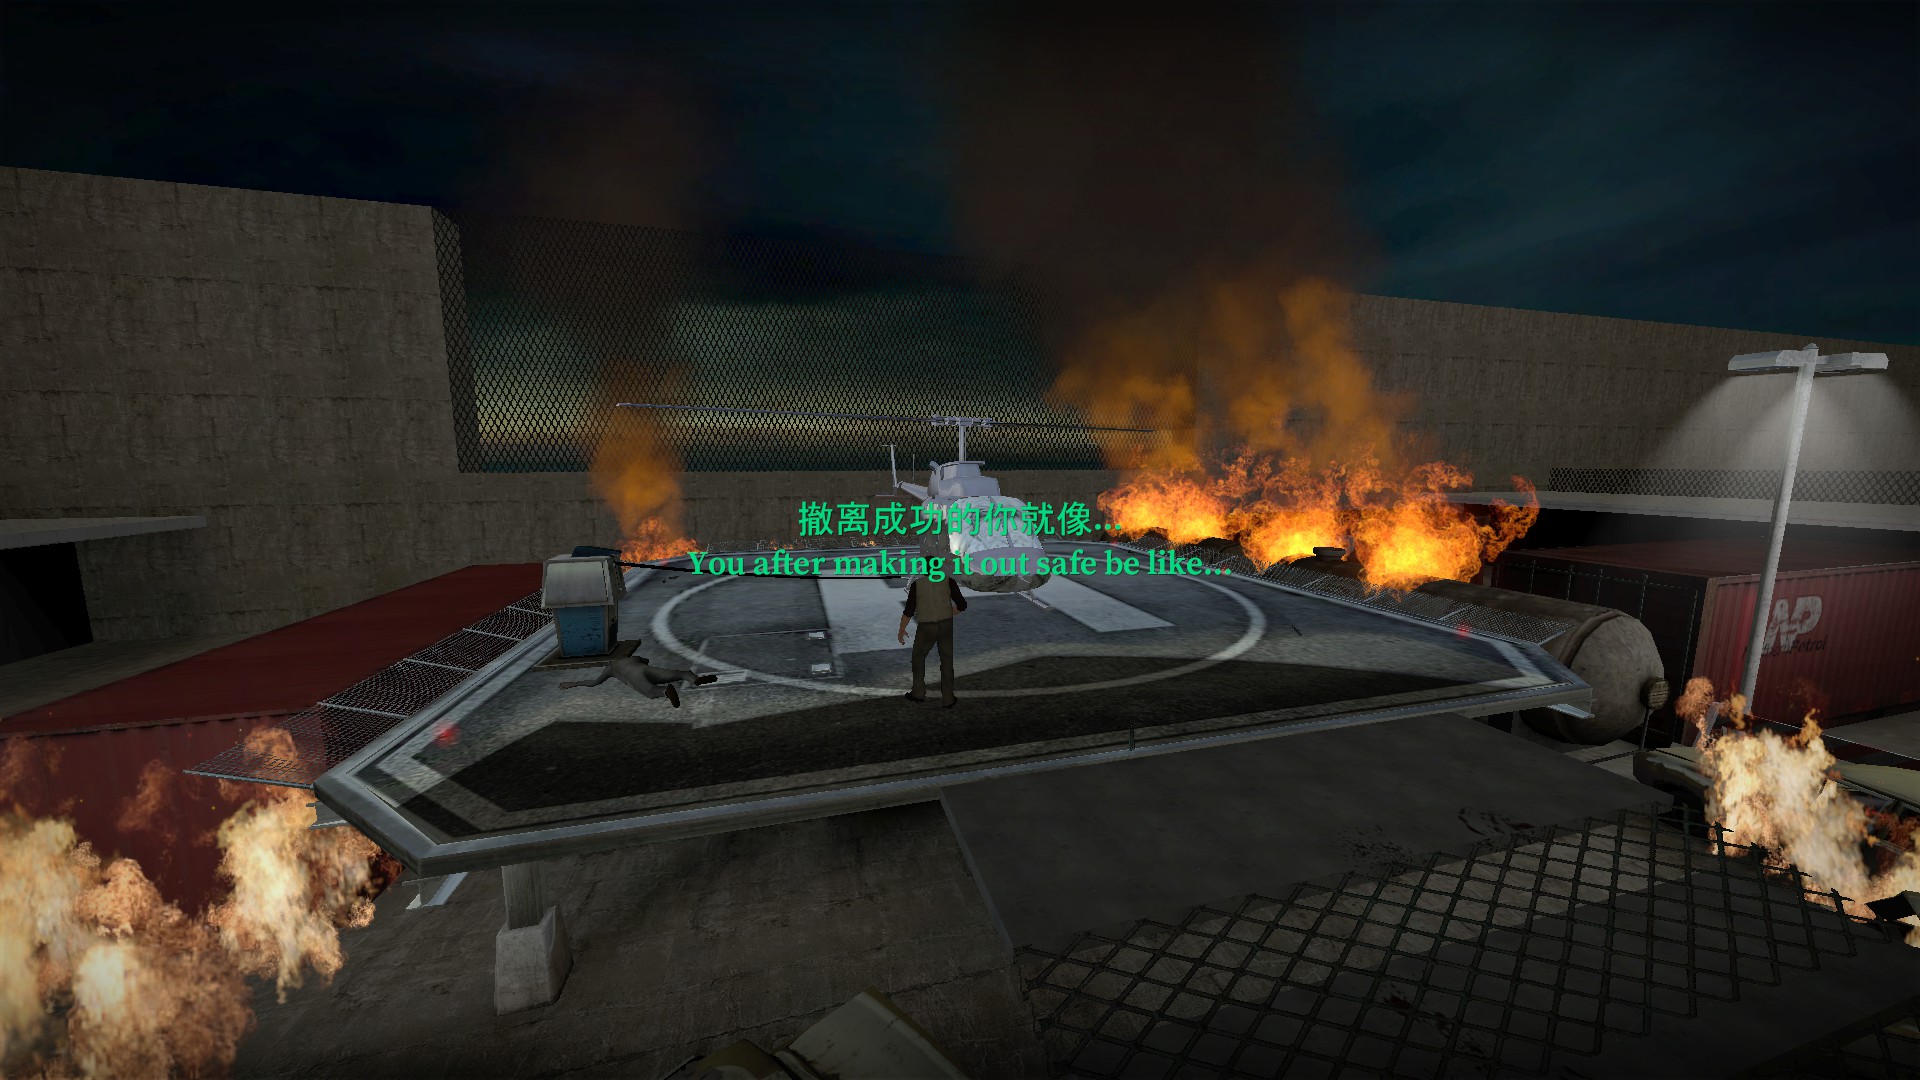
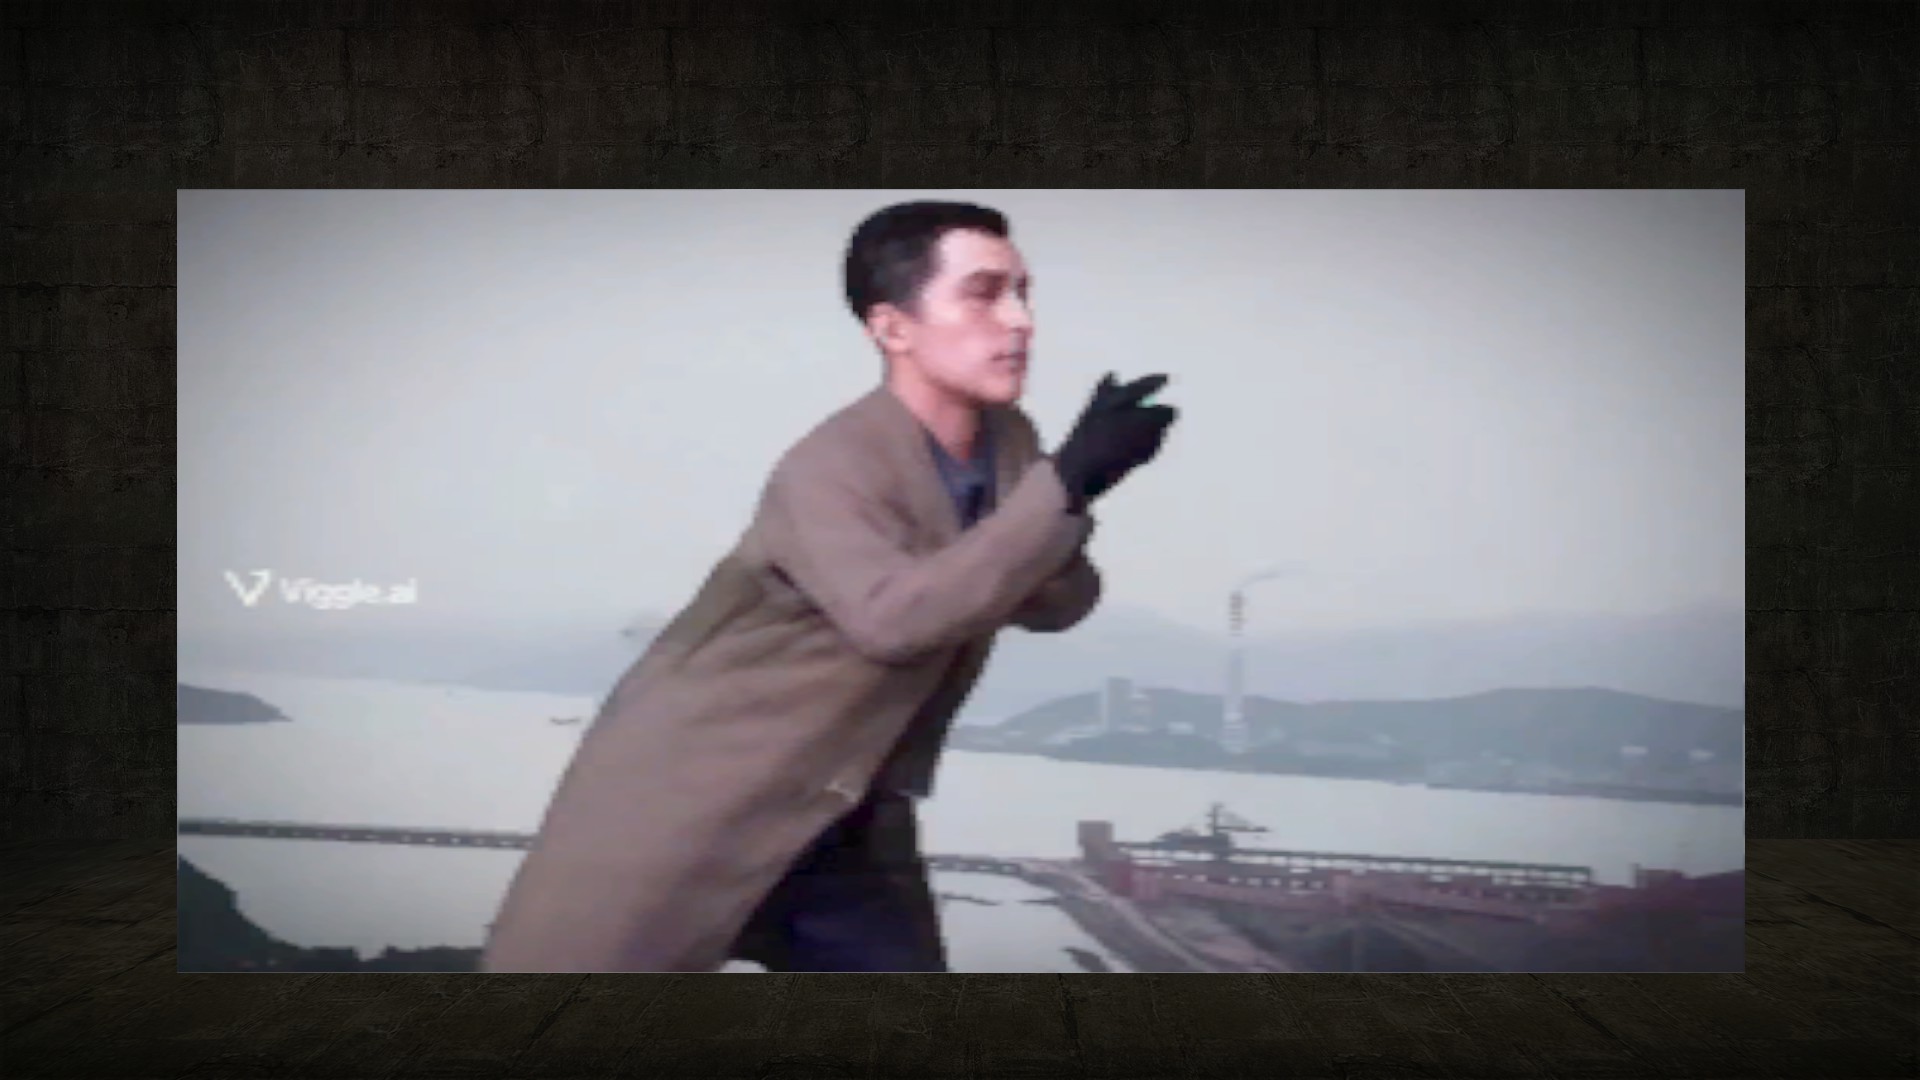
At the ending, you will get a special message and video Break electrical panels in the sewer to electrify the water
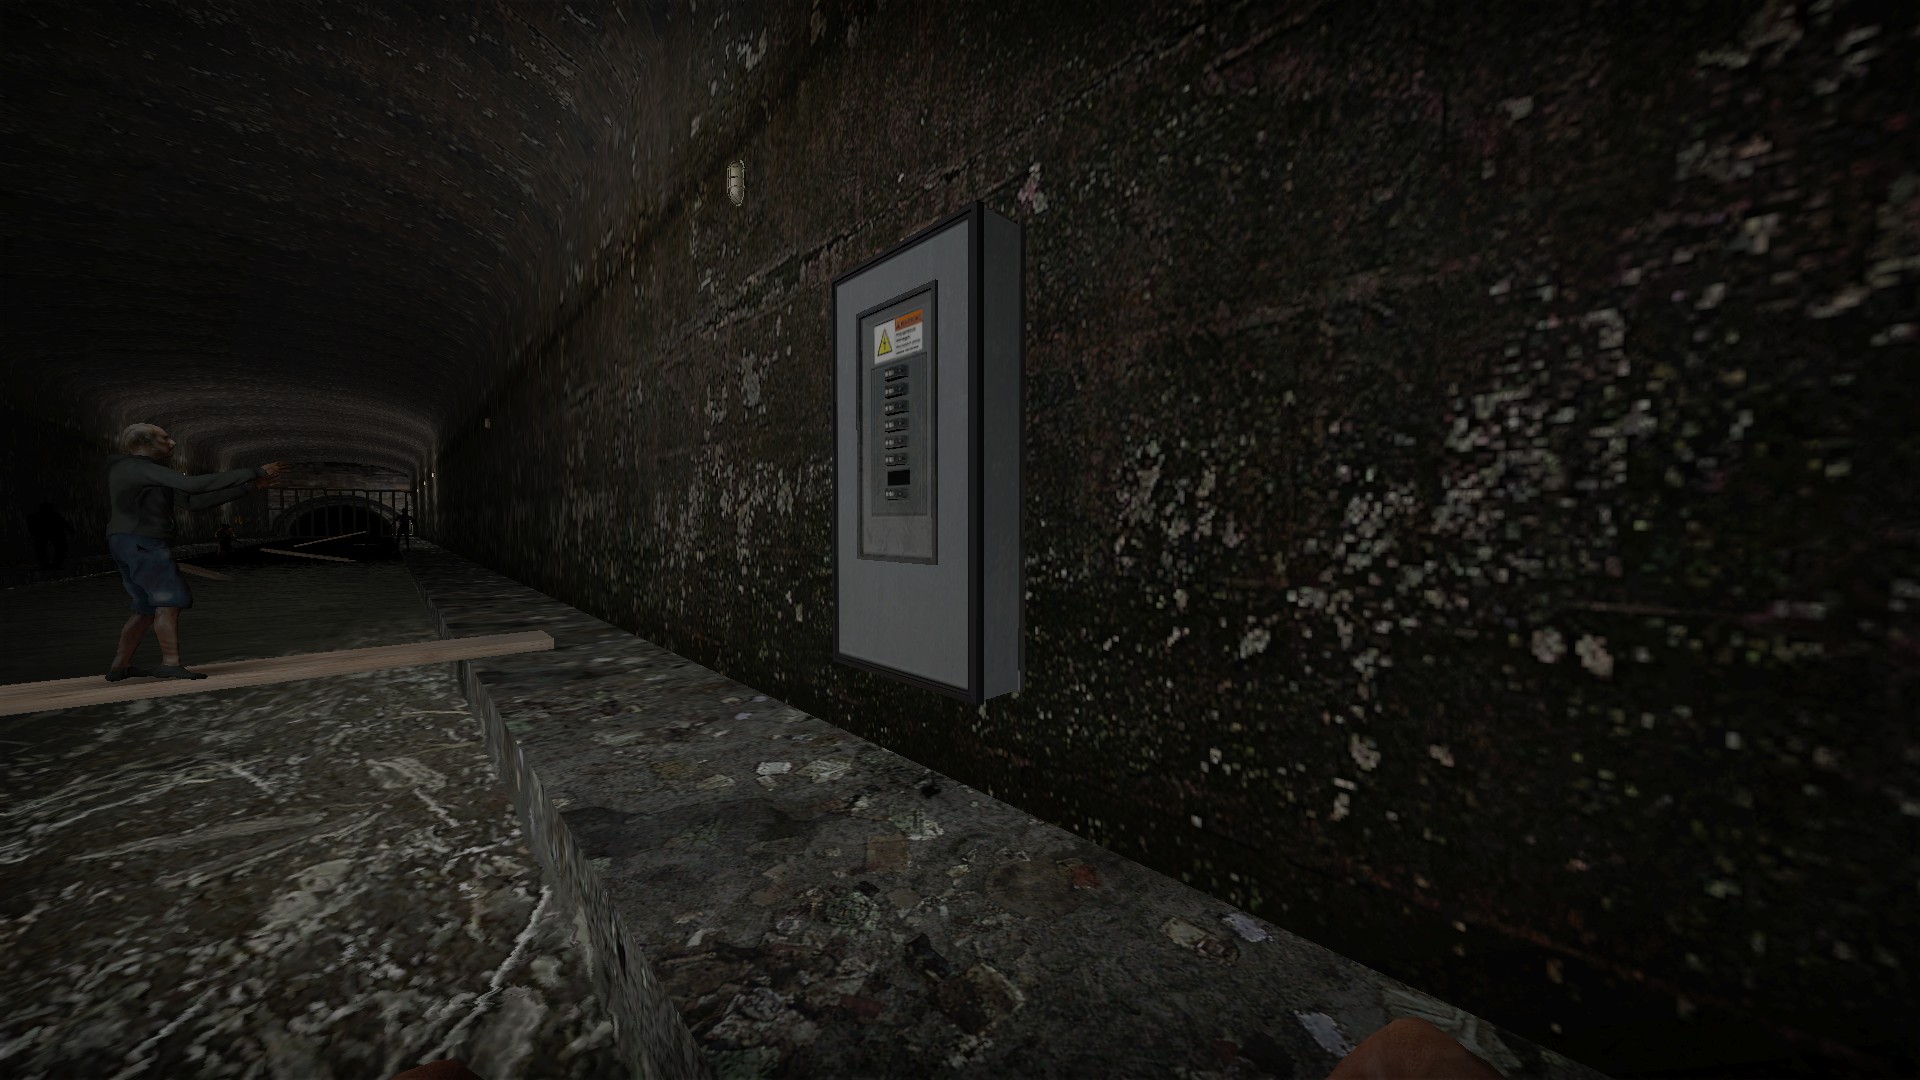
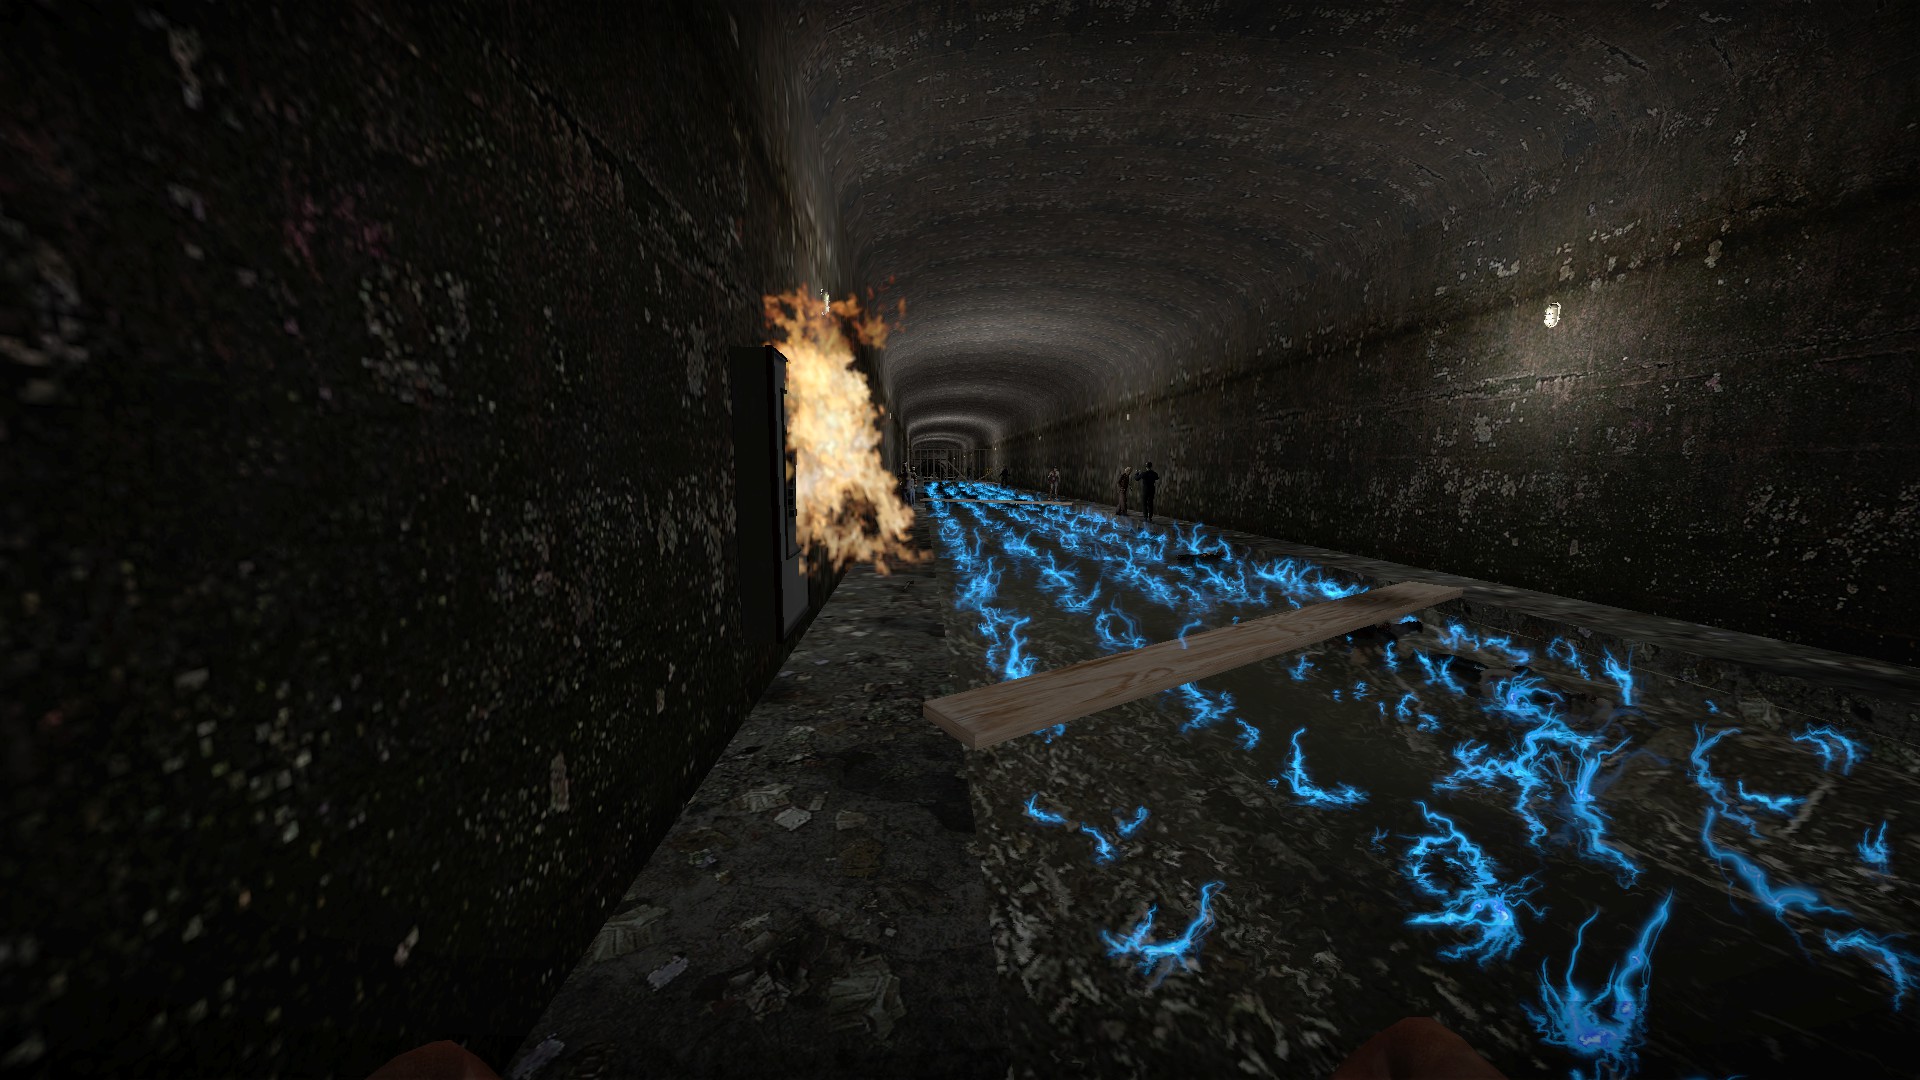
The 2 electrical panels in the sewer can be broken and will electrify nearby water, killing zombies and players in it Use welder to access weapon box
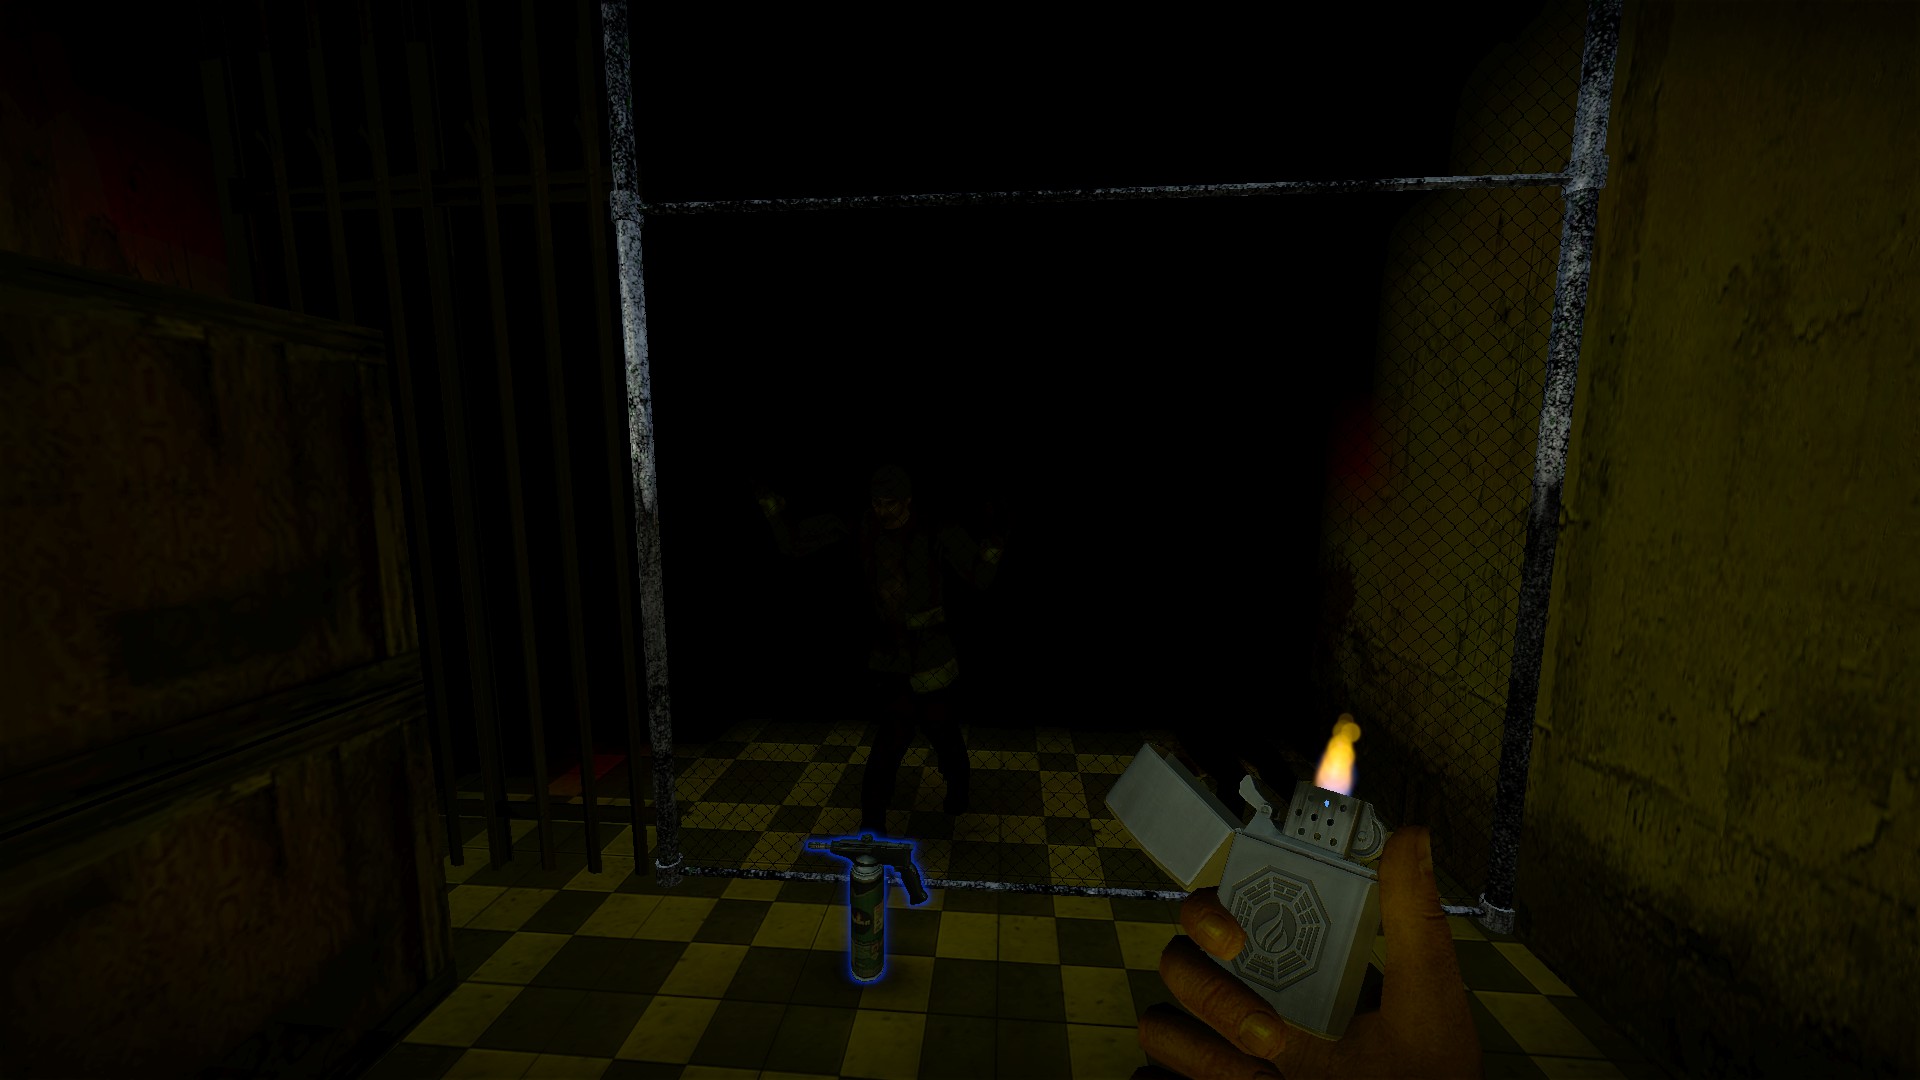
You will find the welder at the end of the hall before the kitchen
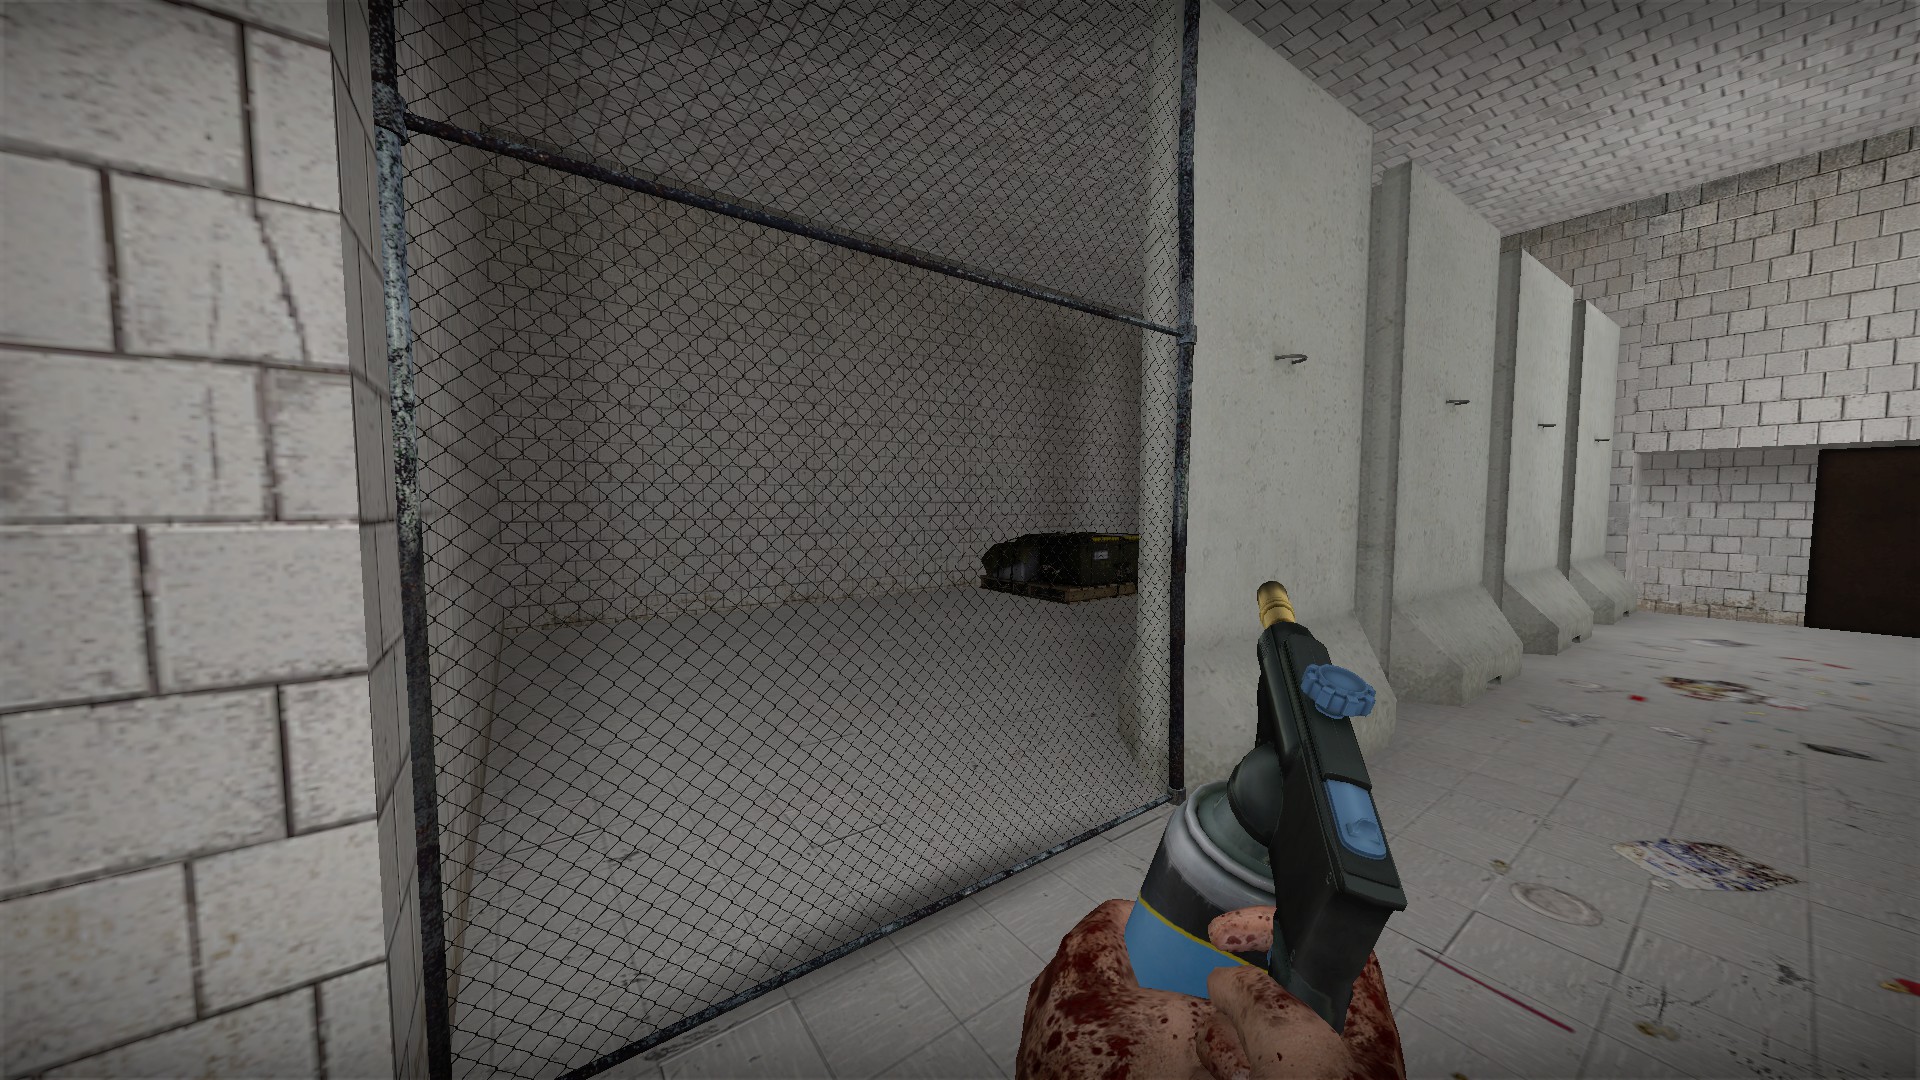
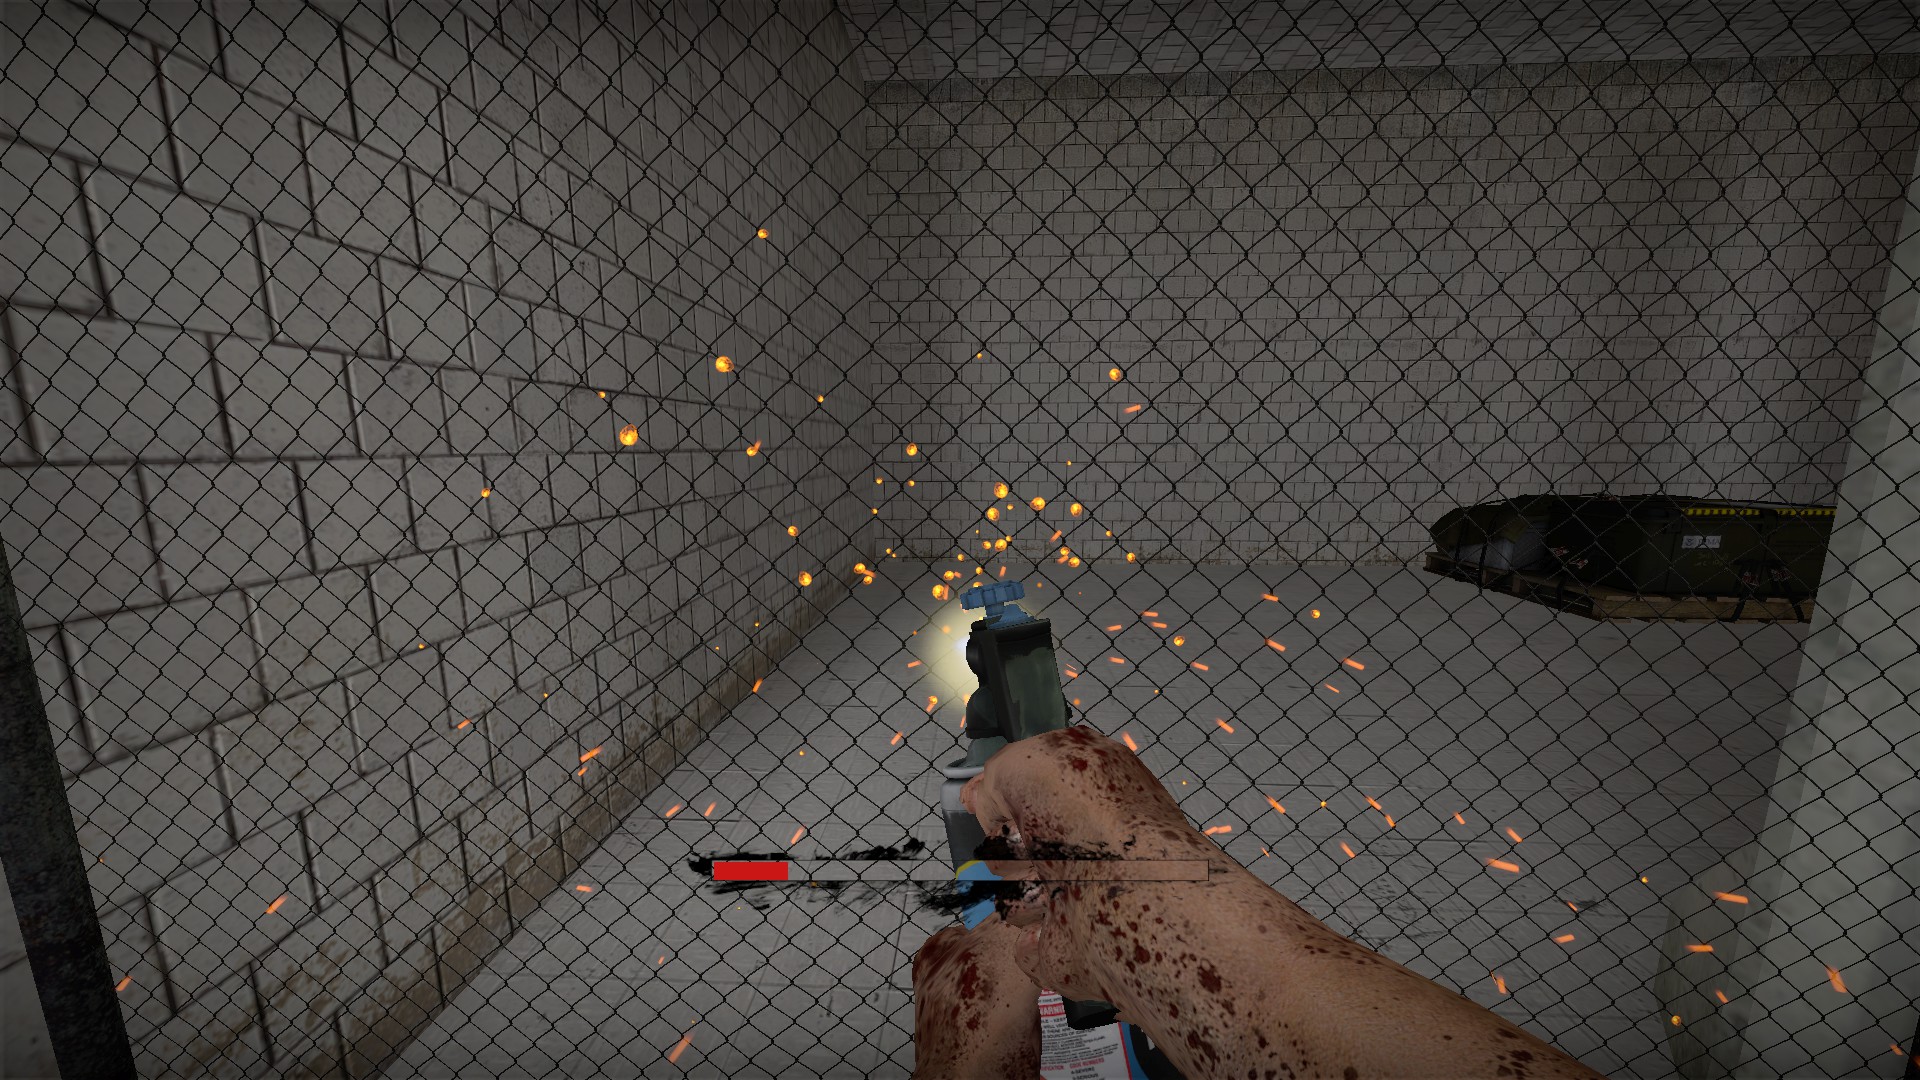
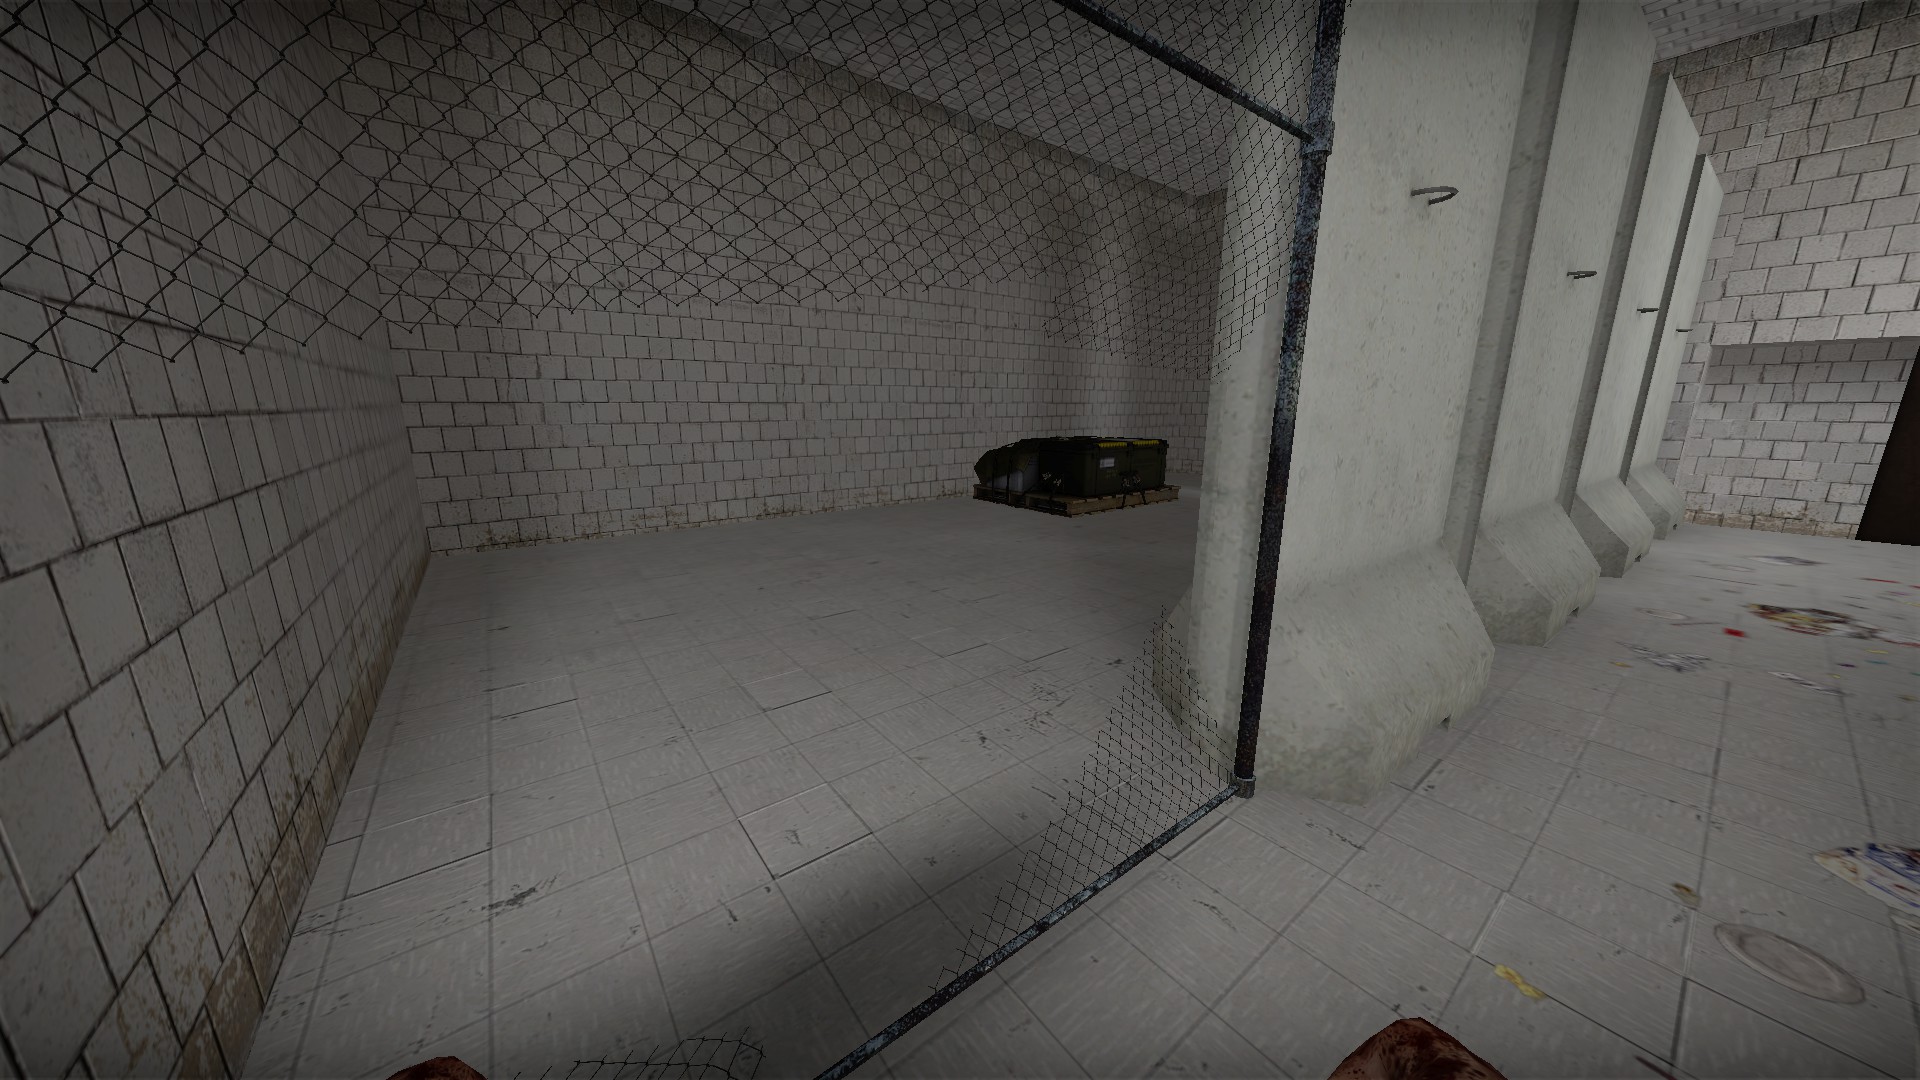
Use it to cut open the fence to access the weapon box
mg_farm

On Day 1, go to the bedroom upstairs with a cat picture and you will notice a fish lying in front

Feed the fish to the cat picture

And you will be treated to a short song and cat dance. Return with more fish and the cat will happily dance again
Developer room

Behind the 7-11. You will have to noclip here


It has 3 labeled buttons: disable extraction, disable nighttime kill trigger, and give $500
nmo_fema_labs

The first melon will appear in the first room on the left in the second set of rooms. It is hidden behind the body and the table

Successfully destroying the melons will give a message

The second melon is in top of the vent across from where you set the ladder

The 3rd melon is on top of the vent in the large power room

The last melon is under a bed in the medical area

Destroying all melons will give a quick cutscene to this respawn room that it has unlocked. This is a small room before the offices with the computer code

The room has a few items and a weapon box (bag)
Padlocked room near large power room

There is a locked room on the second floor just before the large power room. The lock will not weld

The key is near the body of a worker on top of one of the green generators in the large power room


Use the key on the door and descend the ladder for a room with a few items and a weapon box (bag)


Break the spot on the left wall for a tnt
nmo_frostbite_b6_y9v19

Russia 1917

France 1789
nmo_frostdrake_tower


Head through the passage right next to the drawbridge for a machete at the end


Break this gate to access the meds behind it


Go around the side of this outdoor area for another hidden machete
Links to other guides
nmo maps breakpoint_v2-c
https://steamcommunity.com/sharedfiles/filedetails/?id=3537669219
nmo maps g-i
https://steamcommunity.com/sharedfiles/filedetails/?id=3537811802
Follow this guide in-game by using the steam overlay (shift+tab), this and more tips here:
https://steamcommunity.com/sharedfiles/filedetails/?id=3294874237
Thanks
Thank you to all map creators and their contributors!
Thank you to Porkchops4lunch, Kevin, and many others for hosting great modded servers!
Hope this guide brings some love to some old and new maps!
If you liked this guide, give it an upvote (thumbs up) above. Add it to your favorites and it's easier to find in the guides section
Found other secrets for these maps? Let me know in the comments and I'm happy to give credit
- No More Room in Hell Official Manual★ 5 (2.8k)569k views2.1k ♥29 minUpdated Apr 22, 2019
- NMRiH Community Hosting Guides★ 5 (526)351k views653 ♥1 minUpdated Aug 10, 2022
- A Complete Guide to NMRiH (v1.14.2)★ 5 (996)253k views1.3k ♥280 minUpdated Jun 2
- How to play with friends★ 4 (187)69k views428 ♥2 minUpdated Jun 26, 2023
- How to Create a "Listen" Server★ 5 (453)41k views702 ♥4 minUpdated Sep 27, 2022
- Большое Руководство [RUS]★ 5 (650)22k views609 ♥27 minRussianUpdated May 9, 2016





- Upgrading to PremiumTeam Fortress 2★ 5 (20k)1441k views11k ♥6 minUpdated May 11, 2022
- ULTIMATE GUIDE FOR GAME DEV TYCOONGame Dev Tycoon★ 5 (5.8k)326k views10k ♥4 minUpdated 23 Jan, 2014
- How to 'Git Gud' Soon™MORDHAU★ 5 (2k)318k views3k ♥68 minUpdated Nov 16, 2024
- Лучшие кооперативные игры SteamPAYDAY 2★ 5 (1.5k)315k views2.1k ♥56 minRussianUpdated Apr 27, 2025
- Desert Eagle Heat Treated | Blue GemCounter-Strike 2★ 5 (1.6k)293k views1.5k ♥2 minUpdated Jan 16
- Treasure Hunt Puzzle SolutionsTotal War: WARHAMMER II★ 5 (6.9k)281k views15k ♥3 minUpdated Aug 19, 2021






This guide was created by its original author on the Steam Community. Are you the author and want it removed? Request removal.