Napoleon Total War - Guide to Unit Types
Introduction
Armour
Speed and Mass
An important factor in battles is the speed of the units as positioning is critical and artillery has a very long effective range. It is more relevant to cavalry who play more of a supporting role to infantry in this era, and are more melee oriented. Mass determines the impact of charges on the receiving unit.
The Light category includes light infantry, skirmishers, irregulars and peasant mobs. The Medium category includes militia, line and elite infantry and grenadiers as well as dismounted cavalry of all kinds.
Heavy cavalry have a significant mass which helps with charge impact compared to infantry. However they tire easily and should not run except when needed. They are not considerably slower than other cavalry.
Light cavalry is ideal for flanking and attacking artillery or light infantry, but generally does not have the mass to do much damage to regular infantry units. Light cavalry often has Good Stamina which means it can do a lot of running and not get exhausted.
Camels low speed means that they do not do as well on the charge as cavalry and are typically best used as anti-cavalry units rather than anti-infantry.
Discipline and Training
- Rabble: populace
- Mob: irregulars and skirmishers
- Poorly Trained: militia
- Trained: artillery, mounted infantry, line
- Well Trained: light infantry, cavalry
- Elite: general, elite, grenadiers
Stamina and Cold Fatigue Resistance
Resistance to Cold Fatigue means that a unit is less affected by the fatiguing effects of the cold climate battle maps. Primarily, only Russian units have resistance to cold fatigue.
Formations
Some units have the ability to operate in different formations, many of which are unlocked by technology research.
Wedge and Diamond have two main effects: a) tightening up the formation so stragglers are less likely and the unit maintains cohesion and b) makes the unit push further into an enemy unit before stopping. The trade off is reduced speed and less contact on the charge.
They allow the cavalry unit to pierce through an infantry unit, splitting it in half and being able to continue through without getting caught due to fewer cavalrymen making contact with the enemy. Not as effective in terms of straight up damage as a line formation, it can weaken the morale of the enemy (who tend to suffer flank/rear attack penalties due to the split) and allows cavalry to get to rear units (generals and artillery) more quickly than flanking.
In terms of handling, these two formations seem to leave fewer stragglers behind after impact and therefore provide more reliable control during combat including follow on charges. Stuck horsemen tend to bring the whole unit back and this is less likely to occur when in these formations. However, the unit has a speed reduction to represent them staying tightly grouped, so these formations should only be engaged when near to the enemy.
Diamond narrows the formation more than Wedge and is therefore more effective at getting through without excessive contact, and seems to maintain tightness of formation better during manoeuvre as the wide tail of the wedge is quite unwieldy. Diamond also seems to allow for better charges at off angles to the current facing.
These formations are available to the vast majority of cavalry; missile cavalry do not have access to them as a rule.
Abilities
This has two battle purposes. Firstly, it gives line infantry a way to counter the longer ranged and more accurate light infantry where otherwise they would either lose a shootout or be shot down while attempting to close to melee. This works because the reload times for light infantry muskets and rifles is considerably longer than flintlocks so by closing while firing, the long reload time can be used to charge from a closer distance.
The second purpose is that by each line moving forward to fire, albeit at shorter range, a unit can close with another line infantry unit with greater fire output and then charge into melee without being at the a numerical disadvantage due to losses which would occur if it had simply fired in normal mode and then charged.
Psychology
Hiding, Spotting, Stalking and Sniping
Visibility is a key element of the battlefield. There are two sides to this aspect: hiding and spotting.
Most battlefields are covered by long grass, so stealthy units can play a factor in most battles. The ability to hide in long grass is limited to skirmishers plus a handful of irregular units. A handful of cavalry and most light, elite infantry, grenadiers and militia can hide in light scrub, while only the heavy cavalry and generals cannot hide in woodland. Only a few irregular units can hide in buildings.
It is worth noting that light units with long range muskets or rifles will out range the sight range of most normal units when hidden. Of course, firing reveals the hidden unit so it only has an impact to the first volley. Also, spotting units hidden in woodland is hard (50) for all units so even Line Infantry can hide there to tactical effect.
Campaign Abilities
While these abilities do not help on the battle, they drive the recruitment of some units and so will be covered for completeness.
Combat Attributes
Each unit has a set of attributes that determine its performance in combat. Some of these are self-explanatory but some are poorly explained.
As an example, if a unit's weapon has a base reload time of 20 seconds, and that unit has a reloading skill of 25, the actual reloading time for that unit will be 15 seconds: 20 x (1 - 0.25).
As it increases linearly, the impact on rate of fire is exponential (see table below):
- Skill 0 = 20 seconds (3 shots per minute)
- Skill 25 = 15 seconds (4 shots per minute)
- Skill 50 = 10 seconds (6 shots per minute)
- Skill 75 = 5 seconds (12 shots per minute)
Unit Experience
Infantry: Line Fire Gunpowder
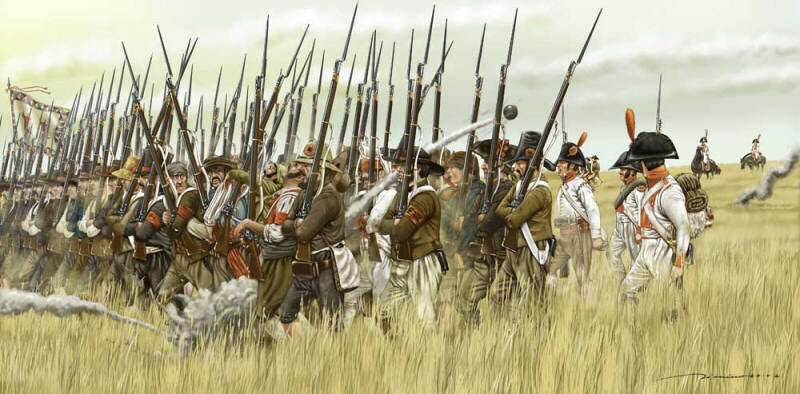 Only the Flintlock used by militia, line, grenadier, elite and mounted infantry is in this category, which is a weapon where only the first rank of a unit will fire, regardless of the shape of the line. The Flintlock has a base reload time of 20s and range of 80.
Typically these units have bayonets, and line, grenadier and elite units can form square for cavalry defence. Fire and Advance is useful for closing the range to charge.
Light troops are the bane of these units with longer range, faster foot speed and more spread out formations. Fire and Advance can be used to counter this somewhat, but cavalry support is the best counter.
Cavalry hitting the flank and rear of engaged lines is also to be expected. Against cavalry only the first rank shoots regardless of the drill level. These weapons are the only ones that can form Square, so they will be important defence against cavalry.
Dense formations and medium to slow foot speed make these units good targets for artillery, especially expensive guards. Use cover to advance where possible.
- Militia (Poor): 30 Accuracy / 15 Reload (17s)
- Line/Grenadiers (Good): 40/45 Accuracy / 45 Reload (11s)
- Guards (Excellent): 50 Accuracy / 75 Reload (5s)
Infantry: Mass Fire Gunpowder
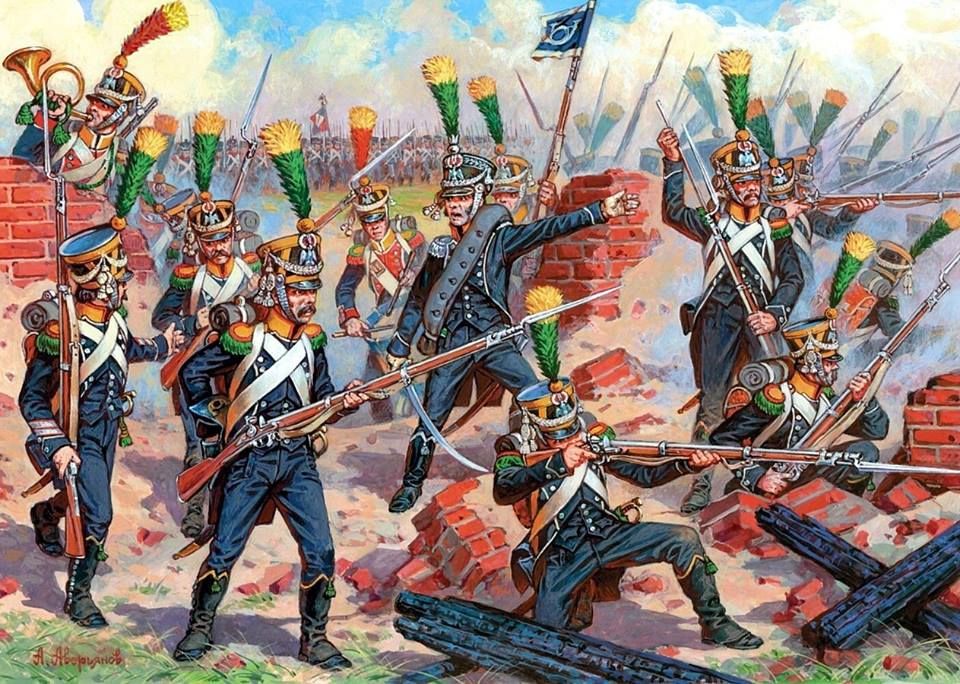 These weapons are those where every man in the unit can fire regardless of position. These tend to used by sharpshooter units and the later units represent a transition from lines of battle to more modern battle tactics. They can start to form large proportions of late game armies. The category includes: Carbines, Light Infantry Flintlocks, Rifles and the Airgun.
- Carbine: used by dismounted dragoons - base reload time of 15s, range of 80
- Light Infantry Flintlock: used by light infantry, skirmishers and irregulars - base reload time of 20s, range of 100
- Rifle: used by skirmishers - base reload time of 45s, range of 125
- Airgun: used by Windbüchse Jägers - base reload time of 8s, range of 125
Some of these units can stand in close order and placed between line infantry adding a decent effectiveness but bear in mind that their reload rate is lower than elites and grenadiers. In deep formations, the rear ranks will not all be able to fire due to the men in front obstructing. Dragoons are small units, but can be useful for occupying buildings. Light Infantry typically have bayonets, while Skirmishers do not and have fewer numbers.
Light Infantry Tactics, when available, can be used to place these units in front of line infantry adding an extra layer of firepower against enemy units. The crouching reduces the instances of friendly fire. Otherwise LIT should be used when fighting other light forces to reduce casualties. It also ensures that all members of the unit will fire compared to close formation.
Many units in this category have good spotting range and hiding ability as well as decent stamina. They're suited to scouting roles, moving through cover to find enemy units, and quickly moving to new positions. Skirmishers can typically place stakes, but not Light Infantry.
The Airgun is silent when shooting so the unit may remain hidden while engaging enemies. It has a very fast reload rate so the unit may run out of ammunition rapidly.
Rifles have the longest reload times in the game, and therefore become very vulnerable once they have fired a volley. Make sure that they use their volleys on valuable targets.
- Regular (Light Infantry): 40 Accuracy / 45 Reload (11s)
- Good (Light Infantry): 55 Accuracy / 60 Reload (8s)
- Excellent (Rifles): 80 Accuracy / 55 Reload (20s)
Infantry: Grenade
Grenades are hand thrown by grenadiers to a range of 35.
It also seems that grenade tossing causes the unit to have to reload their musket so it is best to follow up the grenade with a charge into combat if the target did not rout.
Infantry: Melee
Generally speaking the melee performance of units is governed by the stats rather than the specific weapon. However, there is some correlation between weapon type and stats which can be used to give some rules of thumb.
- Melee Attack: 1-5
- Charge Bonus: 1-4
- Melee Defence: 1-5
As the bayonet is one of the most widely used infantry weapons the statistics vary greatly. Generally speaking, Militia are poor and are best limited to self defence, Line Infantry are decent at defence but generally not strong in attack. Grenadiers and Guards have comparable stats with the former being slightly better in charge bonus and the latter having some of the highest infantry defence values. As guard units can typically only be recruited in home regions, Grenadiers will play a key assault role in armies.
- Melee Attack: 3-12
- Charge Bonus: 8-18 (Russians: 19-27)
- Melee Defence: 2-12
- Melee Attack: 7-15
- Charge Bonus: 10-20
- Melee Defence: 1-12
Mounted: Gunpowder
Some mounted units can fire while on horseback, and while moving. These are the French Chasseurs a Cheval, Camel troops and mounted infantry in general who use either the Carbine or the Flintlock musket. All members of the unit can fire, and they will reload while moving allowing them to advance, fire and then retreat rapidly.
- Carbine: used by Chasseurs and camel troops - base reload time of 15s, range of 80
- Flintlock: used by mounted infantry - base reload time of 20s and range of 80
None of these units have access to wedge or diamond formation. Chasseurs and camels can skirmish while mounted infantry cannot.
- 30-55 accuracy, 30-50 reload skill (9-14s)
Mounted: Sword
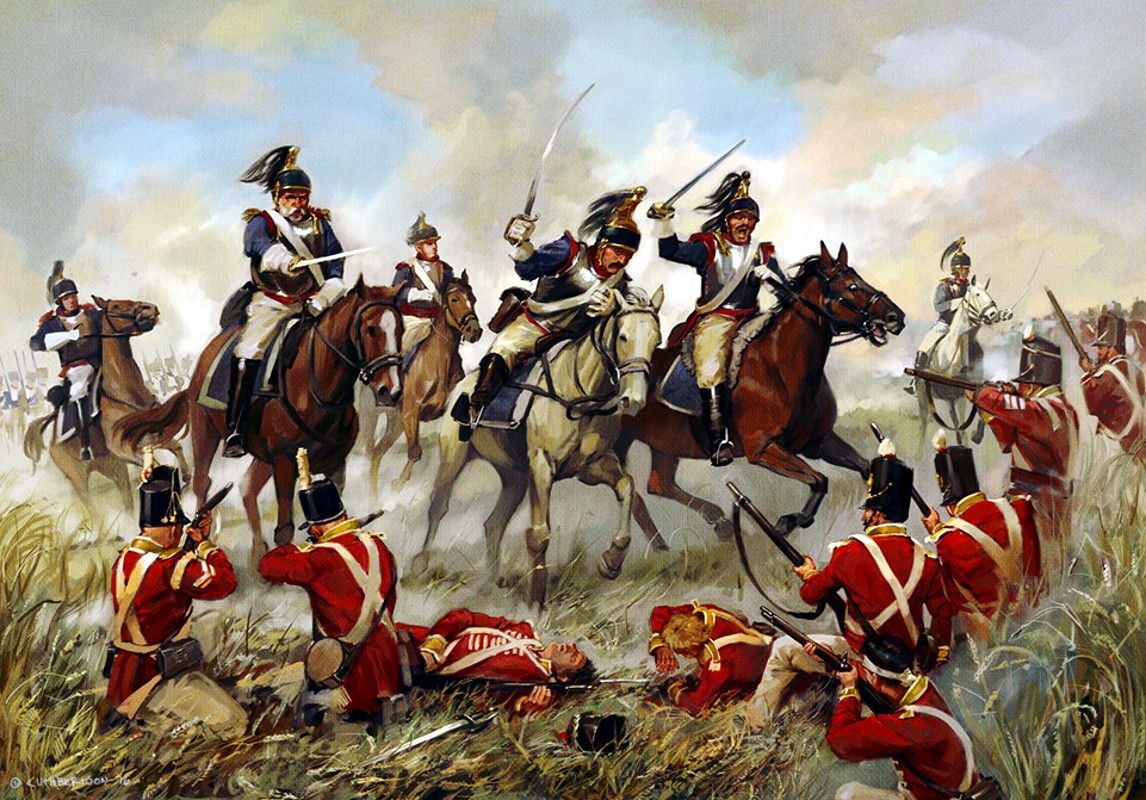 This category covers Swords and Sabres the largest category of cavalry units. The units are general purpose fighters when compared to Lancers.
- Sword: used by medium and heavy cavalry. Tend to have good armour and strong melee stats, geared towards powerful charges and combat.
- Sabre: used by light cavalry. Tend to have poor protection and lesser melee stats, unsuited to prolonged melee.
Use from the rear against engaged lines to get extra morale penalties and create a rout, but watch for friendly fire. Charging from an oblique angle in wedge or diamond can reduce friendly fire and bring more horsemen into contact. Light units are good for chasing skirmishers, routers or hunting artillery.
Against cavalry, the charge has less impact due to compactness of the units, and melee statistics dictate the situation. Heavy cavalry (Dragoons, Cuirassiers, Guards, etc) should dominate lighter cavalry.
On the whole these units are best held in reserve until the infantry lines are depleted and they can achieve a rout. Heavy units can be used to achieve a breakthrough.
Many of the lighter units in this category have good spotting range and good stamina and therefore serve well as fast scouts.
Heavy cavalry tires quickly and may not have more than one good charge before being tired, so minimise pre-contact running.
Artillery can make a big impact on cavalry formations due to the large size of the horses, beware for sniping.
- Light Cavalry (Good): Melee Attack 9-14, Charge 11-19, Melee Defence 1-9
- Heavy Cavalry (Excellent): Melee Attack 9-17, Charge 16-21, Melee Defence 6-14
Mounted: Lance
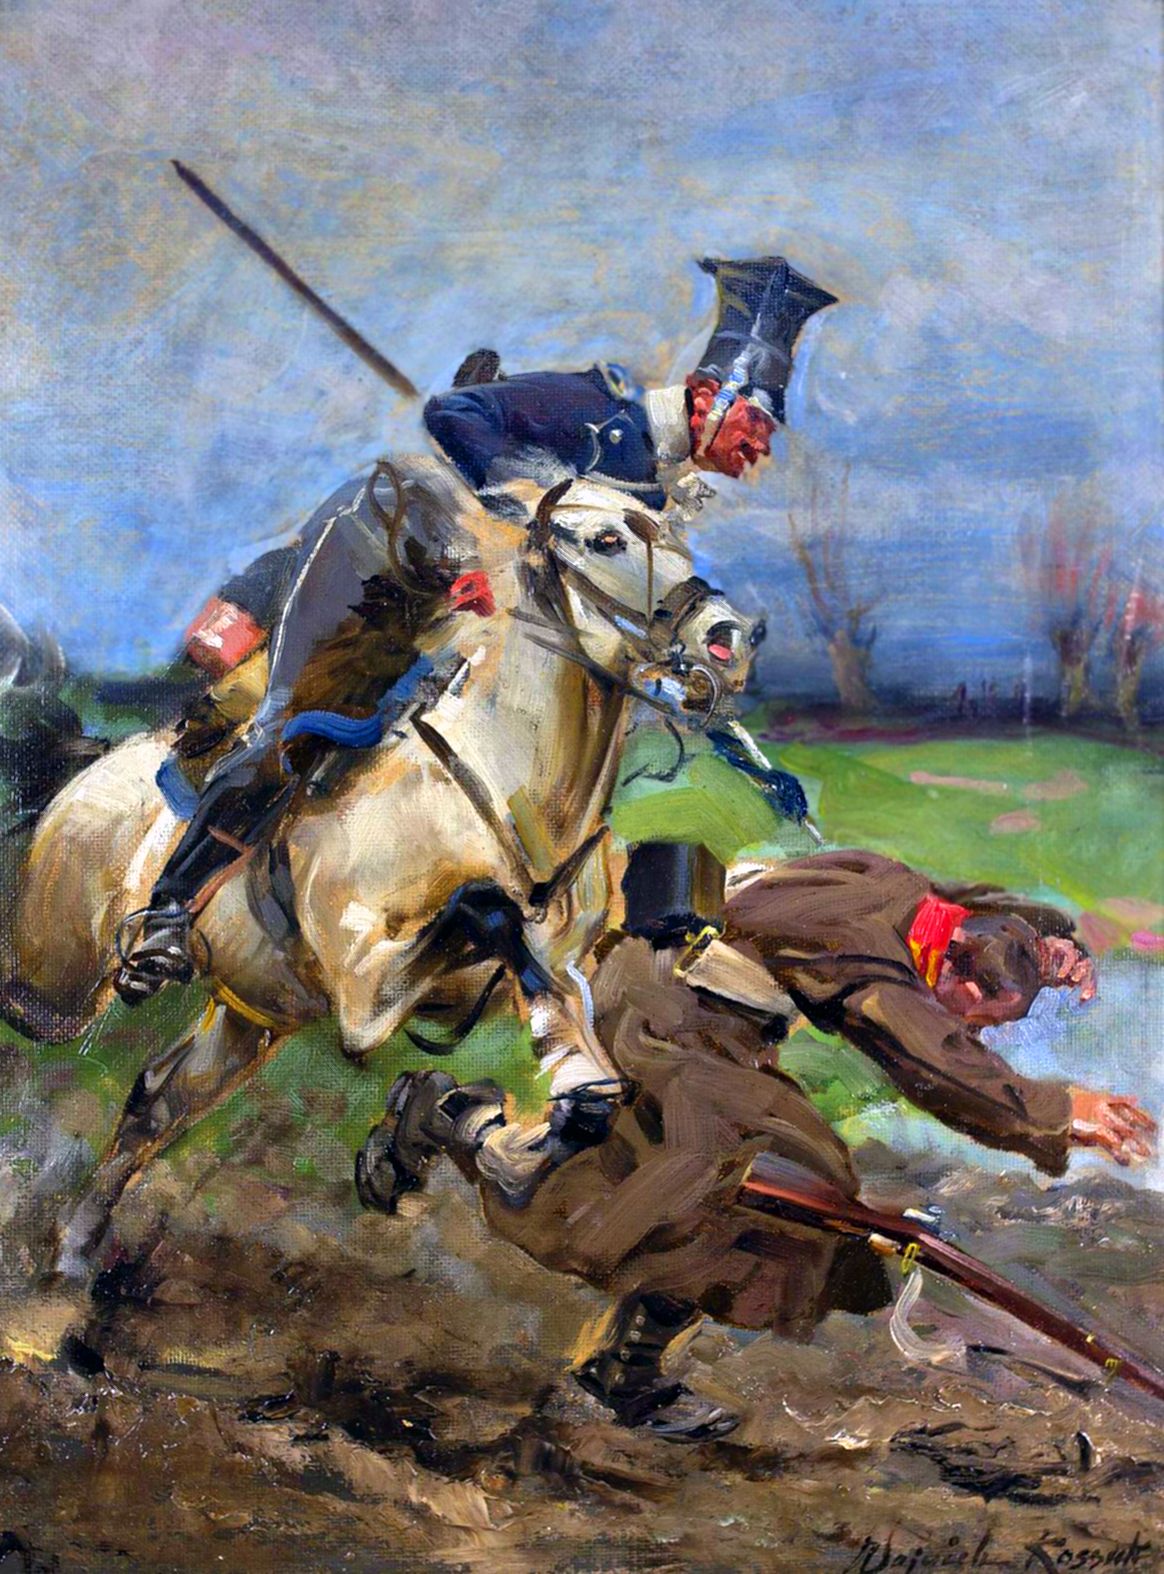 Many cavalry units are armed with a lance and with this weapon they specialise in delivering impact on the charge, typically being weak in prolonged melee due to low Melee Defence values. Charge bonuses are quite high meaning these units are capable of landing devastating blows.
The Ottomans have two heavy cavalry units which use lancers and wear armour which makes them better suited to melee with other cavalry.
- Average: Melee Attack 4, Charge 35, Melee Defence 0
- Good: Melee Attack 8, Charge 36, Melee Defence 2-4
- Excellent: Melee Attack 12, Charge 44, , Melee Defence 6-8
Artillery: Cannon
- Foot (4 guns): 6lber, 8lber, 9lber, 12lber, 18lber
- Horse (4 guns): 6lber
- 6lb: range 450 (Shot) / 120 (Canister), reload 15s
- 8lb/9lb: range 520 (Shot) / 135 (Canister), reload 20s
- 12lb/18lb: range 600 (Shot) / 150 (Canister), reload 25s
Round shot bounces and therefore can hit multiple units in a line so look for groups of units to target, especially at oblique angles. Round shot is more accurate than the other shot types, so it is better for sniping generals or cavalry units. It also is the only shot type suitable for damaging buildings or walls and does equivalent damage to a howitzer of the same poundage. The larger the cannon, the greater the damage inflicted and the higher the accuracy typically.
Canister is the second shot type. It is a short range anti-personnel weapon that is like a shotgun blast. When you aim the cannons at a unit, they will target the ends of the enemy unit rather than the centre so manually targeting a location can be more effective at close ranges.
Foot artillery move at the speed of walking infantry, while horse artillery can run and move faster than infantry. When engaged in melee, the horses that pull the artillery will flee meaning that the pieces can not be moved for the rest of the battle.
Cannons units typically have the Barrage ability when the technology is unlocked. This is best used when enemies are well within range so more hits are scored, and it can be devastating with canister shot.
Be wary of leaving units on fire at will with canister shot as friendly fire can be dangerous. At this range you probably want to have full control over their firing.
Artillery: Howitzer
There are two main variants of Howitzer, standard and experimental. Standard howitzers come in 5lb, 6lb, 7lb, 10lb and 20lb versions while there is only one Experimental Howitzer. The former has Explosive Shells and Canister Shots, while the latter has Canister, Carcass and Quicklime Shots. Standard howitzers will receive the Targetted Fire ability while Experimental ones do not.
- Canister Shot: range 100, reload 25s
- Explosive Shell: range 400, reload 25s, -50 accuracy skill
- Carcass: range 400, reload 35s, -50 accuracy skill
- Quicklime: range 400, reload 35s, -50 accuracy skill
- Canister has a minimum range of 25, the others have a minimum range of 100
Explosive Shells are anti-personnel weapons that do more damage in impact and therefore are better against moving targets and less effective against emplaced enemies. They cannot be used against structures effectively due to the airburst effect. They are a good all round shot type to utilise against troops.
Canister is a short range anti-personnel weapon that is like a shotgun blast. When you aim the howitzers at a unit, they will target the ends of the enemy unit rather than the centre so manually targeting a location can be more effective at close ranges. Note that unlike cannons, howitzers have a minimum range for canister so they will not be as effective as cannons in this role. Treat this shot type as a self-defence measure.
Carcass Shot and Quicklime Shot (which is added with technology research) are anti-personnel weapons that are more effective against stationary and emplaced enemies (behind trenches, in buildings or on walls). This is due to the fact that they do not inflict much damage on impact, but unleash an after effect that does all the work. Moving targets will often have moved past the point of impact and not be affected. It can be used by manually targeting the ground in front of advancing enemies if time permits.
Howitzers are a bit of an all-round artillery piece, combining the high arc of a mortar with the directness and mobility of a cannon at the cost of a slightly higher price. They won’t be as effective in close as the cannons so it may be worth having both of them in an army. The shorter maximum range of the howitzer means it needs to be used more aggressively than cannons or mortars.
Standard Howitzers have access to the Targeted Fire ability which increases accuracy by 40 for a short period. This is useful against moving targets or highly concentrated stationary formations.
Given that howitzers can be placed behind your infantry line, care needs to be taken to avoid friendly fire when the enemy closes, especially with the anti-personnel weapons.
Artillery: Mortar
Only the Ottomans have access to the Bombardment Mortar, a fixed artillery piece that fires on very high trajectory. They have a maximum range of 750, a minimum range of 250 and a base reload time of 30s. They have access to Round Shot, Explosive Shells and Quicklime.
Round shot in mortars do not bounce so are not as effective against massed units. Round shot is more accurate than the other shot types, so it is better for sniping generals, artillery or cavalry units. It also is the only shot type suitable for damaging buildings or walls and does equivalent damage to a cannon of the same poundage. Mortars are less accurate but do more damage, overall more damaging than cannons.
Quicklime Shot are anti-personnel weapons that are more effective against stationary and emplaced enemies (behind trenches, in buildings or on walls). This is due to the fact that they do not inflict much damage on impact, but unleash an after effect that does all the work. Moving targets will often have moved past the point of impact and not be affected. It can be used by manually targeting the ground in front of advancing enemies but this is more labour intensive. There will be less momentum in the spread due to the higher arc travelled. Note that kills due to the effect do not count towards the unit's experience.
Explosive Shell are anti-personnel weapons that do more damage in impact and therefore are better against moving targets and less effective against emplaced enemies. These shells can also be used against structures as effectively as Round Shot. They are a good all round shot type to utilise.
Mortars are effective in defensive sieges due to their high range and trajectory. Placed within the walls they are safe from non-mortar fire, and can be used to counter-attack artillery. In general mortars are good against enemy artillery as they will destroy the guns. They are more expensive than cannons and howitzers.
Given that mortars can be placed behind your infantry line, care needs to be taken to avoid friendly fire when the enemy closes, especially with the anti-personnel weapons.
Artillery: Rocket
The Rocket Troop is a specialist weapon unlocked at the end of the artillery chain. It is an immovable artillery piece with a maximum range of 75, minimum of 150 and base reload time of 15s while having a accuracy bonus of +50.
Appendix
In Empire, the advent of firing drills made some units significantly more powerful than earlier units without a change to the cost. This made militia units cost ineffective once the drills had been researched. The lack of these drills means that in the Napoleon campaign, militia remain a viable option long into the campaign.
Cavalry in Empire were more fragile and situational due to their statistics, rarely able to survive one melee let alone multiple. Napoleon has dialled up their stats (and reduced infantry's) to make cavalry a more heroic element, able to do significant impact on the charge and be able to participate in multiple engagements throughout the battle. There are also far fewer missile cavalry units, meaning that melee is primarily where they will have impact.
Infantry melee has a more gentle performance curve. In Empire, Grenadier units with MA/MD/CB stats of 10/16/14 clearly outclassed Line Infantry with 6/16/9 even at half the number of men. This time round the comparison is 9/10/16 vs 6/8/10 so Grenadiers need to charge to get the most out of their stats. Additionally, grenades are not as effective at killing soldiers primarily doing morale damage.
https://steamcommunity.com/sharedfiles/filedetails/?id=125890668
https://steamcommunity.com/sharedfiles/filedetails/?id=183965178
https://steamcommunity.com/sharedfiles/filedetails/?id=1712113306
https://steamcommunity.com/sharedfiles/filedetails/?id=1738014448
- How to Dominate Land Battles★ 5 (1.7k)62k views2.5k ♥57 minUpdated Jan 31, 2018
- 《拿破仑:全面战争》汉化补丁 & 打开全特效 & 打开上帝视角★ 5 (943)27k views2k ♥1 minSimplified ChineseUpdated Dec 16, 2025
- How to Create a Democratic Government, without losing all your provinces★ 5 (252)26k views195 ♥1 minUpdated Dec 9, 2020
- How to win every historical battle on highest dificulty level.★ 5 (288)25k views442 ♥2 minUpdated Jul 11, 2021
- WATERLOO RECONSTITUTION★ 5 (493)24k views261 ♥1 minBulgarianUpdated Aug 6, 2015
- Unit Comparisons★ 5 (340)24k views499 ♥1 minUpdated Nov 15, 2013


- Upgrading to PremiumTeam Fortress 2★ 5 (20k)1441k views11k ♥6 minUpdated May 11, 2022
- No More Room in Hell Official ManualNo More Room in Hell★ 5 (2.8k)569k views2.1k ♥29 minUpdated Apr 22, 2019
- NMRiH Community Hosting GuidesNo More Room in Hell★ 5 (526)351k views653 ♥1 minUpdated Aug 10, 2022
- ULTIMATE GUIDE FOR GAME DEV TYCOONGame Dev Tycoon★ 5 (5.8k)326k views10k ♥4 minUpdated 23 Jan, 2014
- How to 'Git Gud' Soon™MORDHAU★ 5 (2k)318k views3k ♥68 minUpdated Nov 16, 2024
- Лучшие кооперативные игры SteamPAYDAY 2★ 5 (1.5k)315k views2.1k ♥56 minRussianUpdated Apr 27, 2025






This guide was created by its original author on the Steam Community. Are you the author and want it removed? Request removal.