Nemesis System Guide
Basics
Also, thank you all for showing the love and helping this reach the top rated of all time! I will do my best to keep this update to date as best as possible, considering i have a very busy life!

Orcs take on many forms in Mordor, from the lowly Grunts and Worms to Captains, Warchiefs, and even Overlords - the latter half that can even appear as Epic or Legendary Orcs.
At their base, Orc Grunts take on a variety of roles in the Enemy Classes they can fulfill - which include:- Warrior
- Archer
- Defender
- Hunter
- Savage
- Assassin
- Beastmaster
- Beserker
- Commander
- Destroyer
- Marksman
- Tanks
- Trickster
- Tracker
- Dark Tribe
- Feral Tribe
- Machine Tribe
- Marauder Tribe
- Mystic Tribe
- Terror Tribe
- Warmonger Tribe
- Outlaw Tribe (Coming Soon in a DLC)
- Slaughter Tribe (Coming Soon in a DLC)
Base Classes
The Base Classes Include the very General types of roles that Orcs take in the game. These Classes include:

- The most basic of grunt orcs, these orcs wield swords and nothing else, counter their attacks [RIGHT CLICK], although, be wary Warrior Grunt Orcs can be found on Caragors as well (not that caragors are strong or anything but they are annoying).

- Ranged orcs equipped with crossbows. You can find these Archer class grunt orcs on Watch Towers and other structures of outposts and fortresses looking out for incoming enemies. Roll and jump [SPACE] to avoid being hit by one of these crossbow bolts.
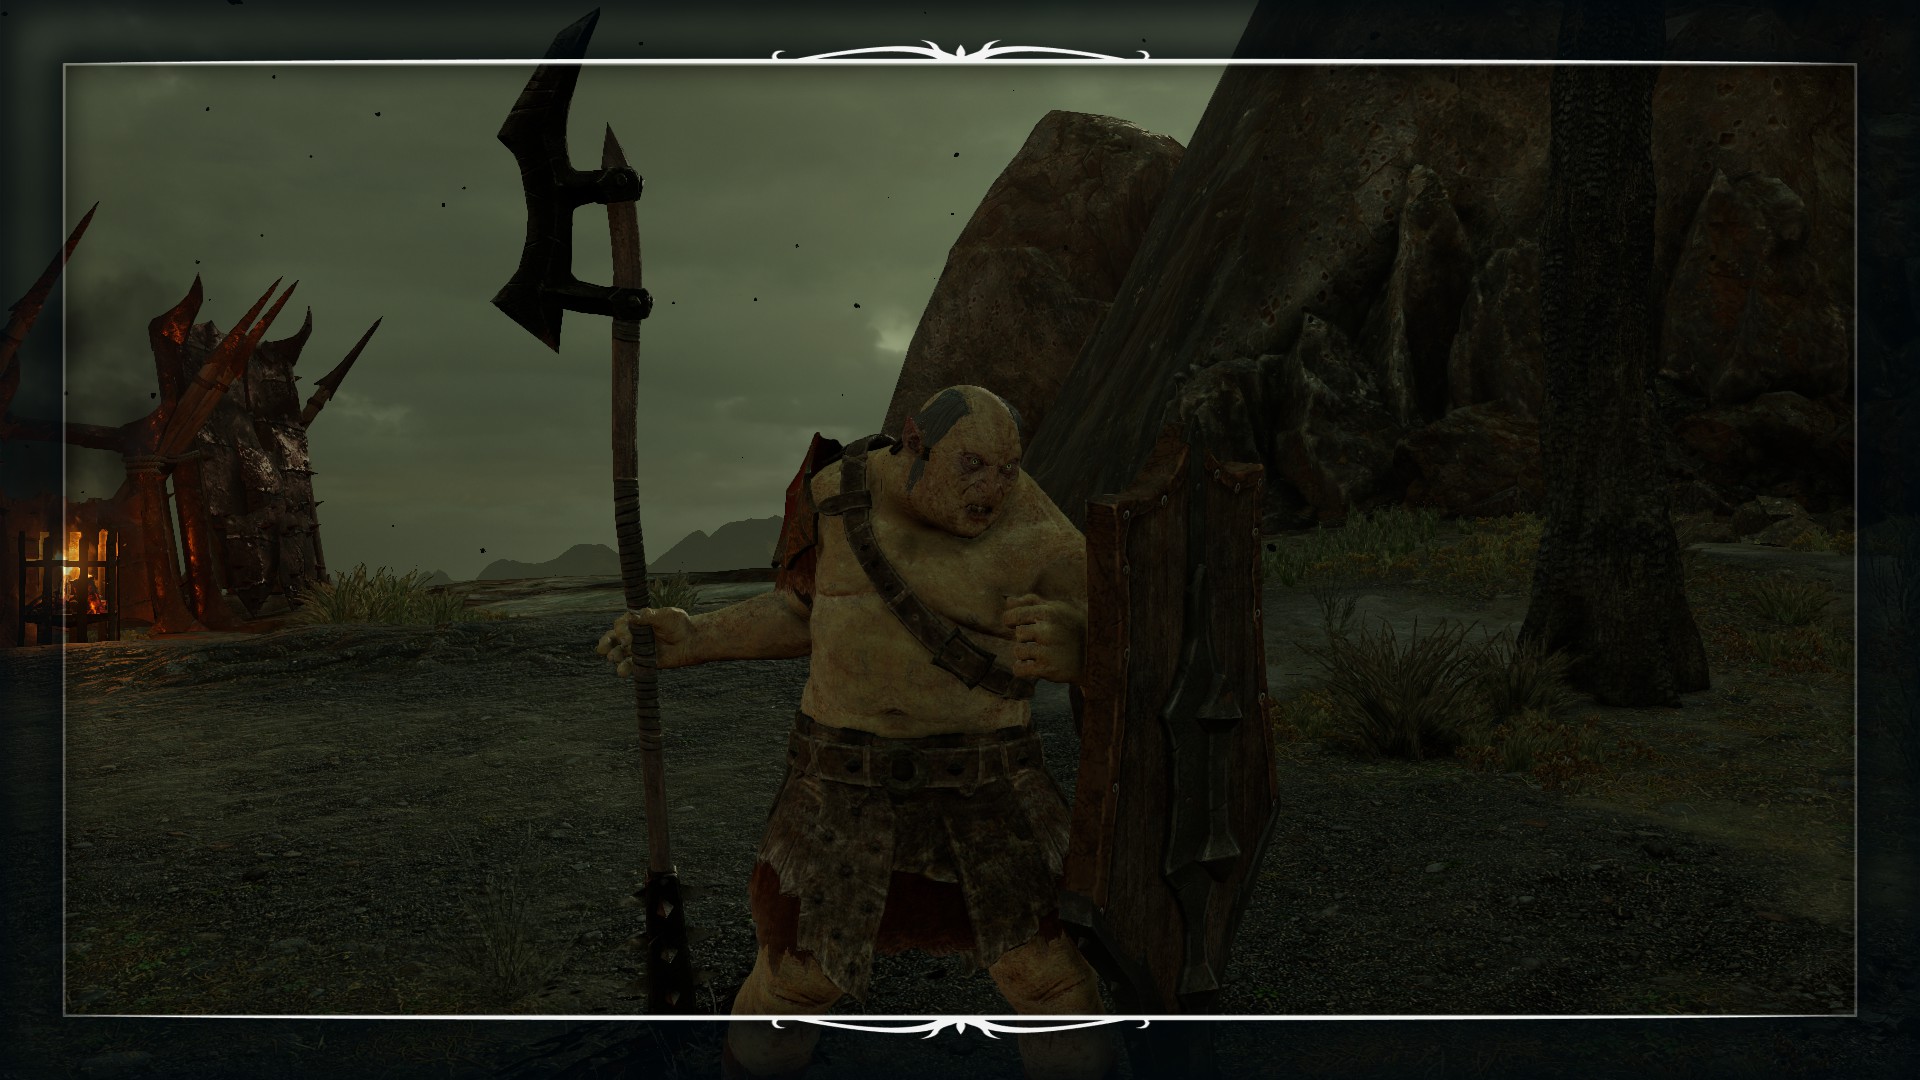
- Strong Orcs who generally have a body structure which is physically larger, to compensate for the heavy shield and long pike they carry around. These Grunt Orcs can be a pain when facing Captains and require players to have to duck and dodge [SPACE] in order to get away from their thrusting attacks. Try hopping over them if they are giving you trouble with that tough shield of theirs.

- Equipped with a large bundle of pointy spears, Hunters are very strong against Beasts, dealing much more damage than an ordinary Grunt Orc. Hunters can be found in outposts and fortresses as well as hunting parties.

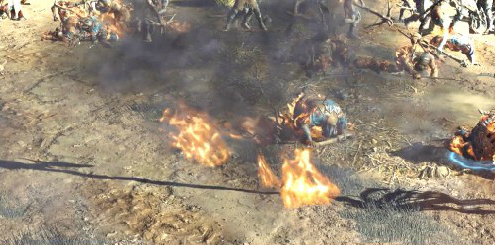
- These Strong Orcs wield heavy axes or dual hatchets depending on their region. Savages are quite the blood thirsty class of the game. Make sure you don't directly attack them without first punching them with your fist [E] , Hopping over and behind them, freezing them or dazing them with explosions/campfires.
Tribes - Part I
In Shadow of War, many of the Uruks and enemies you encounter will affiliate themselves with the many Tribes of Mordor and beyond. These tribes have an effect on these Captains, Warchiefs, and Overlords.
When an enemy belongs to one of the distinct tribes, they may in turn use that affiliation to change the location around them or influence the Fortresses they have claimed.
It is also possible that the stronger enemies you face will also inherit special Strengths and Weaknesses that are exclusive to the tribe they are a part of.
For more information, select a Tribe below:
- Dark Tribe
- Feral Tribe
- Machine Tribe
- Marauder Tribe
- Mystic Tribe
- Terror Tribe
- Warmonger Tribe
- Slaughter Tribe
- Outlaw Tribe
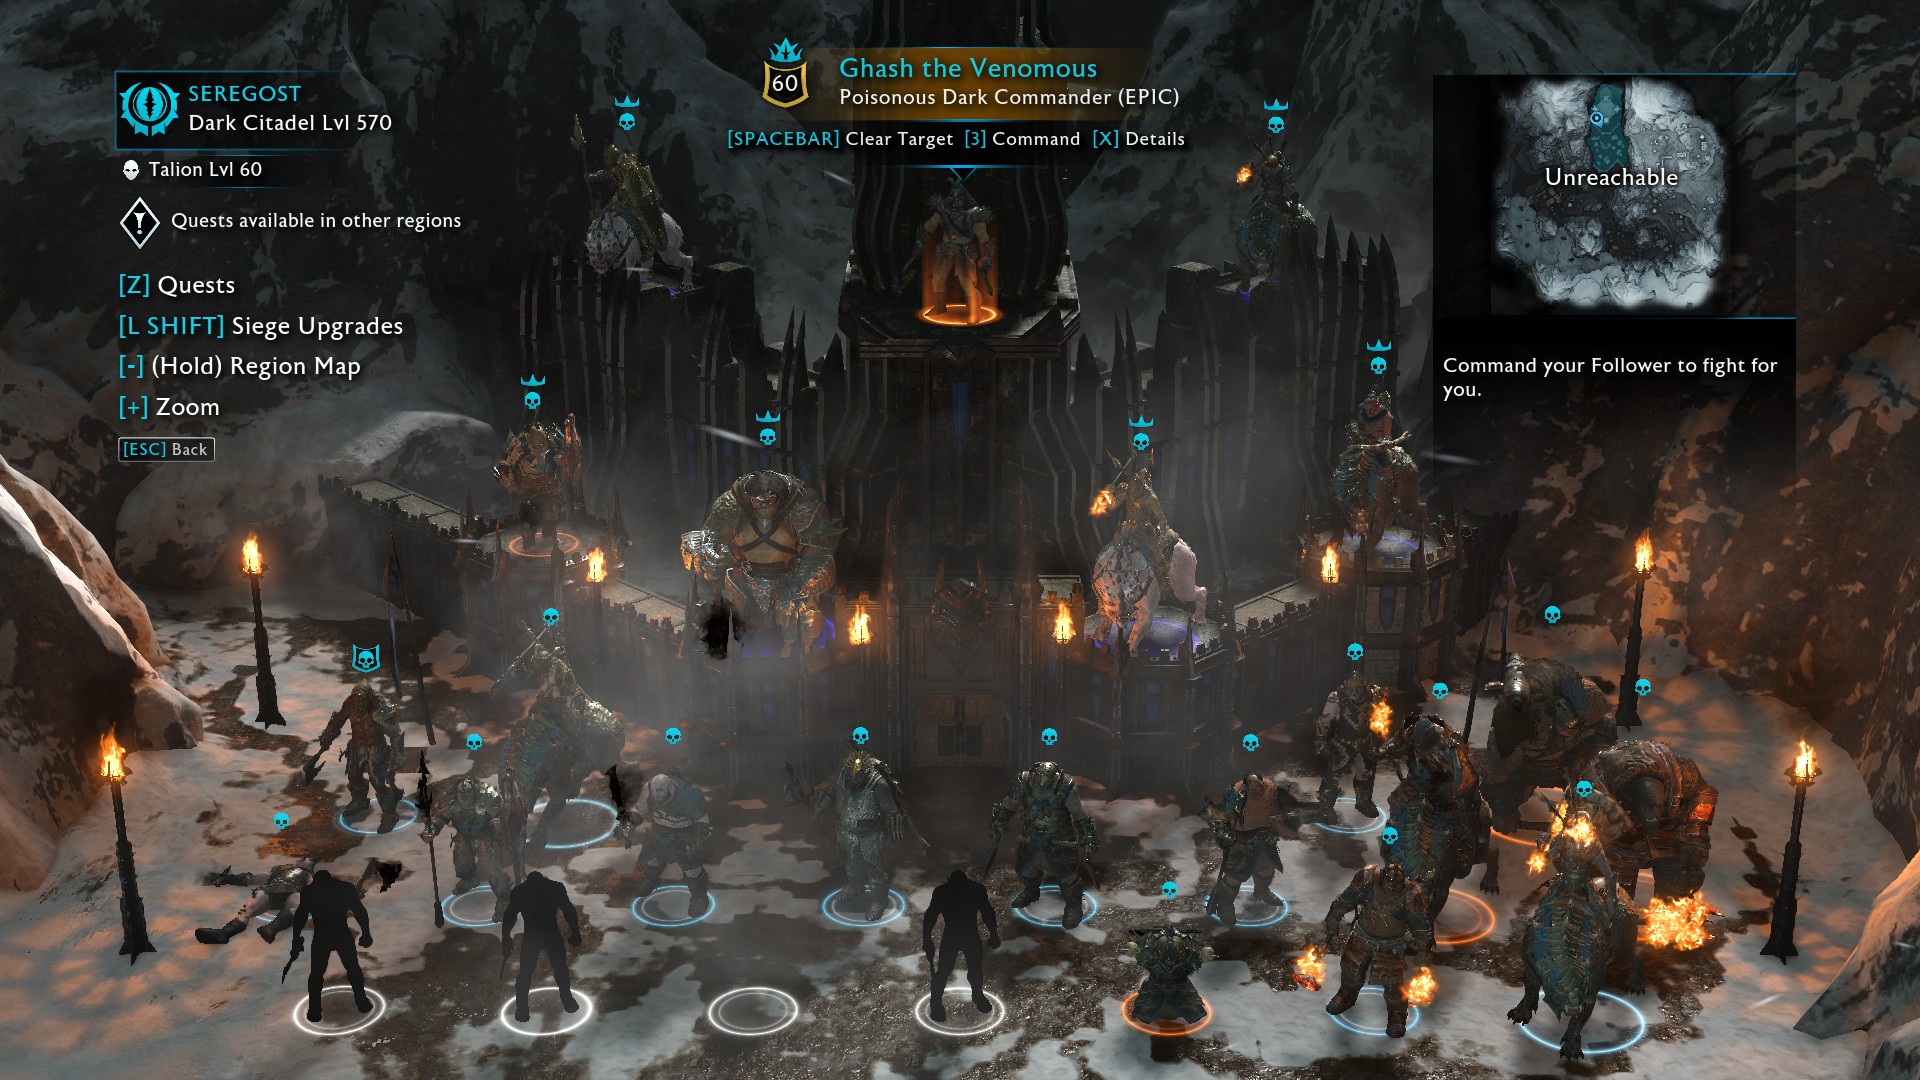
Image of a Dark Tribe Citadel
The Dark Tribe is one of the many Tribes in Middle-earth: Shadow of War.
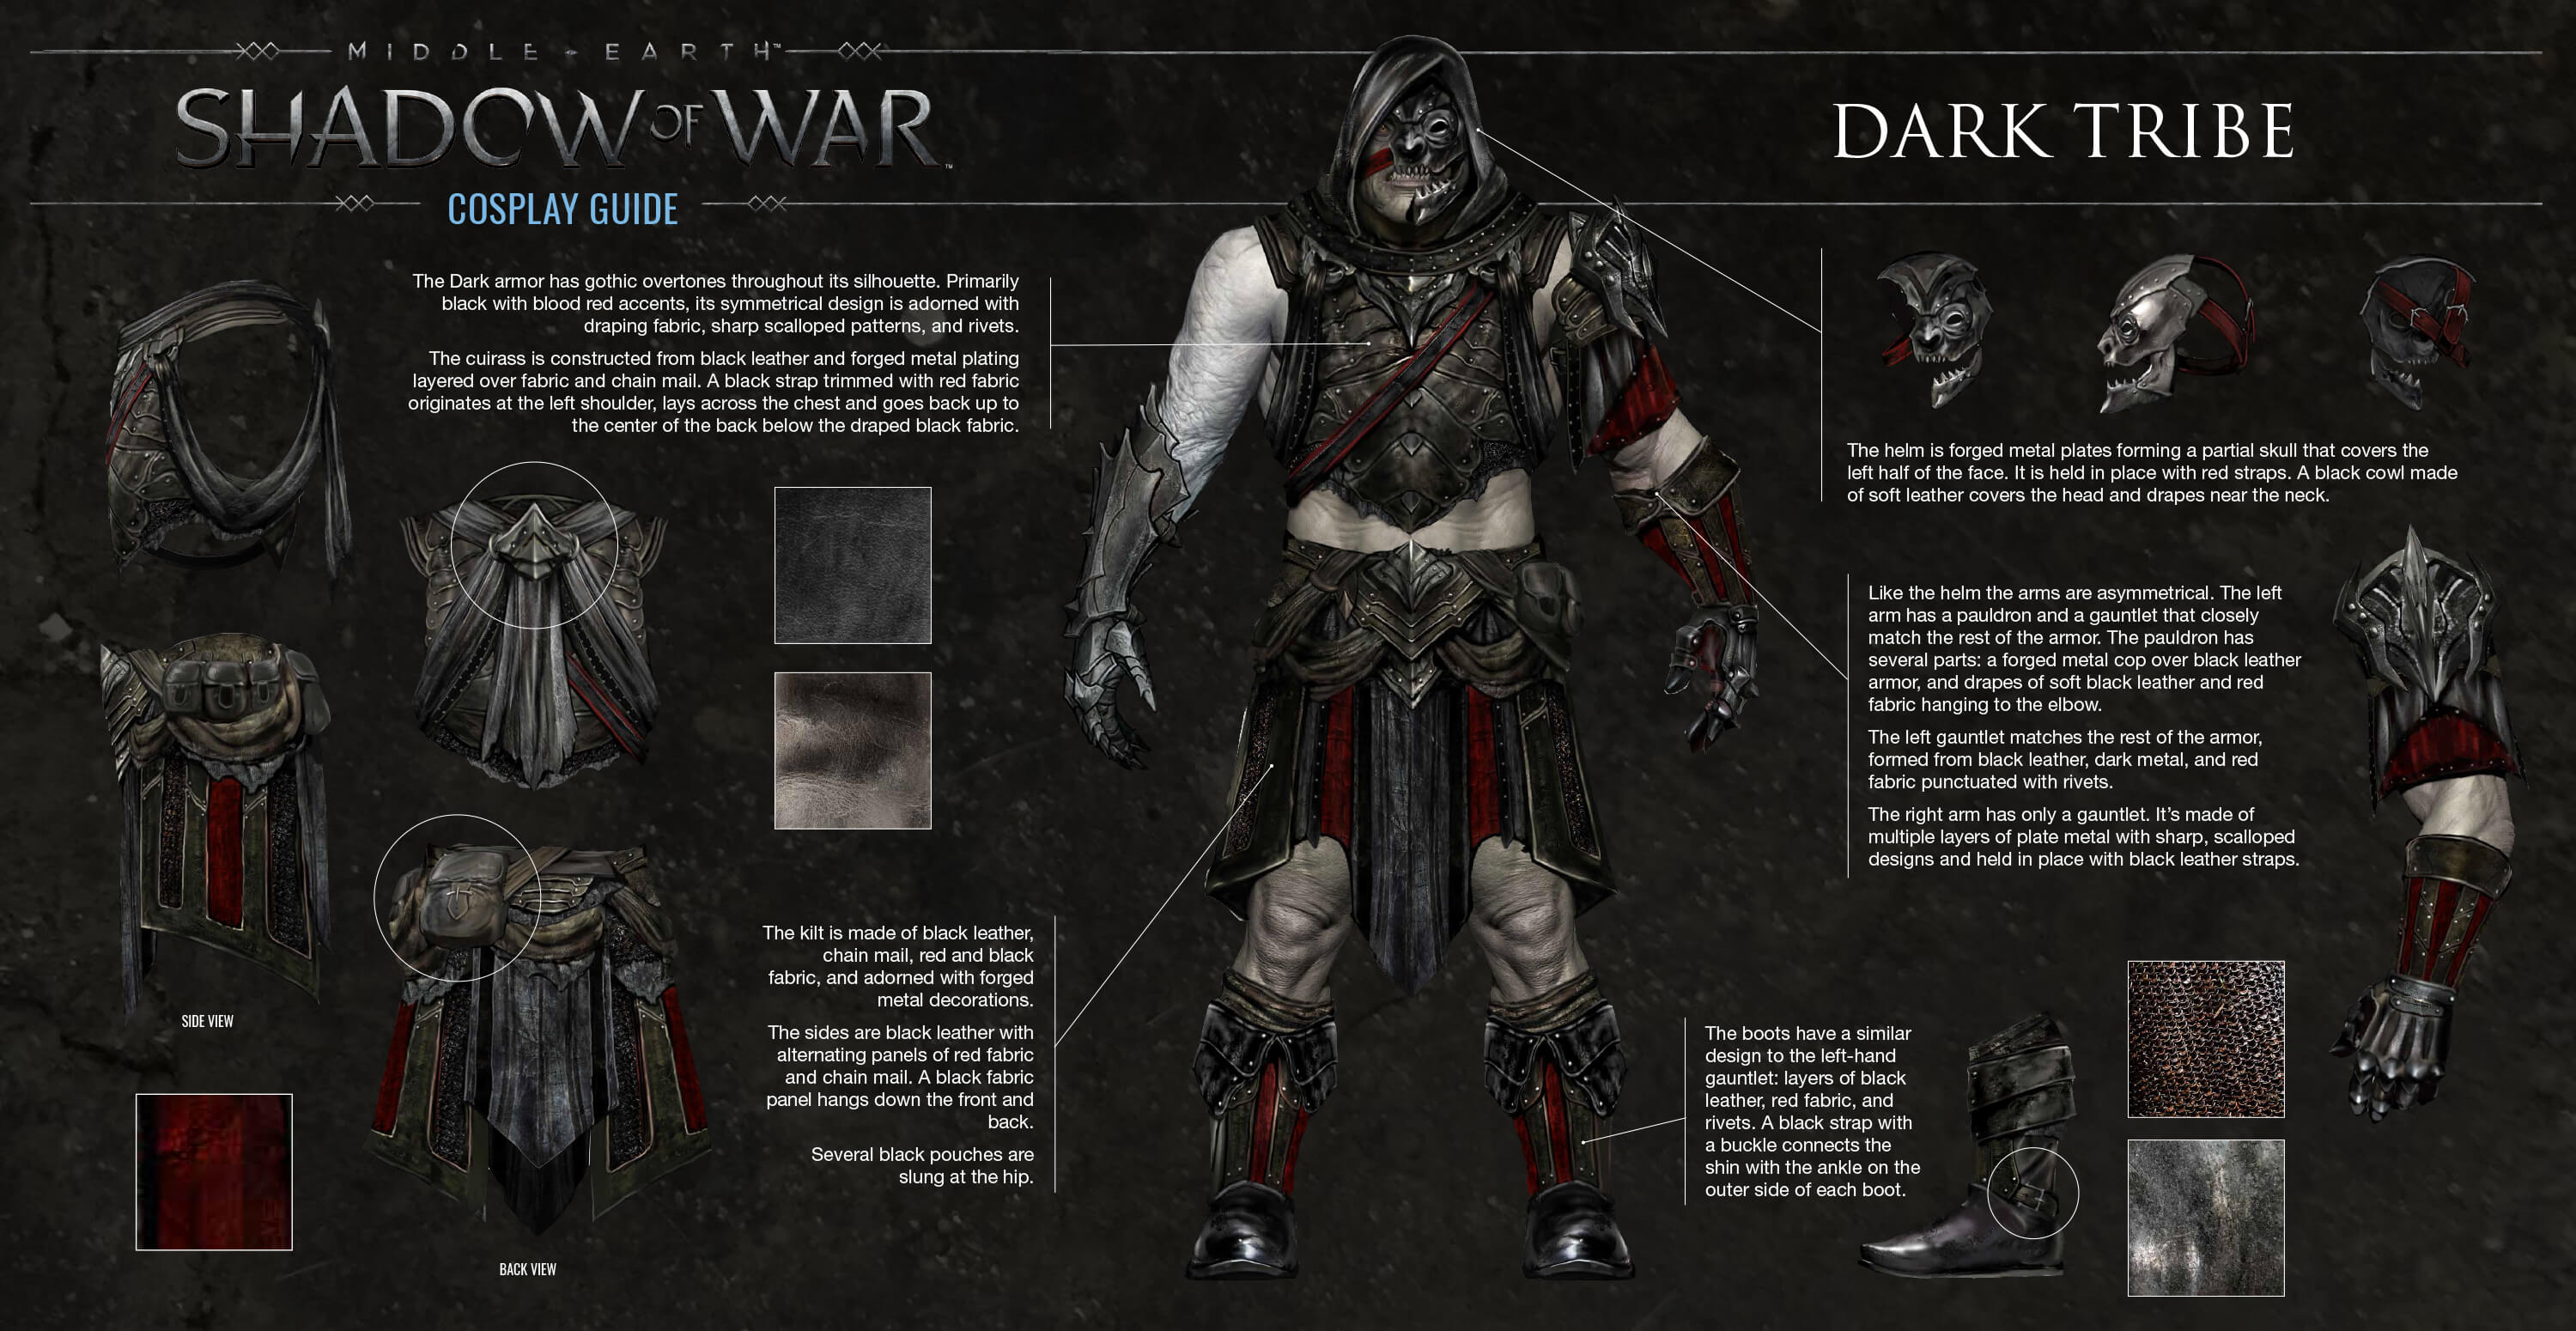
Members of the Dark Tribe cloak themselves in mystery and deceit, preferring to stick to the shadows and assault their prey unaware. The Dark Tribe make excellent assassins, as they have
a tendency to ambush their targets when least expected.
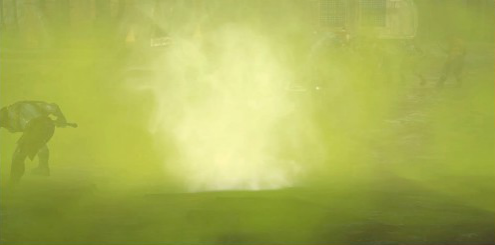
Most notably, several alchemy tables will be placed in certain areas, and shooting them will release a giant burst of poison balefire that heavily damages those nearby.
Members of the Dark Tribe enjoy a special move called Dark Strikes. The Dark Tribe member will prepare a rapid assault of attacks that must be blocked in succession with the right inputs to avoid taking damage.
"You need not fear the dark, brothers. But what you will fear is what lies within it, waiting for you!"
~ Lugdash The Devourer
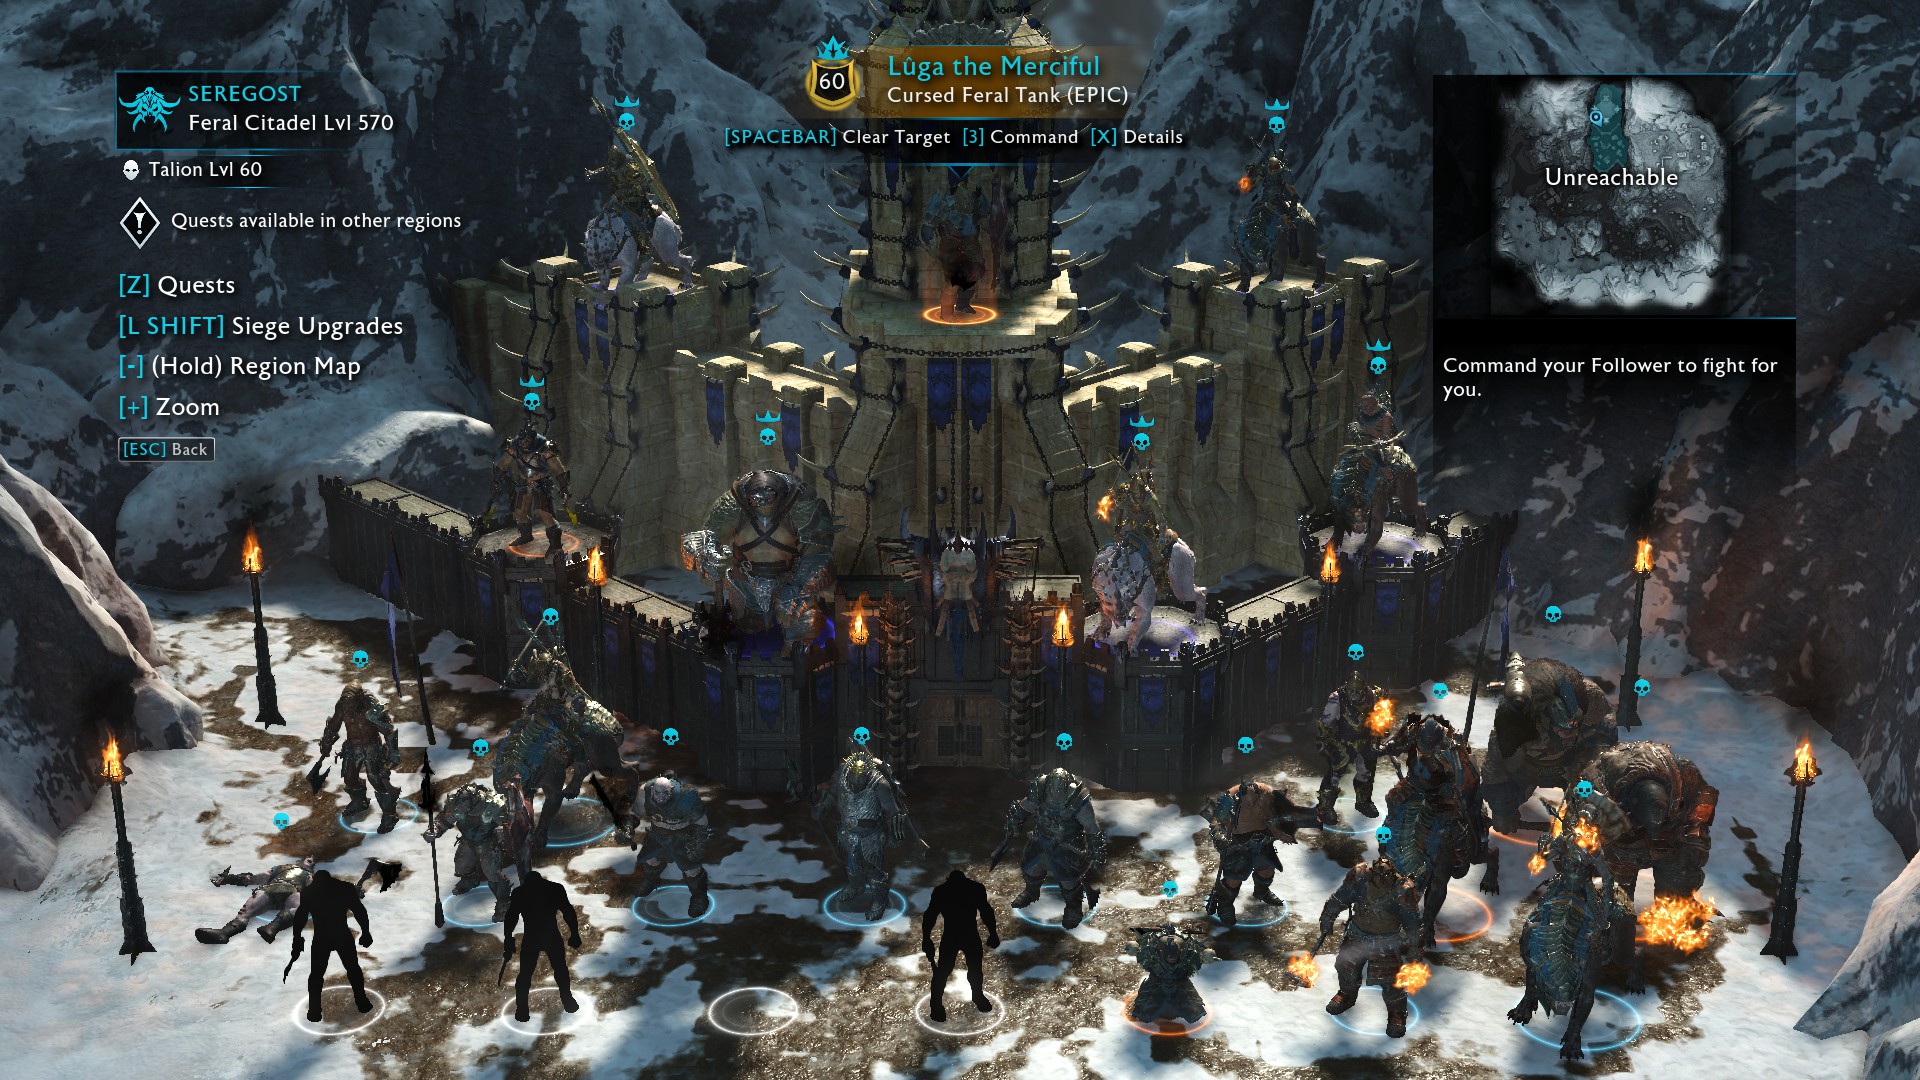
Image of a Feral Tribe Citadel
The Feral Tribe is one of the many Tribes in Middle-earth: Shadow of War.
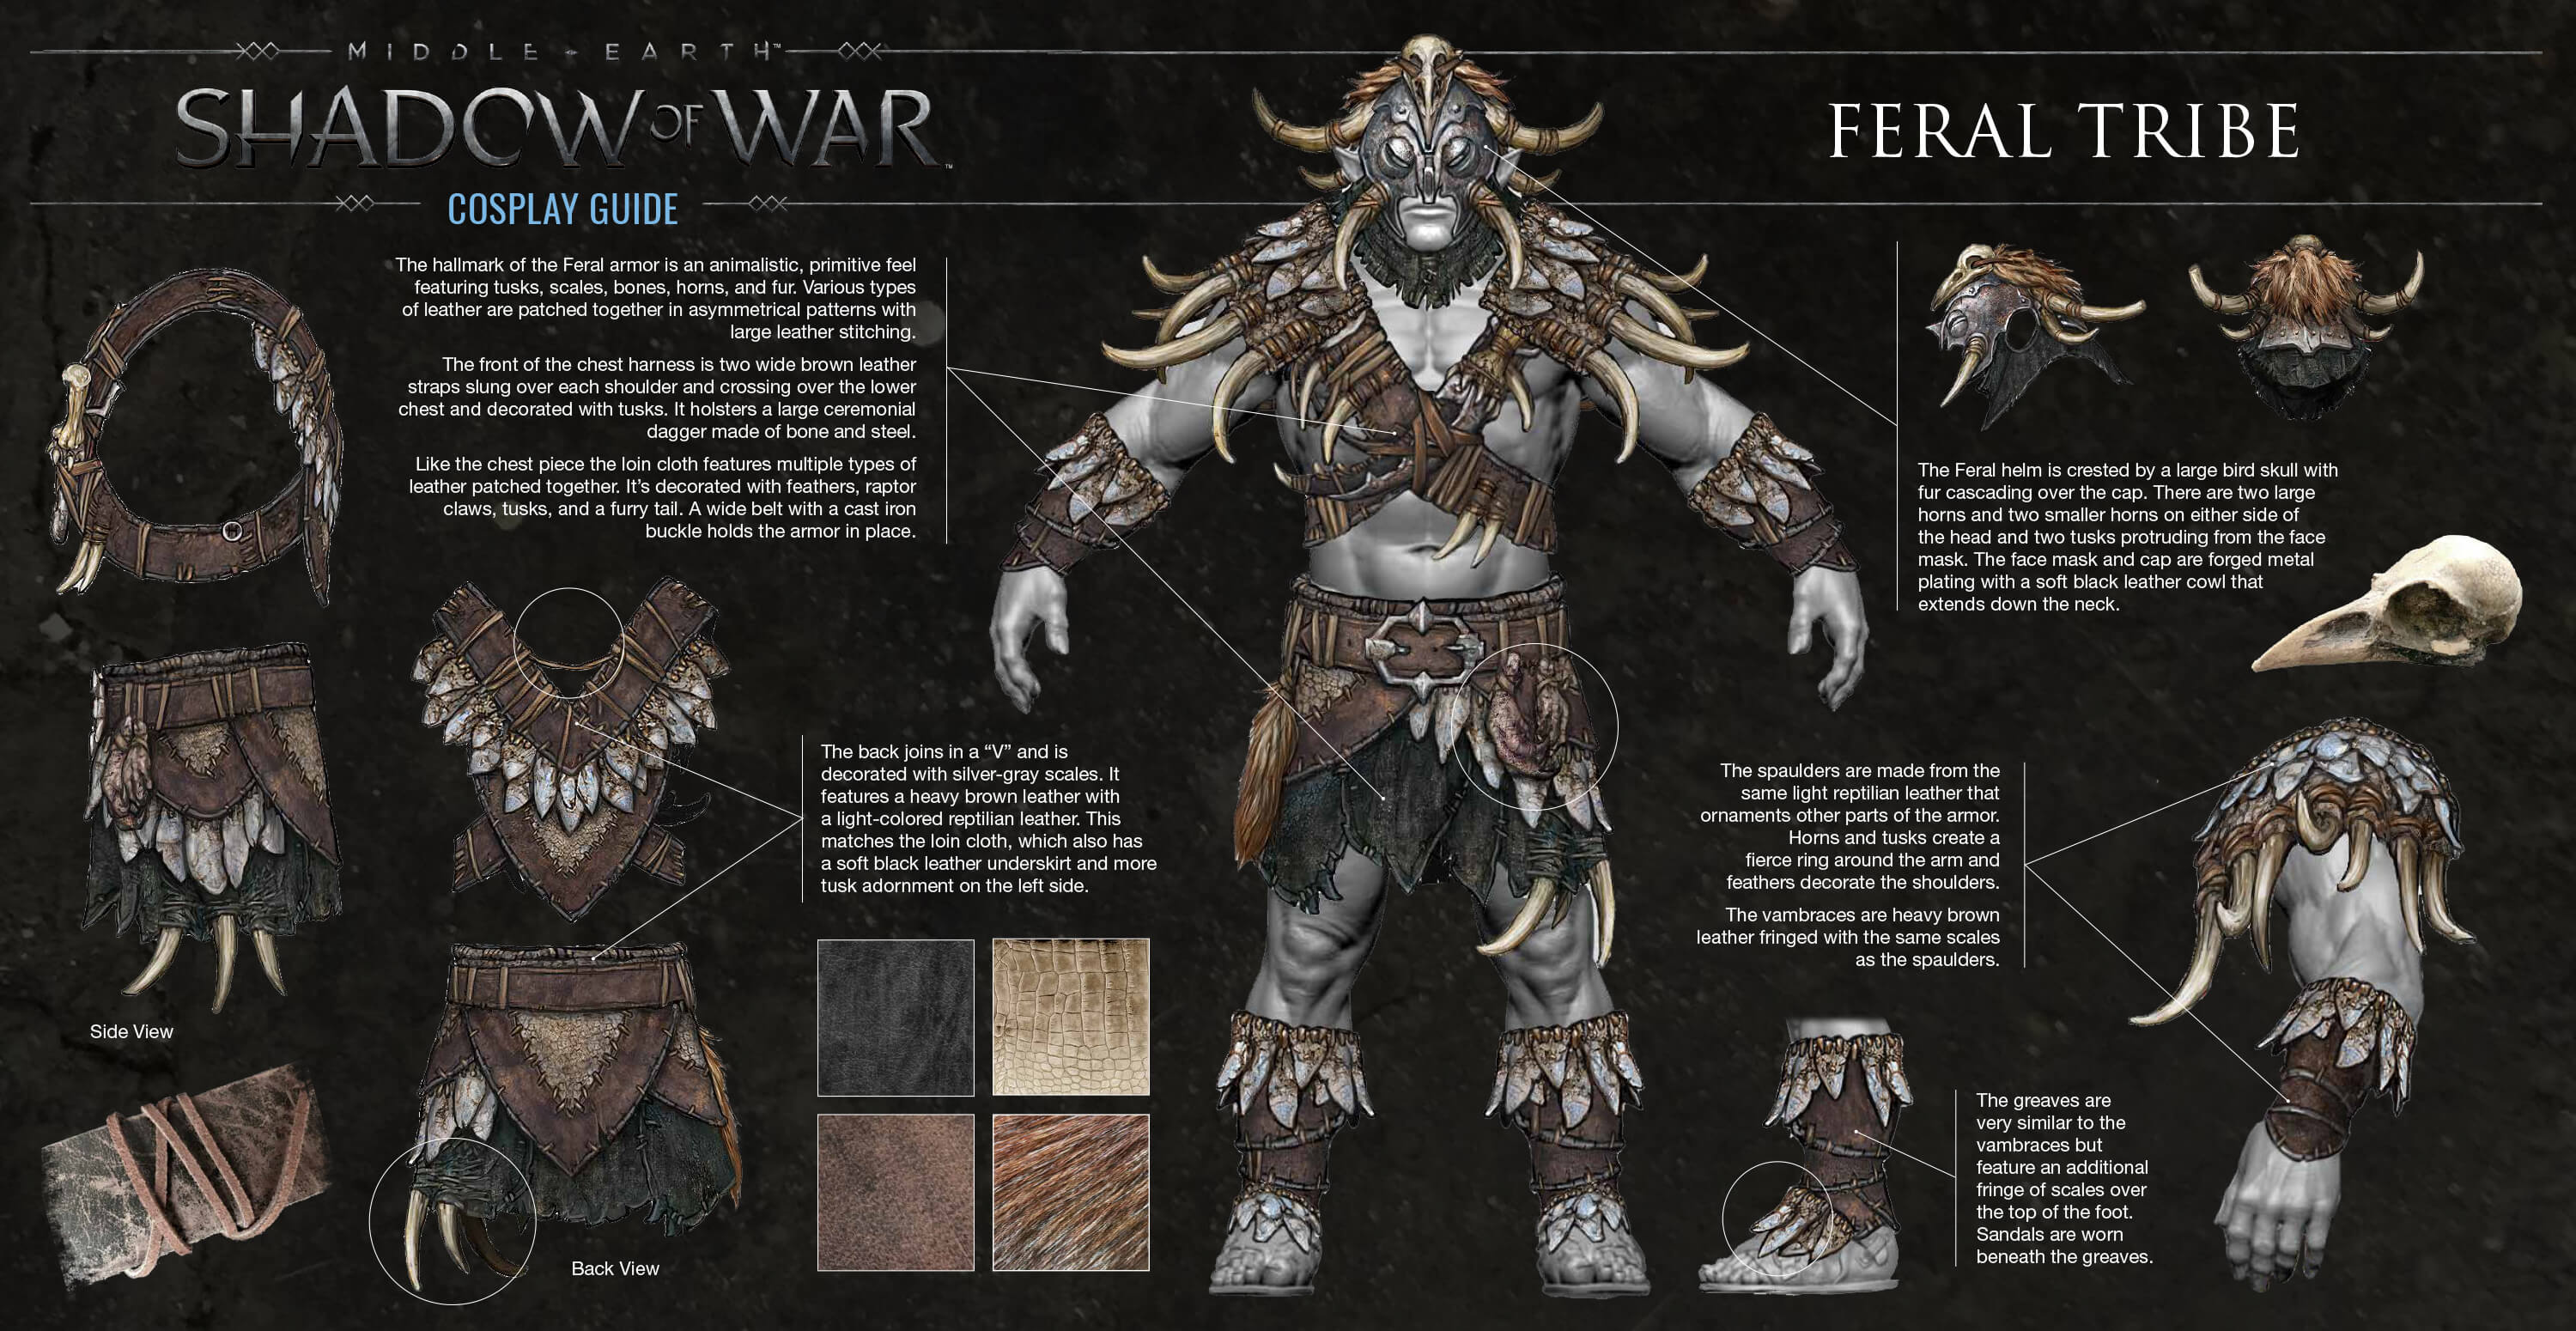
Members of the Feral Tribe believe themselves one with the beasts and nature of Mordor, and are often found either in the company of beasts, taming them, or hunting them to increase their prowess.
When an Overlord of the Feral Tribe takes over a fortress, the area - as well as the region around the fort, will be transformed. The bones of many great beasts will adorn the walls and structures, as will the cages of imprisoned beasts.
Most notably, more bait can be found in areas controlled by the Feral Tribe, and you will find Drake Bait in greater quantities in Forts and Outposts.
Members of the Feral Tribe enjoy a special trait called Feral Claws. This comes as an unblockable charge that - if it connects - will pin you down and brutalize you with massive slashing attacks.
"Sauron will be pleased to see the beasts of Mordor feed upon your despicable corpse!"
~ Ushbaka Deathmonger

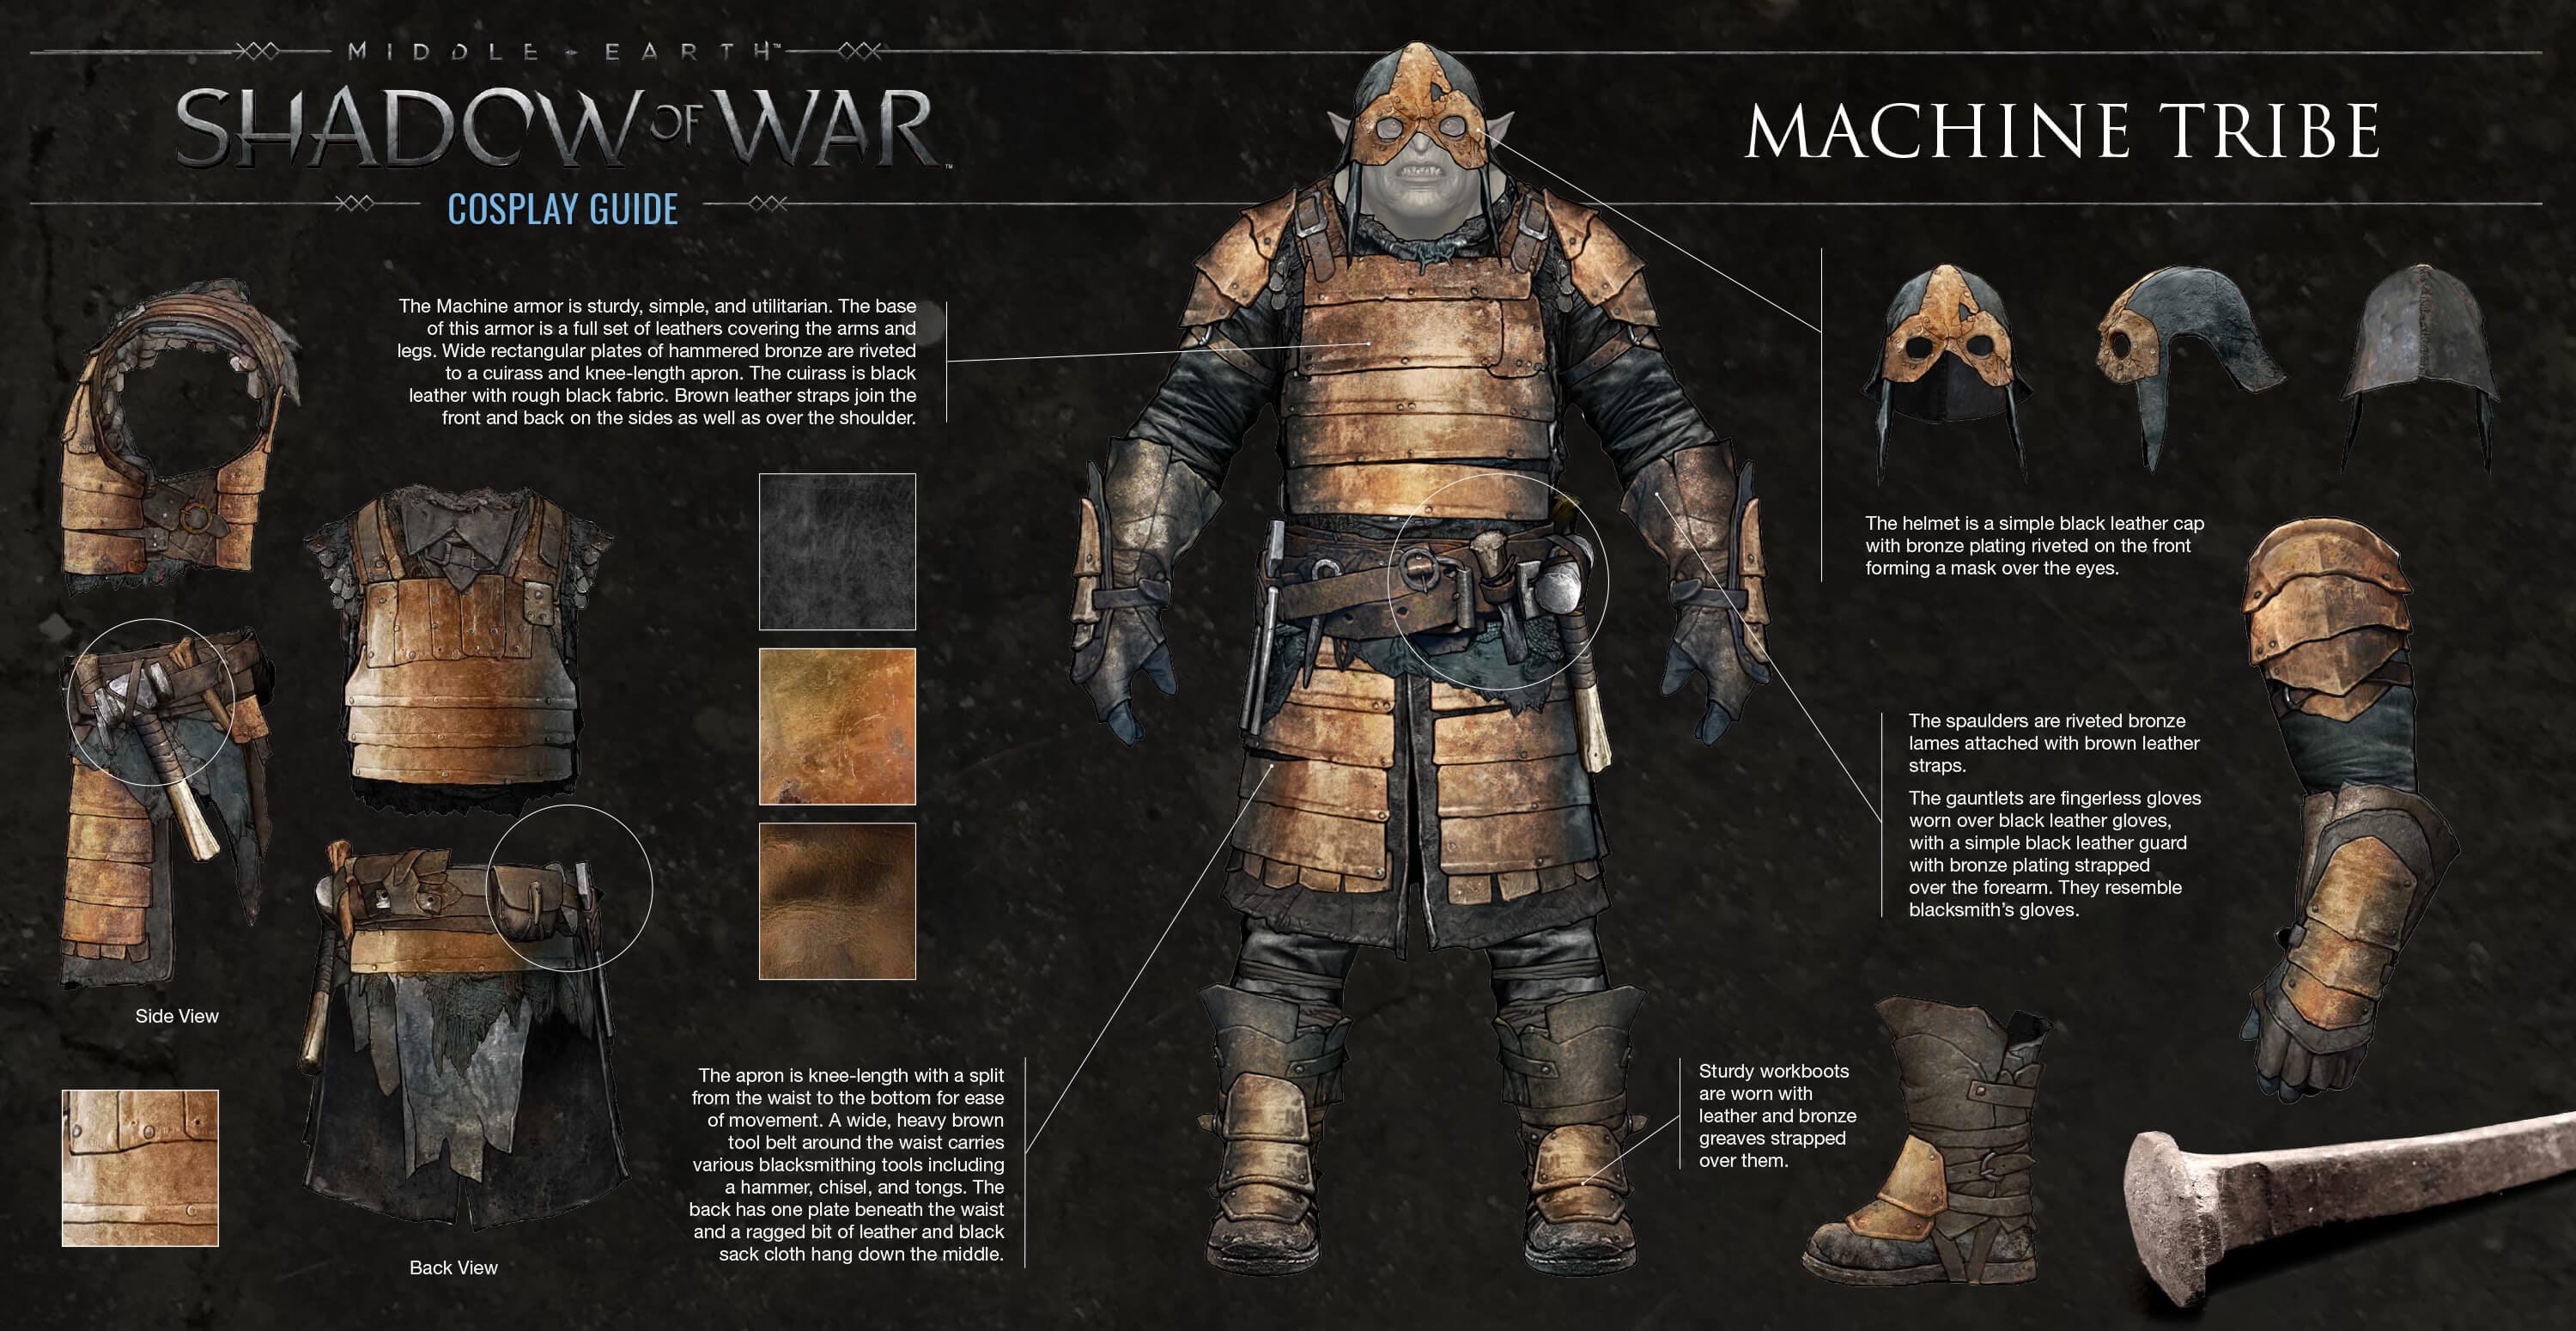
Image of a Machine Tribe Citadel
The Machine Tribe is one of the many Tribes in Middle-earth: Shadow of War.
Members of the Machine Tribe are at the forefront of industry, preferring to build up their technological might and forge the fires of war. As such they can often be found at the smiths and outposts of the region preparing for battle.
When an Overlord of the Machine Tribe takes over a fortress, the area - as well as the region around the fort, will be transformed. The smoky skies of industry will cover the region, and the fort will be paved over in bricks and strong walls.
Most notably, several new forges will be placed around the fort and outpost - and the fire within can be detonated with keen archery skills.
Members of the Machine Tribe enjoy a special move called Machine Hook. The Machine Tribe member will ready a lethal chained hook to launch in an arc in front of them that cannot be blocked, and if it connects will pull the opponent in for the kill.
"Our forges make the Dark Lord's spears and axes and arrowheads! And with these mighty weapons of war, we will lay waste to all his enemies!"
~ Kugaluga Bone-Ripper
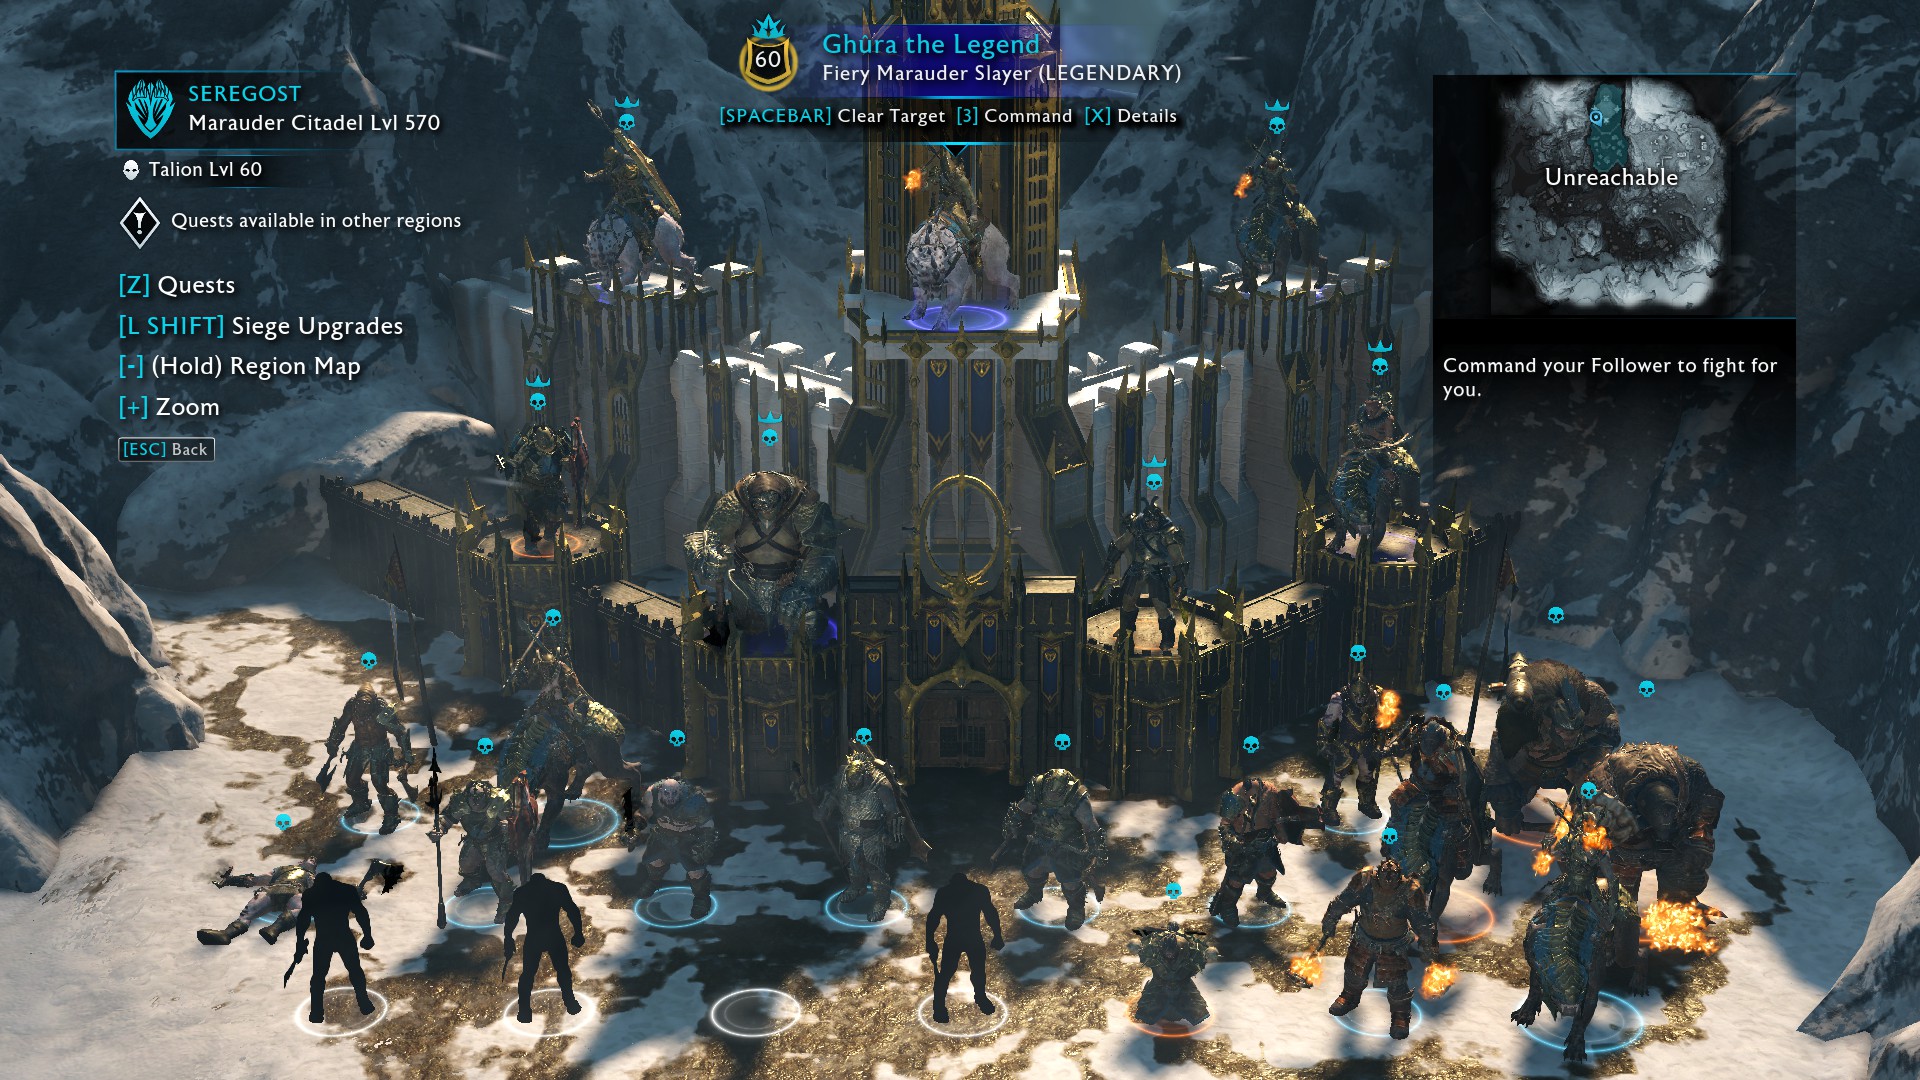
Image of a Marauder Tribe Citadel
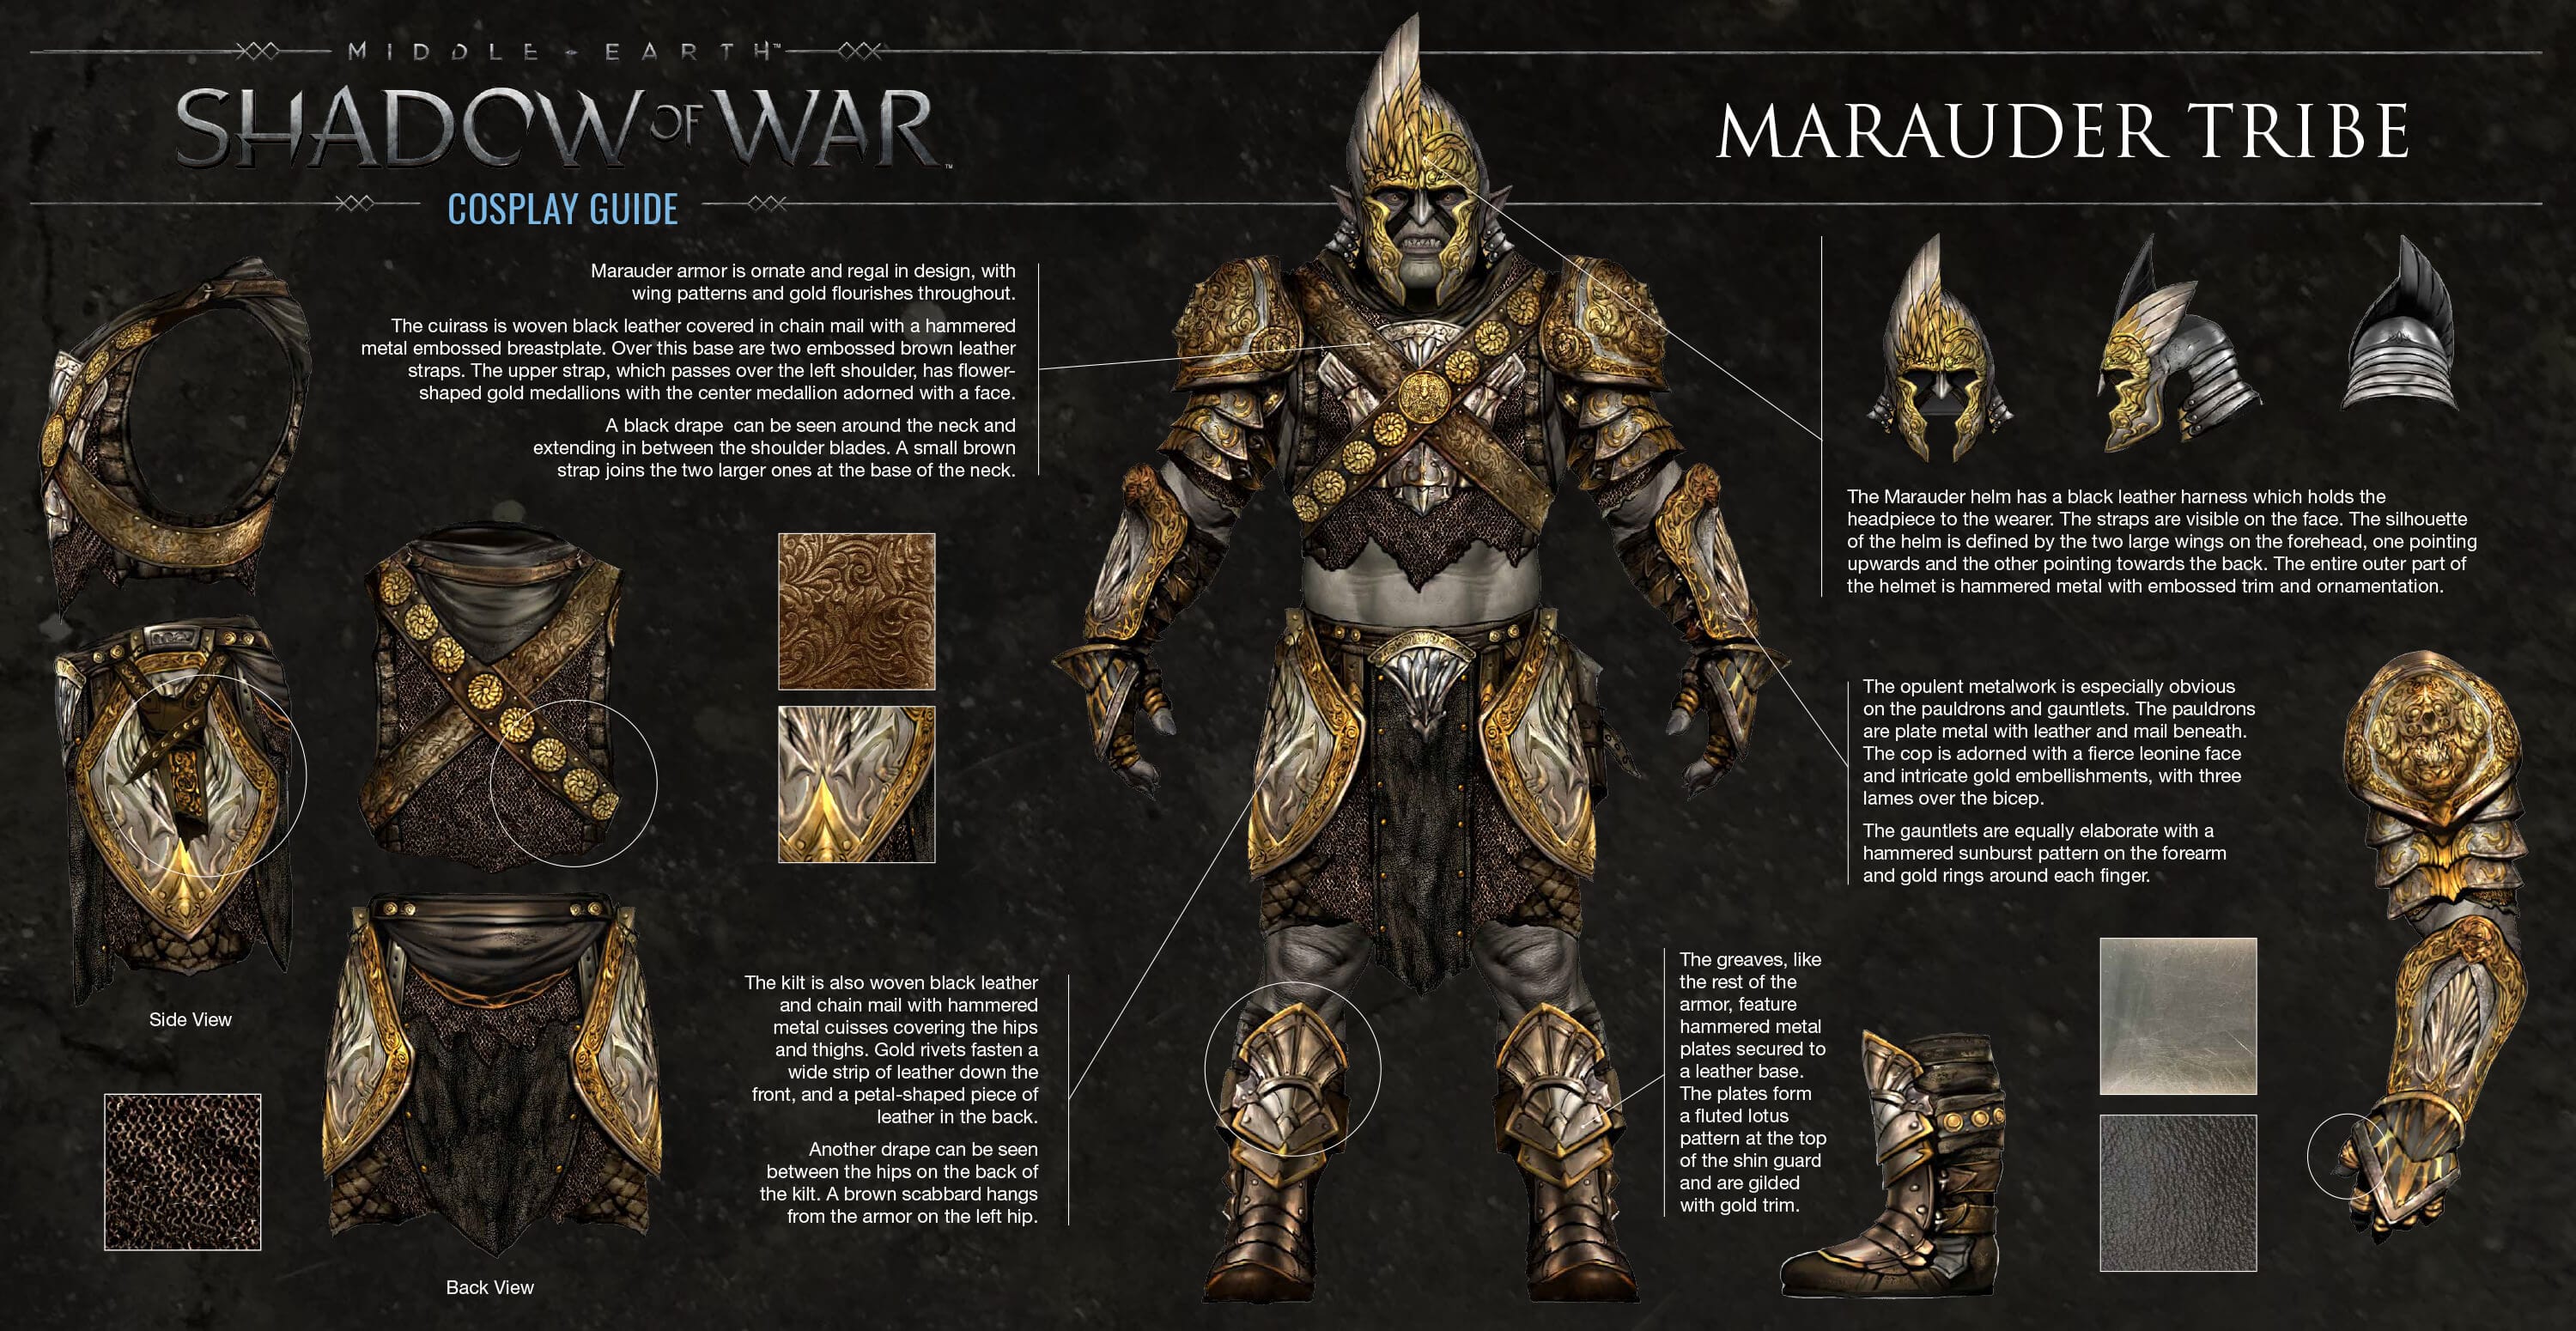
The Marauder Tribe is one of the many Tribes in Middle-earth: Shadow of War.
Members of the Marauder Tribe prize themselves on adorning their bodies with the loot of conquest, using improved armor and weaponry looted from their victims, and their forts reflect their greed.
When an Overlord of the Marauder Tribe takes over a fortress, the area - as well as the region around the fort, will be transformed. Well polished walls and buildings will surround the fort to showcase the loot they have gained.
Most notably, large battle chests will appear in their fortresses and outposts - and tribute is often contained within that can be plundered.
Members of the Marauder Tribe enjoy a special move called Hail of Bolts. The Marauder Tribe member will sheathe their weapon to produce dual crossbows and prepare a large salvo of crossbow bolts in a wide arc in front of them, requiring expert dodging to avoid the salvo.
"We Welcome you to this fortress! Your bodies will litter its approach; your valuables will fill its halls! And we will toast the Dark Lord's terrible power with grog sweetened by your blood!"
~Shagog The Golden
Tribes - Part II
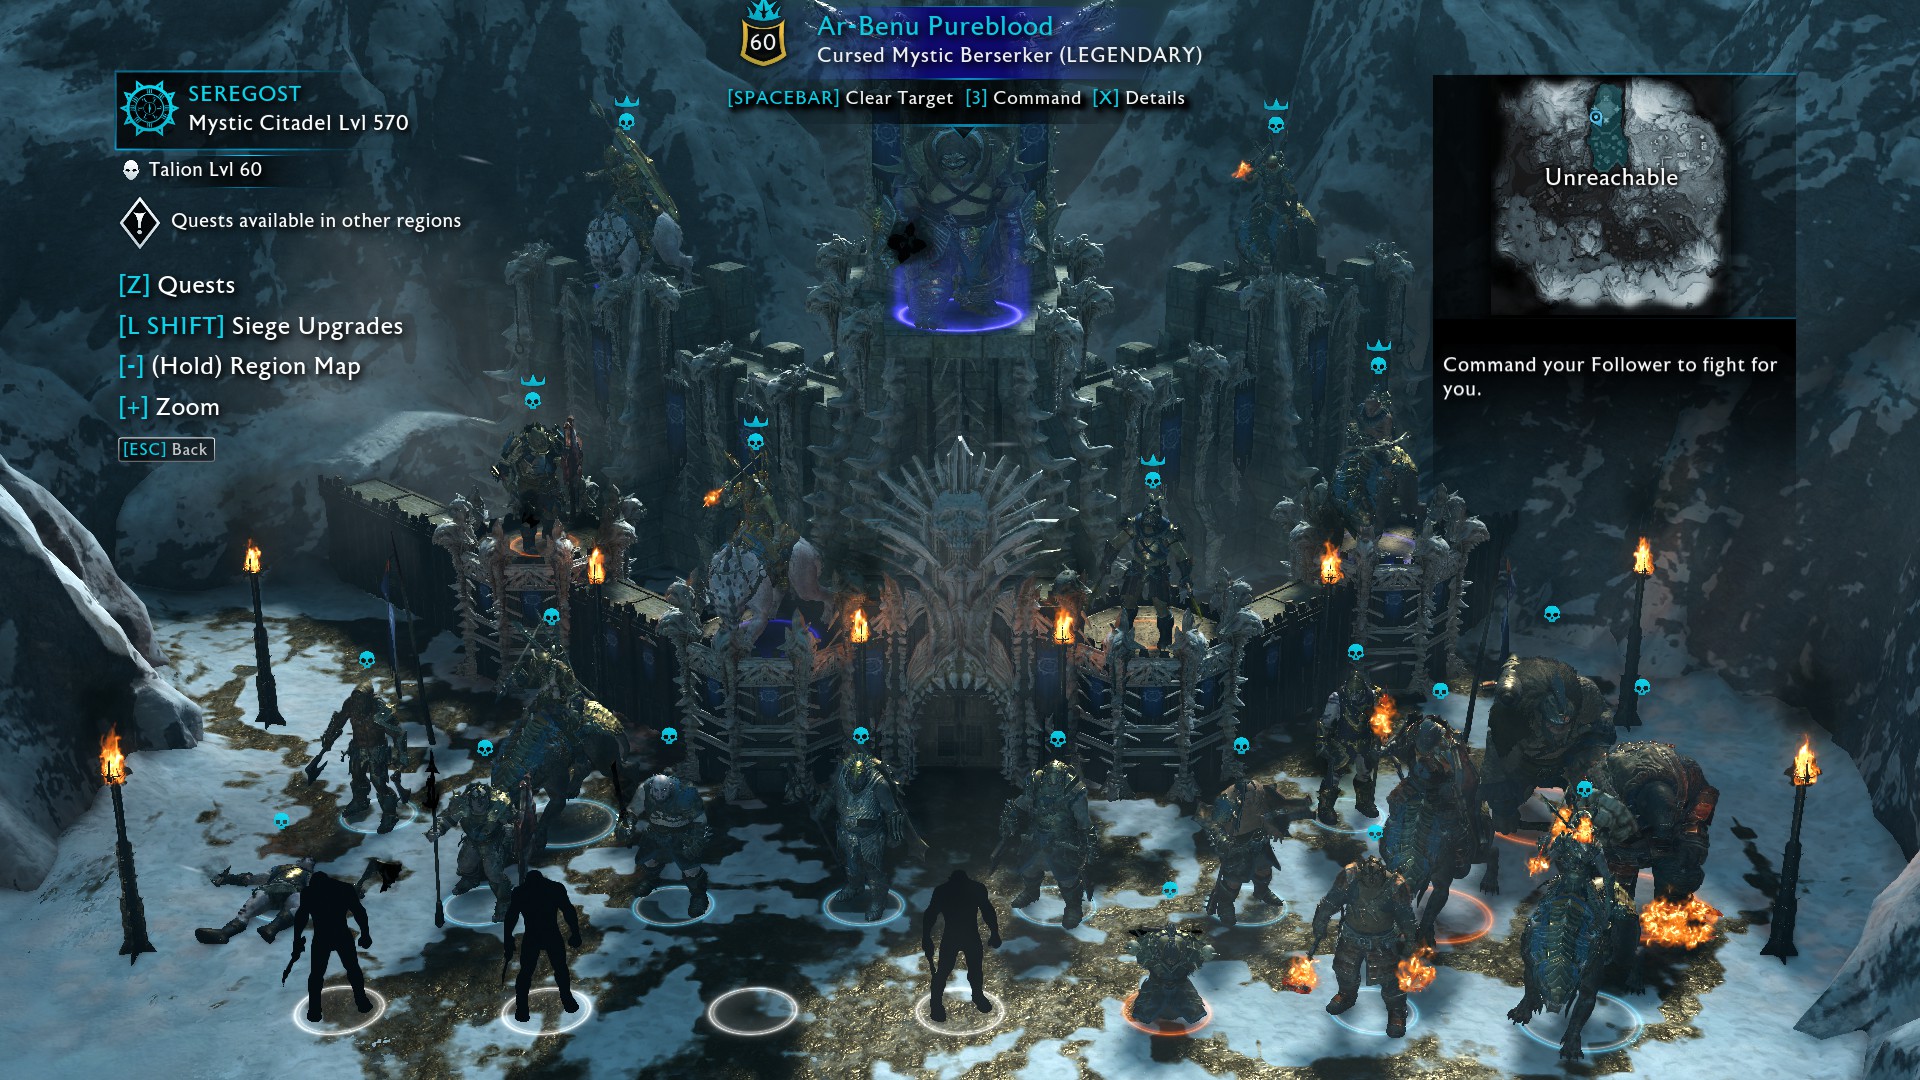
Image of a Mystic Tribe Citadel
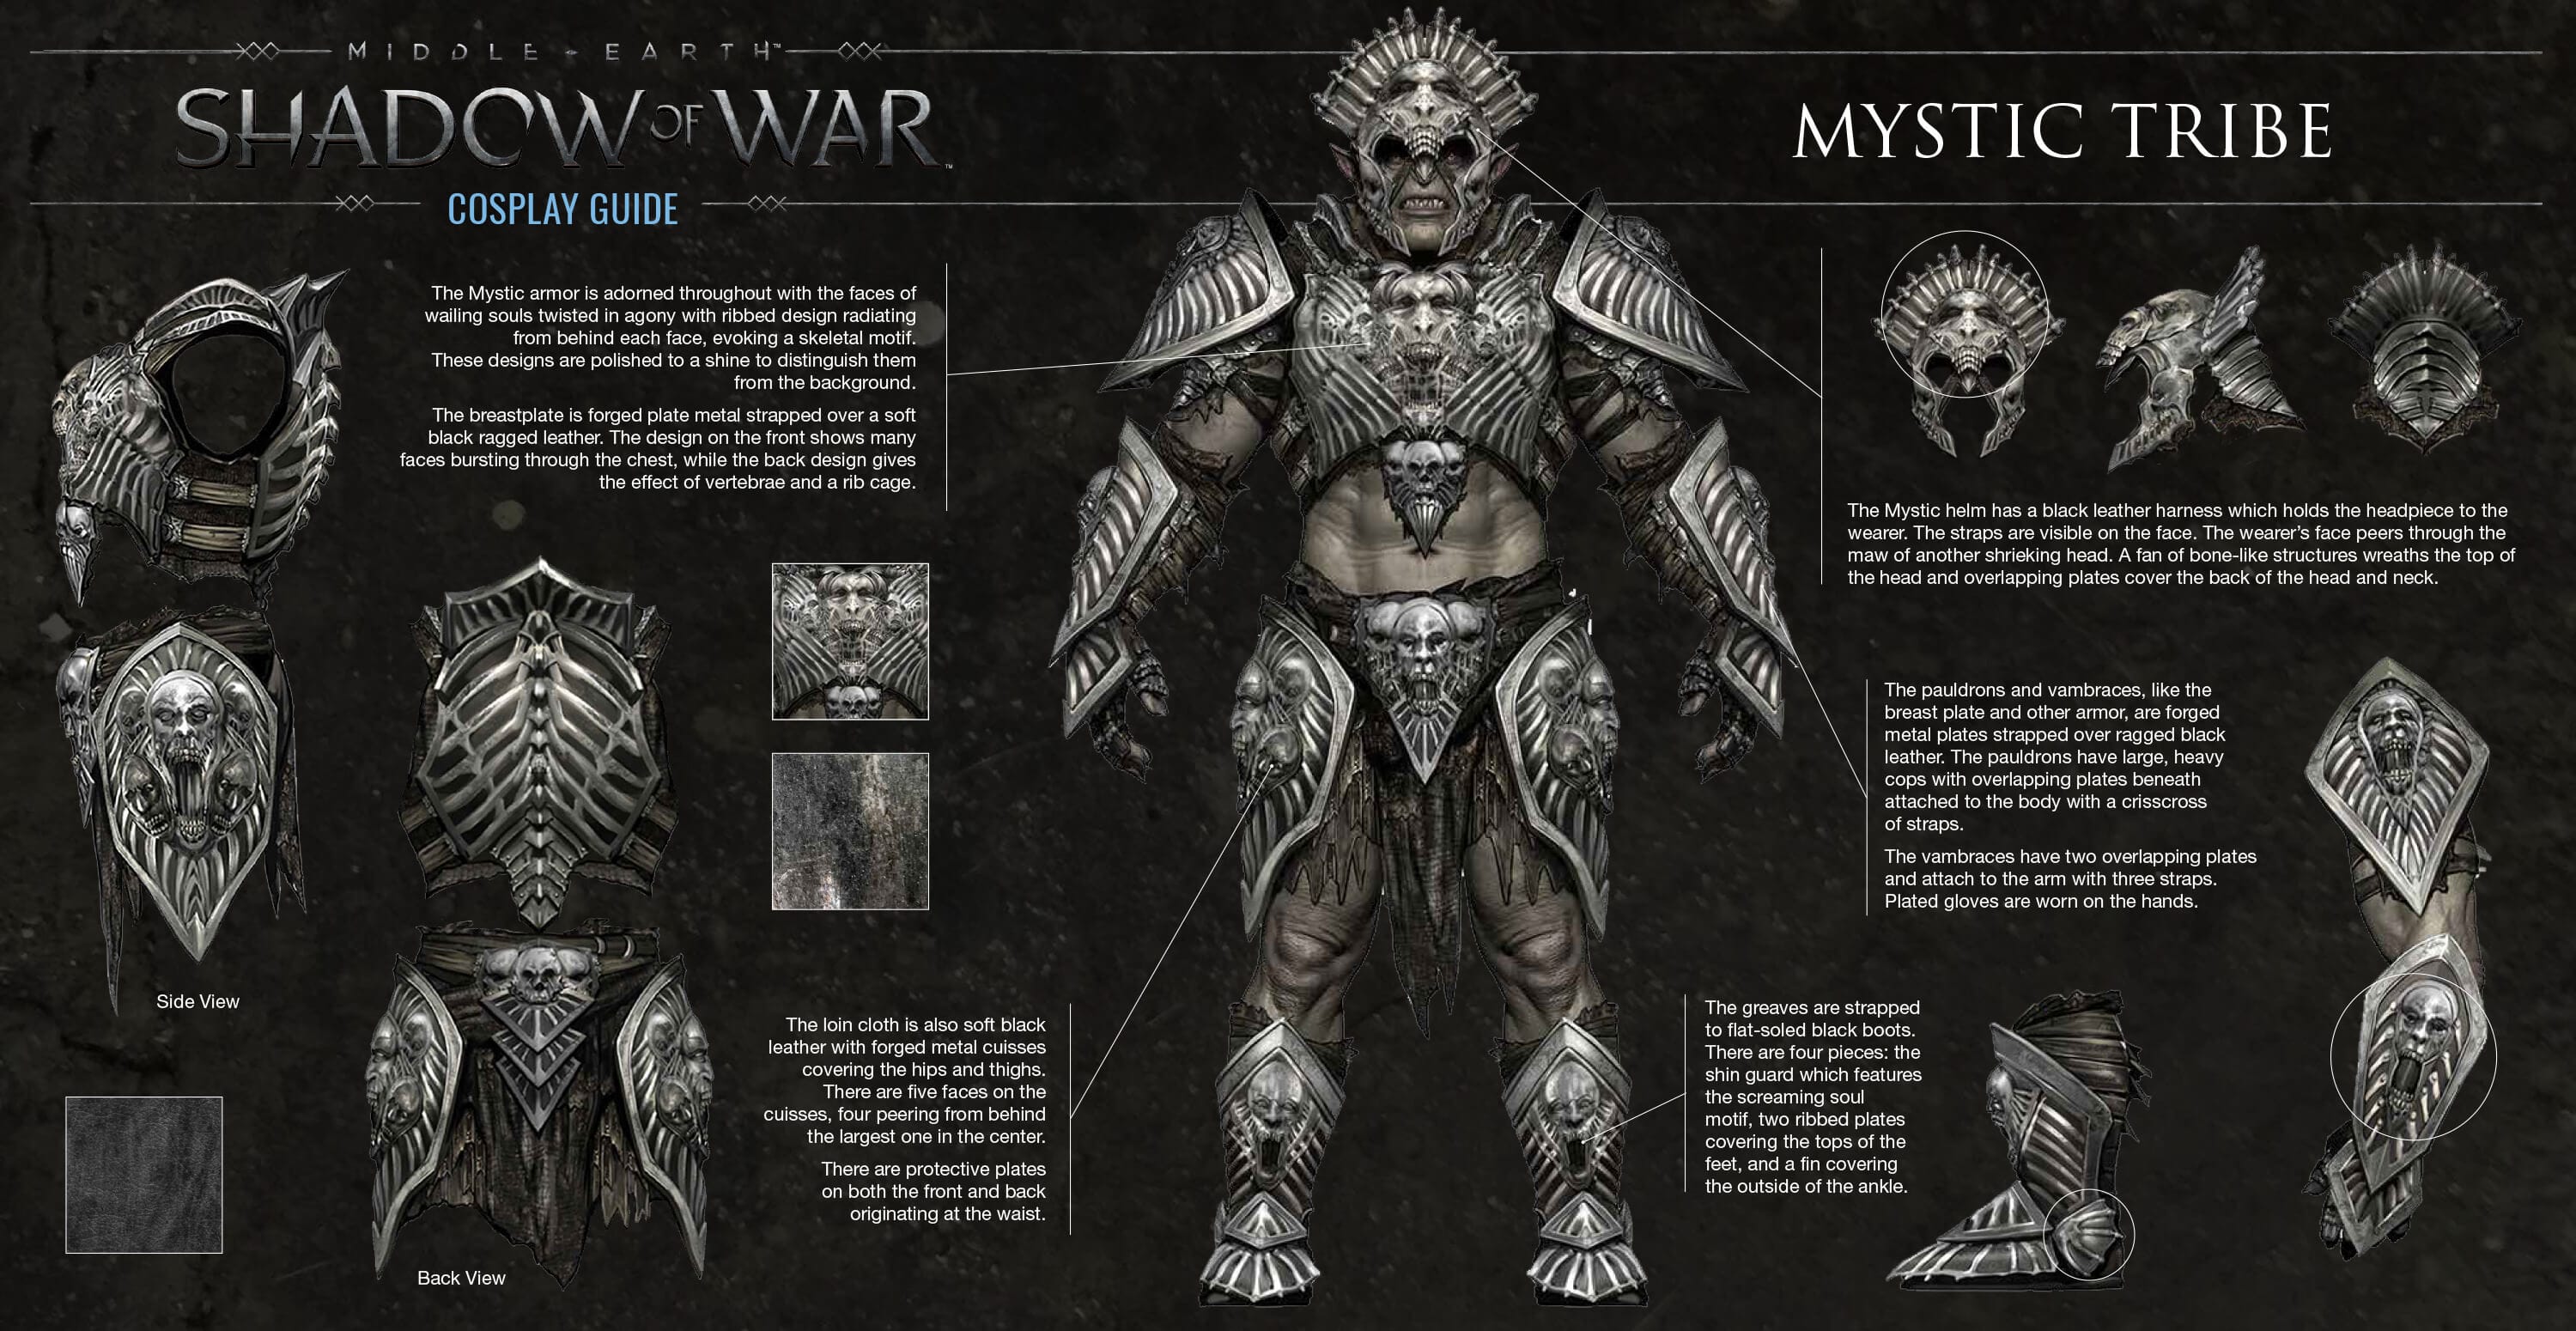
The Mystic Tribe is one of the many Tribes in Middle-earth: Shadow of War.
Members of the Mystic Tribe are masters of the occult, and practice strange and mysterious rituals in the dark places of the world. Their dark designs invoke the unspeakable art of necromancy and undeath.
When an Overlord of the Mystic Tribe takes over a fortress, the area - as well as the region around the fort, will be transformed. Eerie bone structures will adorn the walls and the stench of death will become ever-present.
Most notably, totems will be erected so that members of the Mystic Tribe can raise their fallen comrades. Only by using your wraith powers you can purge the dark totems and make them pure.
Members of the Mystic Tribe enjoy a special move called Mystic Blade. The Mystic Tribe member will prepare a Cursed blade that will then allow them to teleport through the battle to attack with an unblockable strike - making dodging necessary to survive. Another ability unique to the mystic tribe is the necomancy ability which allows orc's to raise recently fallen orcs.
"I've been reading the signs! I've been interpreting the omens! But now I put that all aside so I can spill the blood, sever the limbs, rend the flesh!"
~ Tumug The Warlock
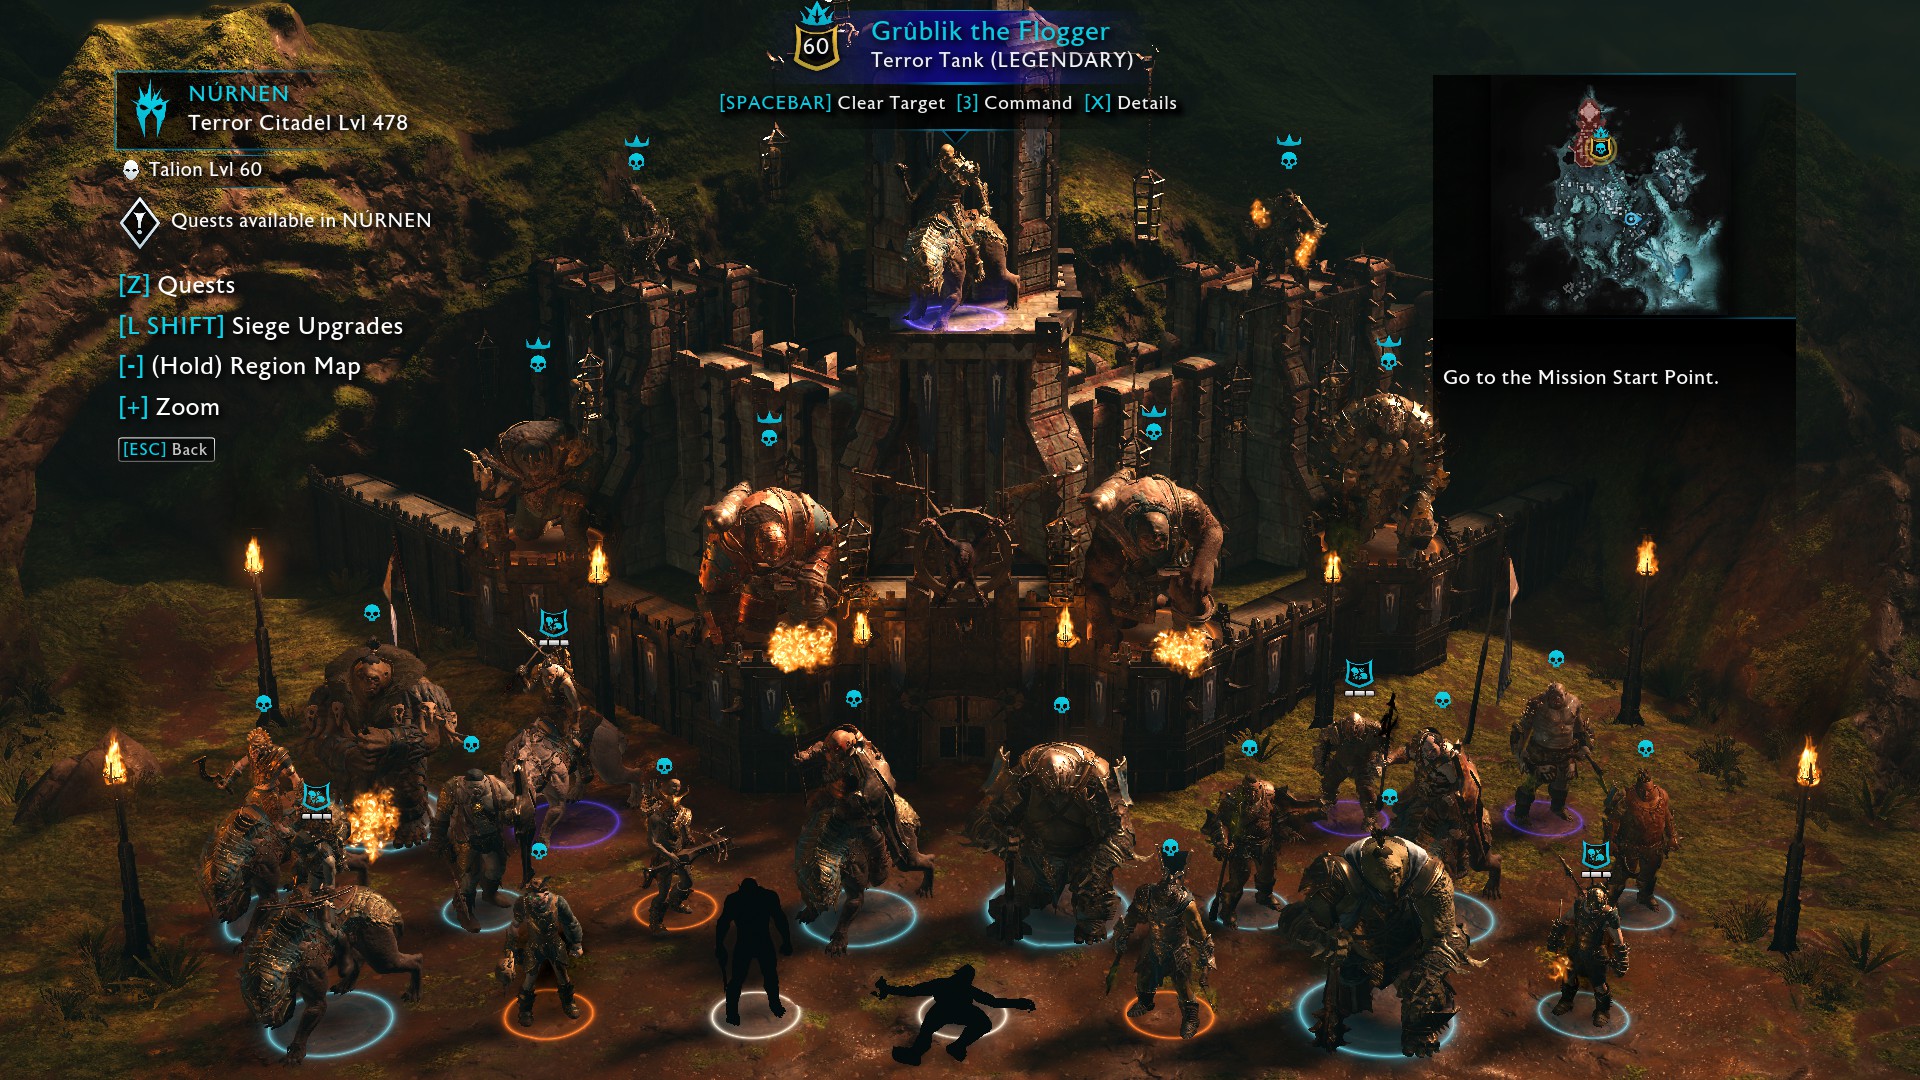
Image of a Terror Tribe Citadel
The Terror Tribe is one of the many Tribes in Middle-earth: Shadow of War.
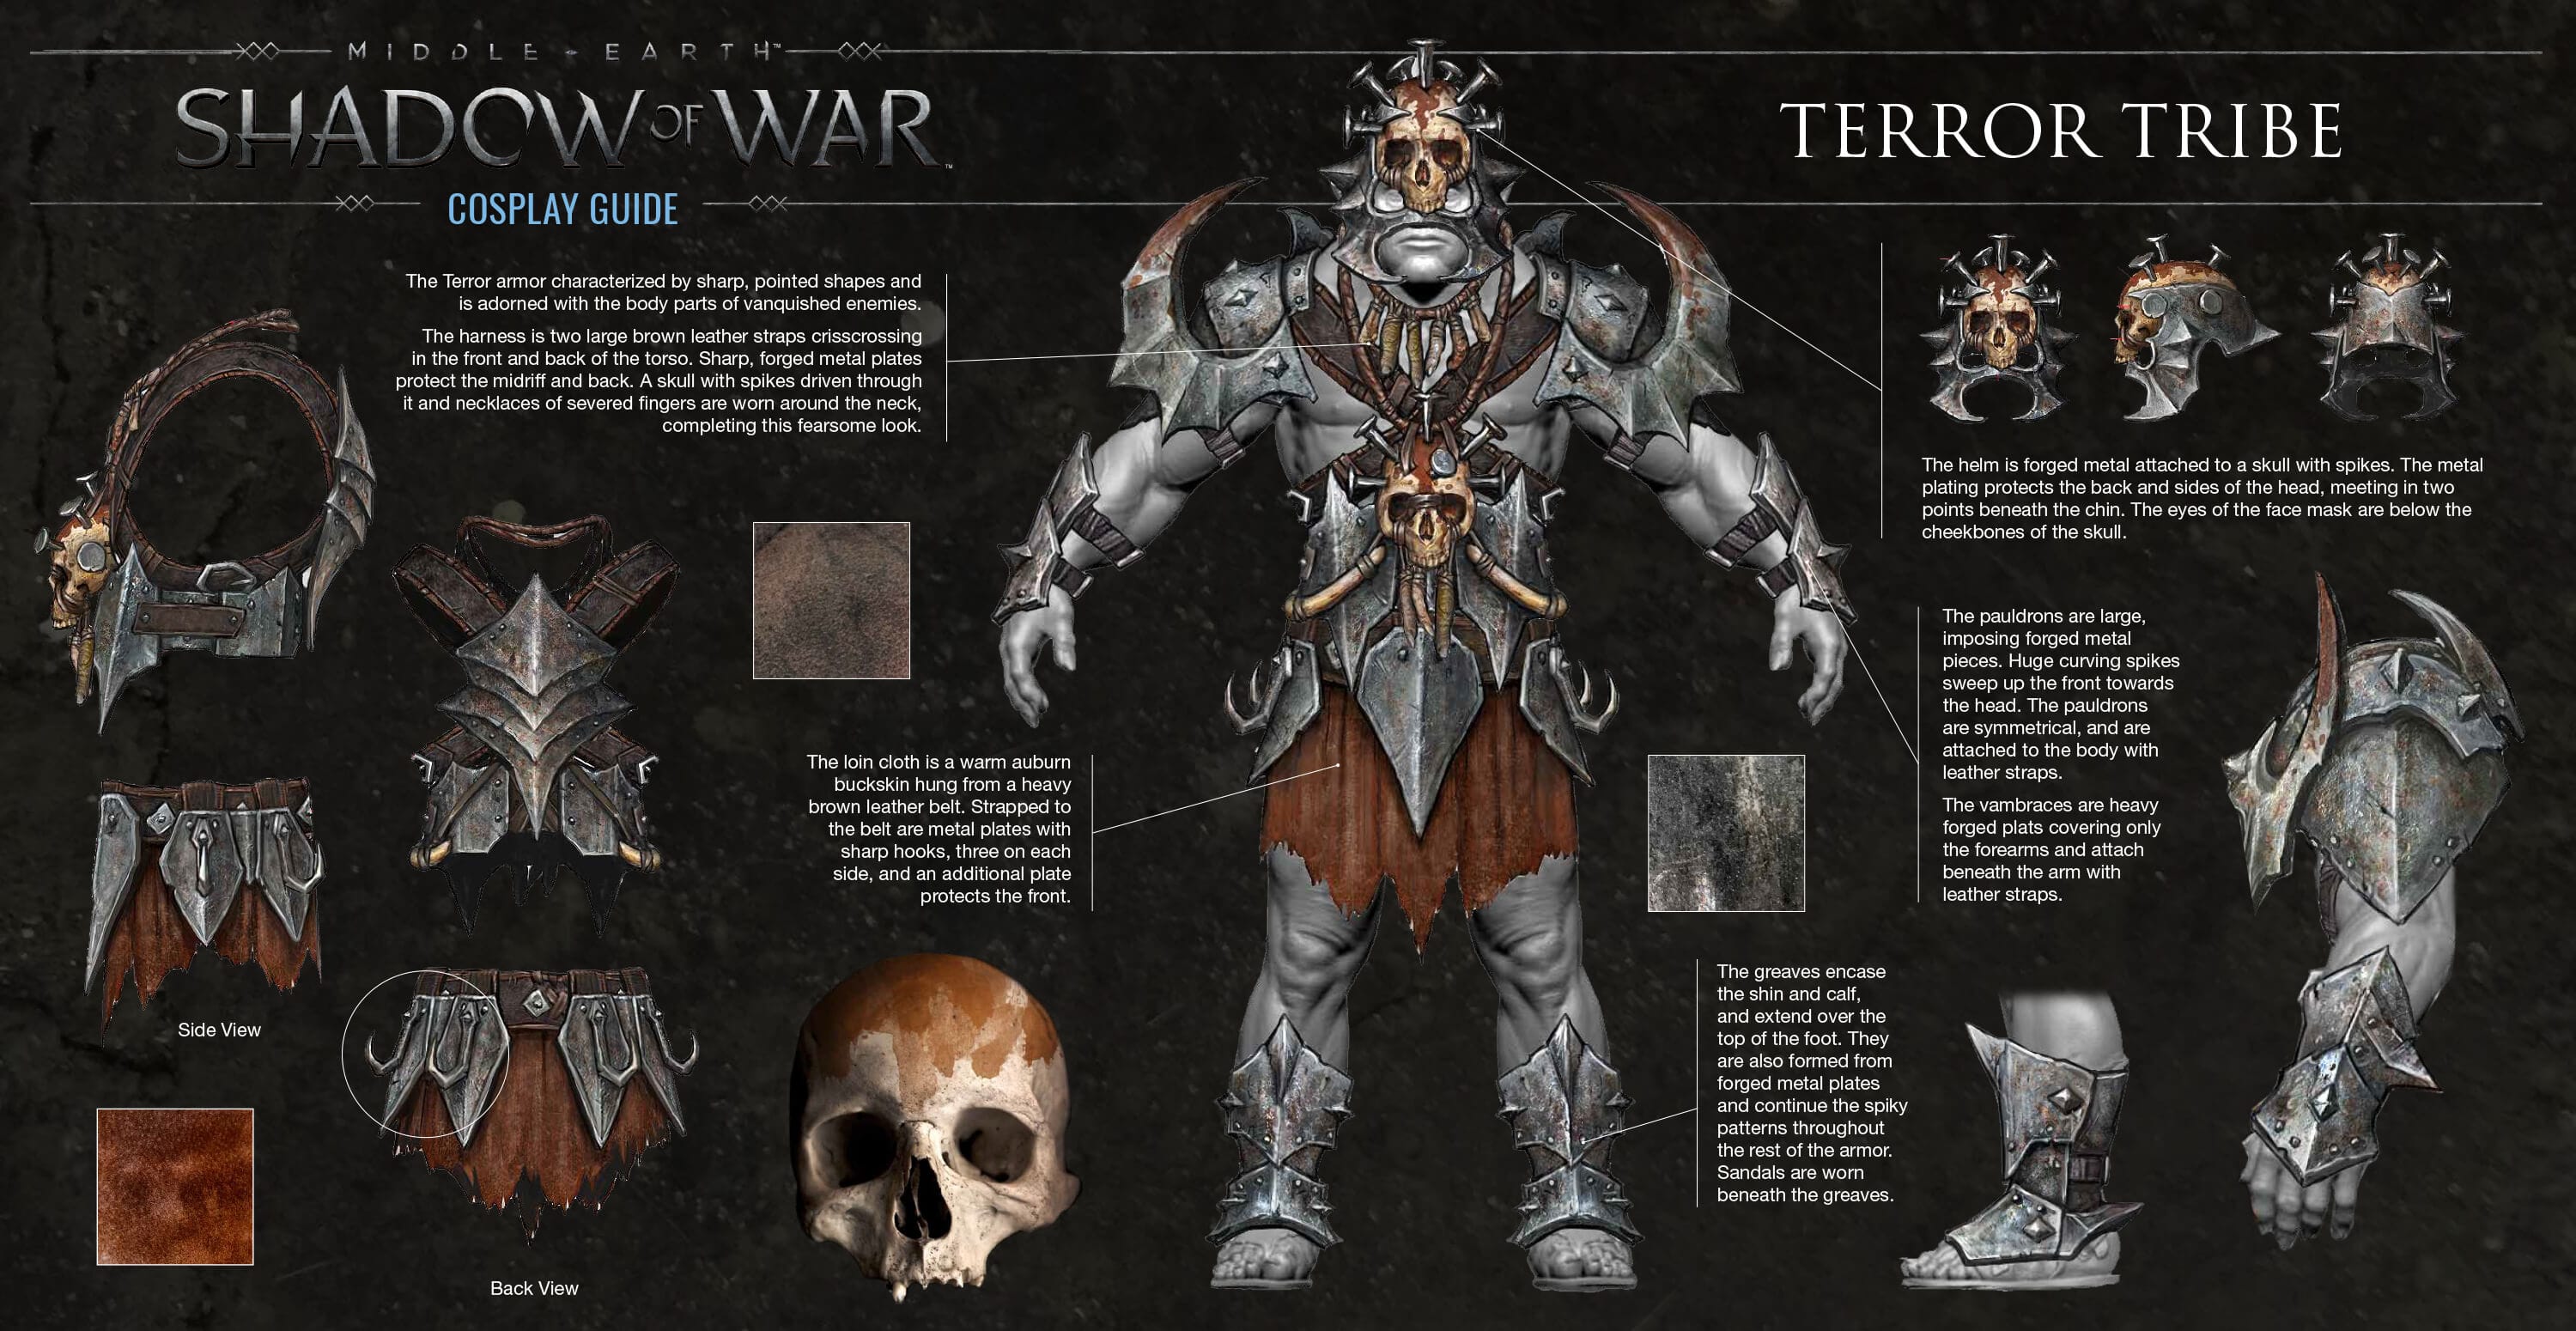
Members of the Terror Tribe worship Sauron and his terrifying visage, and prefer the value of shock tactics and unflinching violence to make their foes cower in fear.
When an Overlord of the Terror Tribe takes over a fortress, the area - as well as the region around the fort, will be transformed. The skies will be tinged in a blood red sunset as the bodies of men and orcs alike will be gruesomely displayed from the battlements.
Members of the Terror Tribe enjoy a special move called Terror Chains. The Terror Tribe member will prepare two wicked curved blades on the end of chains and whip them around in all directions to catch you off guard.
"We are the ones who break the enemies of Sauron! We are the ones who make them shriek and wail and beg! We are the ones who teach you that until this day, you did not know pain!"
~ Ishghra The Devoted

Image of a Warmonger Tribe Citadel
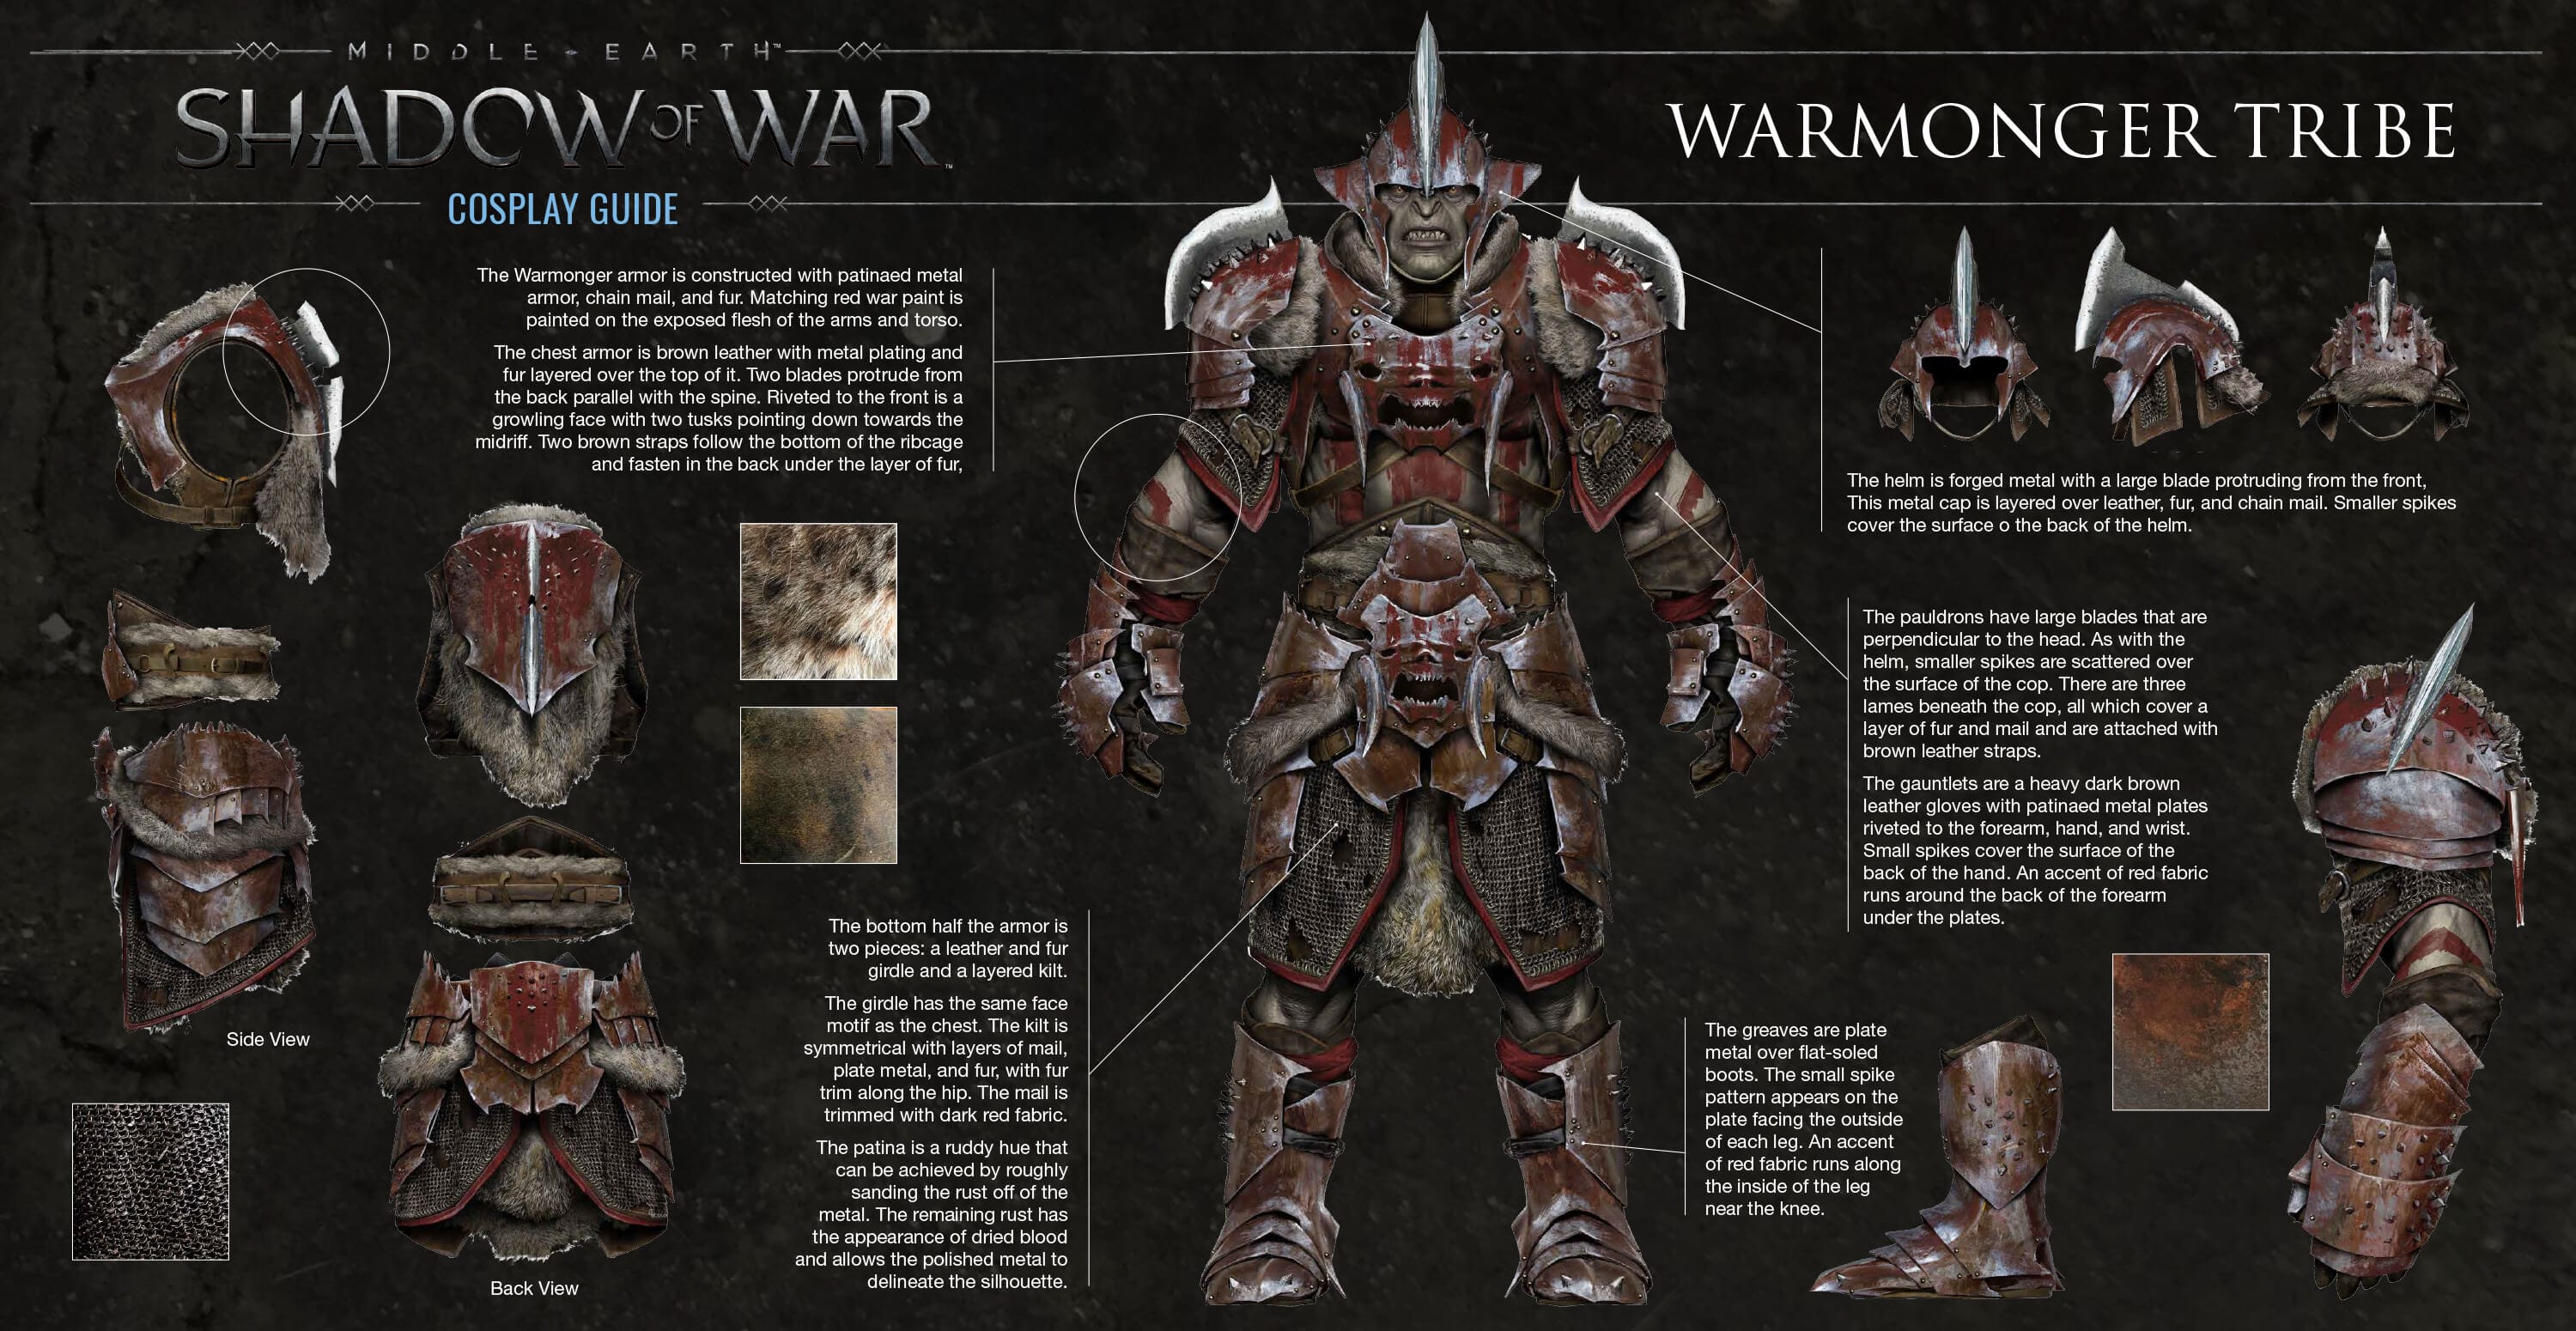
The Warmonger Tribe is one of the many Tribes in Middle-Earth: Shadow of War. Members of the Warmonger Tribe are militant and fierce, and endlessly train for the days when the world of men will end, and their forces will darin out of Mordor to consume the lands in all directions. They can be found constantly training their troops for battle at all hours.
When an Overlord of the Warmonger Tribe takes over a fortress, the area - as well as the region around the fort, will be transformed. Blades and steel will cover the forts, and weapons will be found in abundance for all to arm themselves with.
Members of the Warmonger Tribe enjoy a special move called Warmonger Clash. The Warmonger Tribe member will prepare to charge their opponent and lock blades, and if you do not break the hold quickly enough, you will be overpowered.
"In the Dark Lord's name, we master war! We seek it, we relish it! We will honor Sauron's name with every riven shield and severed head!"
~ Goroth the Betrayer
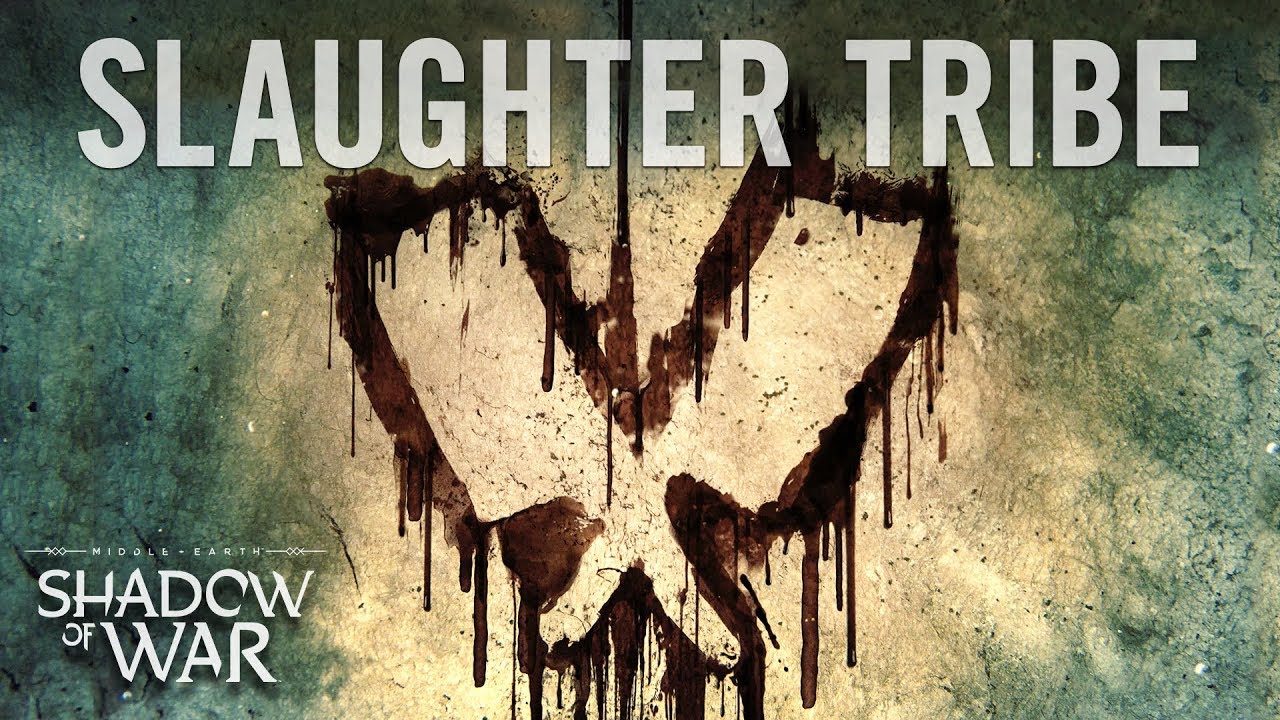
Image of a Slaughter Tribe Citadel
The Slaughter Tribe is one of many Tribes in Middle Earth: Shadow of War. Members of the Slaughter Tribe are bloodthirsty and ecstatic, and are obsessed with viscera, blood and guts. They can be found in forts draped with skins of their victims to remind them of the thrill of battle and the pleasure of the feast that follows.
When an Overlord of the Slaughter Tribe takes over a fortress, the area - as well as the region around the fort, will be transformed. Rags and carcasses will cover the forts, guts and severed heads will be found in abundance to help remind all orcs of their glorious battles. There is also a meat grinder in your fortress when you set a Slaughter Tribe as your Overlord, you can throw orcs in if you're feeling angry! :D
Members of the Slaughter Tribe enjoy a special move called Rapid Fire, where they throw a barrage of cleavers at their opponents. The Slaughter Tribe member will also throw two knives as boomerangs, collecting them after they've sliced through the opposing orcs body. Either of these attacks can be deadly. If the Slaughter Tribe member manages to use these abilities multiple times, you can expect whoever is opposing him to be as good as dead.
[No Visual Representation of a Slaughter Tribe Member just yet]
"Hooks and racks! Blood gutters and grates! Cleavers' blades and saws' teeth! Picture them in your mind, maggots, for they'll be the final resting place for your remains!"
~ Gubu All-Eater
Image of an Outlaw Tribe Citadel
The Outlaw Tribe is one of many Tribes in Middle Earth: Shadow of War. Members of the Outlaw Tribe are rebllious and have a deep contempt for all of those who would rule them. They can be found in their forts filled with banners that represent their insignia -- The bloody fist -- They are proud of their symbol and of themselves and feel they are the superior orc race in all of Mordor.
When an Overlord of the Outlaw Tribe takes over a fortress, the area - as well as the region around the fort will be transformed. Their insignia will cover seemingly every inch of the fortress to remind them of the real purpose they serve.
Members of the Outlaw Tribe enjoy a special move where they curl a weighted chain to subdue their opposing tribute. Although easily stopped, if they receive the opportunity to get their opponents into a lock, they are able to deal immense damage and heavily lower the health of opposing enemies.
[No Visual Representation of the Outlaw Tribe just yet]
"Too long have the warmongering kingdoms of Men threatened the Orc-folk. To them, we are mindless hordes, low vermins, and they thirst for our blood, our lands. But a reckoning is coming brothers, for we rise."
~ Ratak The Proud
Nemesis Fortresses & Strategies - Part I
There are many Regions in the game are now guarded with major Fortresses and outposts that protect the region and held by the strongest of Orc's forces.
Each Fortress you lay siege on or defend will be different, and the Fortress Overlord who rules over it will have changed it to their Nemesis System traits, as will the Warchiefs that help defend it. The look and feel of the fortress will be altered depending on what Tribe the Overlord is a part of. Every one of the Warchiefs will also bring another addition of defense to the table, as well as their bodyguards.
- Assault Leader 1: Sappers, Mounted Cavalry, Olog-Hai
- Assault Leader 2: Defender Hosts, Hunter Hosts, Savage Hosts
- Assault Leader 3: Fiery Siege Beasts, Poisonous Siege Beasts, Cursed Siege Beasts
- Assault Leader 4: War Graugs, Drake, Spiders
- Assault Leader 5: Farsight Archers, Fire Archers, Mounted Archers
- Assault Leader 6: Inspiring Banners, Increased Capture Rate
- Overlord: Stone Walls, Reinforced Stone Walls, or Metal Walls
- Warchief 1: Iron Gates, Poison Spouts, or Fire Spouts
- Warchief 2: Savage Host, Defender Host, or Hunter Host
- Warchief 3: Fiery Siege Beasts, Poisonous Siege Beasts, or Cursed Siege Beasts
- Warchief 4: War Caragor, Caged Hellfire Drakes, or War Graug
- Warchief 5: Spiked Walls, Fire Archers, or Farsight Archers
- Warchief 6: Fire Mines, or Poison Mines
One of the important things to think about is that you have several options when choosing how you want to take control of the fortress, either by launching a full-scale invasion, Luring out the warchiefs and picking them out one by one through the warchief missions on the map, or through infiltrating with spies that way you have help from within, plus the additonal reinforcements of your assaulting army.
In order to do this, you need to have several dominated/branded captains in your army and command them (3) and then hover your mouse over the Warchief and send them to infiltrate. He will have to proof his worth to be a bodyguard in a random Fight Pit challenge, and if he survives the challenge, he will become the bodyguard of the warchief you want to spy on/infiltrate. This gives and edge to the battle to come. Or you can confront the warchief himself in the field like in the above topic of dueling them and have help taking him down in a Betrayal Mission. Make sure to kill all his other unbranded bodyguards to unlock the betrayal misson.
If fighting a fortress that has many Warchiefs (Up to 7 Max), you will have to take more Control Point (There is up to 4 Control Points in the Standard Areas and up to 2 in the inner courtyard). But be aware that the Inner Walls around the Courtyard does have the same defenses on the wall as the outer walls had. Such would be Siege Beasts.
Once you have captured all Control Points, the remaining objective of the battle is to fight and kill/brand/shame the Overlord. If you still have enemy warchiefs, they must be defeated first before the way to the Overlord is provided.
When all defenses, warchiefs, and control points are down the remaining enemy forces will surrender which leaves just the Overlord to deal with.
Note that when in Assaulting the Fortress Mode or Defending the Fortress Mode, you will see on occasion some of your Assault Leaders and their Bodyguards with a Red Circle slowly depleting overtime. This means they are bleeding and need your help. Helping them requires that you head over to them and Hold E to revive them back to full hp. However you will have to be careful as if there are hordes of enemies around, you will have to deal with them very quickly or just try to take the hits until you get him back up. Sometimes you will have many Assault Leaders & Captains who need help getting revived. This will require some quick decisions that need to be made, check quickly which of the timers have the shortest time and go help them. Use your focus & rooftop to run quickly as standard running will never get you there on time.
If the Overlord wins and successfully kills you, your siege will have failed and therefore you will have to start it again. However, if you start the siege immediately right after you load back up, the assault will start from the fight with the overlord. So it will give you time to try again and this time be victorious. If playing on Nemesis Difficulty, the surviving bodyguards will take over the dead Warchief's positons and become the new Warchiefs to defend the fortress. But on Normal or lower difficulty, you'll be able to immediately challenge the Overlord like previously stated.
Nemesis Fortresses & Strategies - Part II
While it auto assigns the new Warchiefs, you can go to the Army Menu and change out the Warchiefs that defend the Fortress. You may also see that when slotting the warchiefs that some might have little missions that prevent commanding them. However you can bypass that by going to the Siege Upgrades menu and clicking now on the Right Side and picking them from there, this will automatically cancel the mission their on and place them as an active warchief.
You will also want to assign Bodyguards to each warchief. There are several strategies that can be performed and made use of when doing so. If you want to make it where frontal assaults are impossible to get through, you can assign 3-4 Bodyguards to the Front two warchiefs. There can be a design flaw in this however if the enemy breaks through and gets into your fortress from the backside, which can cause a very big imbalance, provided the enemy warchief brings friends along. If you want to balance it out, two per every warchief. It is best to at least have up to 12-14 Branded Captains guardings warchiefs and leave the remaining for randoms to appear if incase wanting to get better captains in your army and getting rid of old ones.
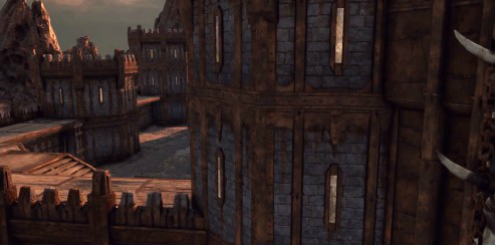
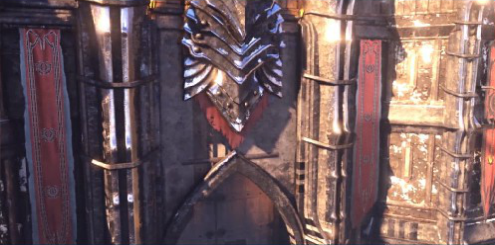
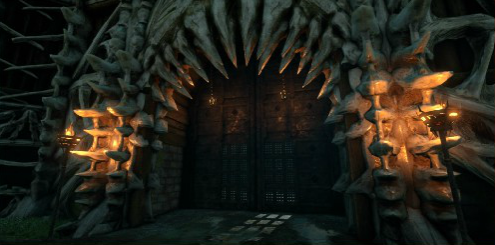
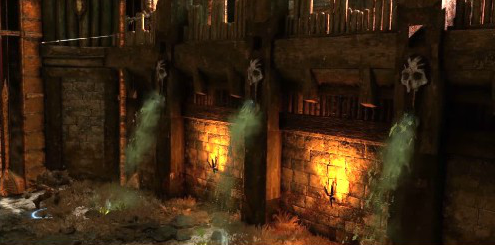
When in the Army Screen, Click the prompt for Siege Upgrades to manage your Fortress Defenses. Much like attacking a Fortress, You can assign reinforcements to your warchief's as listed in the beginning of this section of the guide.
Assault Reinforcement Upgrades - Part I
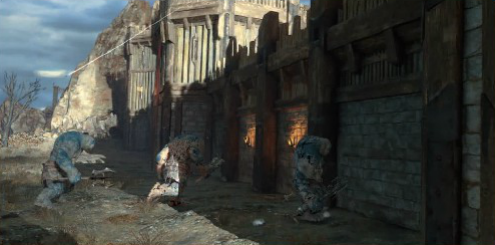
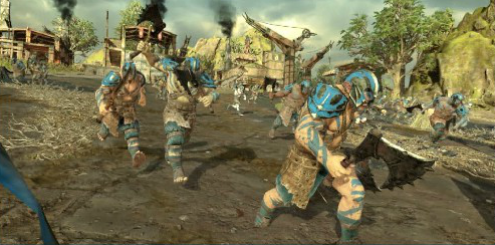
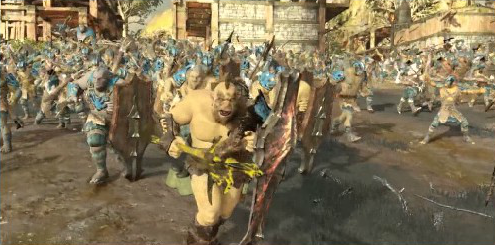
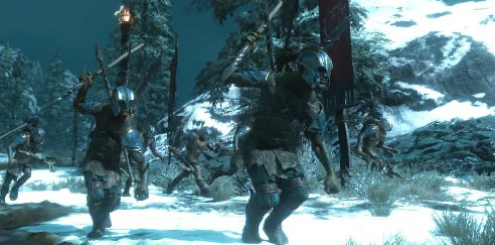
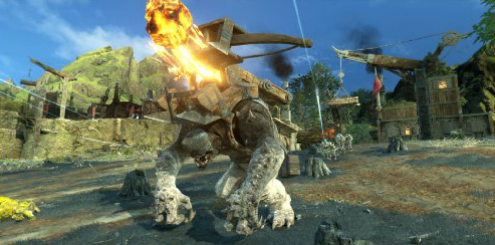
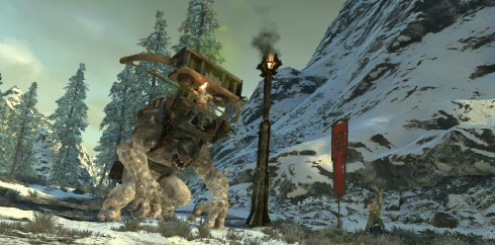
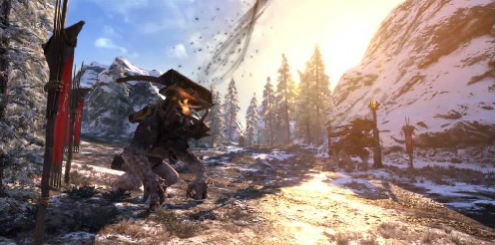
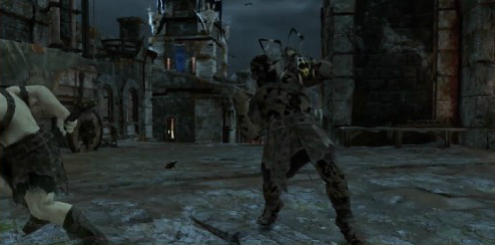
Here are some strategies for the use of Reinforcements when Assaulting Fortresses.












Assault Reinforcement Upgrades - Part II



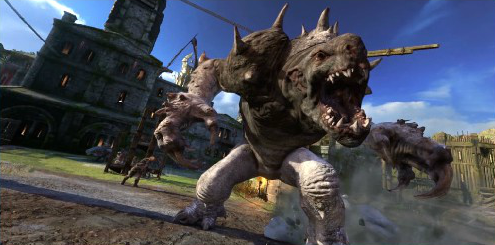

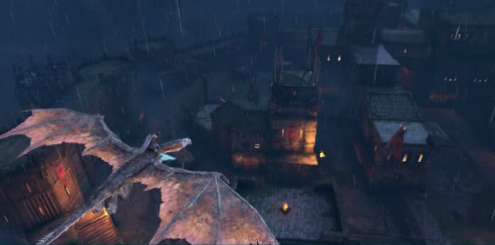


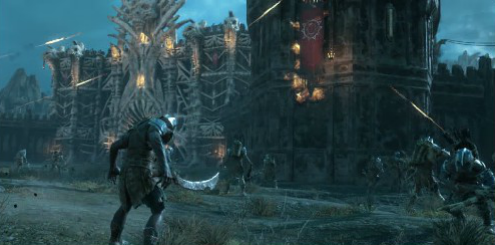

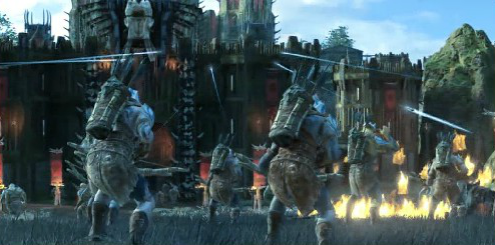

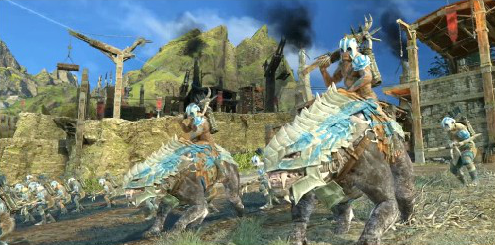


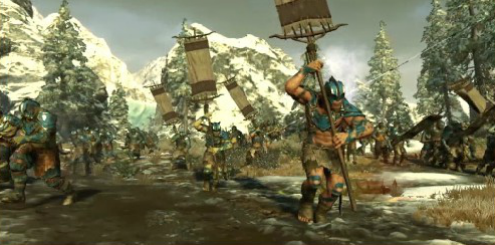

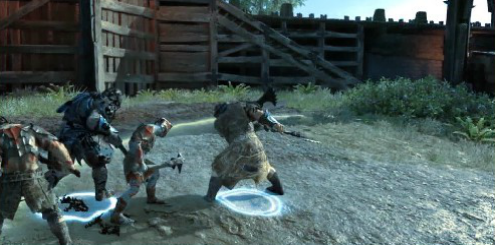
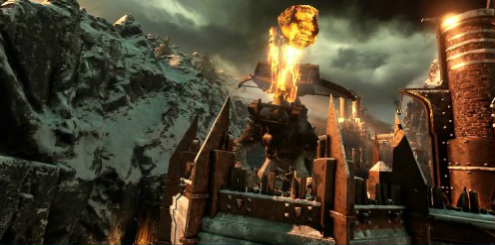
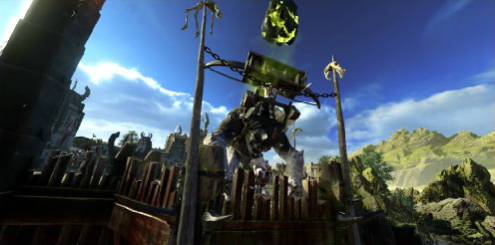
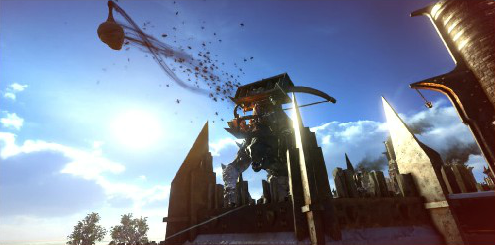
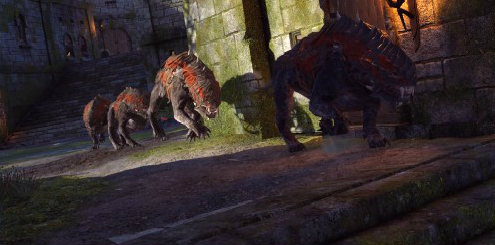
Defence Reinforcement Upgrades - Part I
Here are some strategies for the use of Reinforcements when Defending your Fortresses.


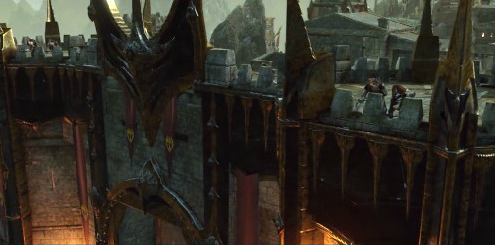






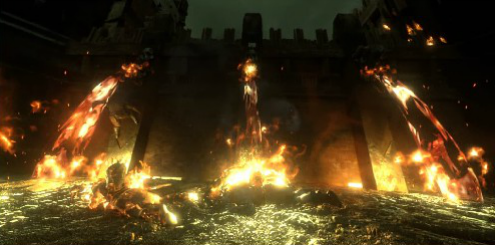

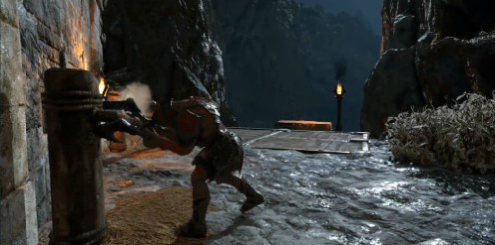
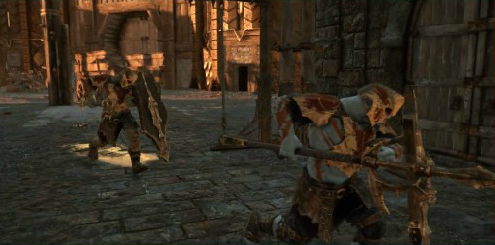
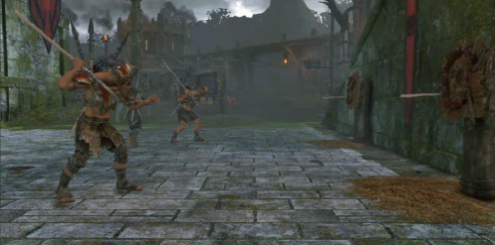
Defence Reinforcement Upgrades - Part II




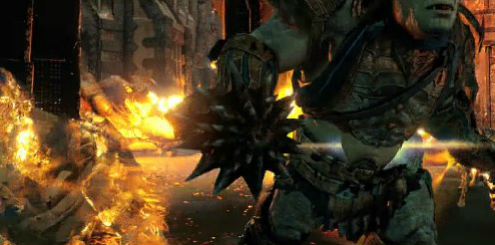


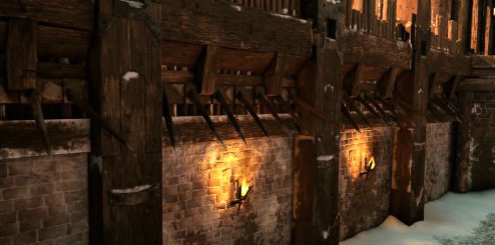
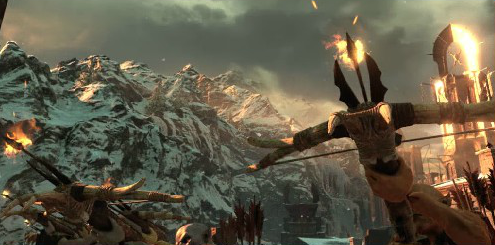
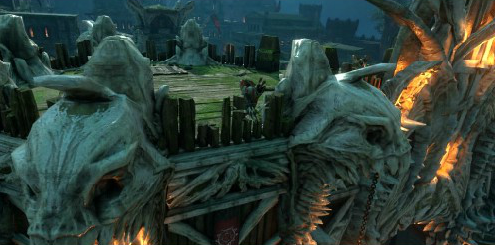
Defence Reinforcement Upgrades - Part III



How the System Works with Strengths and Weaknesses
In Shadow of War, you will find that many of the Overlords, Warchiefs, Captains, and leaders of The Lord of Mordor's Forces come with randomly given Strengths and Weaknesses. This will also apply to any that you brand, and promote to lead your orc army.
Reason is that these Captains and Warchiefs are procedurally generated, You will need to gather intel from Intel Grunts to find out new info on your unindentified captains, you can find them with a Green Icon randomly placed on your mini map. Finding these captains on the in-field will also reveal their strengths, but it does not reveal their weaknesses.
Even after you reveal what a captain has to offer, these Immunities or Weaknesses can still change over the course of your gameplay. As these Orcs and Ologs-Hai fight, defeat others captains, cheat death, get shamed, etc...they may gain or lose perks abd/or even become Epic or Legendary which is a good thing.
The Positive Perks and Negative Perks are as follows:
- Immunities
- Hates
- Traits
- Bonueses
- Mortal Weaknesses
- Vulnerabilities
- Dazed By
- Hints
Immunites
These are the positive perks that captains get that make them completely immune to certain attacks - whether they be from the player or from the environmental hazards or other orc captains.
If you want to work around an Orc Captain's immunties, try attacking him in a way that triggers any fears/dazes he has because through that it will temporarily disable his immunities while he is stunned or terrified.
- Fire-Proof (Immune to fire attacks)
- Frost-Proof (Immune to frost attacks)
- Poison-Proof (Immune to poison attacks)
- Arrow-Proof (Immune to ranged attacks)
- Beast-Proof (Immune to Beast attacks)
- Immune to Curse (Immune to curse damage)
- Immune to Execution (Immune to combat executions)
- Vigilant against Stealth (Immune to stealth attacks, also includes wraith stealth skill)
Hates
Hates are specific trait perks that, while they do not grant immunity but will send the Orc or Olog into a rage/enrage mode - increasing their damage, their attack speed, and making them harder to kill for a certain period of time. Enrage mode also removes for the duration of the rage time, the Broken tag even if they have low health, so if you plan on branding the captain, kite until the tag turns green again. Most all attacks in rage mode will become unblockable.
The one annoying thing is that while under the effects of rage, the captain can no longer distinguish friend from foe and will lash out at anything nearby, if he is a branded captain, he could very well attack his own allied captains aswell and kill/or use fatalities on them. This can be useful in large groups of enemy captains but definitely can be a potiental hazard if your dominated orcs starts attacking your own during a fortress assault.
- Bestial Frenzy (Becomes enraged after killing a beast)
- Blood Brother (Will ambush and become enraged when his Blood Brother is attacked or killed)
- Bloodlust (Becomes enraged when other Orcs nearby become enraged)
- Brutal Frenzy (Becomes enraged at the sight of brutal attacks or shaming)
- Devoted Master (Becomes enraged when target's pet or gang is killed)
- Enraged by Acrobatics
- Enraged by Betrayal (Becomes enraged when allies fight each other)
- Enraged by Boss Defeat (Becomes enraged when his boss is killed)
- Enraged by Burning
- Enraged by Caragors (Becomes enraged at the sight of a Caragor)
- Enraged by Cowards (Becomes enraged when high-ranking orcs flee or become dazed)
- Enraged by Curse (Becomes enraged when hit by a cursed weapon)
- Enraged by Drakes (Becomes enraged at the sight of a Drake)
- Enraged by Everything (Can become enraged at any moment)
- Enraged by Frost
- Enraged by Graugs (Becomes enraged at the sight of a Graug)
- Enraged by Ghuls
- Enraged by Injury (Becomes enraged when taking damage)
- Enraged by Morgai Flies (Becomes enraged when swarmed by Morgai Flies)
- Enraged by Mortal Wounds (Becomes enraged when at low health)
- Enraged by Pinning (Becomes enraged when you pin his foot to the ground)
- Enraged by Poison (Becomes enraged when hit by a poison weapon)
- Enraged by Rival (Enraged by the sight of a specific rival Orc)
- Enraged by Spiders (Becomes enraged at the sight of Spiders)
- Enraged by Stealth
- Enraged by Undead
- Enraged by Weakness (Becomes enraged when higher-ranking targets become dazed)
- Haunted (Enraged by Shadow Strike)
- Killing Frenzy (Becomes enraged after killing a Captain)
- Last Stand (Becomes enraged when facing the Bright Lord alone)
- Possessive Master (Becomes enraged if his Bodyguards are attacked.)
- Power Crazed (Becomes enraged upon encountering a more powerful target)
- Vengeful (Becomes enraged when witnessing the death of an allied captain)
- Vengeful Master (Becomes enraged when a Bodyguard is killed)
Traits - Part I
Traits are additional attacks perks and skills that each Orc Captain brings to a fight, depending upon what their base Class and the Advanced Classes is that they belong to. They are also influenced by Tribes they are apart of to give them more additional skill perks/traits. Among the types of Advanced Classes there are in the game are:
 Assassin Trait Perks
- Agile - Dodges, rolls, and vaults over opponents to avoid taking damage.
- No Chance - Does not allow a Last Chance Promot. Instant Death is for sure (Unless another captain saves you just in time, which can happen.)
- Master of the Hunt - will track you relentlessly and call reinforcements to join his hunt.
- Throwing Knives - Can hurl throwing knives from a distance.
- Epic Throwing Knives (Epic Trait) - Throws an arc of multiple knives at all foes in front of him.
 Beastmaster Trait Perks
- Bestial Roar - Calls Caragors to battle, heals allied beasts and send them at his target.
- Caragor Pack - Arrives to fights with a pack of Caragors.
- Drake Lure - Can call a Drake into battle.
- Den Mother - Calls and heals Ghuls into battle.
- Spider Summoner - Is able to summon Spiders on command to poison targets.
- Dire Mount (Epic Trait) - Starts the battle mounted on a Dire Caragor, and can ride others.
- Epic Graug Call (Epic Trait) - Summons a graug to fight alongside him.
 Berserker Trait Perks
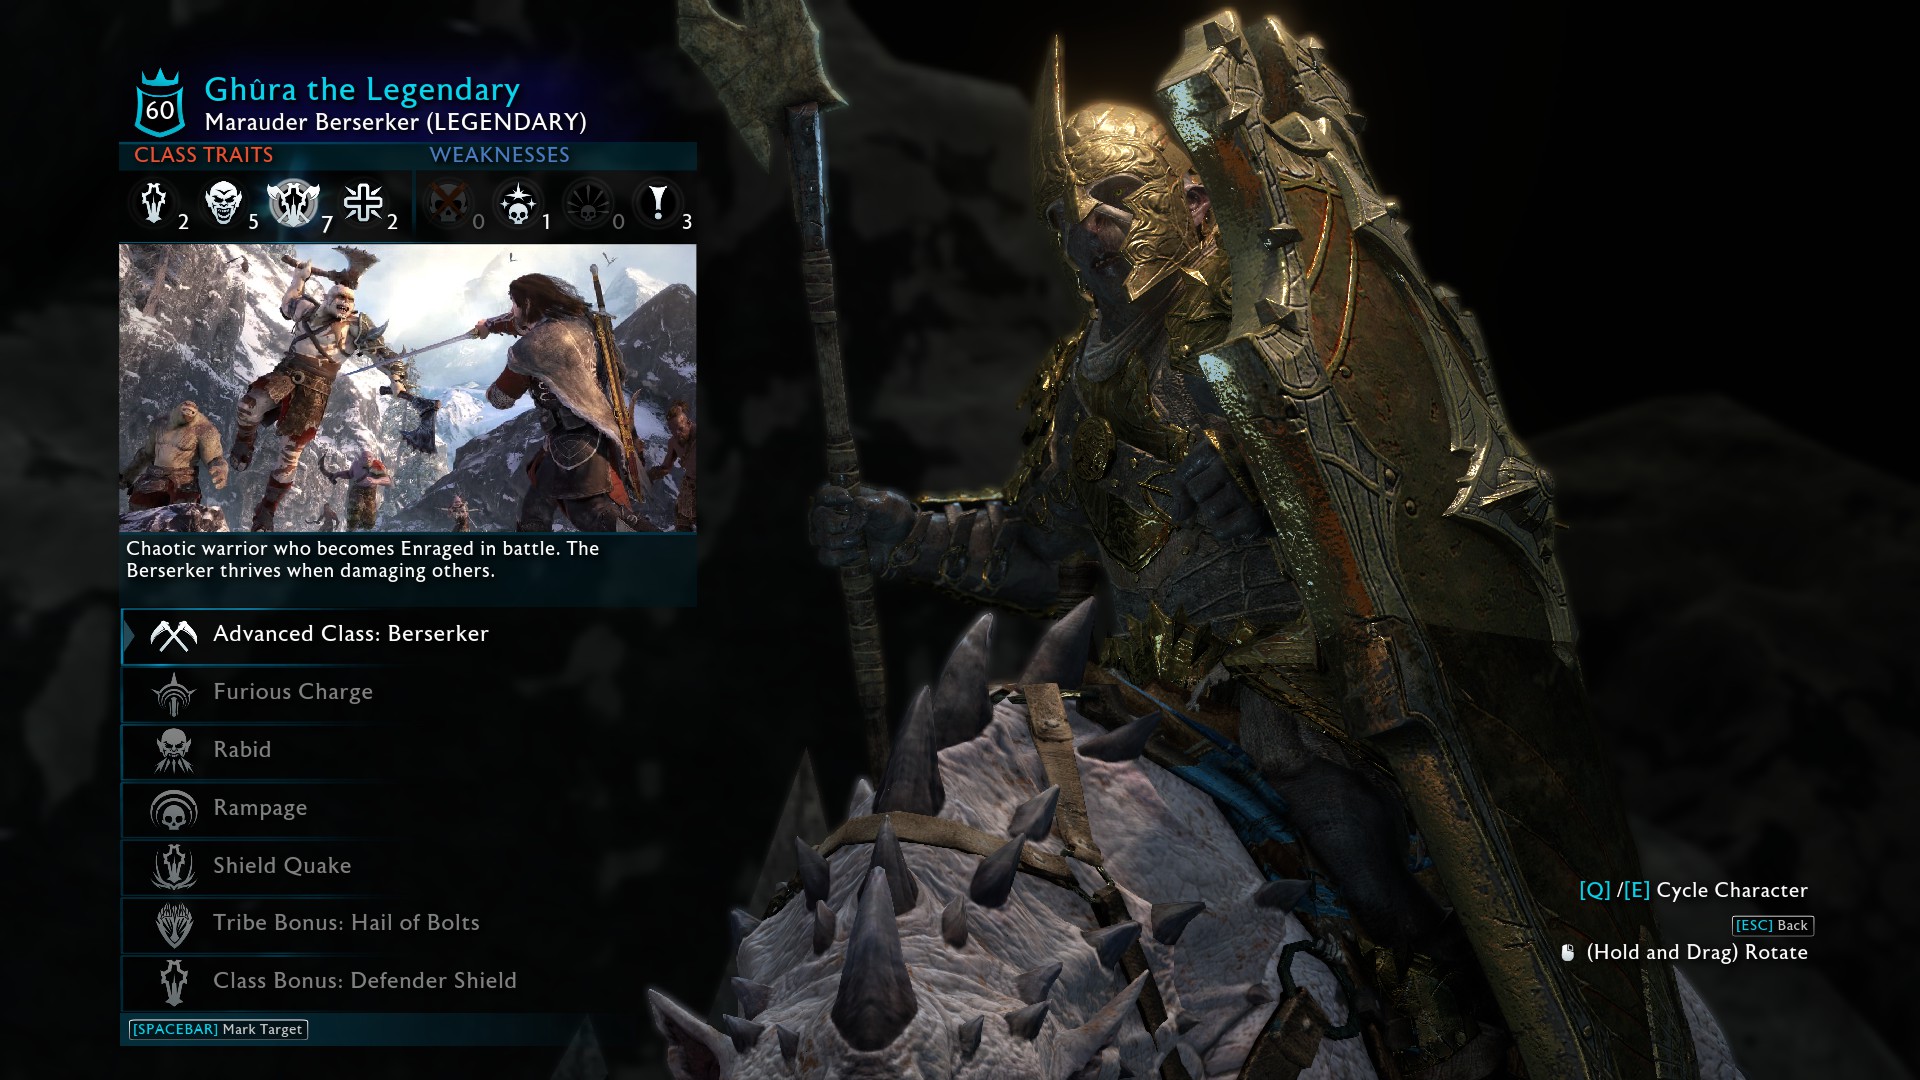
- Furious Charge - Charges after opponents, knocking them to the ground and beating them.
- Rabid - Utters terrifying battle cries that disorient and intimidate enemies.
- Rampage - Recklessly charges into battle, attacking friend and foe alike.
- Shield Slam (Defender Only) - Can strike his shield into the ground, stunning nearby enemies.
- Flying Axes (Savage Only) - Throws his weapons which will return back to him, dealing high damage to everyone in their path.
- Epic Rage (Epic Trait) - Stays enraged for long periods of time.
 Commander Trait Perks
- War Banners - Orders followers to plant war banners that strengthen and frenzy allies, but can be destroyed.
- Call Reinforcements - Uses a horn to continually call more reinforcements to the area.
- Dying Command - Upon death, his followers will be sent into an enraged state.
- Fanatical Gang (Epic Trait) - Leads a gang that becomes enraged if he is attacked.
 Destroyer Trait Perks
- Final Blast - Upon death, triggers an explosion that stuns enemies.
- Elemental Blast - Upon death, triggers an explosion that can deal either Fire, Frost, Poison, or Curse damage.
- Sappers - Has a gang of explosive enemies who detonate in a suicidal blast.
- Mines and Bombs - Can deploy mines or throw bombs that stuns enemies.
- Elemental Mines and Bombs - Can deploy mines or throw bombs that can deal Fire, Frost, Poison, or Curse damage.
- Epic Bombs (Epic Trait) - Throws multiple bombs rapidly.
- Epic Elemental Bombs (Epic Trait) - Throws multiple bombs rapidly that can be either Fire, Frost, Poison, or Curse infused
 Marksman Trait Perks
- Power Shot - Fires a powerful shot that stuns his target.
- Explosive Shot - Fires ranged projectiles that explode on impact.
- Quick Shot - Can shoot successive bolts very quickly.
- Epic Quick Shot (Epic Trait) - Can shoot multiple targets at once.
 Tank Trait Perks
- Determination - Heals himself during battle through sheer willpower alone, but can be interrupted.
- Wave of Might - Unleashes a wave of strength so powerful that it pushes back and disorients nearby enemies.
- Epic Determination (Epic Trait) - Heals himself completely during a battle through exceptional willpower, but can be interrupted.
Traits - Part II
 Tracker Trait Perks
- Master of the Hunt - Will track you relentlessly, and sound a horn for nearby Orcs to join his hunt.
- Trapper - Can set traps to pin an enemy place, making them vulnerable to ranged attacks until set free.
- Harpoon (Olog Only) - Mid-range weapon that locks onto enemies, and will pull you in if struck.
- Epic Trapper (Epic Trait) - Throws multiple traps to ensnare enemies, making them vulnerable to ranged weapons until breaking free.

- Smoke Bomb - Deploys Smoke Bombs to elude enemies
- Decoys - Can appear with an entoruage who look exactly like him, and it will make tracking the real target harder.
- Epic Smoke Bomb (Epic Trait) - Deploys more powerful smoke bombs that also stun nearby enemies while he eludes them.
- Elite Decoys (Epic Trait) - Can appear with a group of elite Grunts that look exactly like him, and will make tracking the real target harder.
Trickster Trait Perks
 Slayer Trait Perks
- Triple Strike - Attacks with a deadly three-hit combination. Use caution when fighting up close.
- Quick Learner - Adapts to your tactics quickly to render them useless.
- Slayer Counter (Epic Trait) - Responds to Executions from the front with an unblockable counterattack. Execute from behind instead.
Bonuses
- Beast Slayer - Can execute enemy beasts
- Caragor Rider - Able to mount and ride nearby Caragor, and can start a battle already mounted.
- Cursed Weapon - Wields a blighted weapon that can curse enemies.
- Flame Weapon - Wields a fiery weapon that can set others on fire.
- Flame Thrower (Olog Only) - Wields a large cannon that acts like a flamethrower, spreading fire in a wide area in front of him.
- Giant Slayer - Deals increased damage to Ologs and Graugs.
- Gang of Archers - Leads a group of archers.
- Gang of Defenders - Leads a group of defenders.
- Gang of Hunters - Leads a group of hunters.
- Gang of Ologs - Leads a gang of Ologs.
- Gang of Savages - Leads a gang of Savages.
- Gang of Warriors - Leads a group of warriors.
- Iron Will - Cannot be dominated (this perk can be lost if shamed but has a small chance to remove. Shaming to remove this bonus does downlevel the Captain thus giving him a chance to acquire a weakness that might comprise how good he is initially. You might be better of killing him after 1 Shame. Additional is risky and might fail).
- Loyal Bodyguard - Always found at his Master's side.
- Necromancer (Mystic Only) - Can resurrect followers from the dead.
- Poison Weapon - Wields a noxious weapon capable of Poisoning his enemies.
- Unbreakable - Can never be reduced to a broken state, and therefore cannot be dominated.
Epic Traits are given to only the most legendary of Captains, Warchiefs and Overlords. These traits are often extremely deadly, and offer little countermeasures. Epic Orcs have one of these Traits, while Legendary Orcs have two.
- Epic Caragor Rider - Able to ride any nearby caragors. Often starts battle already mounted on a Dire Caragor
- Epic Cursed Bombs - Throws multiple cursed bombs rapidly
- Epic Trait: Curse Master - Increases Curse damage dealt by himself and allies.
- Epic Trait: Curse Warder - Decreaese Curse damage dealt to himself and allies.
- Epic Trait: Fire Master - Increases Fire damage dealt by himself and allies.
- Epic Trait: Fire Warder - Decreases Fire damage dealt to himself and allies.
- Epic Trait: Fanatical Gang - Nearby followers become enraged if target is attacked.
- Epic Trait: Gang of Elite Archers - leads a group of highly skilled archers.
- Epic Trait: Gang of Elite Defenders - leads a group of highly skilled defenders.
- Epic Trait: Gang of Elite Hunters - leads a group of highly skilled hunters.
- Epic Trait: Gang of Elite Ologs - leads a group of highly skilled ologs.
- Epic Trait: Gang o Elite Savages - leads a group of highly skilled savages.
- Epic Trait: Gang of Elite Warriors - leads a group of highly skilled warriors.
- Epic Trait: Great Strength - Attacks deal immense damage.
- Epic Trait: Mighty Archers - Inspires allied Archers to deal extra damage and take less damage
- Epic Trait: Mighy Defenders - Inspires allied Defenders to deal extra damage and take less damage
- Epic Trait: Mighty Hunters - Inspires allied Hunters to deal extra damage and take less damage
- Epic Trait: Mighty Ologs - Inspires allied Ologs to deal extra damage and take less damage
- Epic Trait: Mighty Savages - Inspires allied Savages to deal extra damage and take less damage
- Epic Trait: Mighty Warriors - Inspried allied Warriors to deal extra damage and take less damage
- Epic Trait: Poison Master - Increases Poison damage dealt by himself and allies (increases the Damage of each tick by 20%)
- Epic Trait: Poison Warder - Decreases all Poison damage received on target and allies.
- Epic Trait: Thick Skinned - Has greatly increased health.
Mortal Weaknesses
- Craven - Flees in terror when faced with higher level enemies
- Deserter - Flees in terror when witnessing the death of an allied Captain.
- Extremely Soft Headed - can be killed instantly with a headshot.
- Hysterical Master - Flees in terror when one of his Bodyguards is killed.
- Intimidated - Flees in terror upon seeing his rival.
- Mortal Beast Fodder - Can be killed instantly by beast attacks.
- Mortally Flammable - Can be killed instantly using fire.
- Mortally Sickly - Can be killed instantly by poison attacks.
- Mortally Vulnerable to Executions - Can be killed instantly killed by execution attacks.
- Mortally Vulnerable to Stealth - can be killed instantly using Stealth Attacks
- Quivering Wreck - Flees in terror after seeing an enraged enemy
- Soft Skull - Takes extreme damage from headshots.
- Terrified of Balefire - Flees in terror when burned with balefire
- Terrified of Betrayal - Flees in terror when Allies betray him.
- Terrified of Boss Breaking - Flees in terror when his leader is broken.
- Terrified of Brutality - Flees in terror when another orc is brutalized or shamed.
- Terrified of Burning - Flees in terror when burned by fire or fire attacks
- Terrified of Caragors - Flees in terror when attacked by a Caragor
- Terrified of Curse - Flees in terror when attacked by a cursed weapon
- Terrified of Drakes - Flees in terror when attacked by a Drake
- Terrified of Executions - Flees in terror after being attacked by combat executions
- Terrified of Frost - Flees in terror after being frost attacked
- Terrified of Ghuls - Flees in terror when attacked by Ghûls
- Terrified of Graugs - Flees in terror when attacked by a Graug
- Terrified of Morgai Flies - Flees in terror when swarmed by Morgai flies
- Terrified of Poison - Flees in terror when being poison attacked
- Terrified of Pinning - Flees in terror after being pinned
- Terrified of Stealth - Flees in terror after being stealth attacked
- Terrified of Spiders - Flees in terror when near spiders
Vulnerabilities
- Vulnerable to Execution - Heavily damaged by executions
- Vulnerable to Stealth - Heavily damaged by stealth attacks
- Flammable - Heavily damaged by fire
- Sickly - Heavily damaged by poison
- Beast Fodder - Heavily damaged by beasts
- Soft Target - Heavily damaged by Ranged Attacks
- Clumsy - Can be grabbed or mounted without first being weakened
Dazed By
- Battle Weary - Becomes dazed after killing another Captain.
- Overwhelming Awe - Flees in terror at the sight of the Bright Lord
- Demoralized - Dazed when witnessing the death of allied captain
- Dazed by Stealth - Becomes dazed after stealth attacks
- Exhaustion - Becomes dazed when his rage wears off.
- Fear of Burning - Dazed when burned
- Fear of Brutality - Dazed by seeing a brutal attack or a shaming
- Fear of Caragors - Dazed when attacked by a Caragor
- Fear of Execution - Dazed when attacked by combat executions
- Fear of Graugs - Dazed when attacked by a Graug
- Fear of Ghuls - Dazed when attacked by Ghuls
- Fear of Morgai Flies - Dazed when swarmed by Morgai flies
- Fear of Pinning - Becomes temporarily dazed when immobilized by Freeze Pin
- Fear of Poison - Dazed when poisoned
- Fear of Spiders - Dazed when attacked by Spiders
- Shaken Master - Dazed when Bodyguards are killed.
- Soft-Headed - Becomes Dazed when shot in the head.
- Weak Master - Dazed when his pet or gang is killed.
- Quivering - Dazed by the sight of enraged enemies
- Infected with Fear - Dazed by the sight of captains or higher ranking orcs becoming dazed or fleeing
Hints
- Damaged by Ranged Attacks (and Shadow Strikes) - Can be injured by ranged attacks and Shadow Strike
- Damaged by Executions - Can be injured by executions
- Damaged by Explosions - Can be injured by explosions
- Damaged by Stealth Attacks - Can be injured by stealth attacks
- Damaged by Poison - Can be injured by poison
- Damaged by Fire - Can be injured by fire
- Damaged by Curse - Can be injured by curse
- Damaged by Beast Attacks - Can be injured by beast attacks
Shaming
There are some enemies that cannot be dominated to join your army and whether they are a higher level than Talion or have that annoying bonus, Iron Will, that prevents them from joining your army.
In these occurrances, you can choose to Shame an Orc instead of killing. Shaming involves terrorizing the helpless Orc, and will cause them to flee in terror, and lower their rank by five levels down a minimum of level 1. By unlocking the "Worse Than Death" upgrade (From completeing Bruz Questline) you can lower an Orc's level by up to 10 total levels.
Doing this will allow you to have a second chance to shame an Orc, although at a lower level. It also has a chance to get rid of the Iron Willed trait that some Orcs carry.
Note: There is although one debuffing effect by Shaming. Shaming if done to much or reducing the orc's rank more than enough, you can end up doing more damage then you want. You could end up giving the captain you are trying to get a bad trait from Mortal Weakness, Vulnerabilities, and Dazed By categories. So watch closed to that area when shaming them, do a before and after comparison to both Strengths and Weakness. If you see that the captain you want has lost some key elements and/or gained some very bad debuff traits, its better to kill them to open space for more captains.
Though it can be rare, there can be unexpected side effects to Shaming that will effect a shamed Orc in drastic ways.
Unashamed - Upon your next encounter, the Orc will adopt a new title, usually "The Unashamed", Giving himself white handprints and growing in level as opposed to lowering his level. This may also add or remove traits.
Deranged - Upon your next encounter, the Orc will become Crazed, and sometimes adopt a new title like "The Mindless" or "The Mad". This can either lower his level further, or raise it, and give the Orc a new bizzare personality, and add or lose certain traits.
Maniac - The captain in question will become deranged, but along with a new title and crazed personality, can also dramatically raise in level, often times becoming Epic or Legendary in the process and gaining several new and fearsome traits in the process.
Betrayal Causes
Almost nothing is as annoying in Shadow of War as Betrayal is when losing a Regular, Epic or even a Legendary Captain.
There is a hidden factor of the Nemesis System, there is a chance for Orc Captains & Warchiefs in your Army to betray you even though you have branded them. A Captain/Warchief's betrayal is not always an occurrance, but there are some events that can cause this to happen, though not always.
Orcs affected by Betrayal will always Iron Will perk, and cannot be re-Dominated although Shaming the Captain enough has a small chance to remove this perk on the next encounter with the Captain.
Dominated Follower Death - Upon the death of an allied follower; whether during a siege, Nemesis Mission, Fight Pits, or accident, there is a chance that the Orc in question may gain the perk of Cheating Death as well as Betrayal, and ambush you out in the region.
Humiliation - There is a hidden bonus some Orcs possess that if they send the player into a Last Chance attempt, they will forego the Last Chance and instead humilate you by not even bothering to strike the final blow, and leave. There is a chance that another allied Orc will see this, and show up soon after to Betray you, seeing the humilation as a sign of weakness.
Player Death - Each time the player dies, there is a small chance that one of the allied Captains in your army will become disillusioned with your leadership and betray you at the next opportunity.
Friendly Fire - Though rare, but however if directly given, there is a chance that if you repeatedly attack and hurt an allied Follower of yours, they will eventually become fed up with your antics and betray you on the spot.
Cheating Death
Killing Orcs isn't always the end of the orc himself. Certain Orcs have a hidden ability to Cheat Death, making their defeat only temporary.
Unlike Strengths and Weaknesses that are listed, Cheating Death is something that all Orcs have a chance to do. When defeating in combat, there are a number of ways an Orc can die listed below their name when they die.
However, as you see the body of the Orc on Army Screen, as long as the body does not disappear, that Orc or Olog has a chance to reappear and seek you out in combat again.
Often times, the enemy that Cheats Death will sport scars or disfigurements of your previous battle, and may even change the title and personality of that character to reflect that. Burned enemies may appear charred, cleaved enemies may come back stitched together, and poisoned Orcs may become covered in disease.
Enemies that Cheat Death can also become stronger for their survival, and can increase in level or gain or lose certain Strengths and Weaknesses - be sure to inspect them upon their return to see what has changed.
Authored
Authors of this guide and what they provided or written in order to complete this guide.
- Provided all screenshots of the guide.
- Sections Written: Nemesis Fortresses & Strategies Parts I & II, Assault Reinforcments I & II, Defence Reinforcements I, II & III, How the System Works, Immunities, Hates, Traits I & II, Bonuses, Mortal Weaknesses, Vulnerabilities, Dazed By, Hints, Shaming, Betrayal Causes, and Cheating Death.
- Provided Icons & Visual Representaions for the guide.
- Sections Written: Basics, Base Classes, Tribes Classification and Descriptions Parts I & II.
Comment by Genesis: "Thanks to Eriss for their support when creating this Guide. Very helpful with ideas, suggestion, additions, edits and more. The guide is what it is today with their help and will be helpful to many others as we hope it will be."
Comment by Eriss: "Had quite a lot of fun with this guide. Glad to have been working with Genesis. This guide sets a high bar for guides coming in the future. I'd also like to thank my buds up at IGN for all the help and support."
- The Ultimate Guide To Creating Custom Orcs★ 5 (852)83k views2k ♥10 minUpdated Aug 11, 2018
- Epic & Legendary Gear Gallery (Builds coming soon!)★ 5 (721)47k views1.5k ♥32 minUpdated Oct 12, 2018
- All Ithildin Door Poems - Shadow of War★ 5 (749)41k views1.7k ♥1 minUpdated Nov 11, 2017
- How to train a captain and other lesser known facts about captains (necromancers, combo titles etc.)★ 5 (385)38k views967 ♥7 minUpdated Sep 14, 2021
- How to Disable Orc Intro Speeches★ 5 (394)37k views436 ♥1 minUpdated Apr 13, 2018
- Middle-earth™: Shadow of War™ - Гайд по достижениям★ 5 (1.4k)34k views2.5k ♥11 minRussianUpdated Mar 17, 2022



- Upgrading to PremiumTeam Fortress 2★ 5 (20k)1441k views11k ♥6 minUpdated May 11, 2022
- No More Room in Hell Official ManualNo More Room in Hell★ 5 (2.8k)569k views2.1k ♥29 minUpdated Apr 22, 2019
- NMRiH Community Hosting GuidesNo More Room in Hell★ 5 (526)351k views653 ♥1 minUpdated Aug 10, 2022
- ULTIMATE GUIDE FOR GAME DEV TYCOONGame Dev Tycoon★ 5 (5.8k)326k views10k ♥4 minUpdated 23 Jan, 2014
- How to 'Git Gud' Soon™MORDHAU★ 5 (2k)318k views3k ♥68 minUpdated Nov 16, 2024
- Лучшие кооперативные игры SteamPAYDAY 2★ 5 (1.5k)315k views2.1k ♥56 minRussianUpdated Apr 27, 2025






This guide was created by its original author on the Steam Community. Are you the author and want it removed? Request removal.