Operations Gene-Seed Locations
Introduction
Hello. This is yet another guide containing various Gene-Seed locations across all missions (at the moment) in the game. This was made for friends but considering the work put into it I might as well make it public as well.
In case Steam fails to load the images or they just stop working at some point, here is an Imgur album compiling all the images as well: https://imgur.com/a/space-marine-2-operations-gene-seed-locations-IOF9zIw
Images are based on ones I am personally familiar with as well as cross referencing other existing guides such as the two below:
Armory data / Gene Seeds Locations: WIP by FLSnowy062
All Gene Seed Locations (Verified) by HardcoreAku
For Purgation in particular, I also must thank the YouTube Channel TurboAchiever for their video on the map as I wasn't able to locate the 2nd spawn myself.
Ironically, a bit before finishing the guide I stumbled upon Kimber Prime's Collectible Maps. If you don't find my own guide helpful, feel free to check his out: https://www.kimberprime.com/
What is a Gene-Seed?
Before we get started, new or inexperienced players might be wondering what a Gene-Seed even is.
This is a collectible item that can be found on every mission and is guaranteed to spawn in one of multiple possible locations on every map regardless of difficulty. If you don't find it in the first location, check the second, or the third, and so on until you find it.
The Gene-Seed takes up your second item slot just like a Guardian Relic, but unlike the Relic the Gene-Seed does not offer an immediate benefit. Instead, having a player successfully carry the Gene-Seed to the end of the mission (and complete it) will award the whole team an additional 20-30% XP (I don't have the exact % for it).
Be warned however as if the player carrying it goes down they will lose it permanently. Preferably have your safest player carry it (and I mean safest in terms of their ability, not their class, a Sniper in the back can still get easily domed by a Tyranid Venom Cannon if he's not paying attention).
Remember, it is lost on incapacitation, not death (though death will also lose it of course), so while you should always make sure to try to spare stimms for your team and not waste them, consider making sure your Gene-Seed carrier is stocked up and healthy.
| Mission 01: Inferno
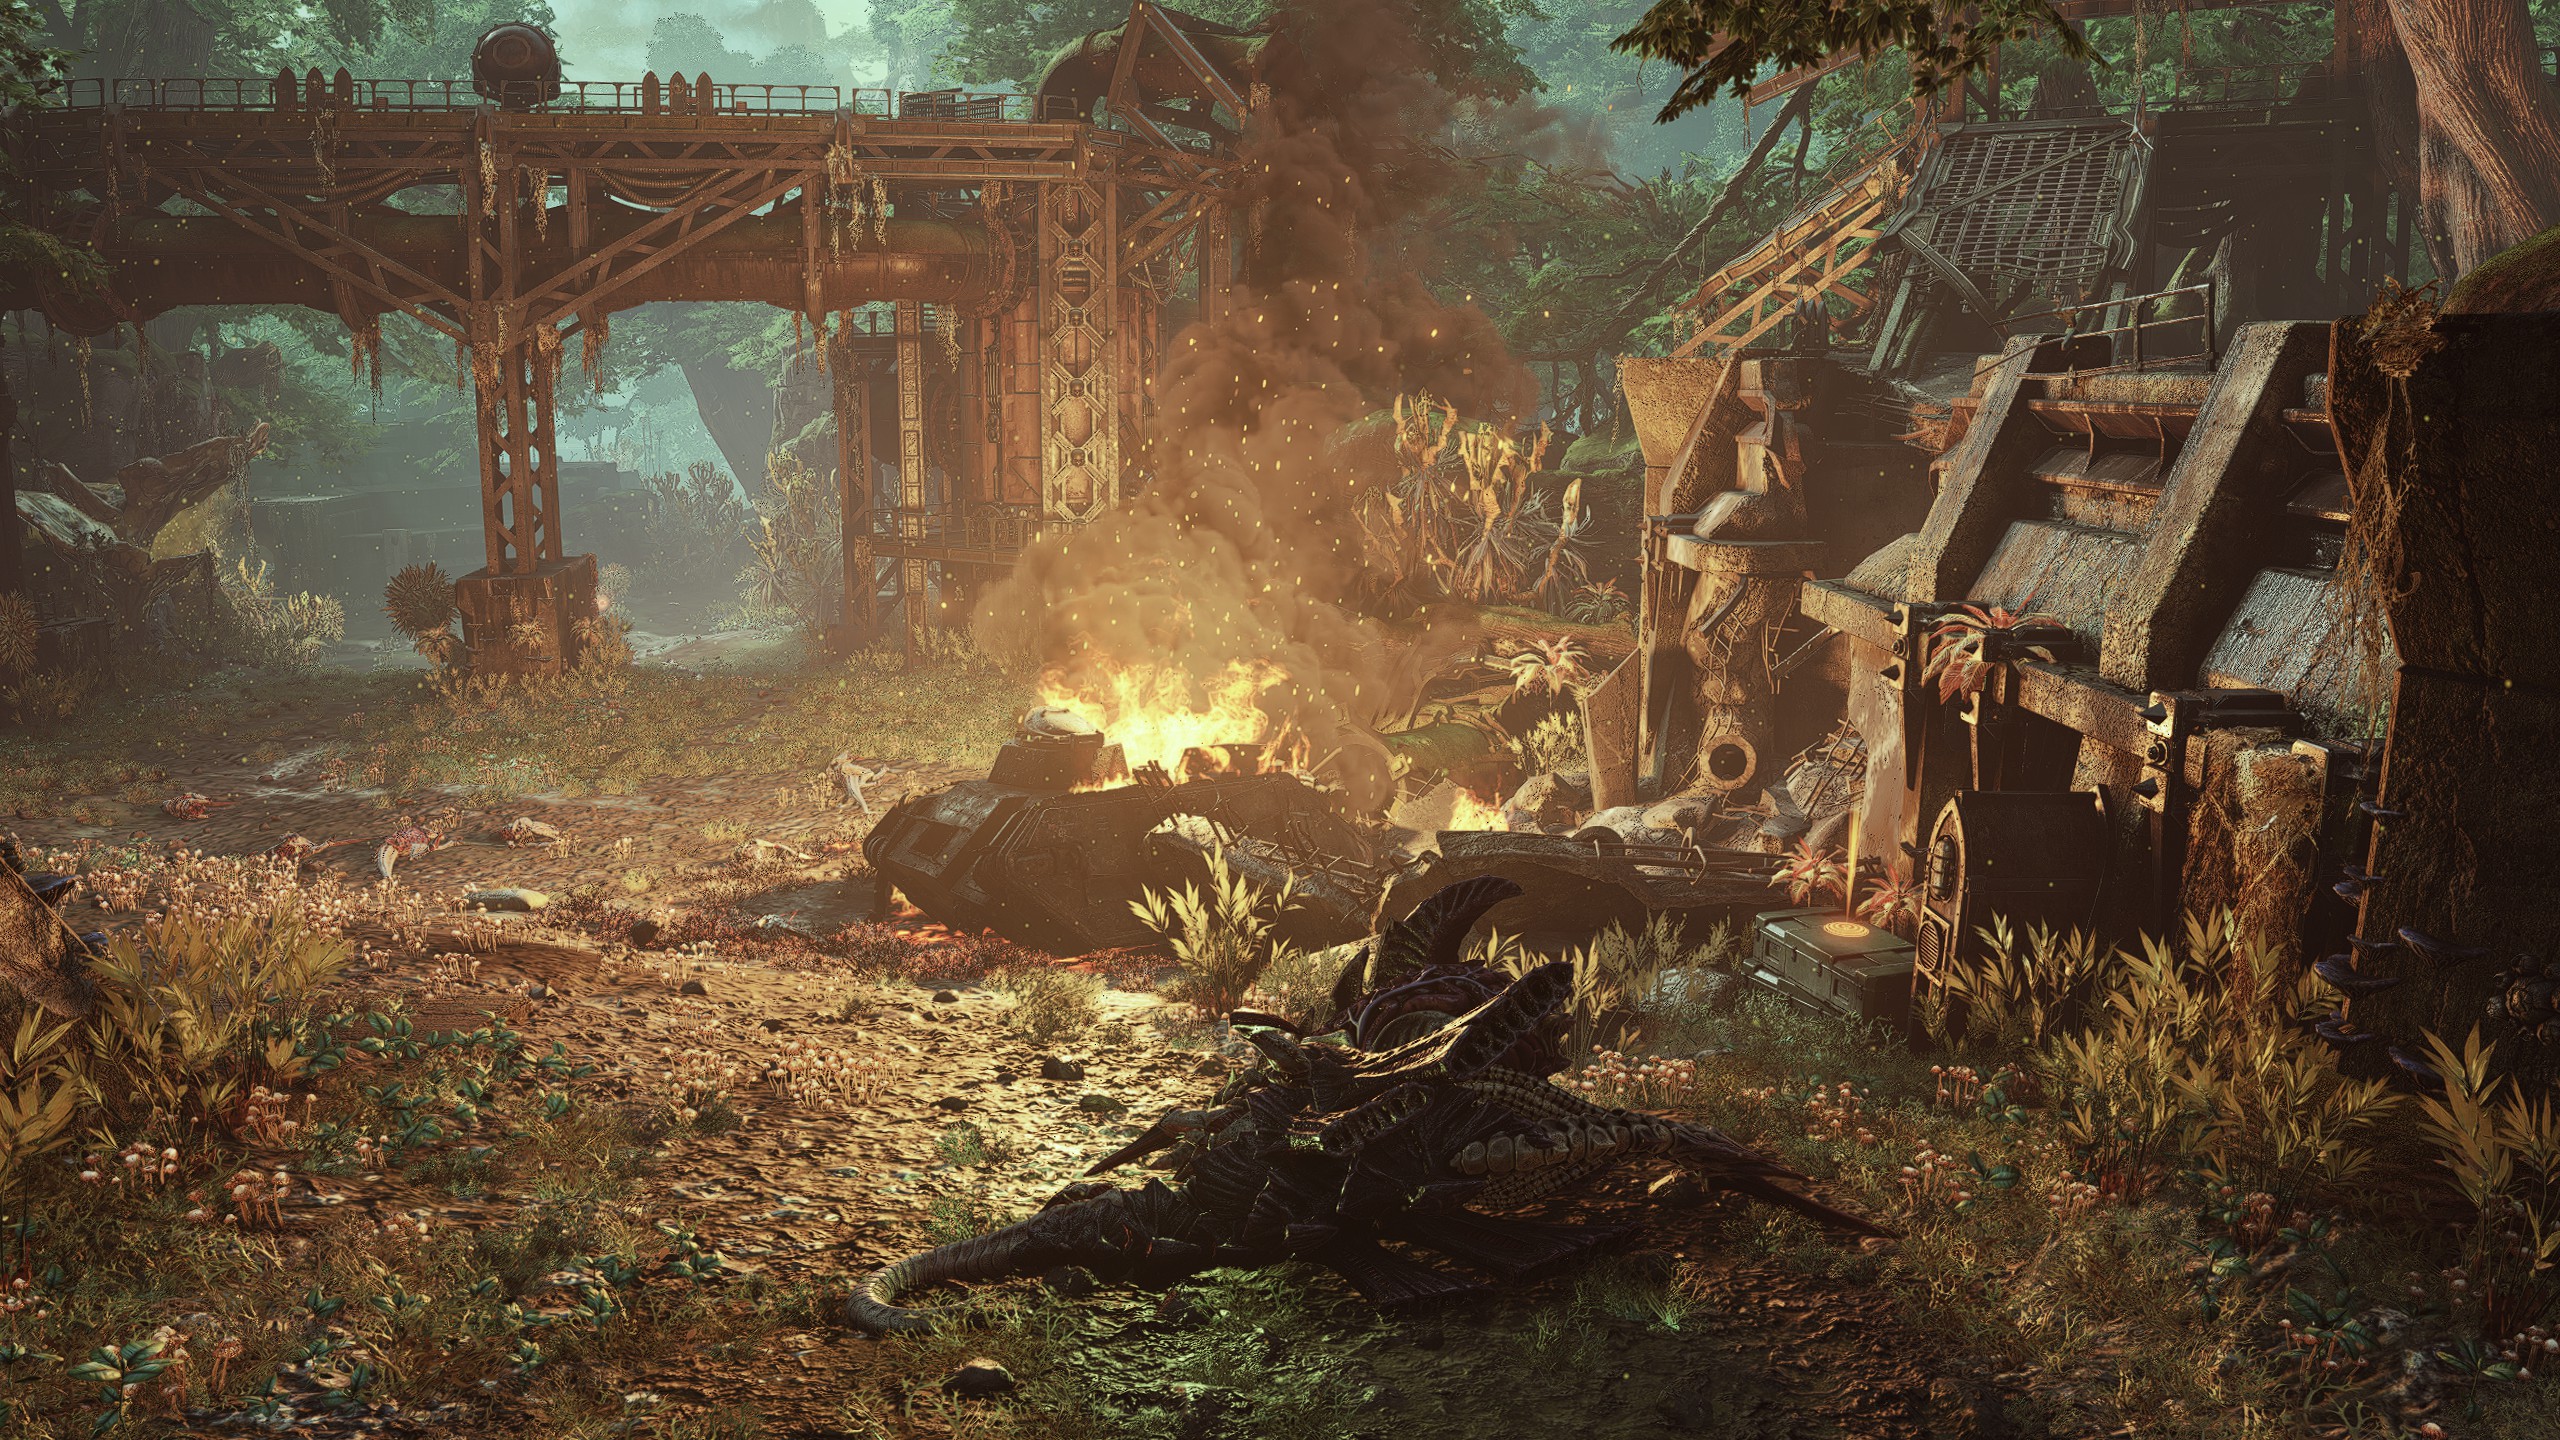
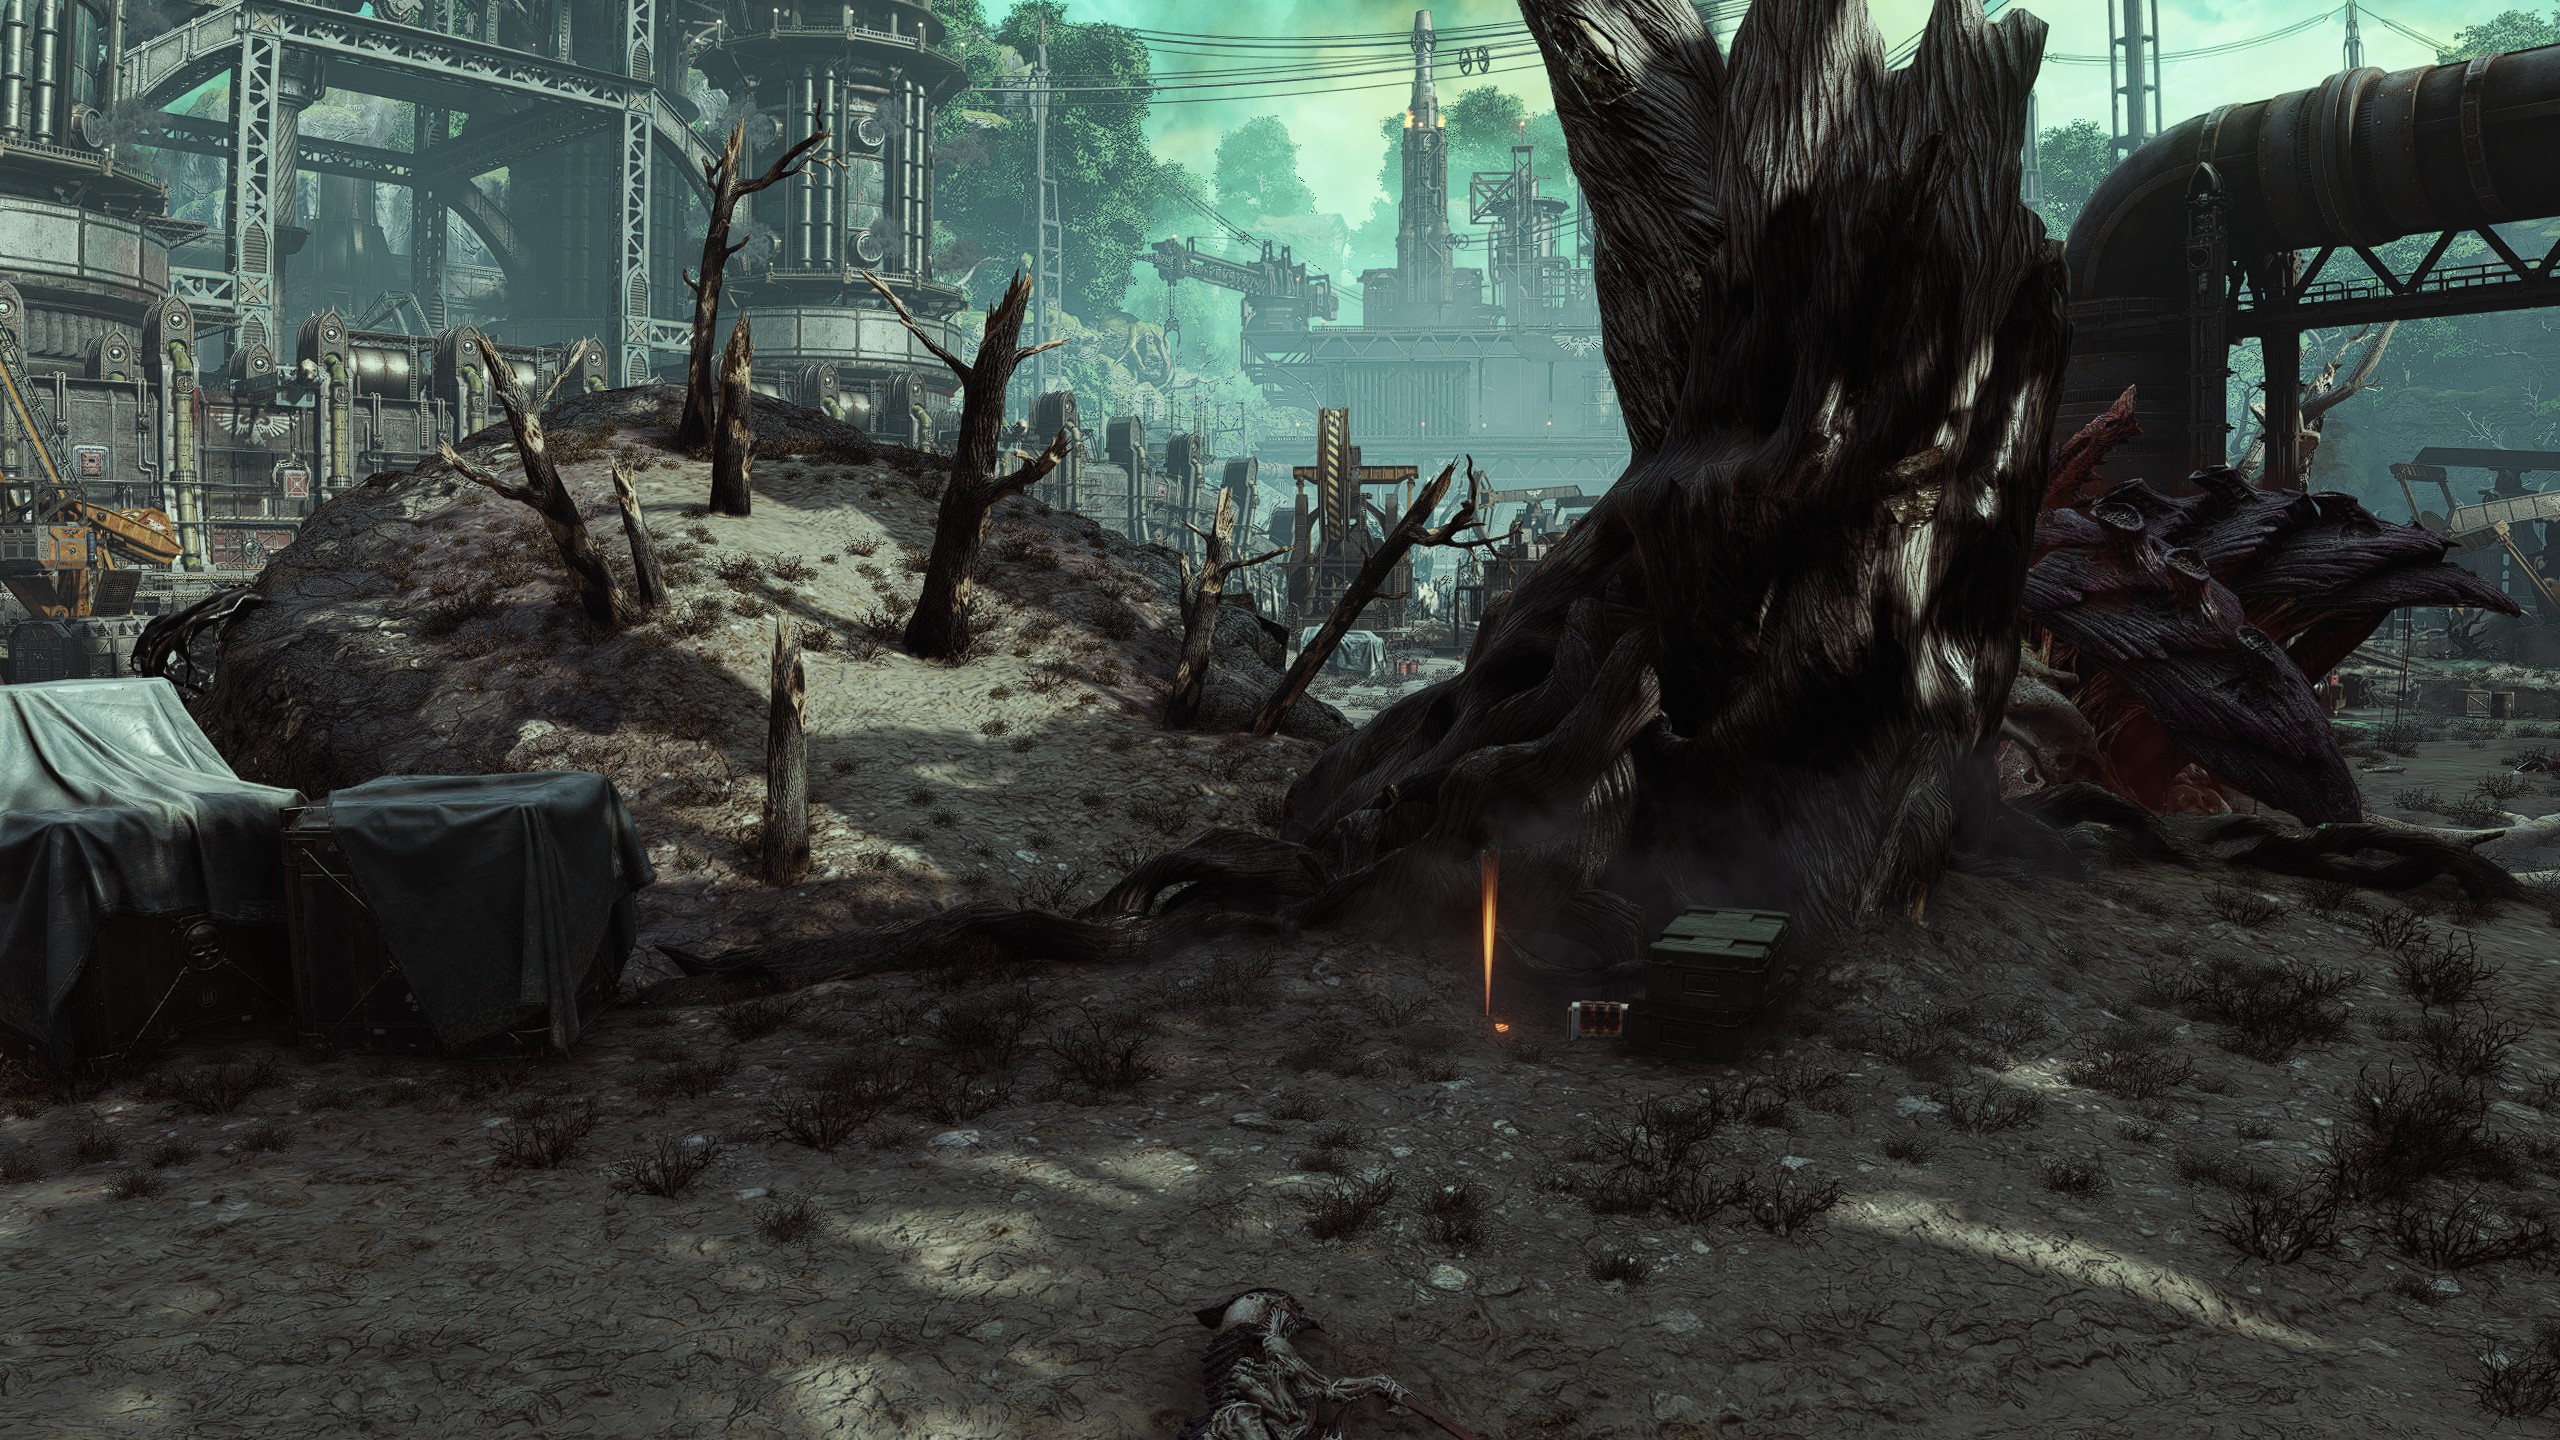
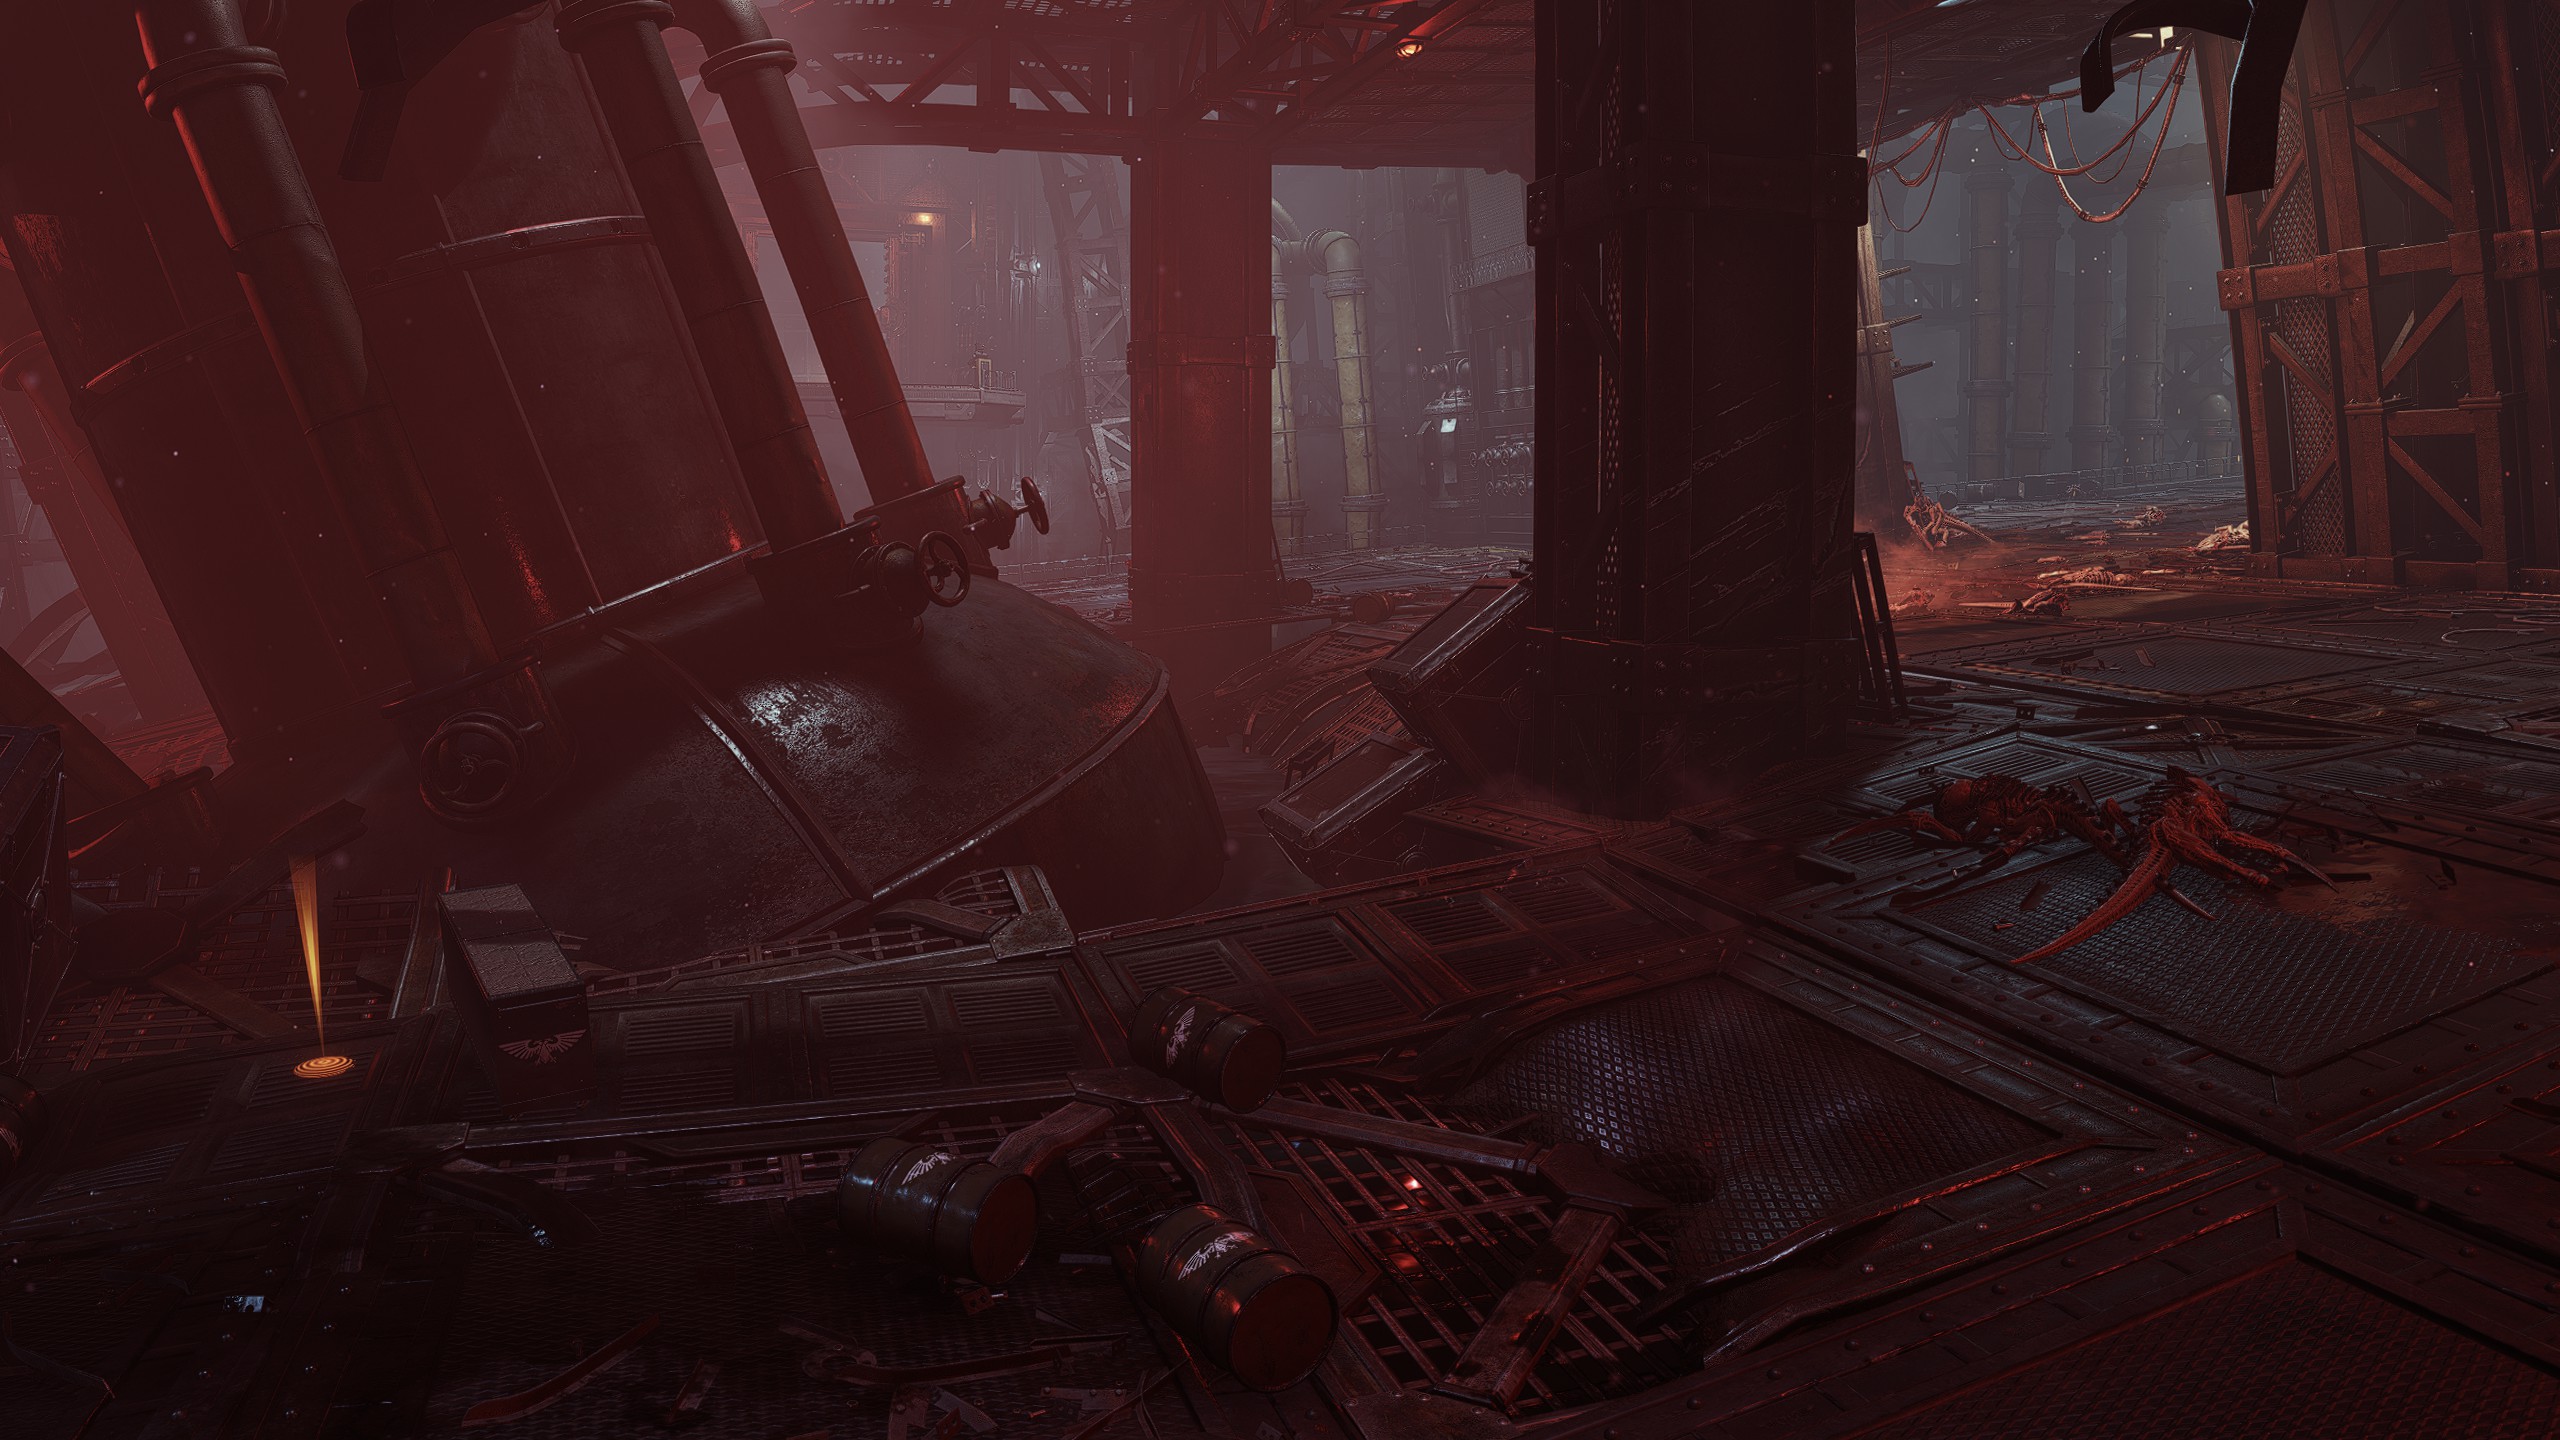
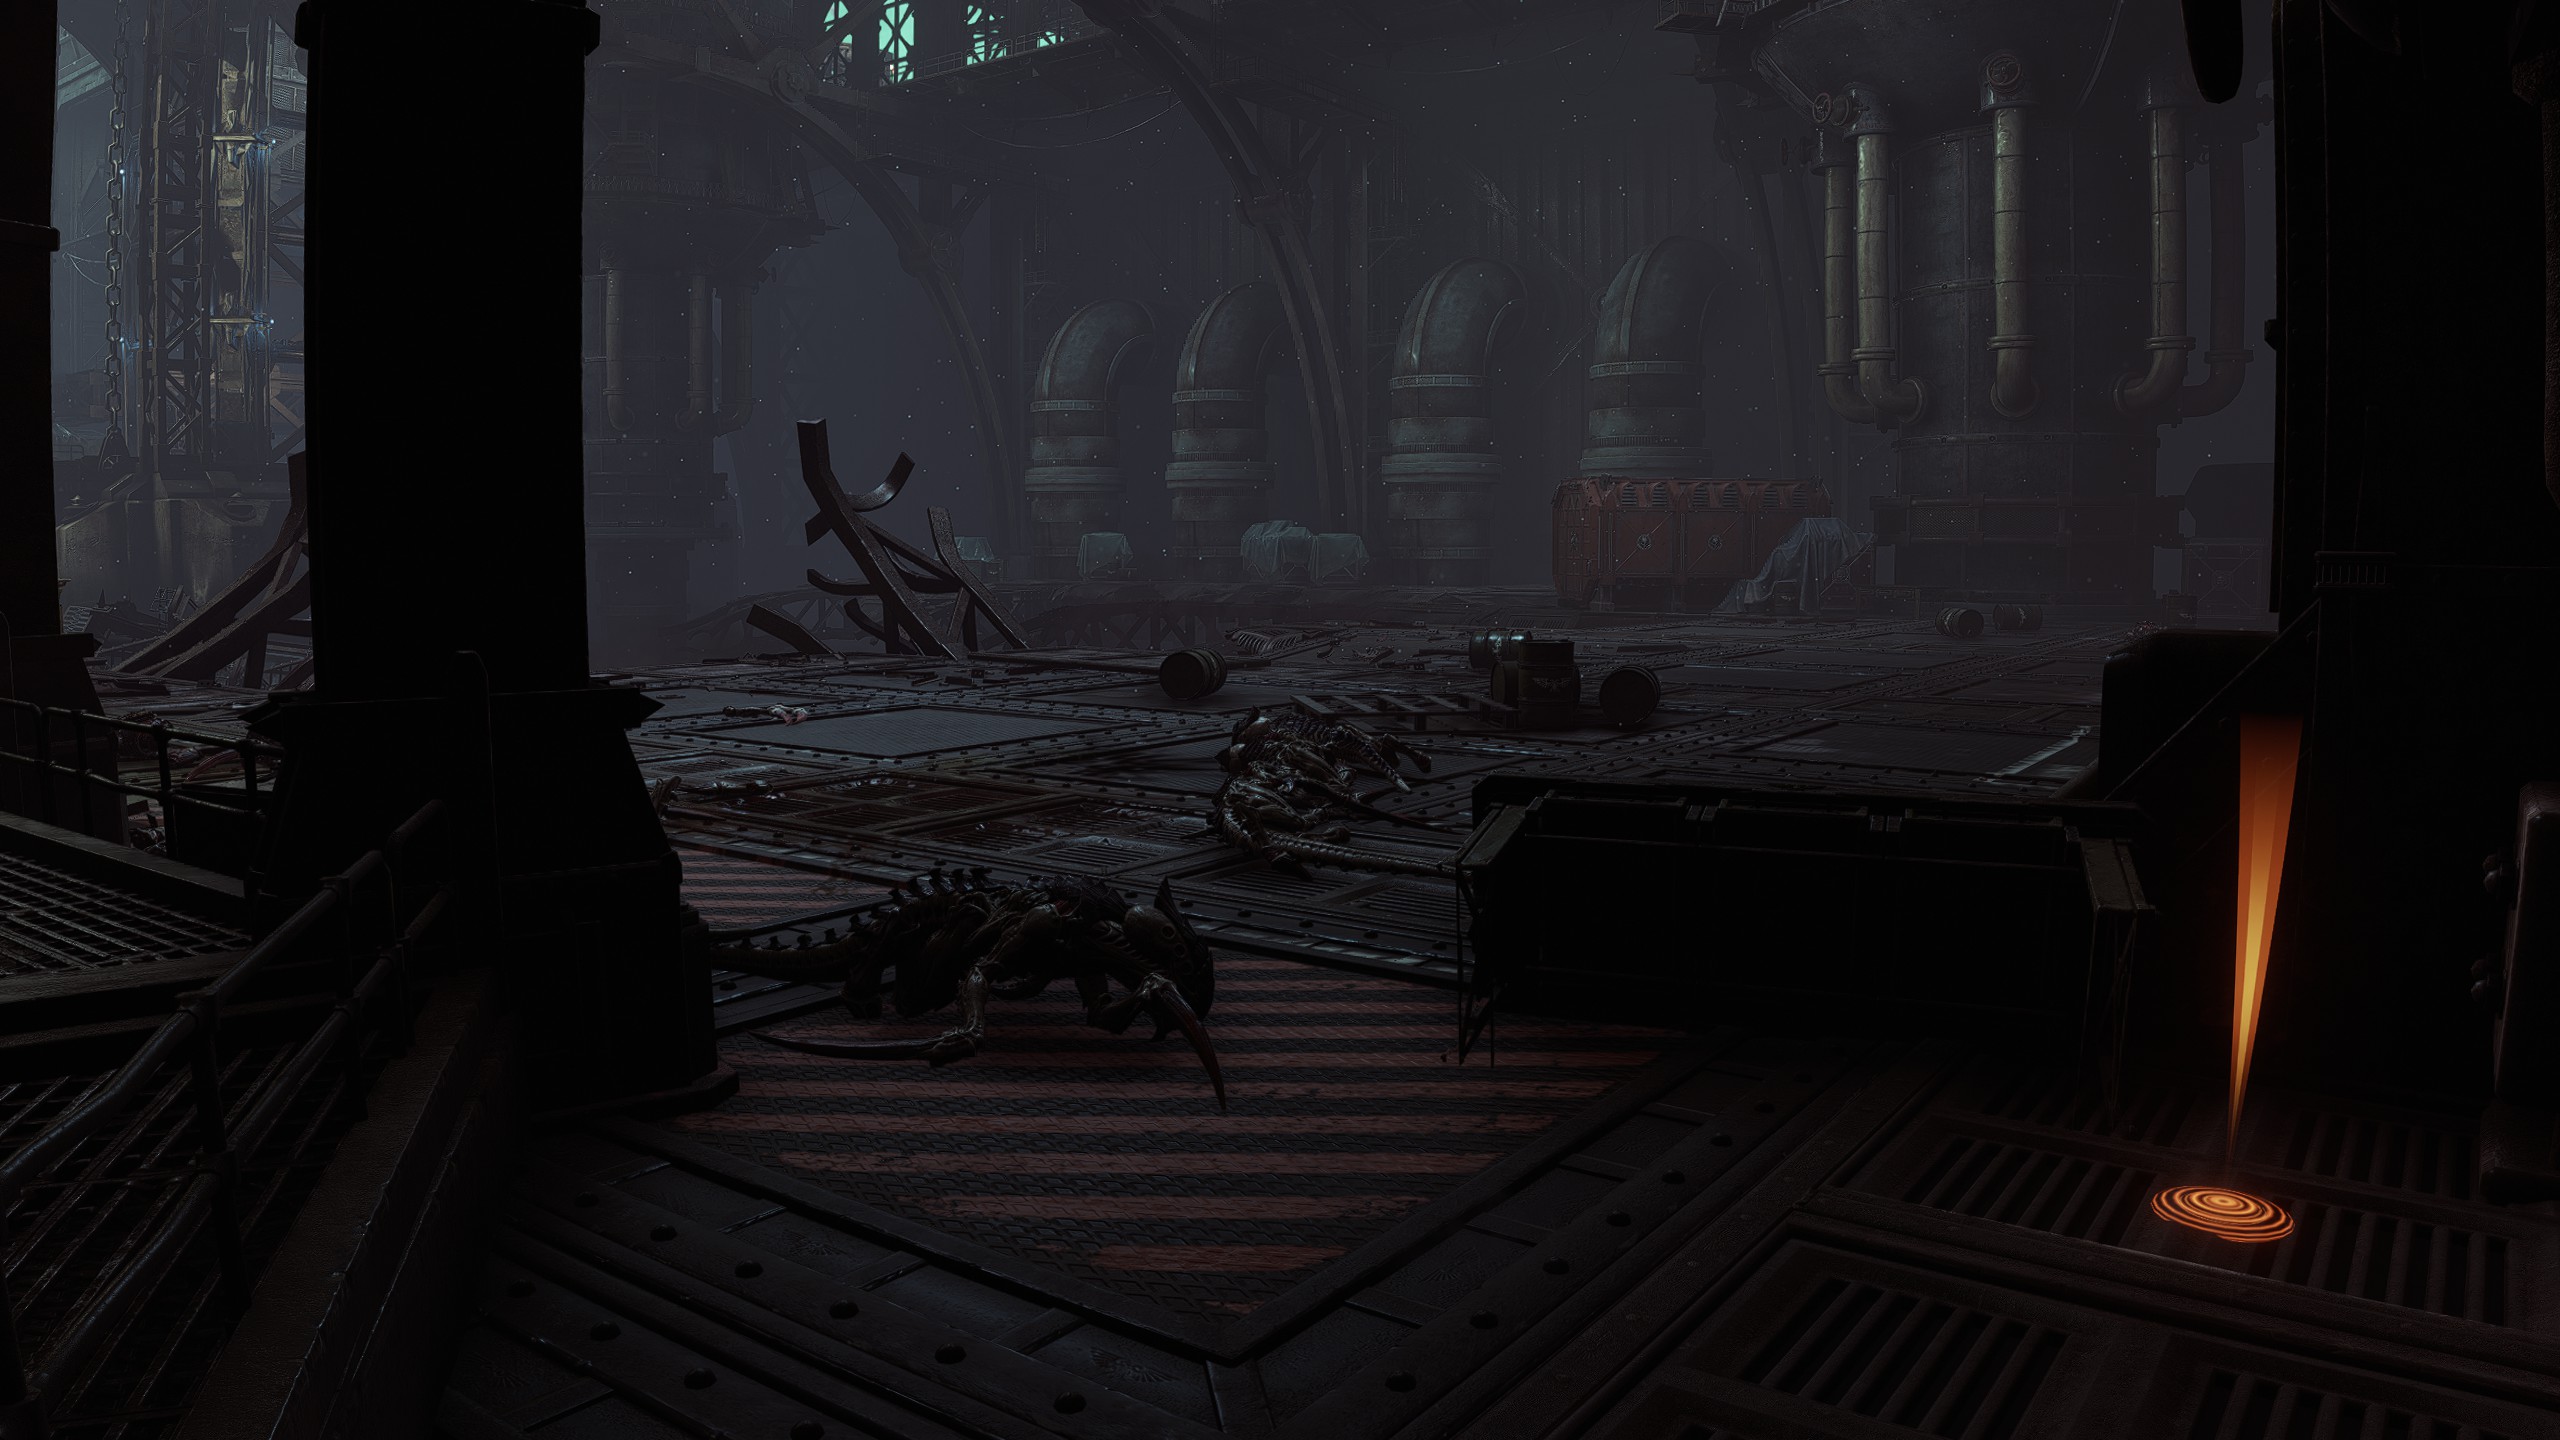
After entering the Promethium Refinery, head up the stairs on the left and check behind Generator 2 where a Gene-Seed can spawn behind the barrels and boxes.
This can be done at any point during or after the objective so long as you don't proceed too far forward.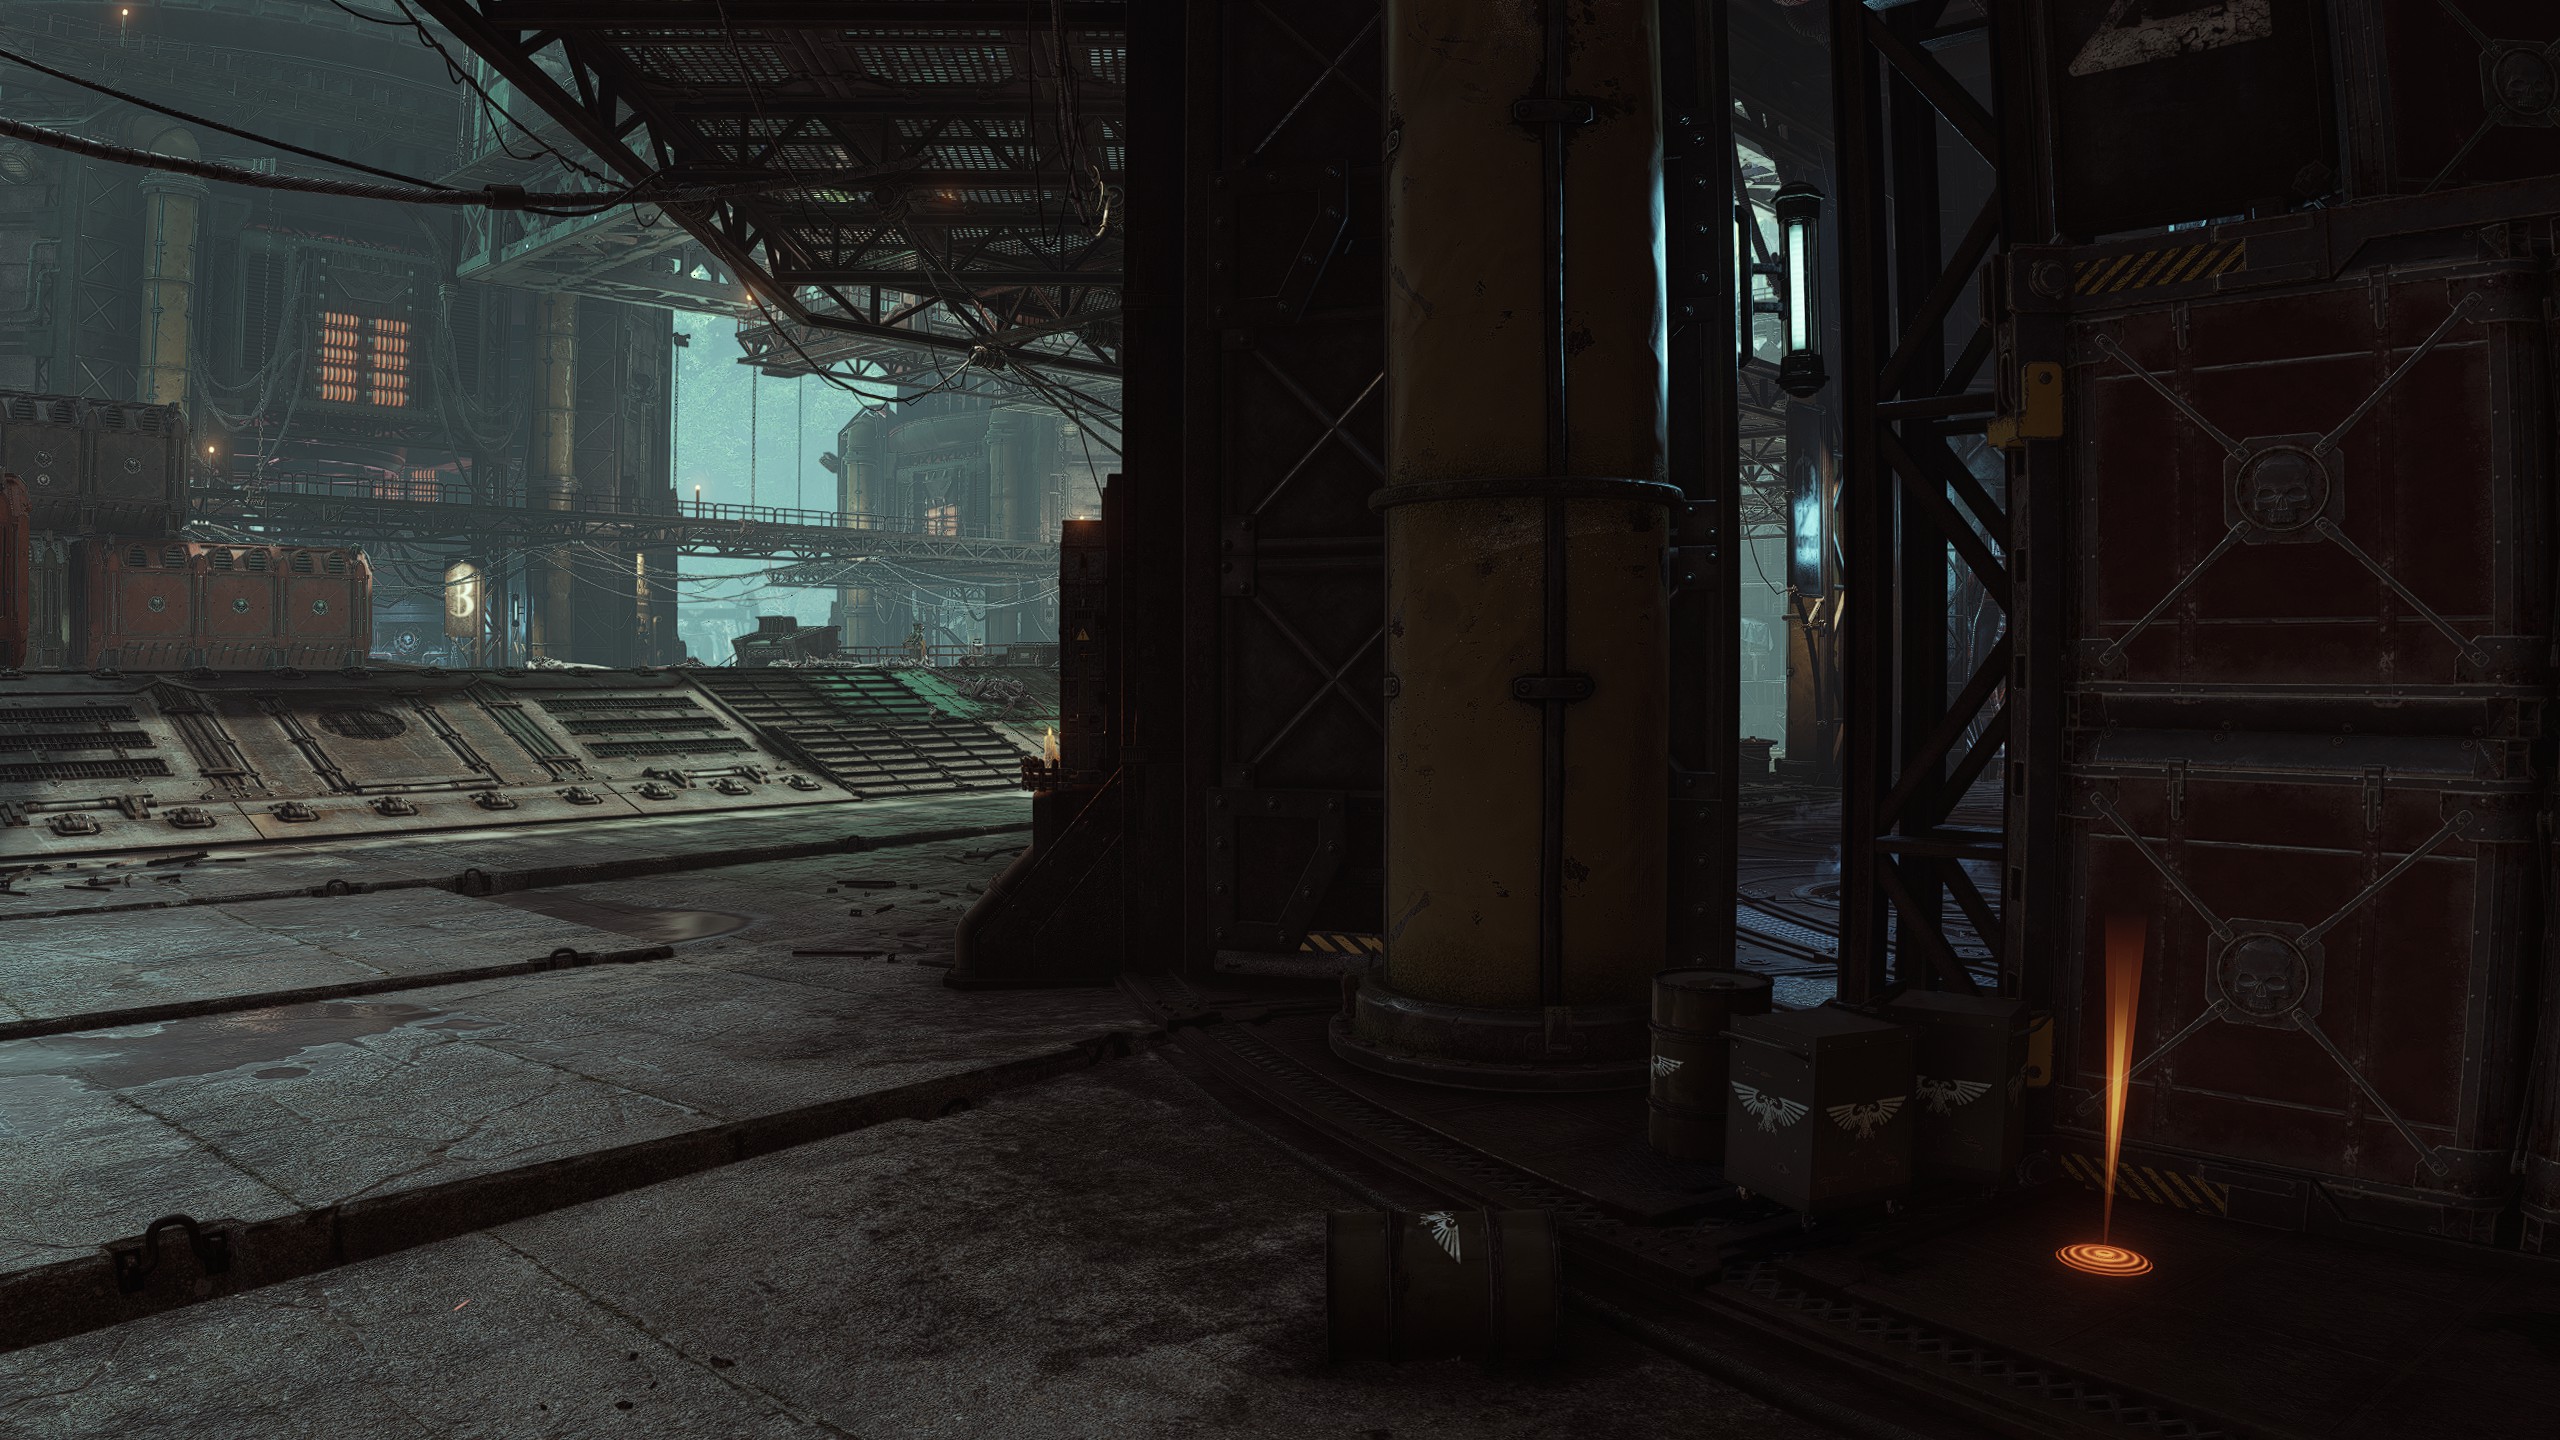
| Mission 02: Decapitation
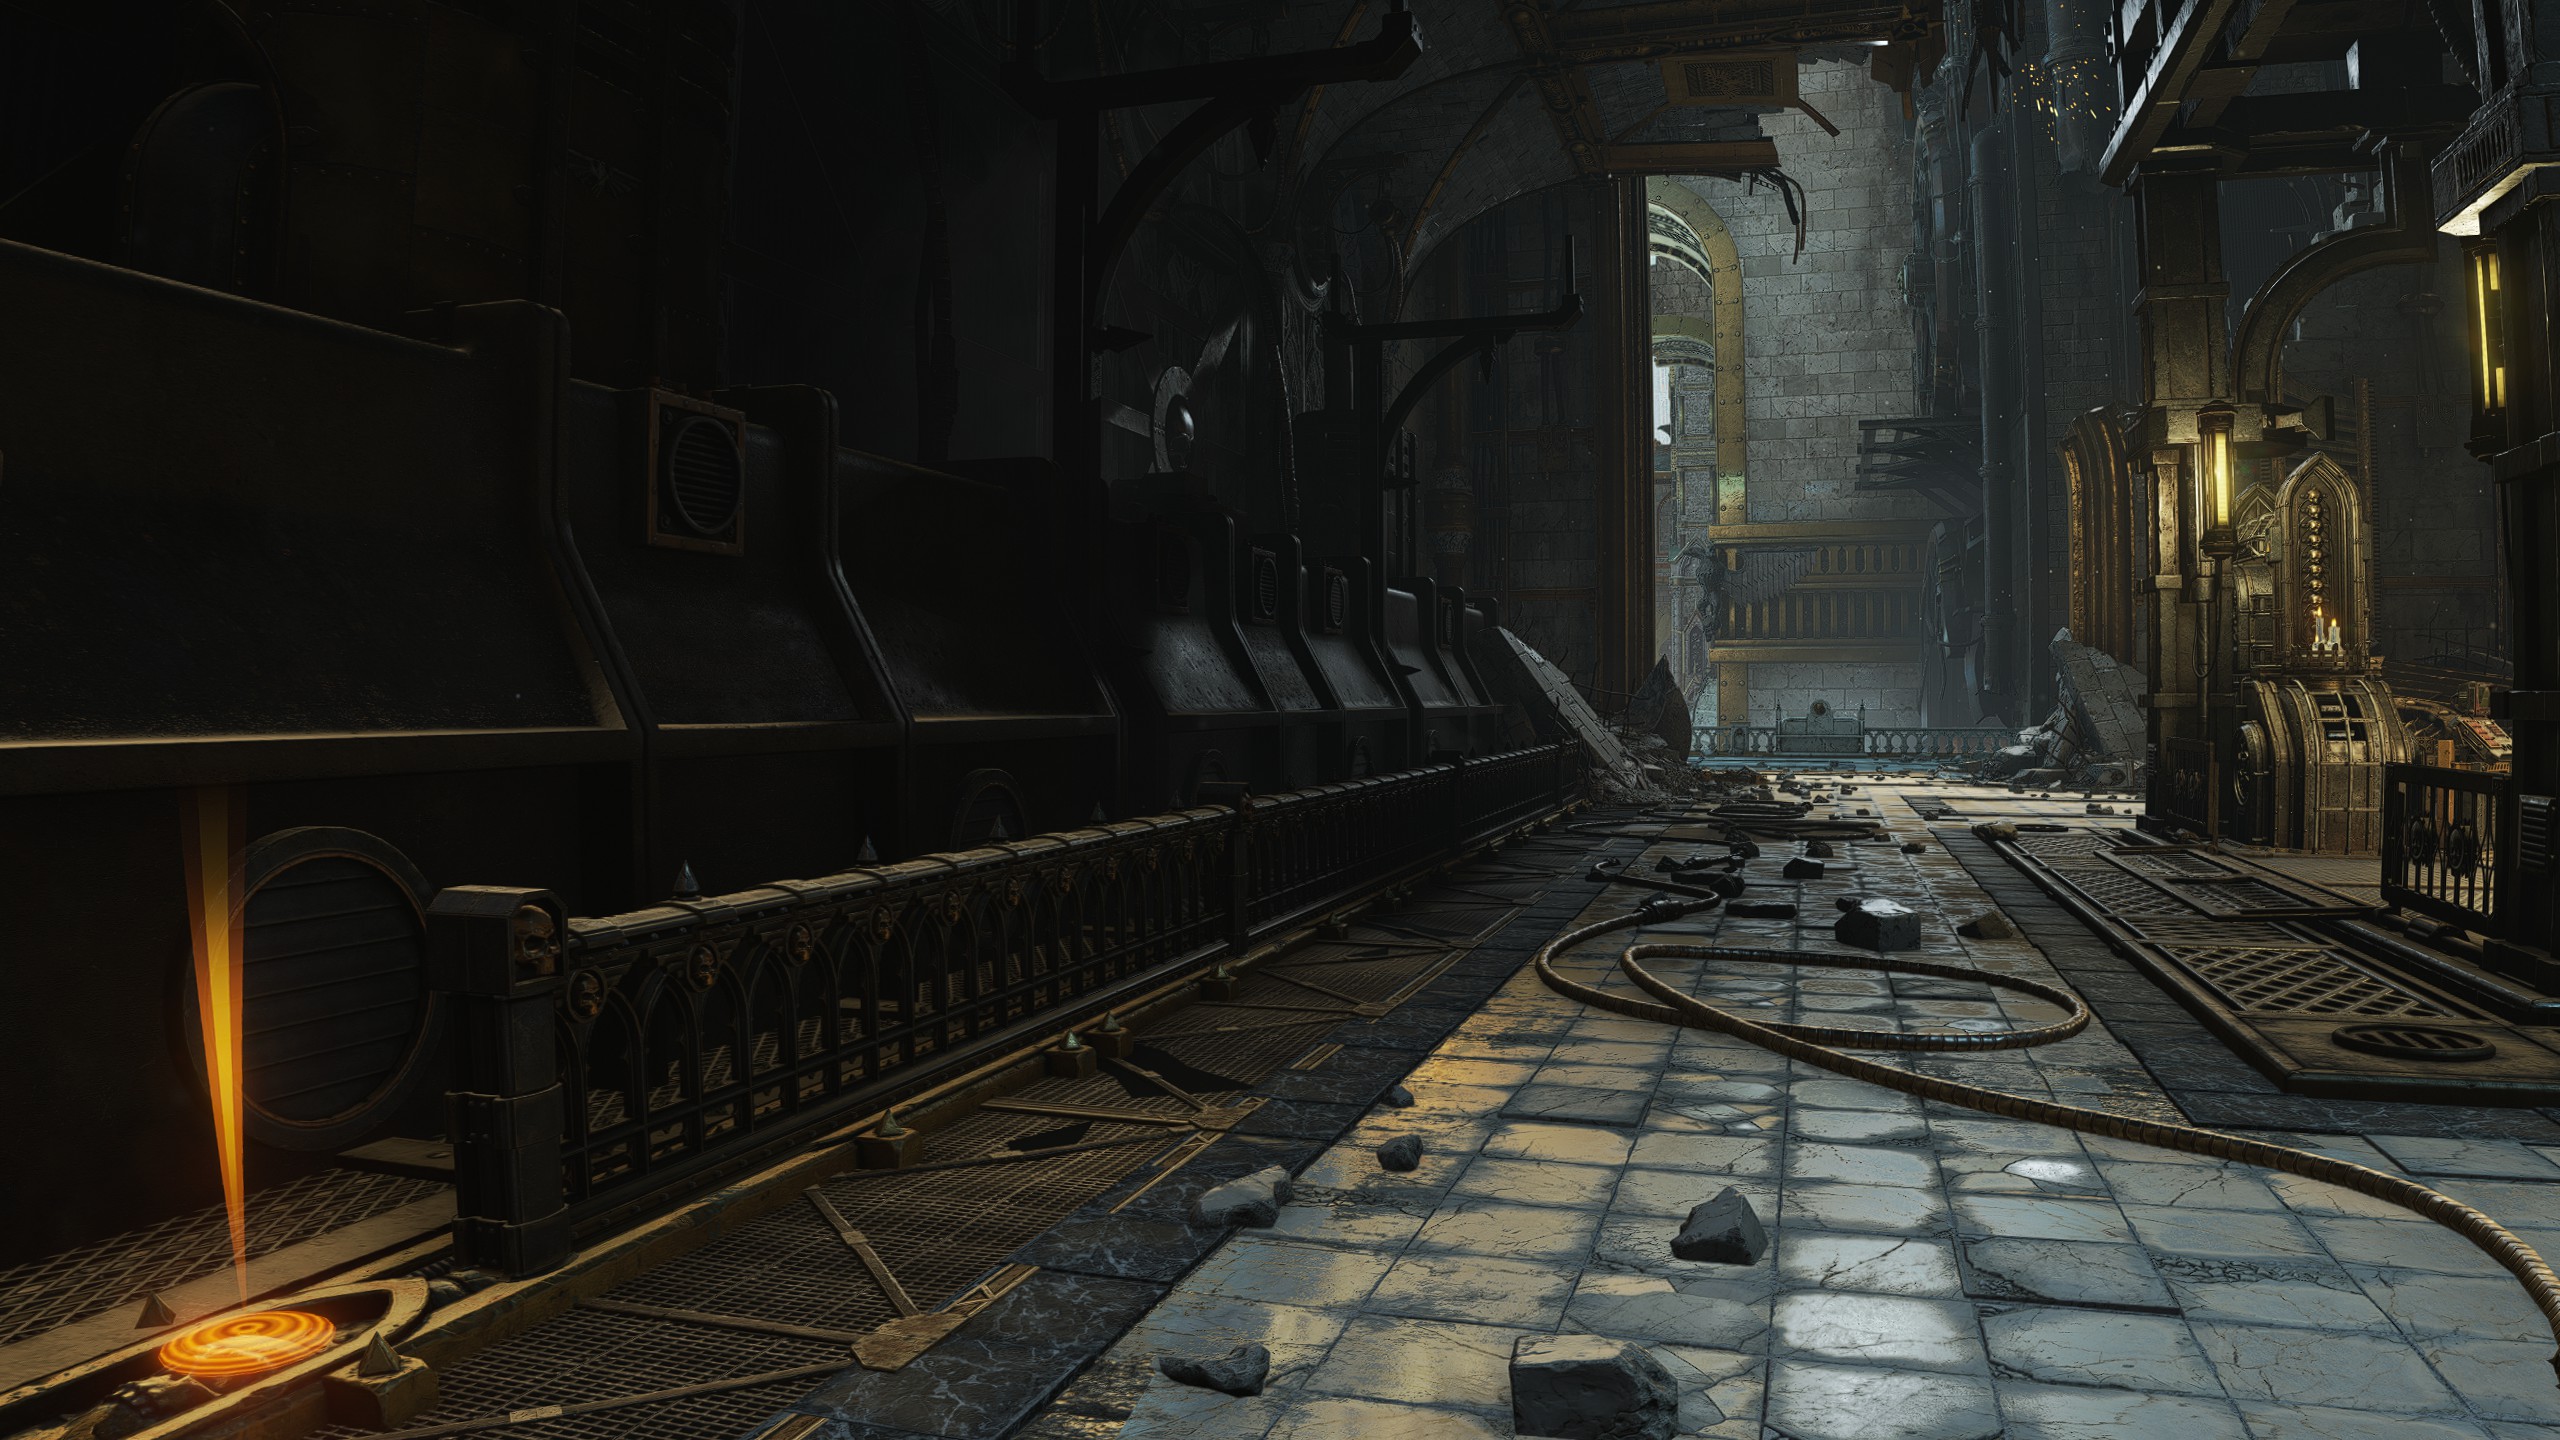
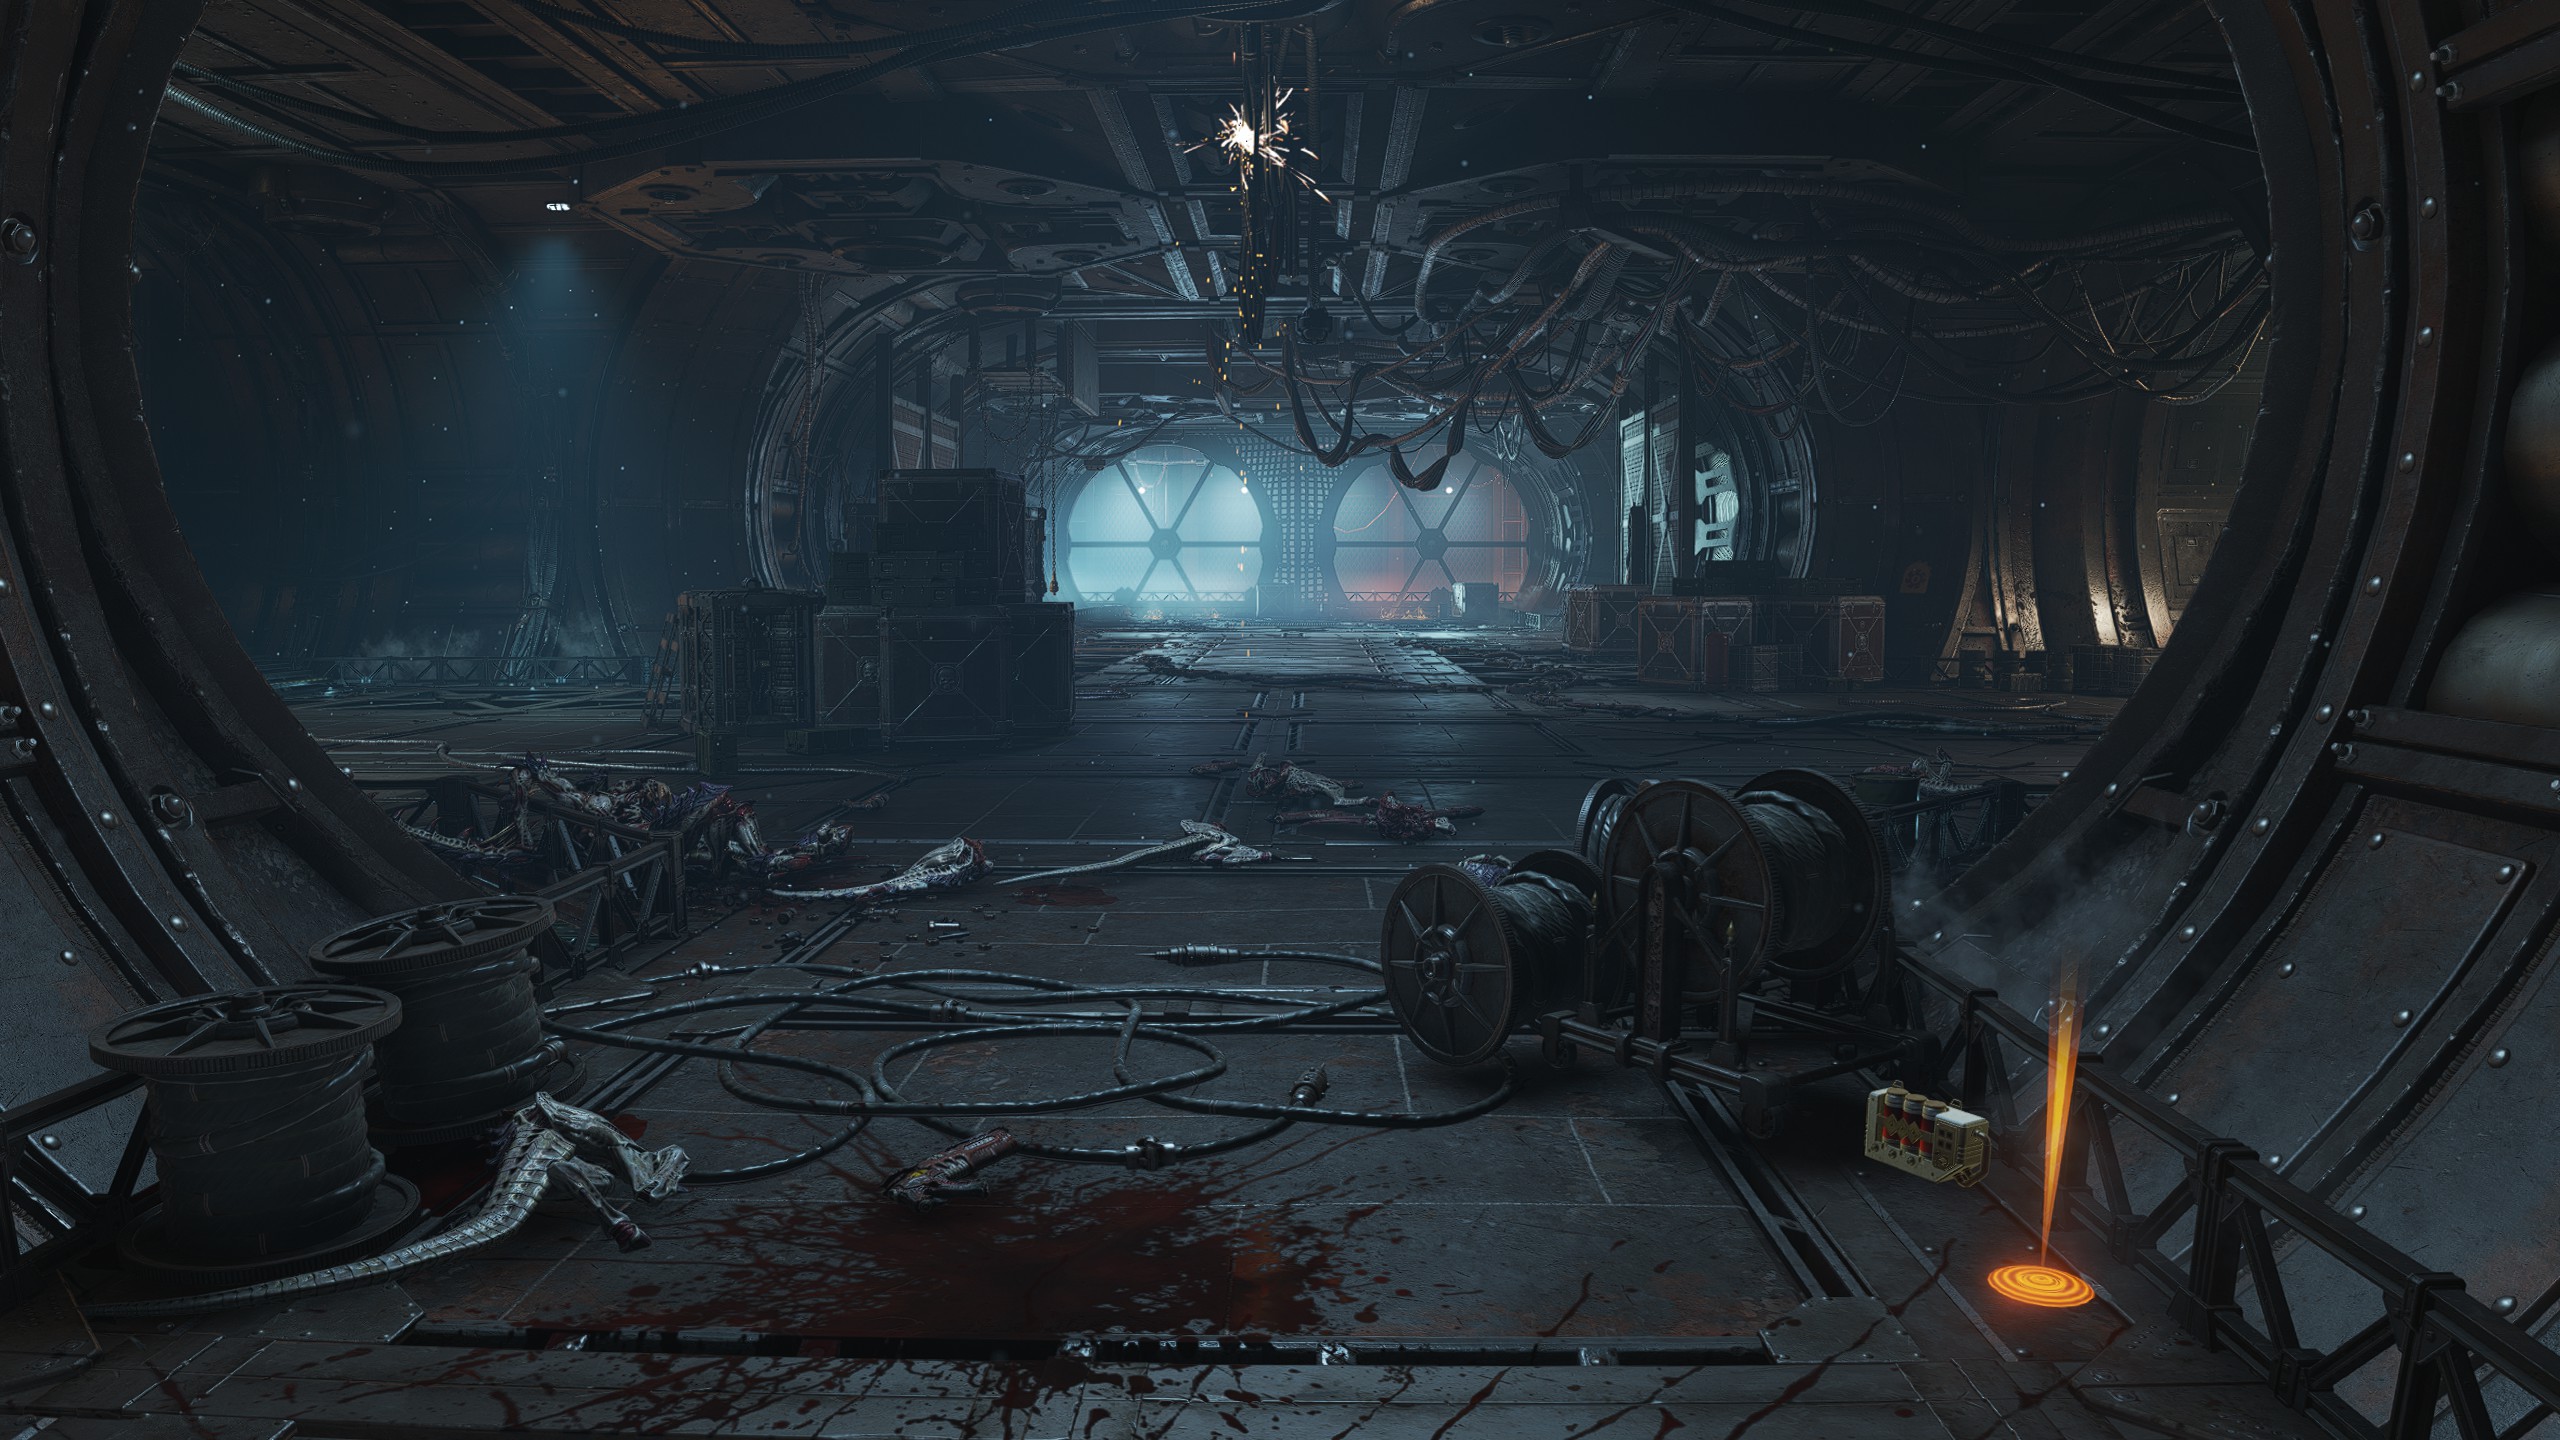
| Mission 03: Vox Liberatis
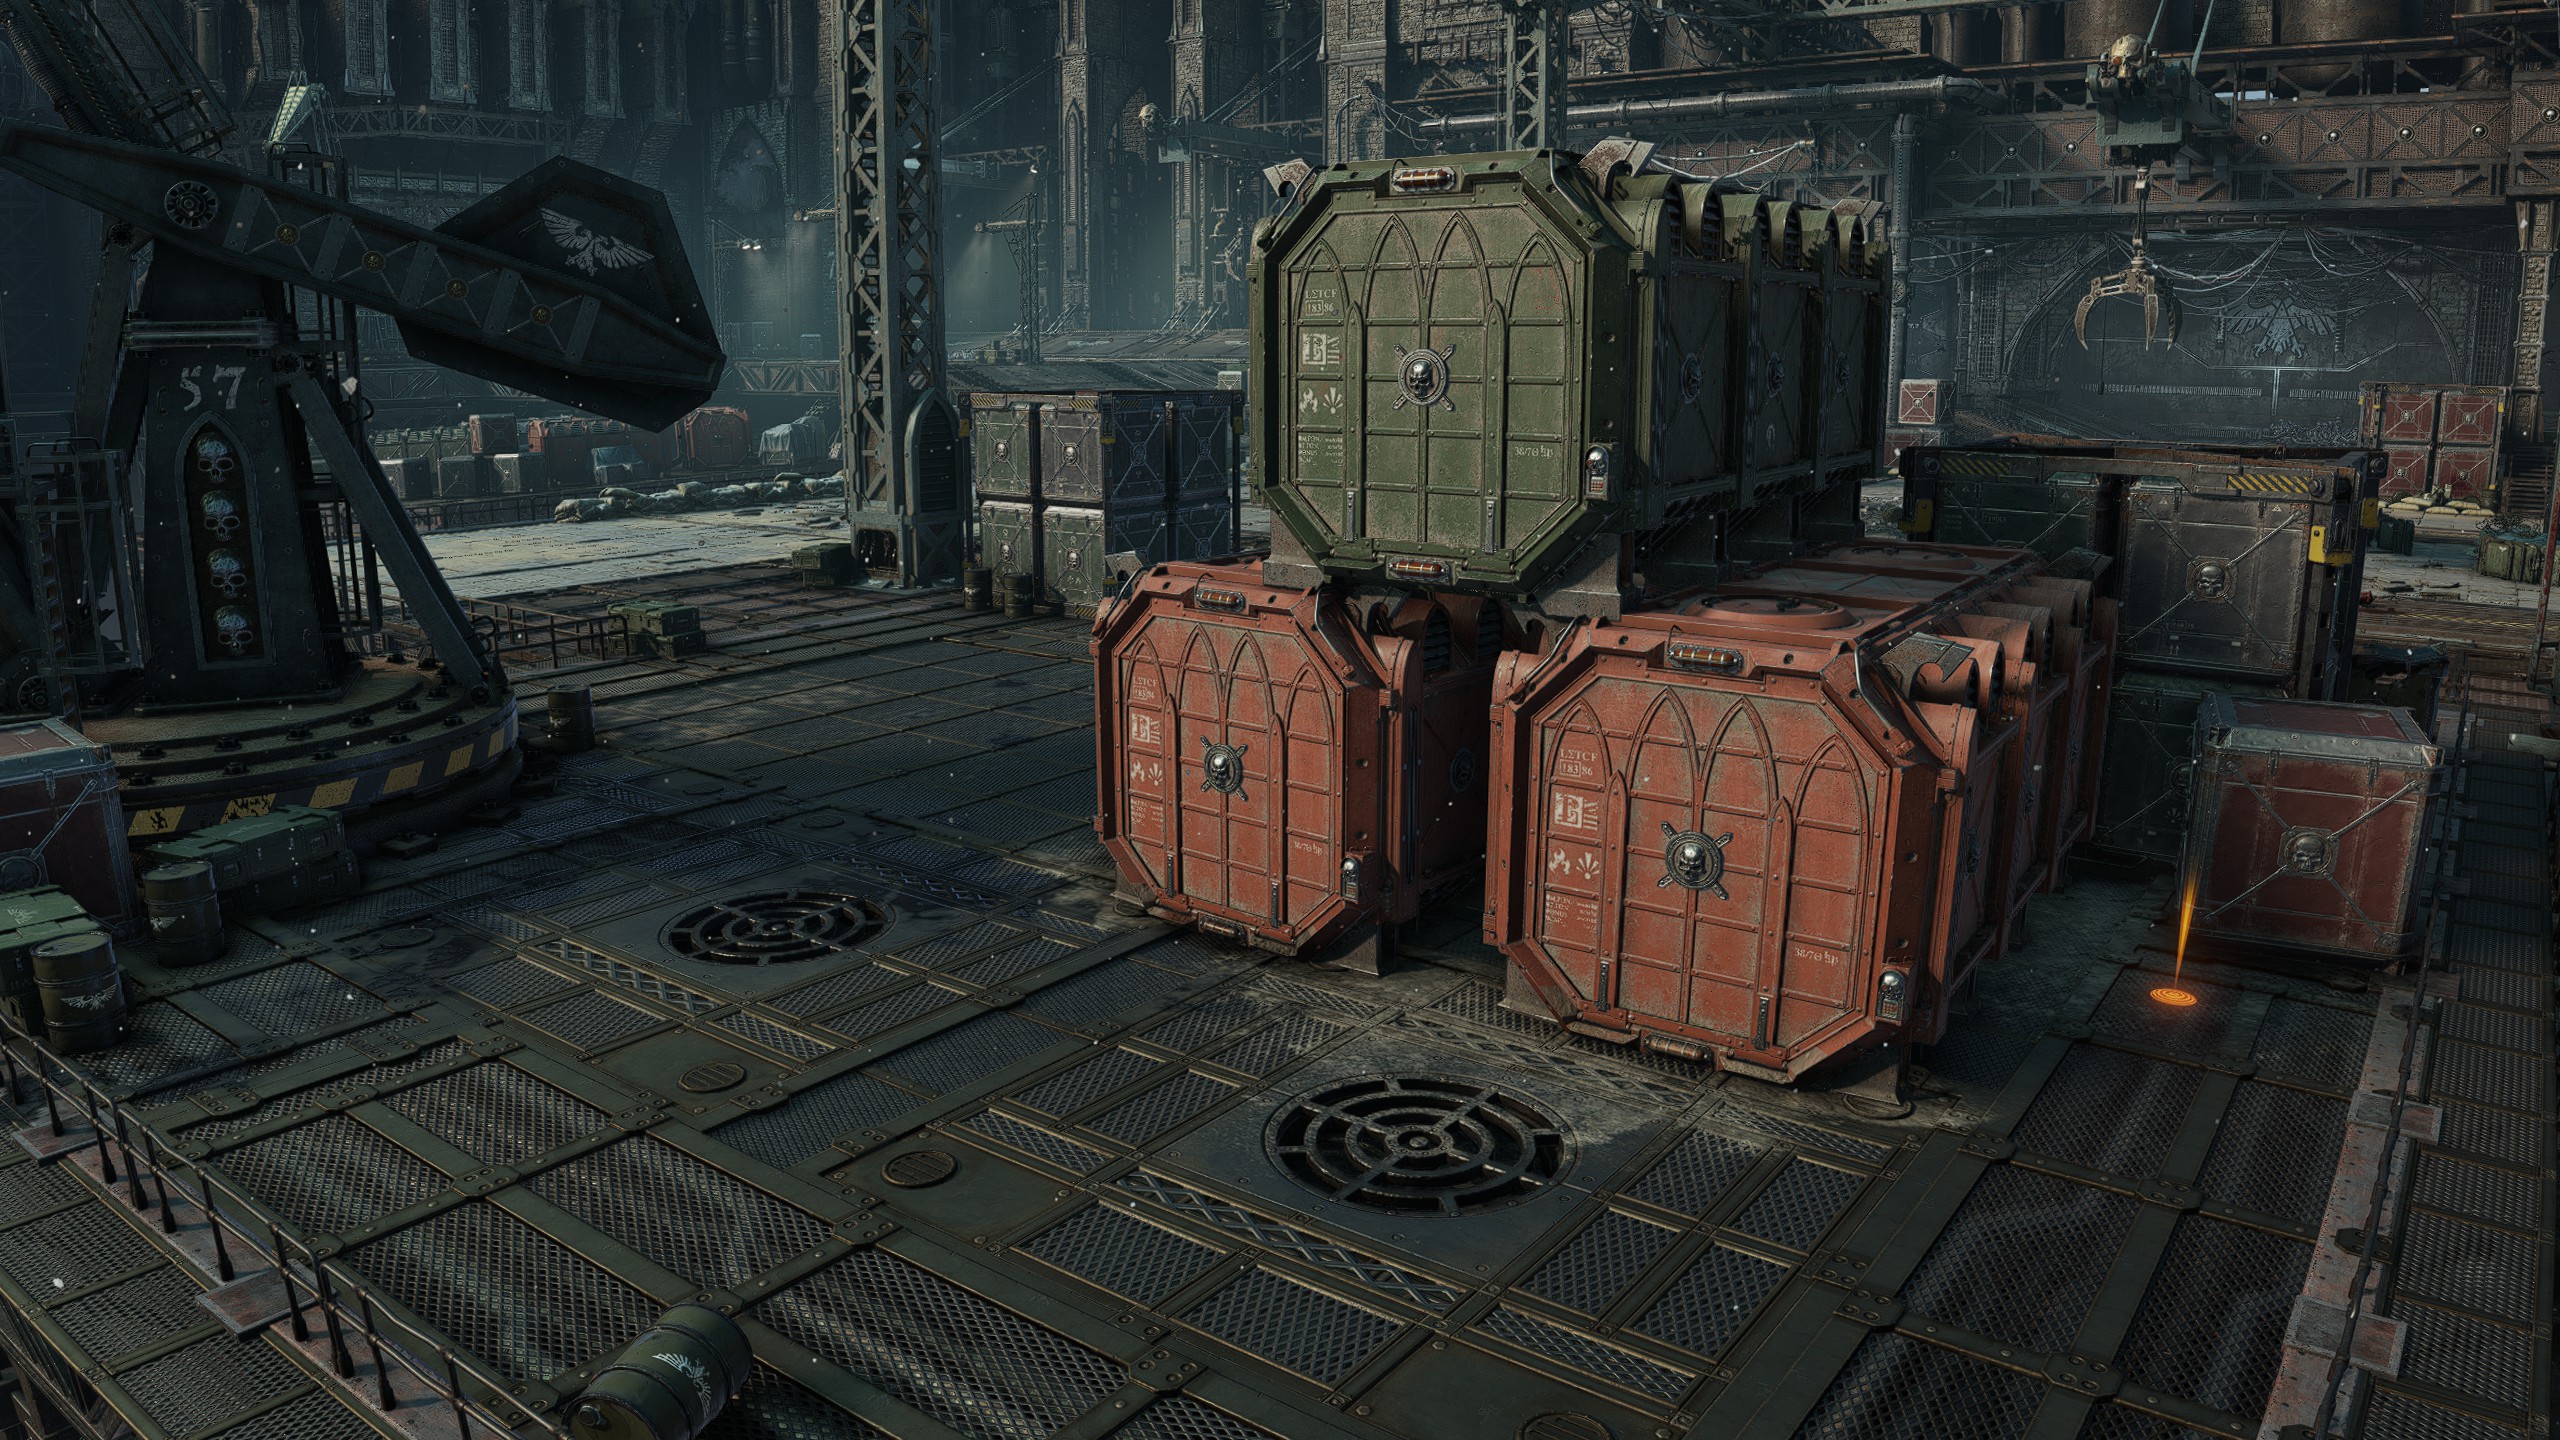
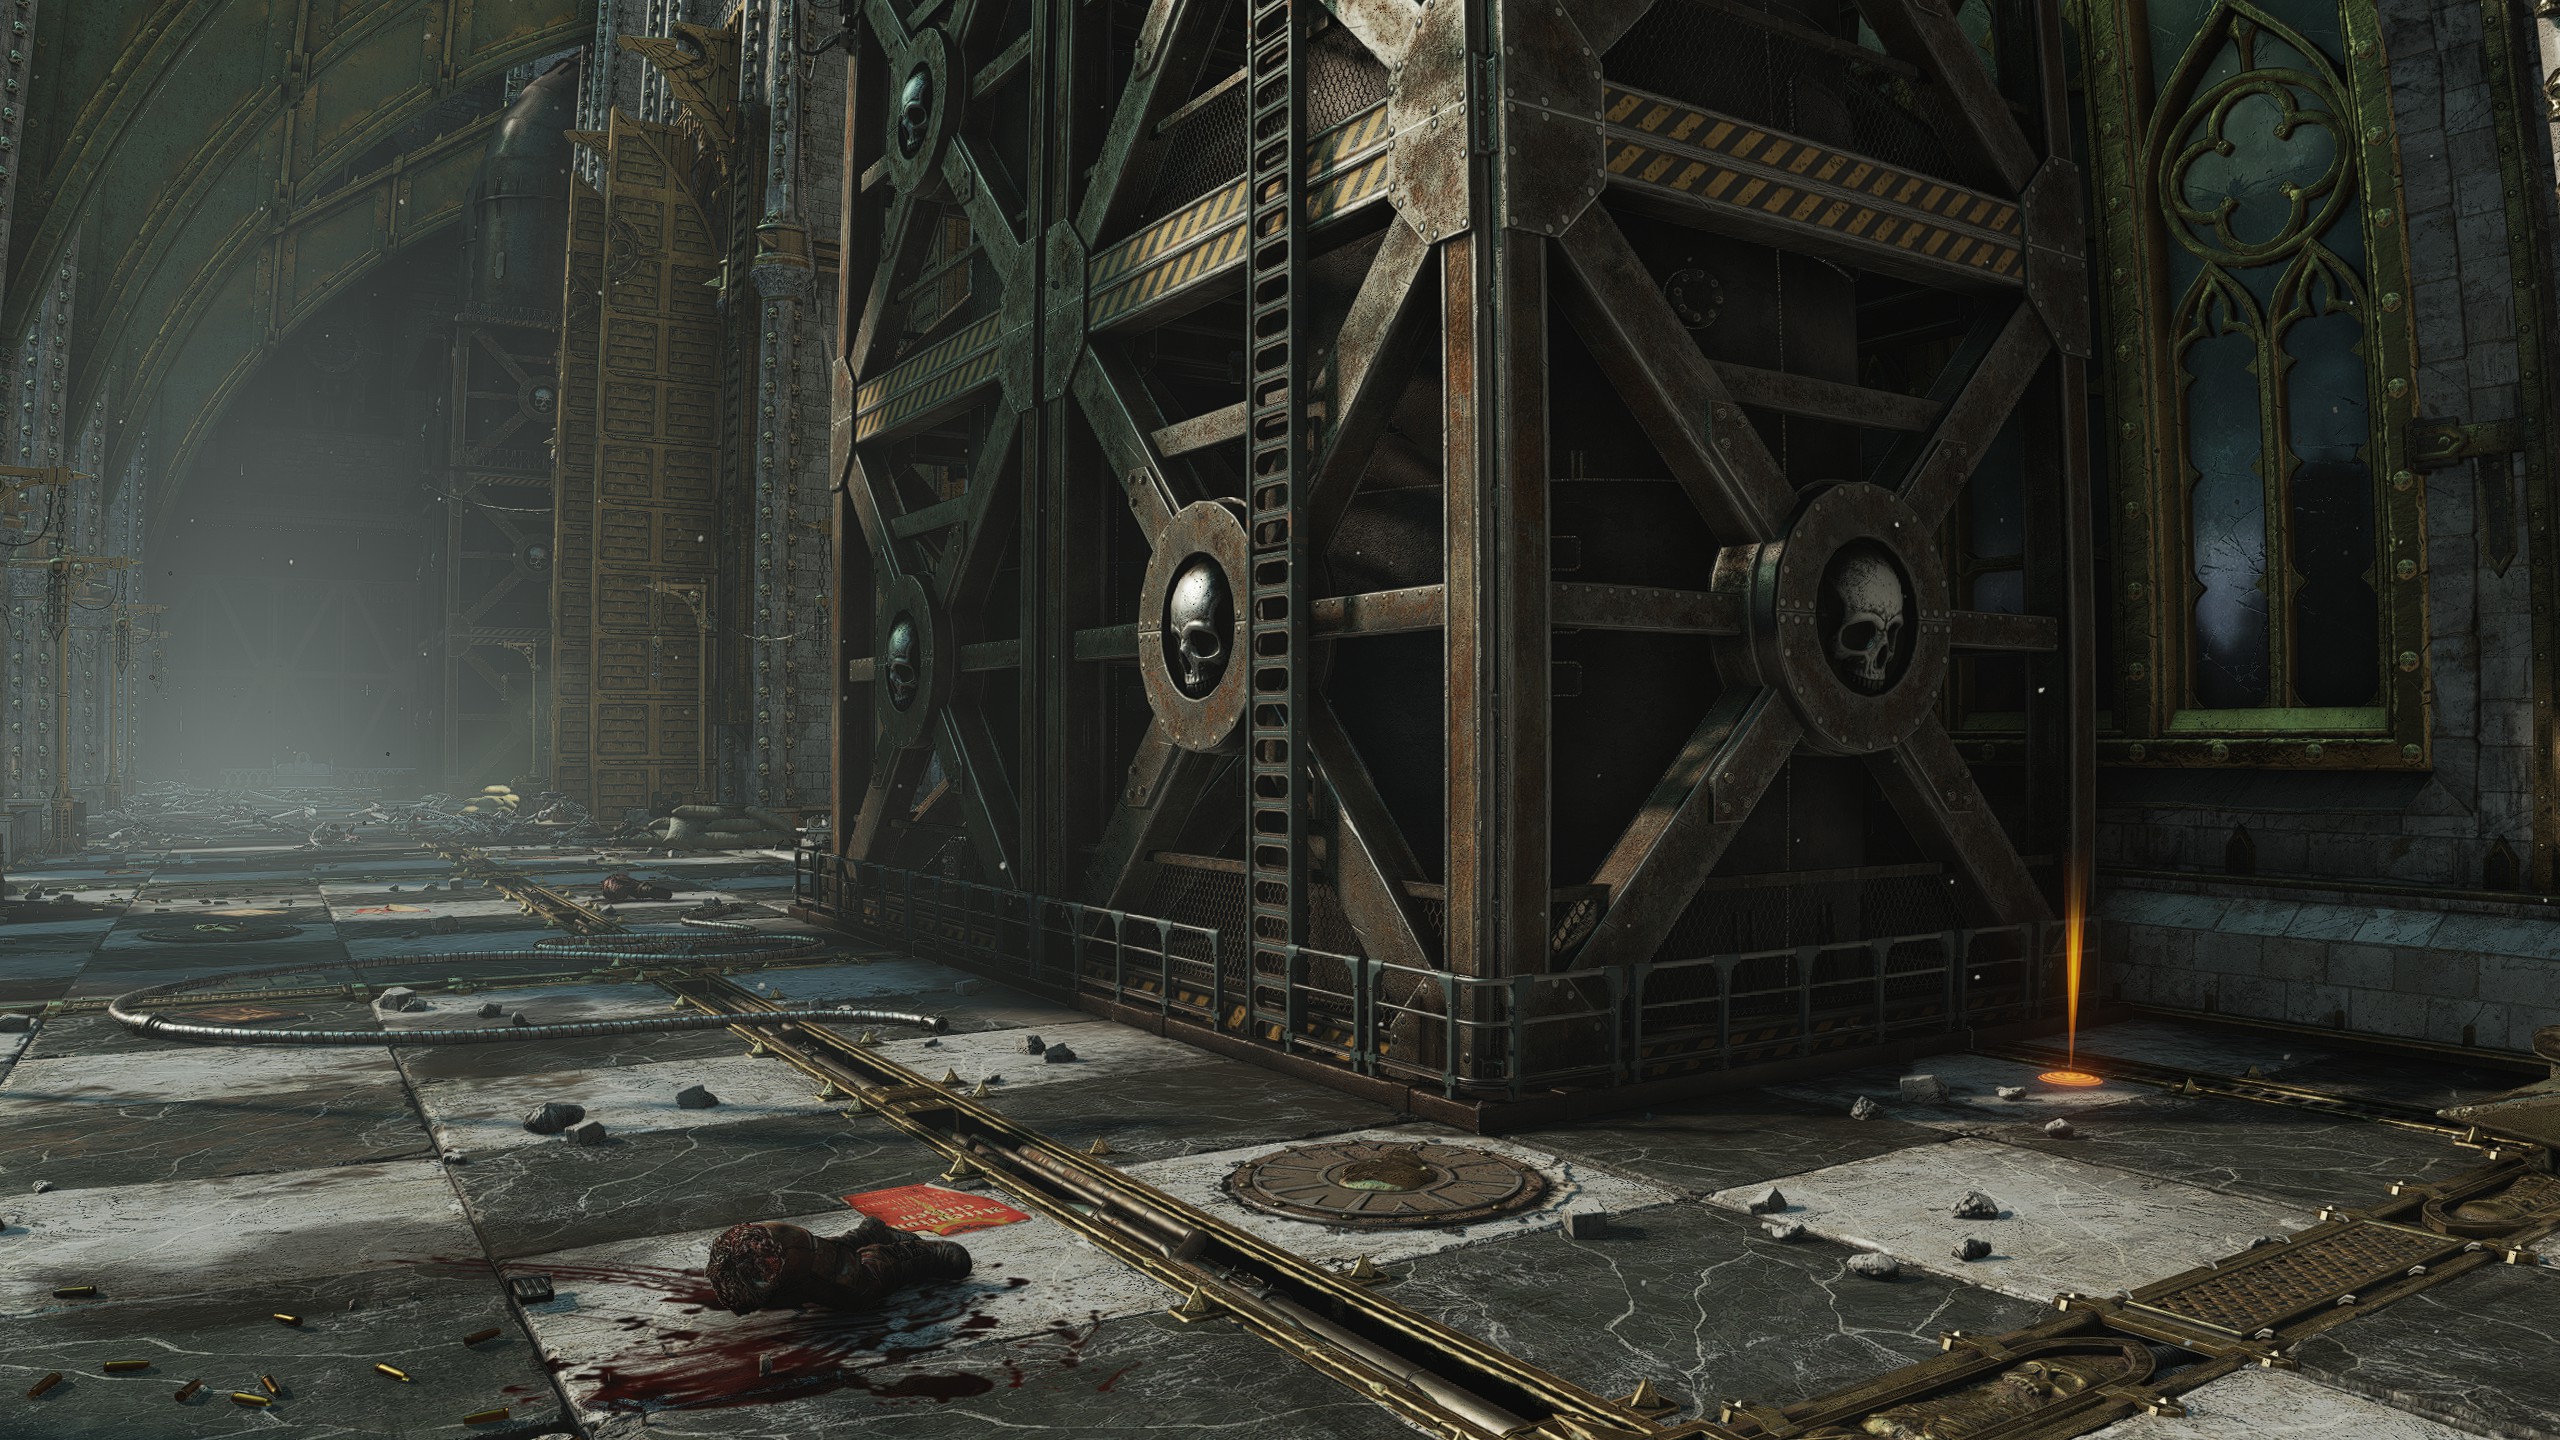
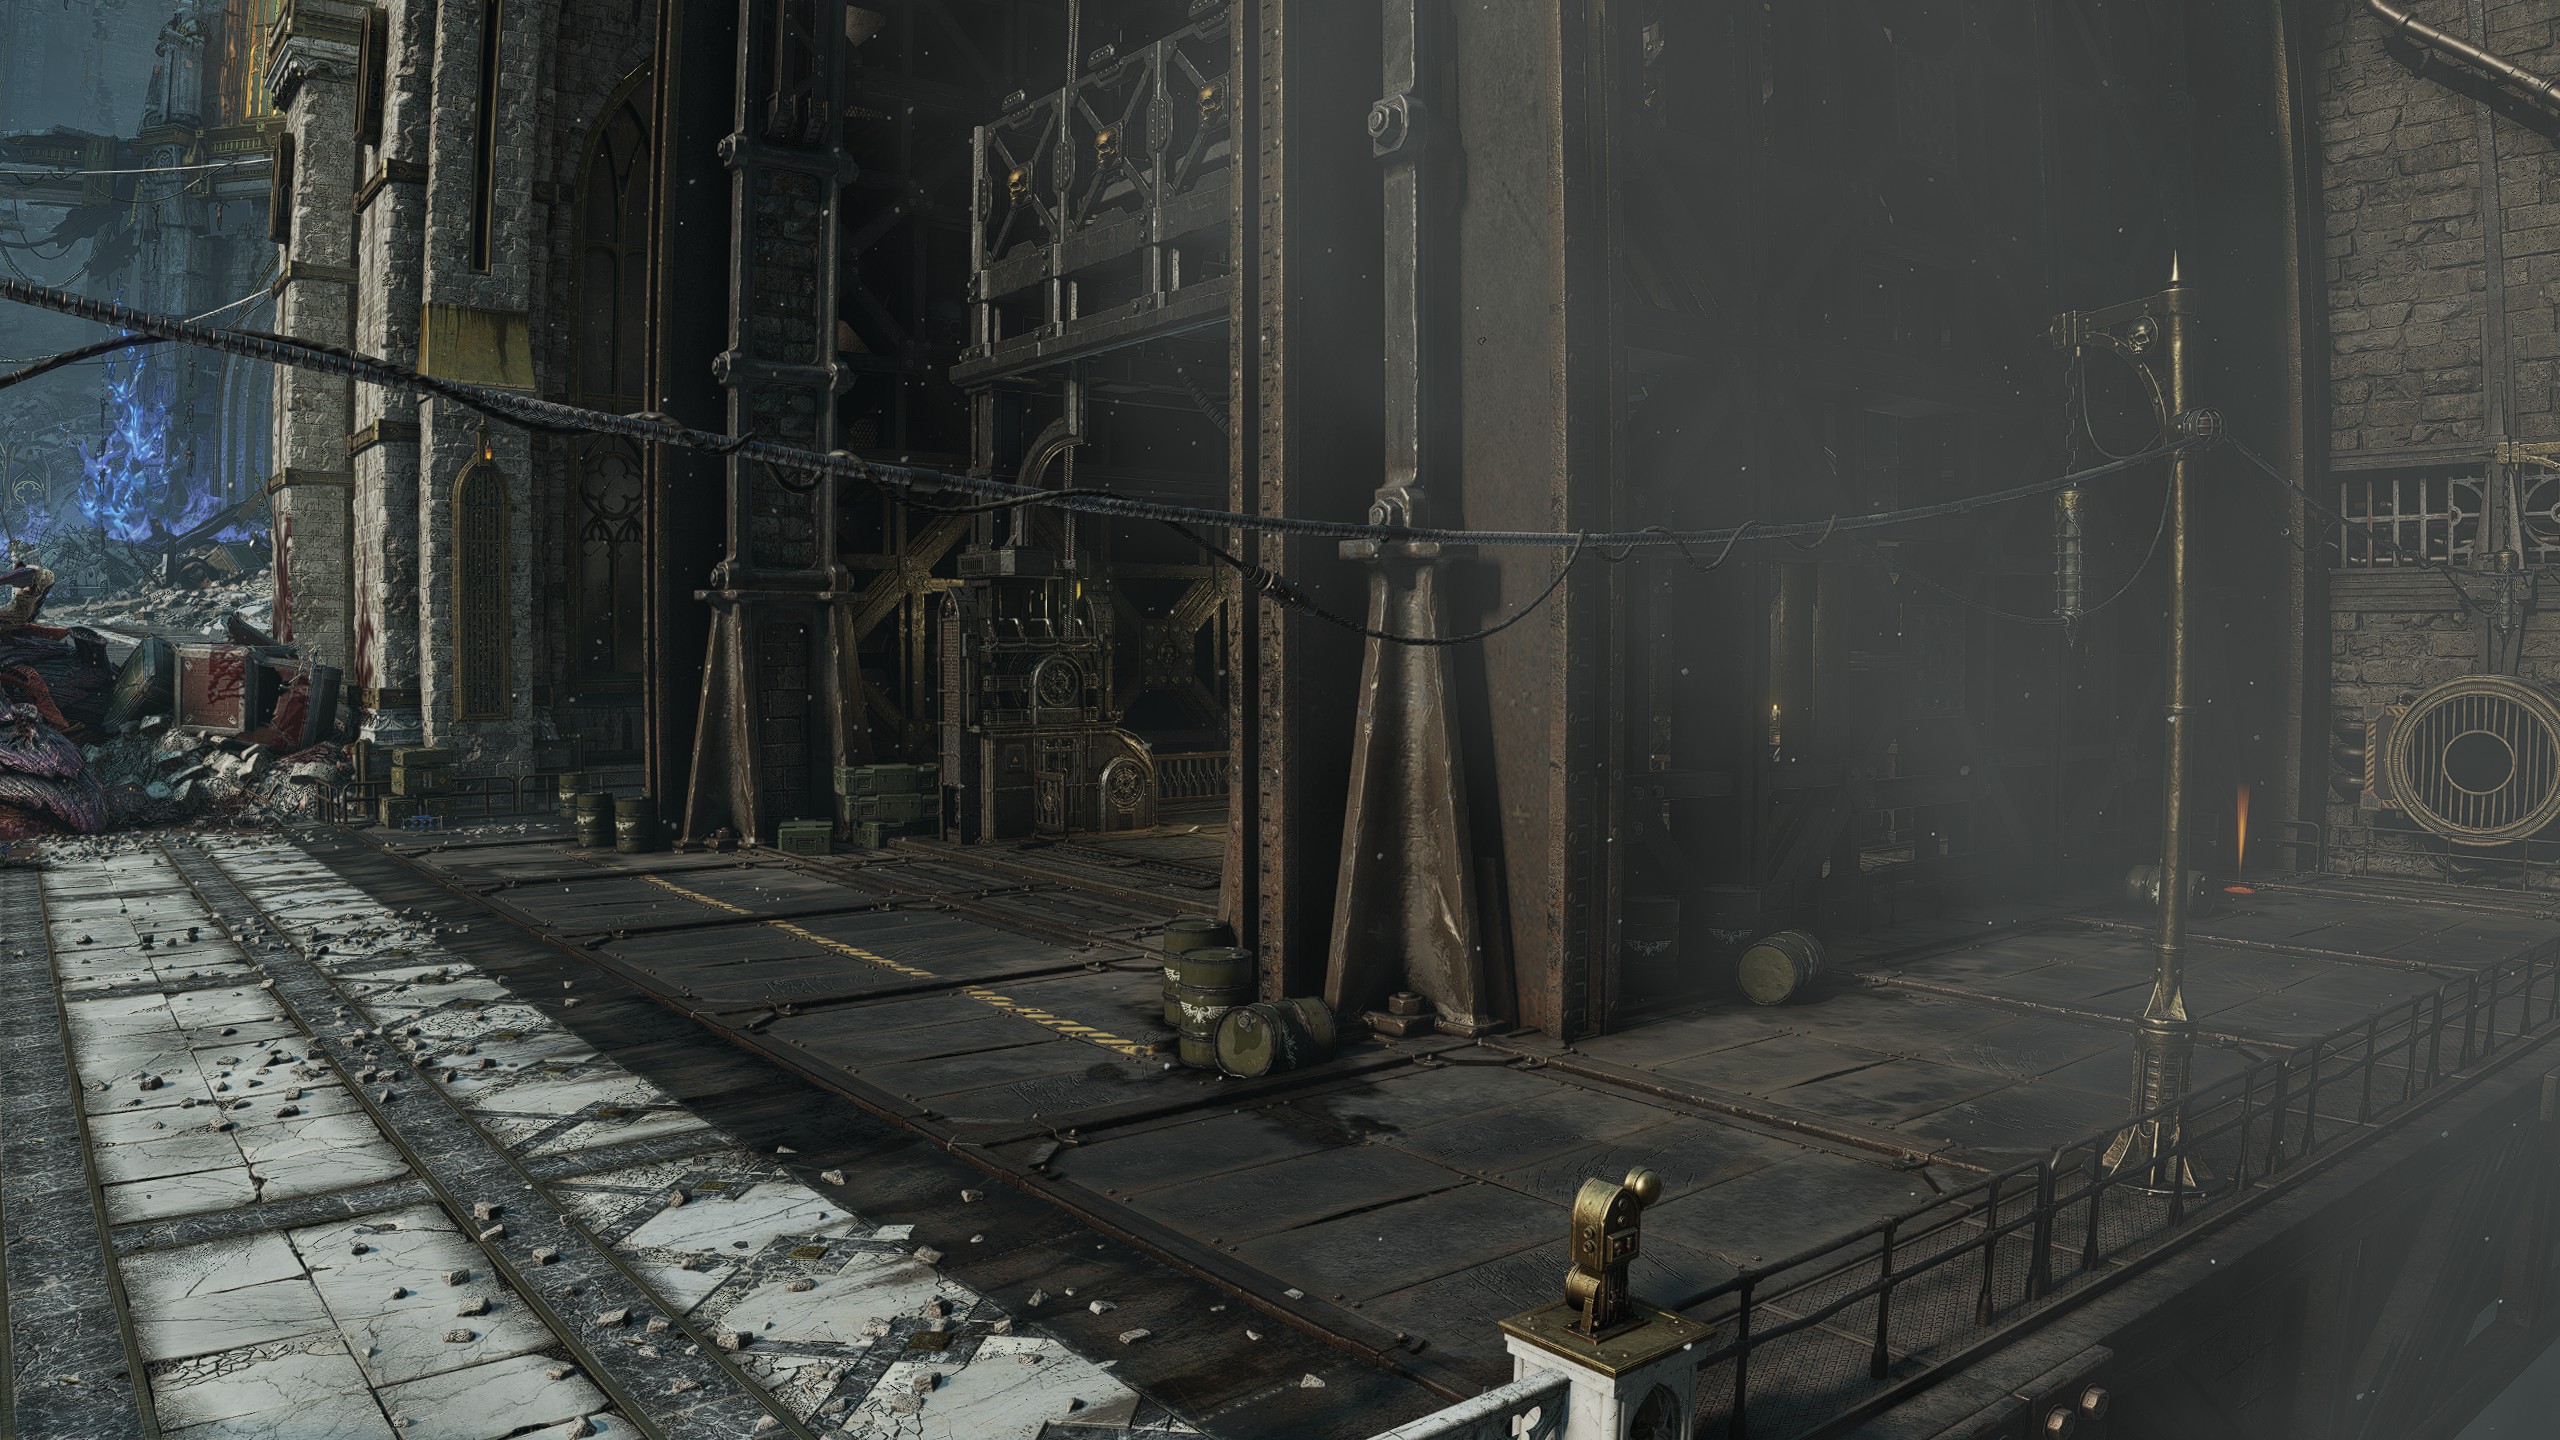
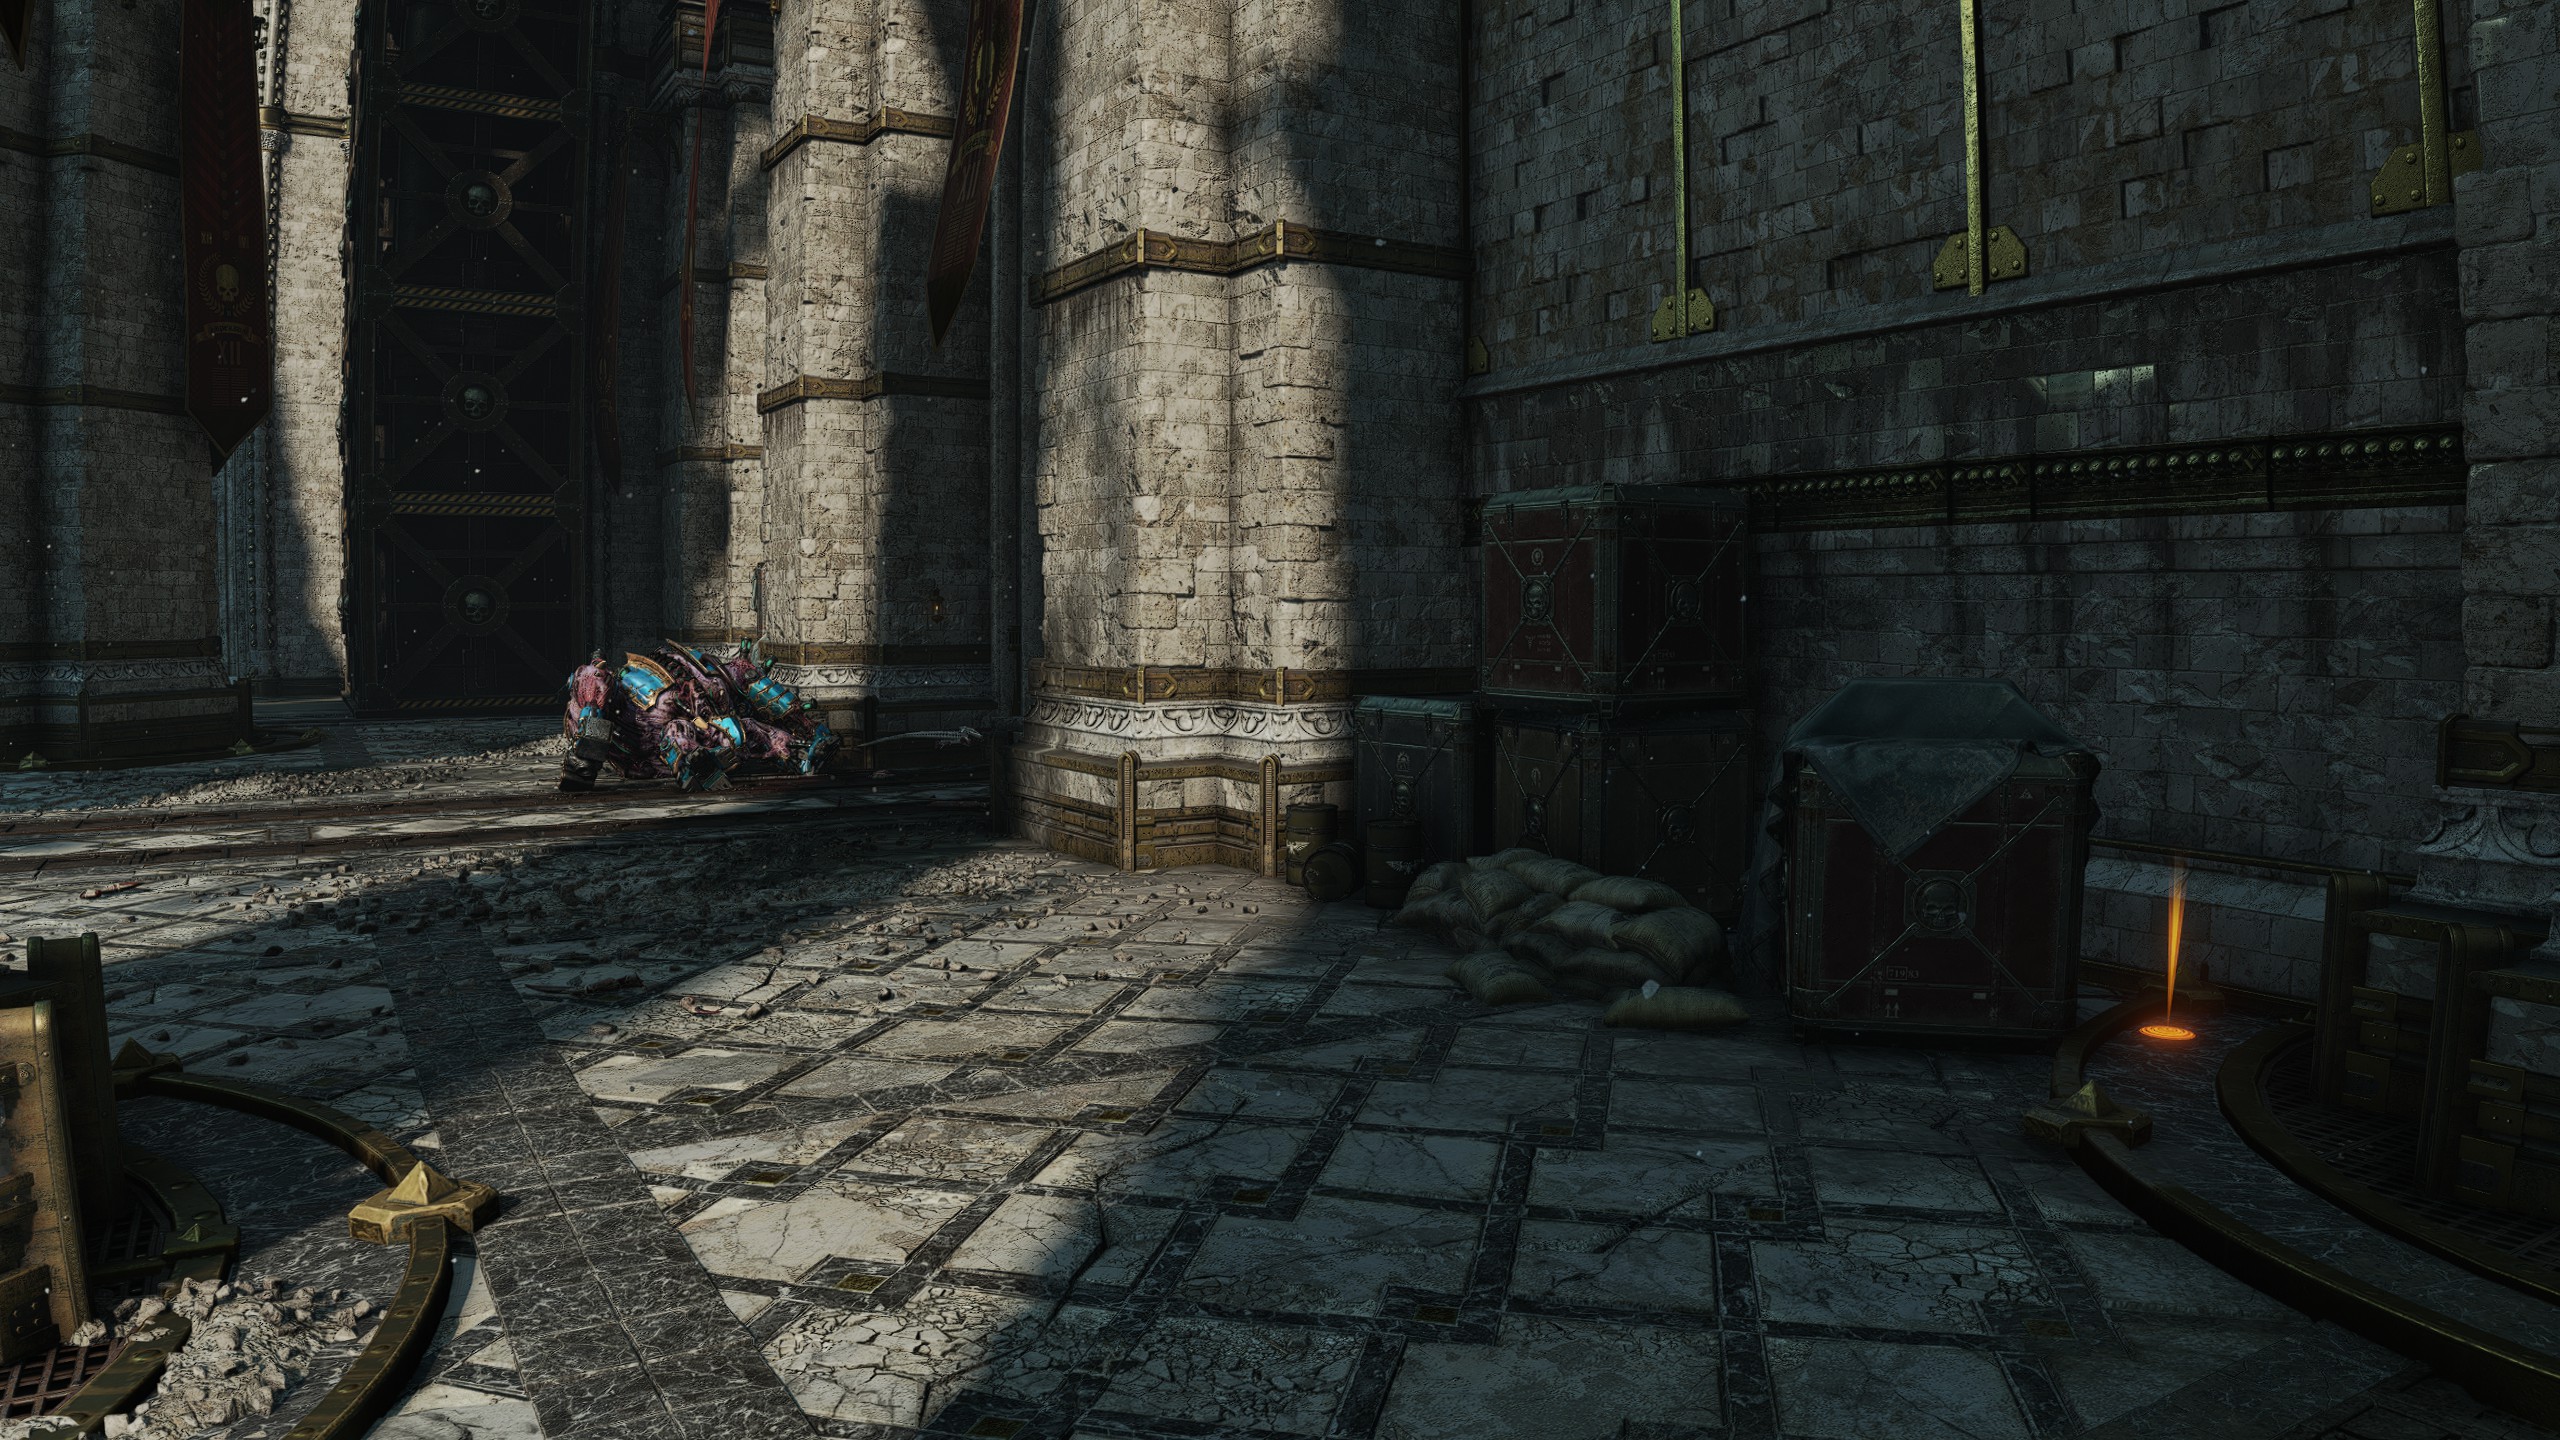
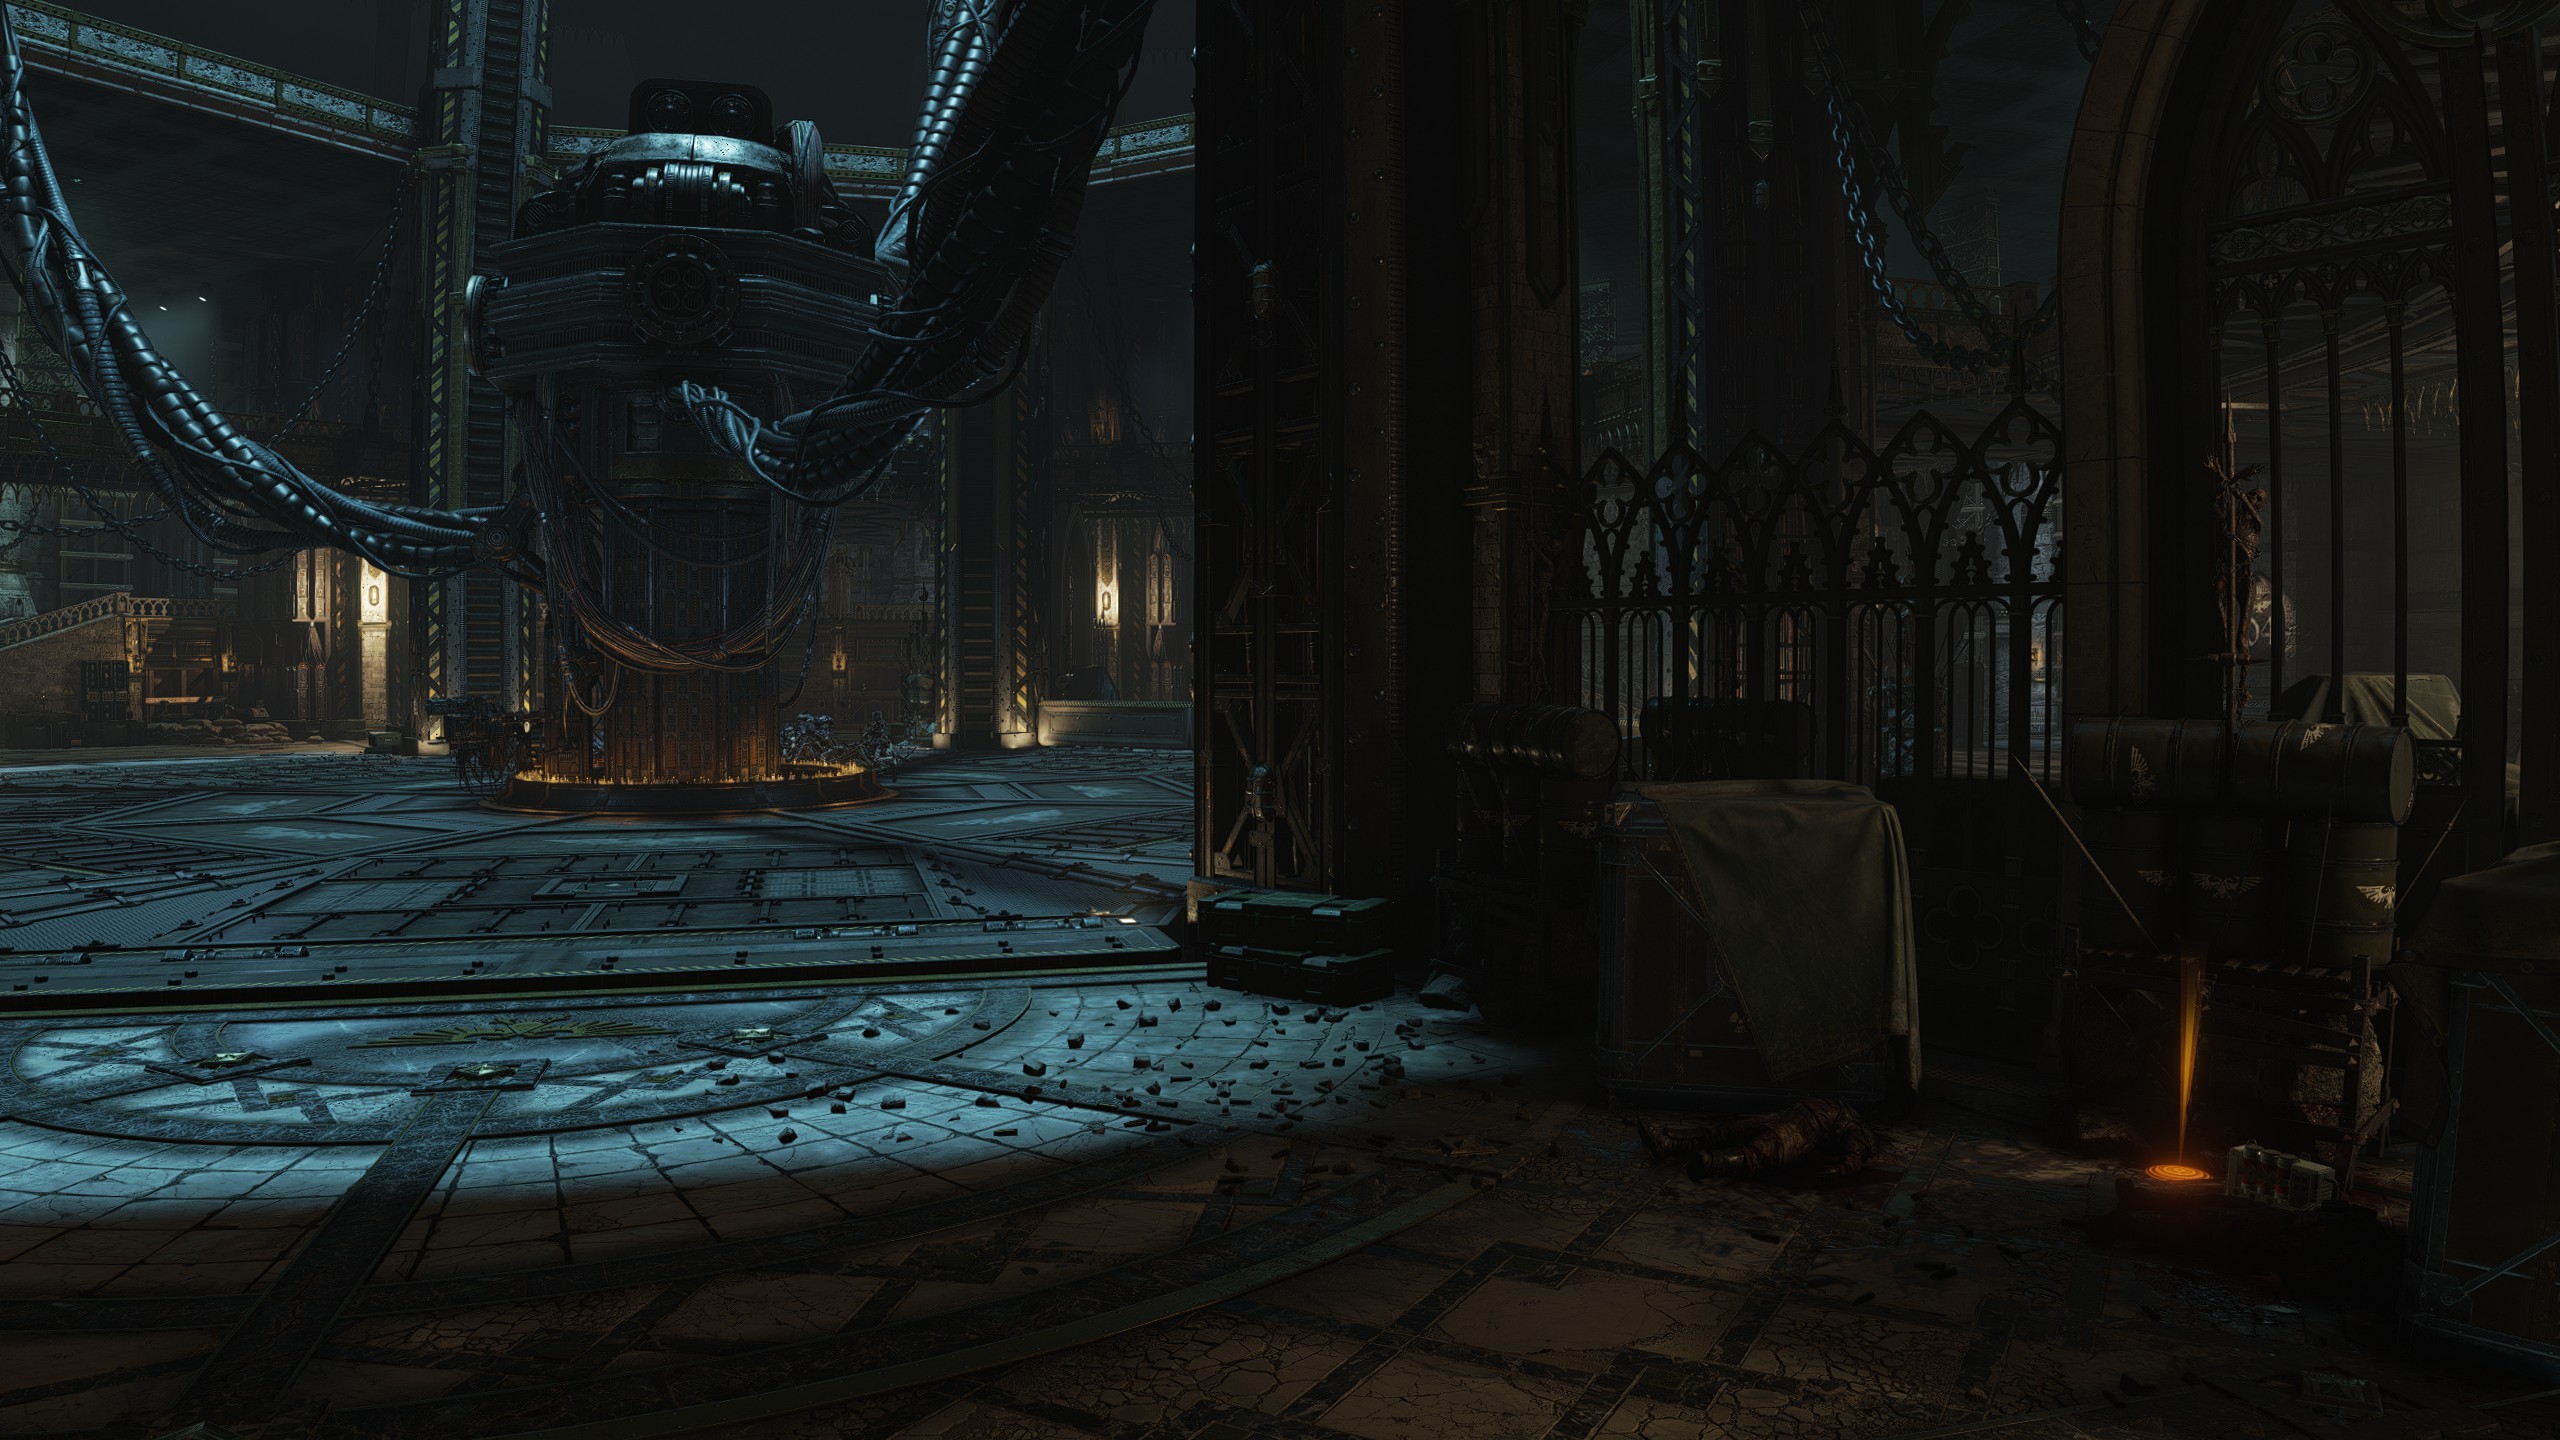
| Mission 04: Reliquary
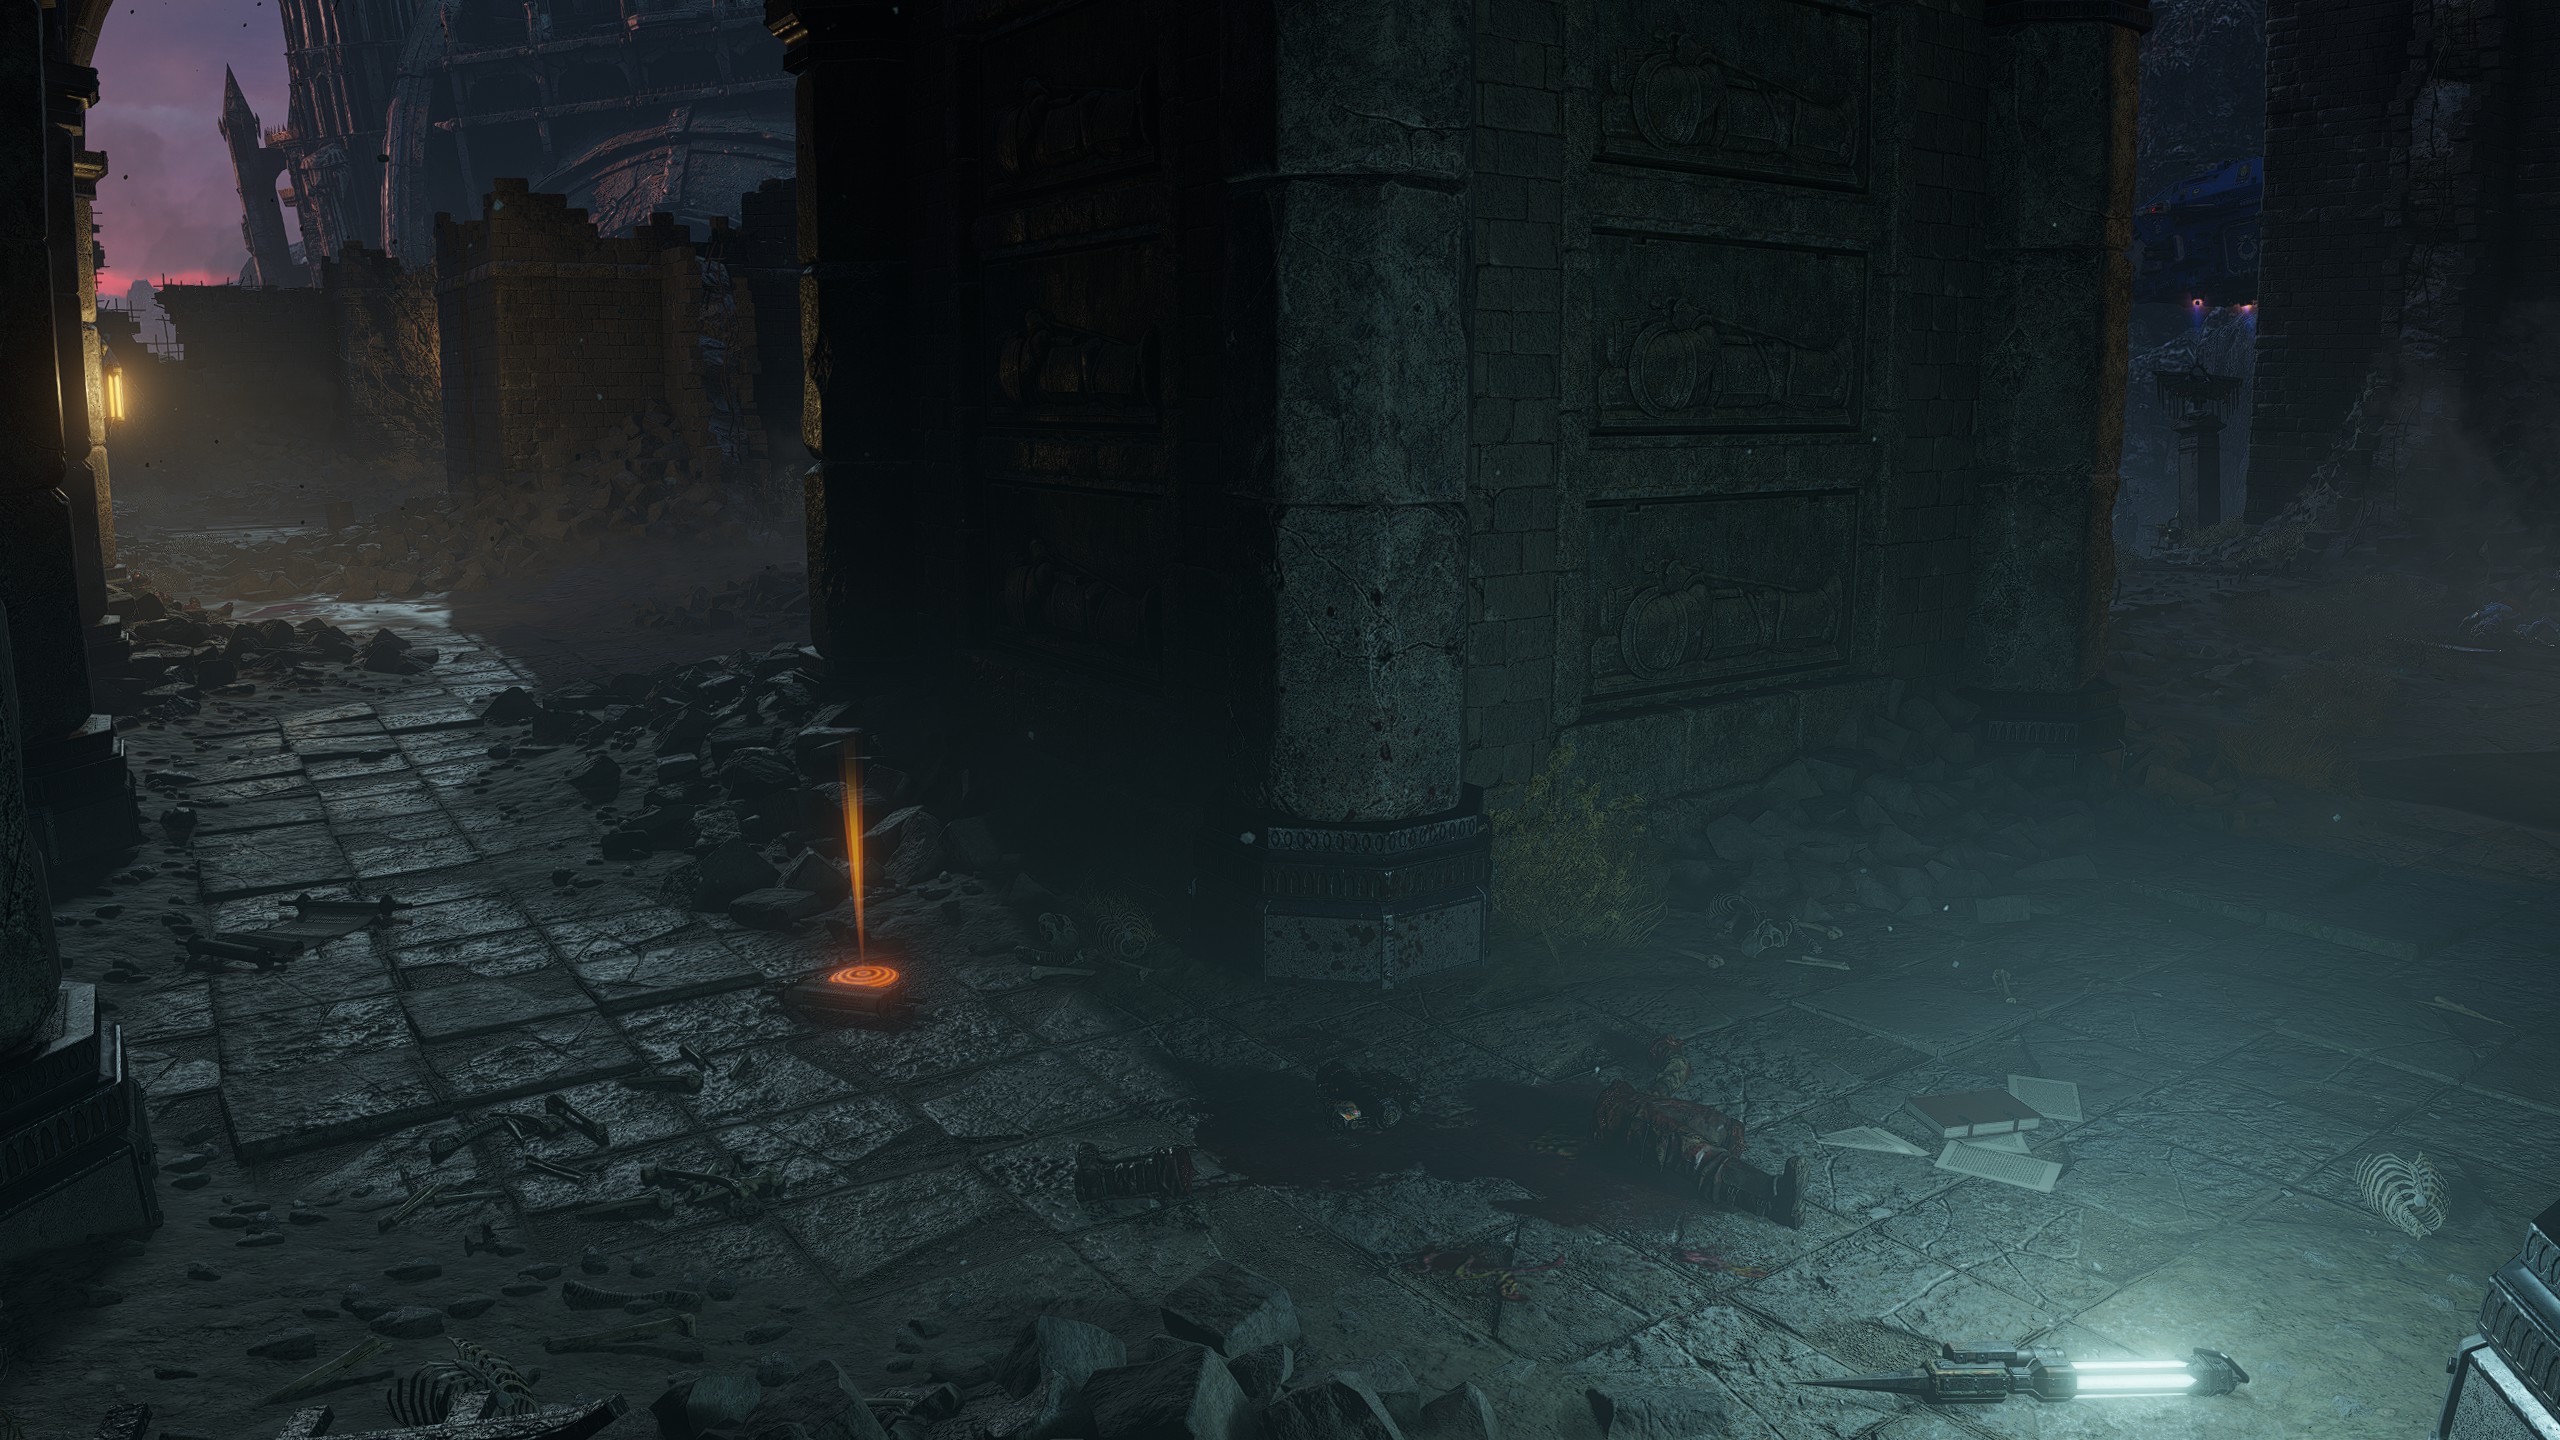
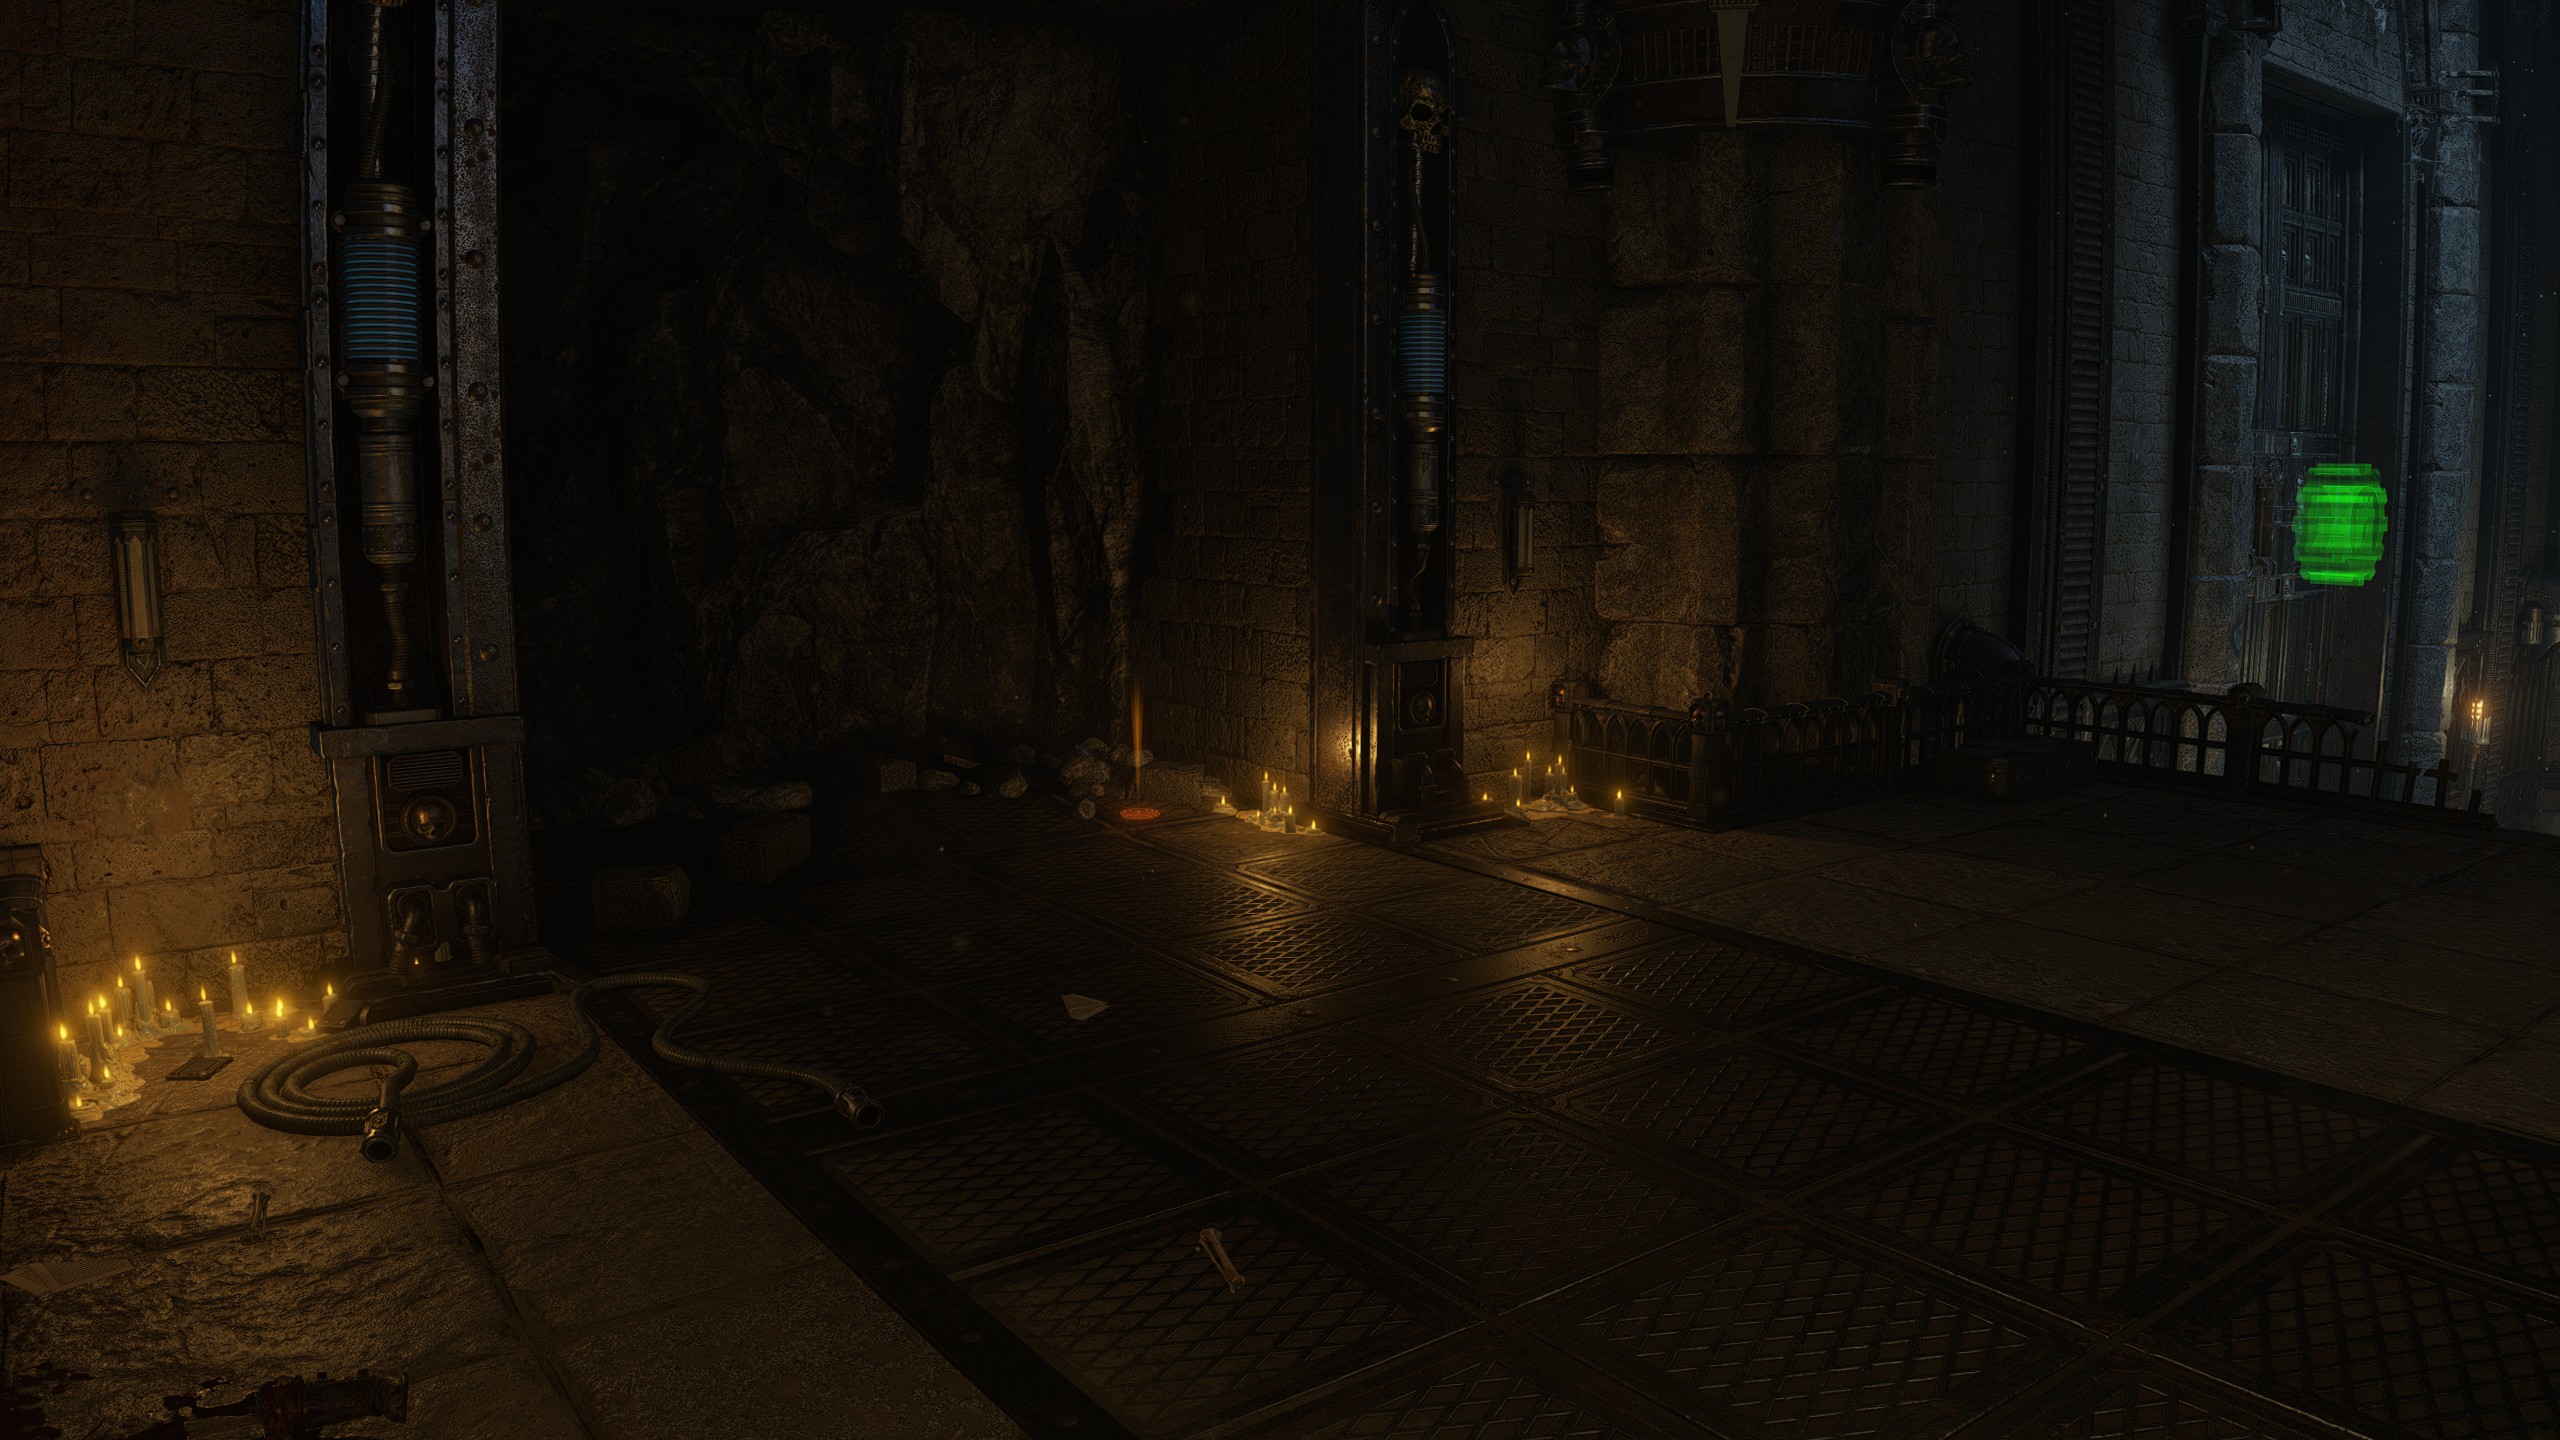
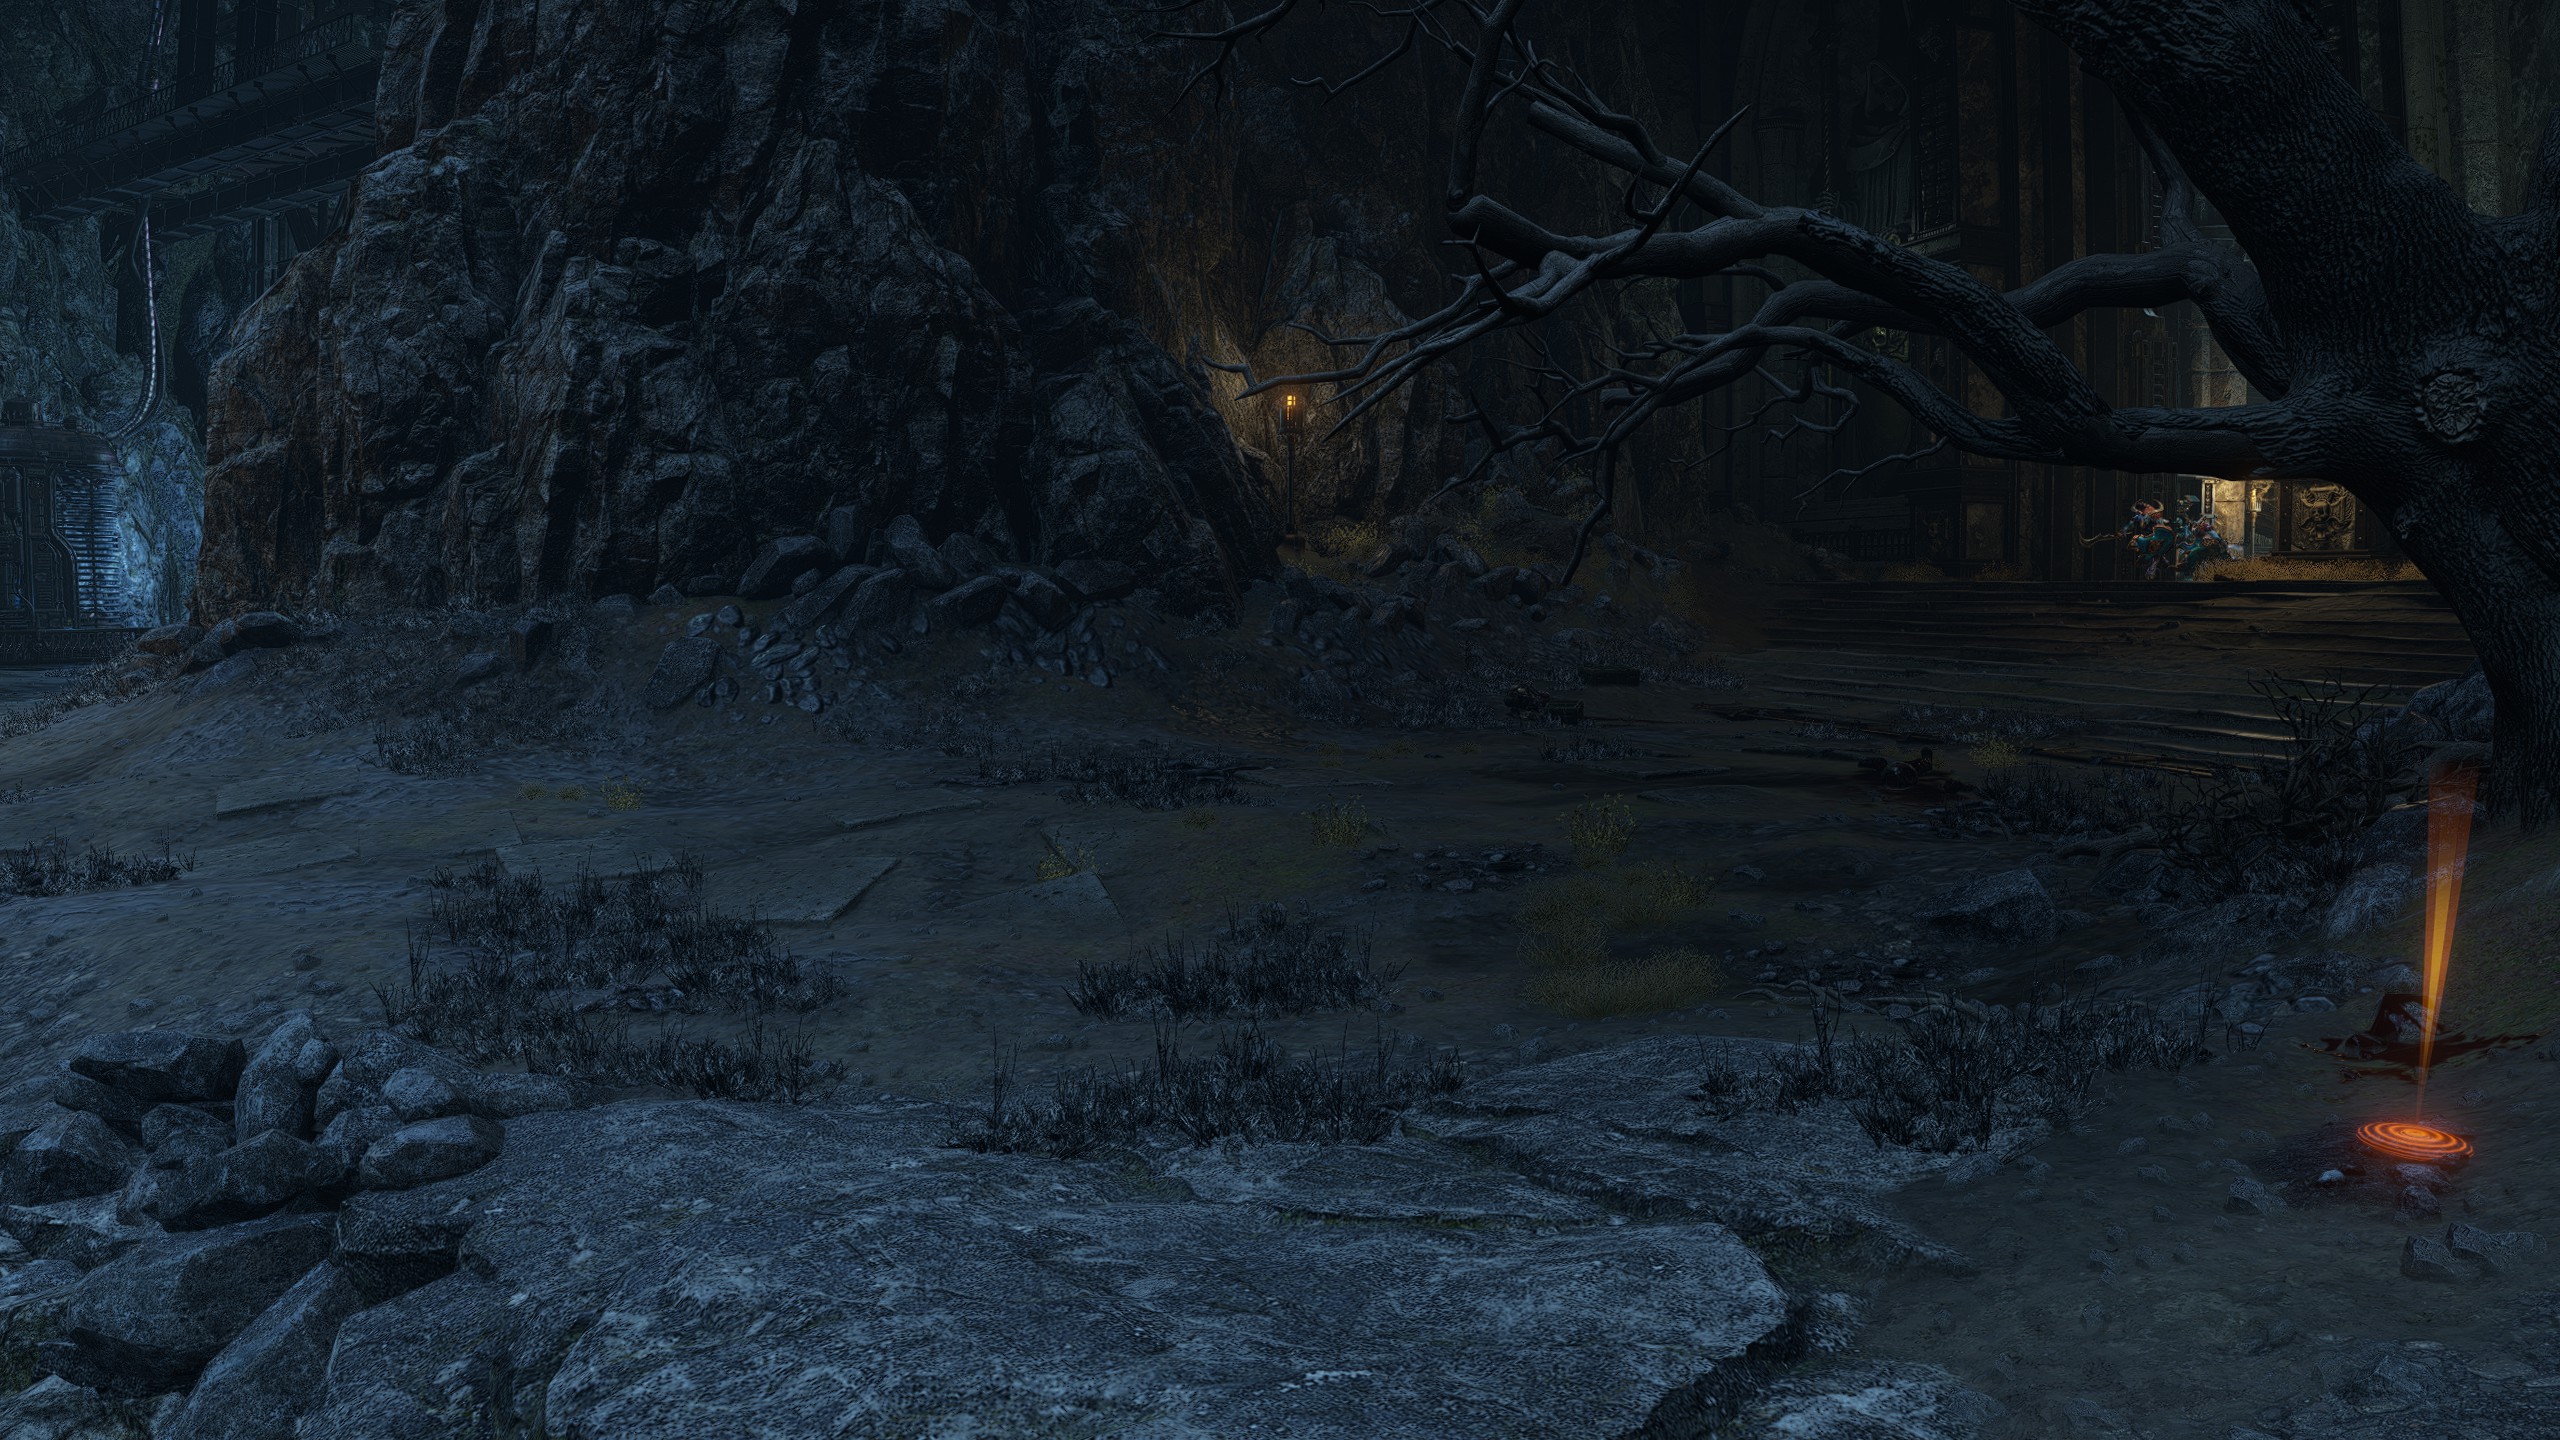
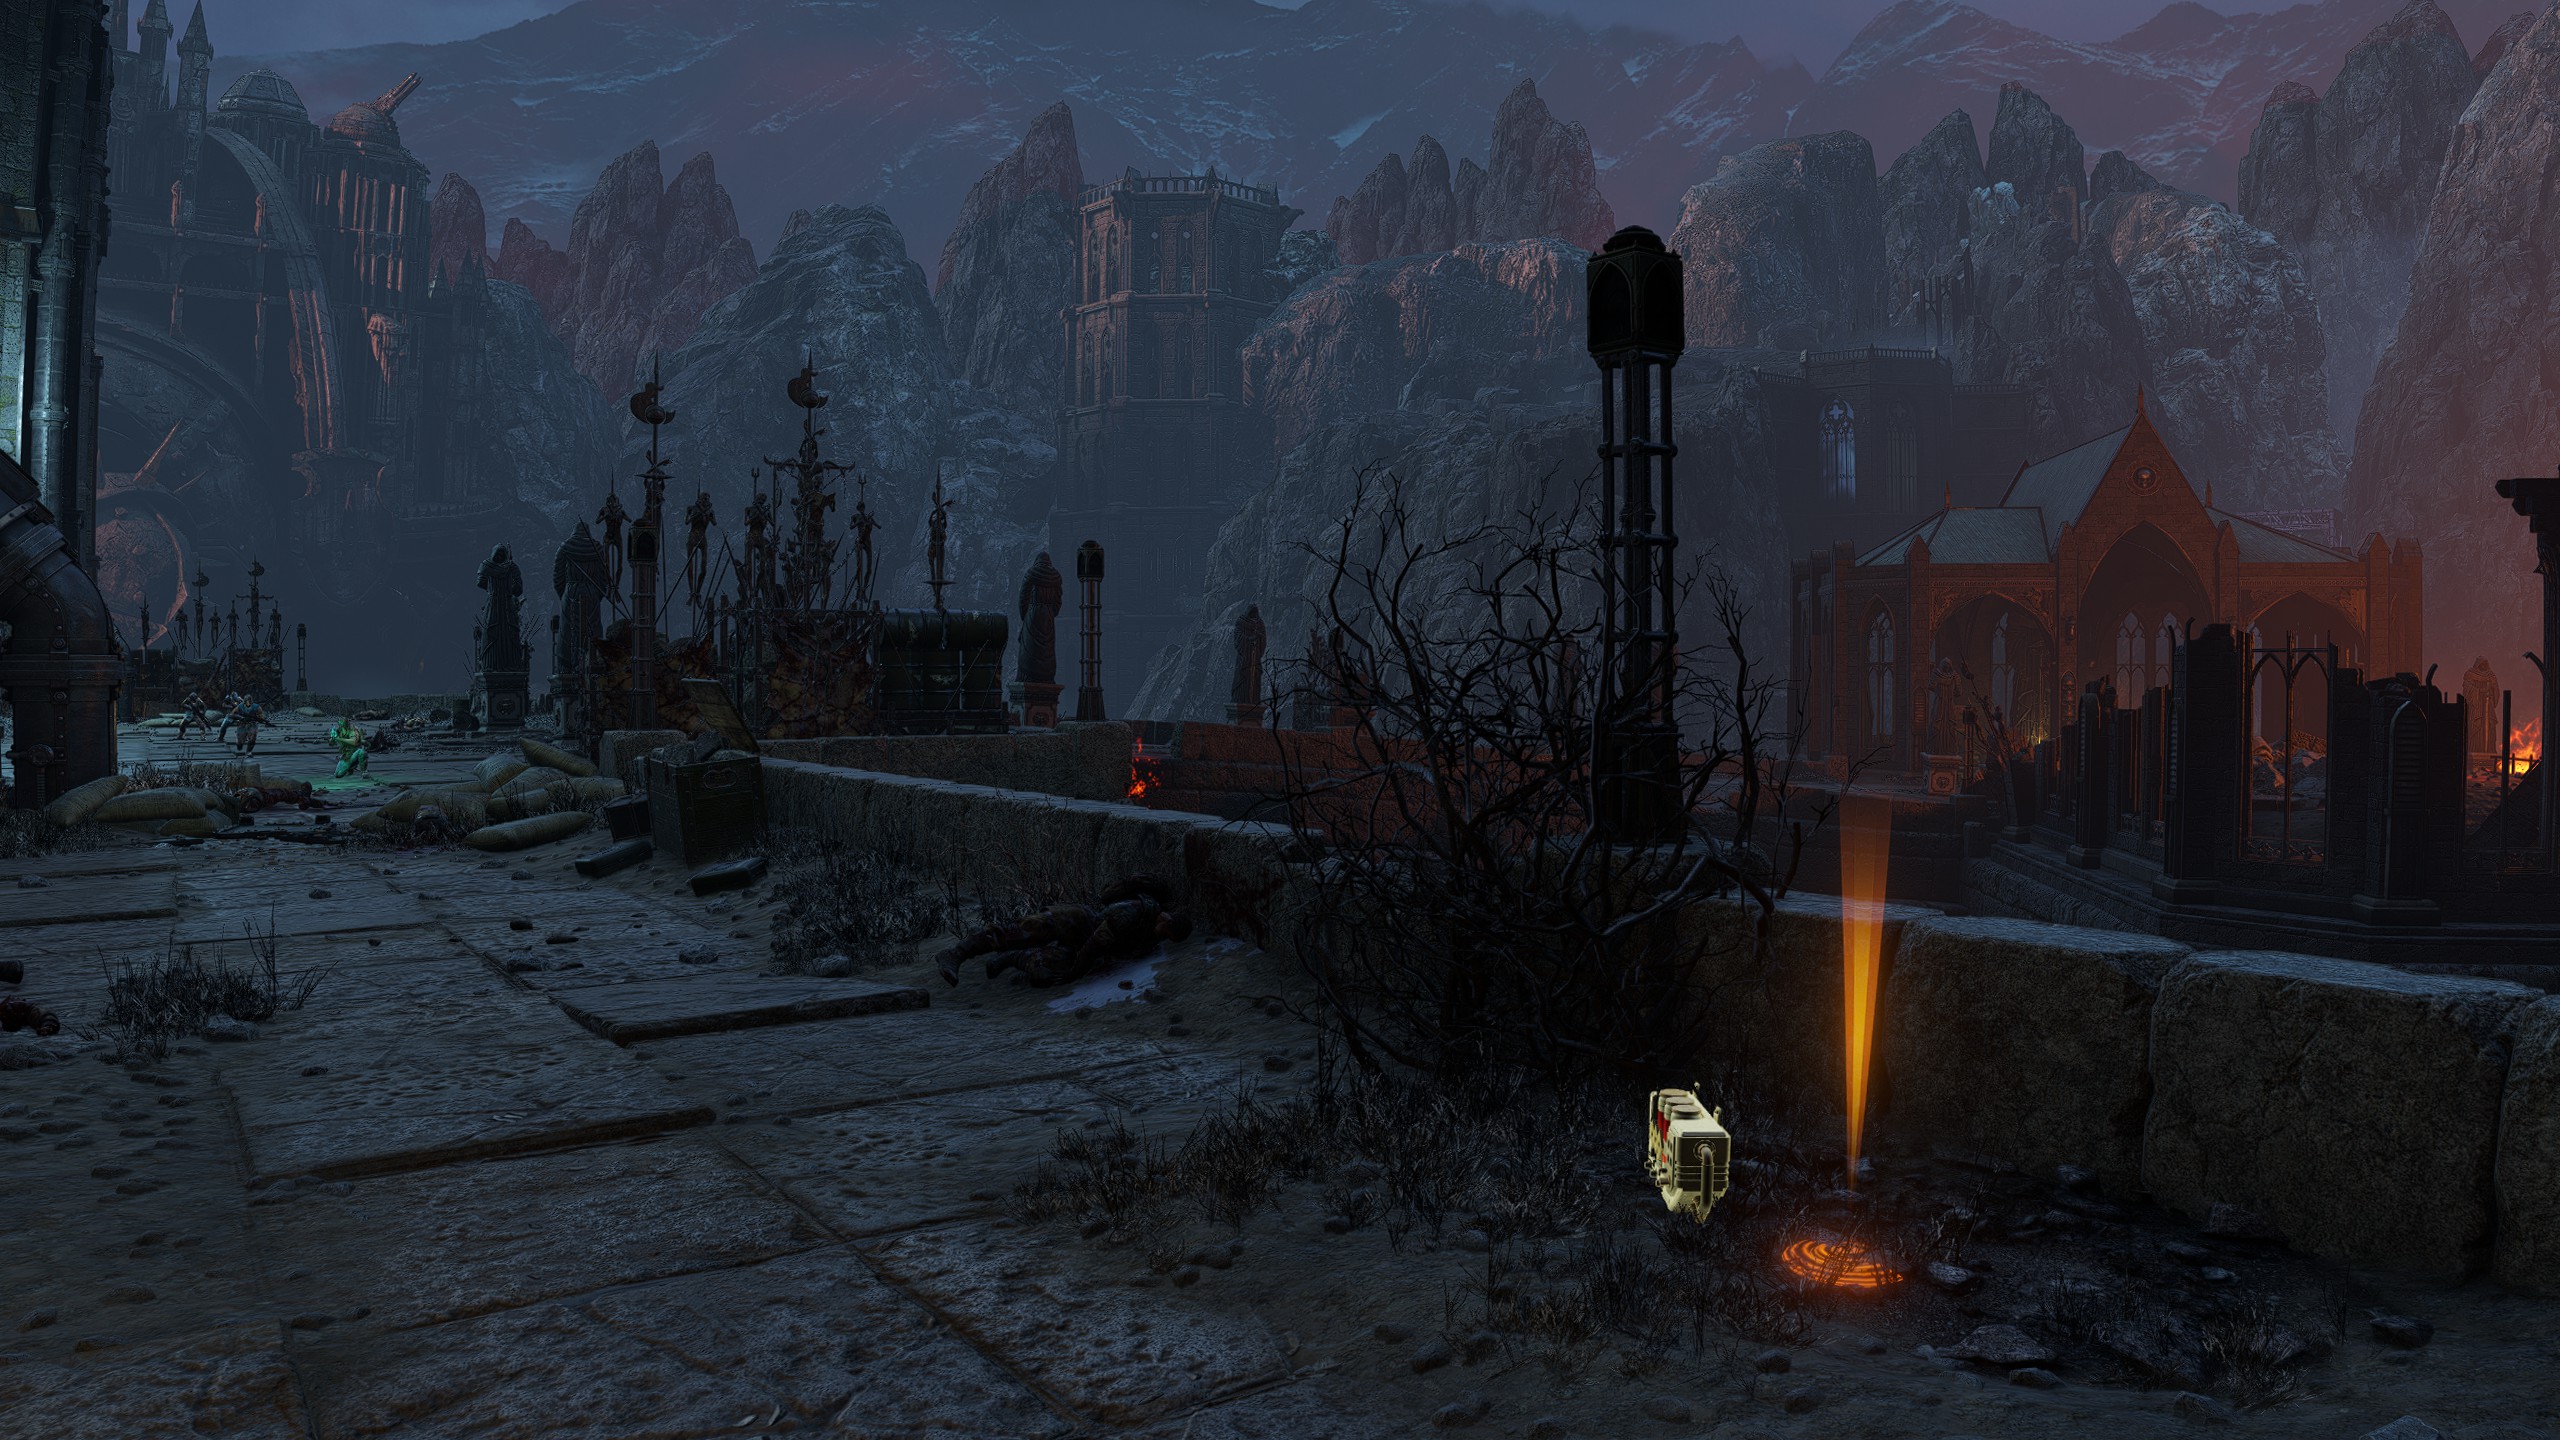
After descending the elevator you will arrive at the Heldrake bridge section. This consists of three separate sections of bridges that the Heldrake will assail you on, split apart by two destroyed towers. Drop down from the second tower (or walk around it) into the last bridge section and check behind the cultists barriers to your right.
Note that you can also check whether it's there before dropping down by looking through the closed gate of the tower.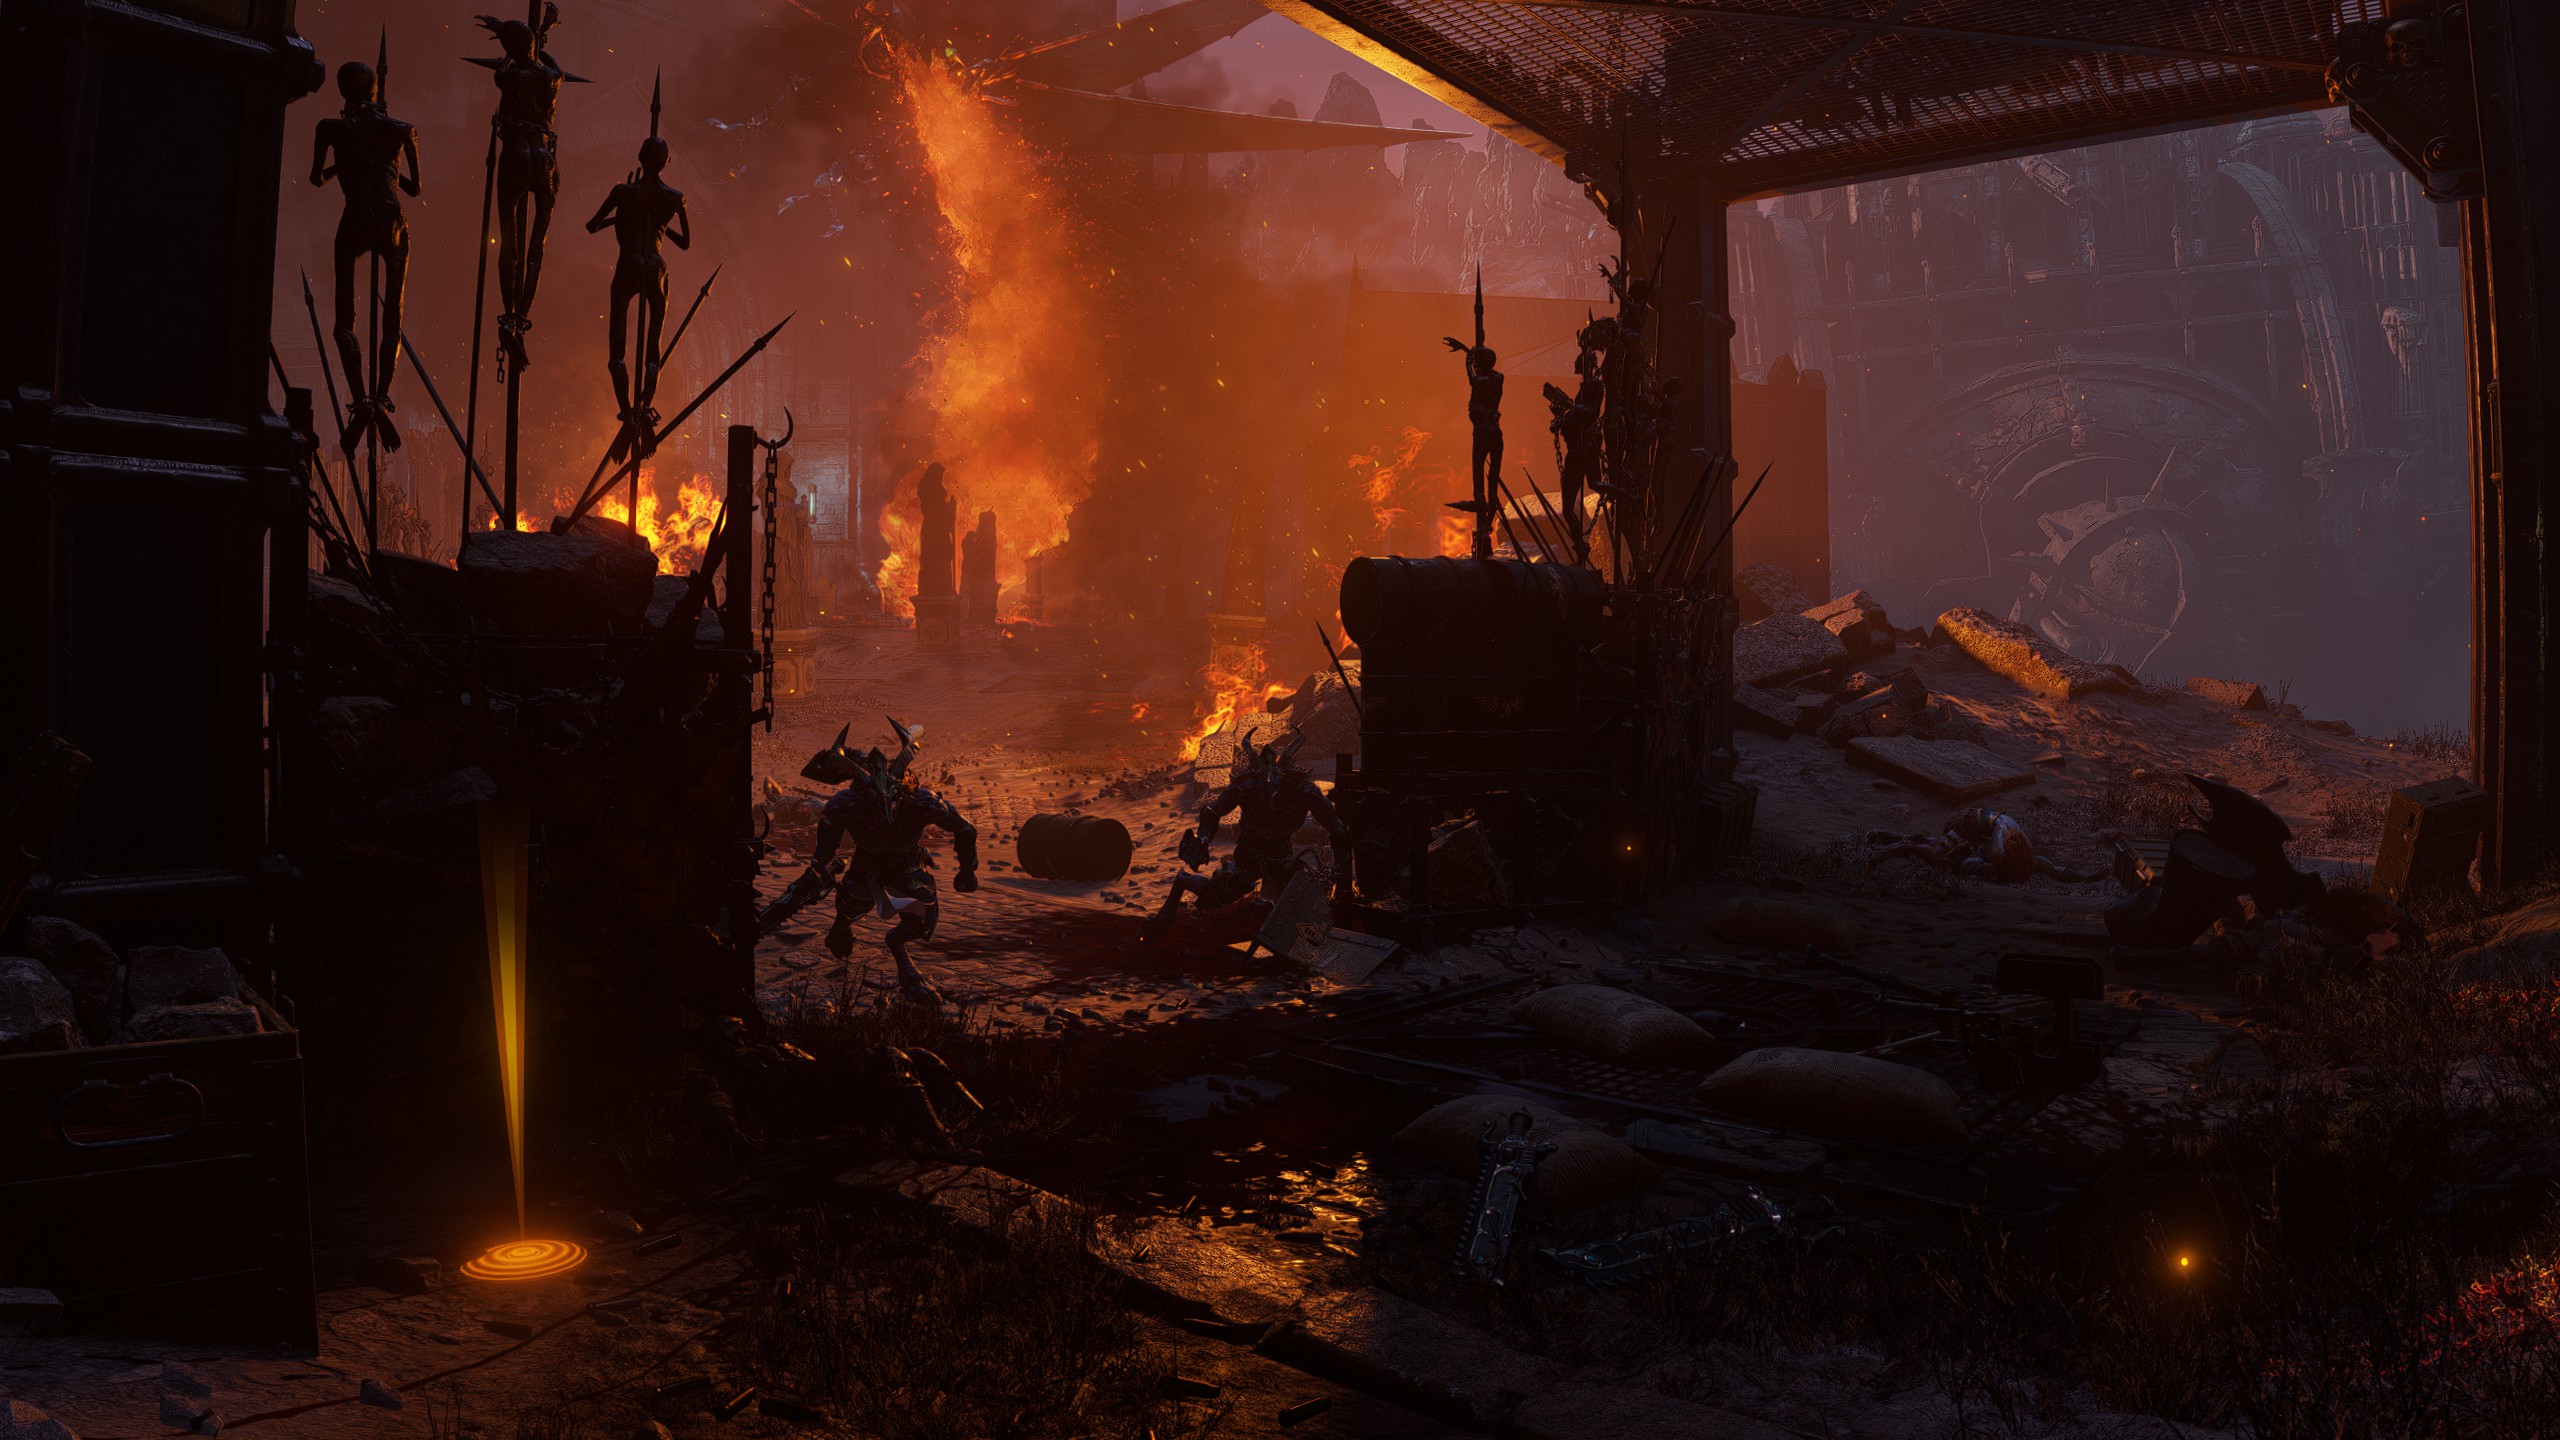
| Mission 05: Fall of Atreus
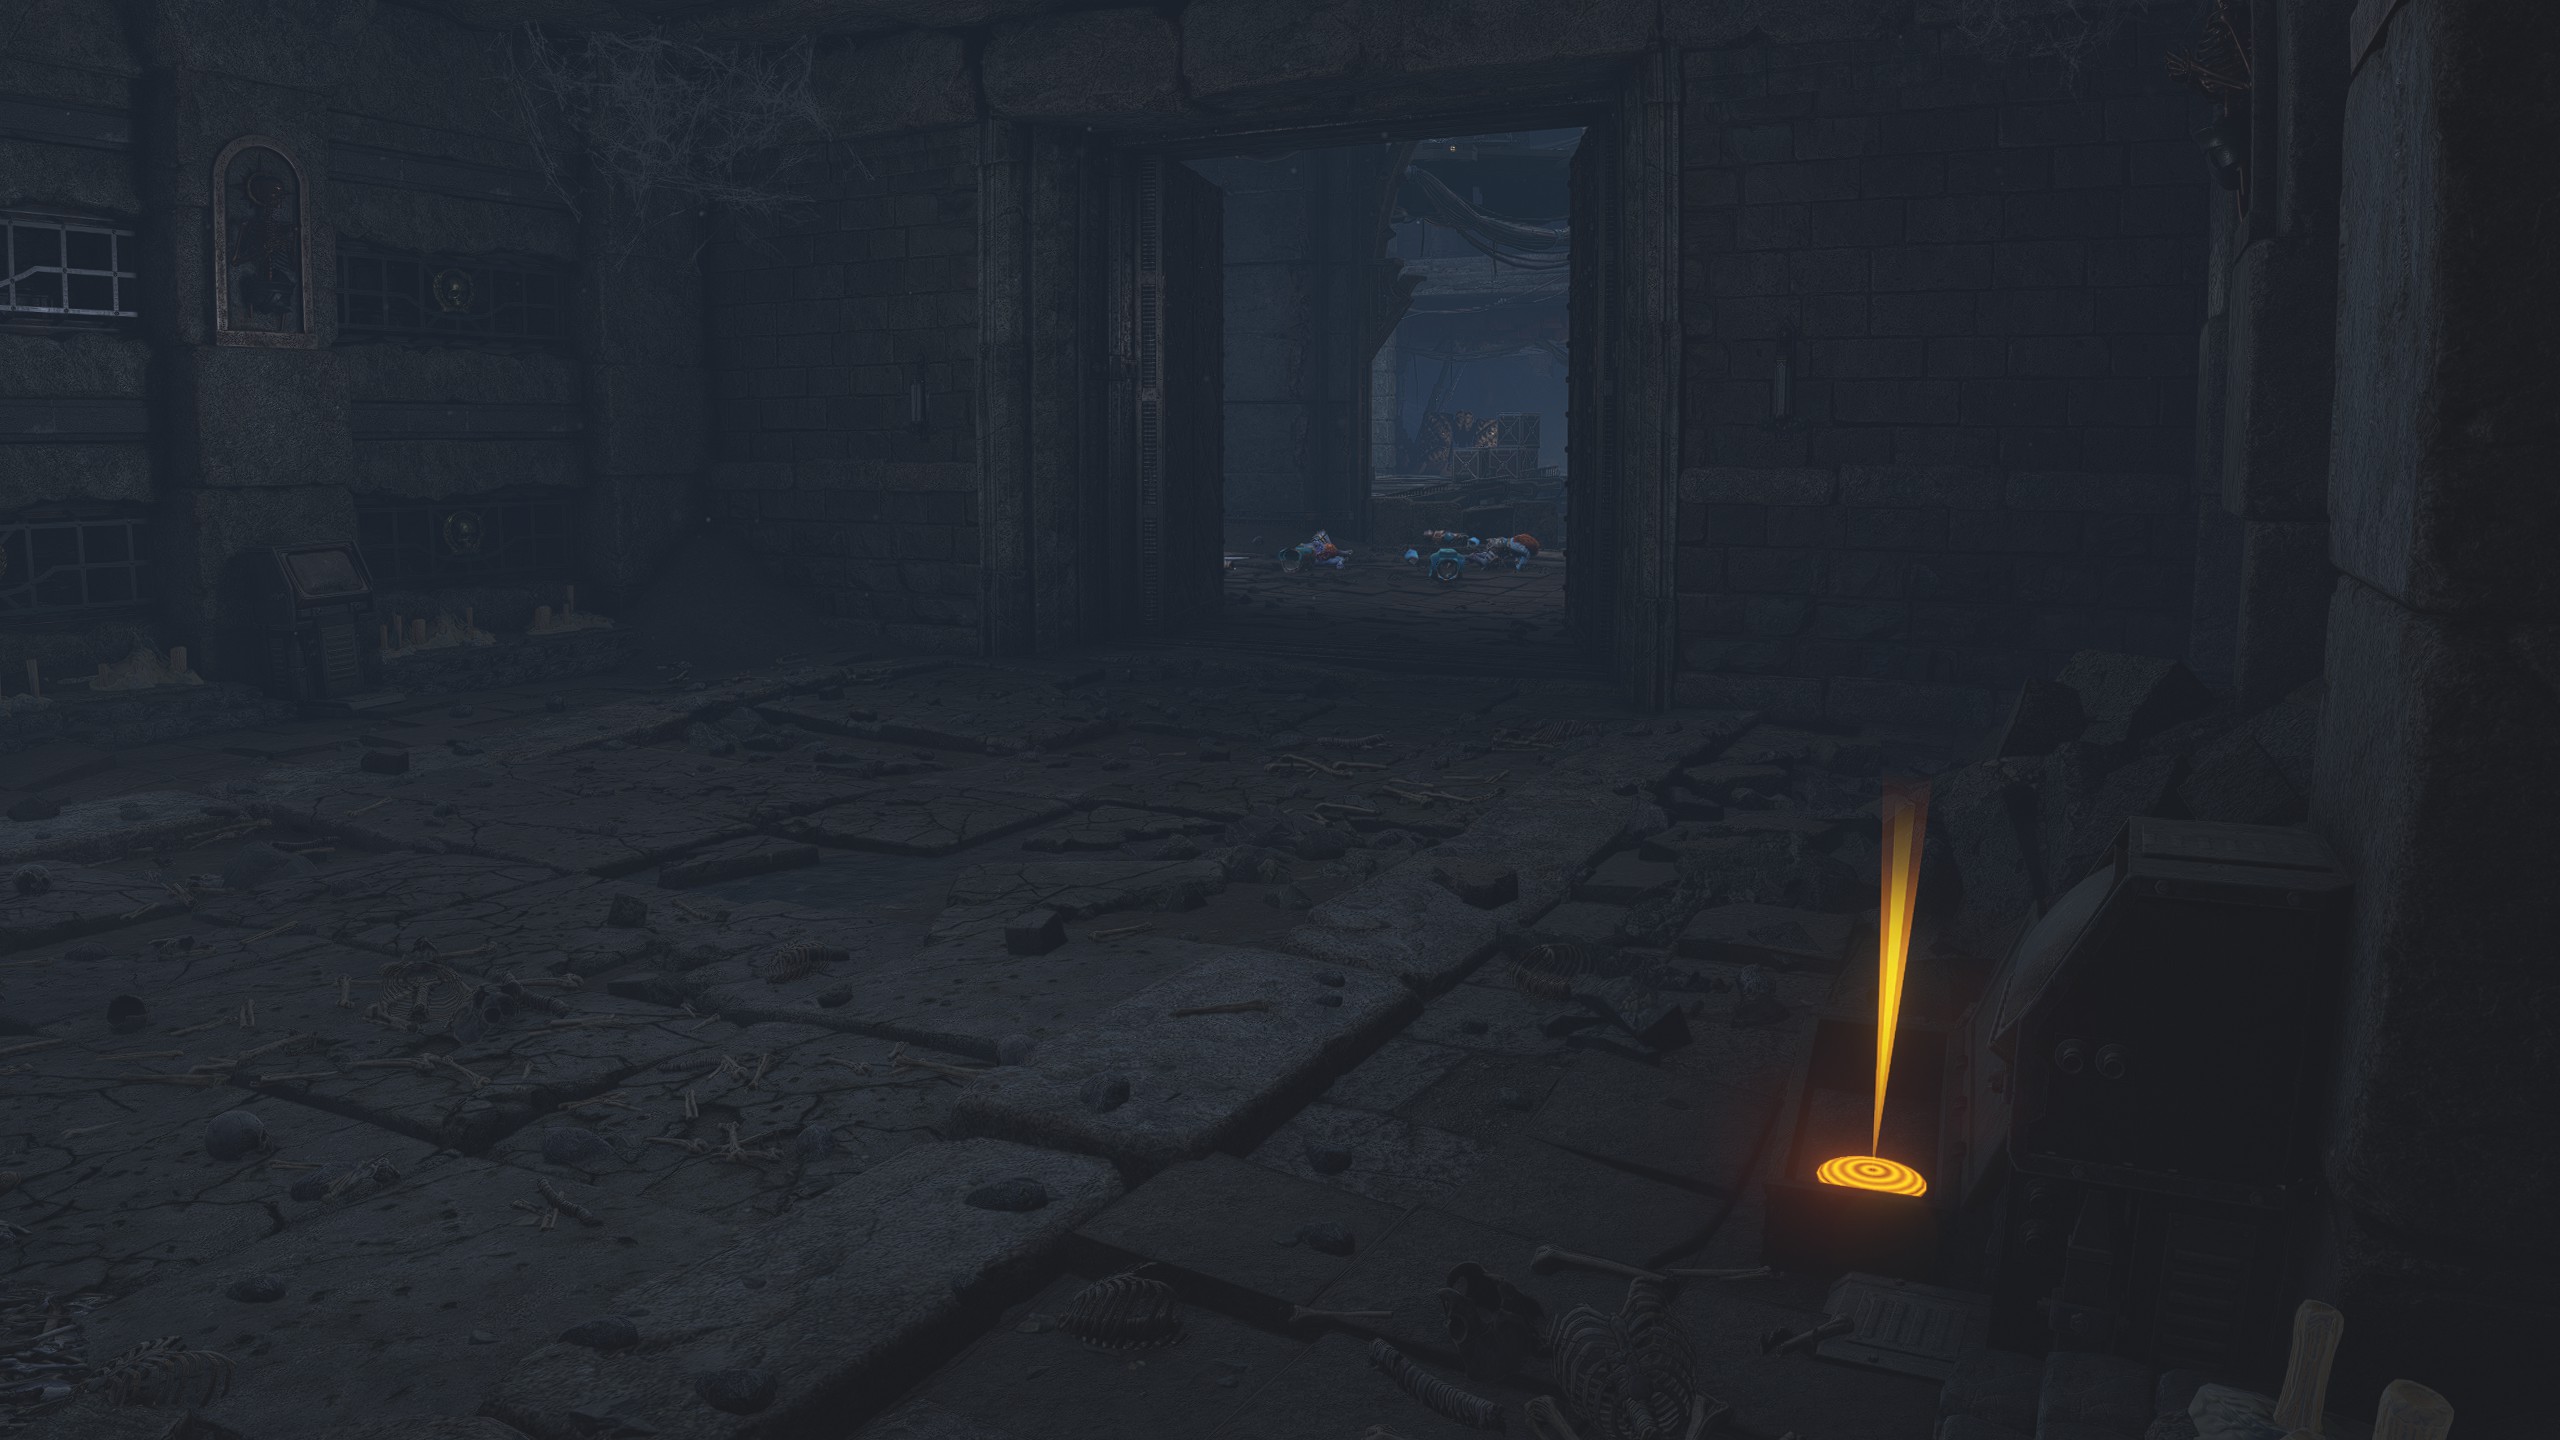
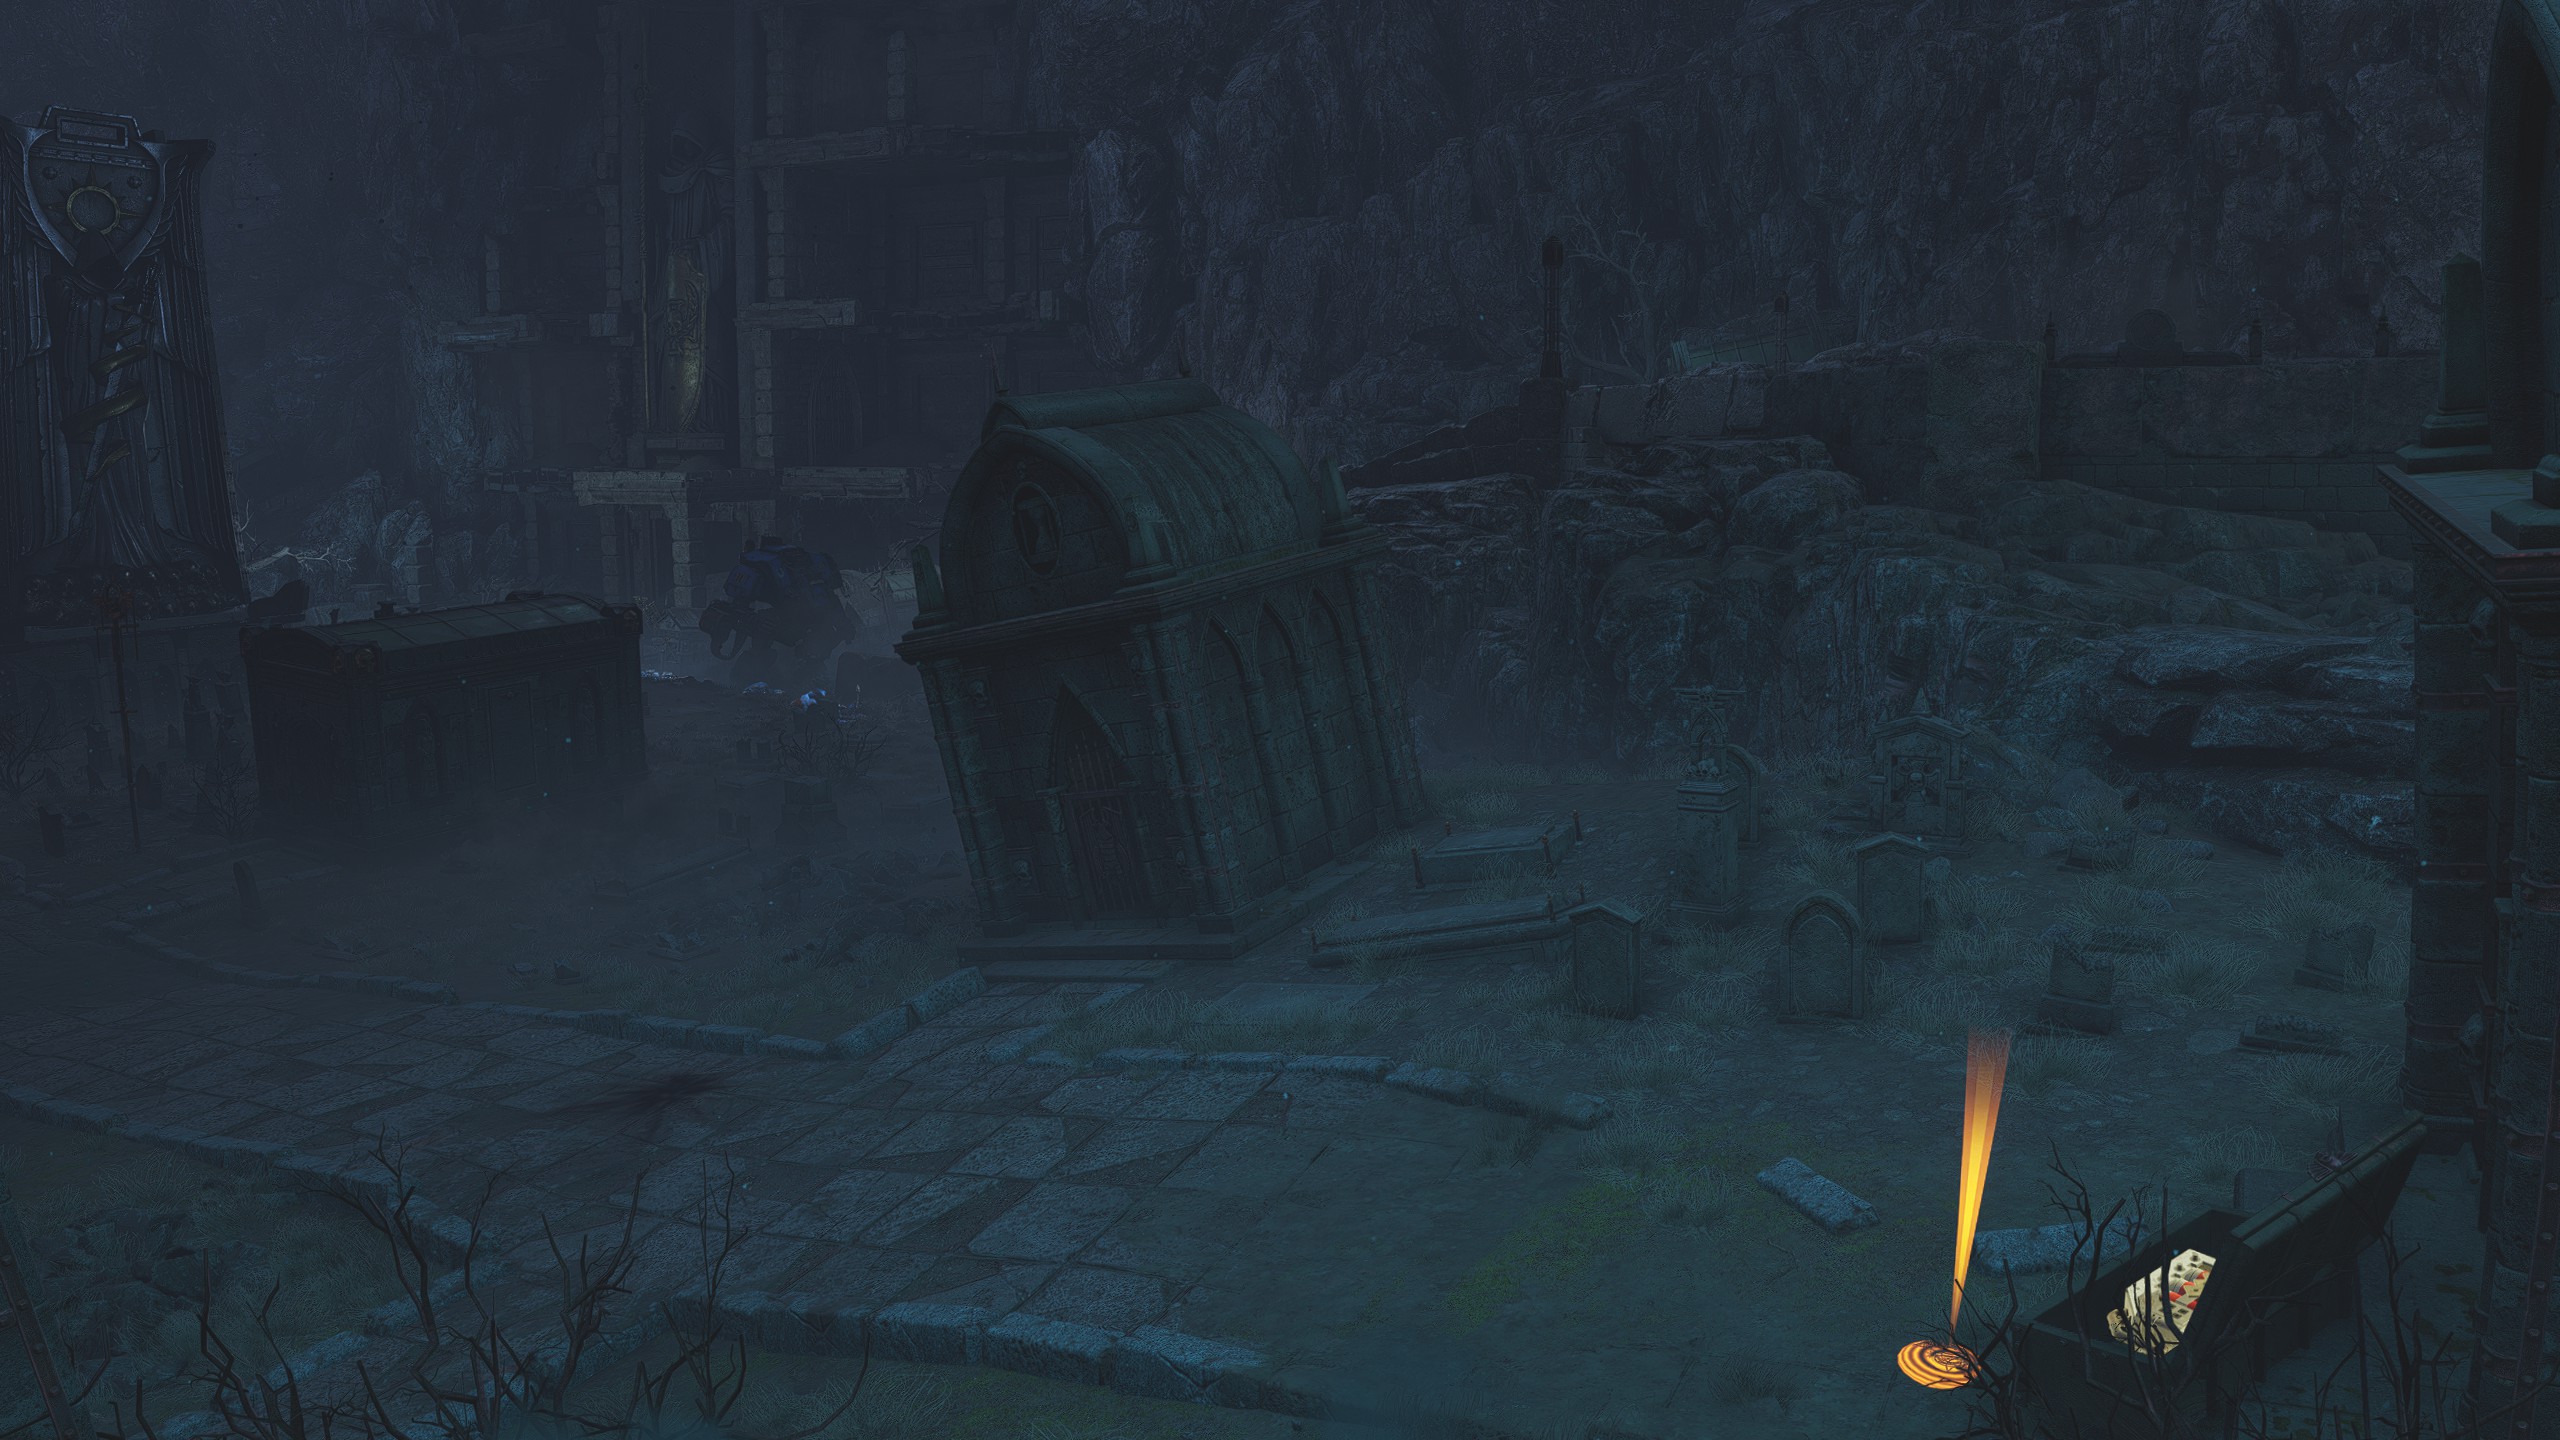
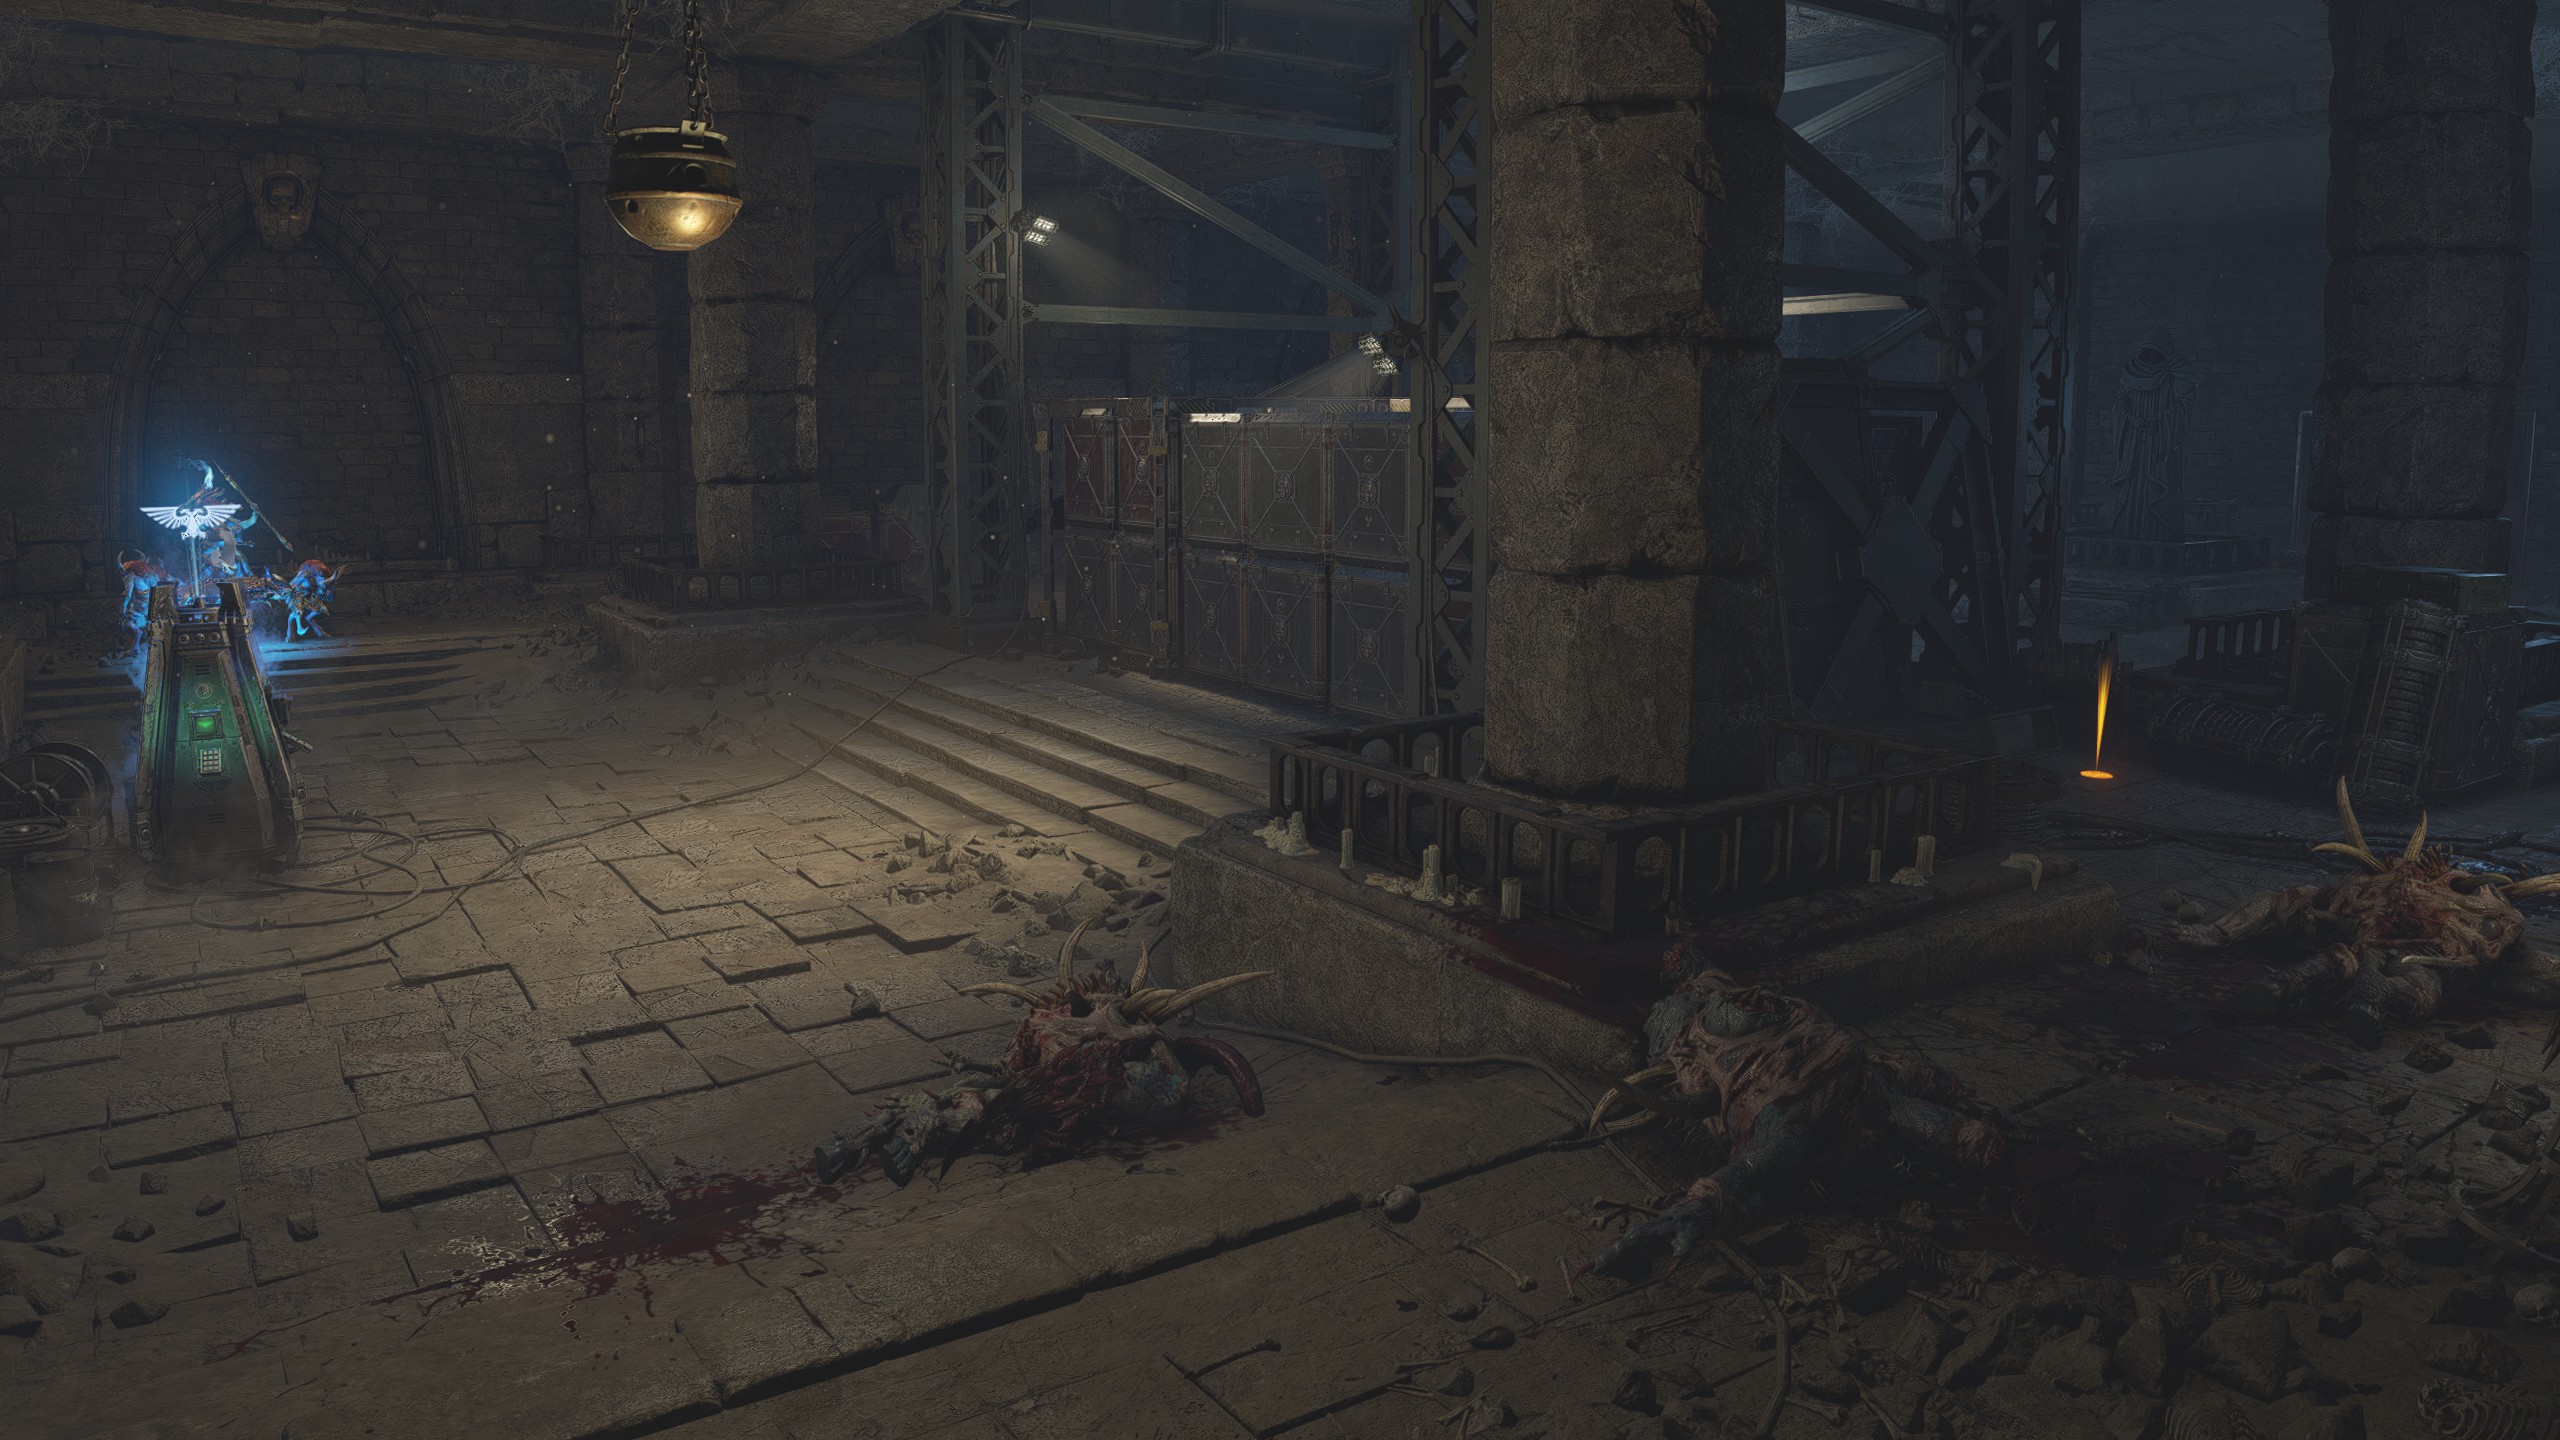
| Mission 06: Ballistic Engine
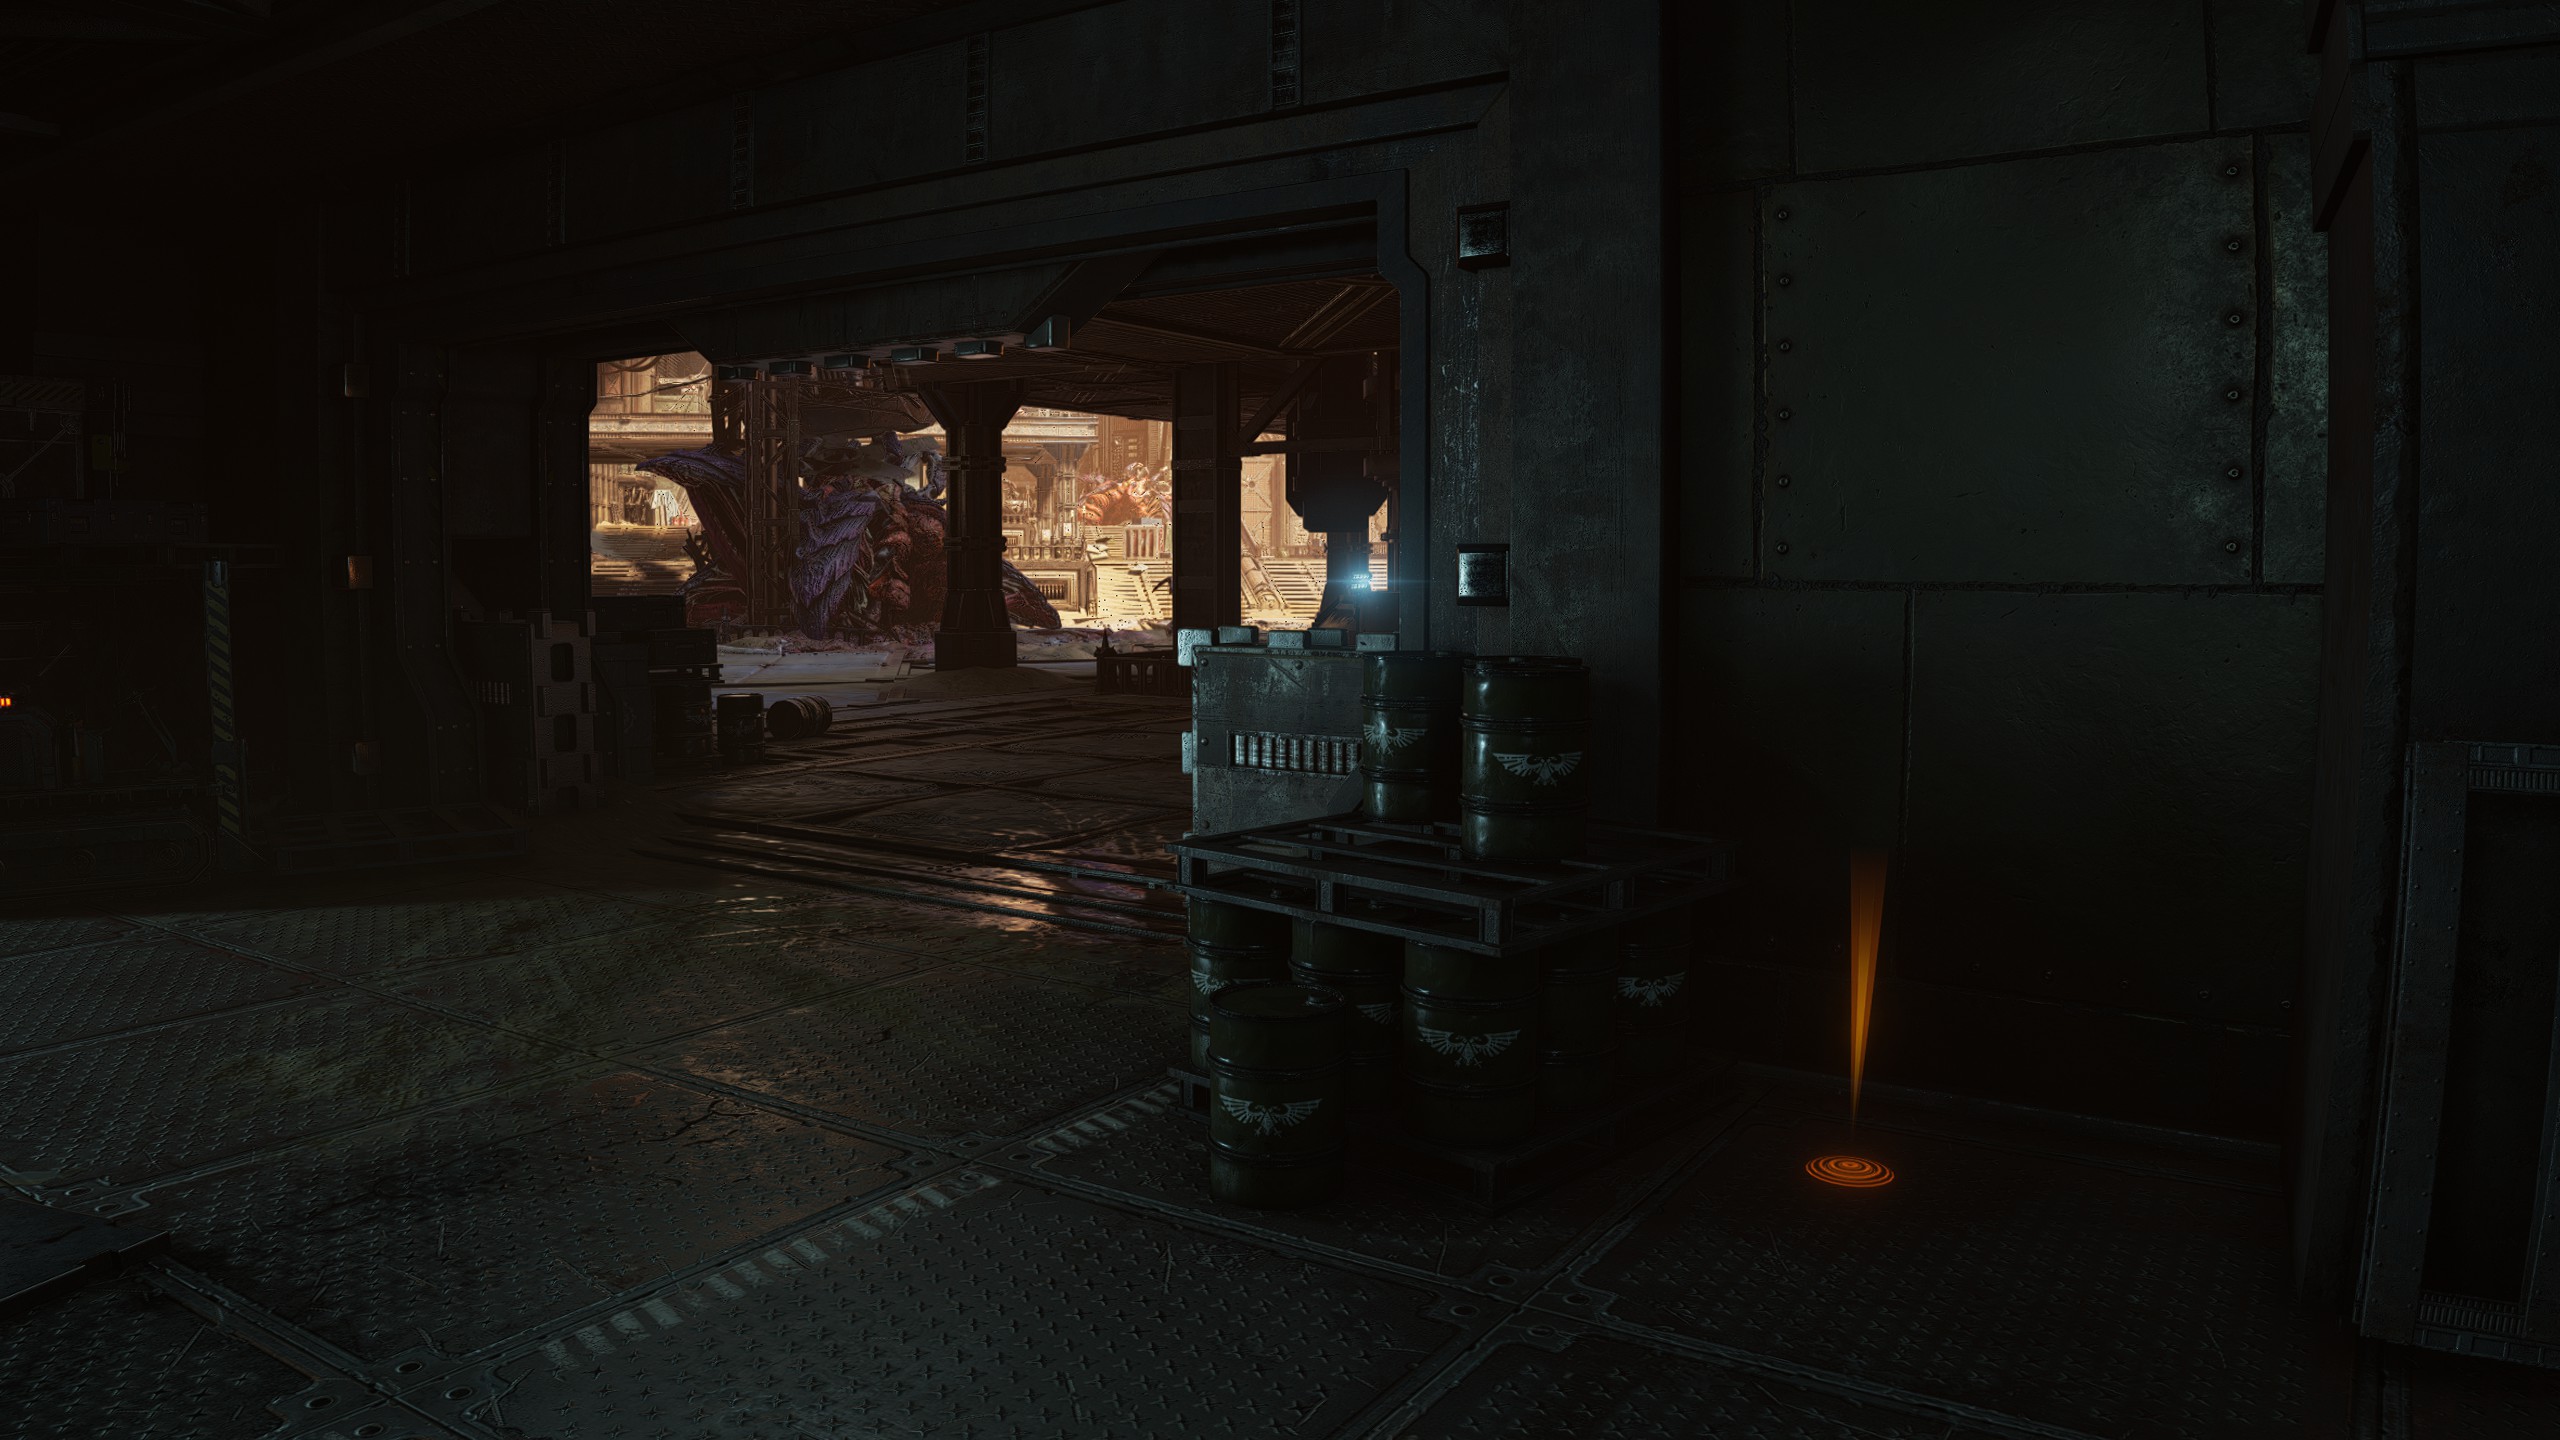
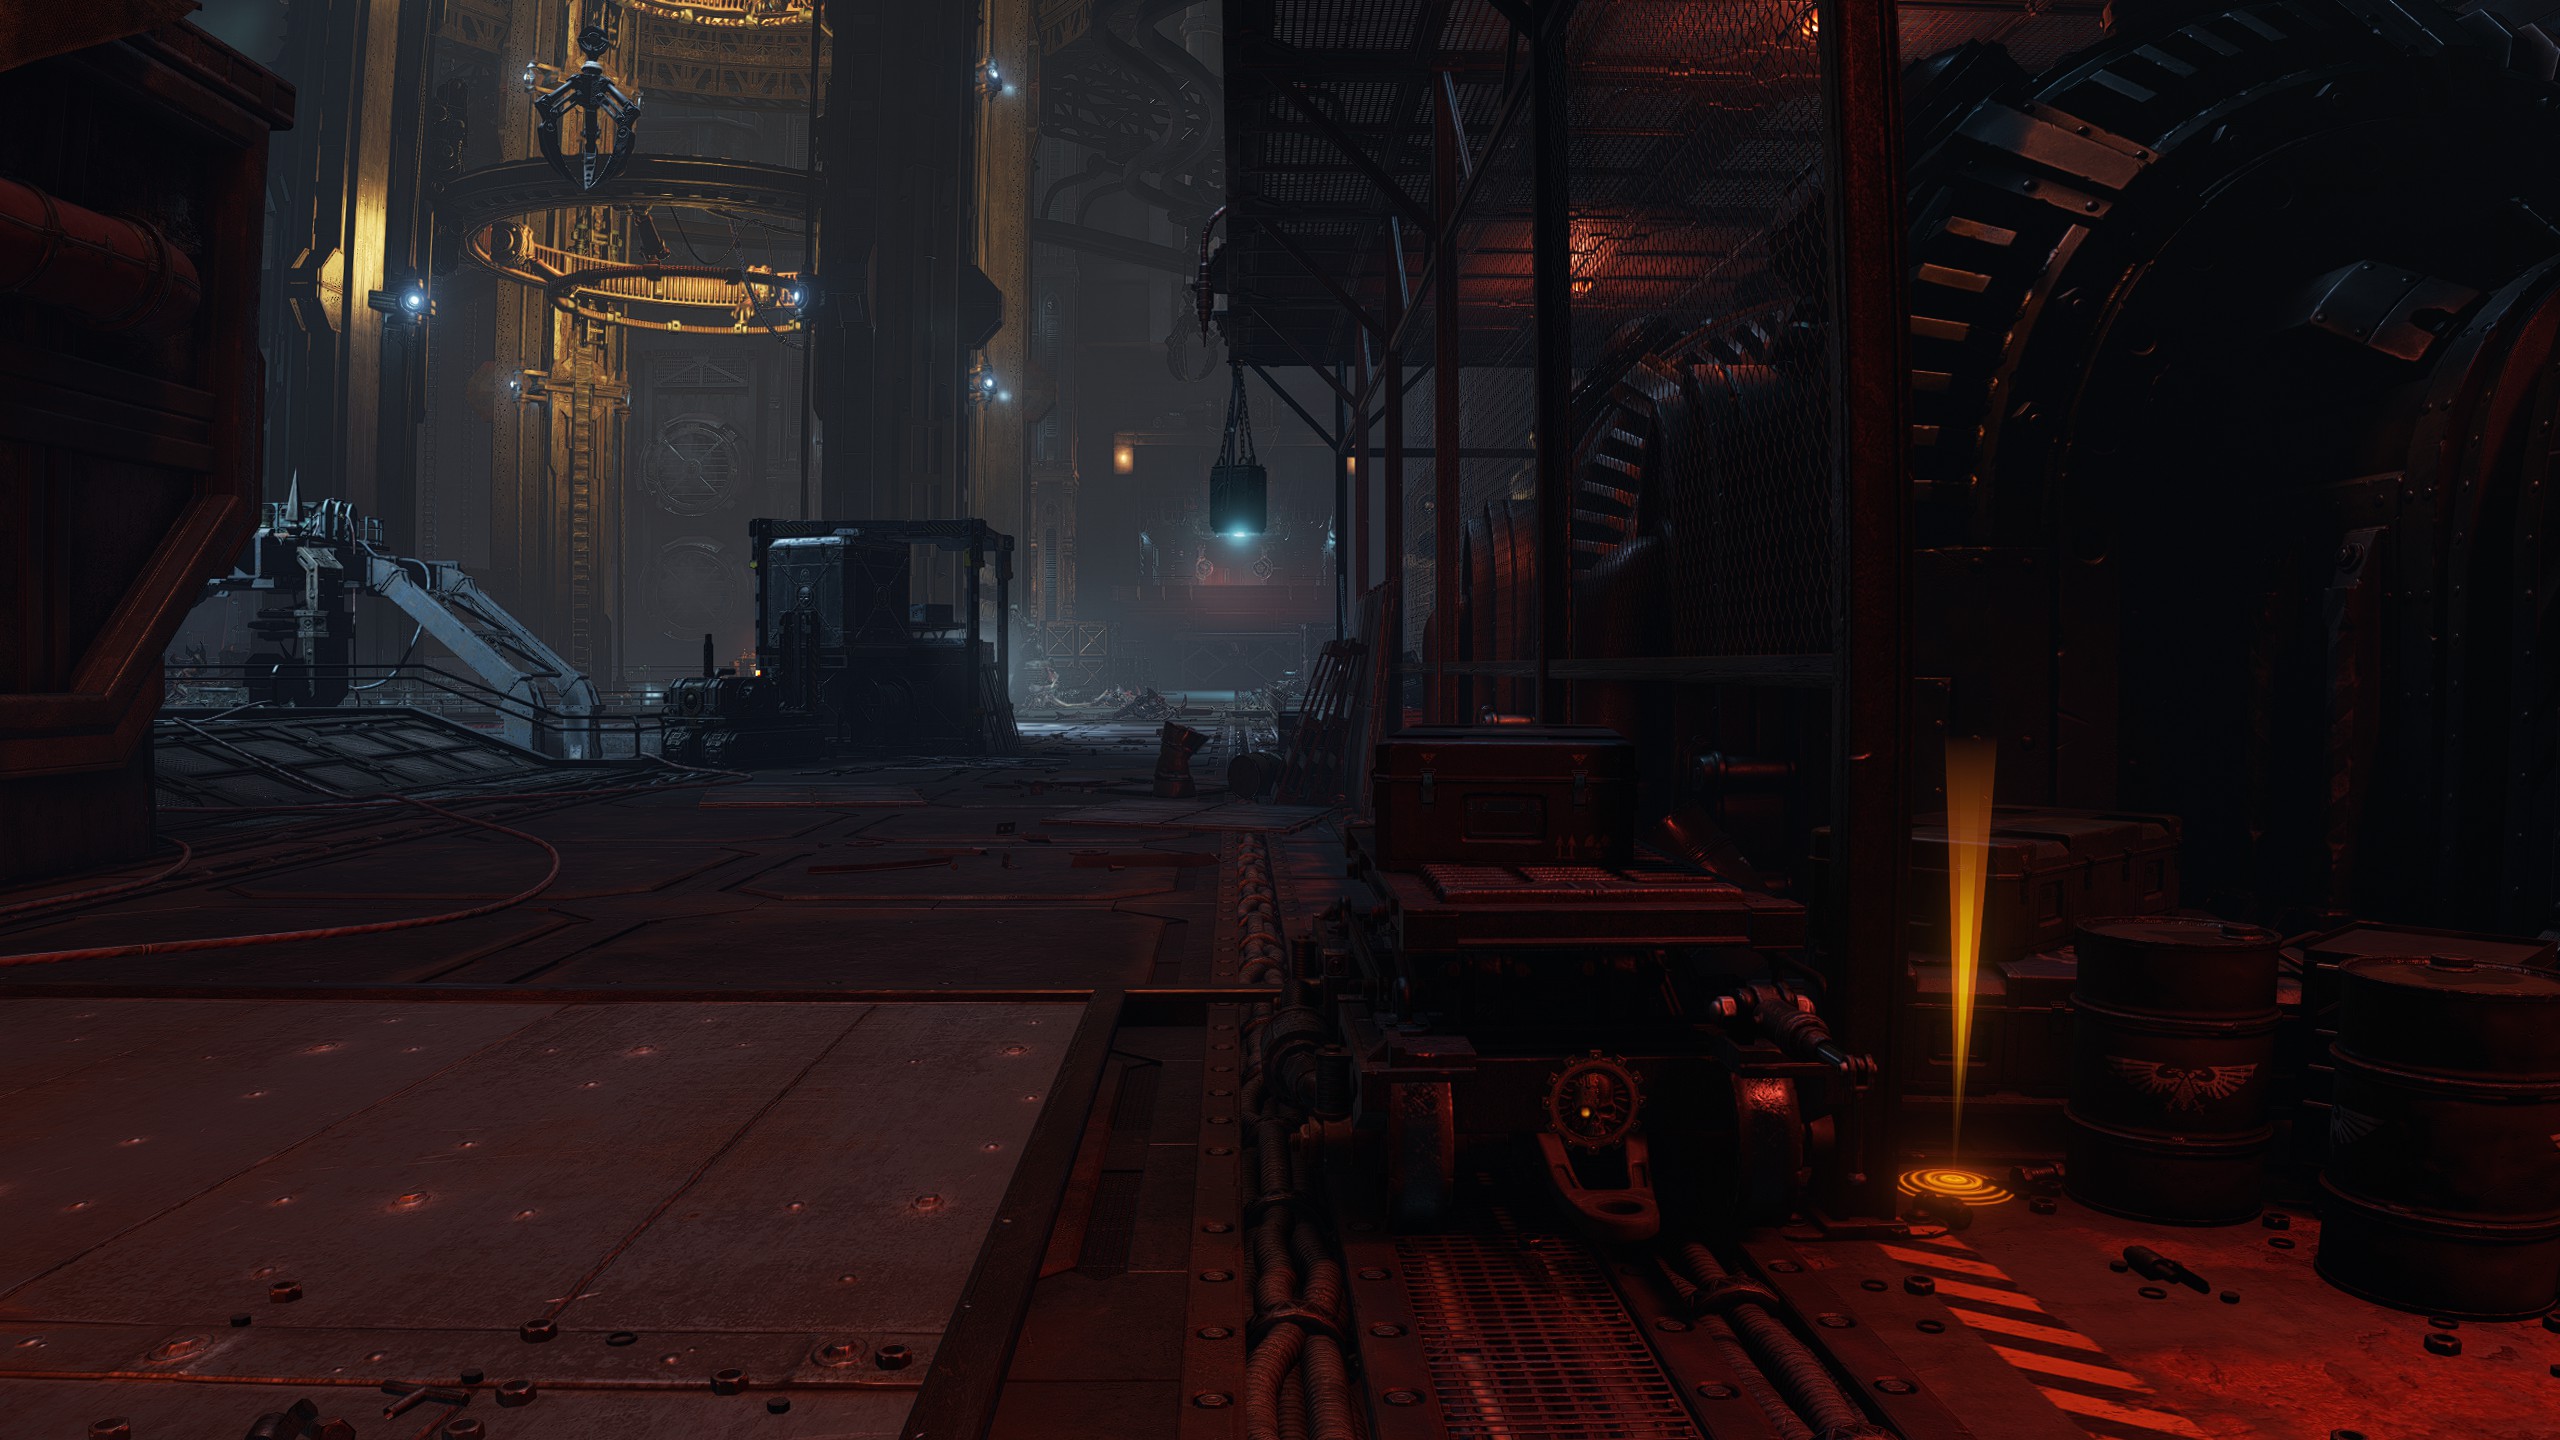
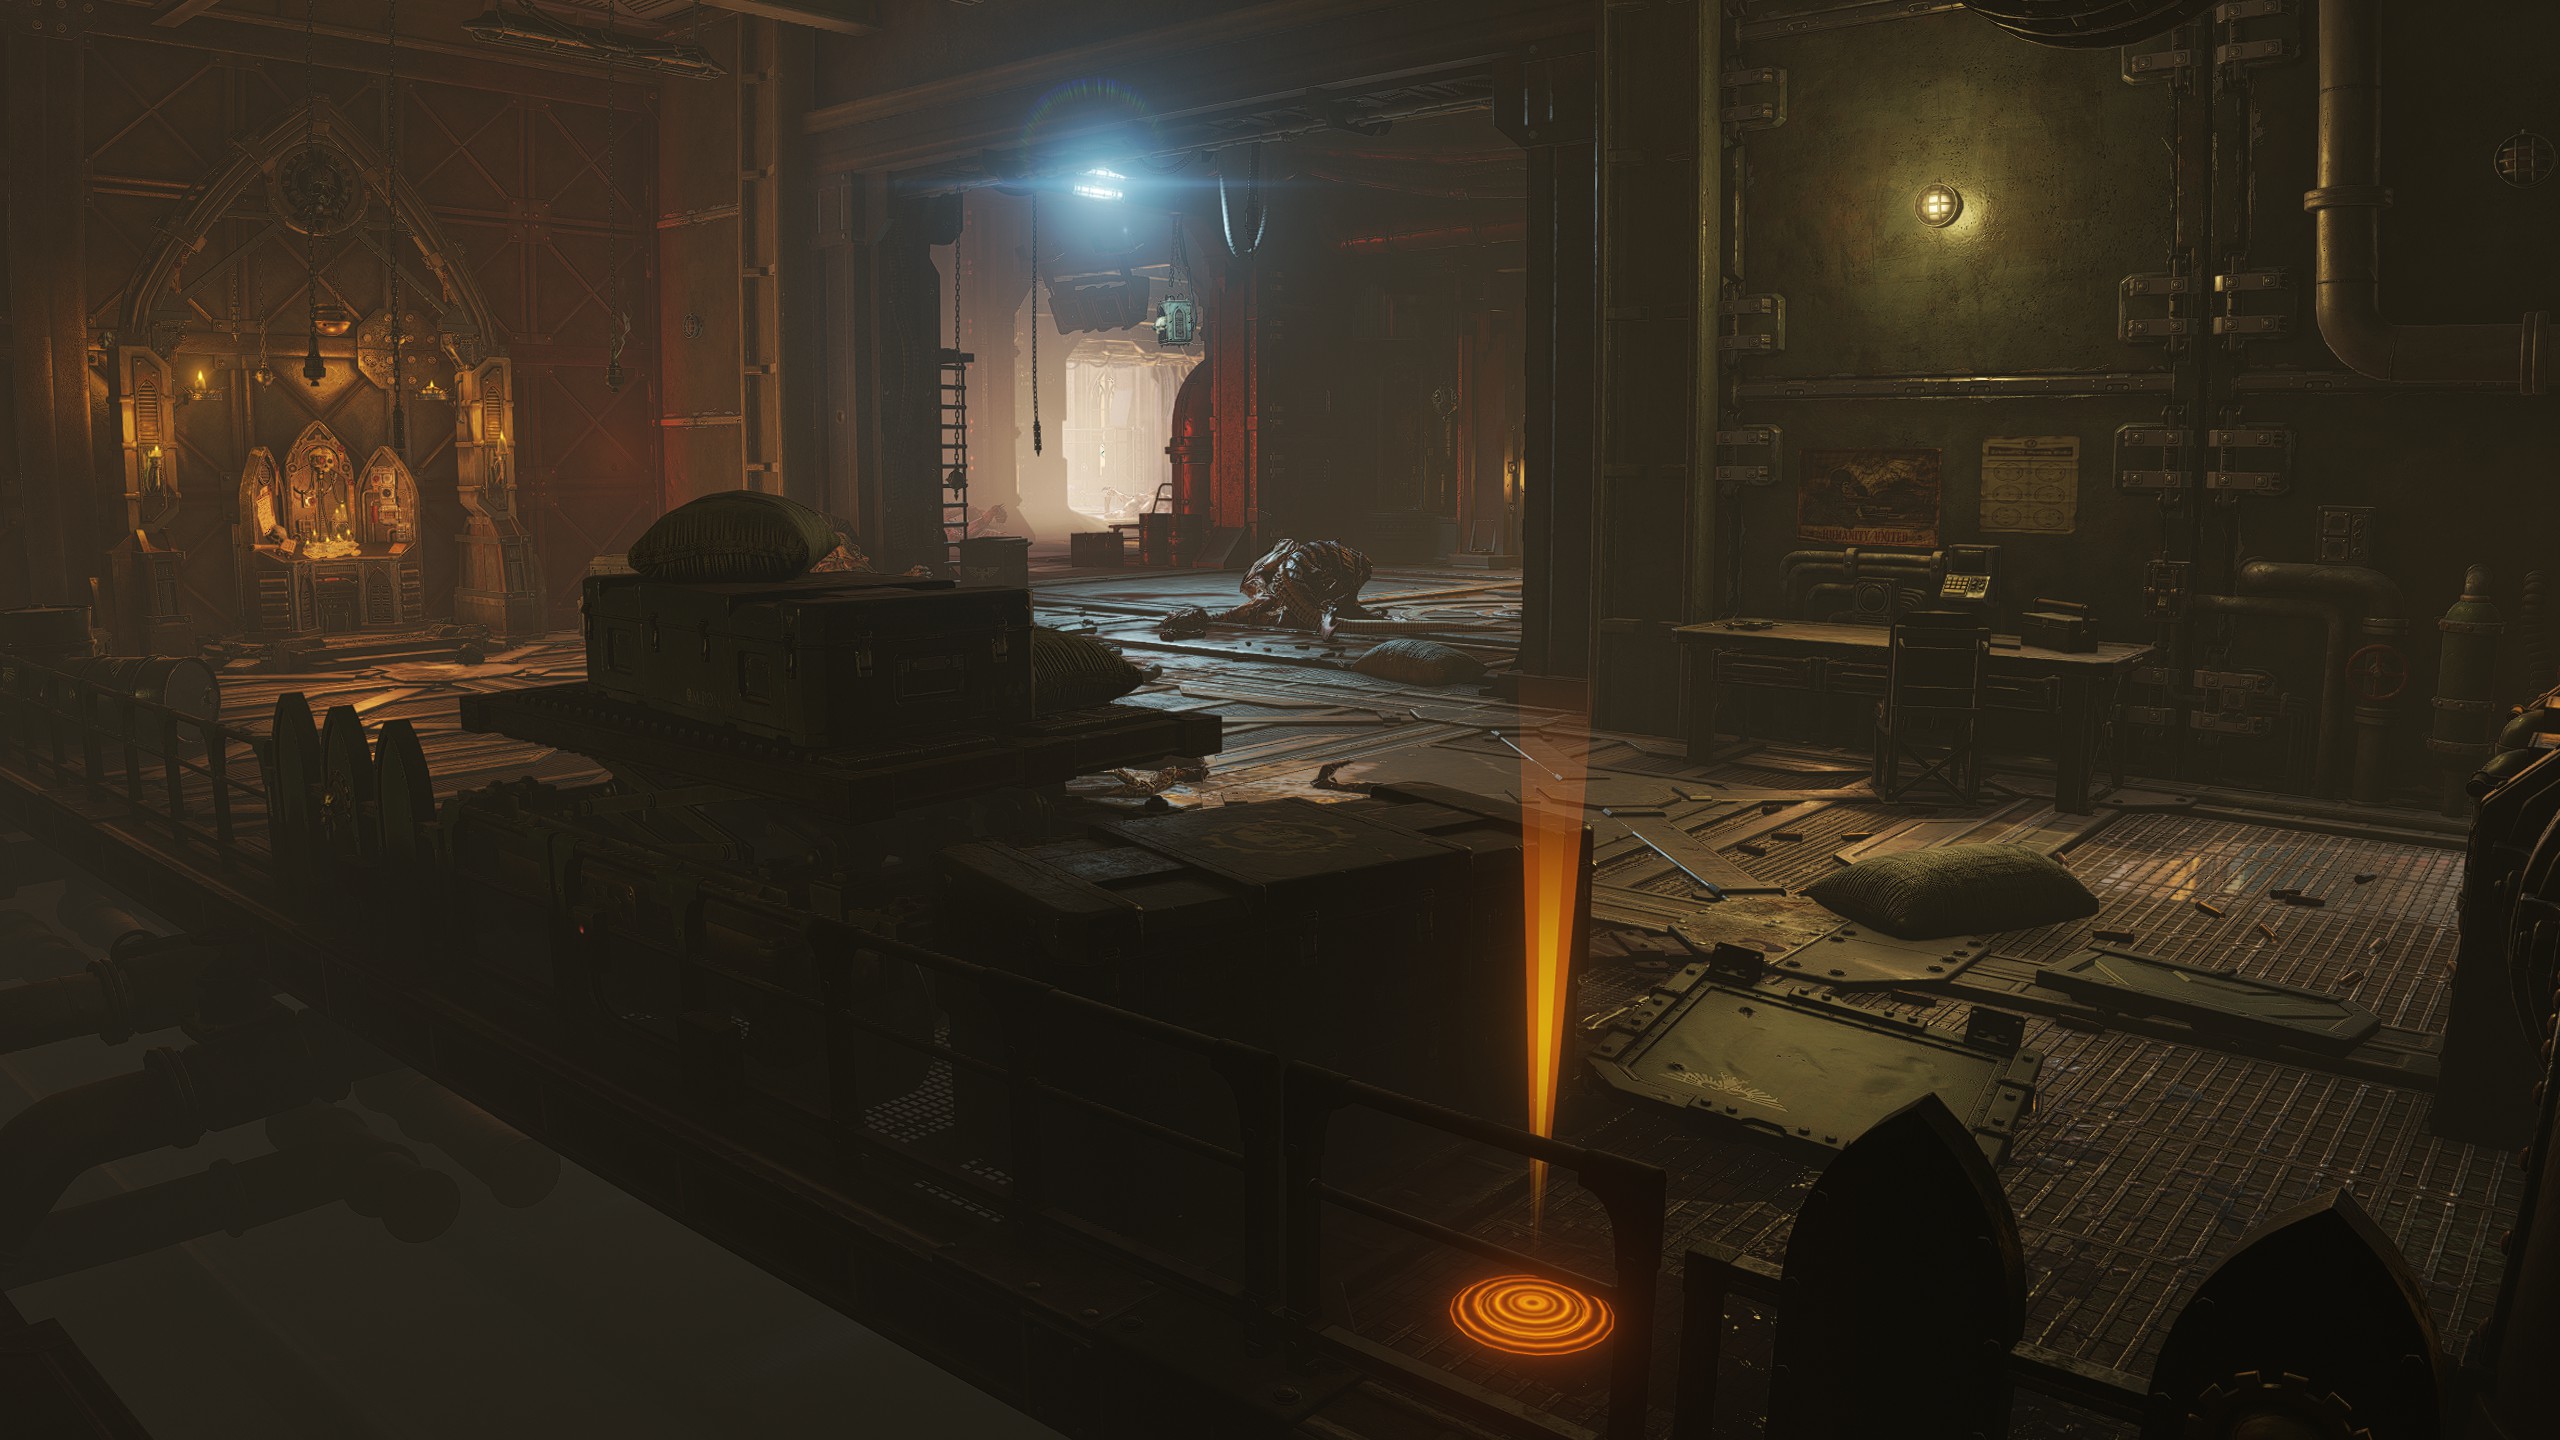
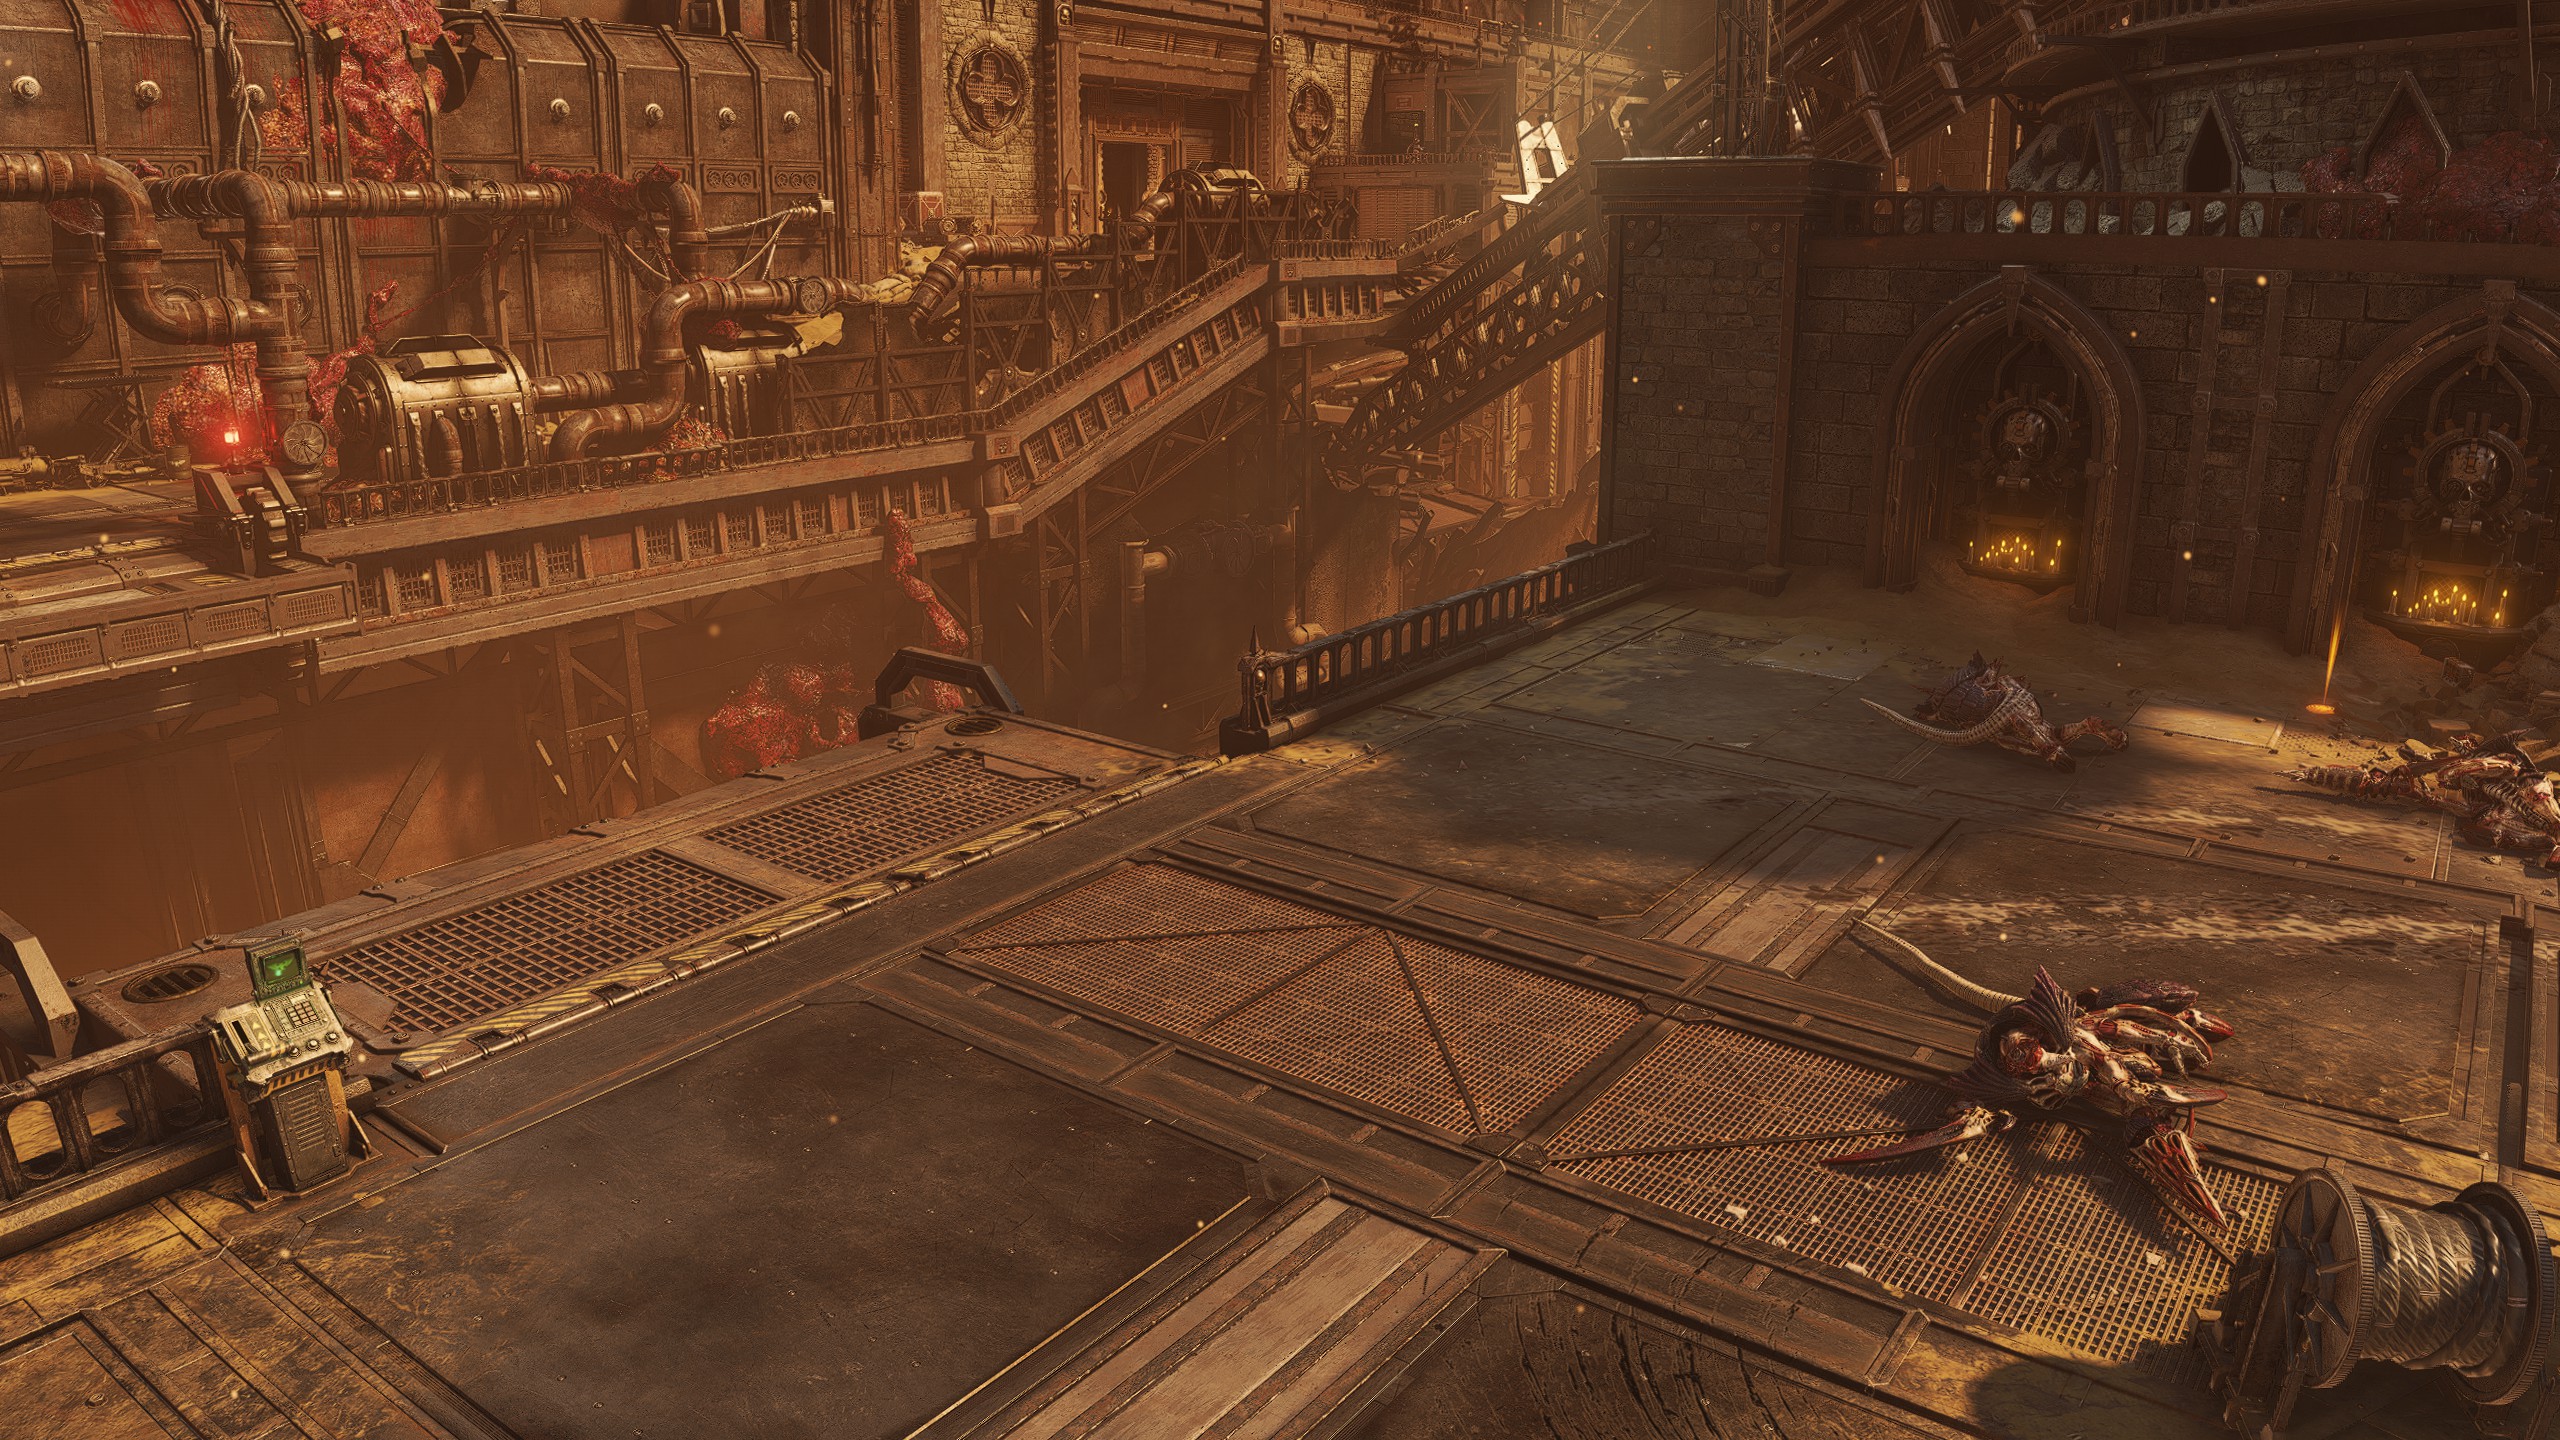
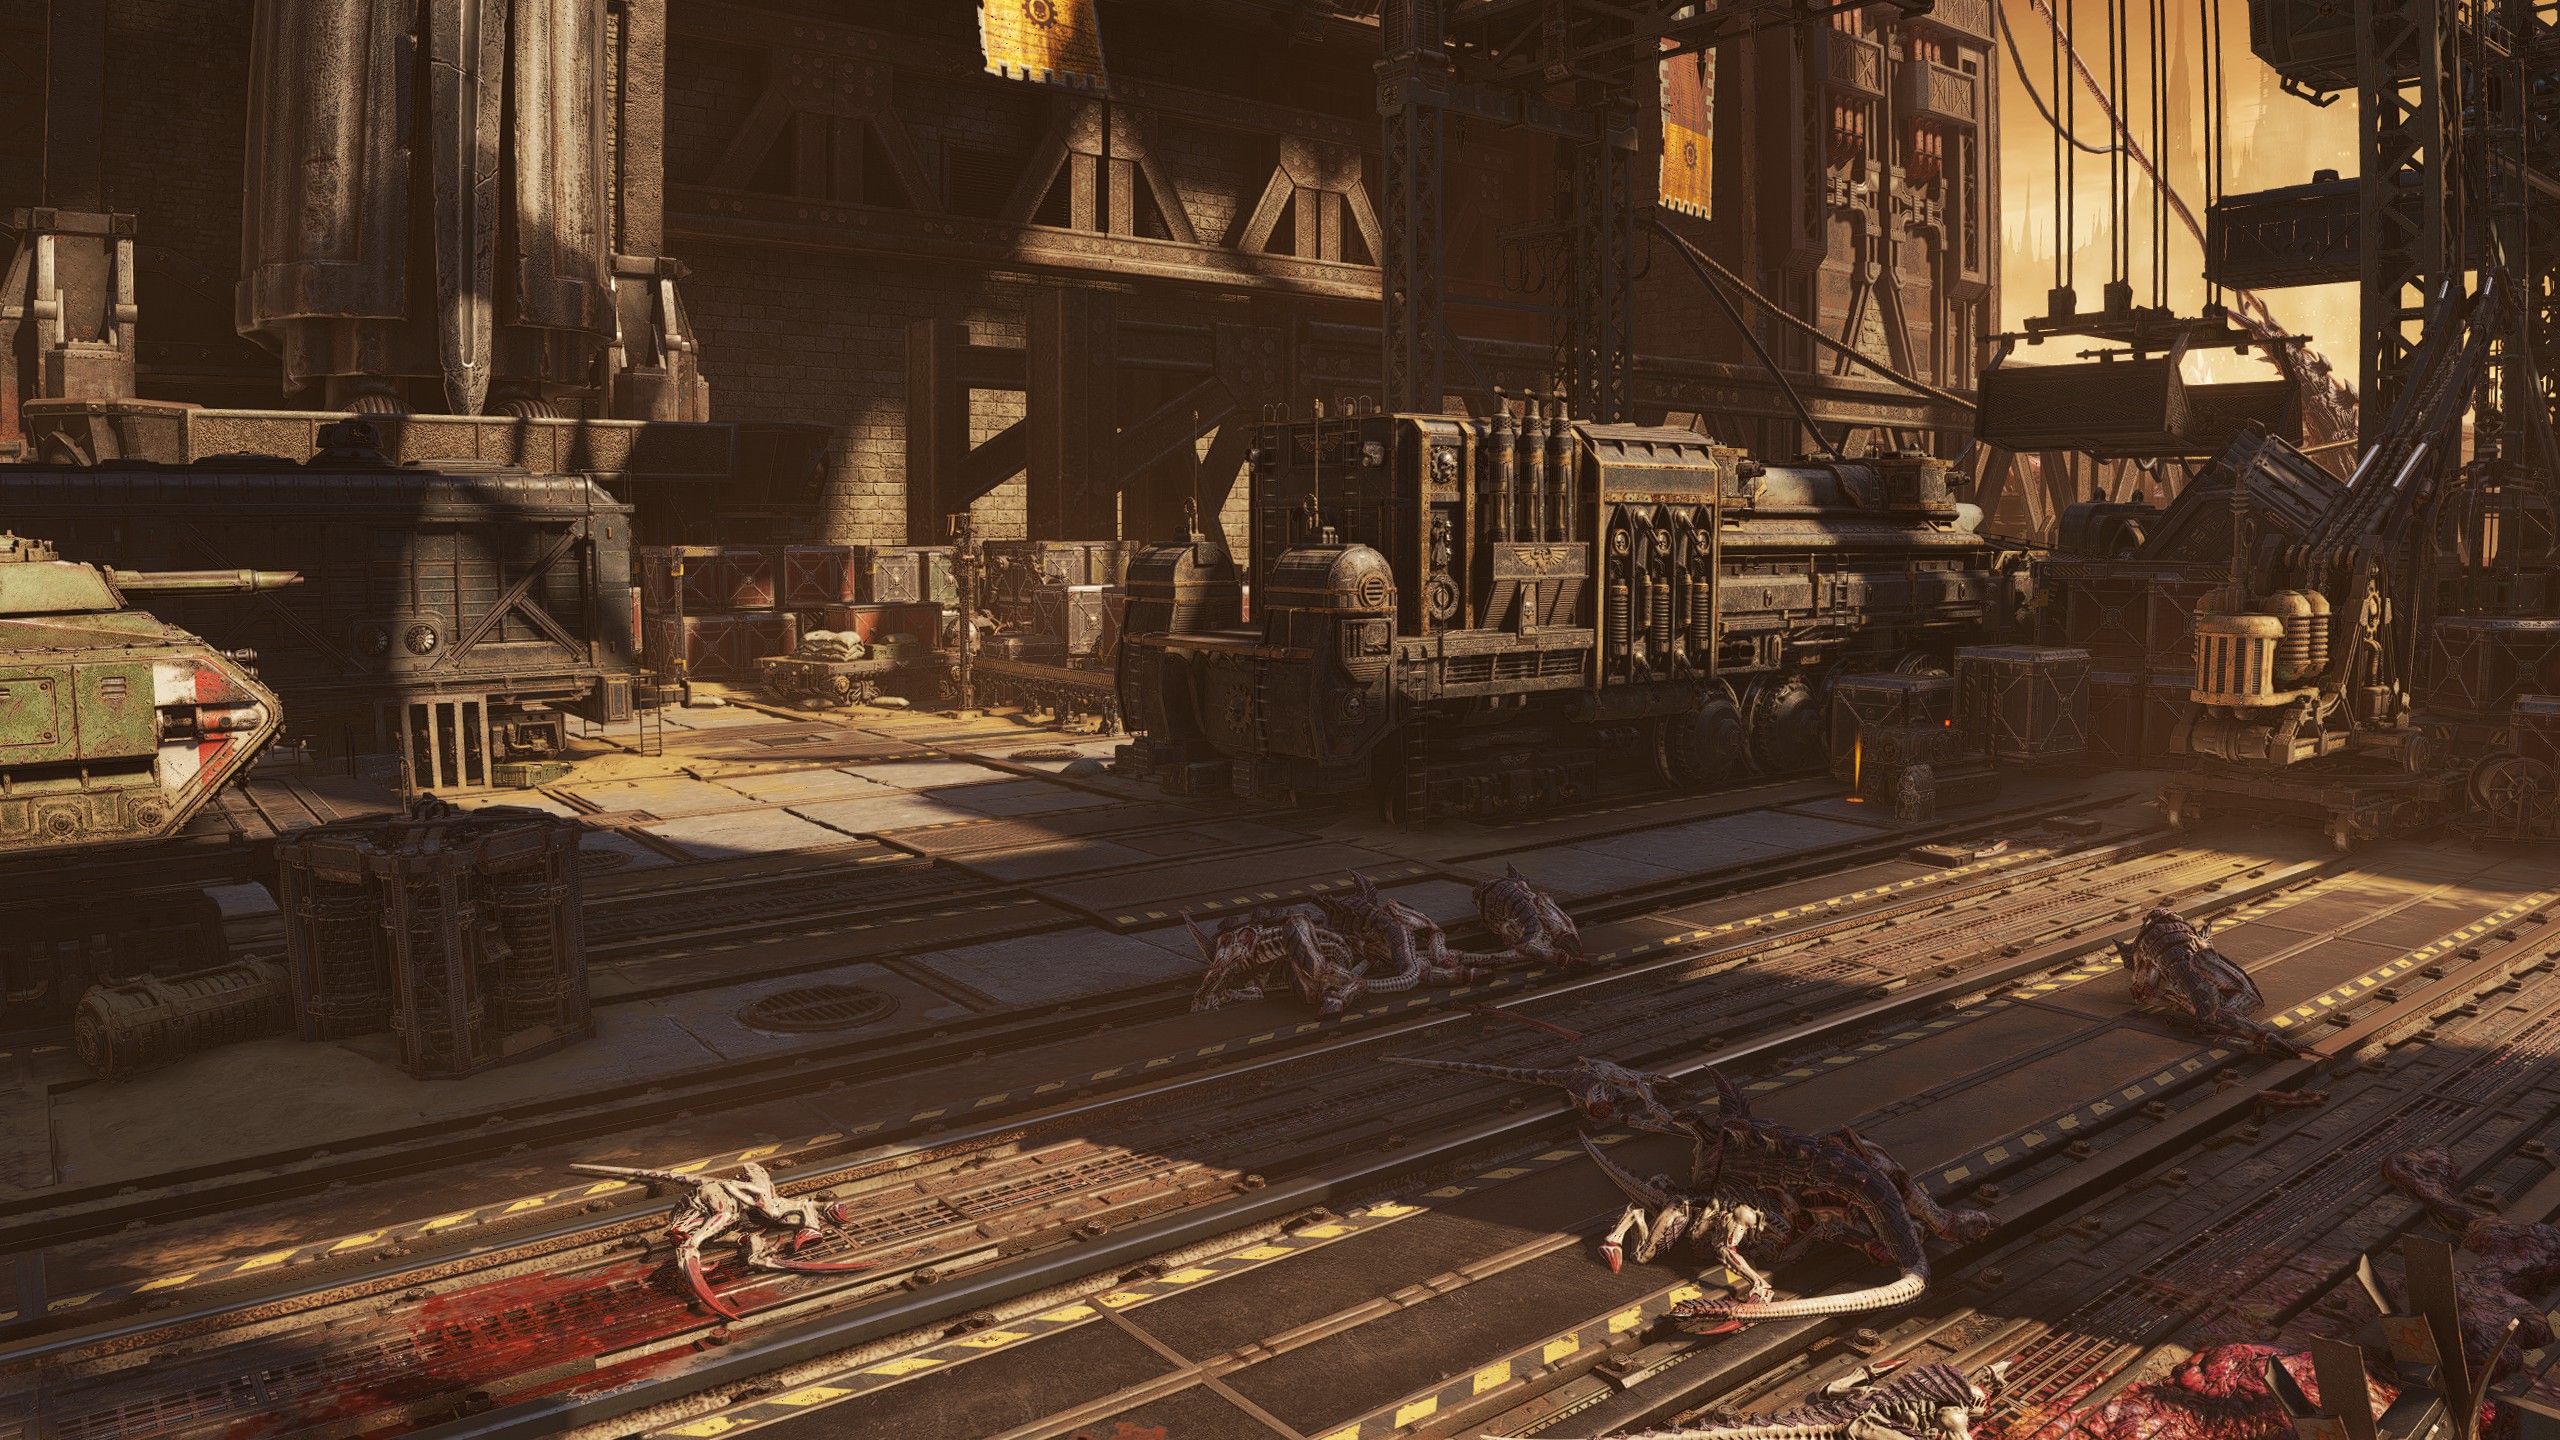
| Mission 07: Termination
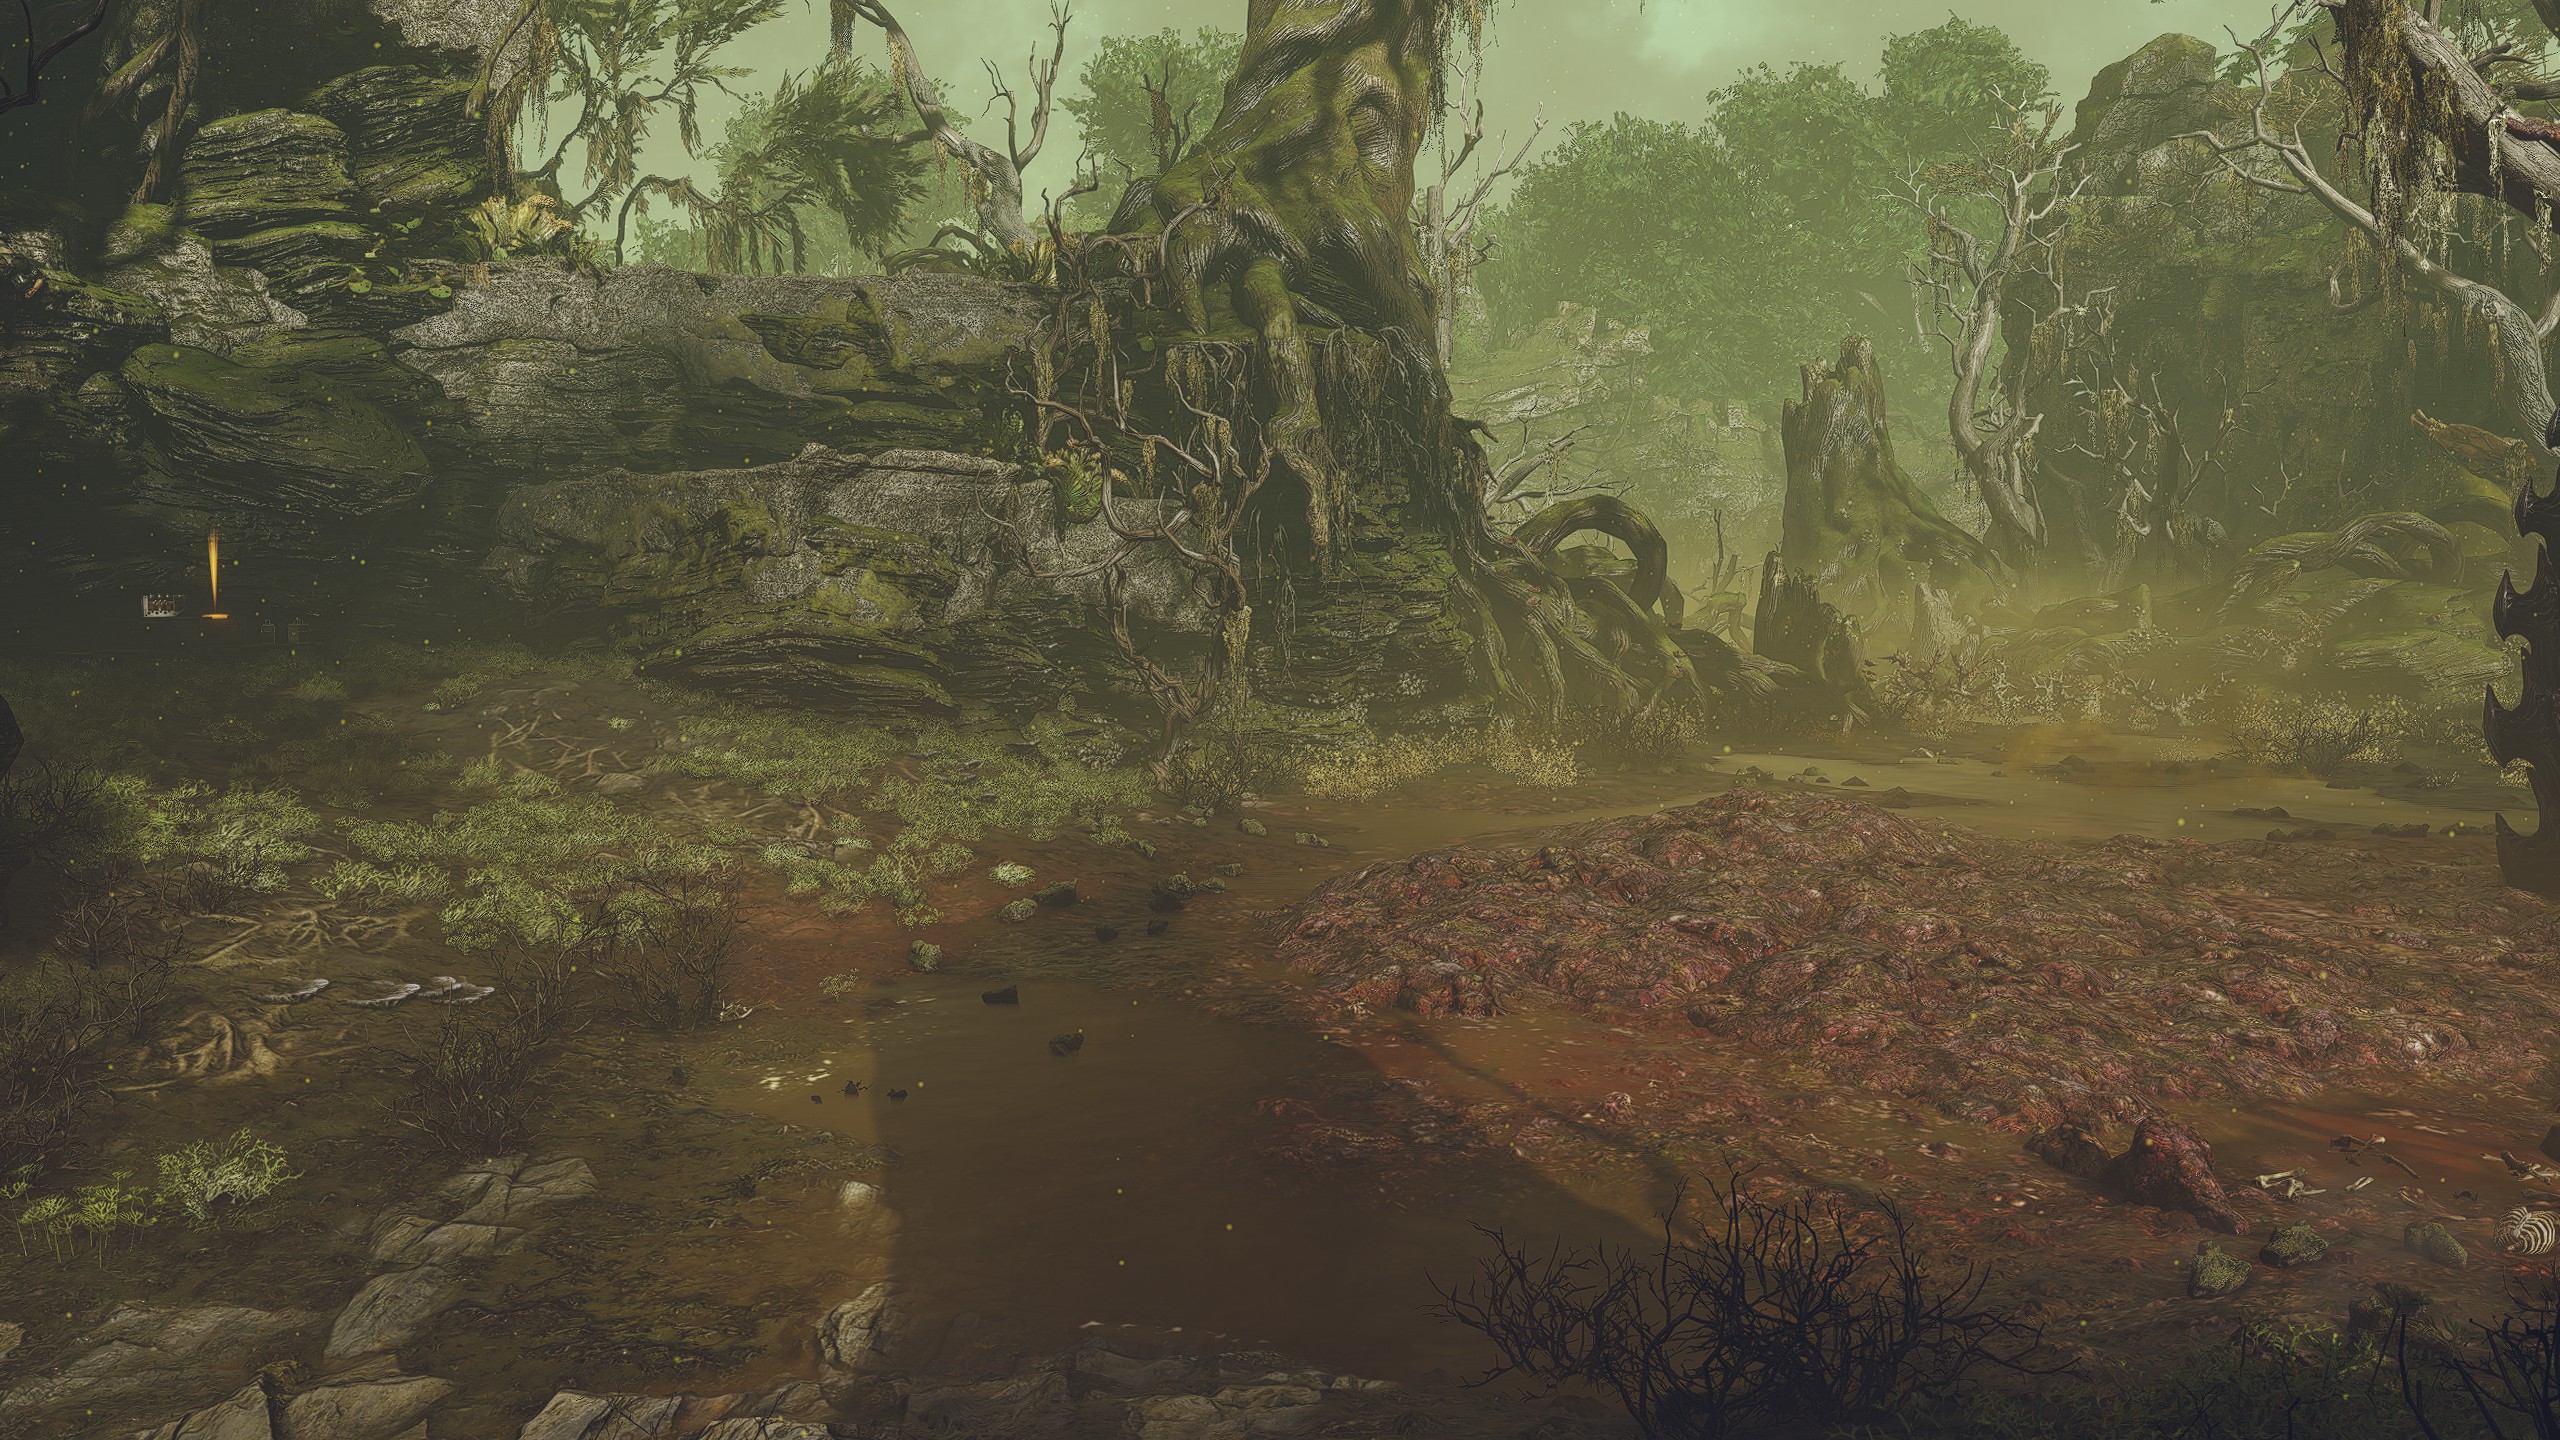
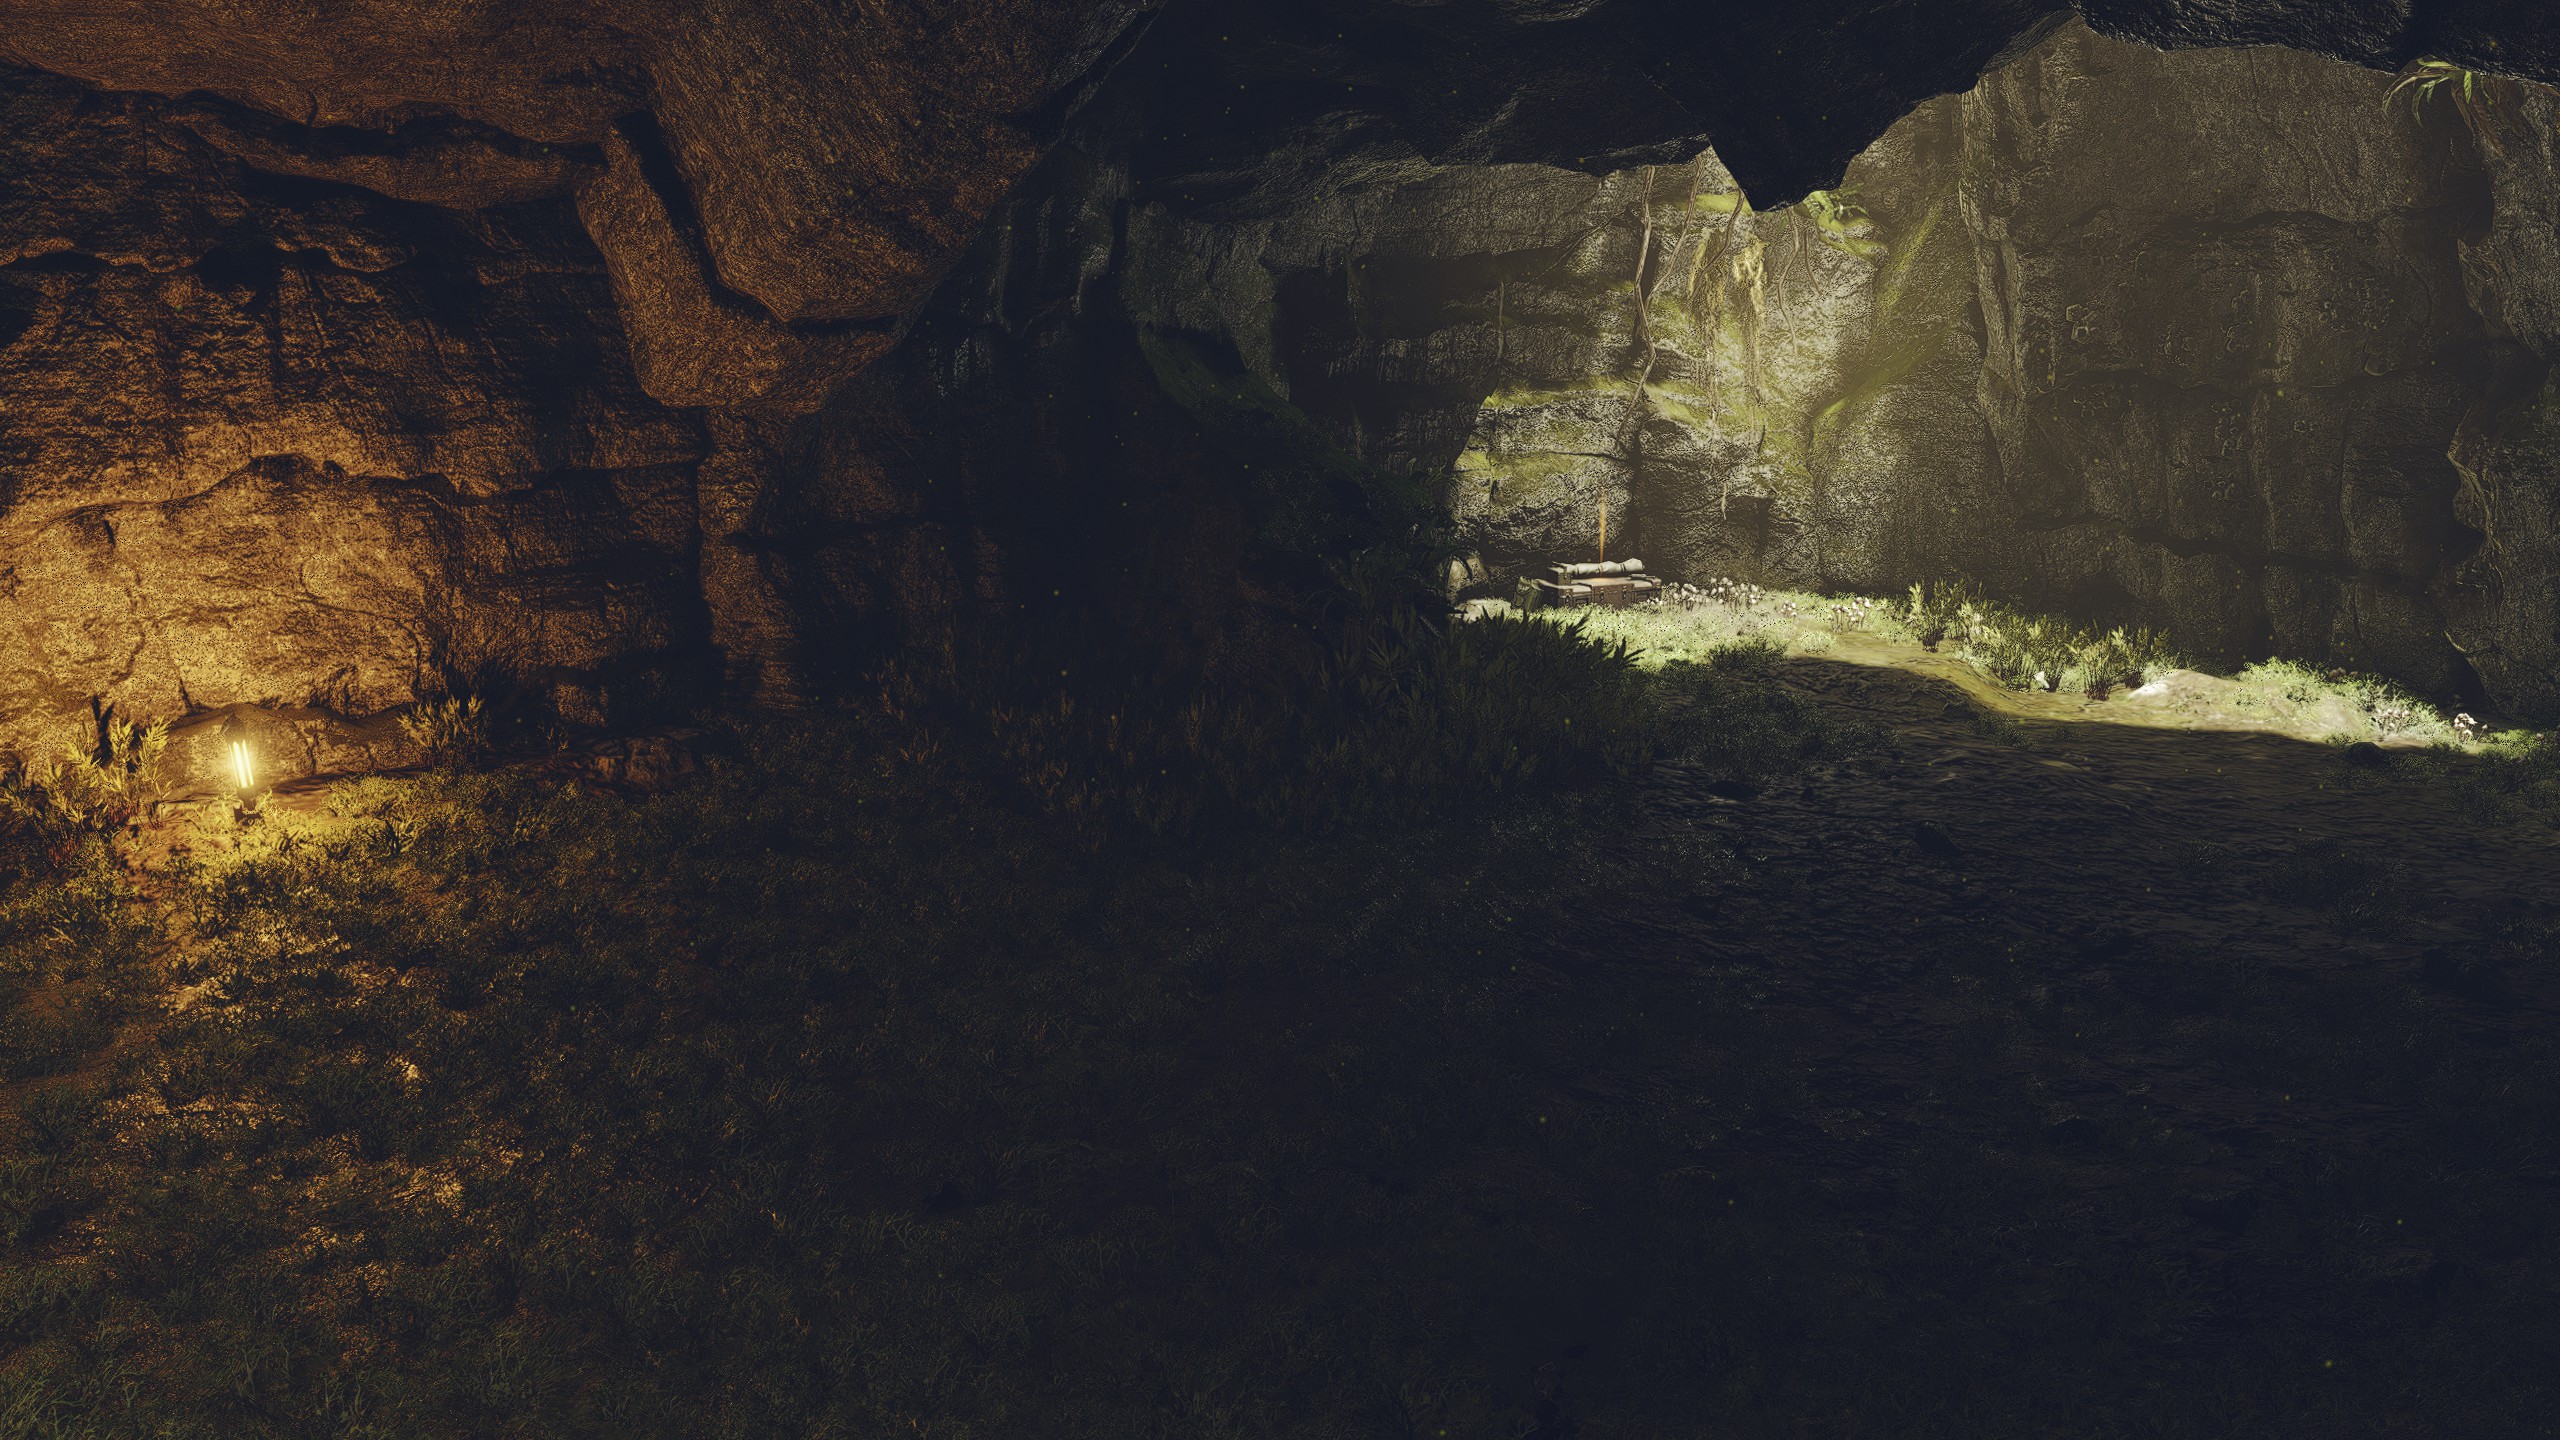
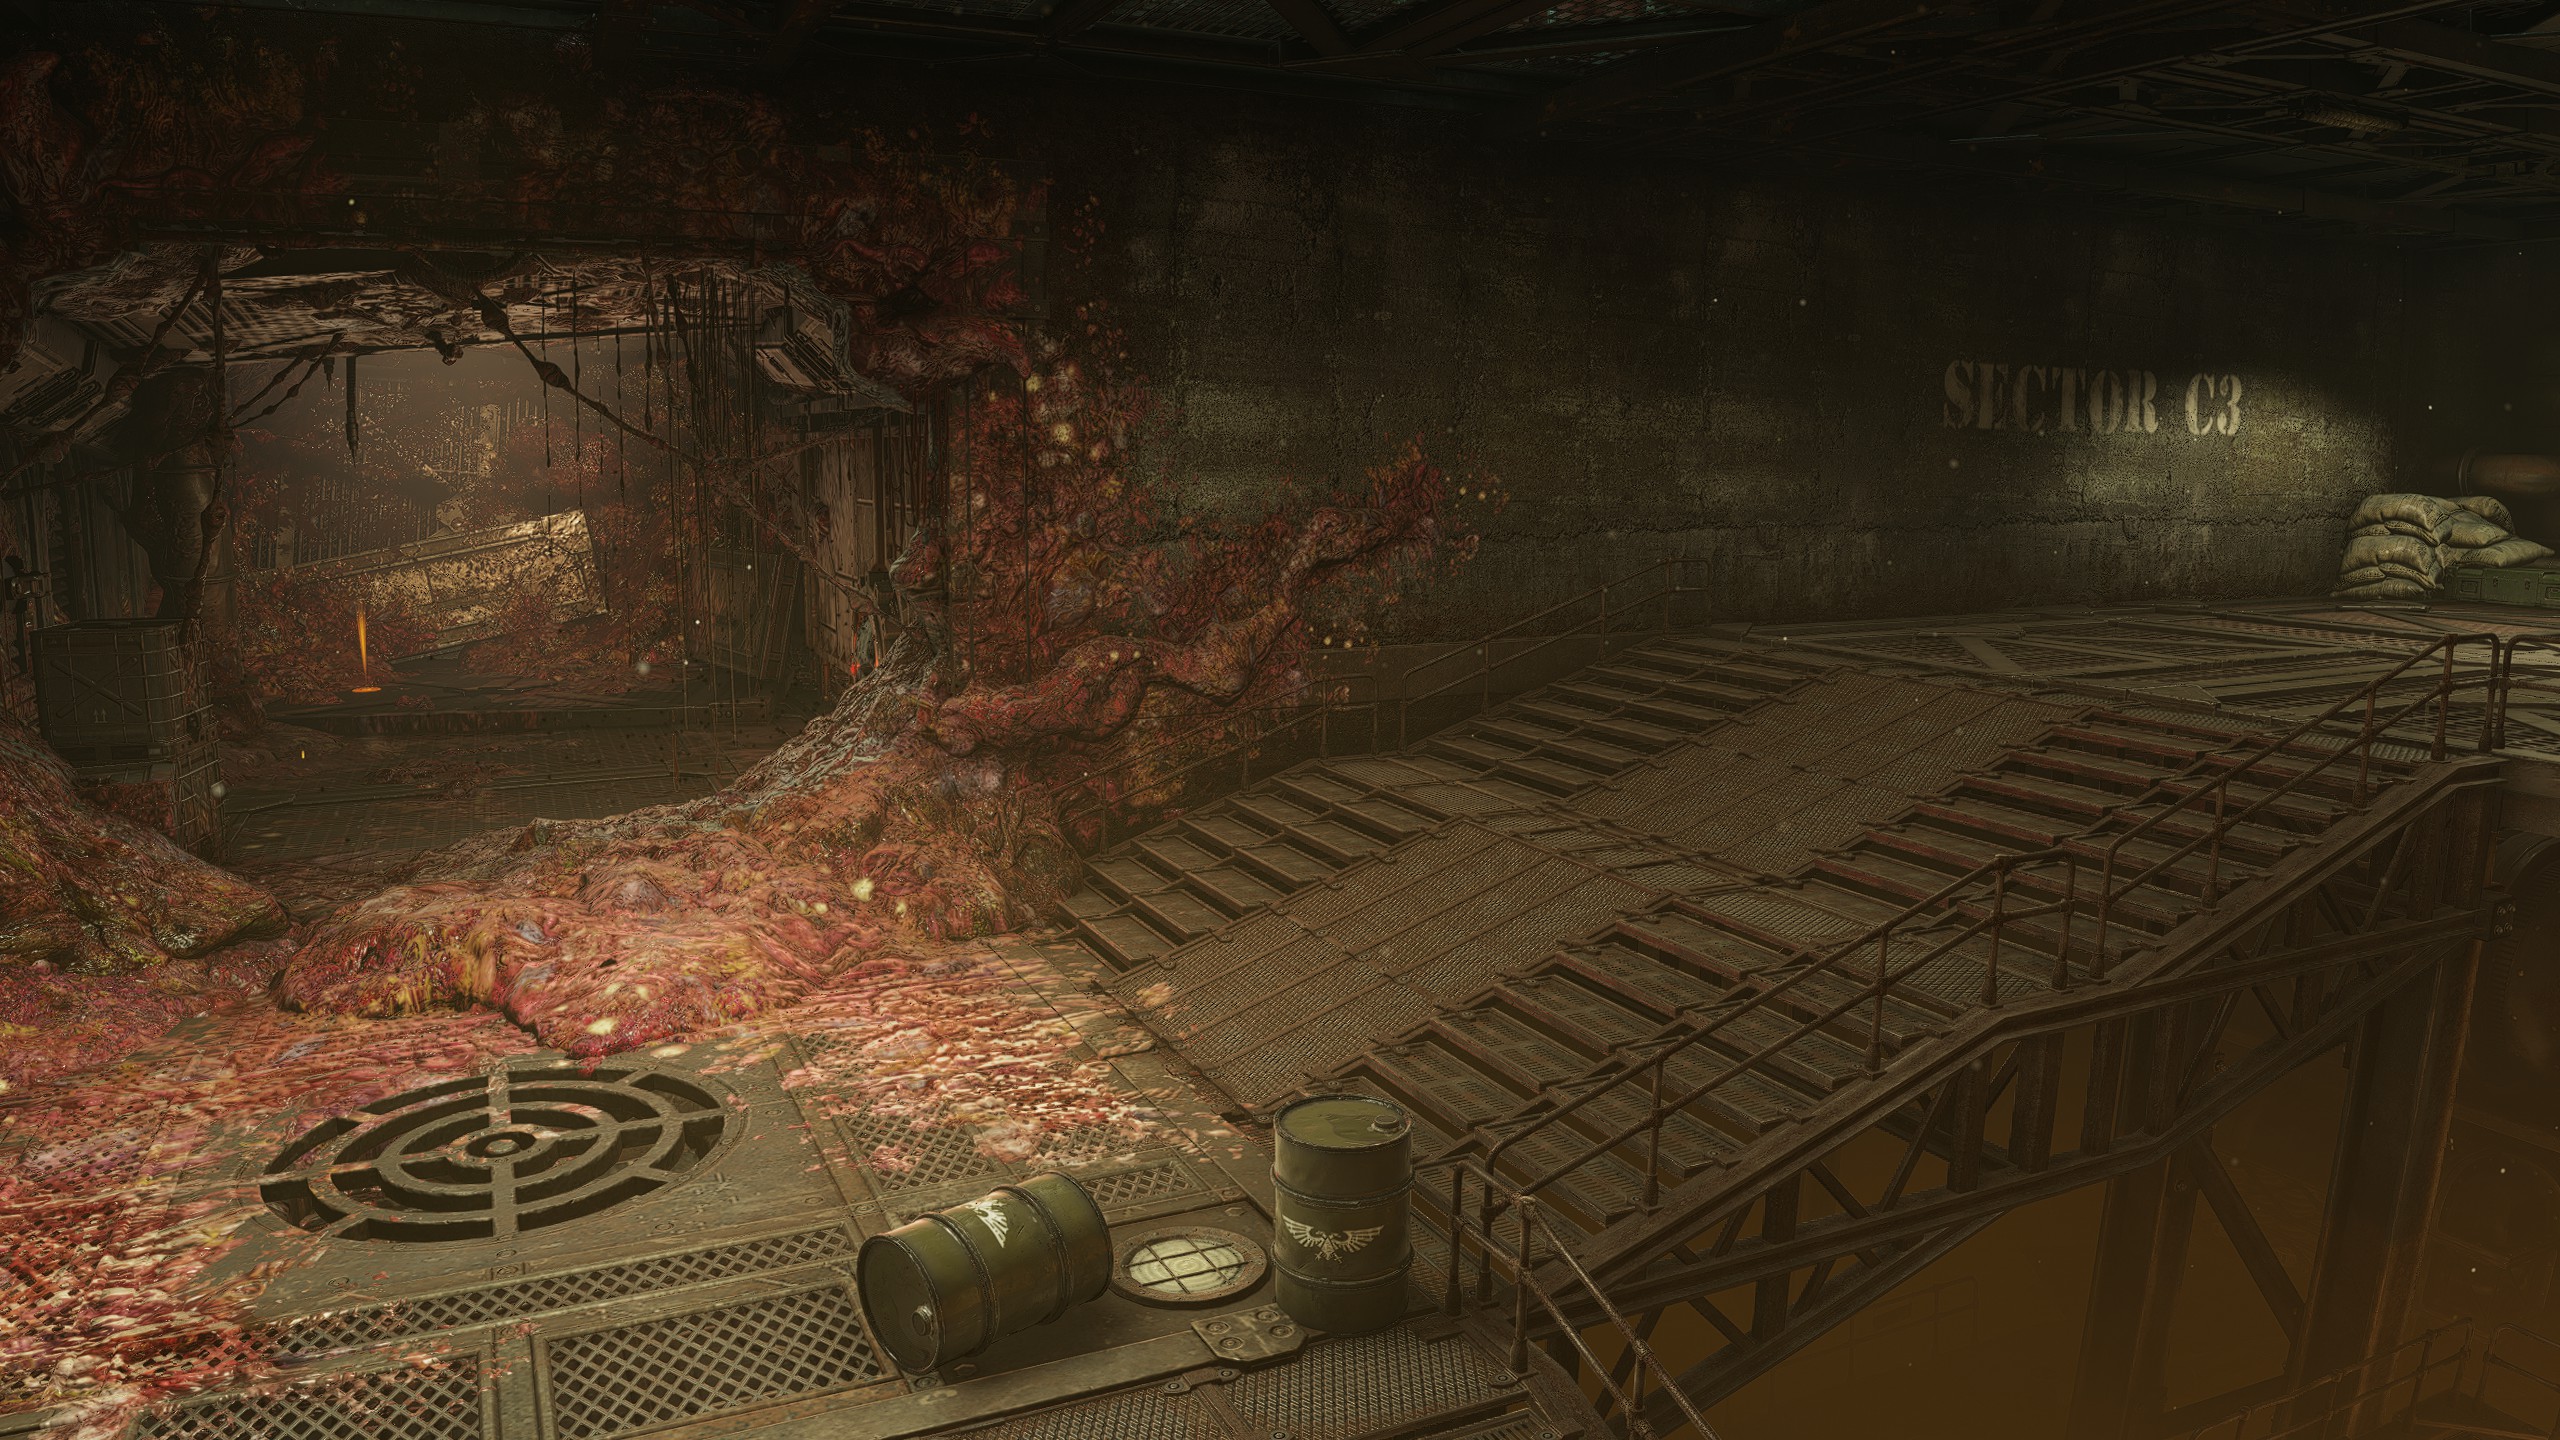
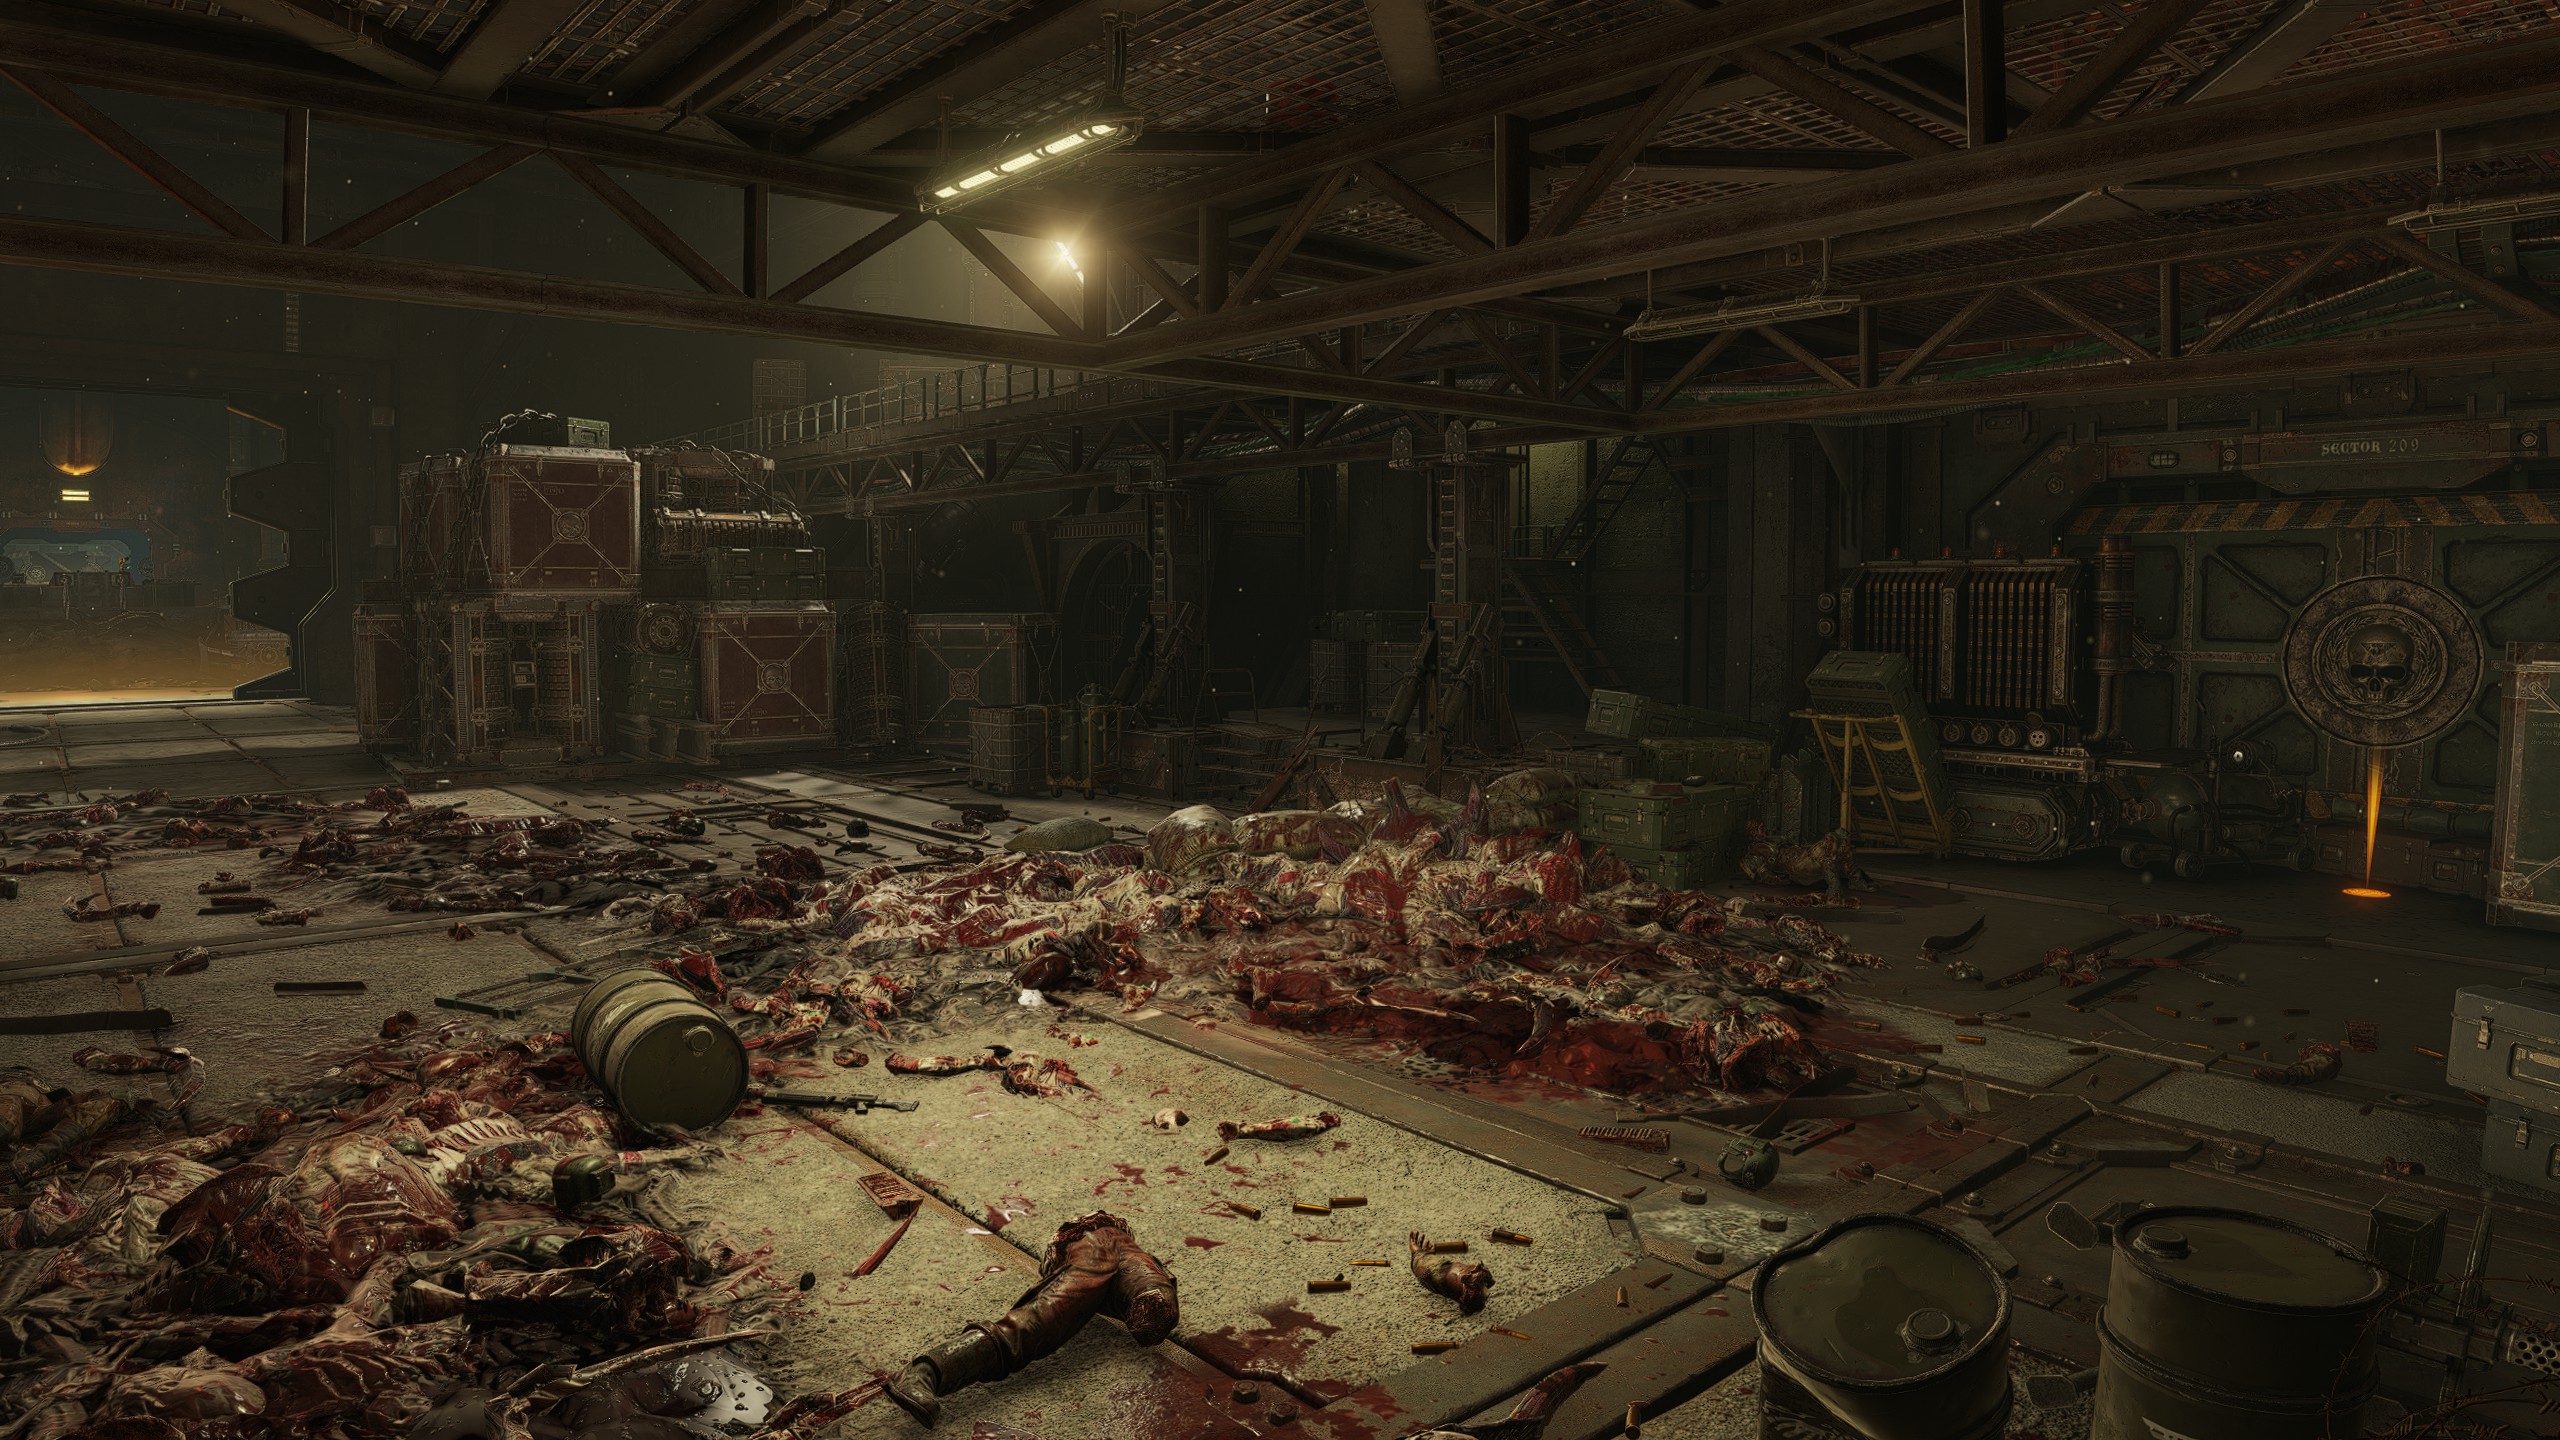
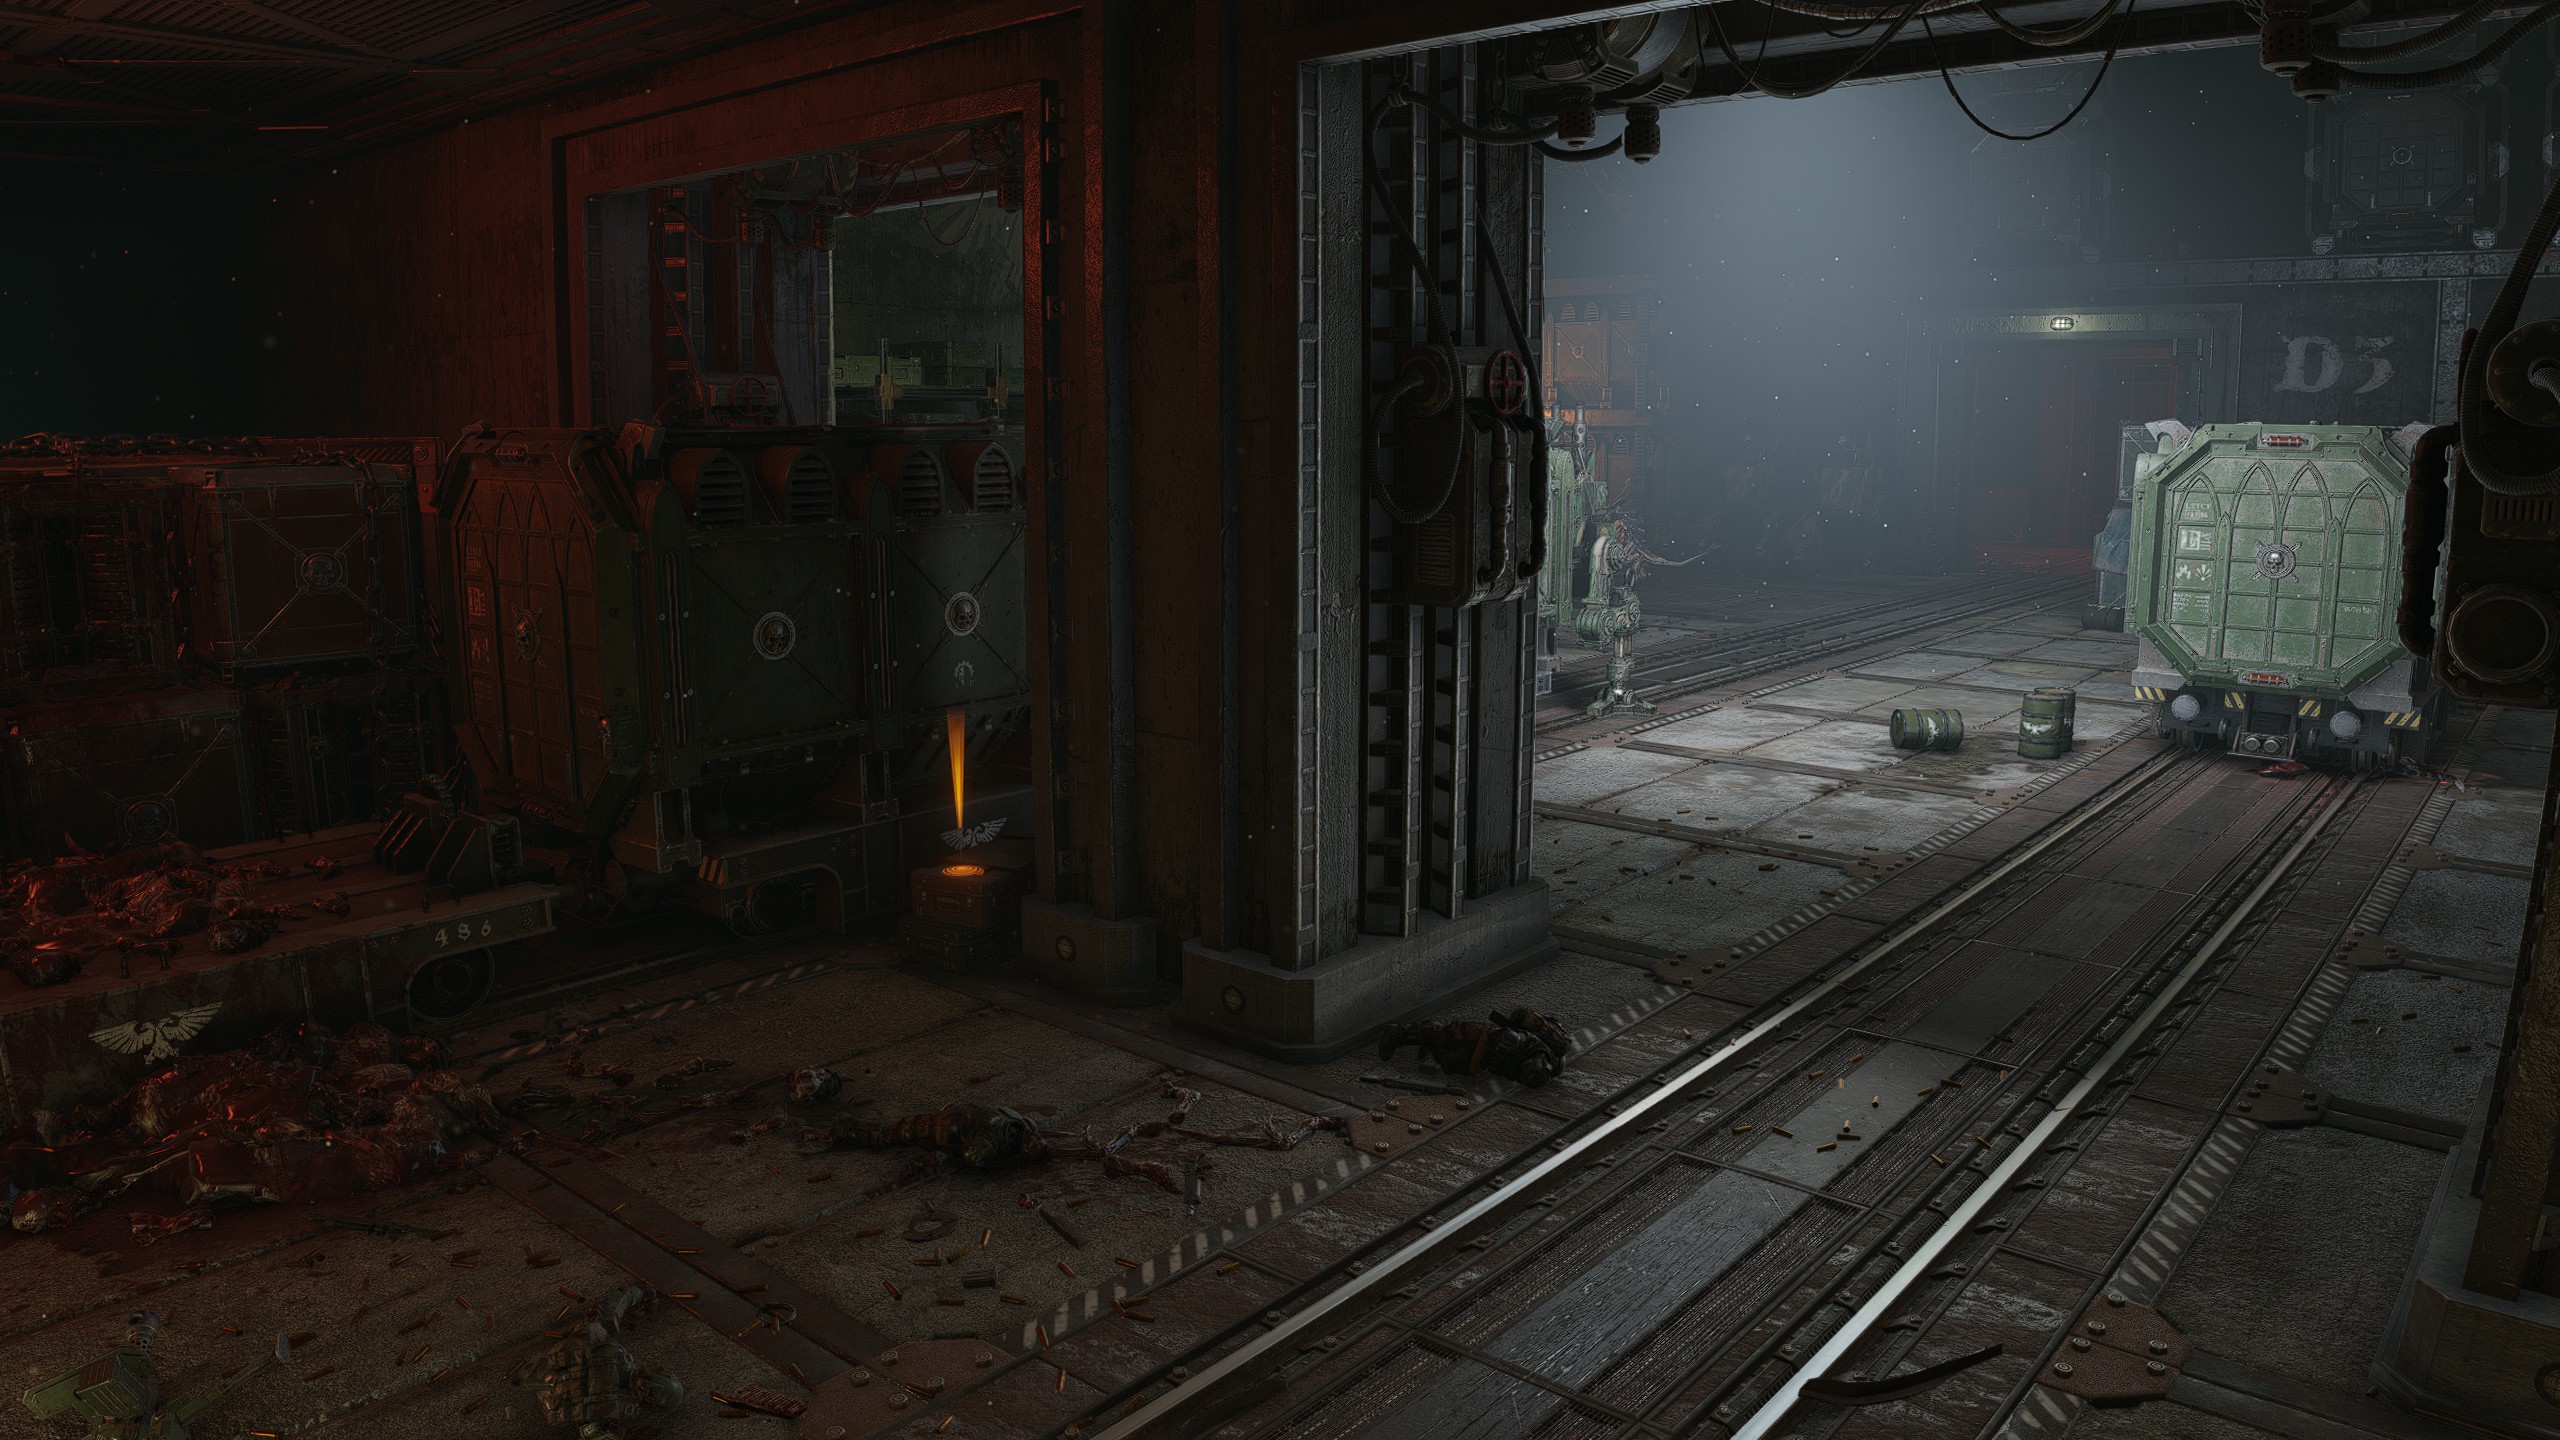
| Mission 08: Obelisk
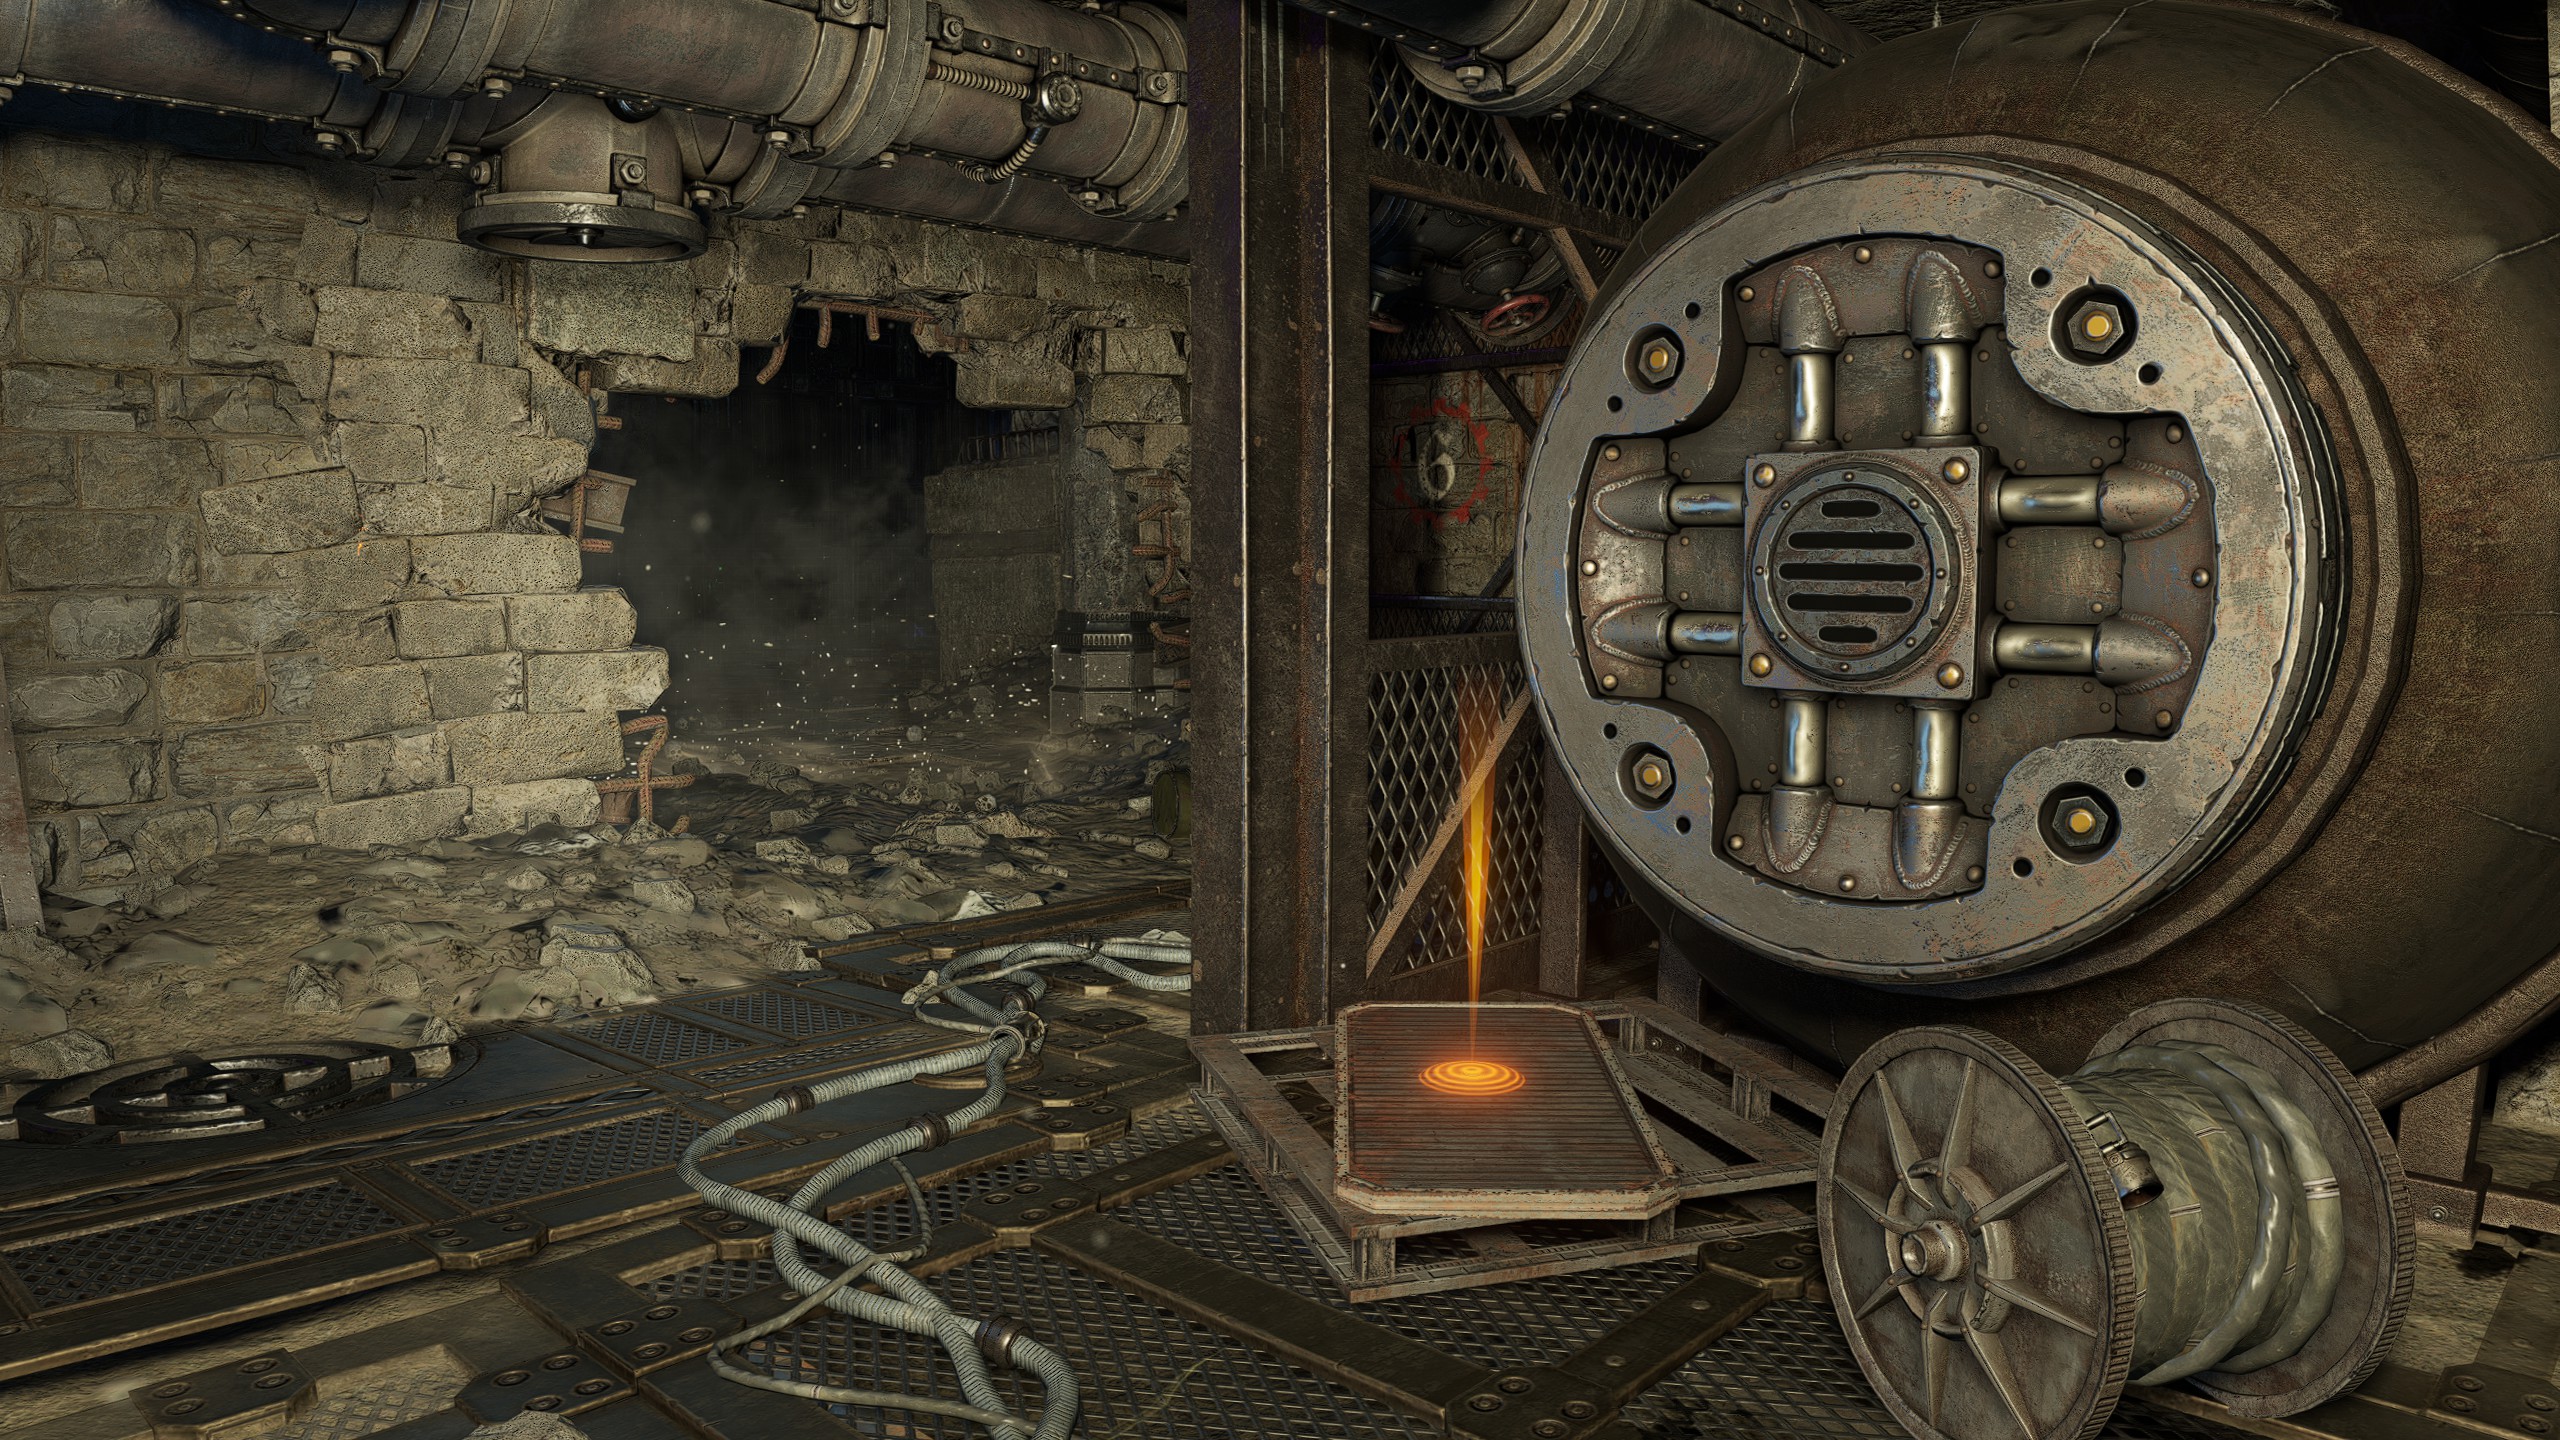
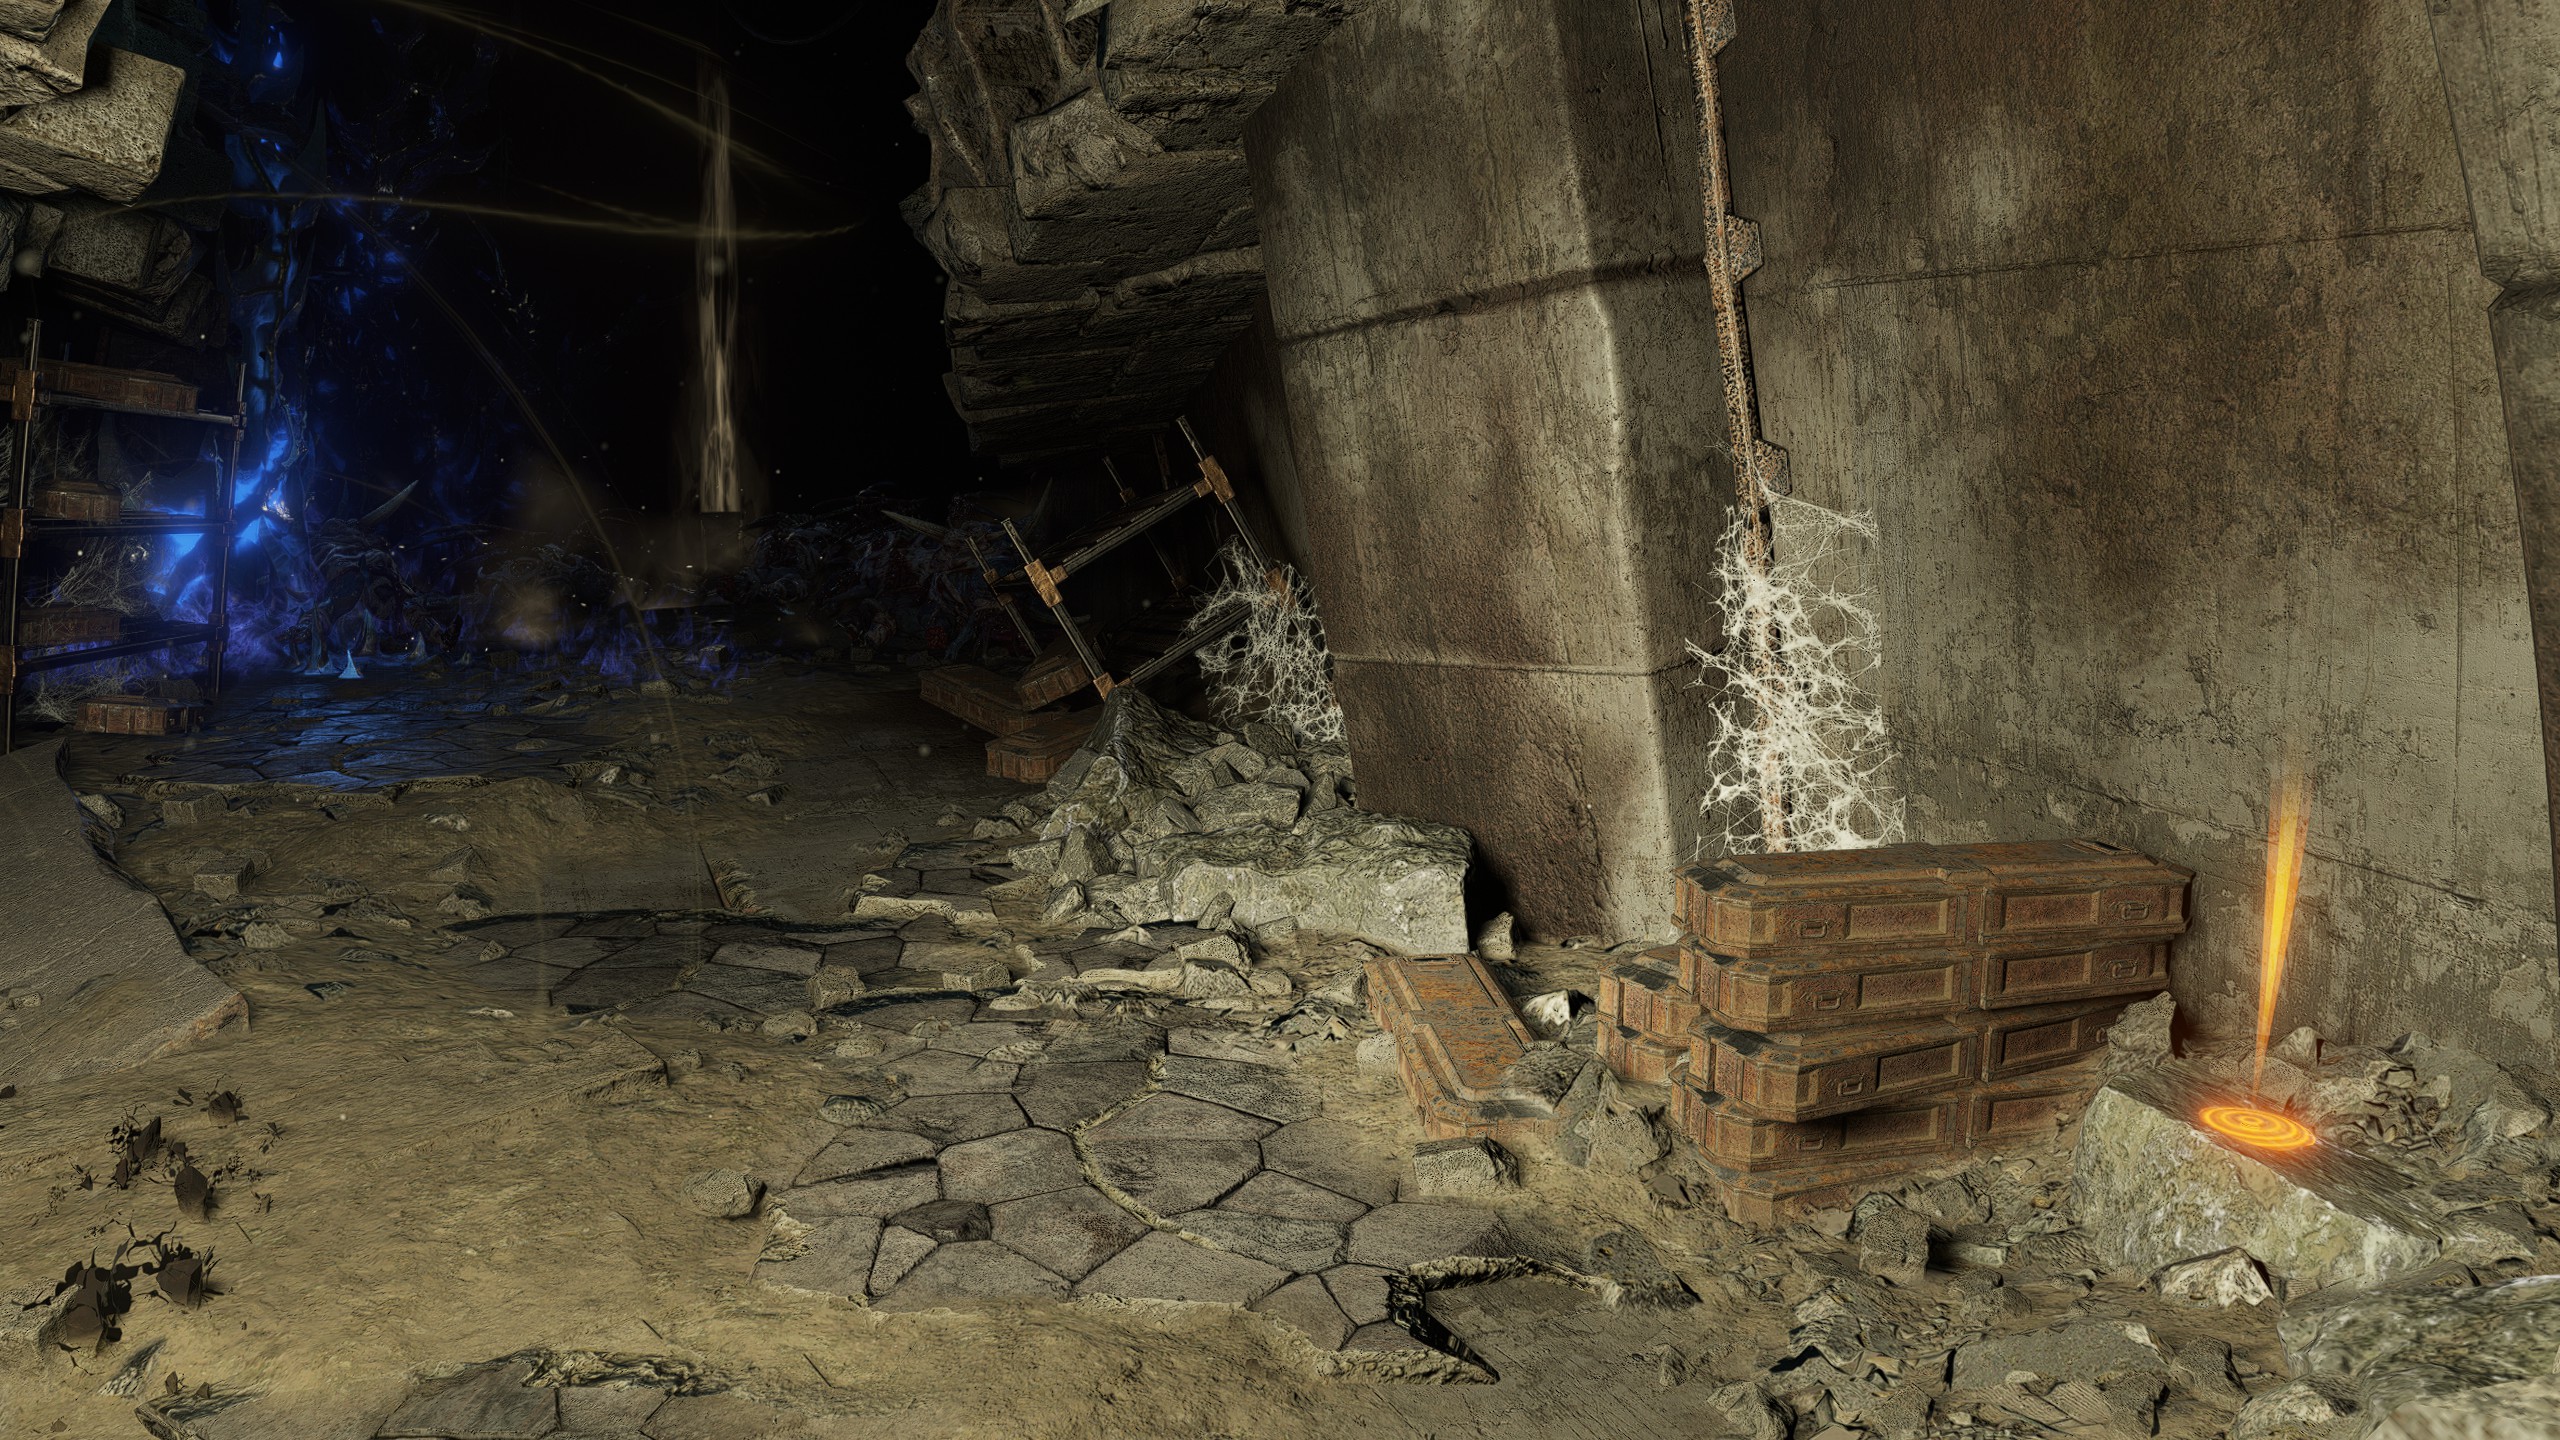
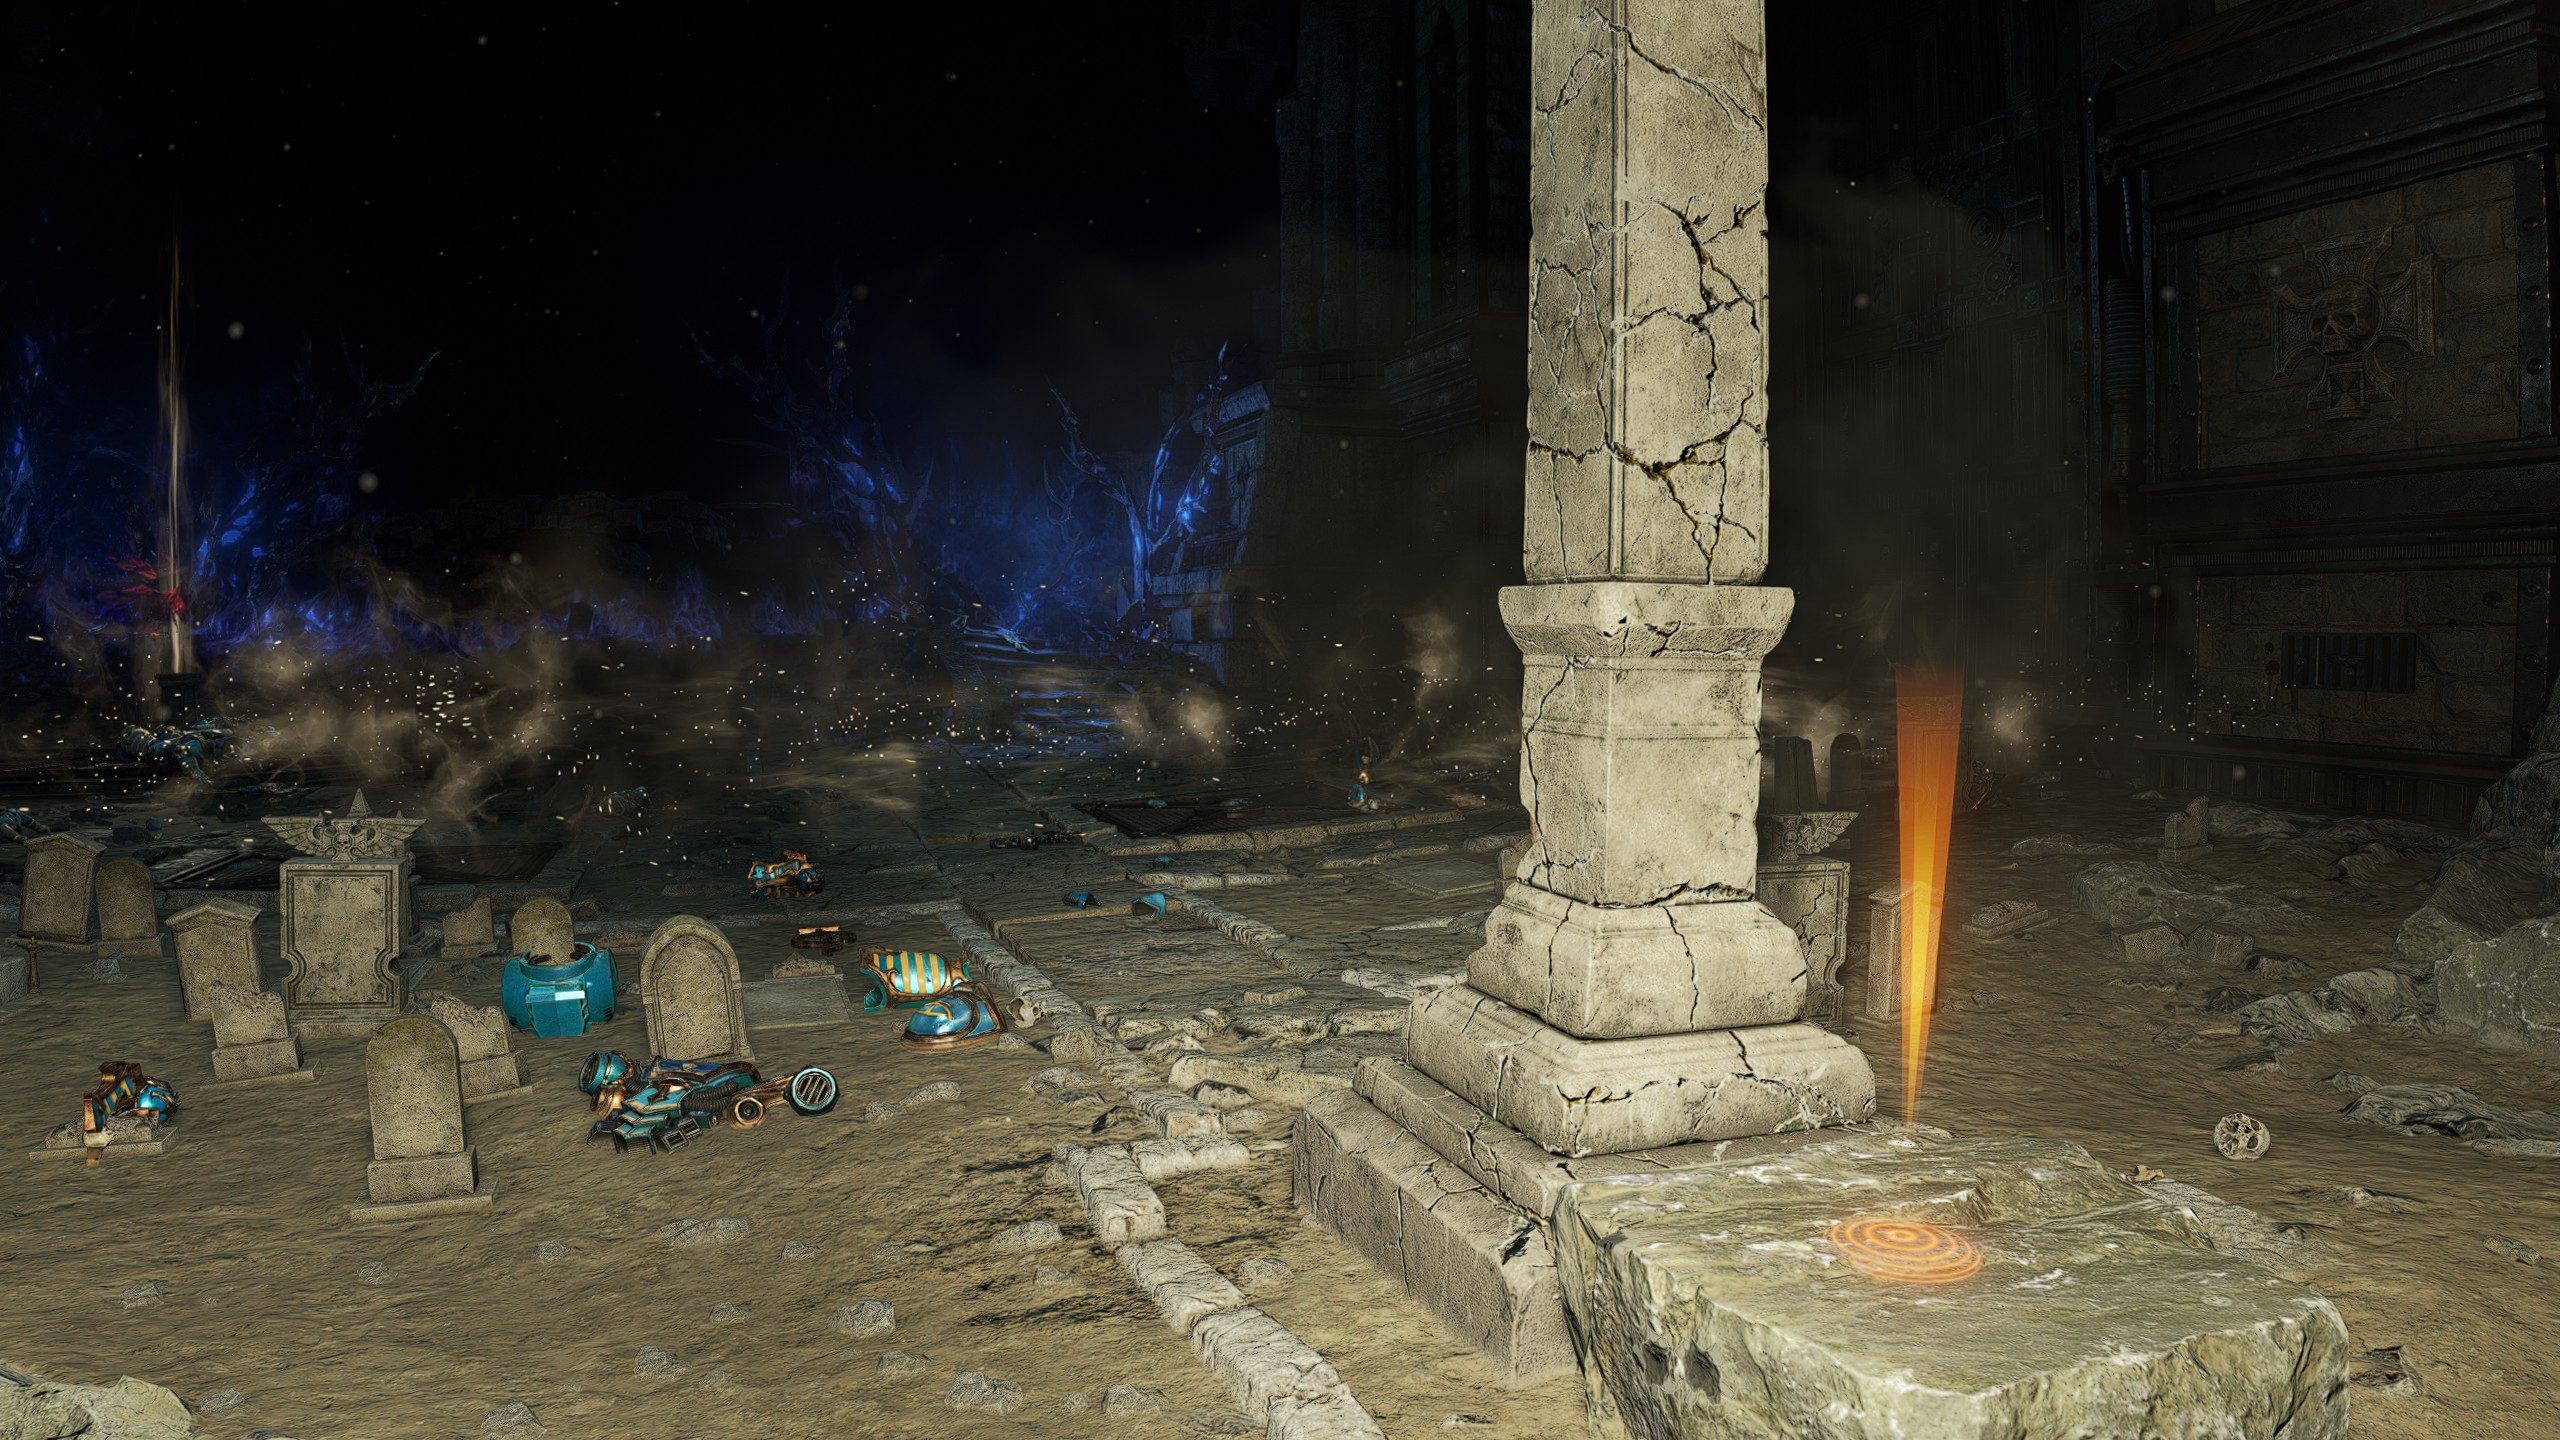
- If the path forward after picking up the Relic for the first time is straight ahead, you will get the Servo-skull path and can find #3 Or #4.
- If the path forward after picking up the Relic instead goes to the right, you will get the Console path and can find #5 Or #6.
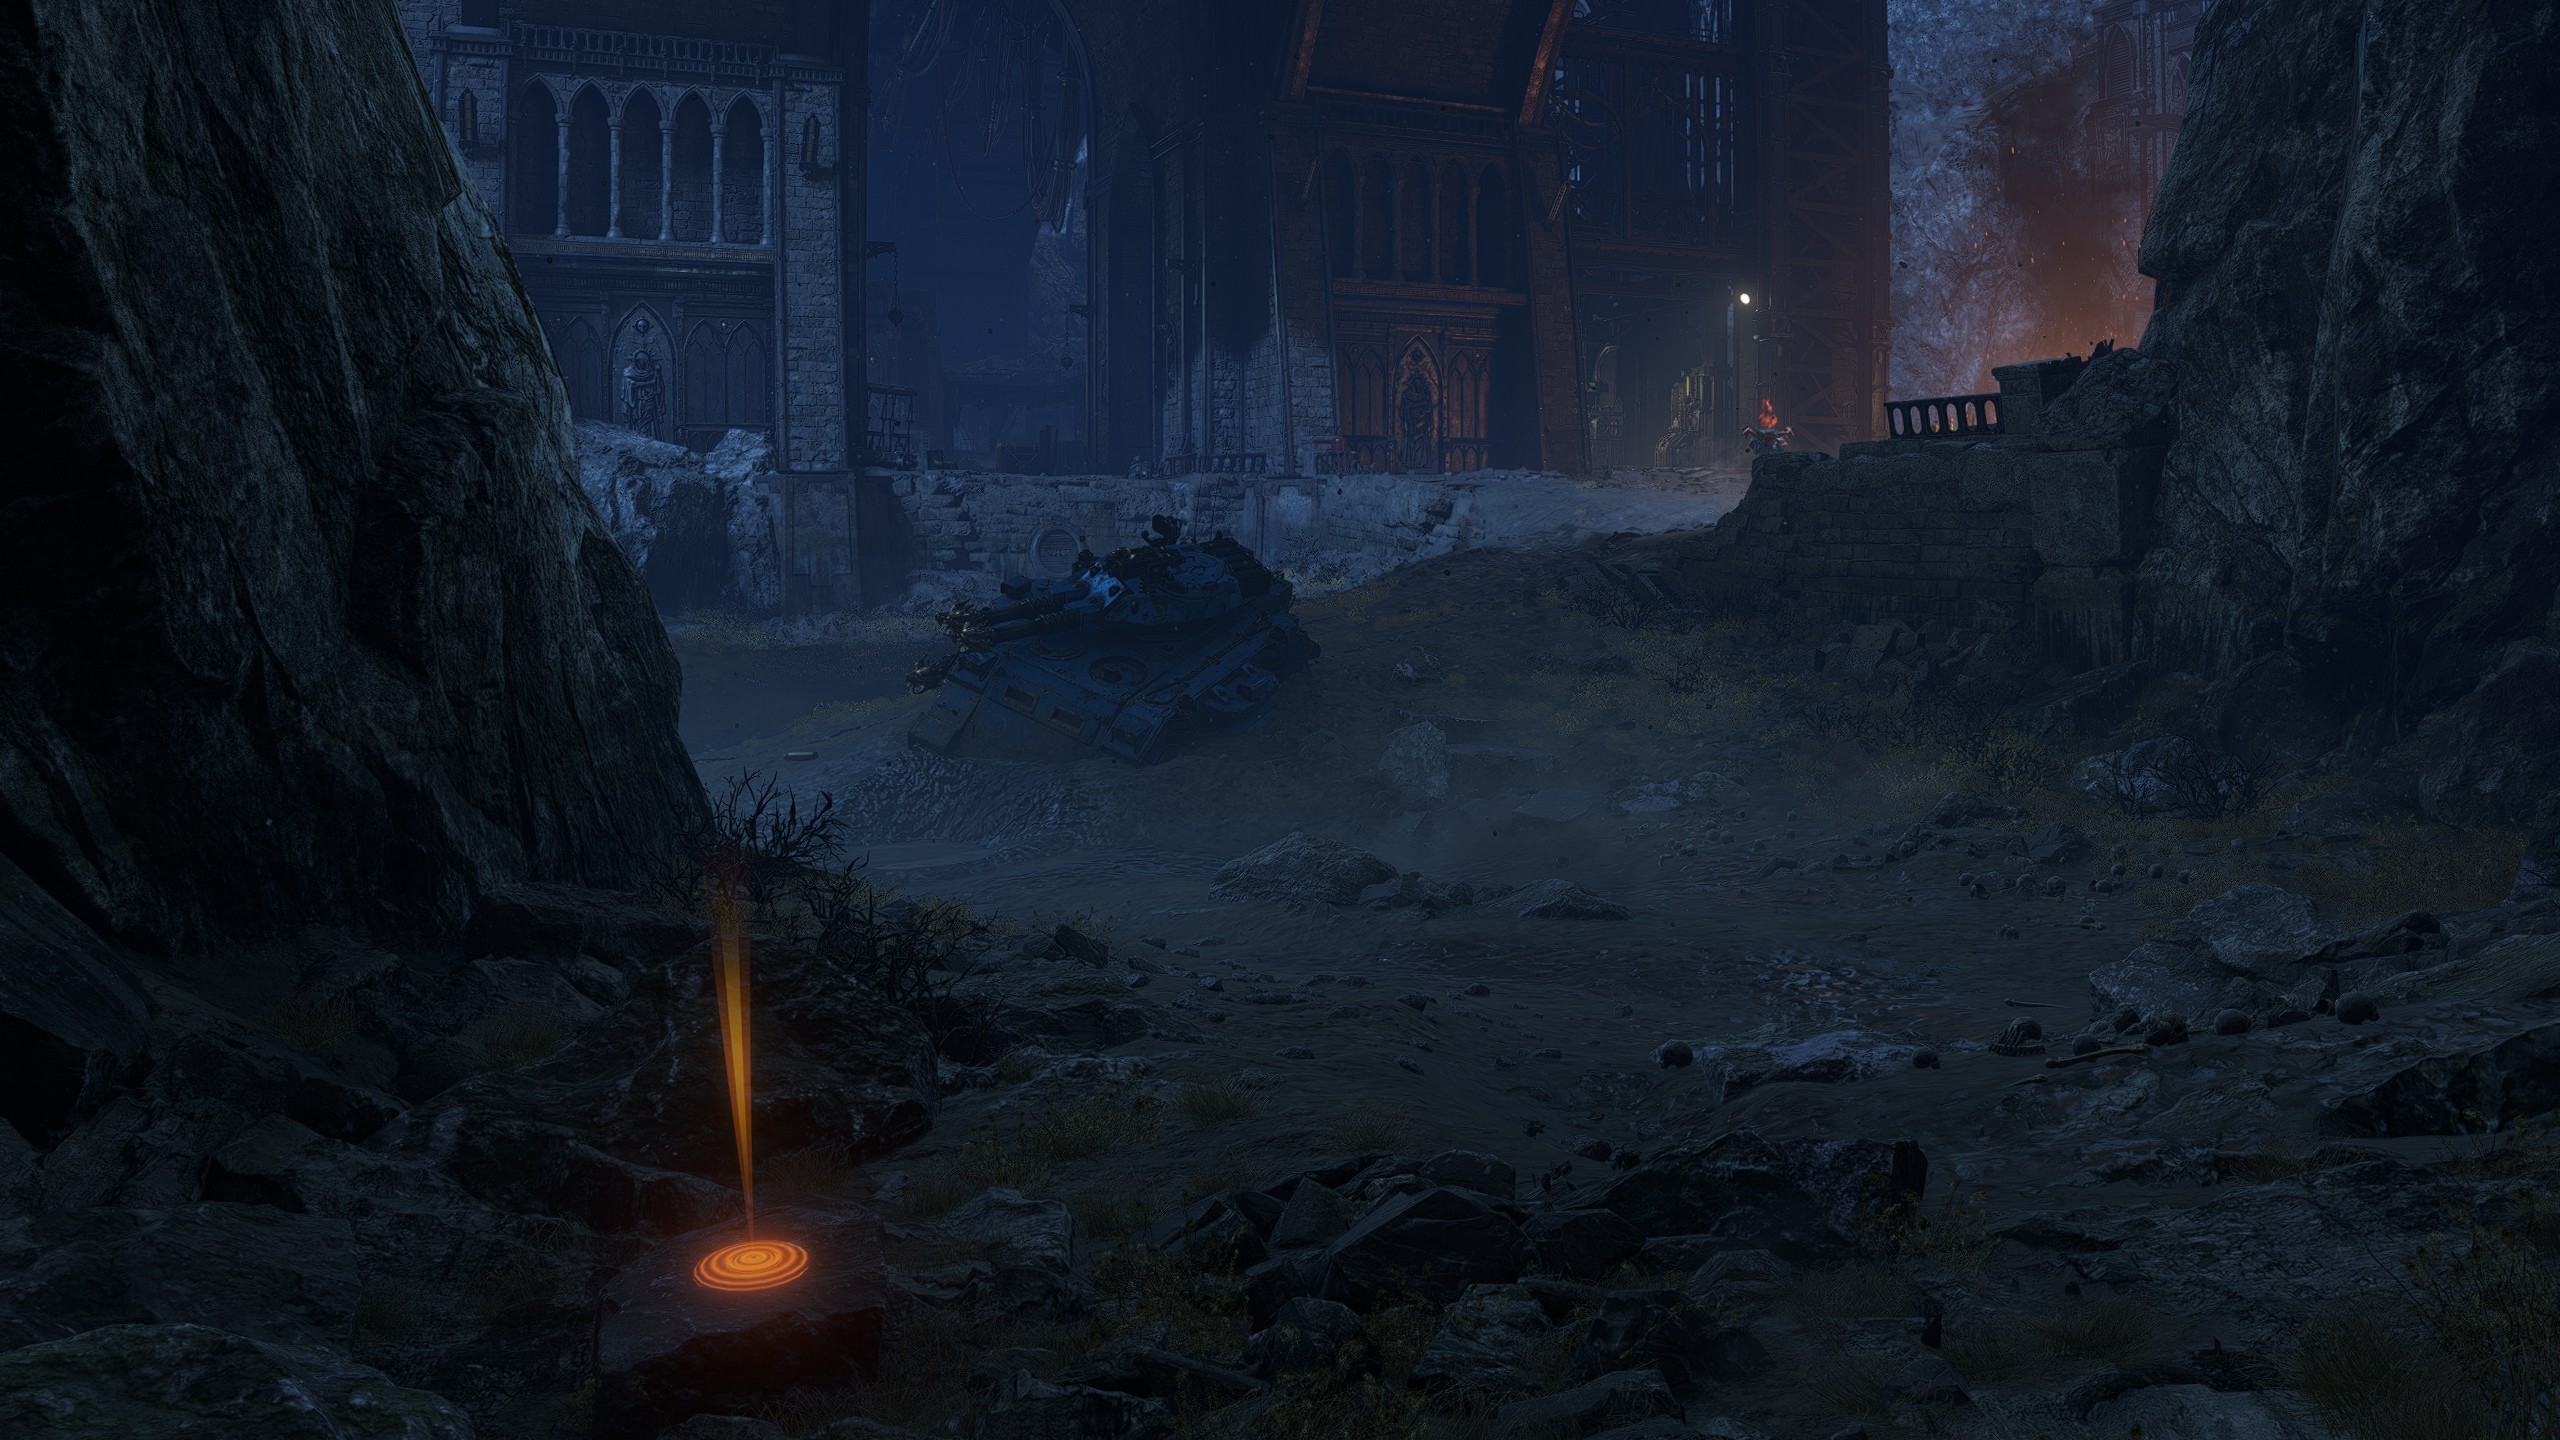
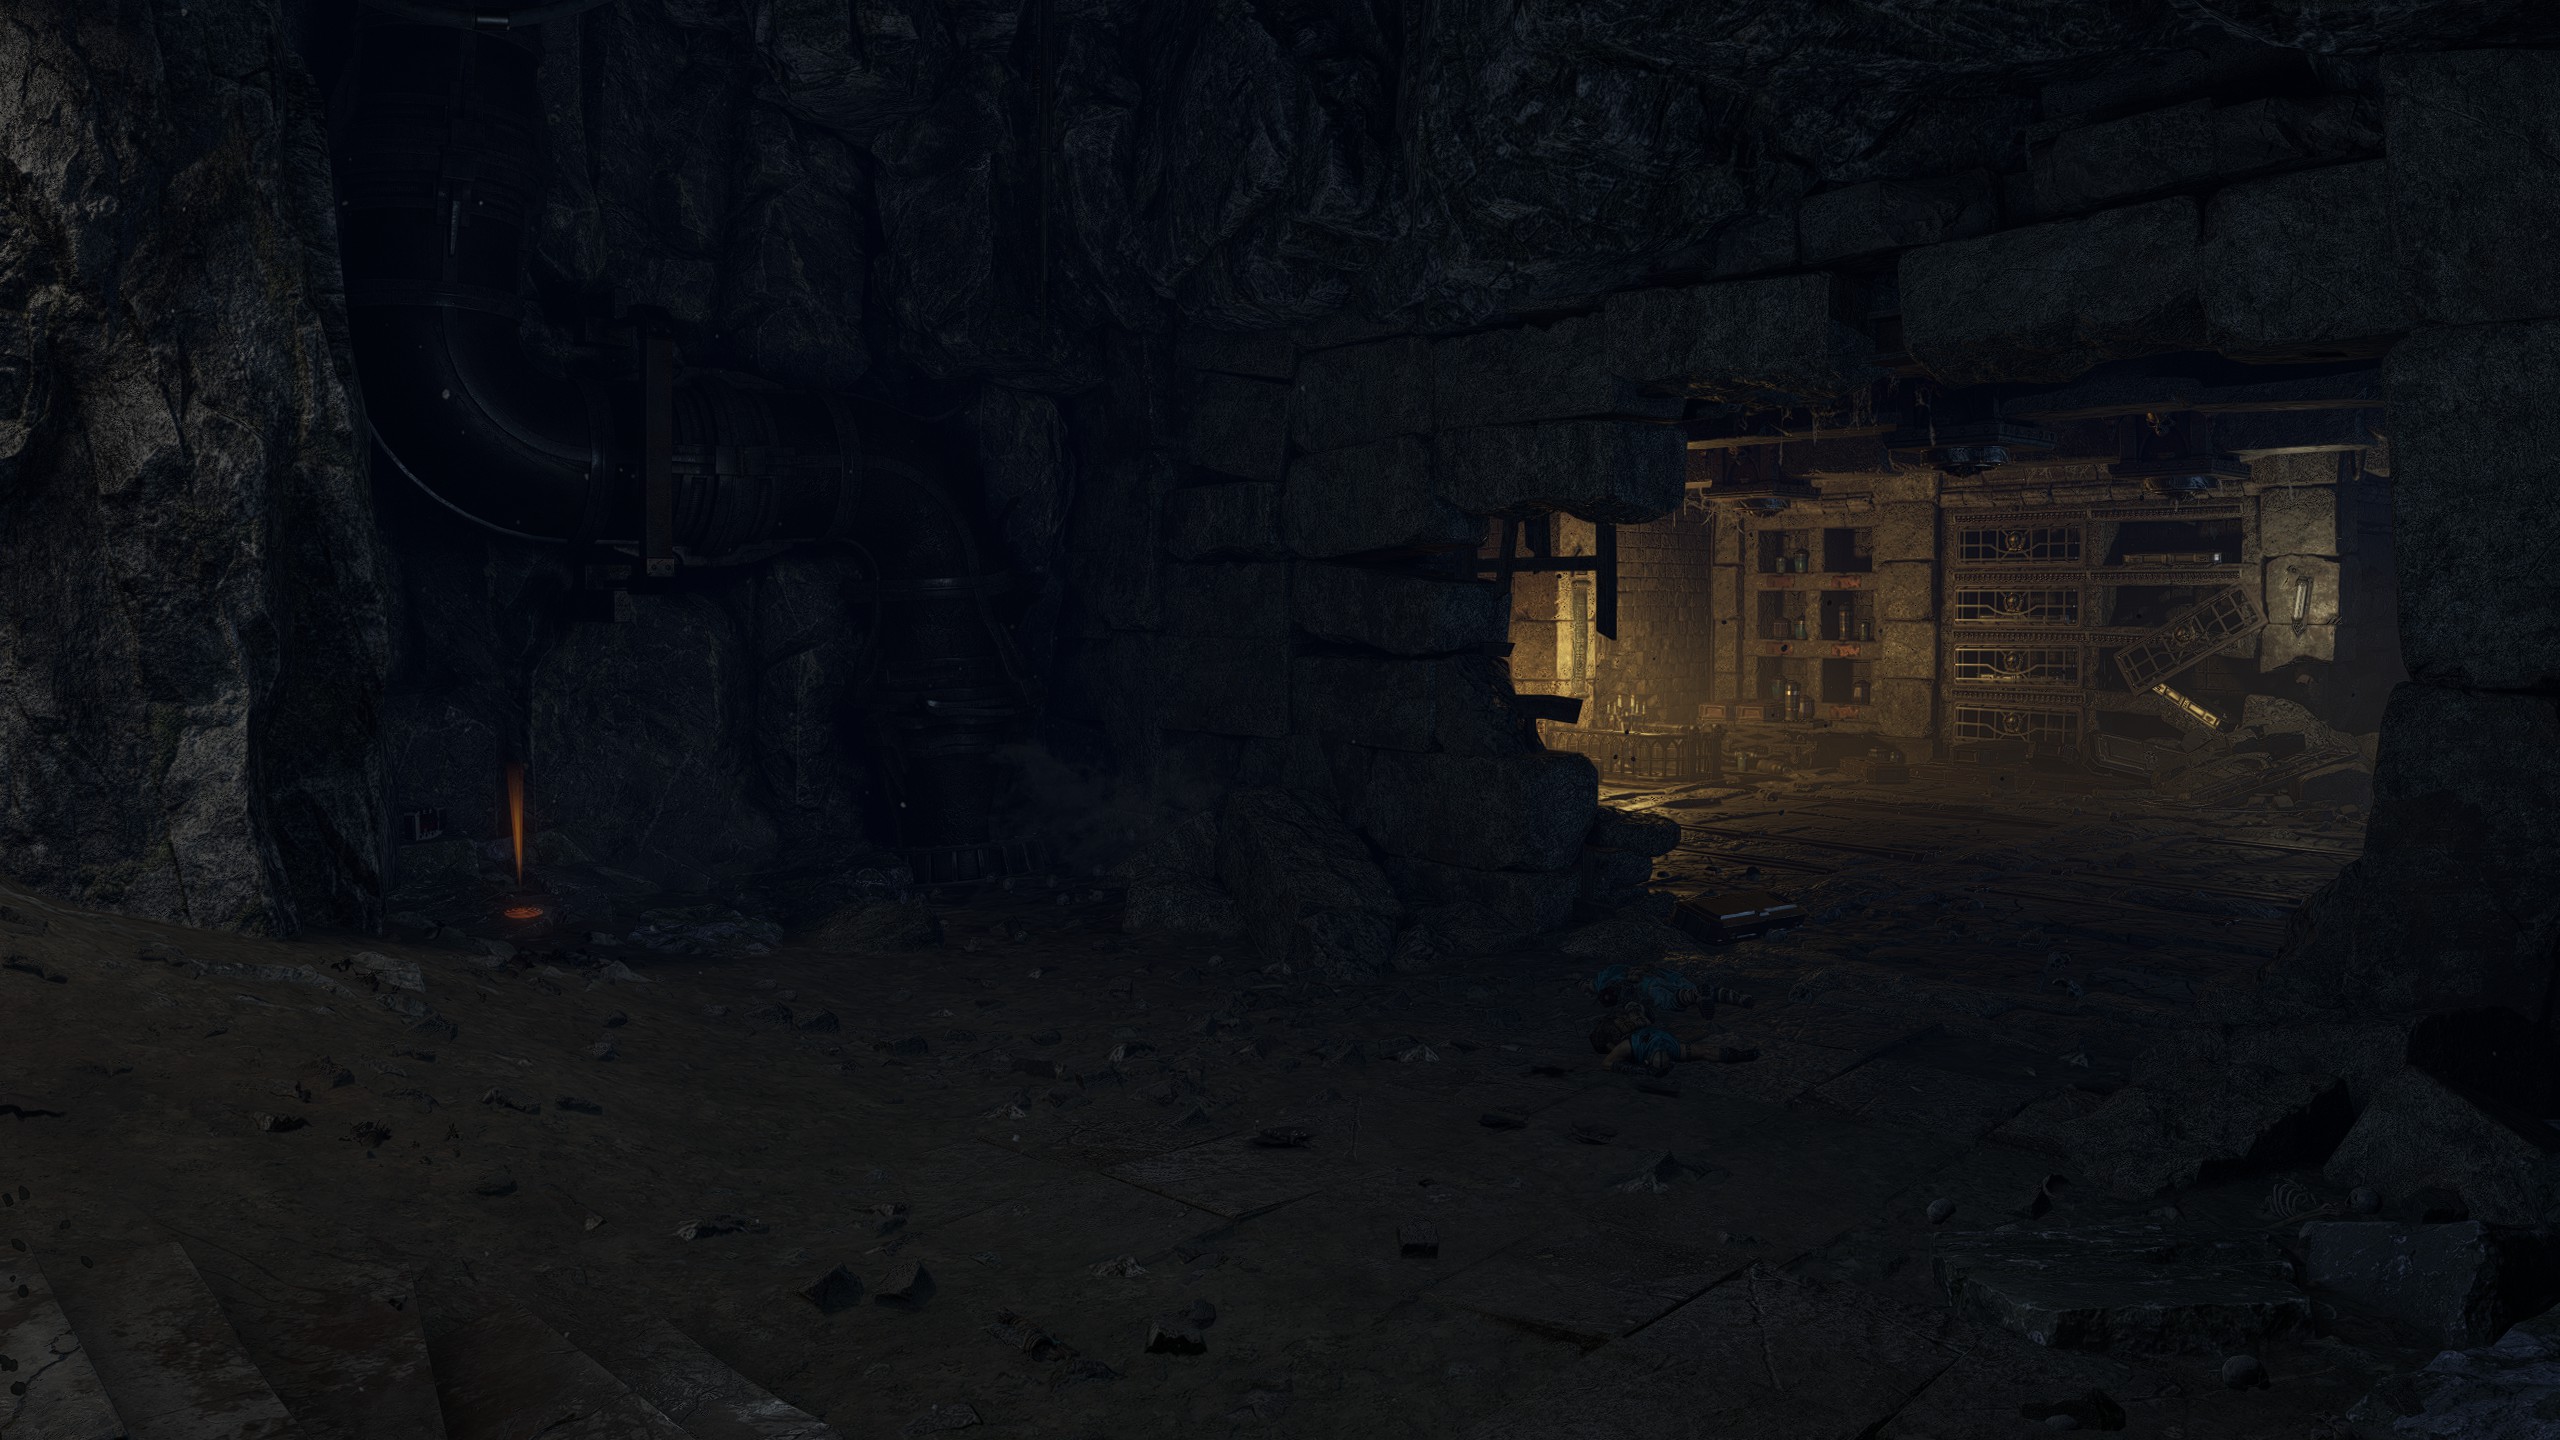
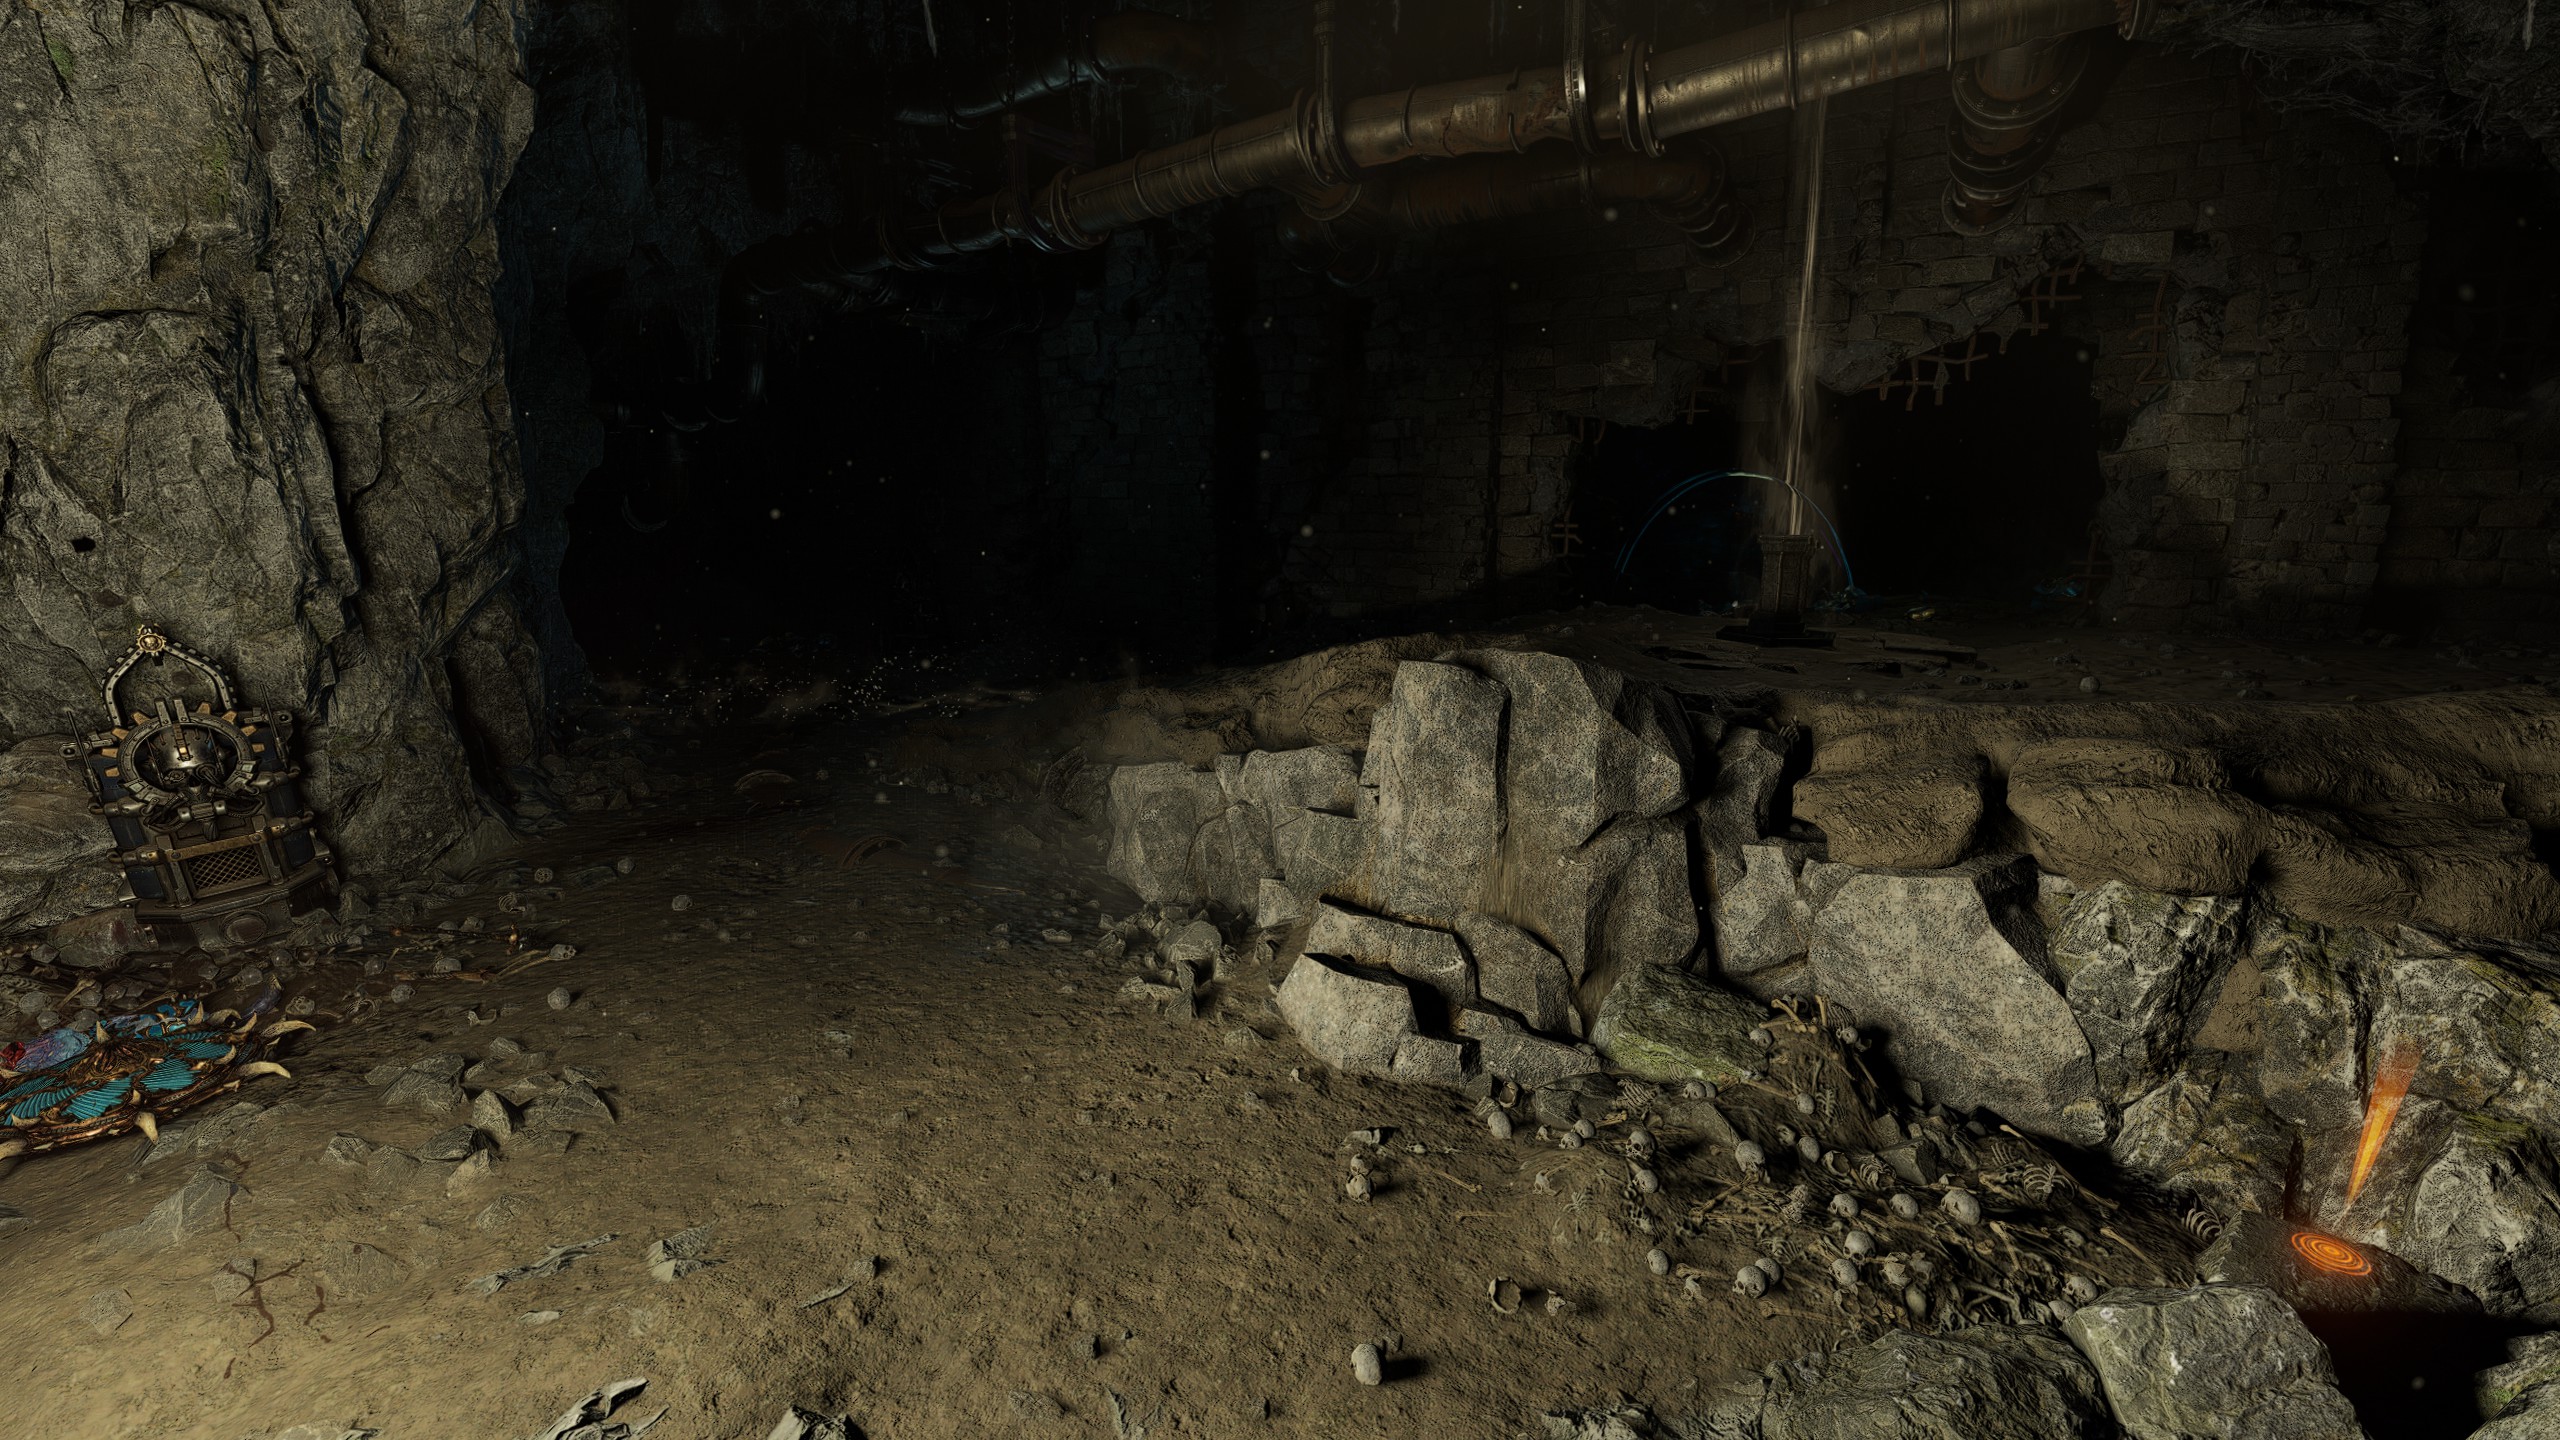
| Mission 09: Exfiltration
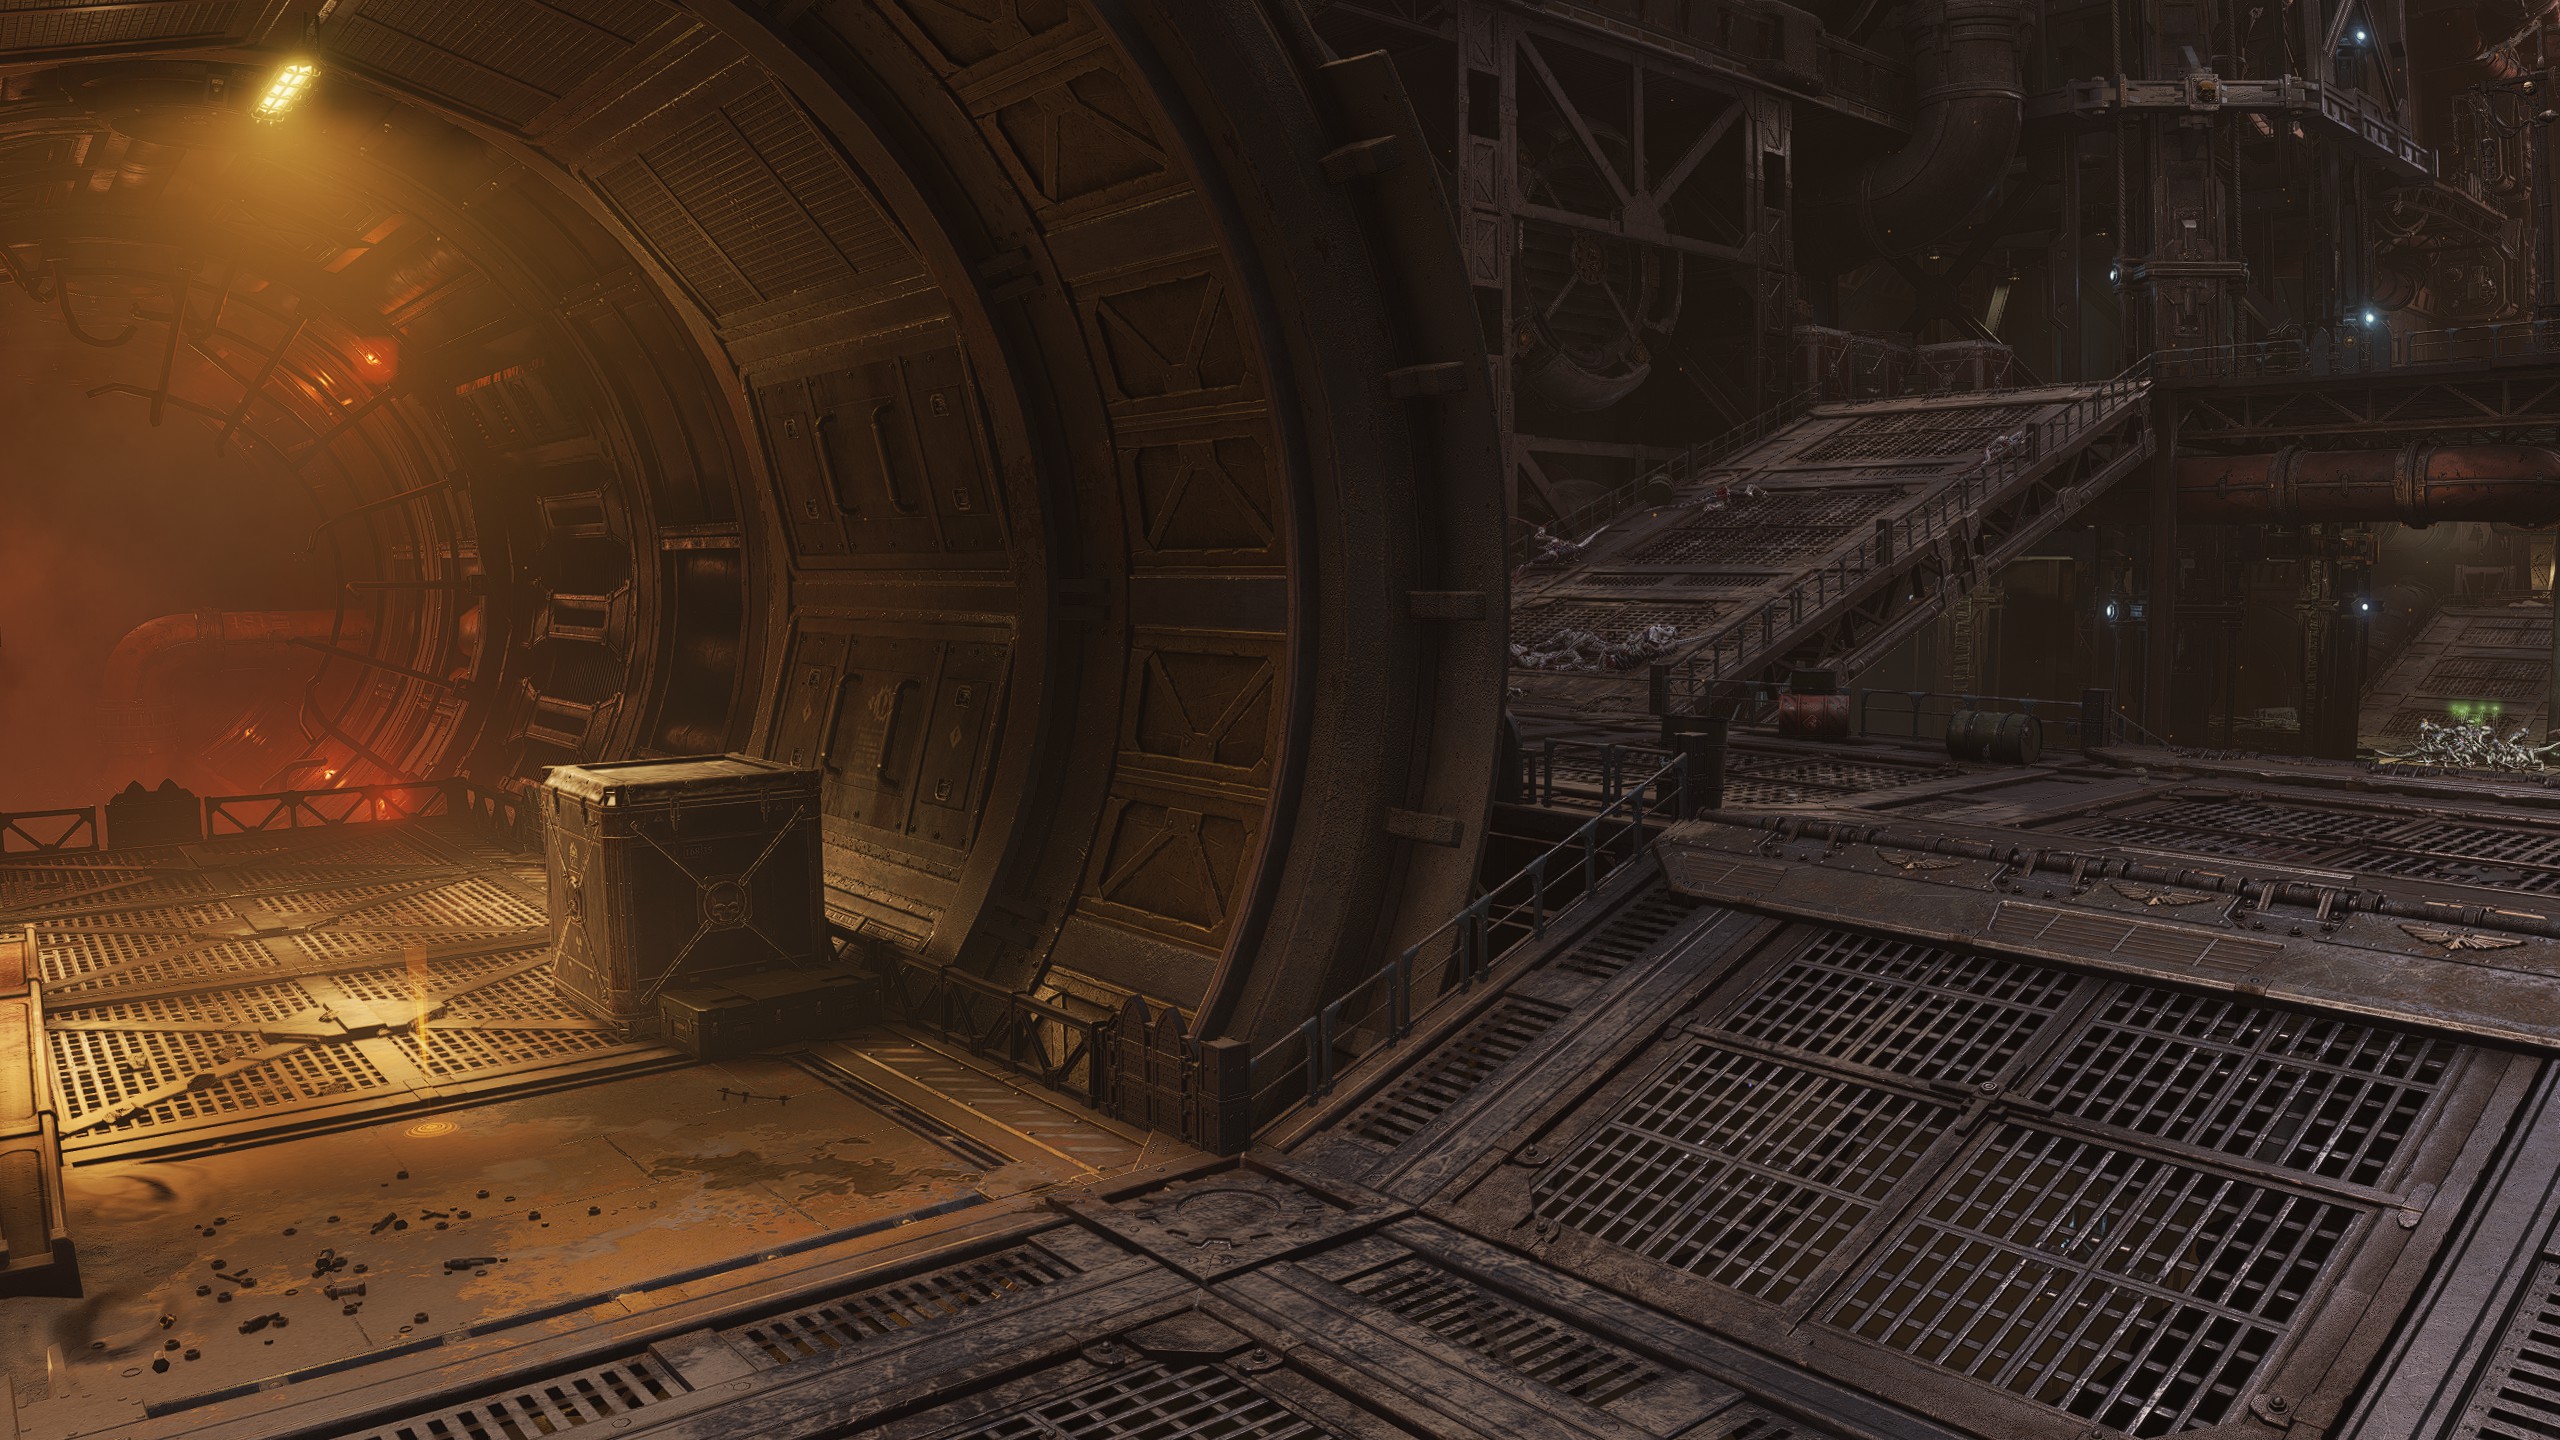
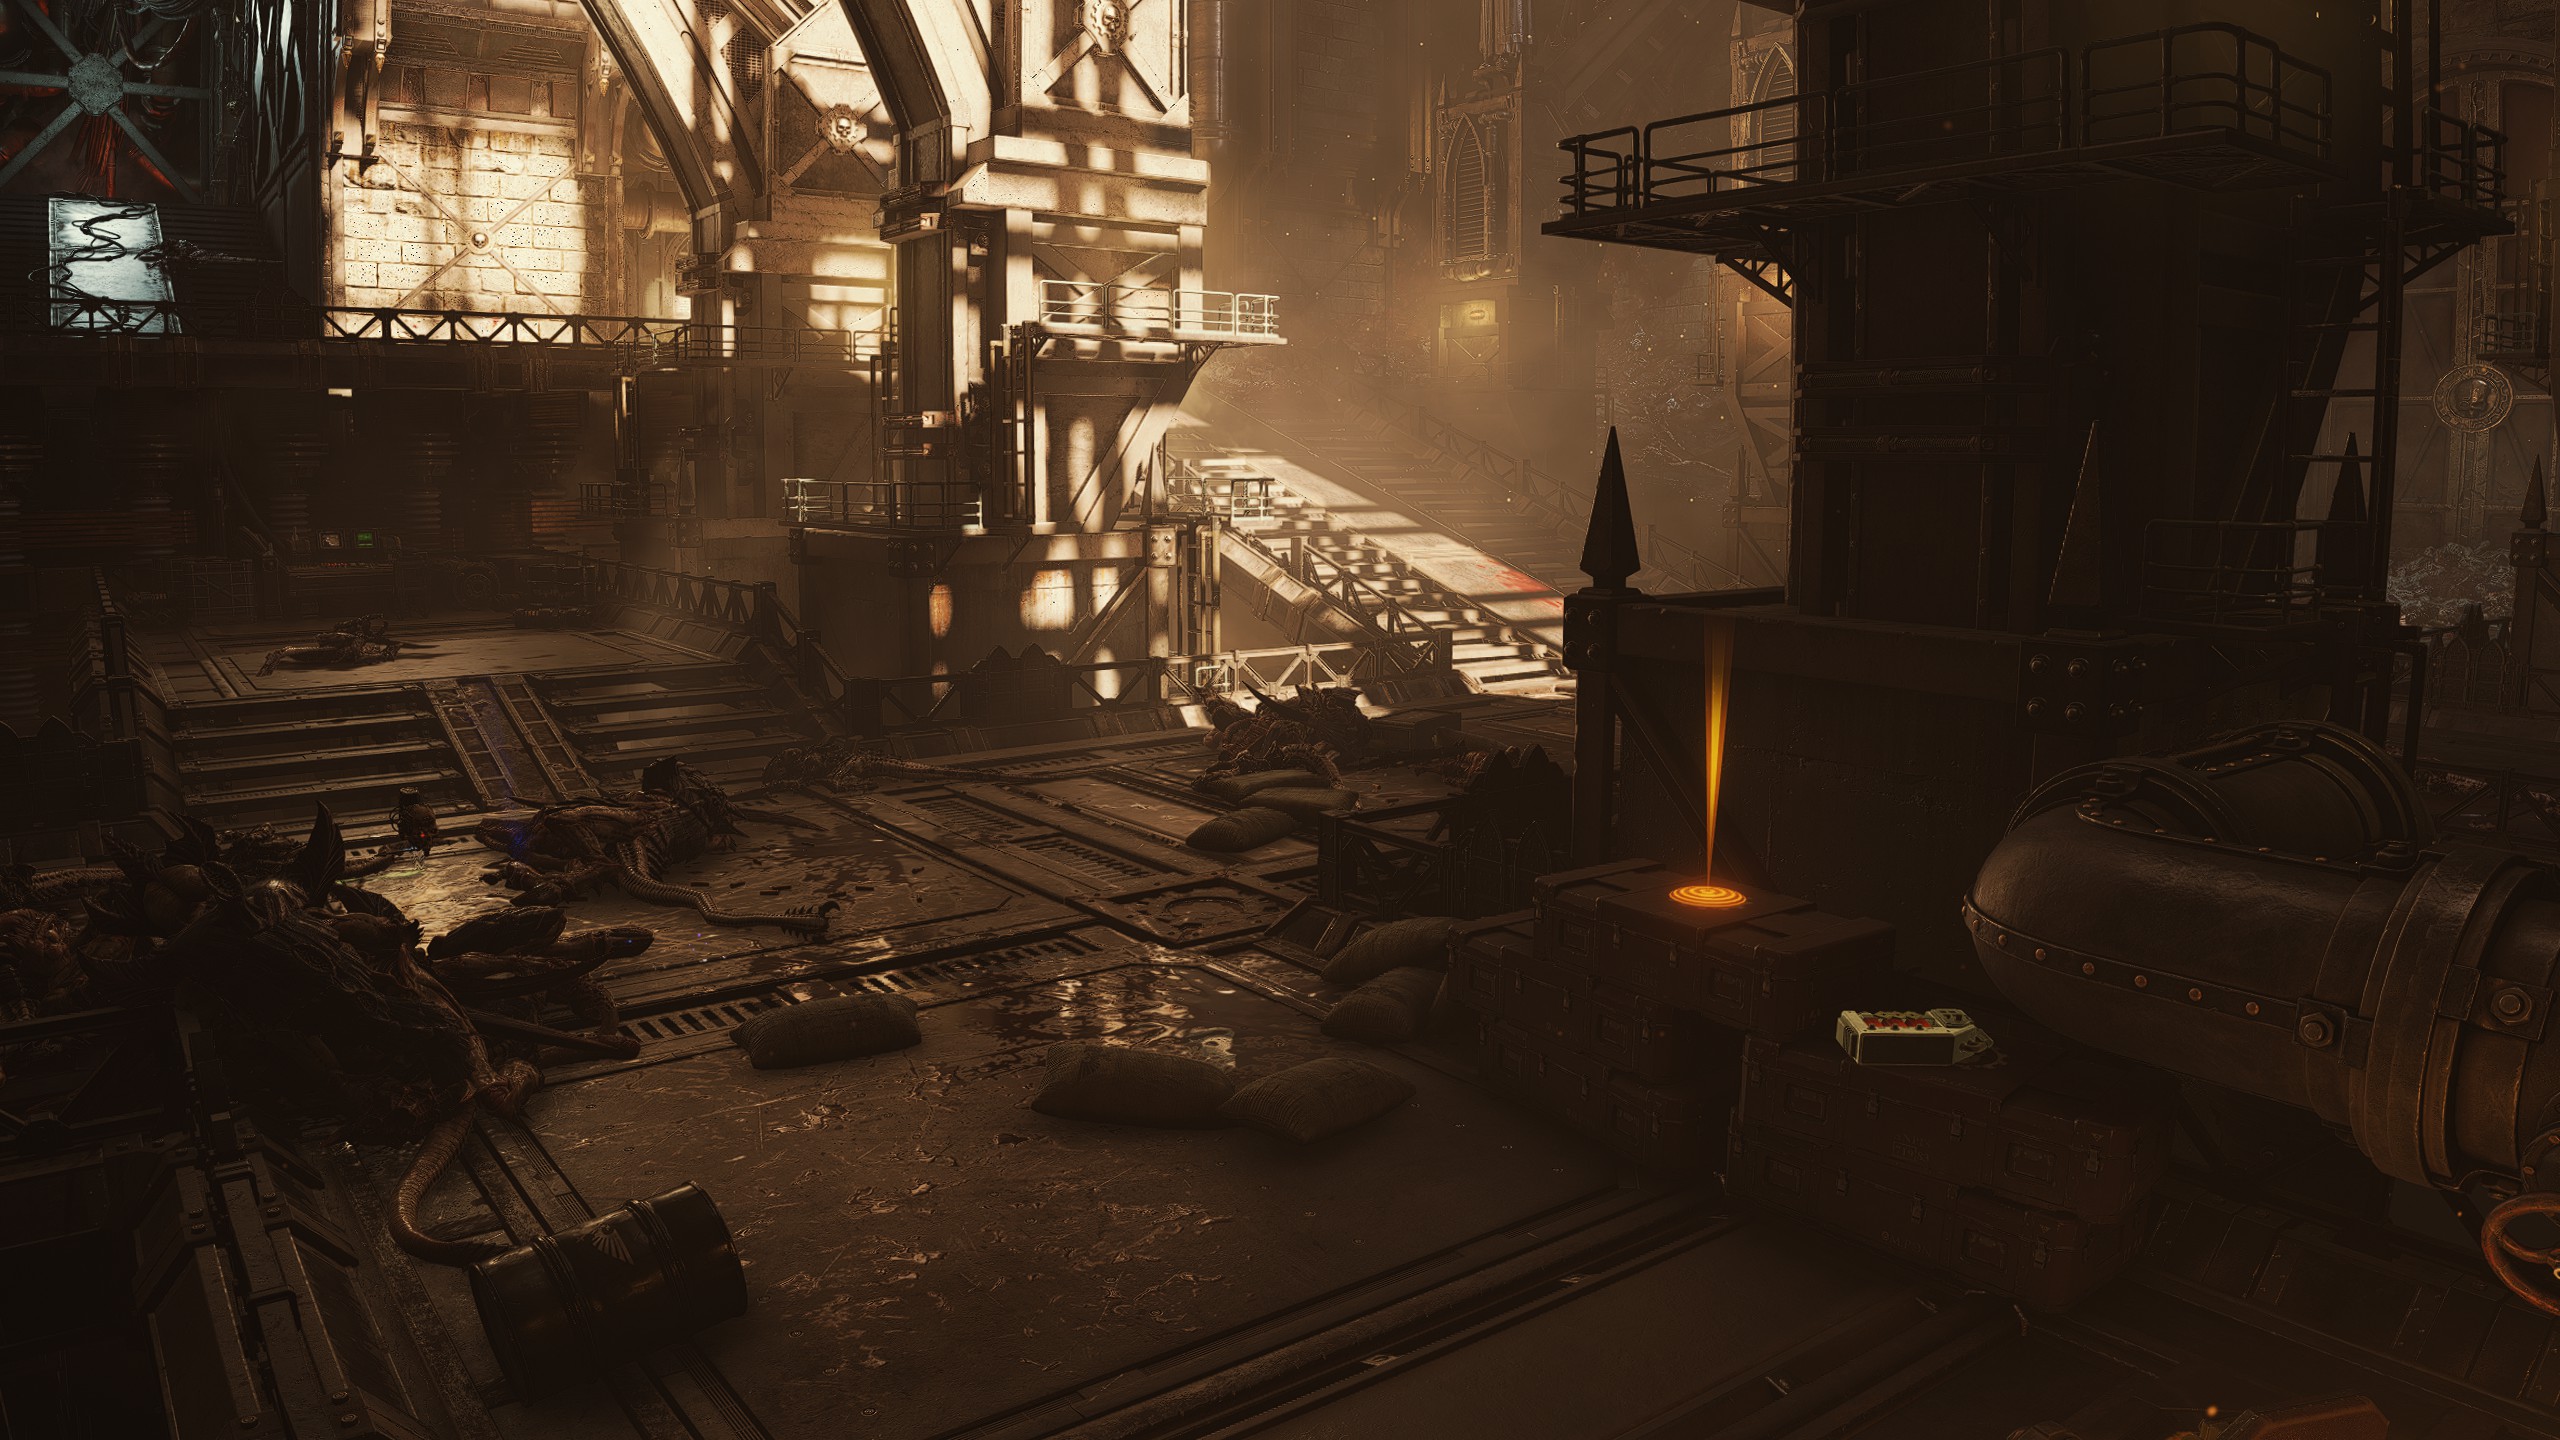
| Mission 10: Vortex
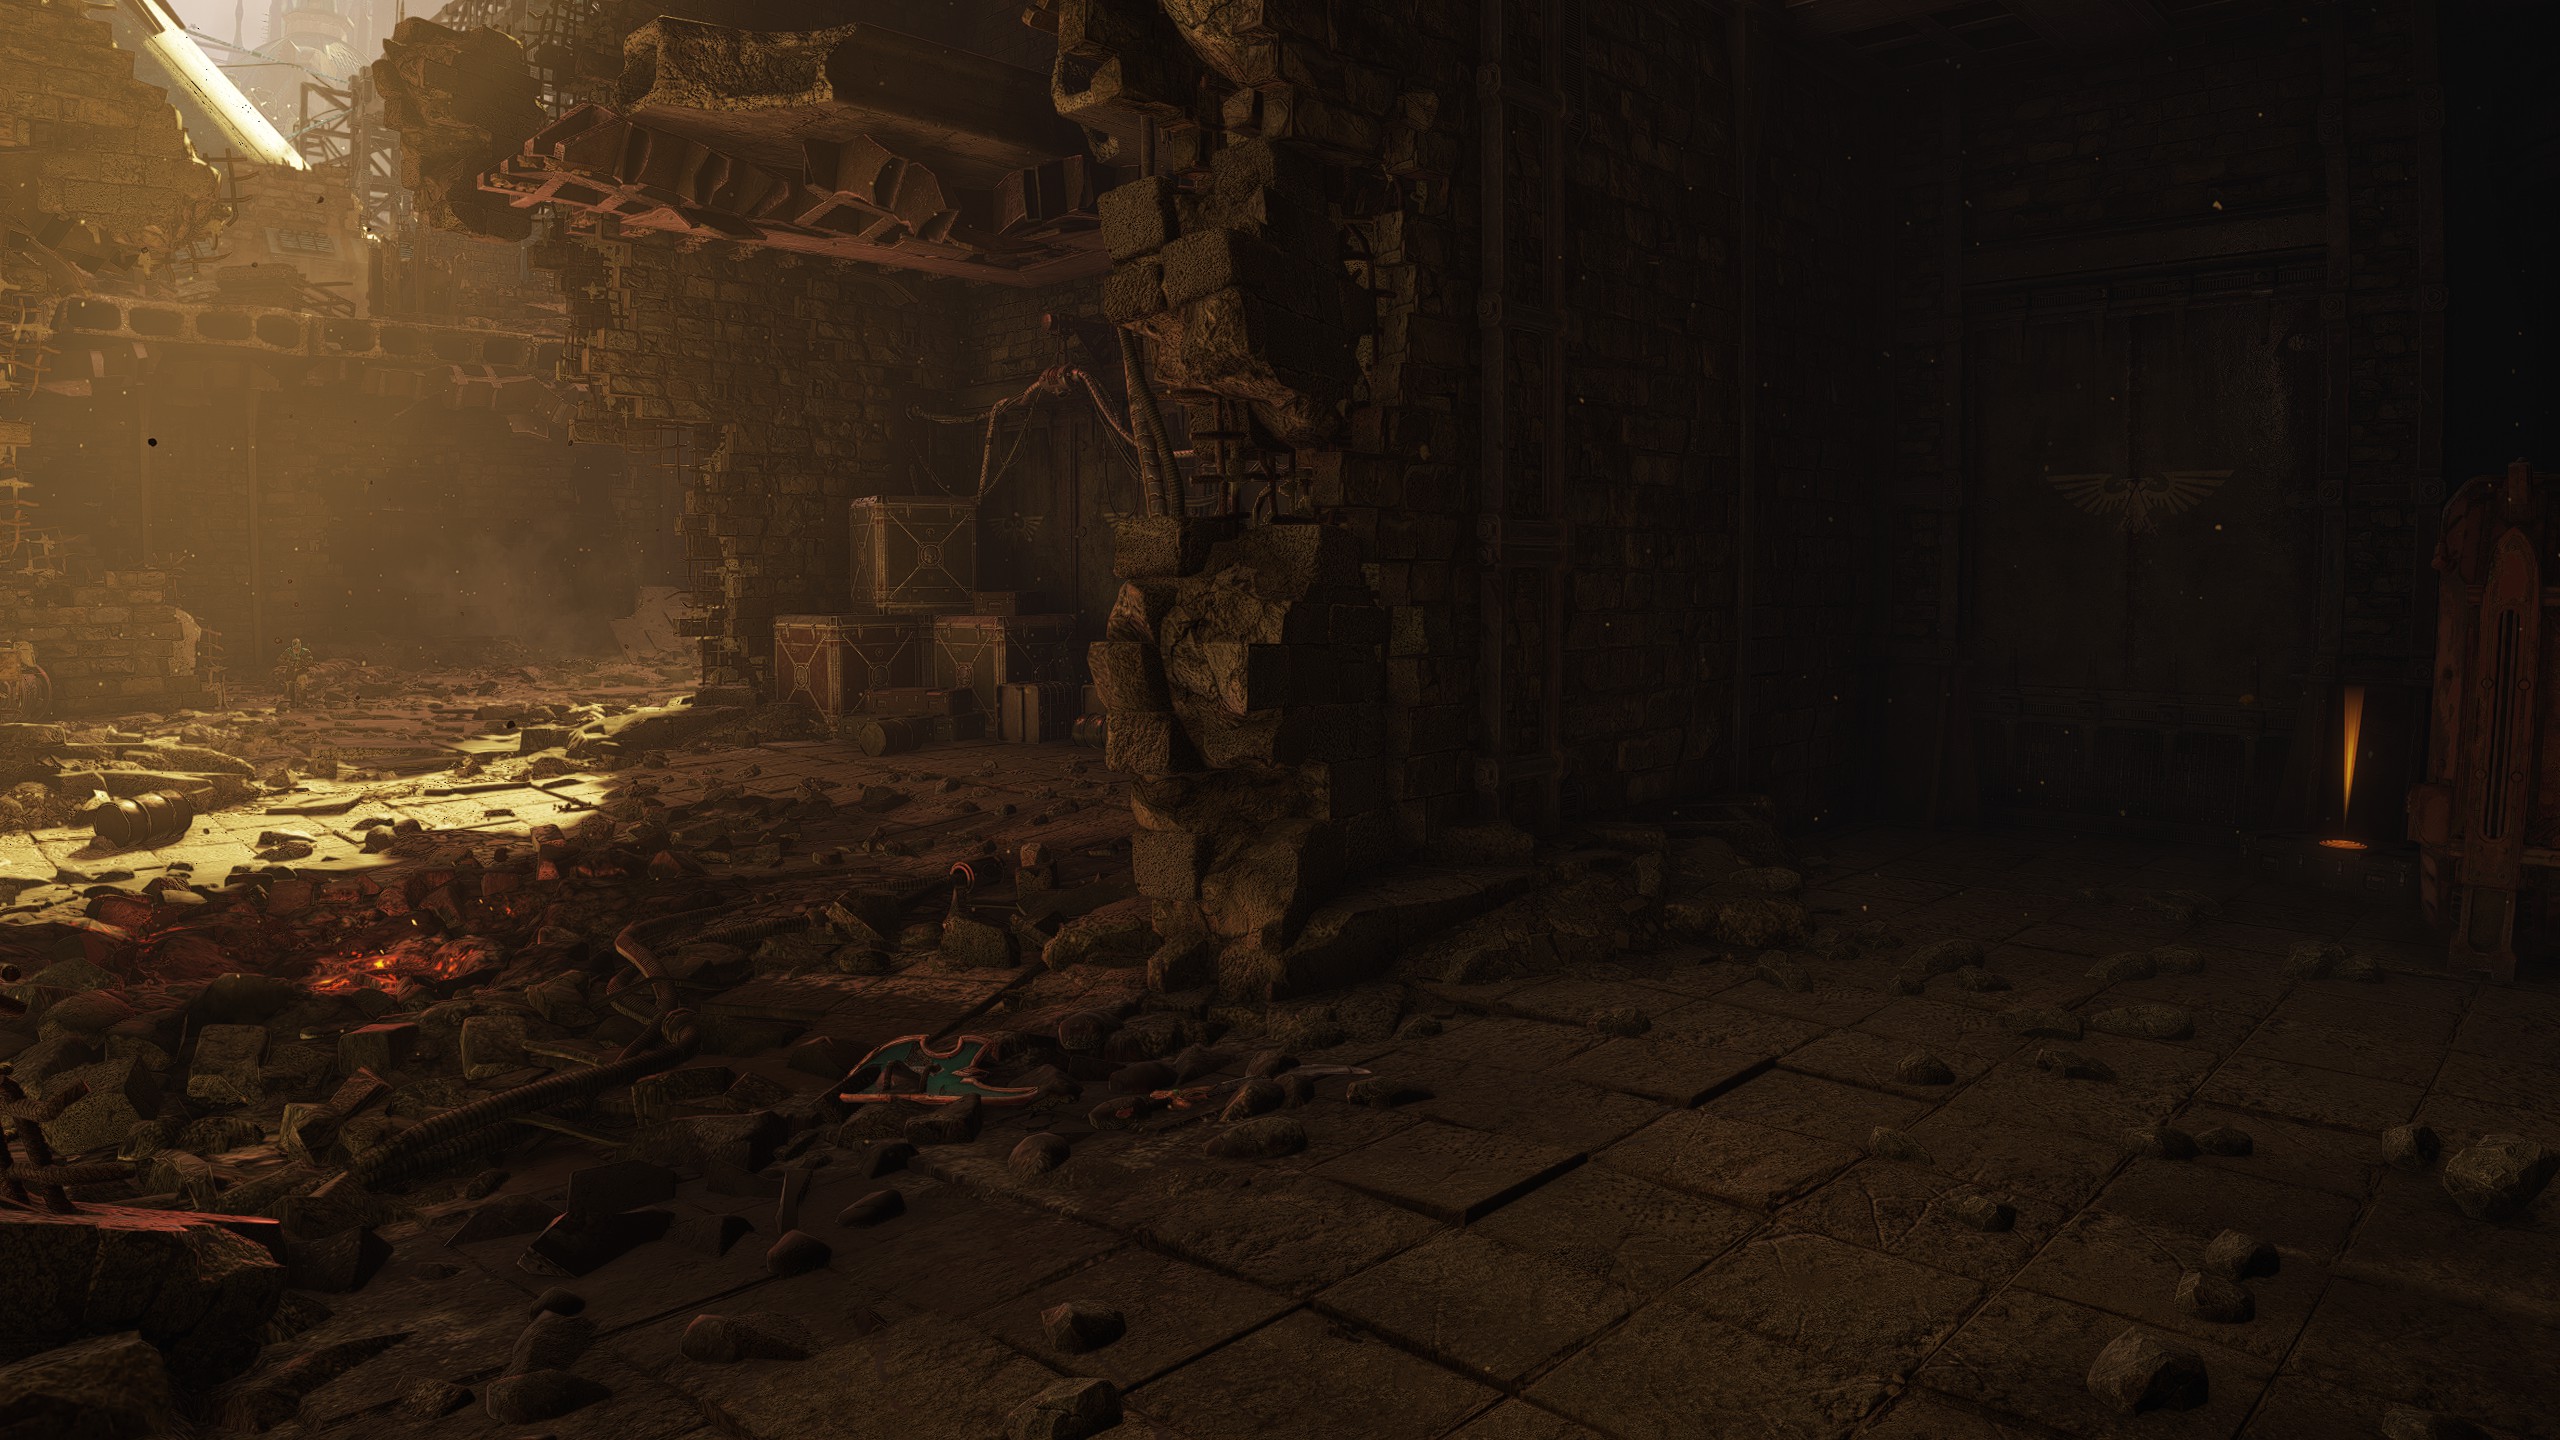
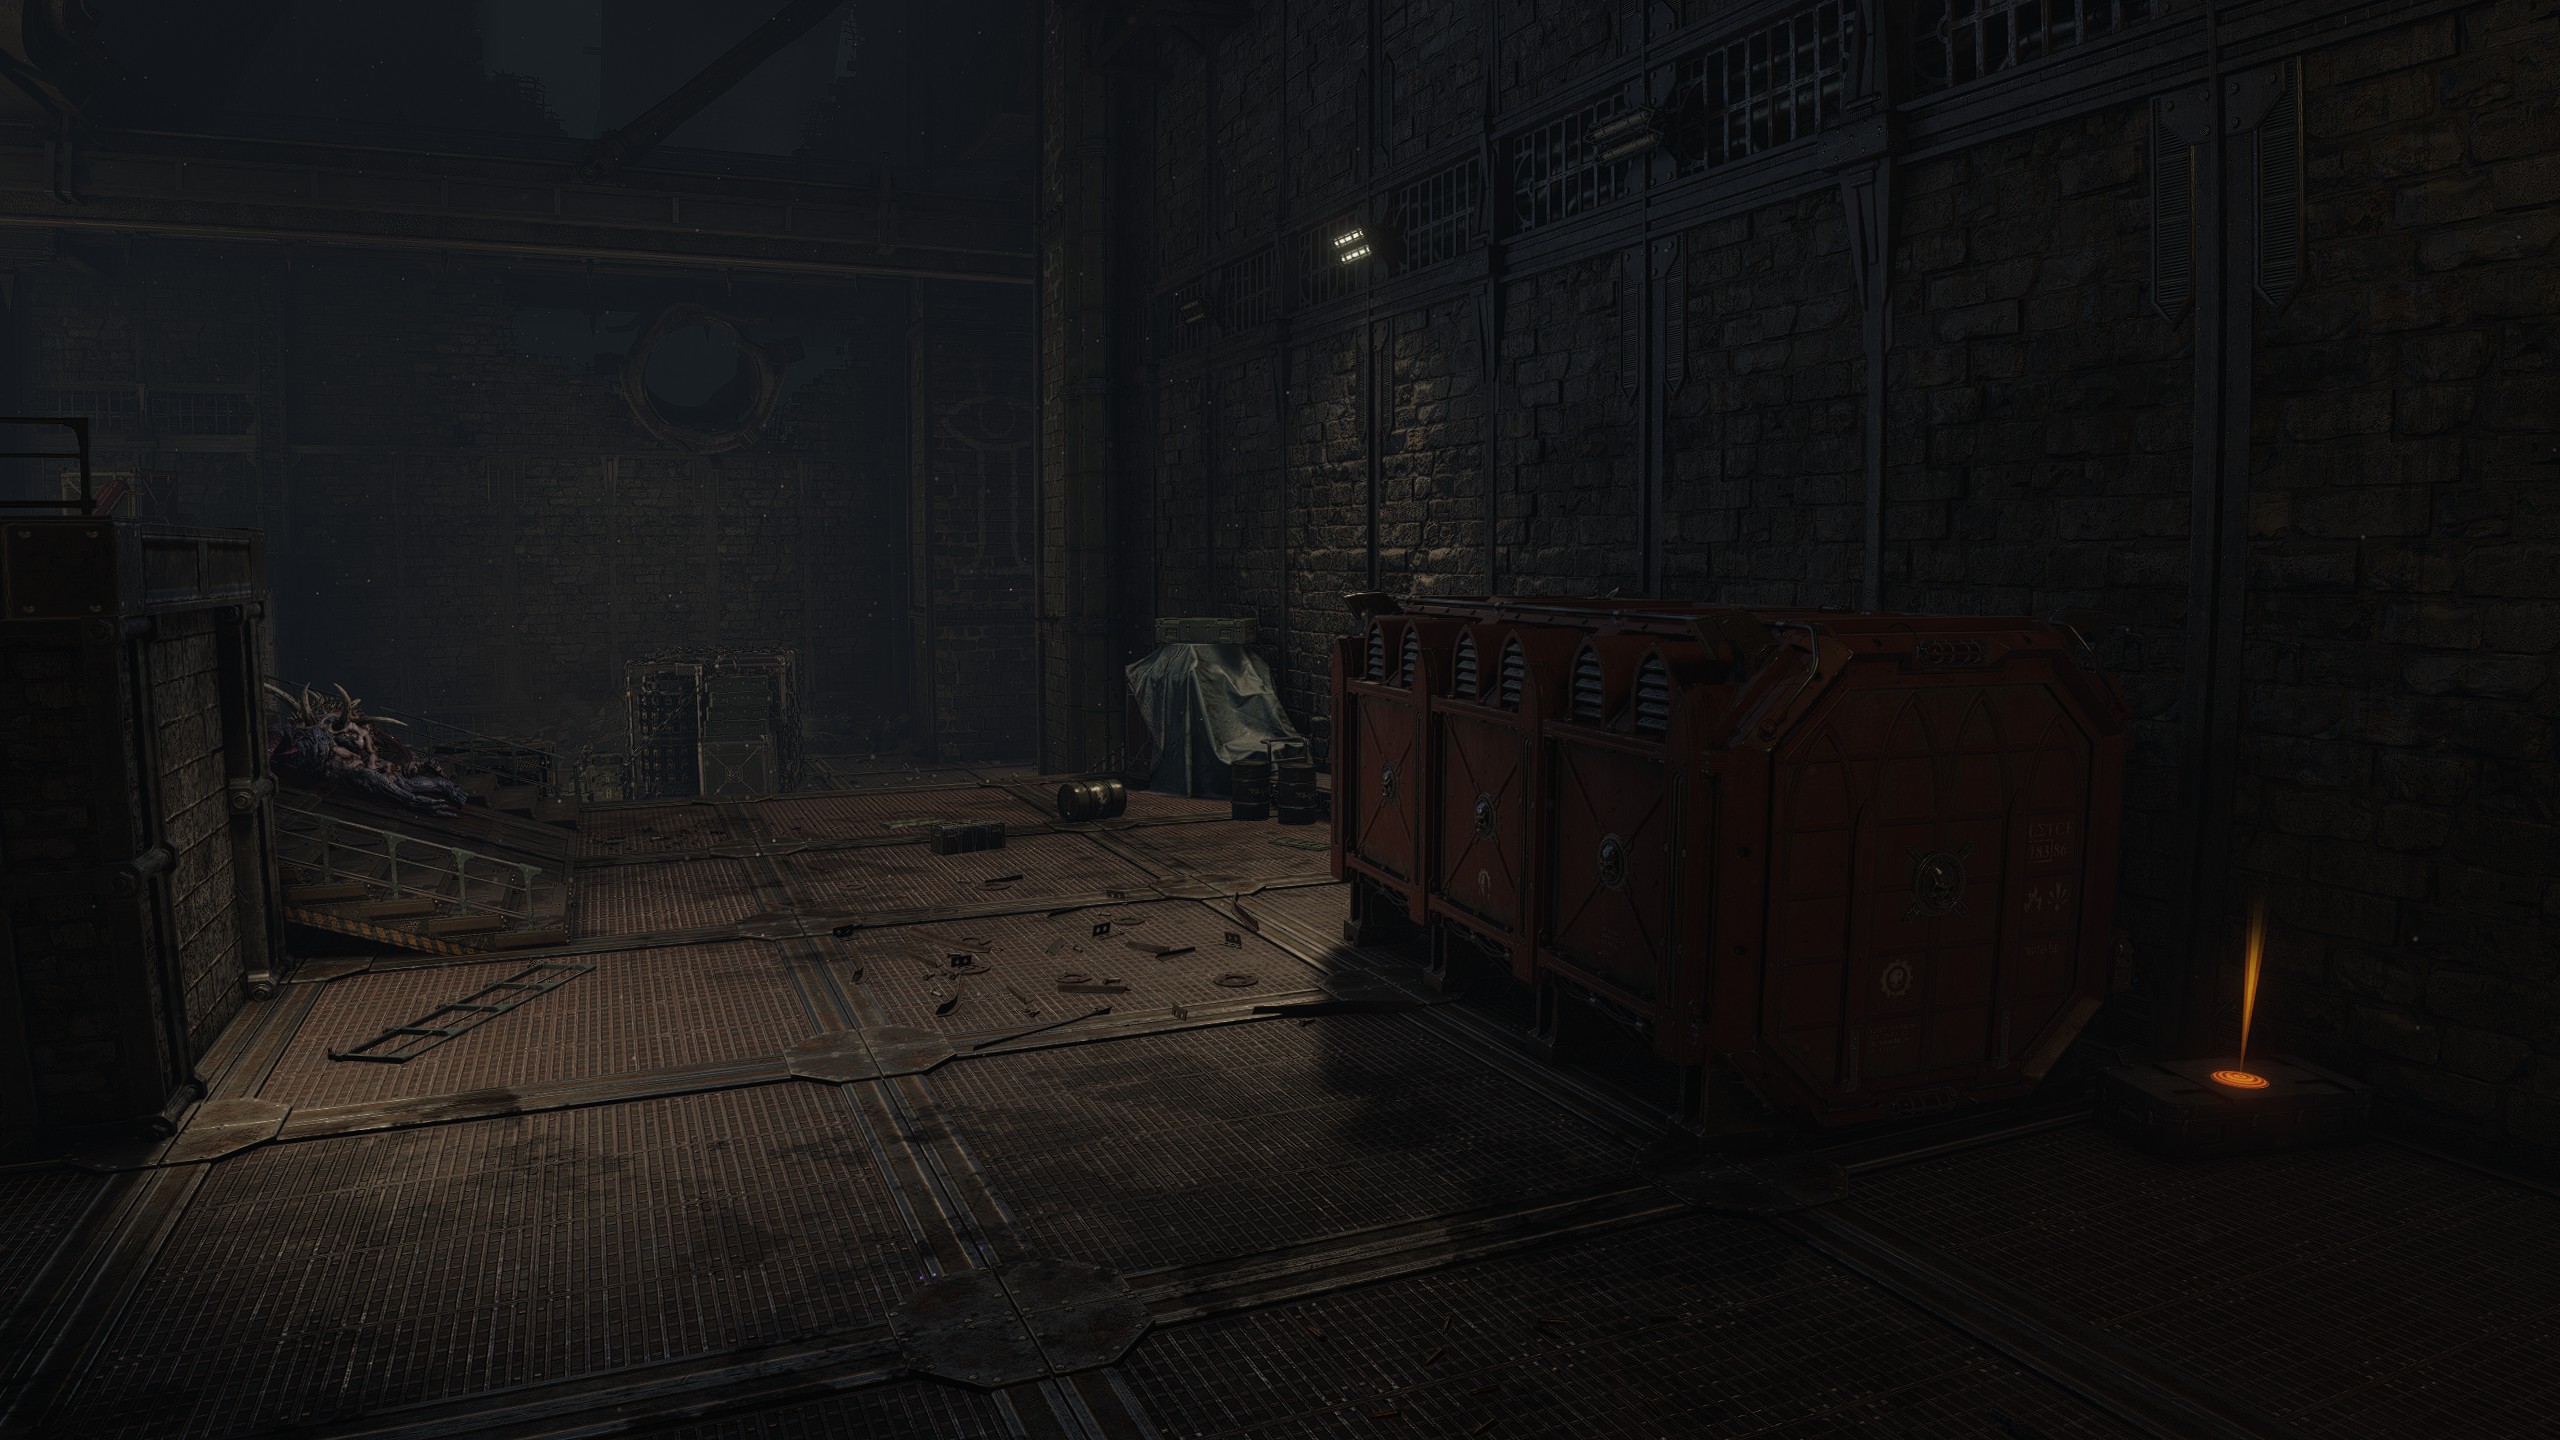
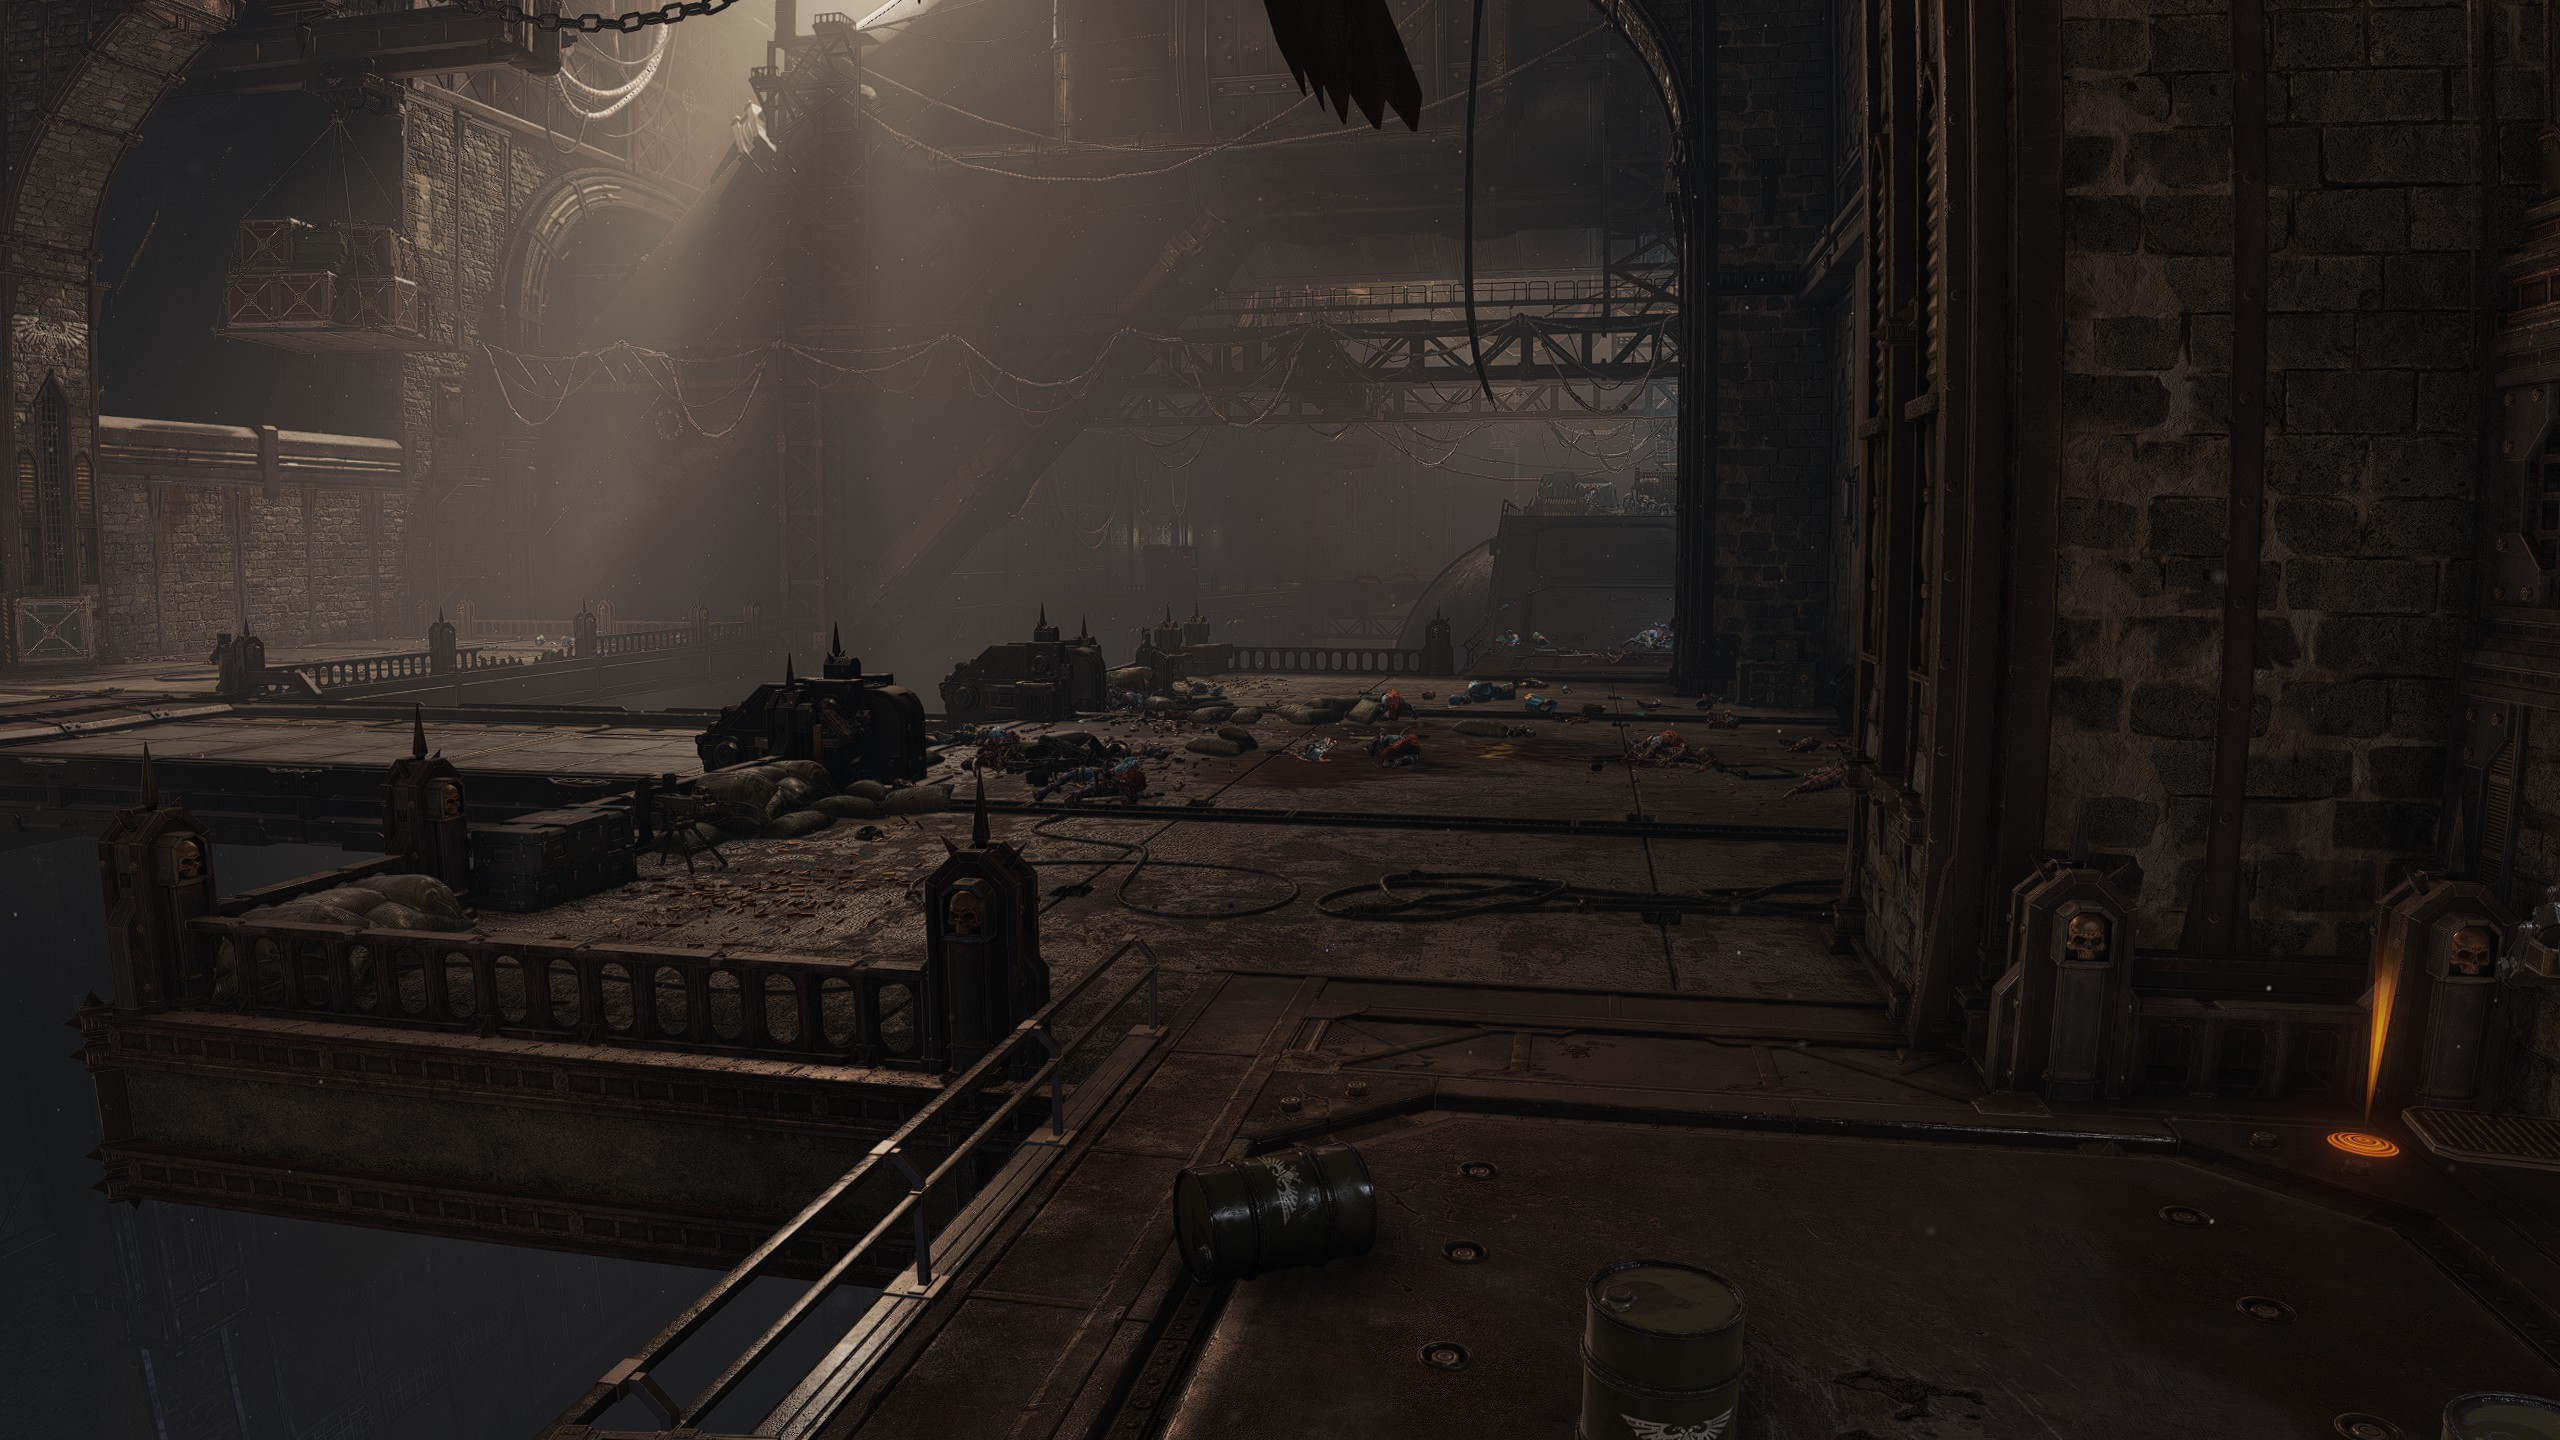
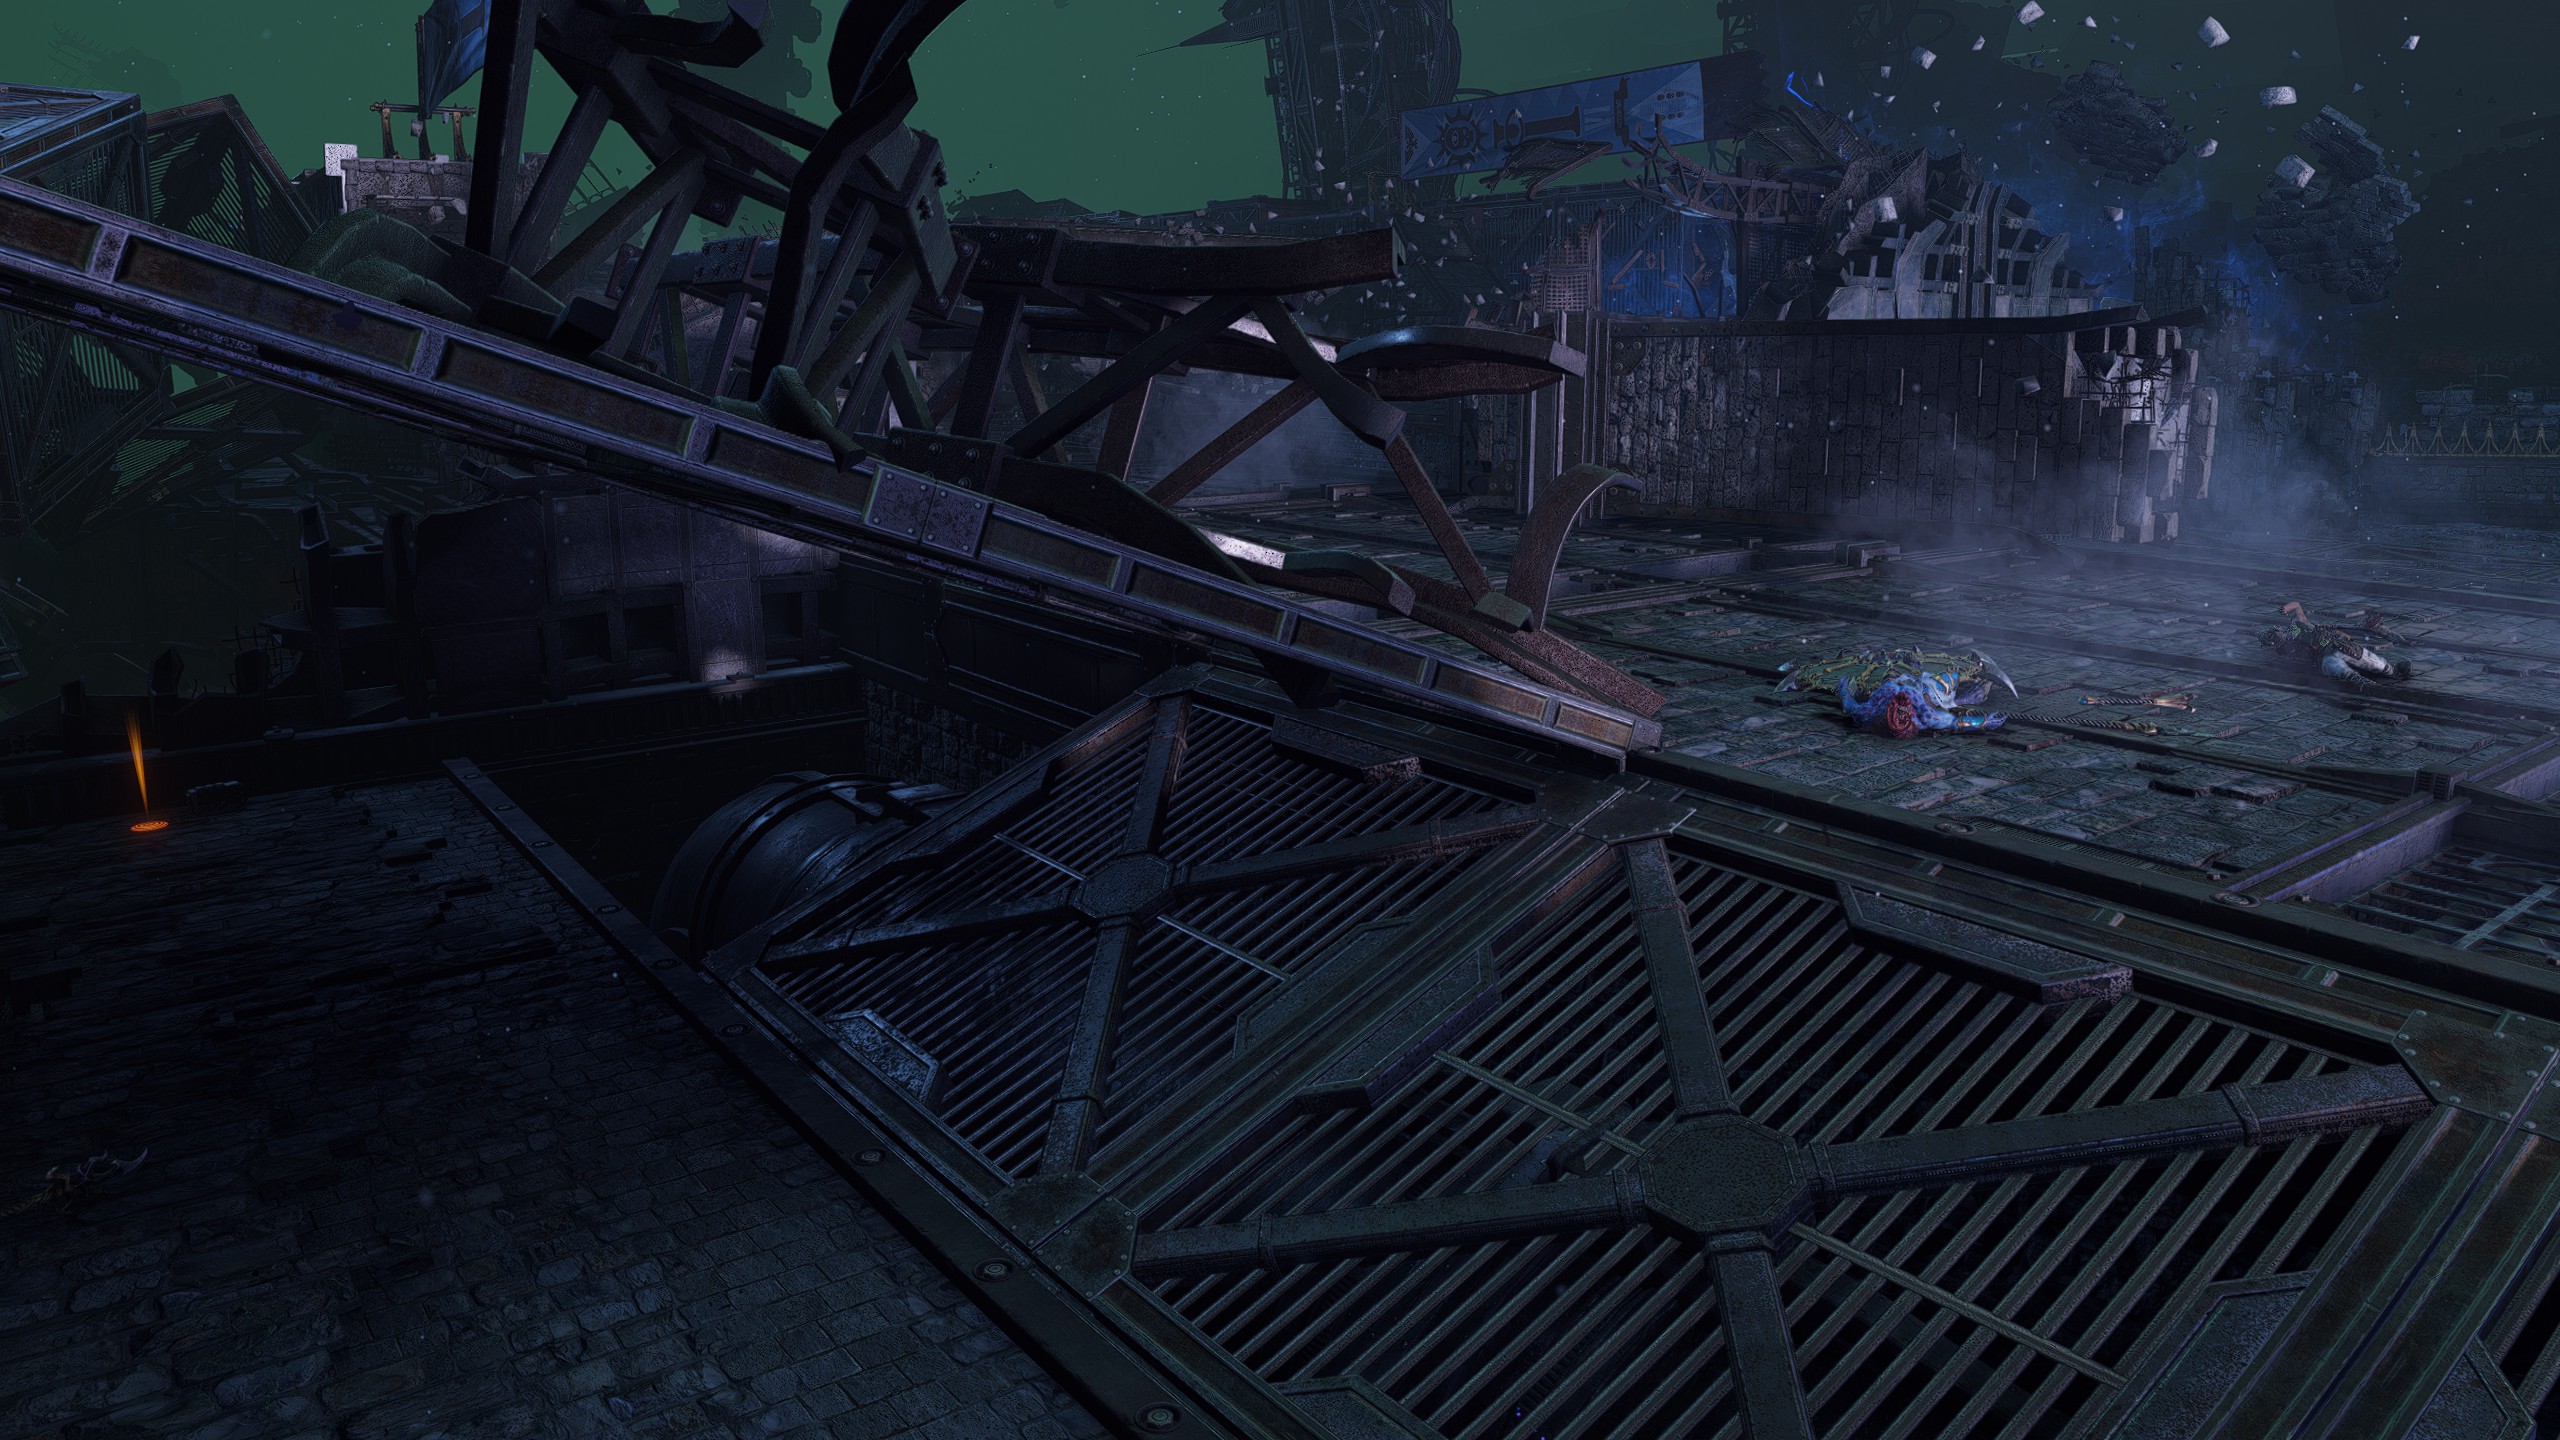
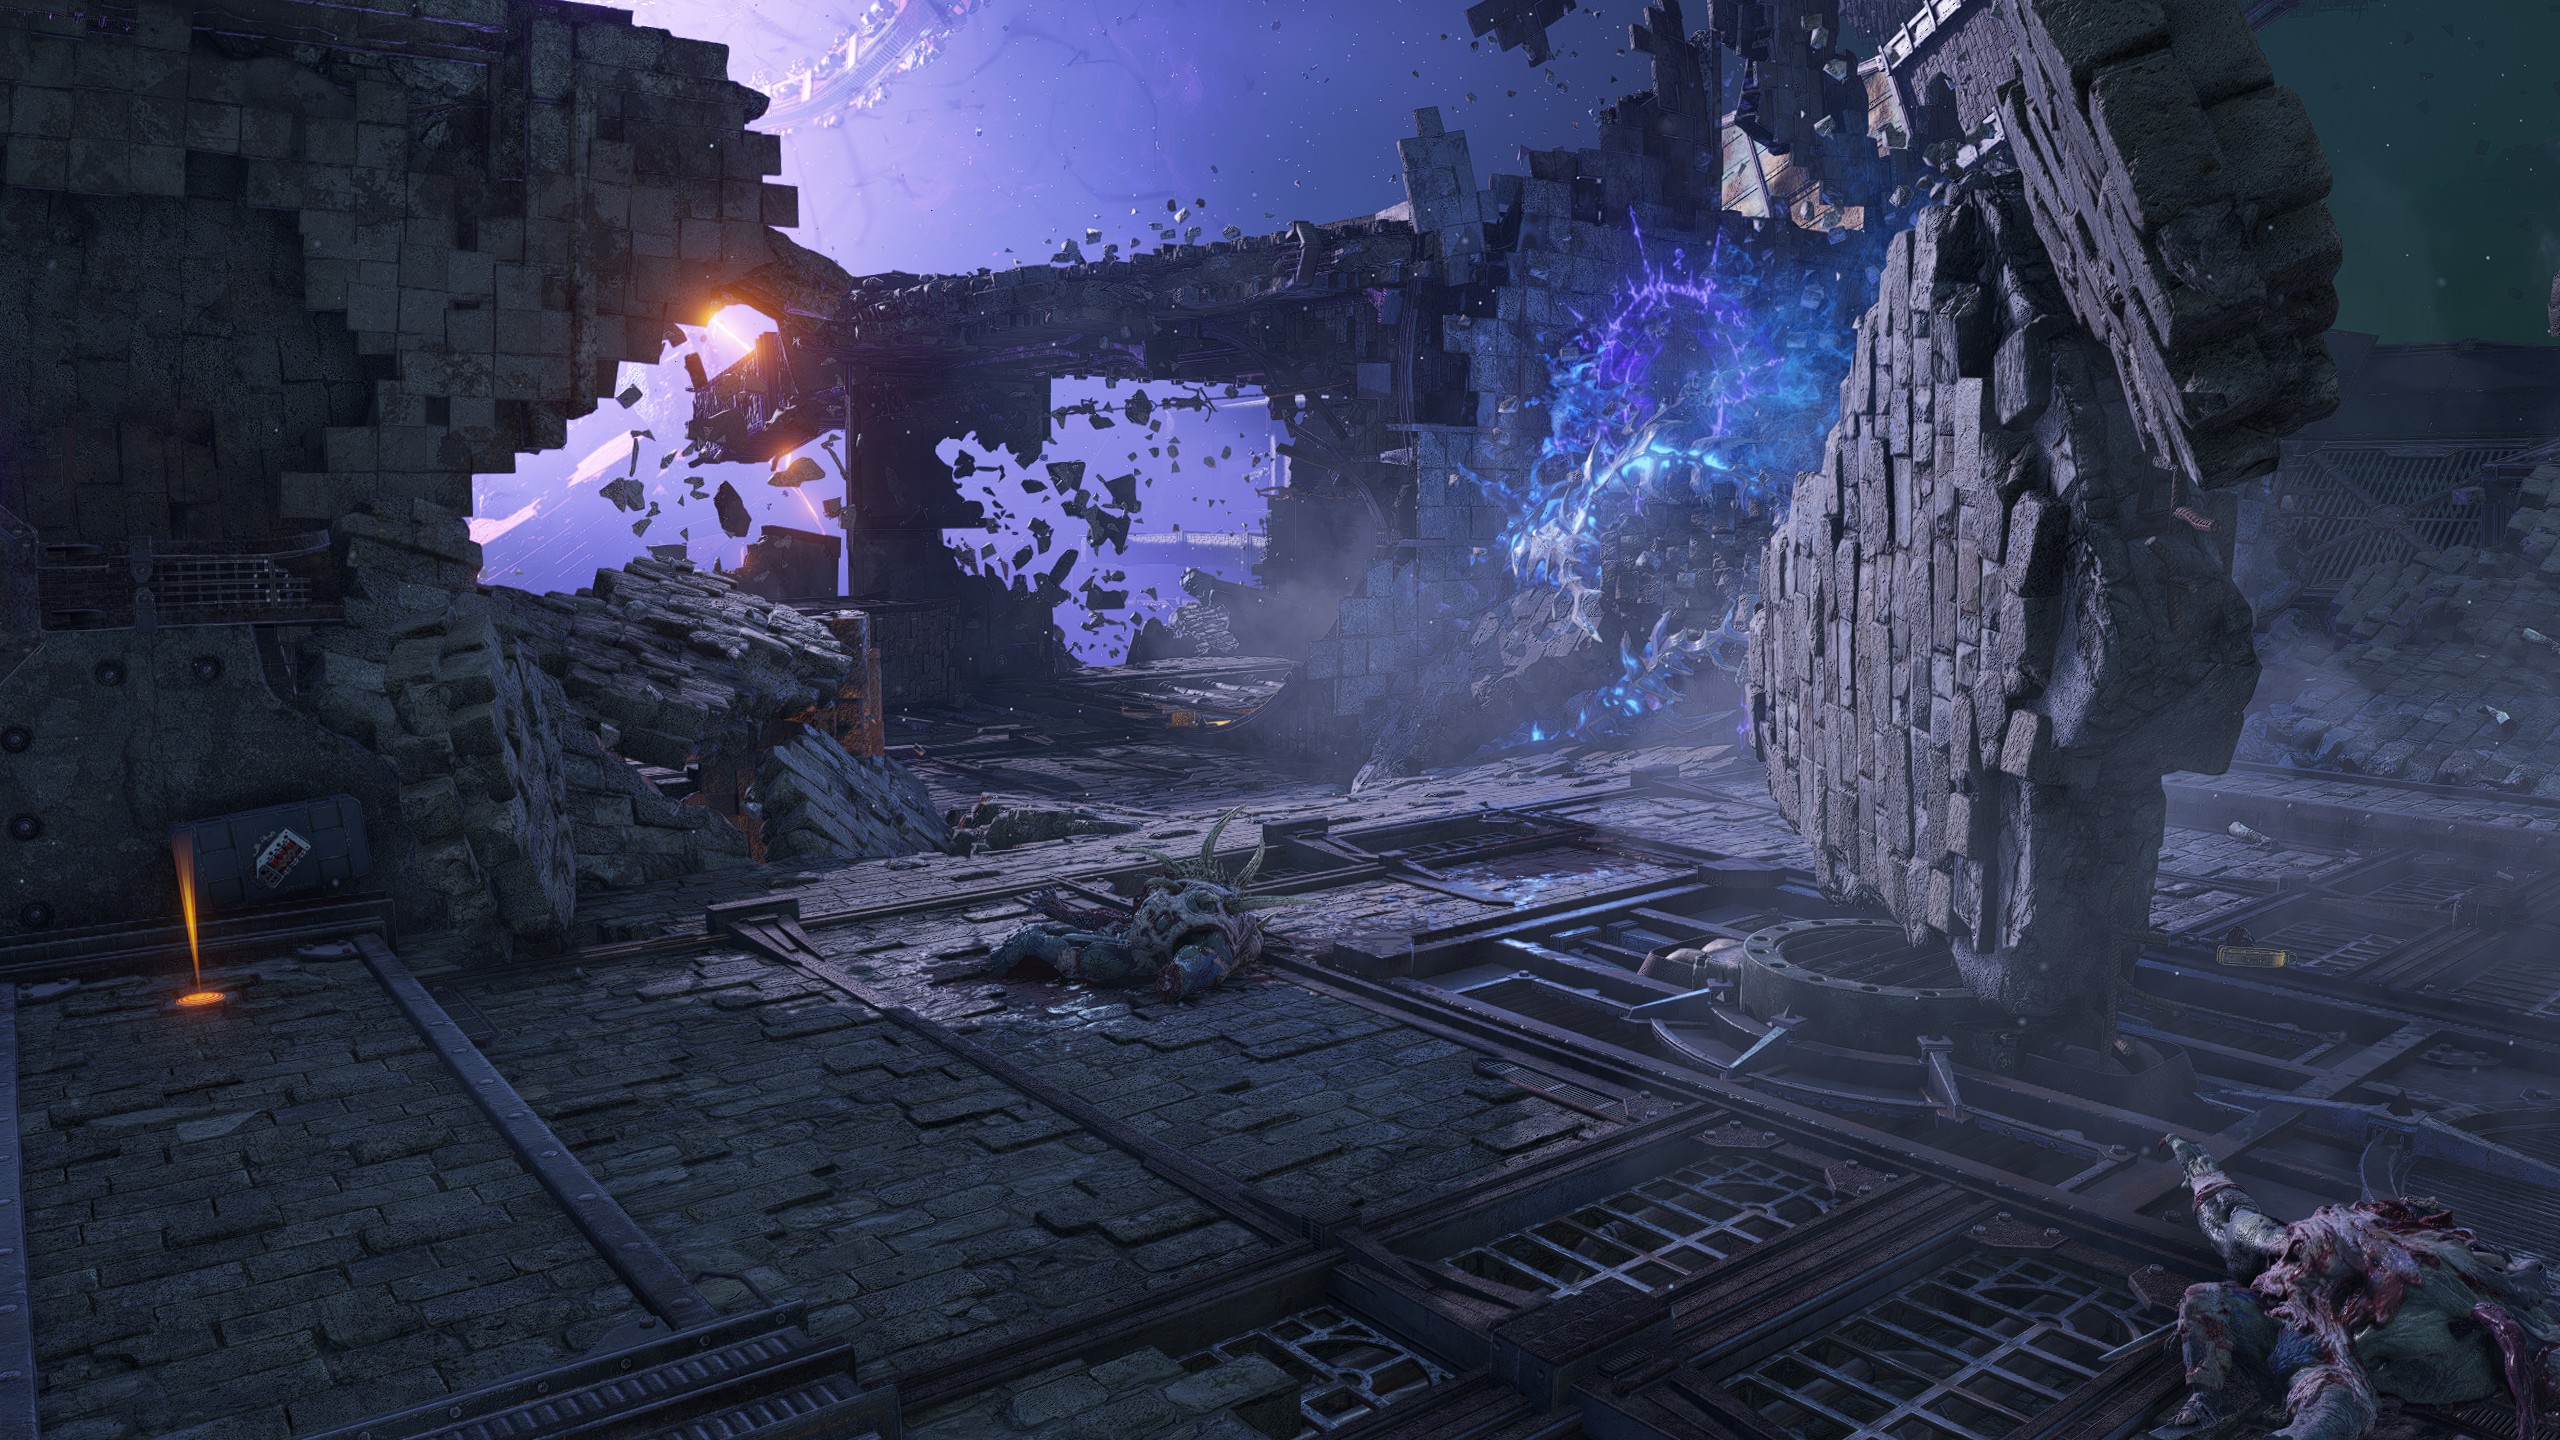
| Mission 11: Reclamation
Due to the potentially confusing nature of the Wrath of Espandor, I've doubled up on most images to try to better visualise most locations.
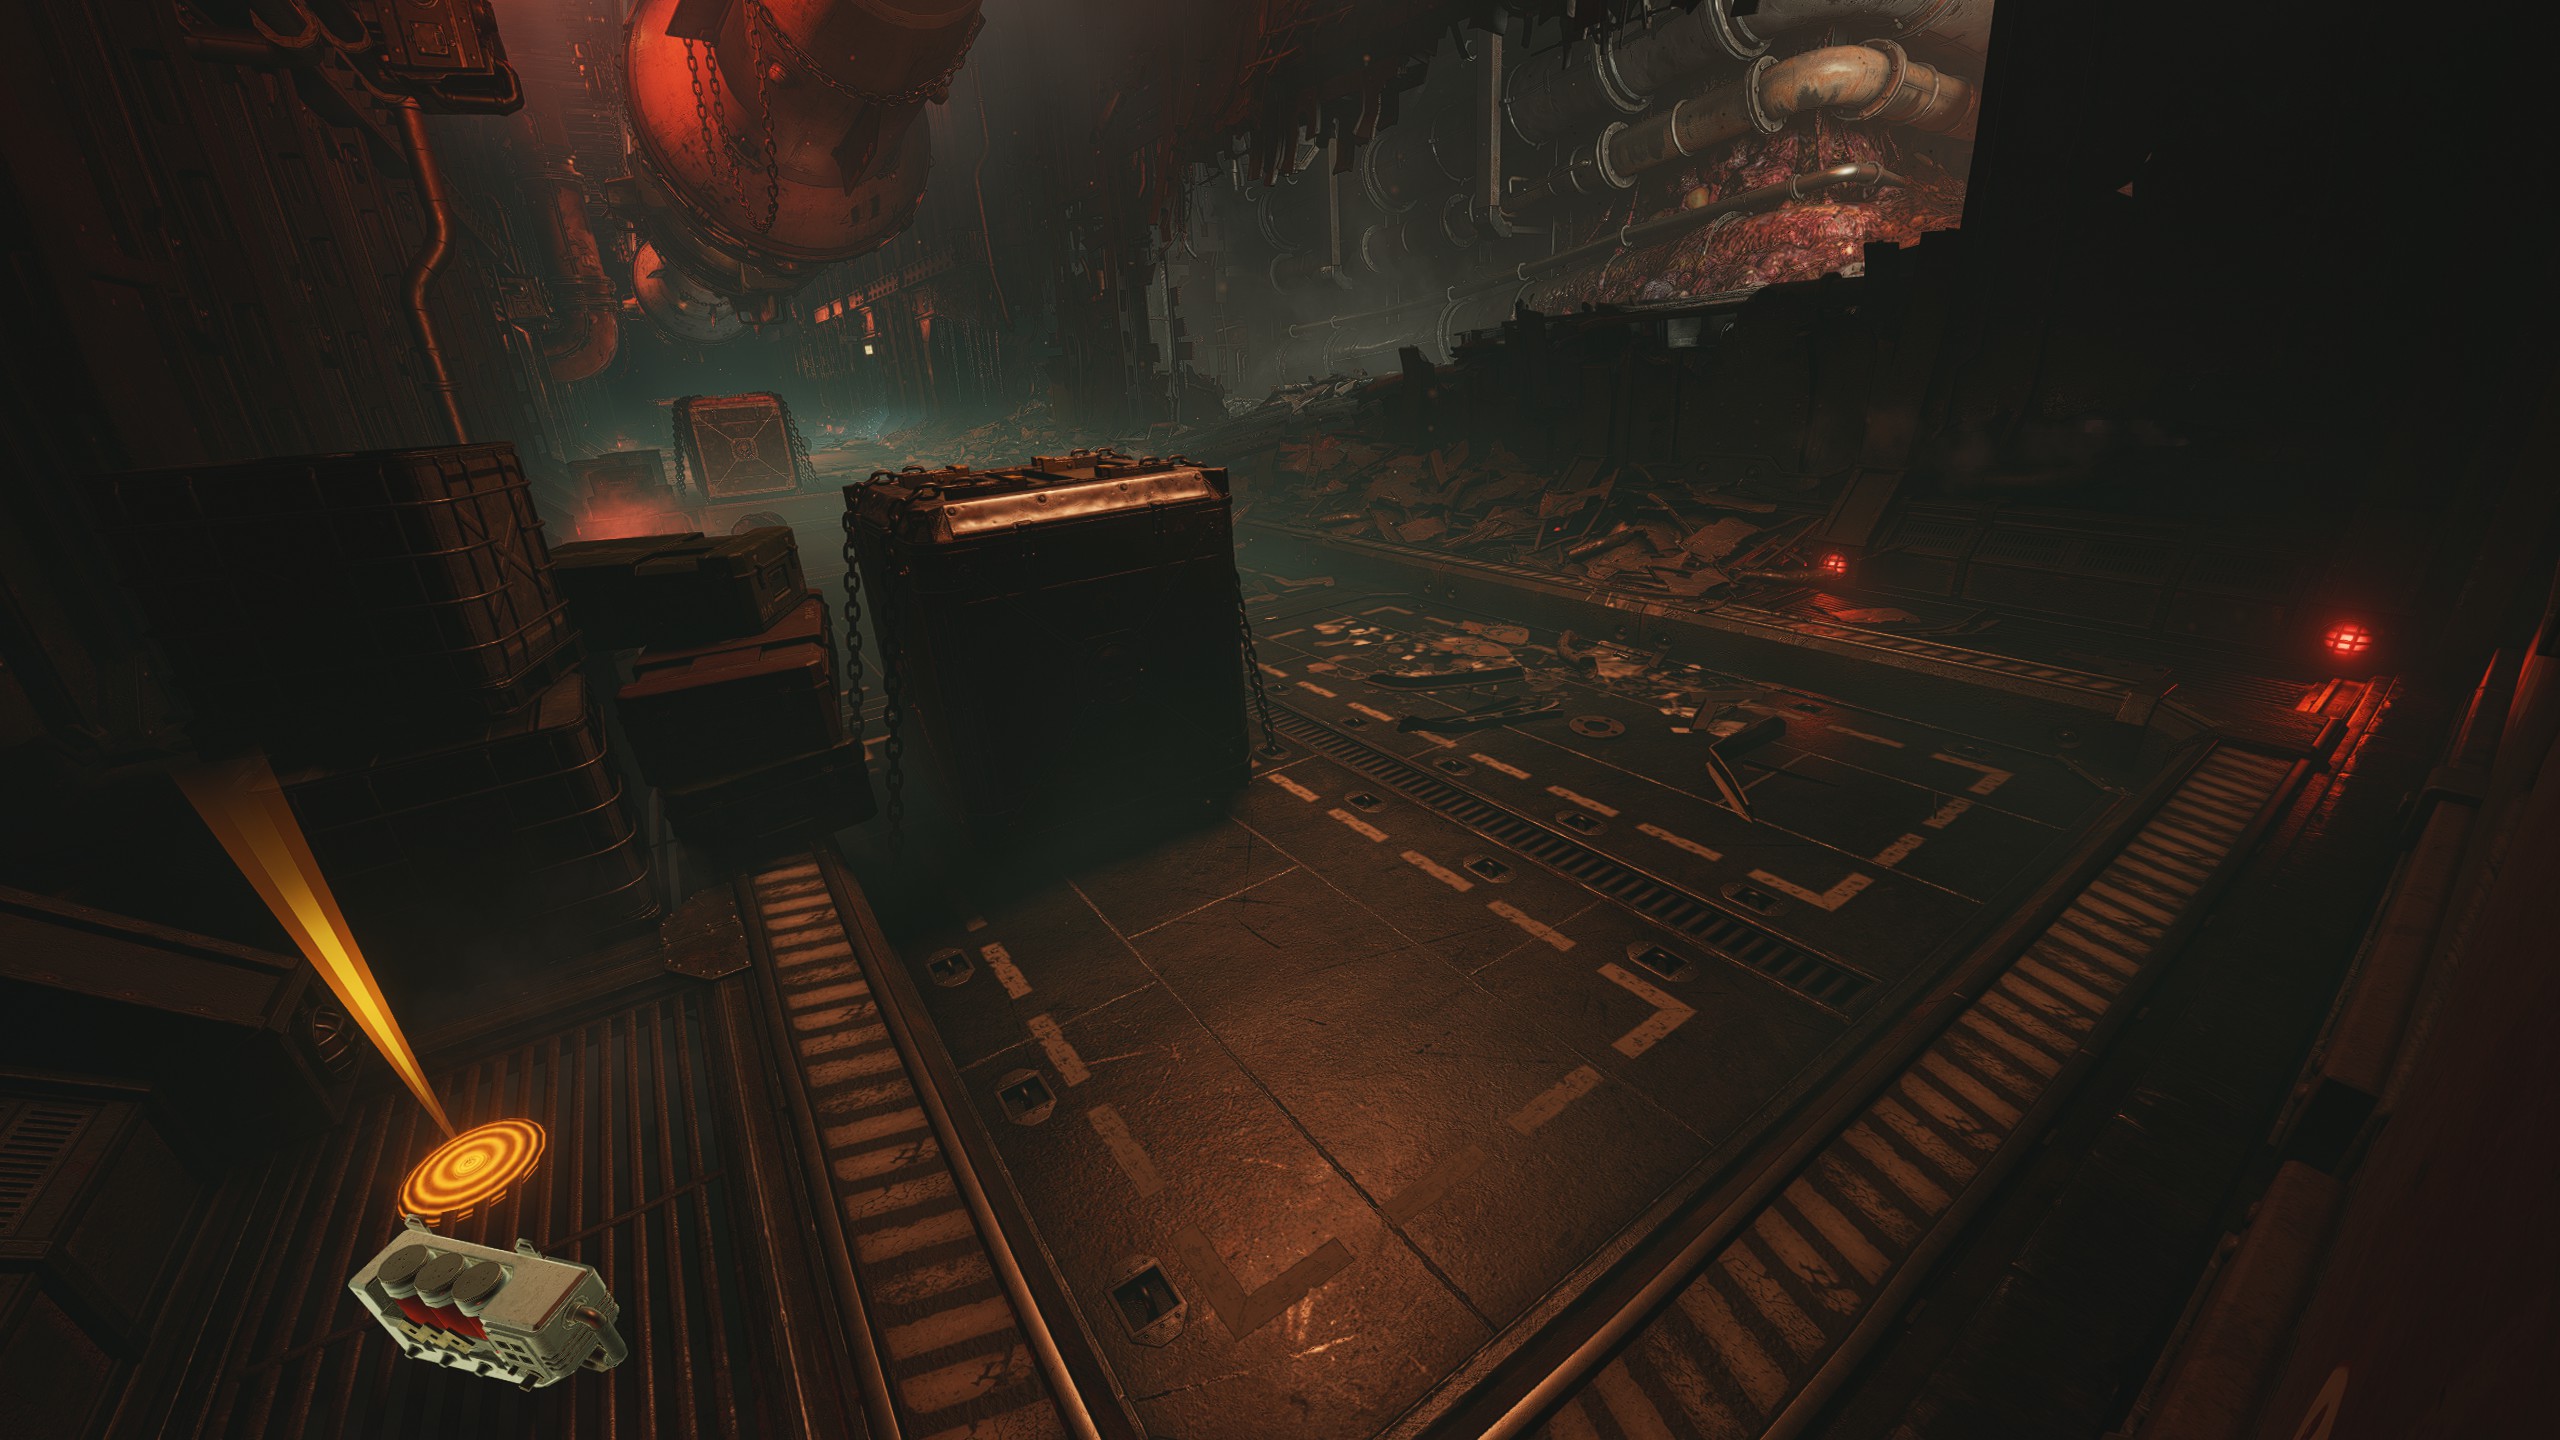
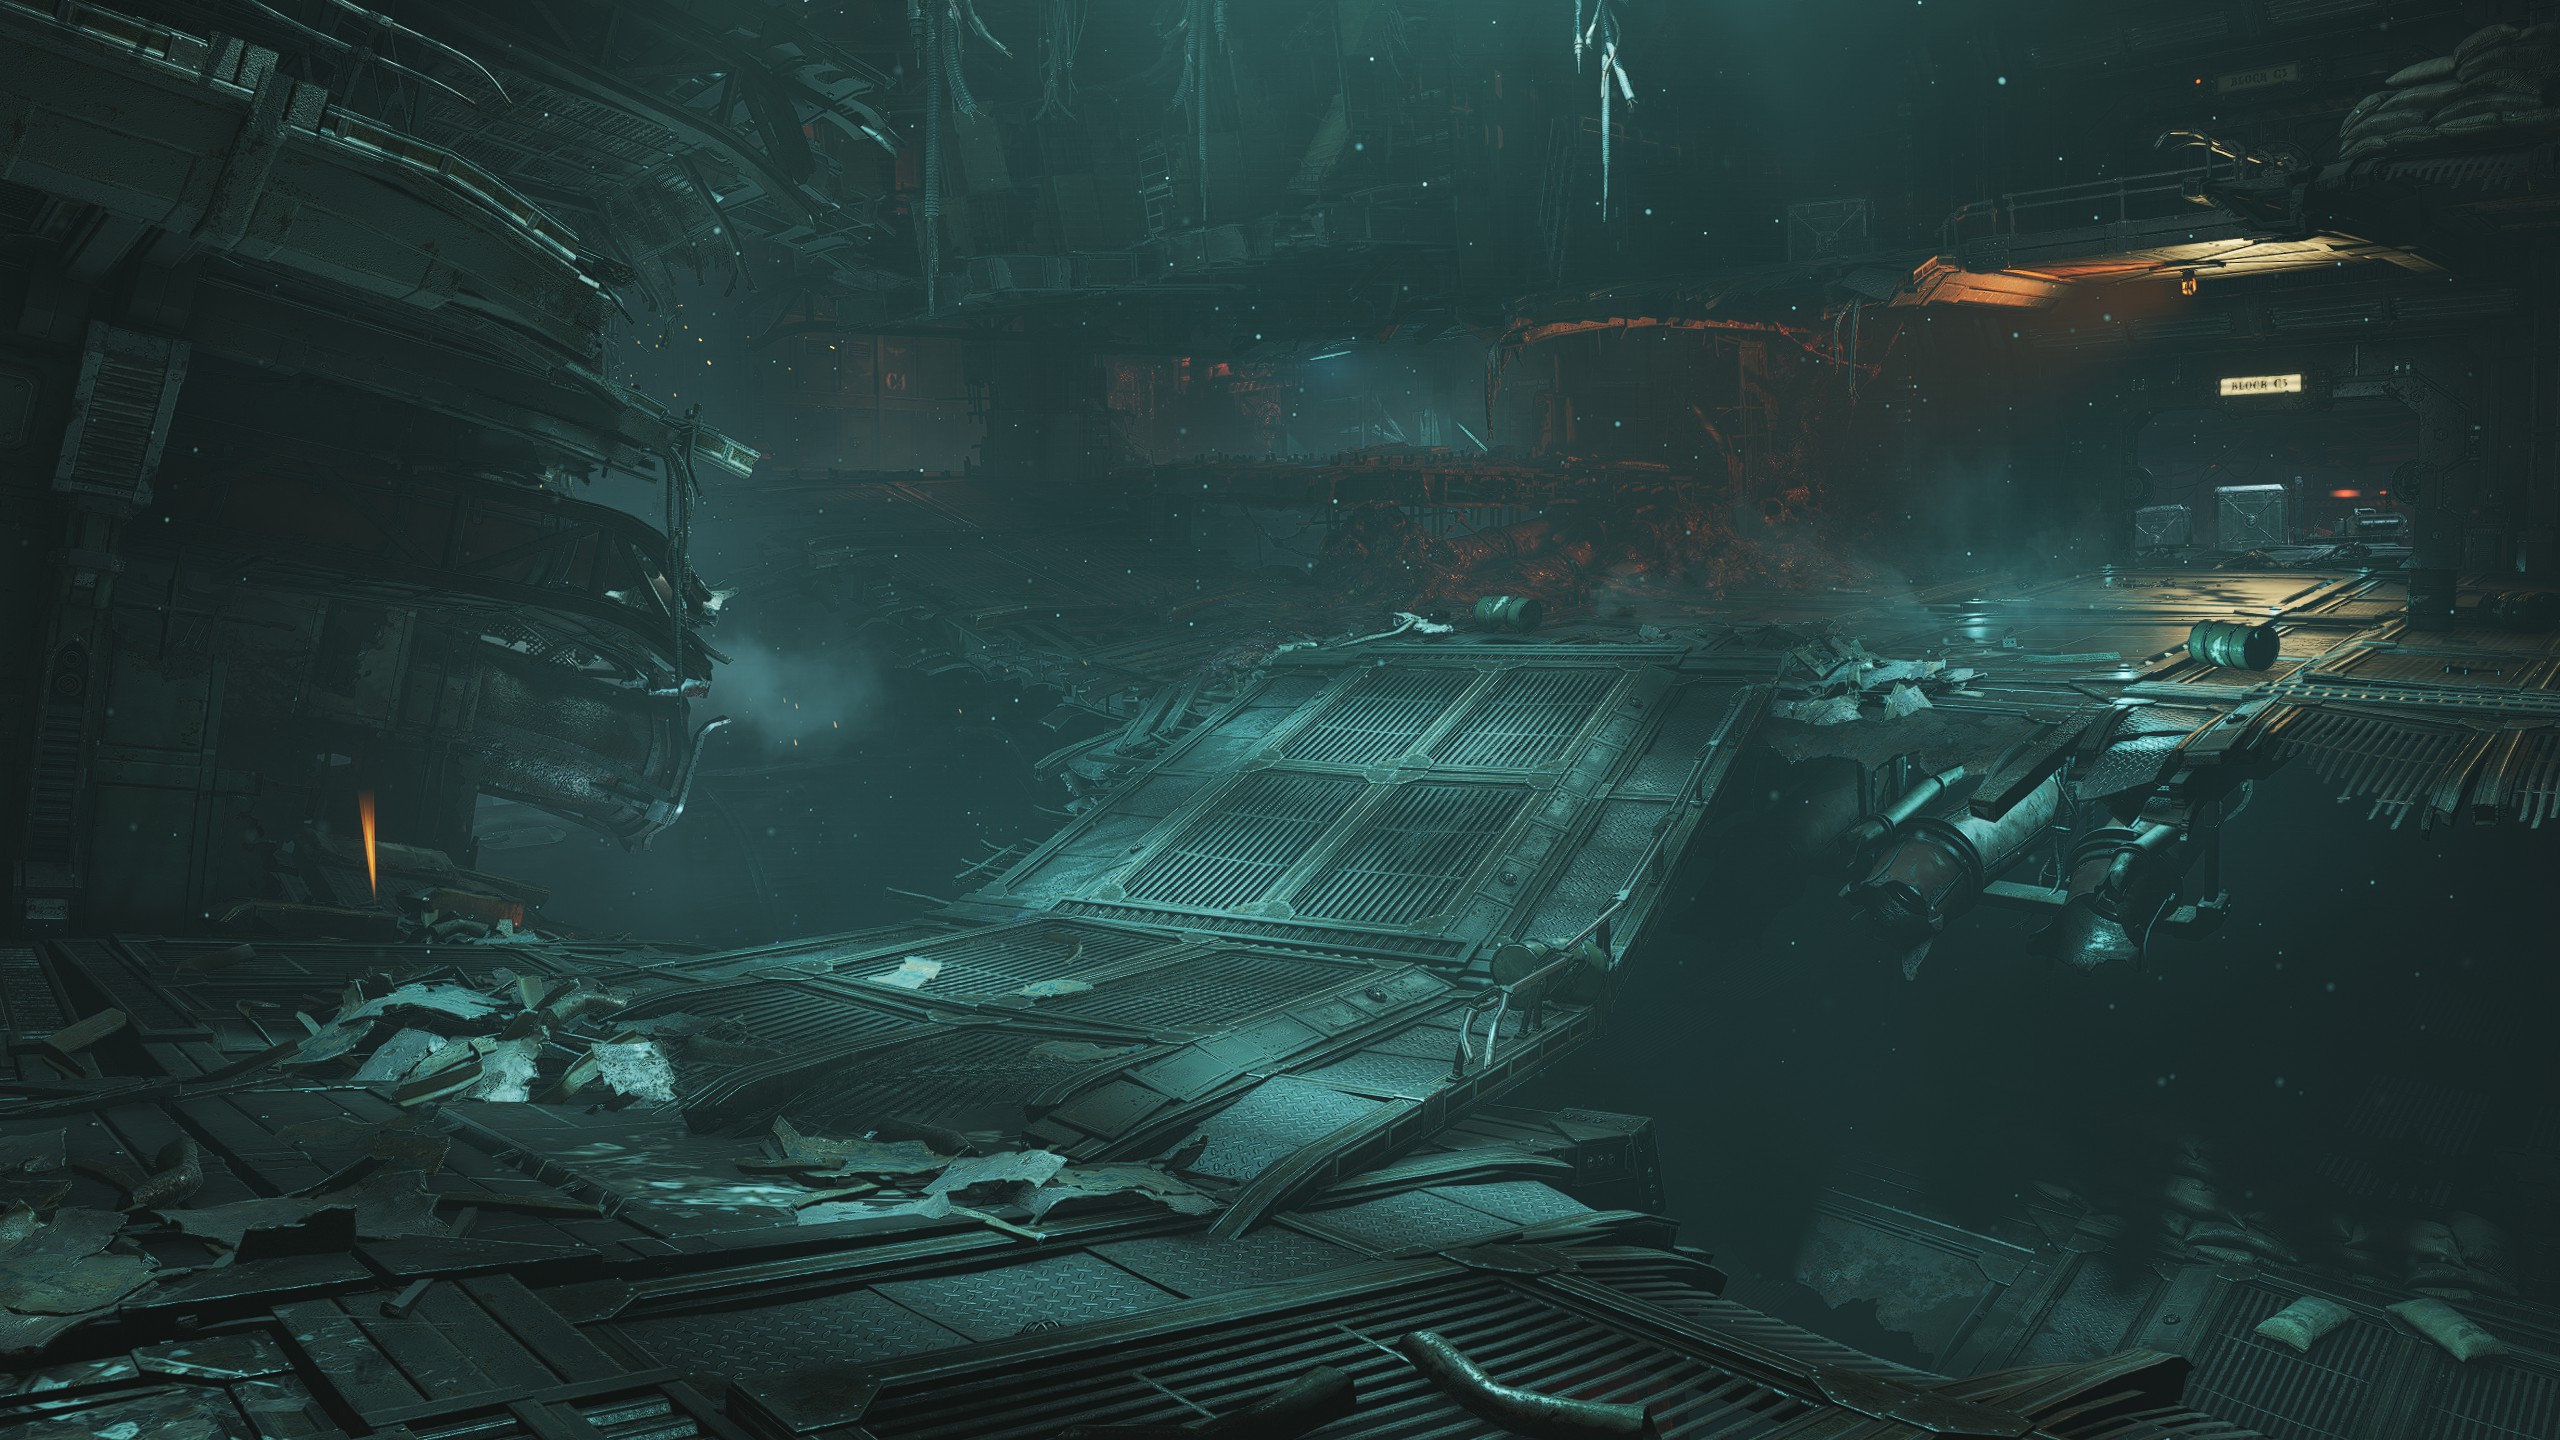
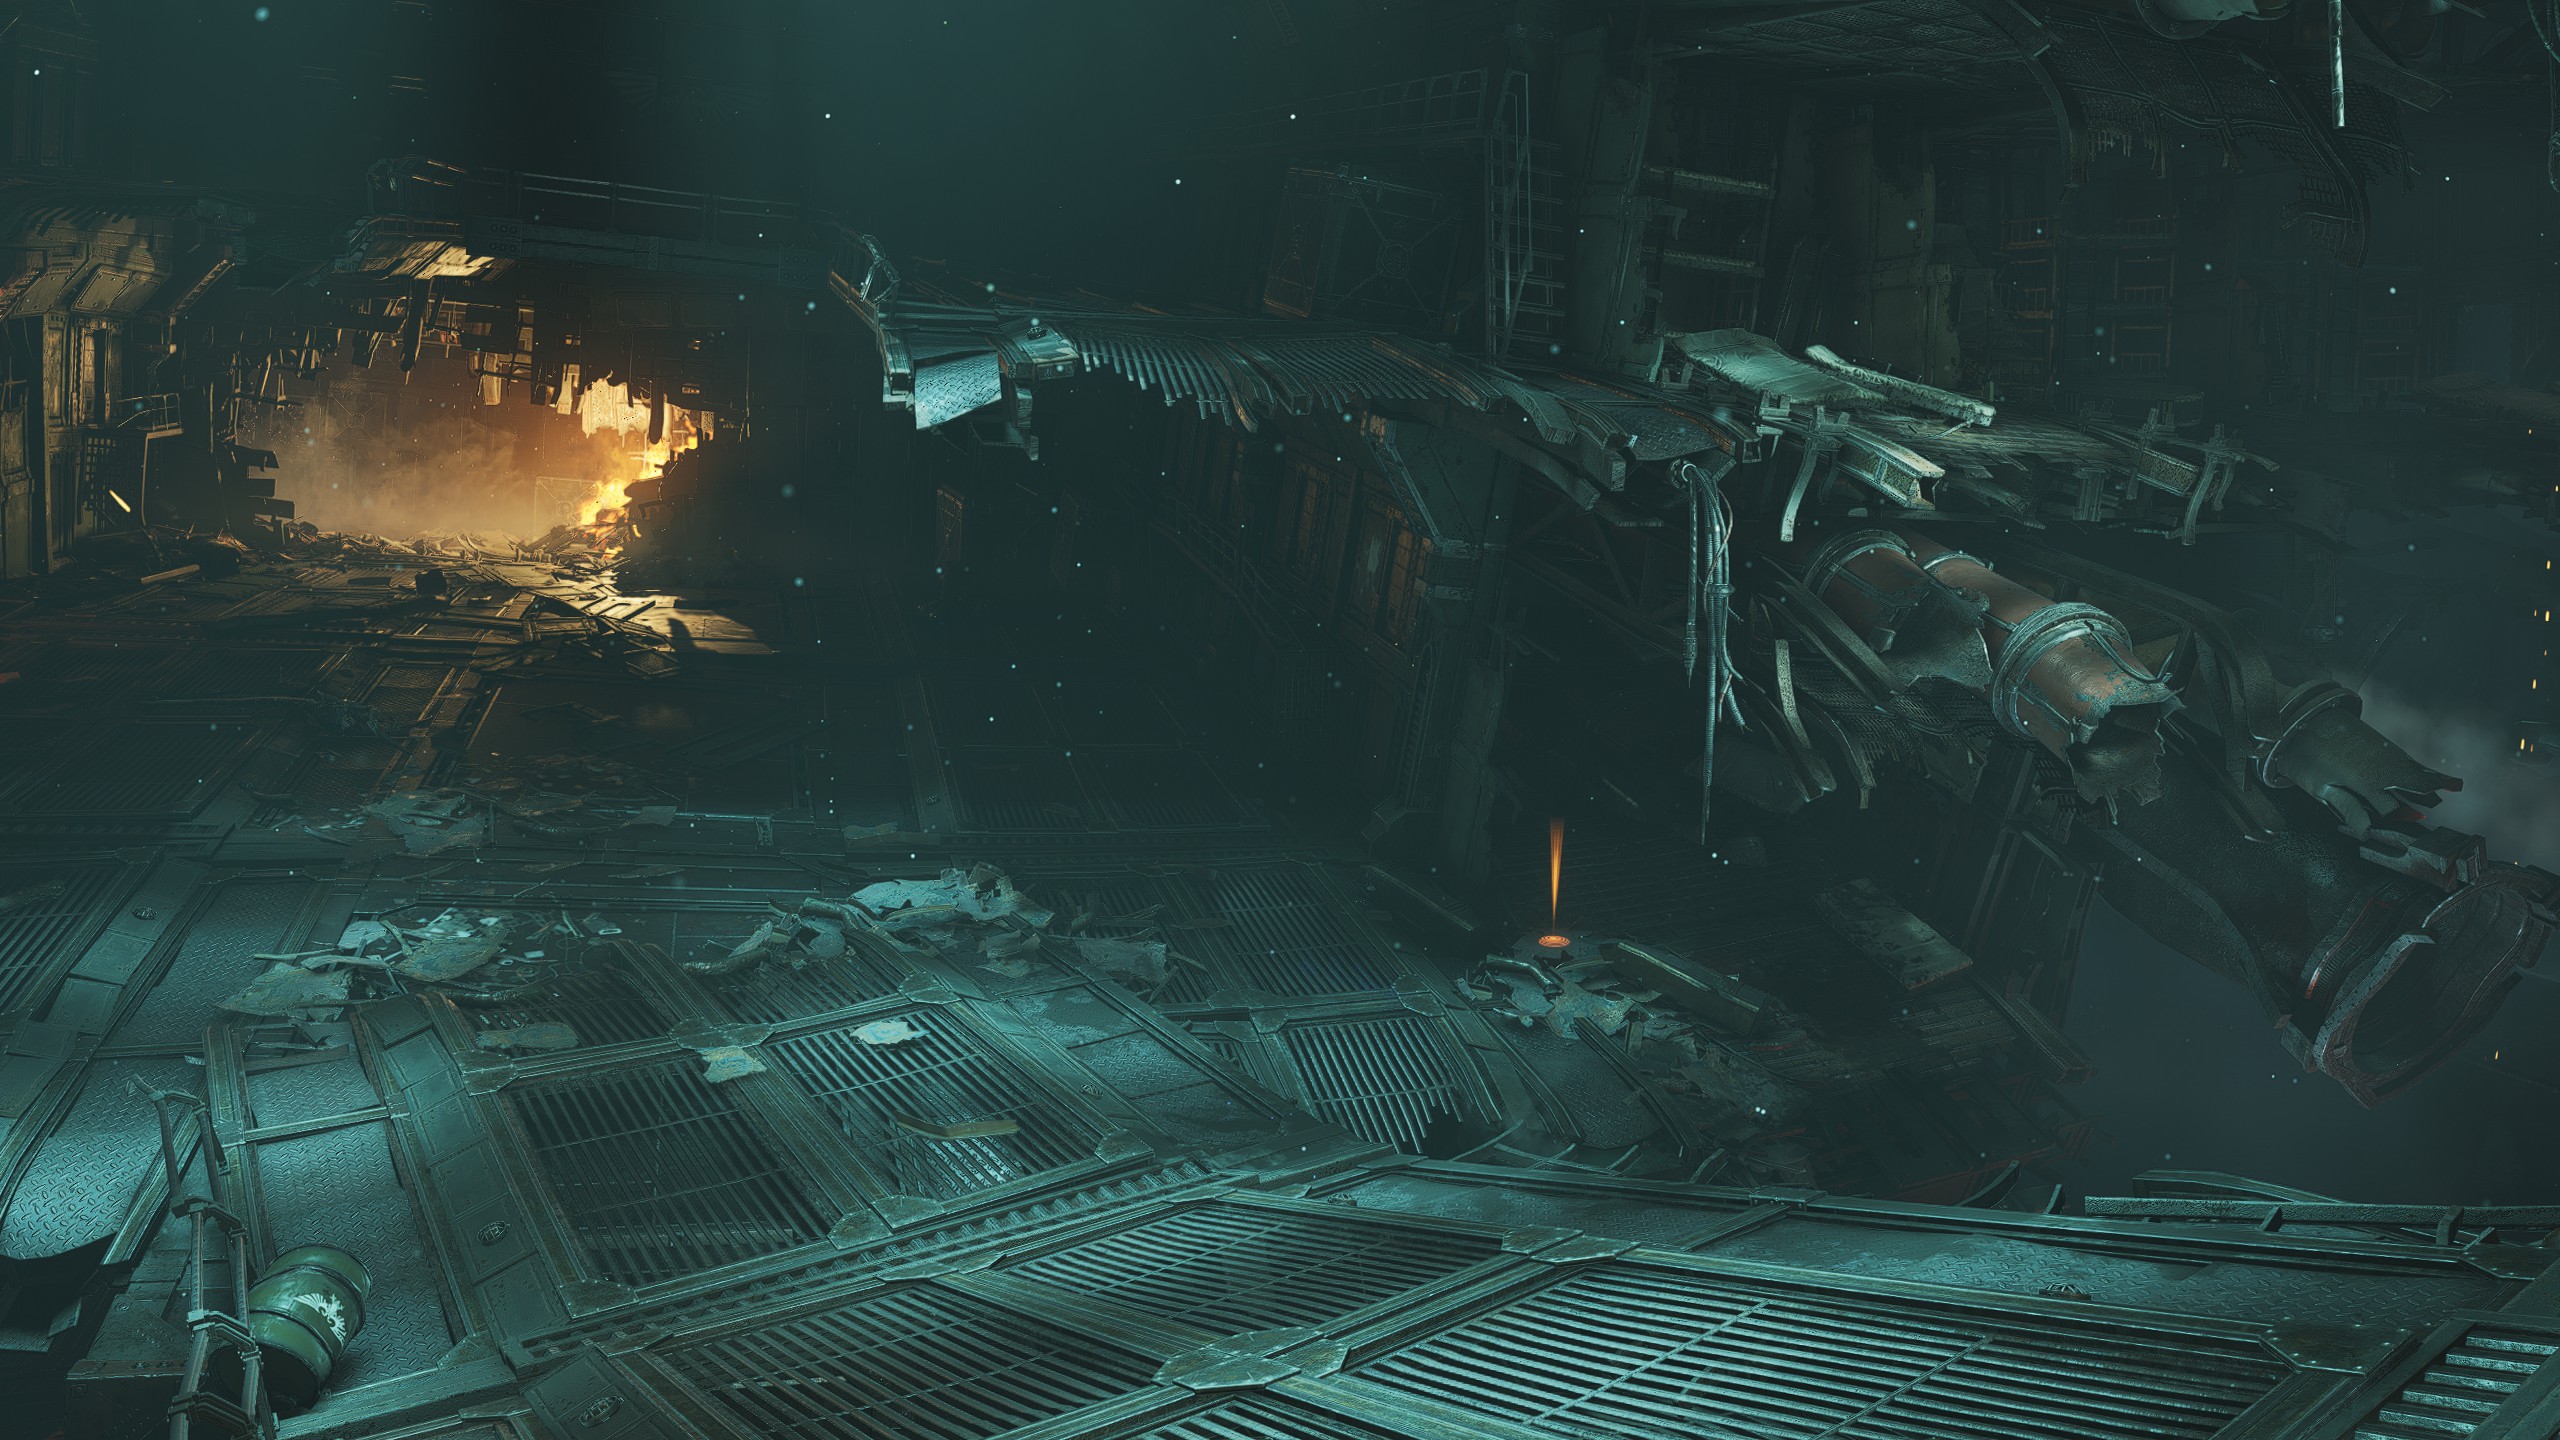
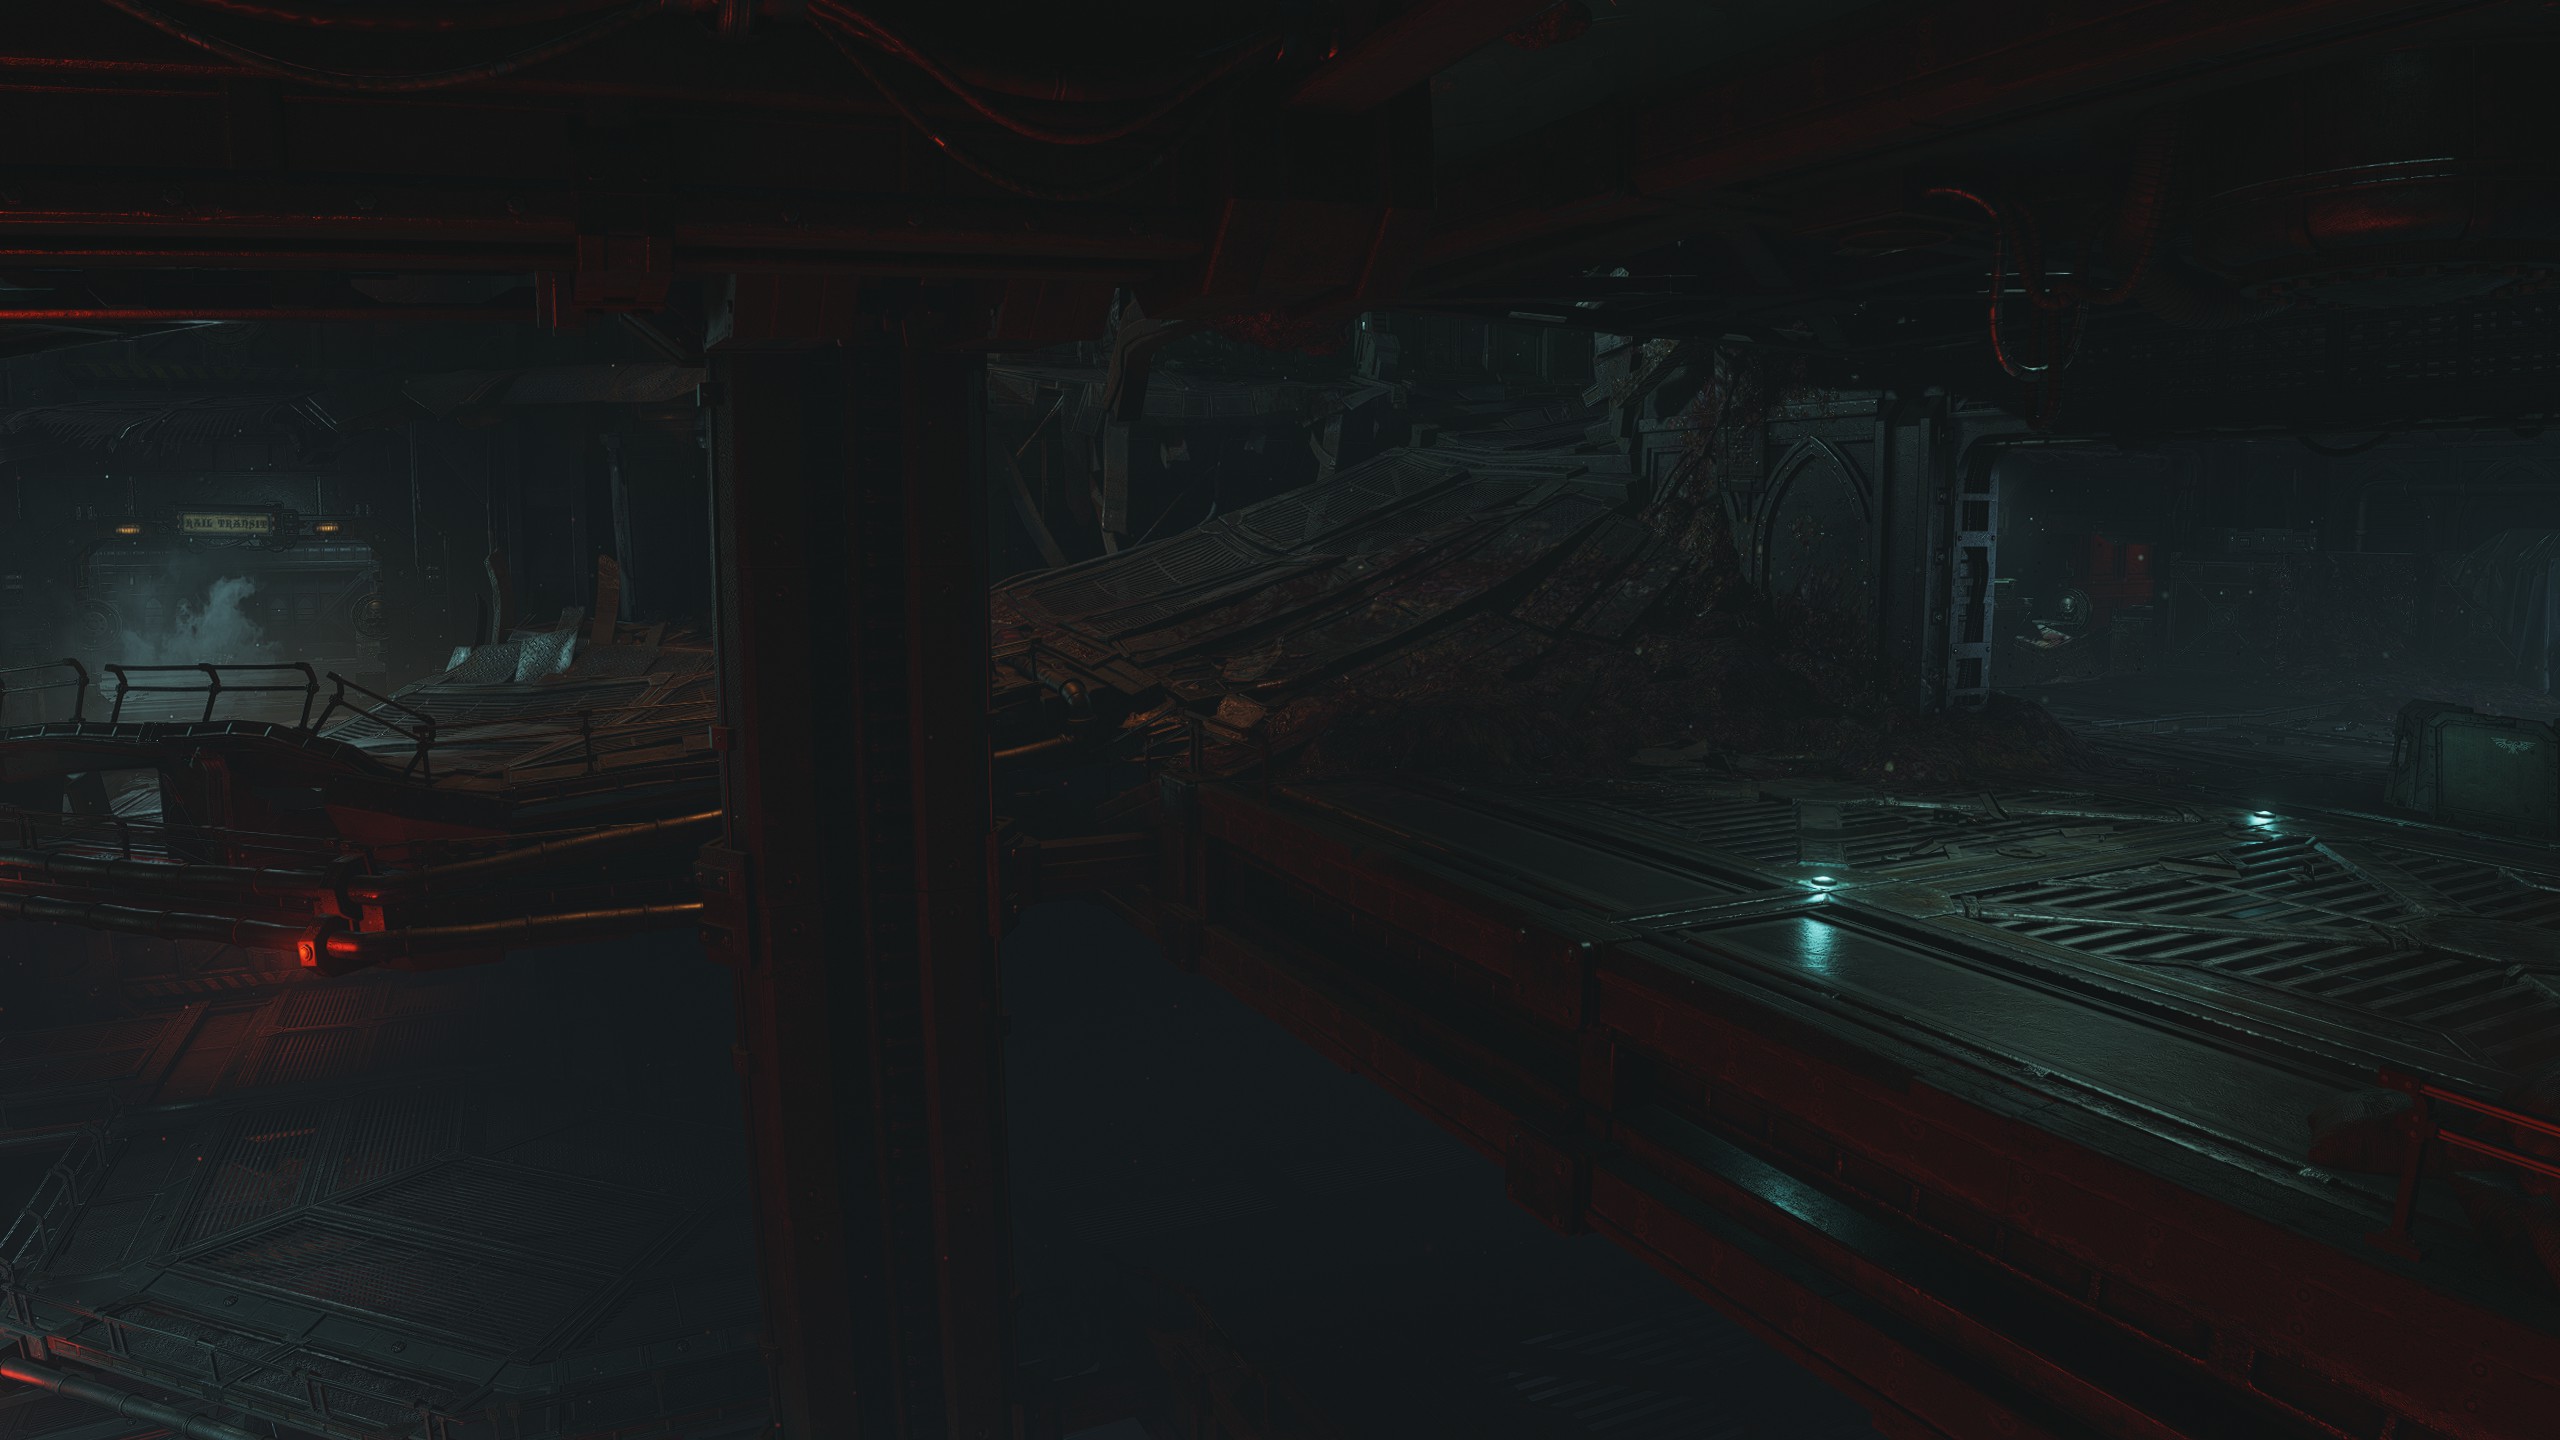
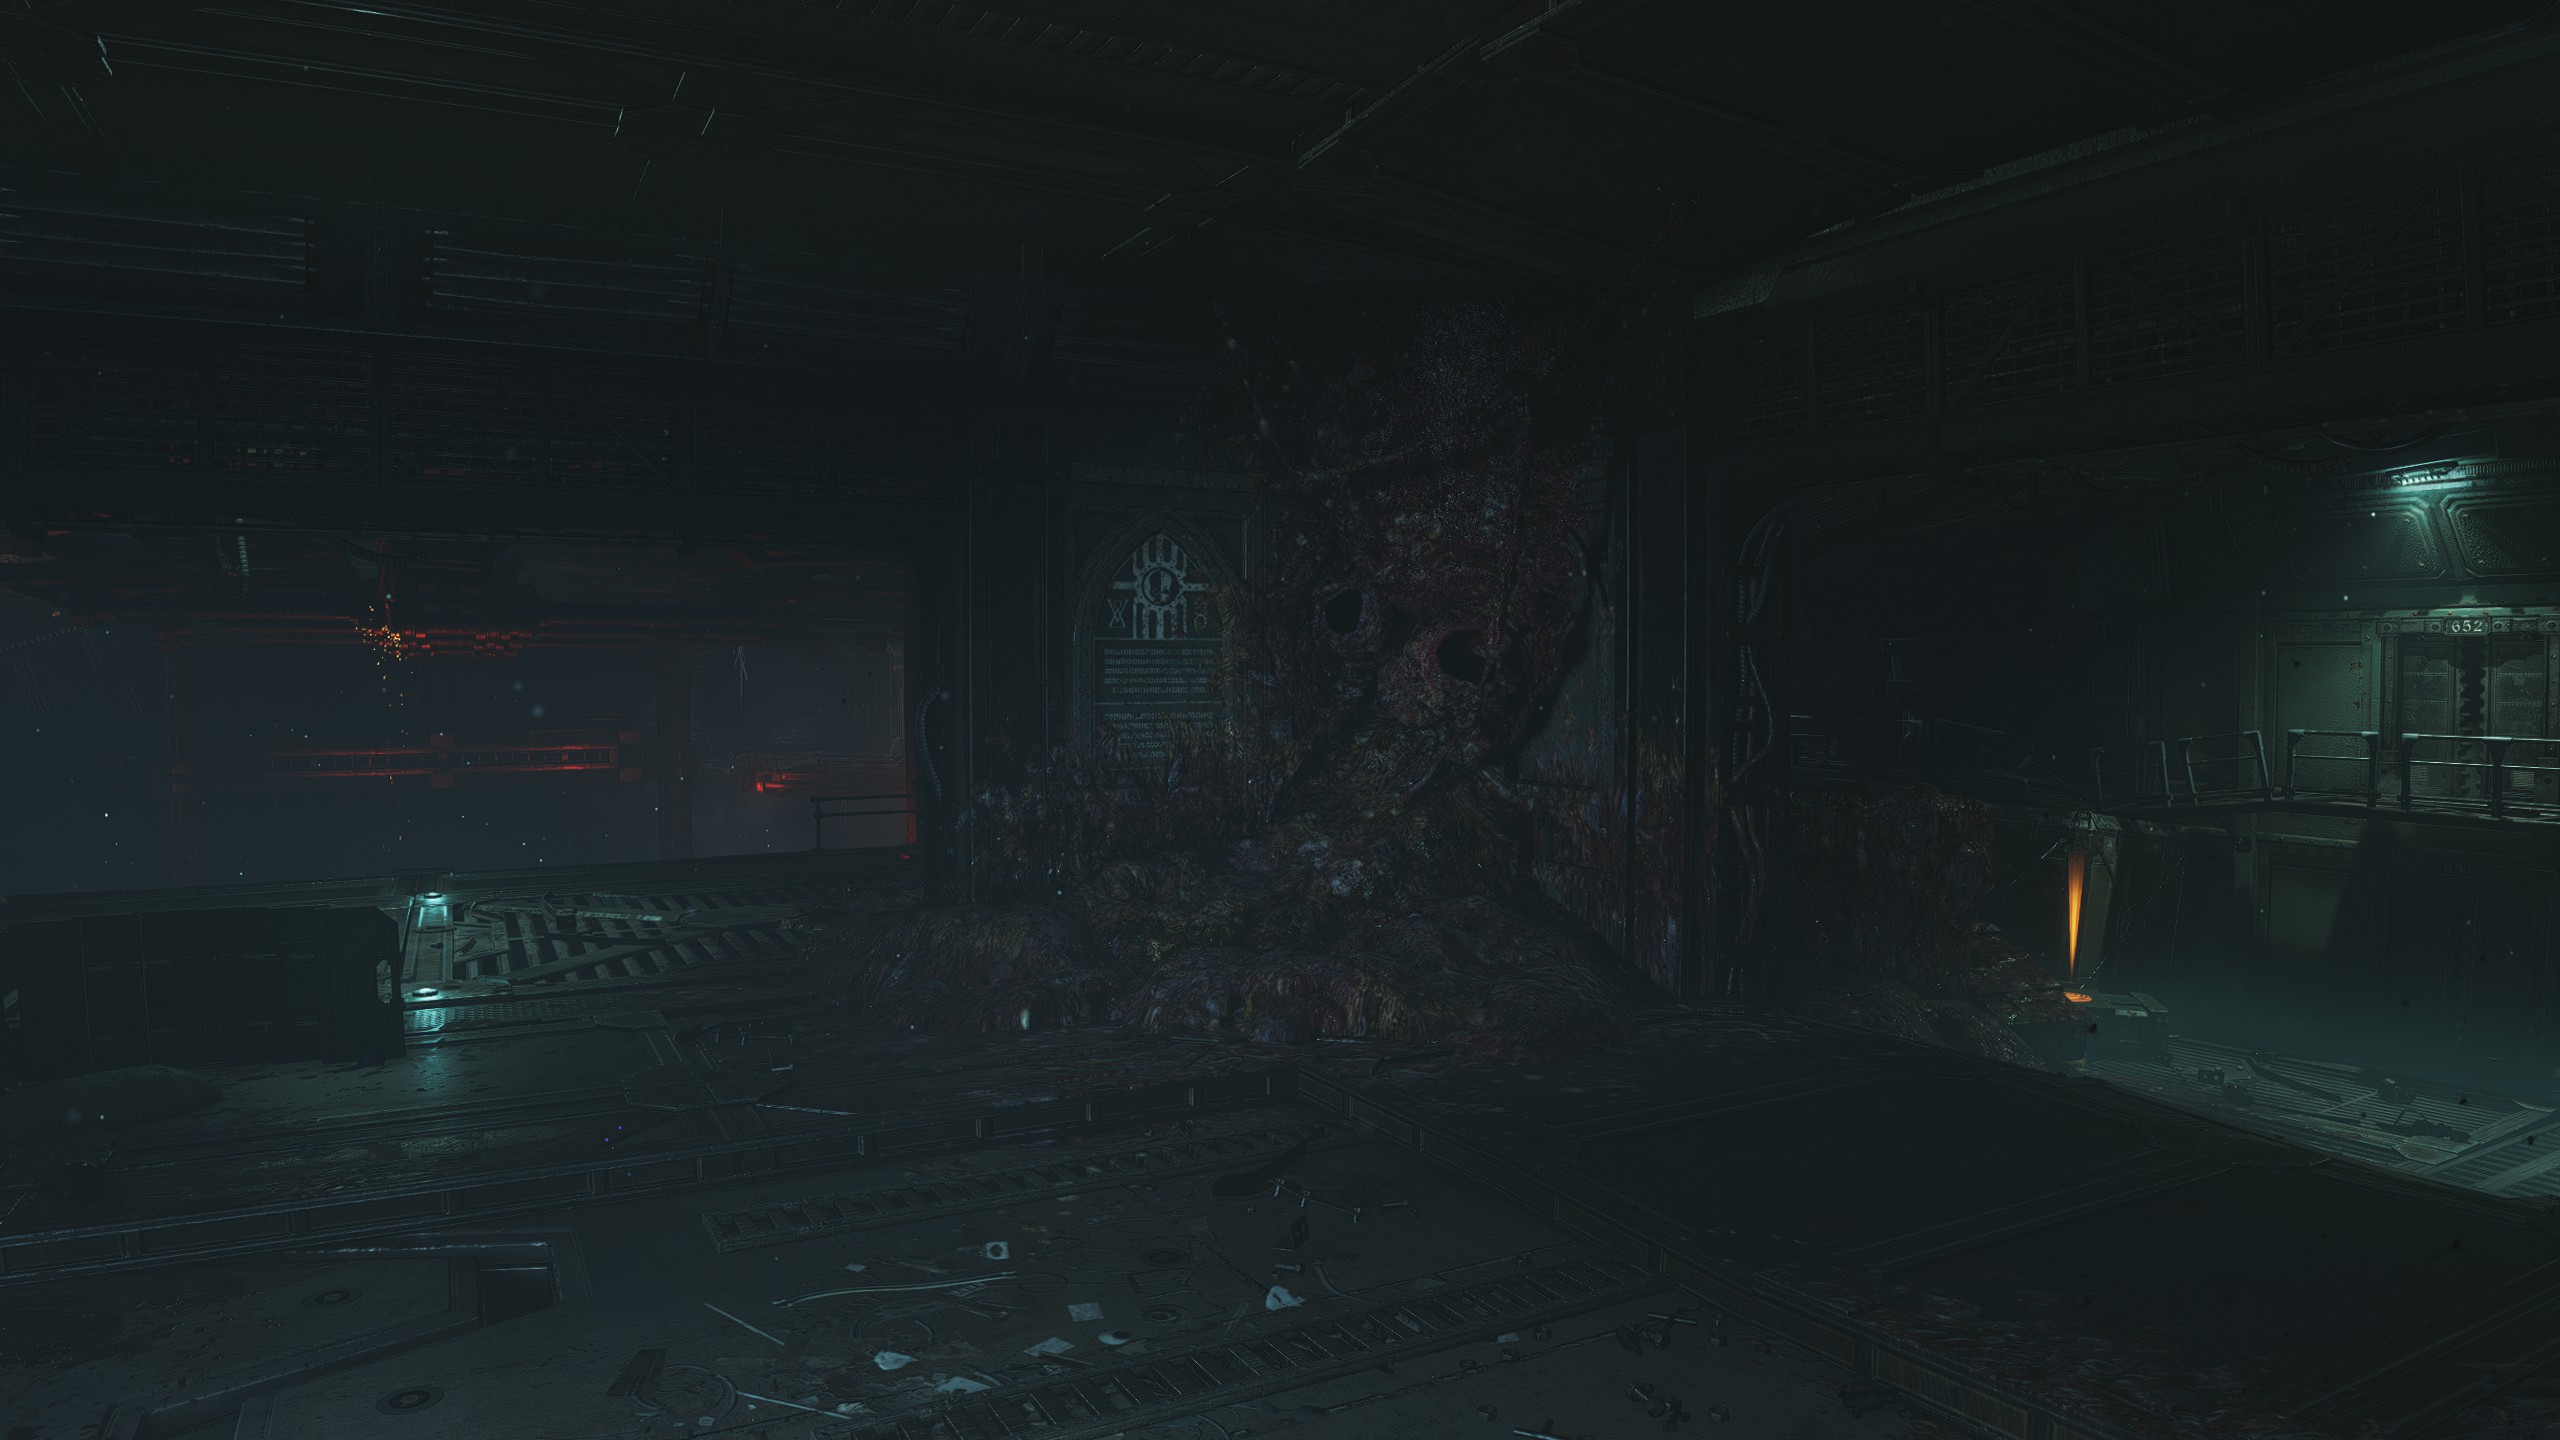
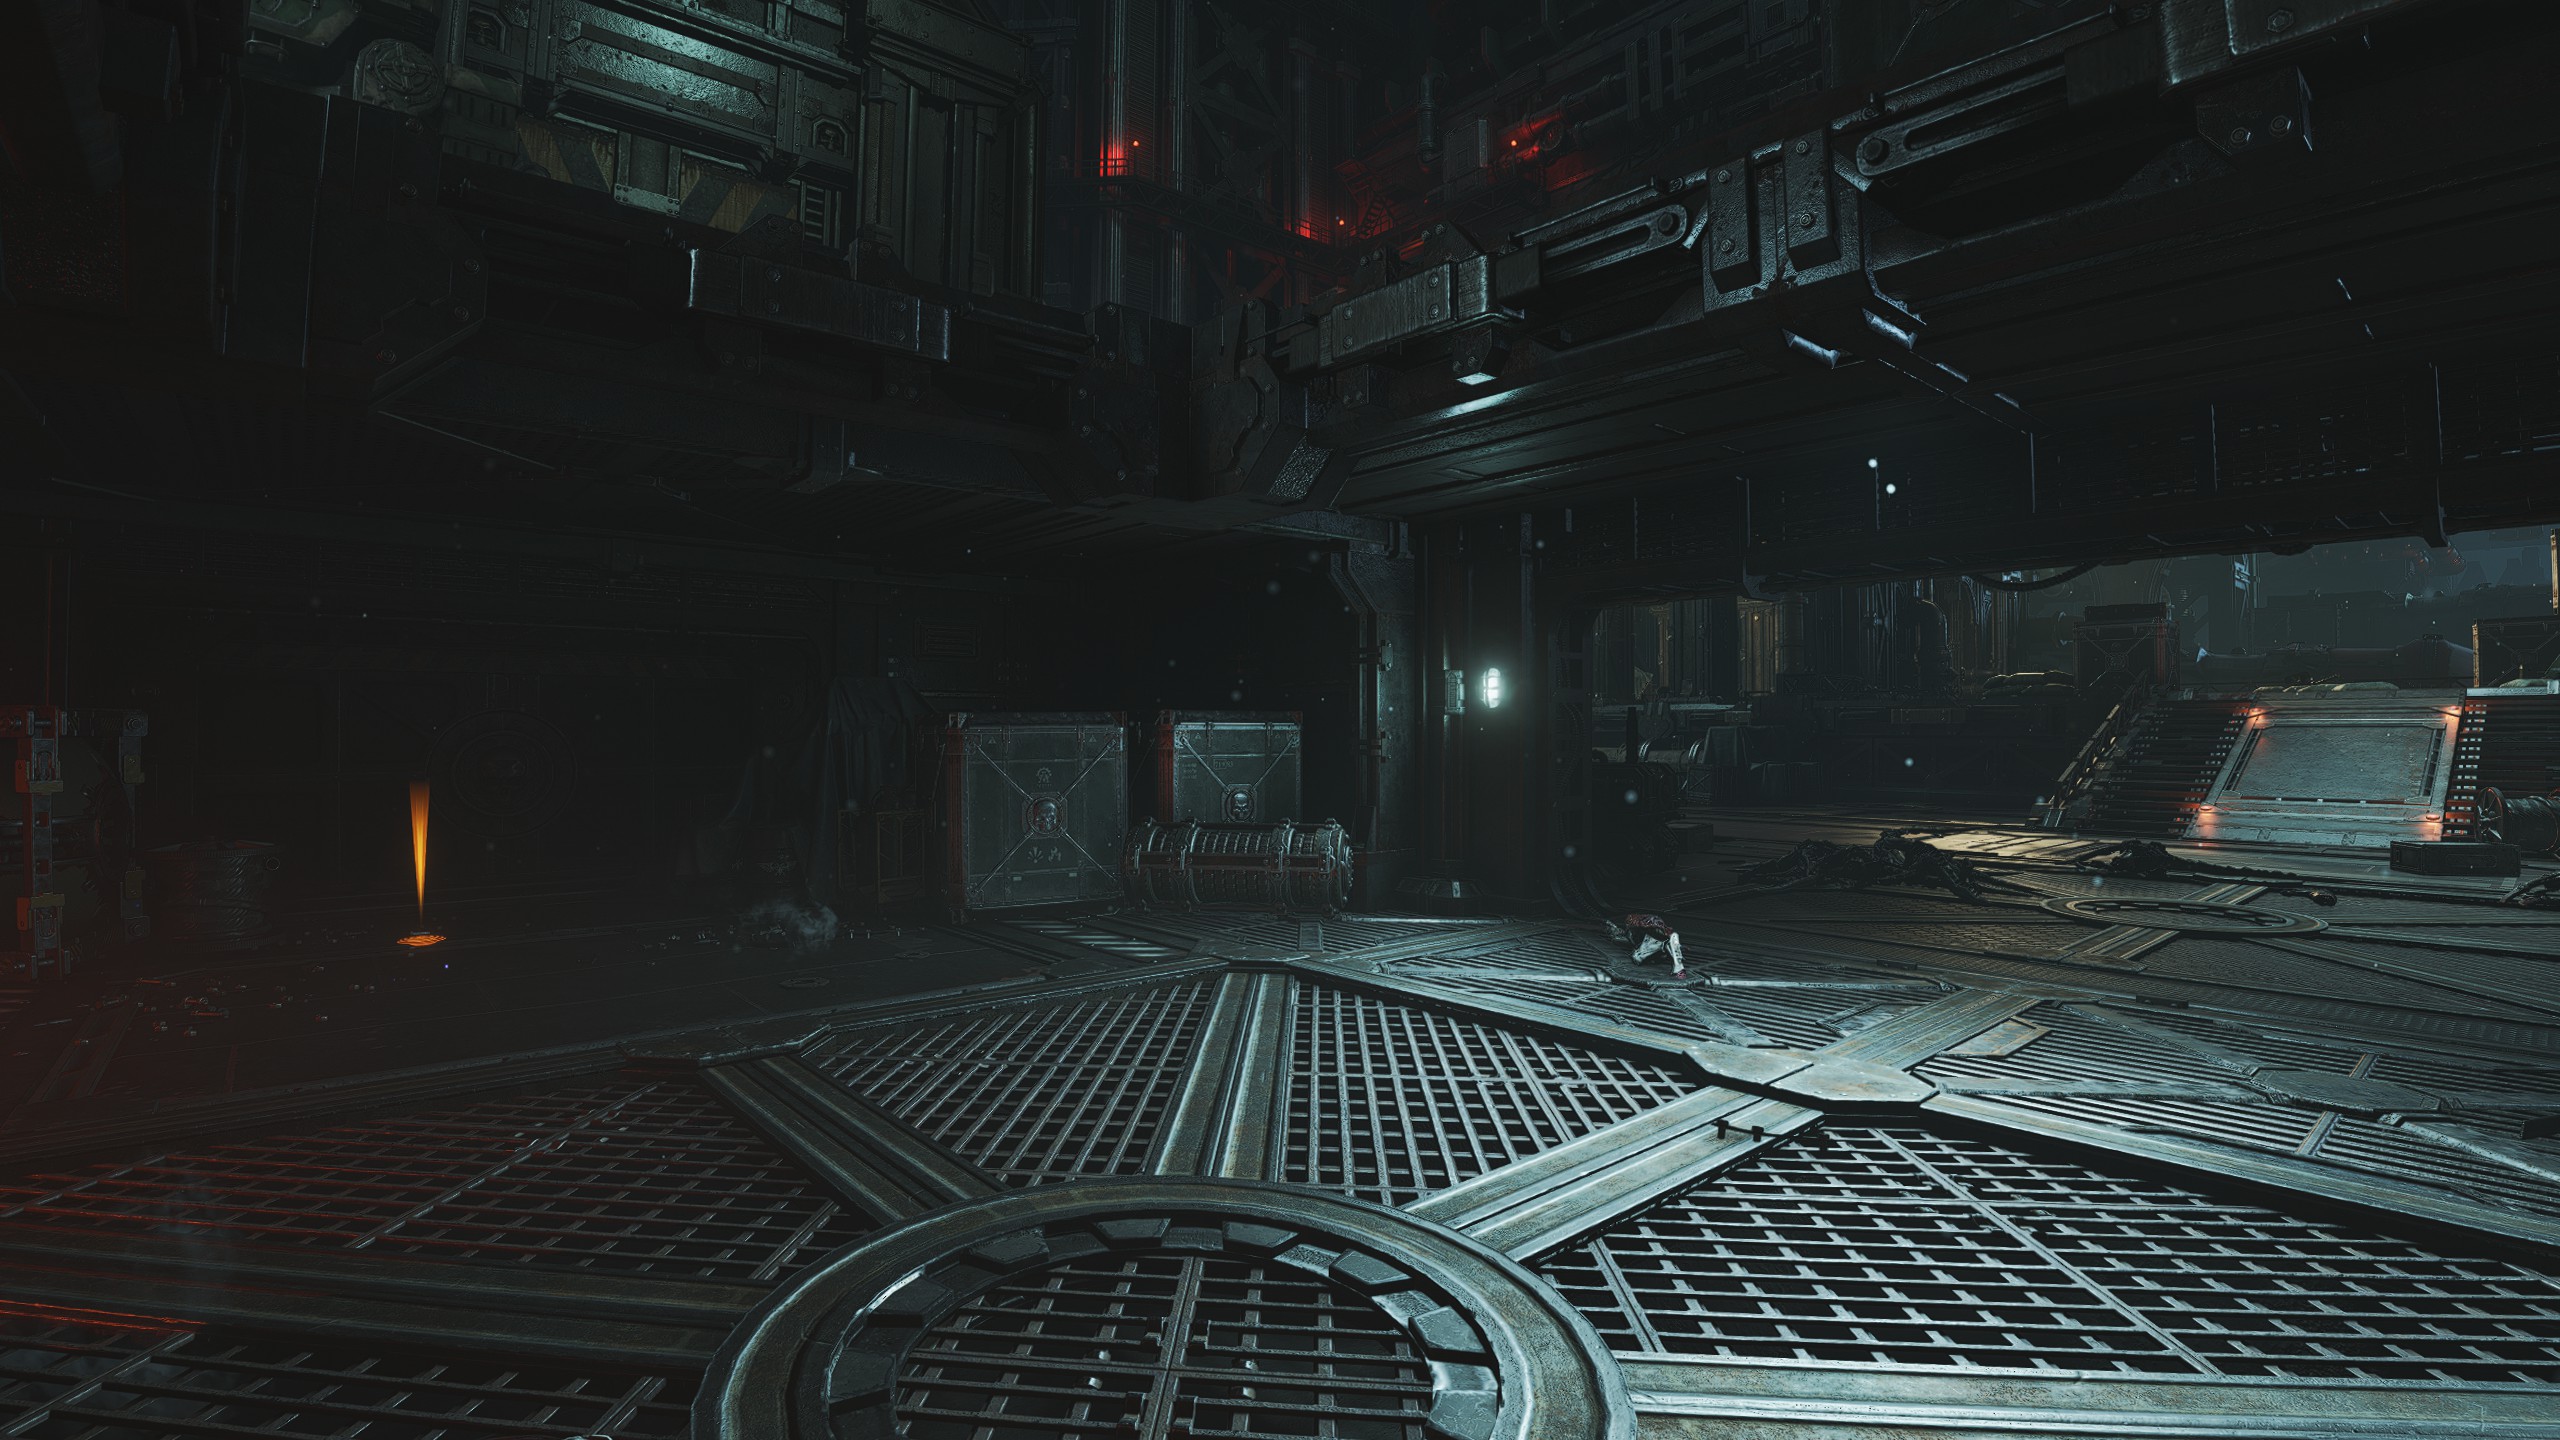
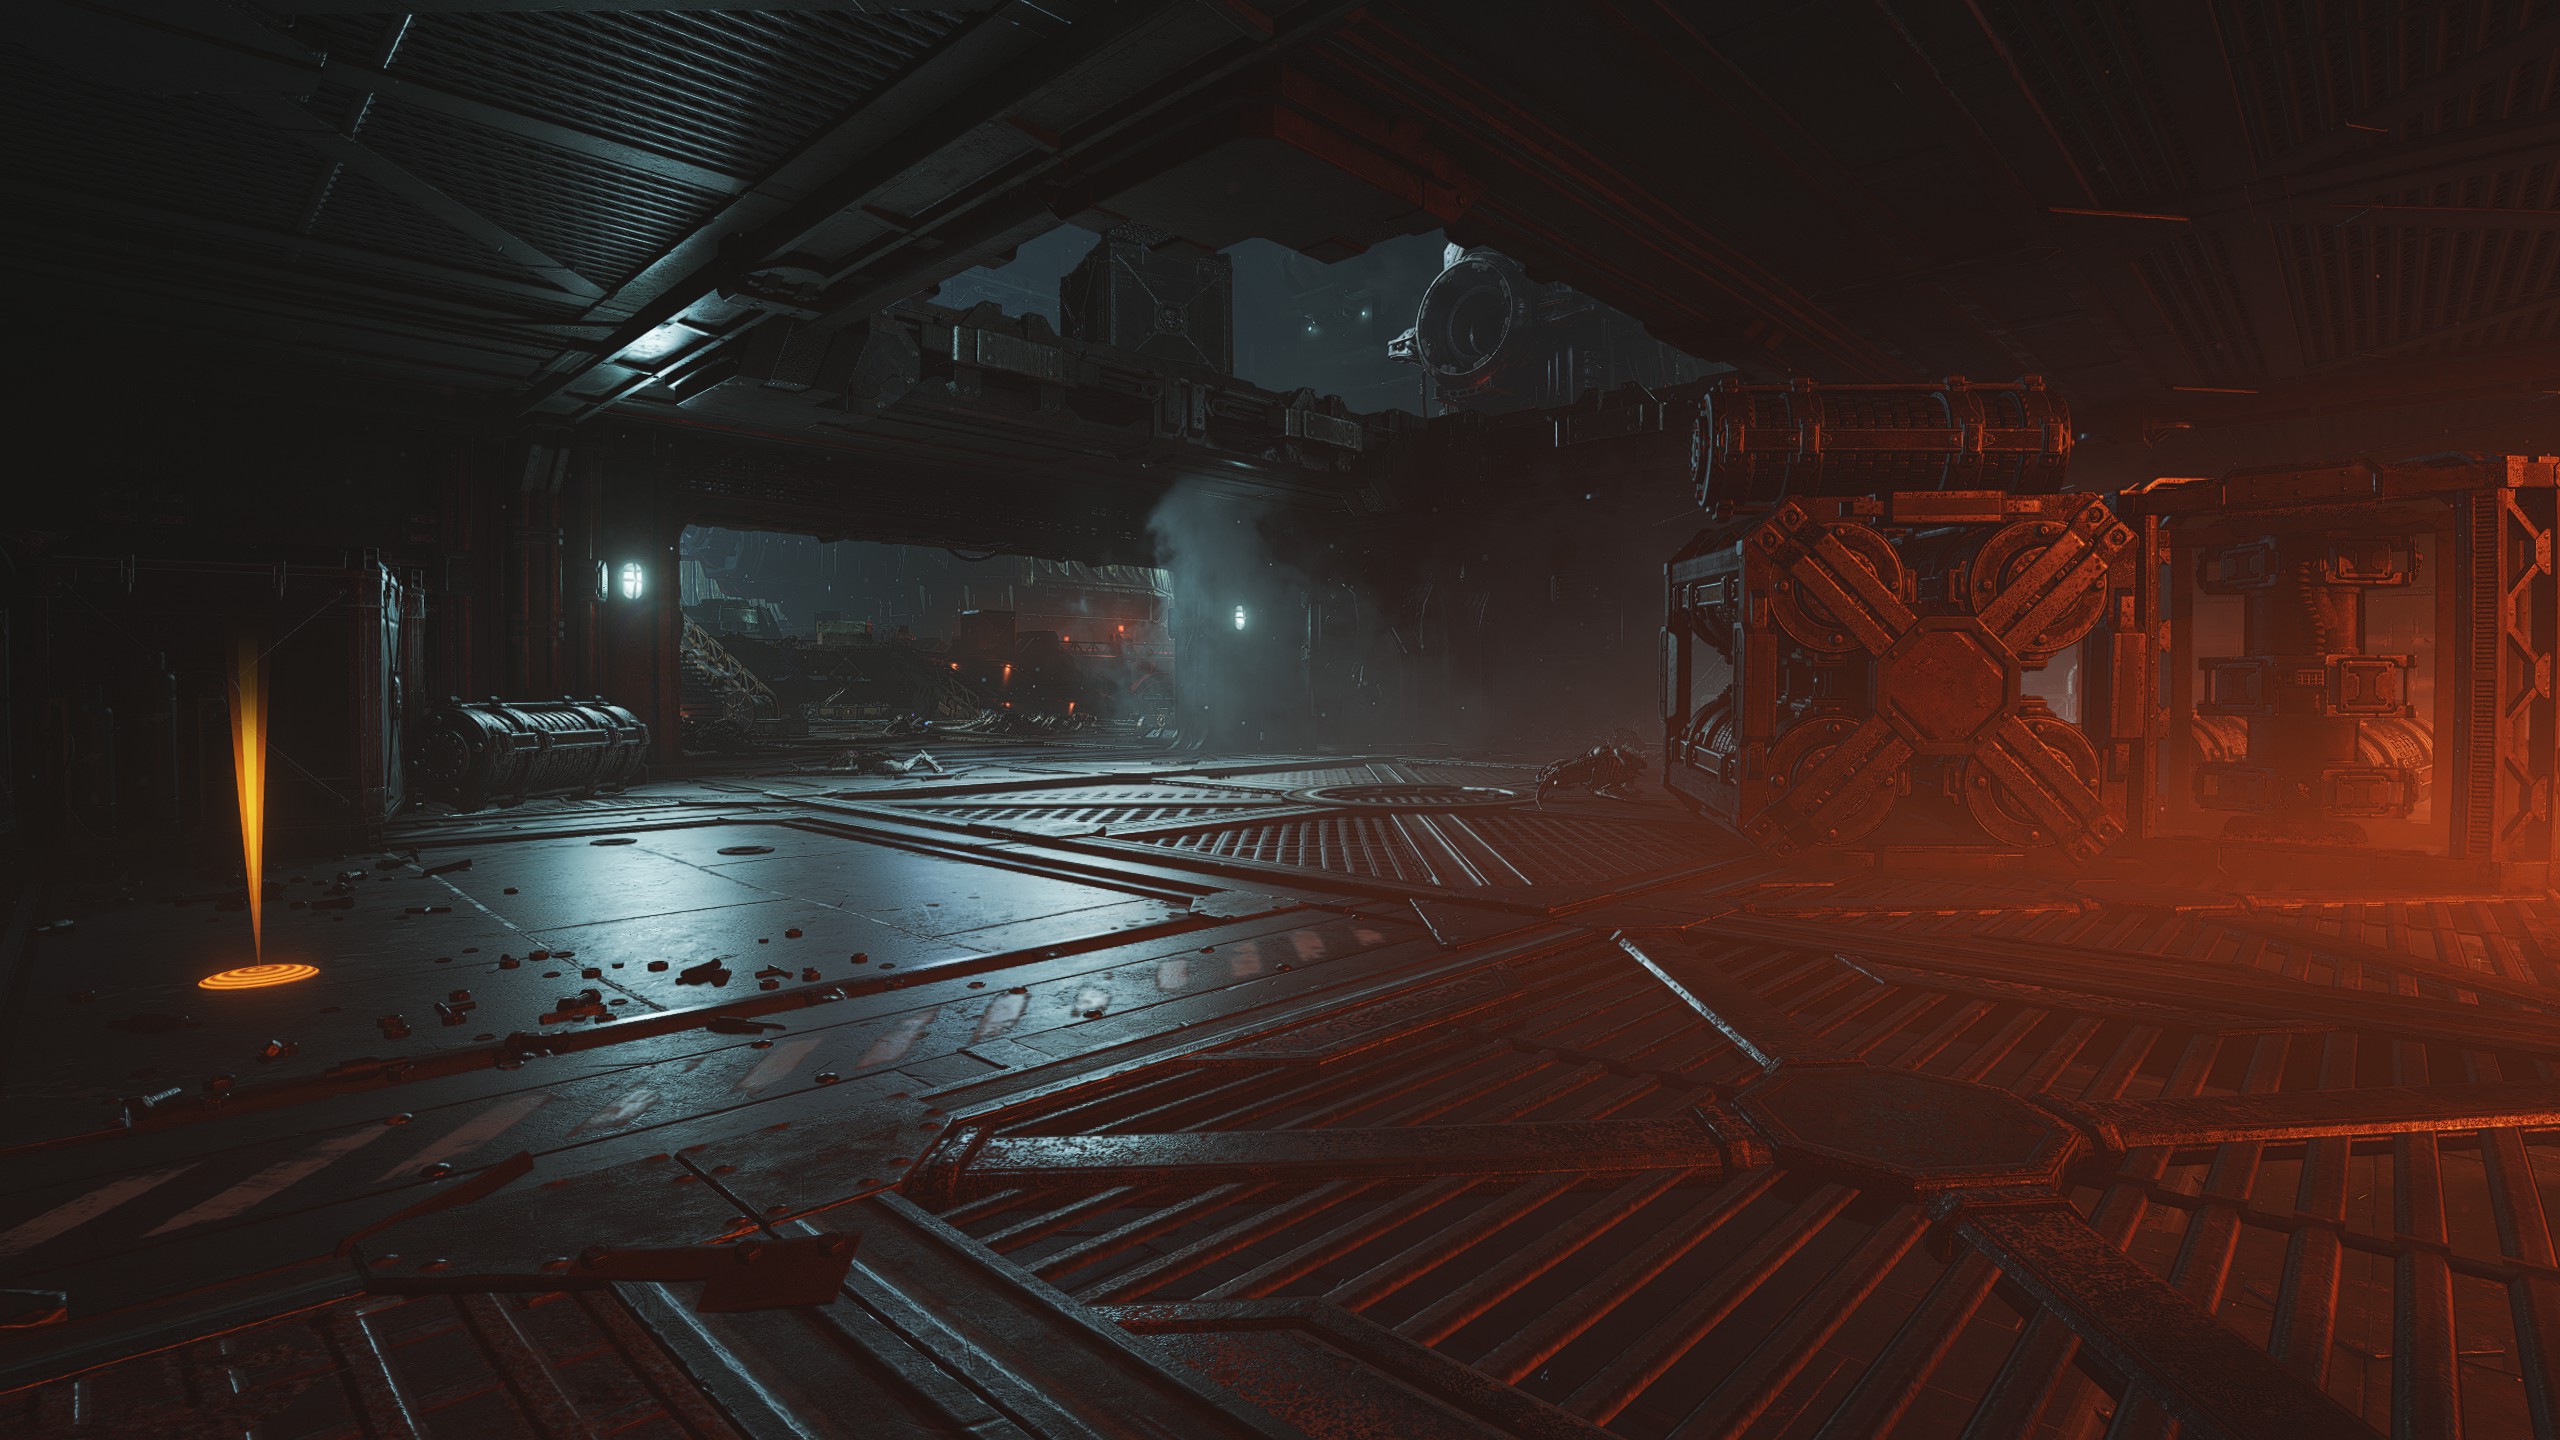
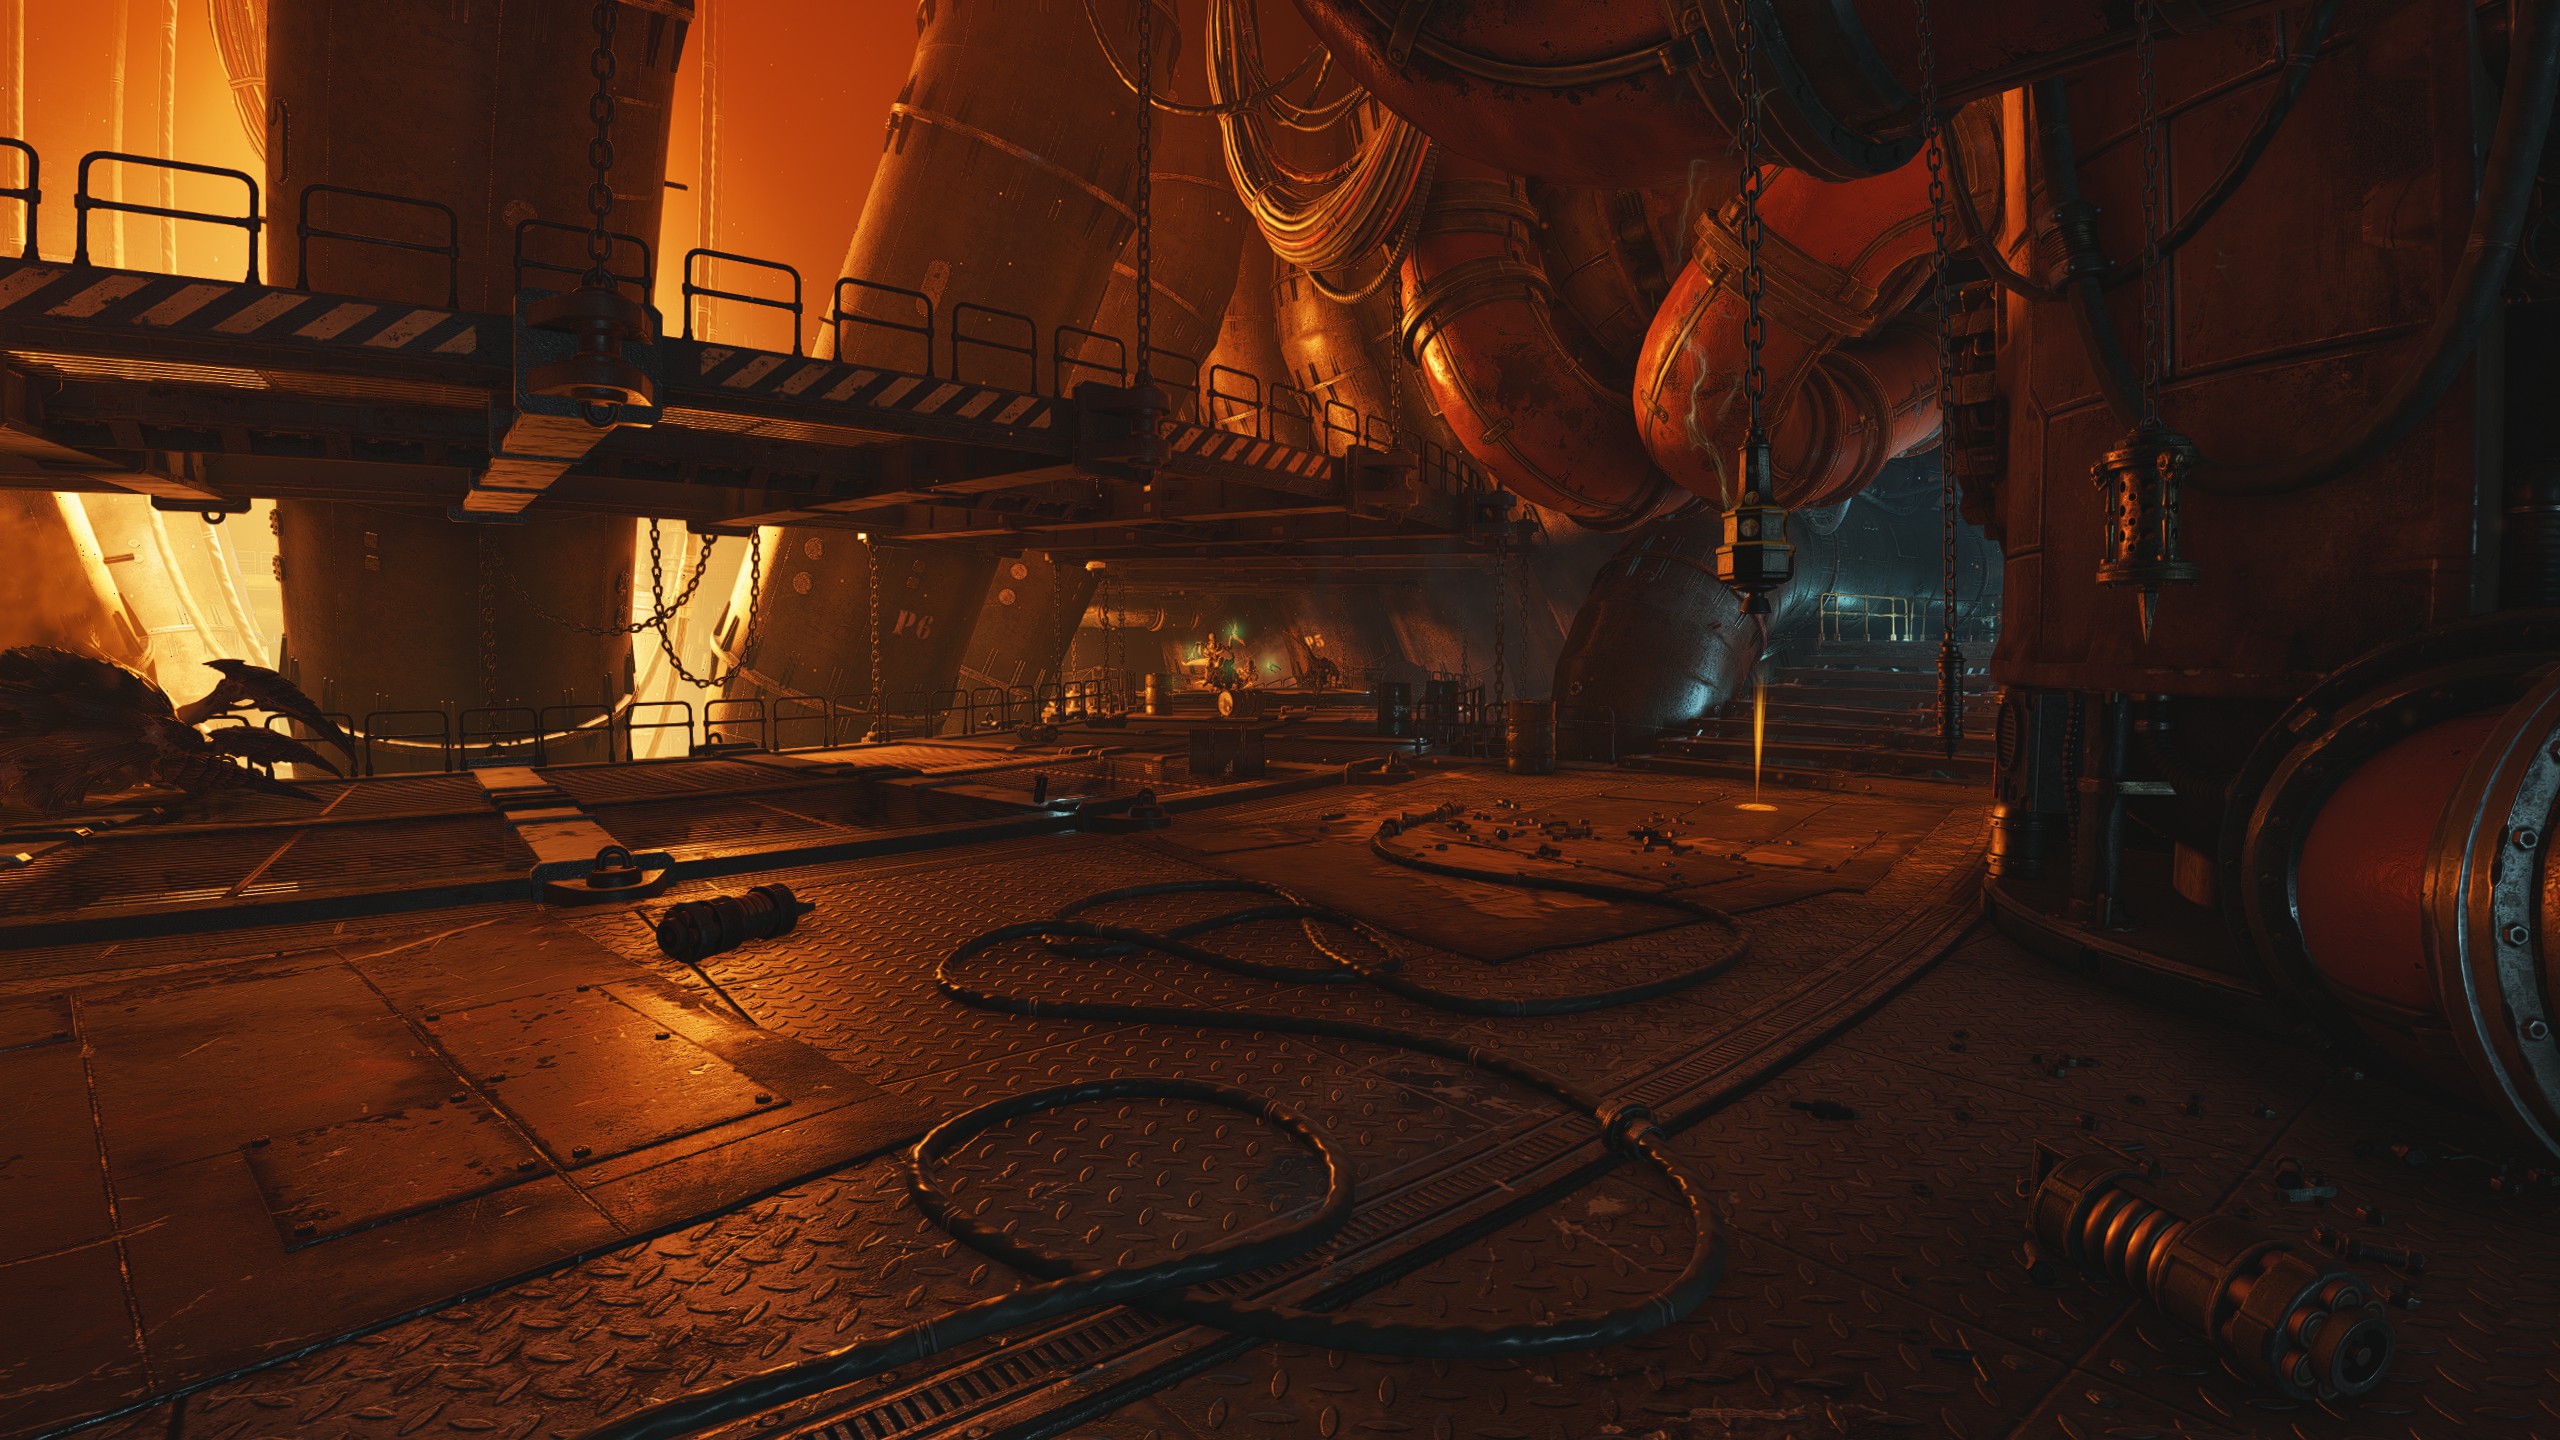
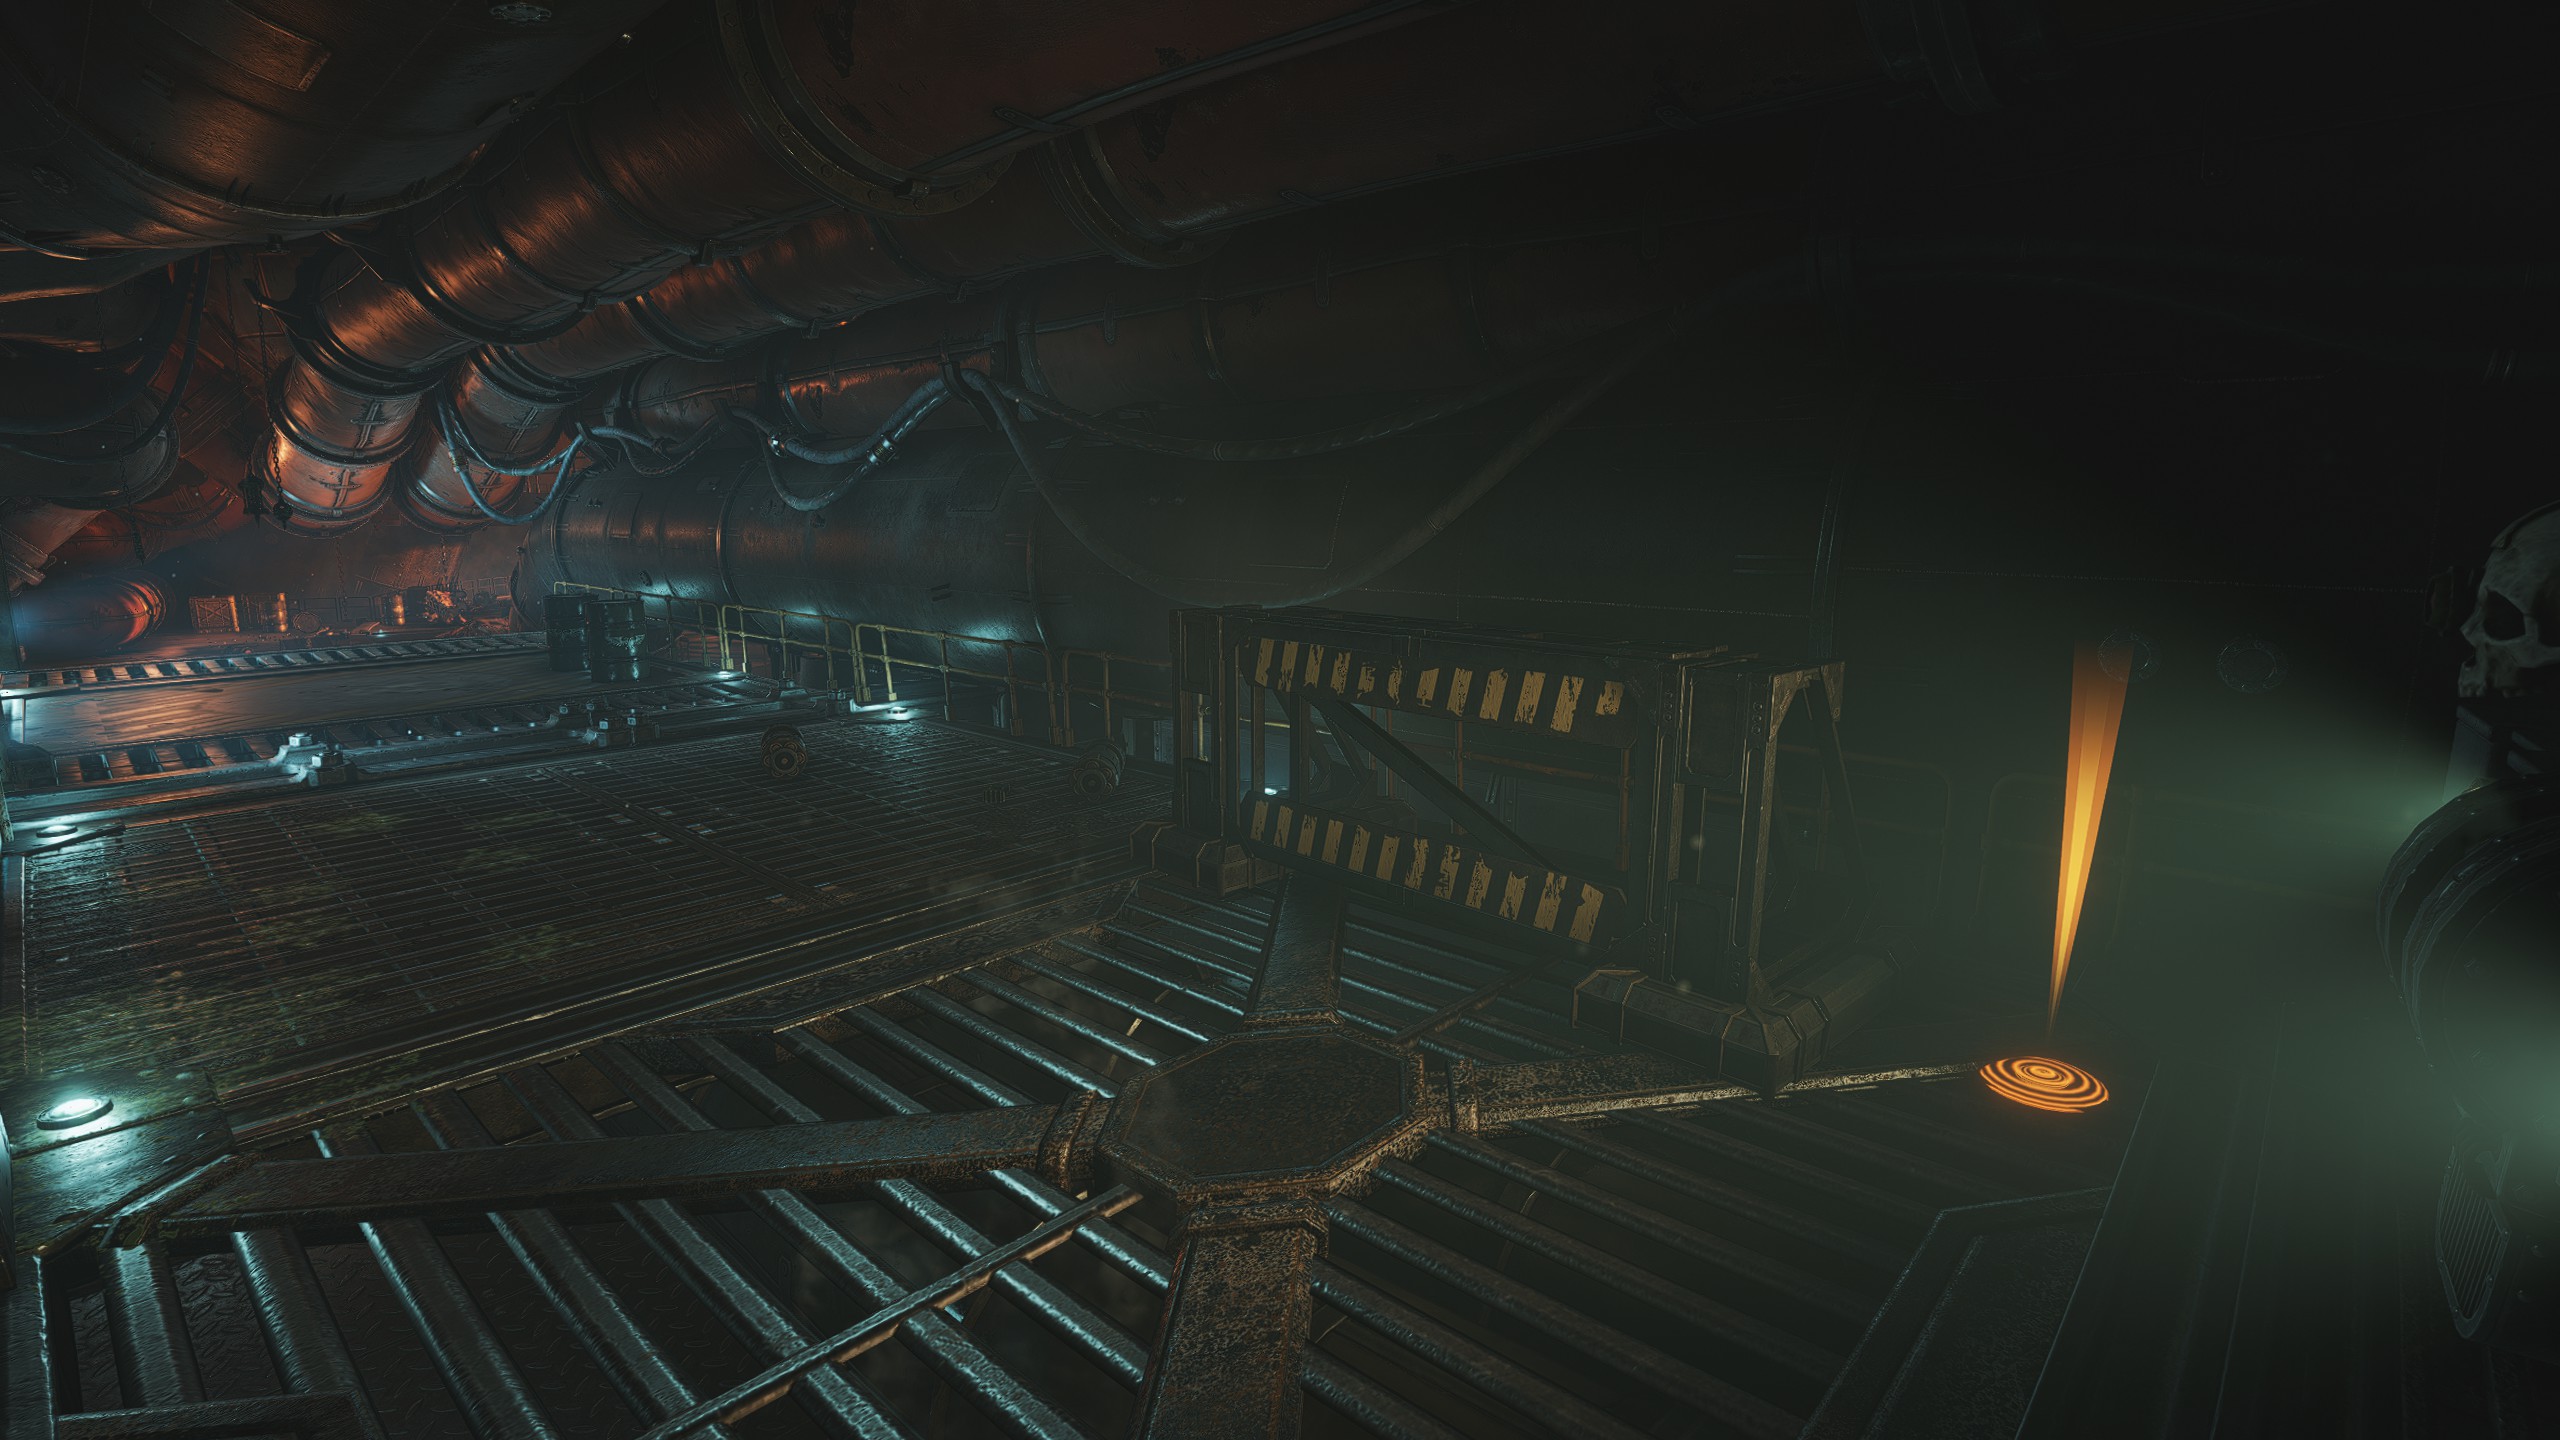
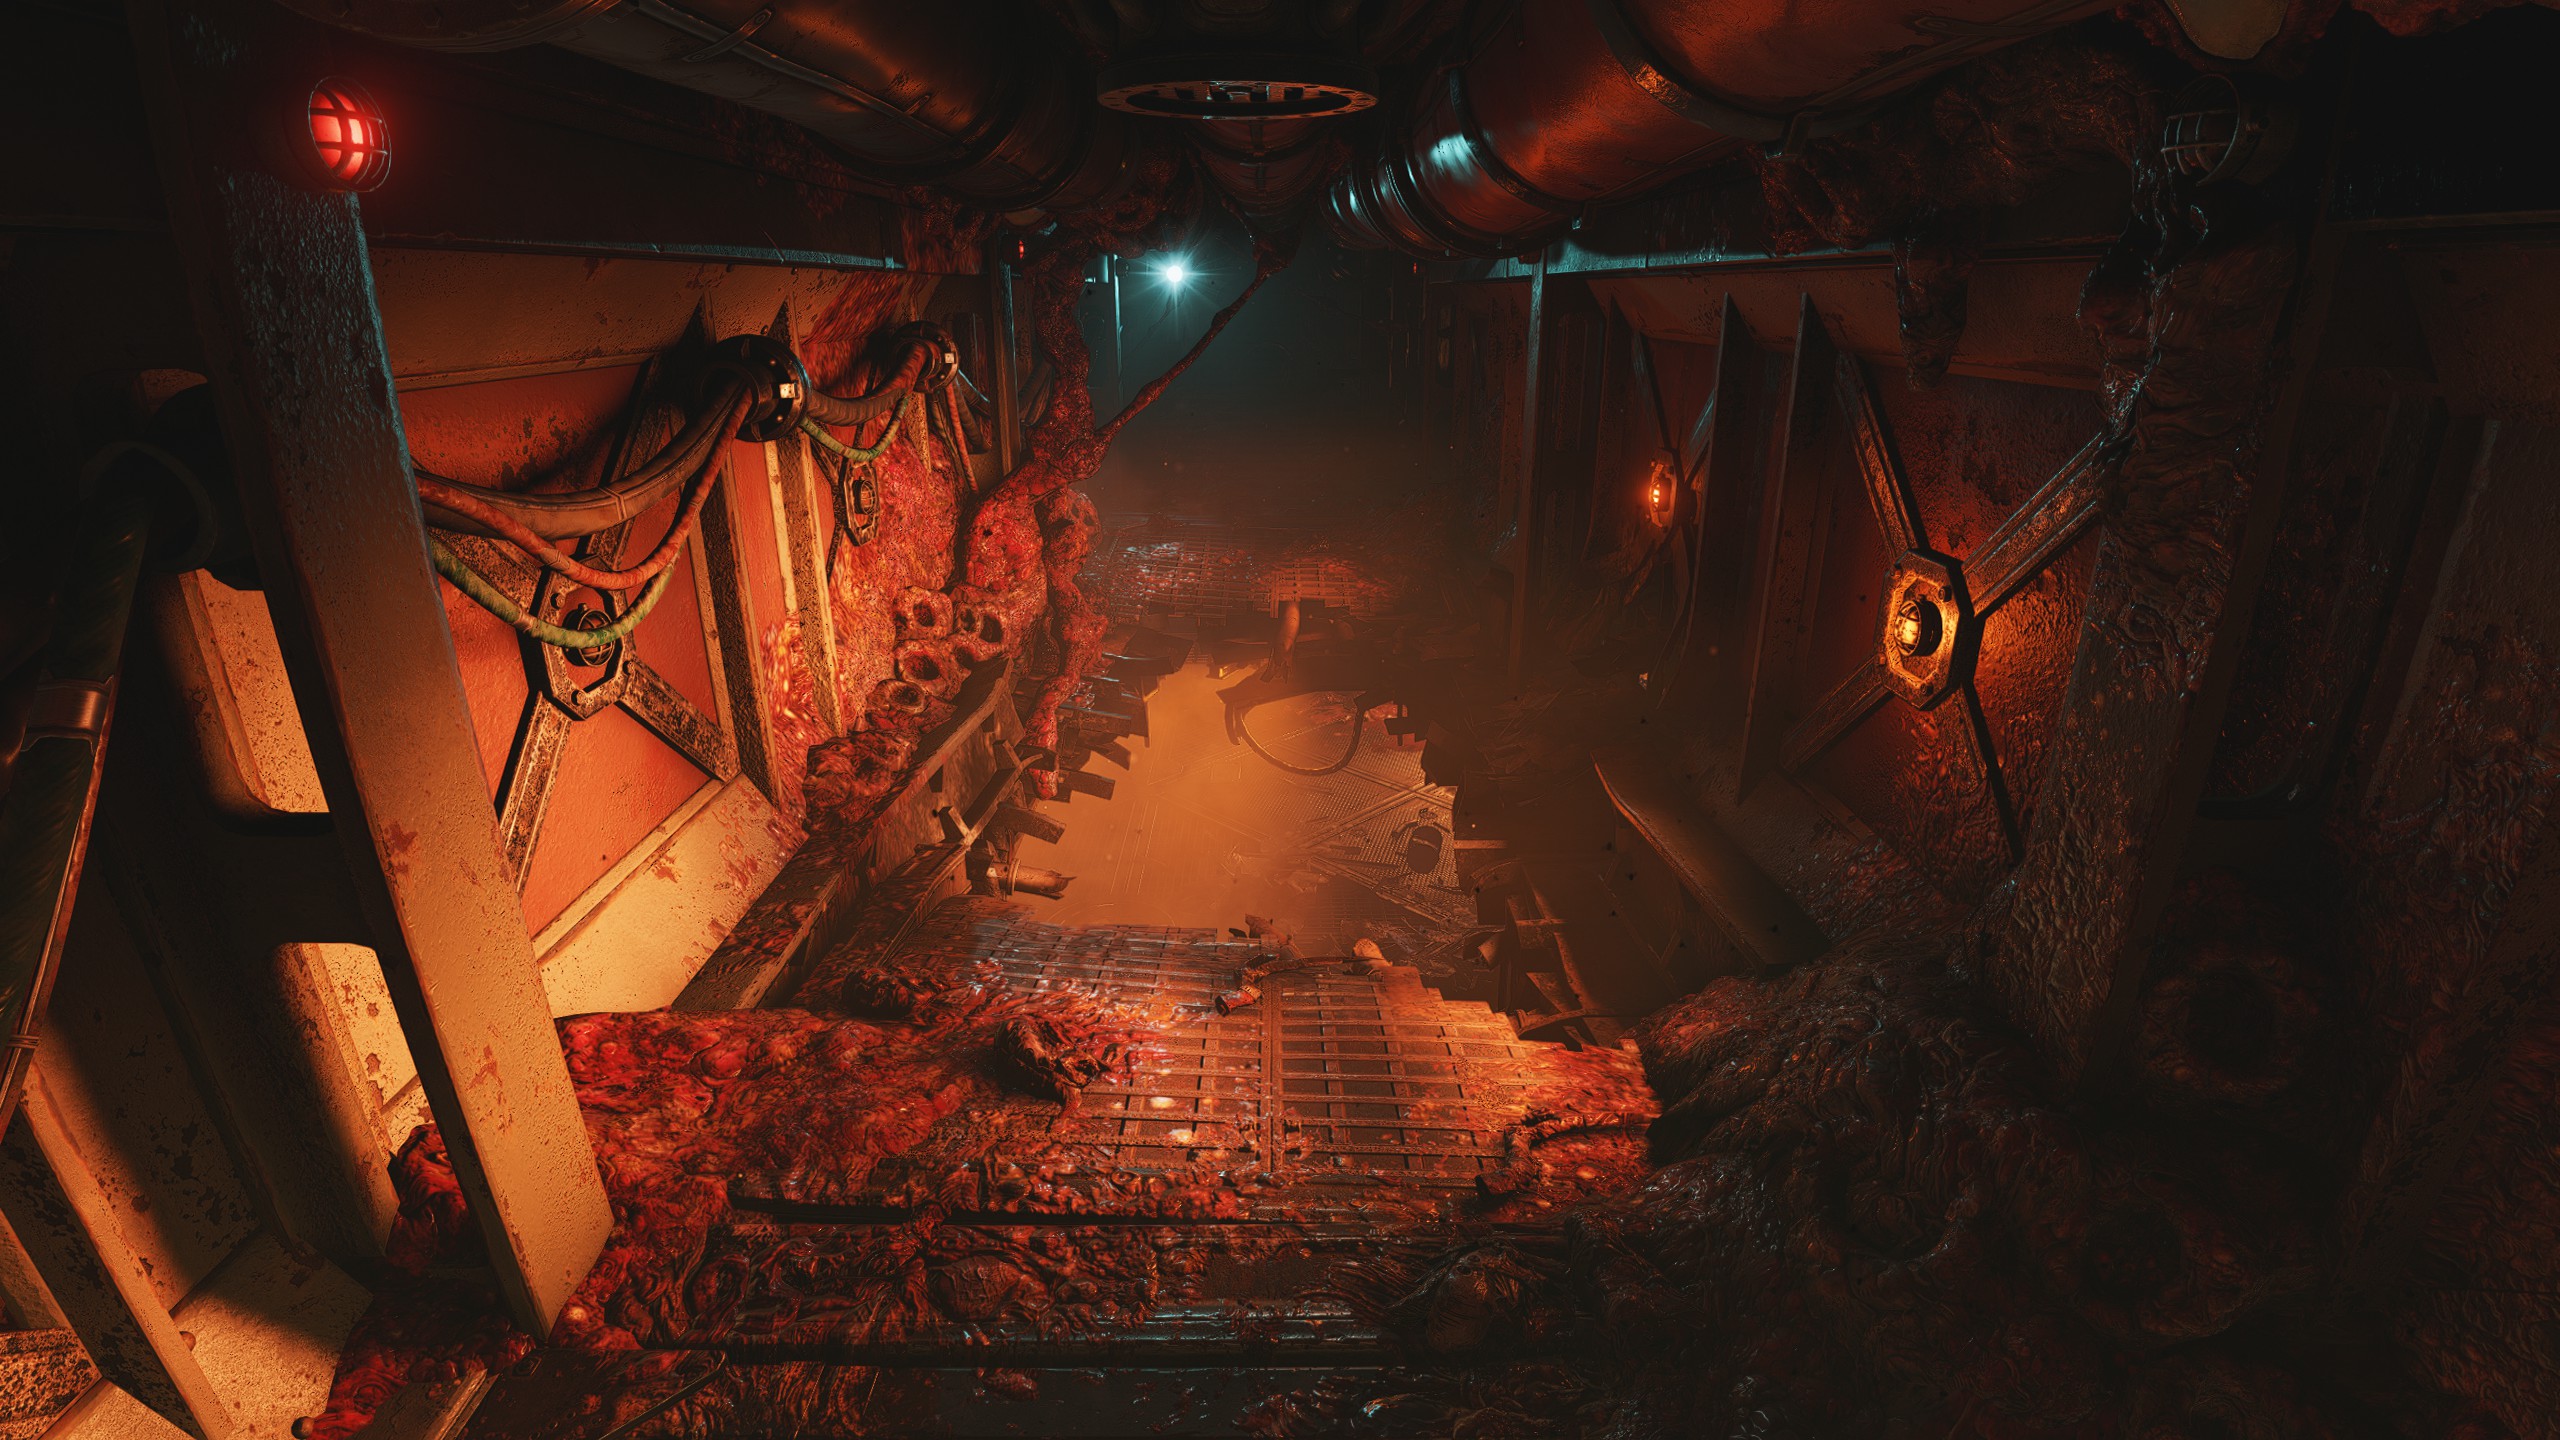
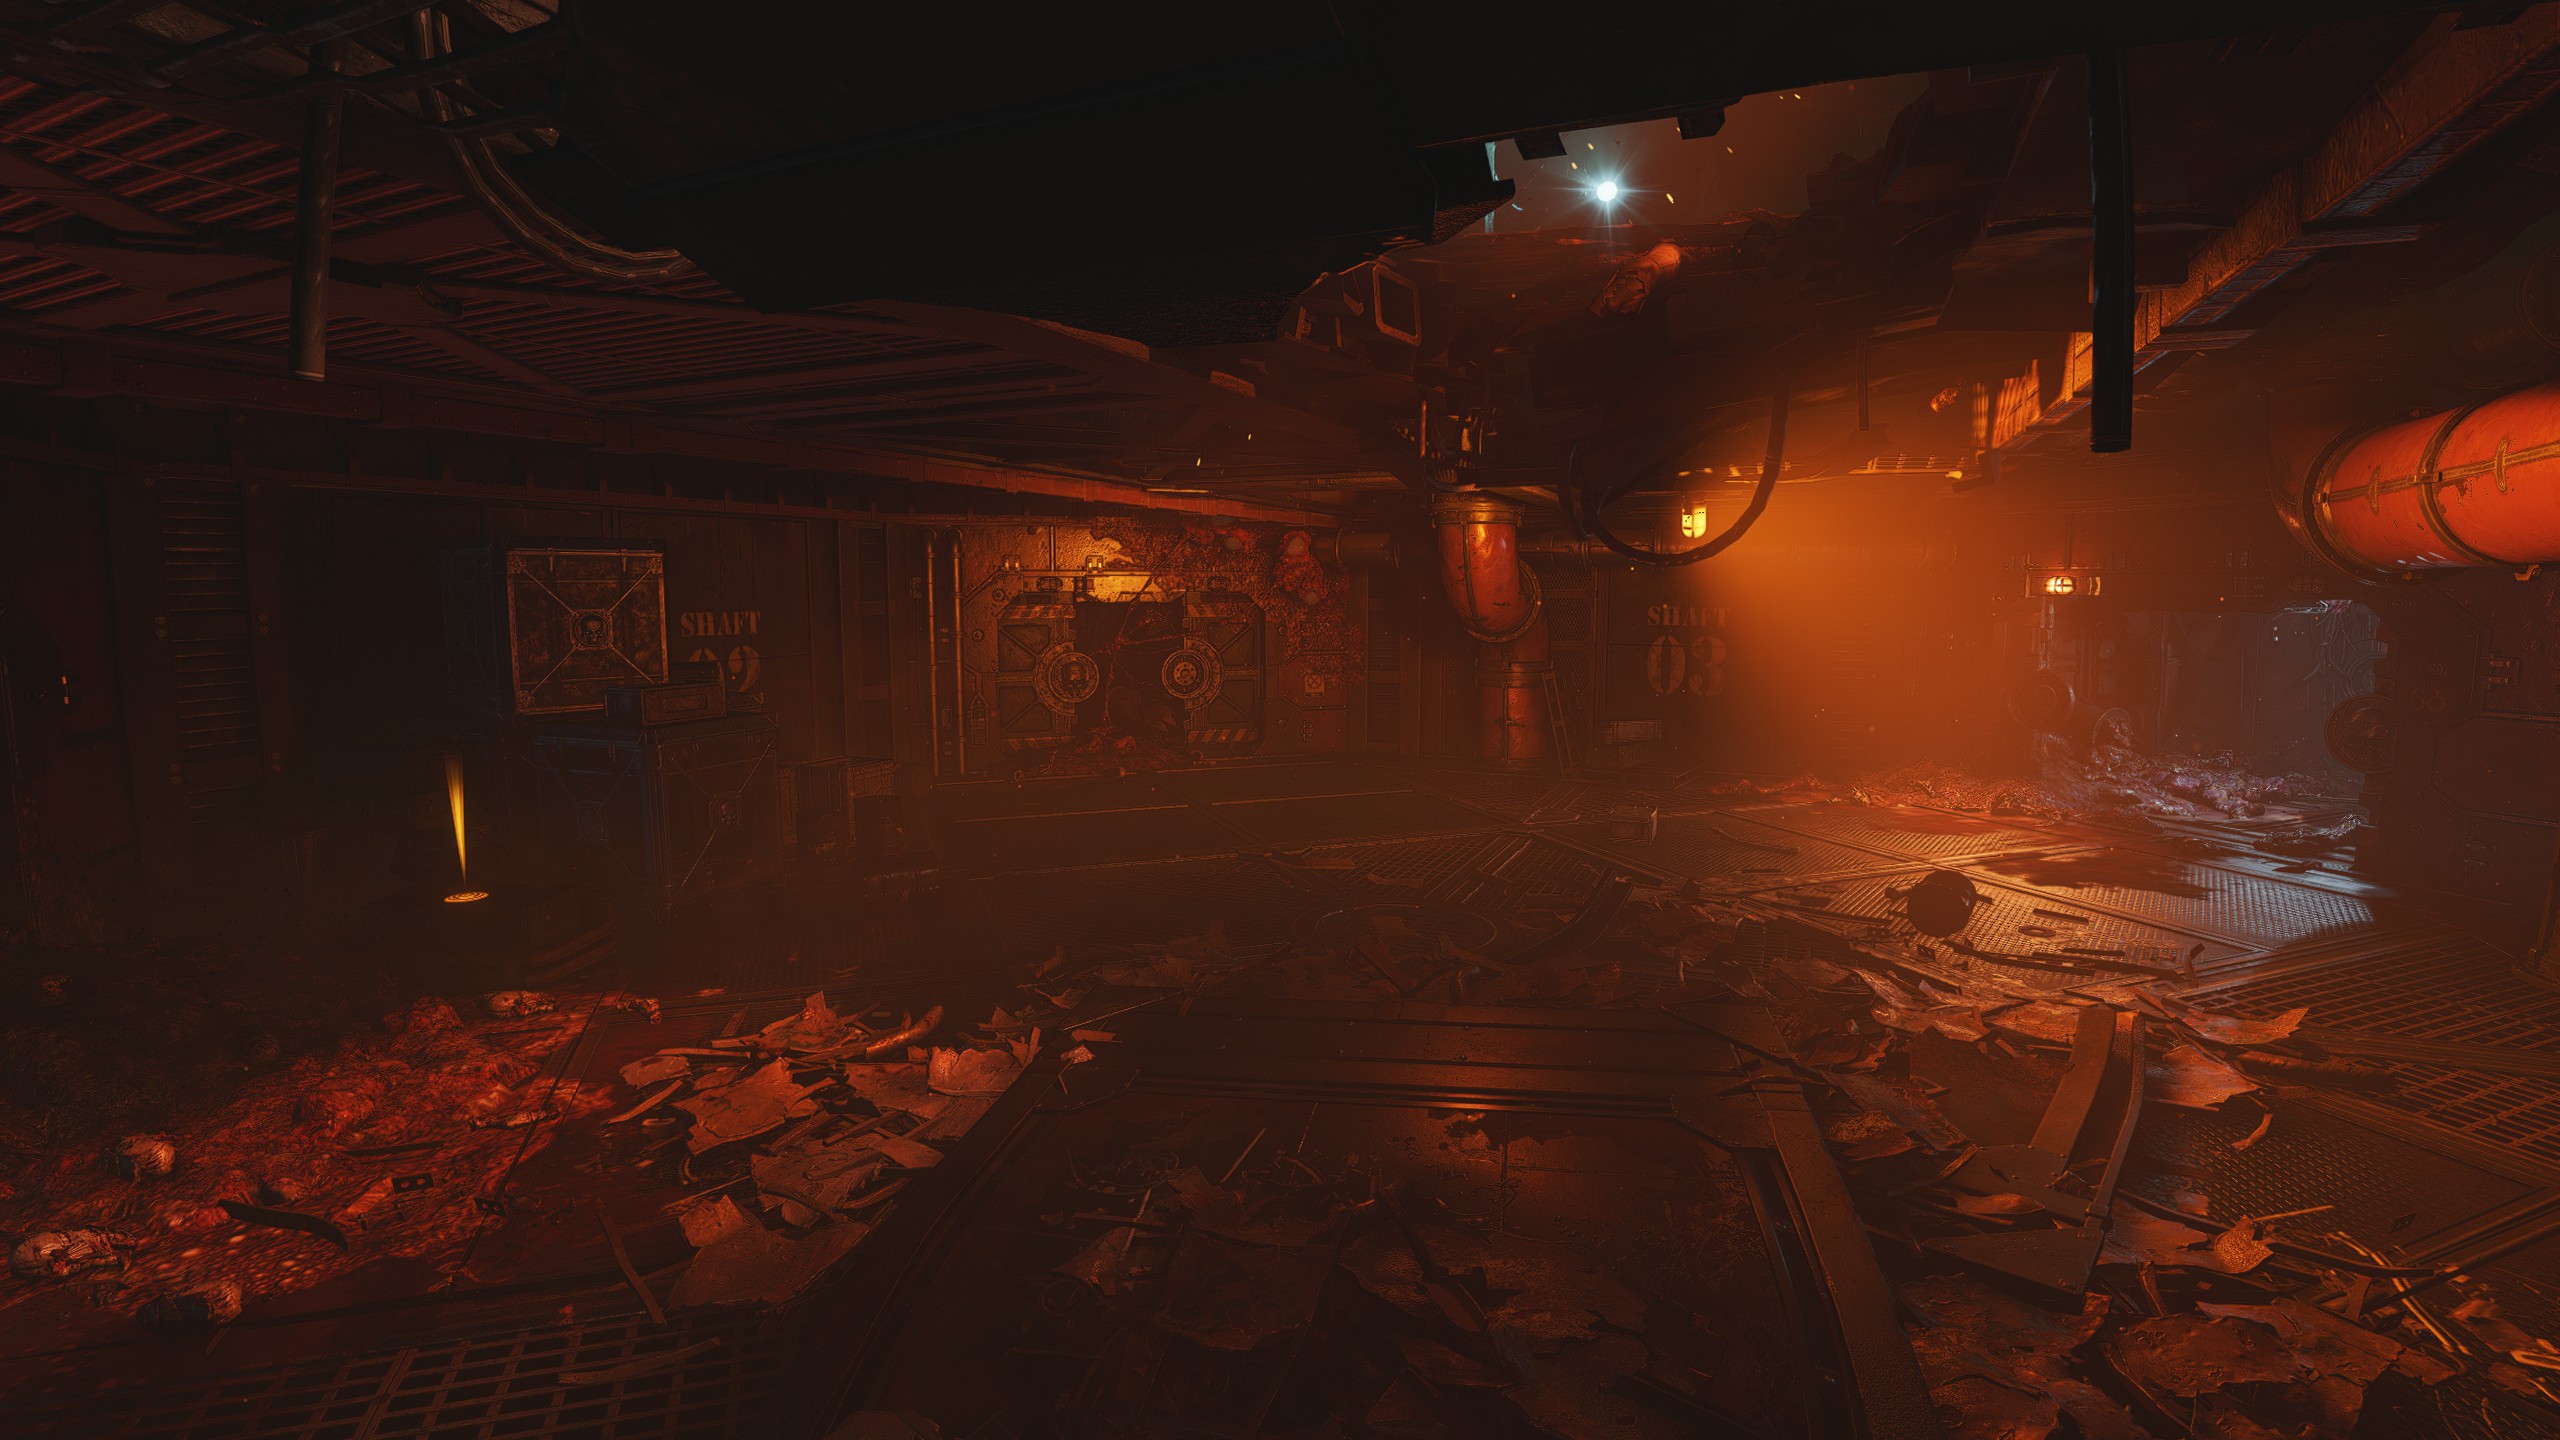
| Mission 12: Disruption
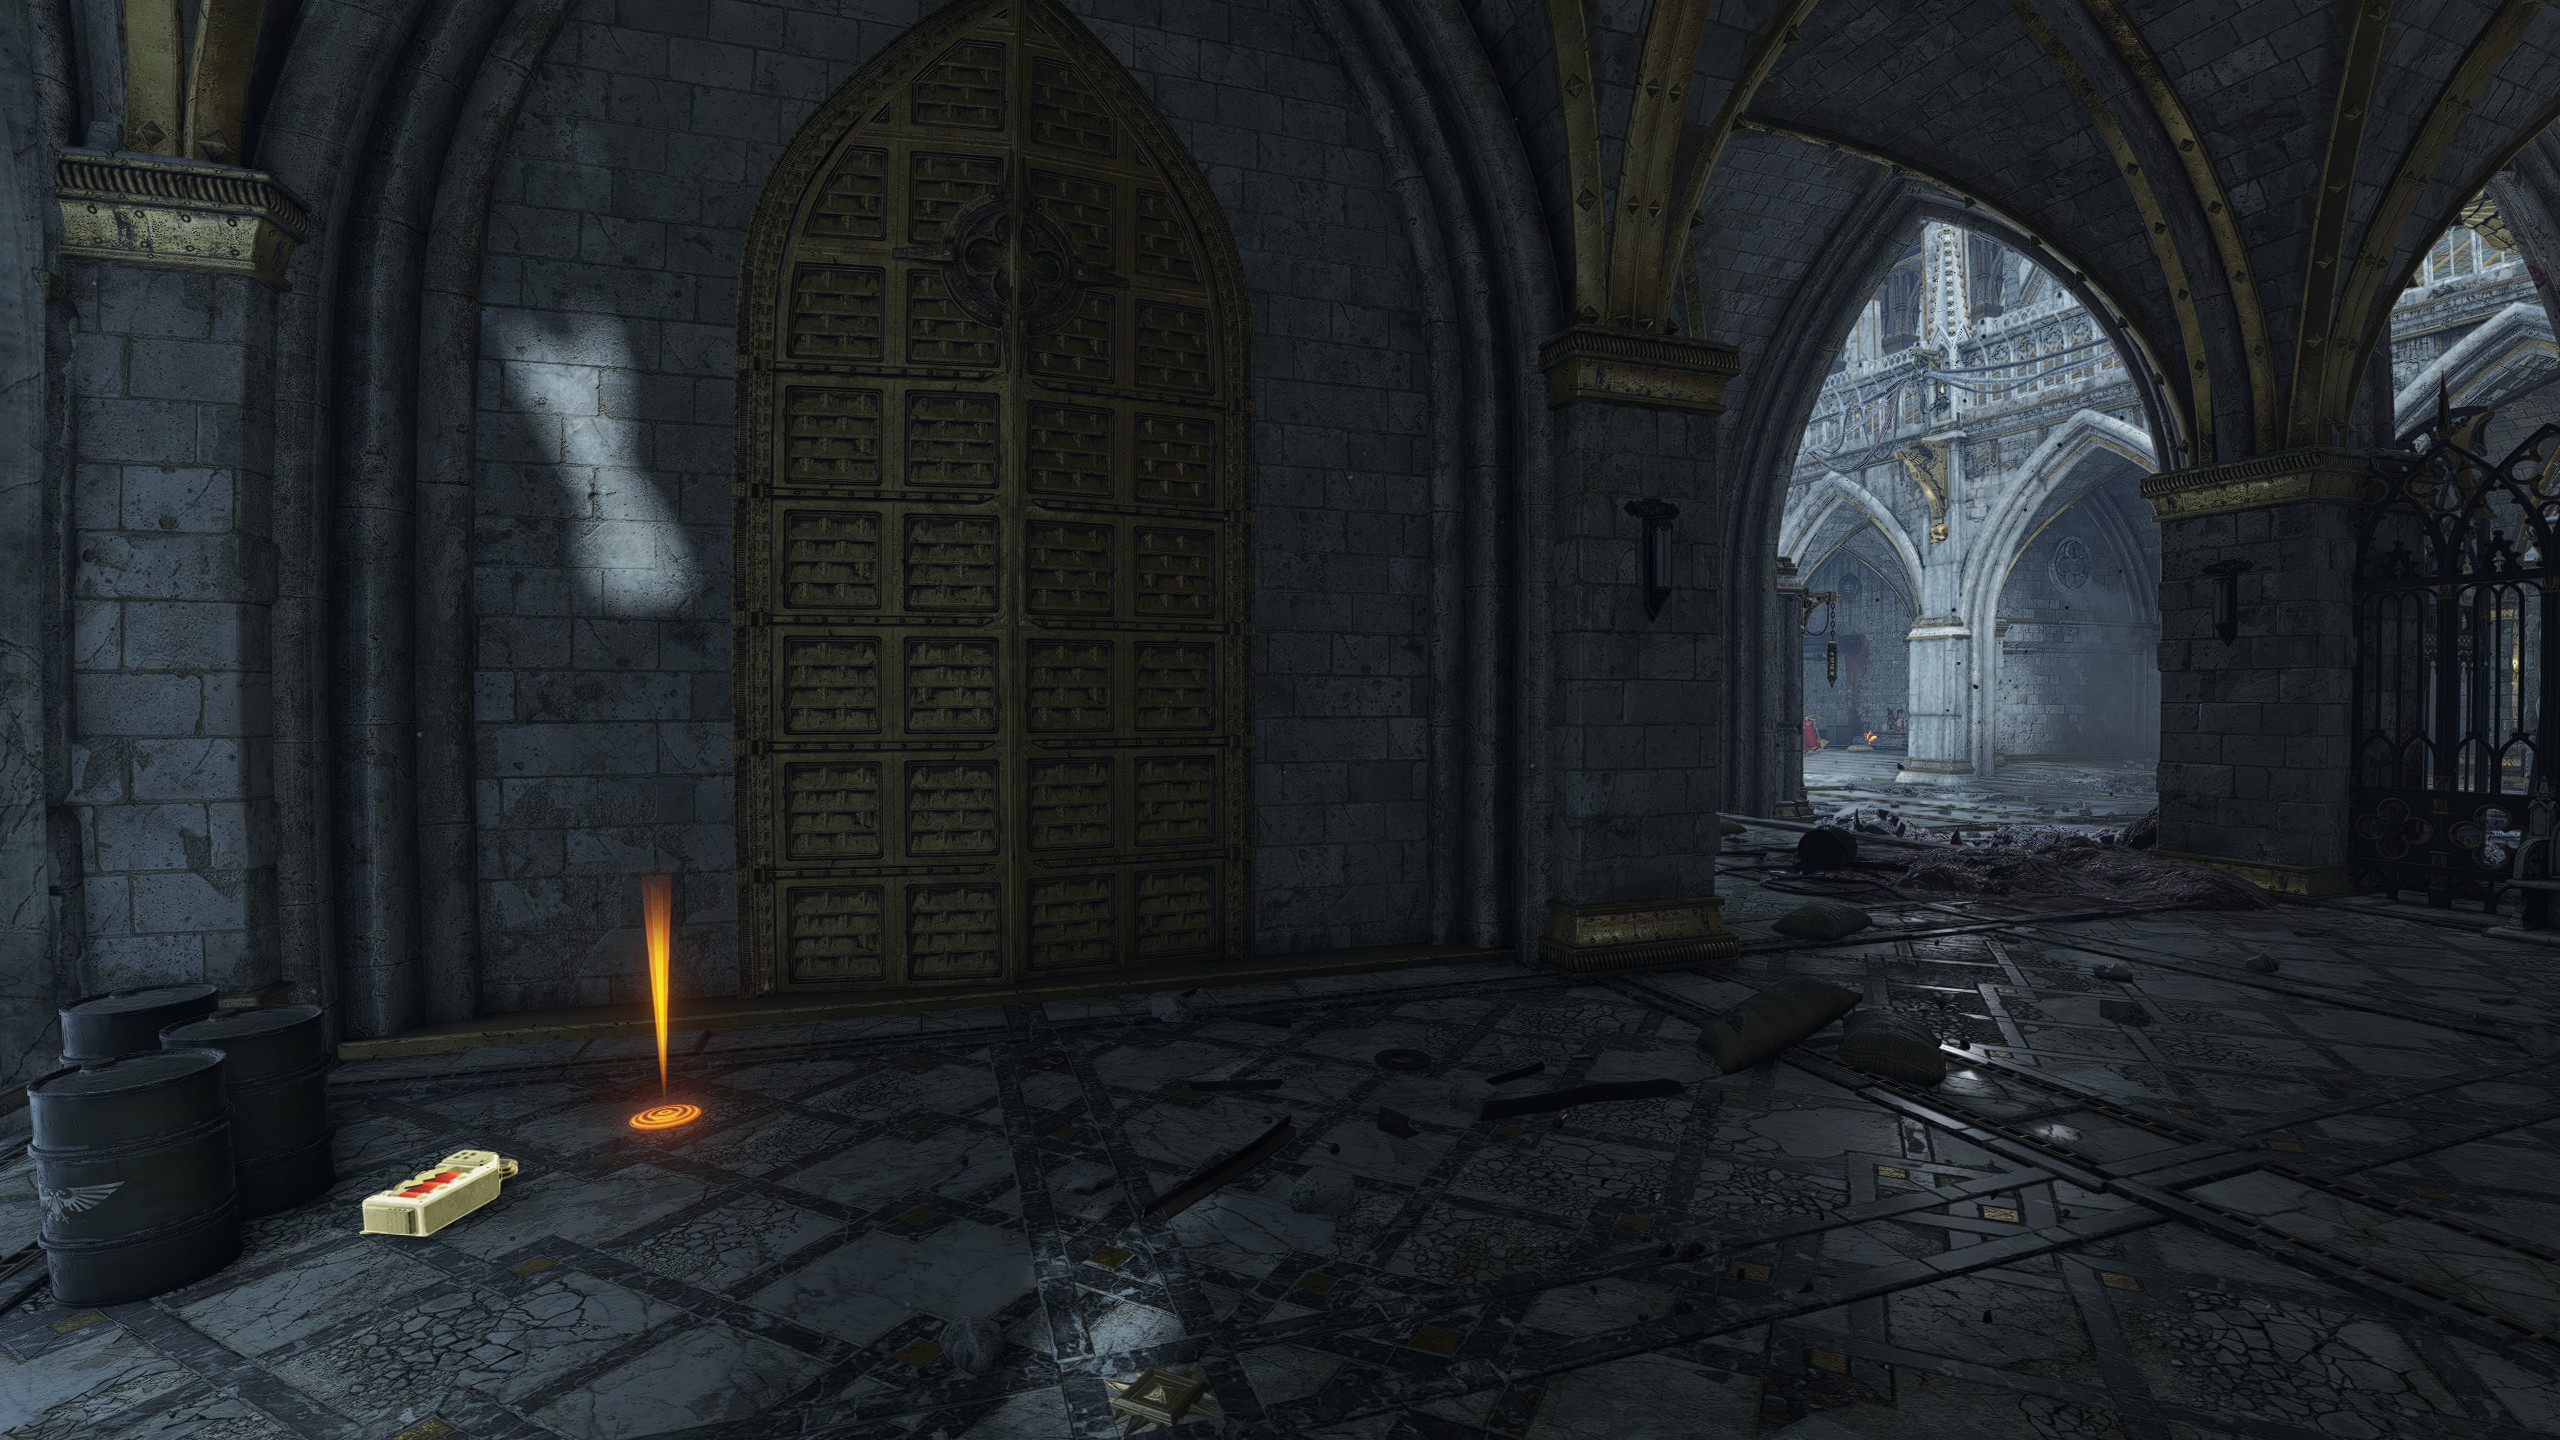
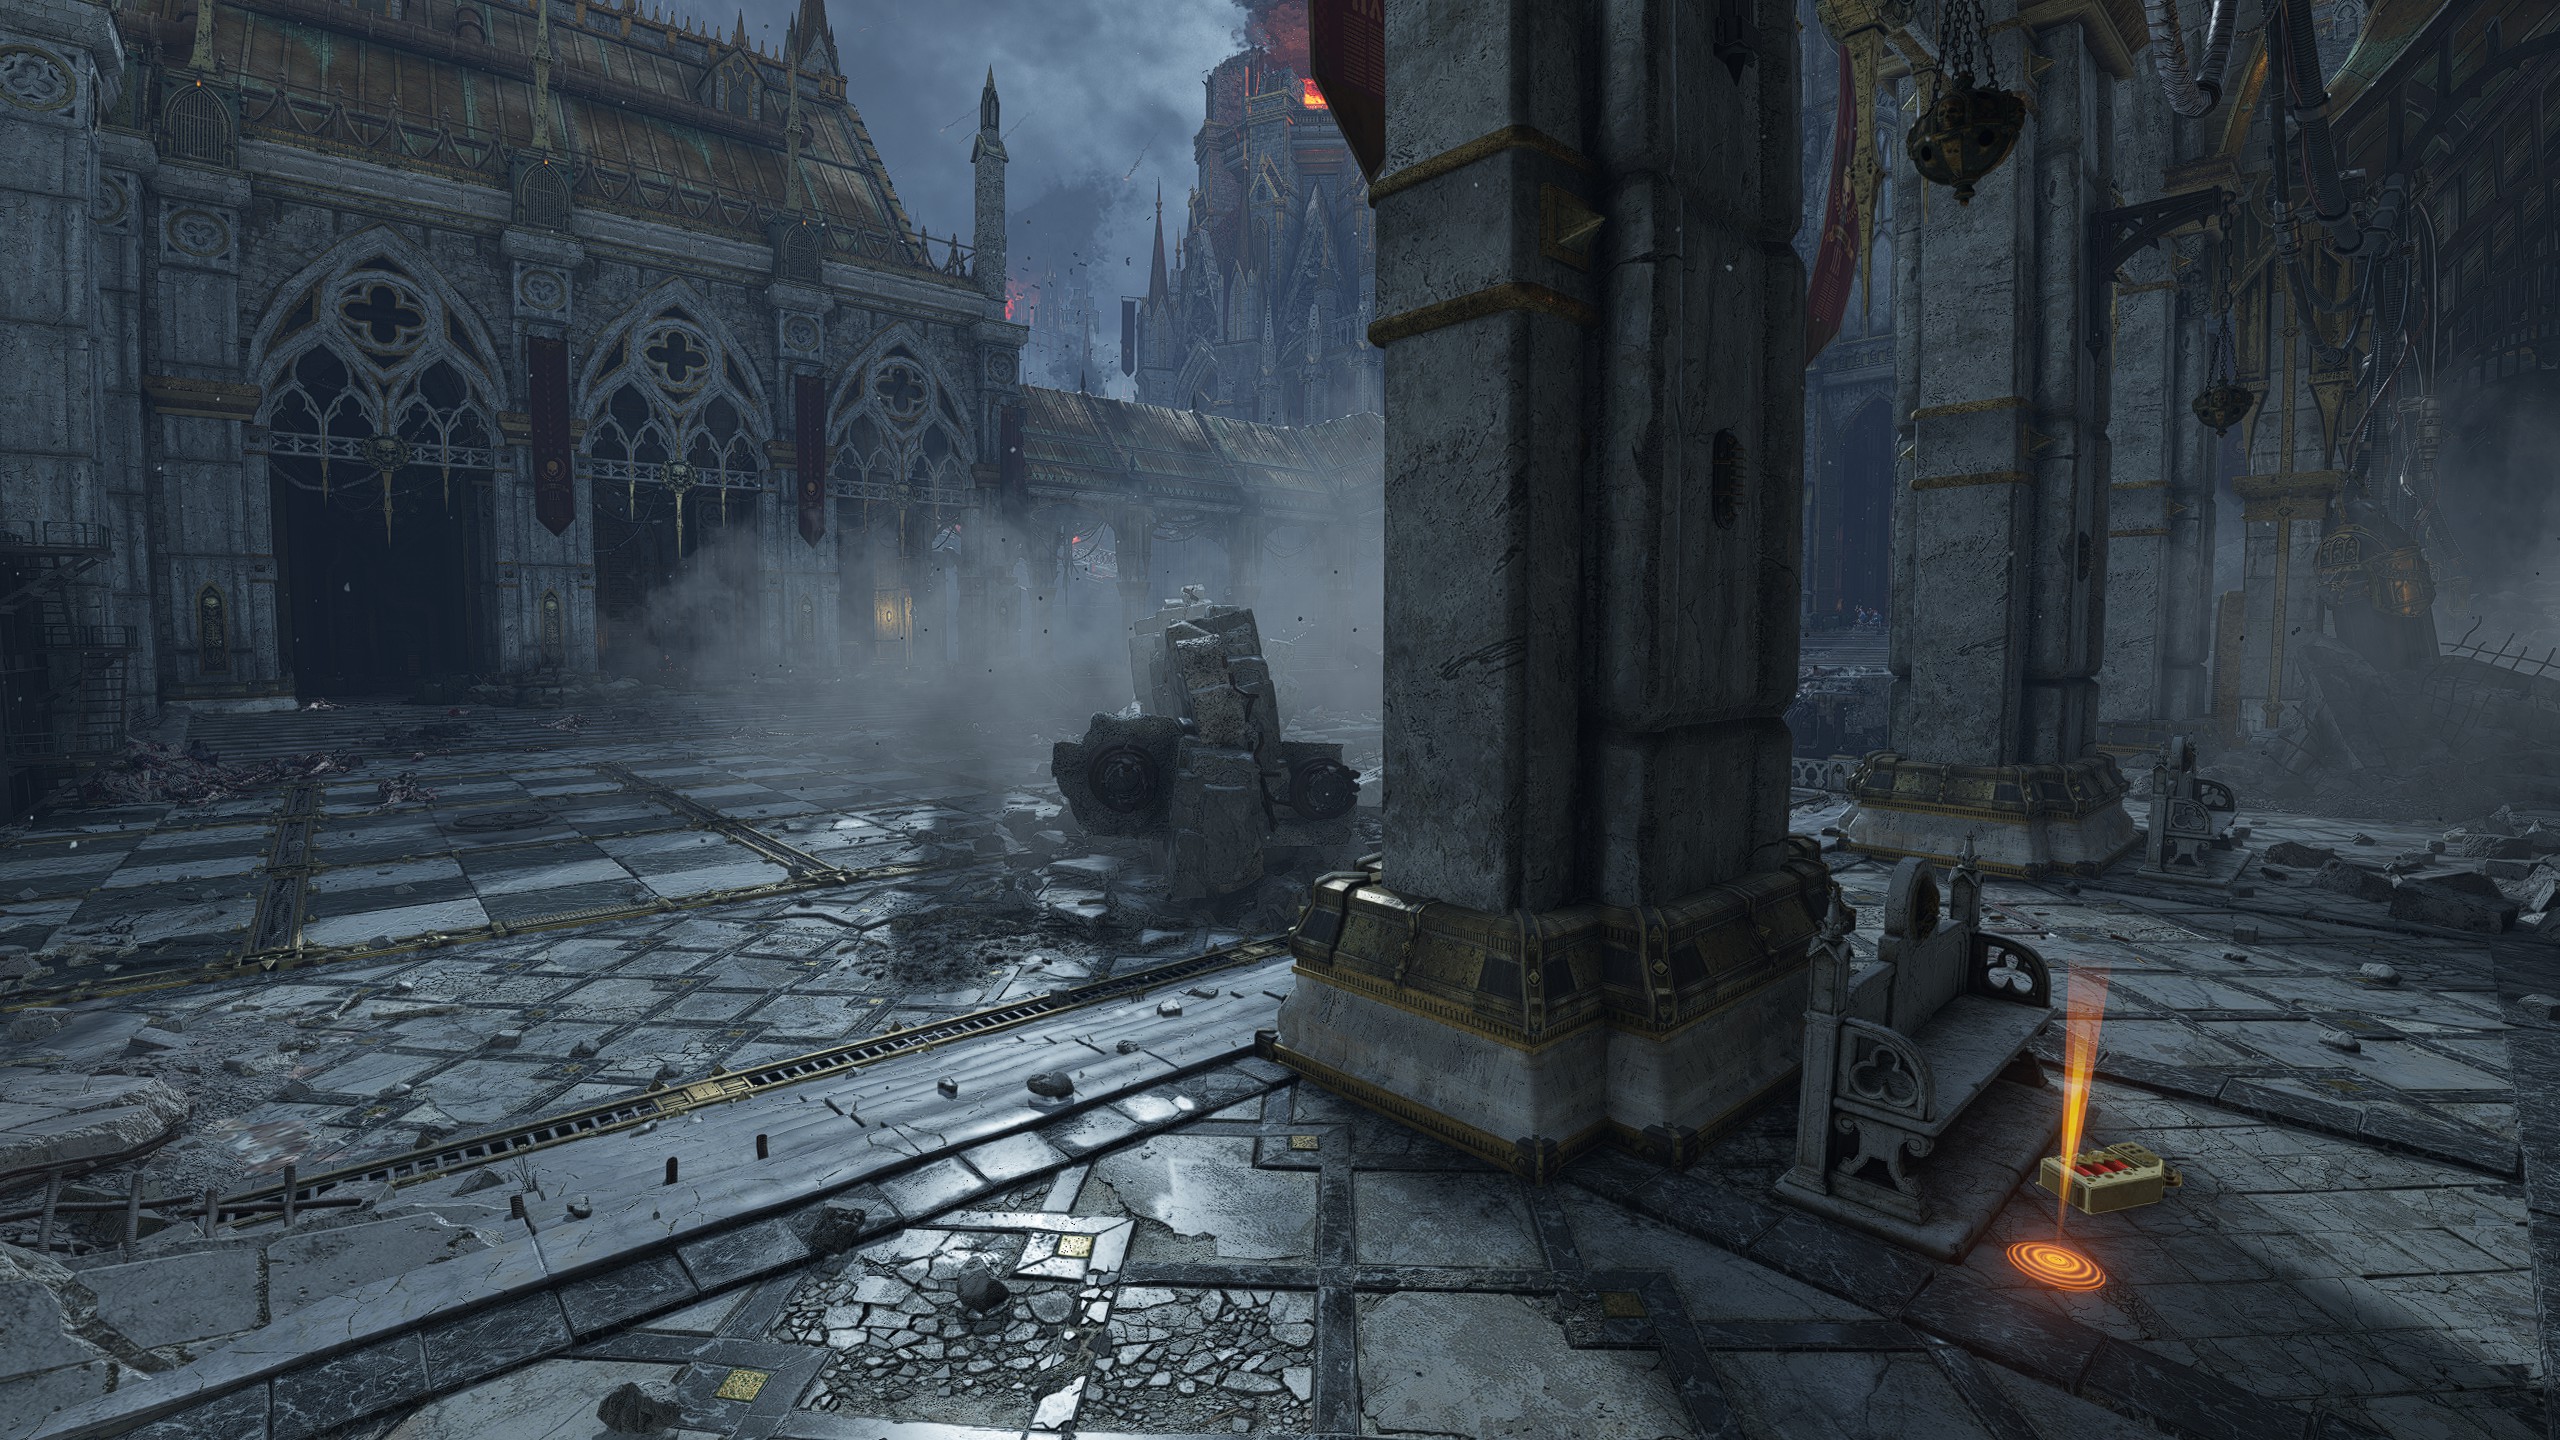
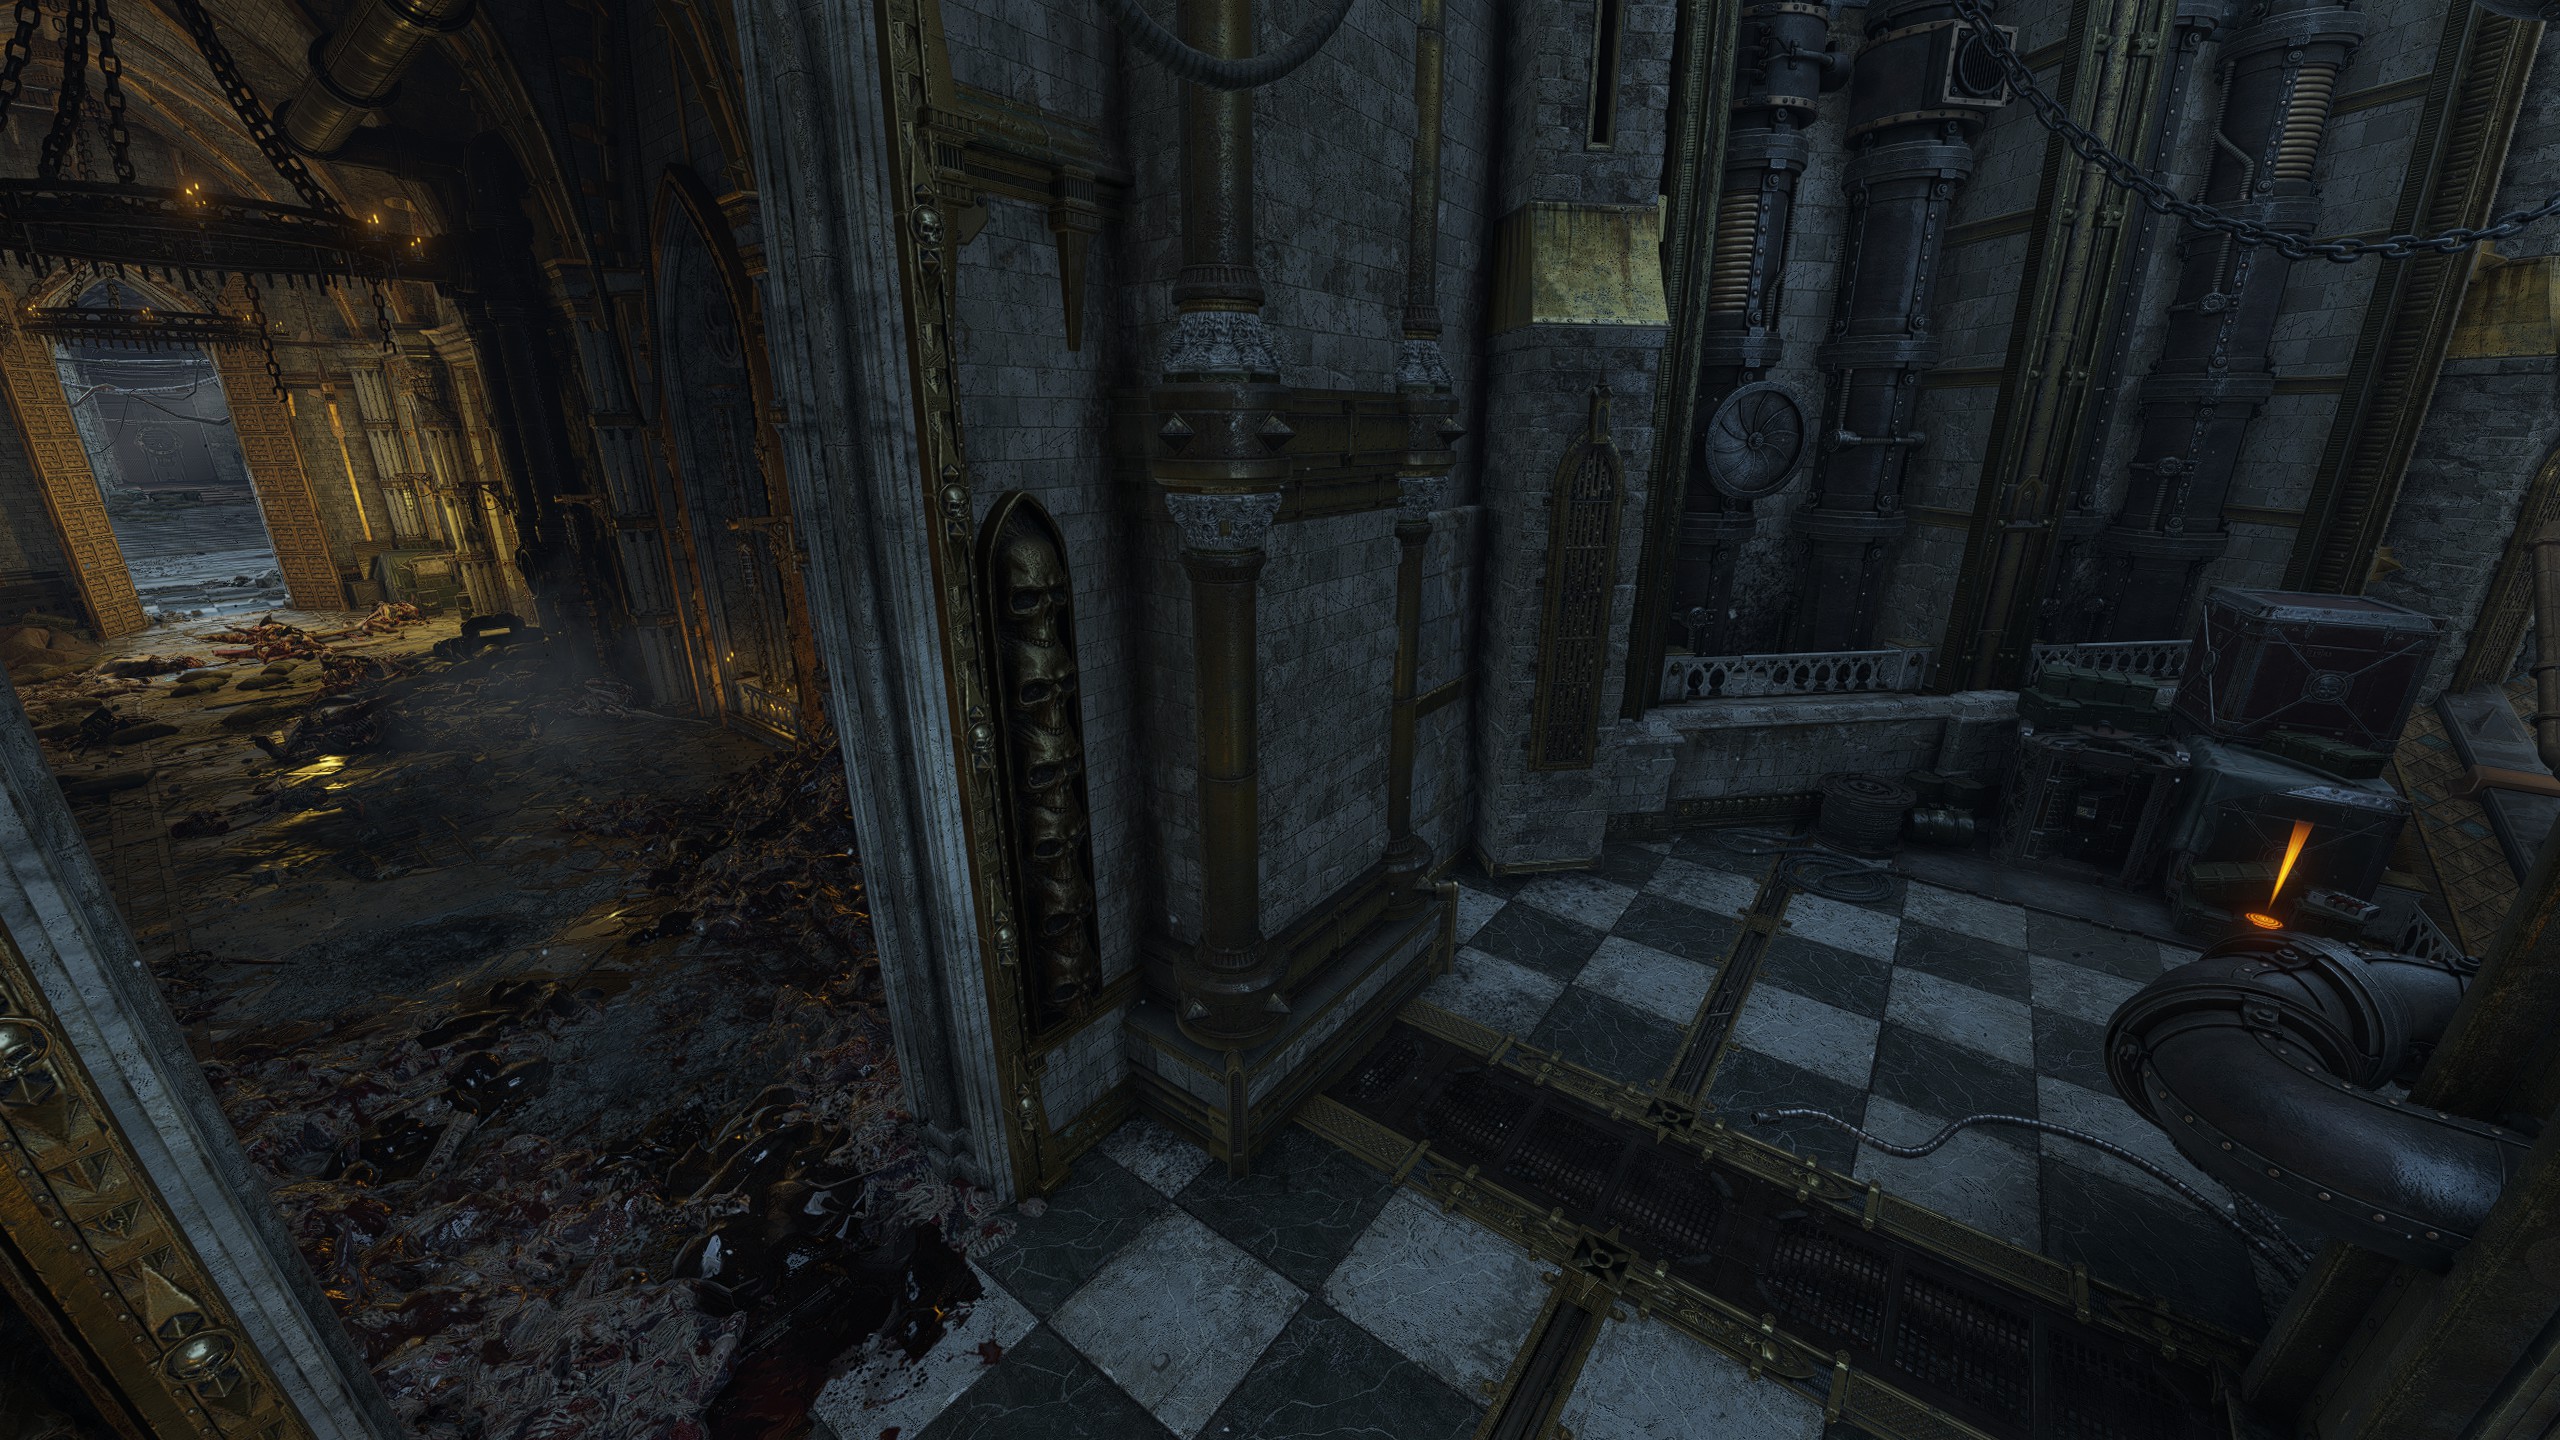
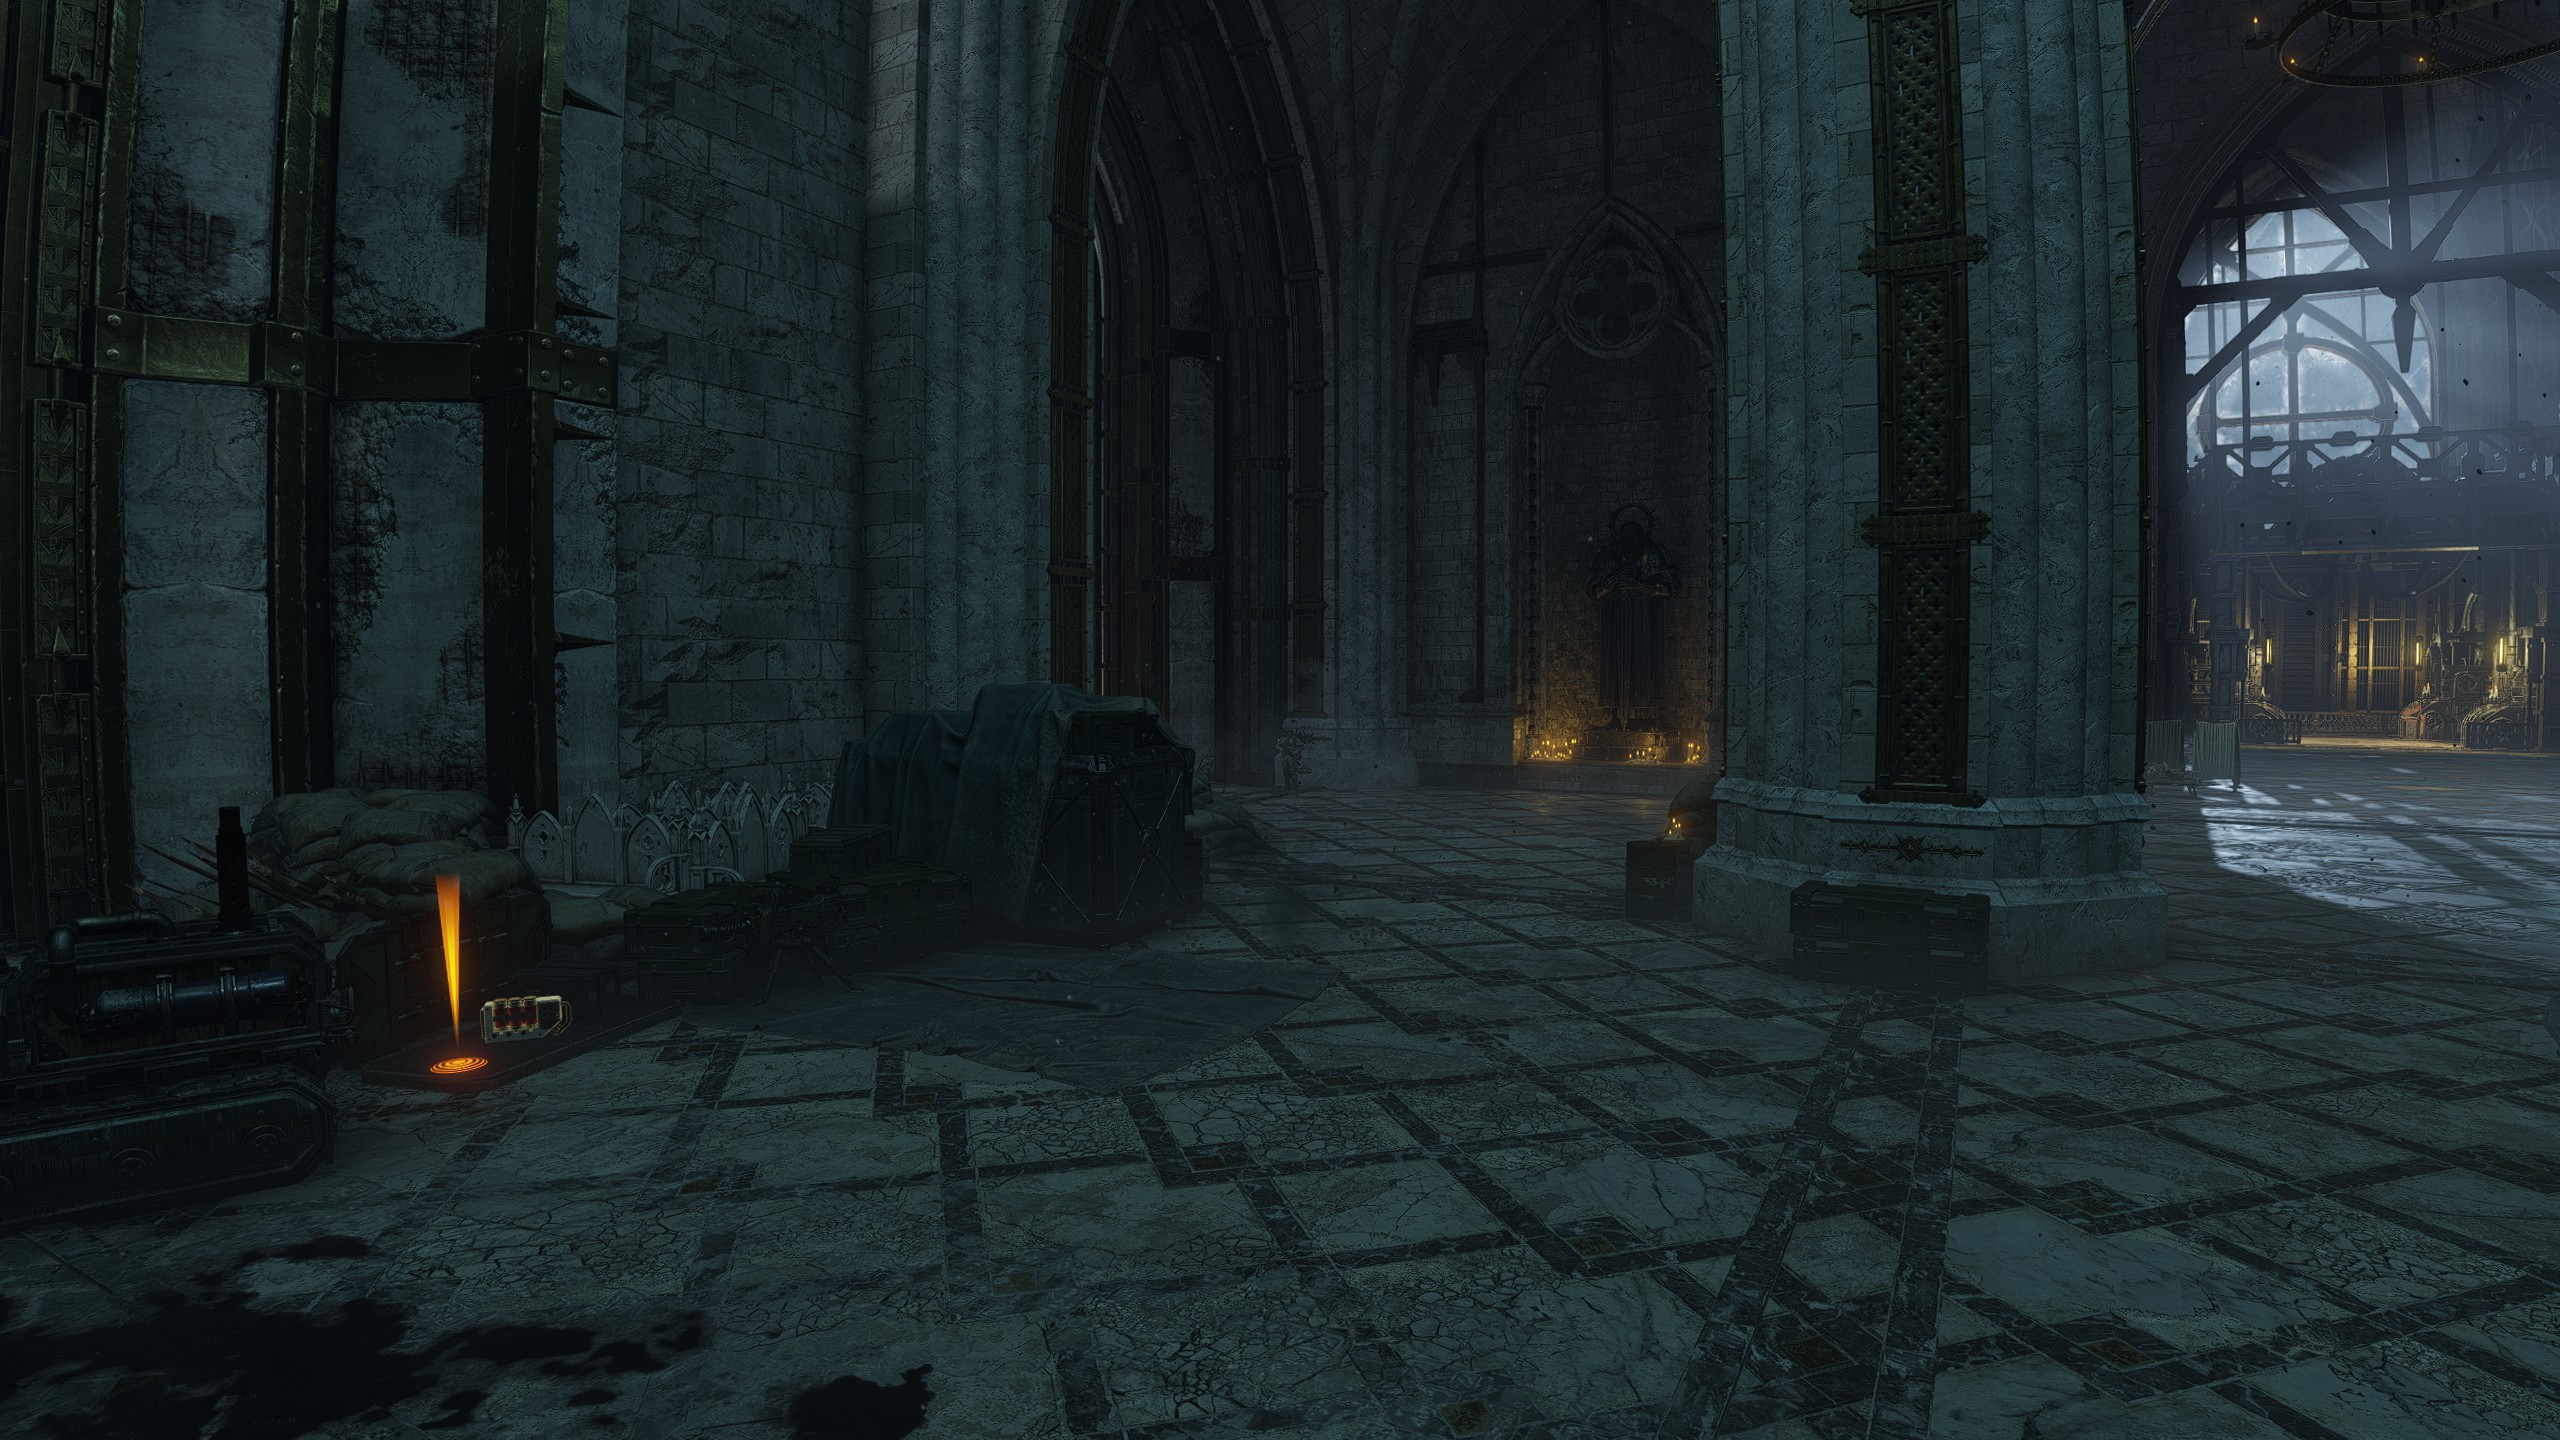
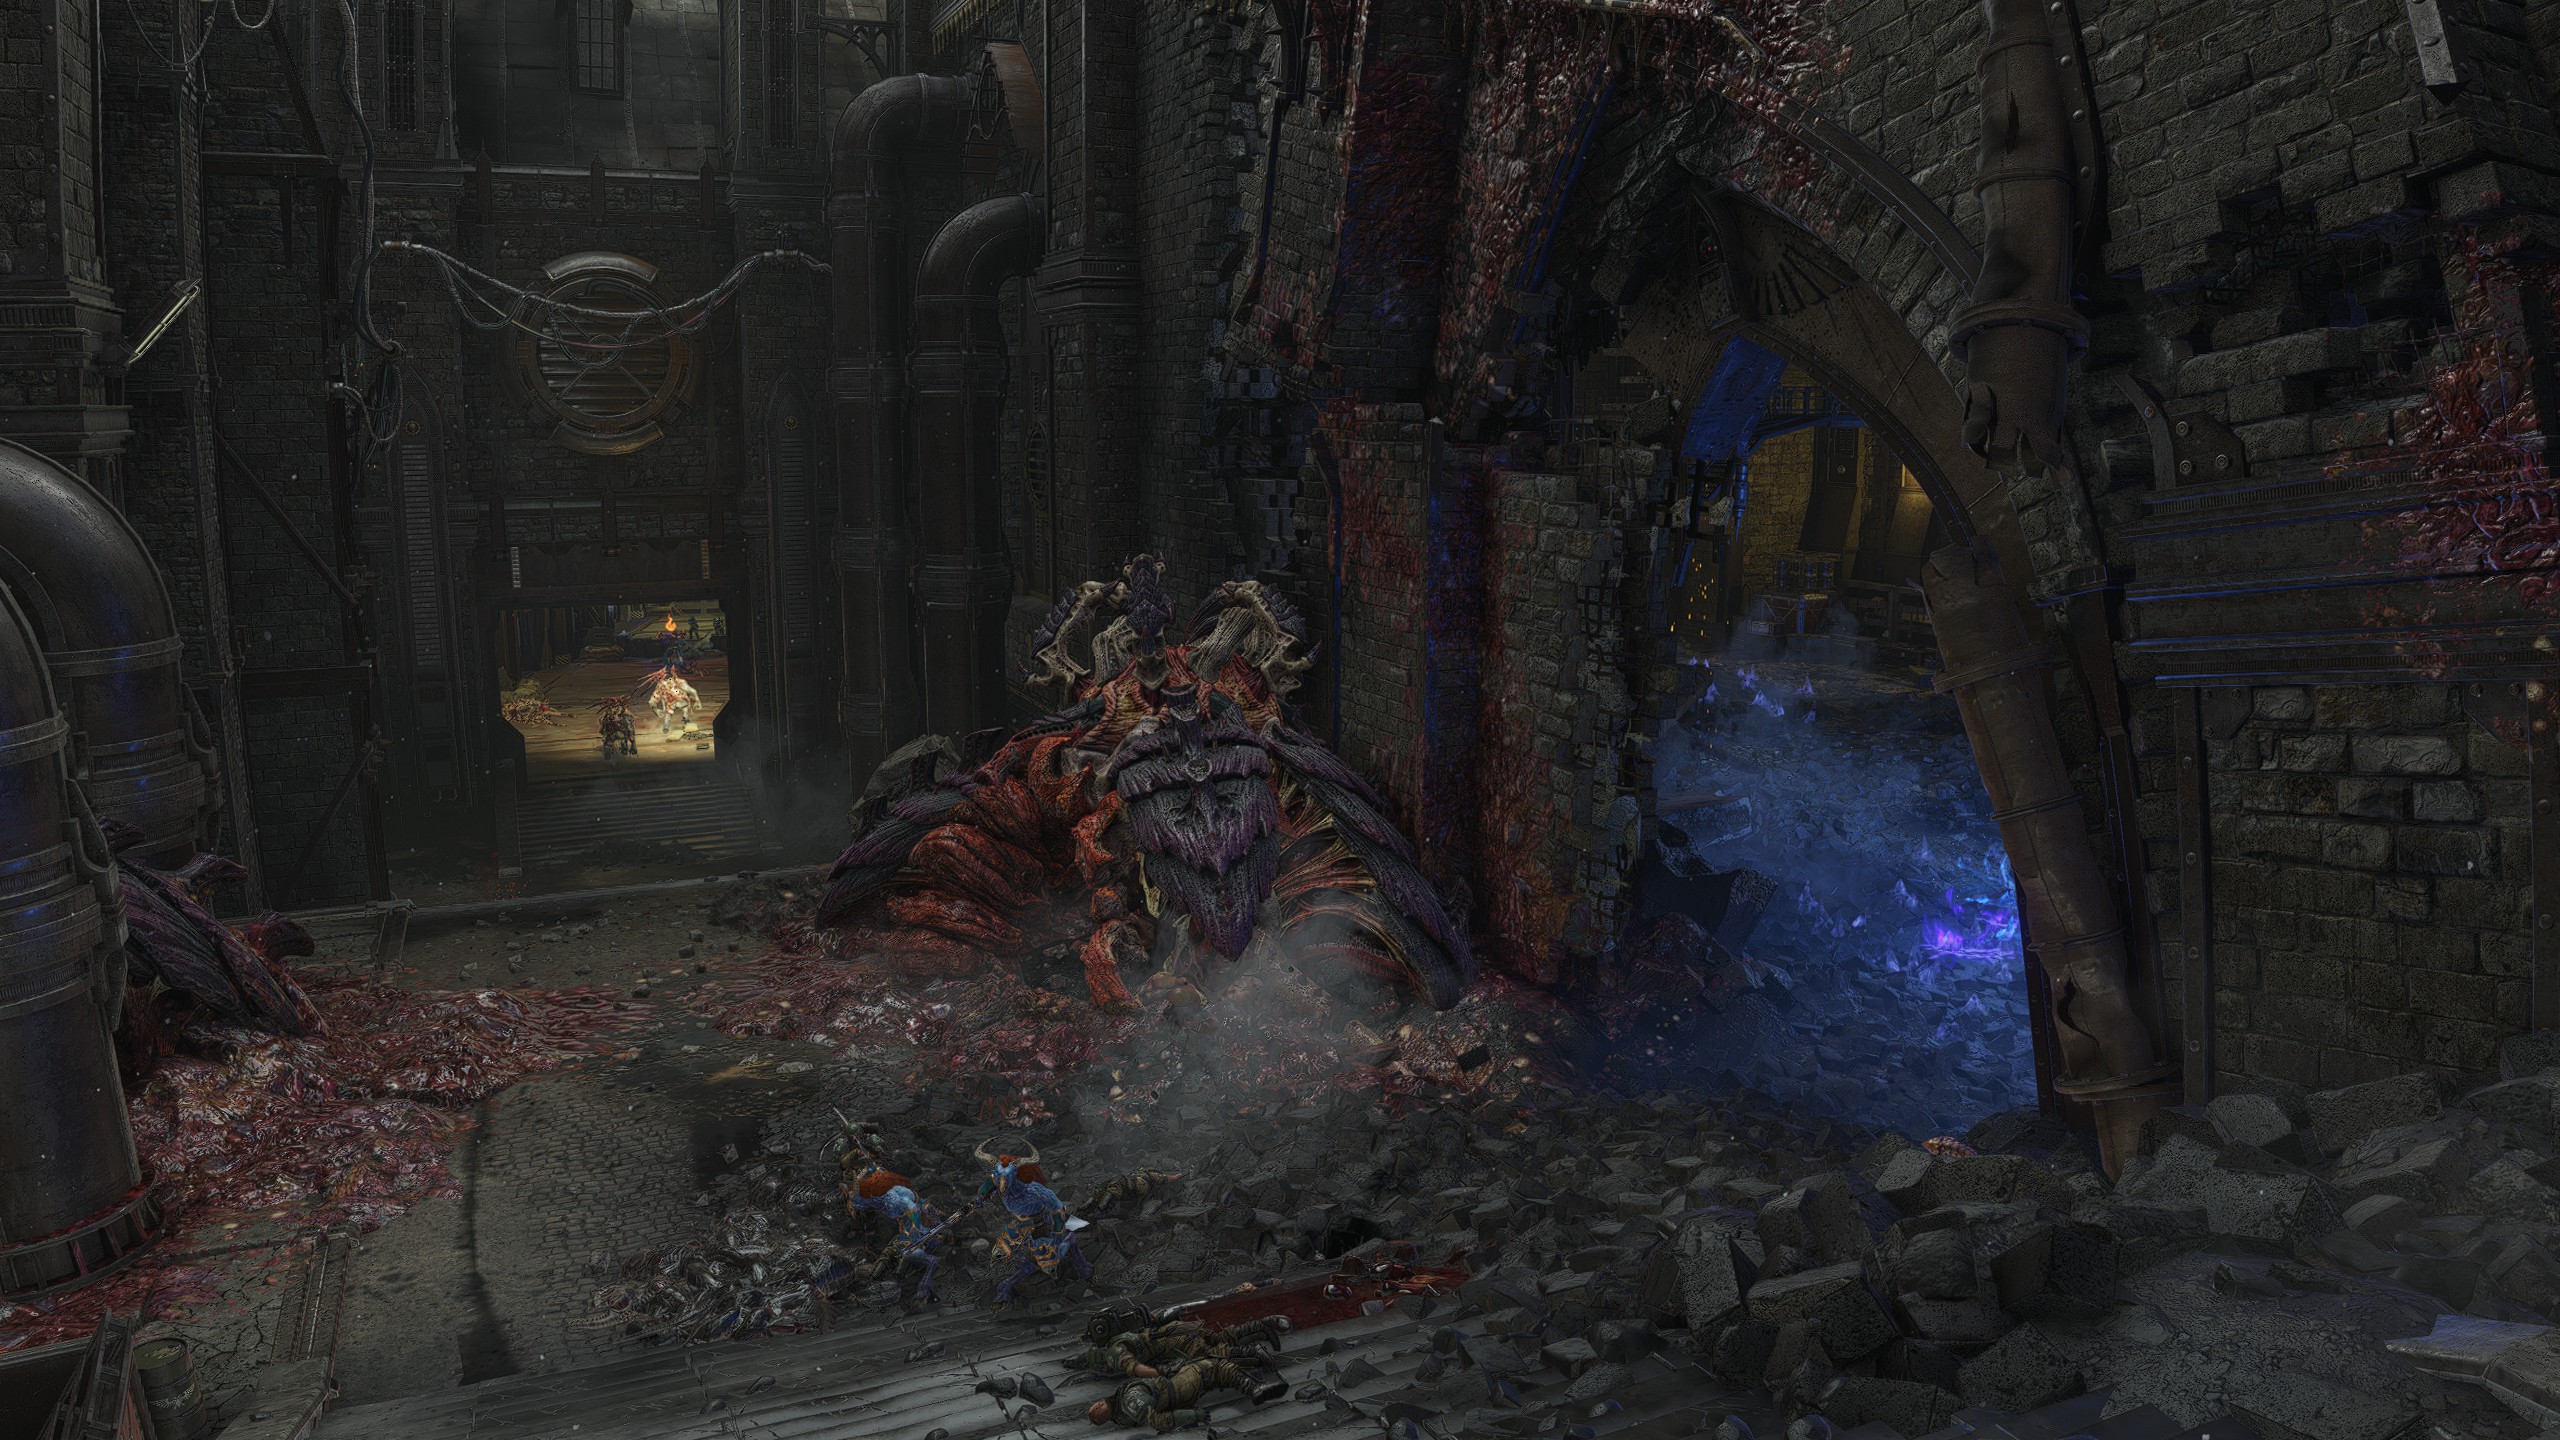
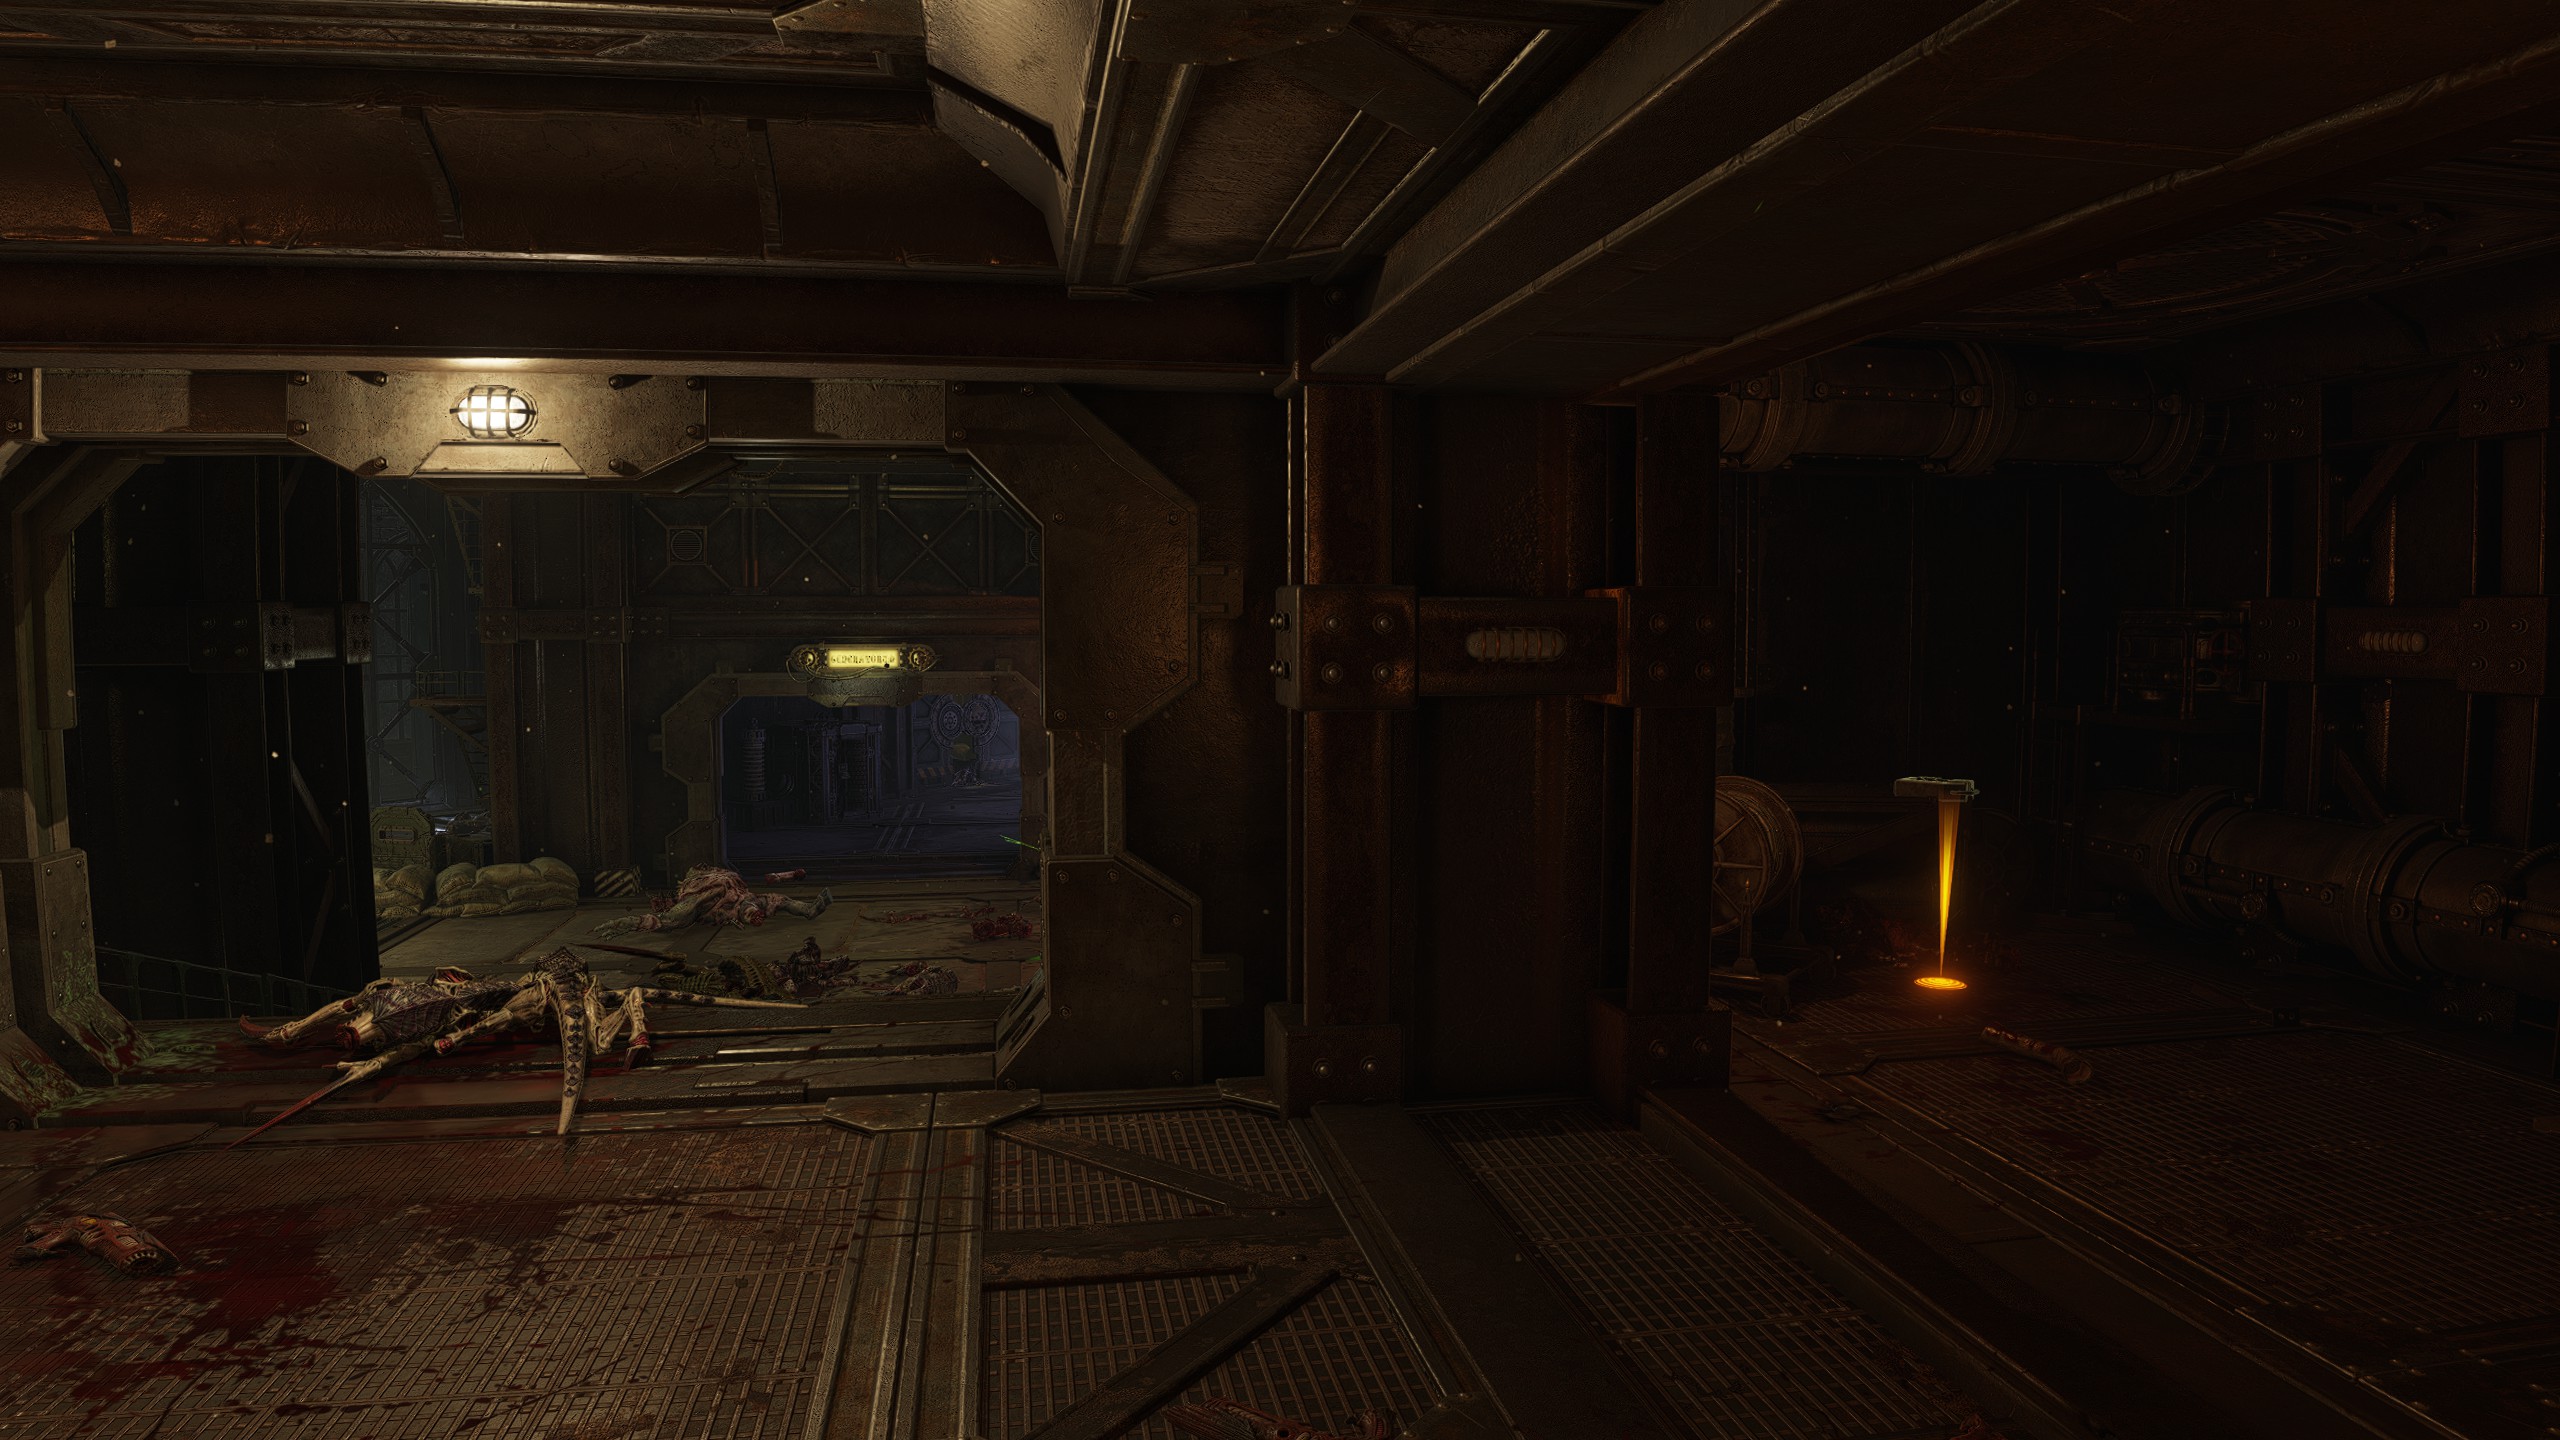
| Mission 13: Purgation
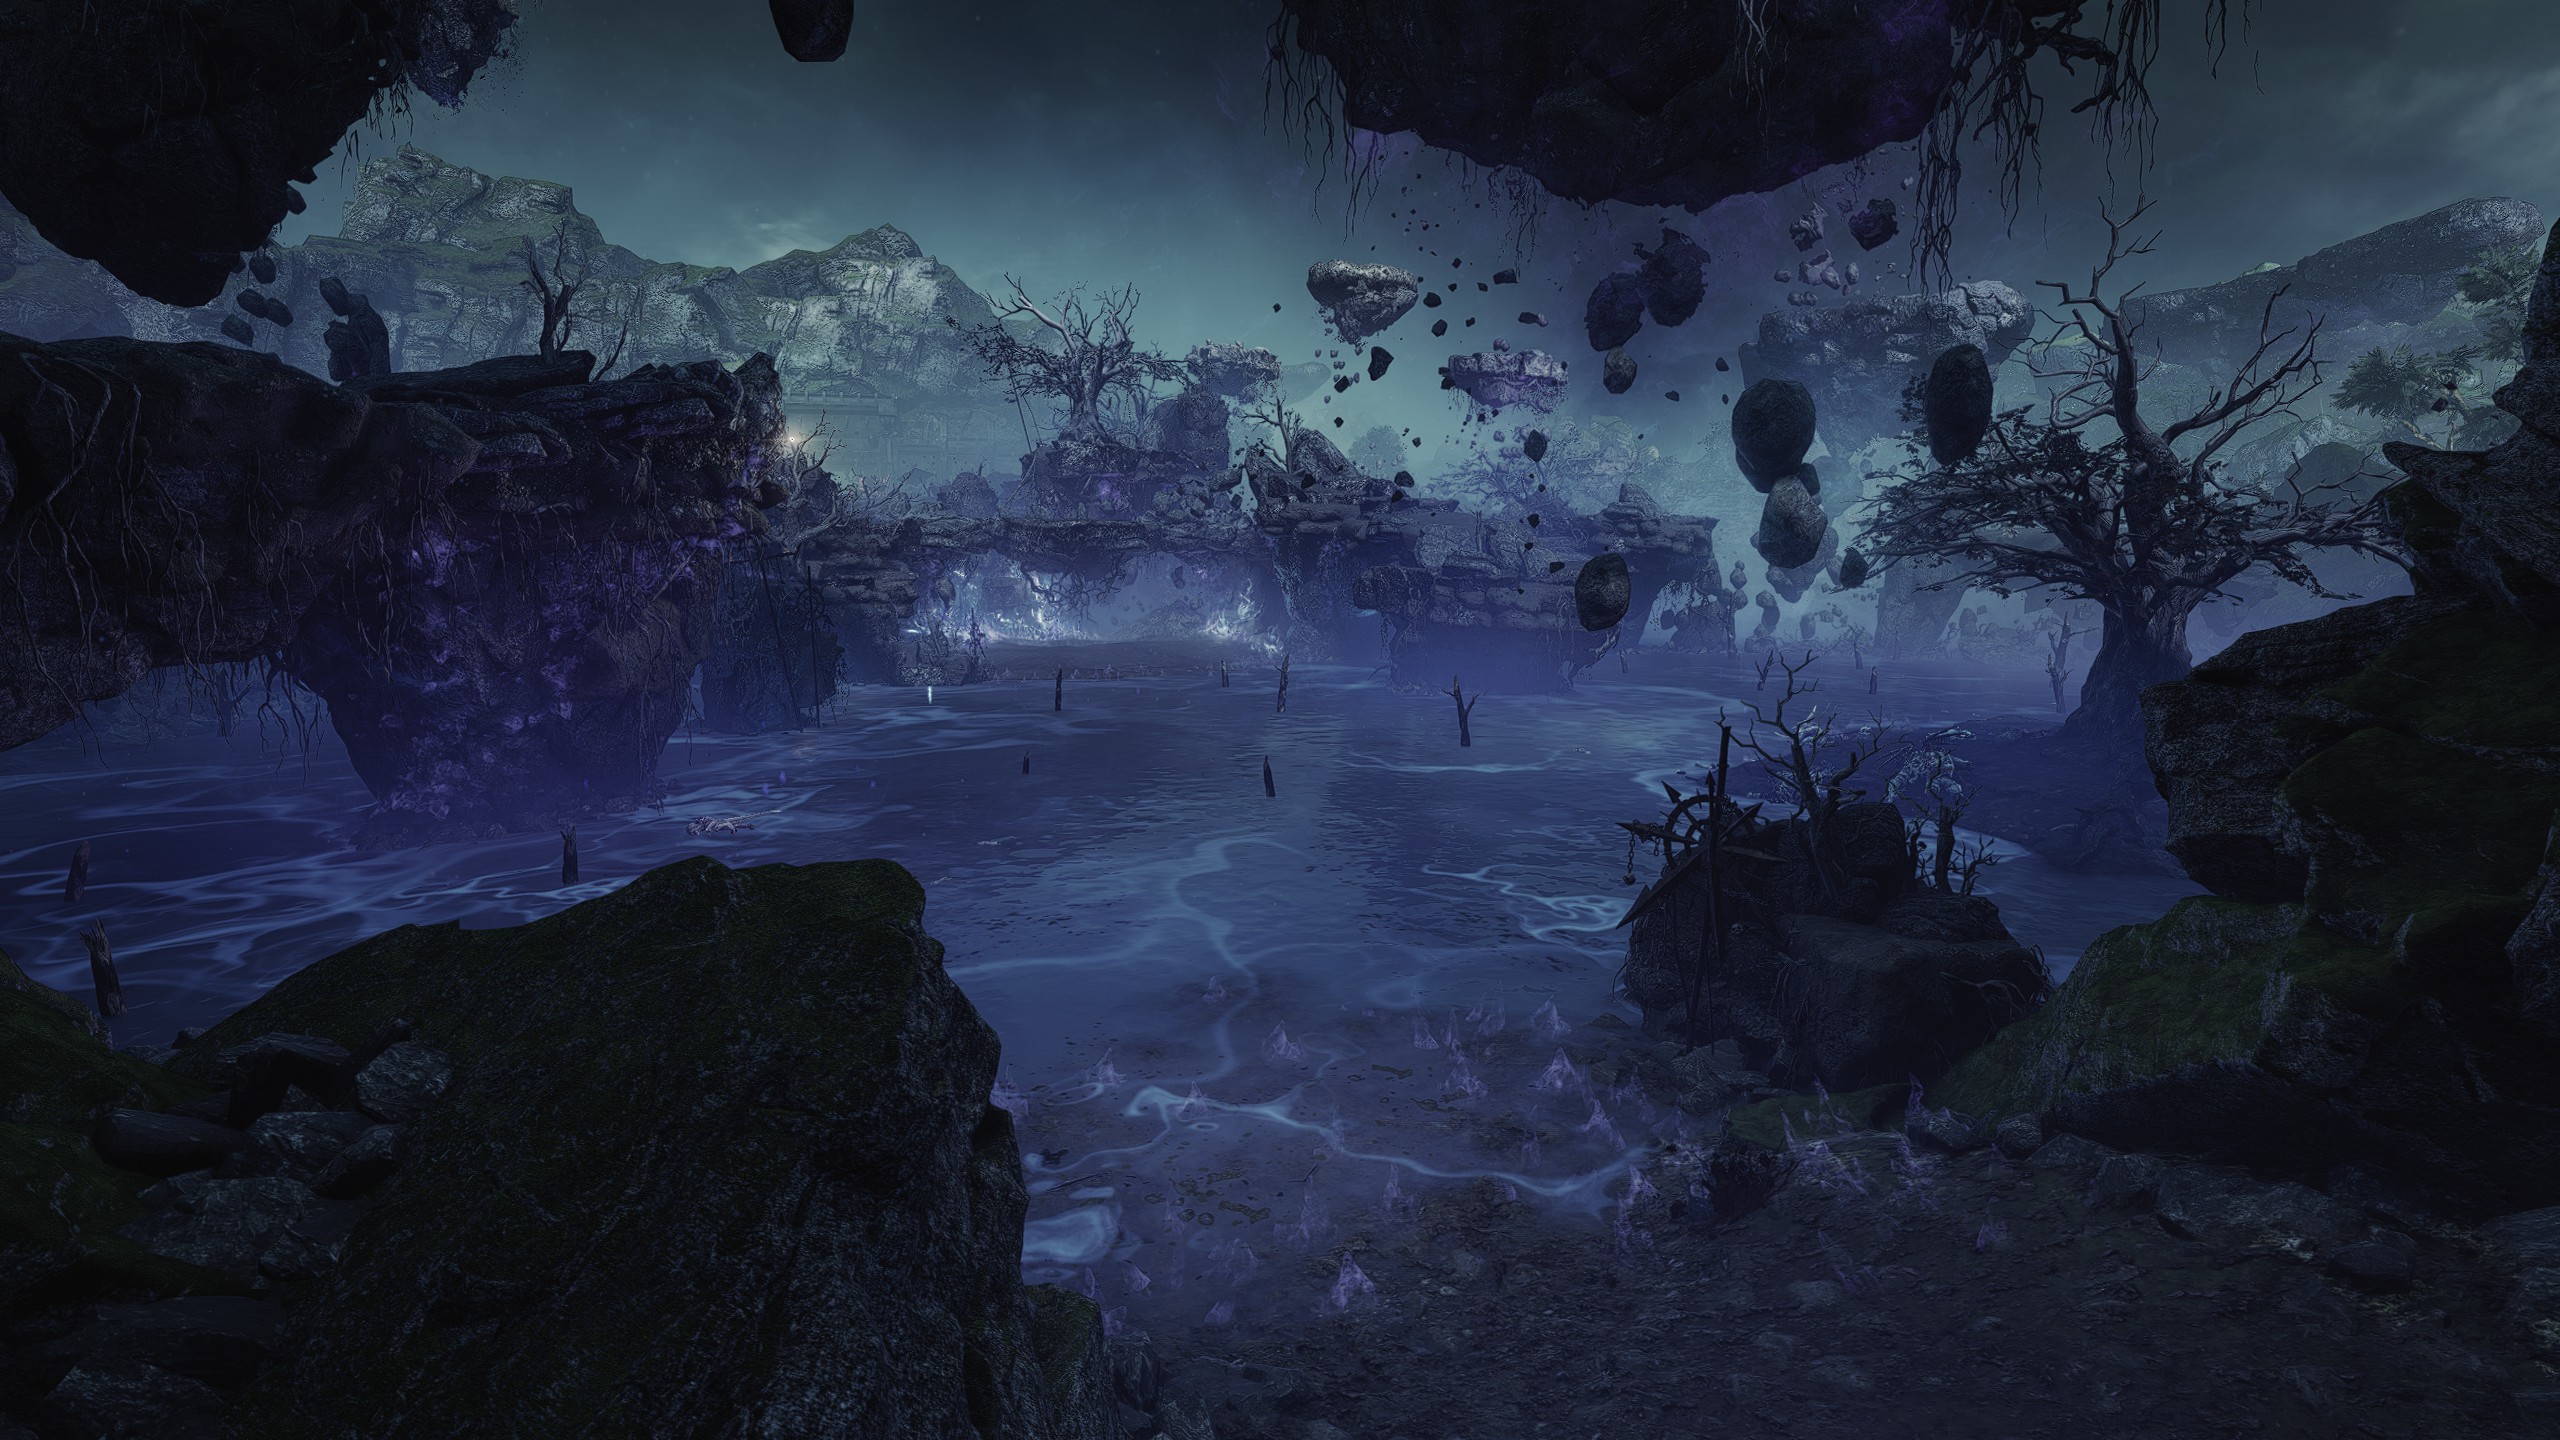
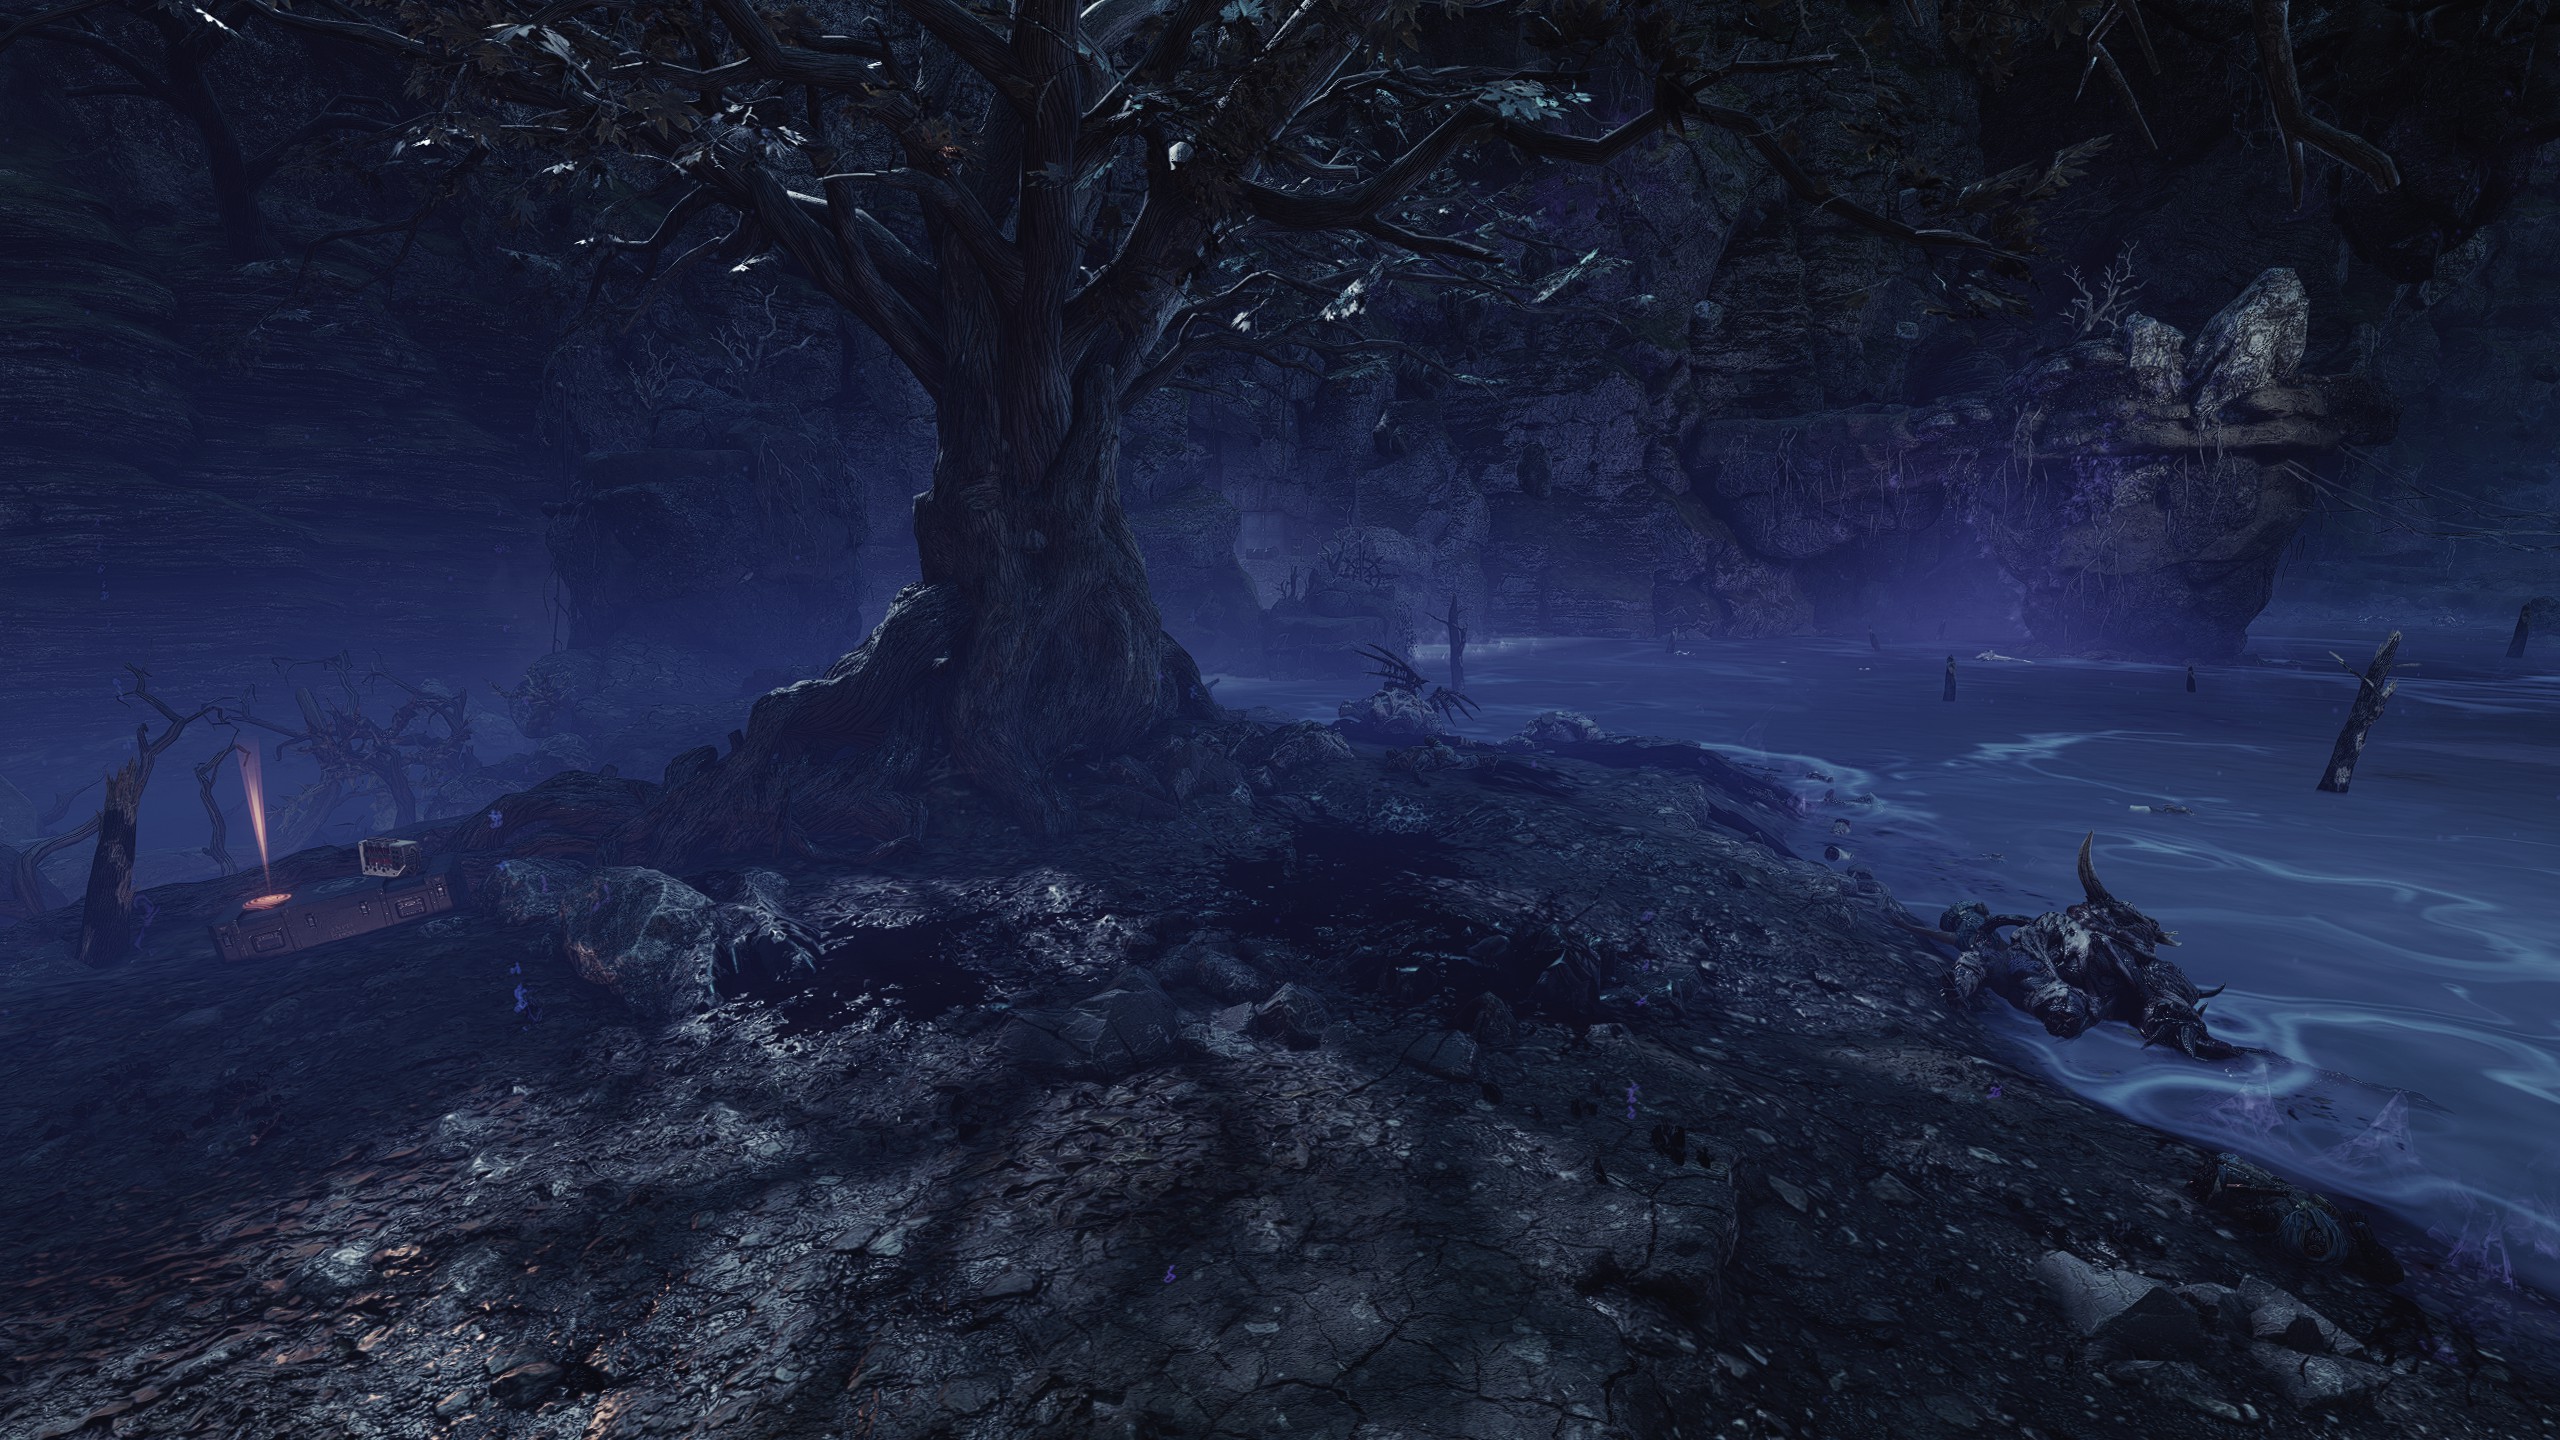
Like Reclamation, I've opted to double-up on the images to better visualise some of the locations.
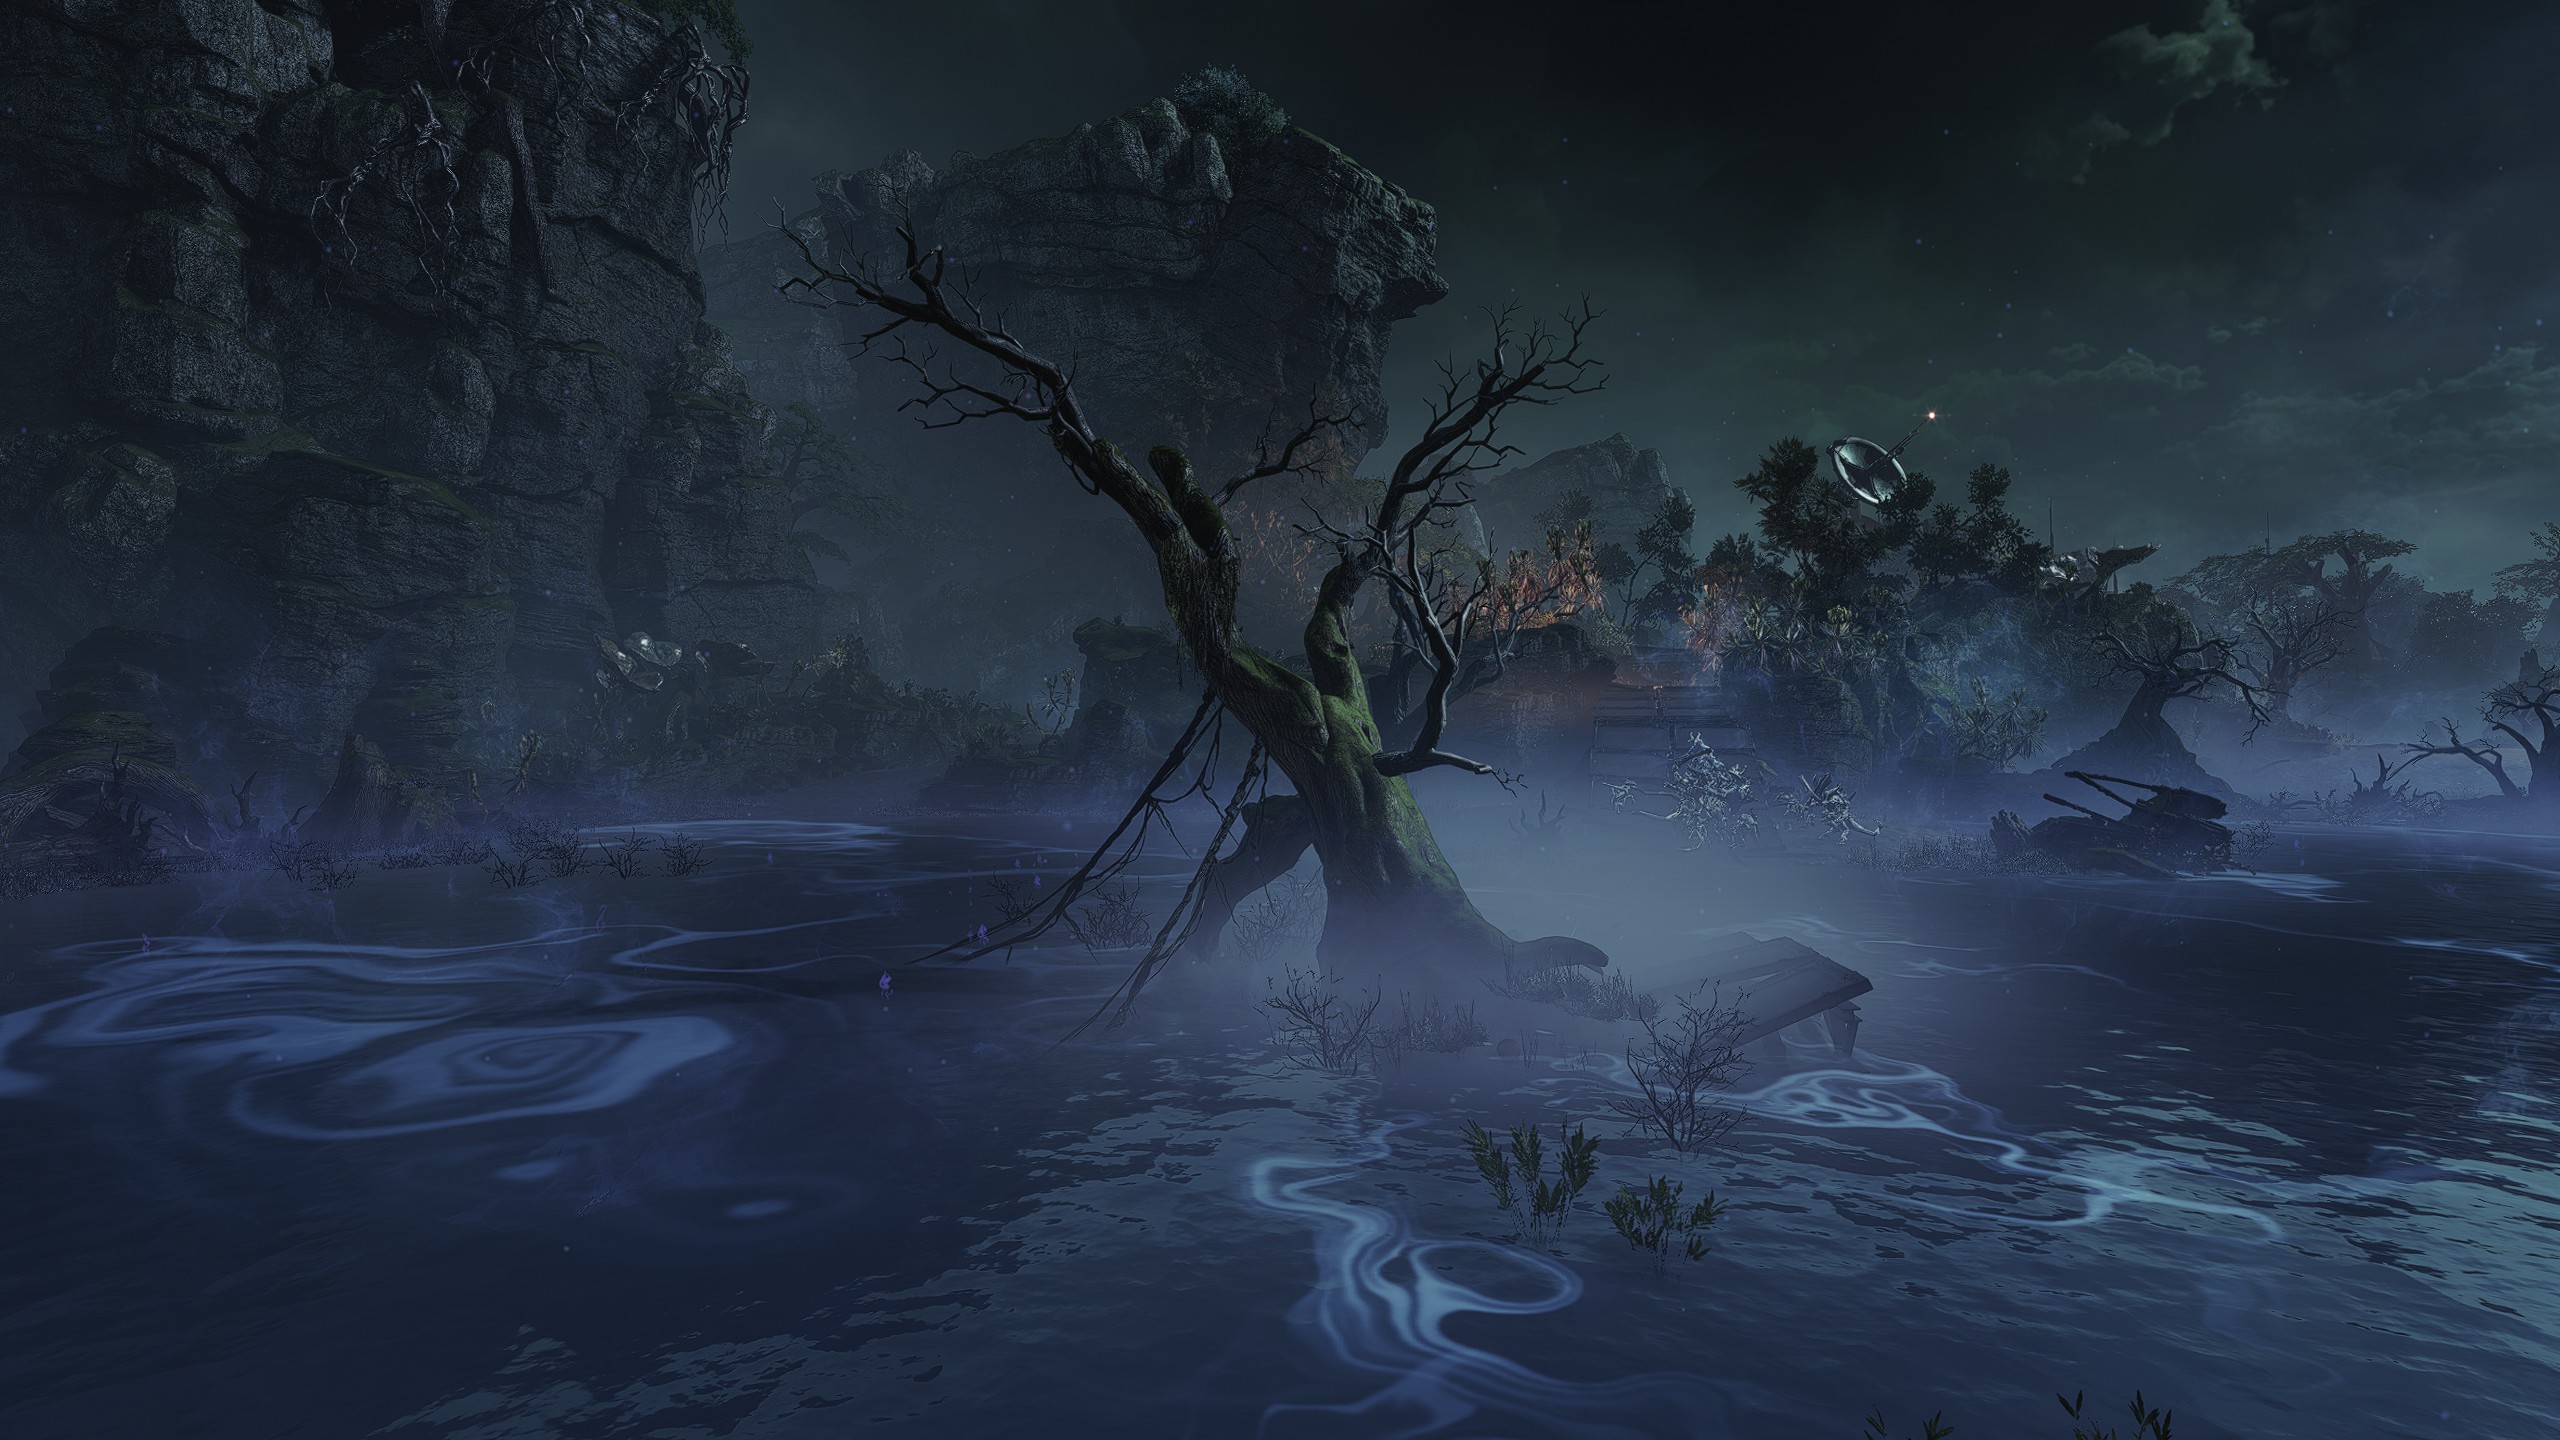
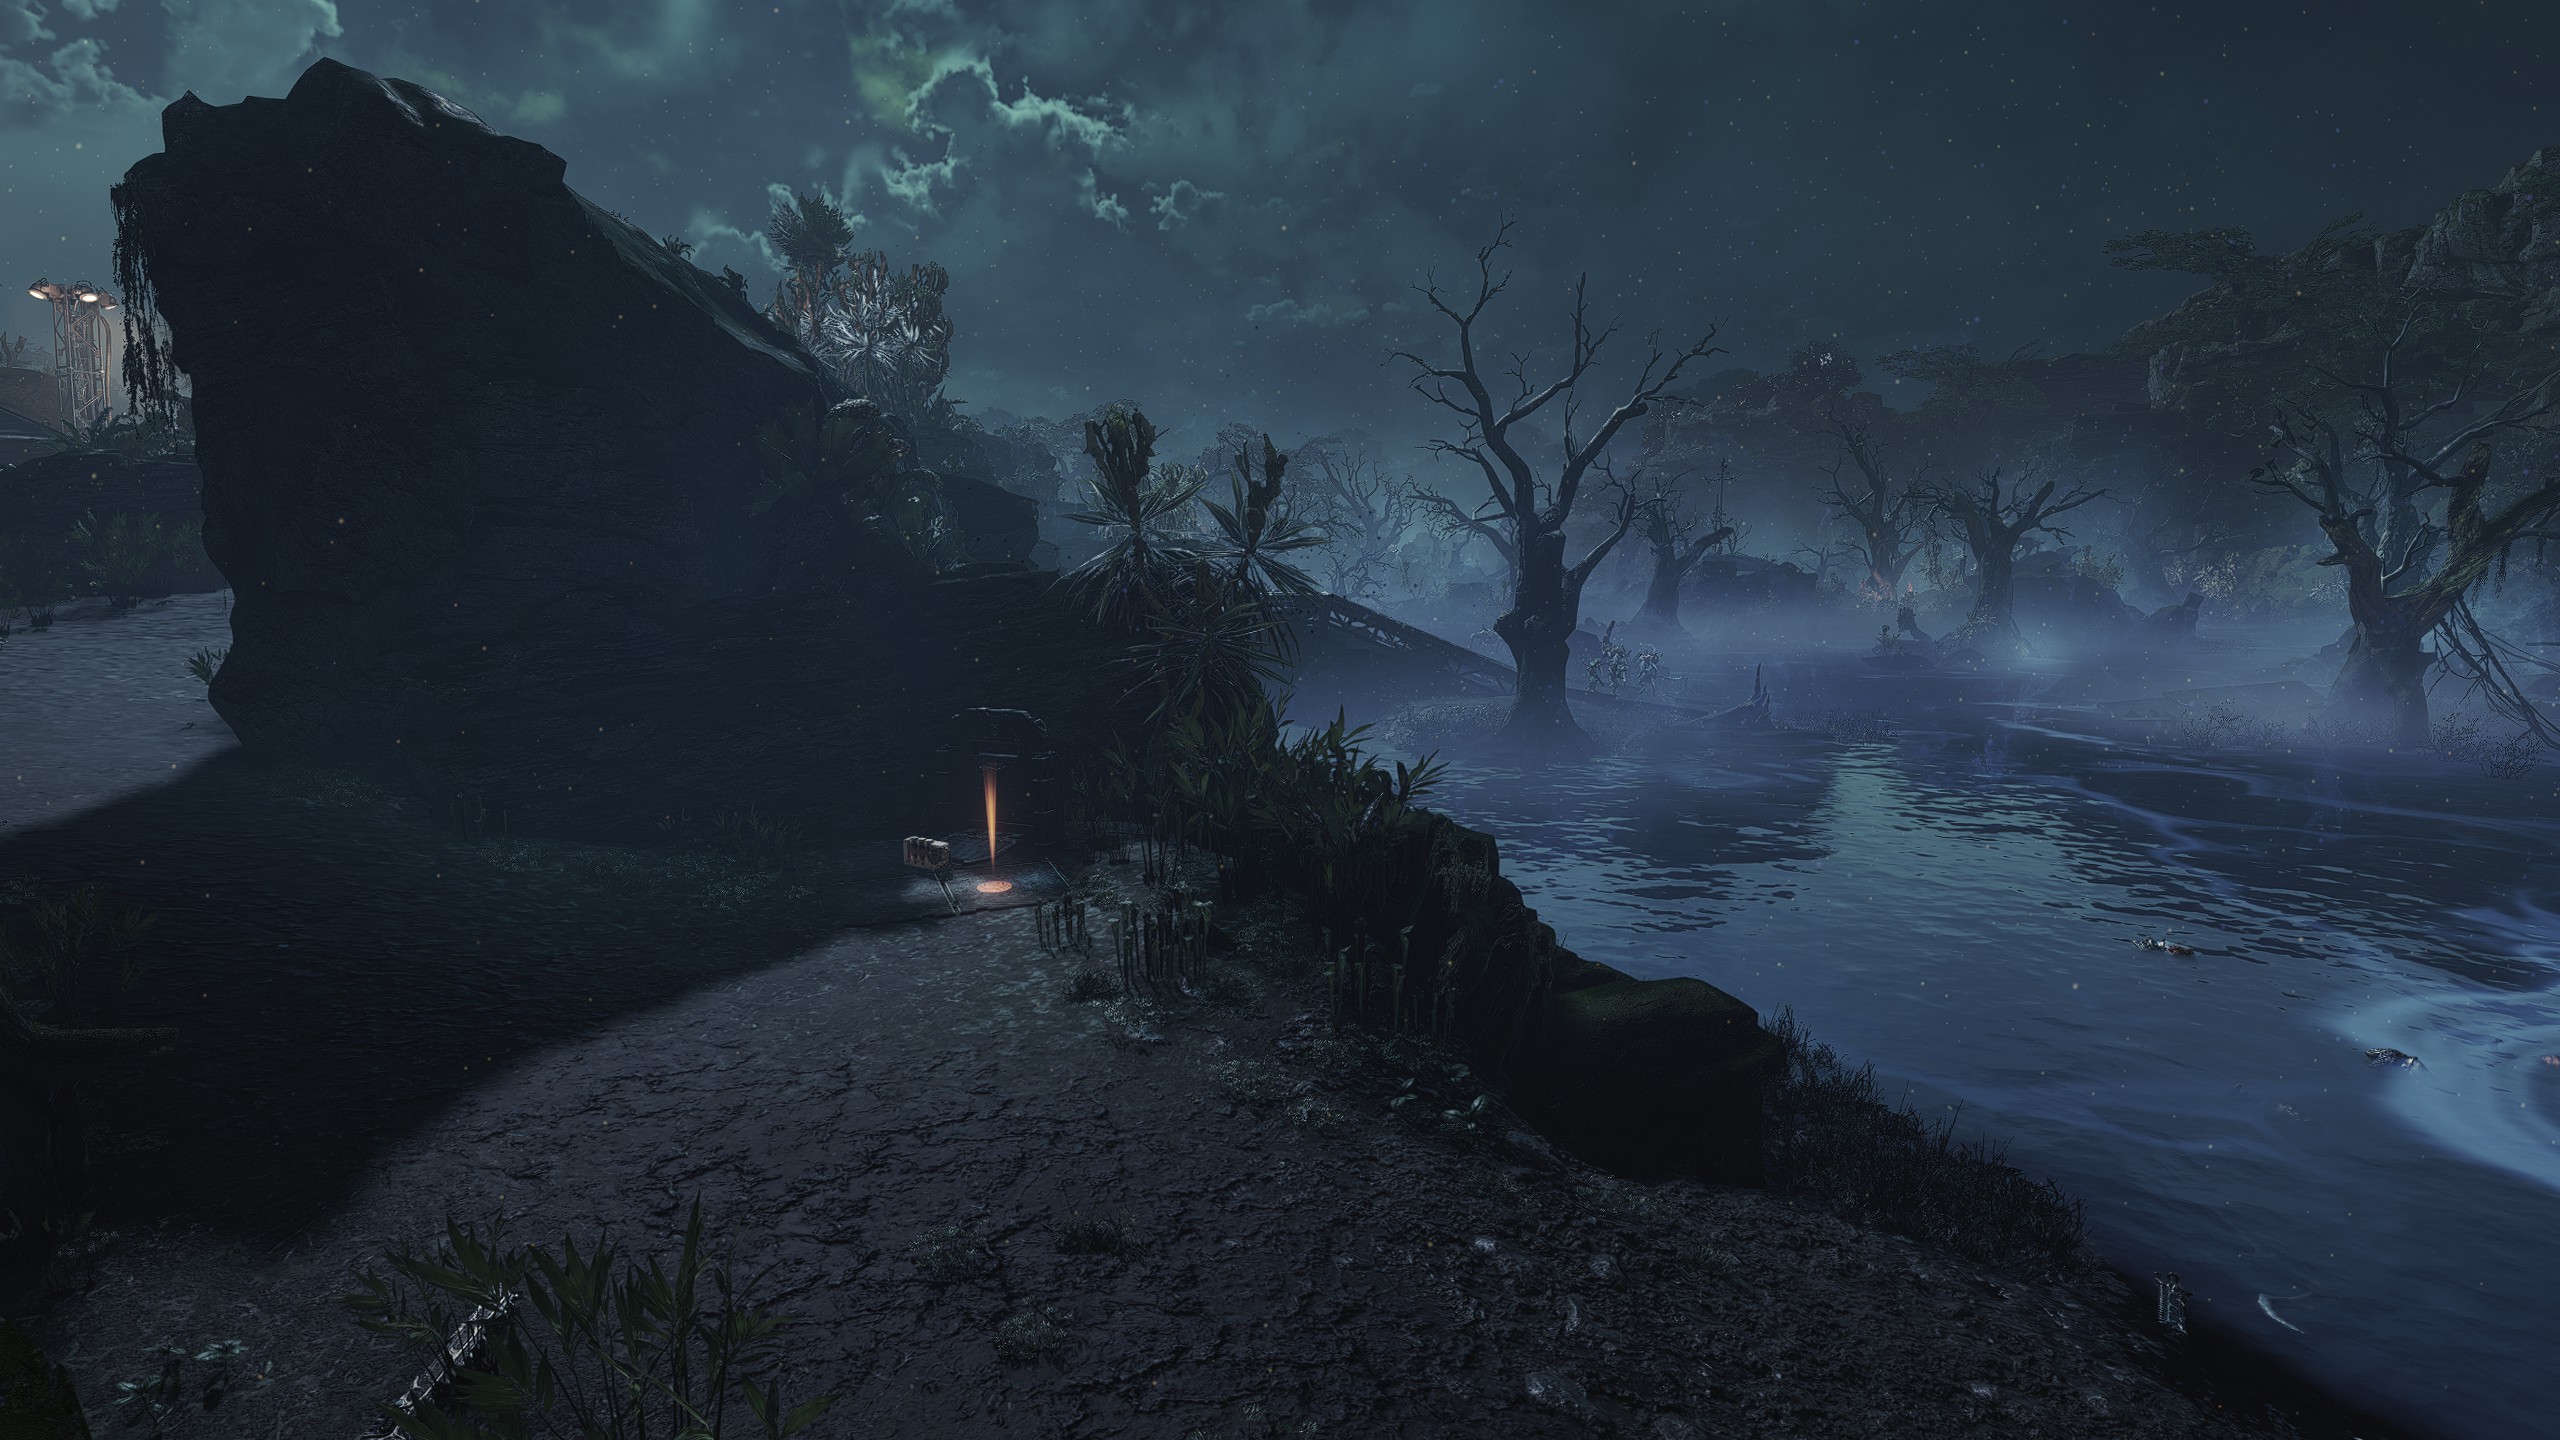
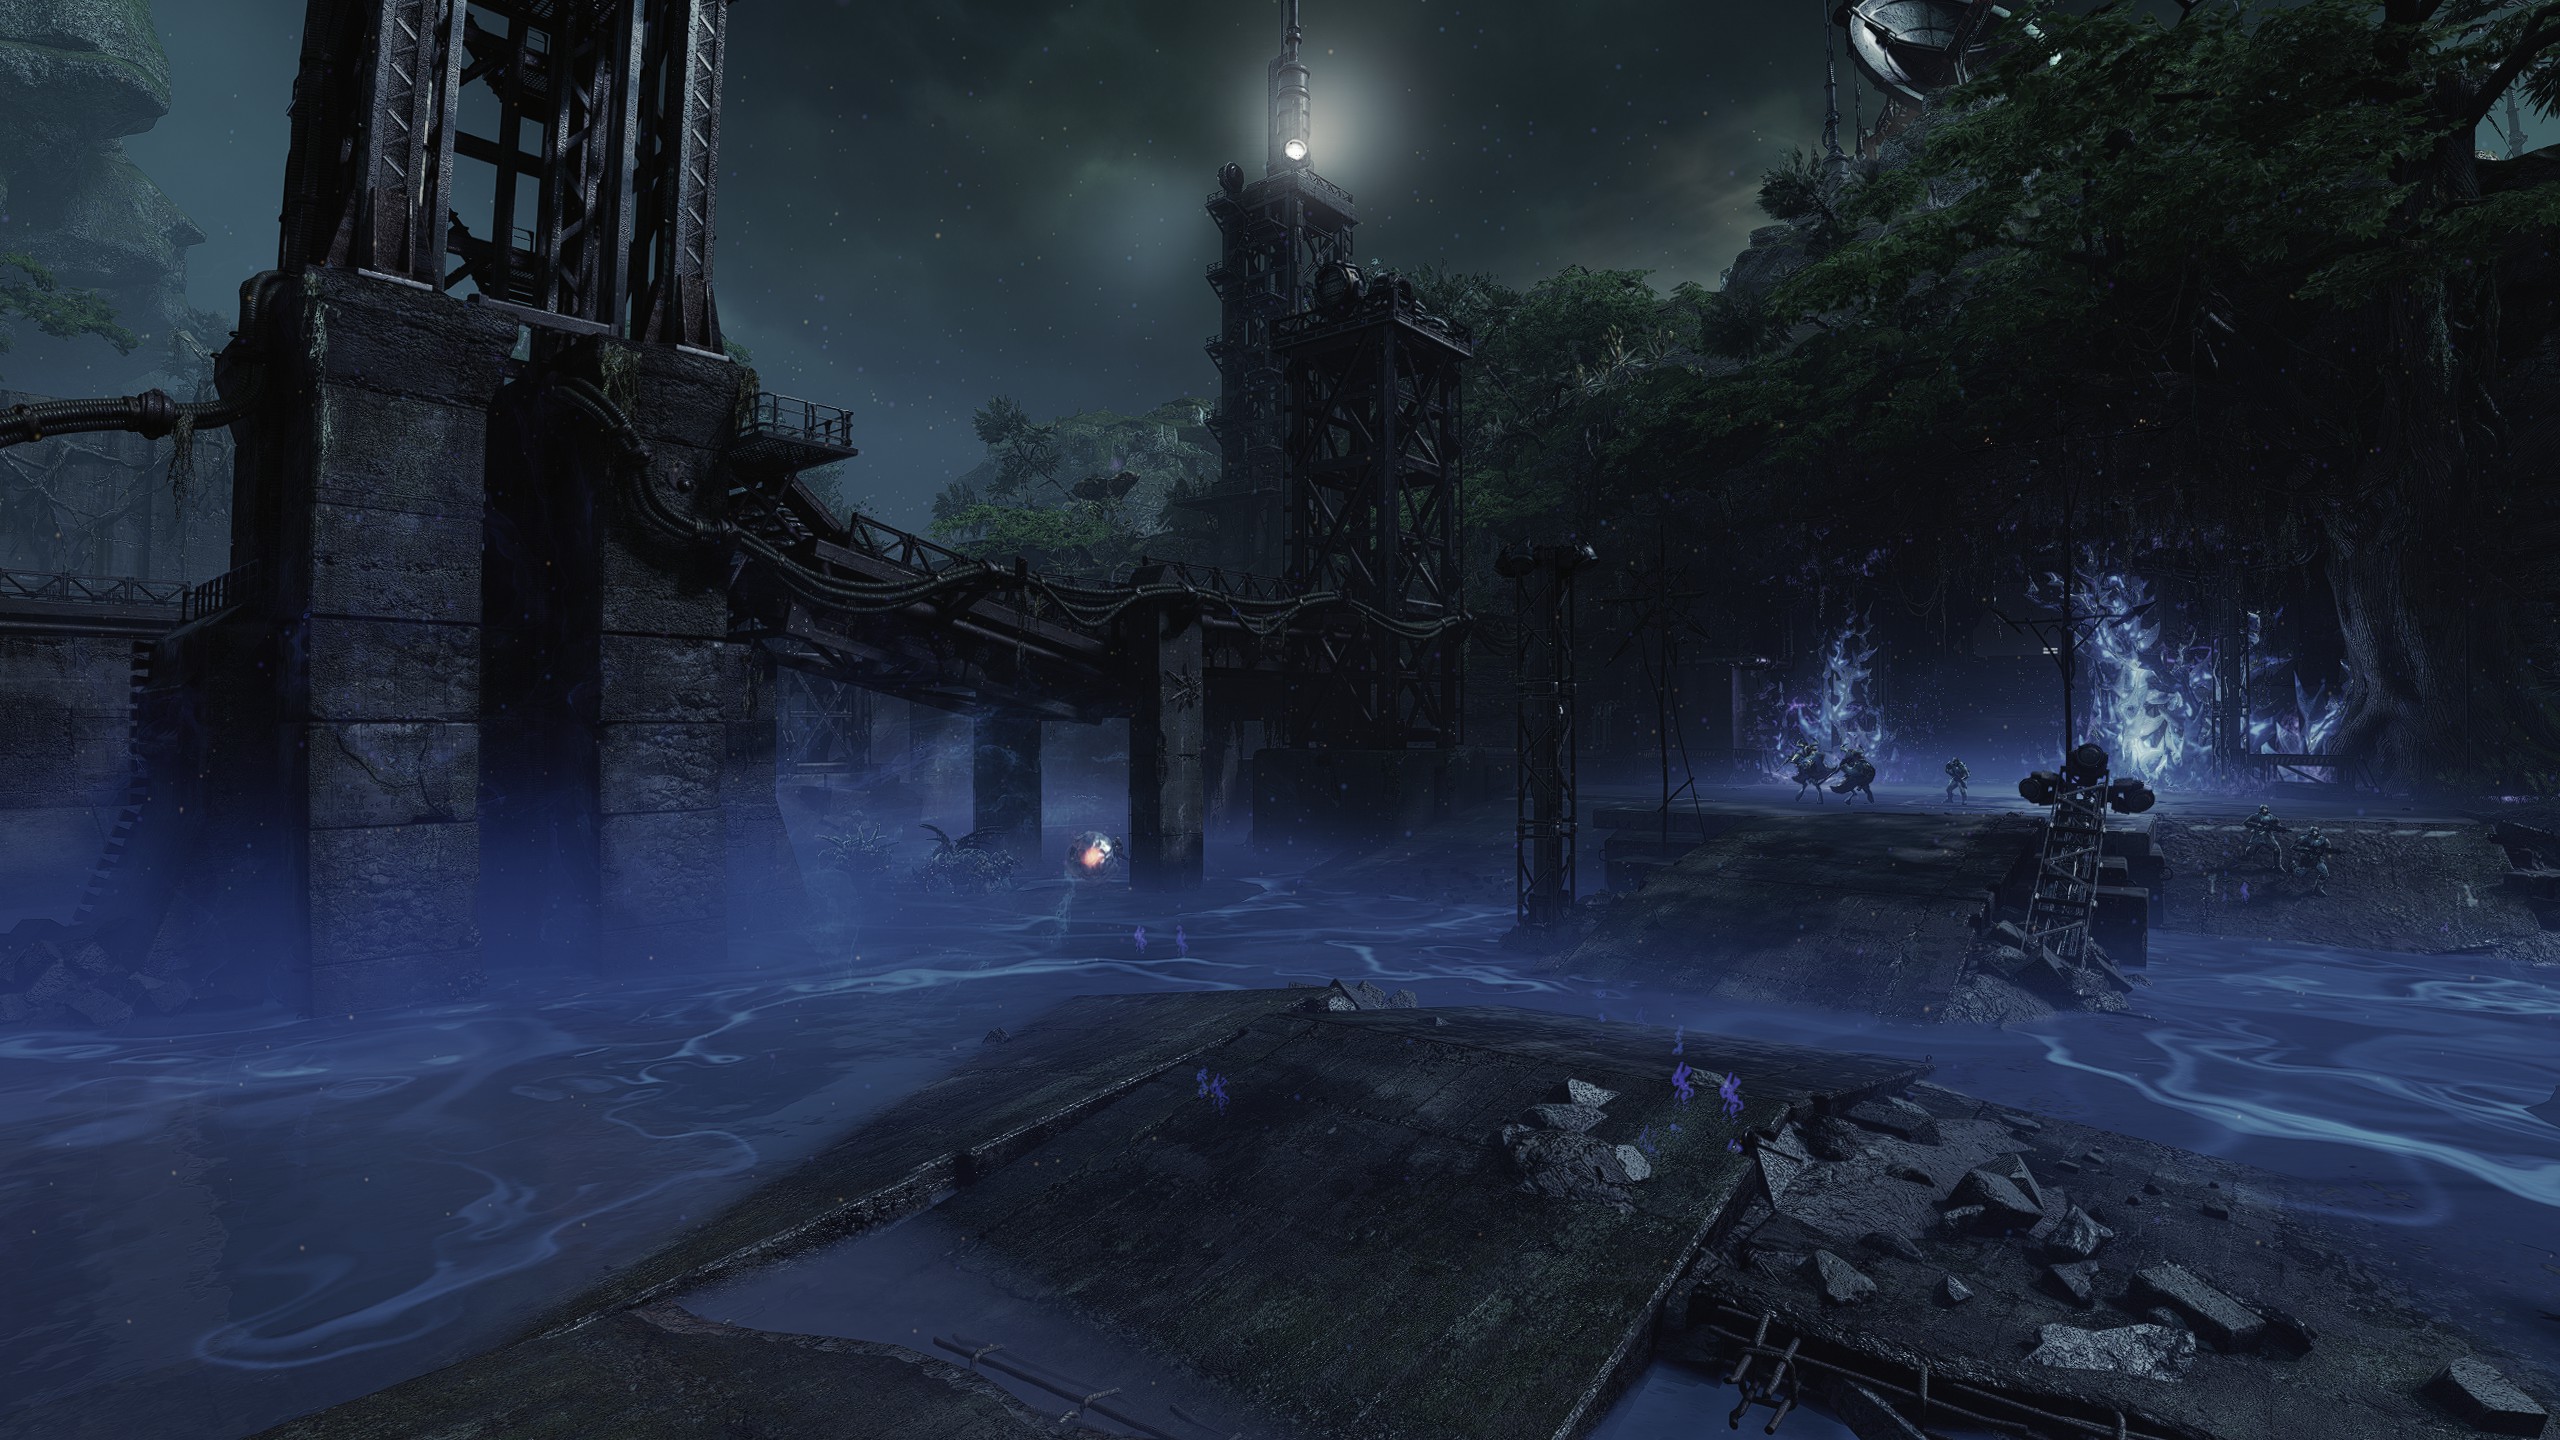
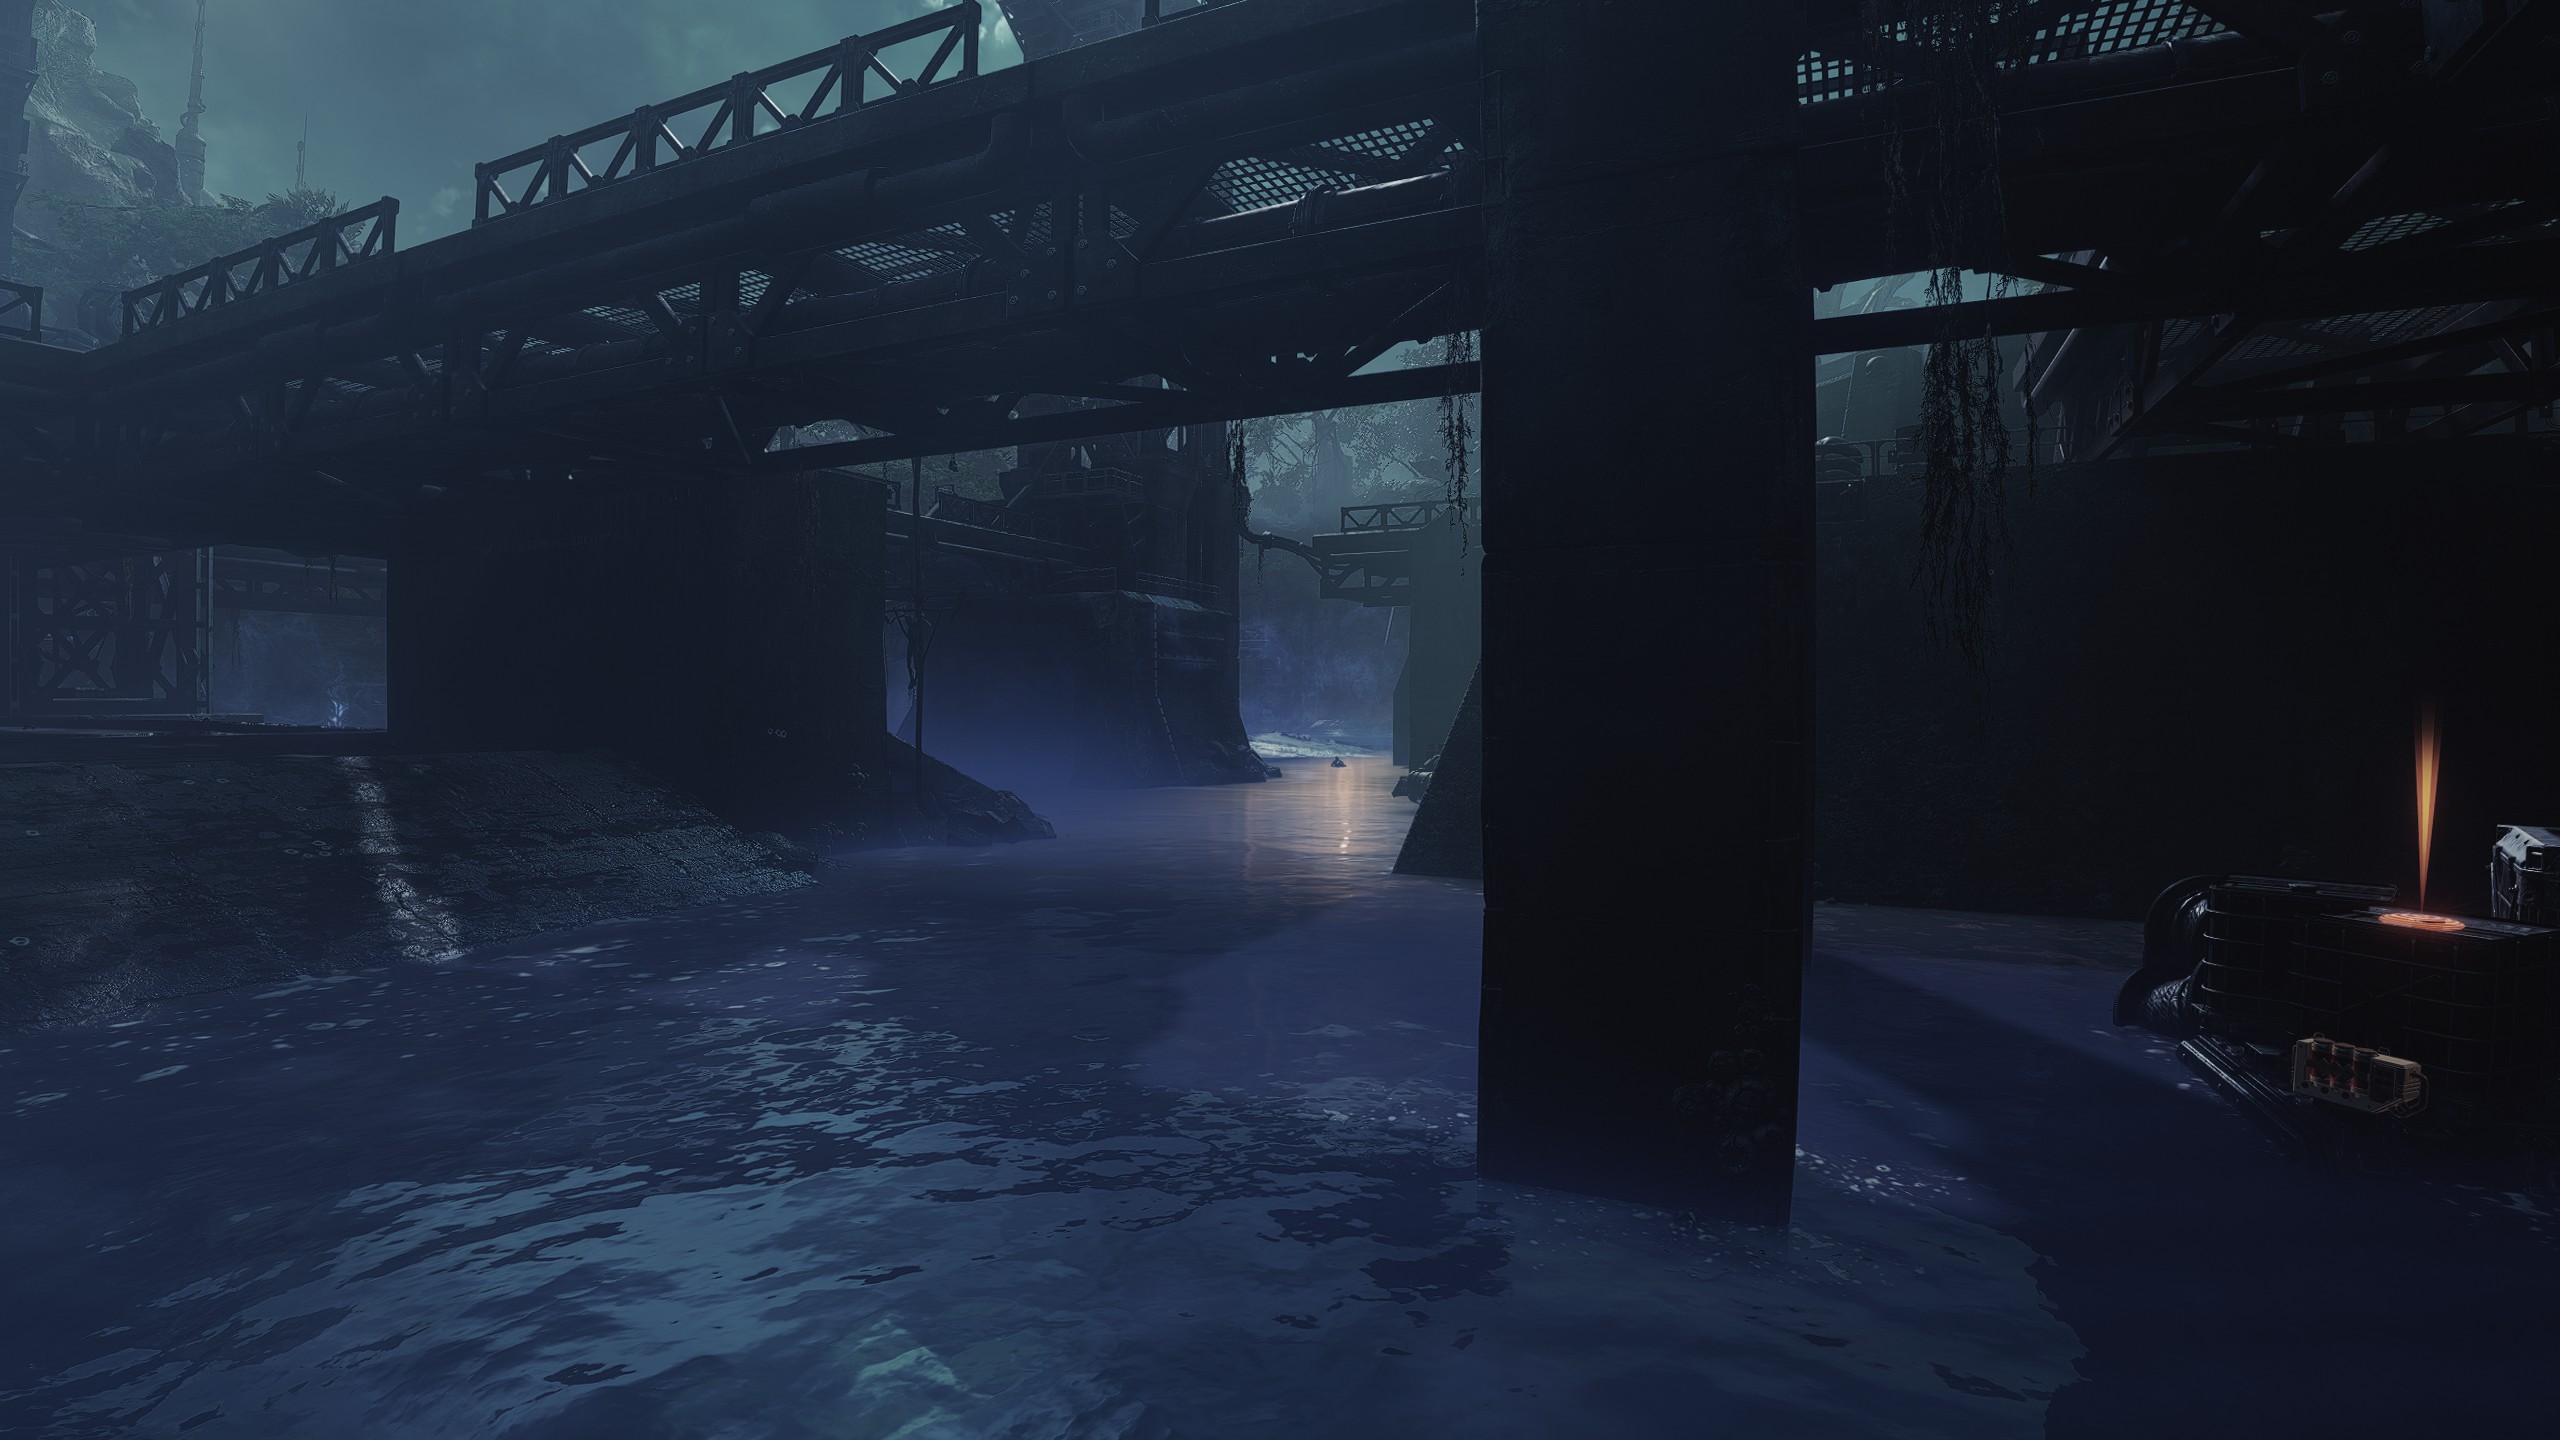
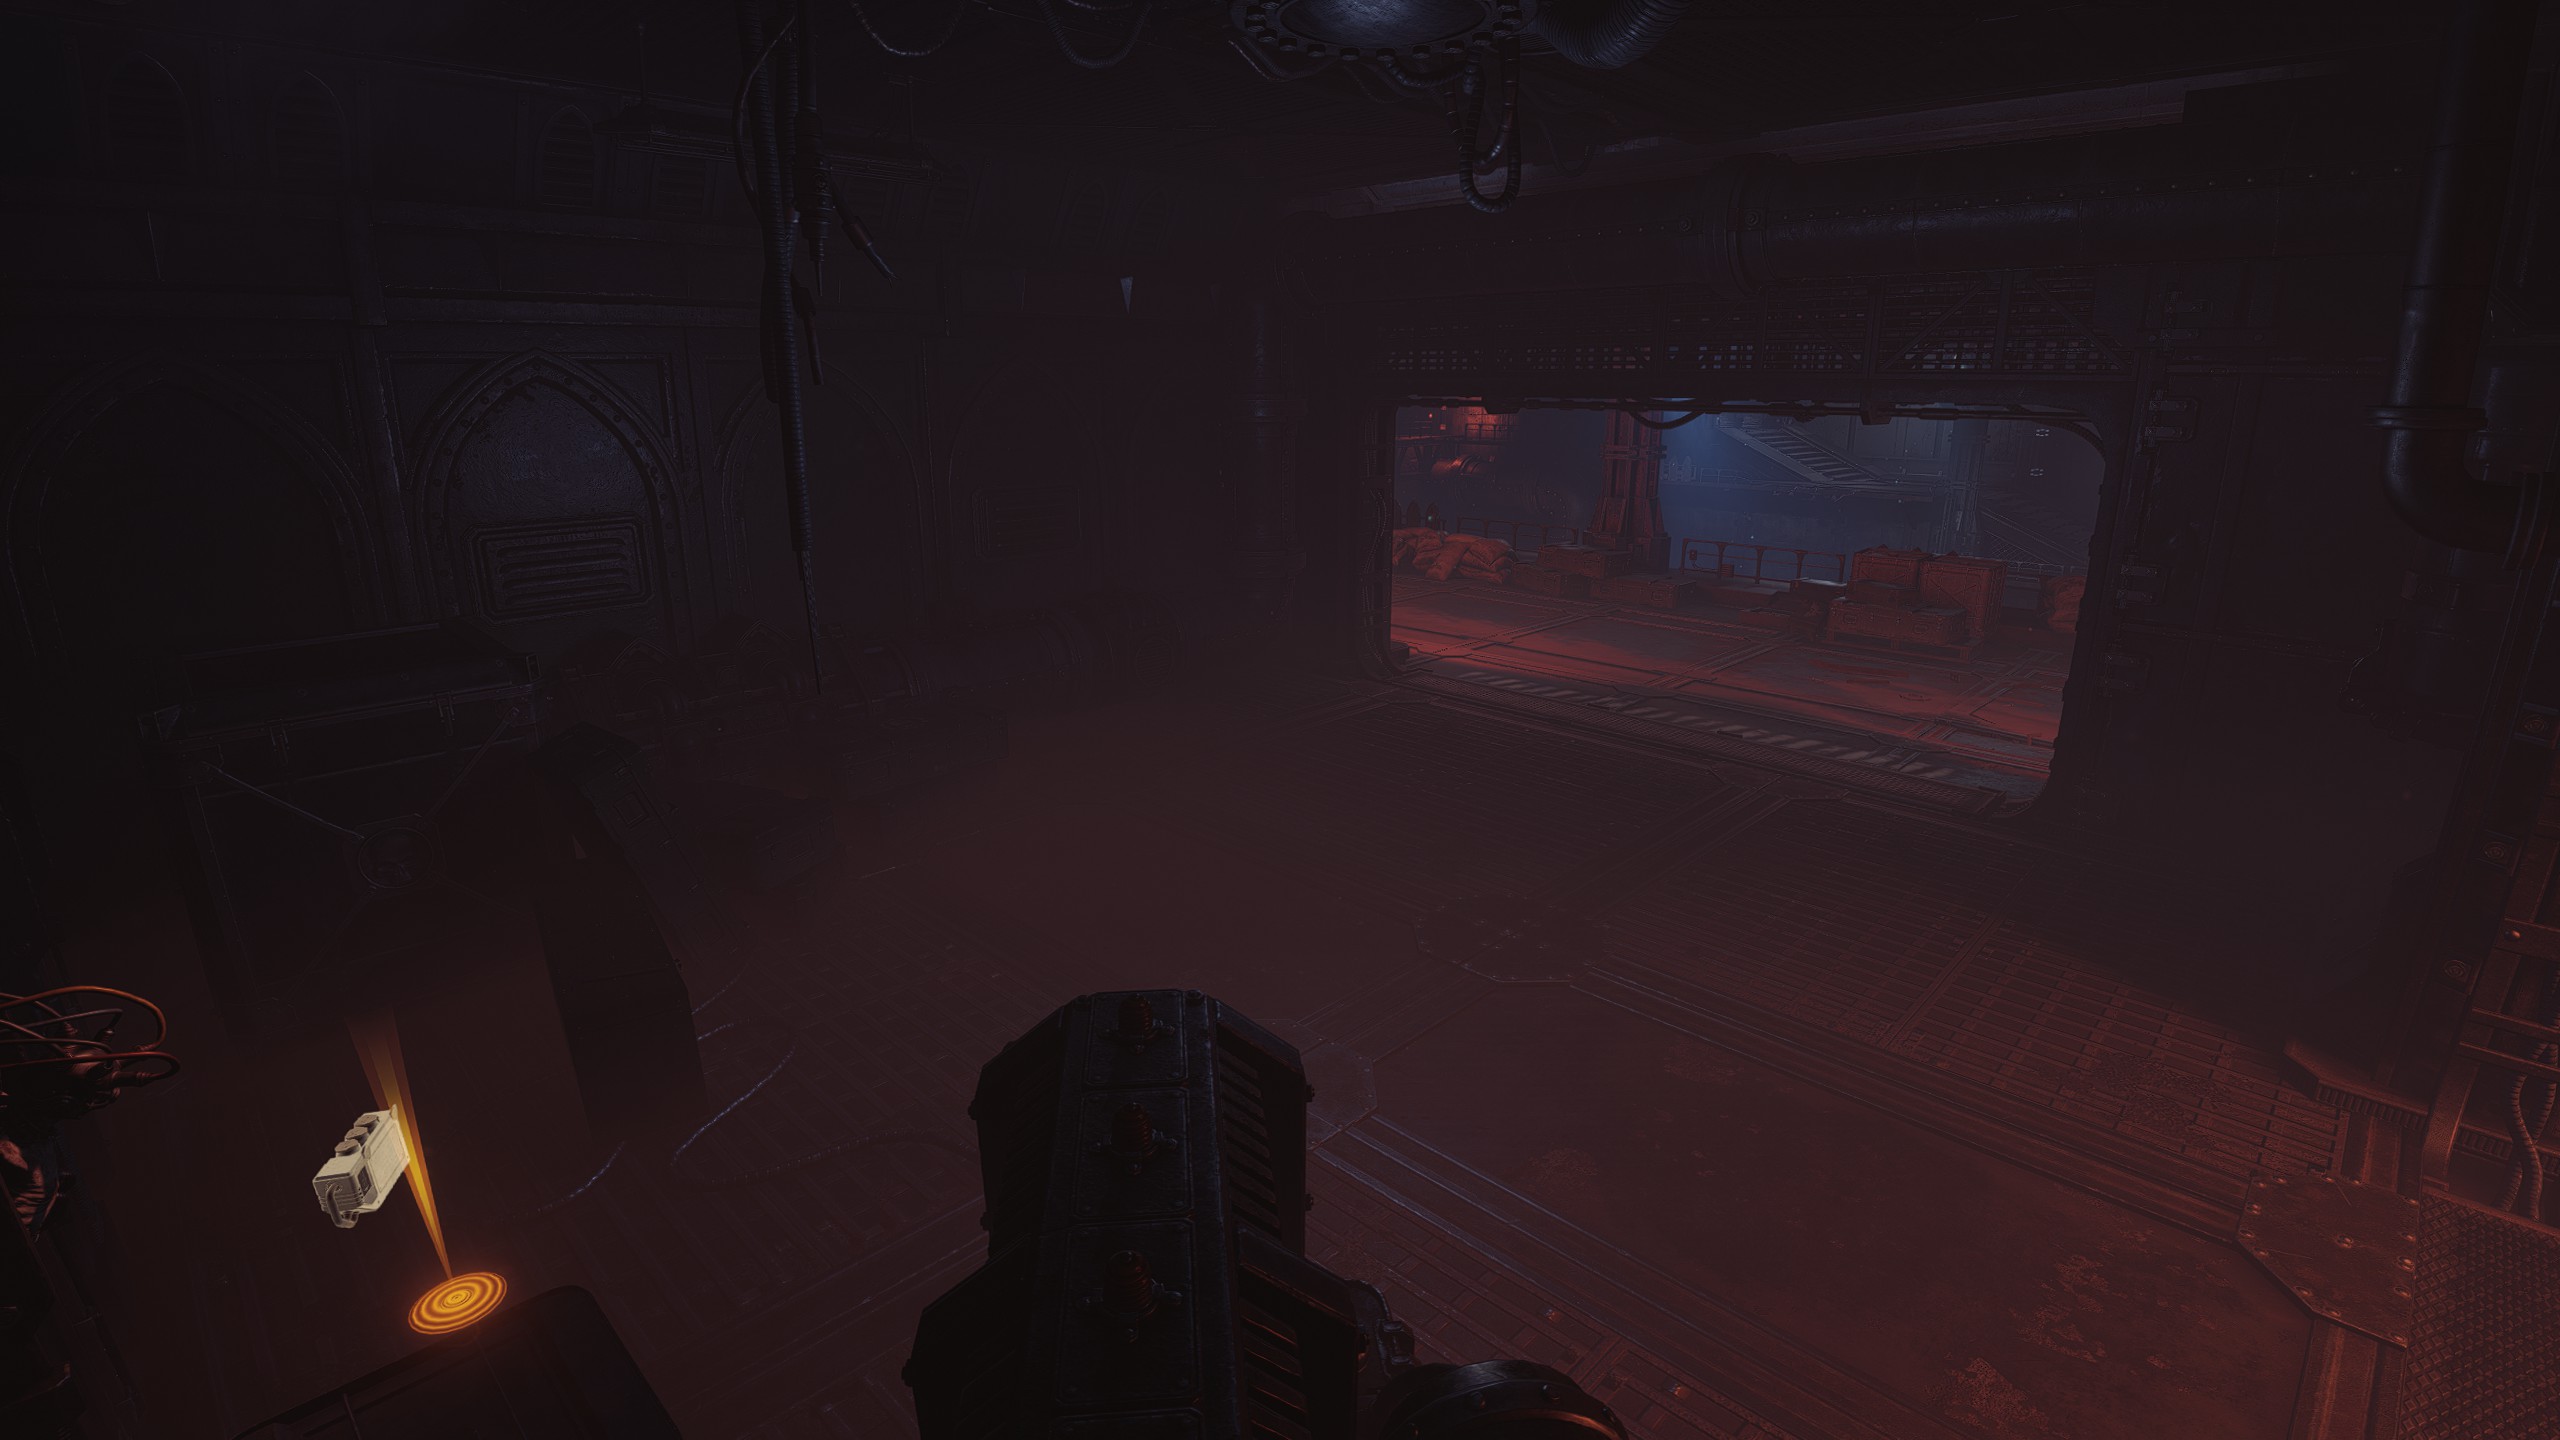
Once you complete the holdout section and enter the facility, proceed forward into the walkways atop the data-vault room. Go down the stairs to your left, then drop down the gap in the guard rails and head into the corridor with red lighting. Before dropping down, check the room to the right and behind a cabinet on the floor.
Don't worry if you dropped down initially. So long as you don't drop down the second drop you can climb back up the other path and make your way back around to the room.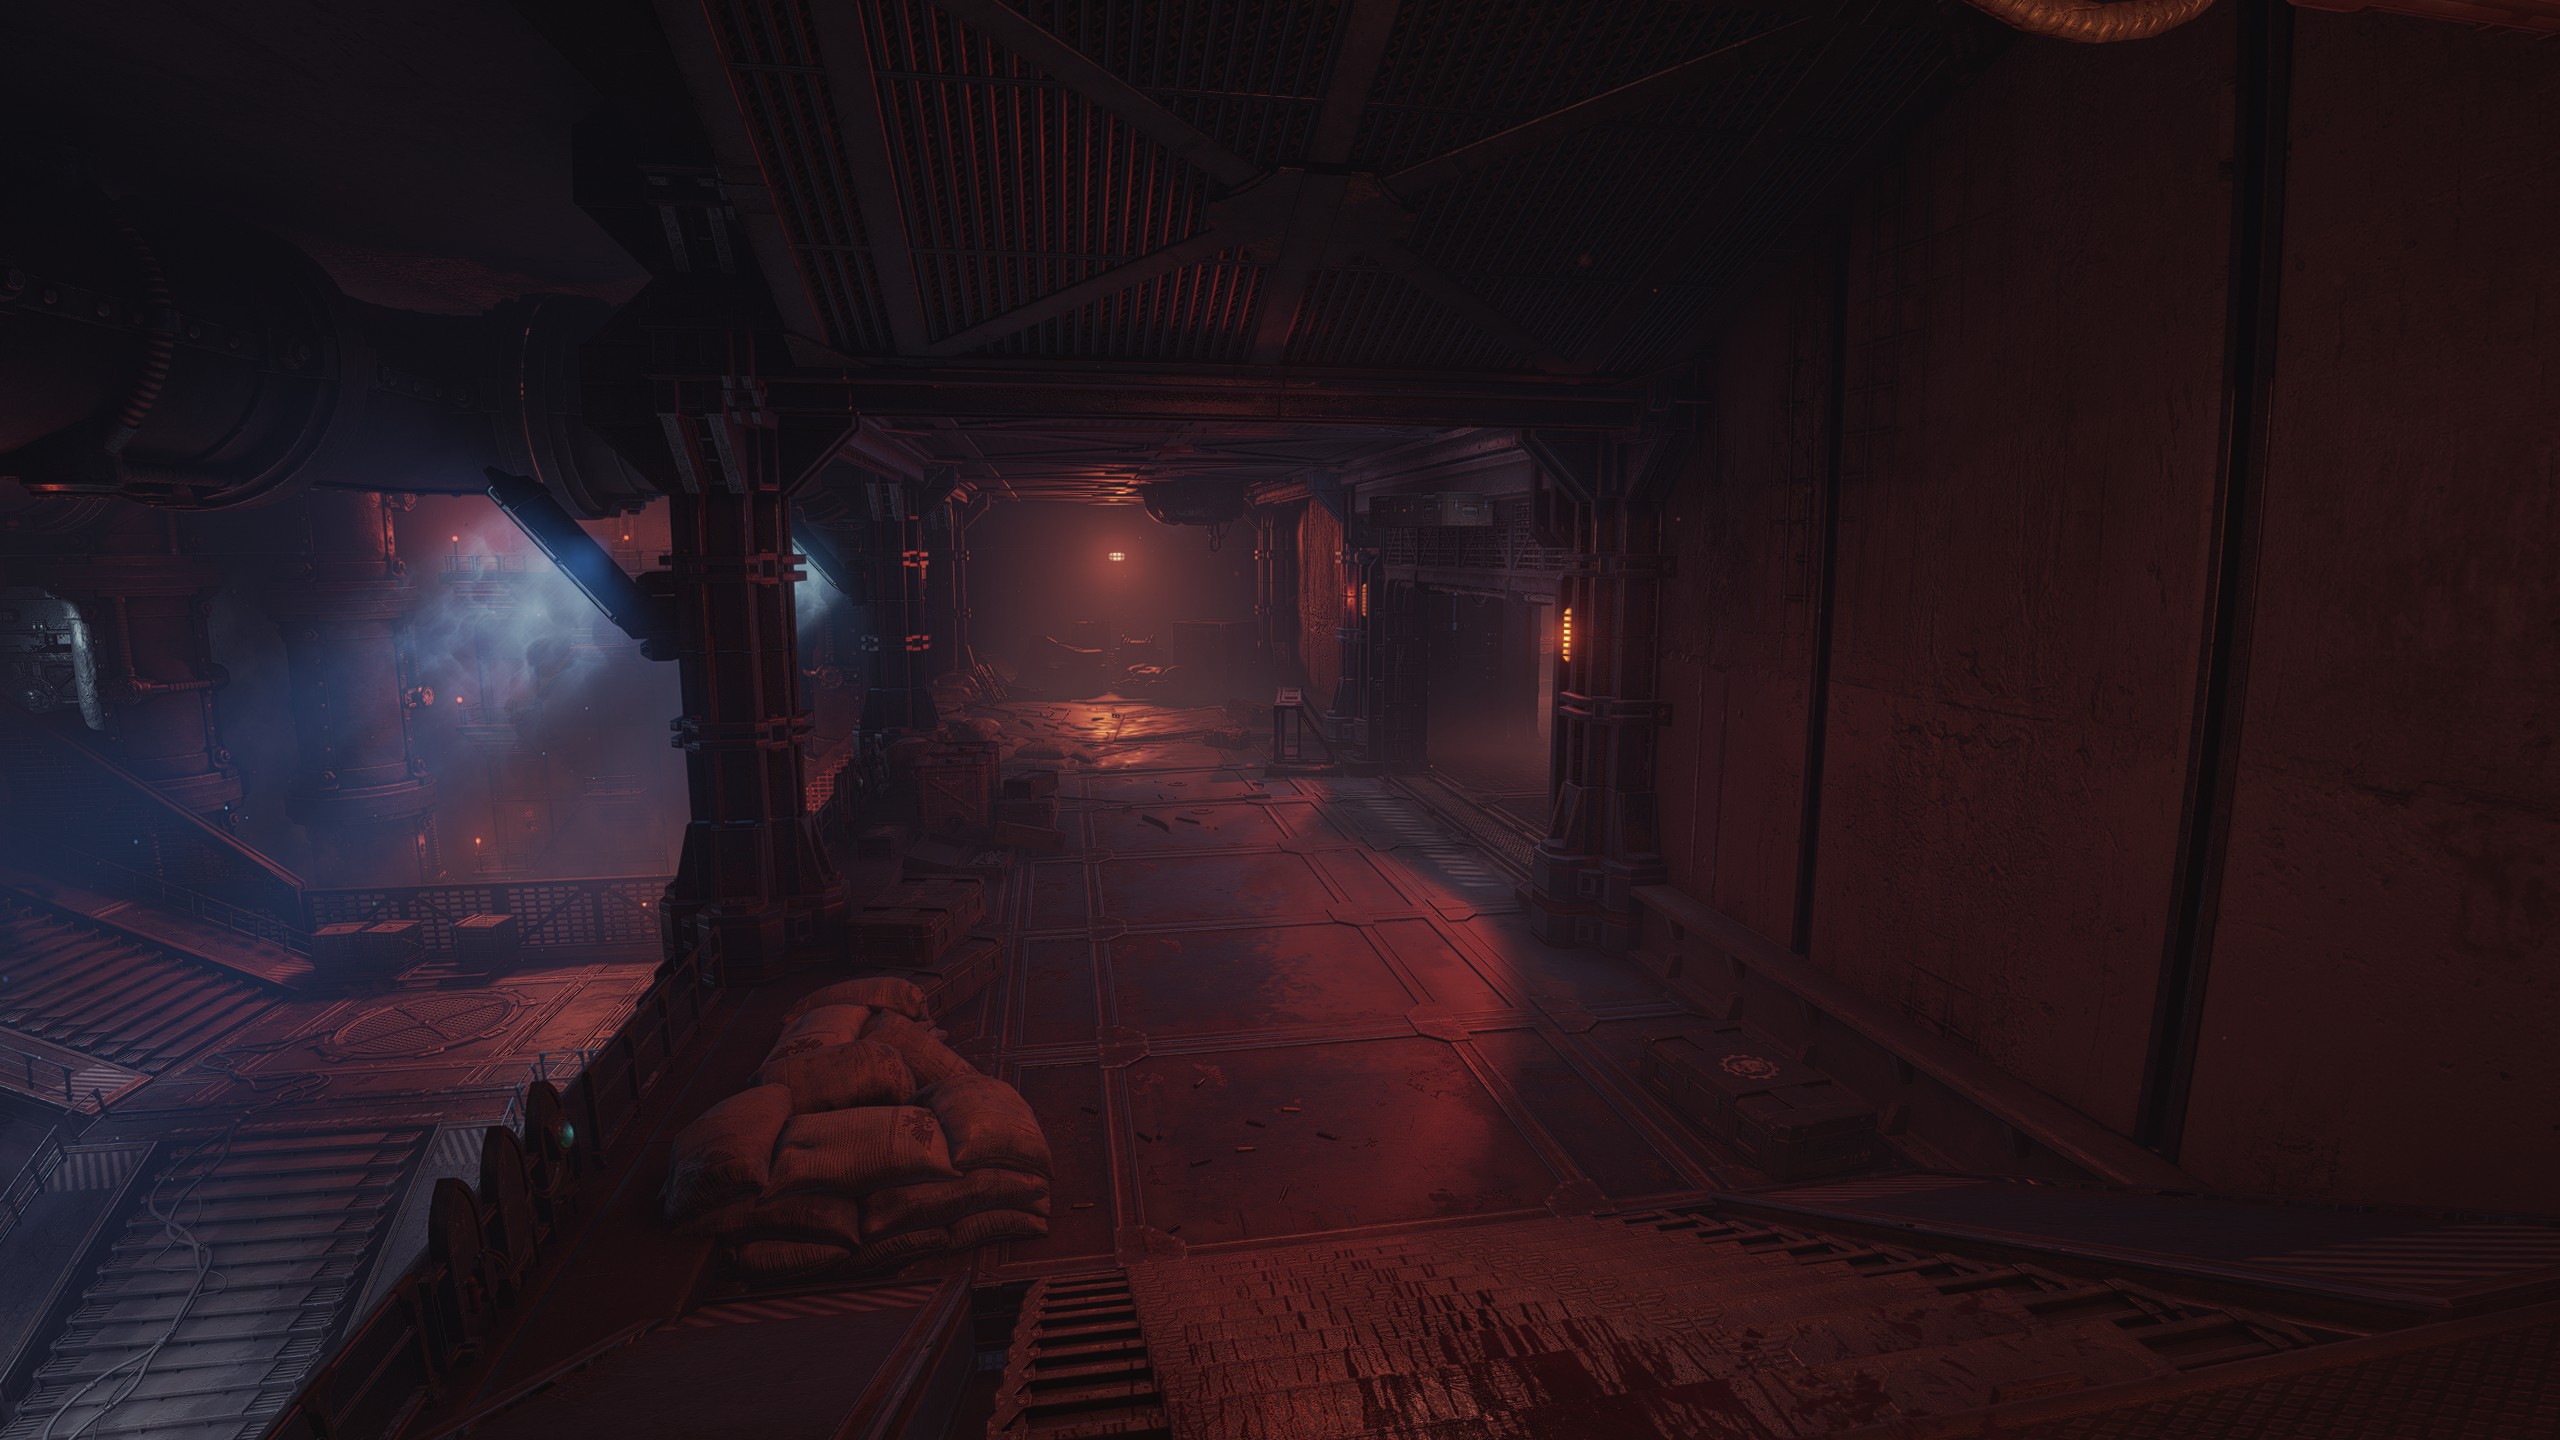
Closing Words
I know that other guides tend to actually show the Gene-Seed in those locations while mine are more of a "trust me bro" portrayal using pings and descriptions, but I did this mostly to preserve my own sanity. If you feel particular locations aren't described well enough, please let me know.
For similar reasons I have no intention of including Armoury Data or making another guide in the same way. I think the other guides are more than good enough for that, if just because Armoury Data becomes irrelevant a lot faster than Gene-Seeds do IMHO.
That's all, thanks for reading. The Emperor Protects.
- Fully Optimized PVE Builds for Every Class★ 5 (1.5k)55k views3.8k ♥36 minUpdated Apr 30, 2025
- Cosmetics Compendium★ 5 (323)43k views487 ♥17 minUpdated May 14, 2025
- [W40k: Space Marine 2] All dataslate locations★ 5 (1.2k)33k views2.4k ♥3 min
- Armory data / Gene Seeds Locations: WIP★ 5 (632)27k views1.6k ♥12 minUpdated Mar 12
- 100% ACHIEVEMENT GUIDE | Warhammer 40,000: Space Marine 2 👑★ 5 (597)24k views1.1k ♥11 minUpdated Aug 28, 2025
- Руководство по всем достижениям | Прохождение игры на 100%★ 5 (596)24k views1.4k ♥6 minRussianUpdated Oct 13, 2024






- Upgrading to PremiumTeam Fortress 2★ 5 (20k)1441k views11k ♥6 minUpdated May 11, 2022
- No More Room in Hell Official ManualNo More Room in Hell★ 5 (2.8k)569k views2.1k ♥29 minUpdated Apr 22, 2019
- NMRiH Community Hosting GuidesNo More Room in Hell★ 5 (526)351k views653 ♥1 minUpdated Aug 10, 2022
- ULTIMATE GUIDE FOR GAME DEV TYCOONGame Dev Tycoon★ 5 (5.8k)326k views10k ♥4 minUpdated 23 Jan, 2014
- How to 'Git Gud' Soon™MORDHAU★ 5 (2k)318k views3k ♥68 minUpdated Nov 16, 2024
- Лучшие кооперативные игры SteamPAYDAY 2★ 5 (1.5k)315k views2.1k ♥56 minRussianUpdated Apr 27, 2025






This guide was created by its original author on the Steam Community. Are you the author and want it removed? Request removal.