PUZZLES & ANSWERS
...
CODED PADLOCK
In the very first level, escape is blocked by a padlock, locked with a combination code. The player must head towards the Town Square and retrieve a username and password for a computer in a nearby cafe. Once unlocked, the computer reveals the code for the padlock.
This puzzle was added into the game to stop players simply googling the combination to the padlock and bypassing the area entirely, as the team put a lot of effort into designing the town square area, and wanted players to enjoy the effort they went to in crafting the map, and designing the church. The username and password are pre-picked randomly from one of 32 possible options (16 usernames and 16 passwords), and an algorithm then generates the final code, meaning it will be different on every play-through.
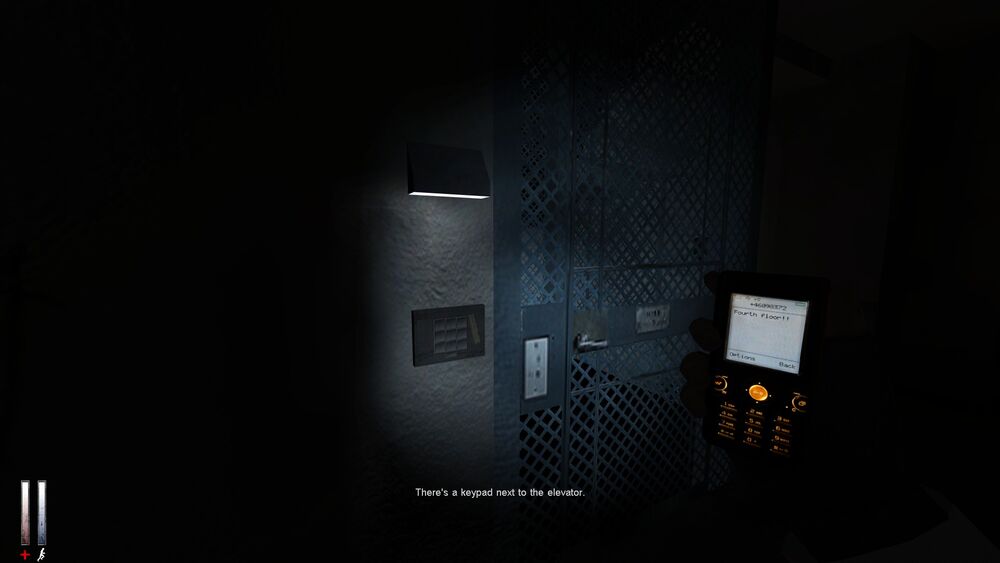
APARTMENT EXIT ELEVATOR
SEWER MAINTENANCE DOOR
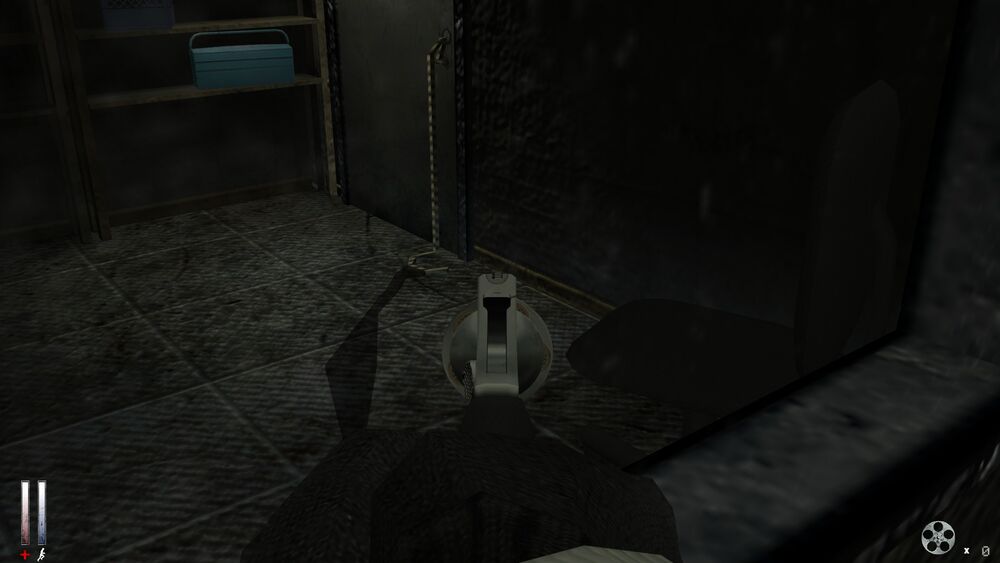
SEWER MAINTENANCE AREA
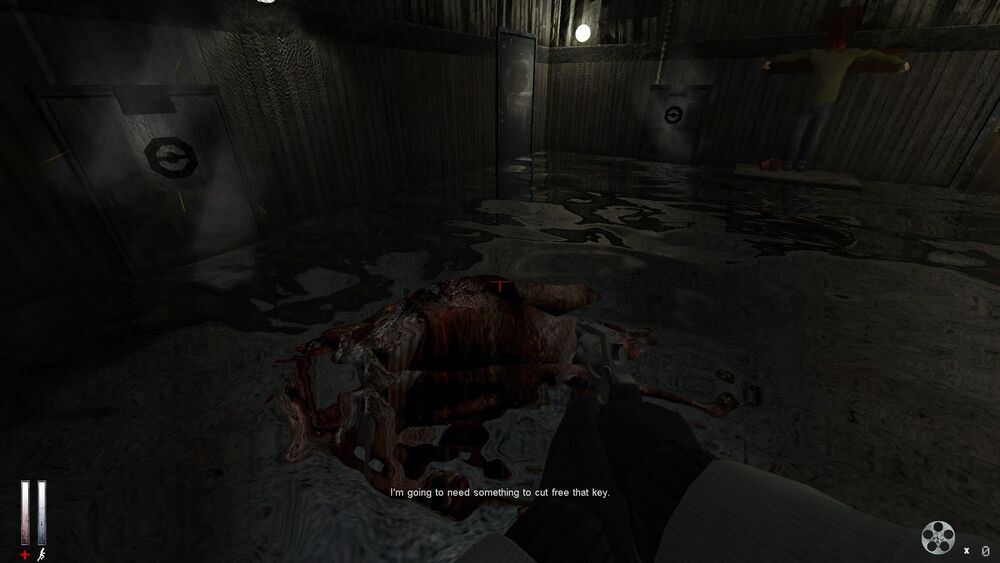
PARK STATUE PUZZLE
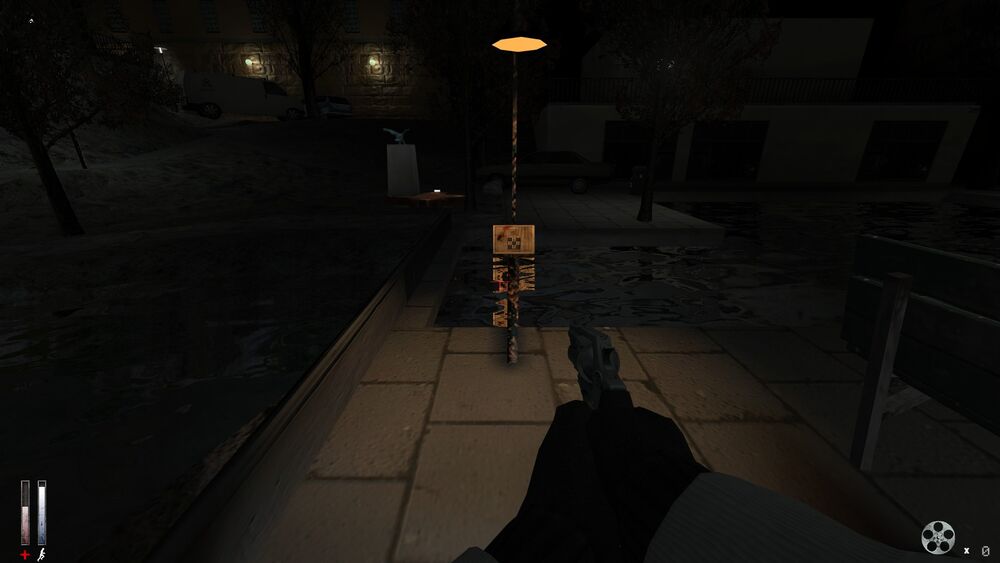
After entering Gustav-Dahl Park, Simon is faced with another puzzle. This time, from clues left within the park, Simon must move the 4 statues to the correct positions. This will open the maintenance shed and allow Simon to retrieve the exit key, as well as the Hunting Rifle. Unlike the first 2 puzzles, the pattern is not randomized and thus can be memorized. Once the statues have been moved to the correct positions, a cutscene will play, alerting the player that the puzzle is correctly solved
Solution
*Bird Statue: Right, Up
*Owl Statue: Down
*Horse Statue: Up, Left
*Lion Statue: Left, Left
SAXON AVENUE SUBWAY PUZZLE
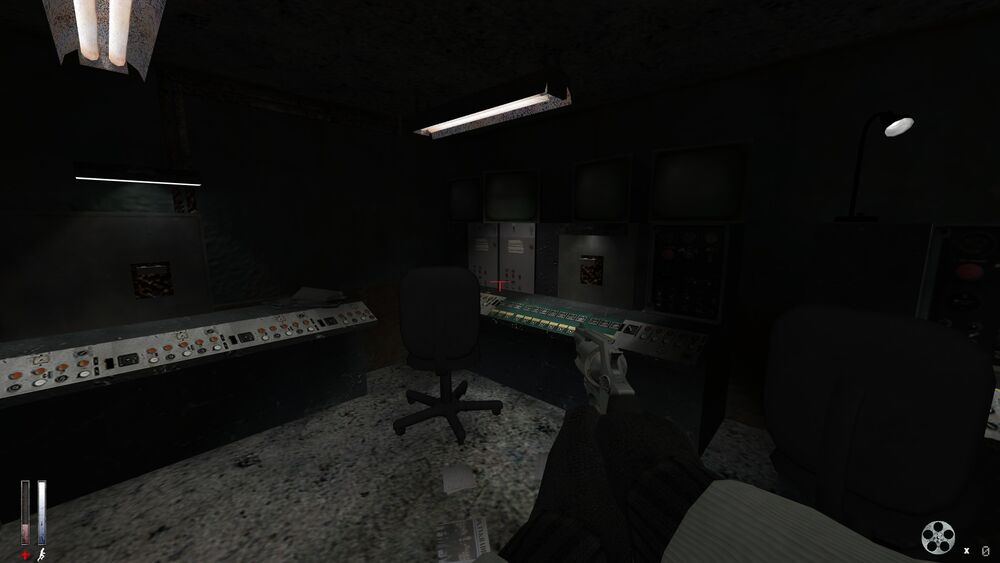
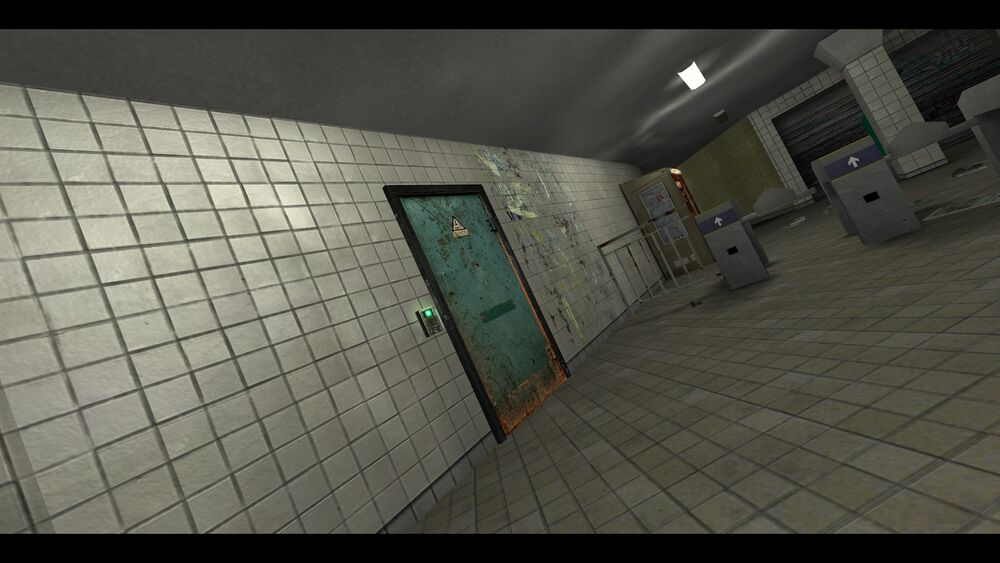
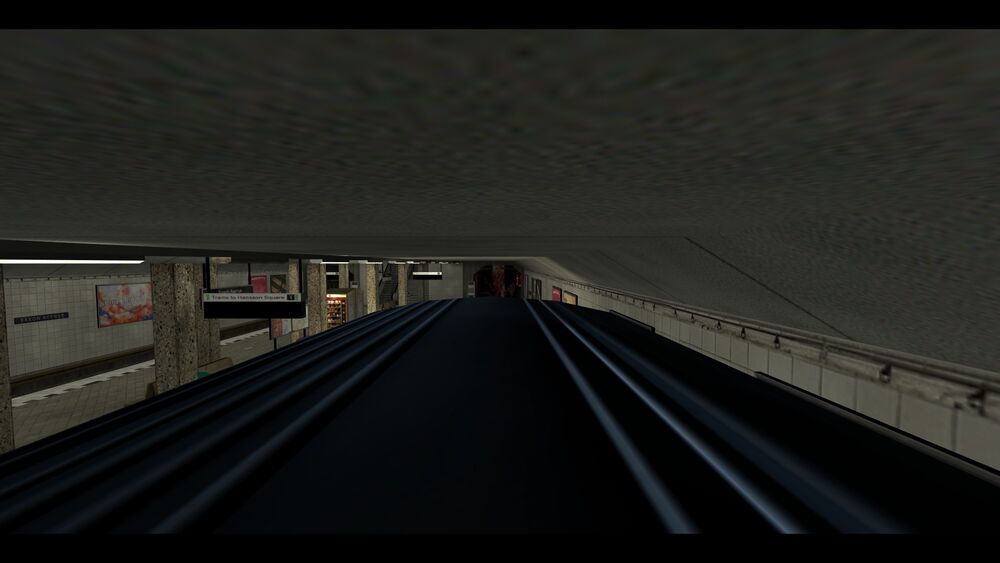
ESCAPE FROM THE CRASHED TRAIN
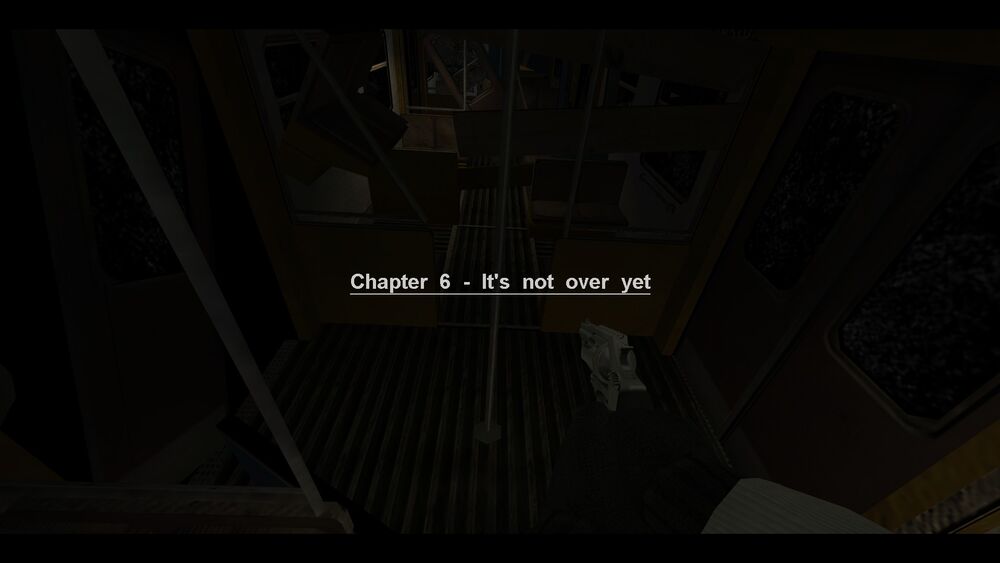
THE FOREST TV CHALLENGE
RESTORING THE ASYLUM'S ELECTRIC SUPPLY
THE ASYLUM LOFT CODE
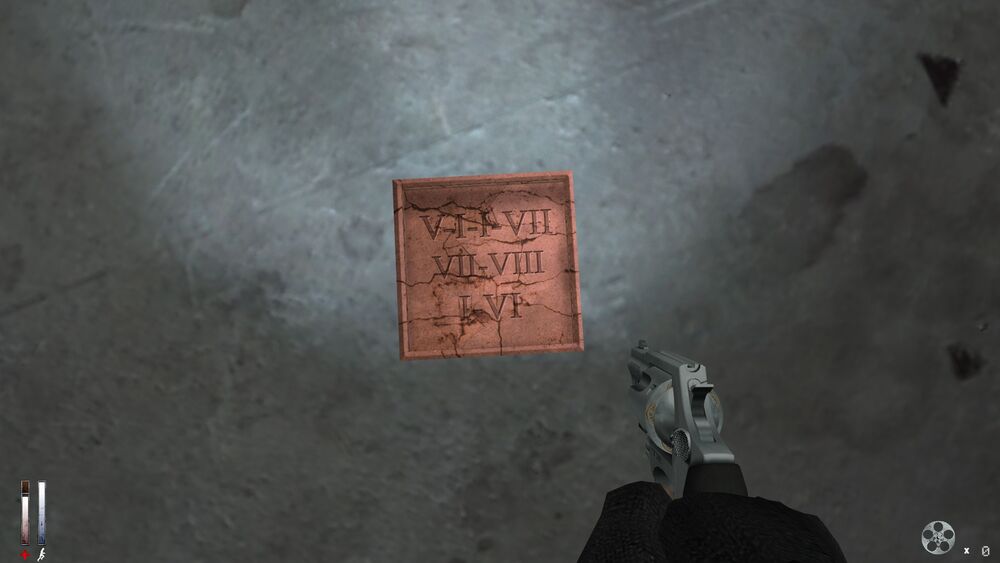
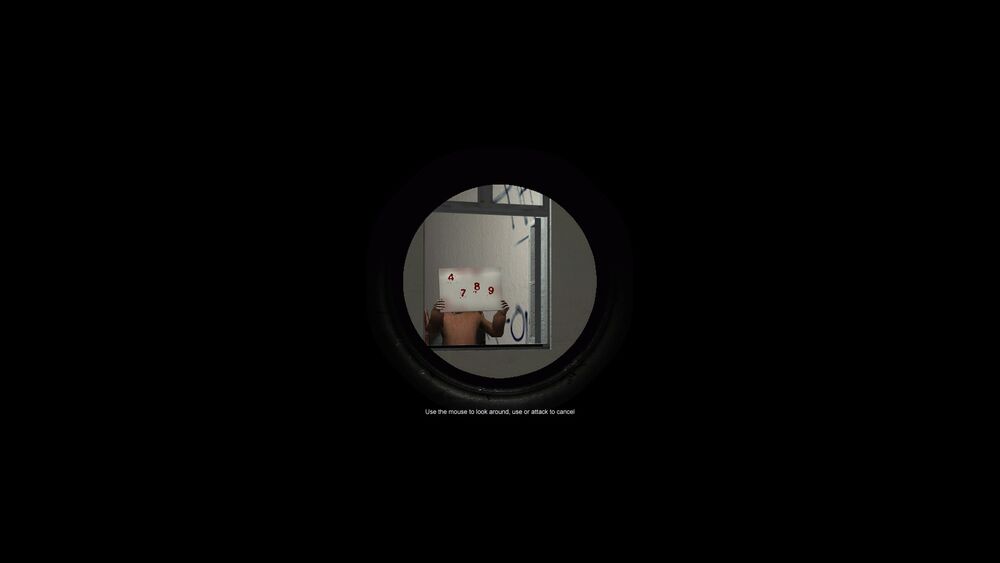
After turning the power back on, Simon has a discussion with Doctor Purnell, and after giving or refusing to give him the gun, the doctor provides Simon with the key to unlock the gate. Simon then enters a room with a phone, and the key to the Asylum's staff room. After unlocking the staff room, Simon gets momentarily trapped in the toilet, and a rather sinister sobbing noise is heard in the staff room, after which the door opens. The first half of the number plate can now be found. After exiting the staff room a Psycho breaks another door open. Simon can now escape through the window, and down the fire escape to a locked room on the ground floor, containing the second half of the numerical plate. After combining the 2 halves, Simon is presented with a phone number in roman numerals. Dialling the number causes the window opposite to light up, and looking through a telescope reveals Sick Simon holding up the code to the loft, his face hidden by the board containing the code. The code allows him to unlock the attic and confront the doctor.
To prevent the number or code being memorised, one of a few hard coded phone numbers is selected at random, and then the code to the attic is also generated randomly, so both the phone number and attic code will change each time the area is played. Once the code has been looked at through the telescope, line of sight detection is used to determine whether the player has seen the code. Using the telescope again will display the message "The board said 1..1..1..1 (whatever the code was)". Additionally, to prevent people from simply memorising all the phone numbers and dialling them randomly each step in the puzzle requires the previous to be completed before it unlocks (The phone number can't be dialled until both tablet halves are found and combined, the attic cannot be unlocked until the phone has been dialled with the correct number and the code seen through the telescope).

TRIVIA
- After battling the doctor and exiting the daytime version of the asylum, it is possible to use a gravity cheat to access the window Sick Simon was occupying, although the room is now empty.
- The phone number in the asylum neither has an area code nor an international dialling code, or an extension code just a phone number (E.G. 51177816). In reality, it is likely that in an asylum as large as this that the departments would be linked by IP Phones simply requiring the dialling of an extension, or even connecting you to the other department at the push of a quick call button.
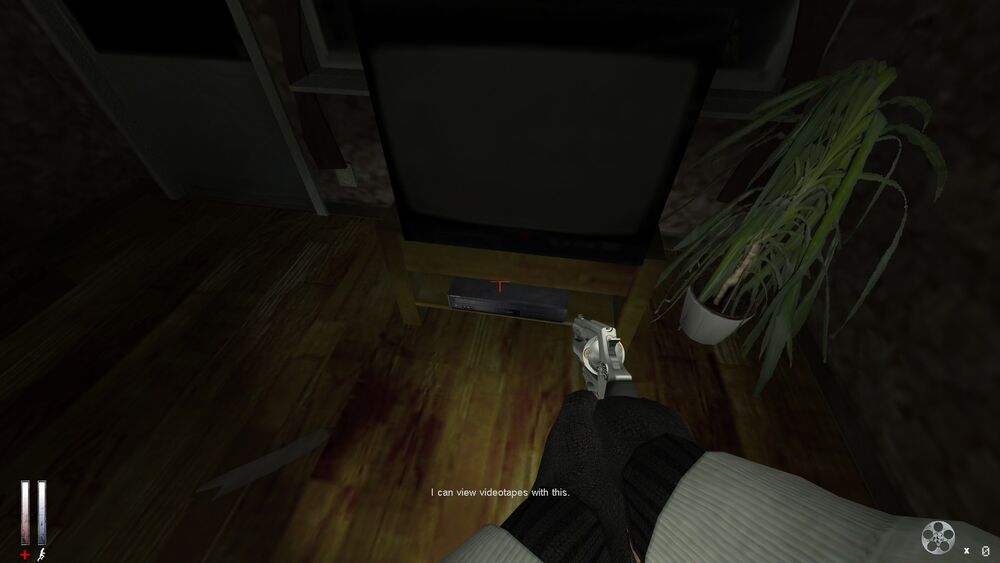
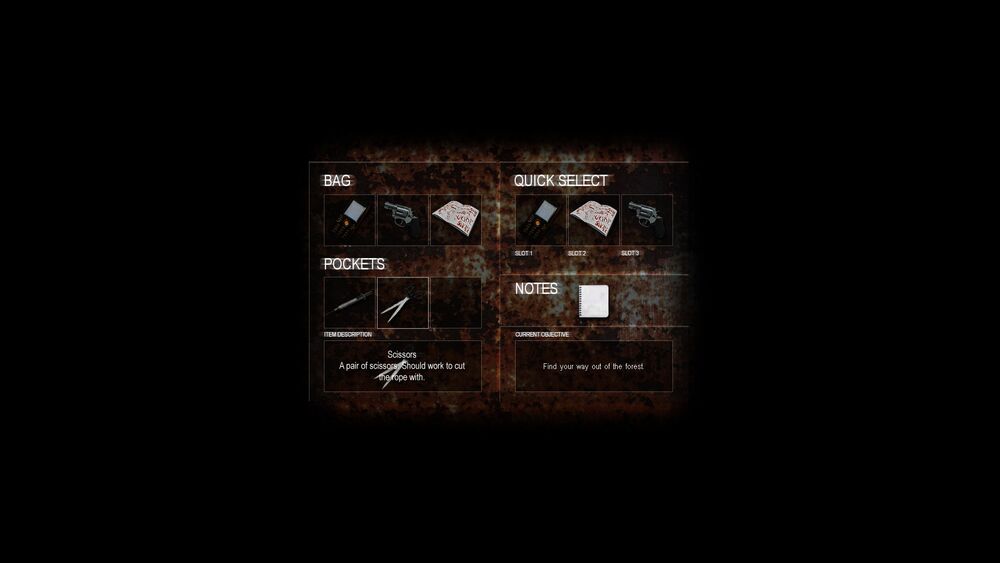
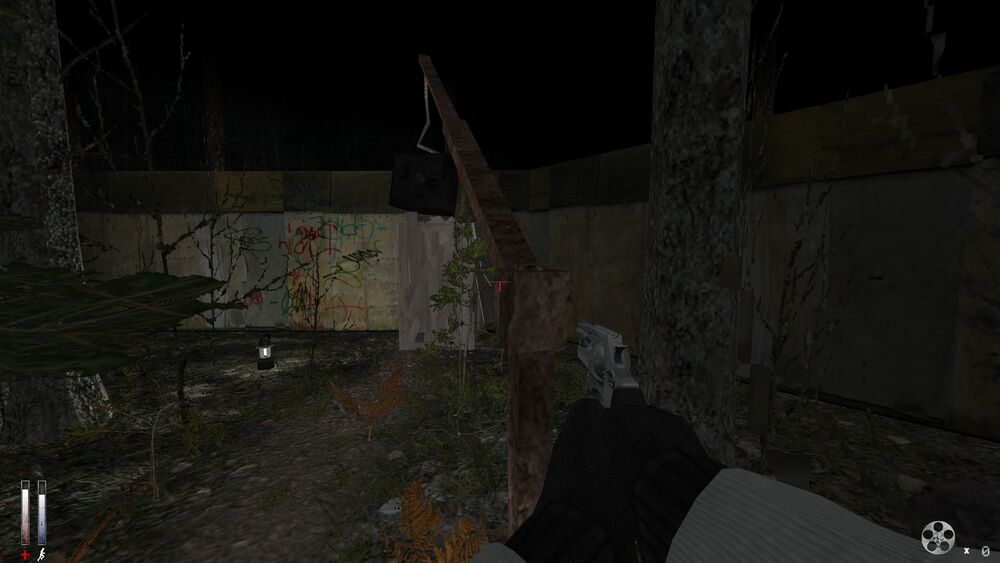
- The message you encounter upon the TV drop puzzle remarks that the rope could be cut with a sharp object. However despite the fact that it would have significantly more cutting power than the scissors, David Leatherhoff's Axe cannot be used to cut the rope.
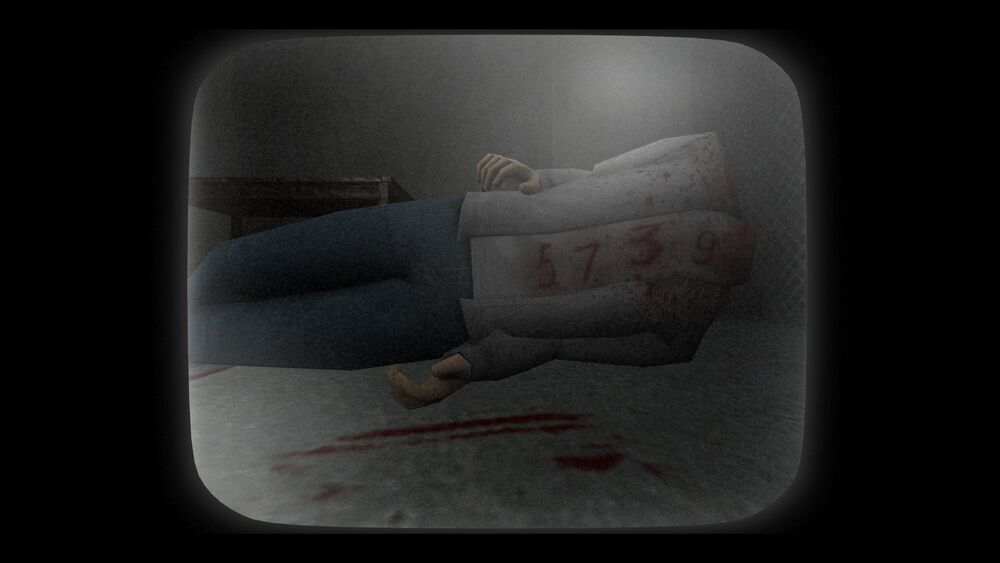
- As the corpse in the bath wears similar clothing, it is almost certain that the Unknown Caller, The Apartment Predator, and the corpse in the bathtub on the 4th floor are in fact the same person. Although the suicide is never explained in game, a large hint is given by the fact that a bottle of Interfectum painkillers are sitting on the side of the bath, near the body. This, however raises further questions. The apartment predator's actual apartment is clearly the apartment on the second floor with the cassette player, however he is found dead in an apartment on the 4th floor.
- The puzzle with Mace was never originally intended to be part of Cry of Fear. It was added after a suggestion by someone ruMpel was attending college with at the time. Although ruMpel revealed in the game's developer commentary that he is not satisfied with the way this section of the game pans out, reaction from fans has not been so negative.
- Русификатор, патчи и моды Cry of Fear★ 5 (1.3k)64k views2.6k ♥9 minRussianUpdated Aug 6, 2025
- Текстовое прохождение Cry of Fear (без спойлеров)★ 5 (773)61k views1.7k ♥46 minRussianUpdated Aug 17, 2021
- How to change the FOV★ 5 (486)38k views672 ♥1 minUpdated Jul 29, 2017
- How to get all FIVE endings★ 5 (515)25k views864 ♥1 minUpdated Jul 15, 2013
- How to not get spooked★ 5 (991)25k views529 ♥1 minUpdated Apr 19, 2022
- Как поиграть в кооп CoF в 2026?★ 5 (222)15k views531 ♥3 minRussianUpdated Feb 5





- Upgrading to PremiumTeam Fortress 2★ 5 (20k)1441k views11k ♥6 minUpdated May 11, 2022
- No More Room in Hell Official ManualNo More Room in Hell★ 5 (2.8k)569k views2.1k ♥29 minUpdated Apr 22, 2019
- NMRiH Community Hosting GuidesNo More Room in Hell★ 5 (526)351k views653 ♥1 minUpdated Aug 10, 2022
- ULTIMATE GUIDE FOR GAME DEV TYCOONGame Dev Tycoon★ 5 (5.8k)326k views10k ♥4 minUpdated 23 Jan, 2014
- How to 'Git Gud' Soon™MORDHAU★ 5 (2k)318k views3k ♥68 minUpdated Nov 16, 2024
- Лучшие кооперативные игры SteamPAYDAY 2★ 5 (1.5k)315k views2.1k ♥56 minRussianUpdated Apr 27, 2025






This guide was created by its original author on the Steam Community. Are you the author and want it removed? Request removal.