Becoming One with the Particles... (Aura, Disguising, Burning, Sparkling, Shocking, etc)
So What did I mean about 'Becoming One with the Particles'?
BEHOLD
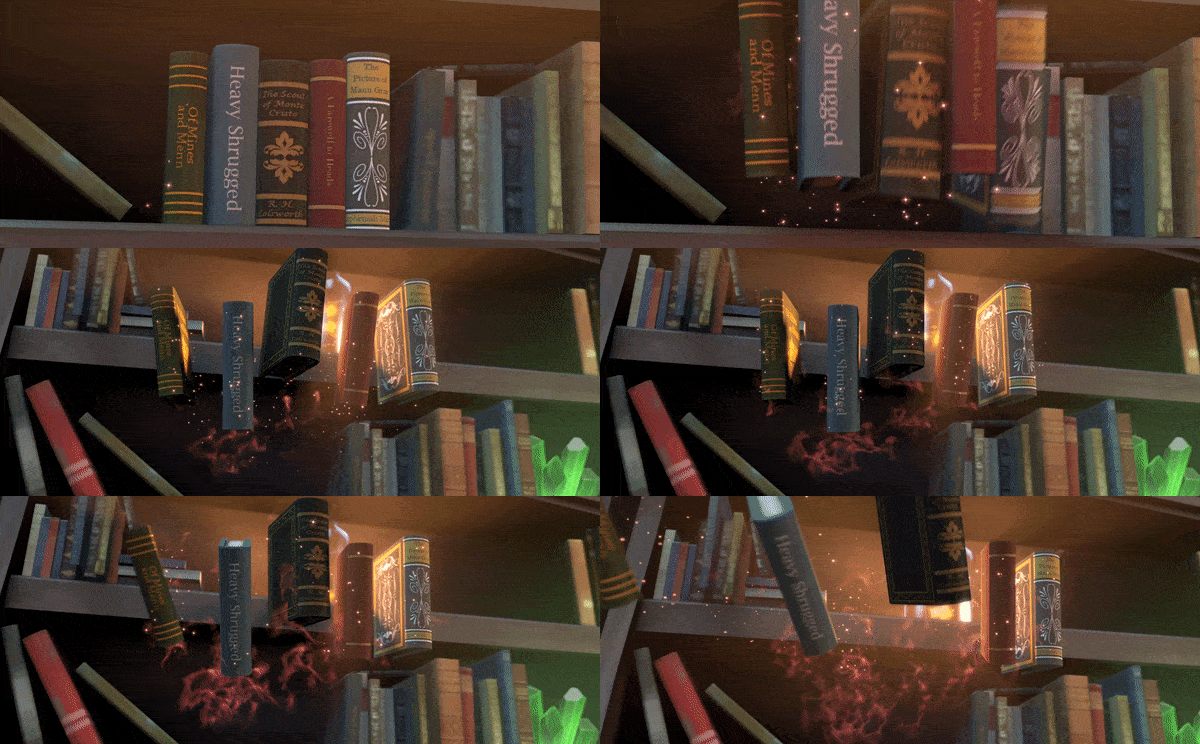
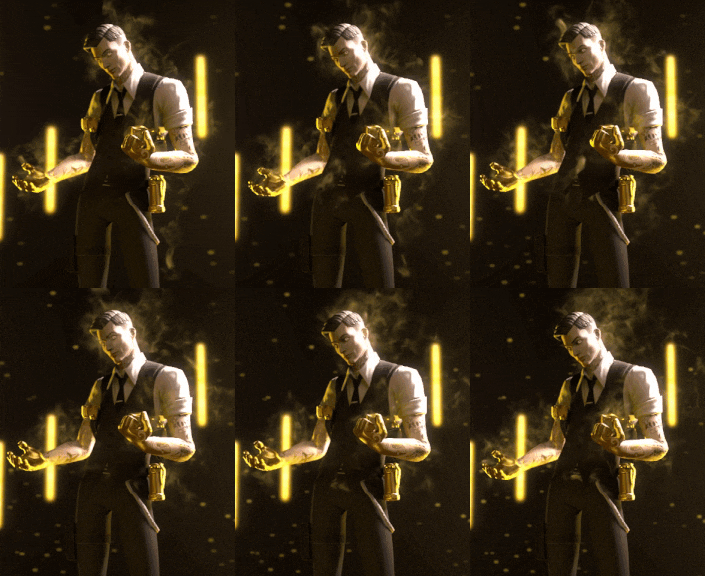
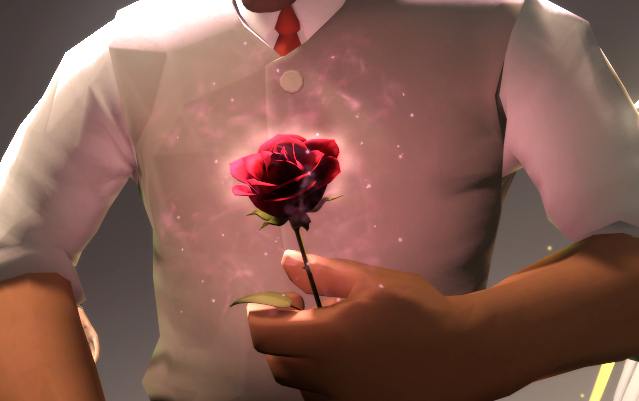
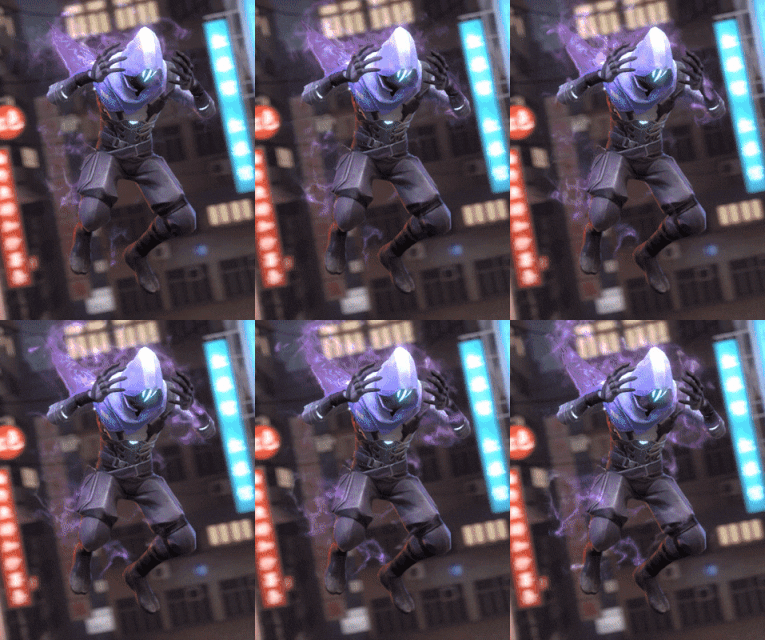
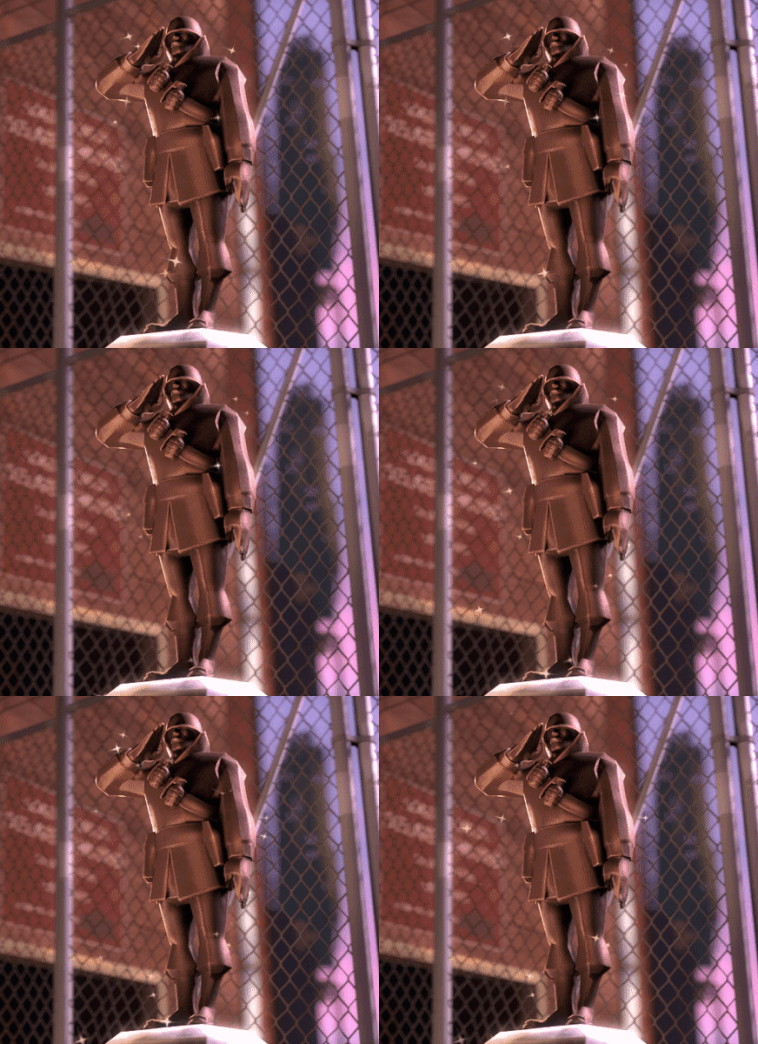
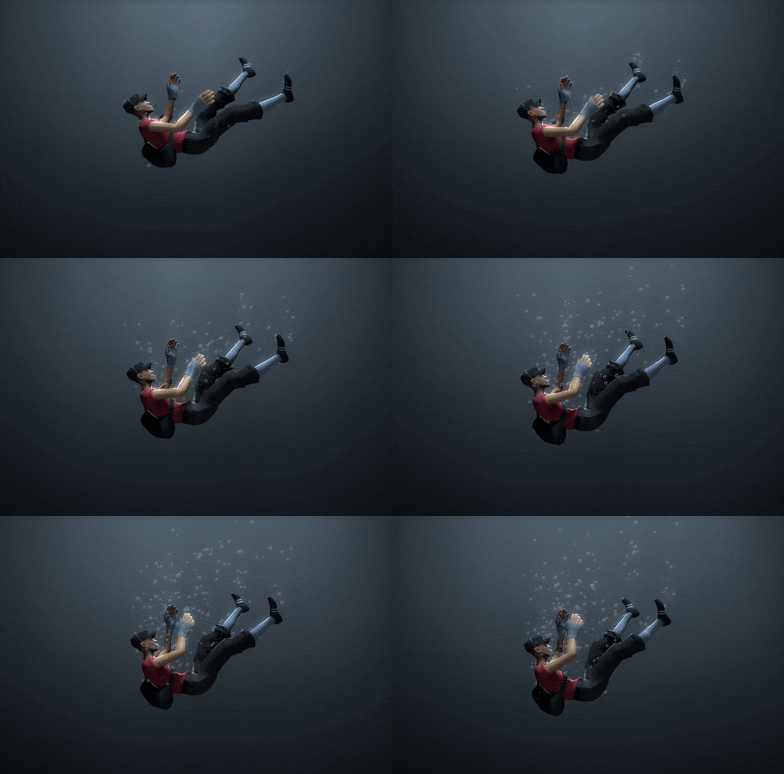

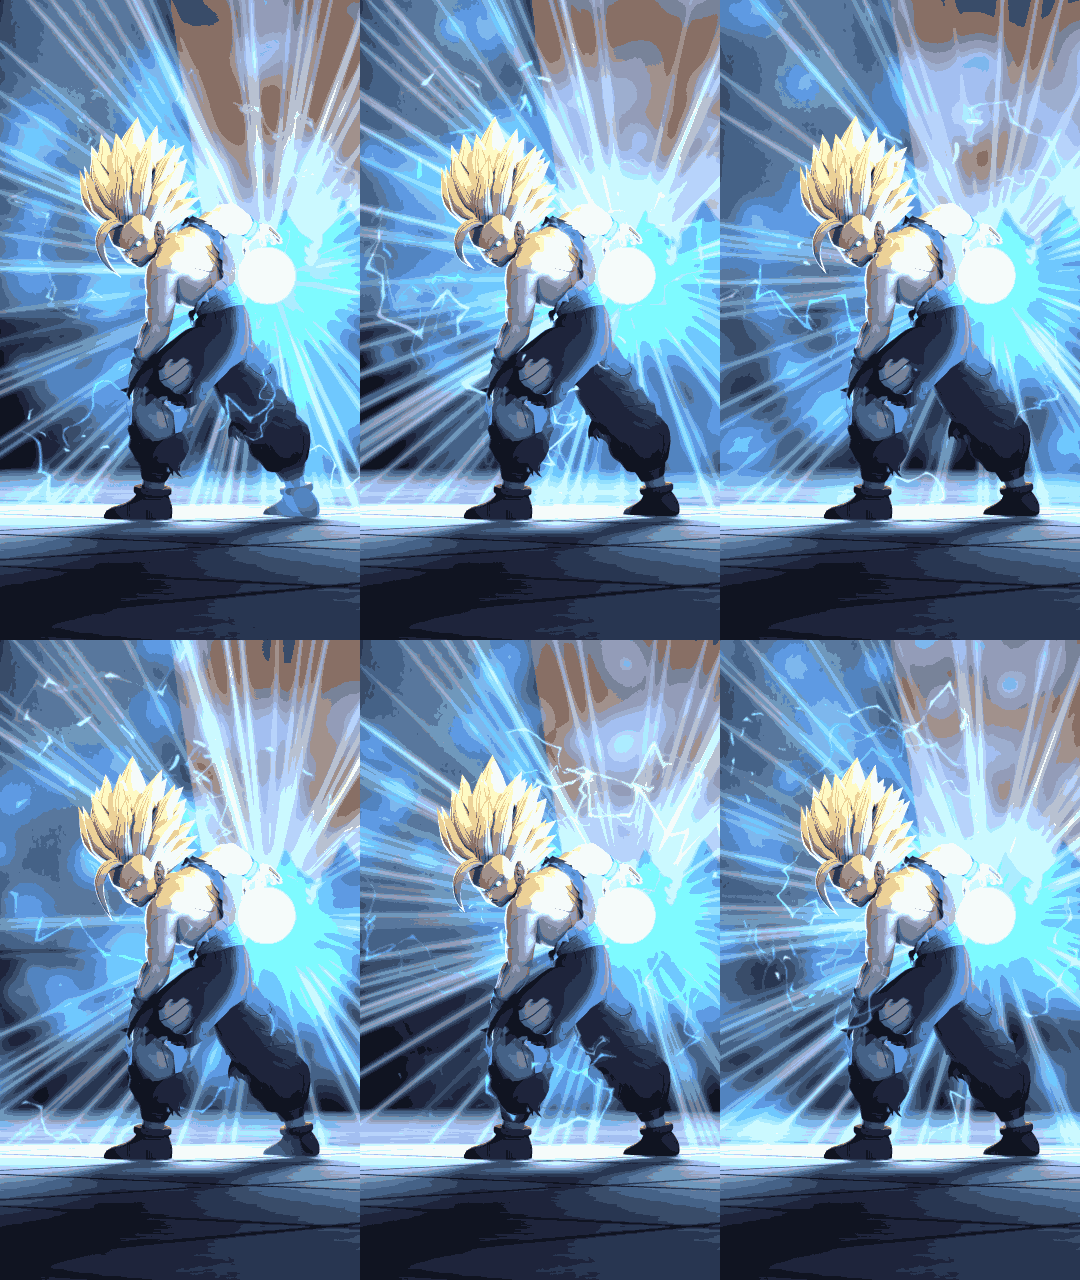
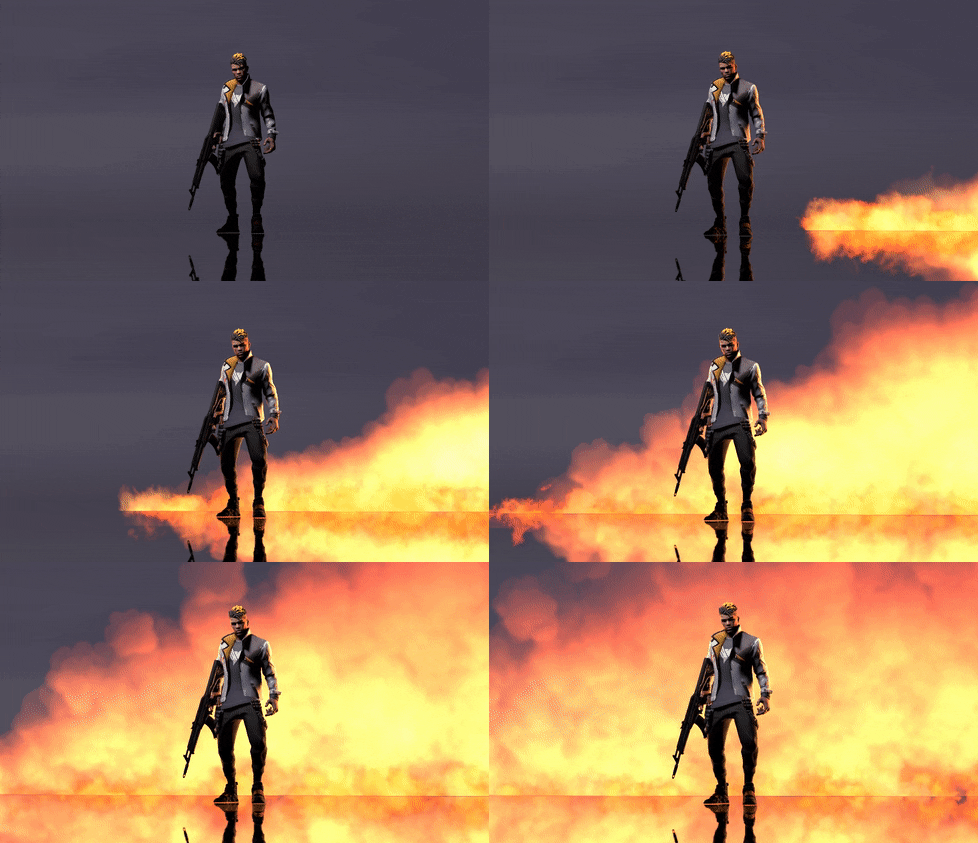
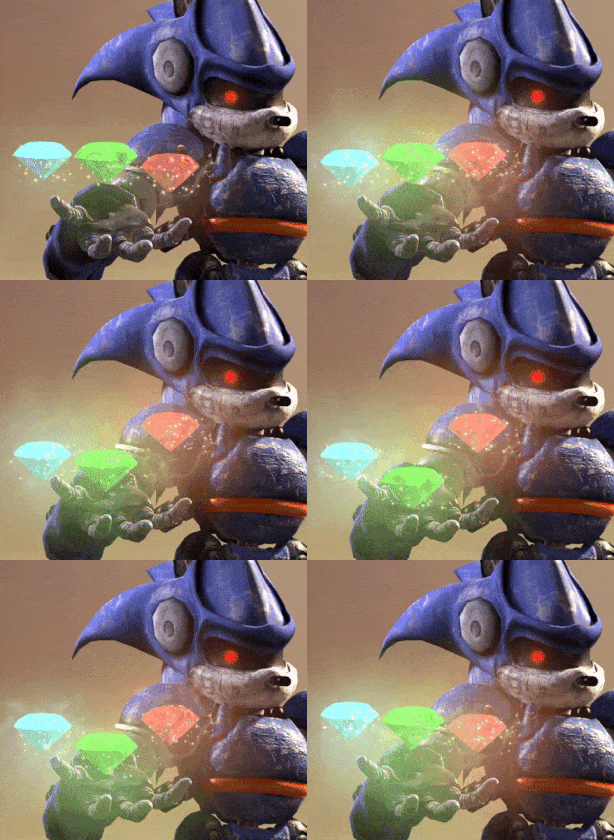
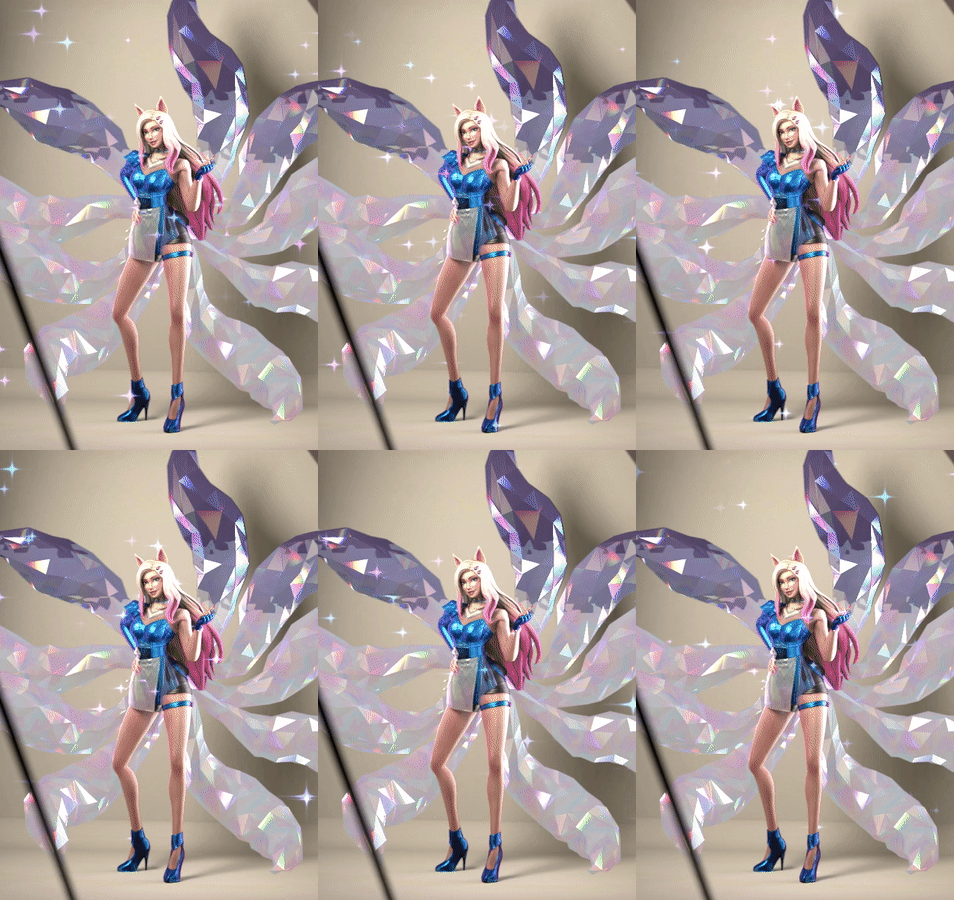
Its also where you get these well-known in-game effects:
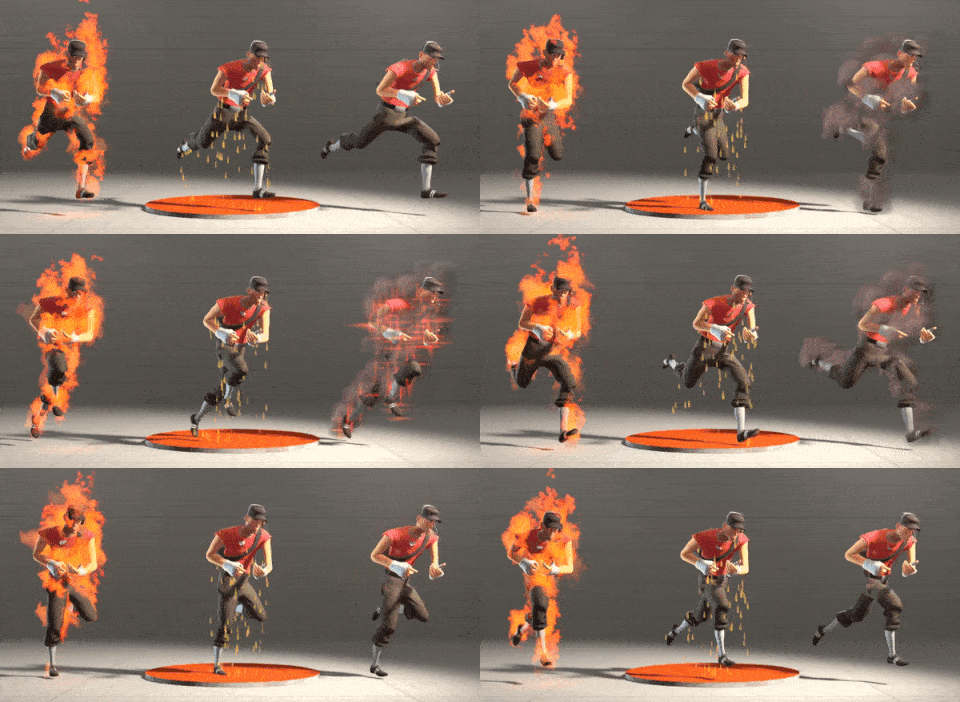
Stupid Scout. Anyway
This Guide is about Appying Particle effects on the Surface of your characters and objects.
REMEMBER to Click on the images/GIFs for a closer look
Foreplay
- You need to have a General Understanding on Particle Effects and how everything works
- Get your chosen Character/Object nice and comfortable (No need to pose beforehand)
- The finest Particle System to wear
It is Most Recommended, to use the Particle Editor Tool window to visually check out particles before summoning it into your workplace. I've been guilty of placing every particle effect I wanted to try out in the viewport and scrolling back and forth to see the effect. Because i didnt know what they look like.
Time-consuming. Inefficient. Low quality Previews.
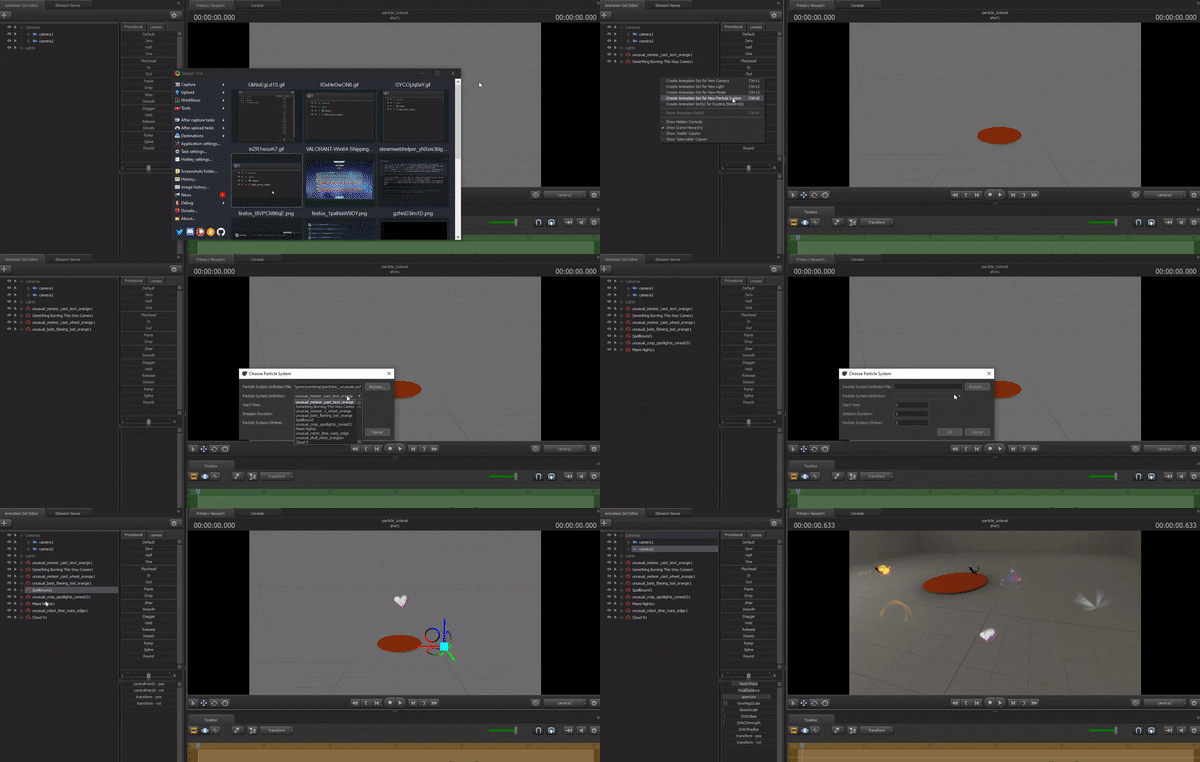
This has been sped up by 5x. If you wanna avoid this, best advised to NOT skip the next section.
Using the Particle Editor Tool
Congrats on deciding to make life a bit easier.
With hundreds and possibly thousands of awesome-looking particles to go through, this is the most efficient way i could think of to view them.
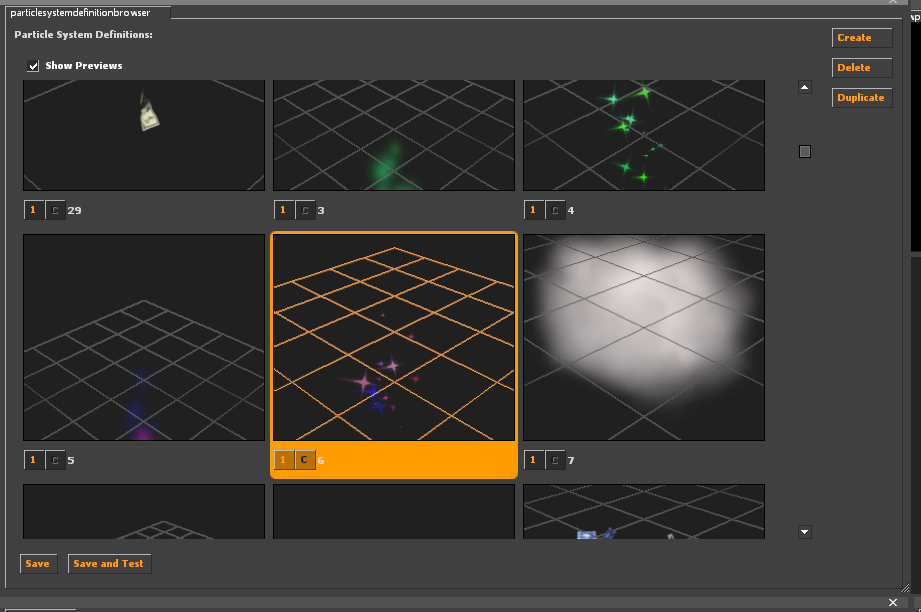
This is what it looks like:
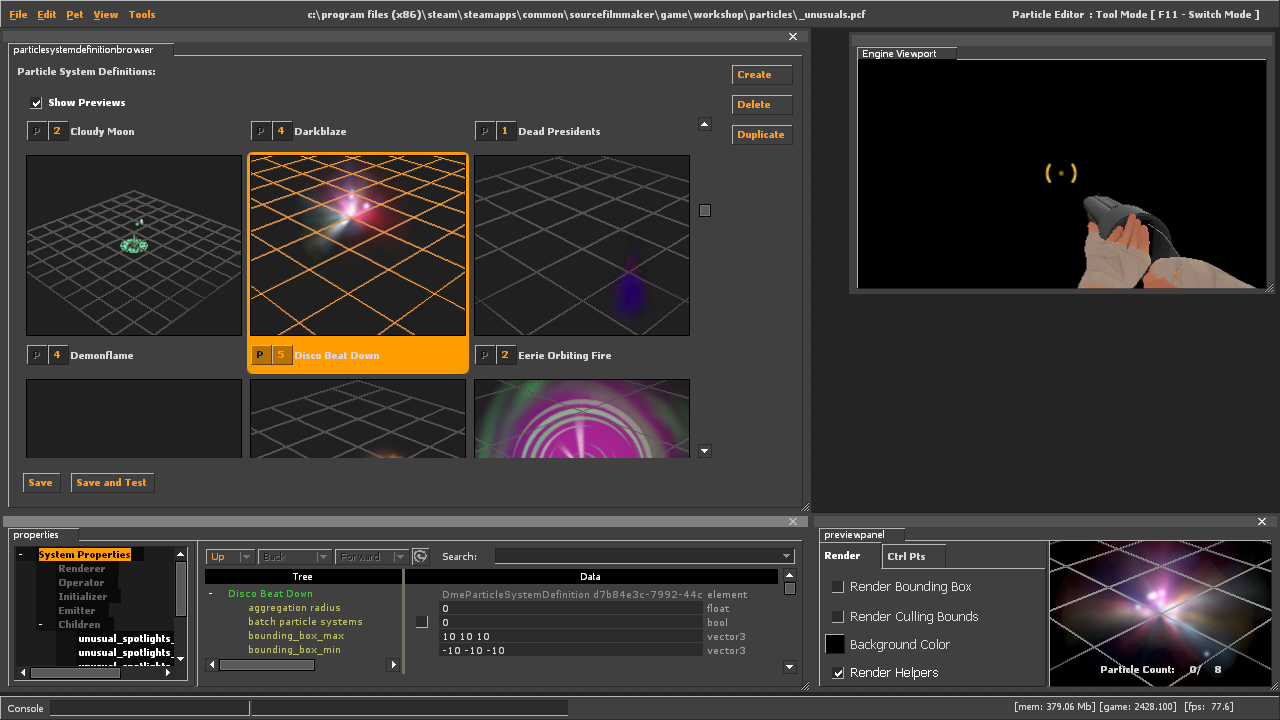
One scroll and you've looked at every Unusual in the game.
With this, you get a much more convenient way to preview particle effects you may be unsure where to look, finding the name or simply just exploring the vast list.
Let's Get to it!
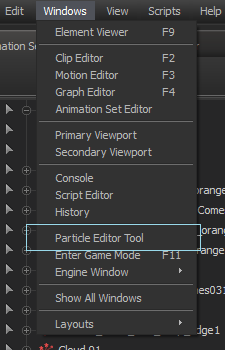 Windows > Particle Editor Tool
Don't be alarmed when the whole thing disappears. We can get that back later.
Go to File > Open.
If you dont see any files, press that Up arrow folder (UP) on the top-right side until you see some and Follow the pathway in the image
Click on one of the 3 highlighted branches (depending on where your wanted particle system is), and click the Particles Folder to unleash the floodgates of special effects.
Tools > Switch to SFM
That's it! Have fun looking for those hidden treasures in your own time.
For now, its time for the main event.
MAIN TUTORIAL
Since a Legend passed away around this time of making this guide, let's make this go out to him.
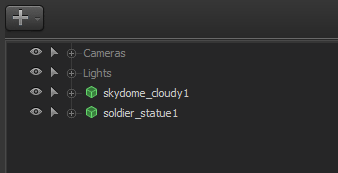
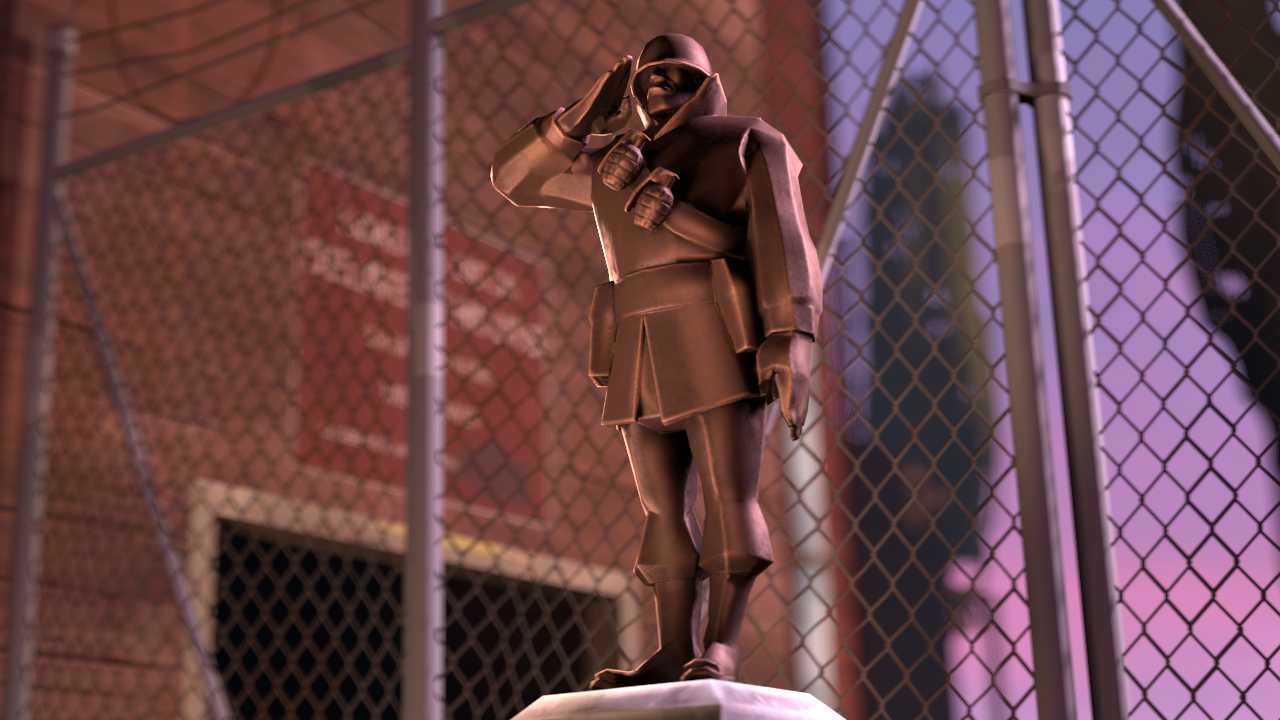
 I want the statue to Sparkle, so we look for things that look like they twinkle.
Unusuals contains some of the most prettiest and unique particle effects, so i chose one from there.
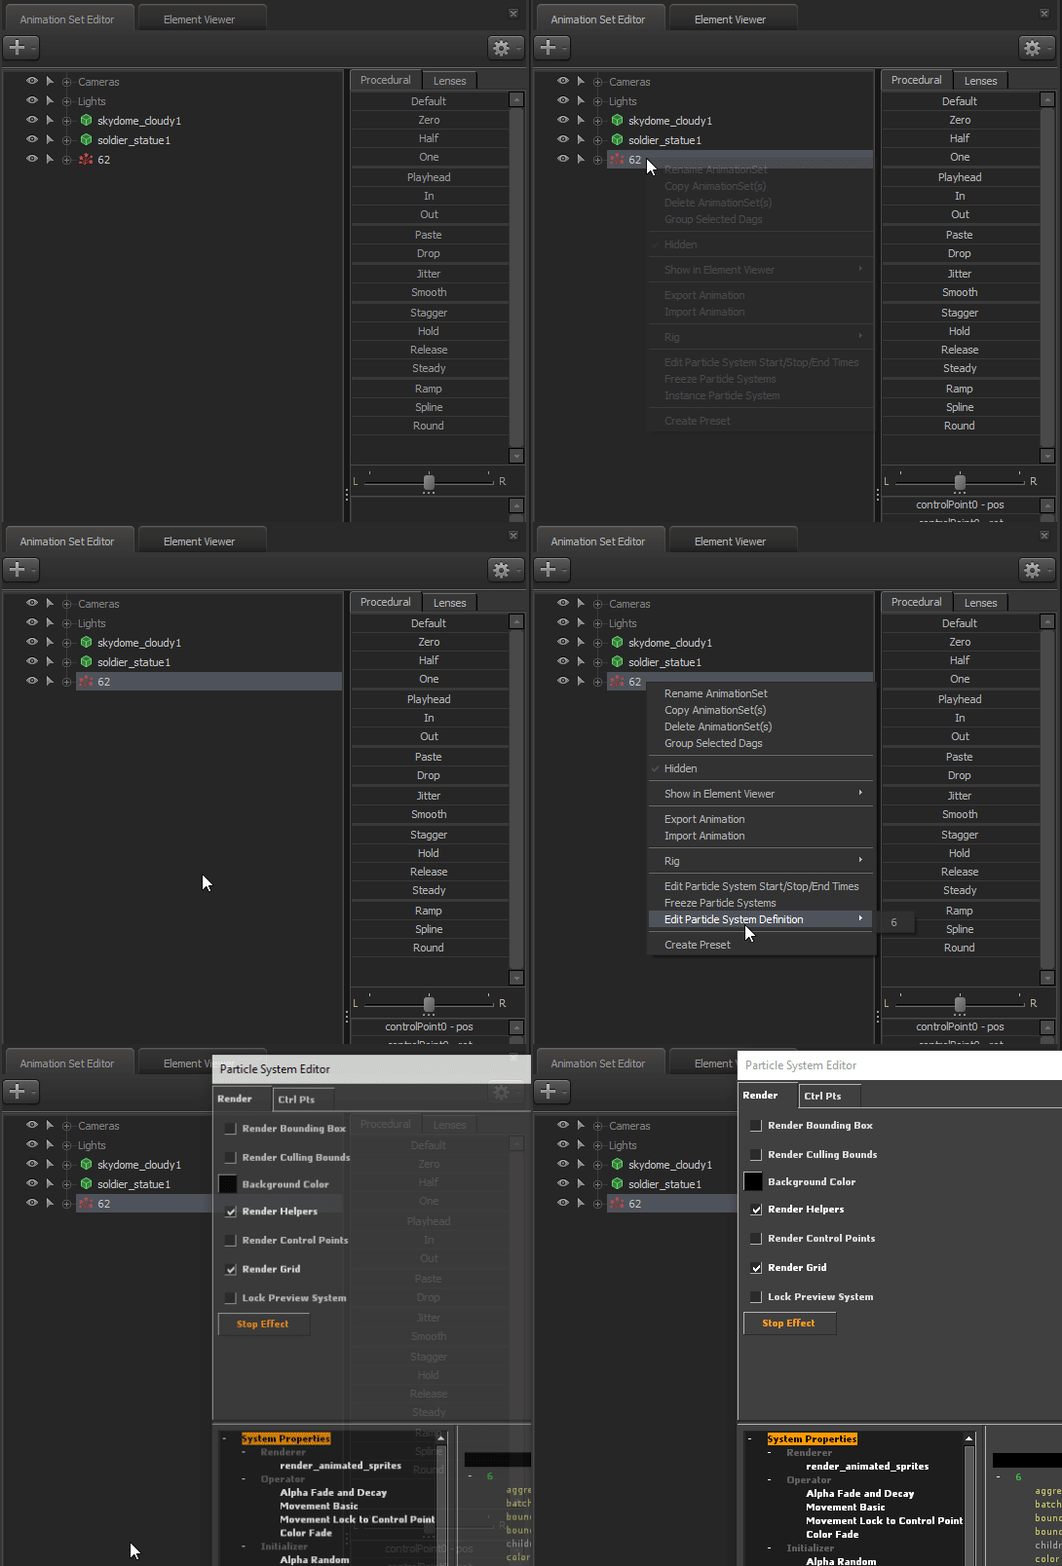
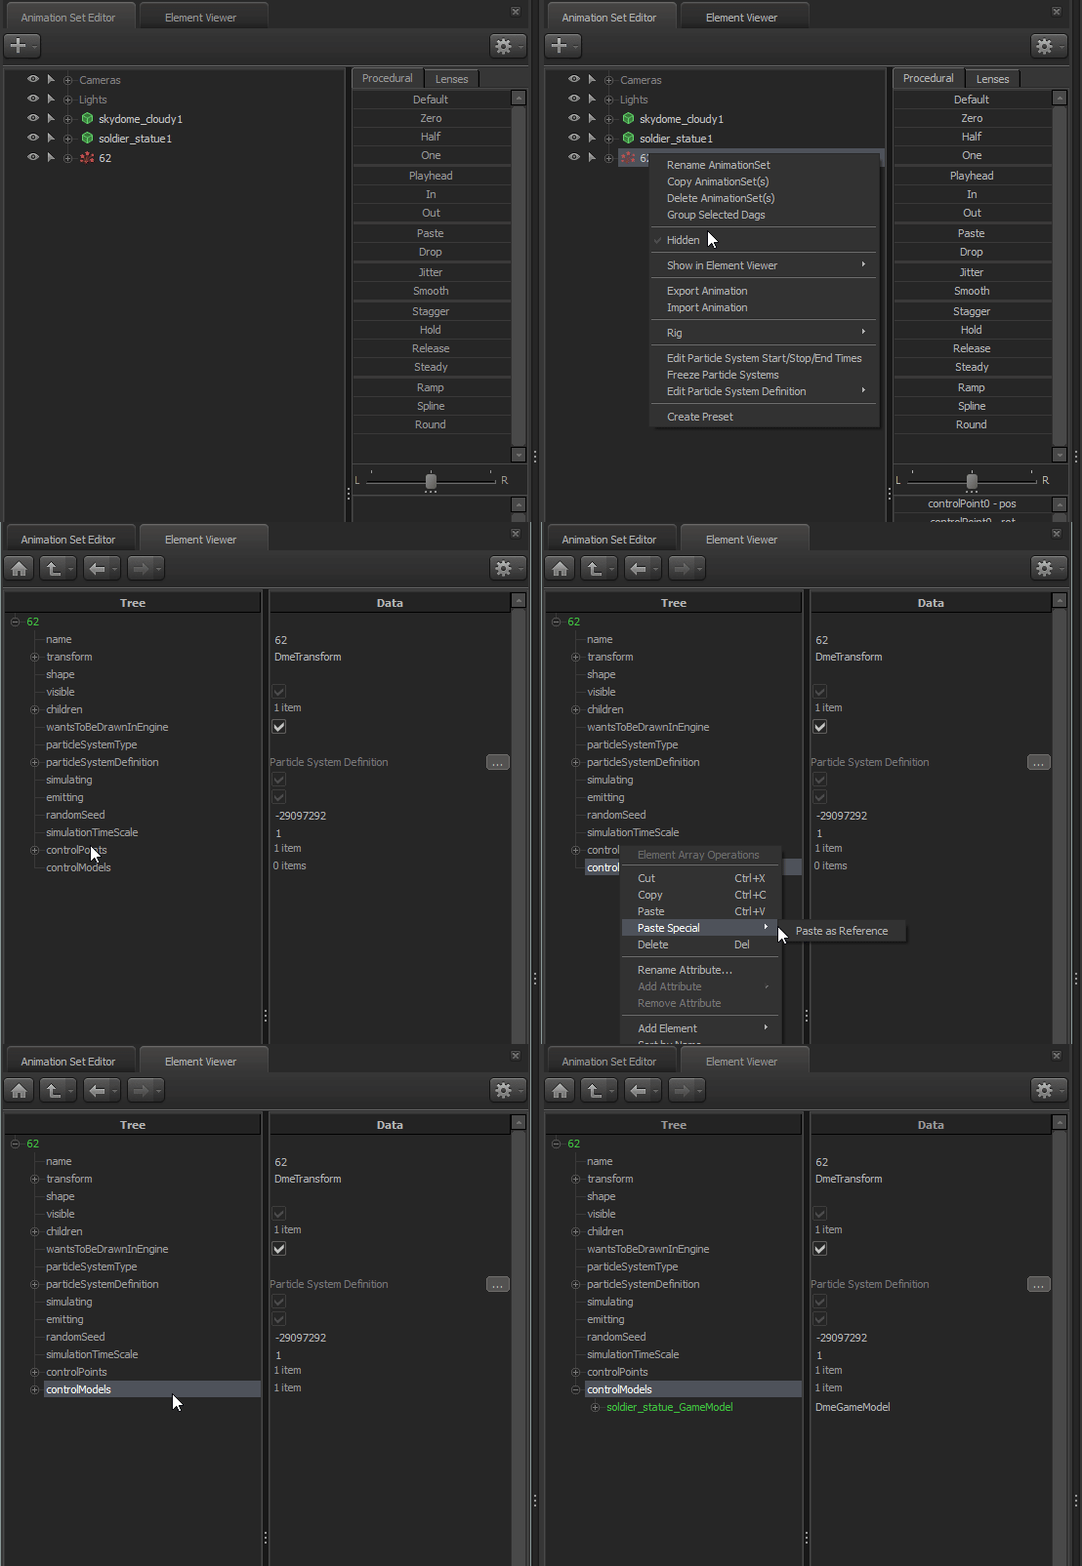
R-click the Particle, instance it, R-click again and Edit.
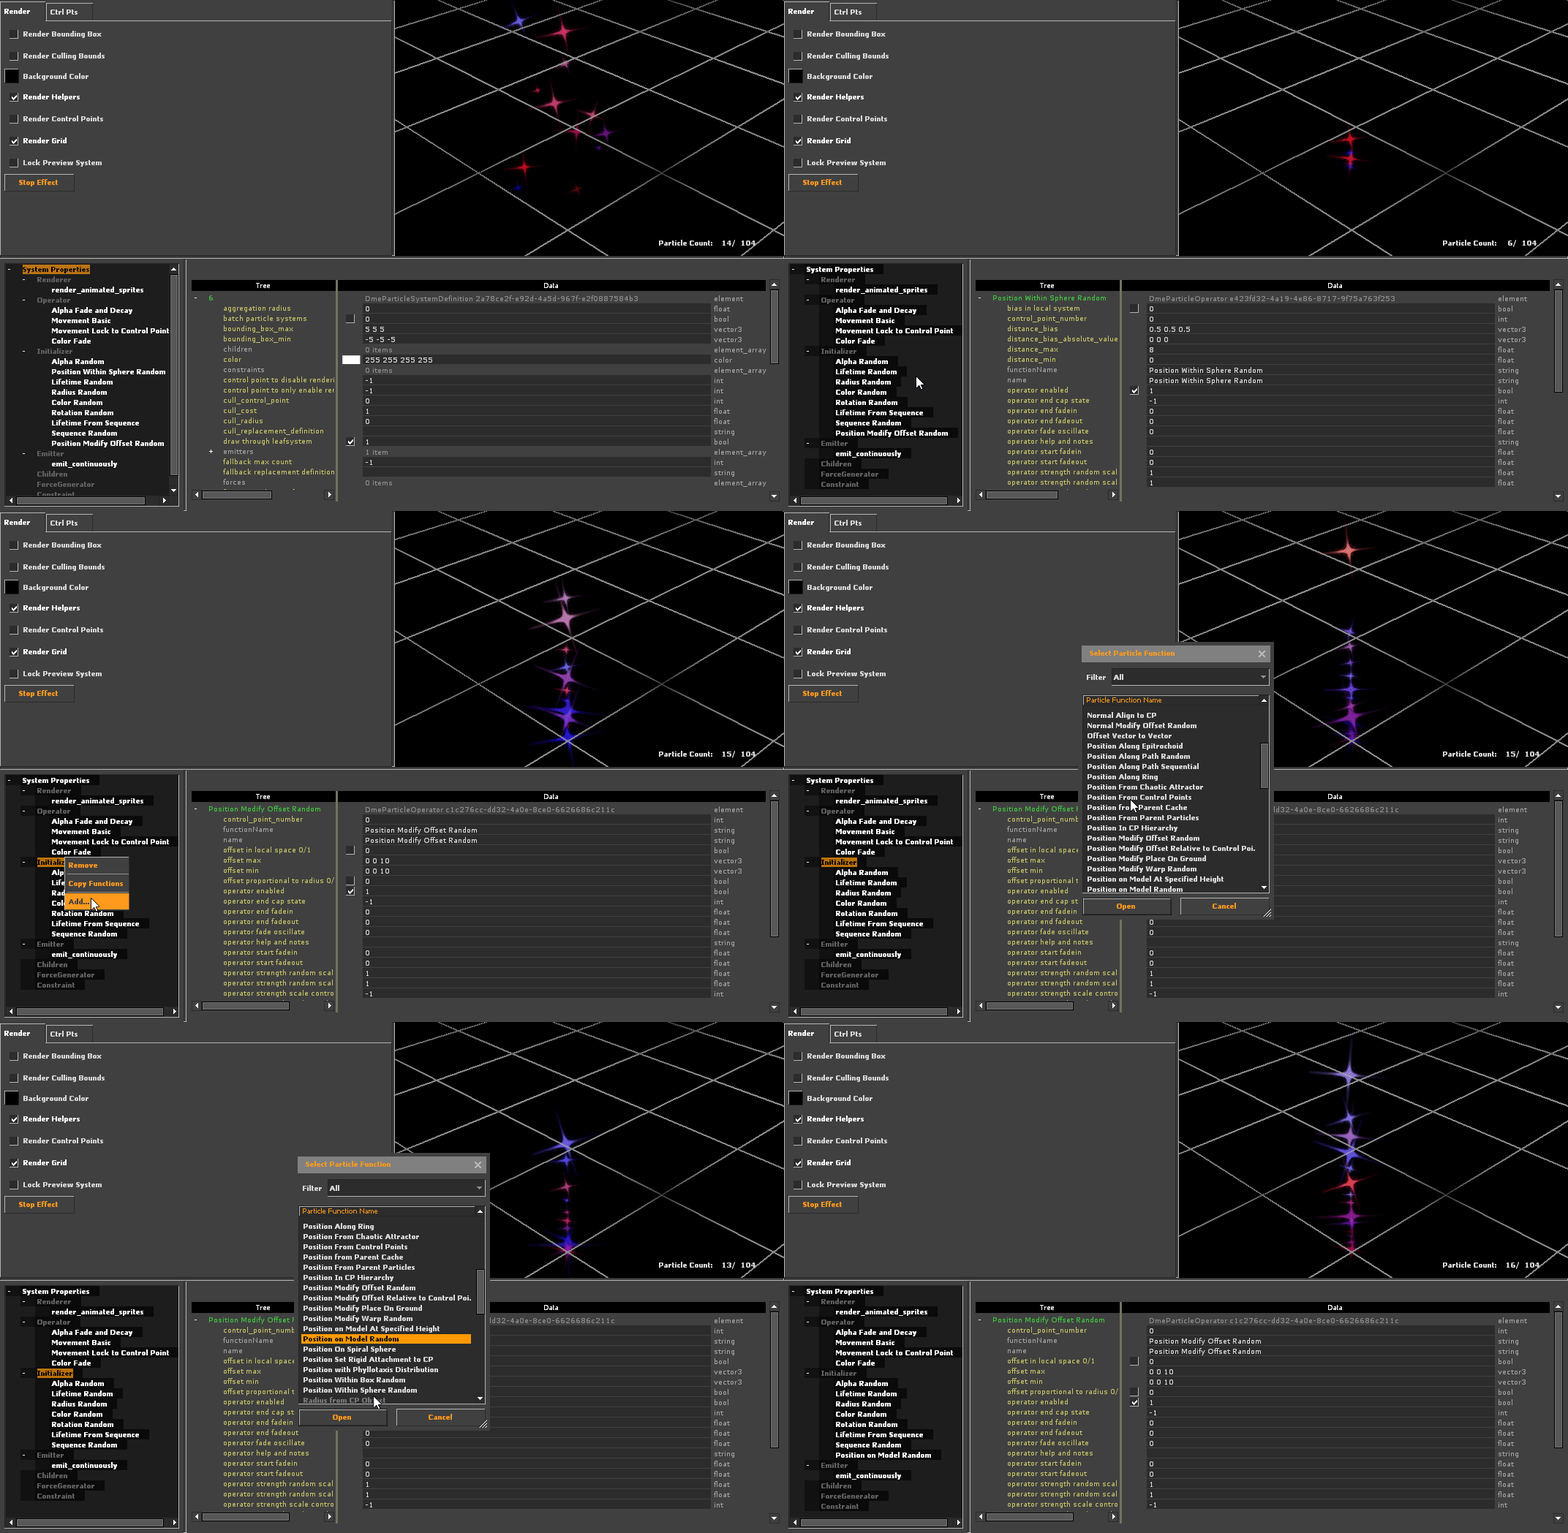
Delete everything beginning with 'Position' under 'Initializer' and Add in 'Position in Model Random'. Accept
R-click the Model, Show in Element Viewer > Model.
Click Up (Up Arrow) until you see children pls dont take that out of context.
Copy the name underneath
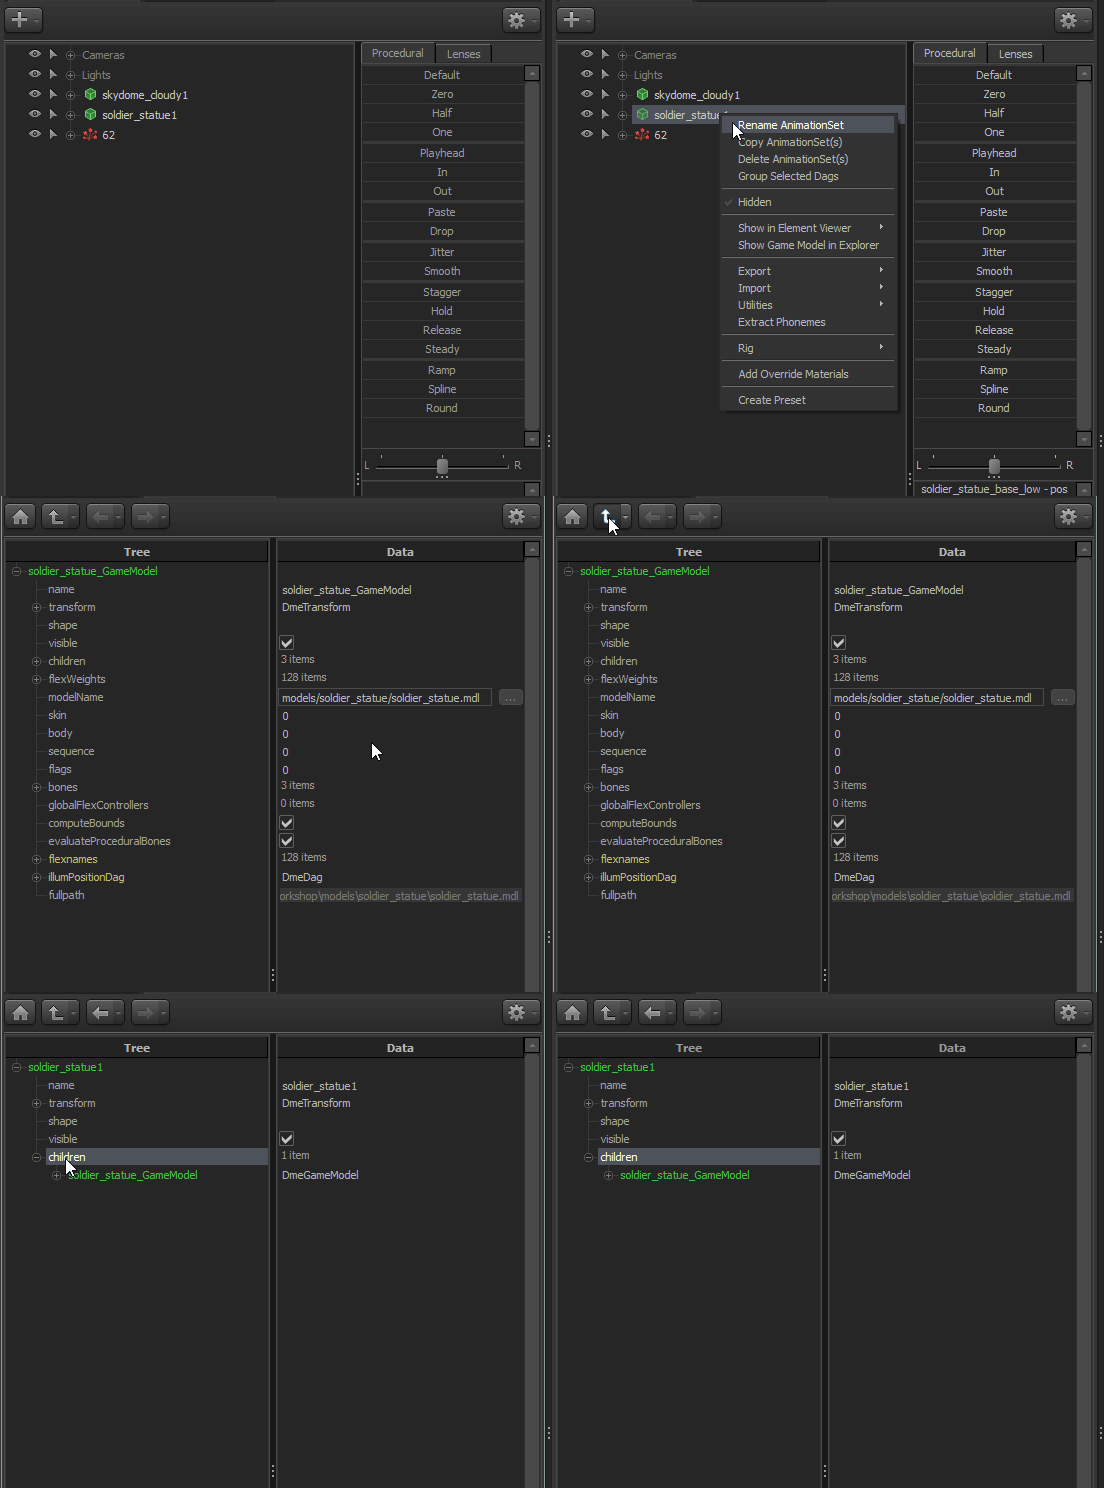
R-click the Particle, Show in Element Viewer > Particle System. Go to controlModels and Paste Special > Paste as Reference.
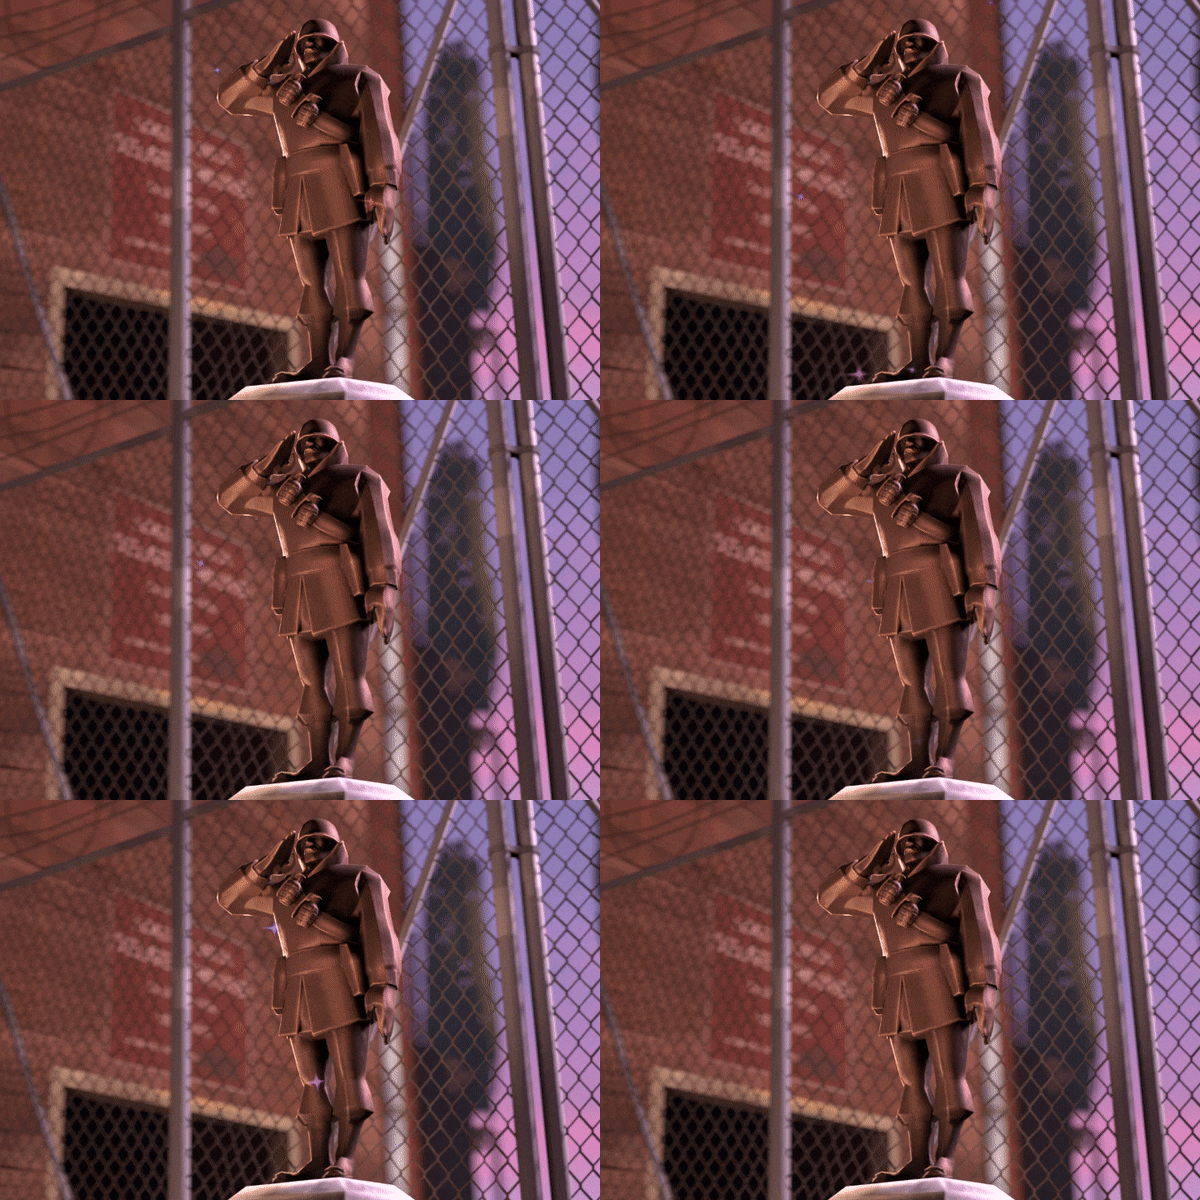
And just like that, your model should be radiating with particle goodness.
If not, Wave the playhead around a bit or pay closer attention to Step 2.
It looks... Alright... i think? Not really impressive, isn't it?
Well, that's cus we have more work to do. Time to deal with some scary-ass words and numbers.
ADVANCED STUFF - Getting what you want
Alright, I lied about not needing to have good knowledge about particle effects in order to use this method.
BUT - Leaving the numbers untouched, can only get you so far, in terms of what you are going for.
And i'll be Real - It will probs be rare to find something EXACTLY what you are looking for. And its up to YOU, to get what you want.
Do not worry - its alot easier than you think :)
So here, I'll be going through some of the Most Common ways to Customise your particle systems by looking at some of the Most Basic and Useful Parameters
You can look at the particles at better detail using the Mouse.
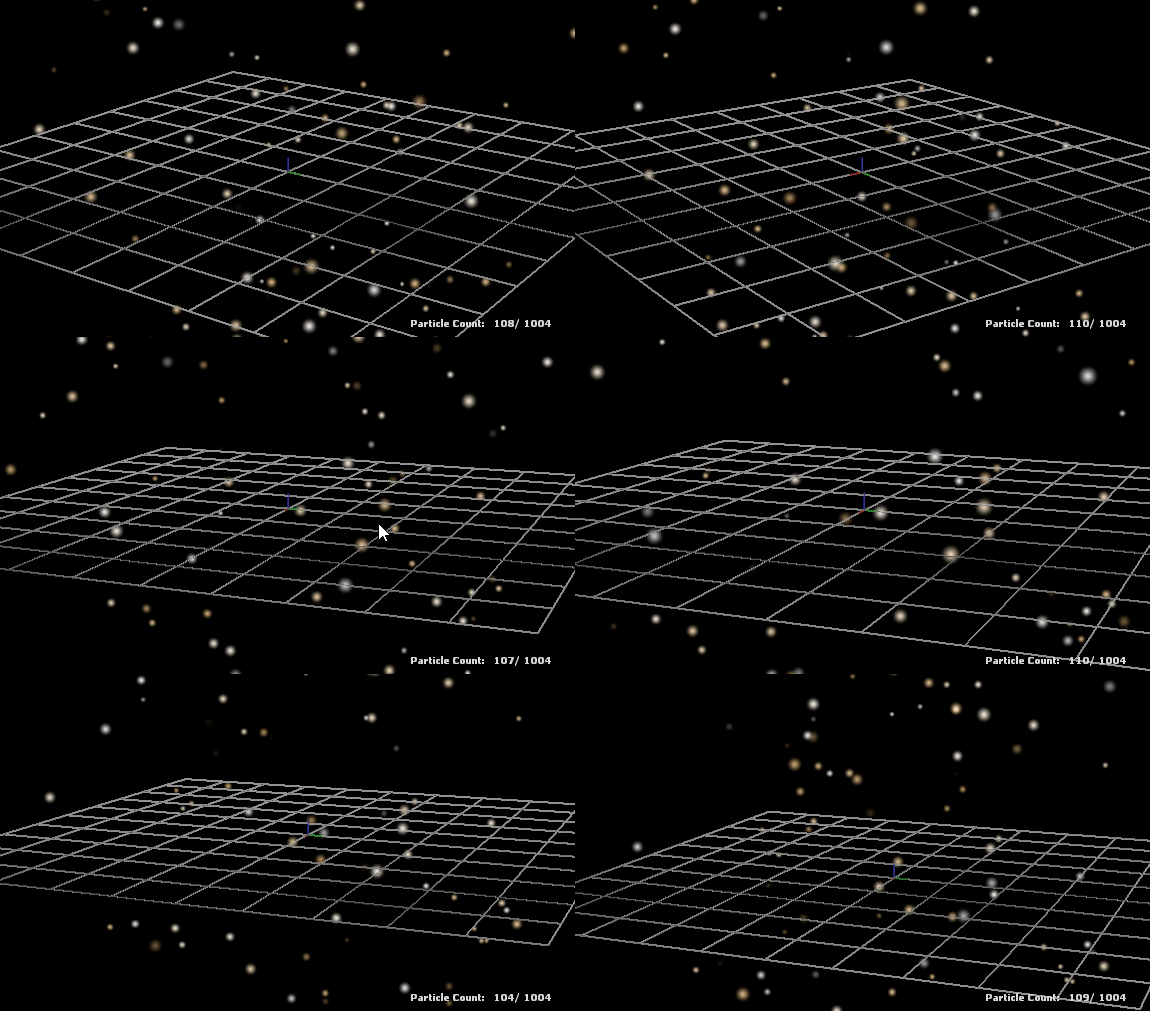 ORBIT -> L-Click + Drag
ZOOM -> R-Click + Drag
PAN -> MOUSE3 + Drag
- Radius Random
- The Max & Min values determine the range of random sizes the particles are produced
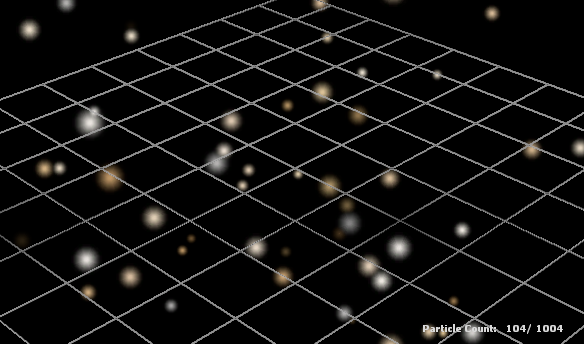

Main Transparency
- Alpha Random
- Control Overall Opacity Particle
- Place values between 0 - 255
Movement/Gravity
- Movement Basic
- Controls where Particles travels, Applies Gravity
We'll focus on 'Gravity'. Parameters will be split into XYZ - (XY = left/right/forward/back, Z = up/down)
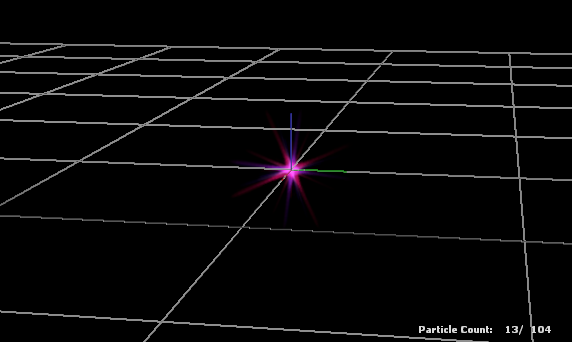

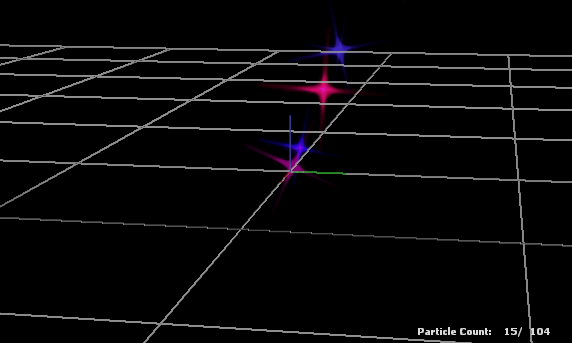

Main Color:
- Color Random
- Click on the Color Rectangle to choose your color
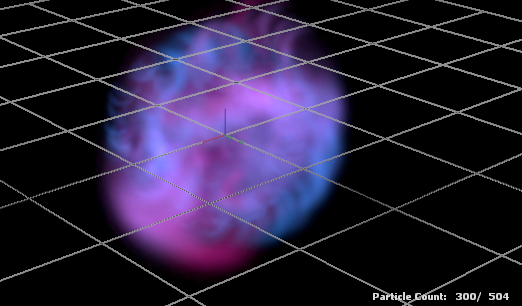

Spawn Rate:
- Emit_Continuously/Emit_Instantaneously
- How many particles are produced at a time.
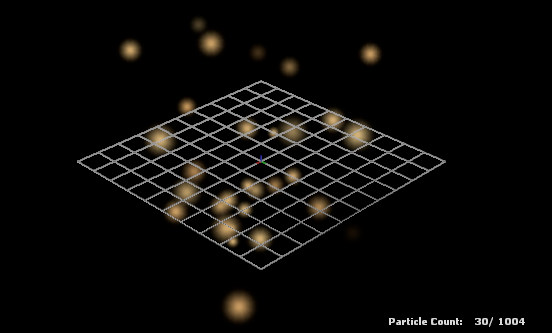

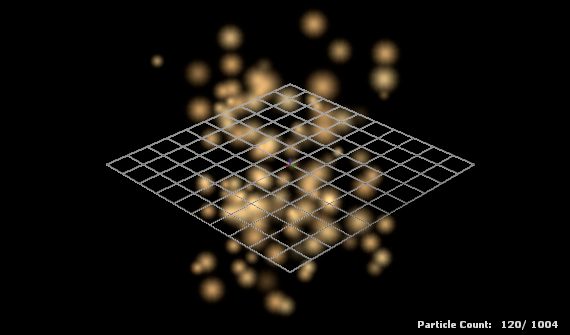
 The things i didn't like about this:
- Too little Particles
- Barely Noticeable
- Floats too much
- Add more particles
- Change the colors and Opacity
- No movement
And BOOM!
Updates:
- Emission rate: 35 -> 400
- Changed both colors to Gold
- Movement basic: Gravity 0 0 200 -> 0 0 0
- Time Scale: 0.5
- Updated Localization Files
My Personal Favourites
If you need some ideas or require that creative boost, Here's my arsenal of particle effect wearables.
Power Aura:
Make your icon look Powerful, Mythical, Ghostly. Enhance their colour scheme and a trailing effect that complements movements quick or slow.
A Fantastic Particle effect derived from this Workshop item:
https://steamcommunity.com/sharedfiles/filedetails/?id=553926899&searchtext=light+arrow
Movement Basic > Gravity - [x x 10] (x = direction smoke trails off)
Alpha Fade and Decay >
Start_fade_in: 0 Start_fade_out: 0.05
End_fade_in: 0.05 End_fade_out: 1
The Fades are pretty important to show that the smoke is coming off the entities, NOT spawning in halfway through the air. As well as to slowly de-materialise the further away it is from the source.
Electrifying:
Same as above - But Energizing
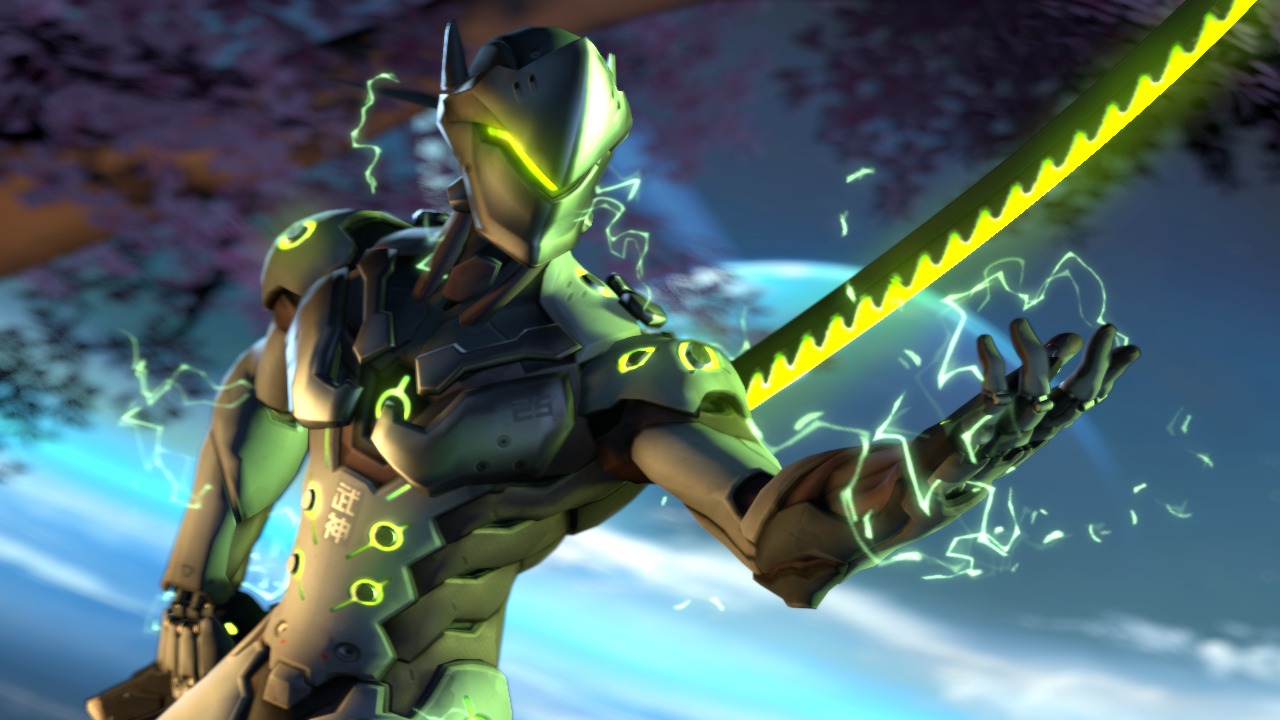
Finally, an electrical particle effect that is actually so fine. You can find it here:
https://steamcommunity.com/sharedfiles/filedetails/?id=2245326725&searchtext=scream+2020
Filename: utaunt_electricity
Note that the particle effect doesn't start until 3 seconds later from intended start time - You can fix it by going to emit_continuously and setting emission_start_time to 0
Sparkling:
Reinforce that Shining, Lustrous quality - or simply make them look even more Fabulous
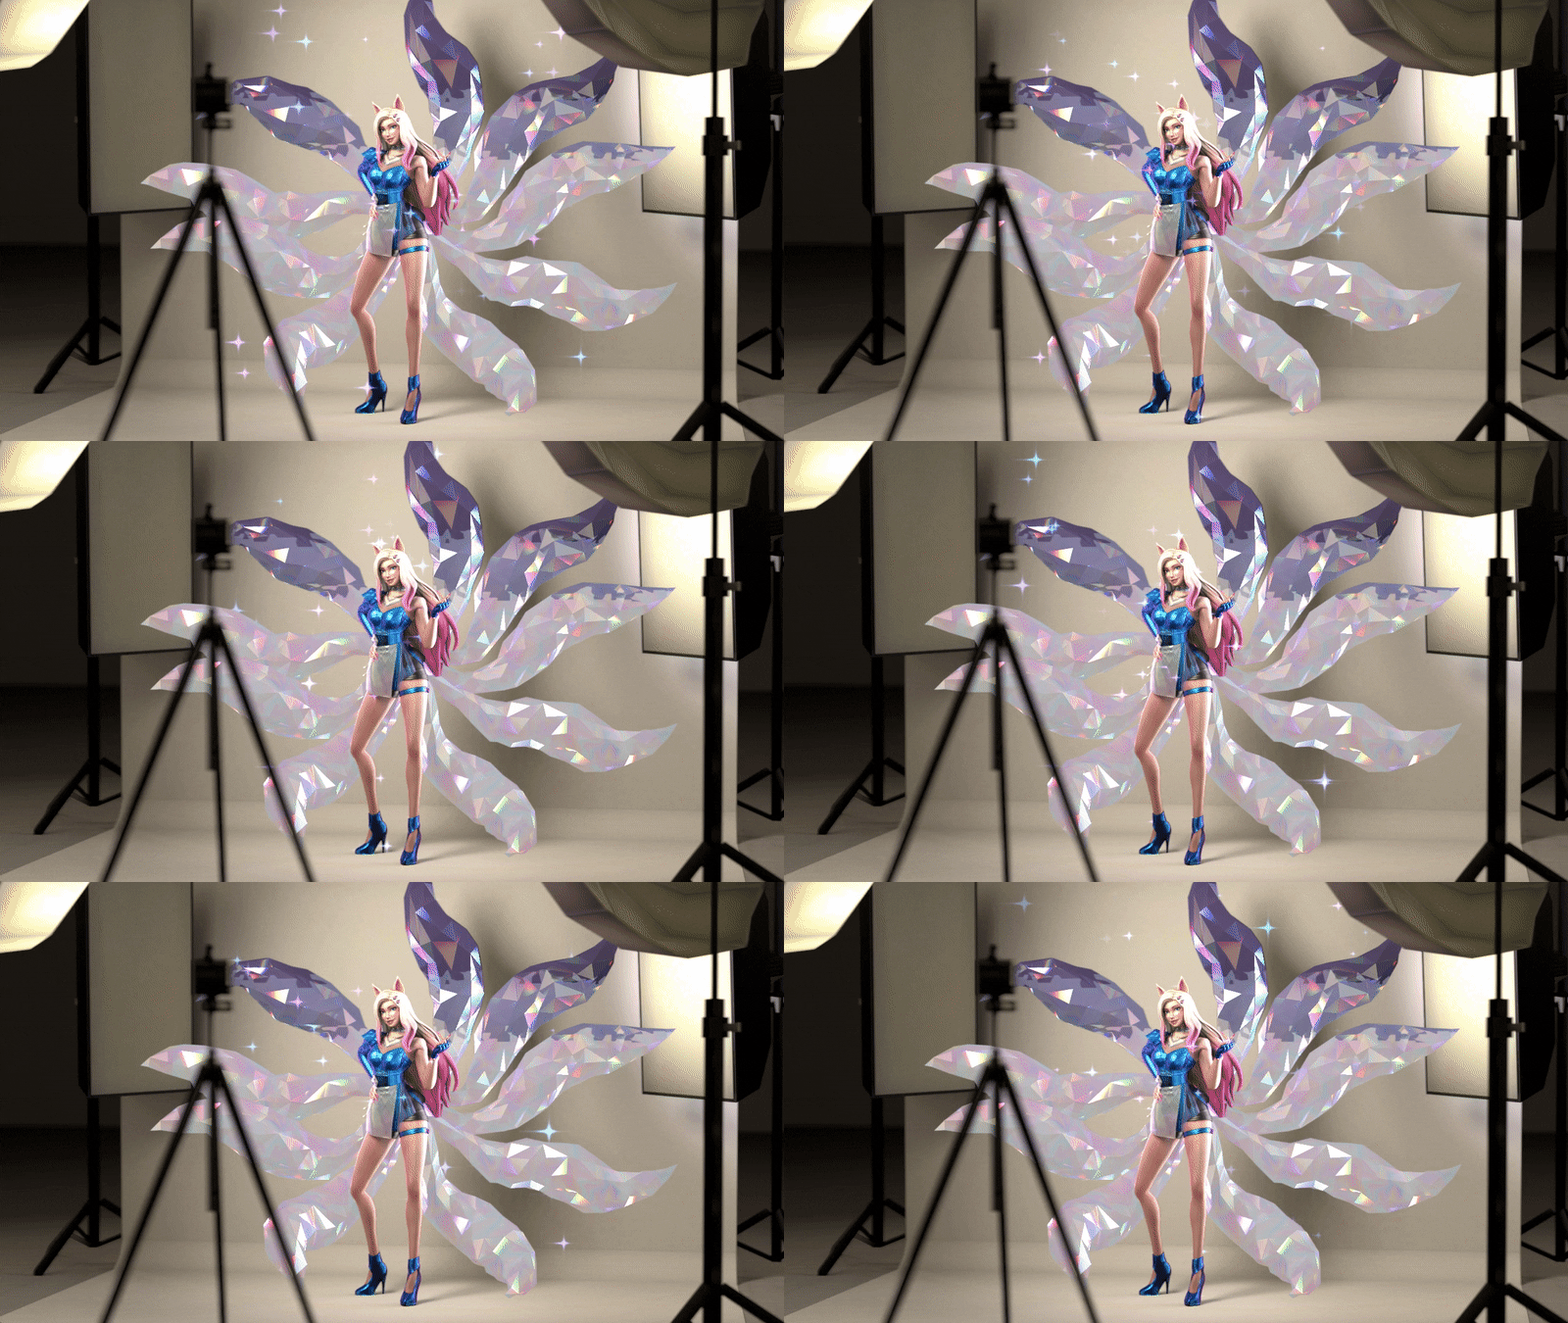
I actually didn't apply any particles to her - Instead I just applied it to an invisible square cus im lazy
Filename: tf > flag_particles > australium_sparkles_player
Bubbly:
Incase one volumetric isn't enough for your underwater artwork

Filename: tf > item_fx > unusual_bubbles
Tips & Tricks
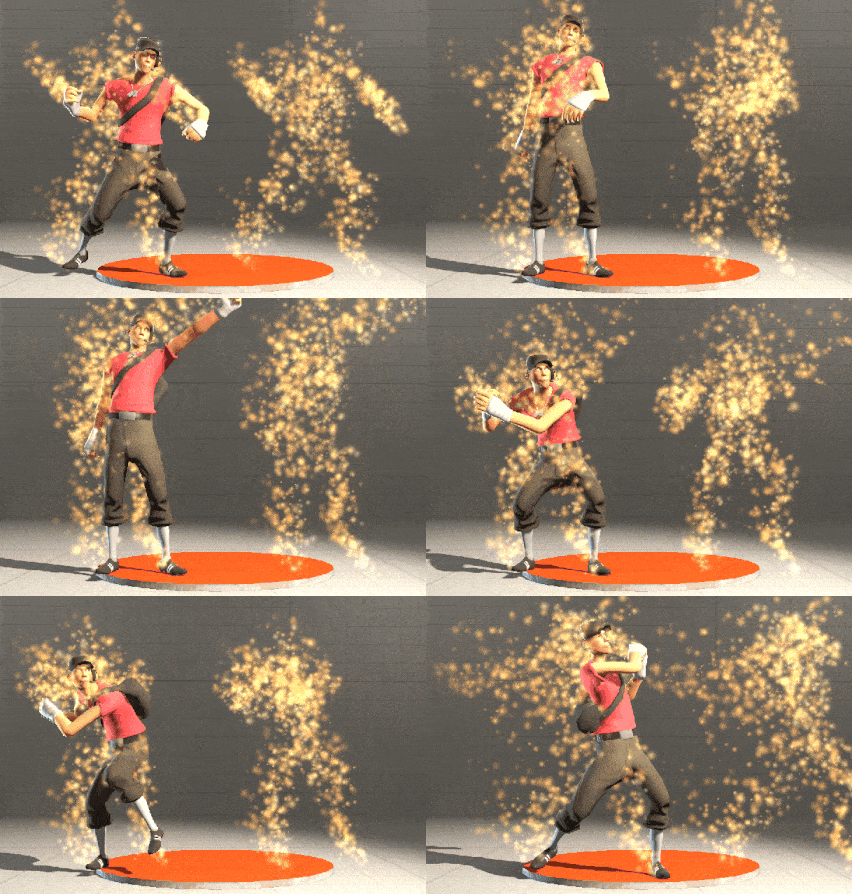
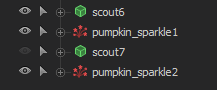
How is this Useful?
Extended control over emission area and patterns (Controllable with scalar)
Behind the scenes:
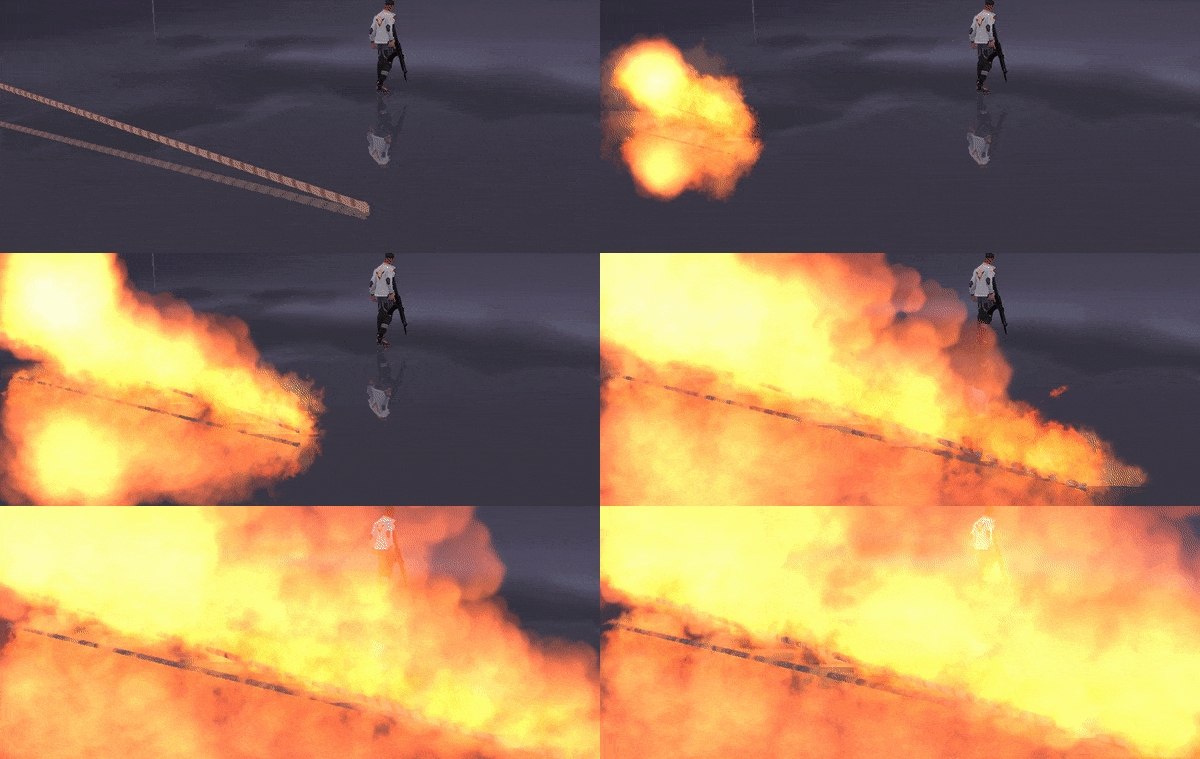 Tether a flaming particle to a thin and long model, play with the scales and hide it.
 BAM! You got a Wall of Fire
Enables 'Locked' tools and characters to emit particles (Locked parts cannot emit particles)
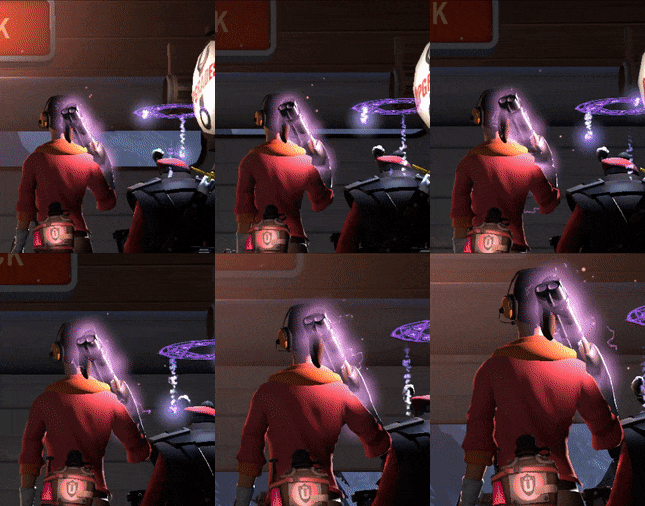
Secret?
- Create another model and attached the particle to it
- Lock and zero the particled model to the locked model
- Unlock the particled model and hide it
POSSIBLE FUTURE PLANS:
EXPANDING PARTICLE (KUNGFU PANDA SKADOOSH) (EXPANDING INVISIBLE RING + PUMKIN SPARKLE)
(GENJI TRANSFORM INTO LEAF) (SPINNING INVISBLE RING + SMOKE)
mad milk
jarate
LOCKING TRANSFORMS TO MAKE PARTICLES EMIT ON SPECIFIC PARTS?
Issues & Fixes
The Particle is still tethered to the Model, so removing the particle will take the model with it.
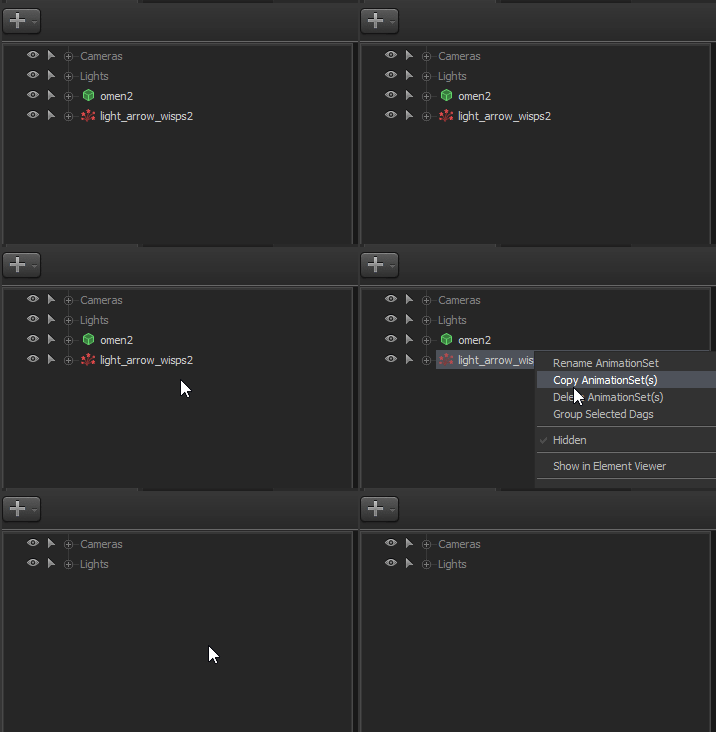
We have to remove that connection by deleting the connection by R-clicking the particle system to bring it into the Element Viewer.
Double click controlModels and delete the model name under it.
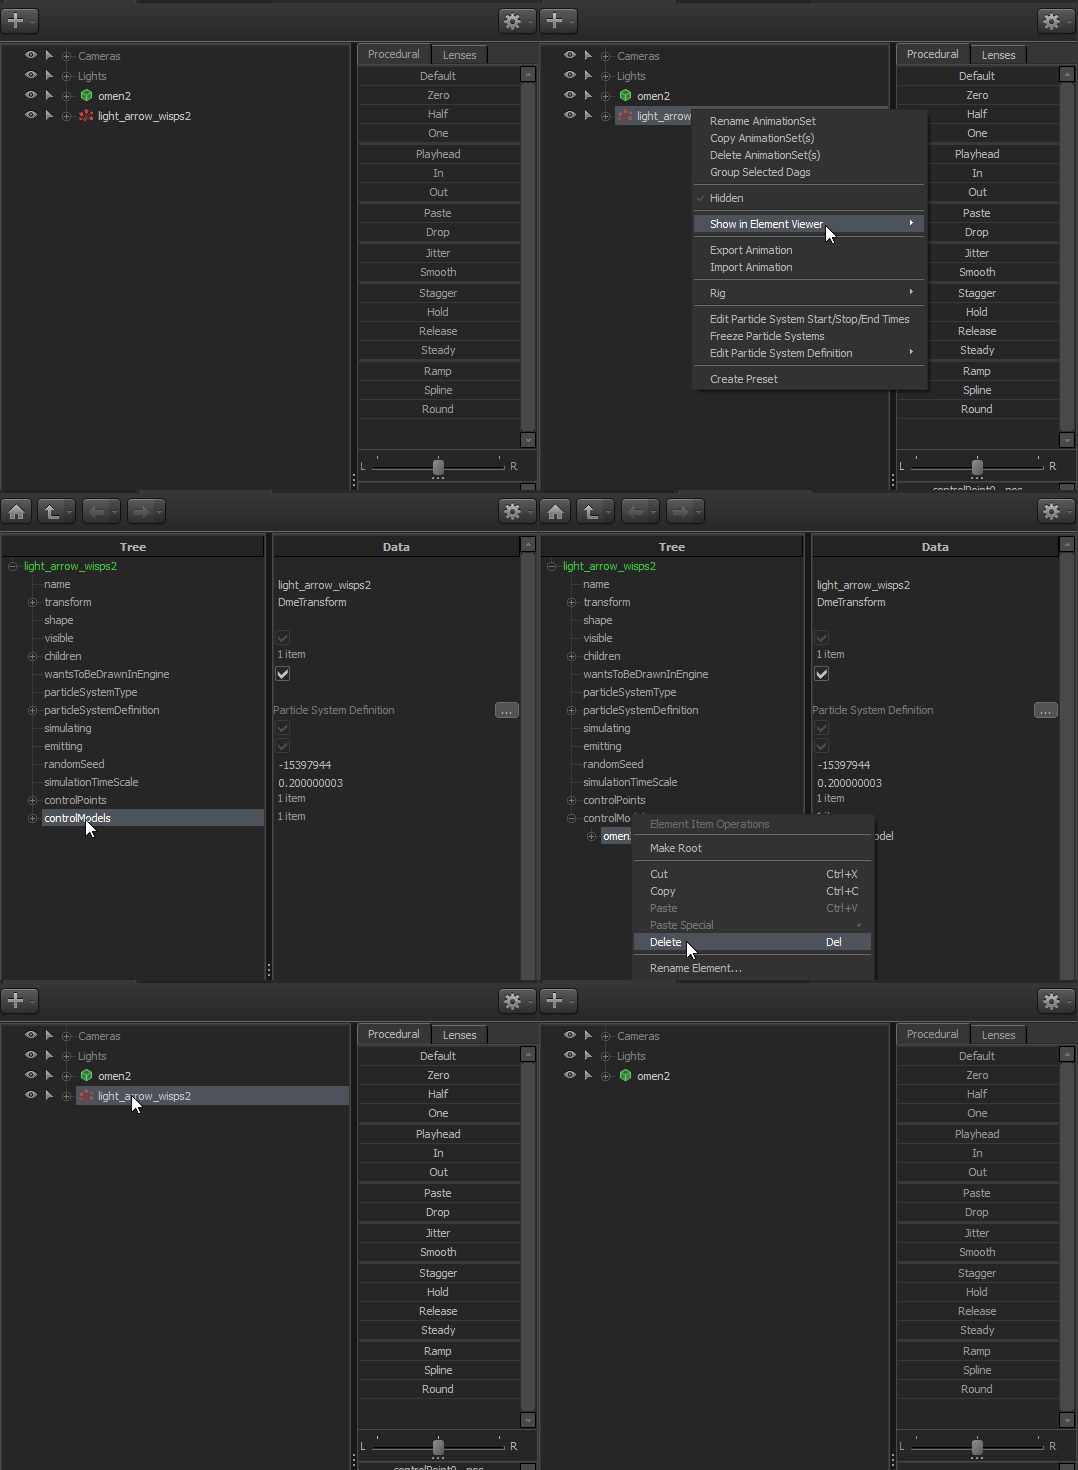
However, the deleting the model will NOT remove the particle
[quick fix] Possibly derived from copy+pasting a 'Tethered' particle.
Try deleting the unwanted model name under control models.
Create a new particle effect every time or copy+paste an 'untethered' particle
Ensure there are NO RIGS on the model
When trying to apply particle effects on a model with cosmetics, you will find that the parts NOT covered is the the only place the particles will emit.
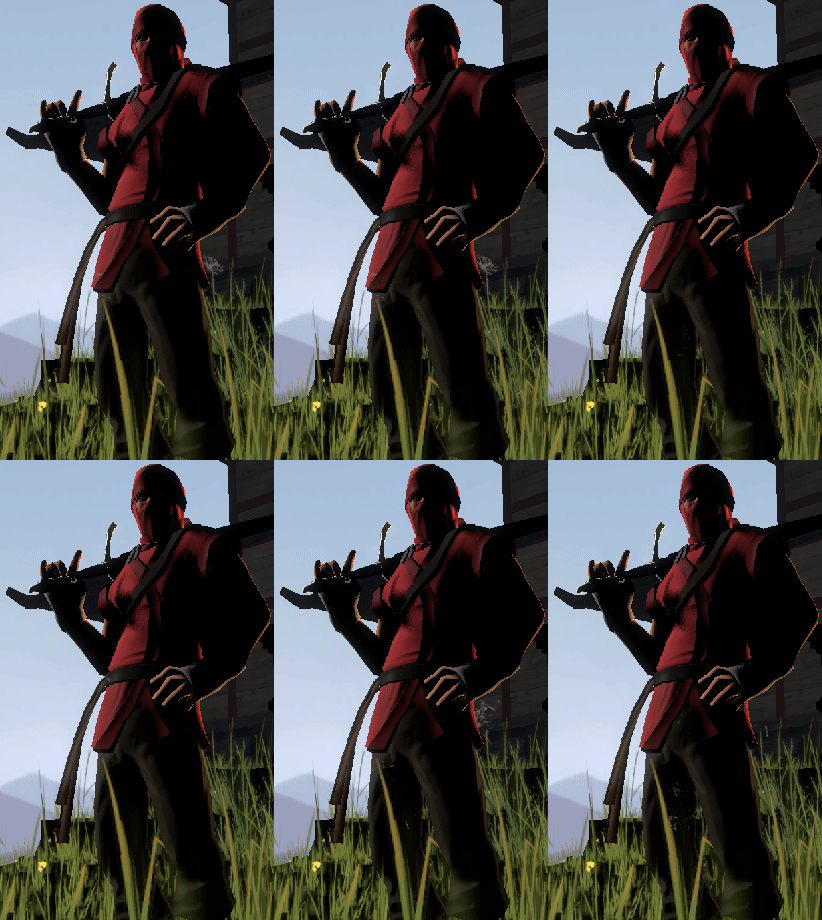

Dude looks like he's thinking about Miss Pauling.
So... does that mean i have to apply MULTIPLE of the same particle effect to every individual cosmetic?
Hell no!
It turns out you can apply the SAME particle effect to all cosmetics.
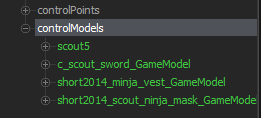
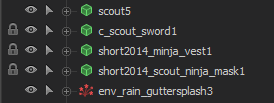 However, when they are still locked on the model - You will see no difference
Unlock them.
AND THEN you will get this:
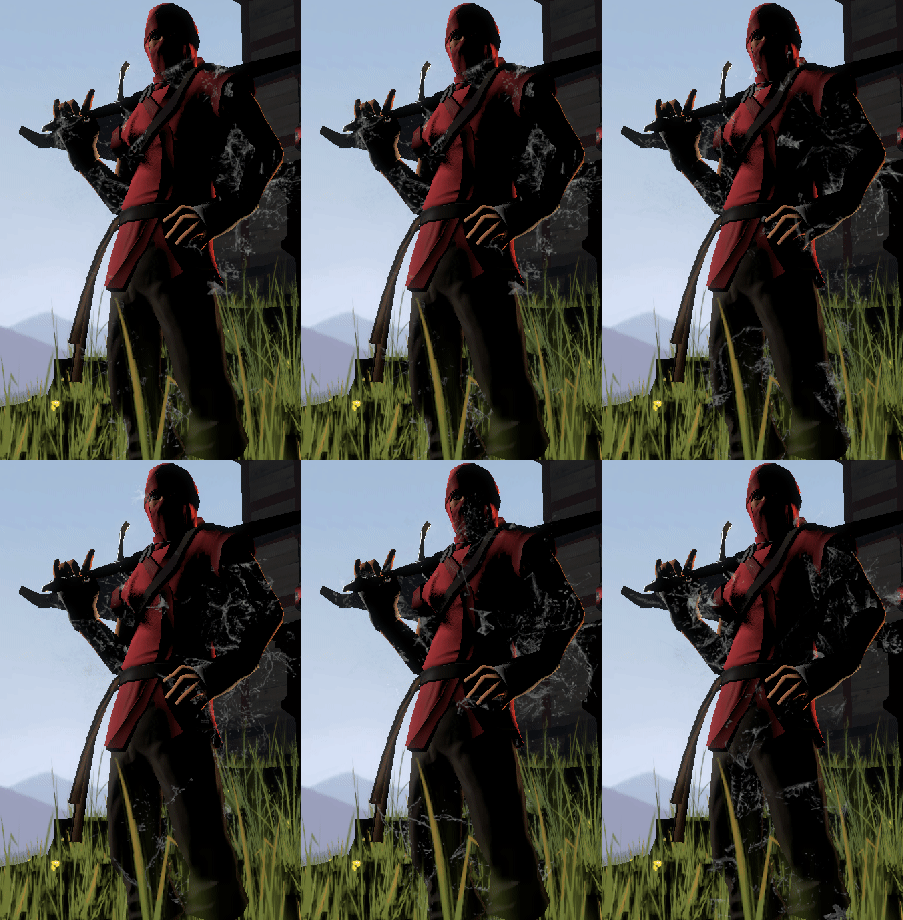
Scout when Pauling is within 50 ft of him.
Suggestions?
I'll keep this guide updated with any additional issues found and i'll go check it out and add it here.
- Changing Textures Using Material Overrides★ 5 (1.4k)41k views2.7k ♥5 minUpdated Jul 26, 2014
- Manually Updating TF2 Content★ 5 (1.3k)35k views1.9k ♥2 minUpdated Nov 26, 2025
- The Fundamentals of SFM: For Beginners★ 5 (1.3k)25k views3.3k ♥55 minUpdated Apr 29
- Ваш первый постер★ 5 (1.1k)22k views2k ♥5 minRussianUpdated Oct 22, 2024
- Getting Gmod Workshop stuff too SFM★ 5 (510)15k views1.3k ♥1 minBulgarianUpdated Aug 4, 2015
- Animation Guide★ 5 (704)14k views1.9k ♥6 minUpdated Apr 9, 2023




- Upgrading to PremiumTeam Fortress 2★ 5 (20k)1441k views11k ♥6 minUpdated May 11, 2022
- No More Room in Hell Official ManualNo More Room in Hell★ 5 (2.8k)569k views2.1k ♥29 minUpdated Apr 22, 2019
- NMRiH Community Hosting GuidesNo More Room in Hell★ 5 (526)351k views653 ♥1 minUpdated Aug 10, 2022
- ULTIMATE GUIDE FOR GAME DEV TYCOONGame Dev Tycoon★ 5 (5.8k)326k views10k ♥4 minUpdated 23 Jan, 2014
- How to 'Git Gud' Soon™MORDHAU★ 5 (2k)318k views3k ♥68 minUpdated Nov 16, 2024
- Лучшие кооперативные игры SteamPAYDAY 2★ 5 (1.5k)315k views2.1k ♥56 minRussianUpdated Apr 27, 2025






This guide was created by its original author on the Steam Community. Are you the author and want it removed? Request removal.