DOOM Eternal Written Guide/Walkthrough for all collectables and secrets inc DLC.
Introduction

Hello everyone.
Following on from DOOM 2016 I have decided to create another written guide, this time showing you the locations of ALL items/secrets/collectables etc. I'm hoping this is an improvement from my previous guide but feel free to comment and offer any feedback so i can correct any mistakes and change/update/improve this guide as much as possible.
I have tried to keep this as simple as possible but i'm pretty sure there will be plenty of mistakes. If you get stuck at any point please drop a comment and i'll do my best to help.
WARNING: This guide has many images so please allow them all to load first. Reload the page if the images are not showing correctly as Steam likes to act stupid at times.
So what are we going to find? ALL of the items listed below:- Codex Pages
- Doomtoys (Toy collection)
- Album Vinyls (Album collection)
- Floppy Disks (Cheat code collection)
- Automaps
- Runes
- Data Logs
- Sentinel Crystals
- Sentinel Batteries
- 1UP Helmets (Extra Lives)
- Slayer Gate keys
- Weapon Mods
- Praetor Suit Tokens (Praetor suit points)
- Weapon Mastery Coins
- Blue Orbs and Other (Secrets)
- Check out my Doom Eternal Review
- This guide is image heavy.
- Each mission has been split into 2 parts due to steam limiting the amount of info that can be added to a section.
- Rate it and give it a thumbs up
- Leave comments or feedback
- Share it with friends
- Follow me and my Guides
https://youtu.be/MN4HV3aHLwo
Mission 1: Hell On Earth
NOTE: This mission is super easy and doesn't take long at all. Most of the items are easy to find so you shouldn't have a problem finding any of them even without my guide. This mission contains:
- 3 Doomtoys
- 3 Weapon Mods
- 1 Automap
- 6 Codex Pages
- 4 Extra Lives
- 1 Floppy Disks (Cheat codes)
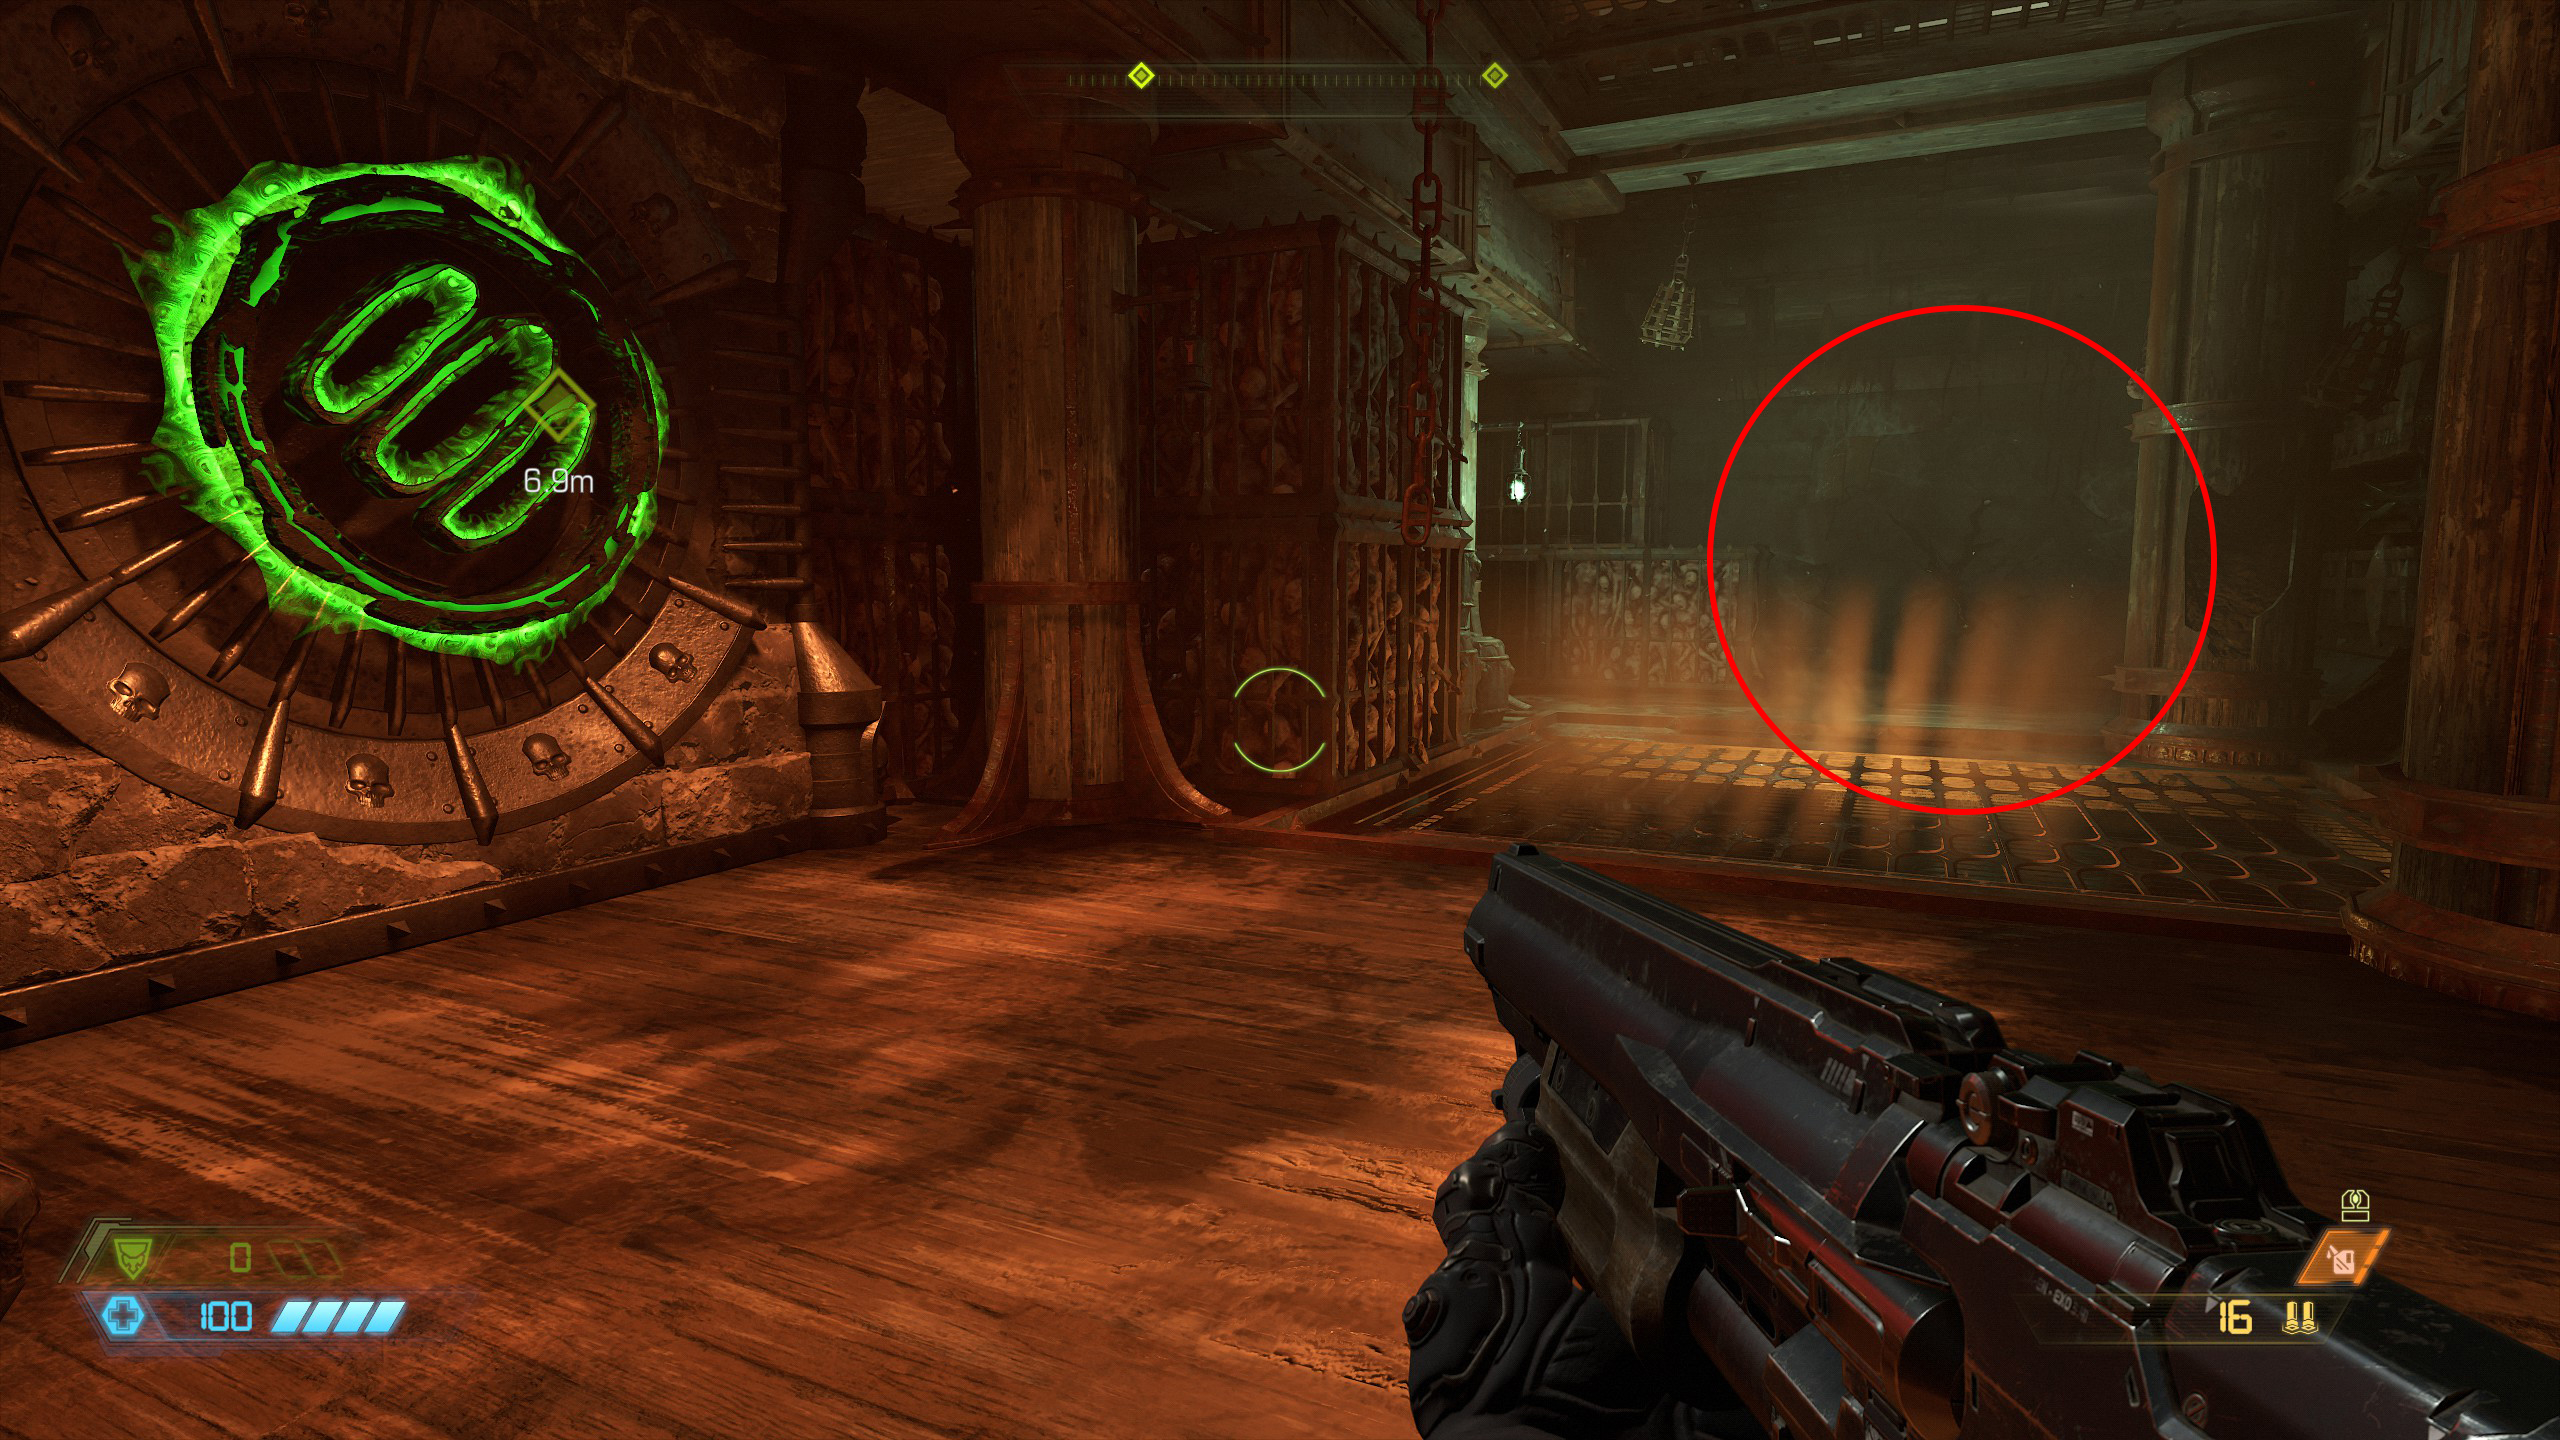
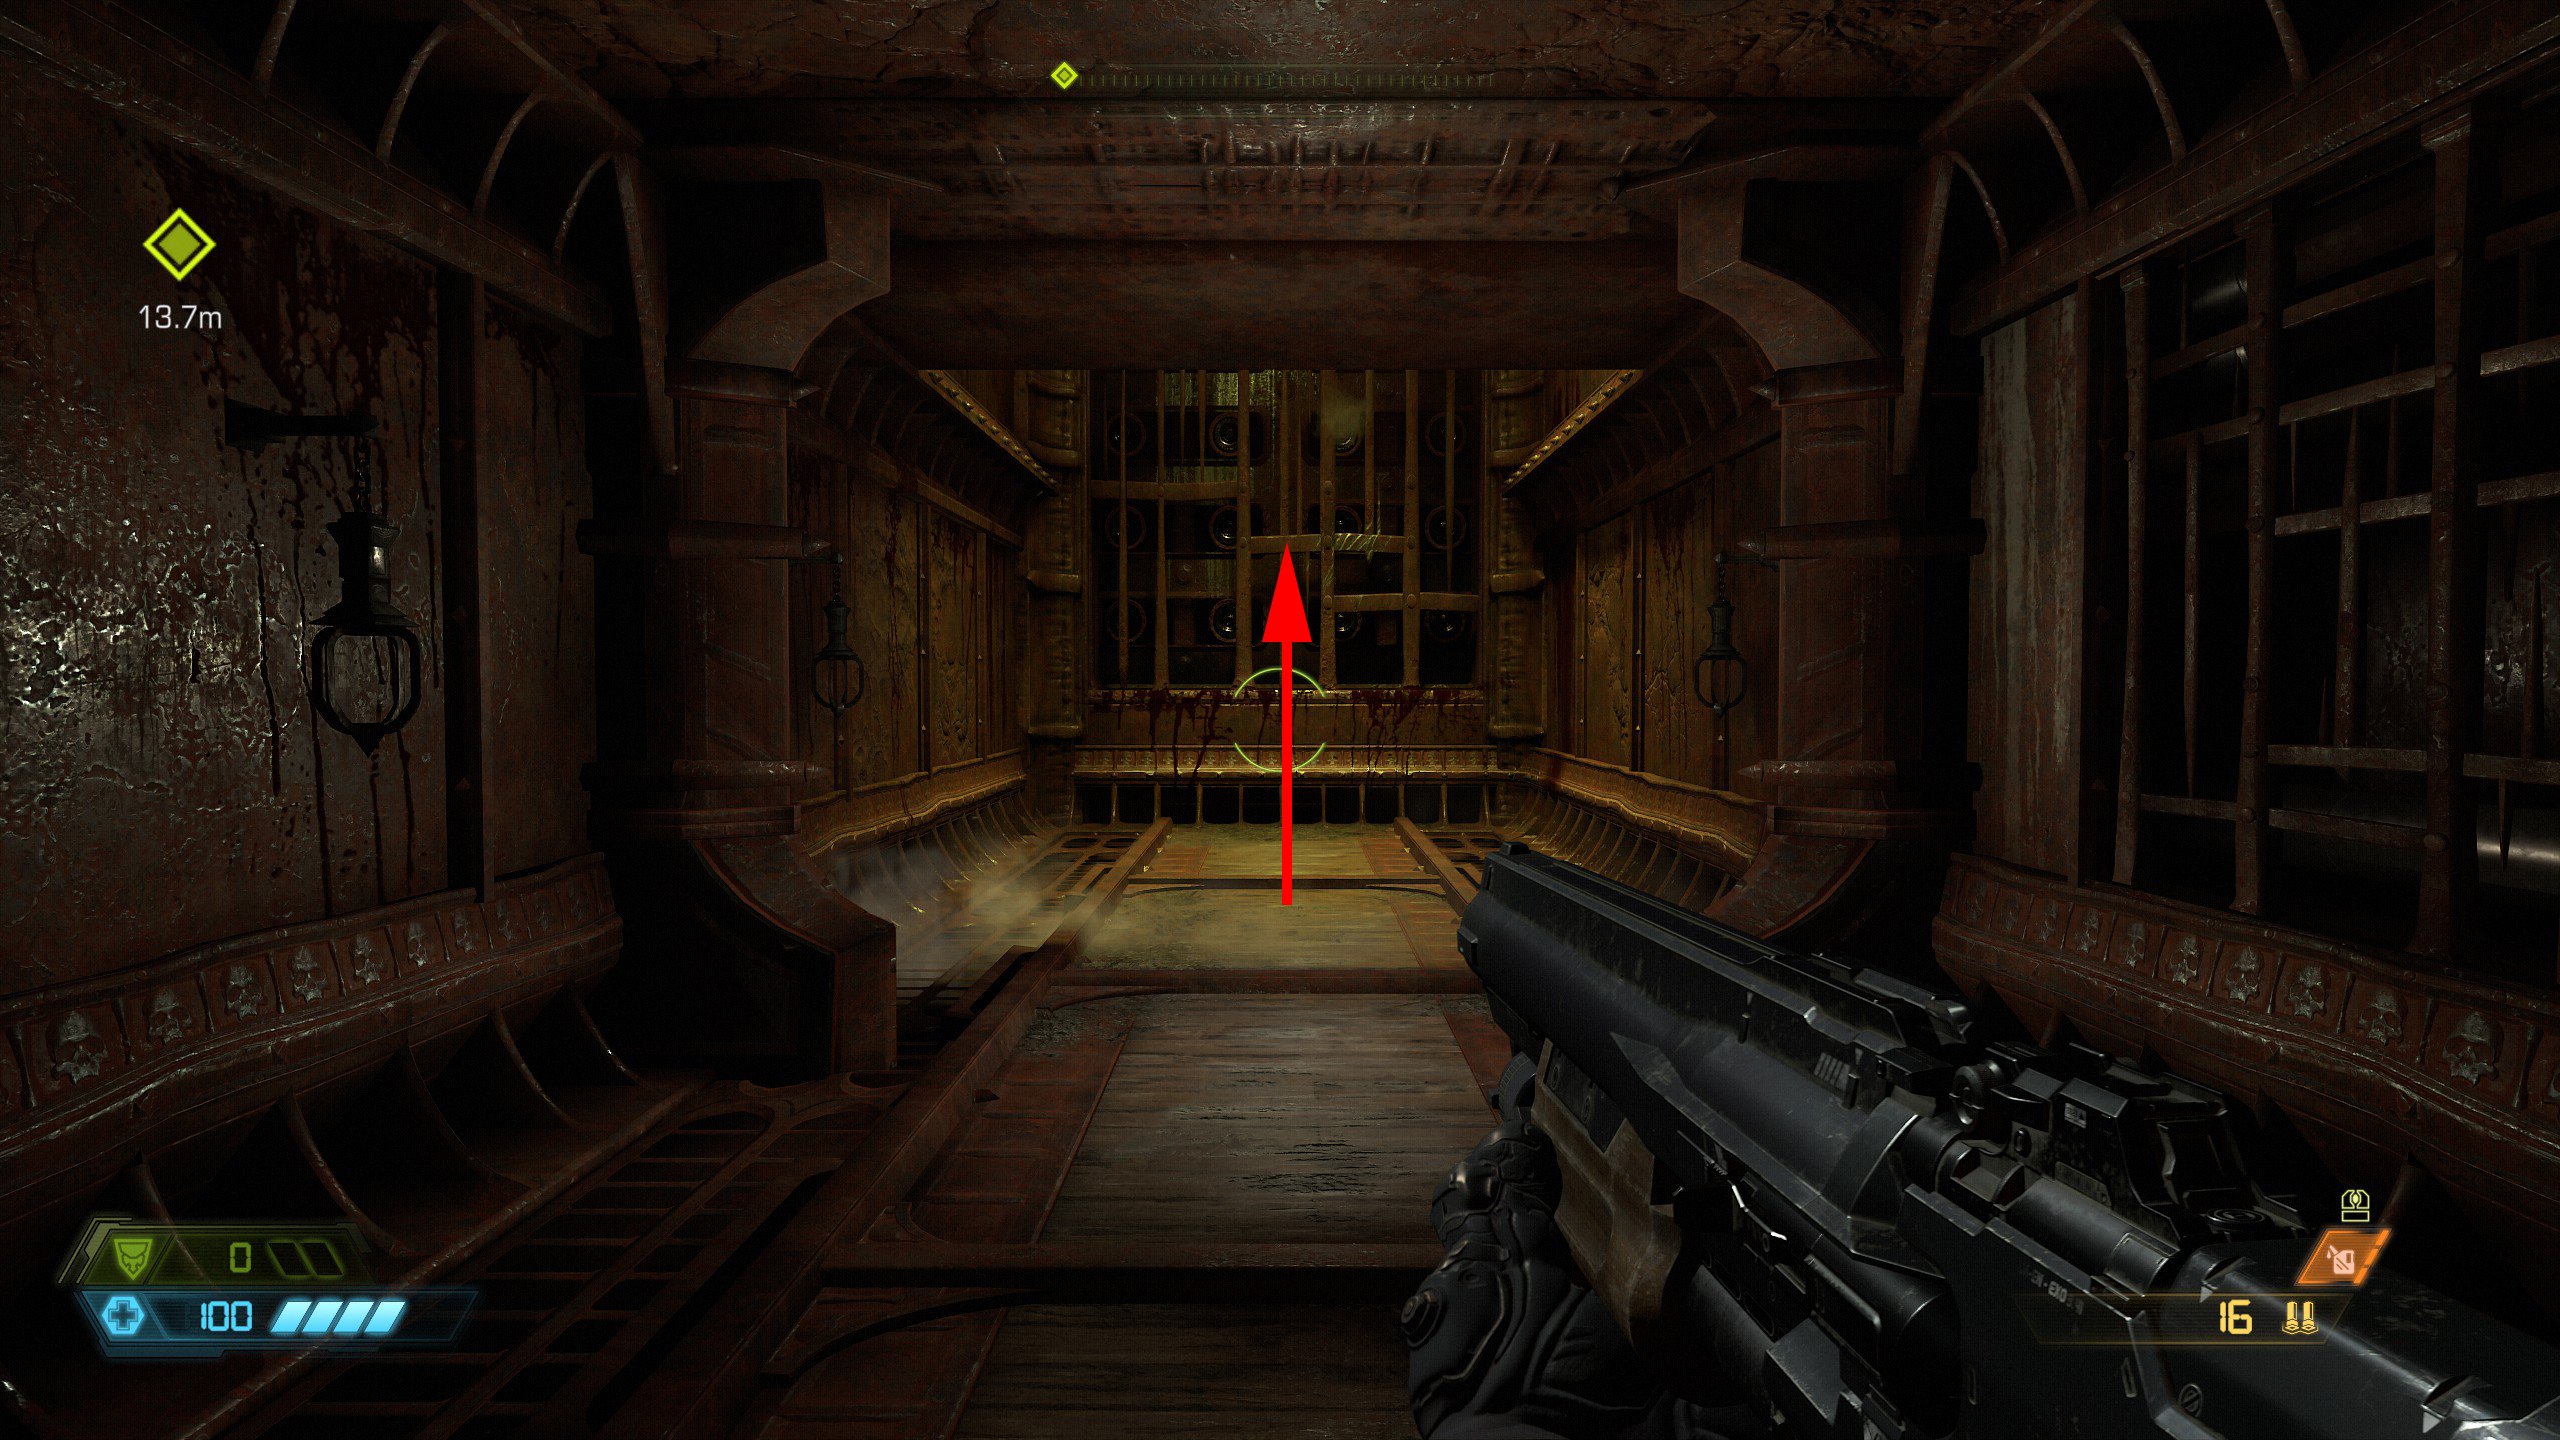
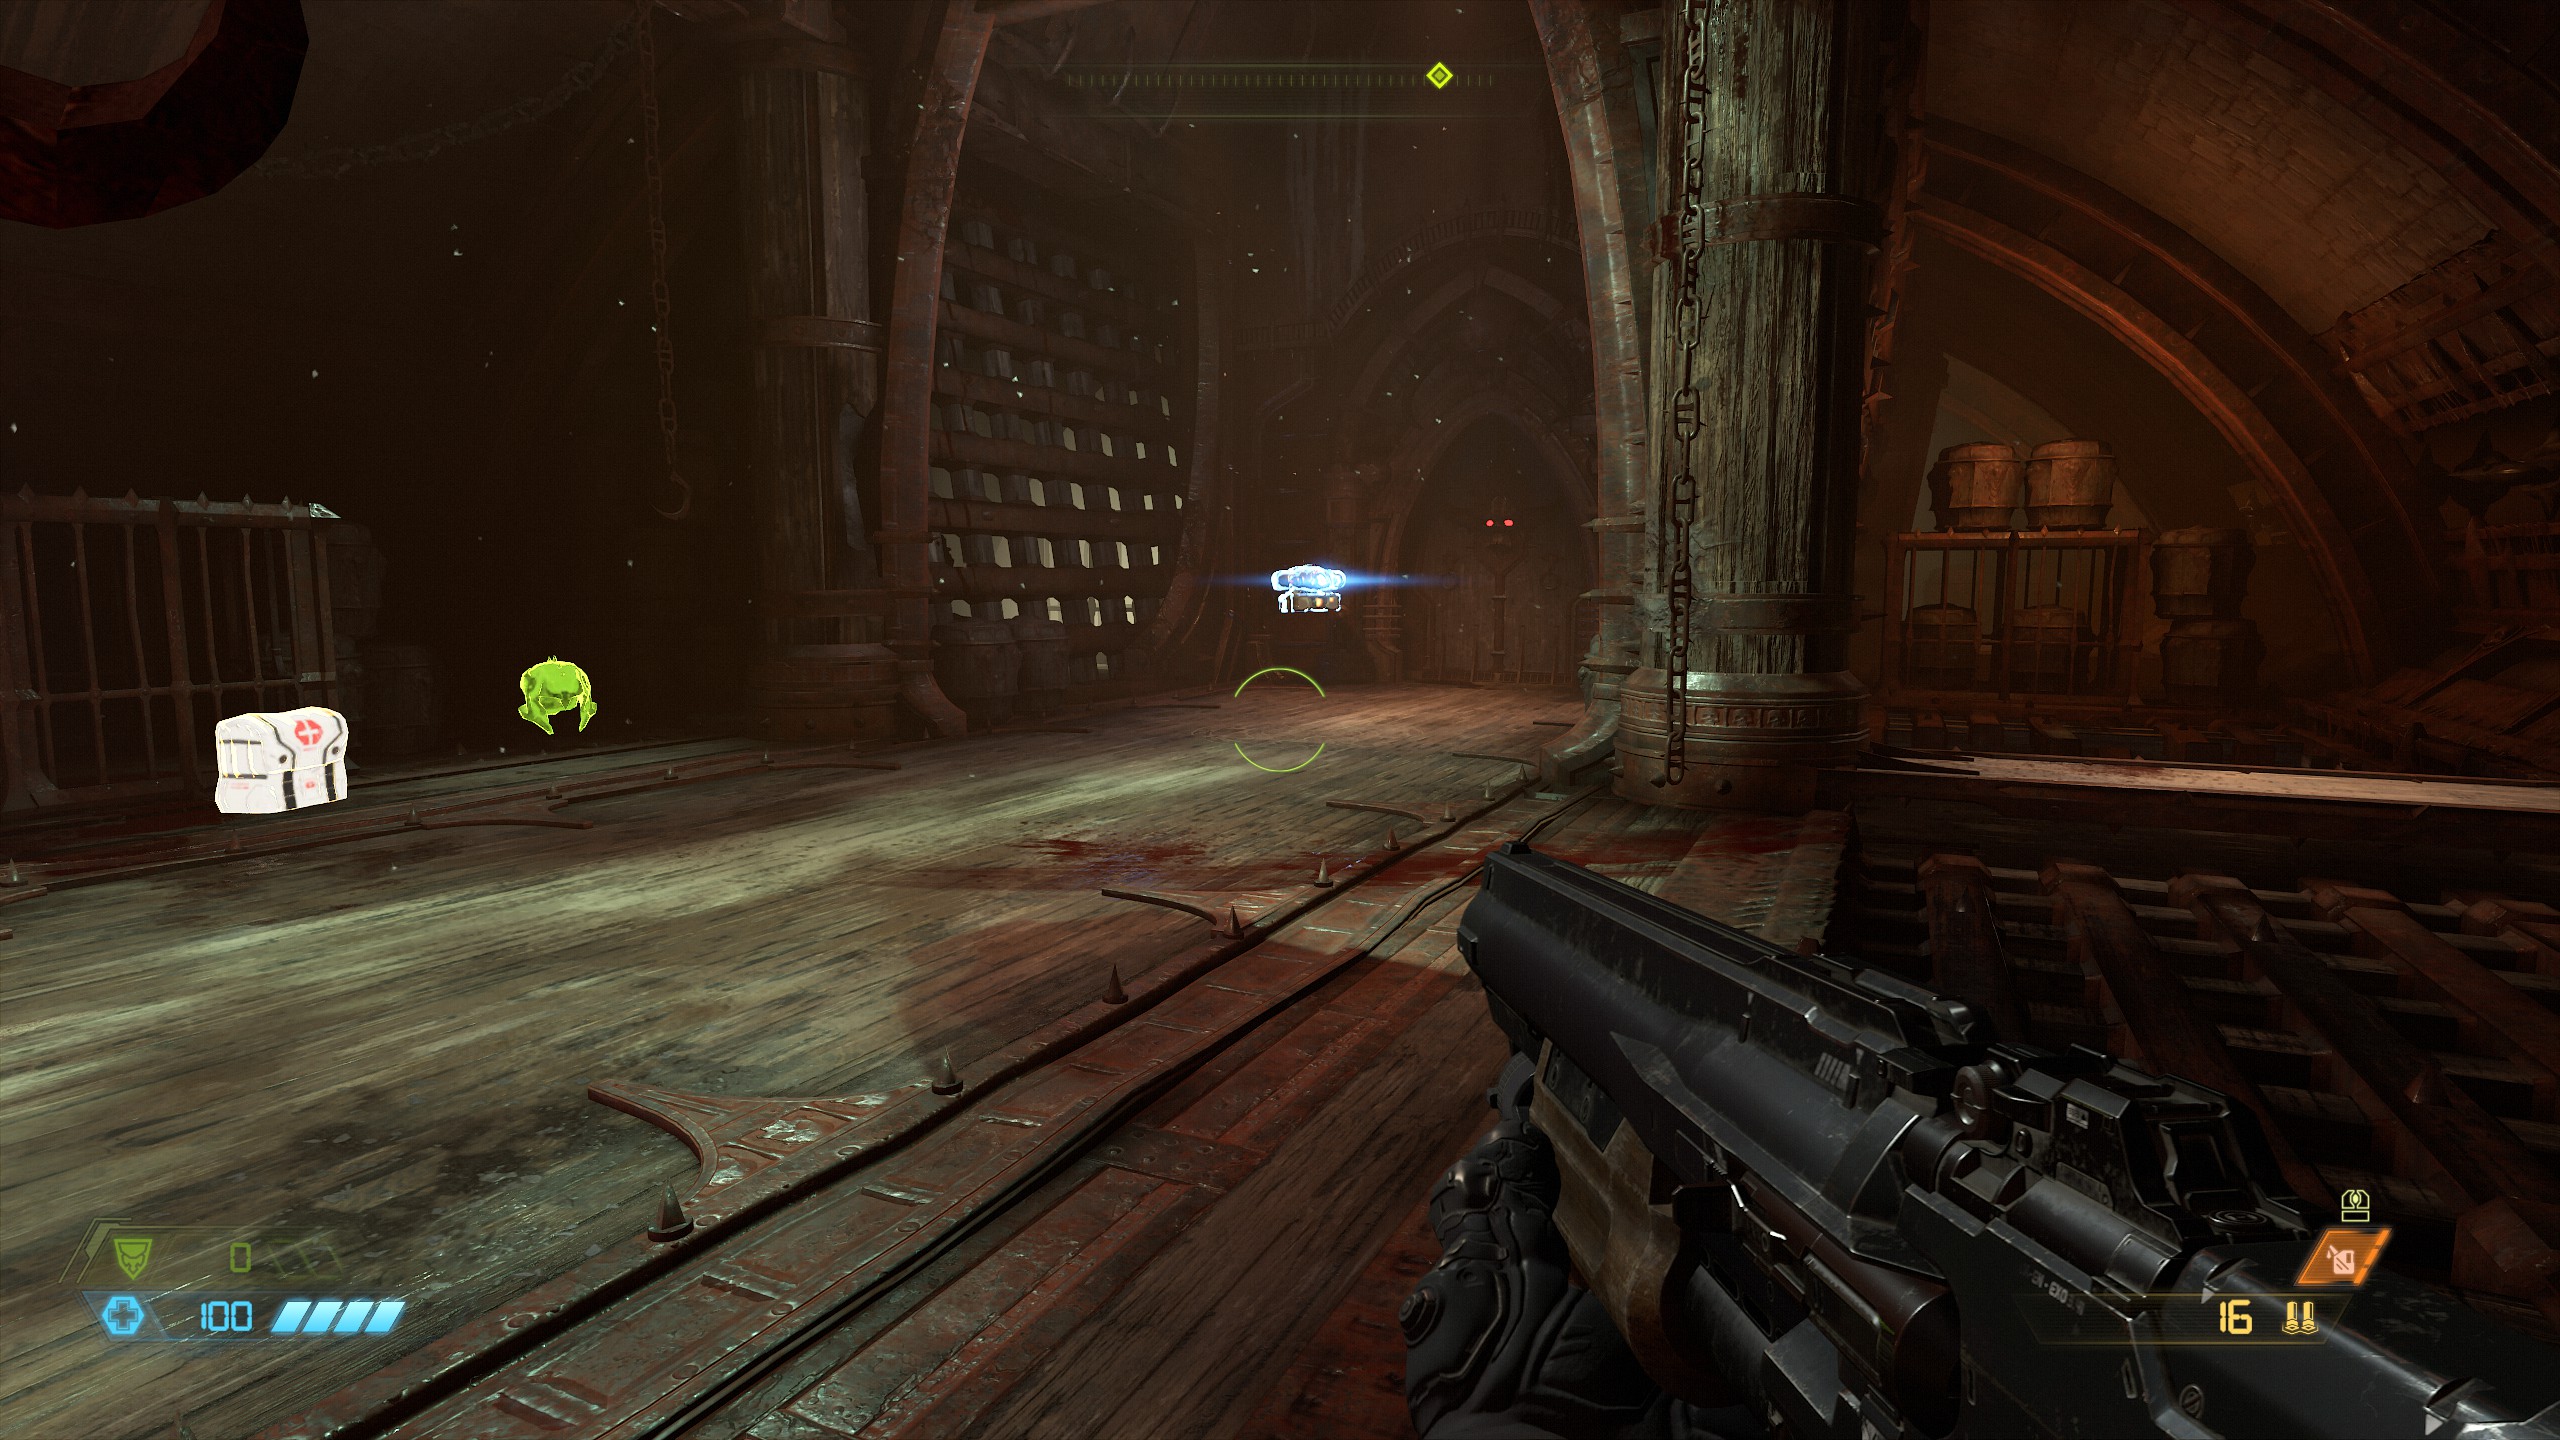
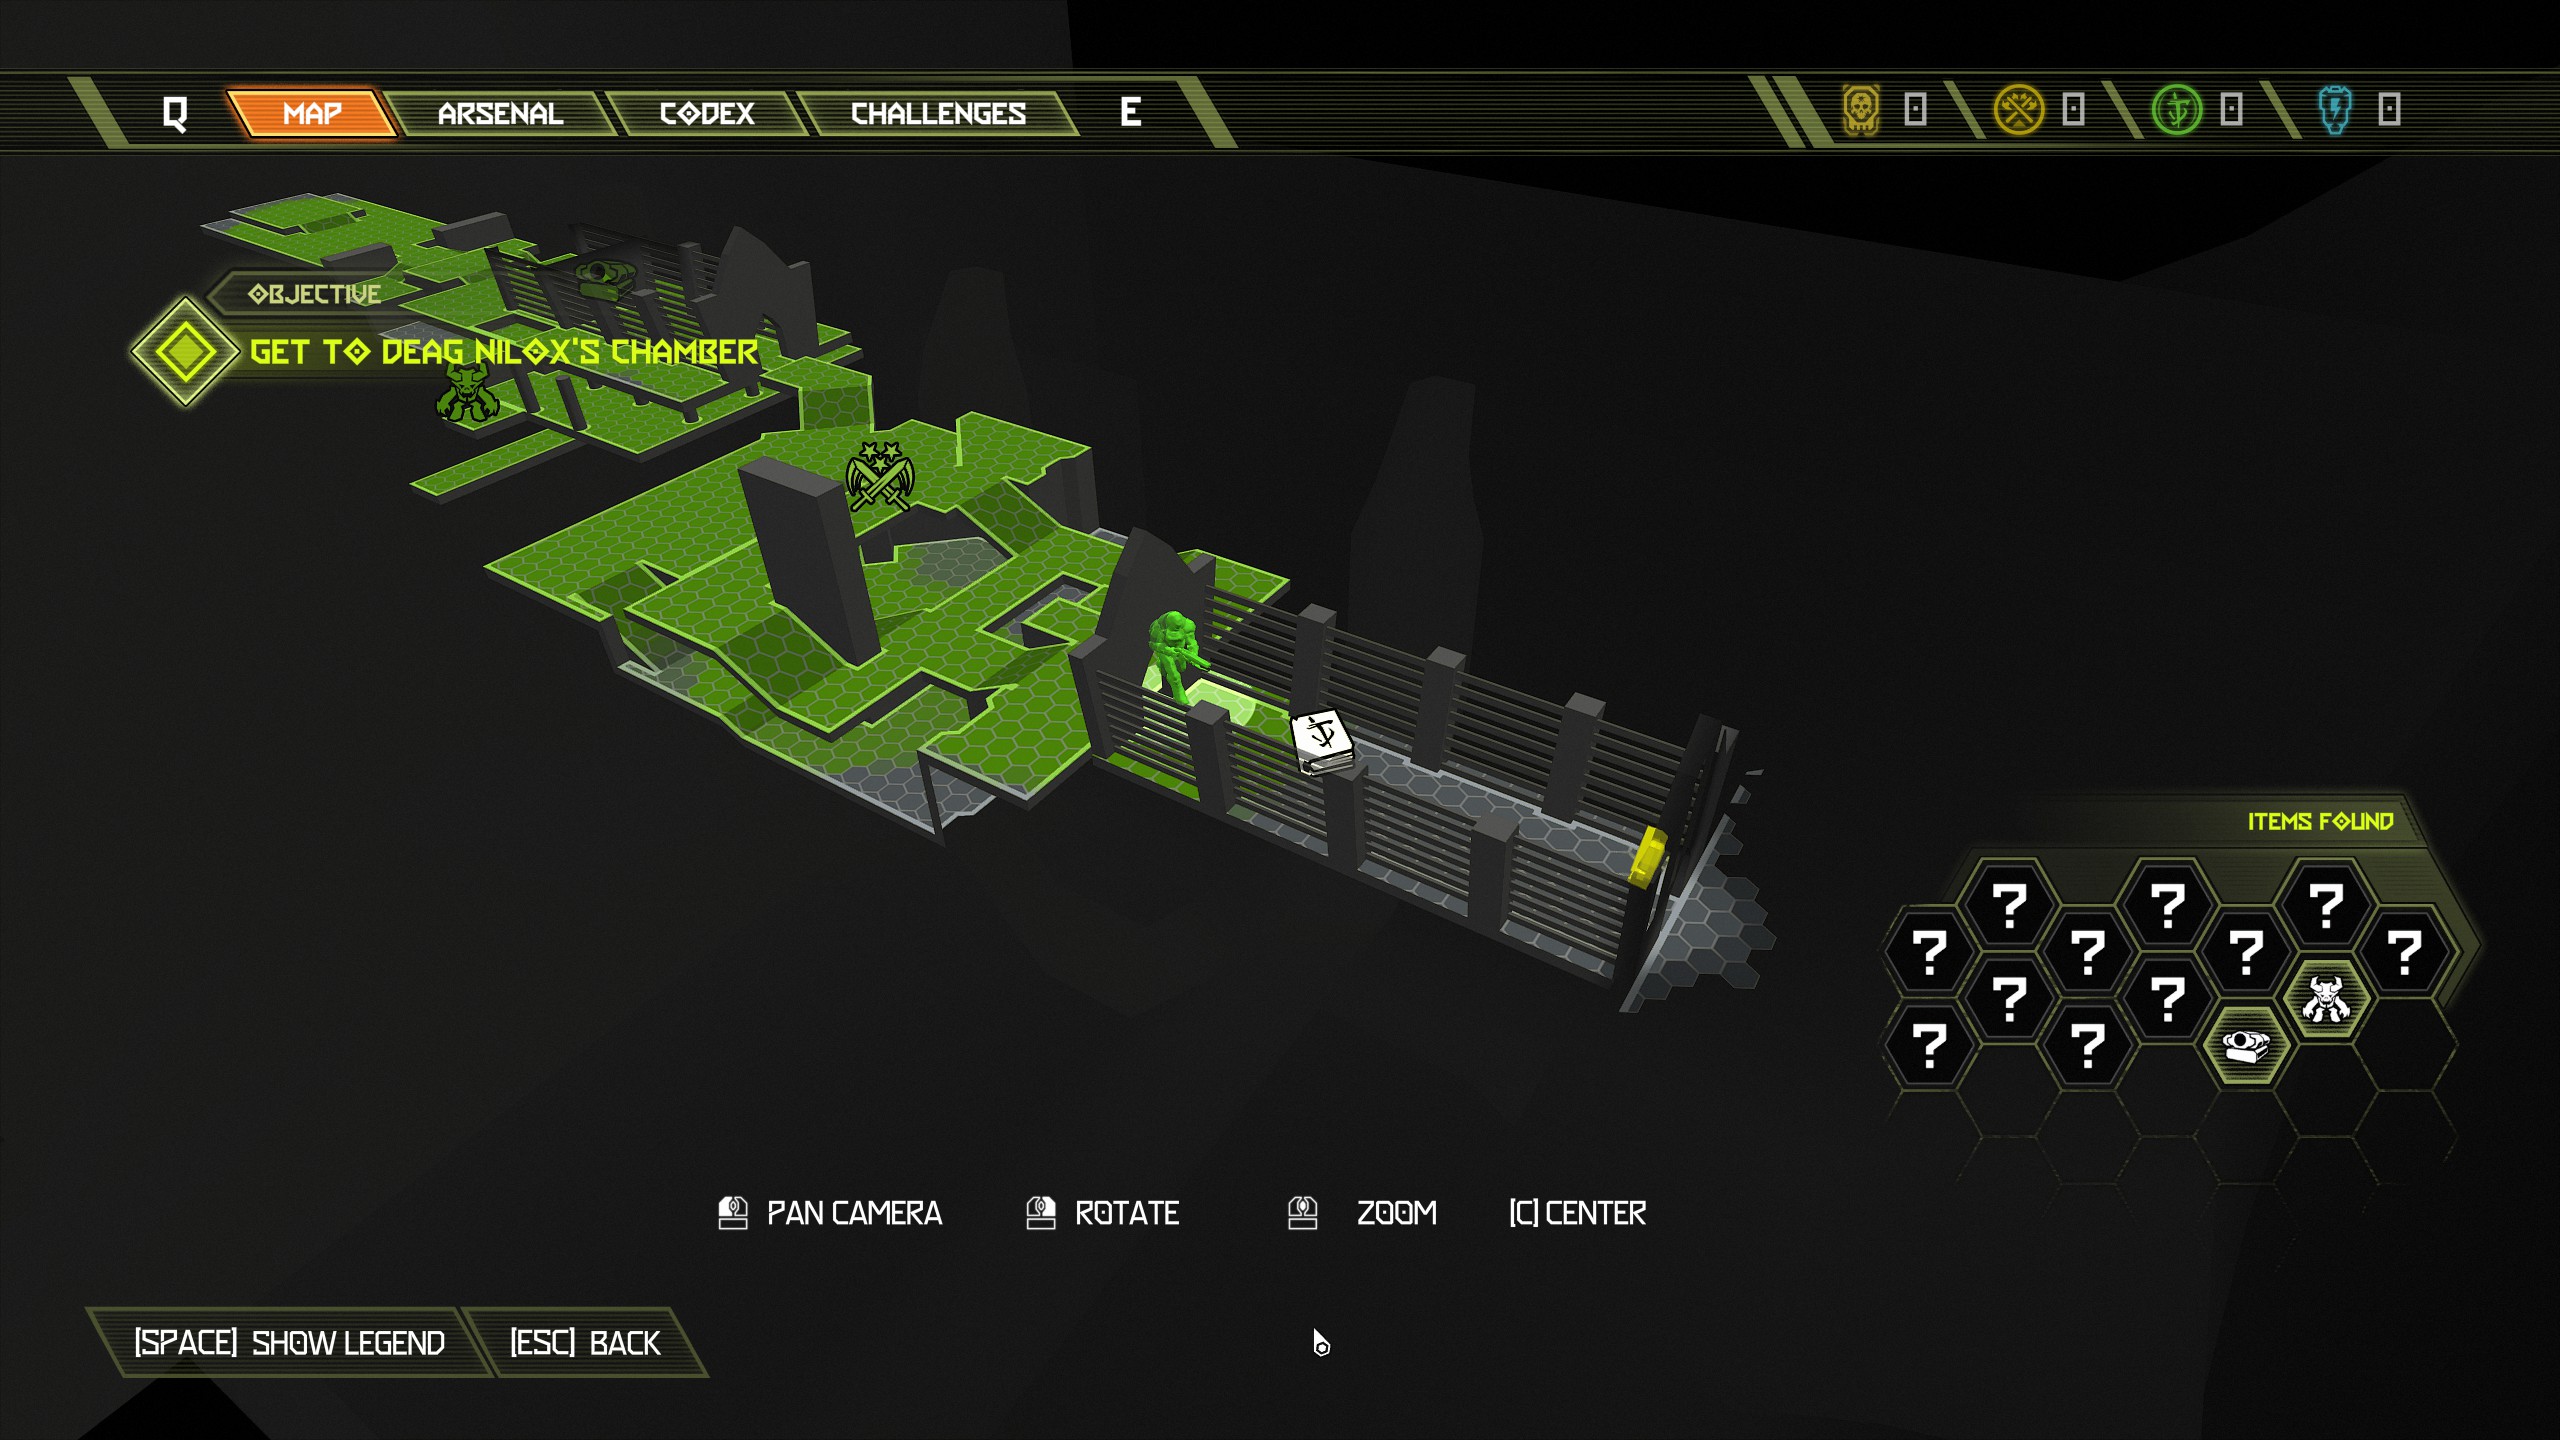
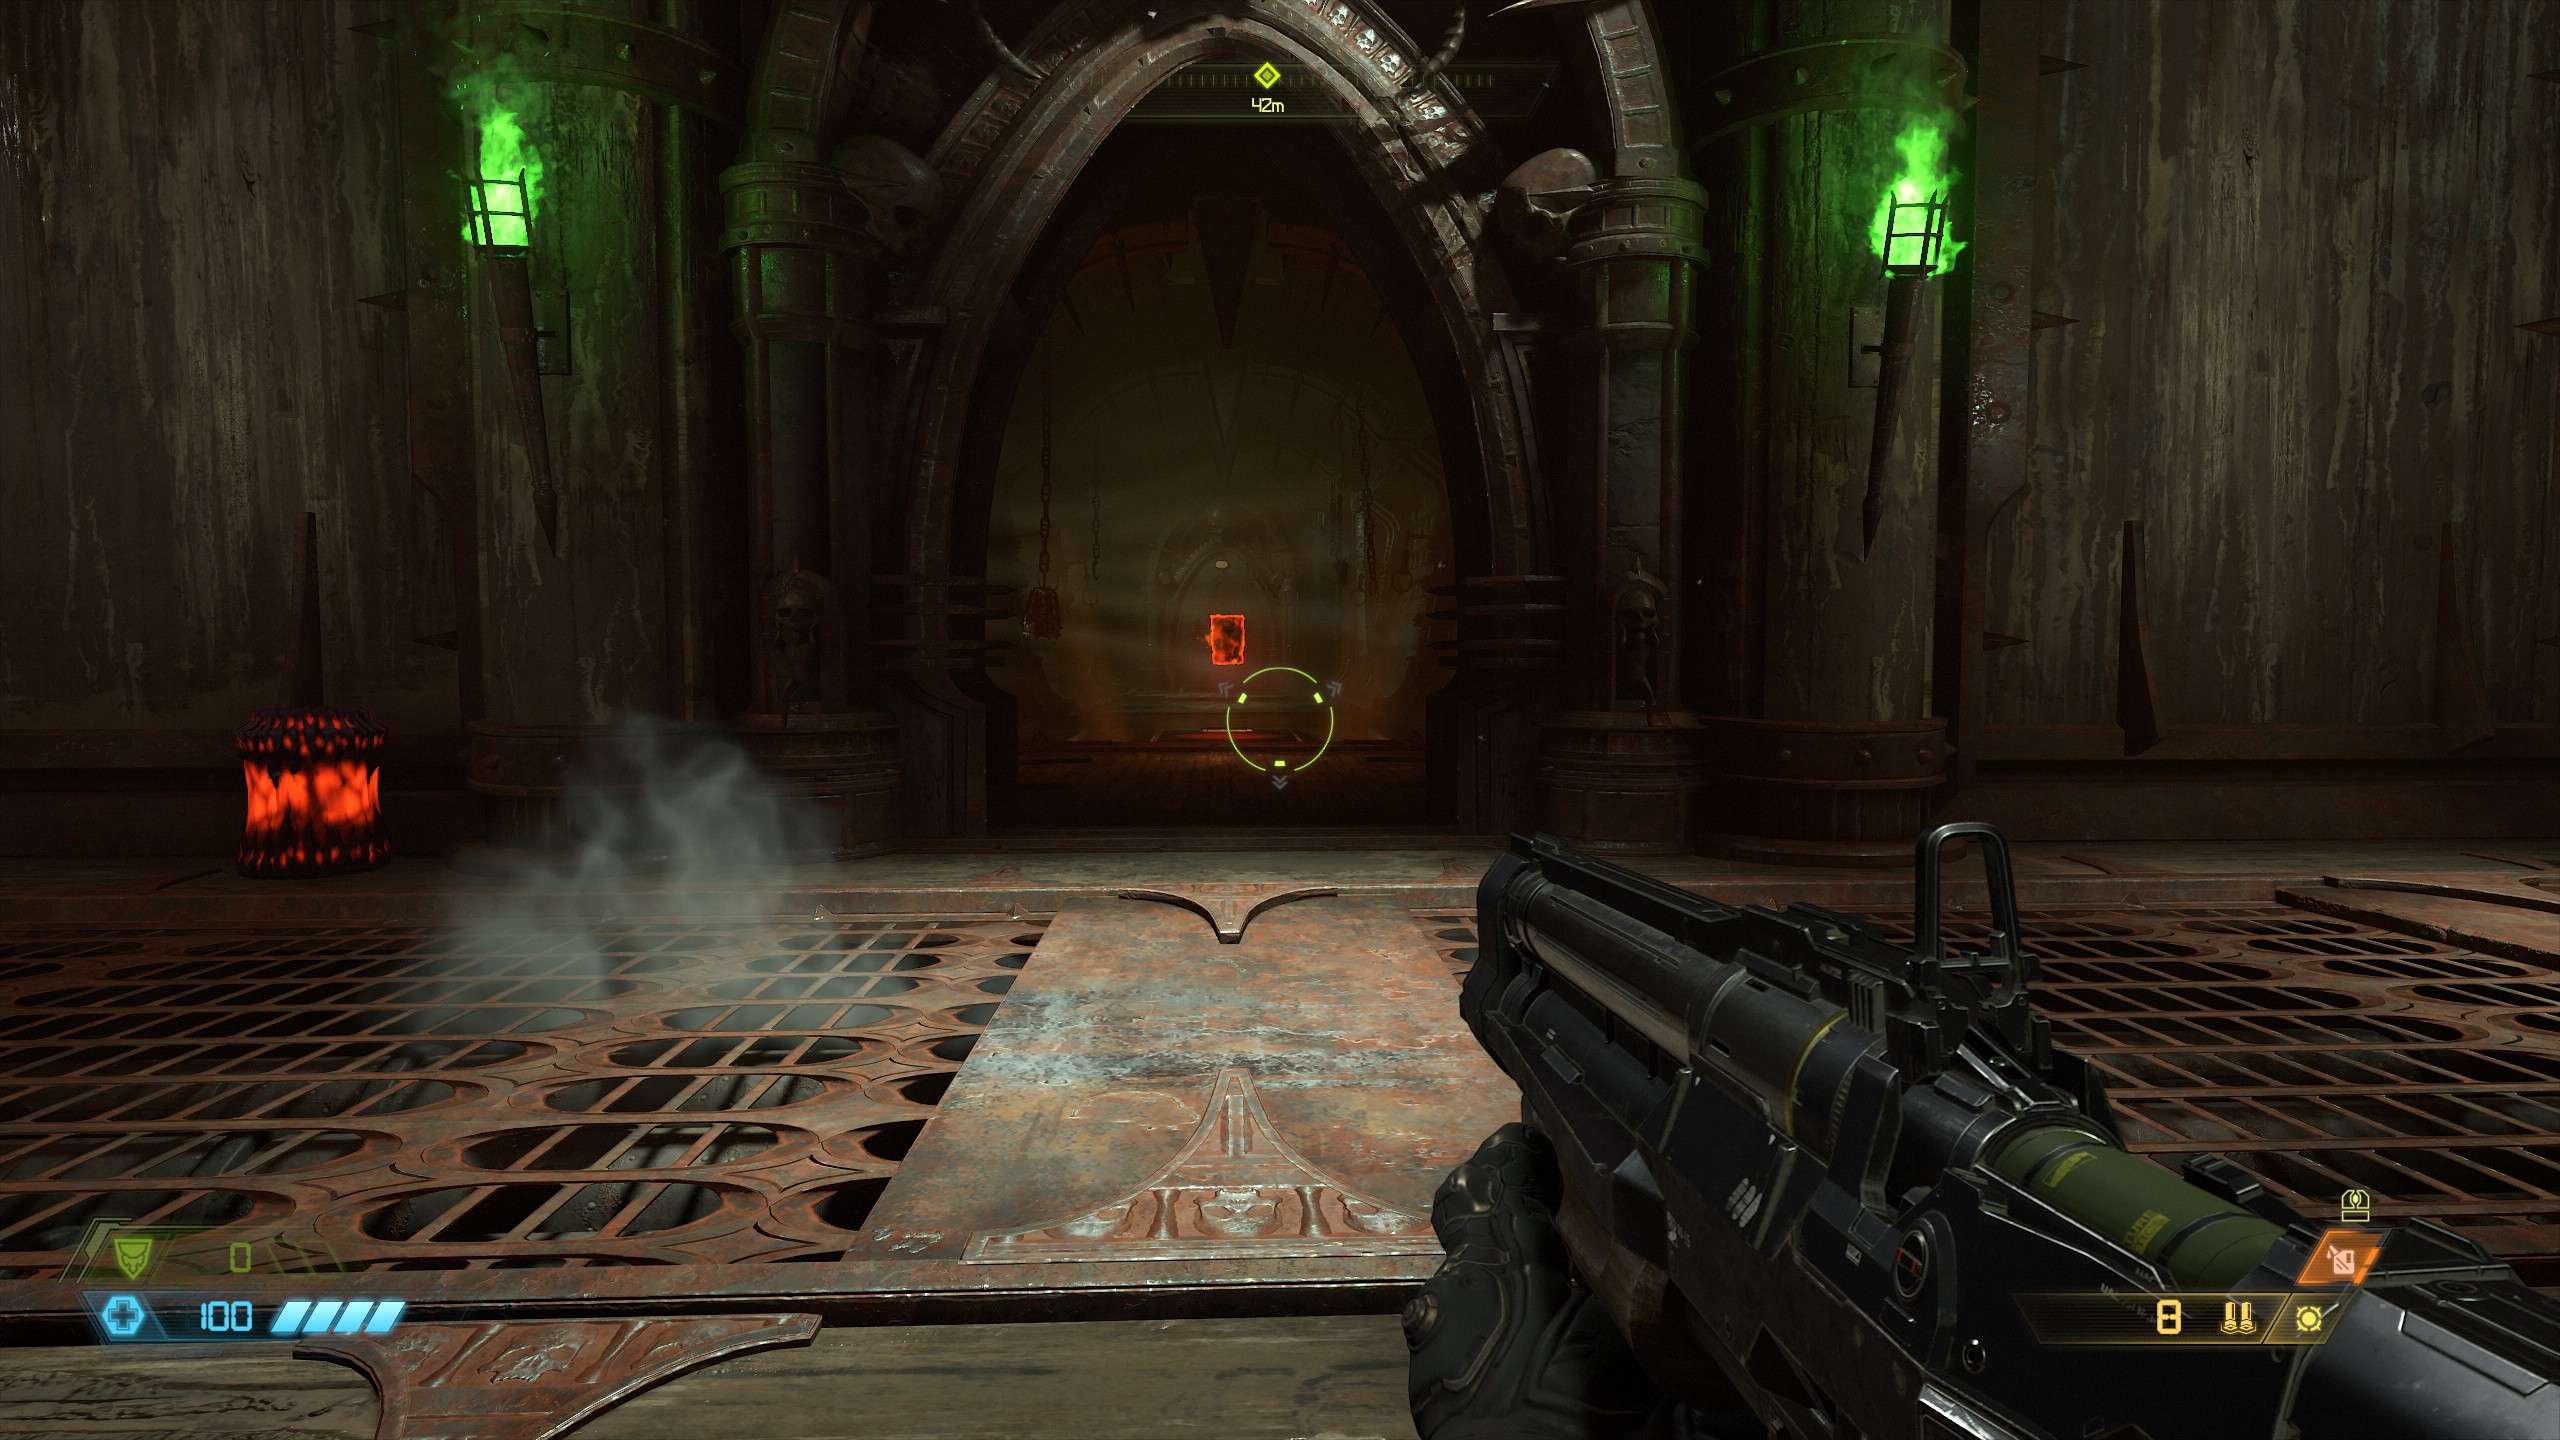
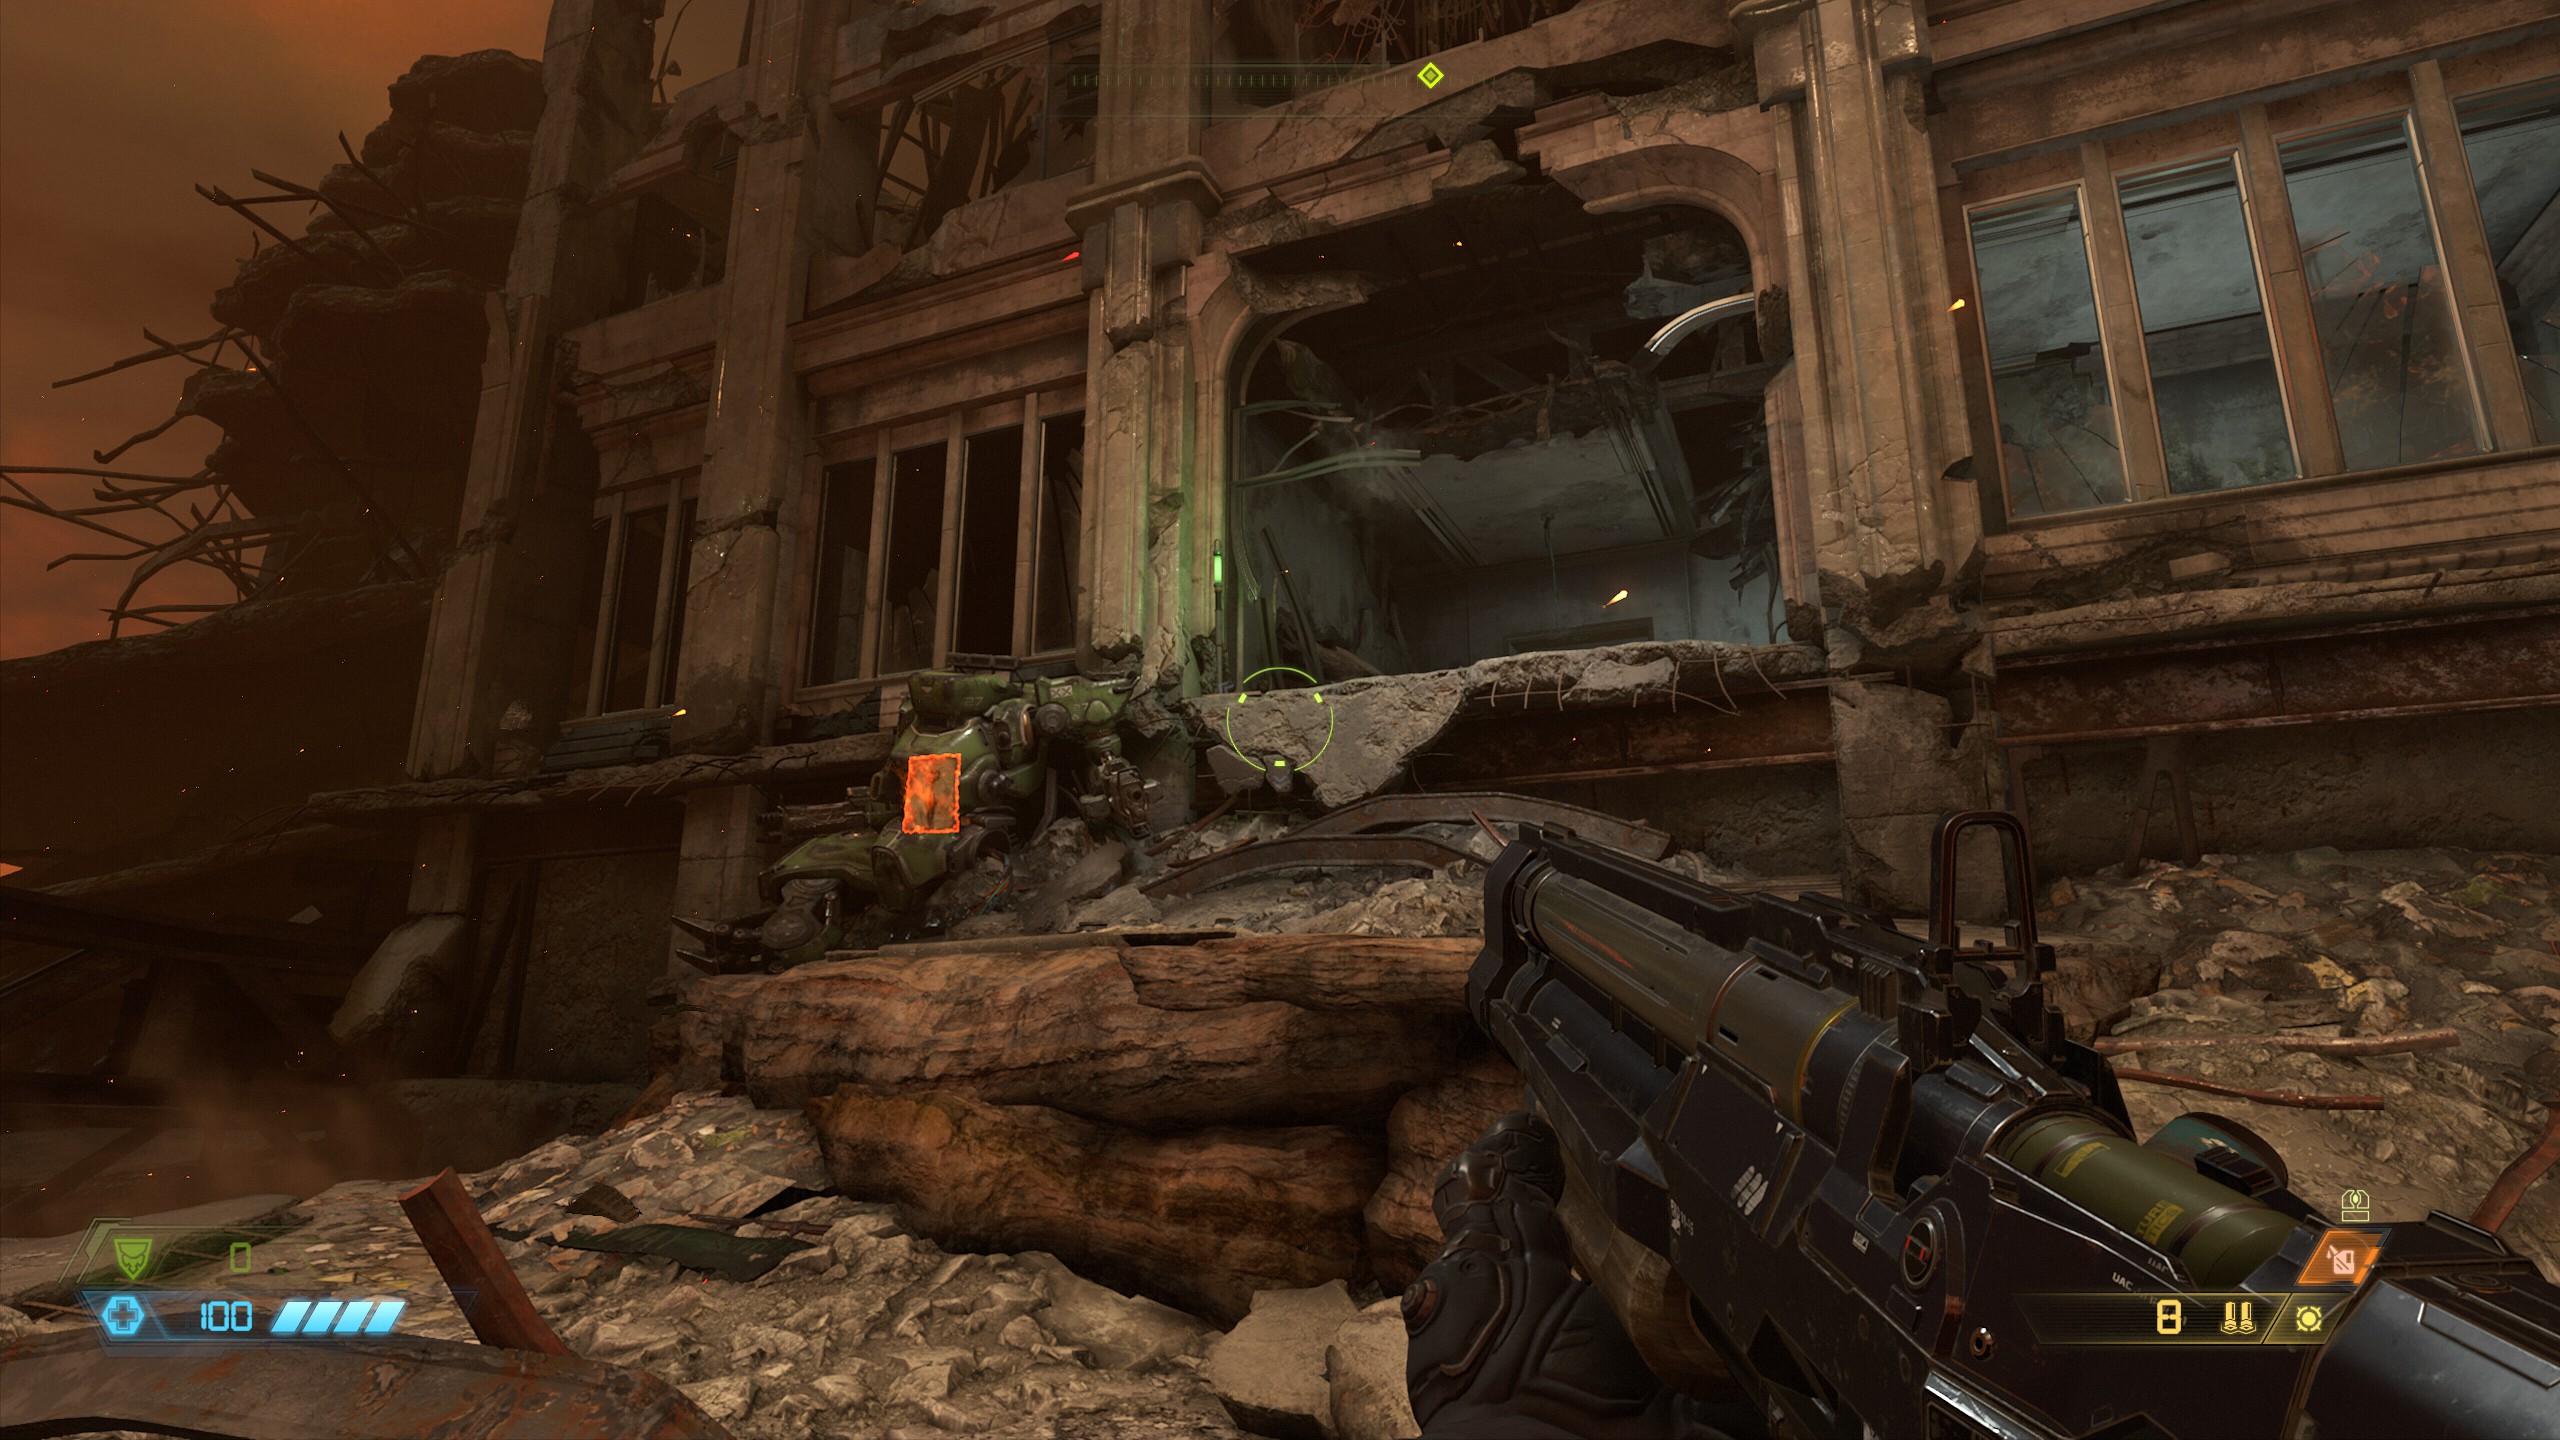
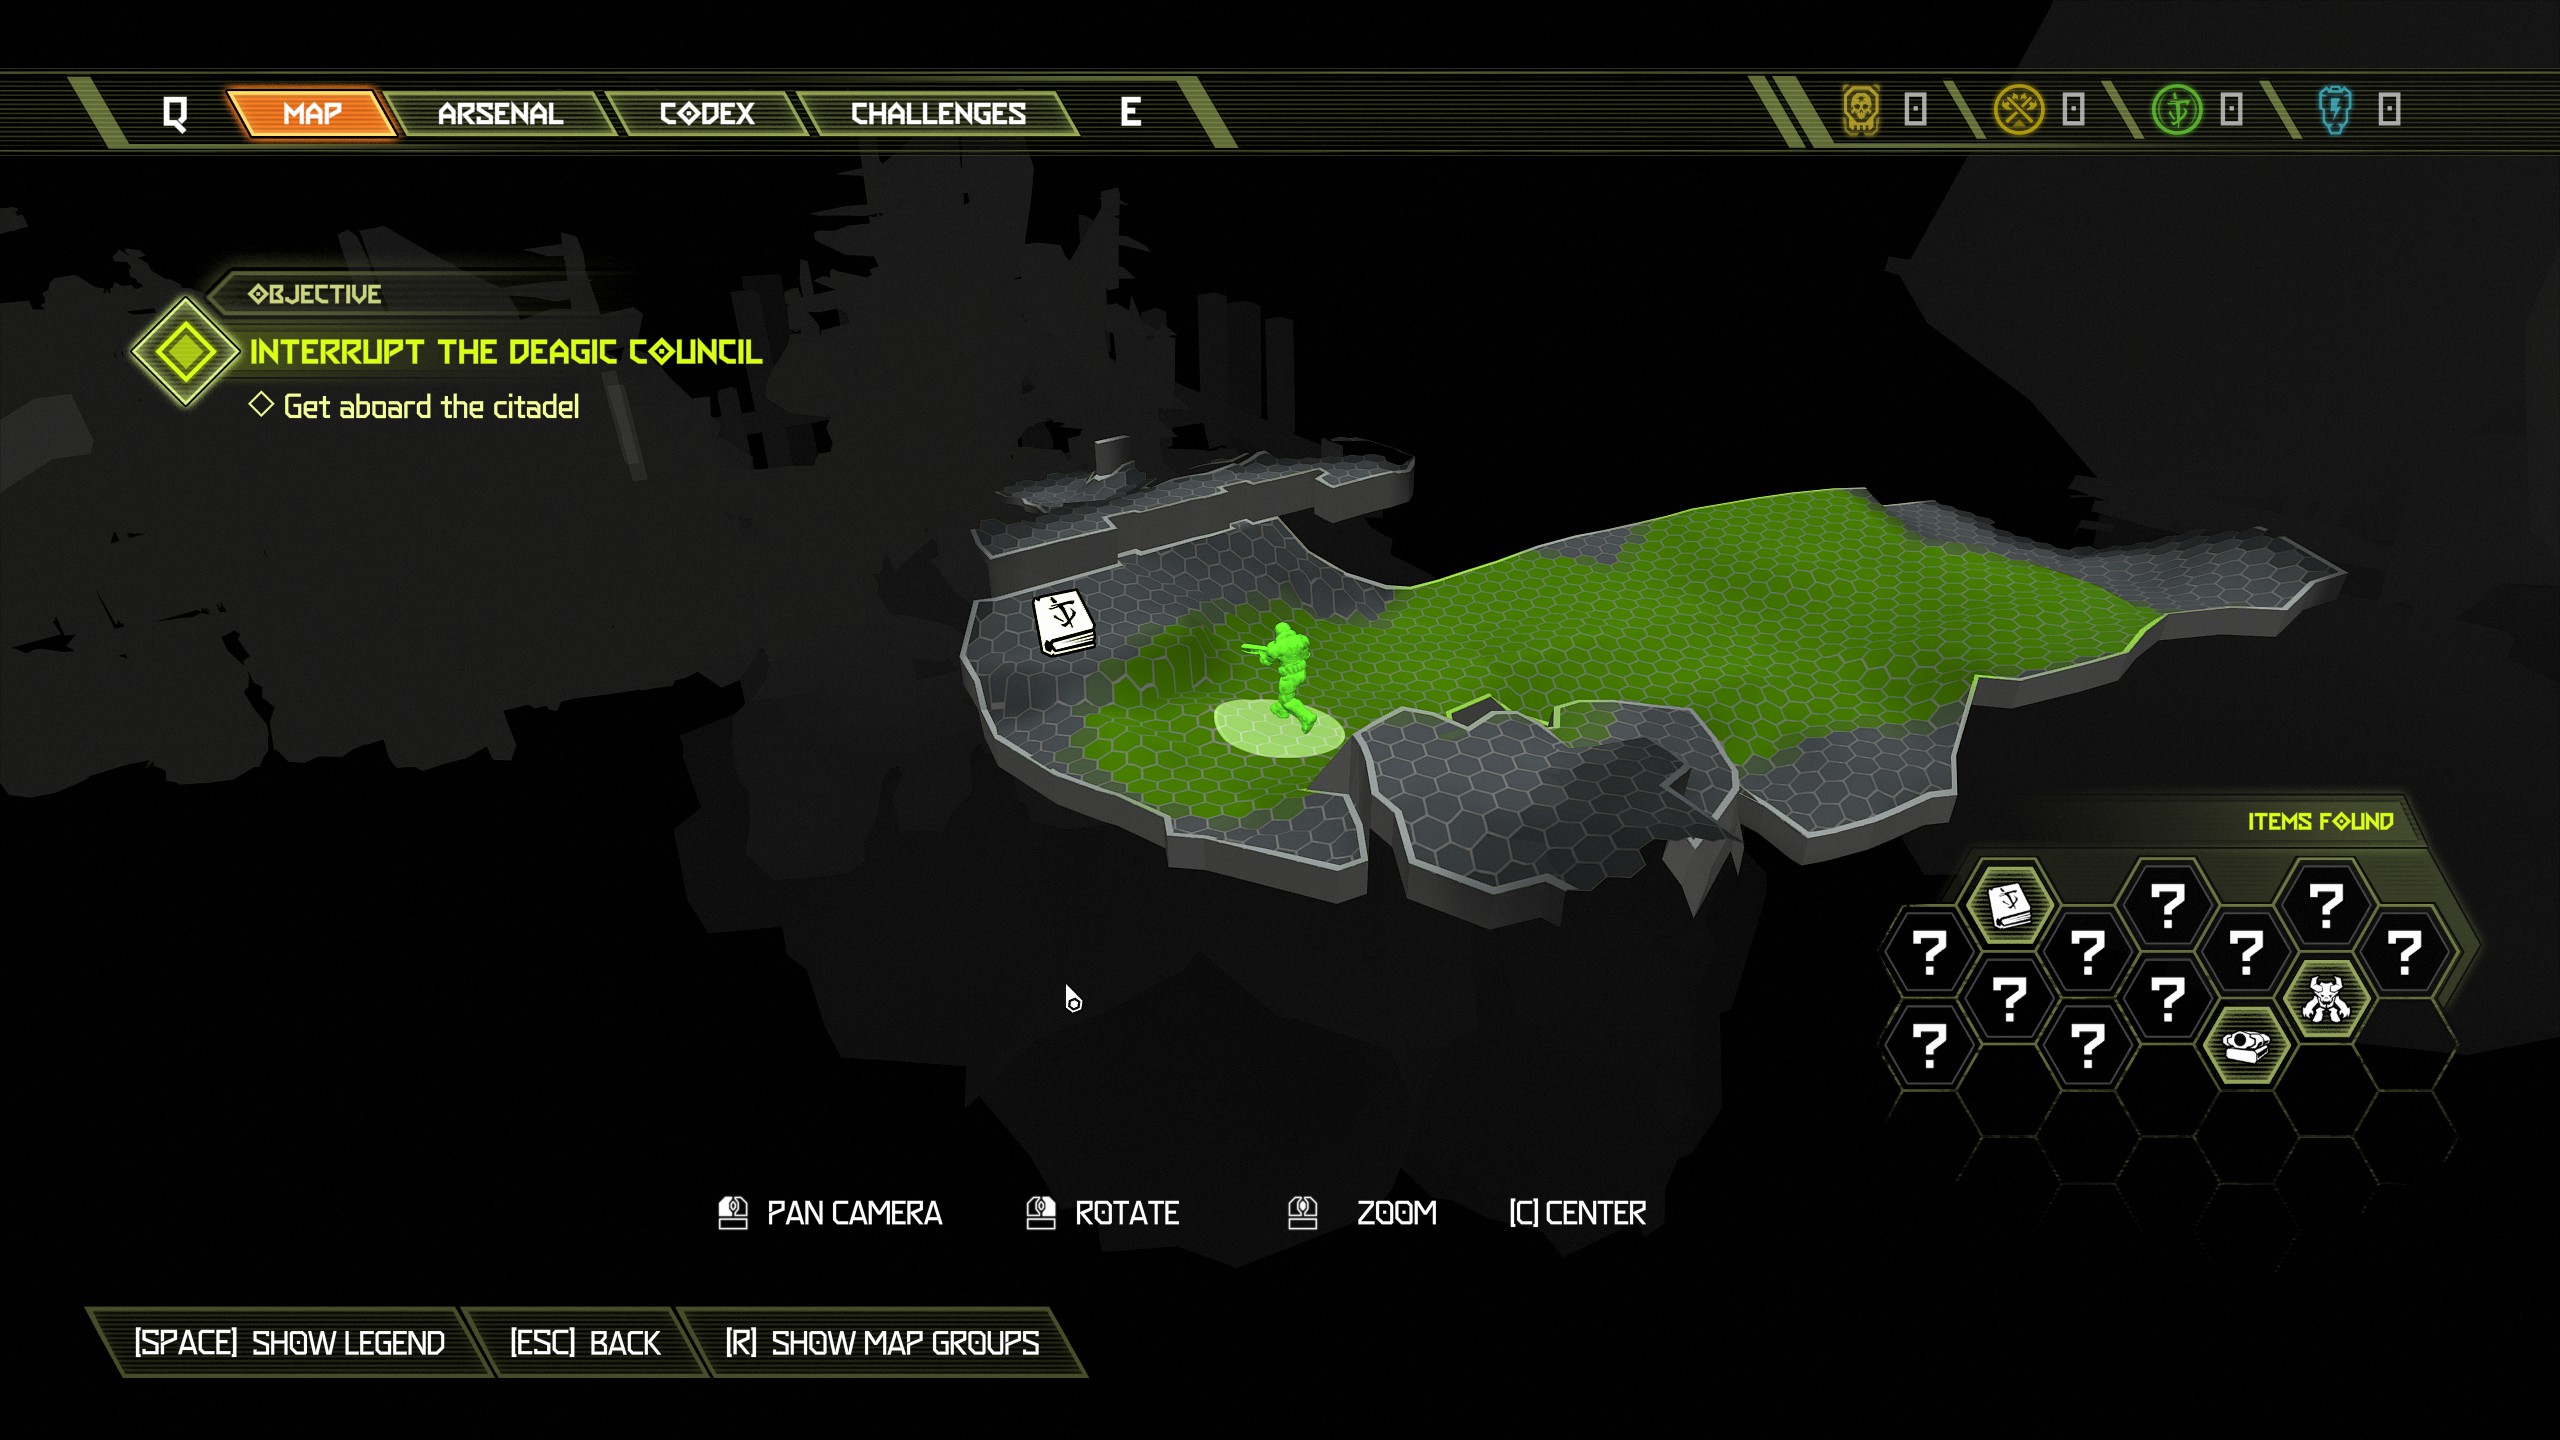
Immediately after the codex page climb up into the building and you will find another weapon mod, it's unmissable.
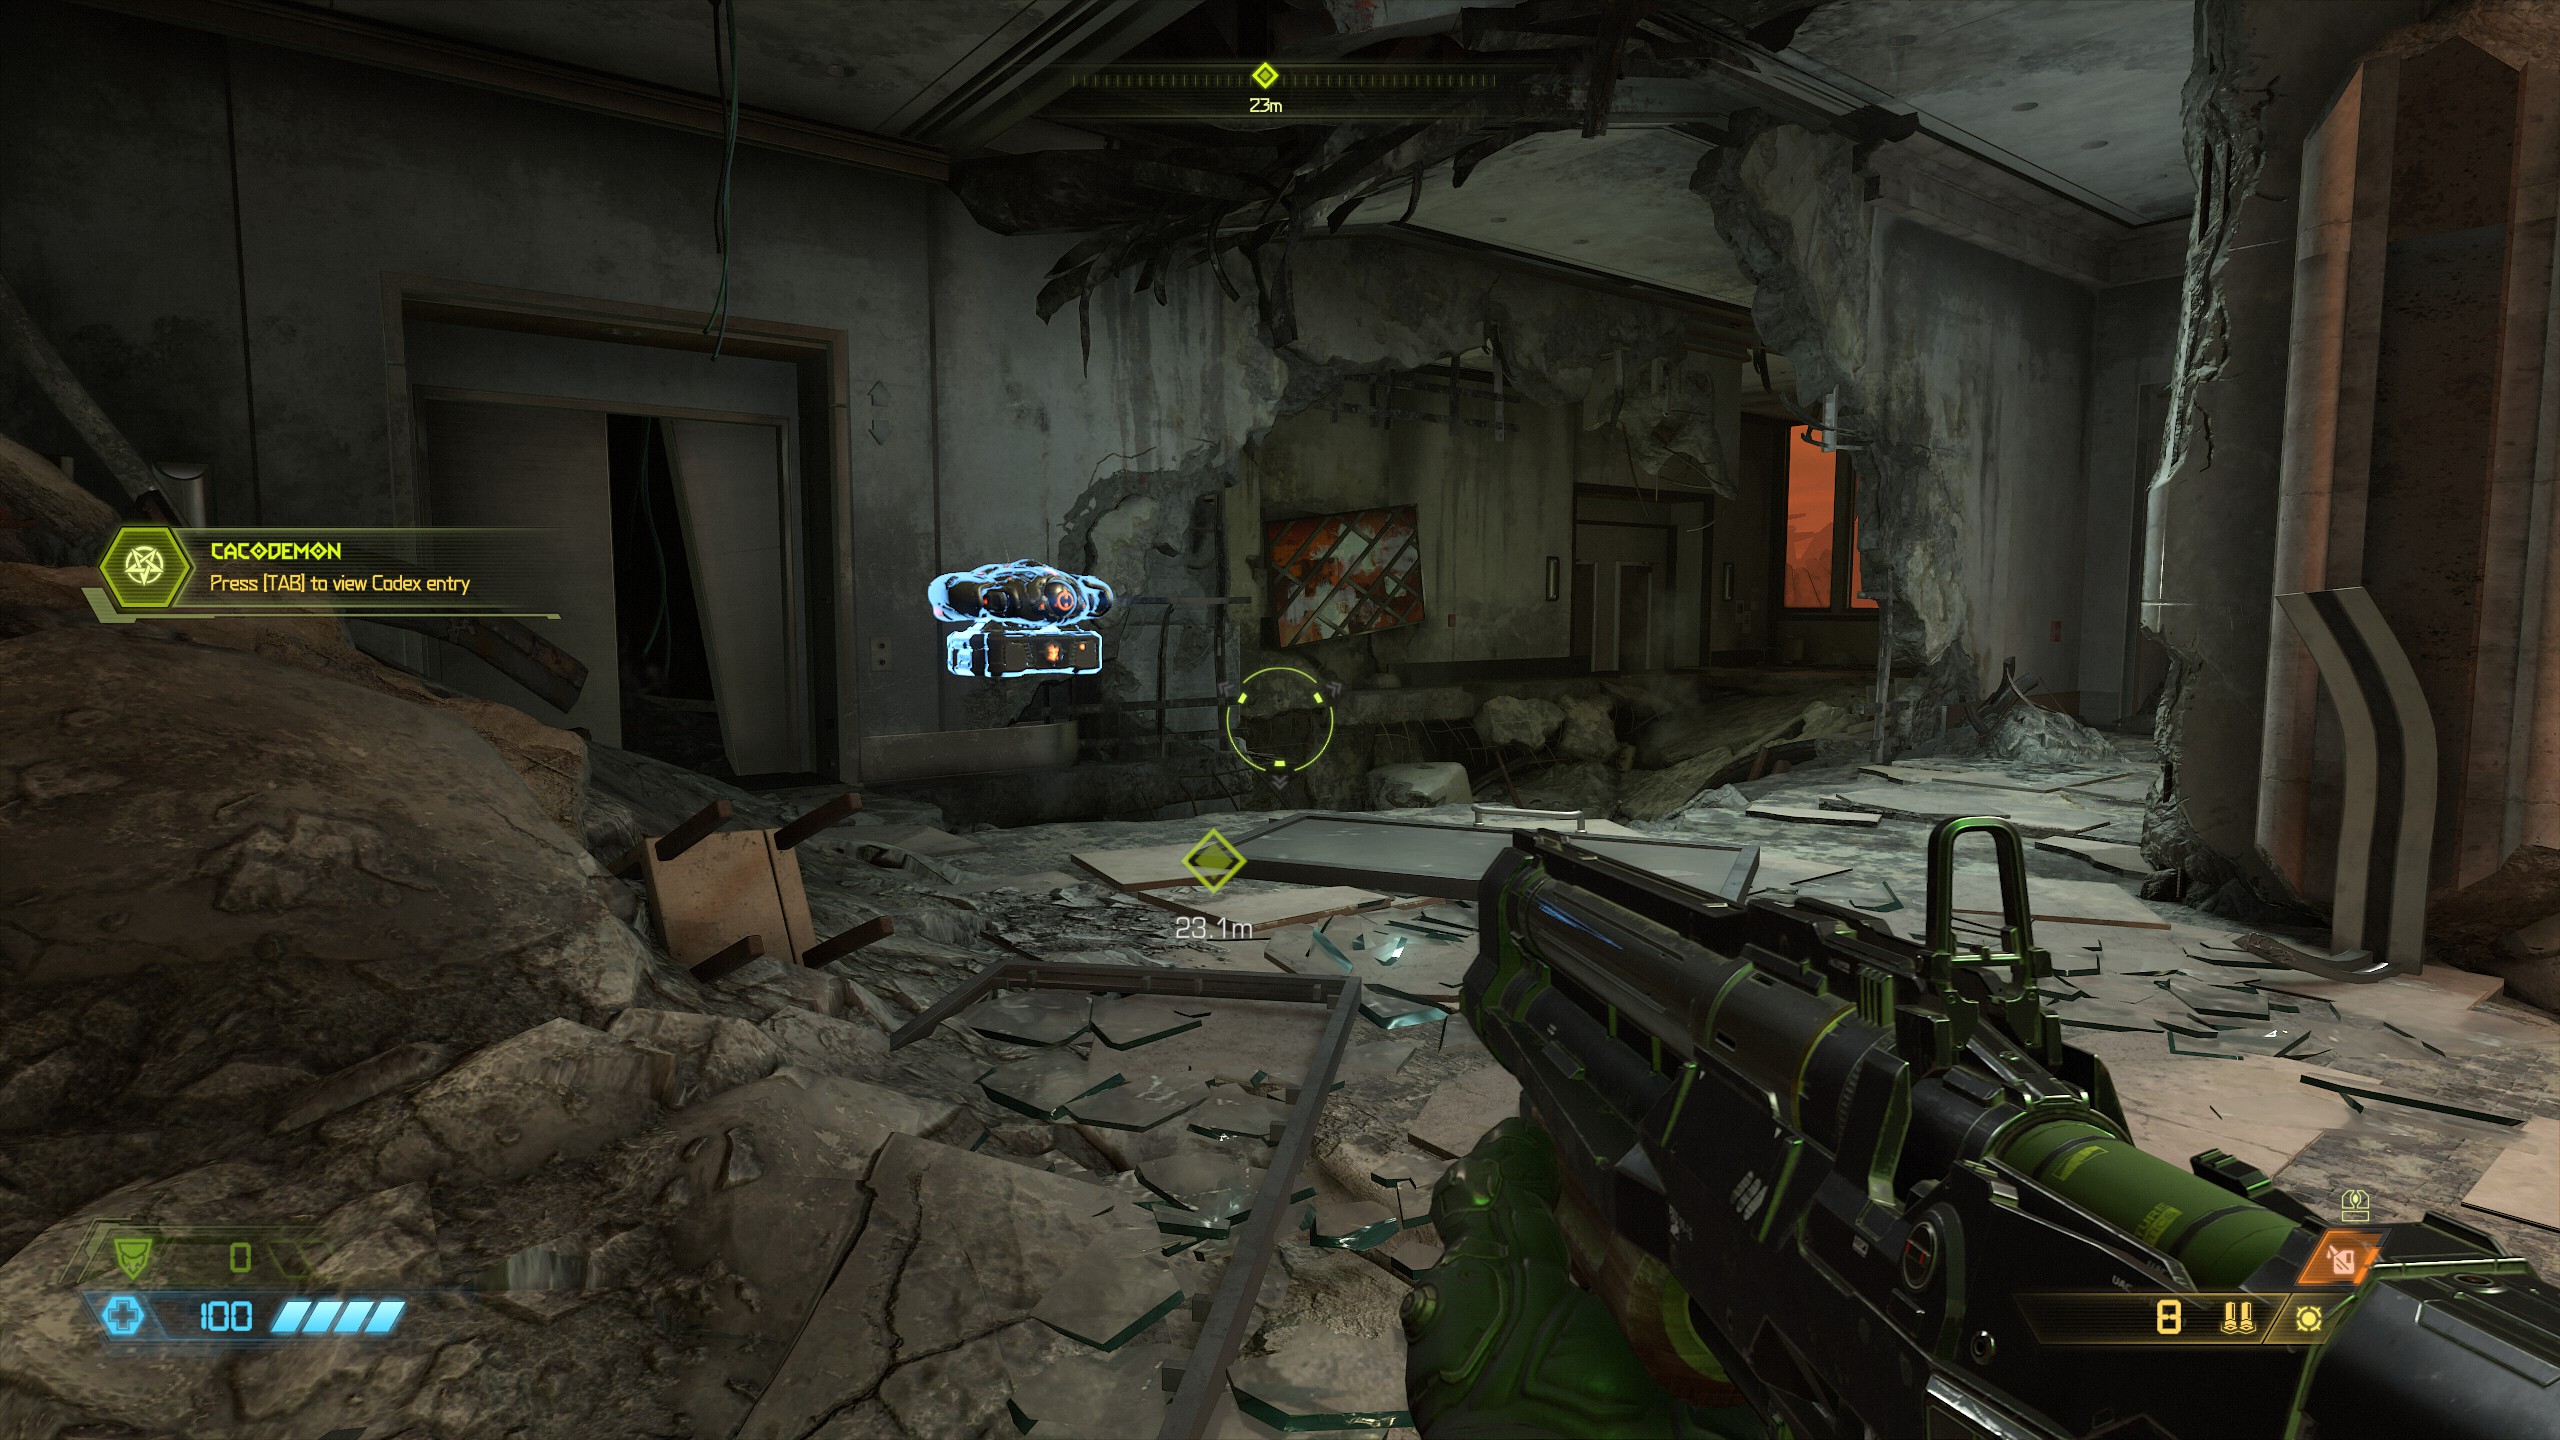
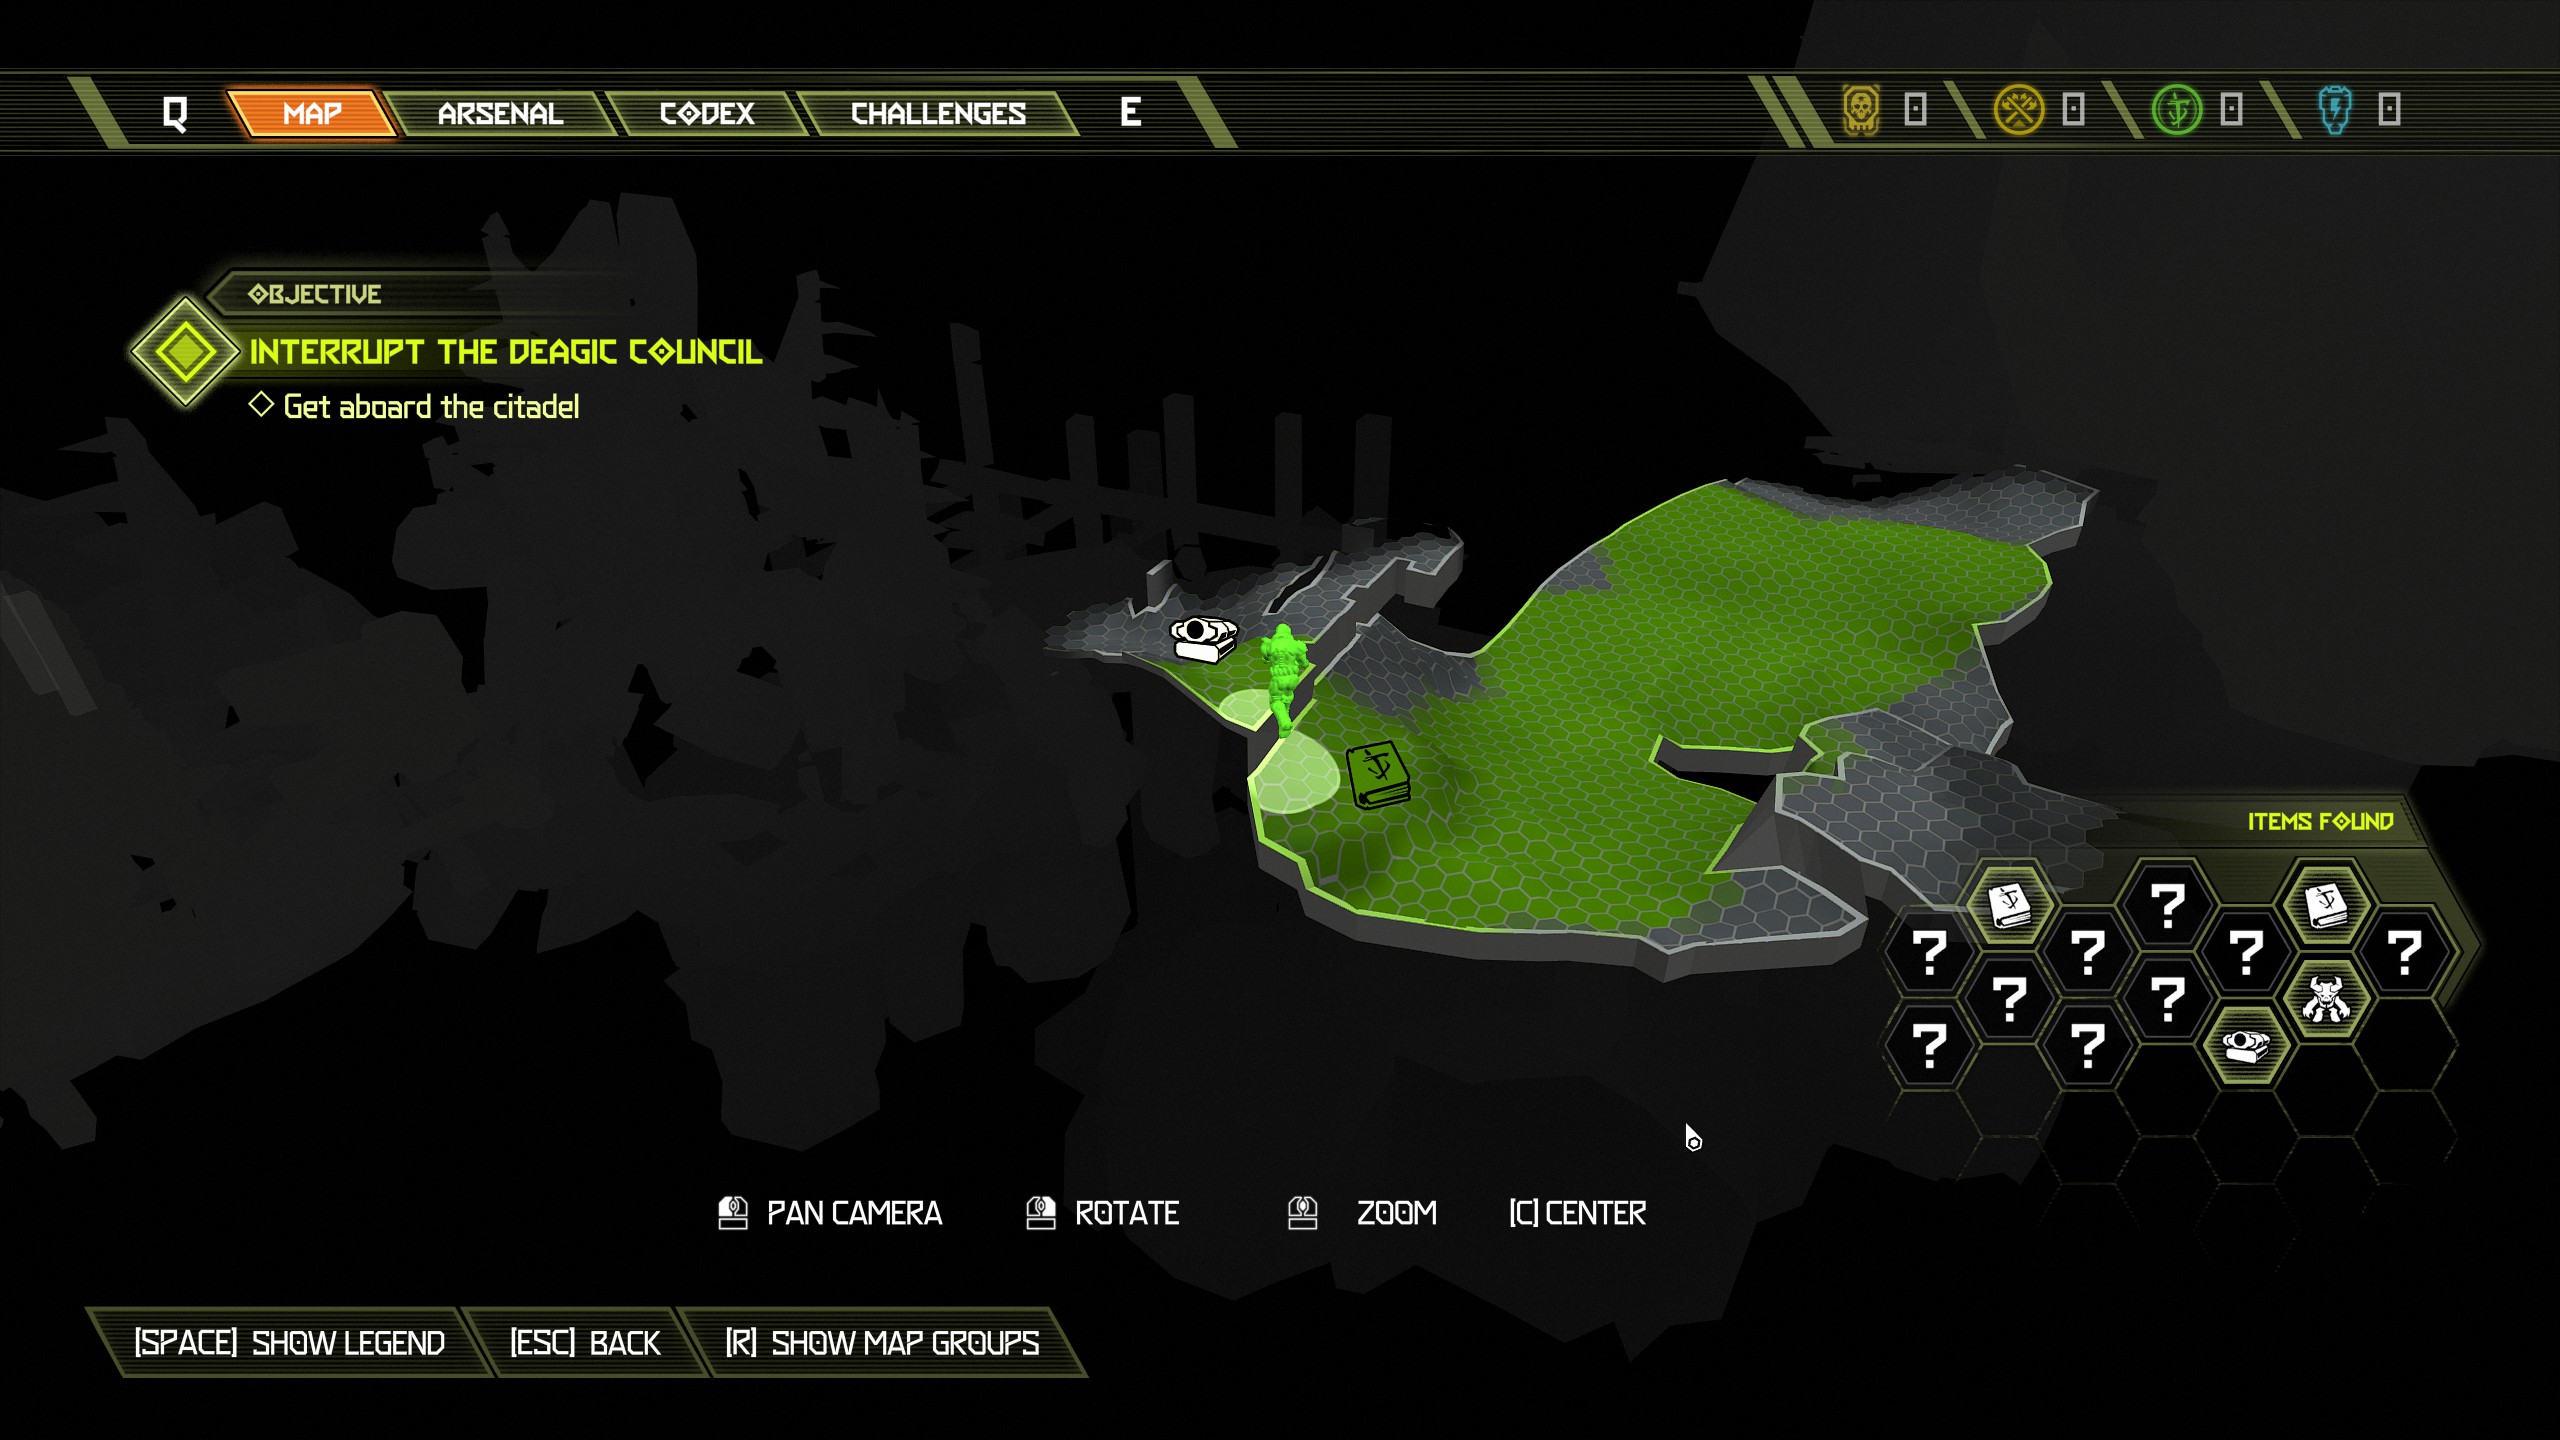
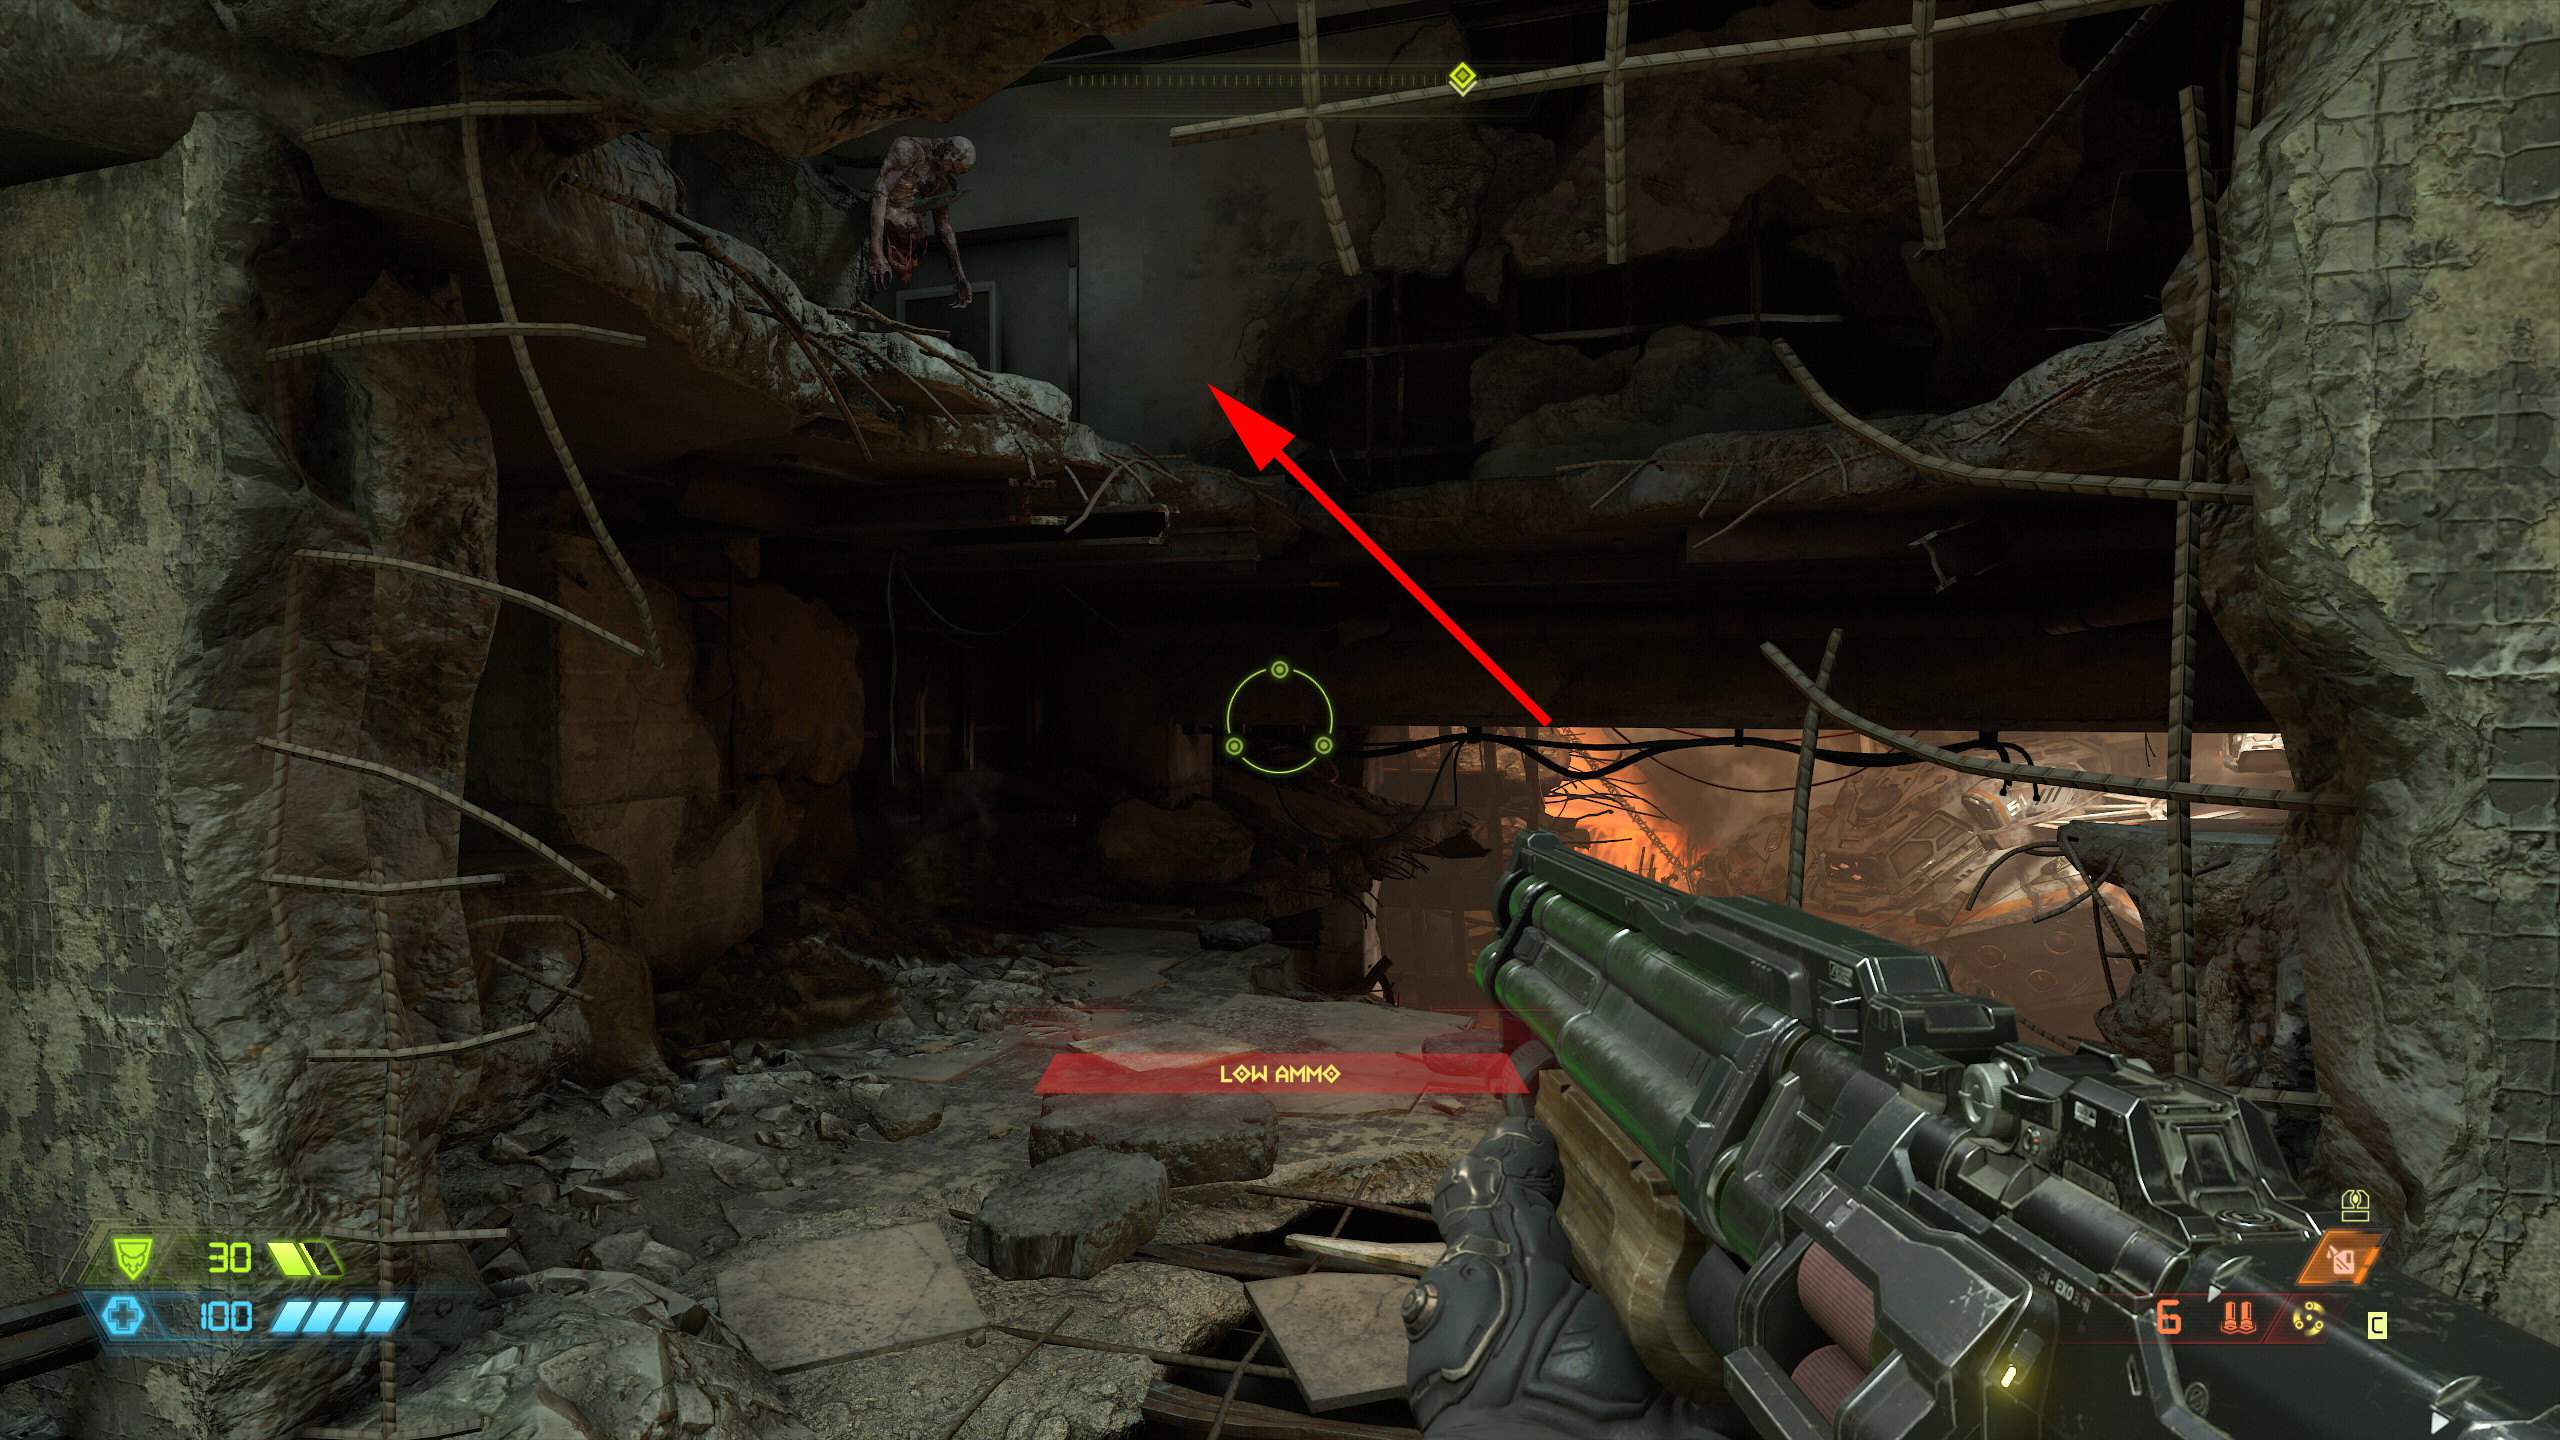
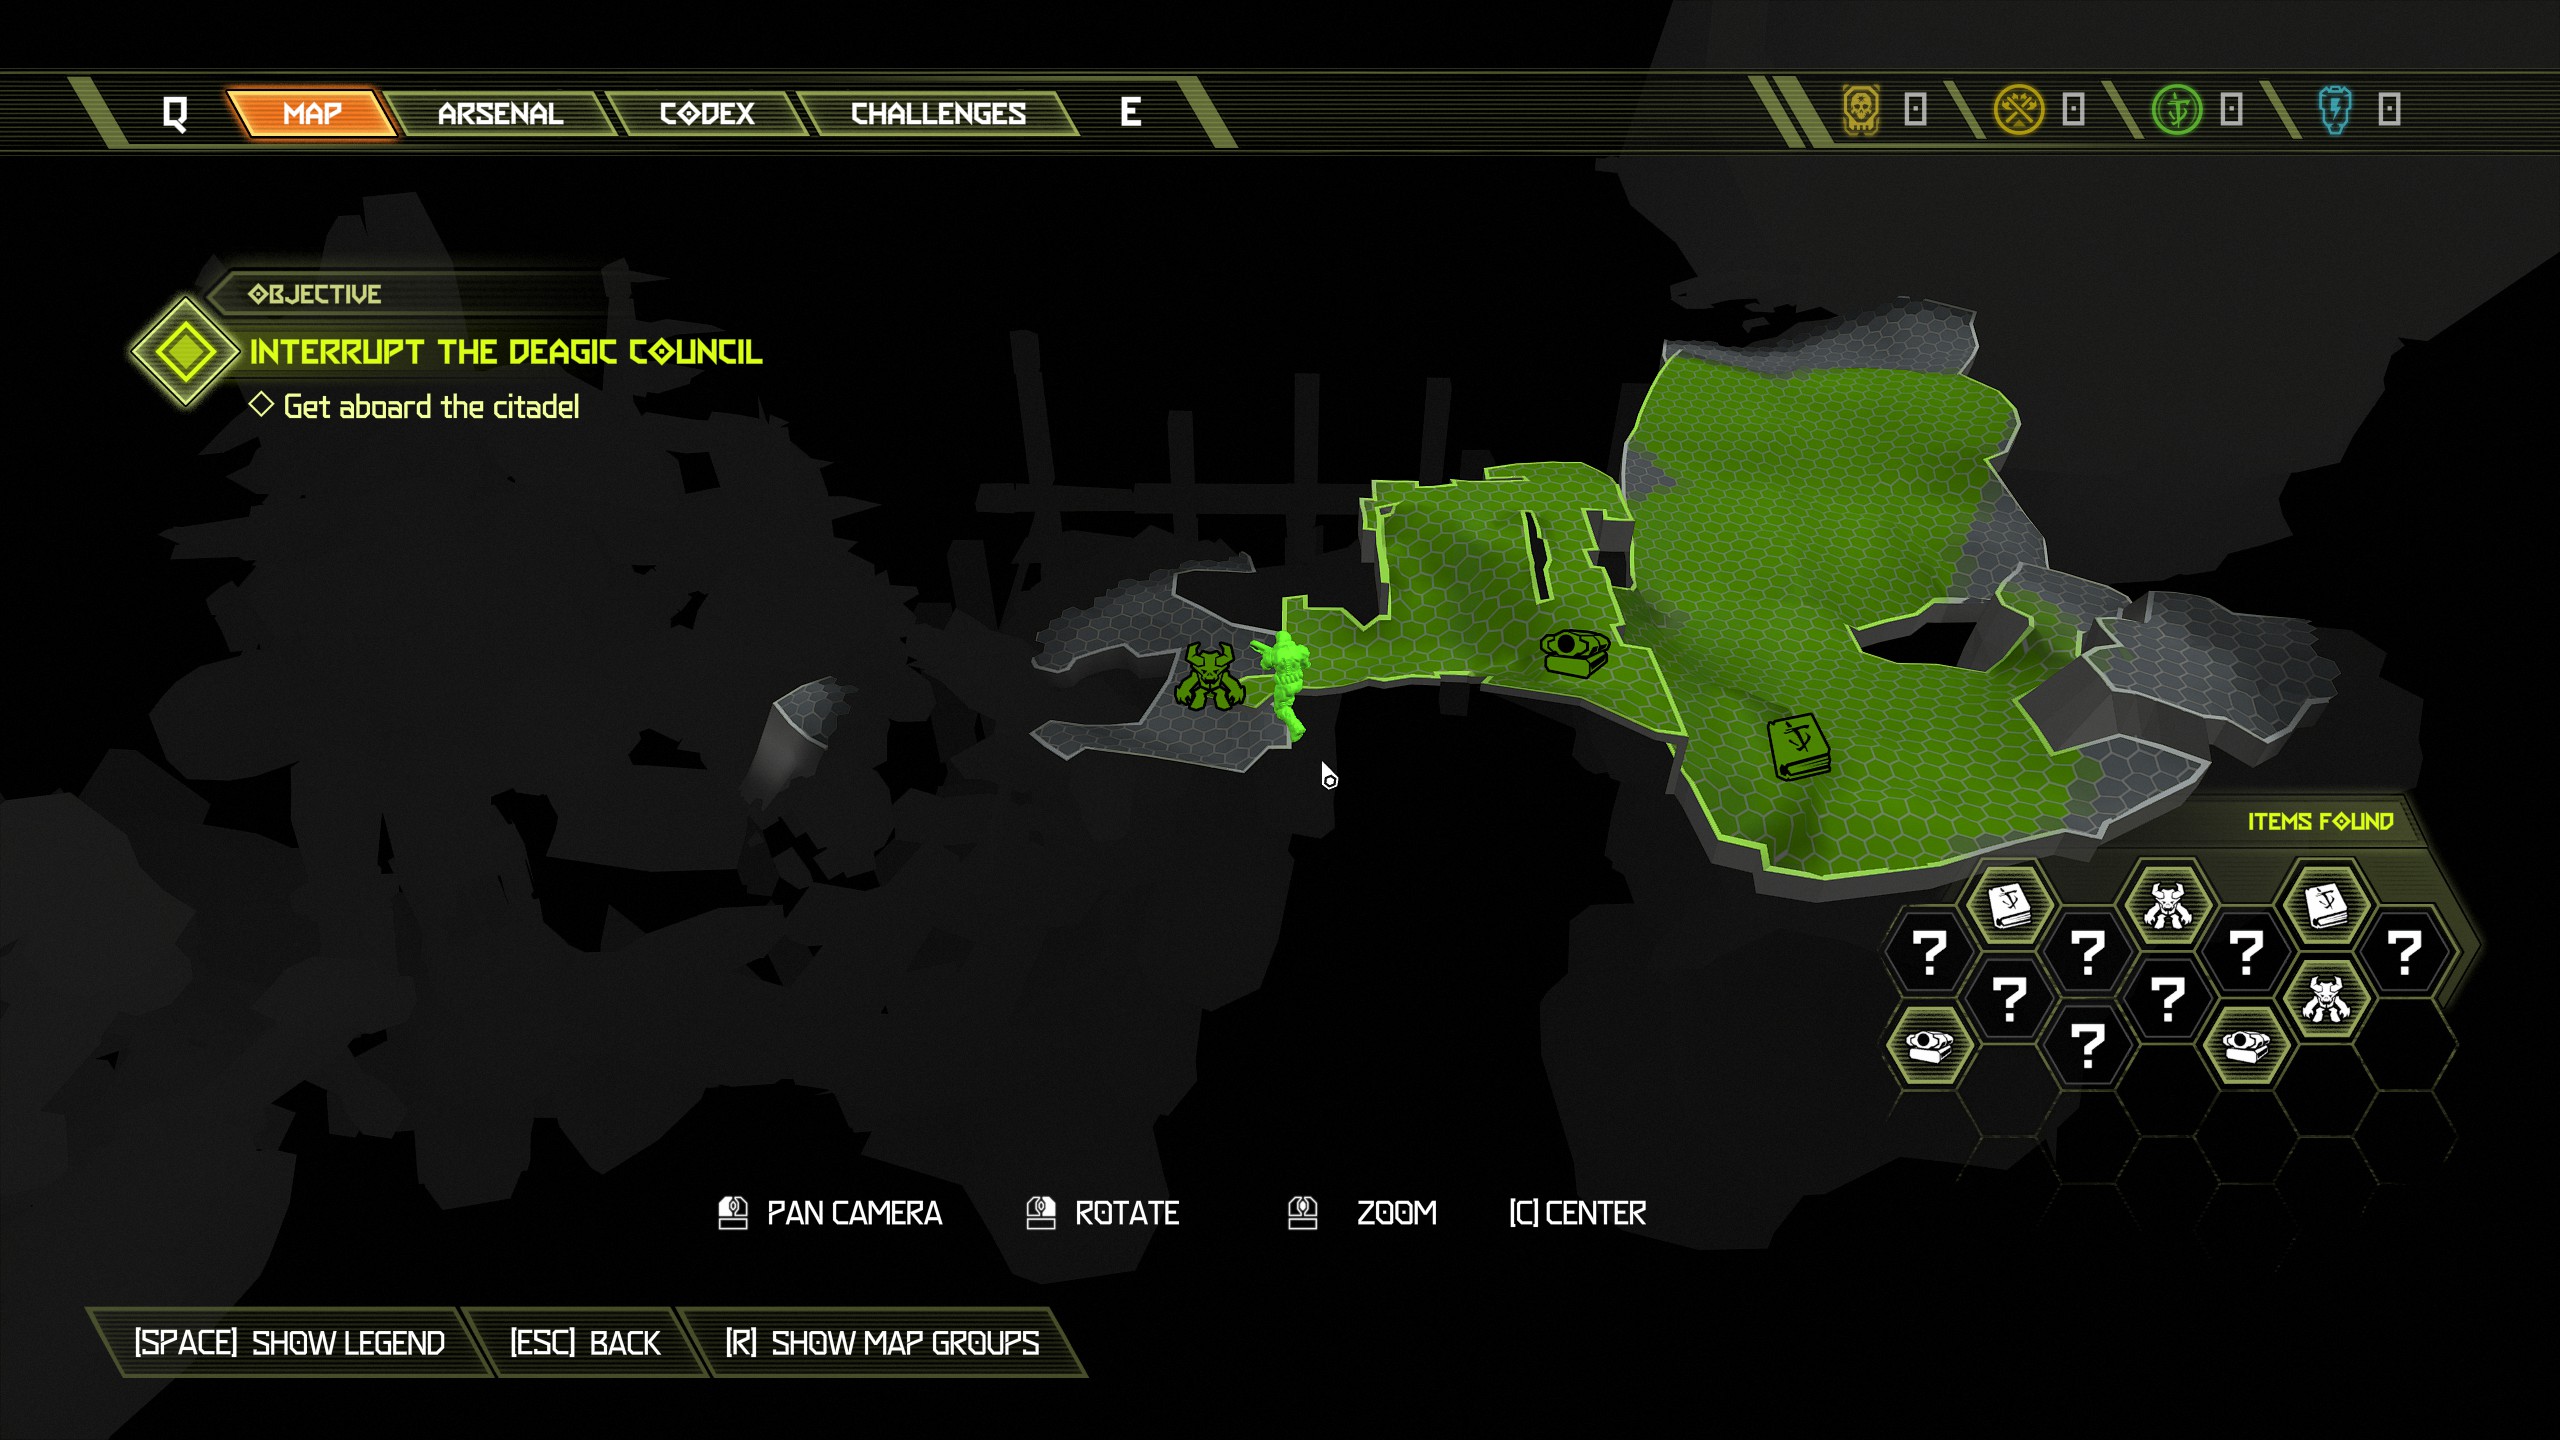
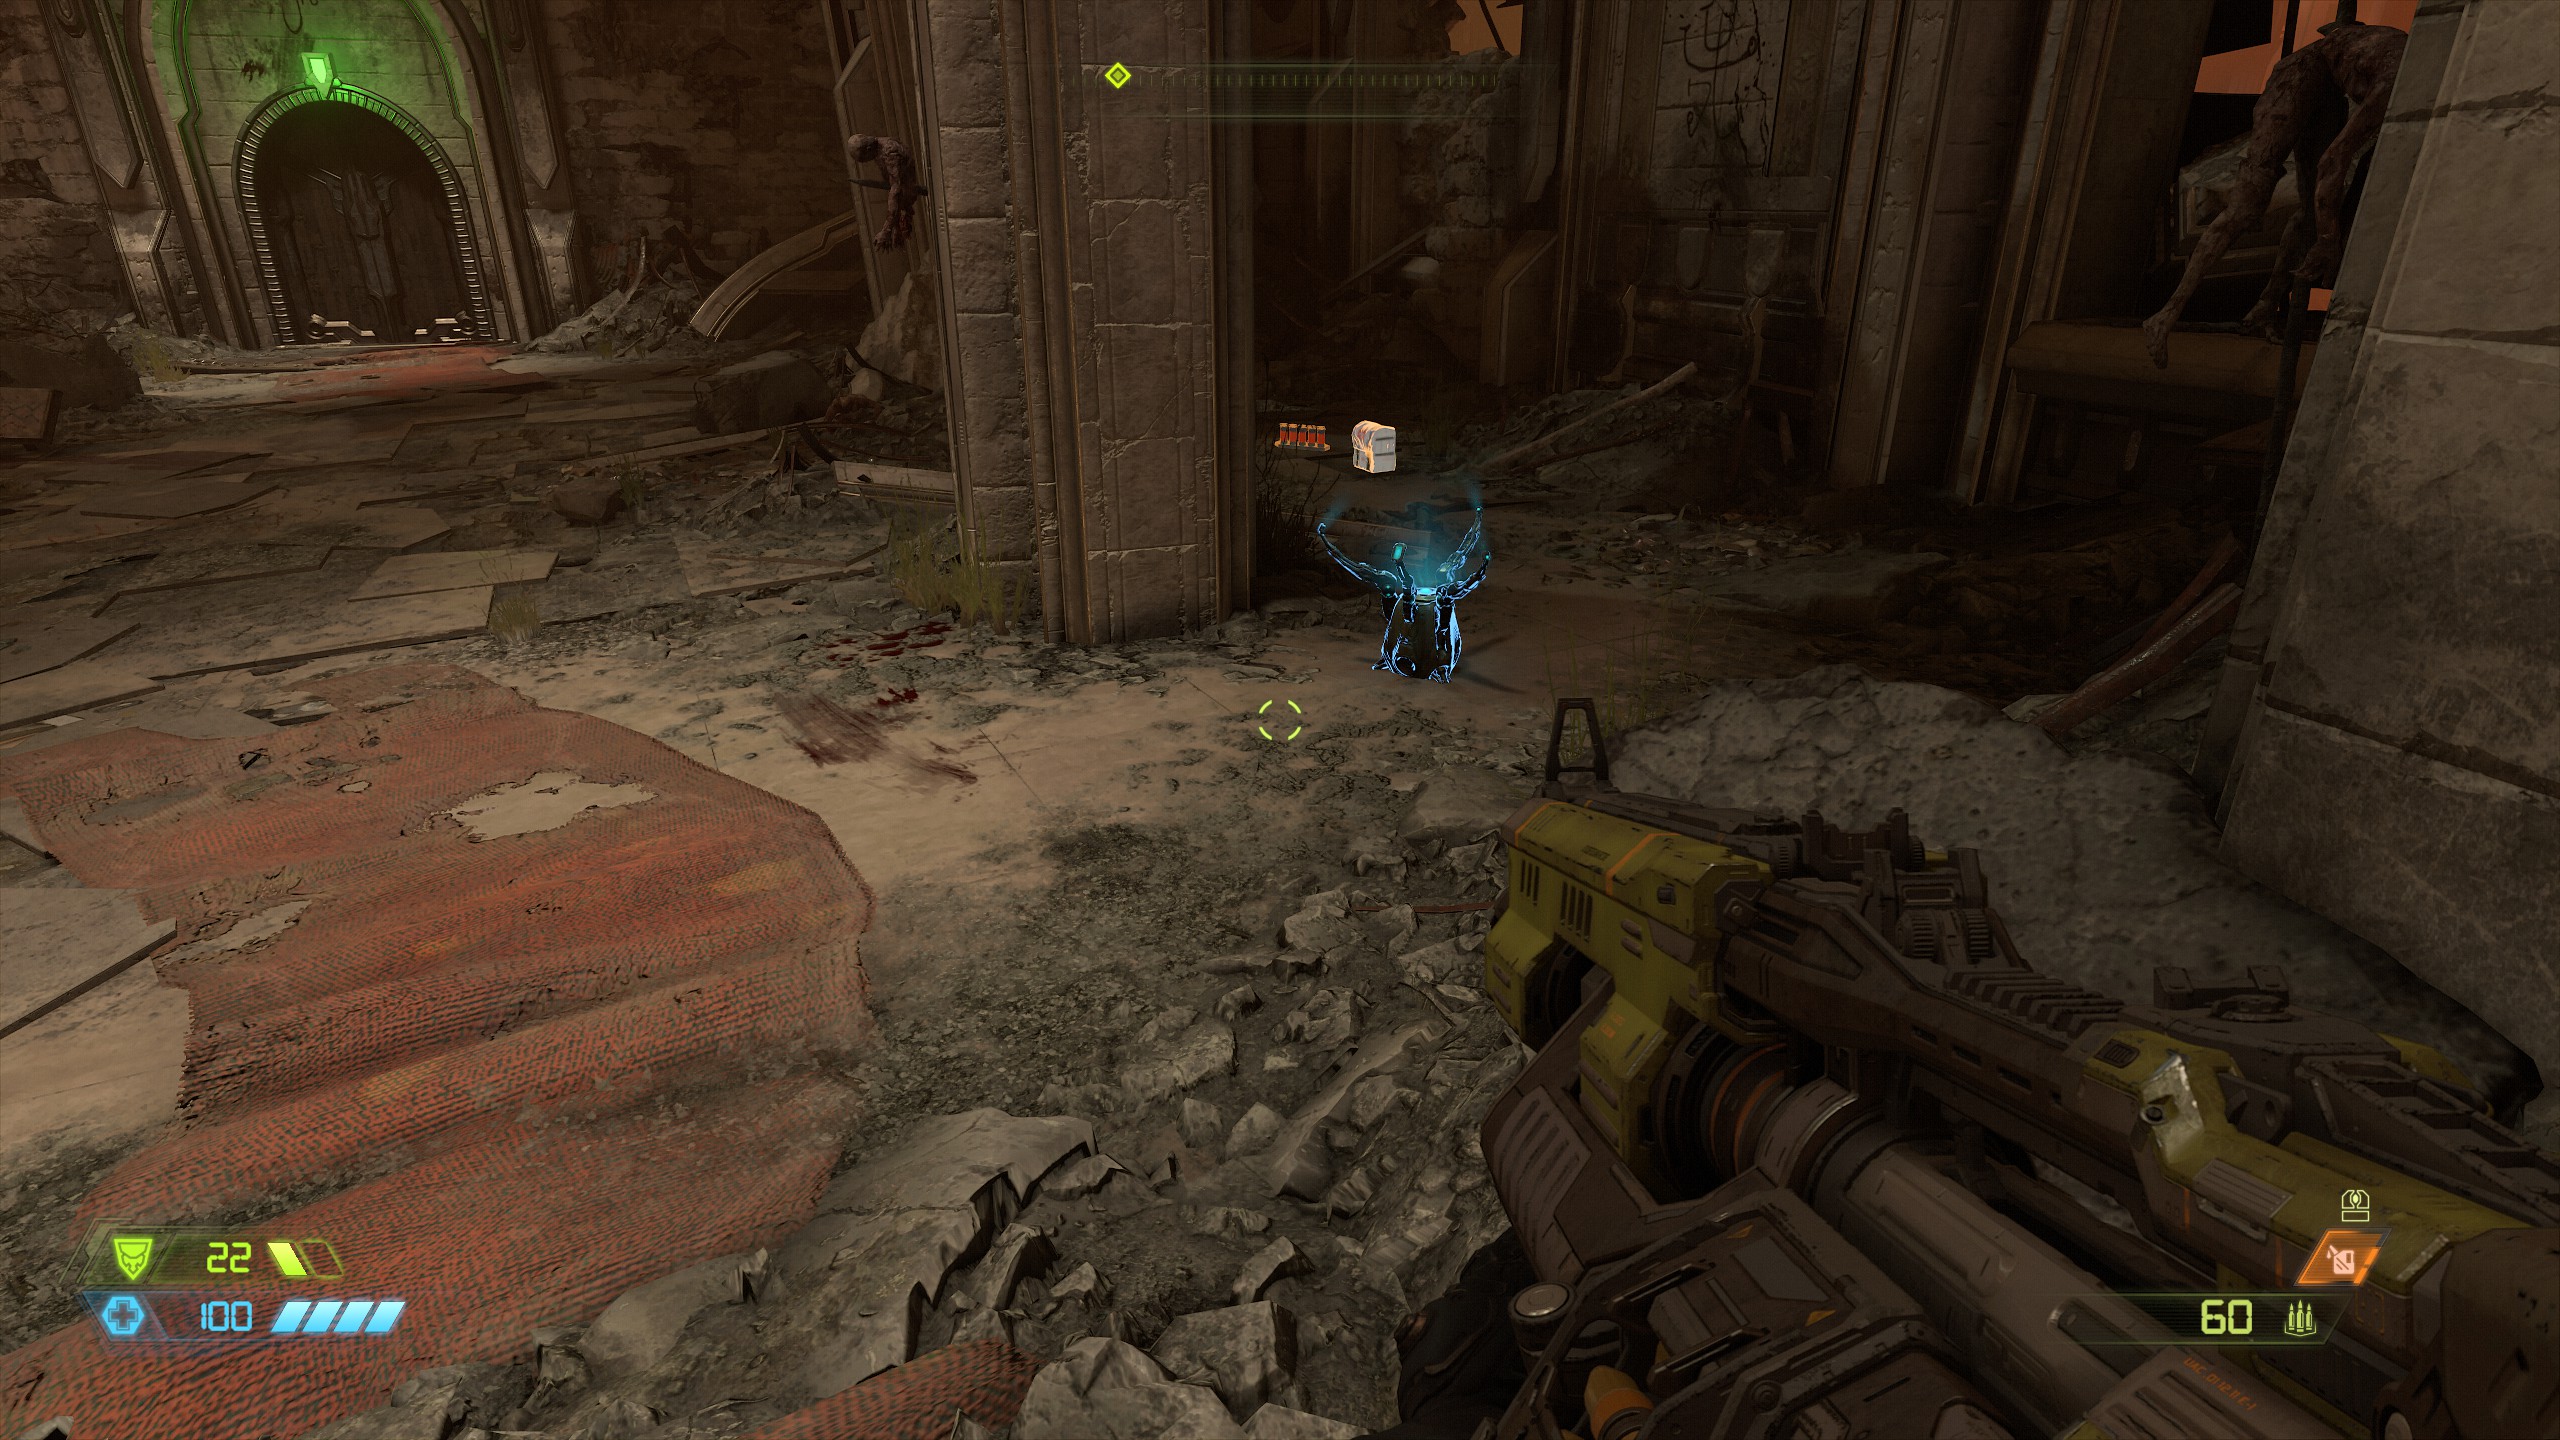
Immediately after the weapon mod, break the green wall and look up, you will see a ledge that you can climb up to and inside will be another doomtoy.
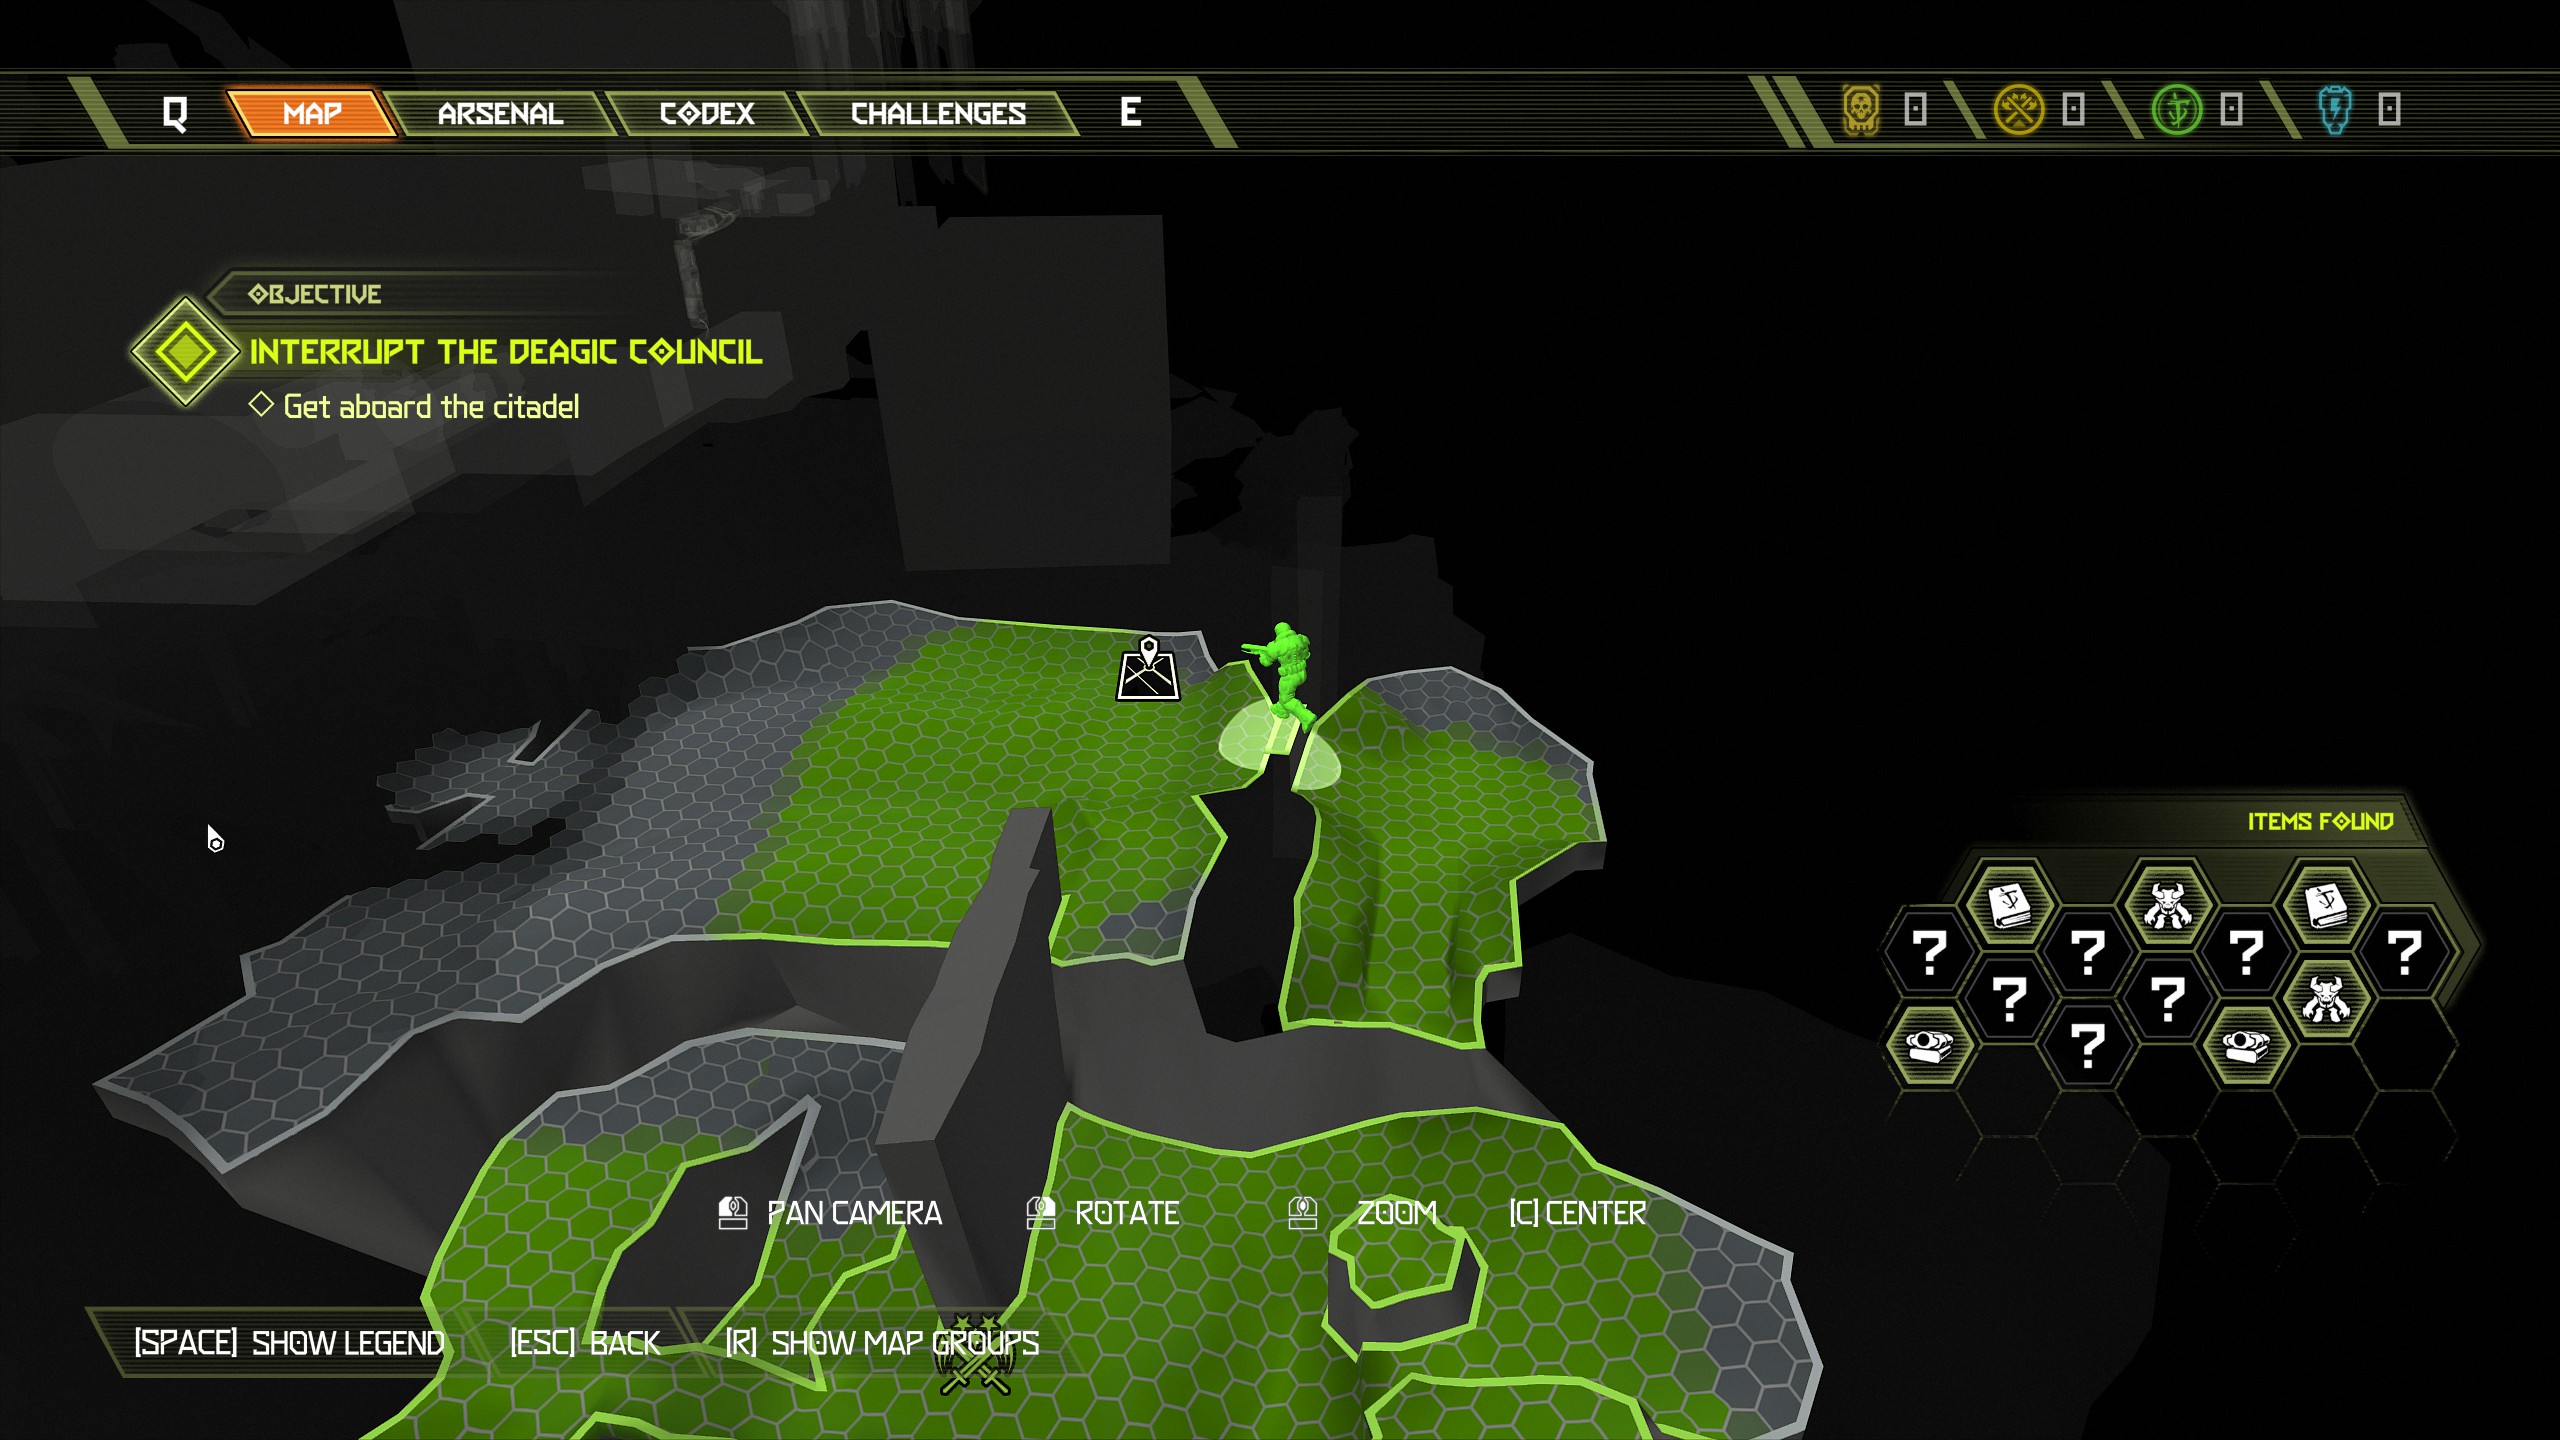
Make your way into the next area.
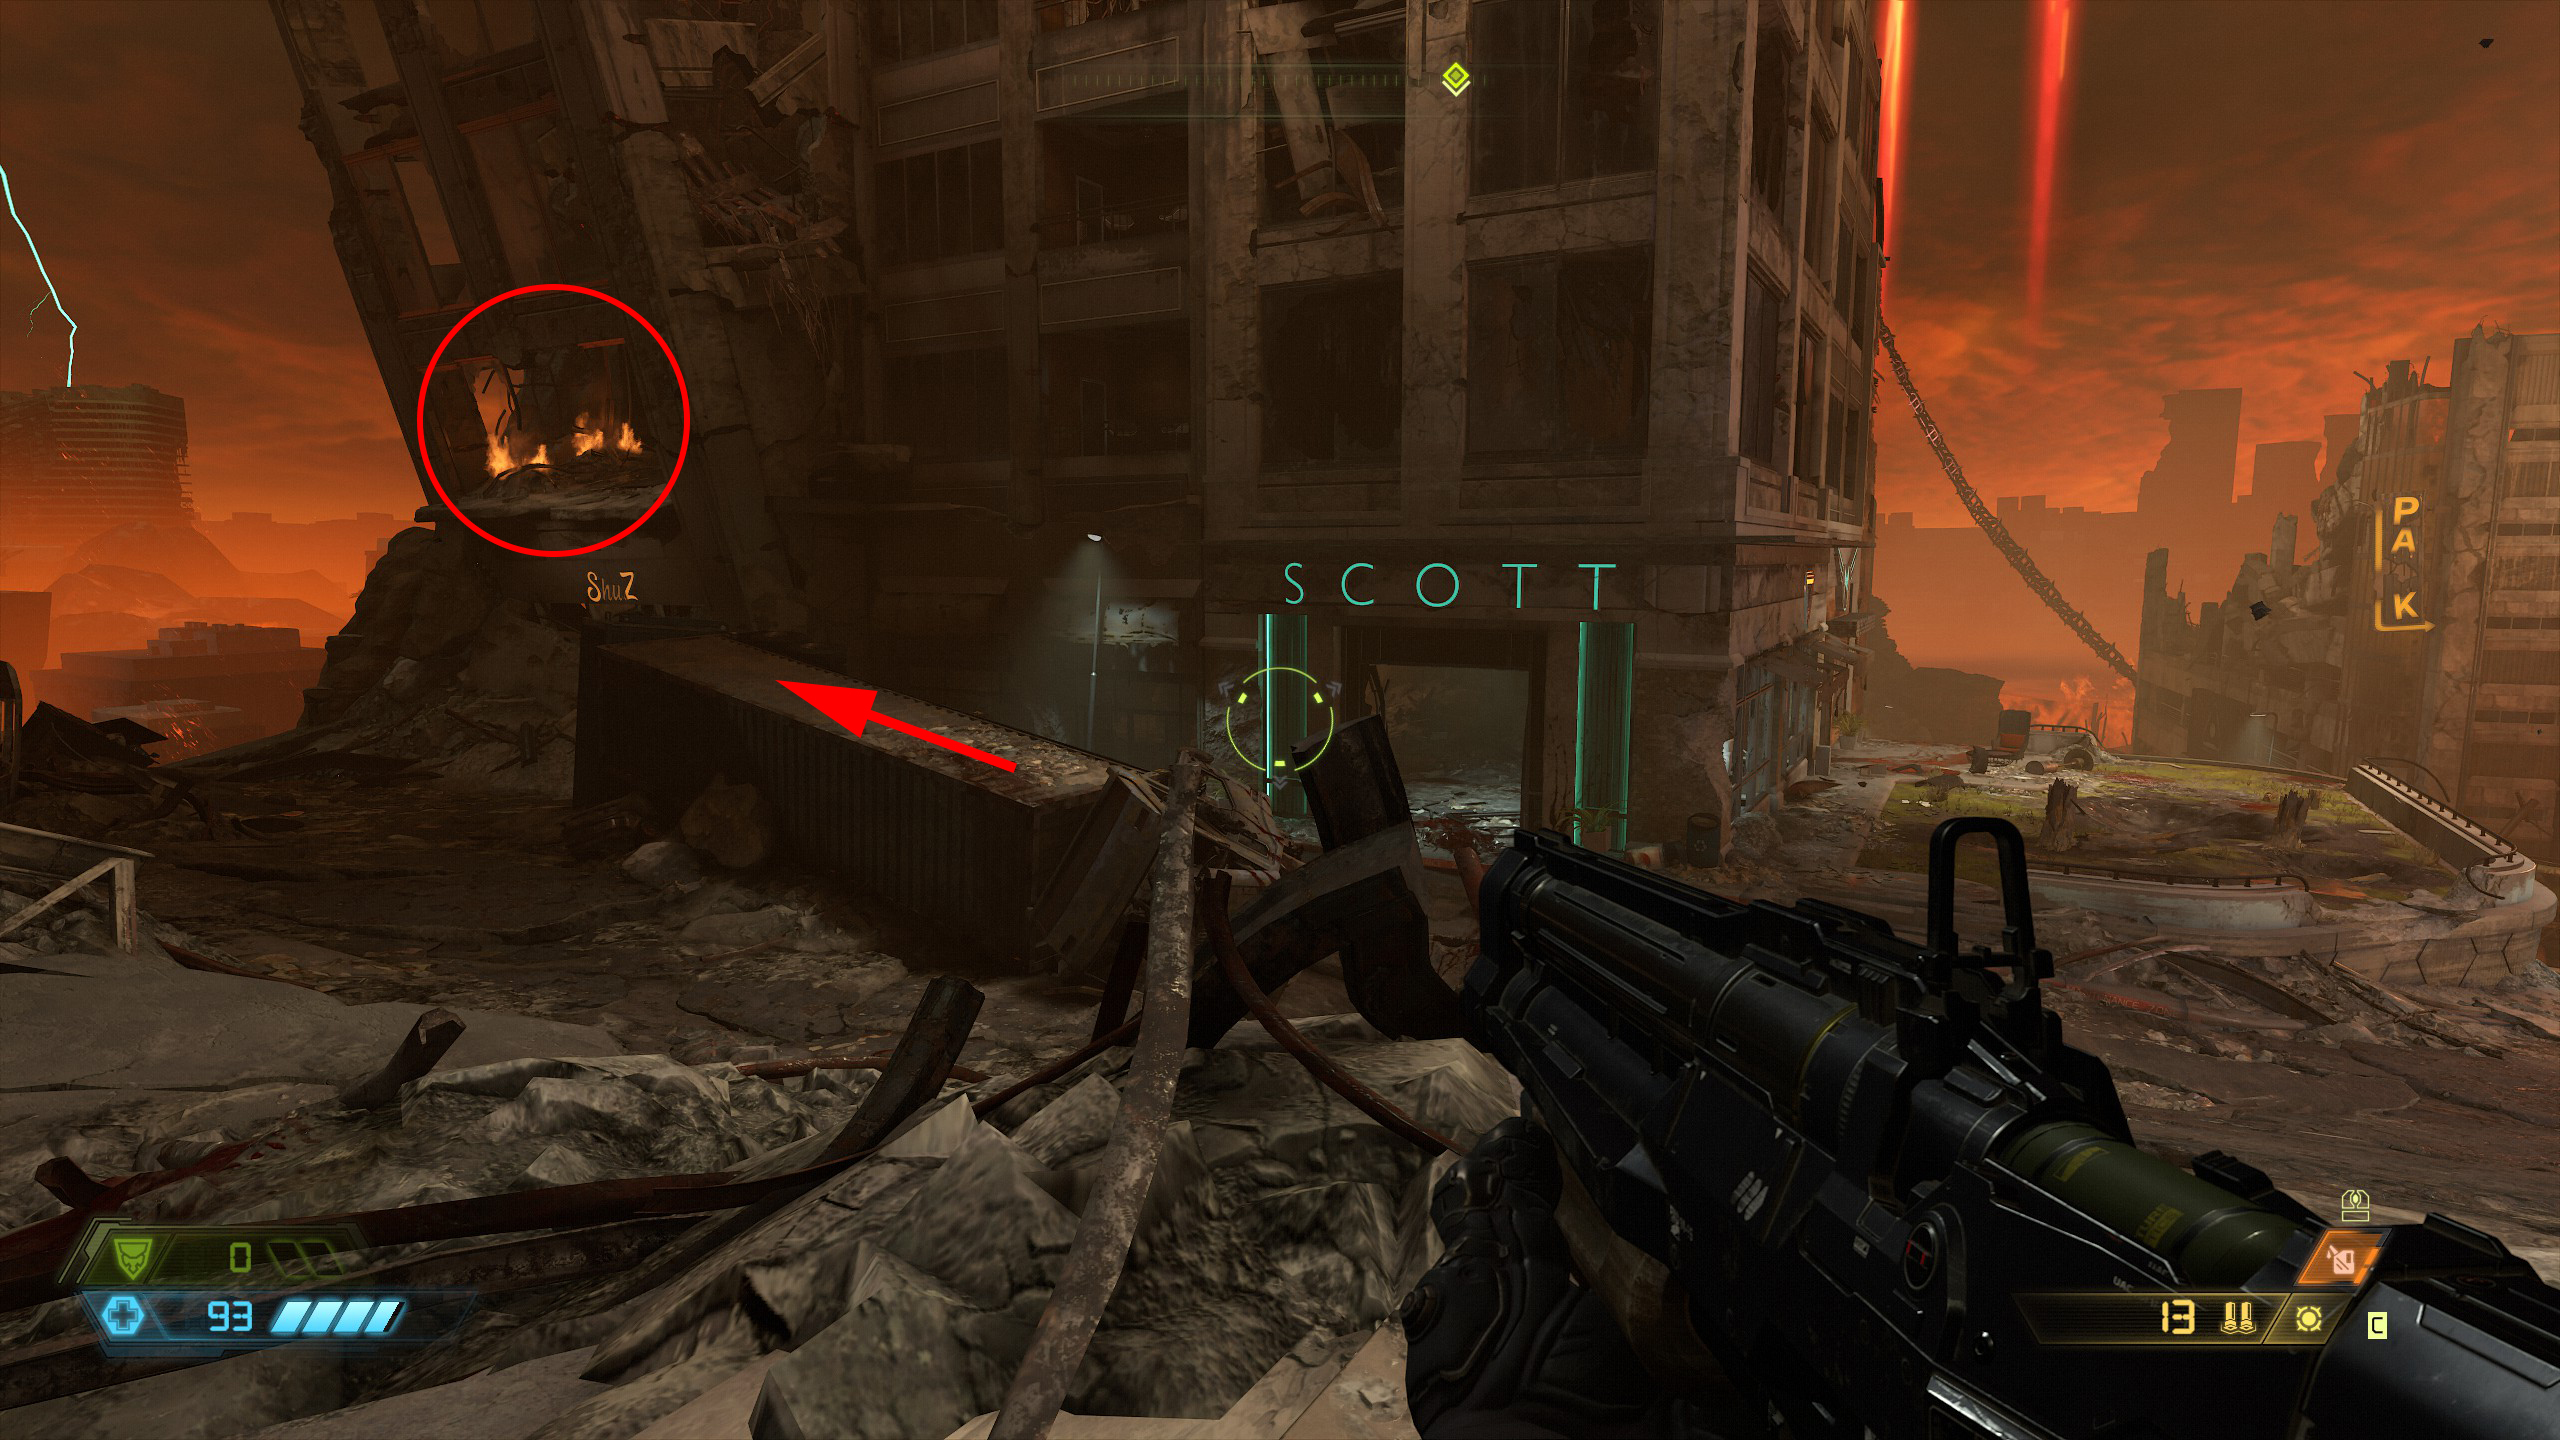
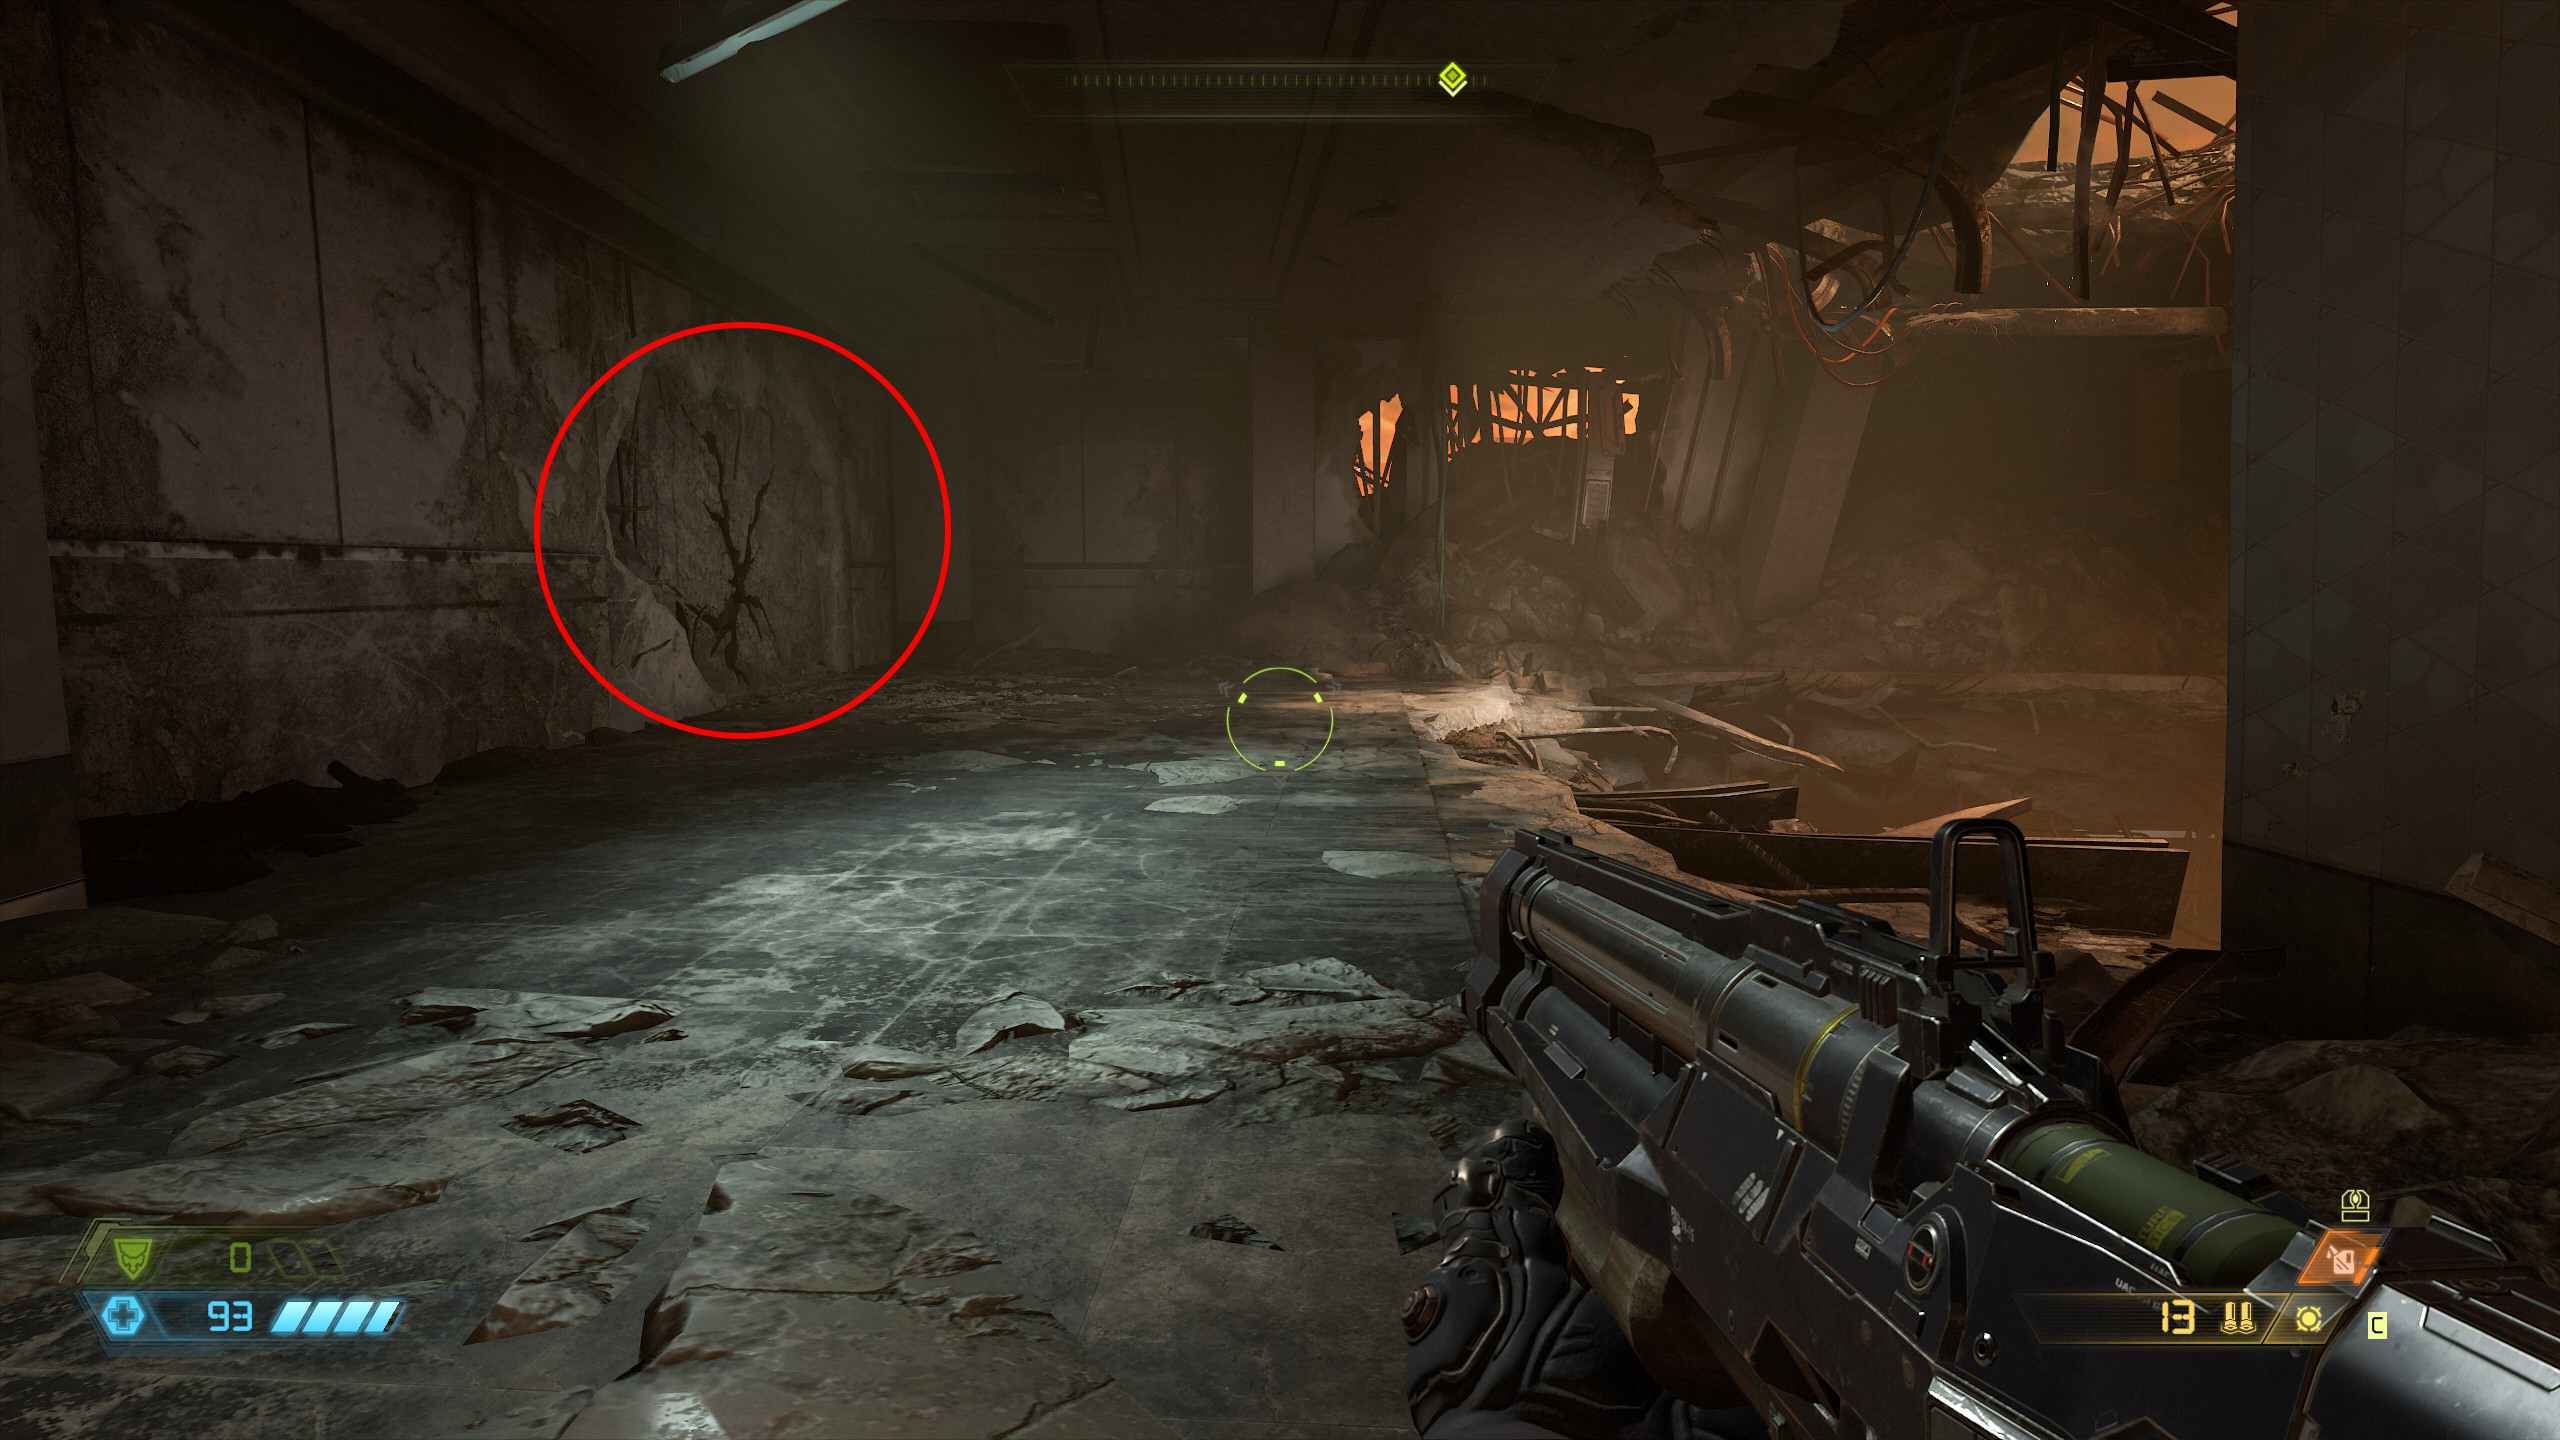
From the previous item take the left path up through the green lit doorway and head across the big hole in the floor to the opposite side, you will find a codex page around the corner and at the back of the room you can drop down into the hole to find an extra life in the room below.
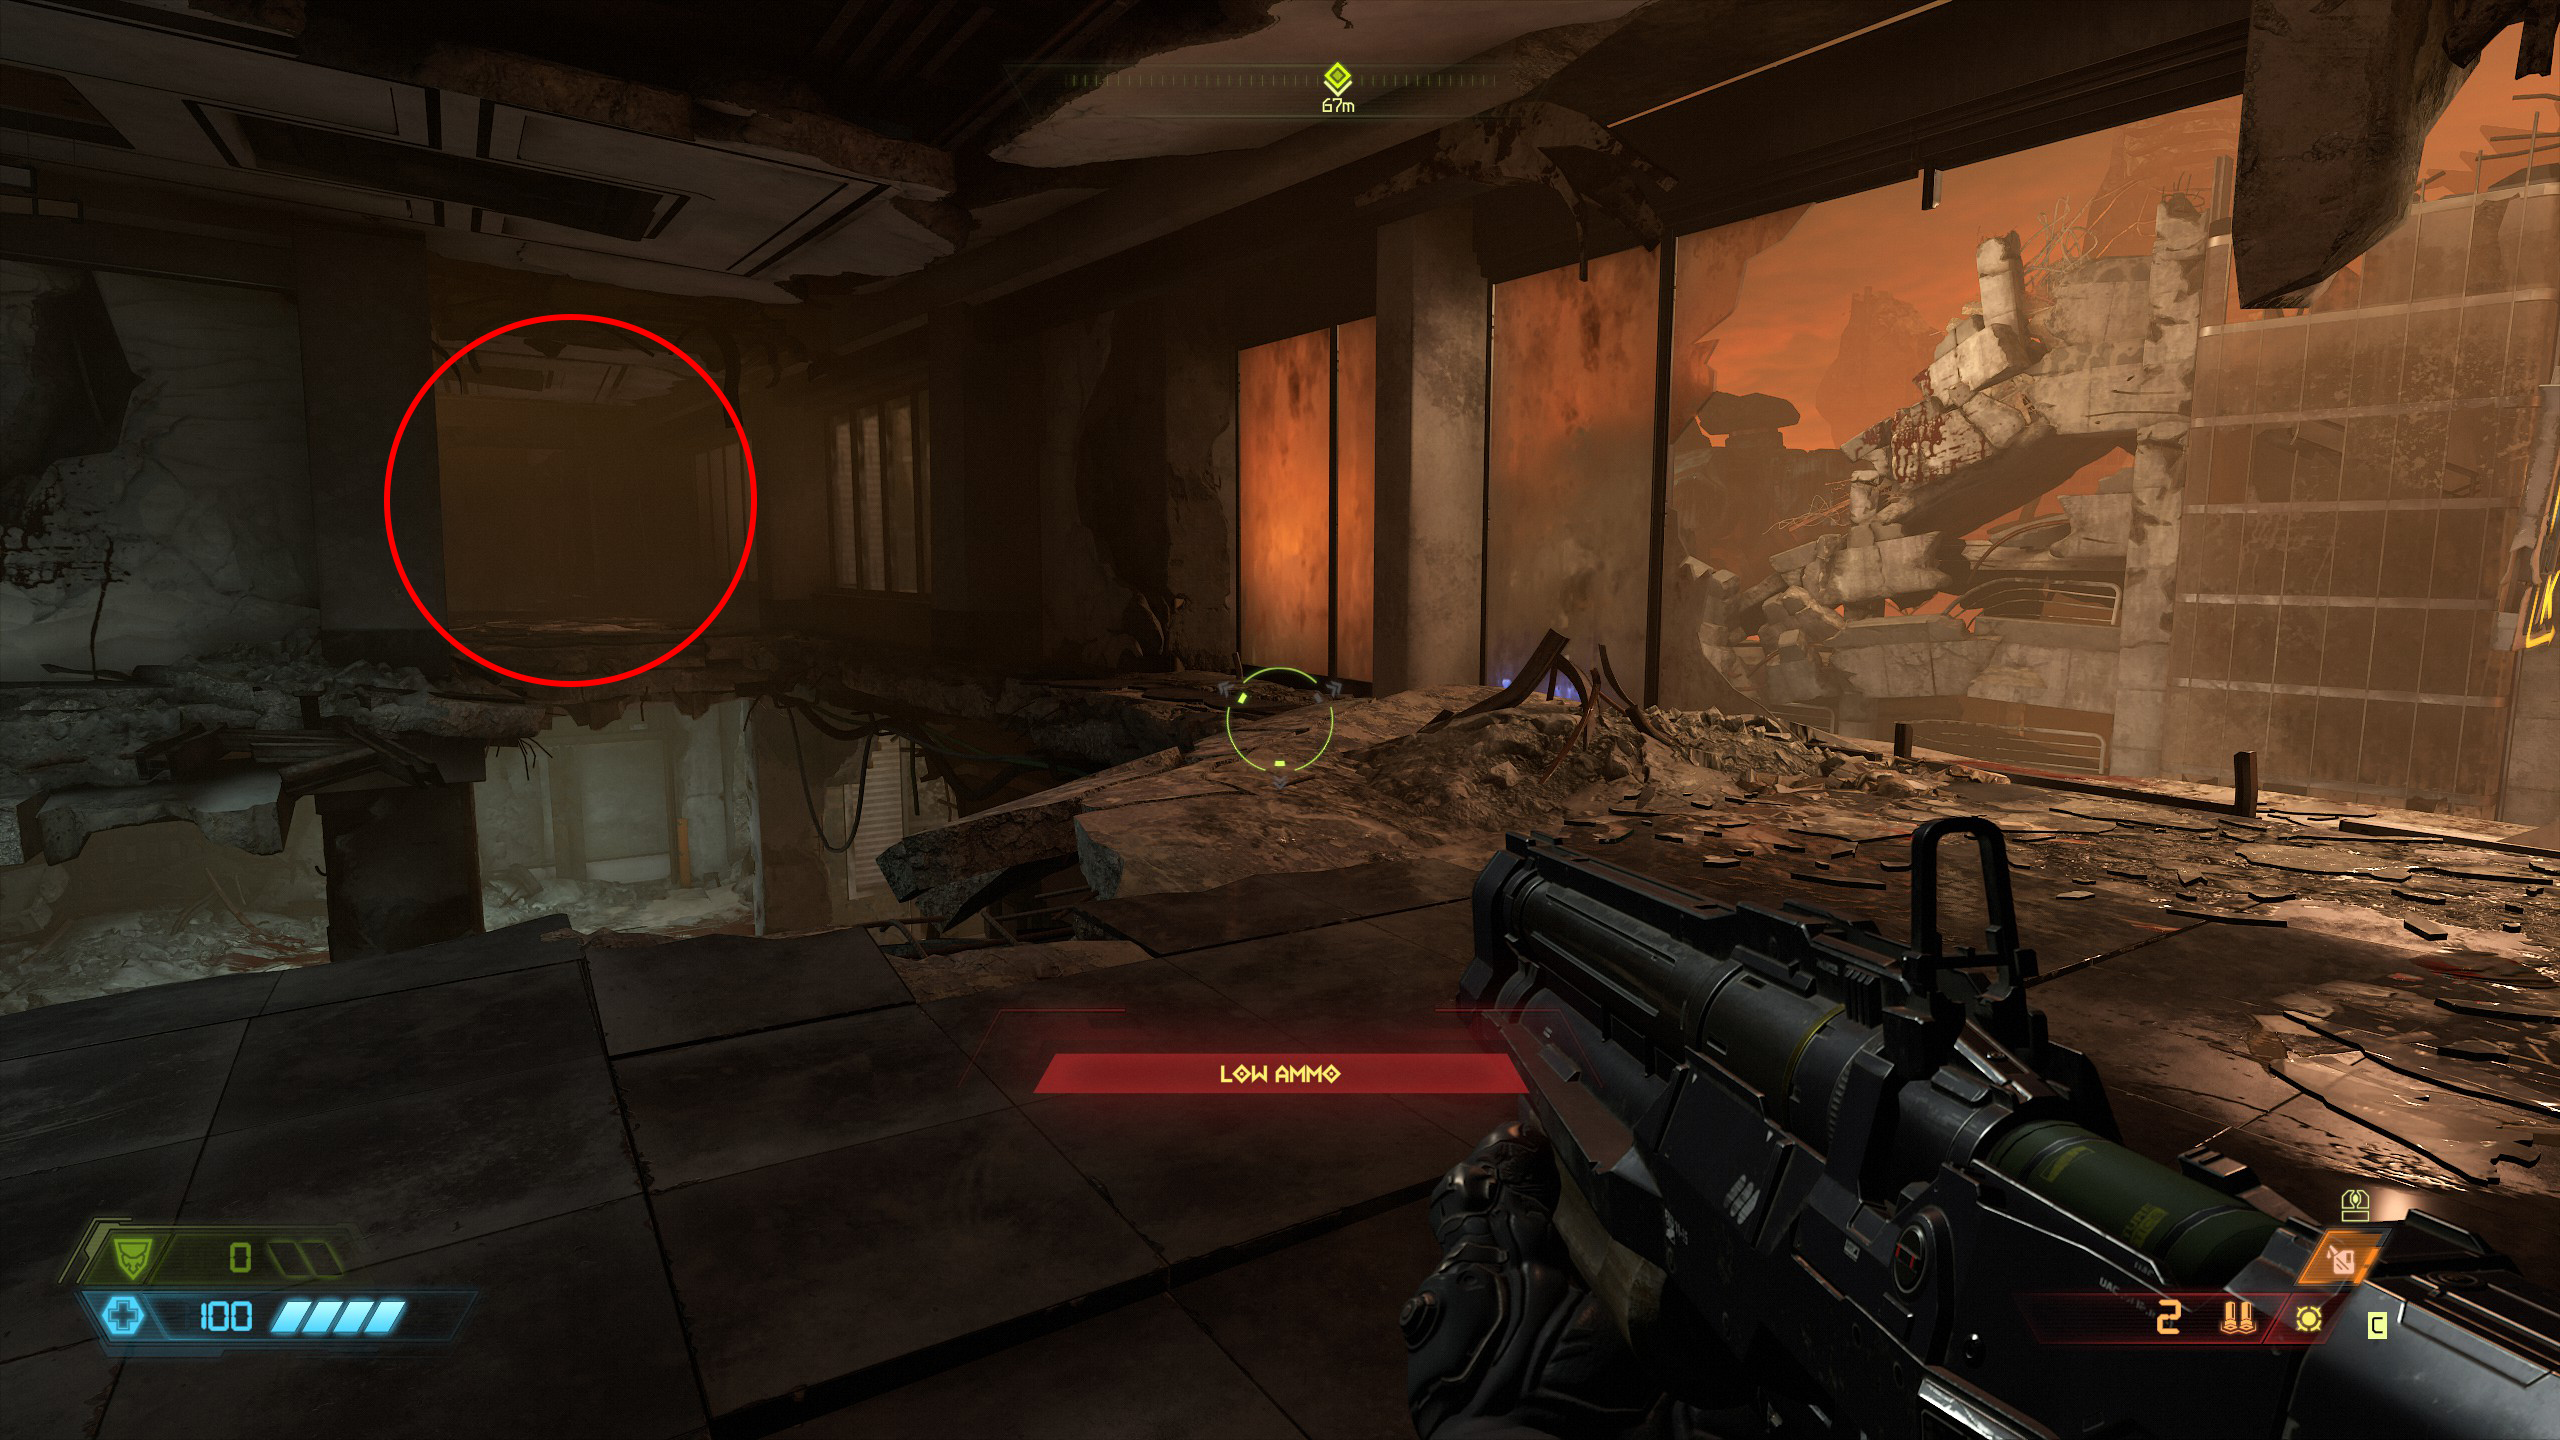
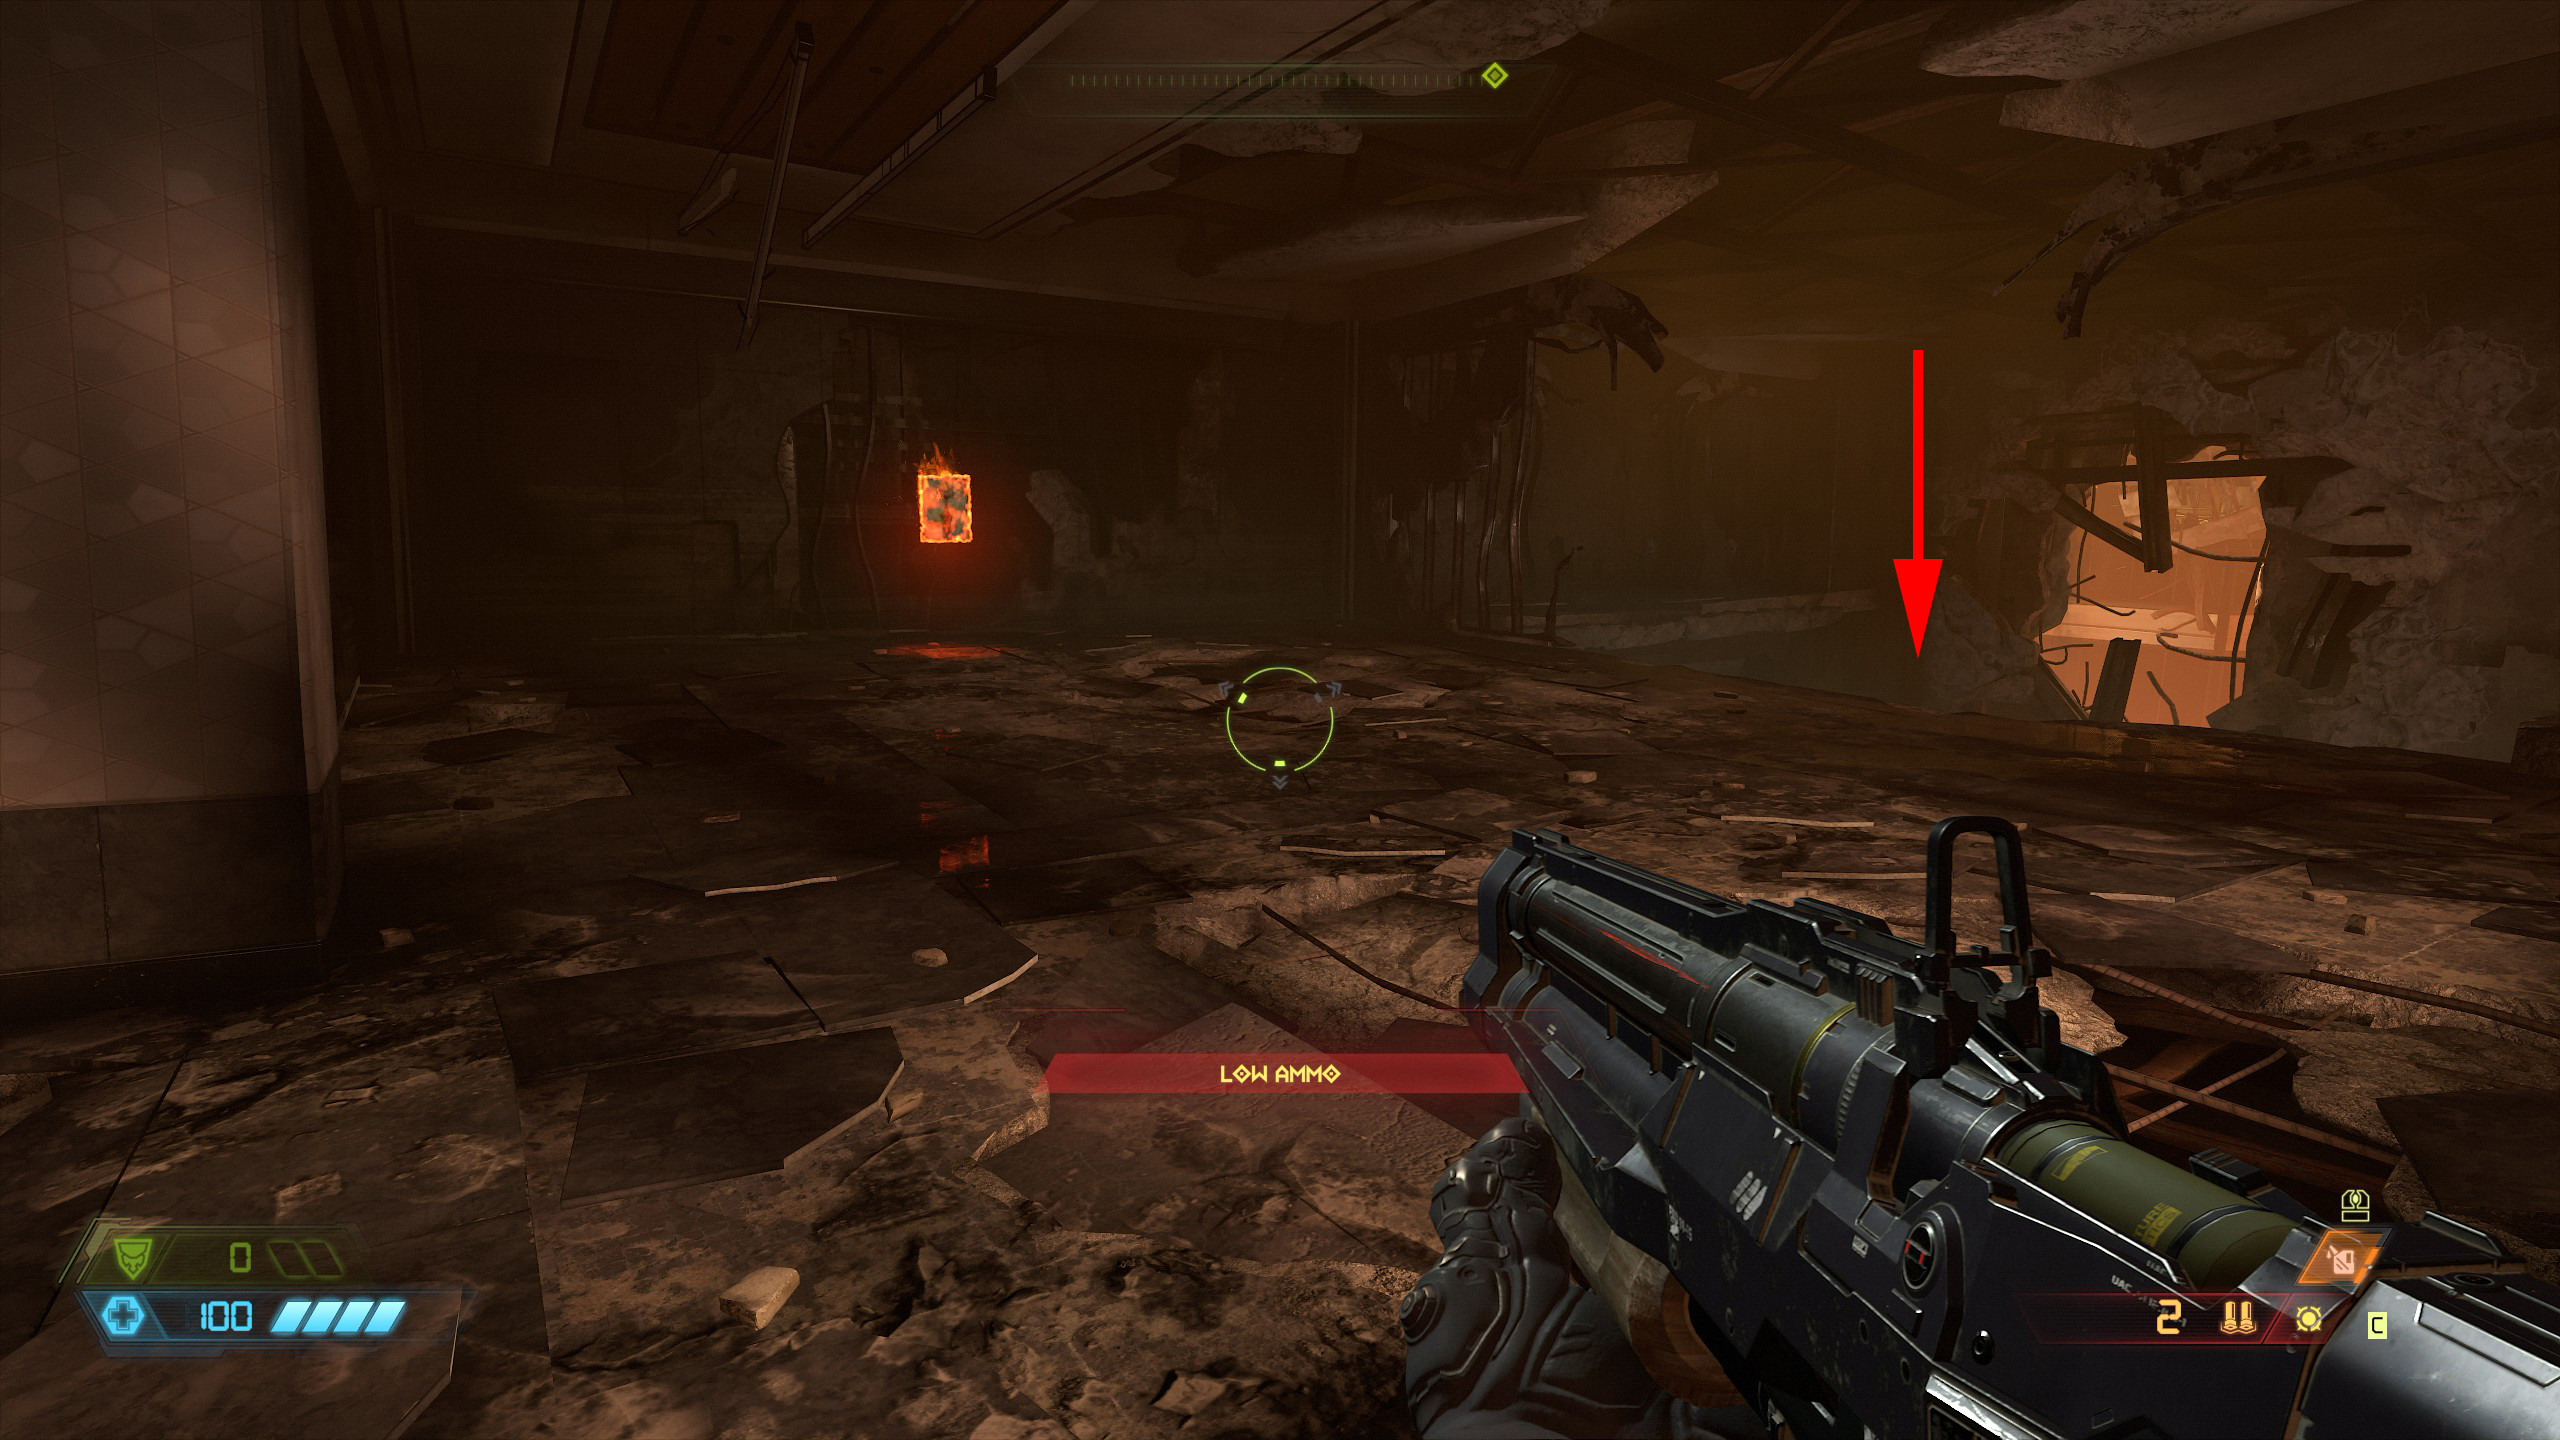
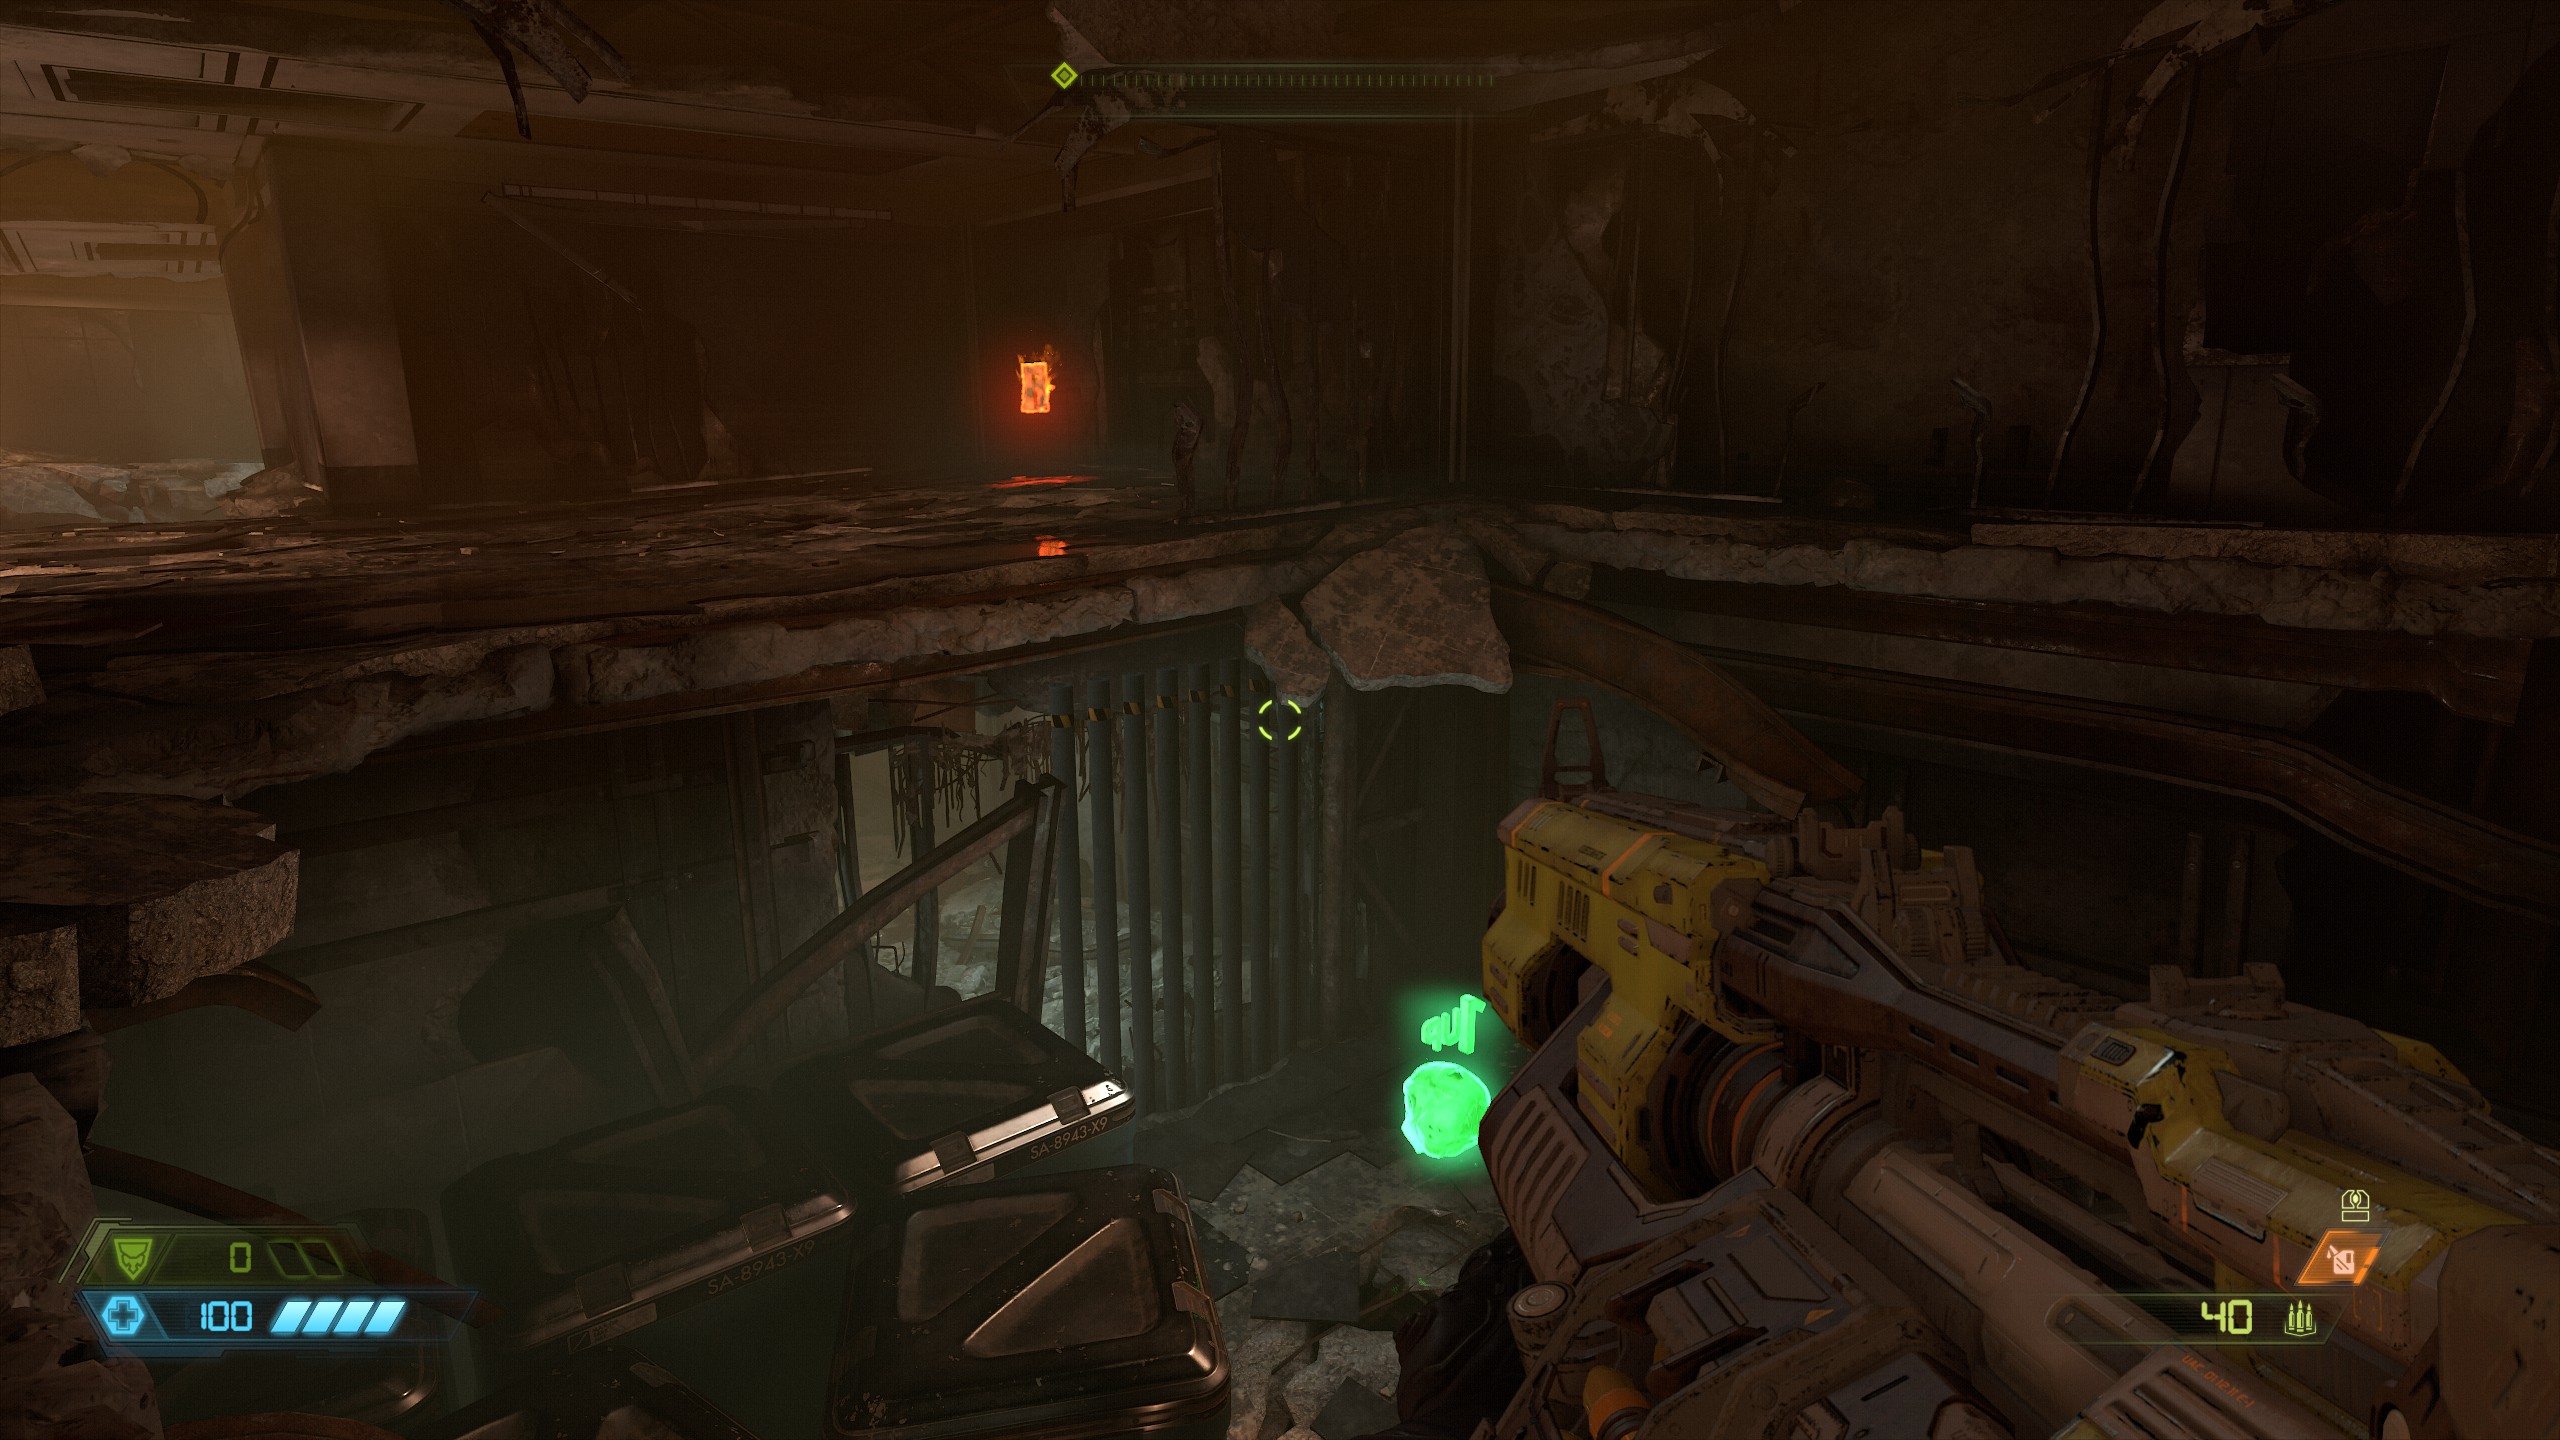
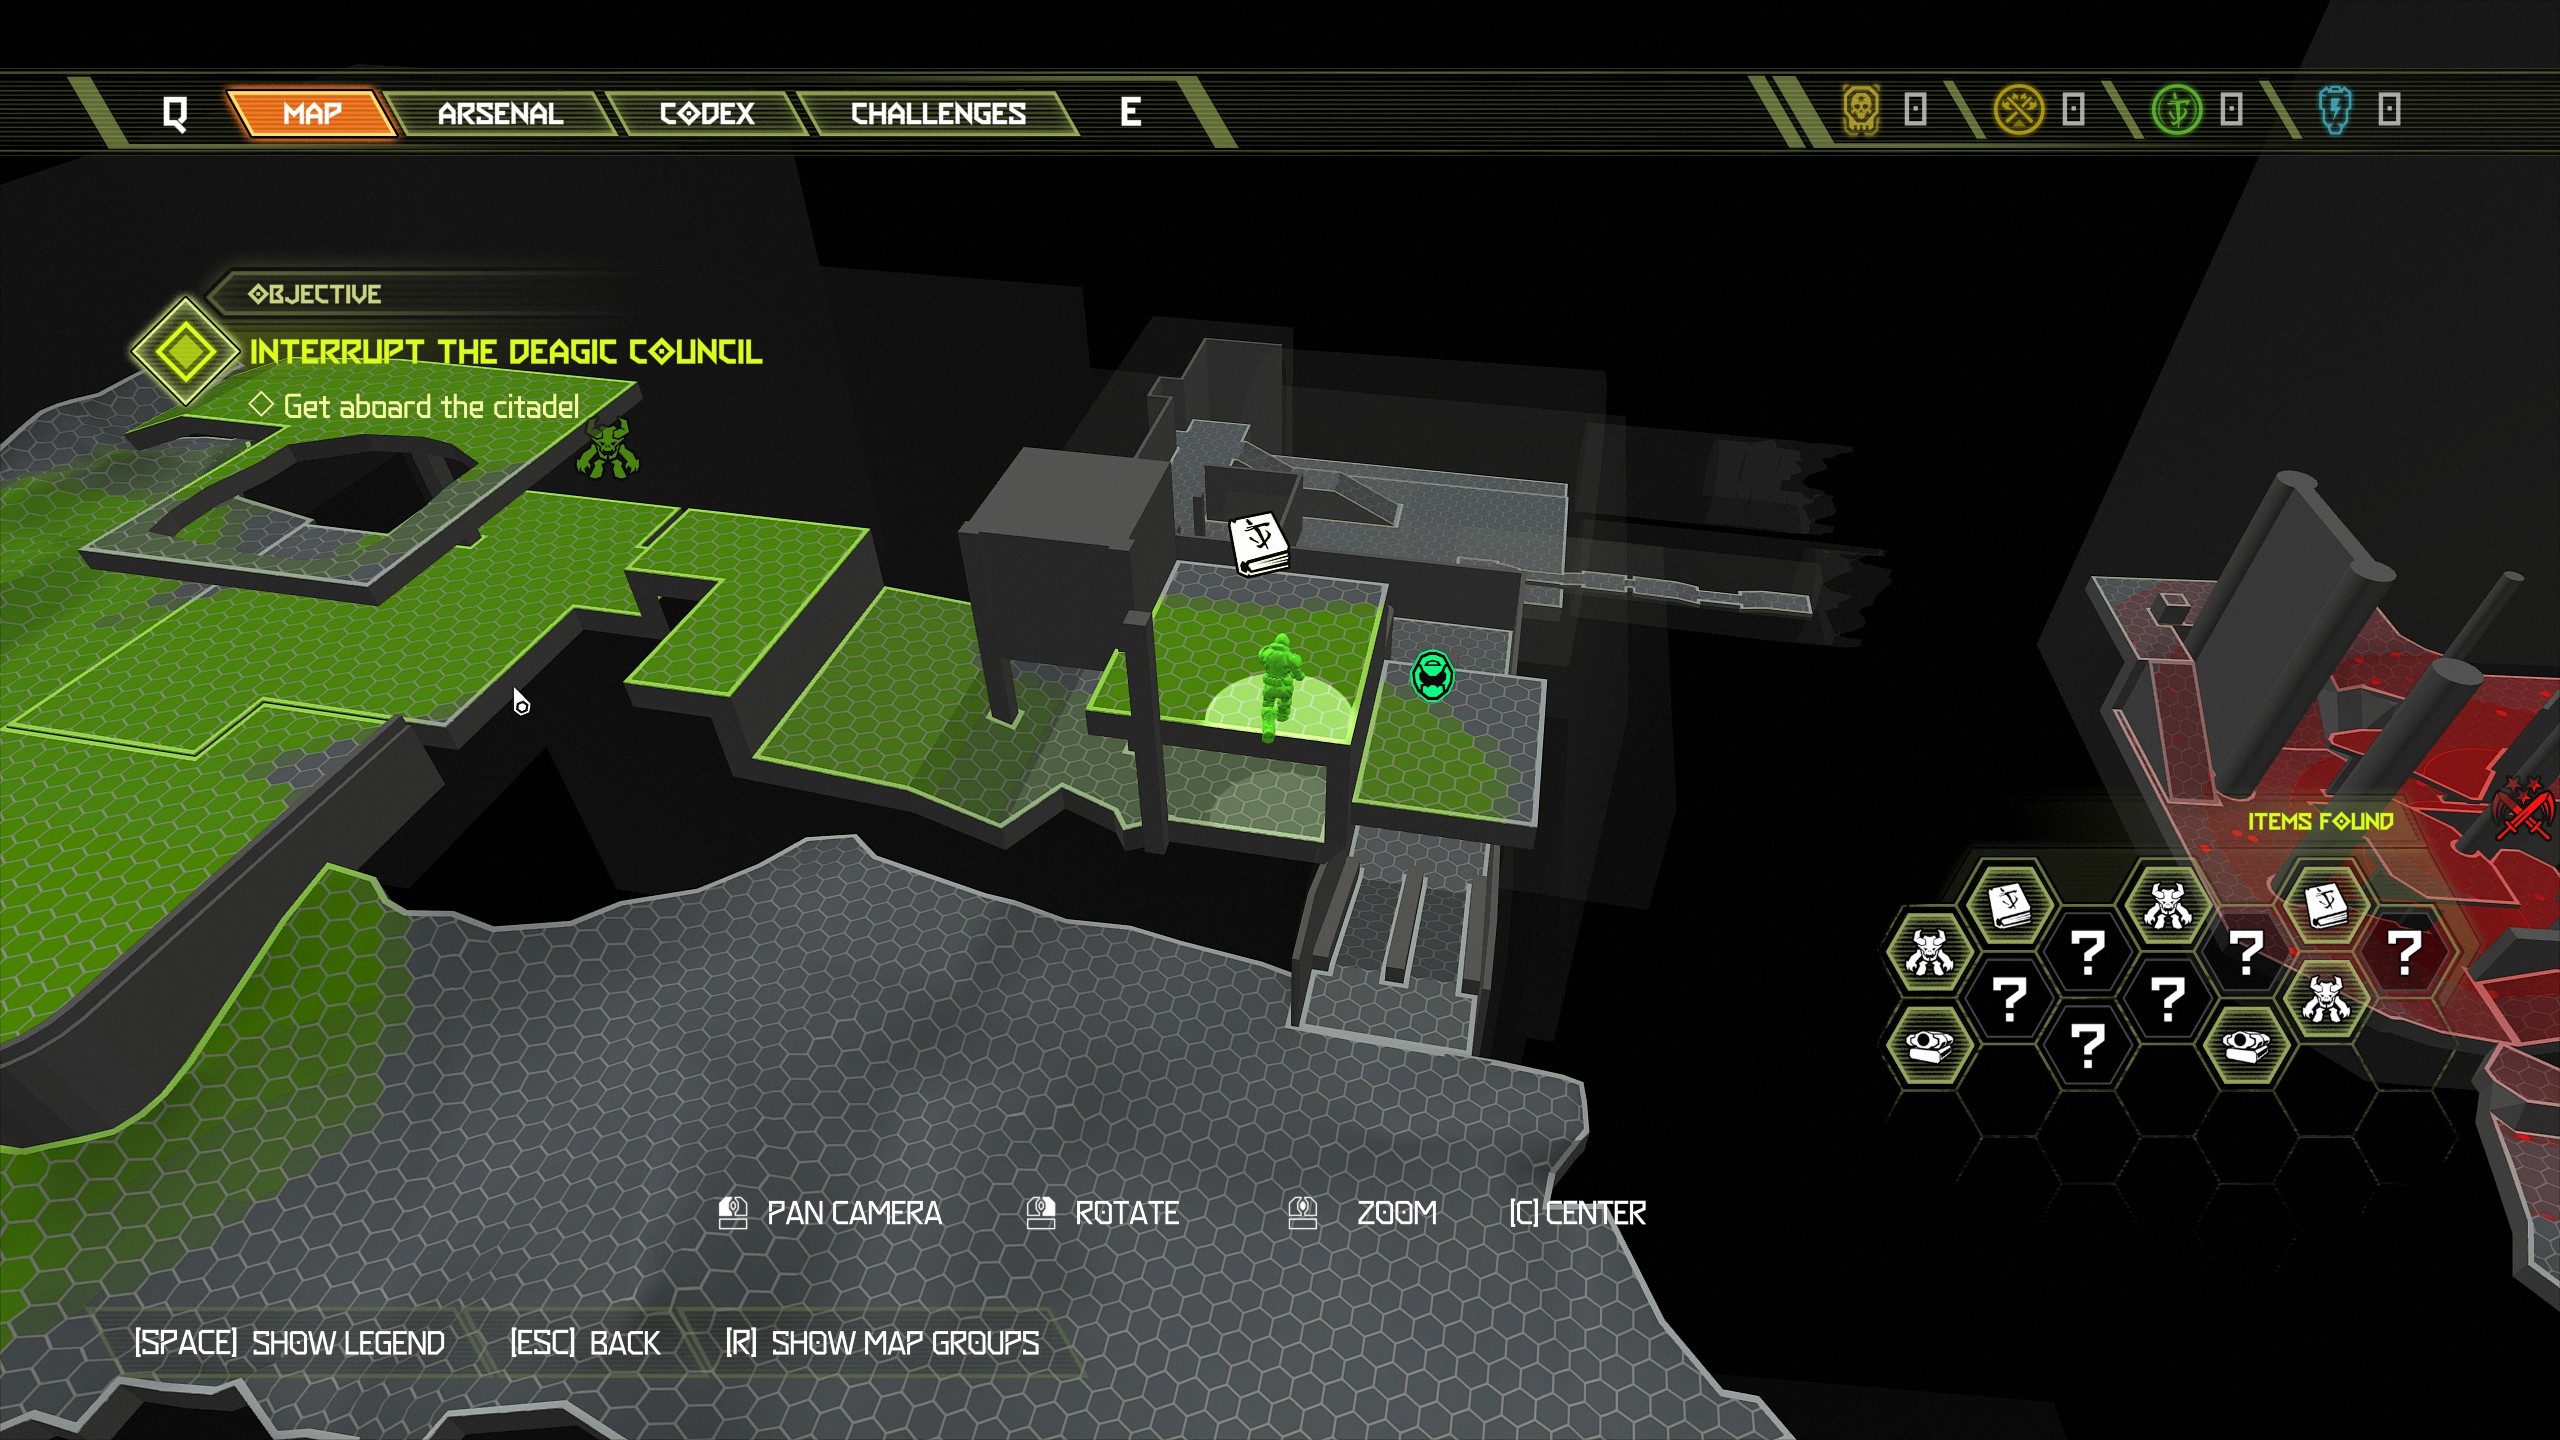
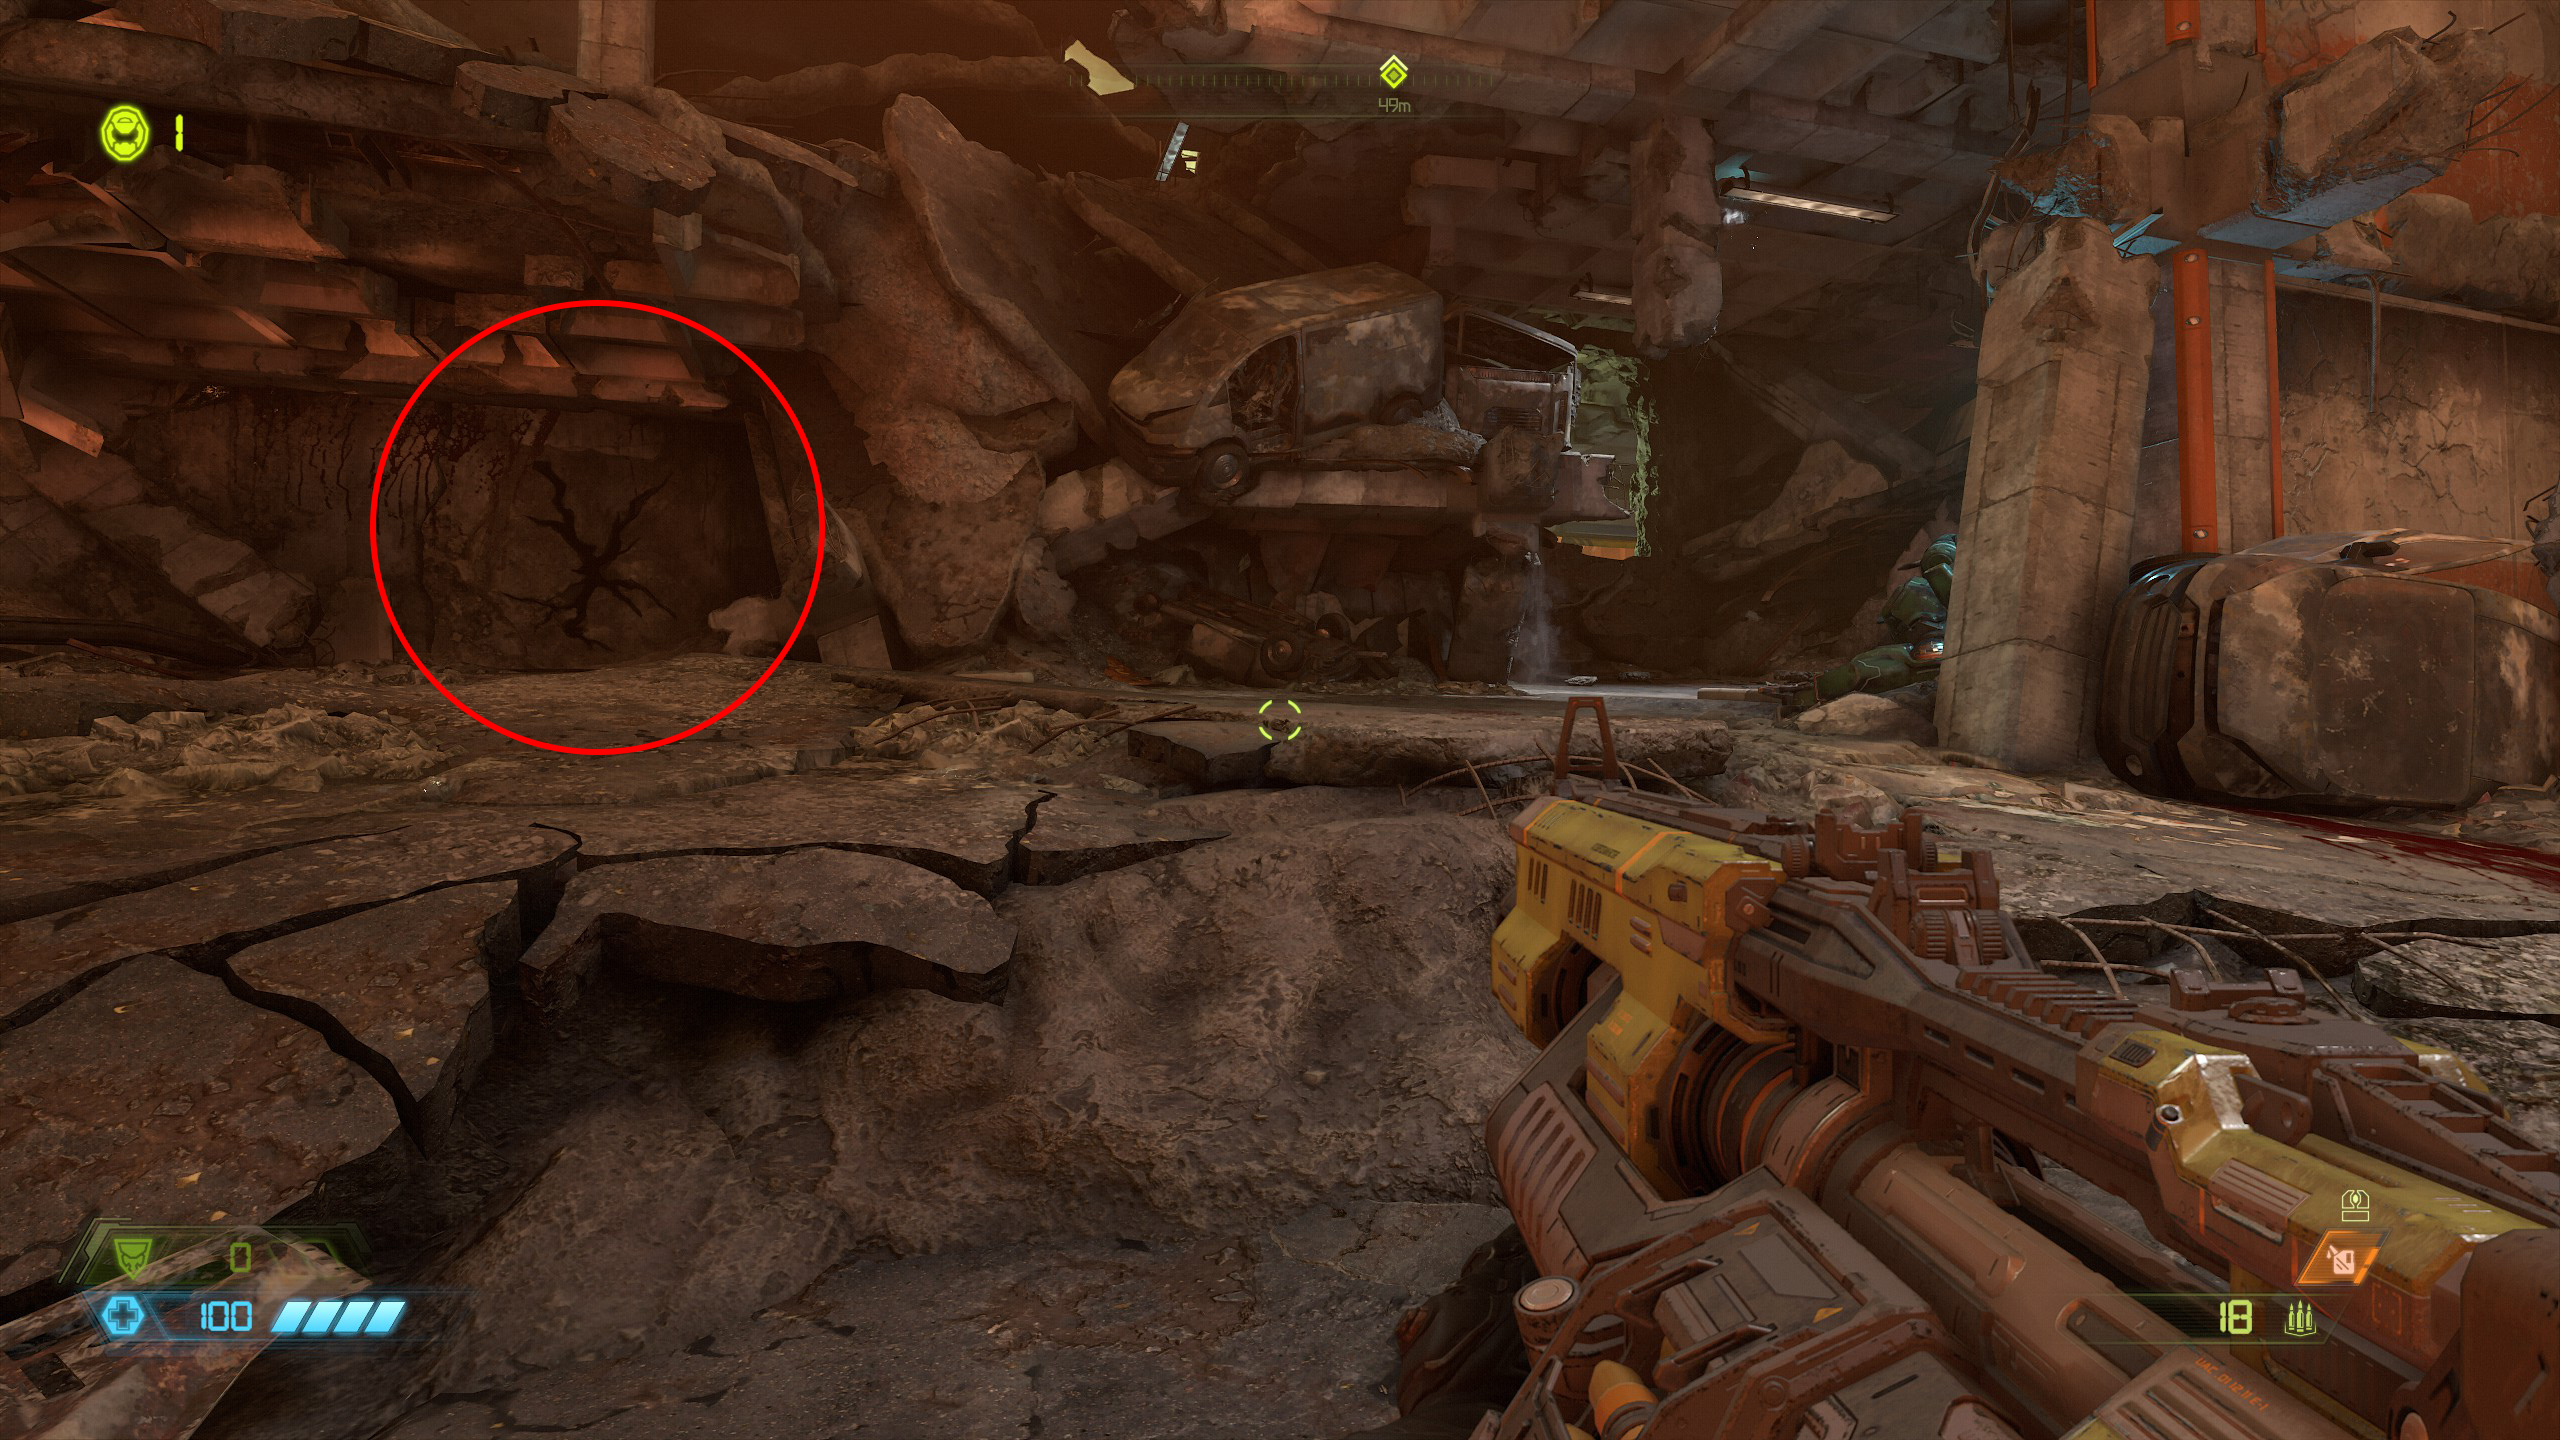
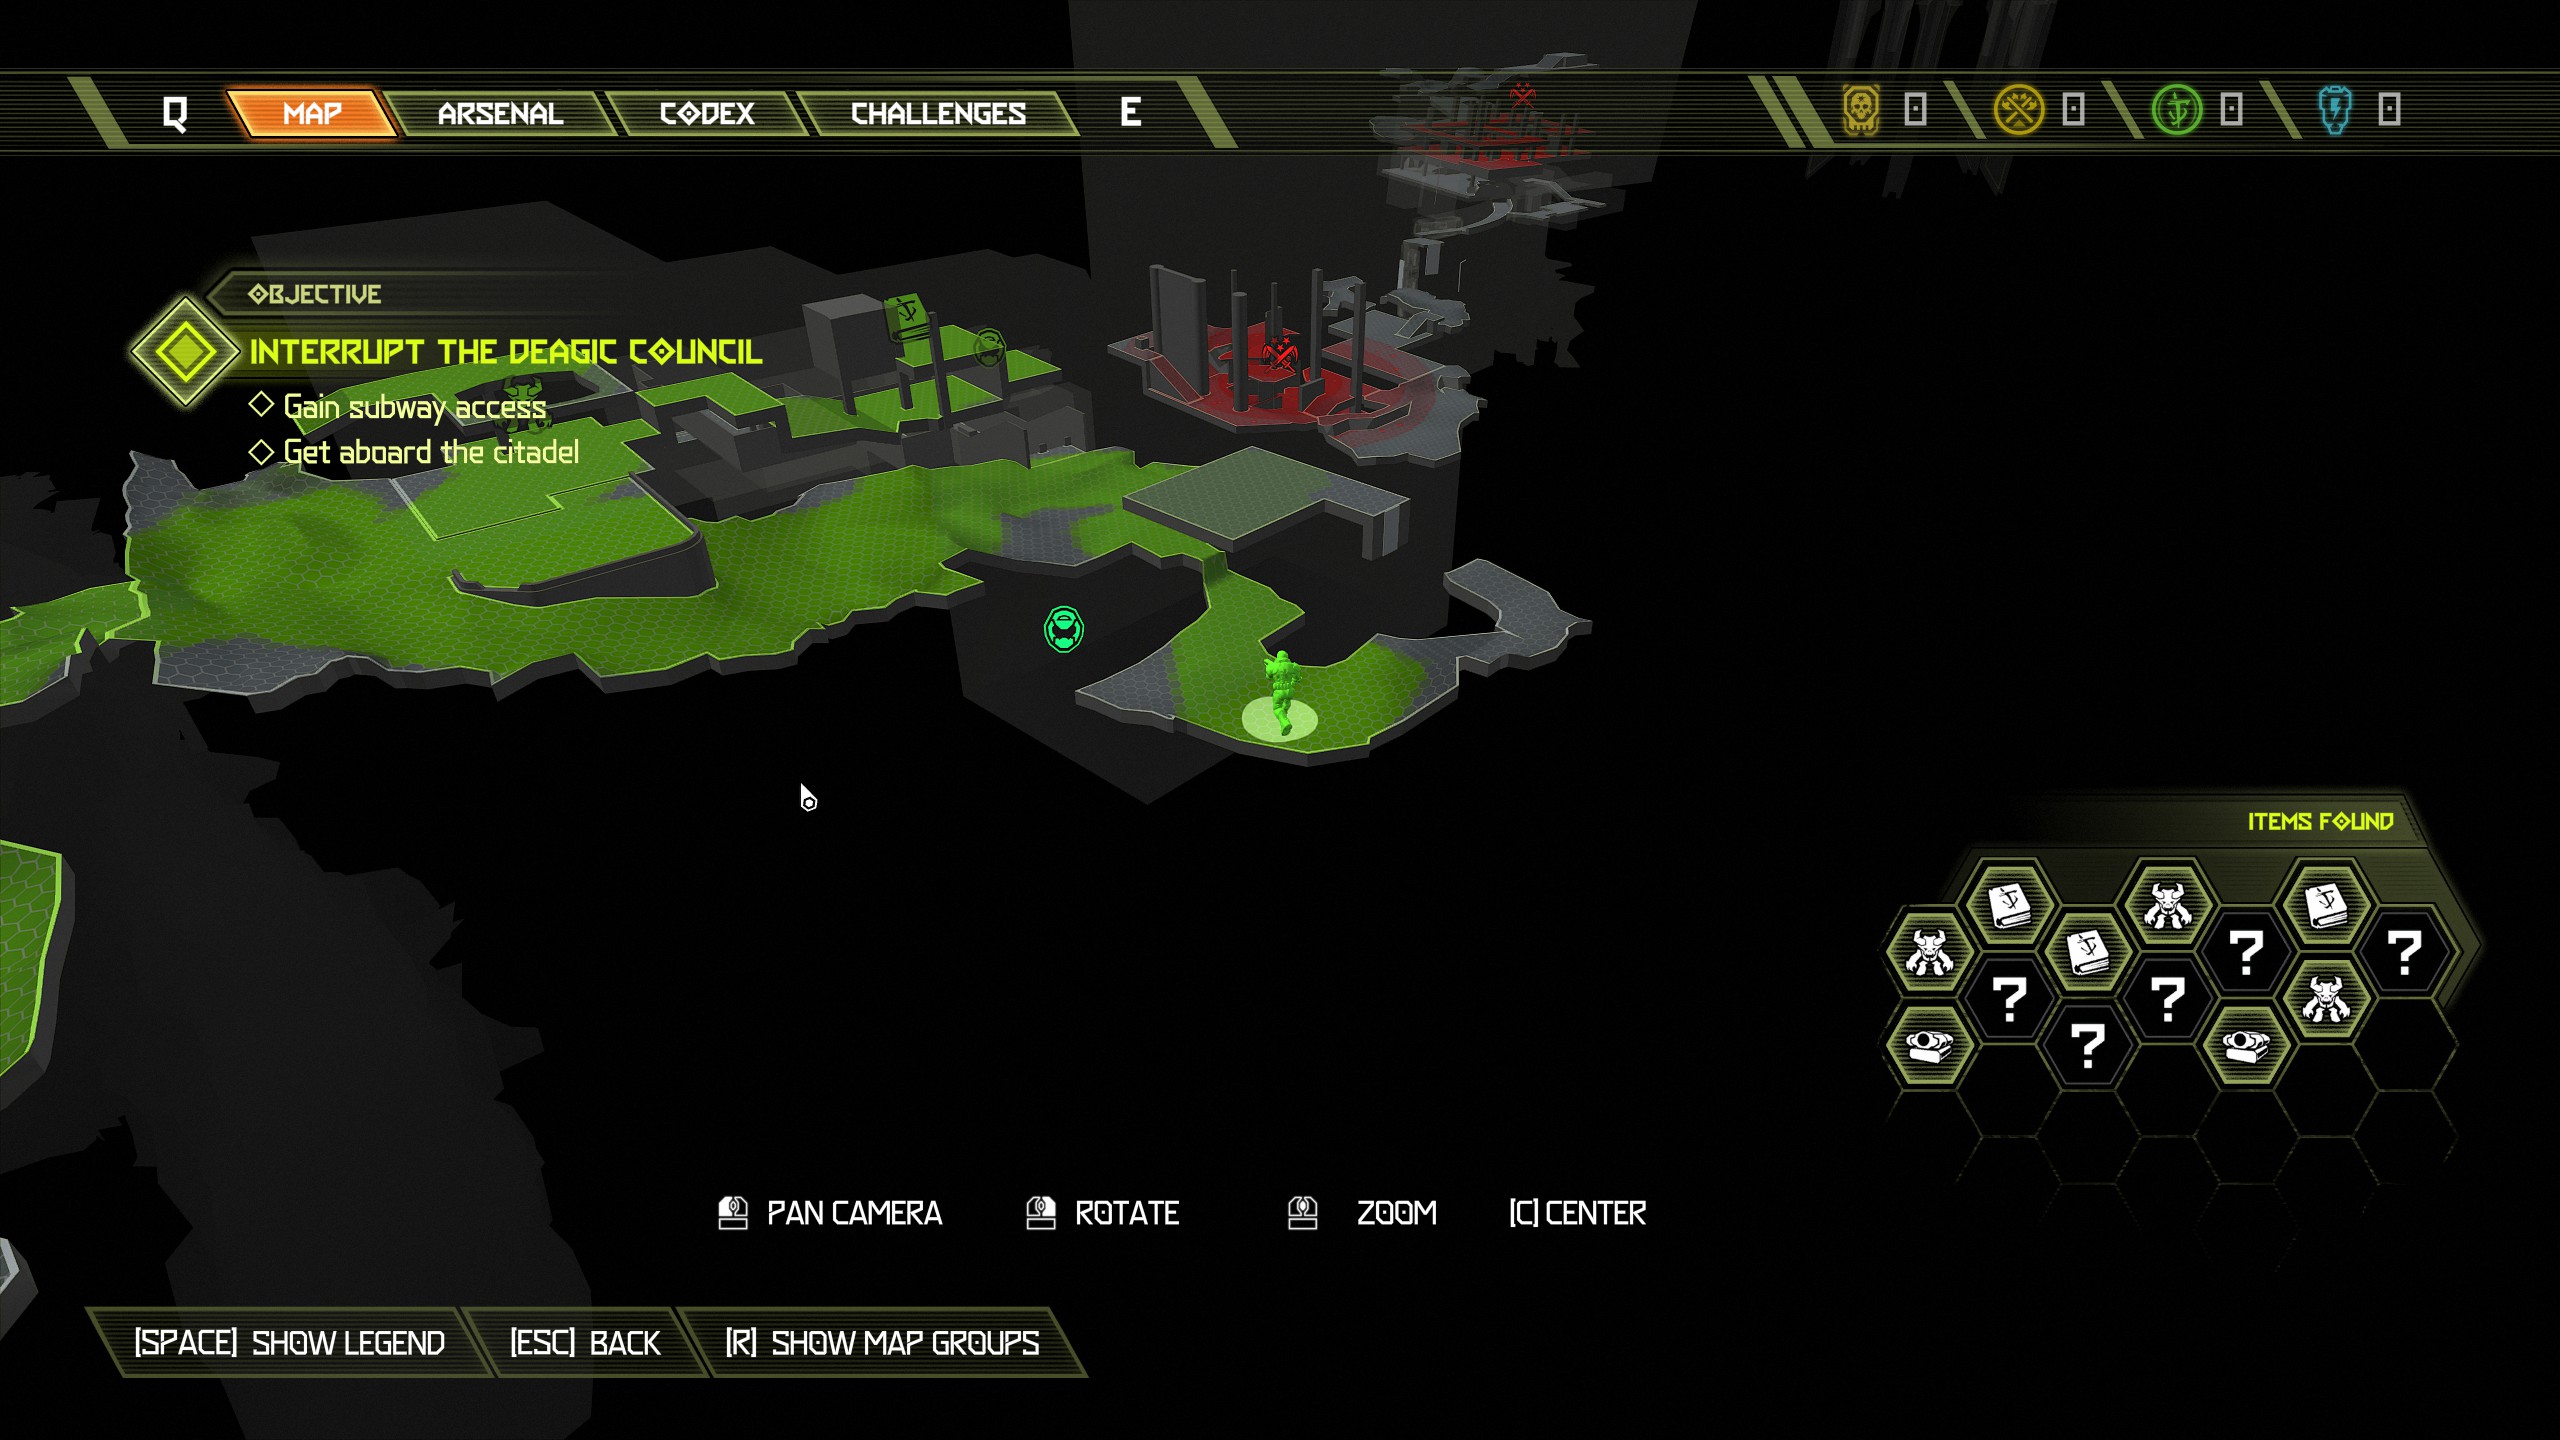
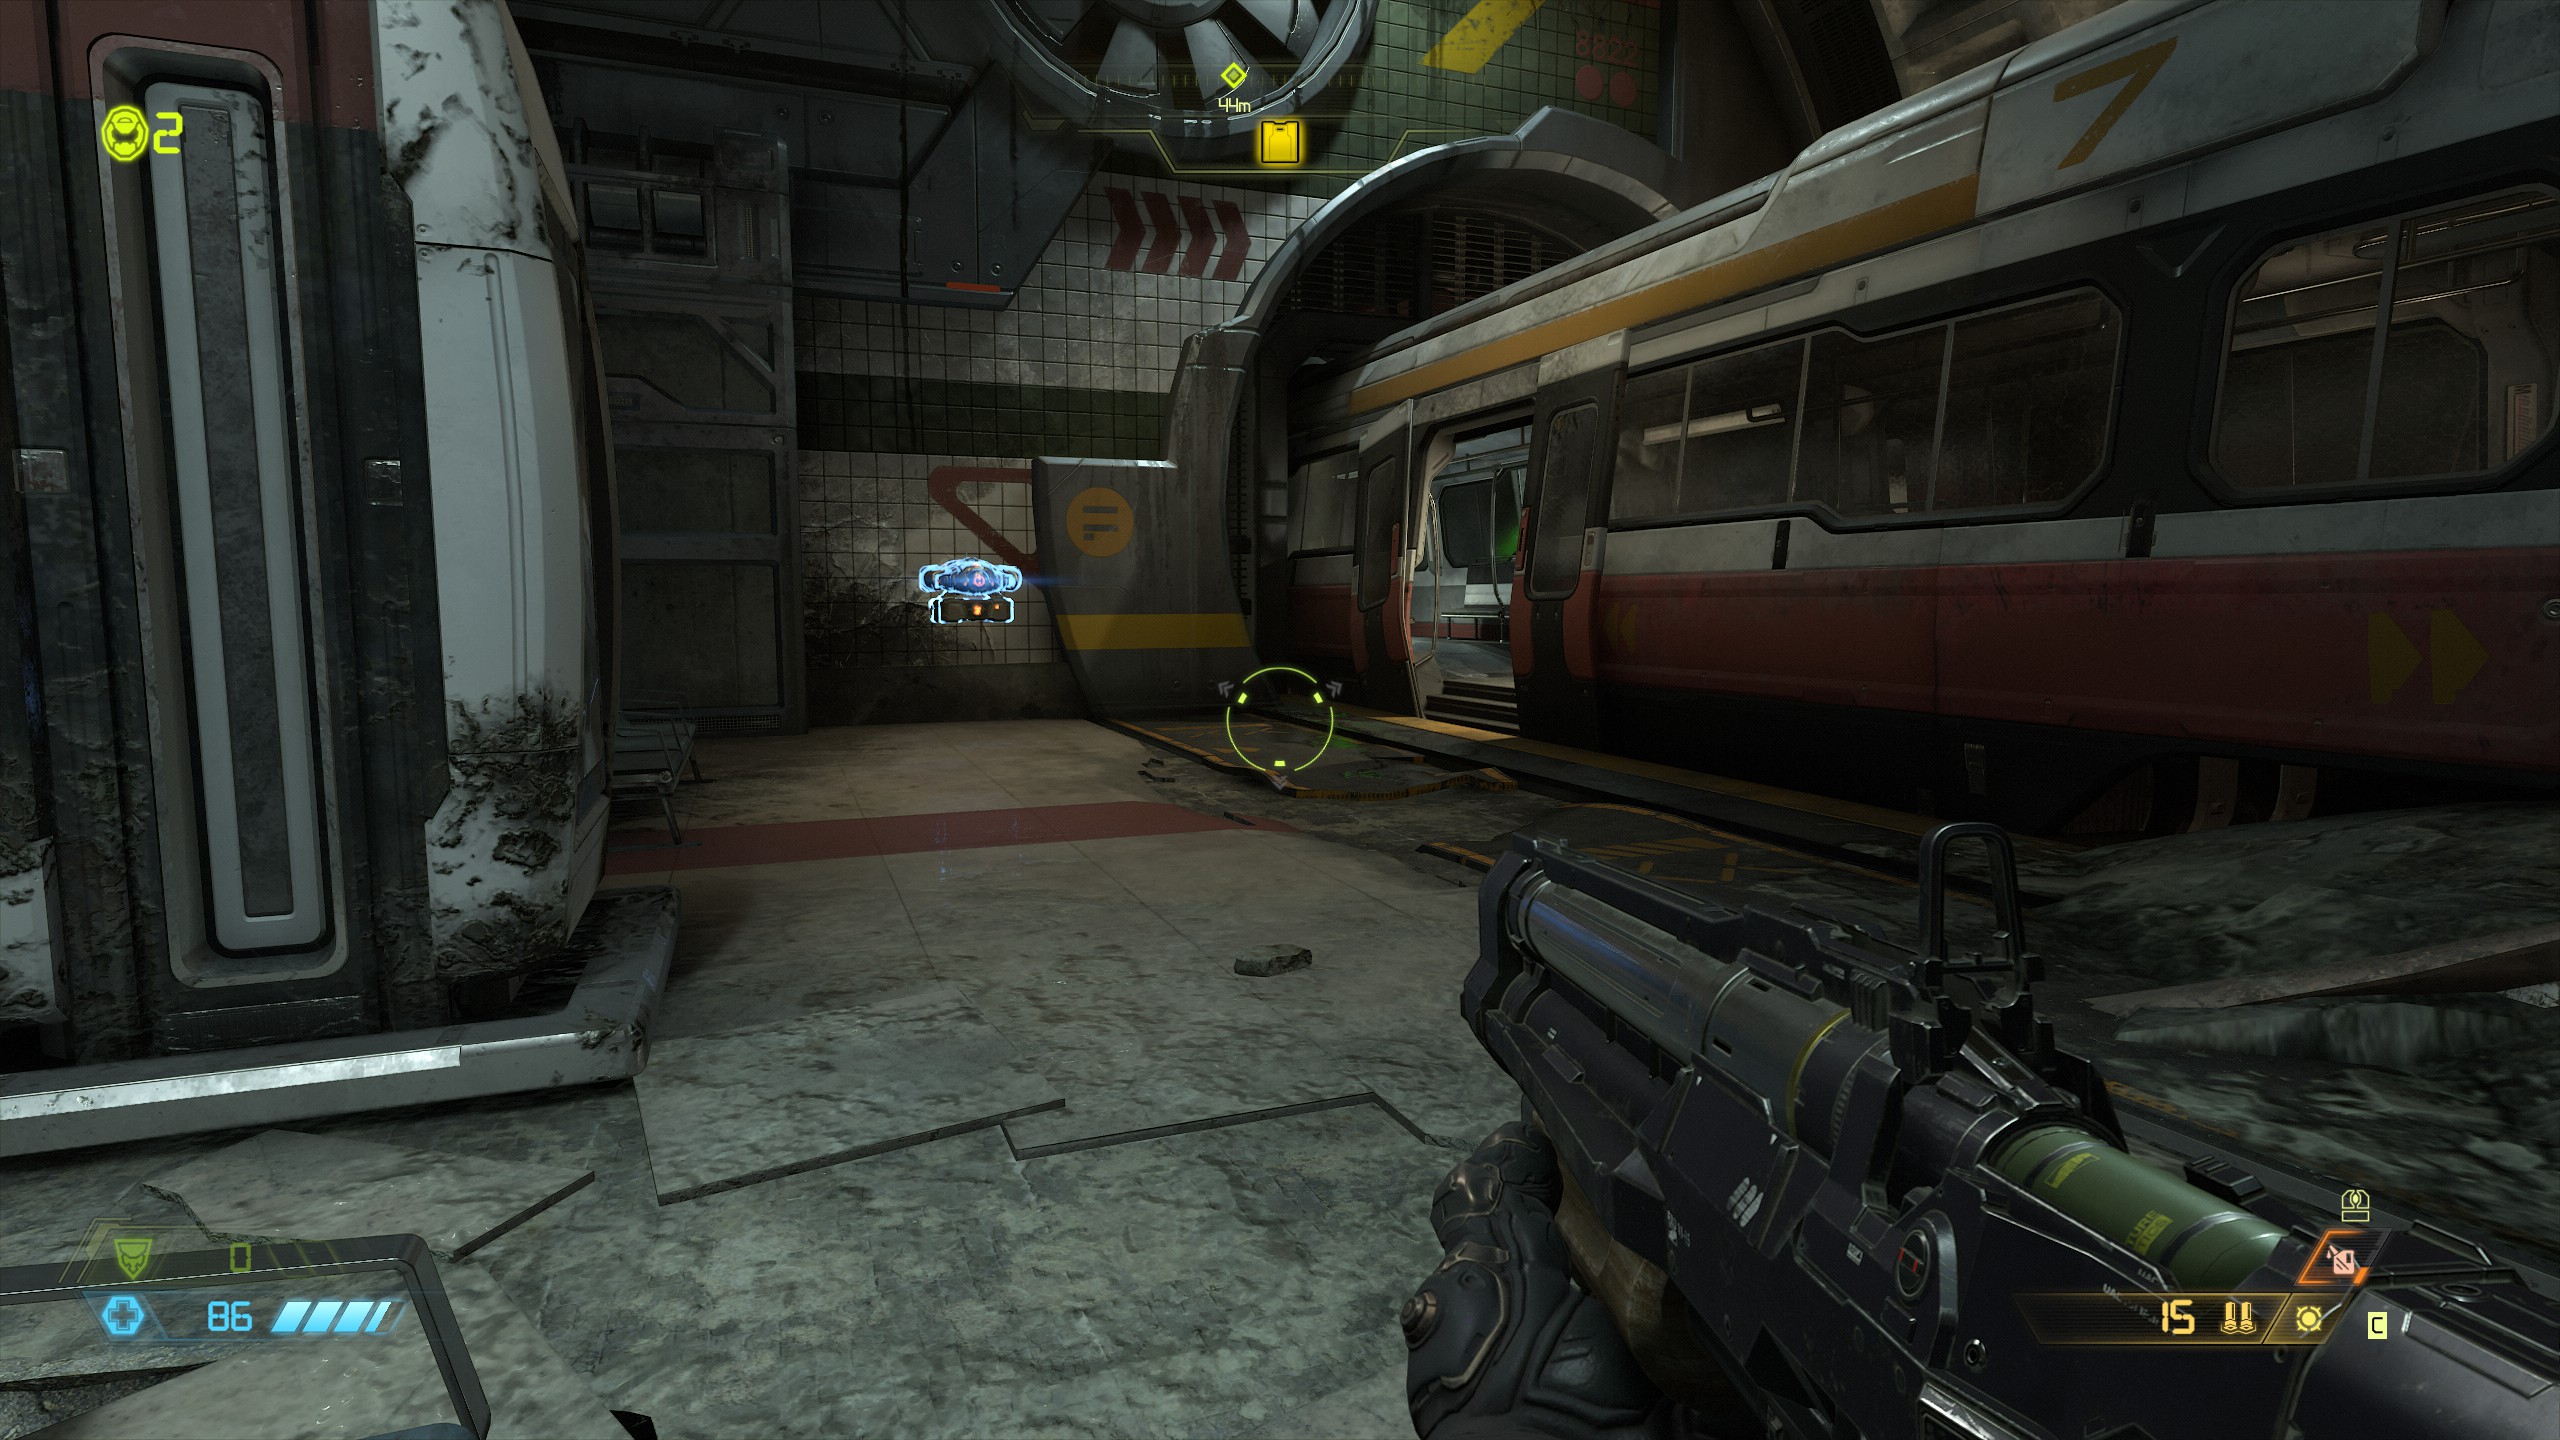
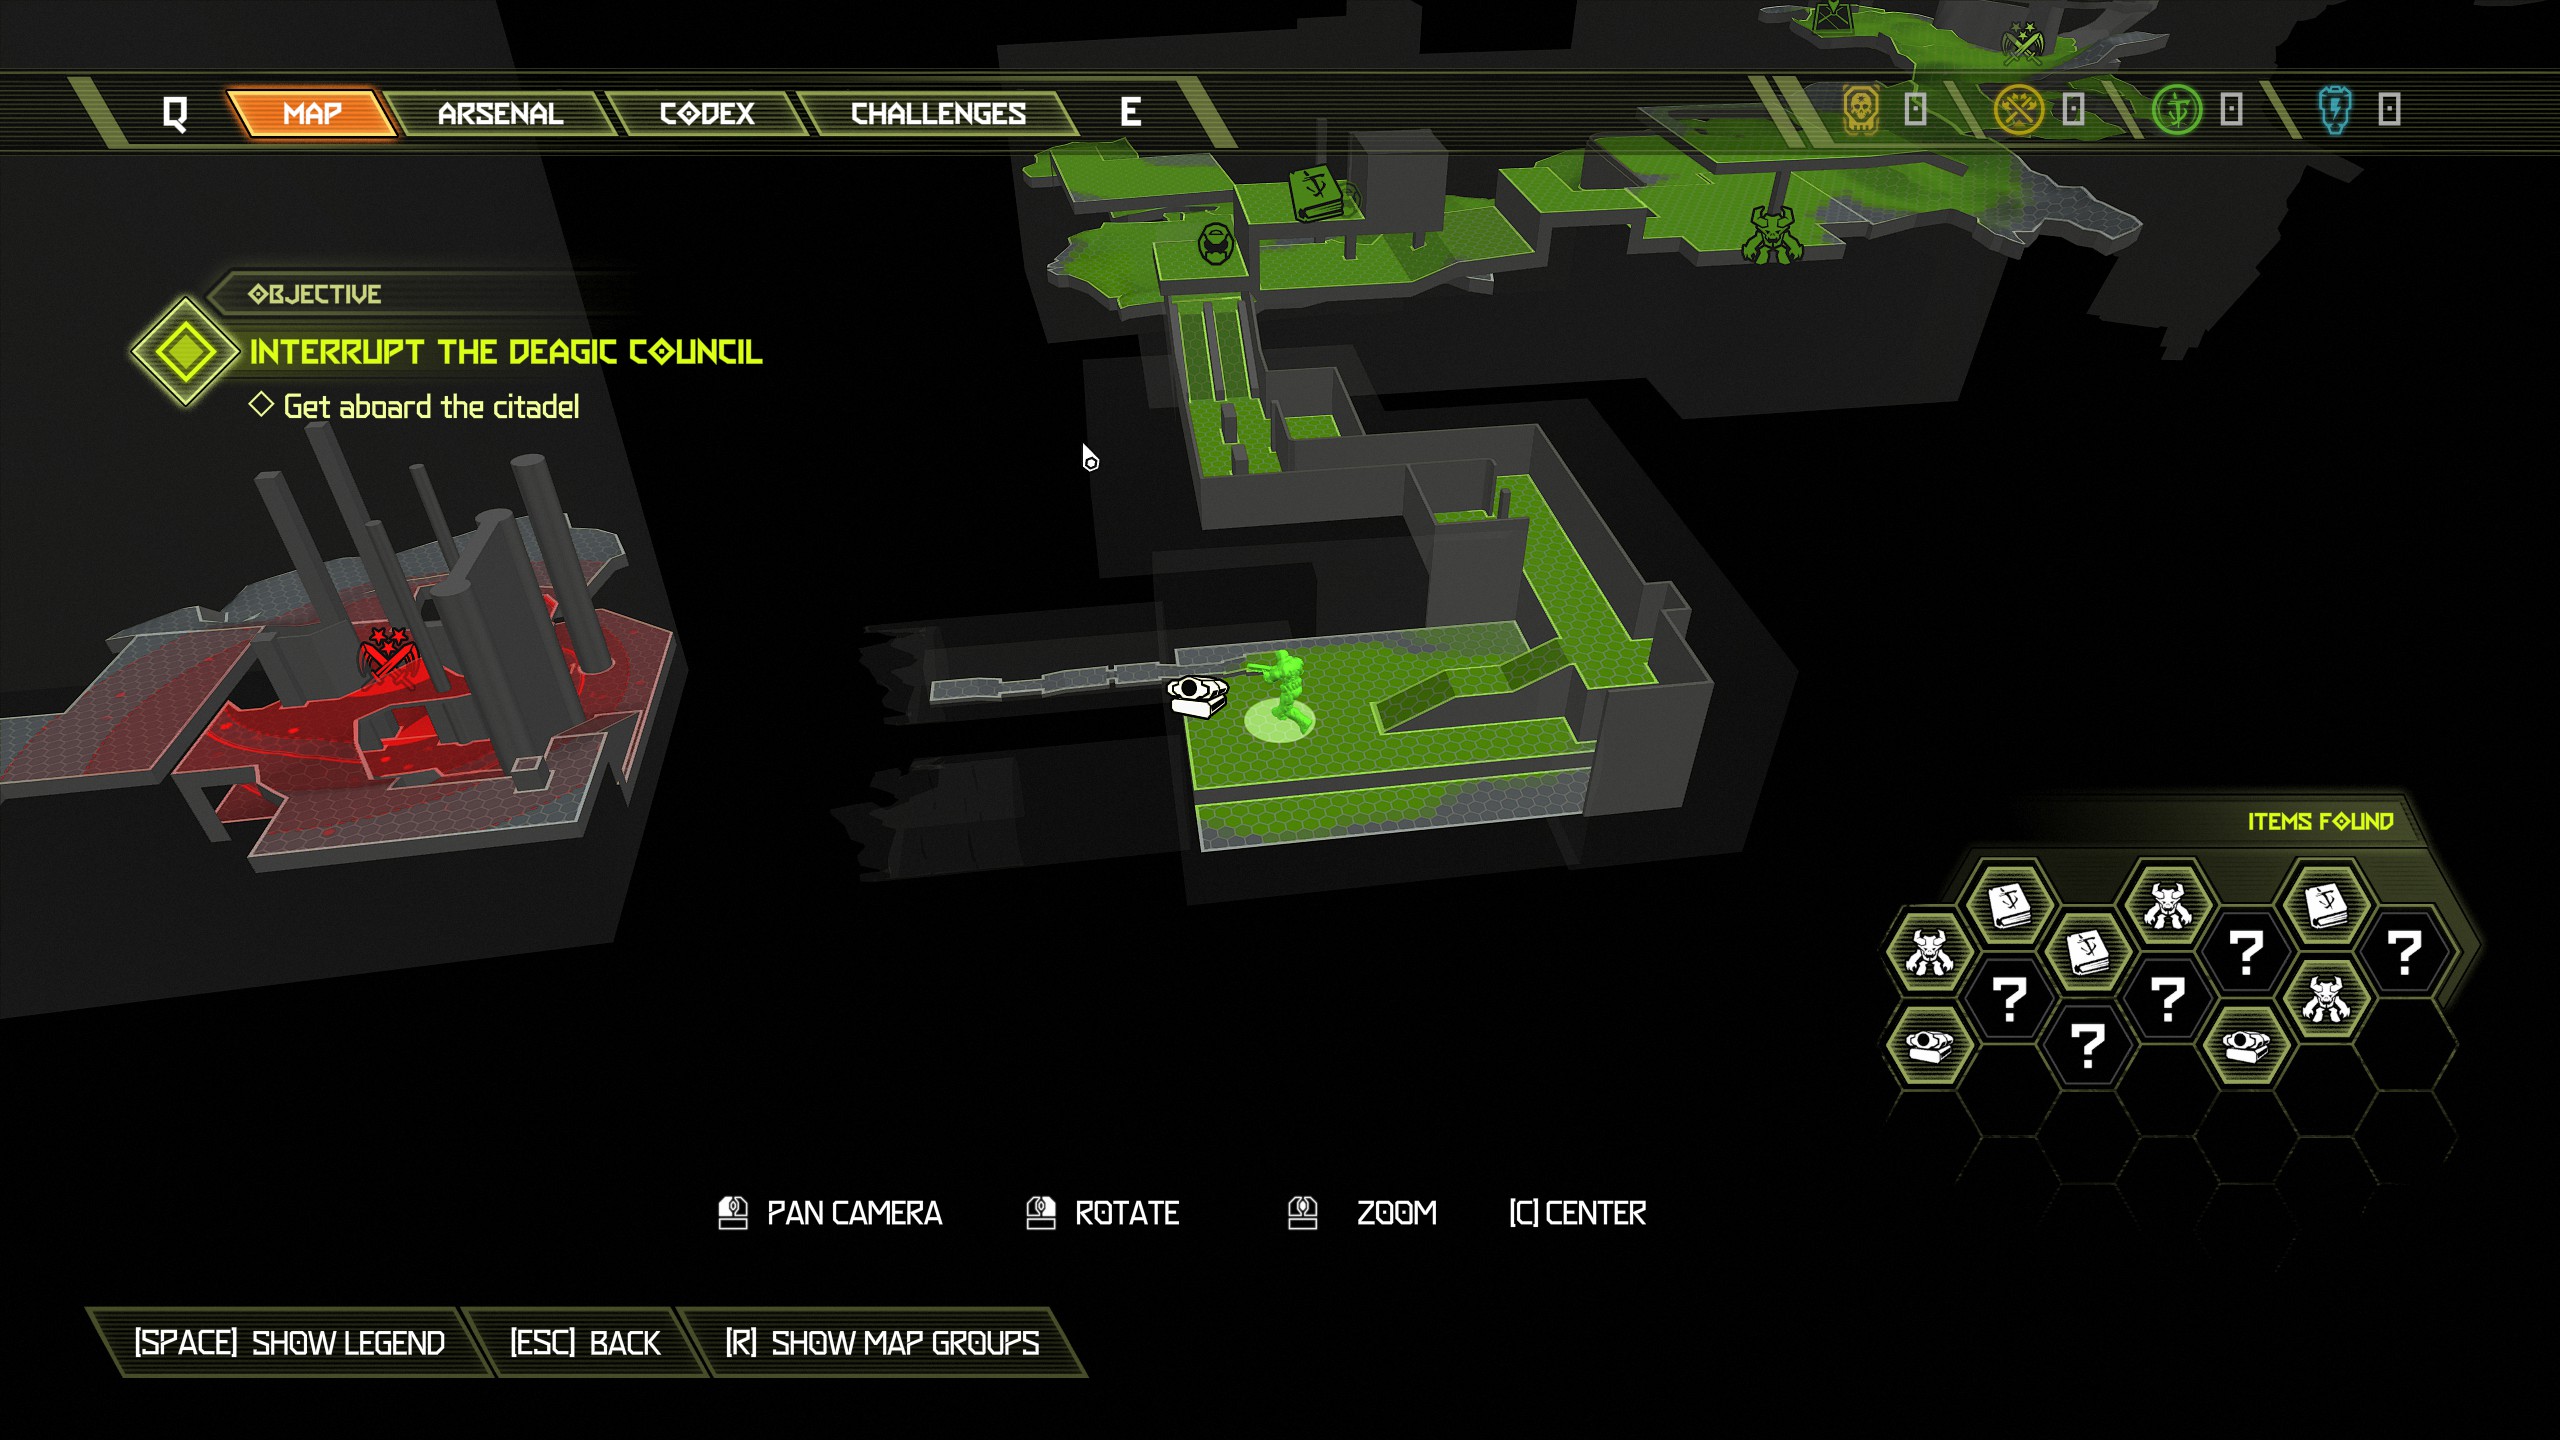
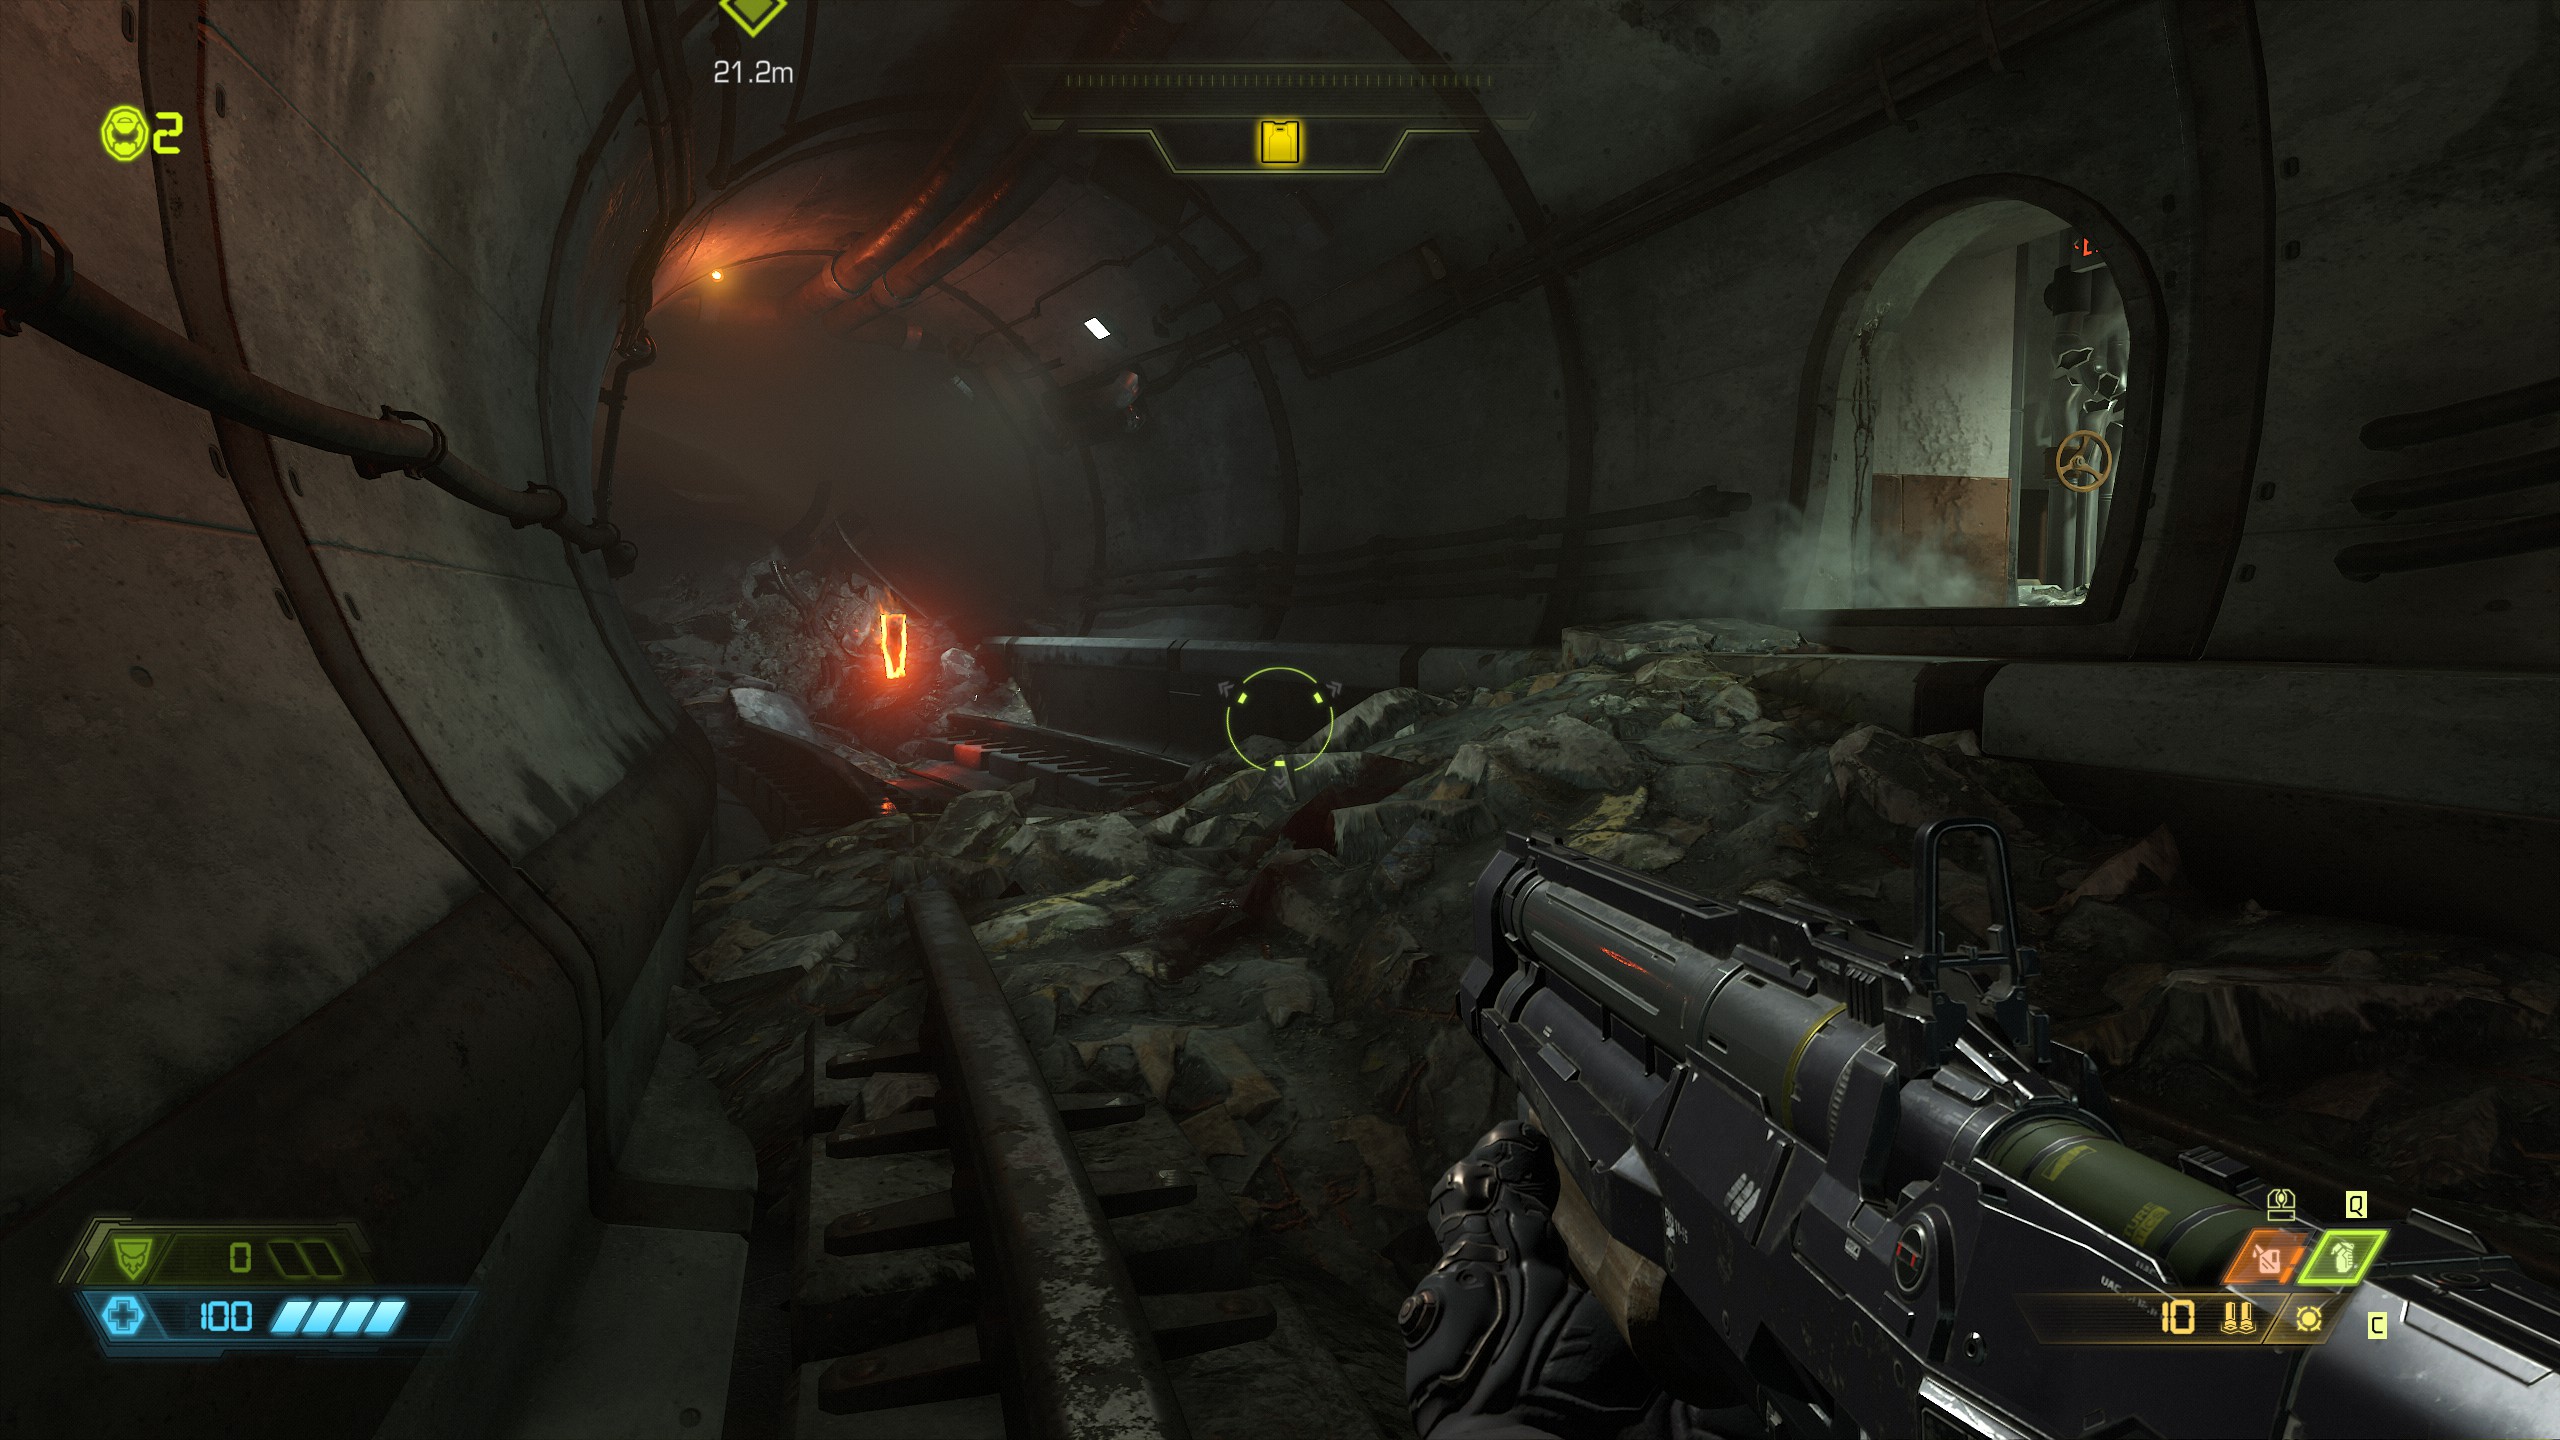
Now keep going past the arachnotrons until you finish climbing the walls outside.
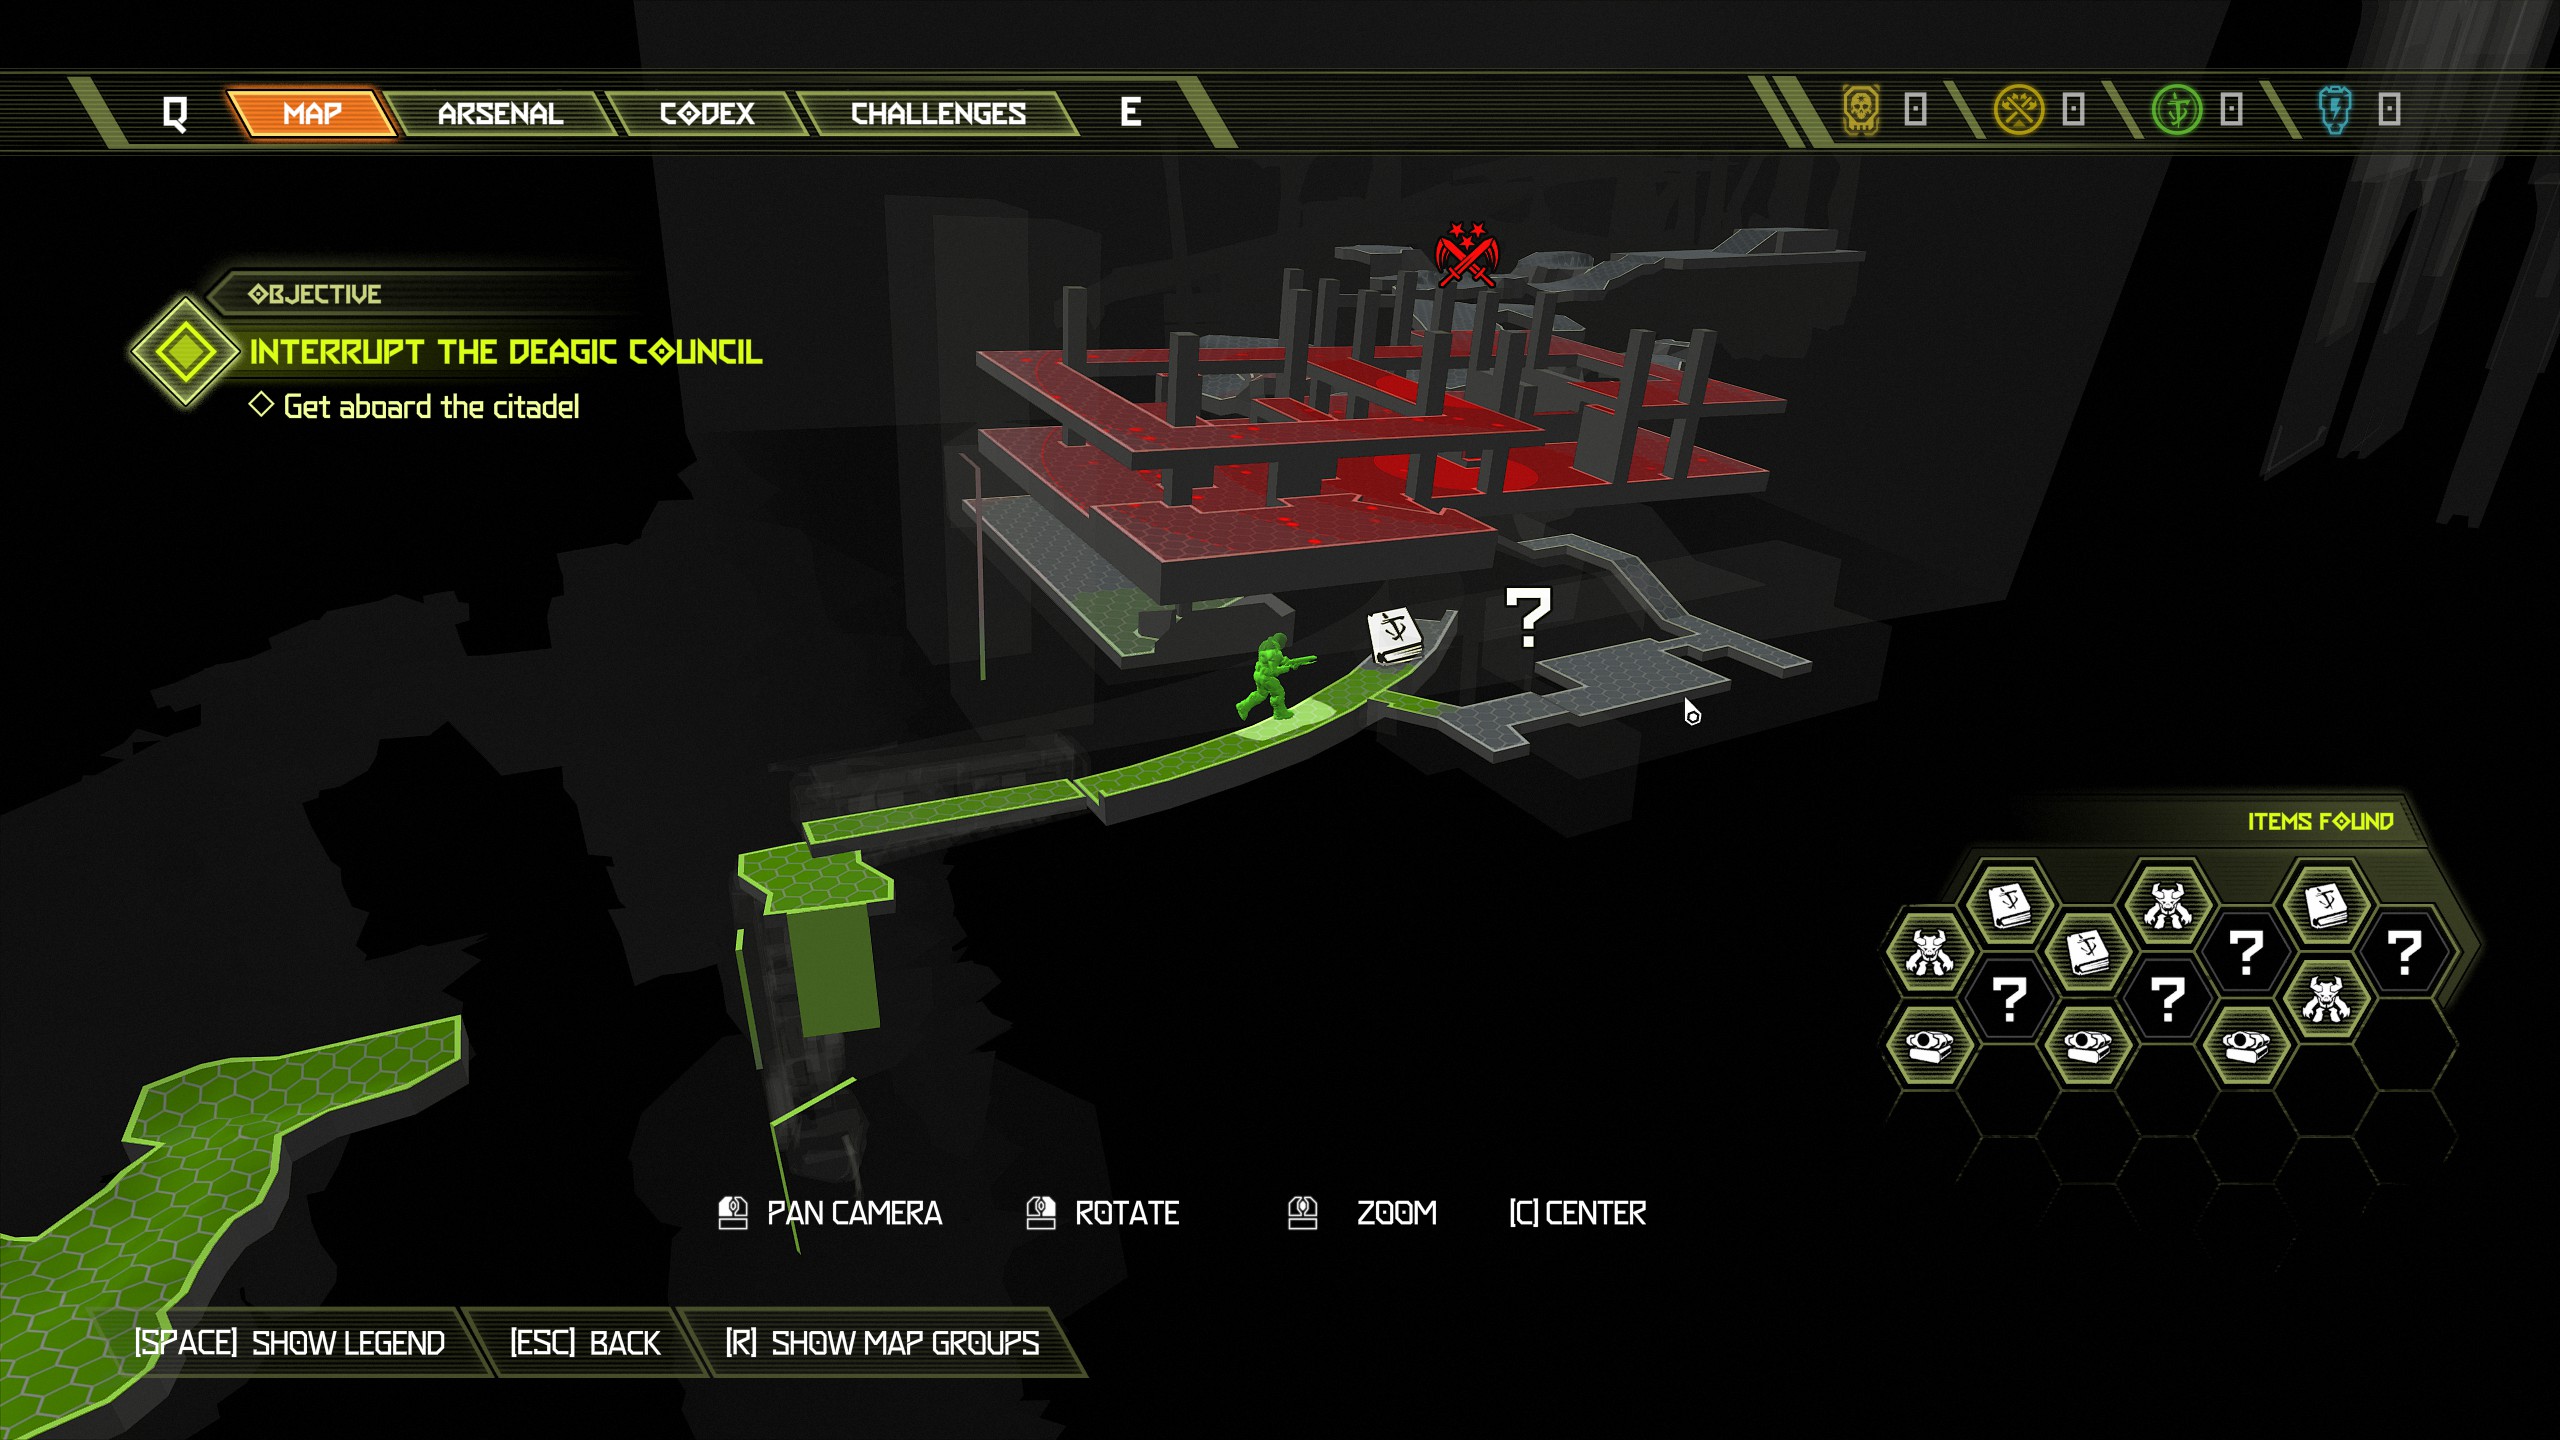
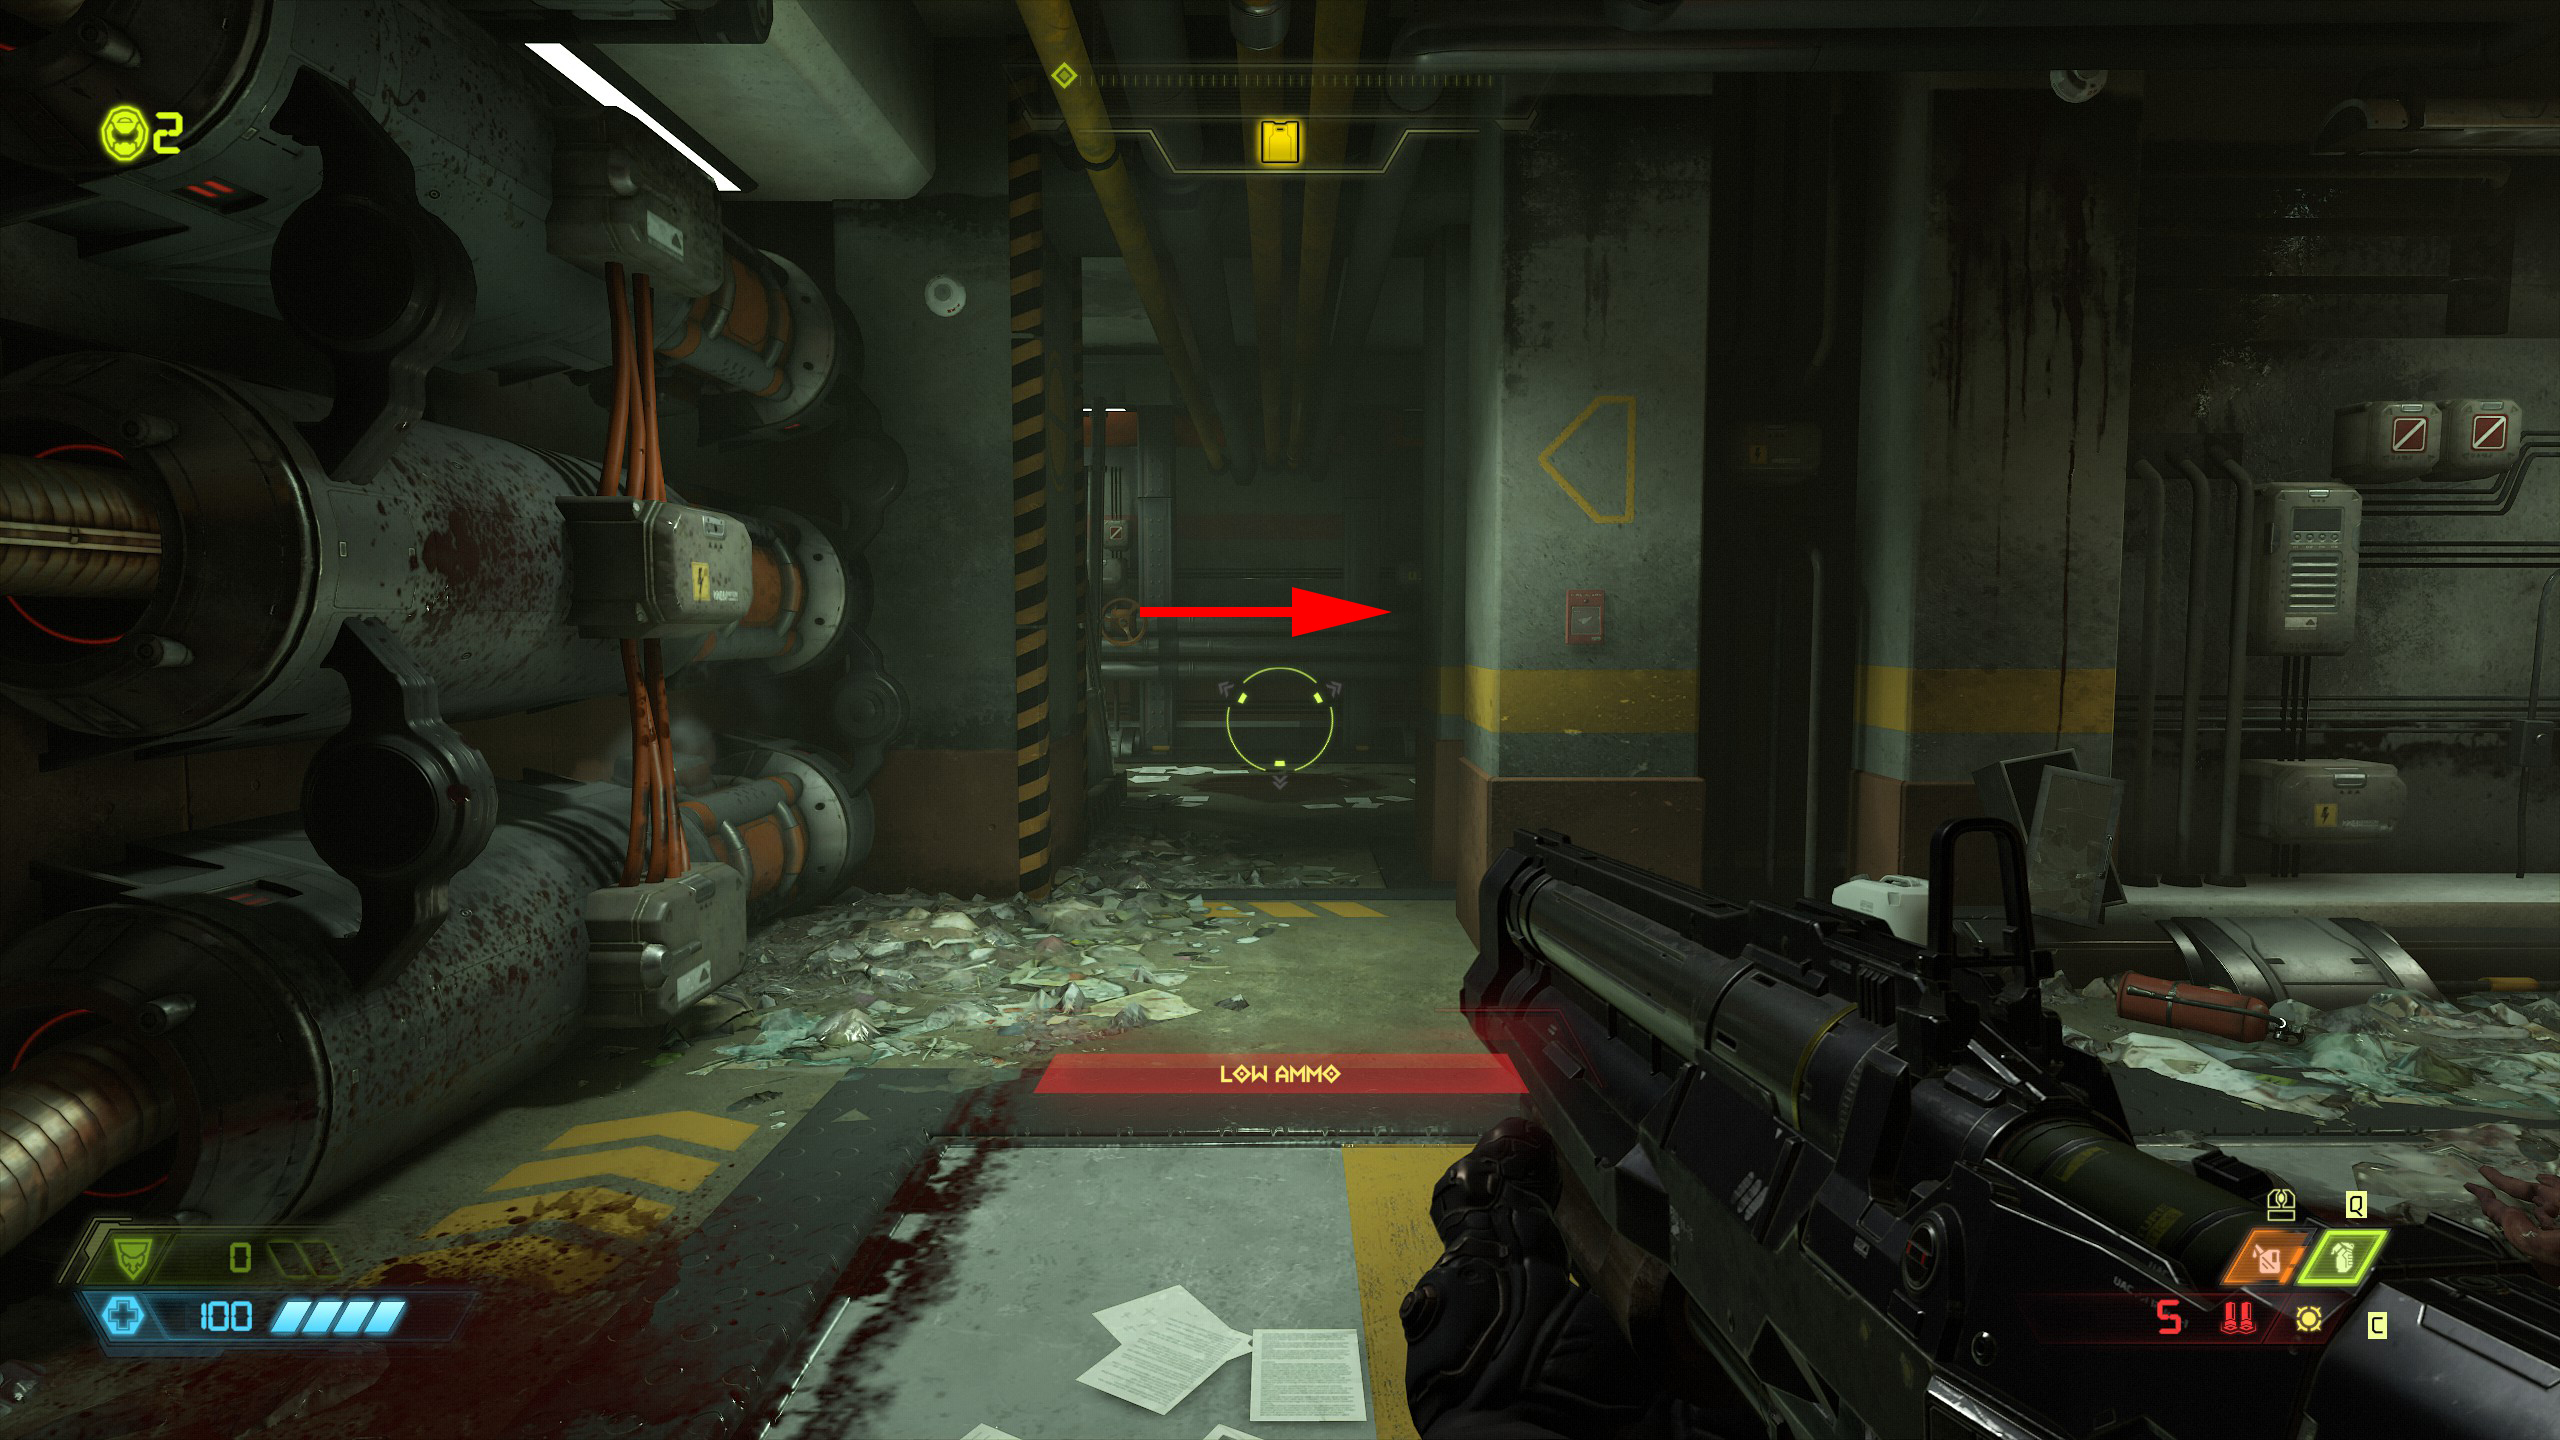
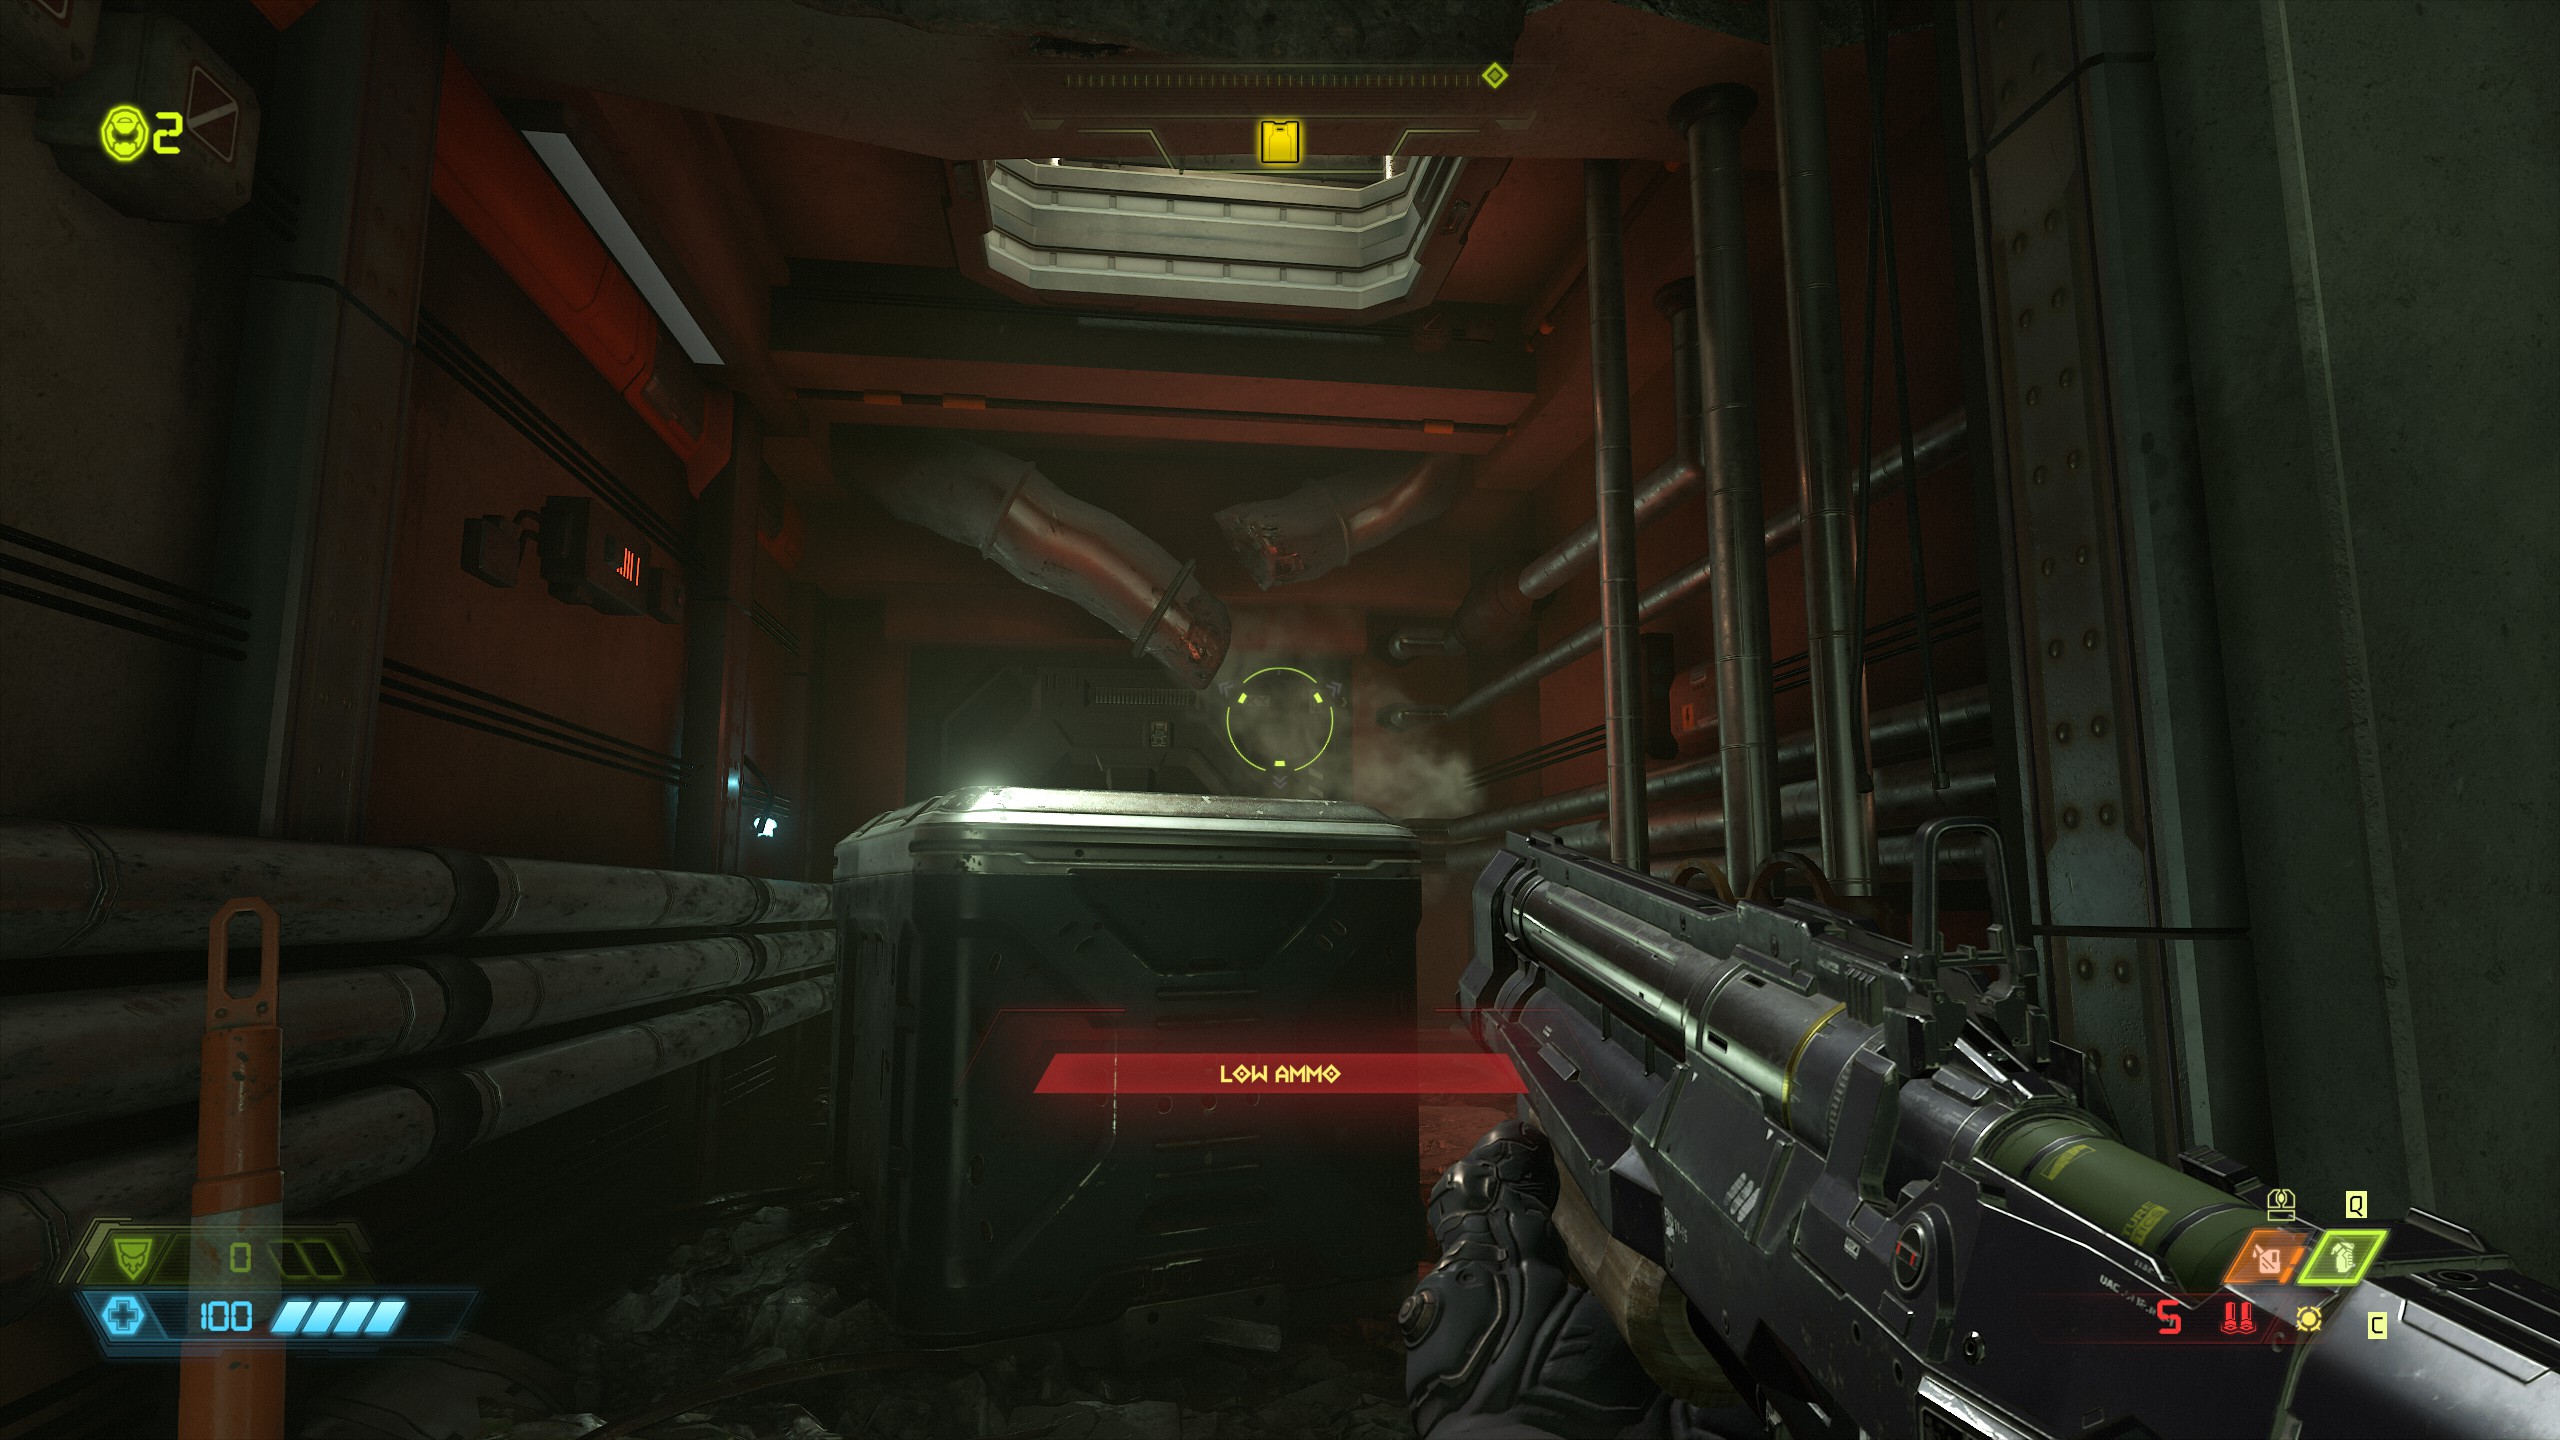
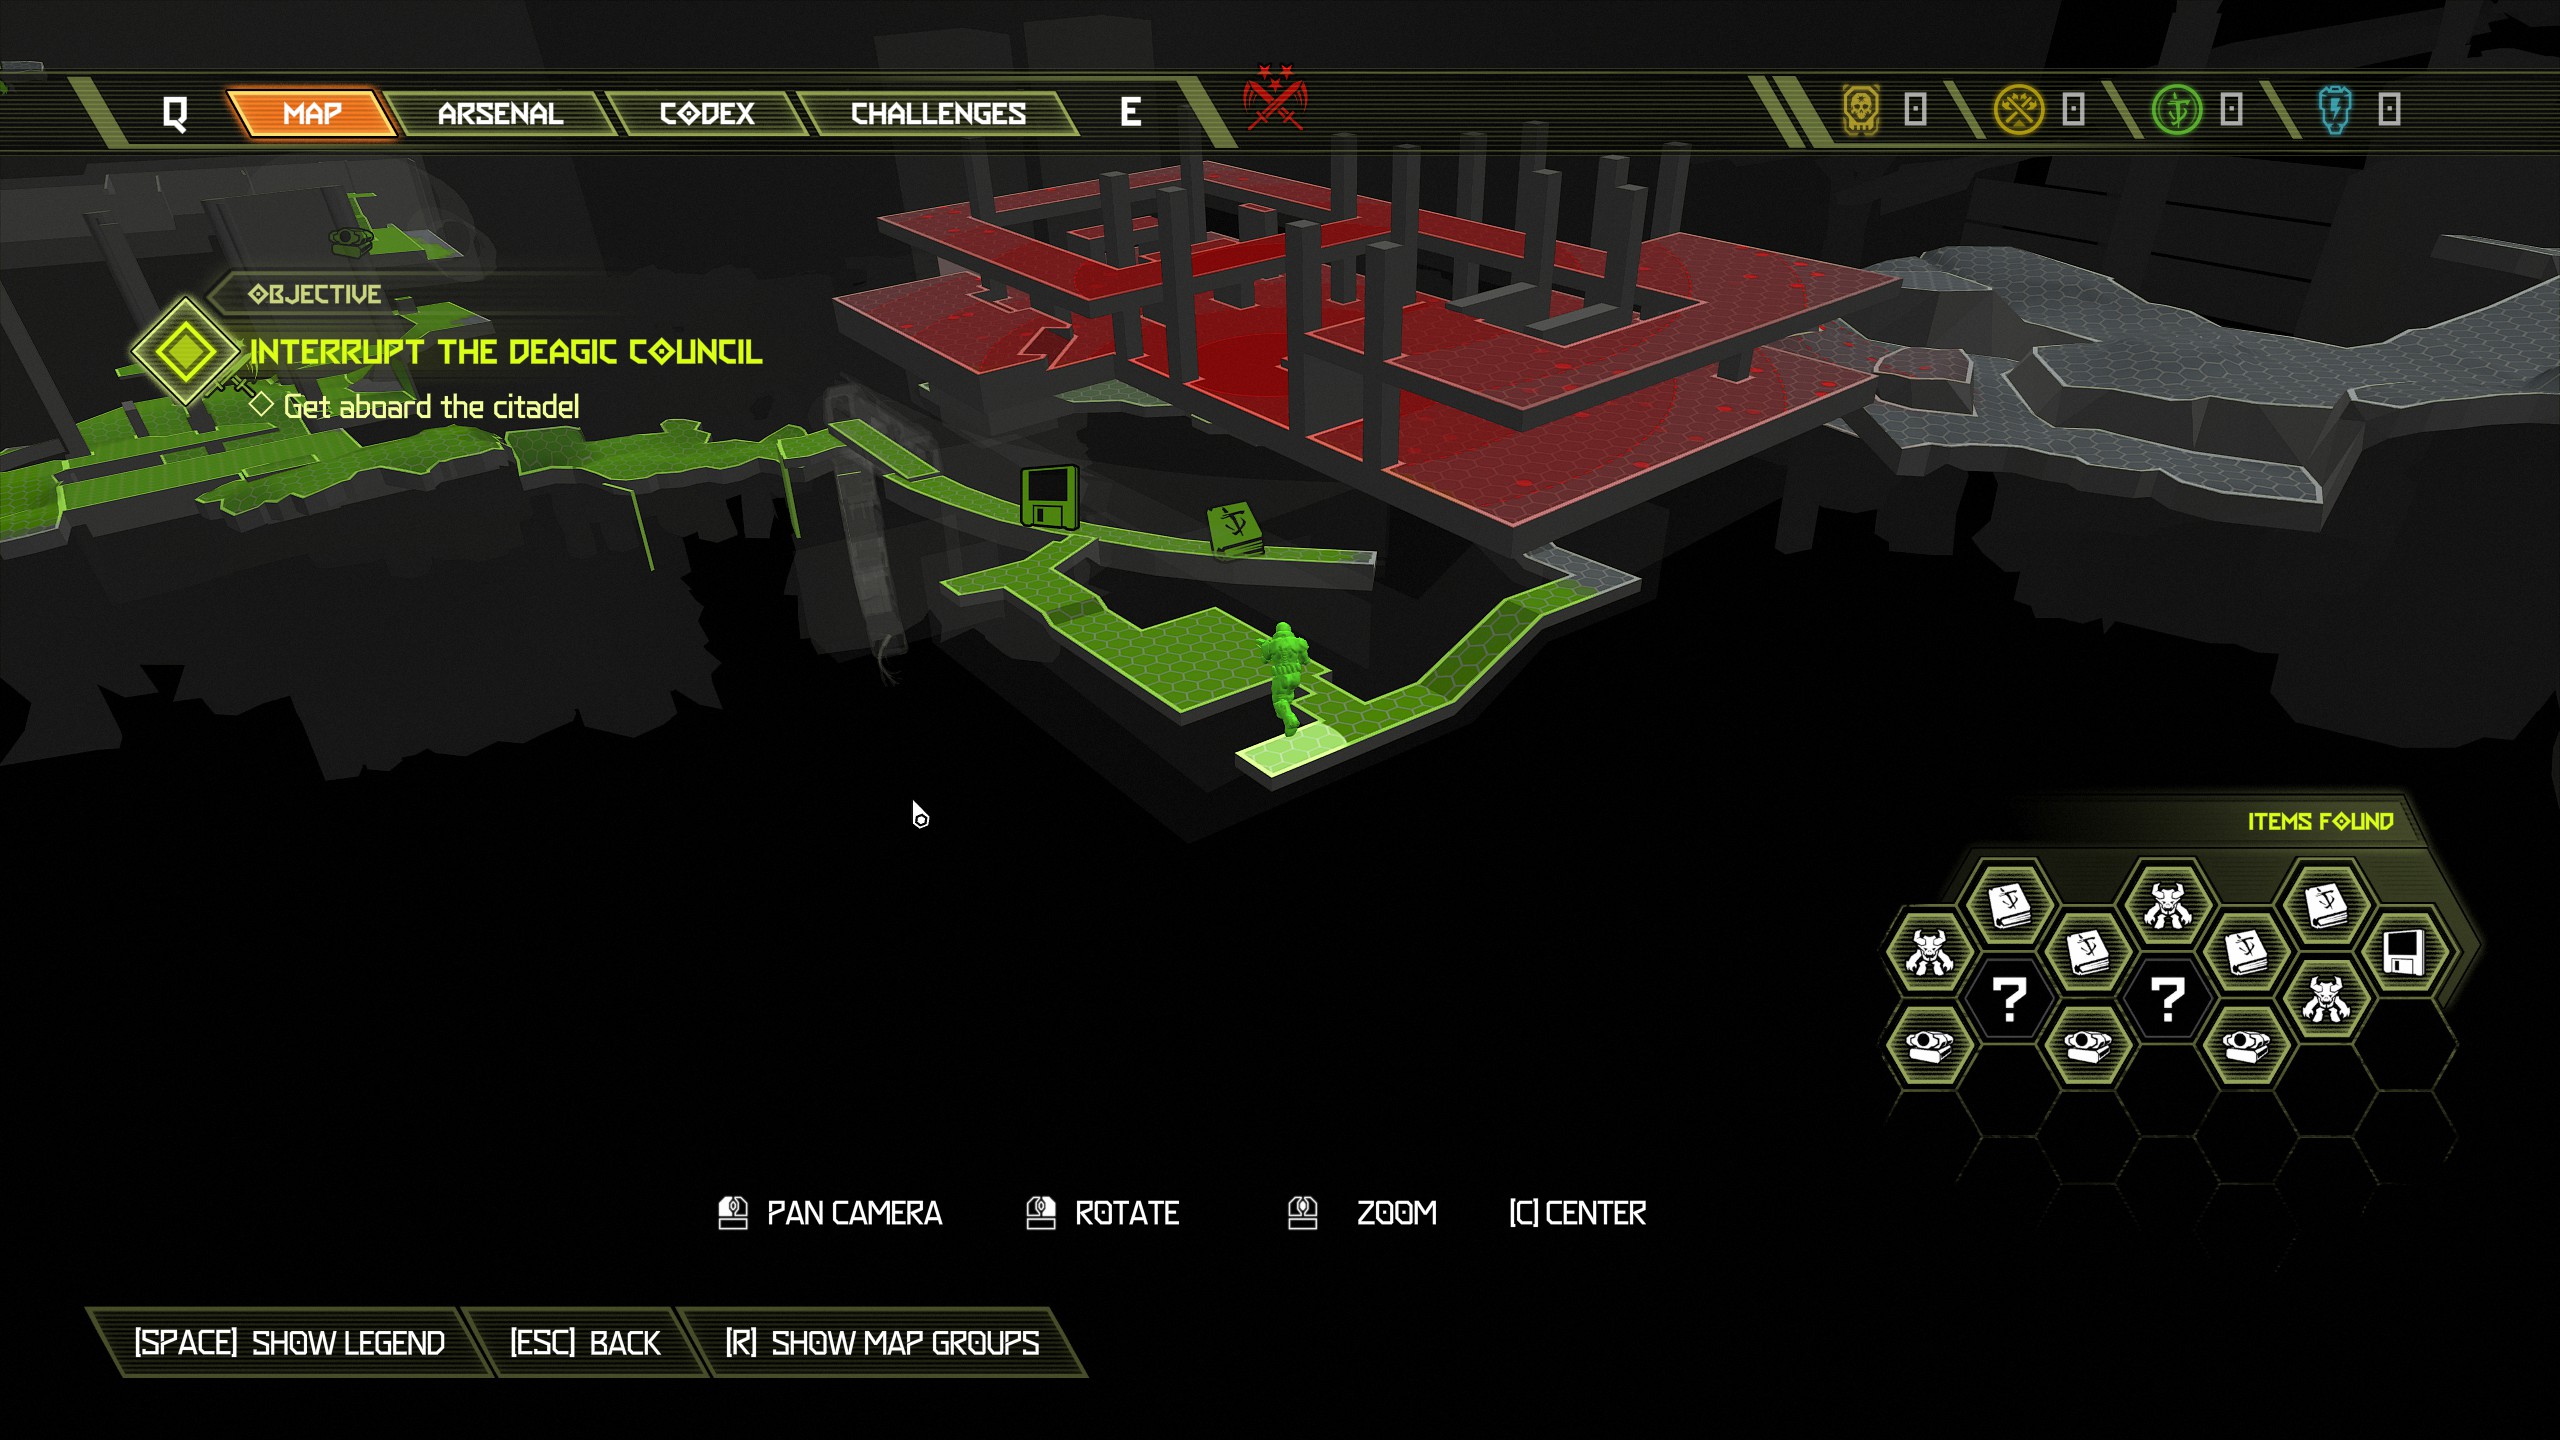
To access it you will need to go up to the next level and drop down inside from the upper elevator.
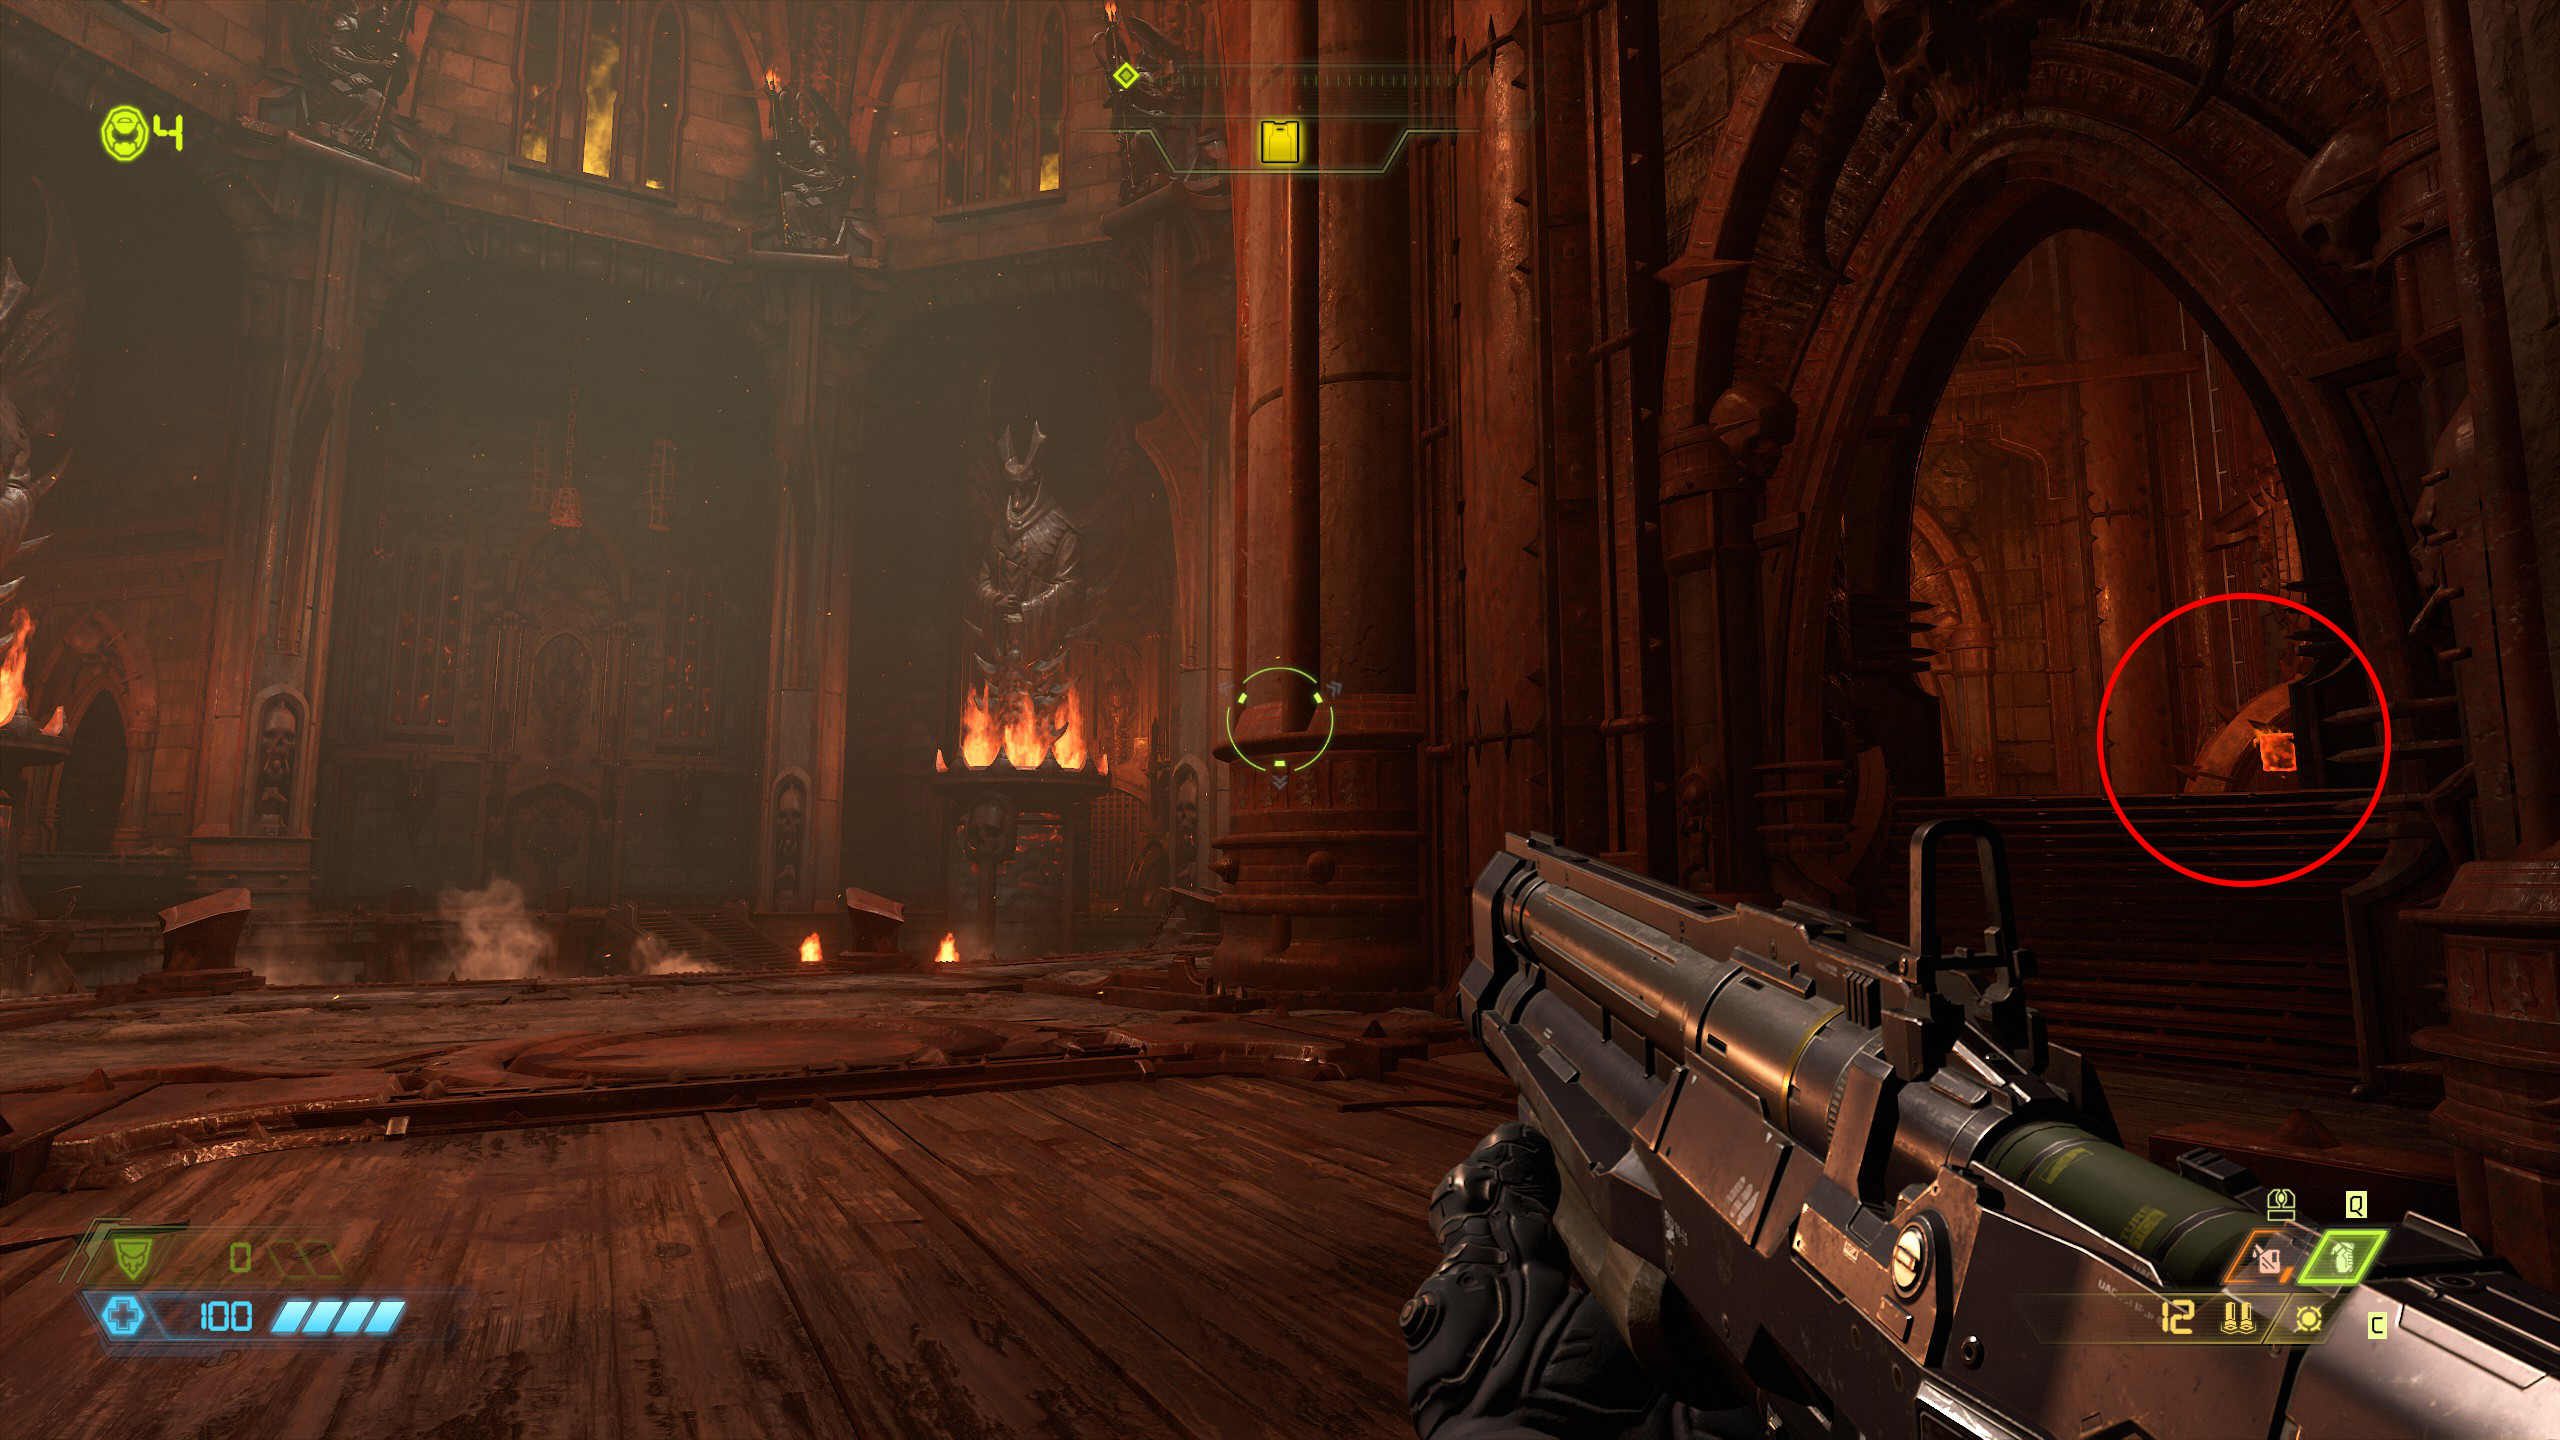
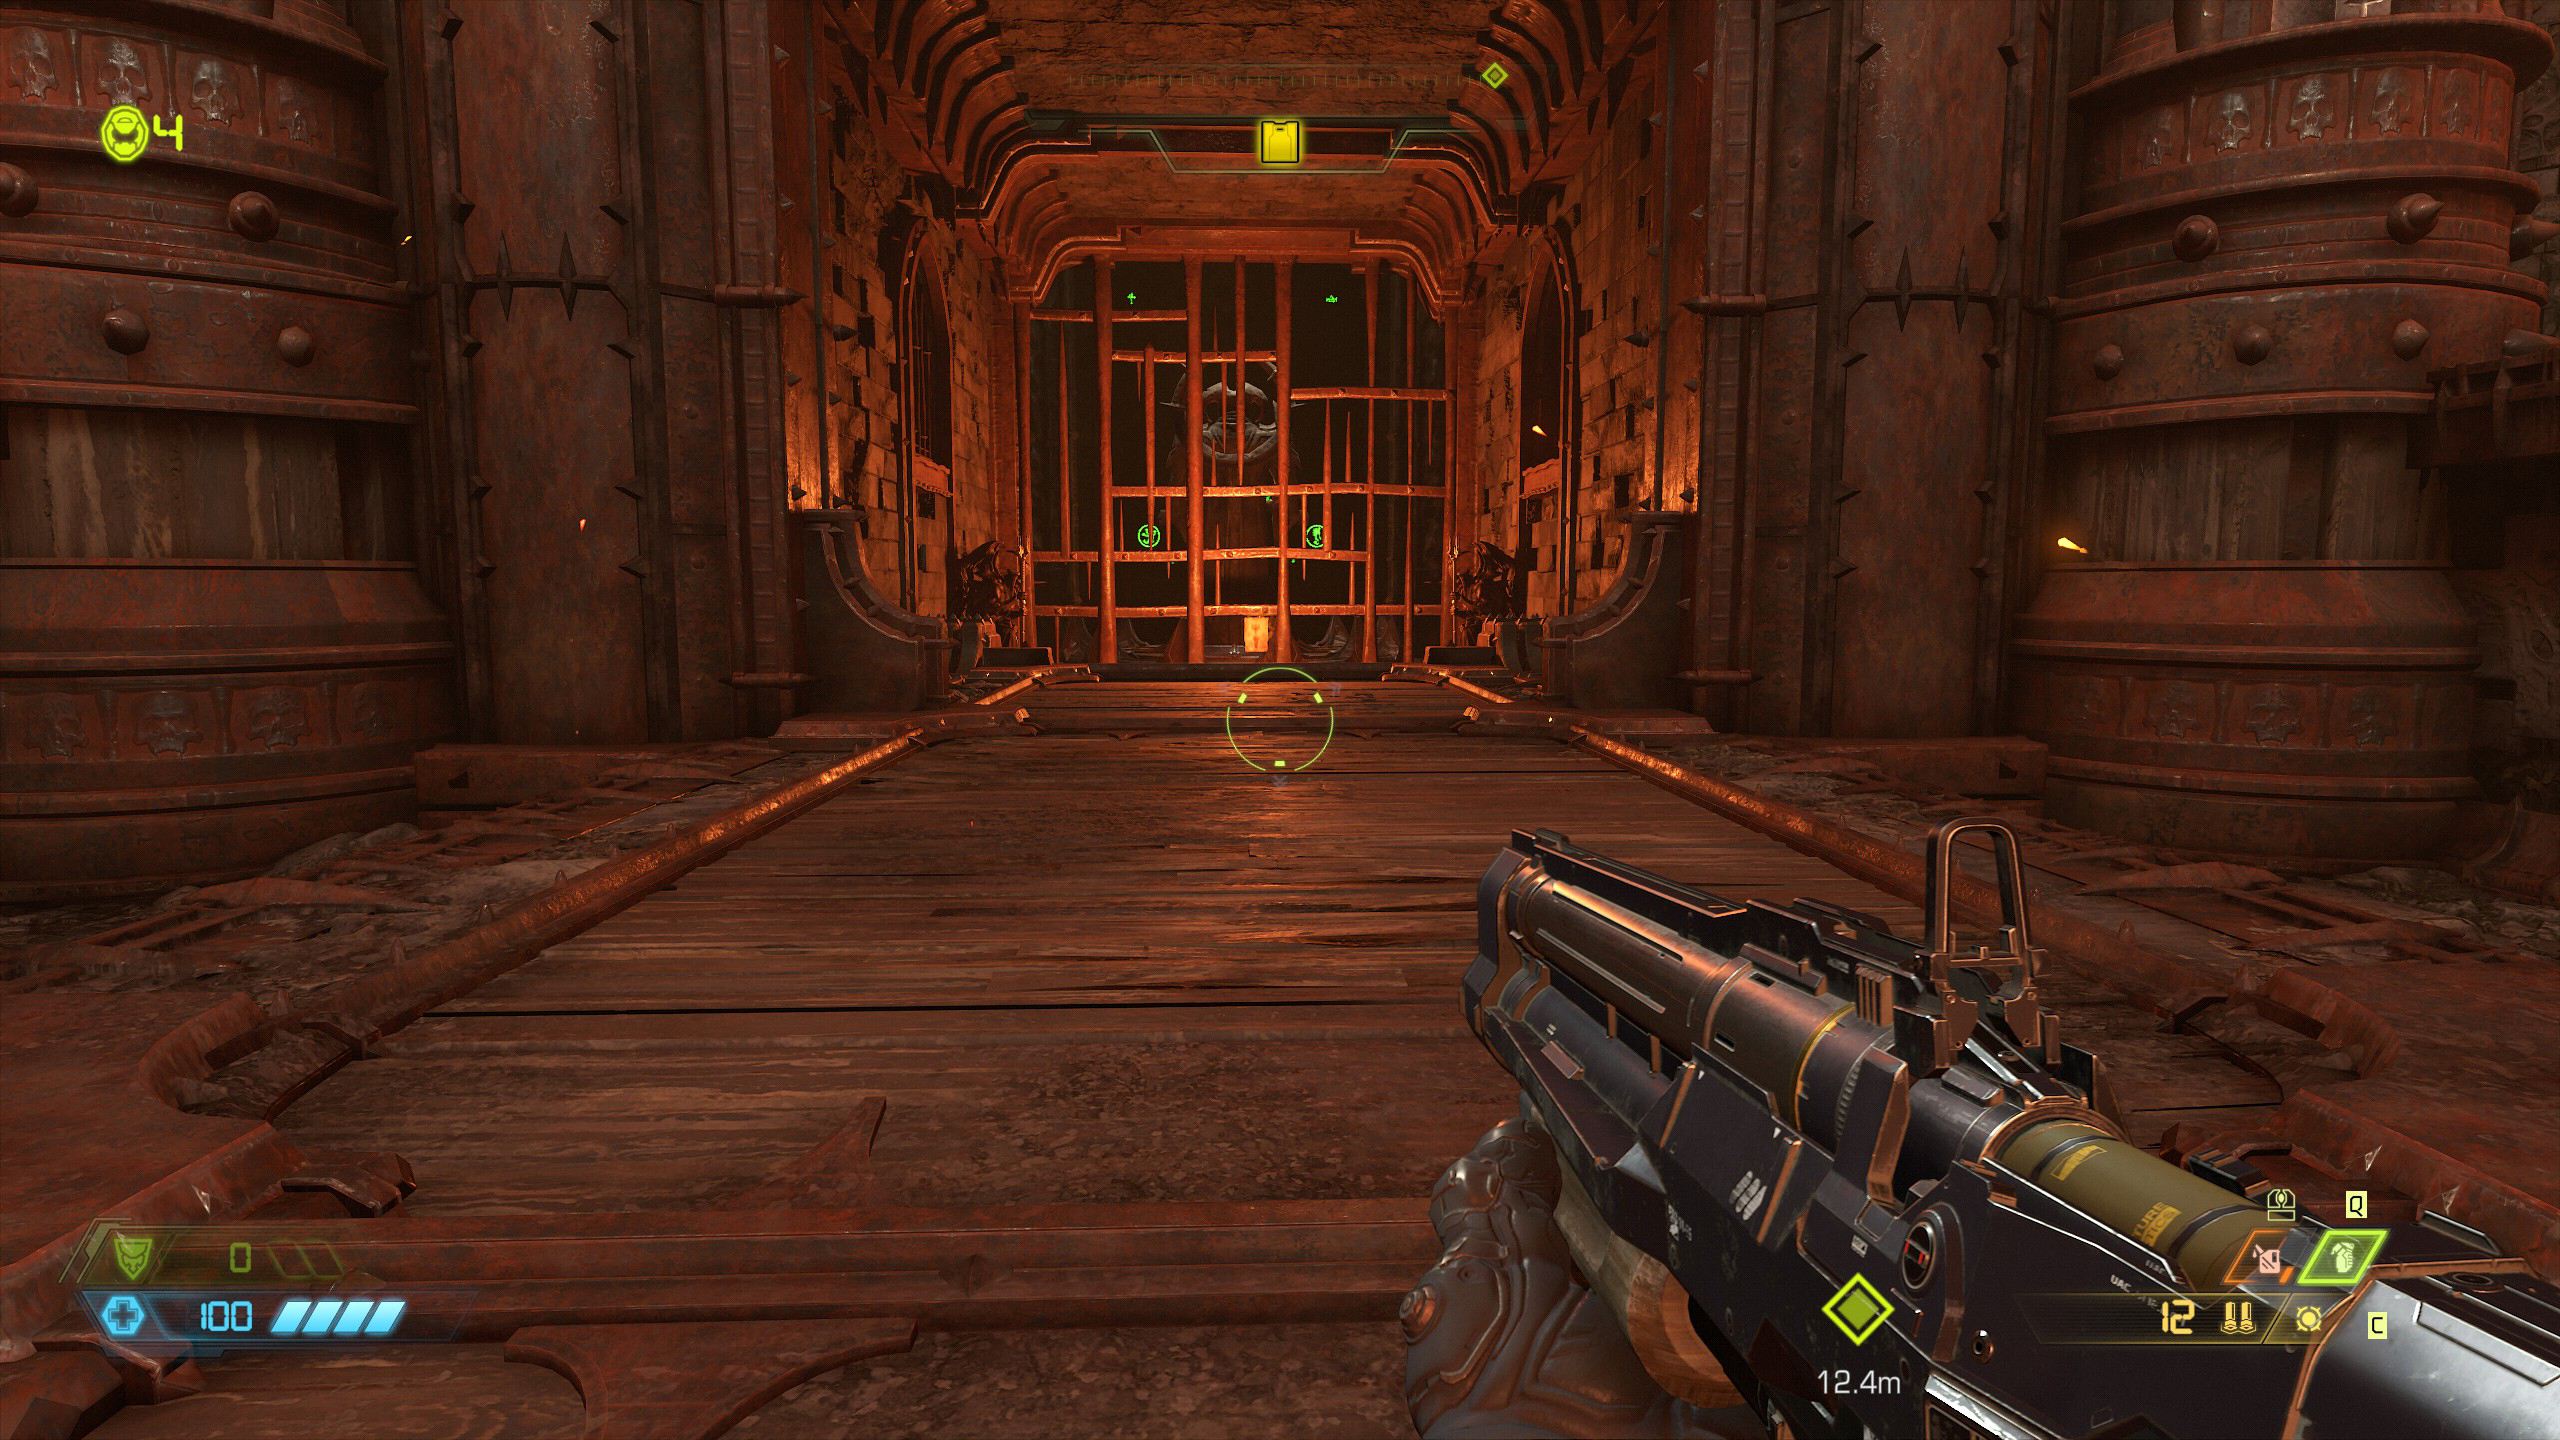
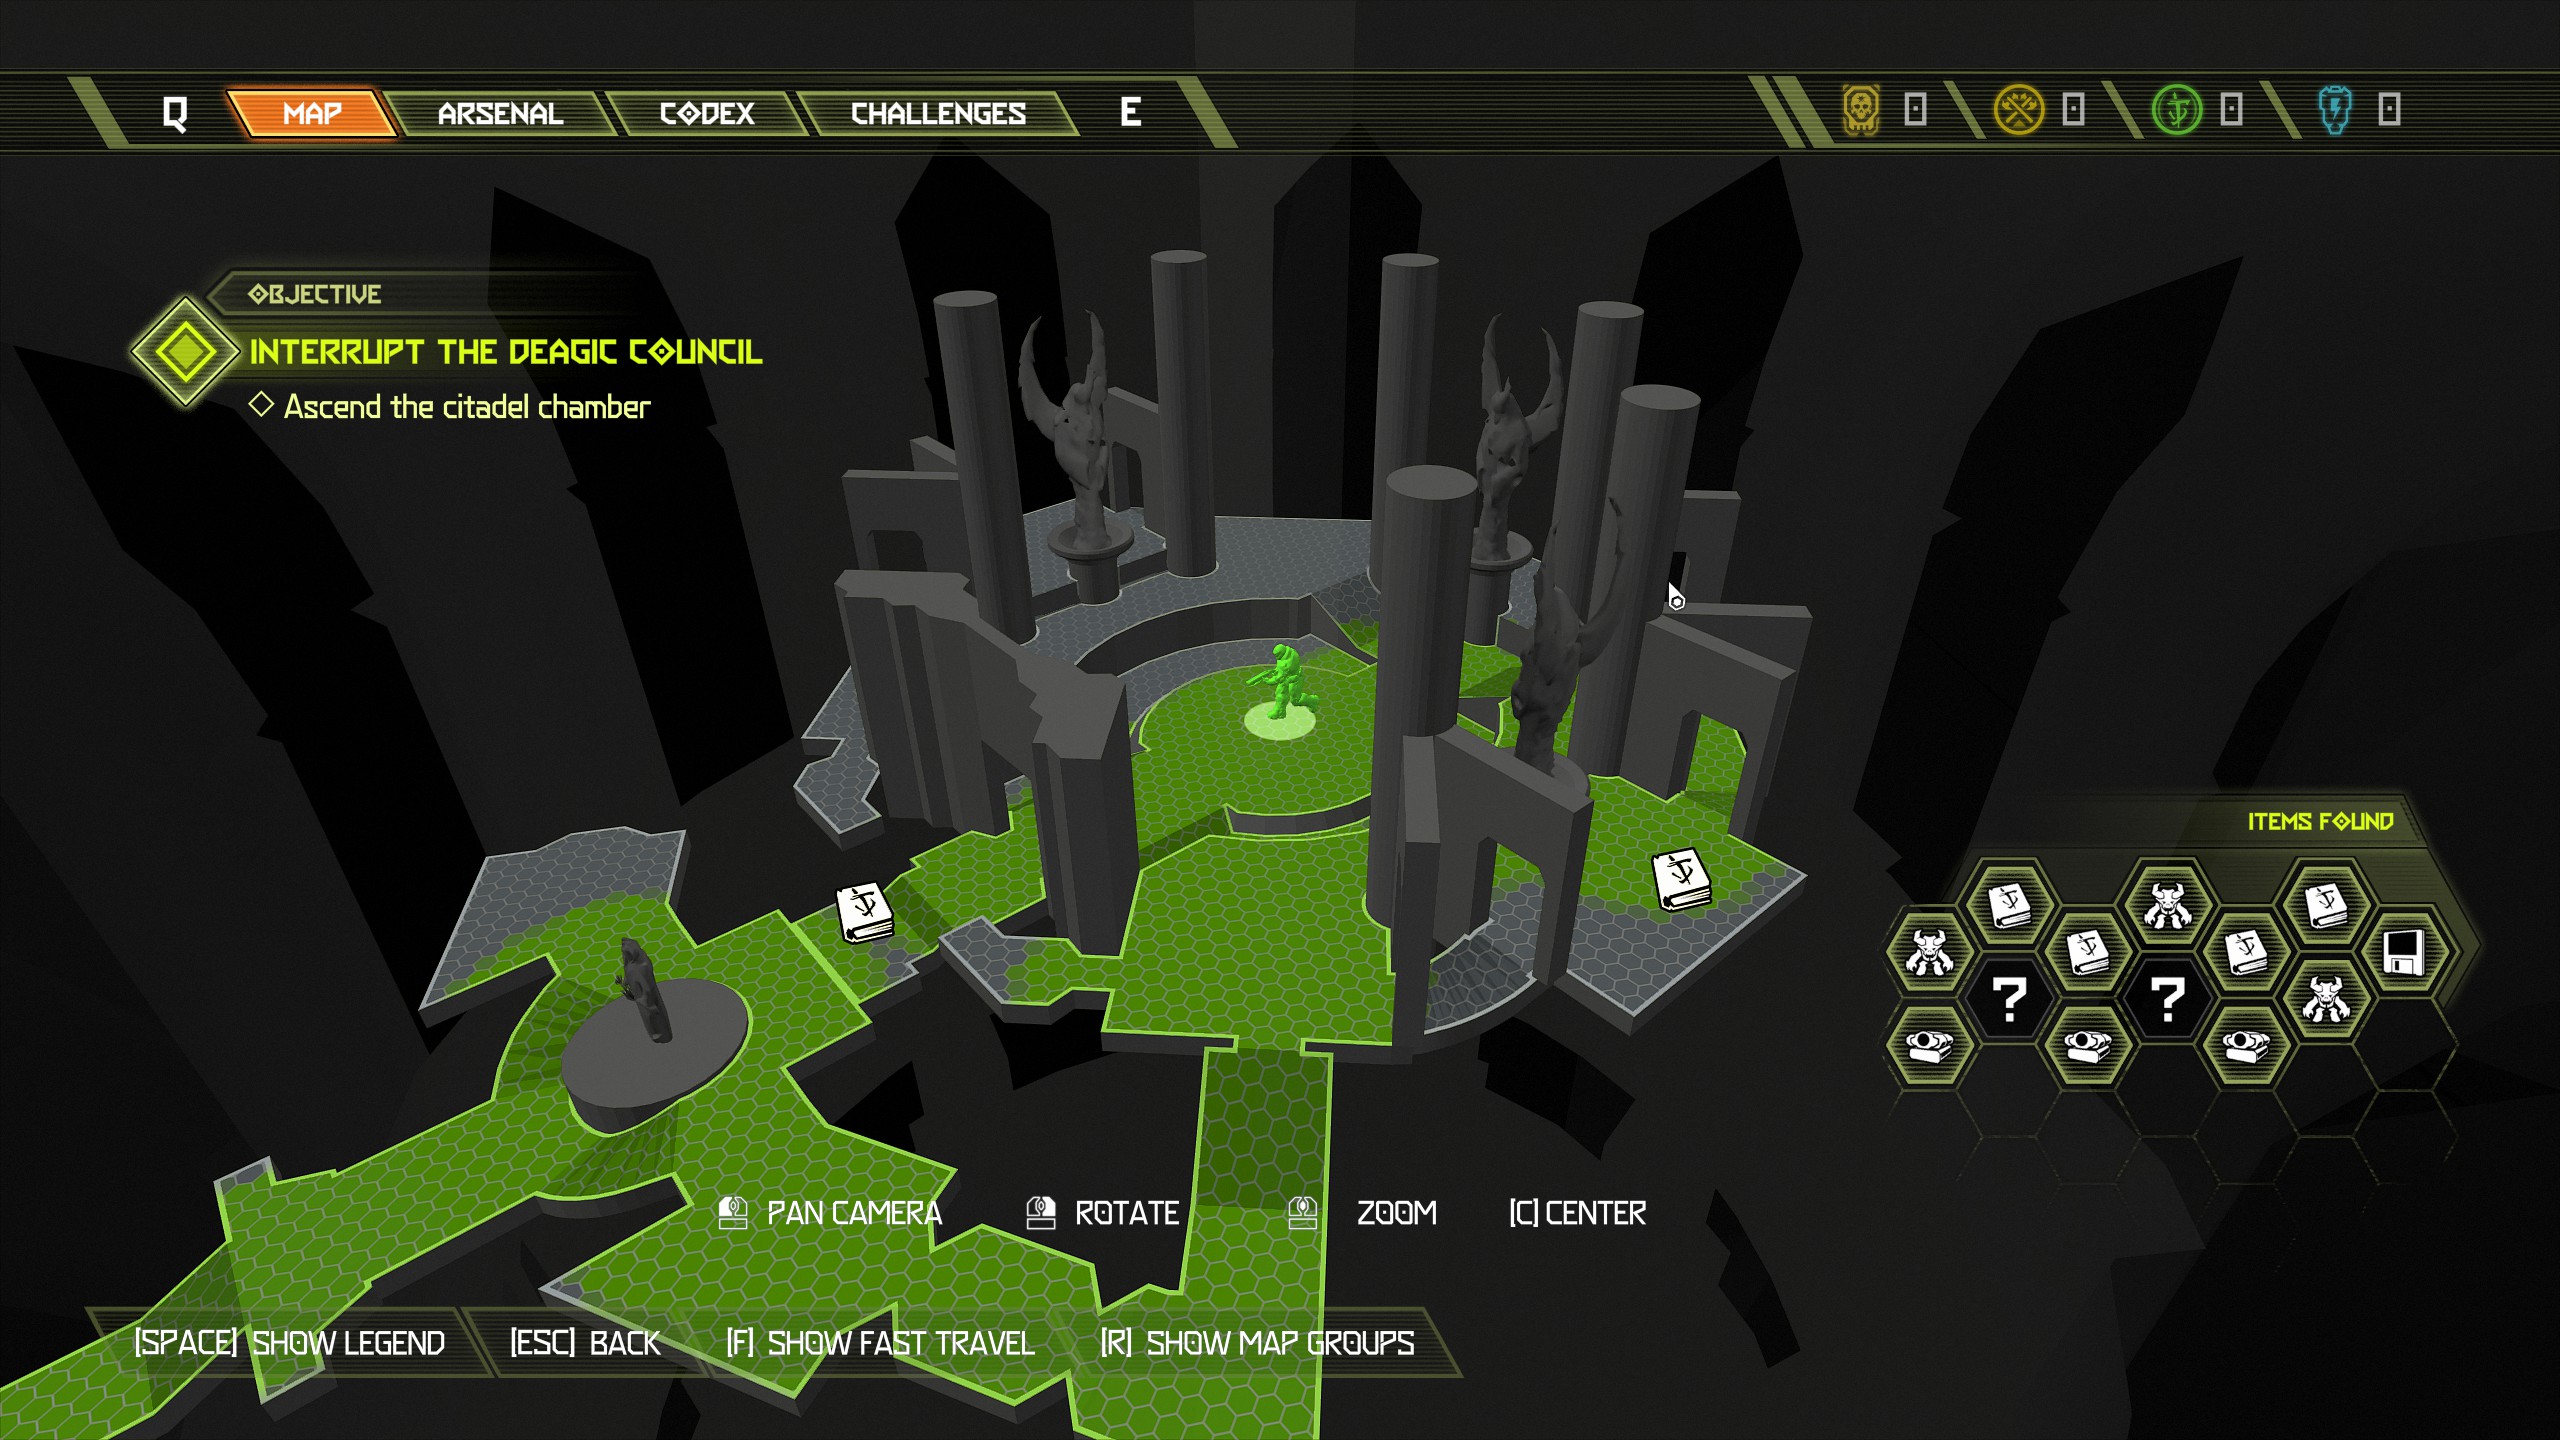
Activate the skull pedestal to end the mission and head to the fortress of doom.
Fortress of Doom [Part 1]
NOTE: This is your home and has many items to collect over the period of the campaign. You will not be able to find or collect everything immediately so you will need to come back after each mission and collect what you can with the resources available. But fear not as i will guide you to all items as we go through this. Current items available:
- 1 Sentinel Crystal
- 1 Arc Broadcast Log
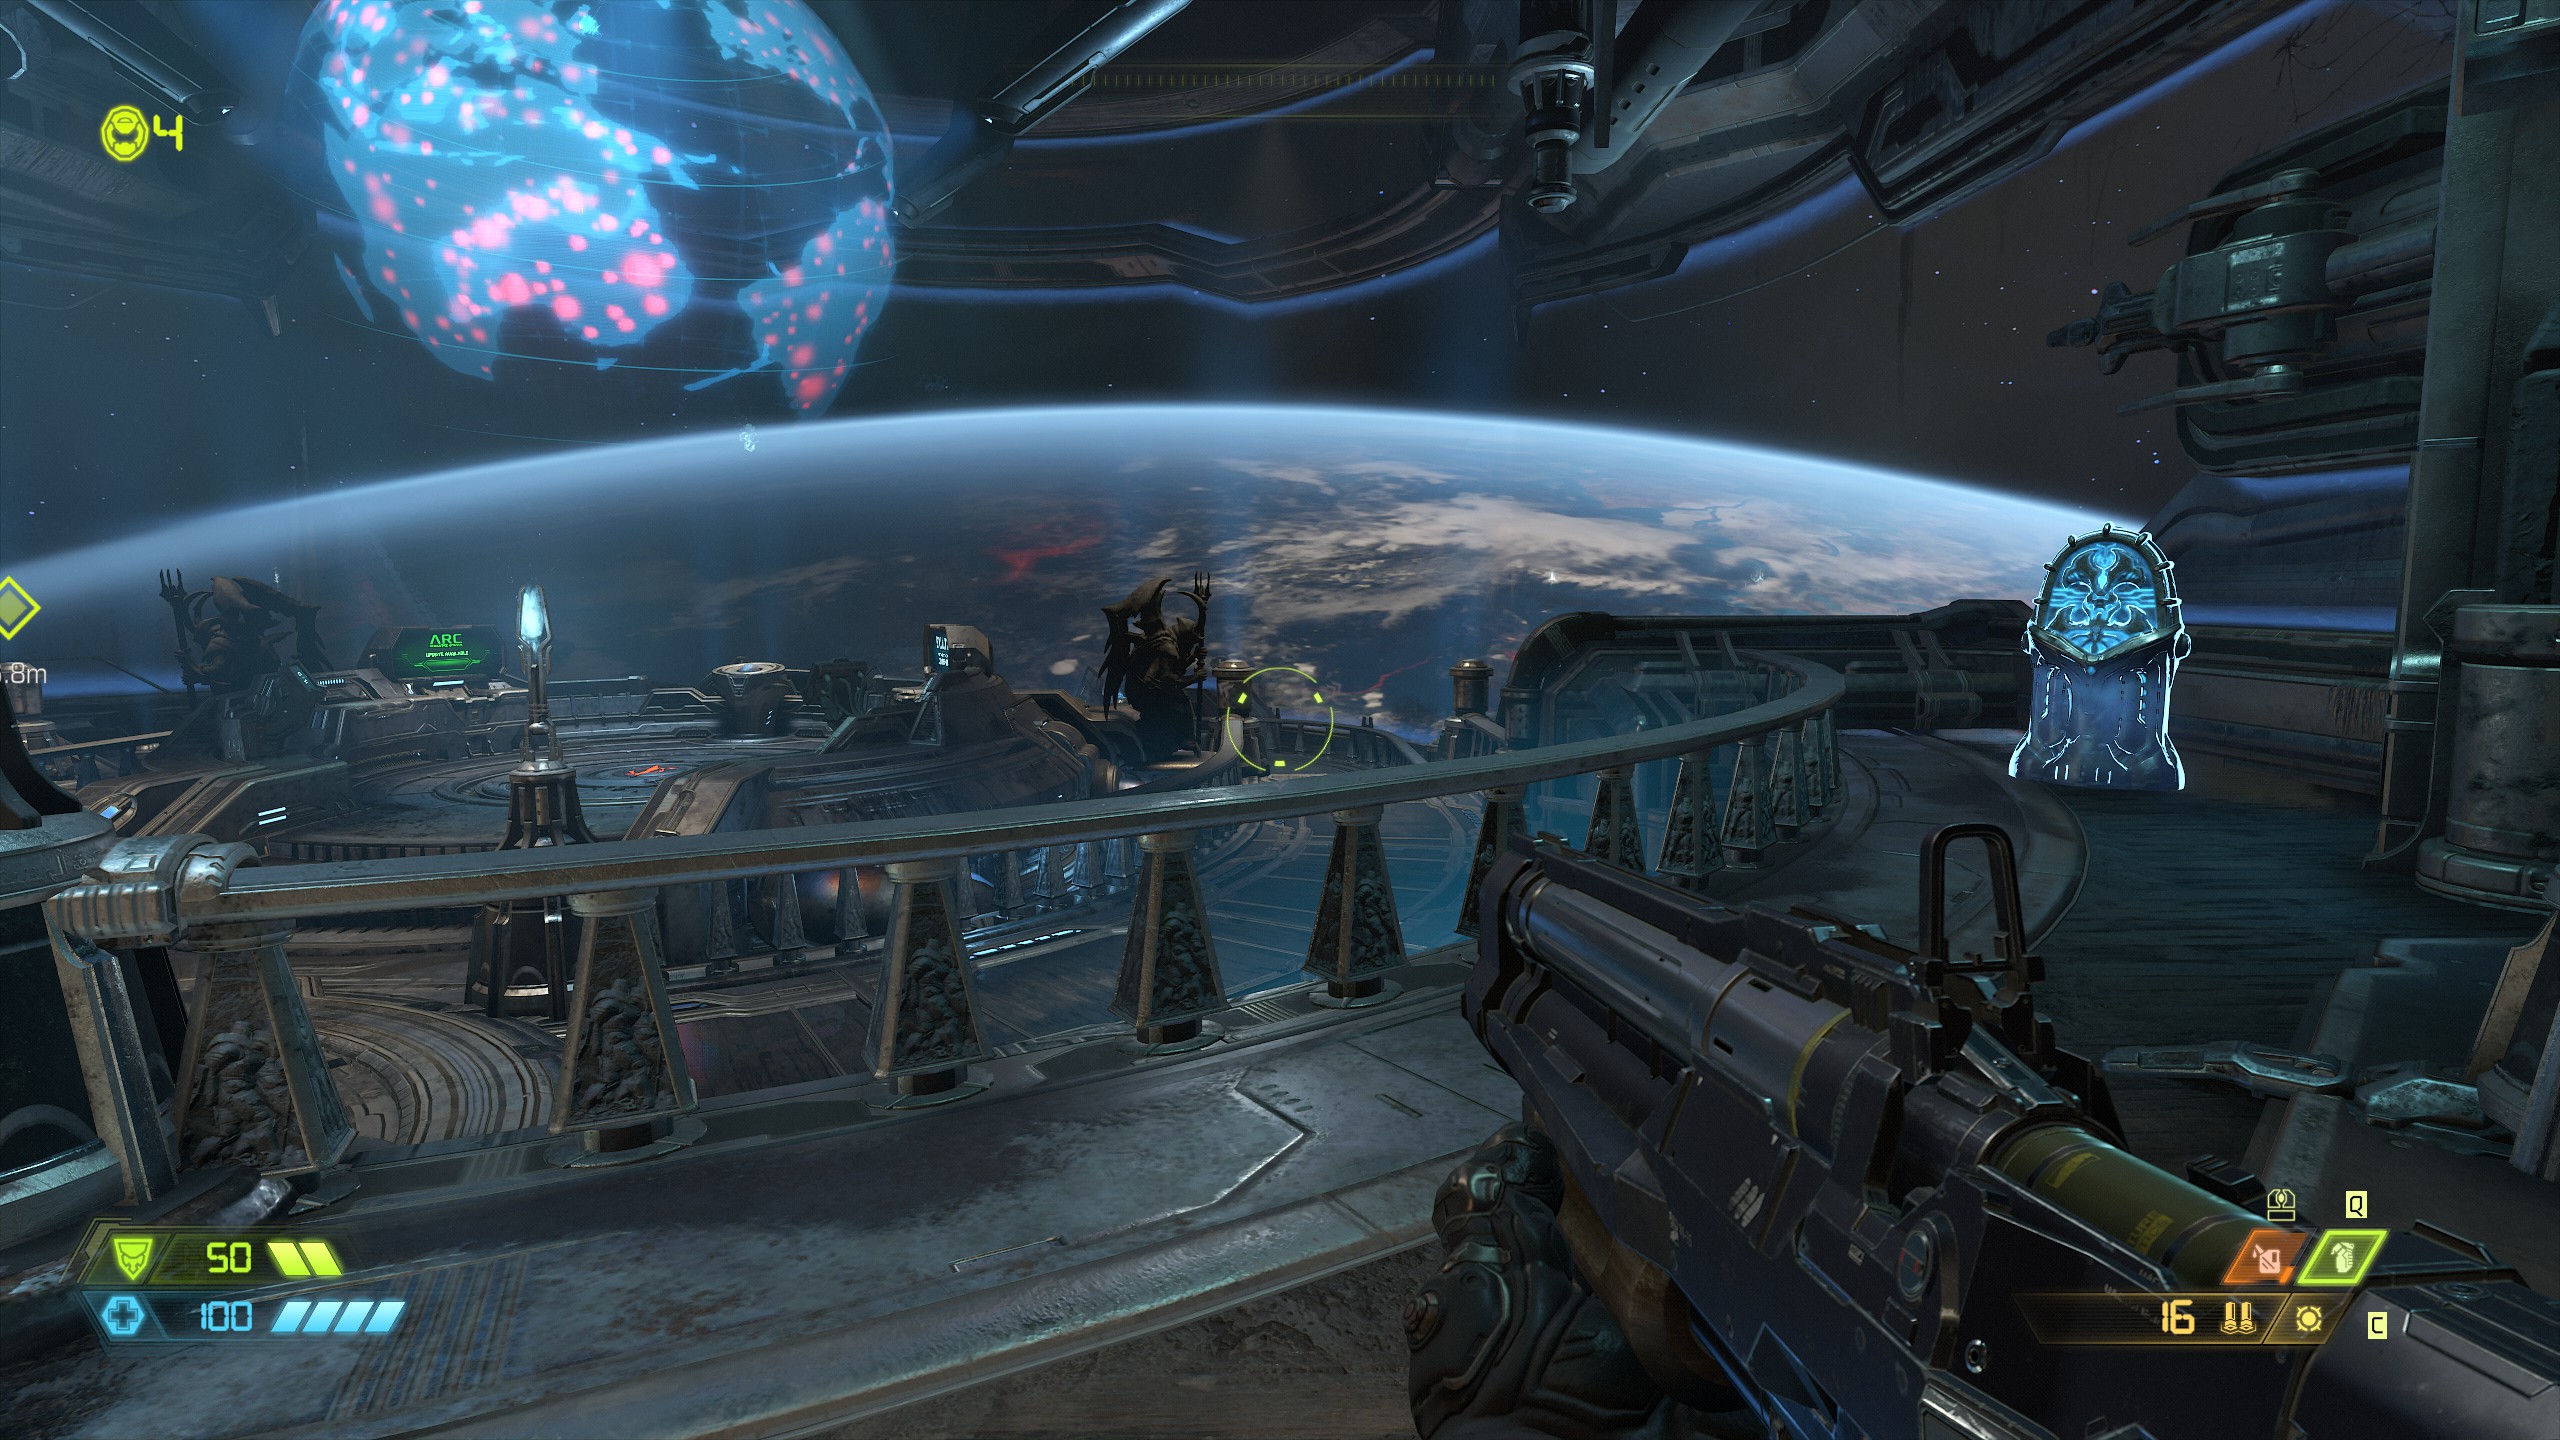
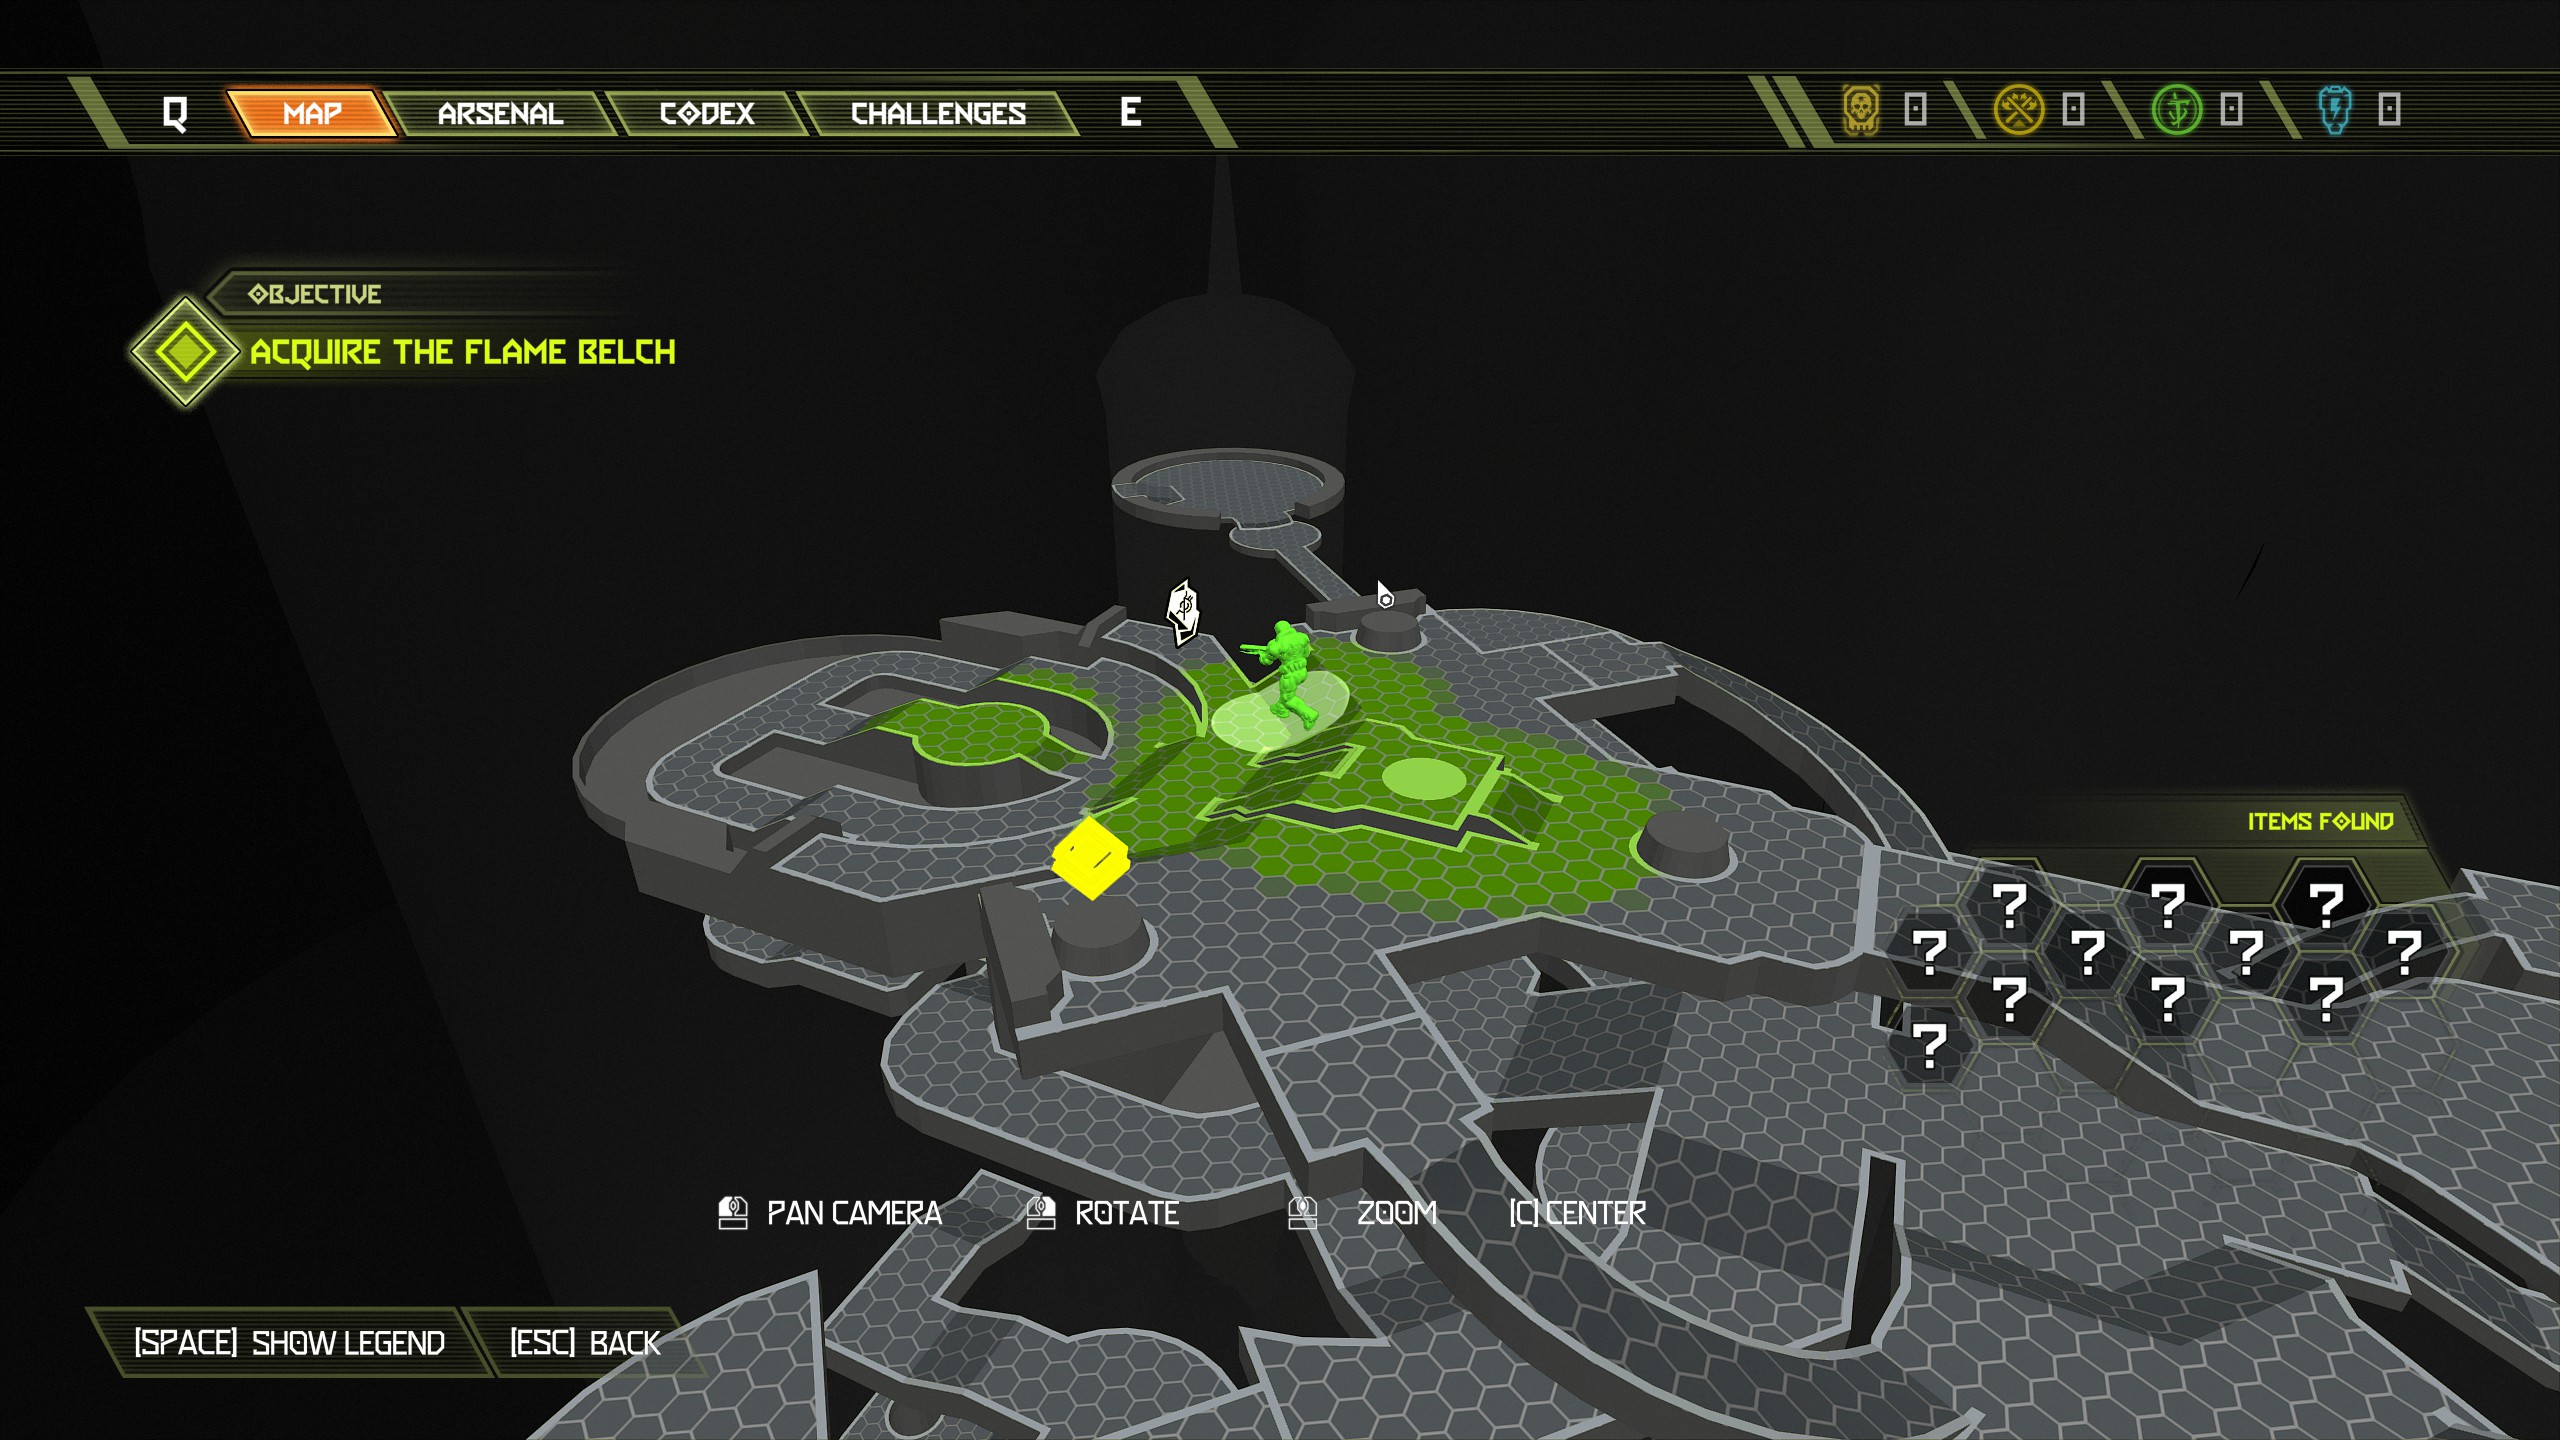
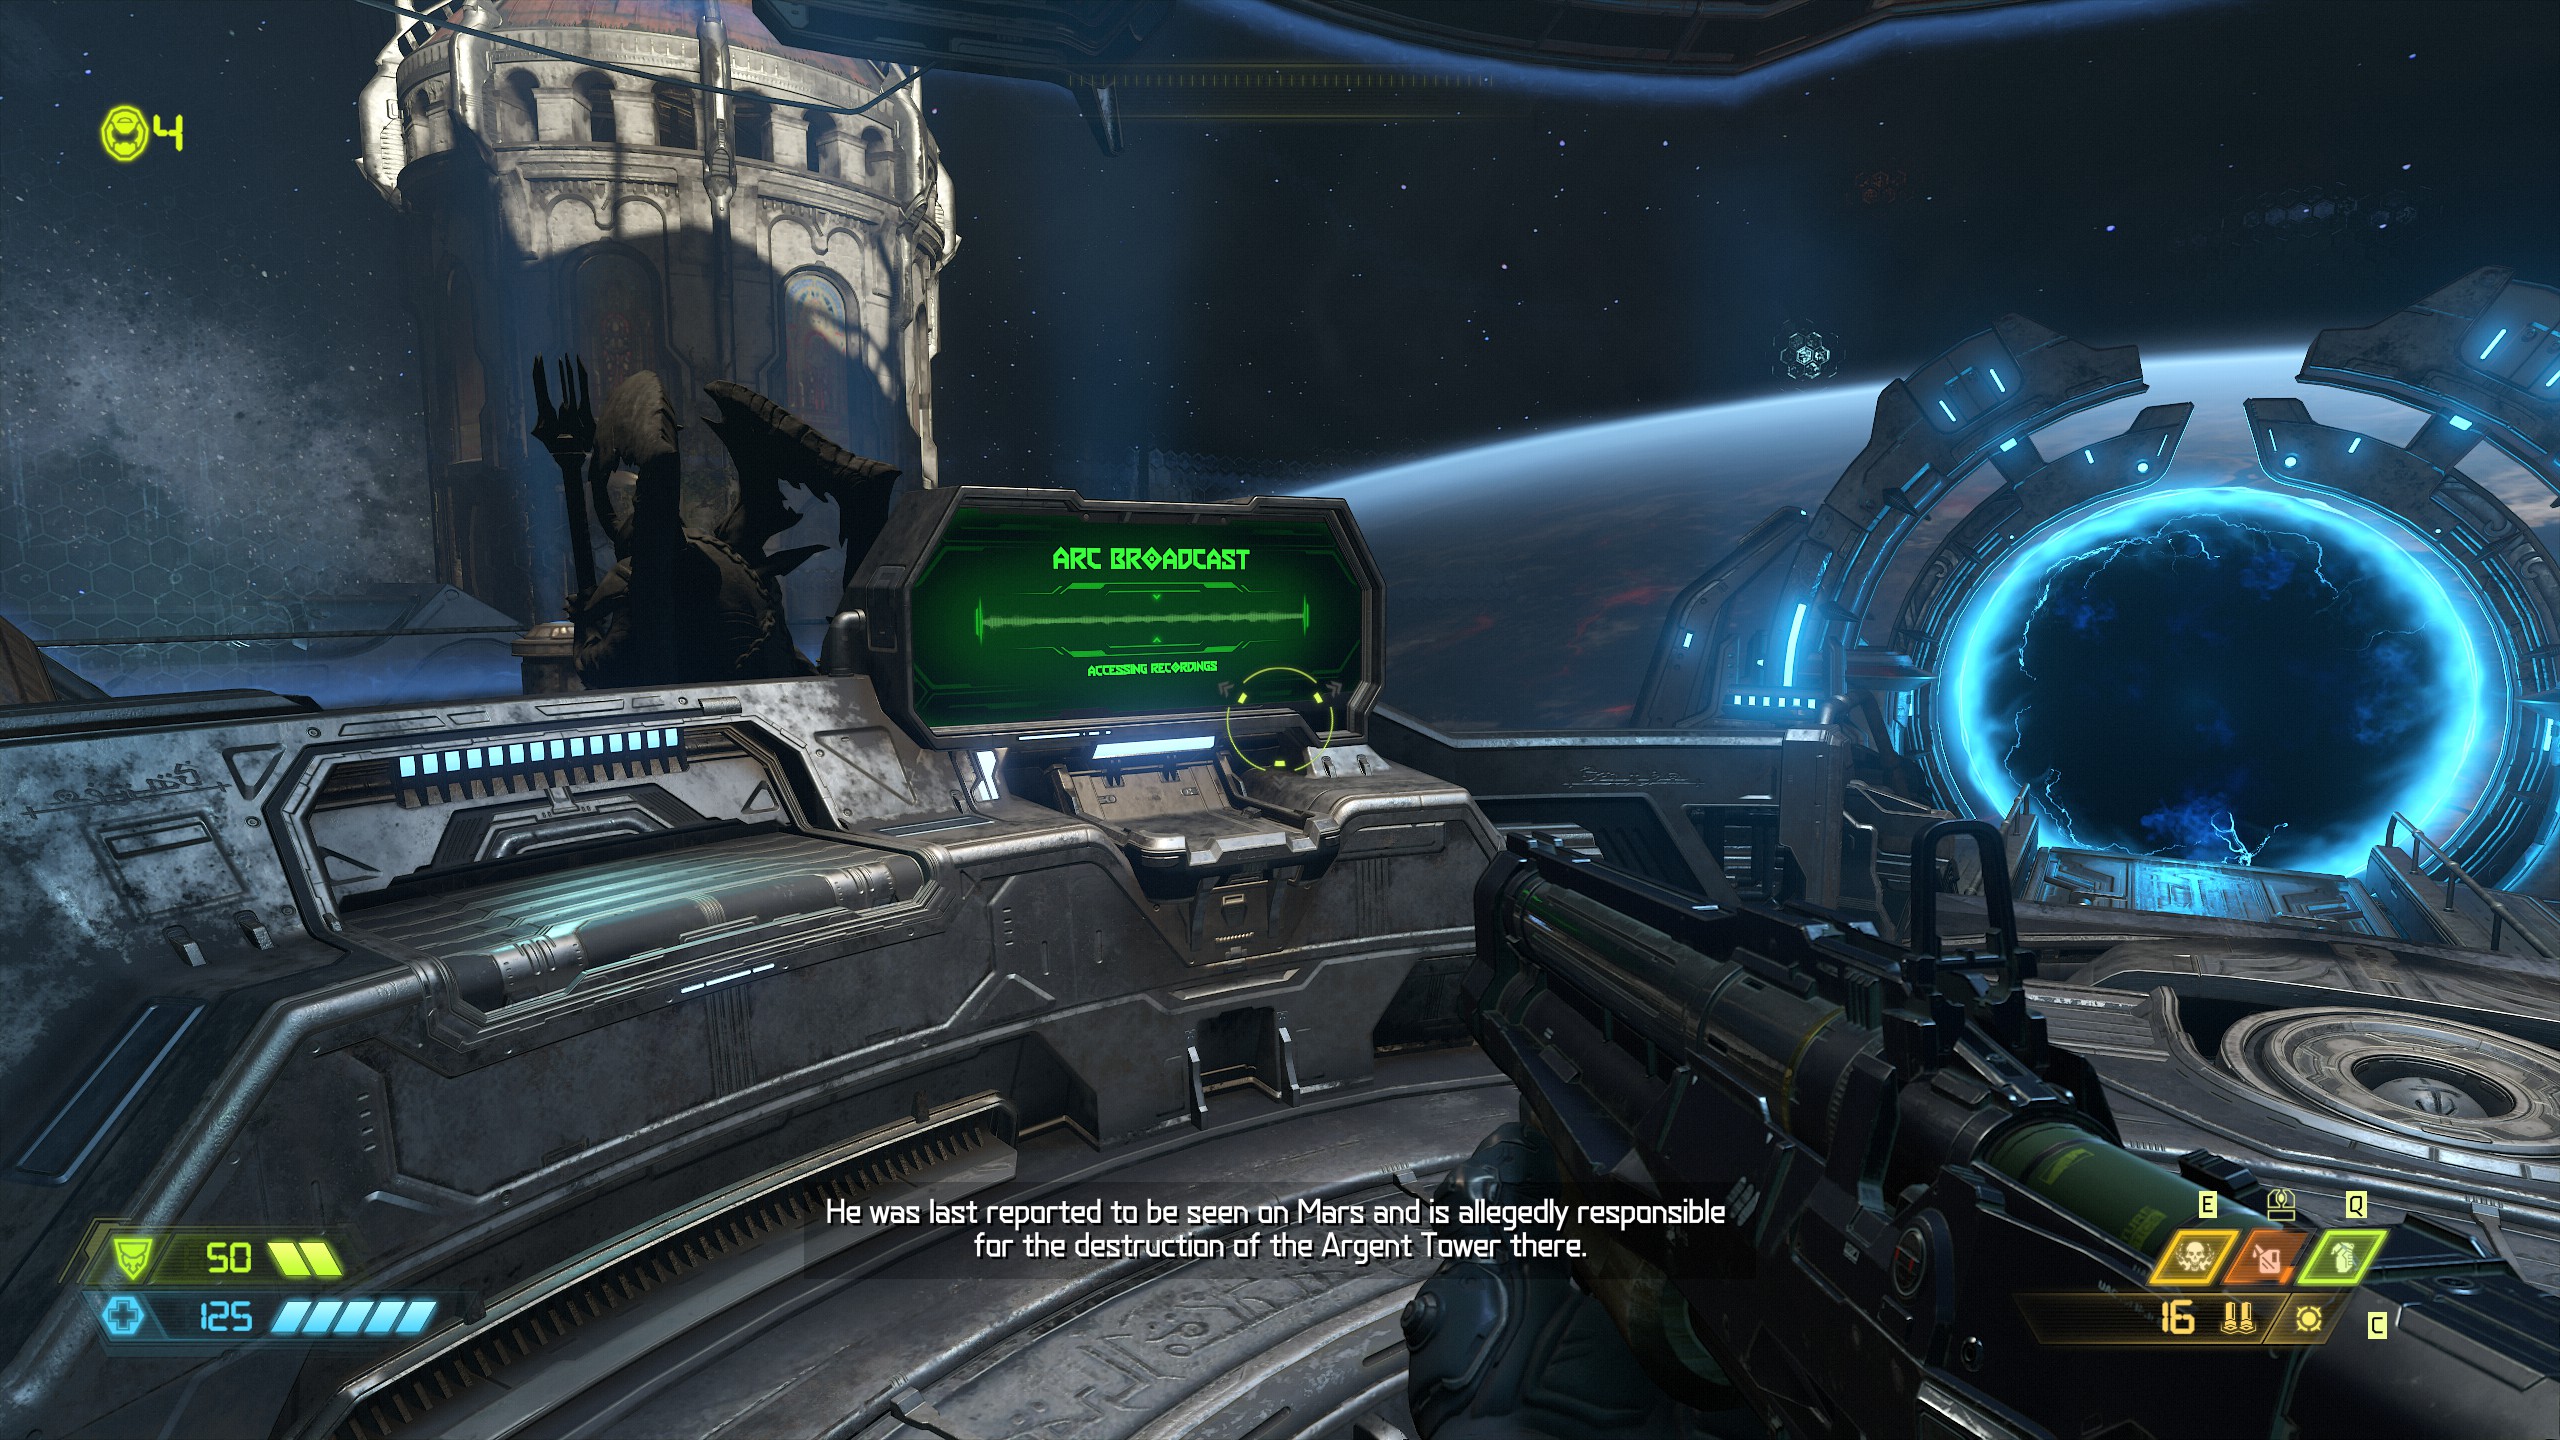
You are now ready to move on to mission 2.
Mission 2: Exultia [Part 1]
NOTES: This mission is a little longer than the first with some hidden items that are not part of any collectables, but we will collect them anyway. You will also find your first slayer gate here. This mission contains:
- 7 Extra Lives
- 7 Codex Pages
- 5 Secrets
- 1 Rune
- 2 Doomtoys
- 1 Sentinel Battery
- 2 Secret Encounters
- 1 Album
- 1 Automap
- 1 Weapon mod
- 1 Sentinel Crystal
- 1 Slayer Gate Key
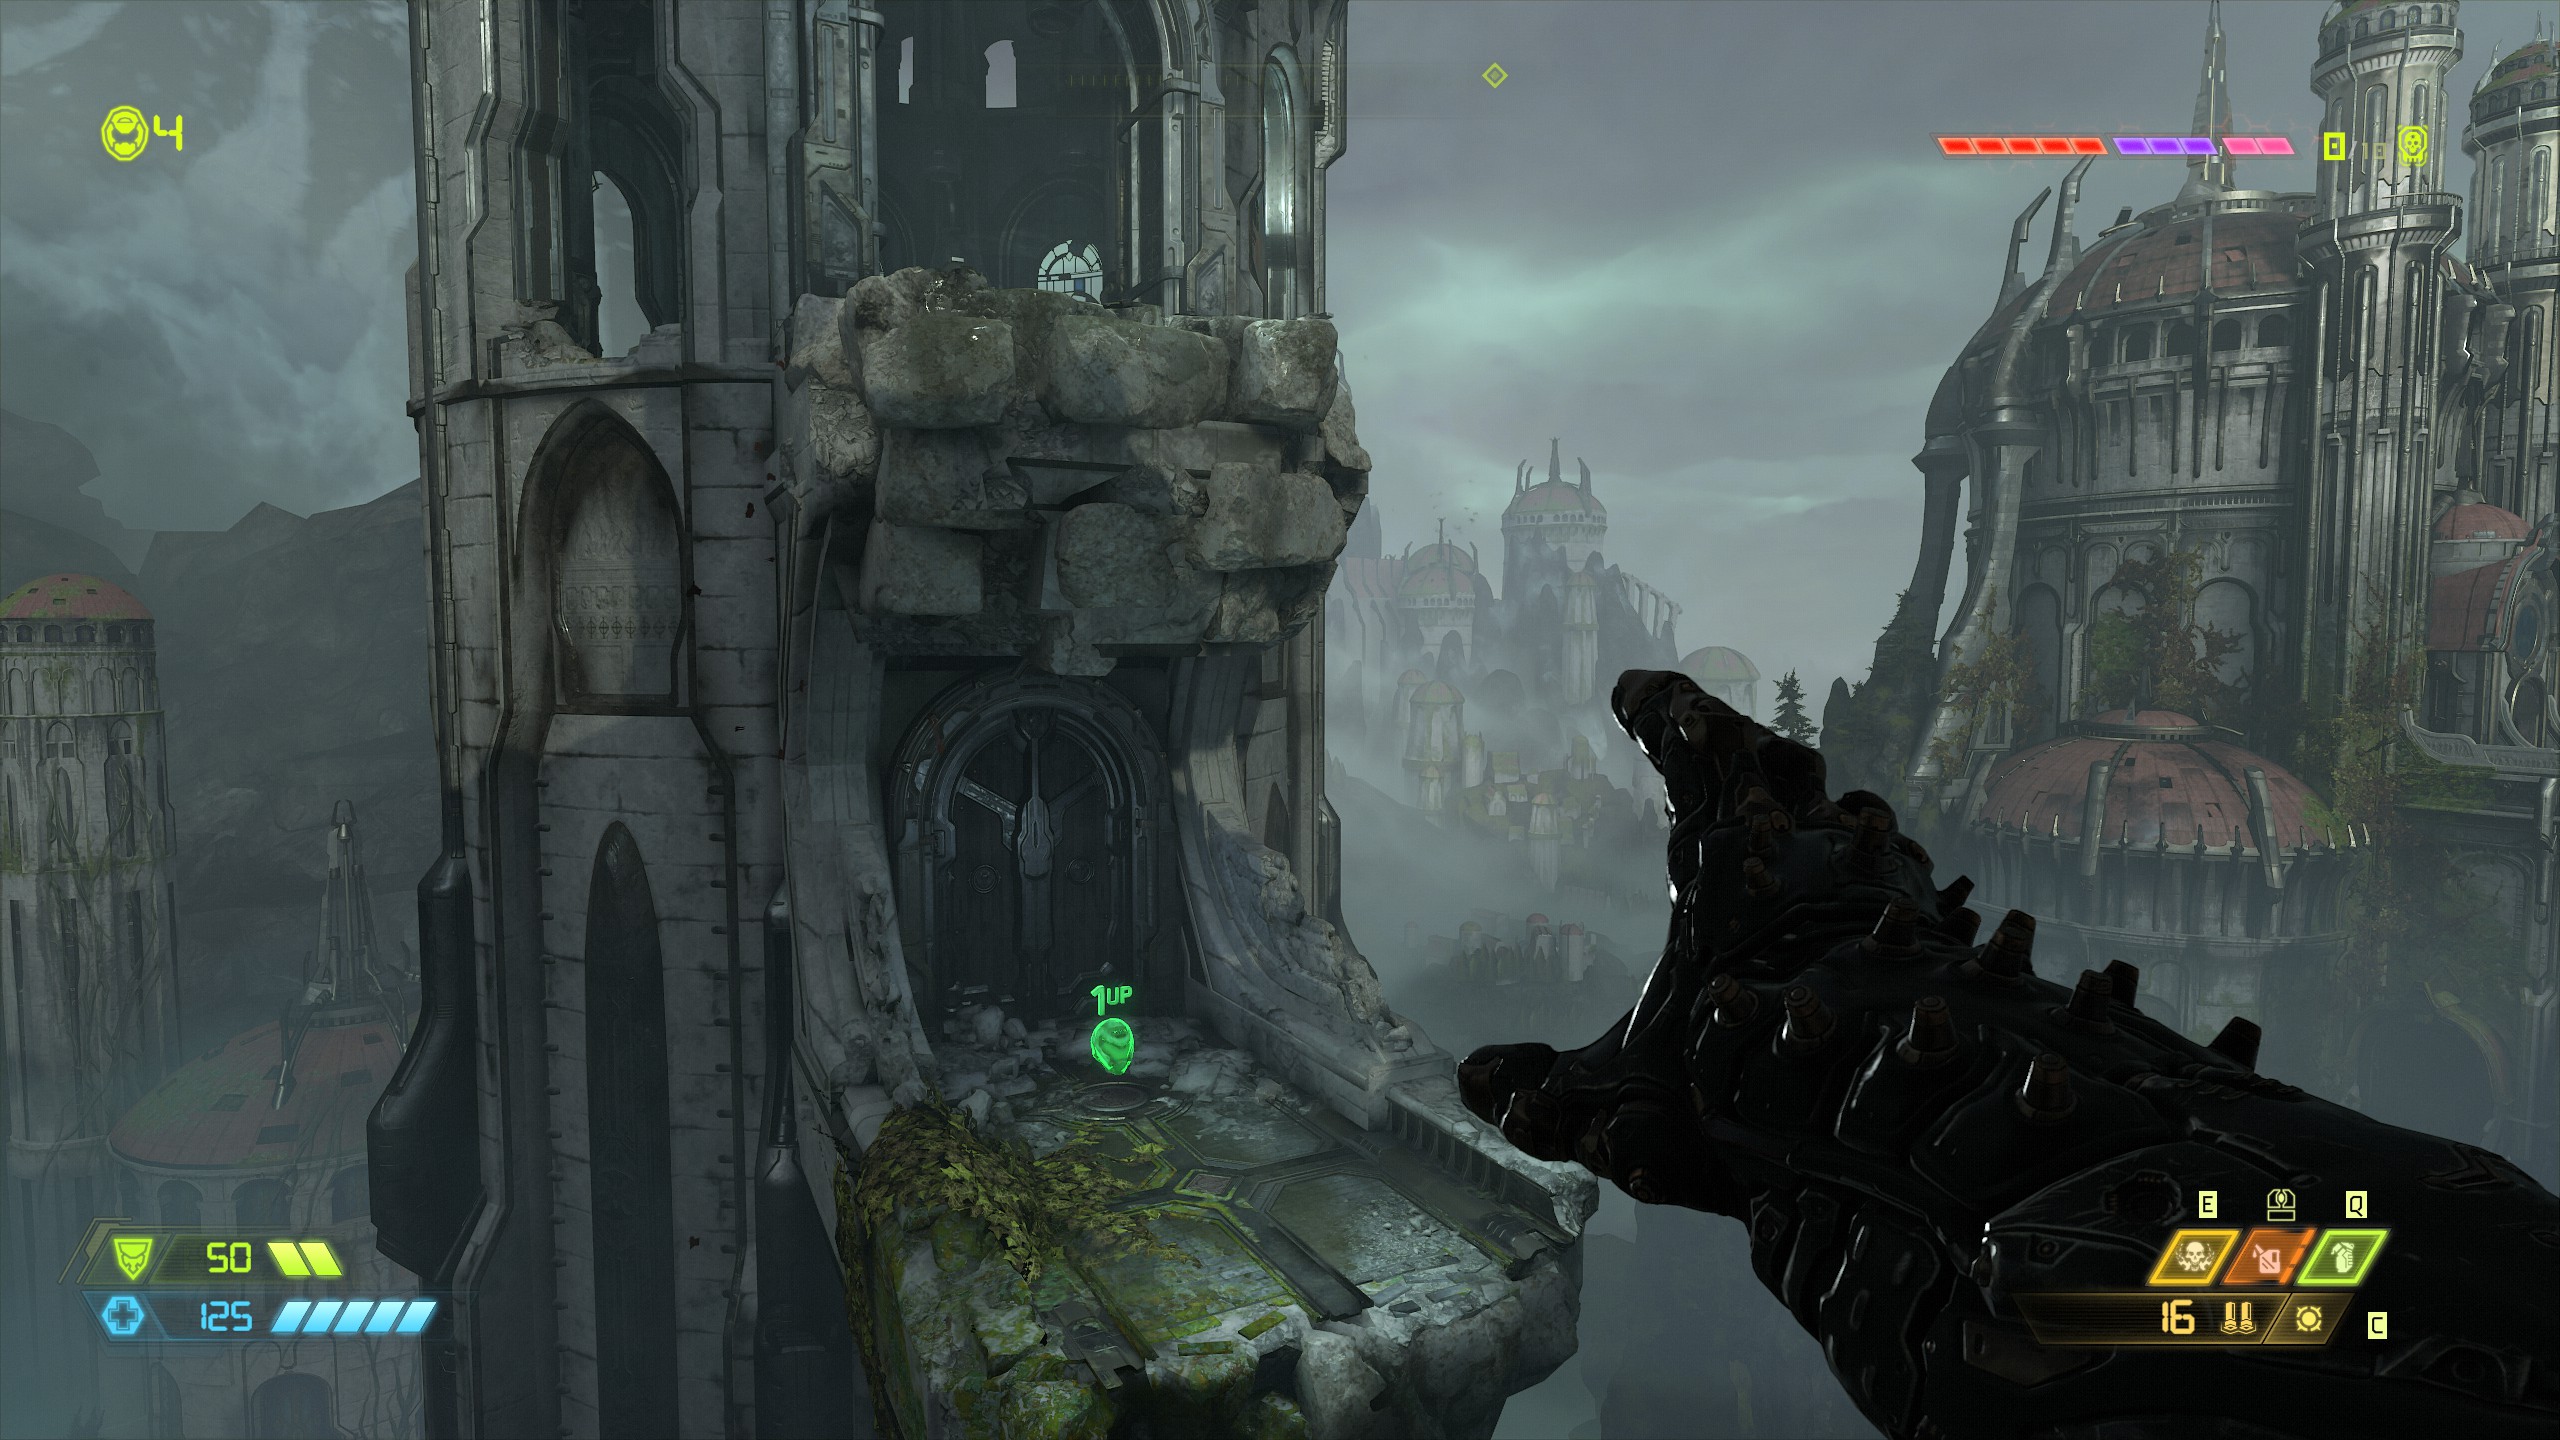
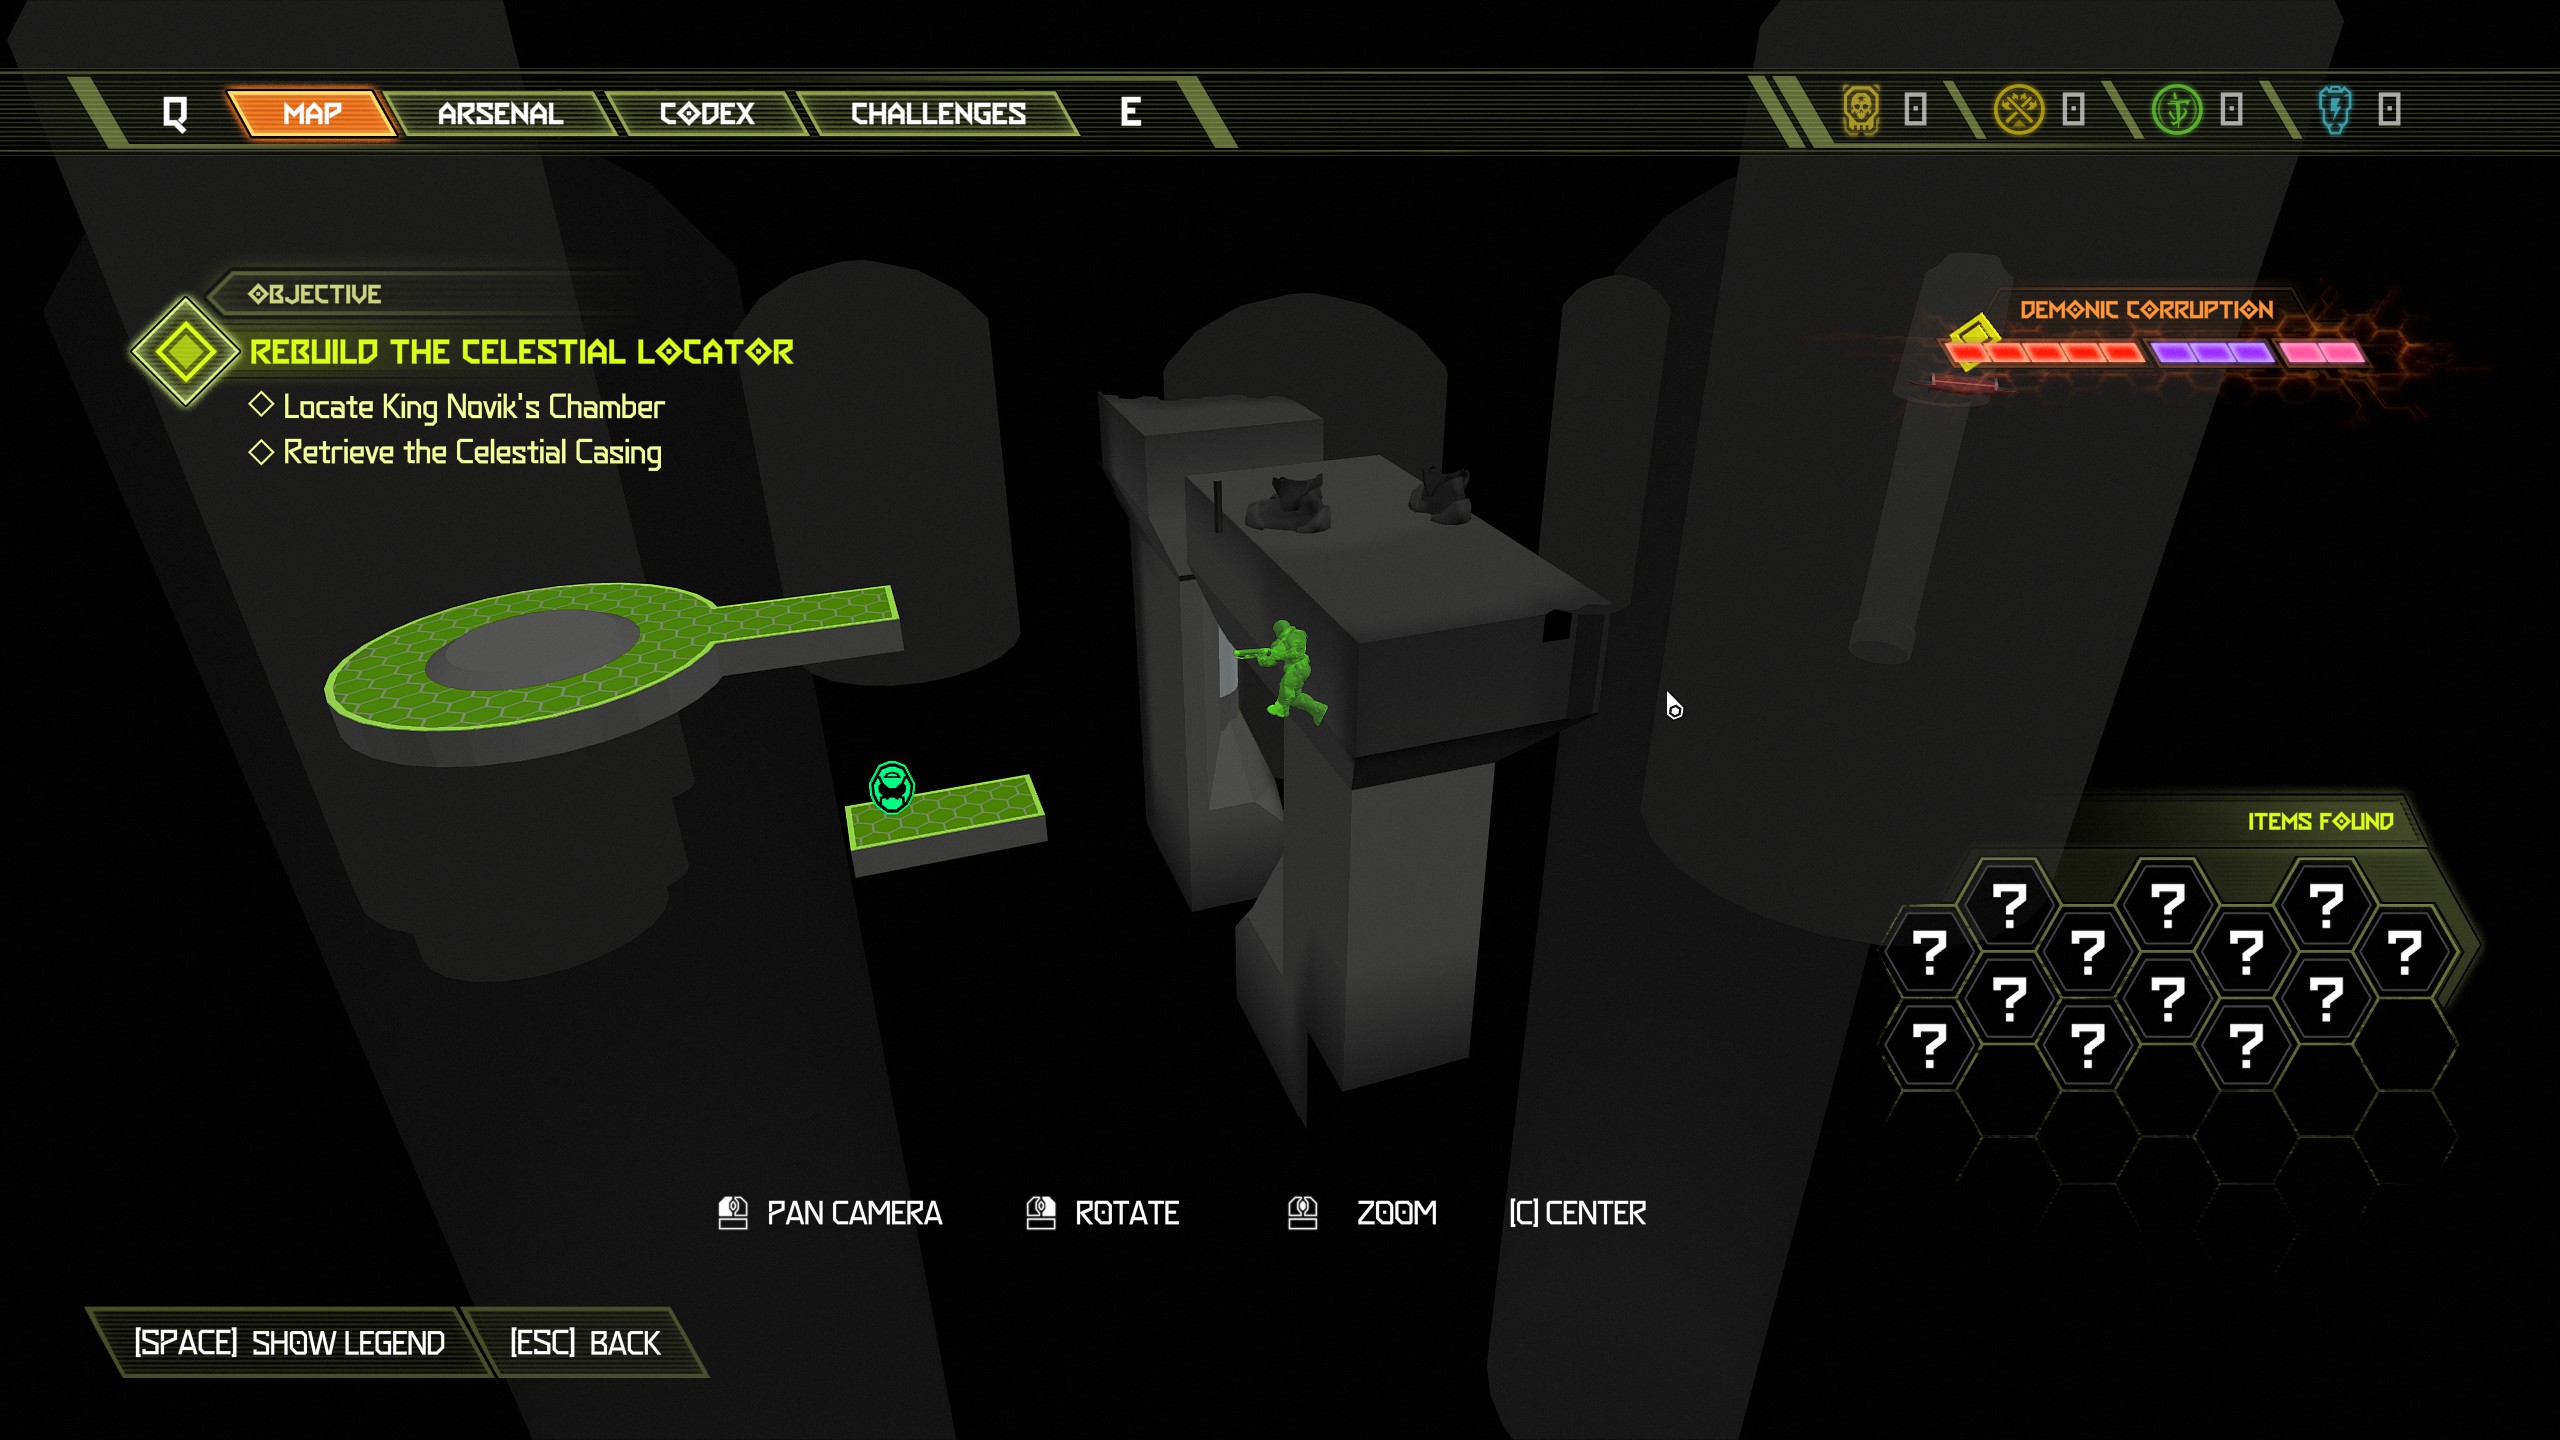
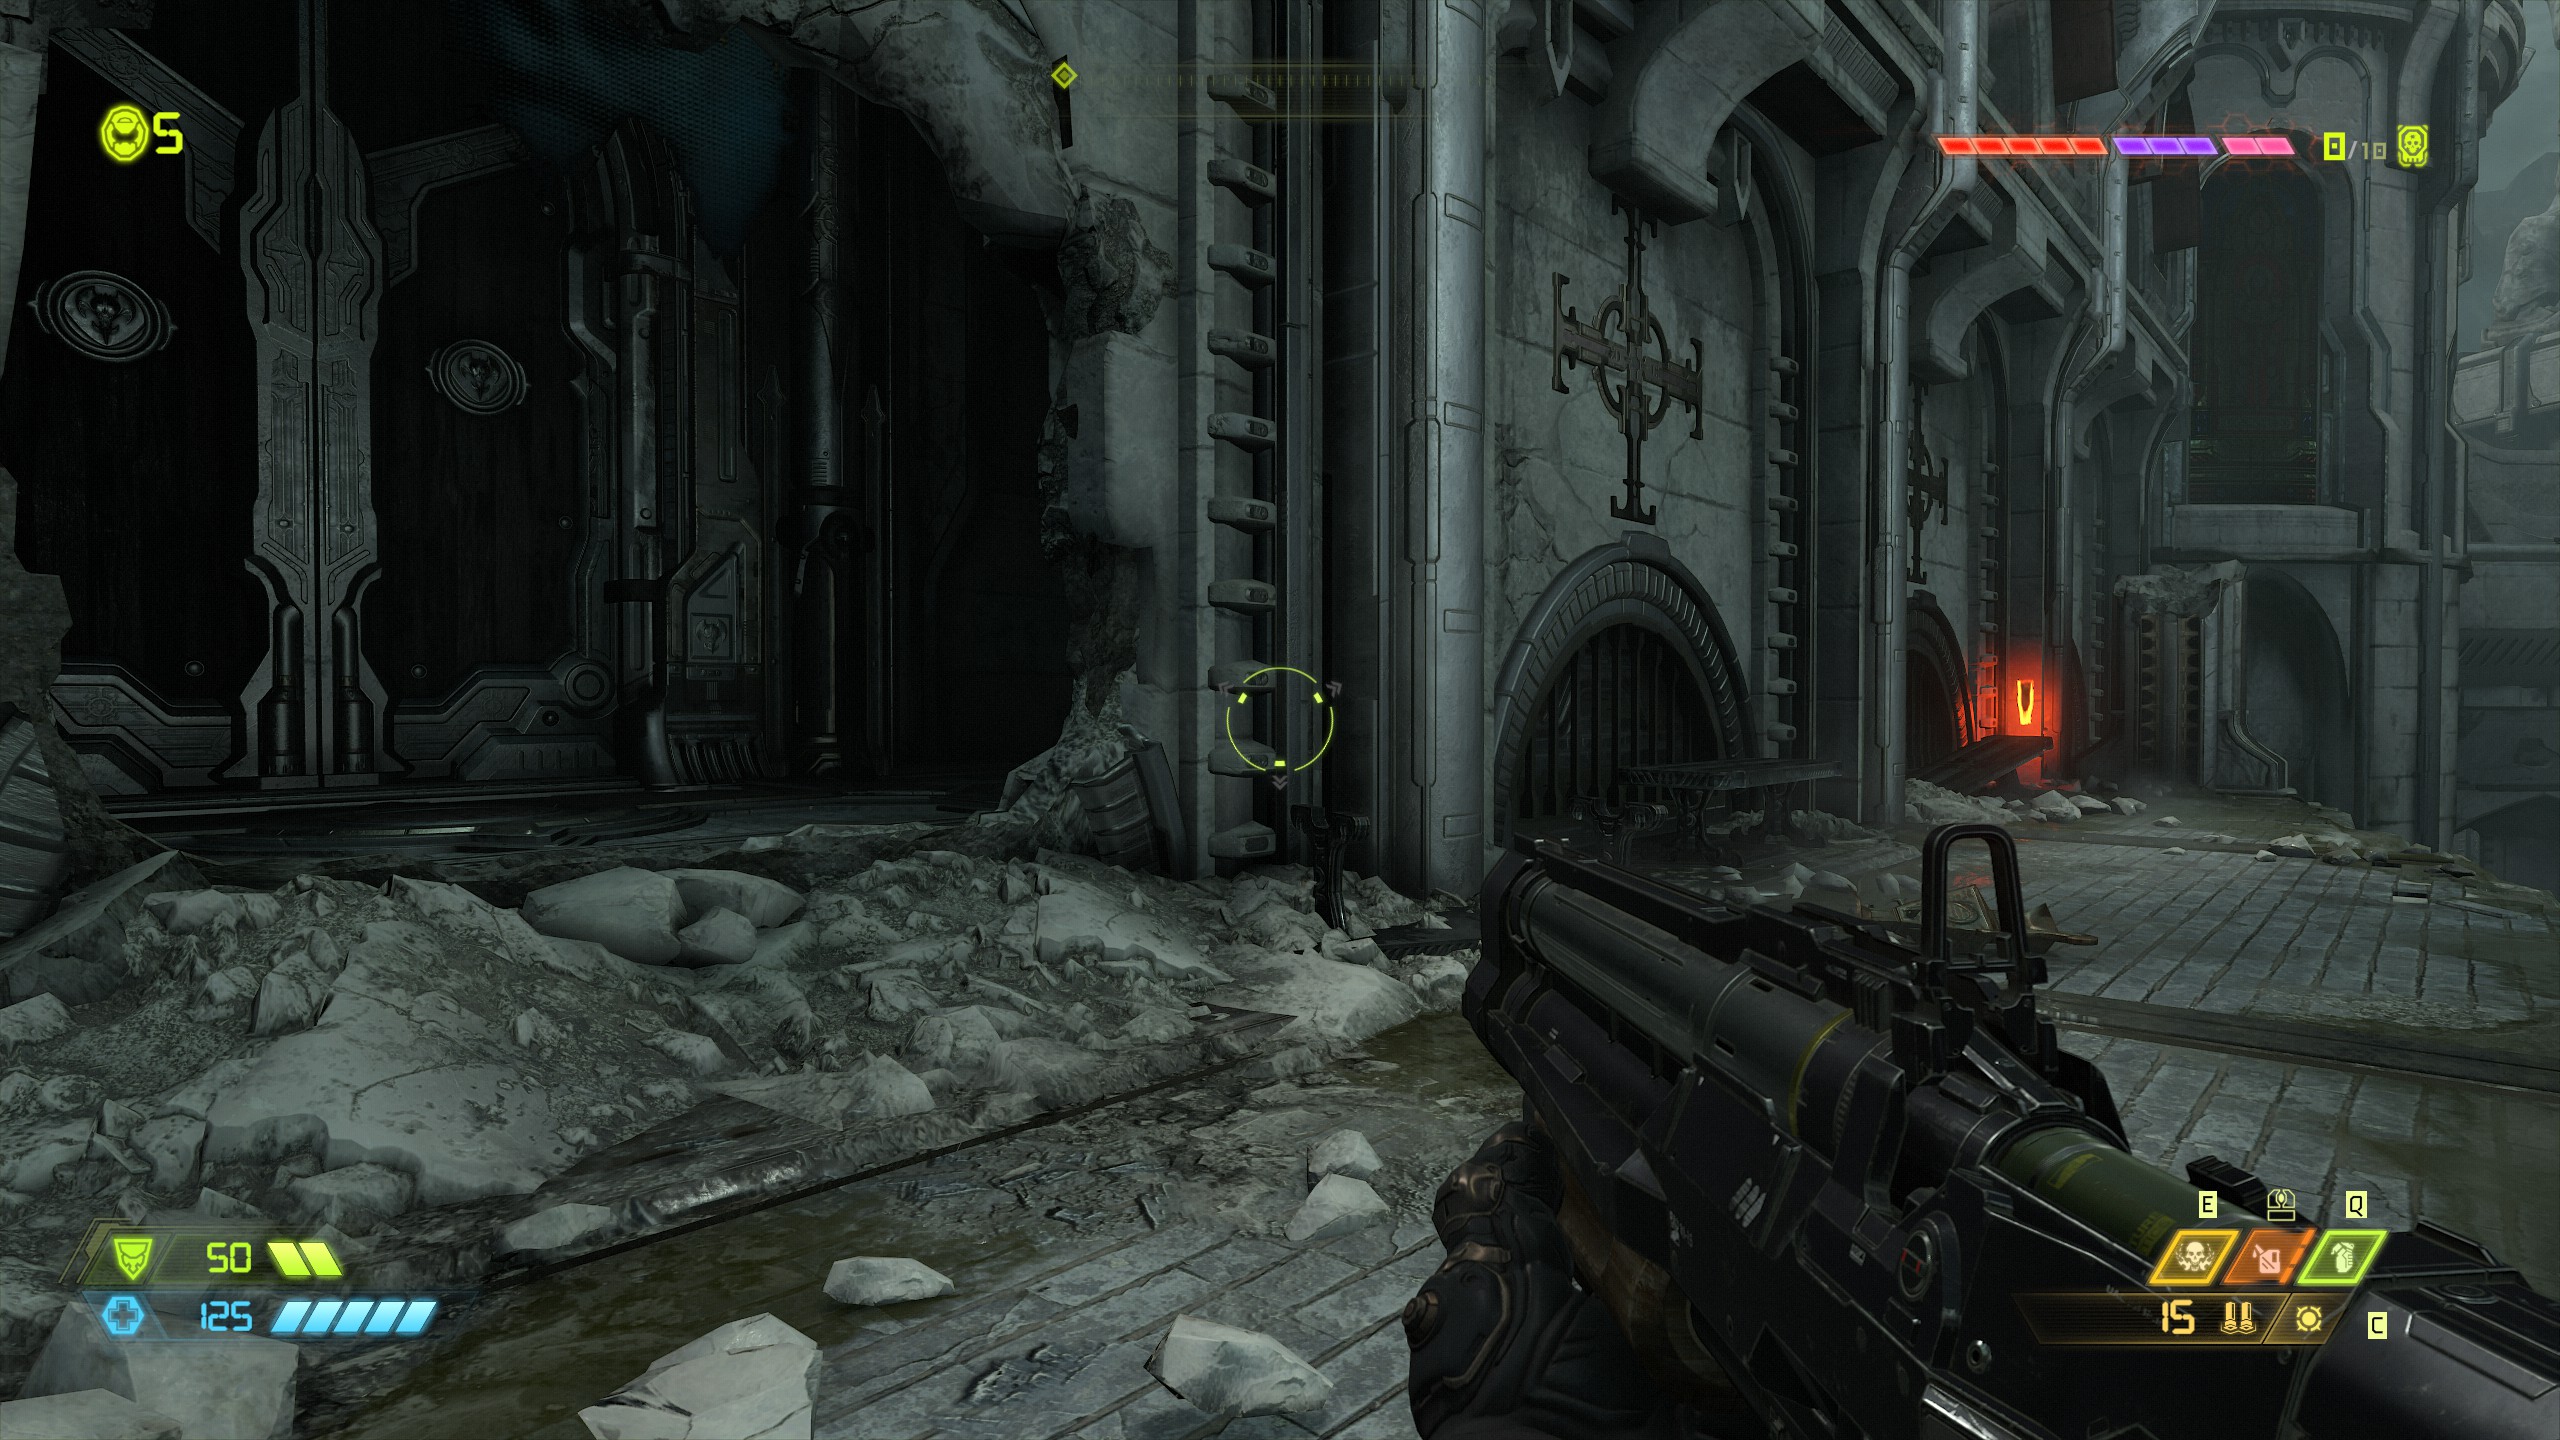
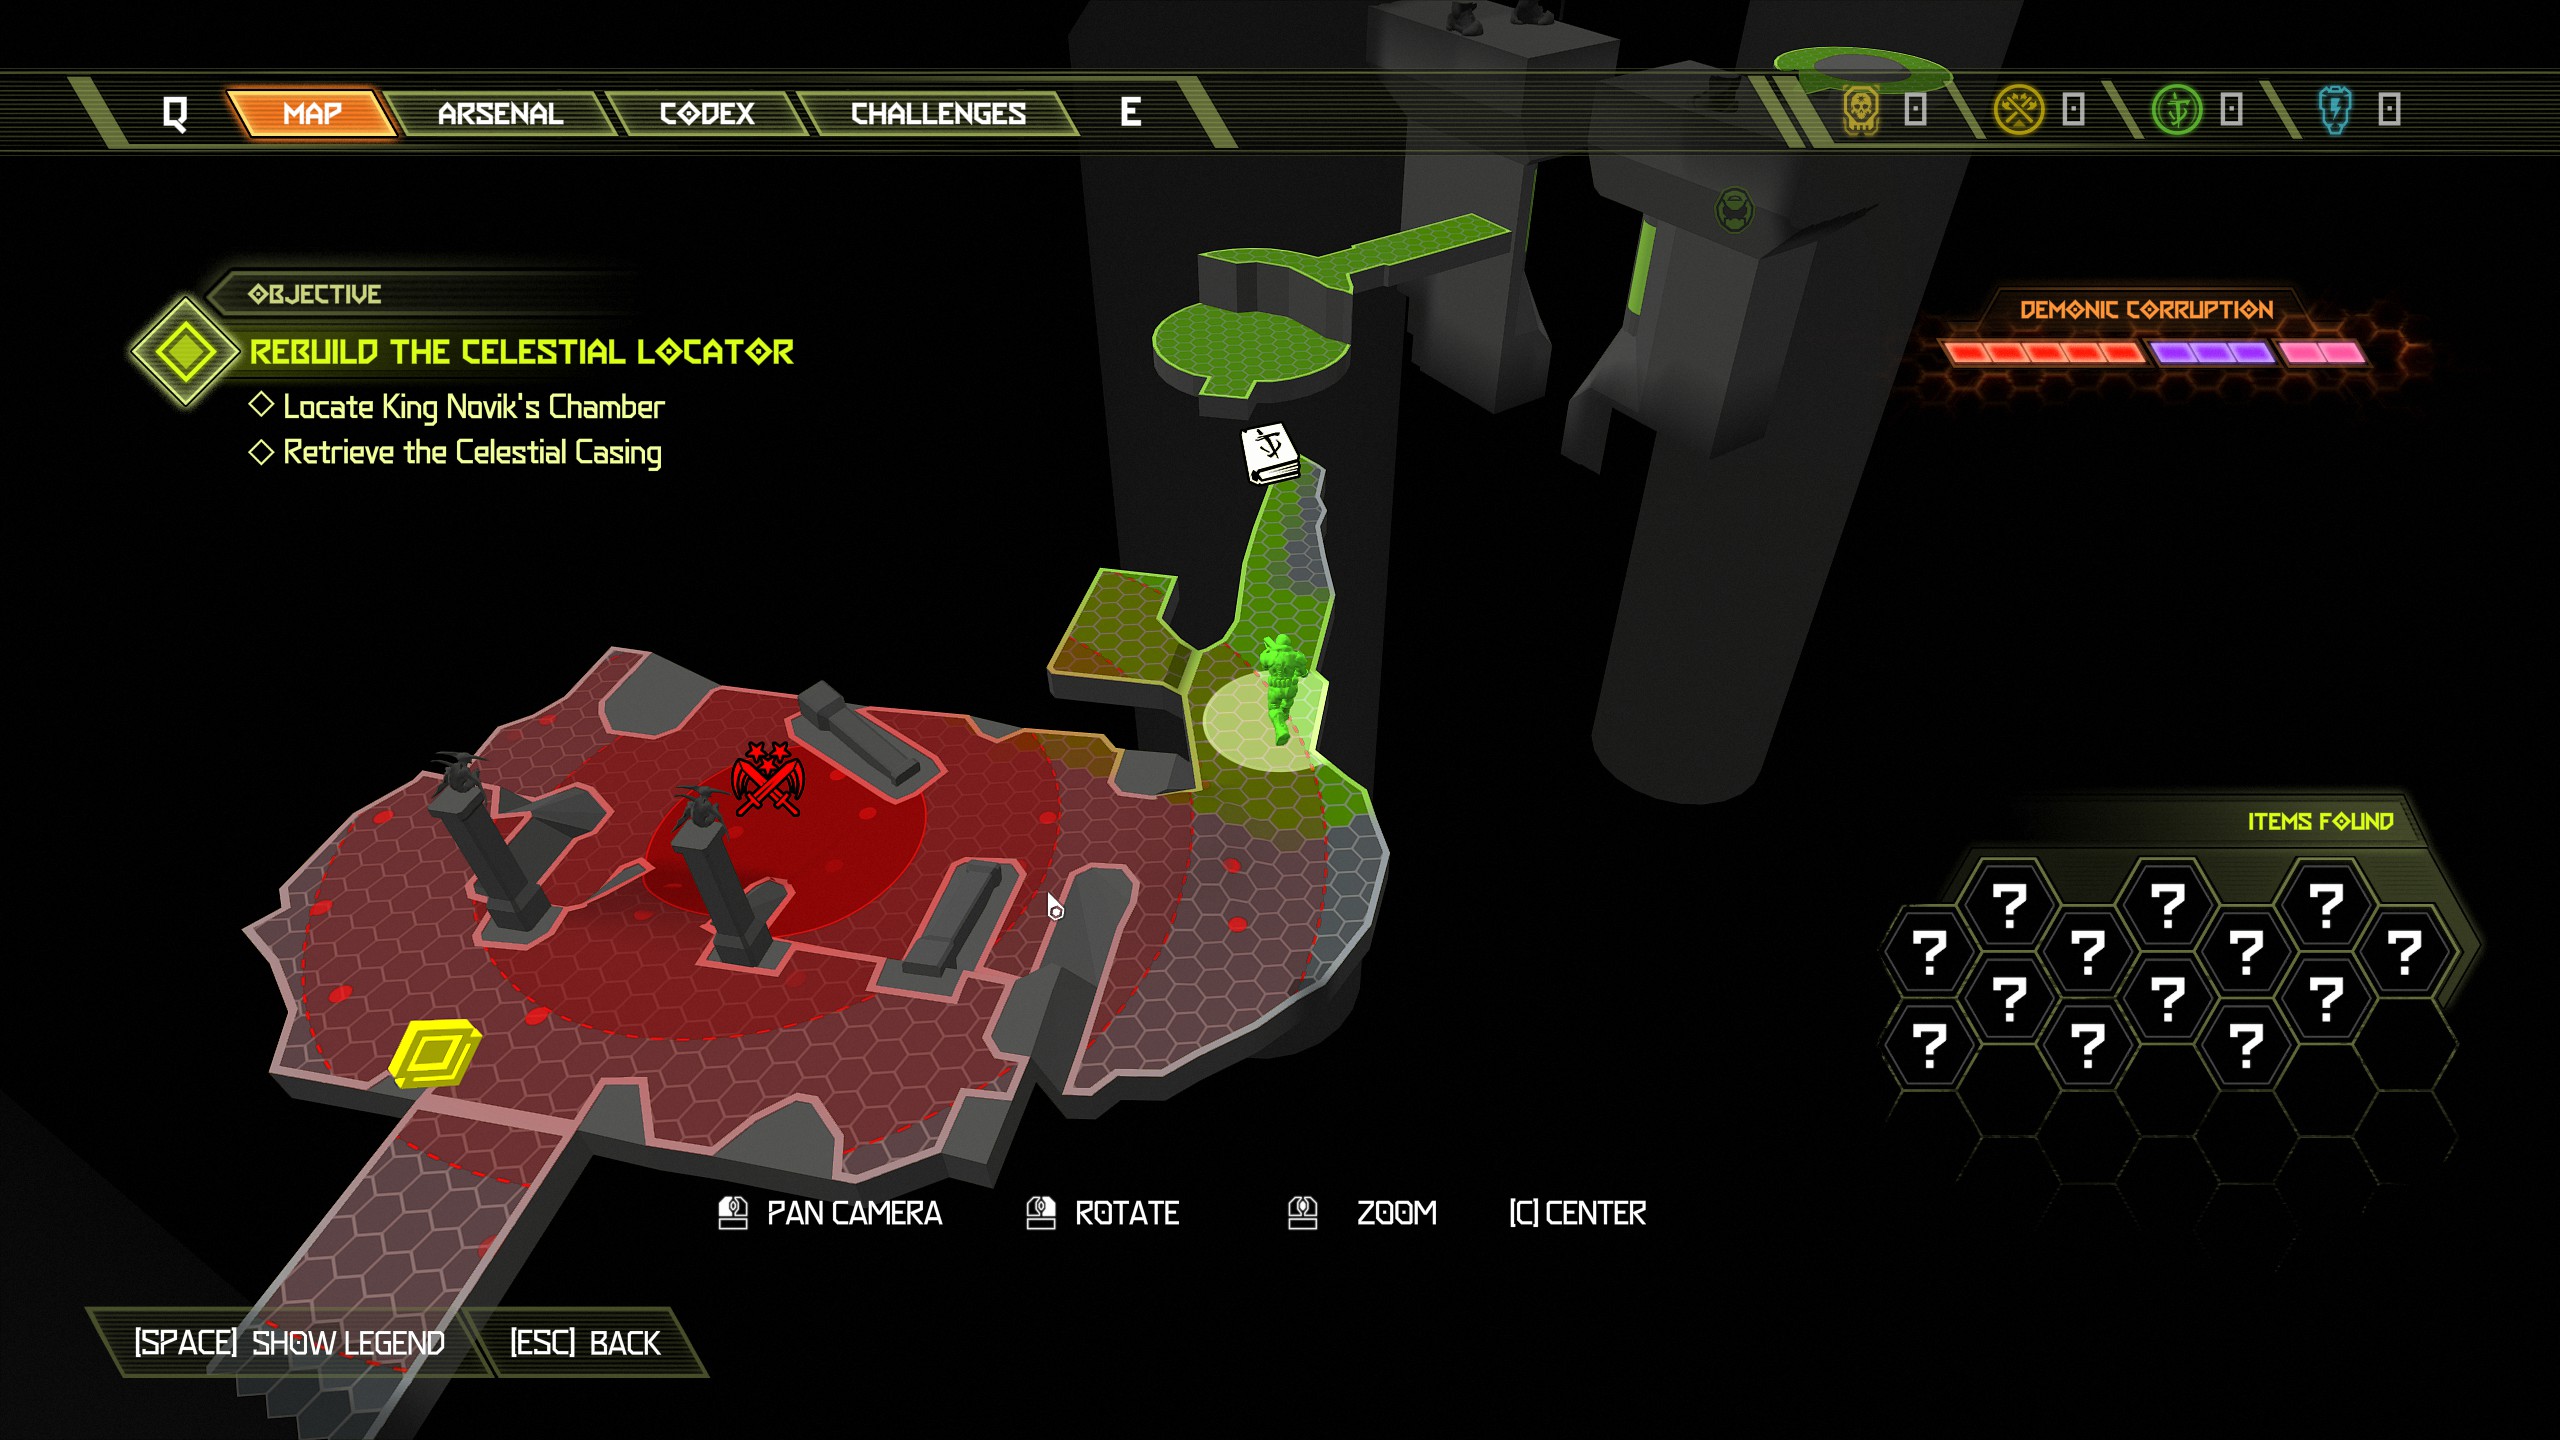
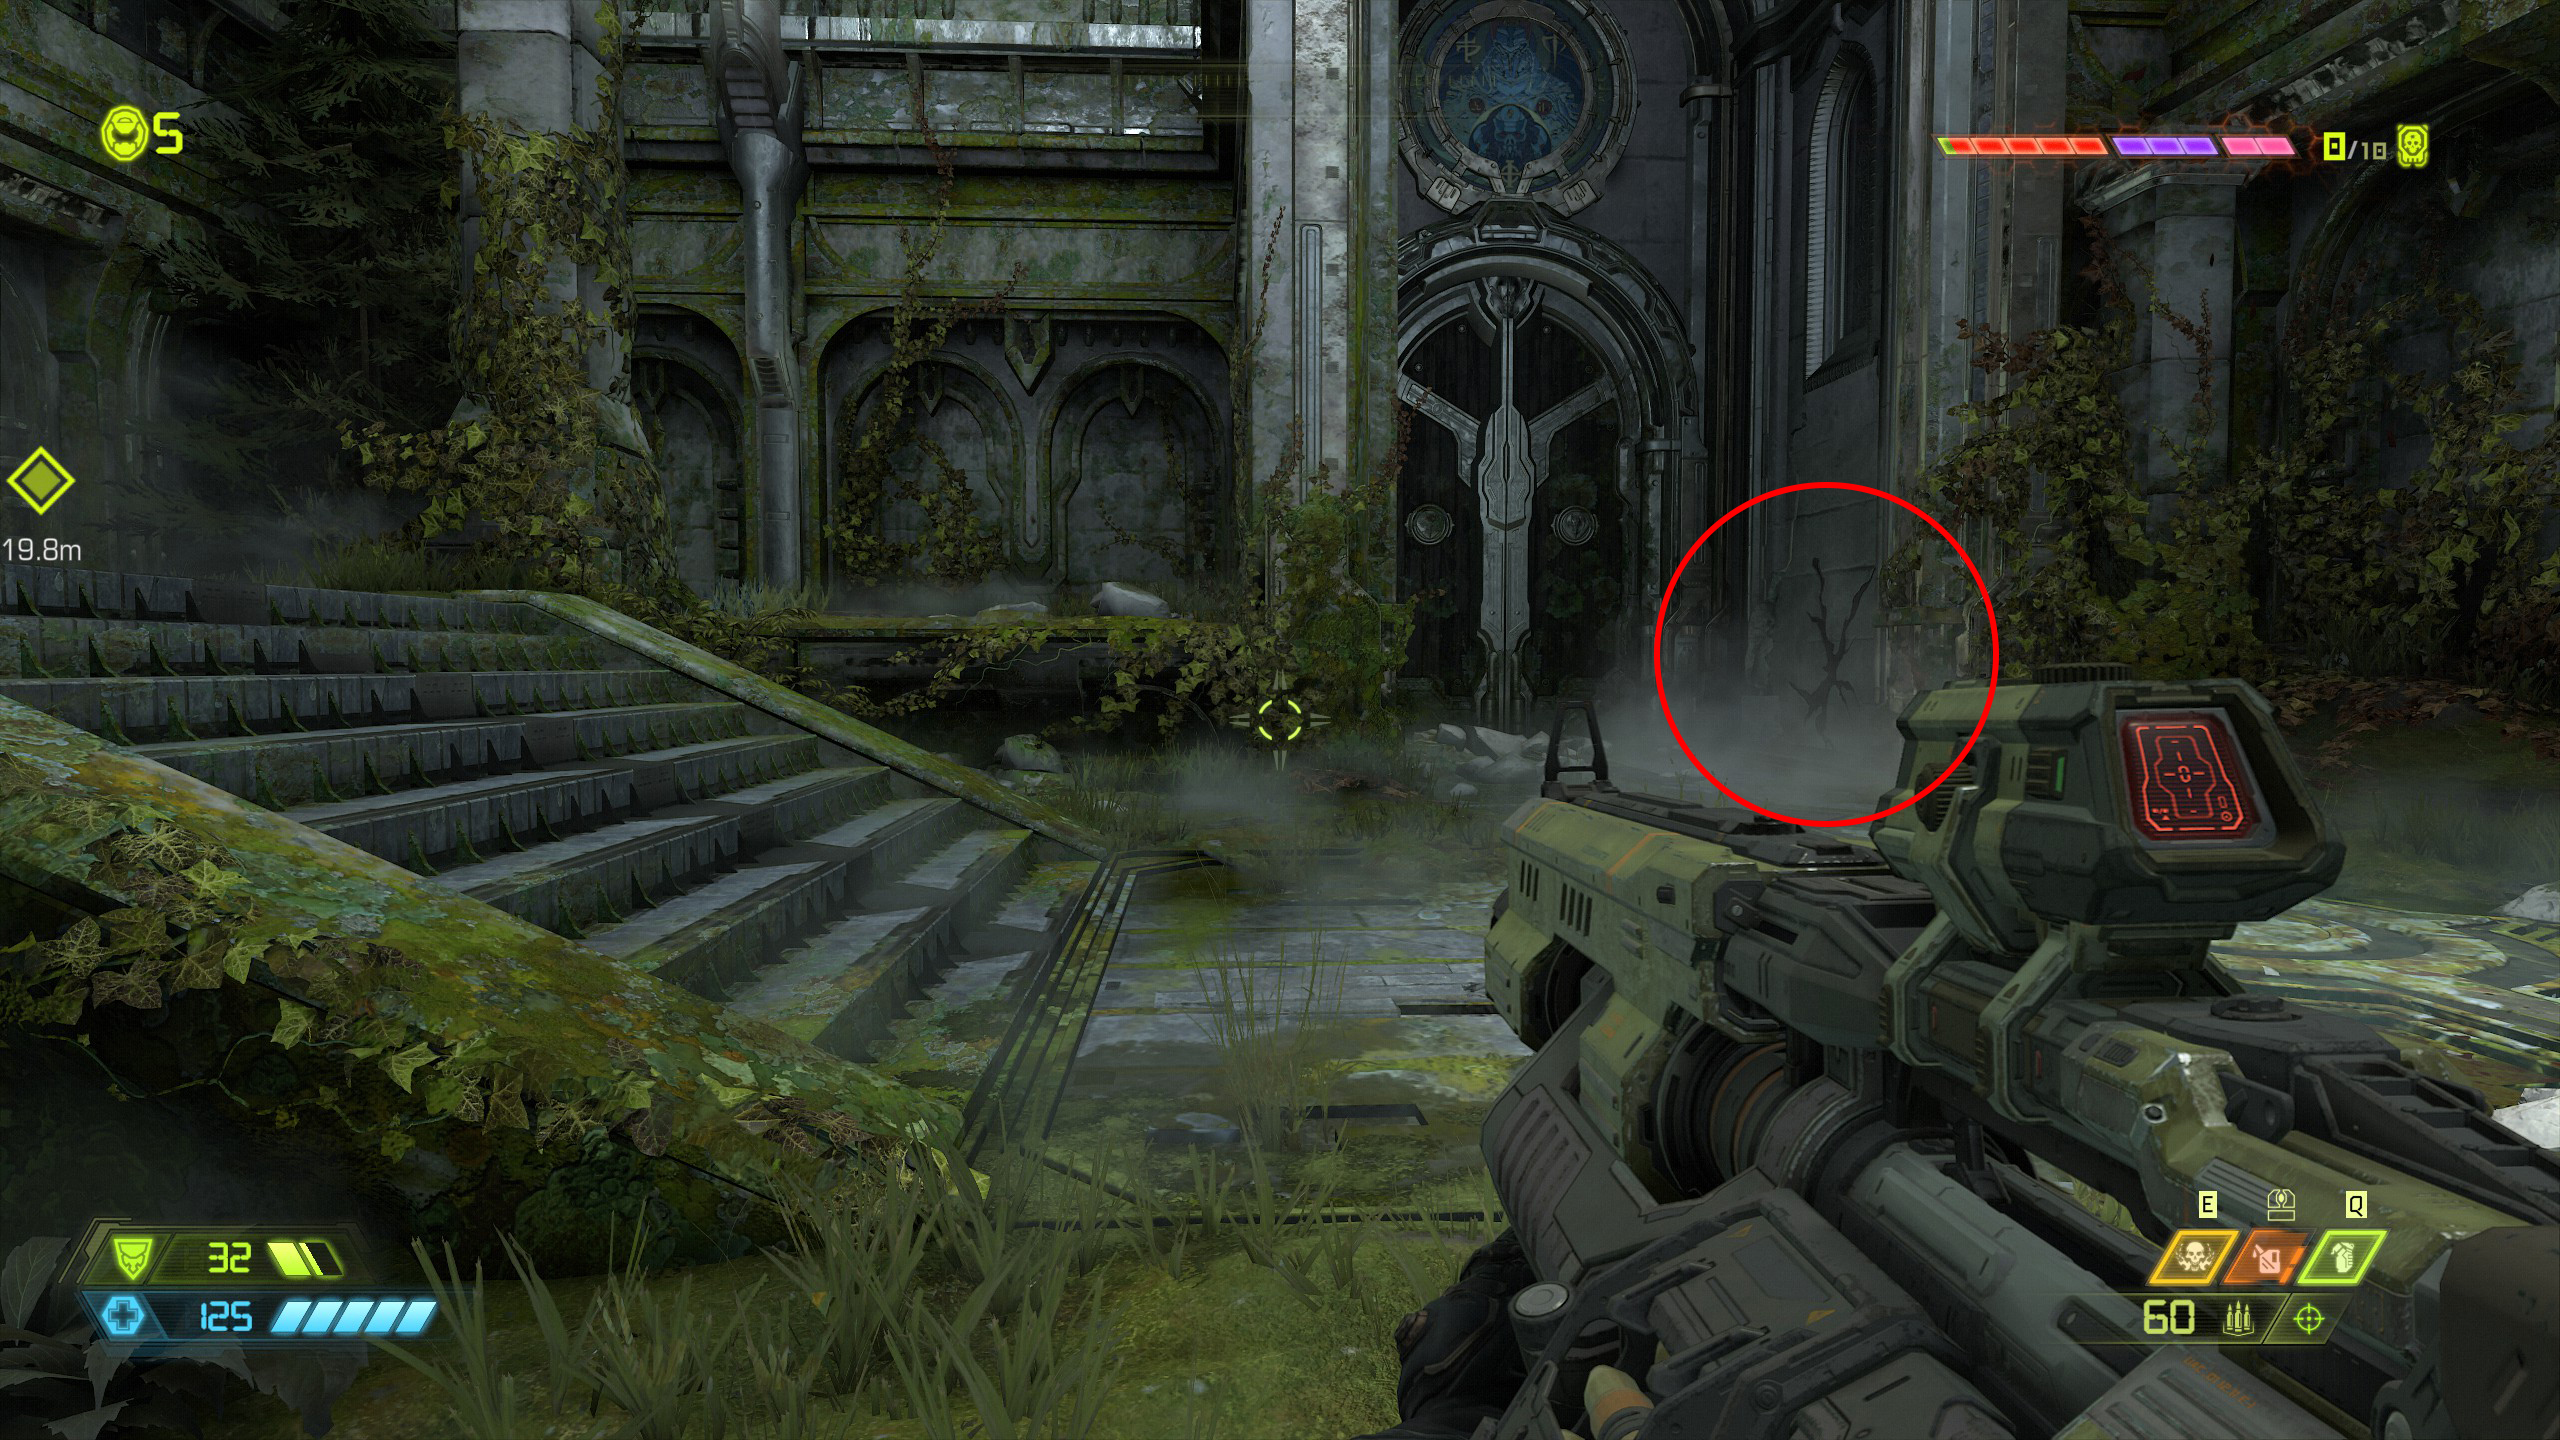
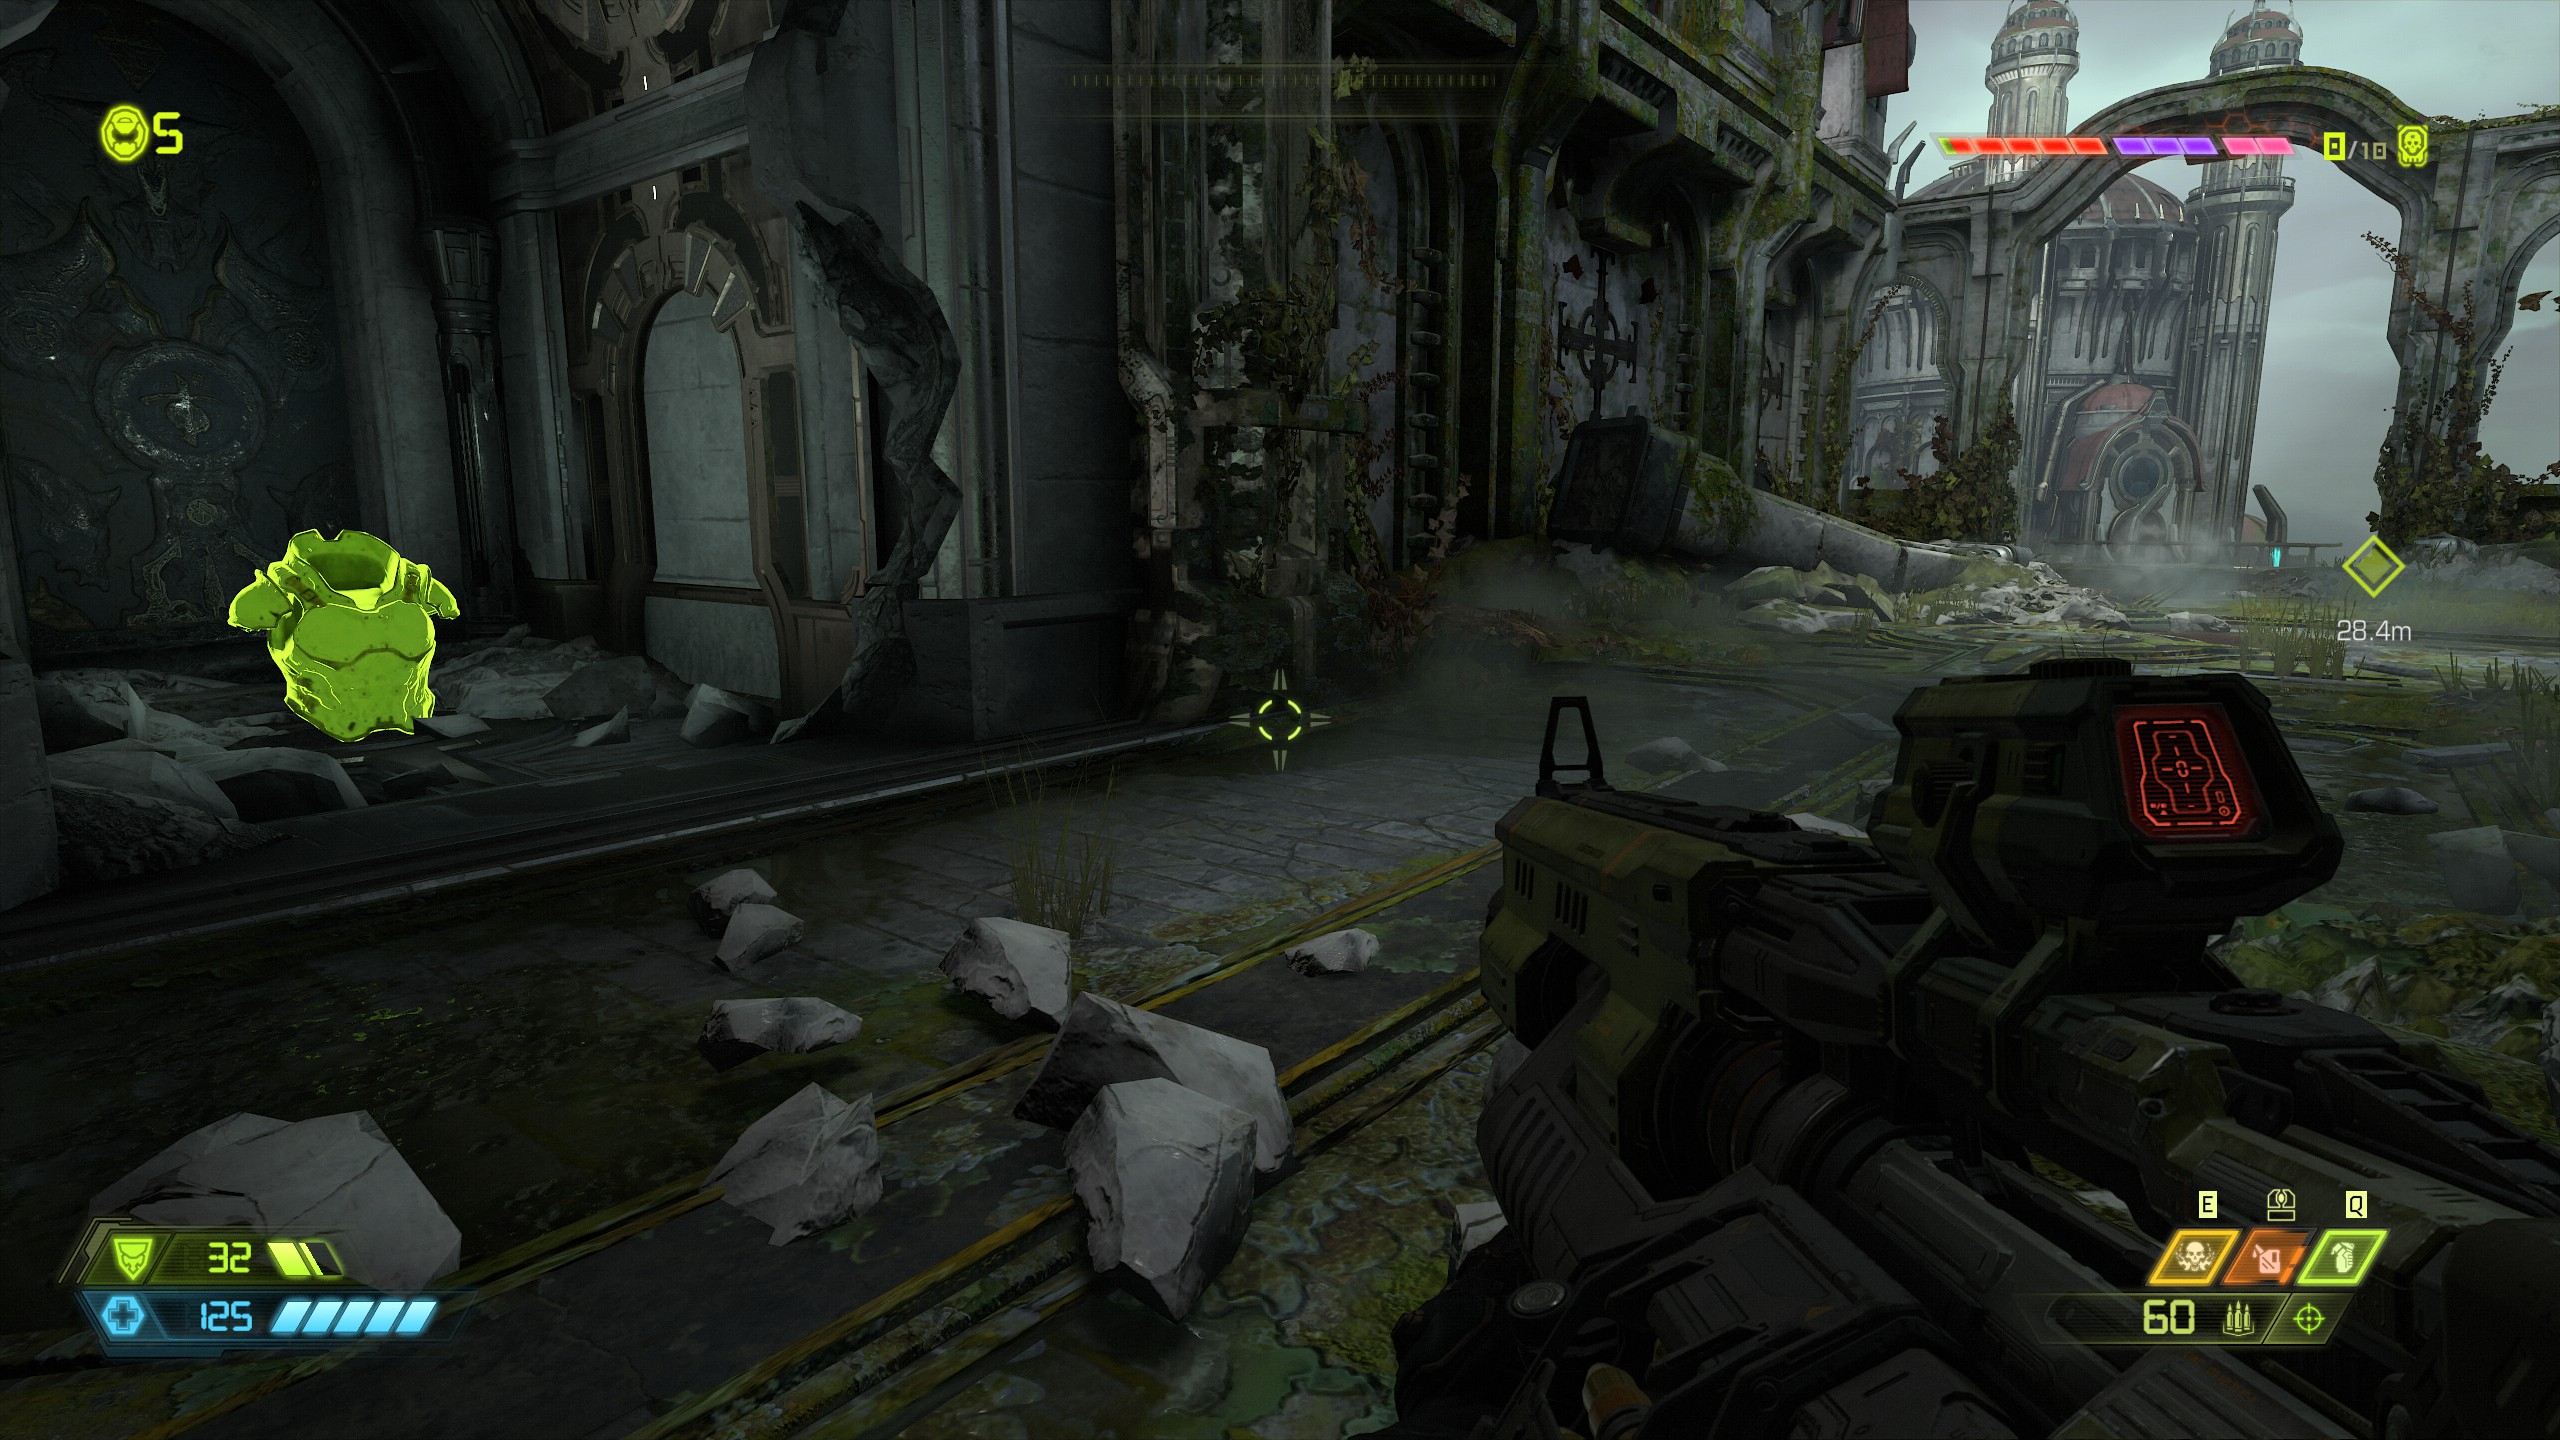
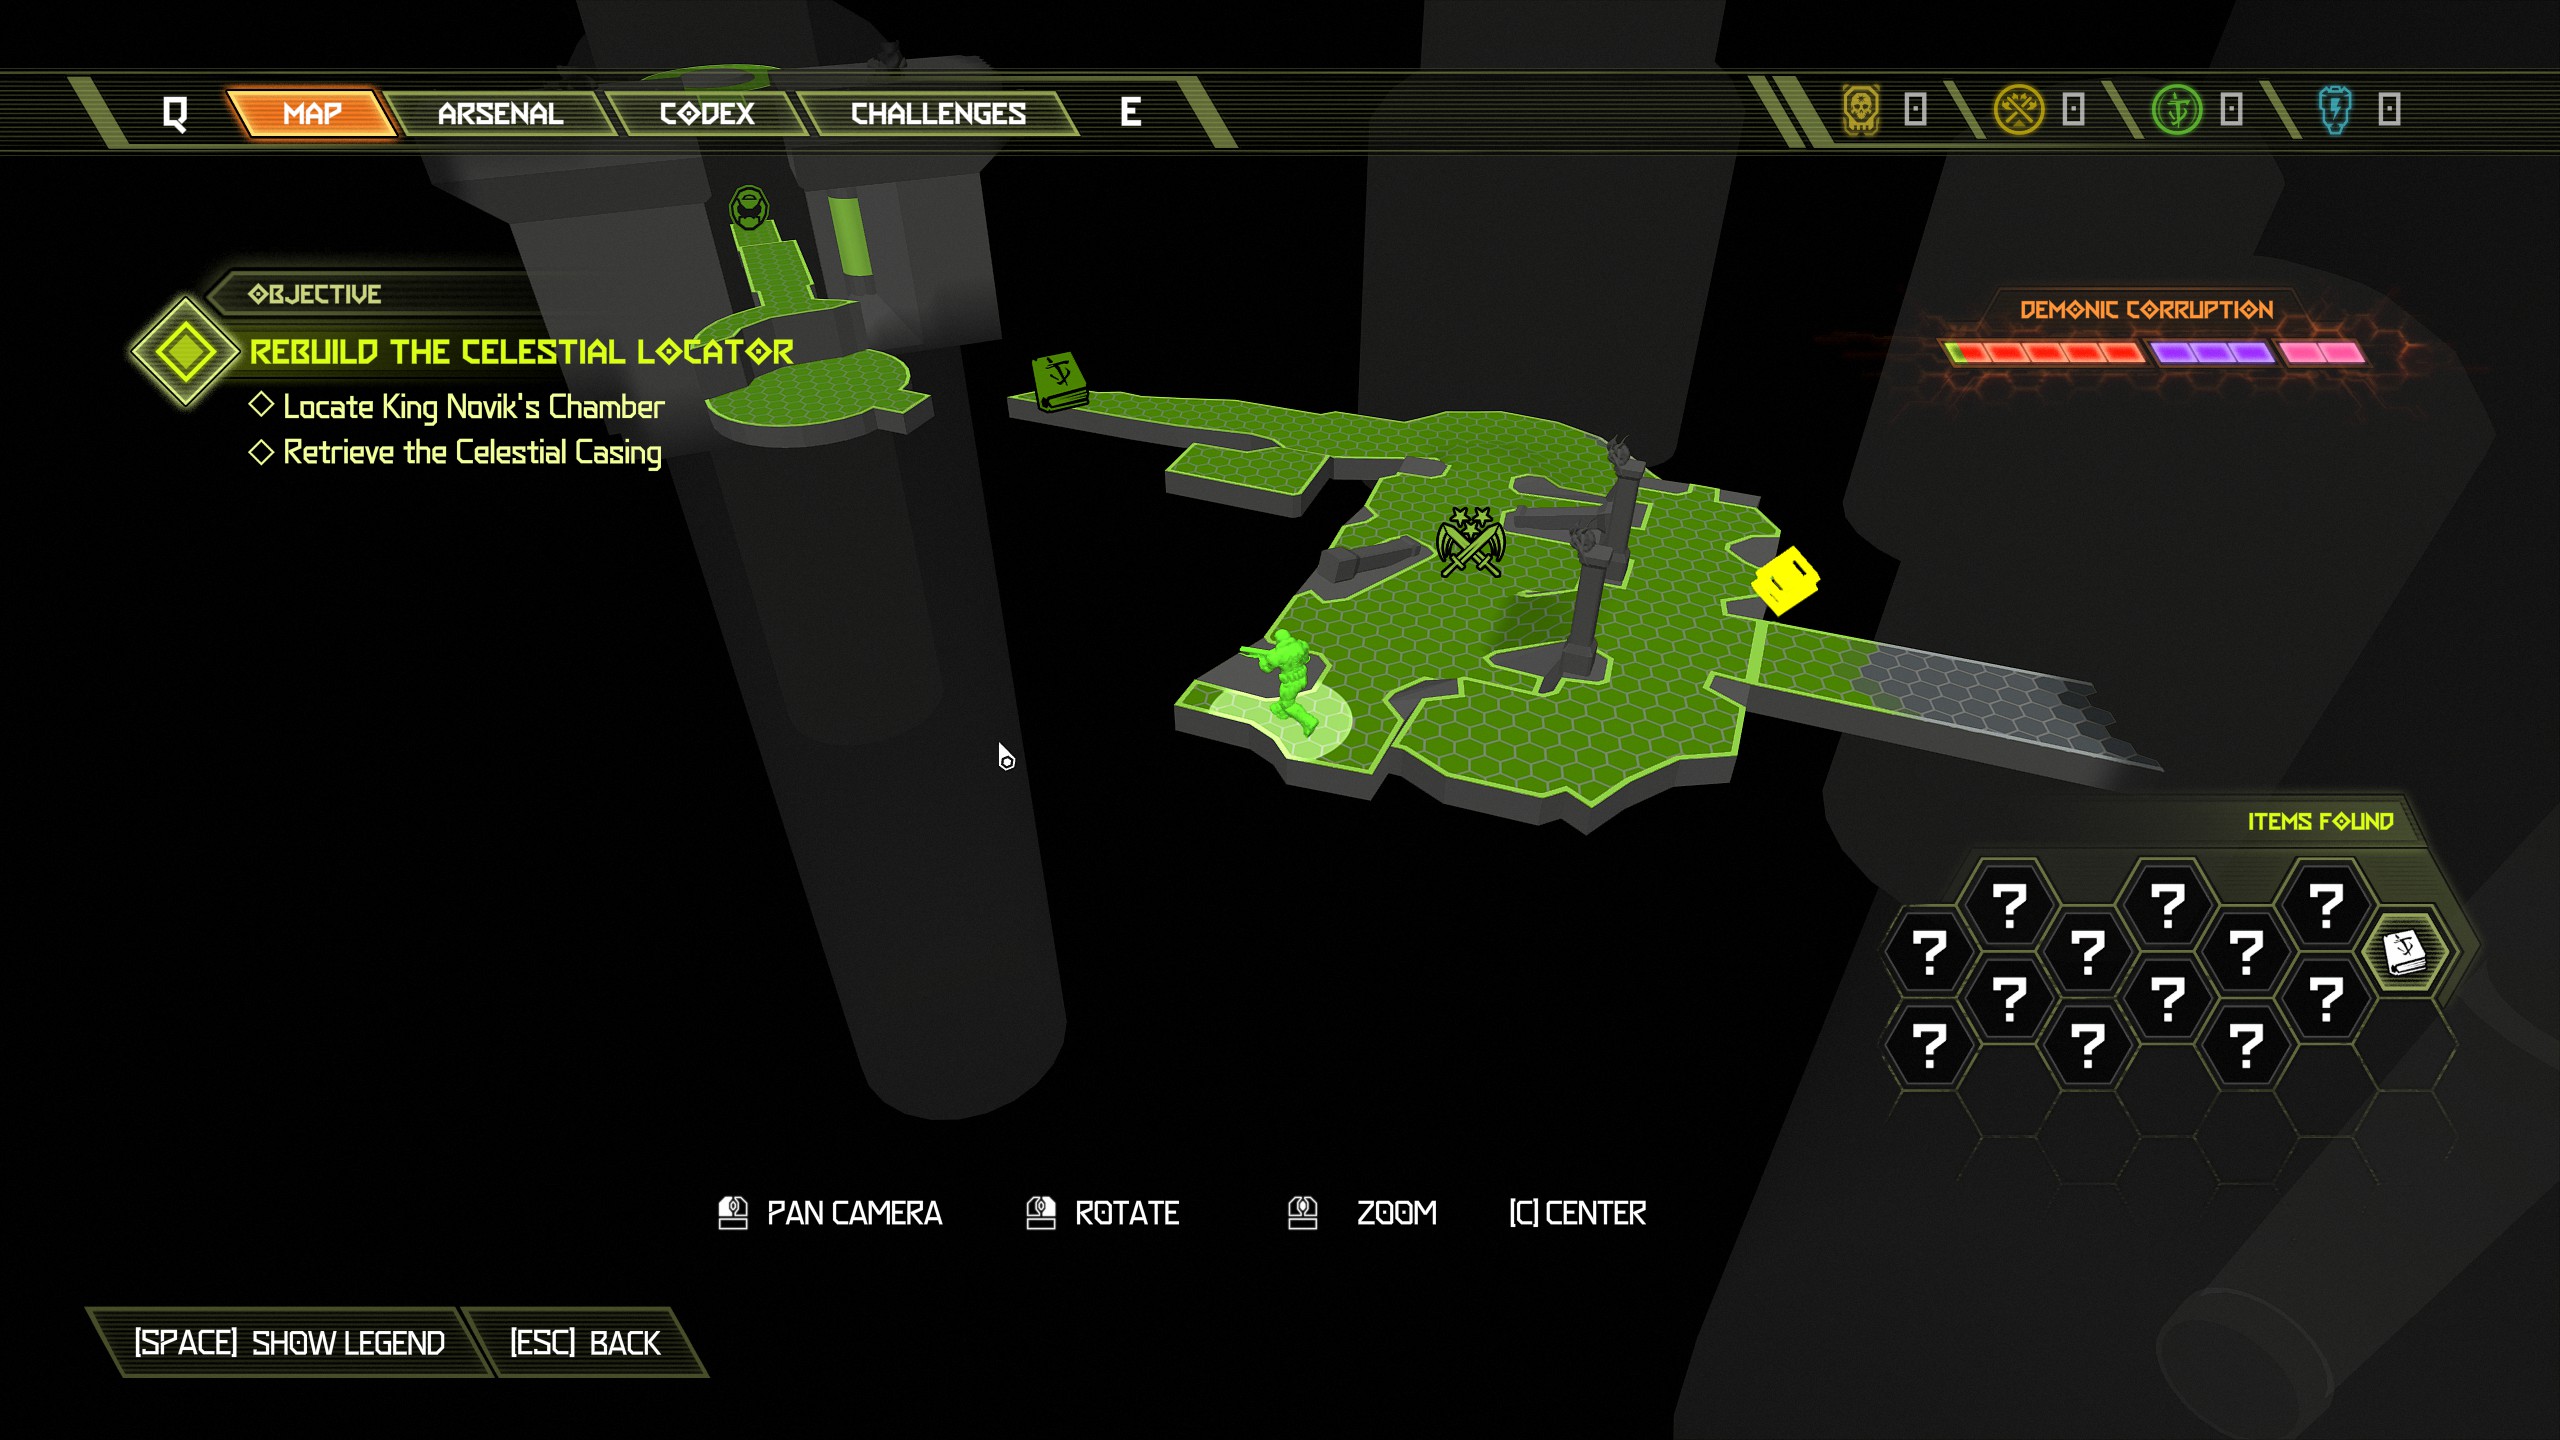
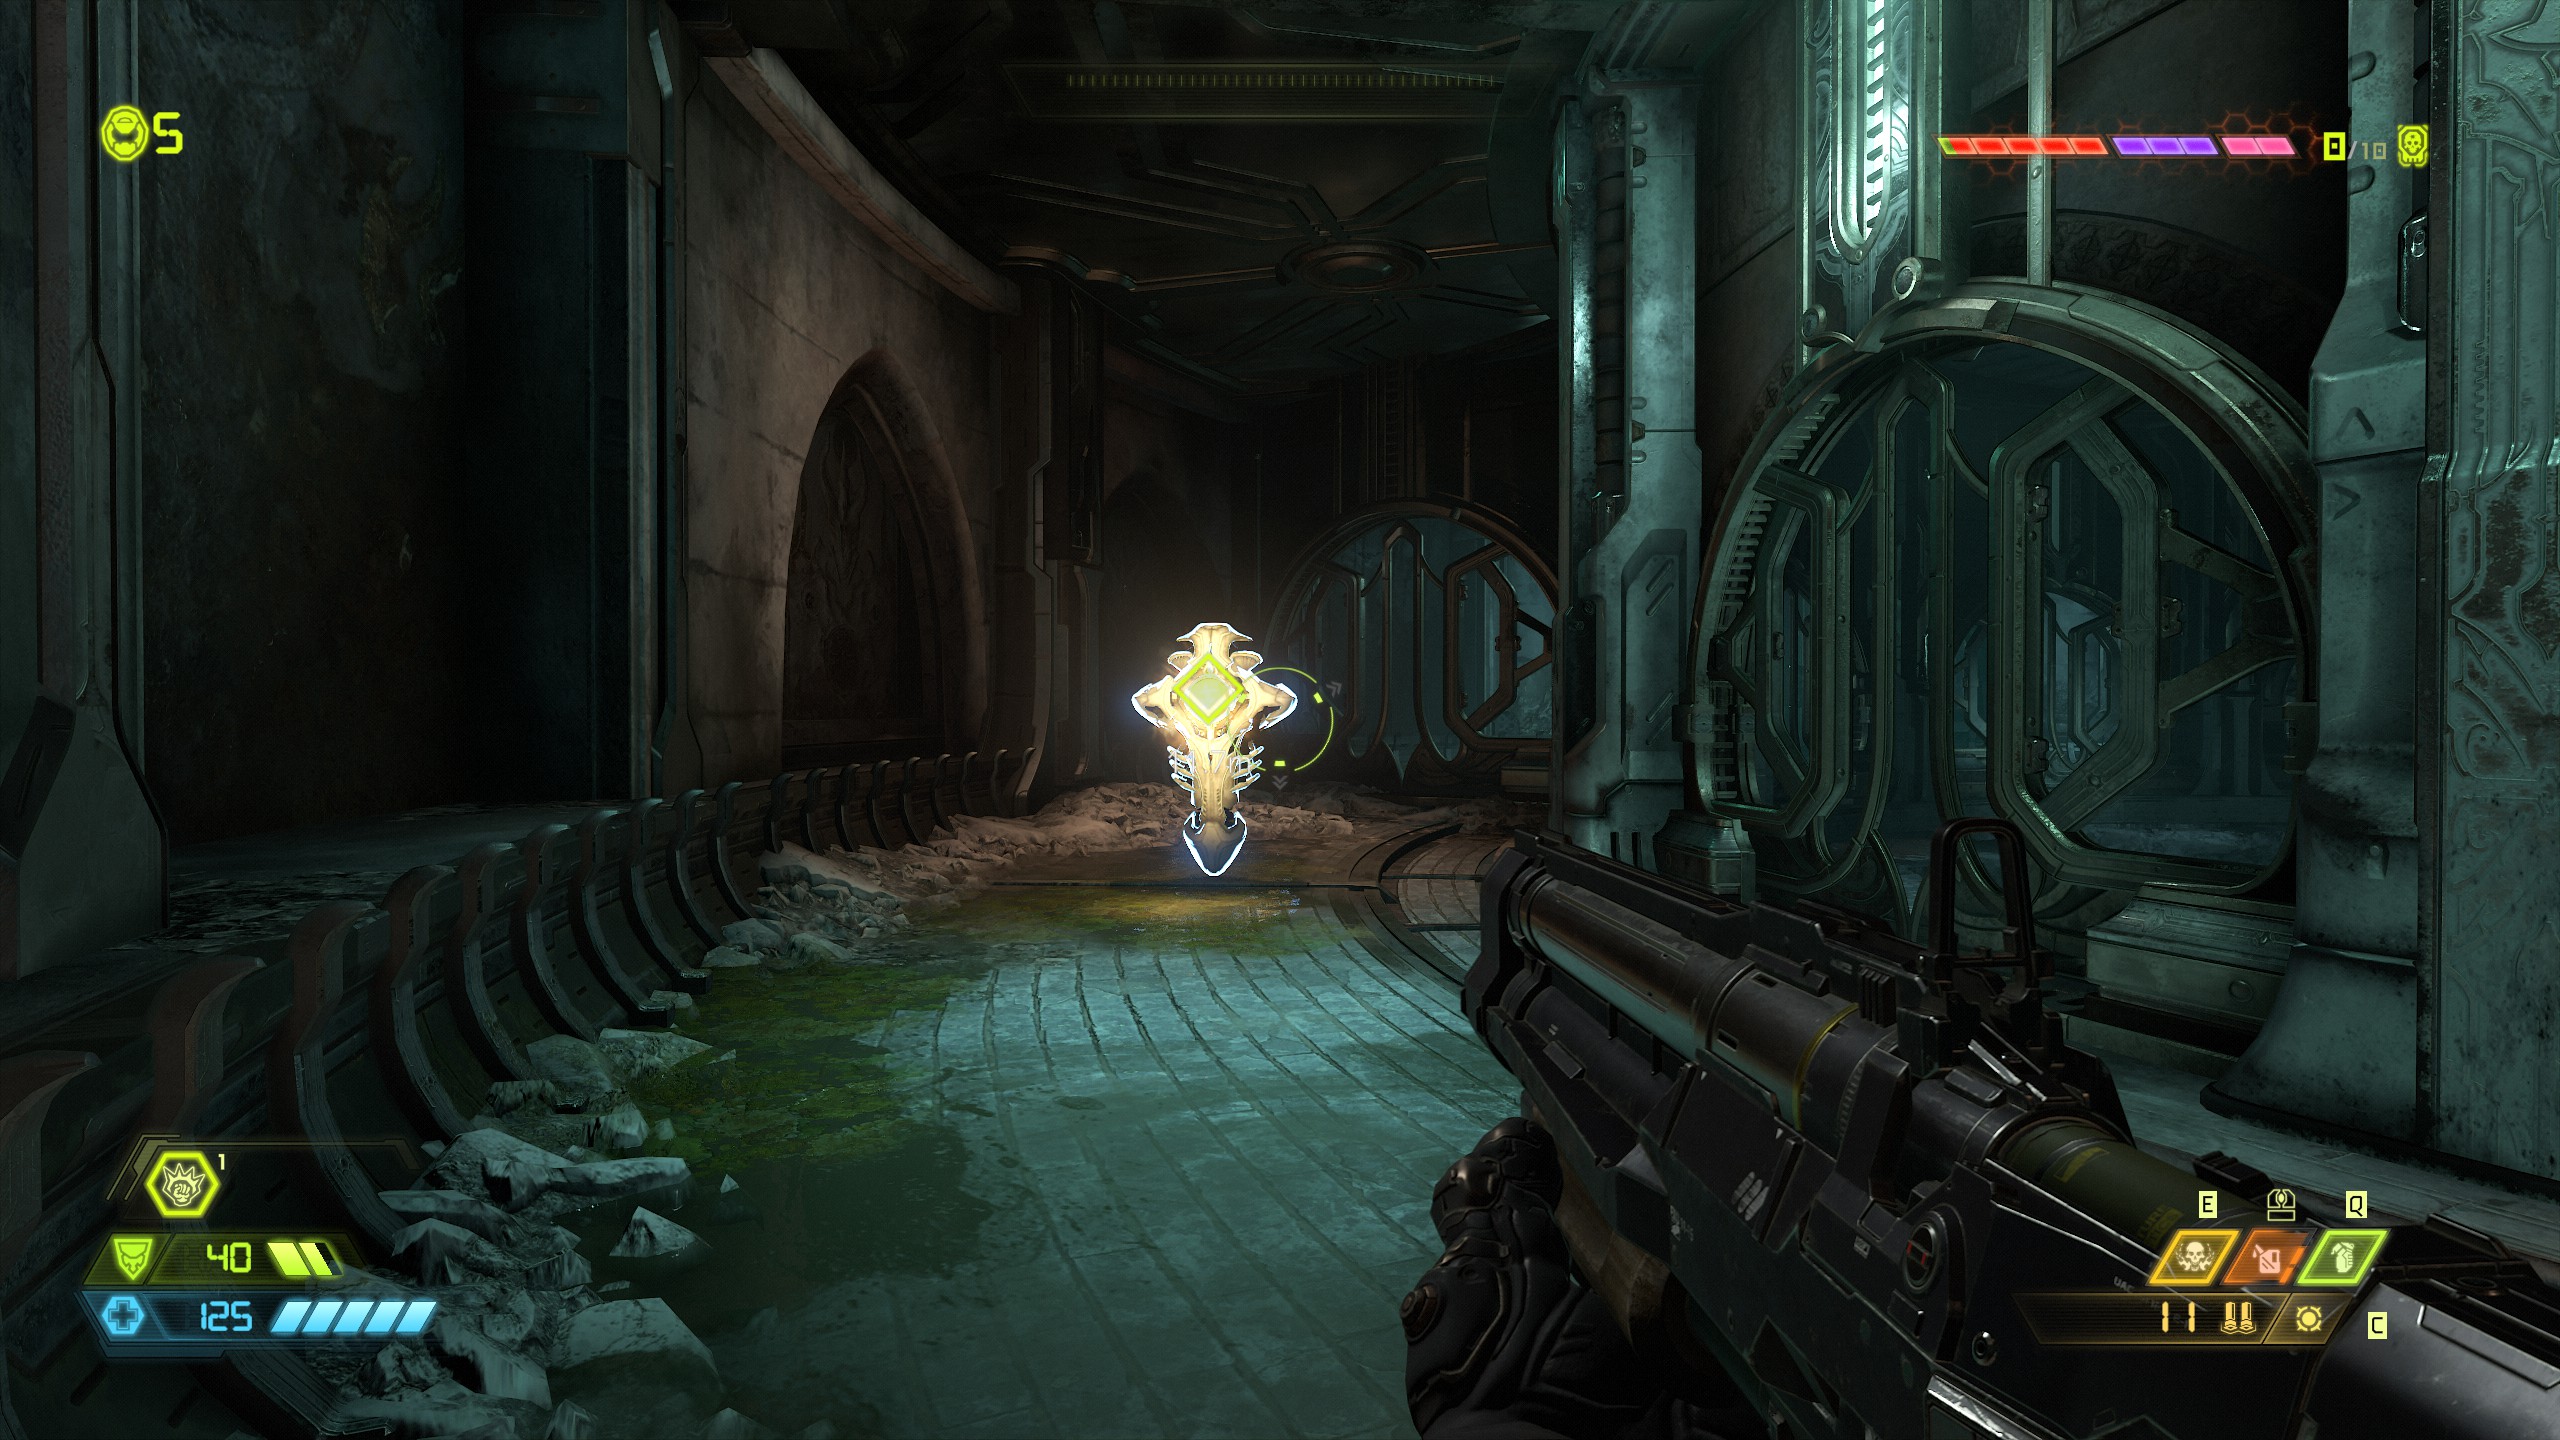
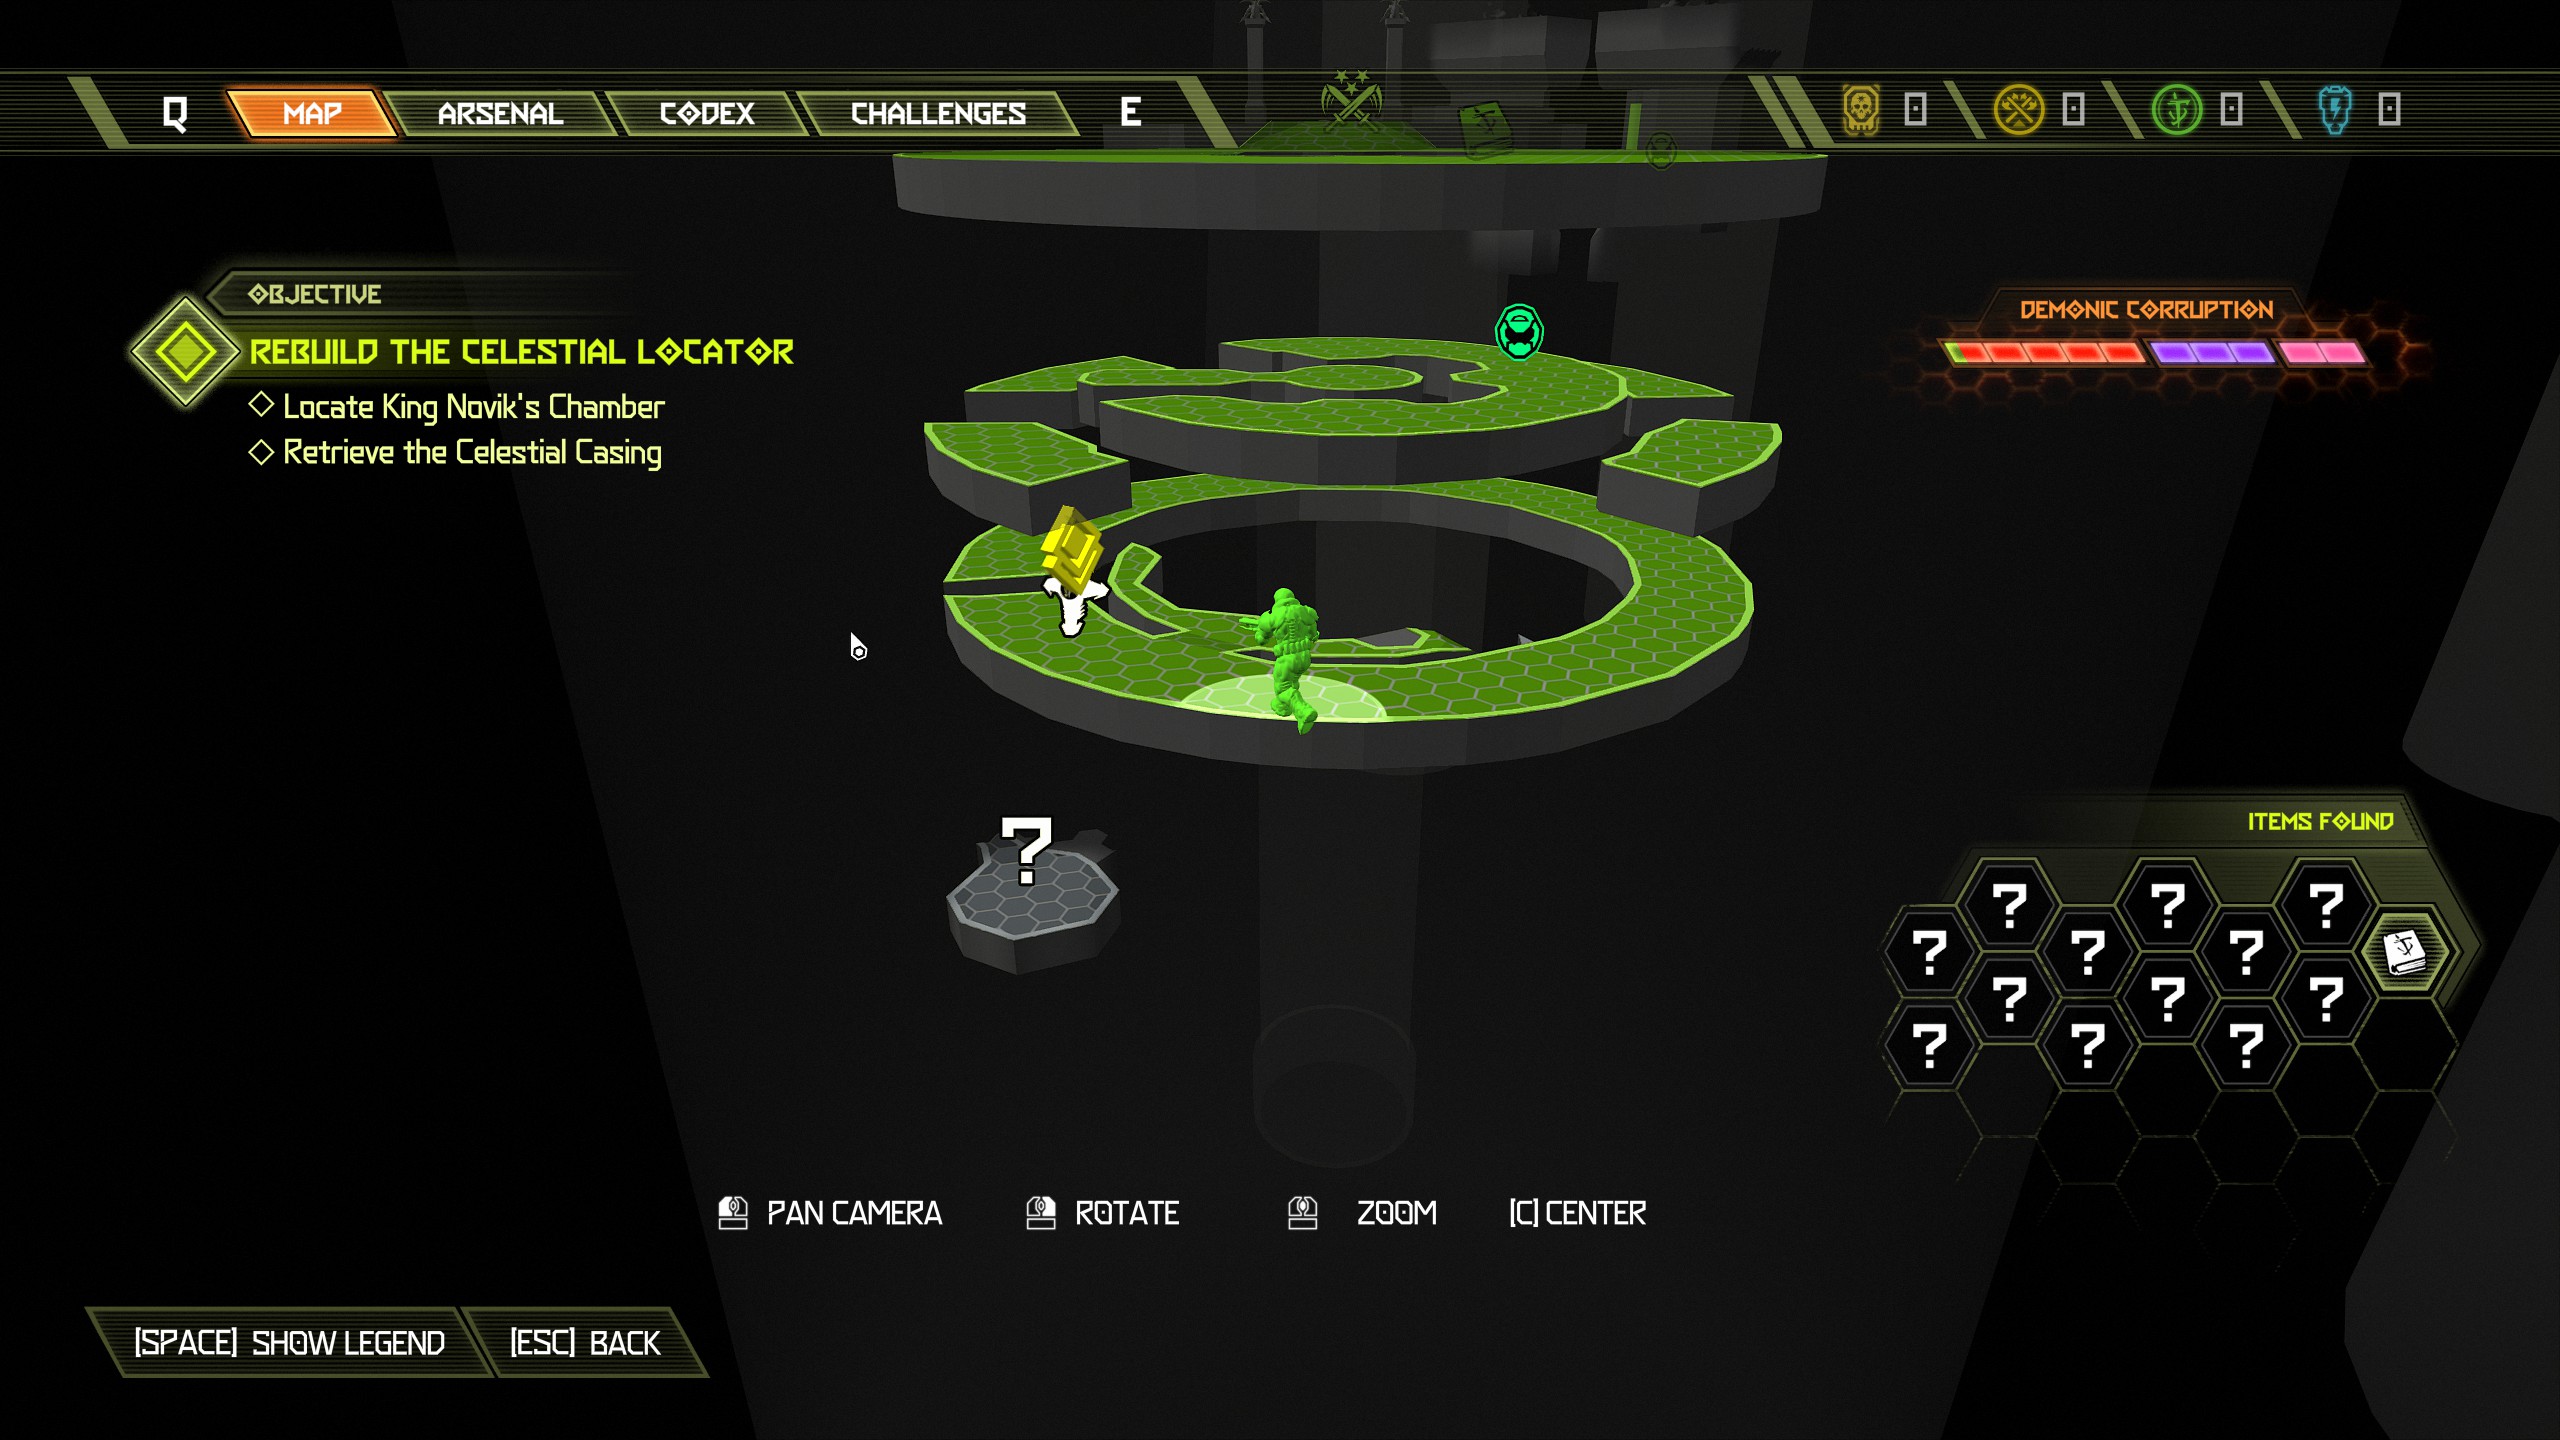
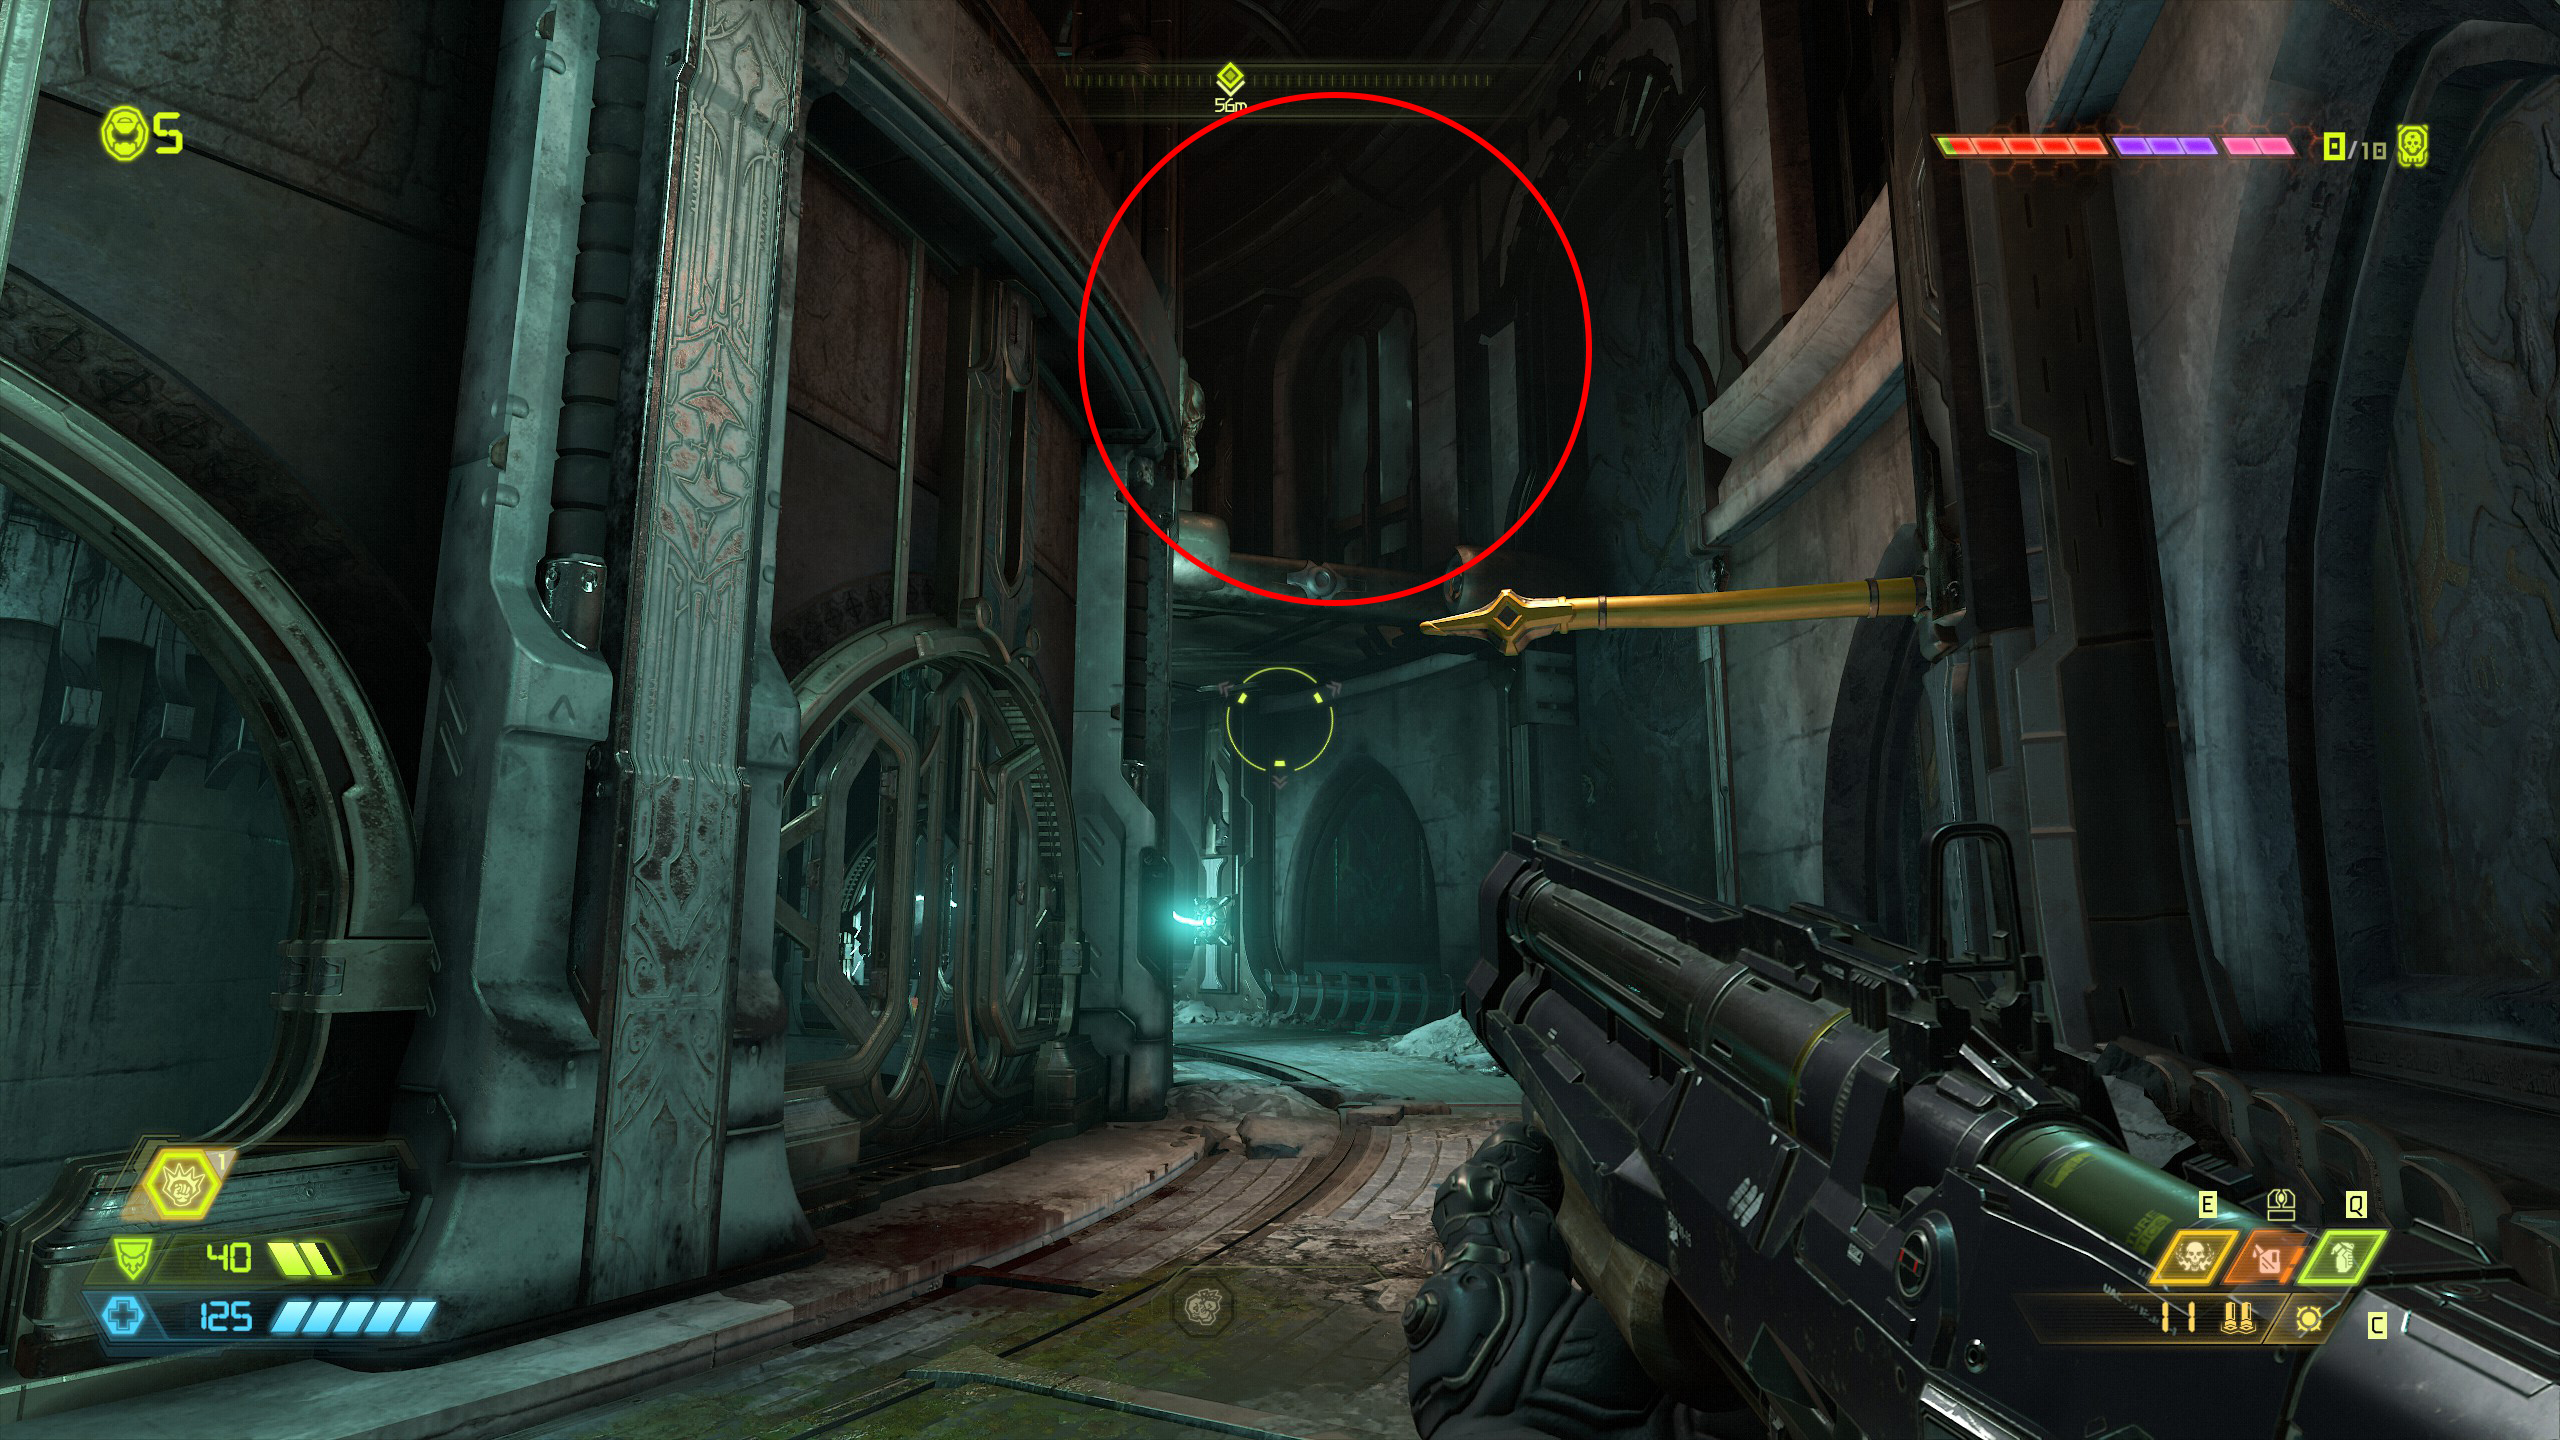
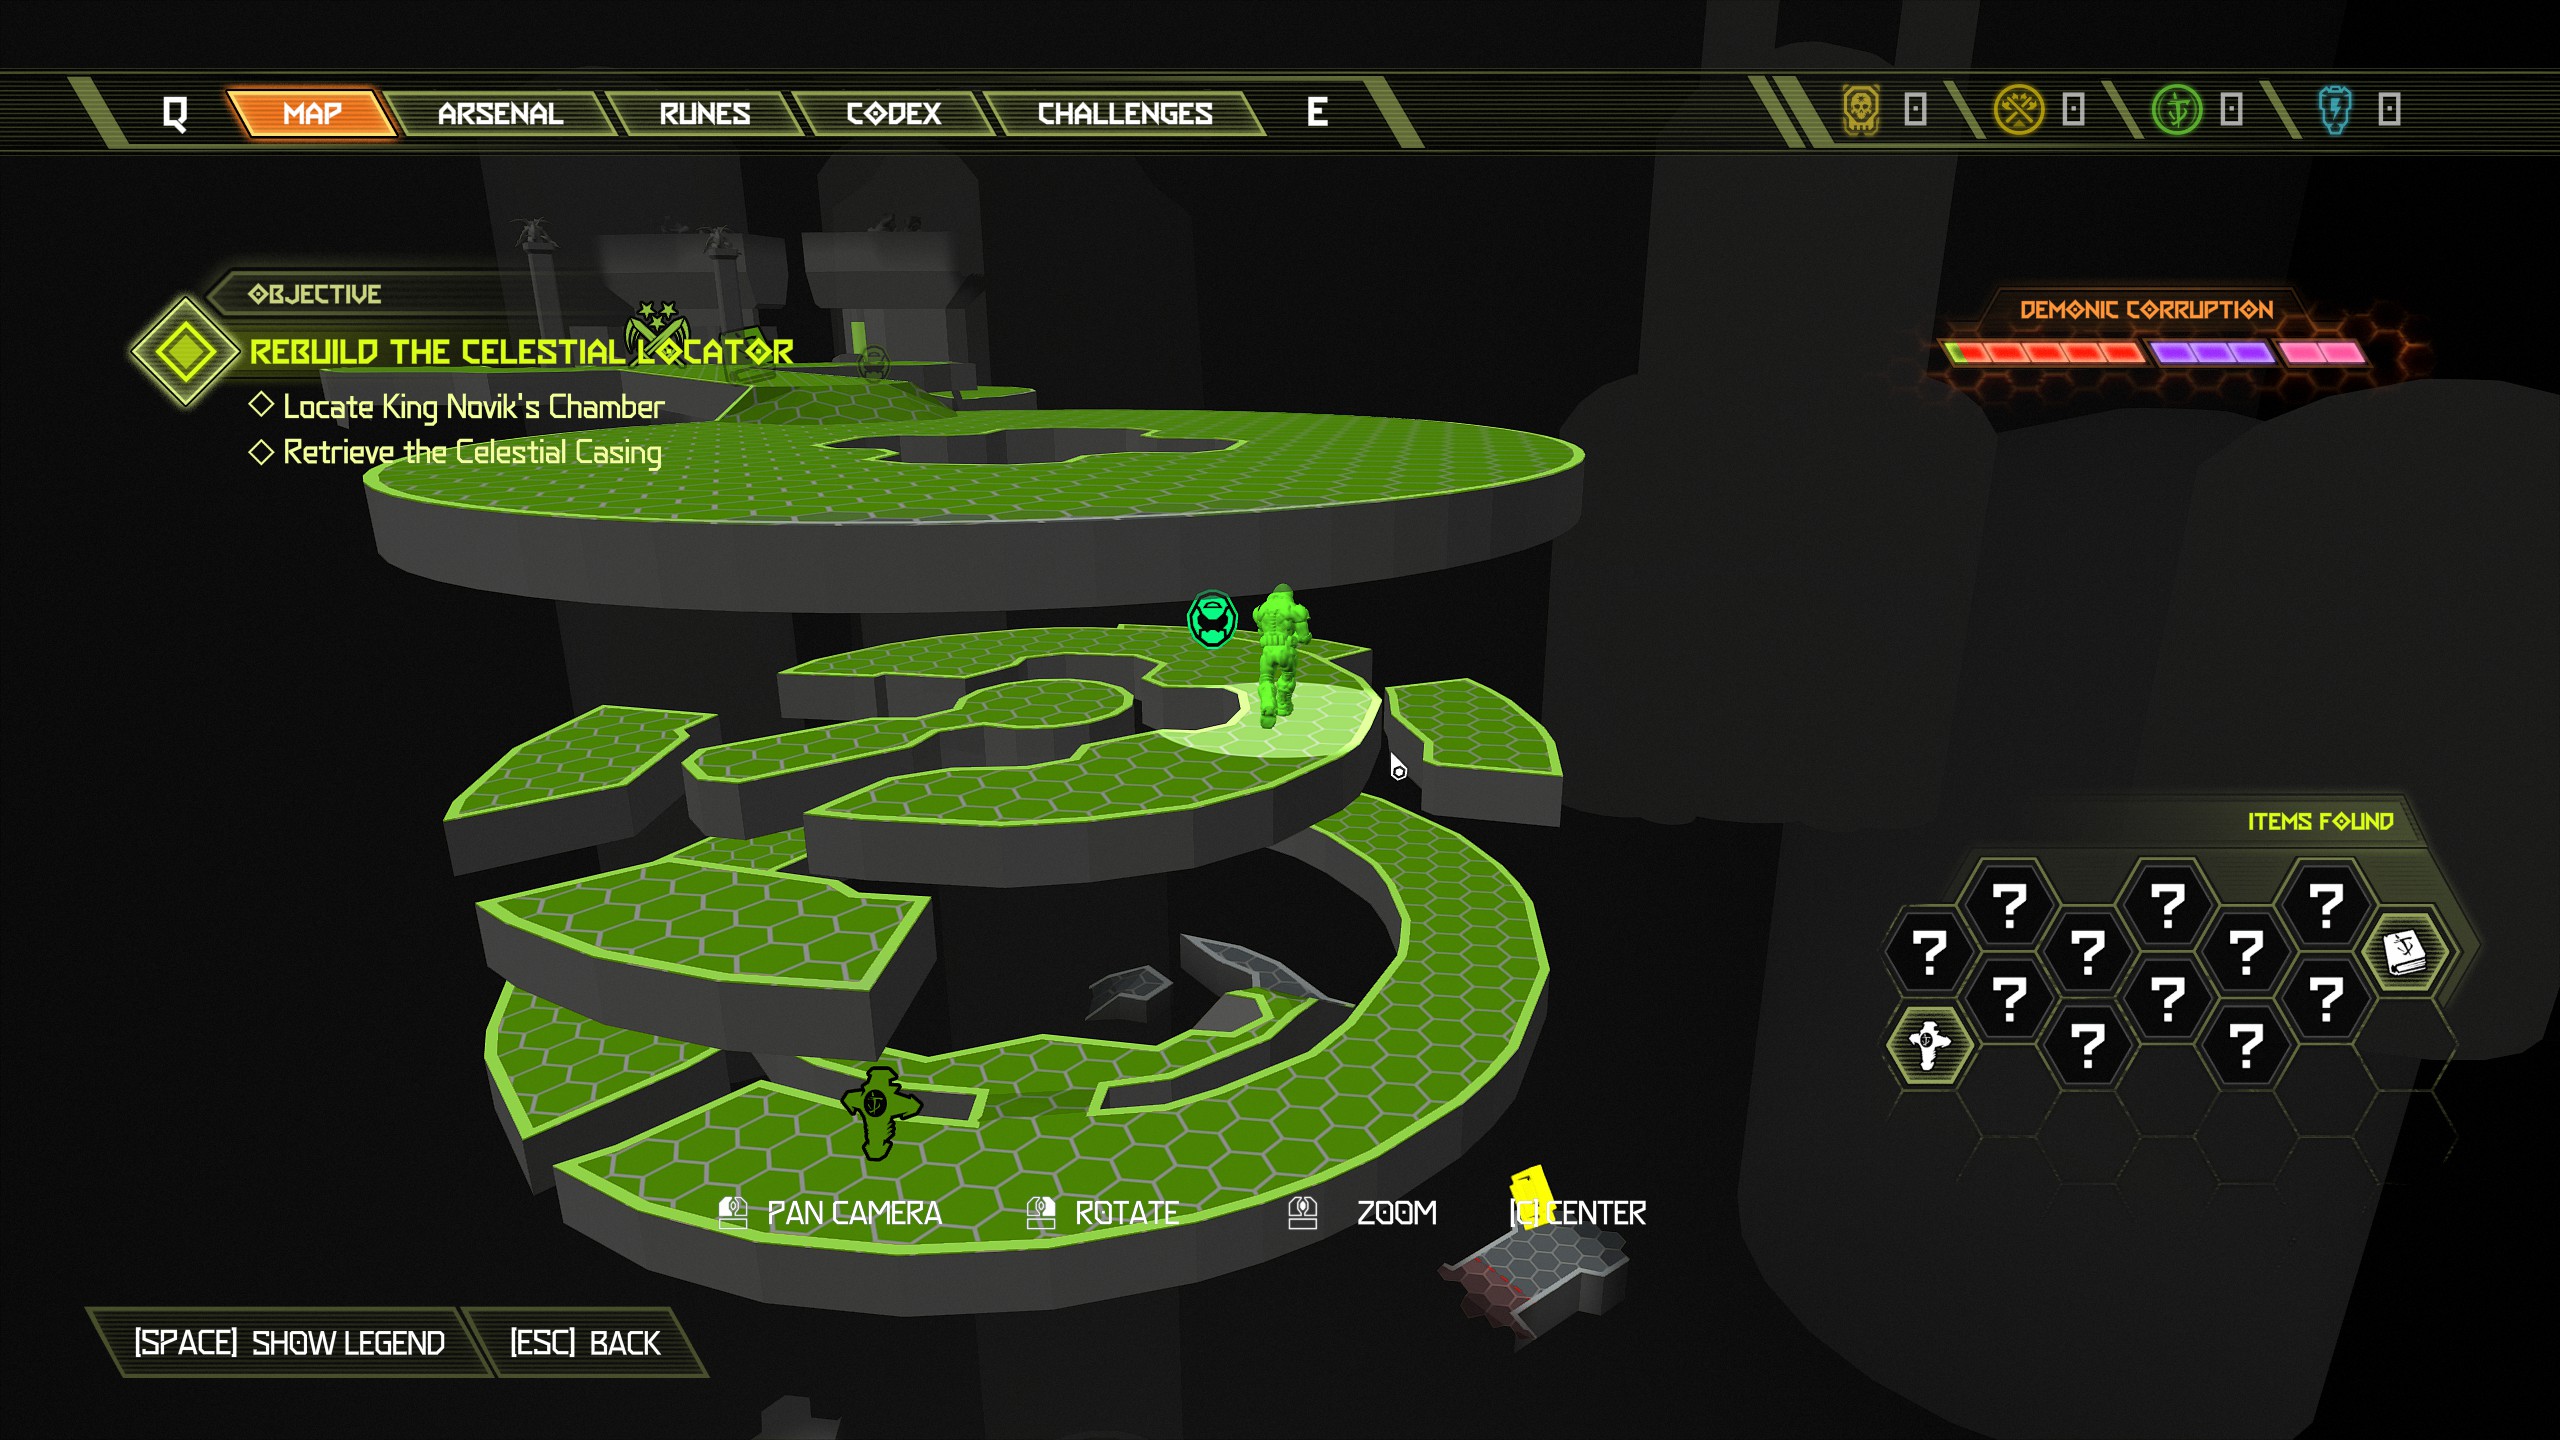
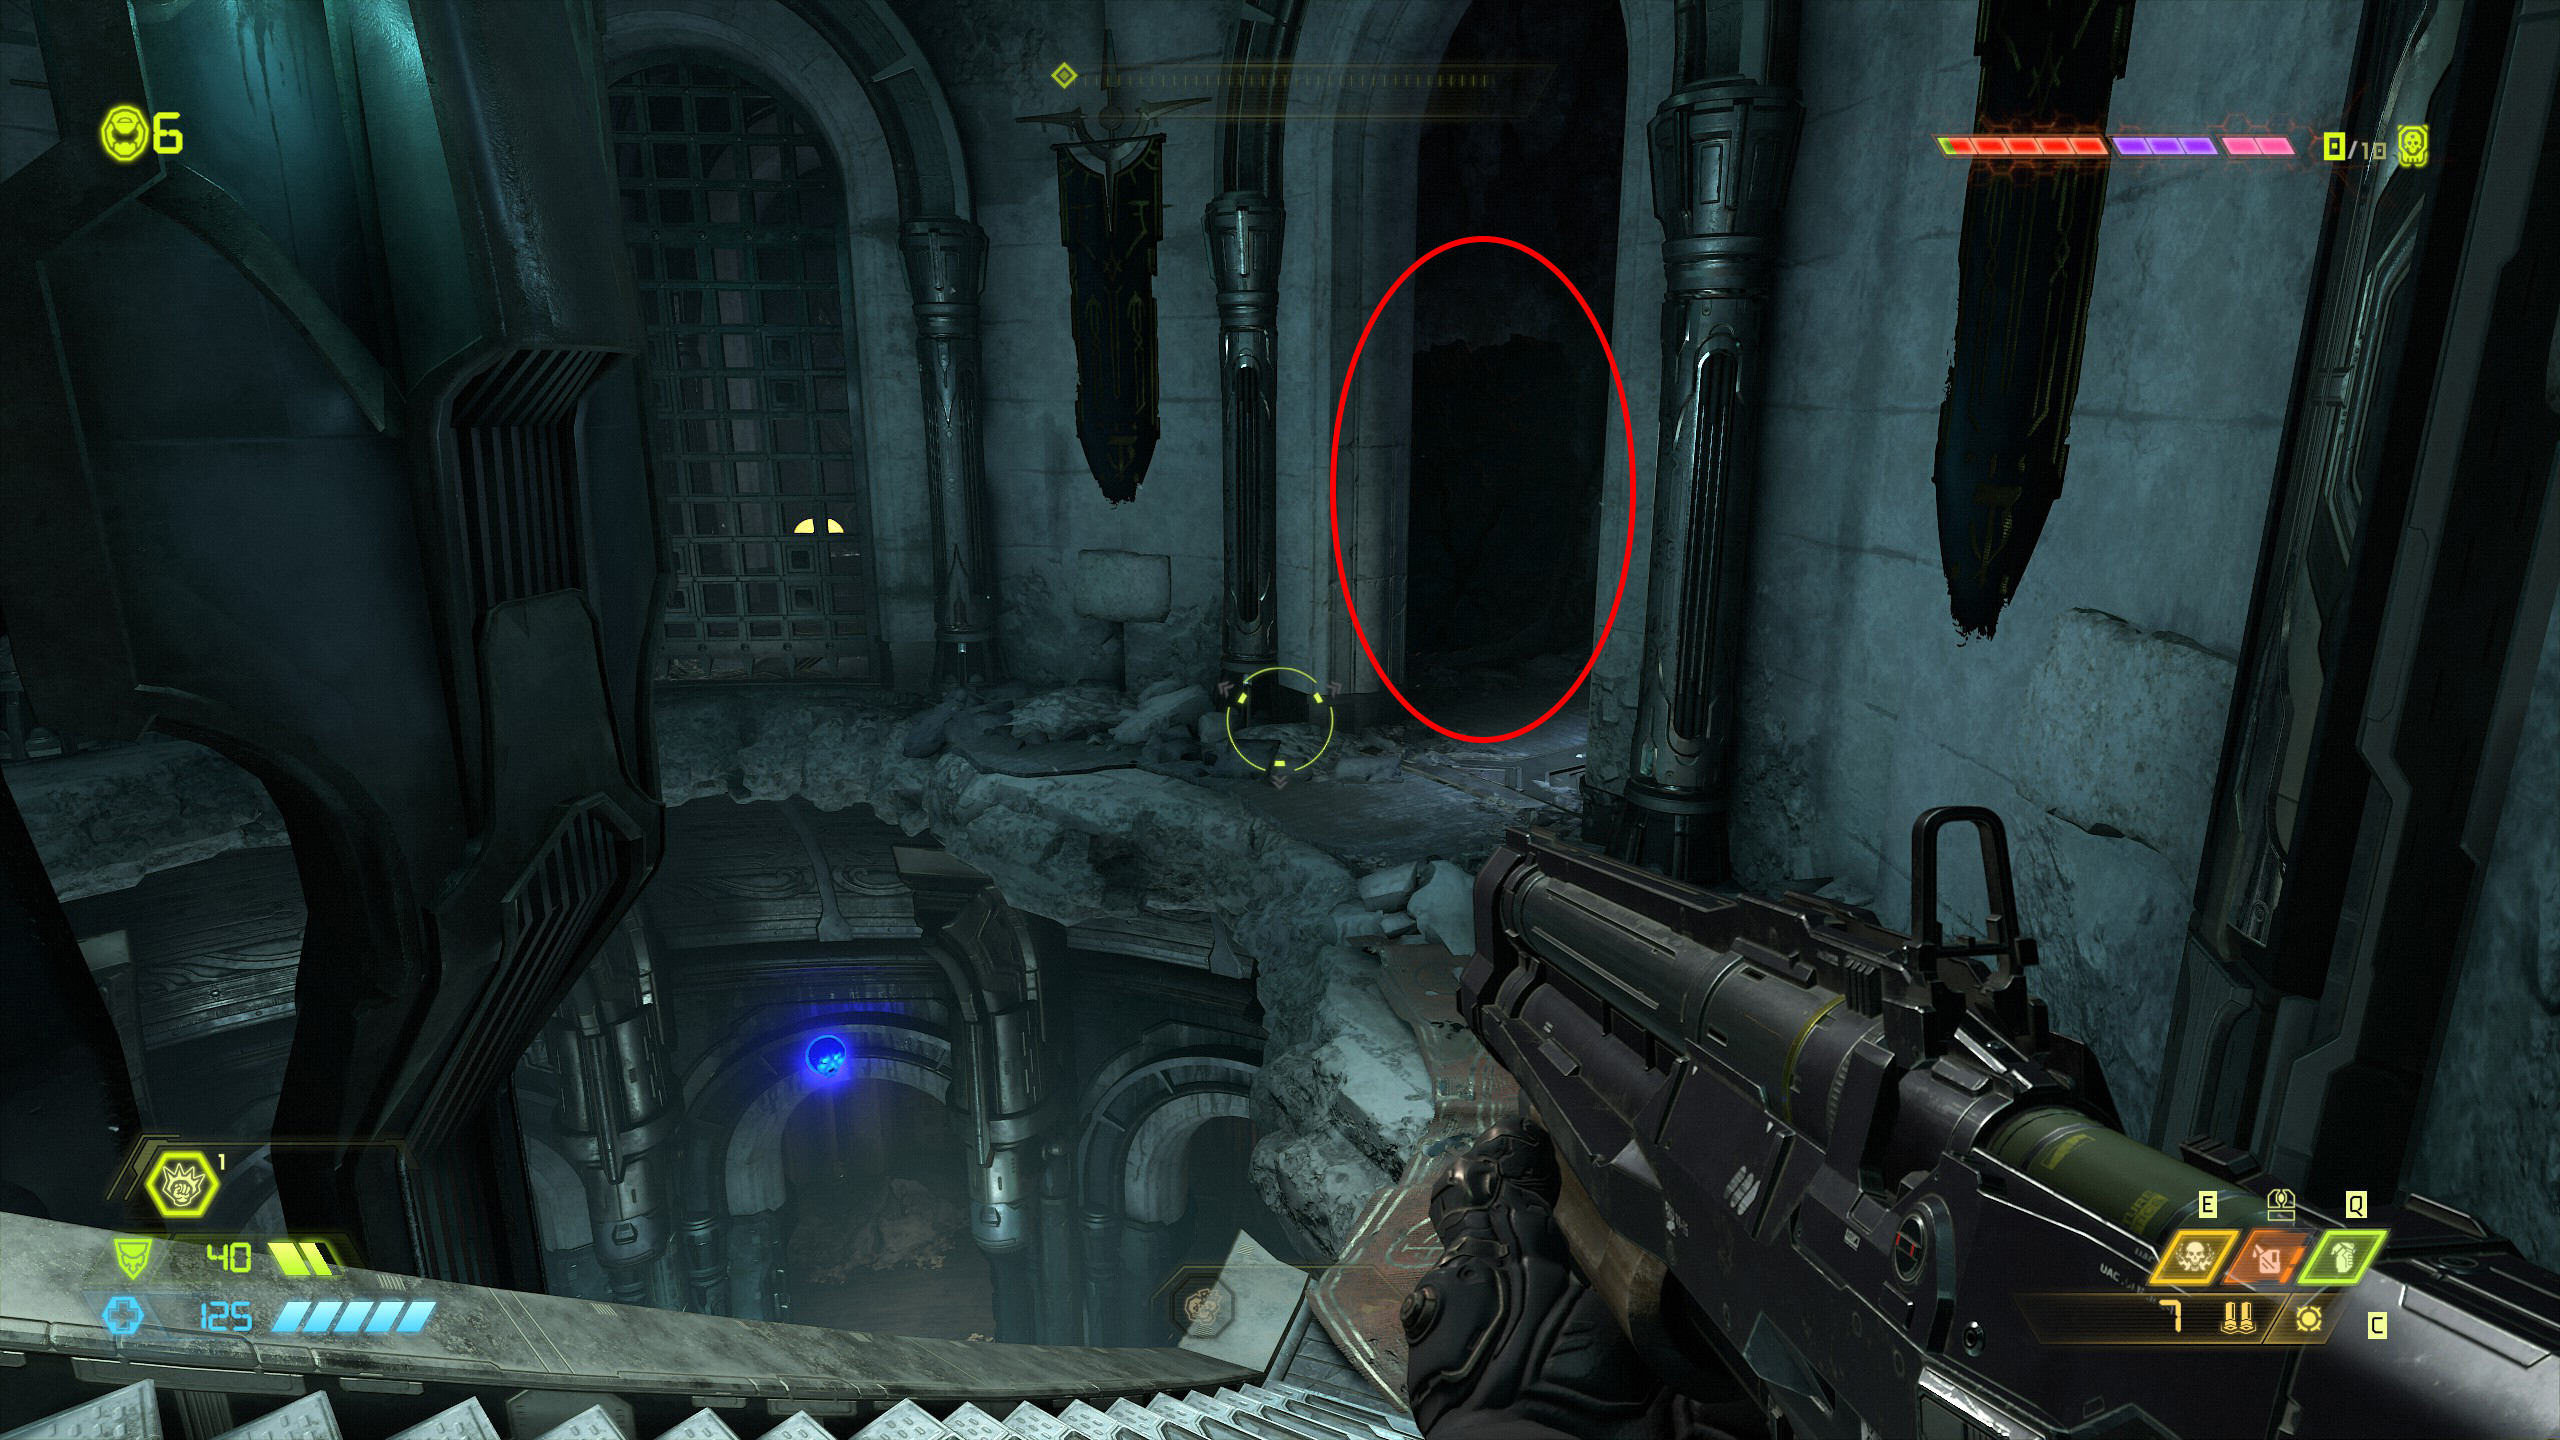
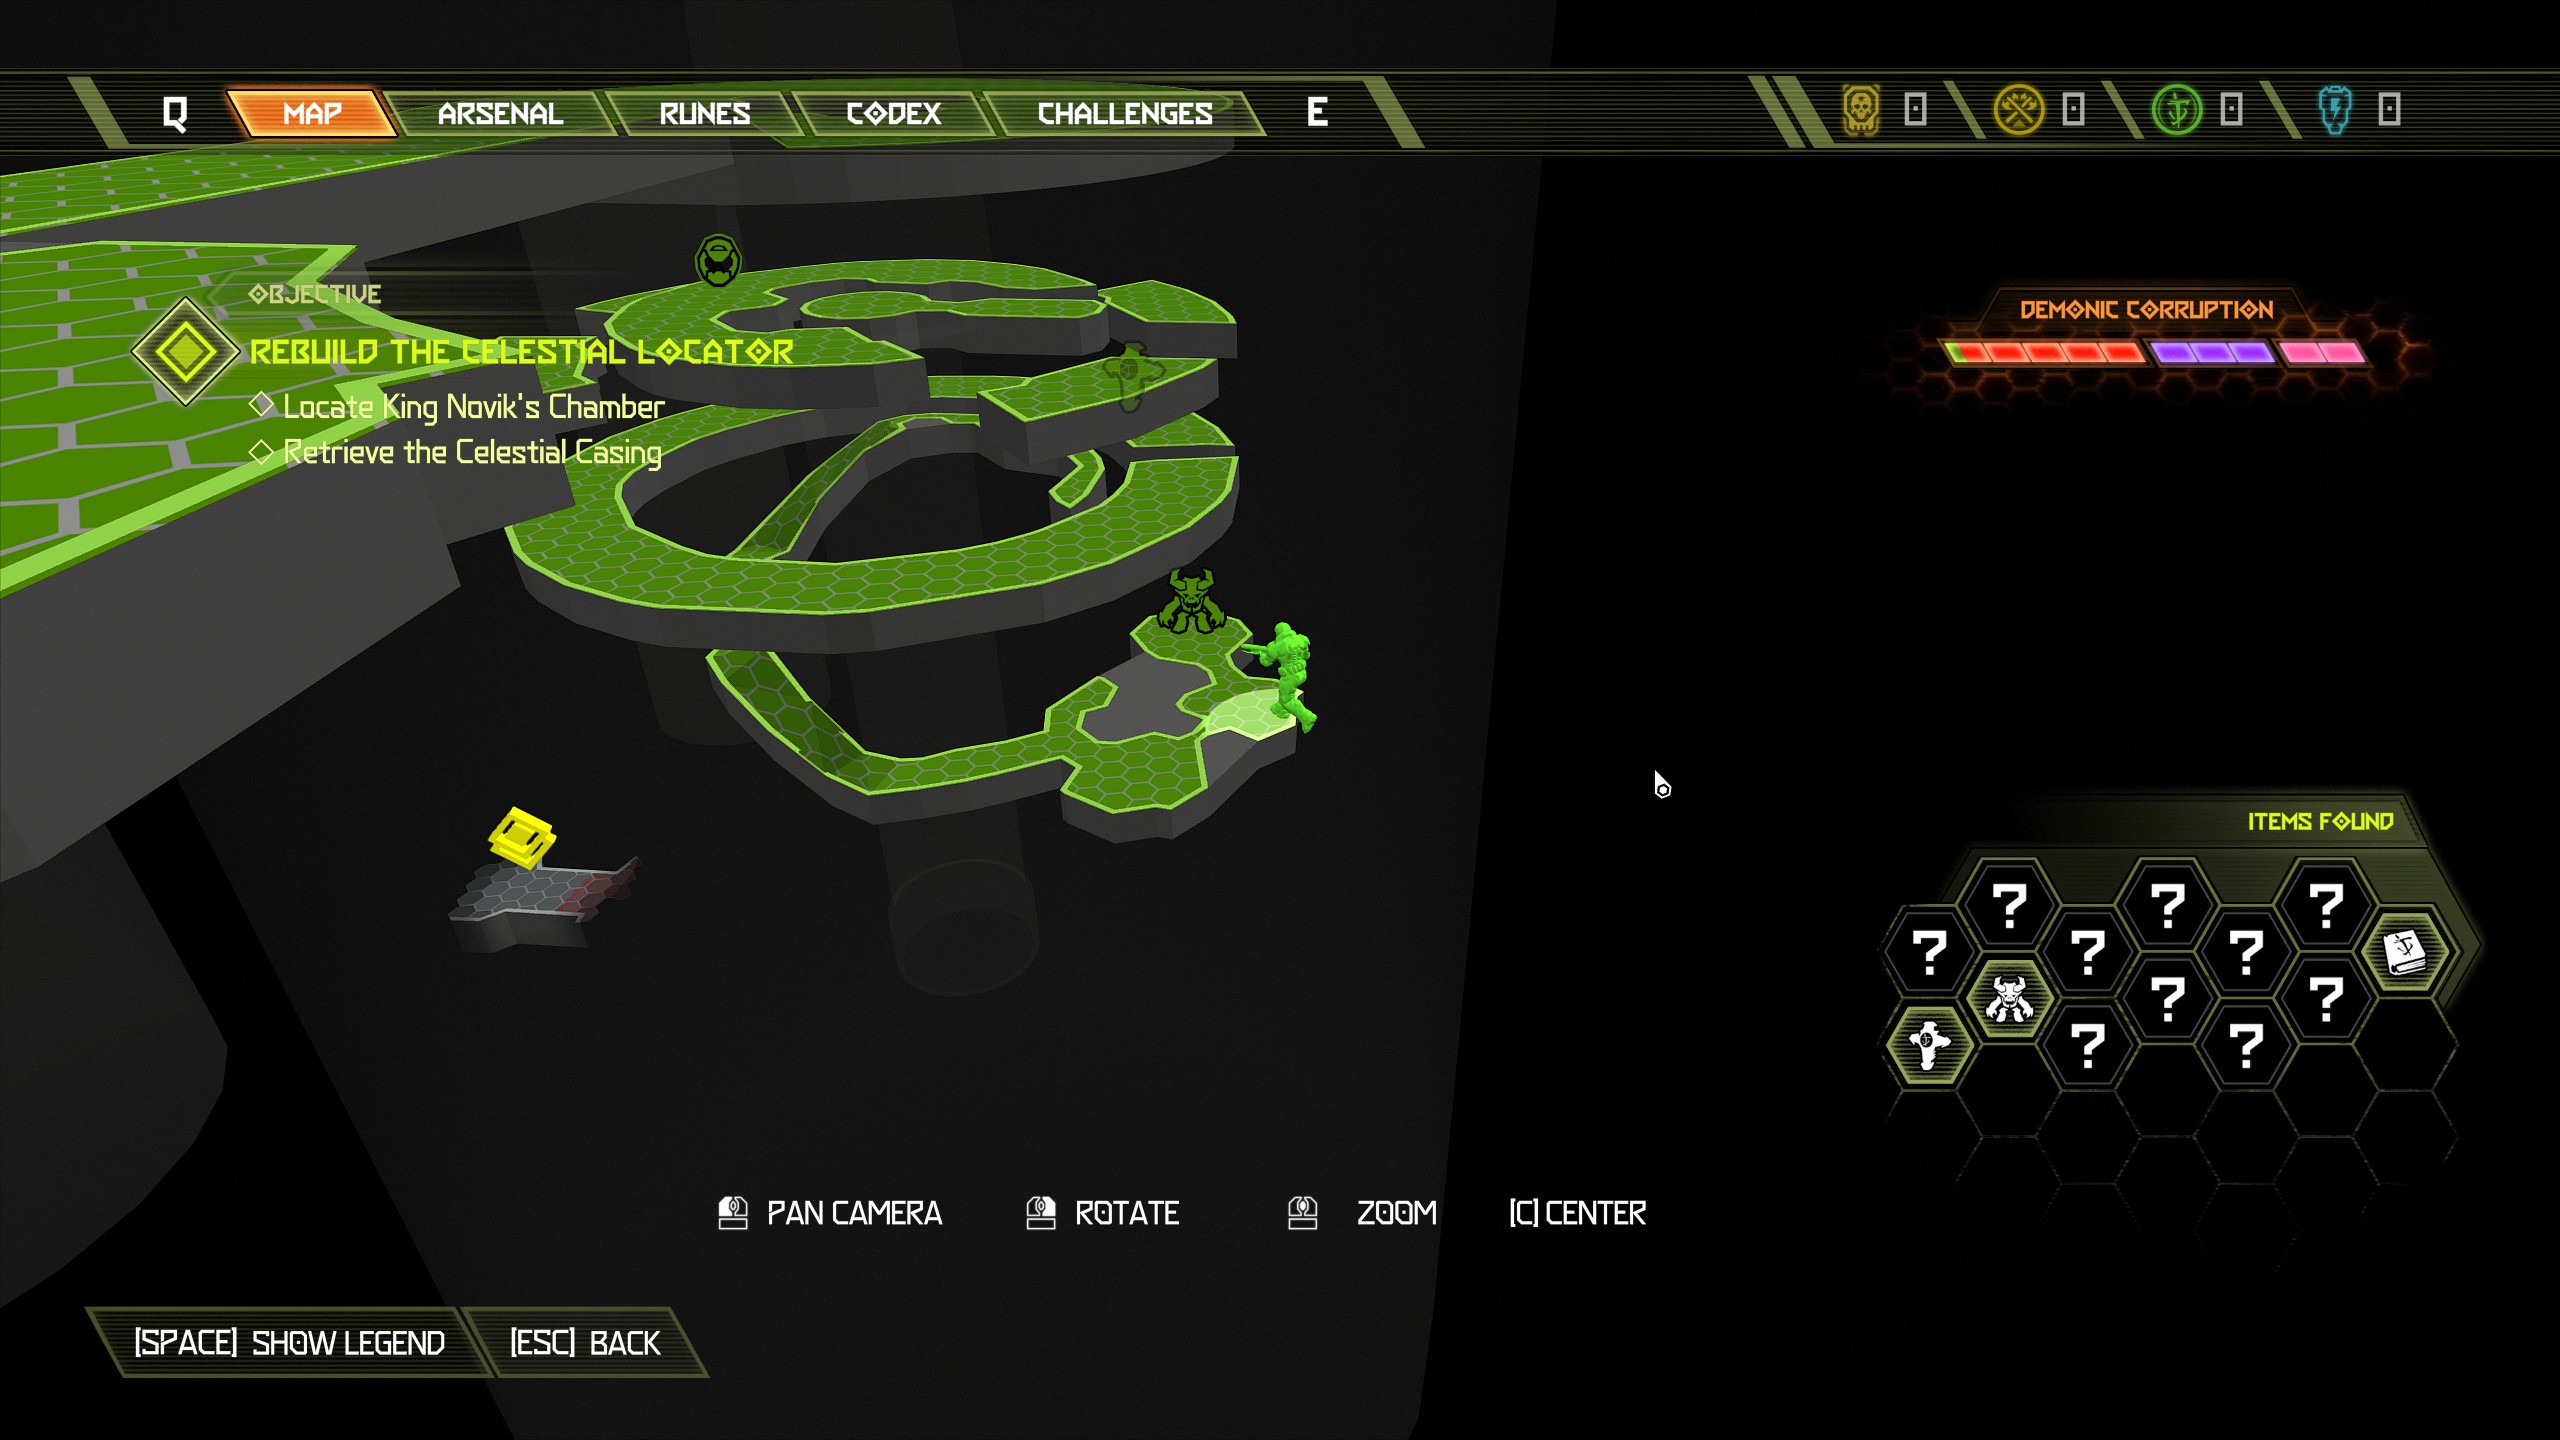
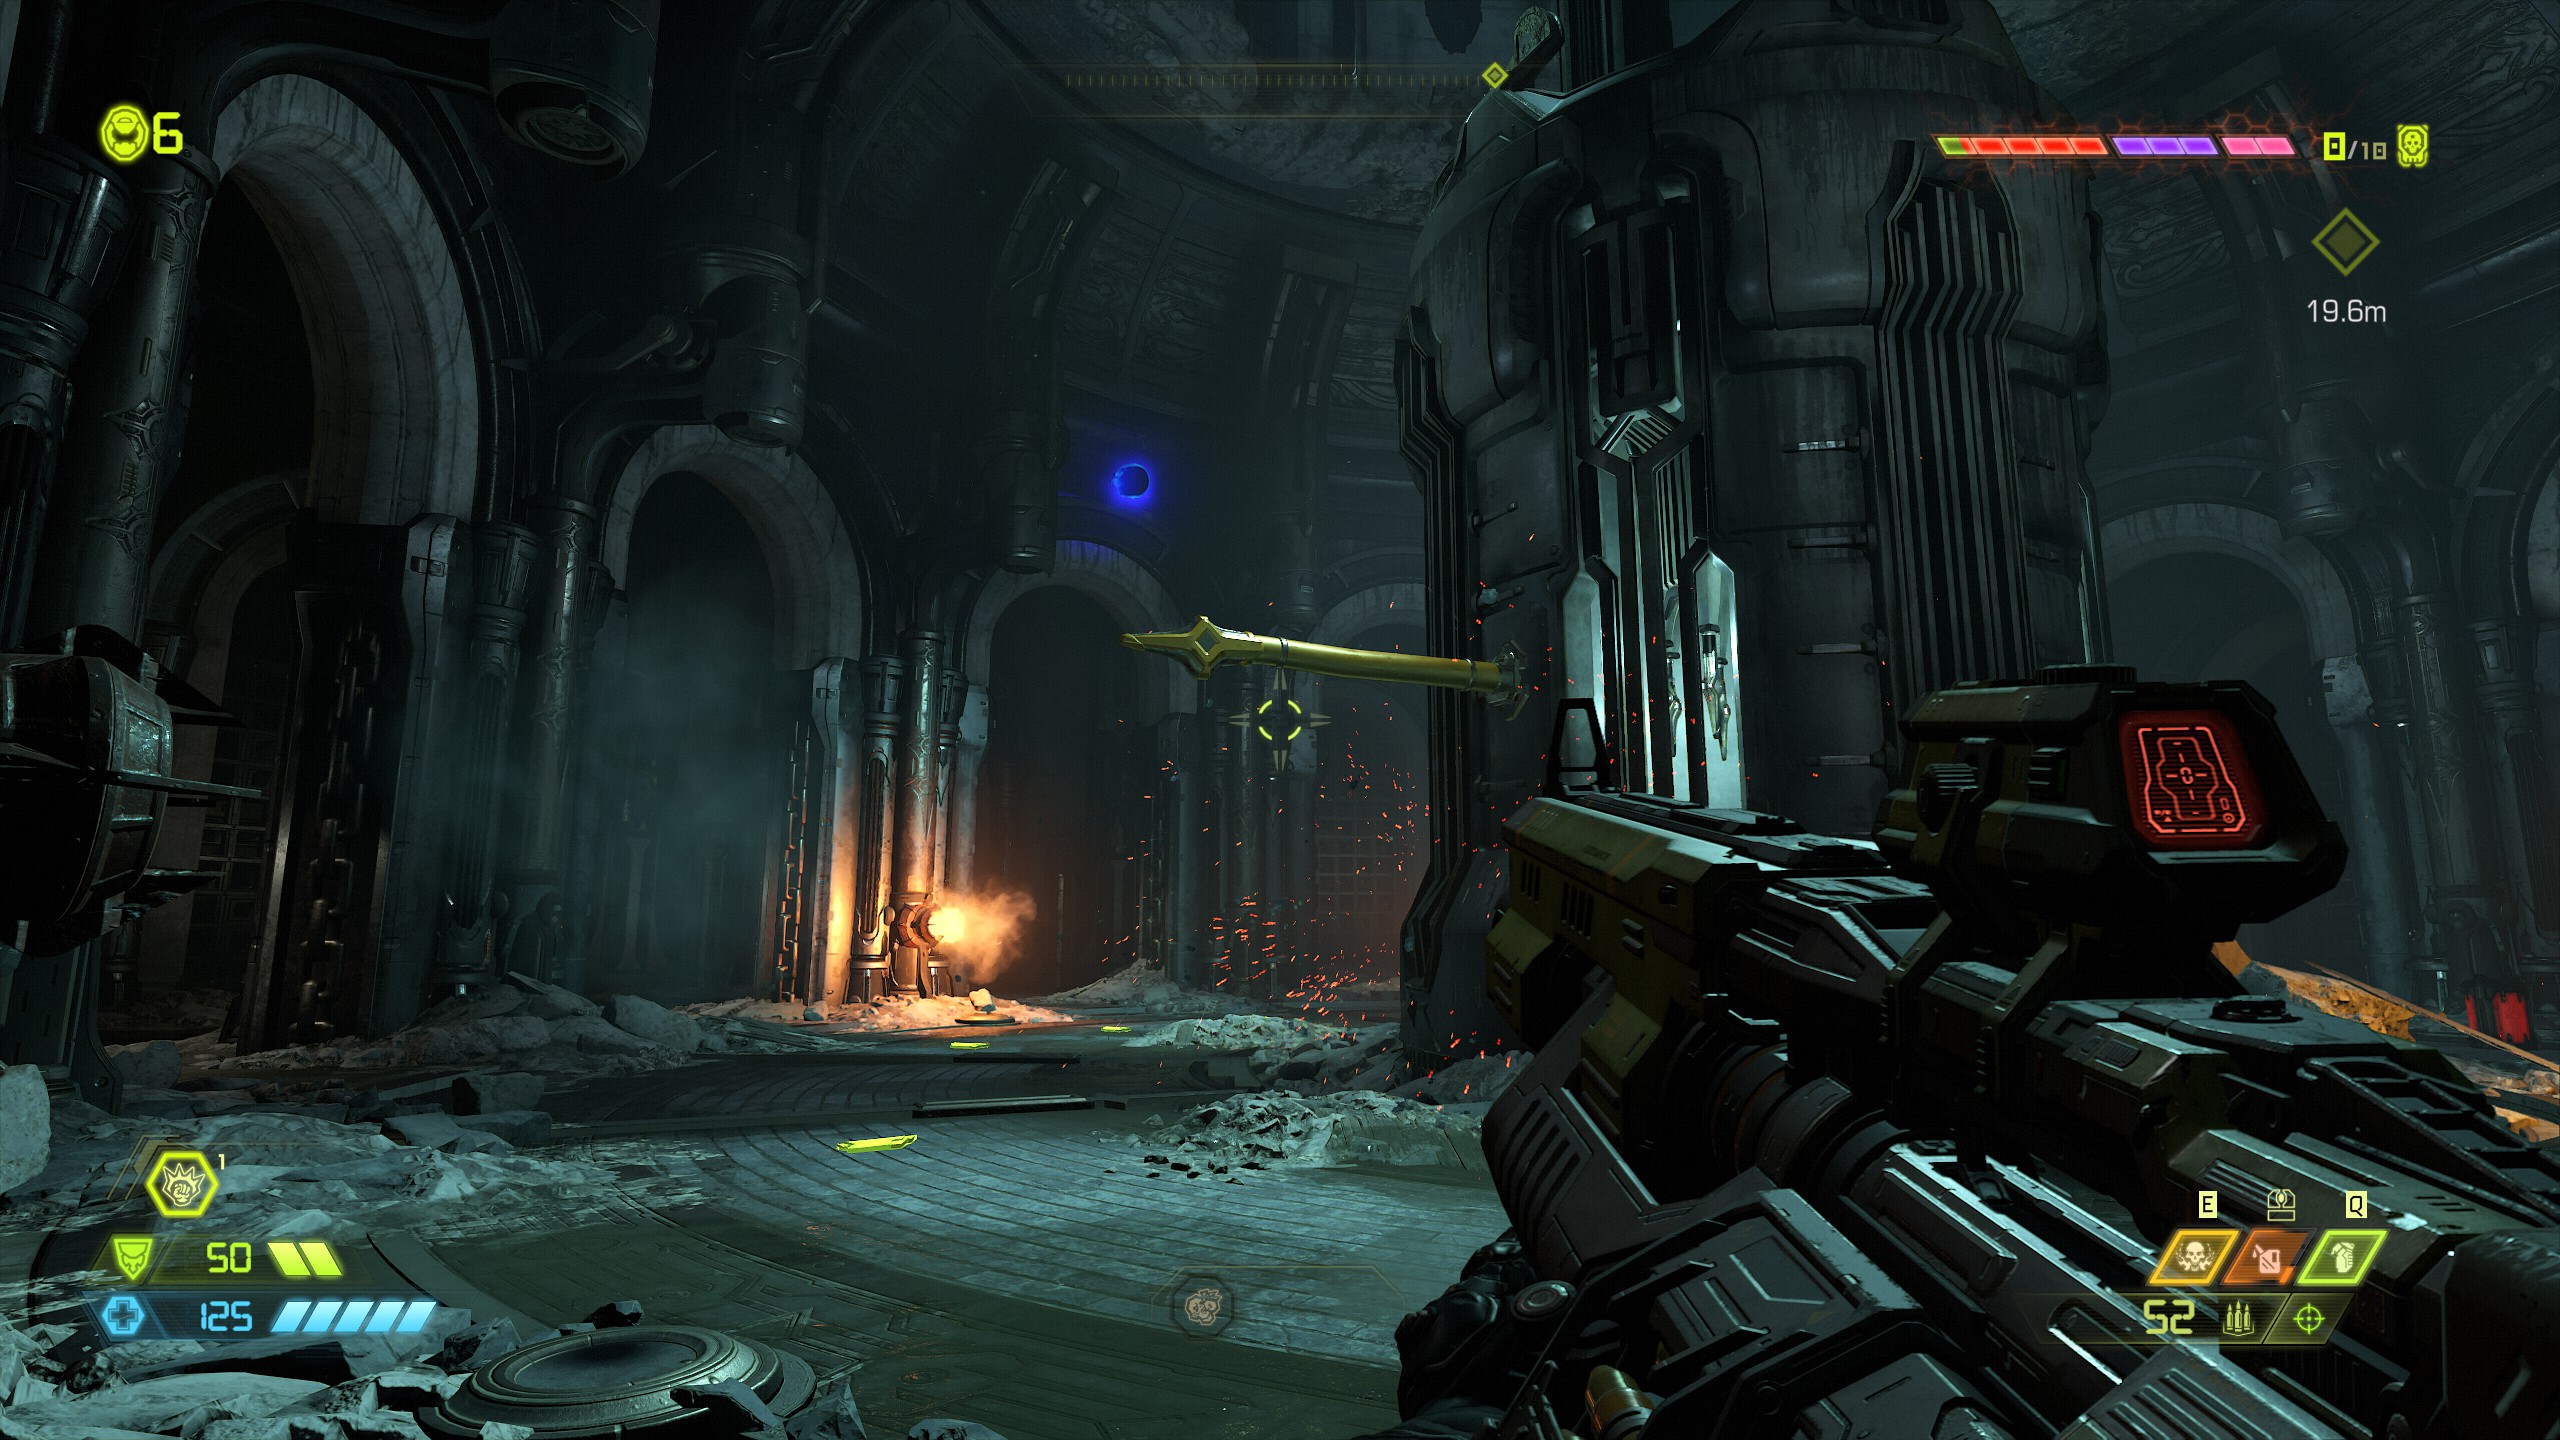
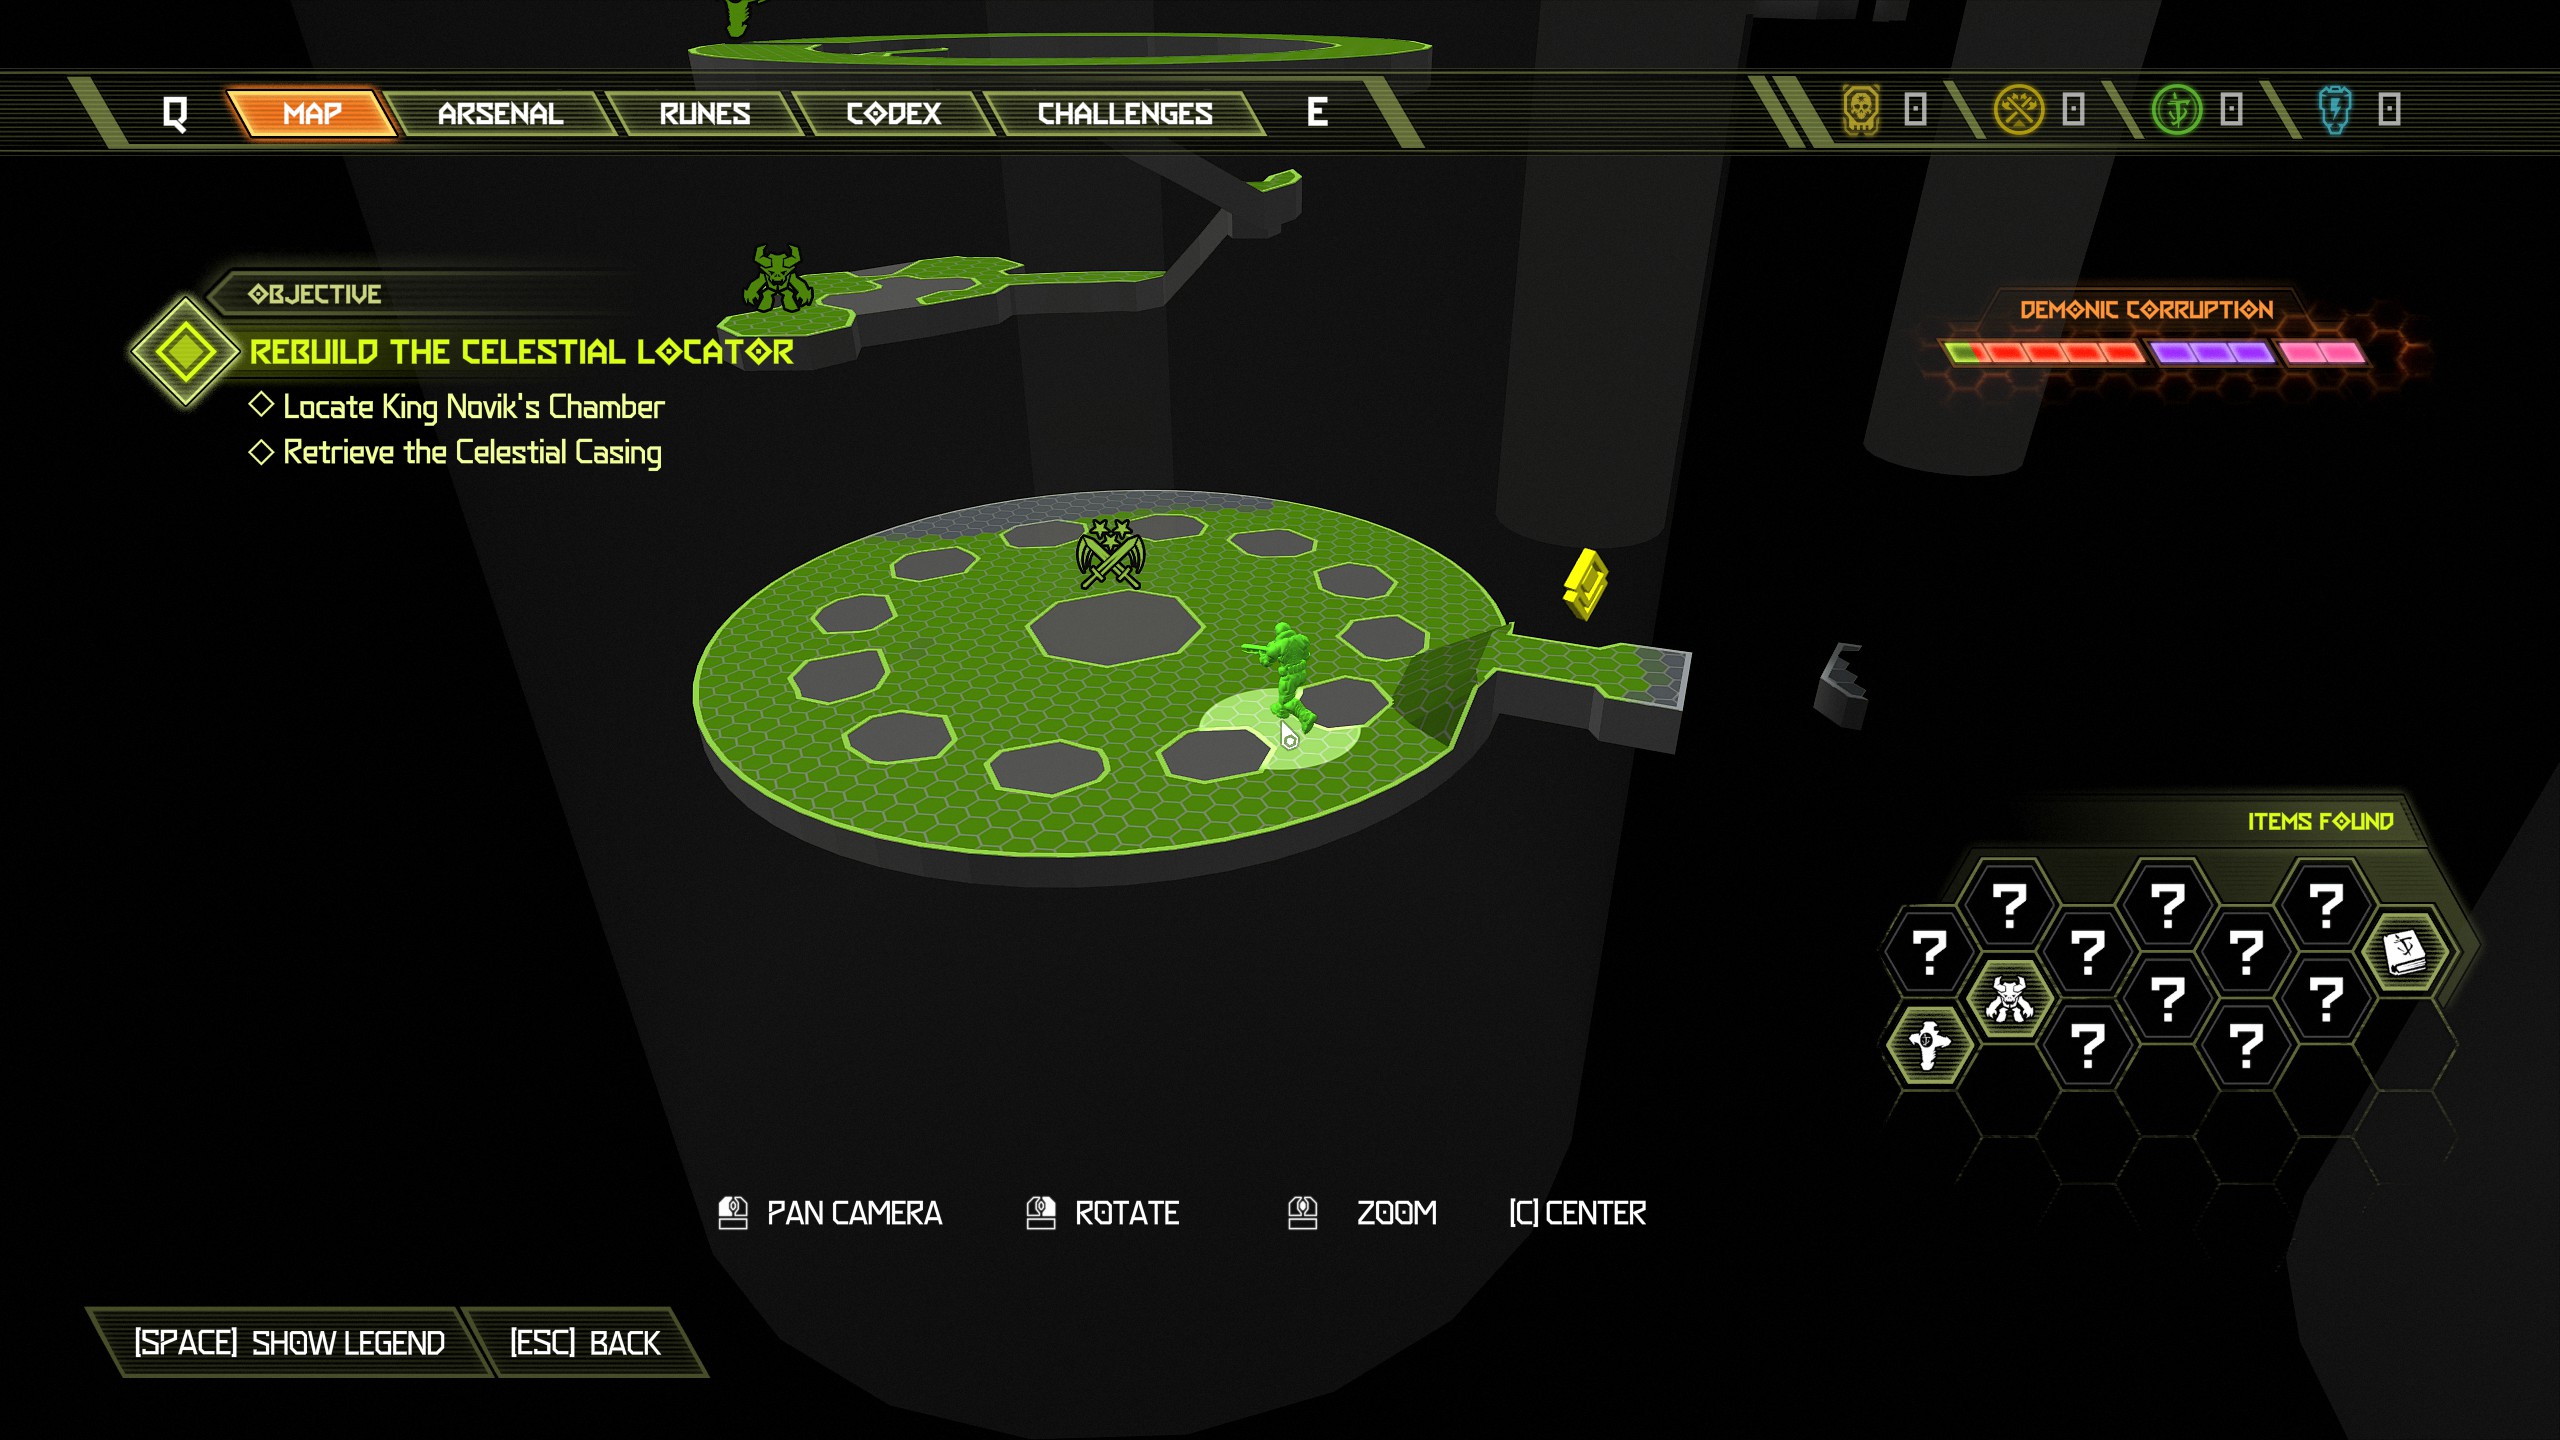
Continue on with the mission until you reach outside.
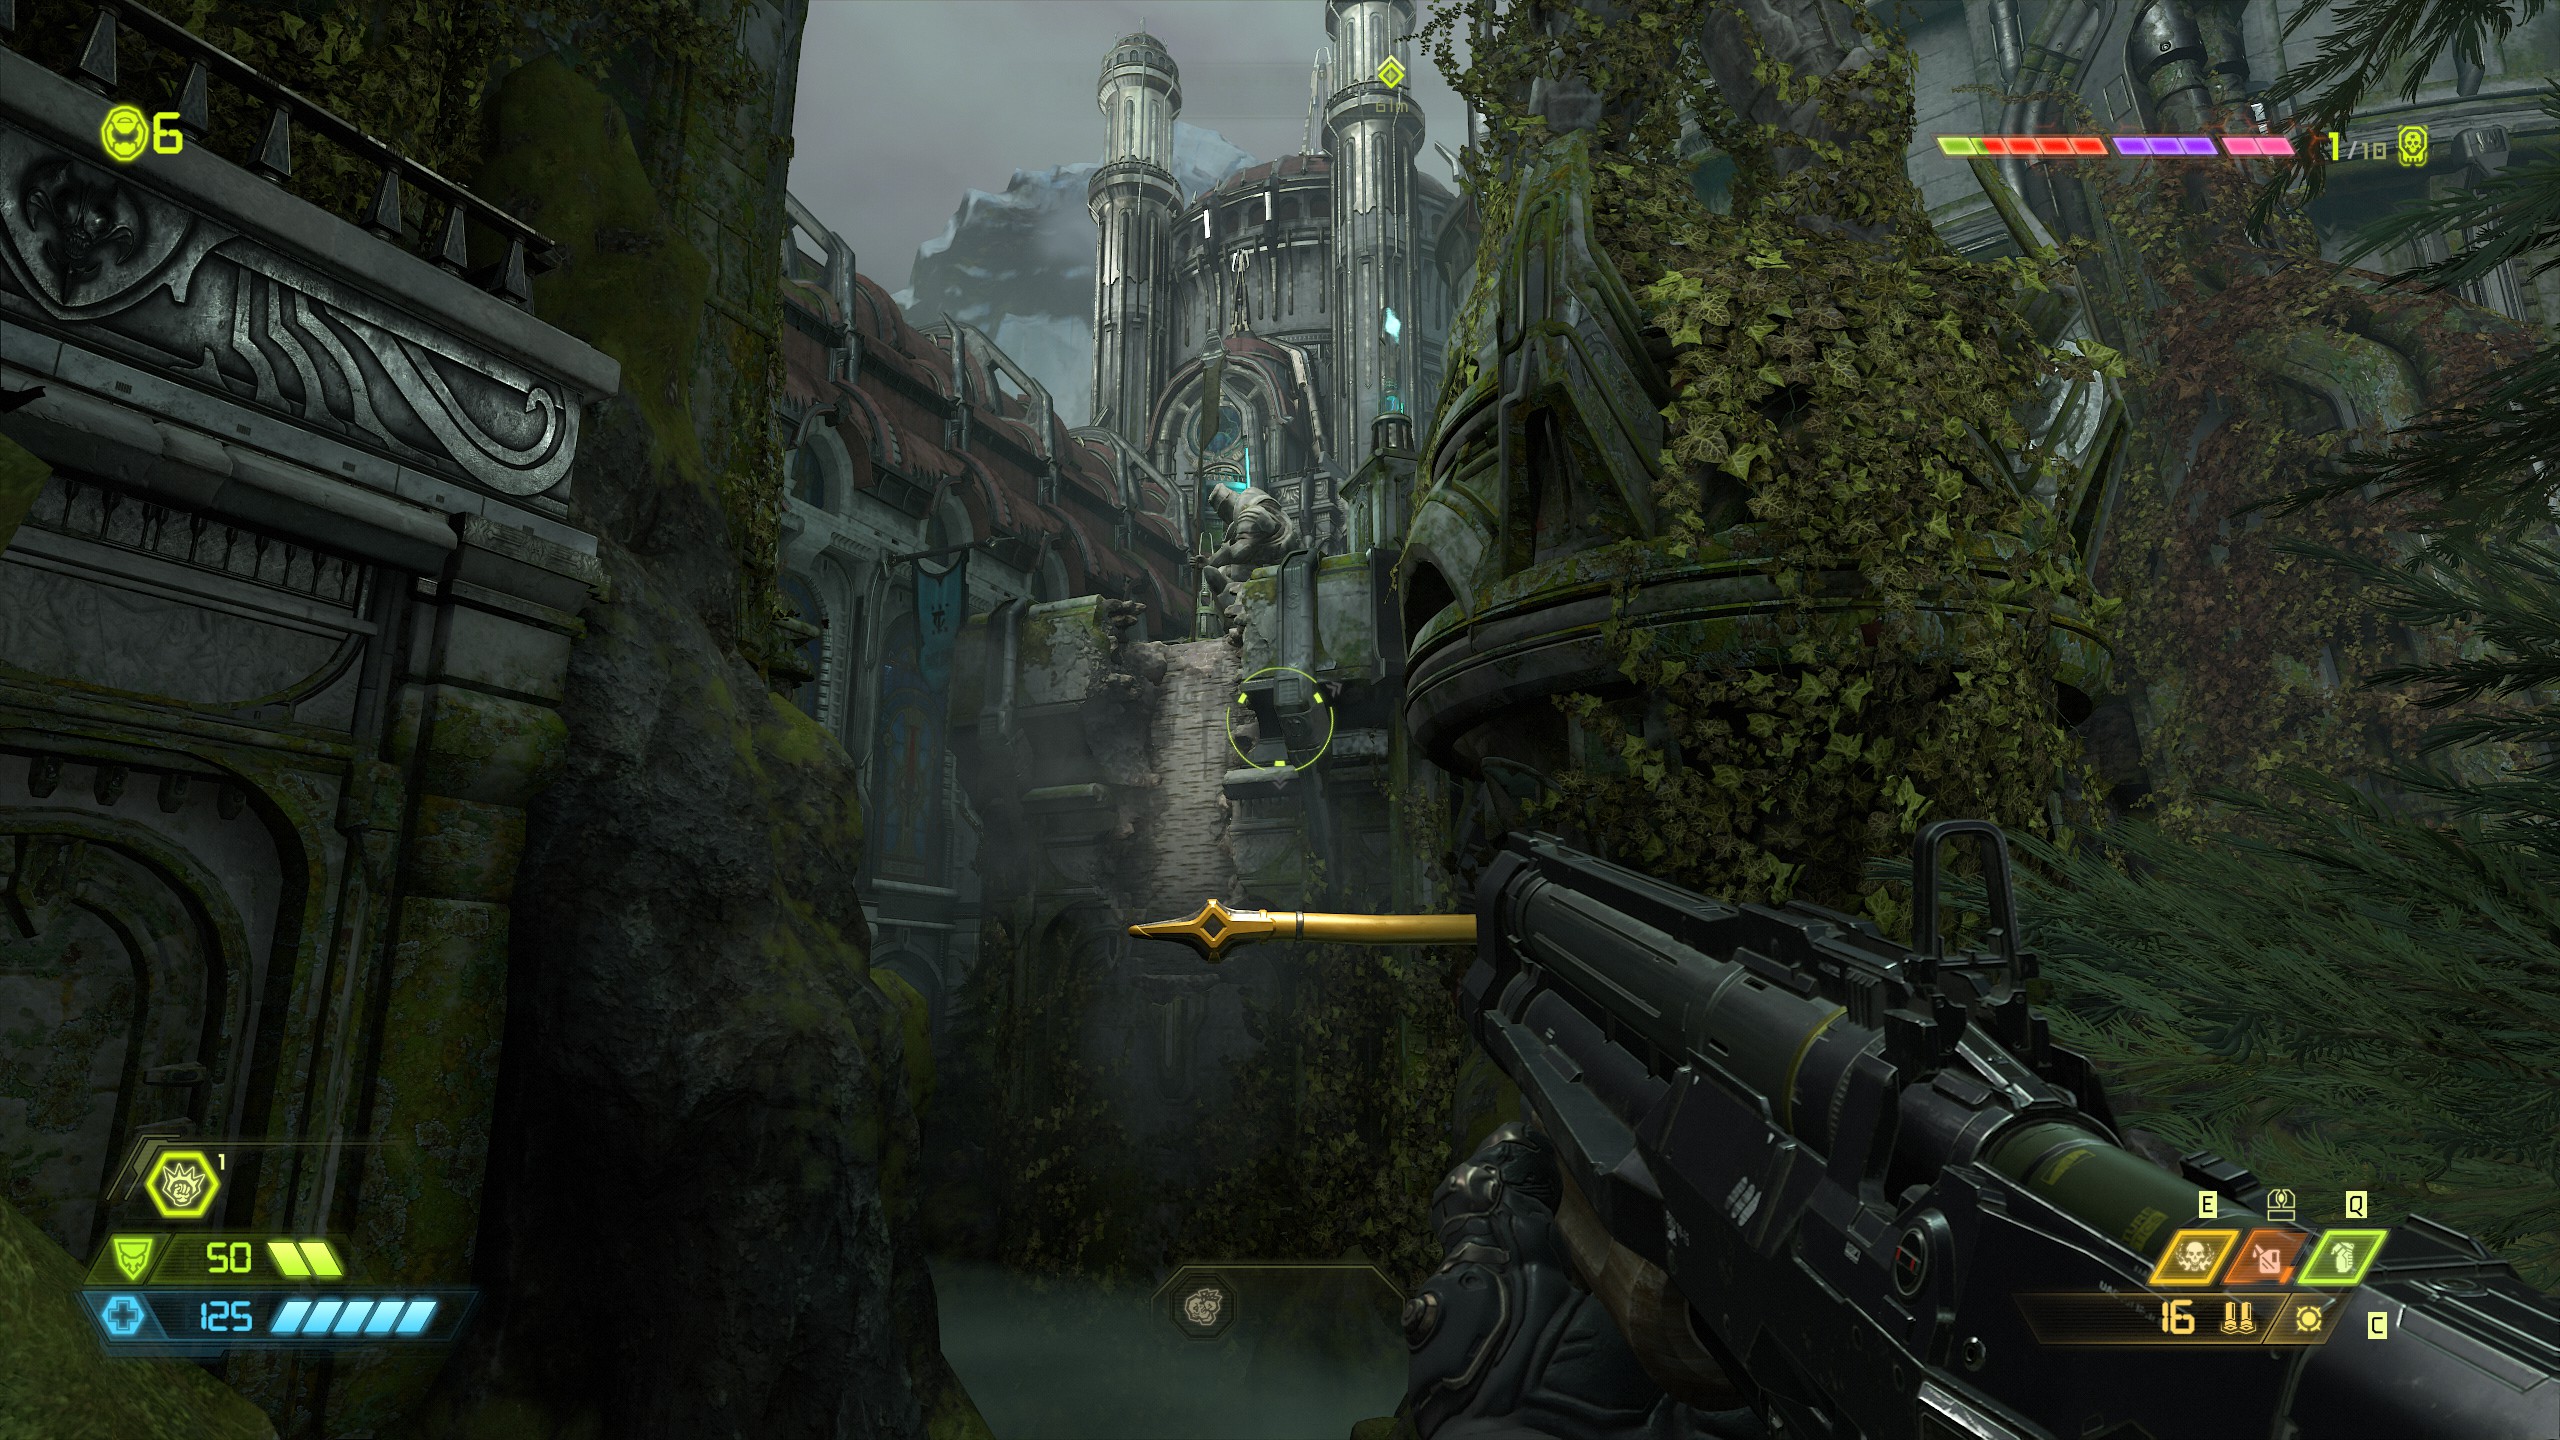
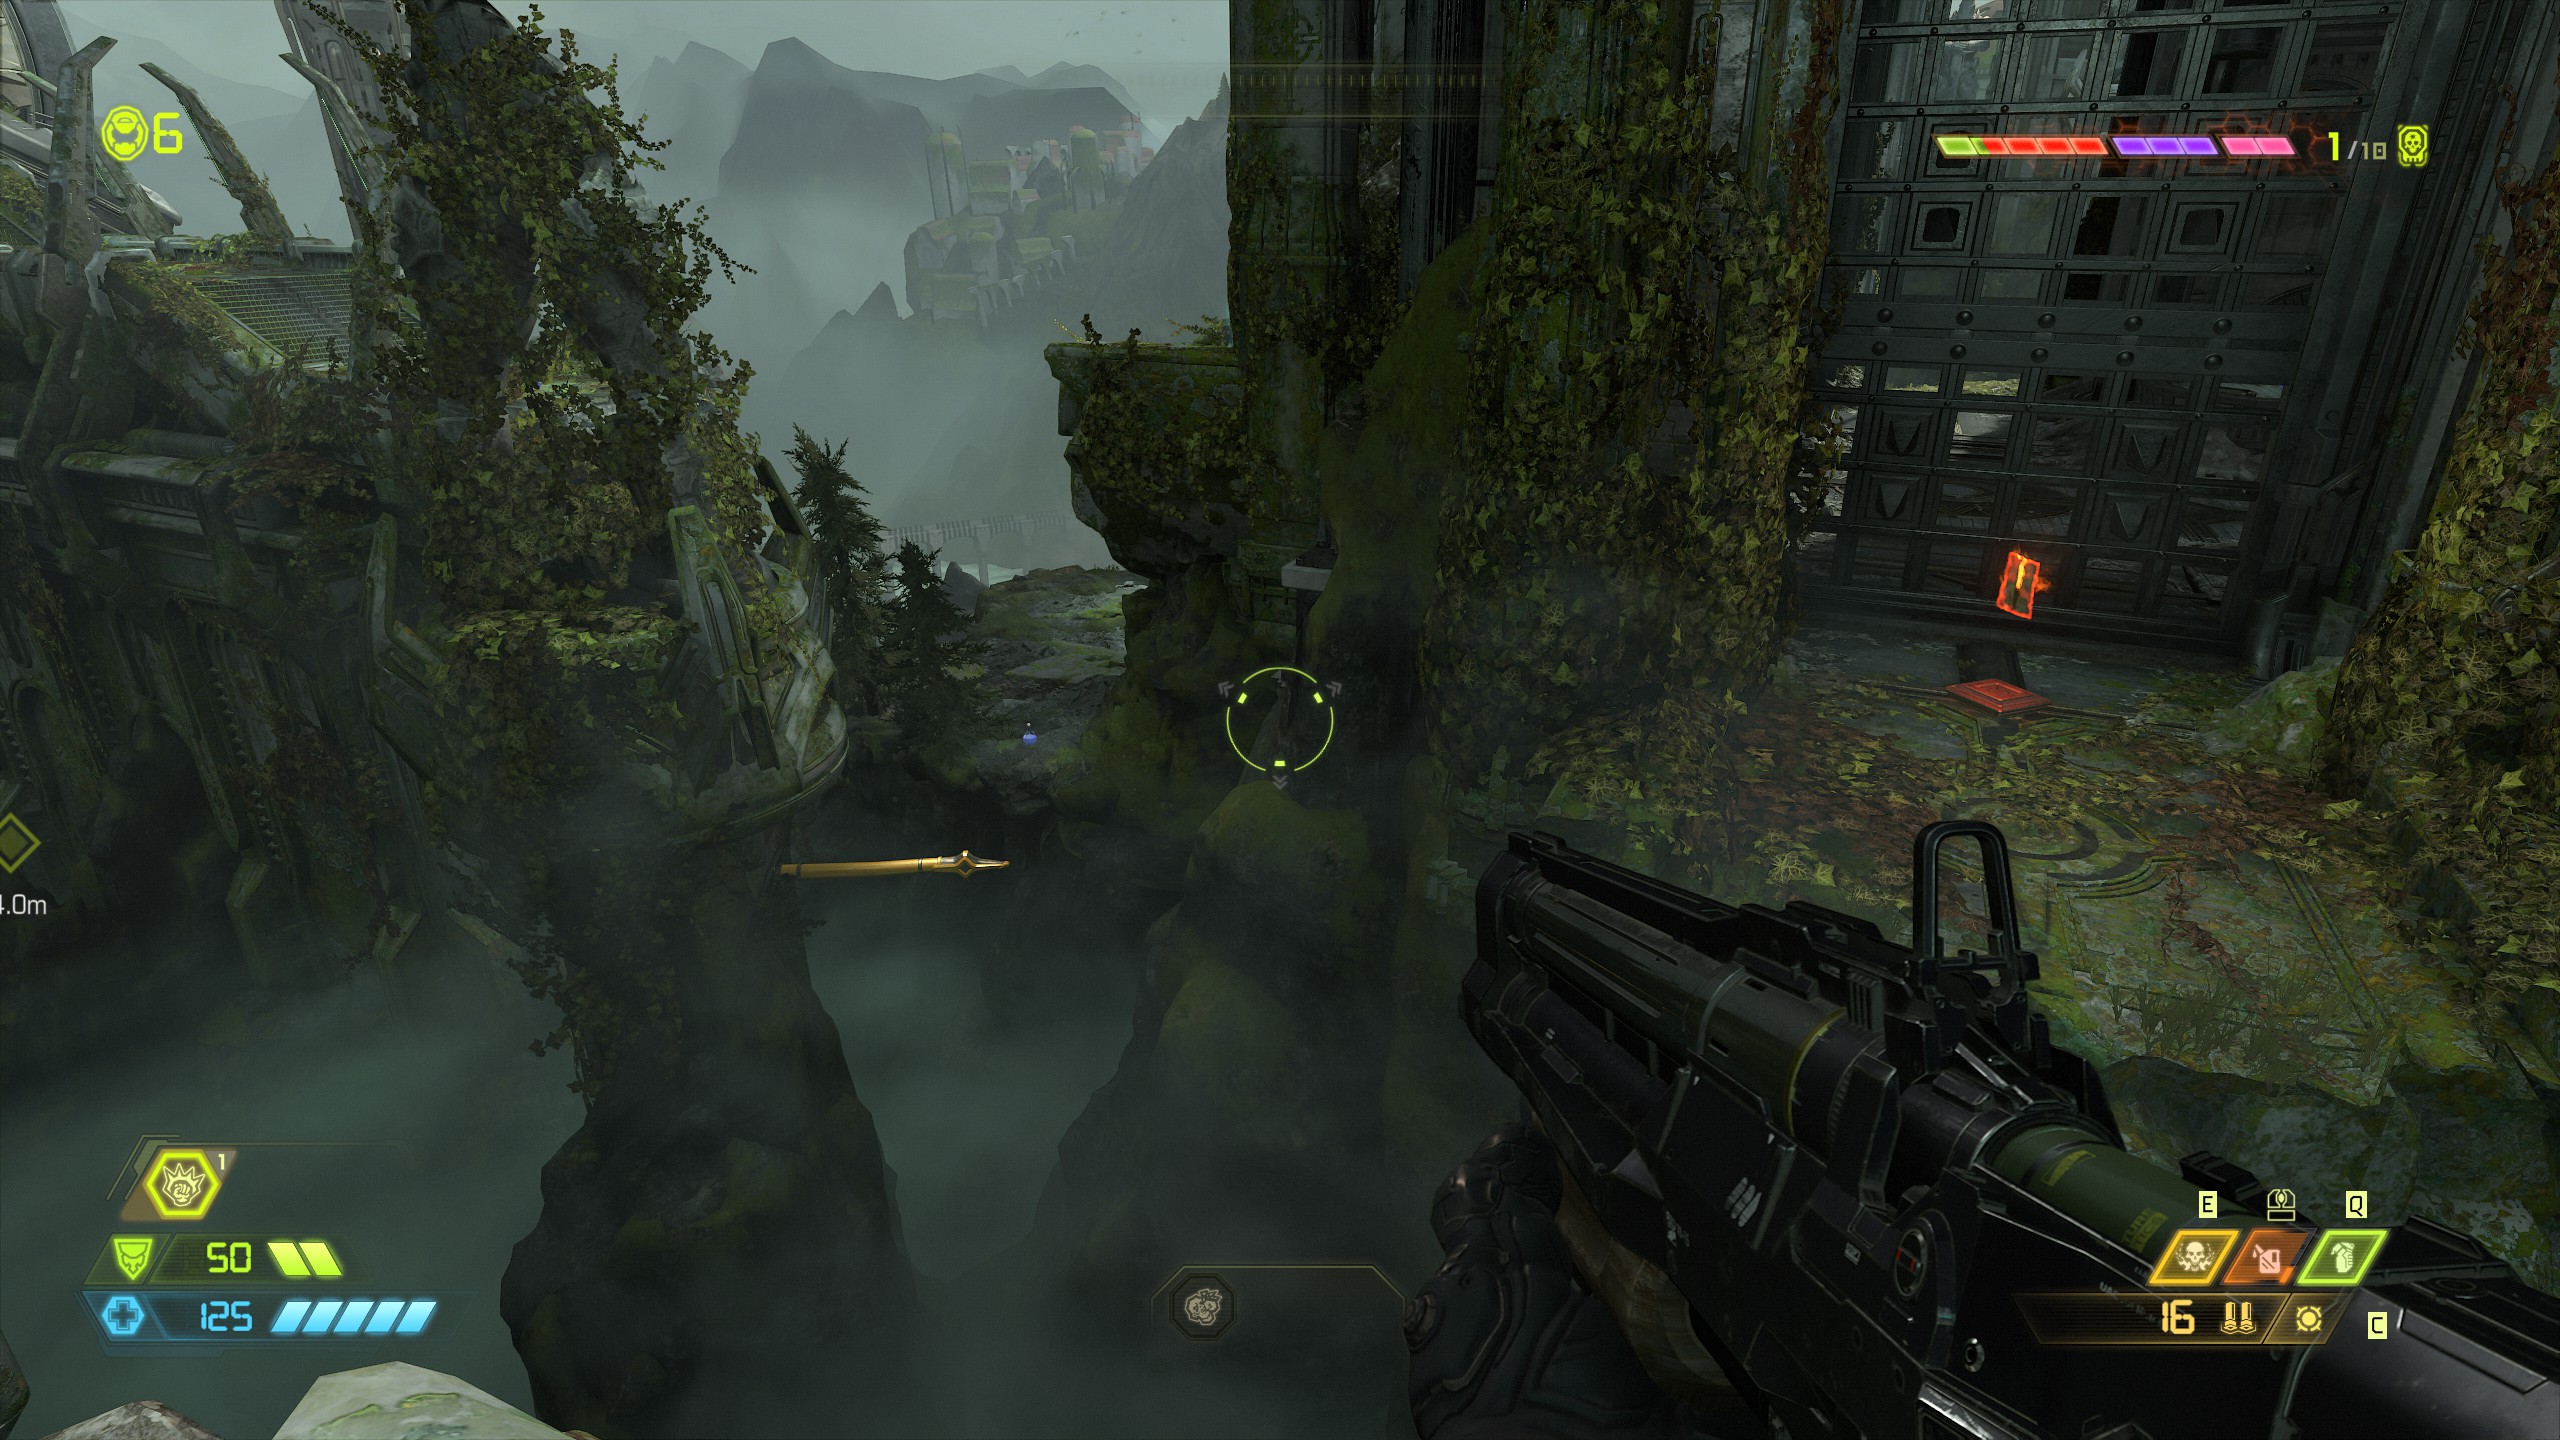
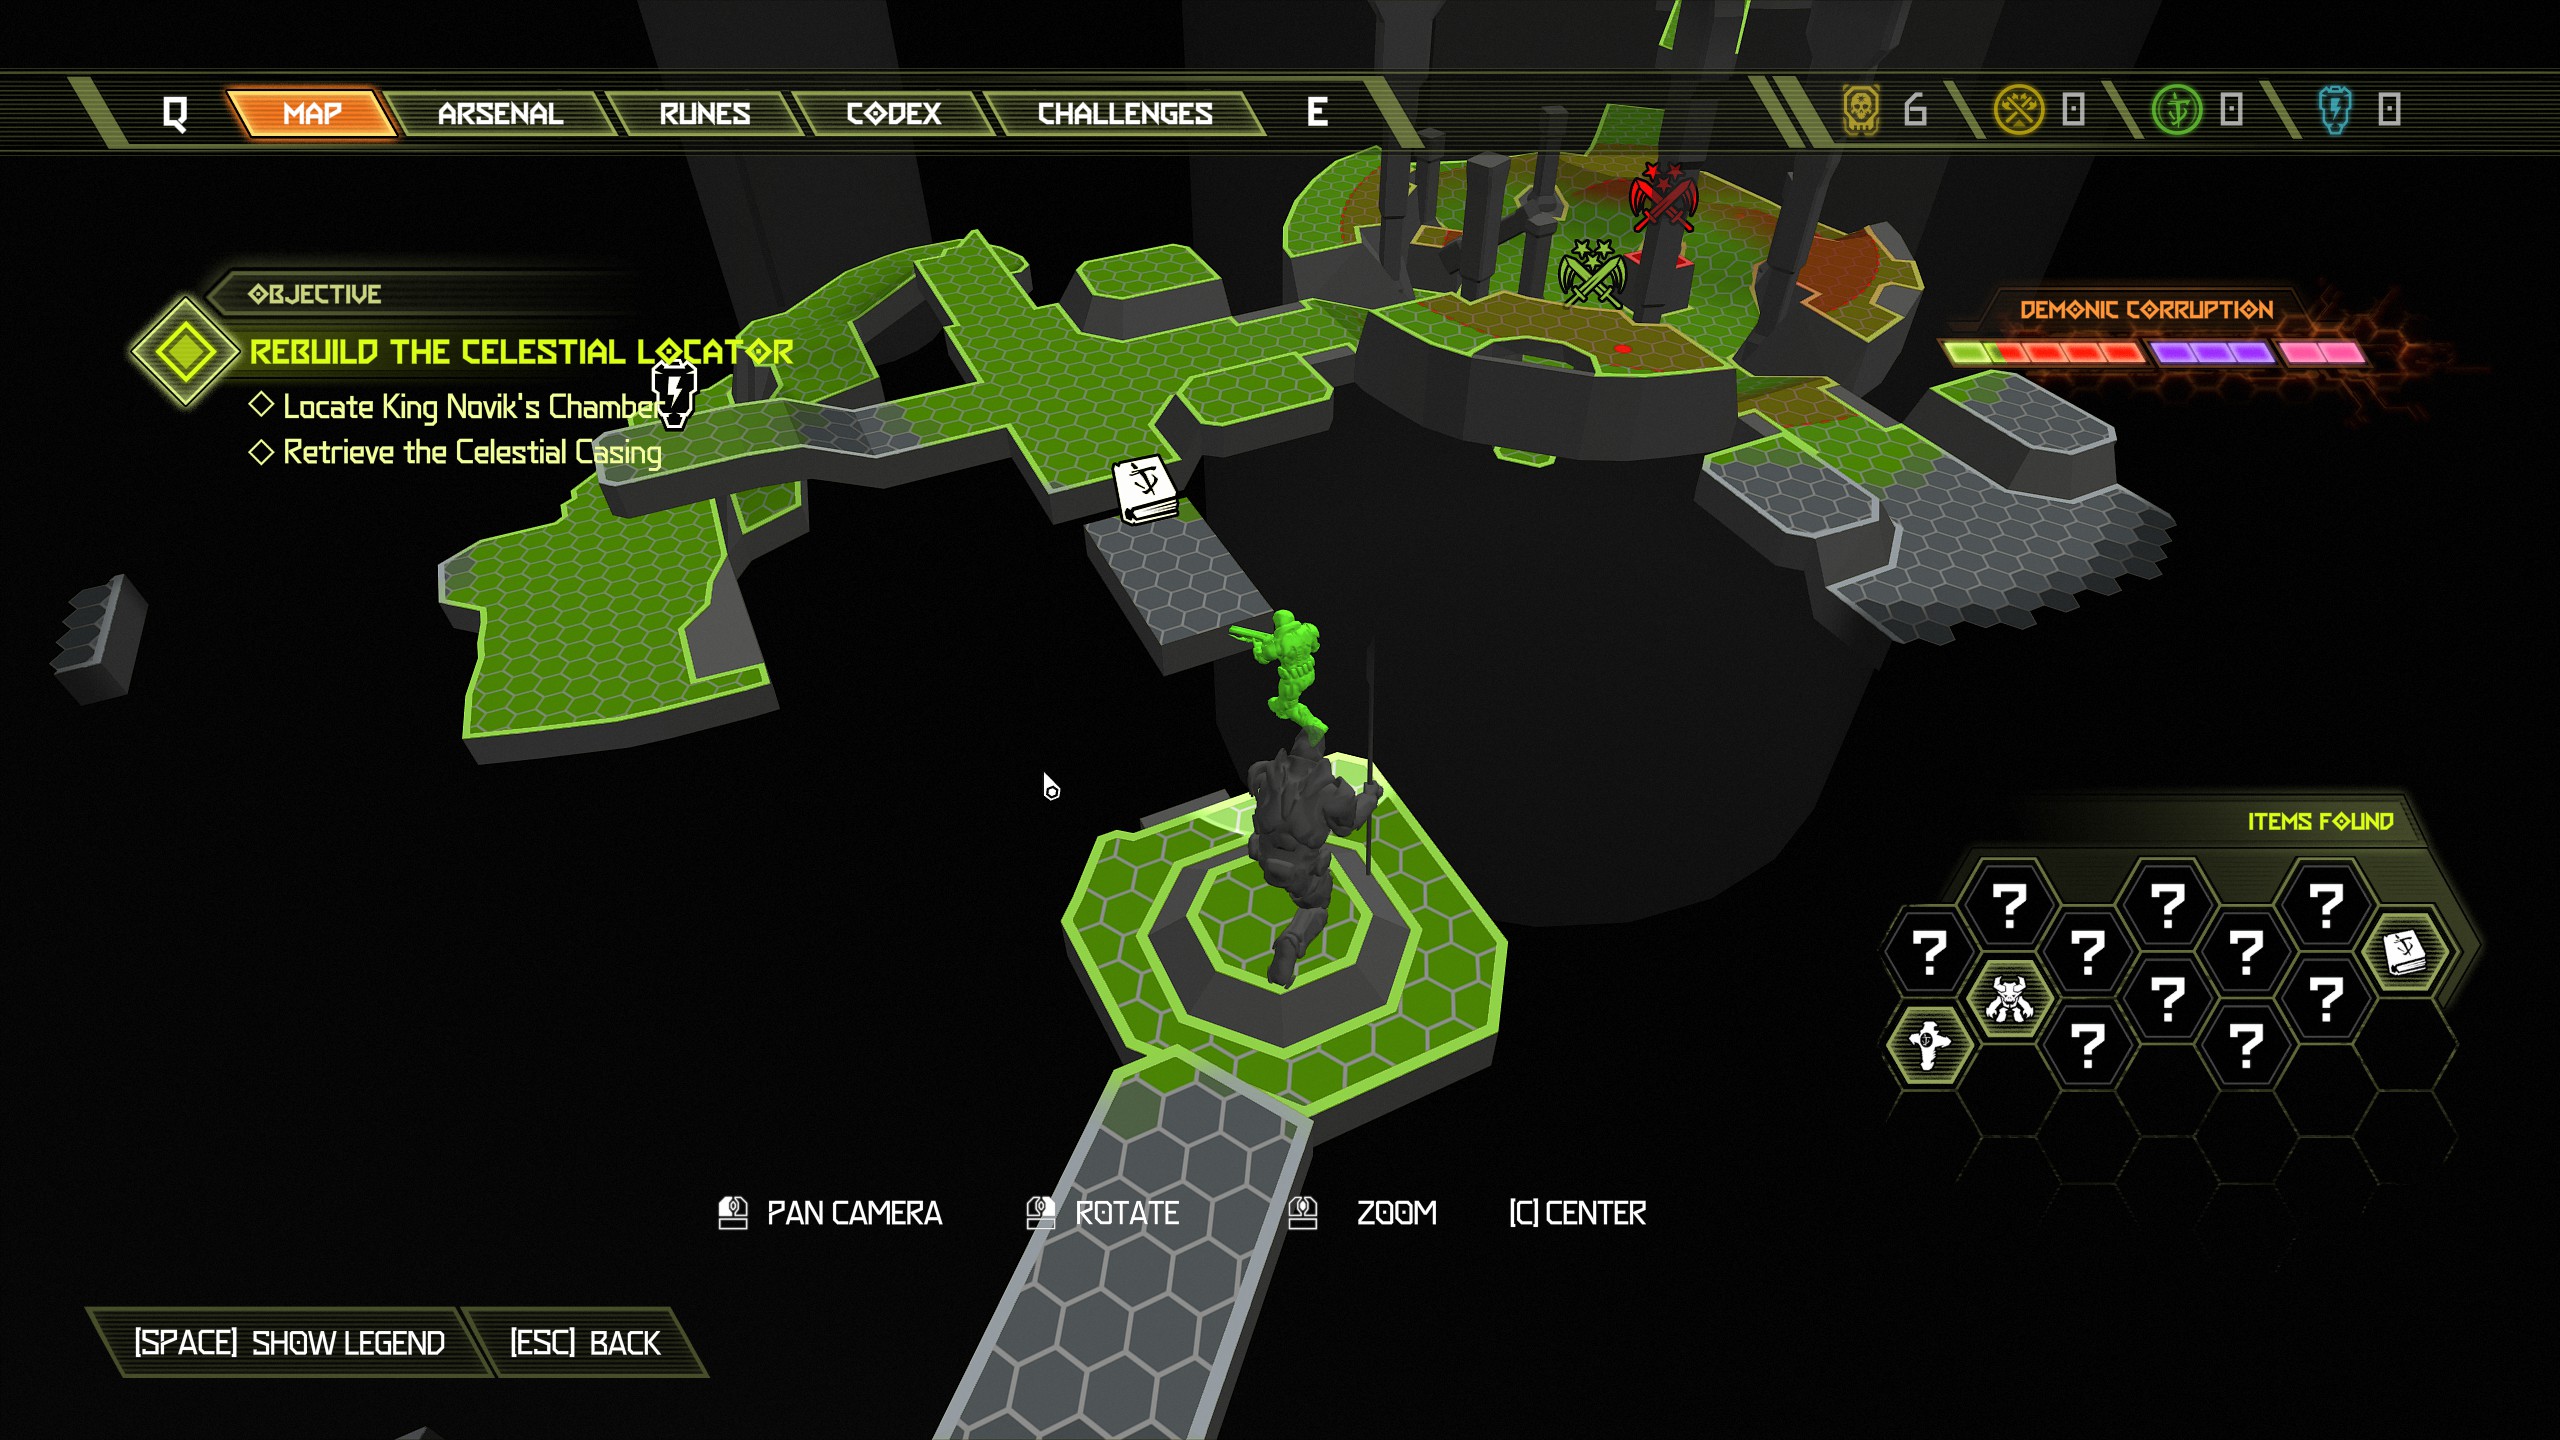
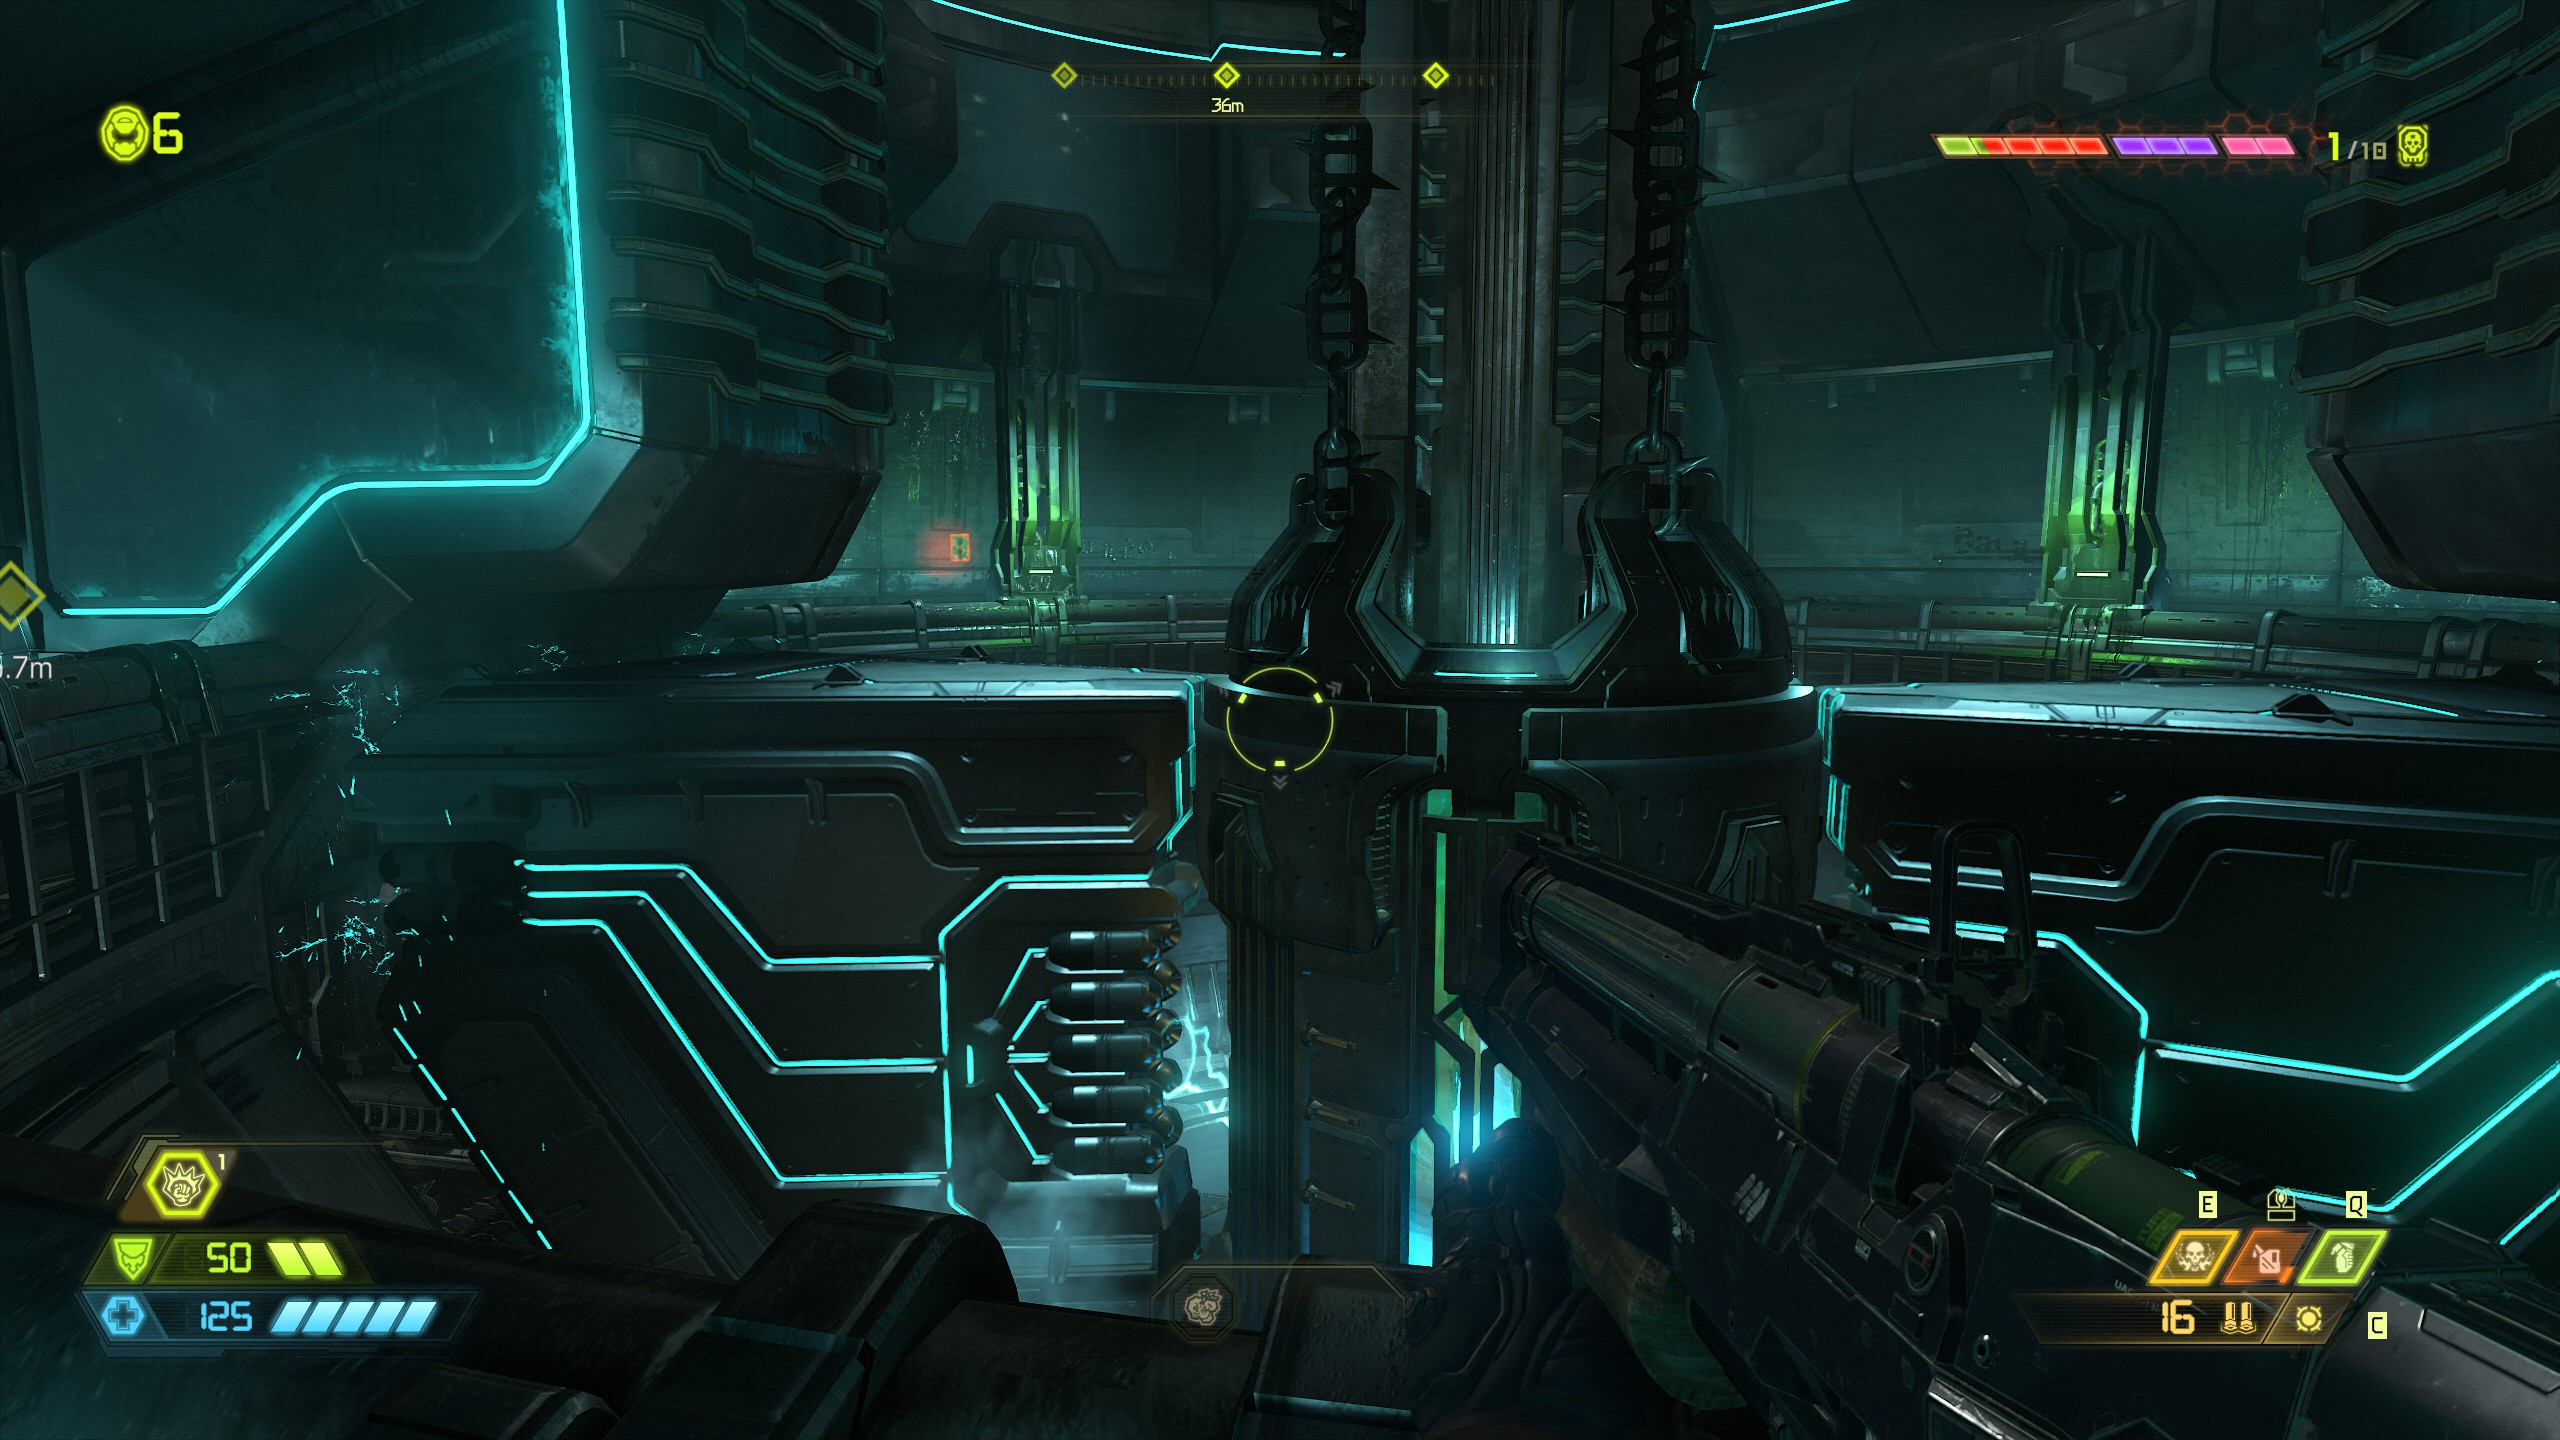
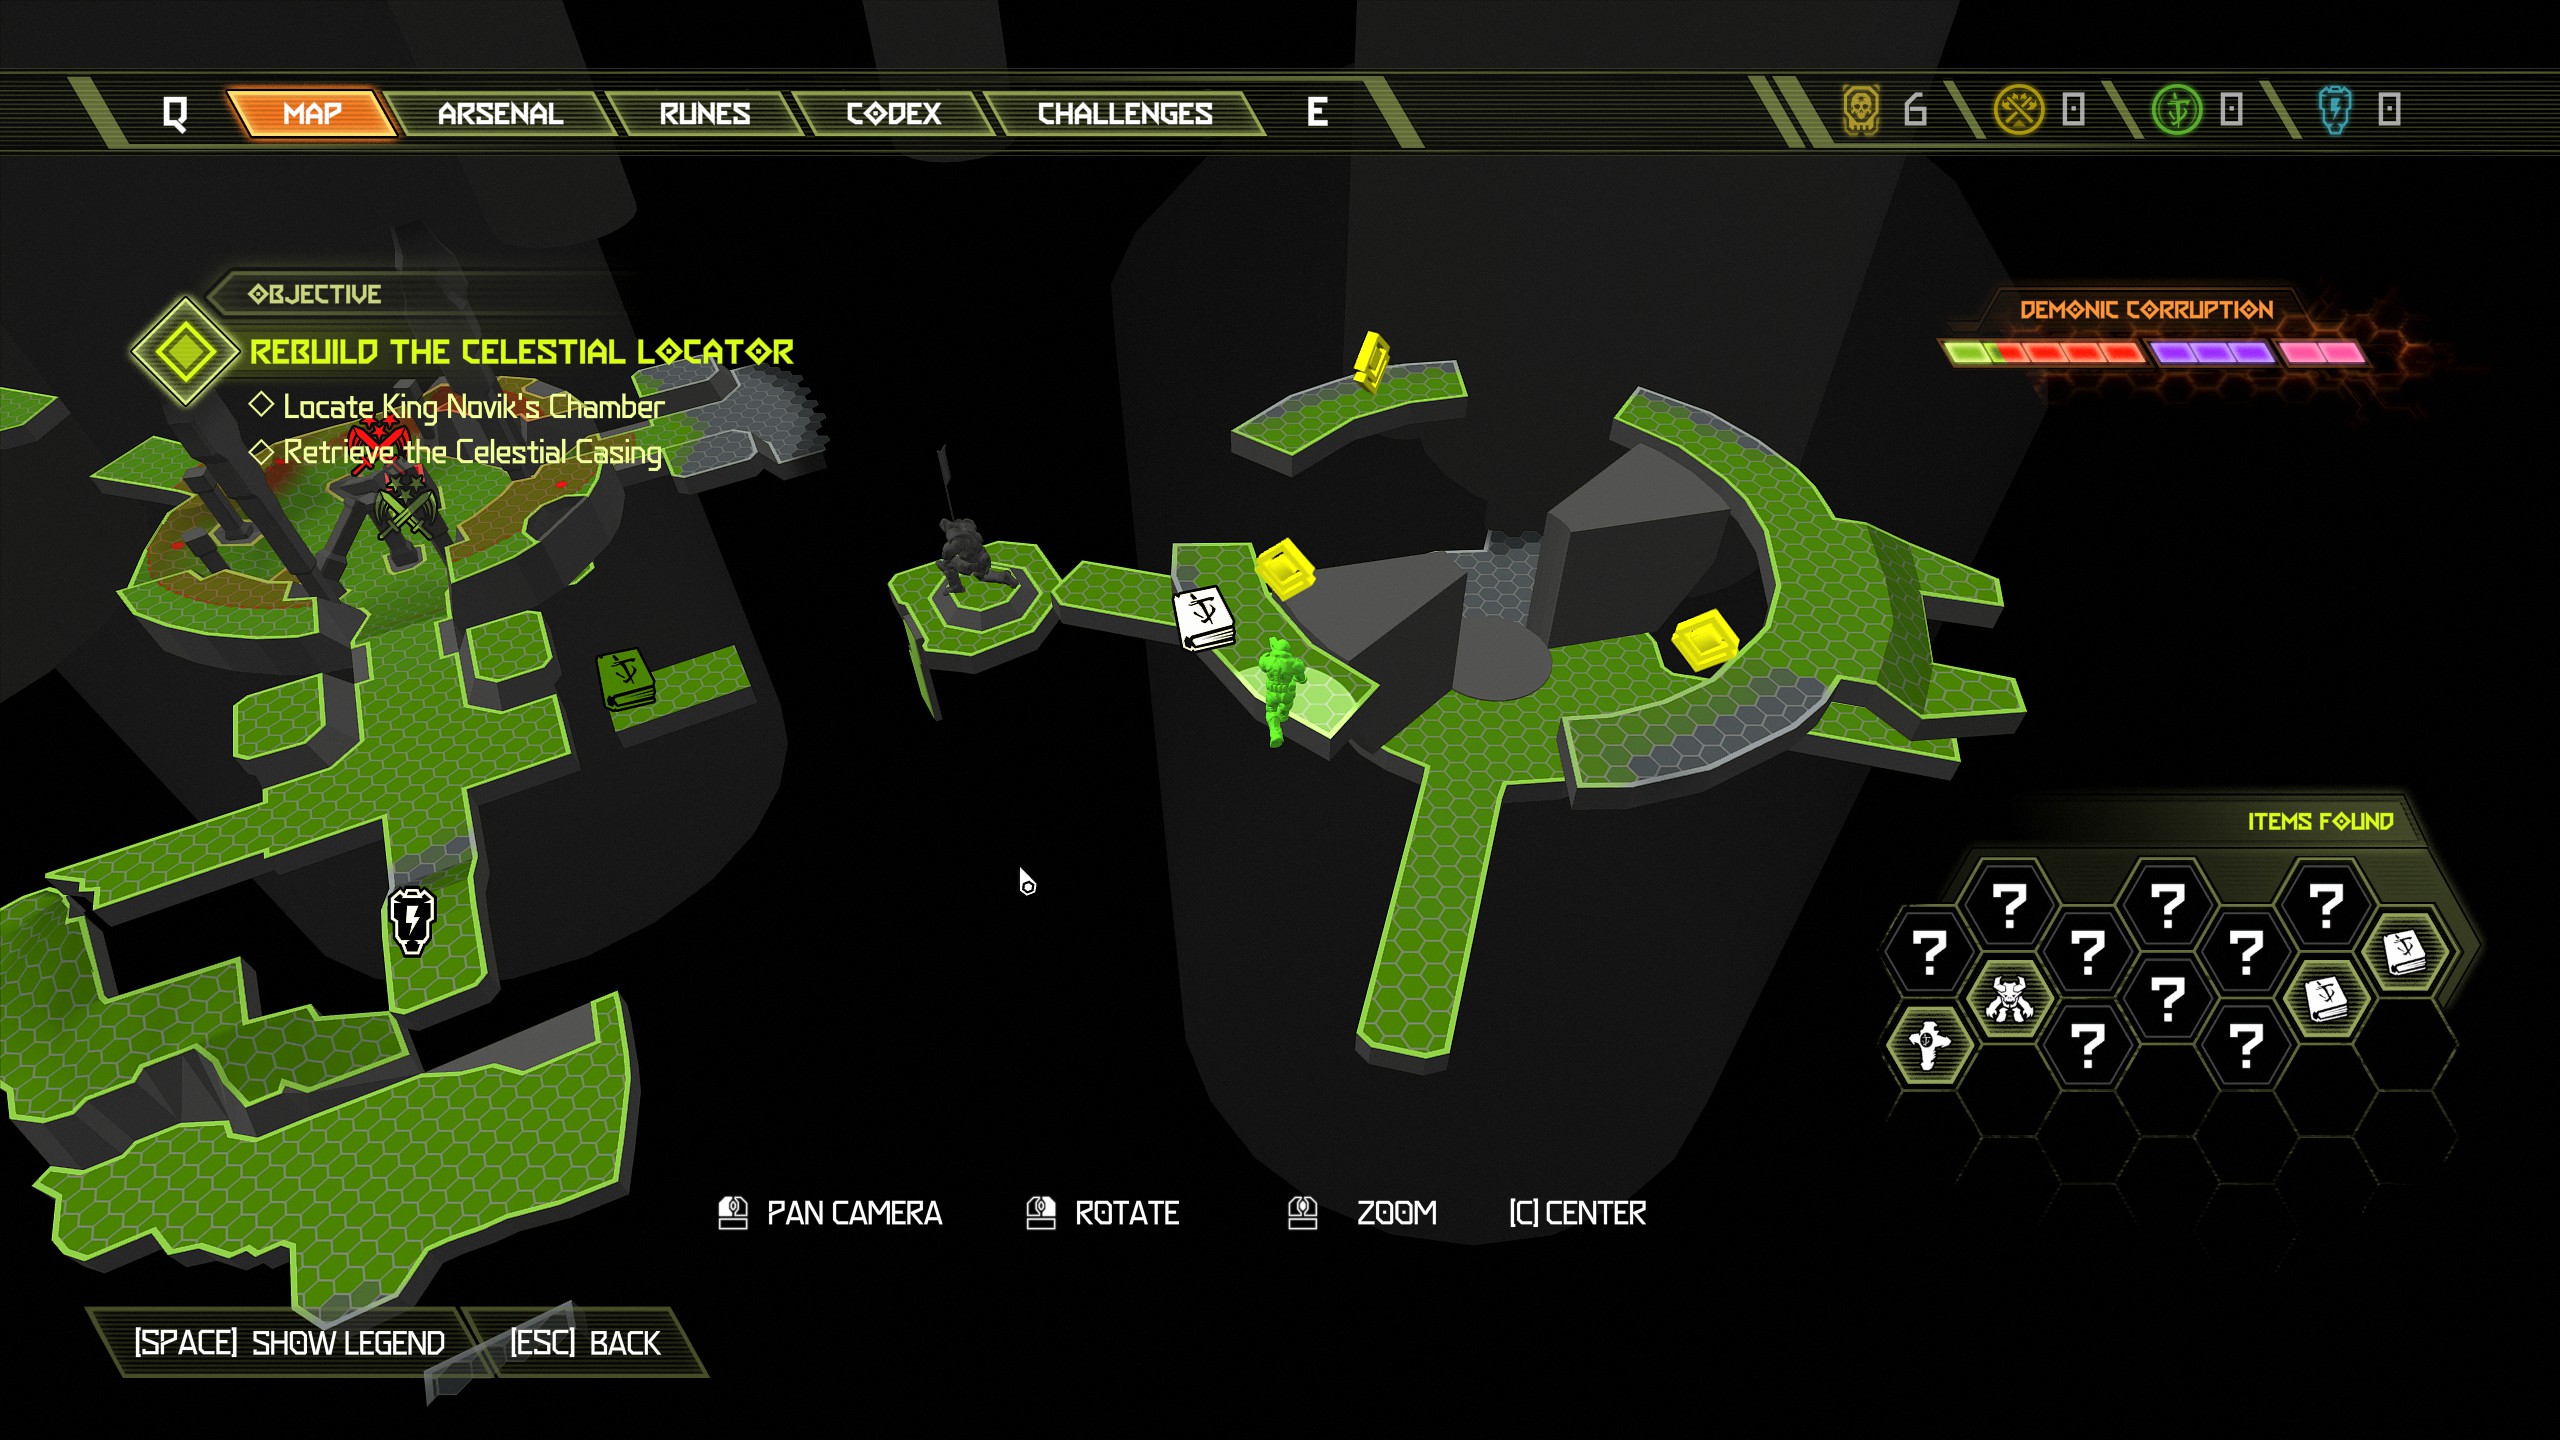
Continue the mission and gain your dash ability.
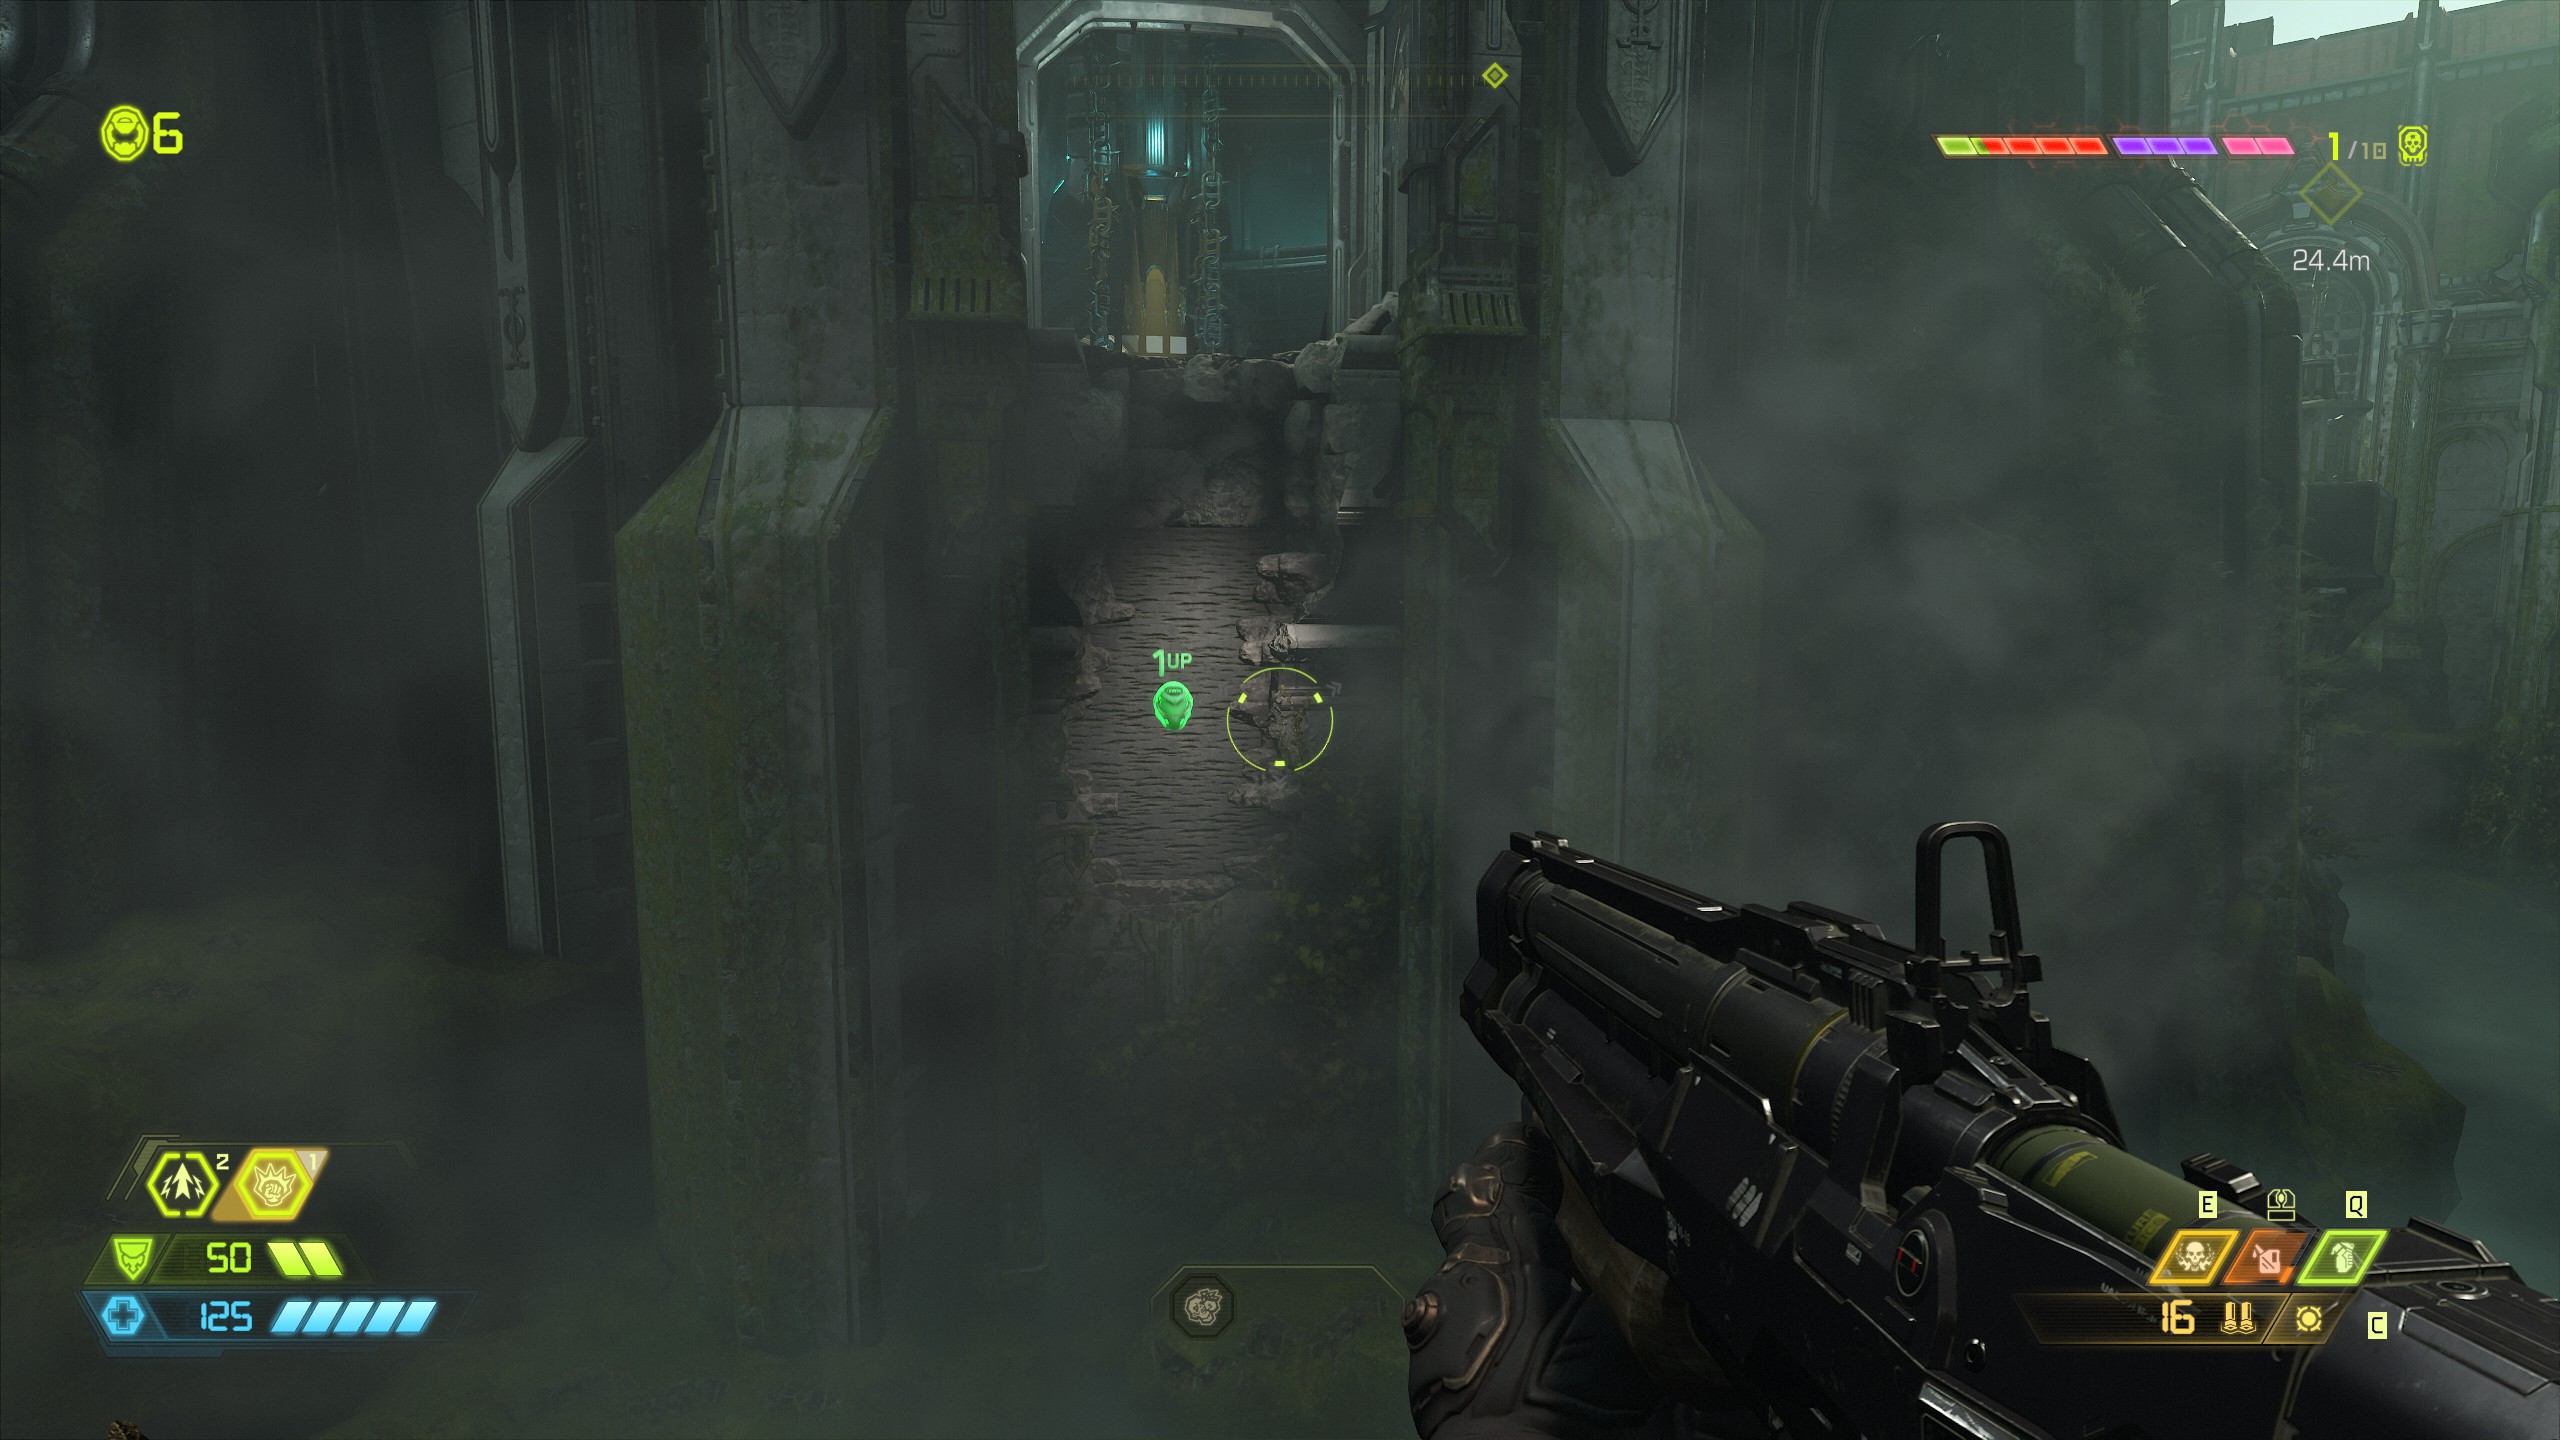
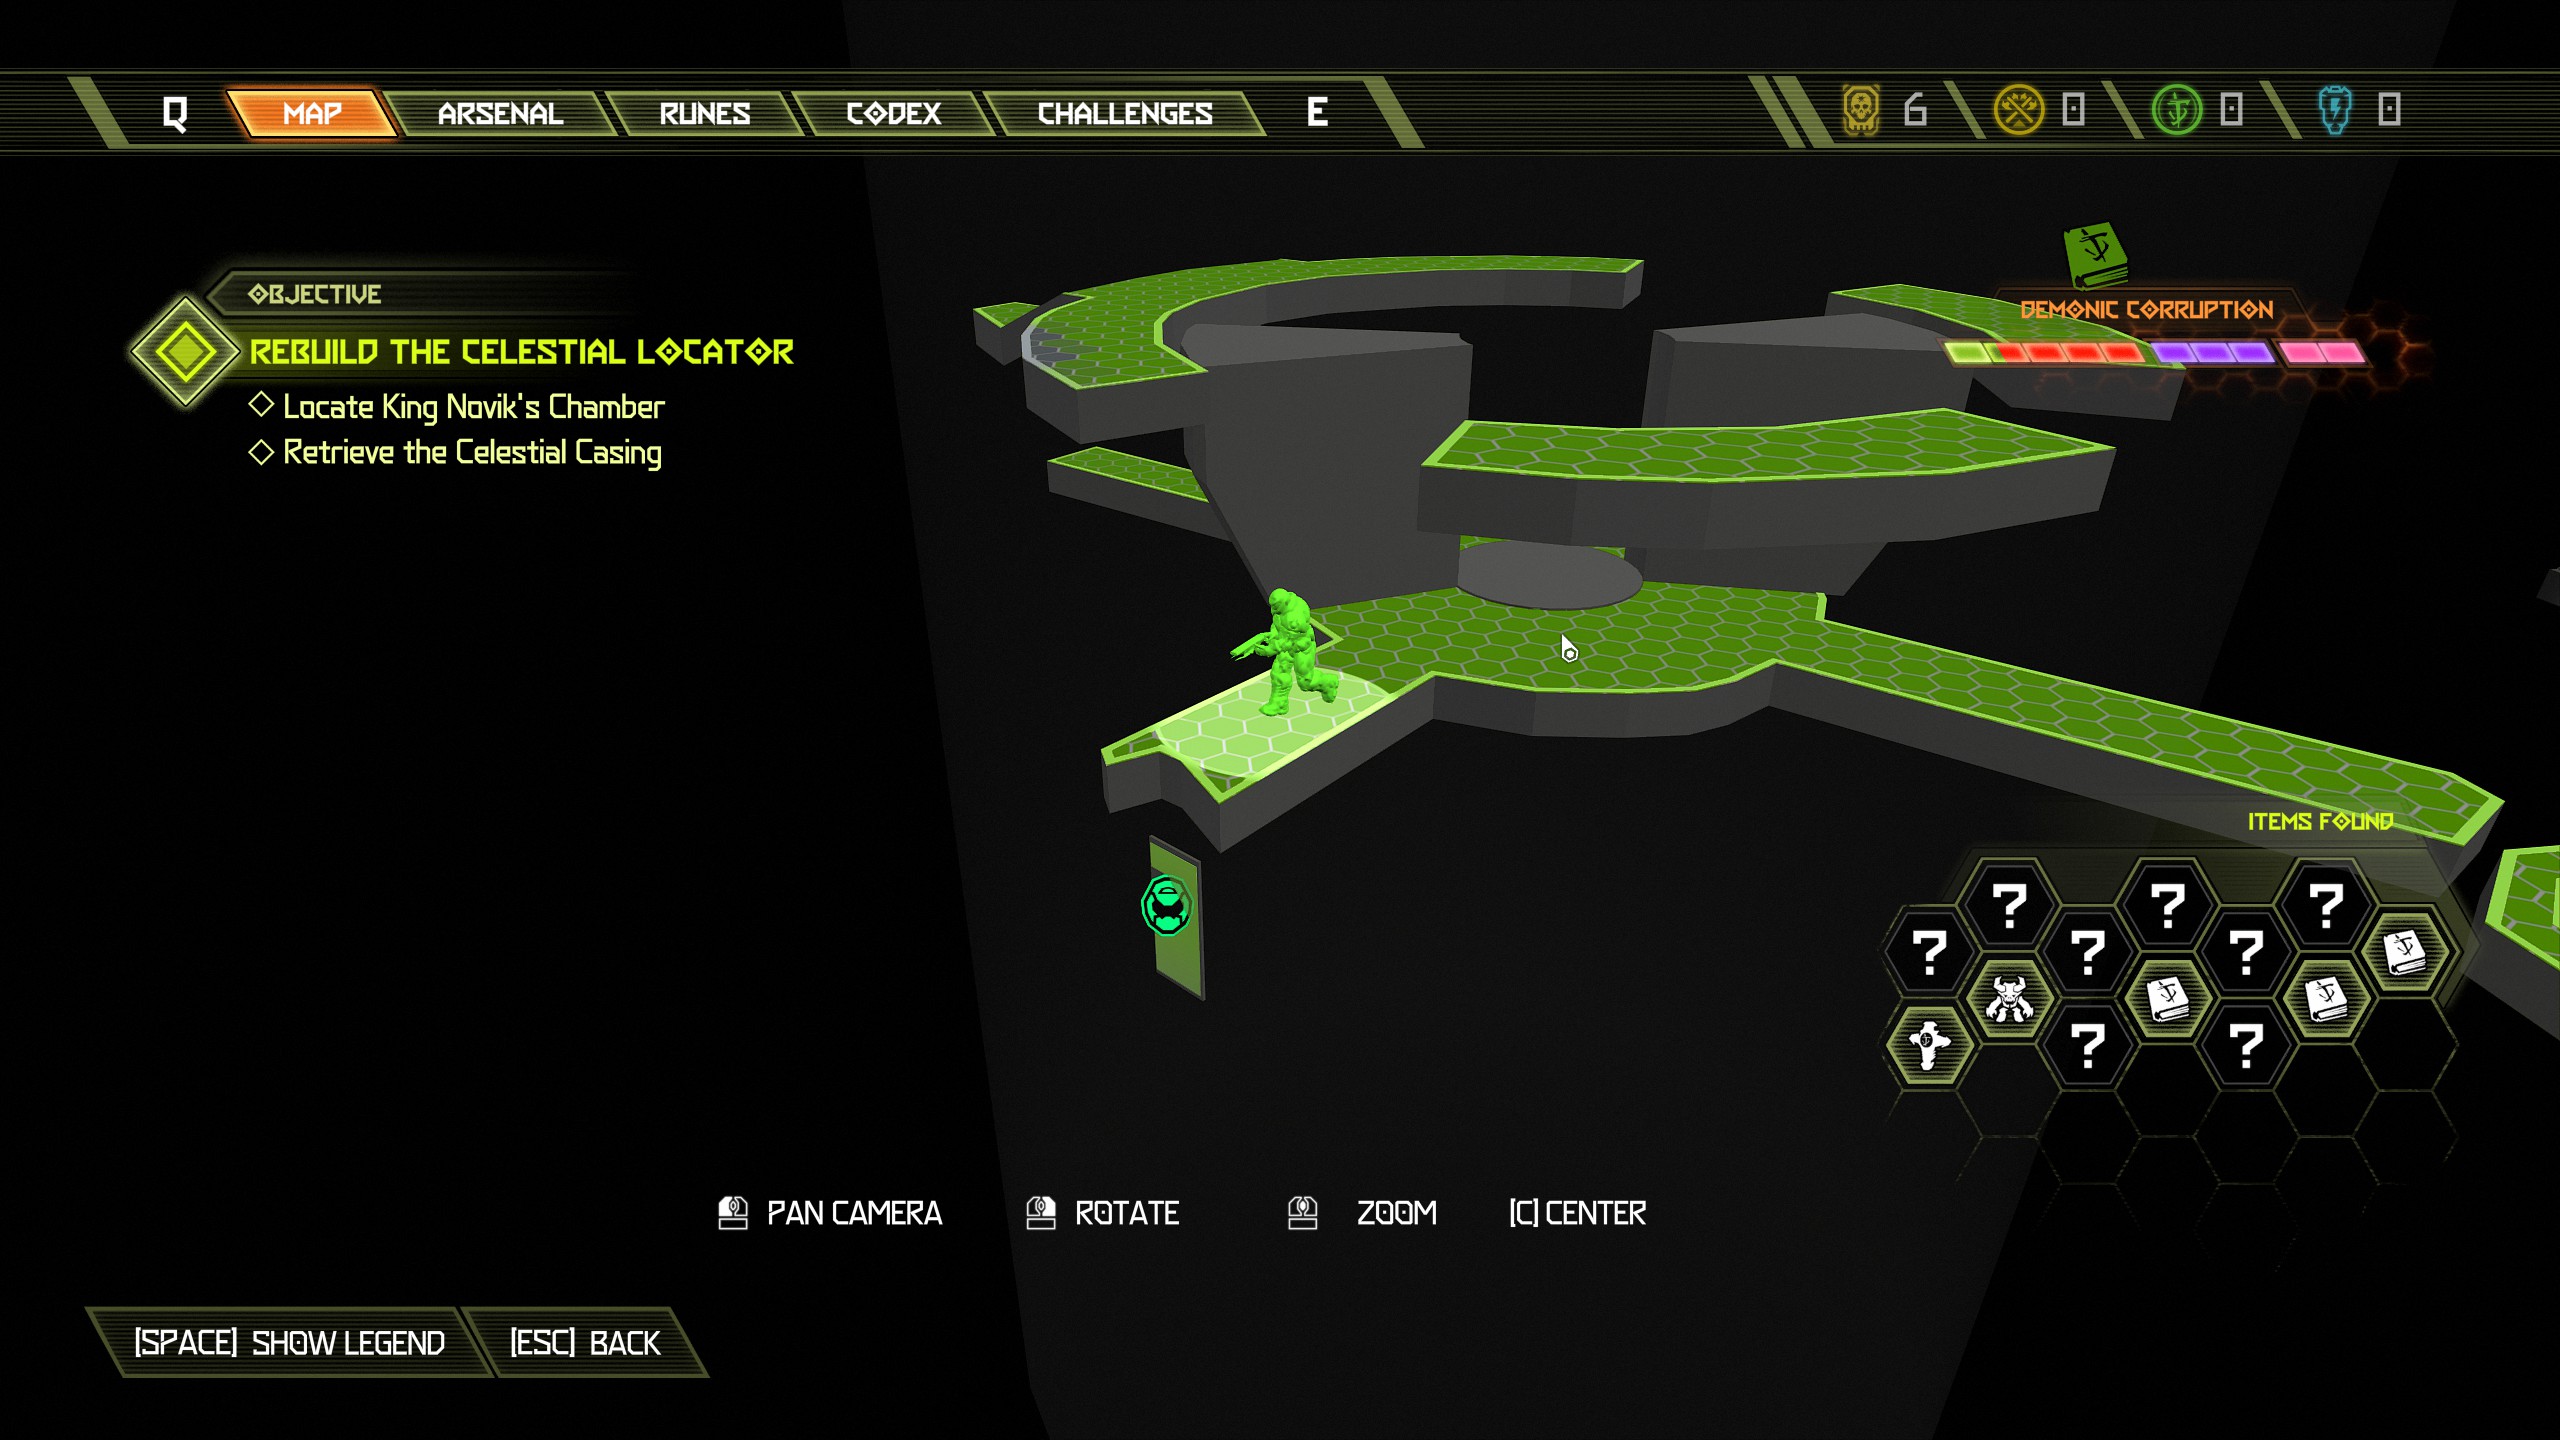
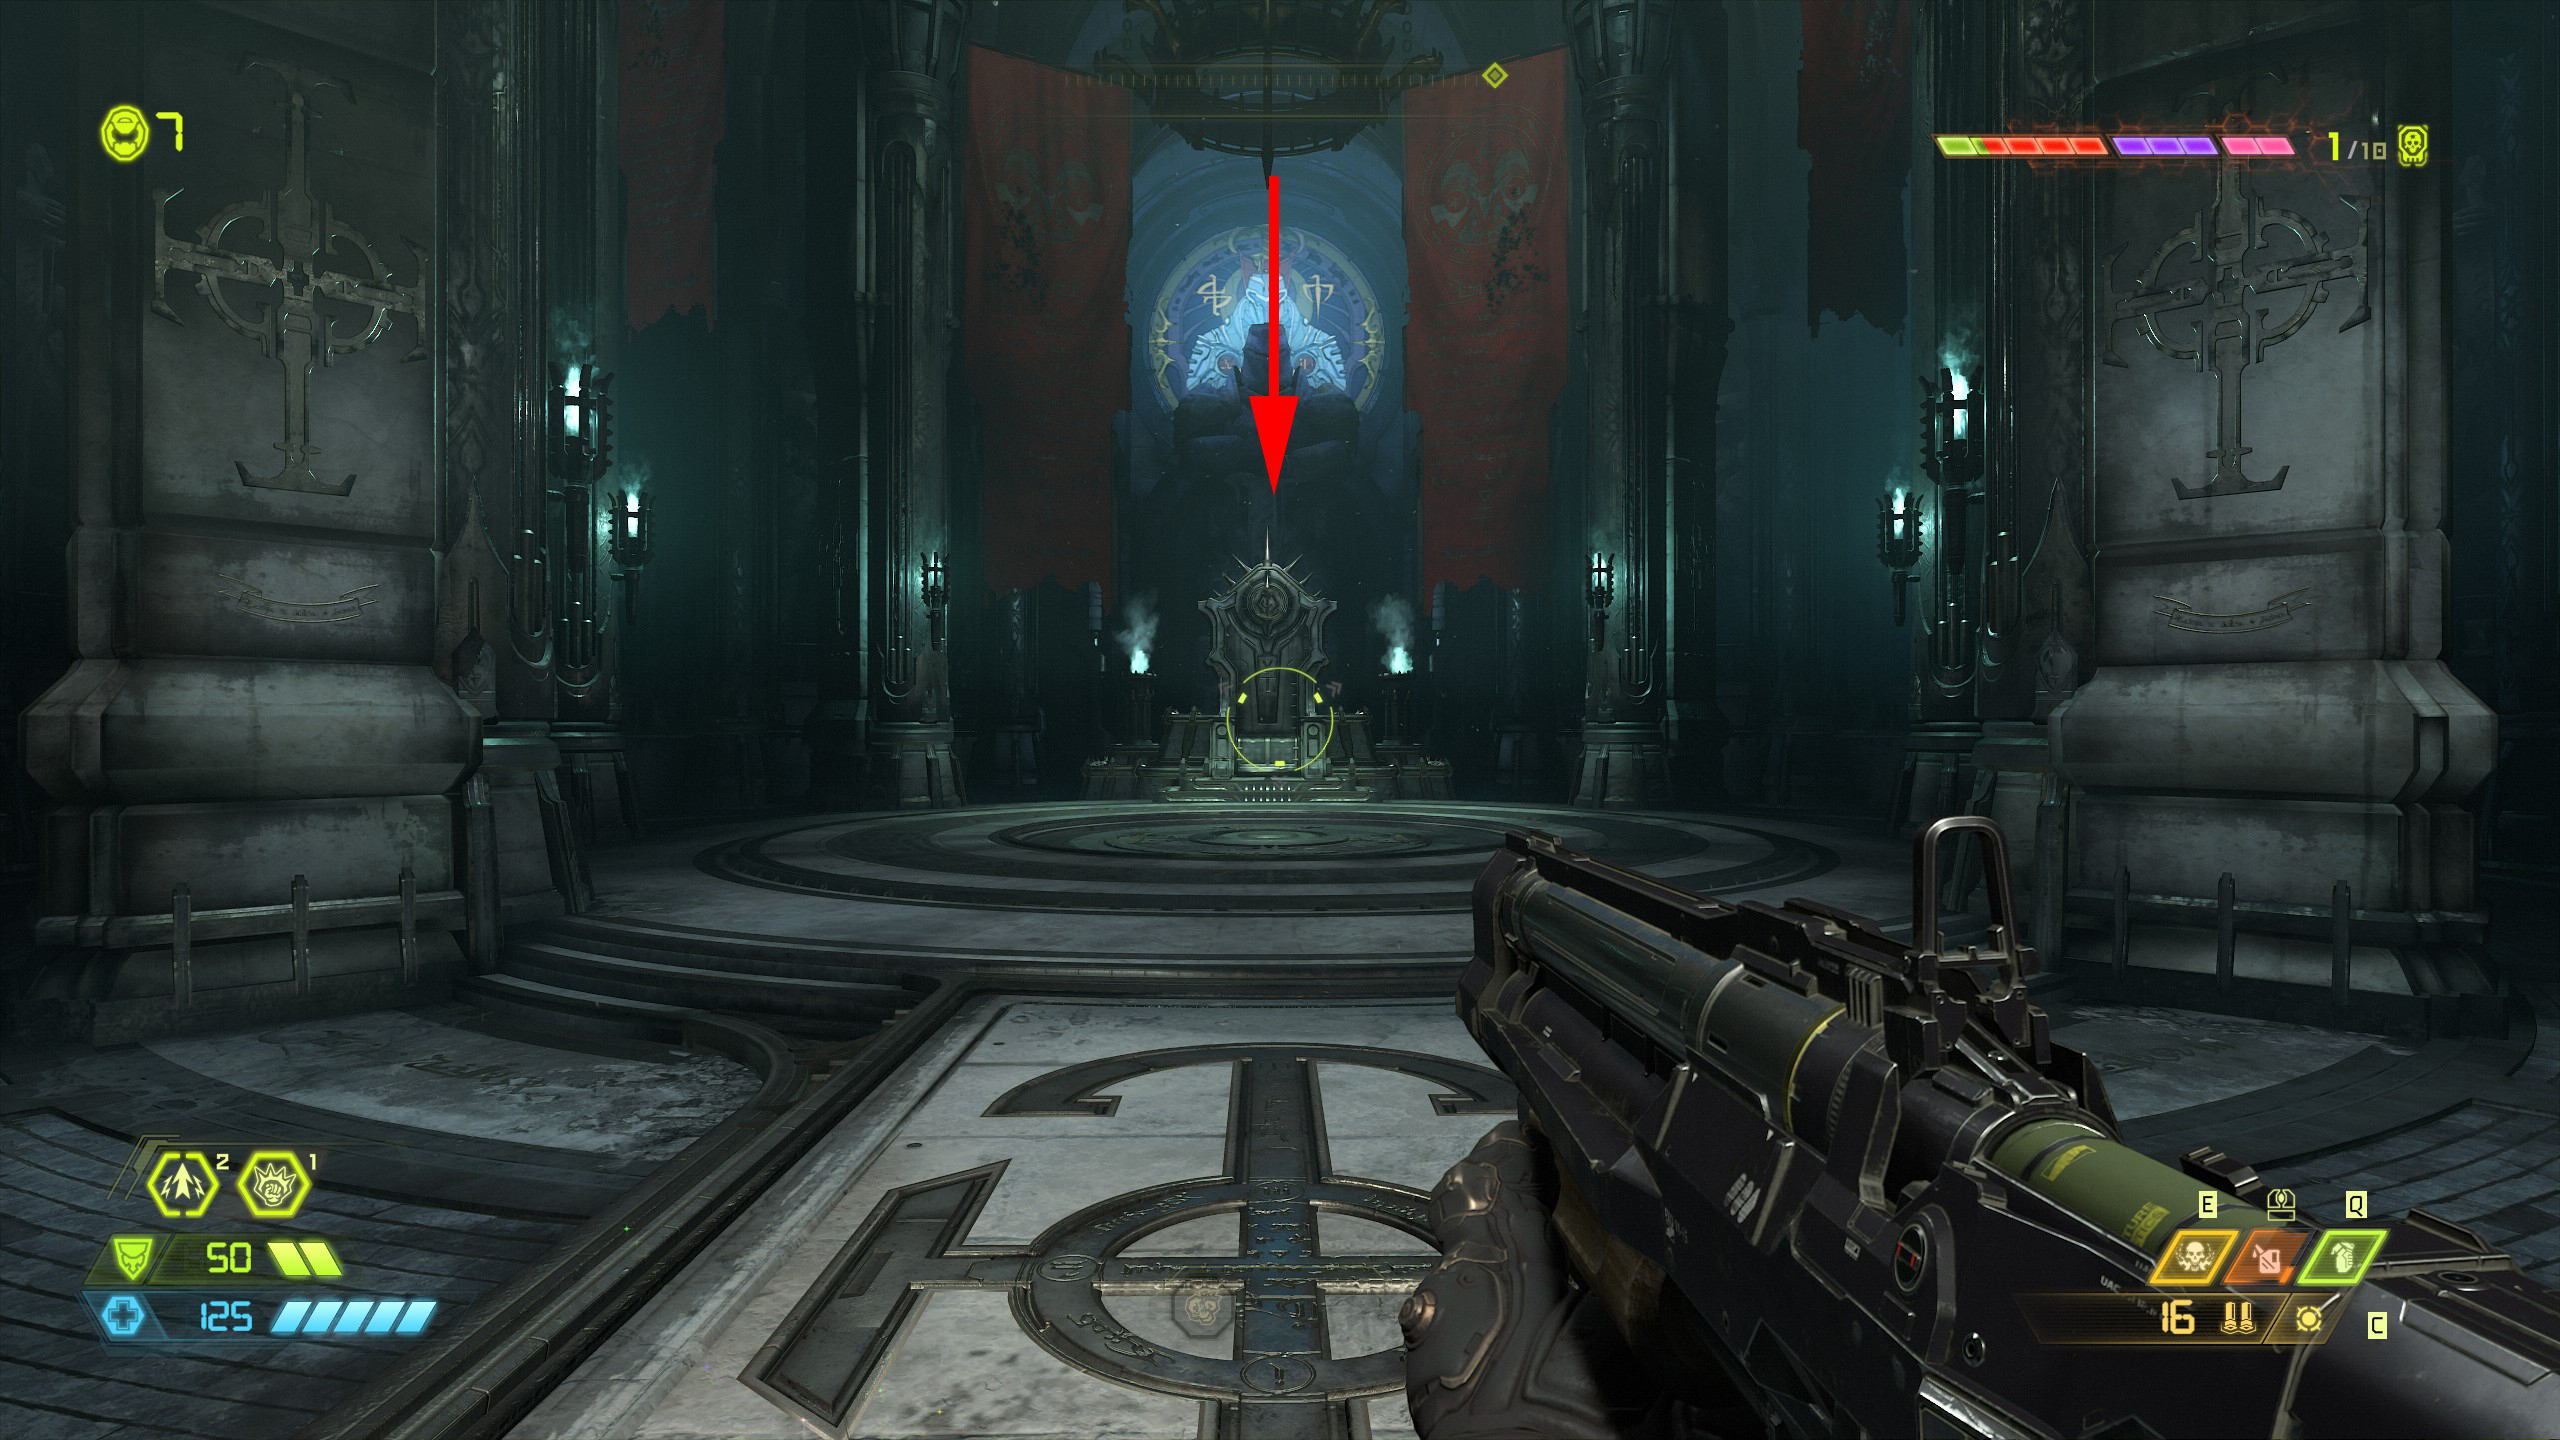
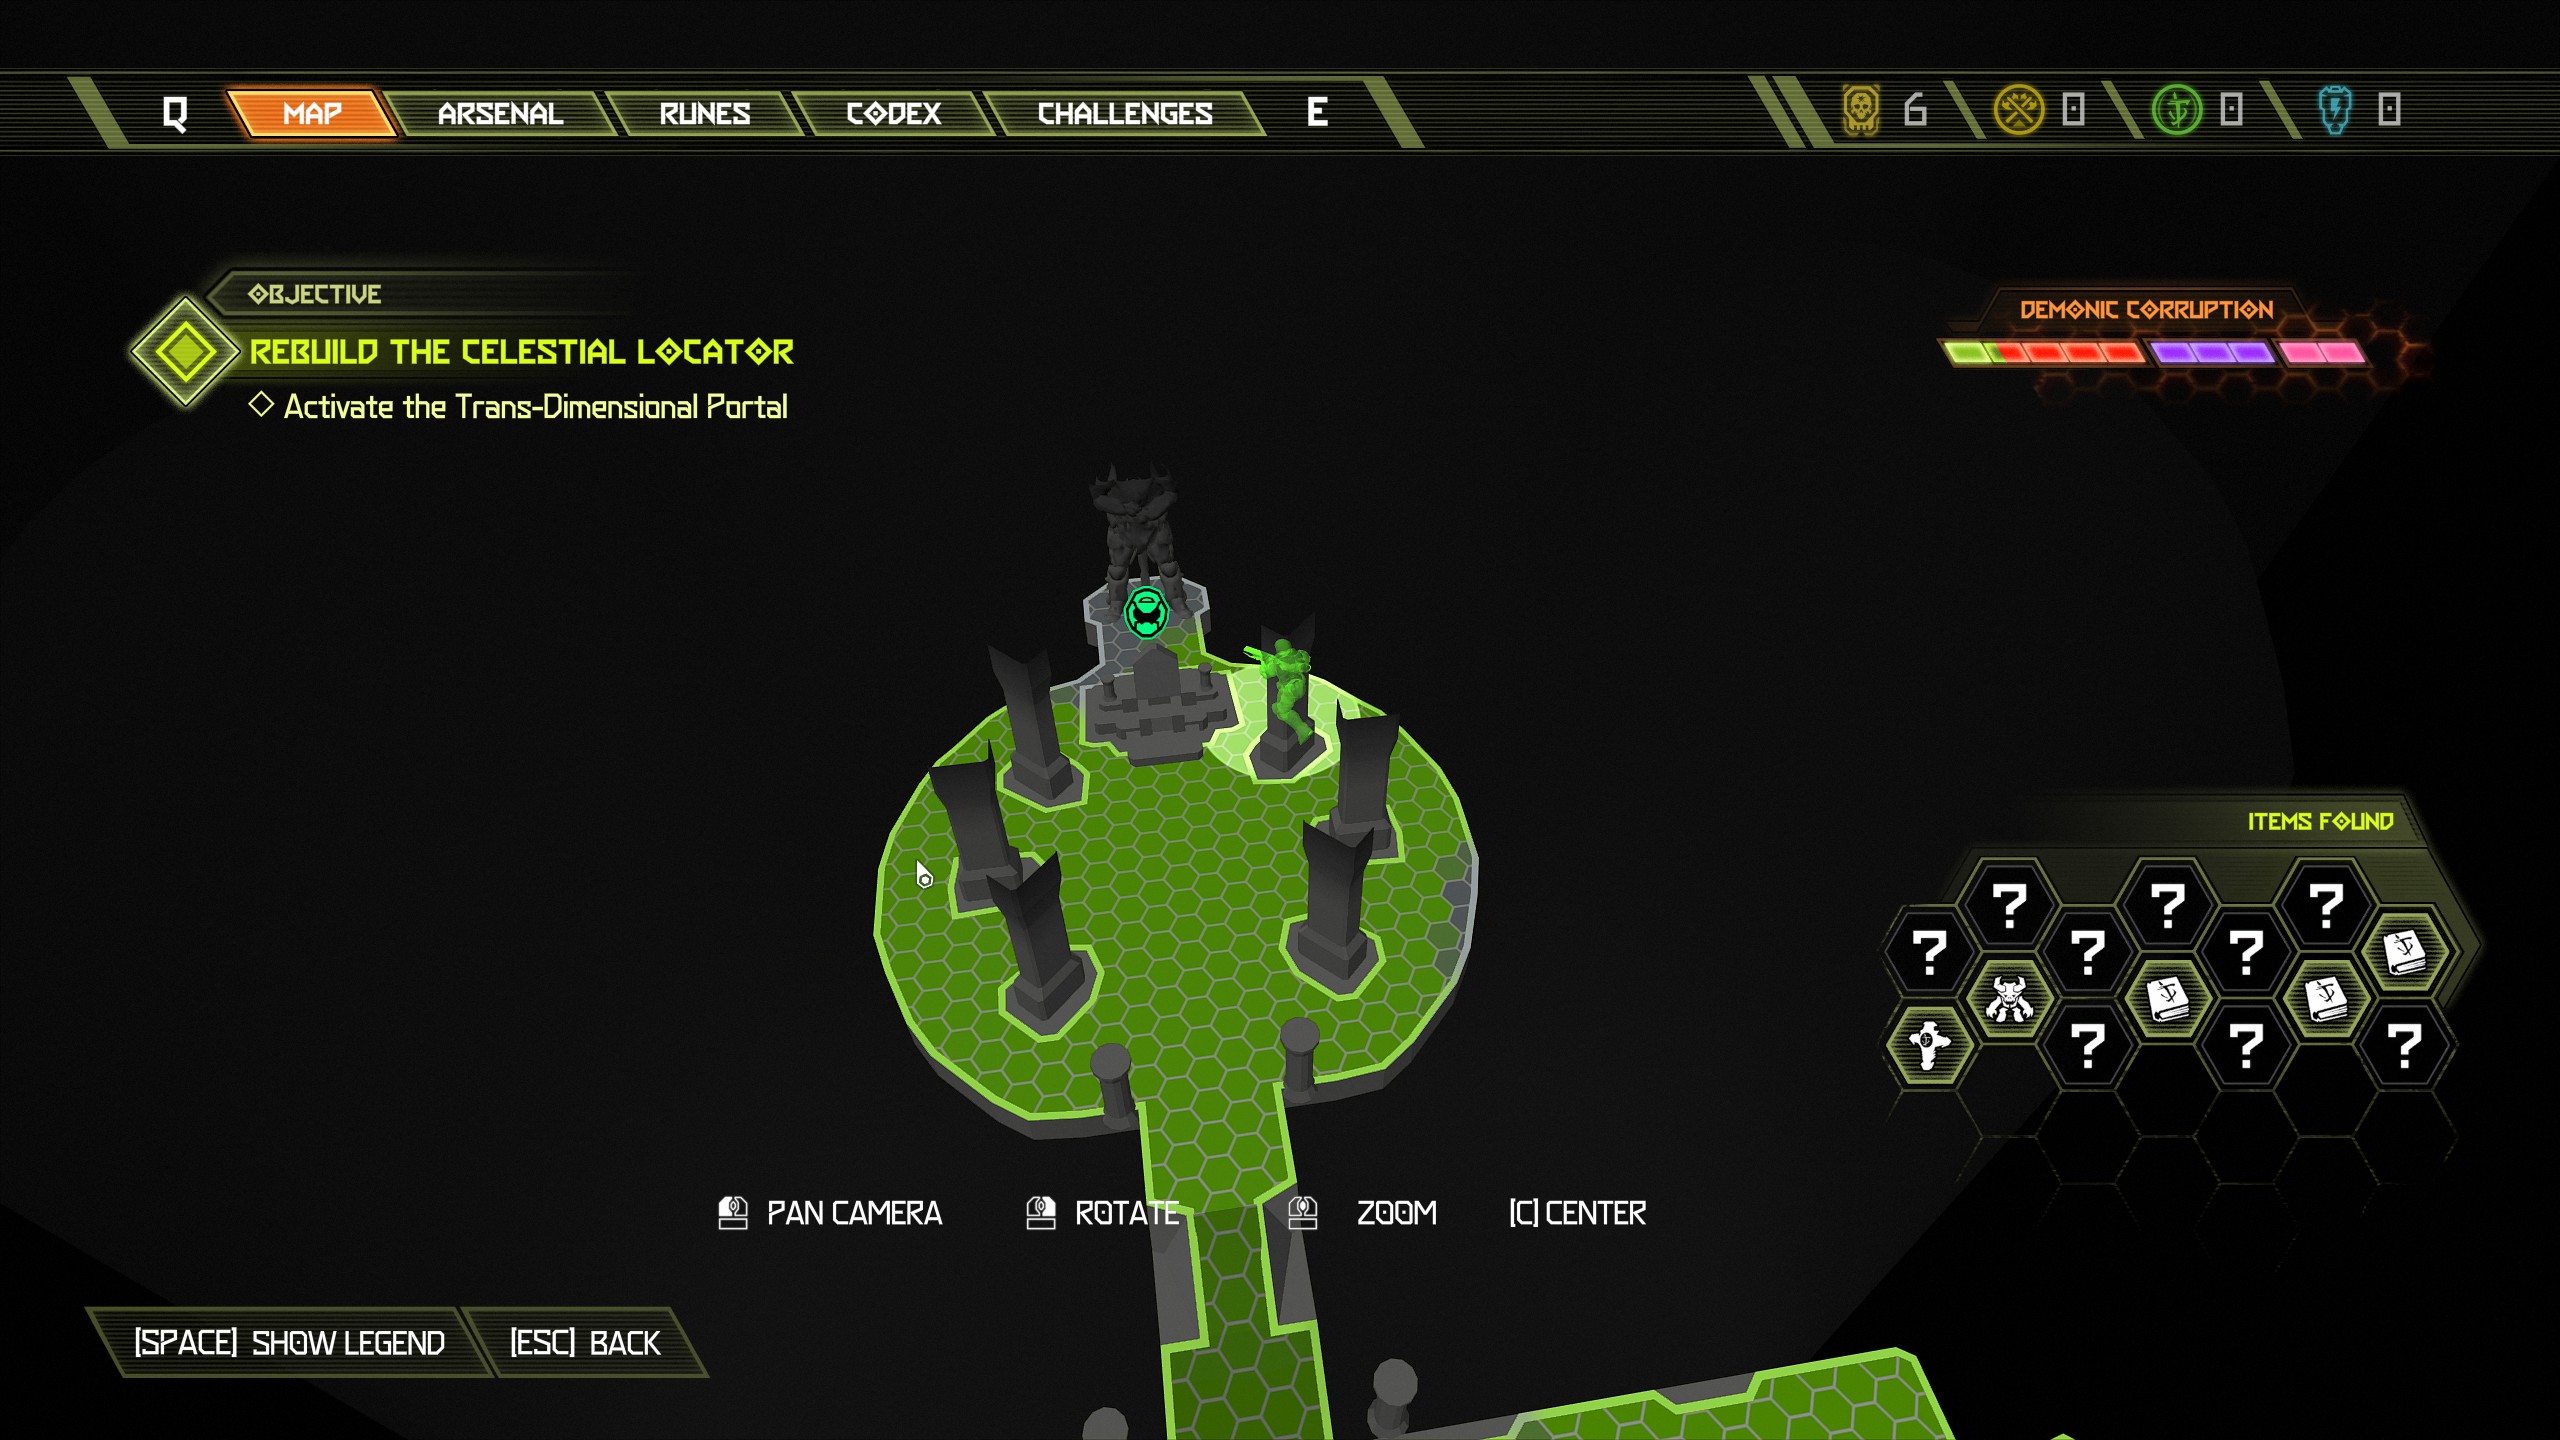
As you leave the throne room turn right into the passage to find a codex page.
Now you can continue the mission until you reach another Hell Knight encounter back where we were before.
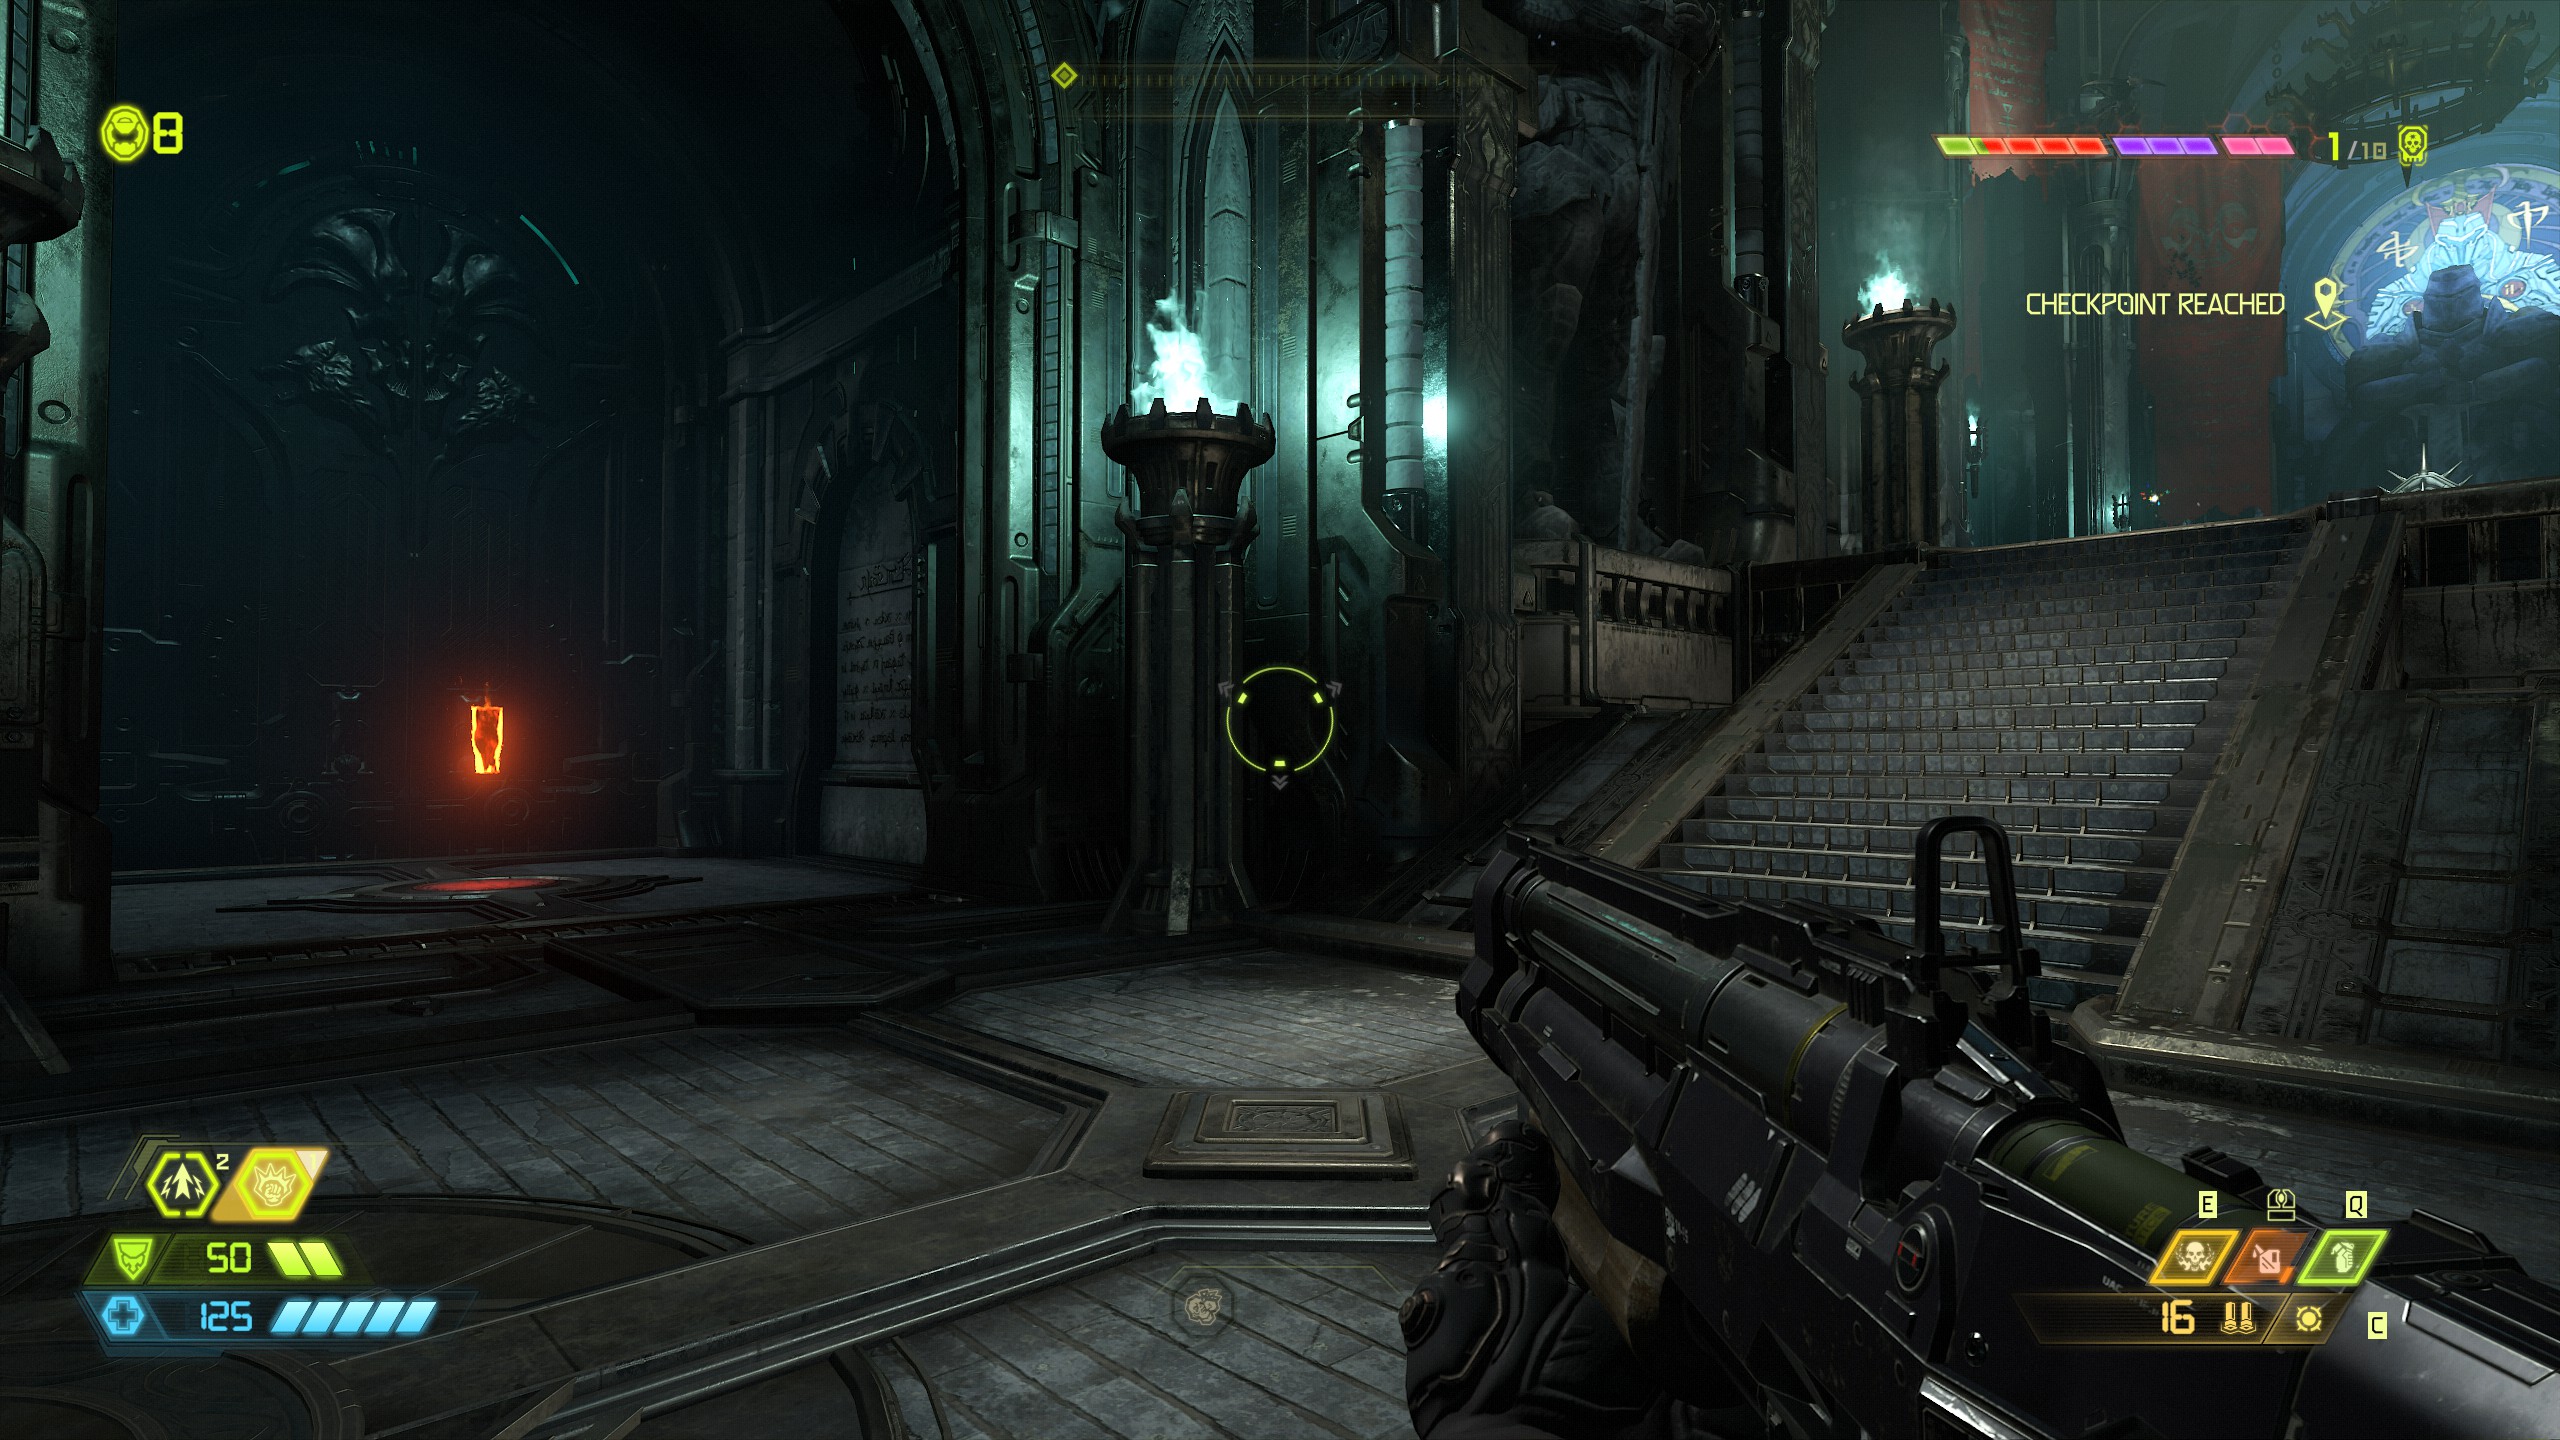
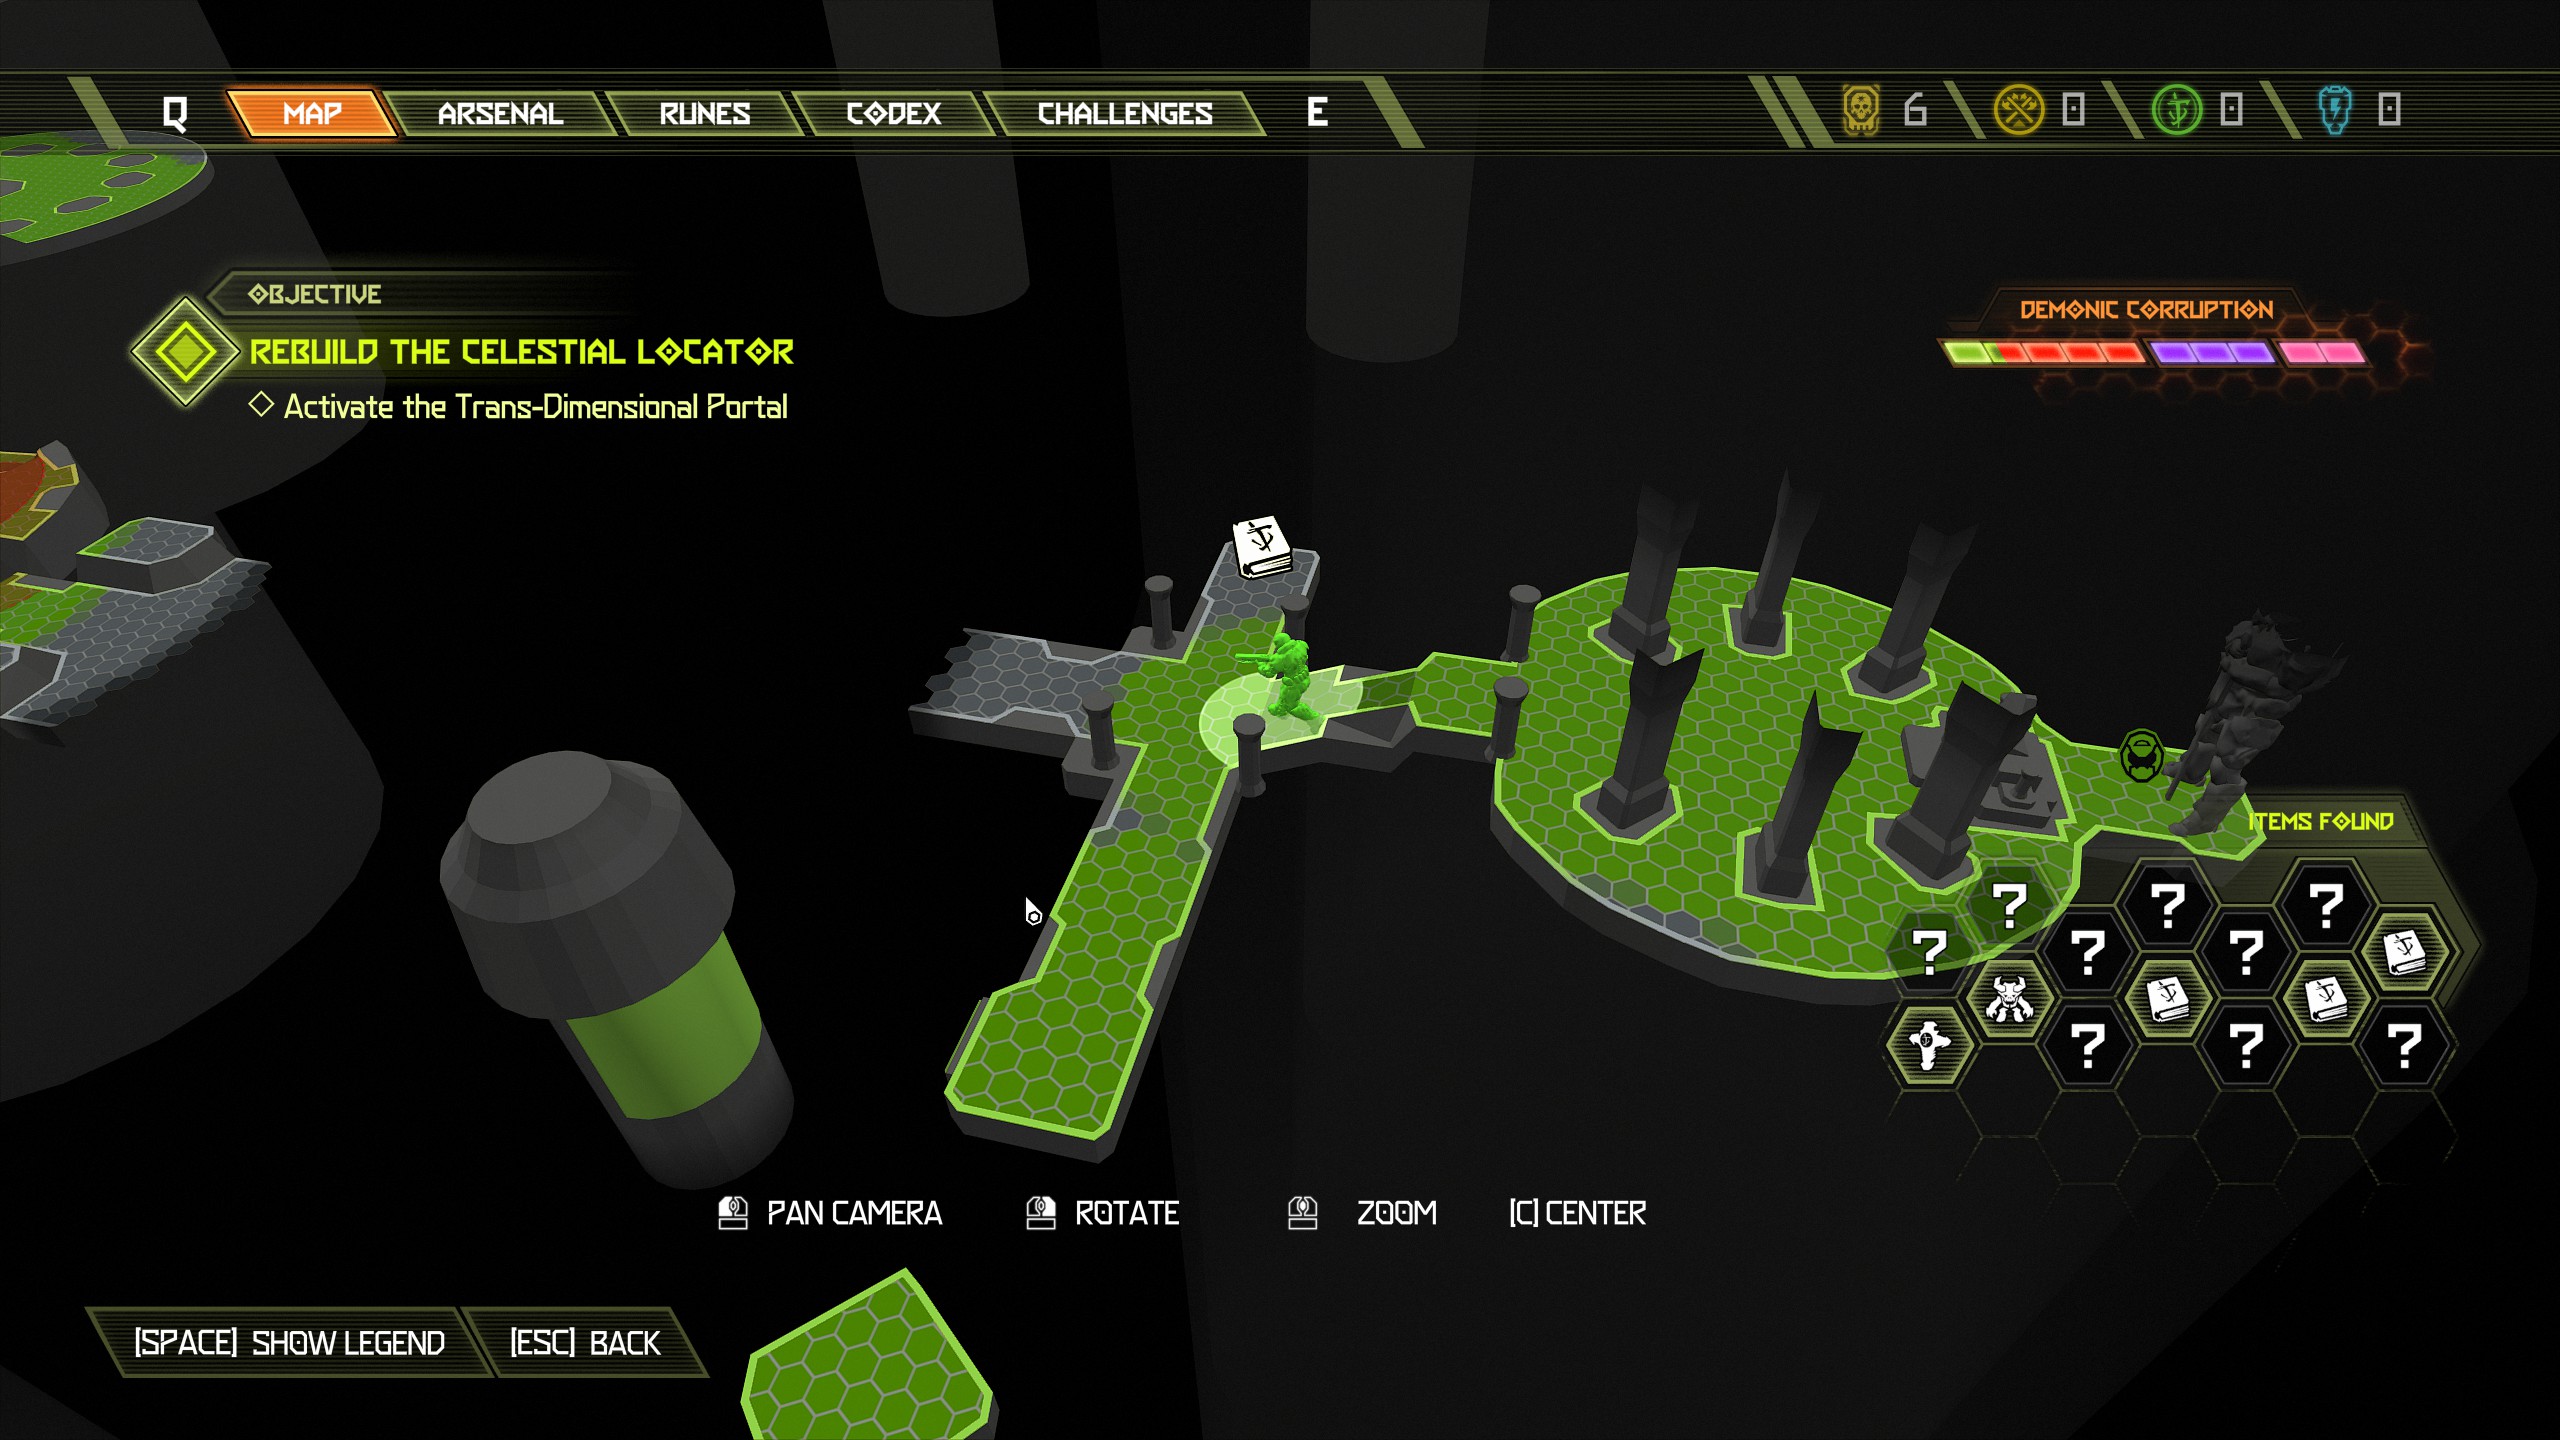
From here do not follow the mission objective as we will be heading to the first secret encounter.
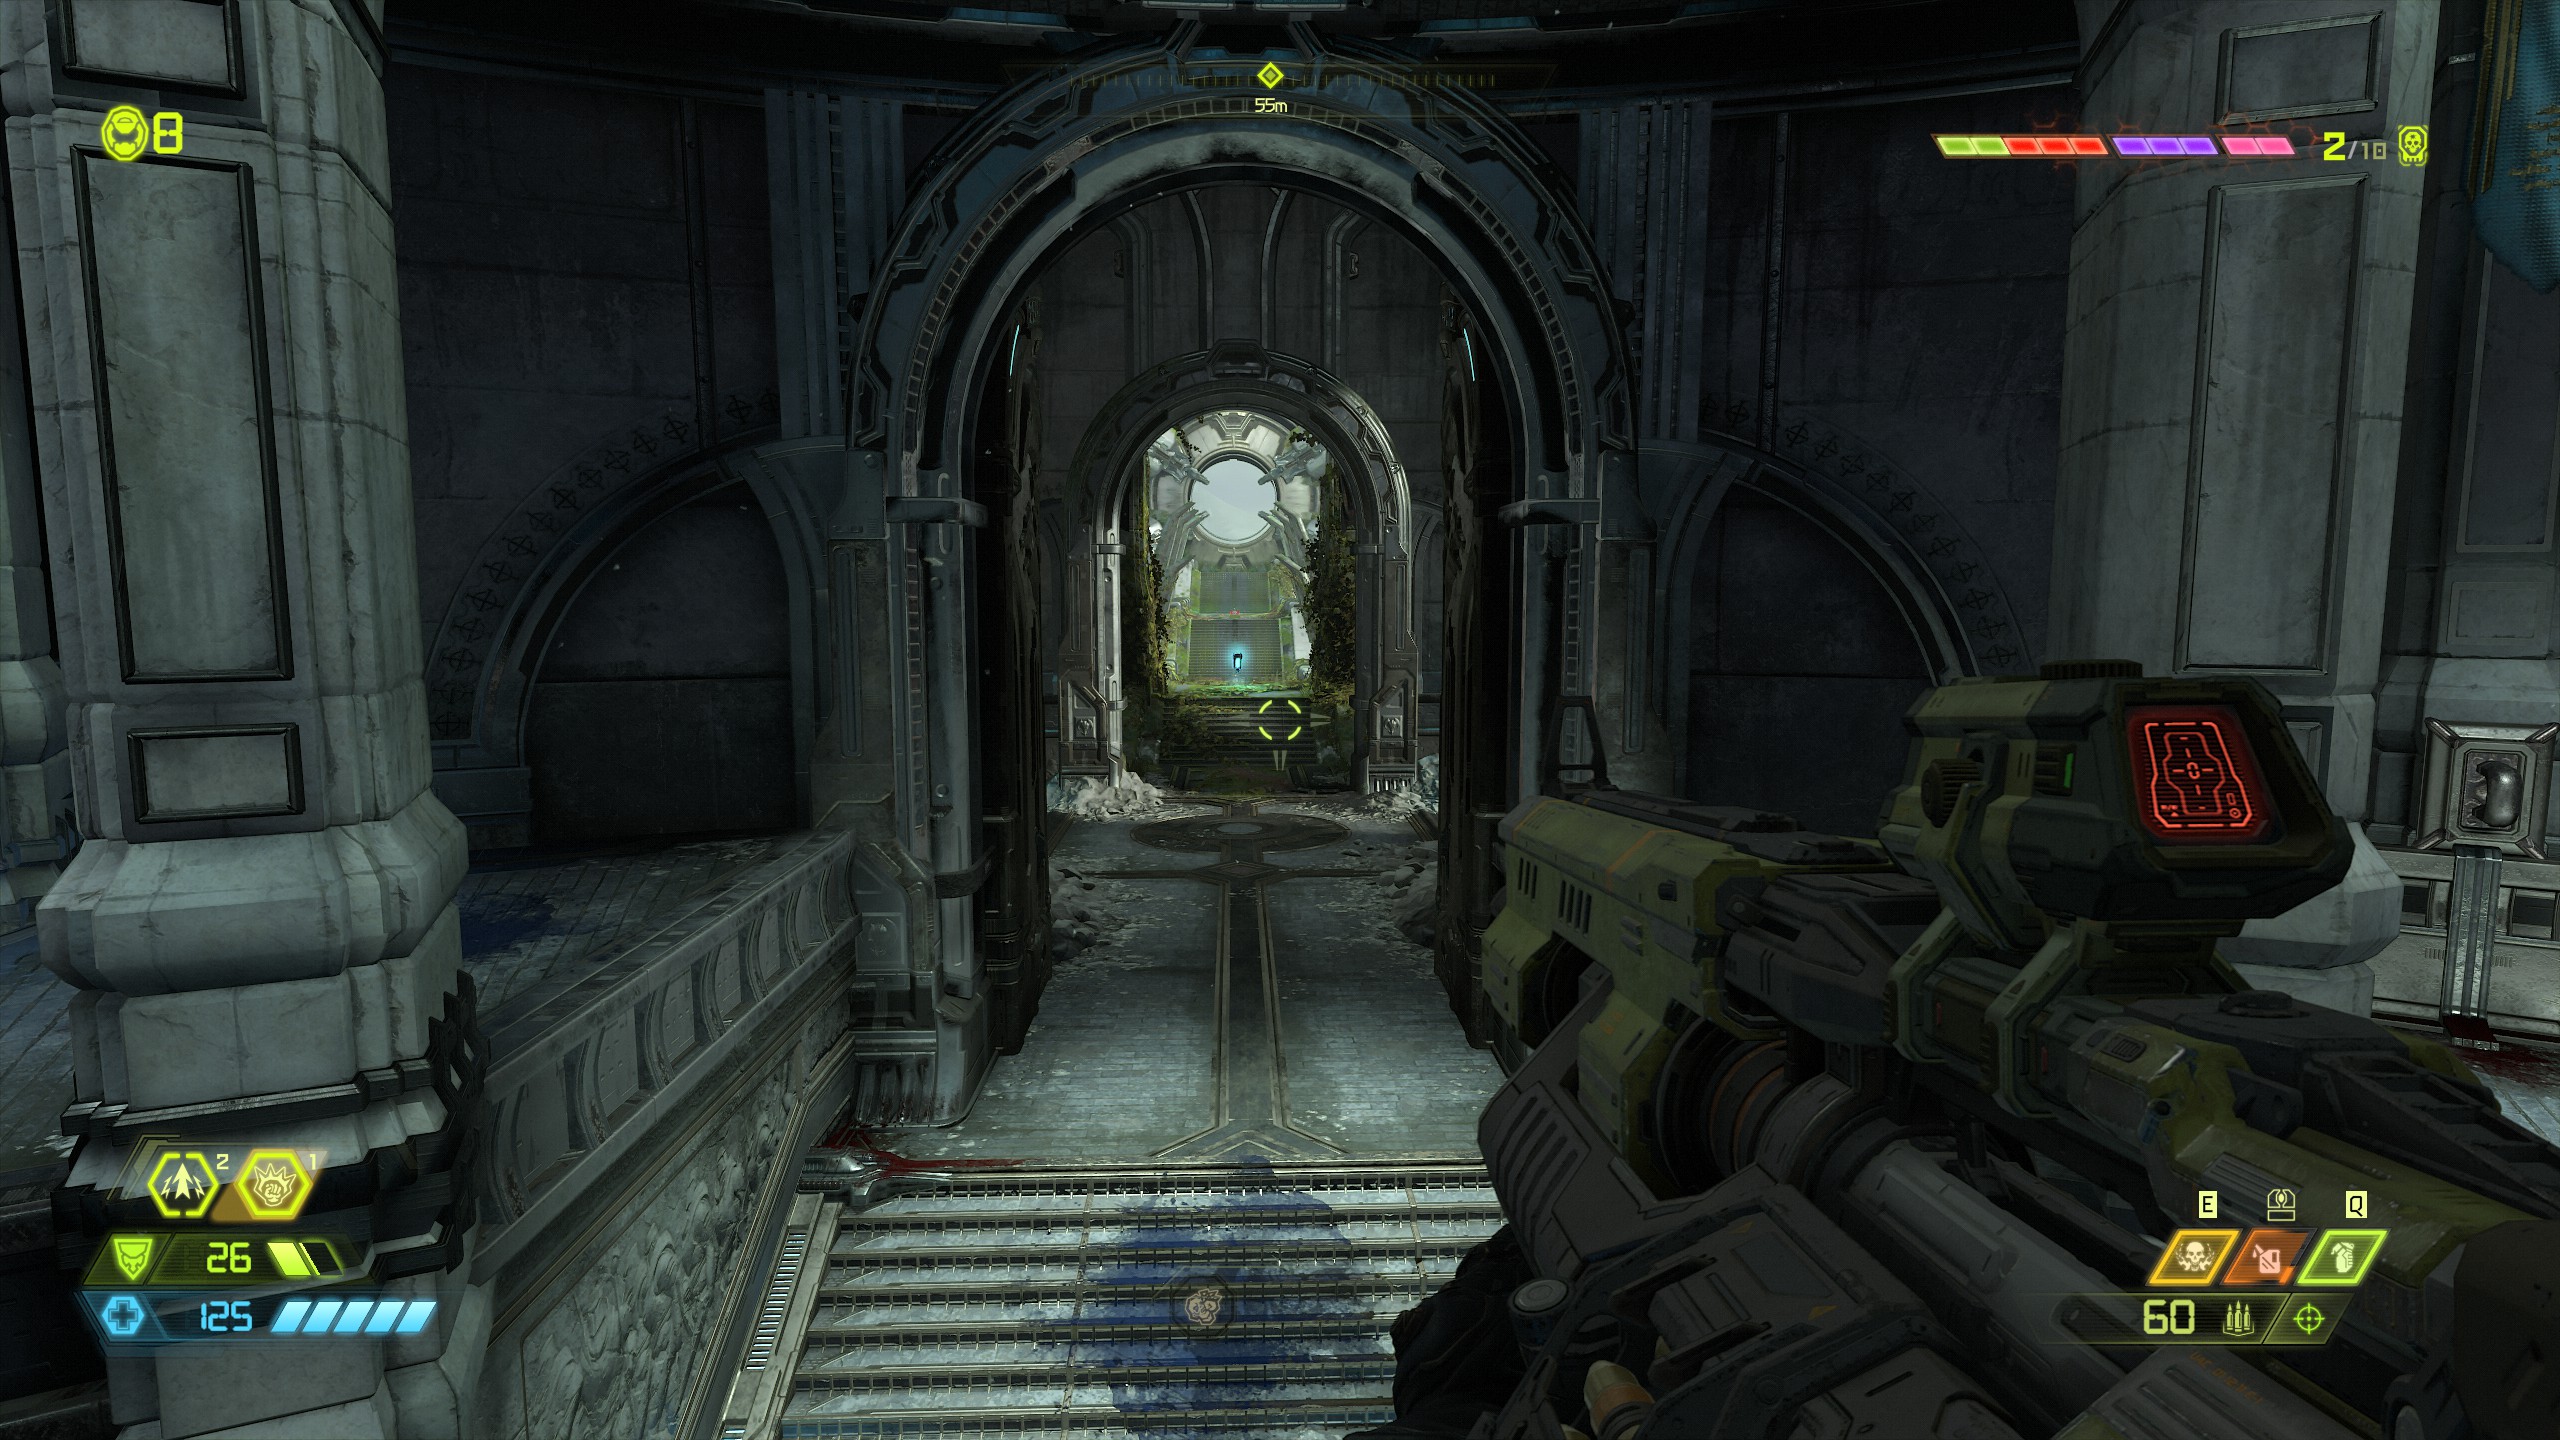
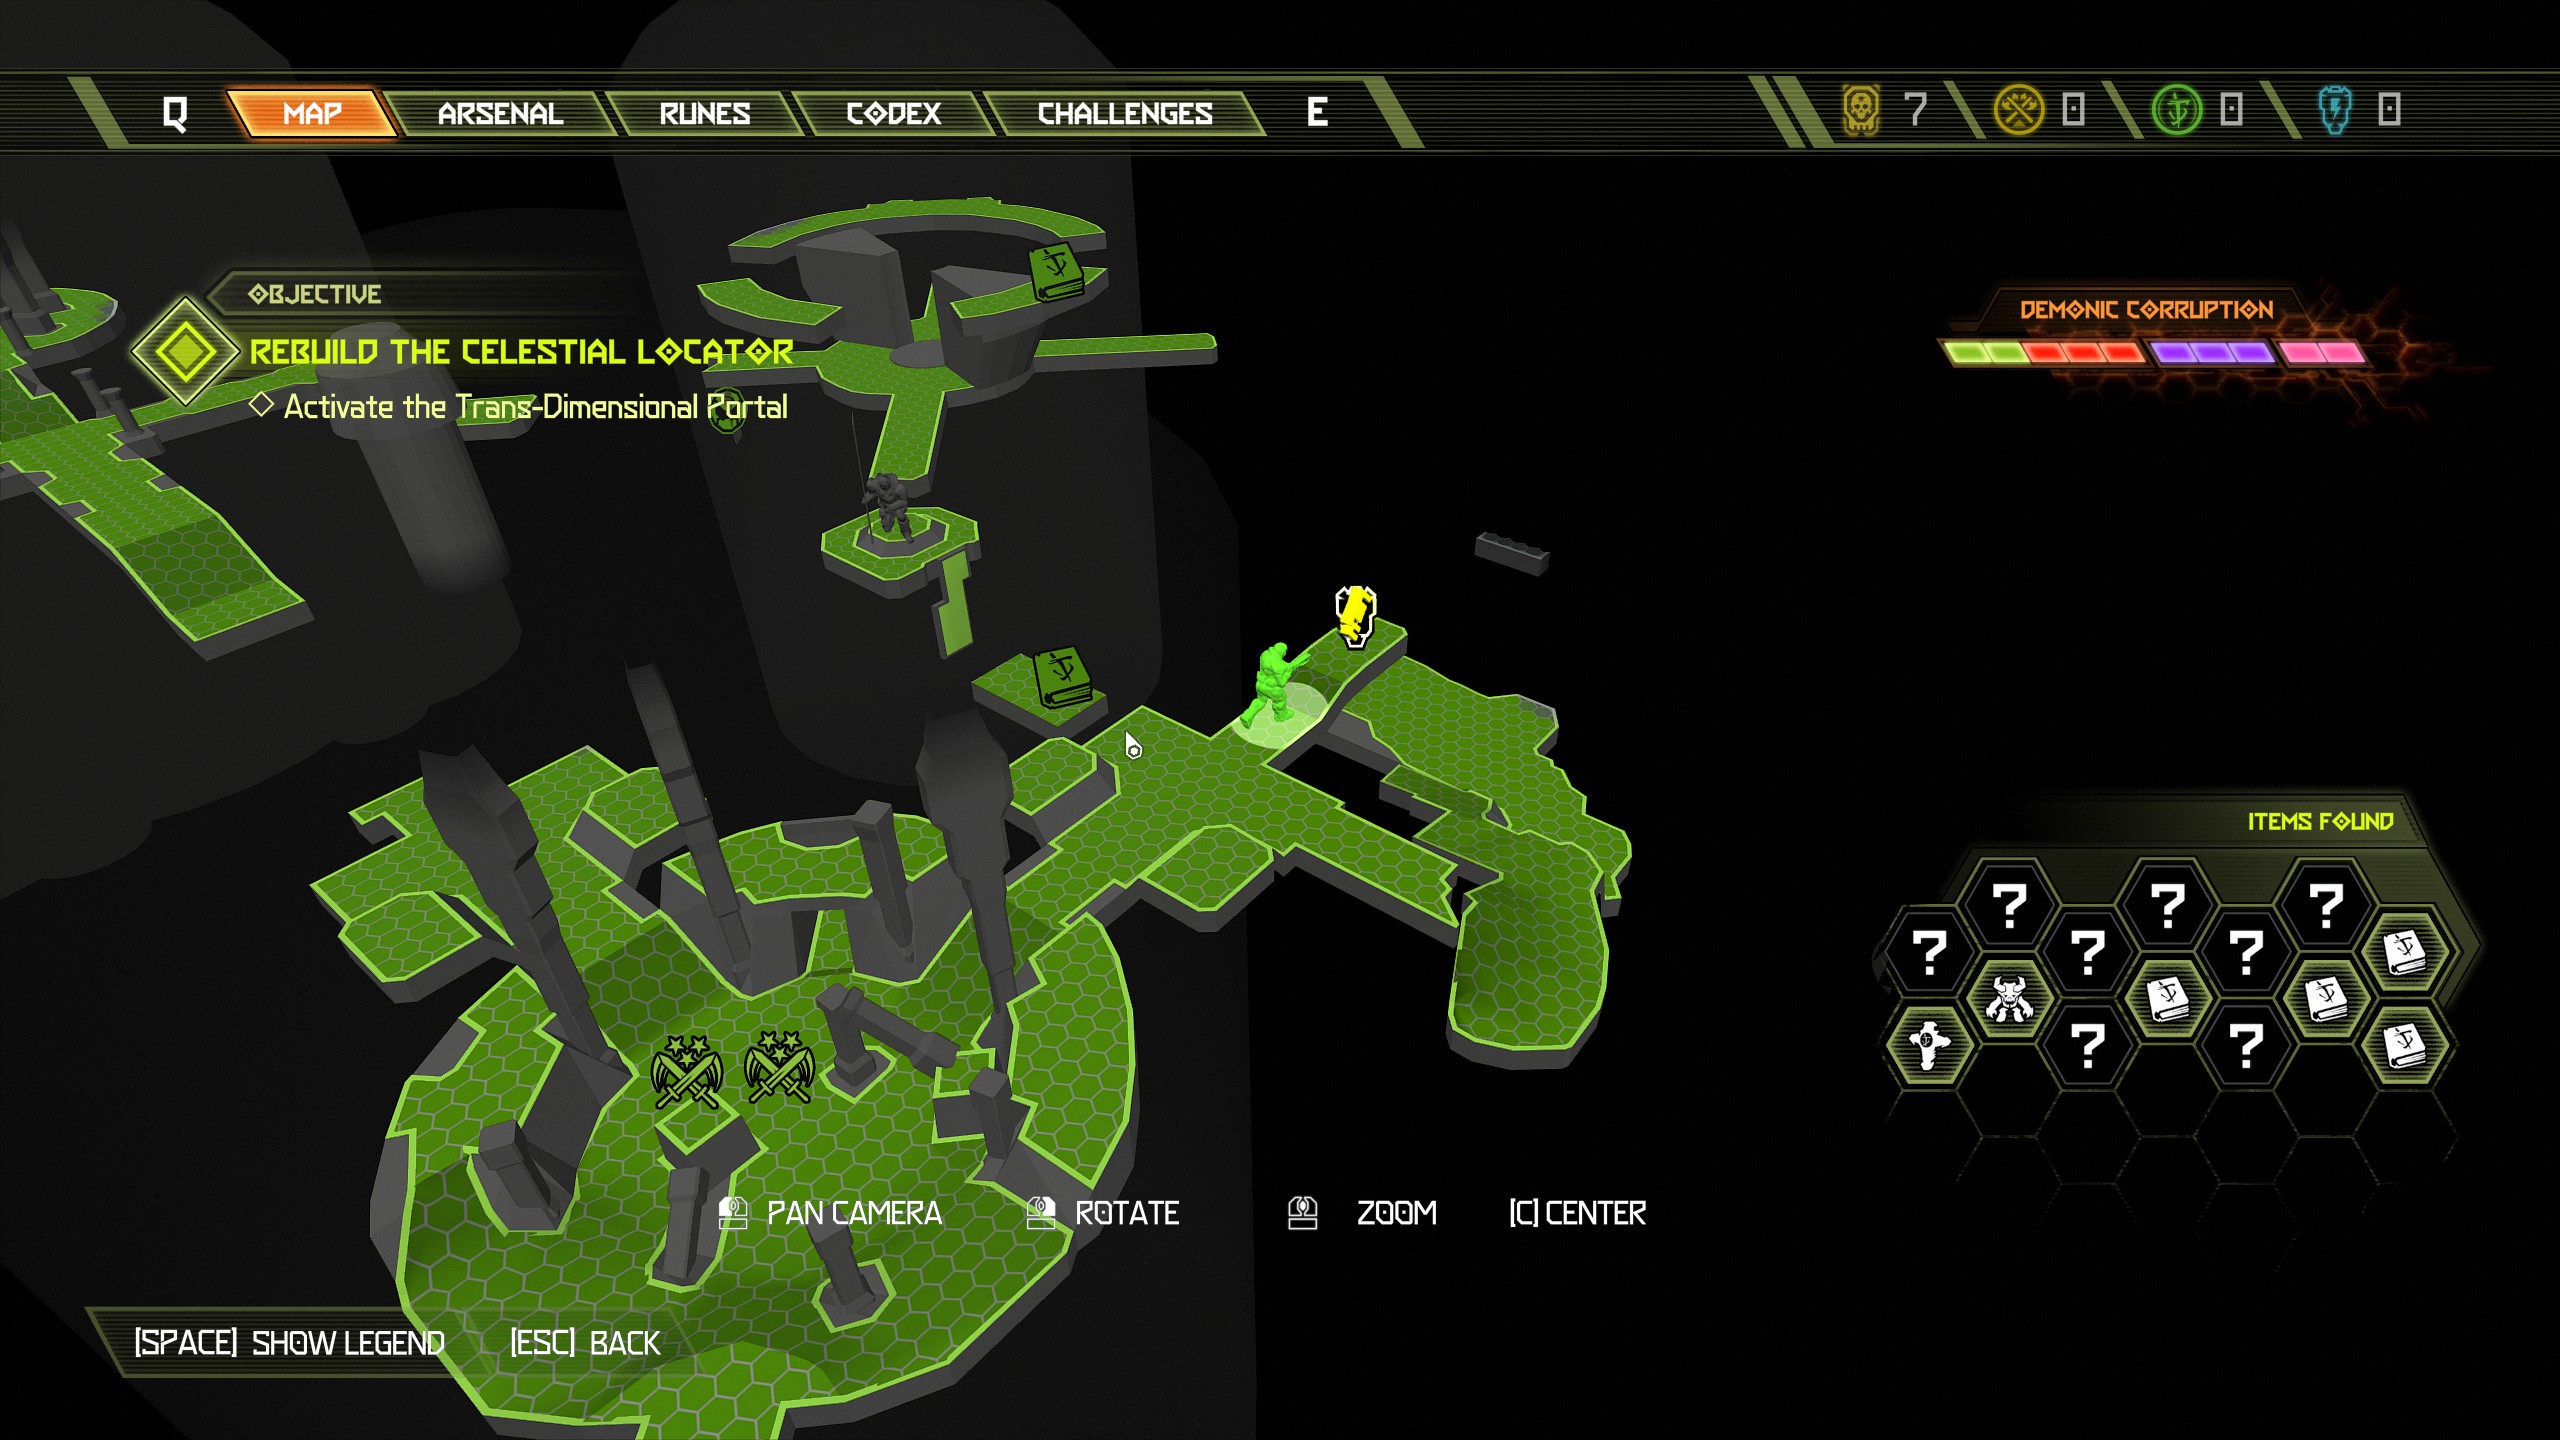
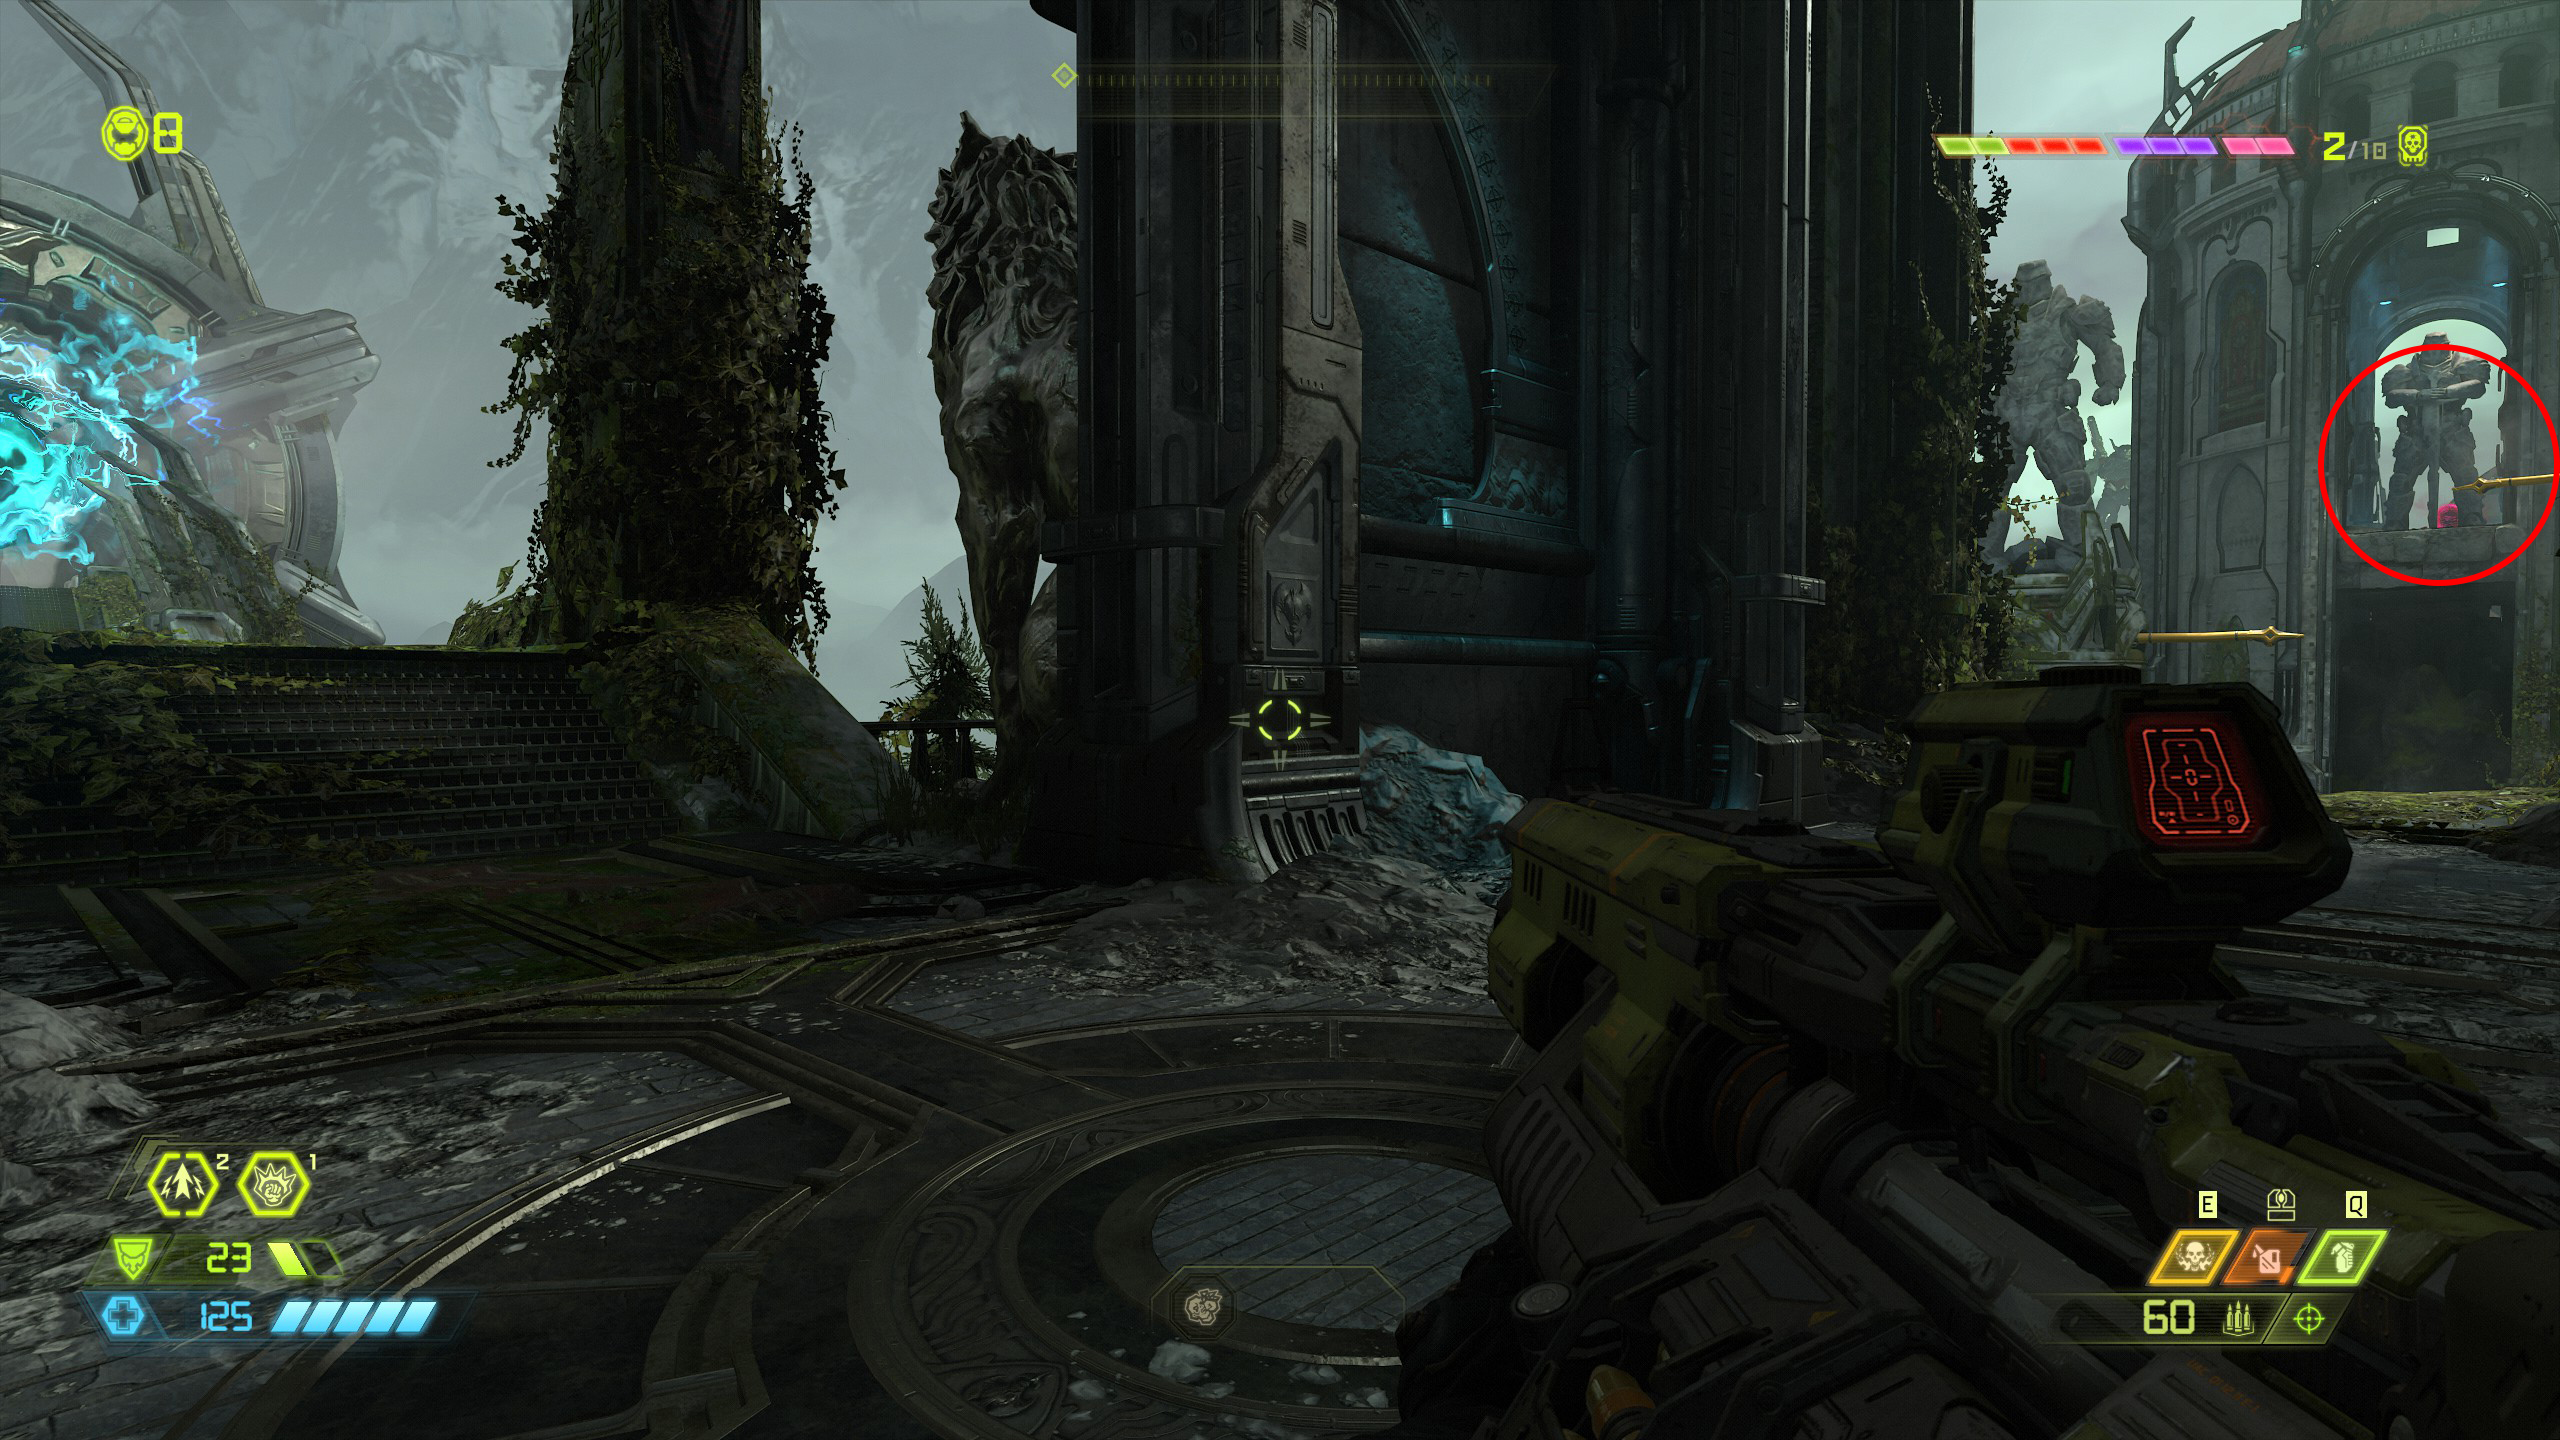
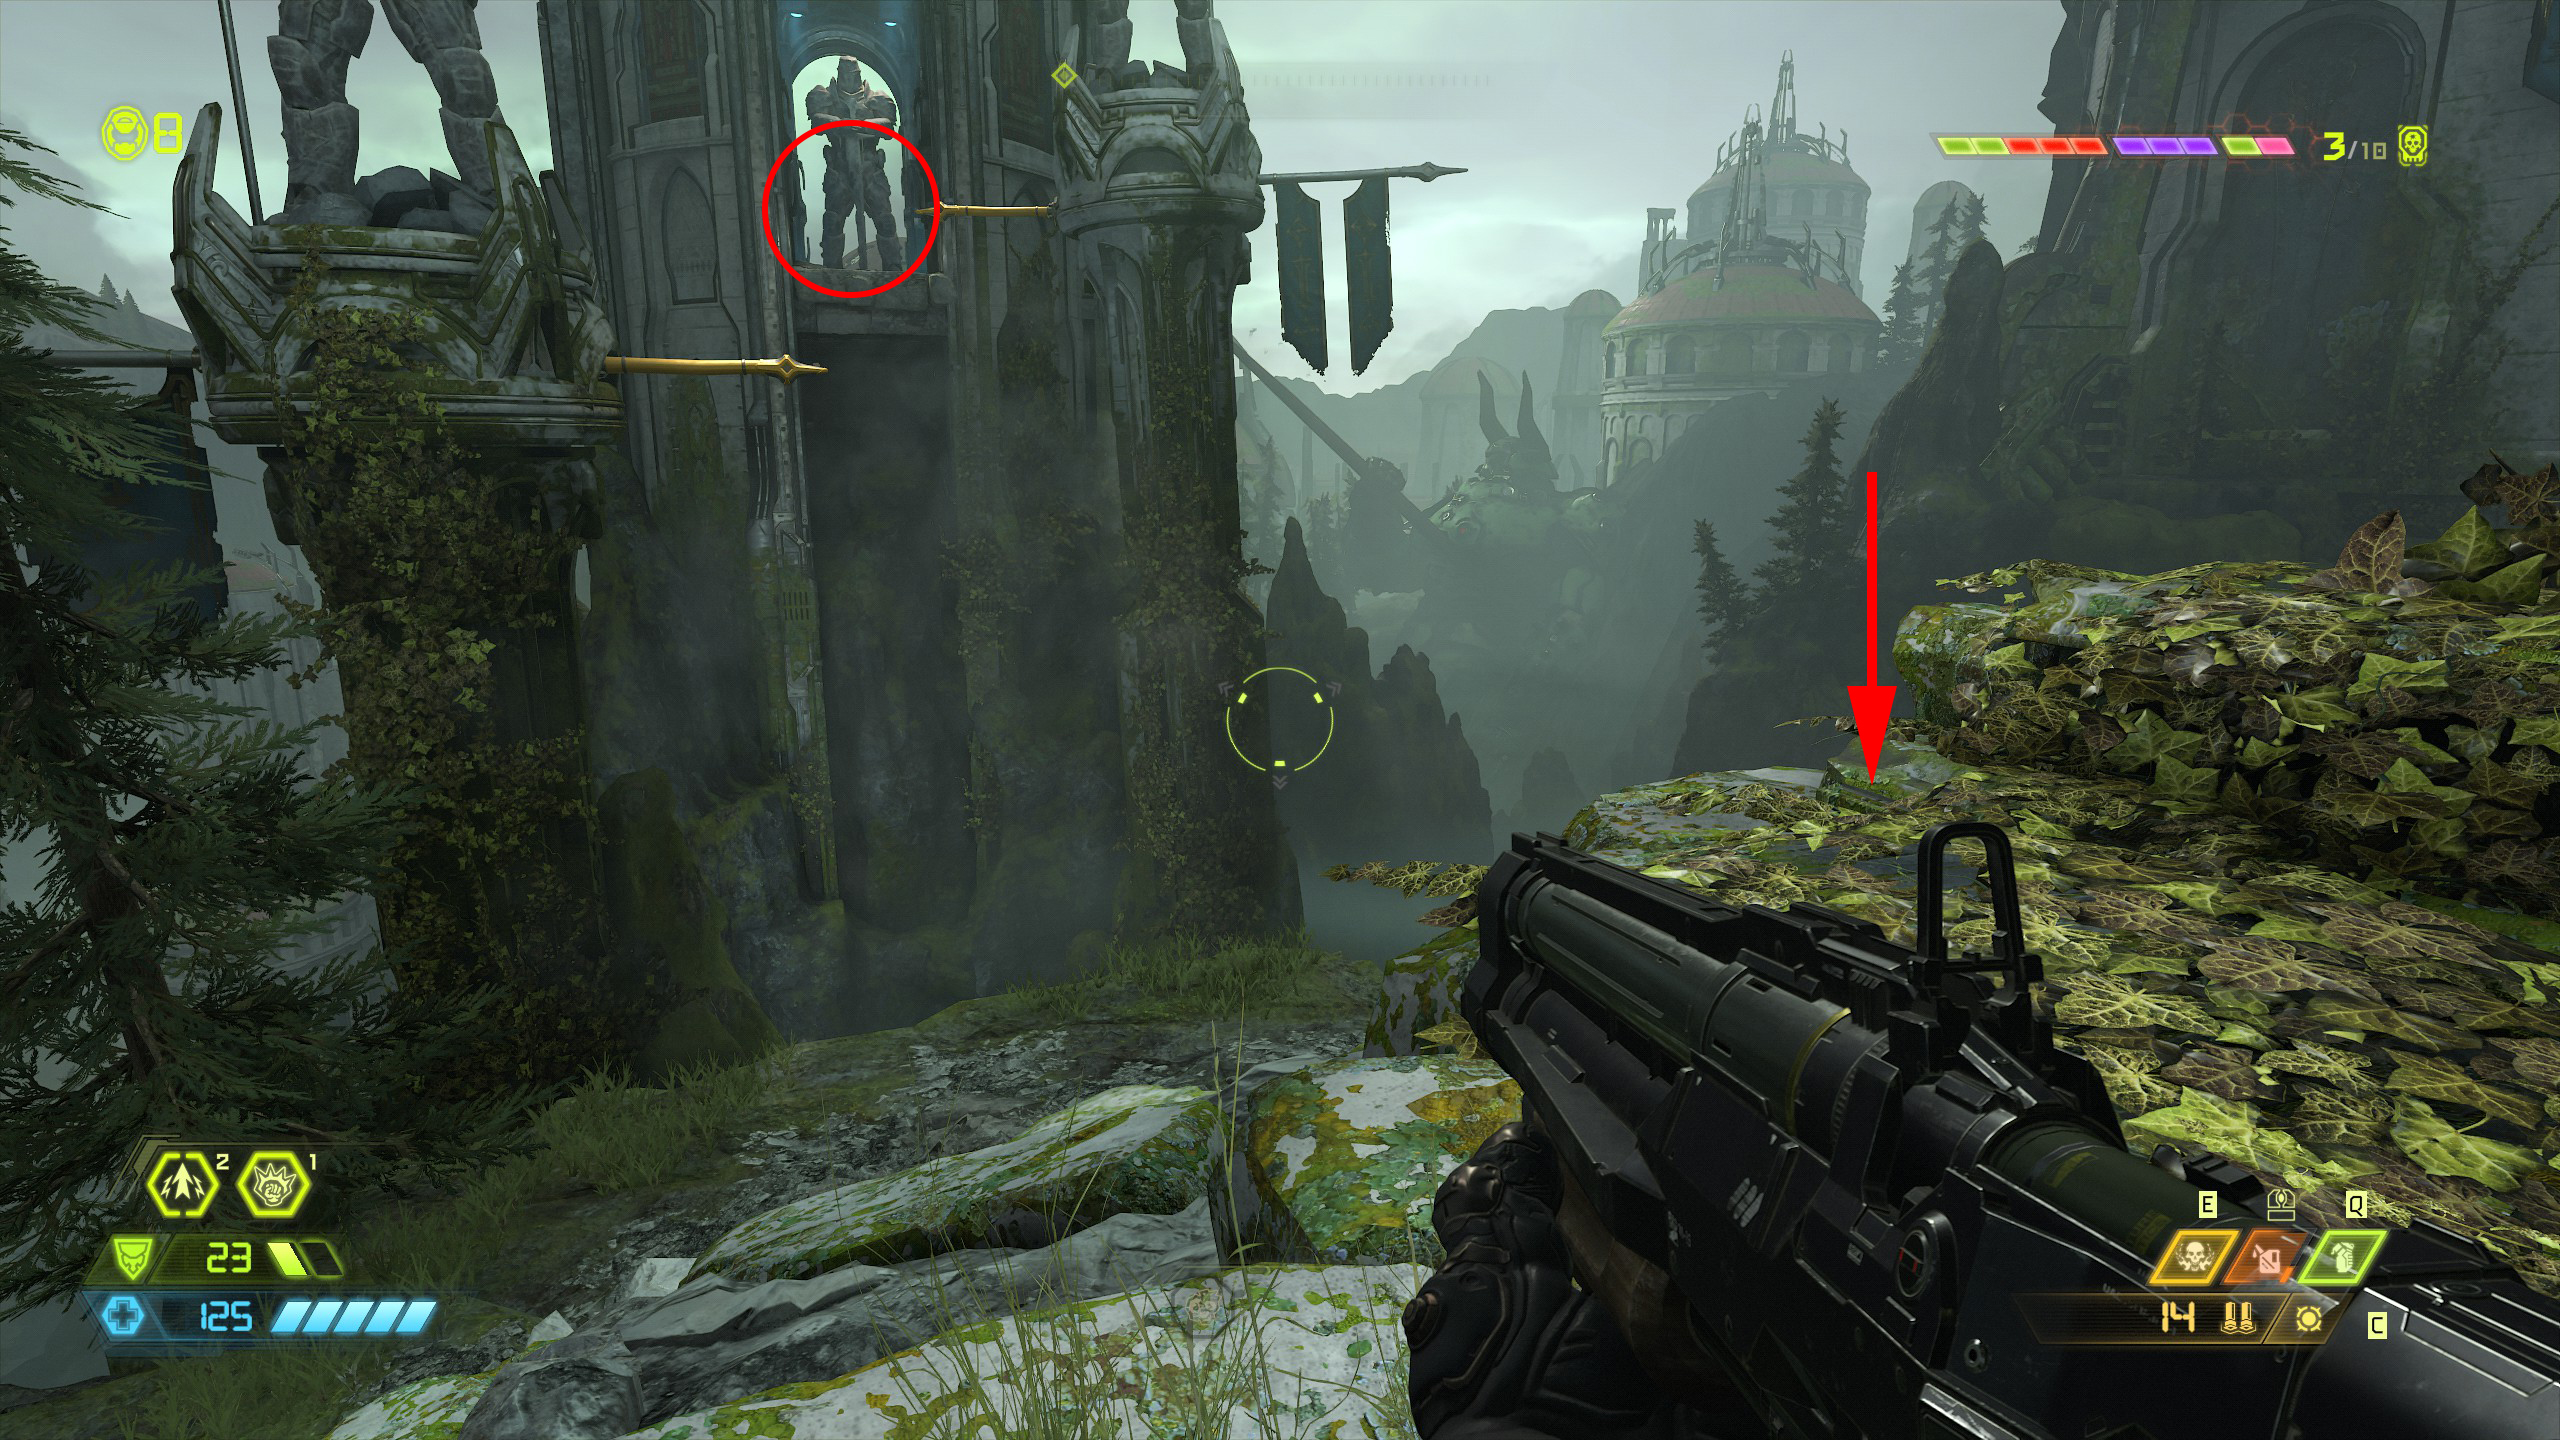
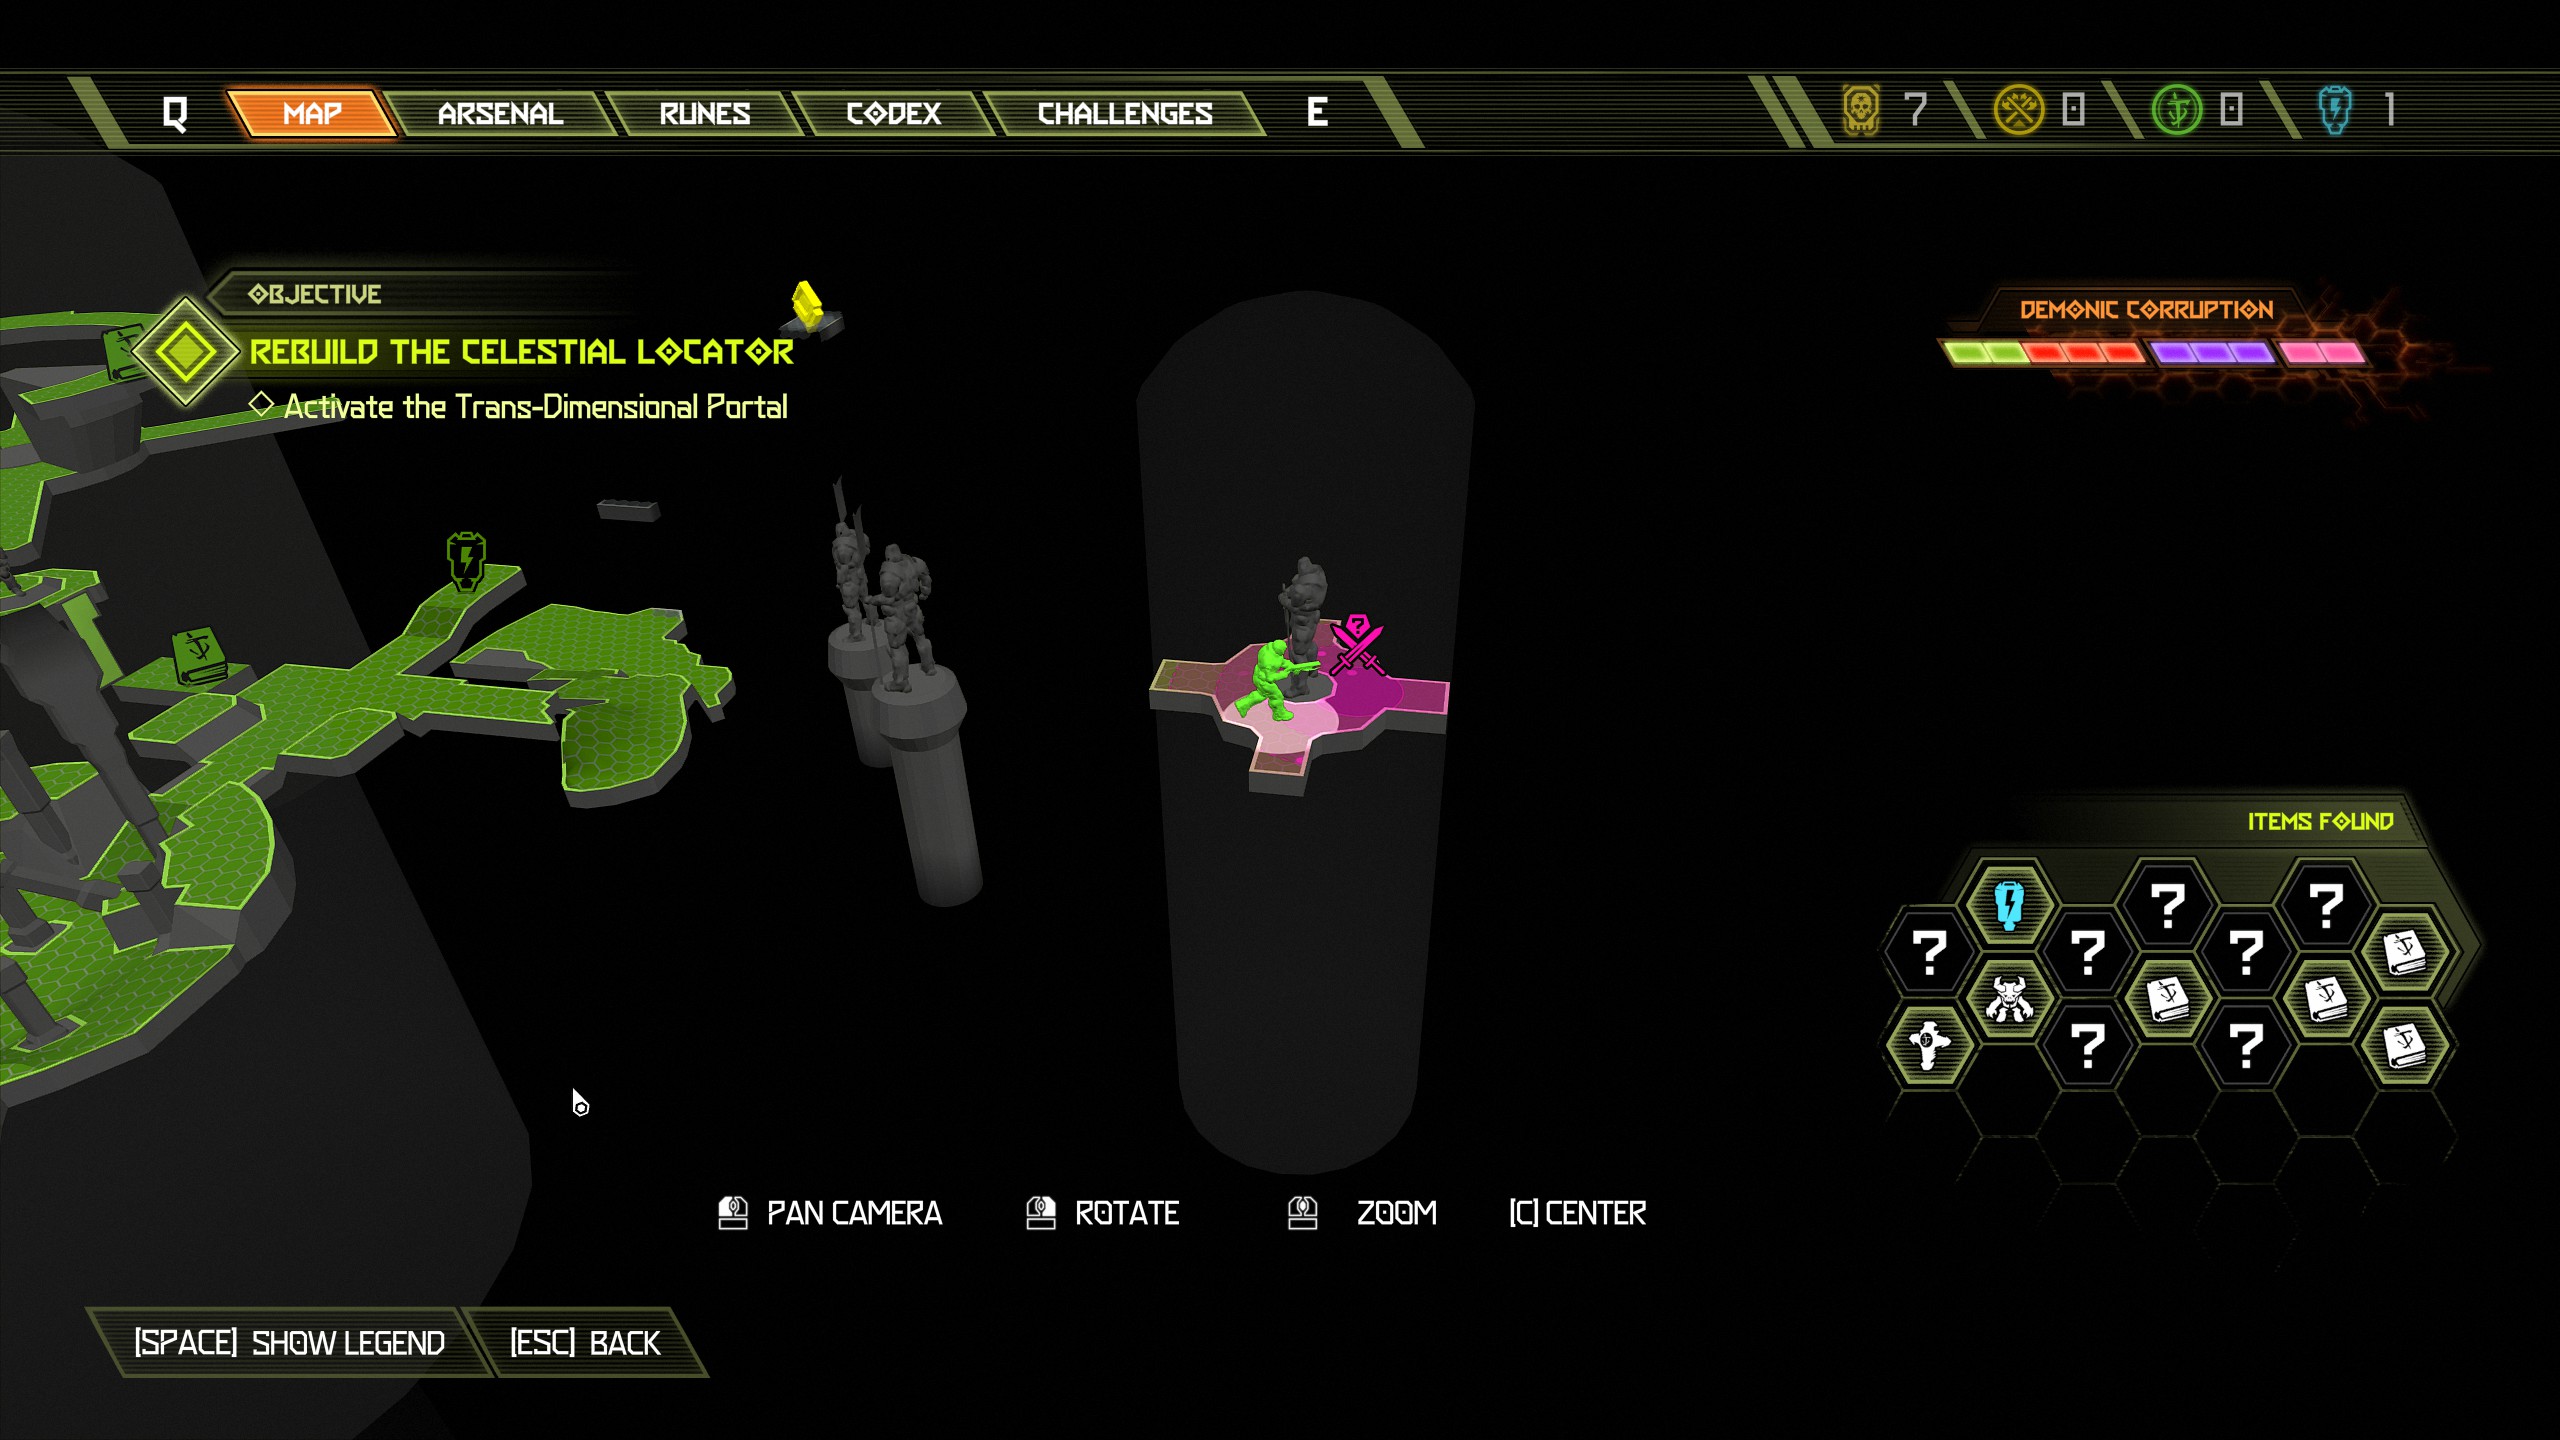
After completing the secret encounter continue the mission into the portal.
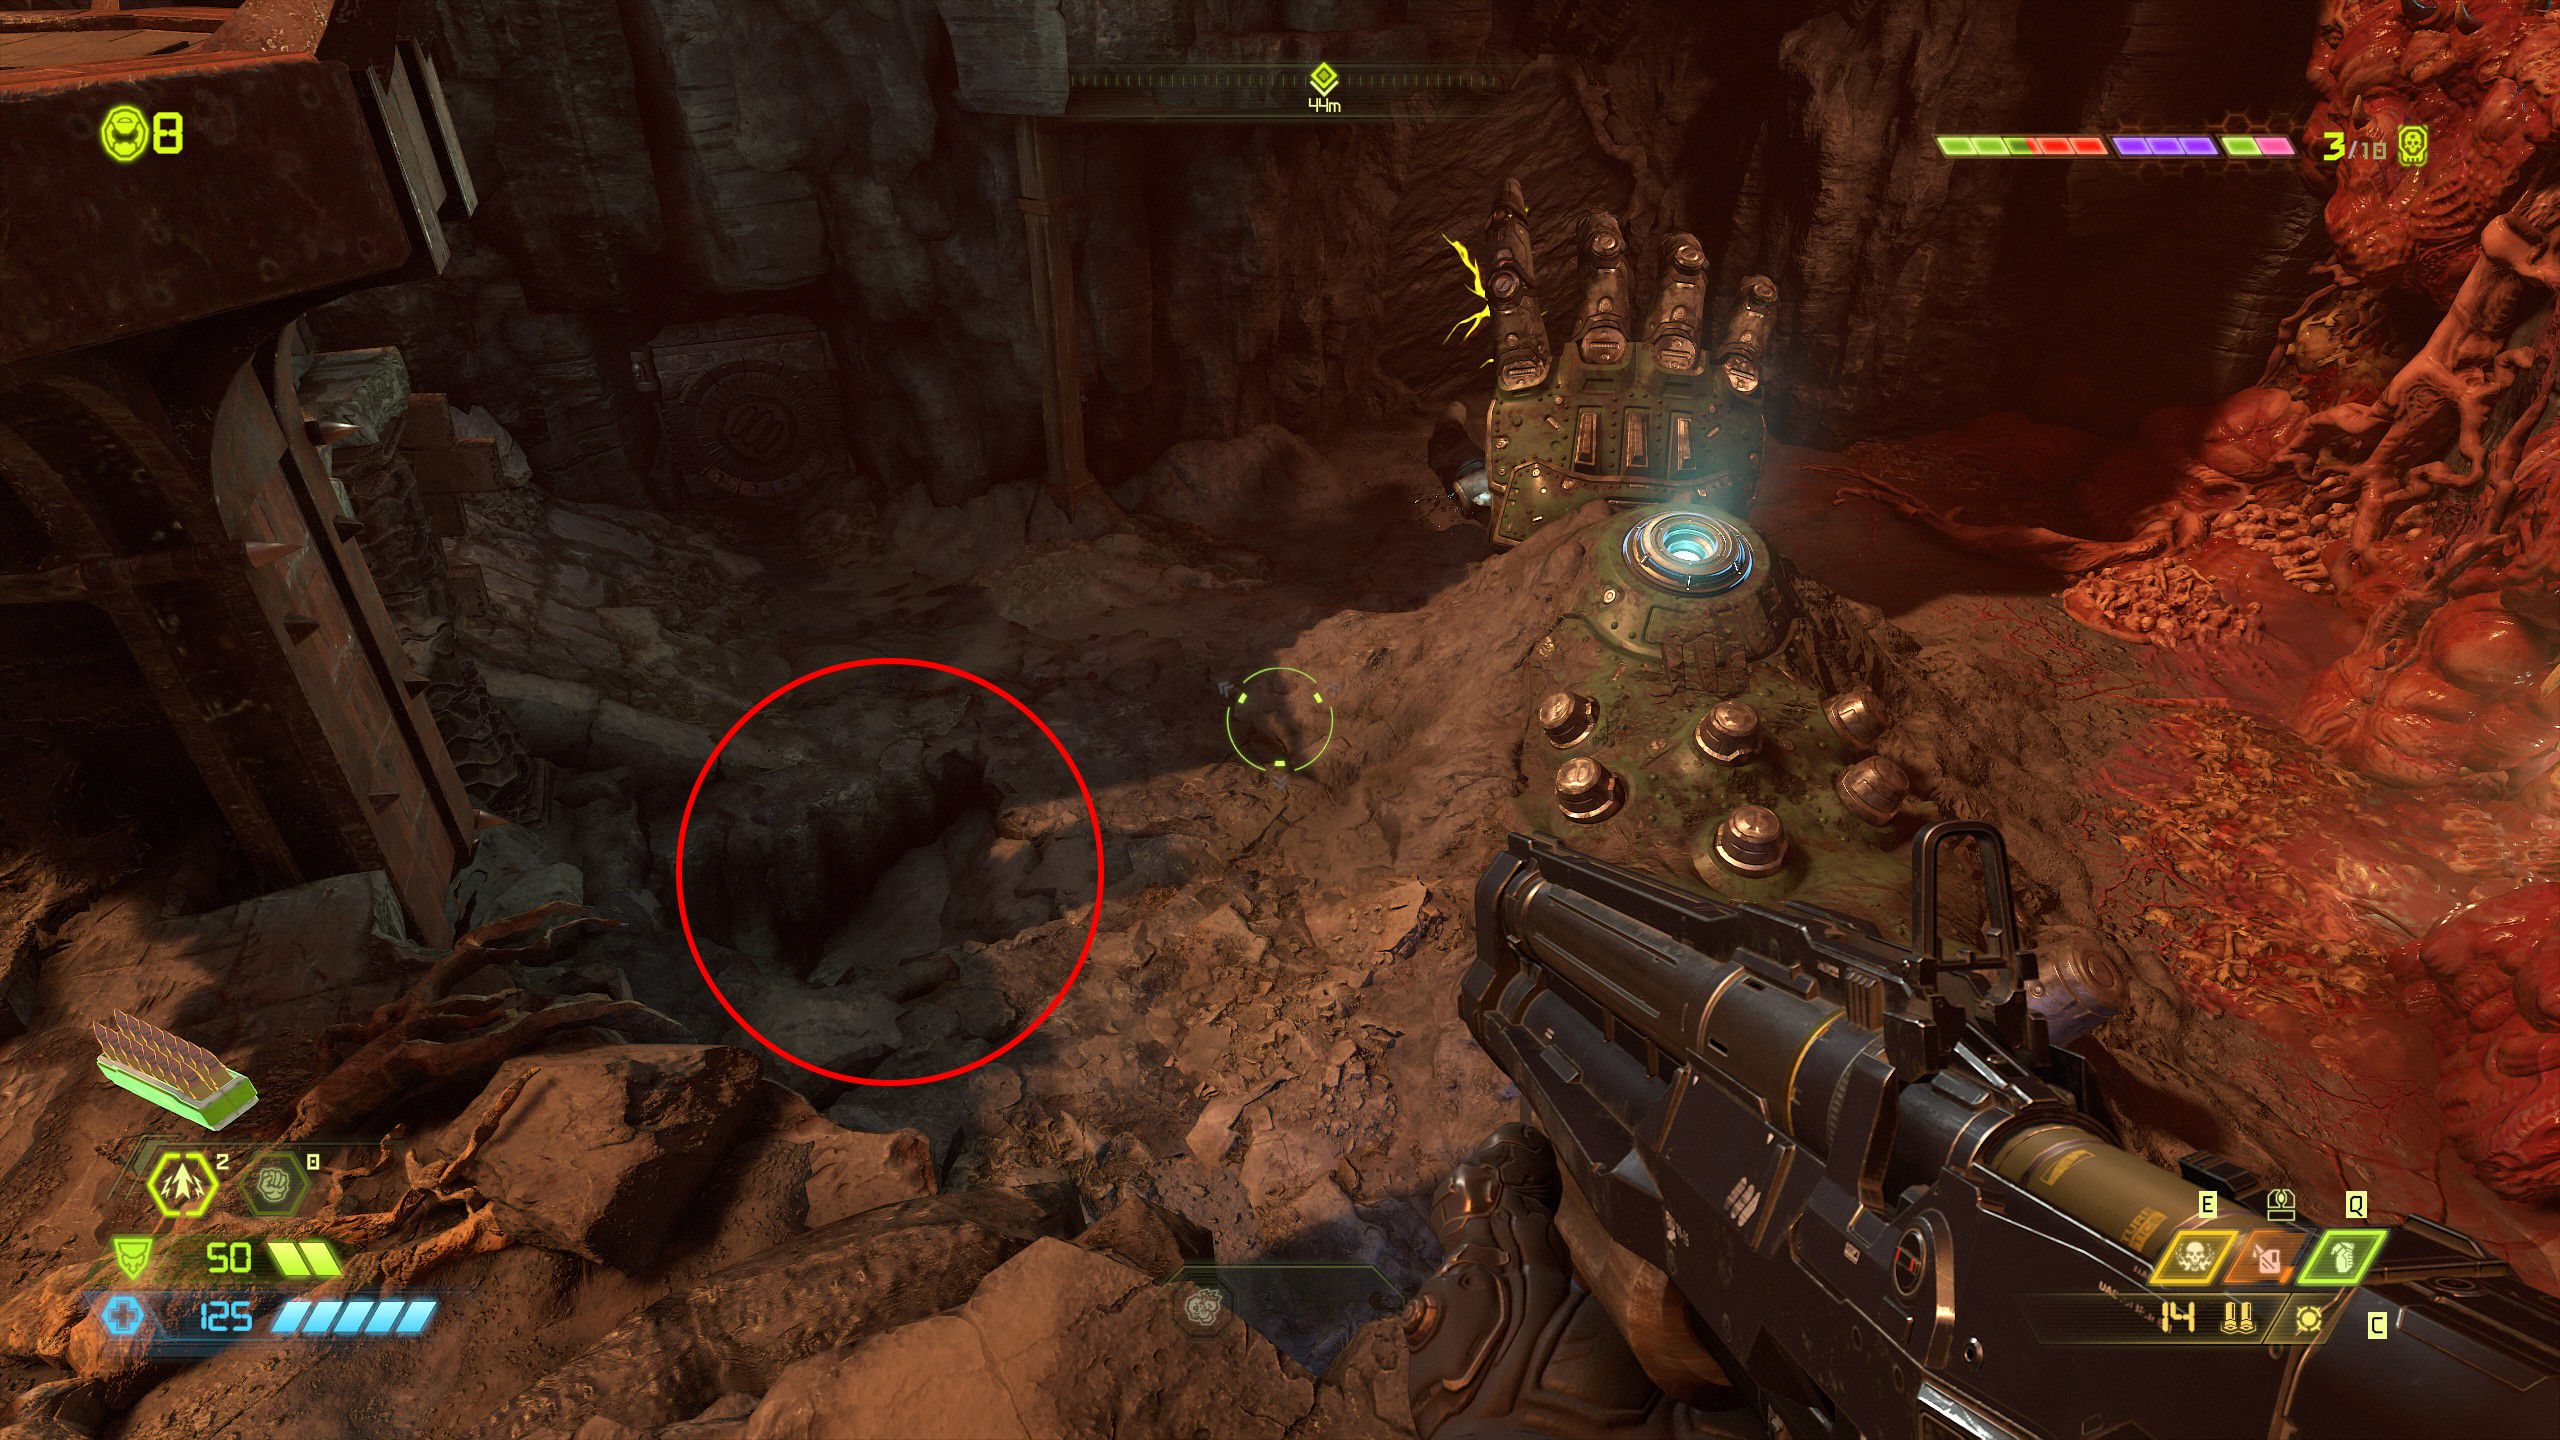
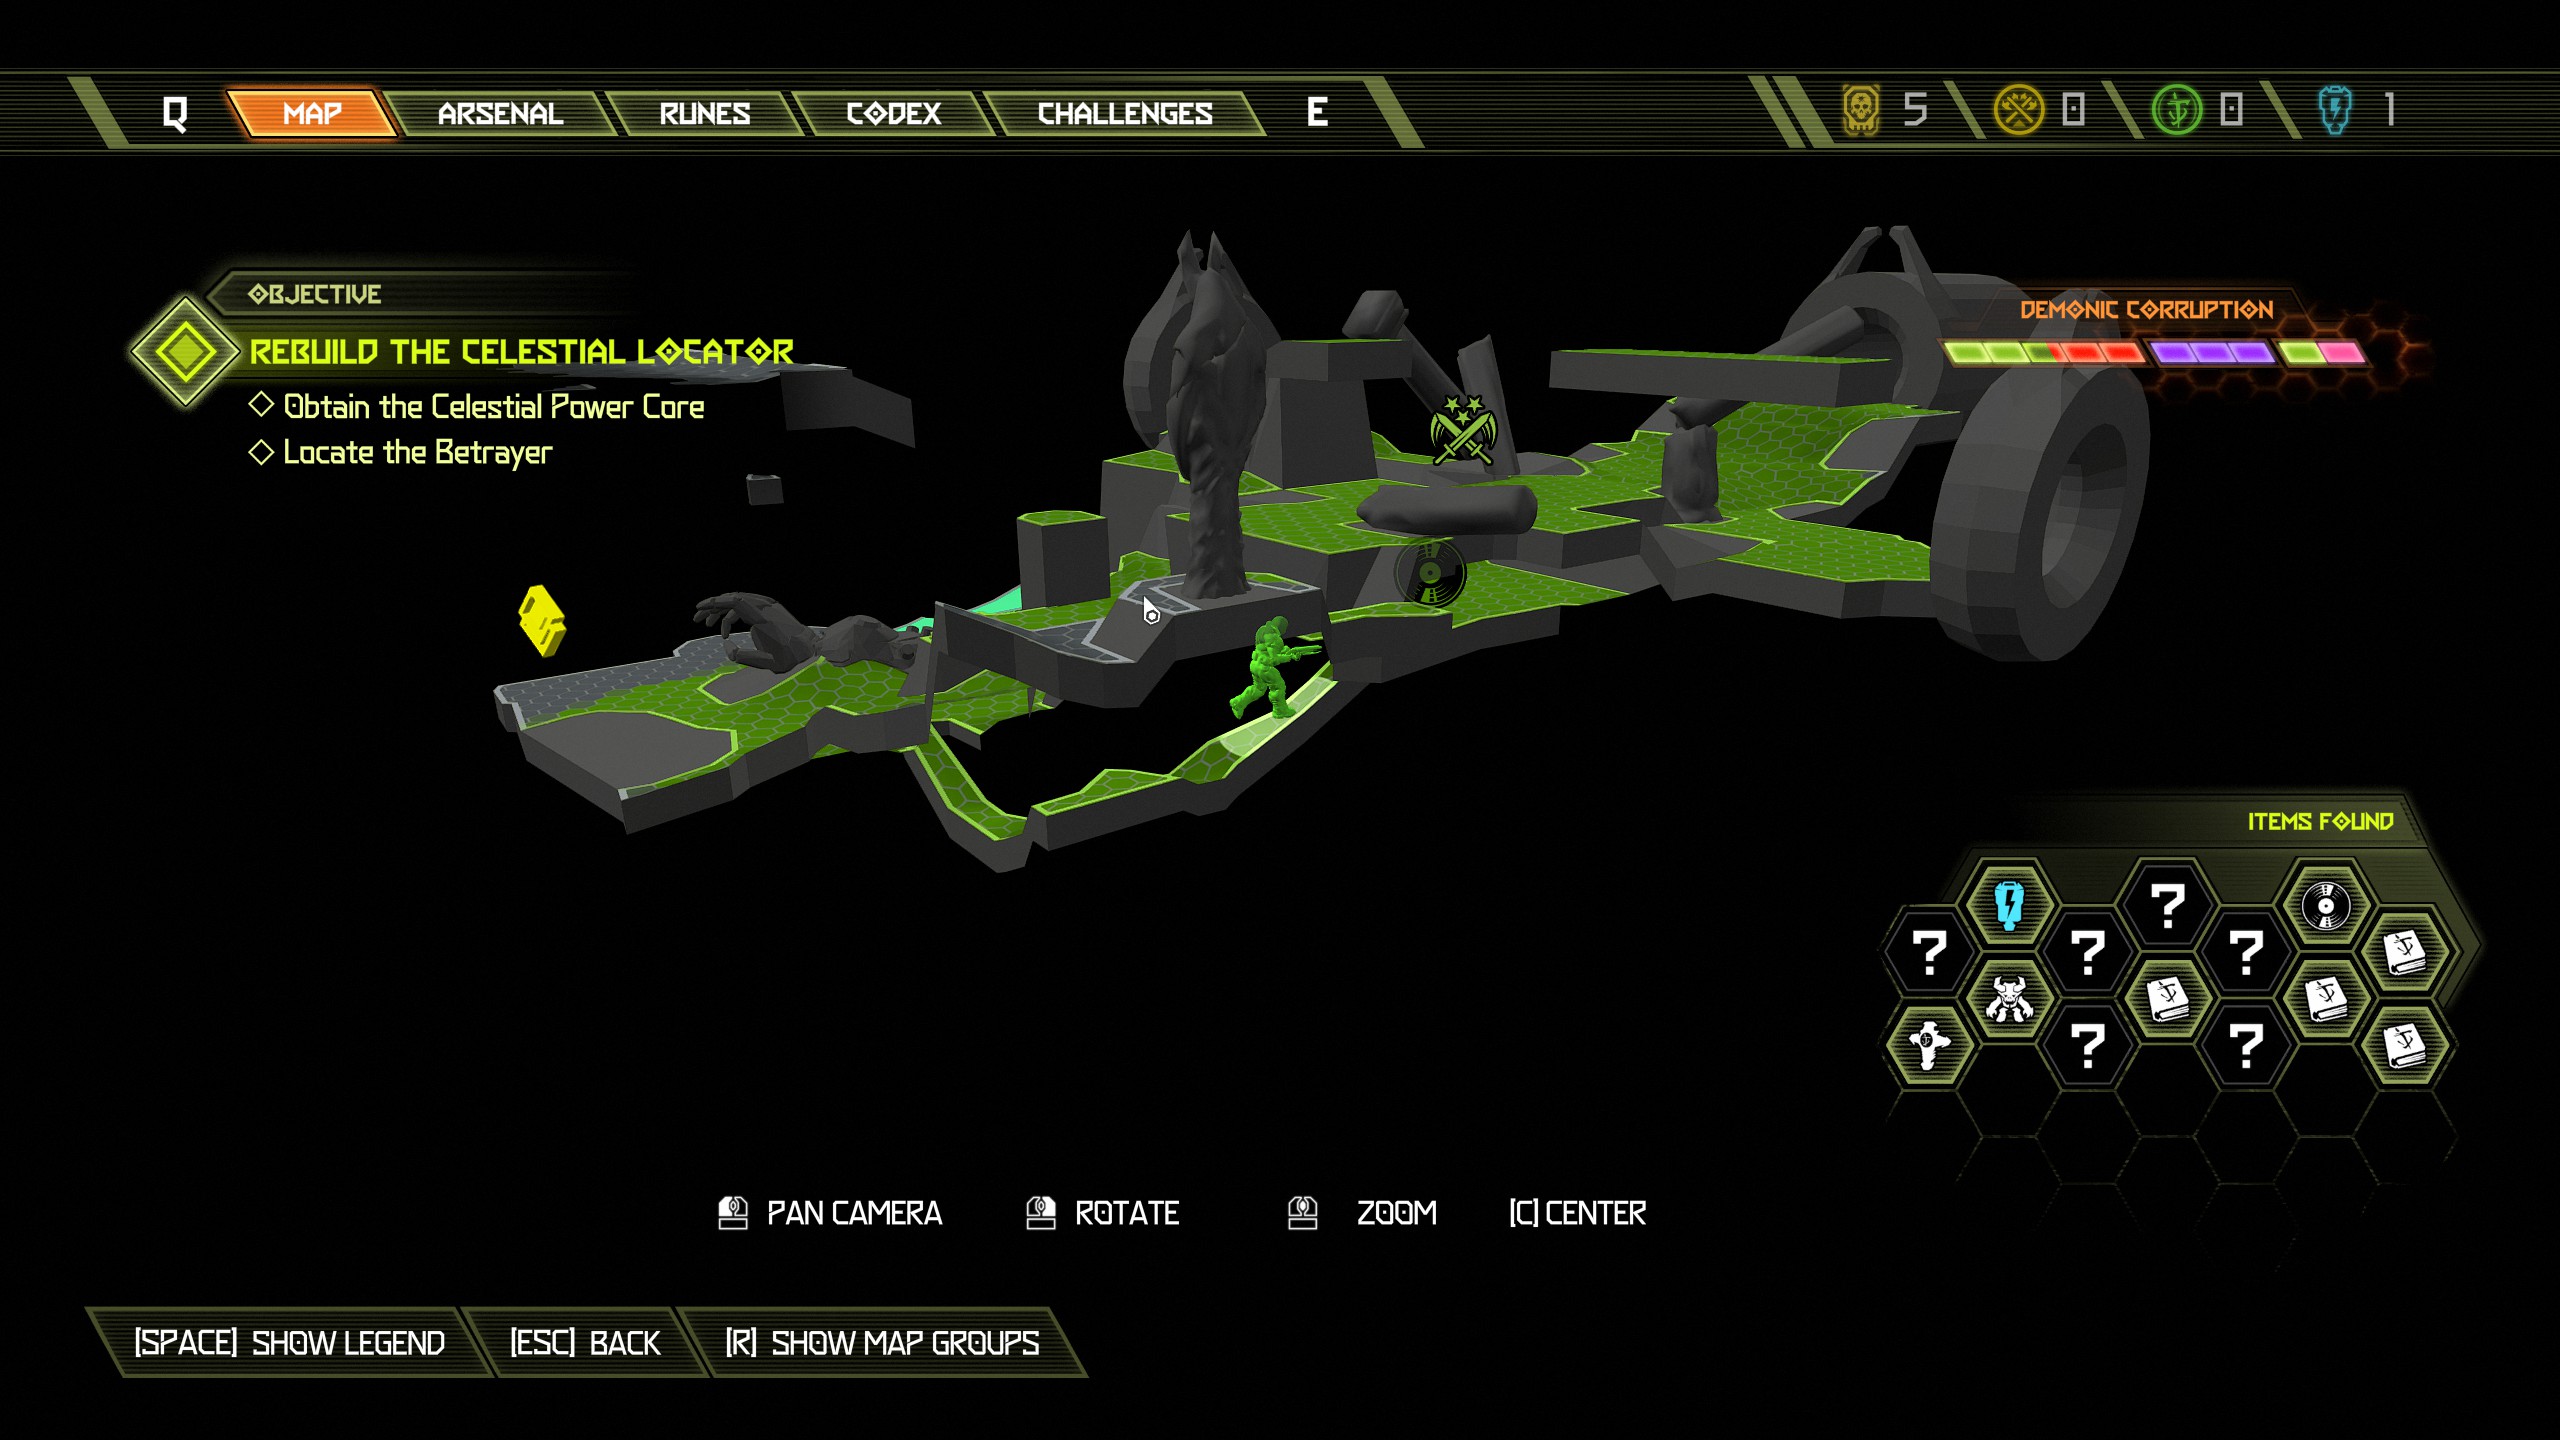
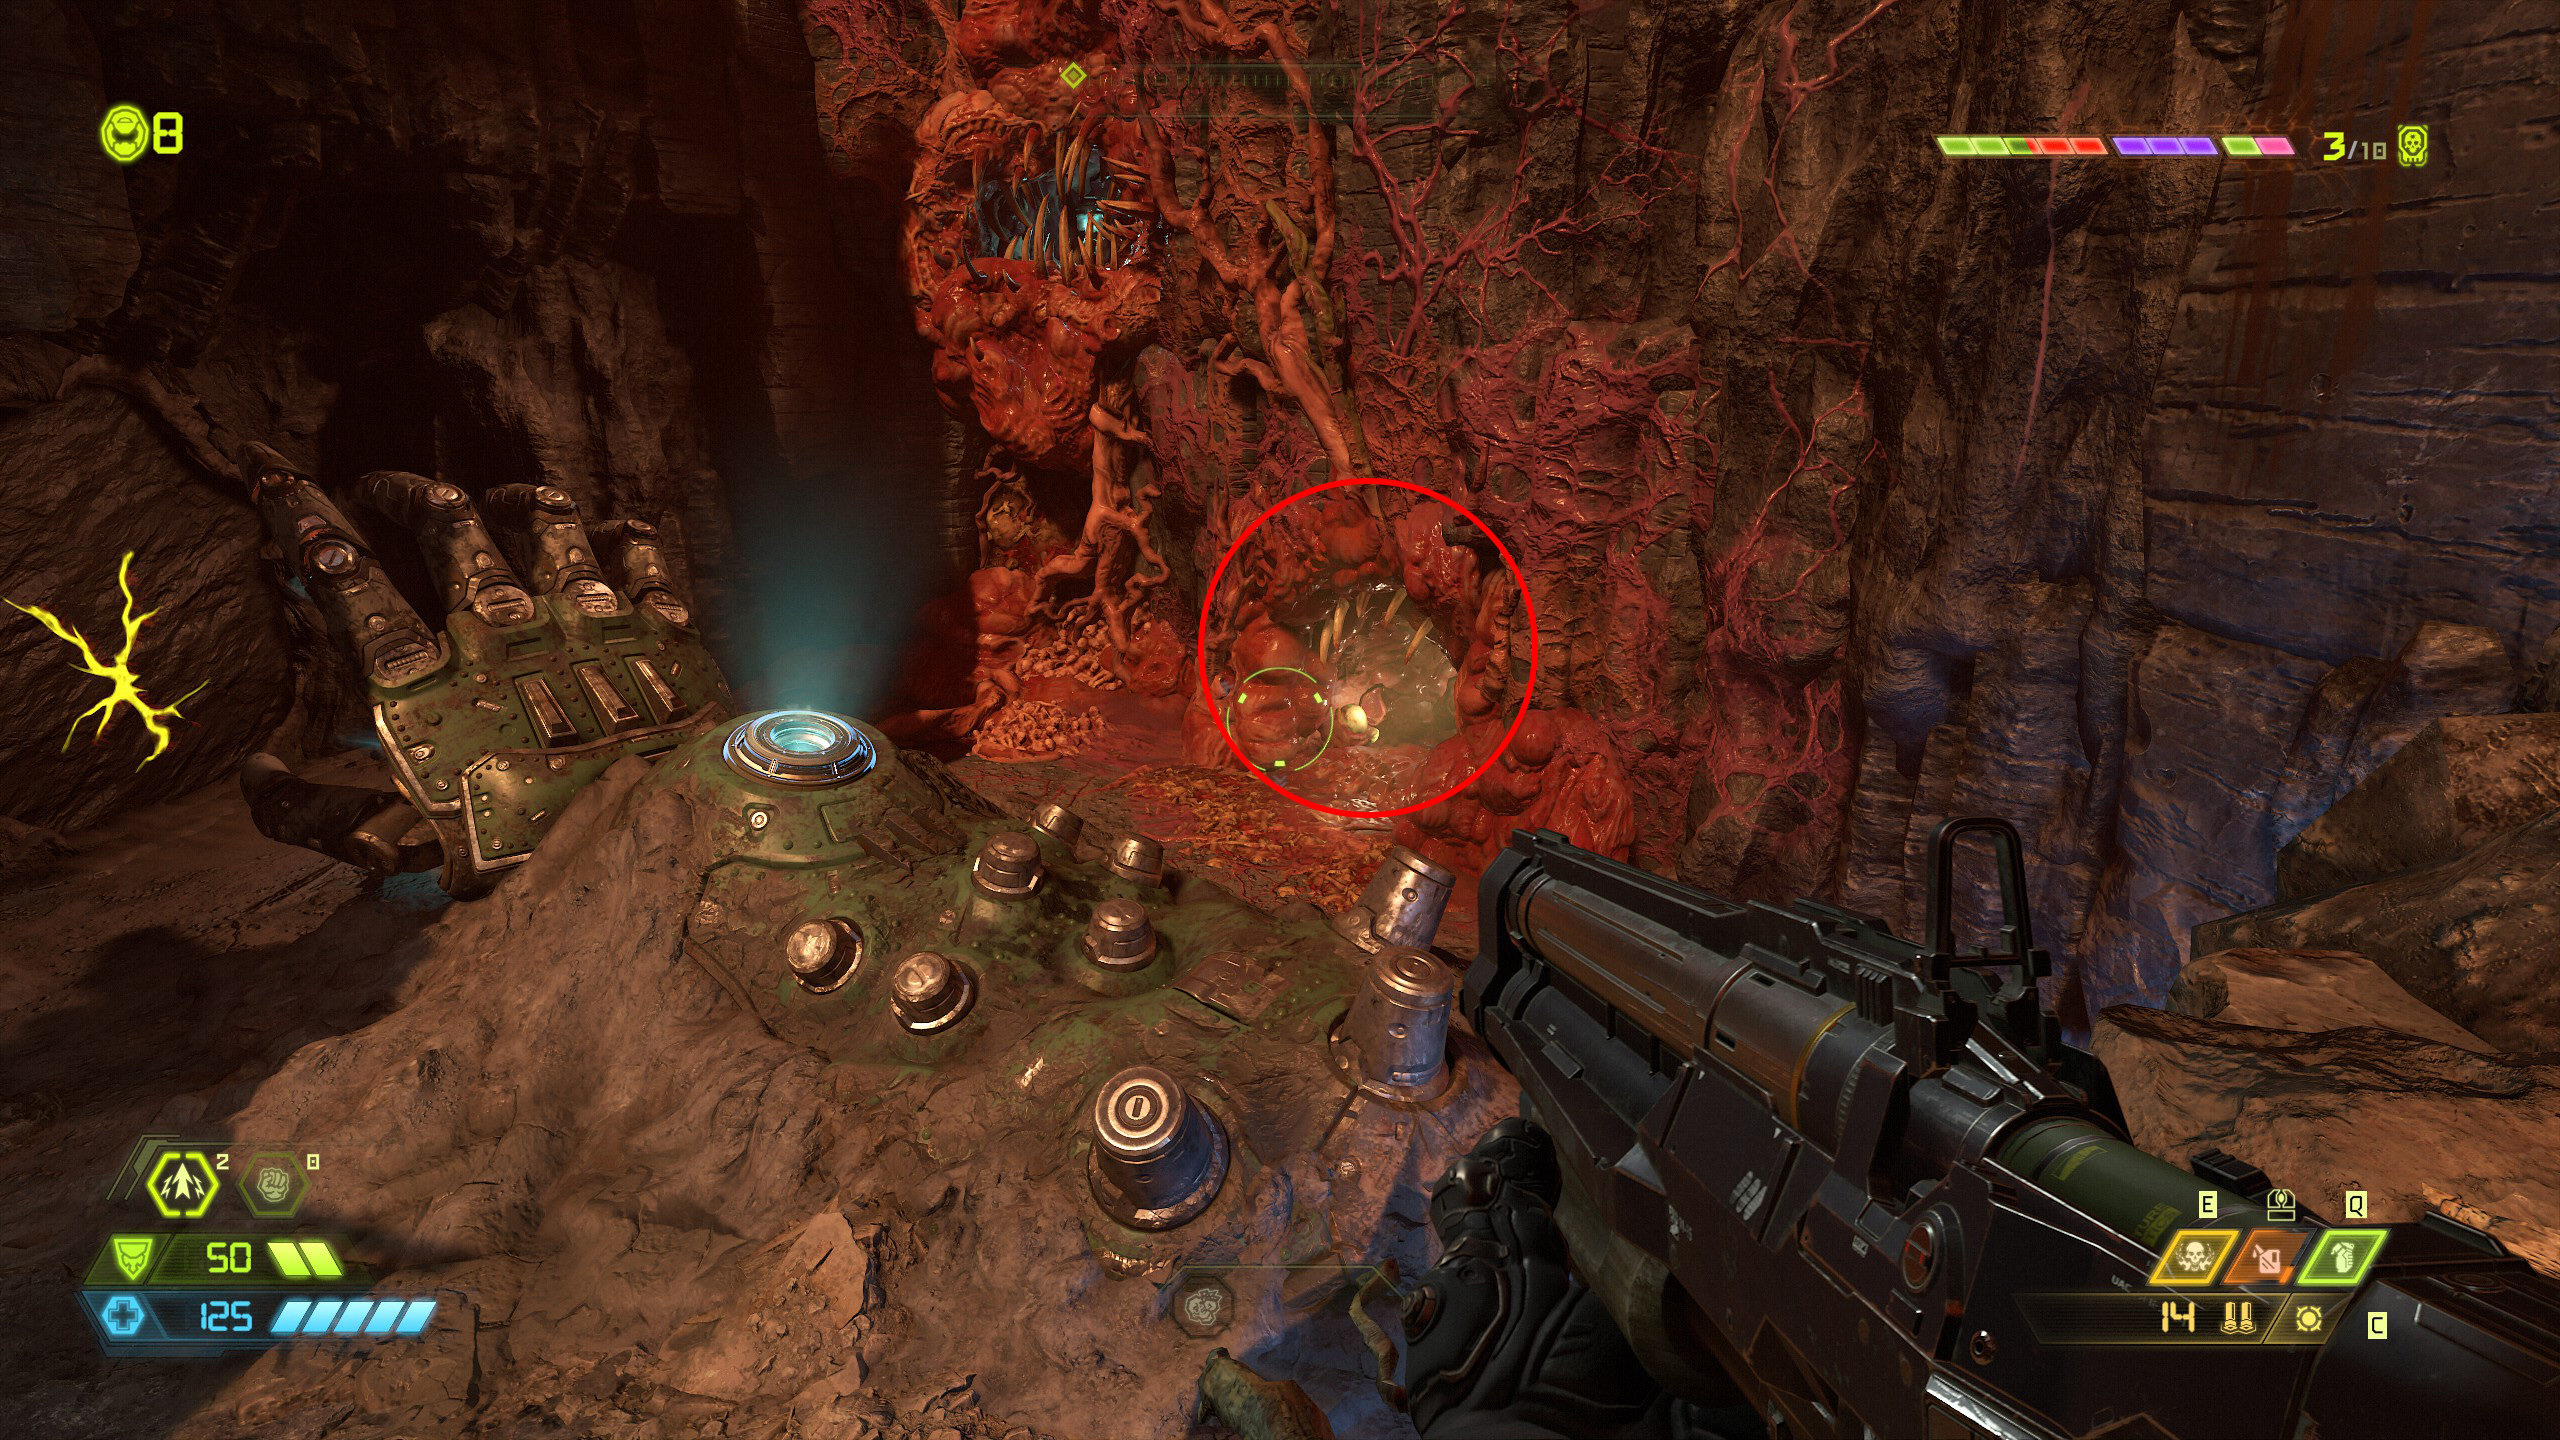
From the platform jump off and collect the extra life floating in the air, you will then need to come all the way back around to the platform and this time stay on the platform and collect the weapon mod, from there continue the mission along the path.
Mission 2: Exultia [Part 2]
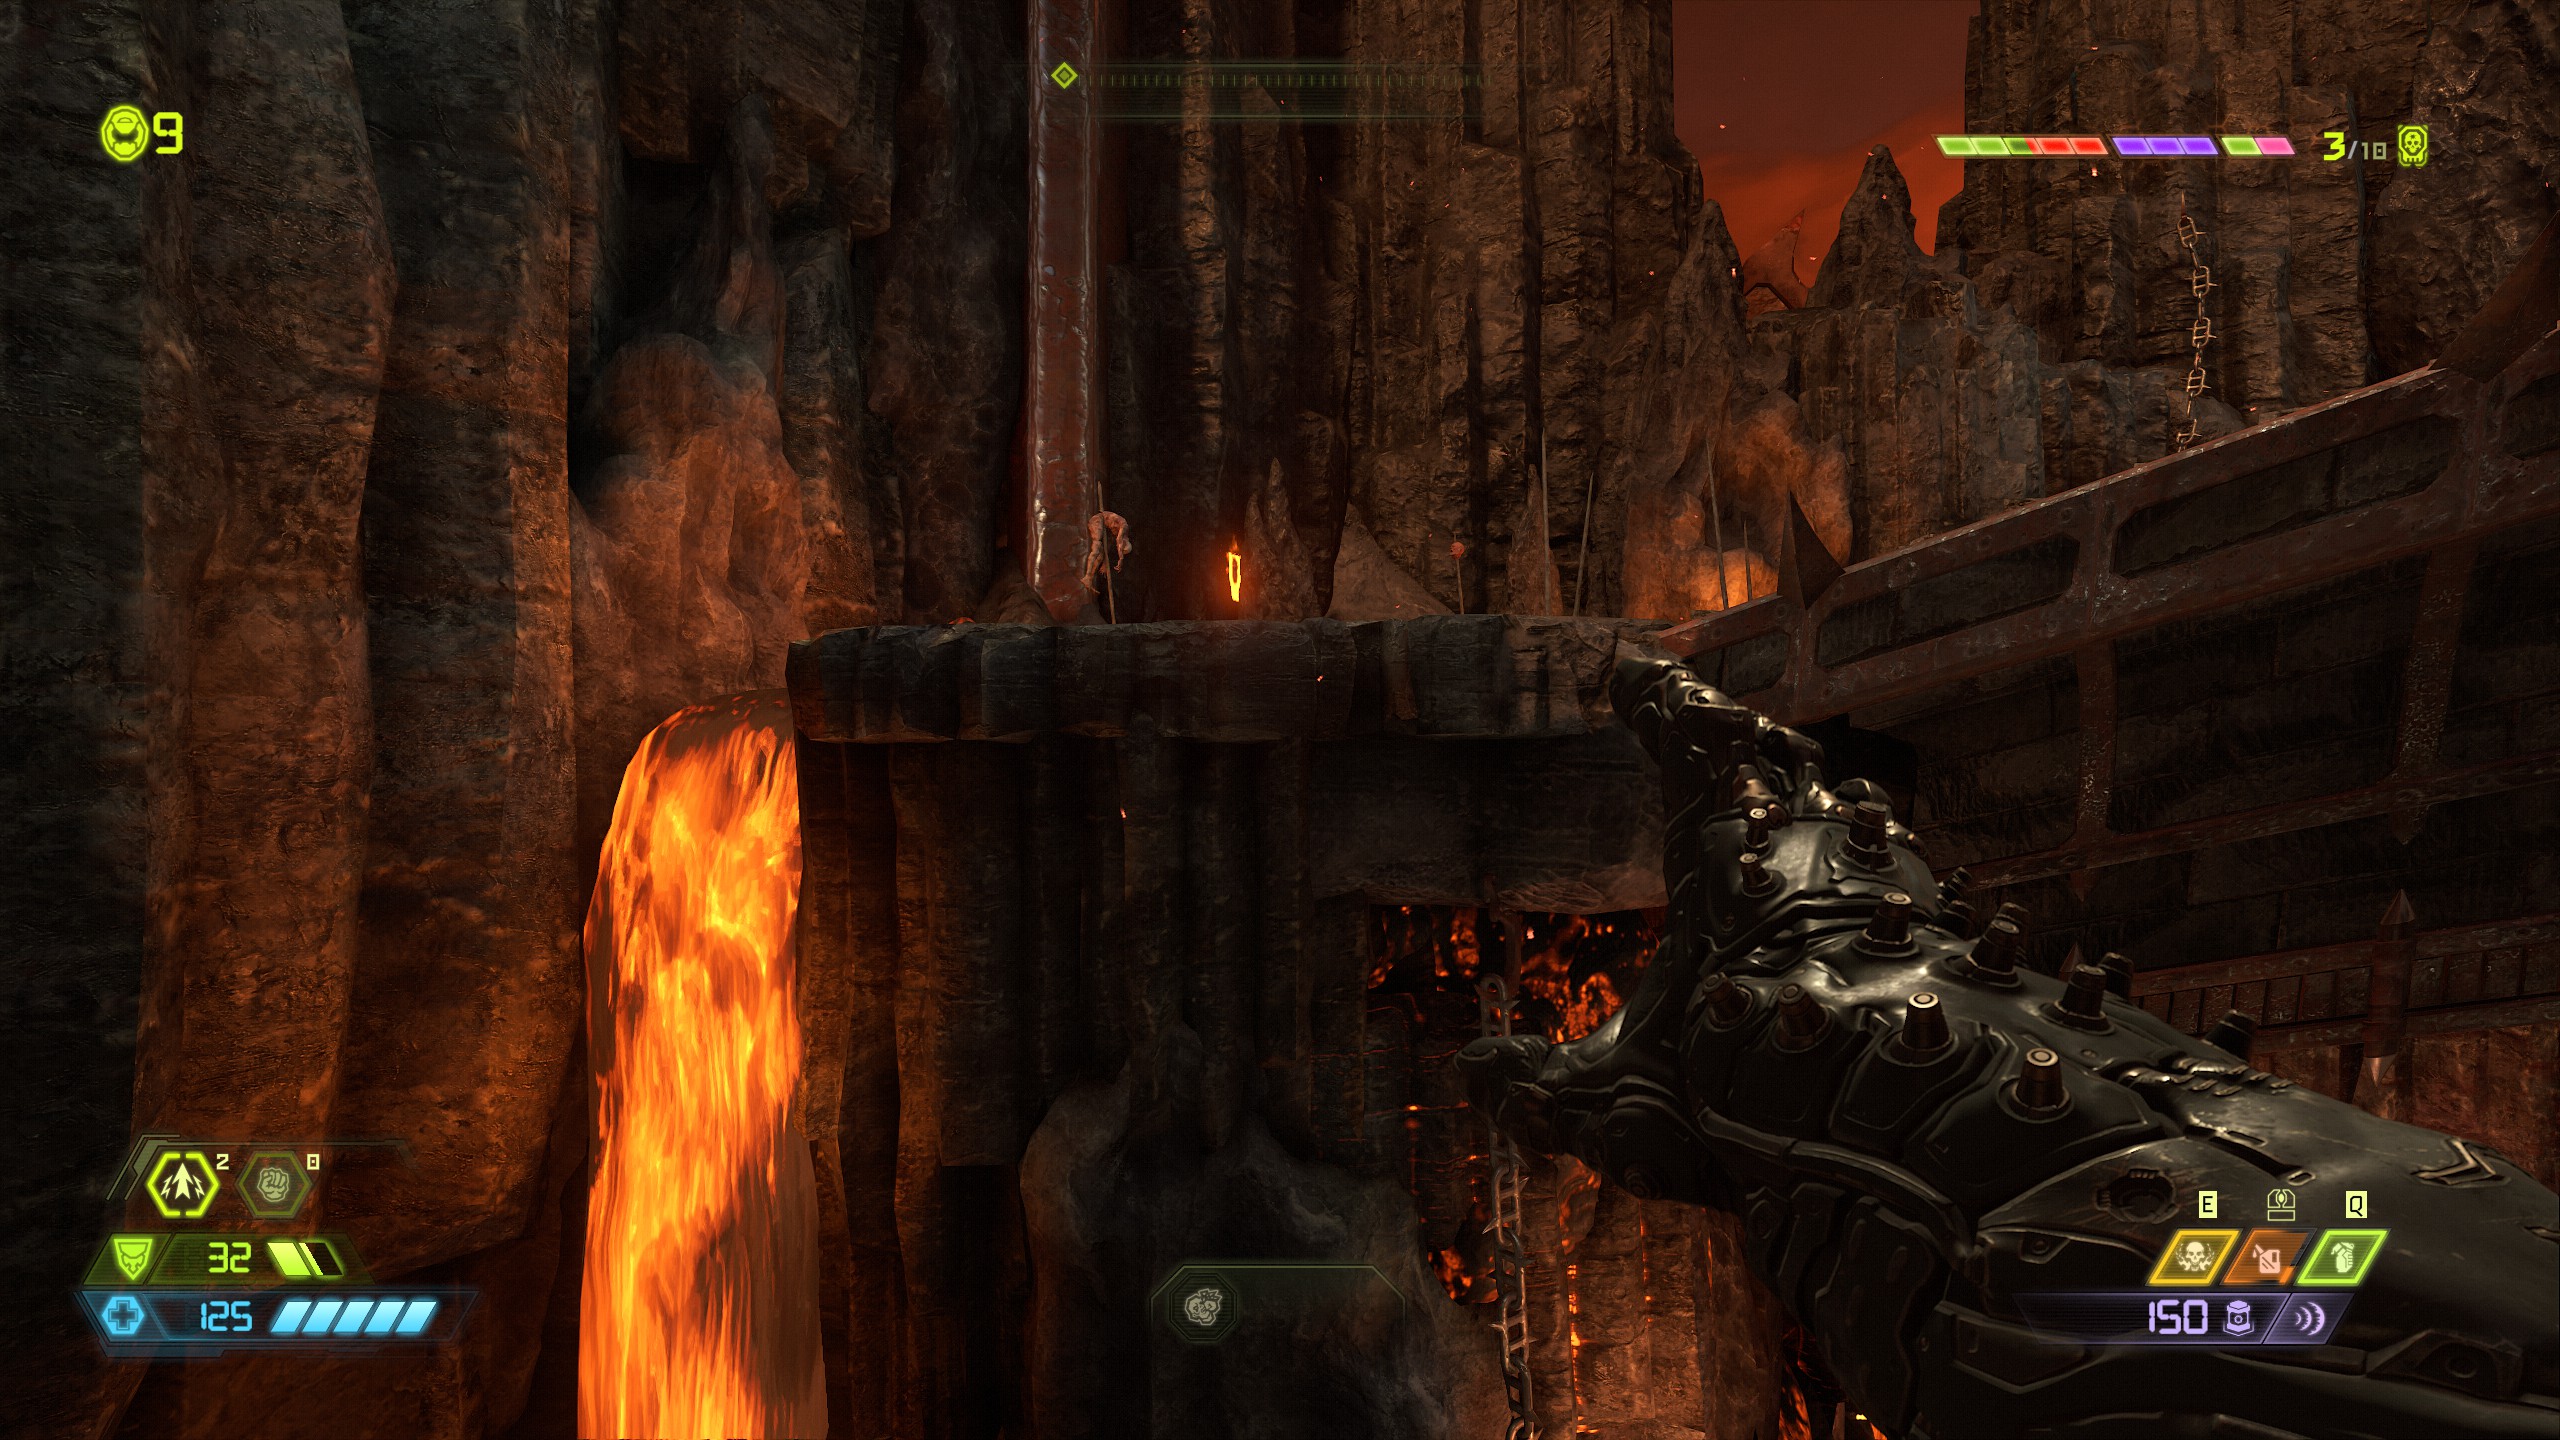
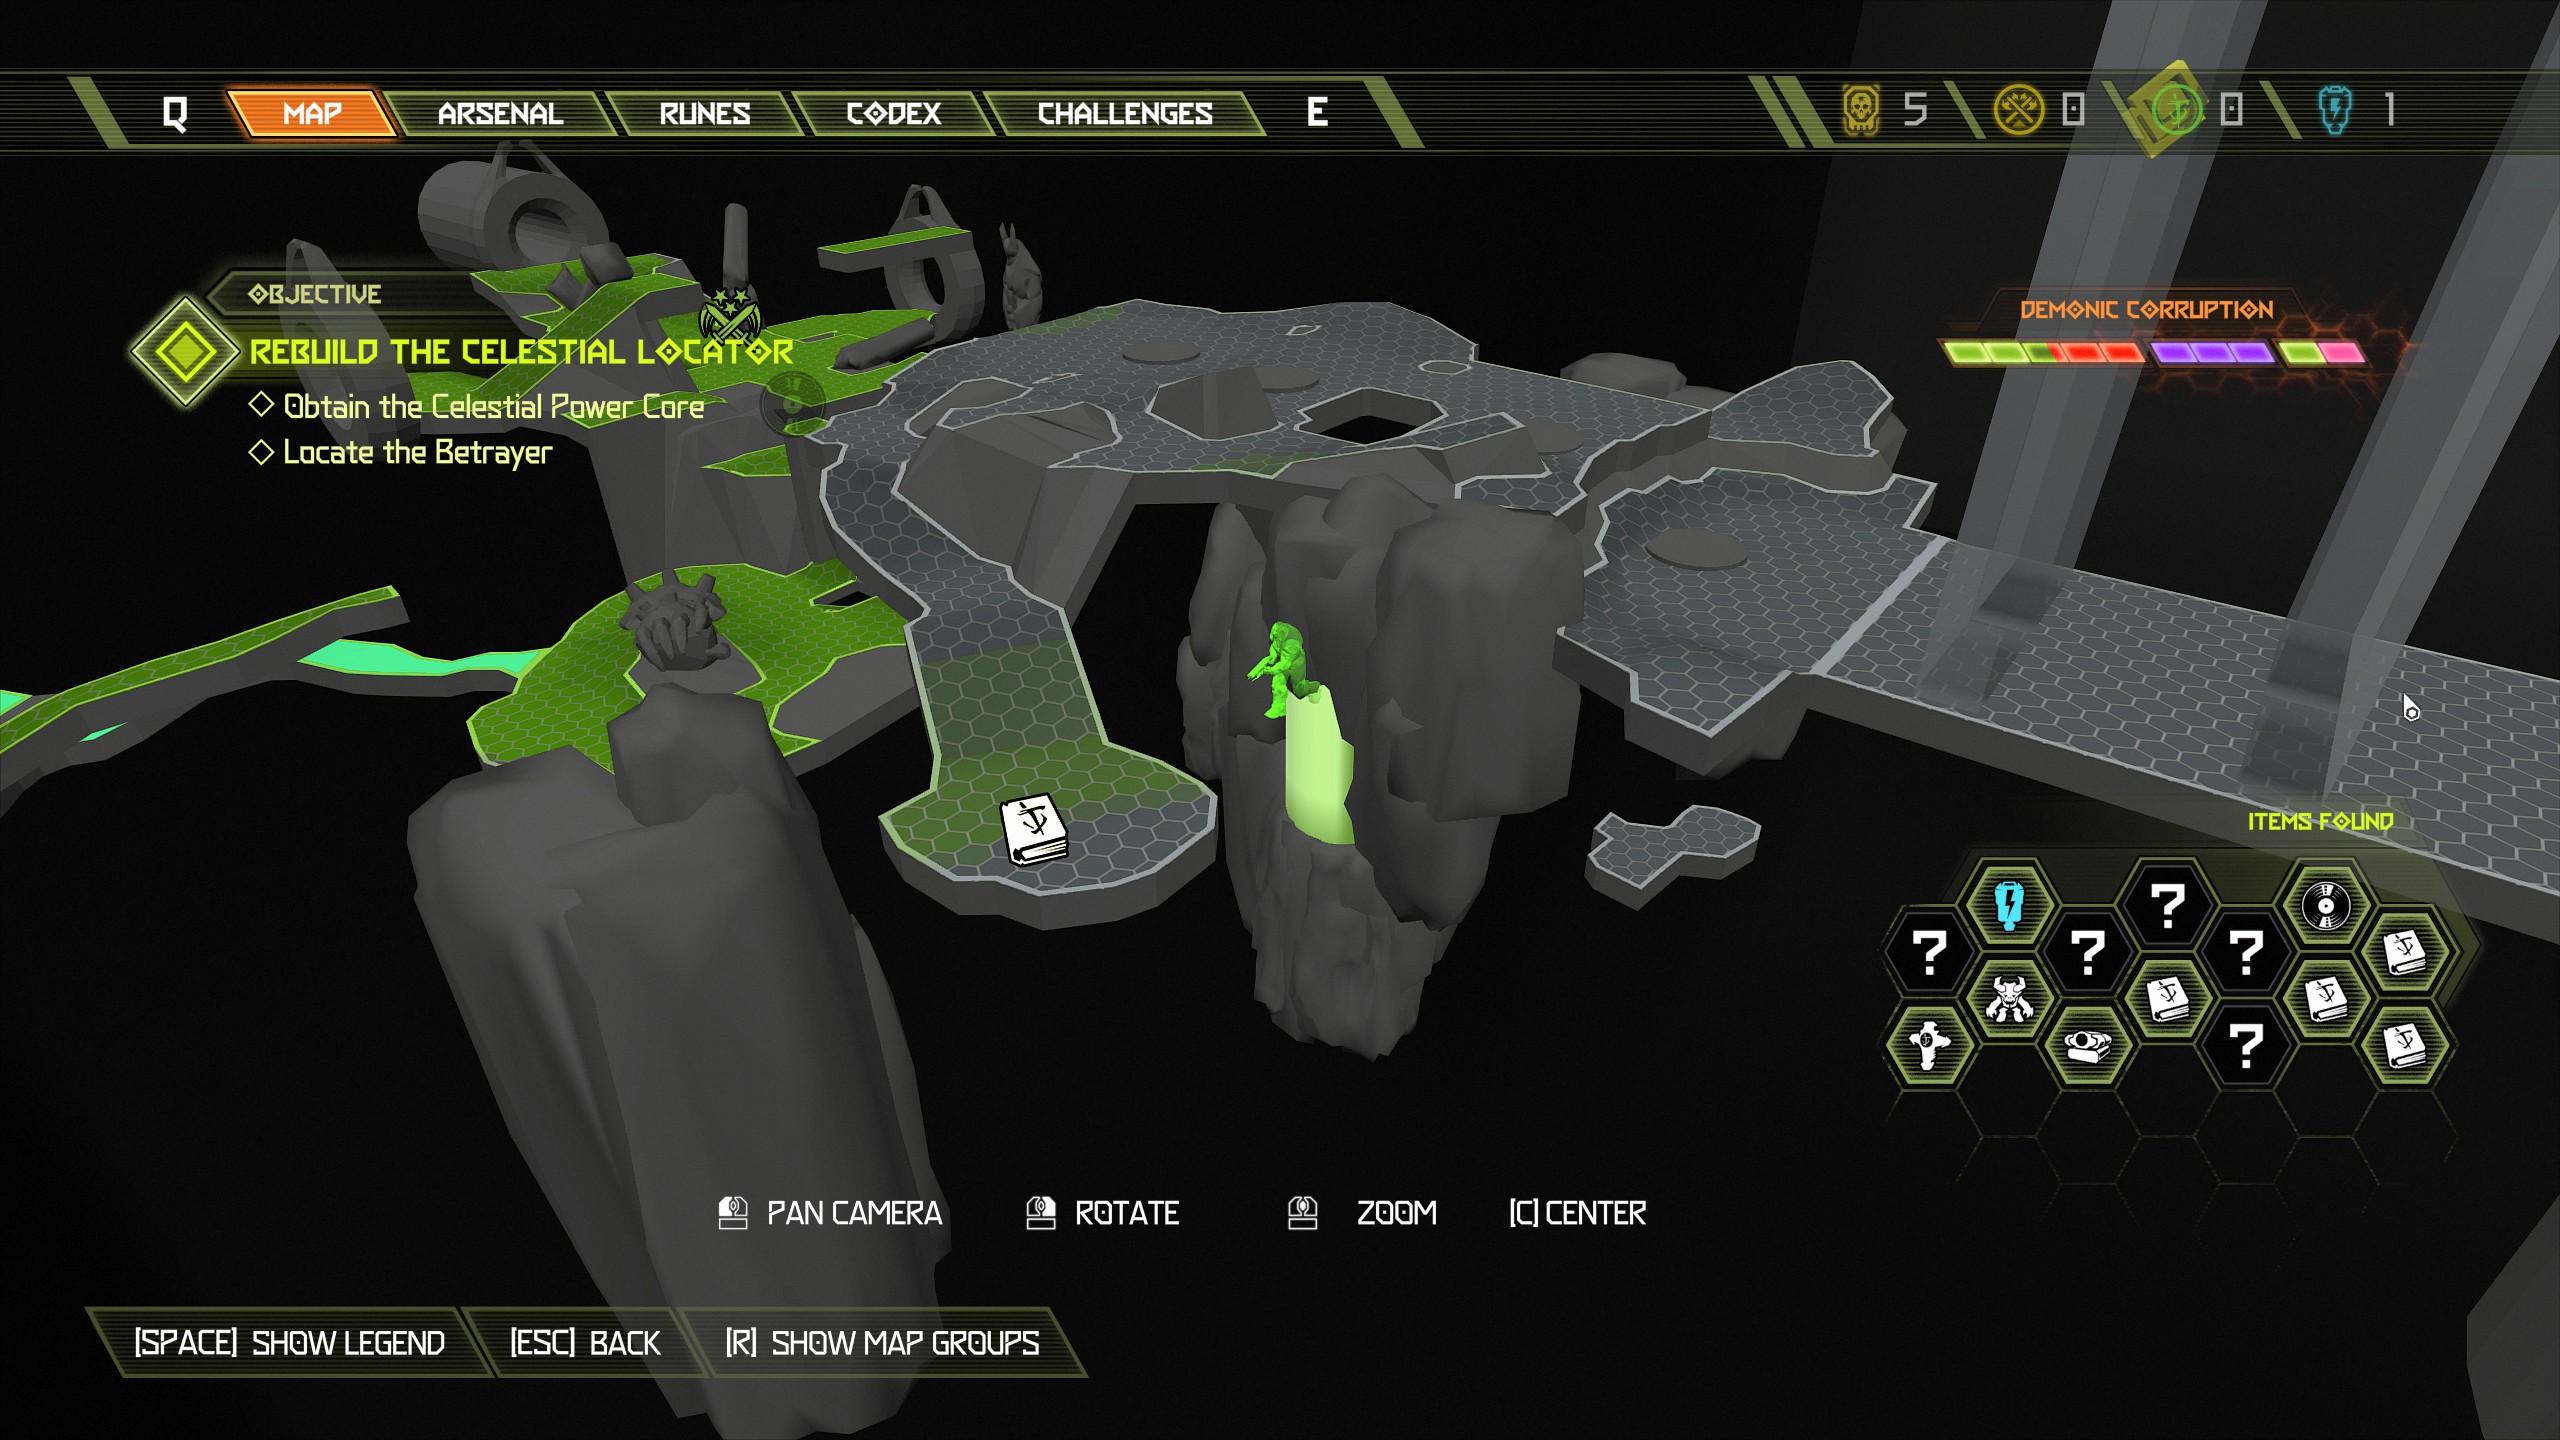
Continue the mission and activate the rest of the plates, and then make your way all the way through and up to the giant mech spear.
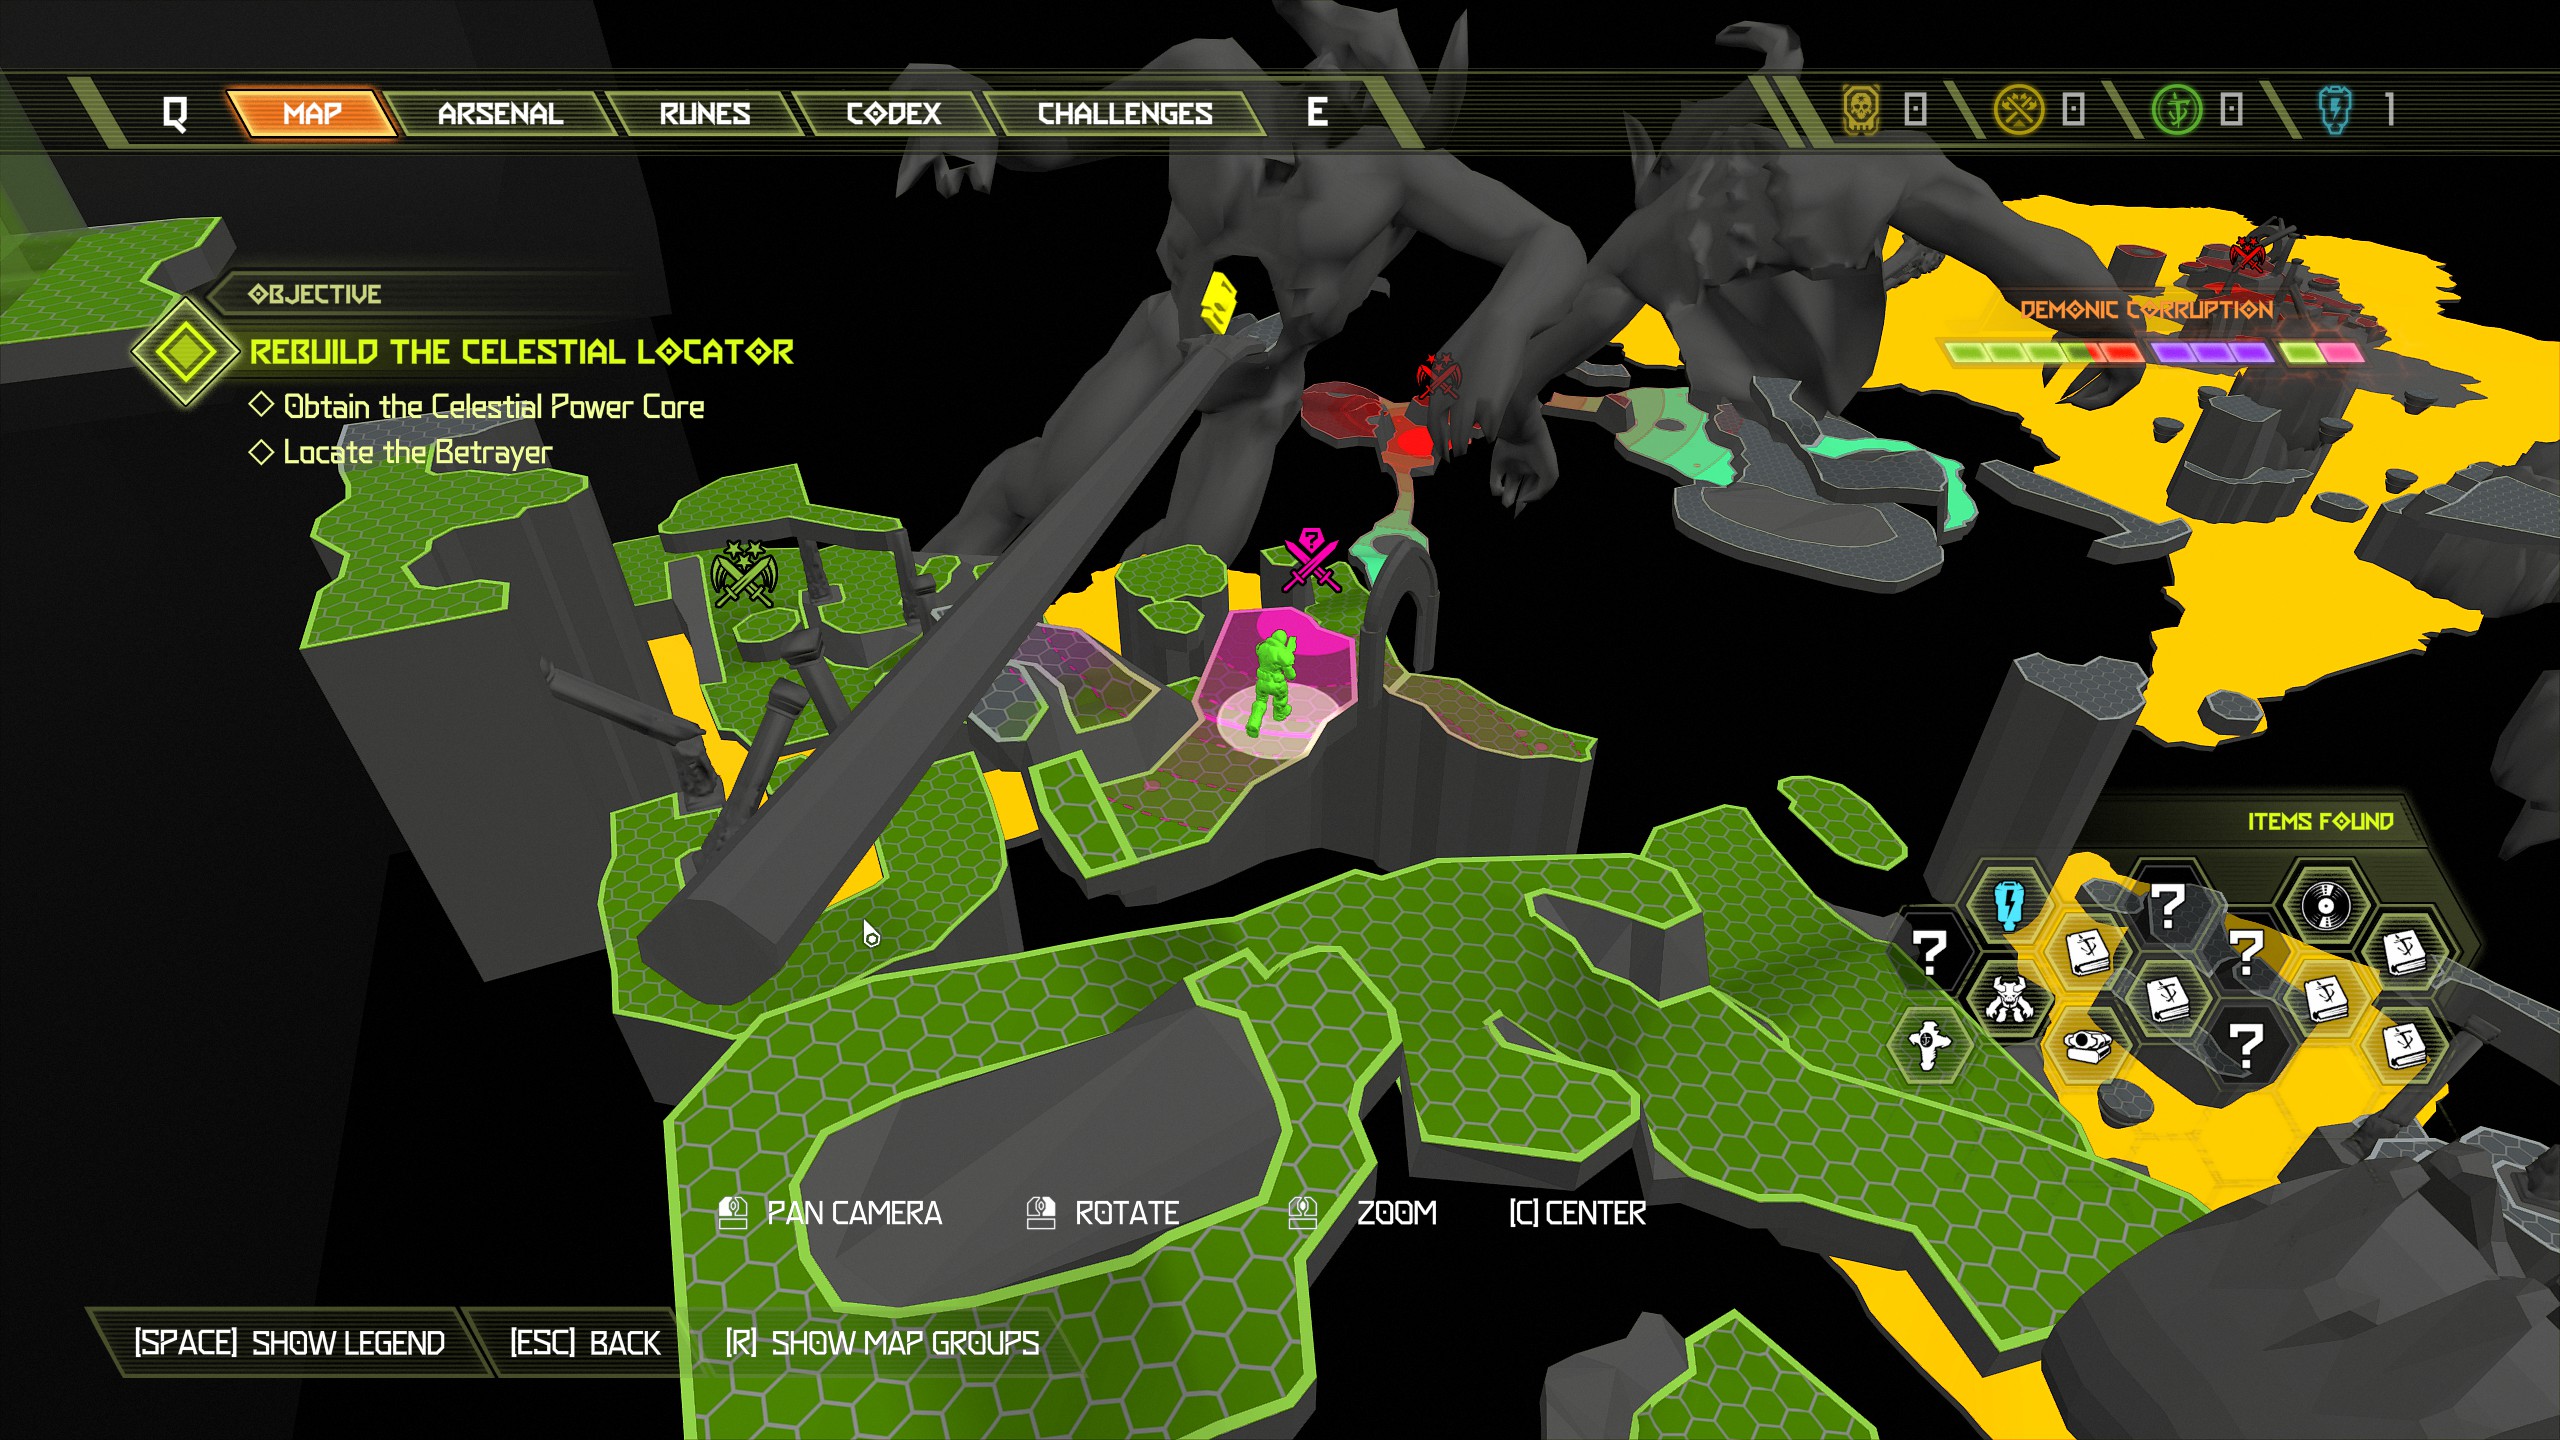
After the encounter go back and continue the mission along the mechs spear, the mech will create a hole in the wall using the spear. Enter the hole and proceed with the mission until you reach another mech that will this time blow a hole in the wall using a gun.
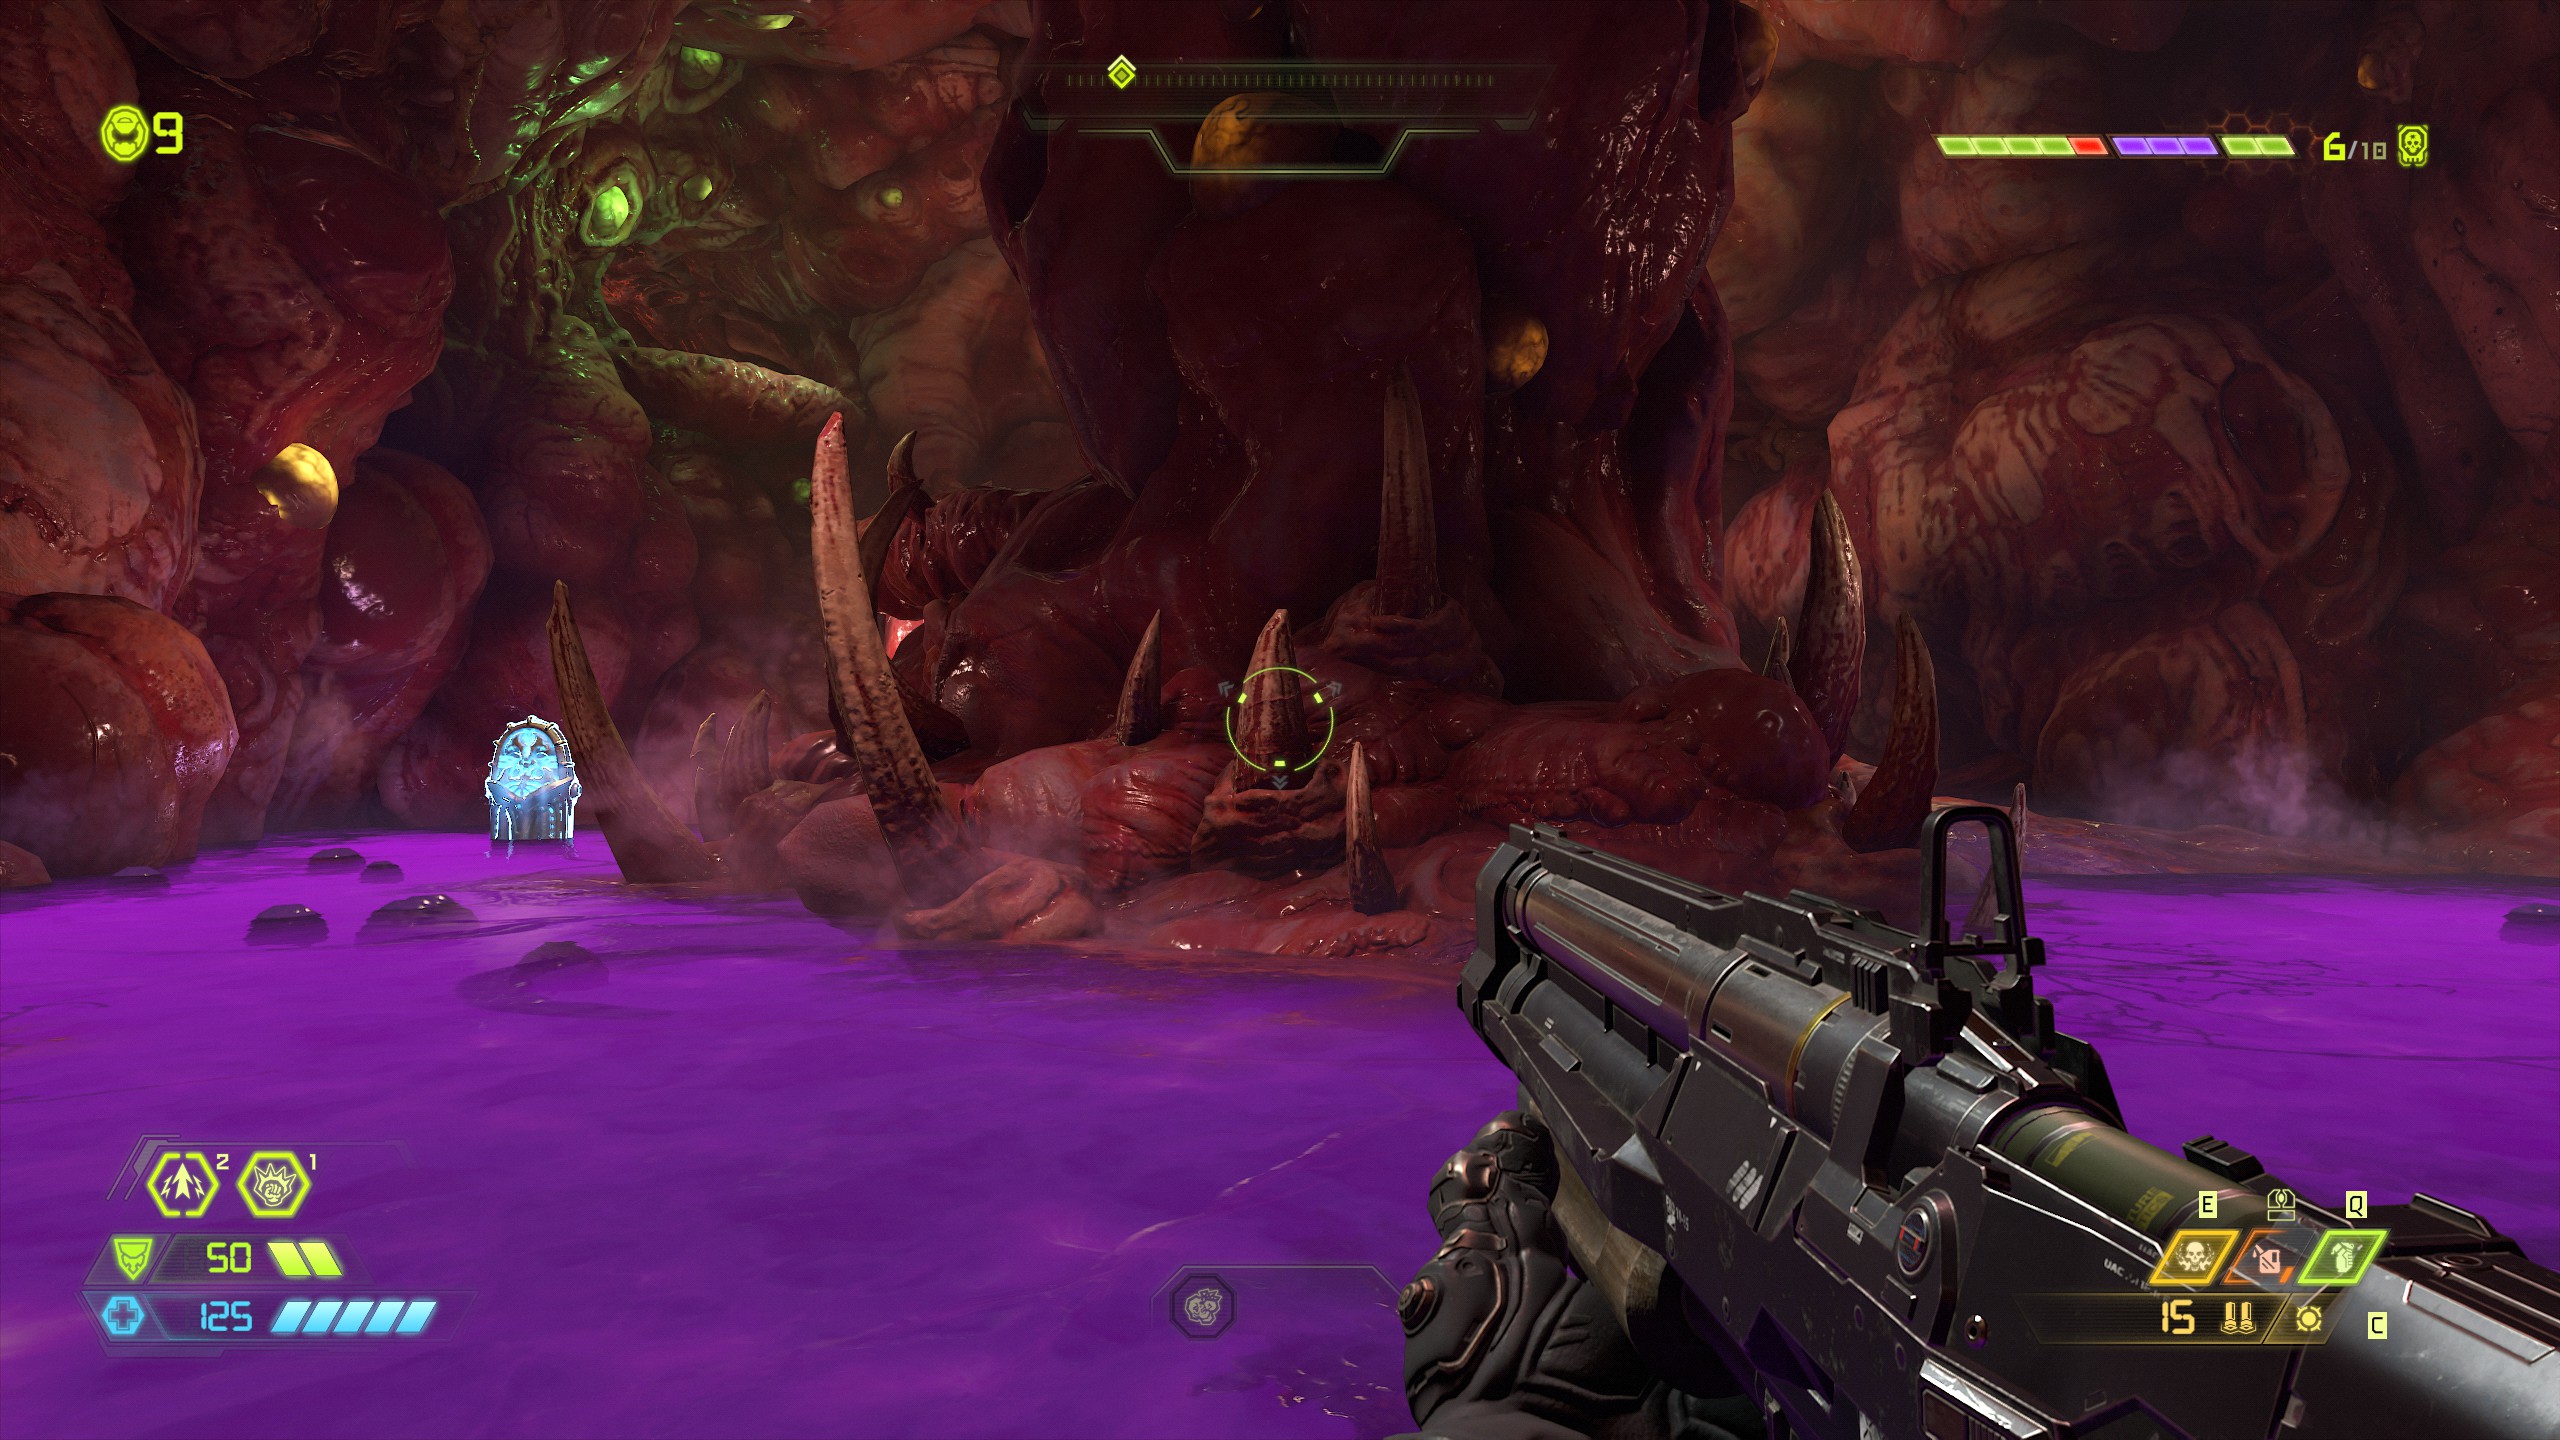
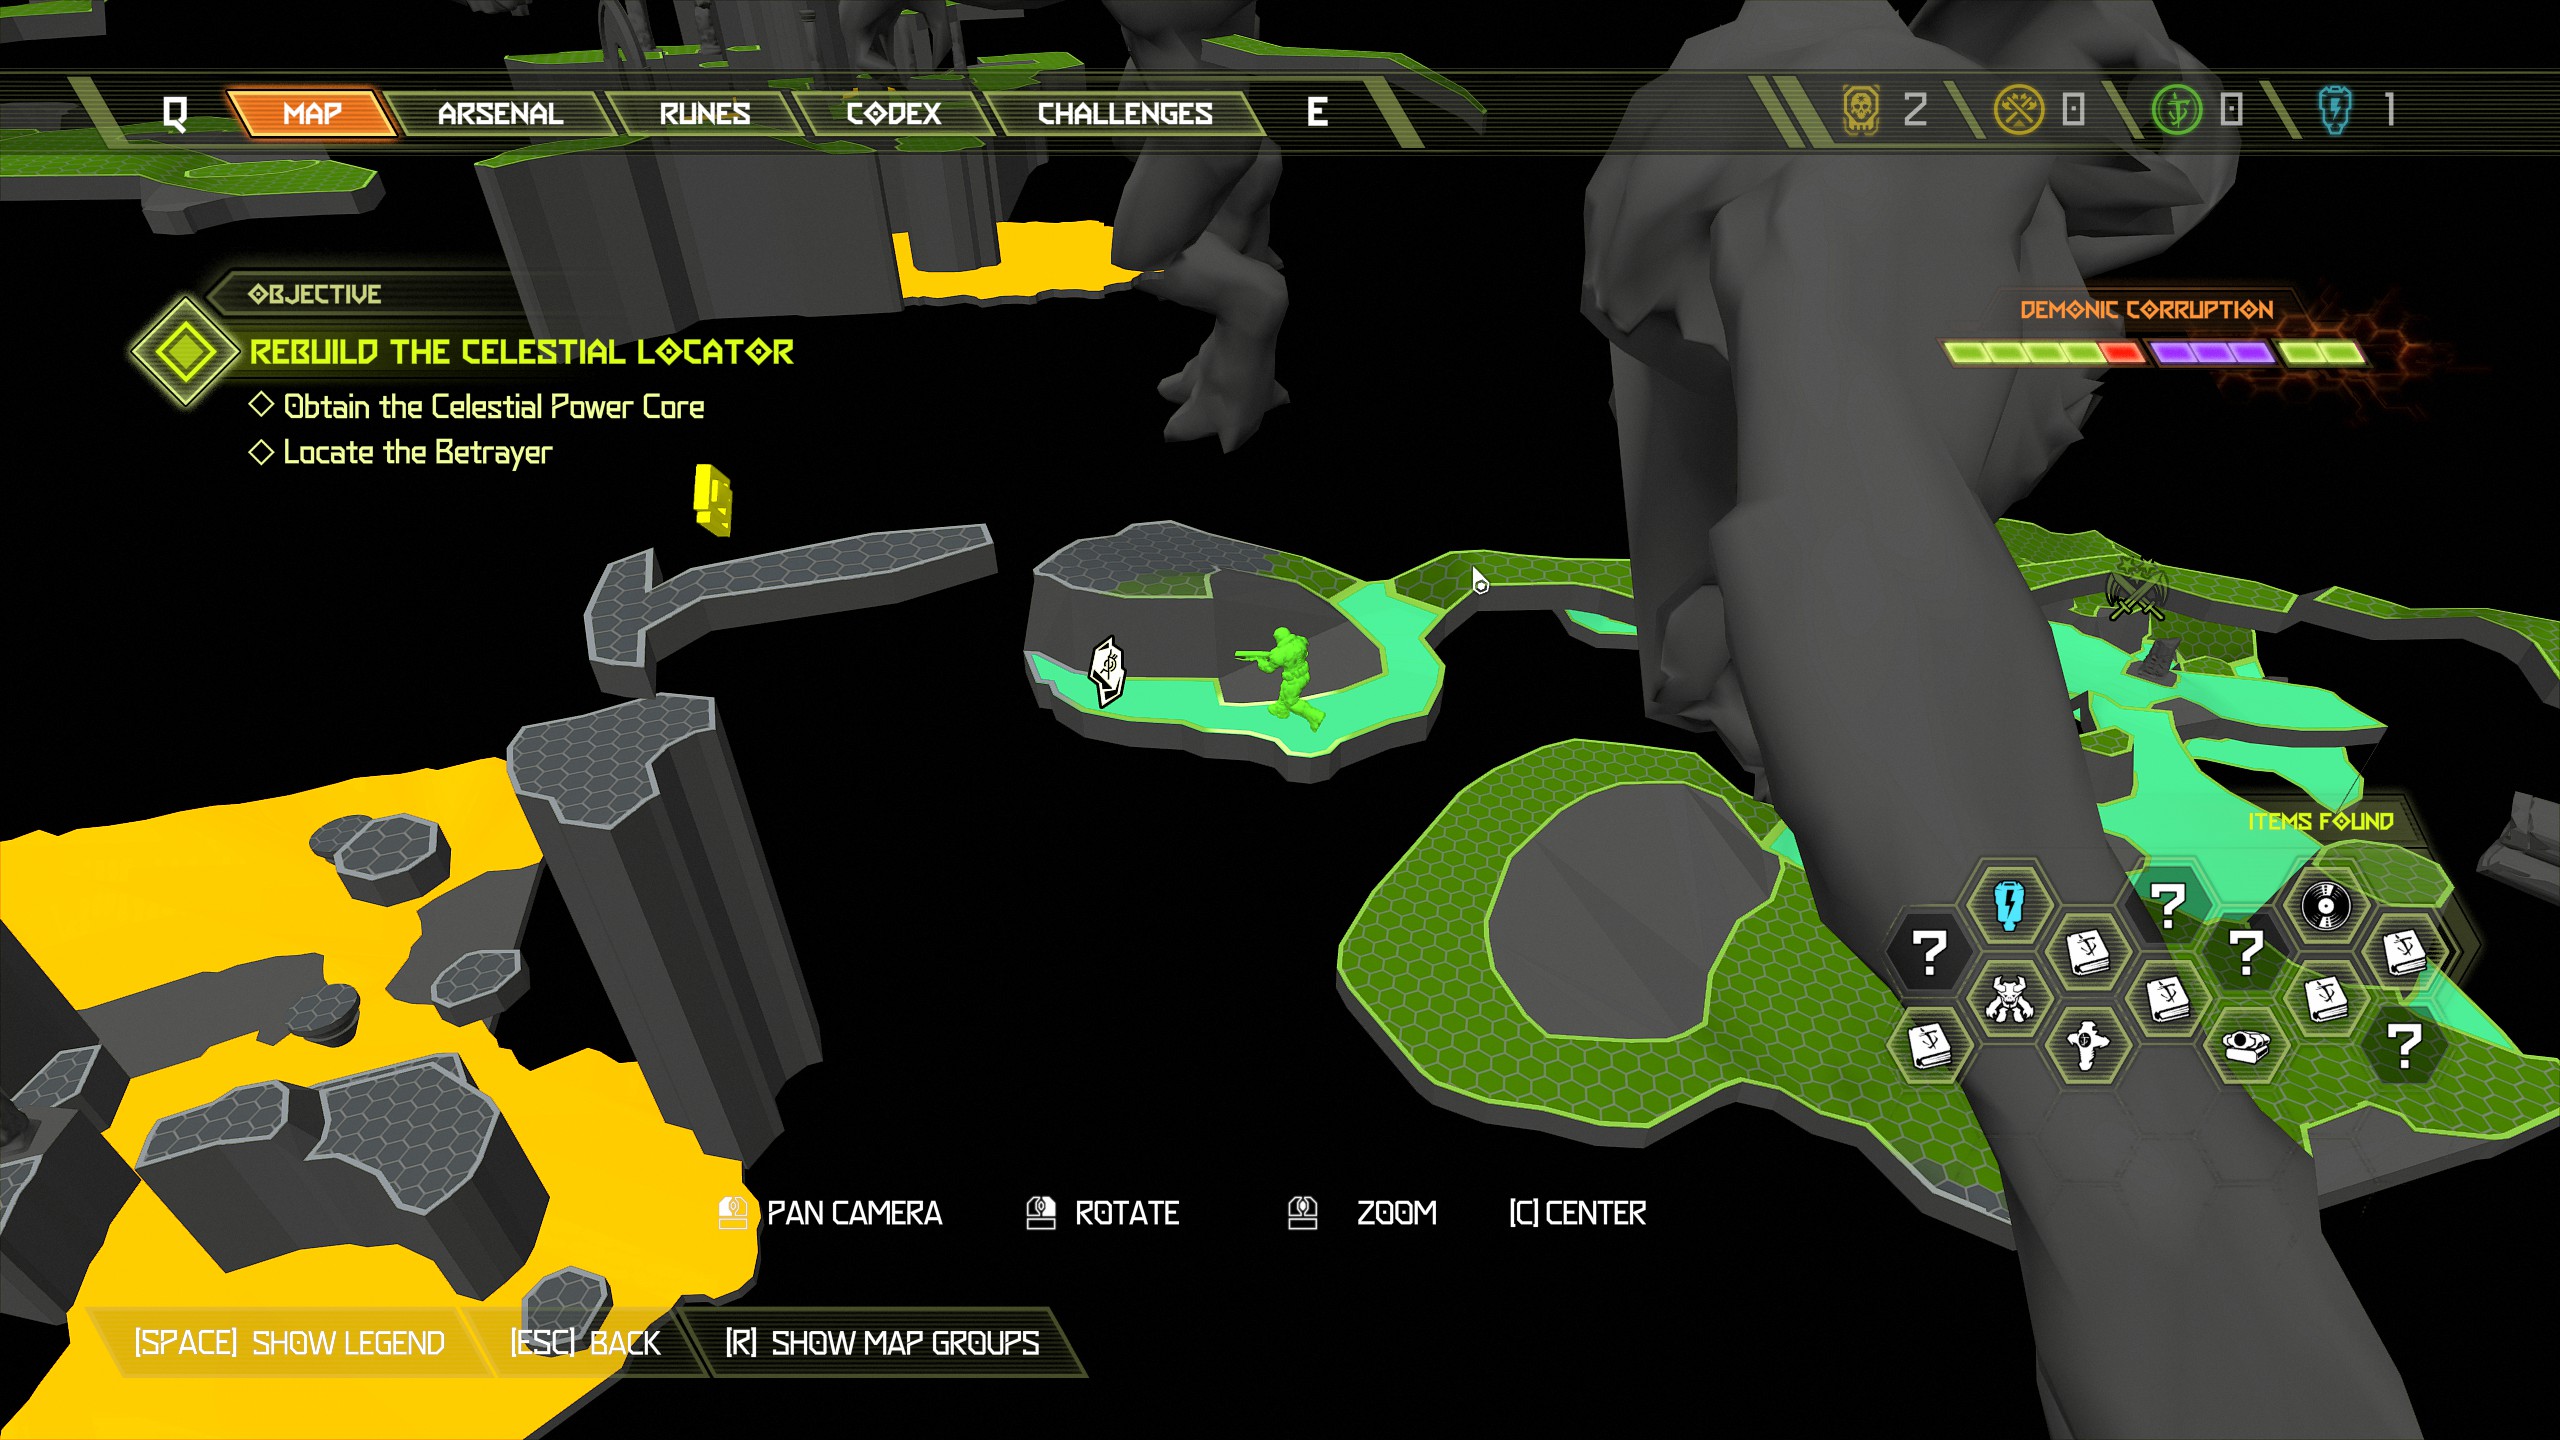
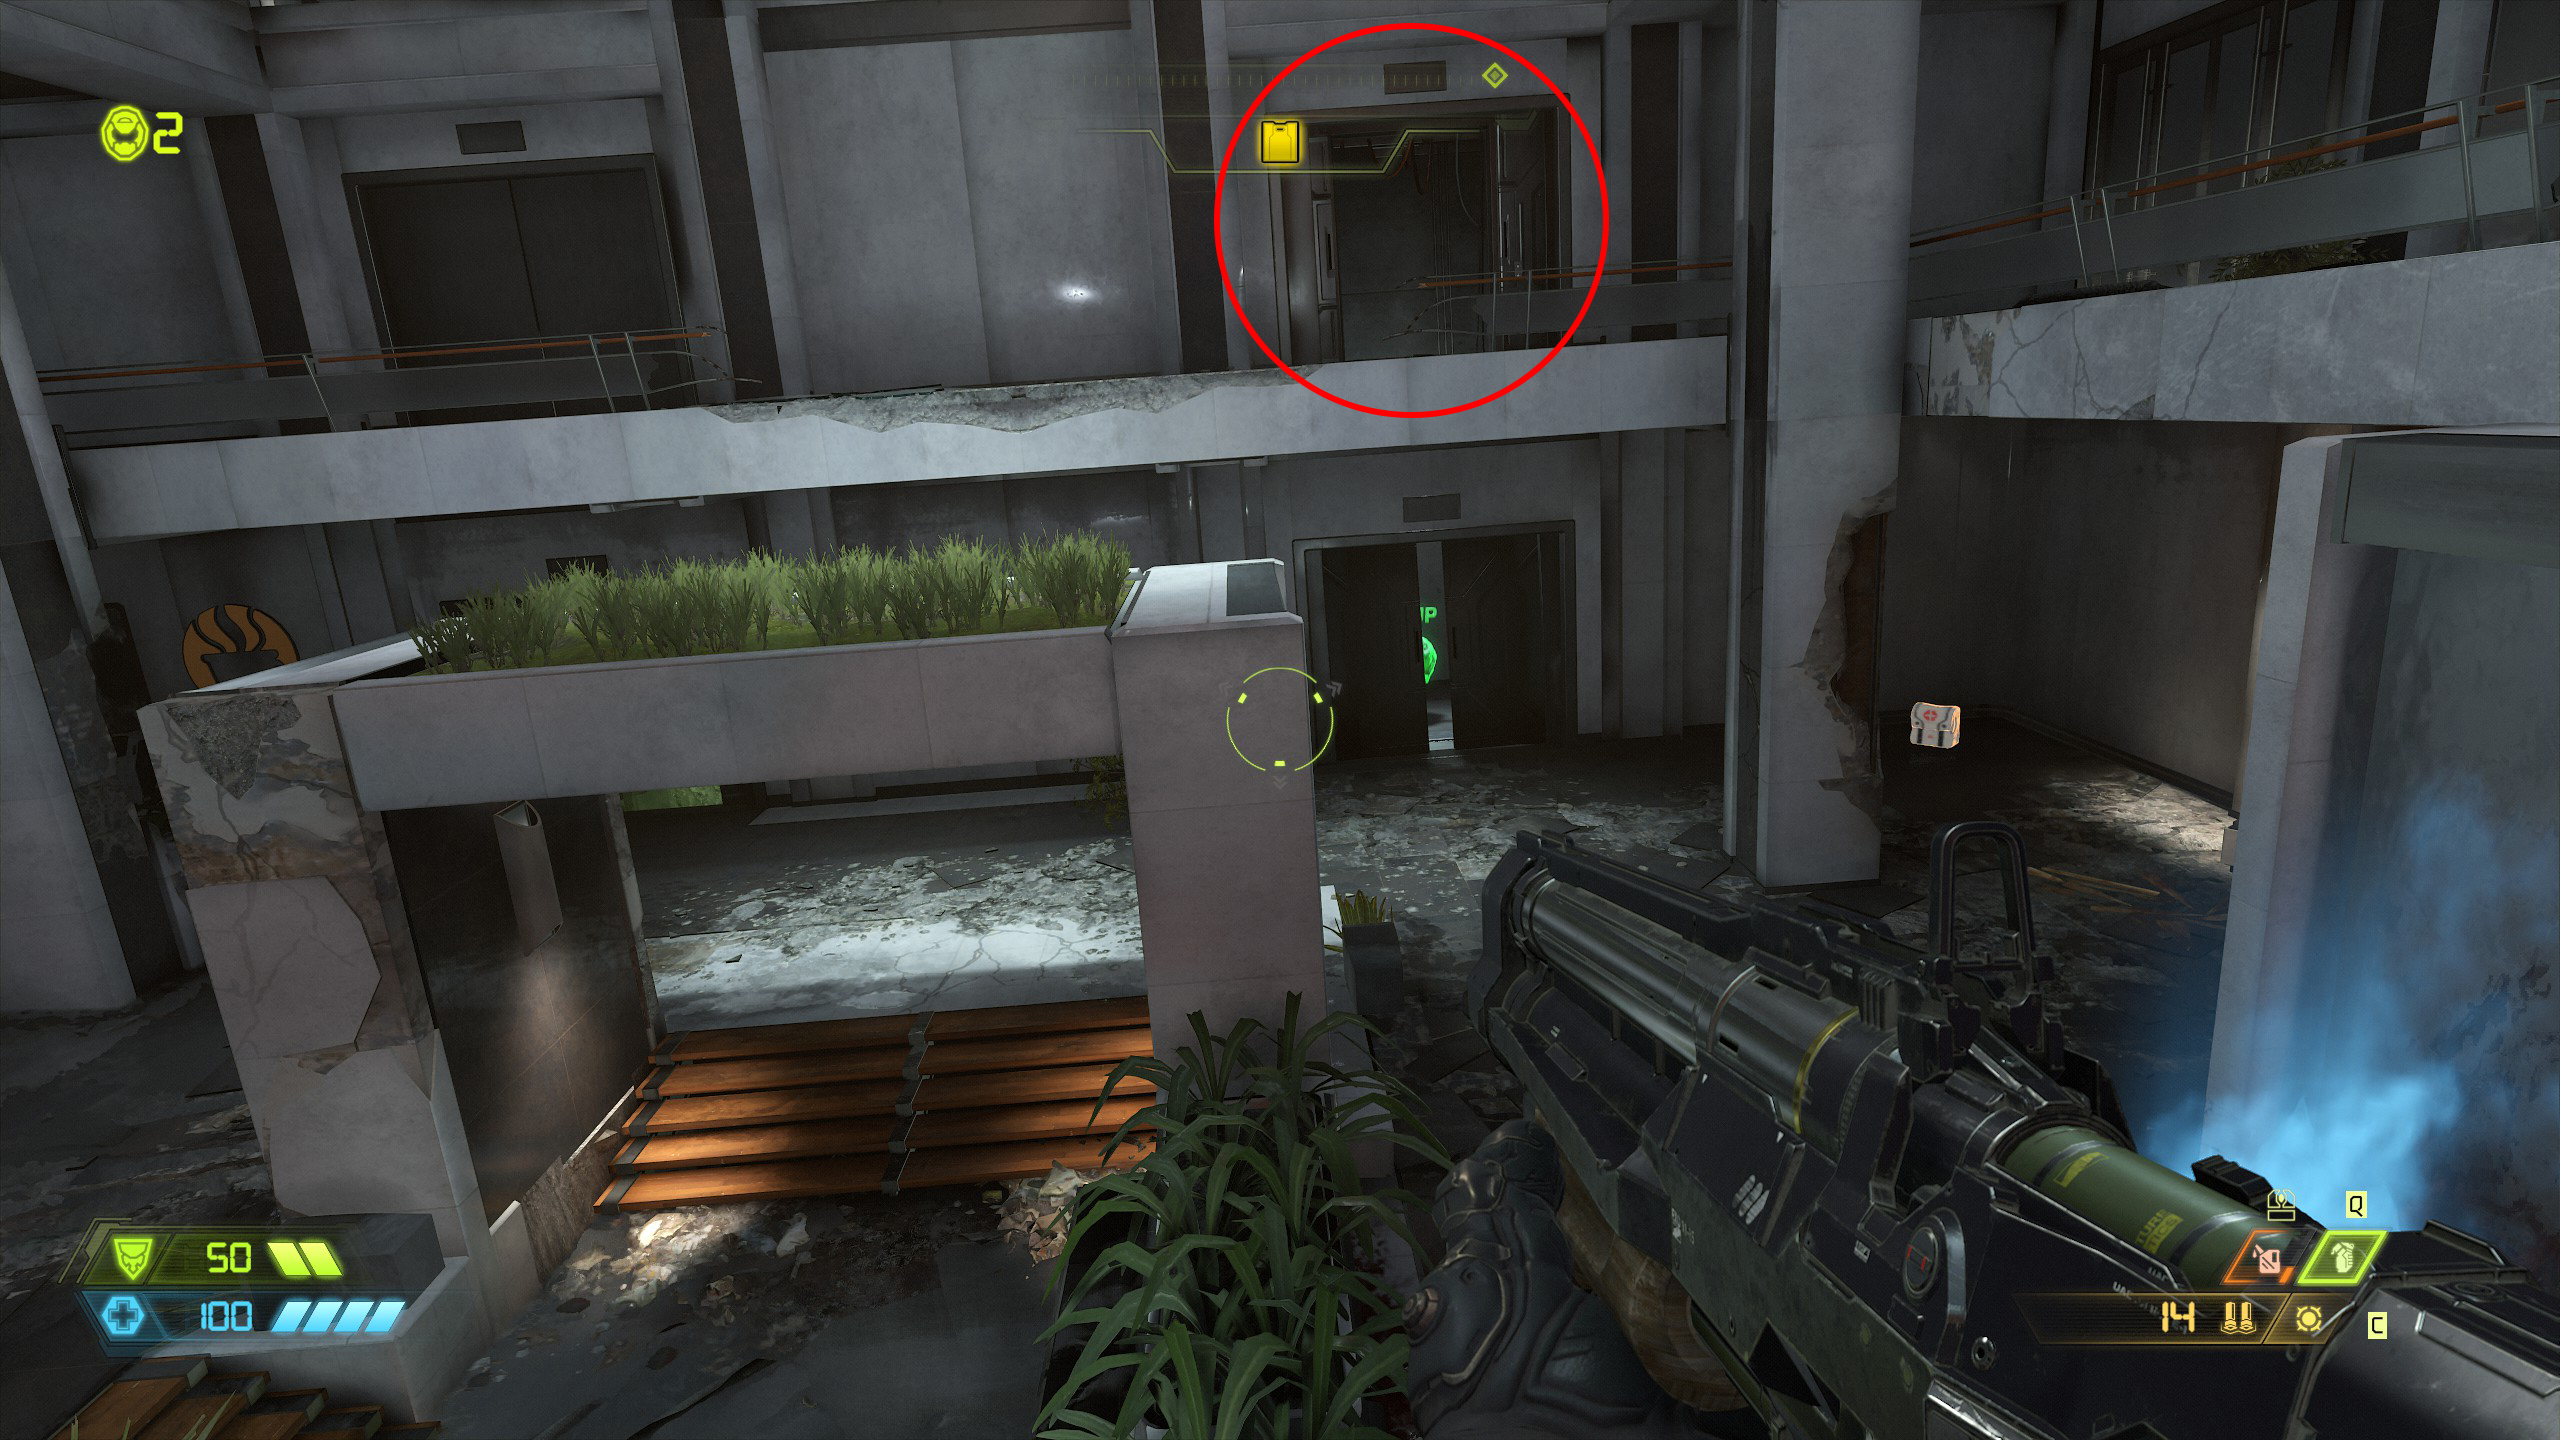
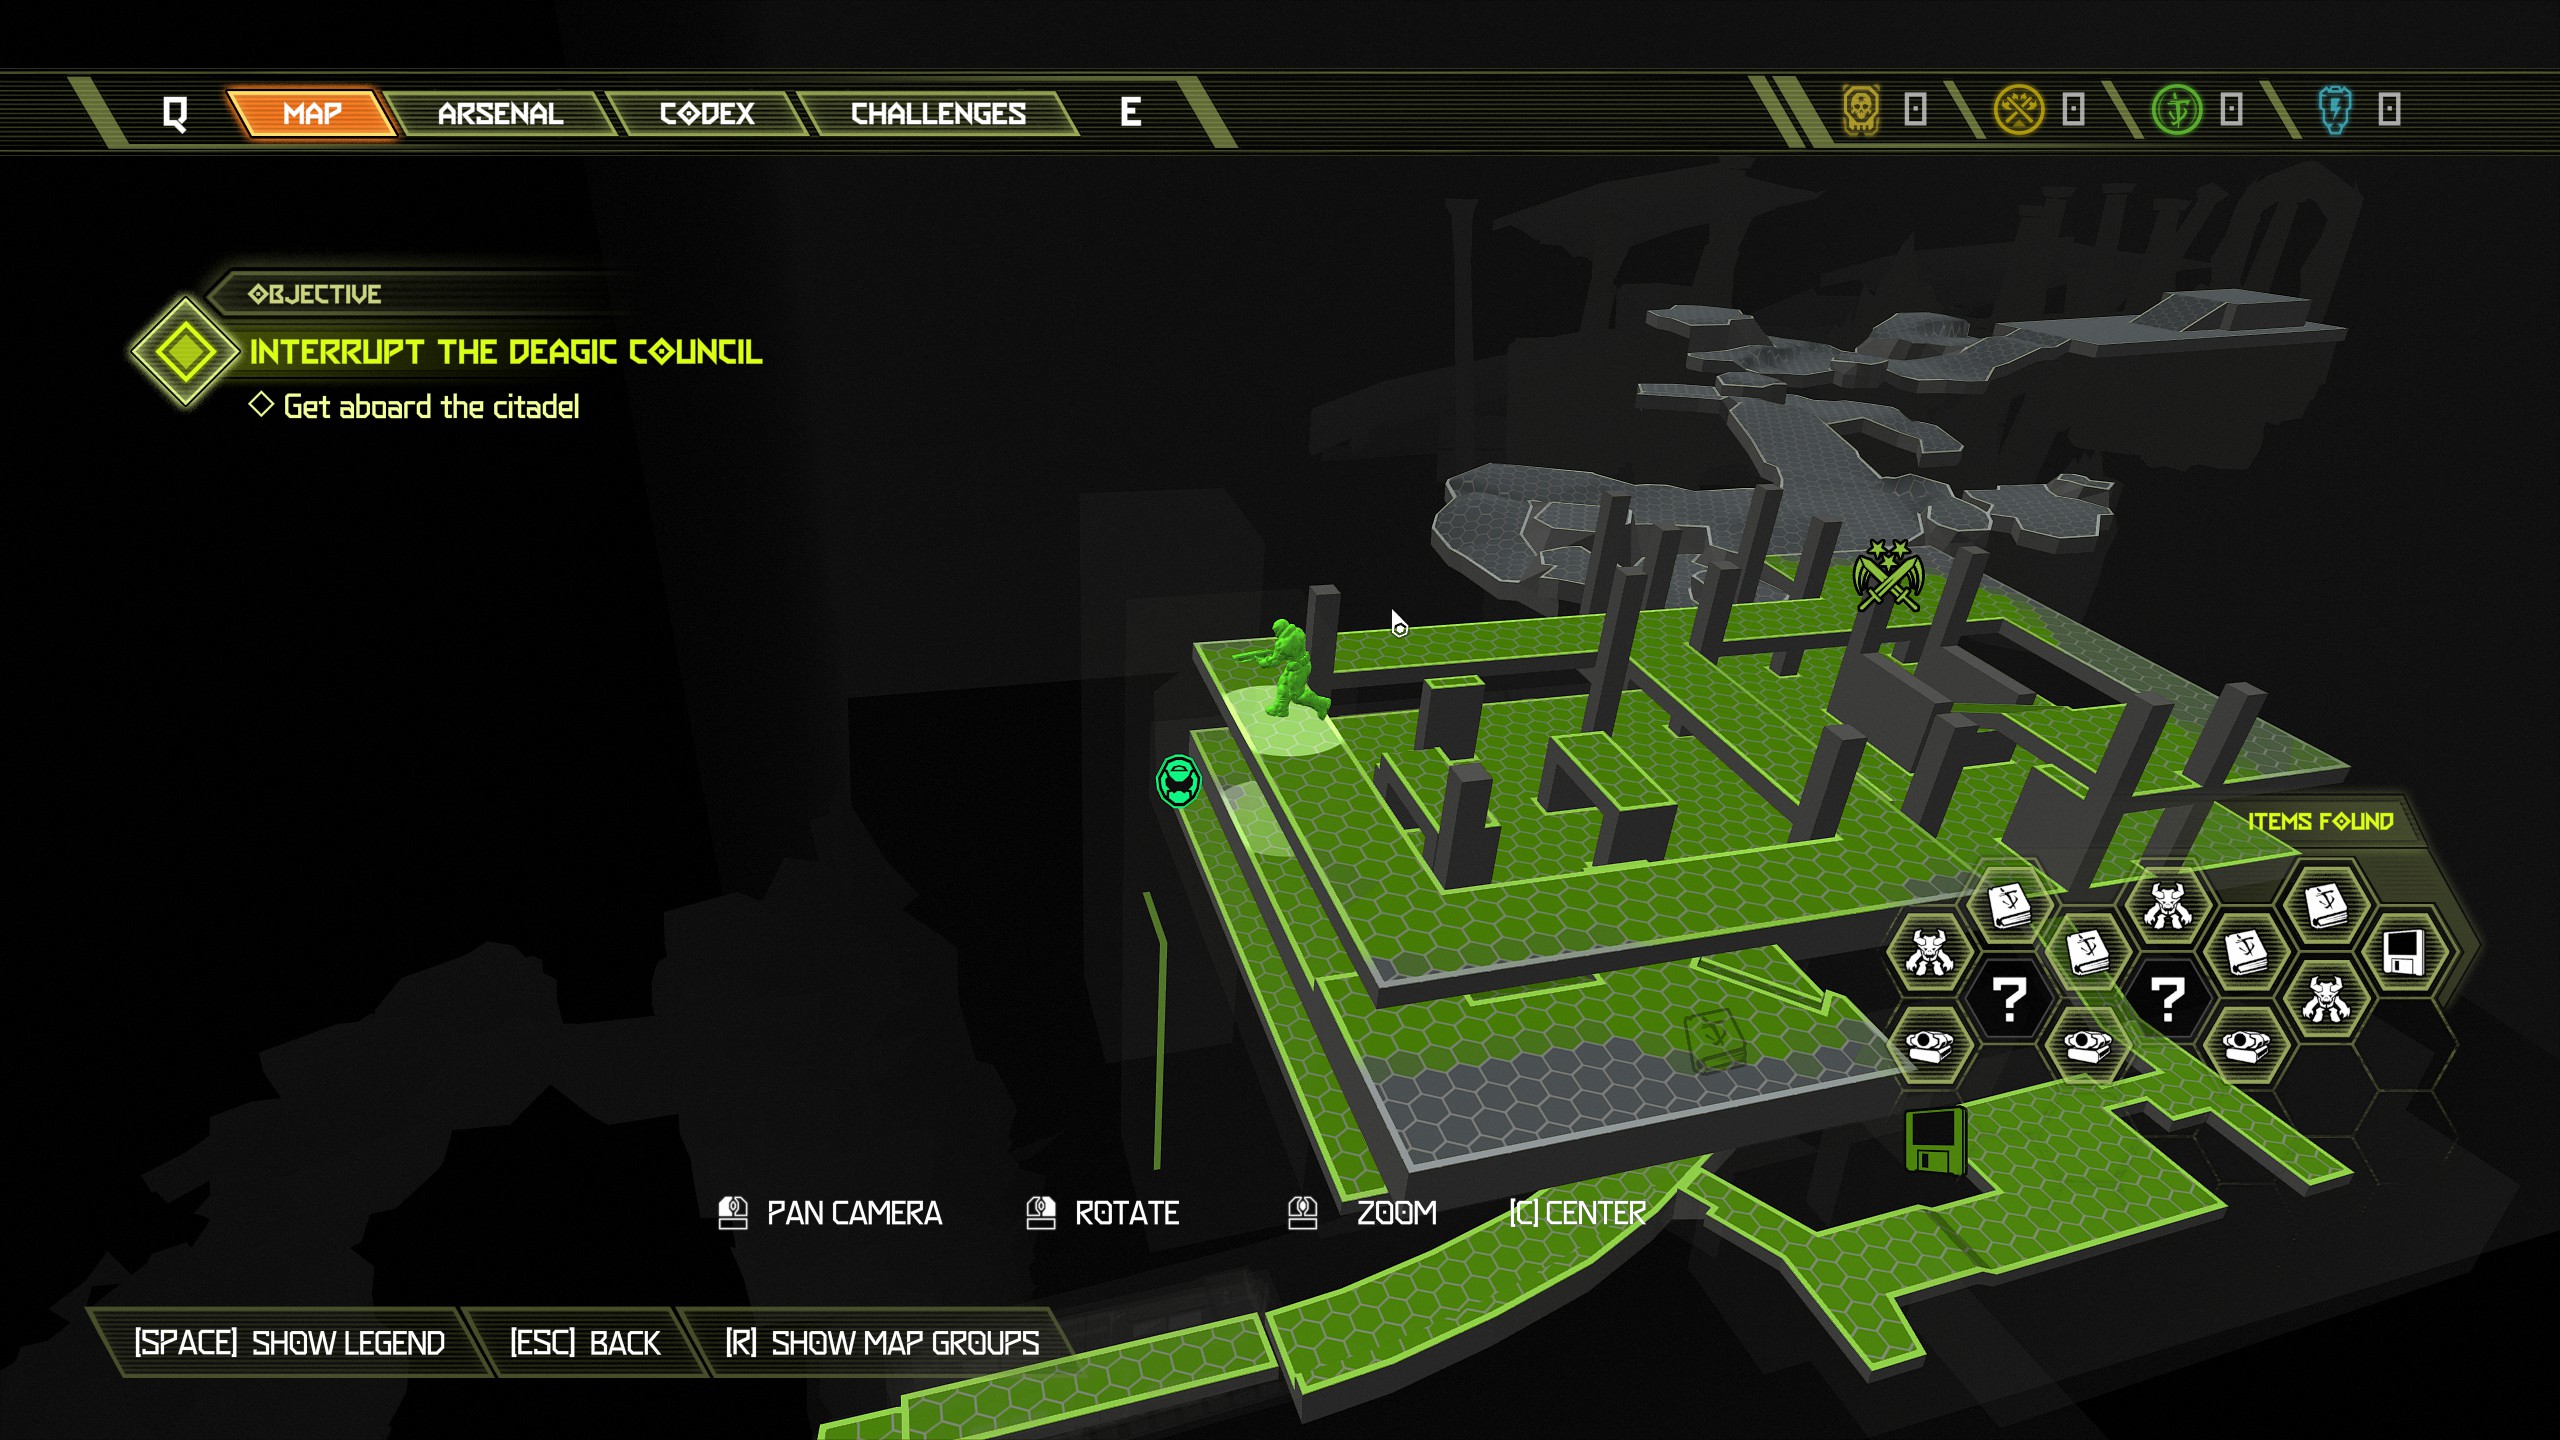
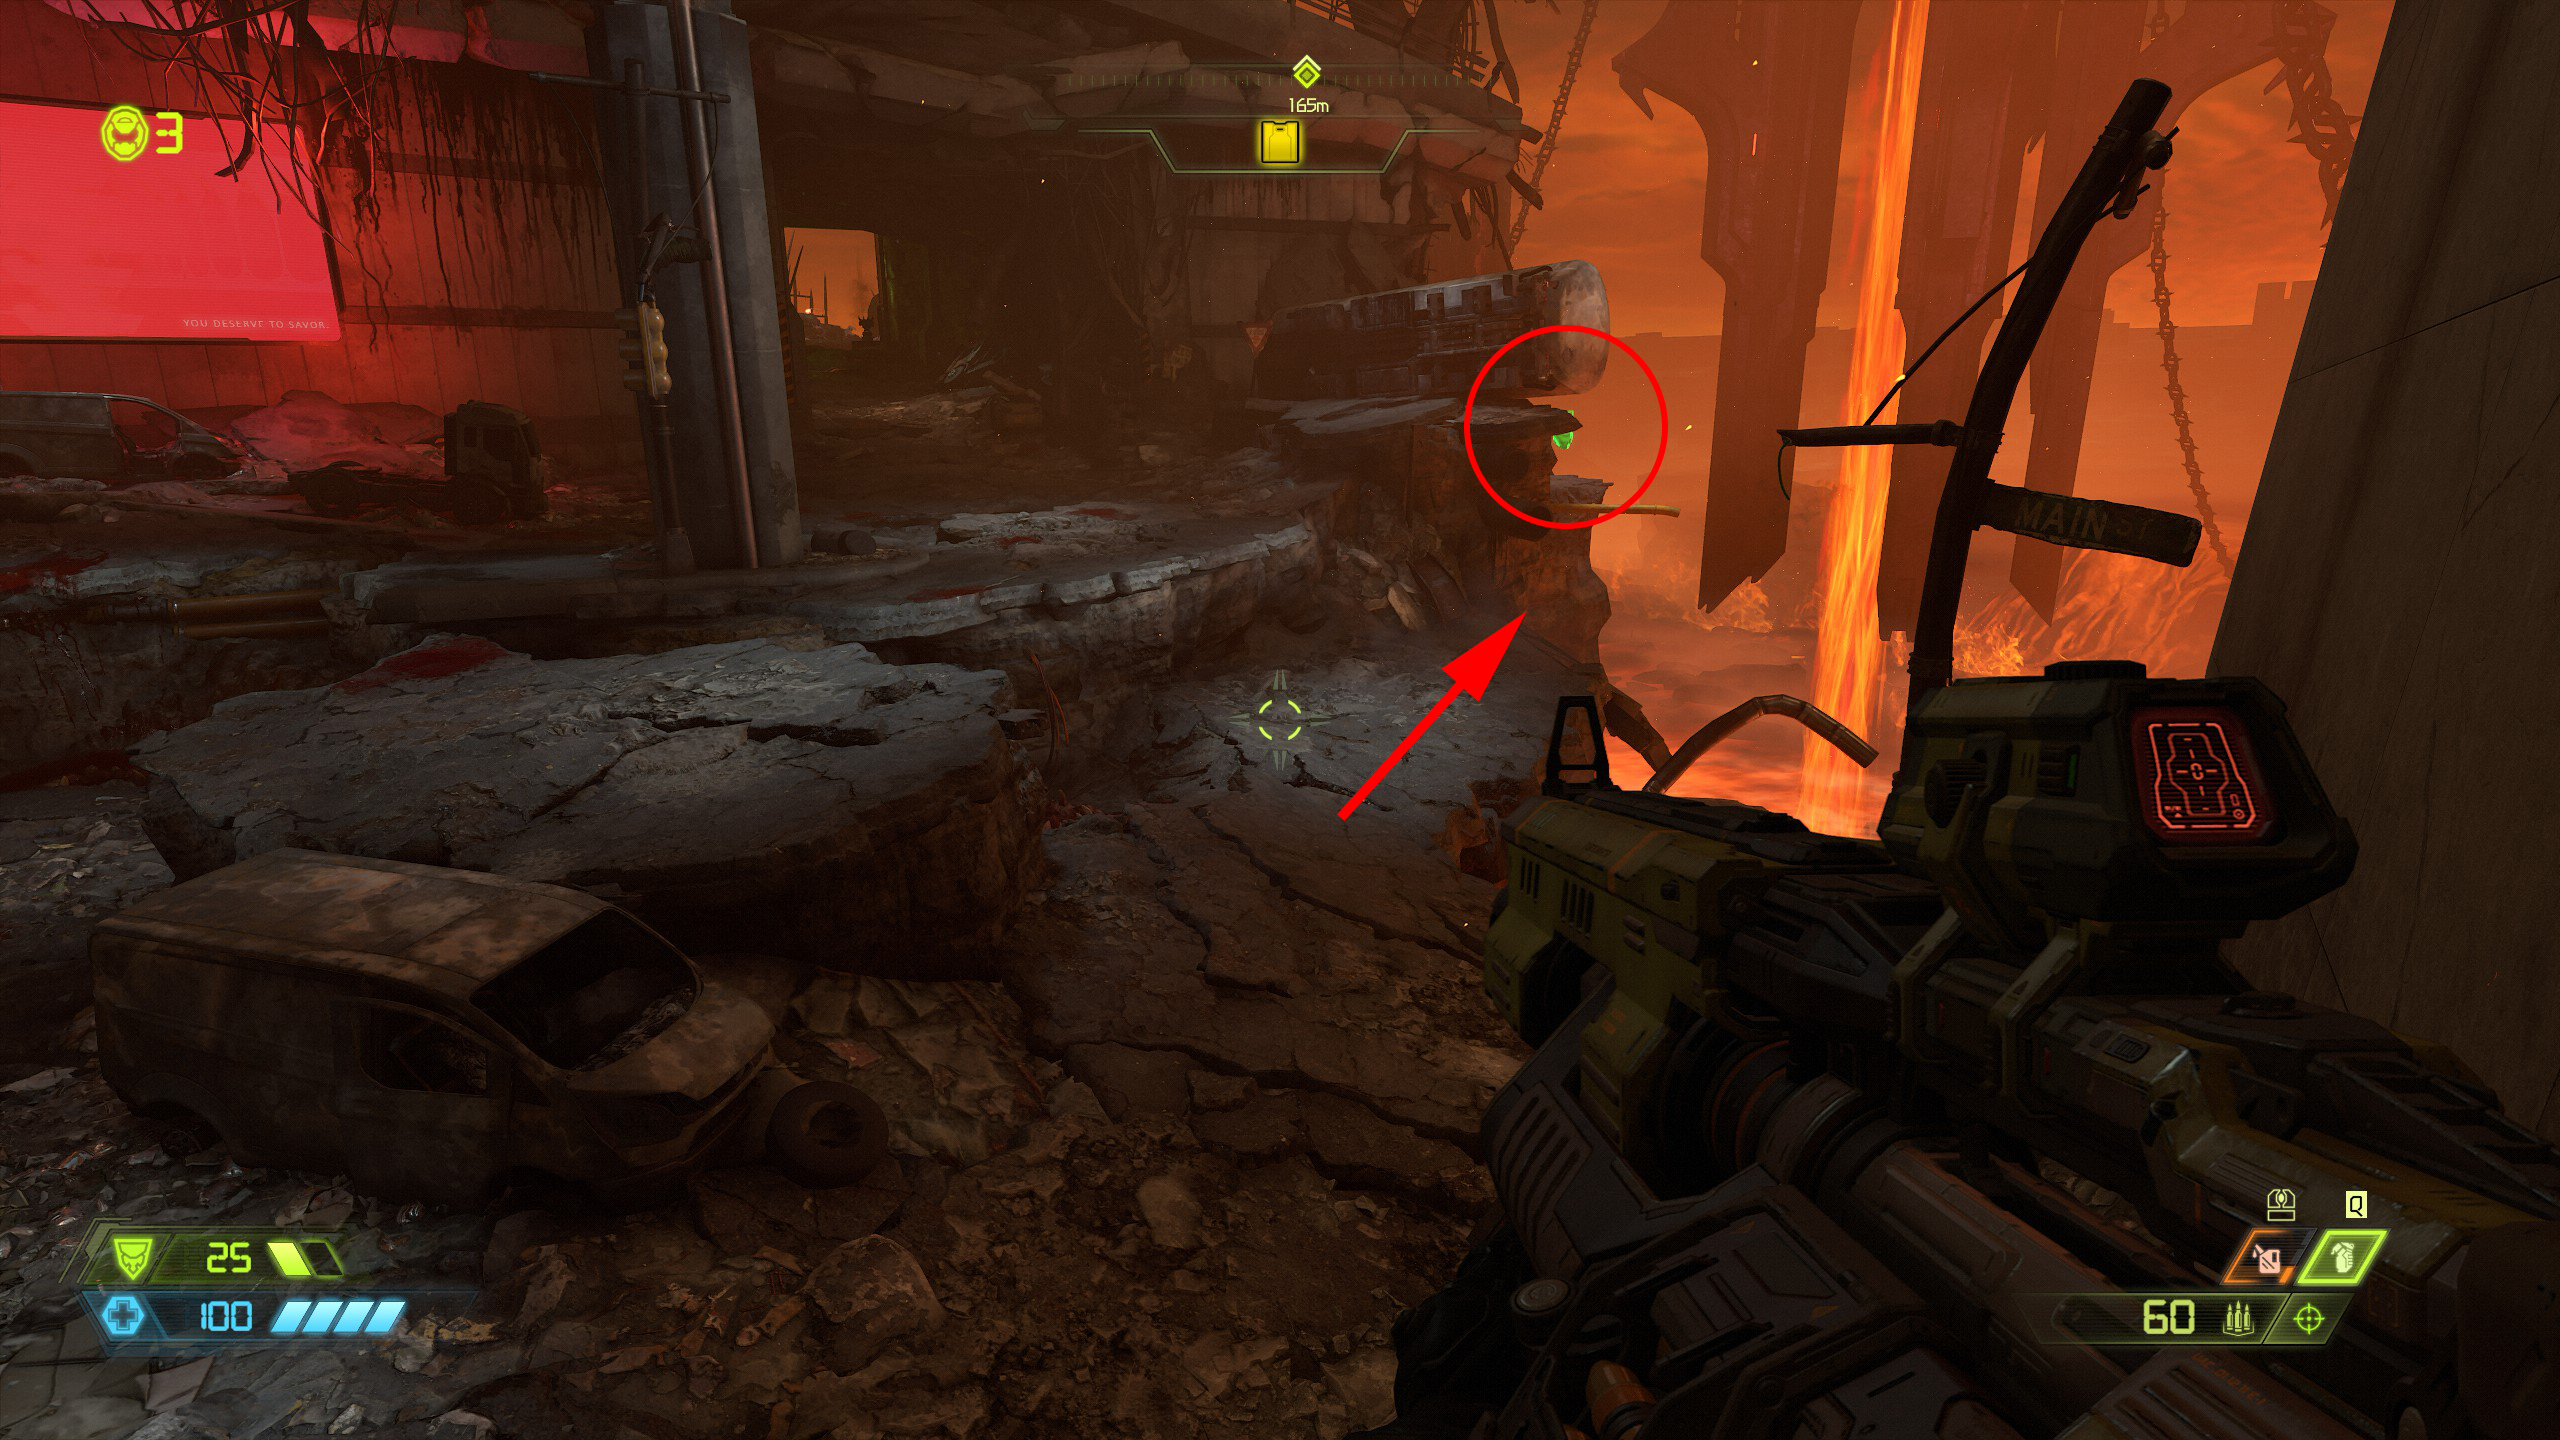
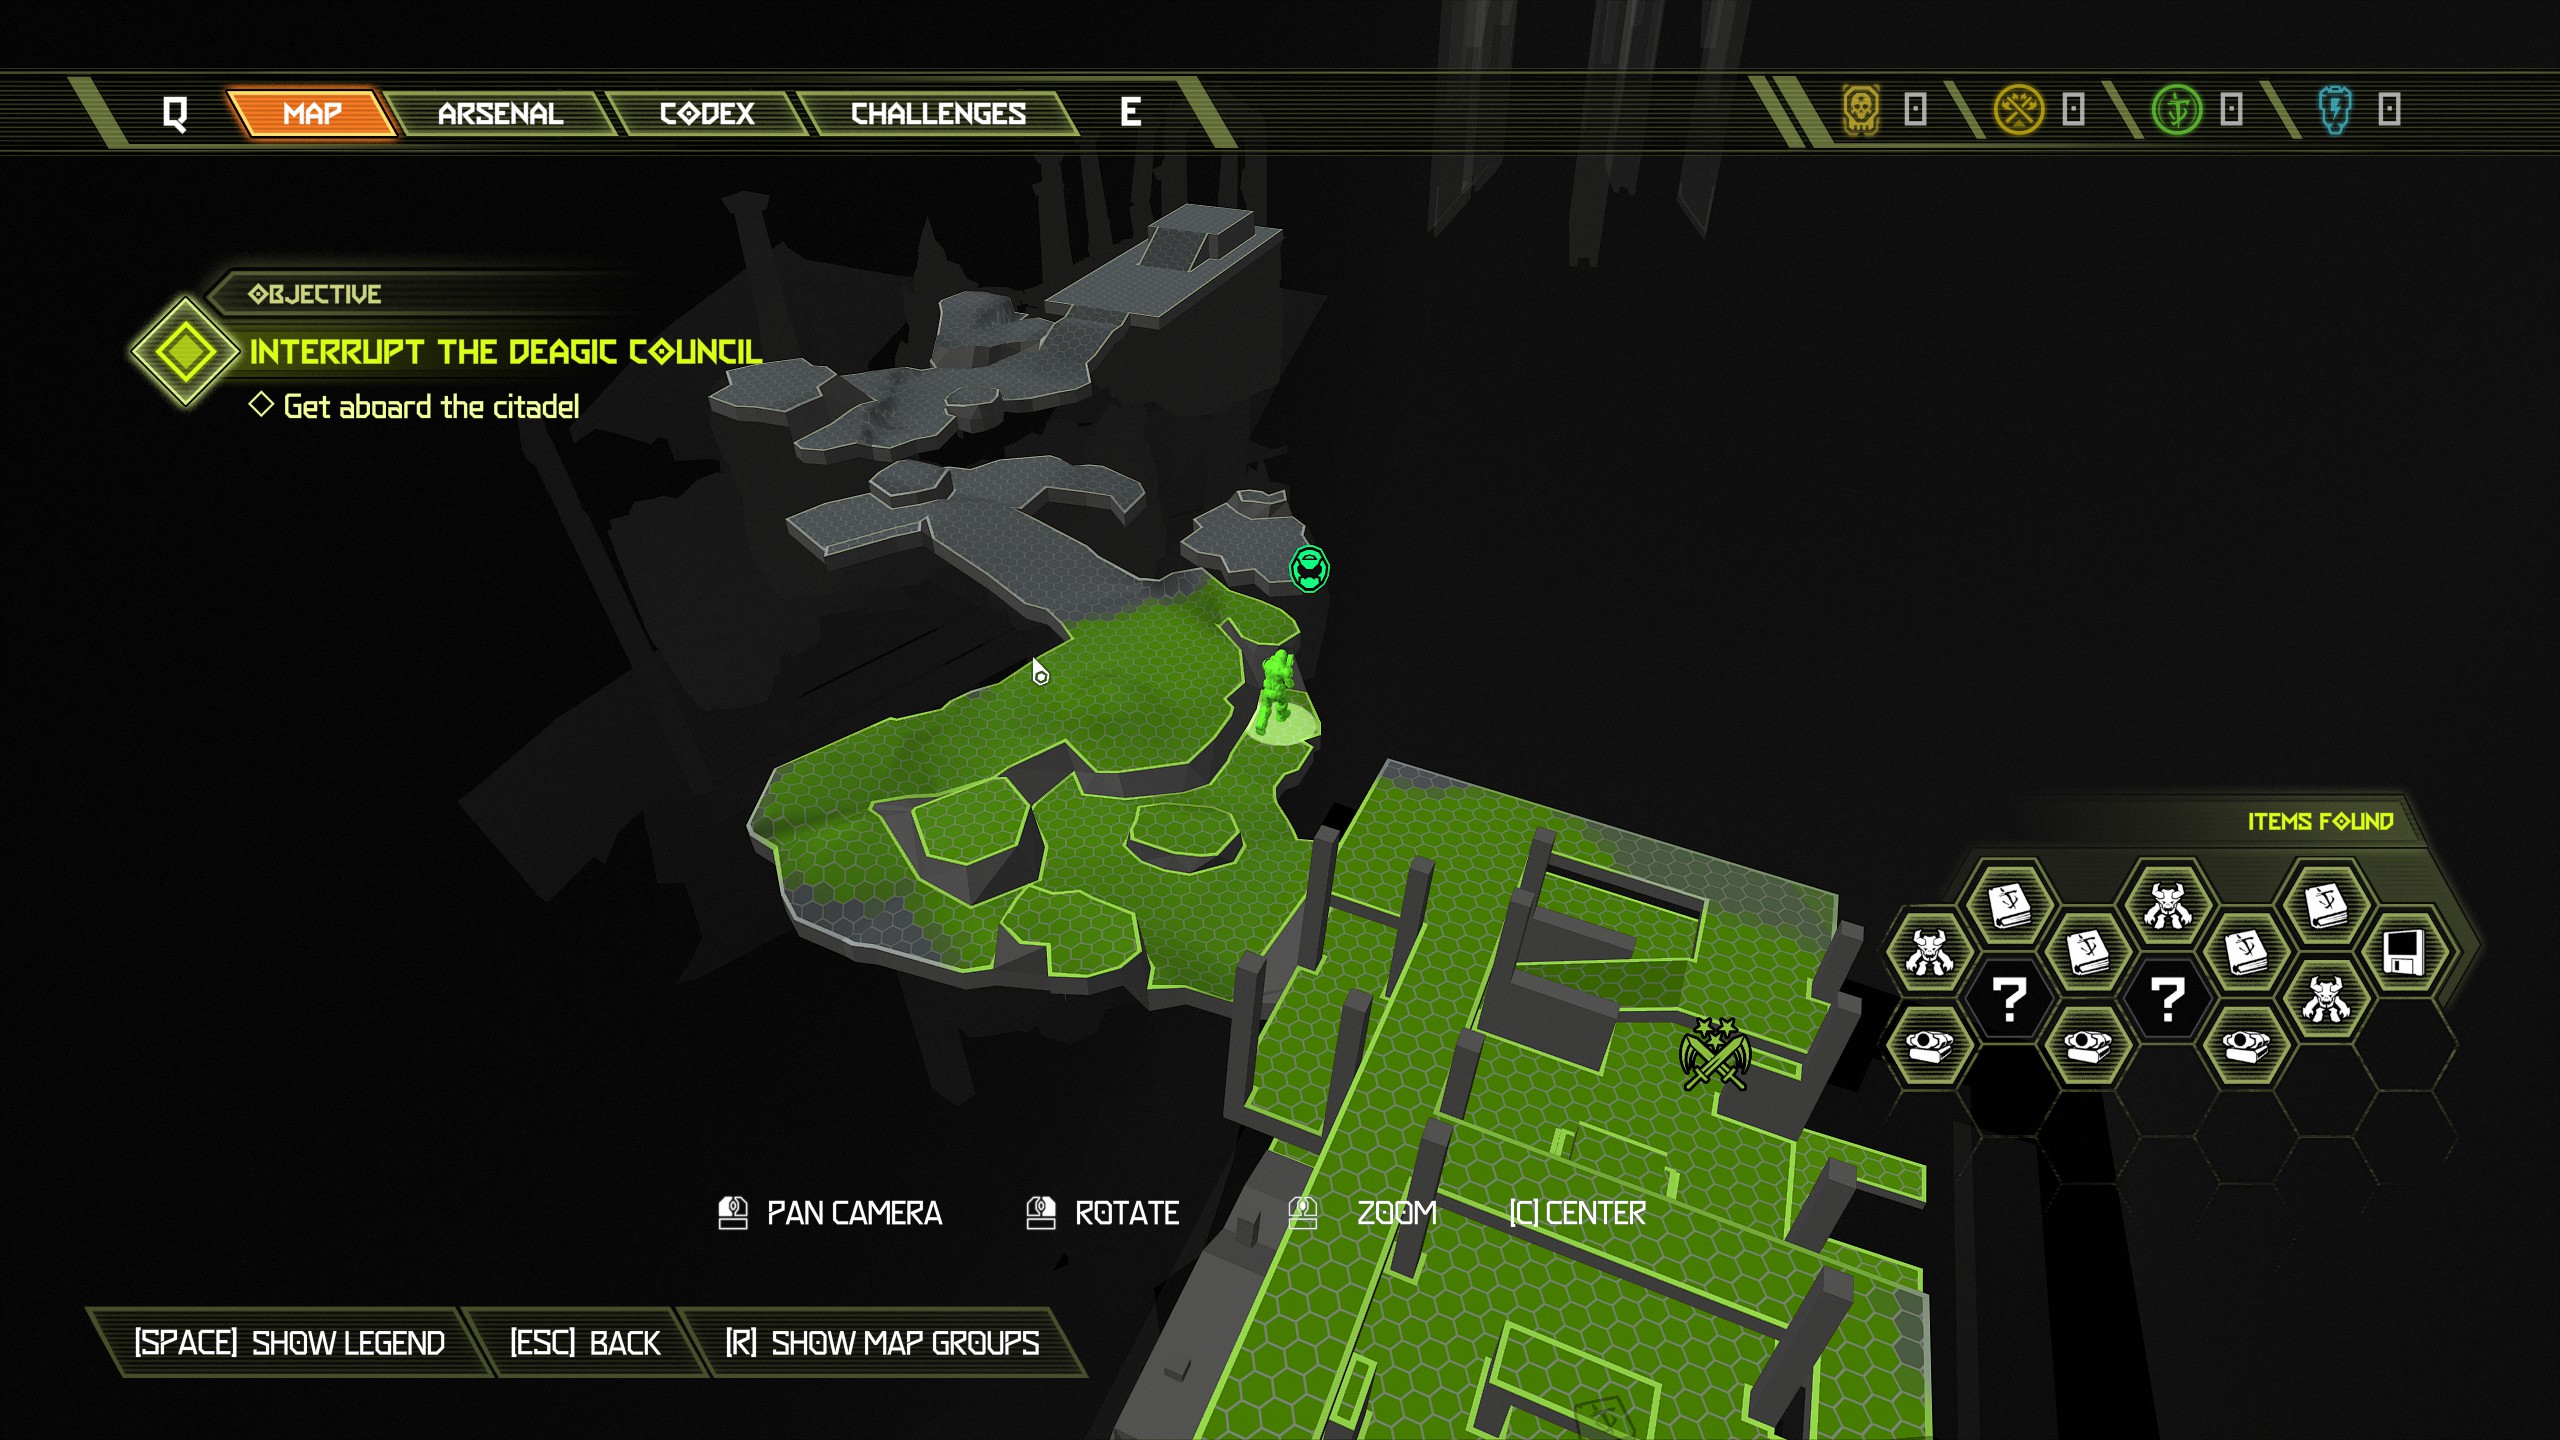
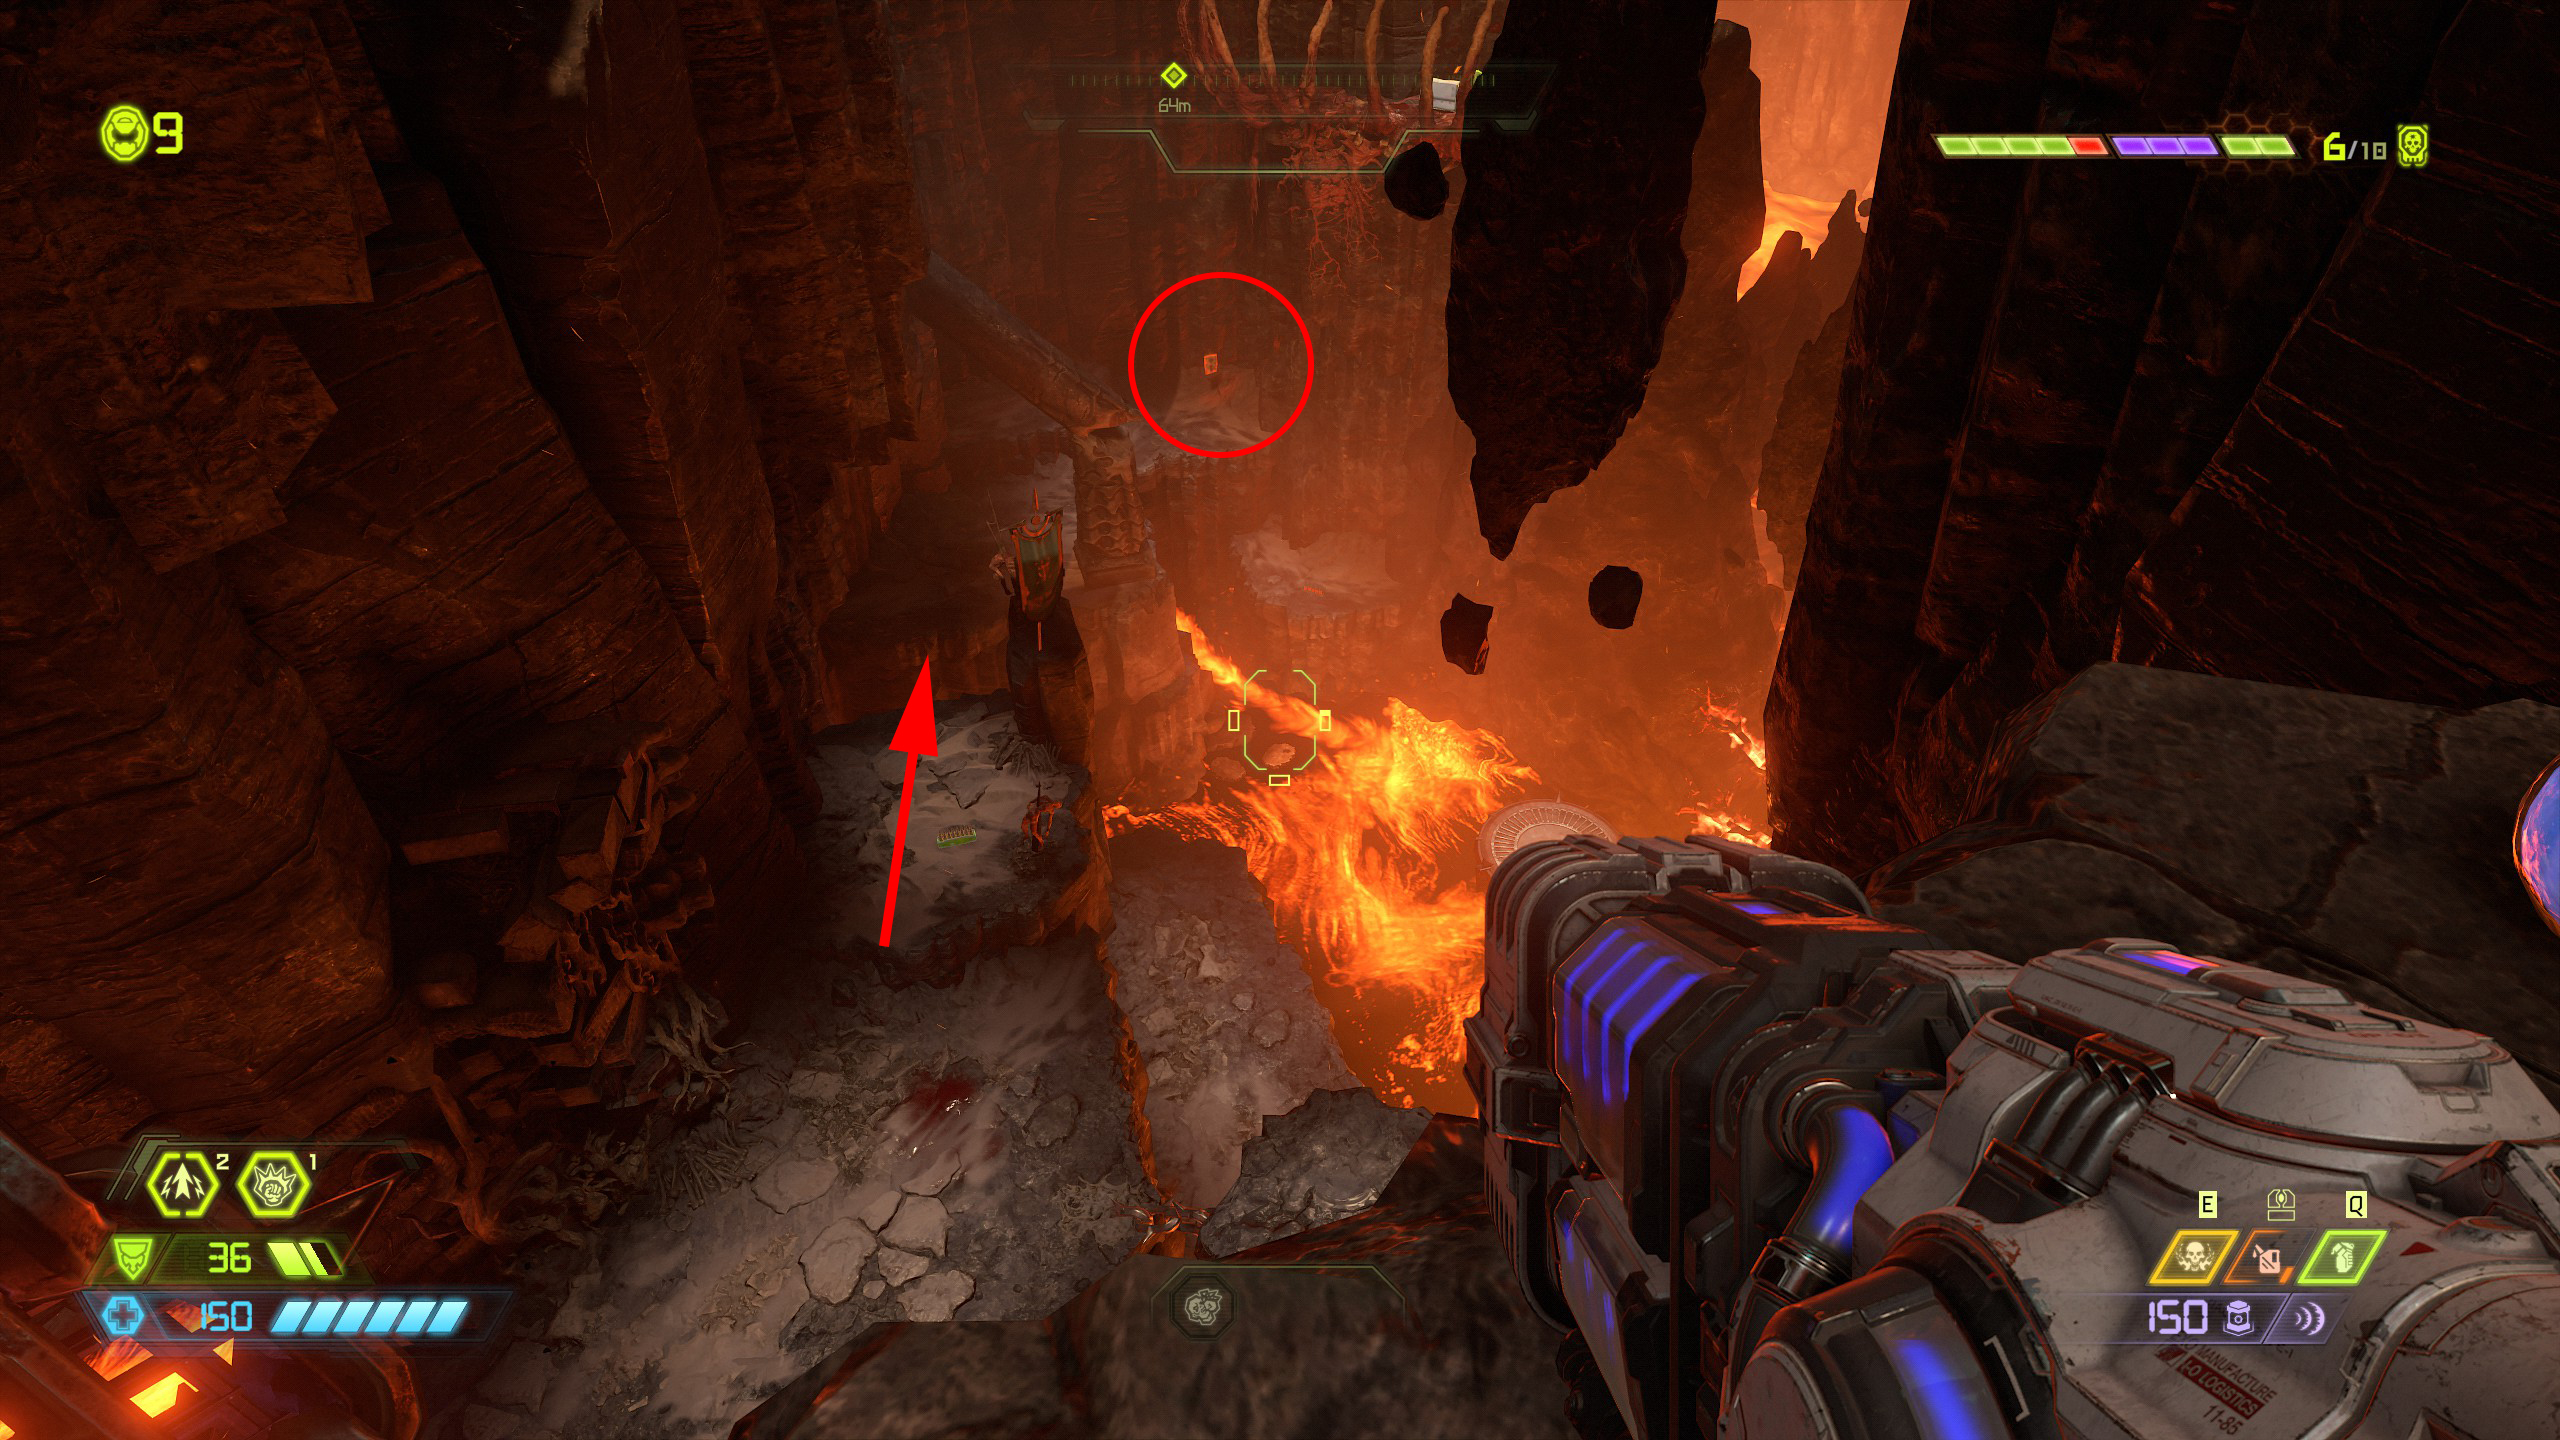
If you look down towards the lava on the right side you can see a codex page on the platform on the far side, drop down and use the path next to the wall to reach it.
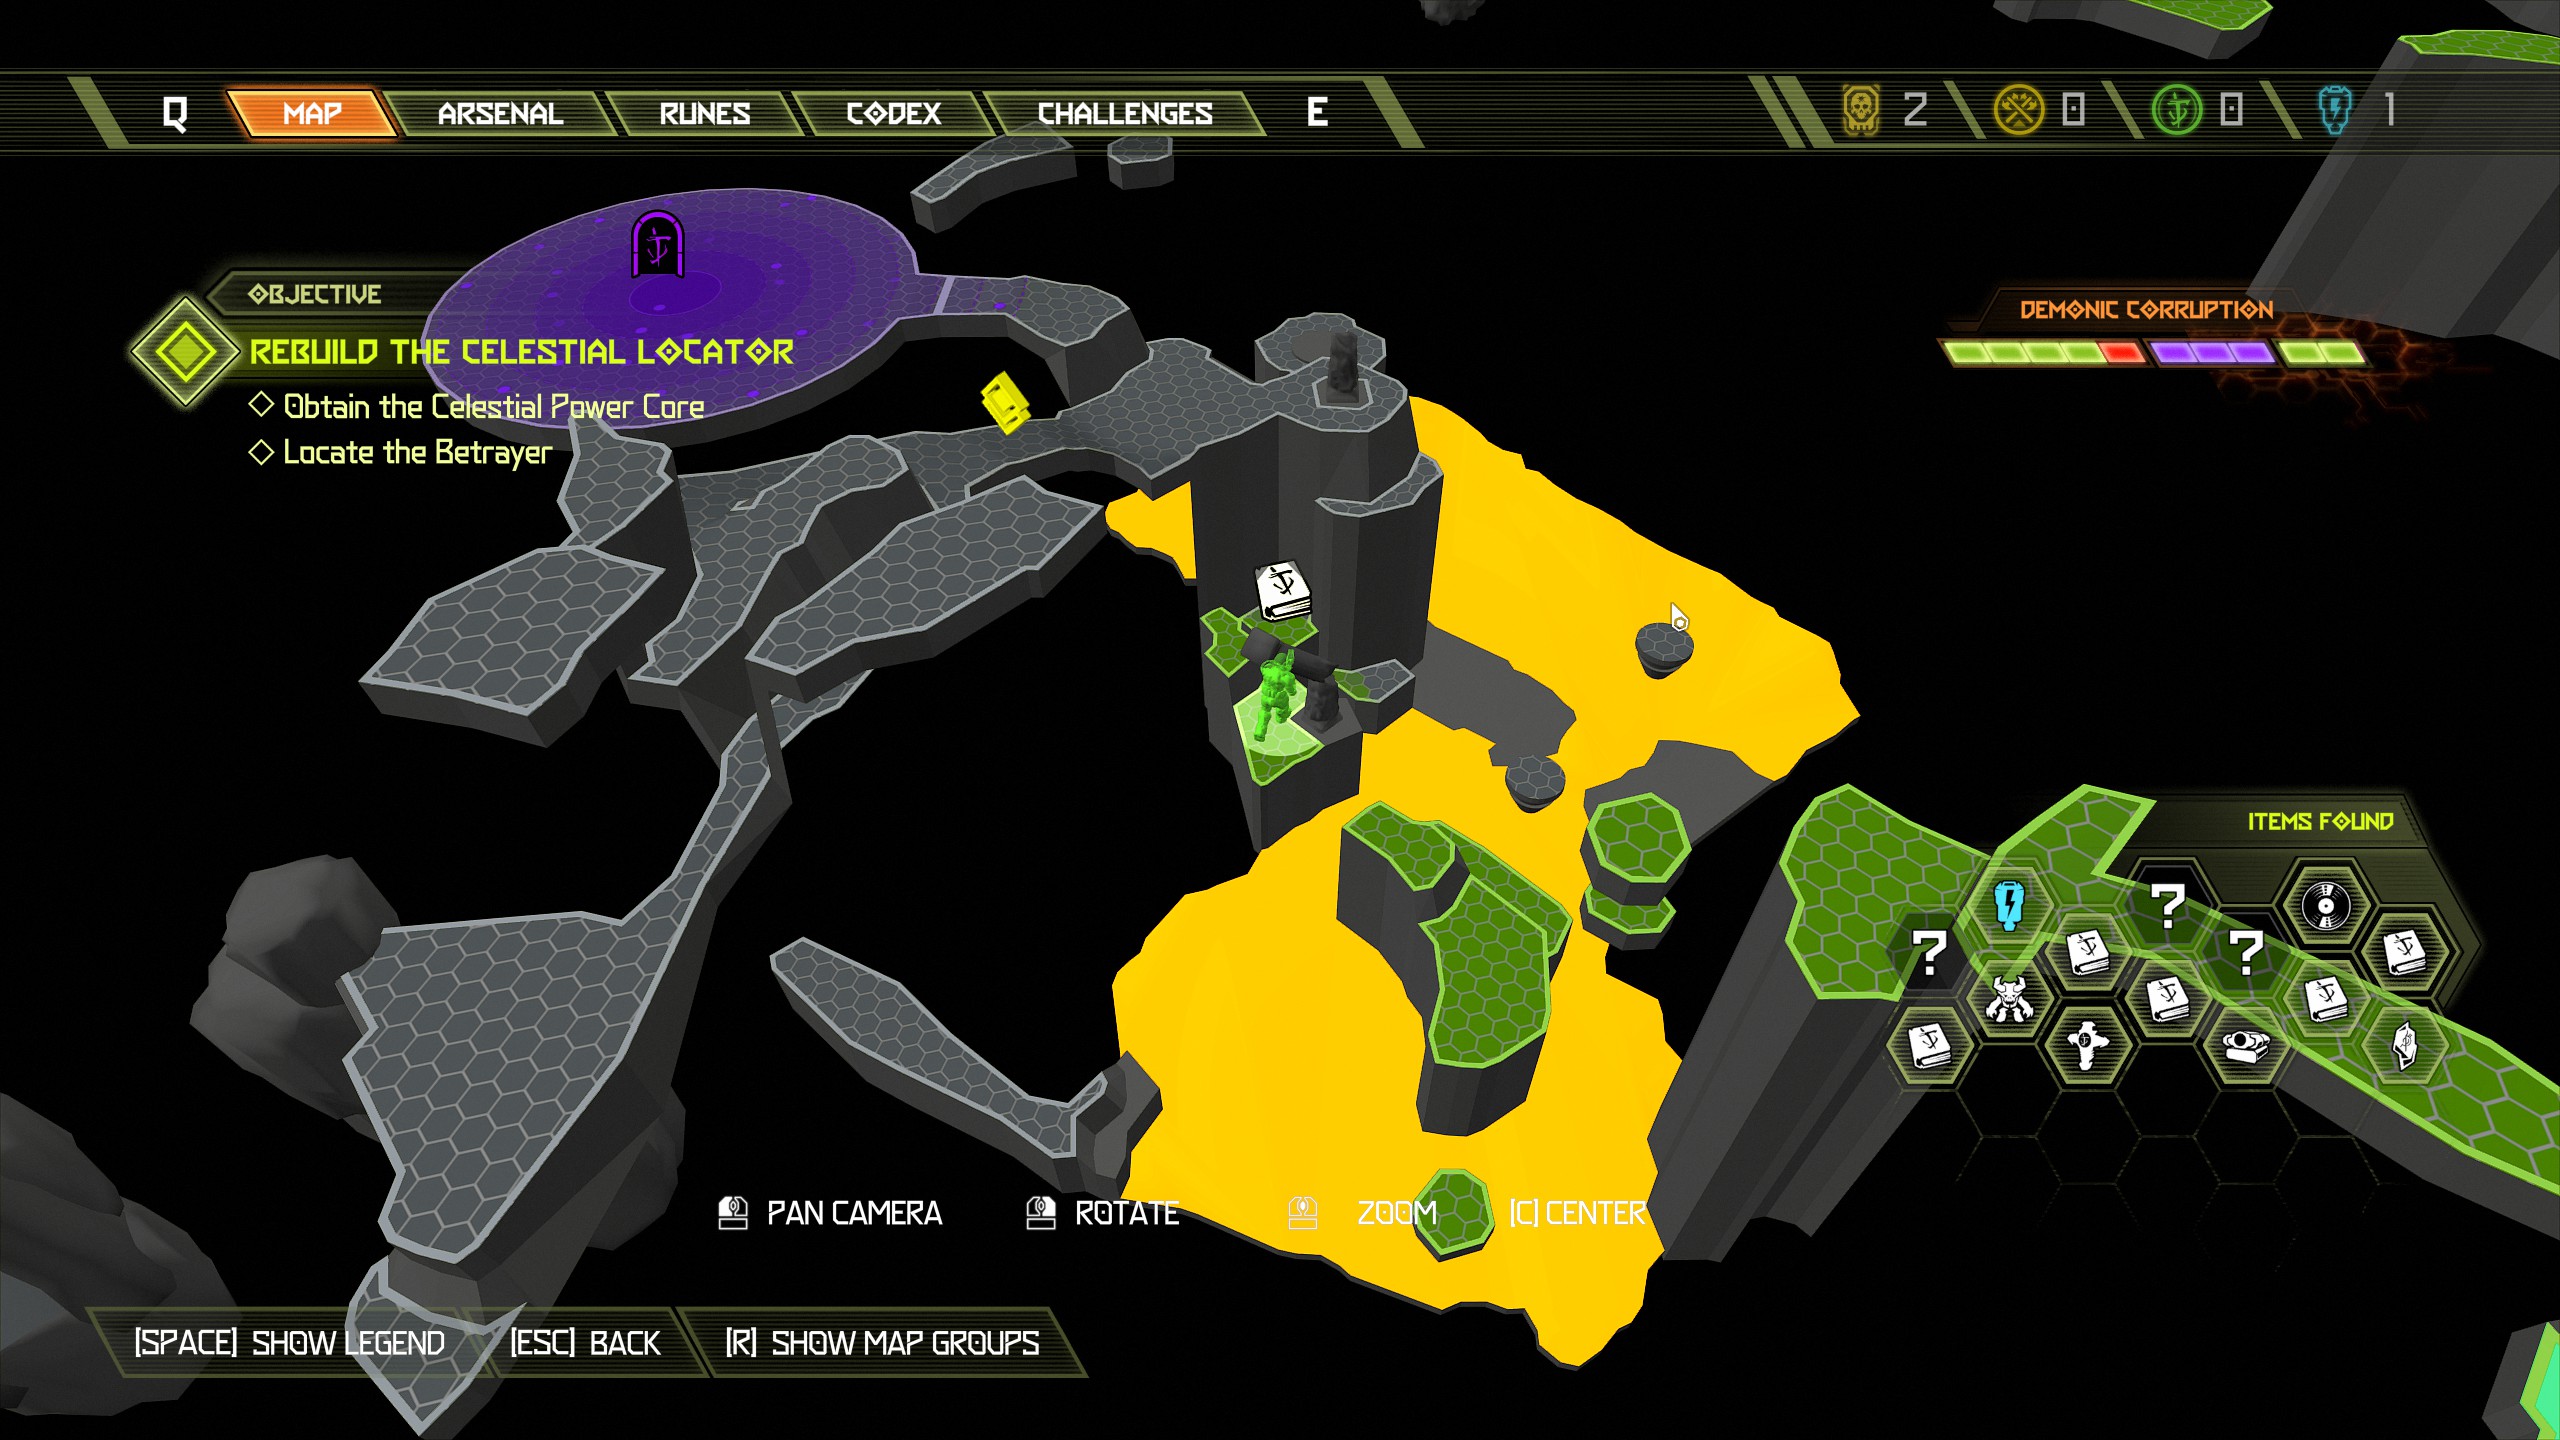
From the codex location look into the lava under the rock archway and you will see a yellow bar, use the yellow bar to swing across under the archway and onto the platform in the far right corner. On the platform will be a breakable wall and inside will be a blue orb secret.
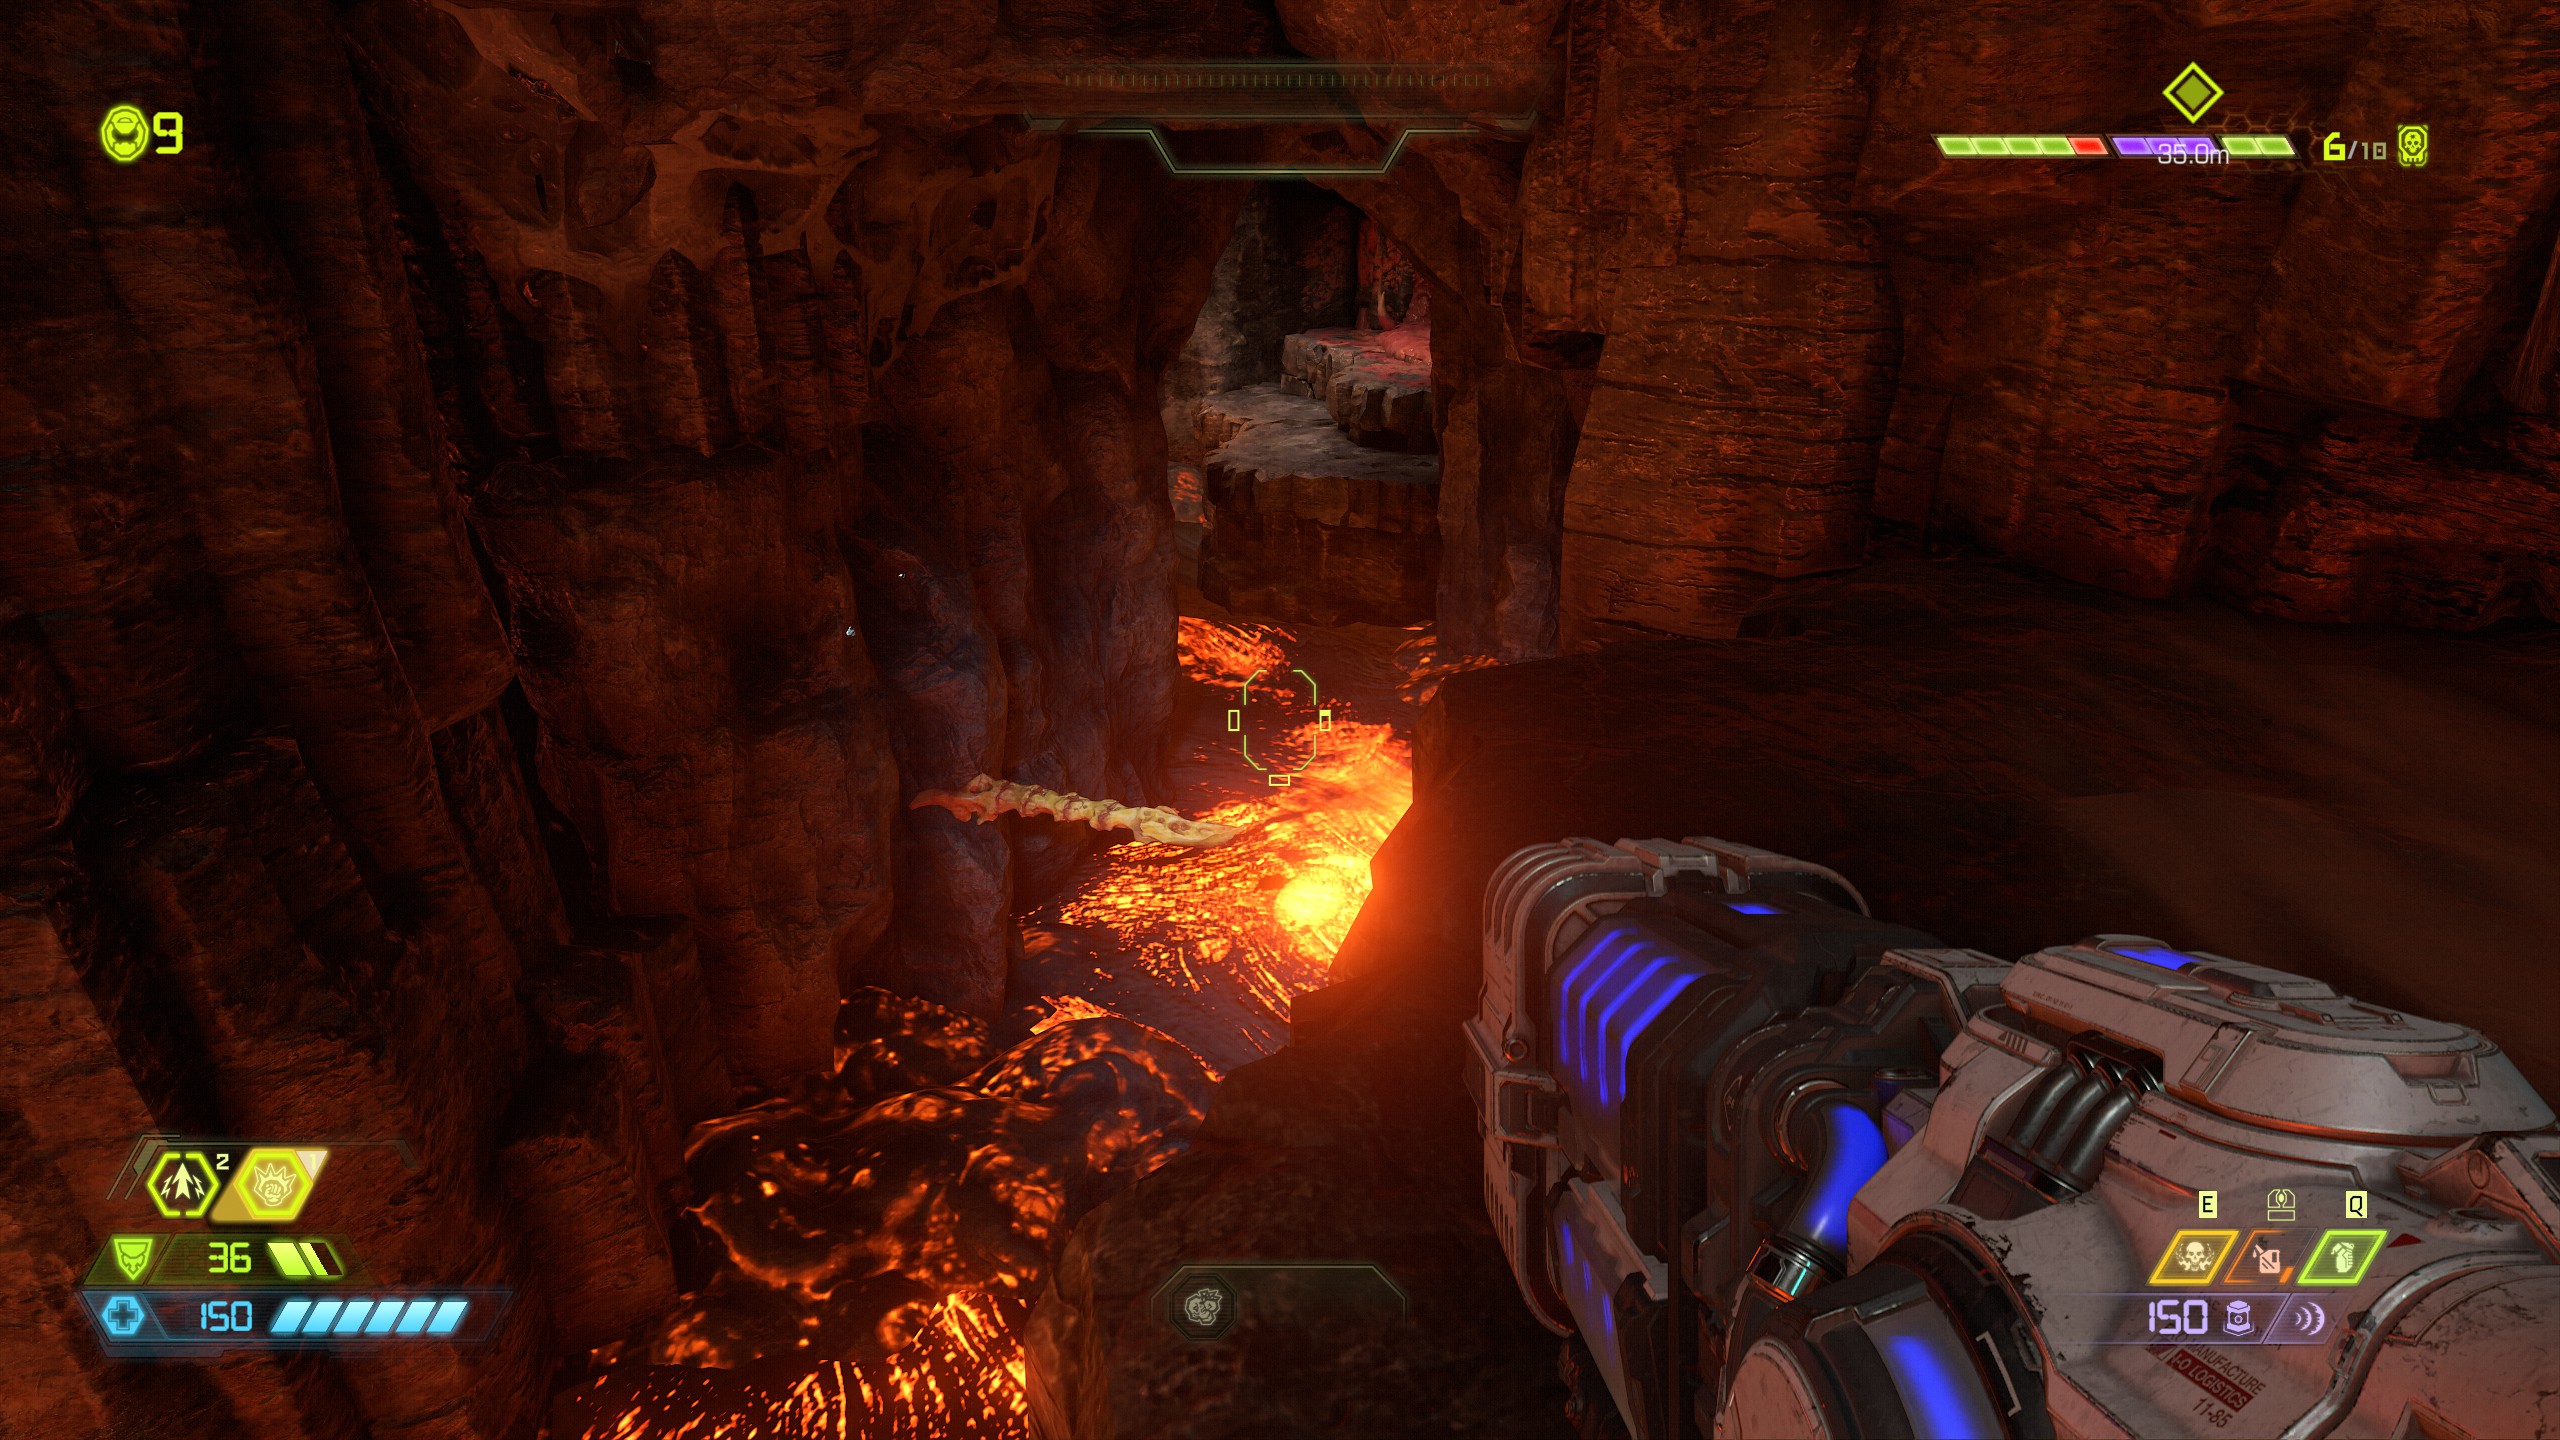
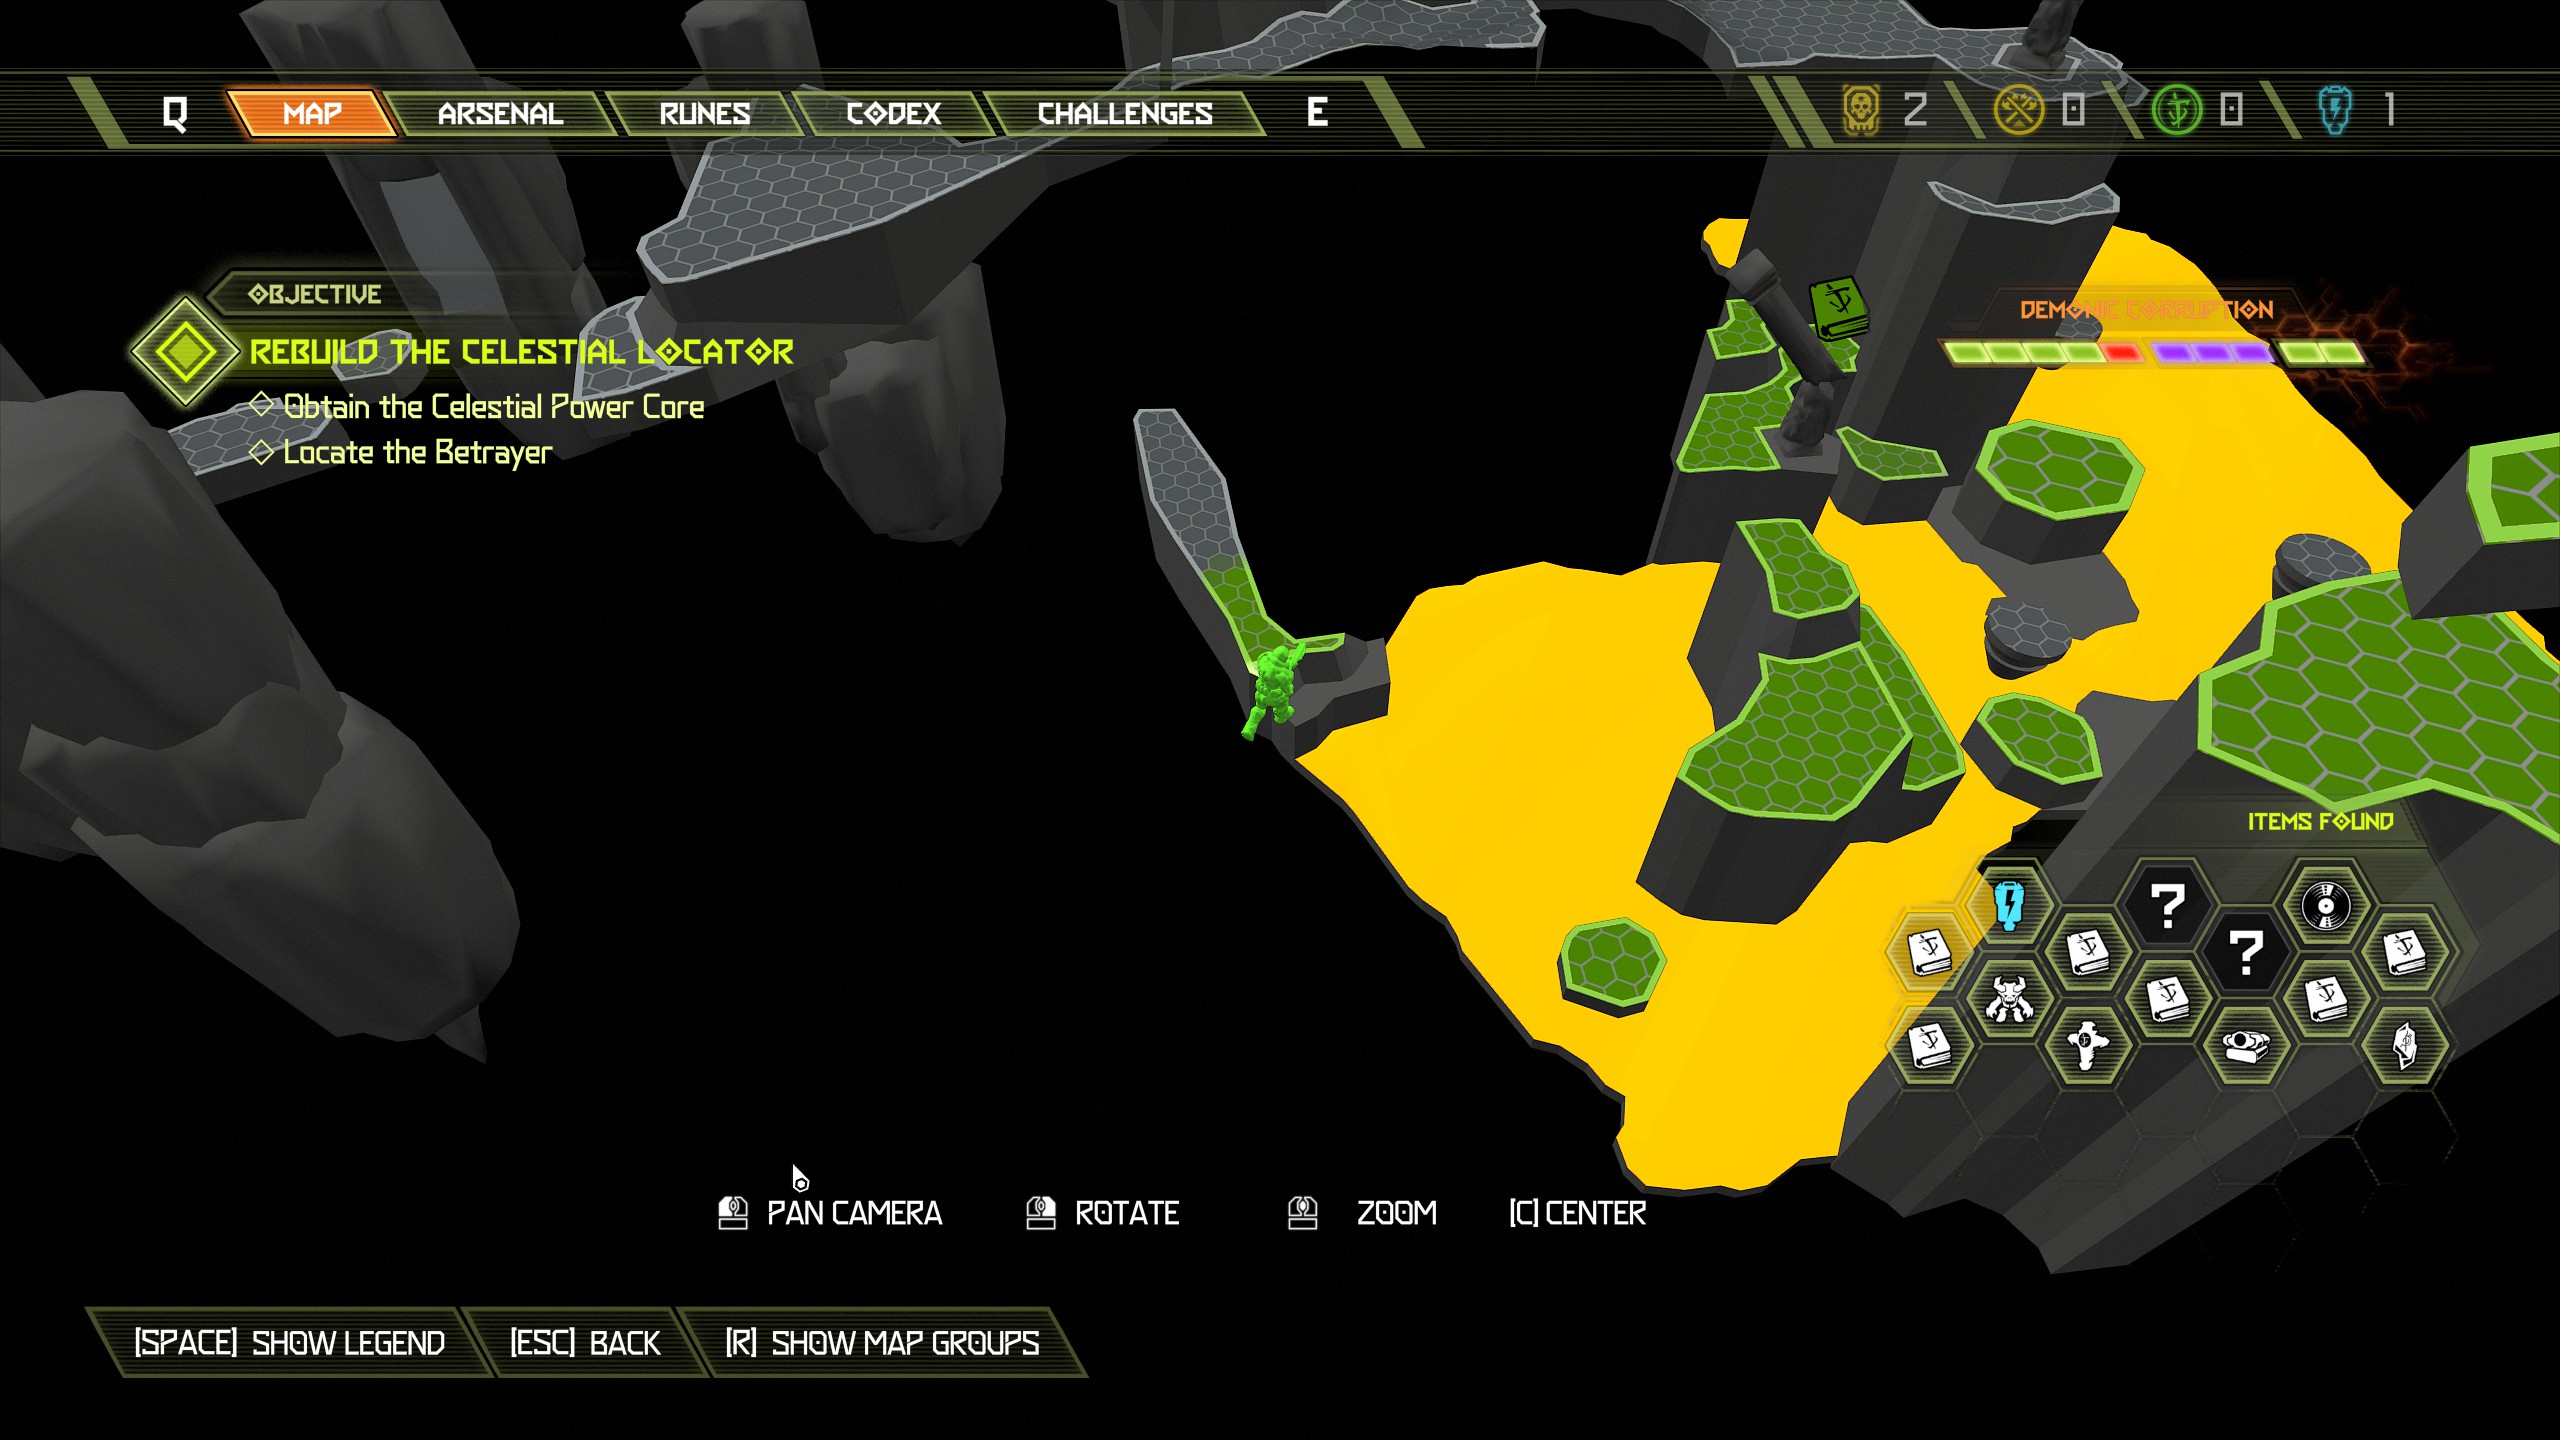
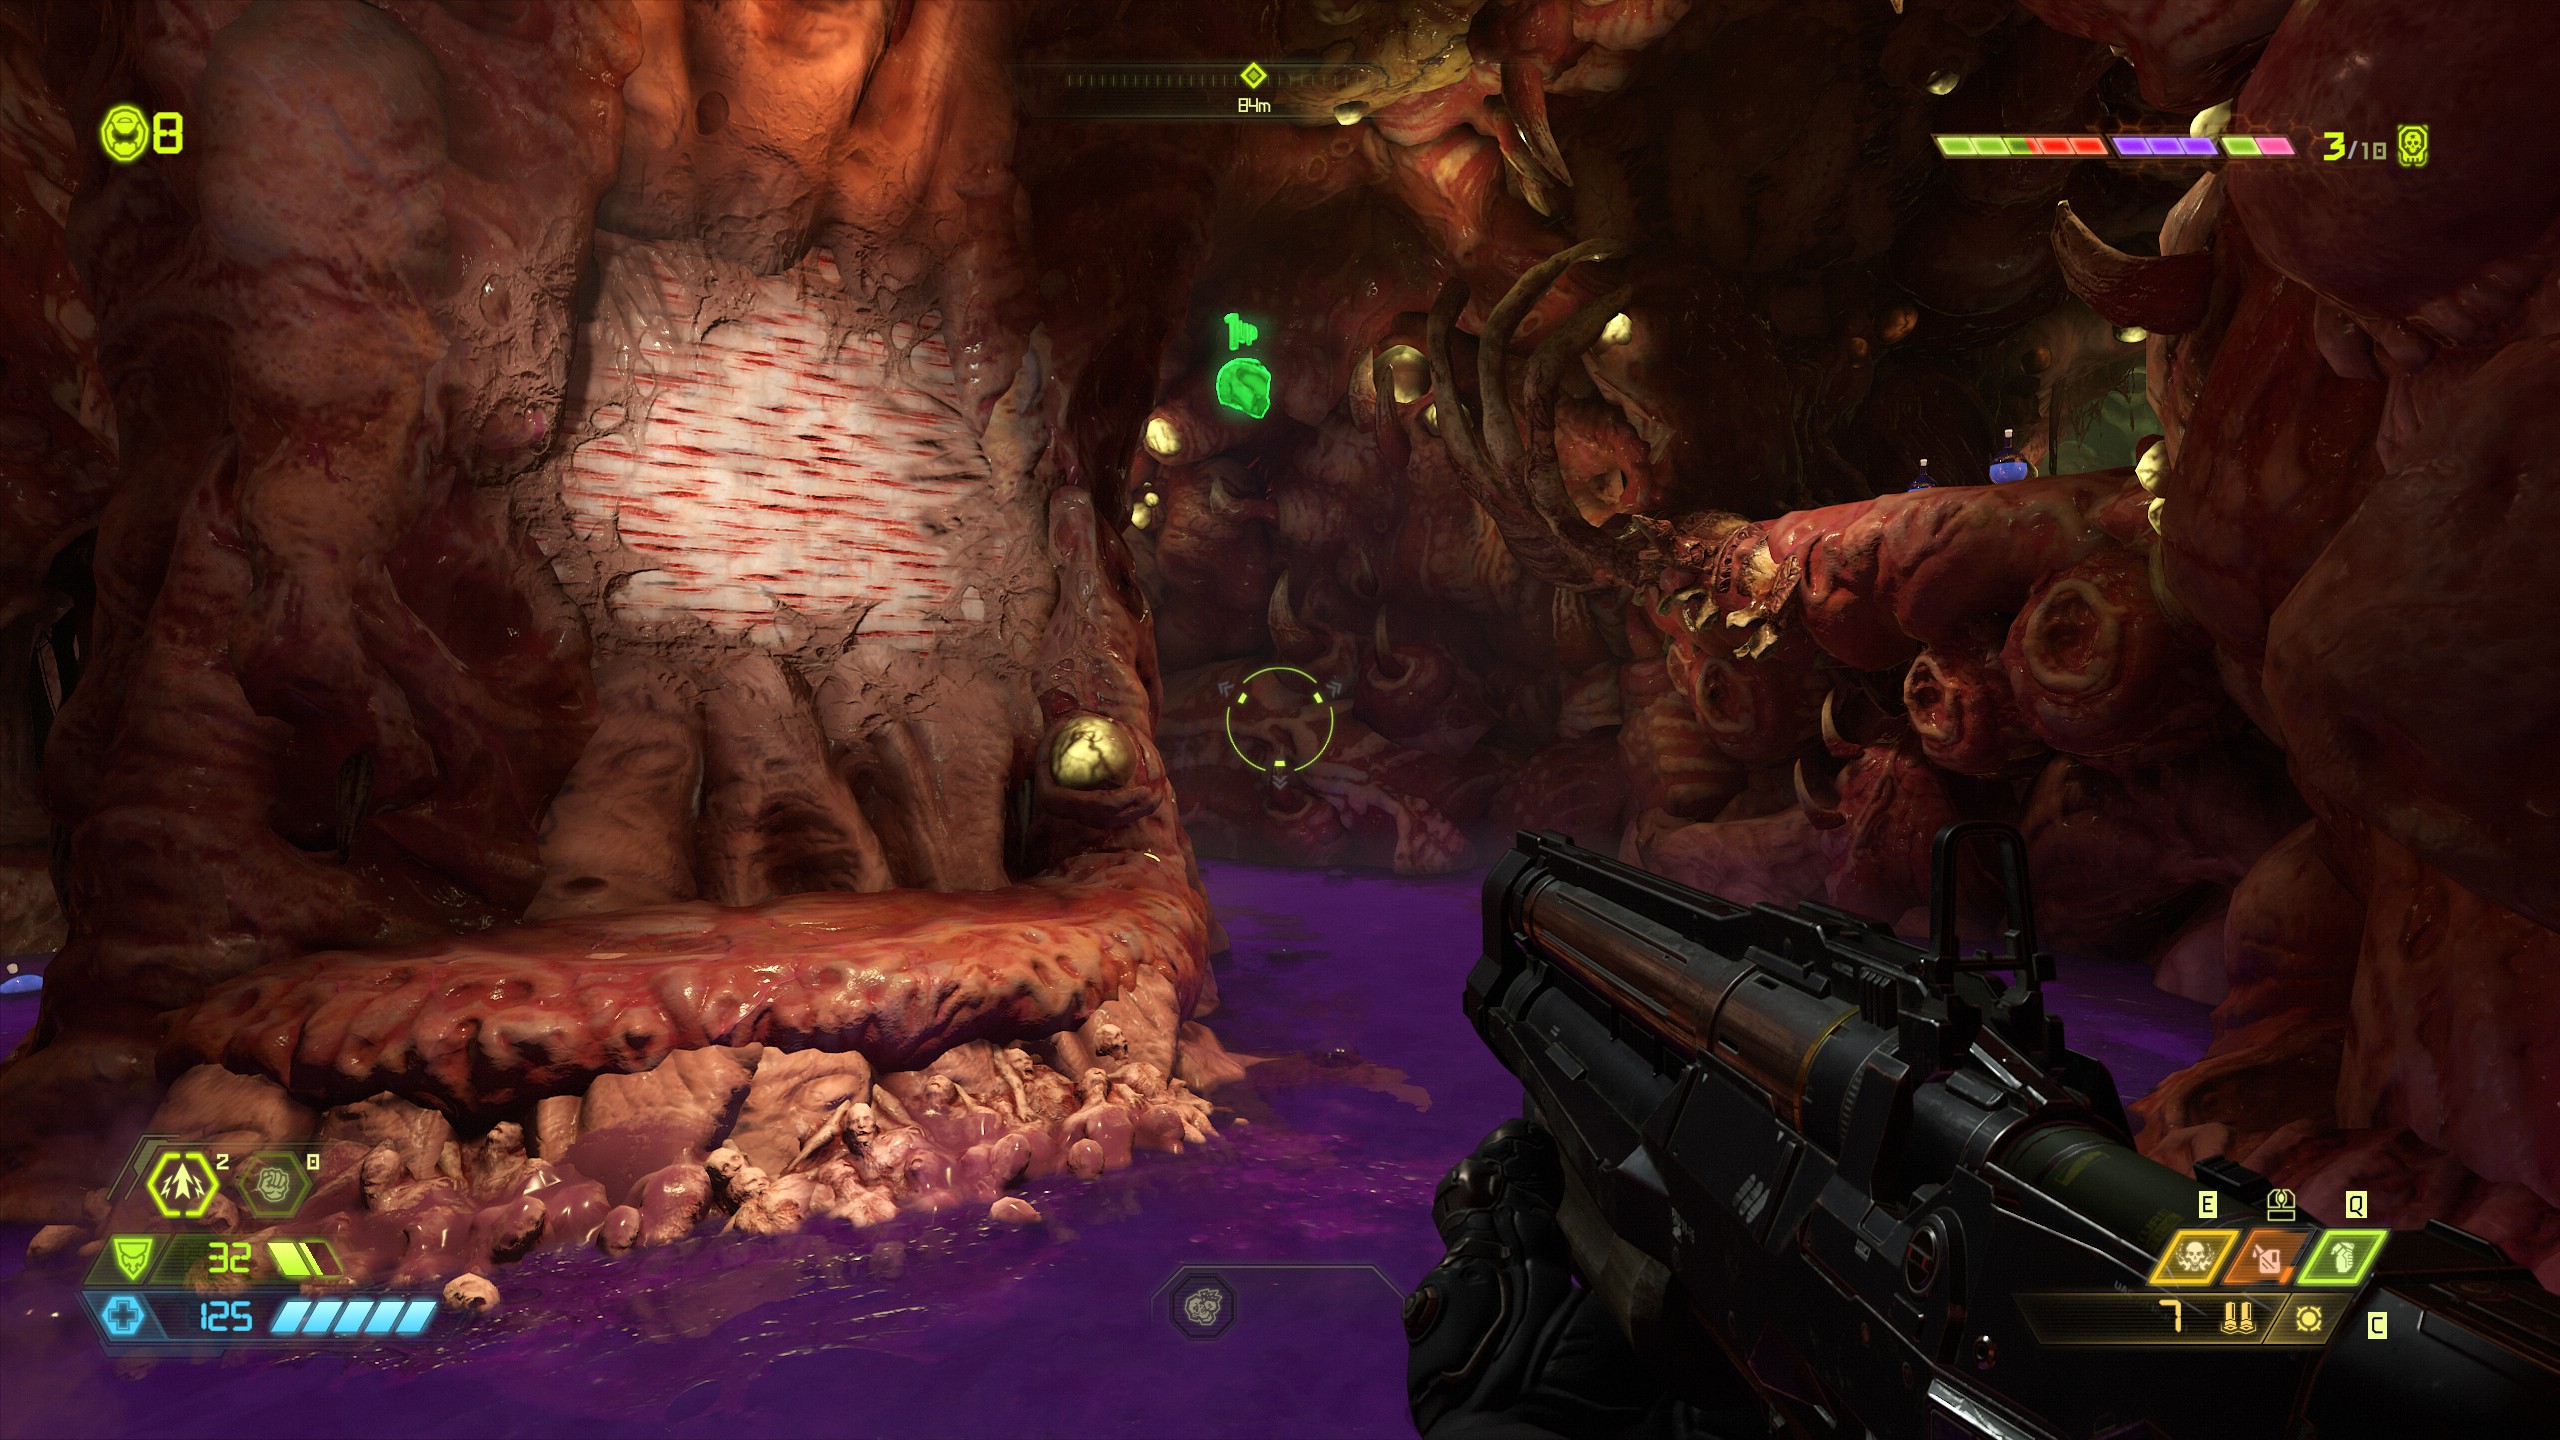
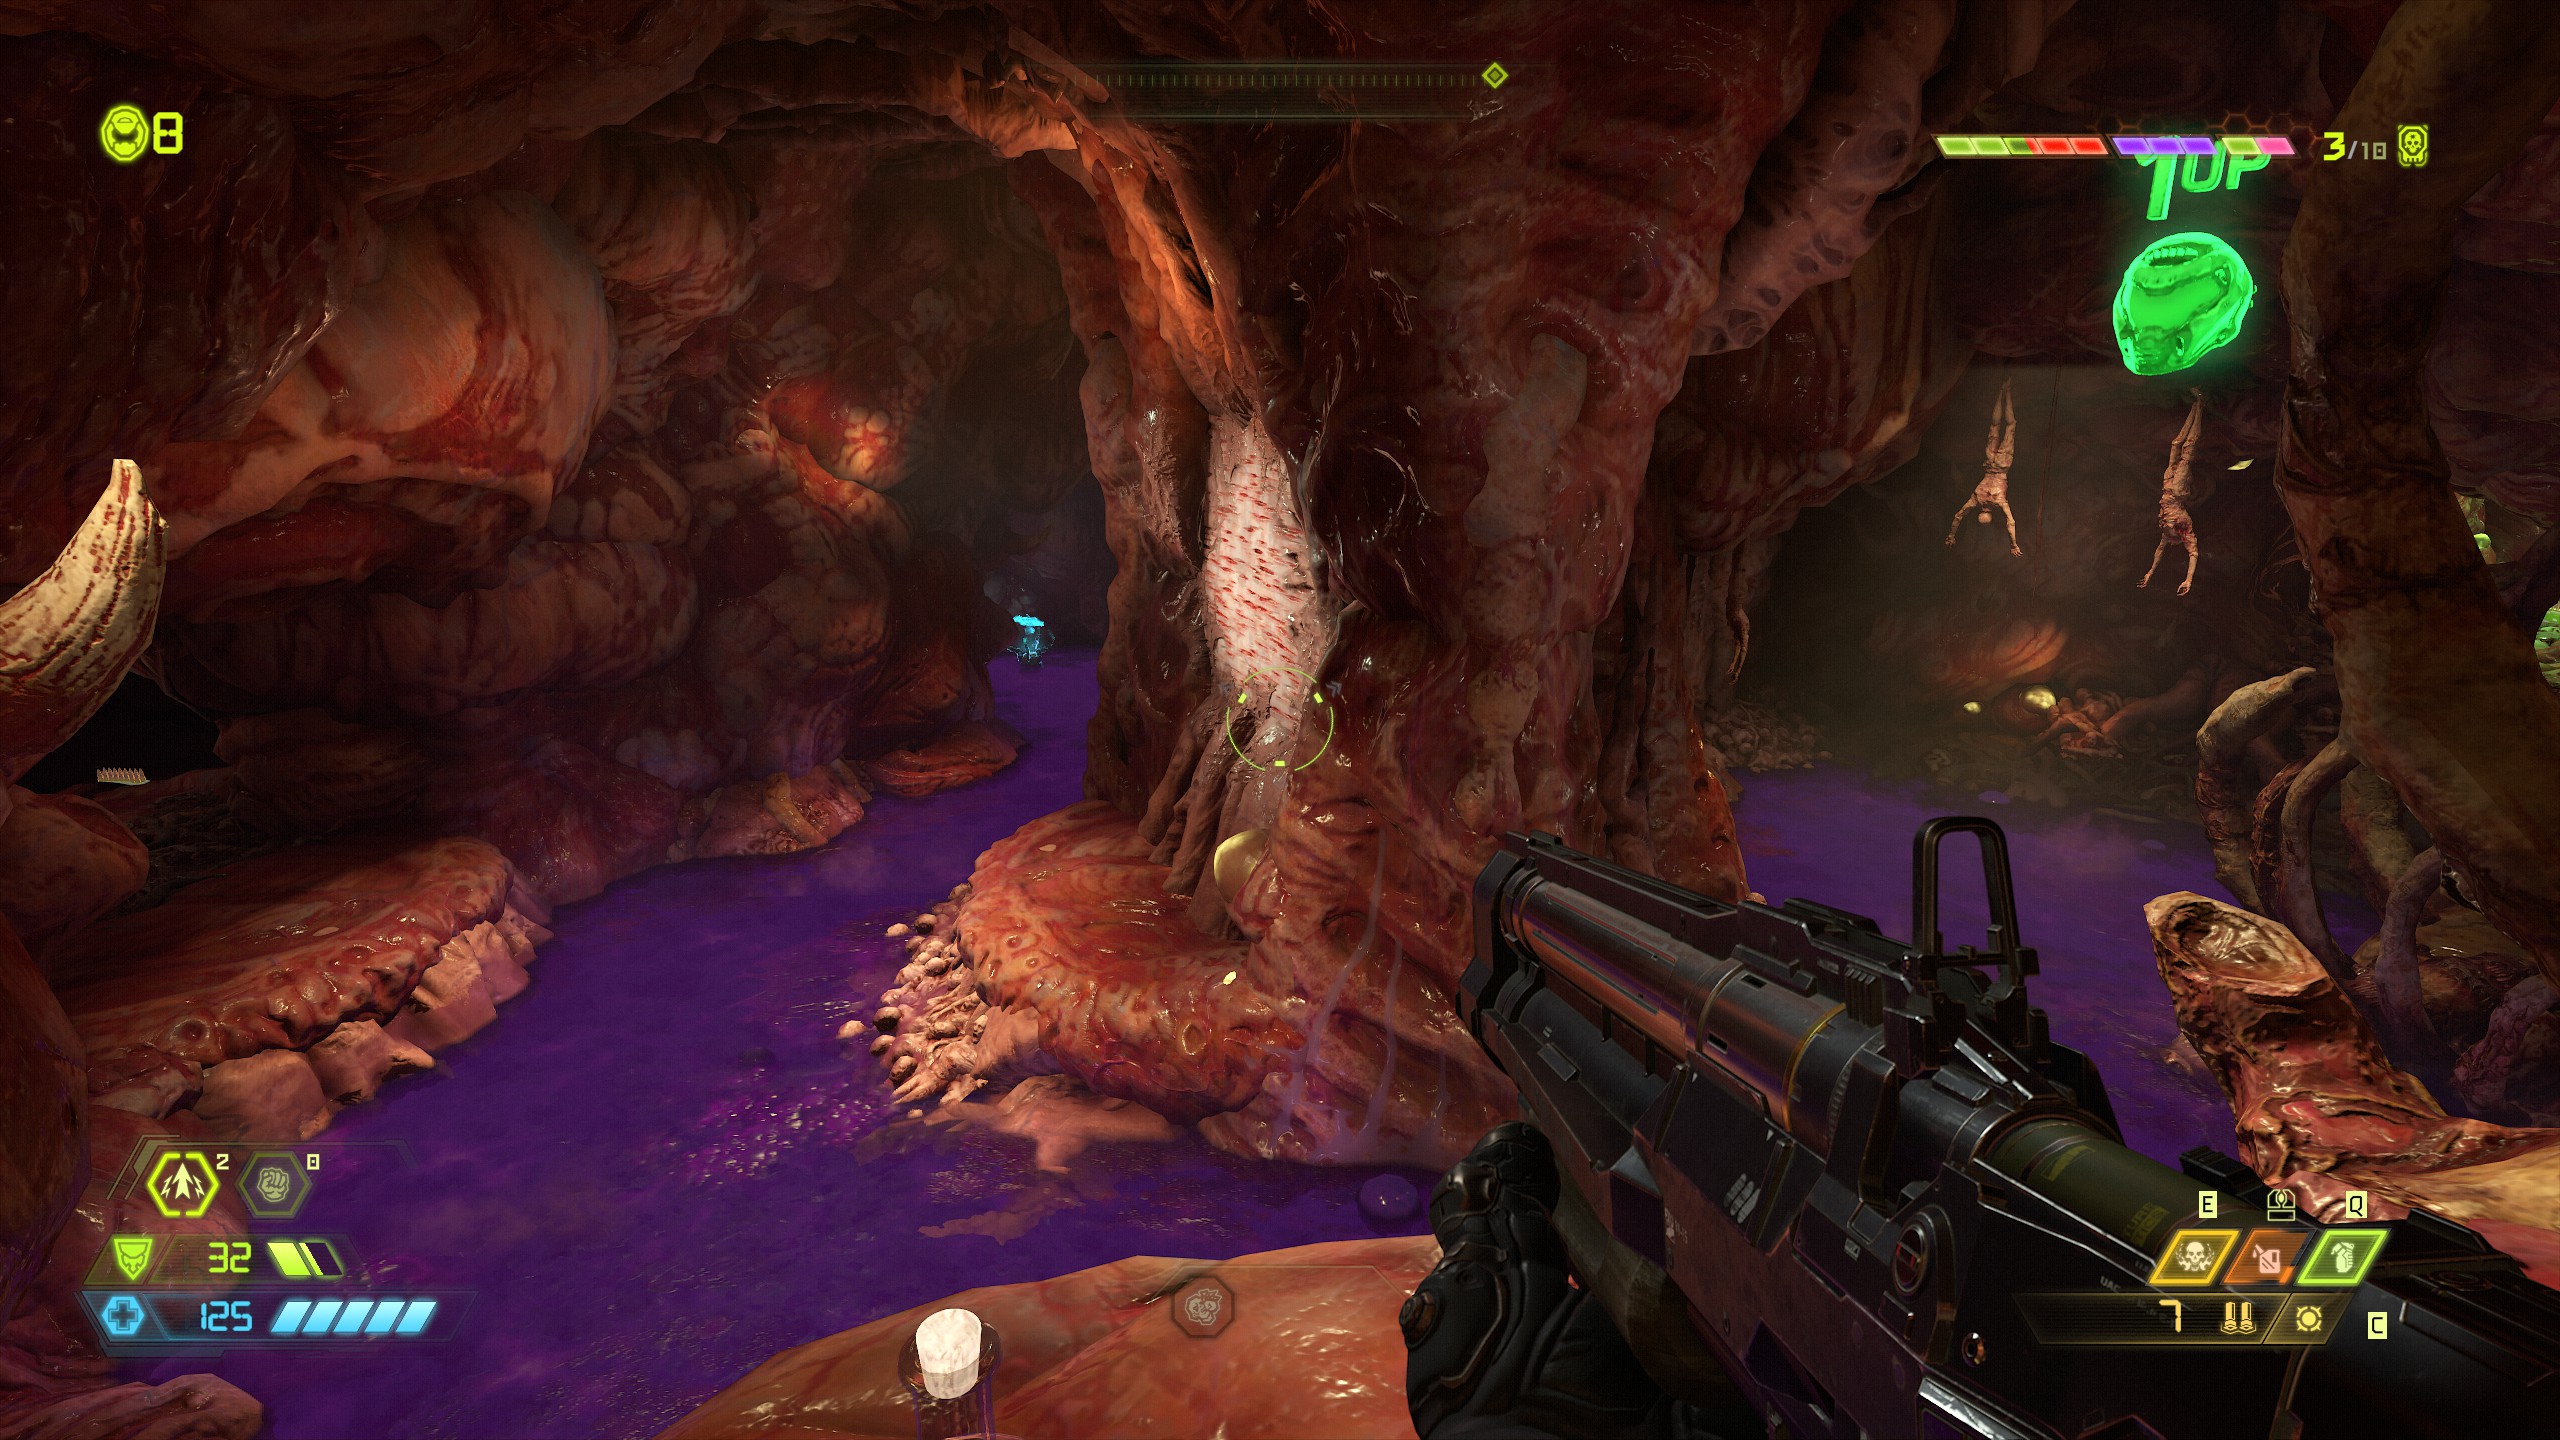
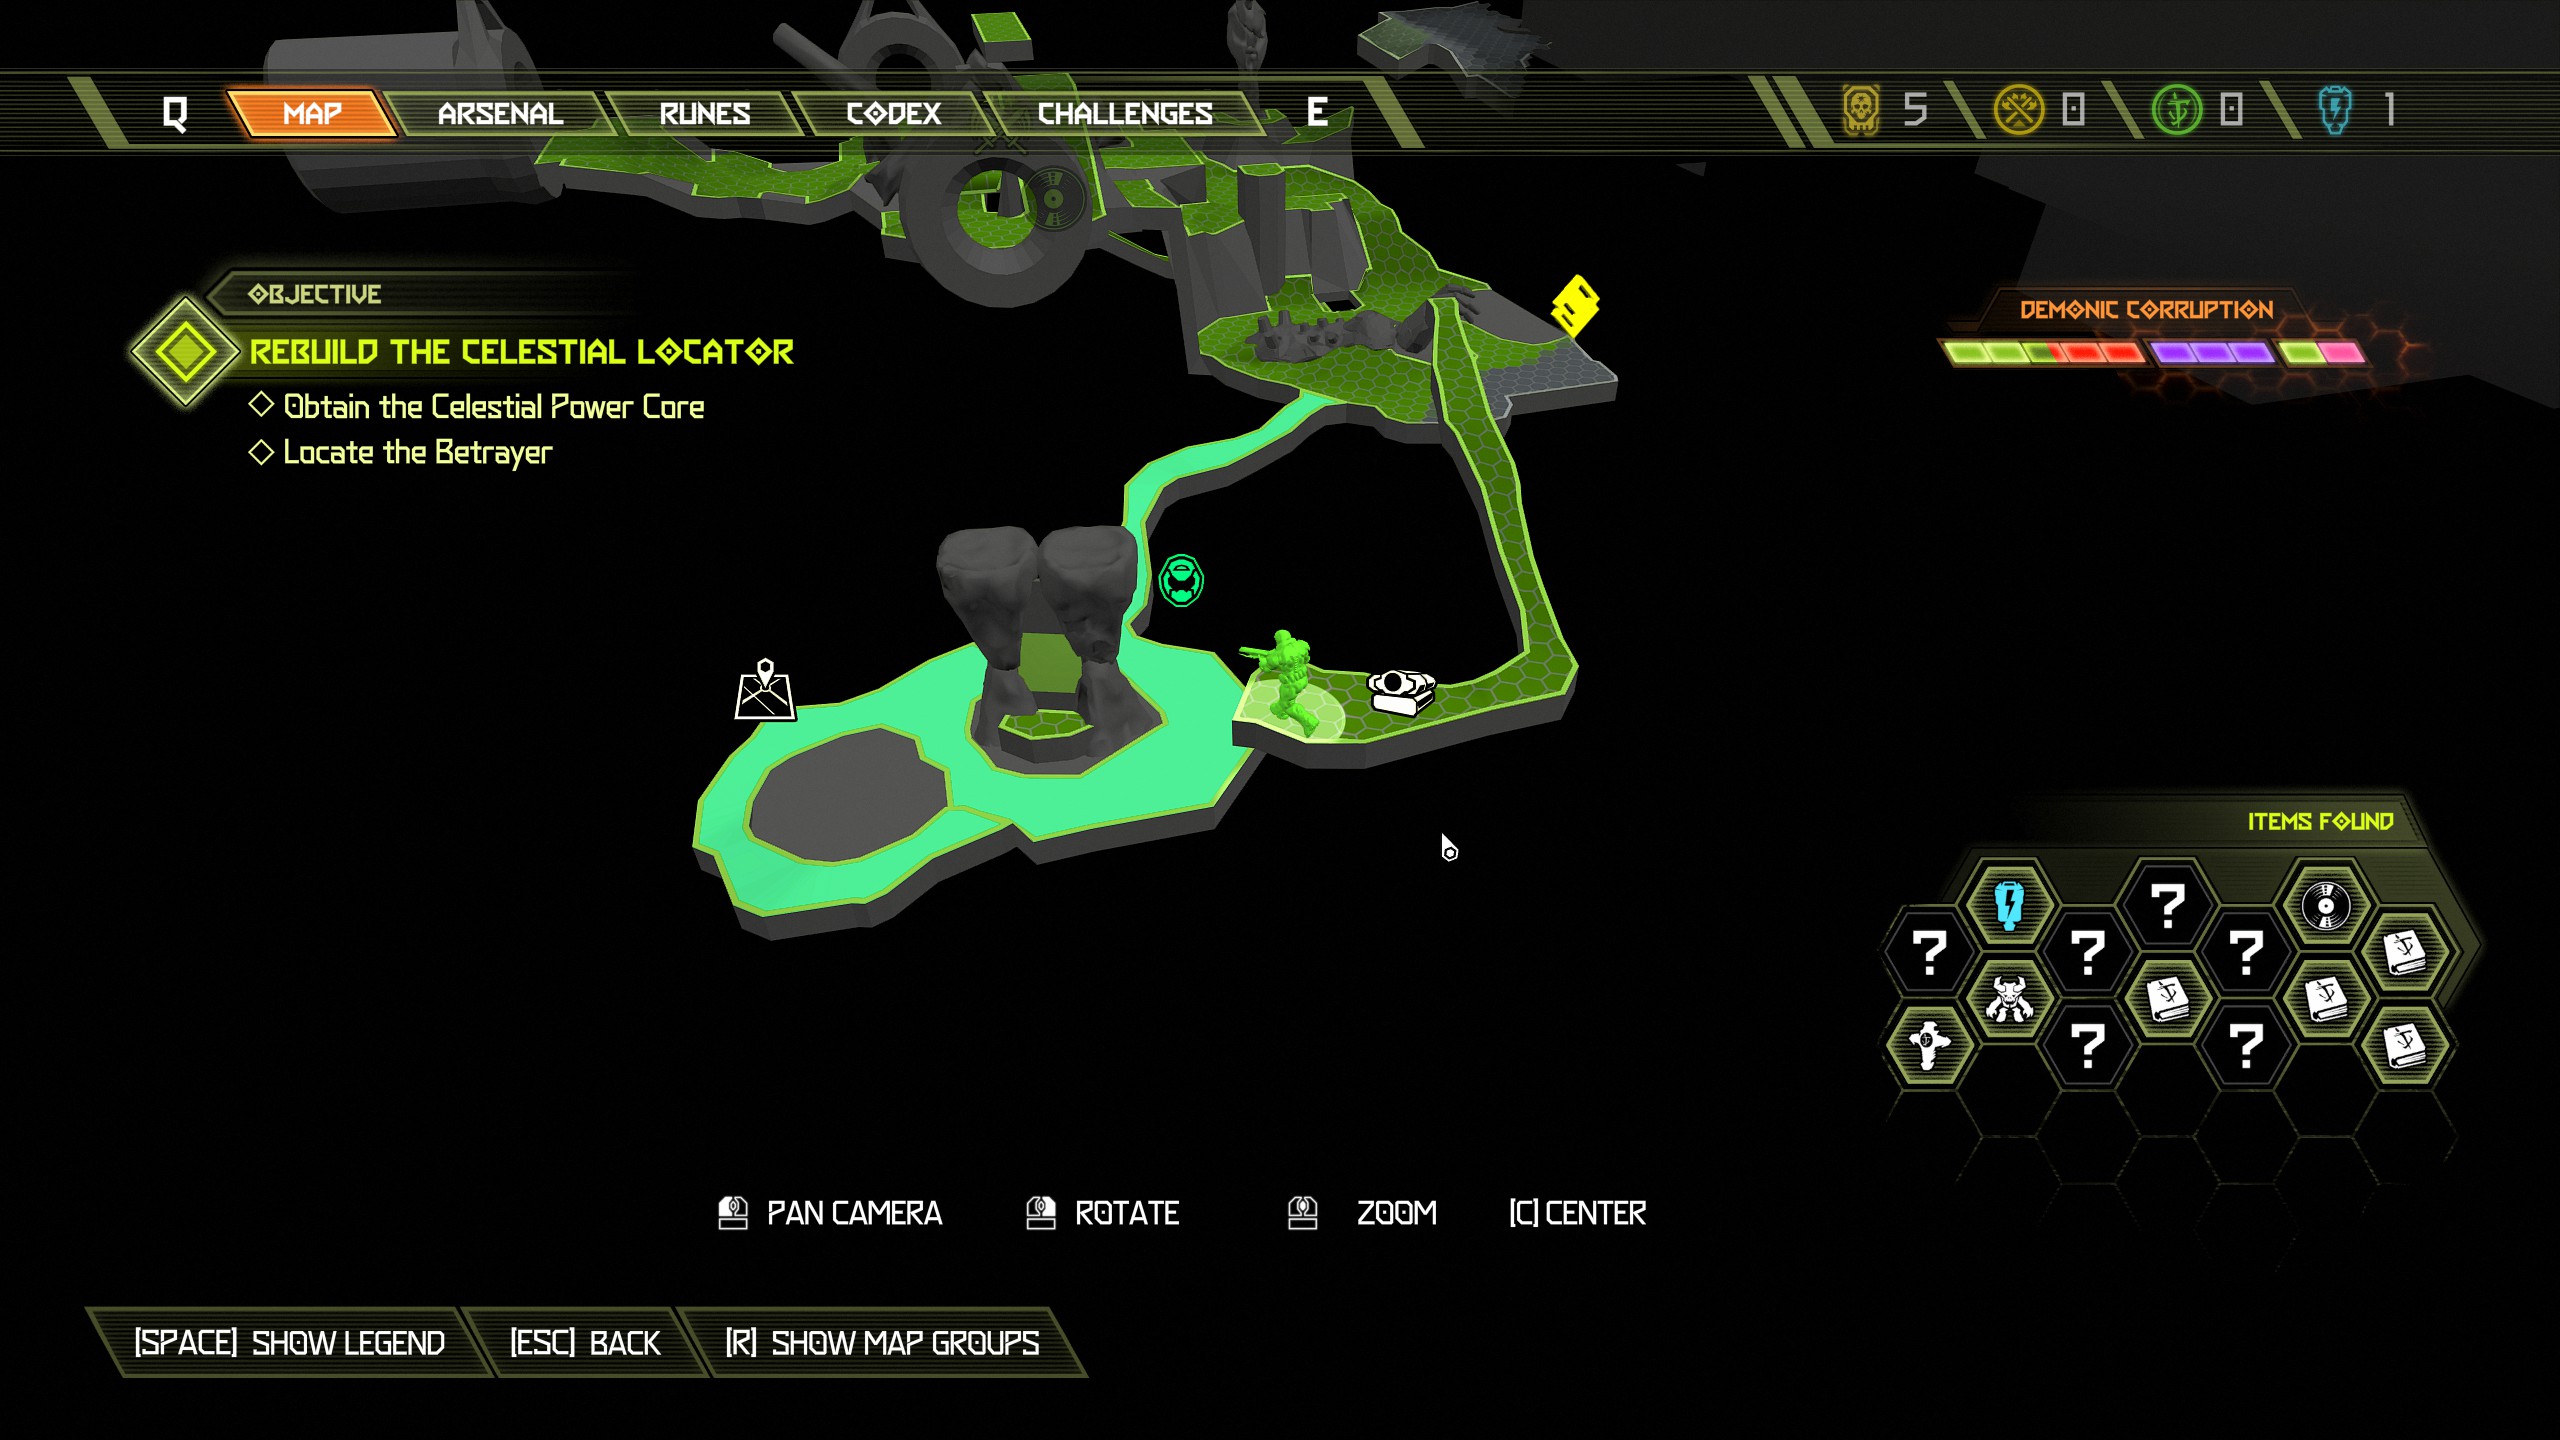
After collecting the blue orb head to the first unstable platform, from there over the chains you will see the lava flowing to the right side of the next unstable platform under a small rock archway. Jump over the chains and into the lava and follow it through the archway to find a secret barrel easter egg on the left side (keep to the edge of the lava to prevent damage).
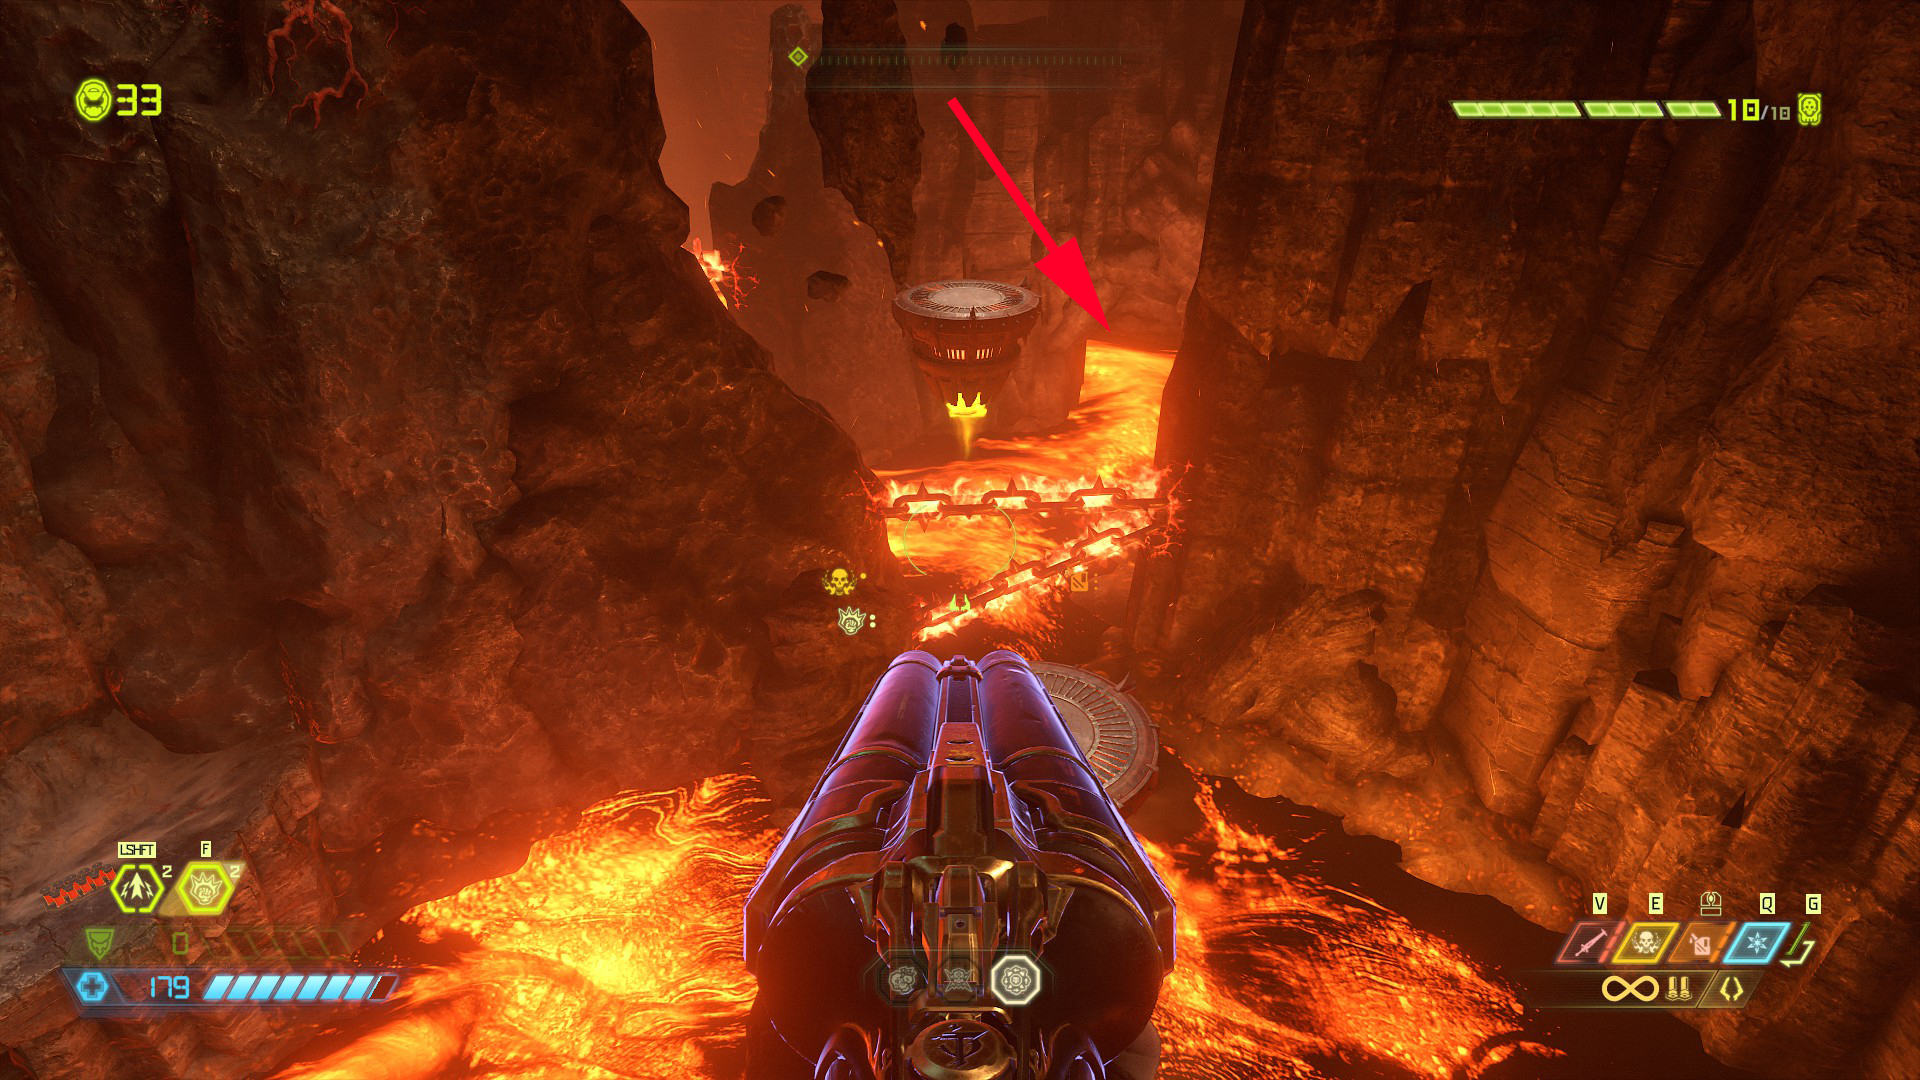
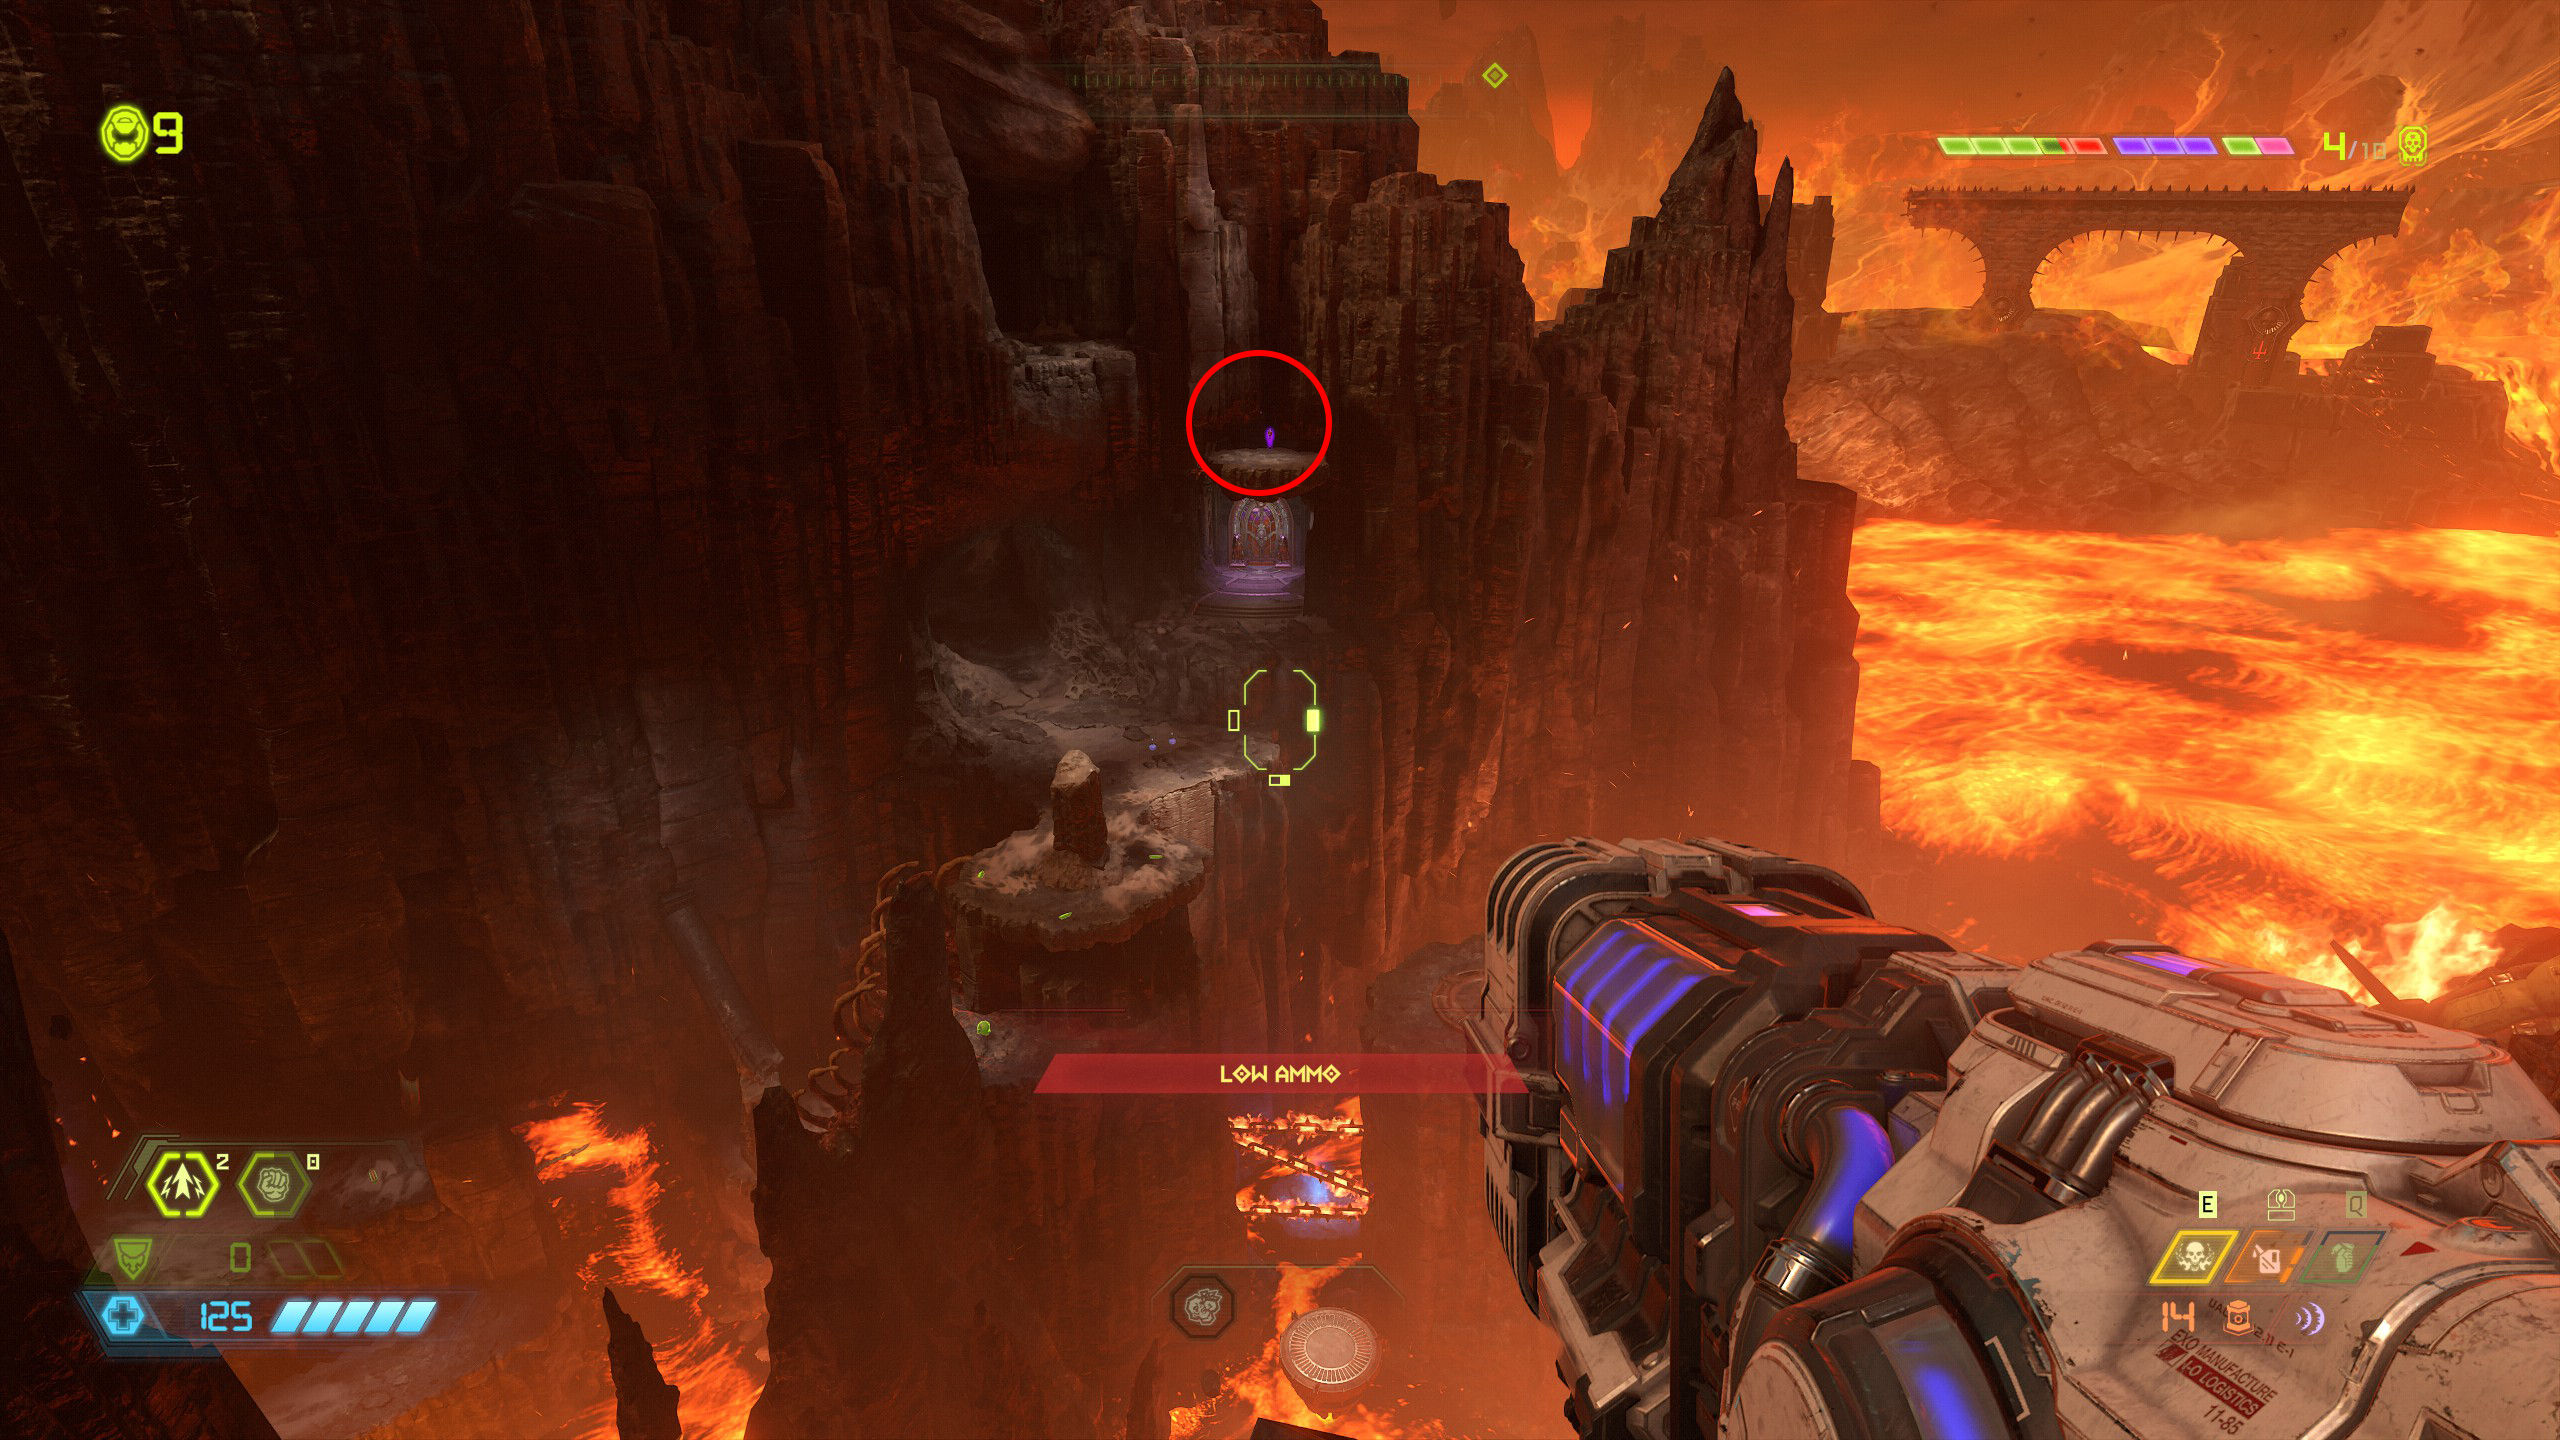
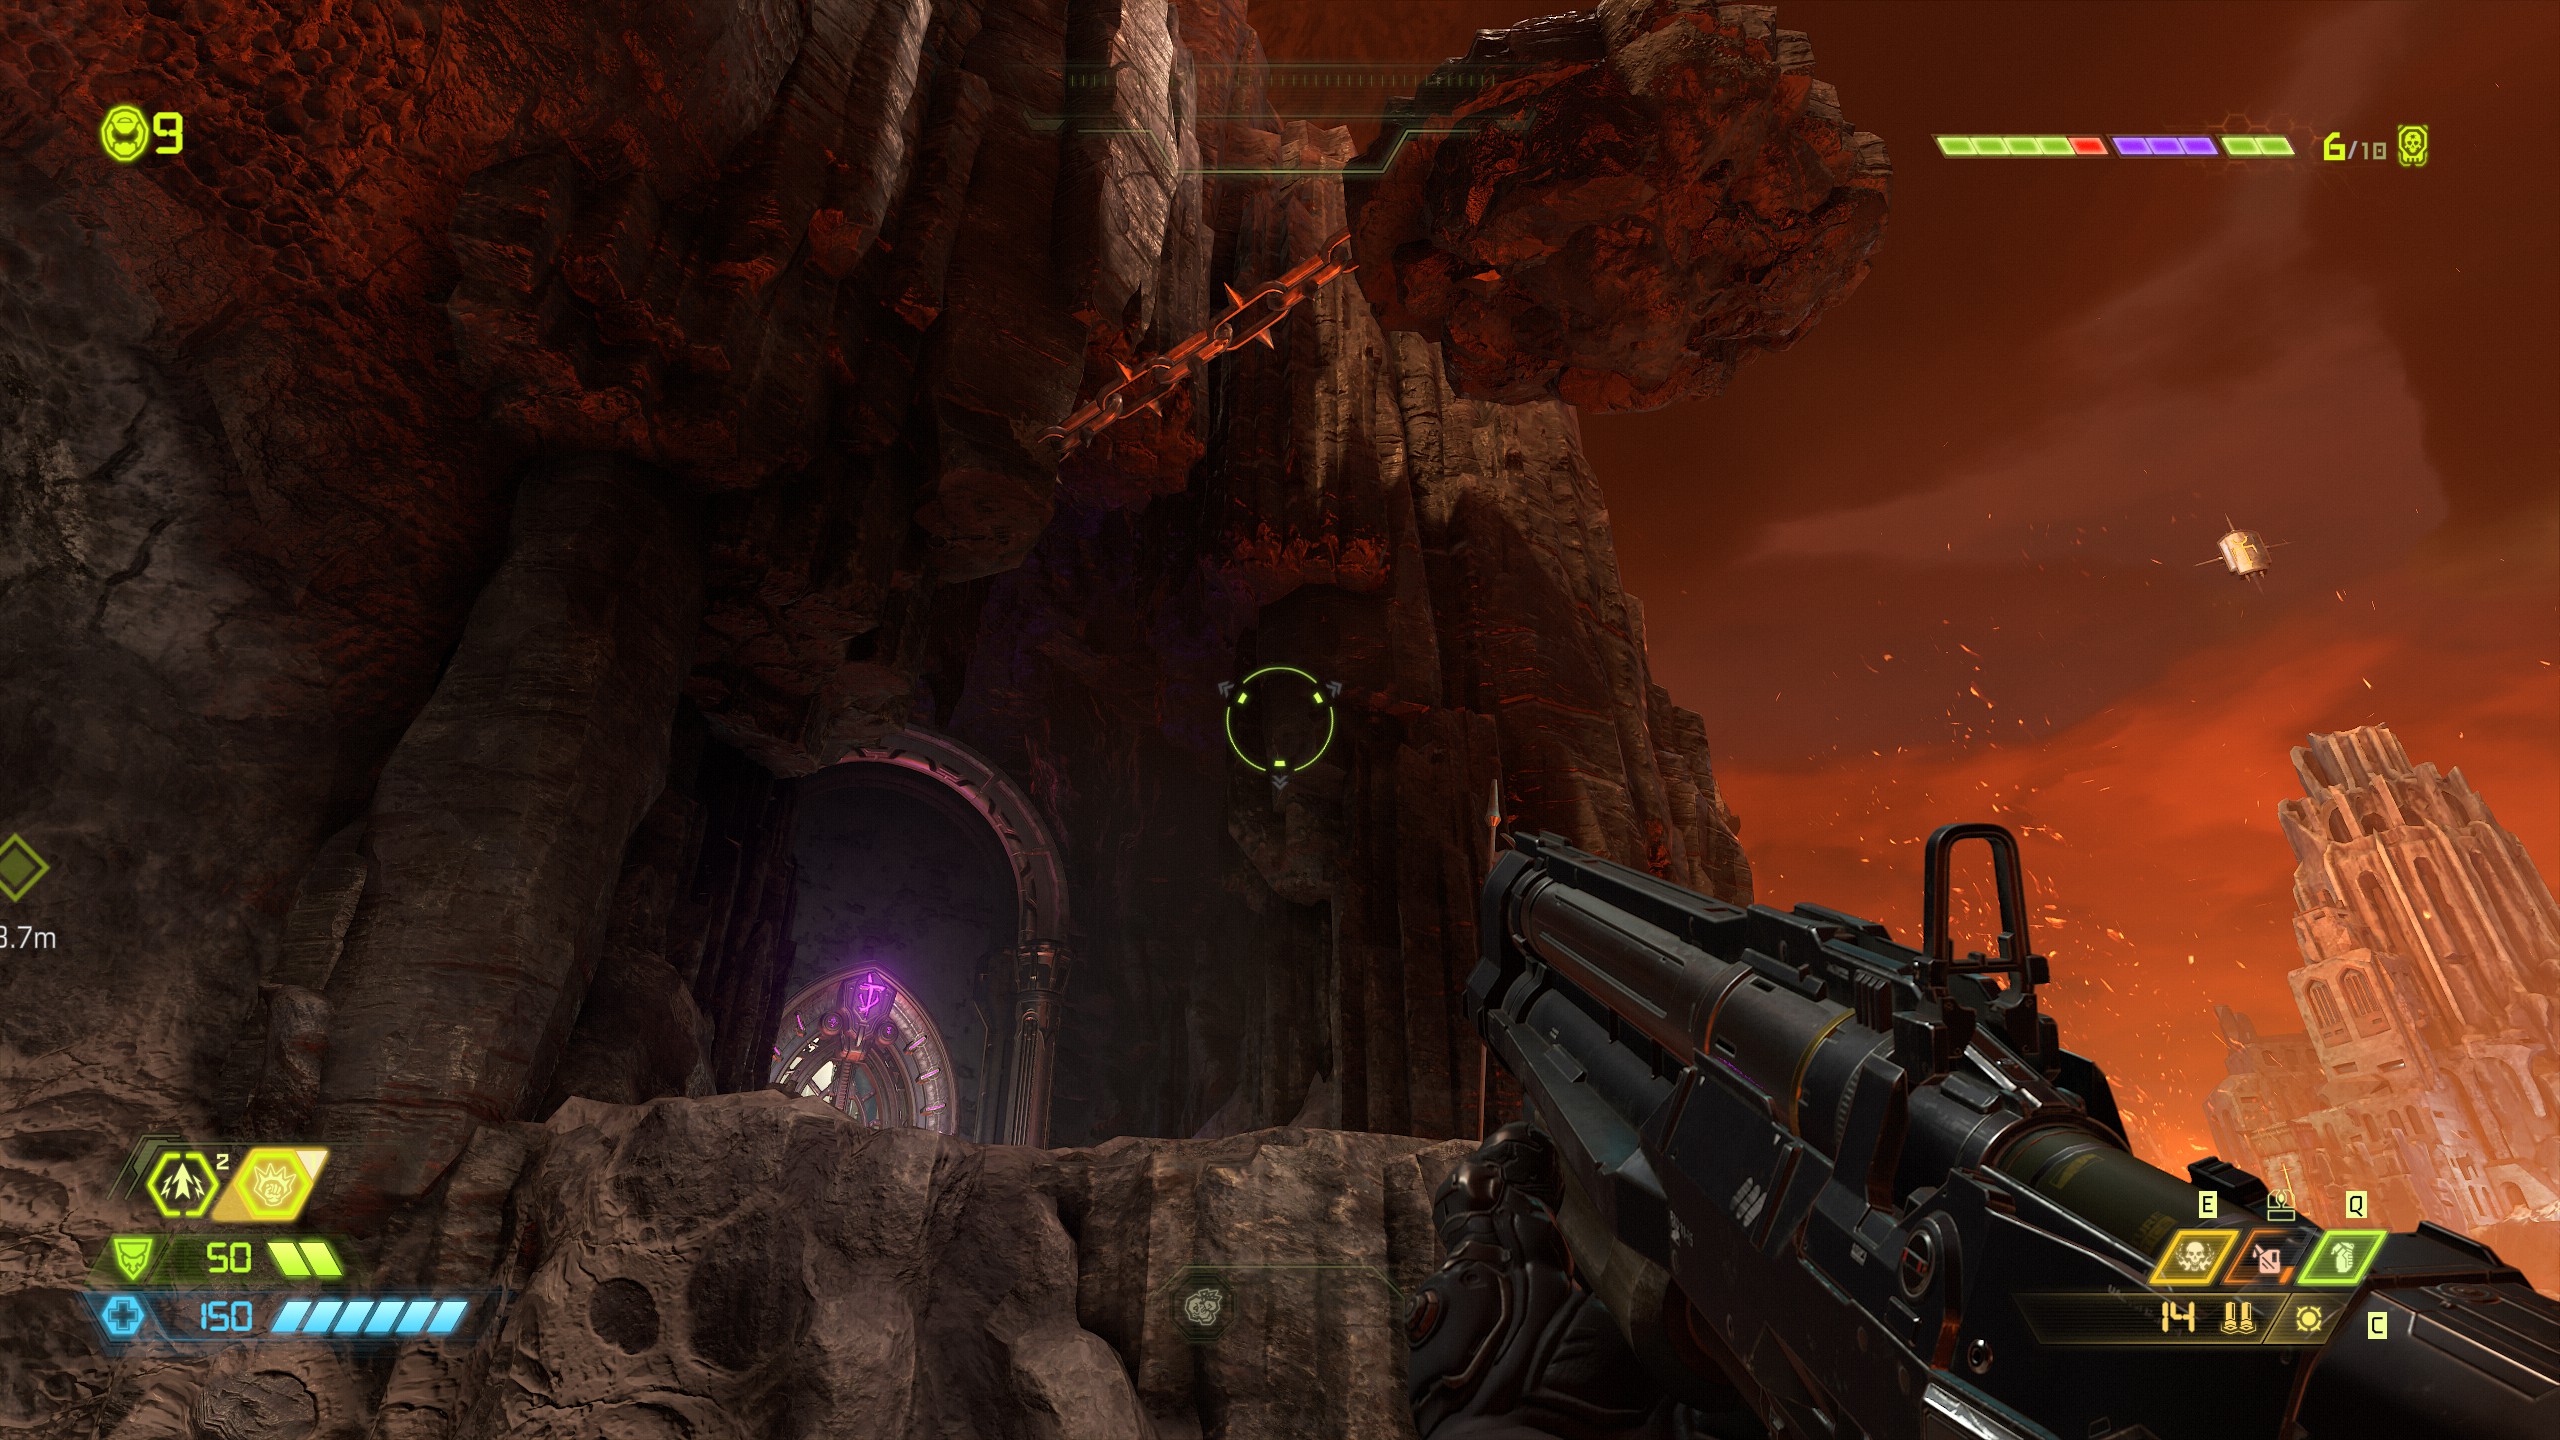
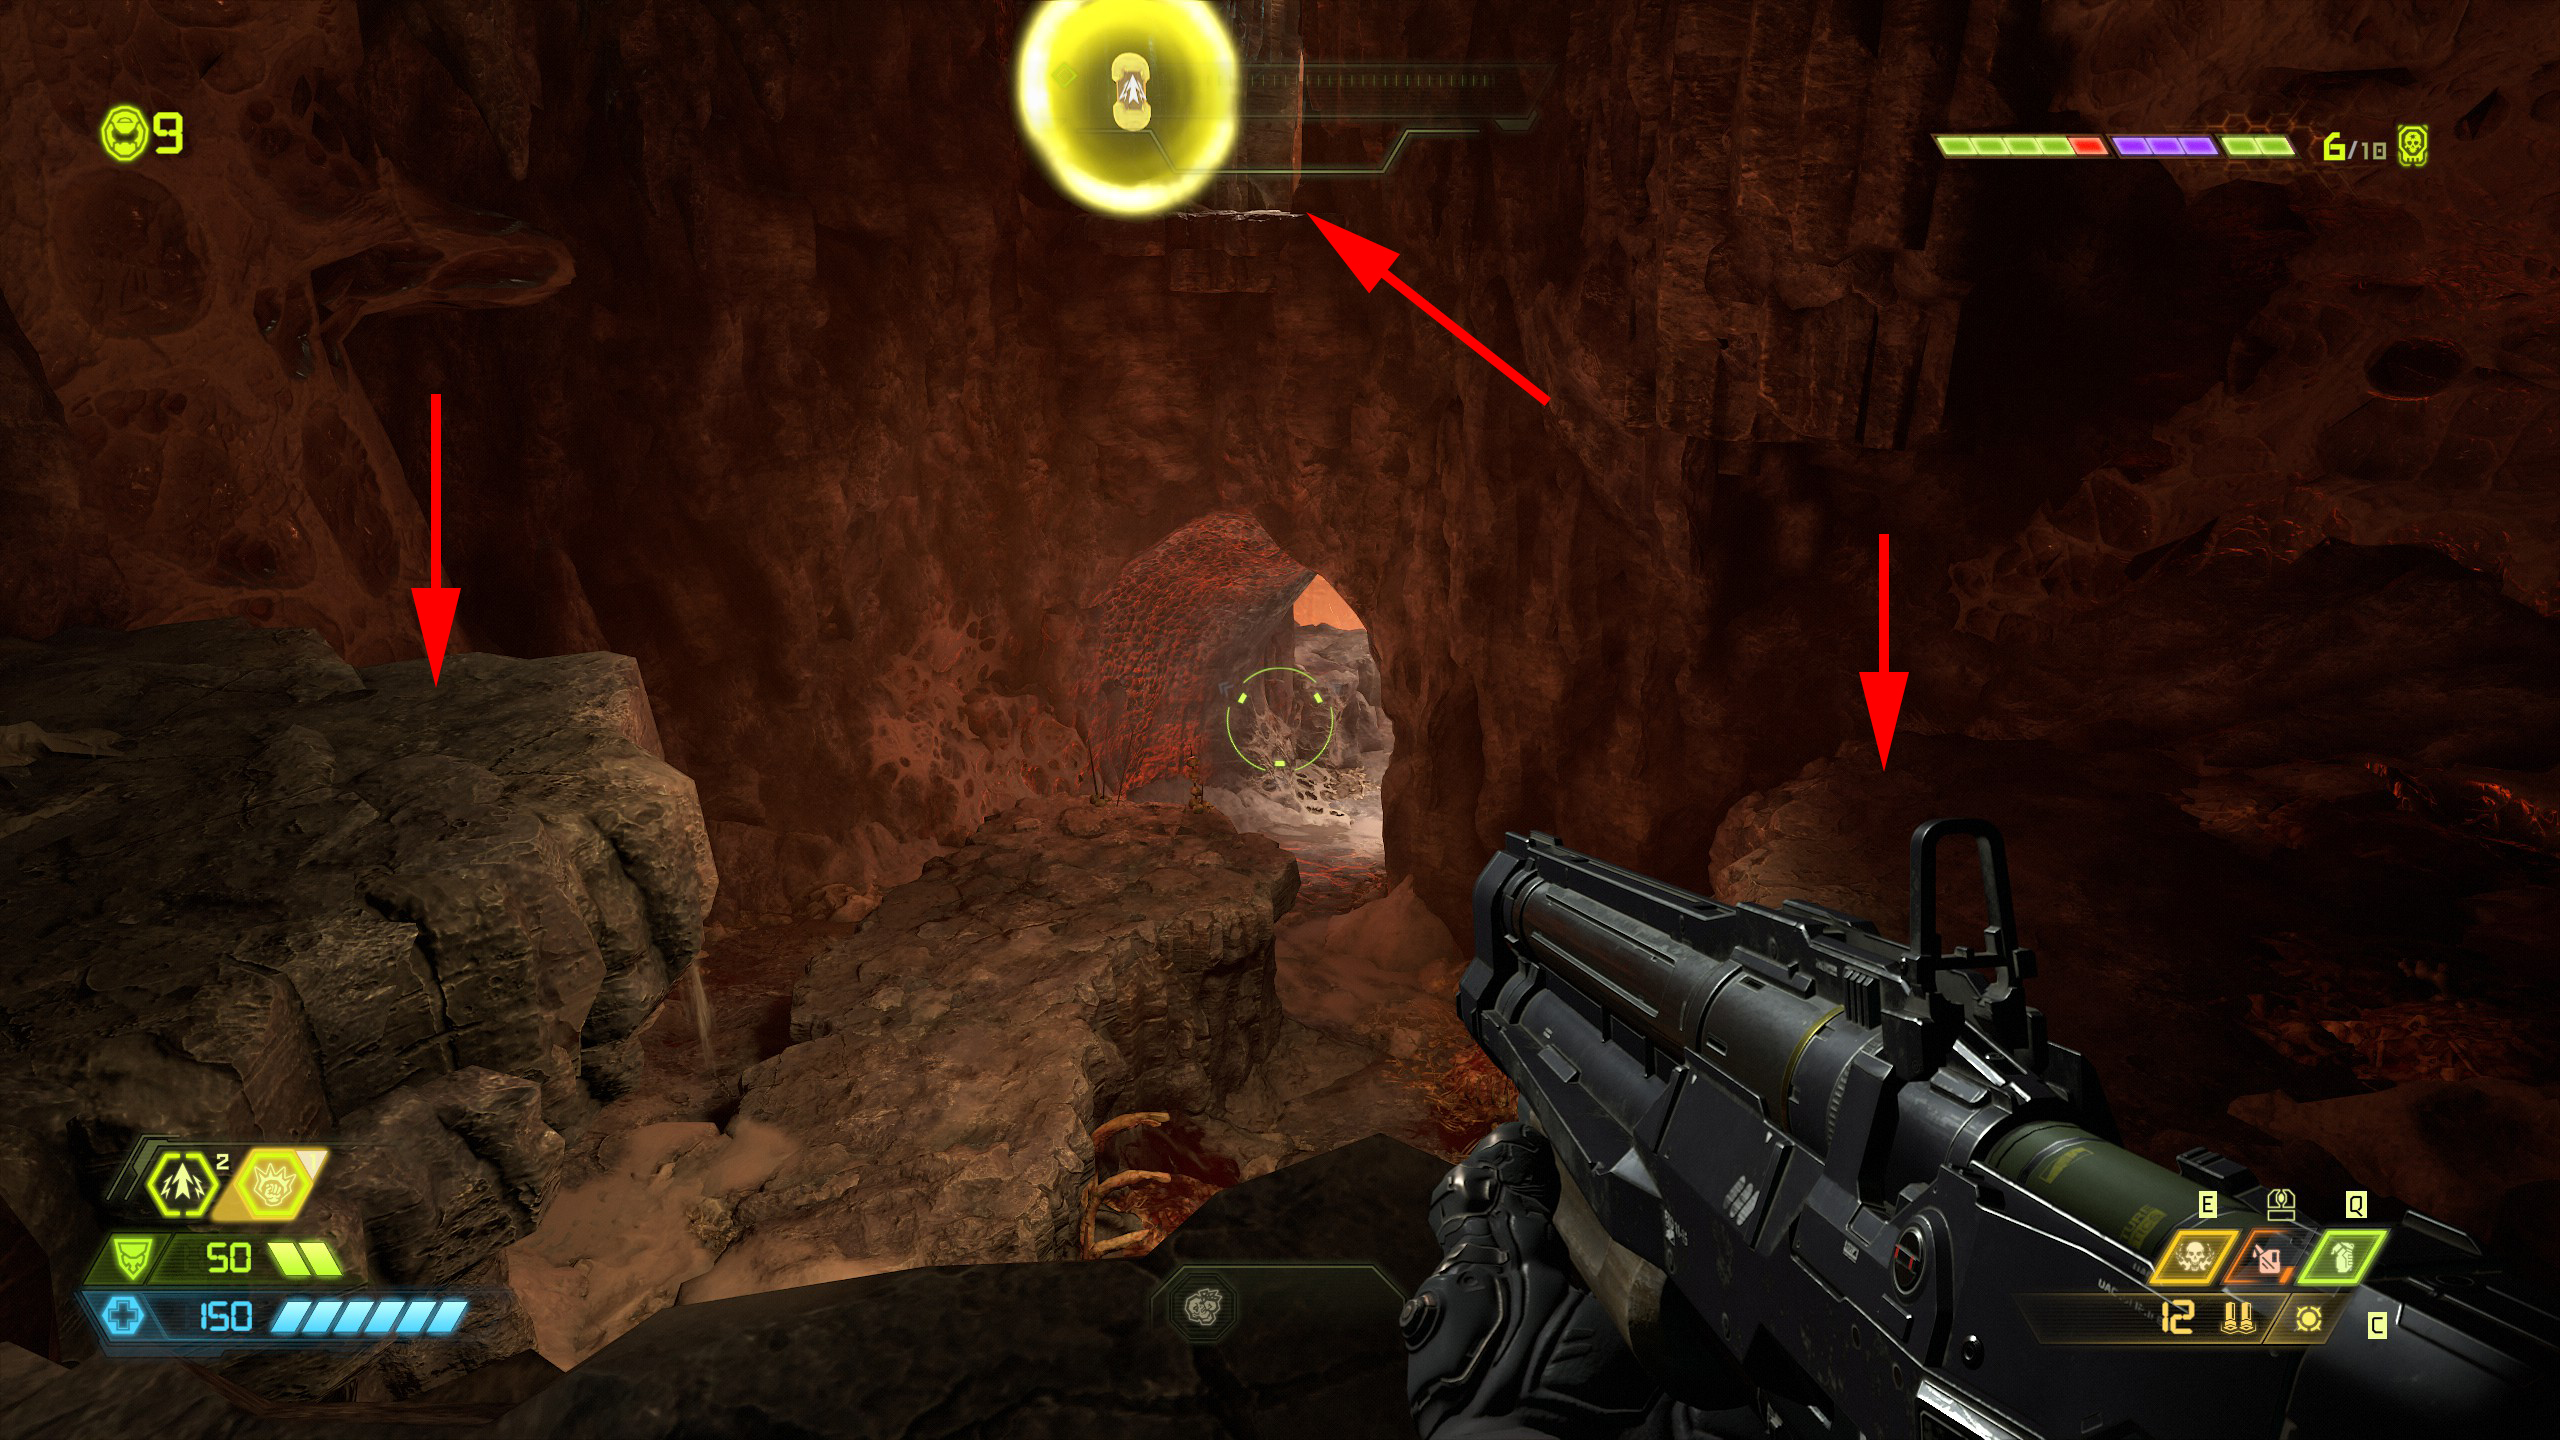
The key is located just outside of the slayer gate on a platform high above. To reach the key you will need to enter the tunnel to the left of the slayer gate. When entering the tunnel do not follow the mission towards the green lights and instead climb the rocks on either side to the top platform, from there jump across to the opposite platform which will lead back outside and allow you to jump across and collect the slayer gate key.
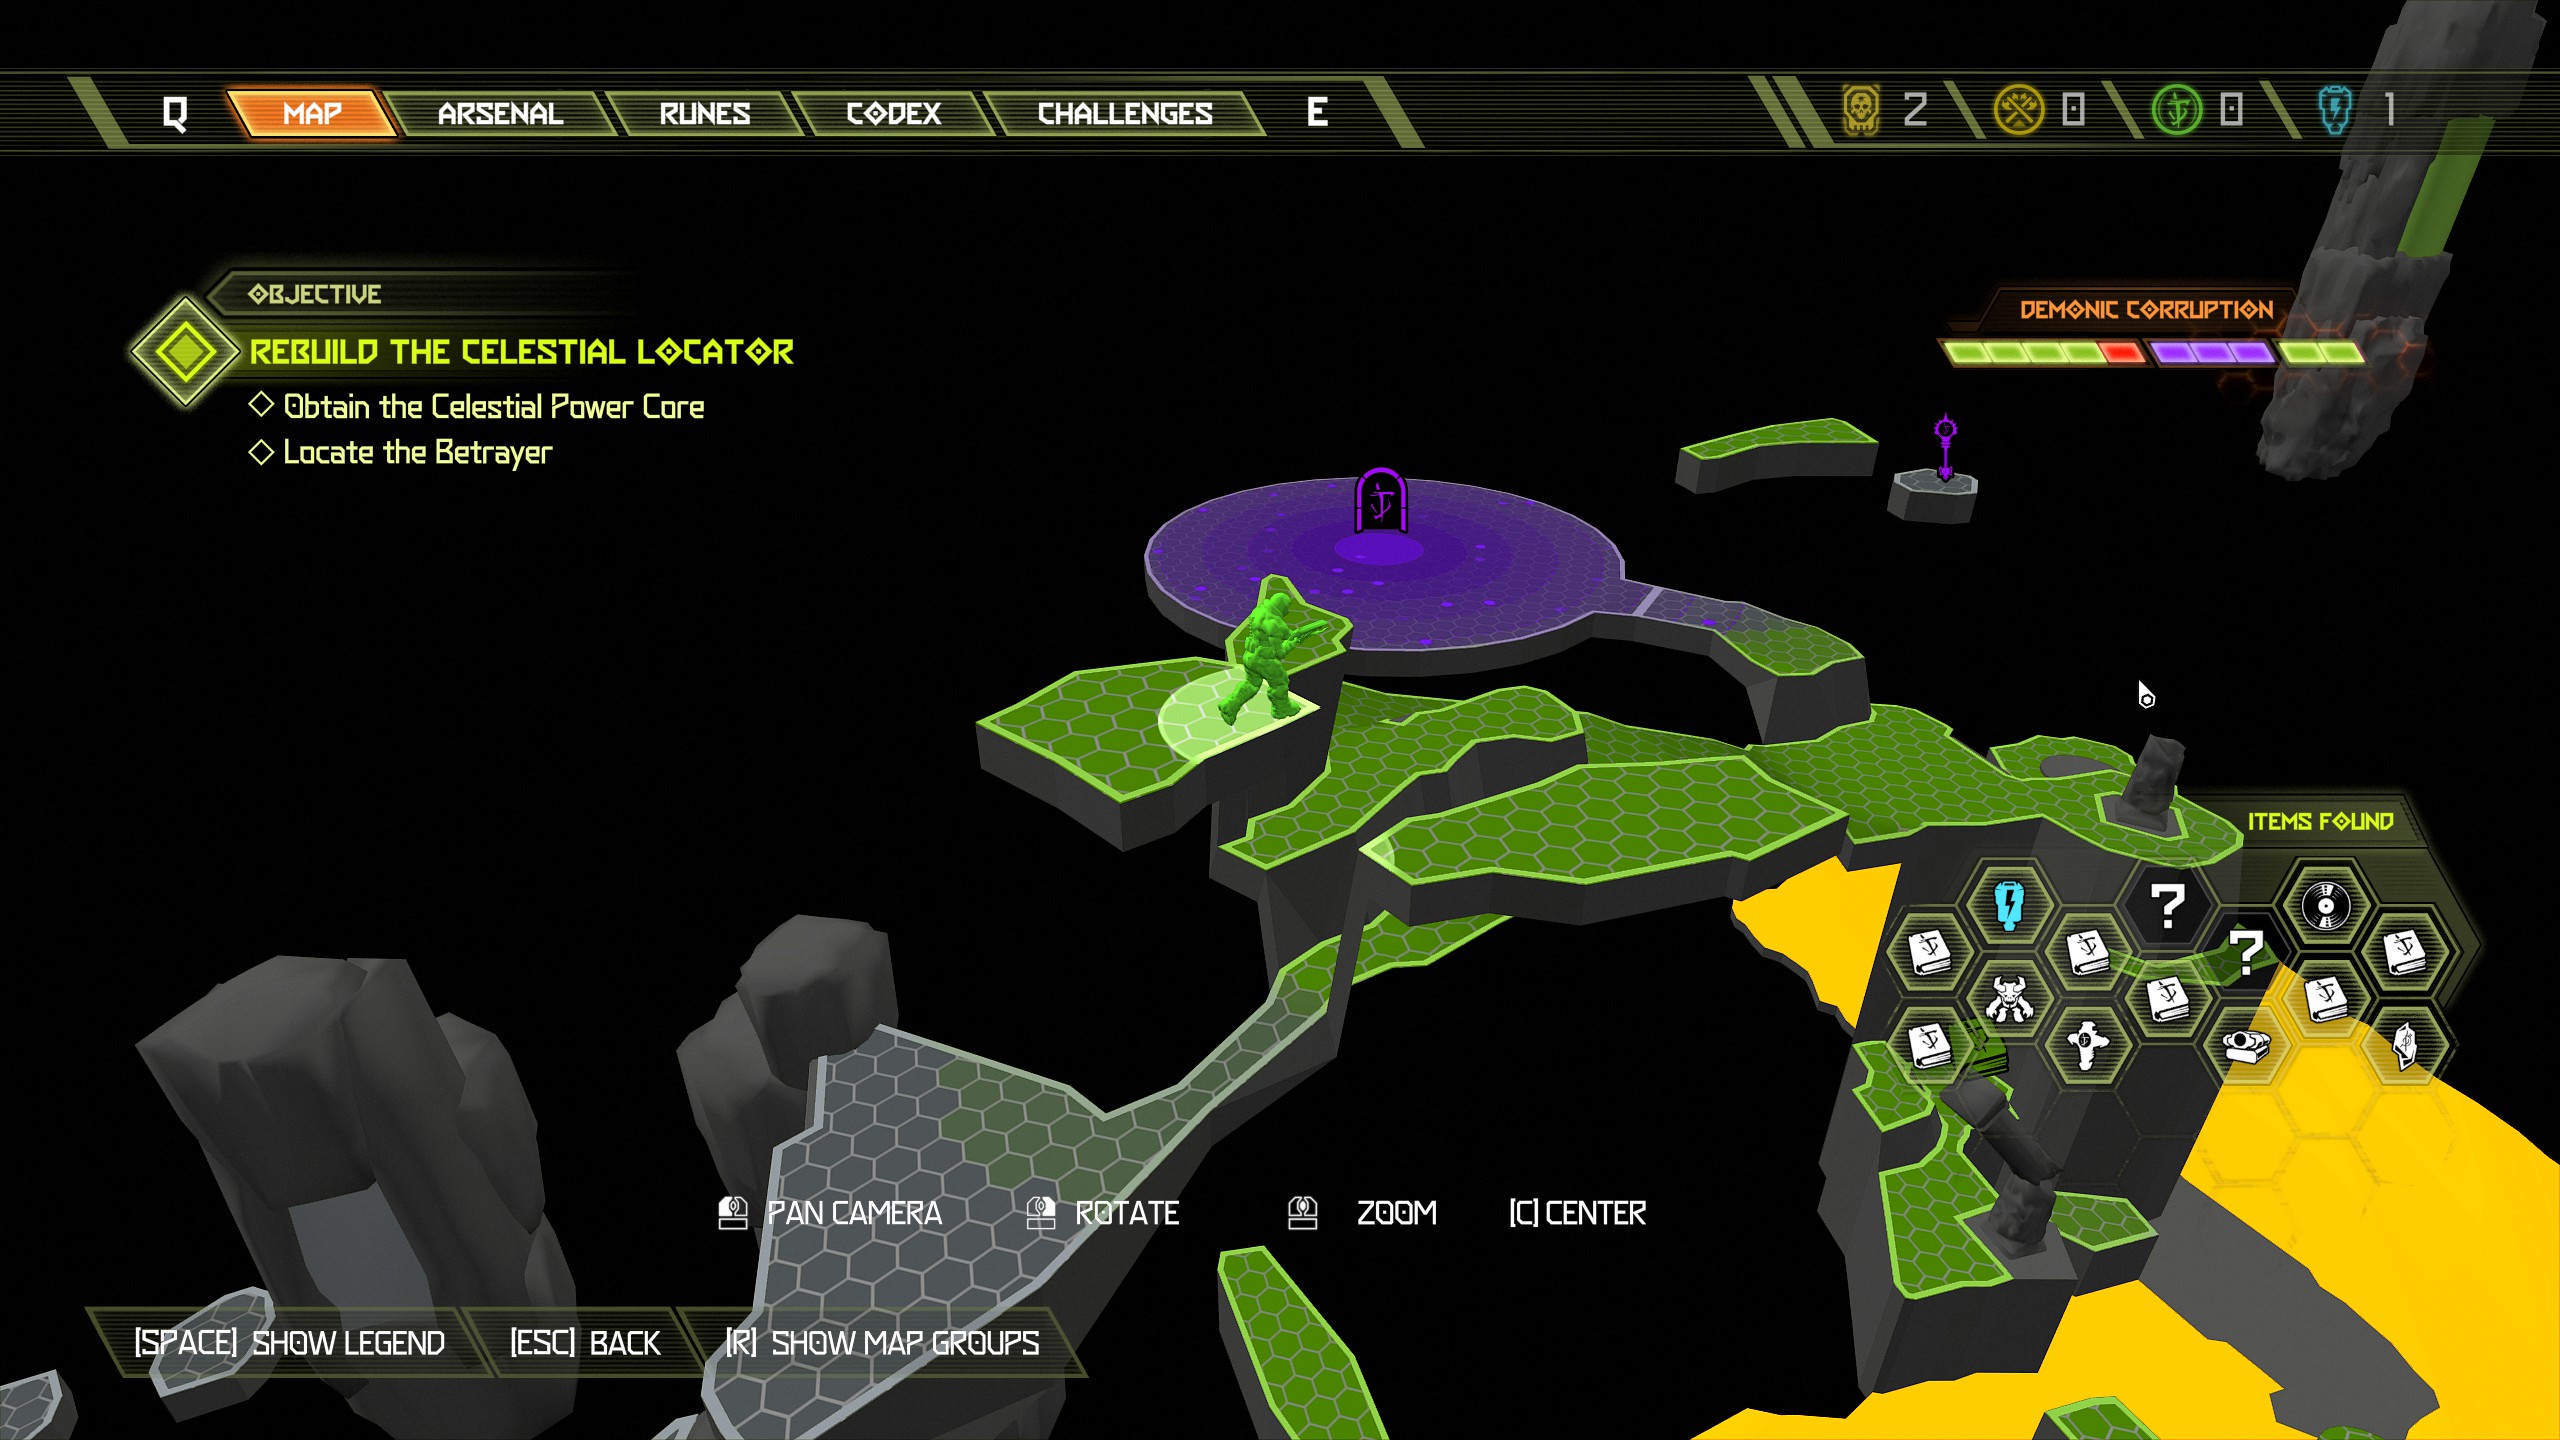
If you choose not to do the slayer gate during the mission then you will have to run the mission again and collect the key, the slayer gate also counts towards your exploration collectables.
Go and collect the extra life then return the platform.
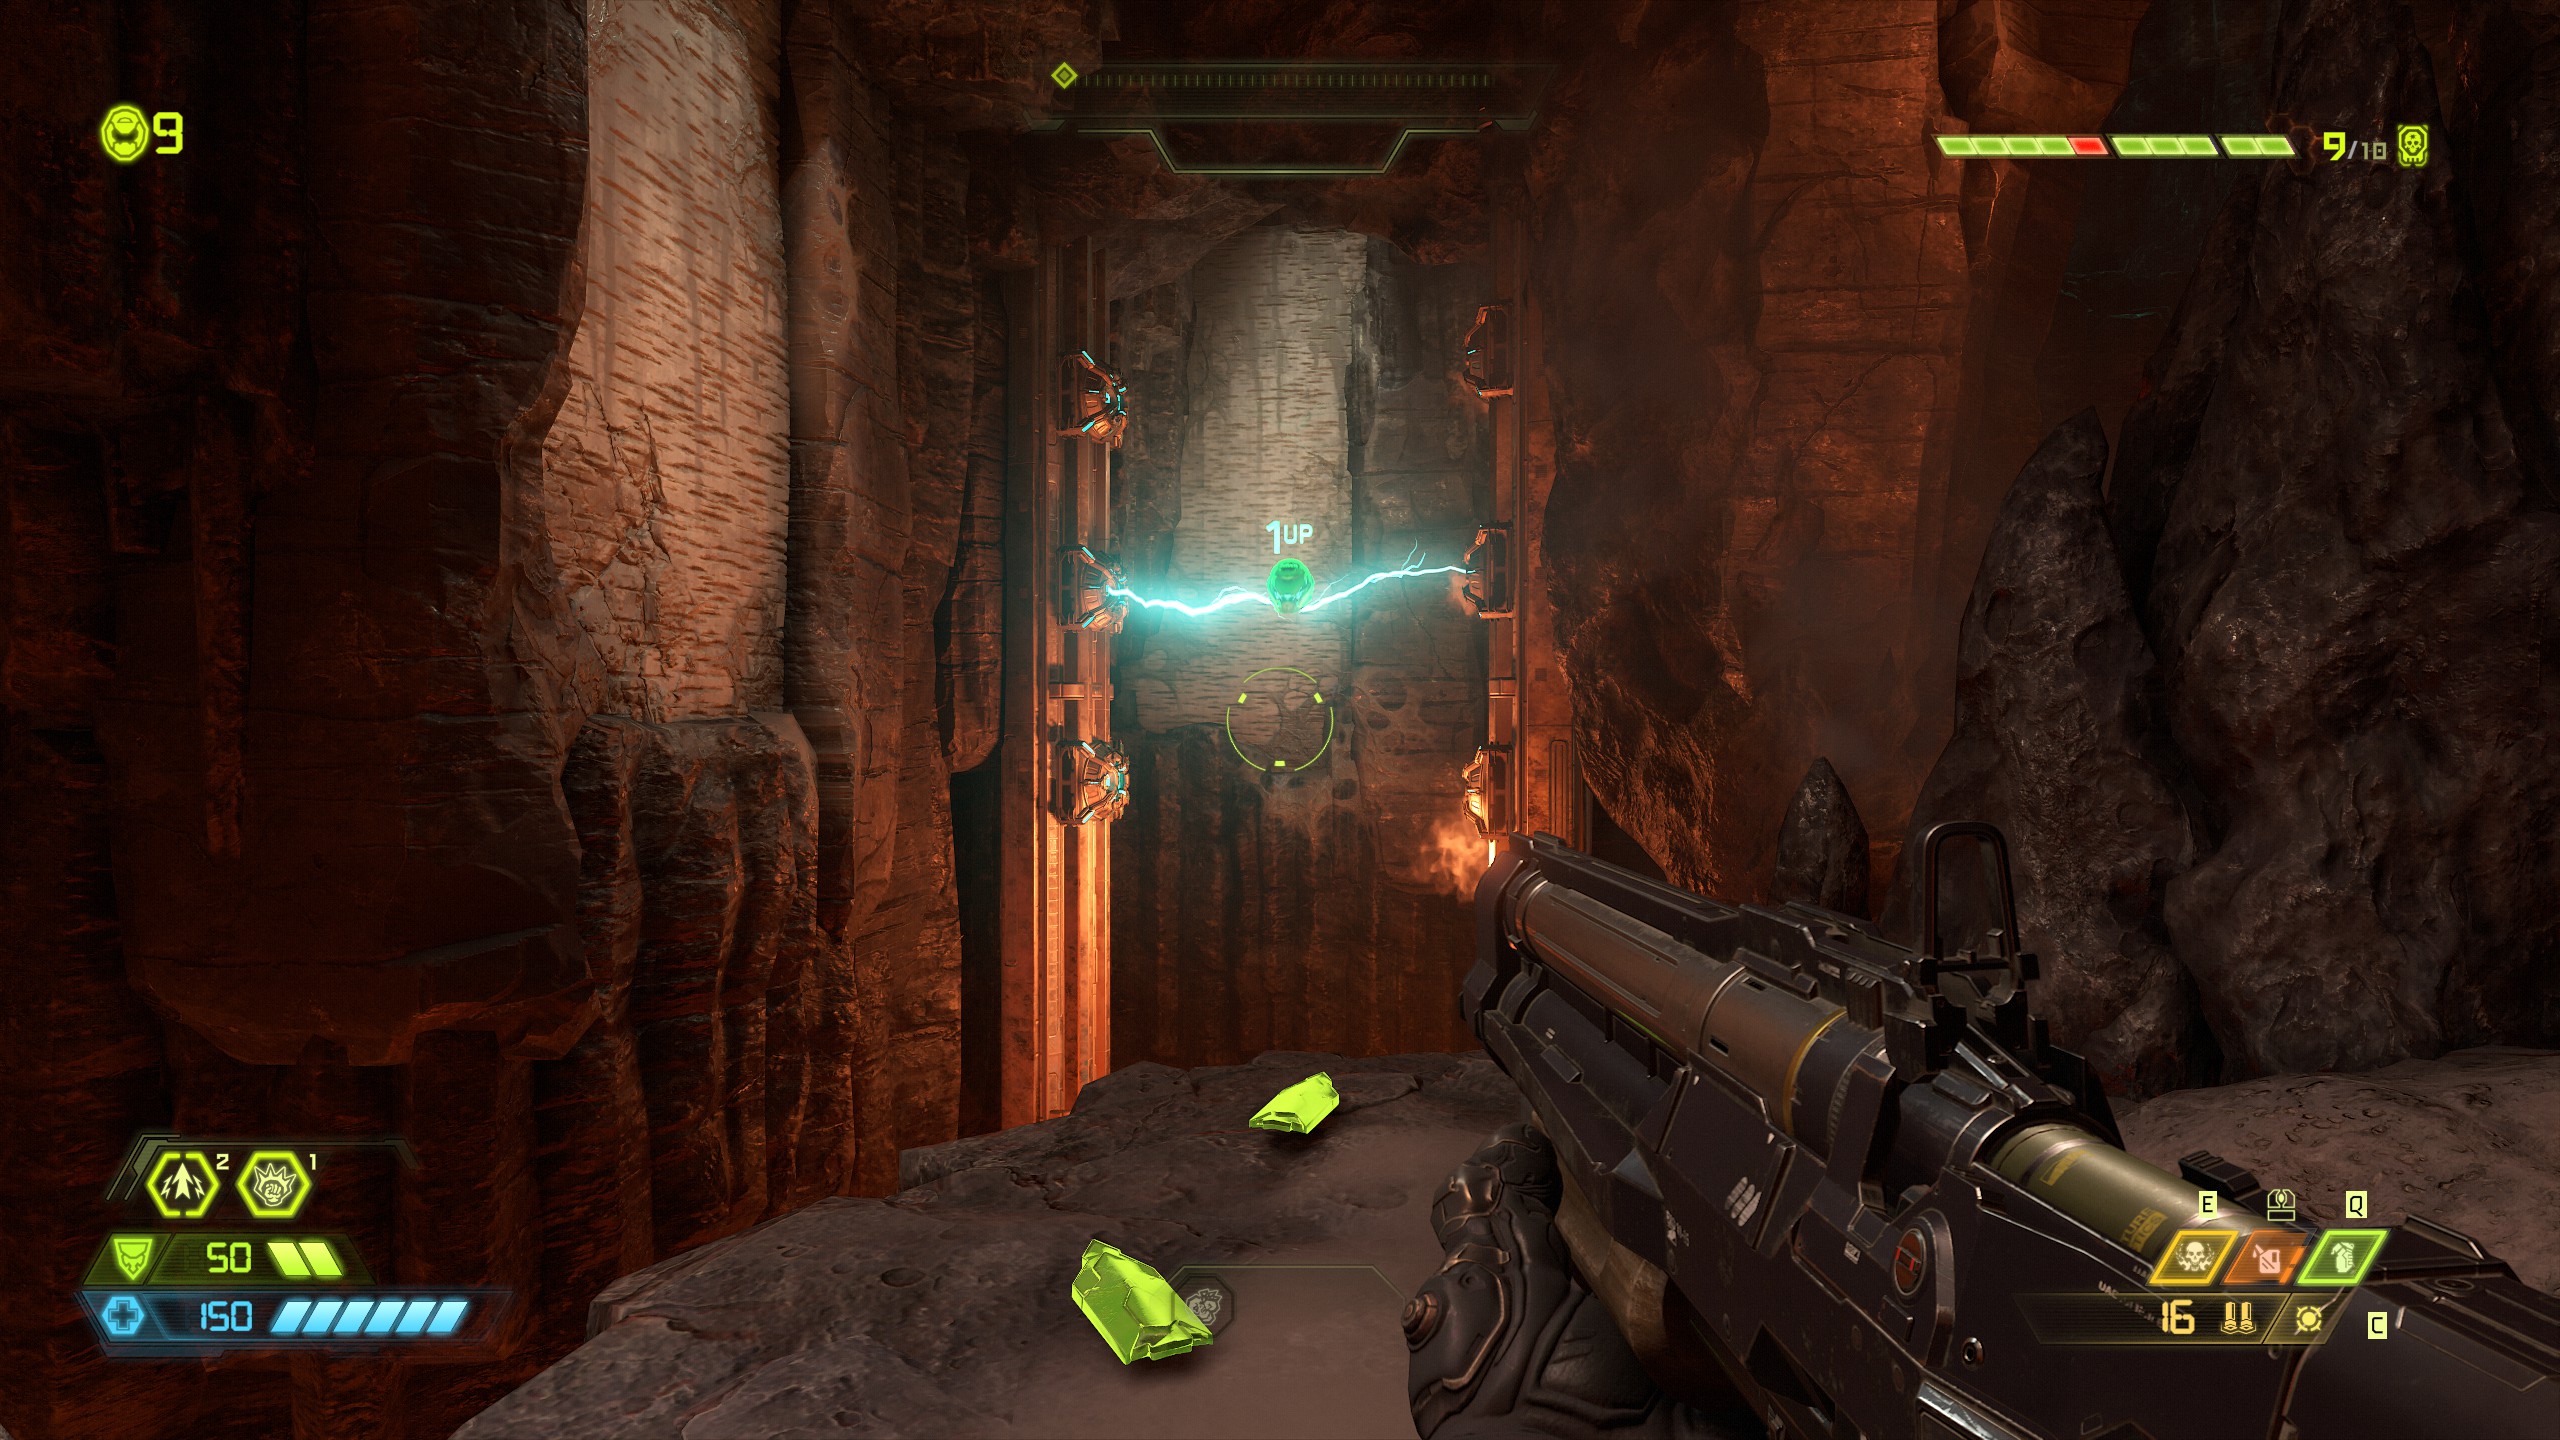
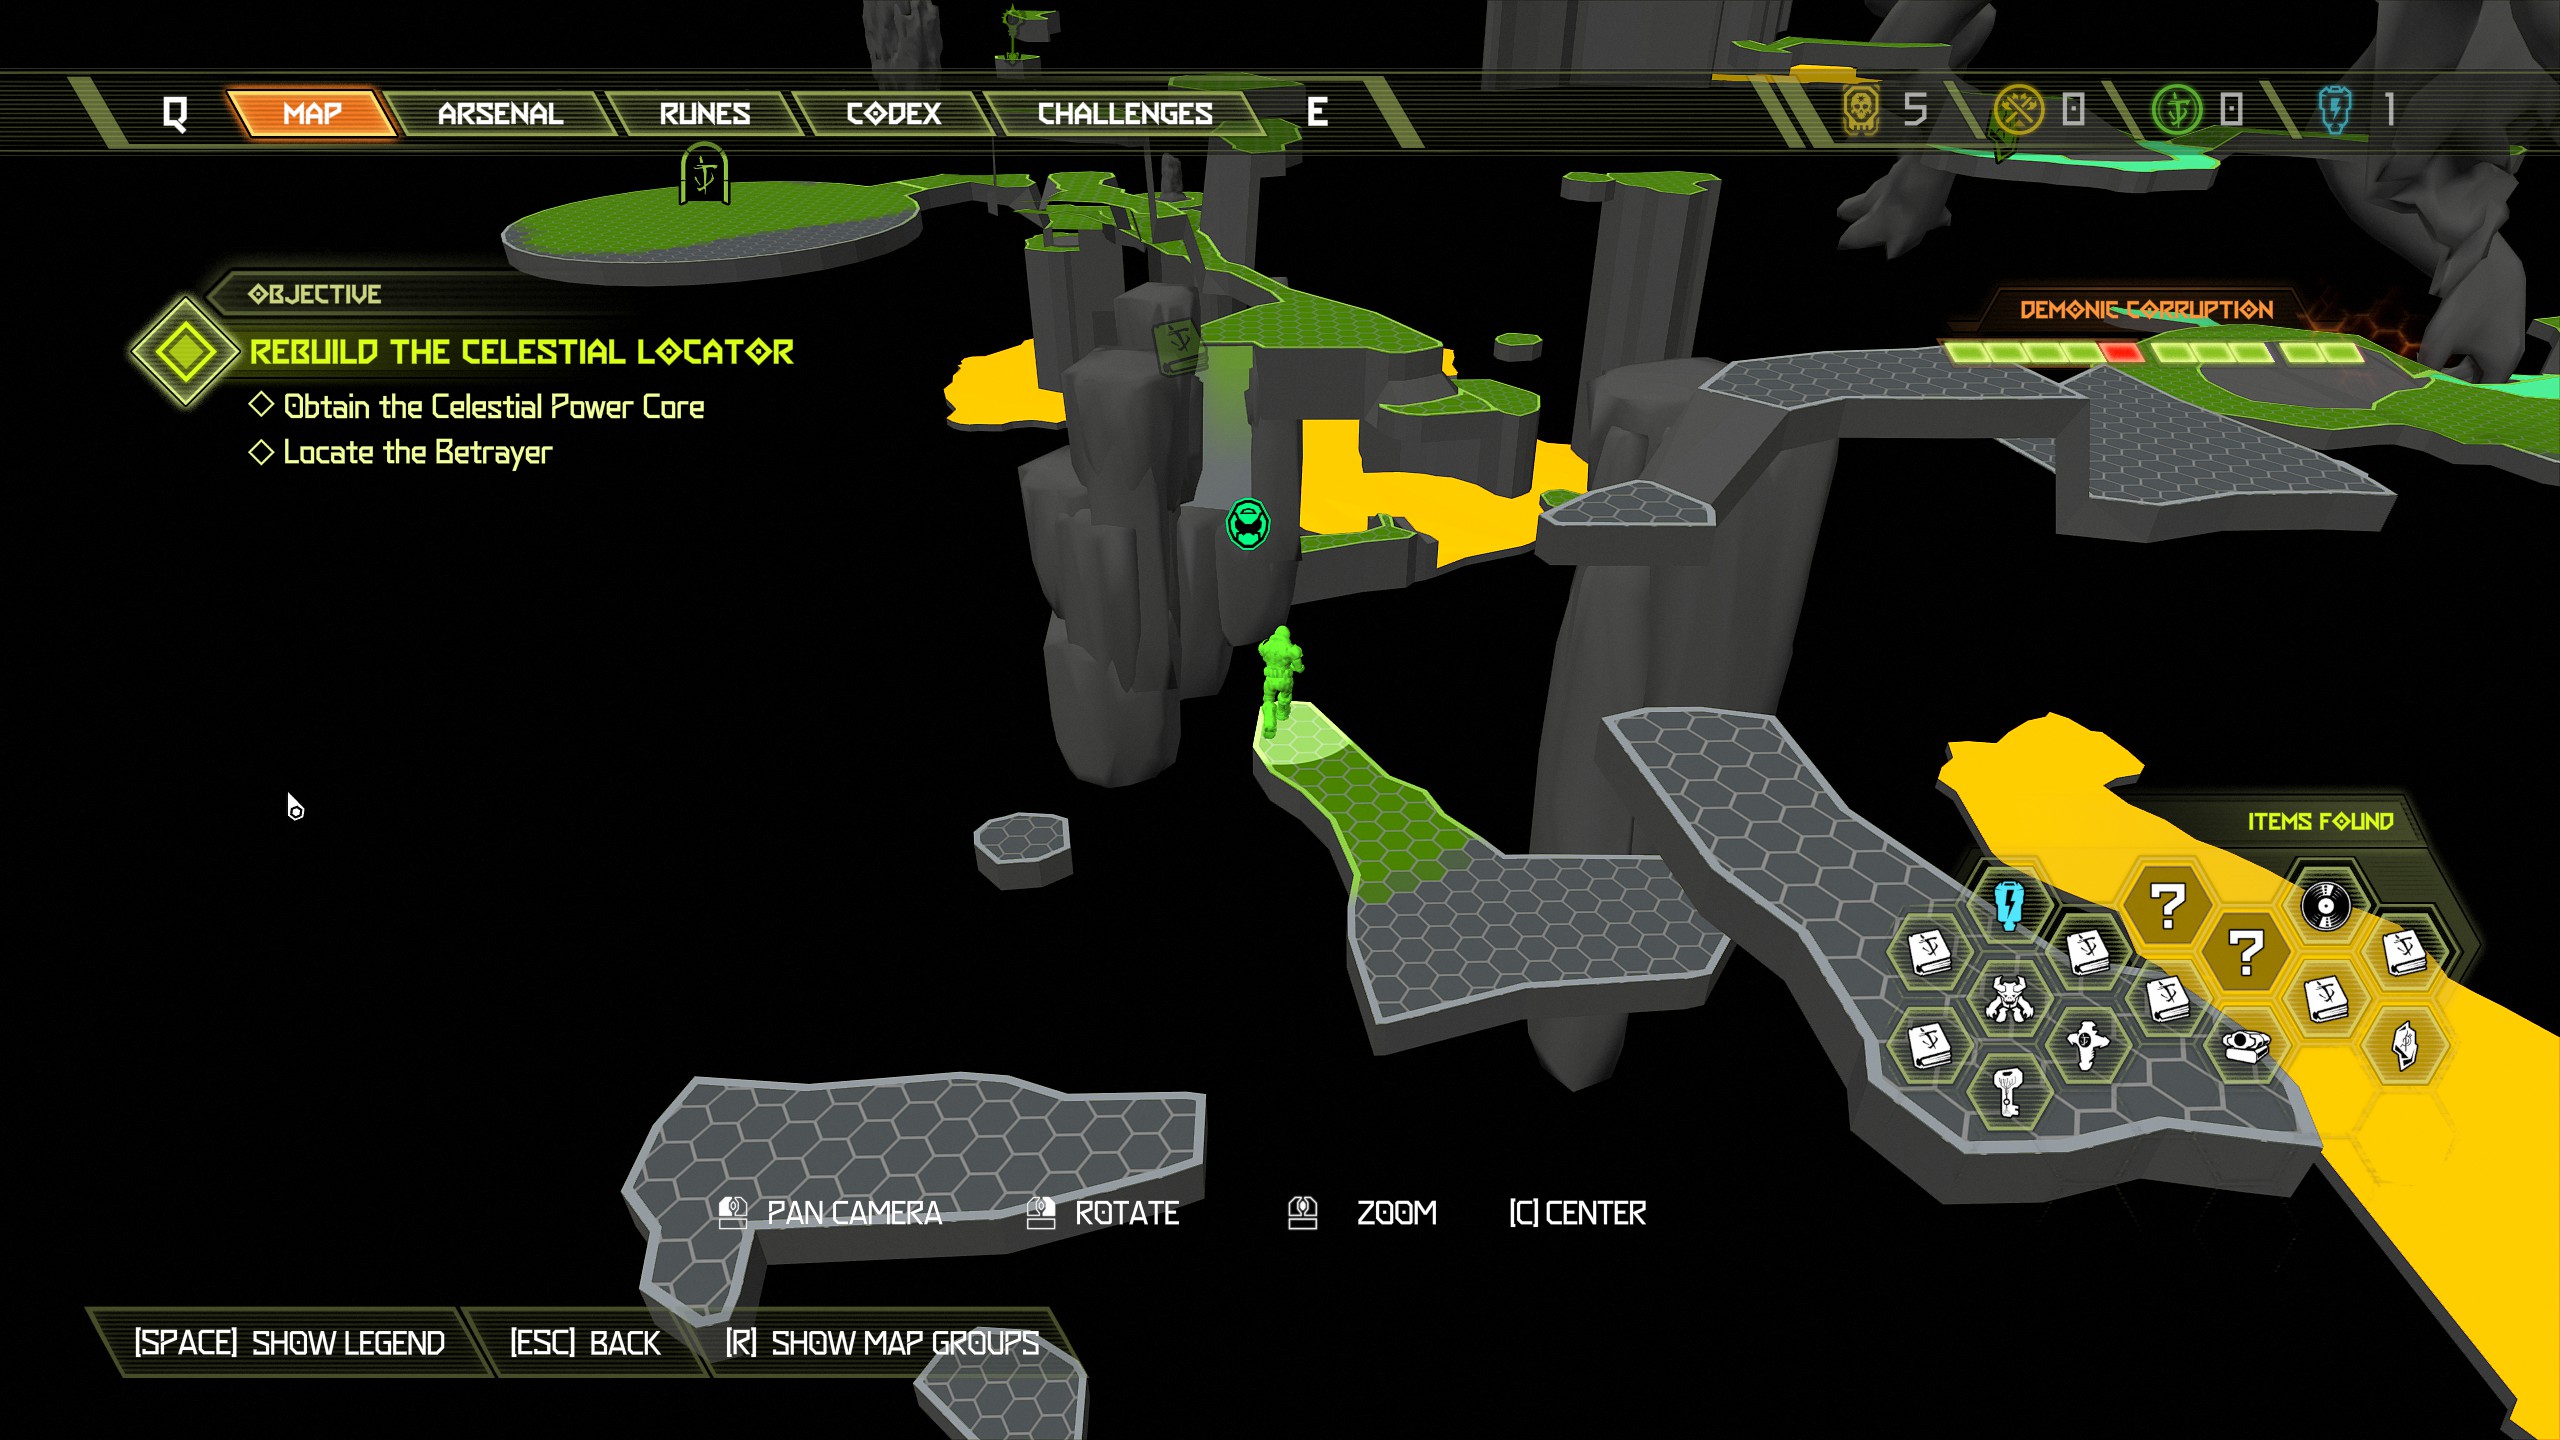
From the same platform look over to the top of the lavafall nearby and jump across, hidden away at the back tucked in the rocks will be a doomtoy.
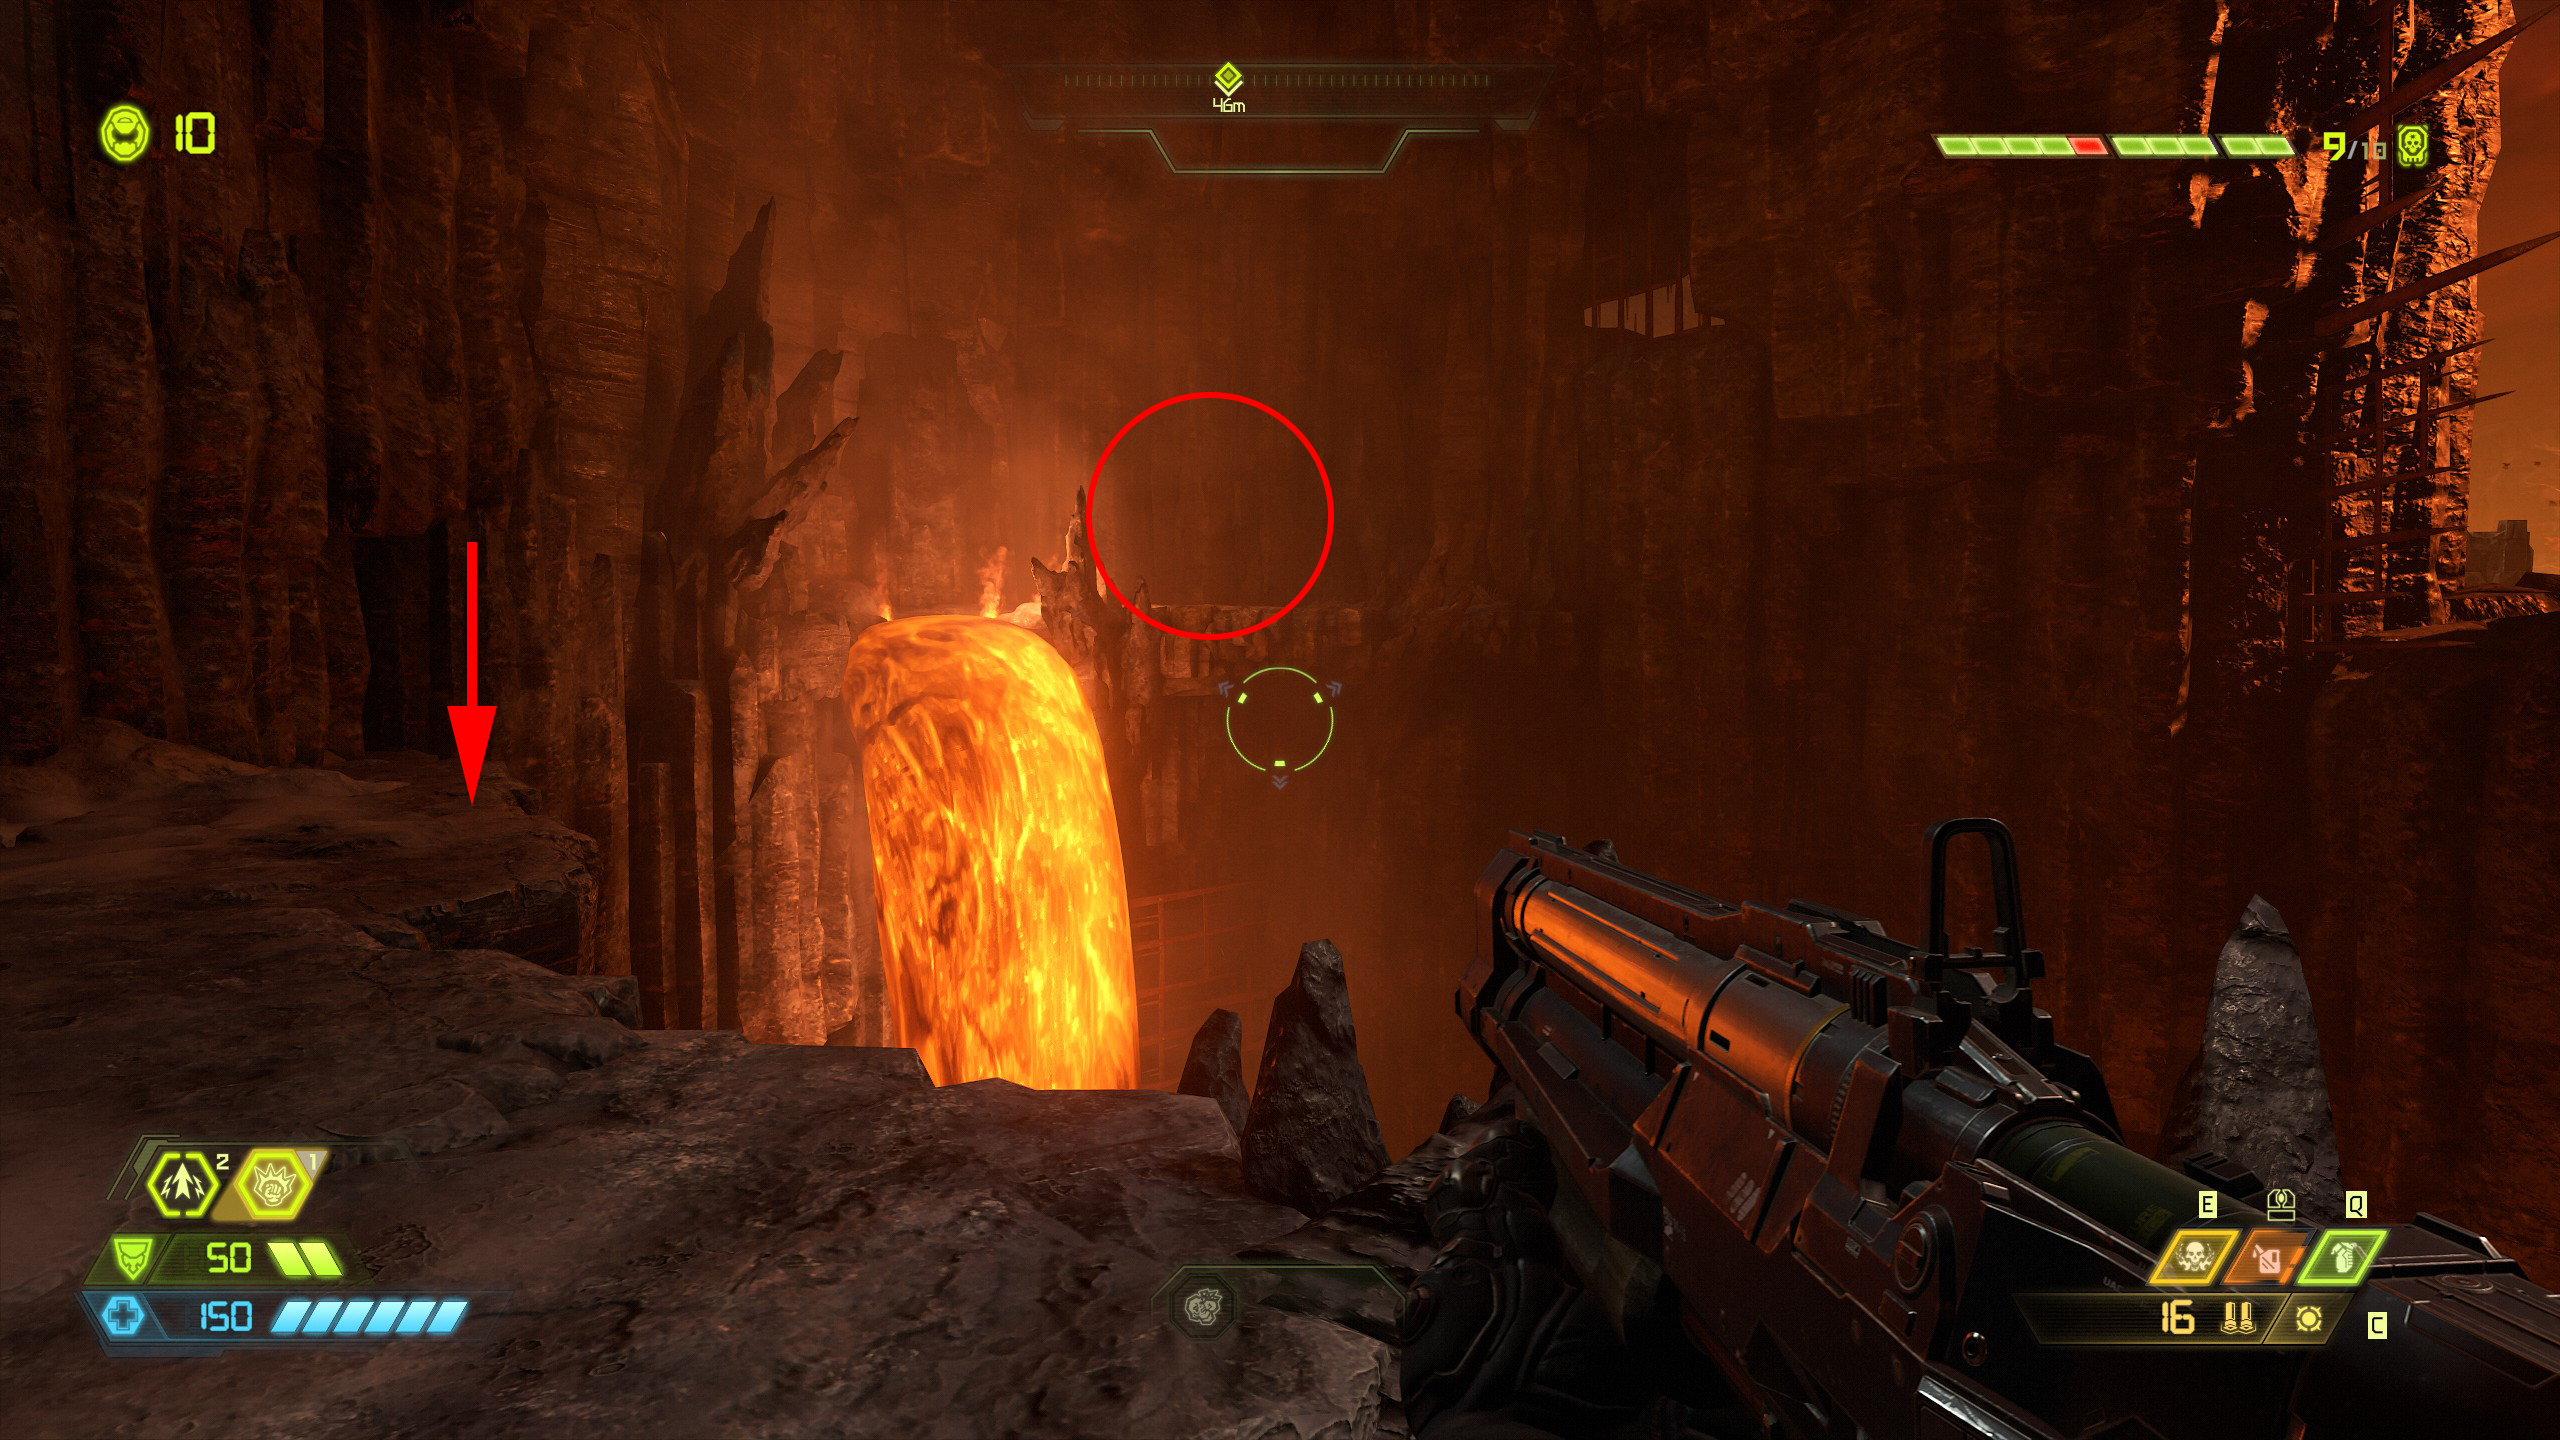
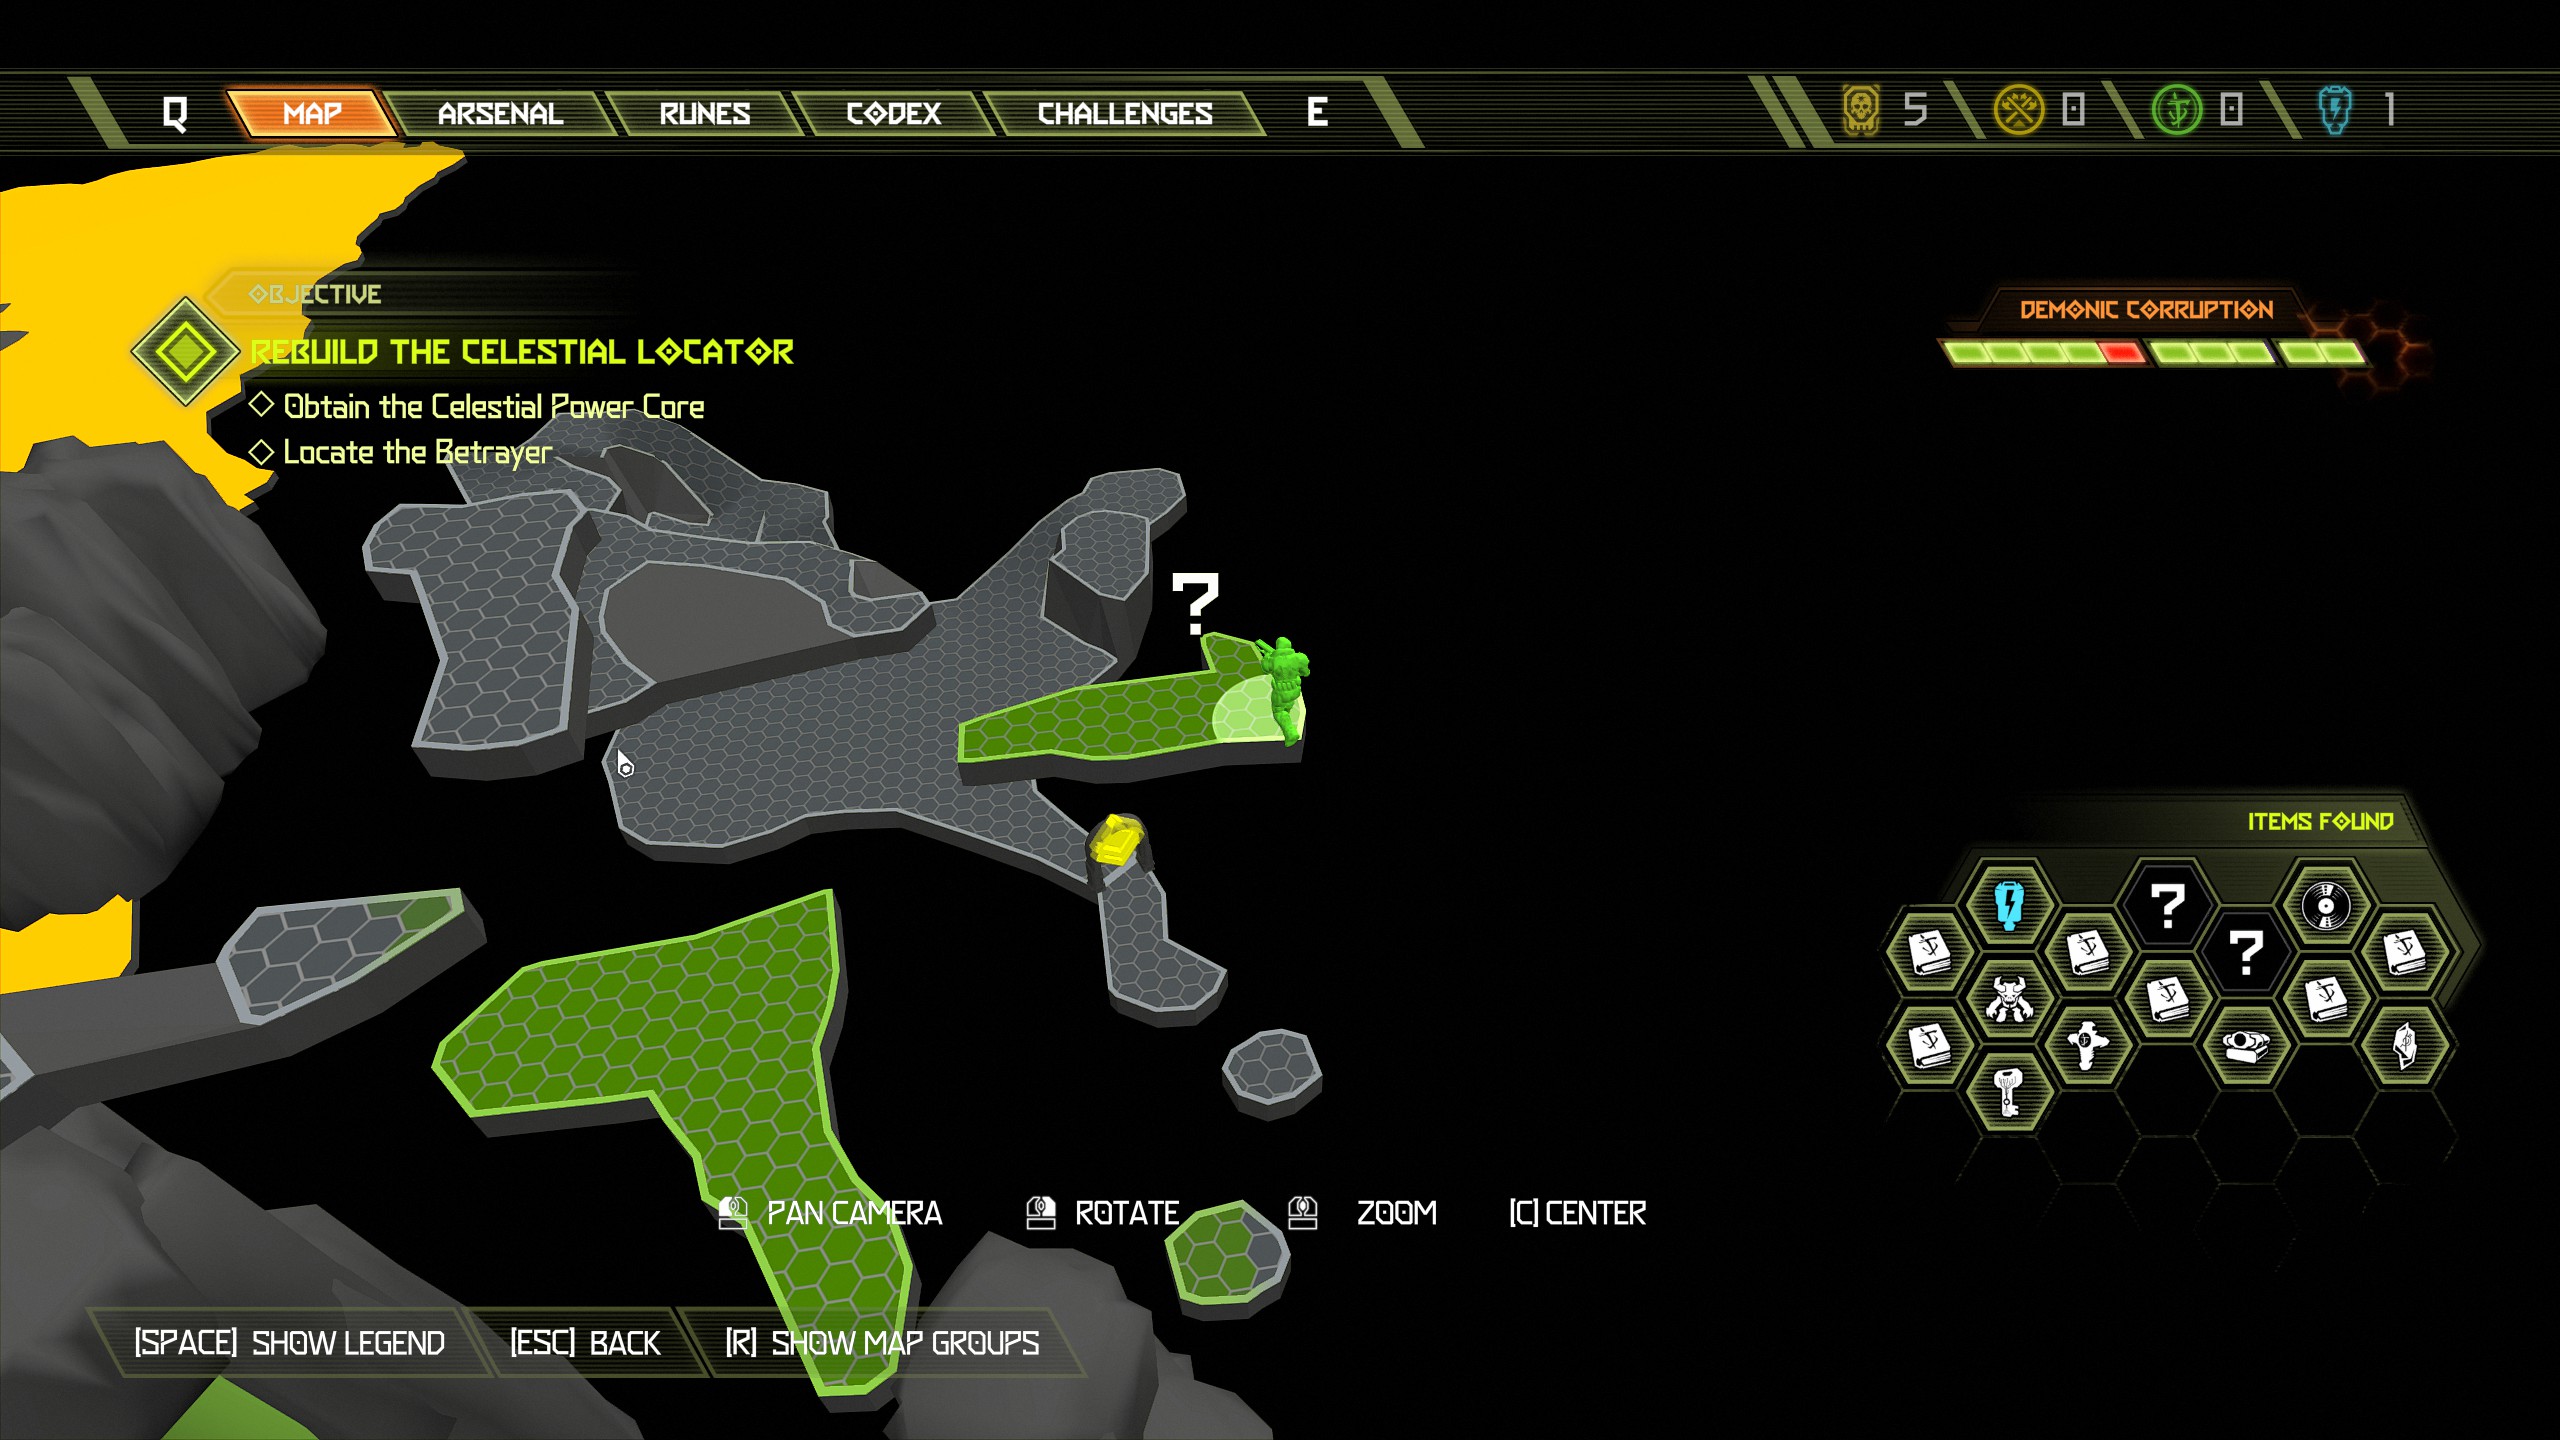
After the cut scene make your way up the stairway and at the top will be a codex page that you can't miss.
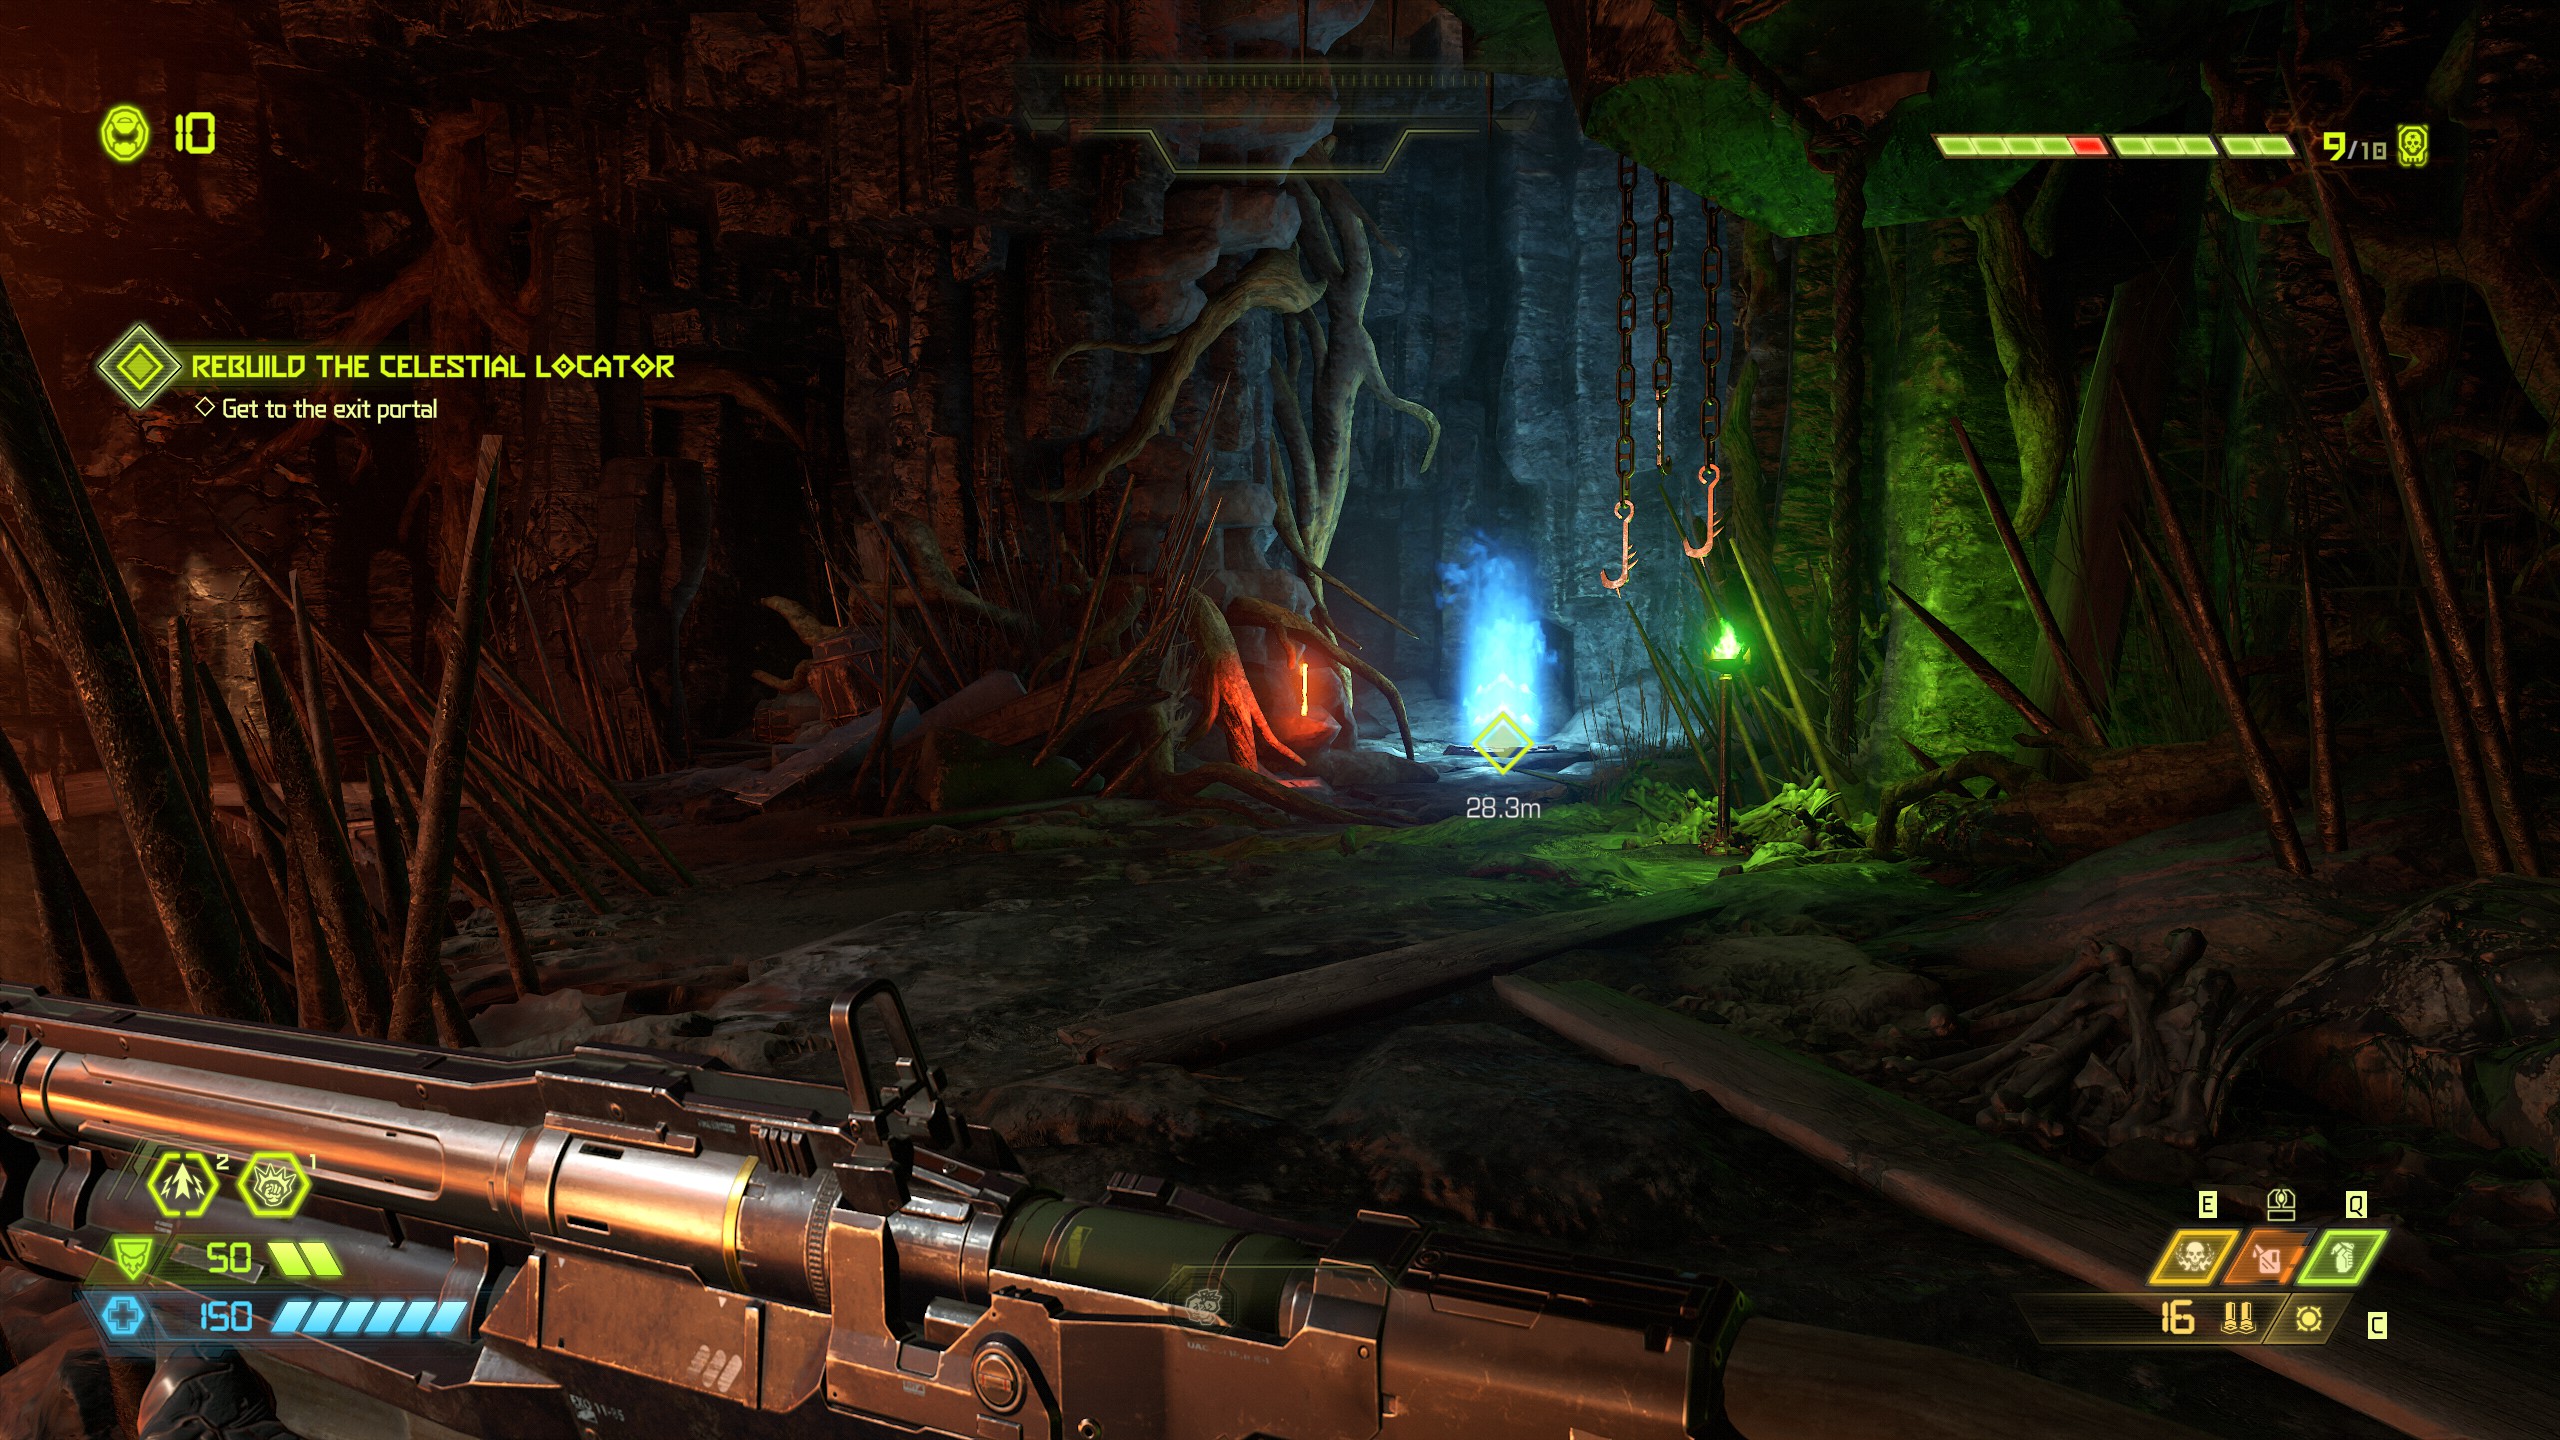
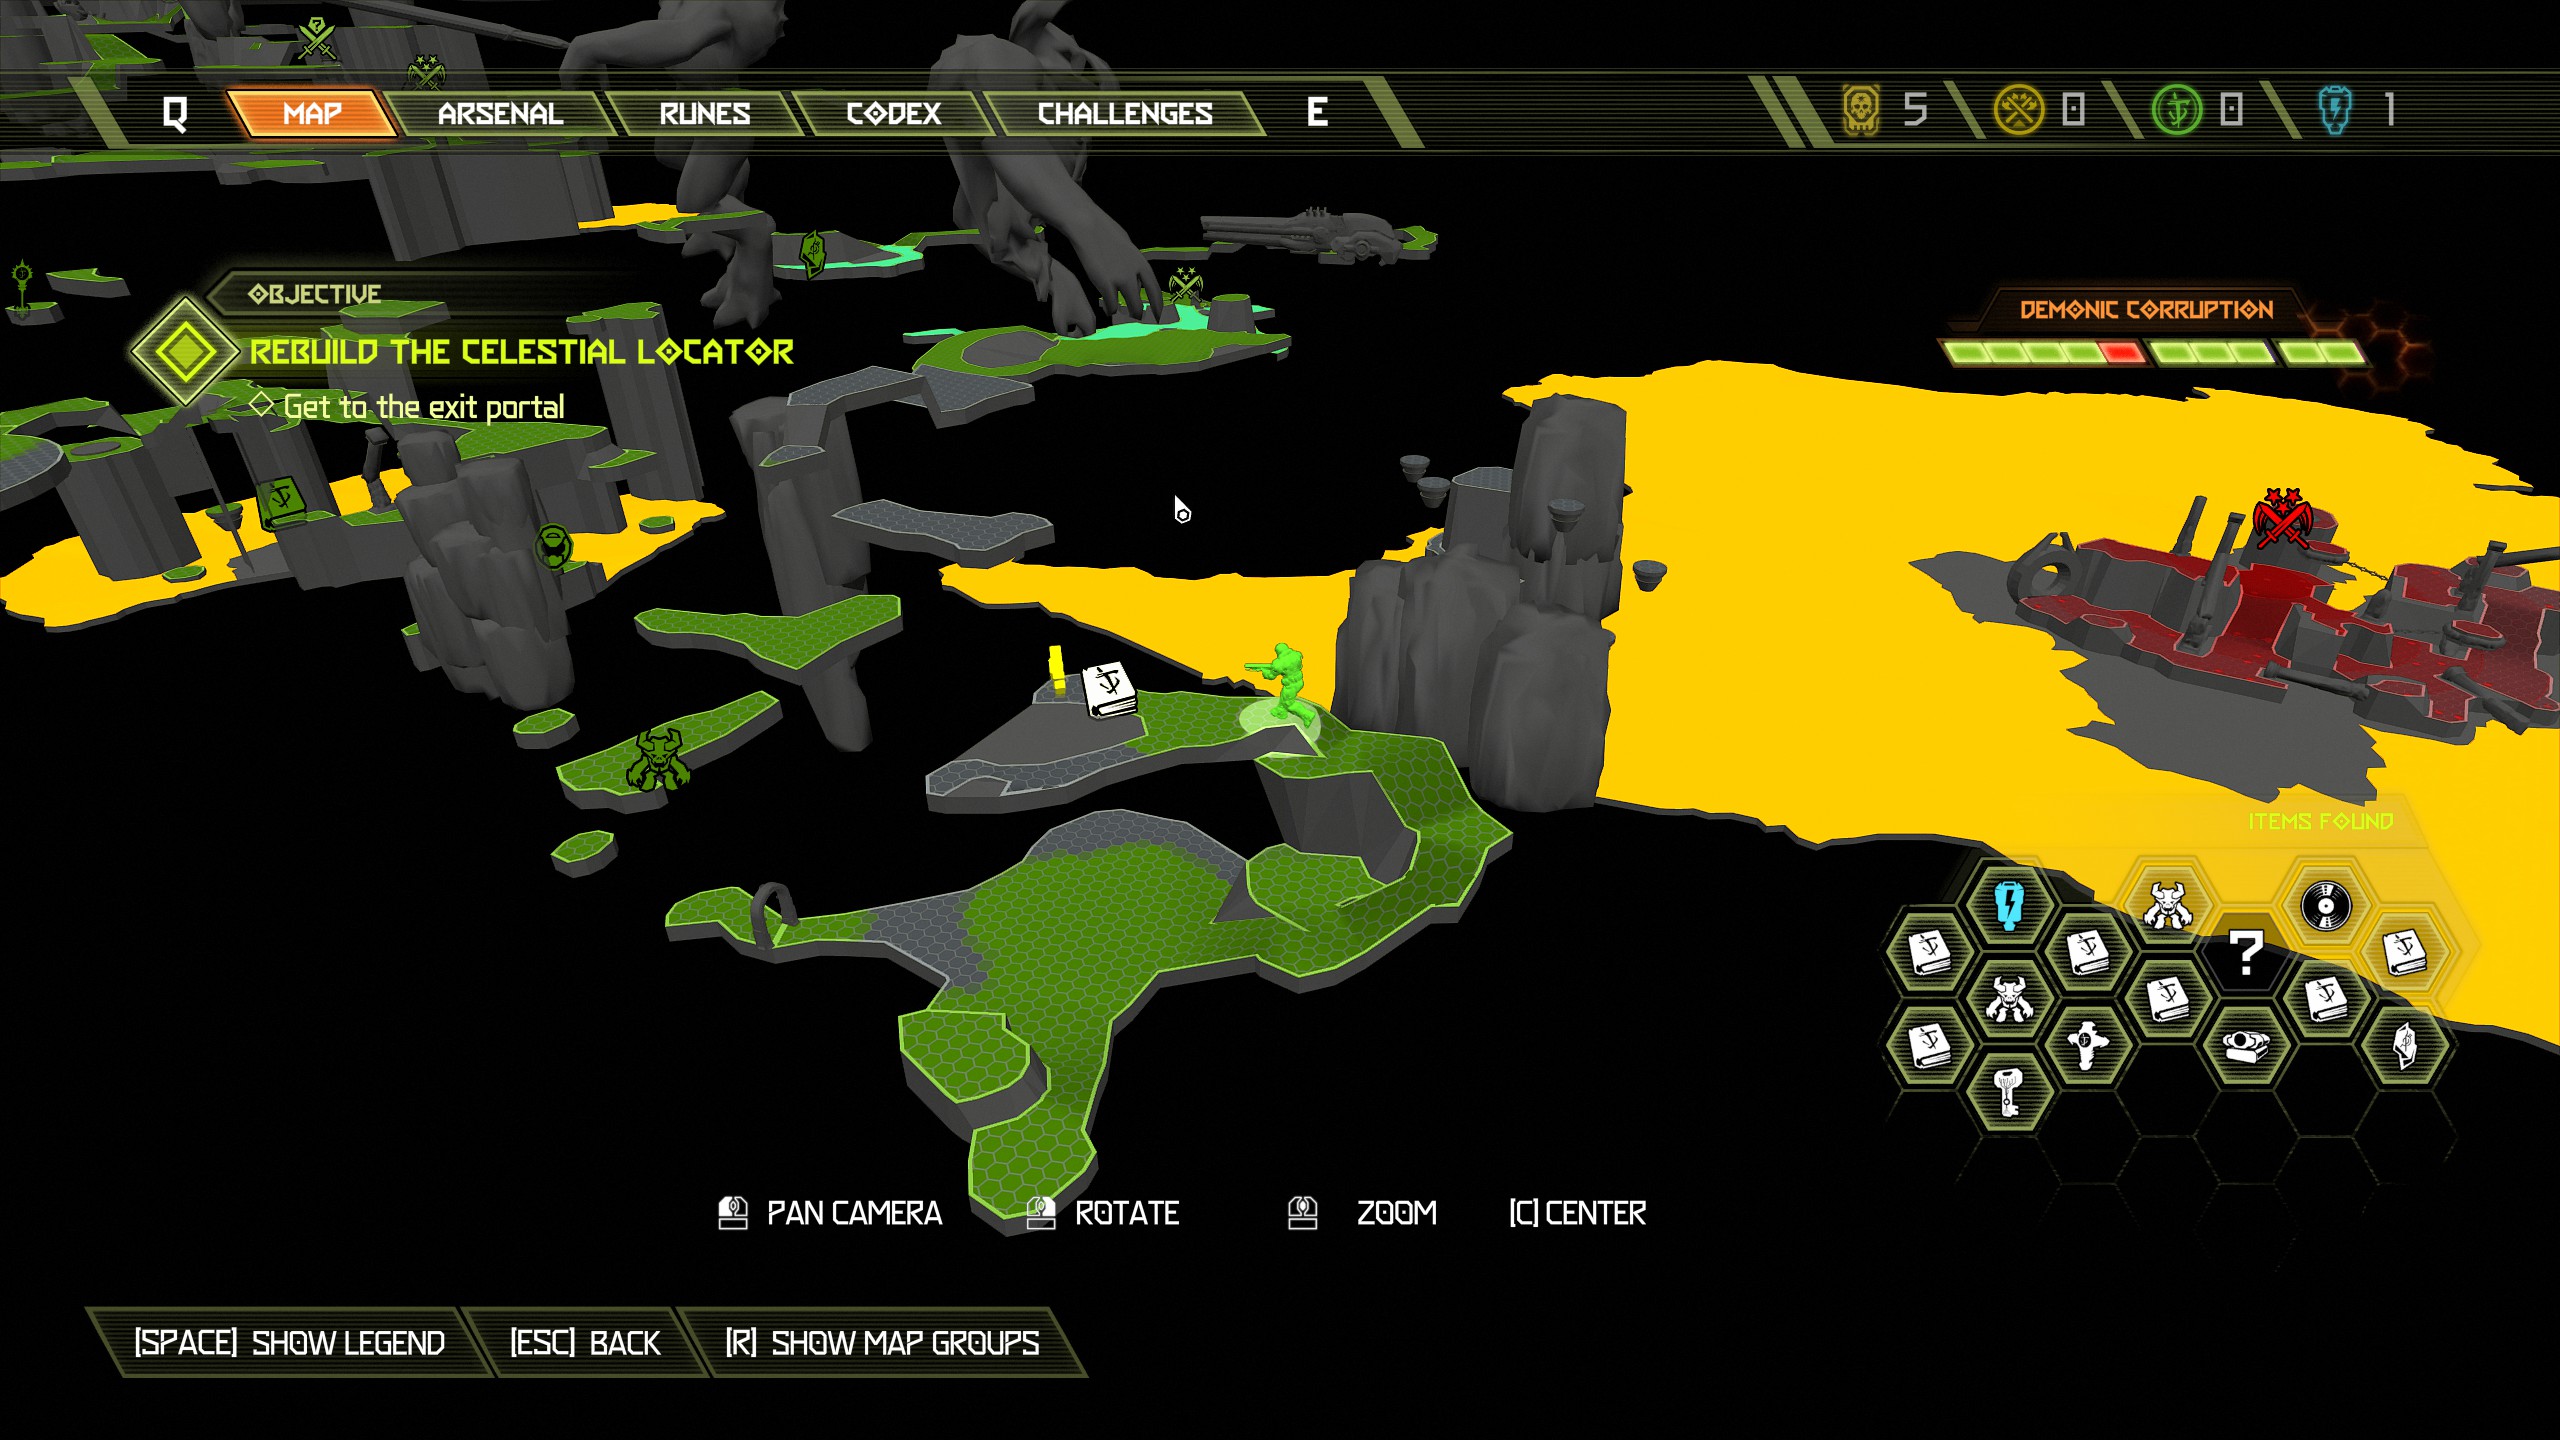
From that solid platform look to the left side of the big rock in front of you and you will see an extra life underneath one of the unstable platforms. Jump across to the large rock and then jump out and collect the extra life. That will complete all items for this mission, continue on along the platforms and kill the demons to activate fast travel and/or complete the mission.
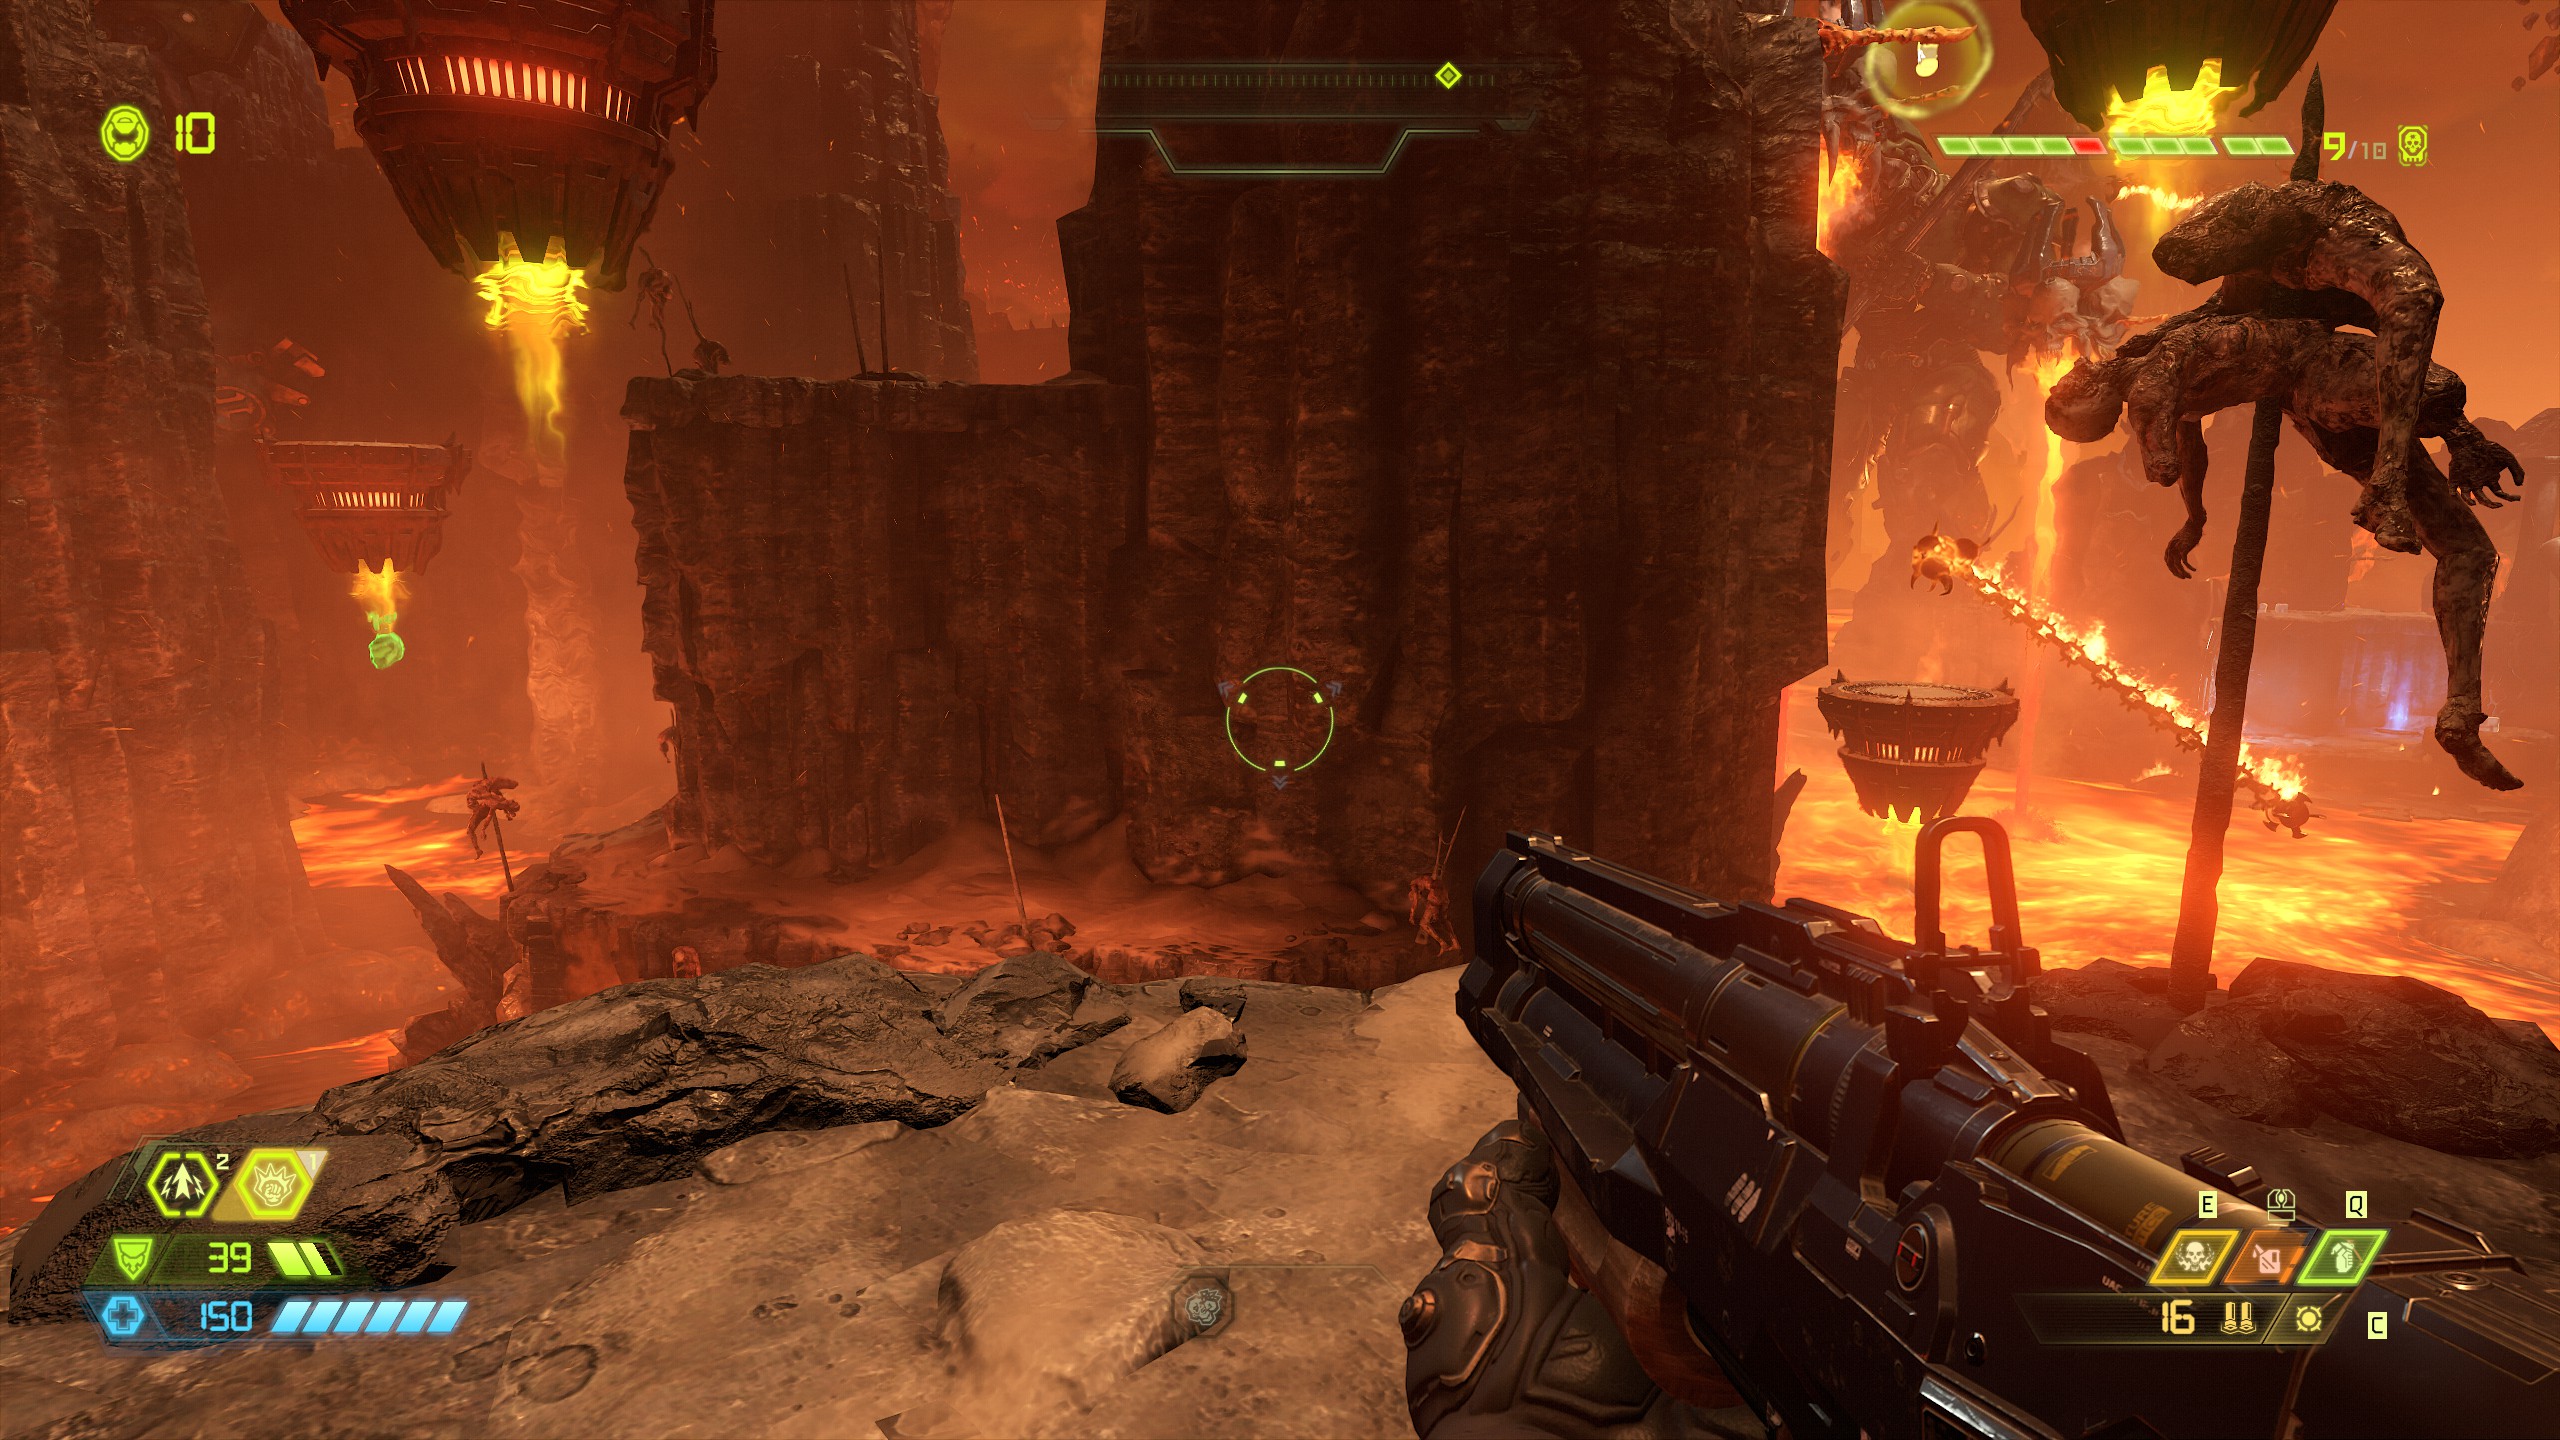
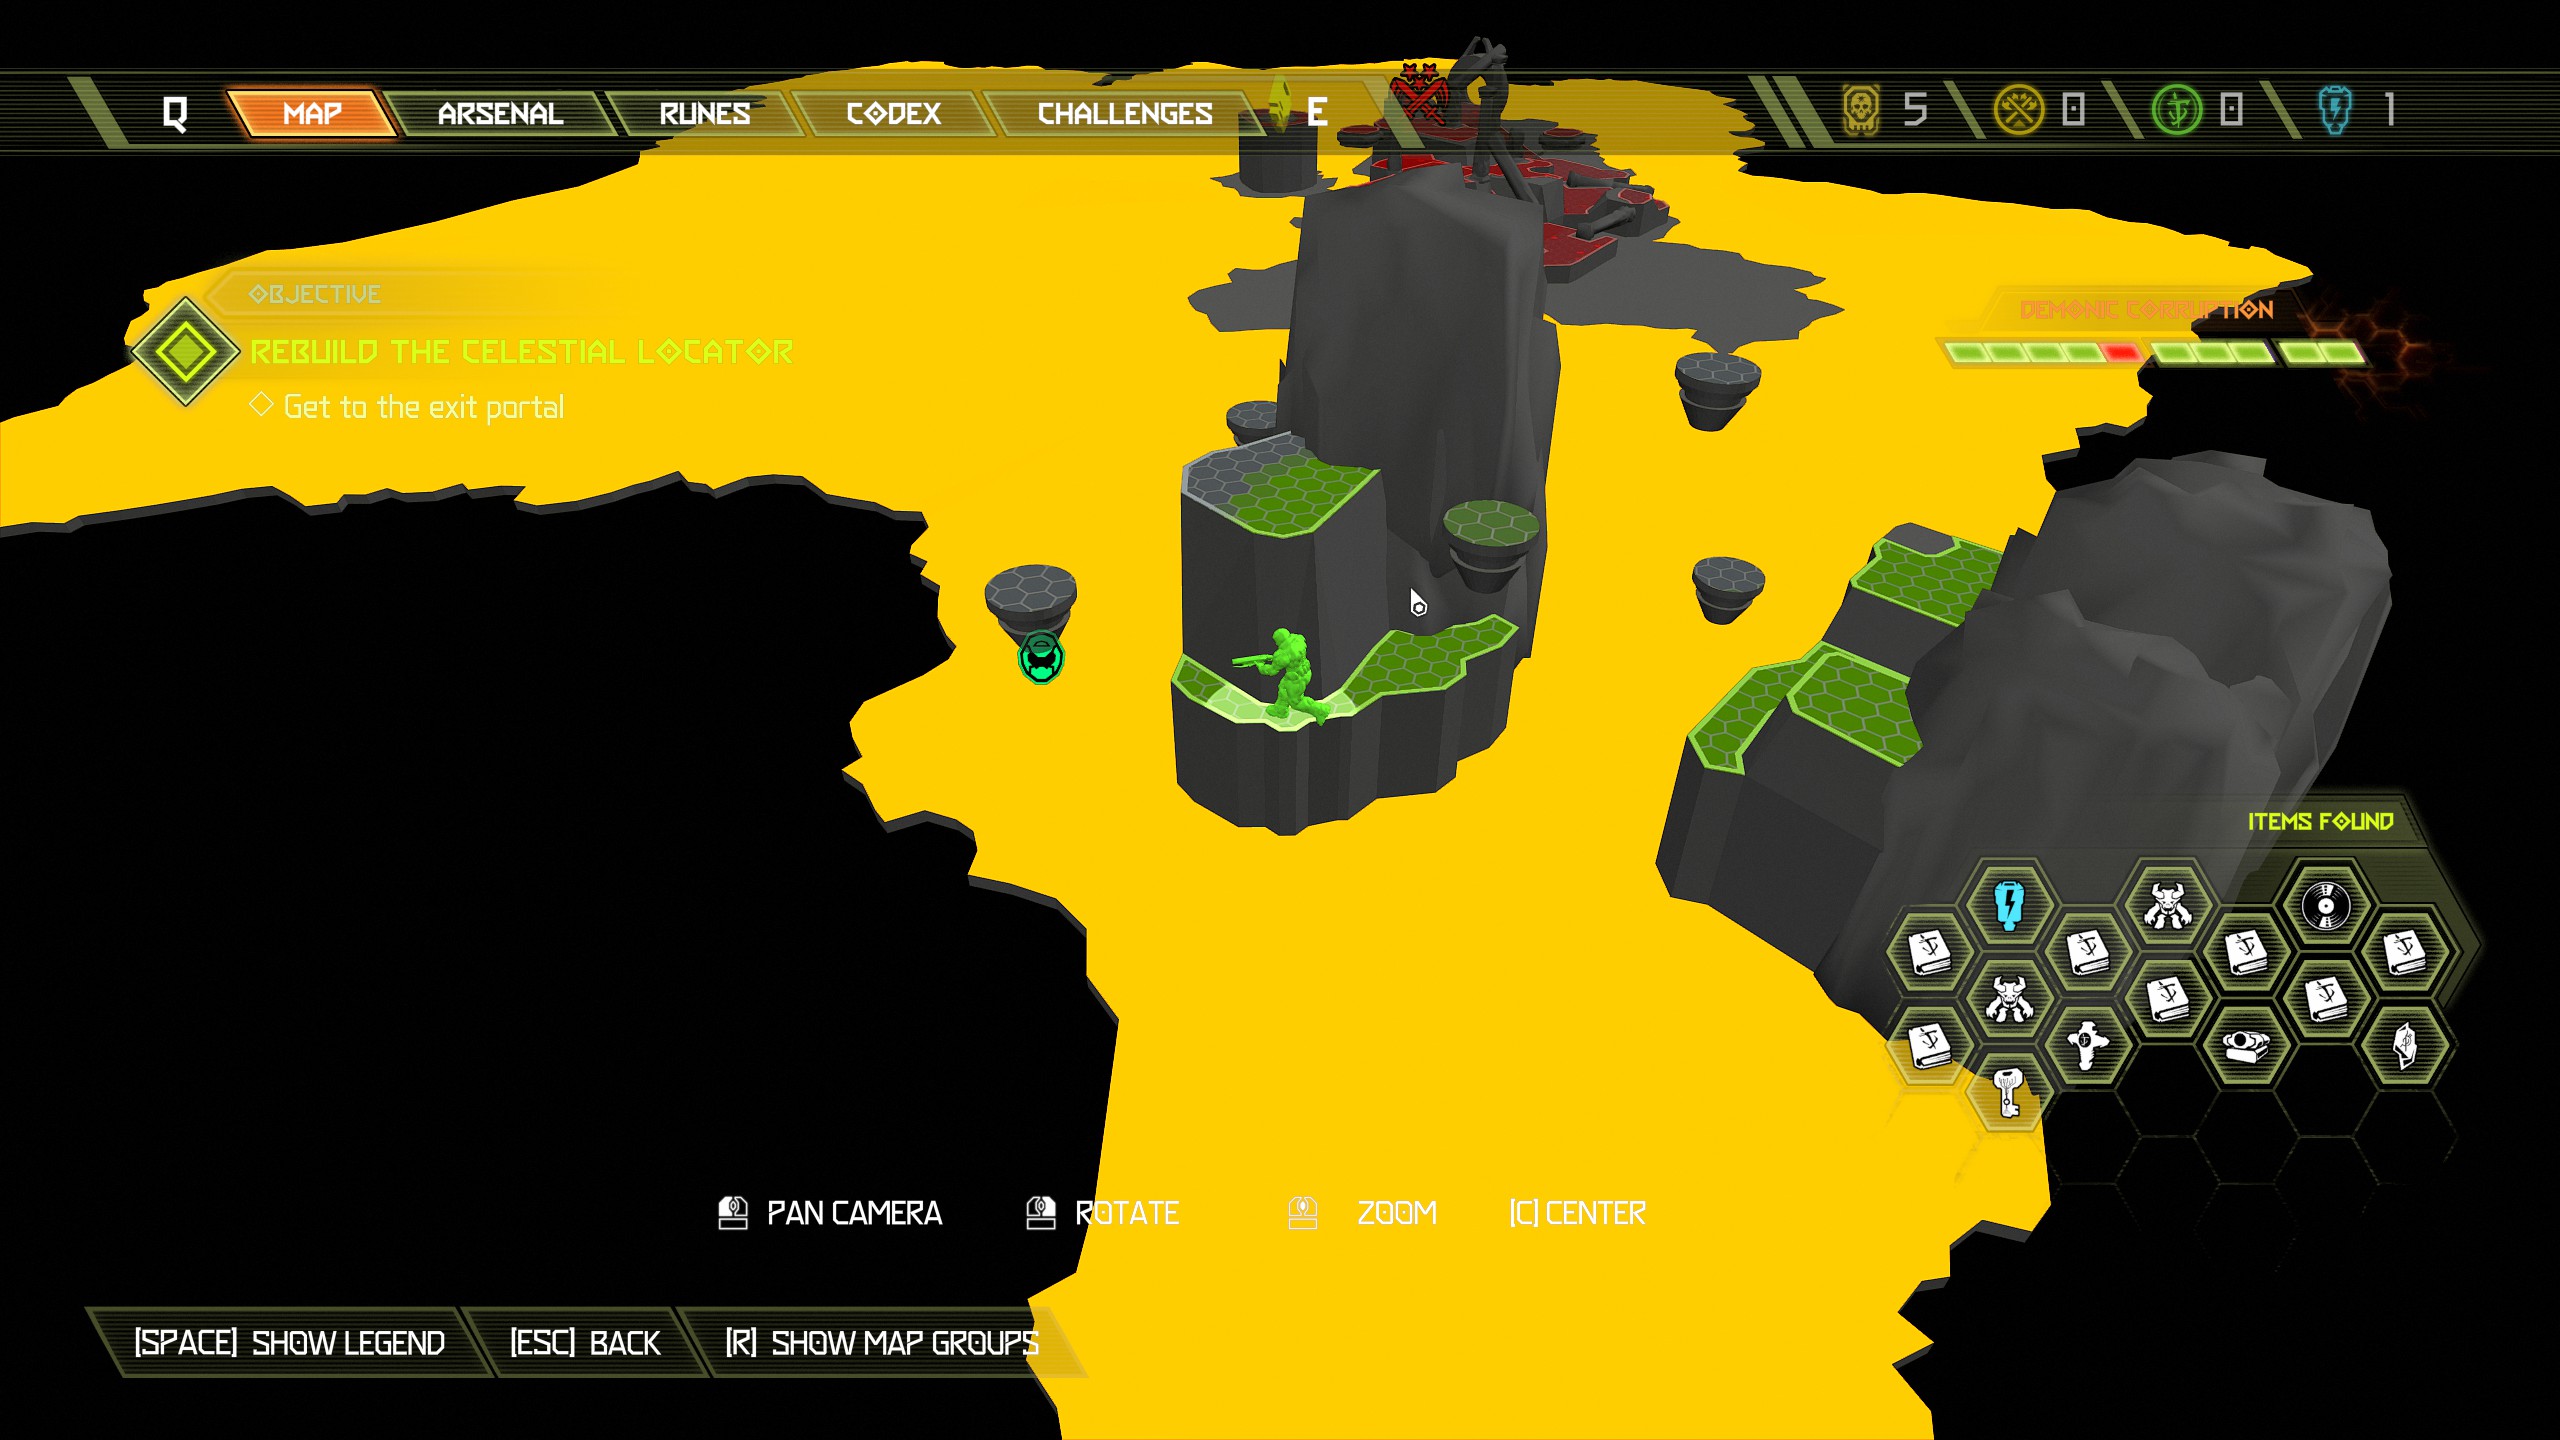
Time to head back to the fortress of doom.
Fortress of Doom [Part 2]
NOTE: We are back at the fortress and are able to collect a few more items and check out our home that little bit more. Keep on track with the guide and you shouldn't miss anything. Current items available:
- 1 Praetor Suit Token
- 1 Codex Page
- 1 Secret
- 1 Broadcast Log
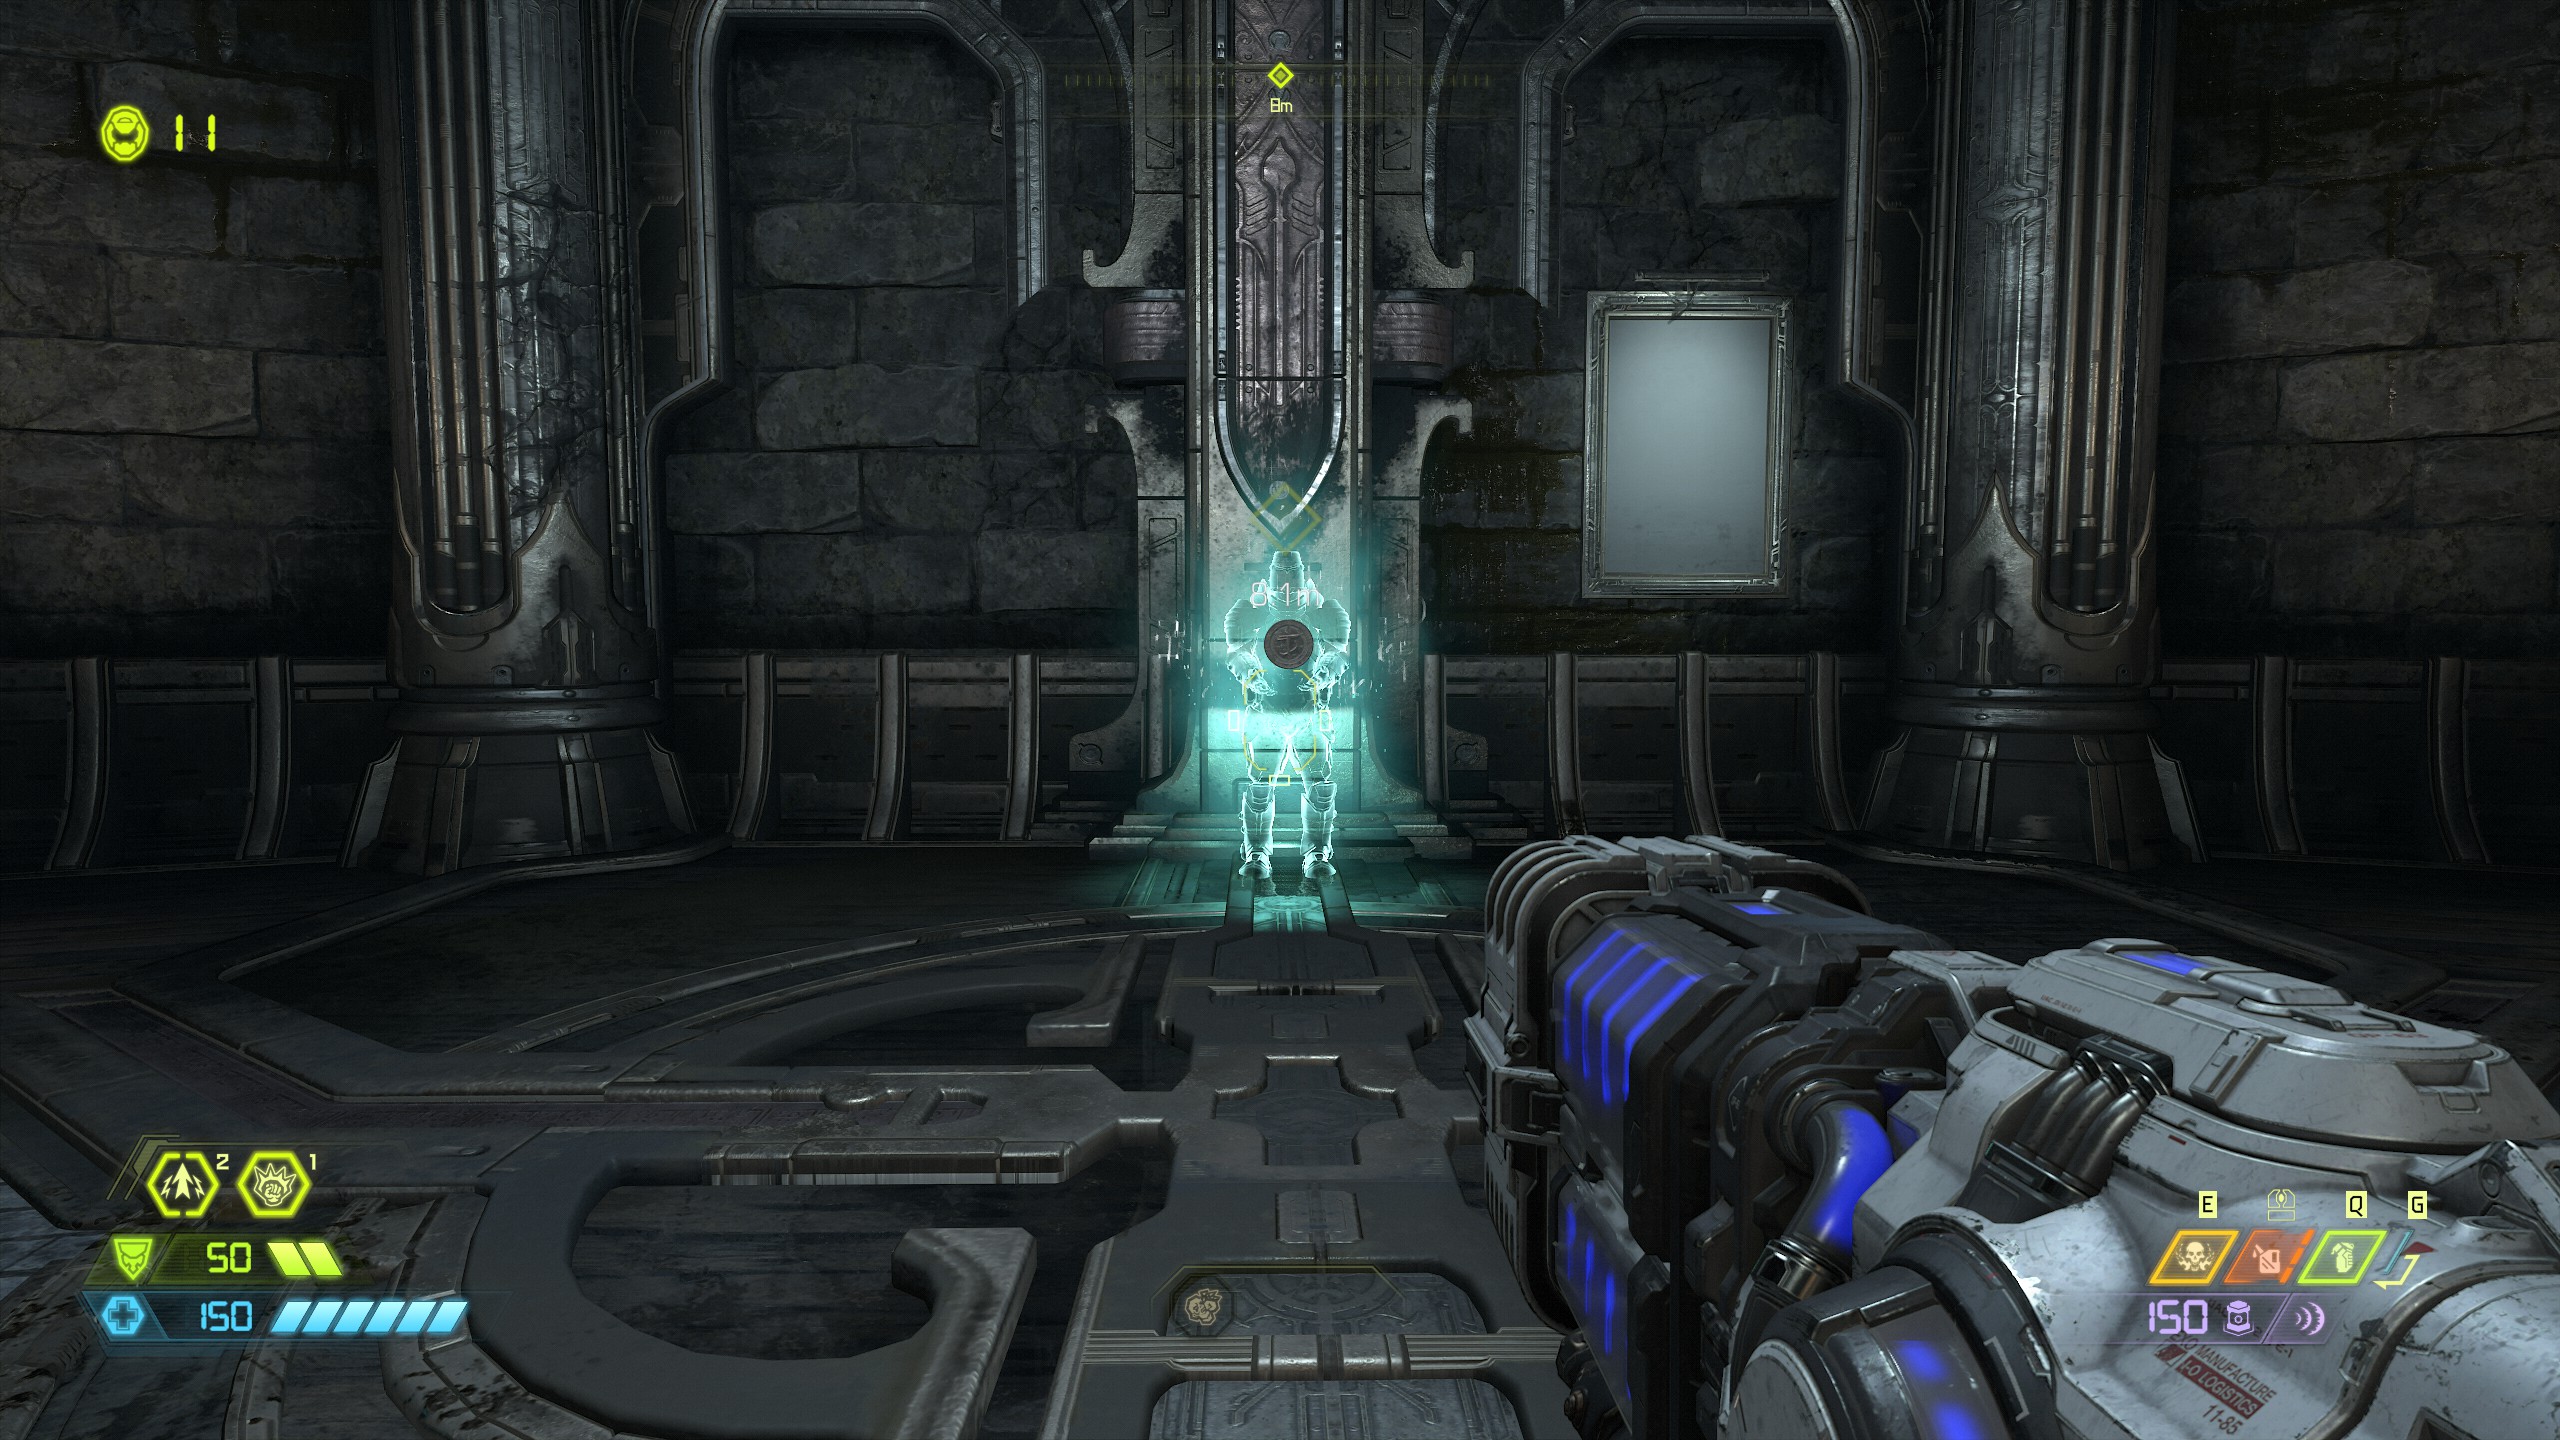
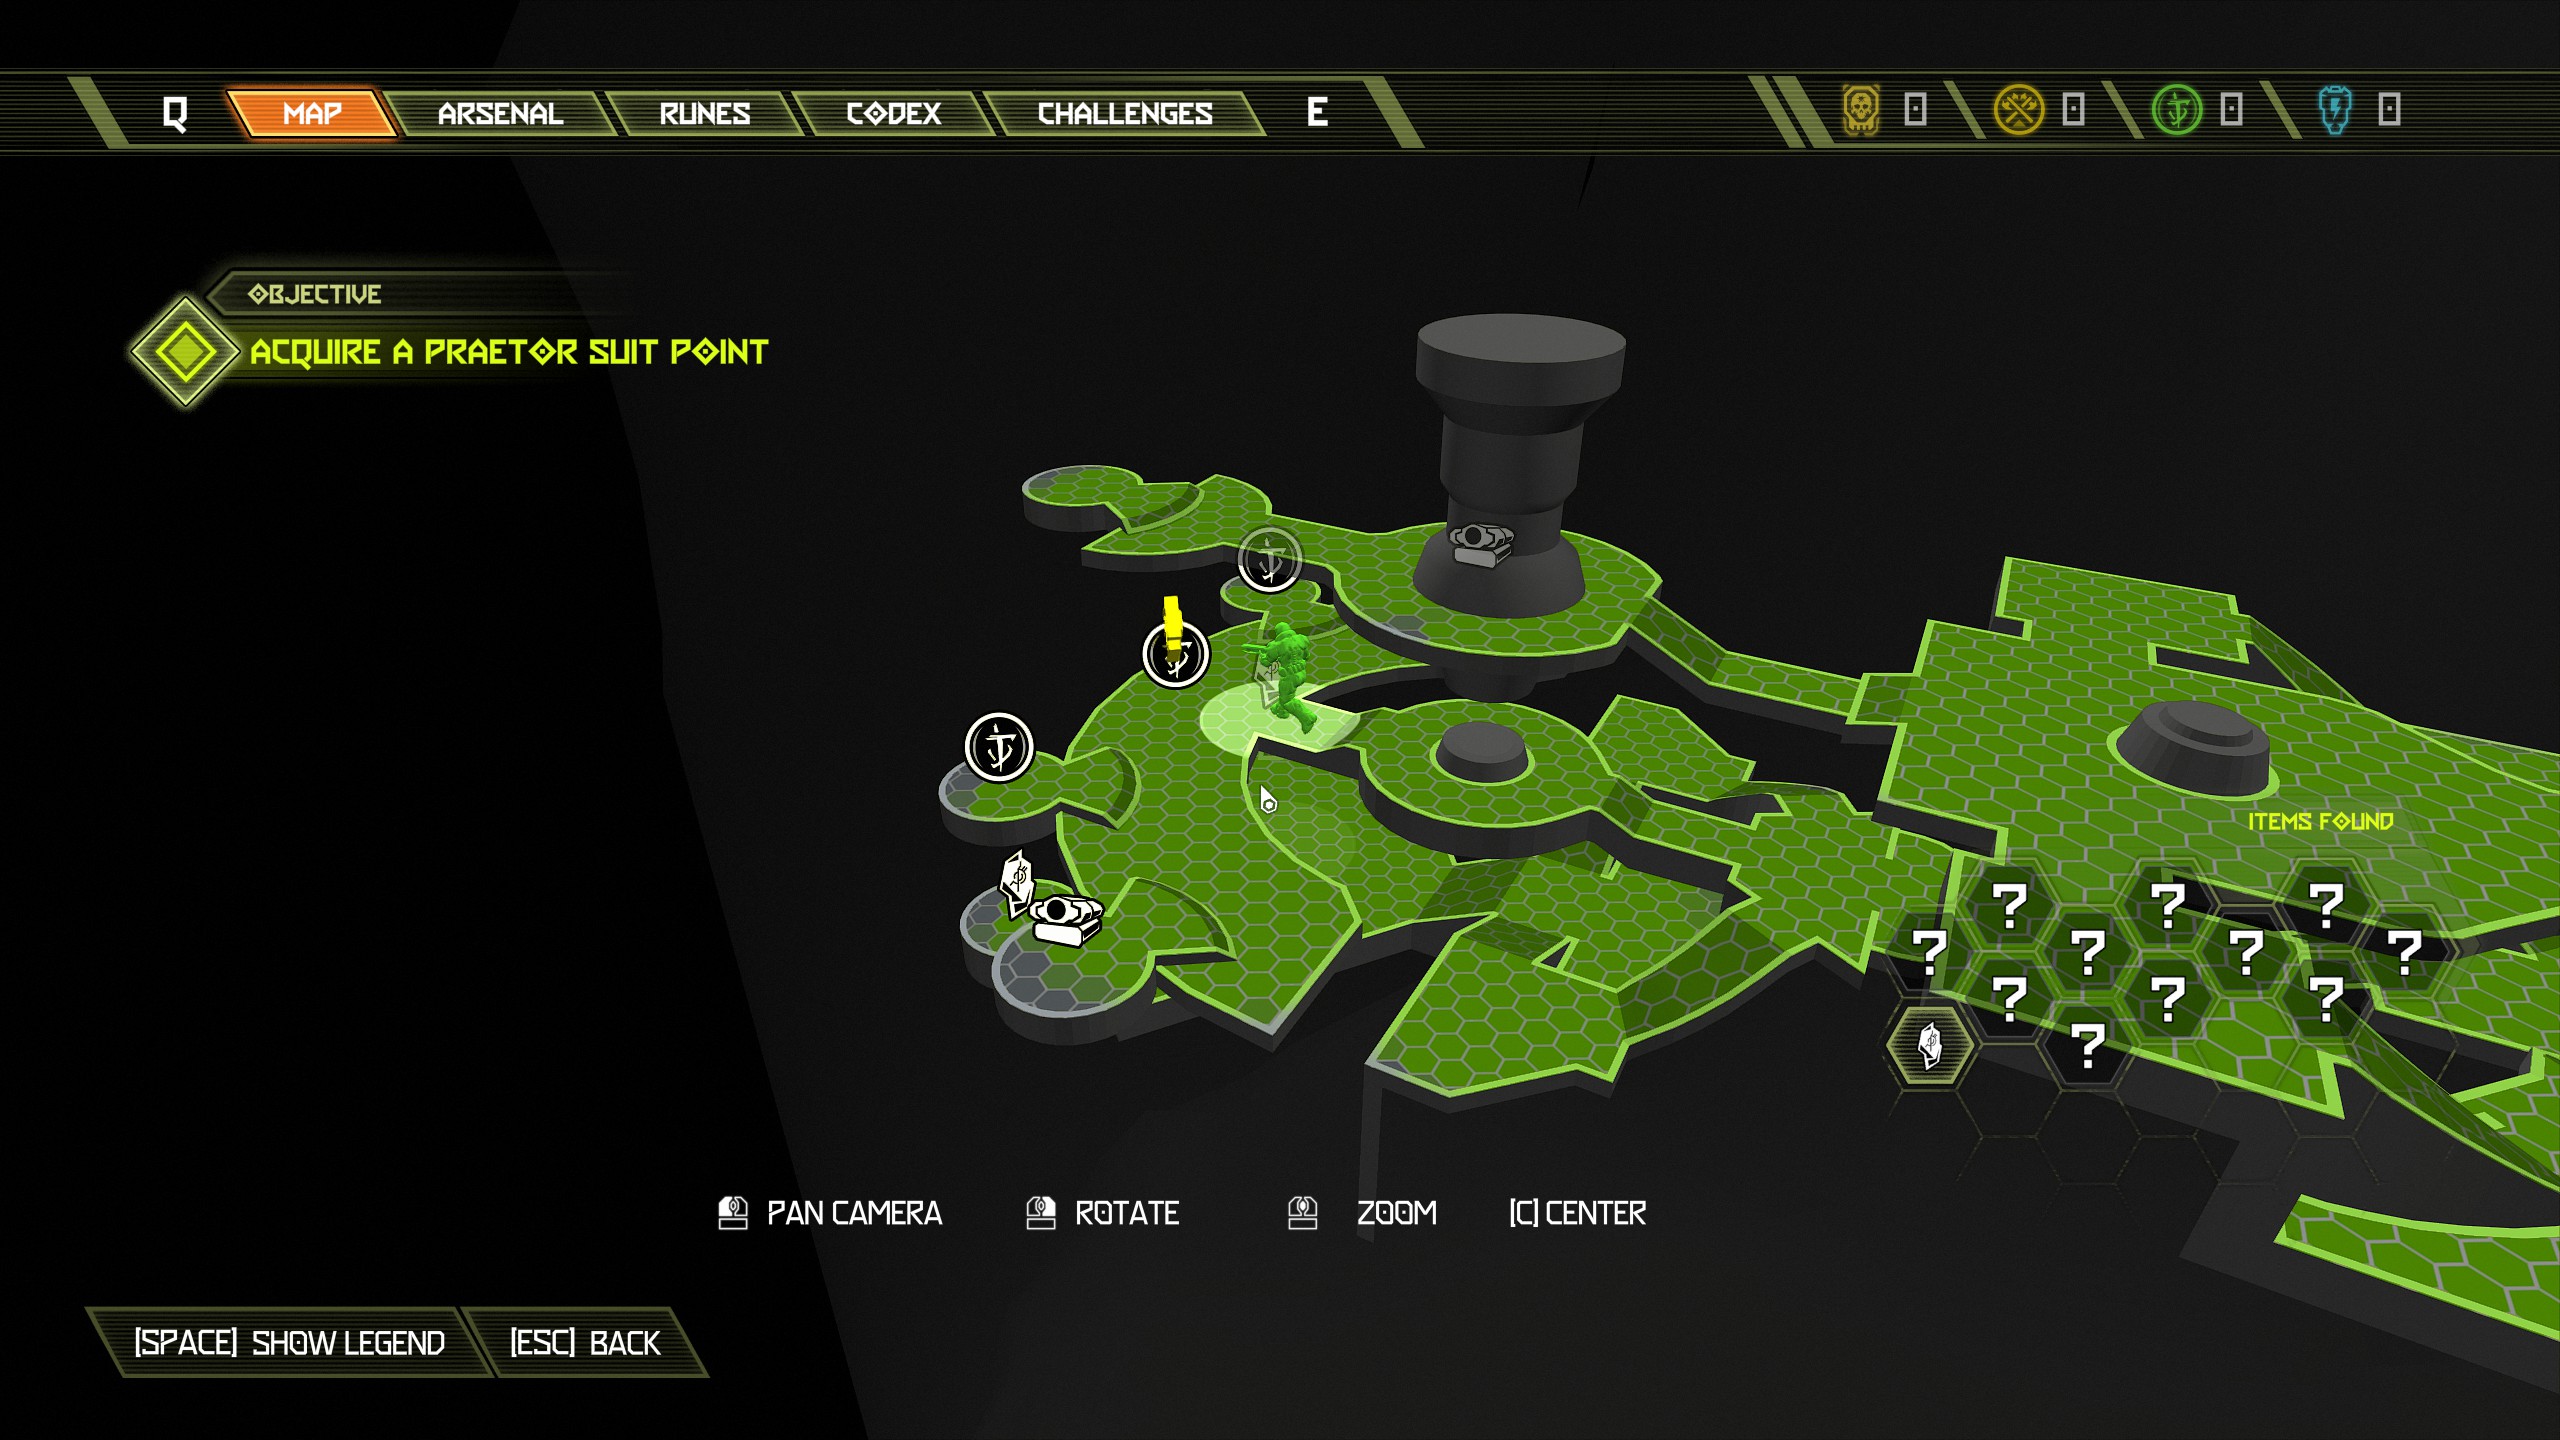
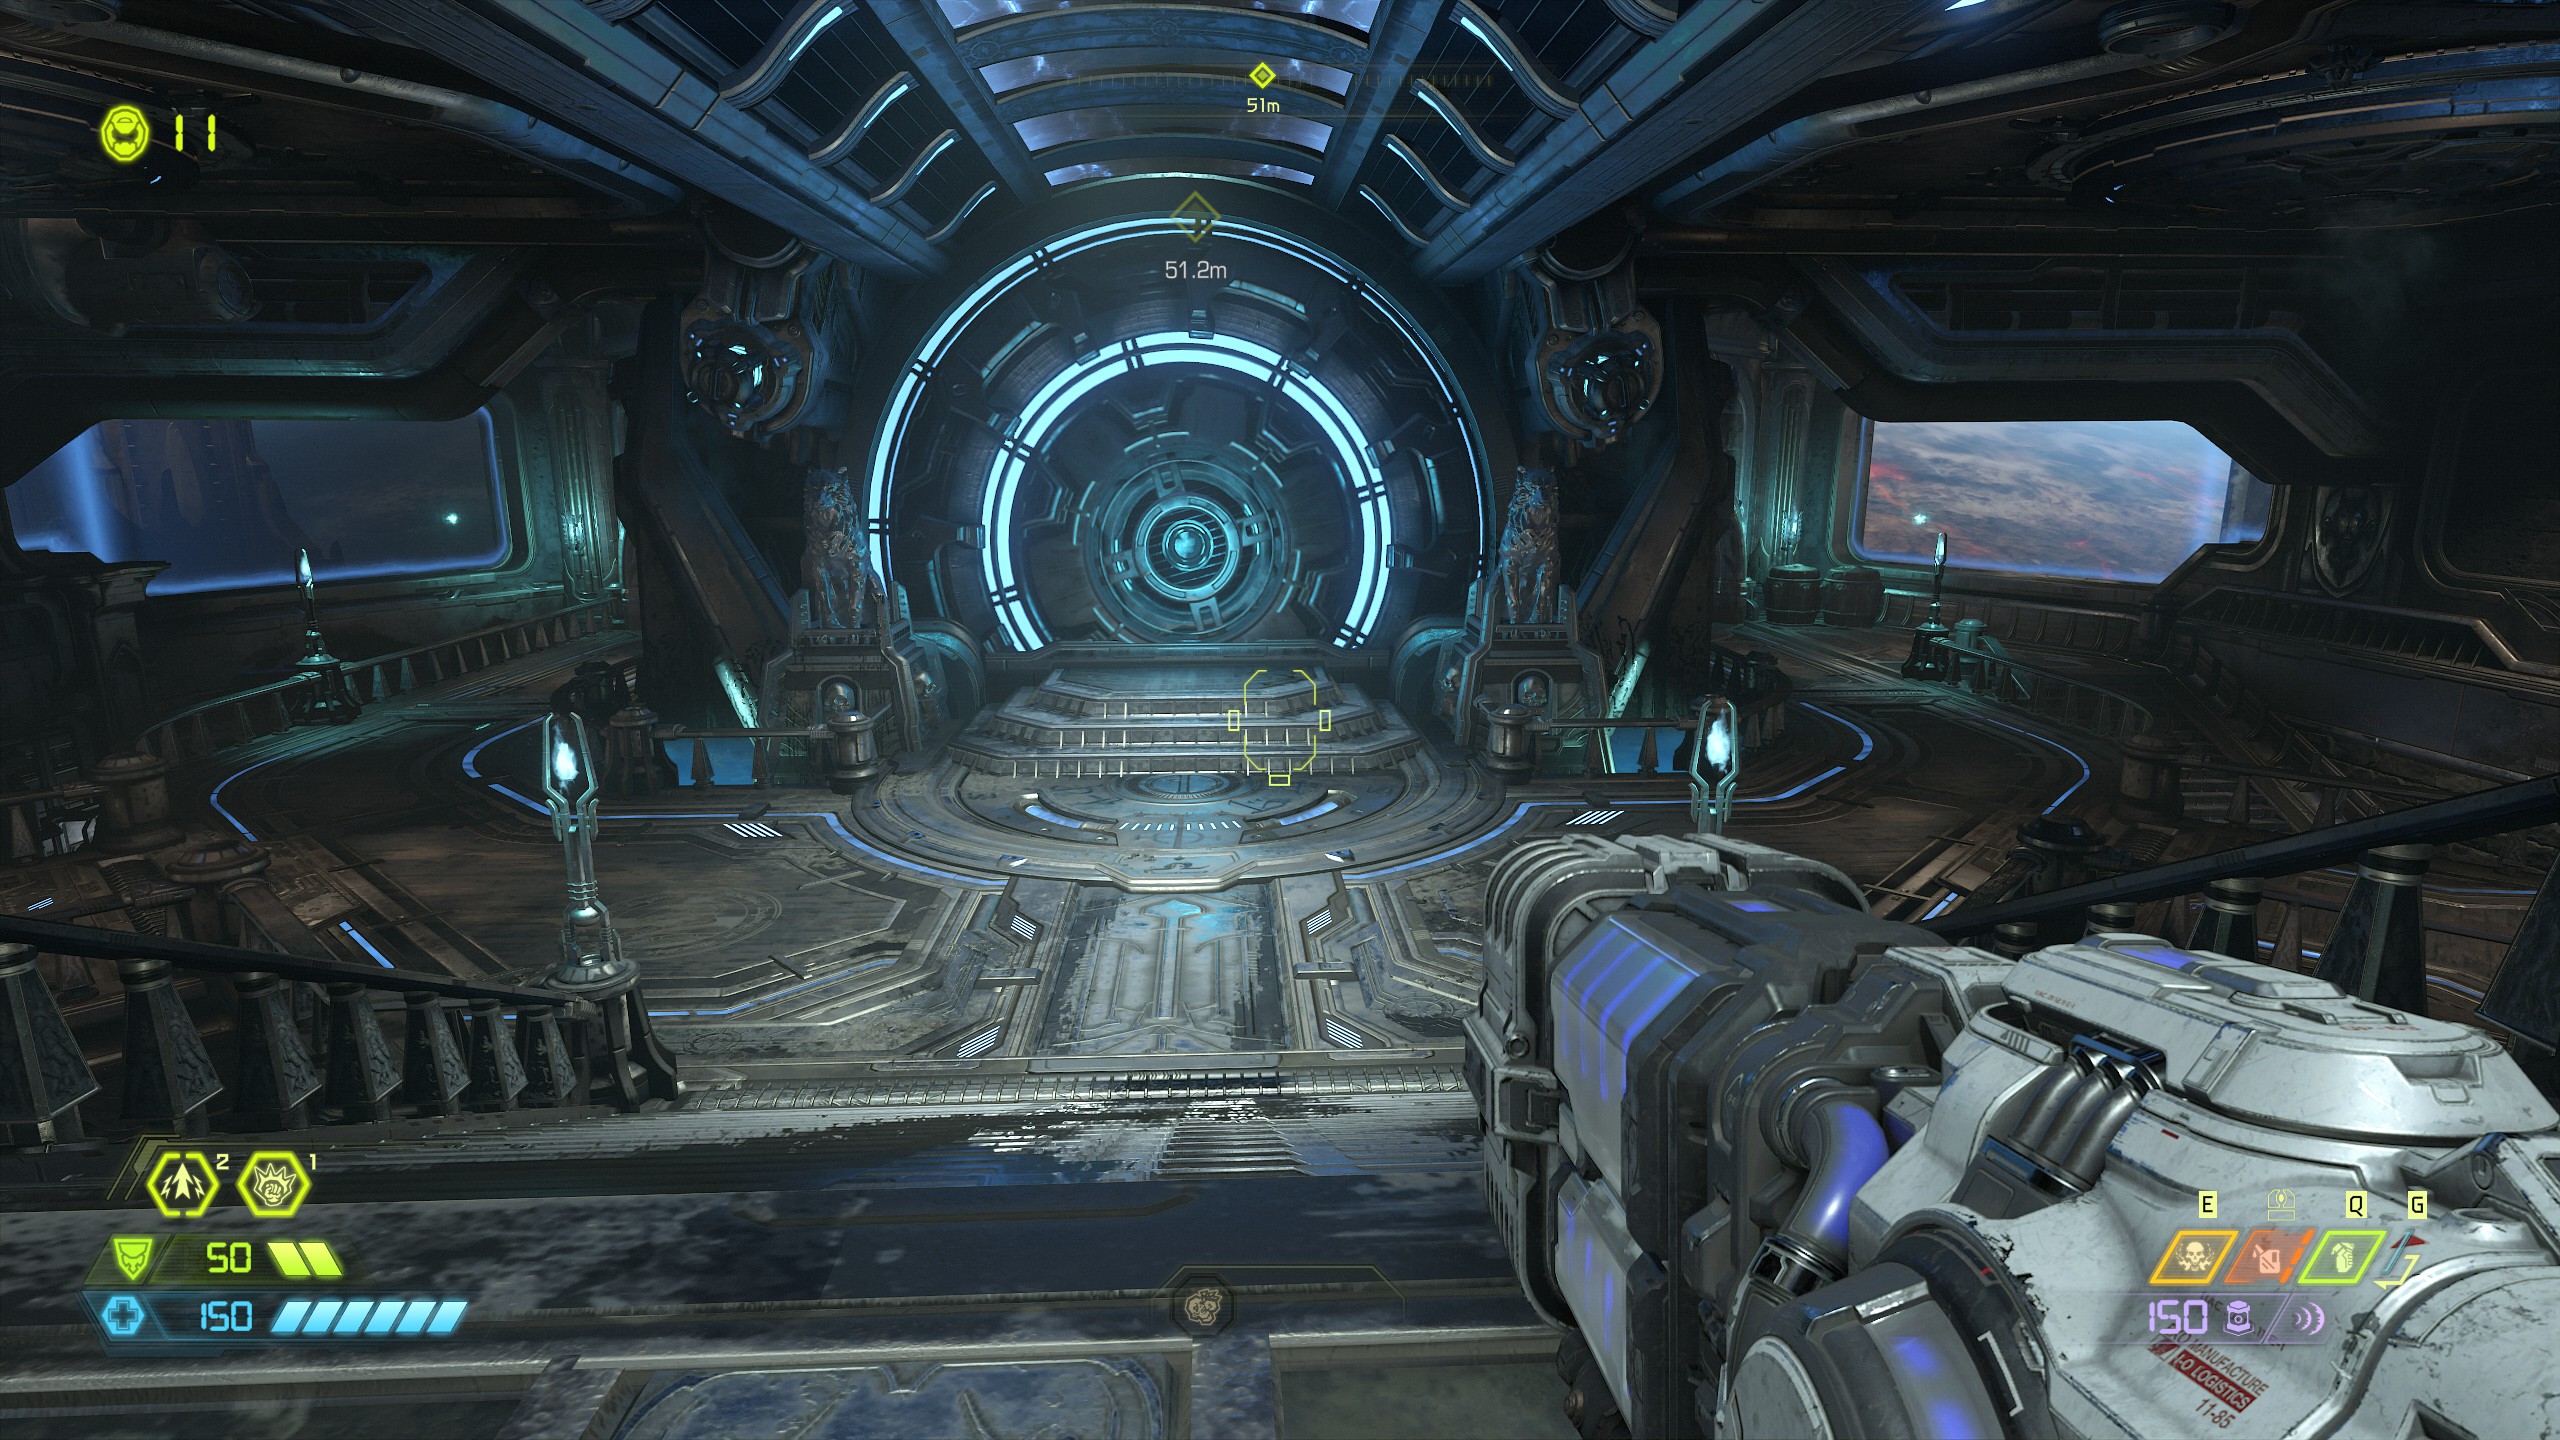
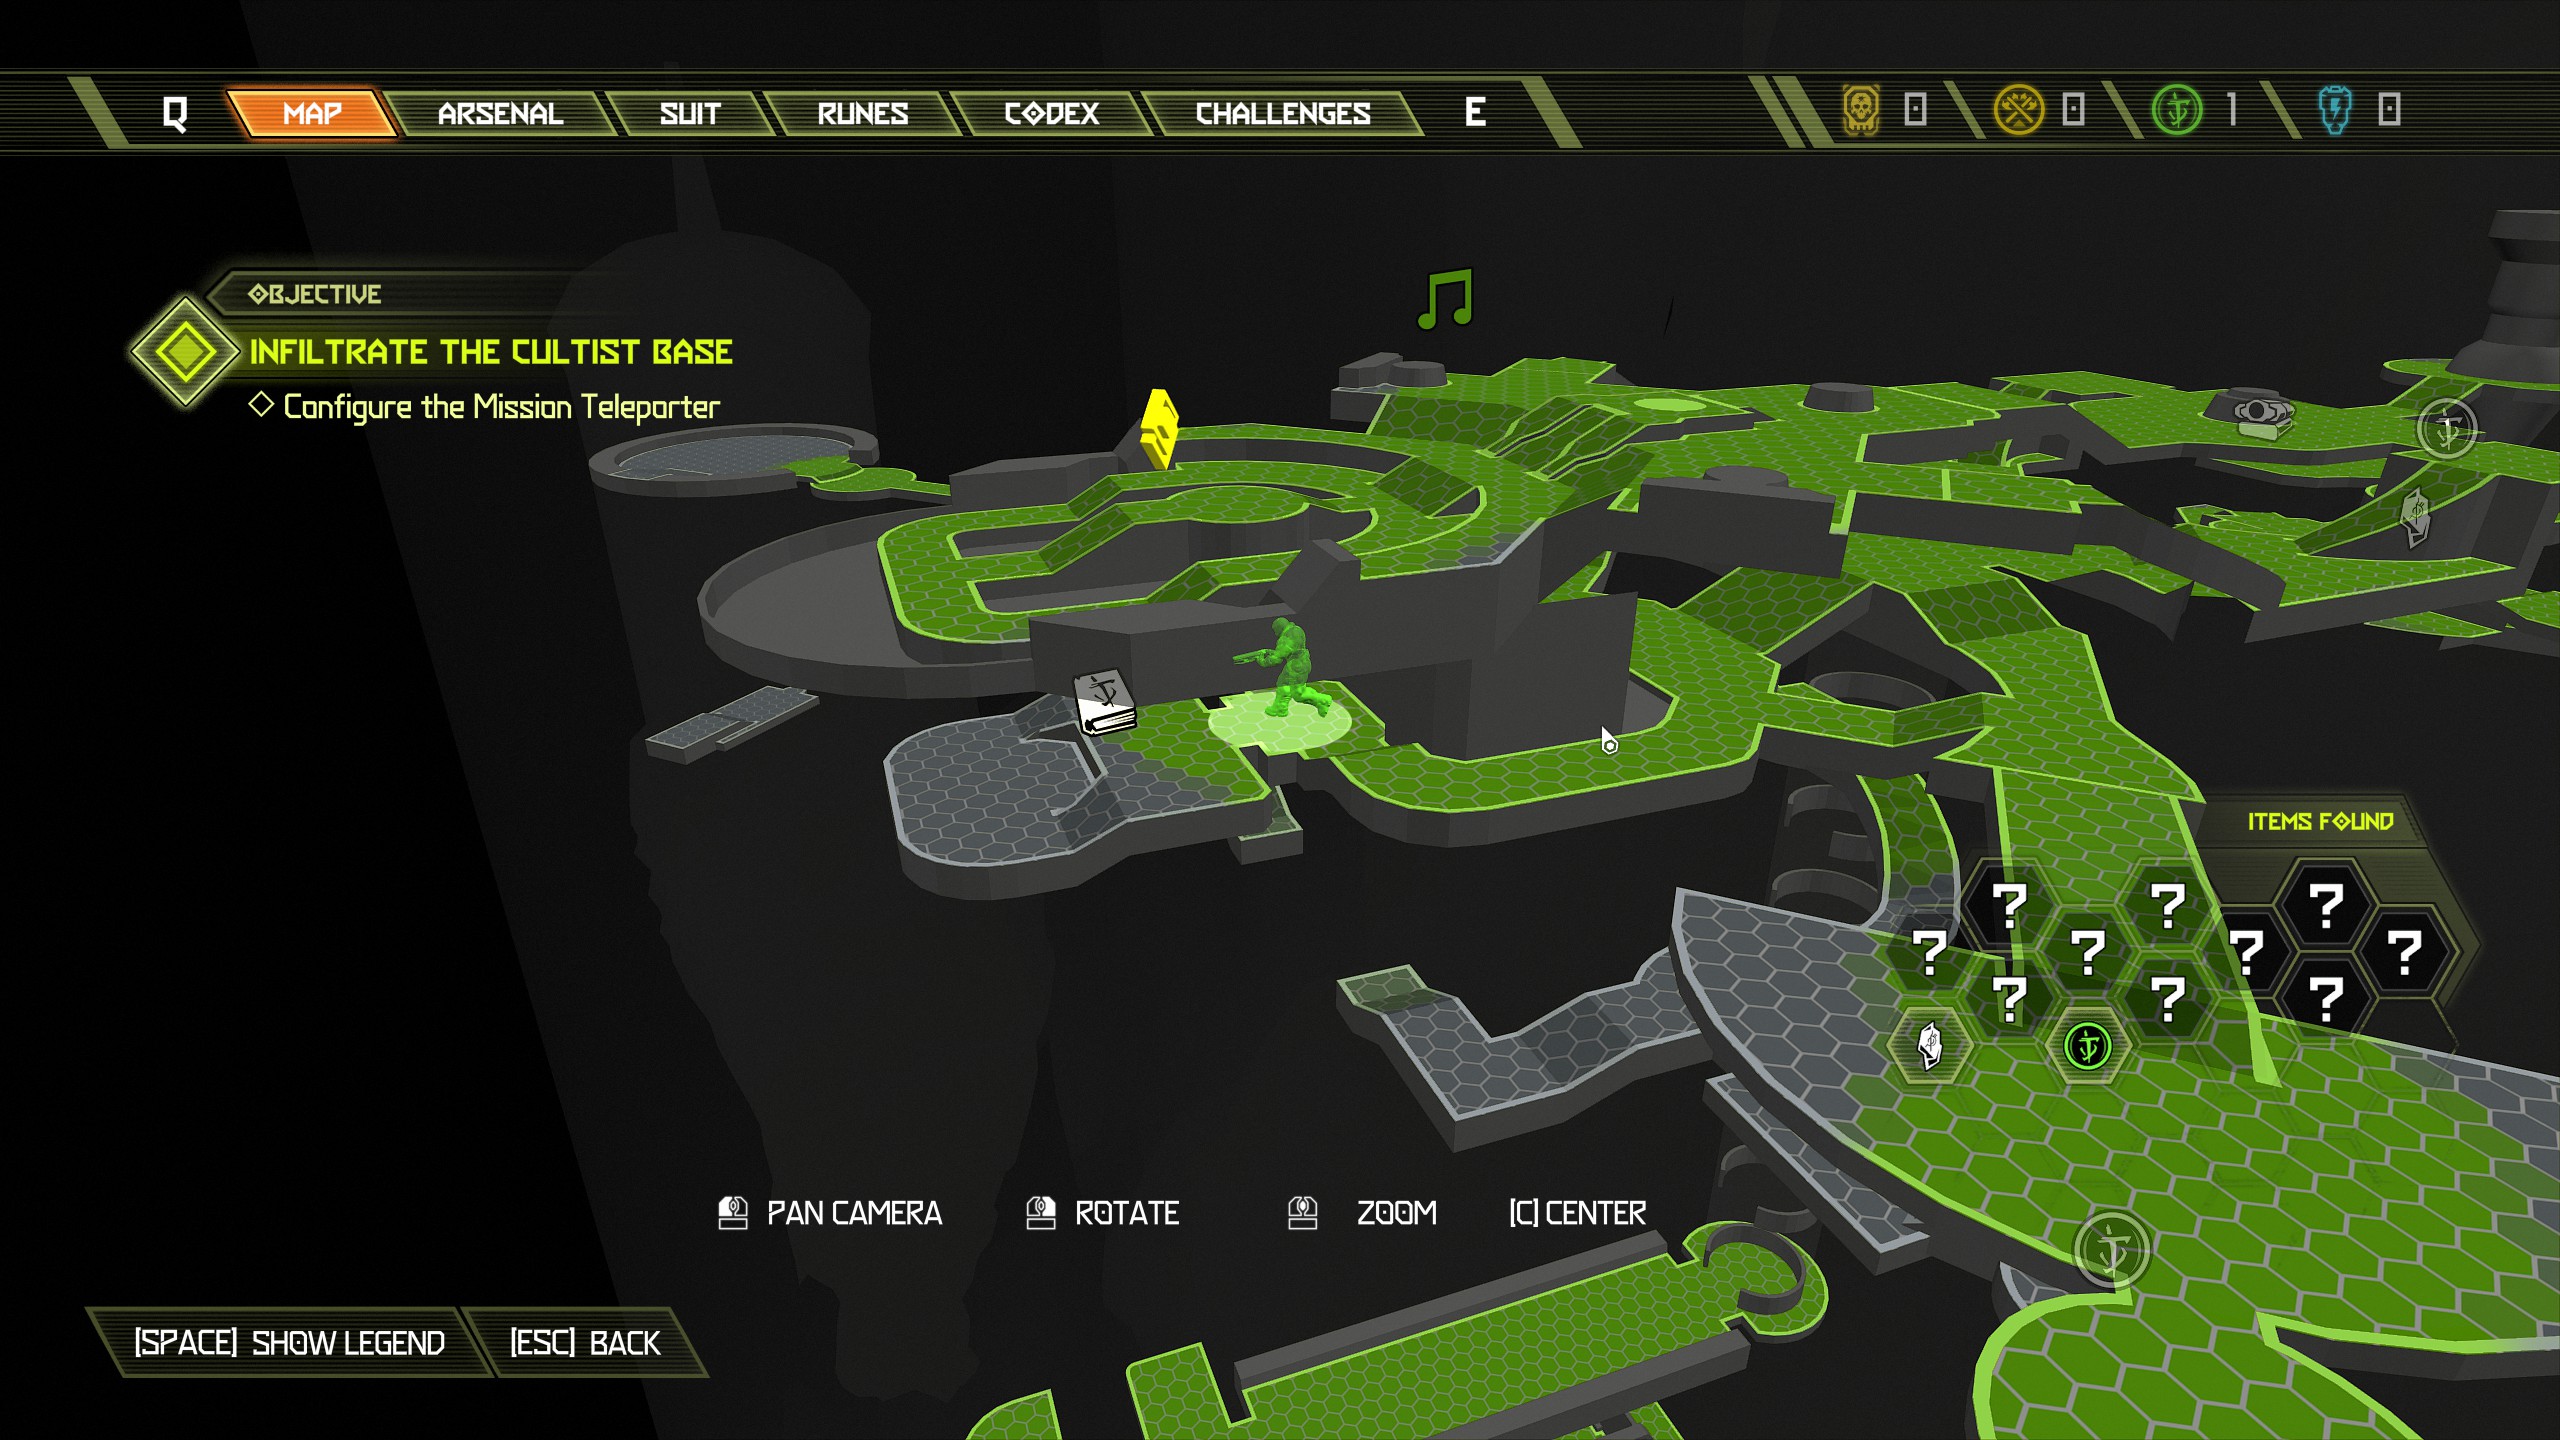
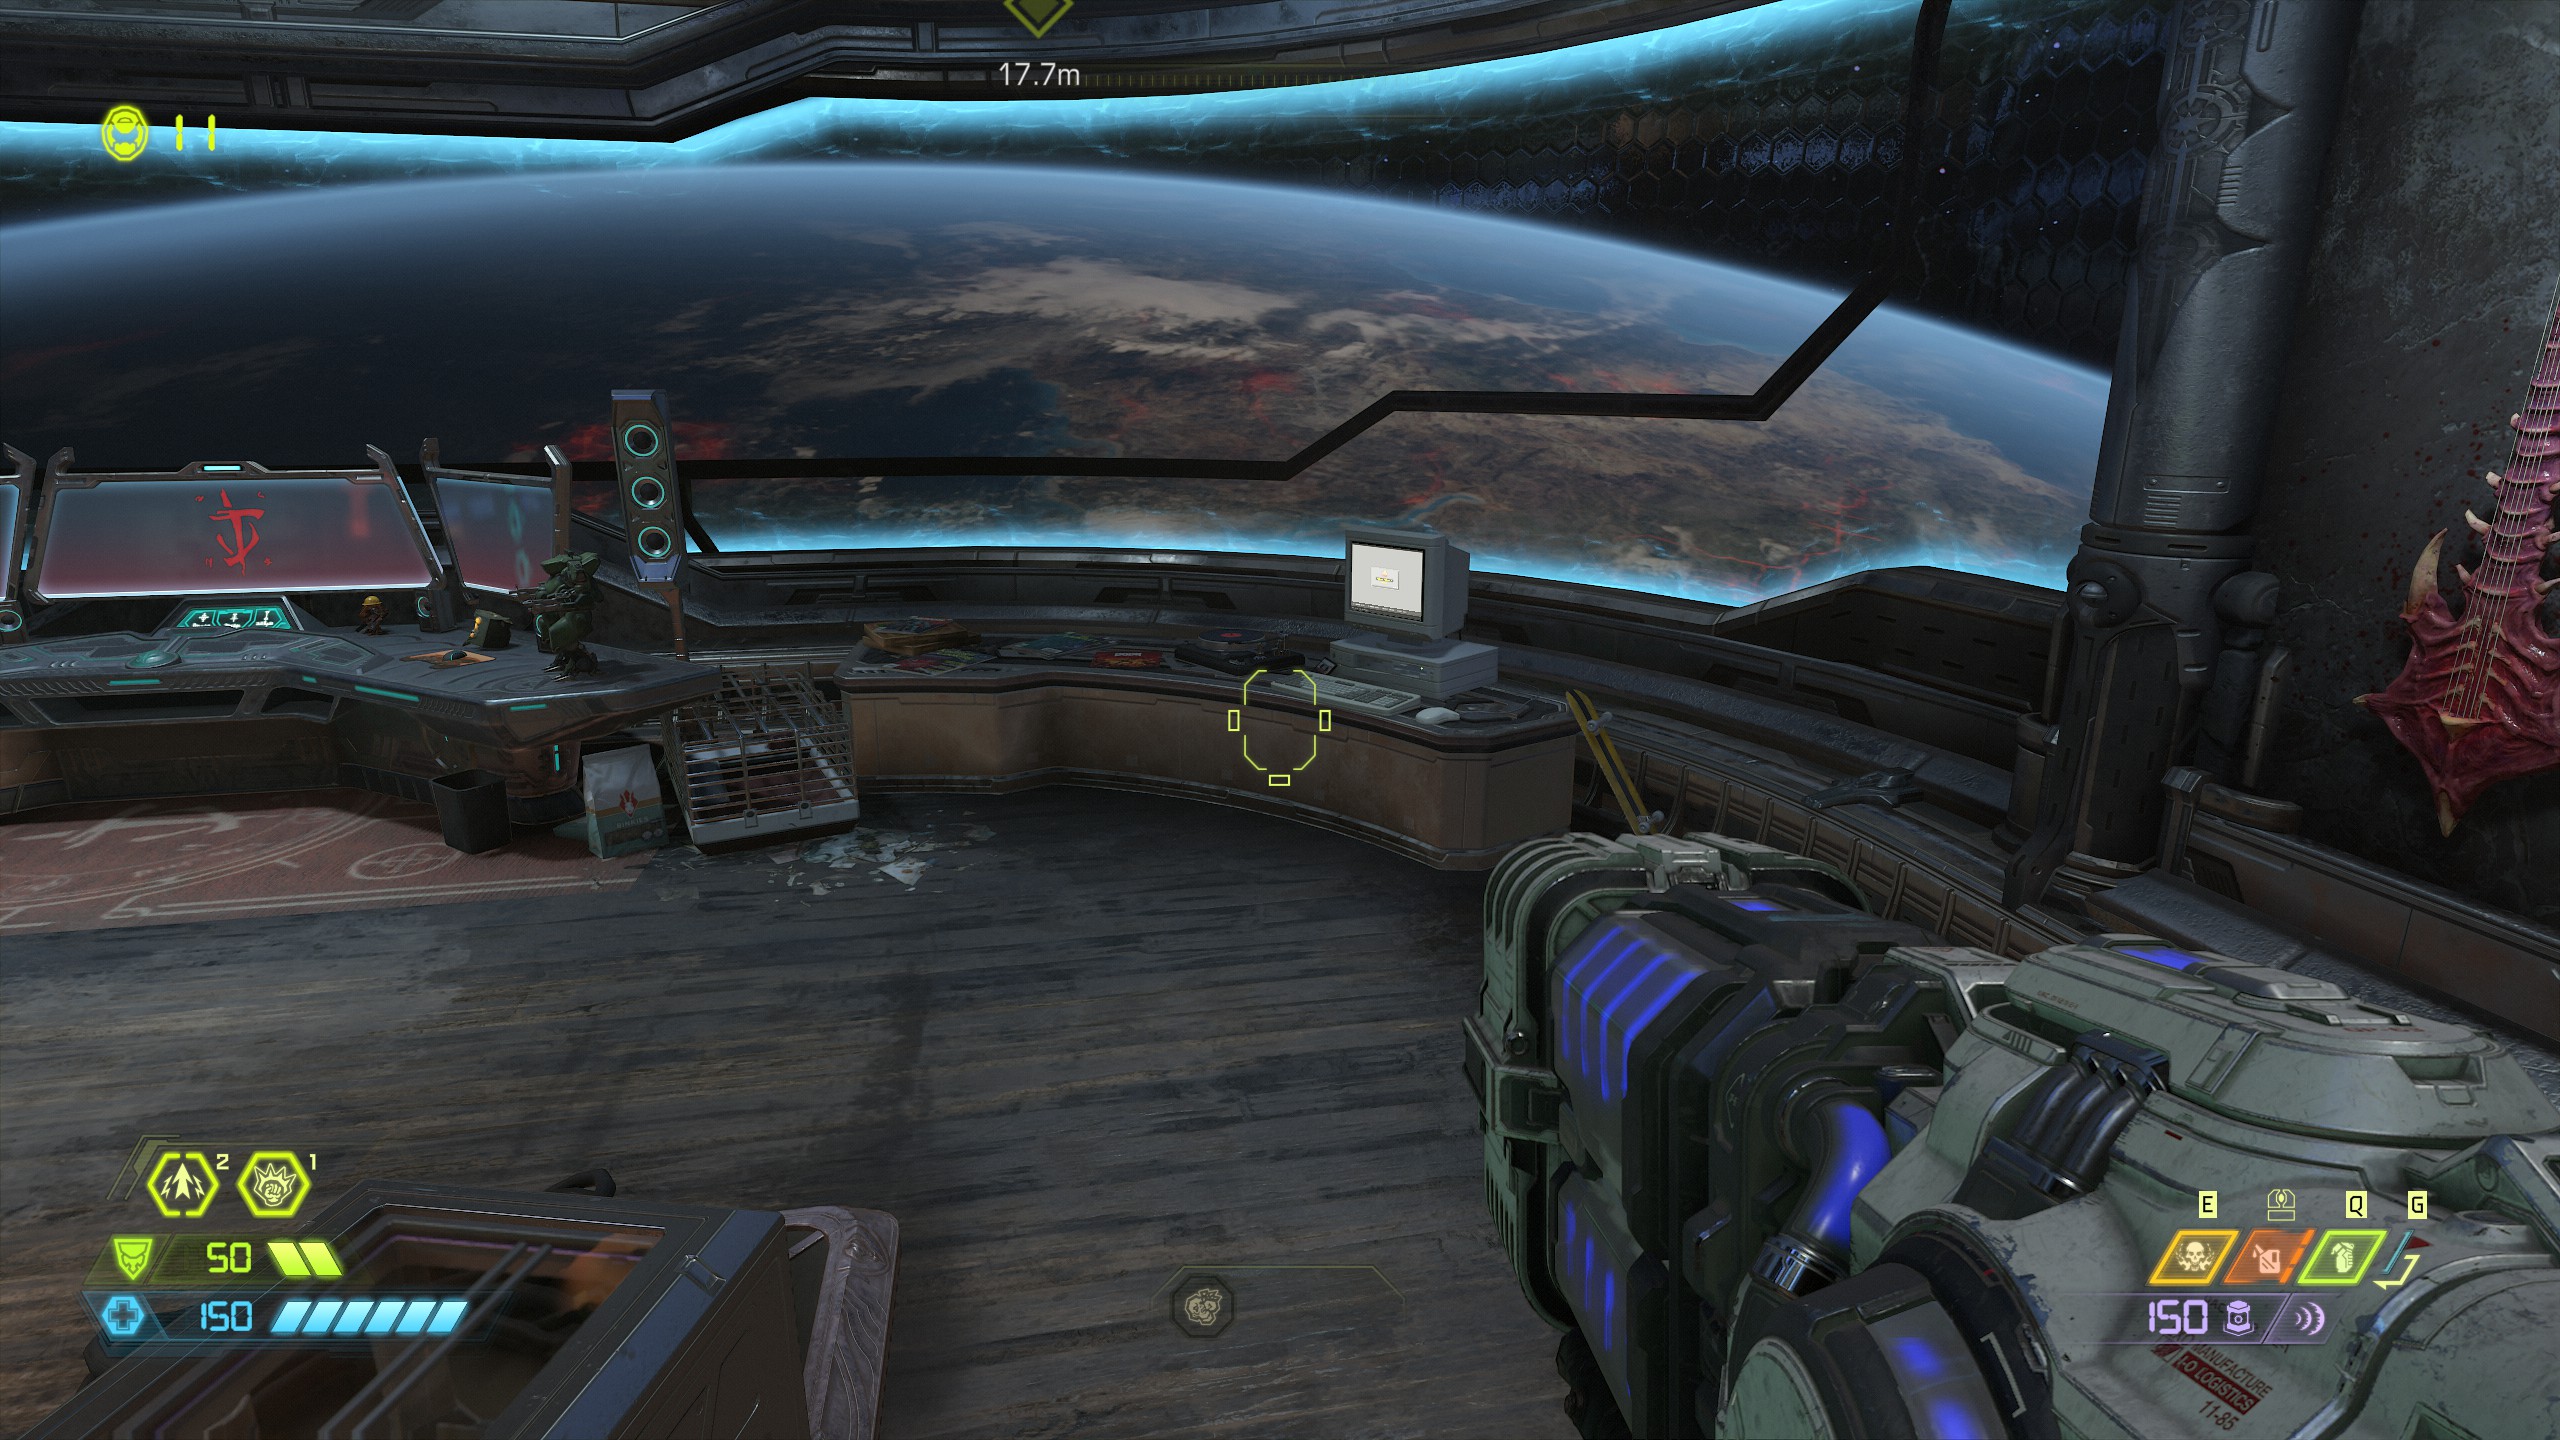
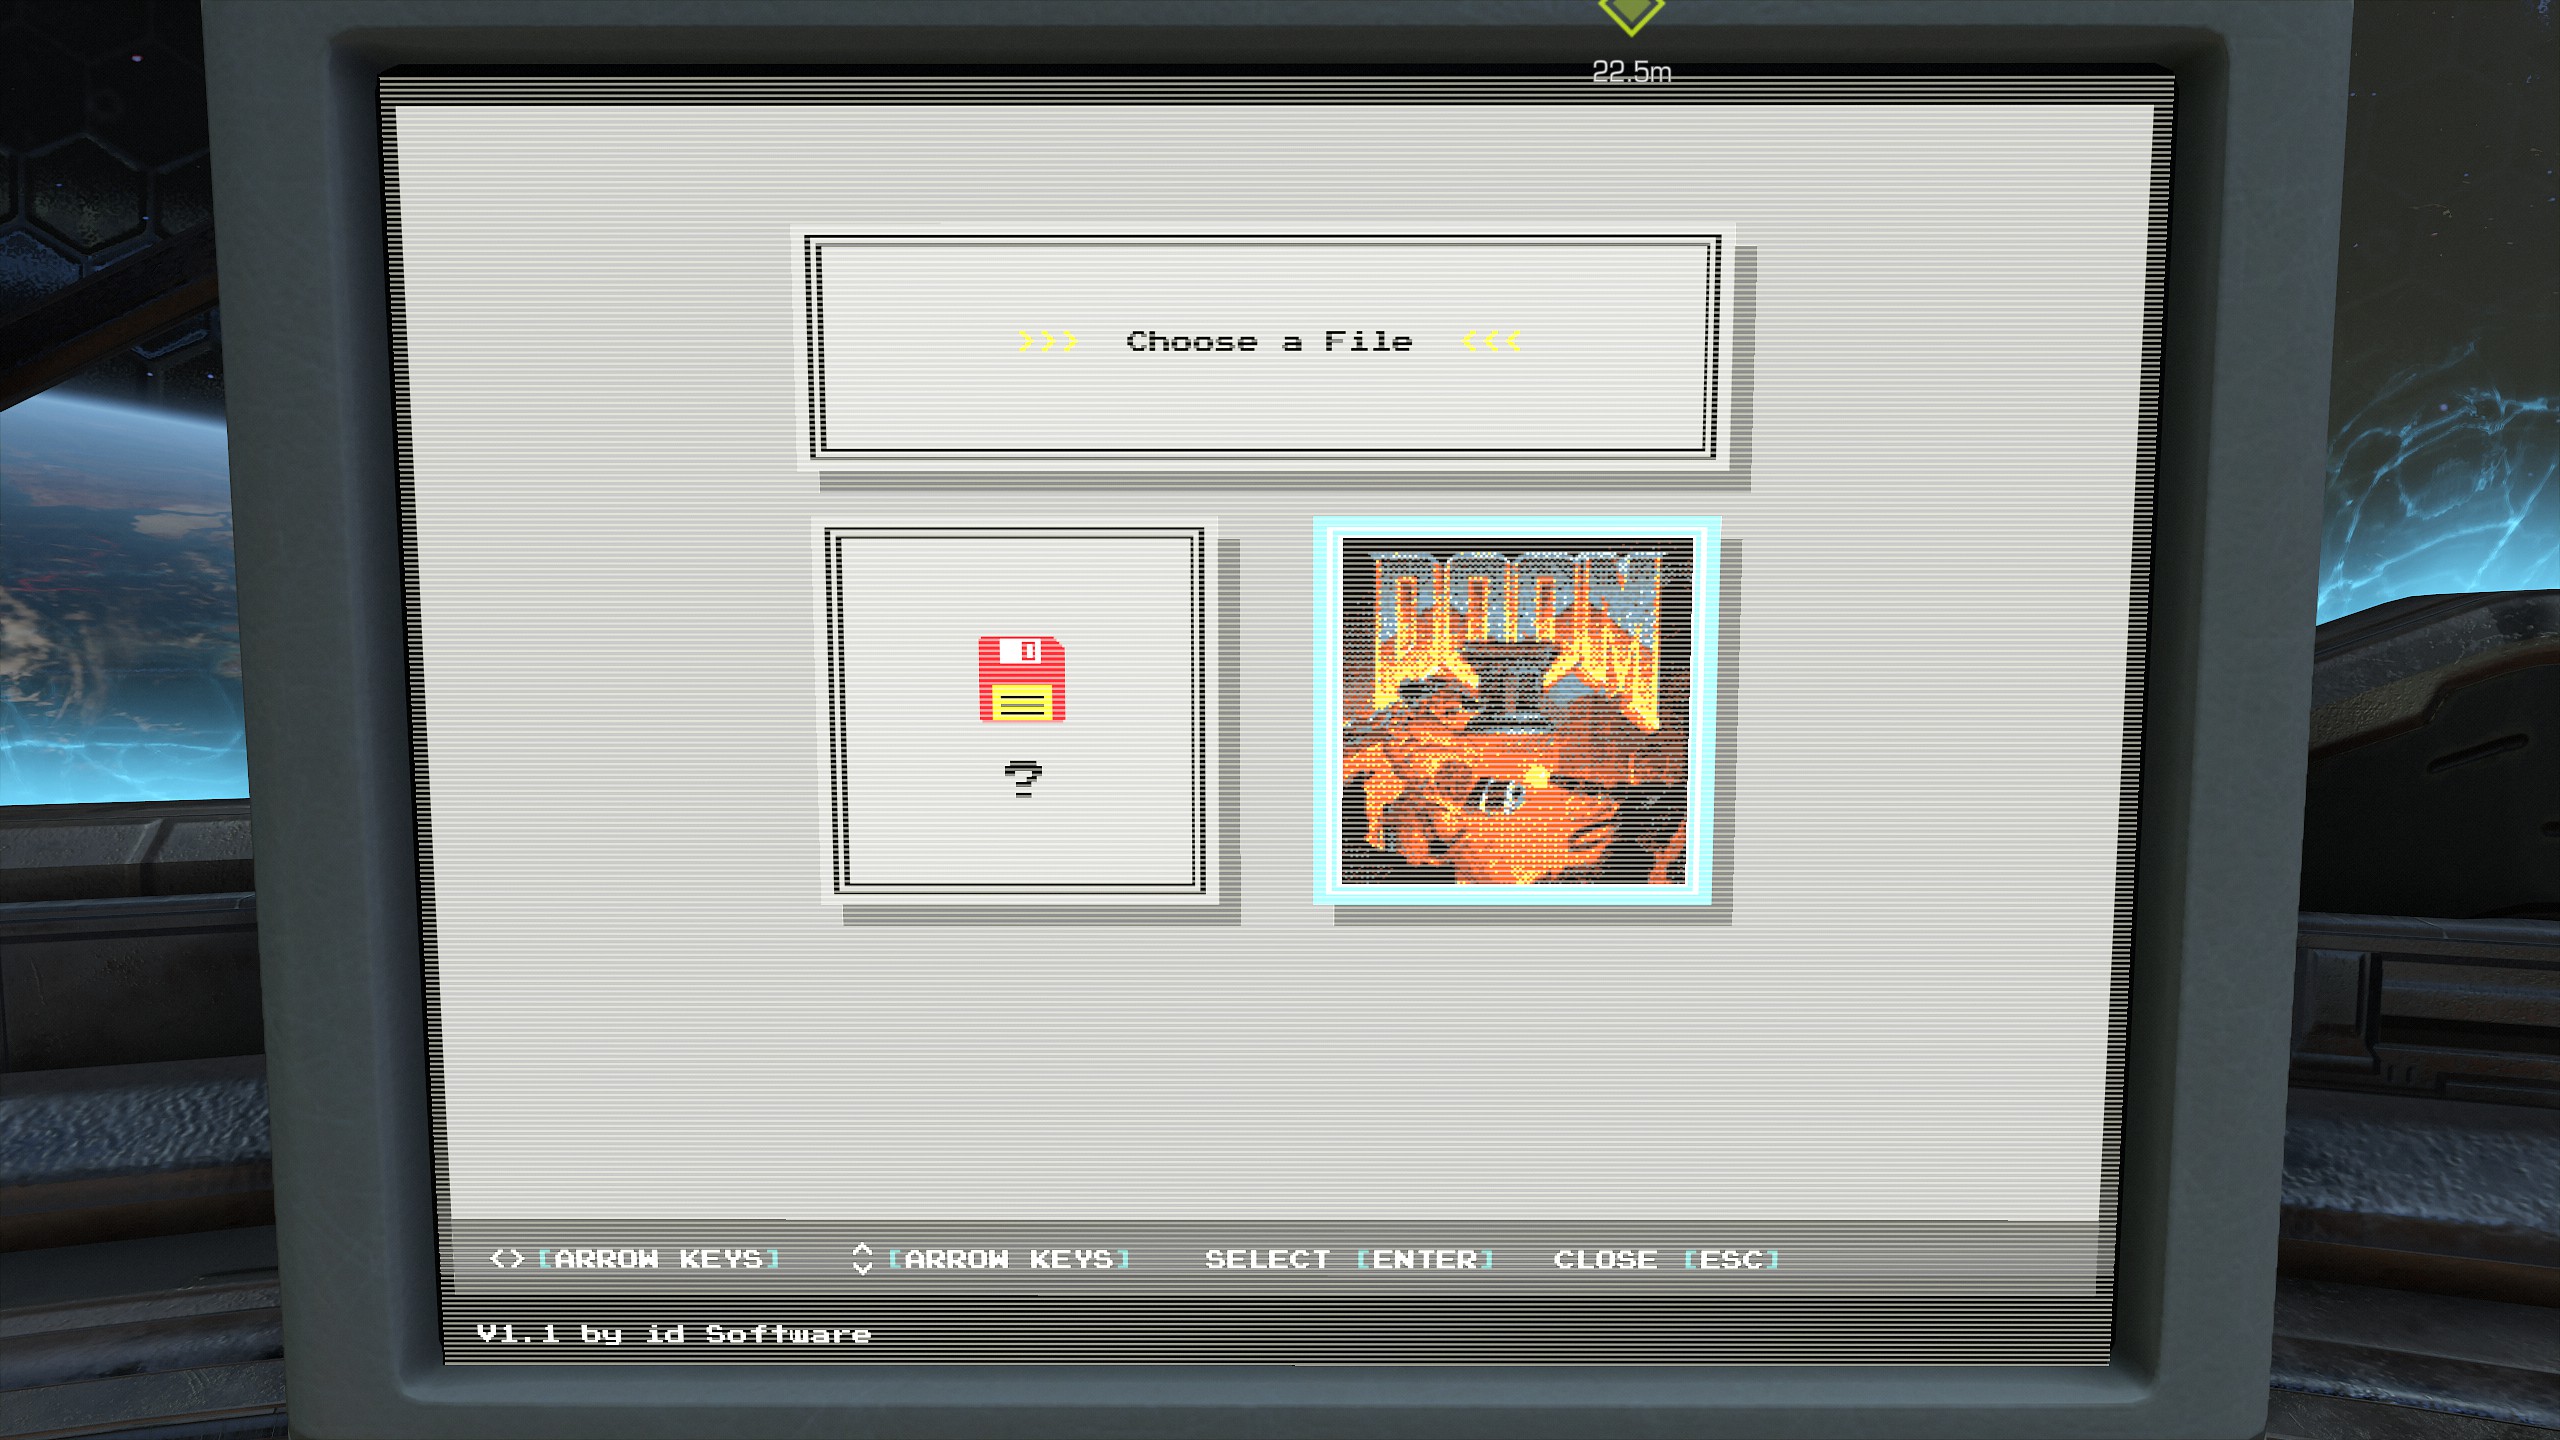
Time to begin mission 3
Mission 3: Cultist Base [Part 1]
NOTE: This mission contains another slayer gate and also a few hidden items. This is a good mission and it shouldn't be too difficult to find everything. This mission contains:
- 1 Codex Page
- 2 Doomtoys
- 3 Sentinel Batteries
- 6 Extra Lives
- 5 Praetor Suit Tokens
- 1 Rune
- 4 Secrets
- 1 Weapon Mod
- 1 Automap
- 2 Secret Encounters
- 1 Sentinel Crystal
- 1 Cheat Code
- 1 Album
- 1 Slayer Gate Key
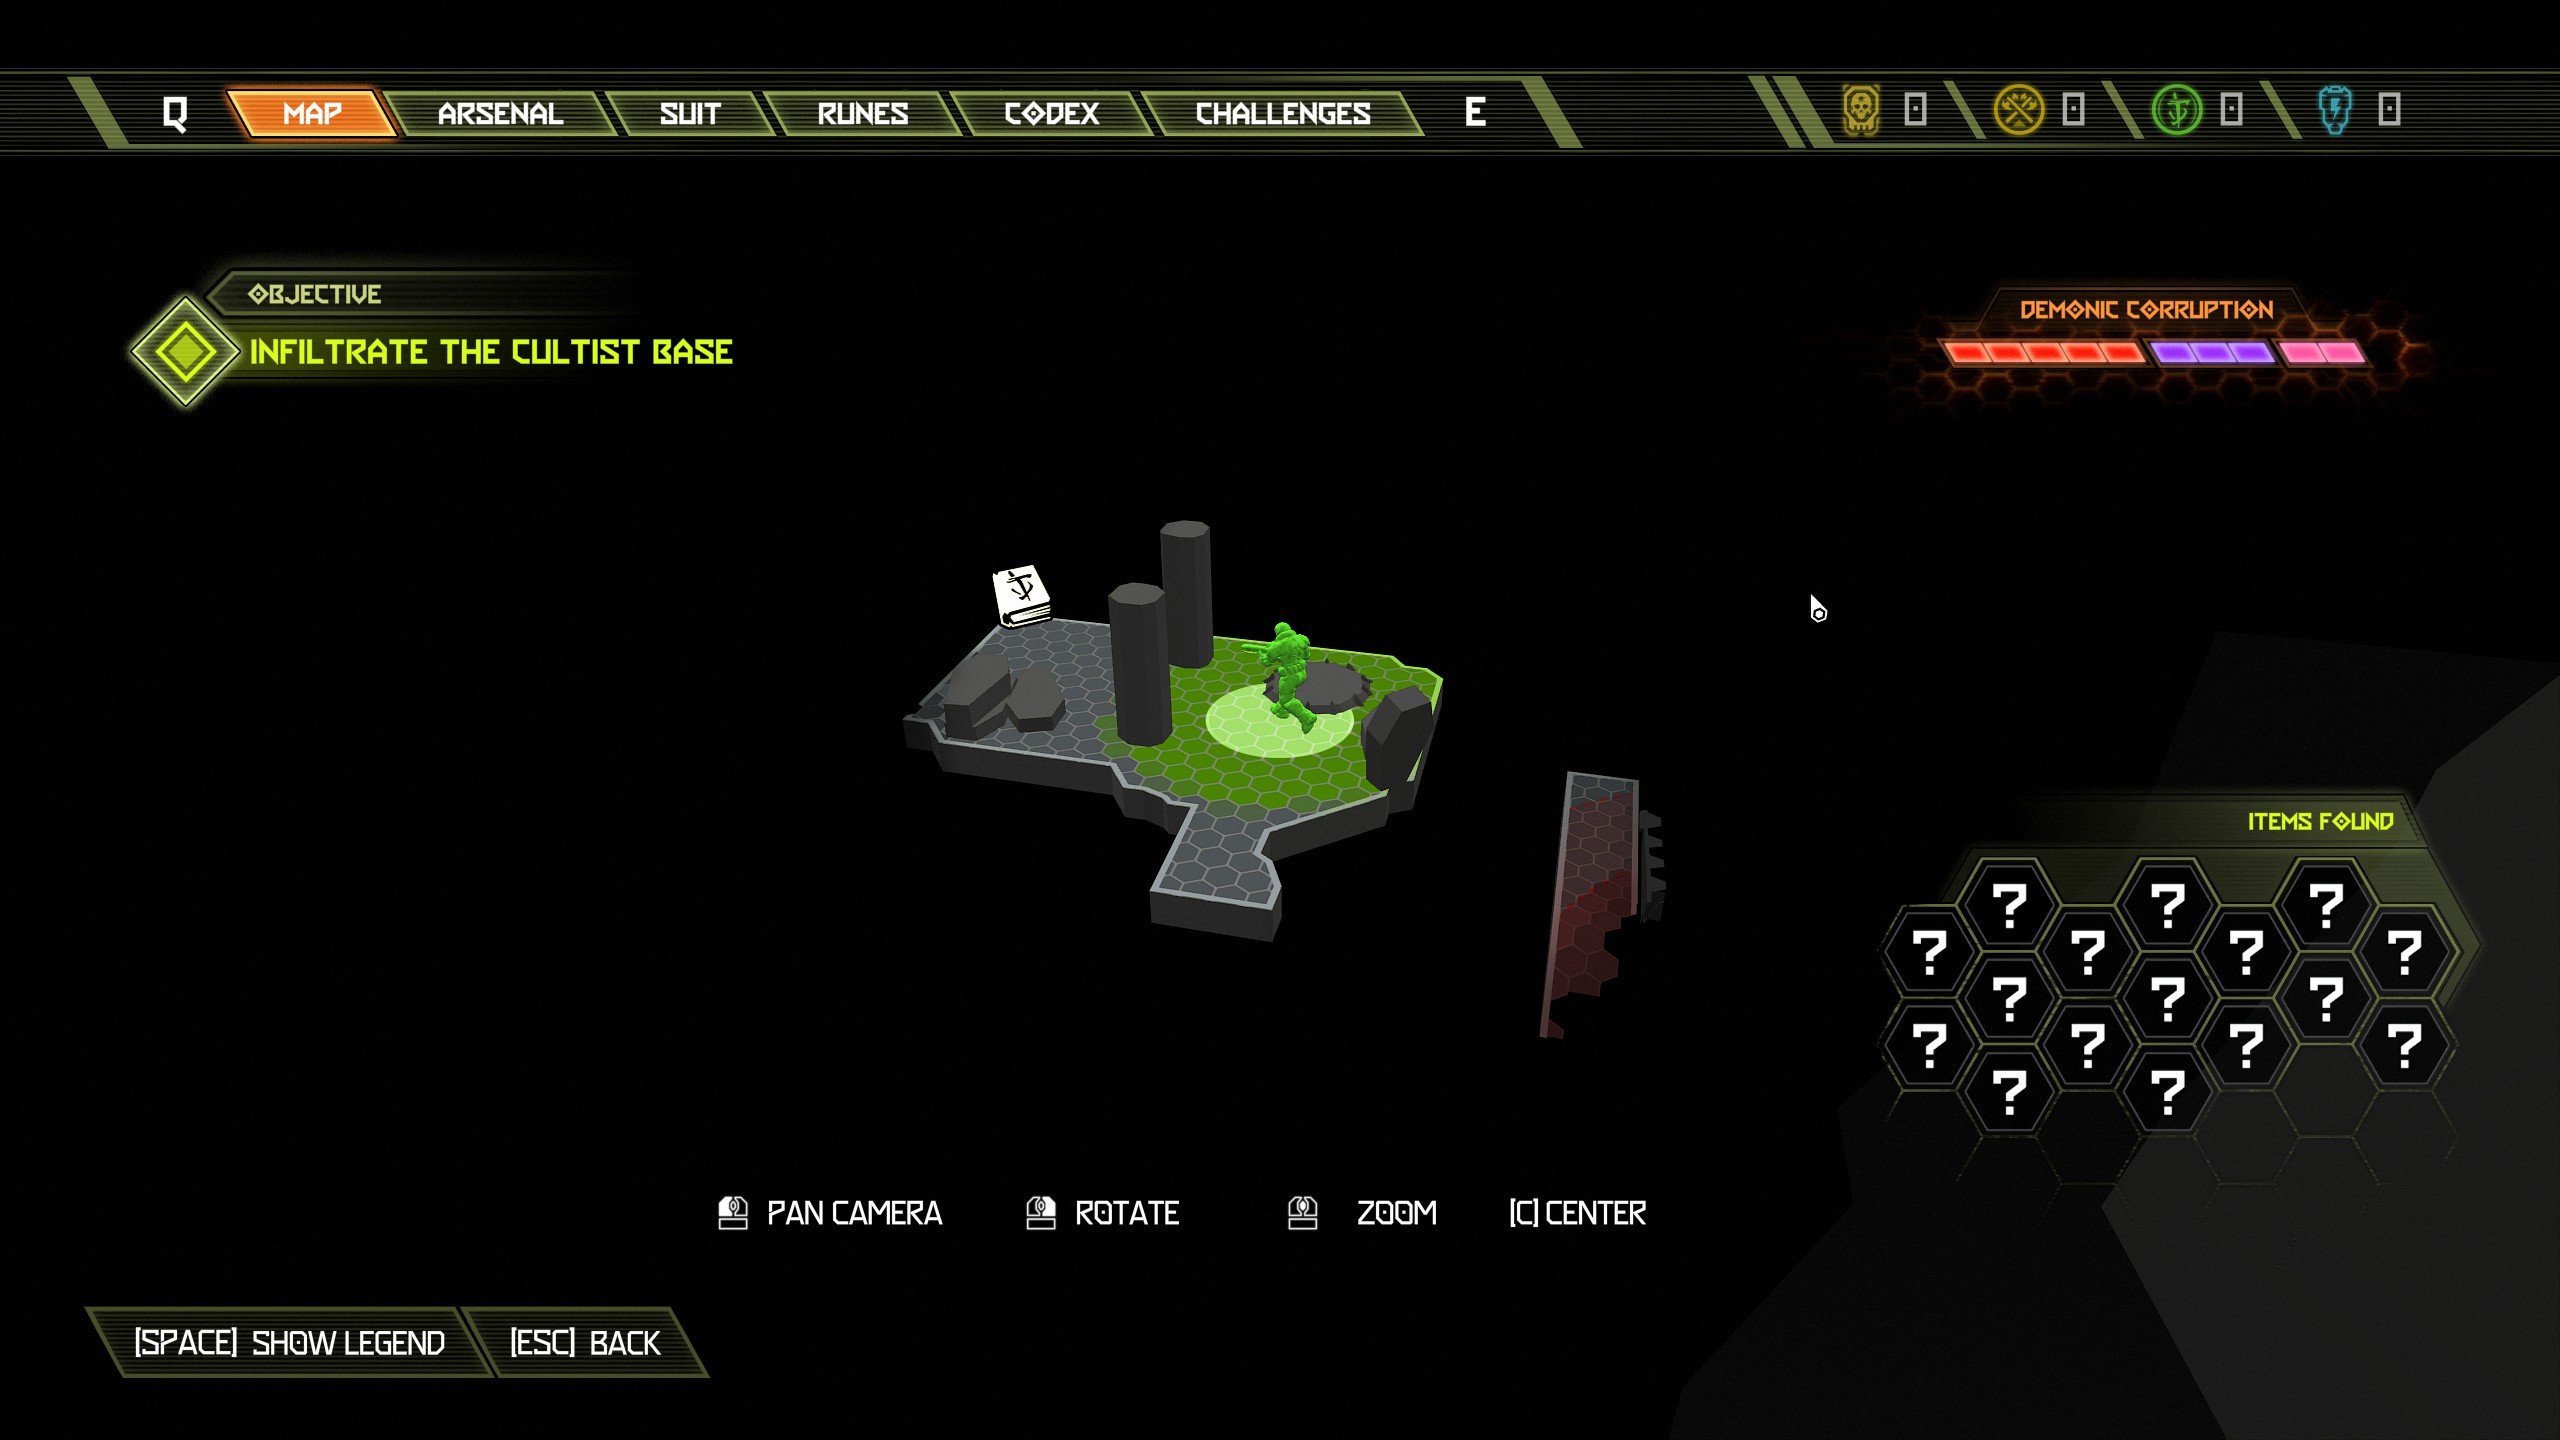
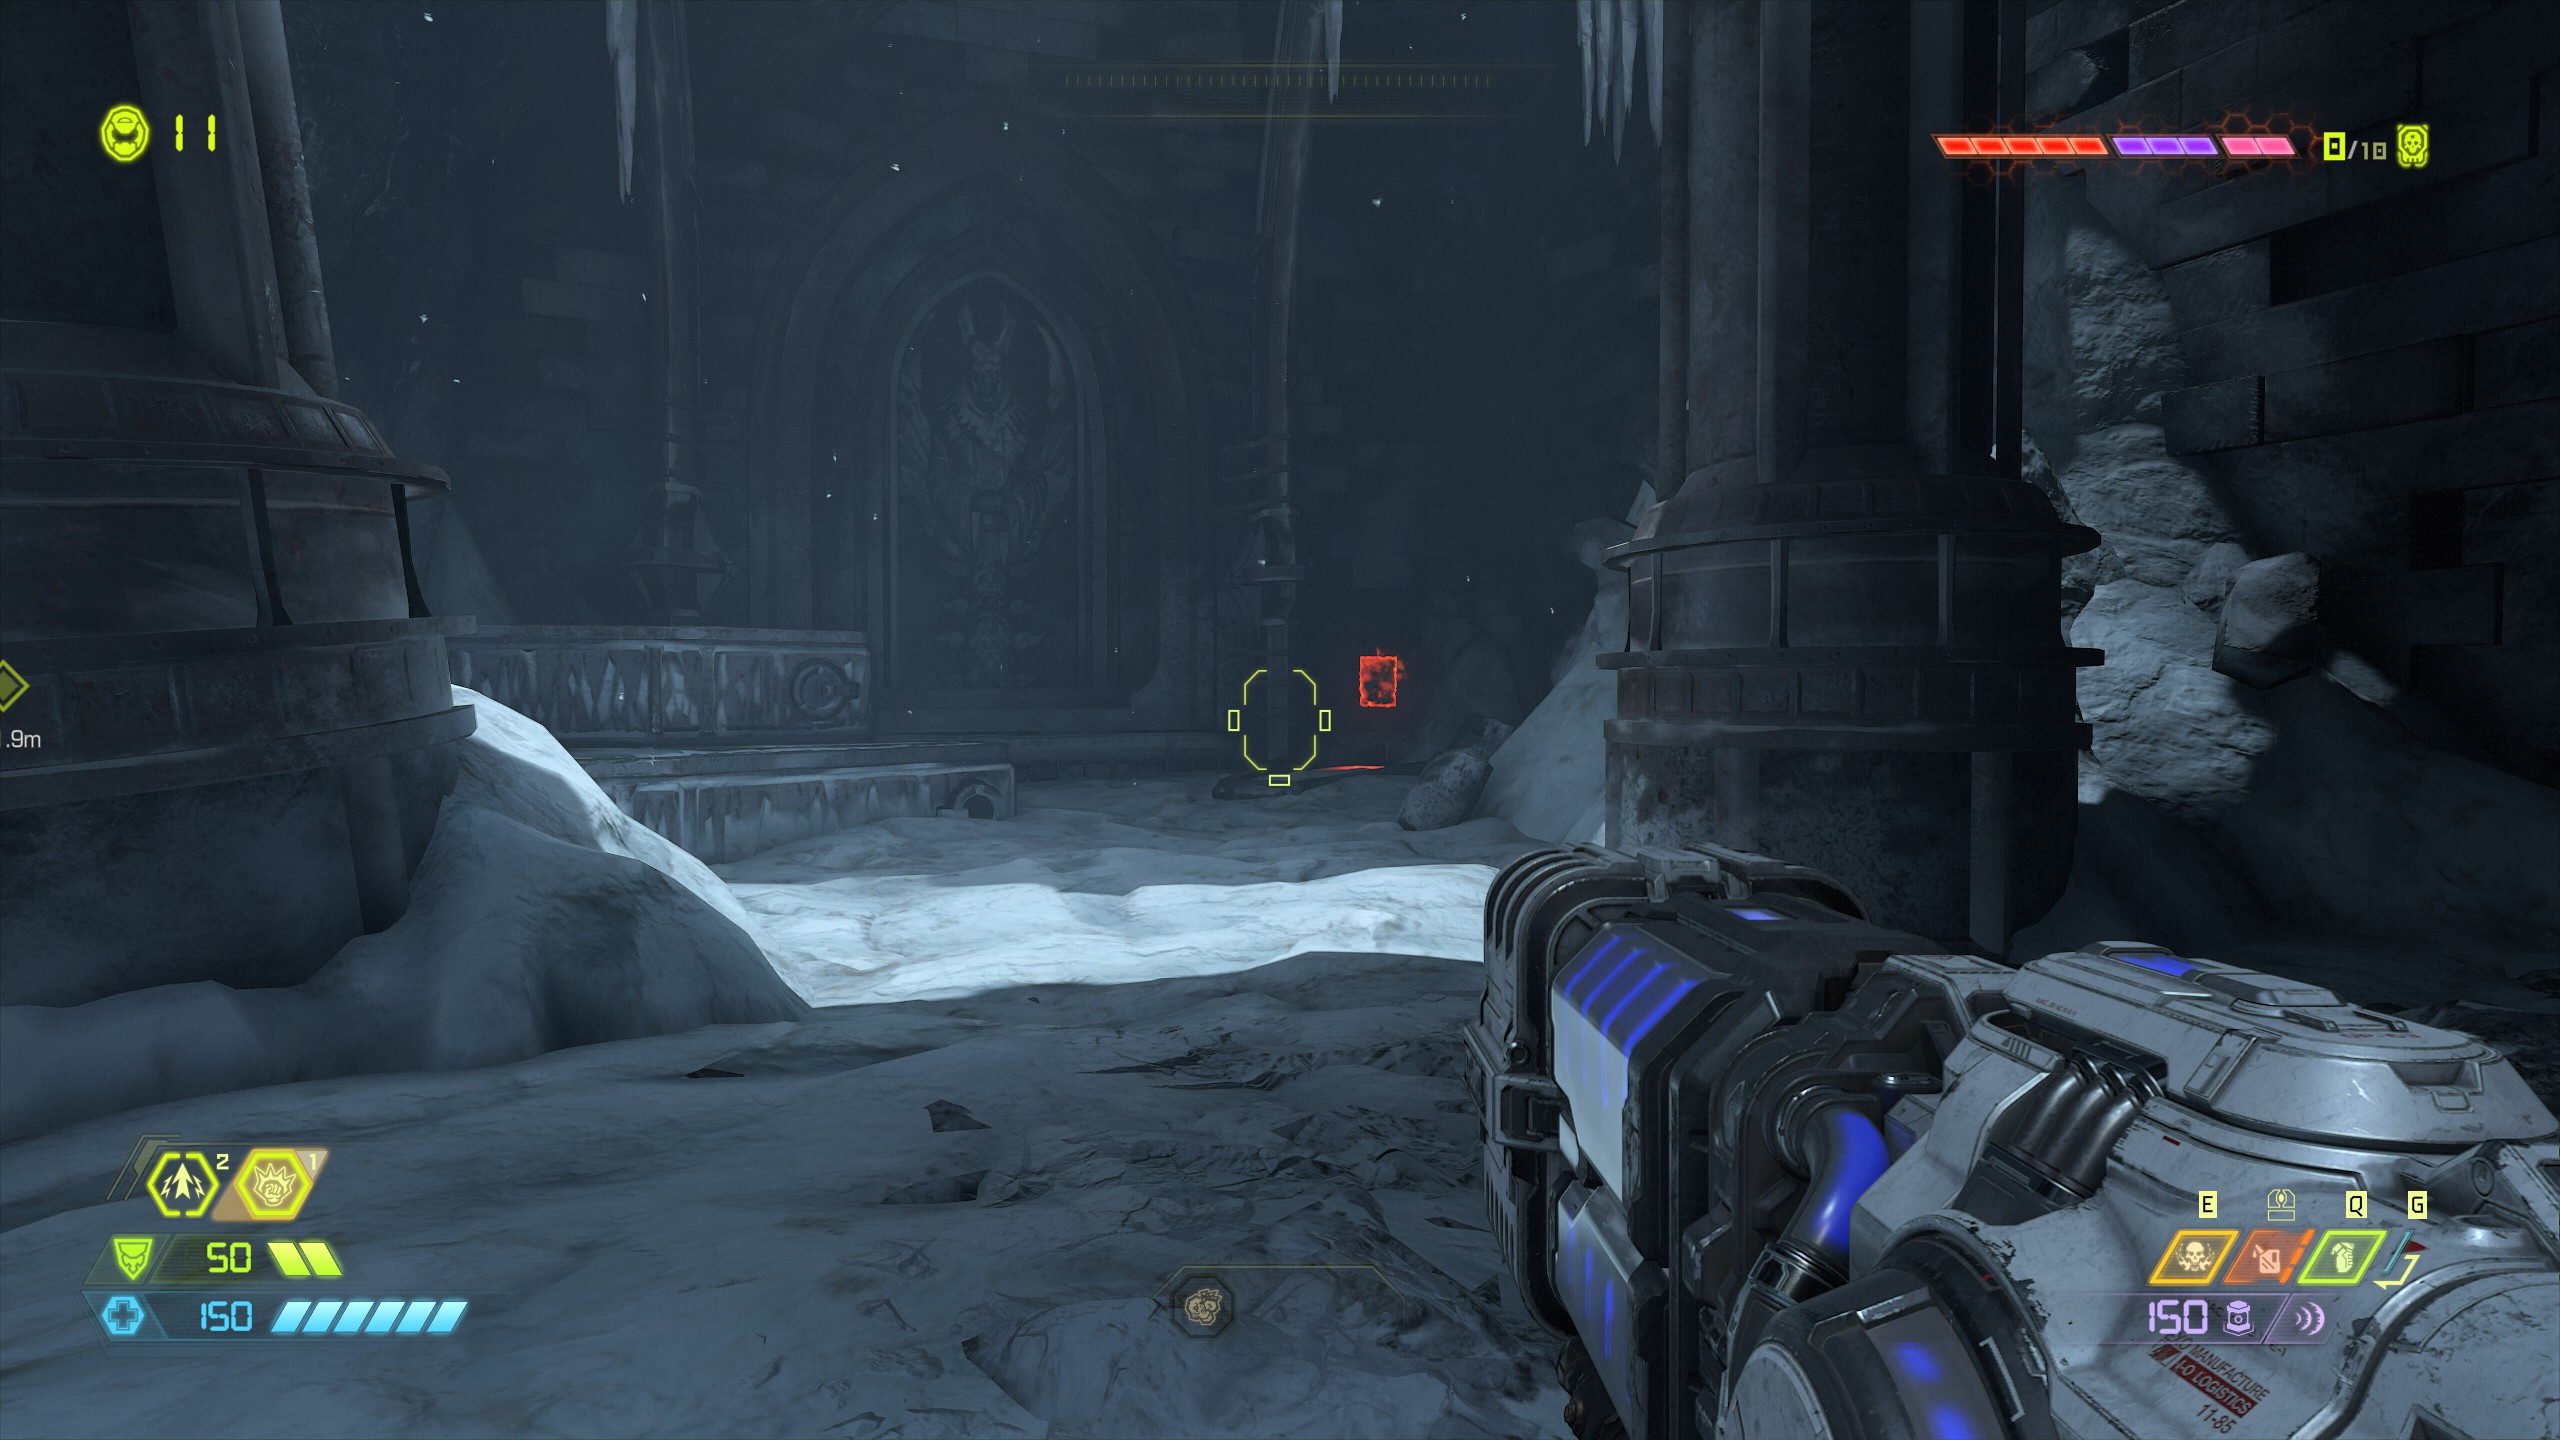
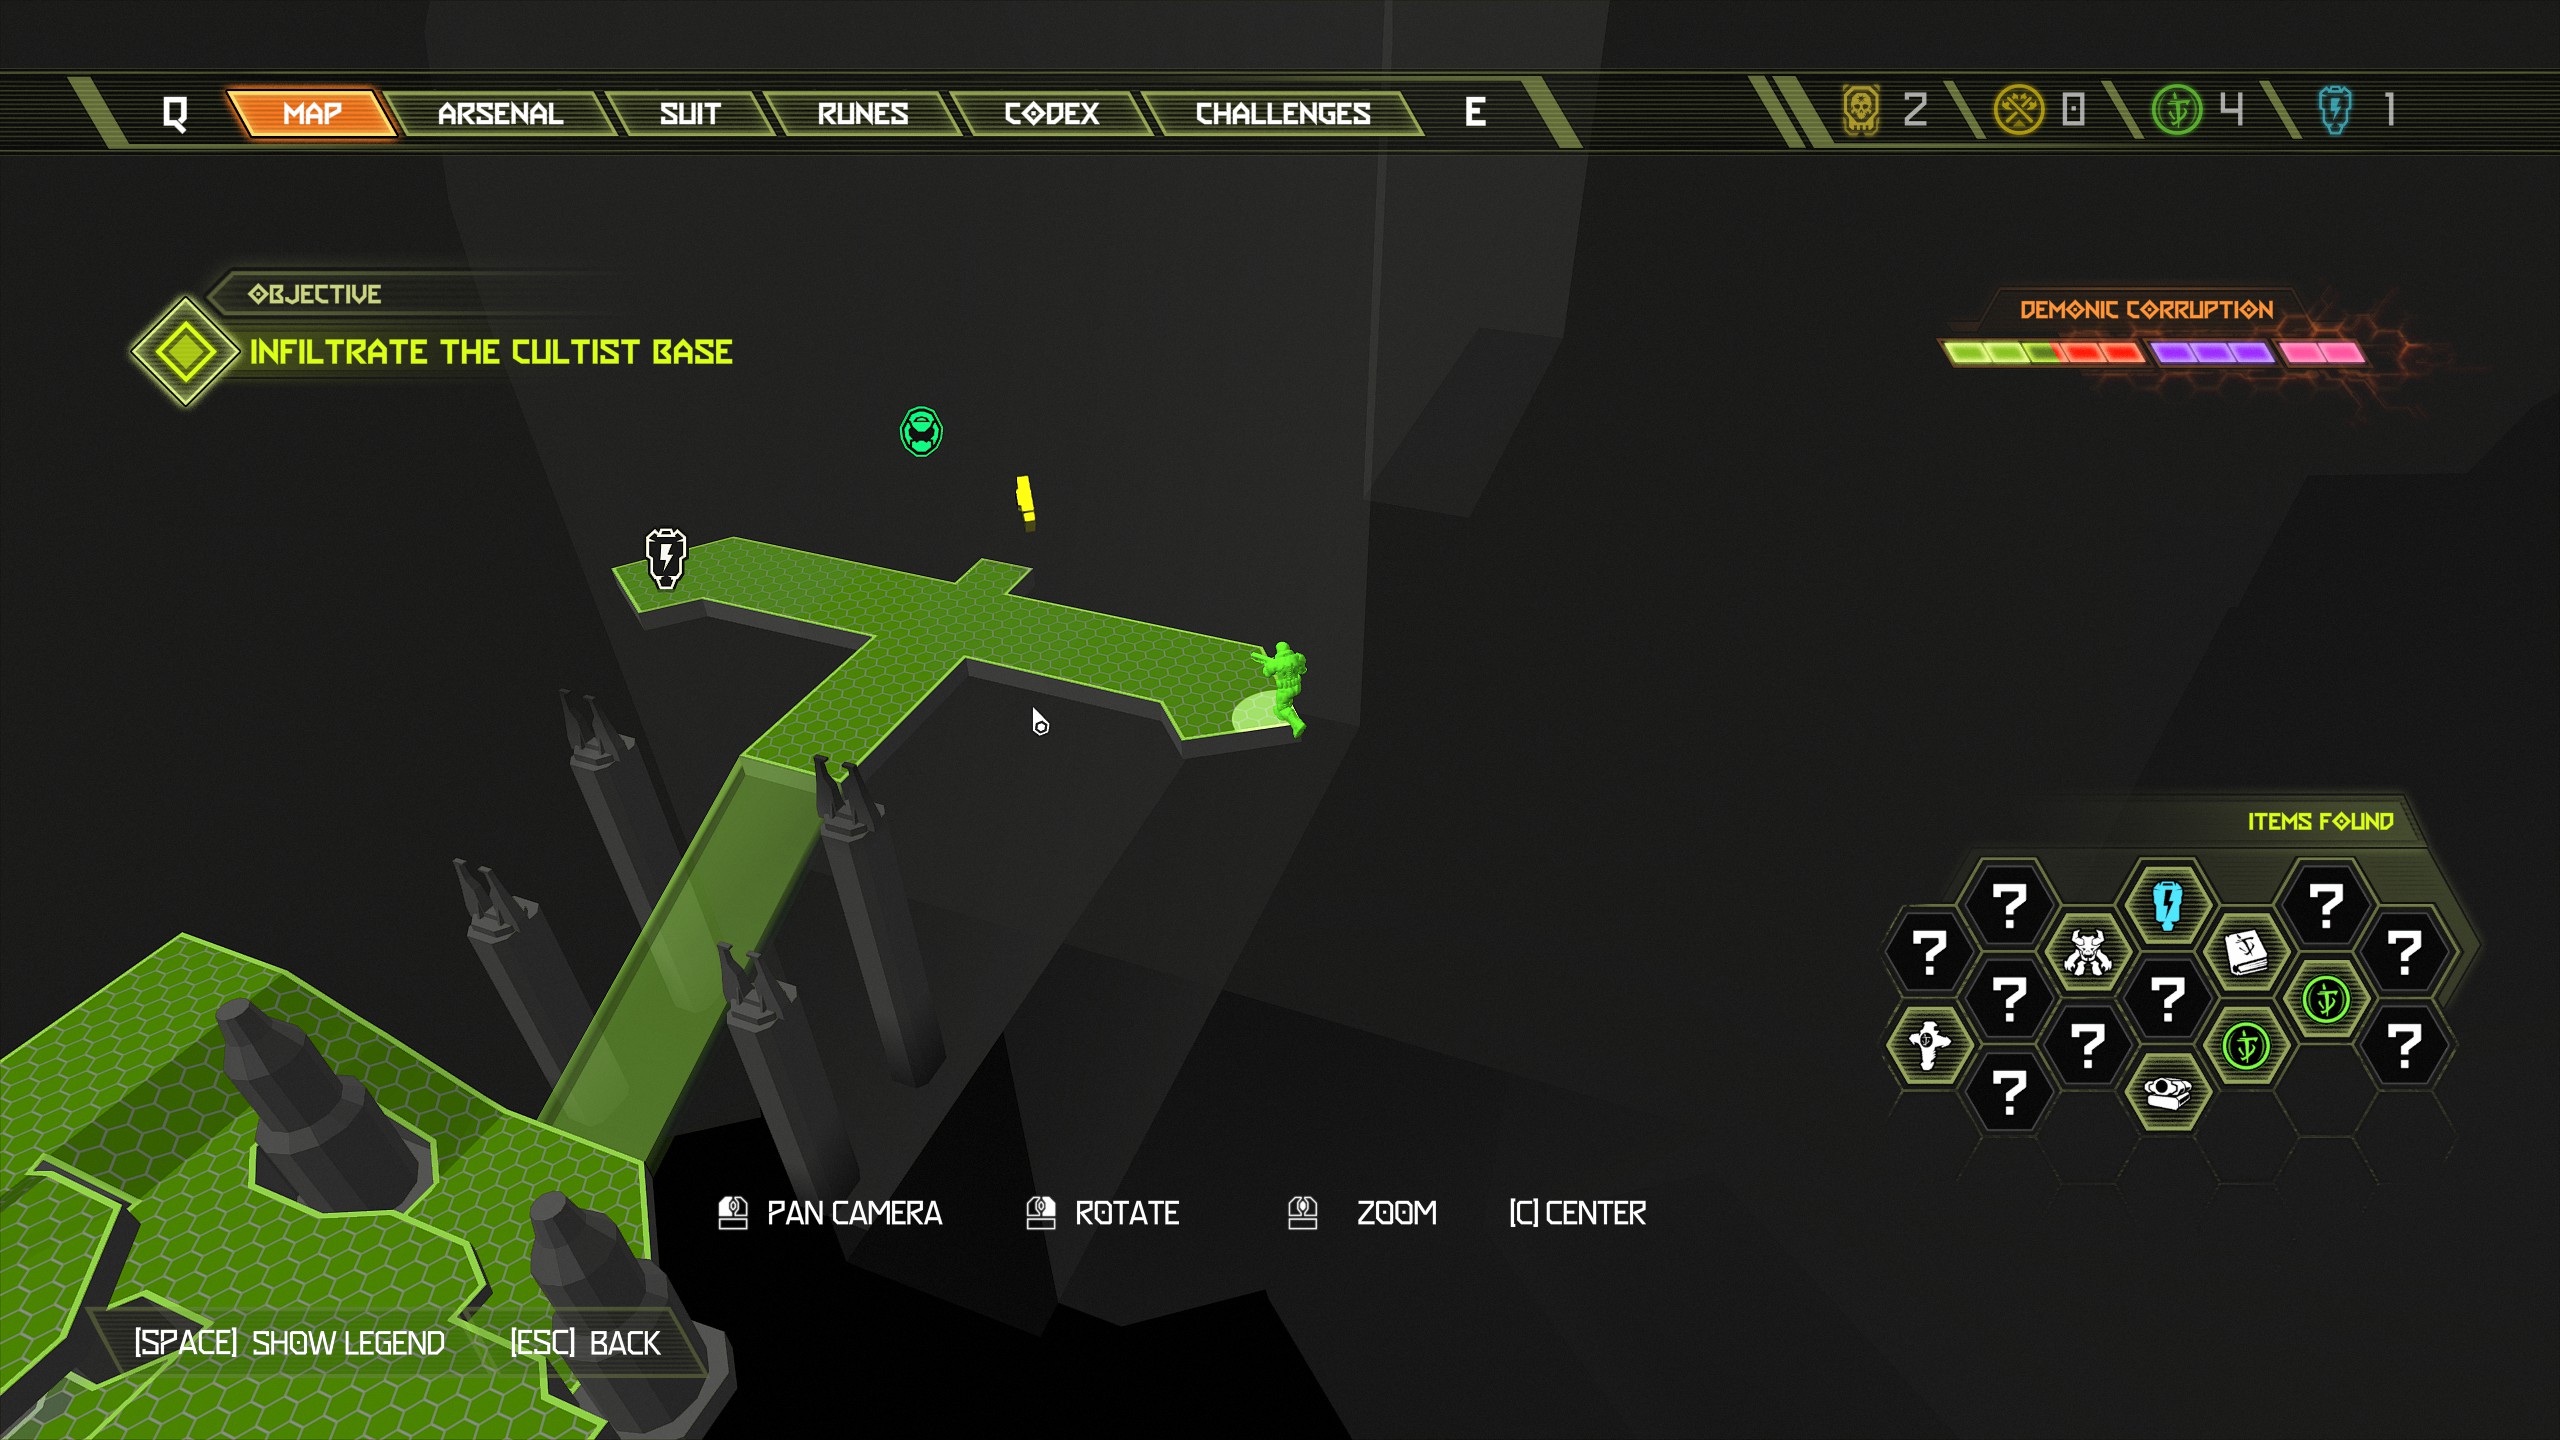
To reach the doomtoy use the booster to get up to the wall above and make your way across to the wall with the red mines, from there climb up but do not break through the green wall and instead turn left and break the wall at the end which will allow you to jump over to the skull and collect the doomtoy. Now you can proceed through the green wall.
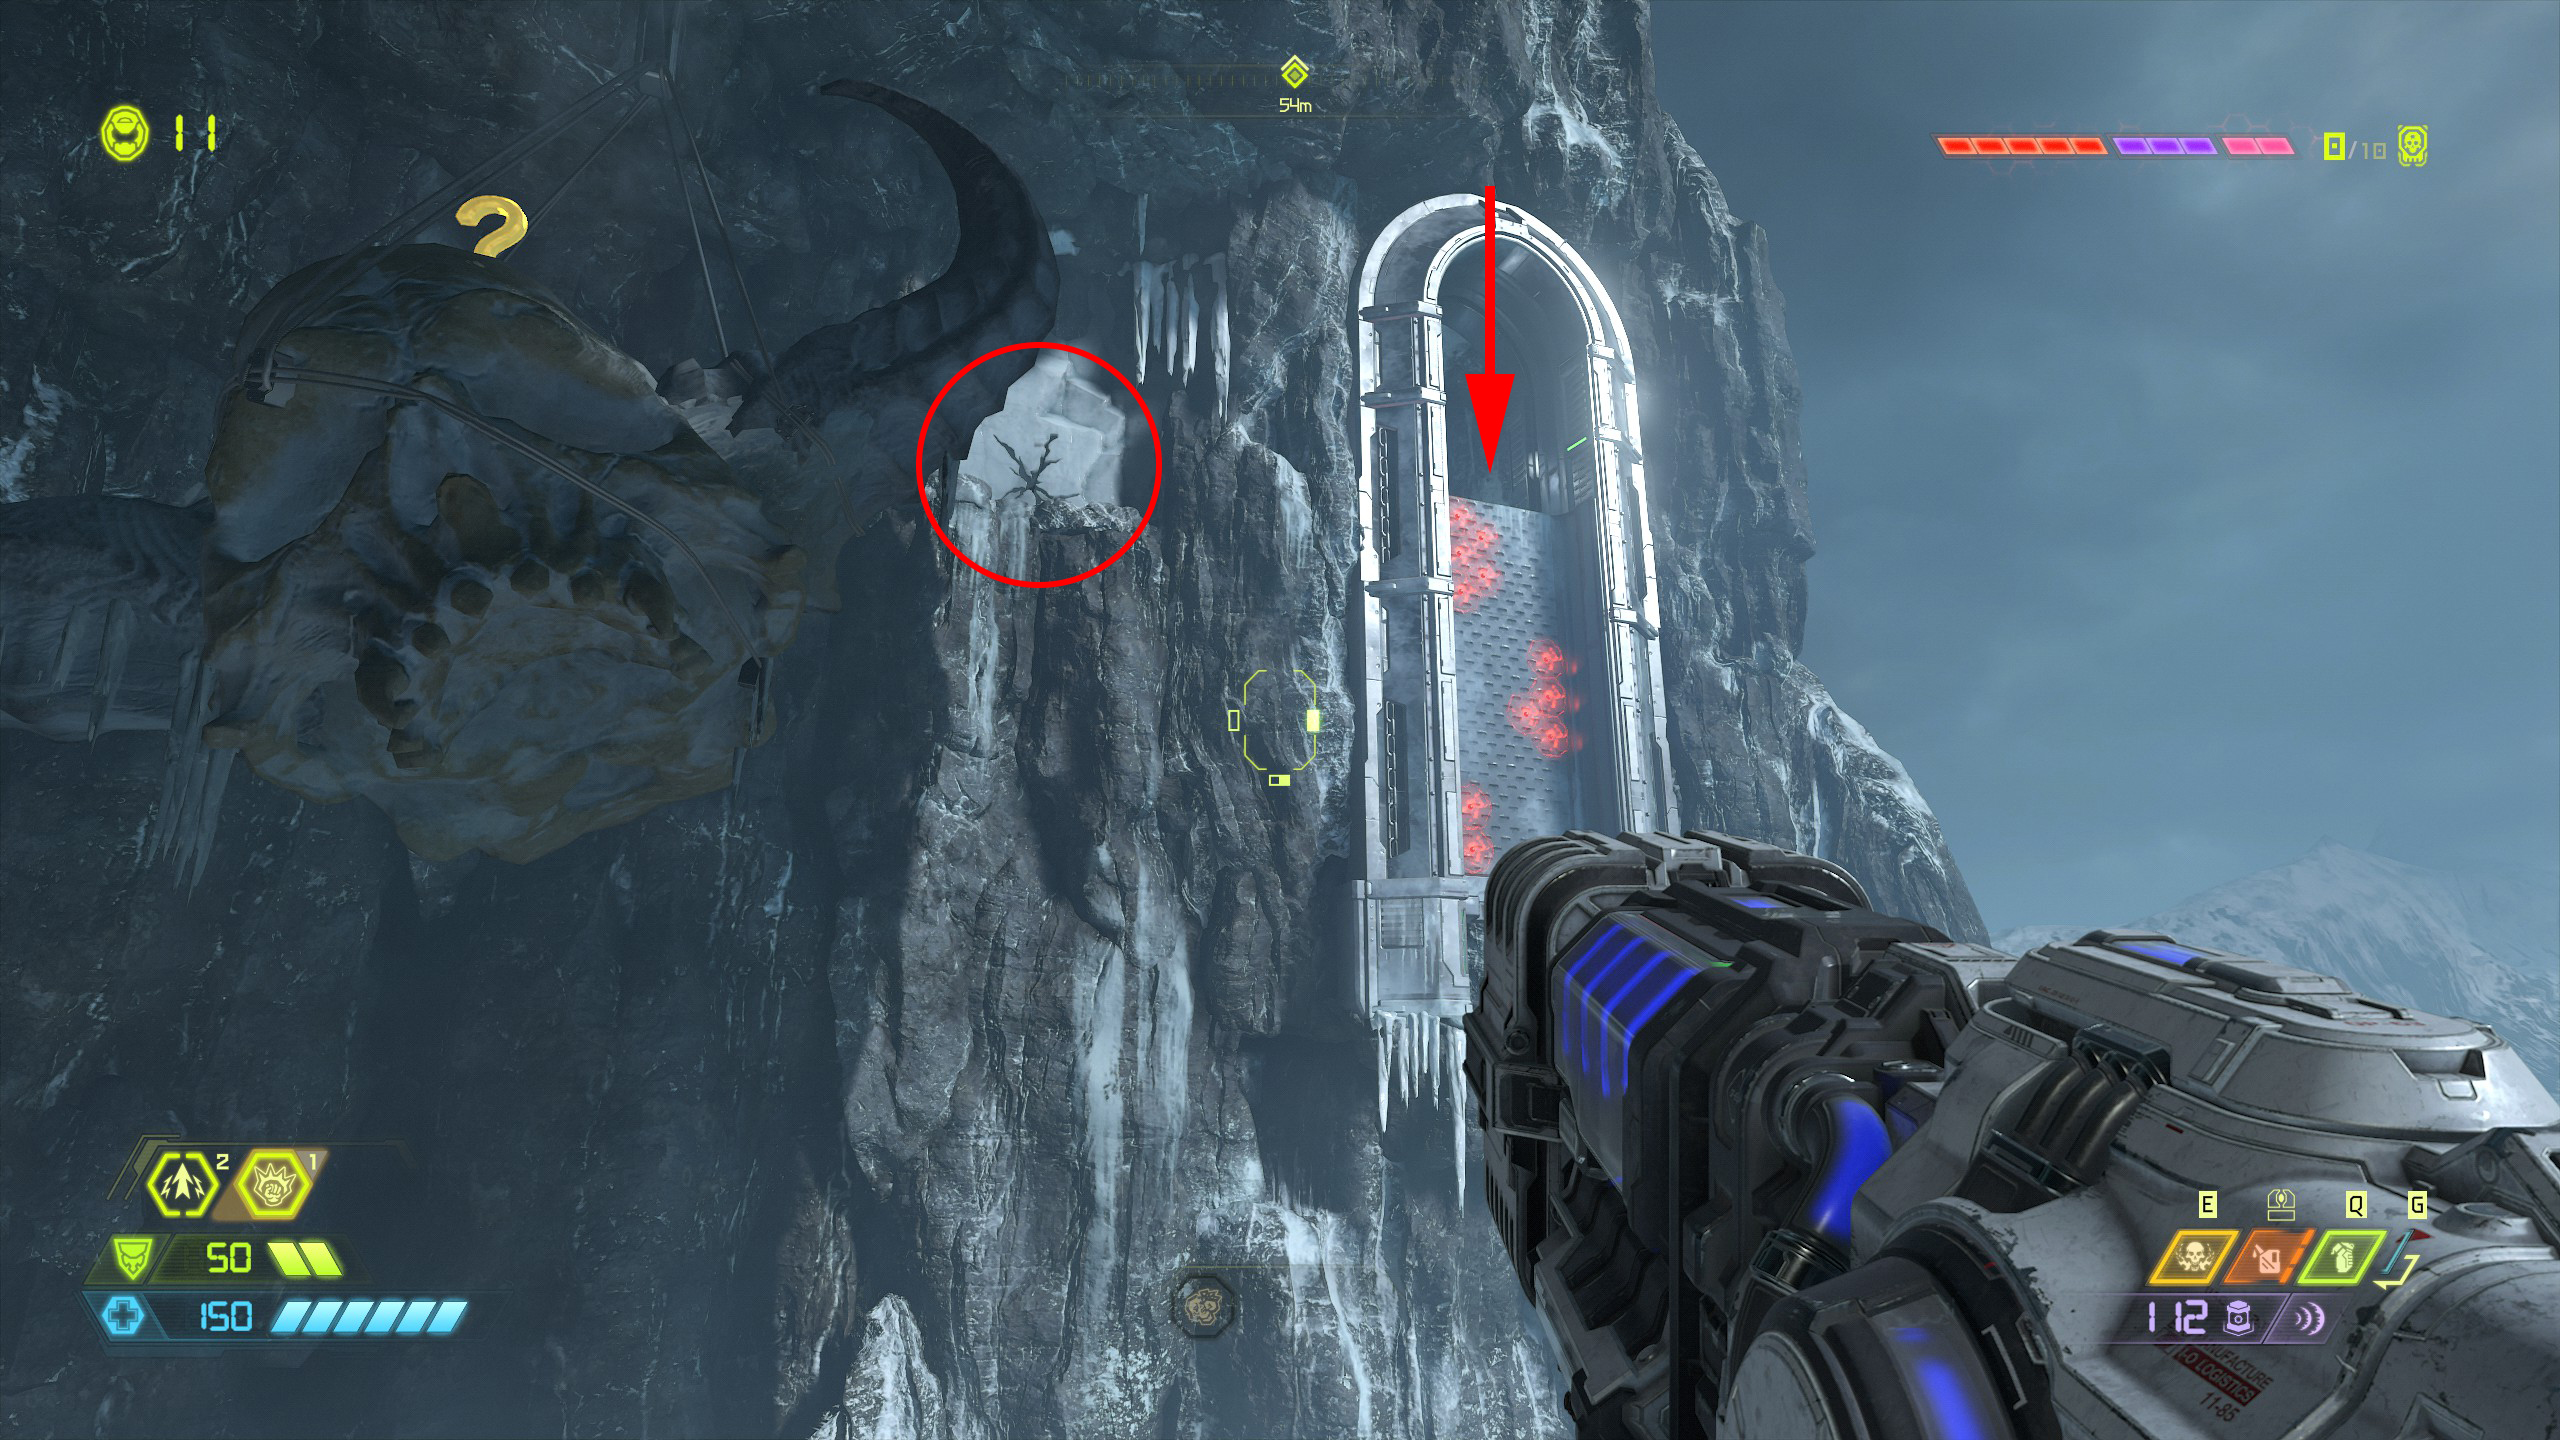
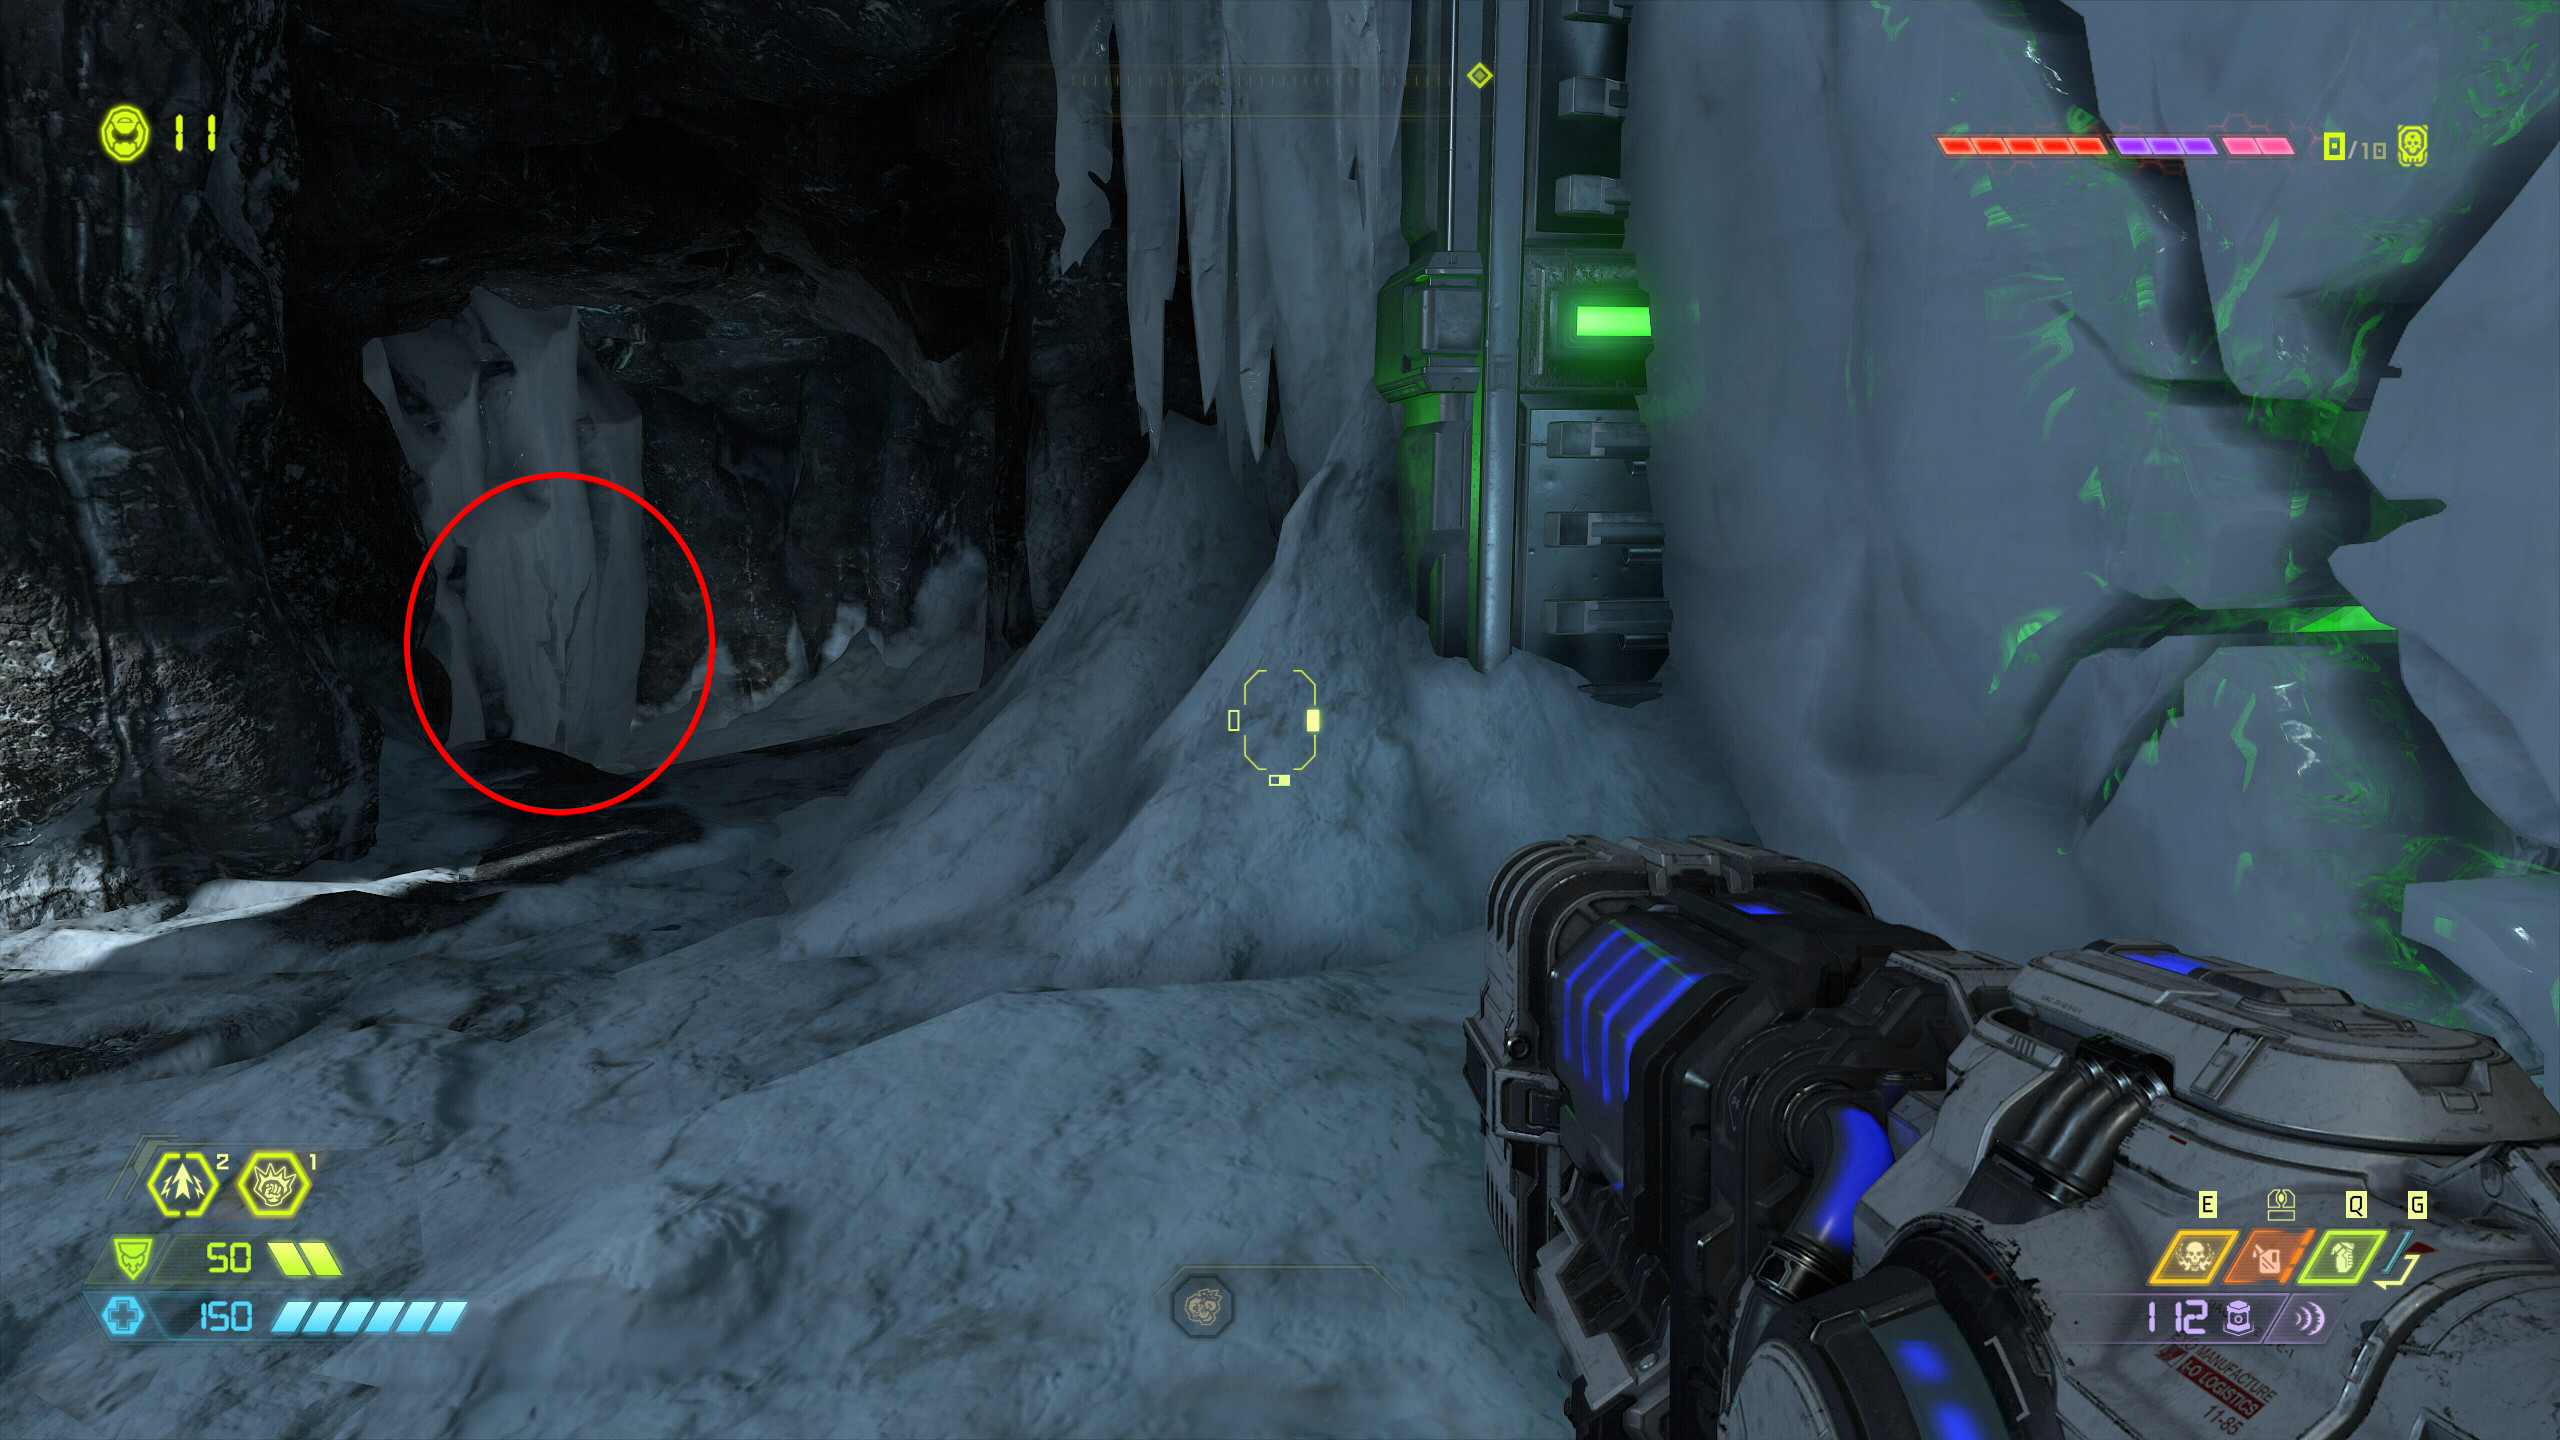
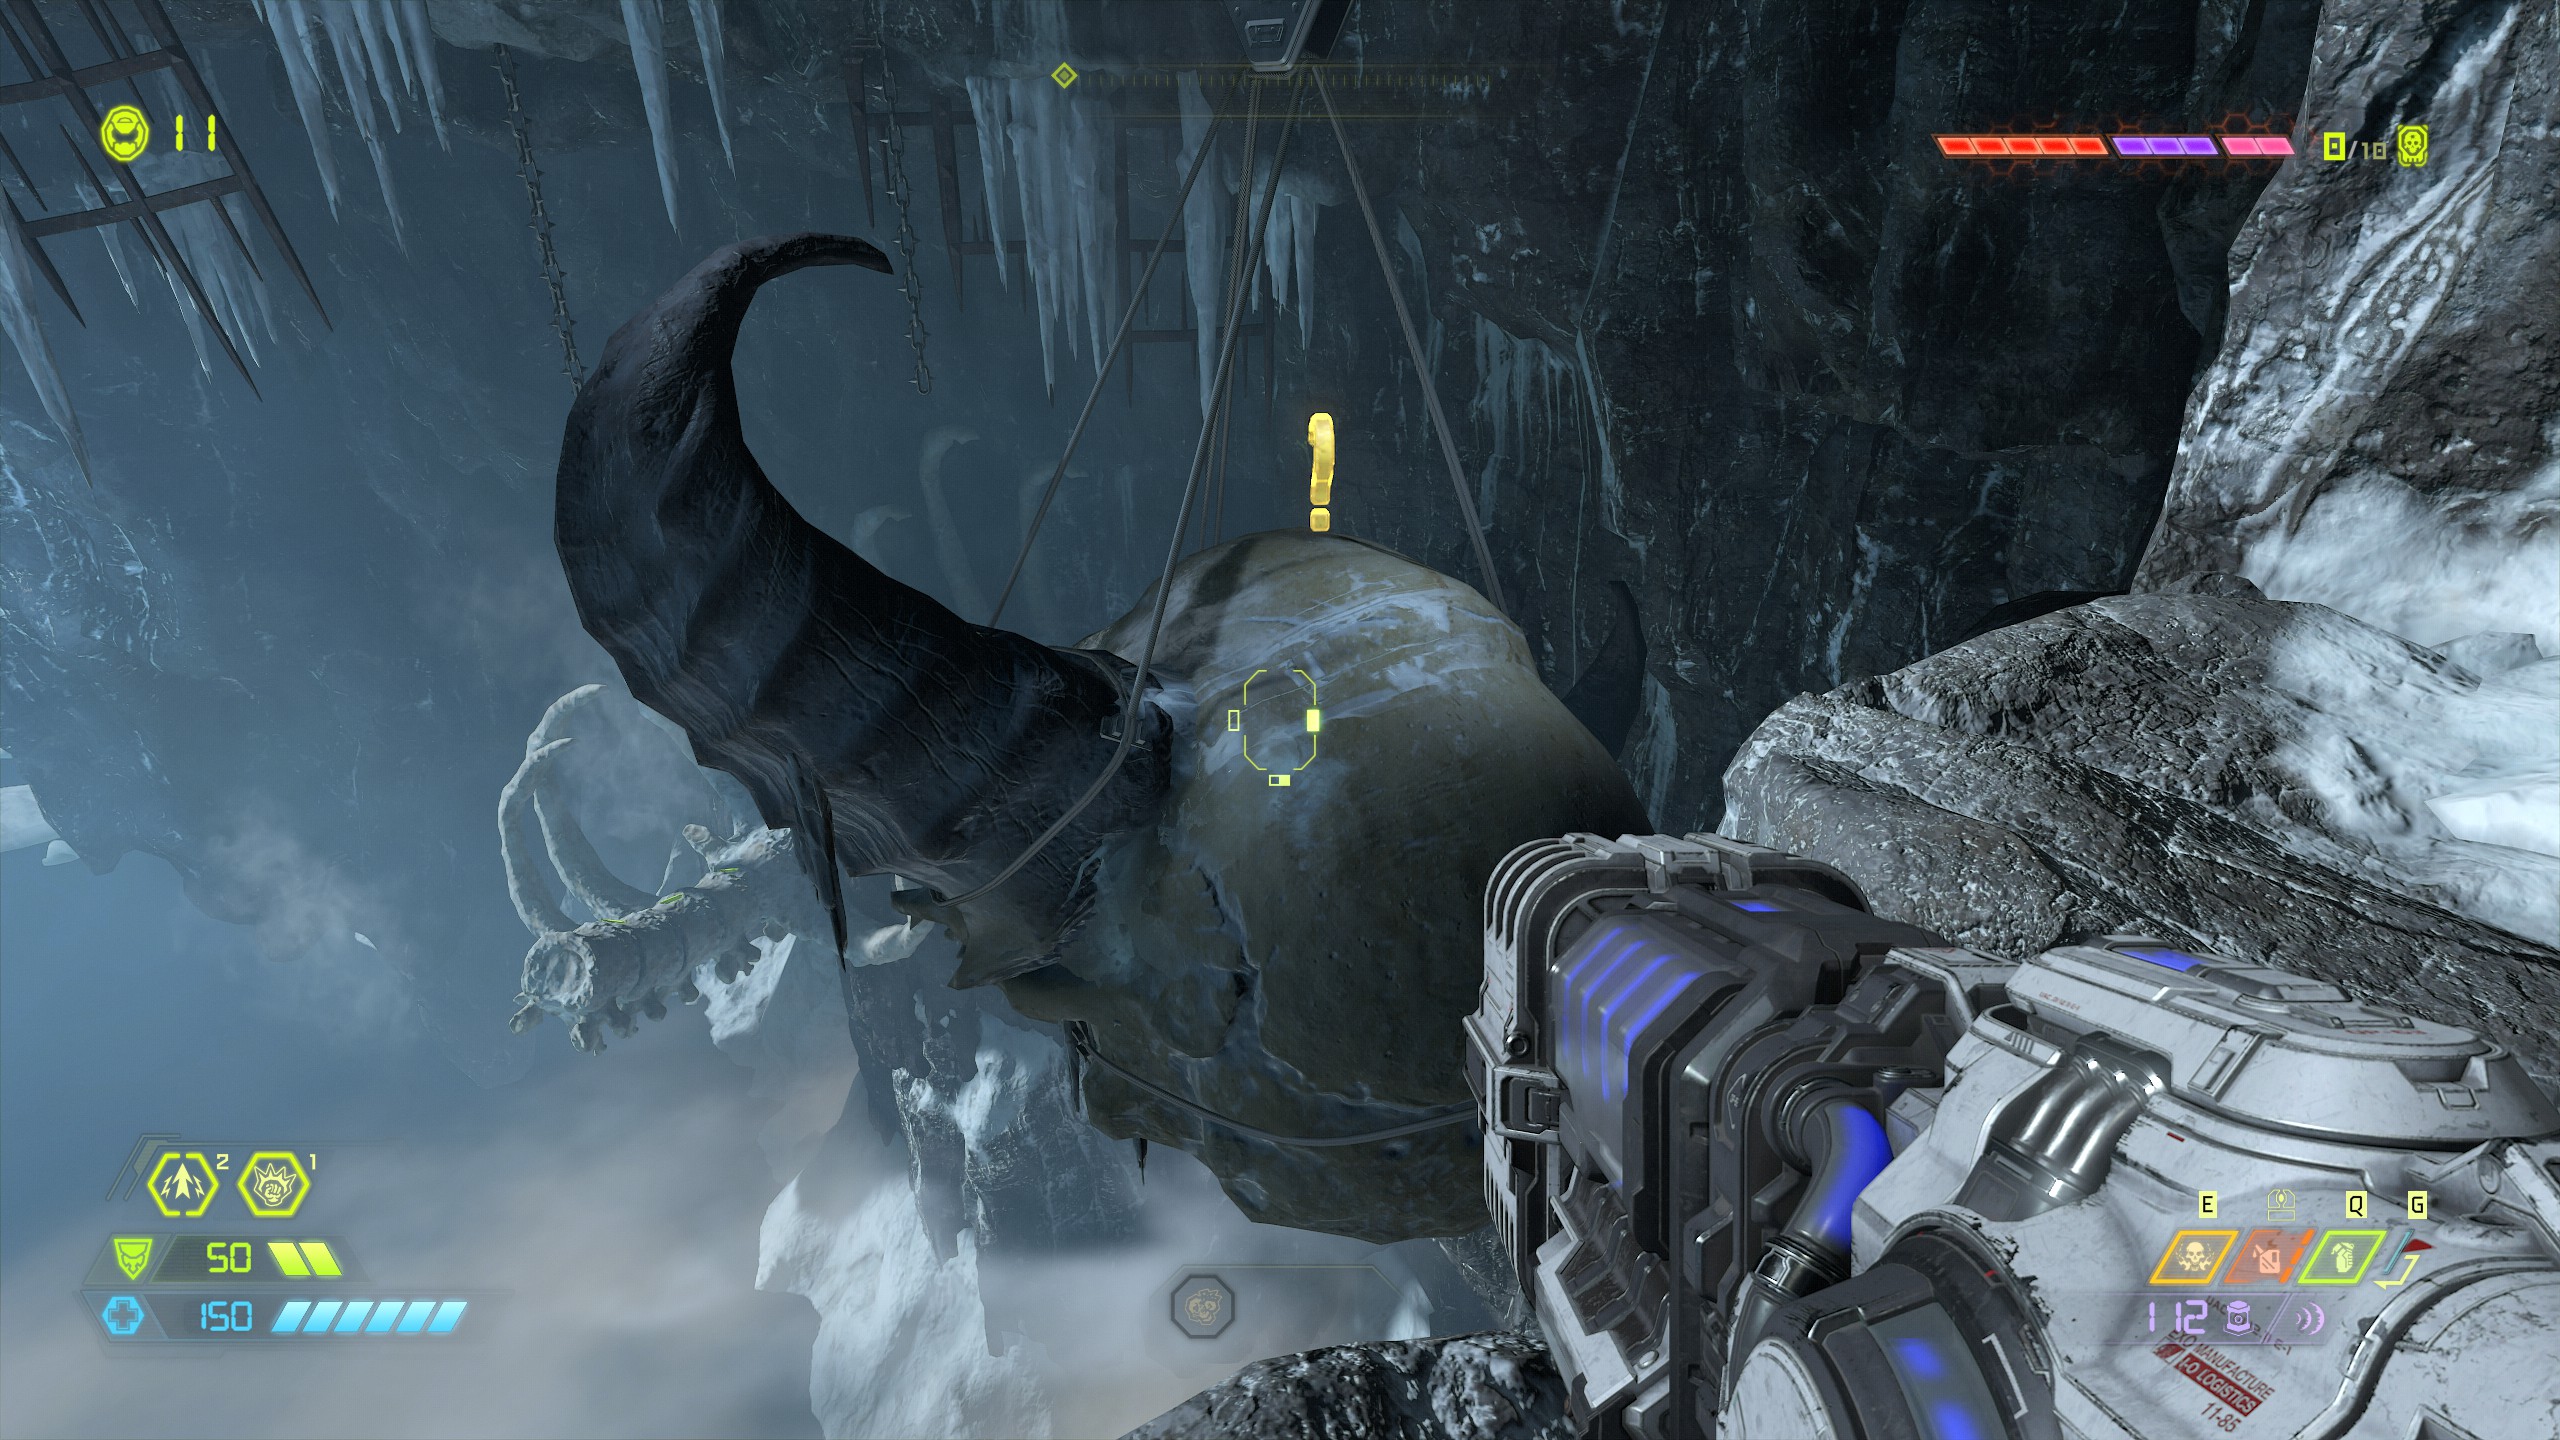
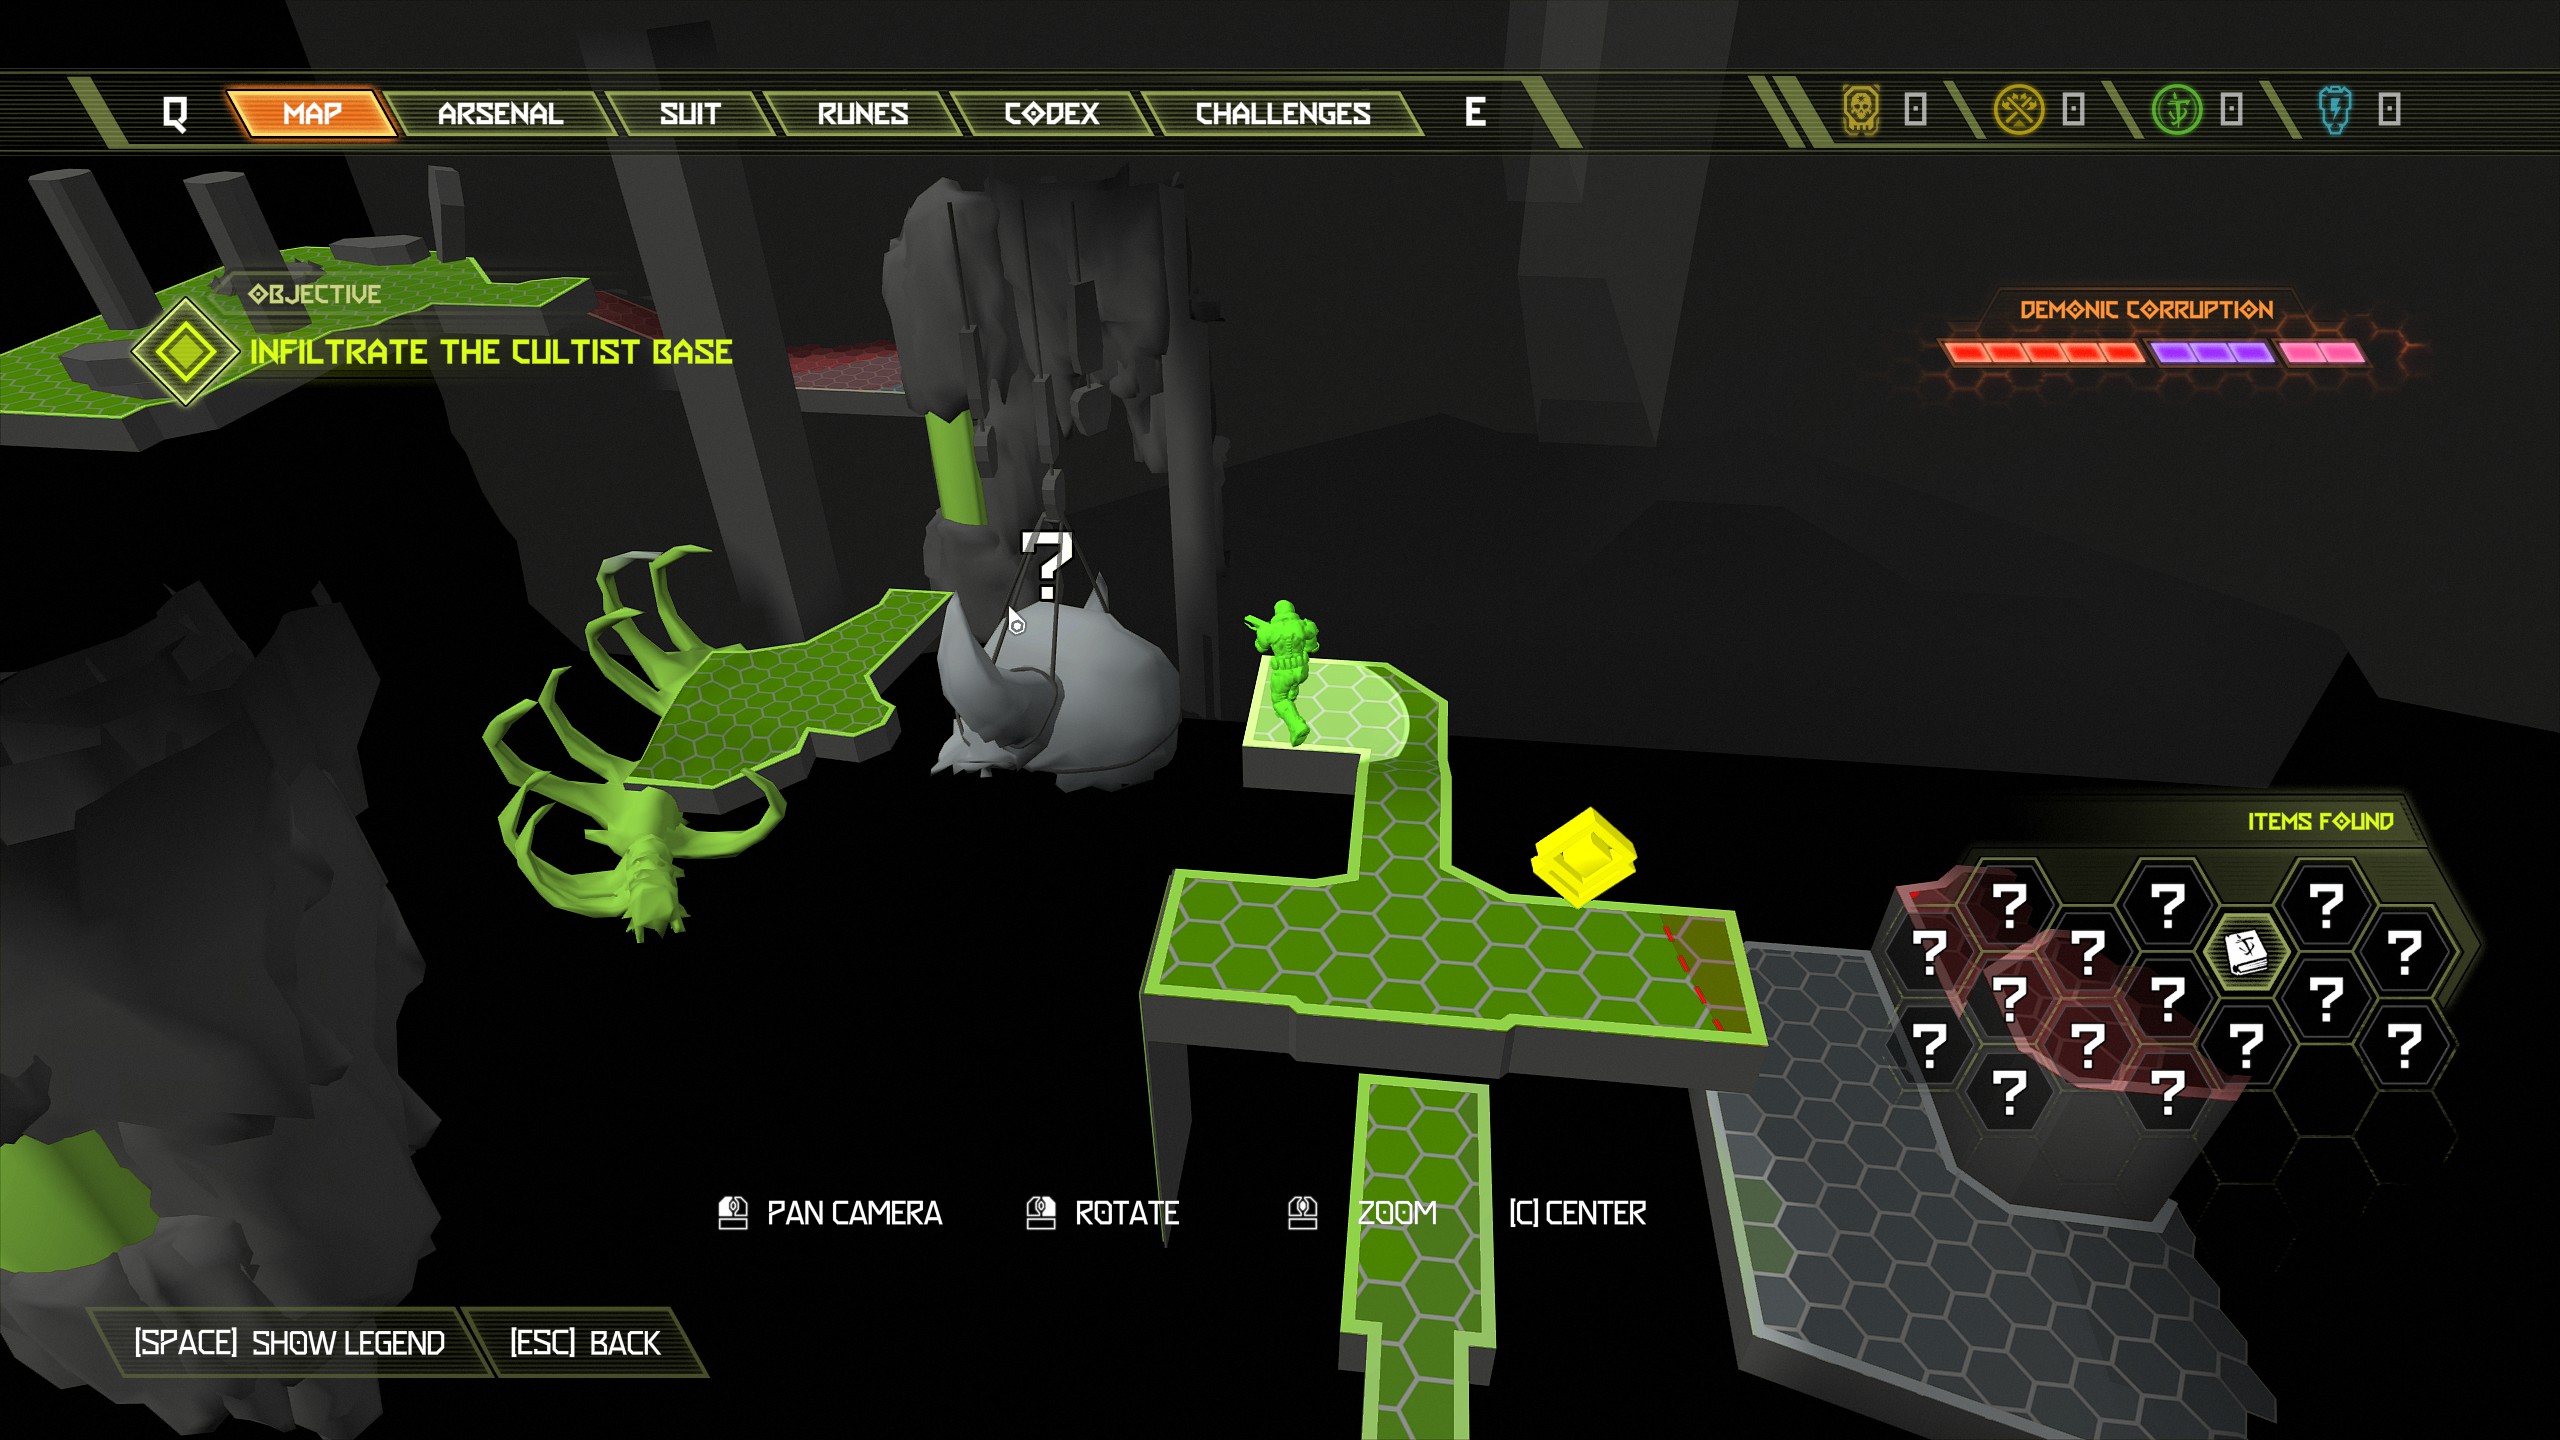
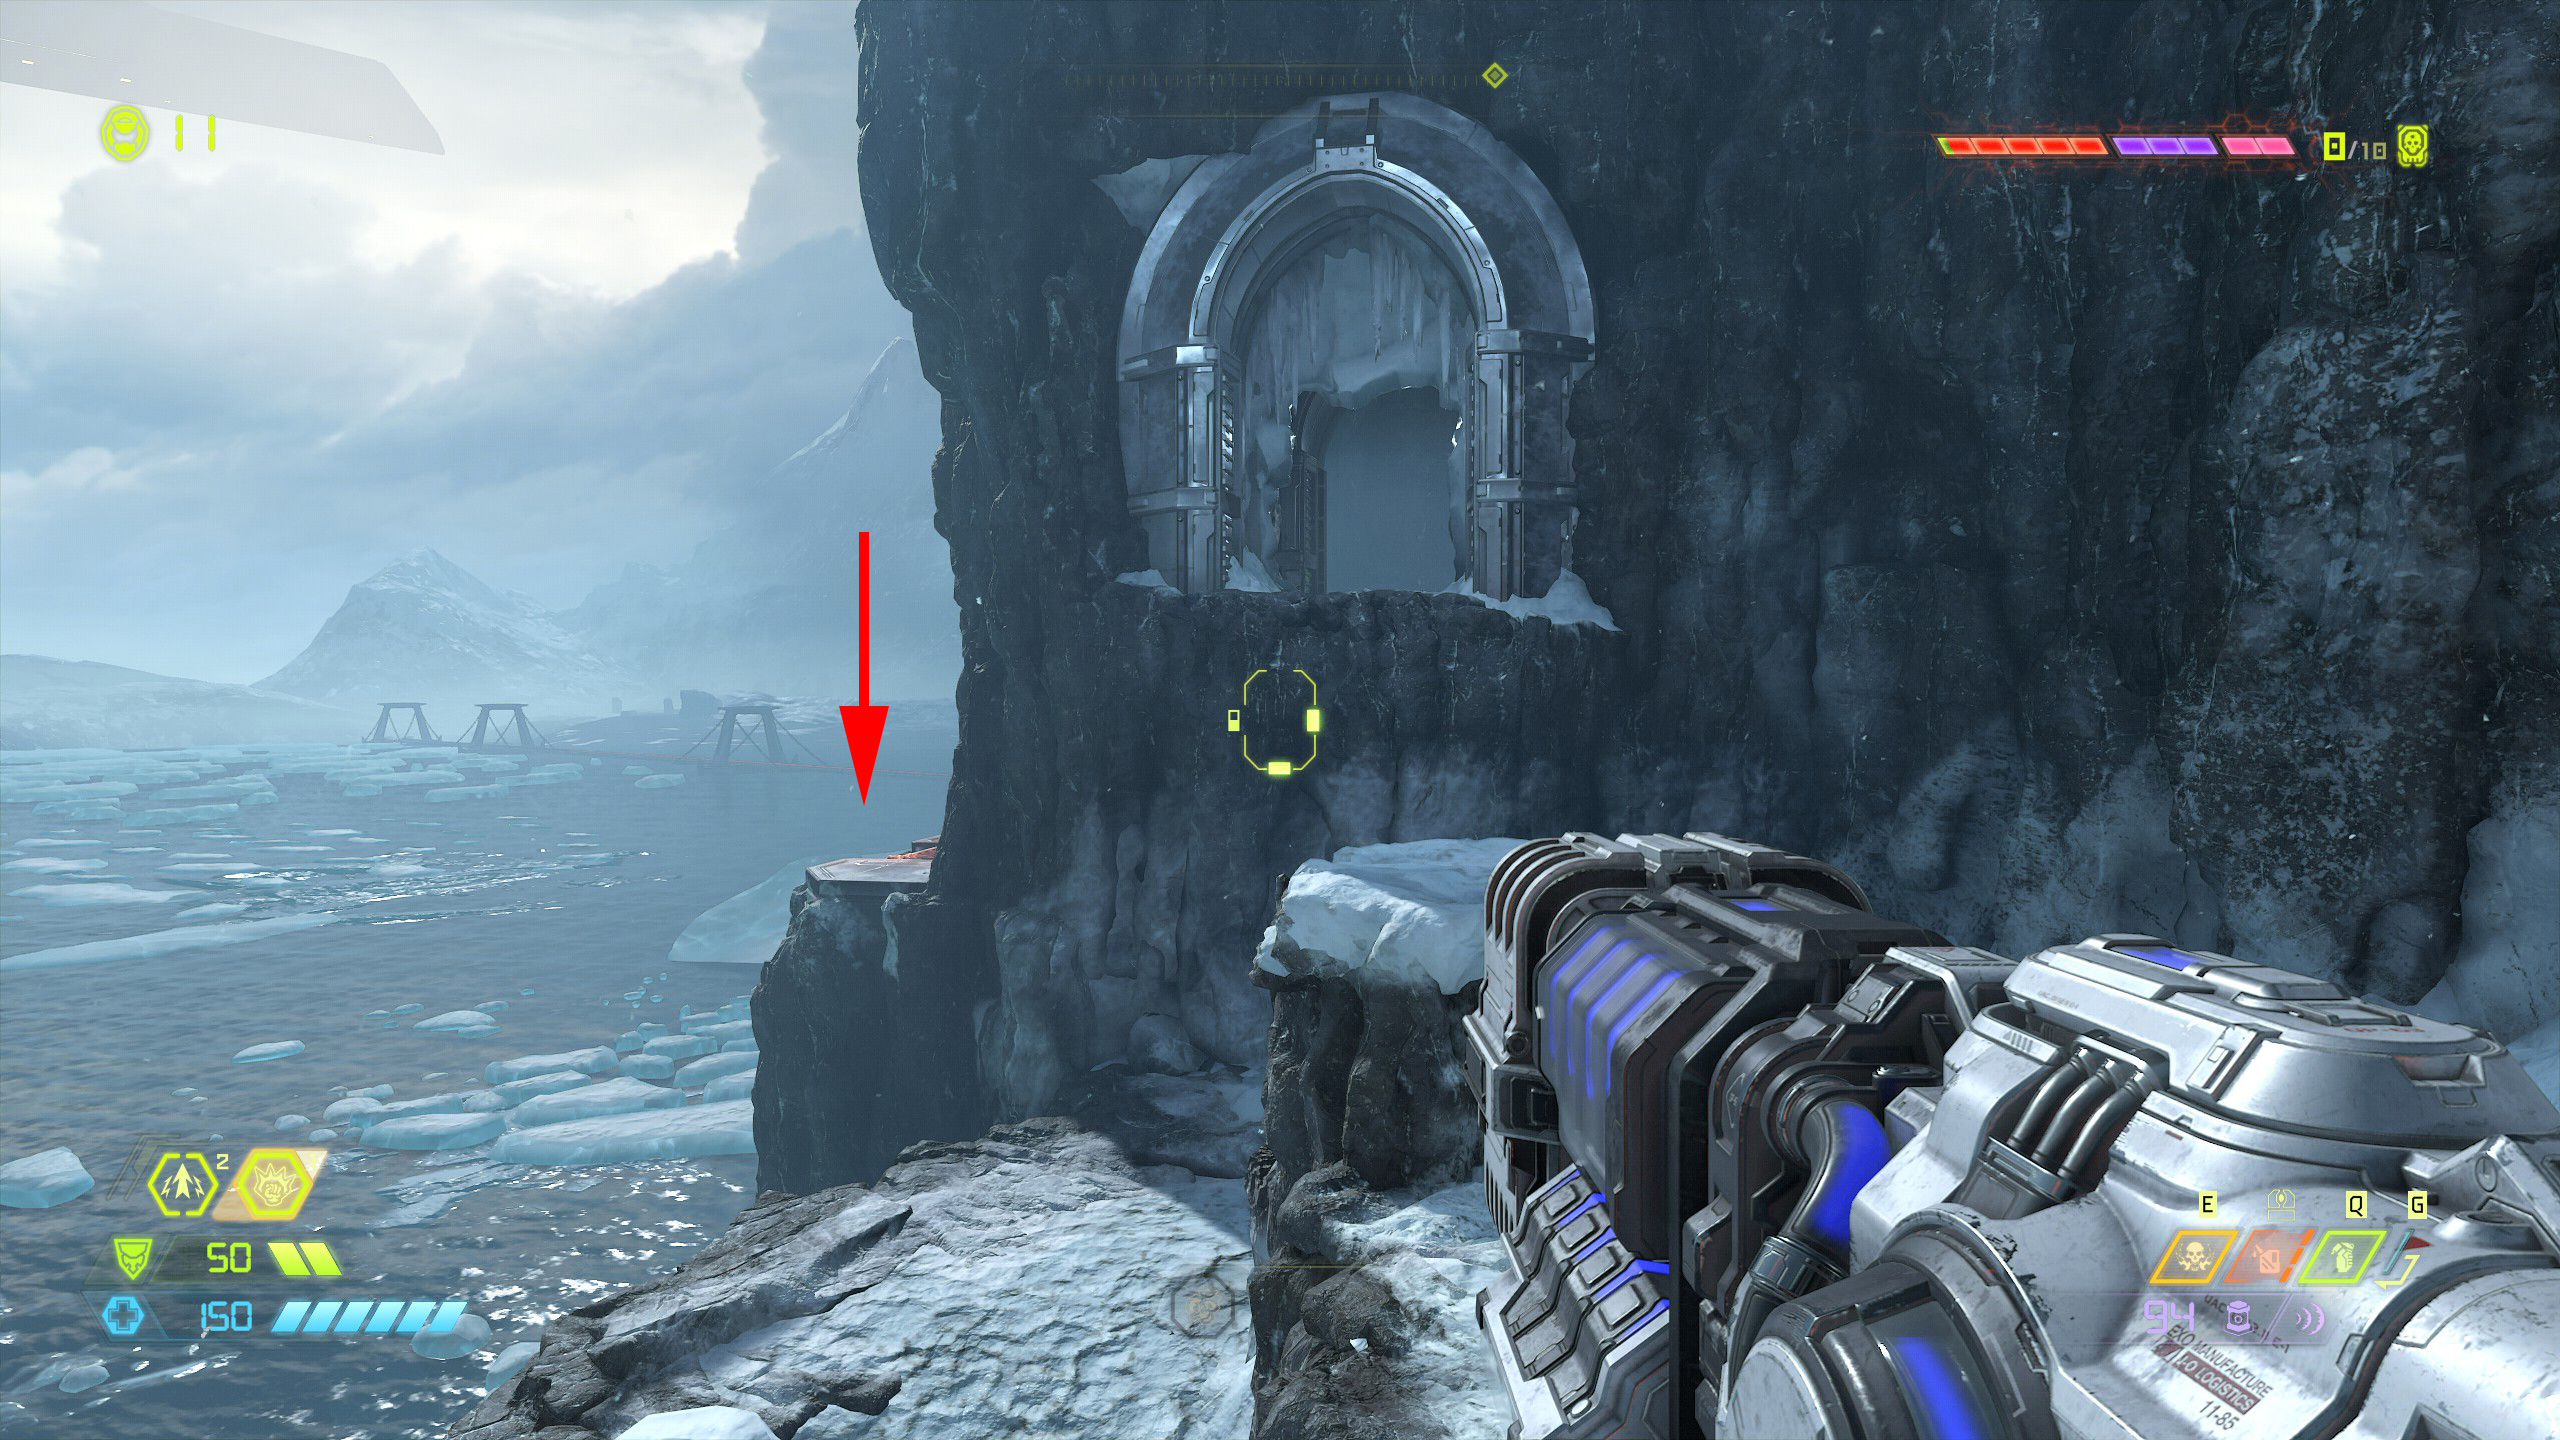
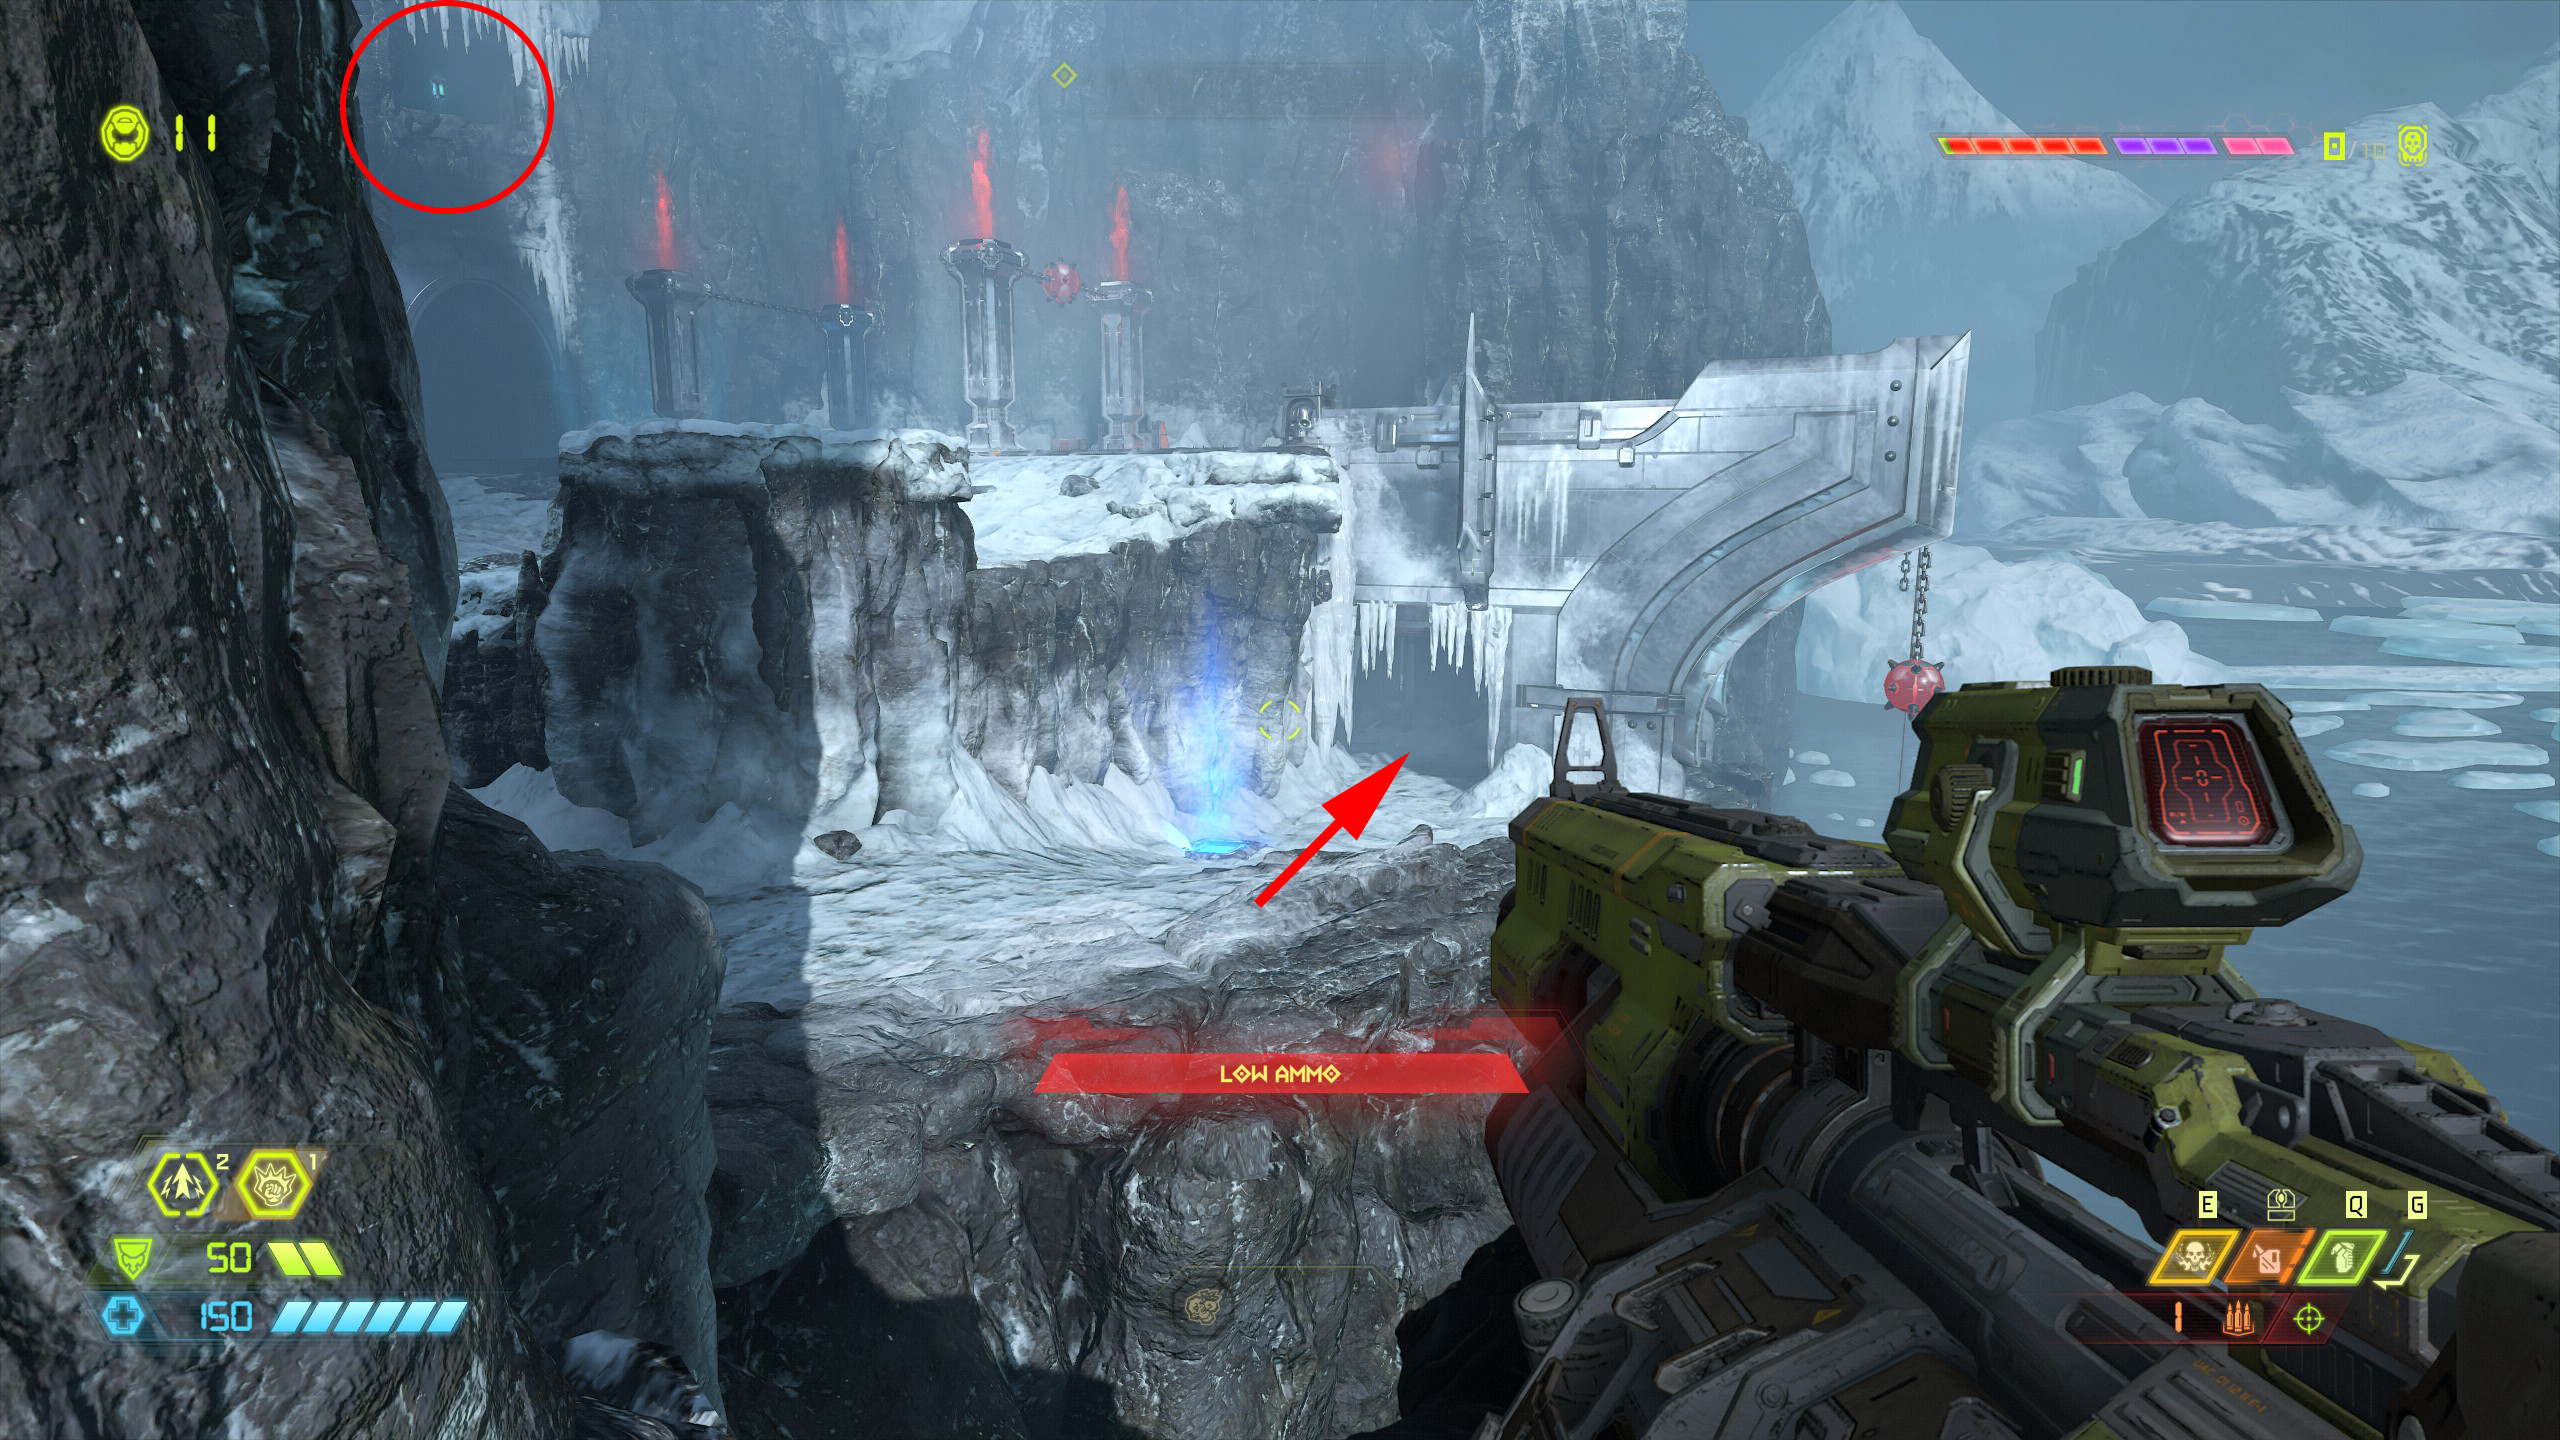
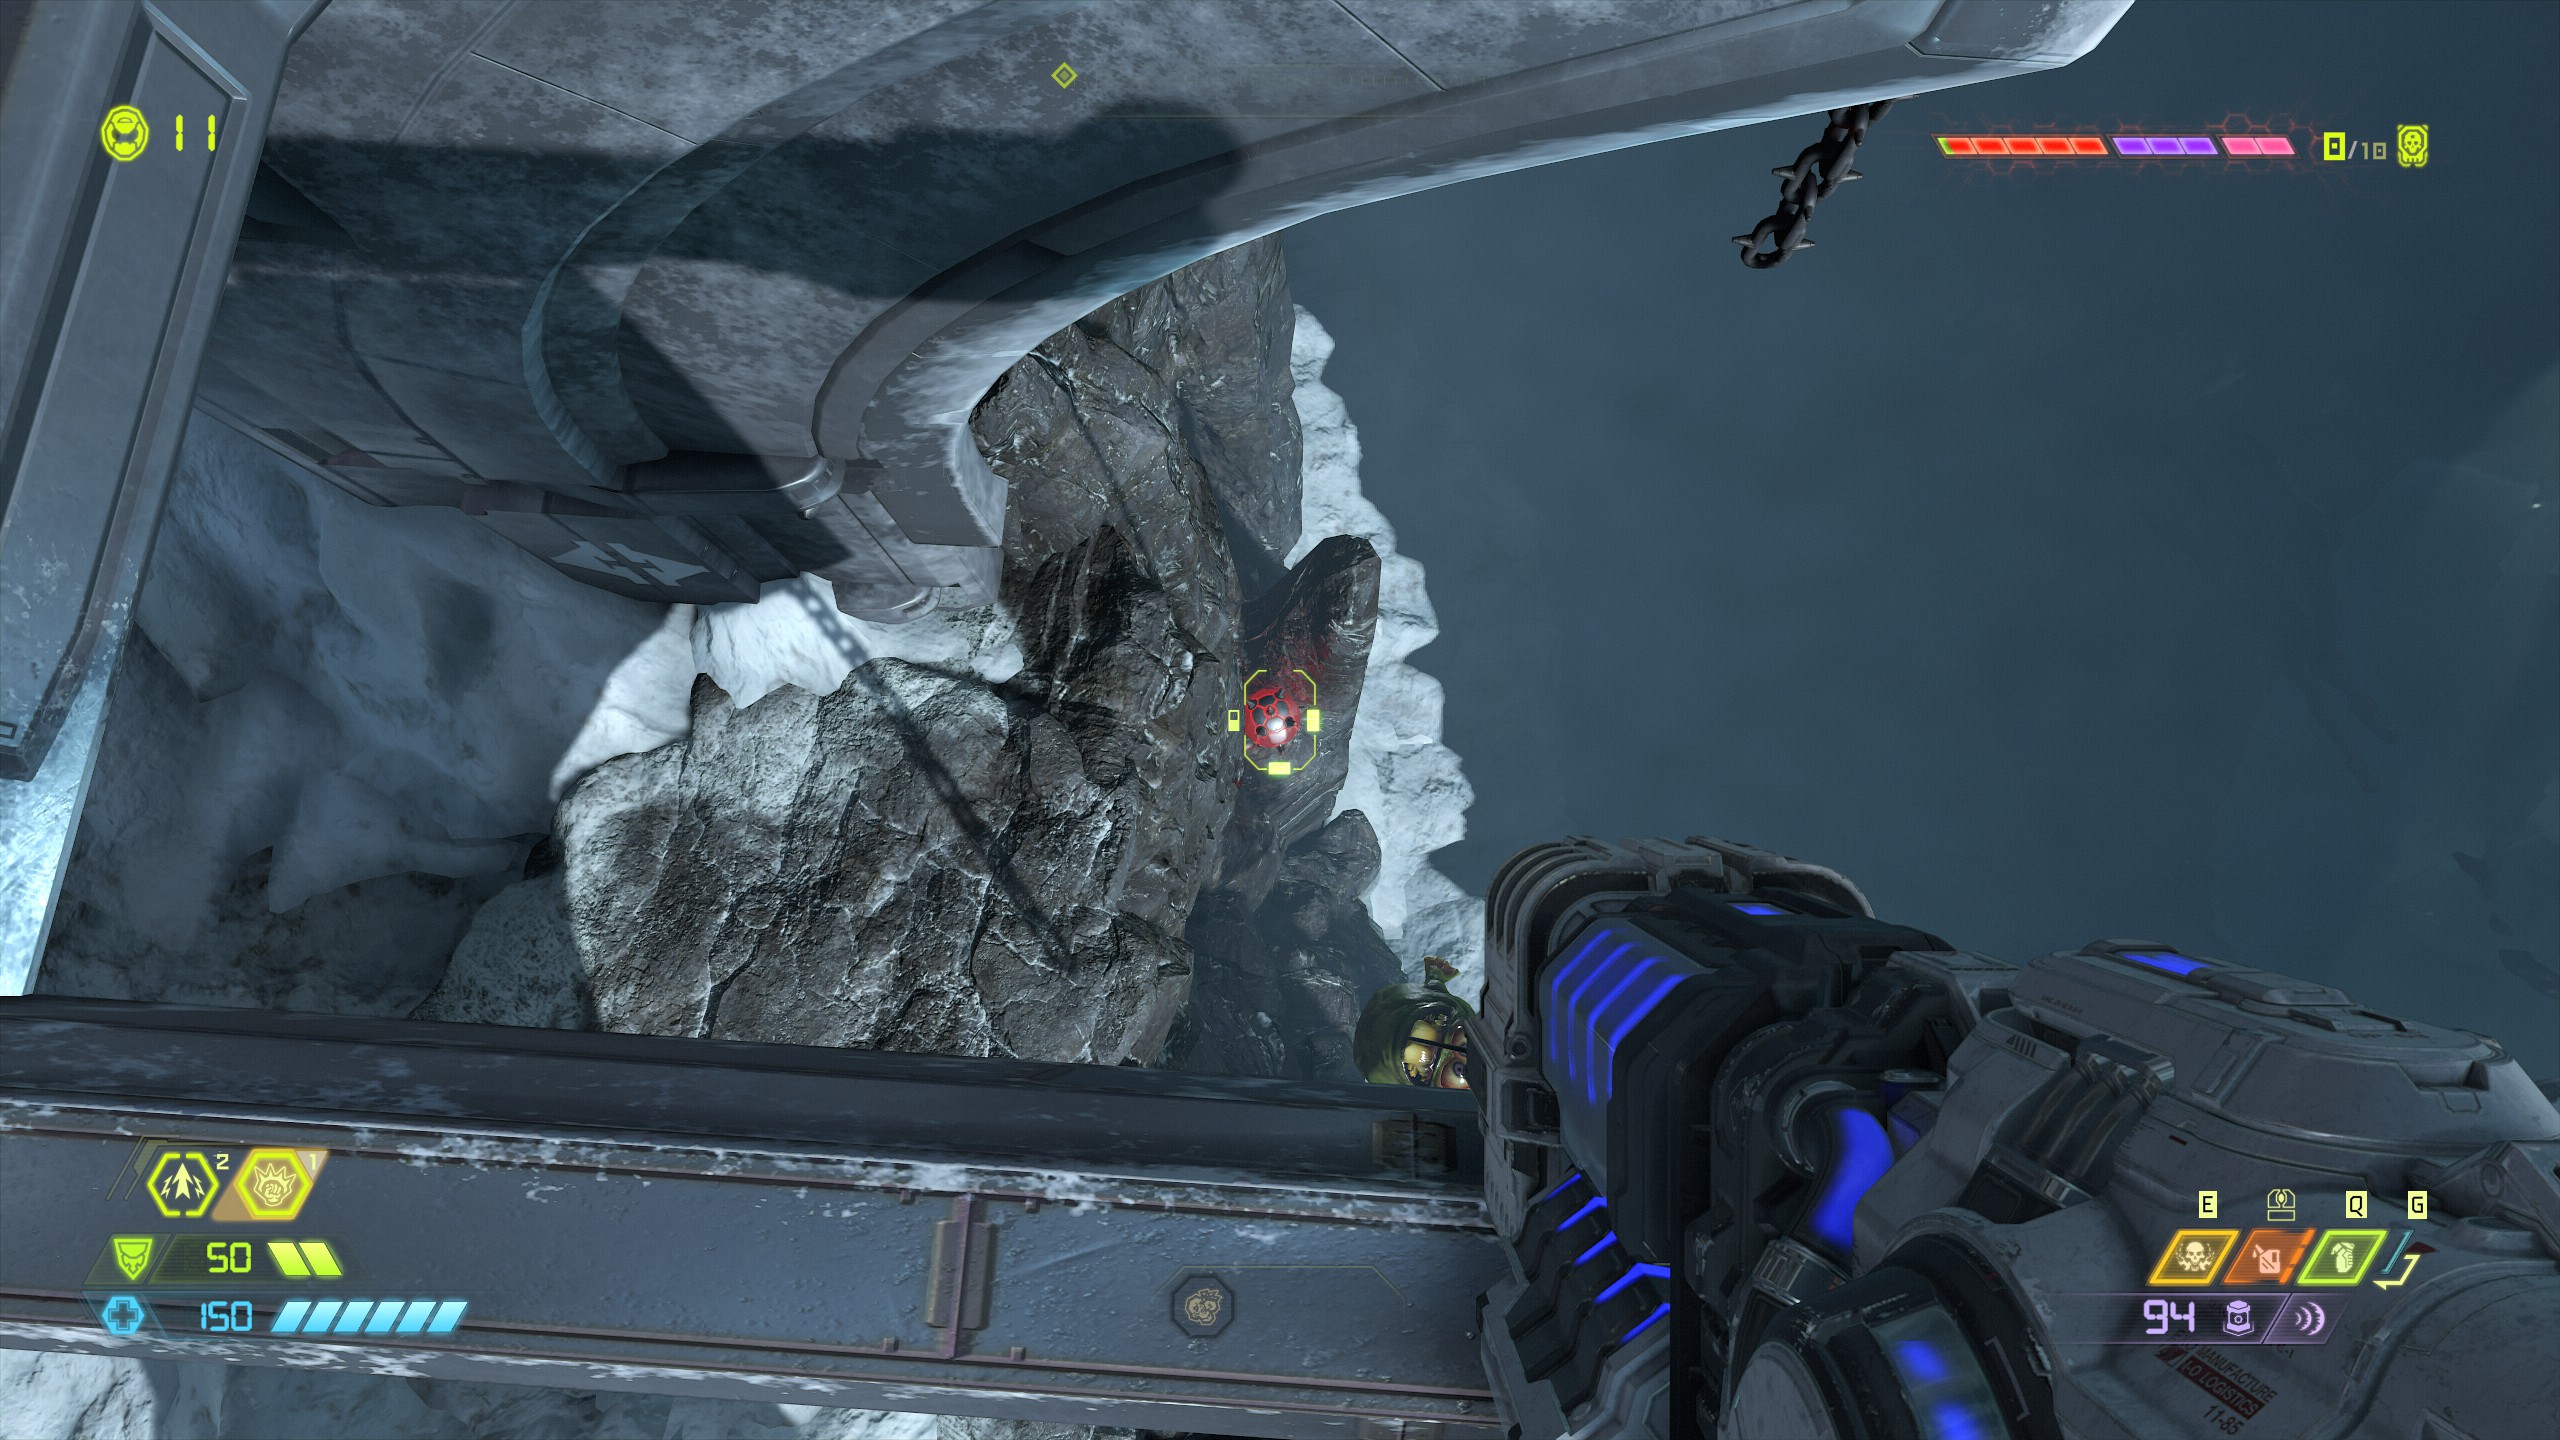
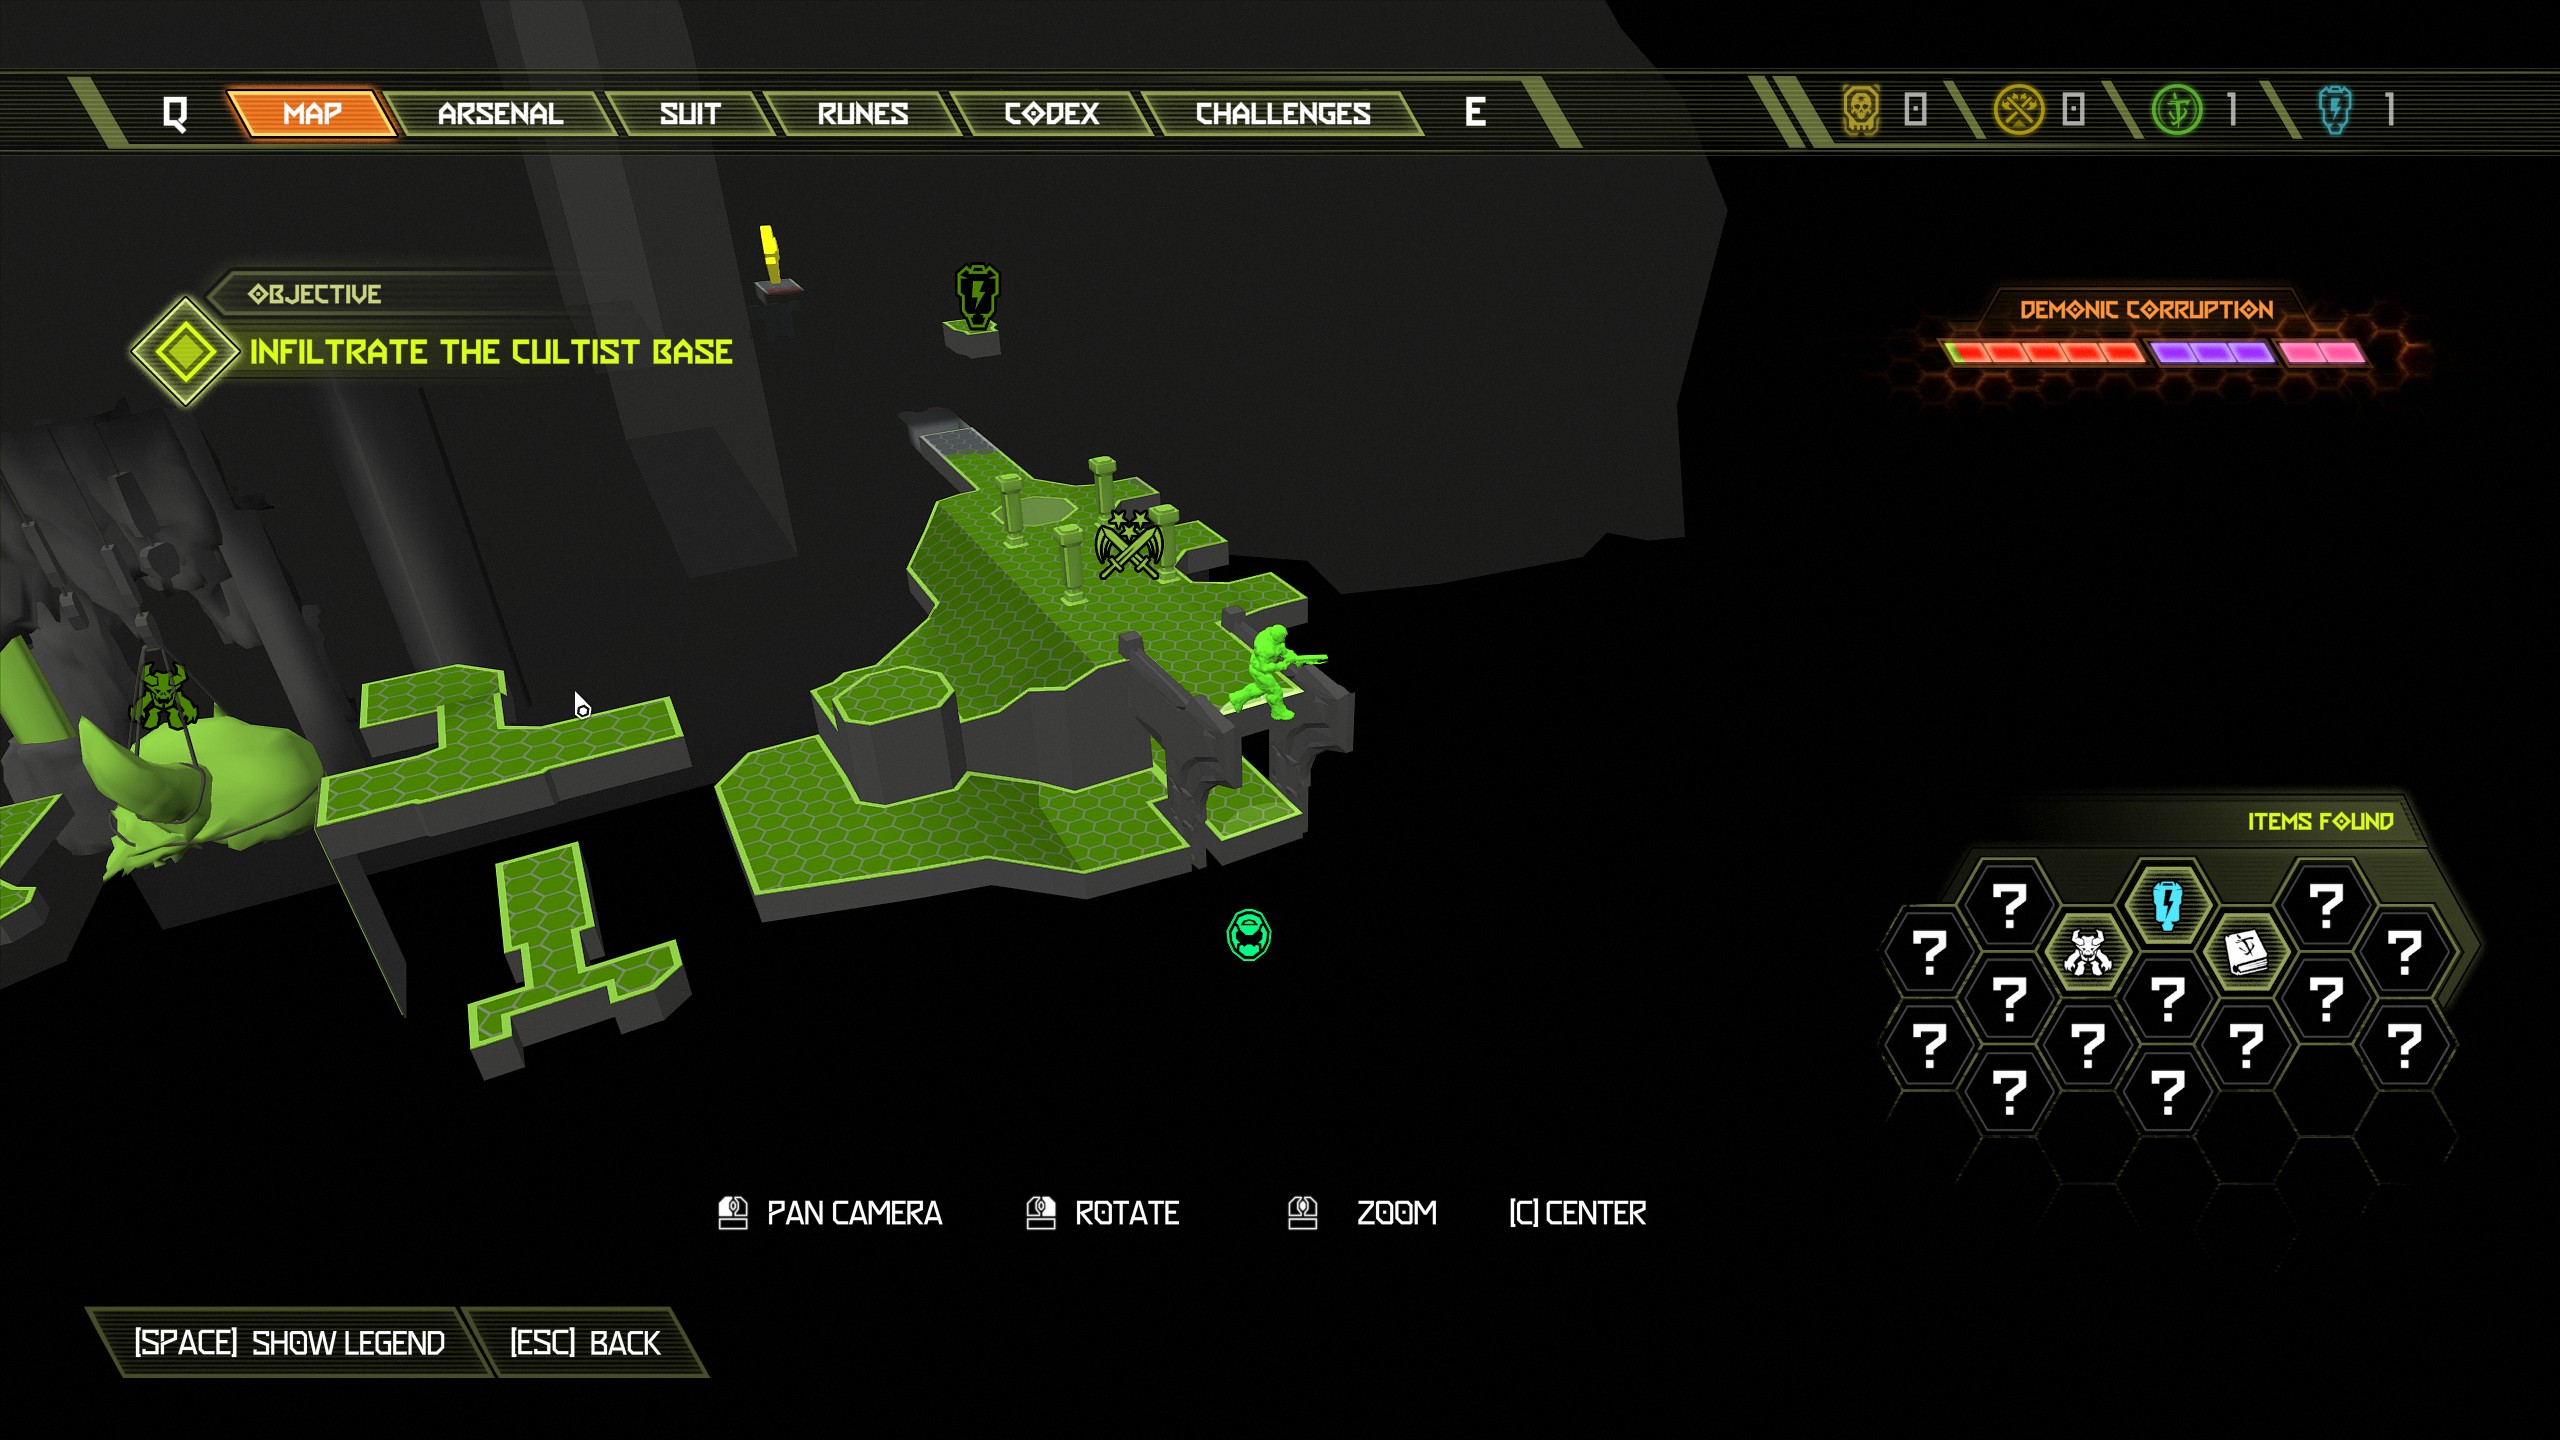
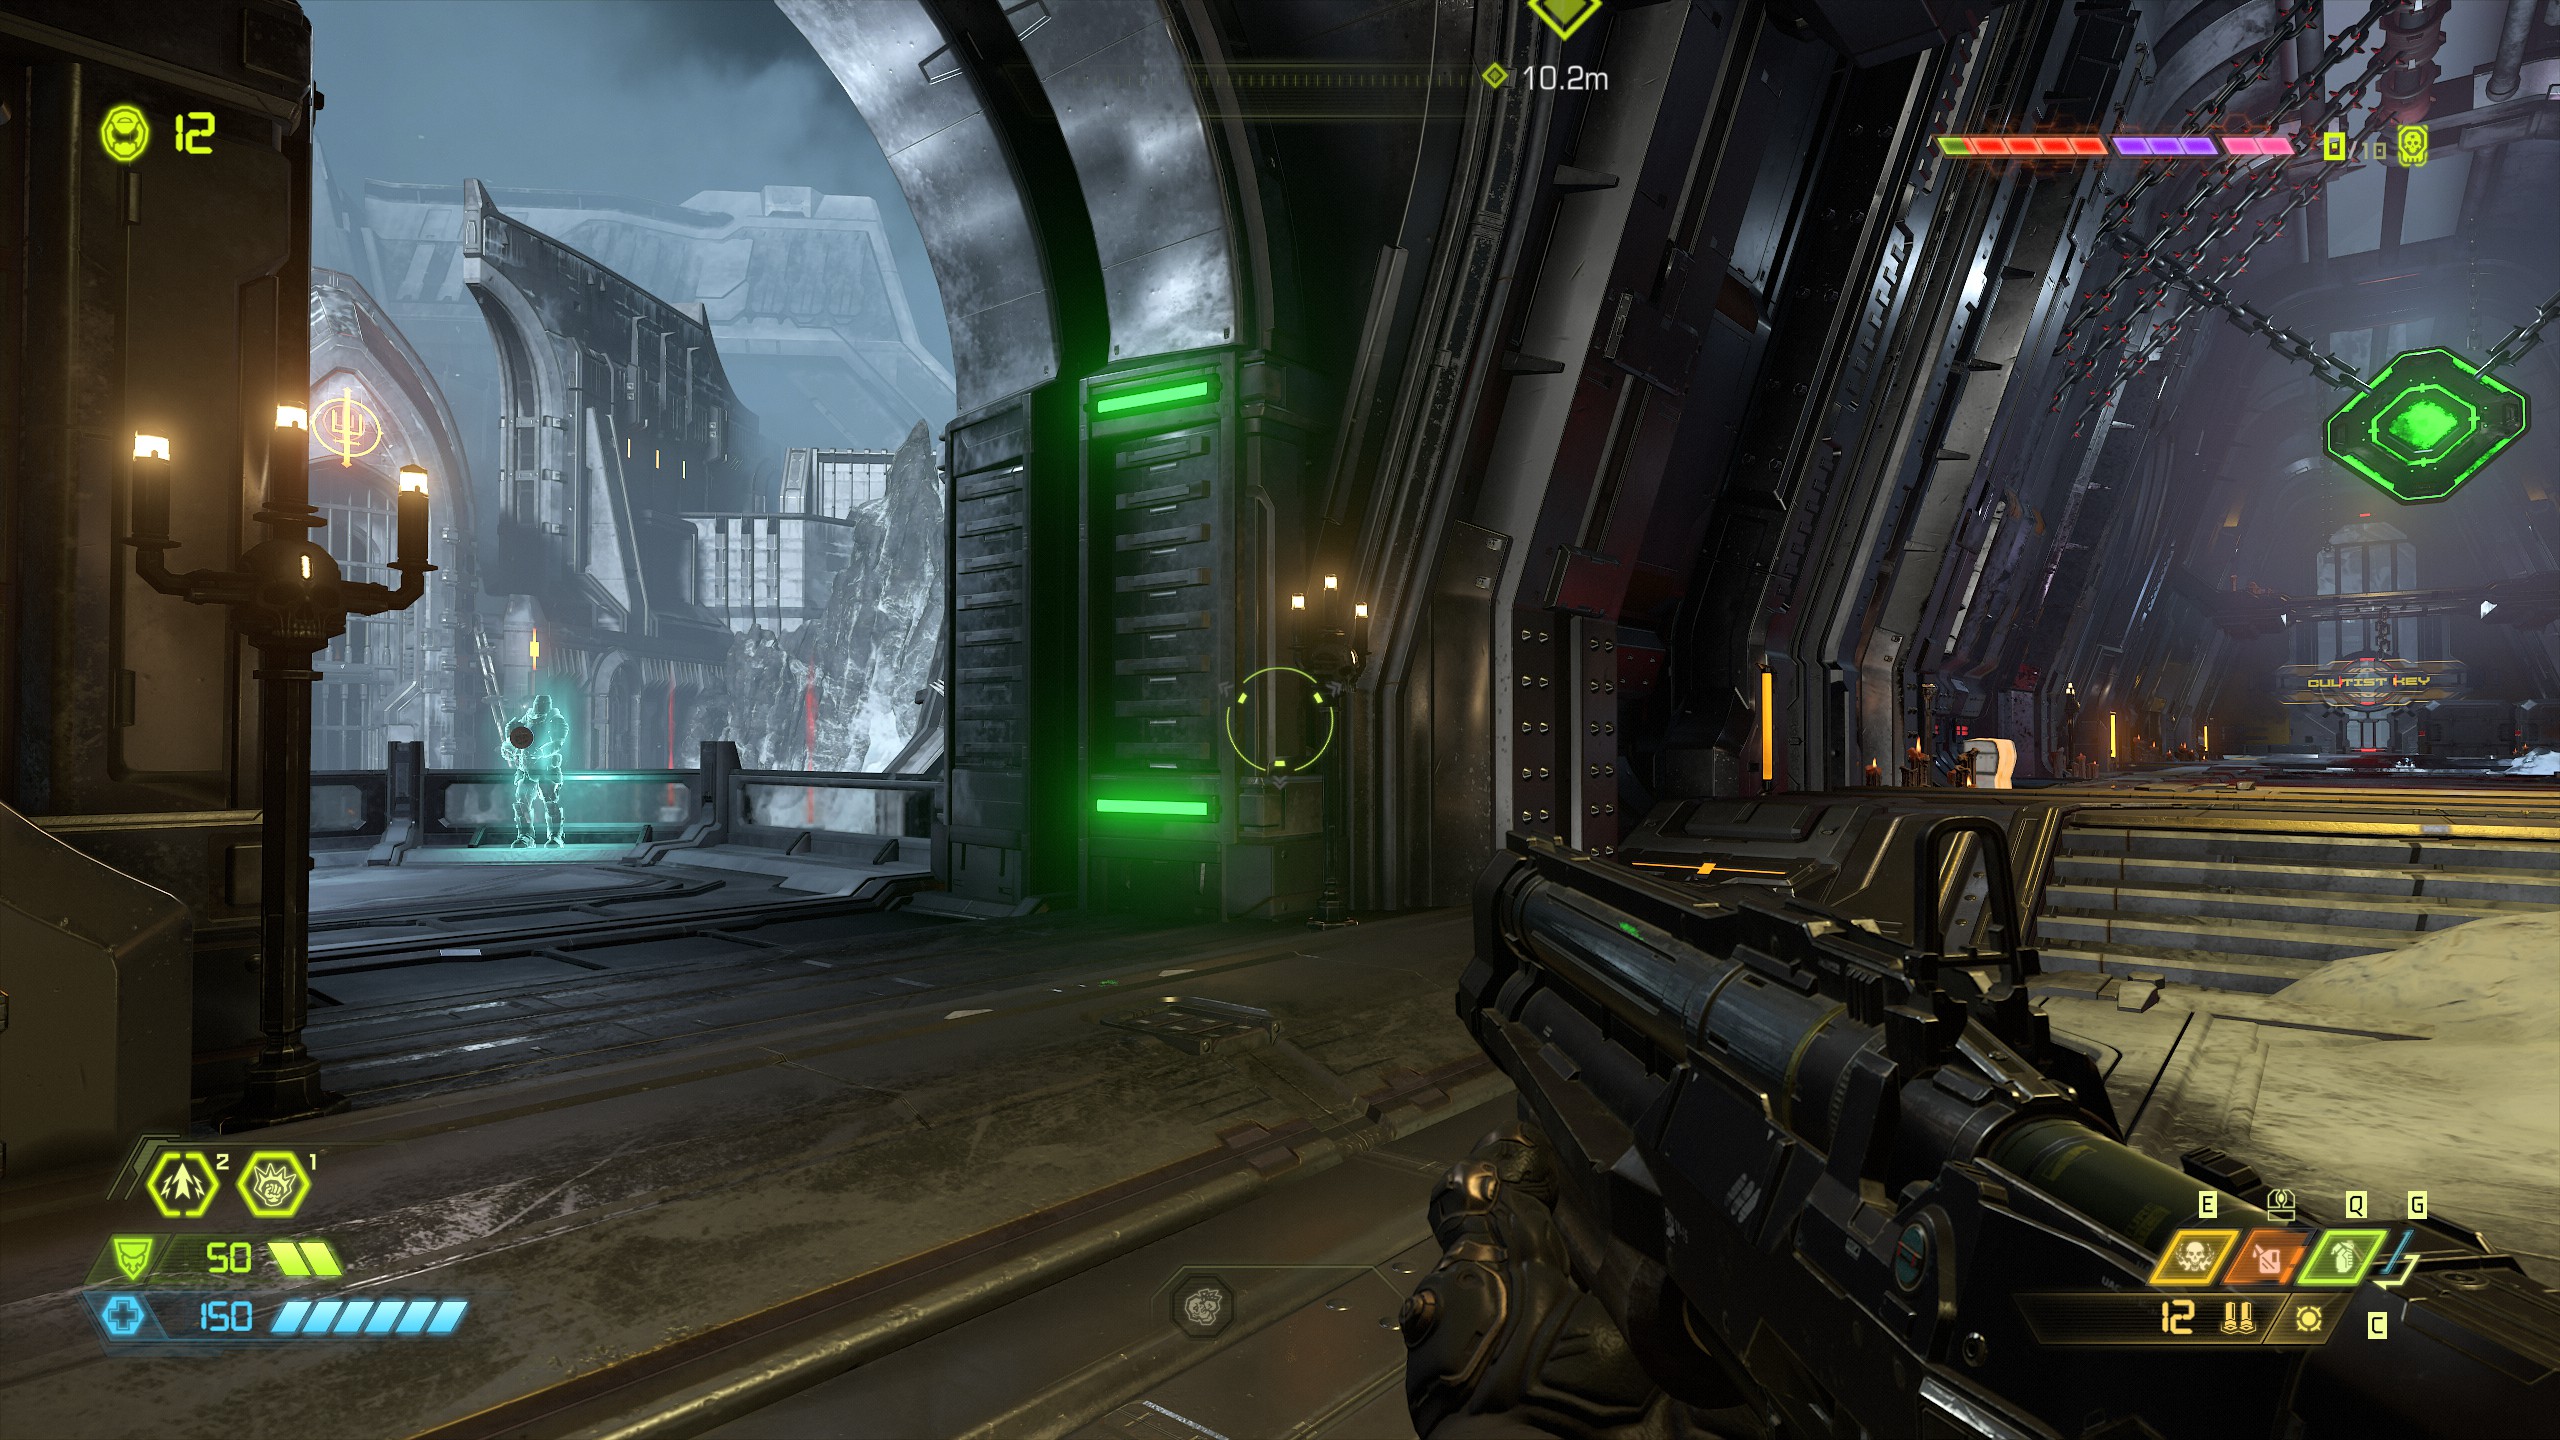
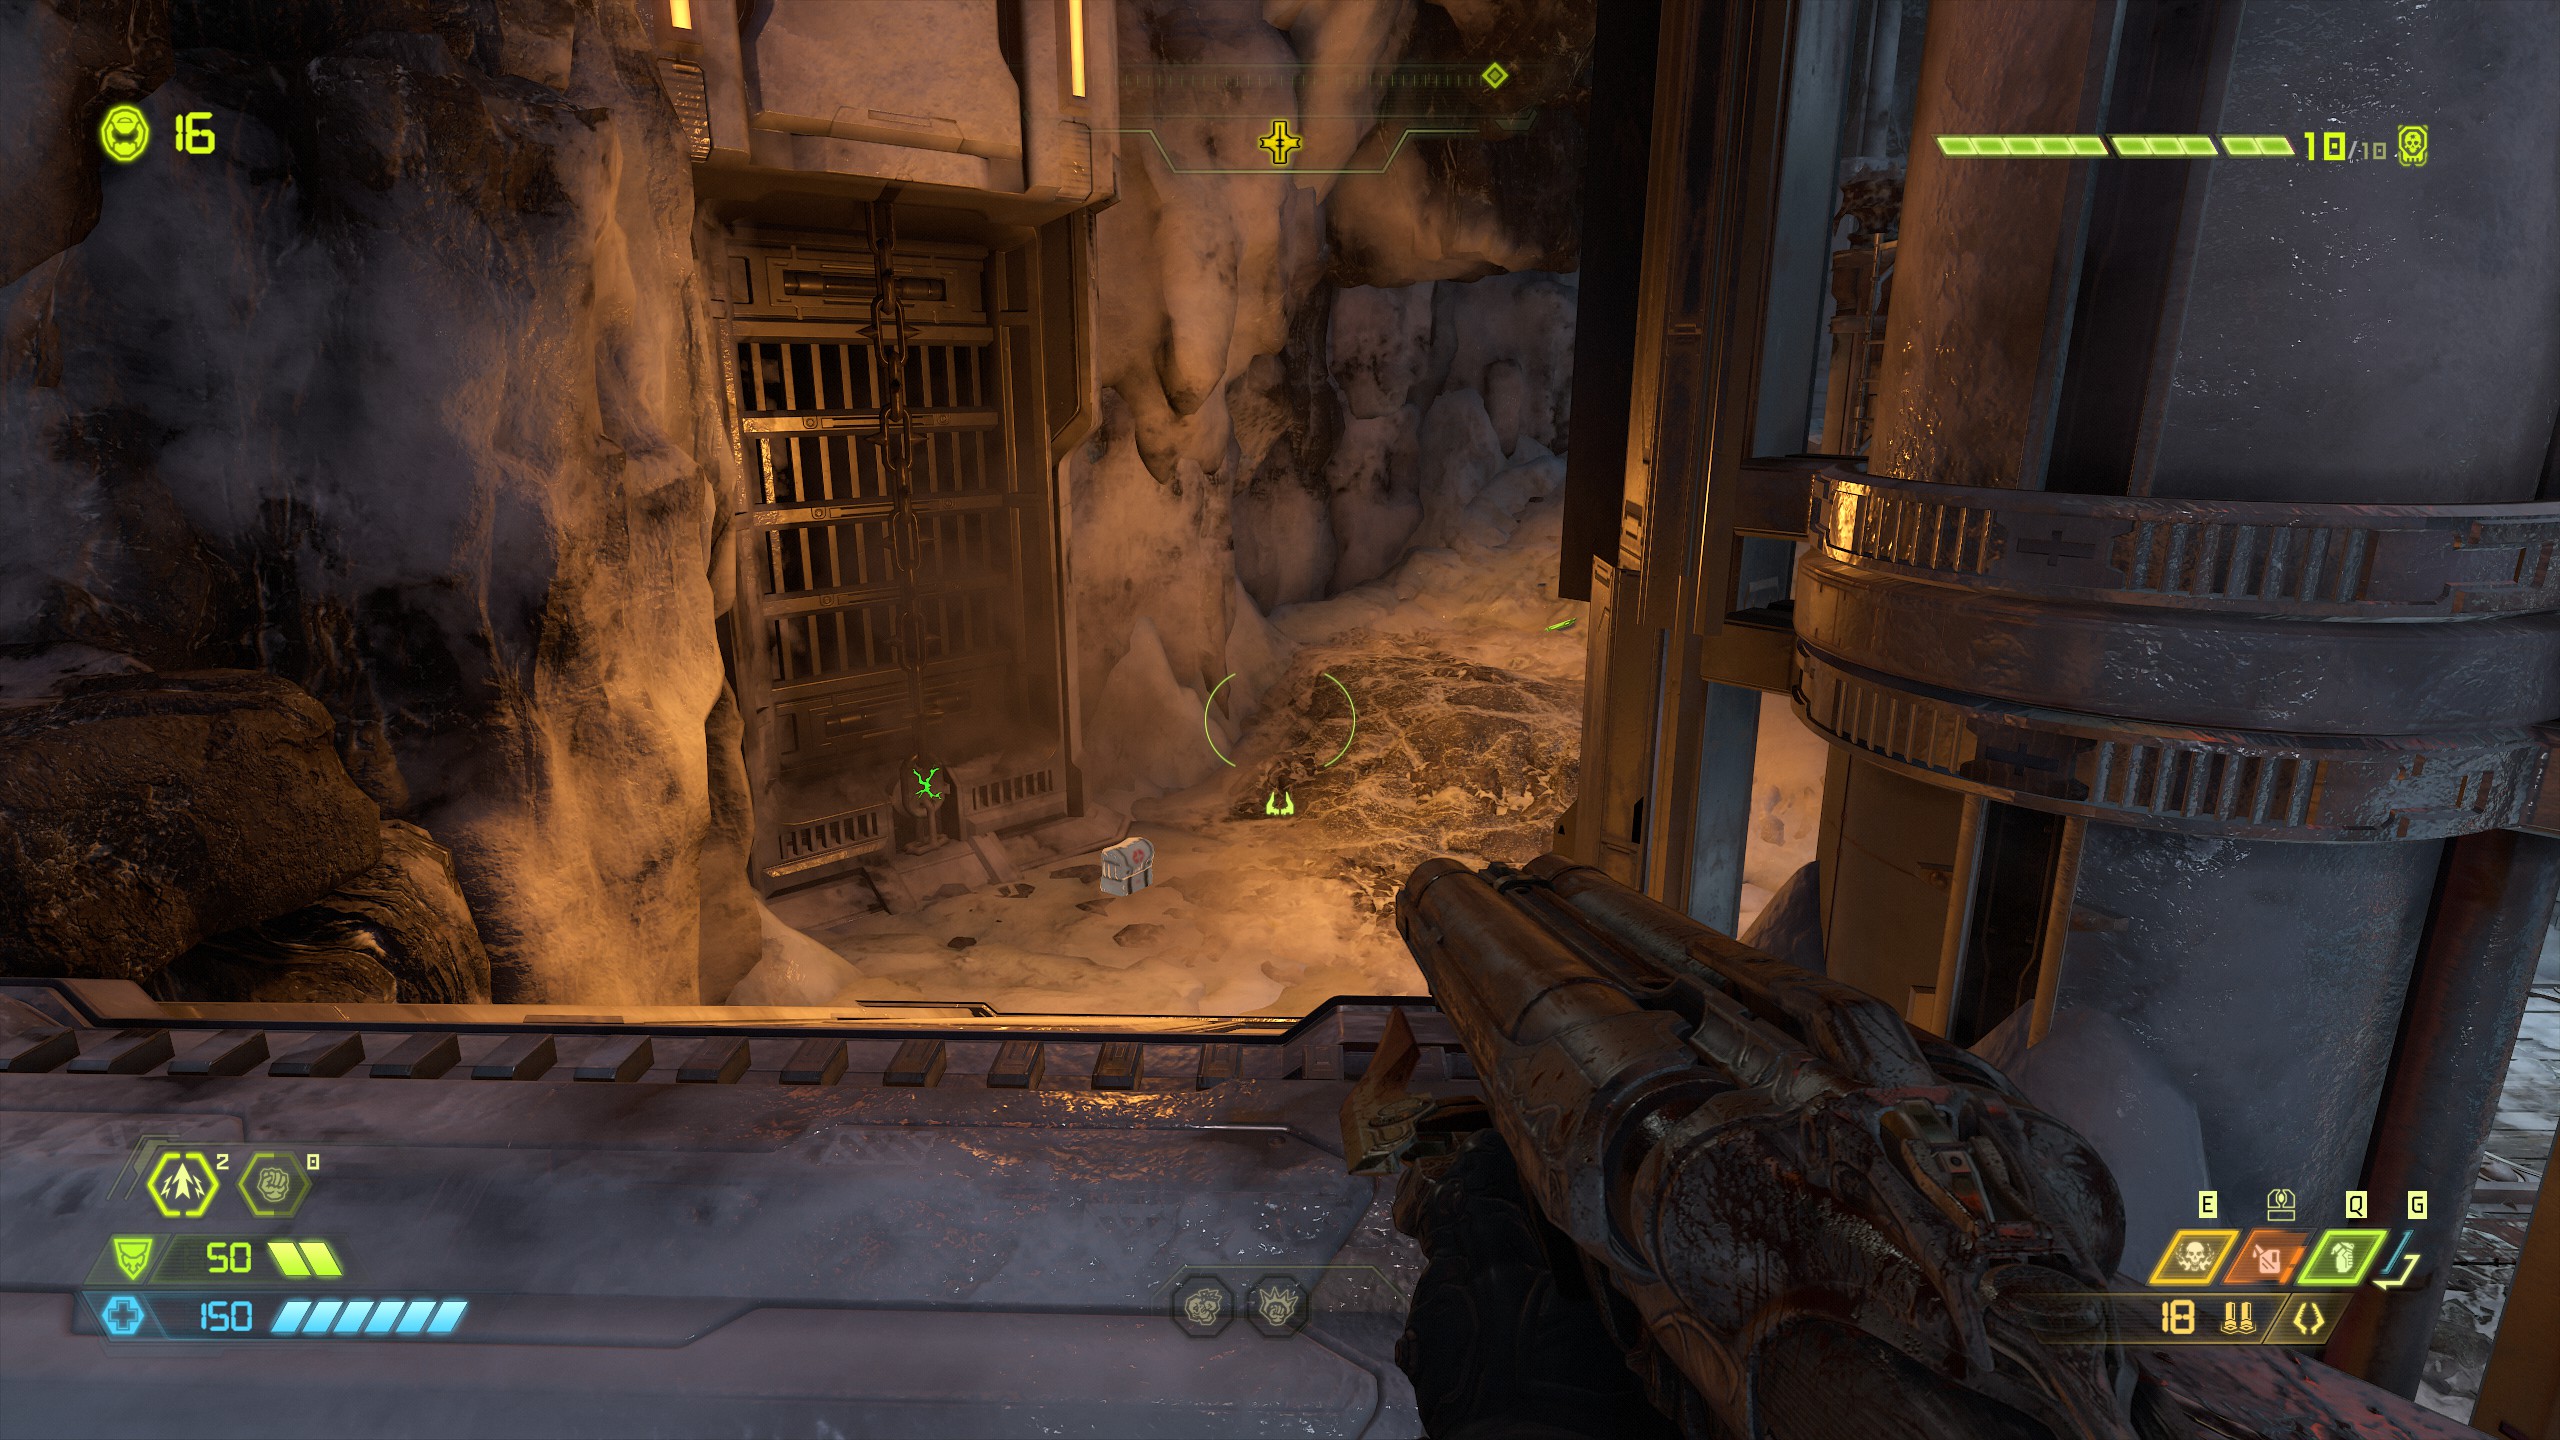
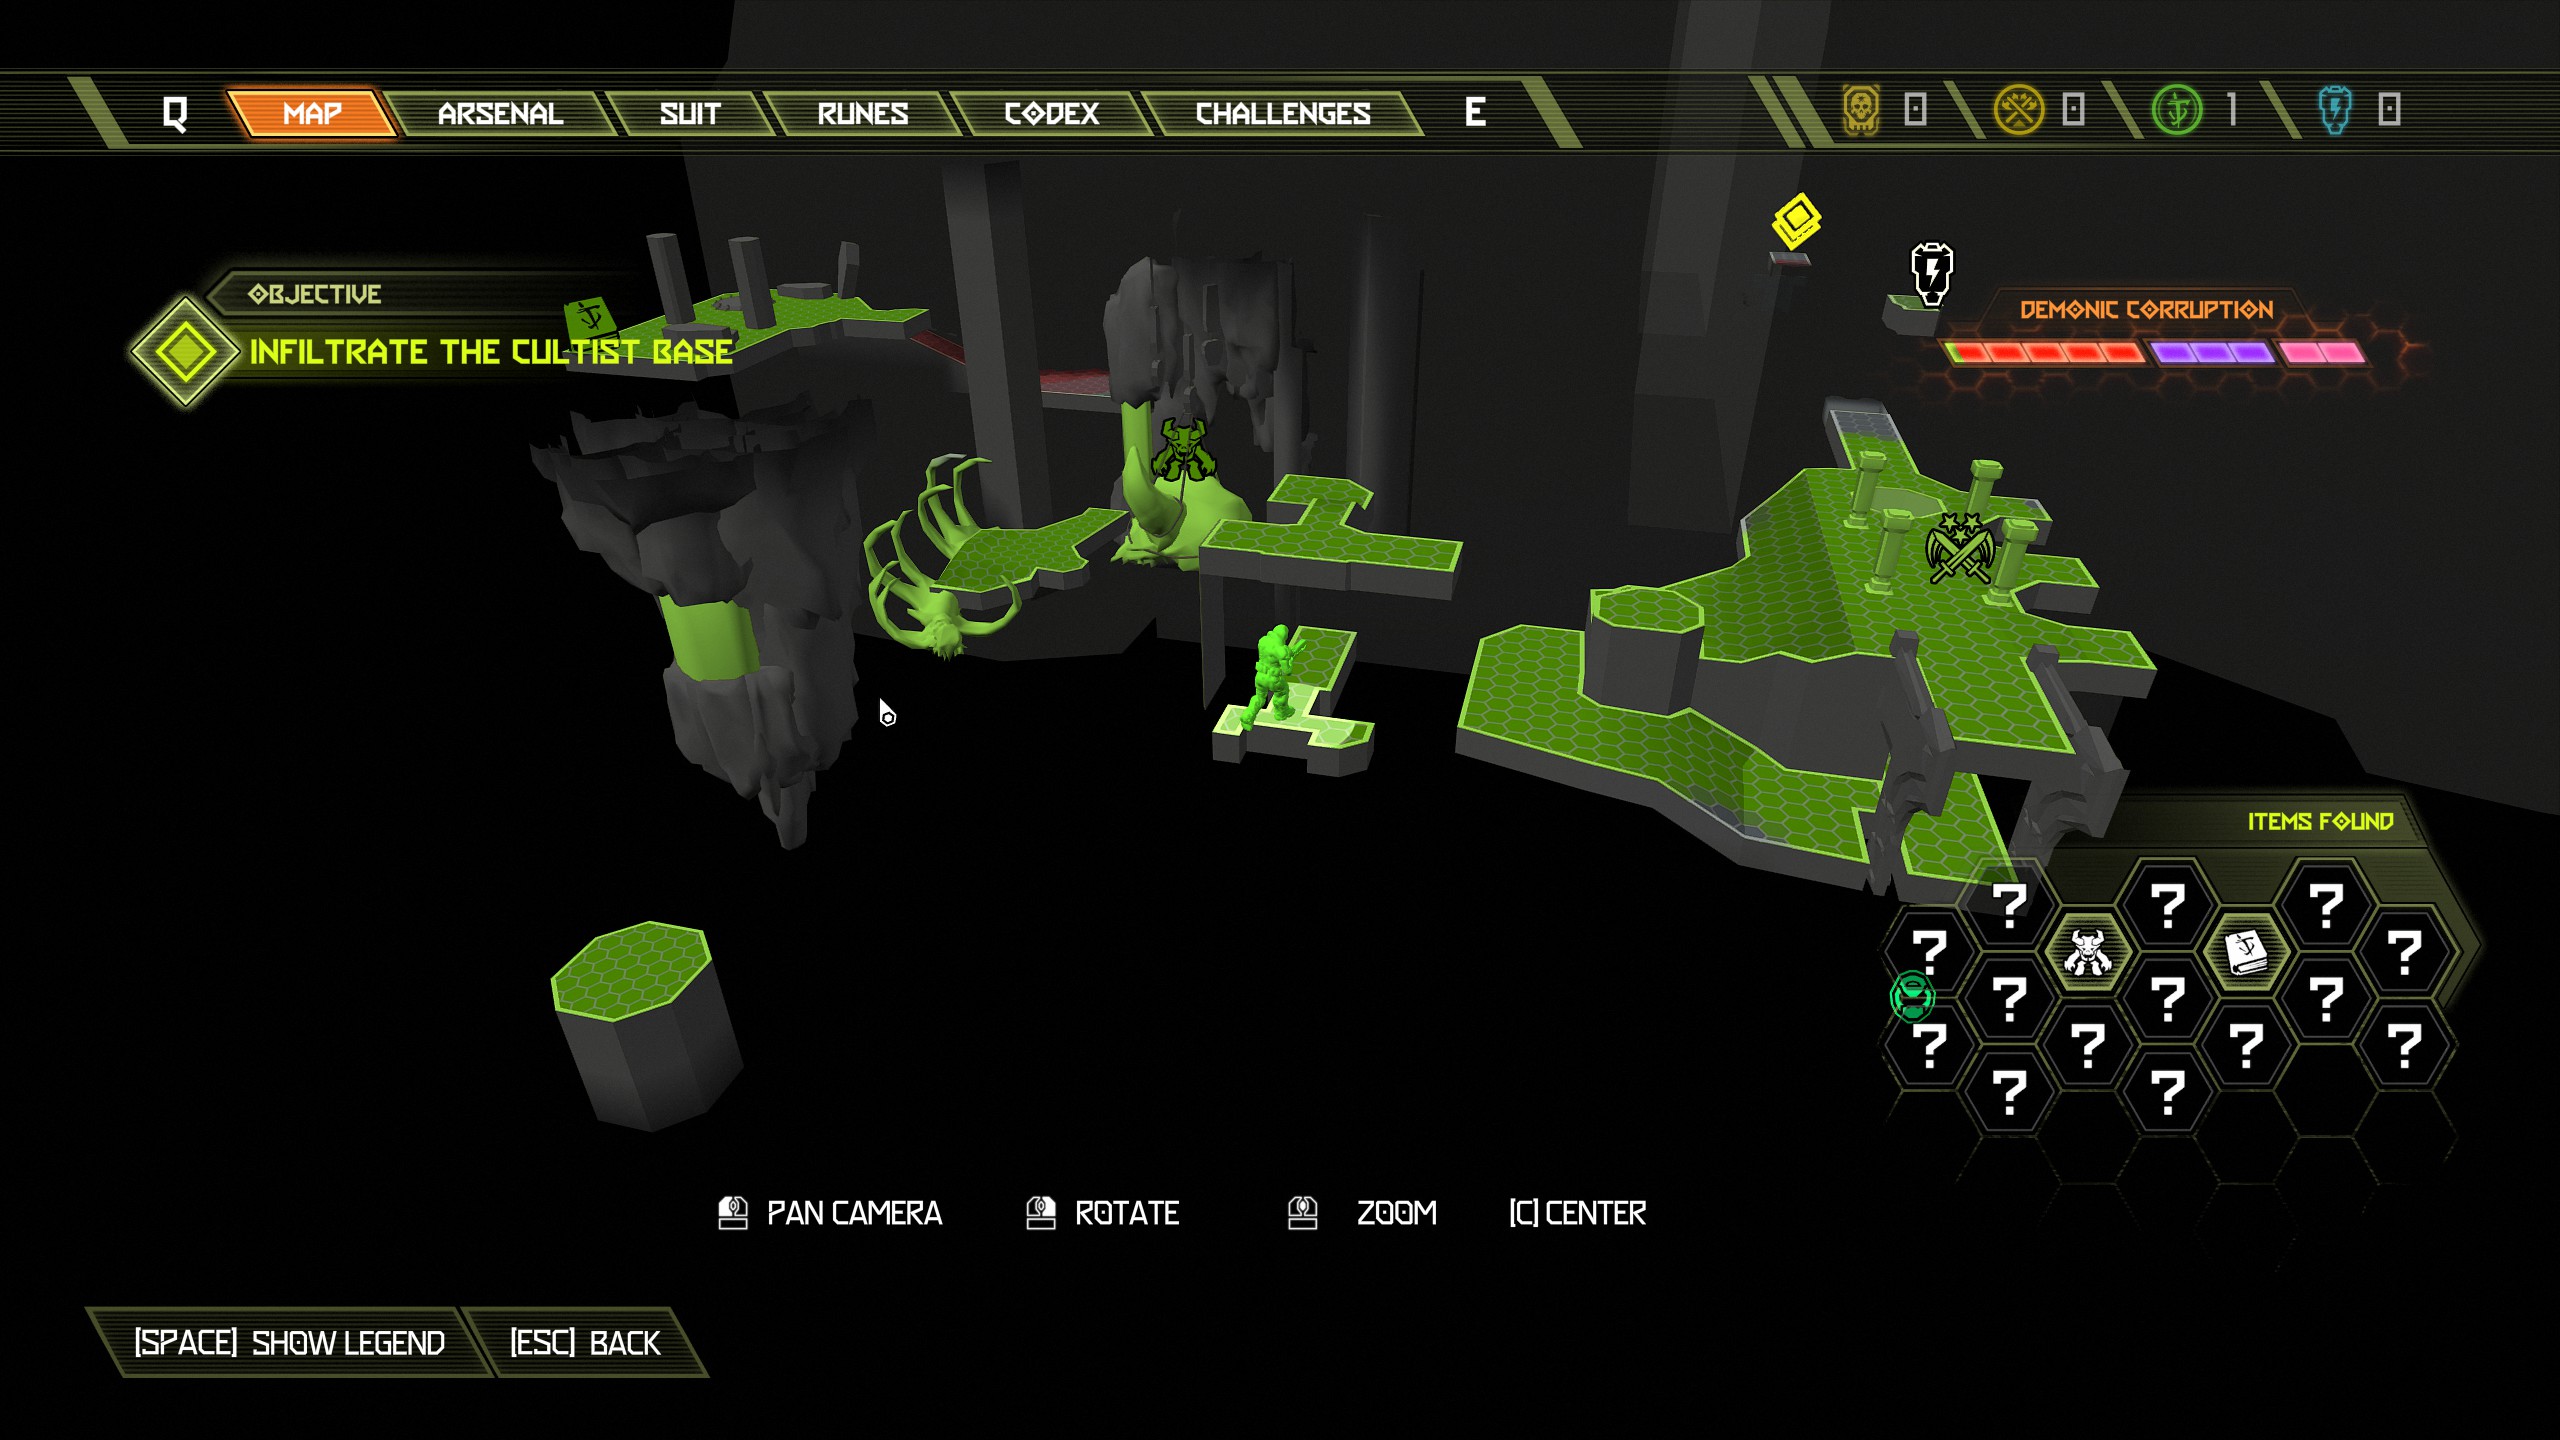 In the same area look down over the edge of the main steel platform, you will see a funny looking creature hanging from a chain and to the left of that is a mine tucked in the rocks, shoot the mine and the creature will explode into an extra life for you to collect.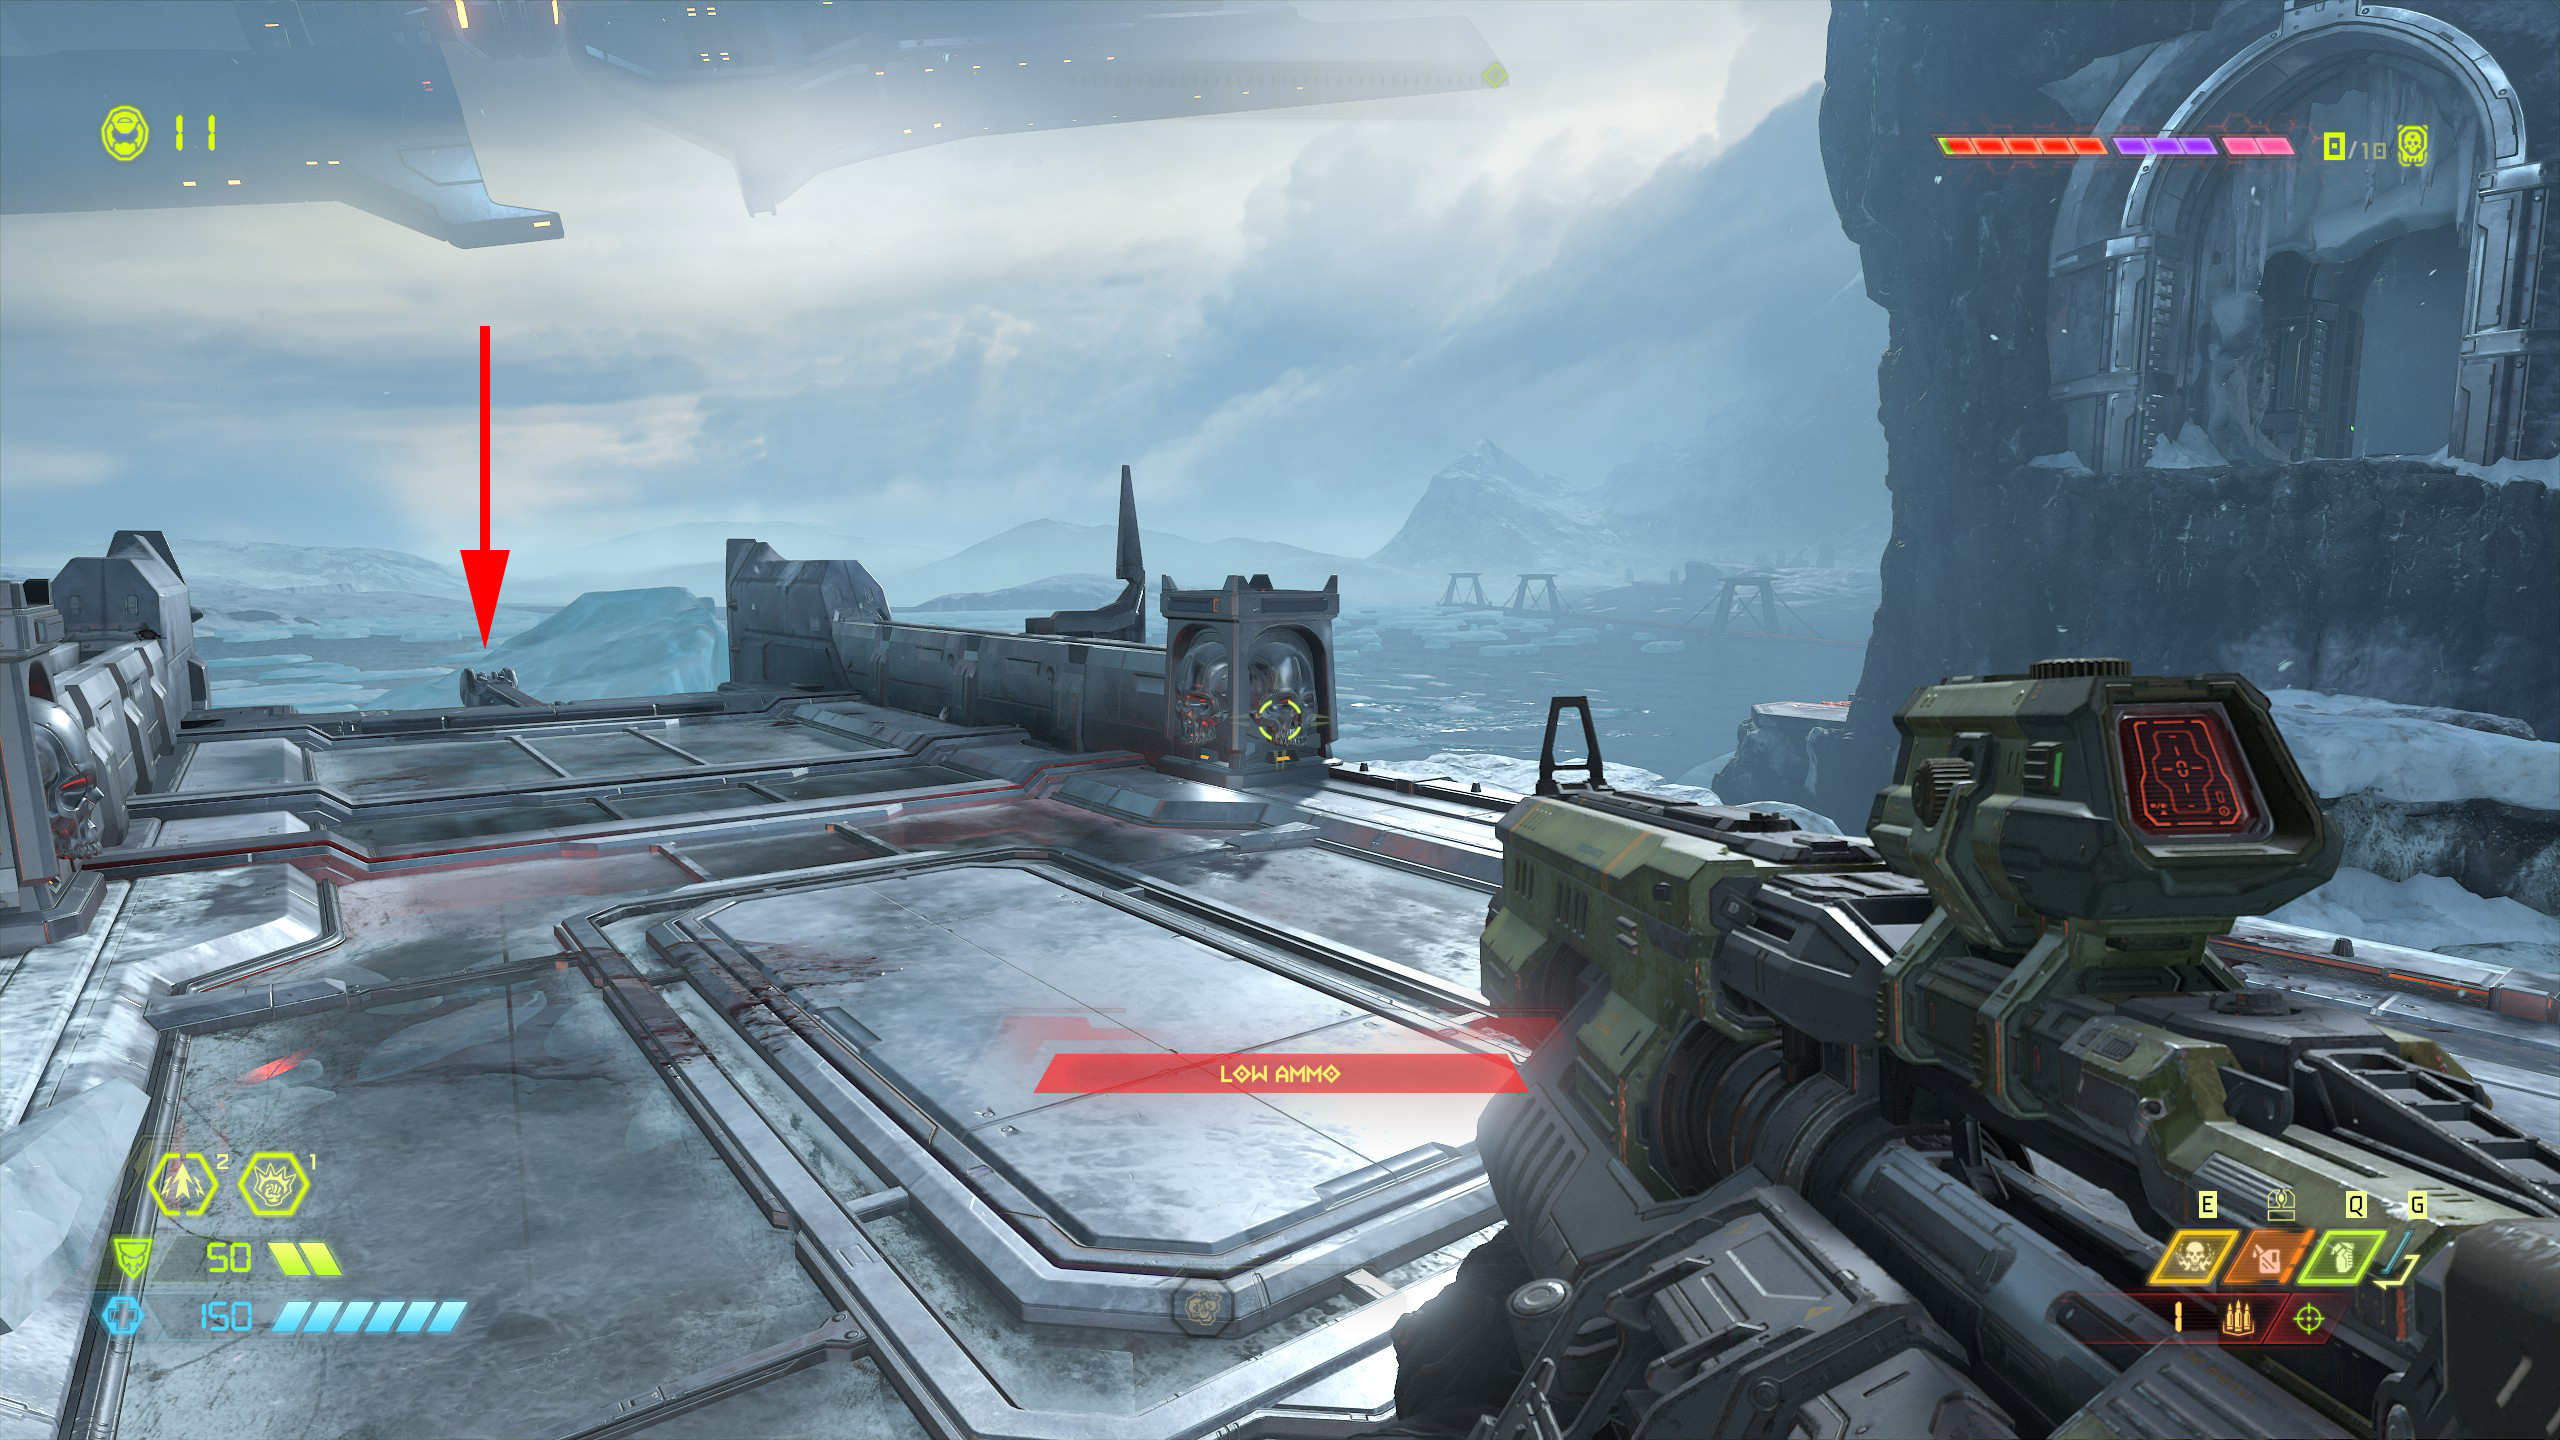
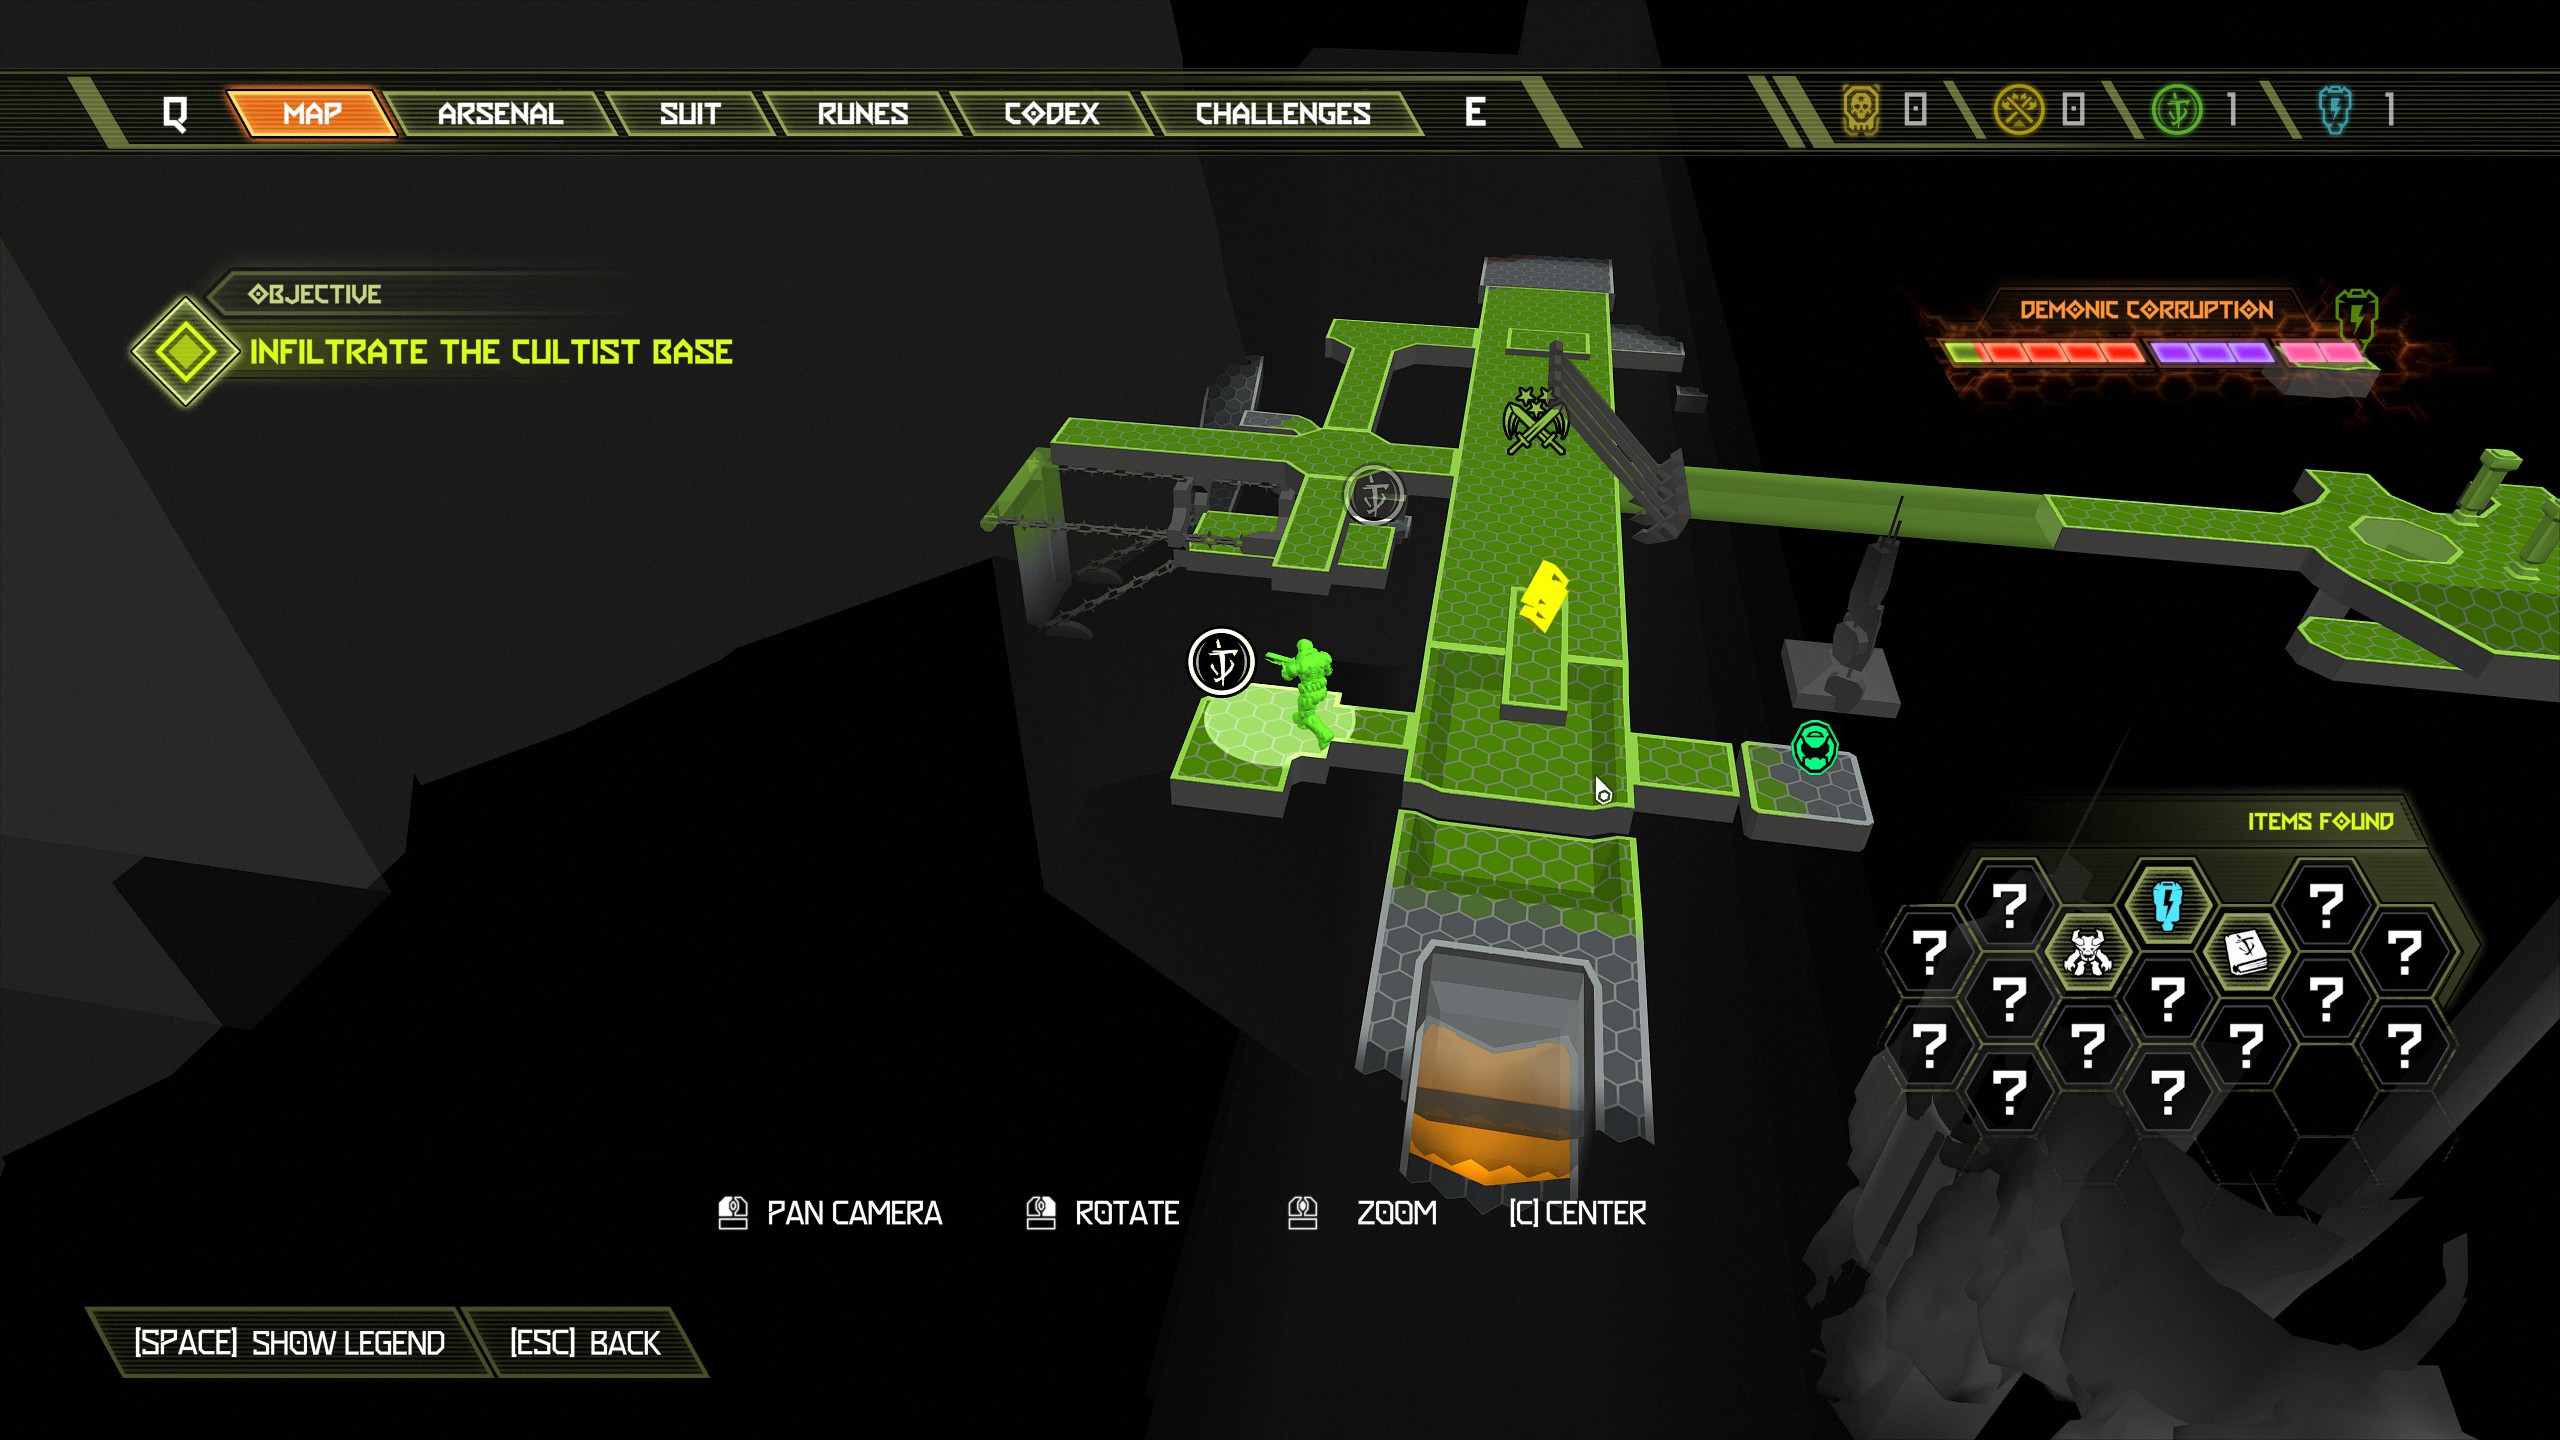
Move on and clear the next area.
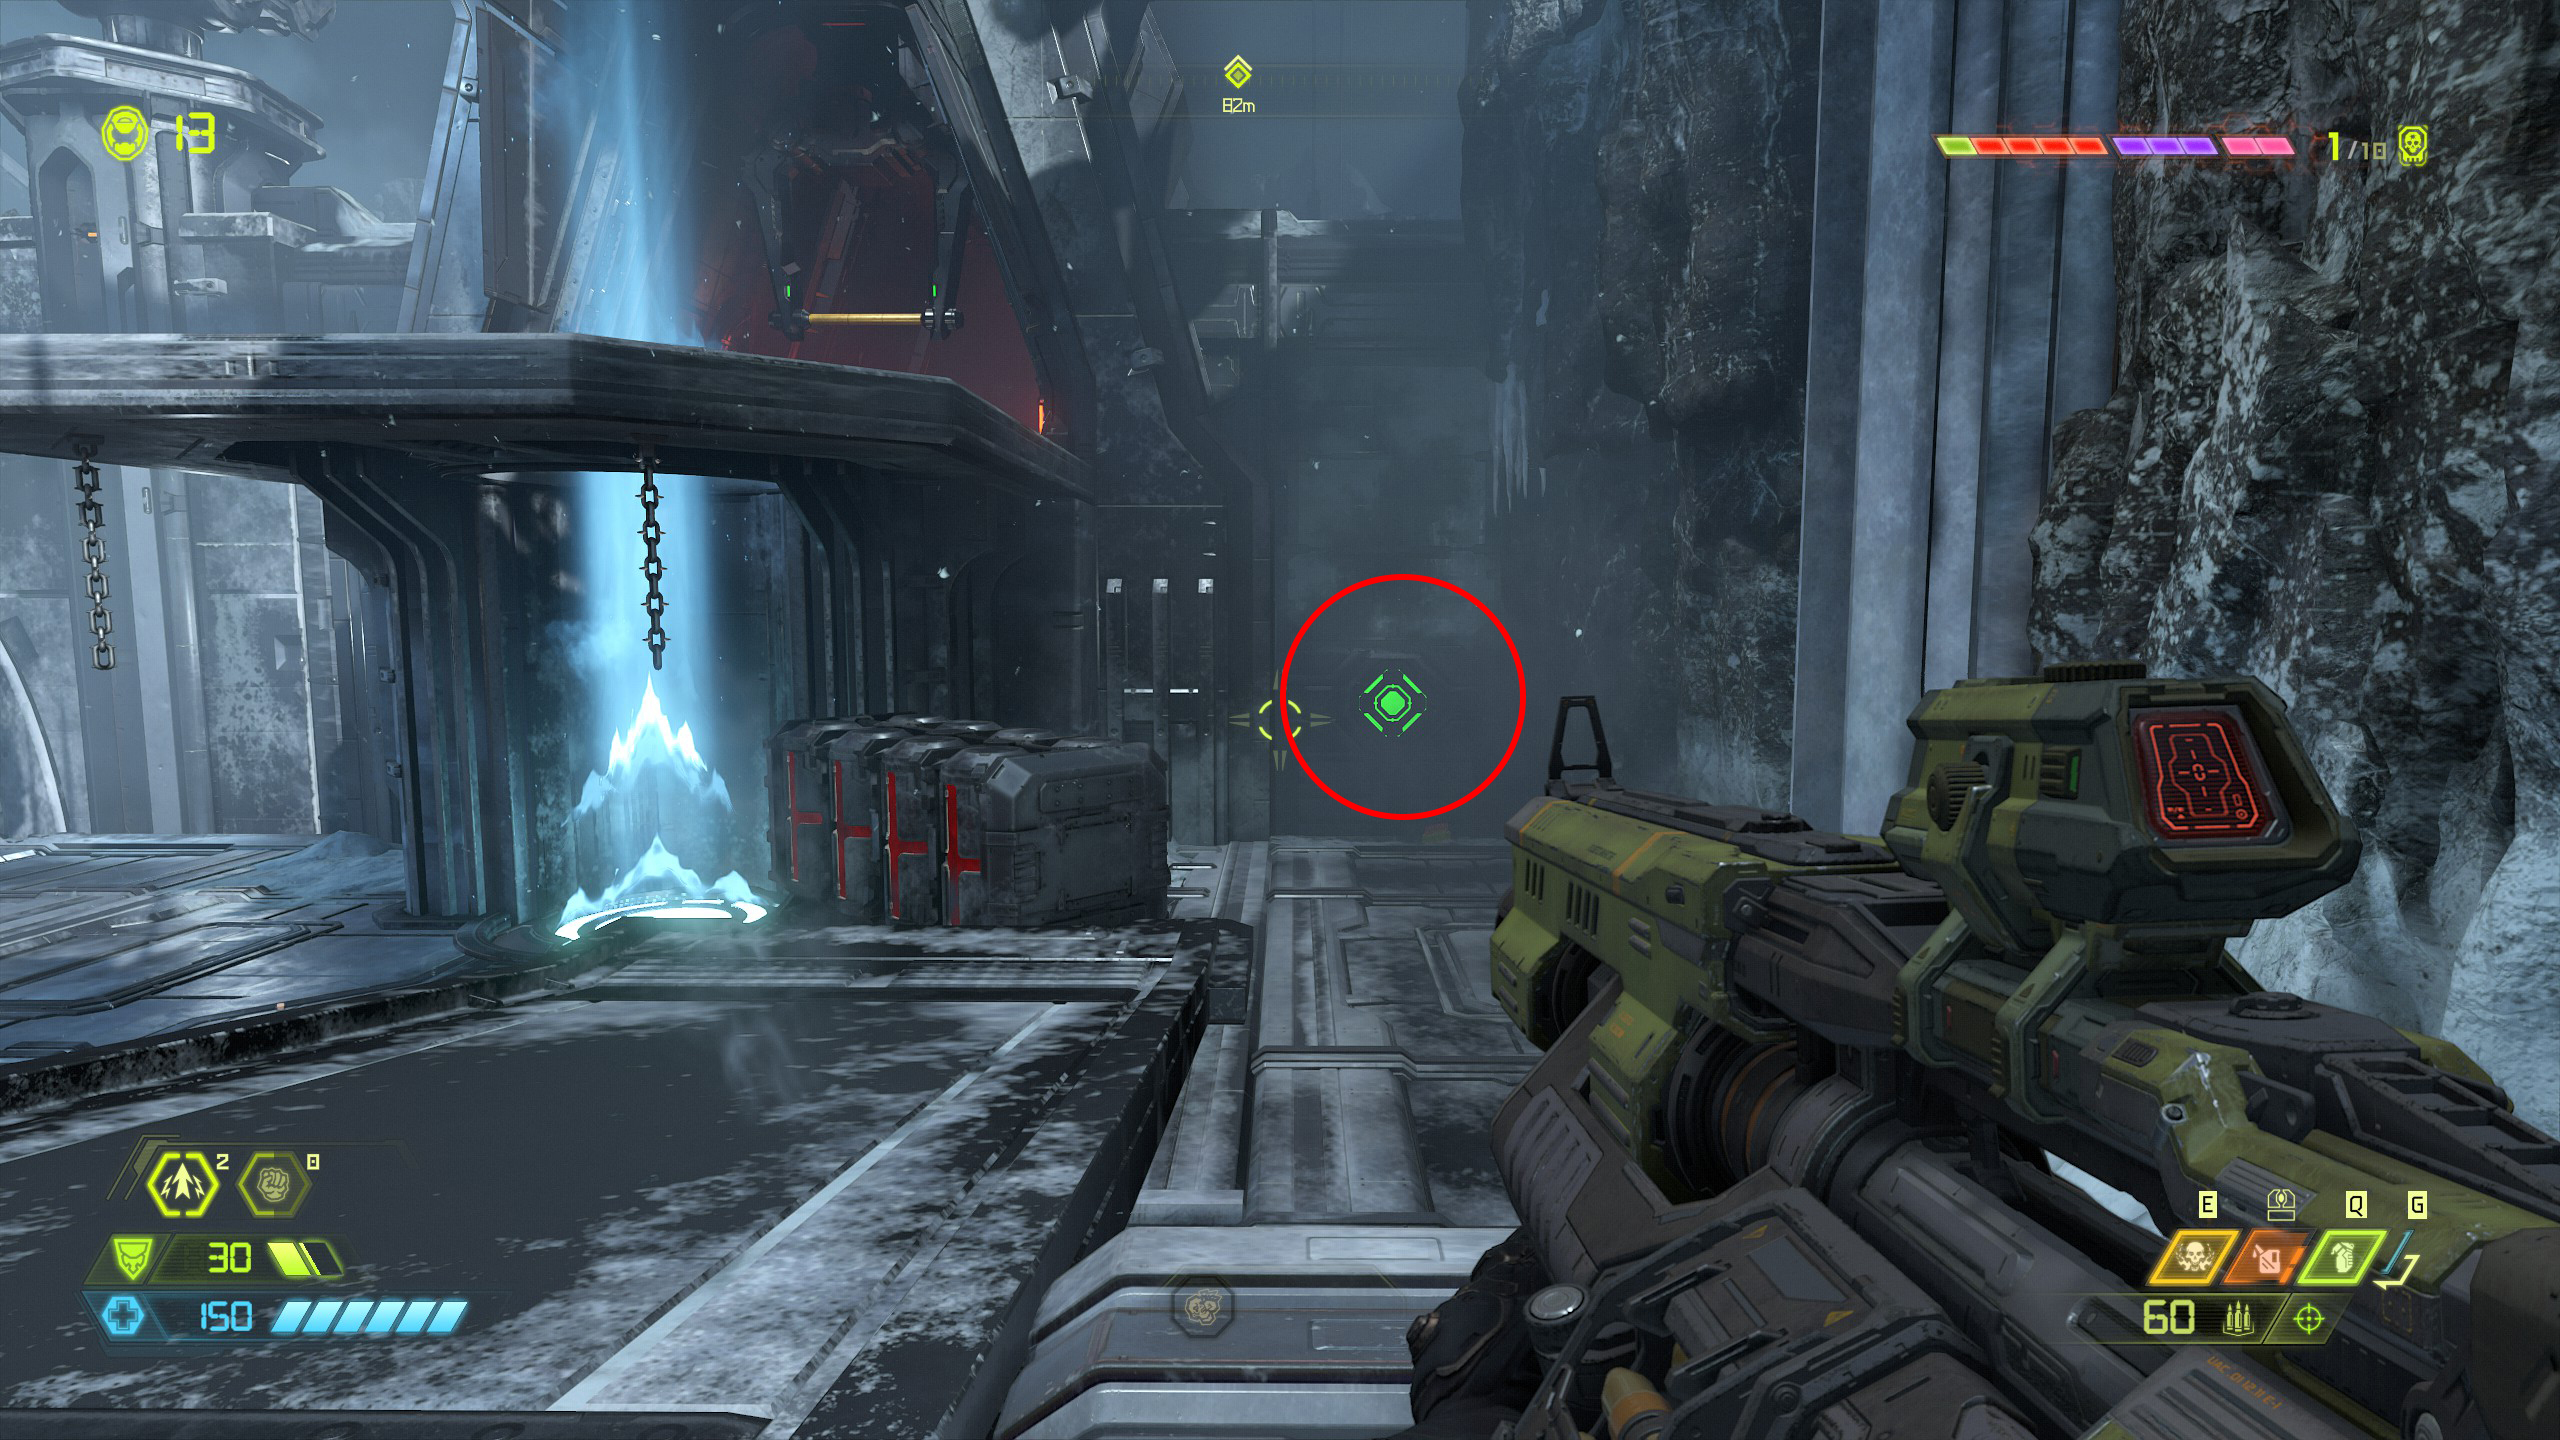
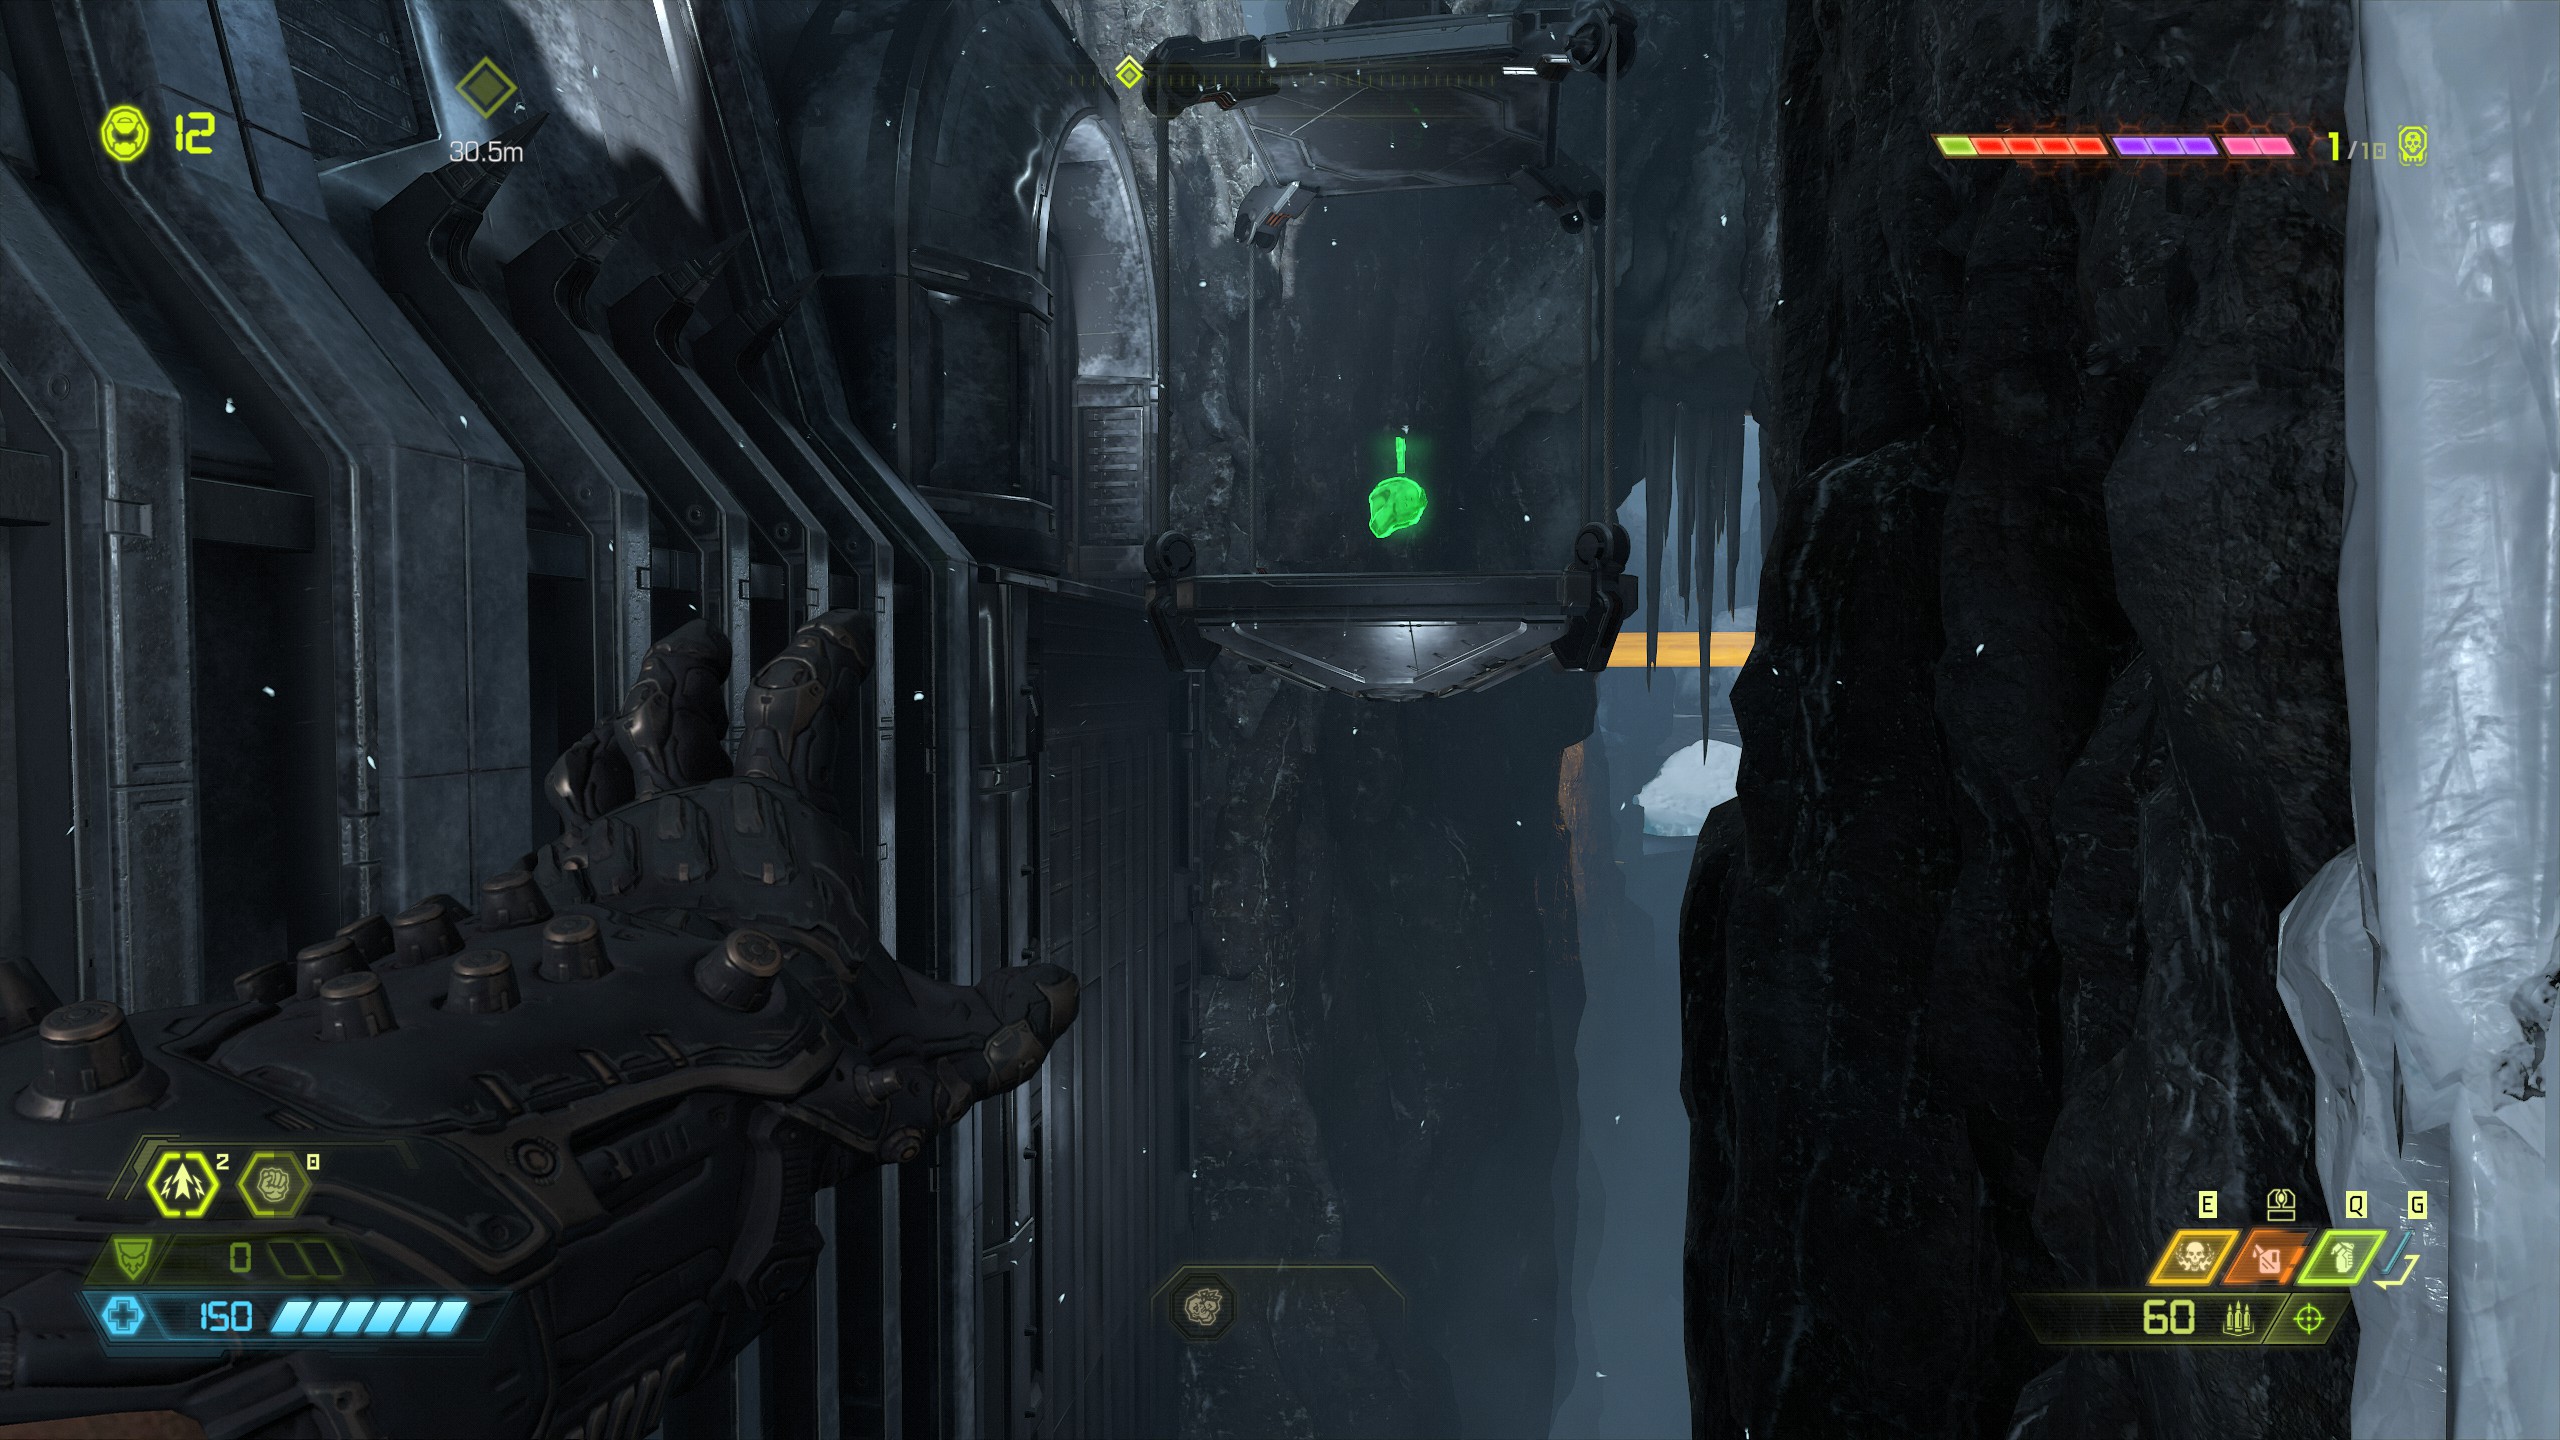
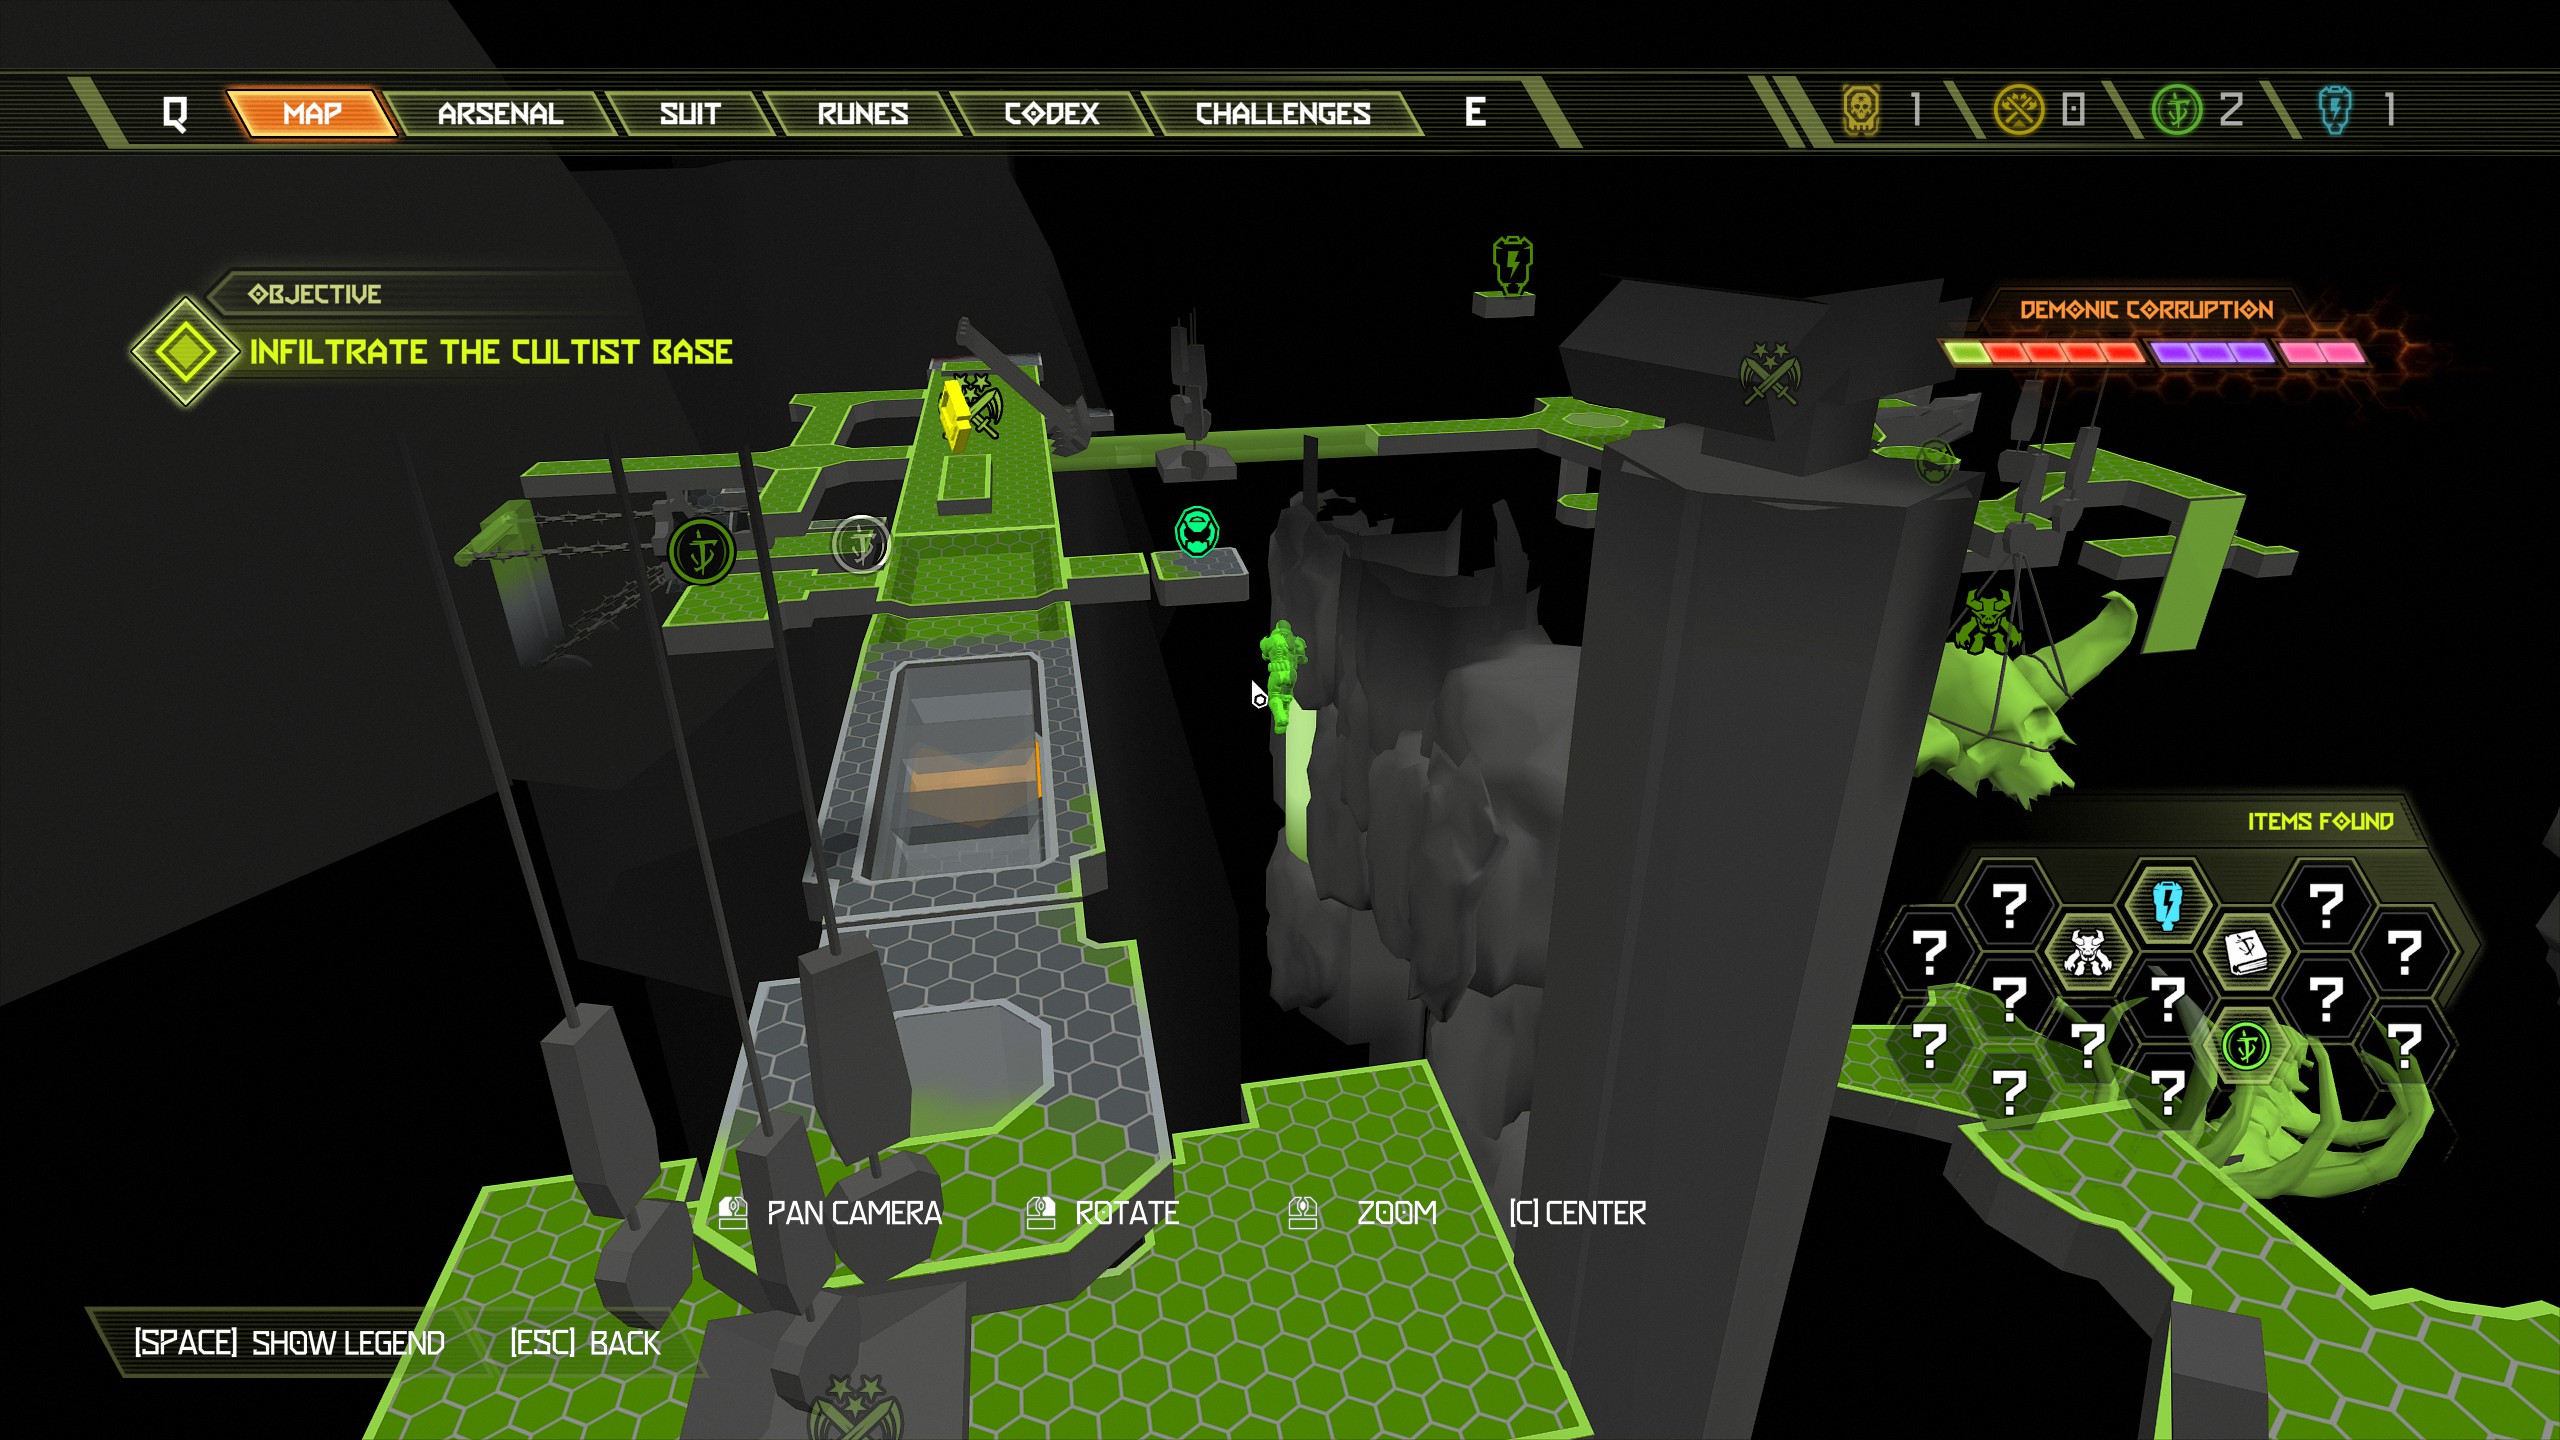
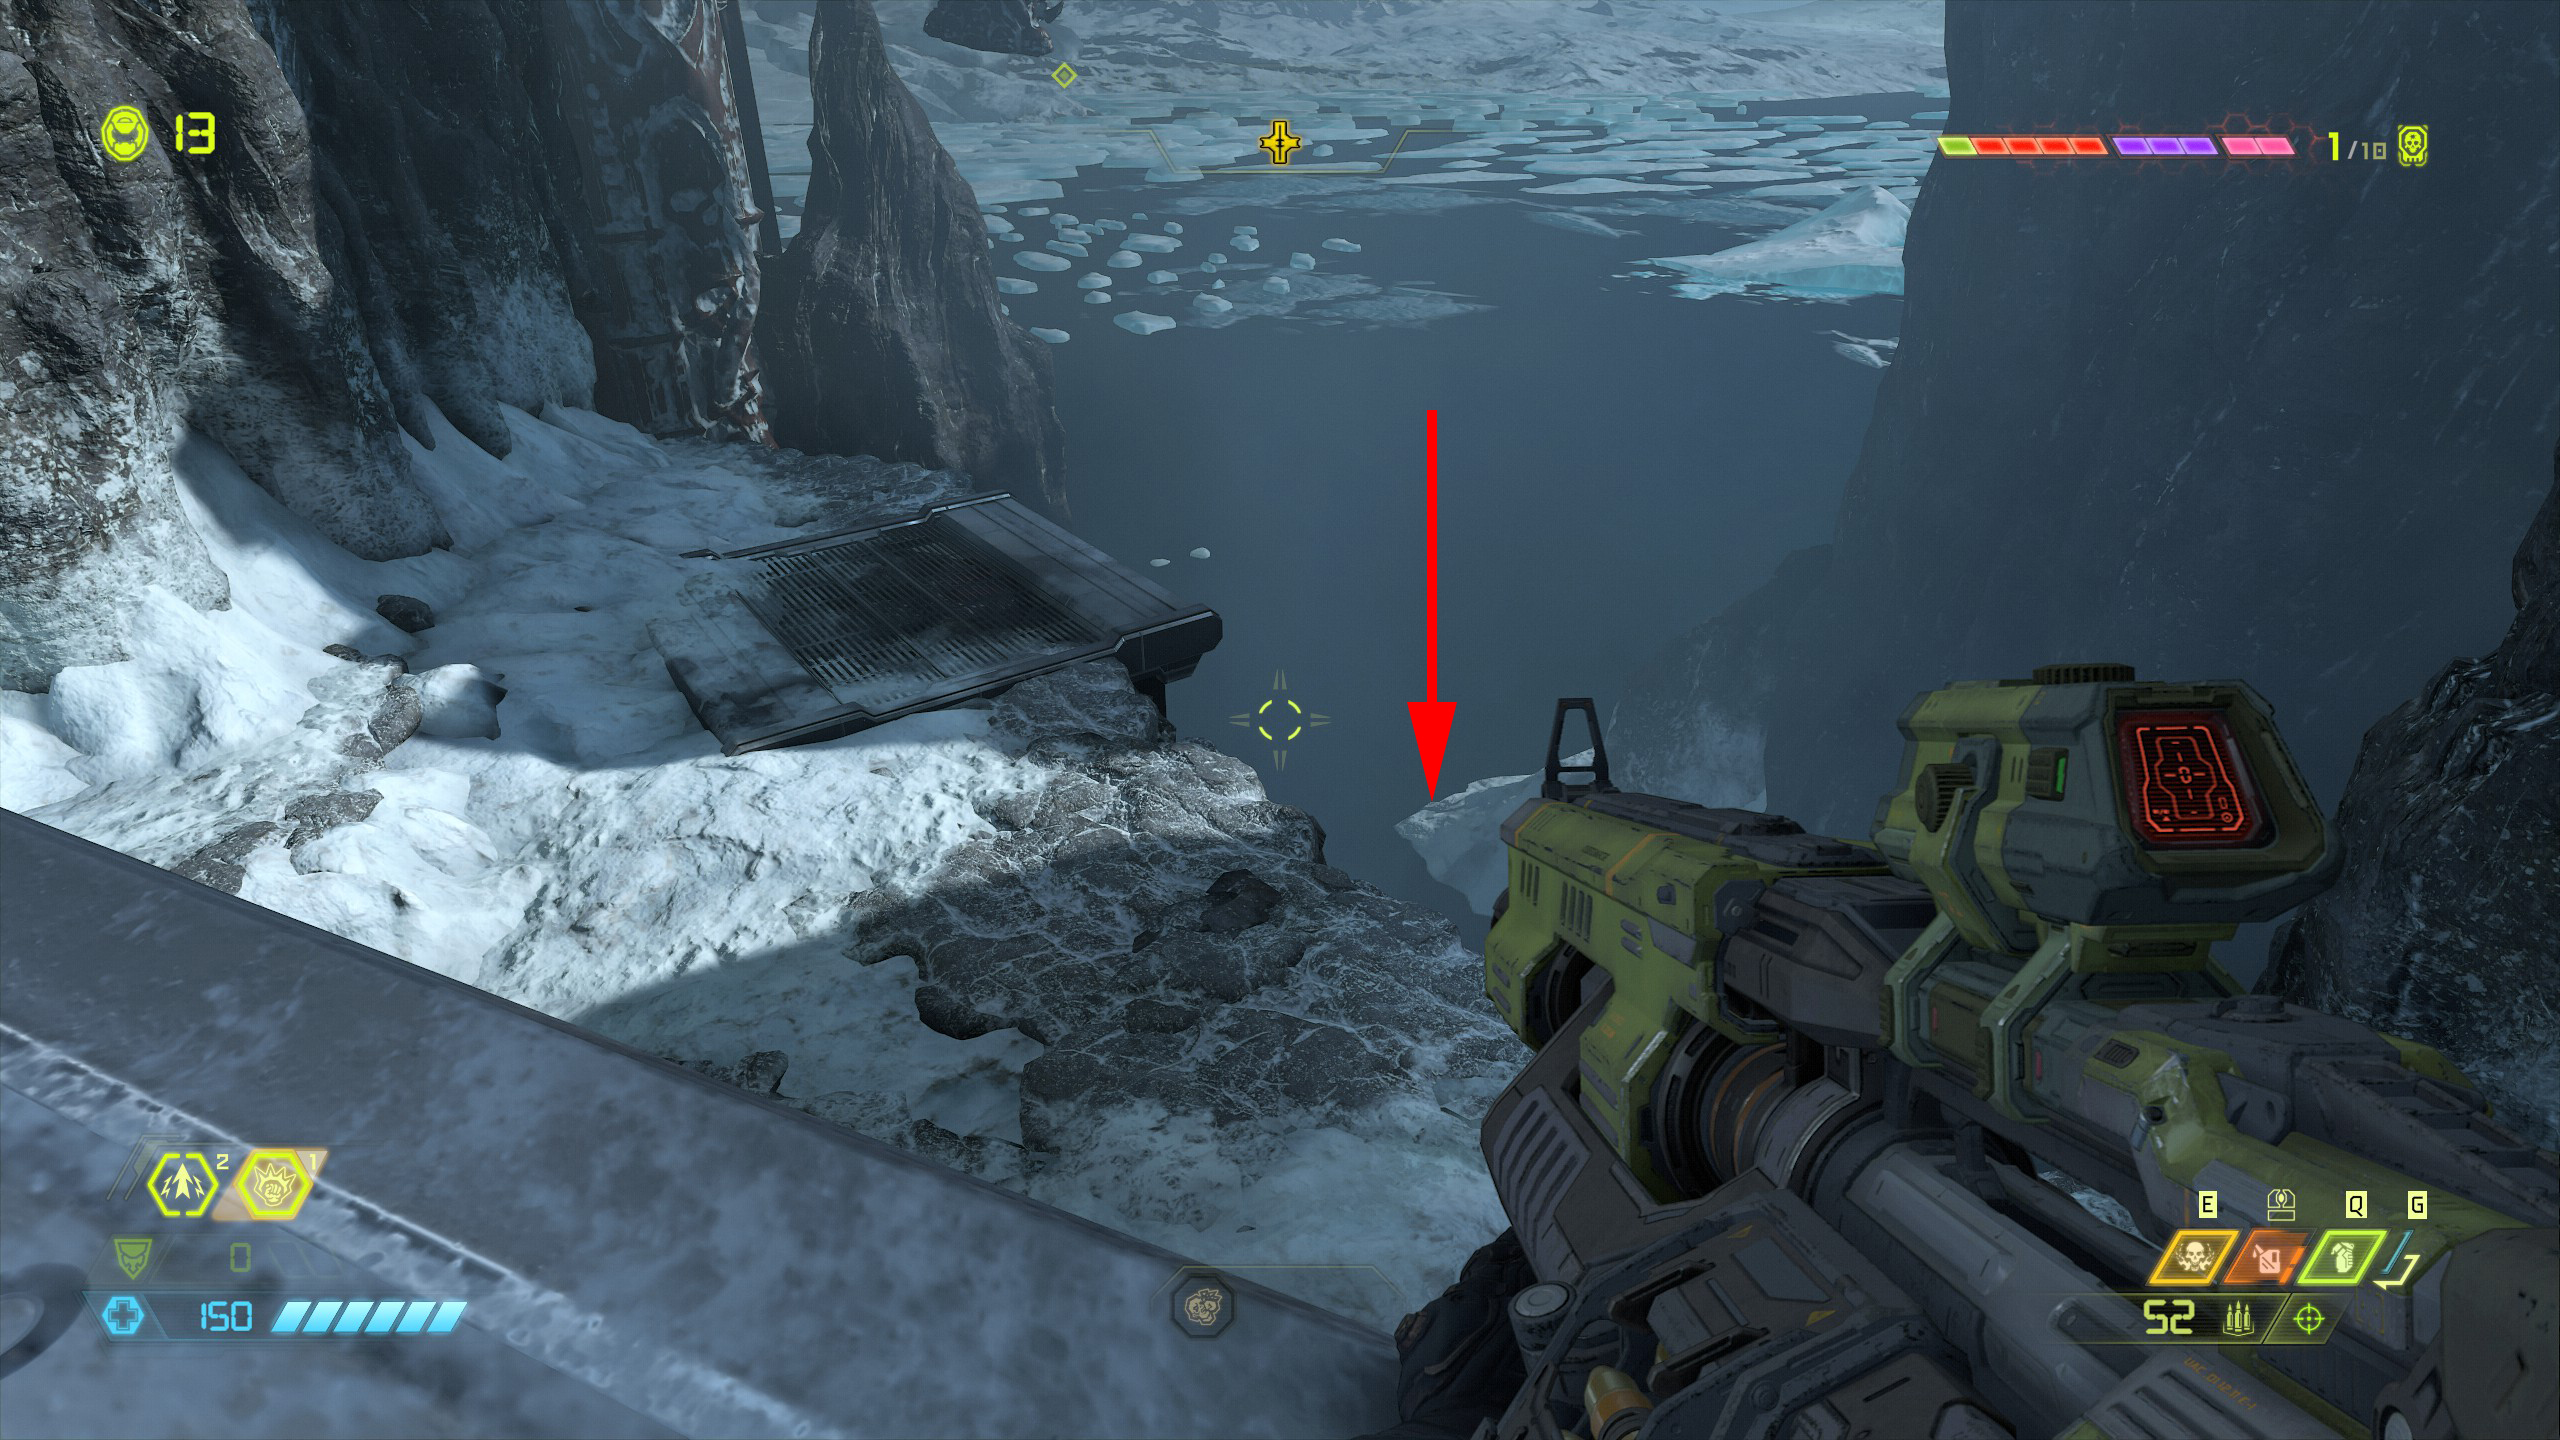
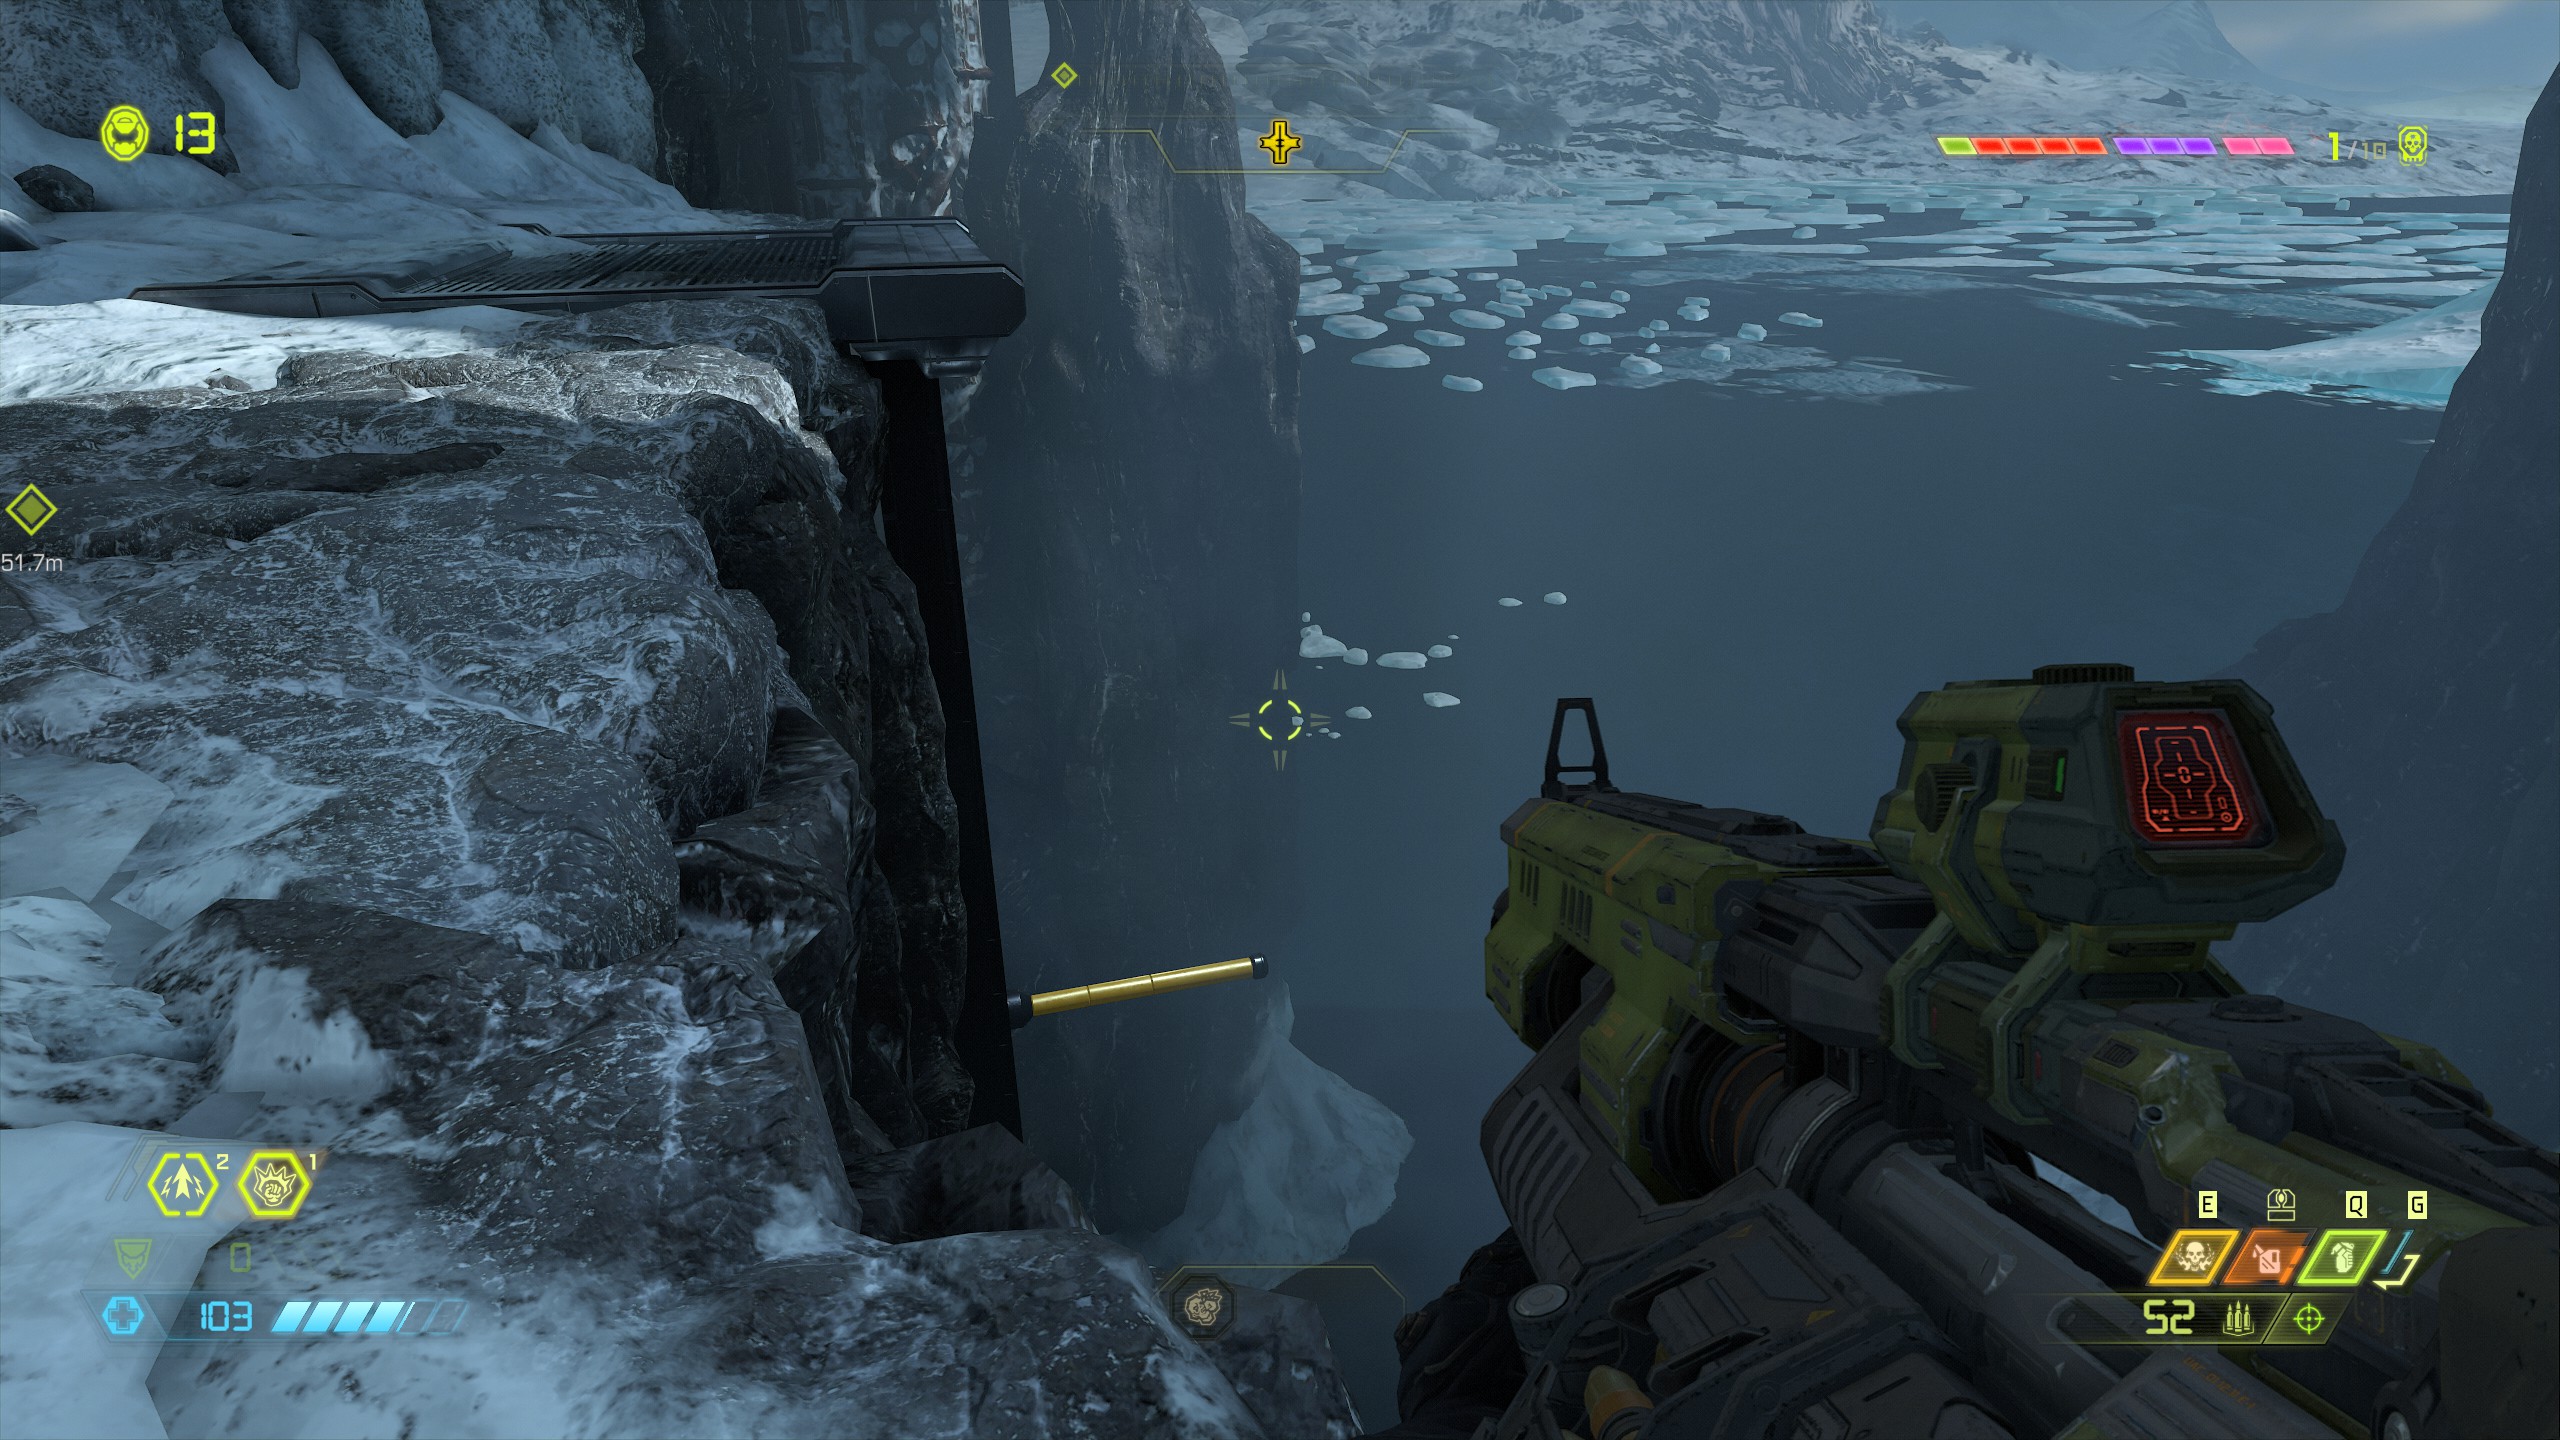
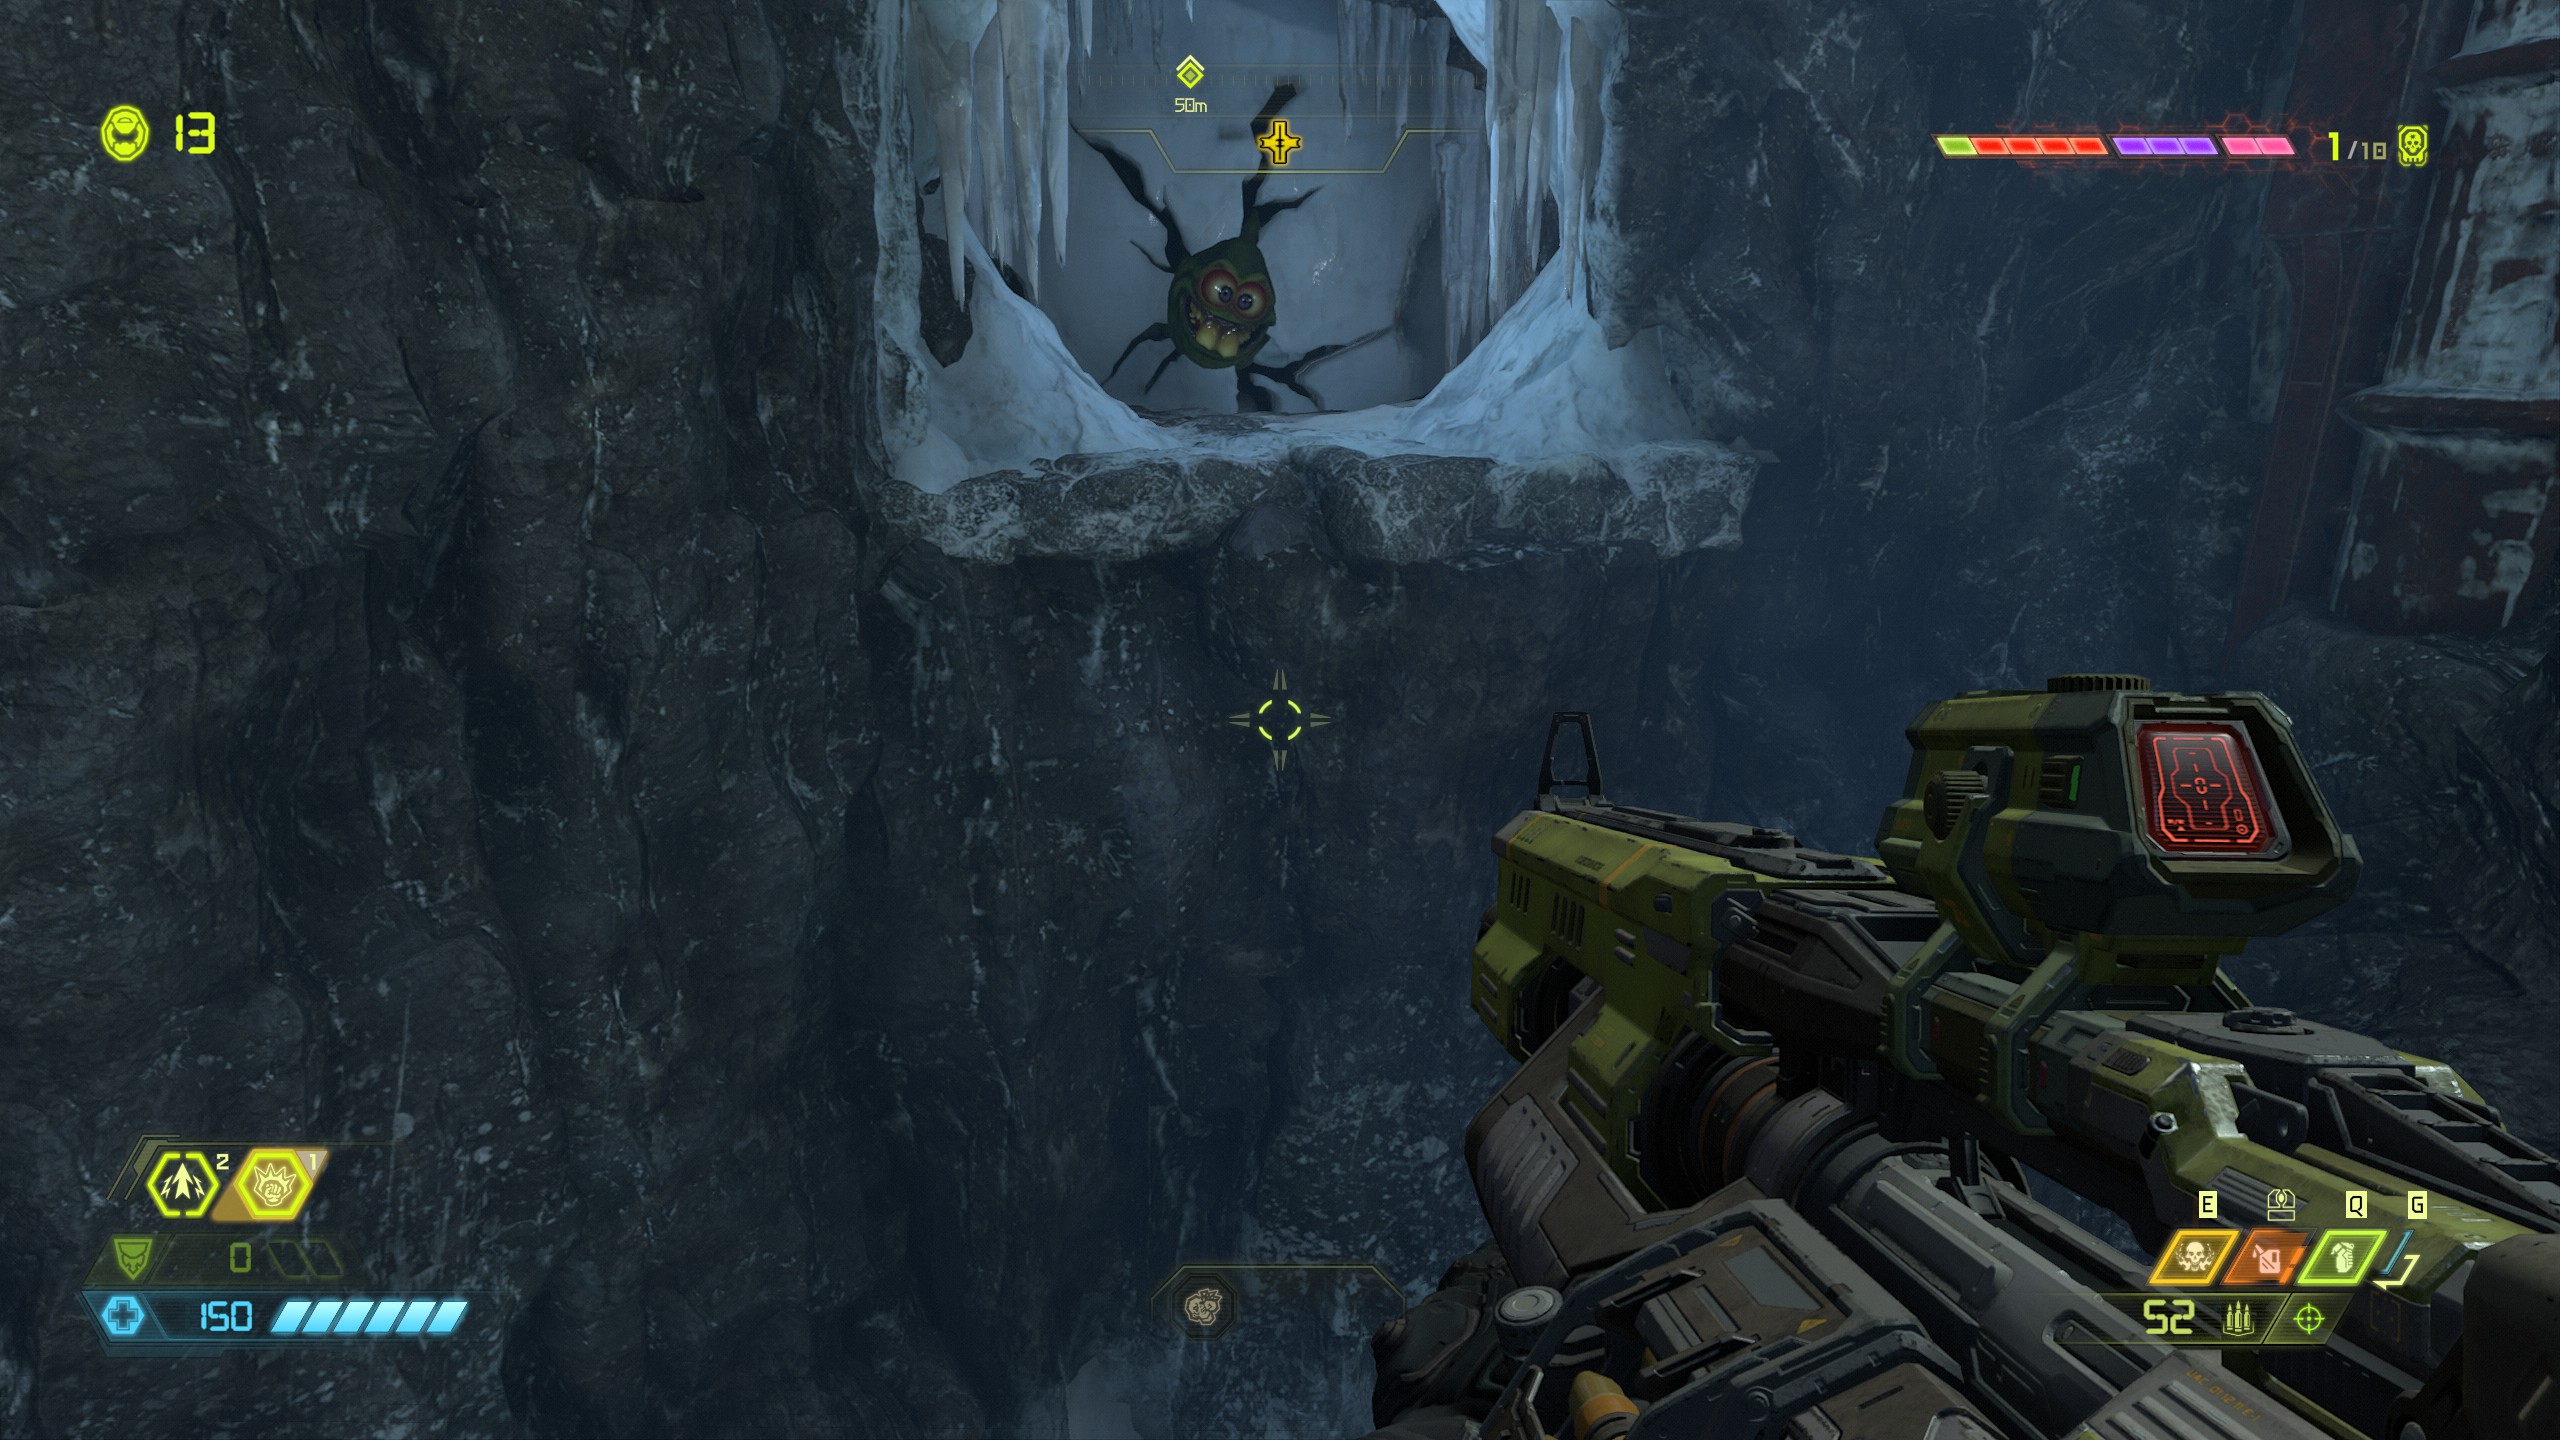
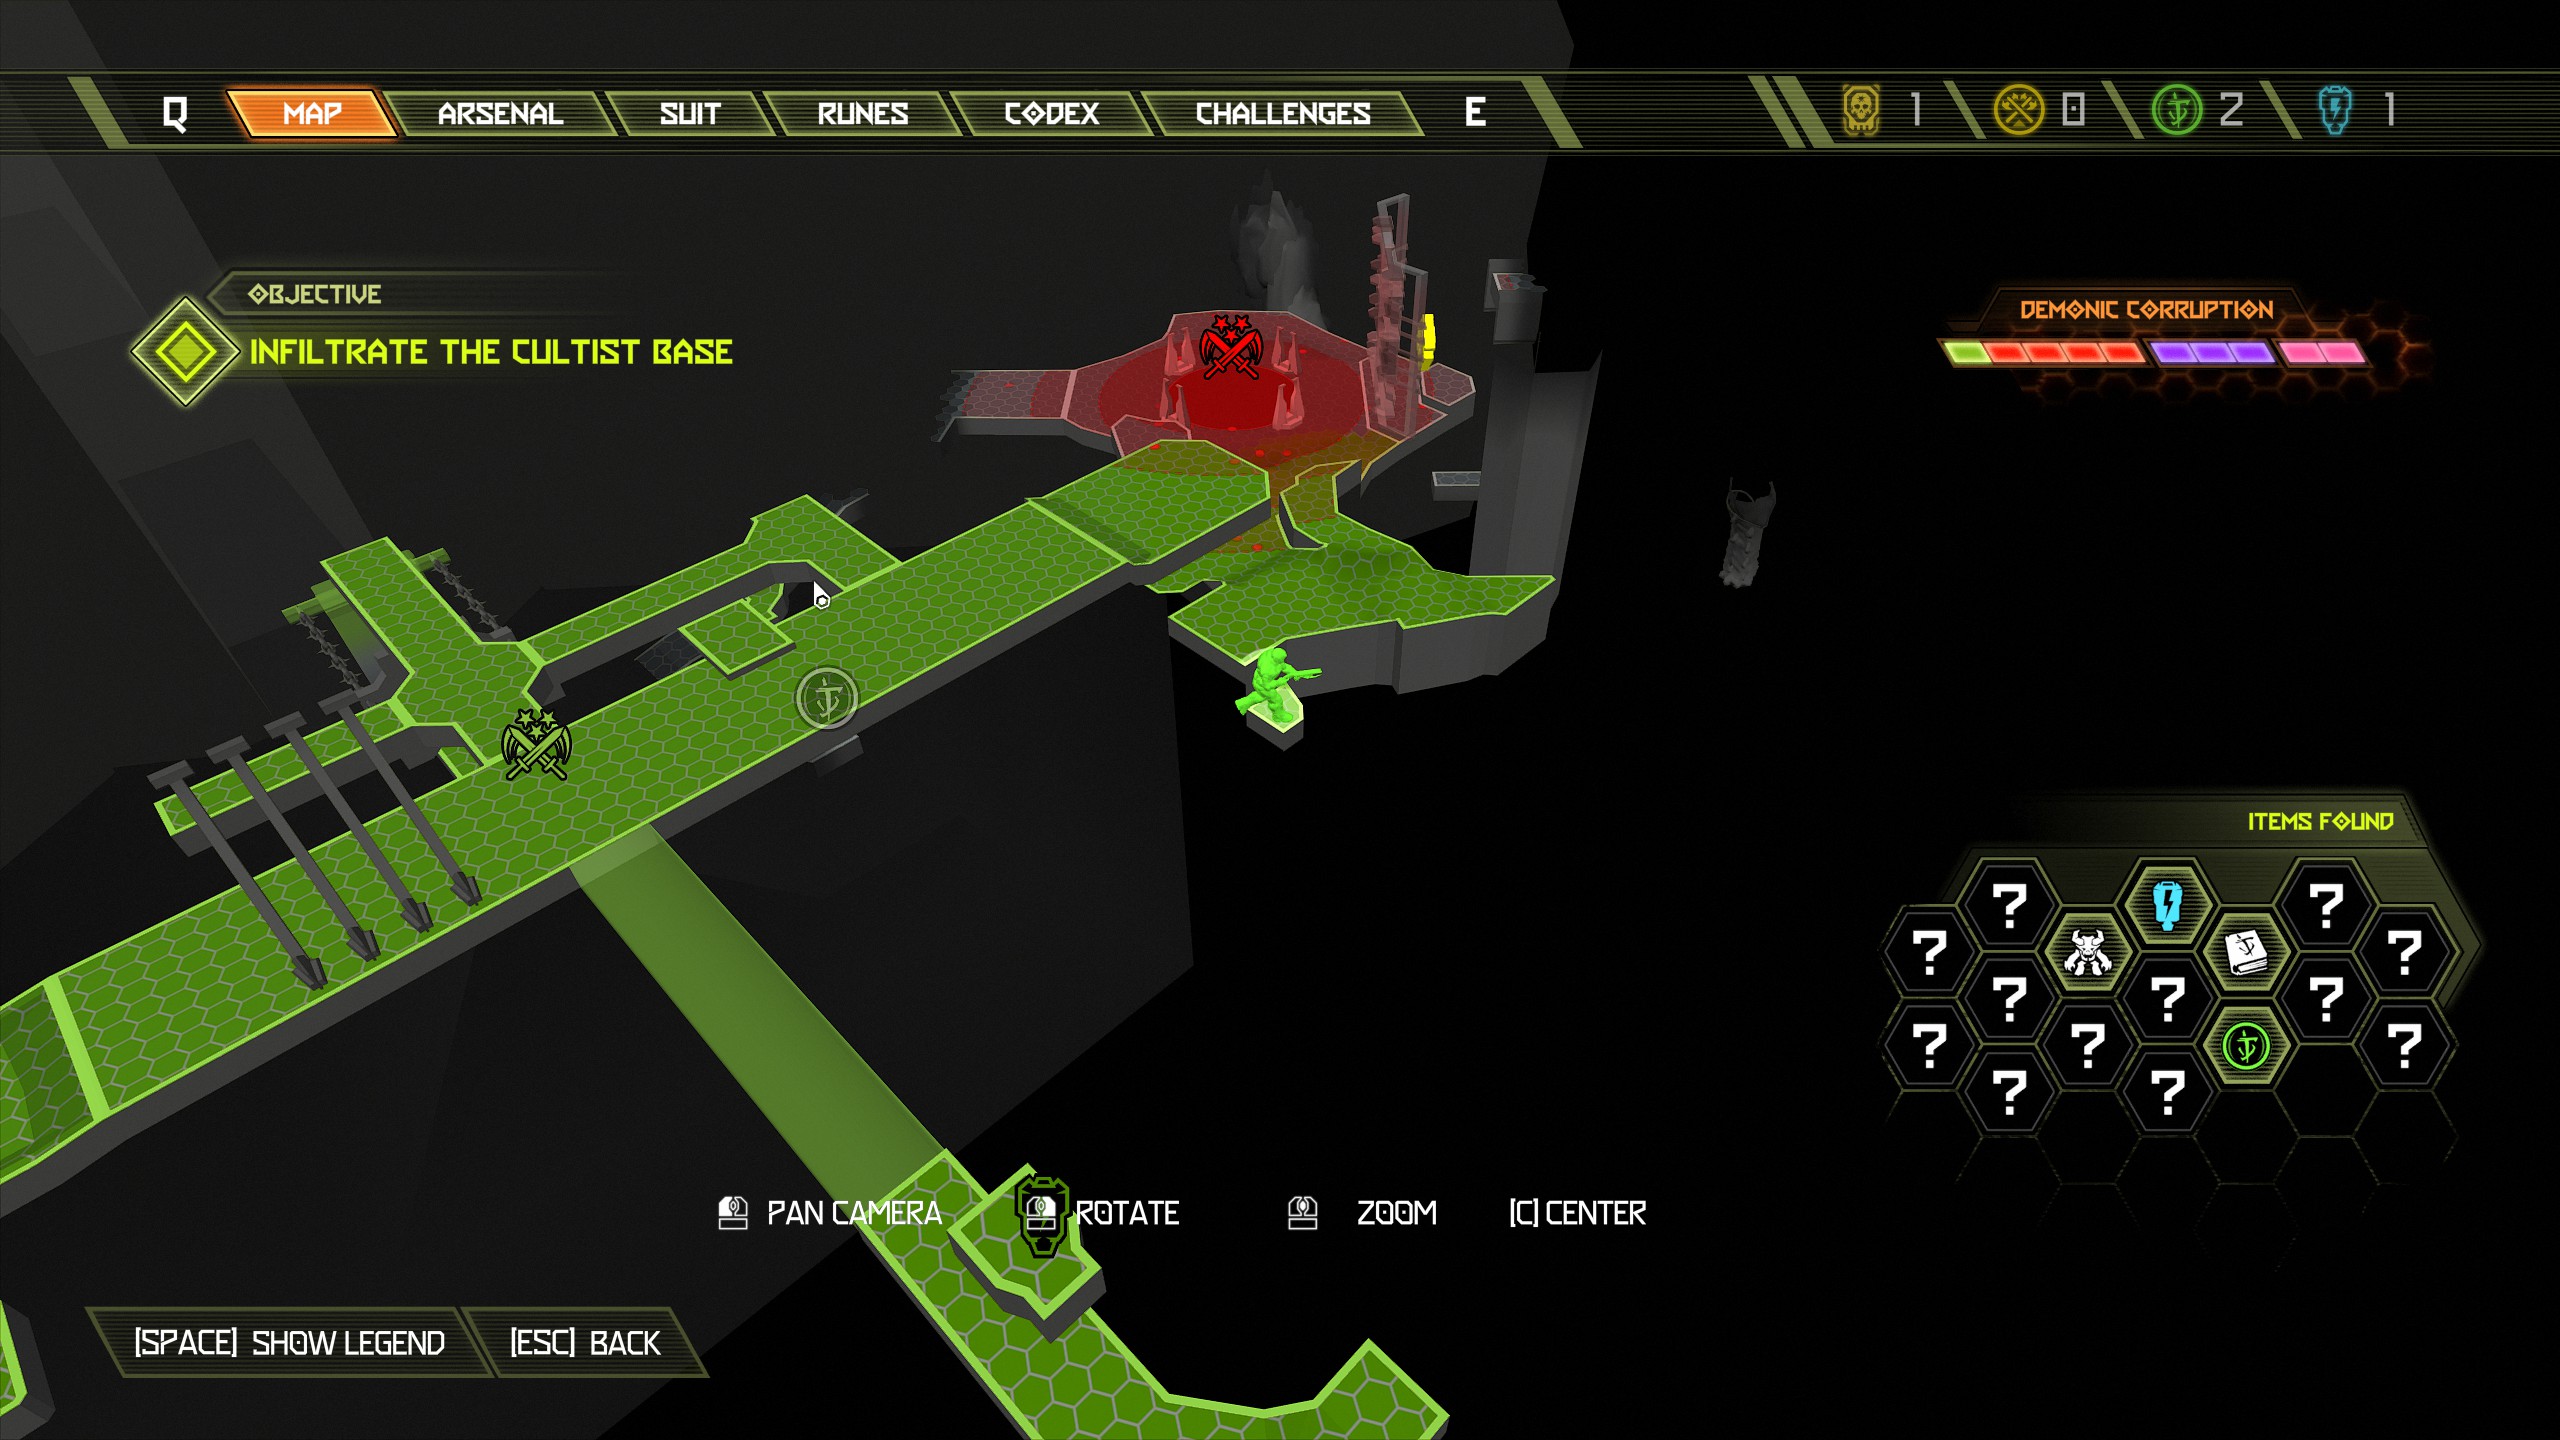
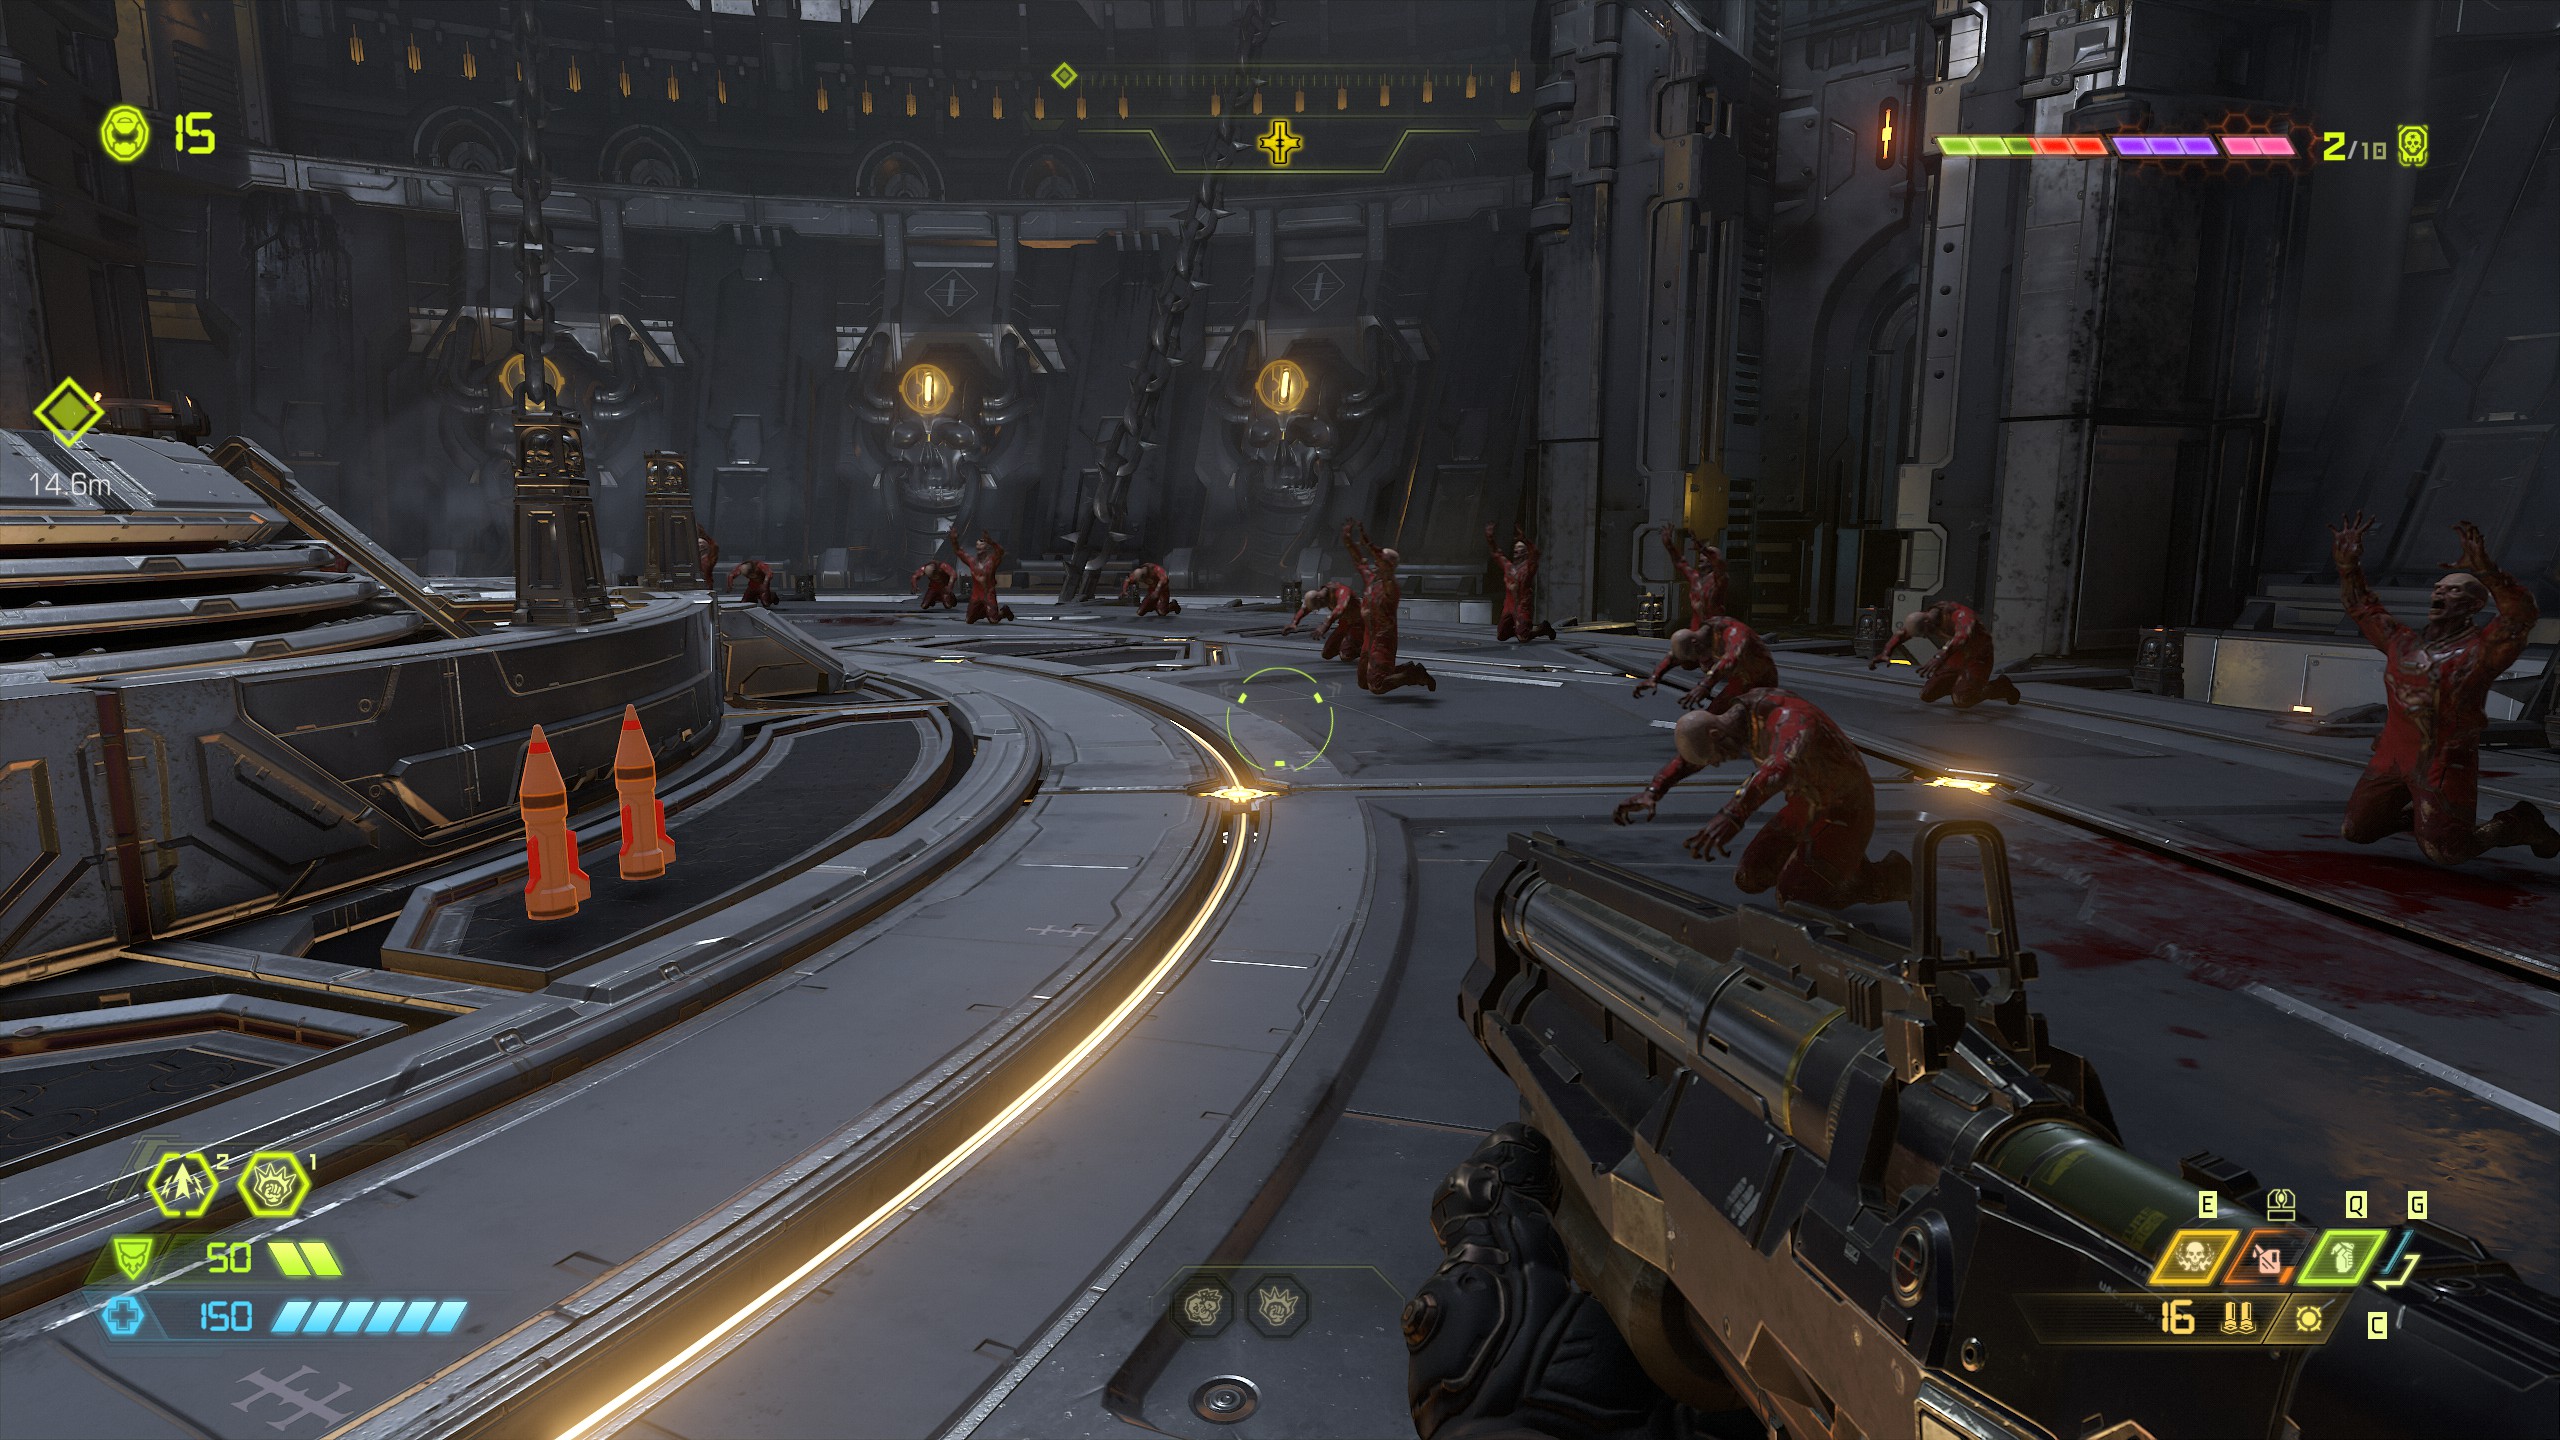
Now continue the mission until you pick up the rocket launcher.
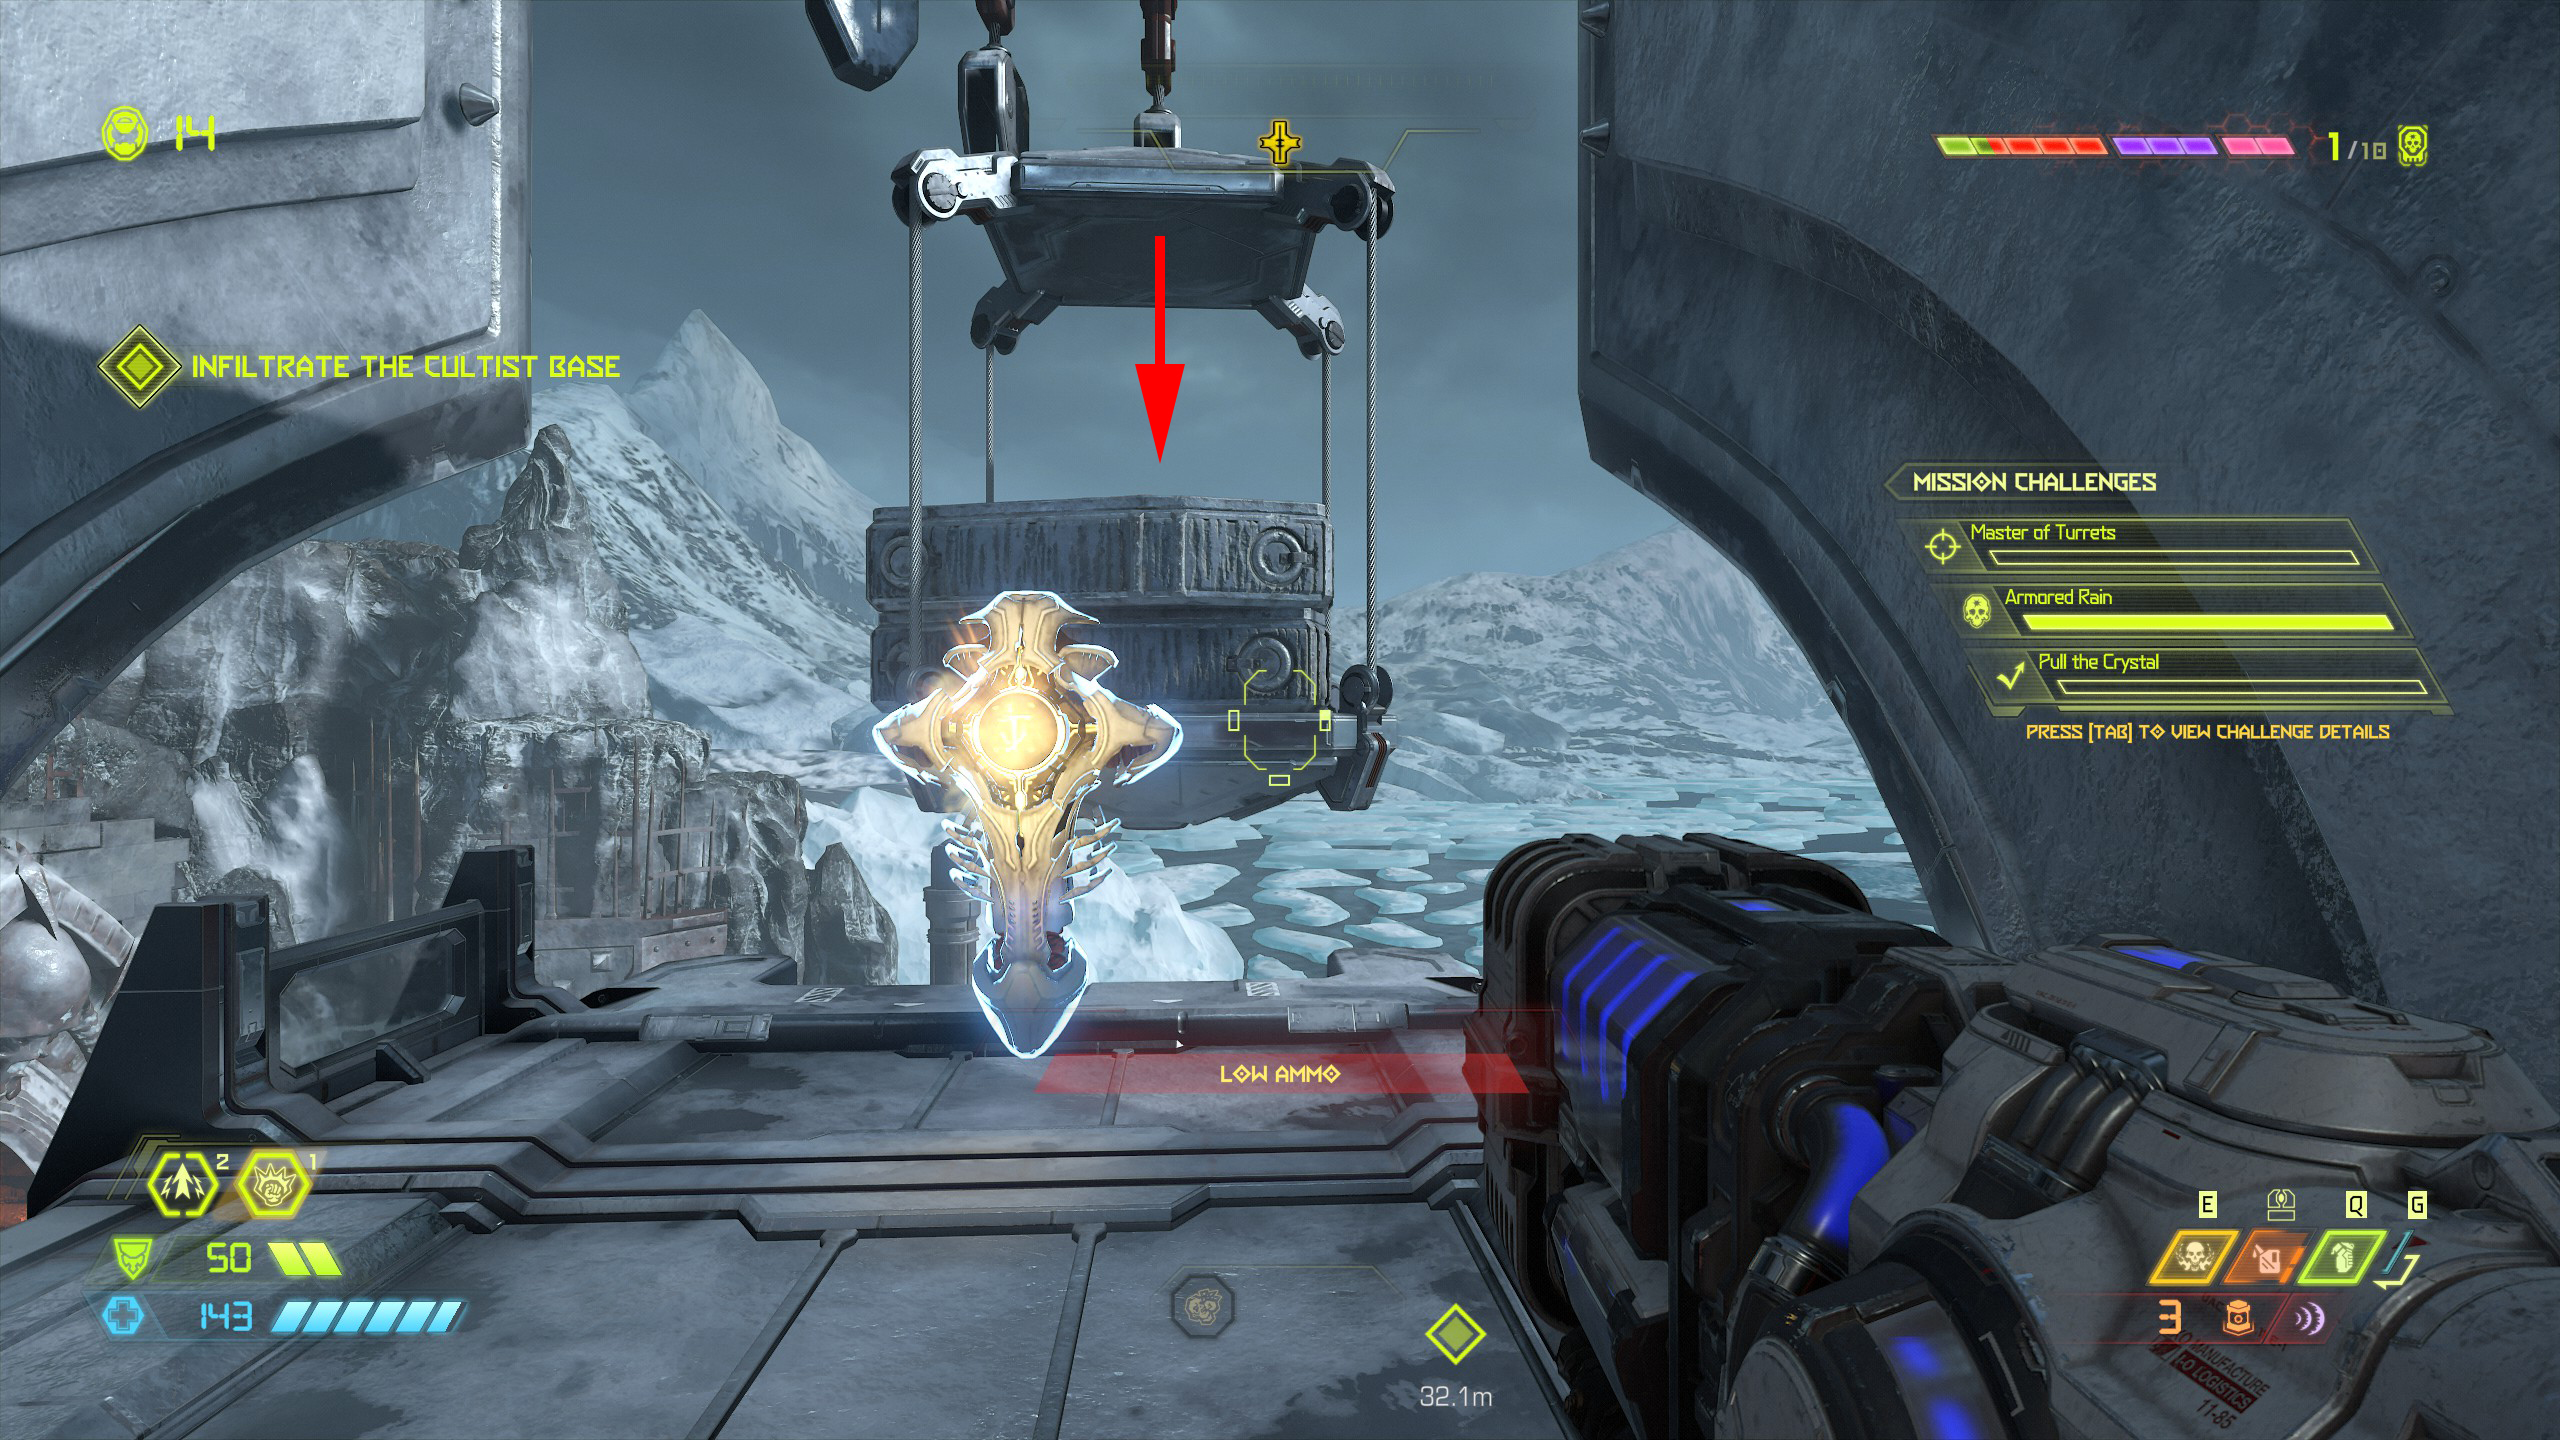
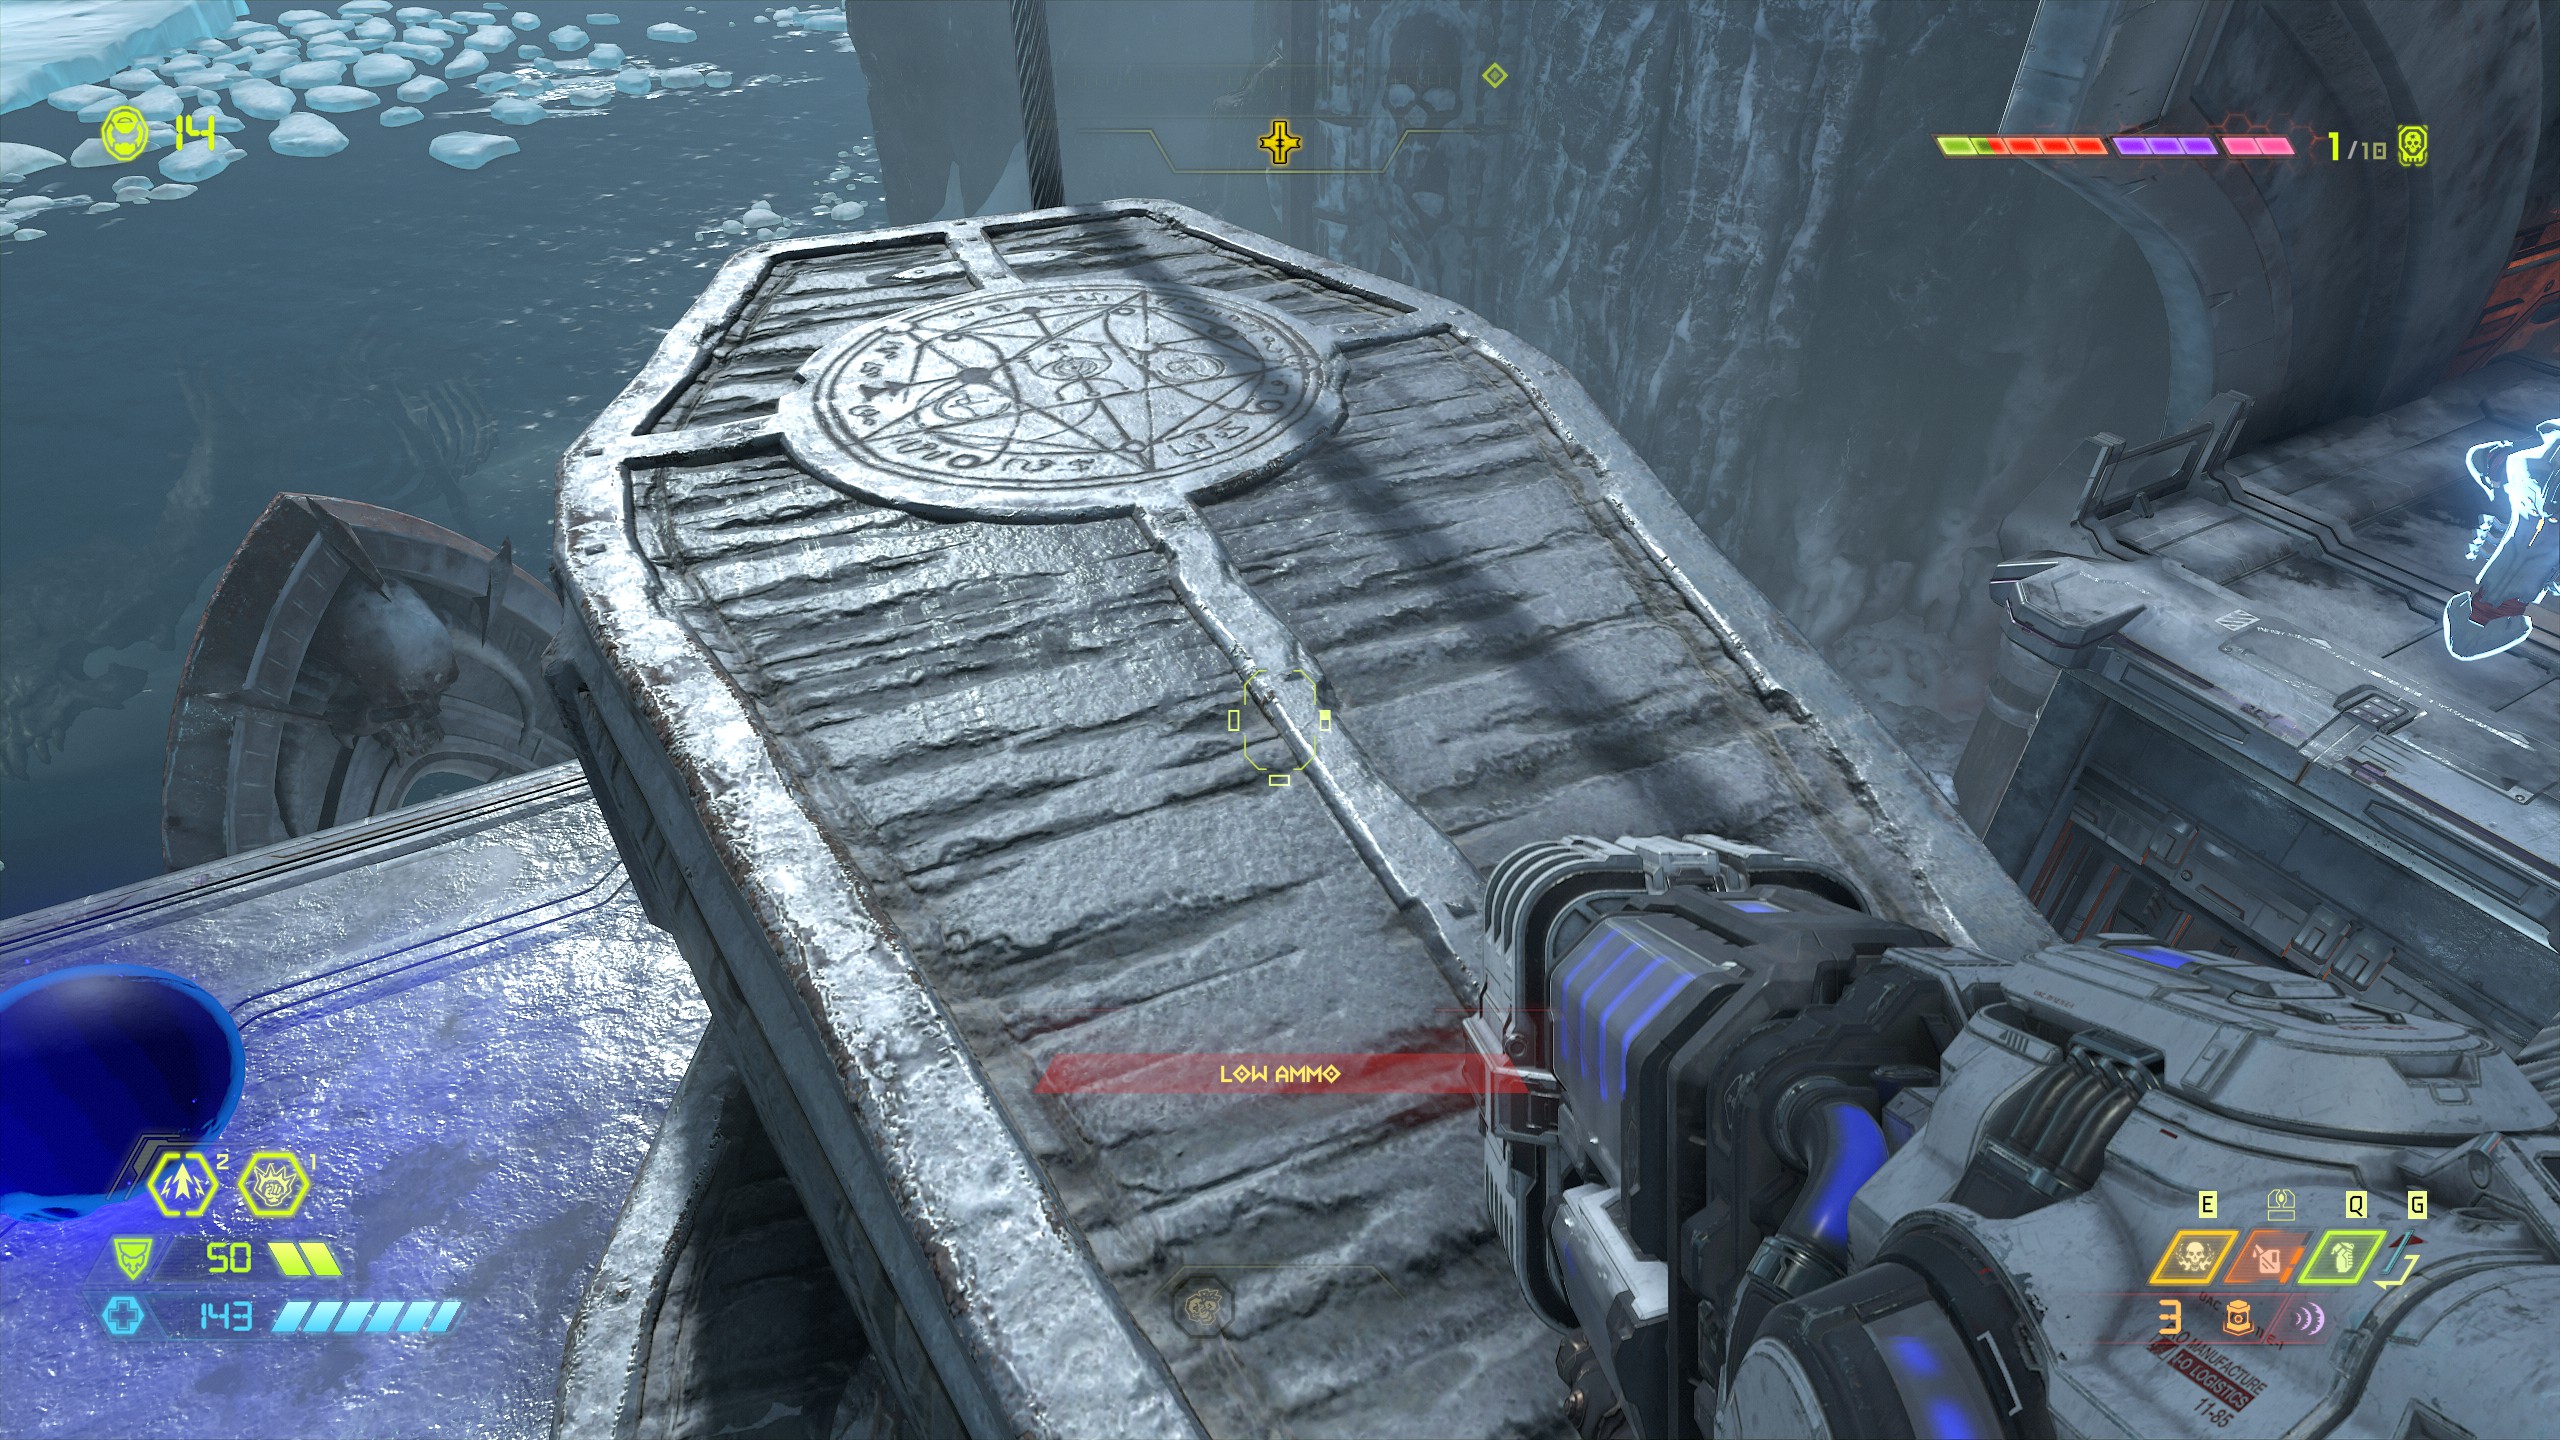
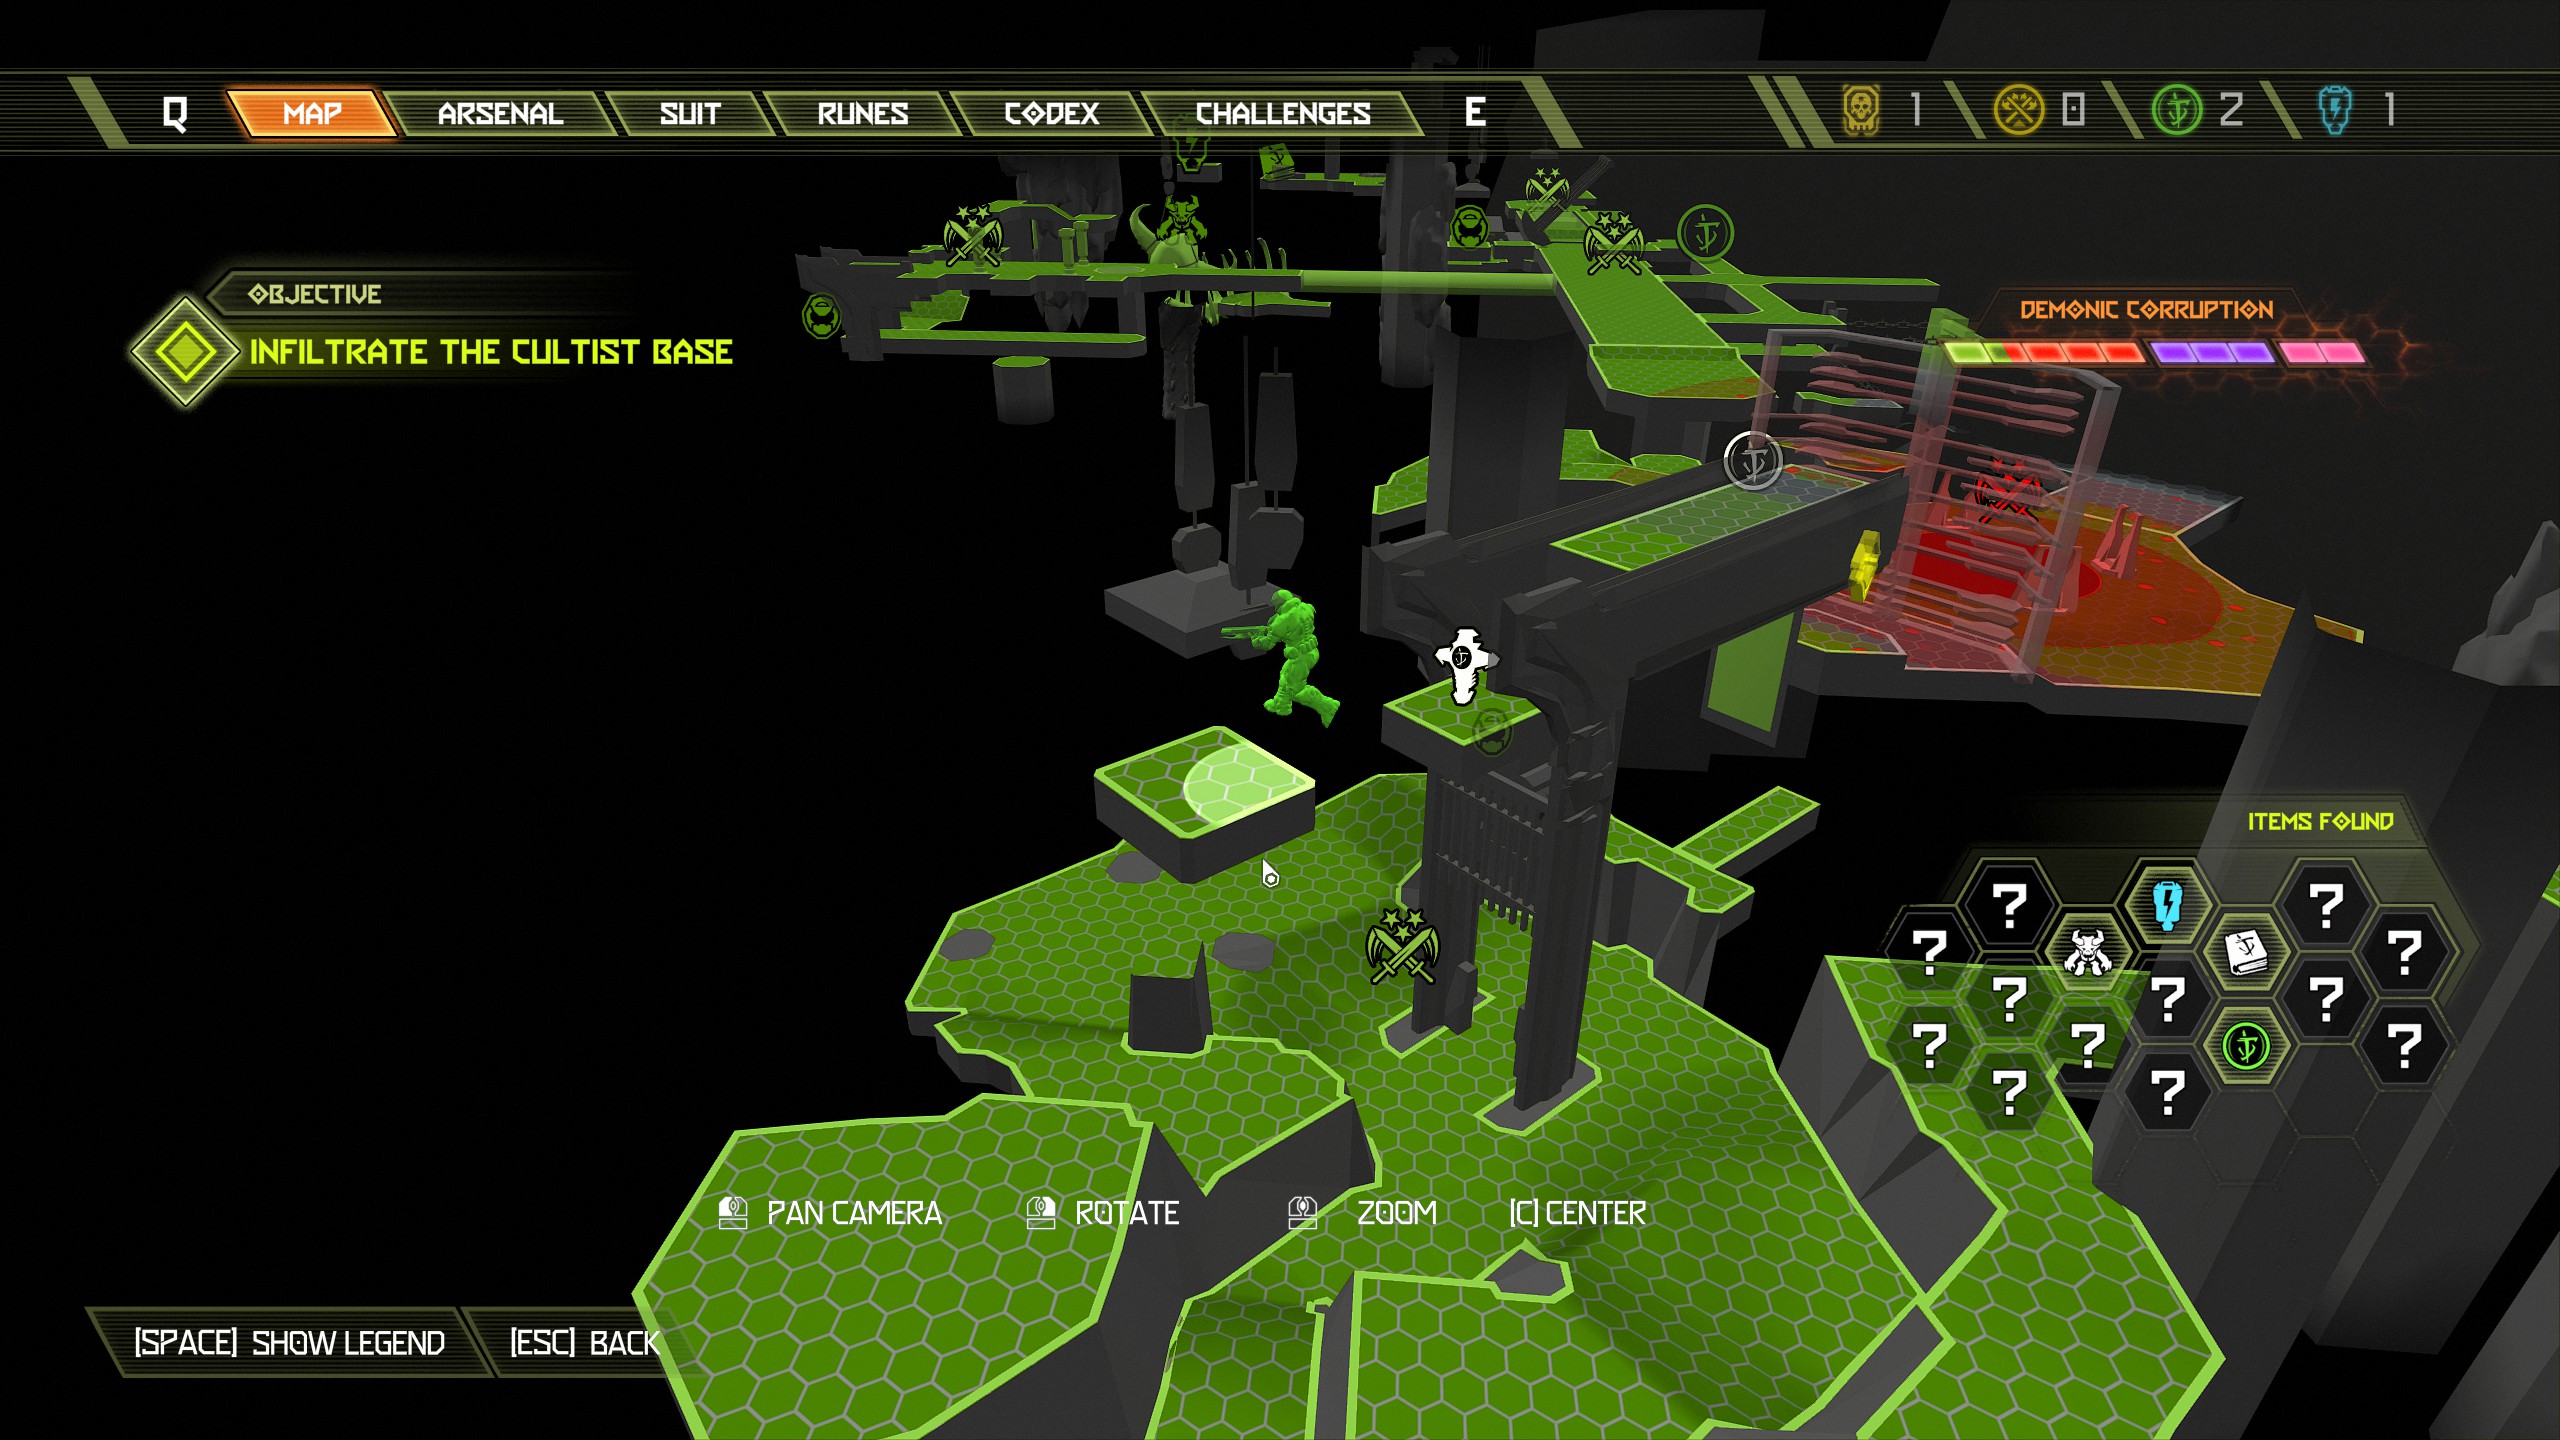
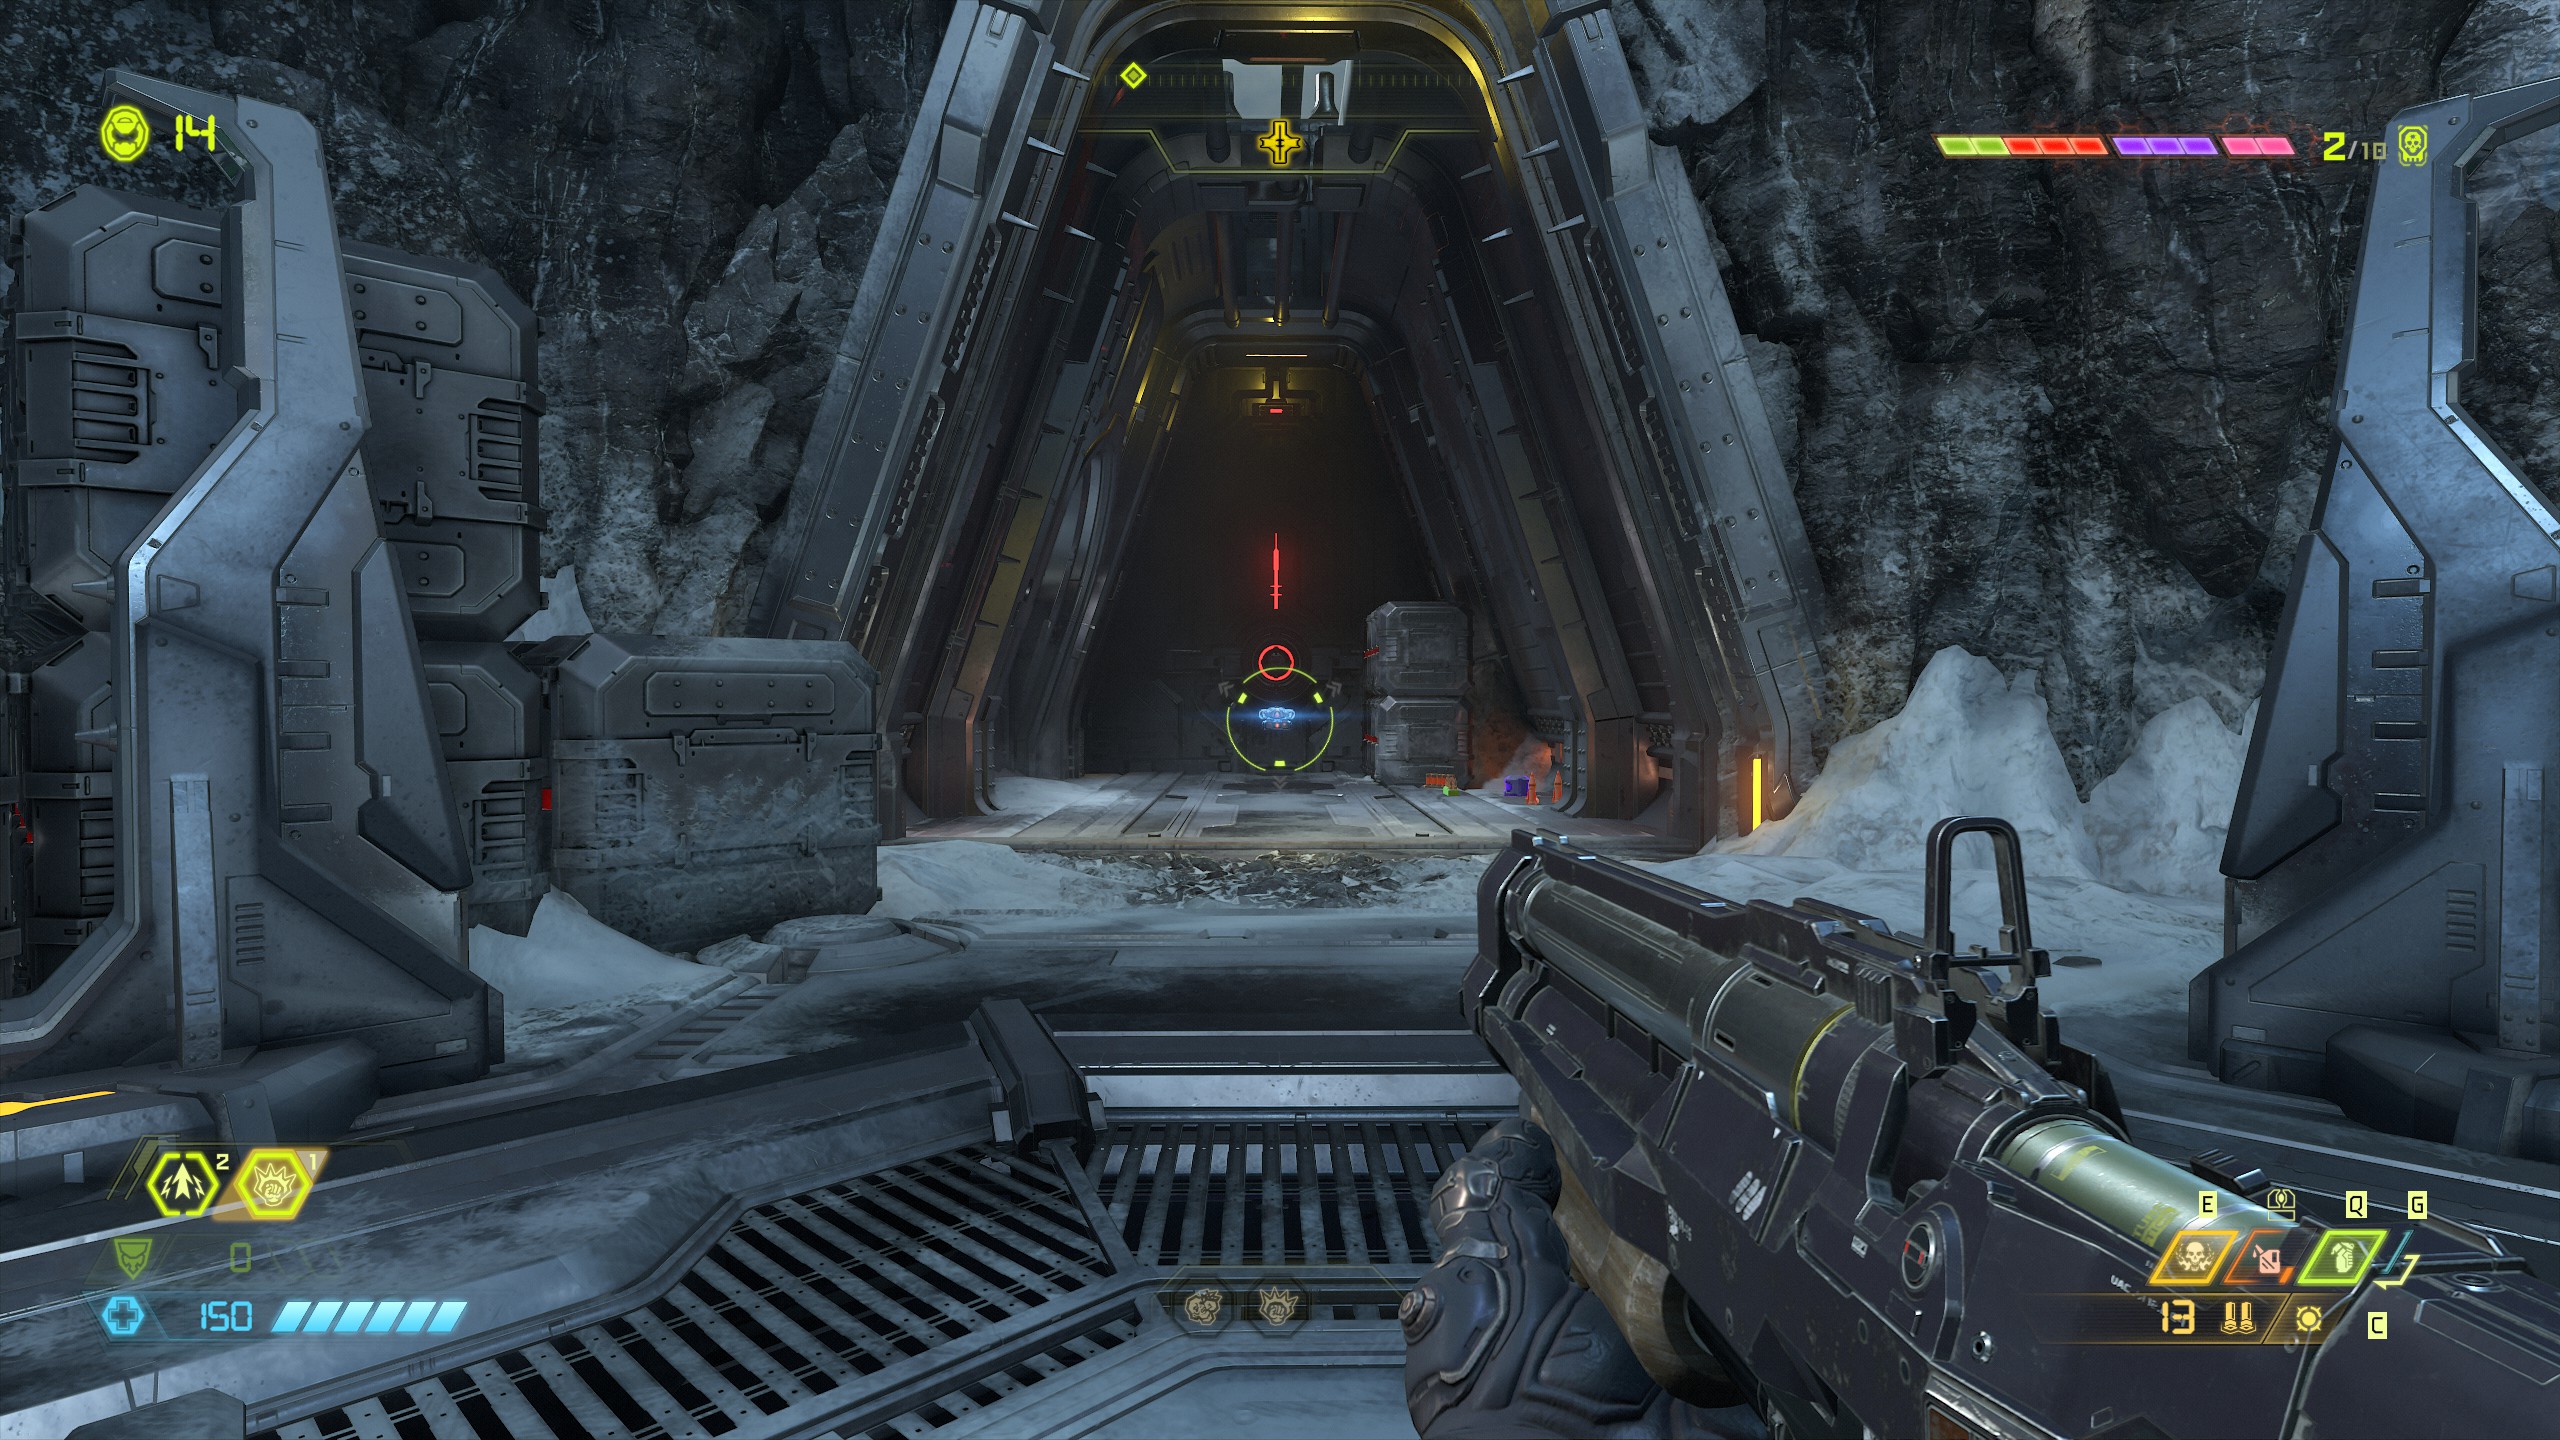
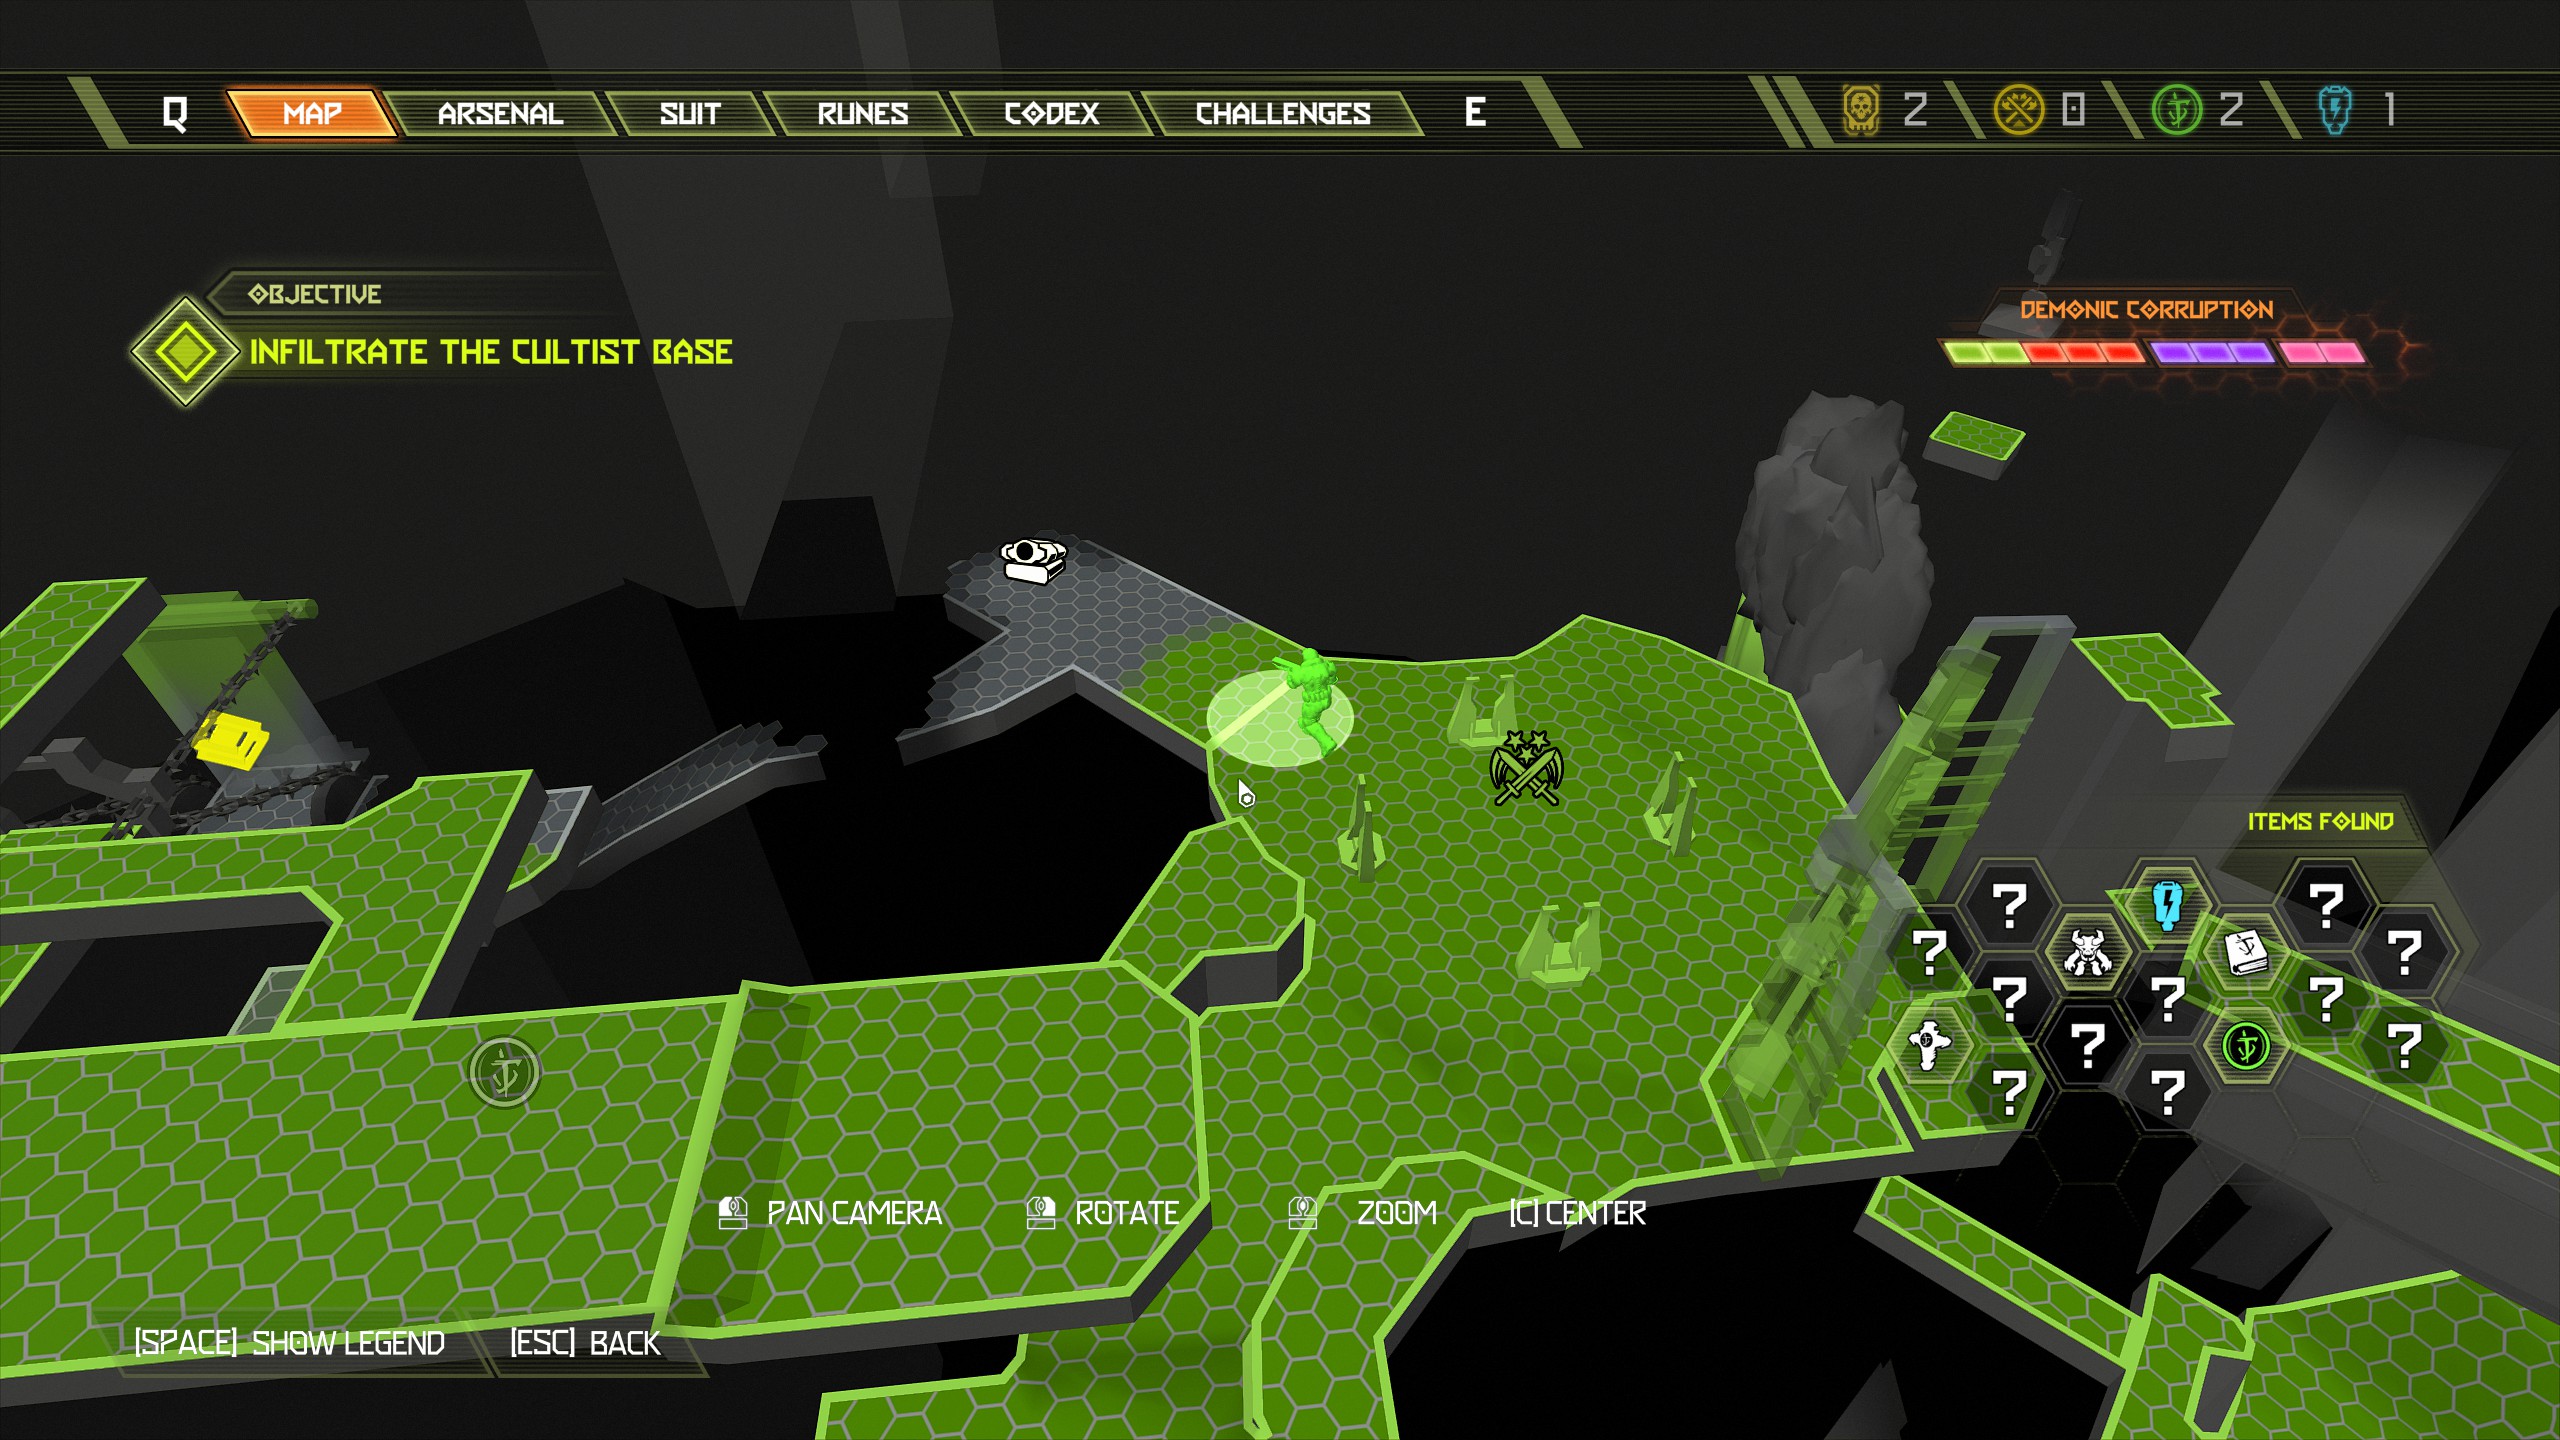
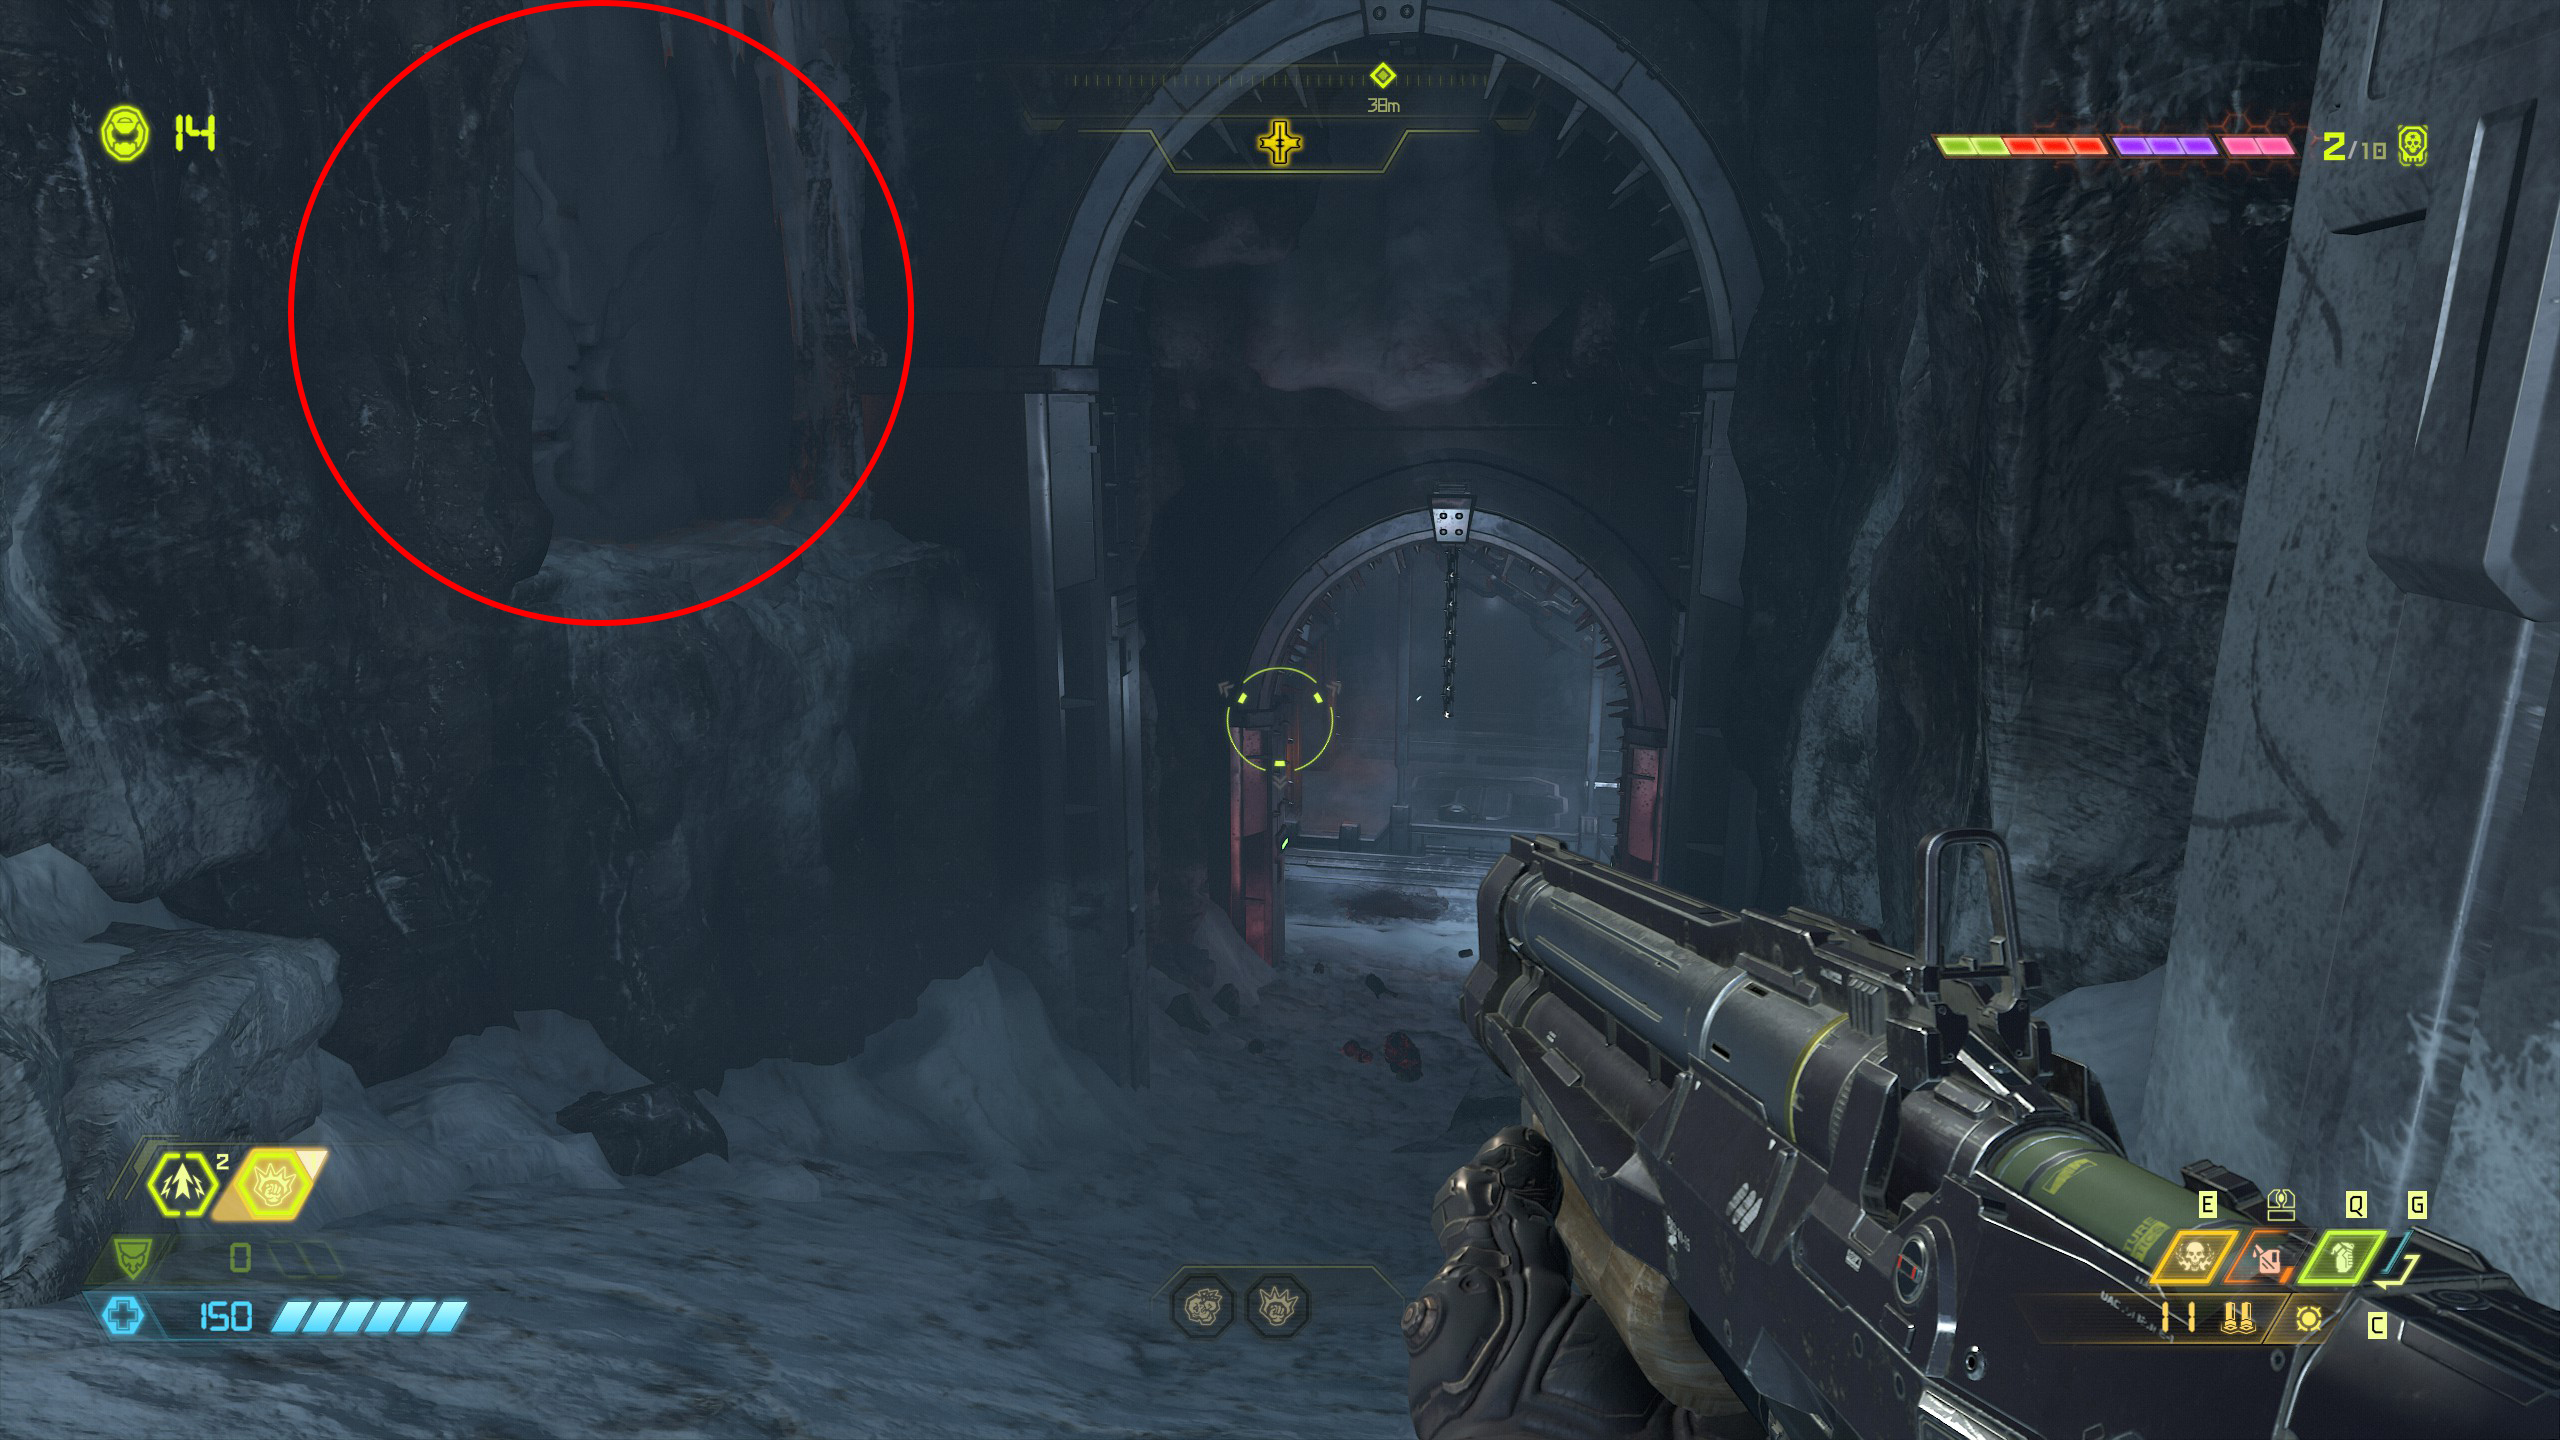
Immediately after the weapon mod continue down the passage next to you and half way down on the left side will be a breakable wall, break through and follow it around to collect another praetor suit token.
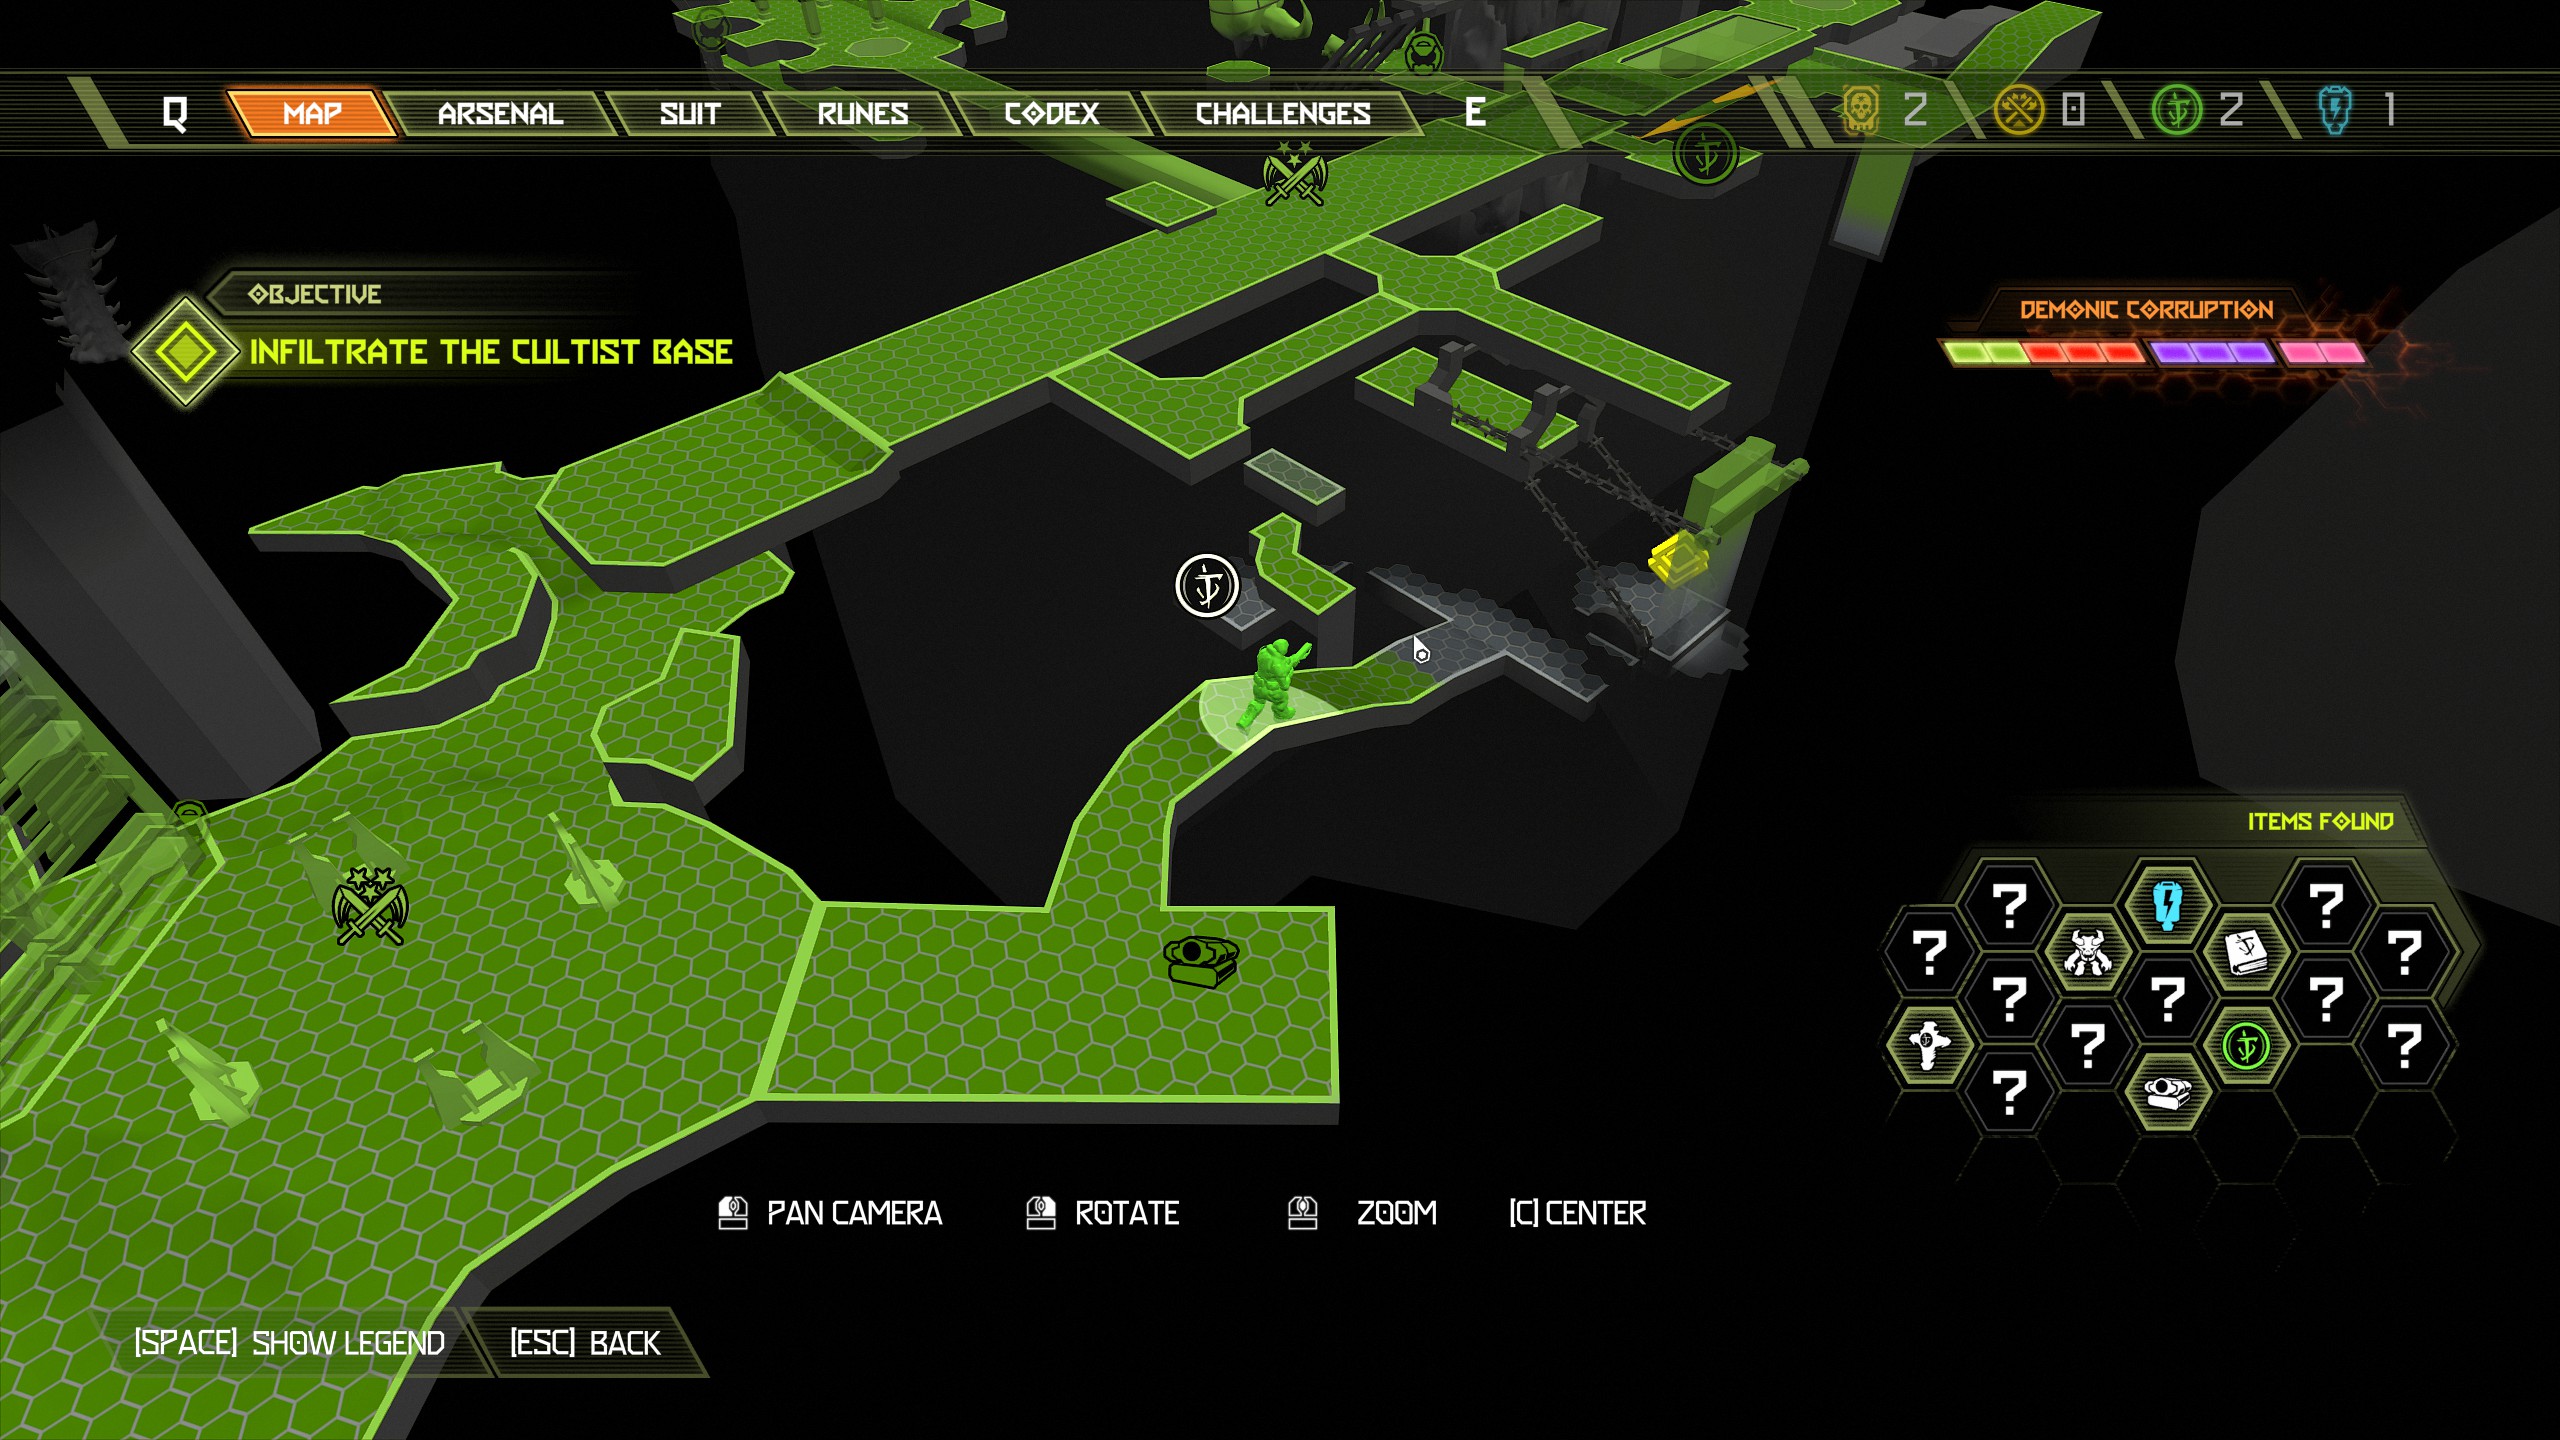
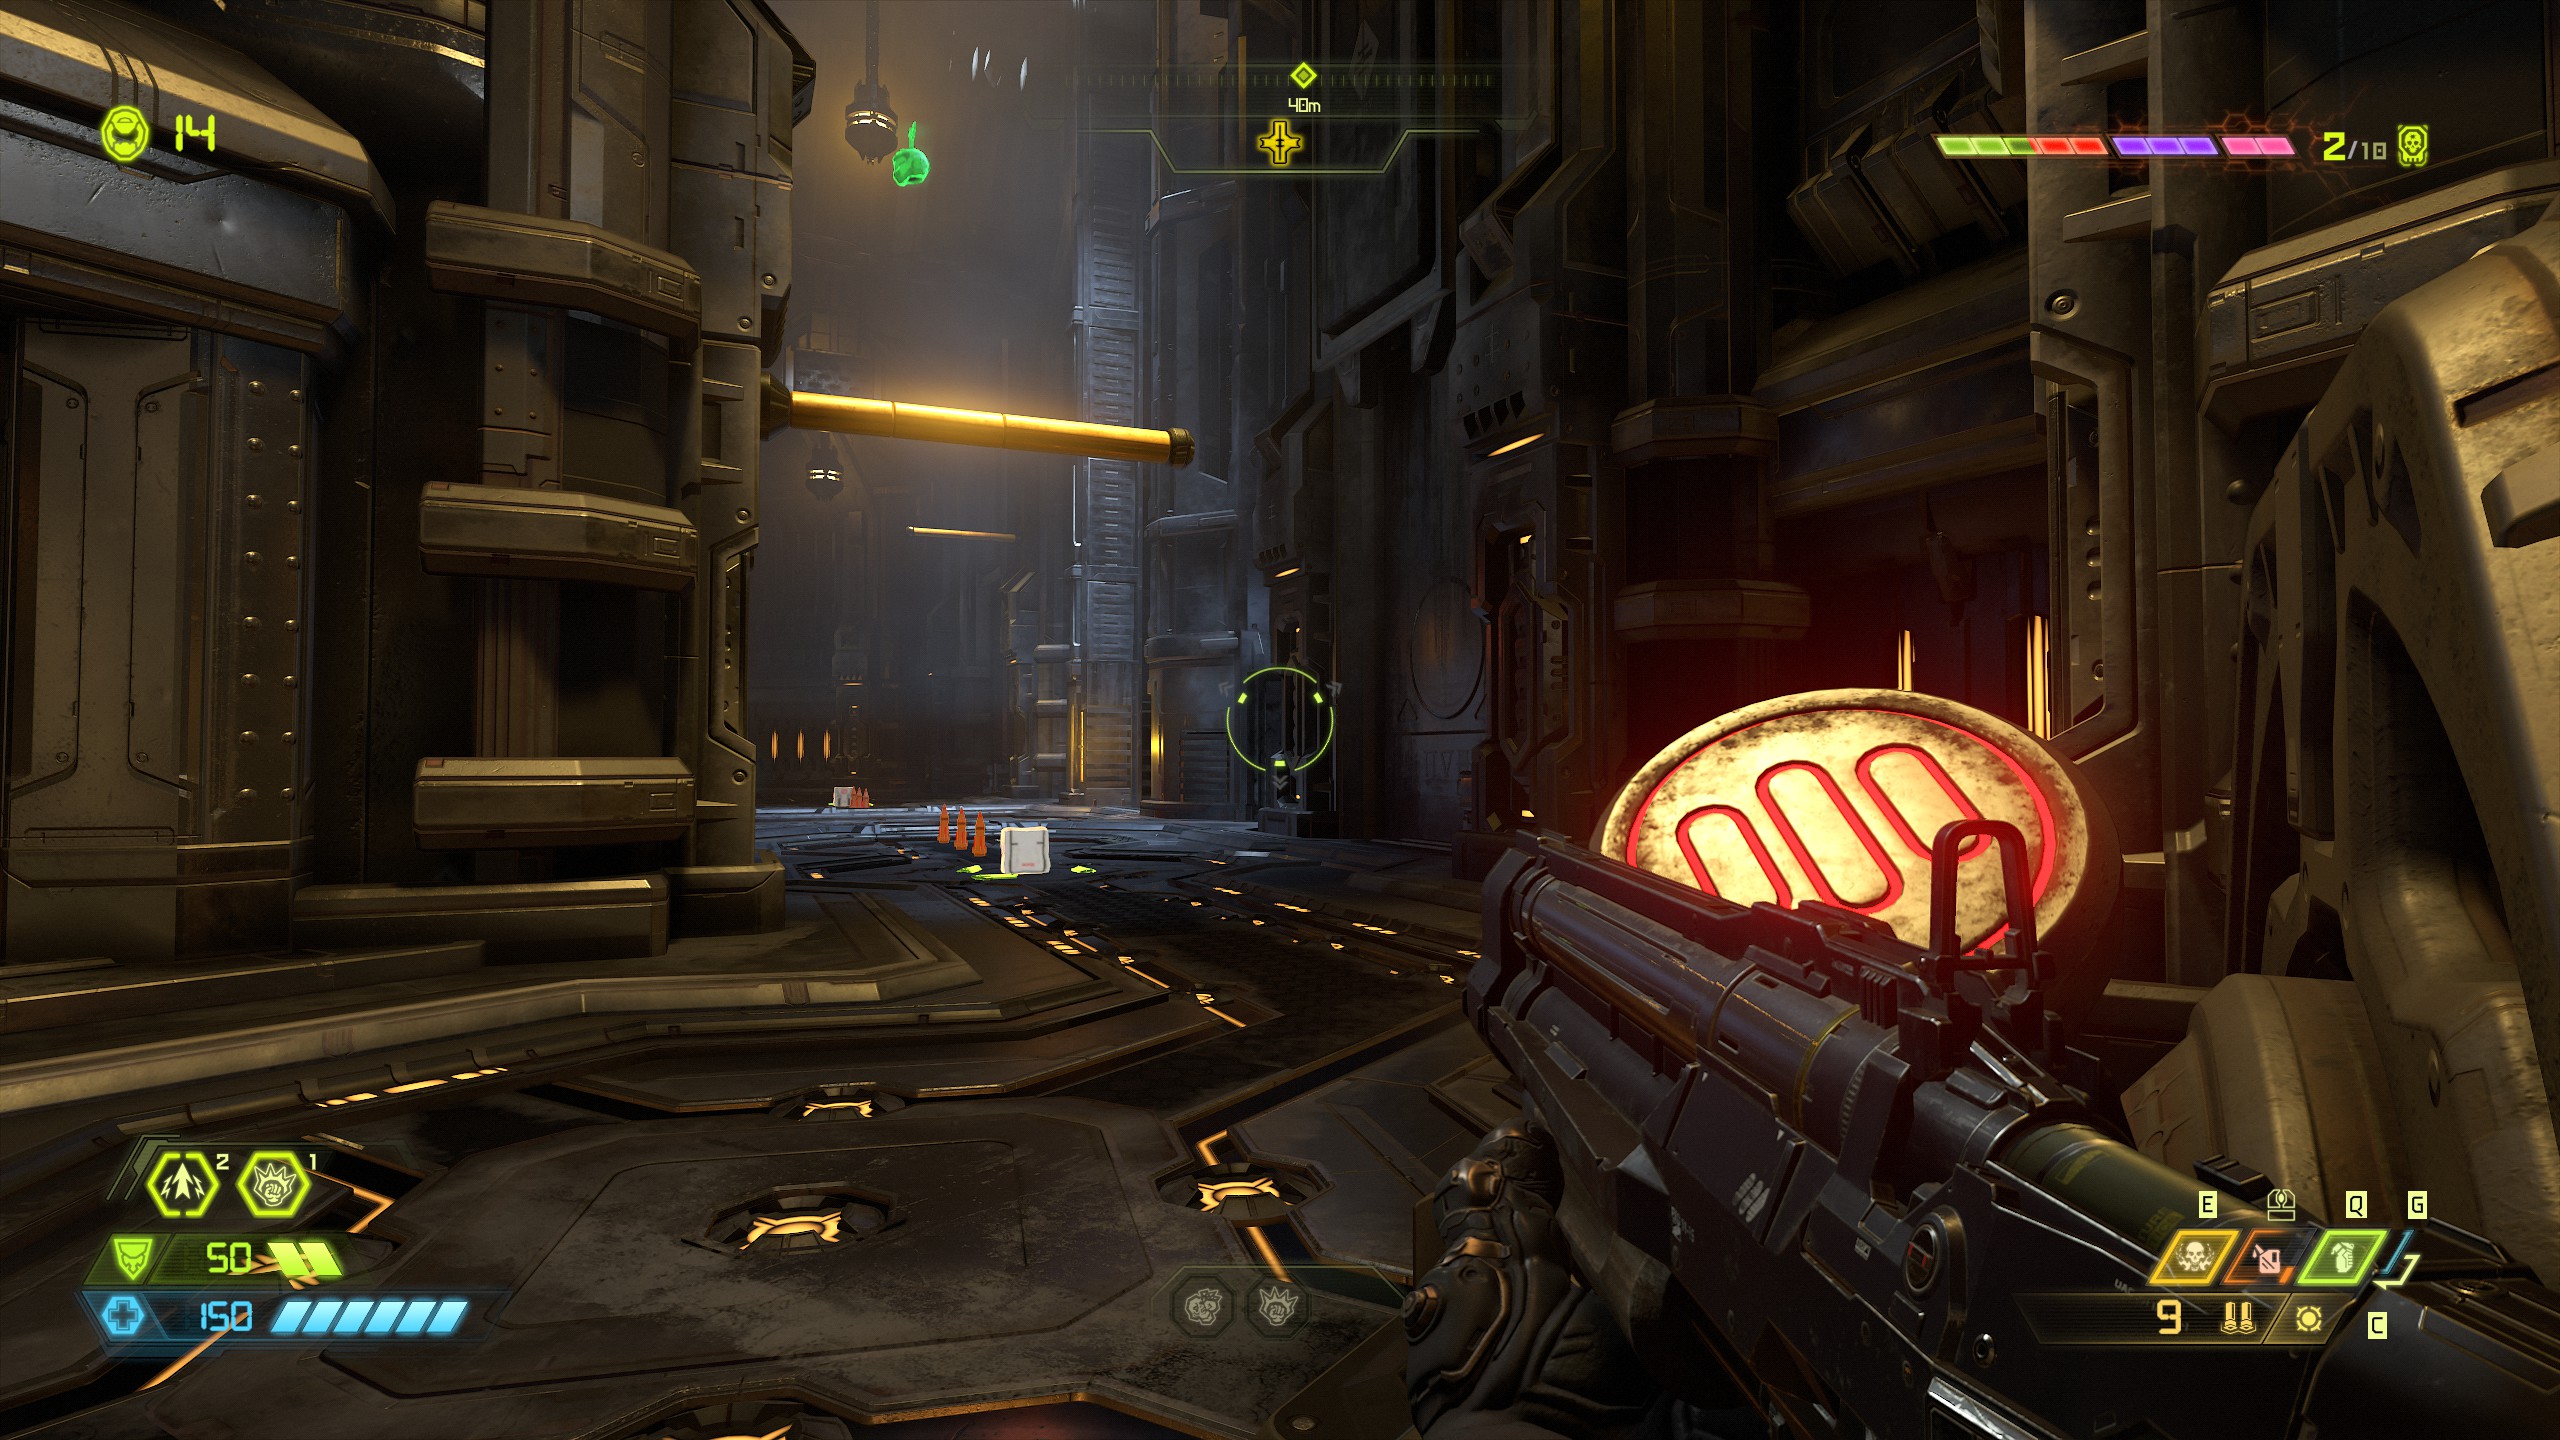
Continue the mission and then clear the outside area to proceed further.
Mission 3: Cultist Base [Part 2]
Secret Encounter
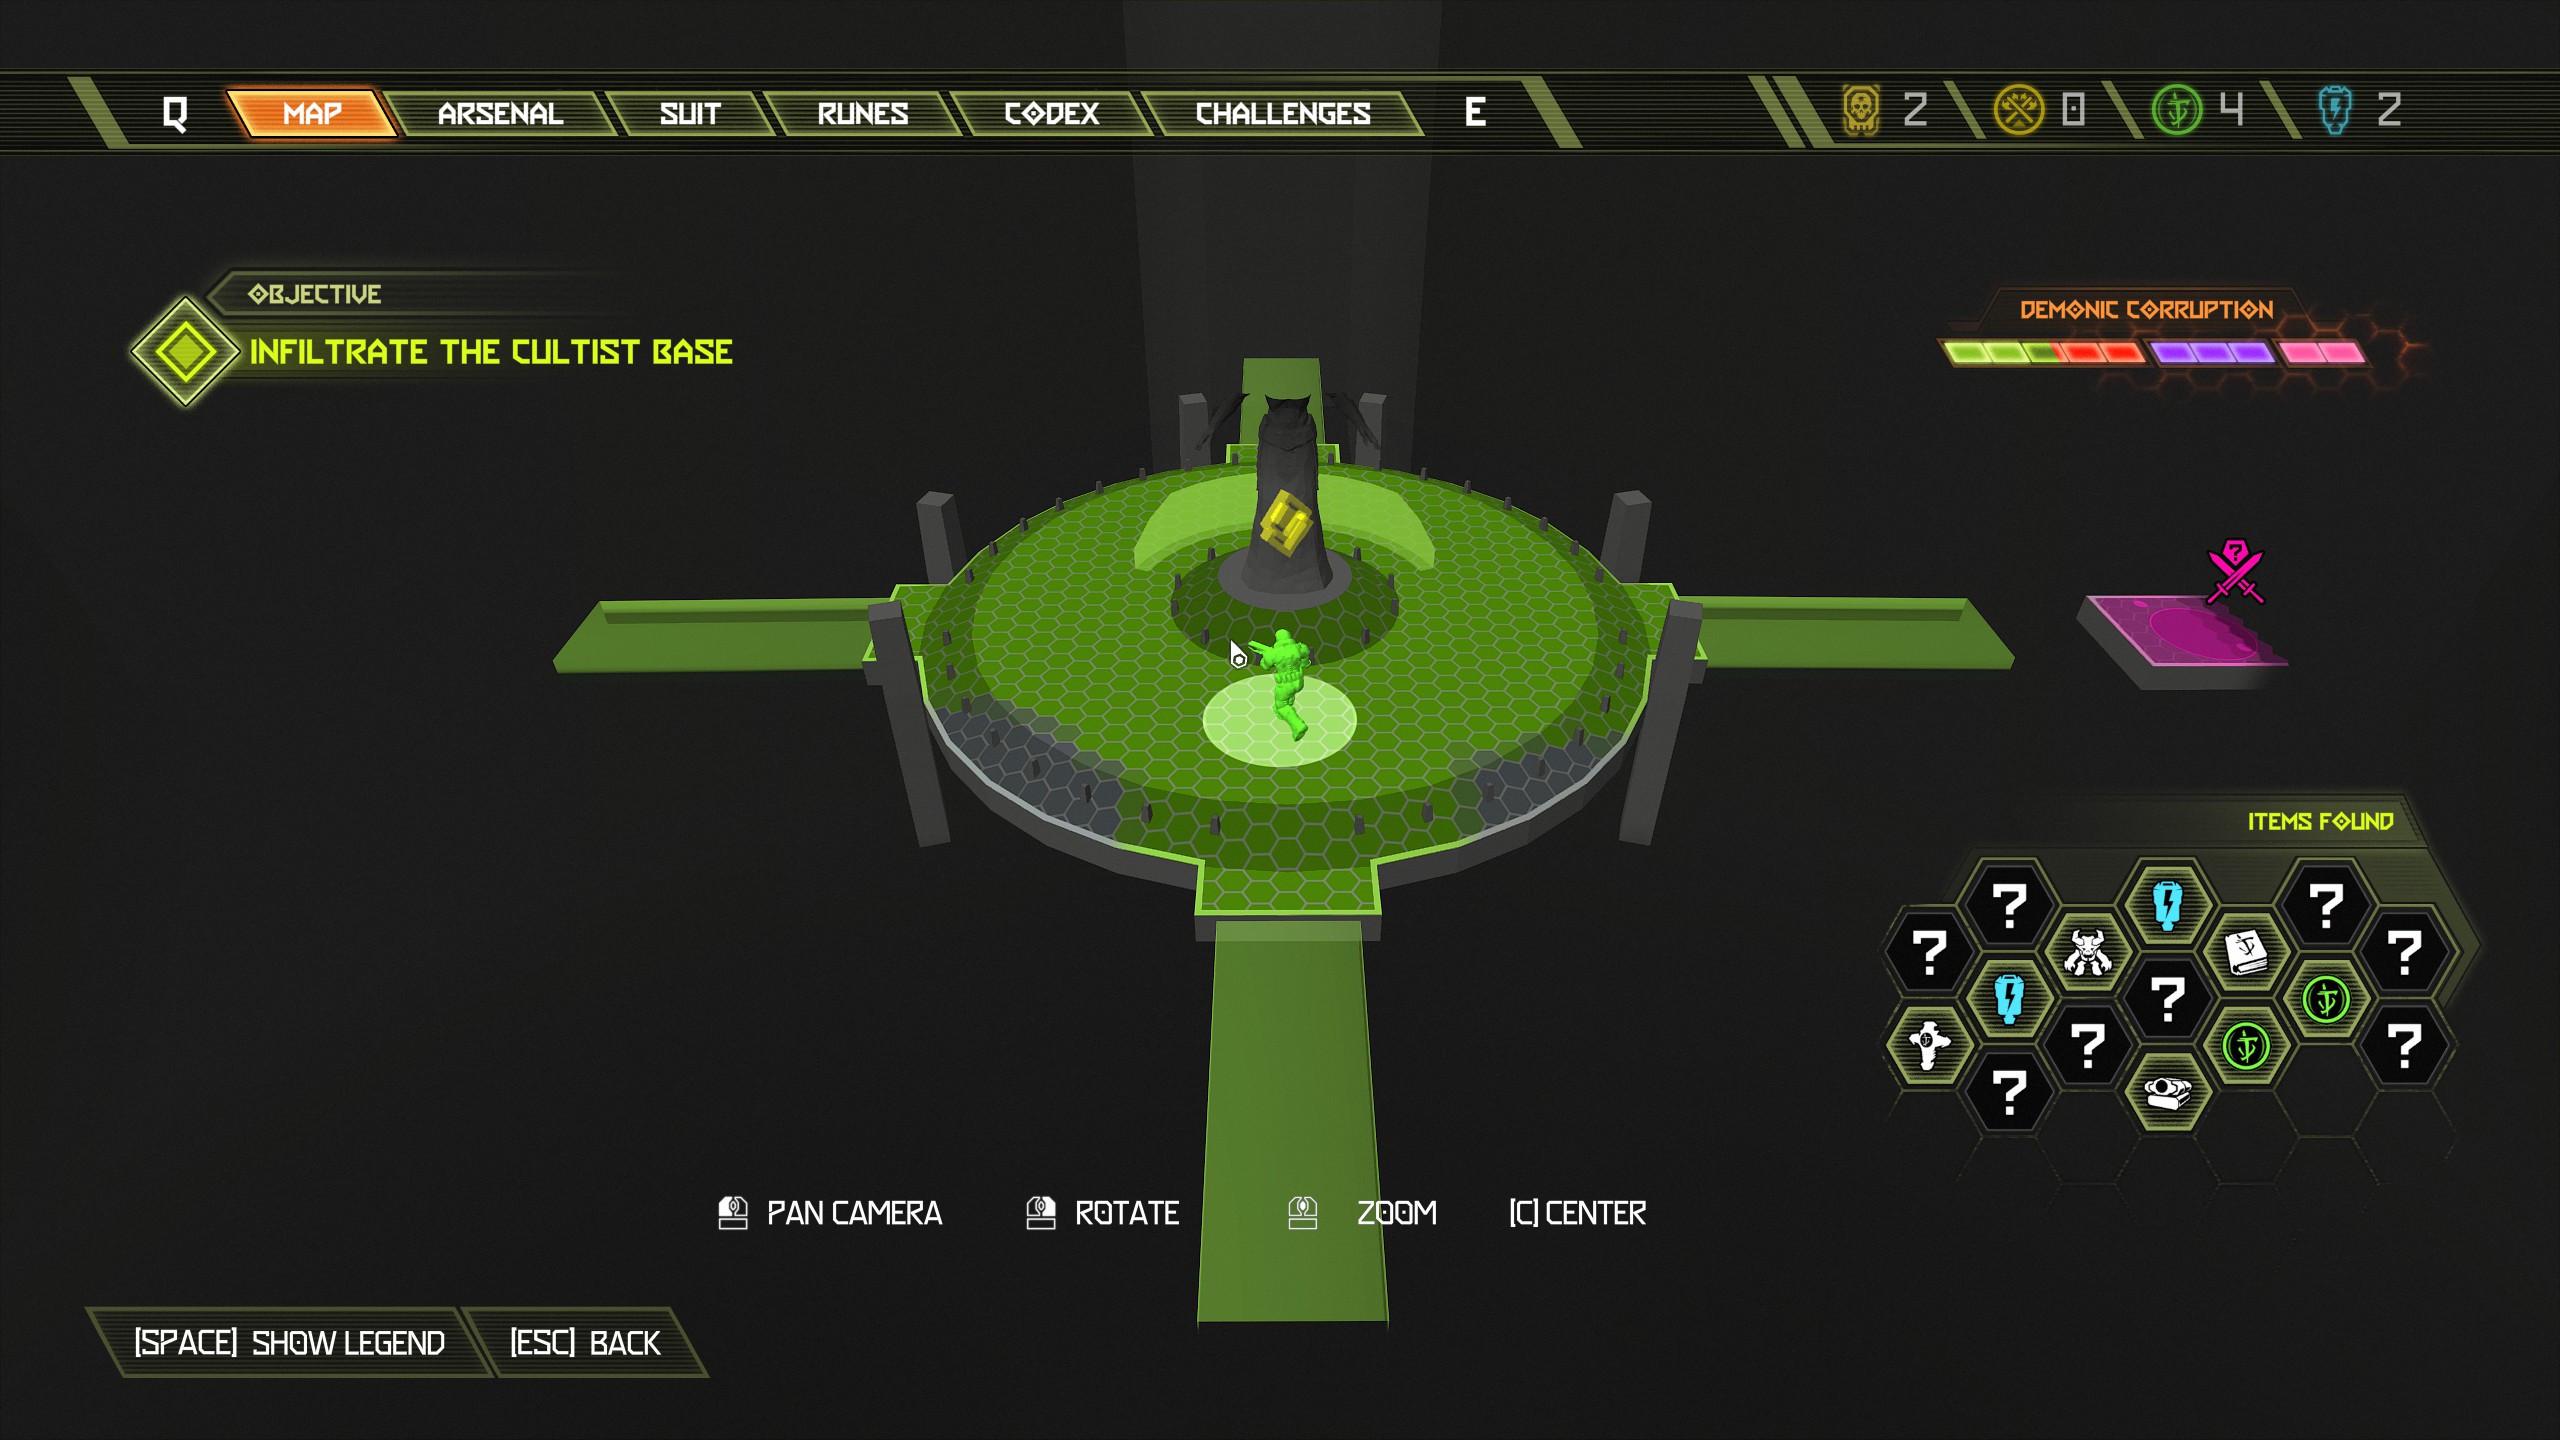
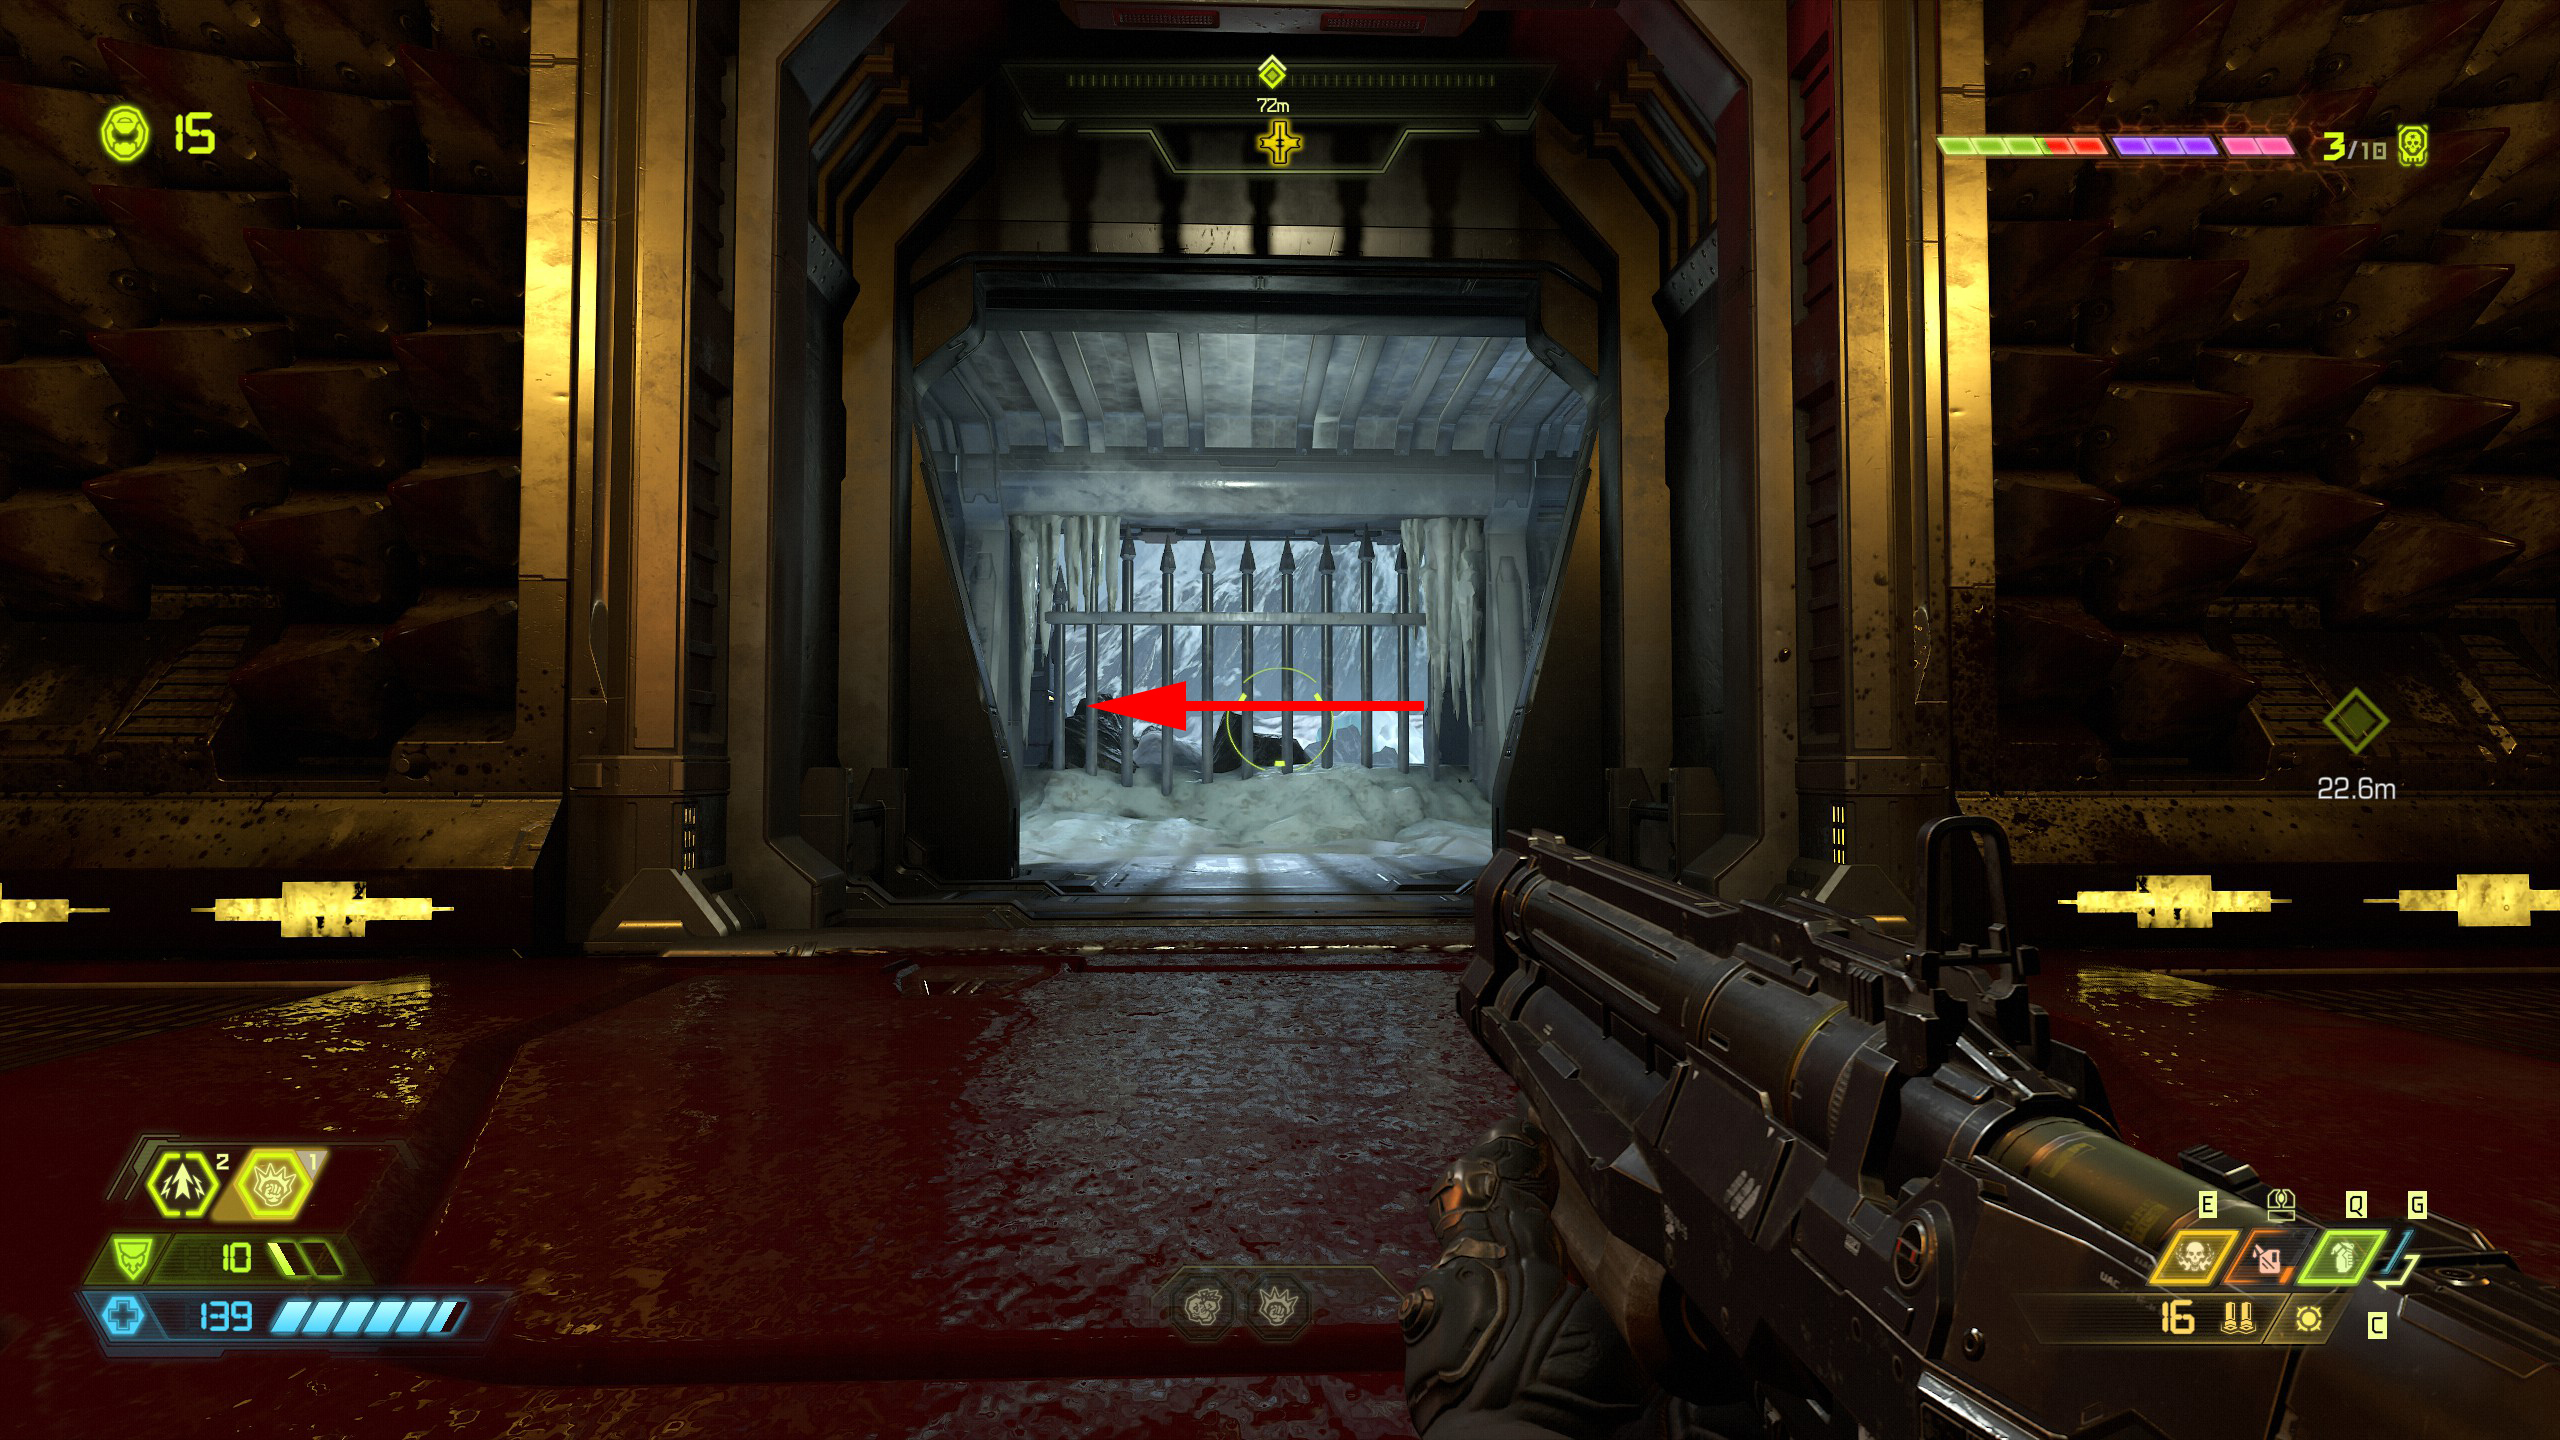
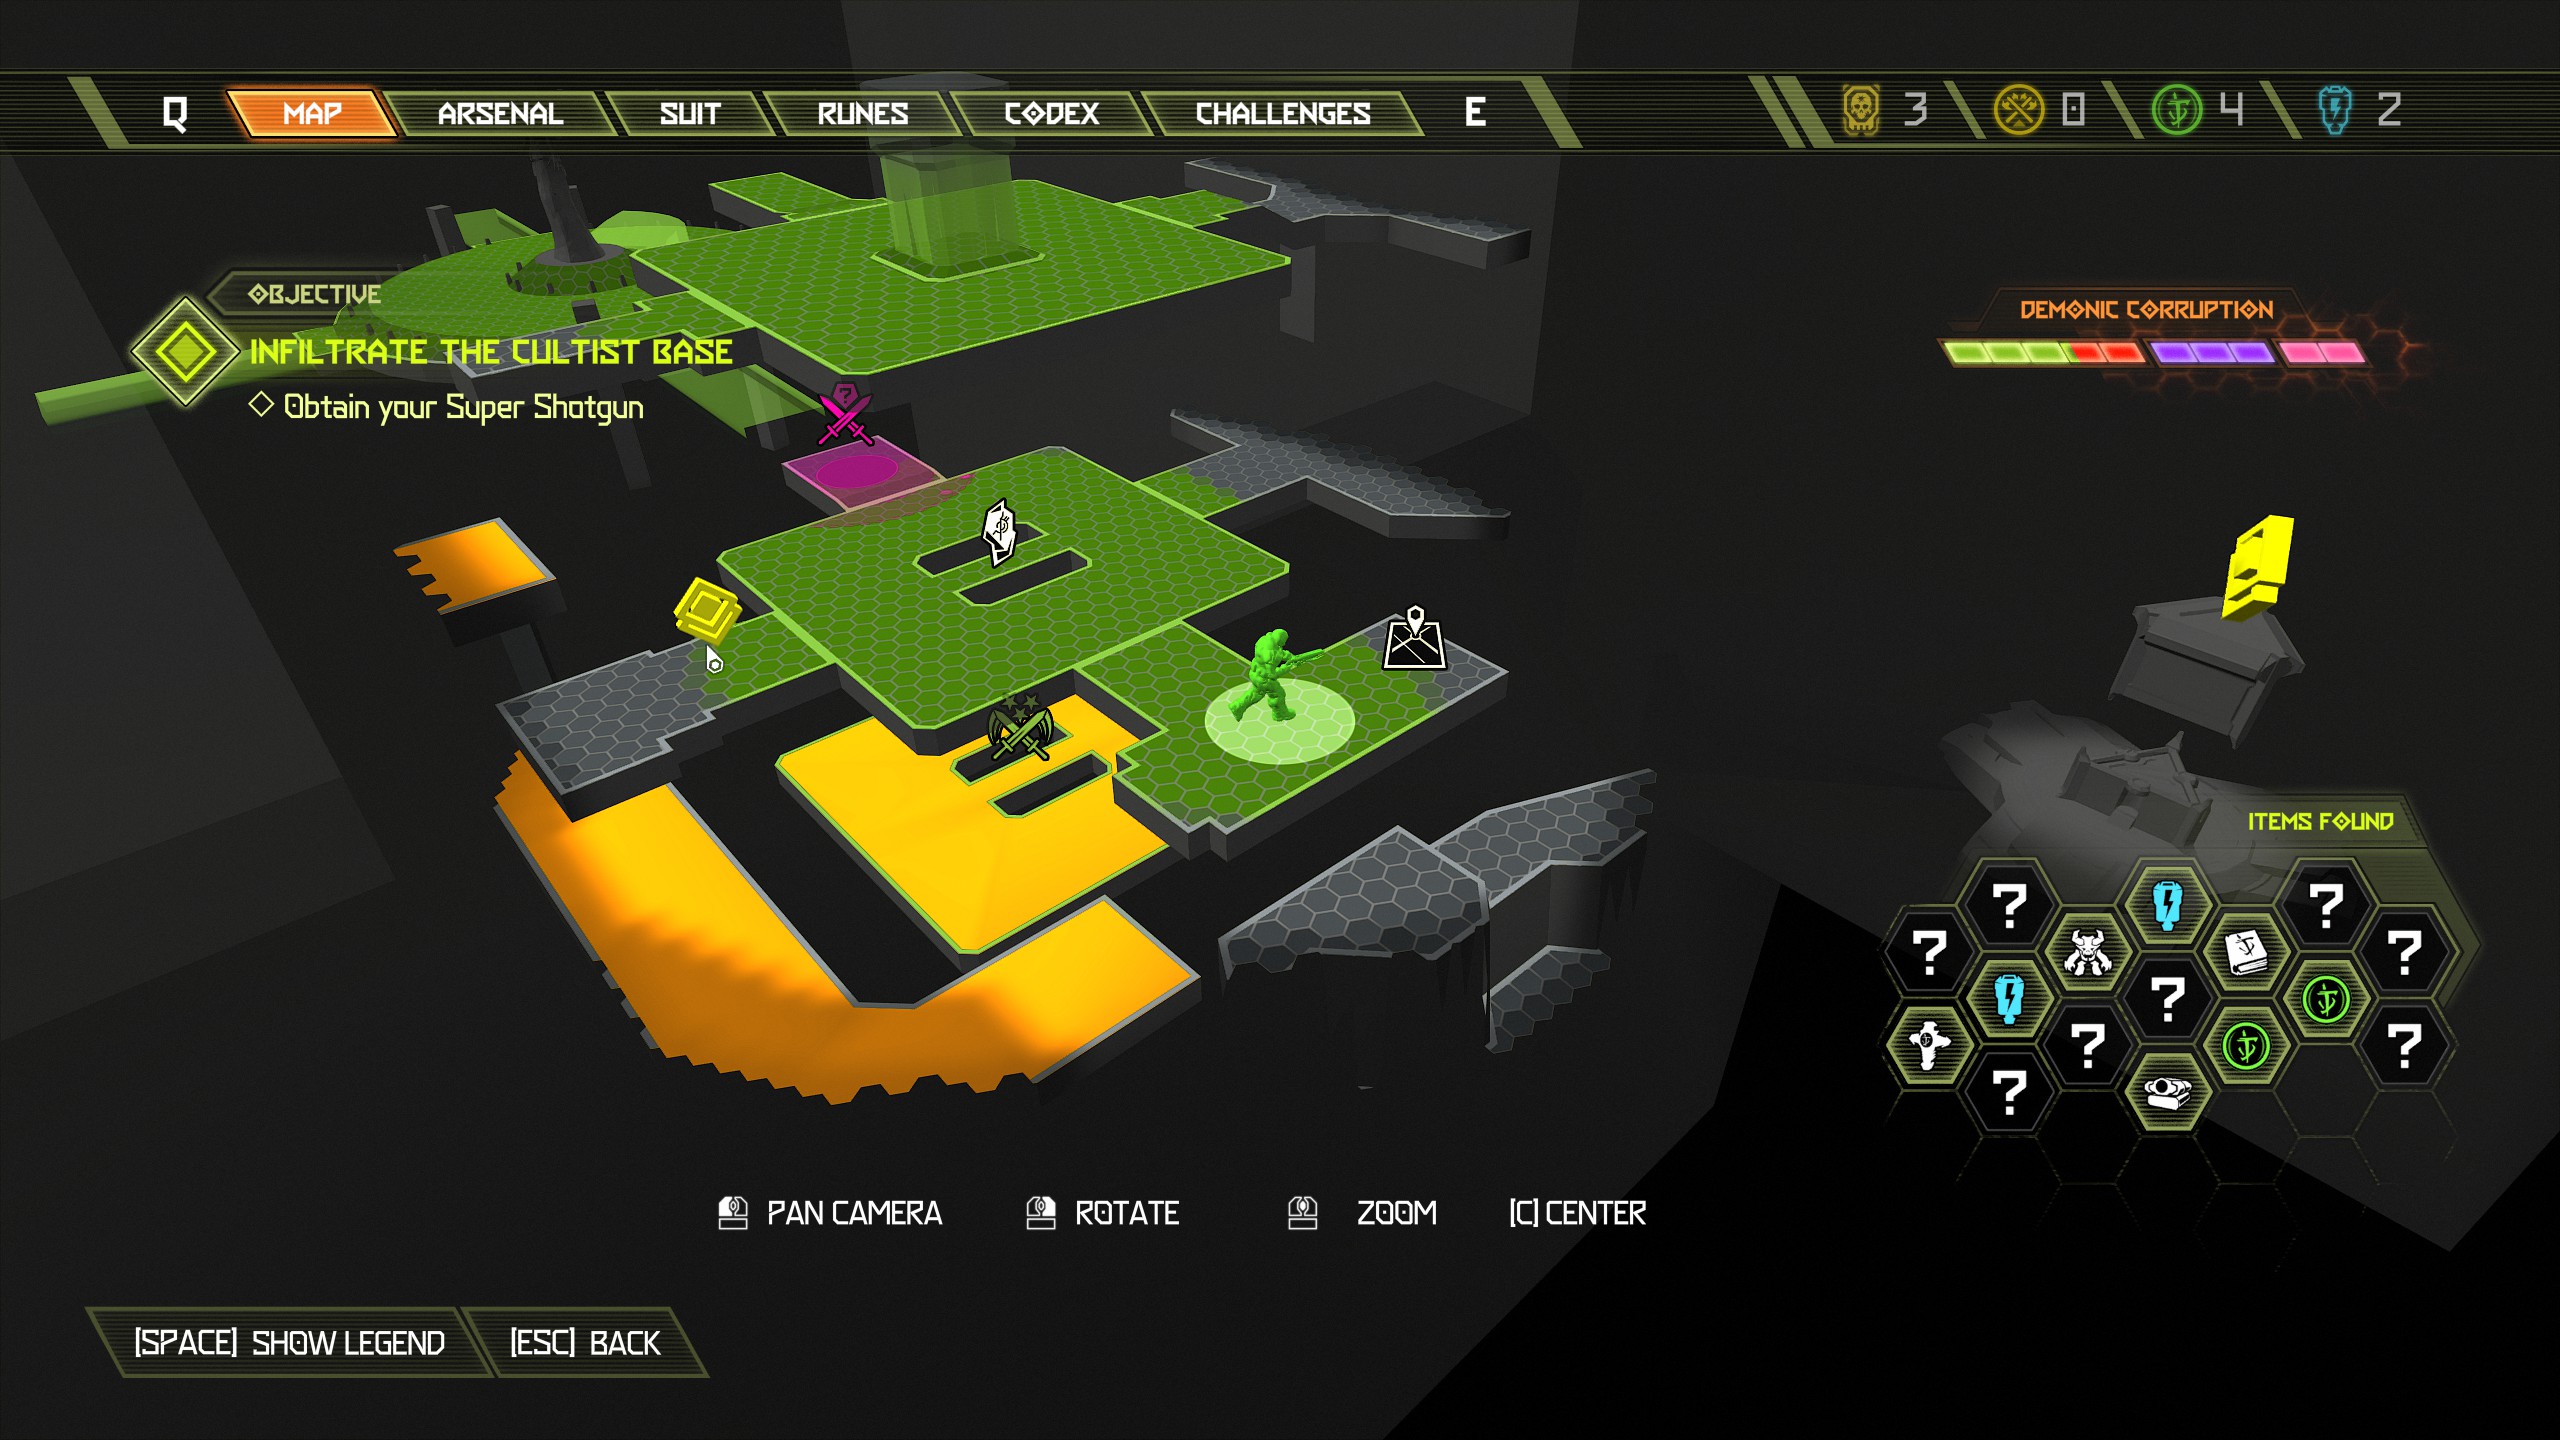
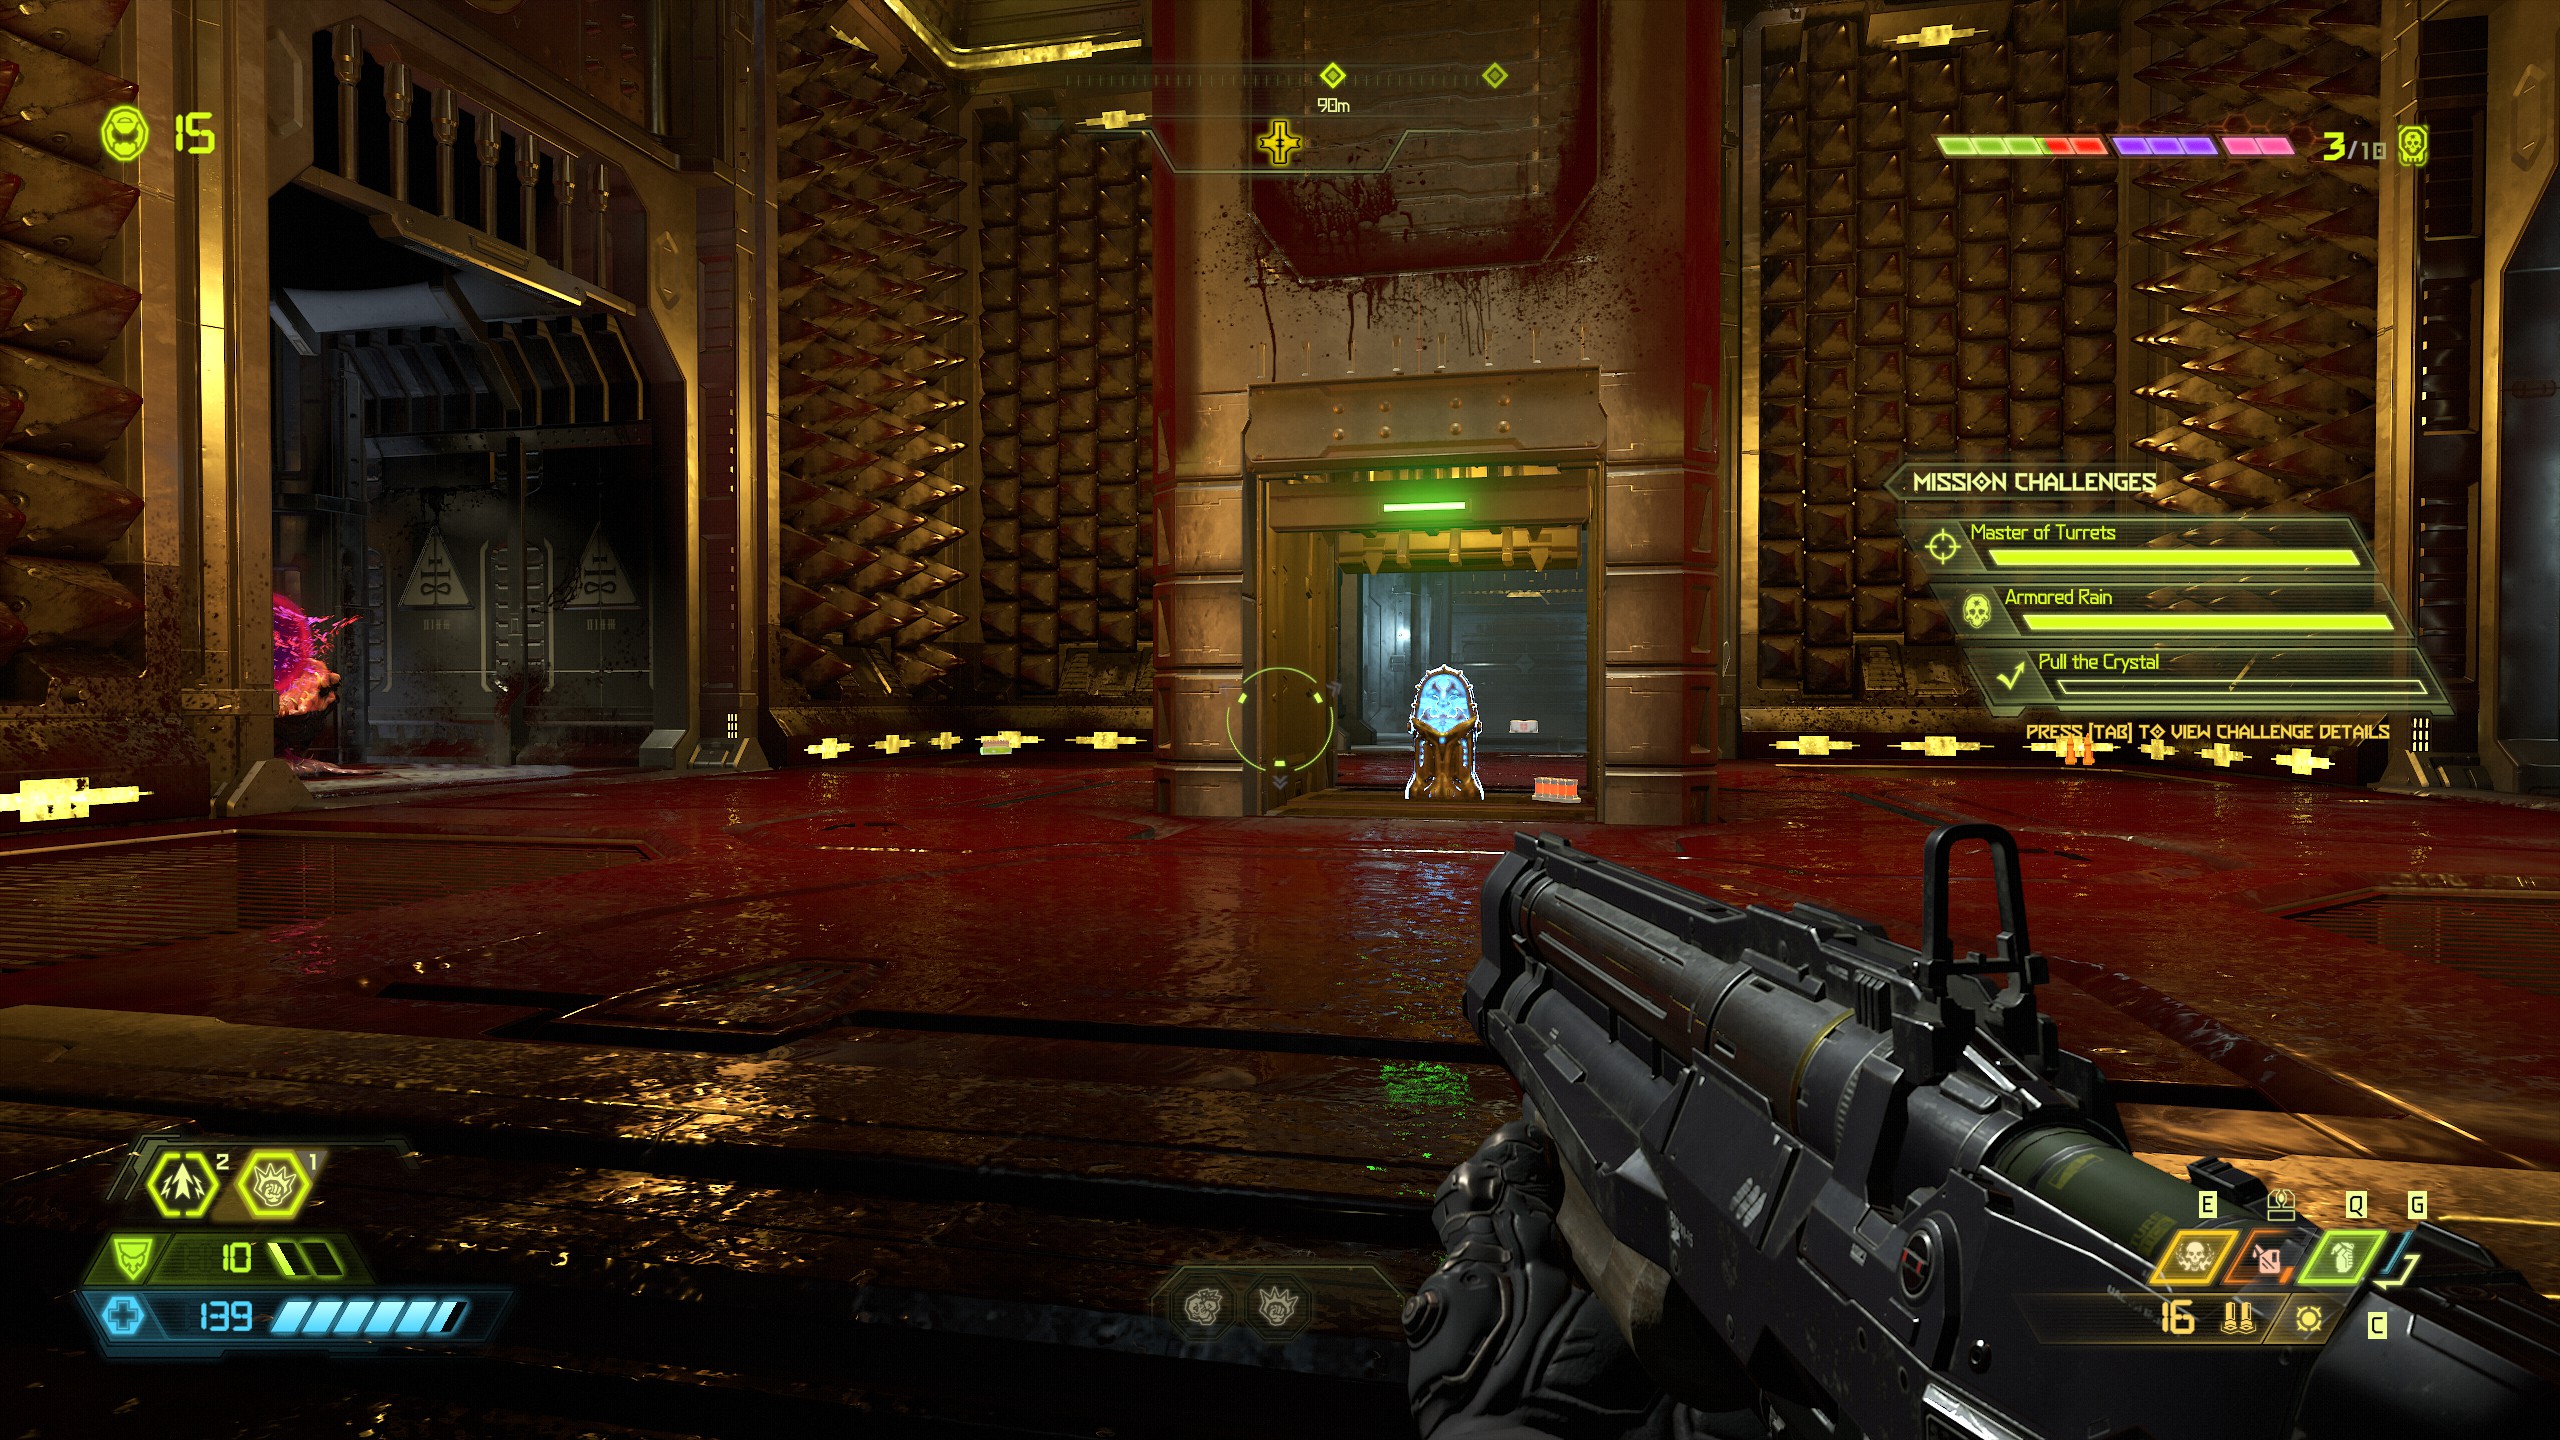
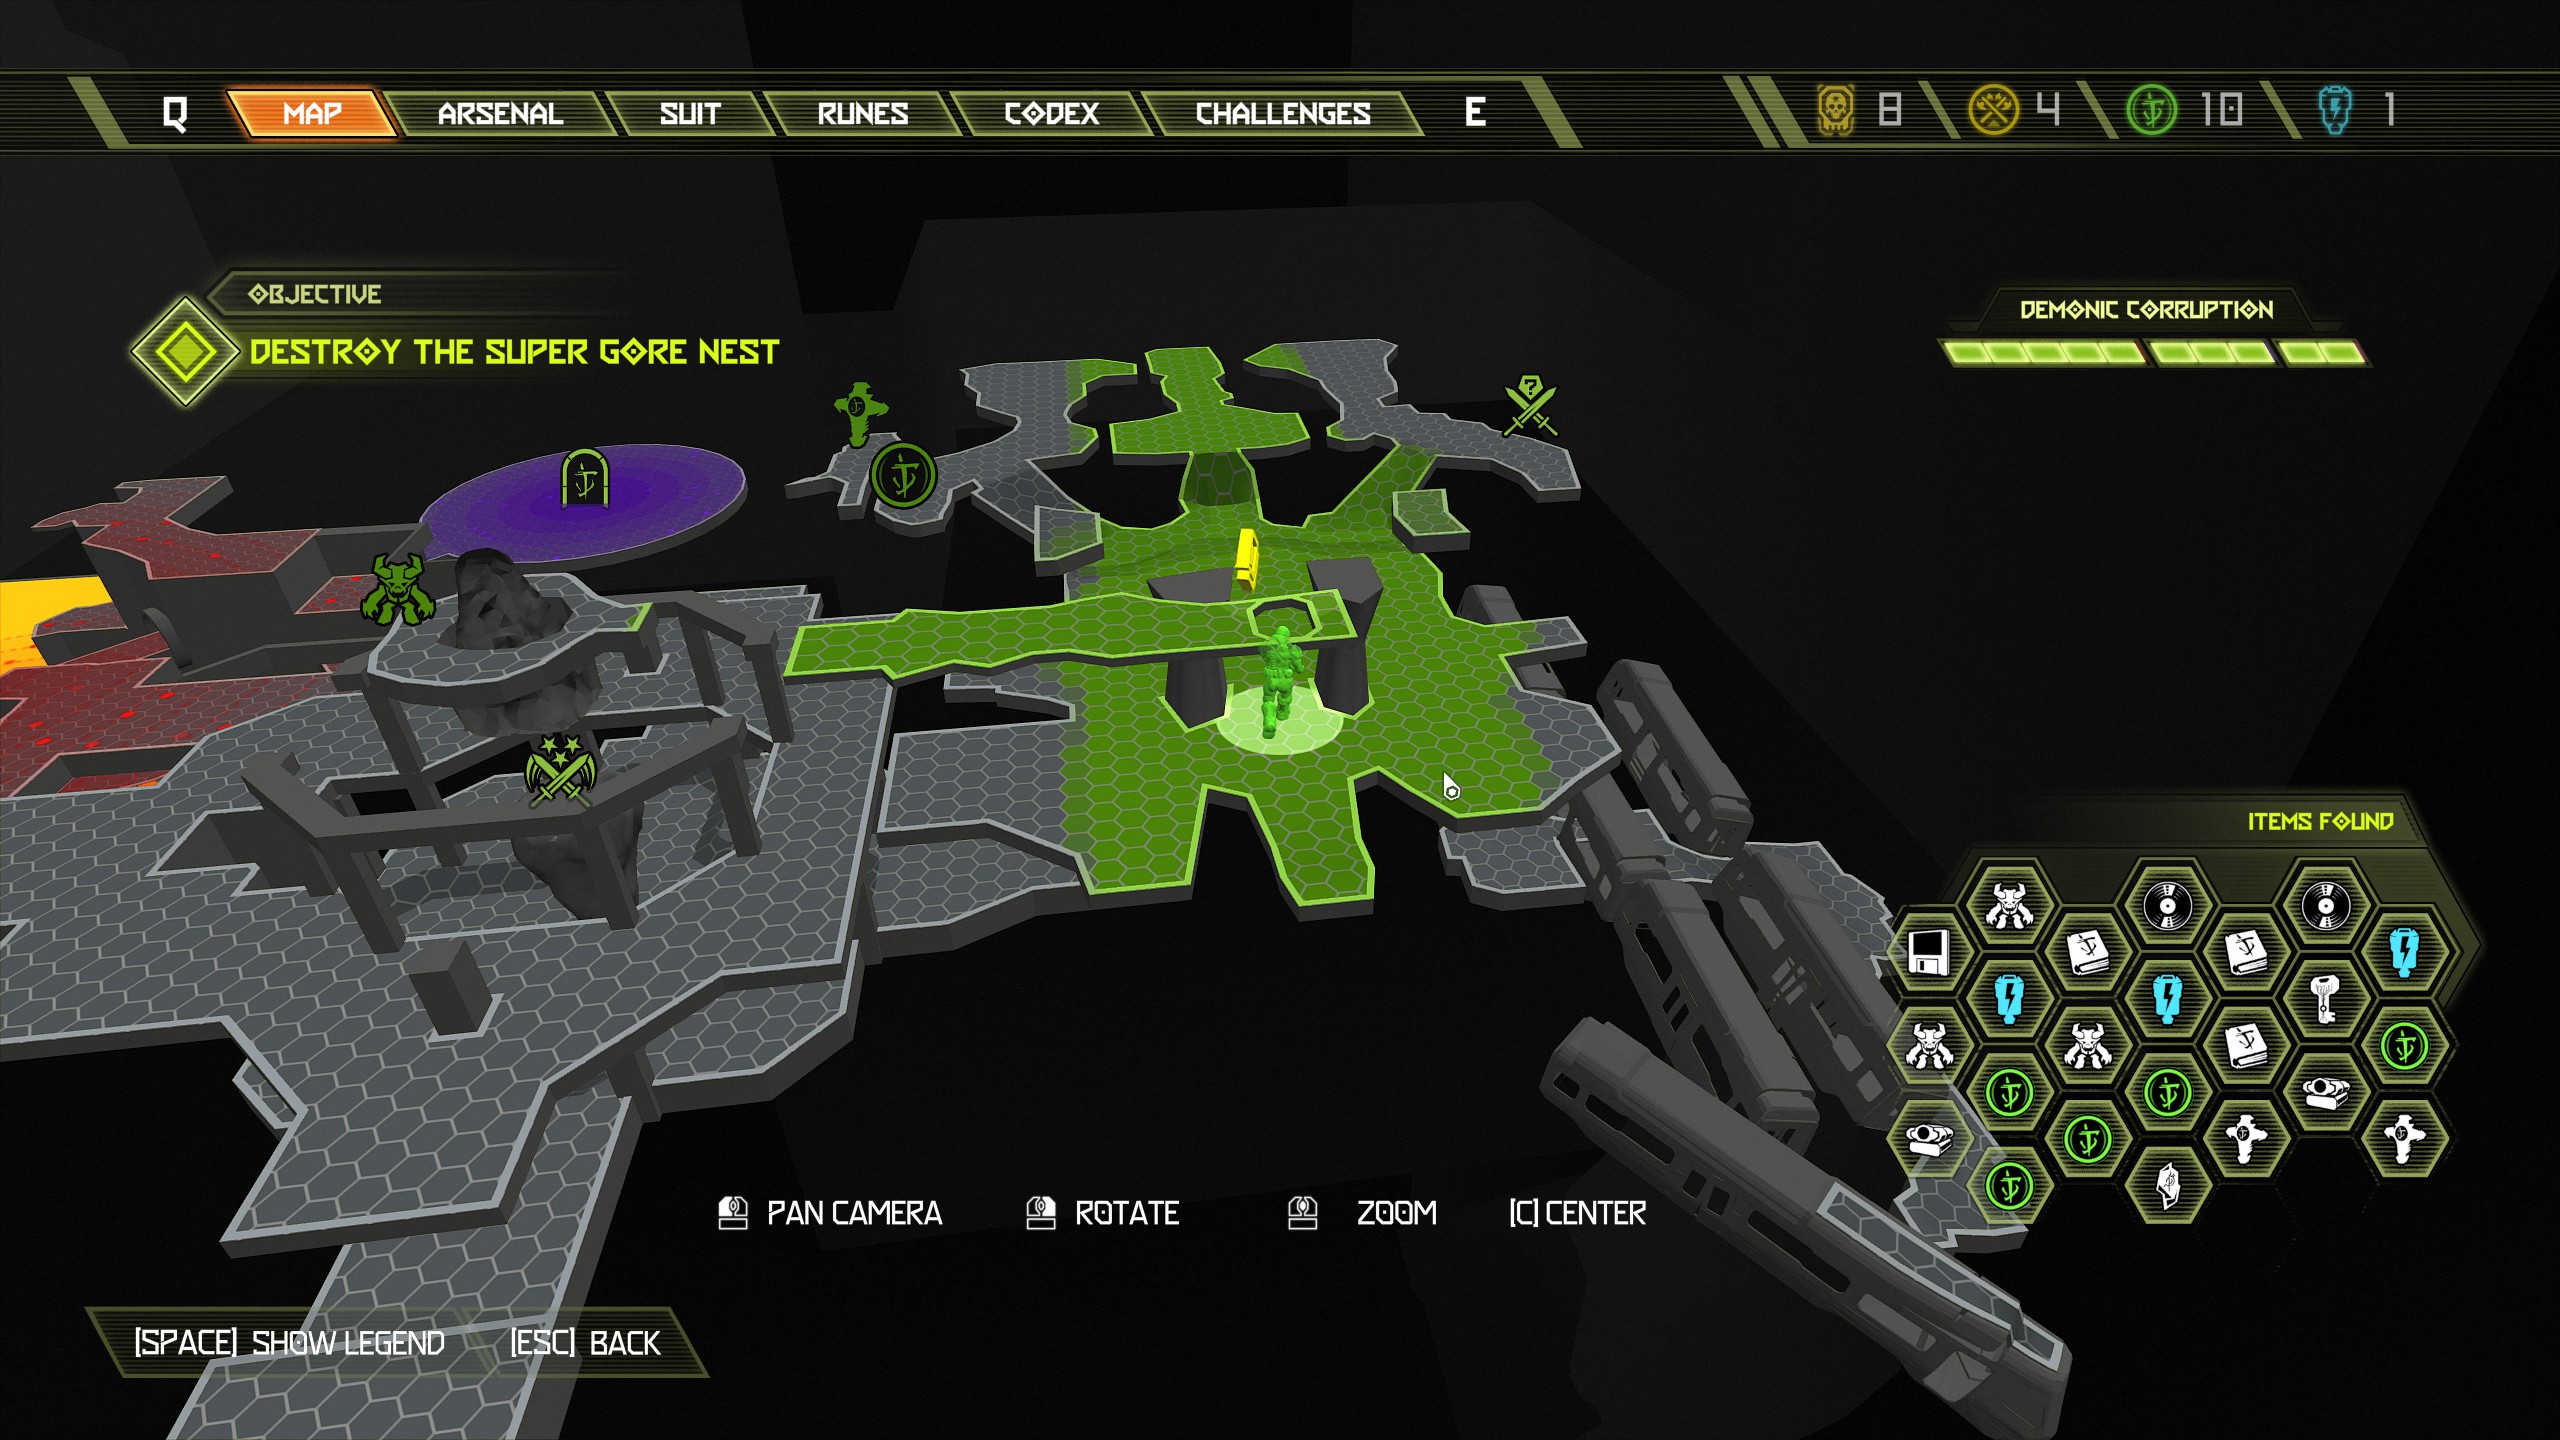
For this encounter you will be attacked by 1 cacodemon, 1 revenant, 2 shielded soldiers, 2 cueballs. From the automap follow the mission objective and unlock the gates using the skull pedestal. Once the gates are open you will see the sentinel crystal directly in front of you in the central structure and on the left side will be the secret encounter.
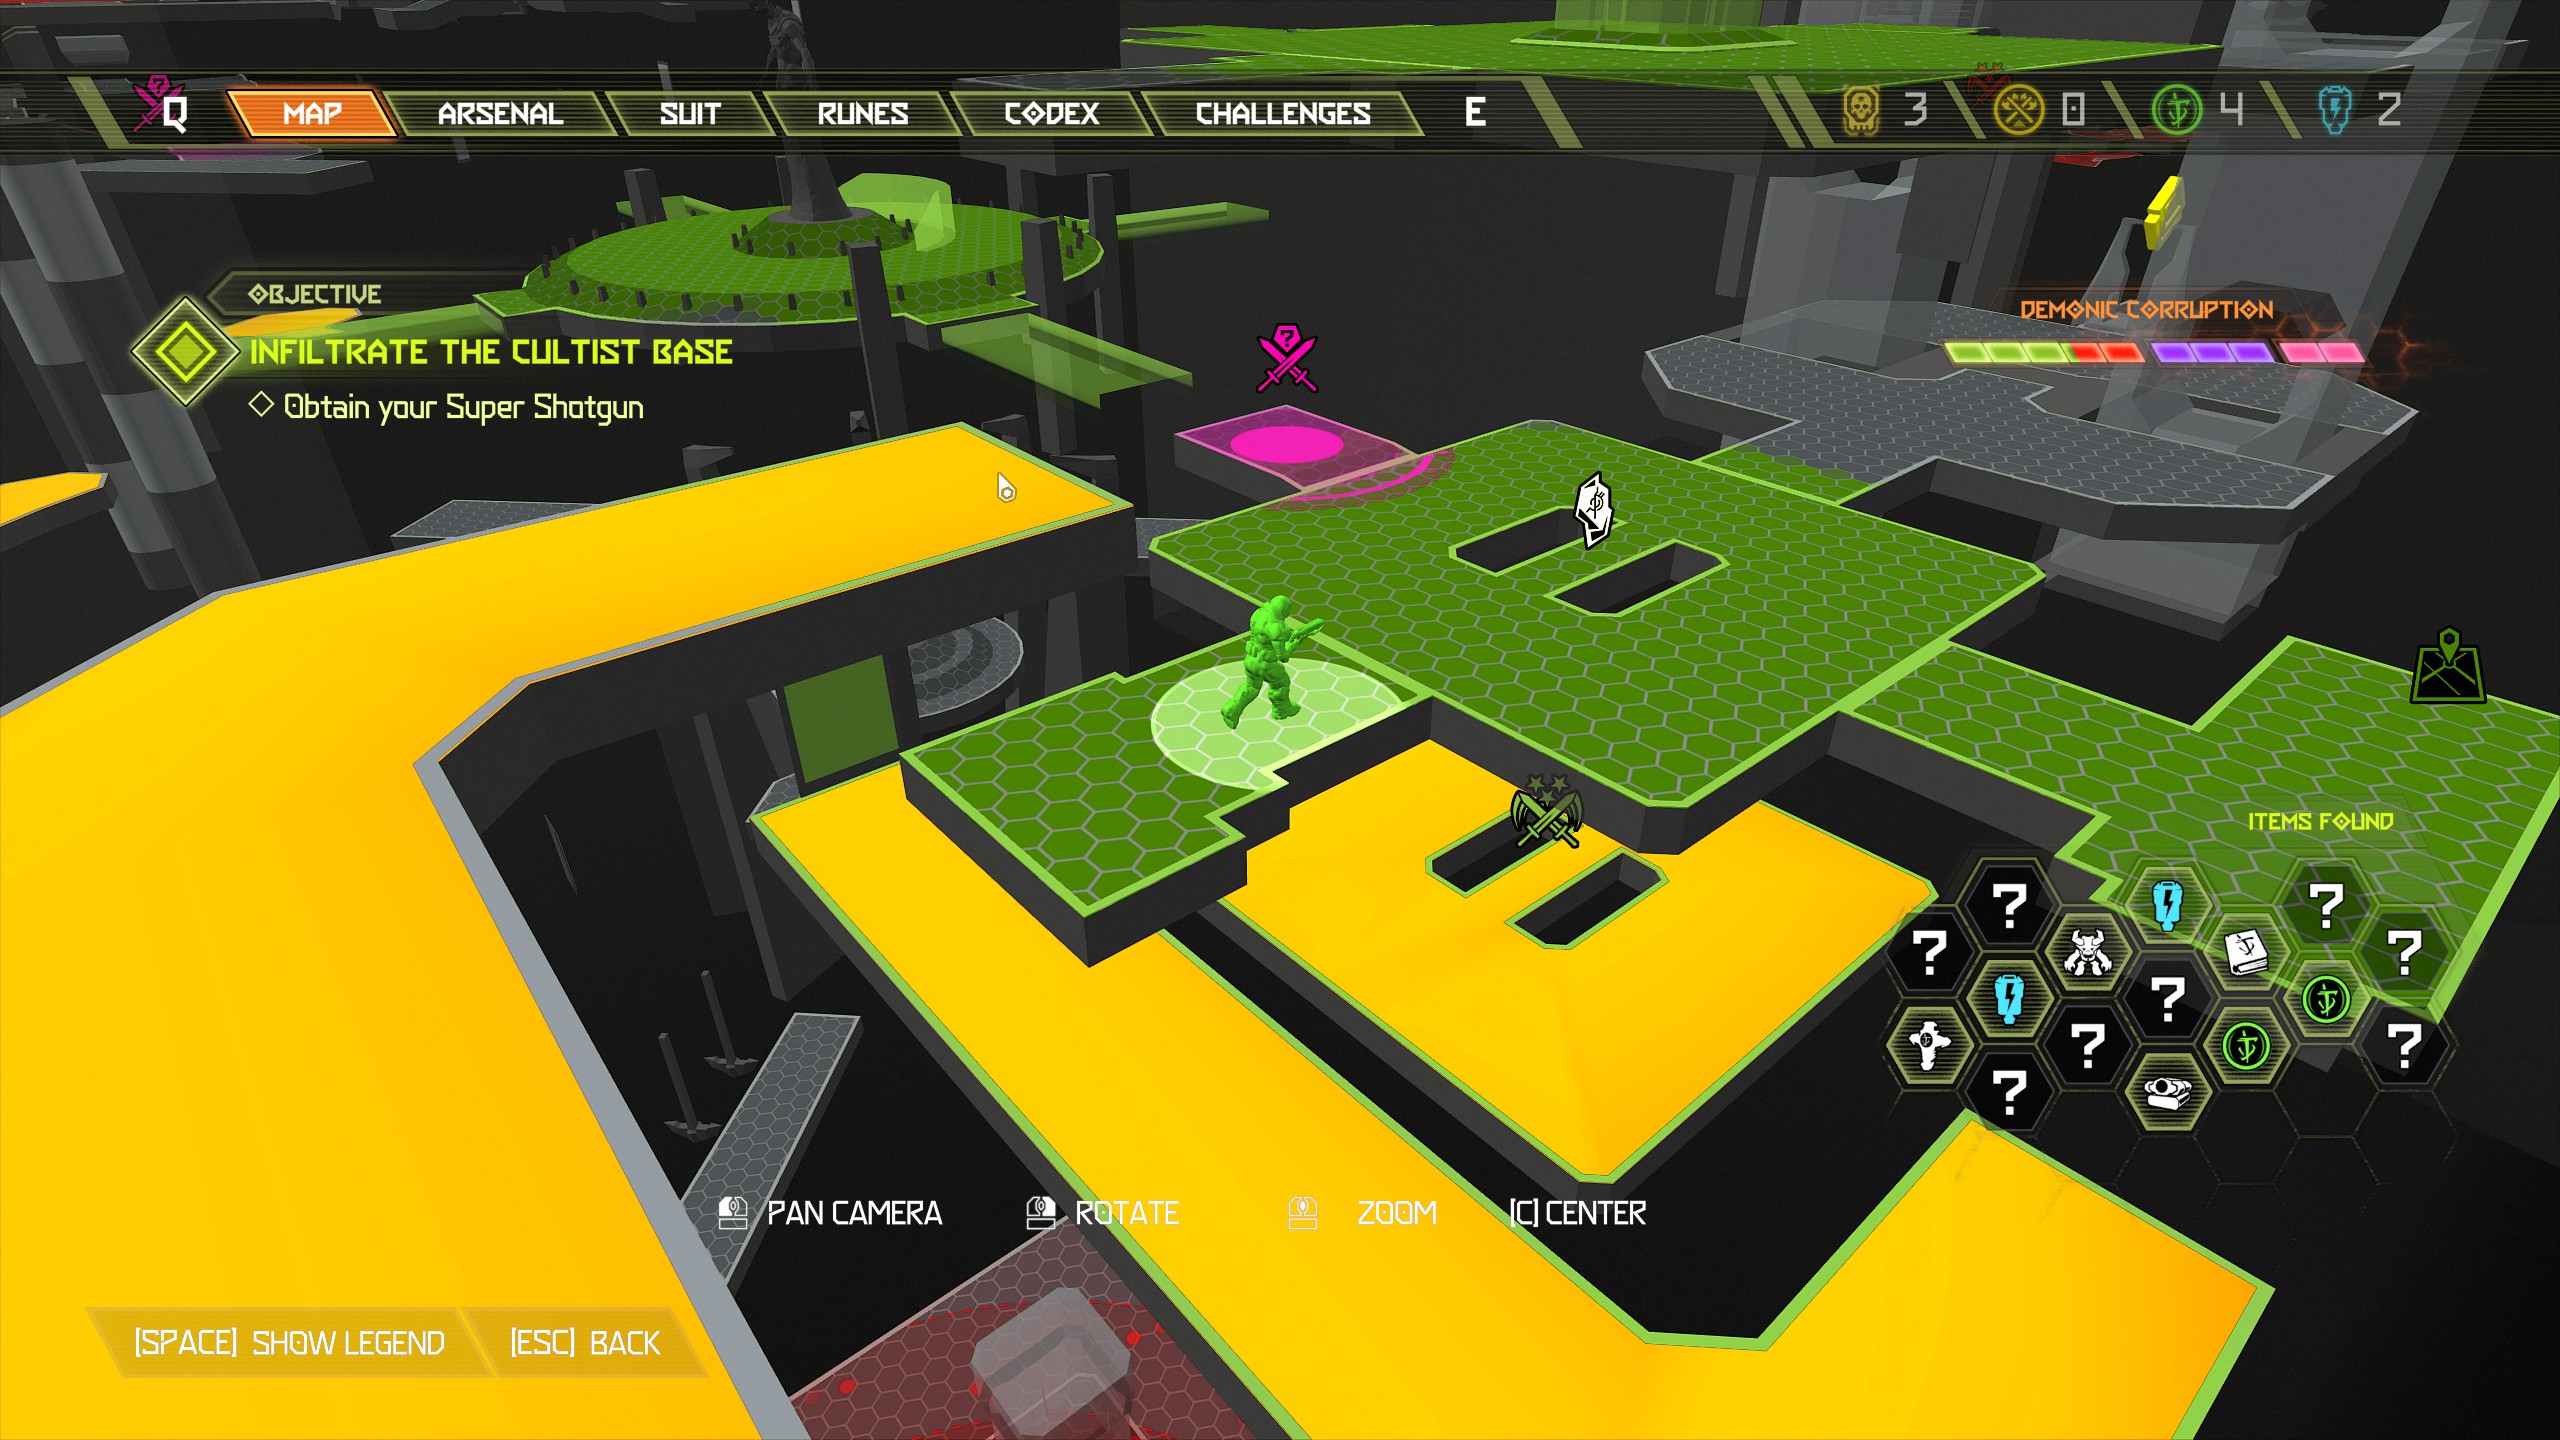
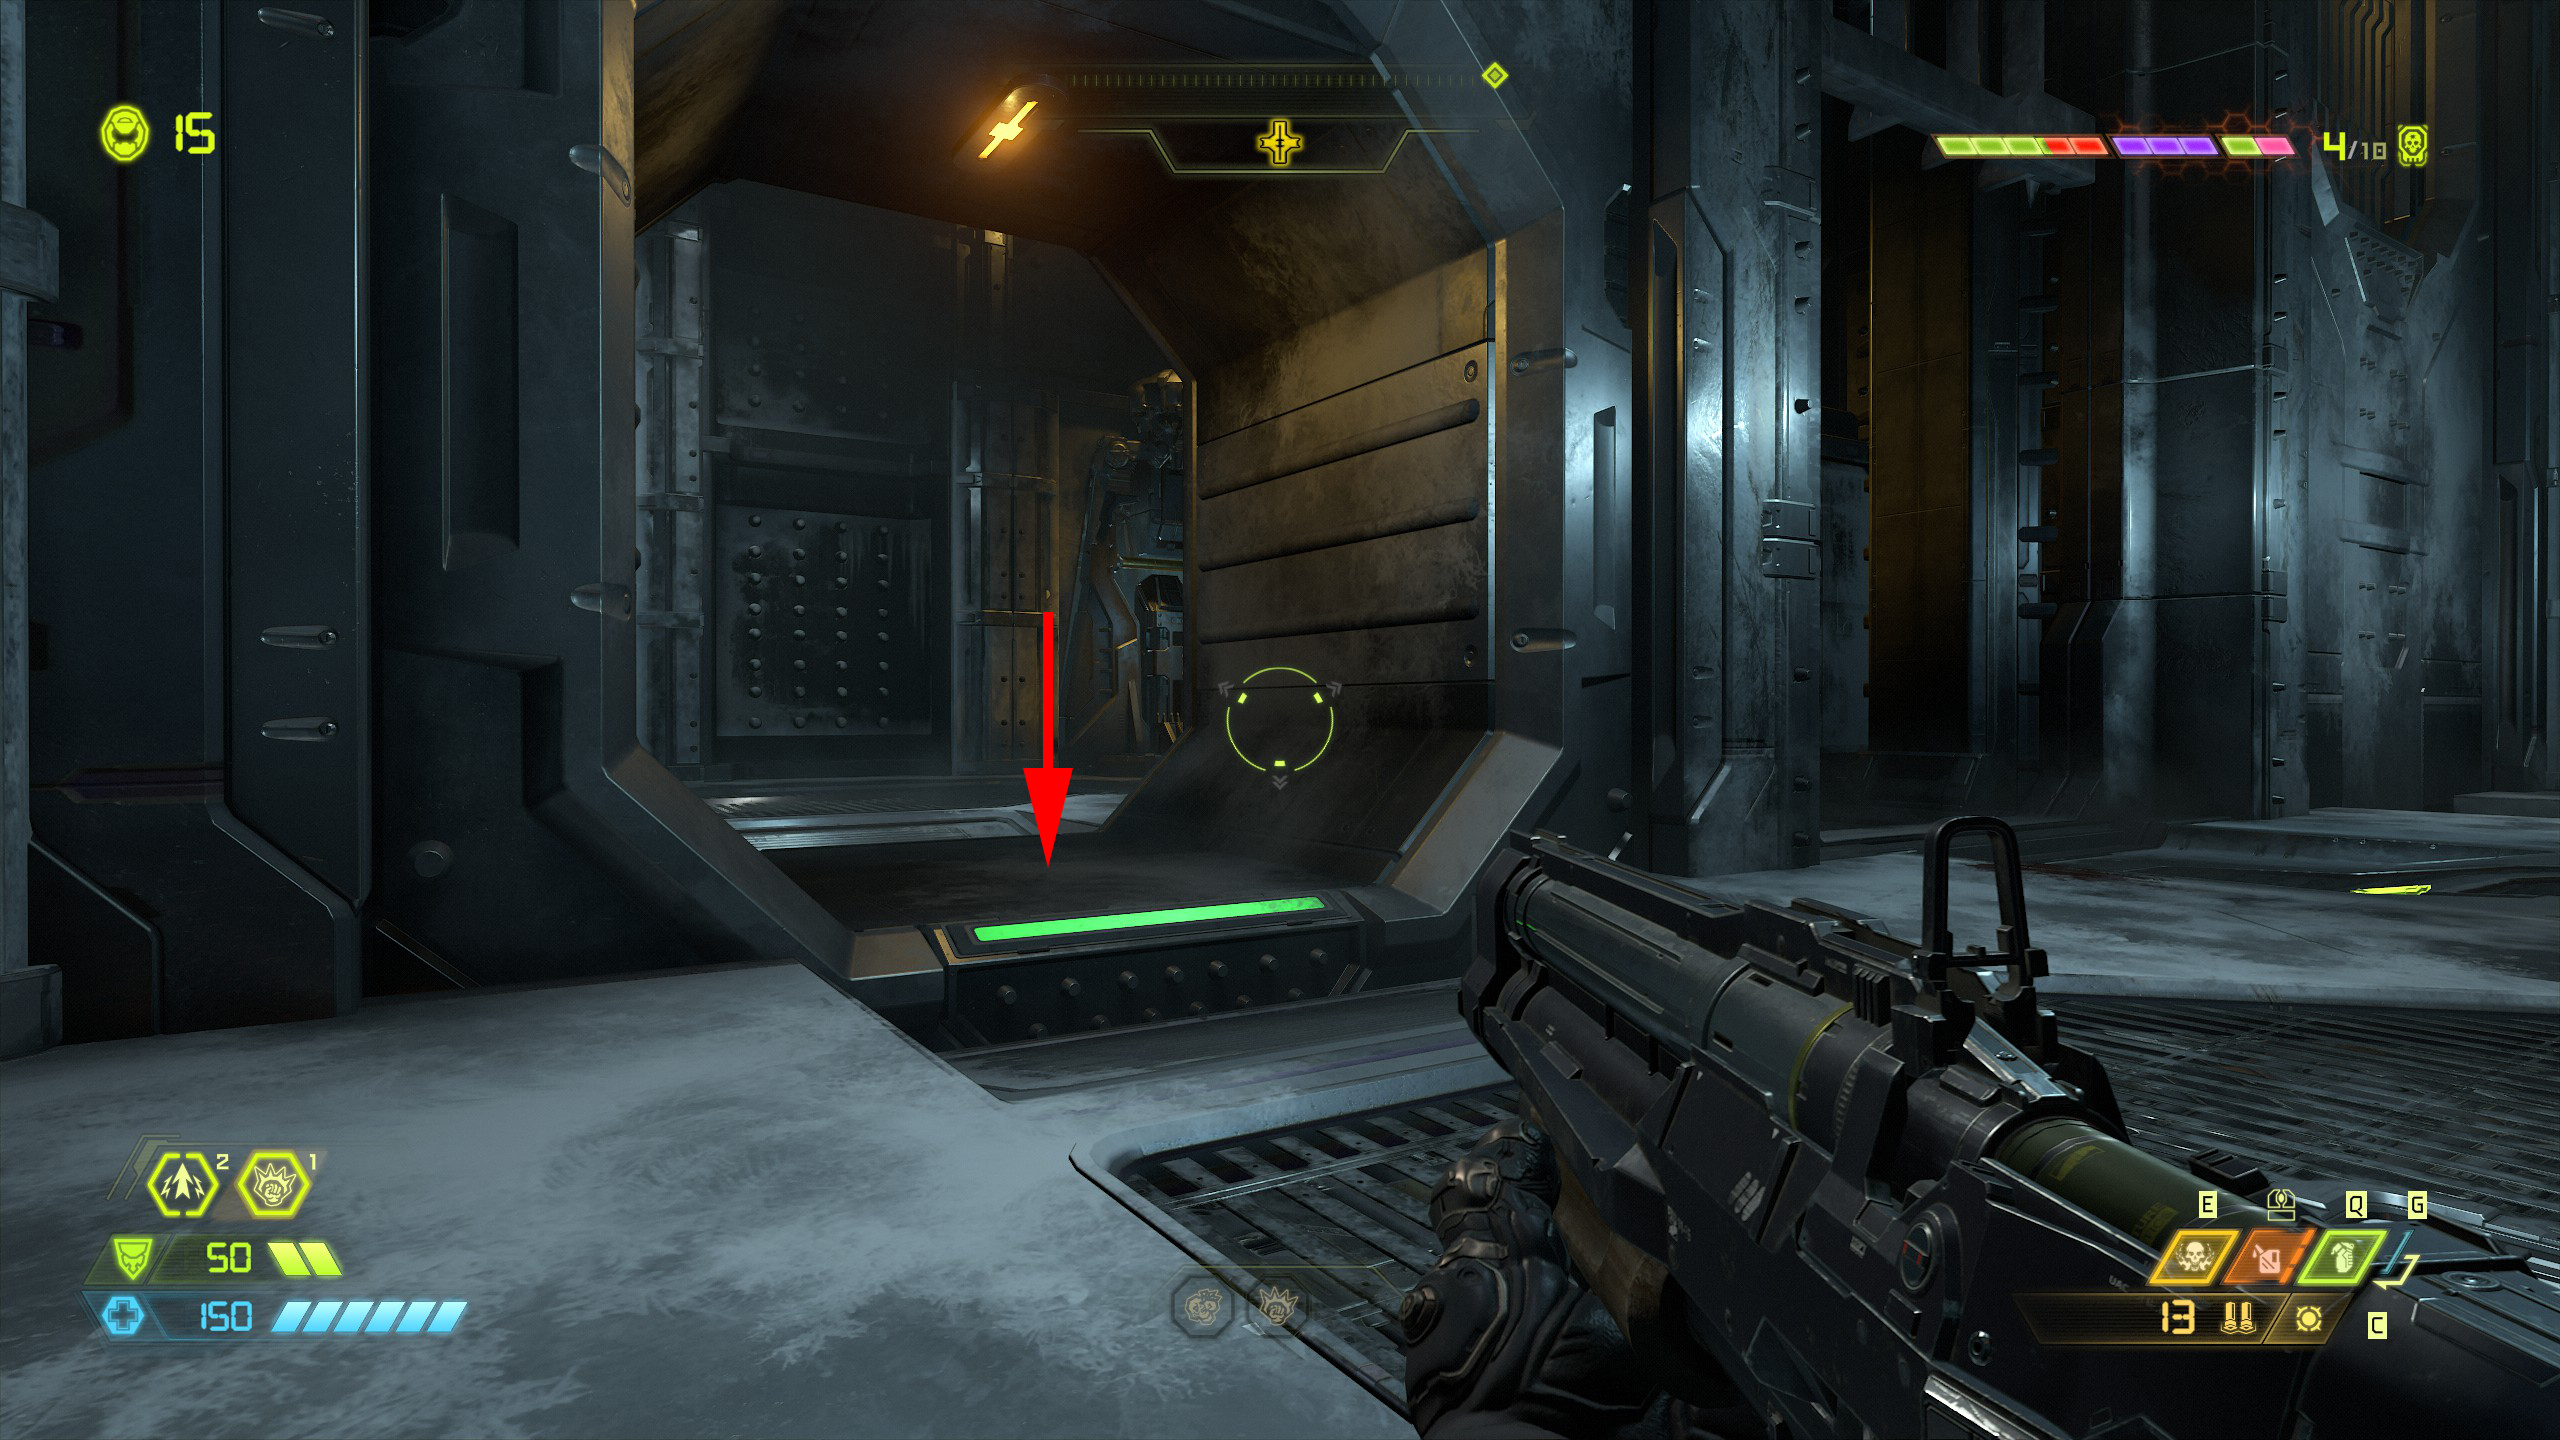
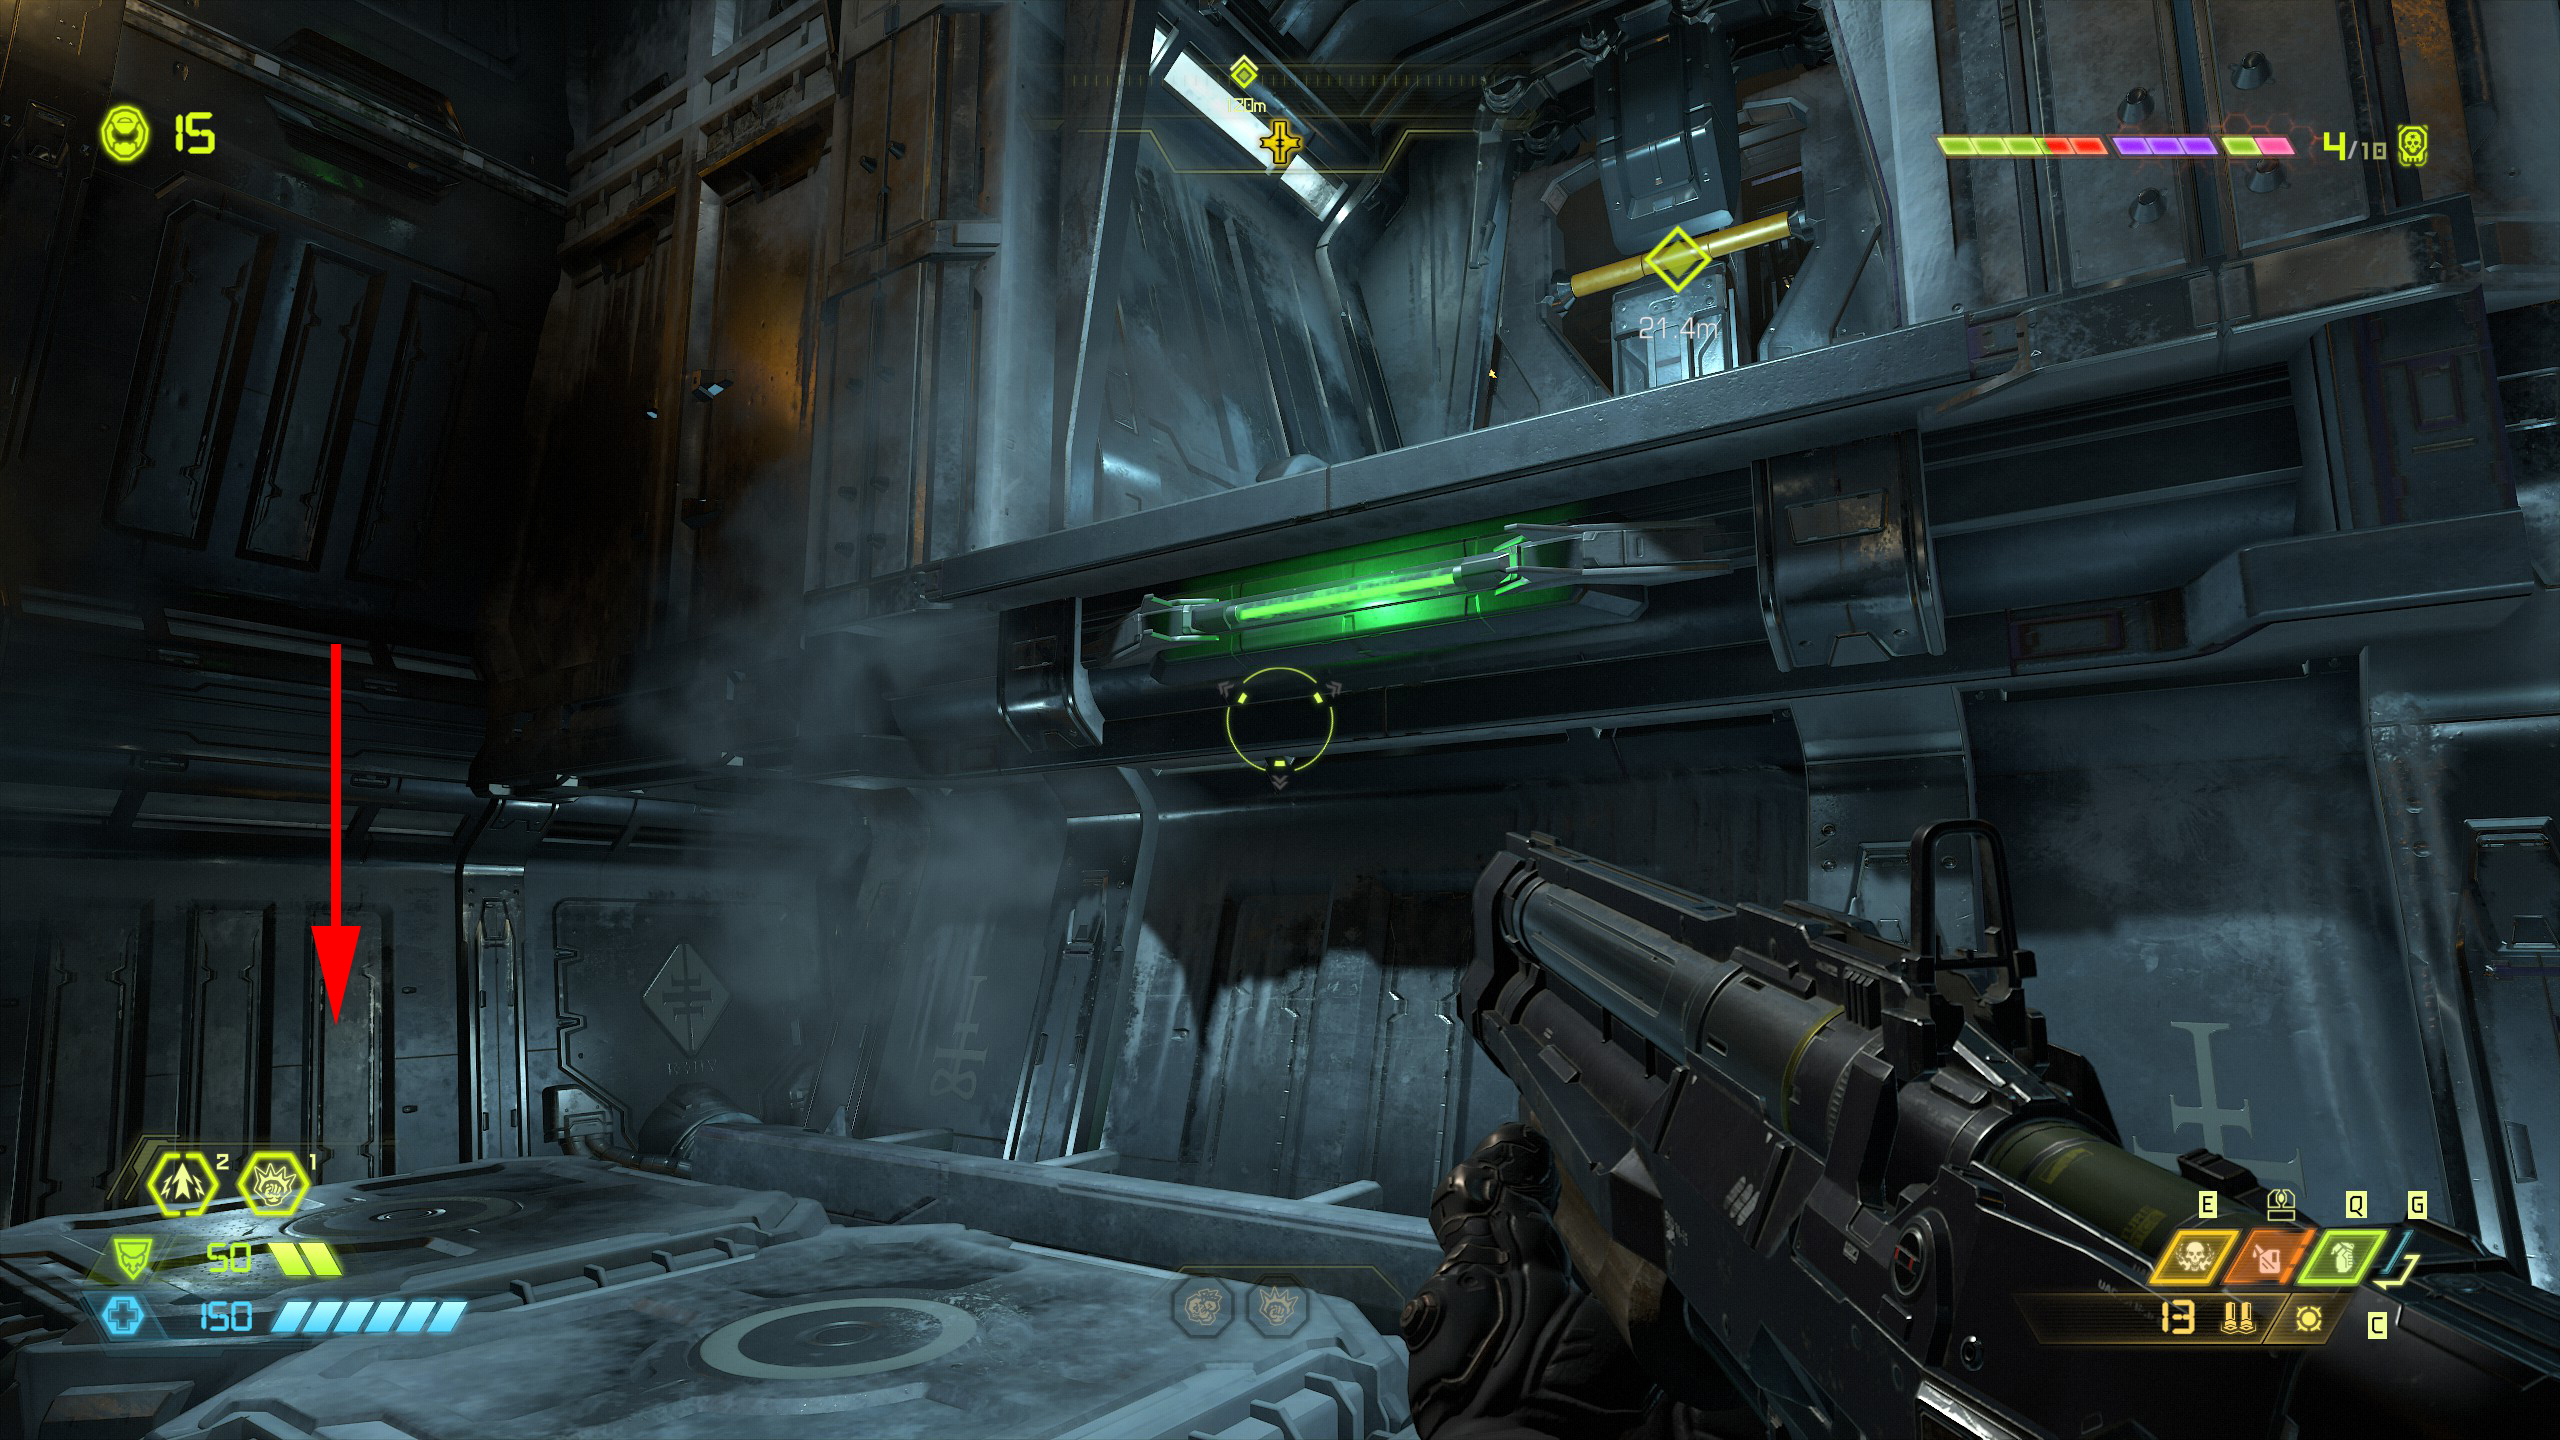
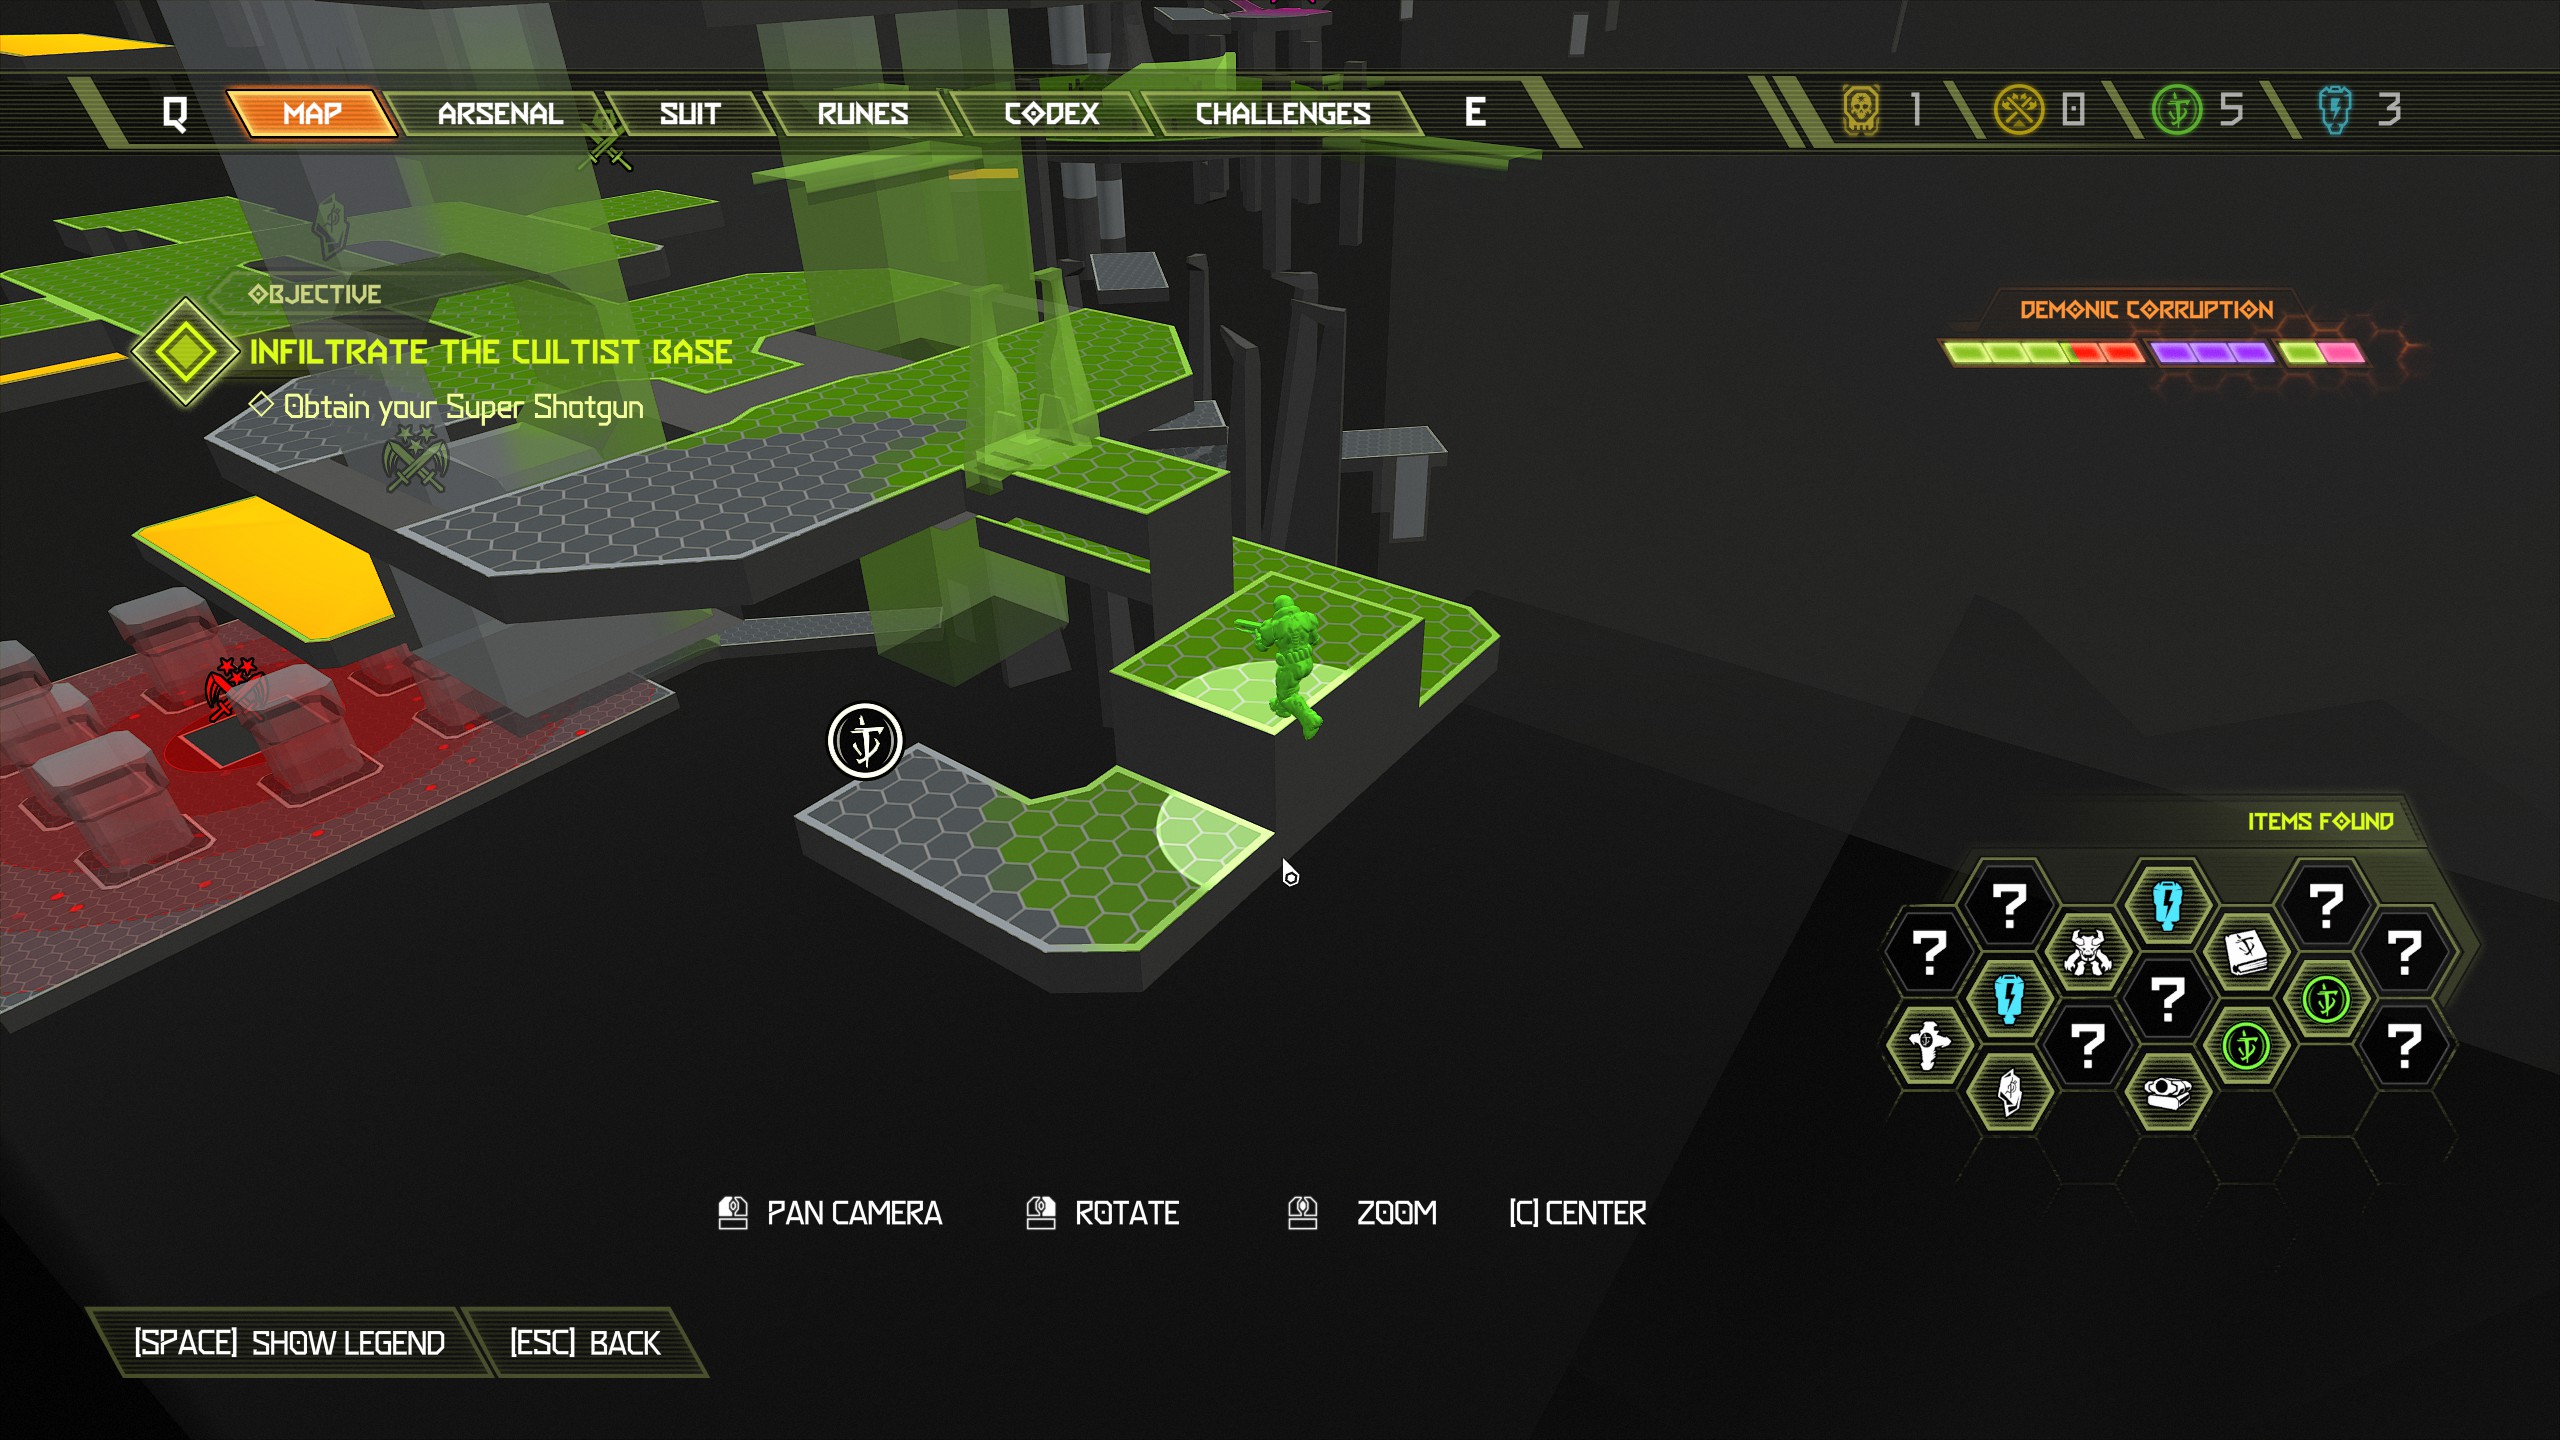
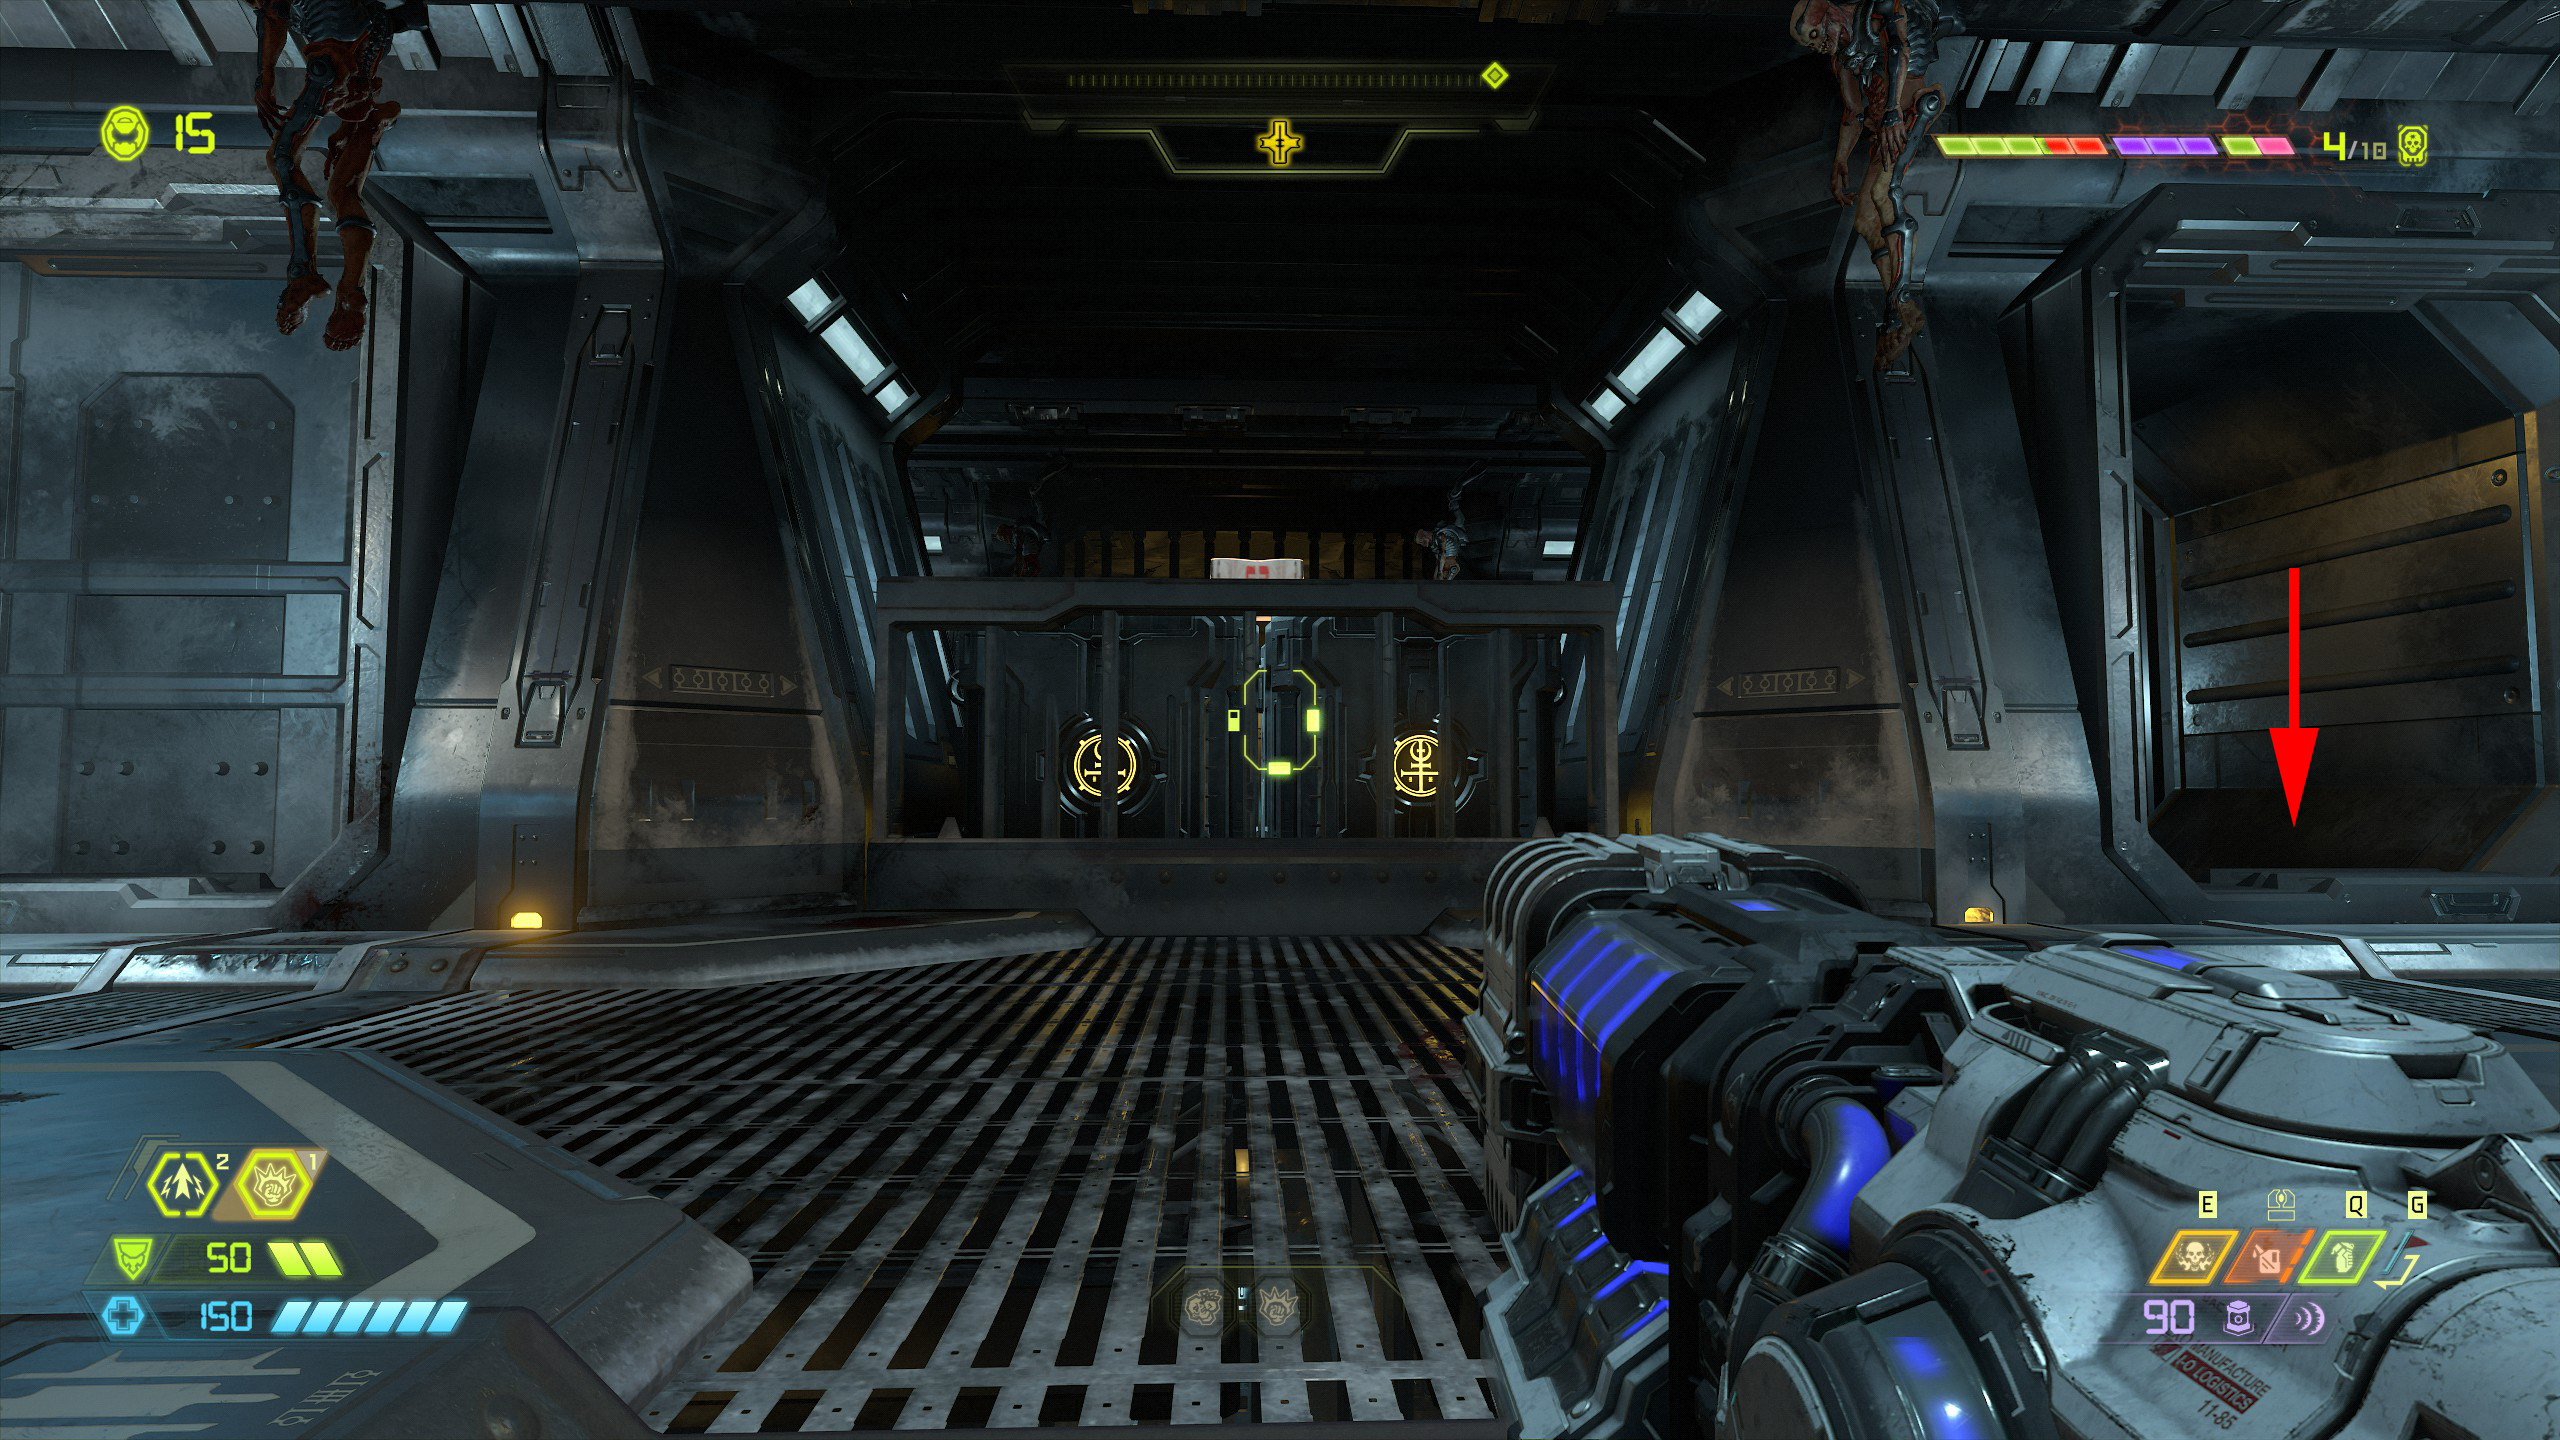
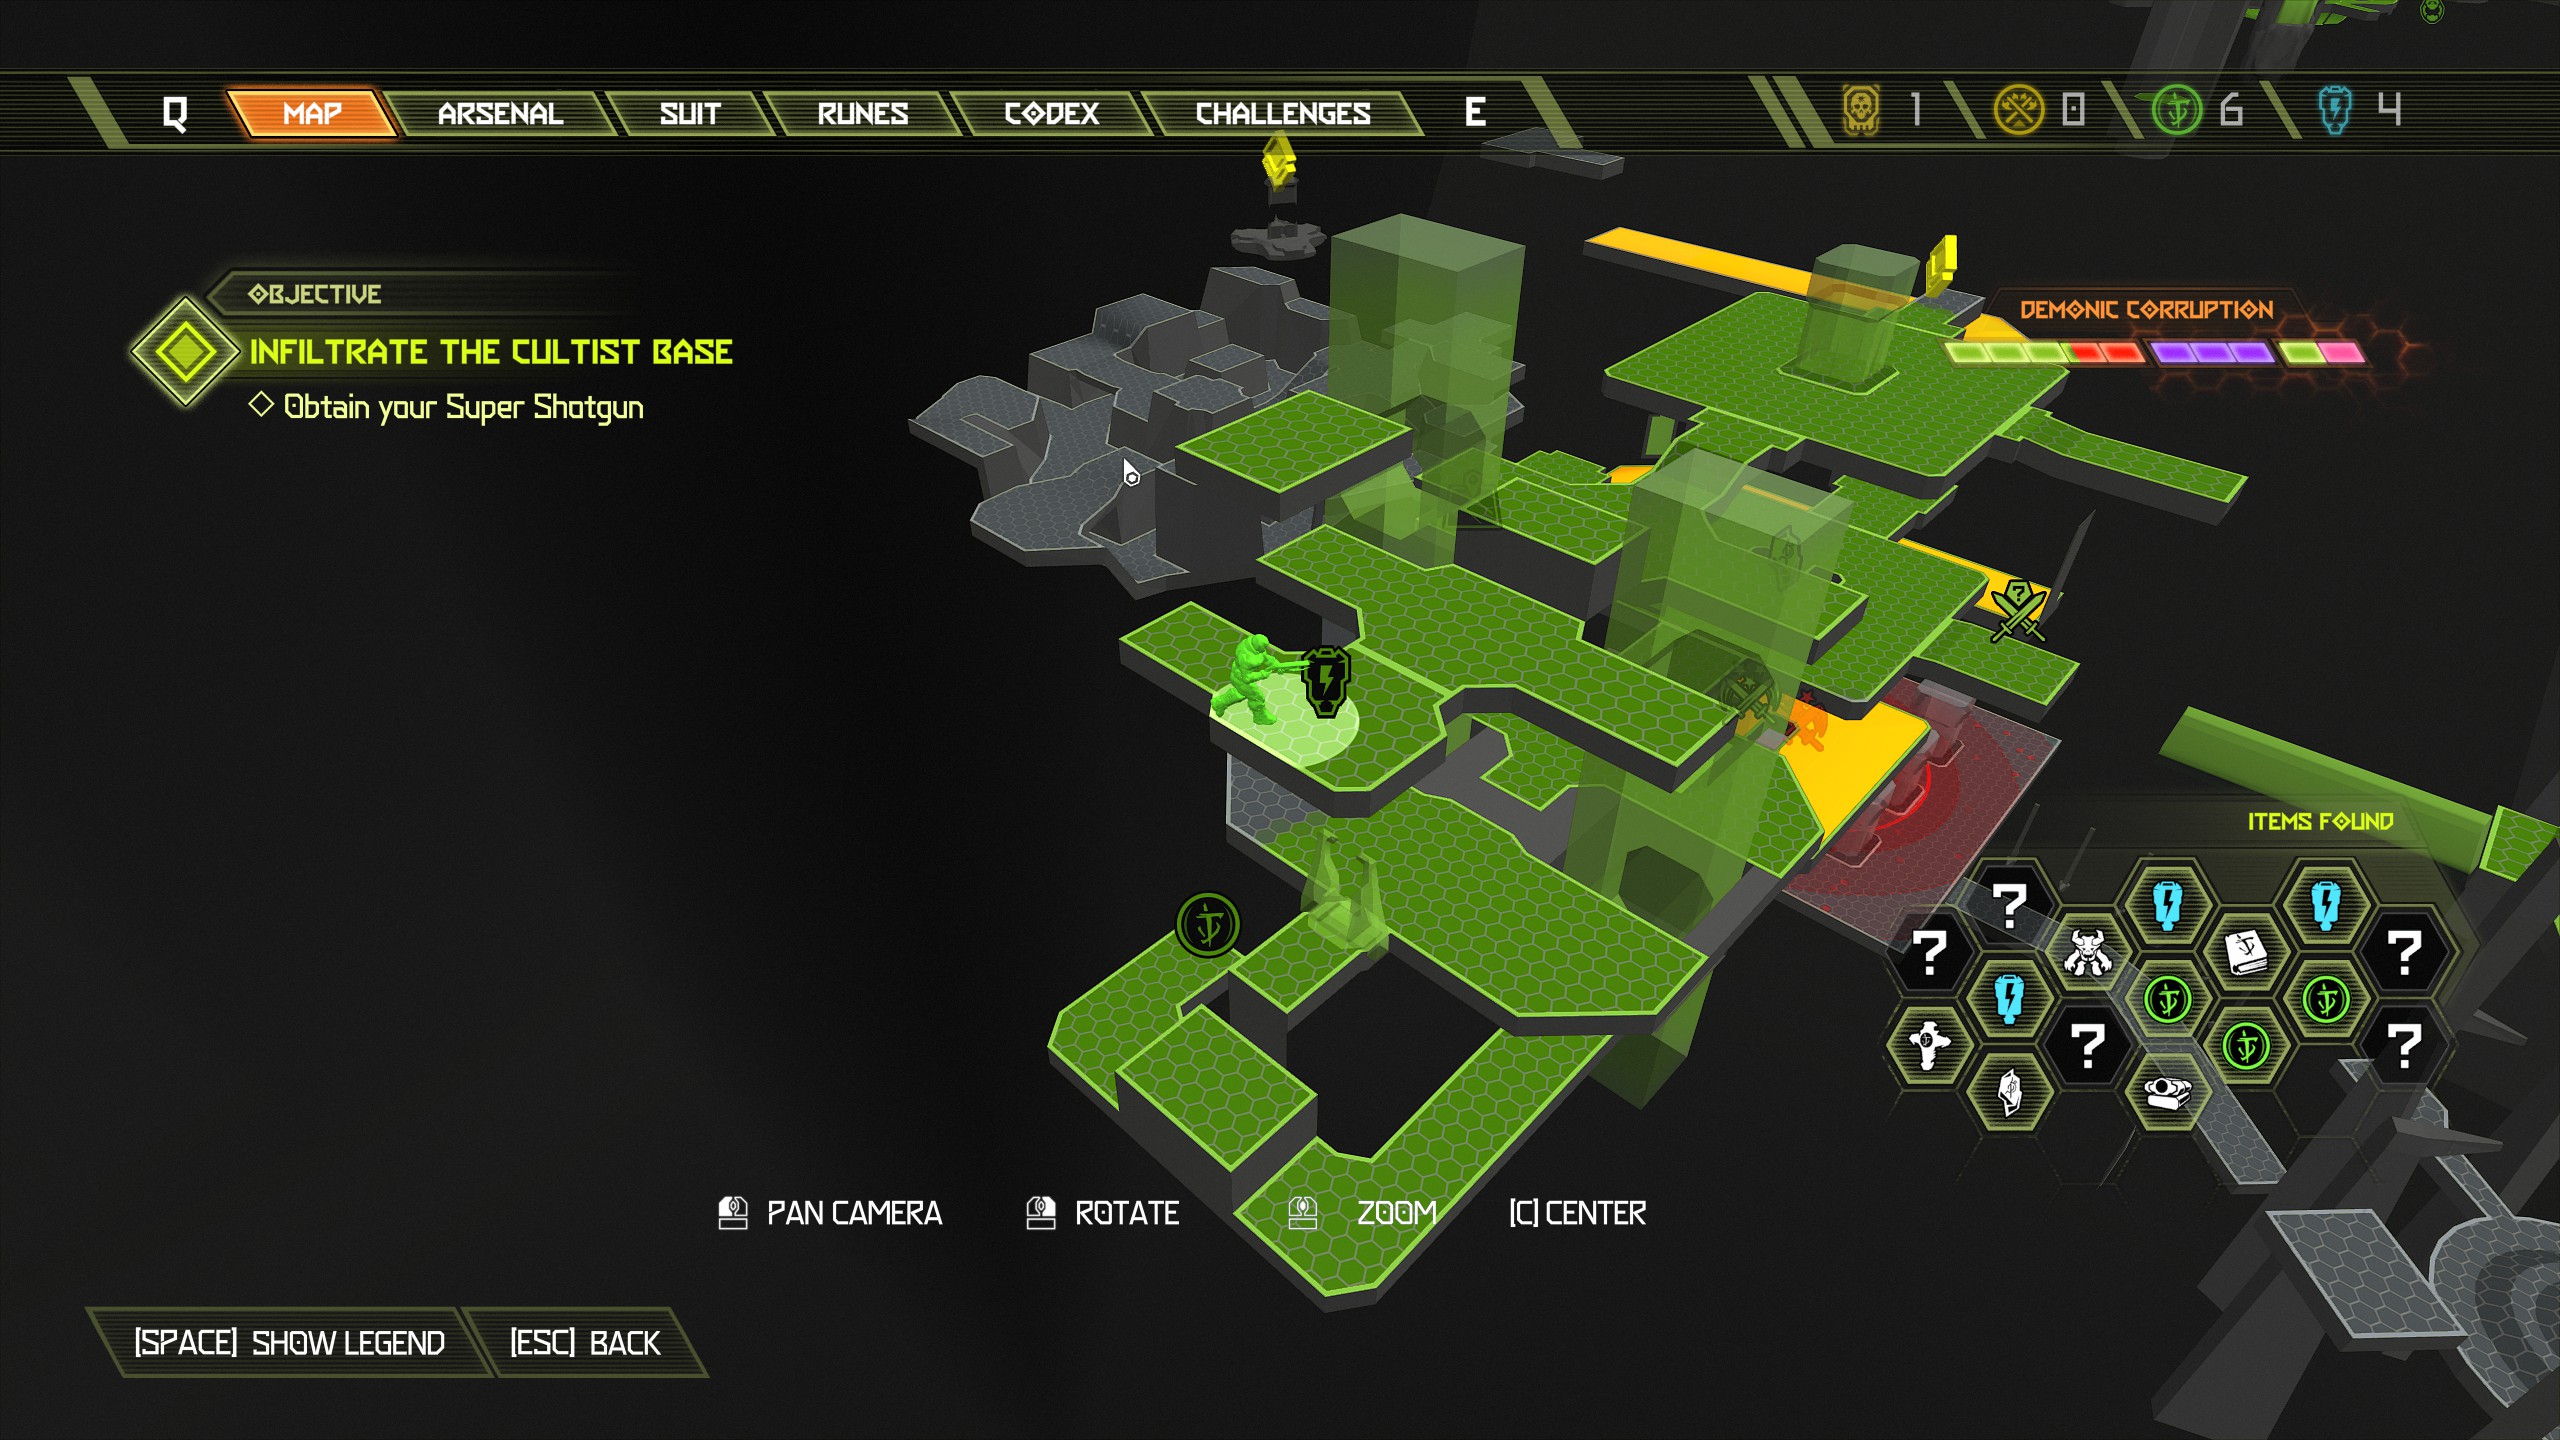
When you reach the upper level head into the other mechanism on the opposite side and it will take you further up, from there follow it around to find the sentinel battery in the back room.
Continue the mission until you gain your super shotgun.
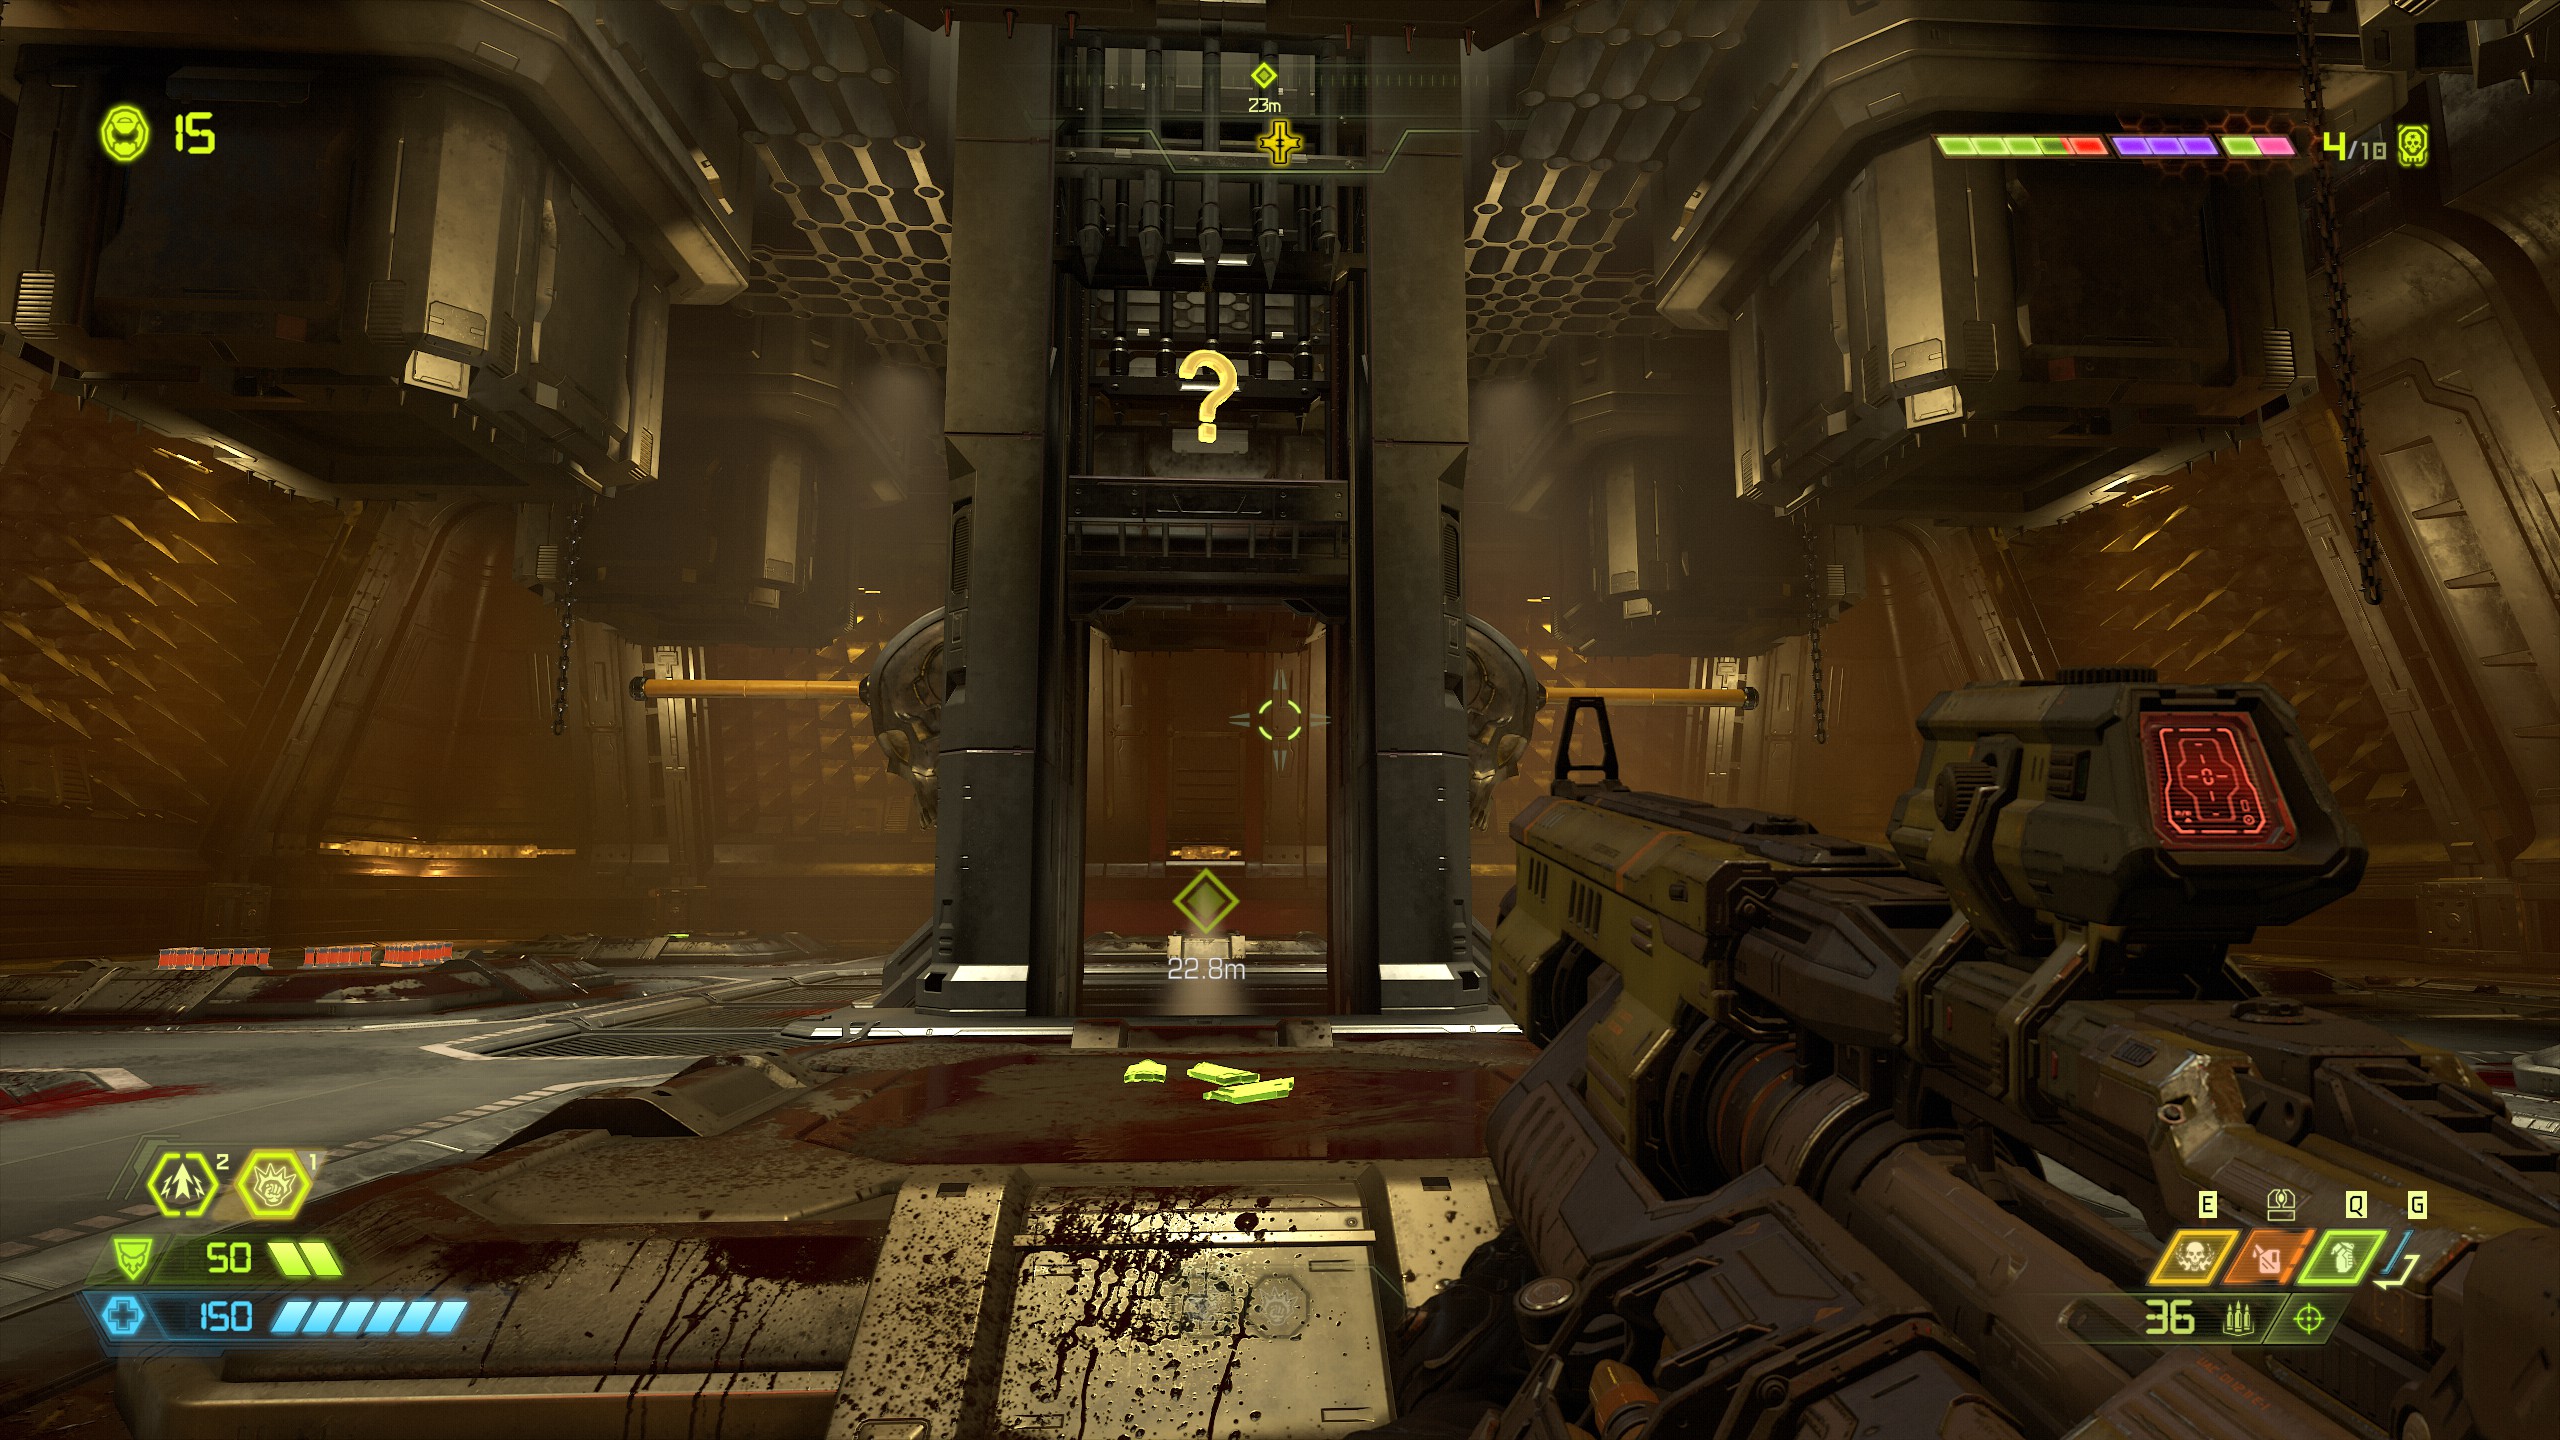
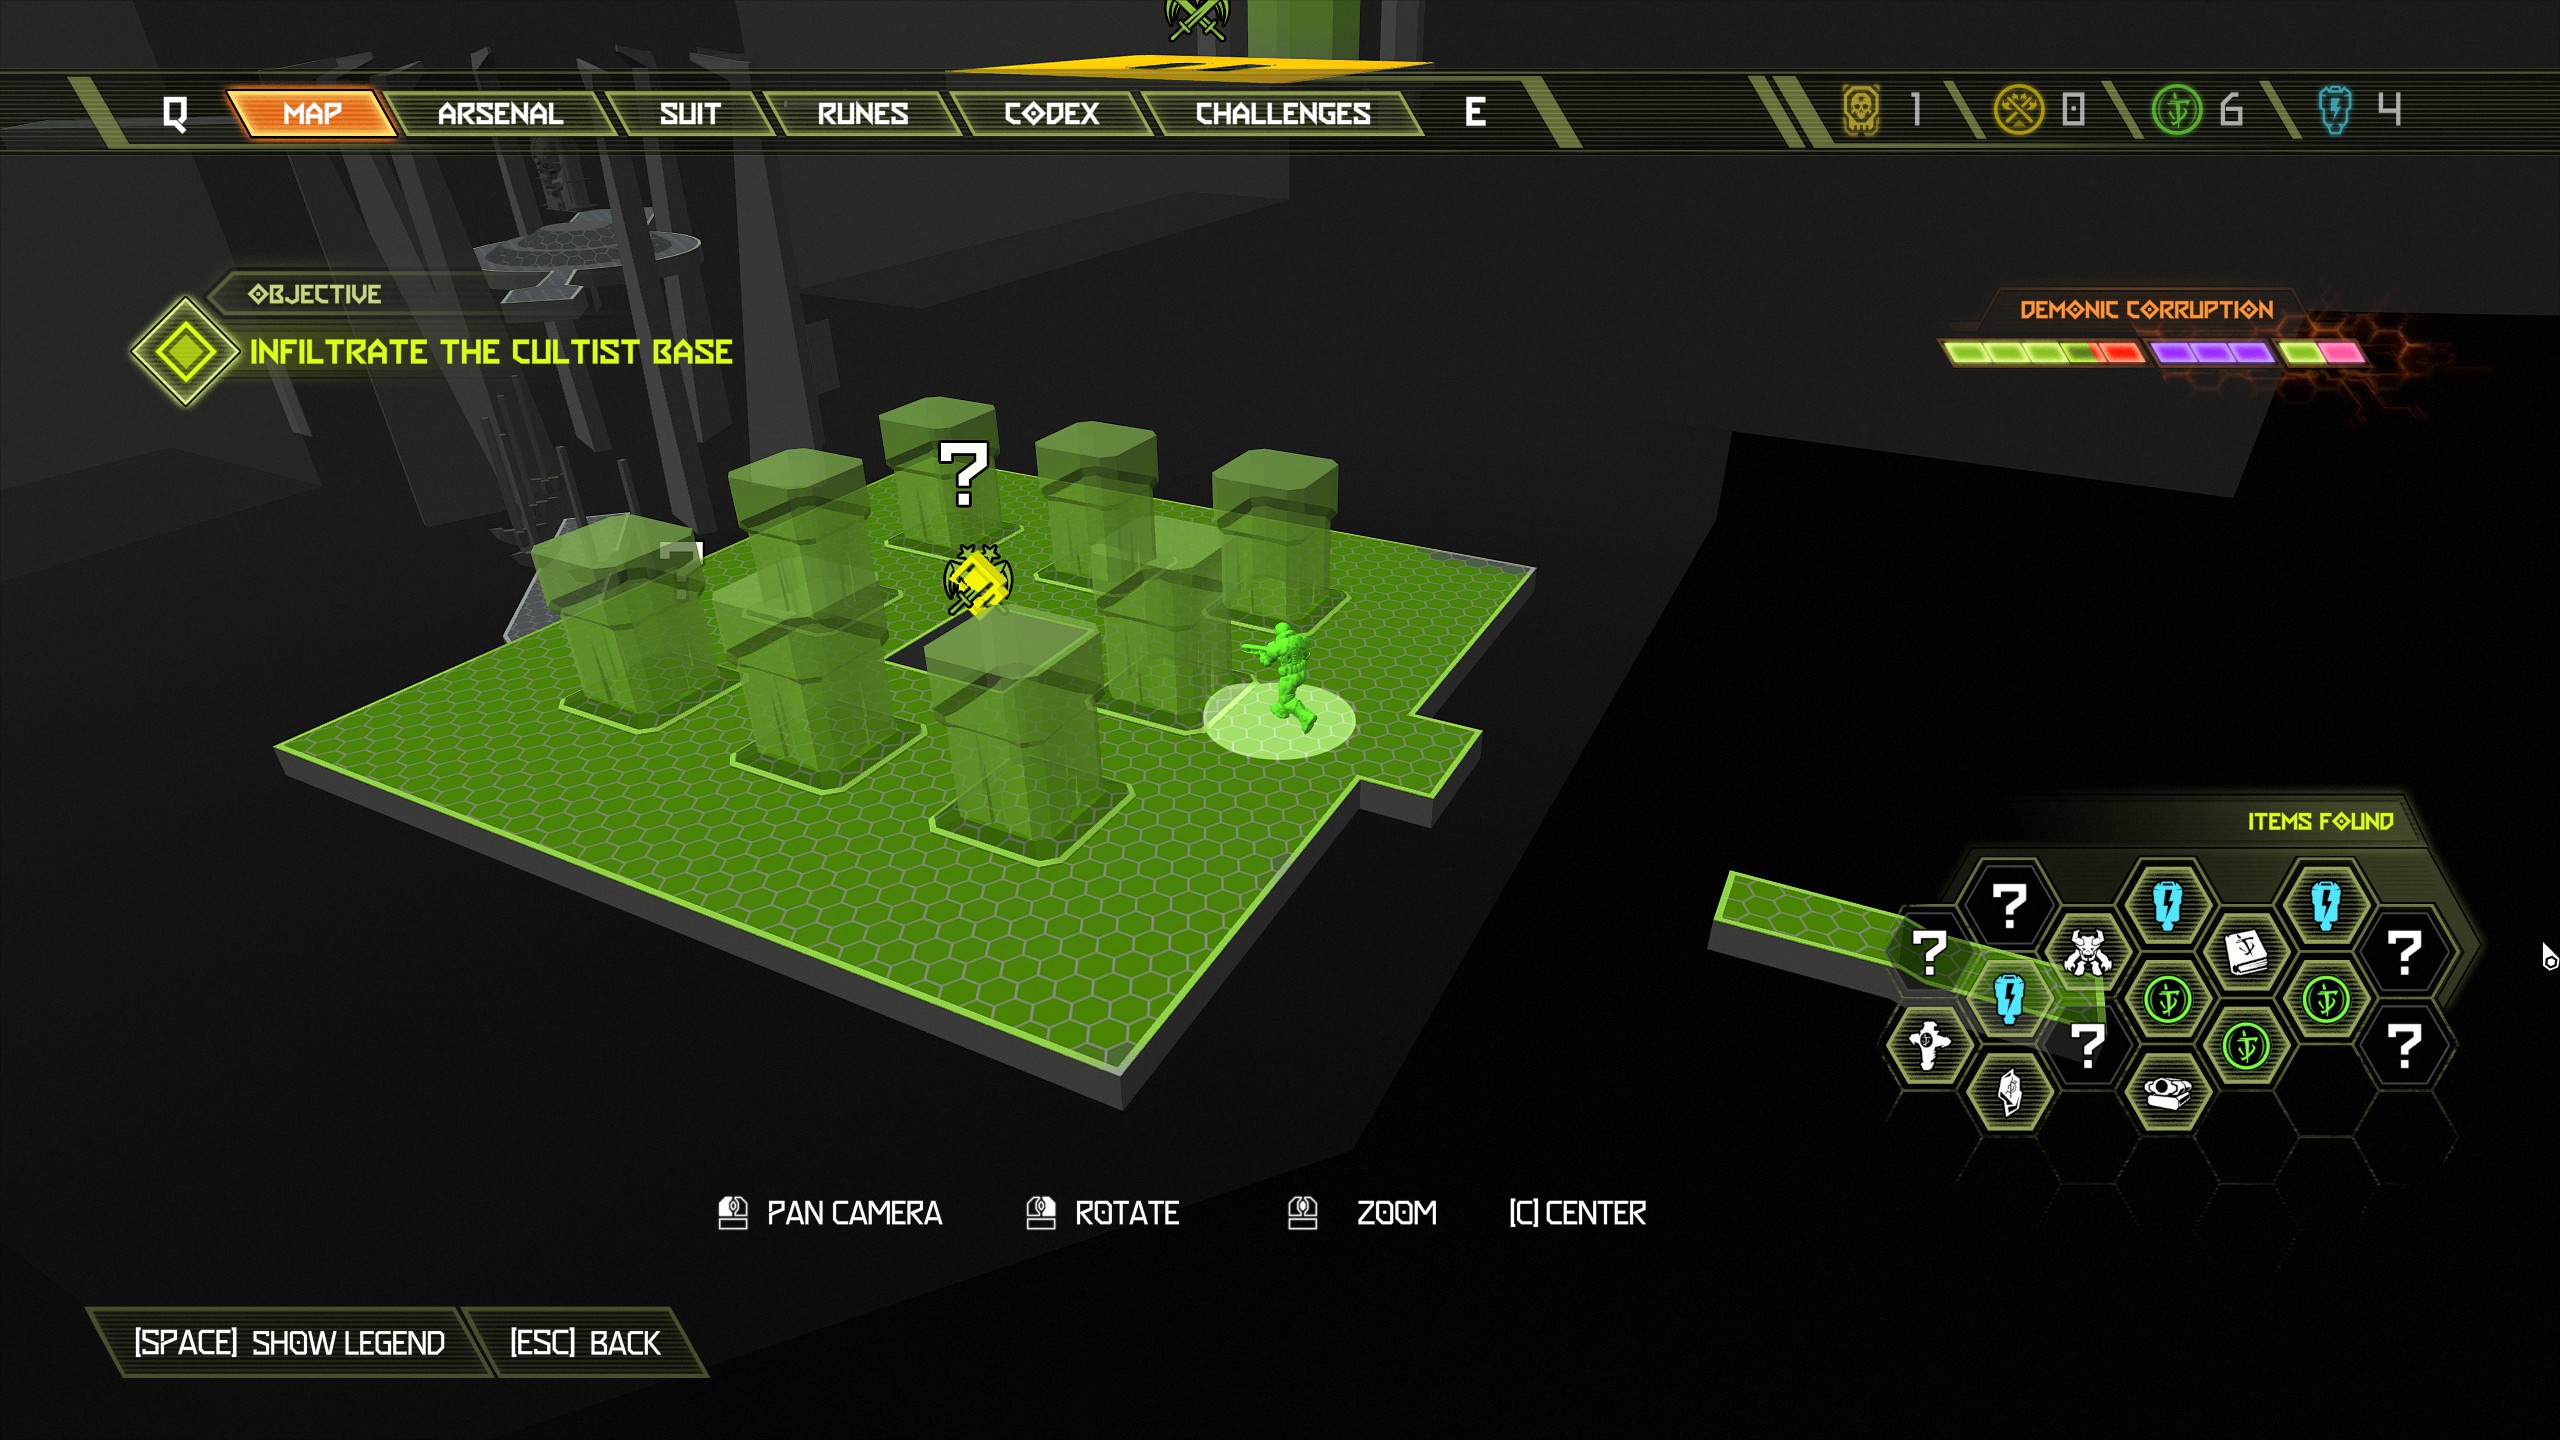
Now follow the mission marker and drop down into the hole in the central structure. Half way along the passage you will see a breakable vent on the right side, break through it to gain another doomtoy.
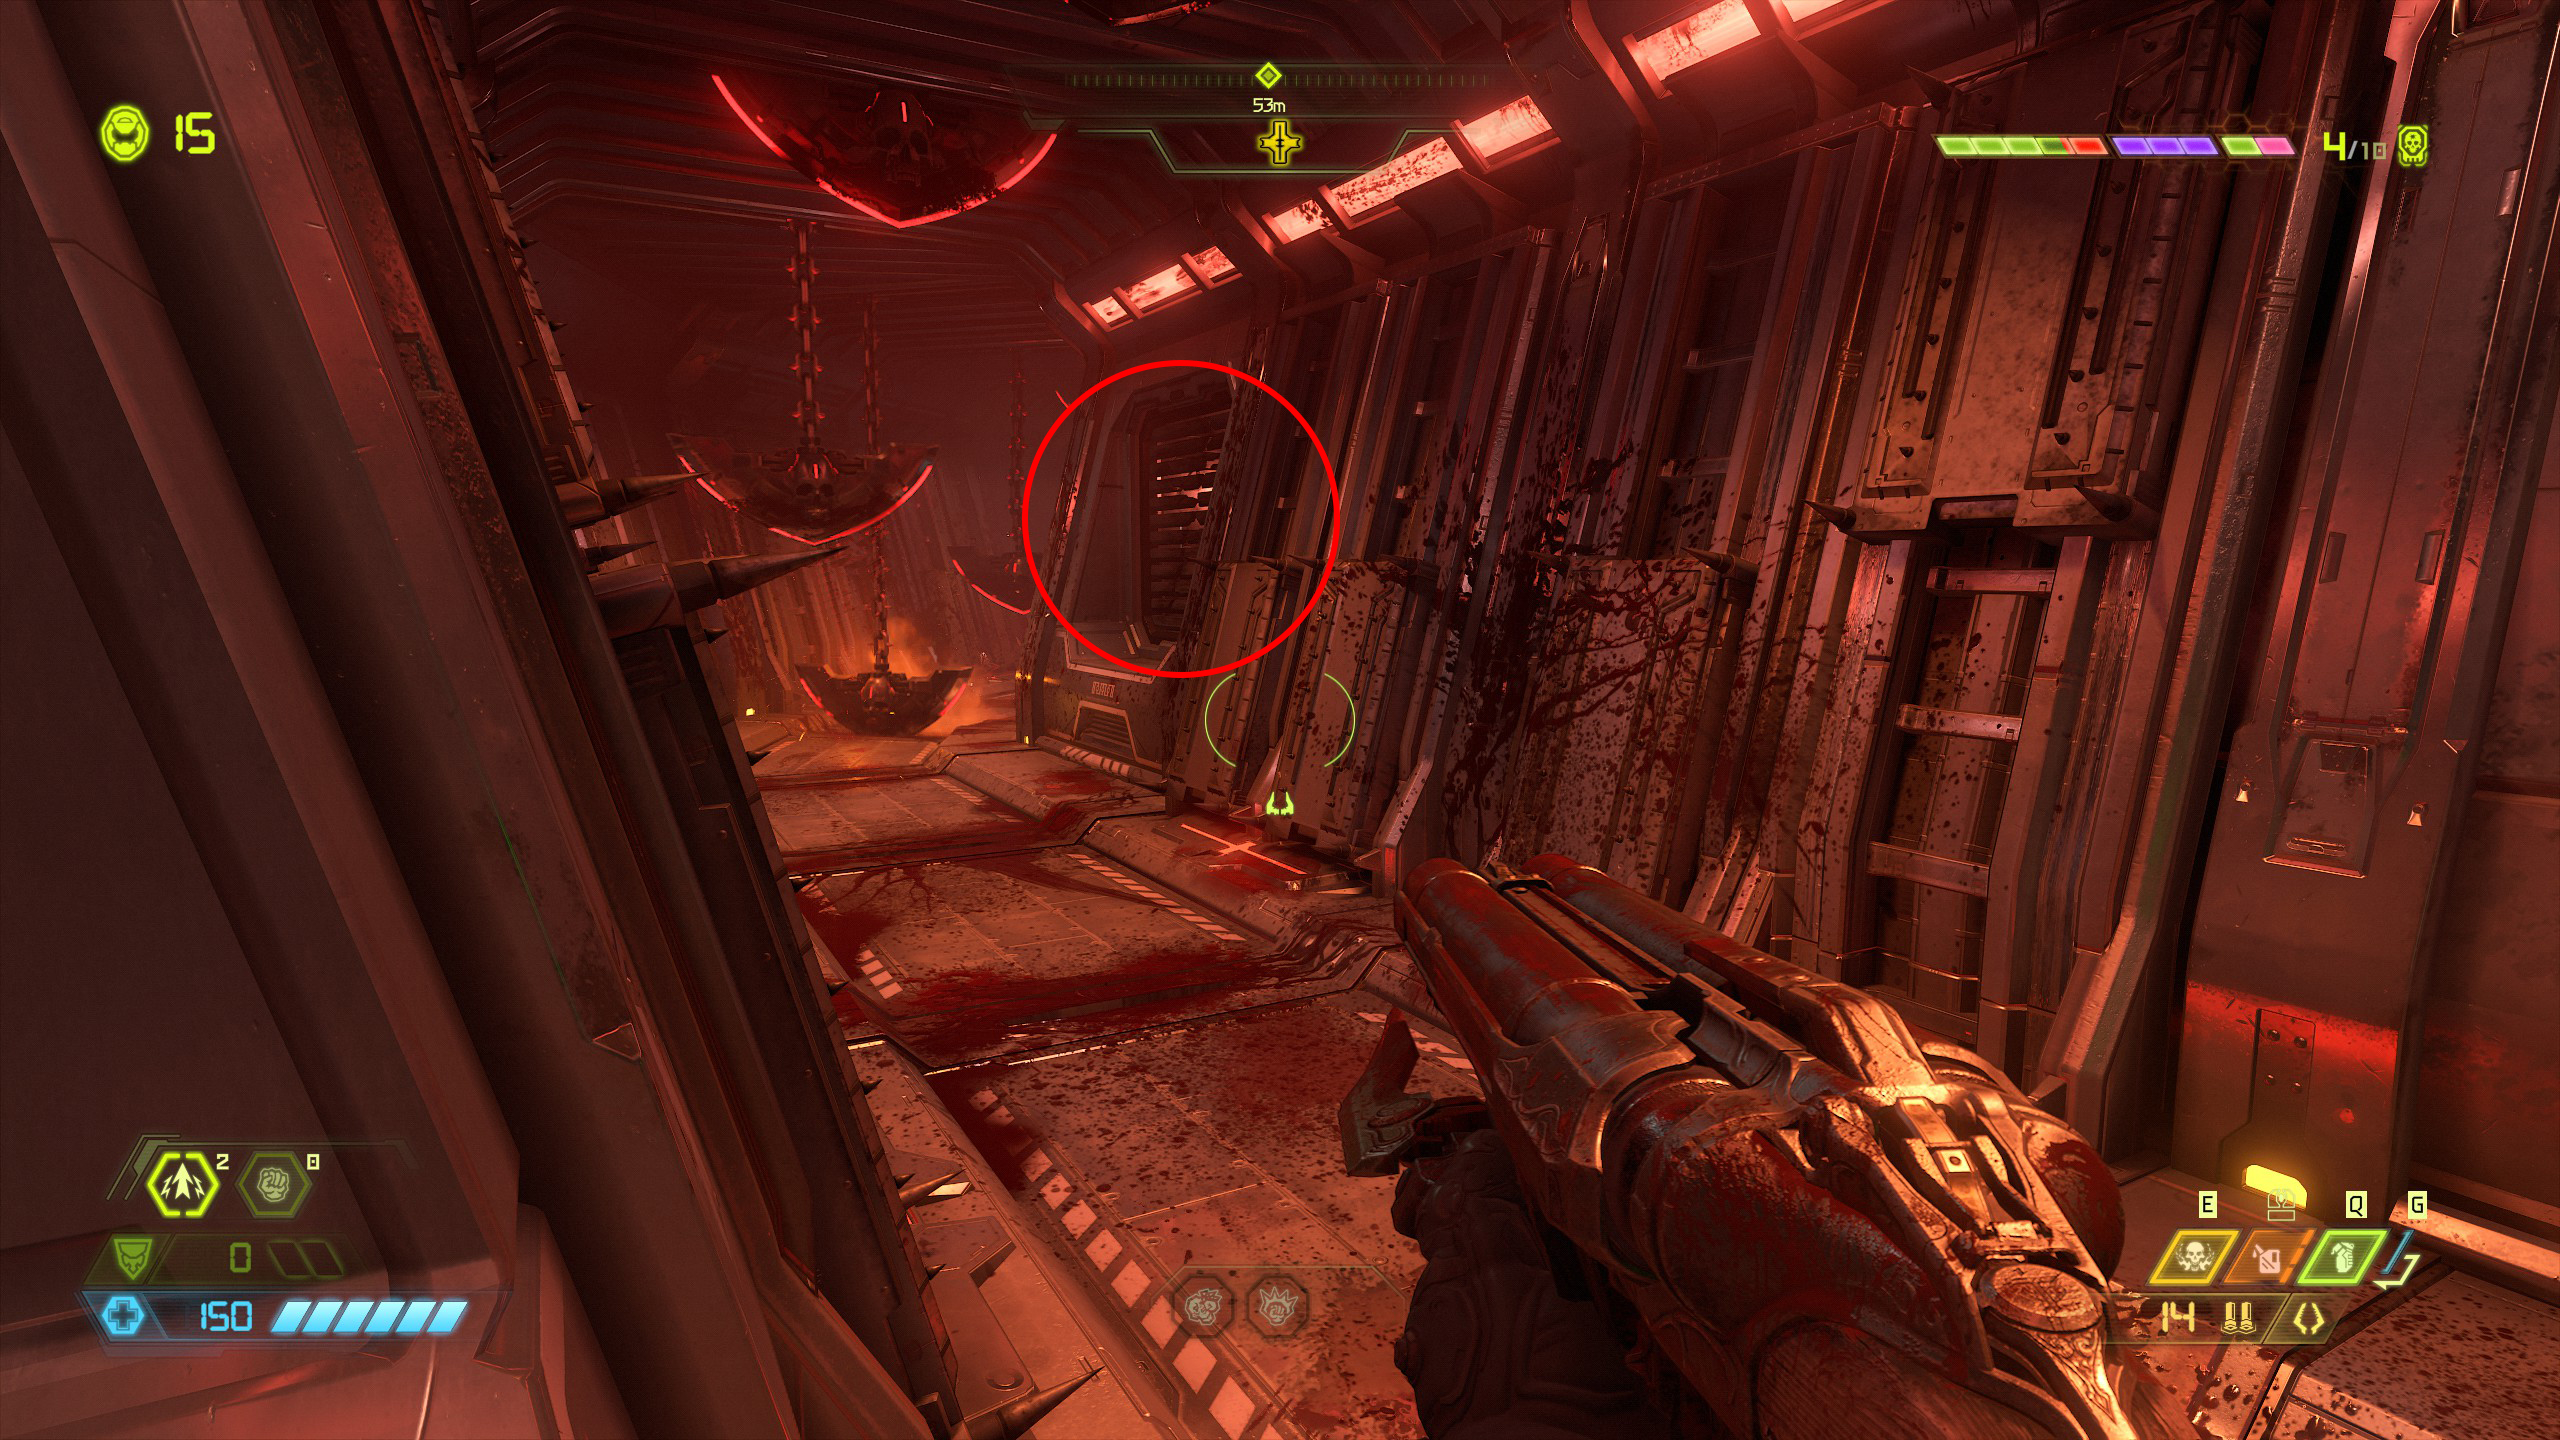
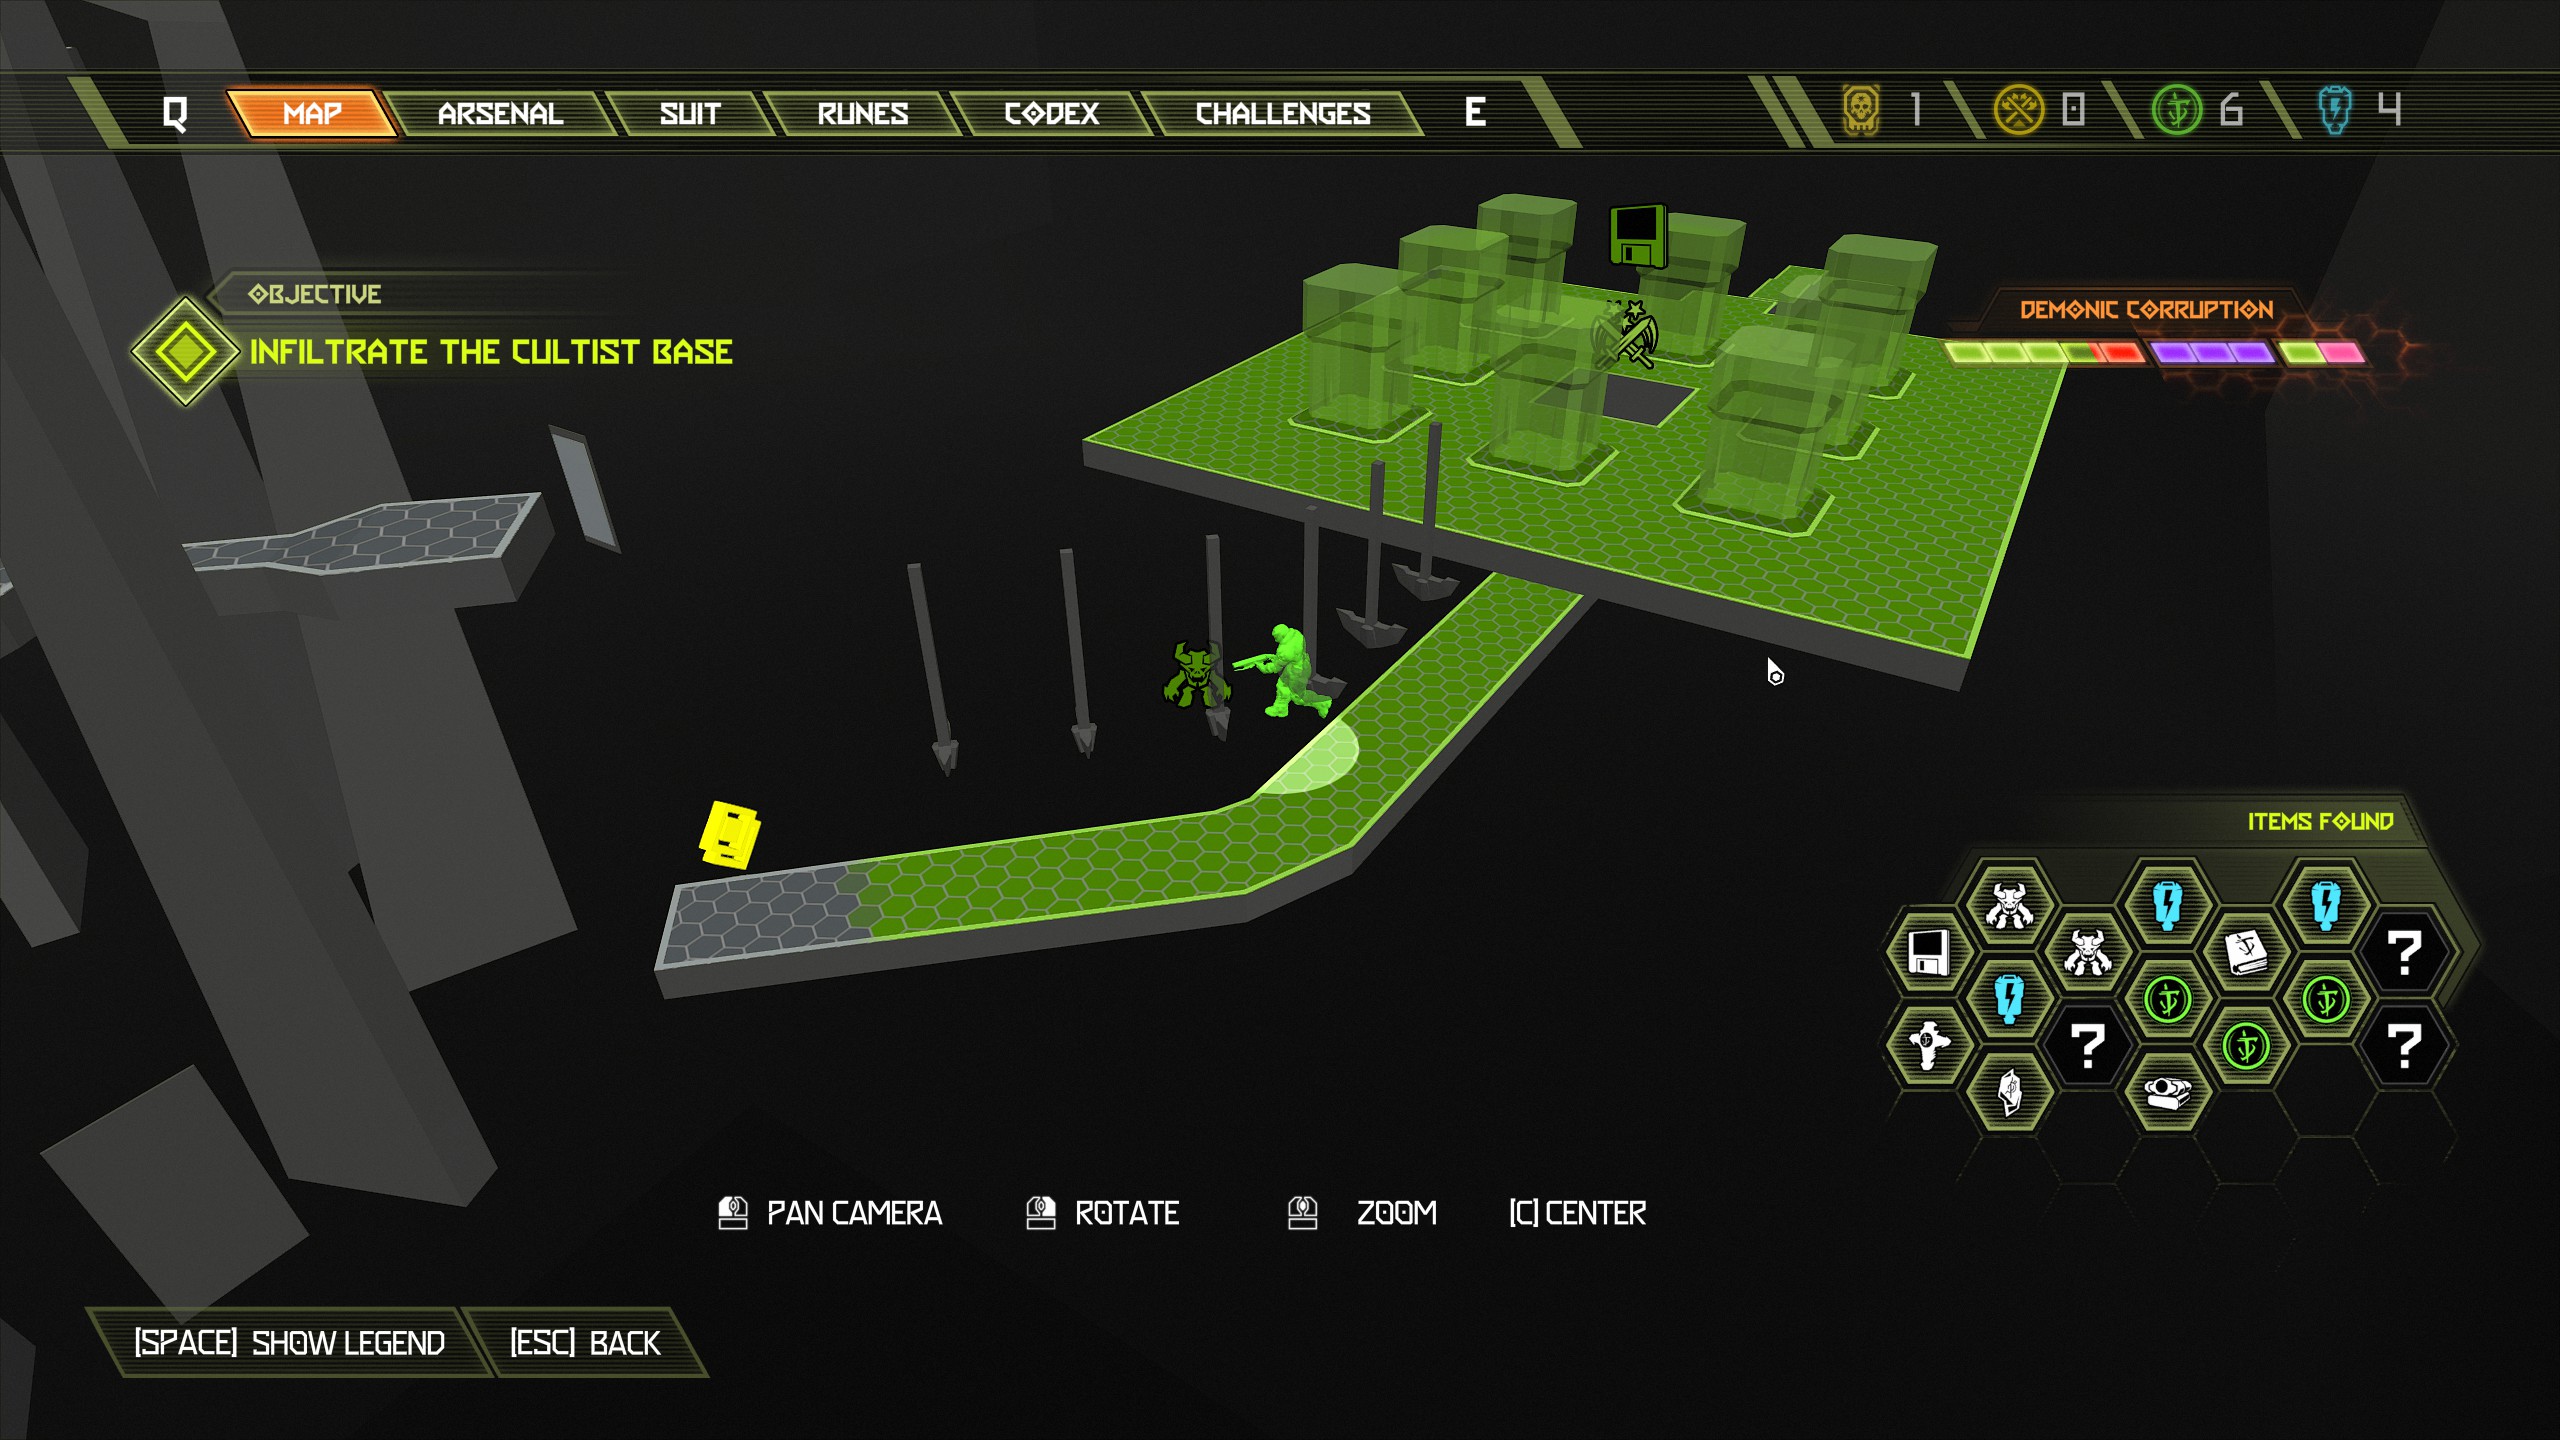
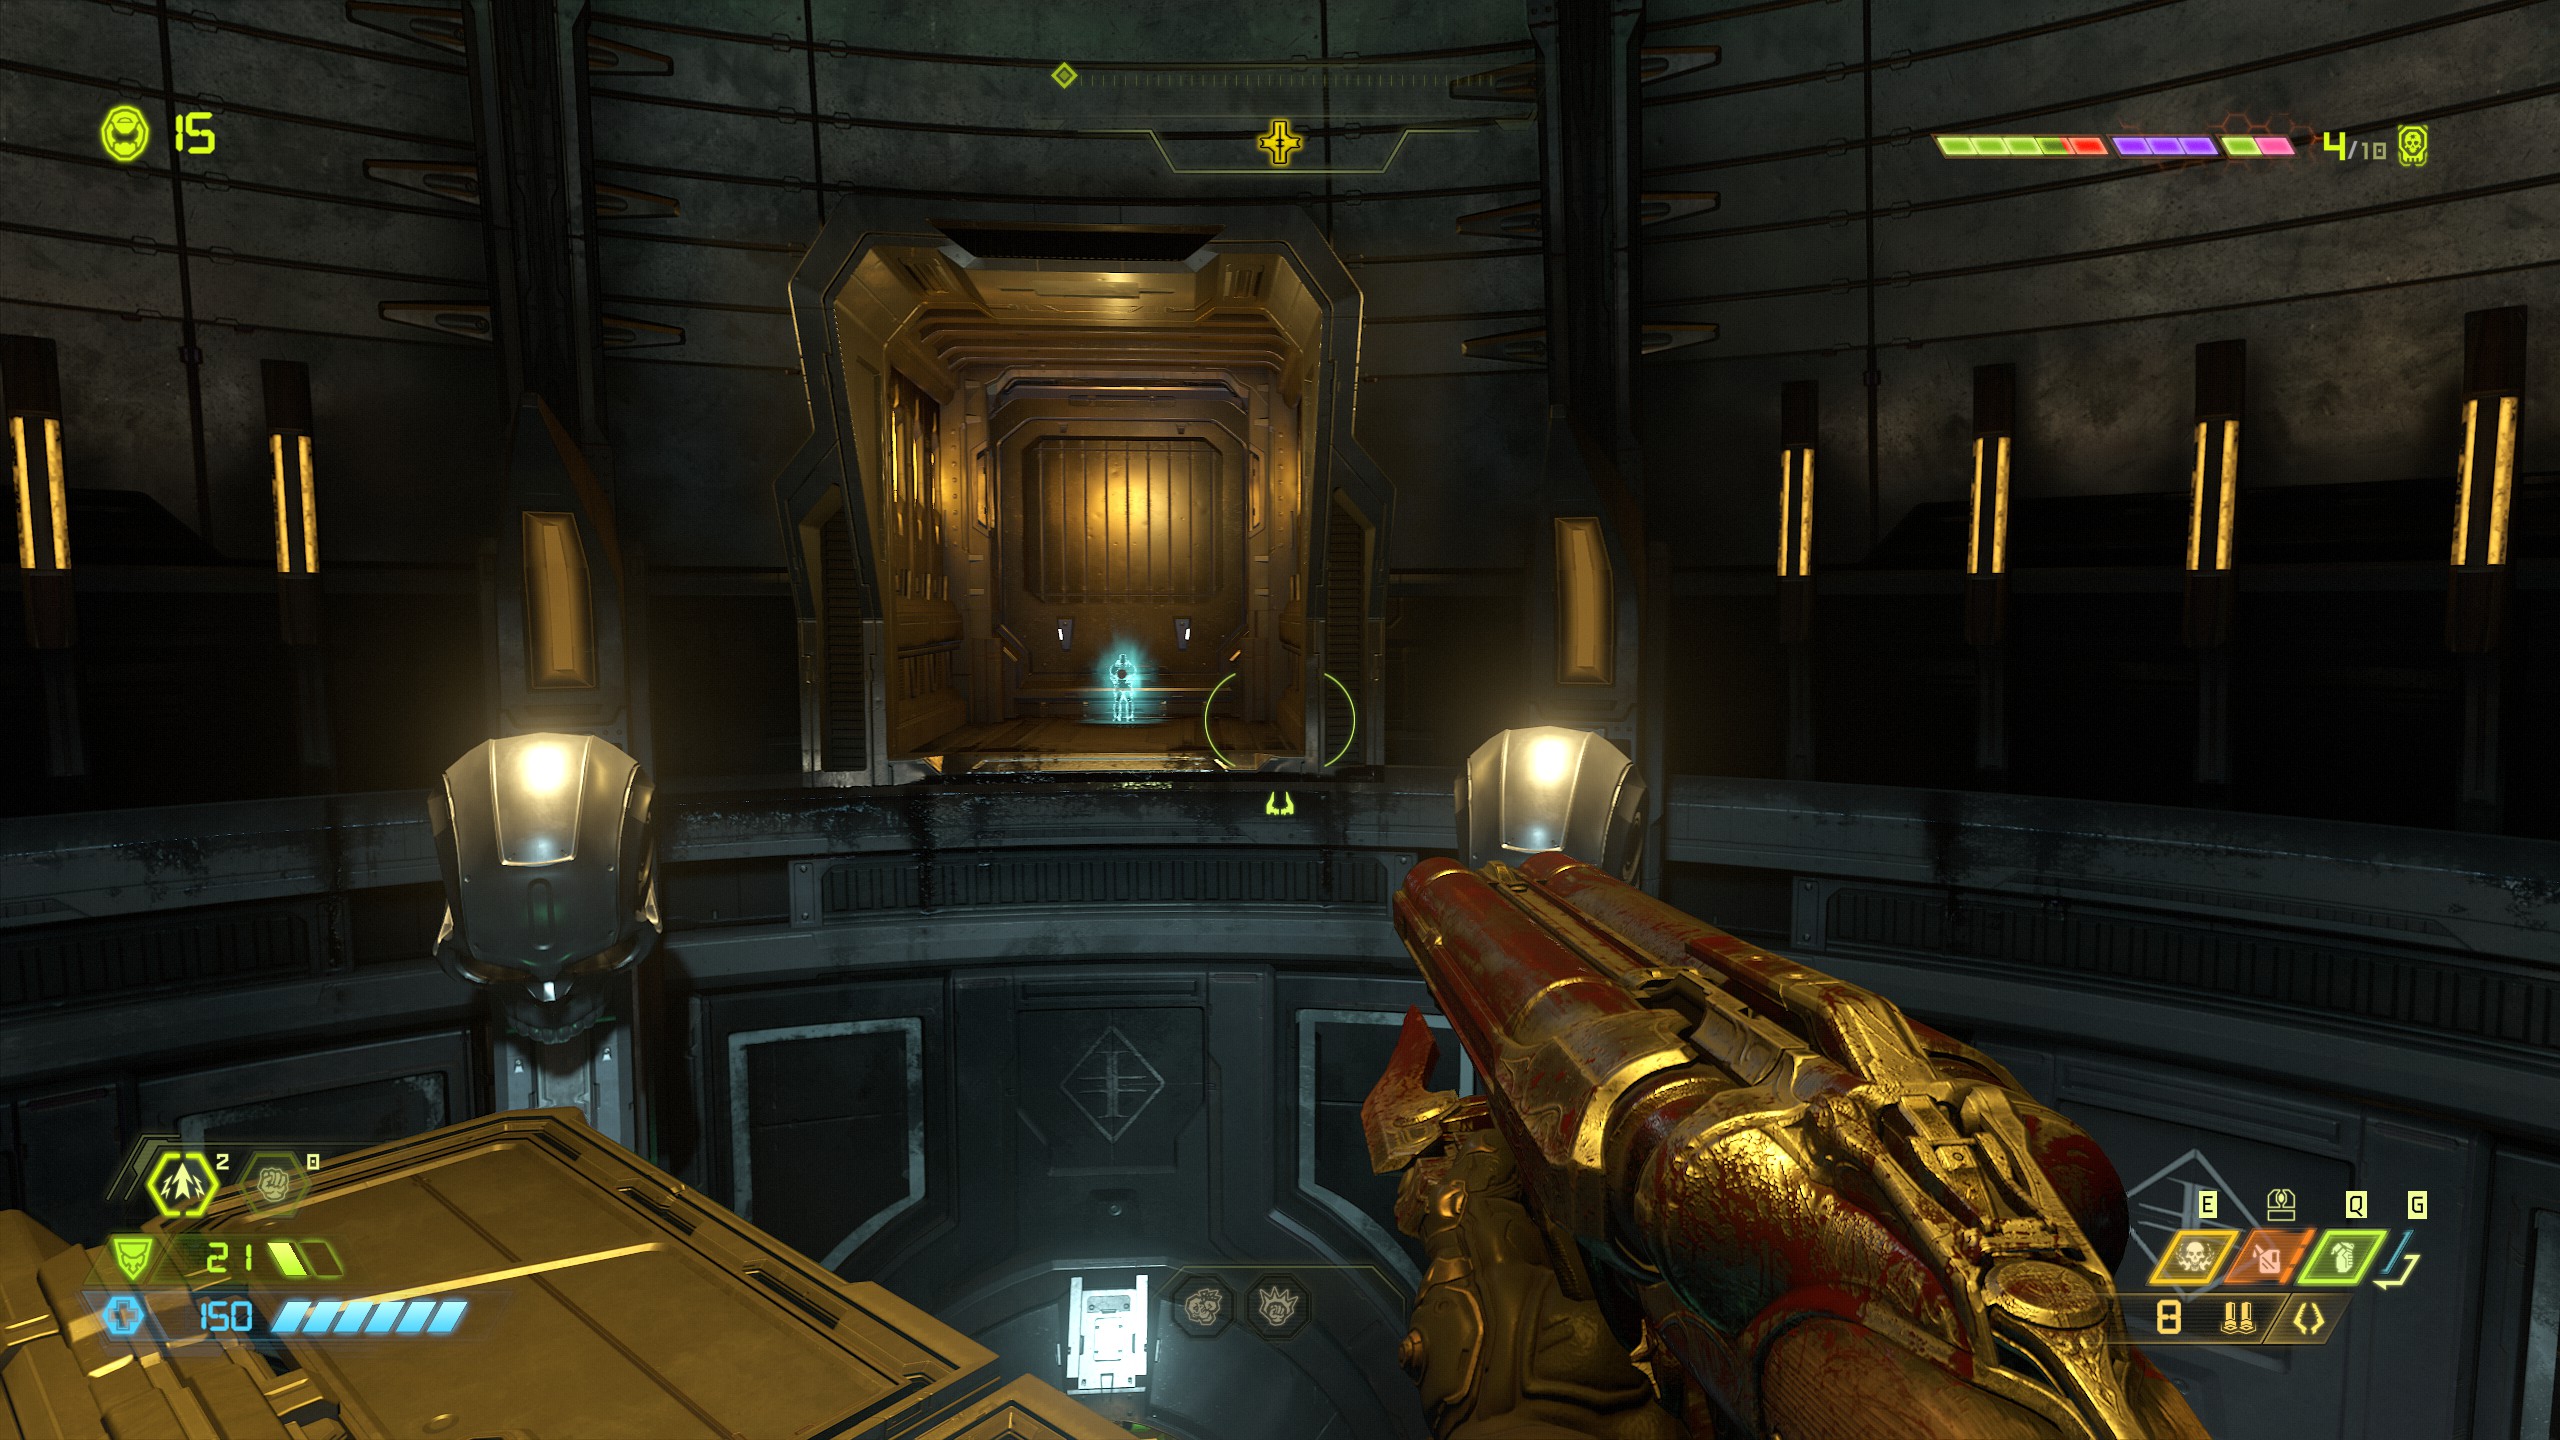
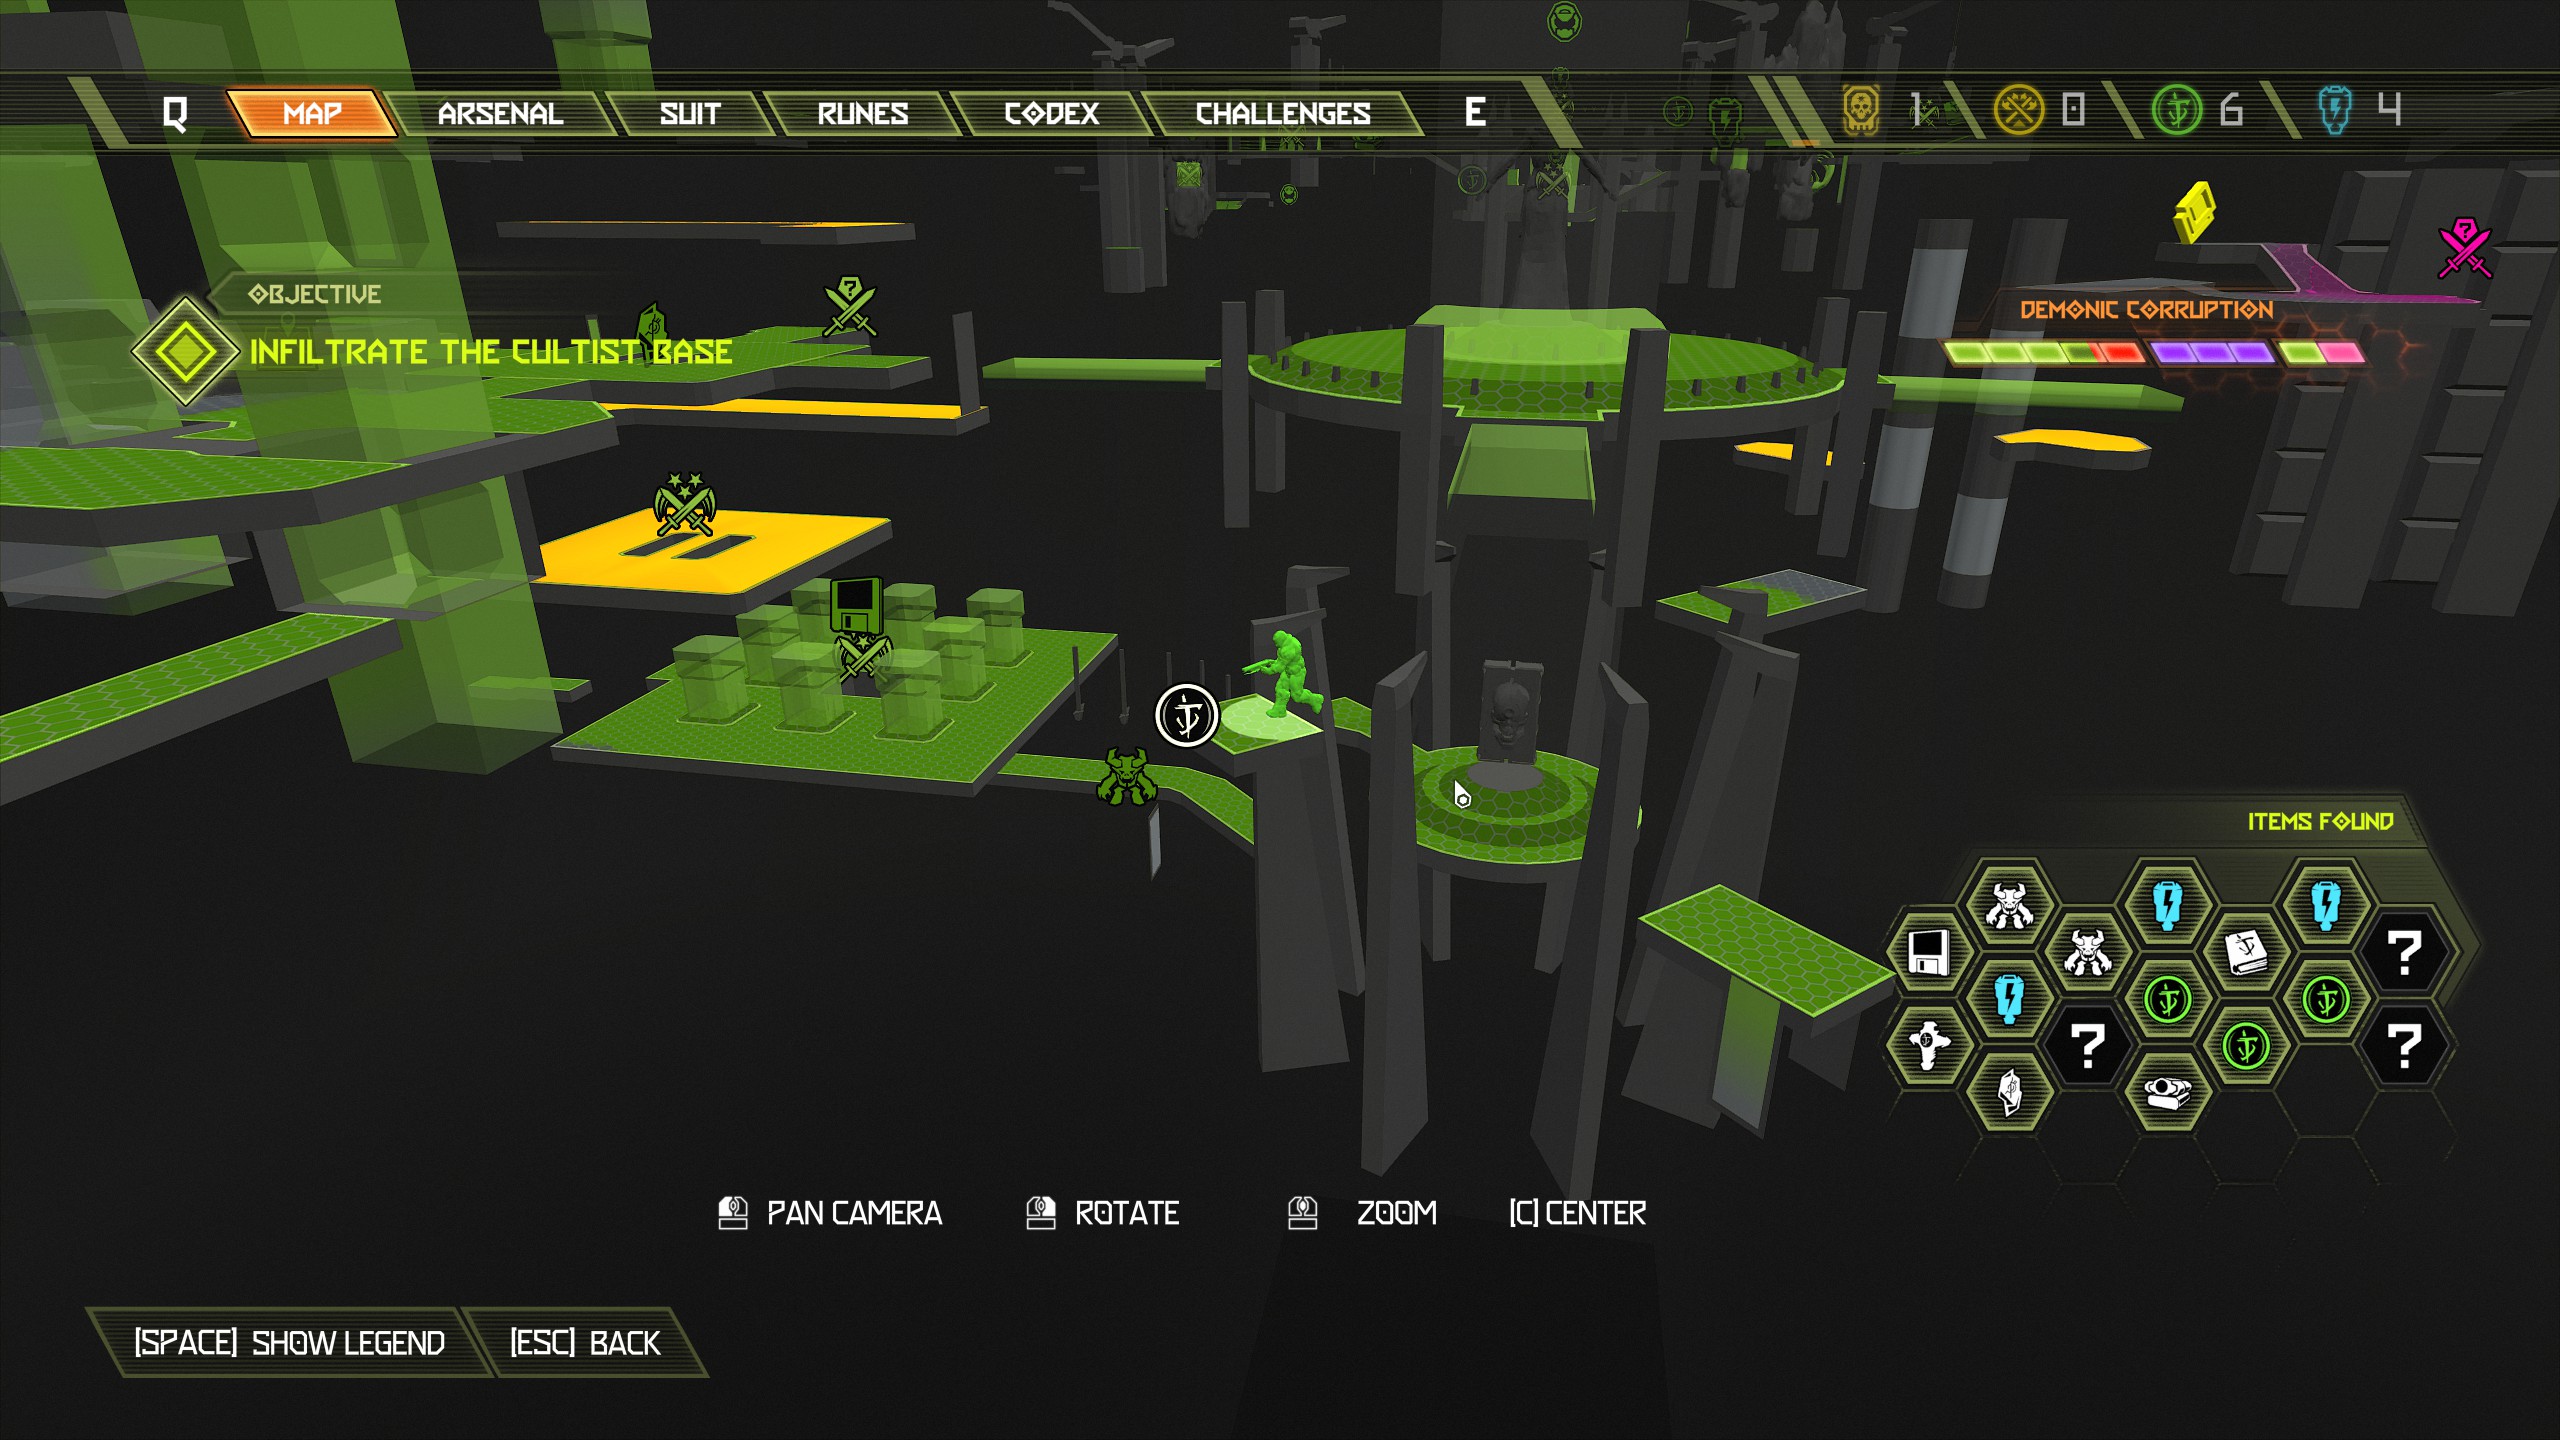
Proceed with the mission and climb the tube shape walls to the very top.
For this encounter you will be attacked by 2 whiplash, 1 mancubus, 2 mecha zombies. After you have finished climbing the walls and you're at the top, head into the nearby tunnel and inside take a right into a small room. Inside the room you will find a breakable wall and behind it will be the secret encounter.
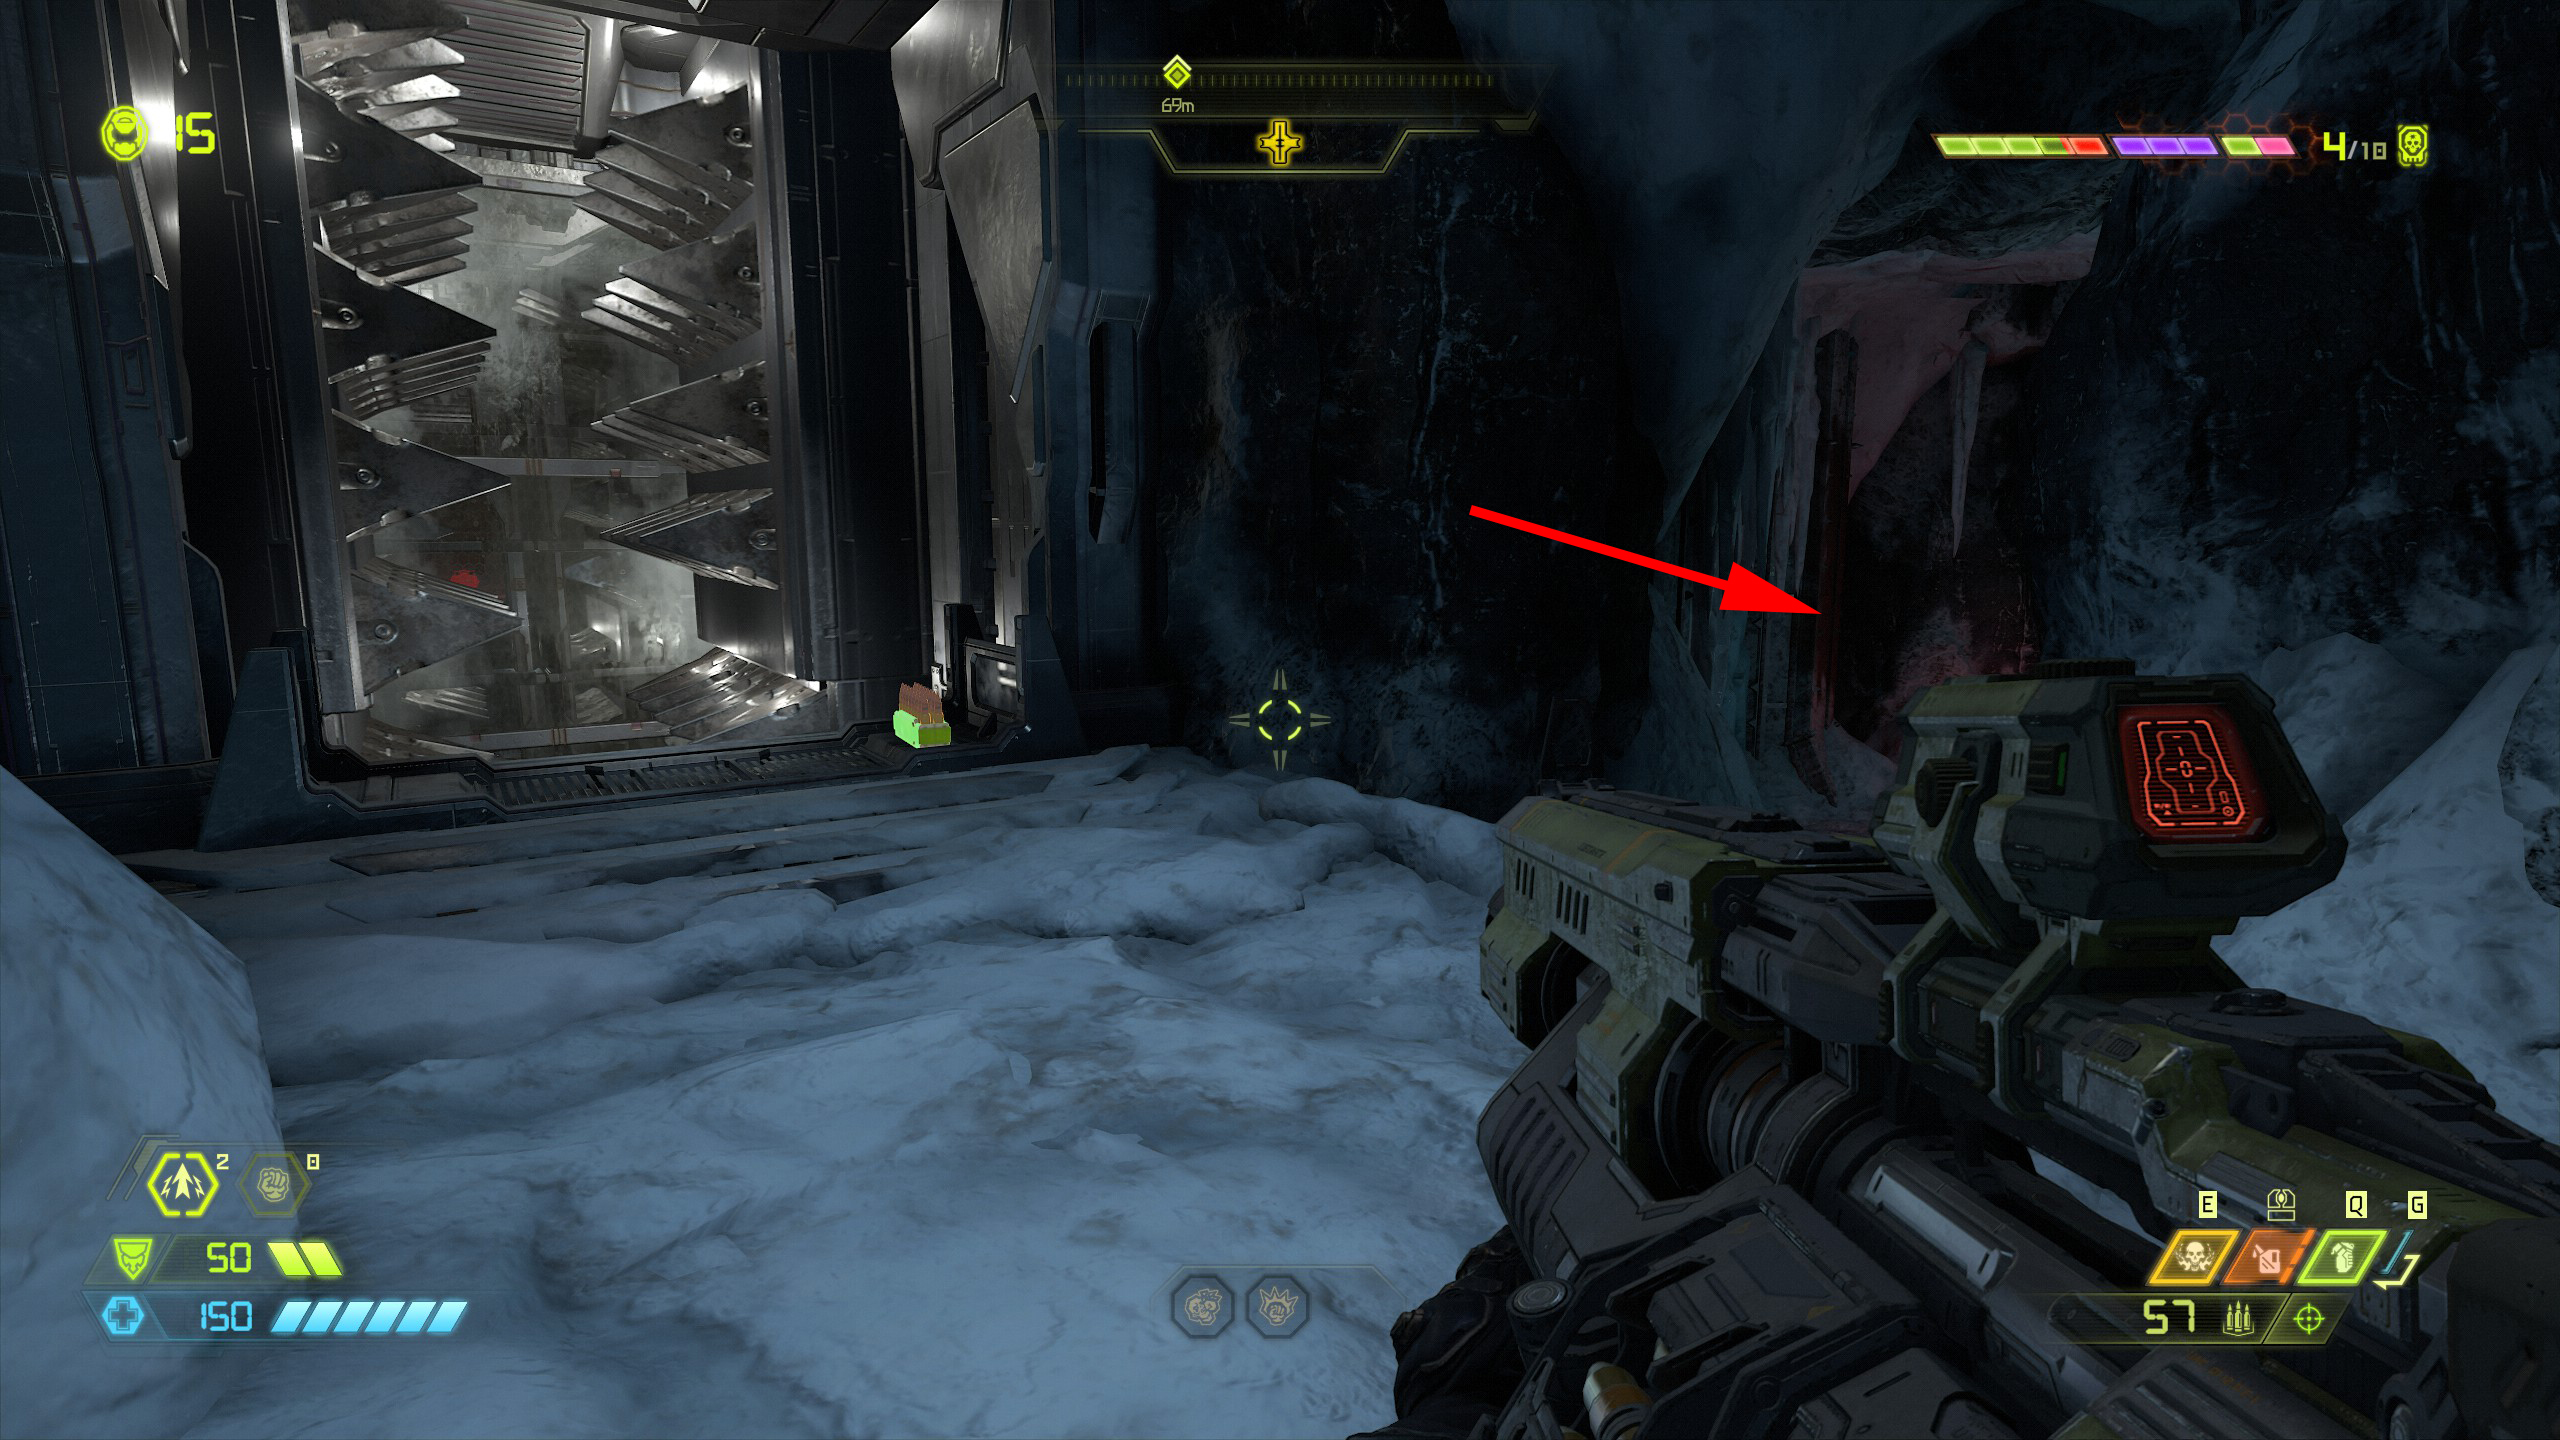
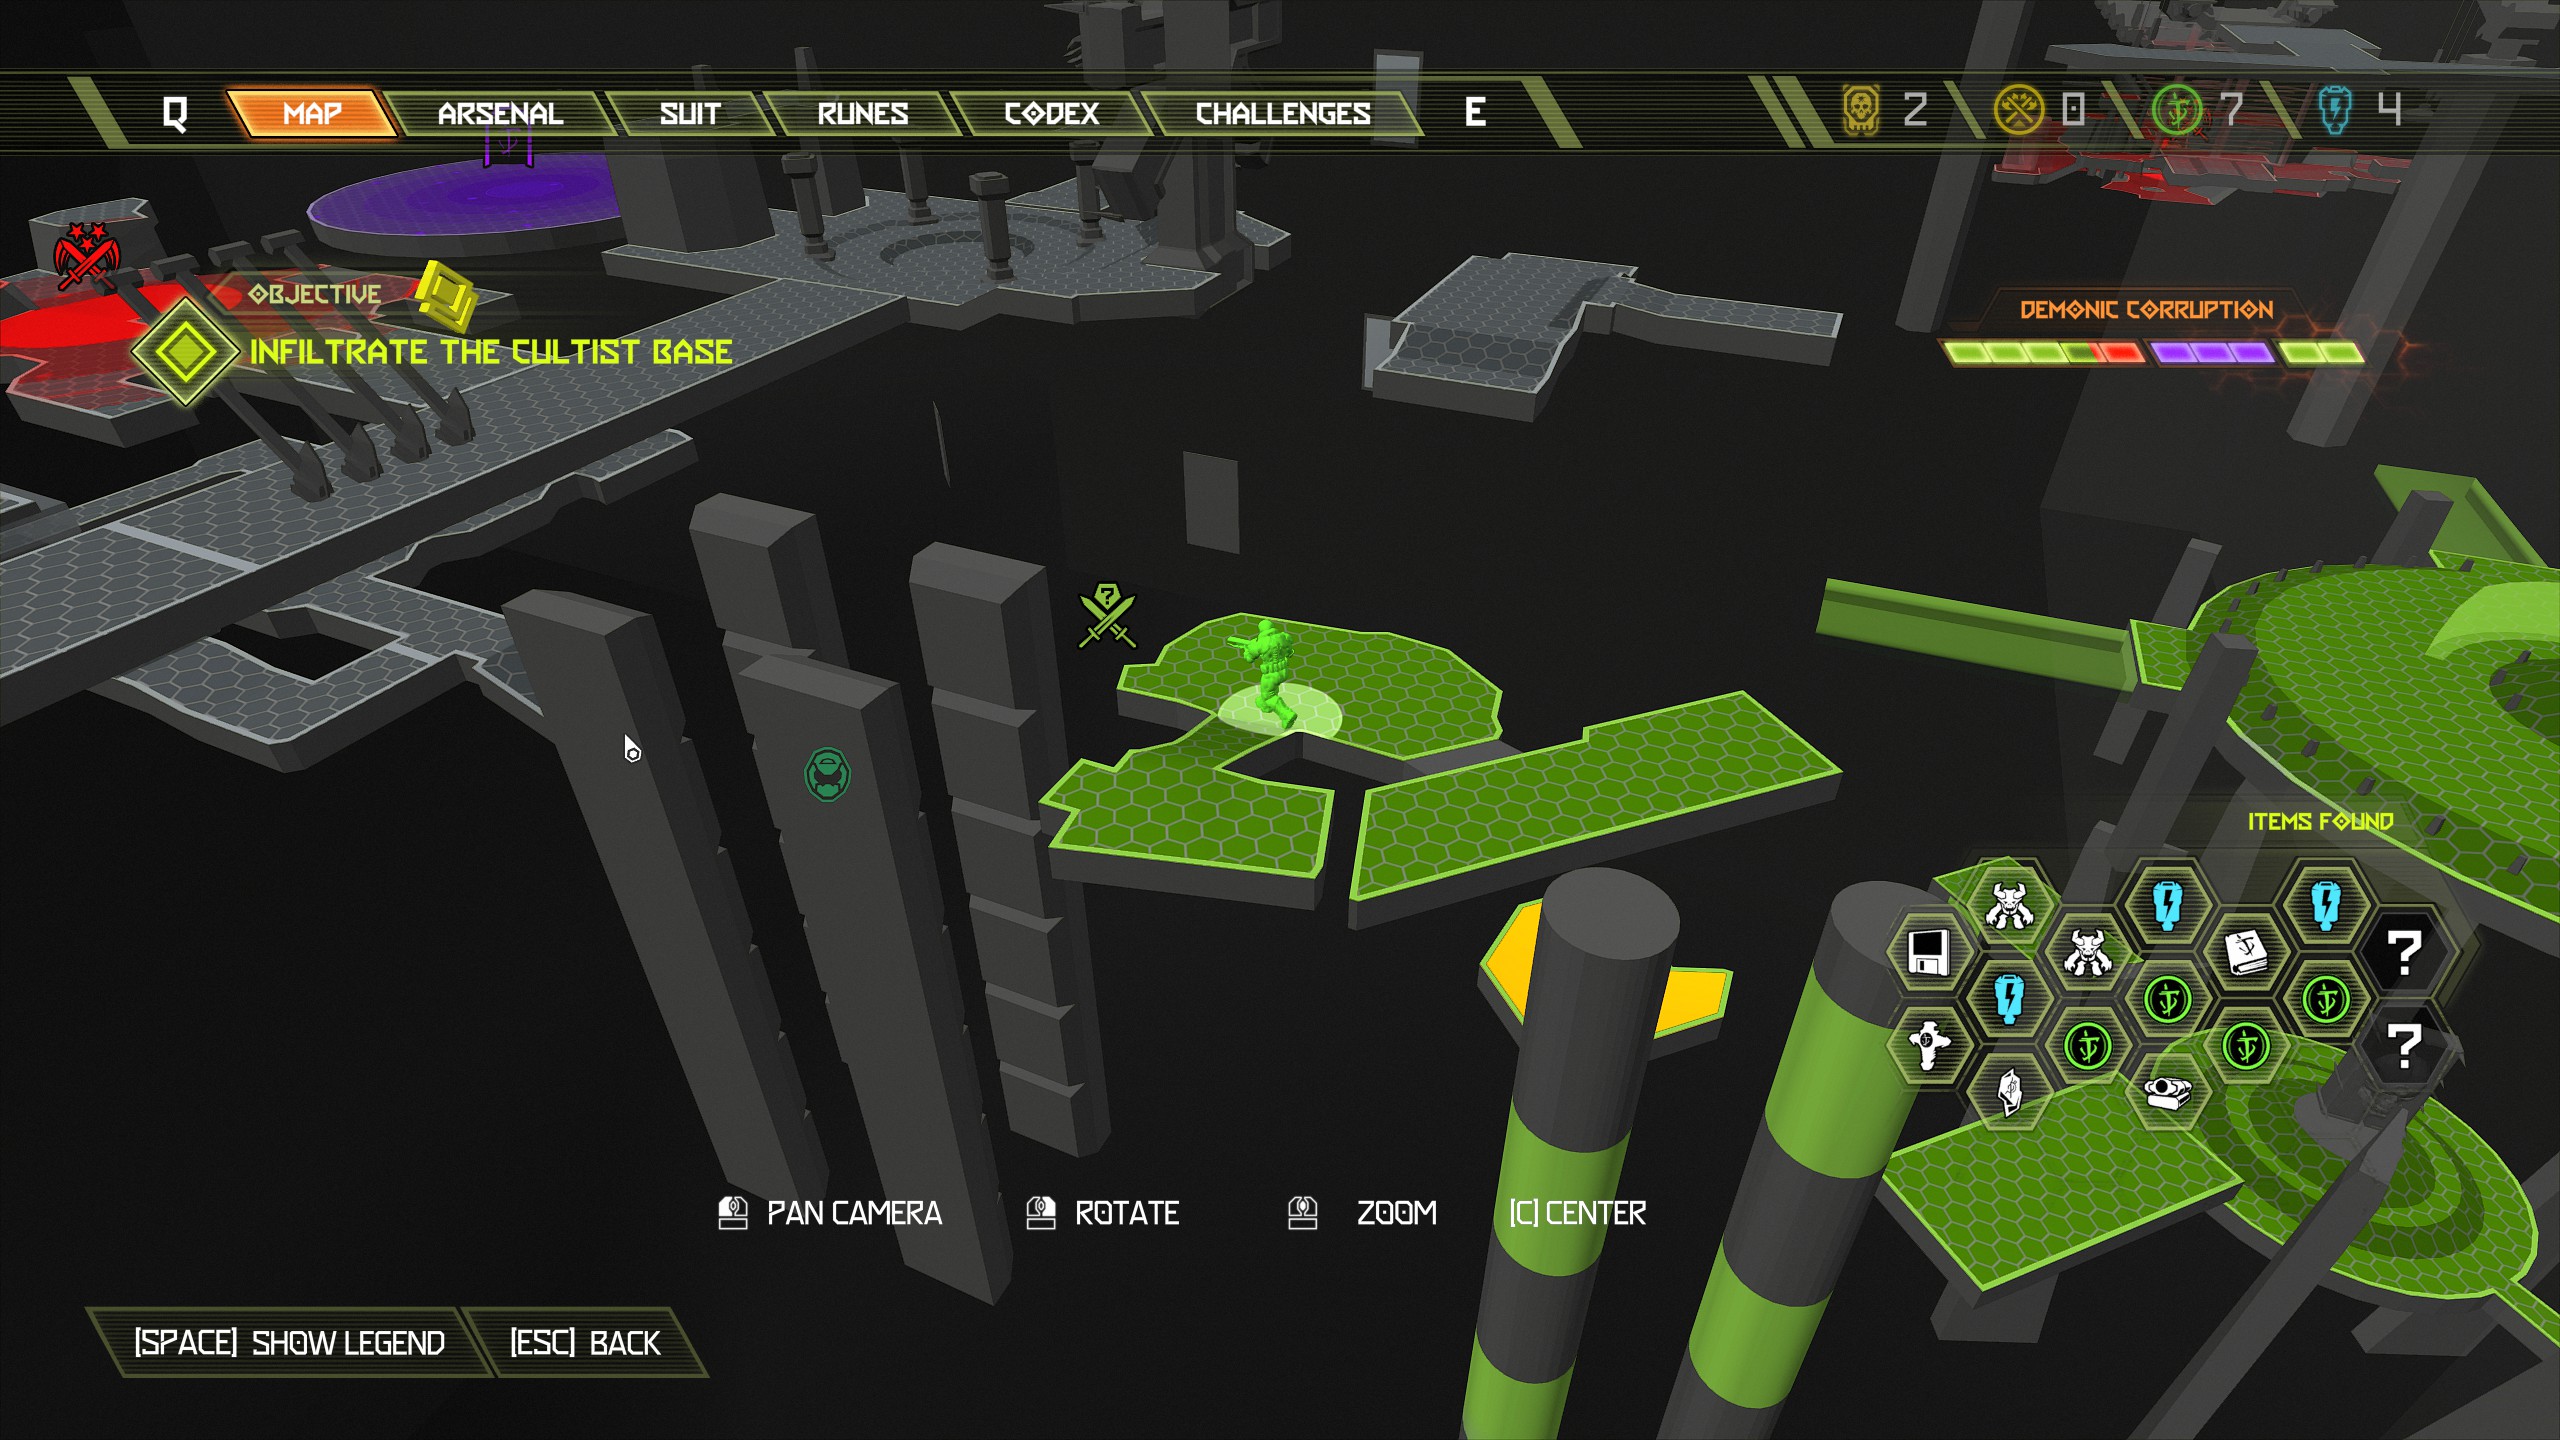
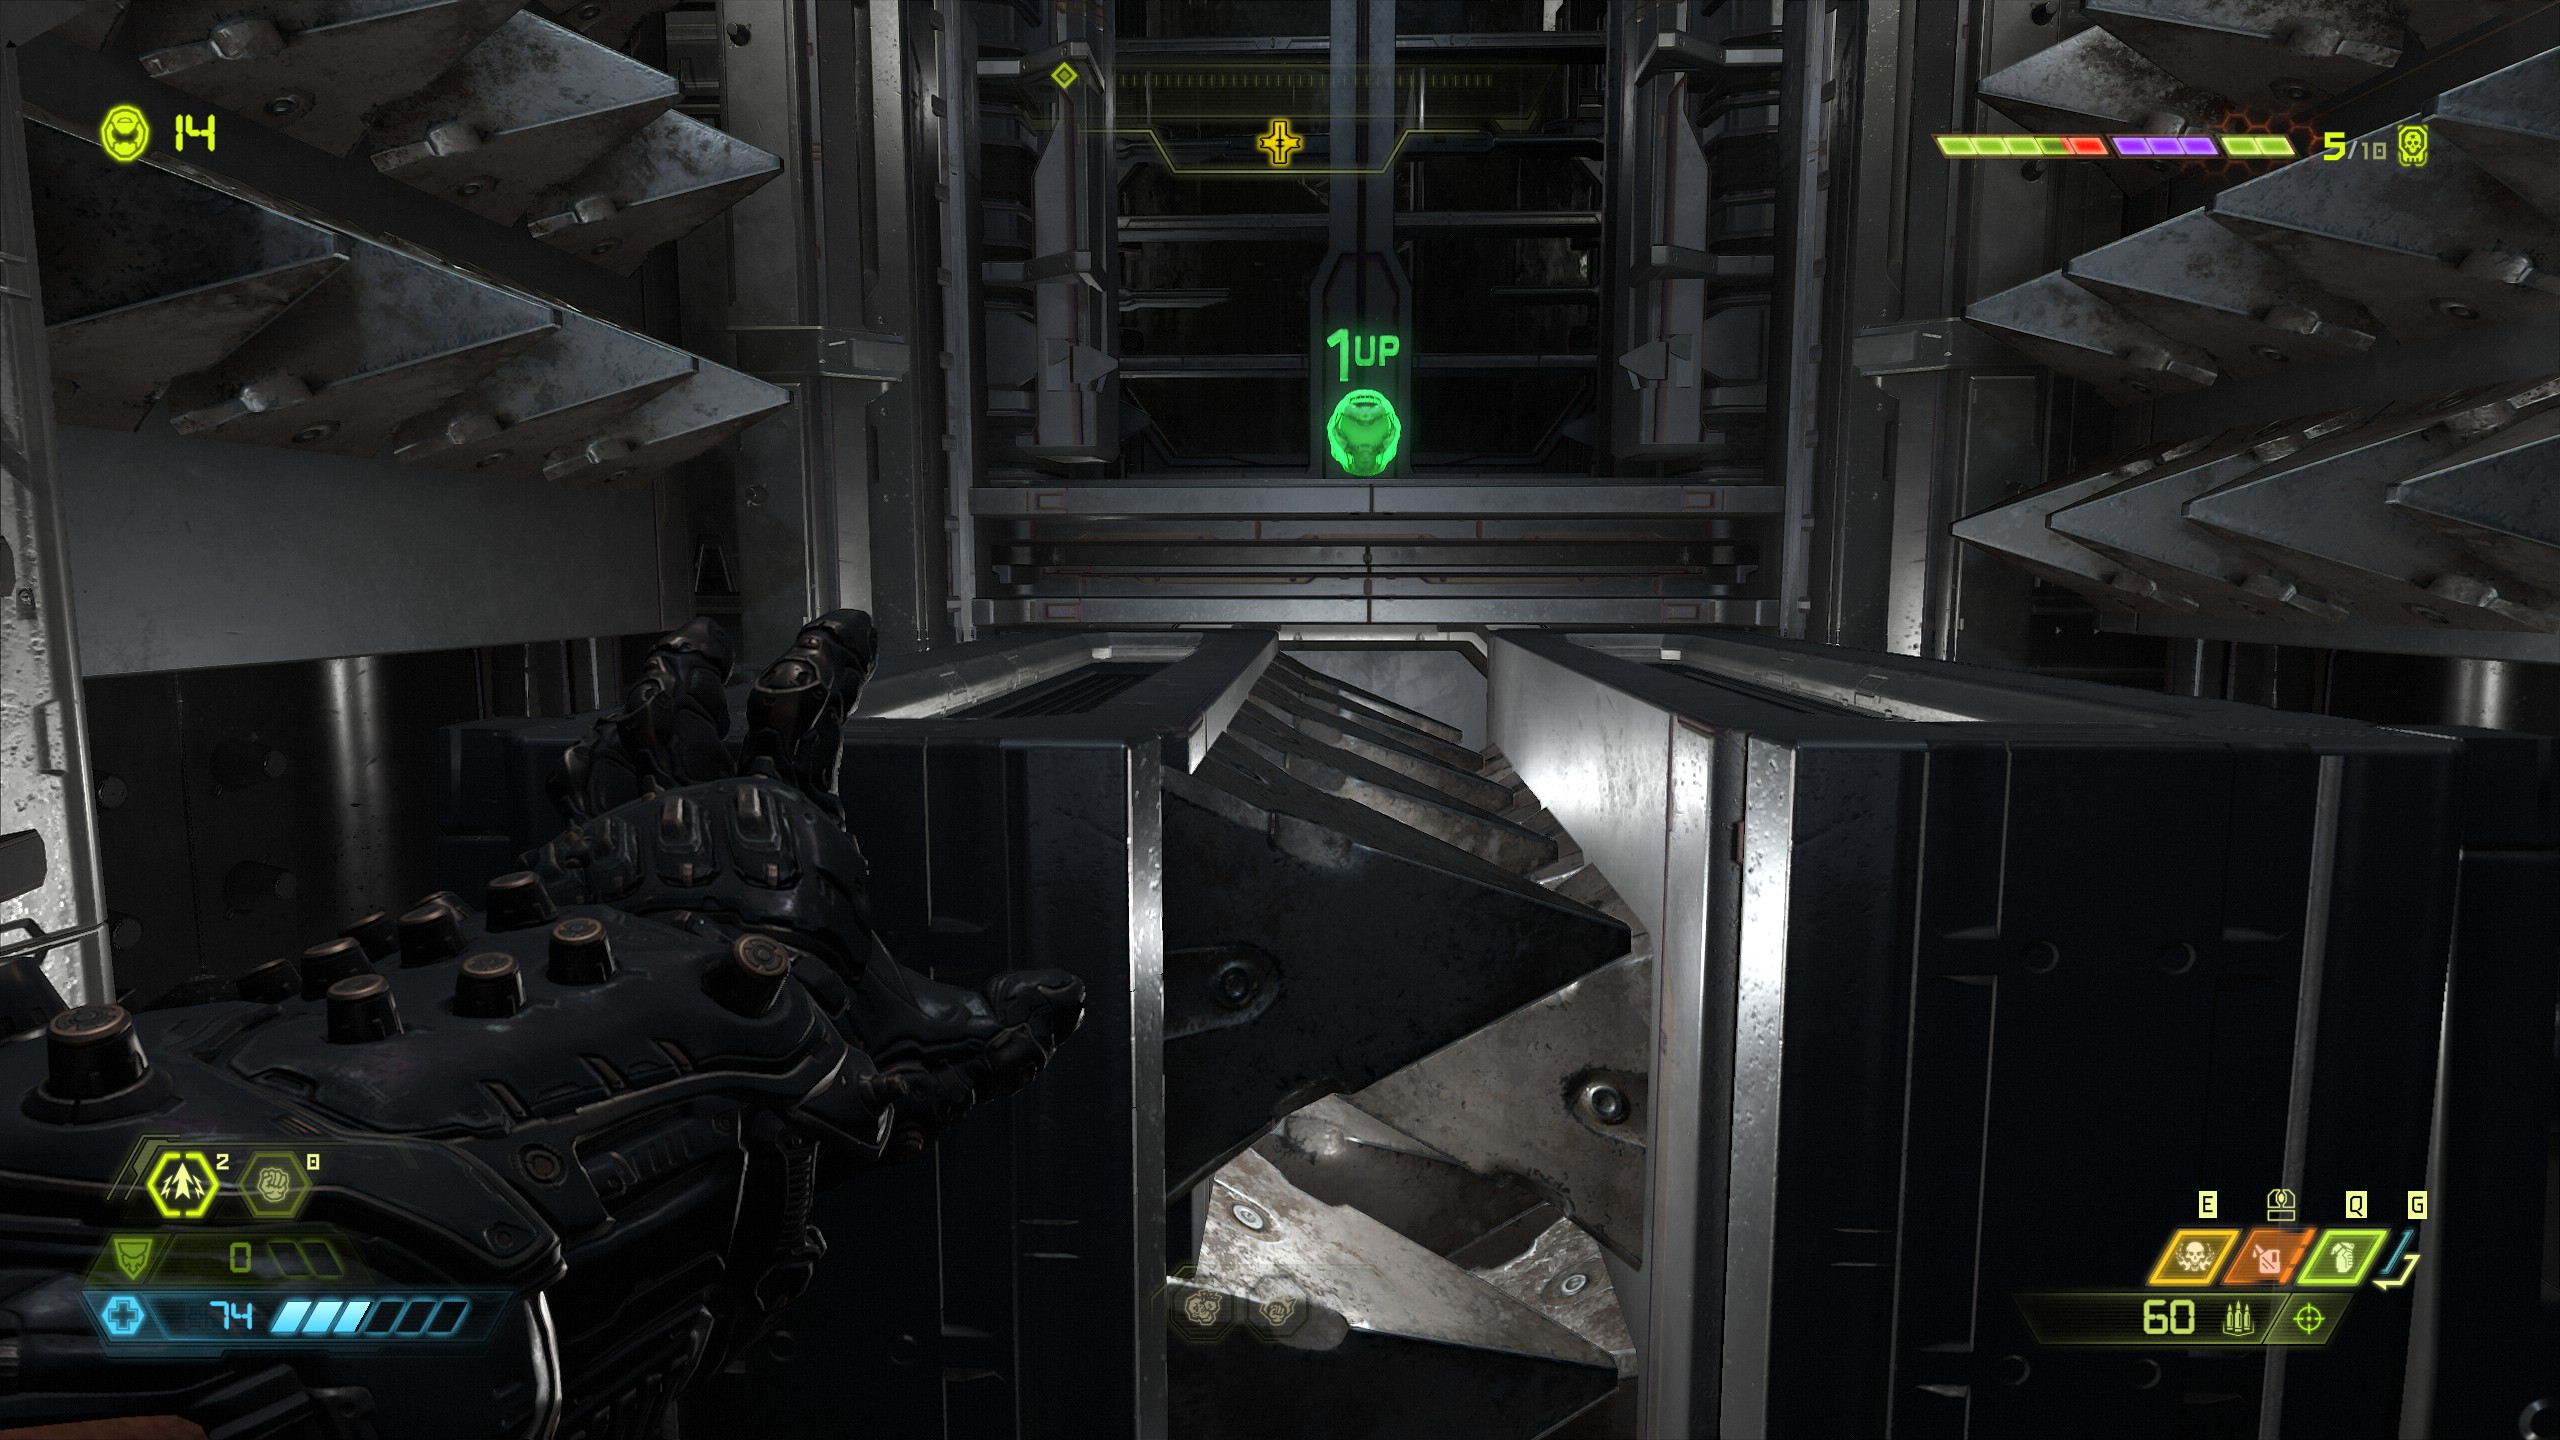
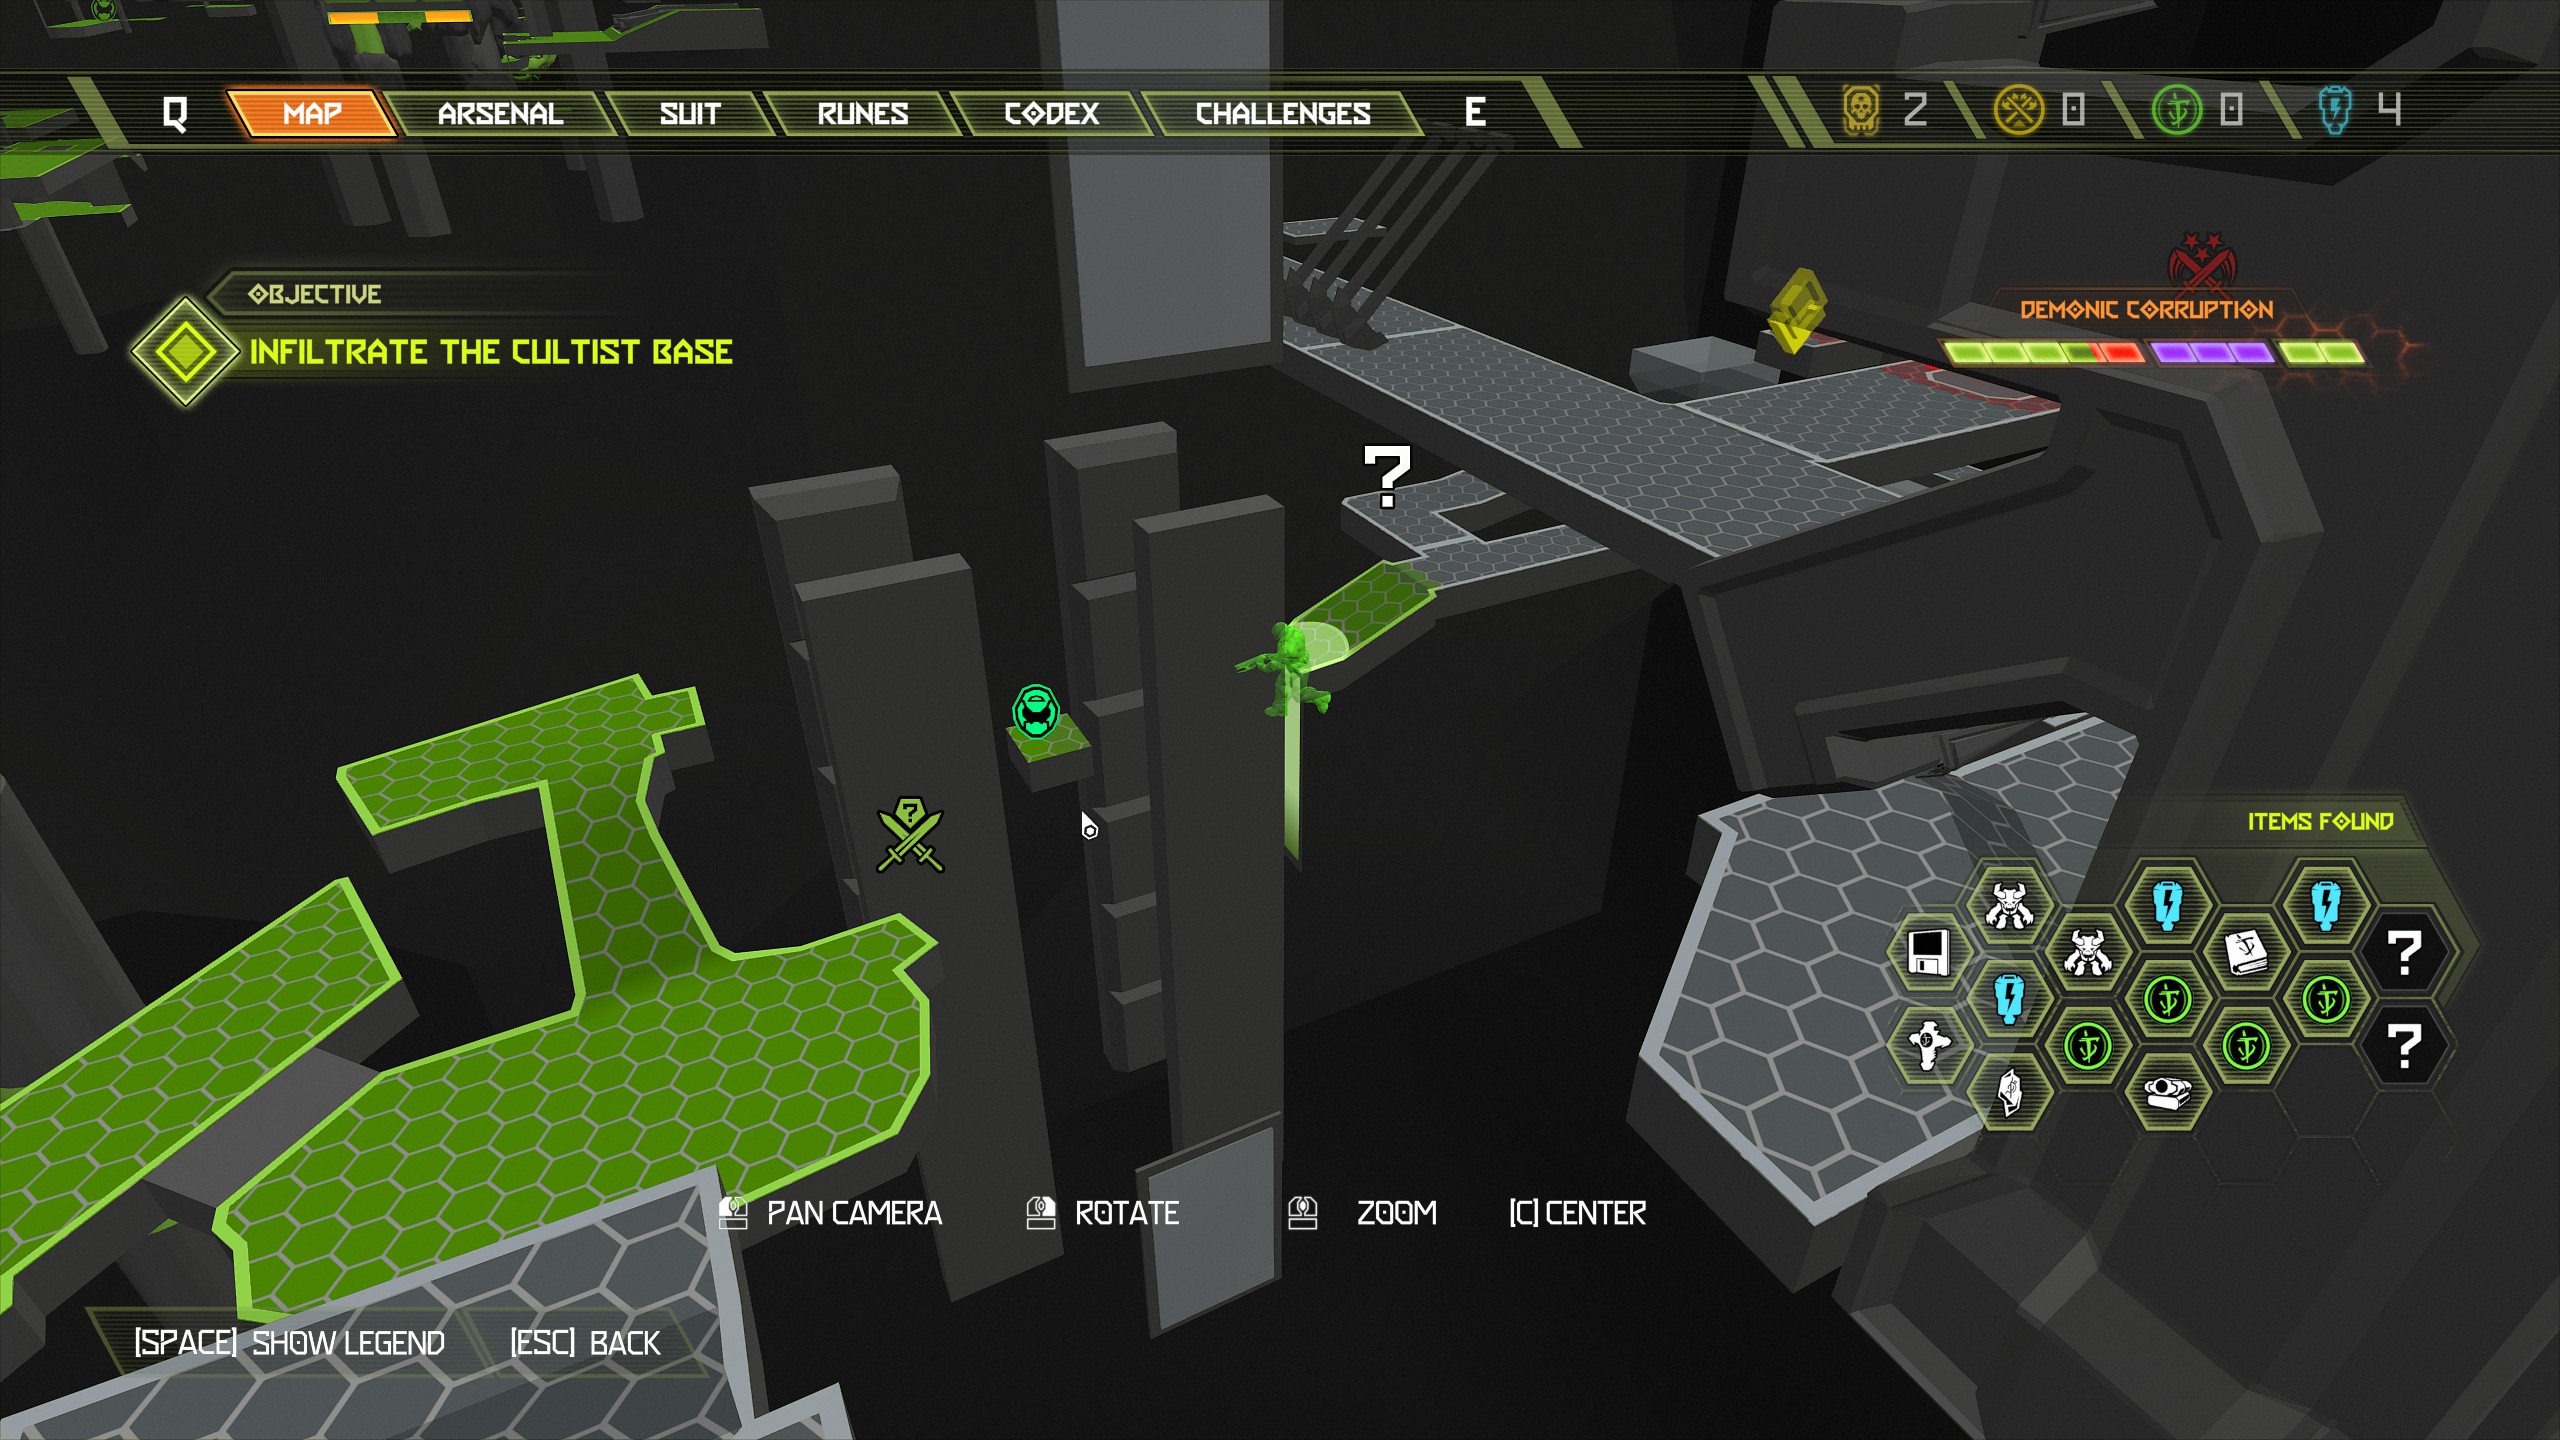
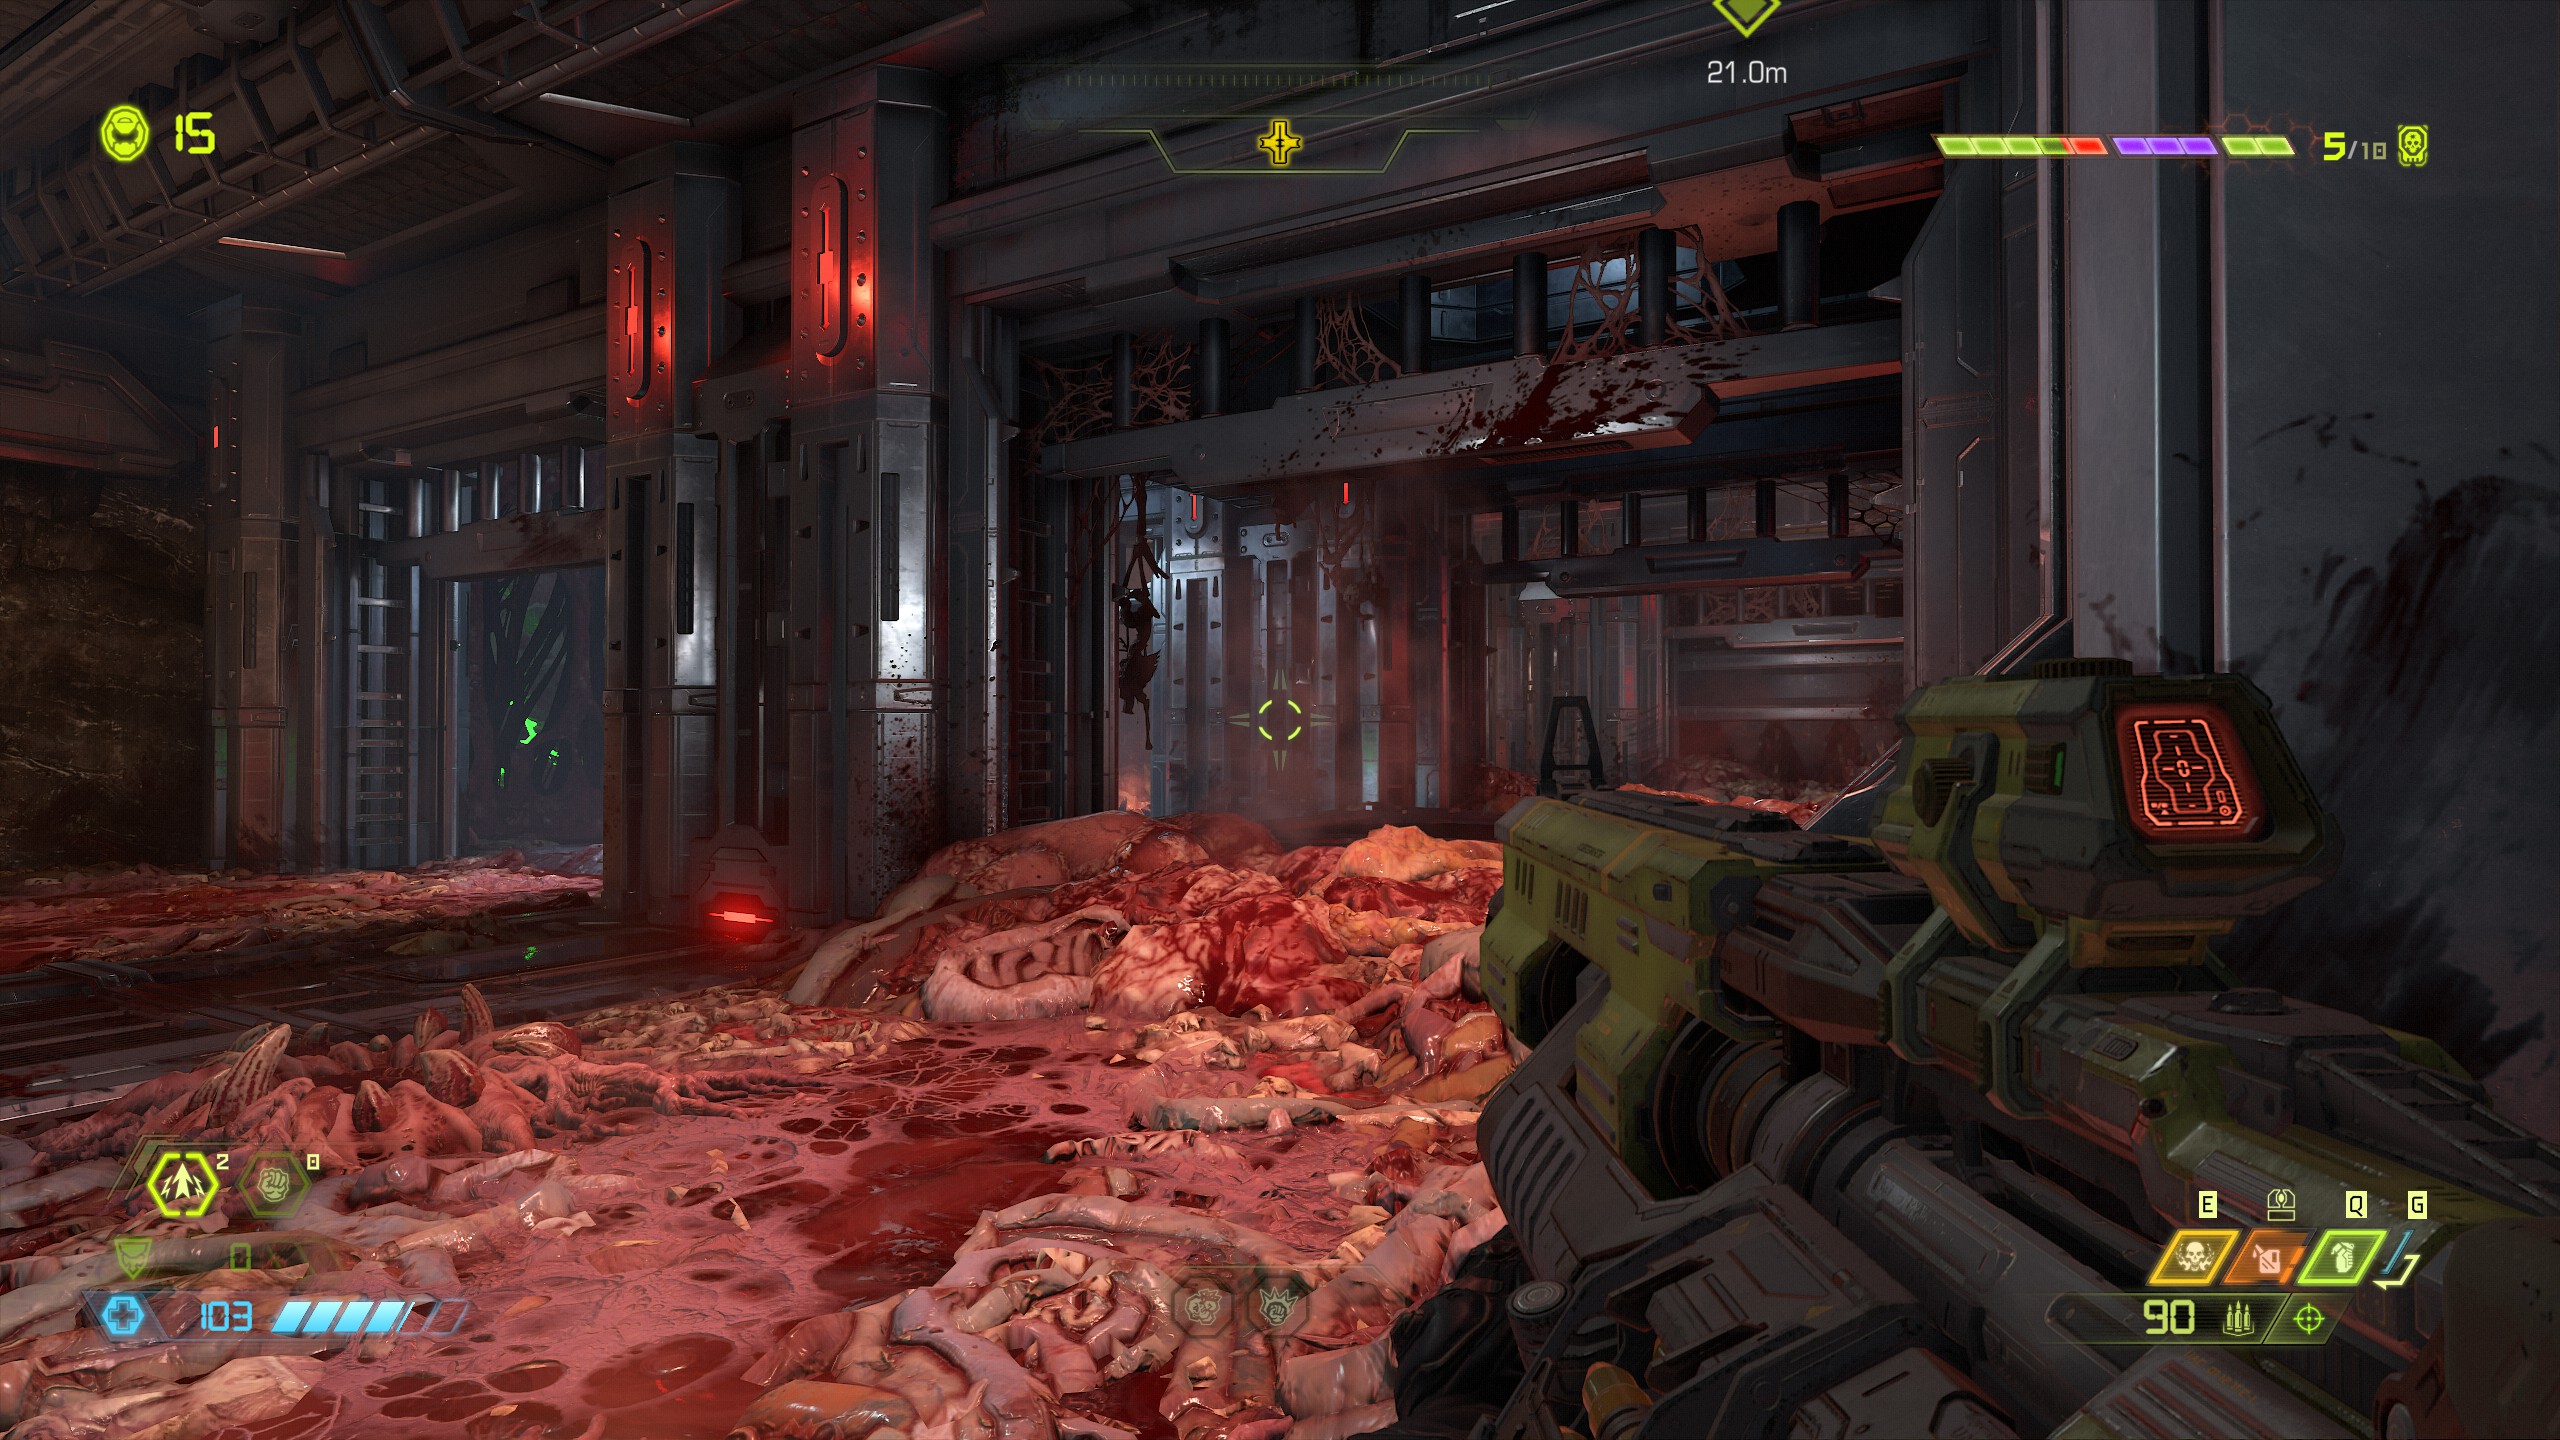
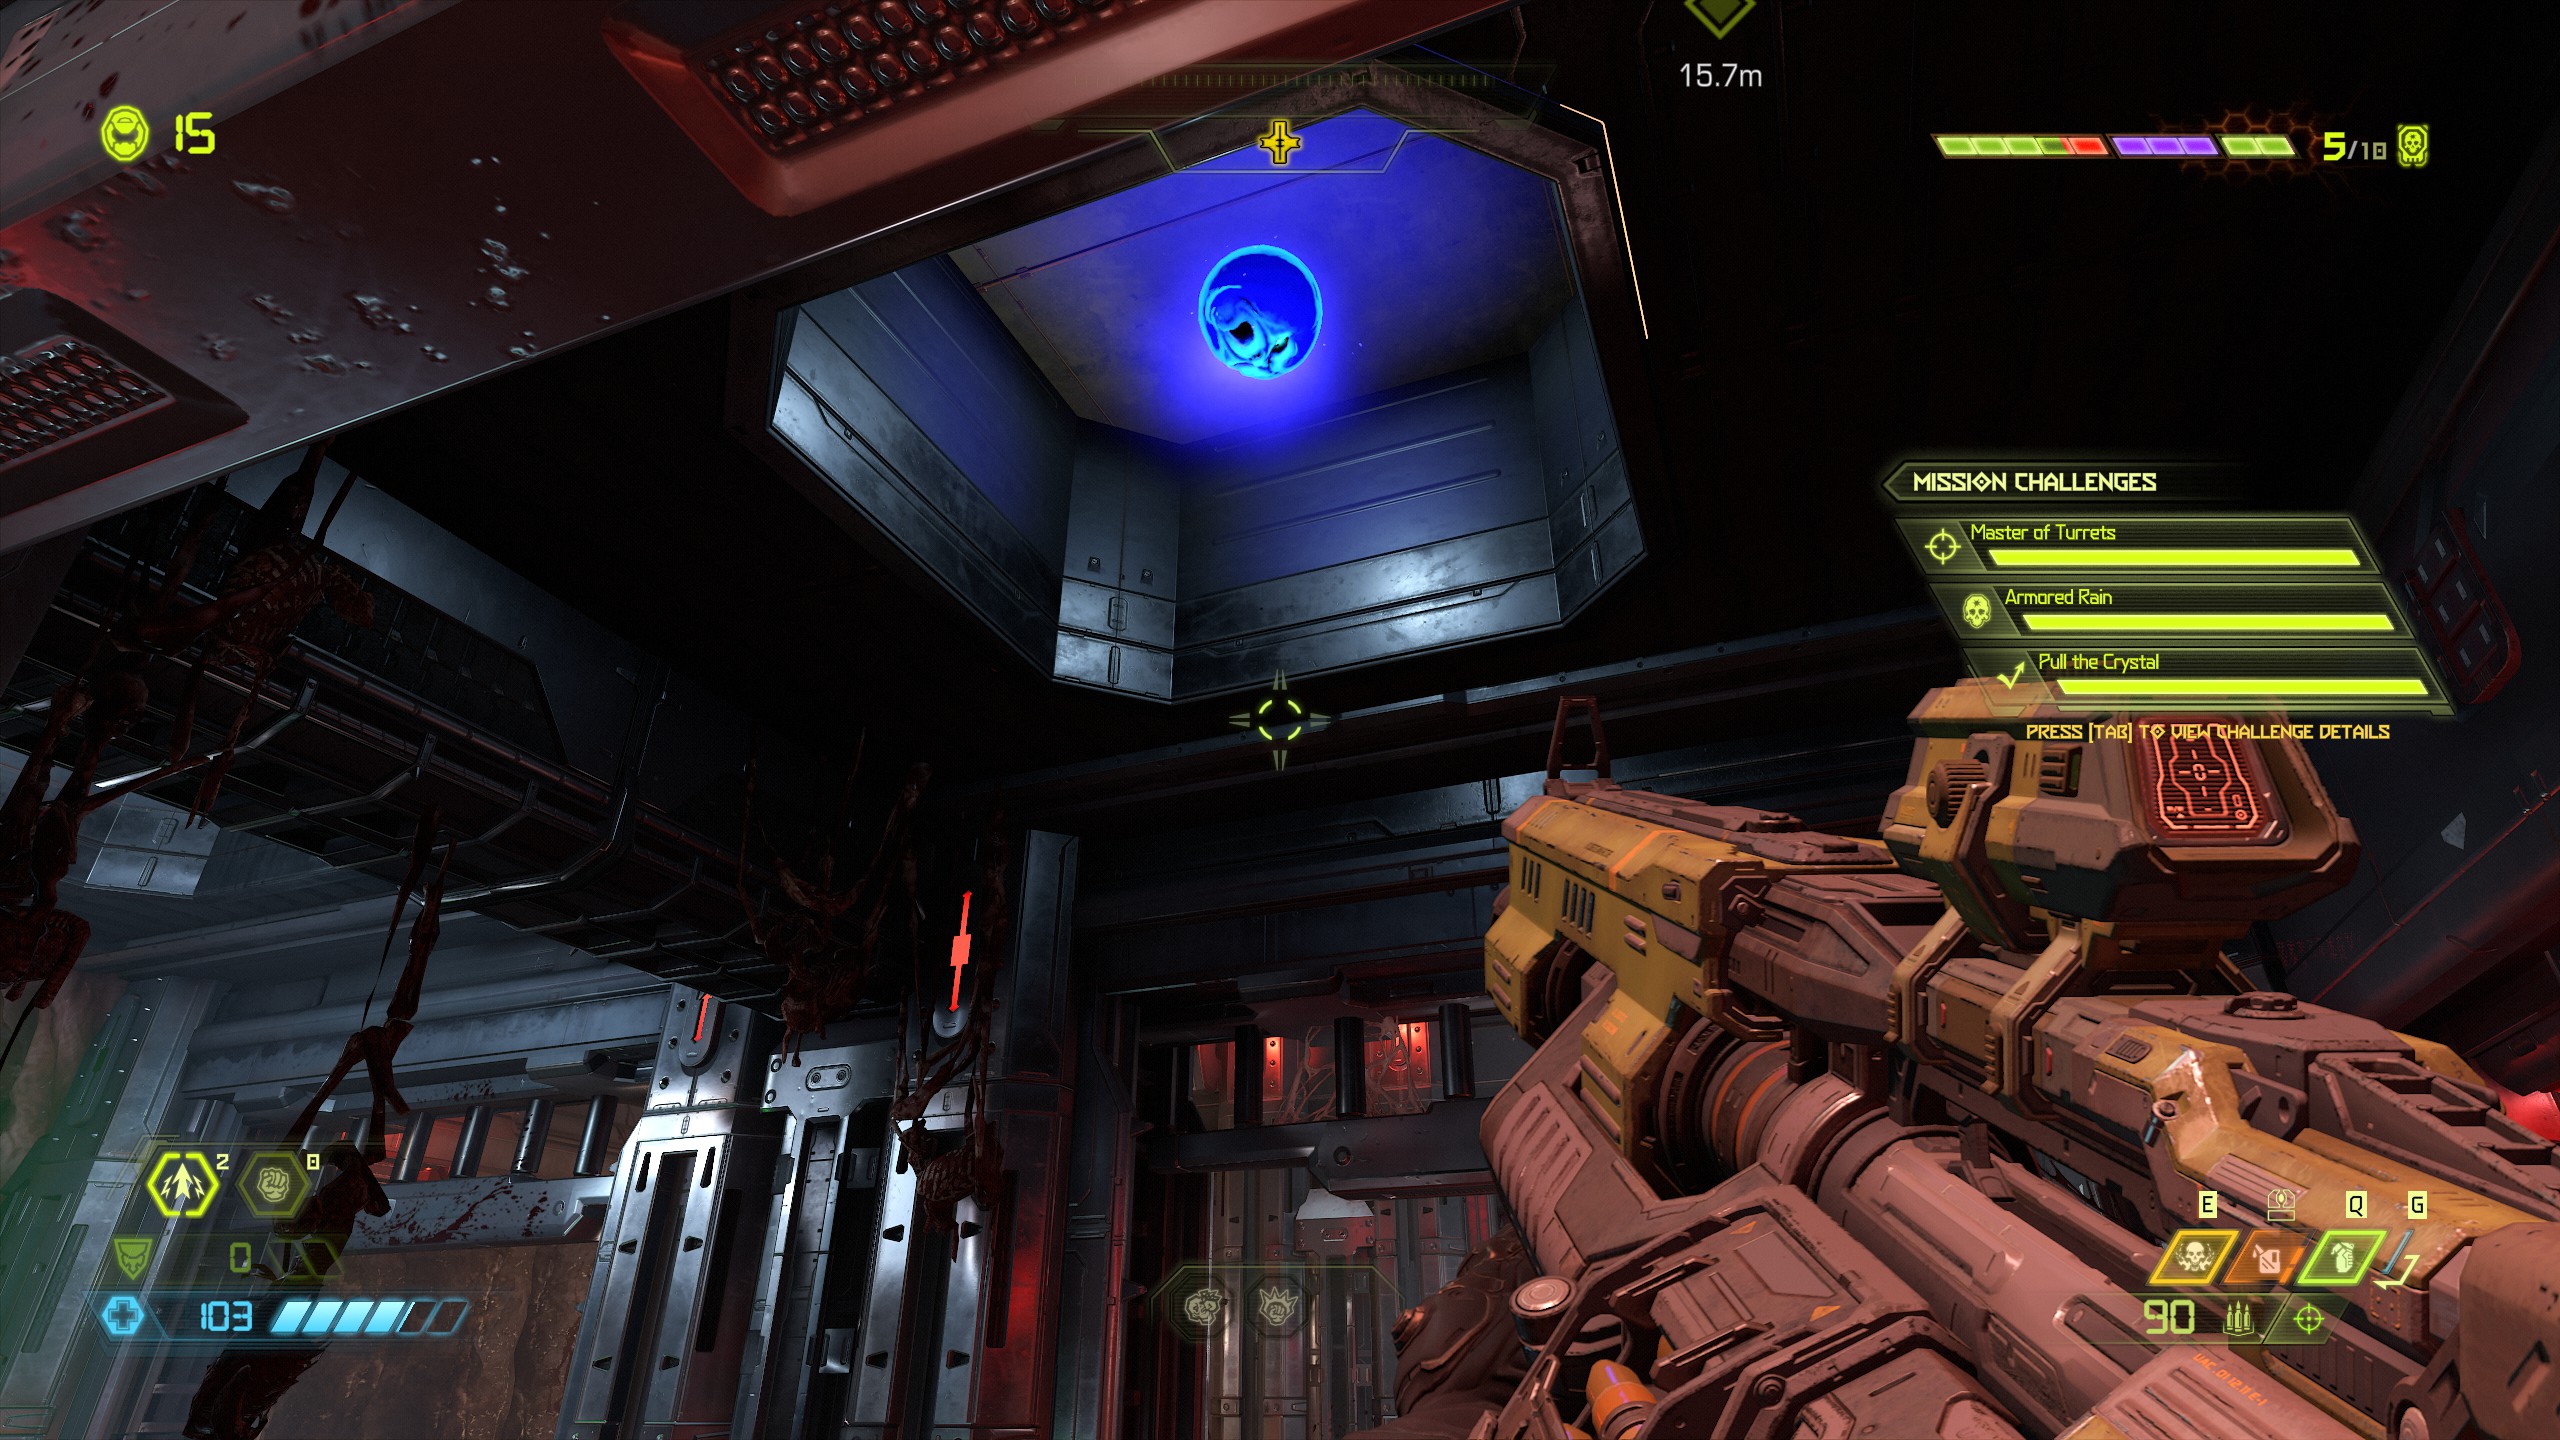
This time from where you entered the room head to the the crusher on the far left side, when it hits the ground walk through to the left side and further along will be an album. Now continue the mission until you're lifted up to the outside.
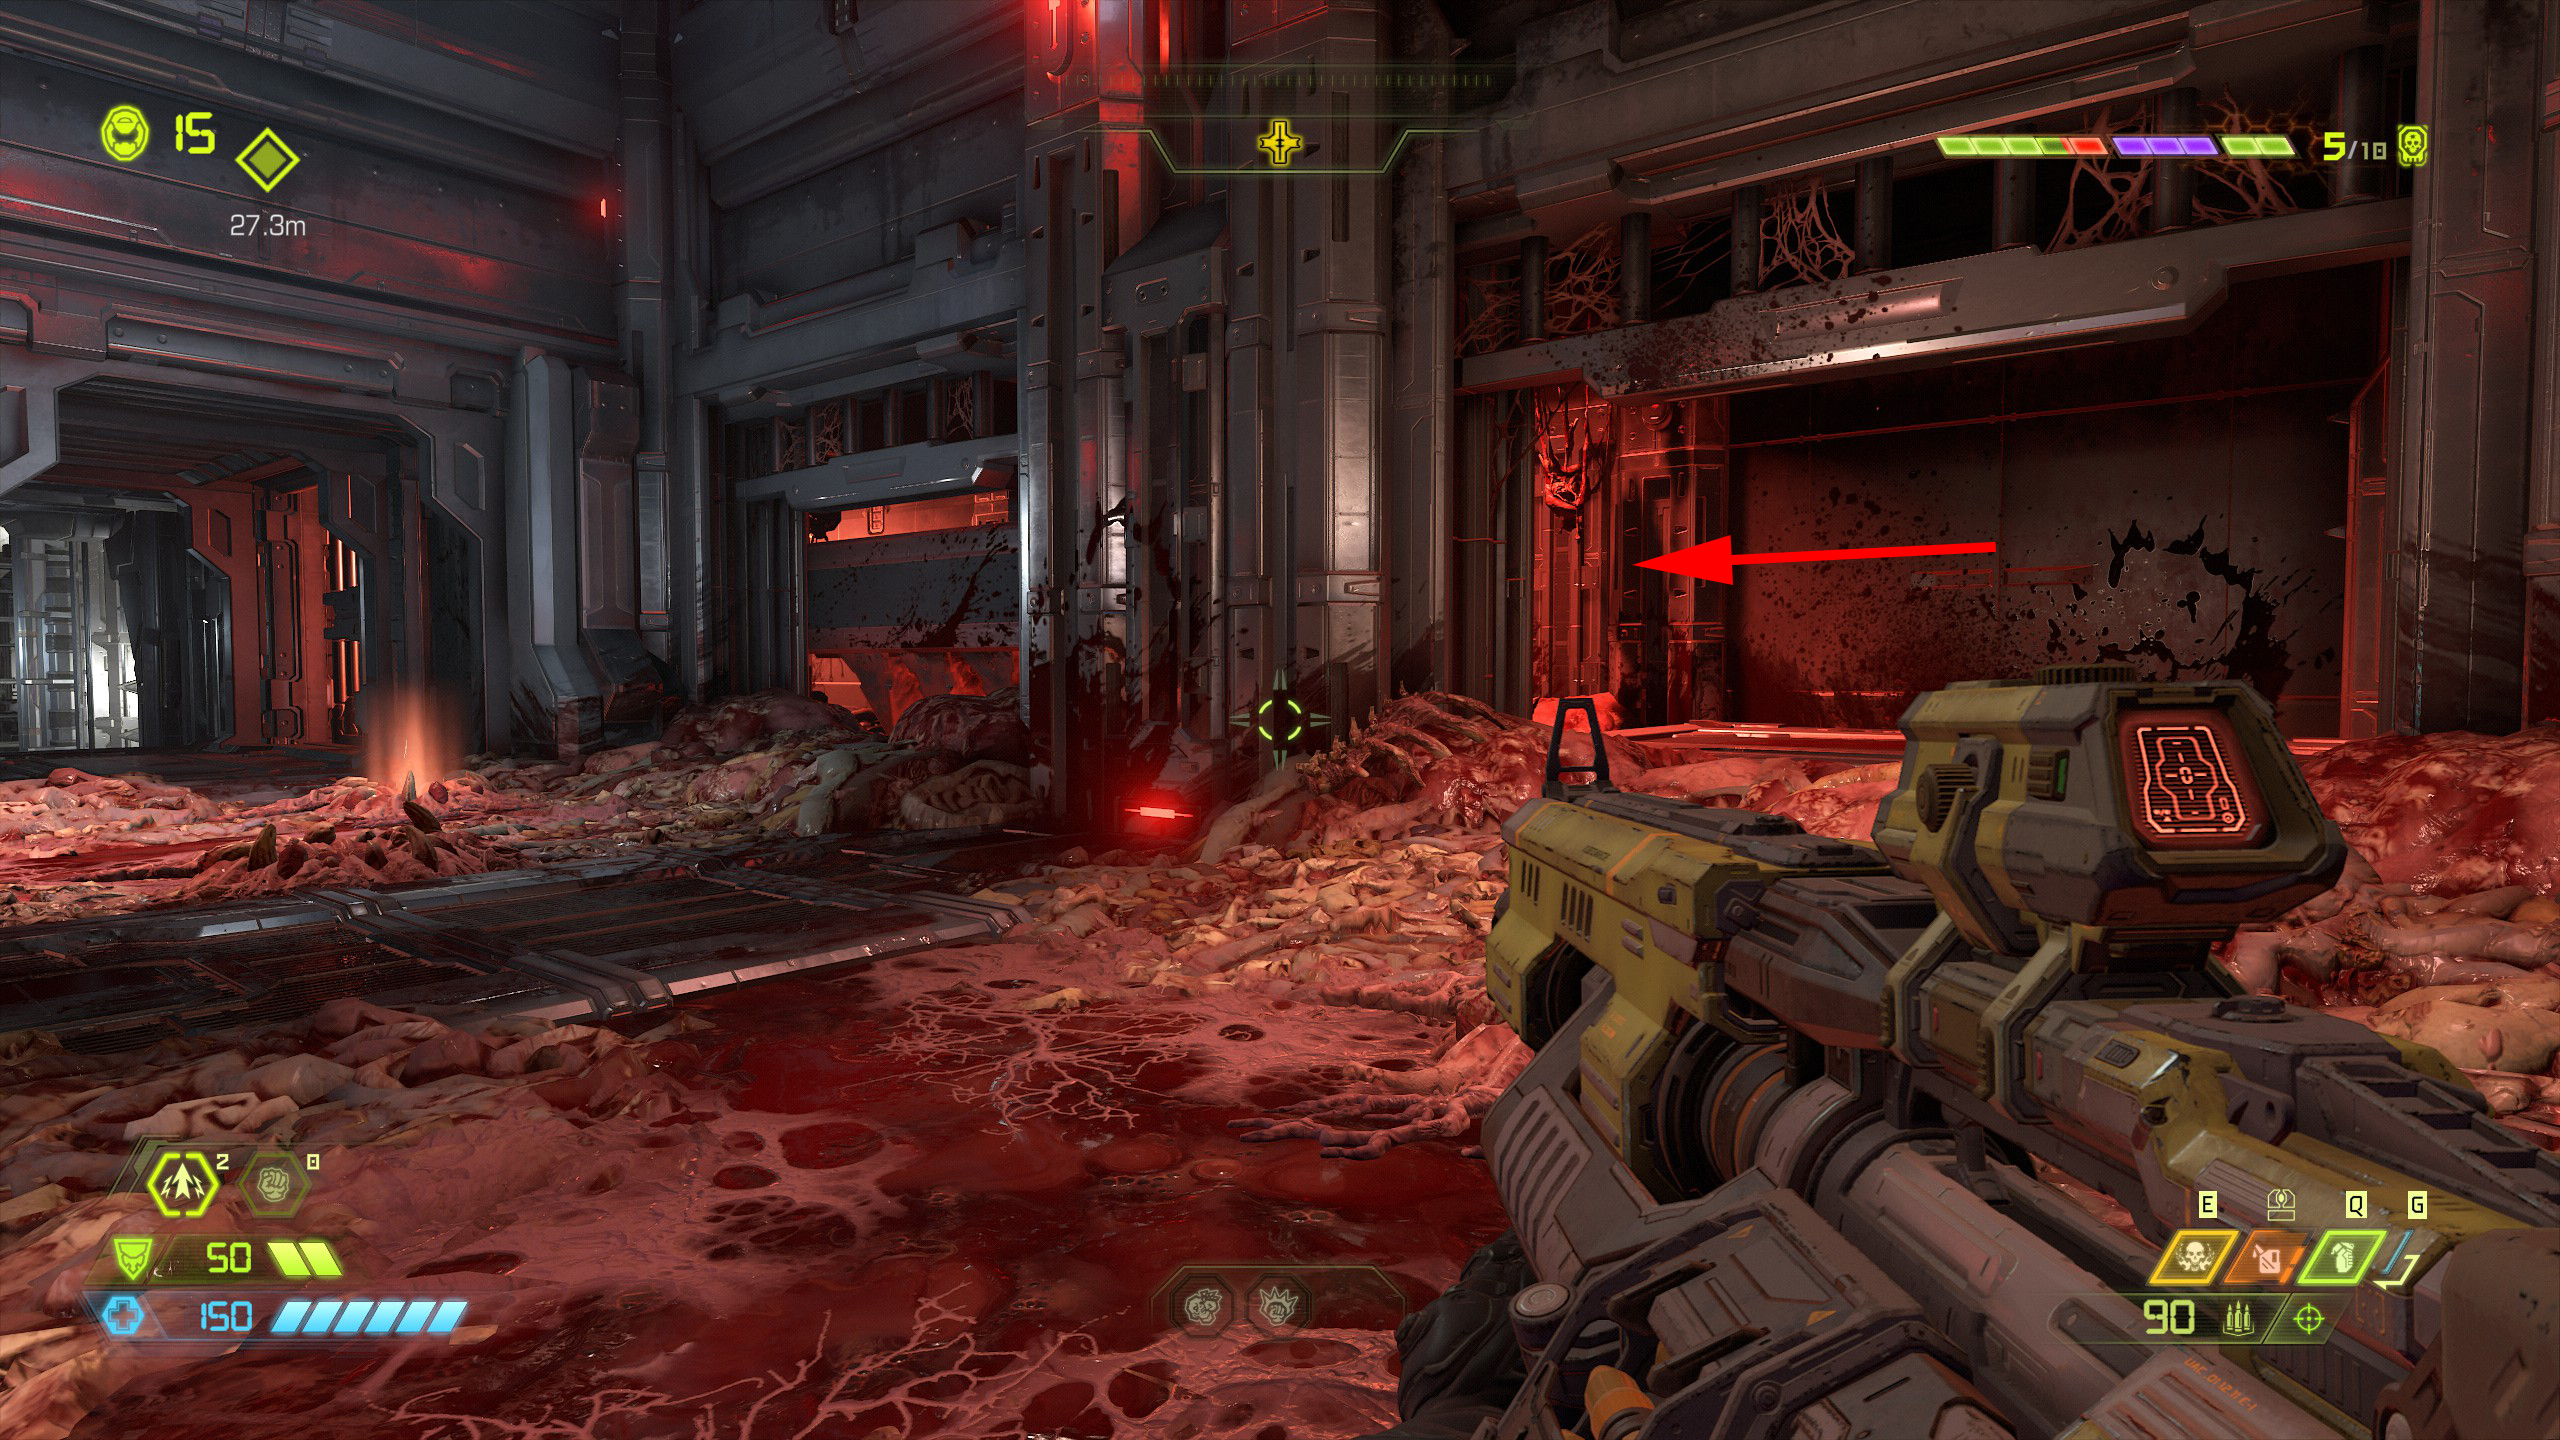
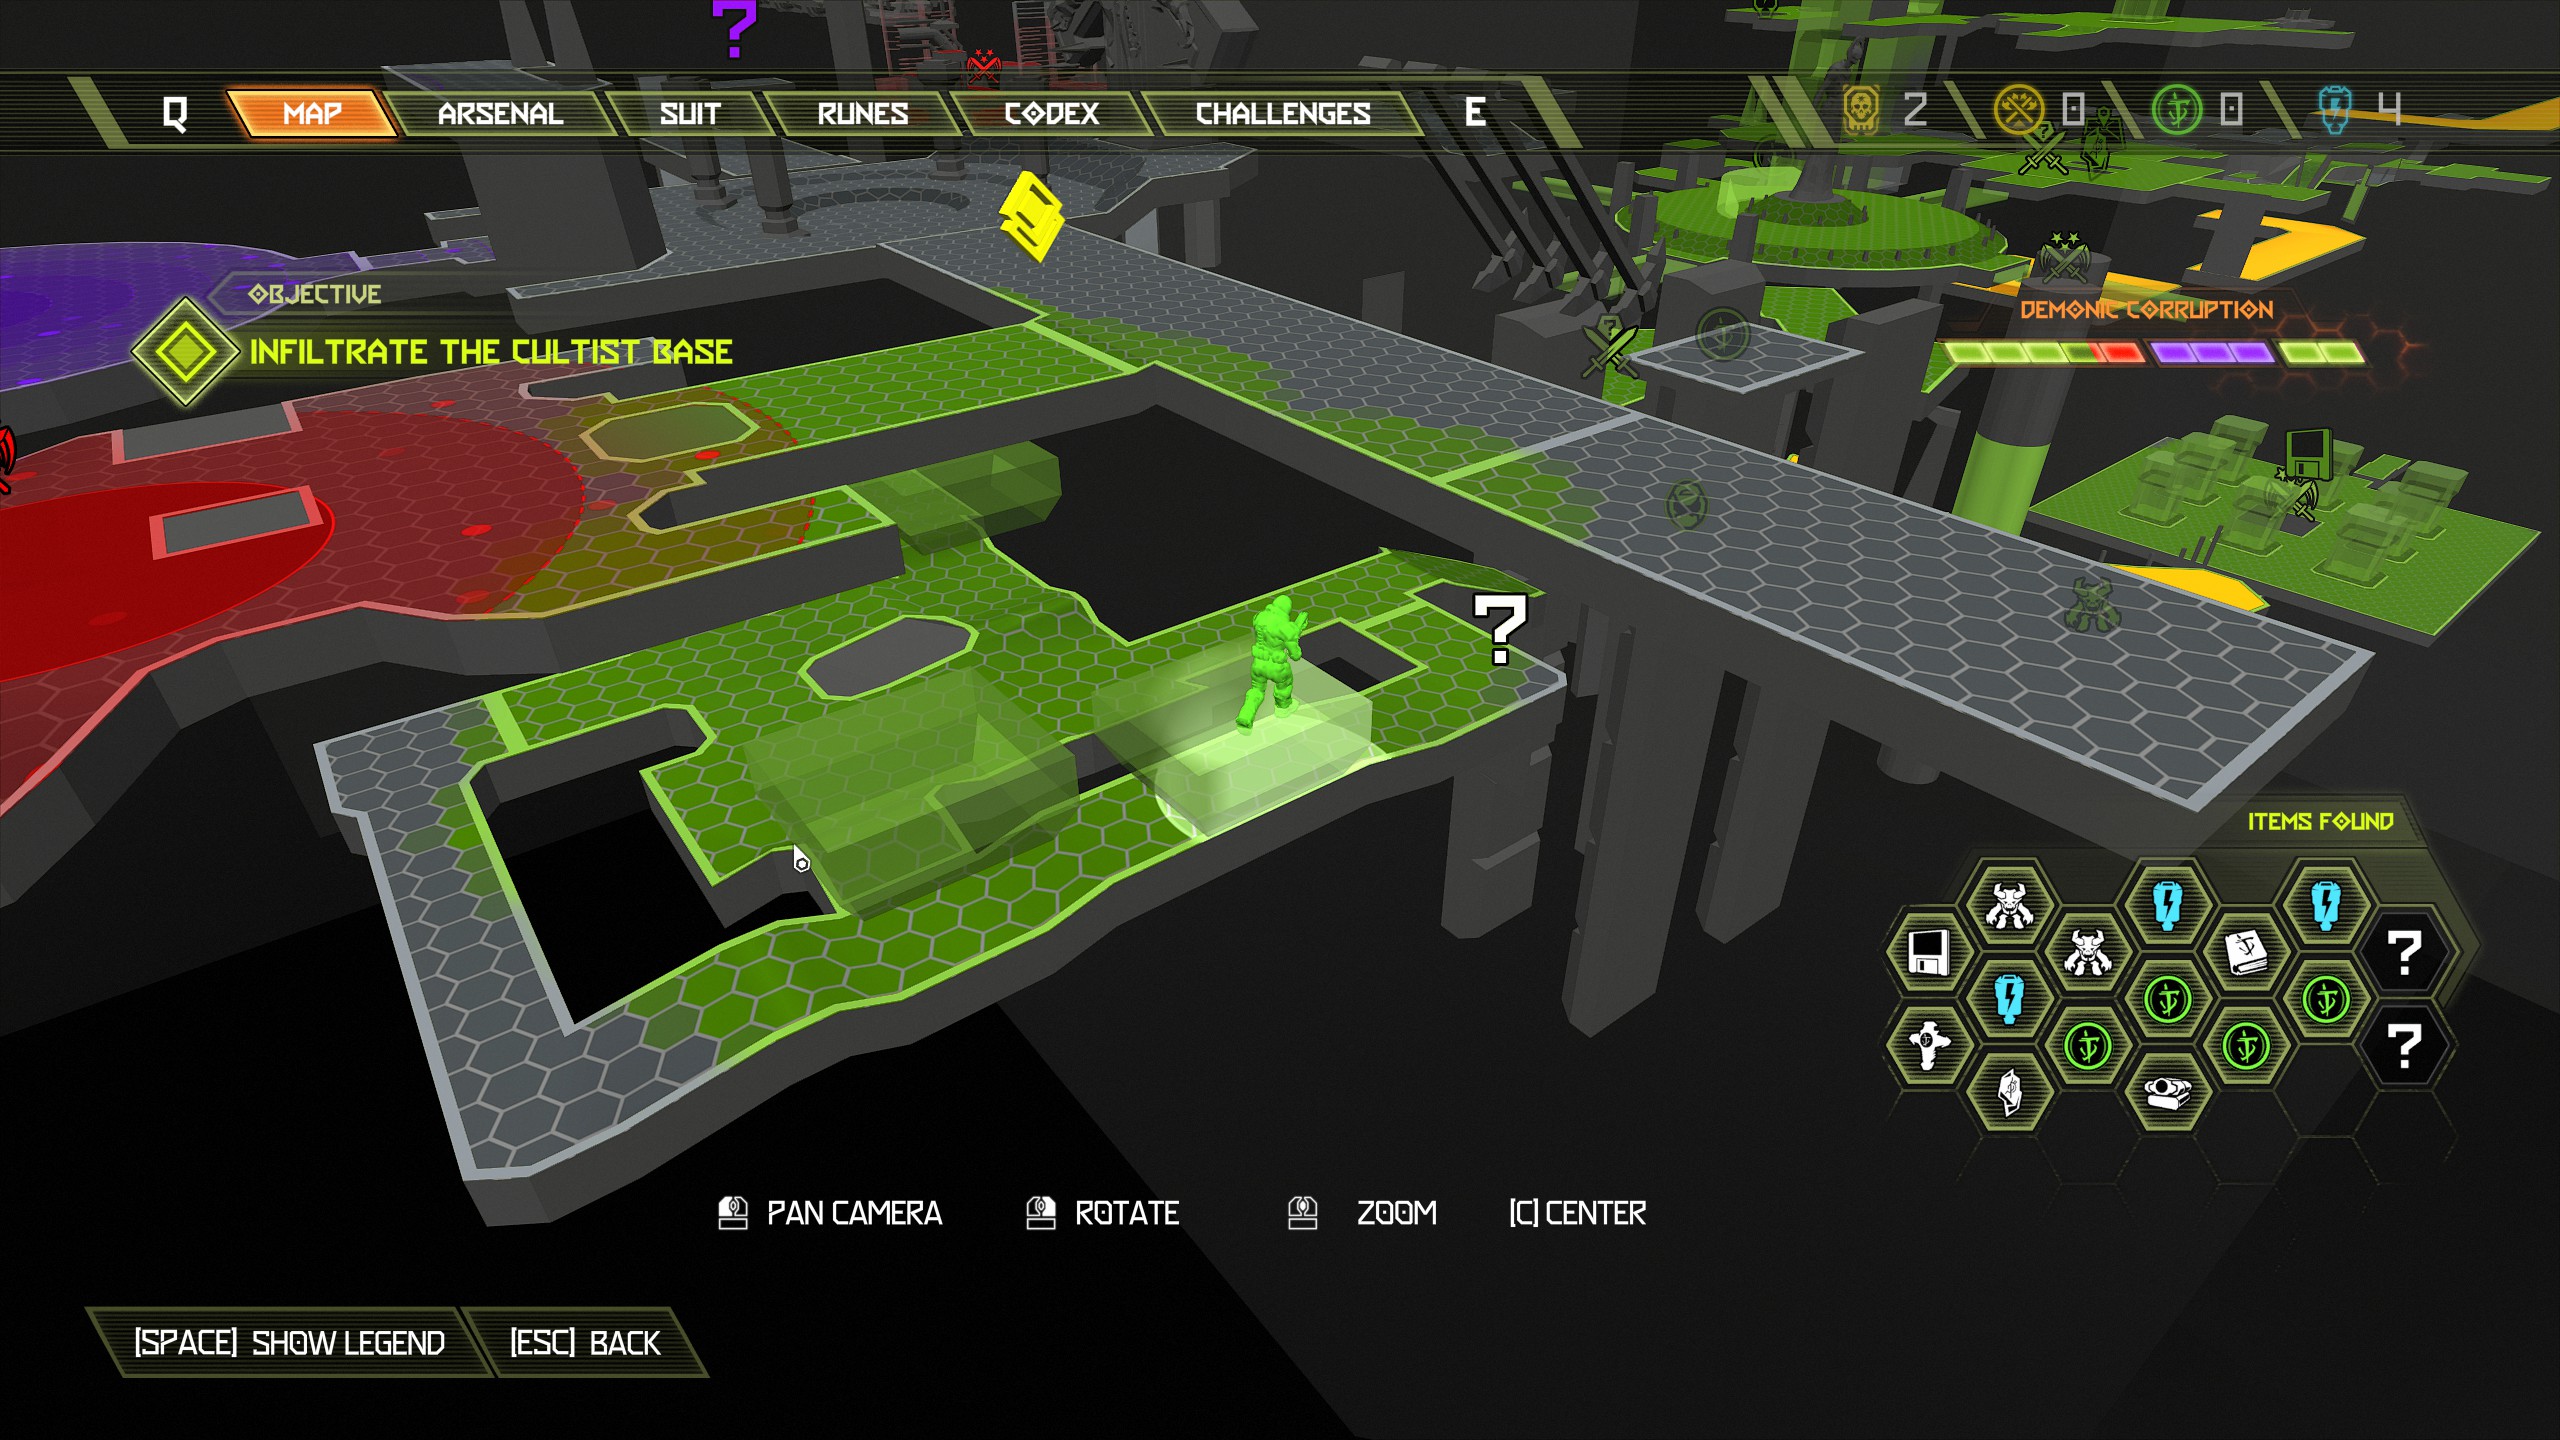
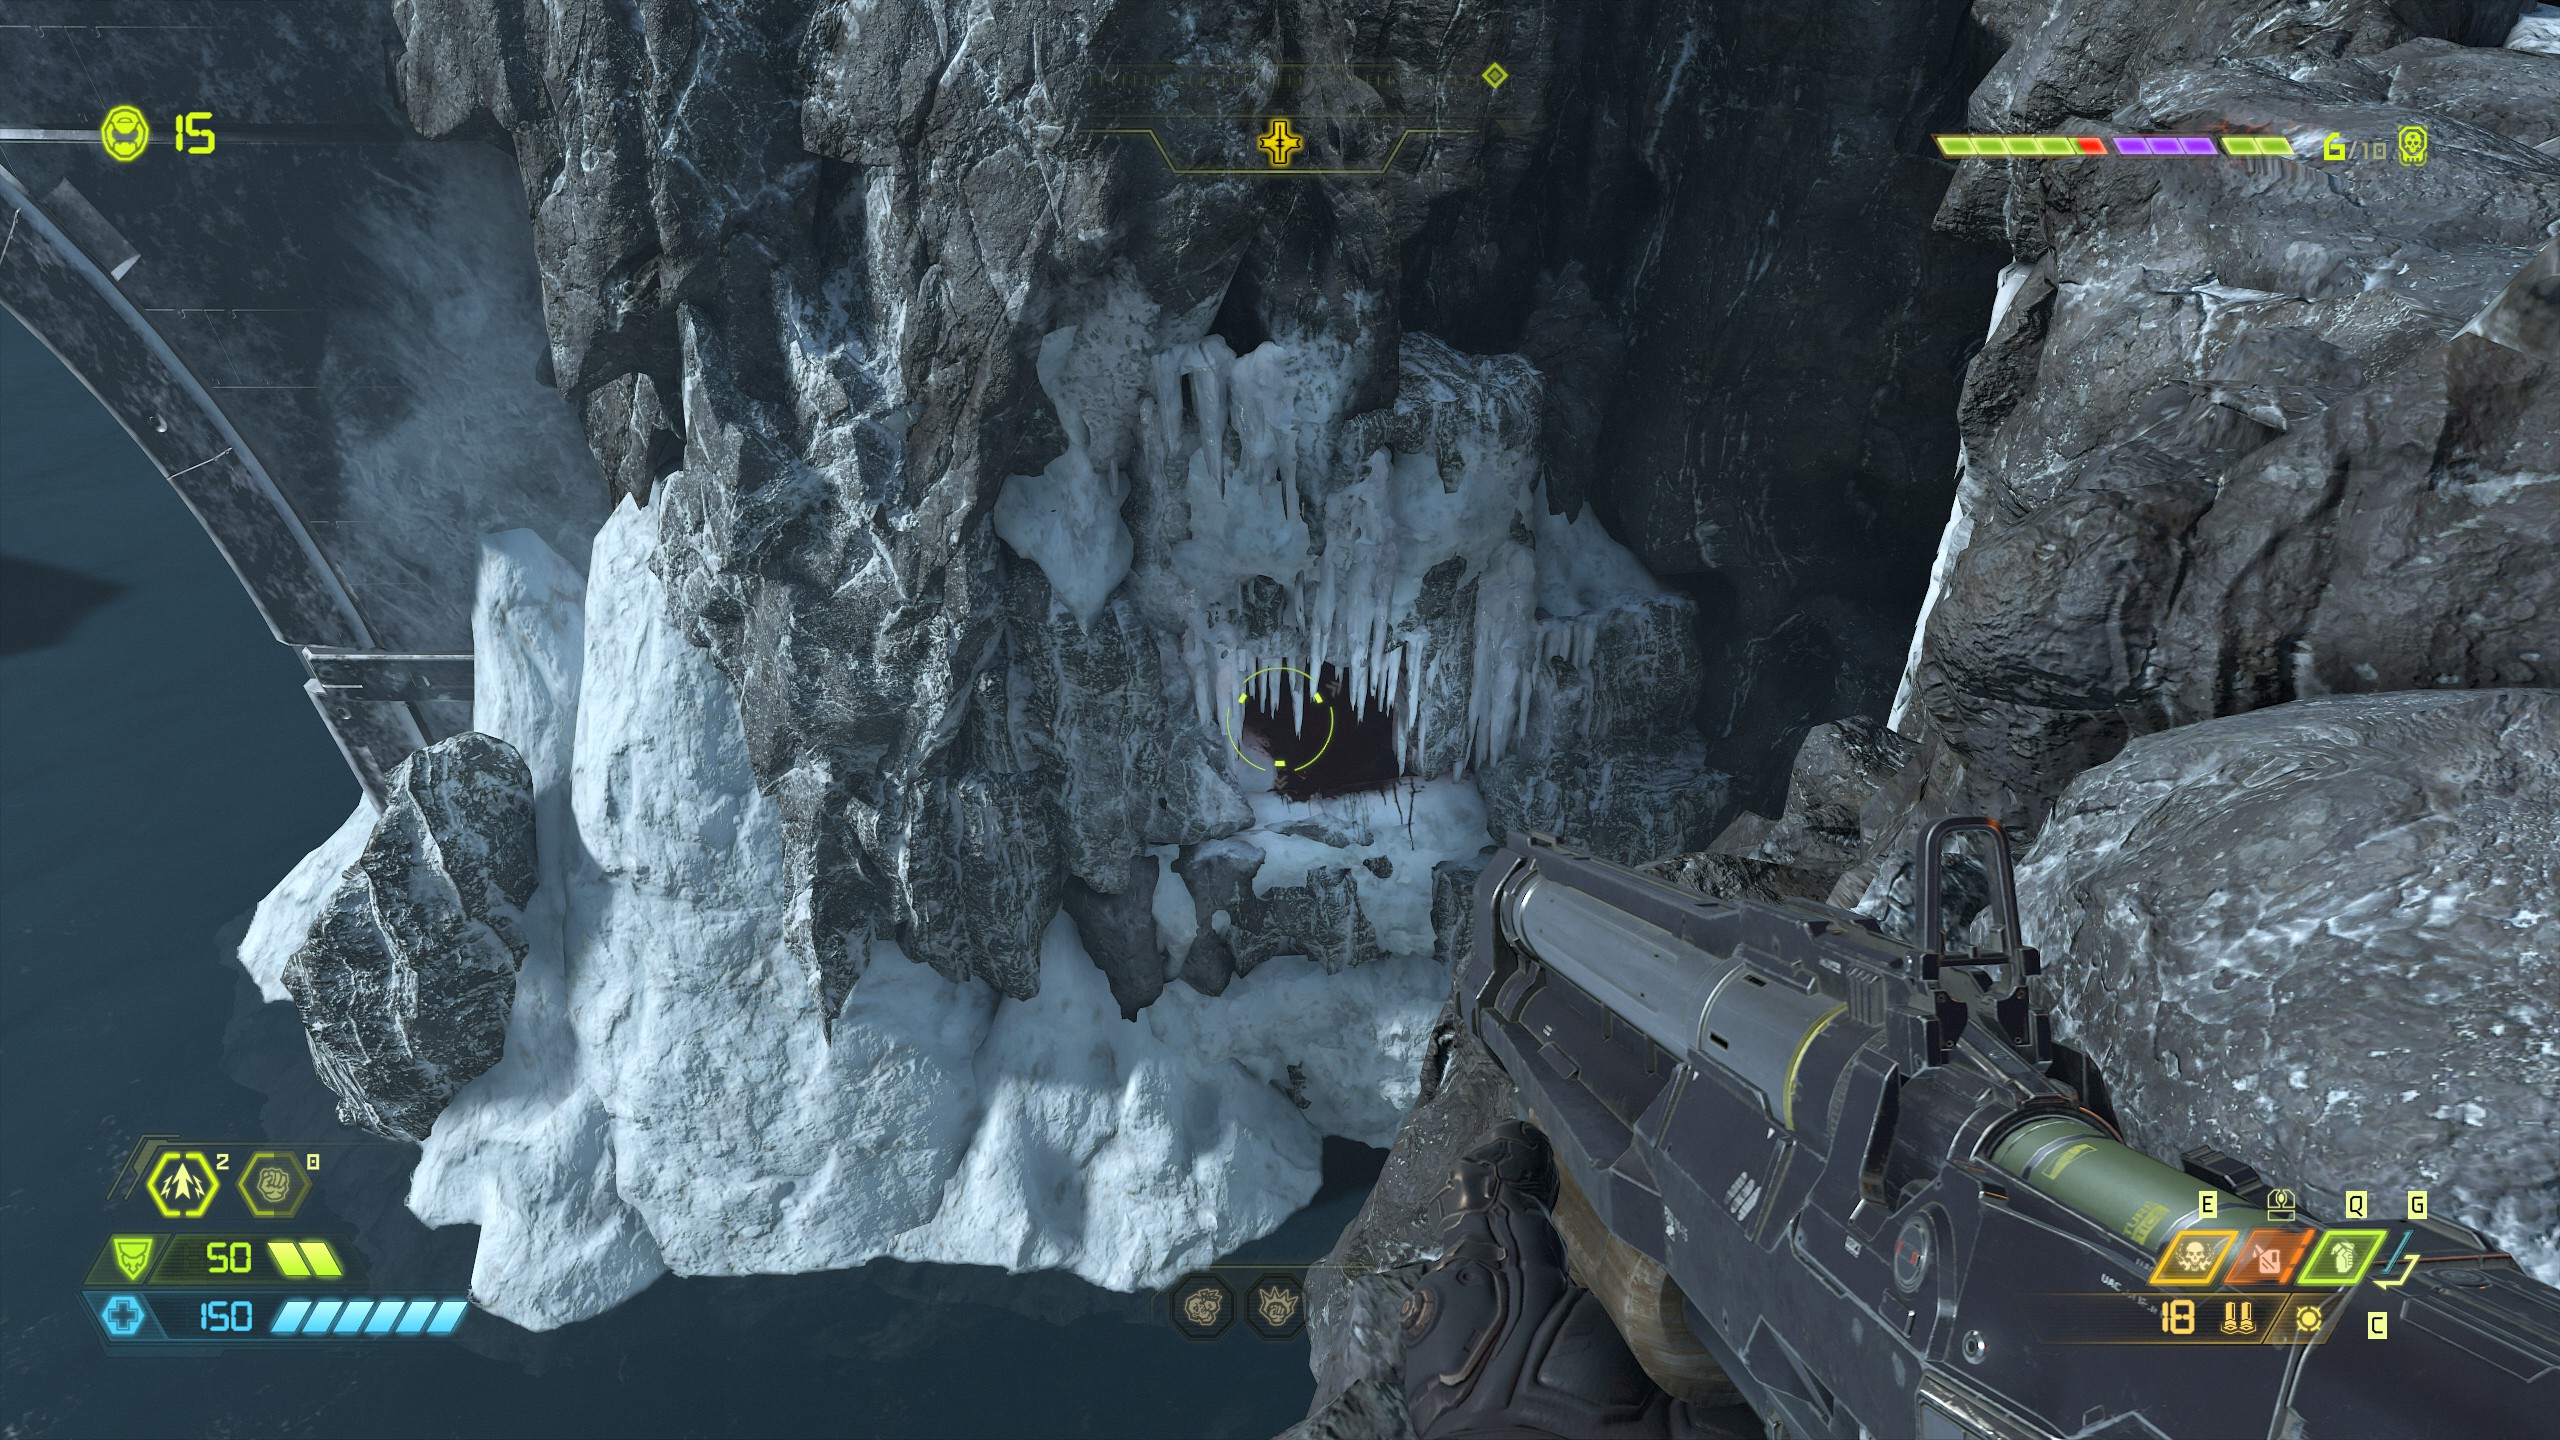
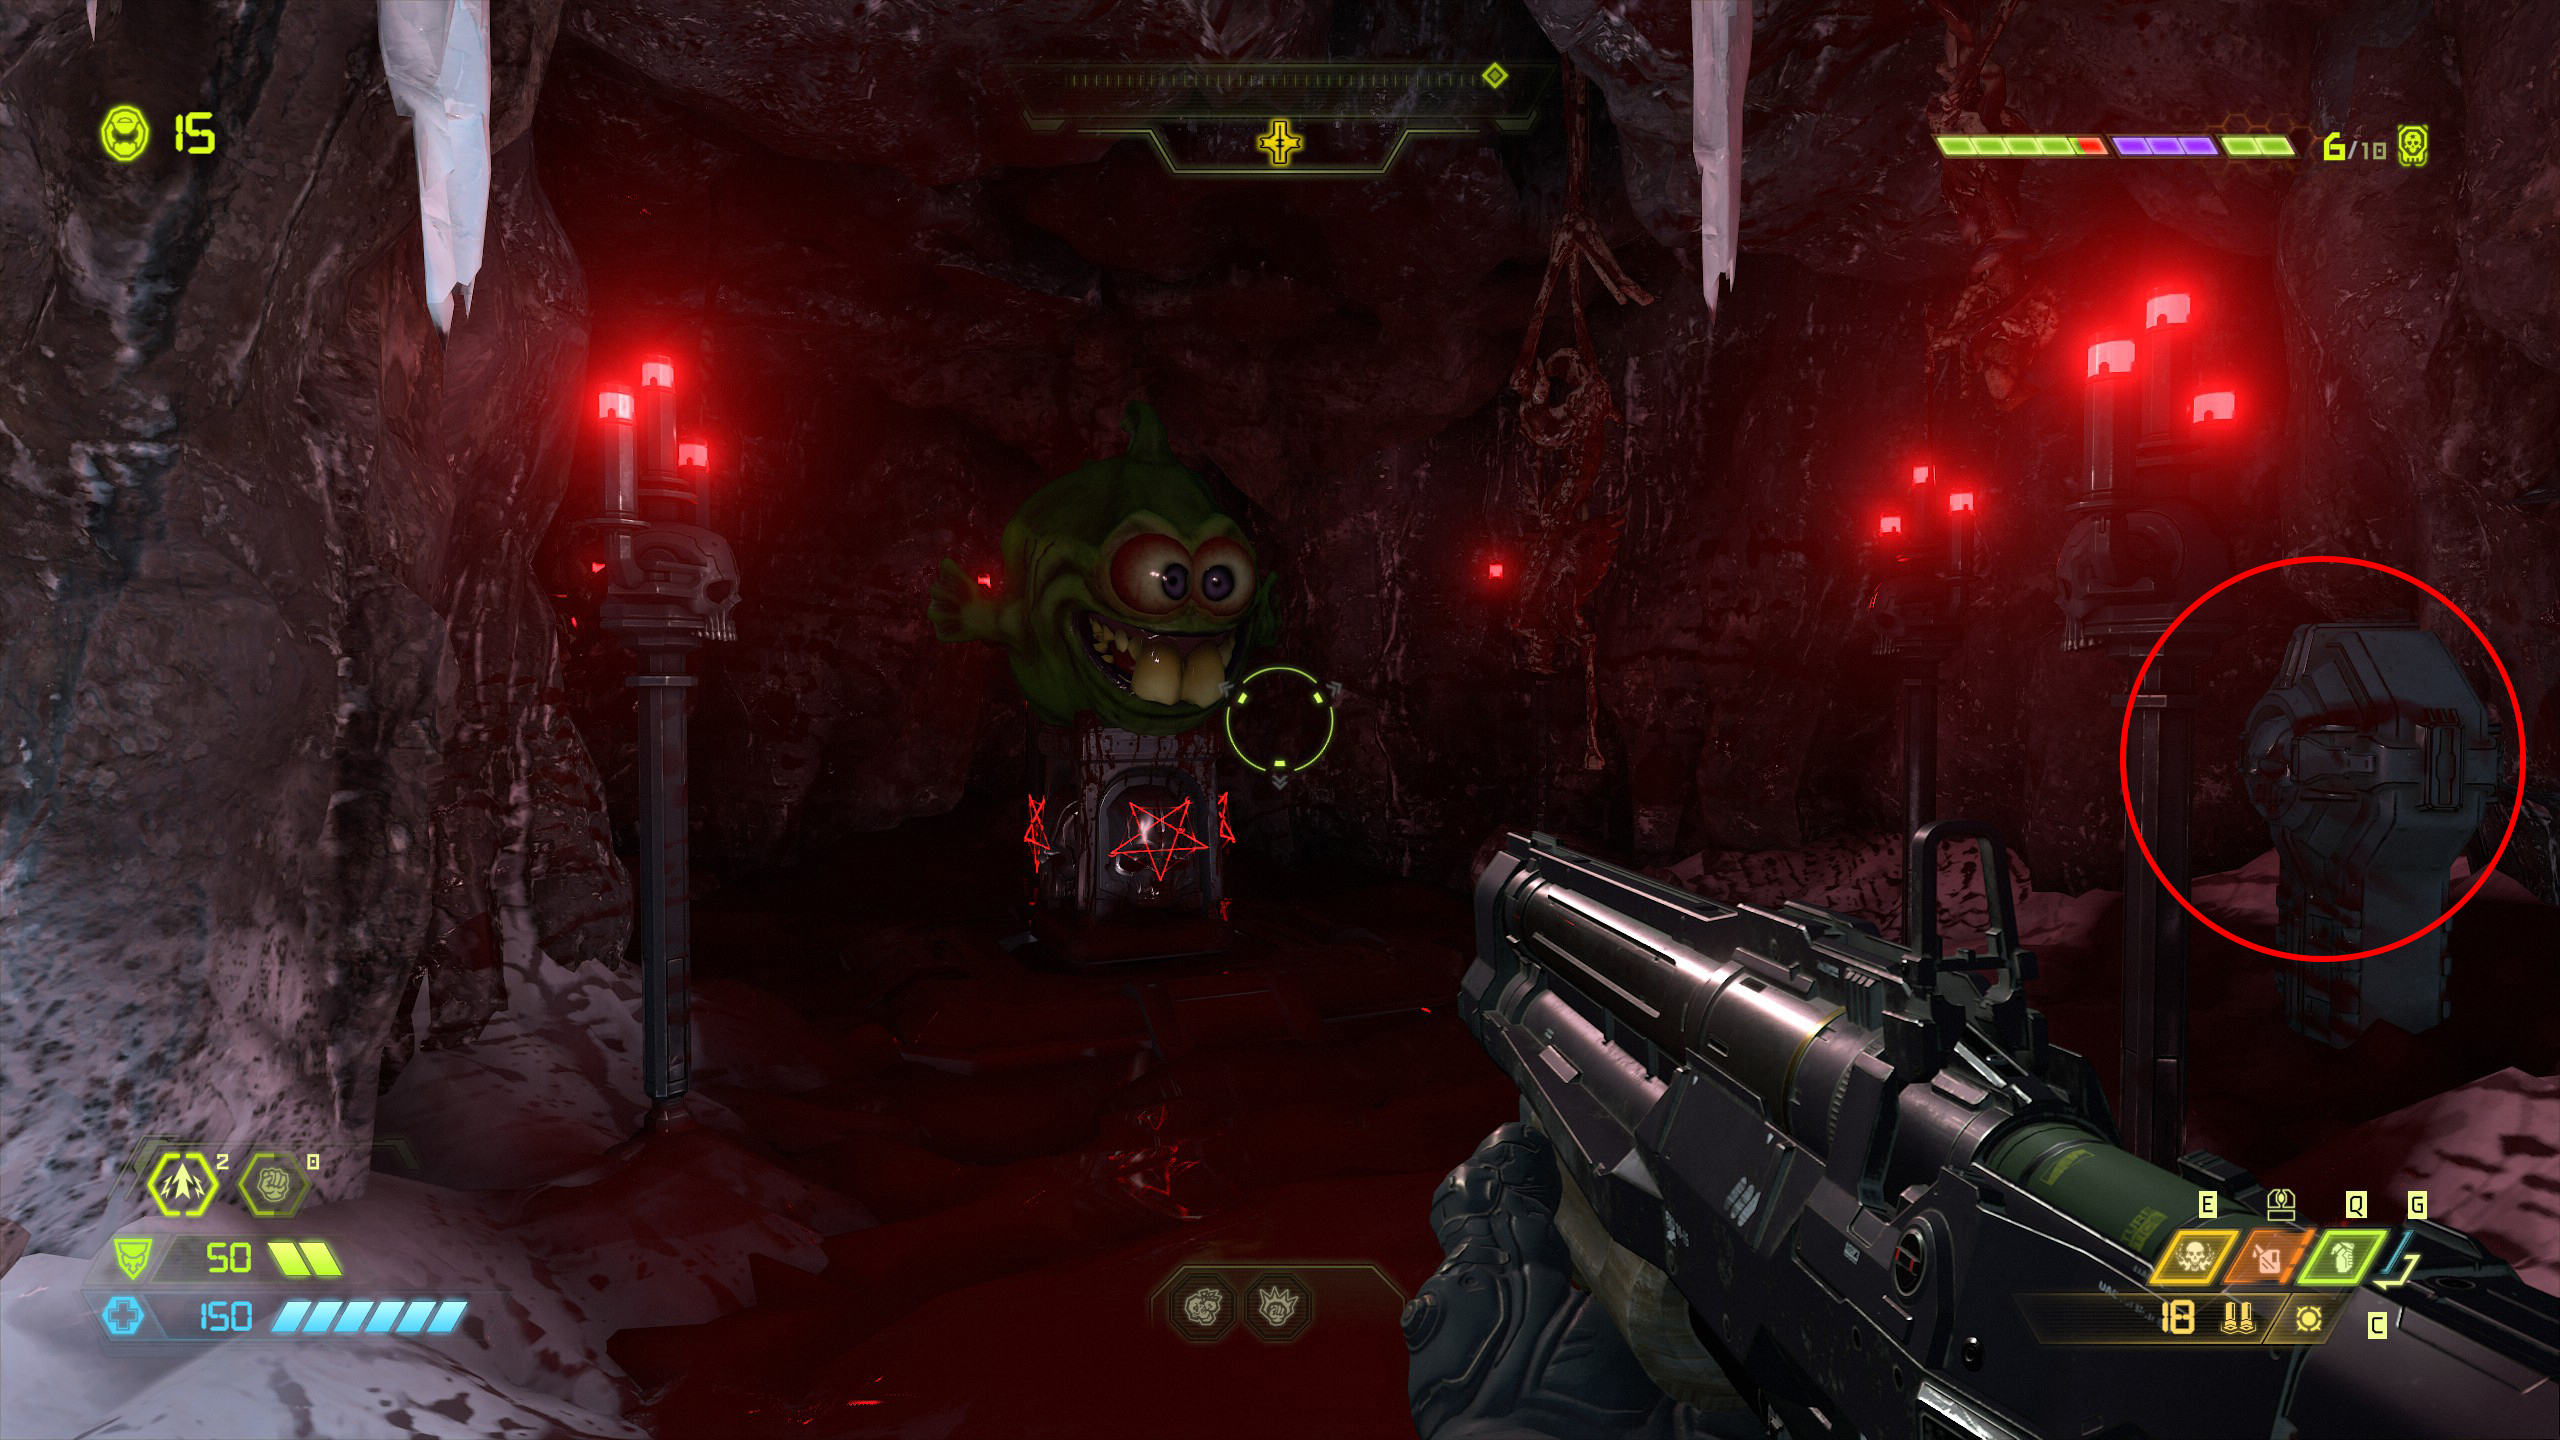
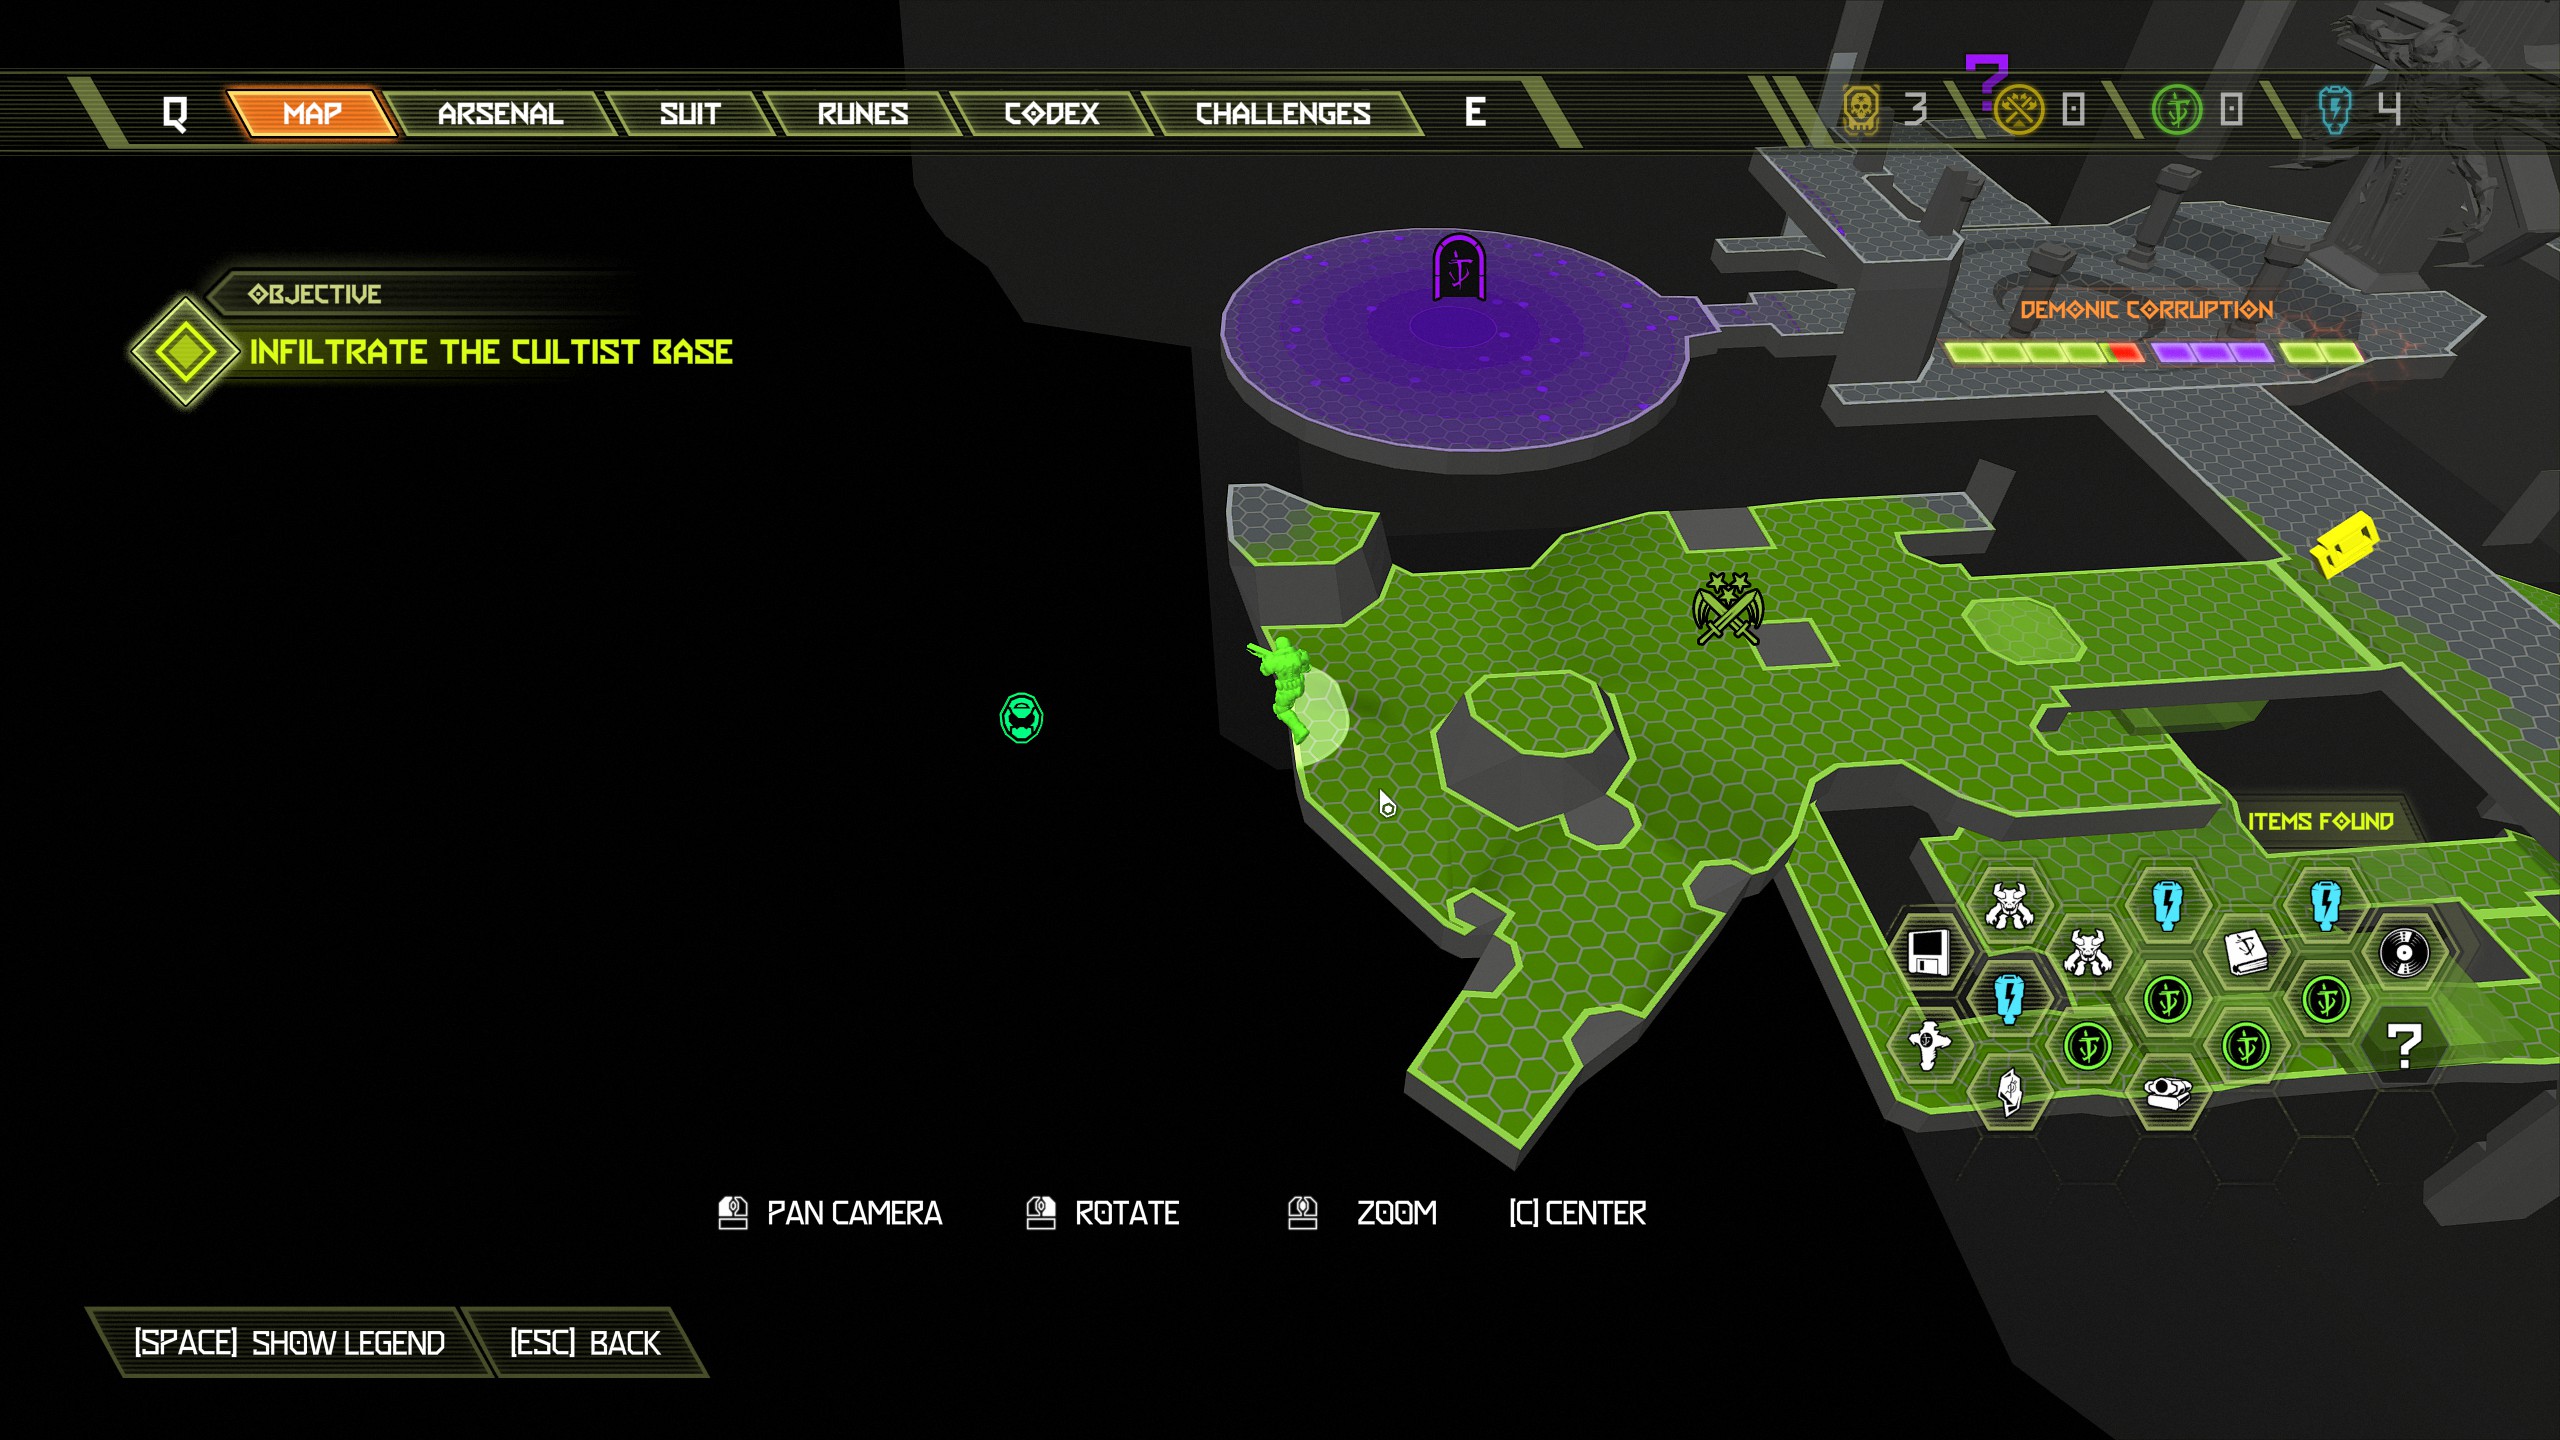
Continue the mission until you reach the slayer gate.
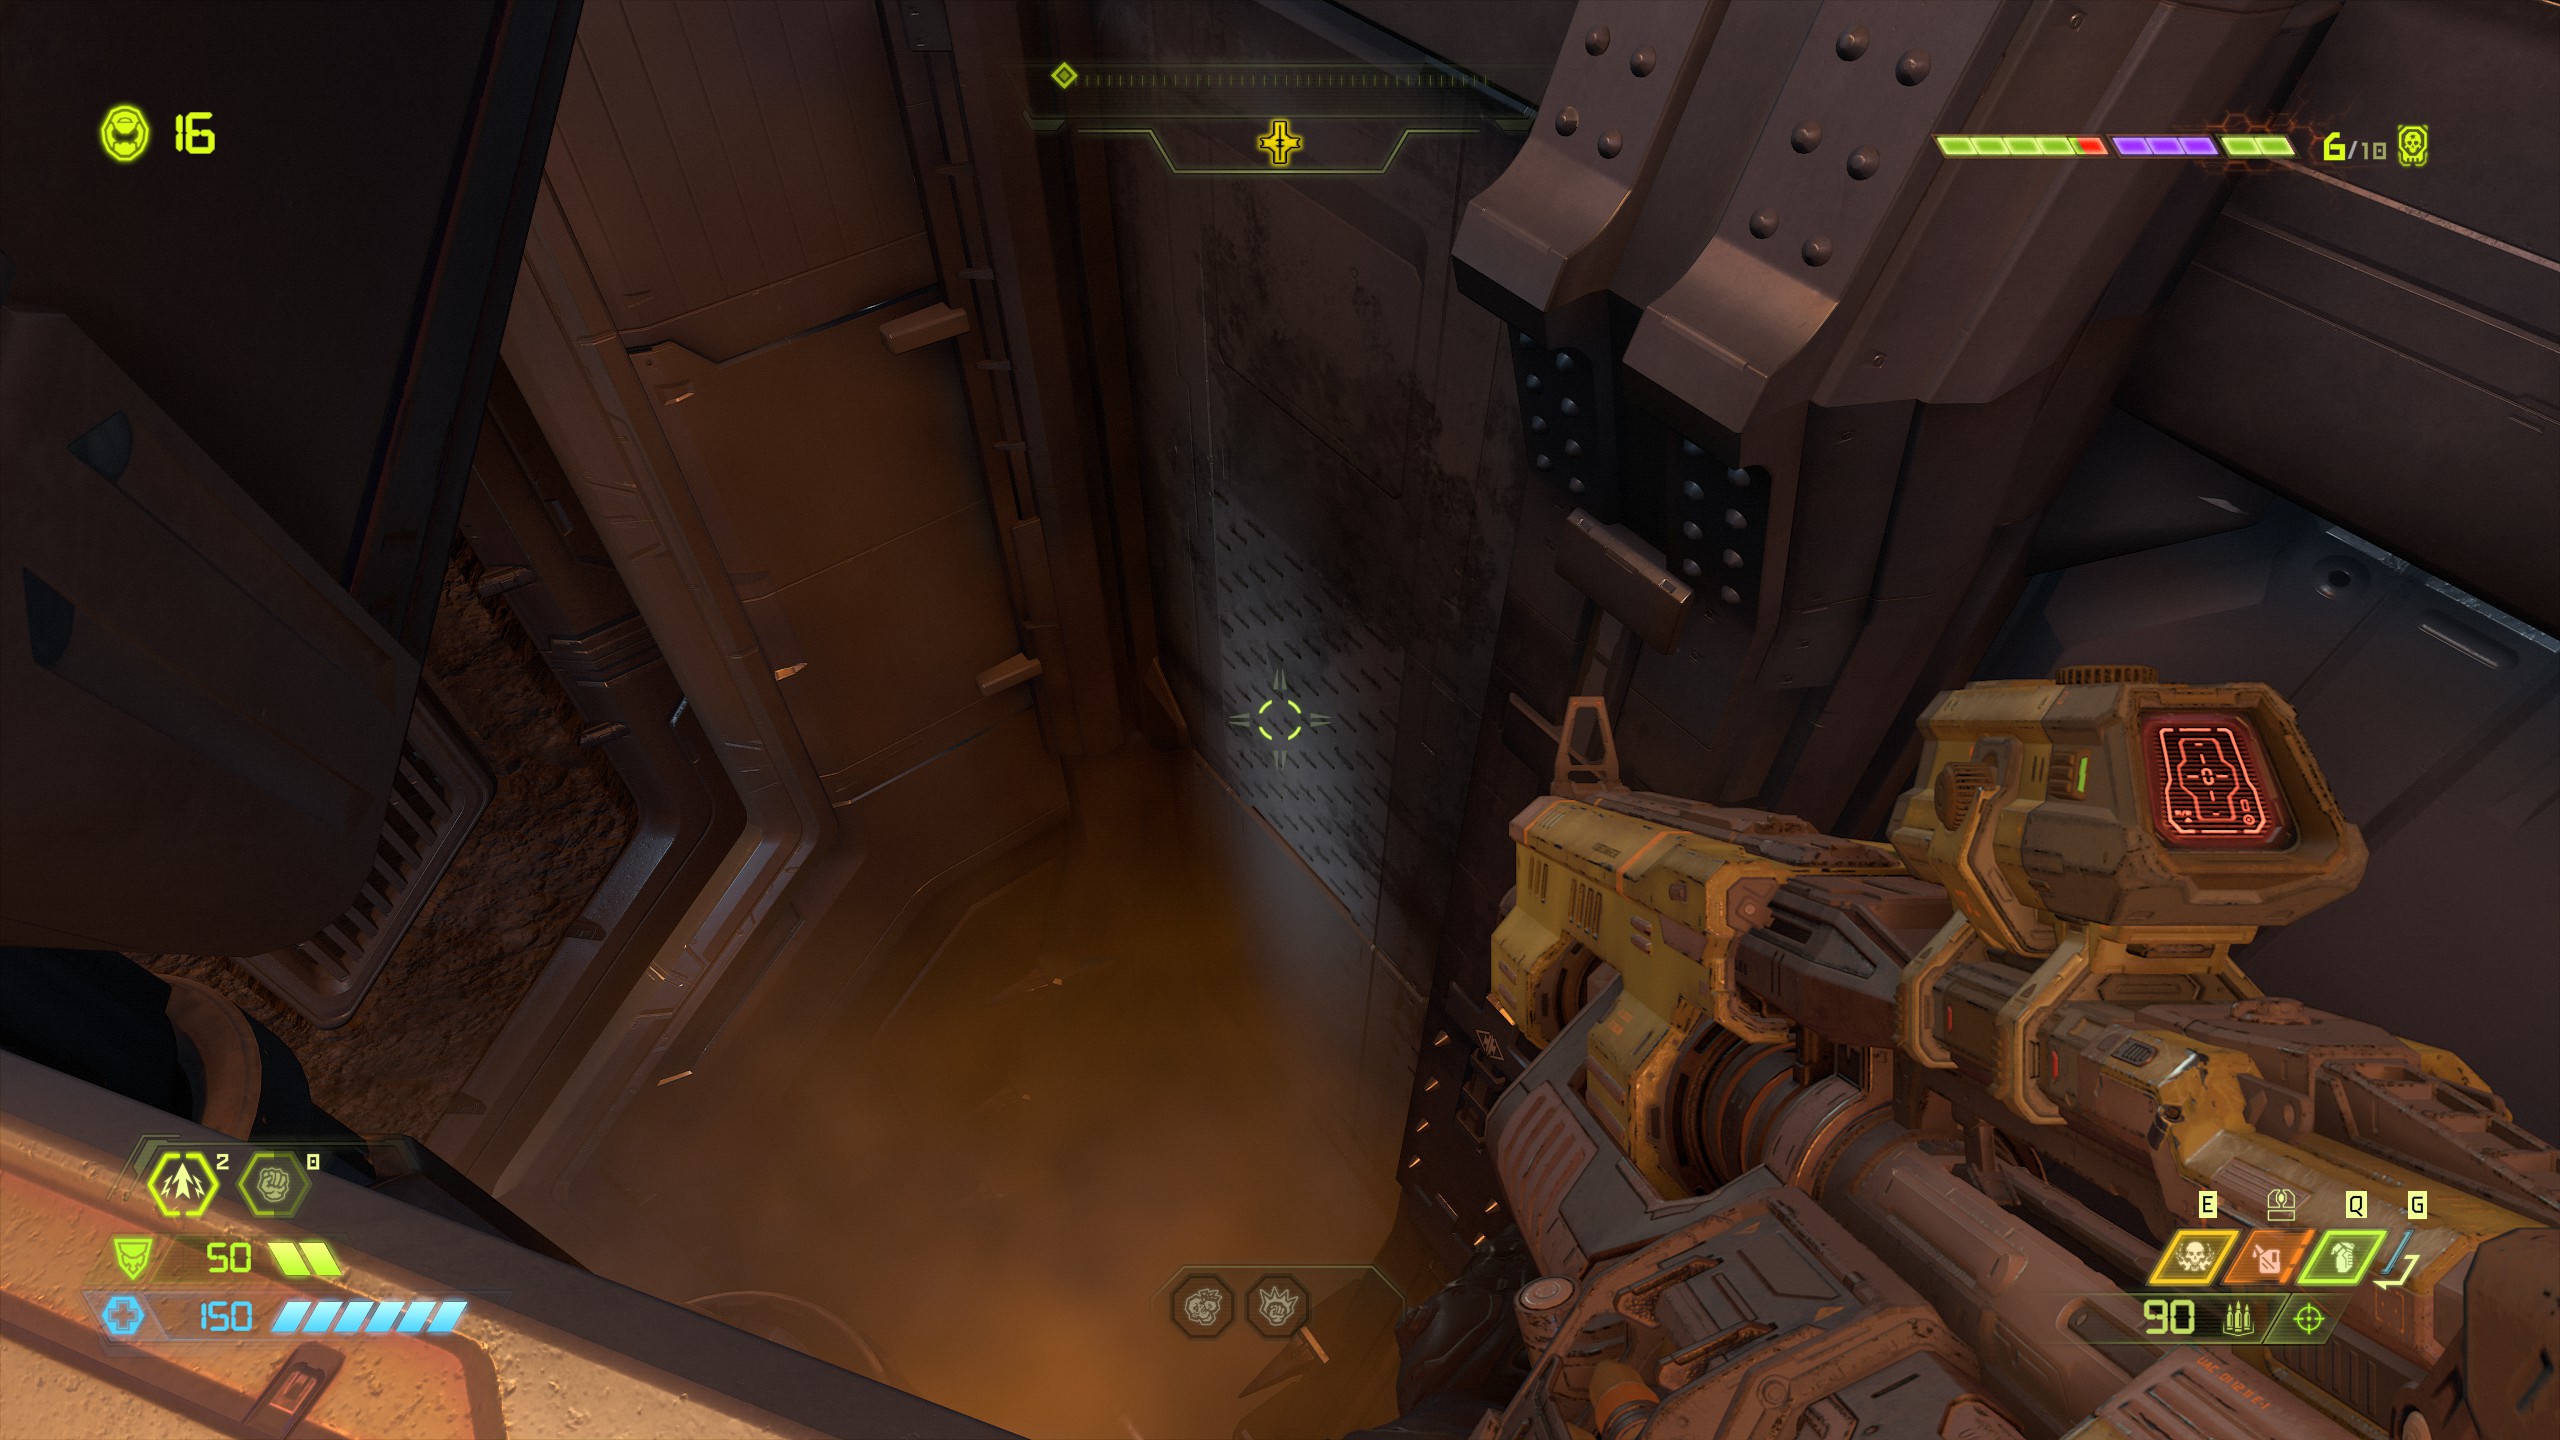
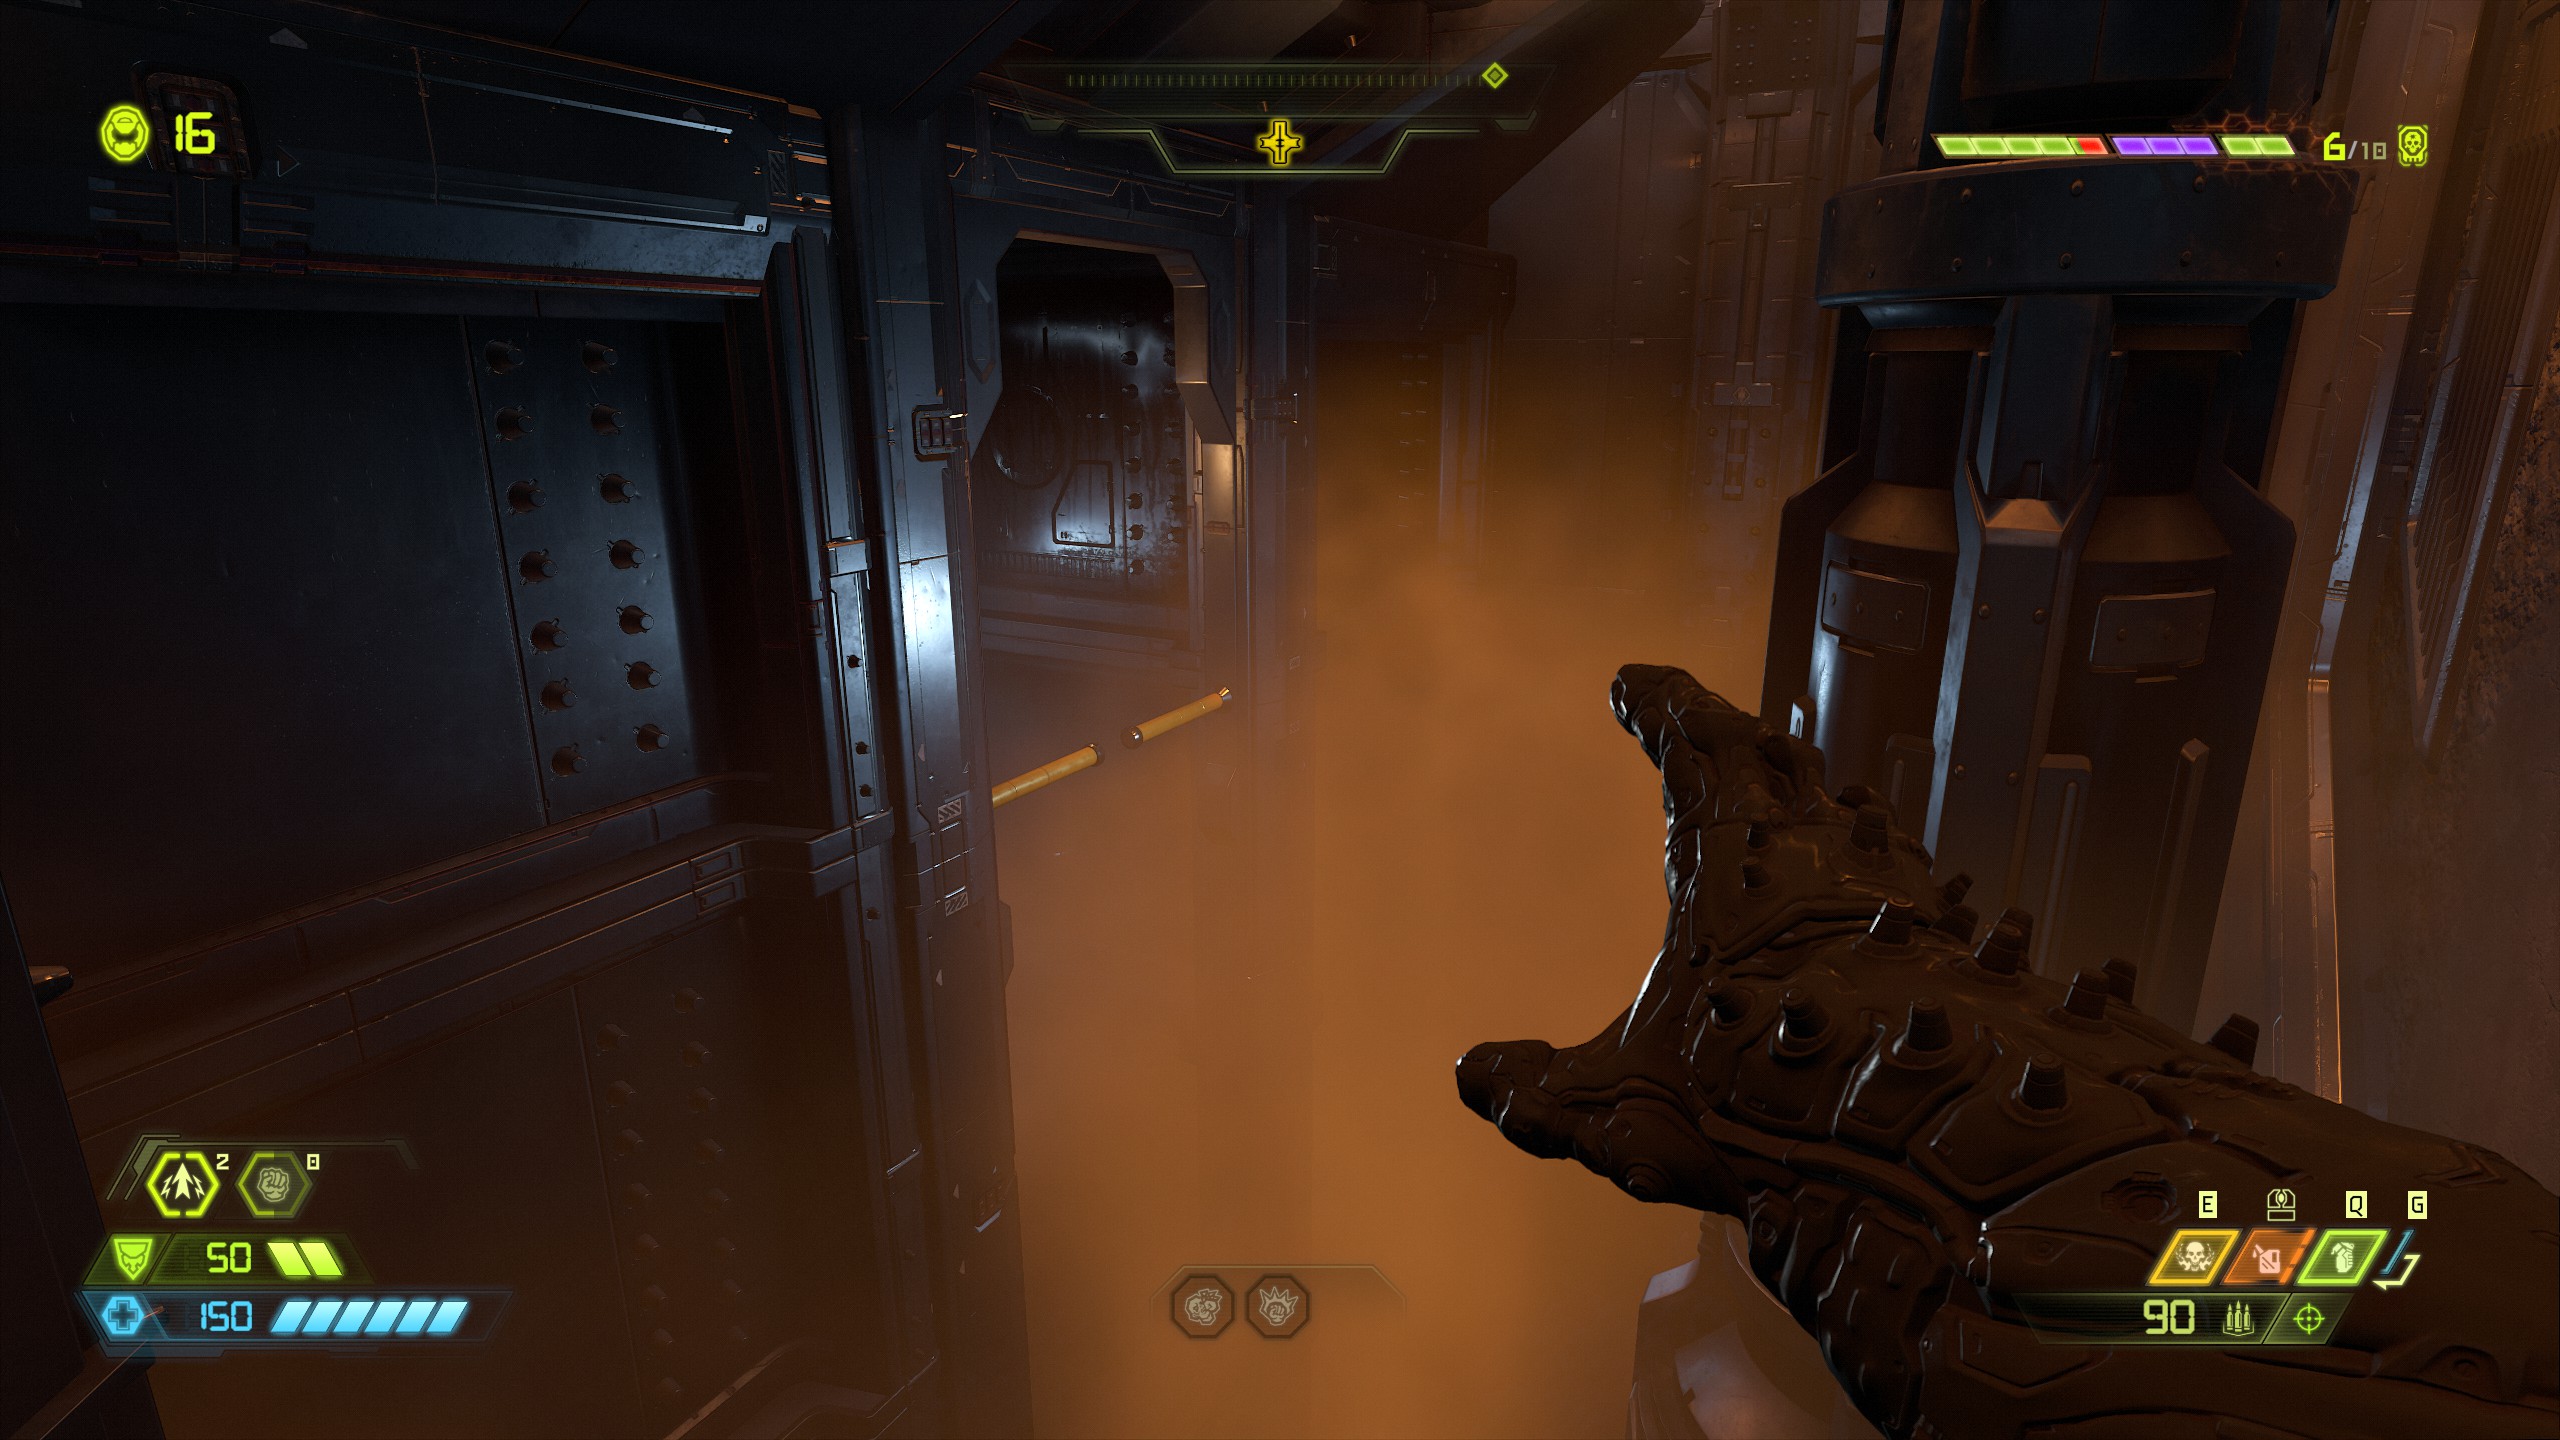
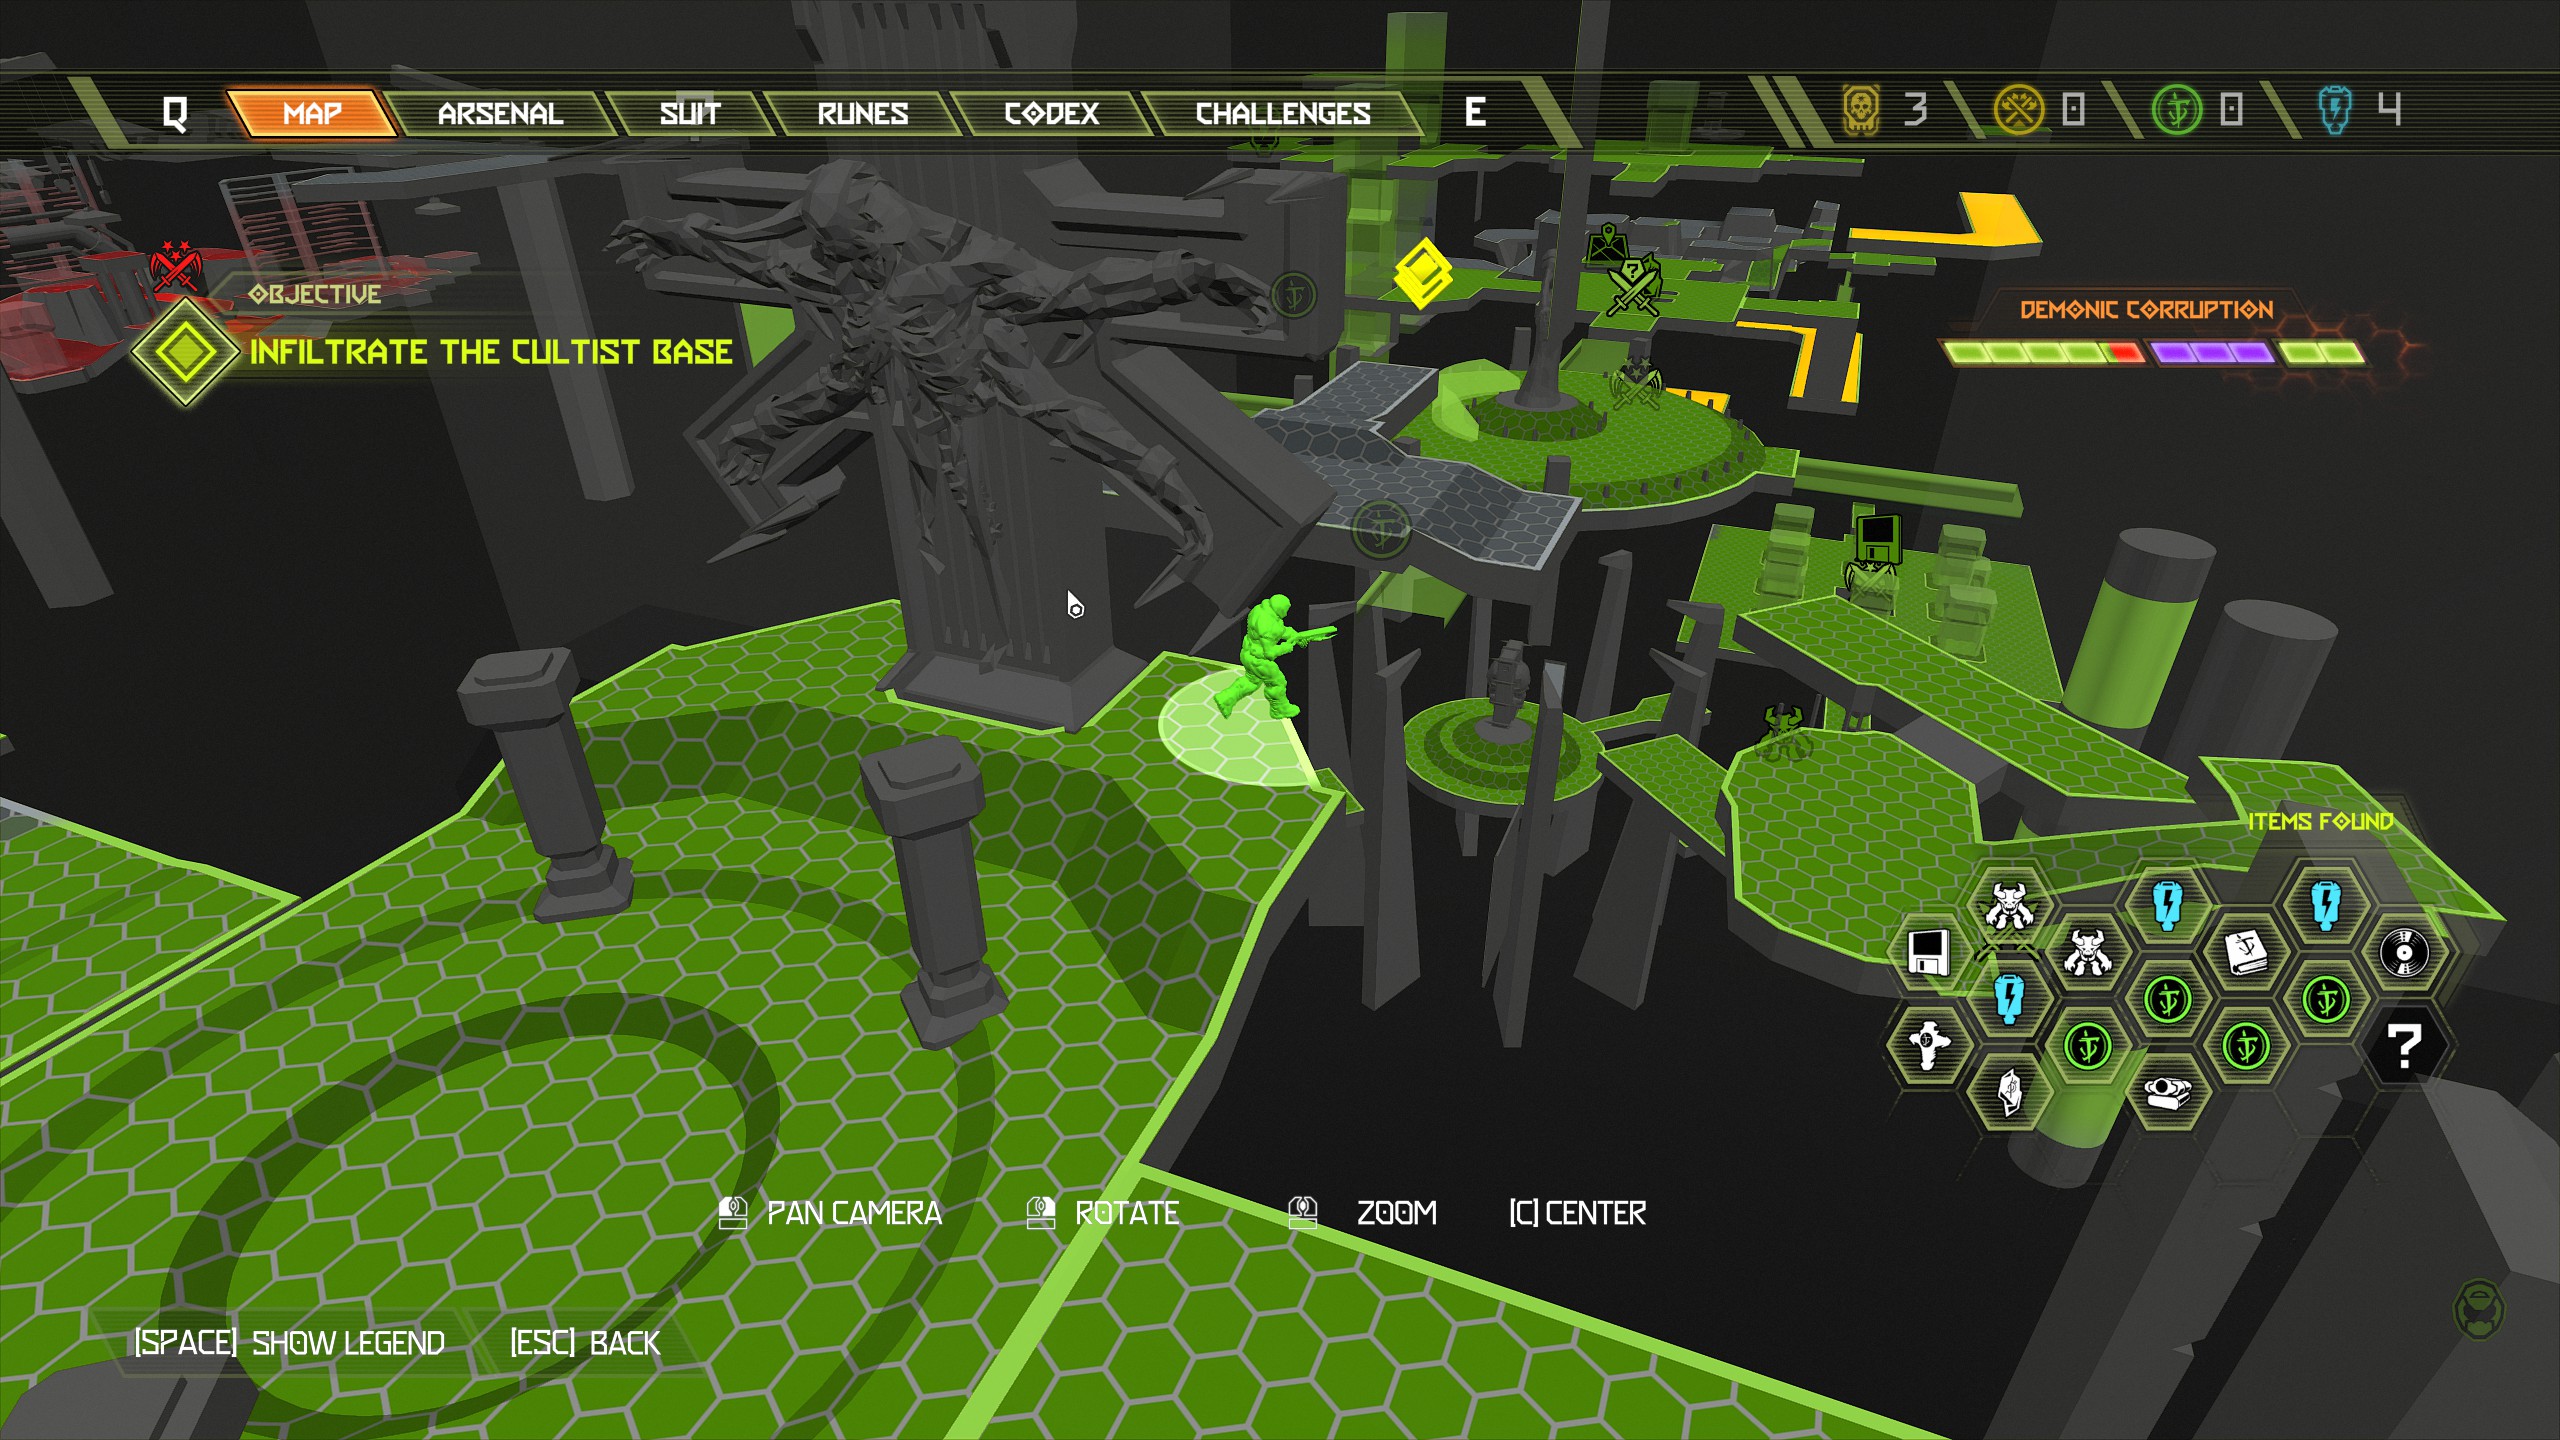
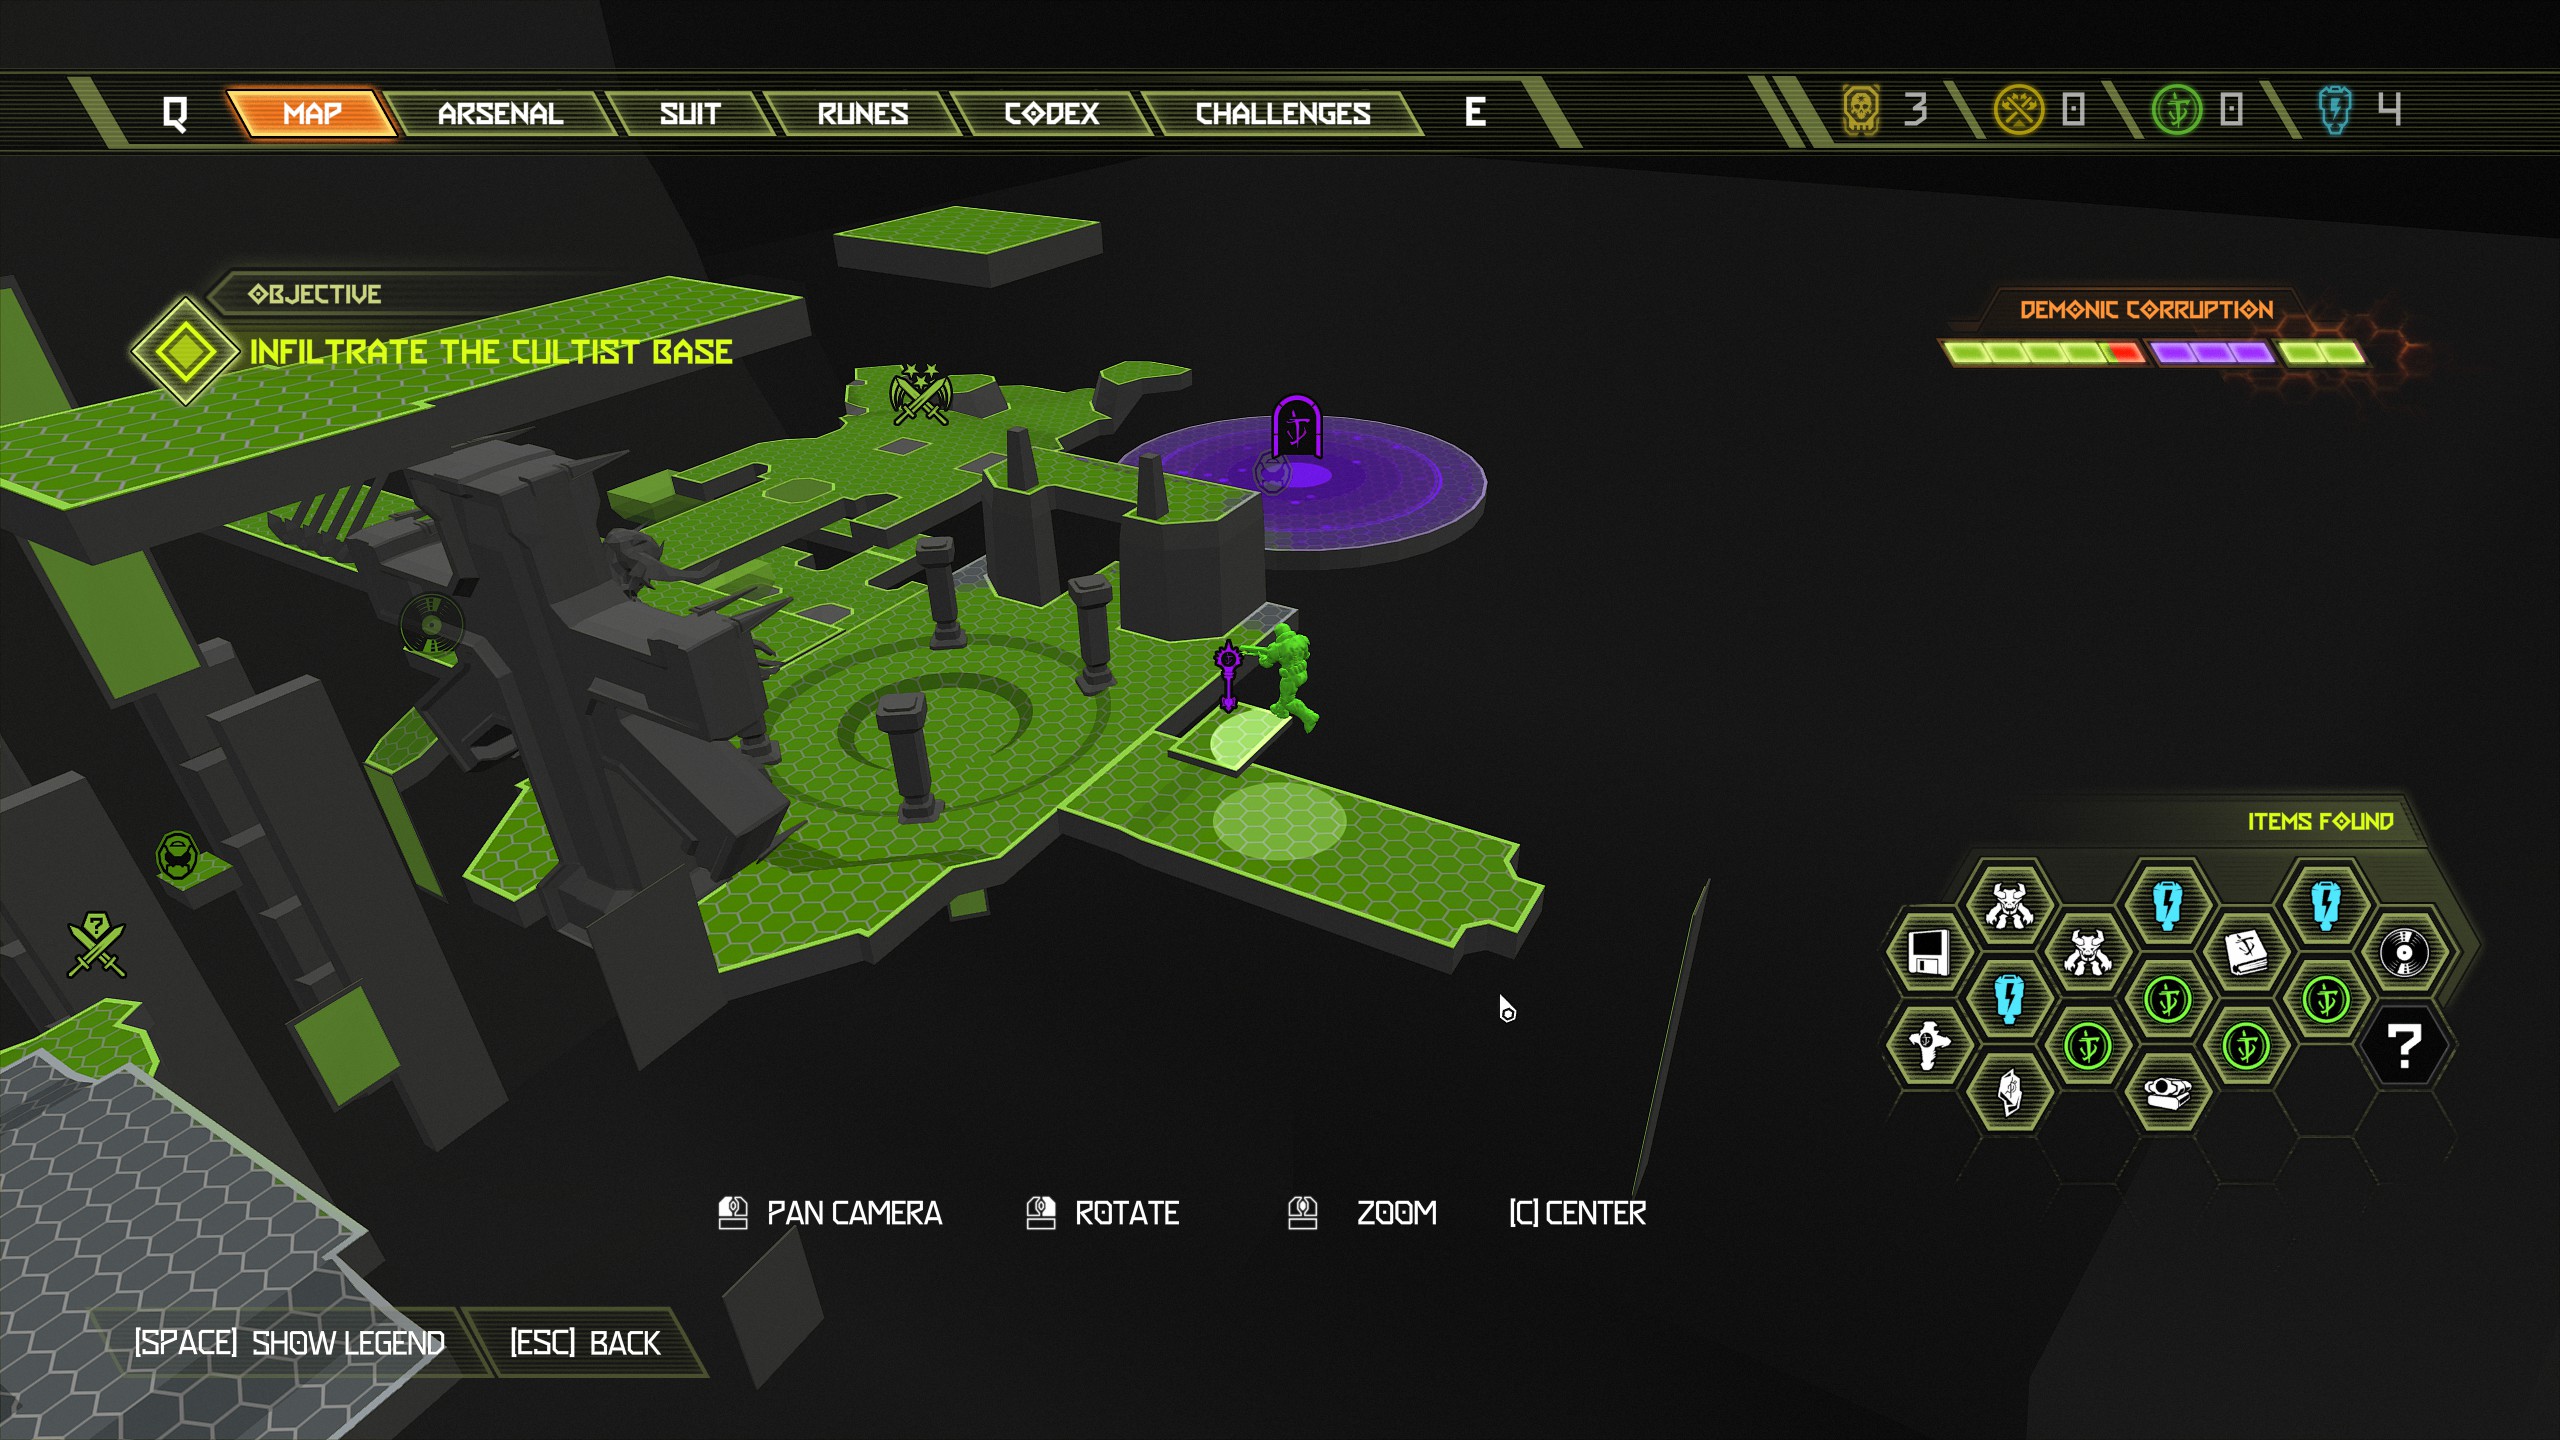
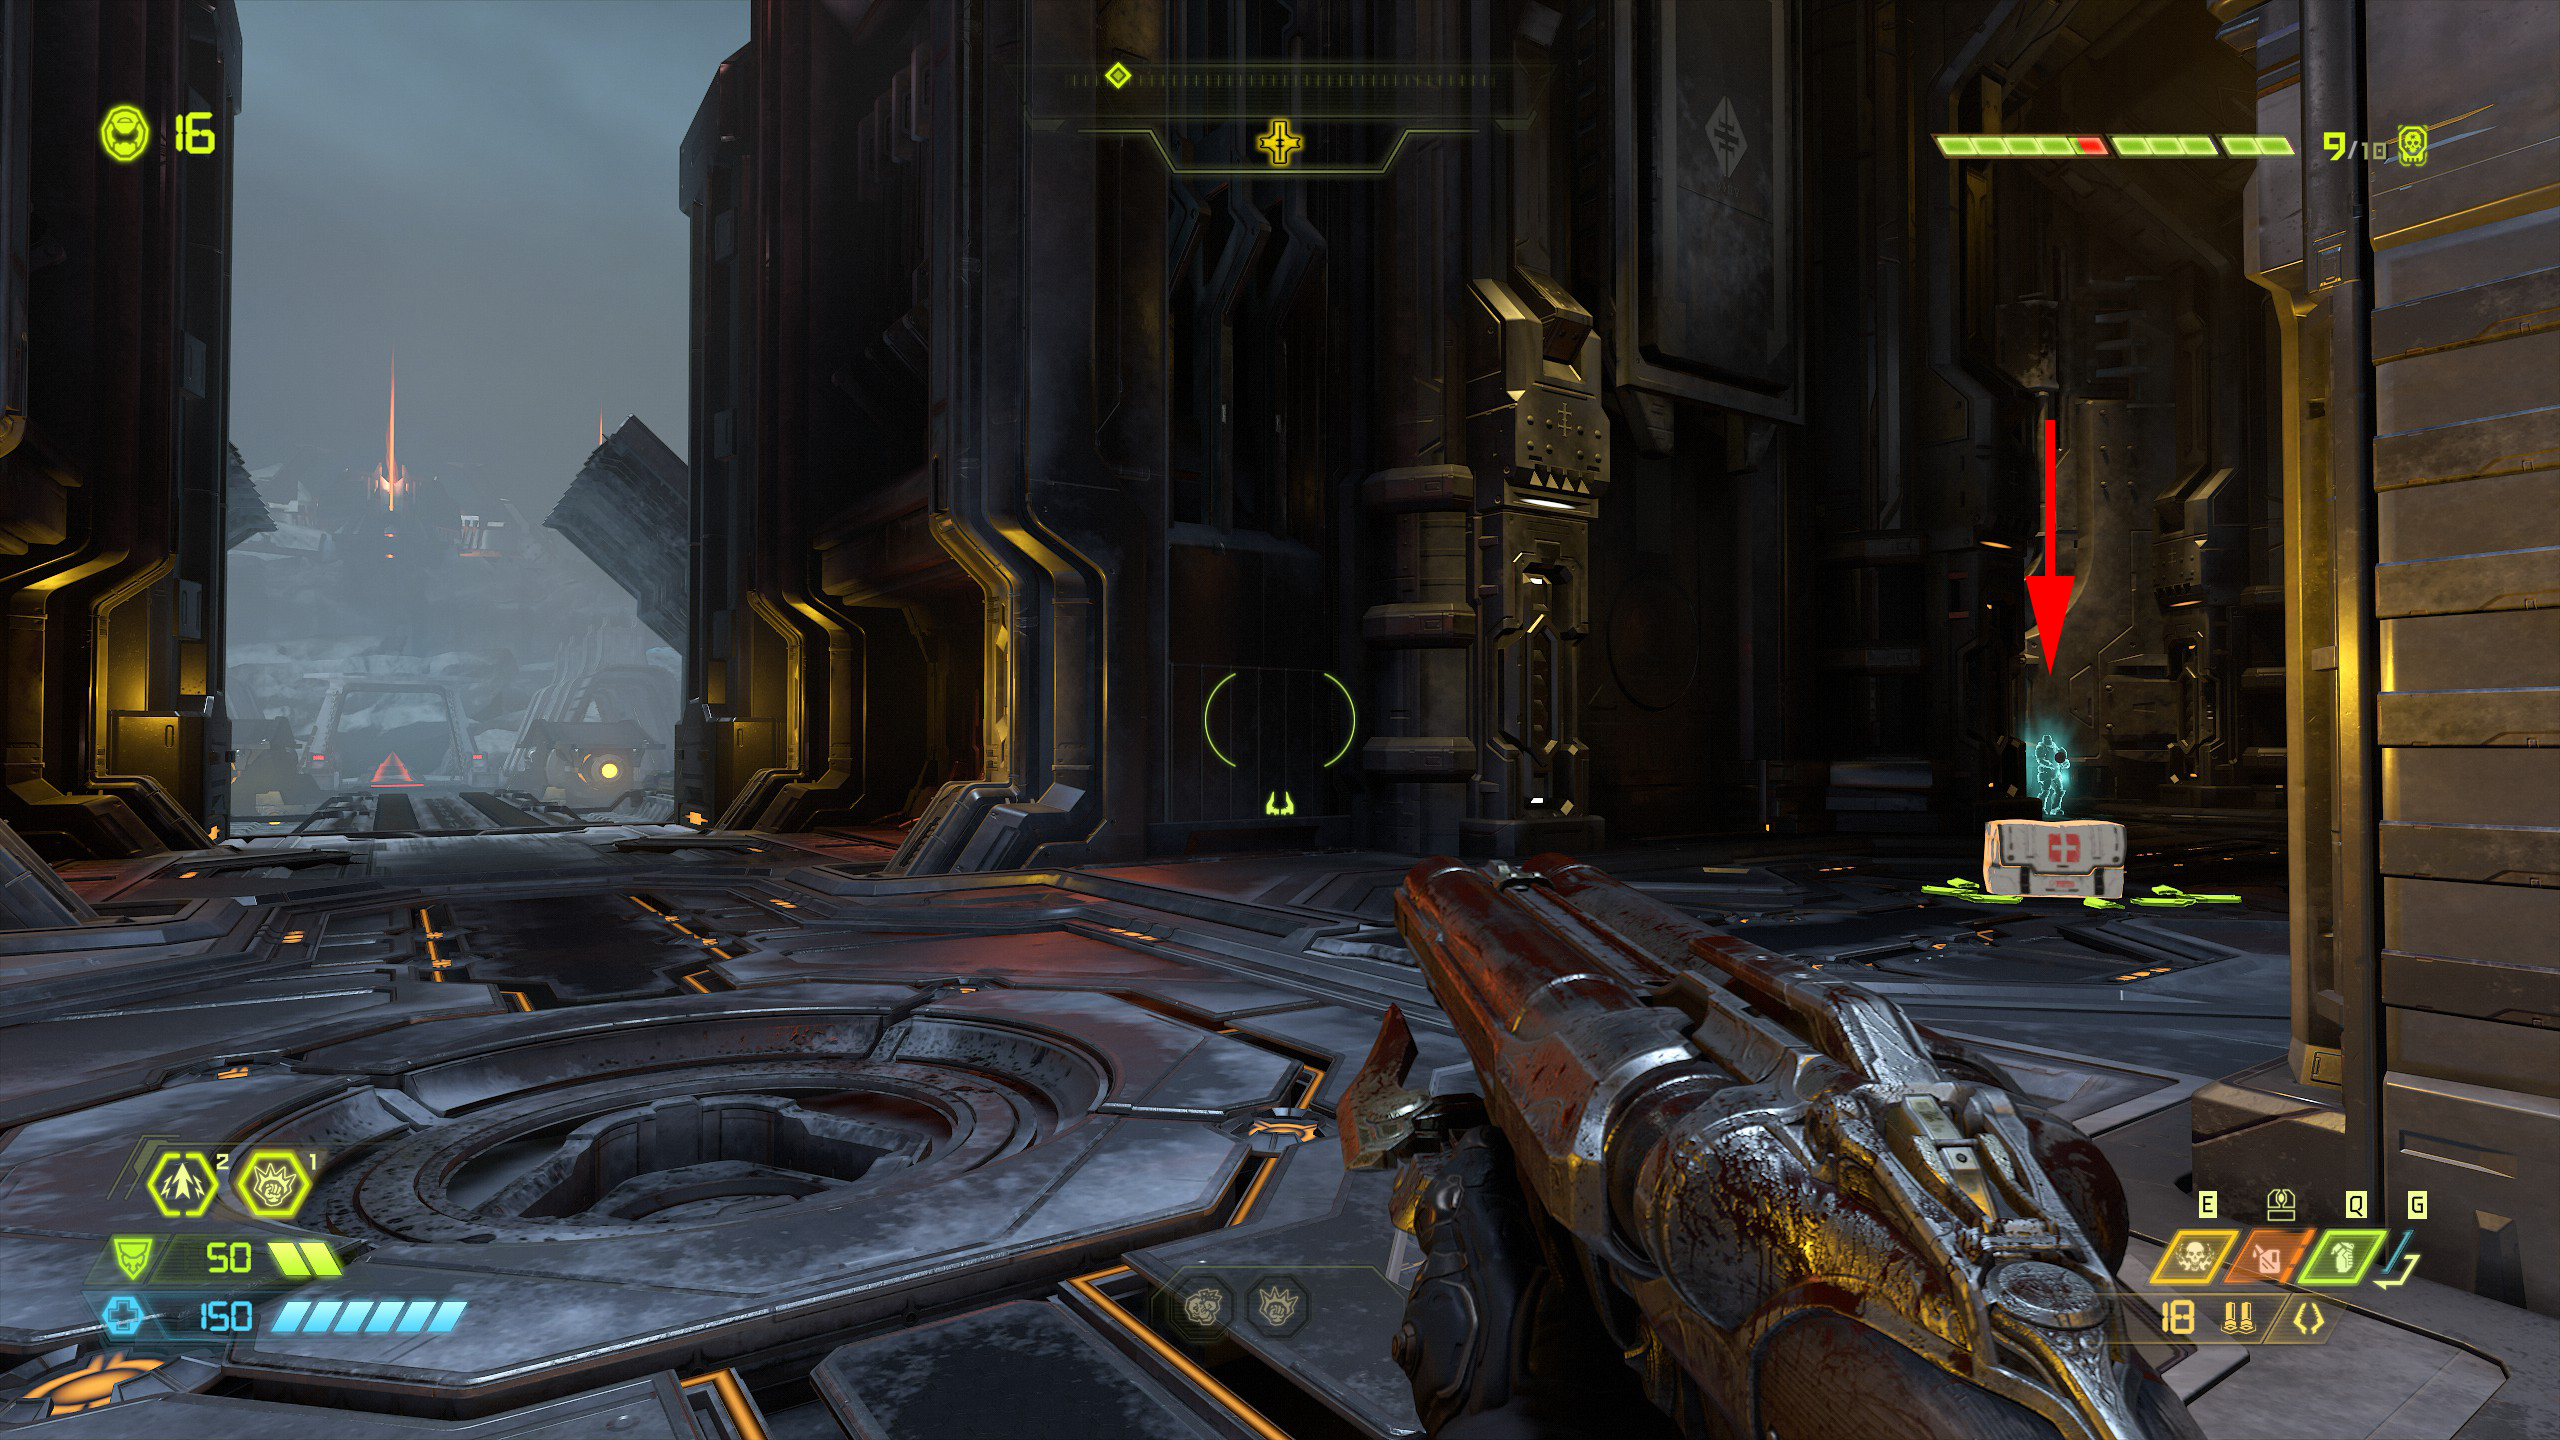
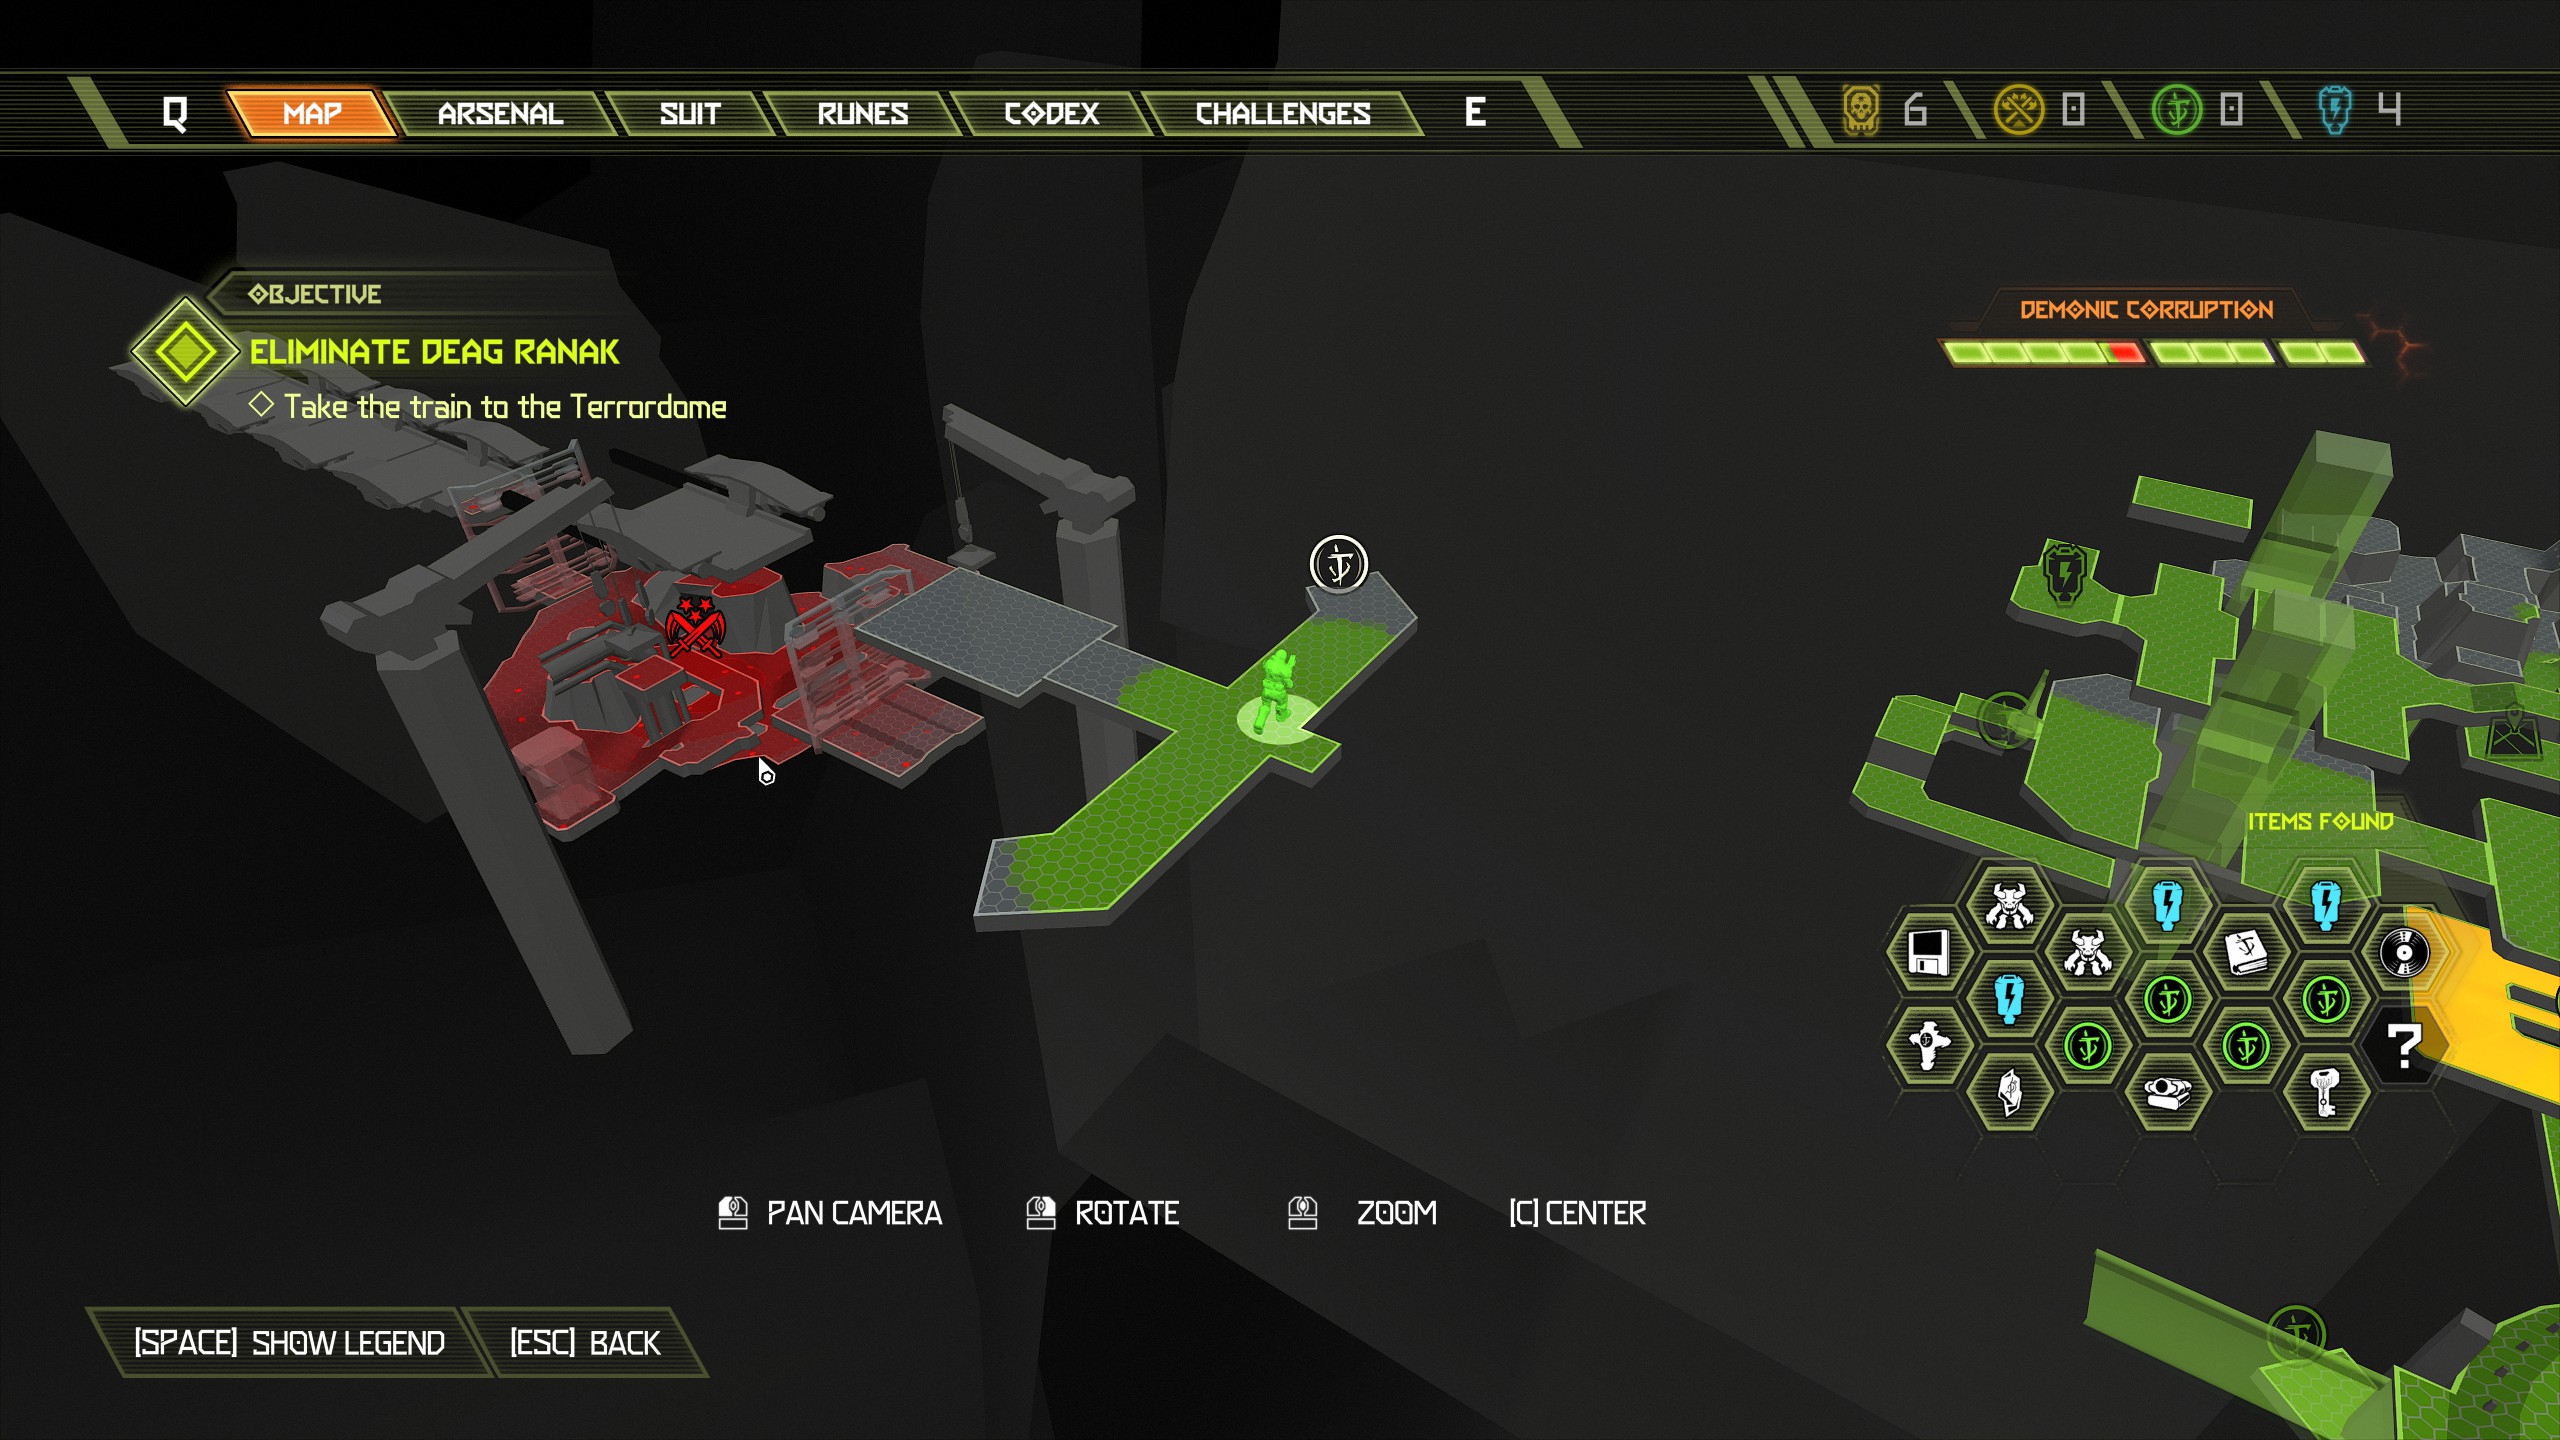
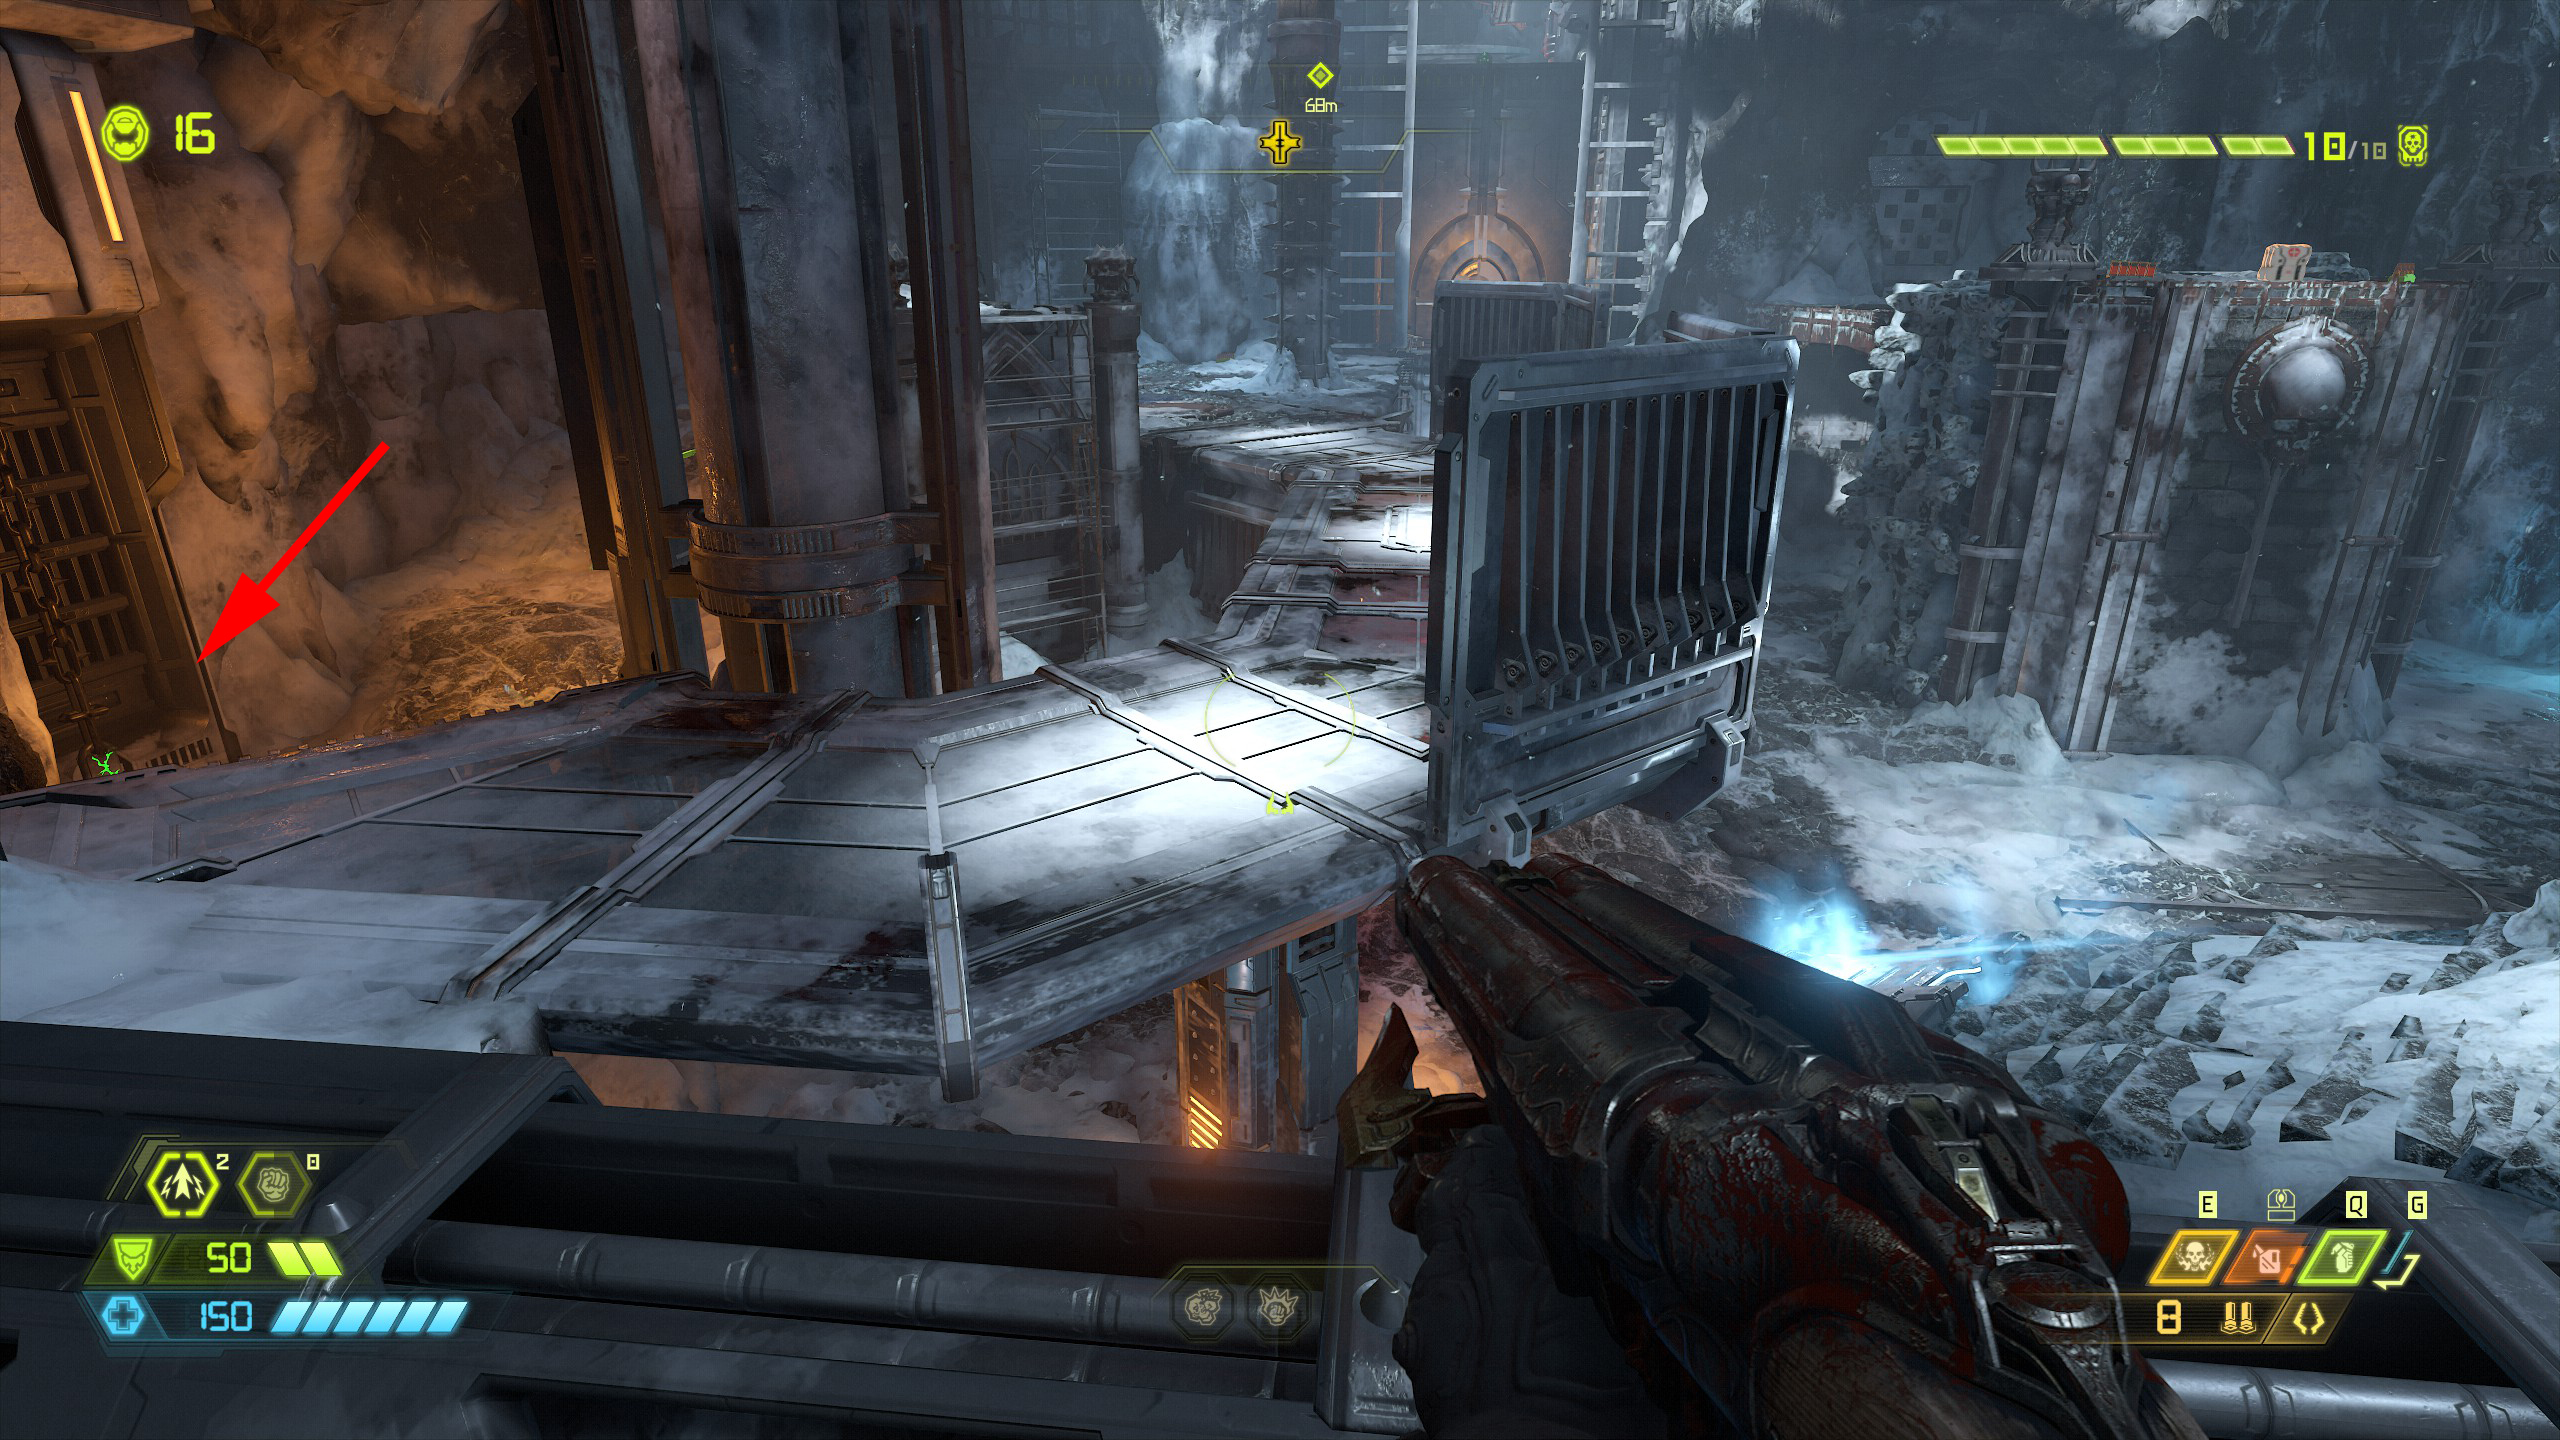
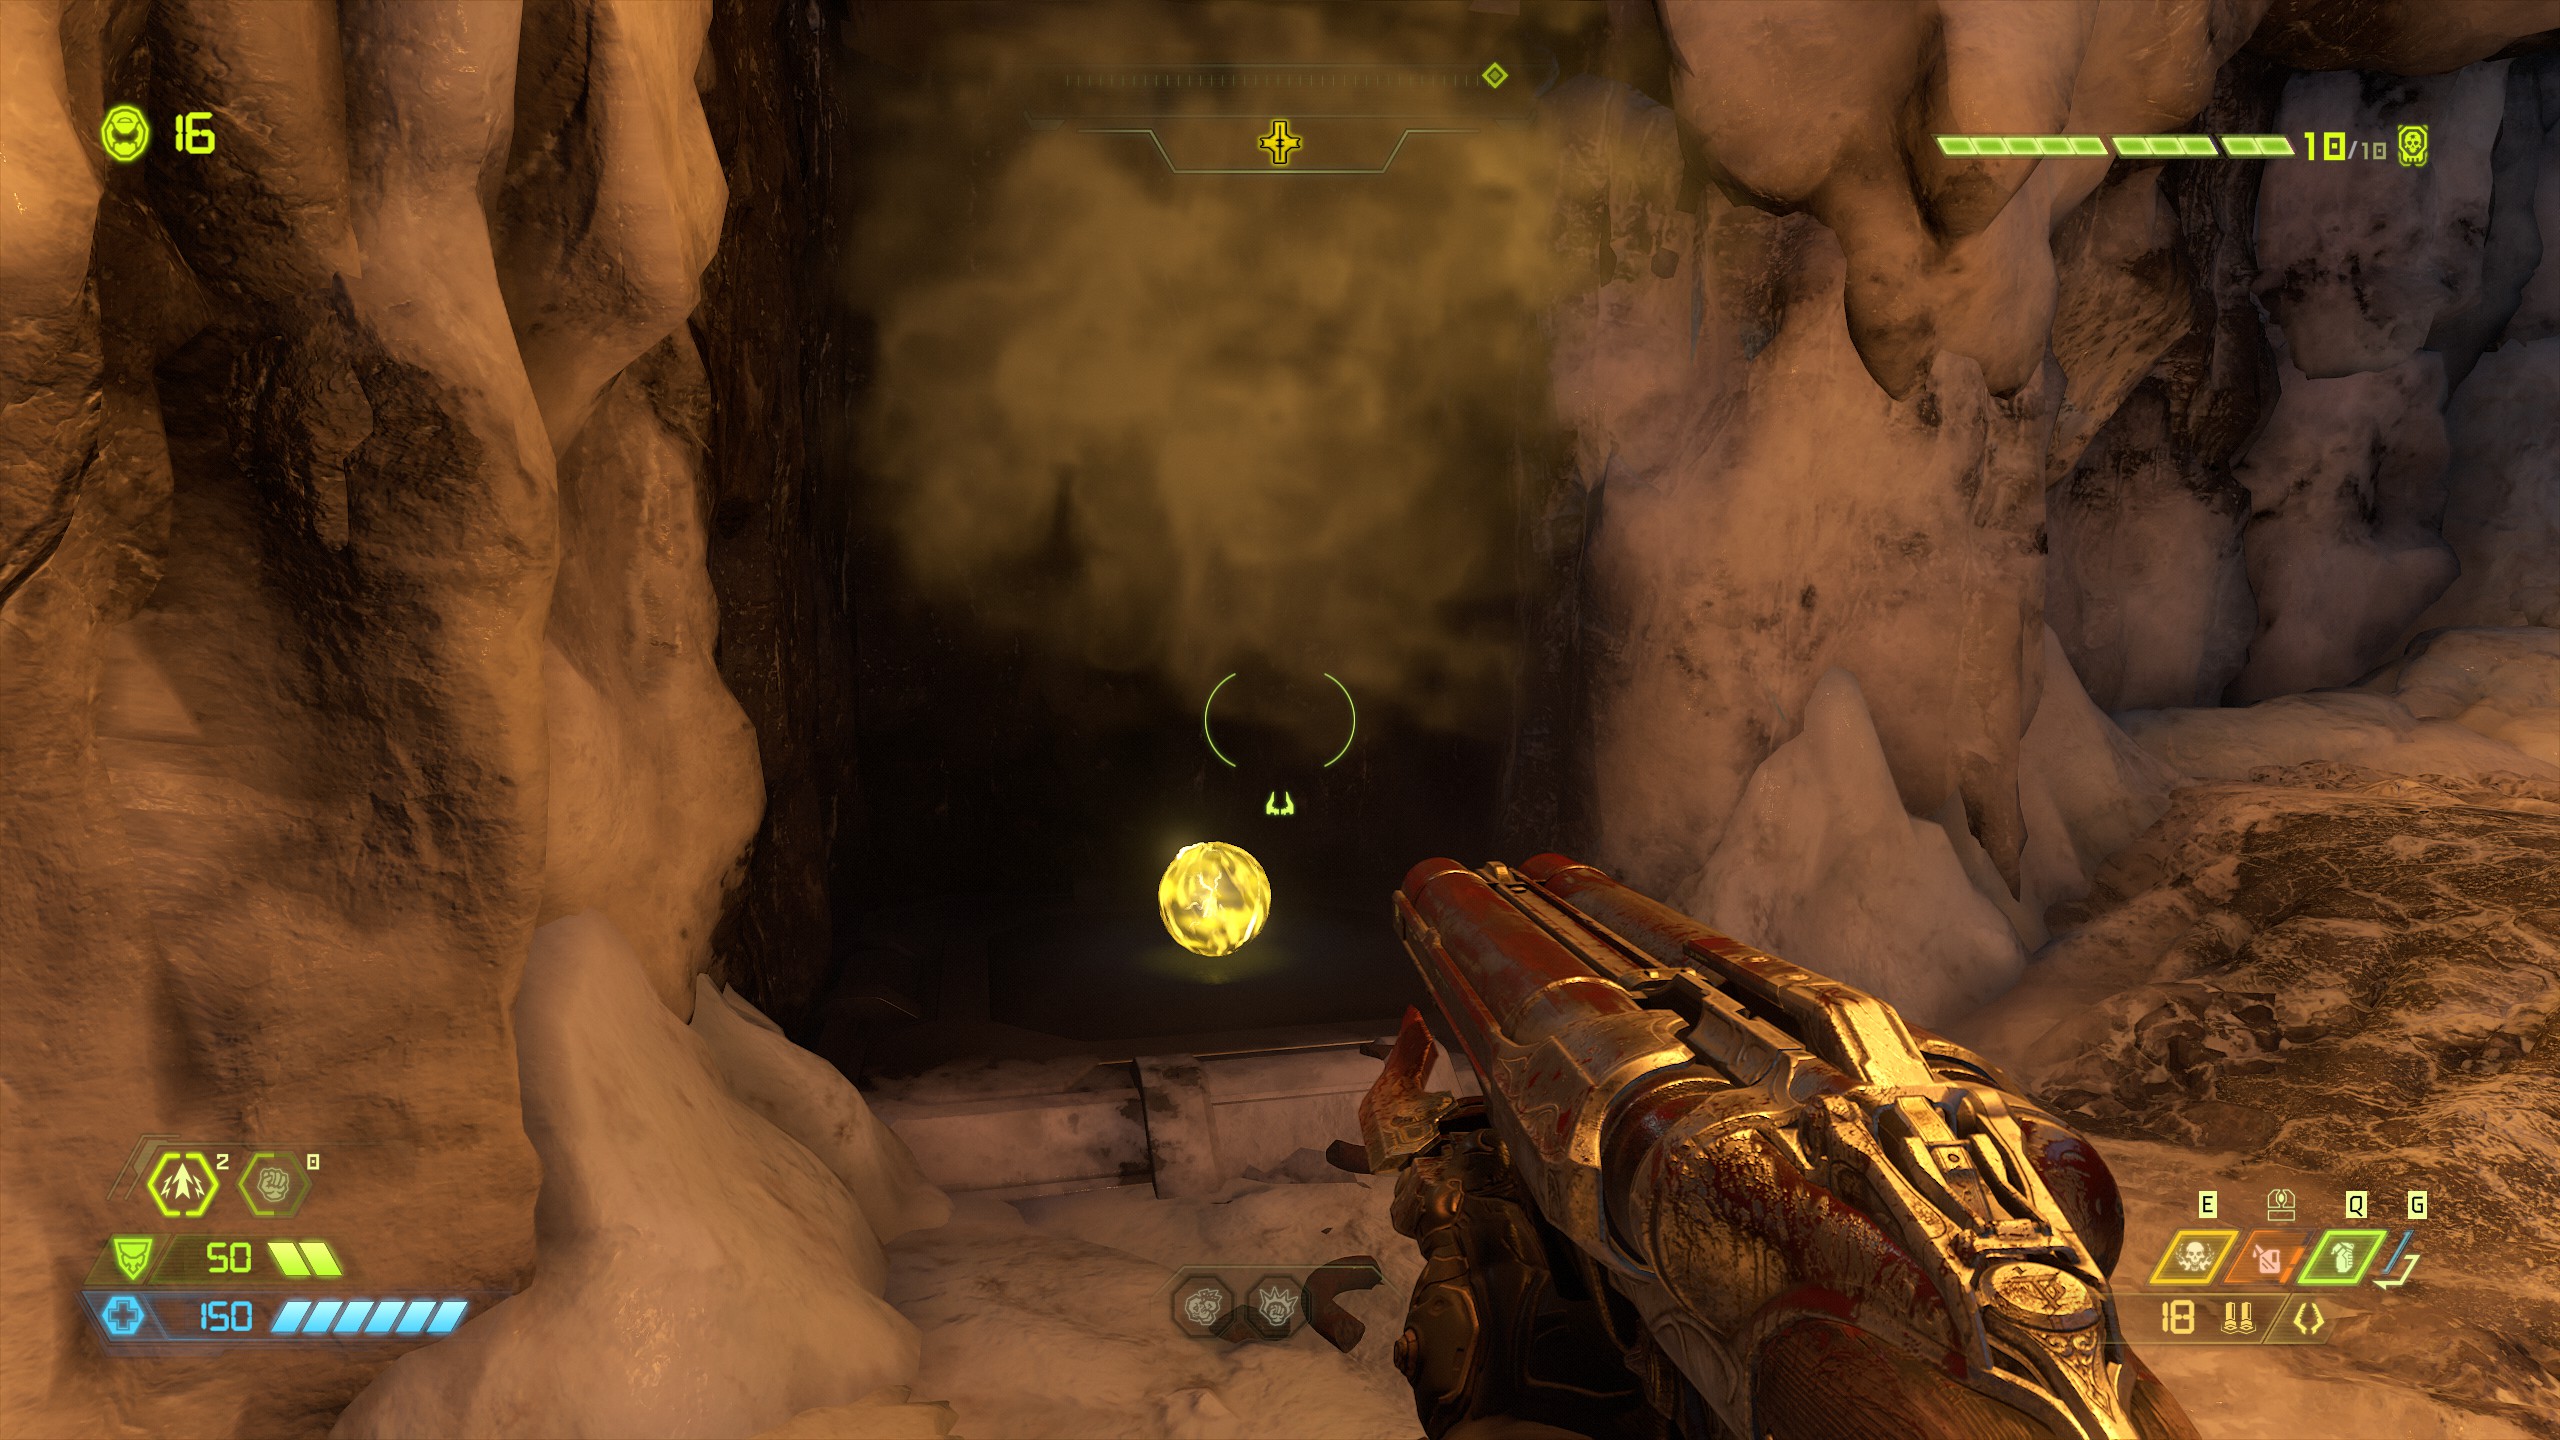
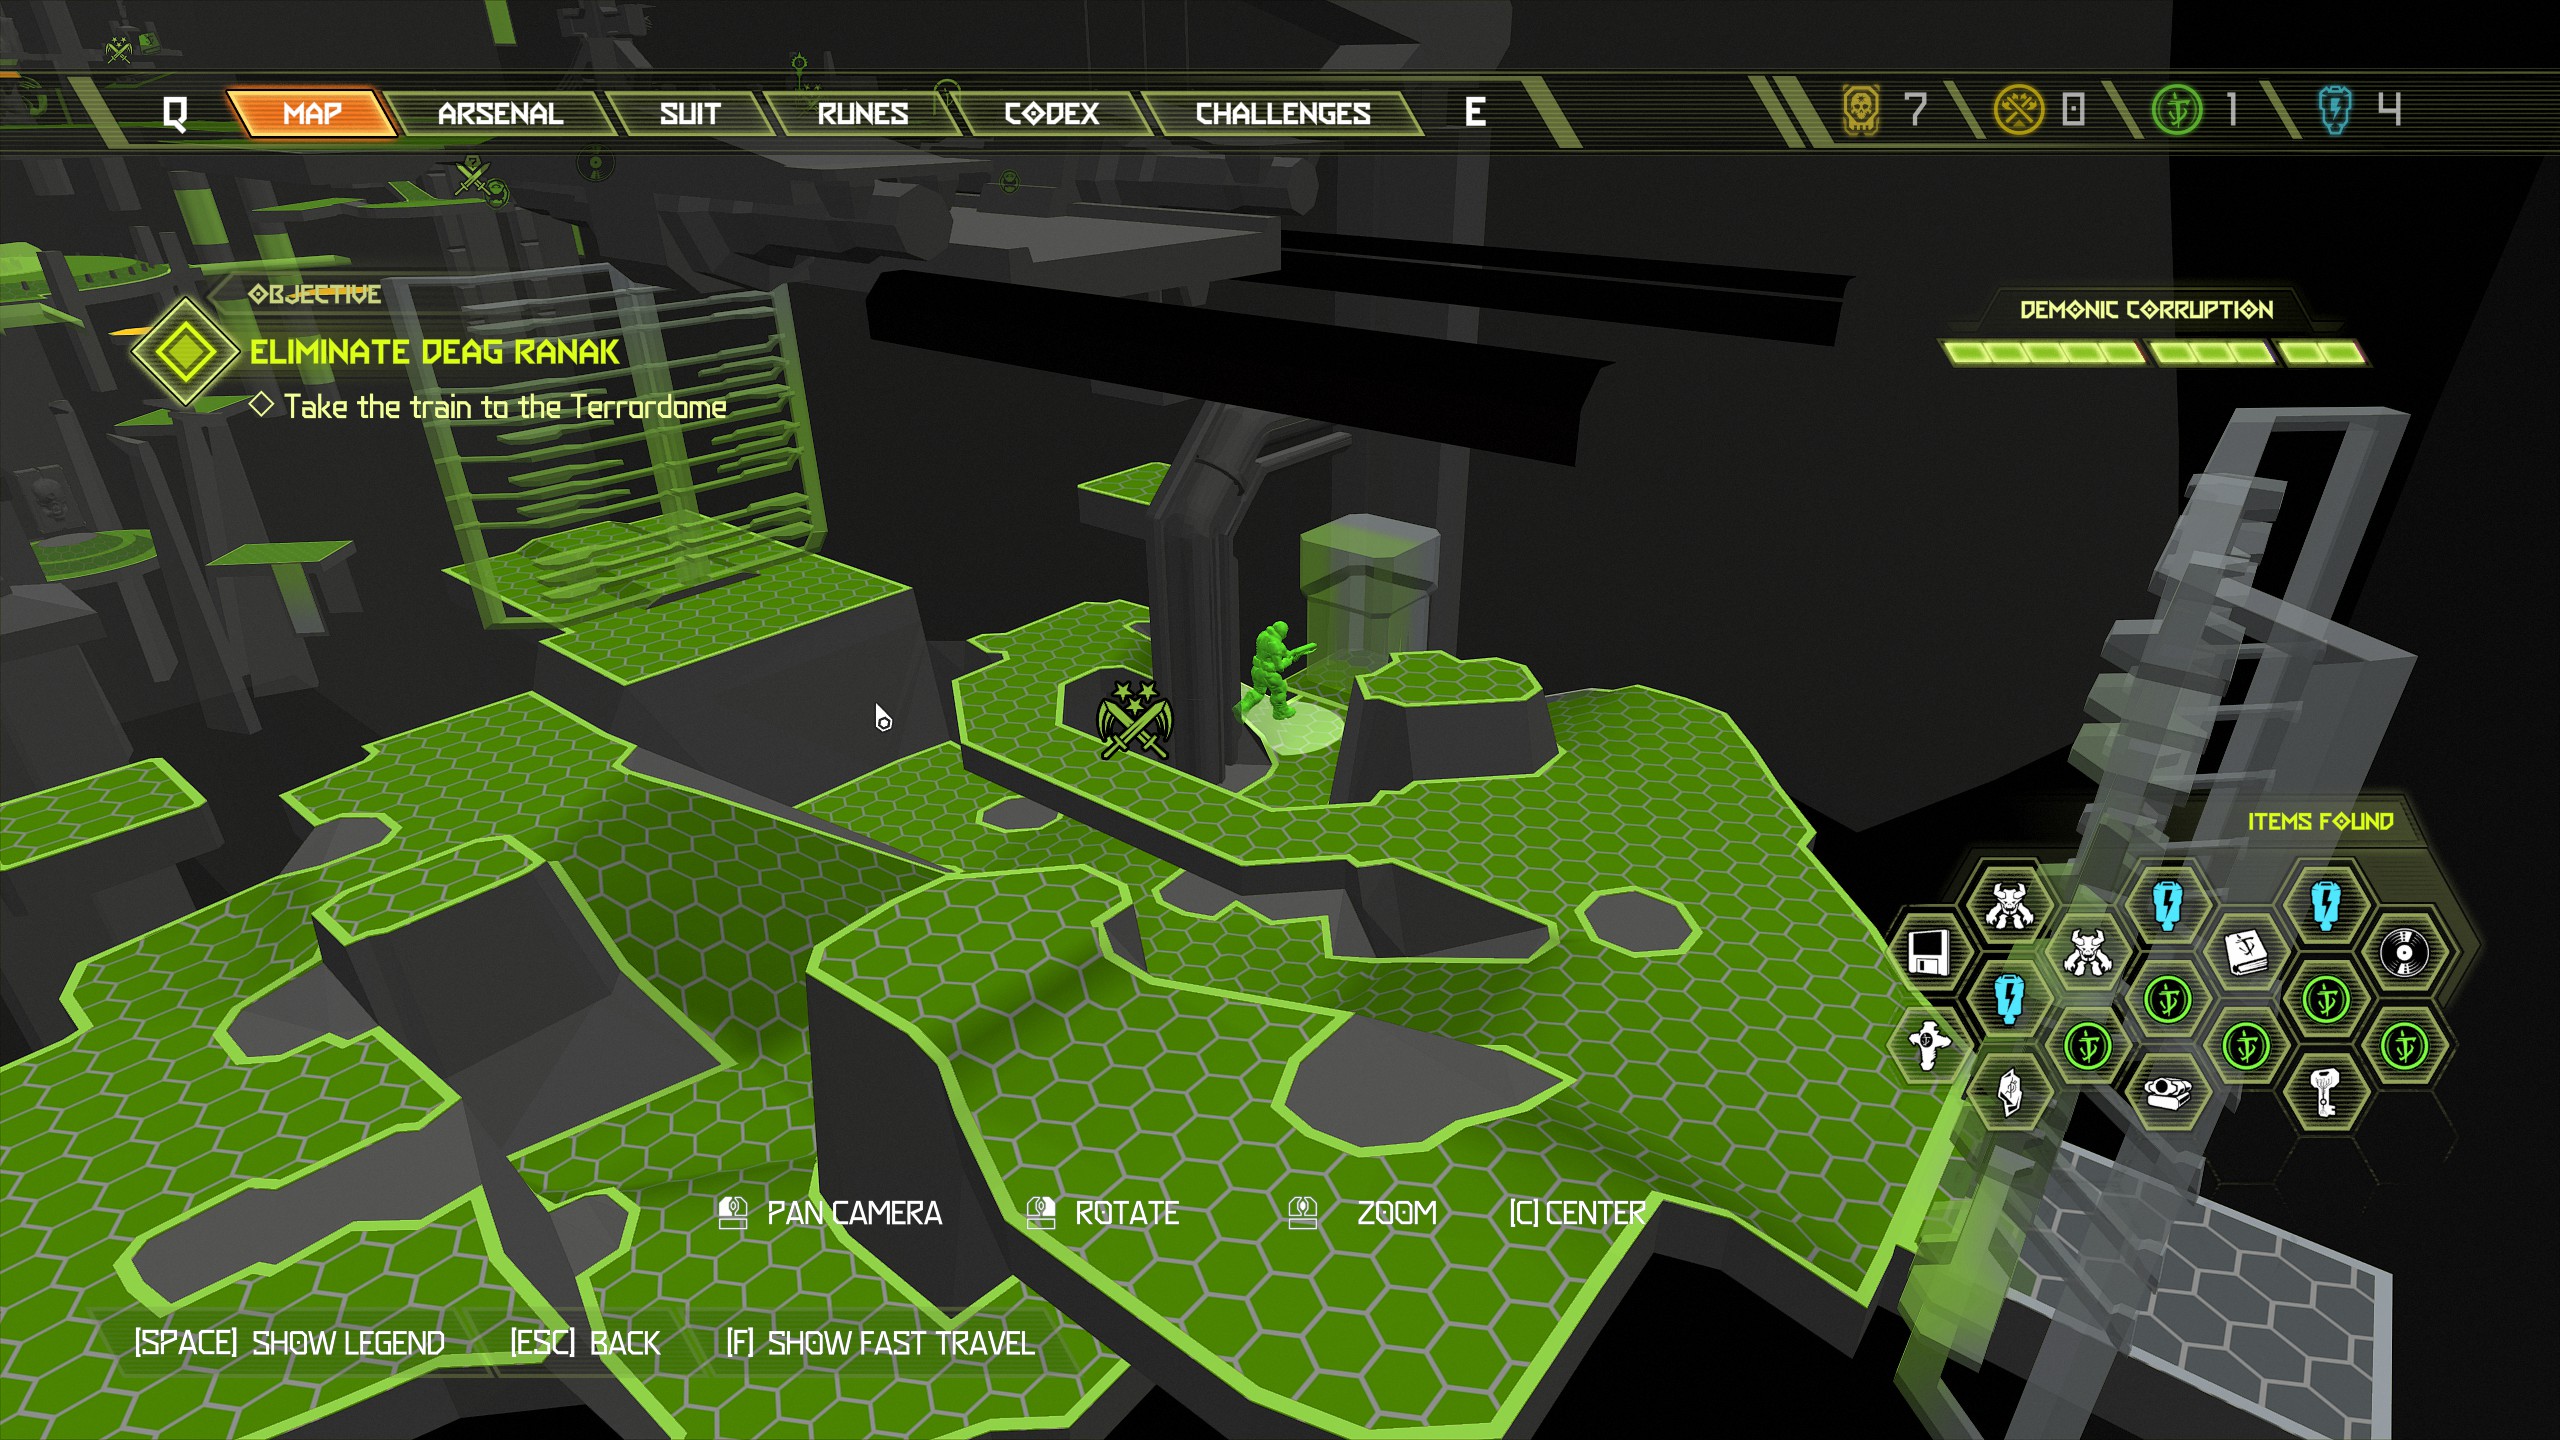
Another mission complete, but this time we will go straight to the next mission.
Mission 4: Doom Hunter Base [Part 1]
NOTE: With this mission there is a good amount of platforming, this is also the mission that gets you the achievement for killing 3 doom hunters. Overall it's not too bad a mission and the items are not too difficult to find, but just be careful not to end the mission too early by dropping down the hole after killing the first doom hunter. This mission contains:
- 1 Weapon Mod
- 4 Praetor Suit Tokens
- 3 Extra Lives
- 2 Sentinel Batteries
- 3 Codex Pages
- 1 Automap
- 2 Doomtoys
- 1 Rune
- 1 Album
- 1 Cheat Code
- 1 Sentinel Crystal
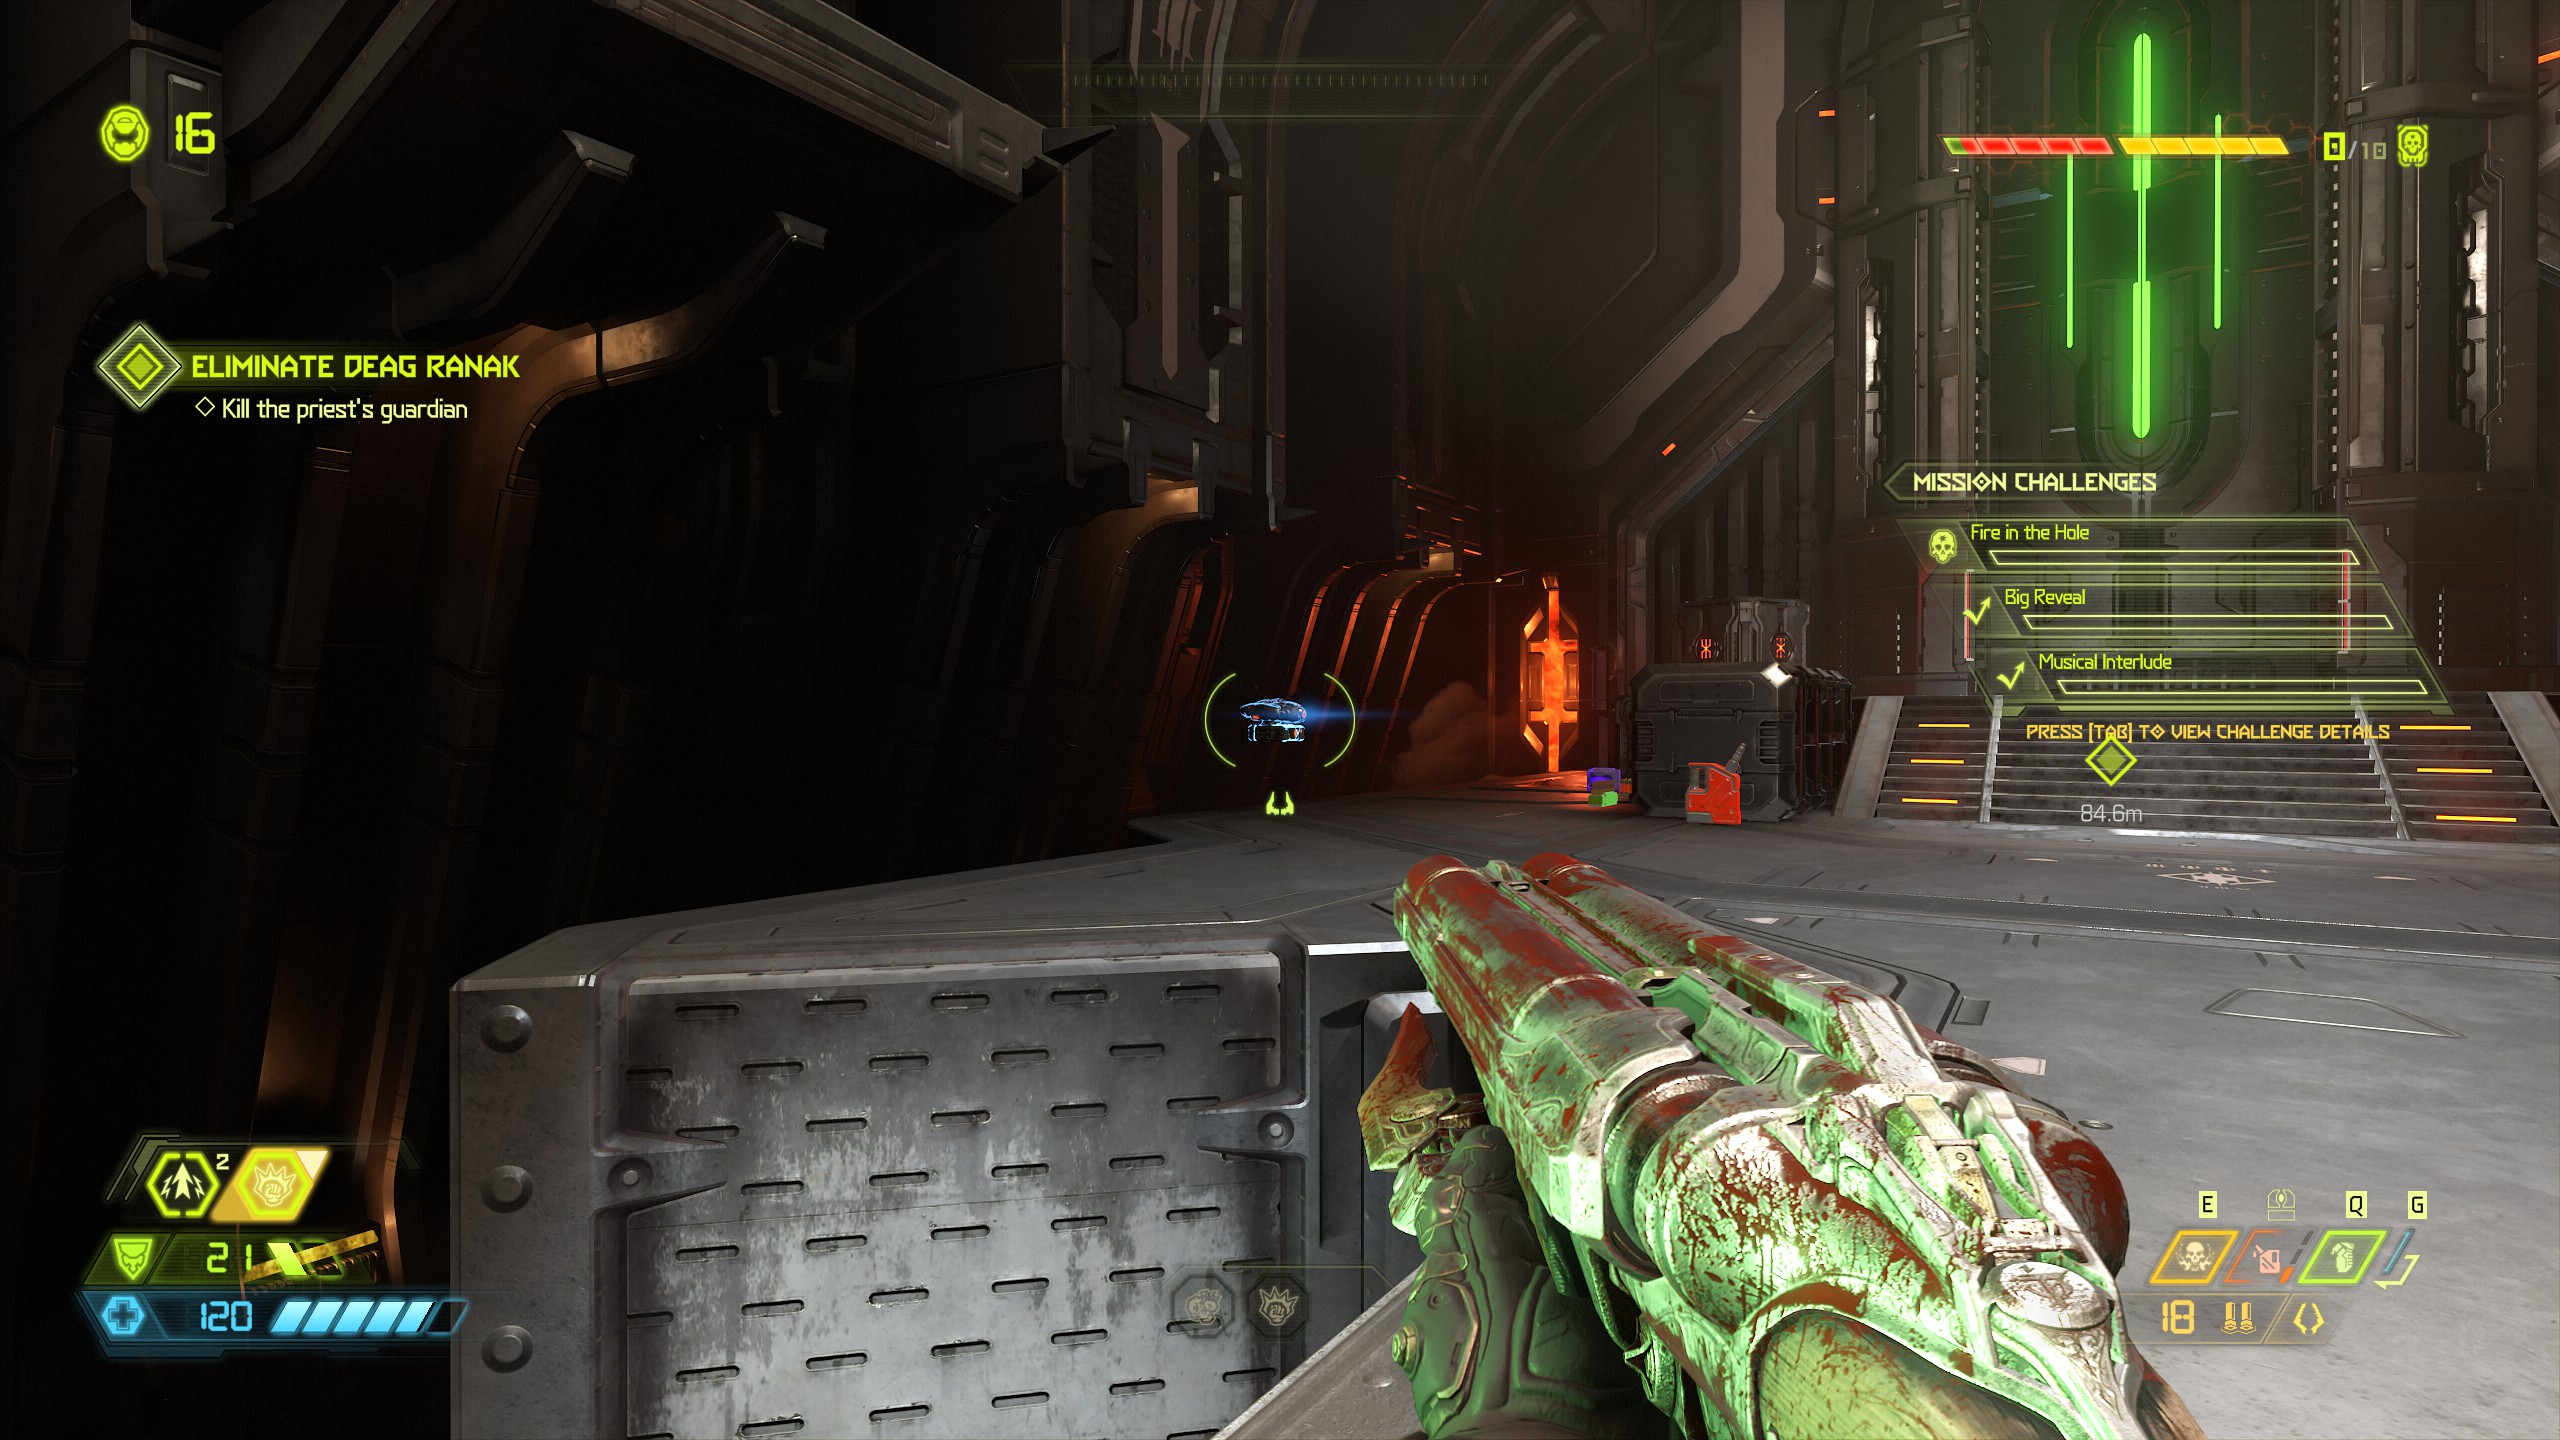
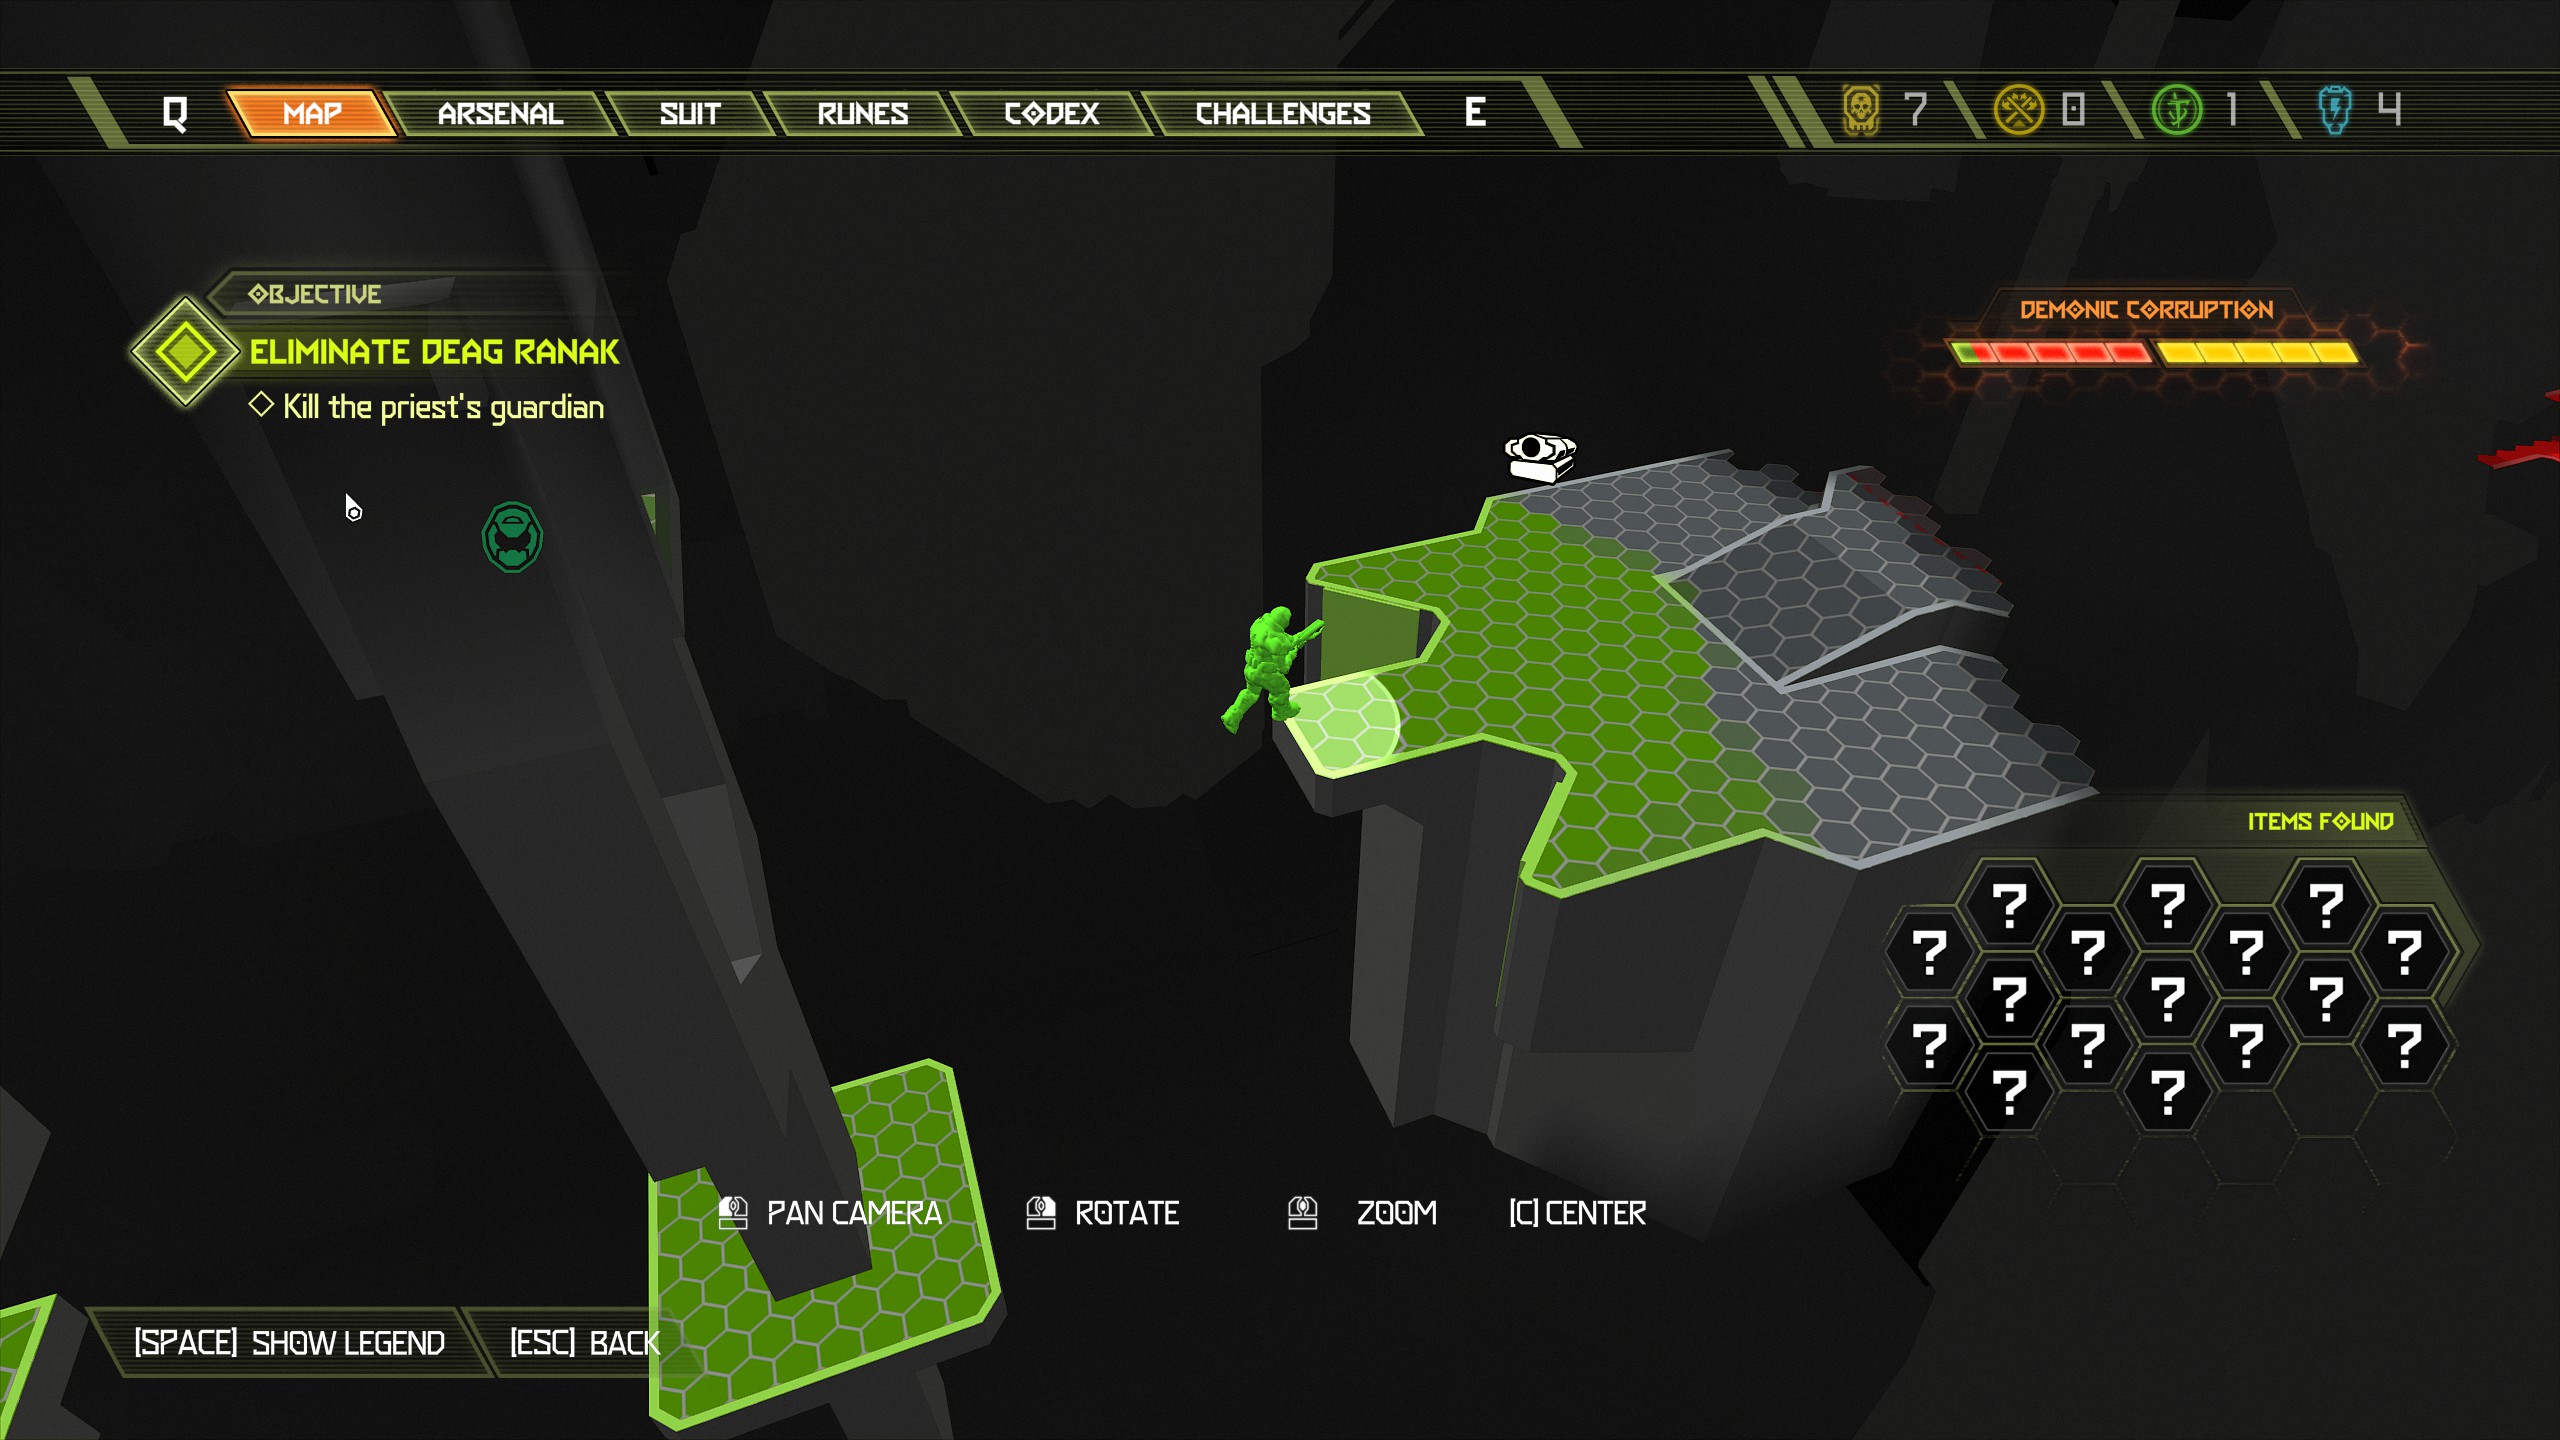
From the weapon mod look towards the centre of the room and you will see a yellow bar moving up and down, wait for the bar to lower and then use it to swing across onto the wall located on the opposite side. Climb onto the top of the wall and from there look towards the back of the room and on the right side you will see a praetor suit token on a platform, simply jump across and double dash to collect it.
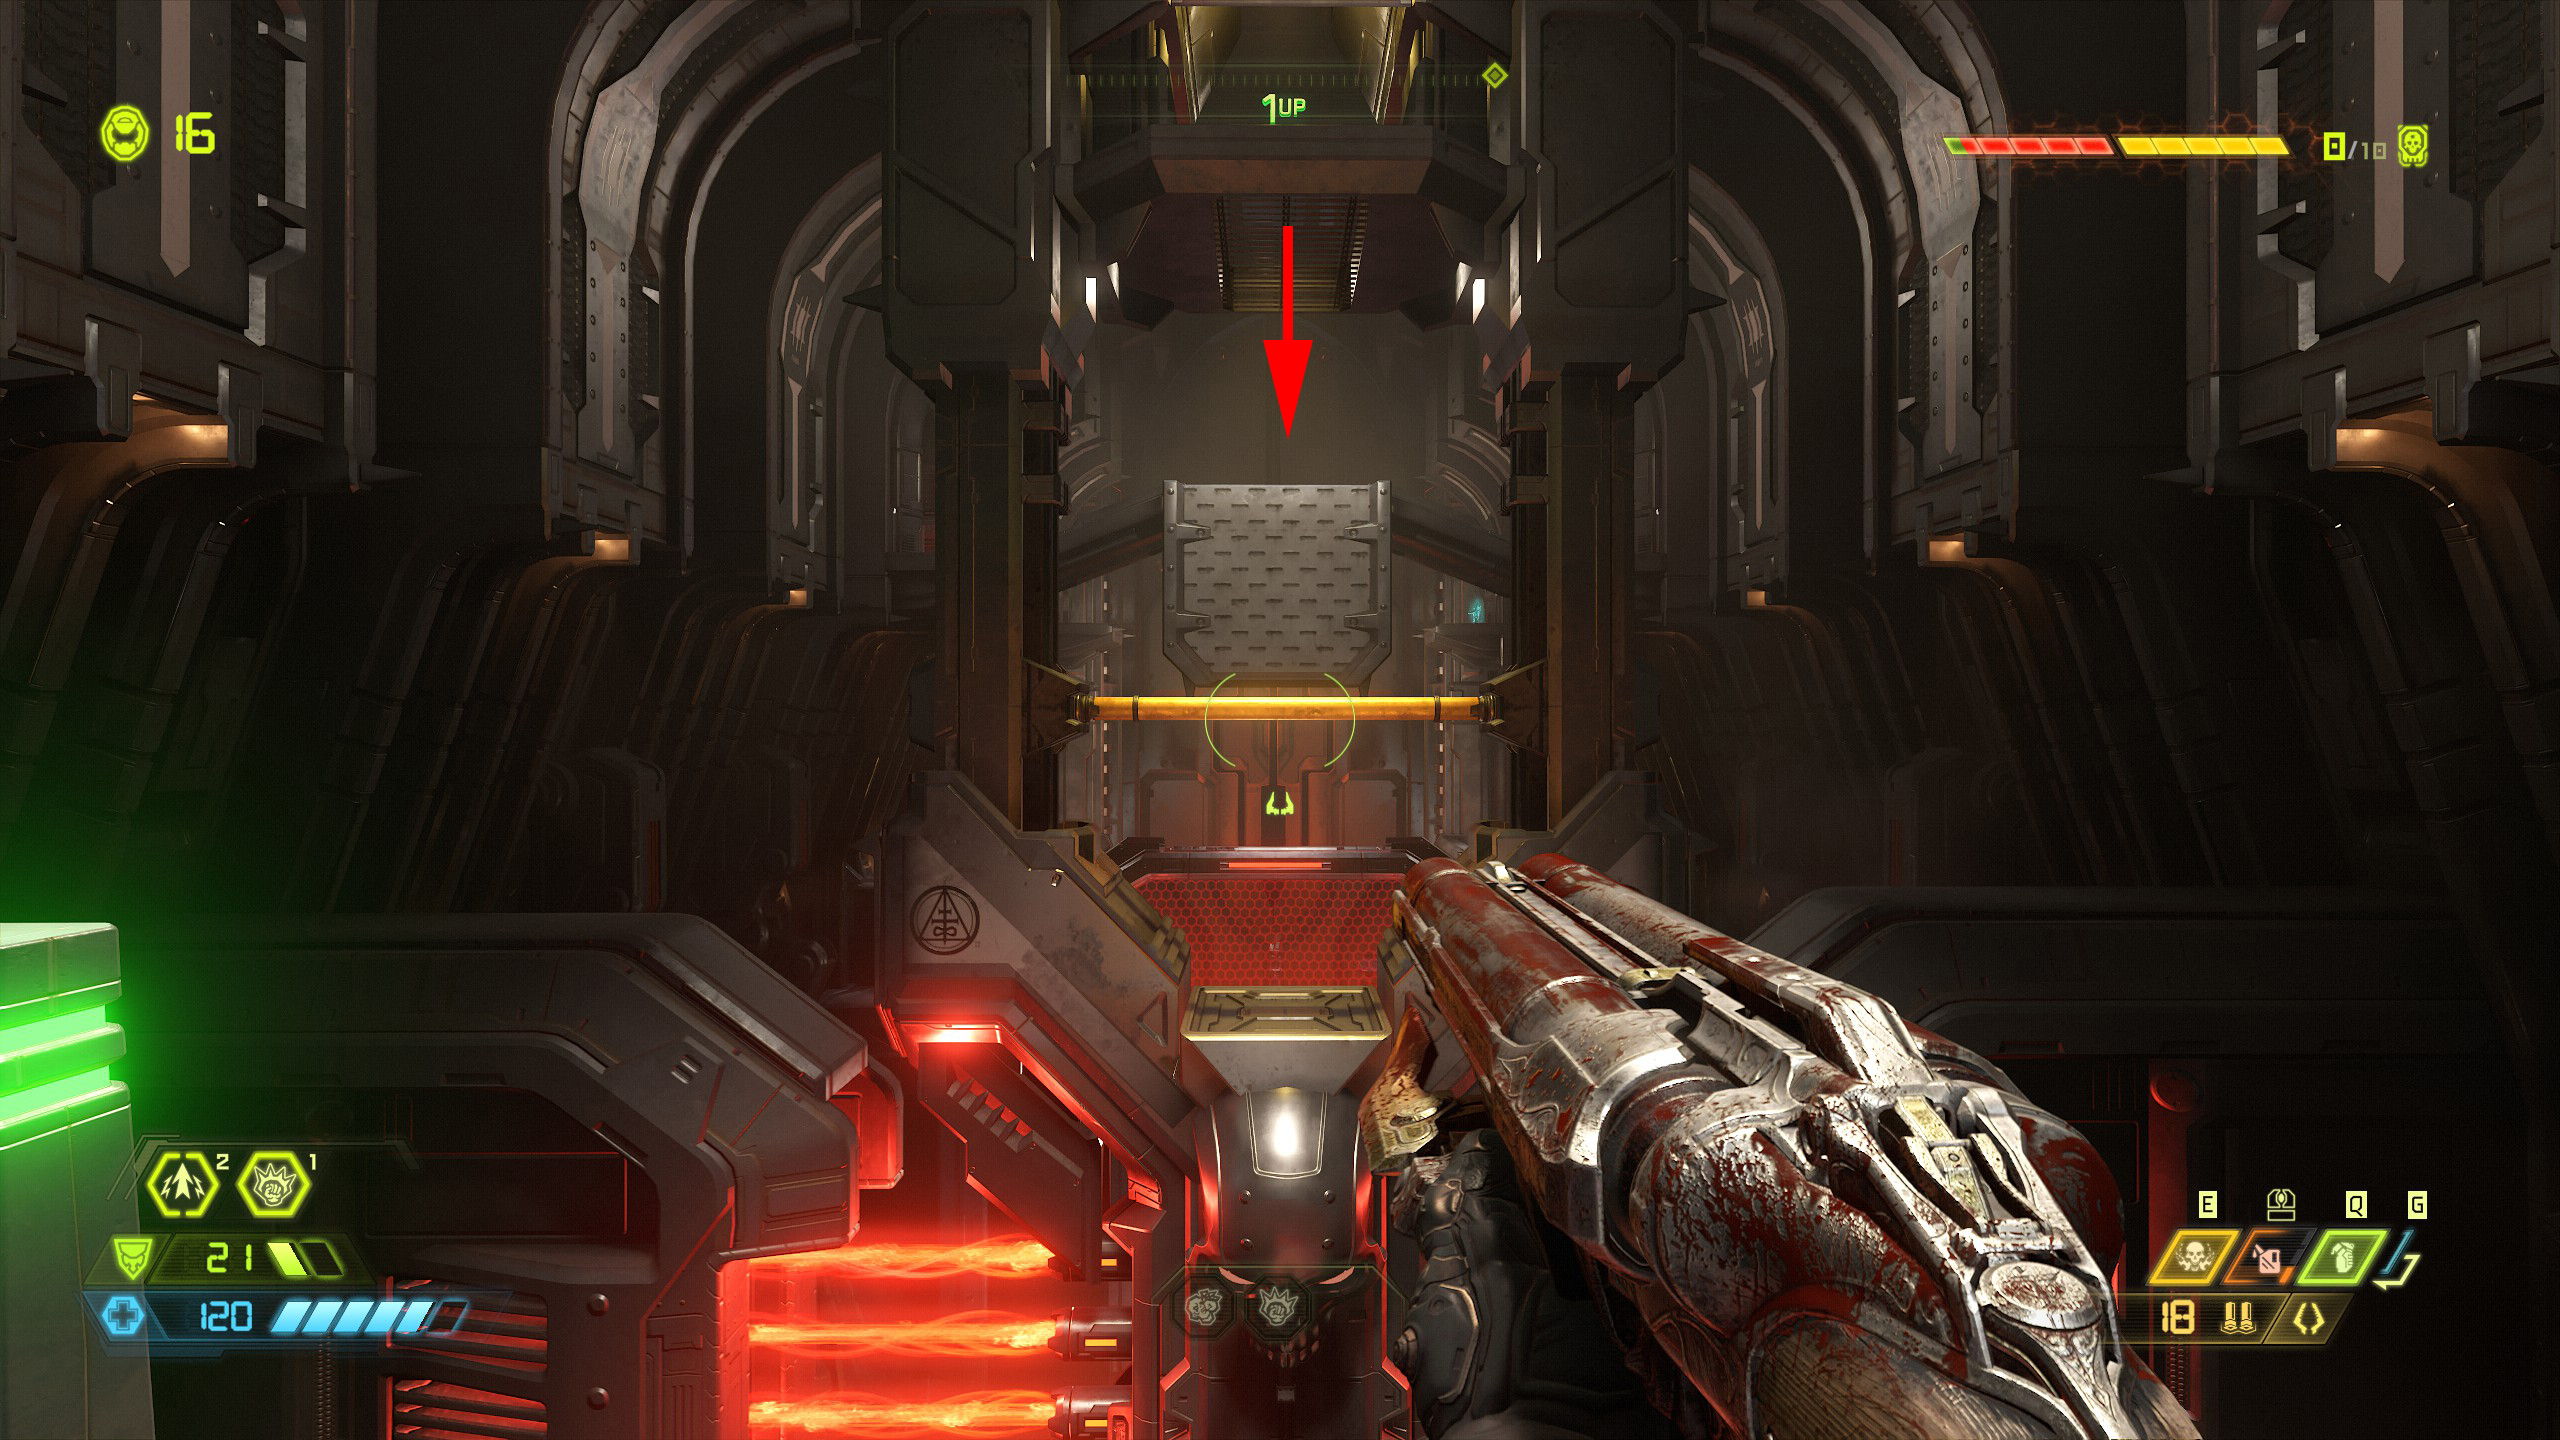
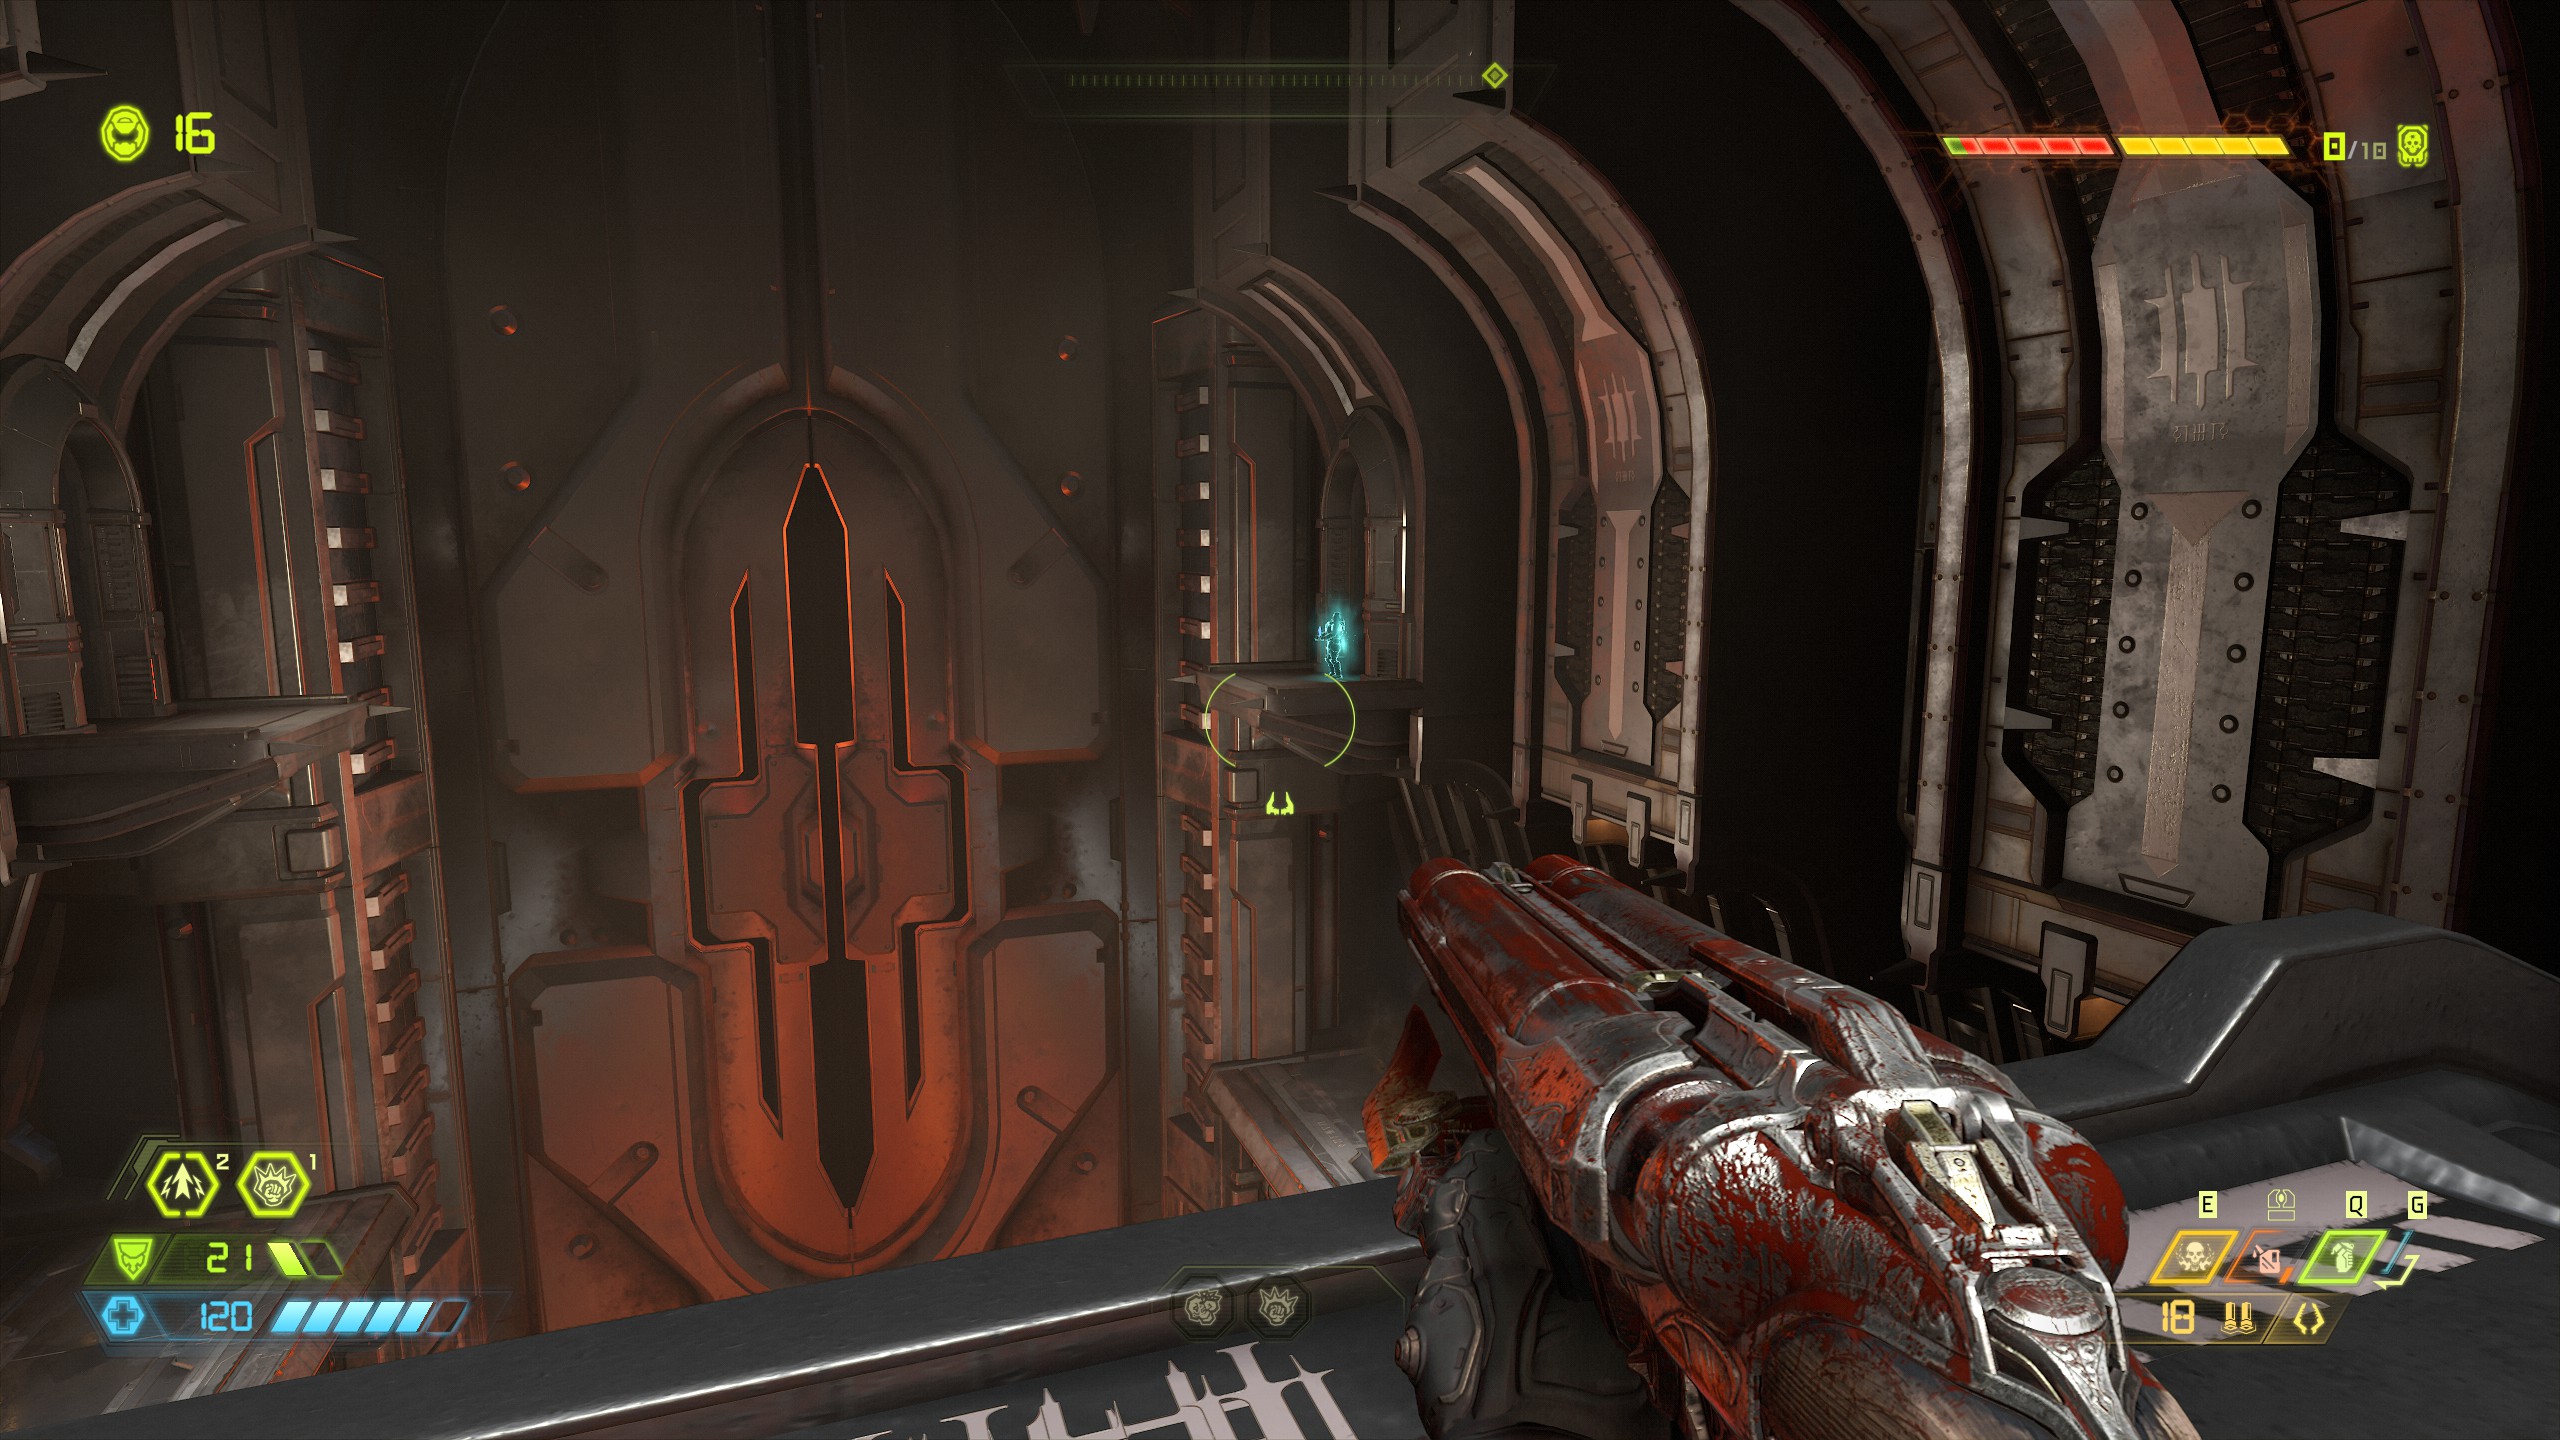
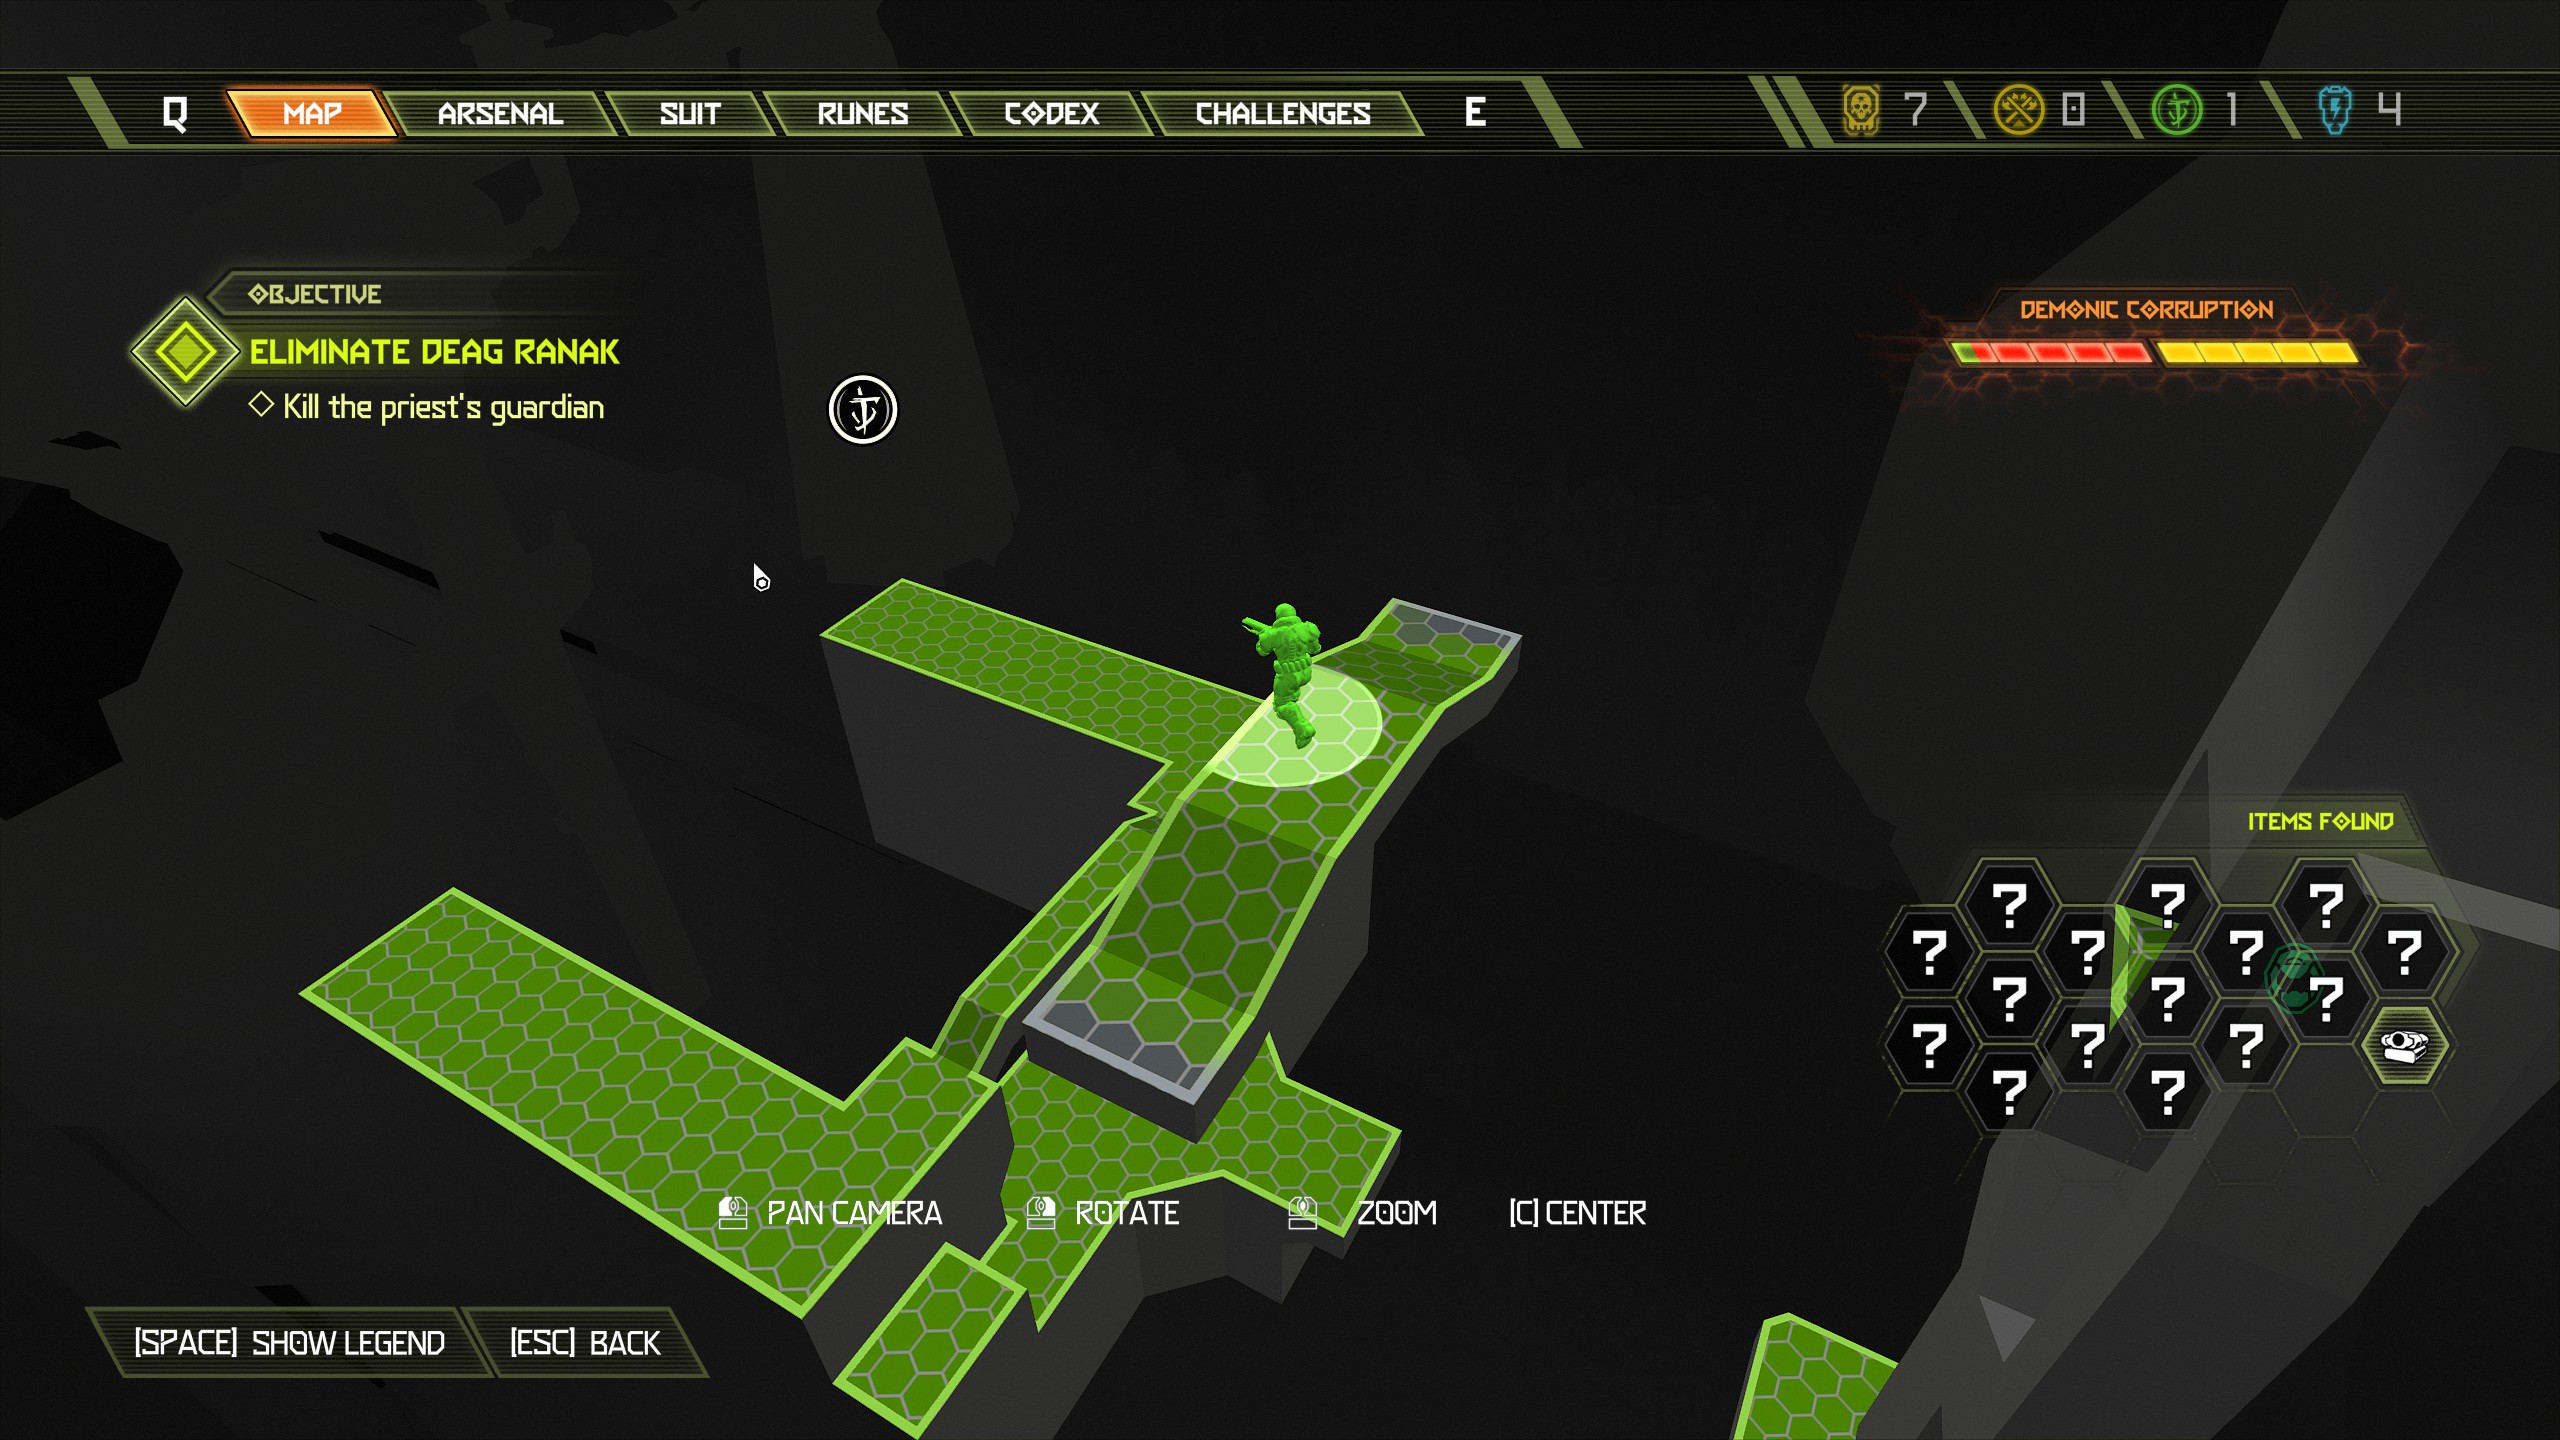 Now go back to the center of the room and above the yellow bar on a small platform is an extra life, wait for the platform to lower and then jump across and collect it.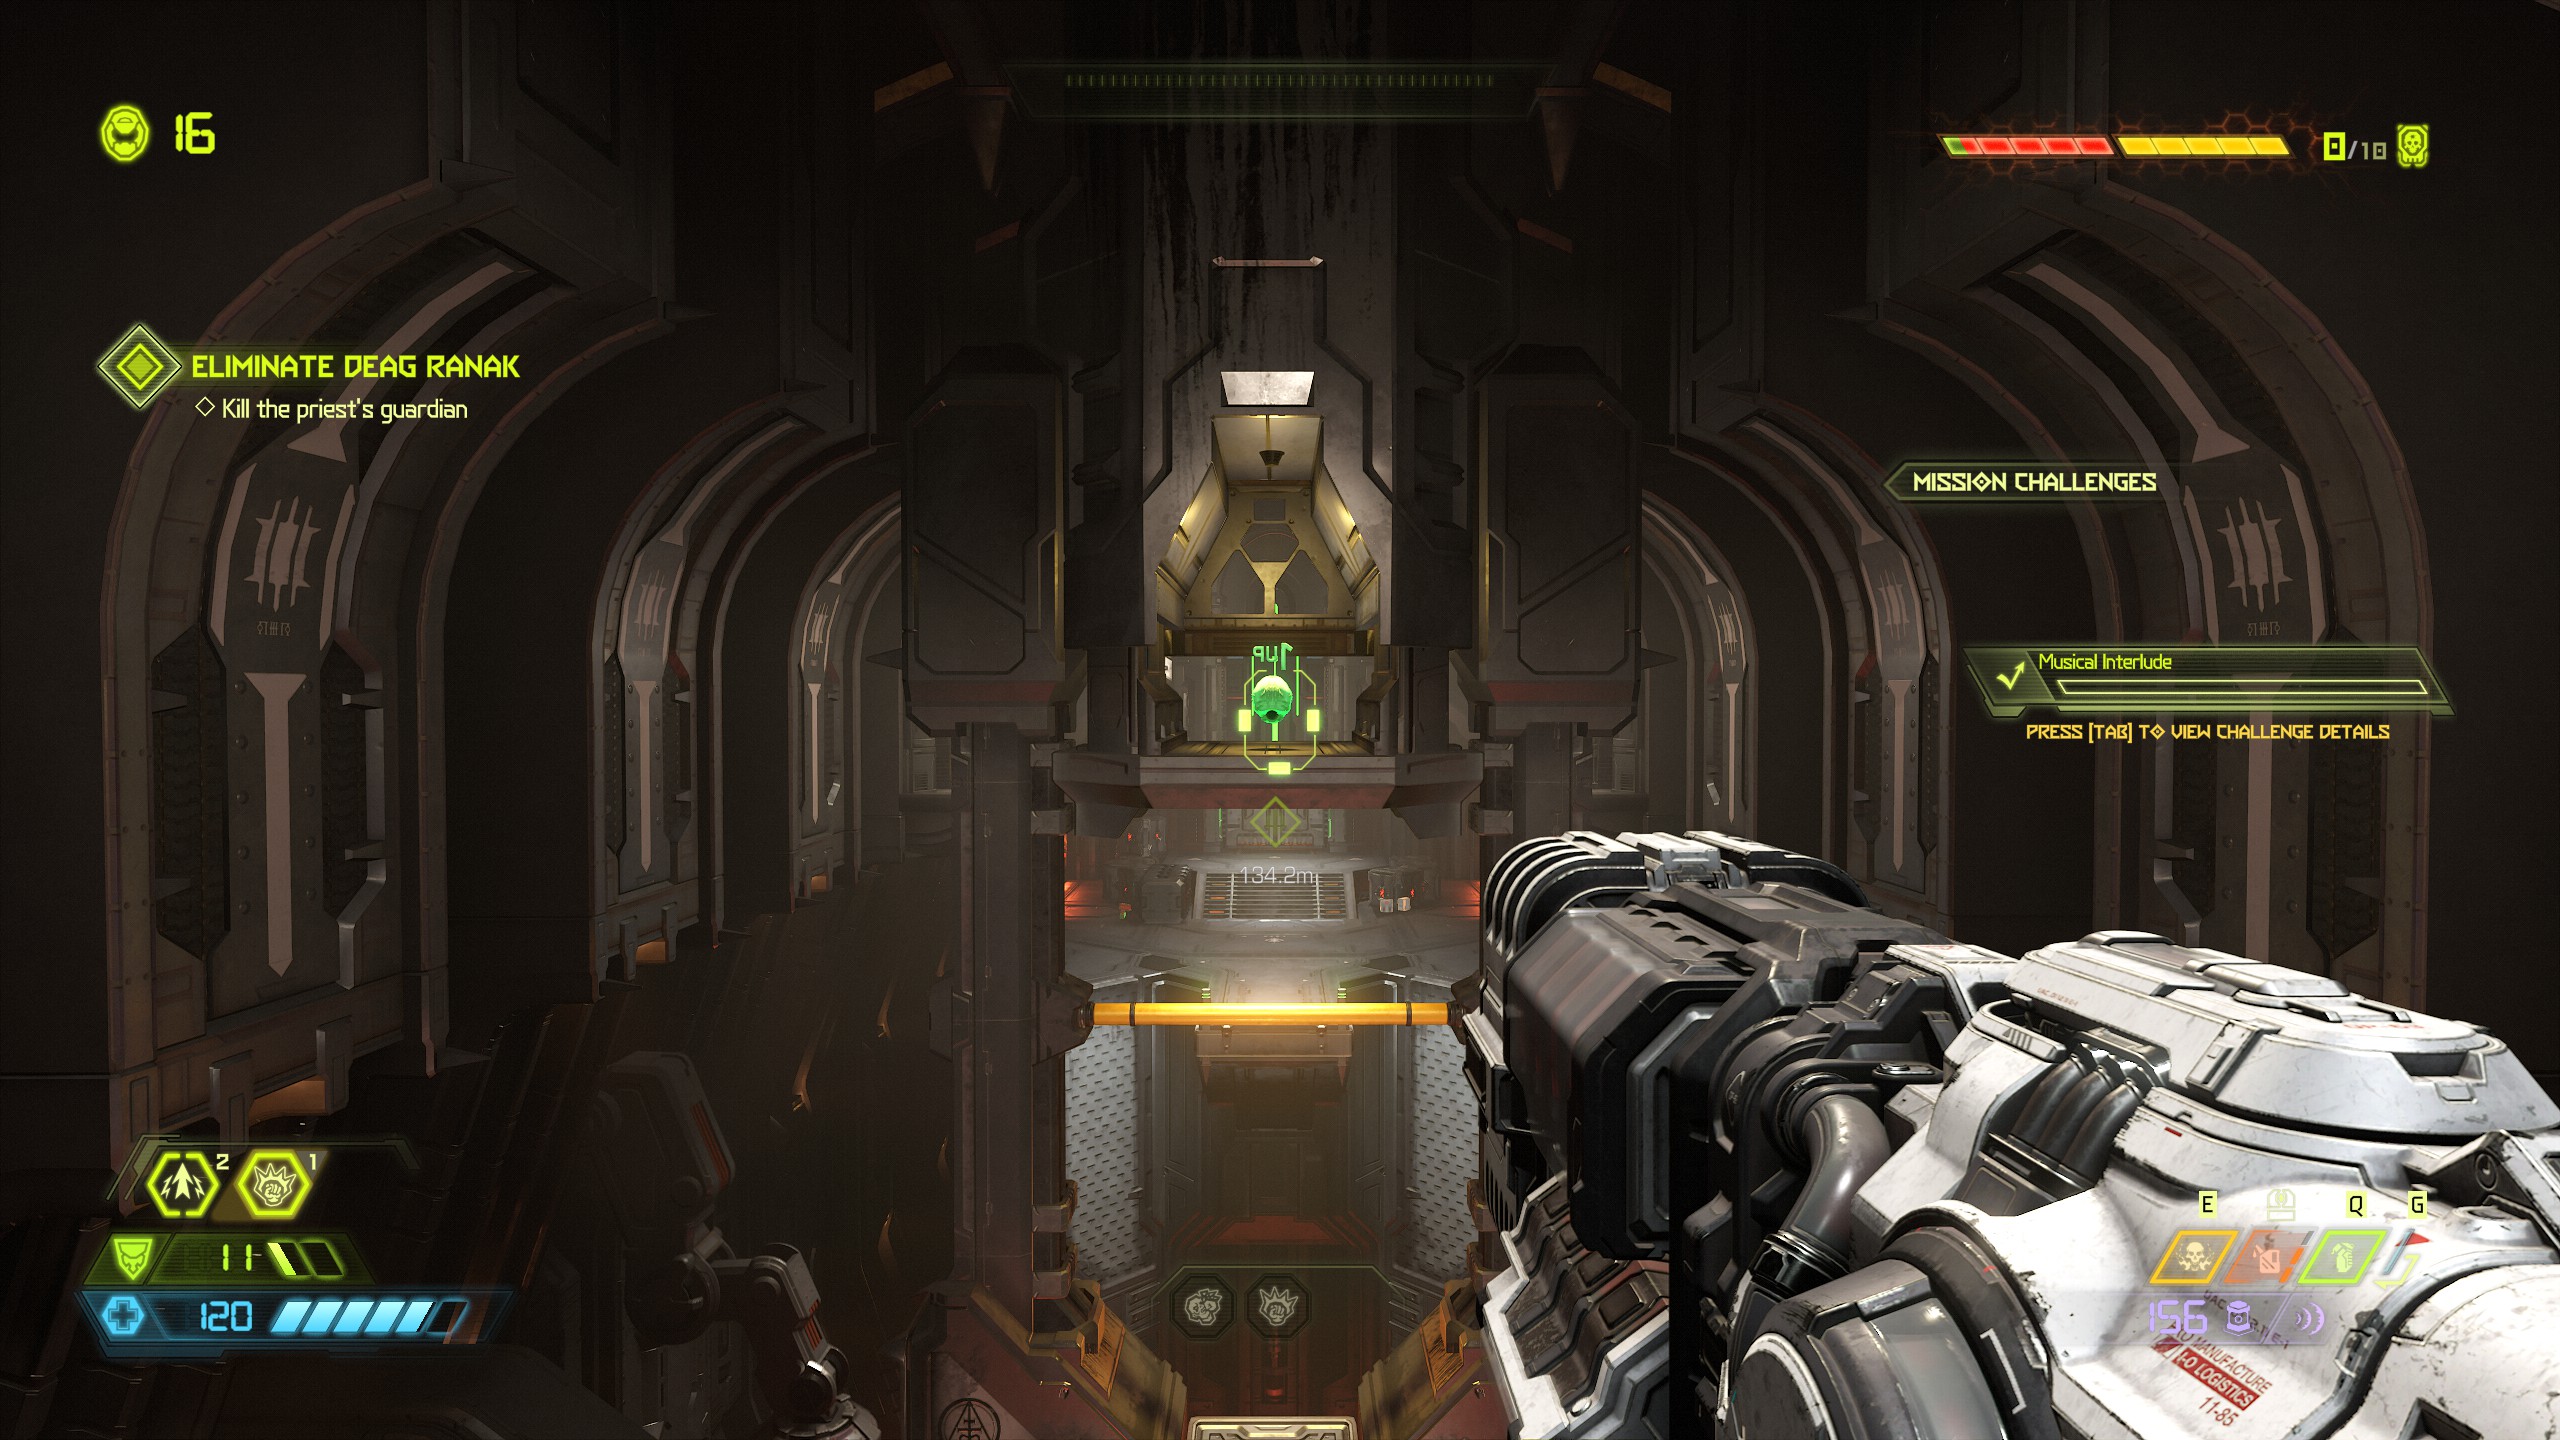
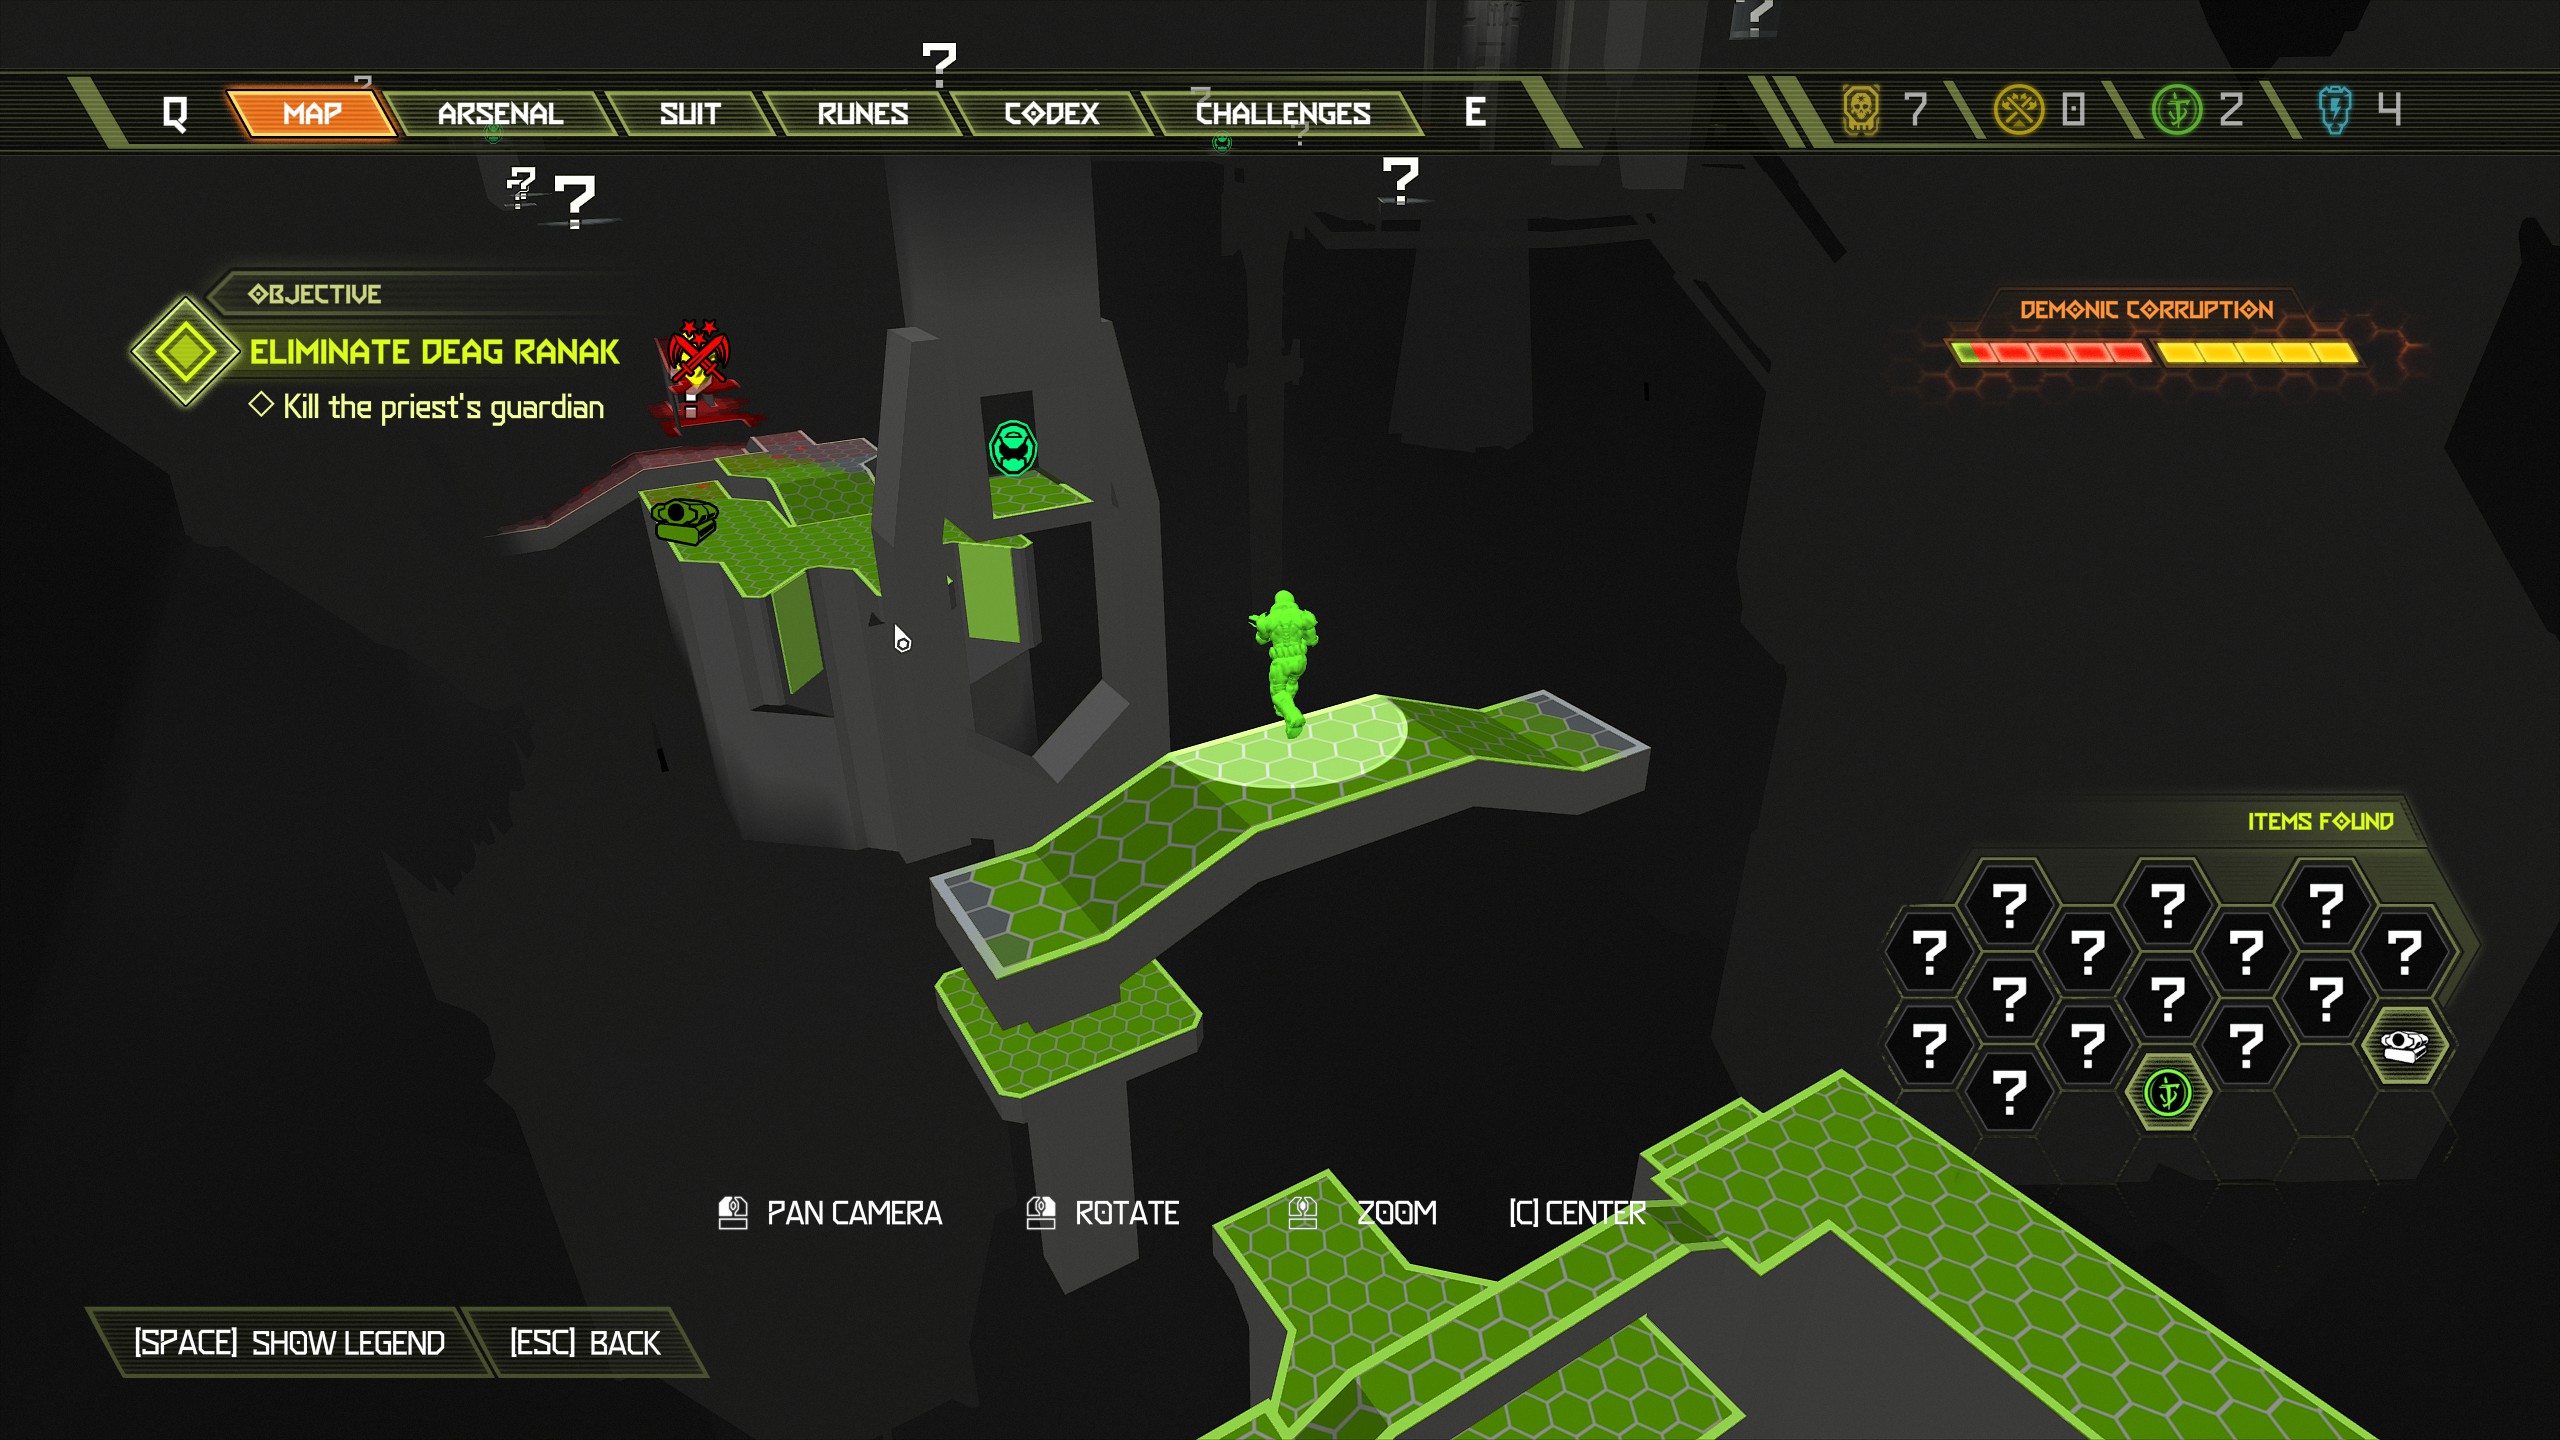
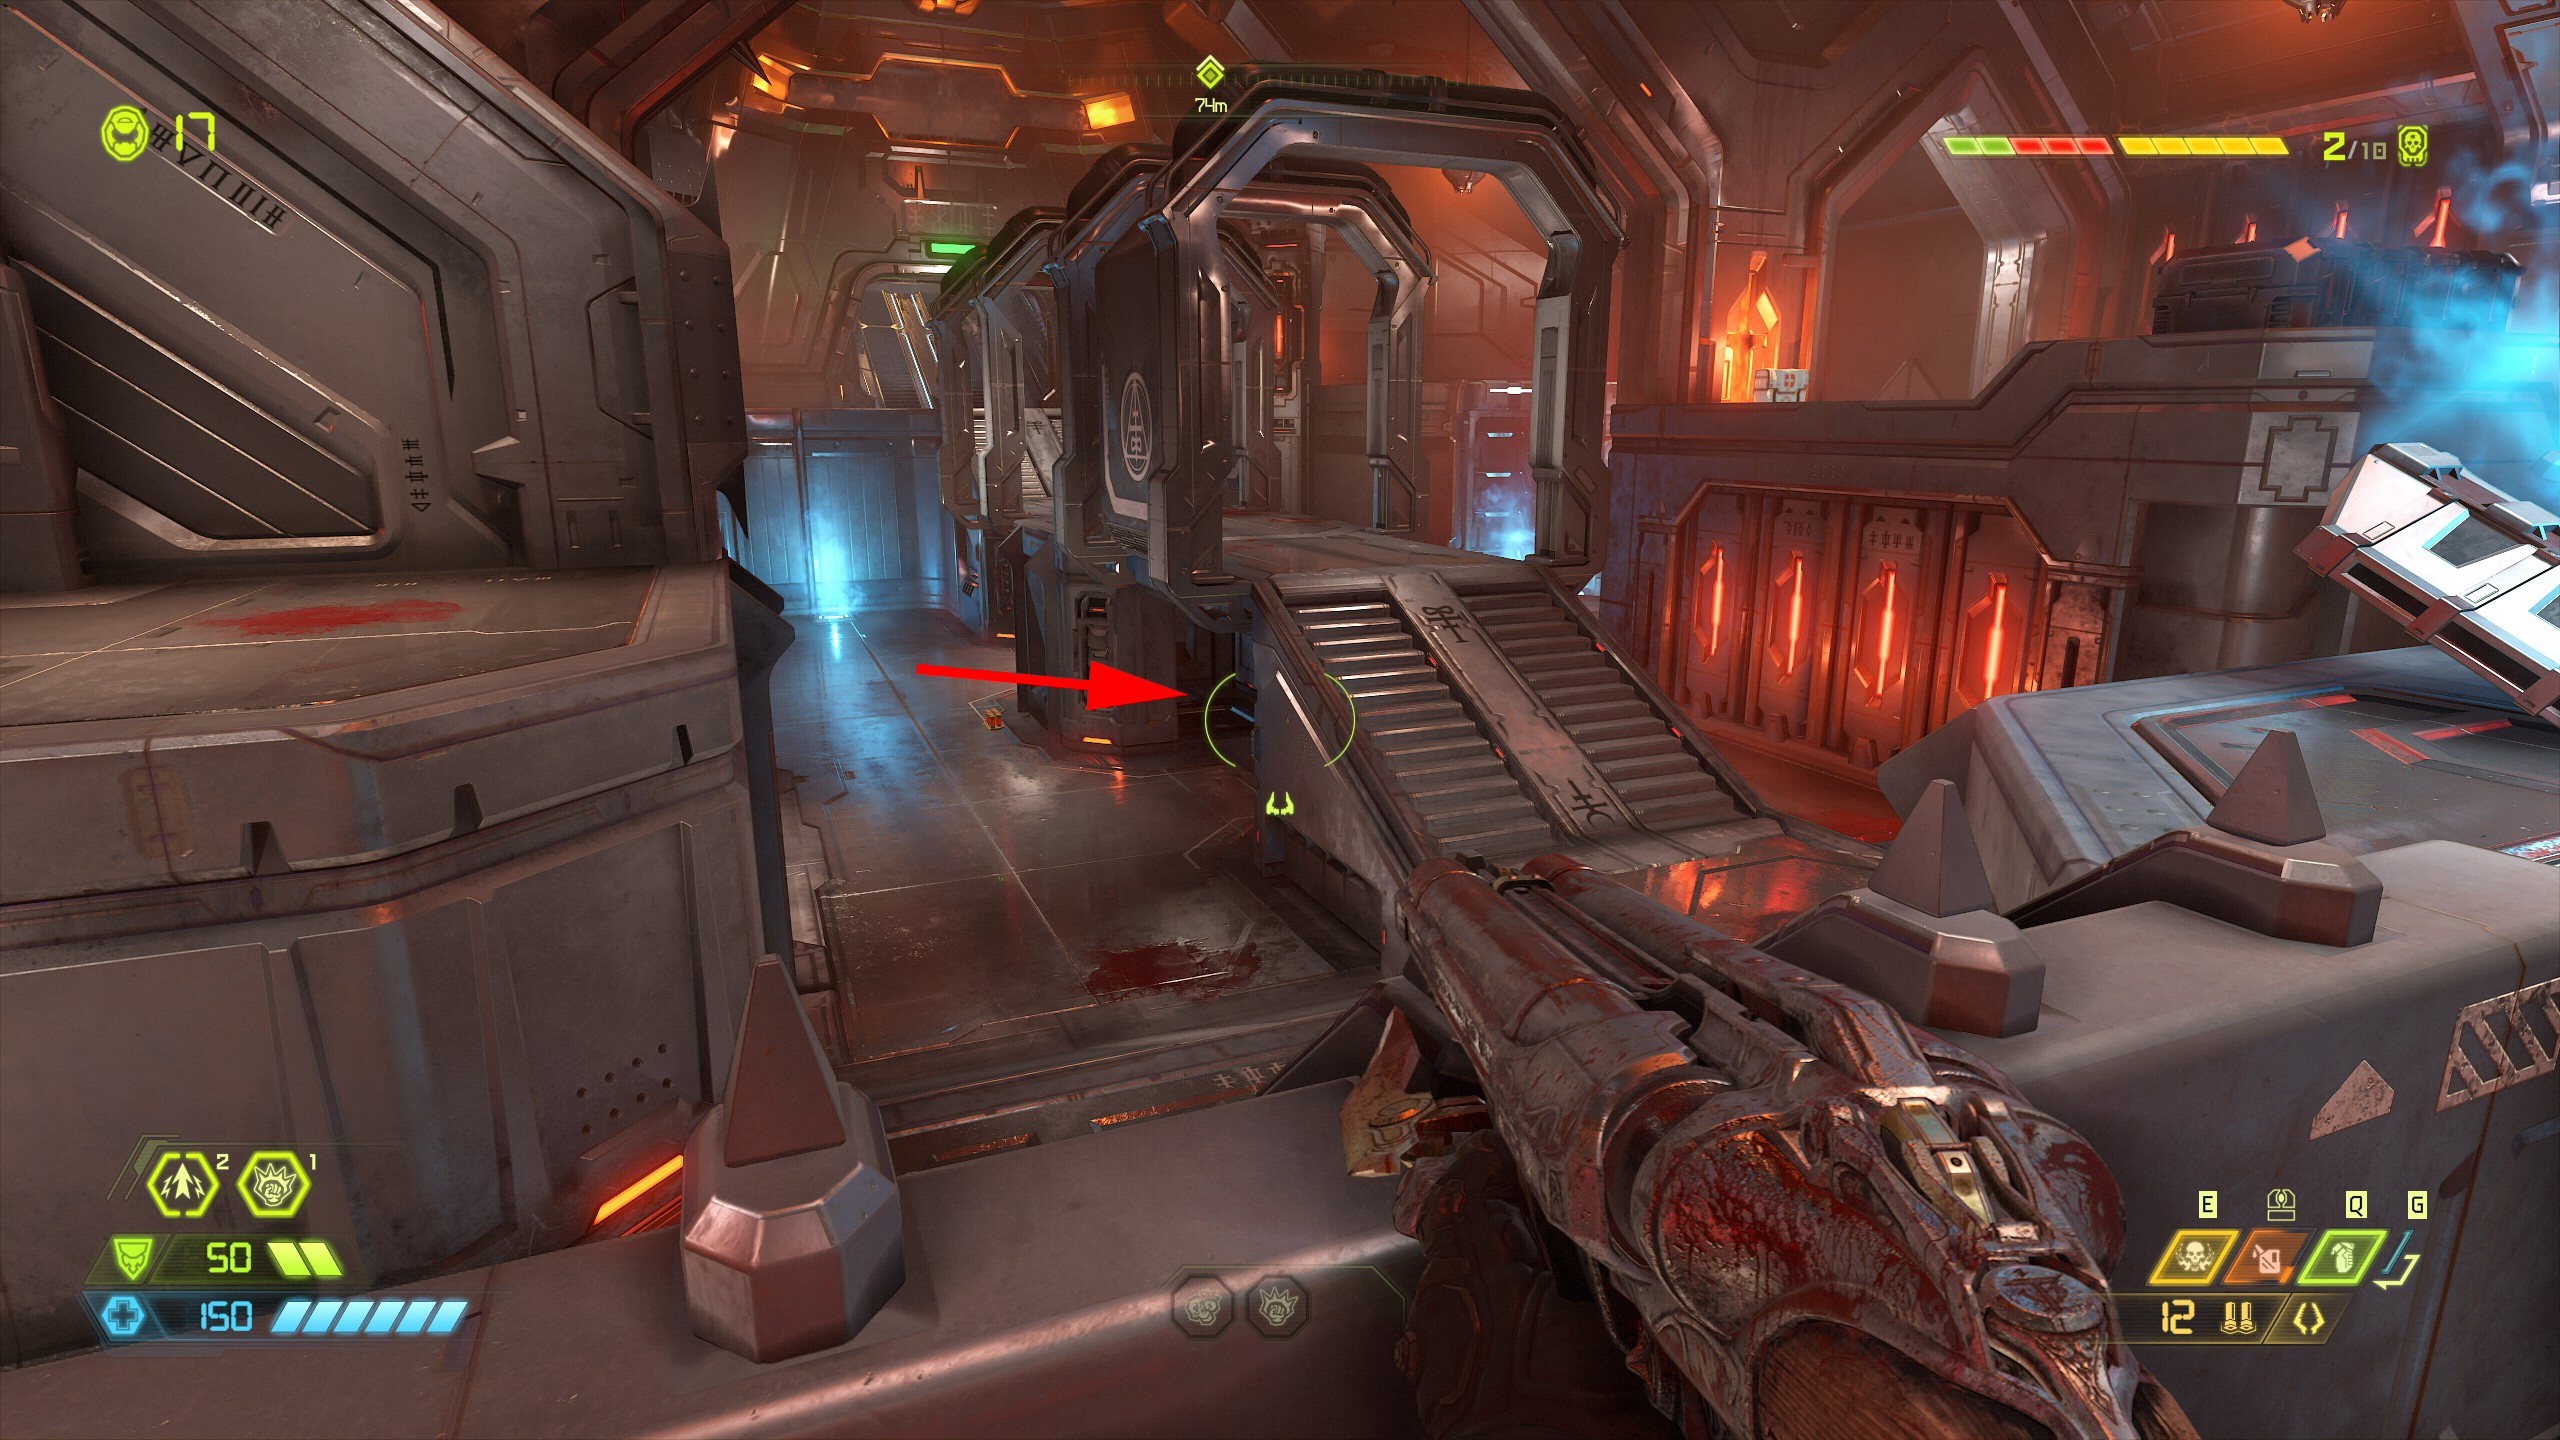
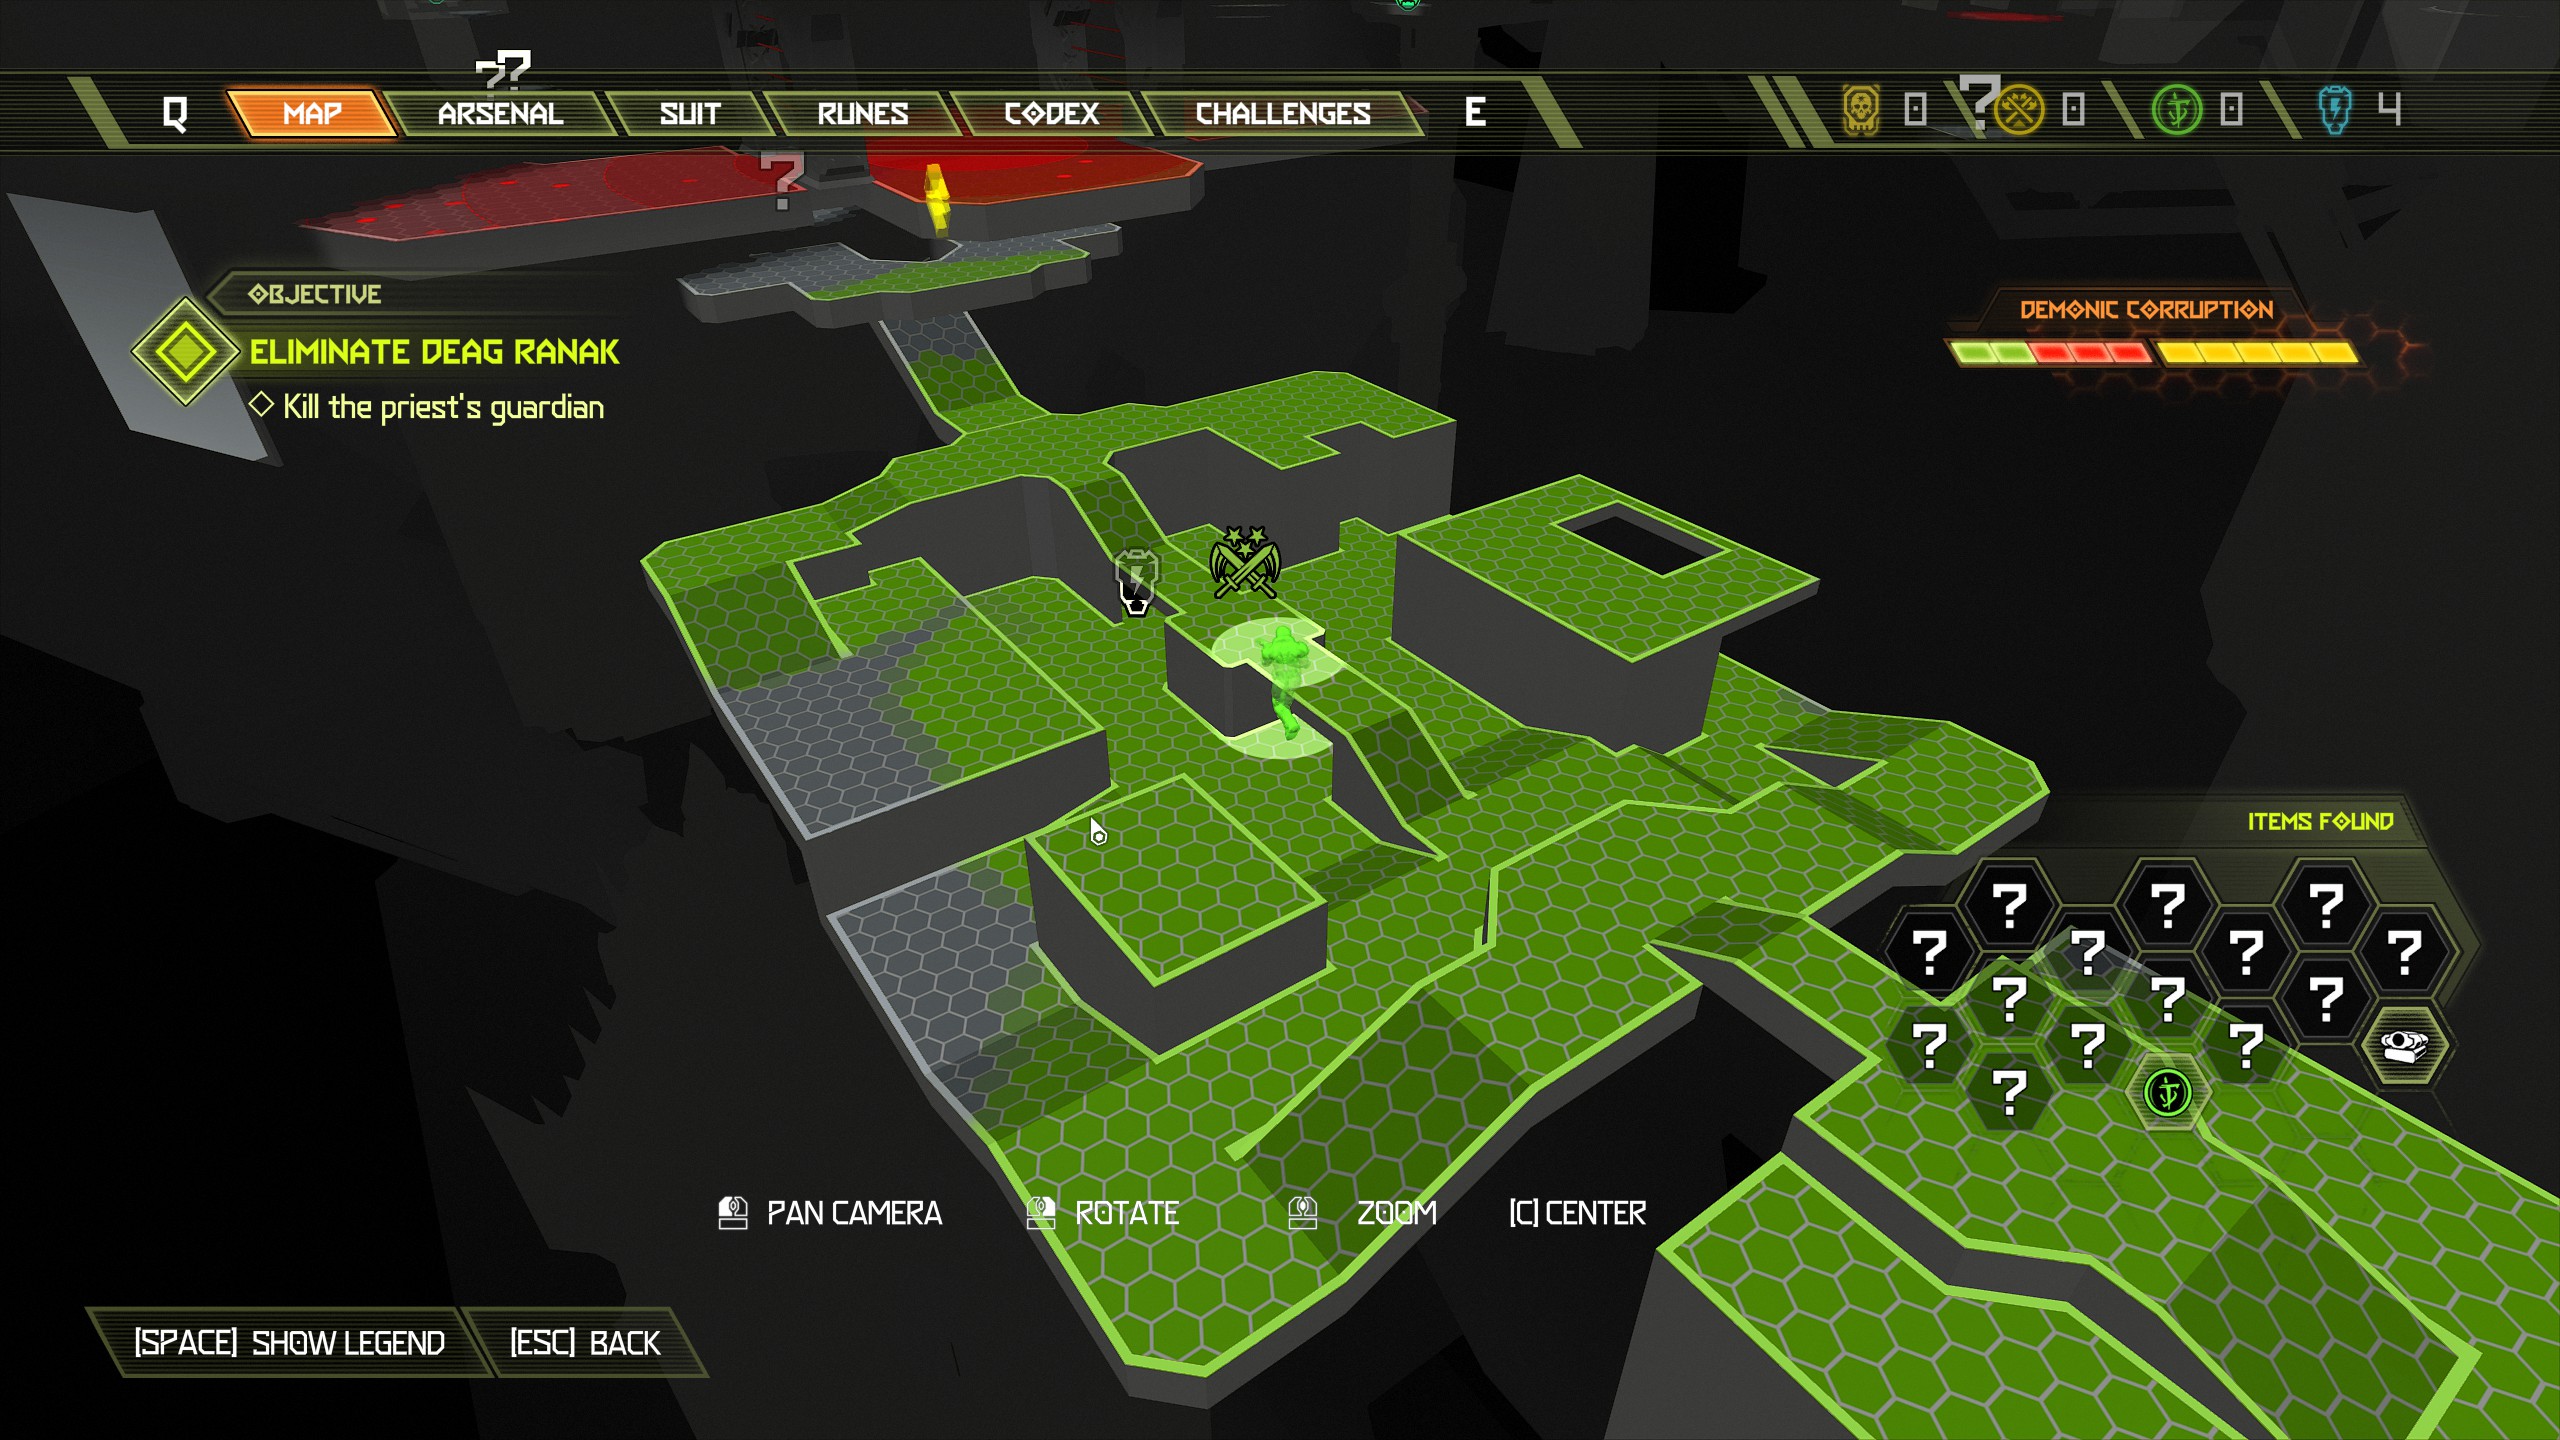
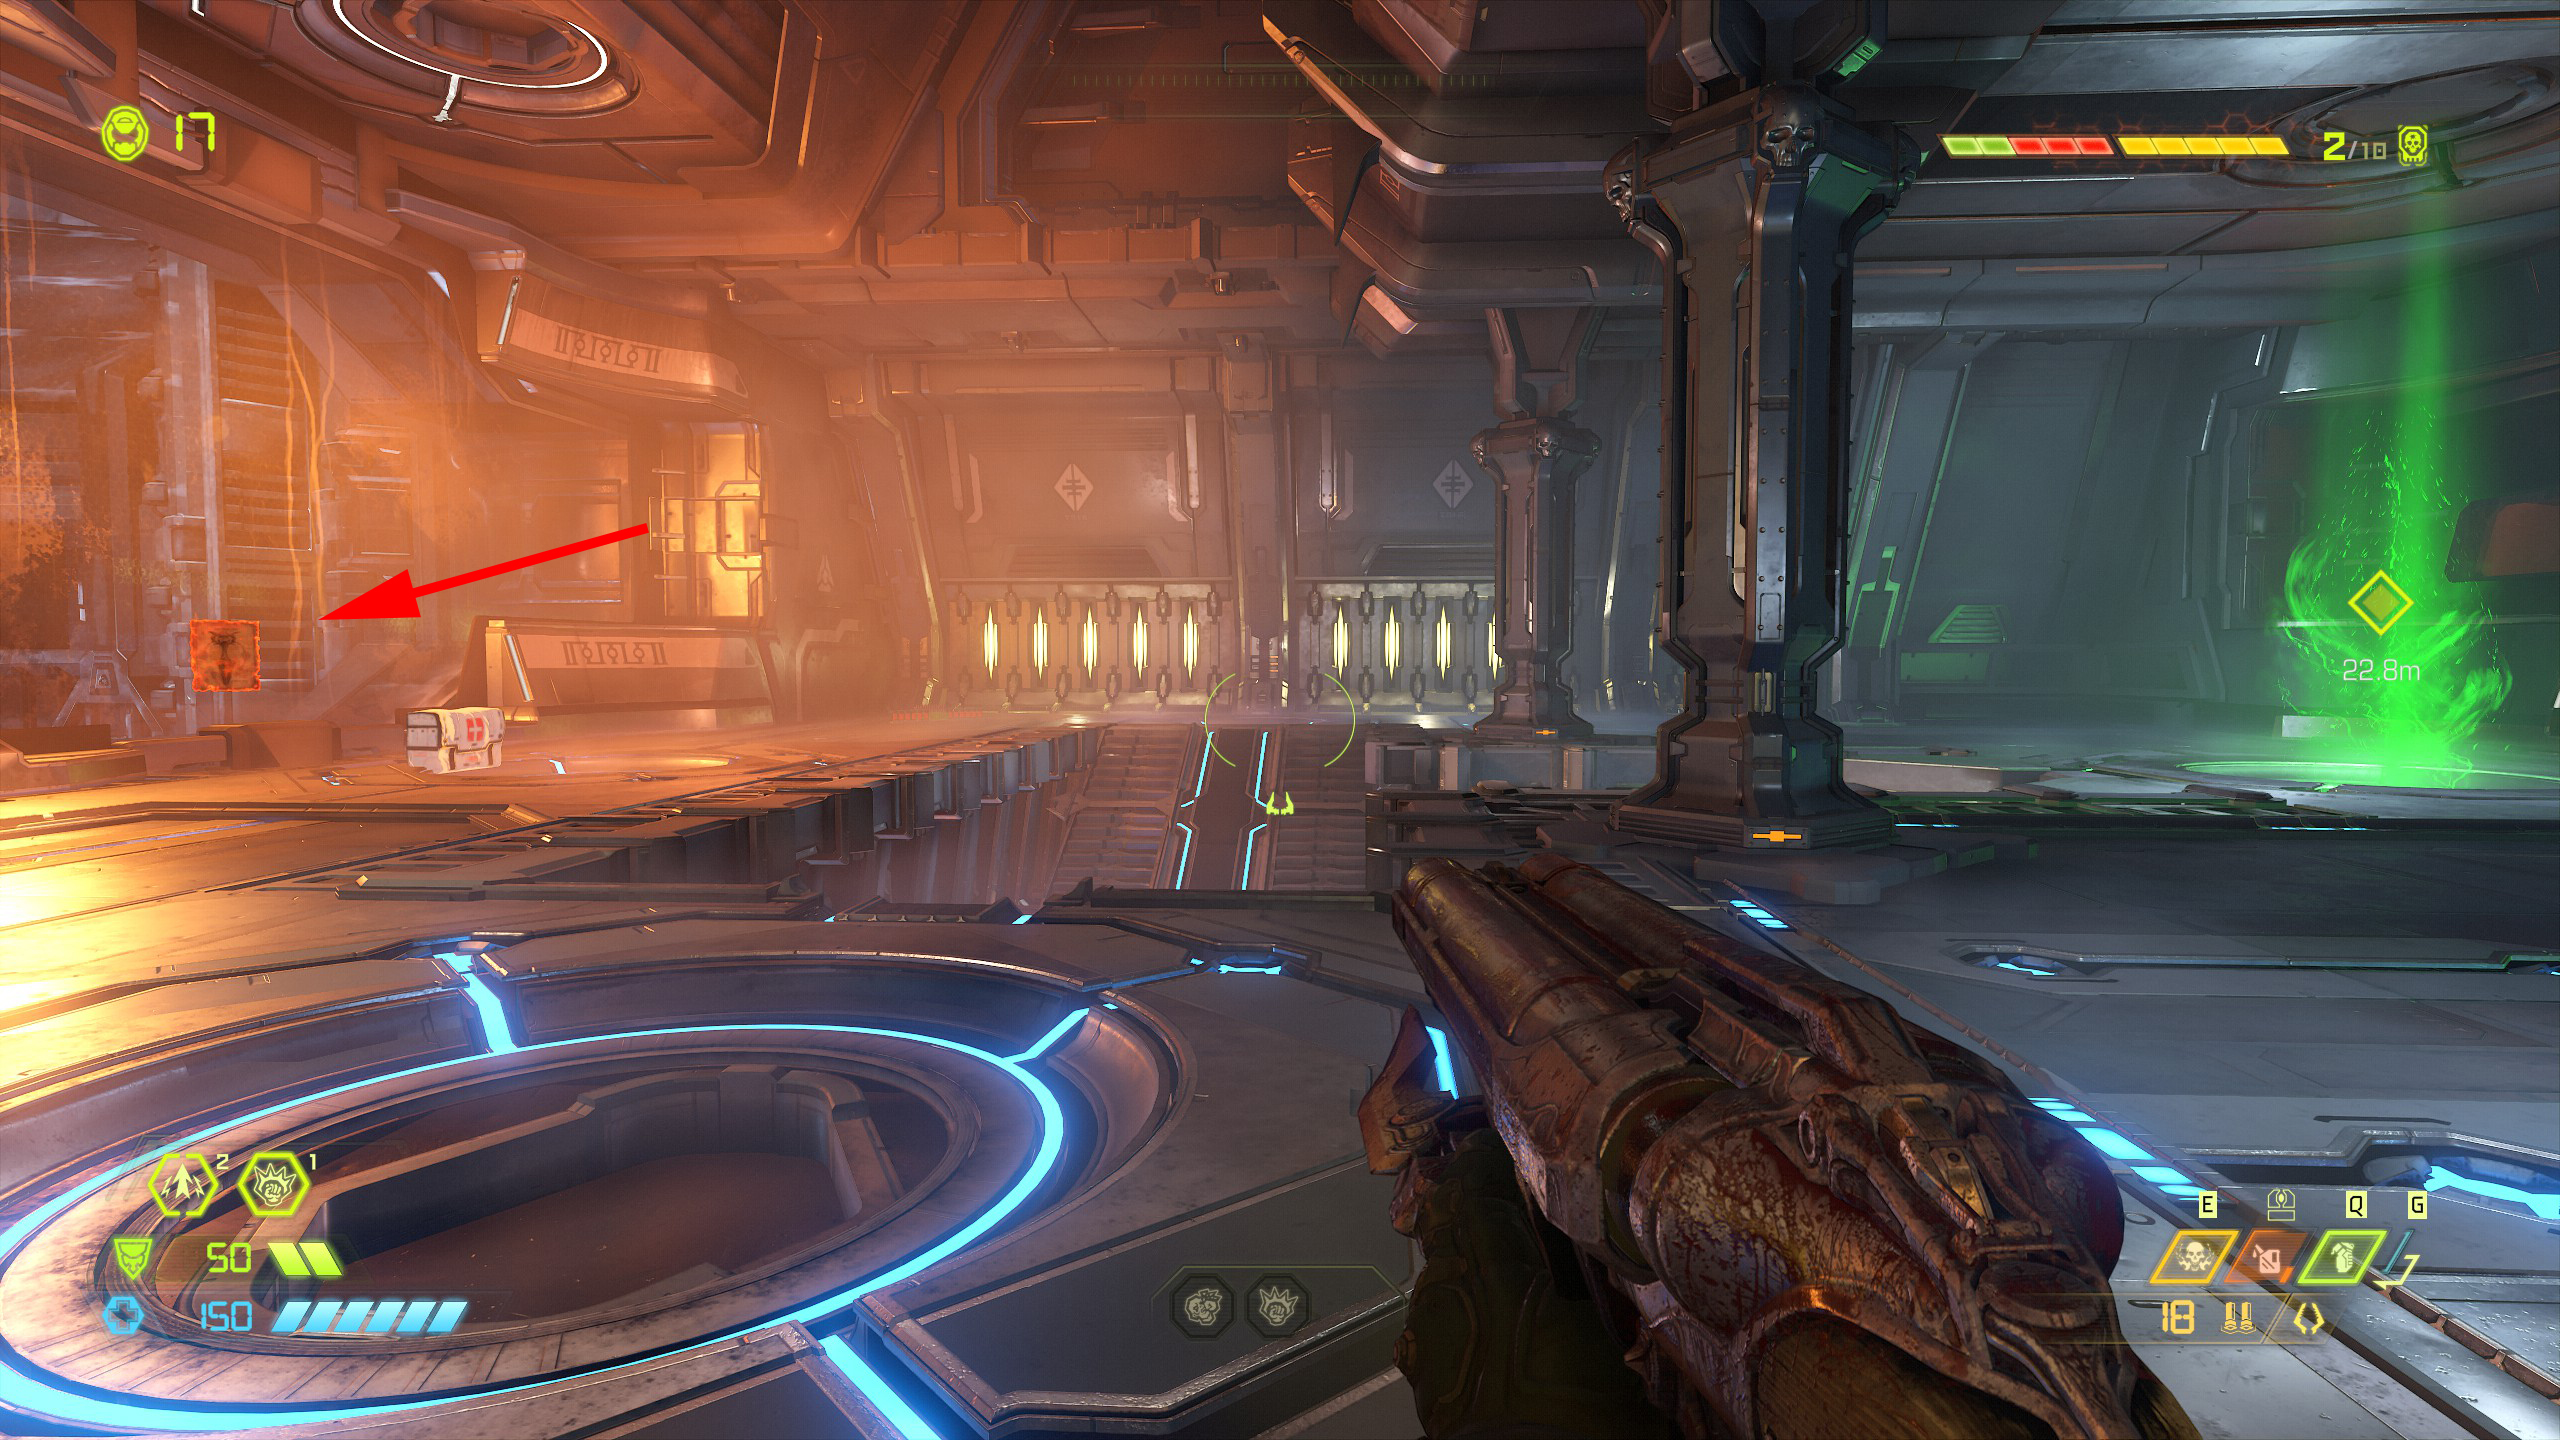
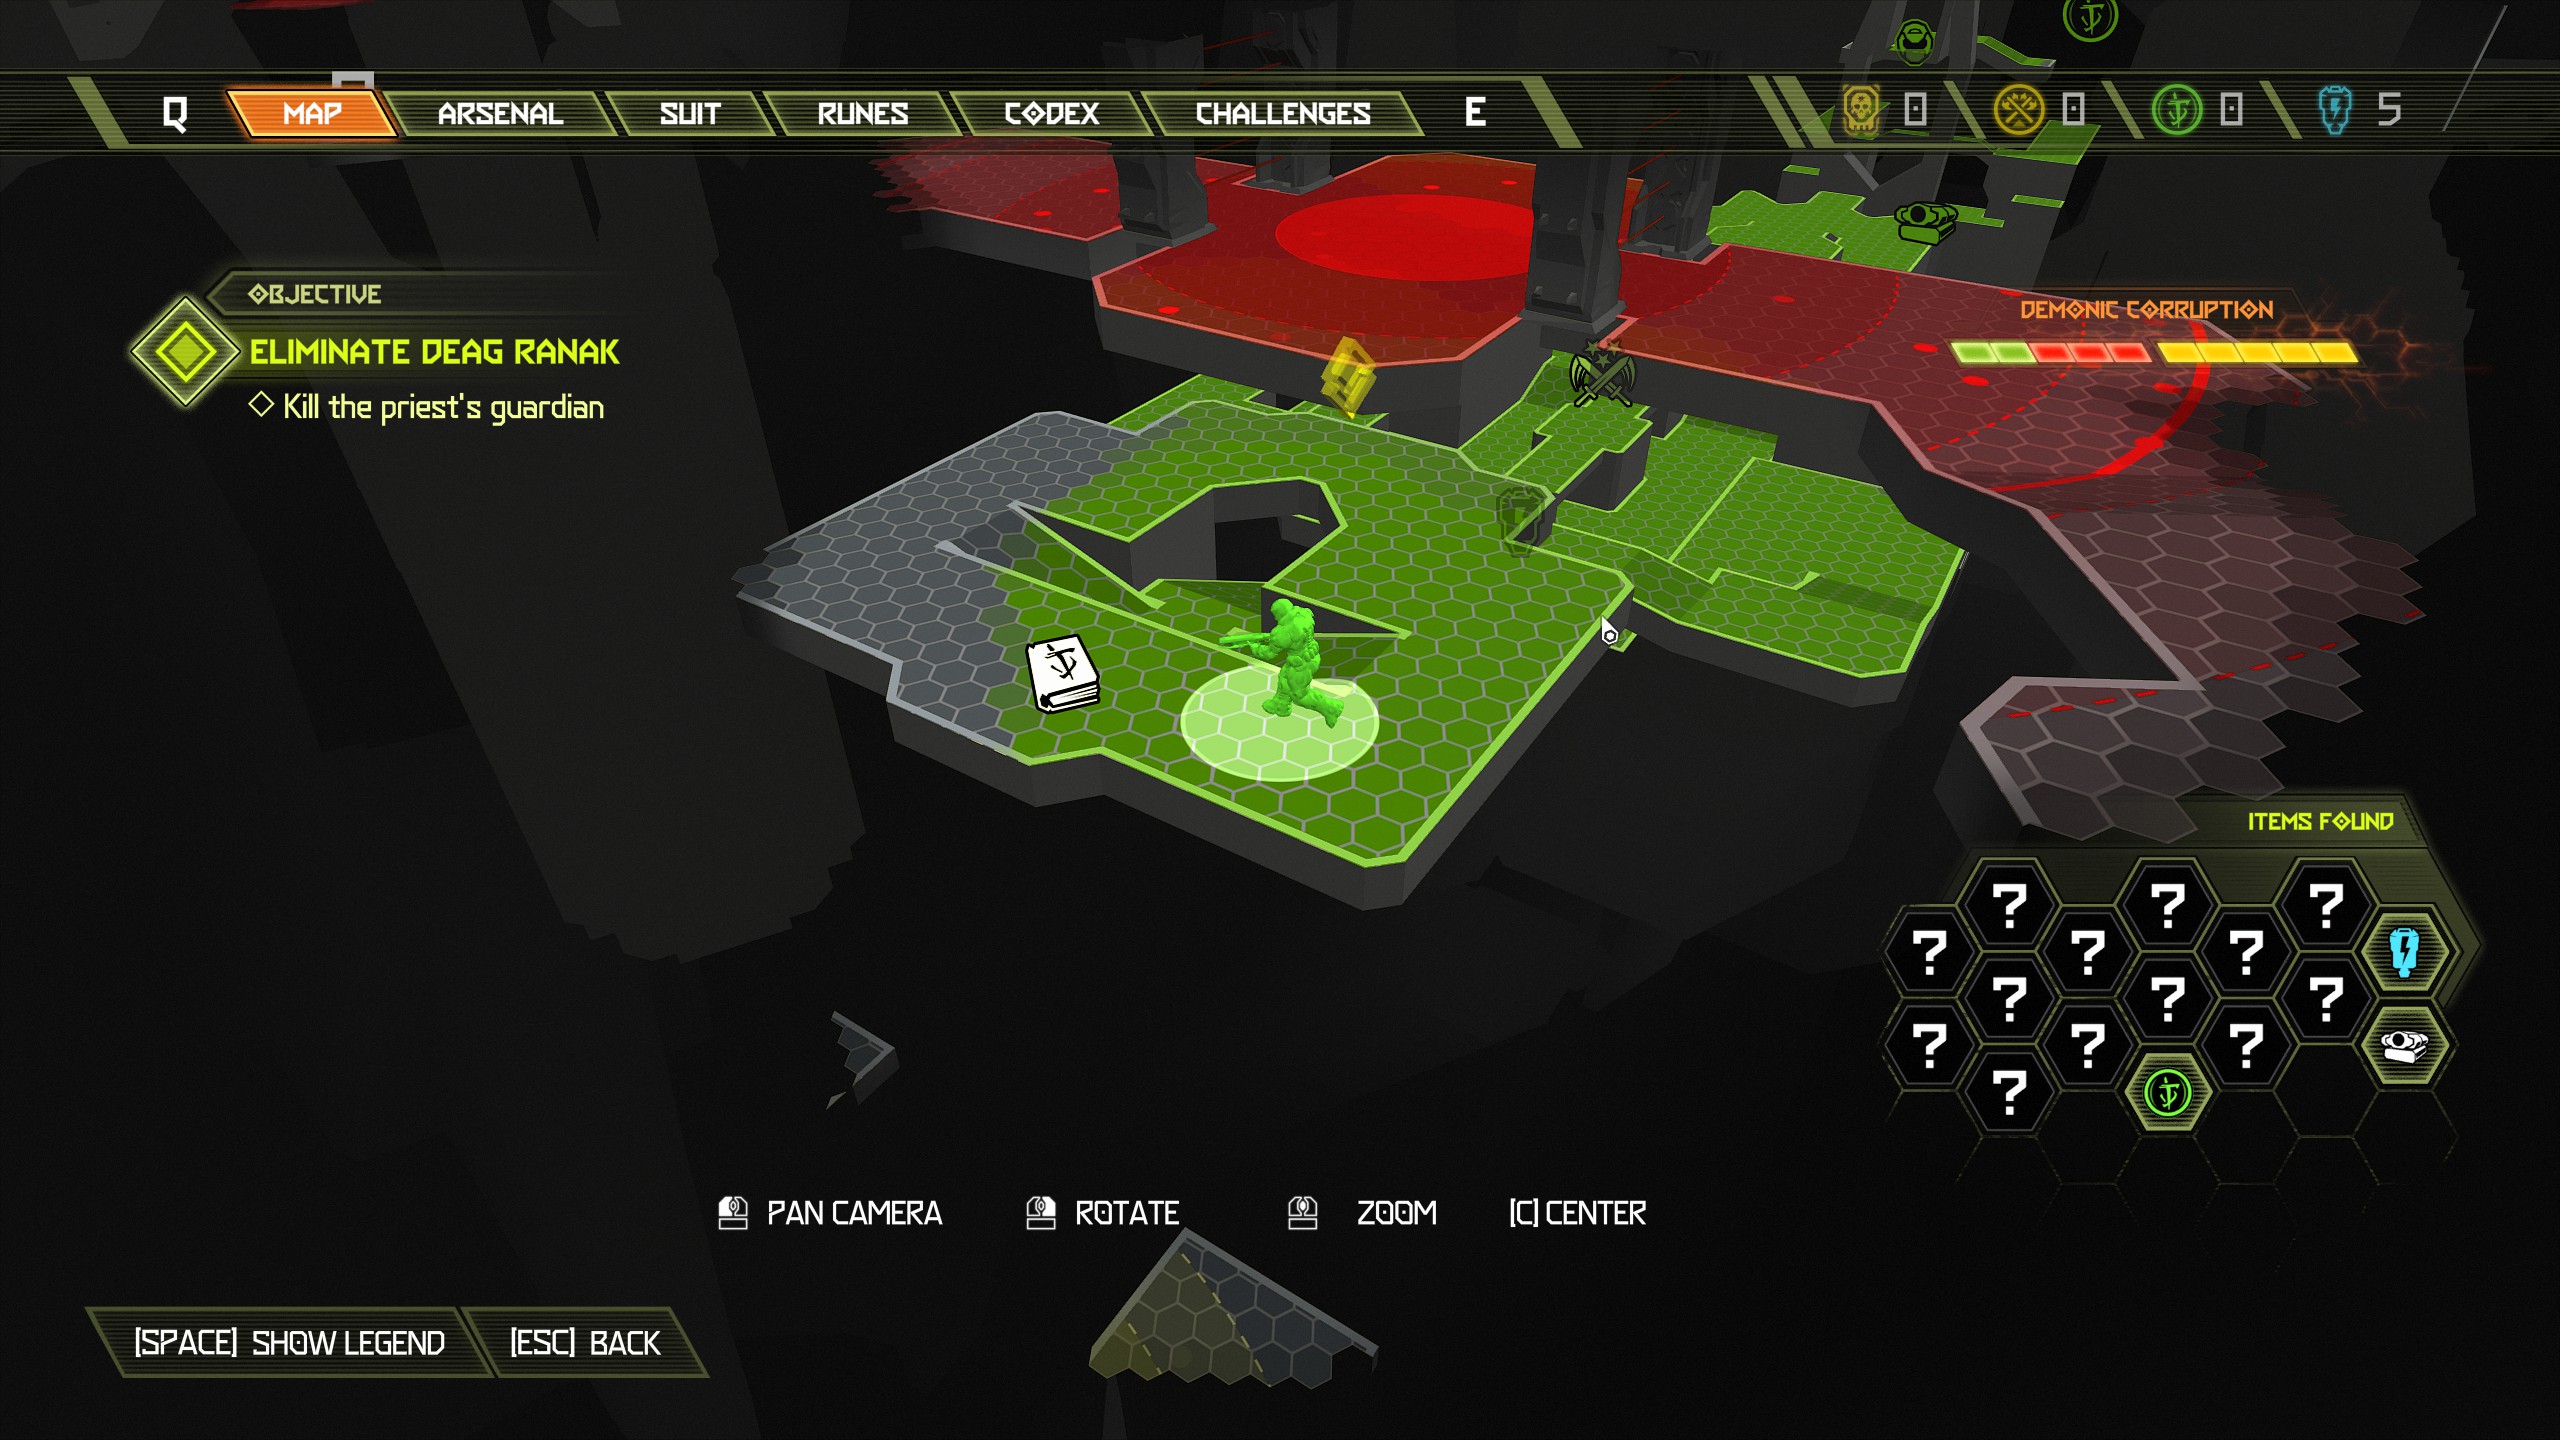
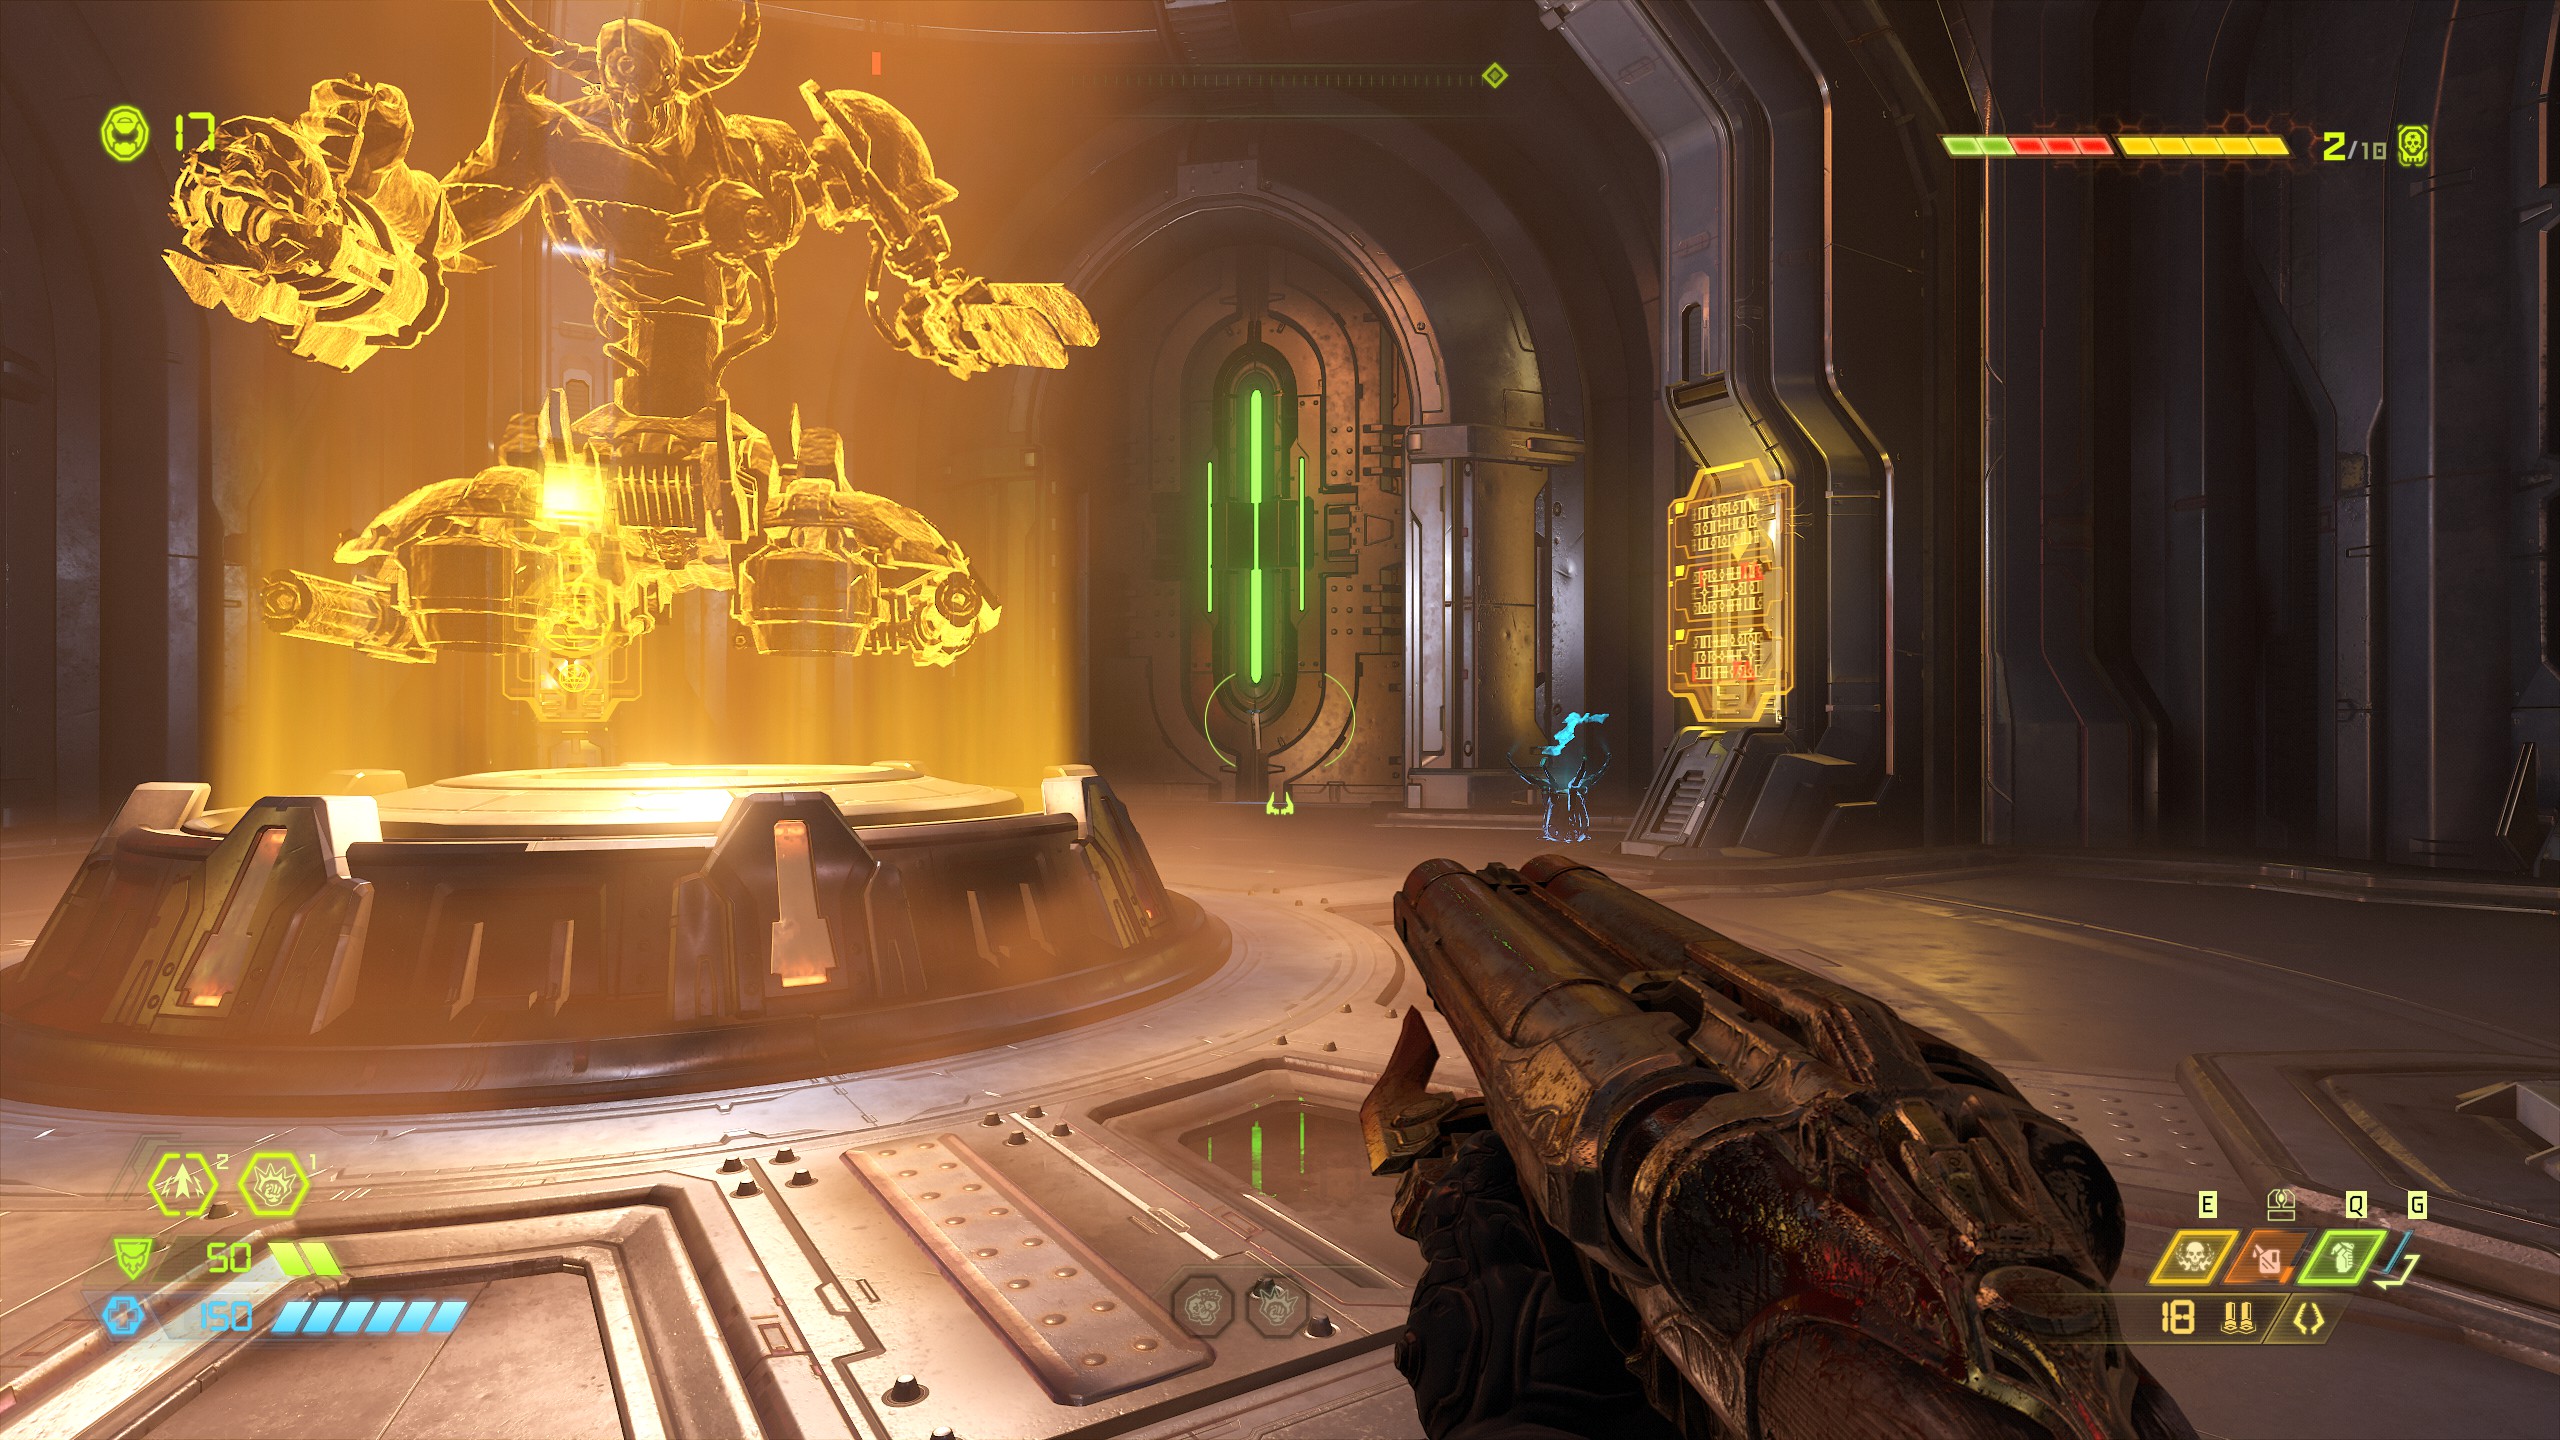
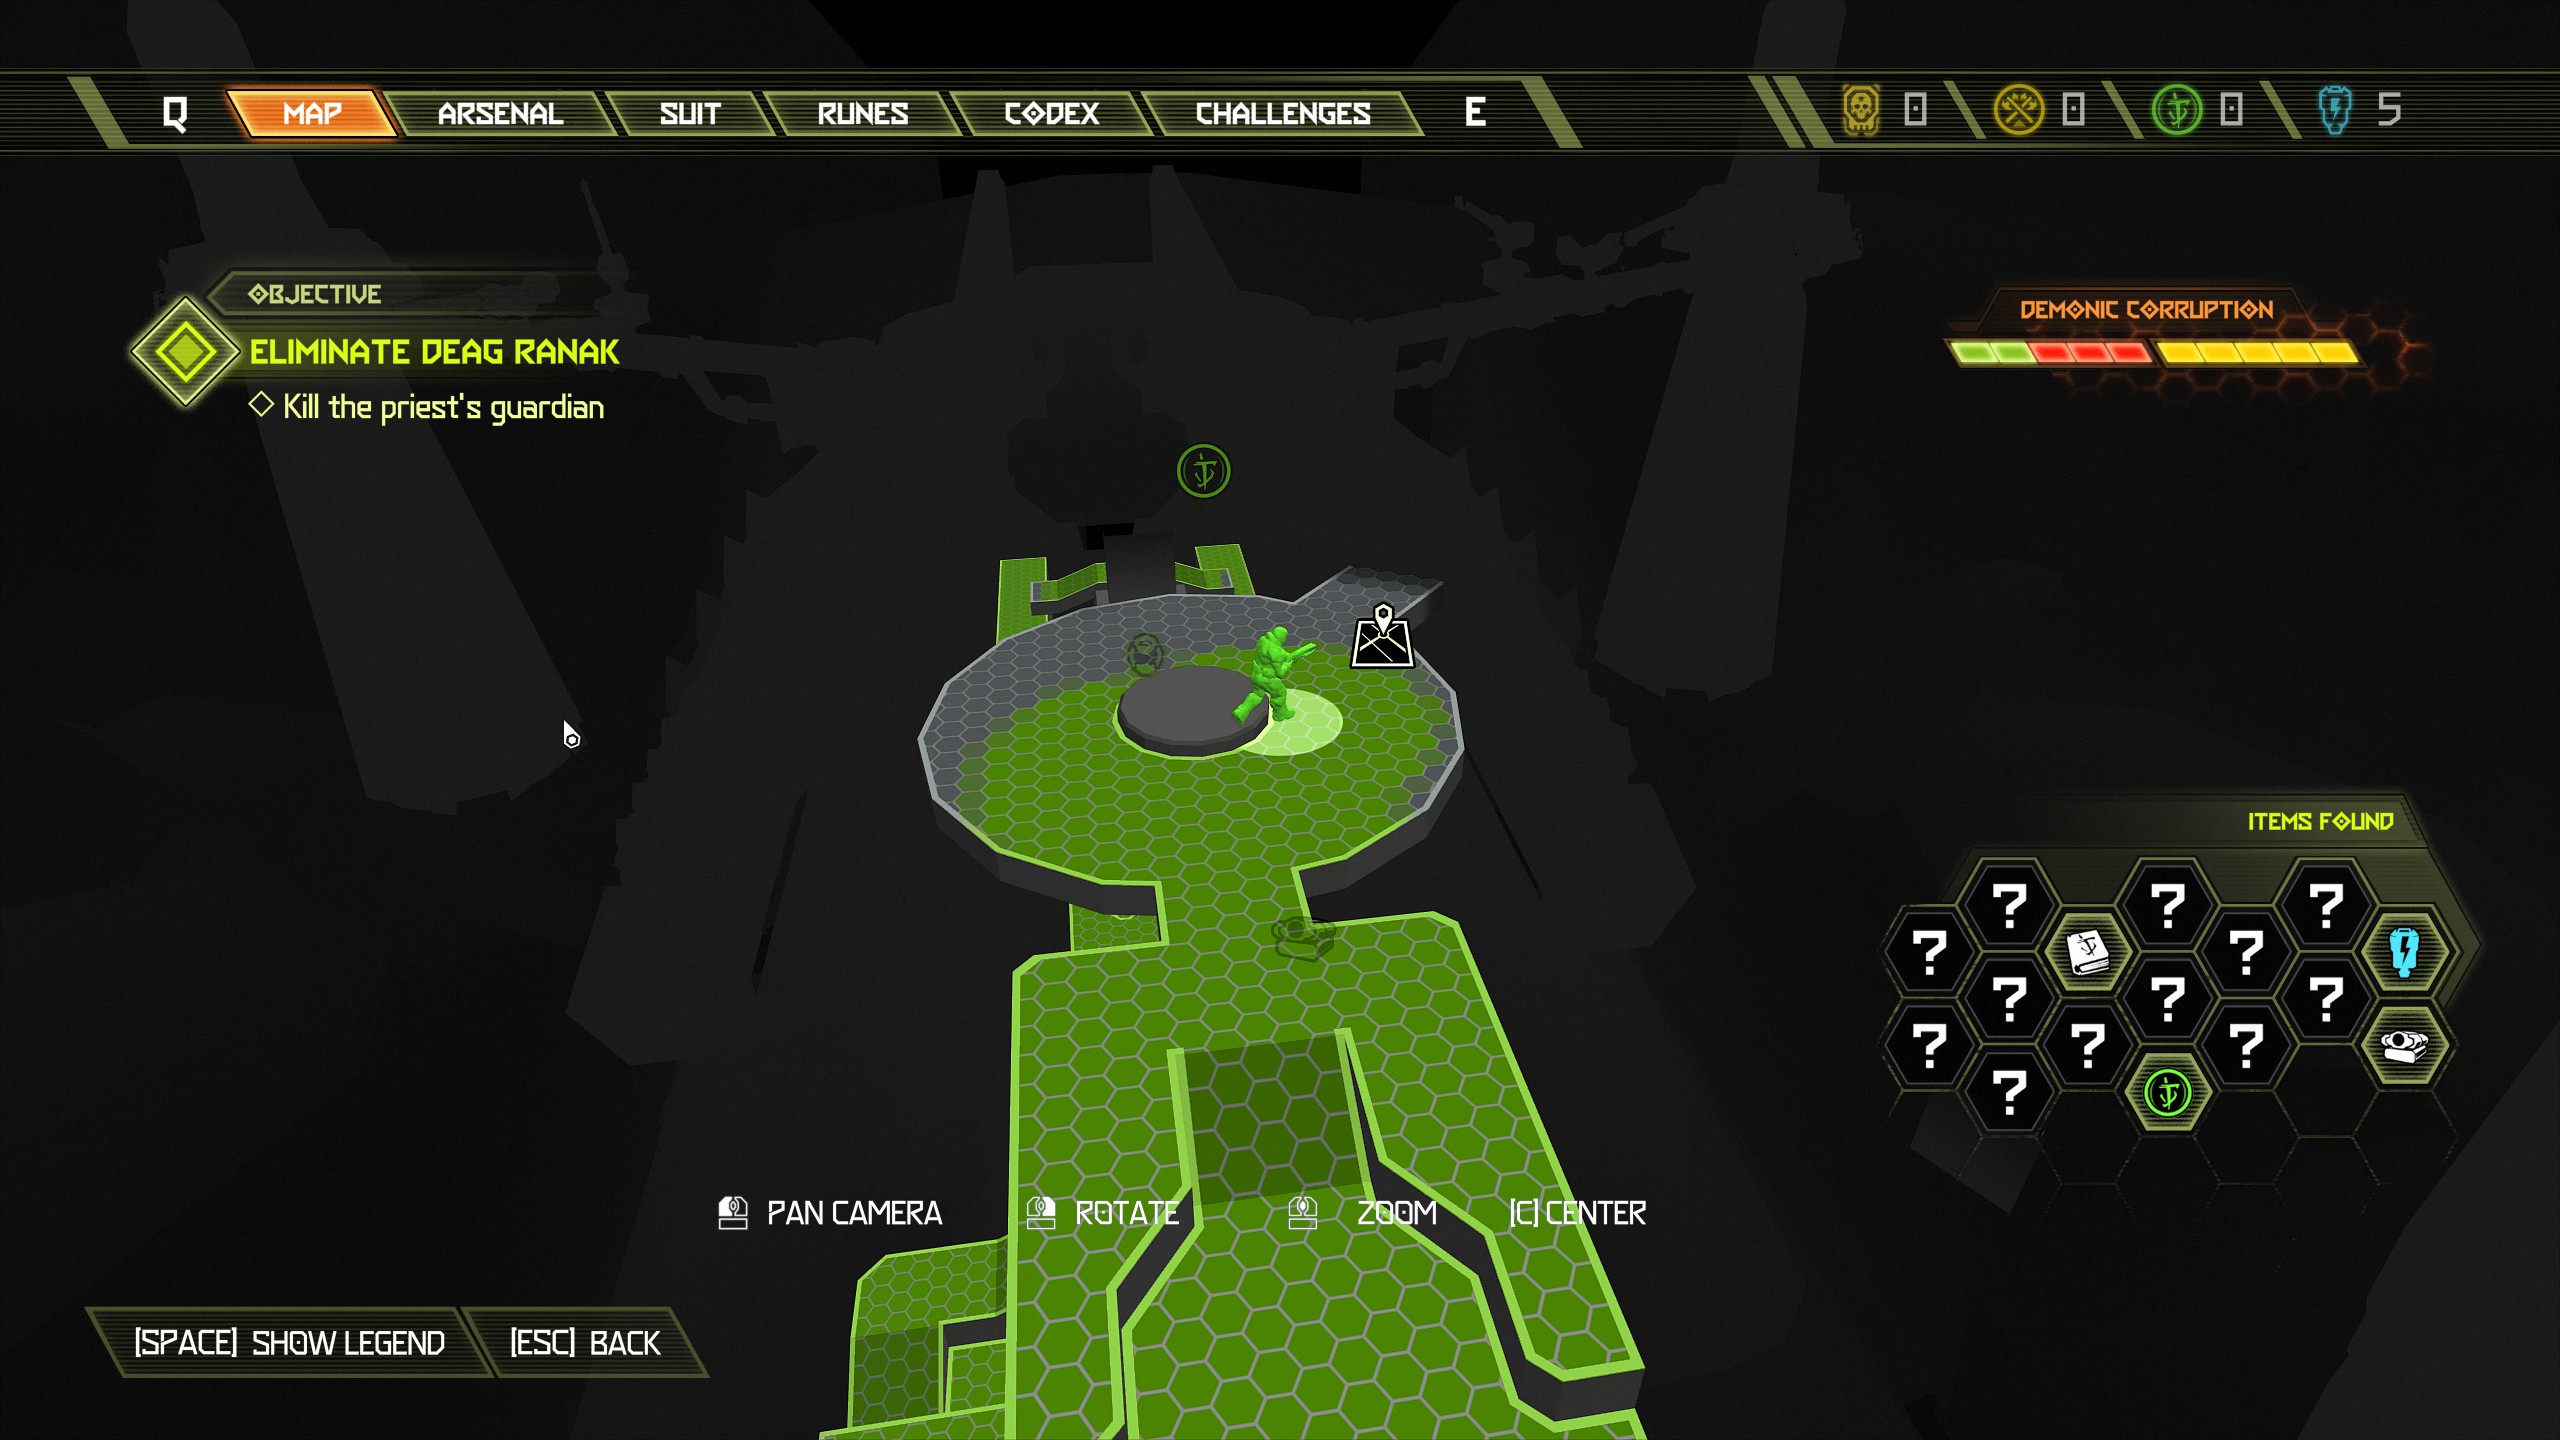
From here continue the mission and make your way across several platforms/walls until you reach the molten metal area further up, it will be full of zombies, a couple of revenants and one carcass.
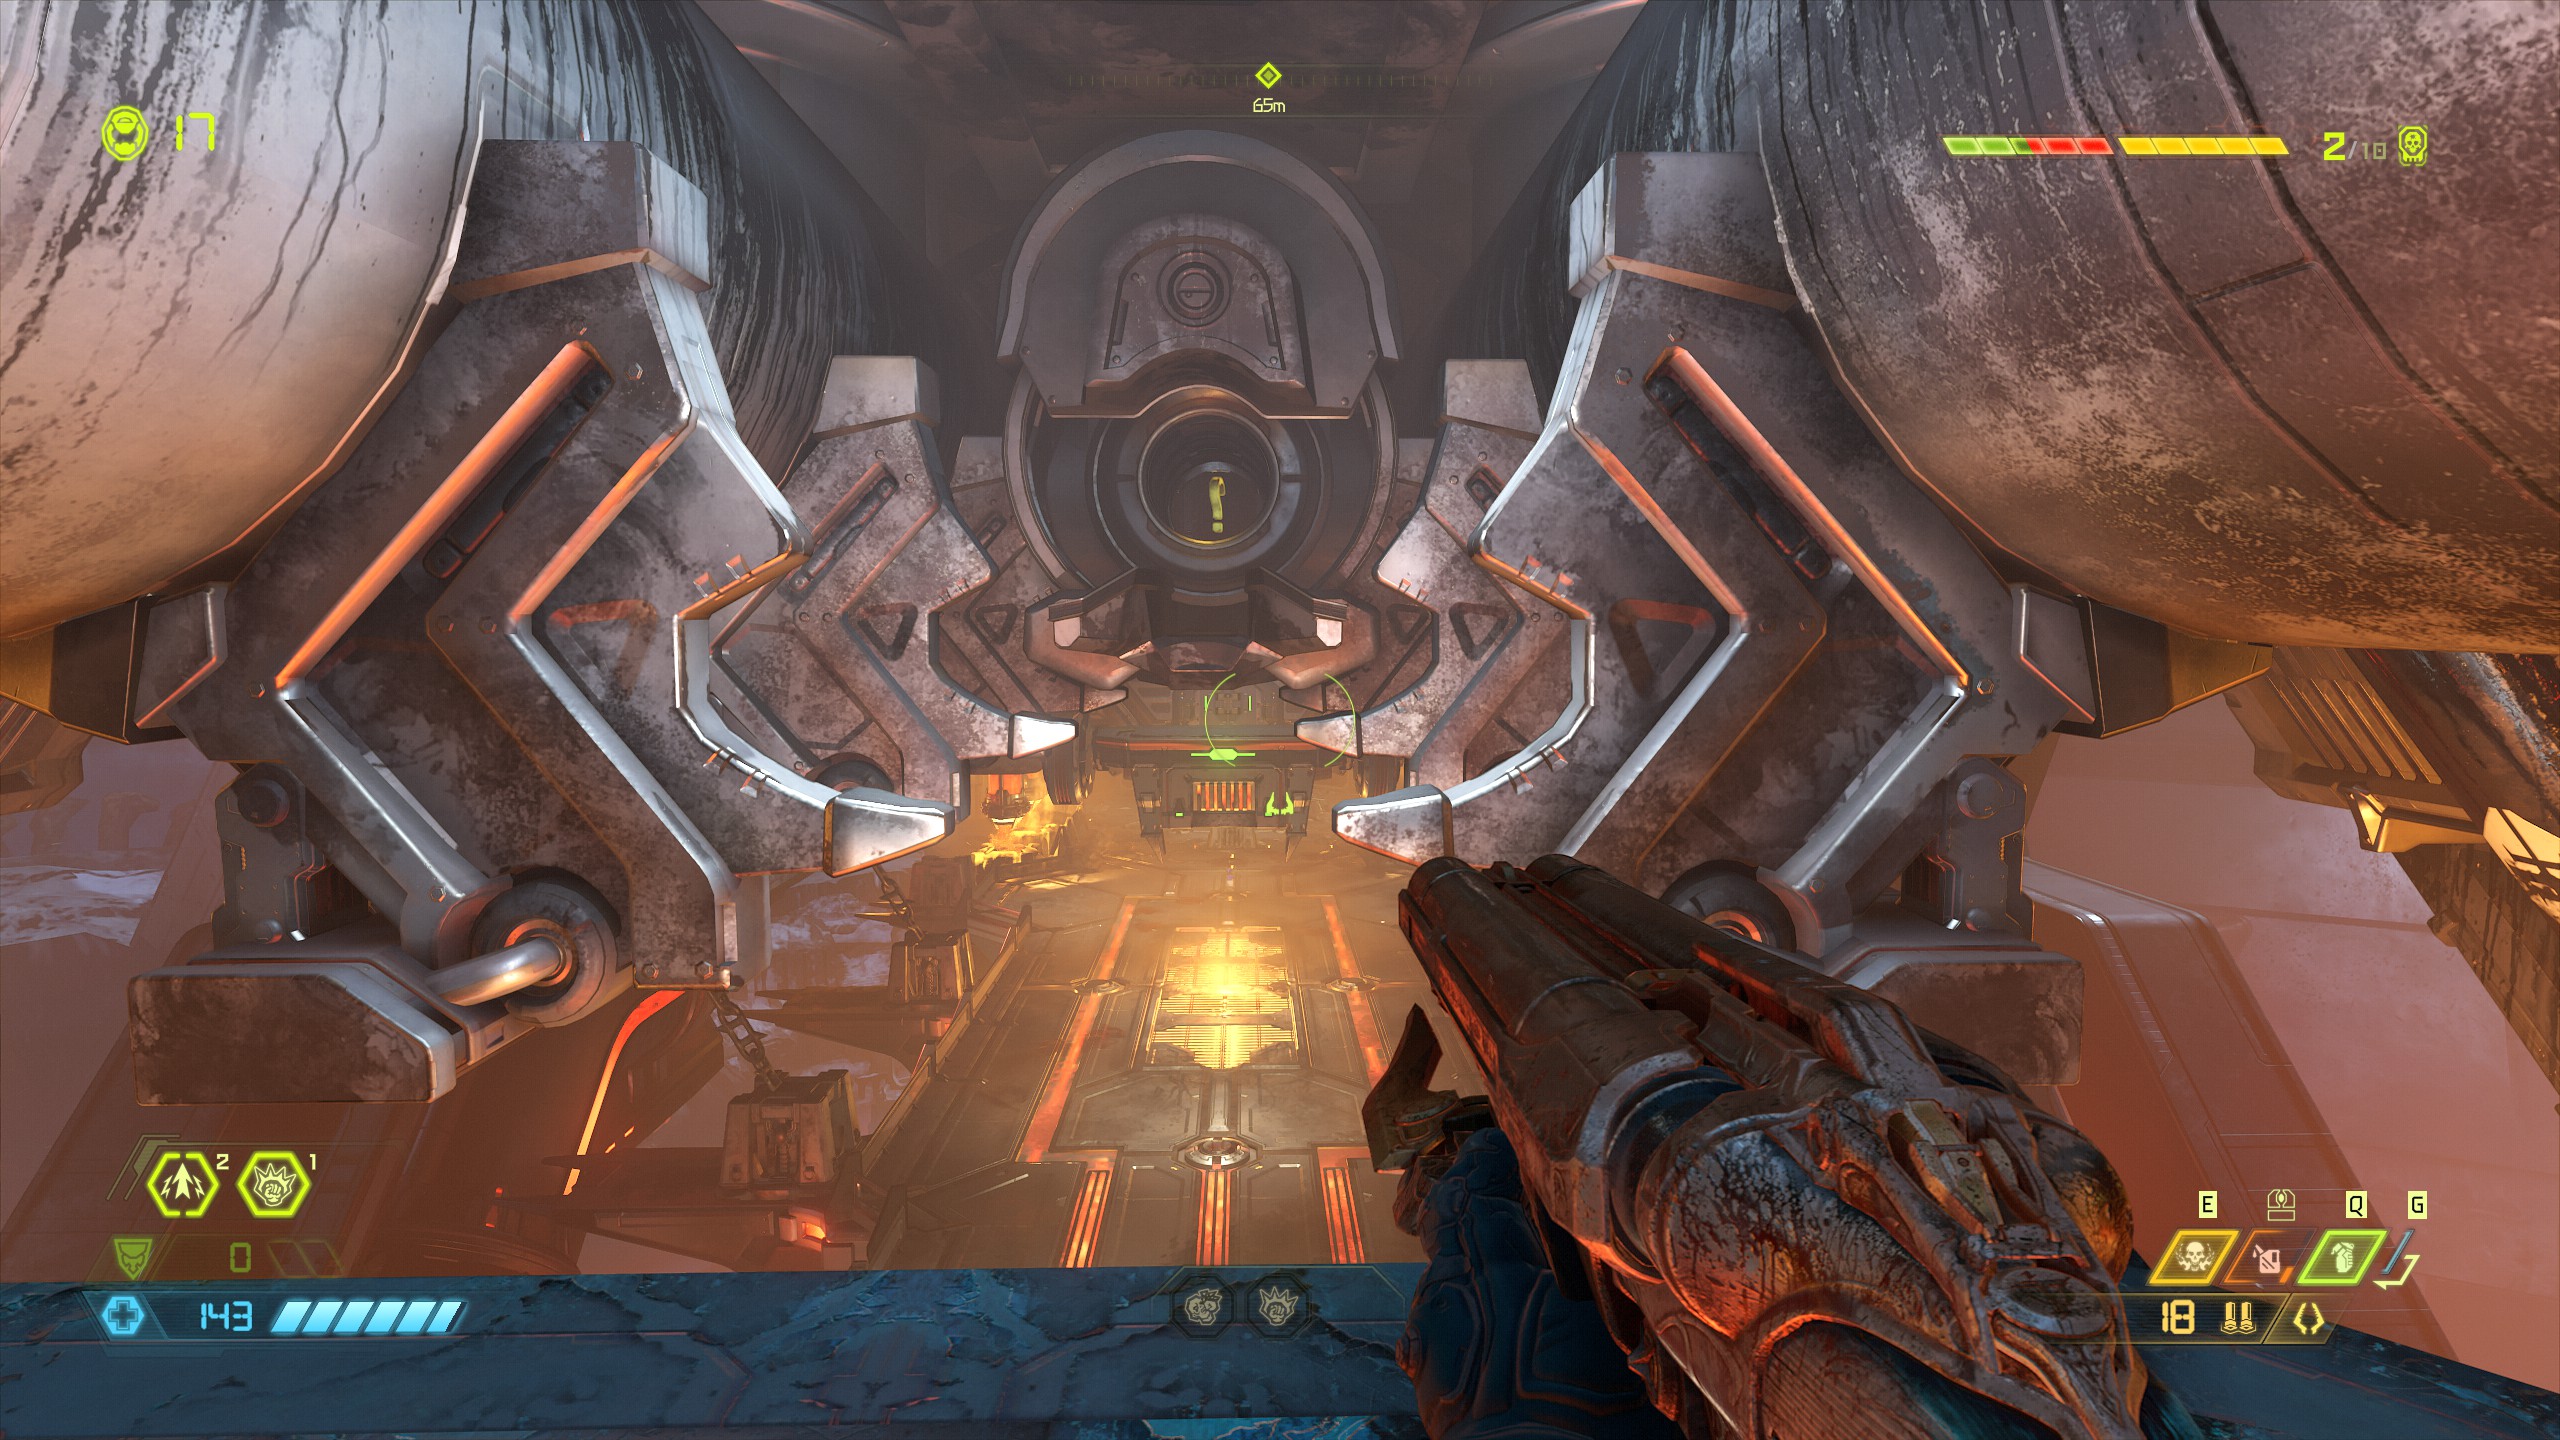
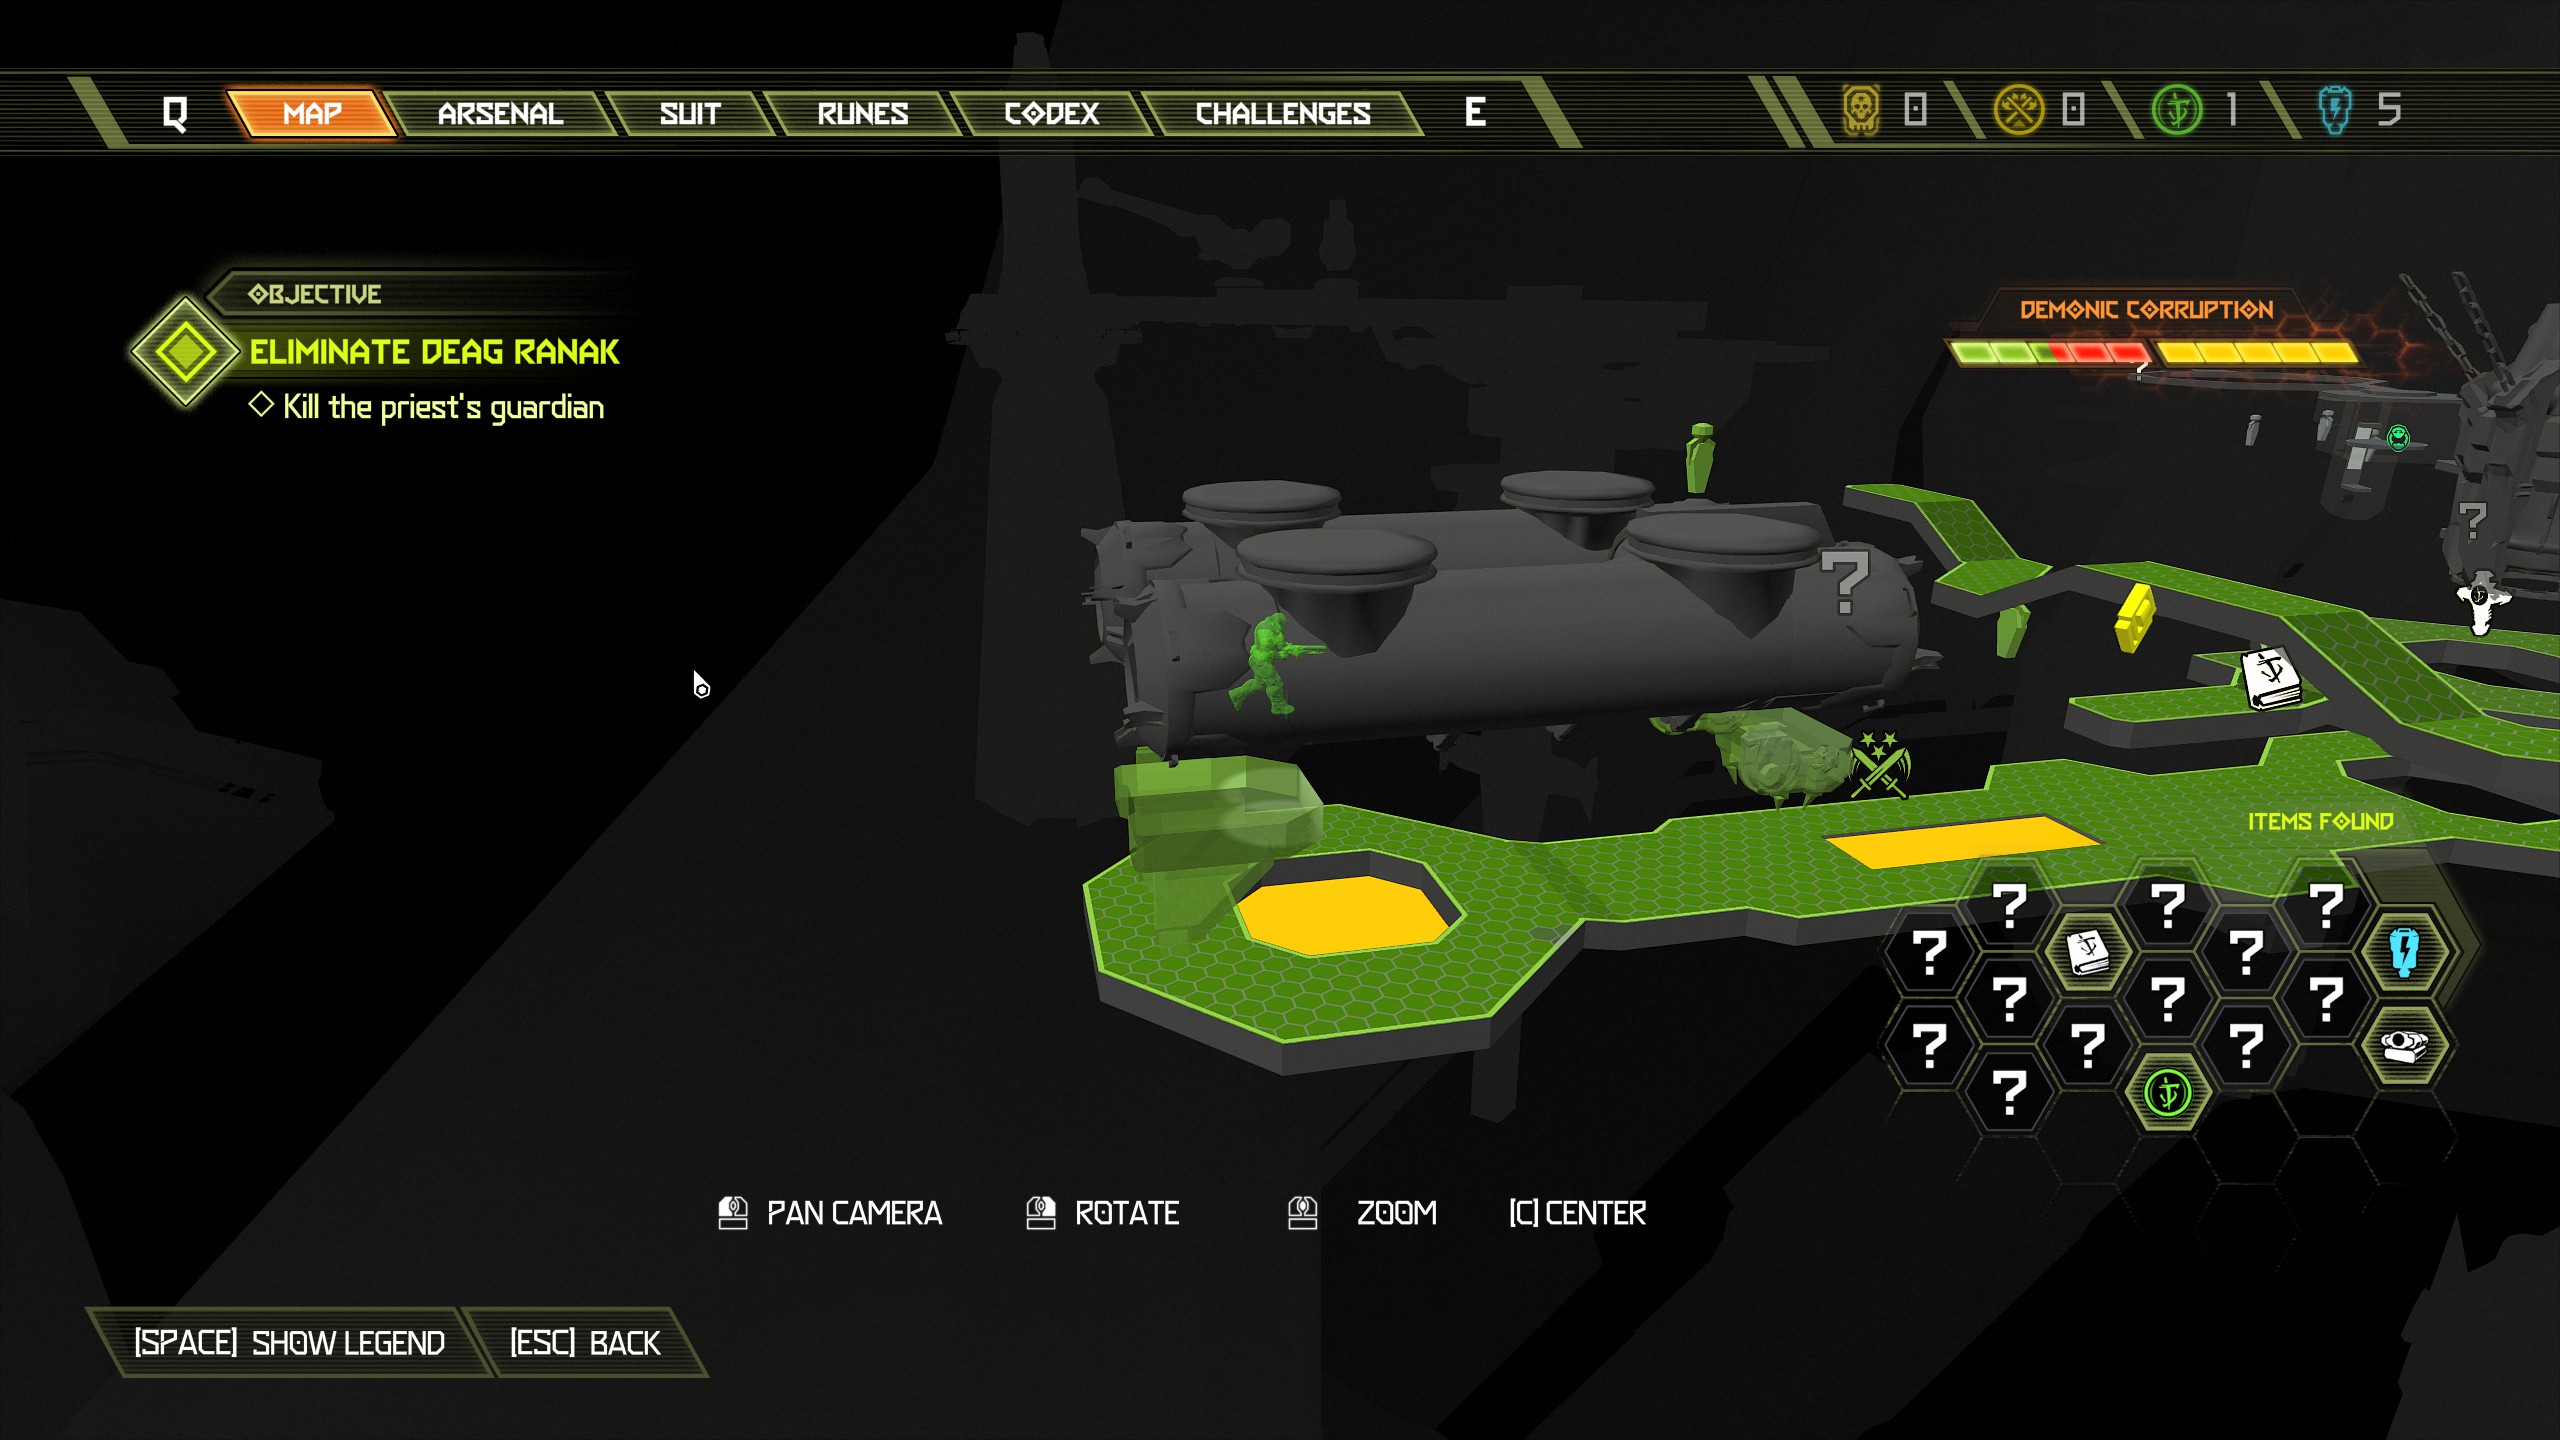
Immediately after the doomtoy drop down across to the platform towards the mission marker and in the next room you will find a codex page on the right side and a rune on the far left side.
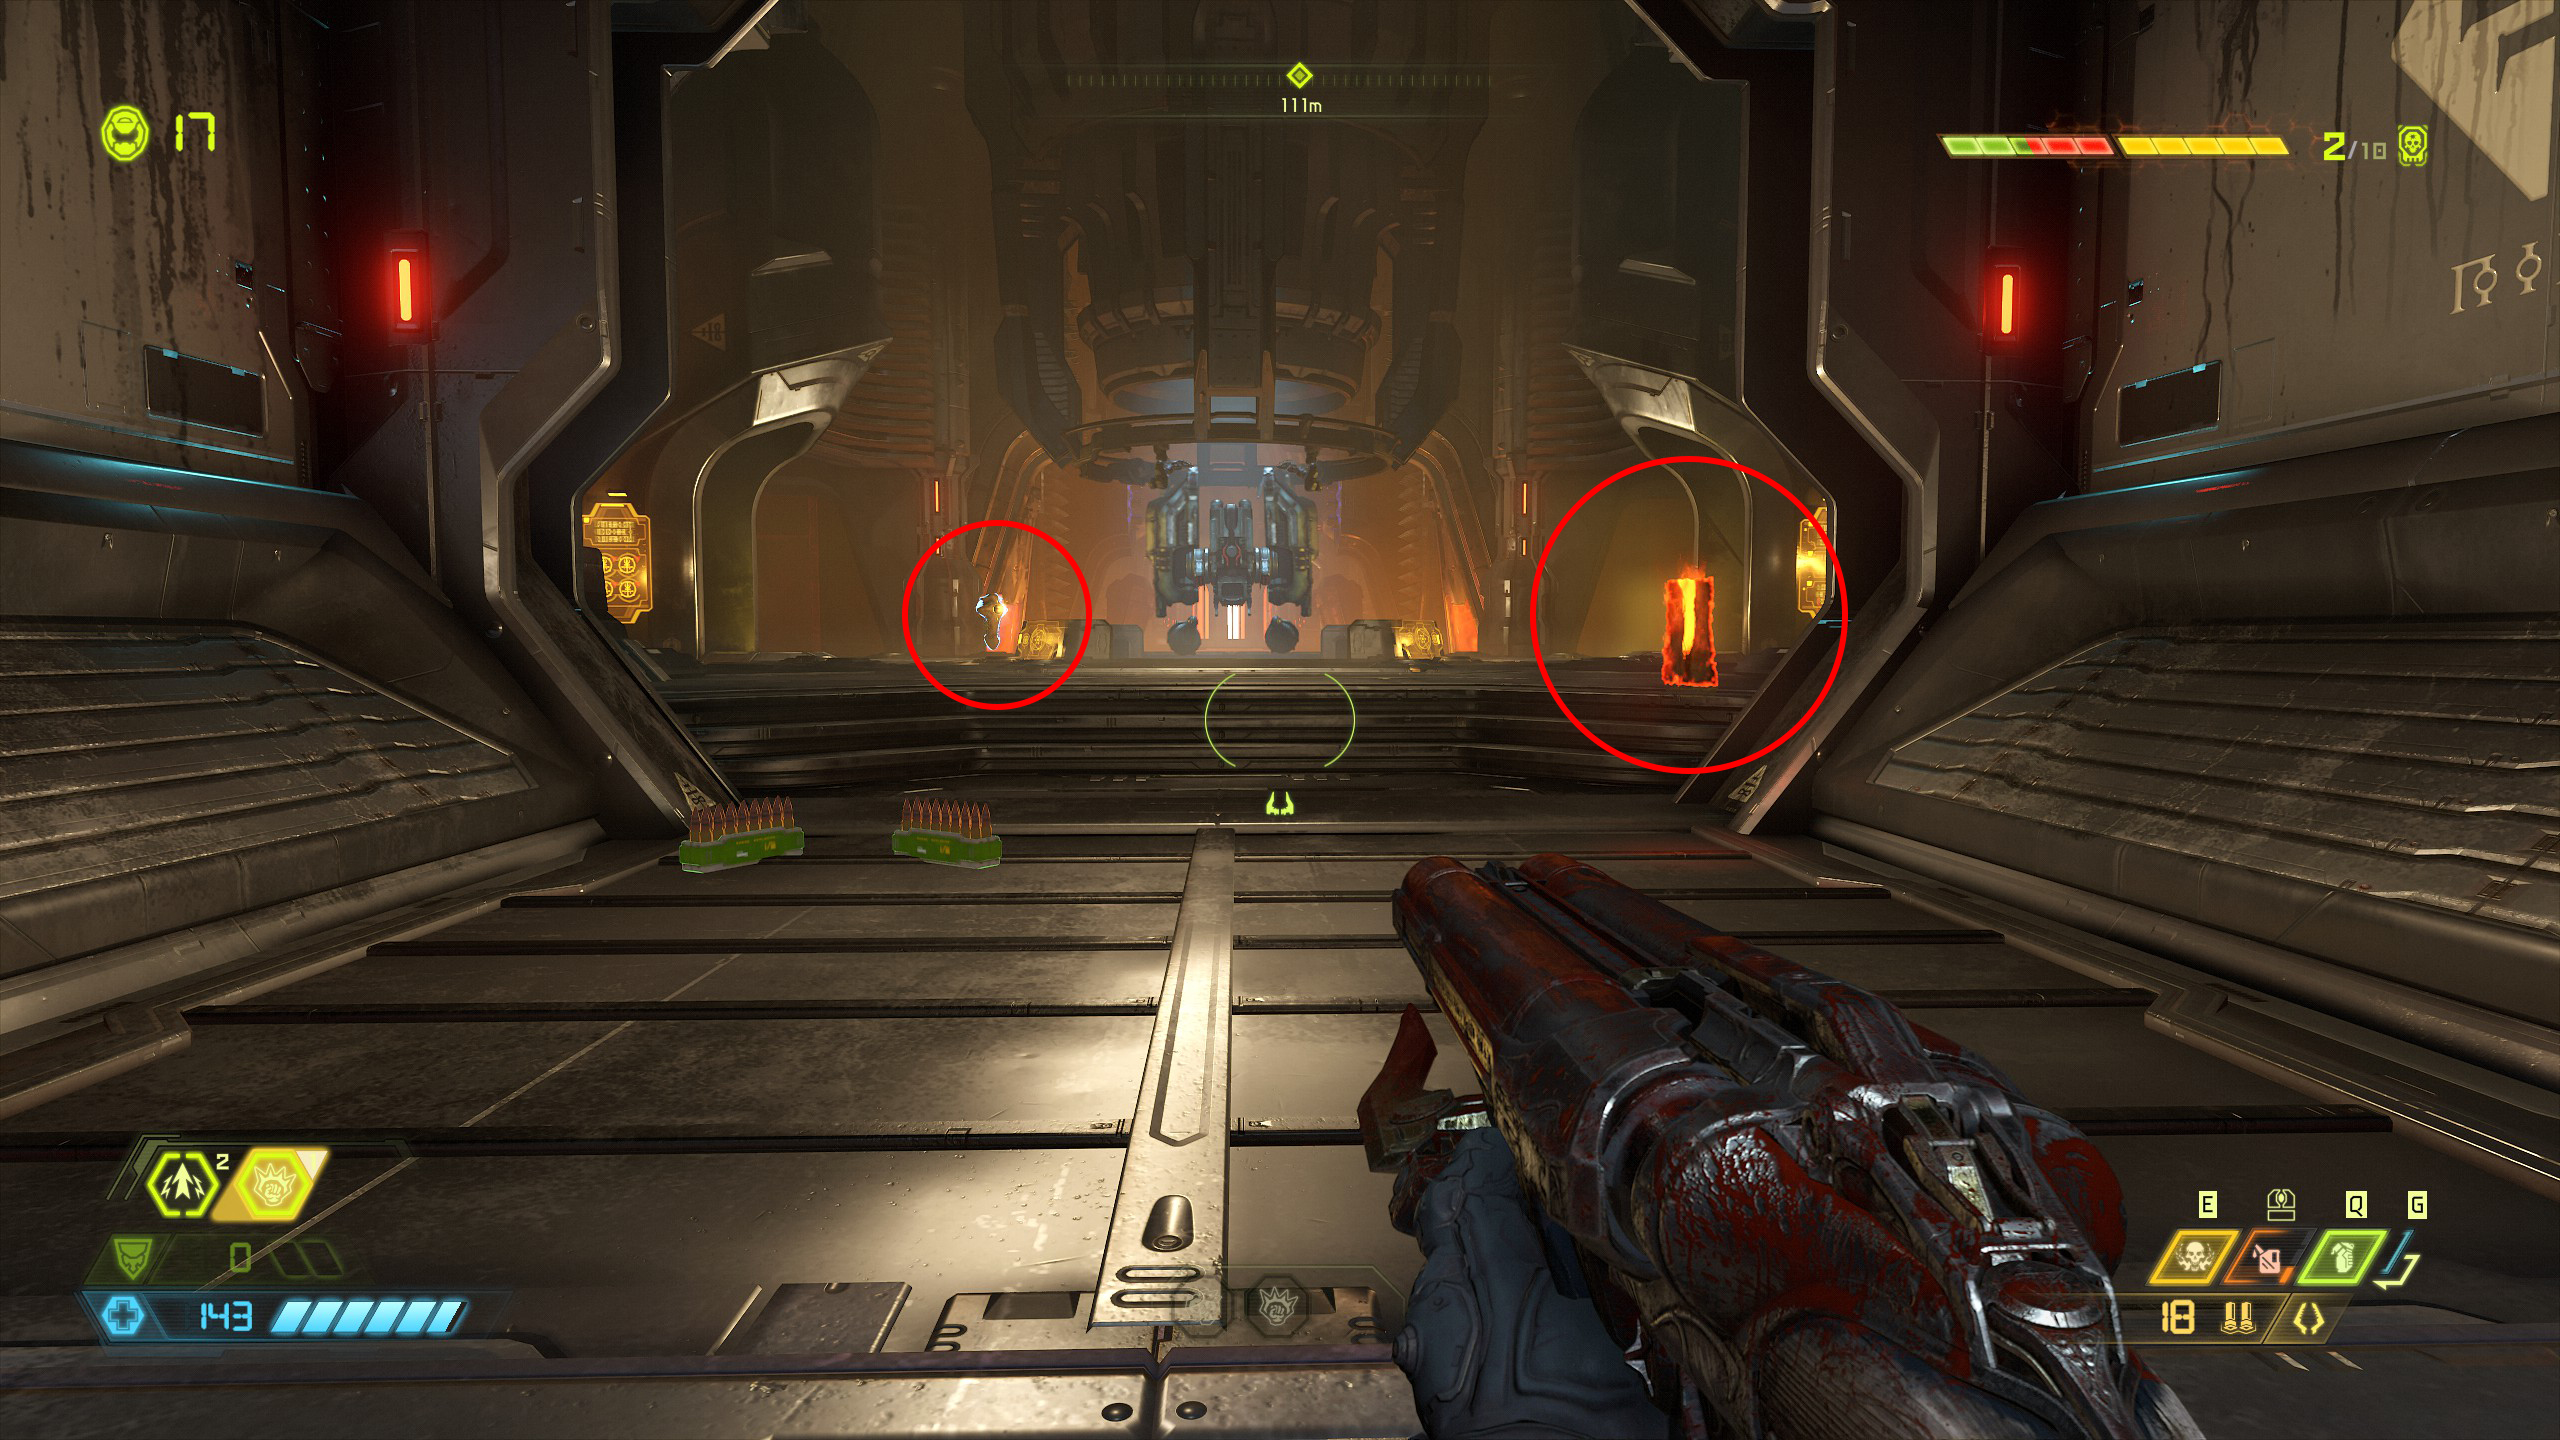
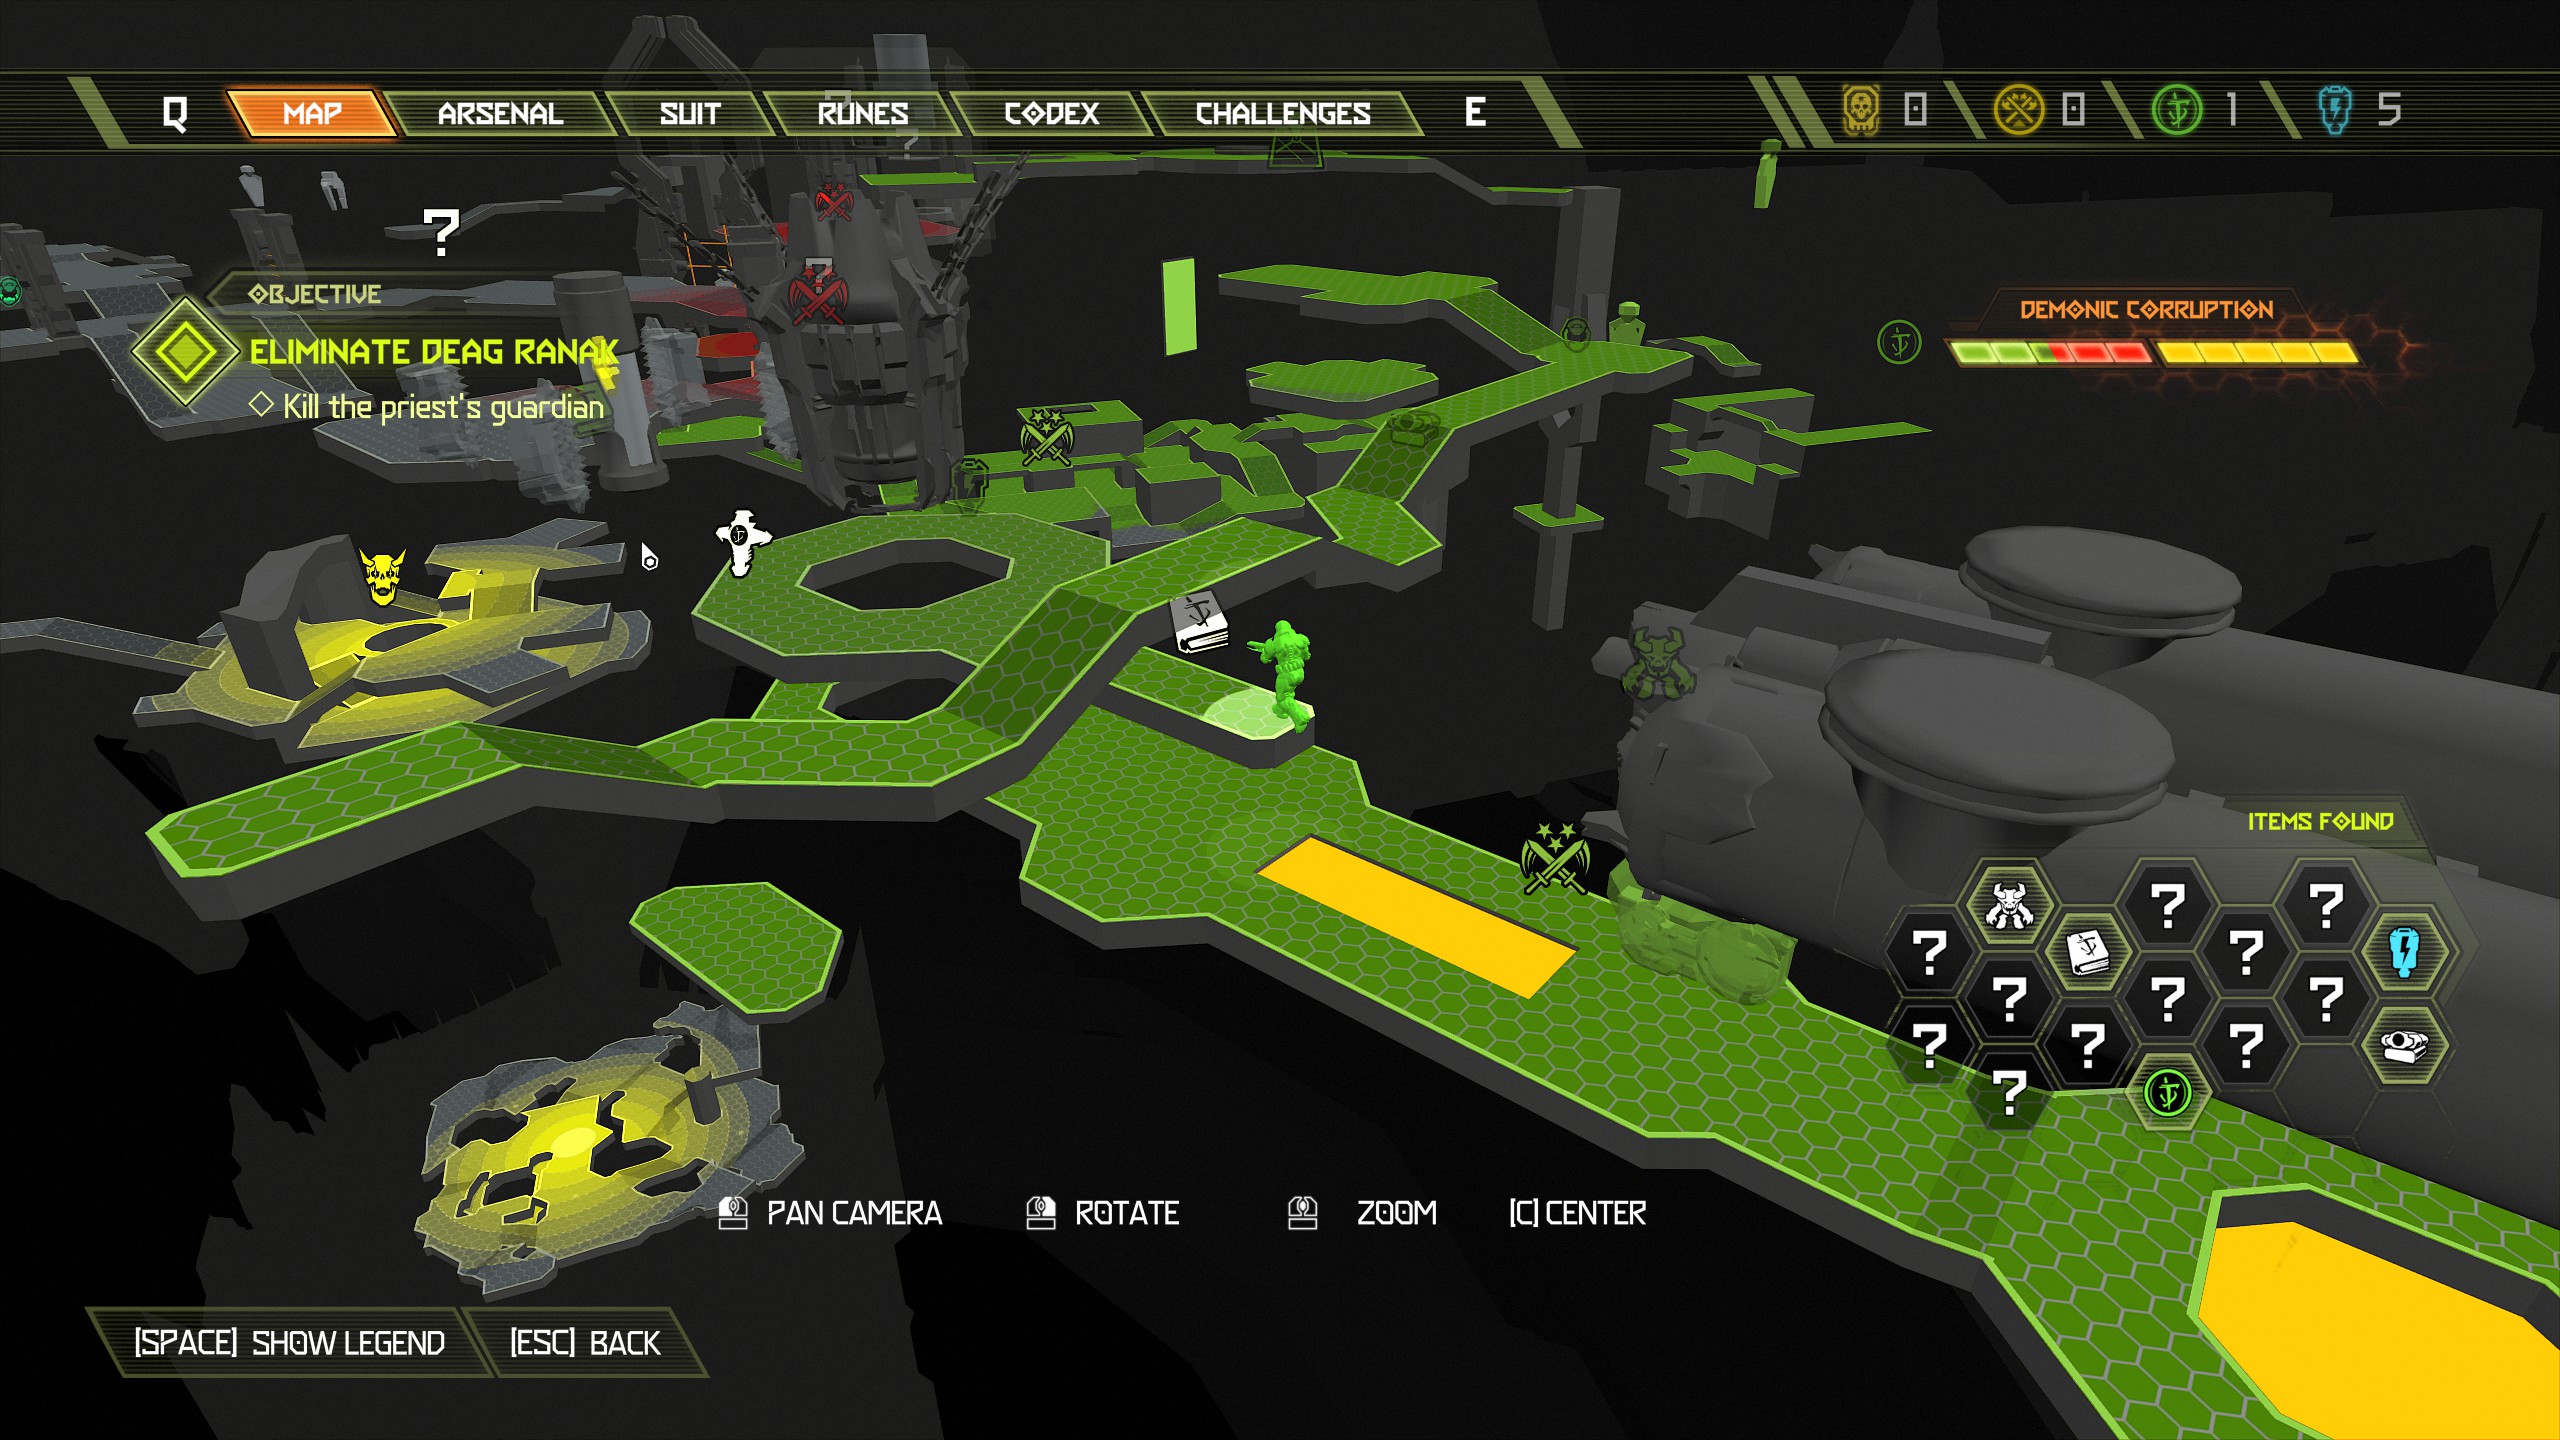
Now continue the mission all the way until you reach a small cut scene where the top half of the doom hunter is being taken out of the coffin shaped stone box.
Drop down inside to collect the Album and from here you can move on to the next.
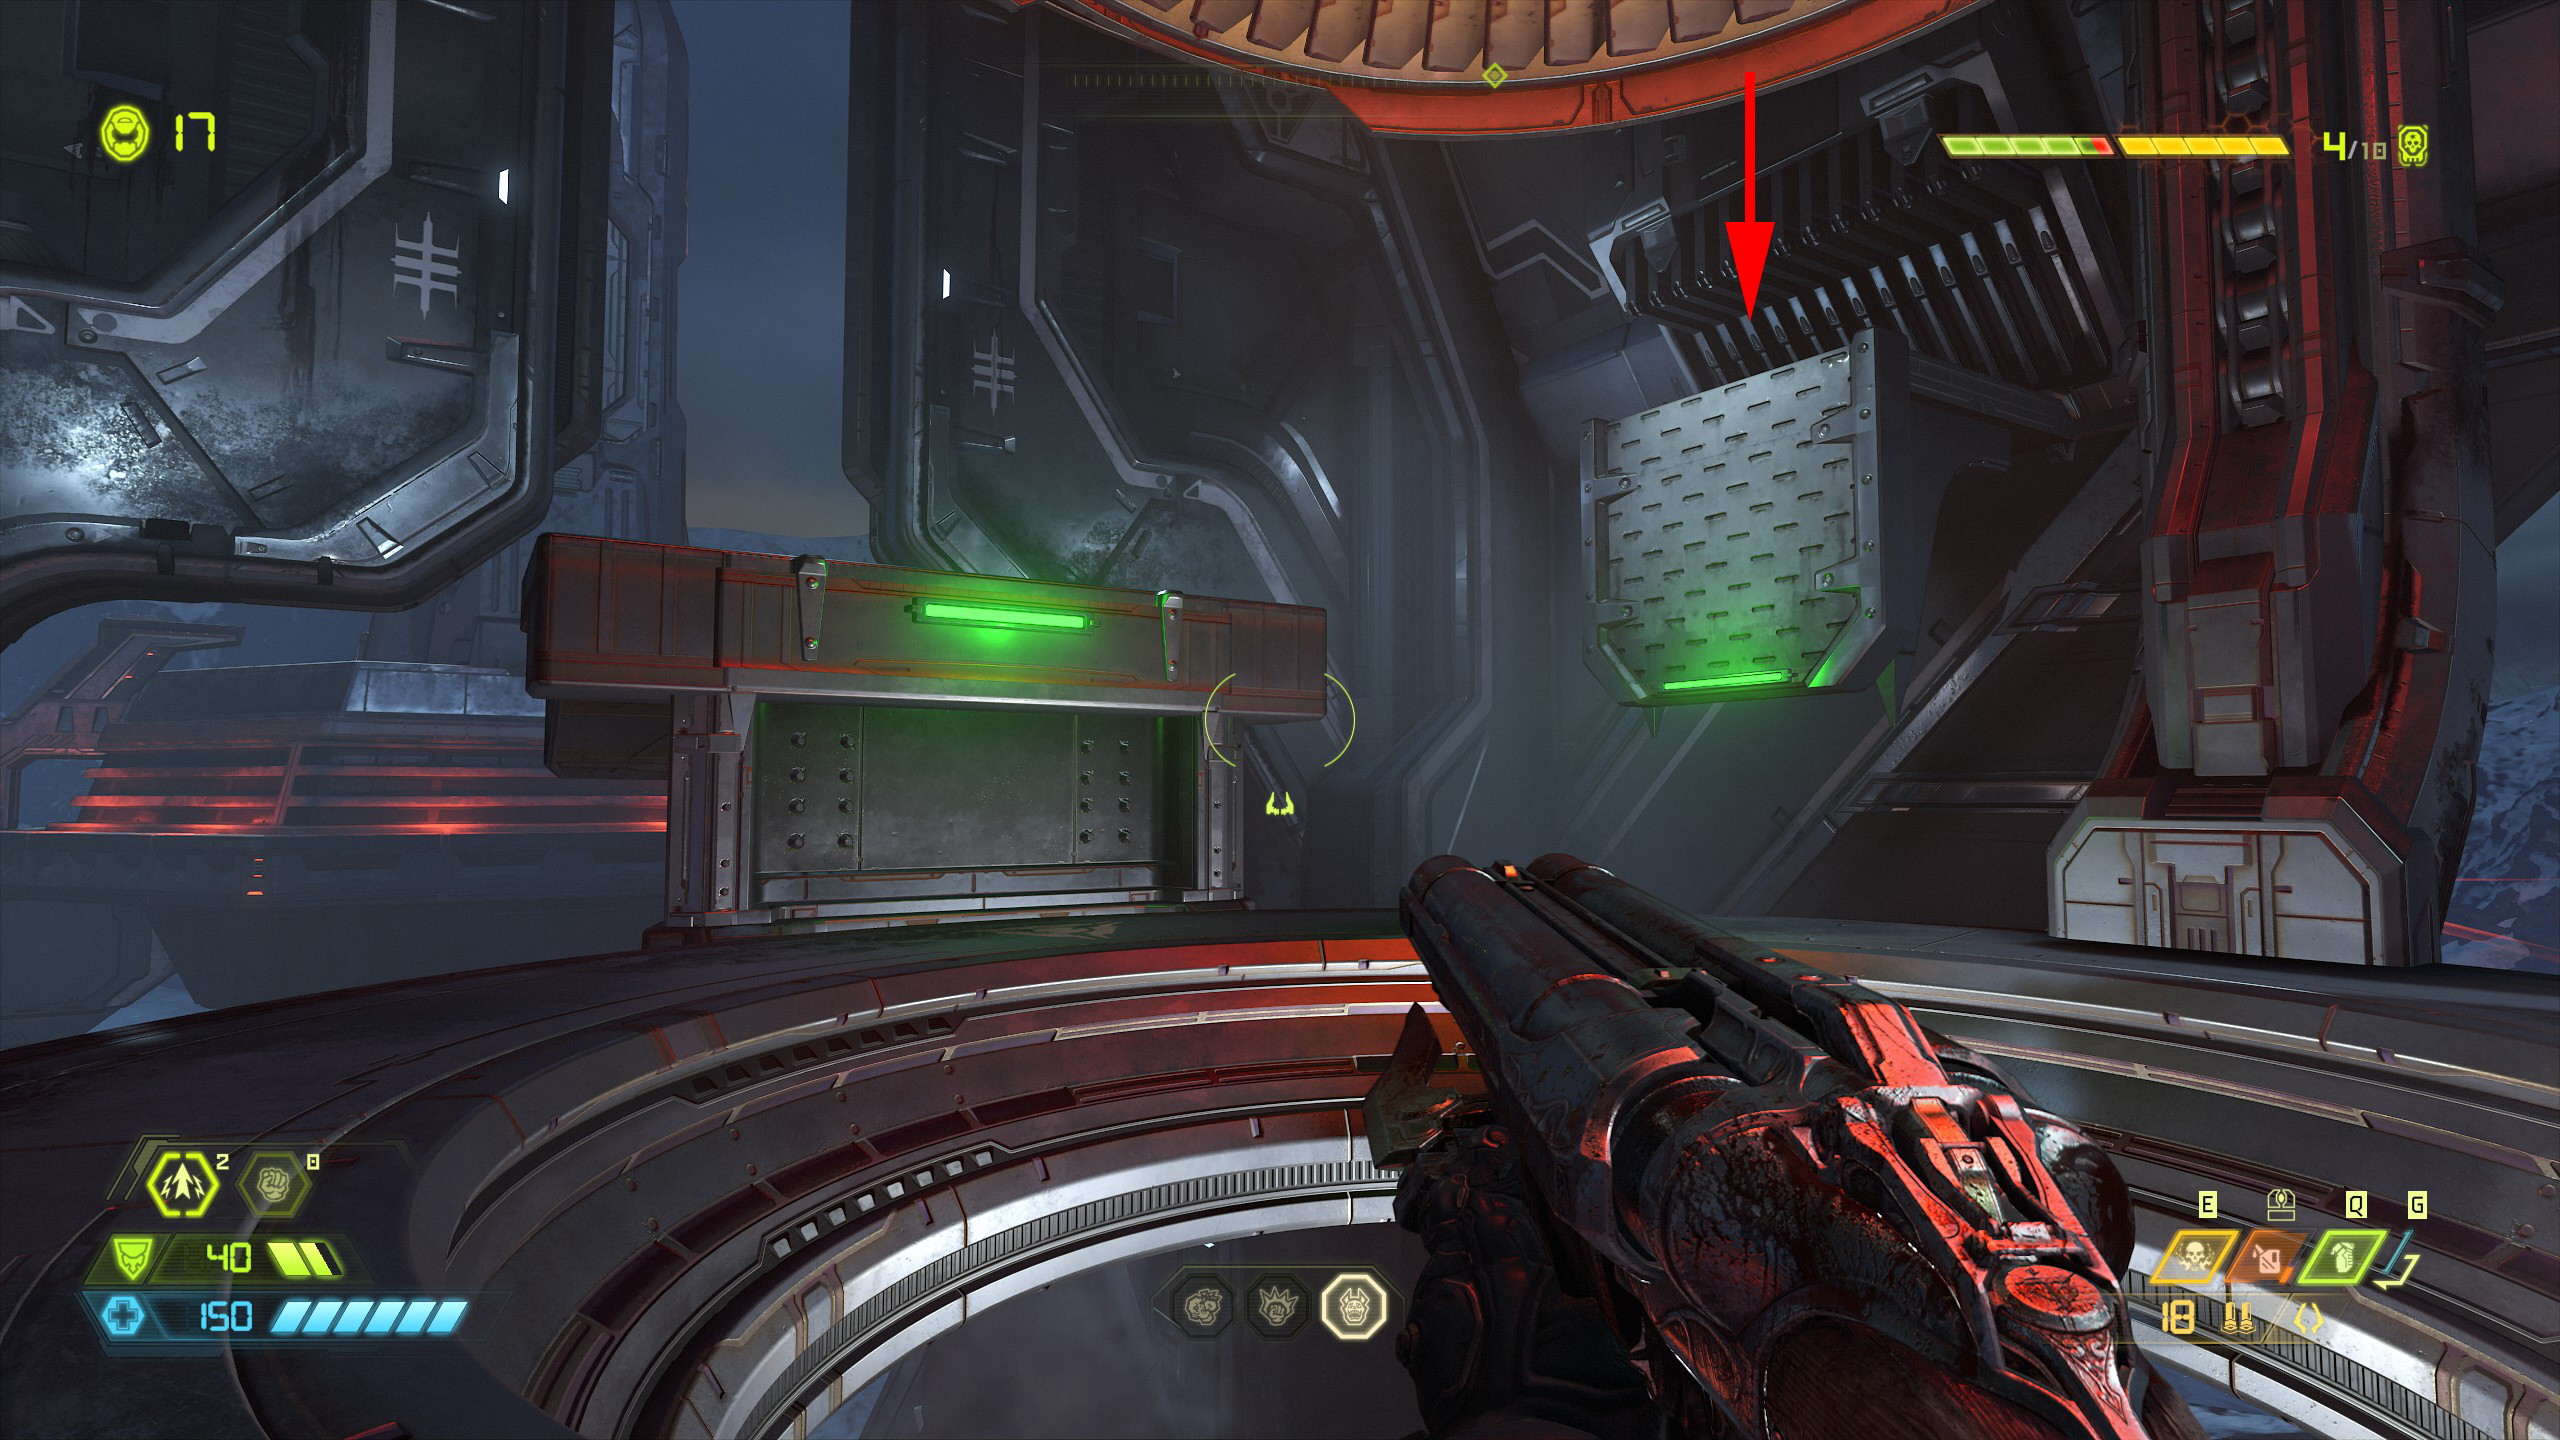
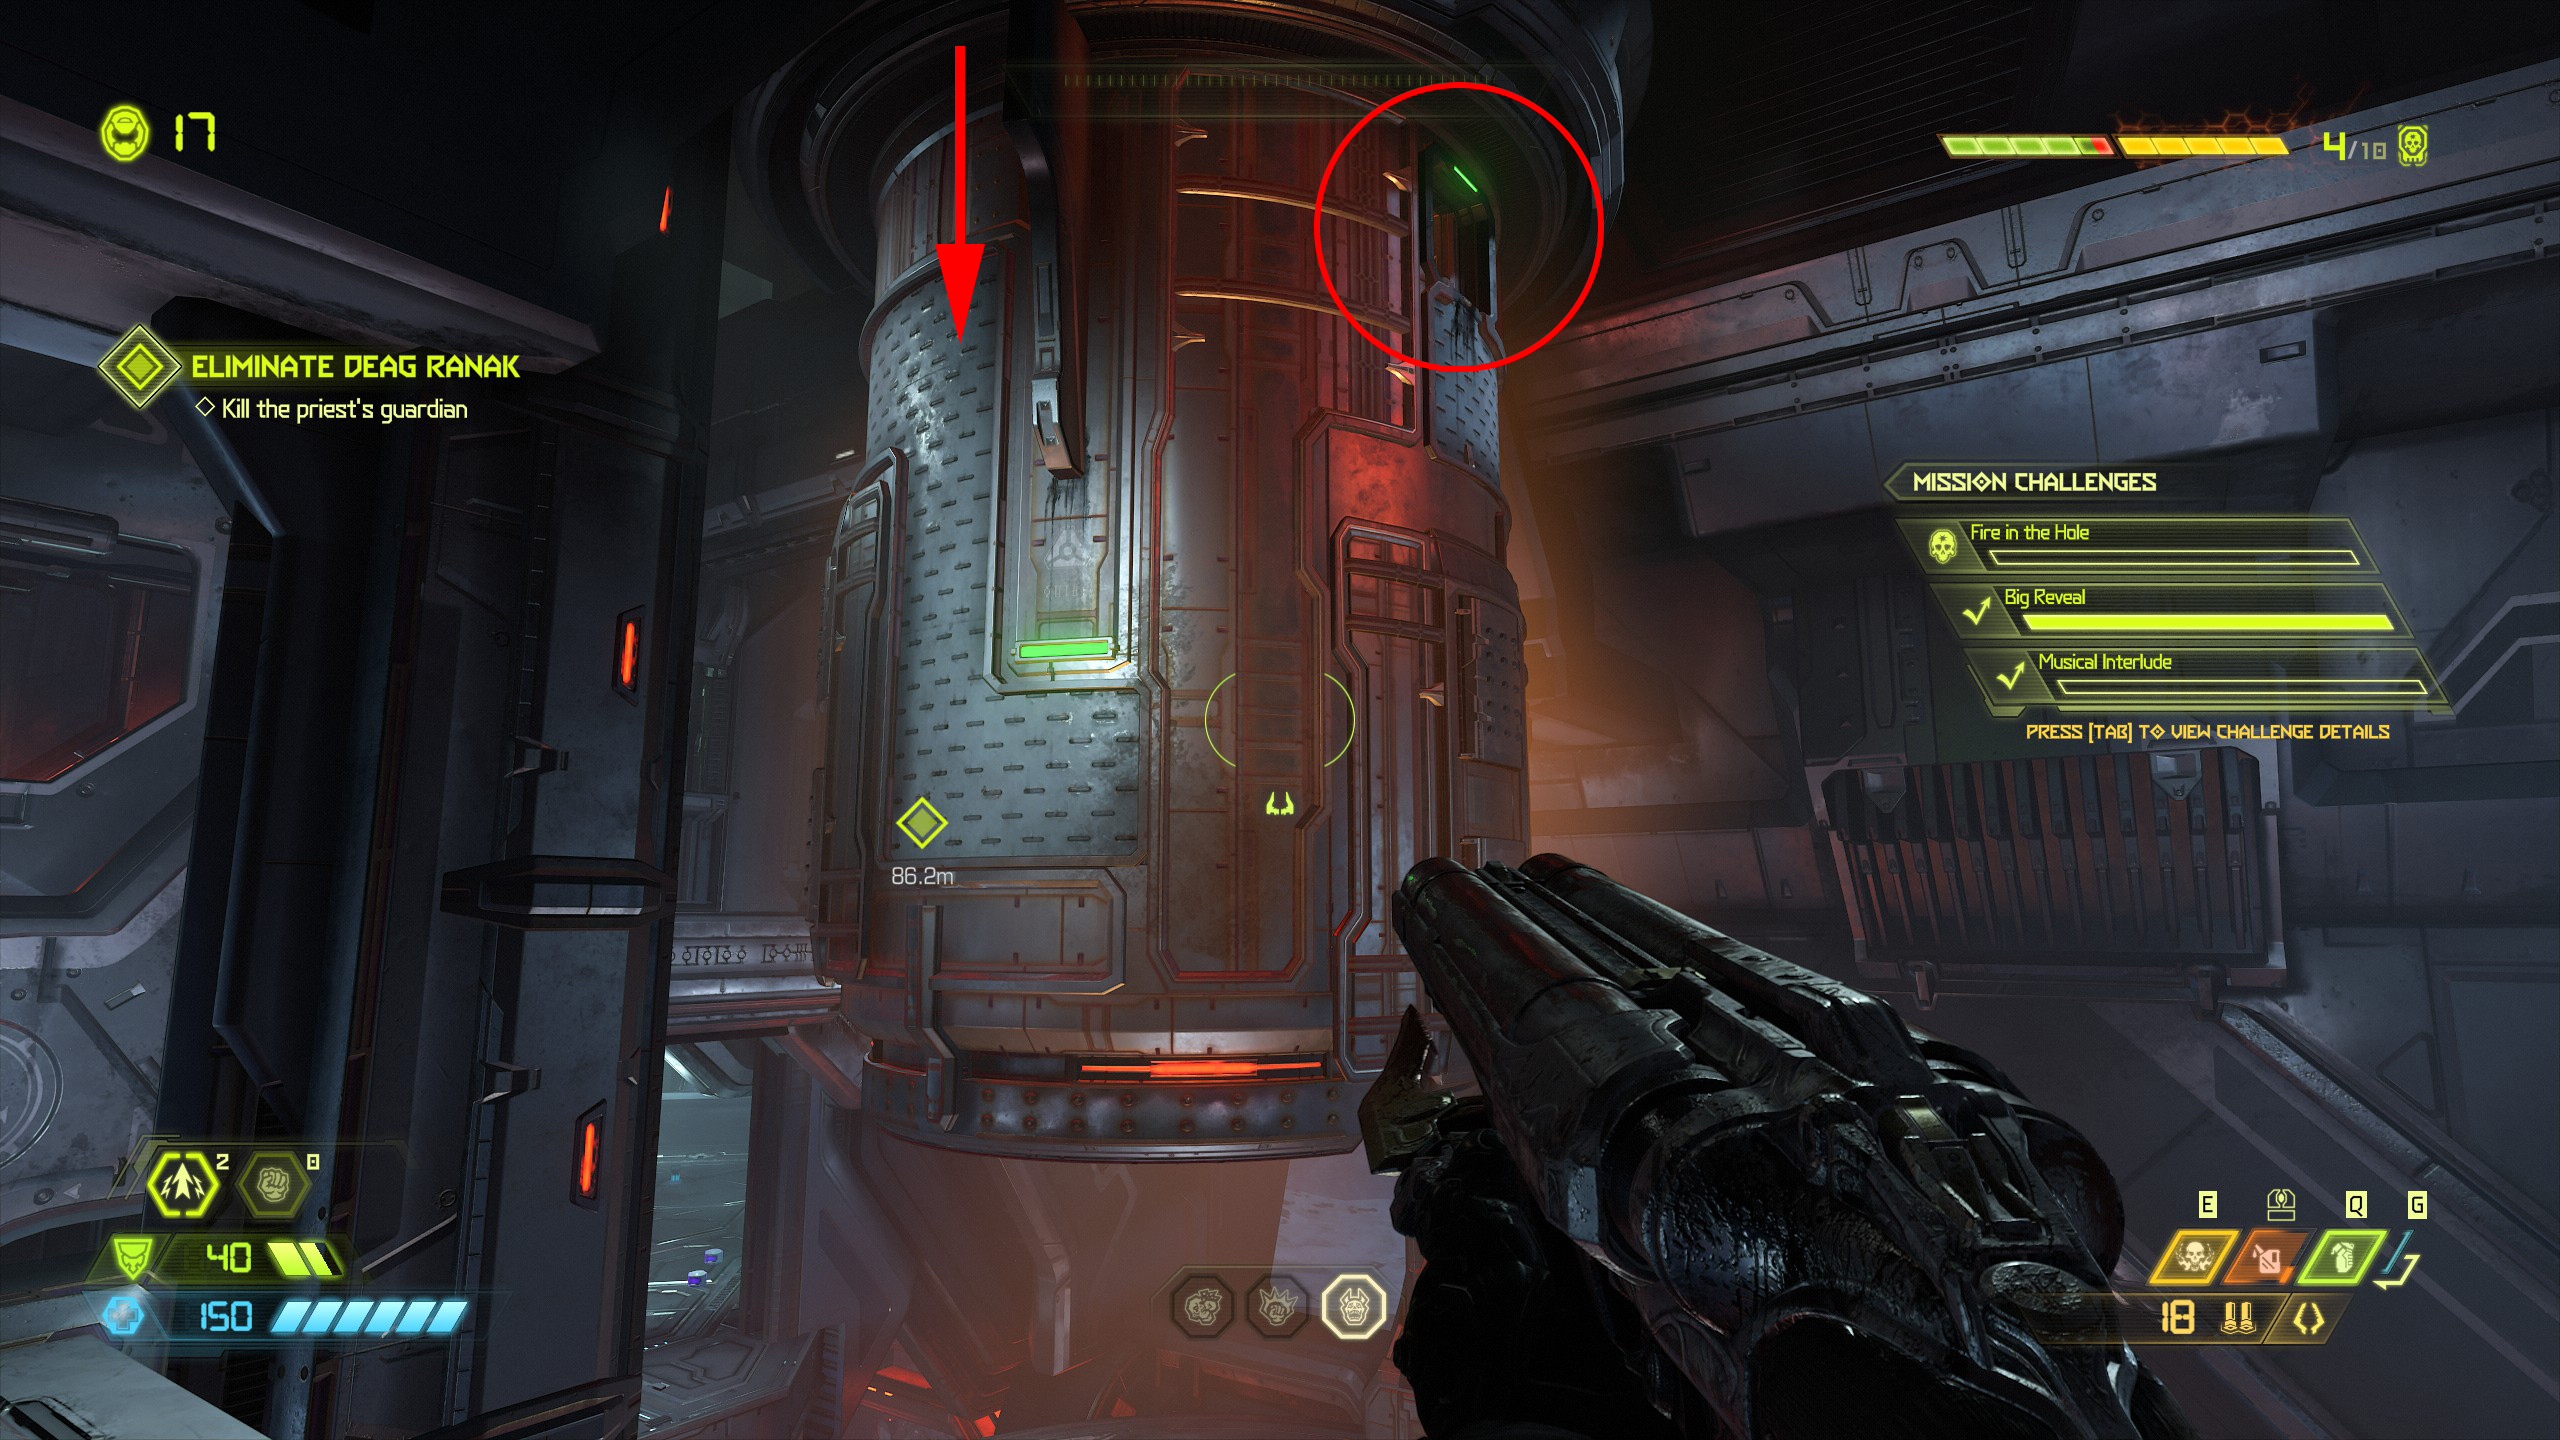
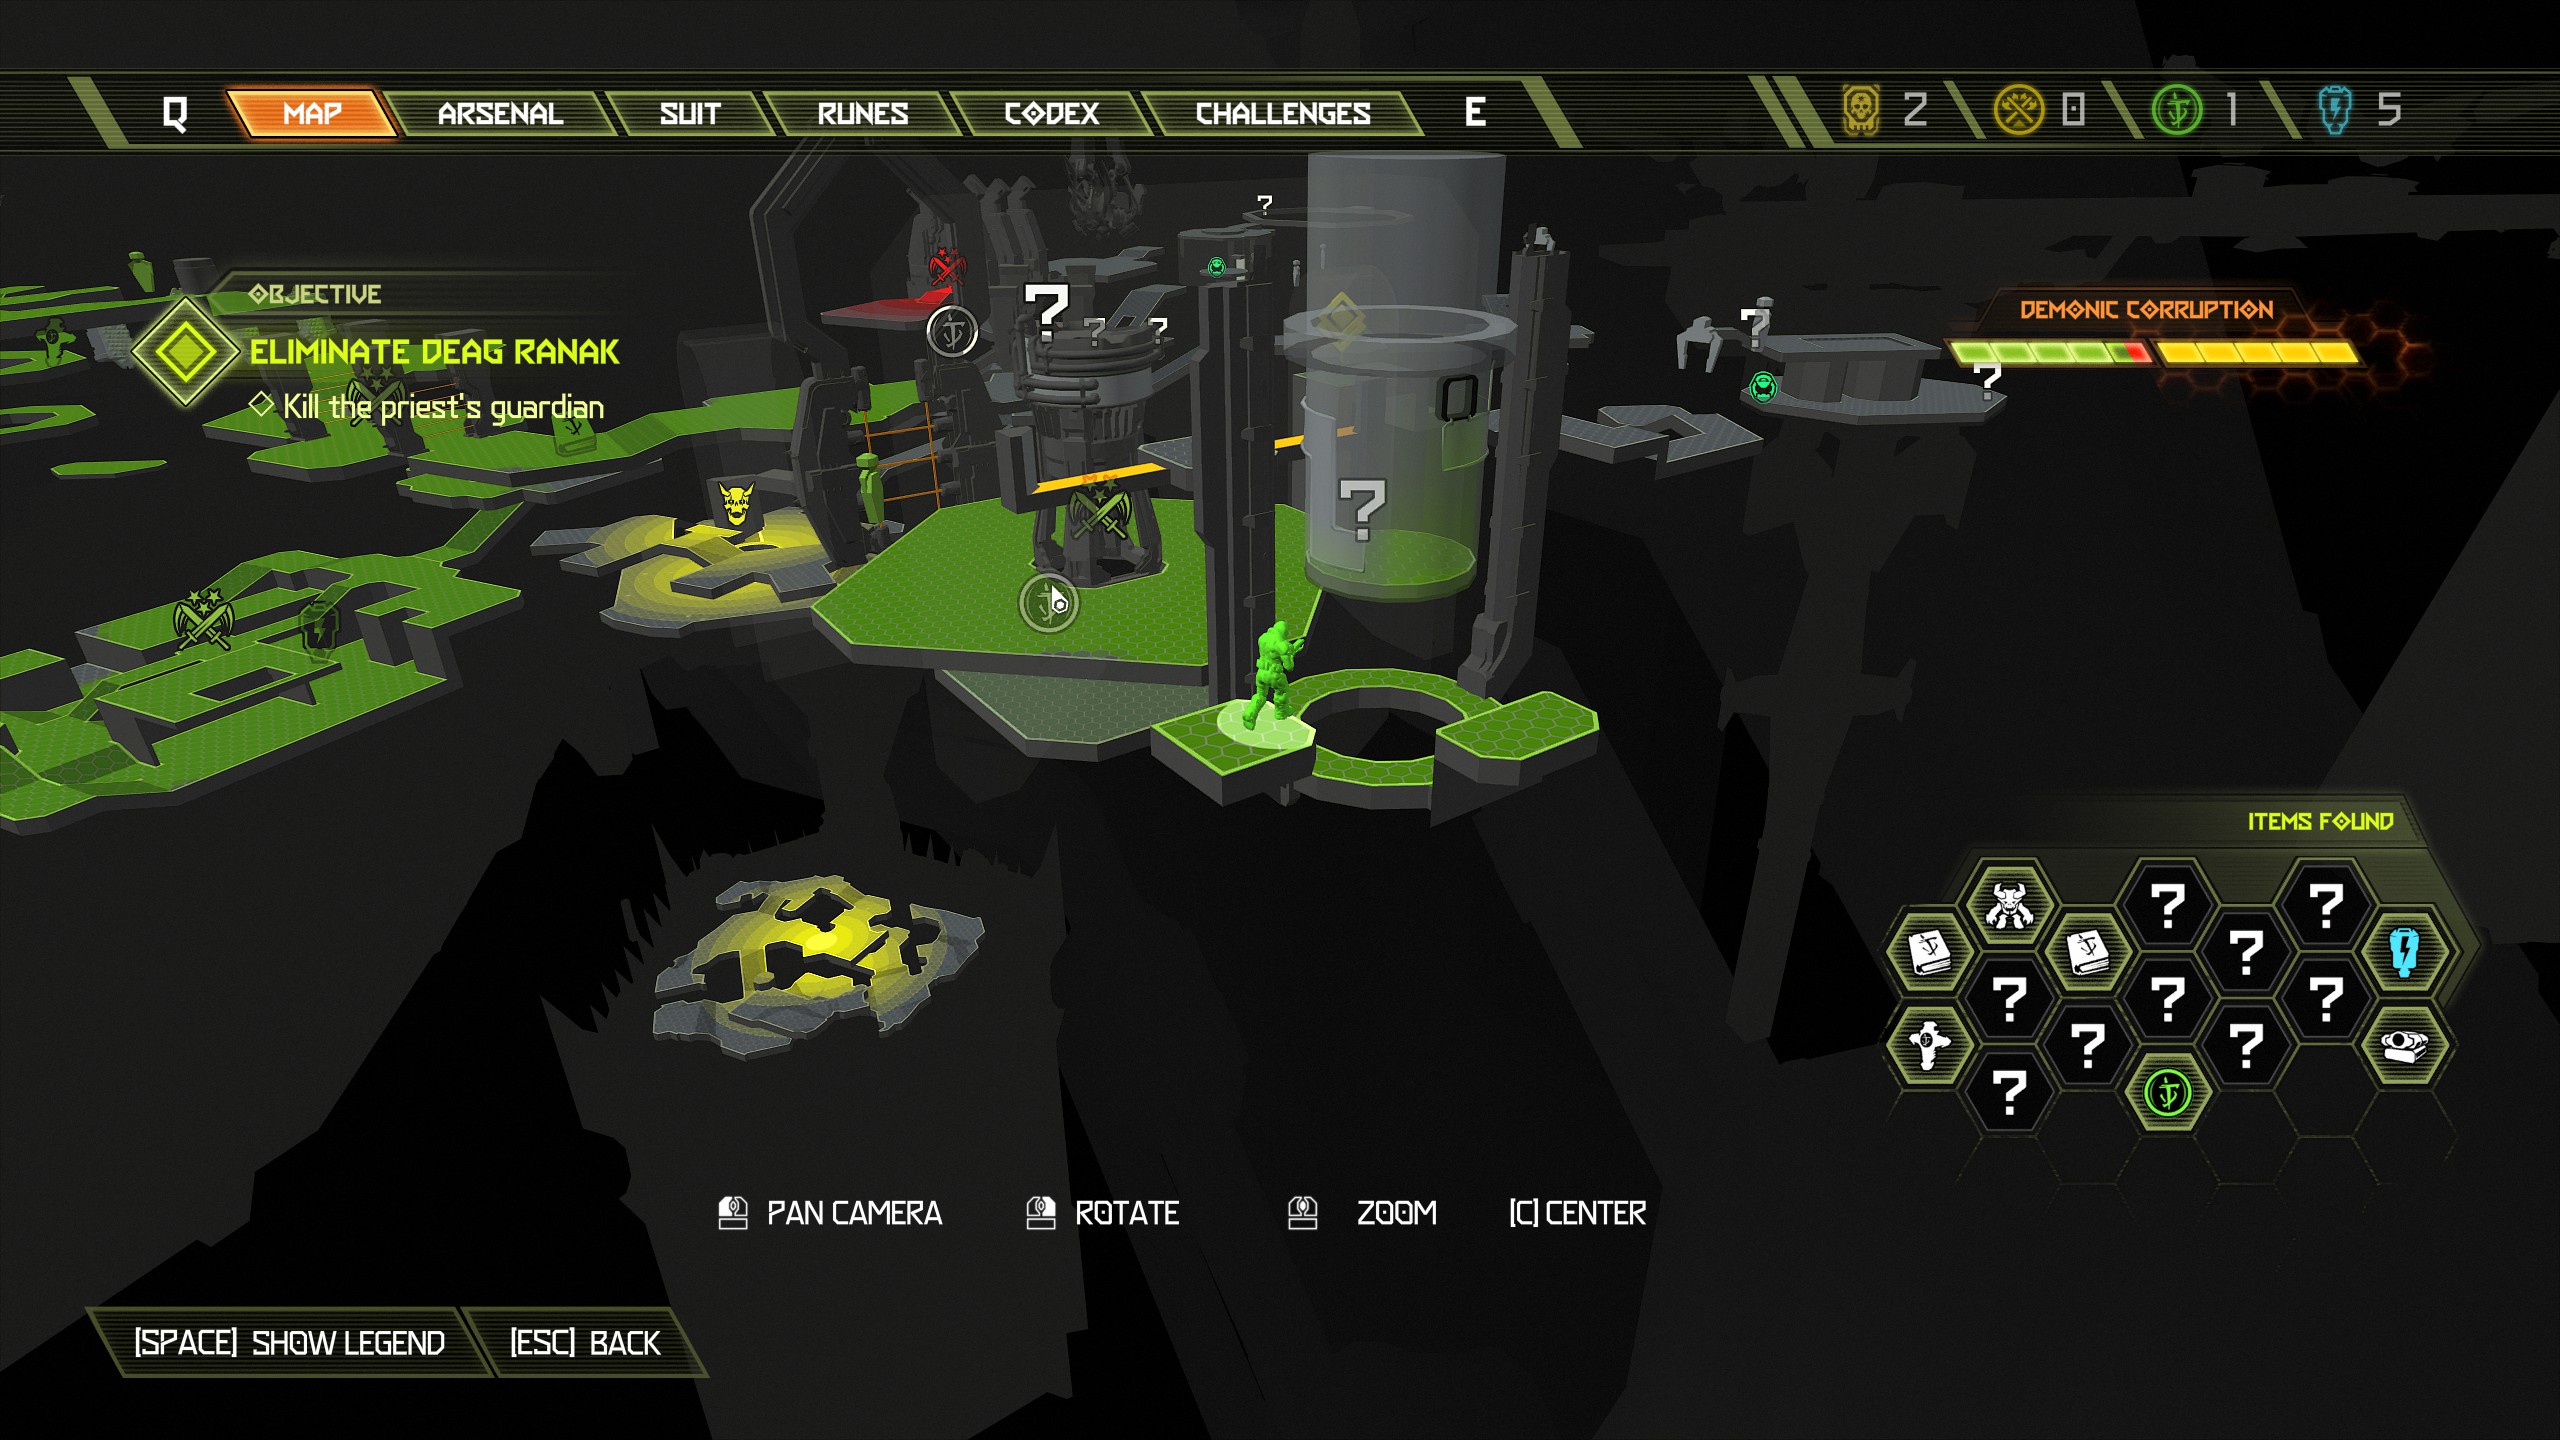 Now jump across to the room opposite and activate the skull pedestal, then immediately jump across again to the next wall and follow it around anti-clockwise to reach the top of the structure.
At the top of the structure will be a Floppy Disk.
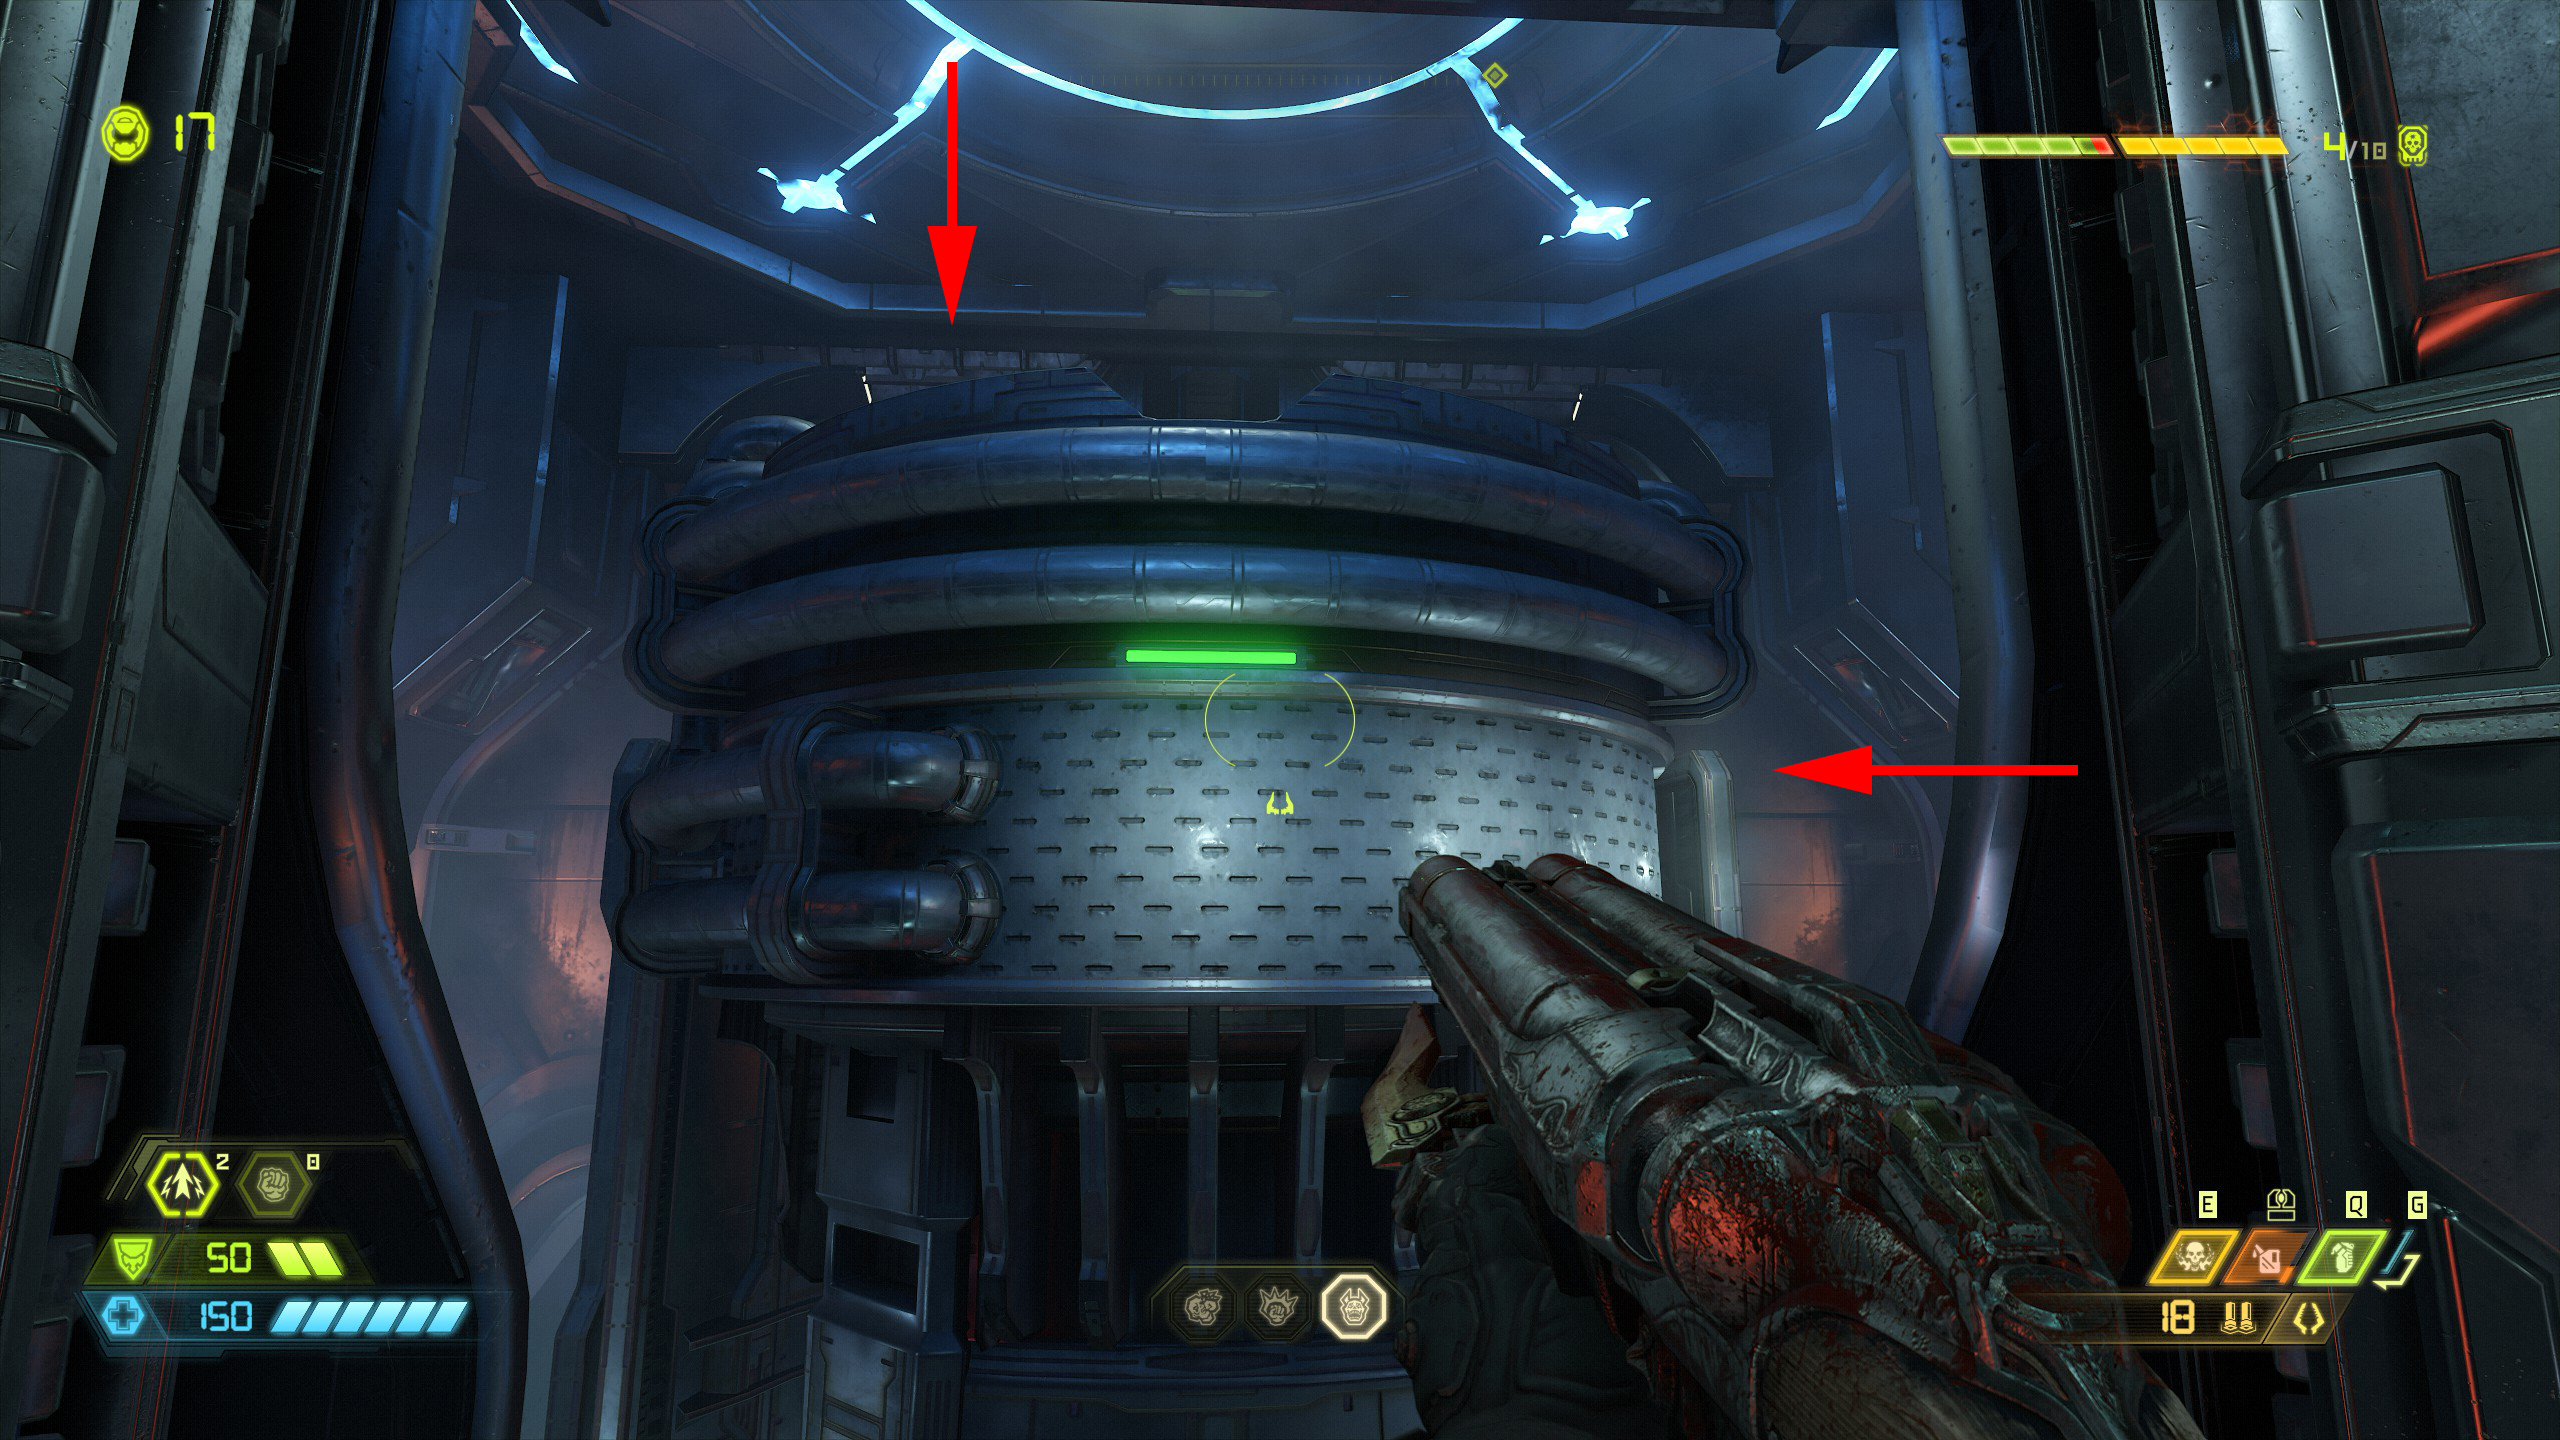
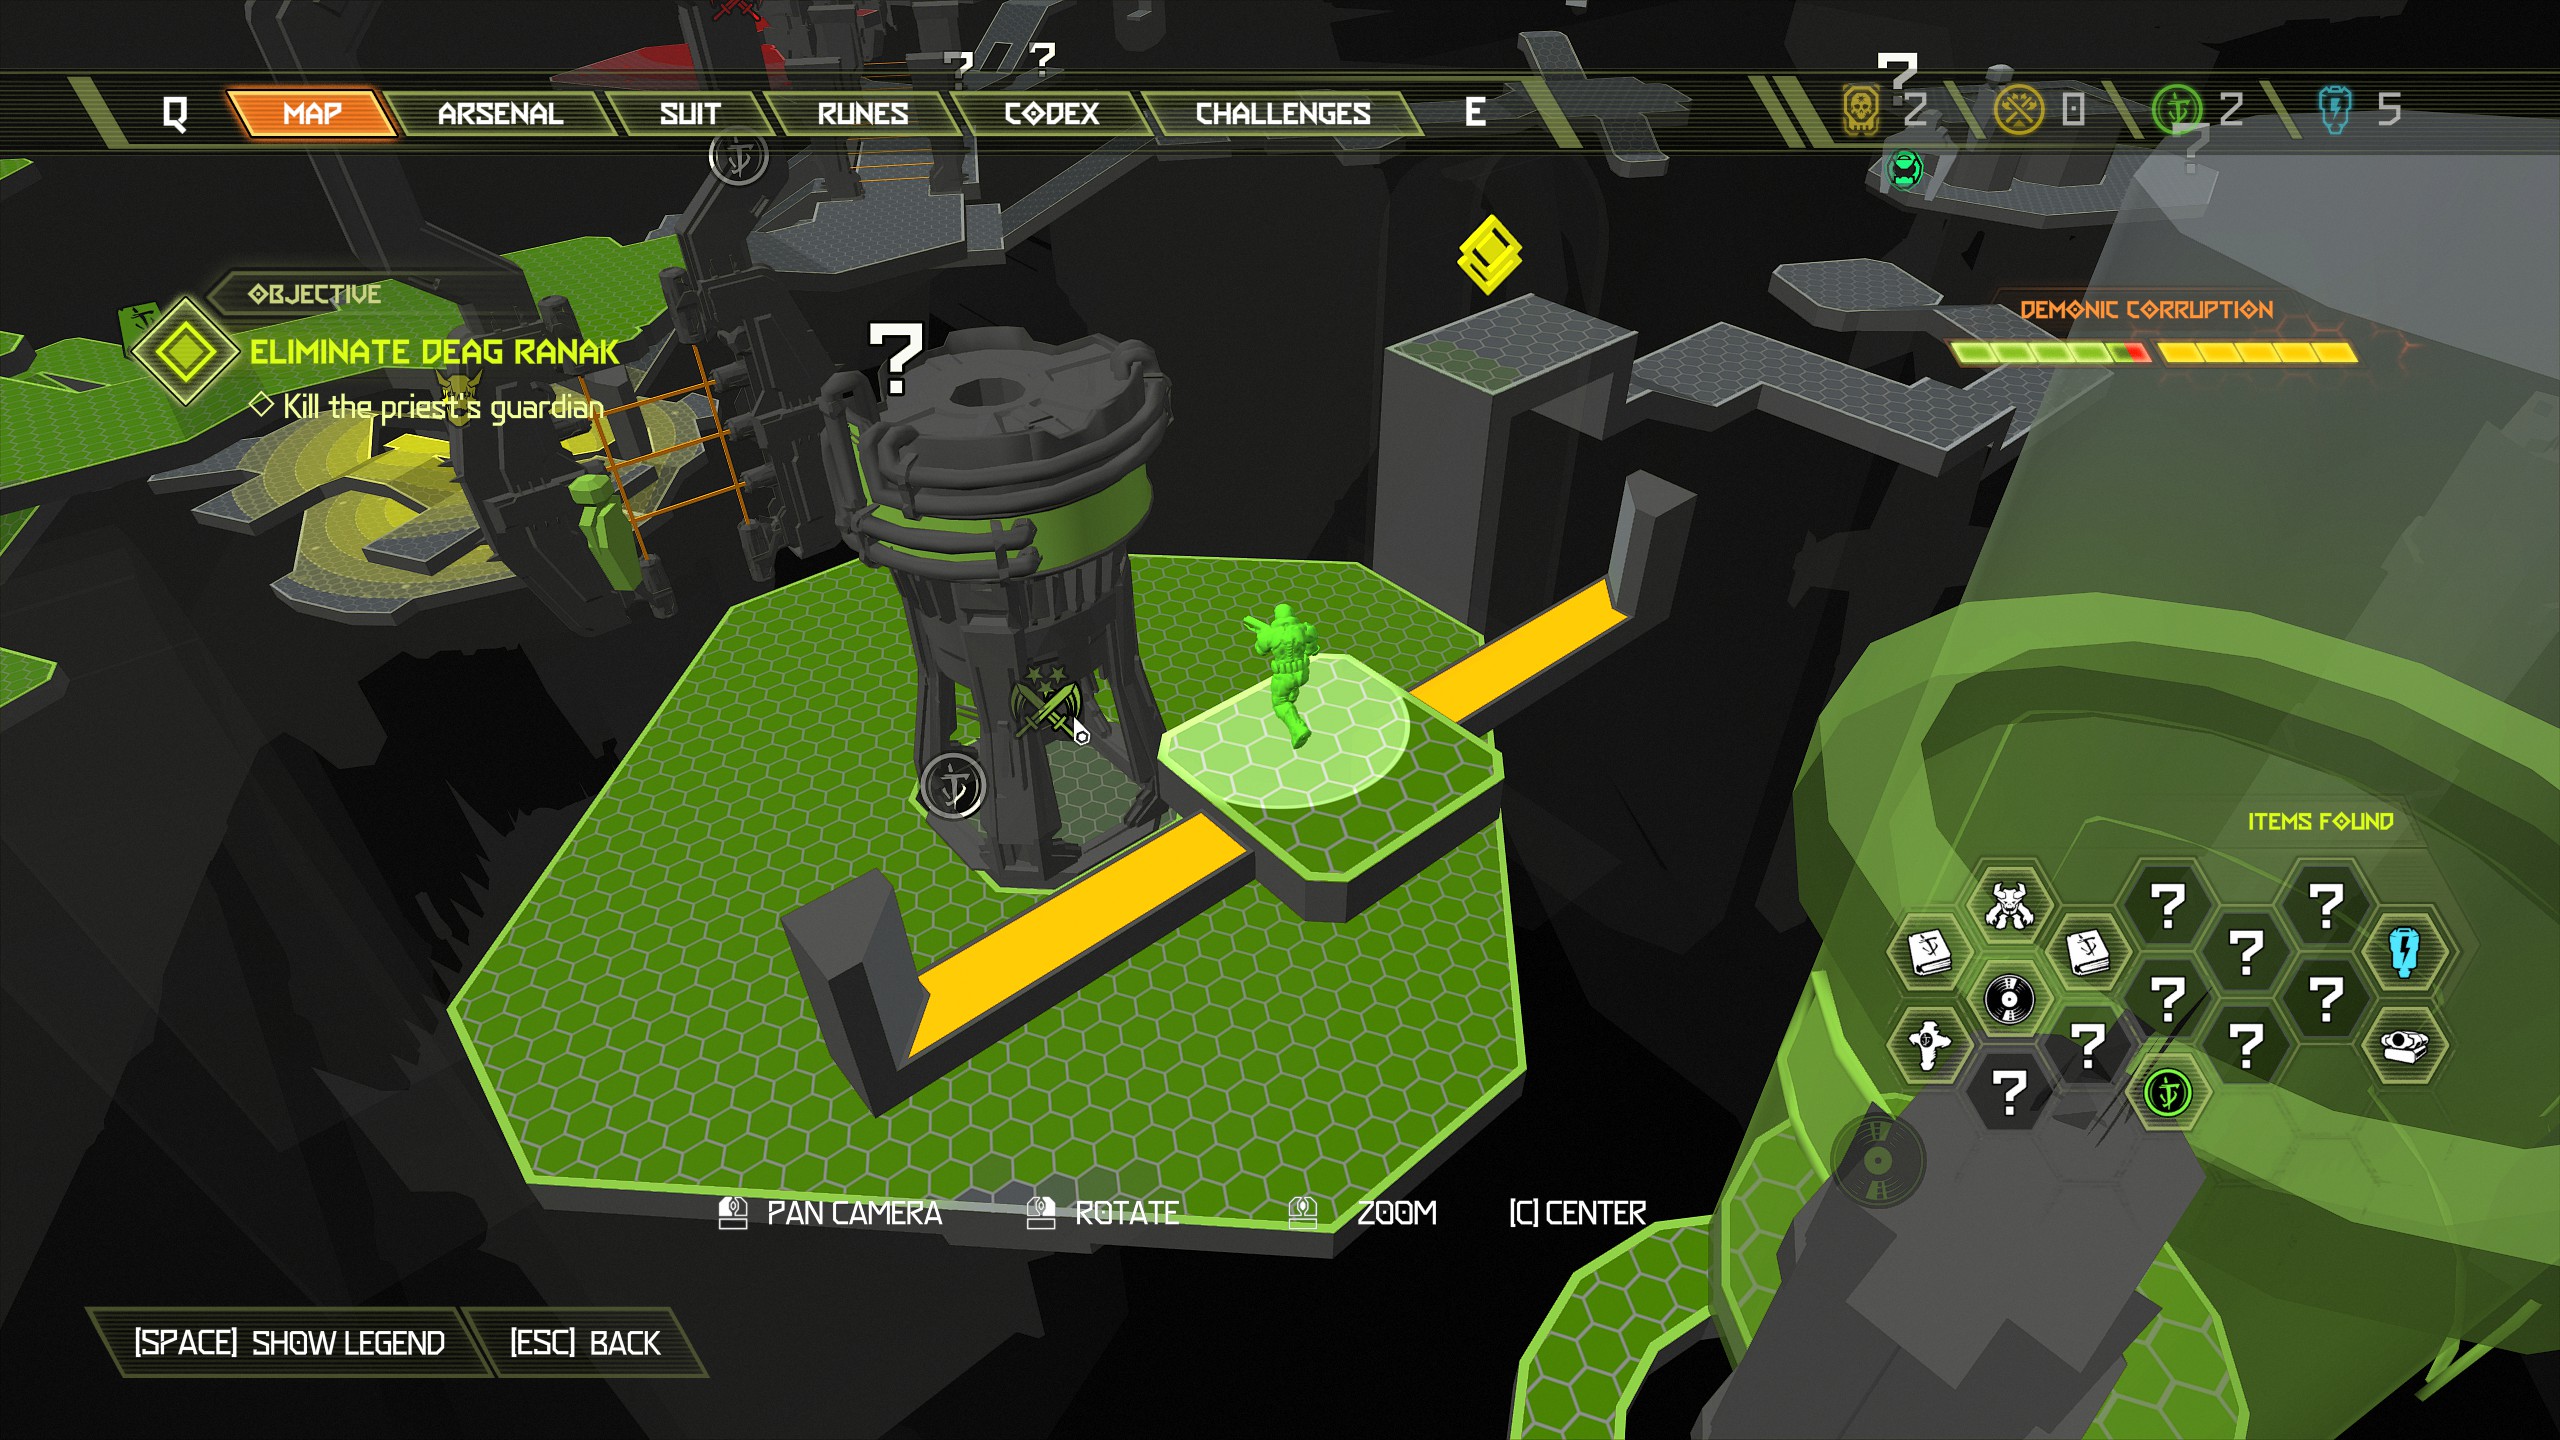
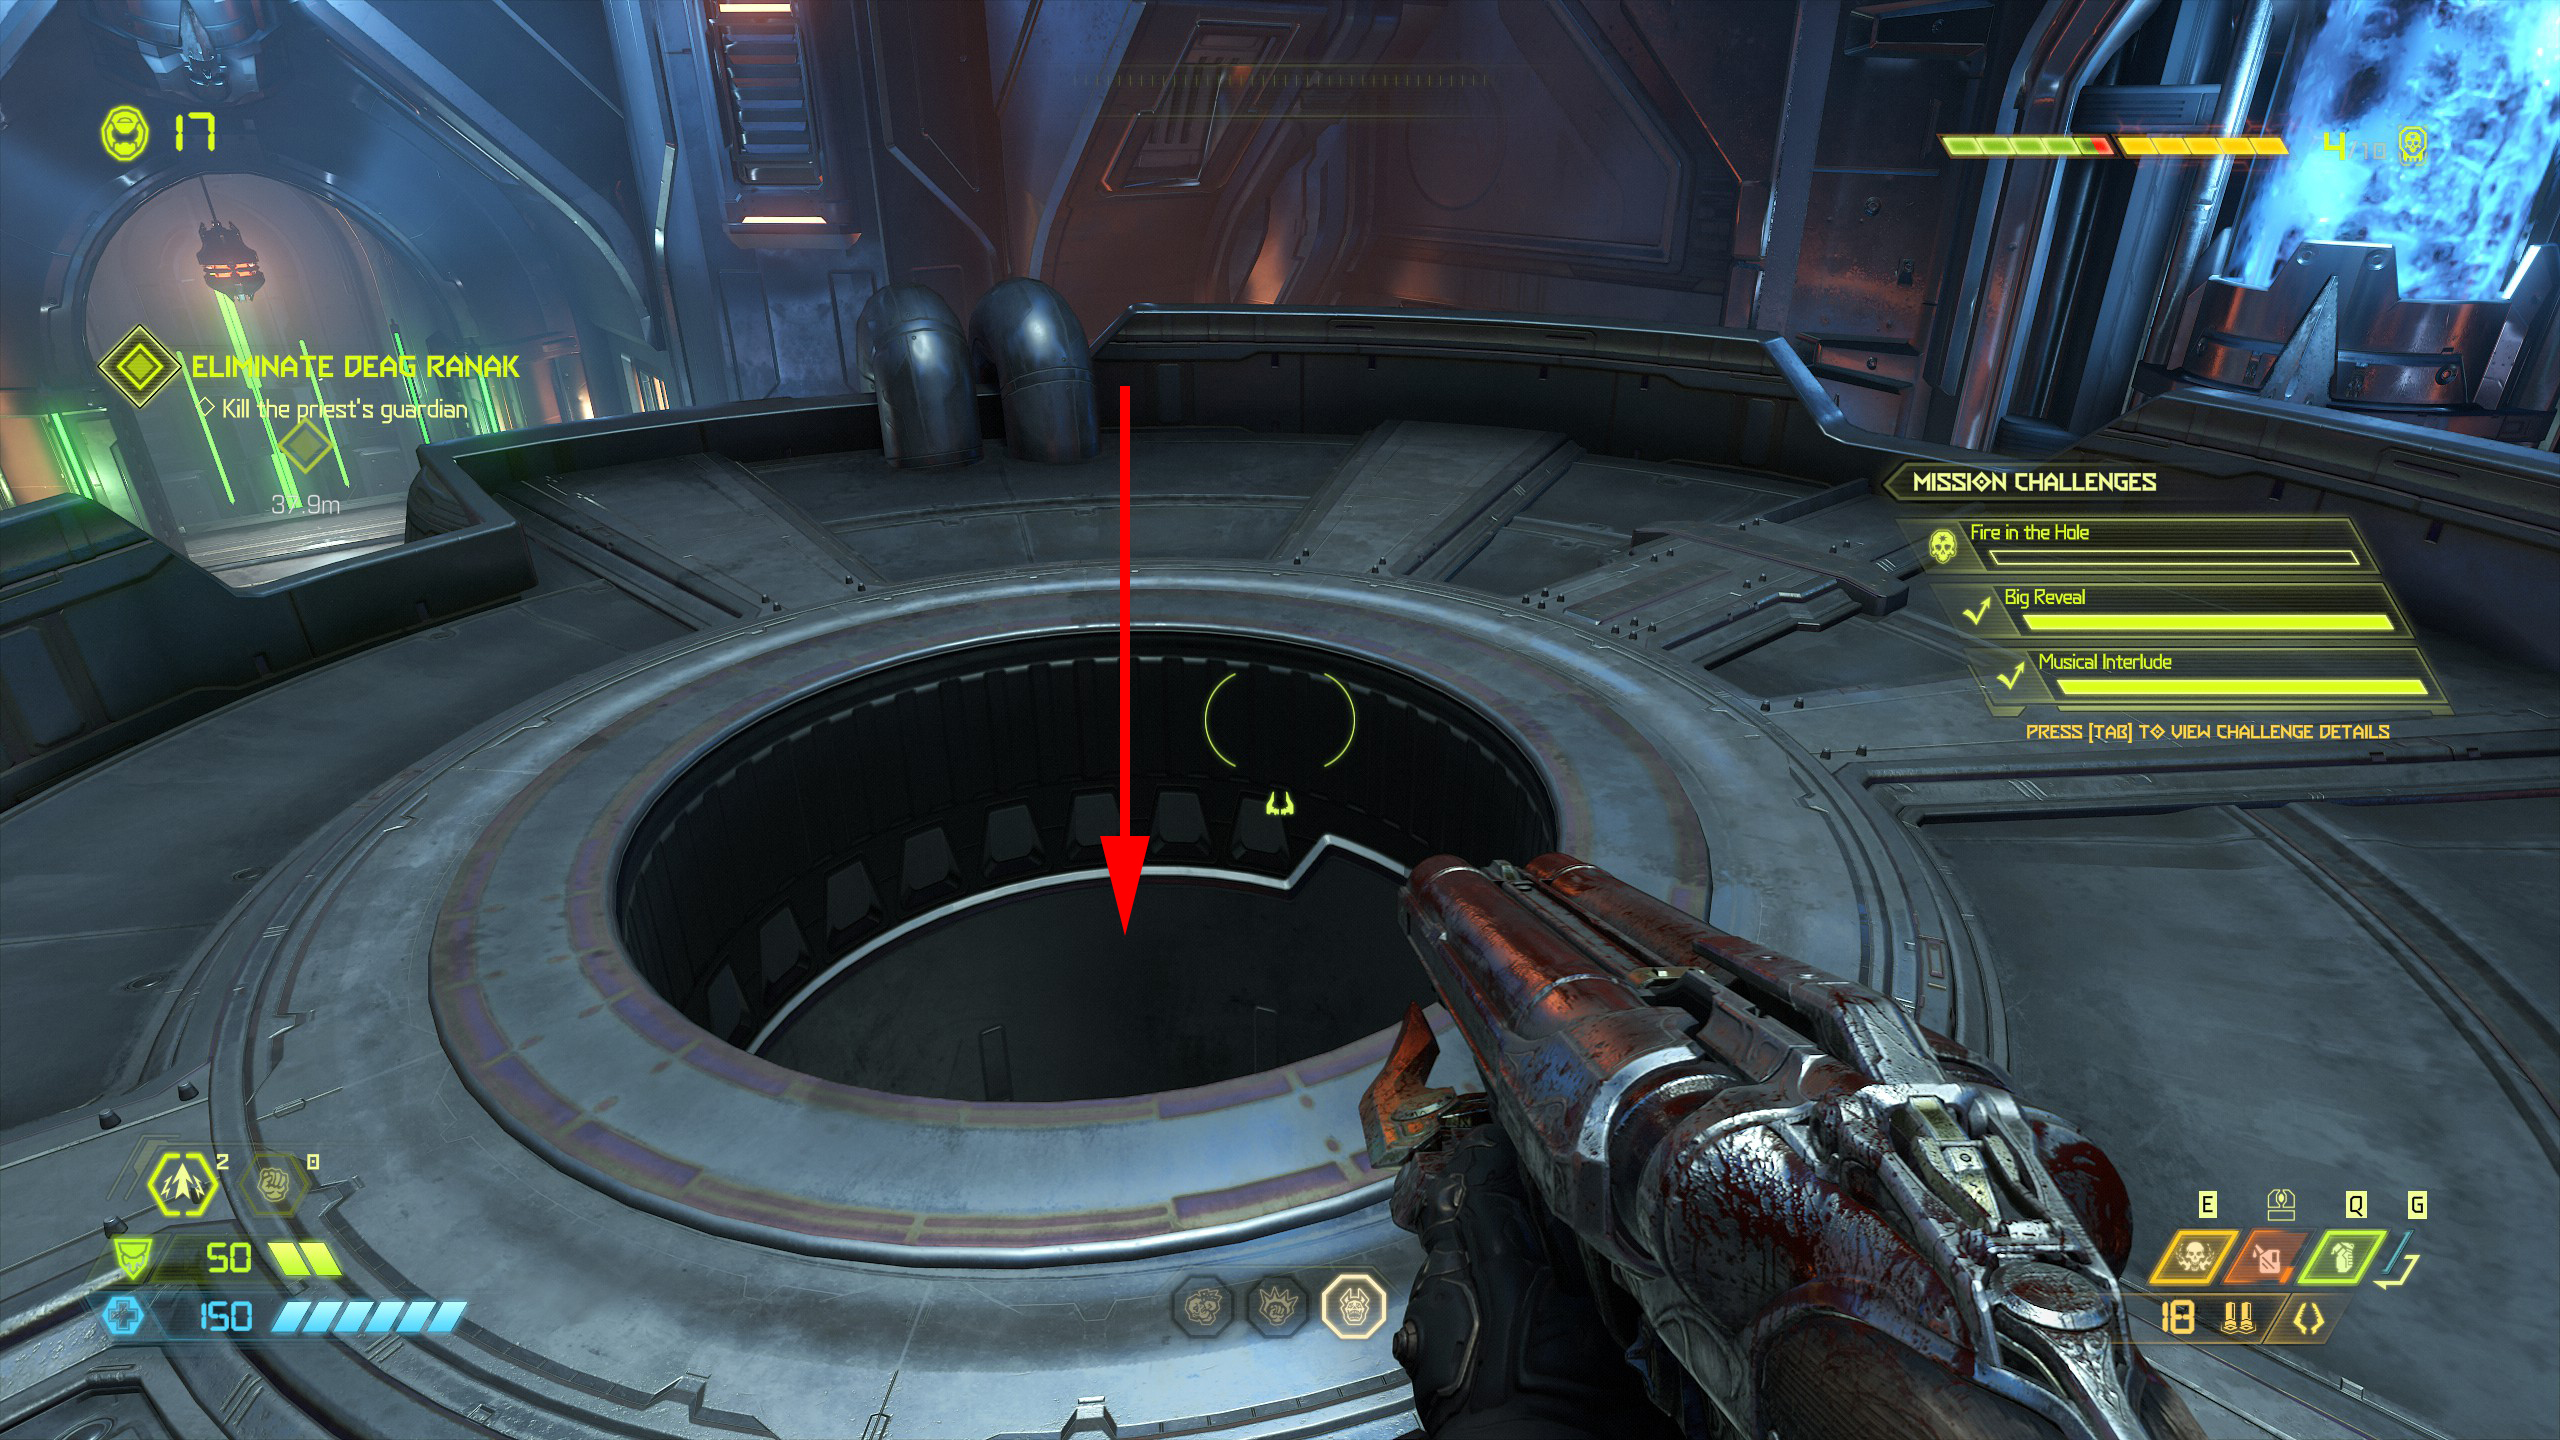
From the top of the structure drop down the hole and inside will be a praetor token, after that use the nearby portal and continue the mission.
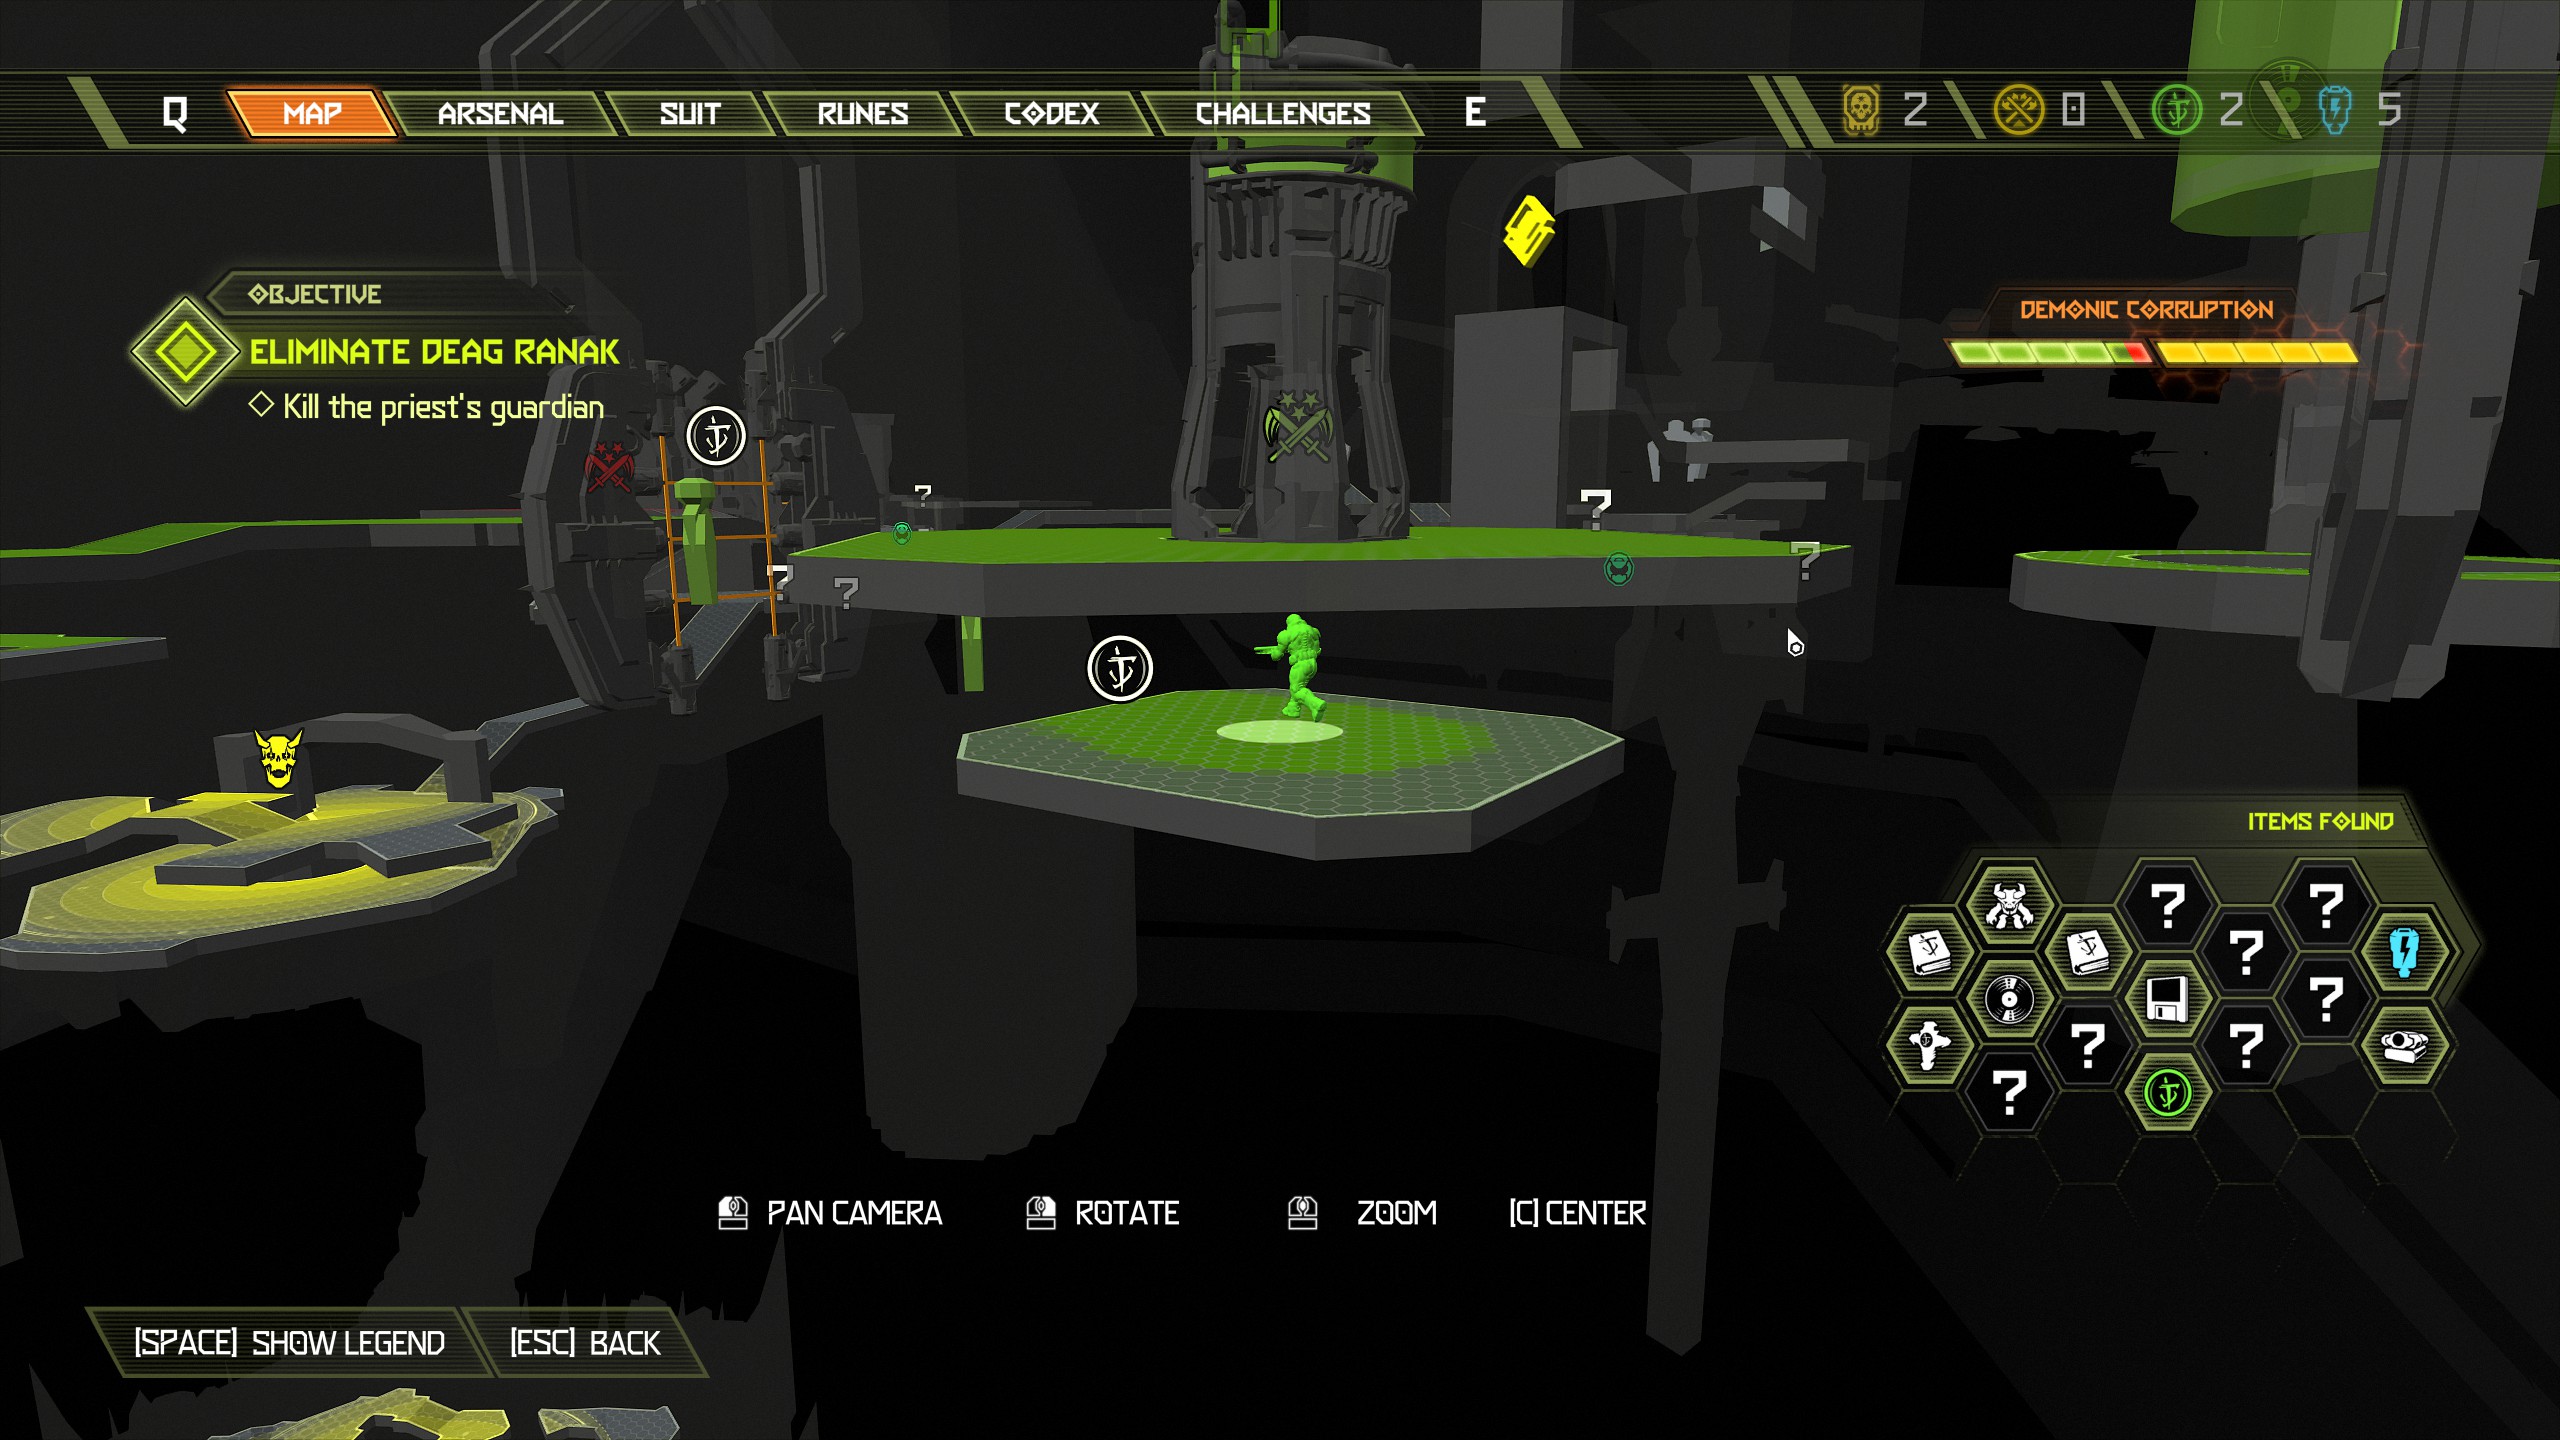
Now make your way across a few more platforms and walls until you reach the location of the red key card.
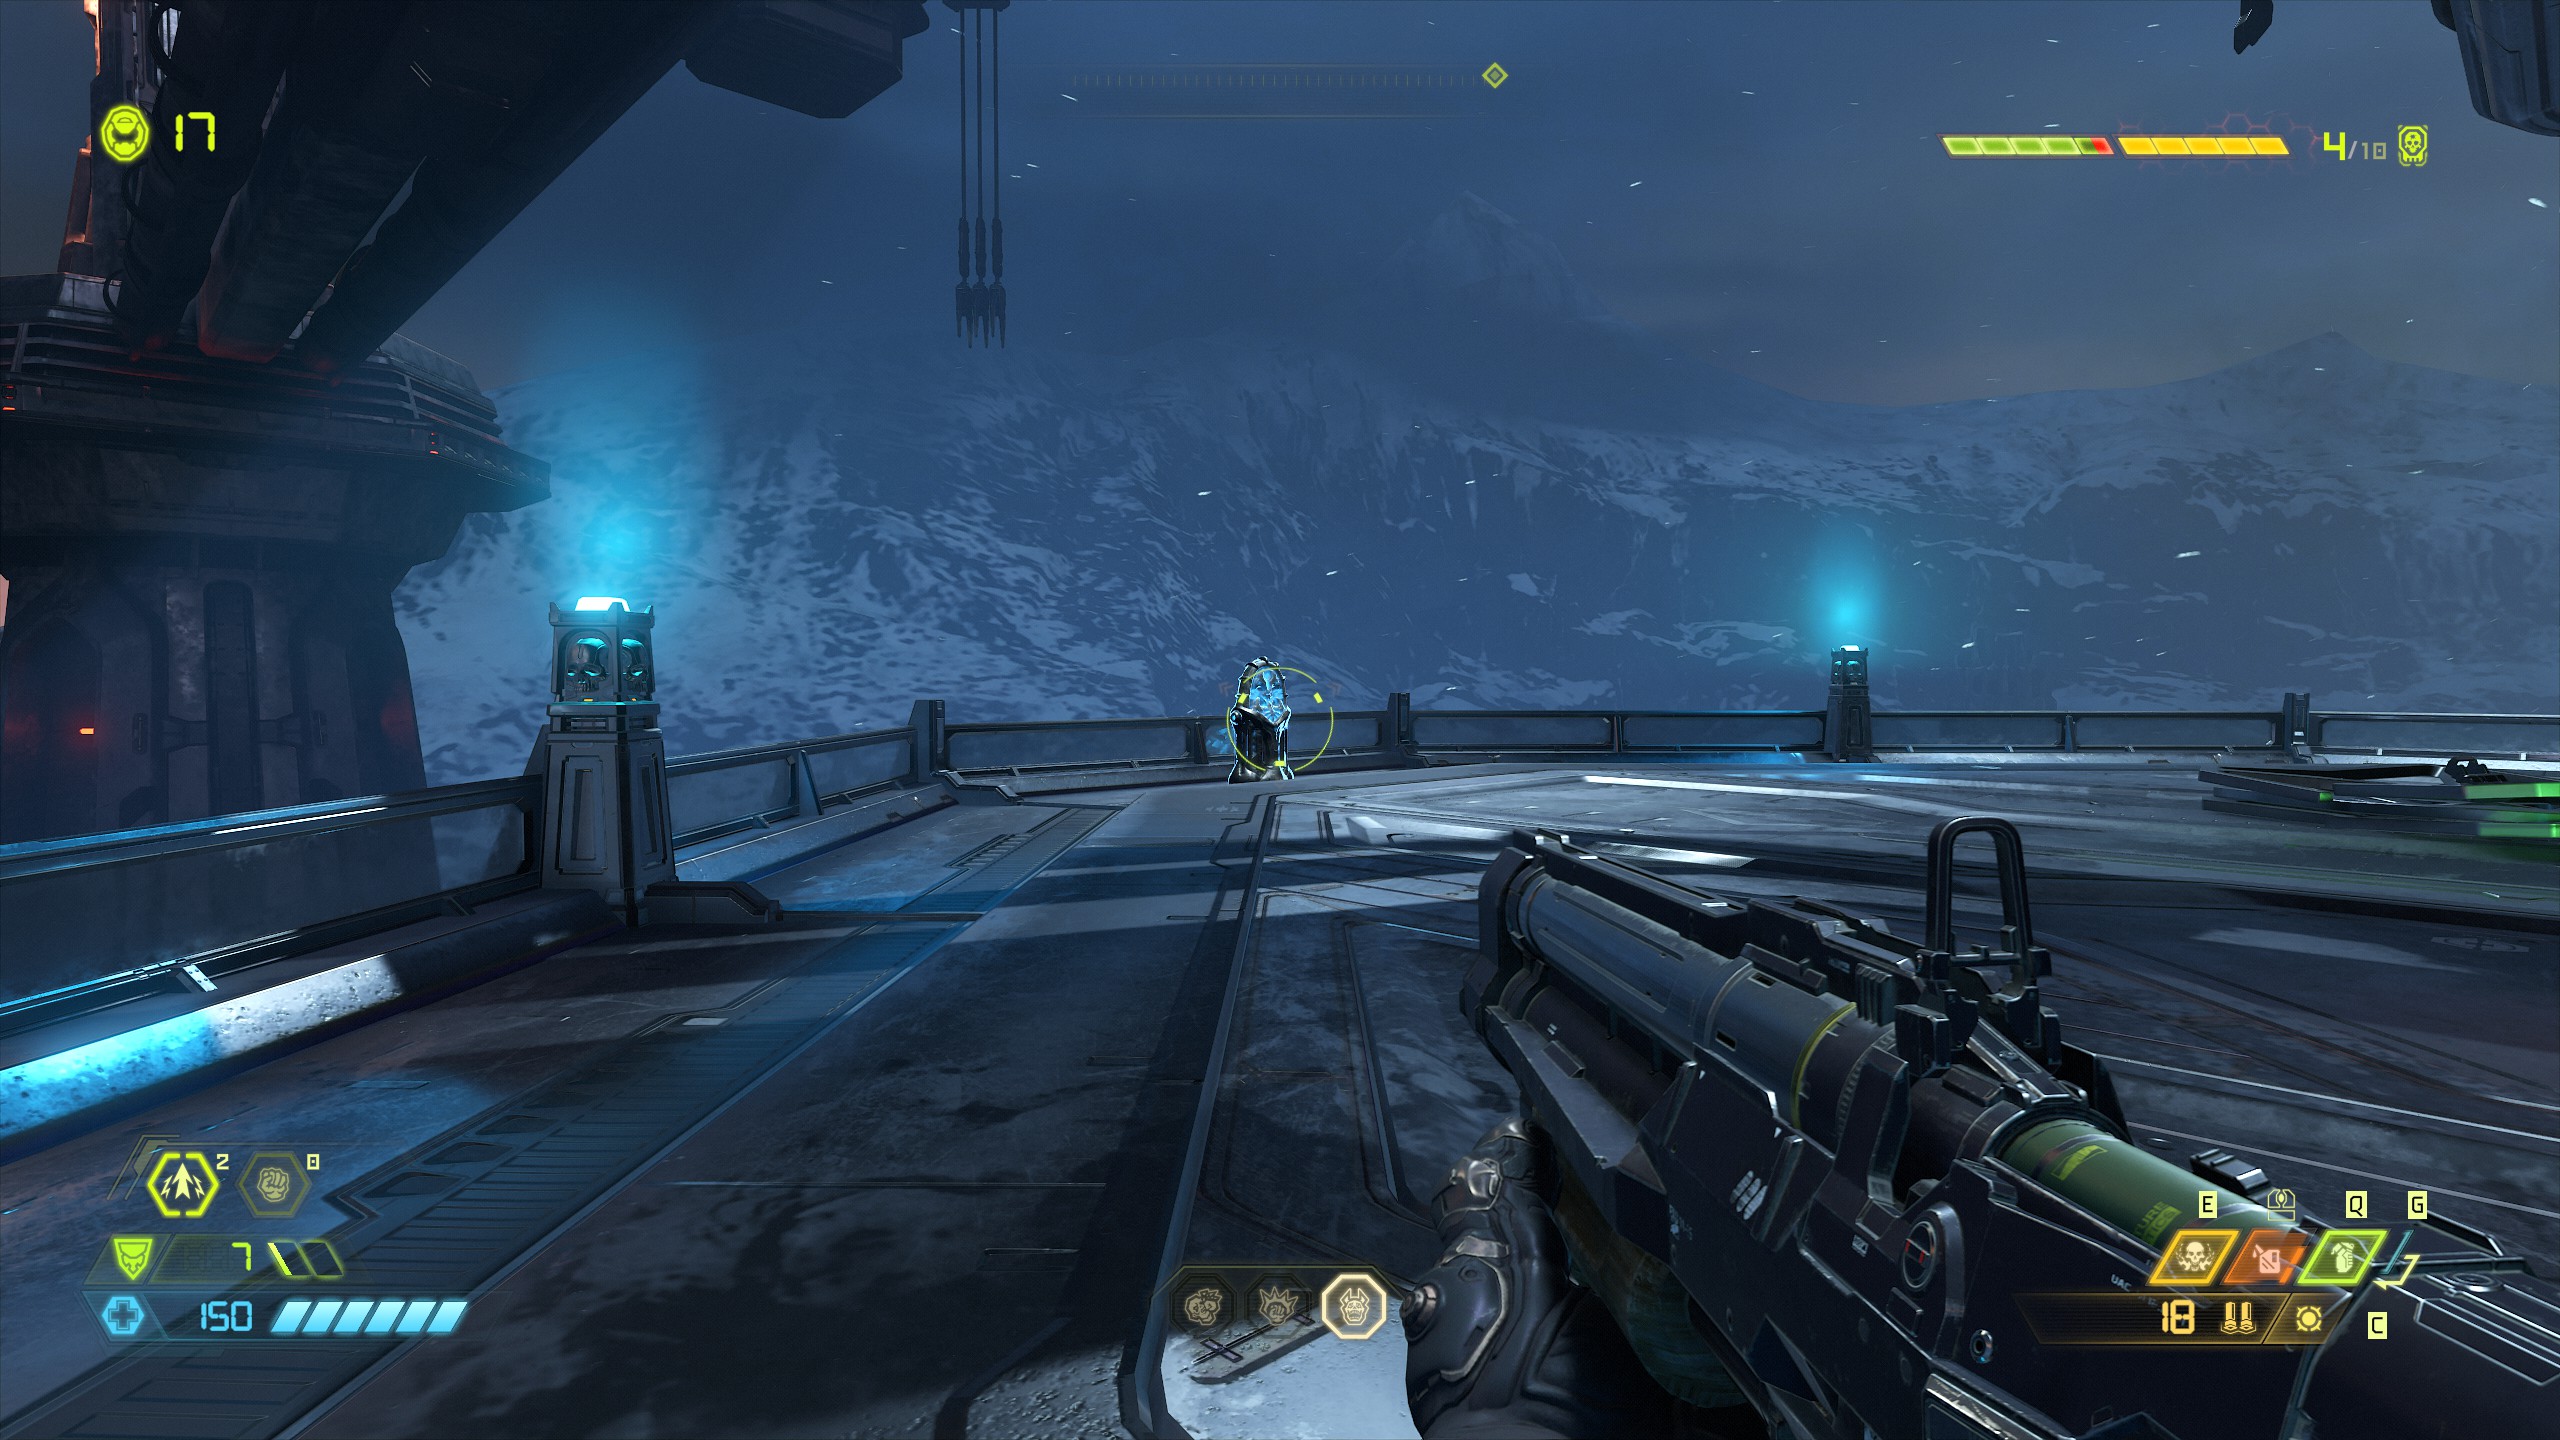
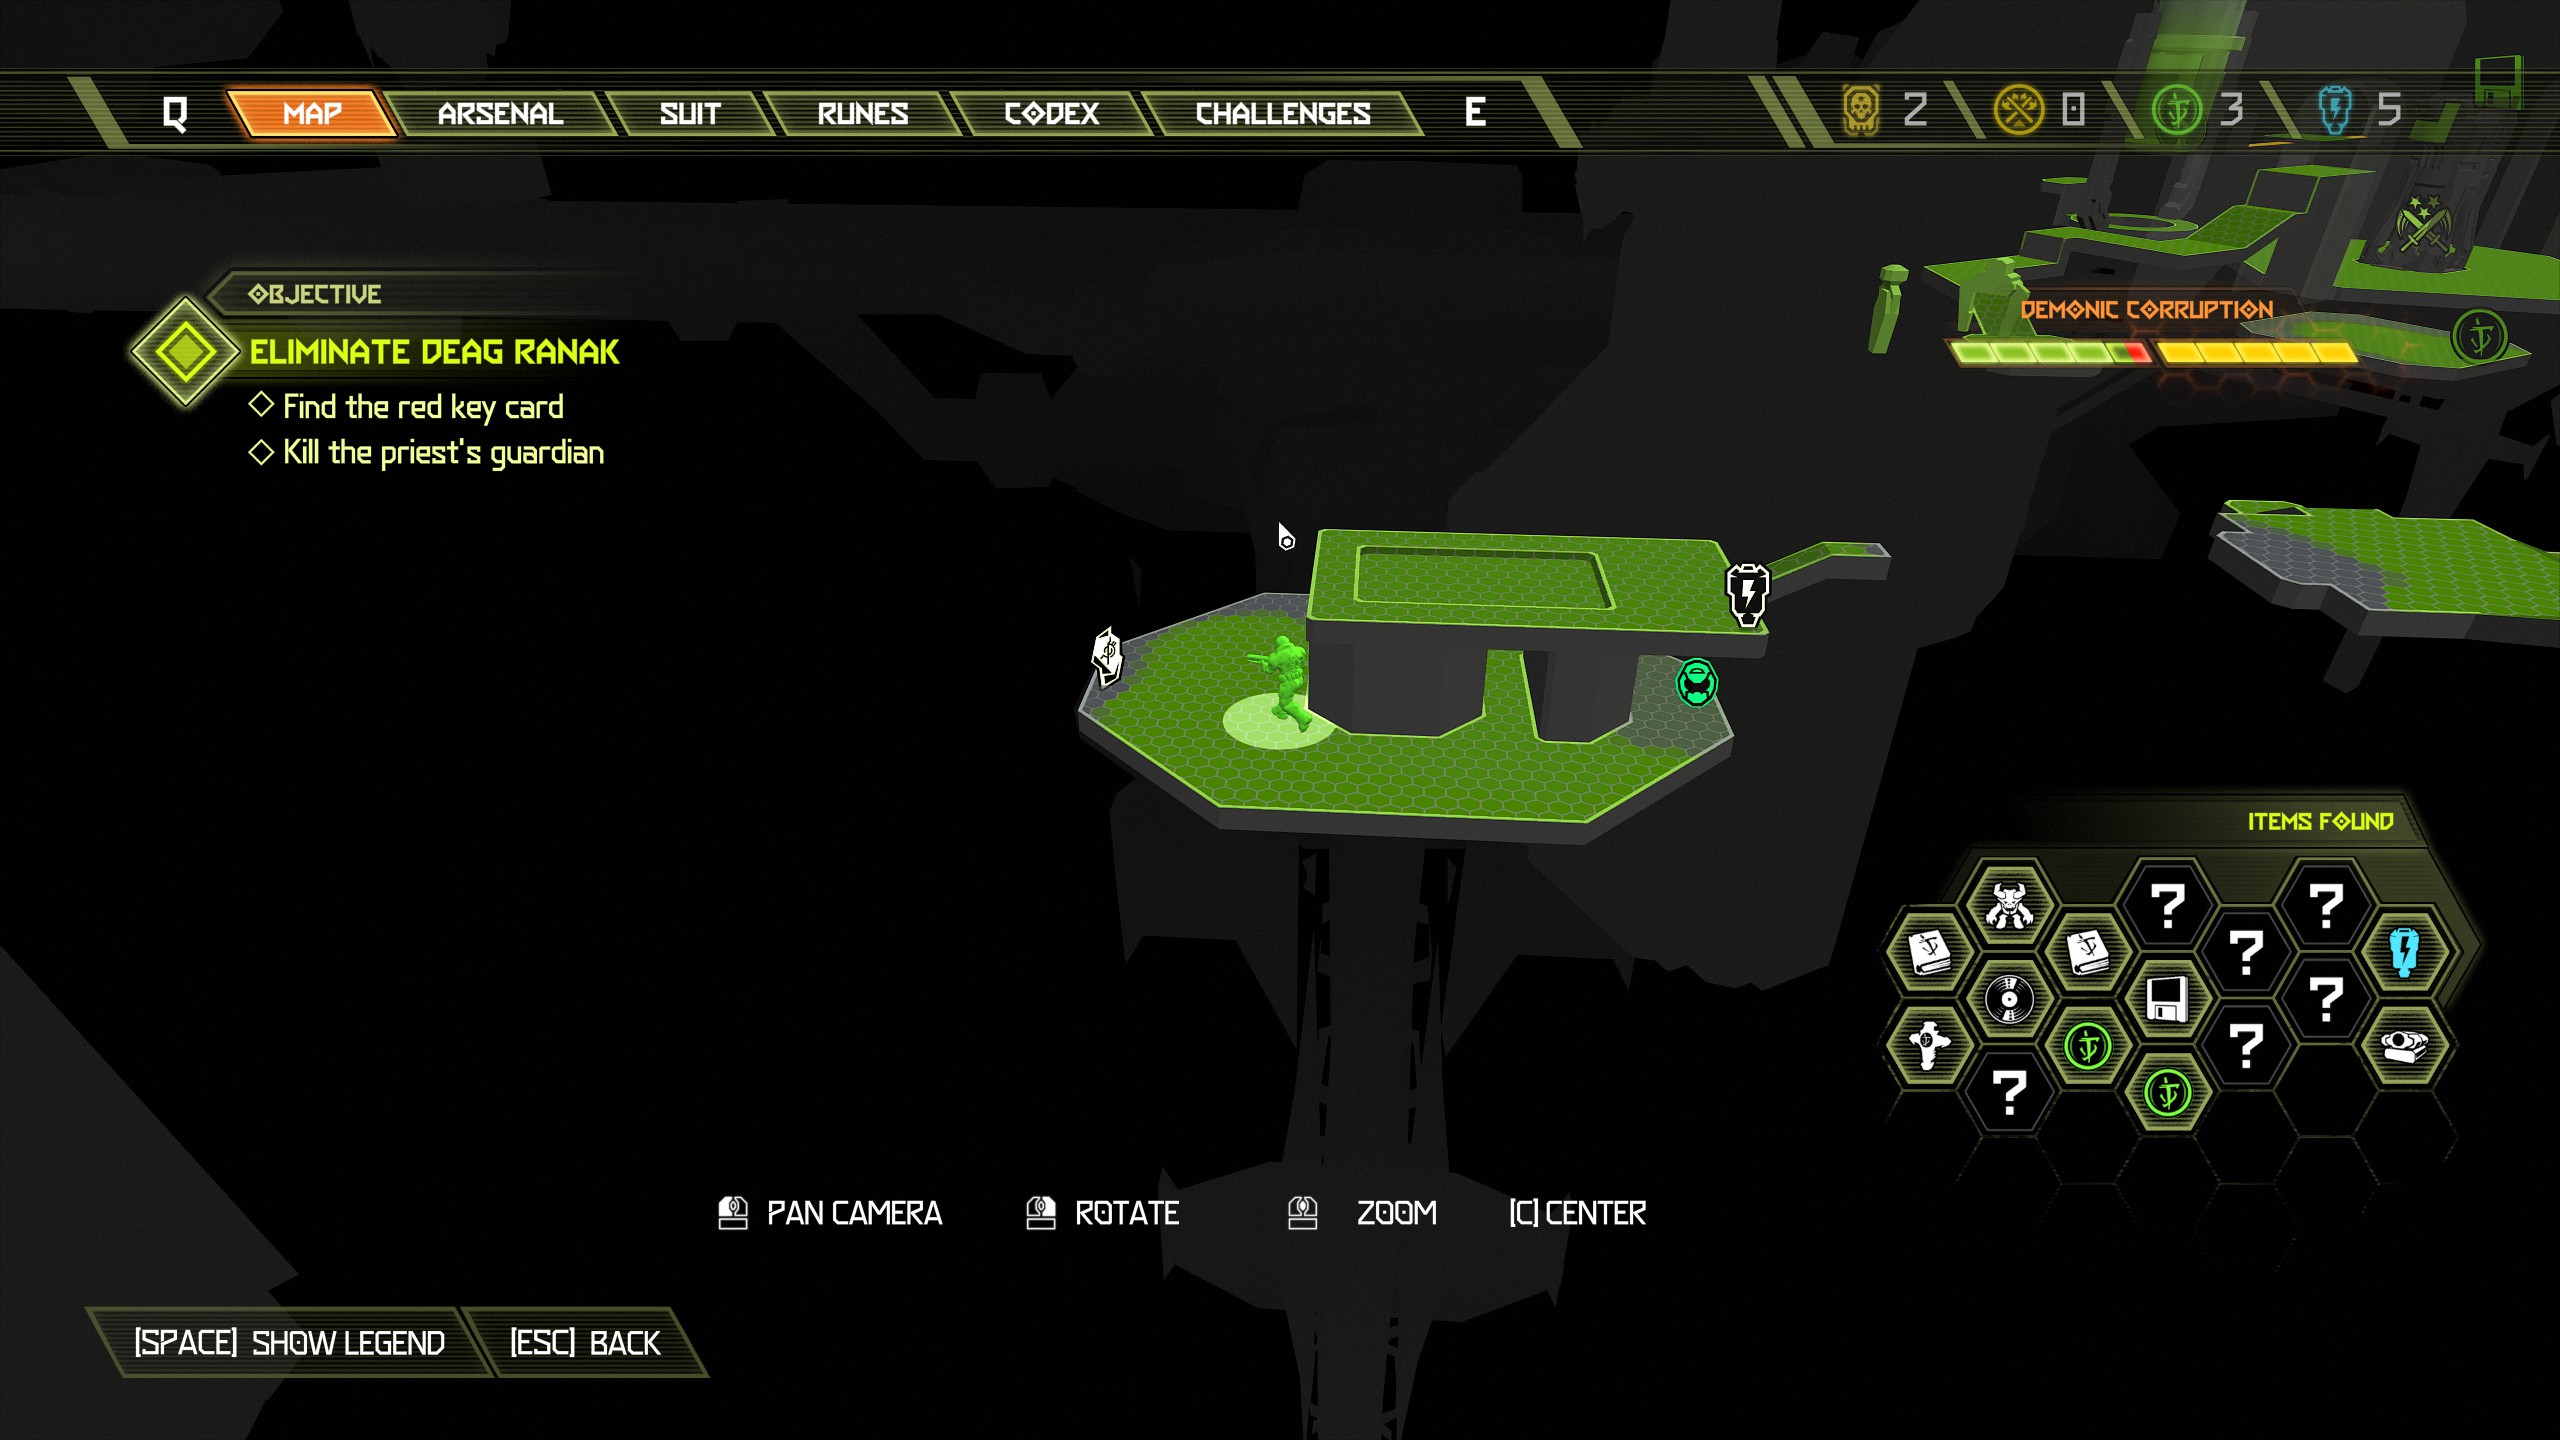
From the sentinel crystal head to the opposite side of the platform underneath the structure and you will find an extra life.
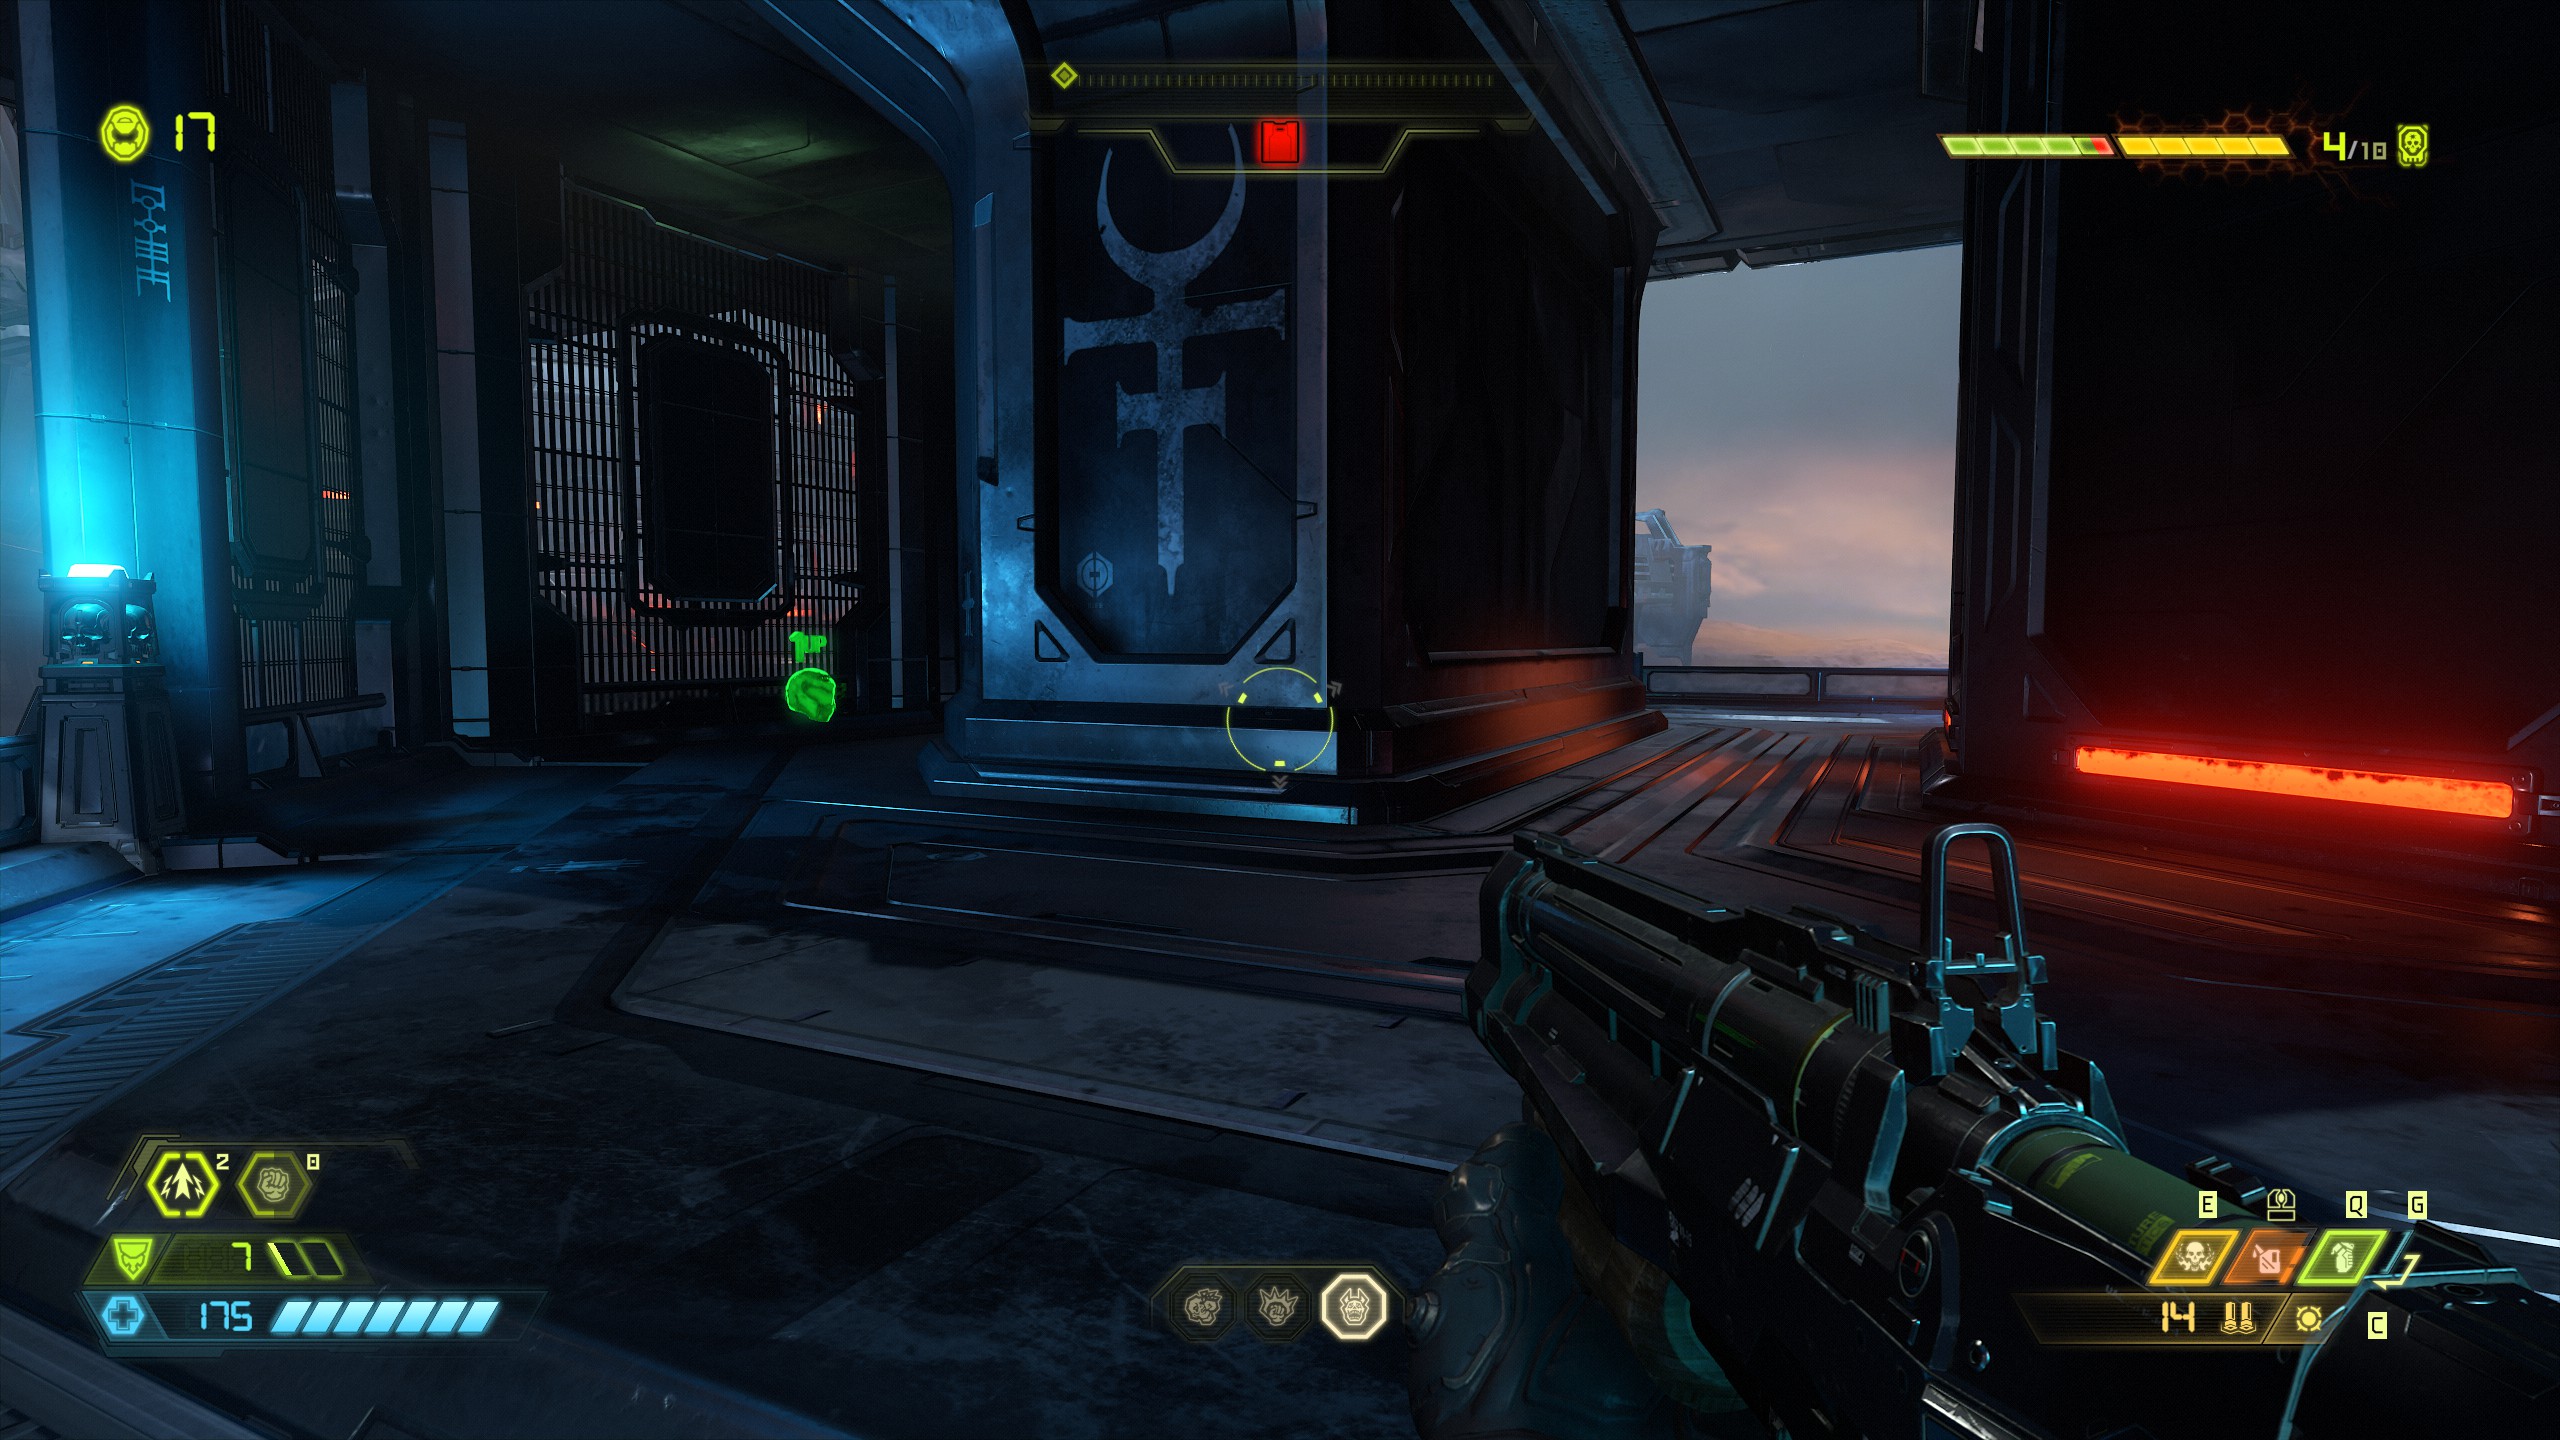
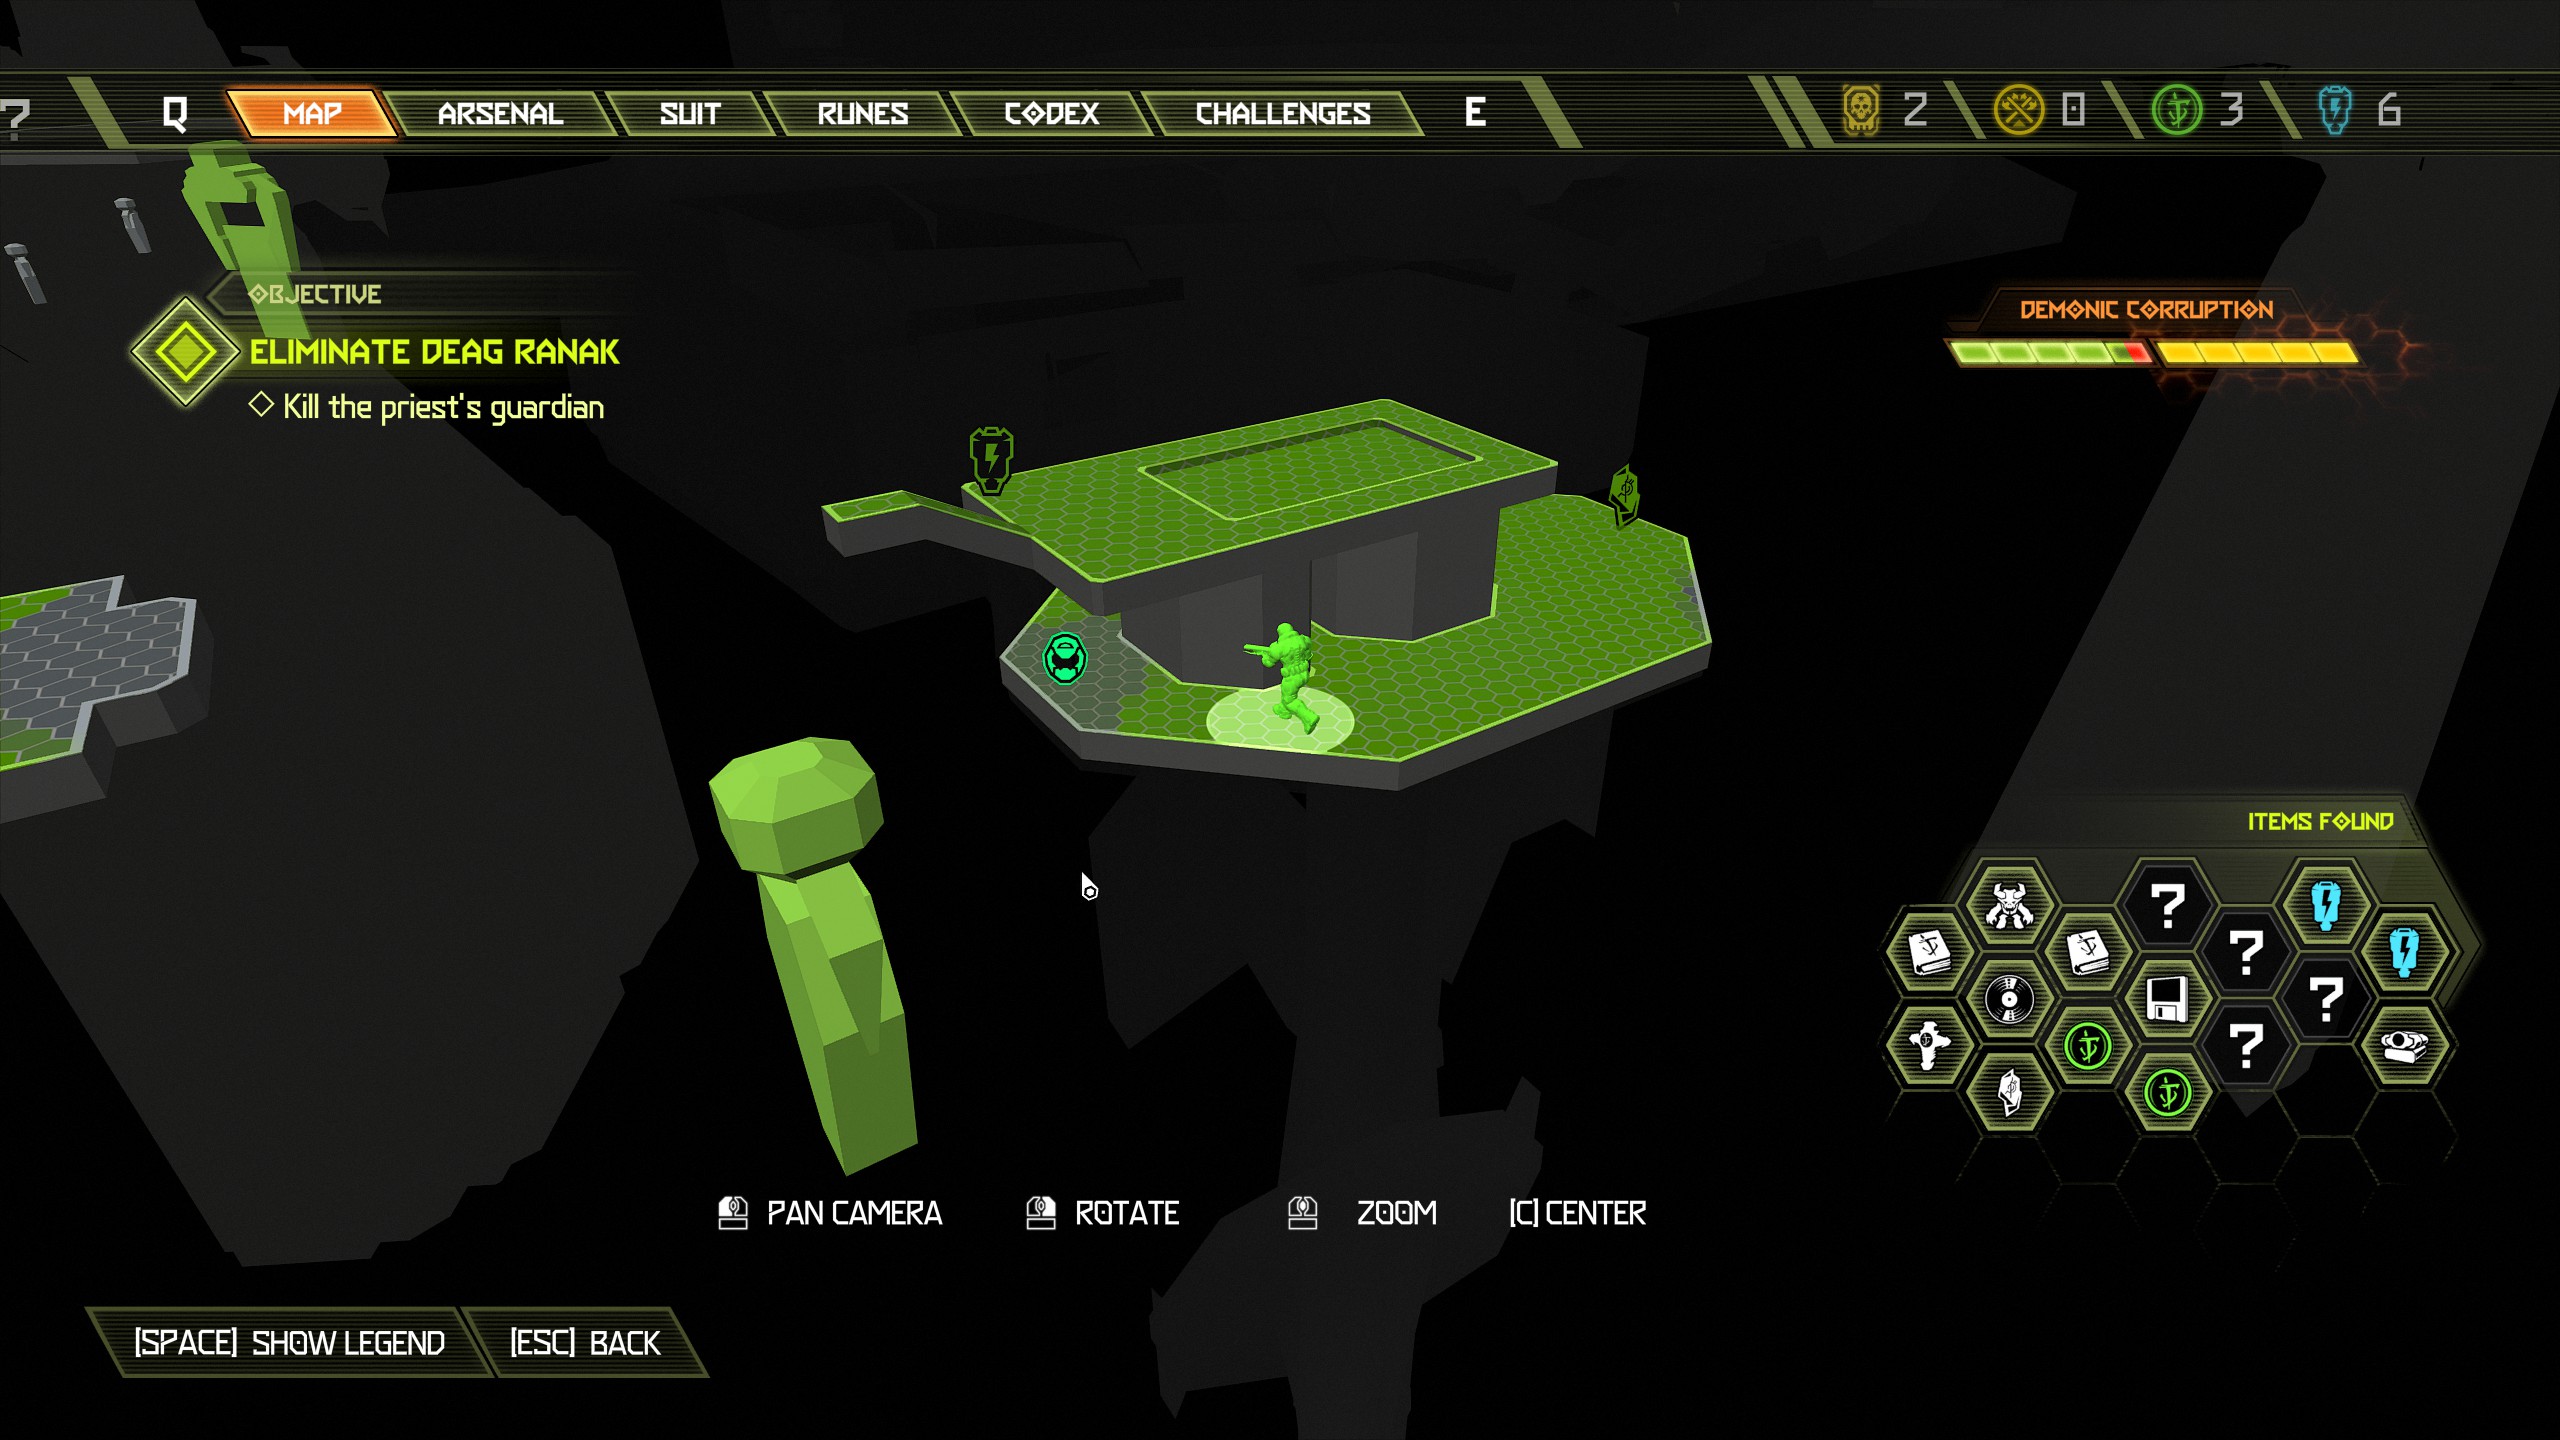
Now go back to the sentinel crystal and from there head inside the building, climb the wall and on the right side just in front will be a sentinel battery. You will also find the red key card on the left side further around, from there you can jump back across to unlock the main door.
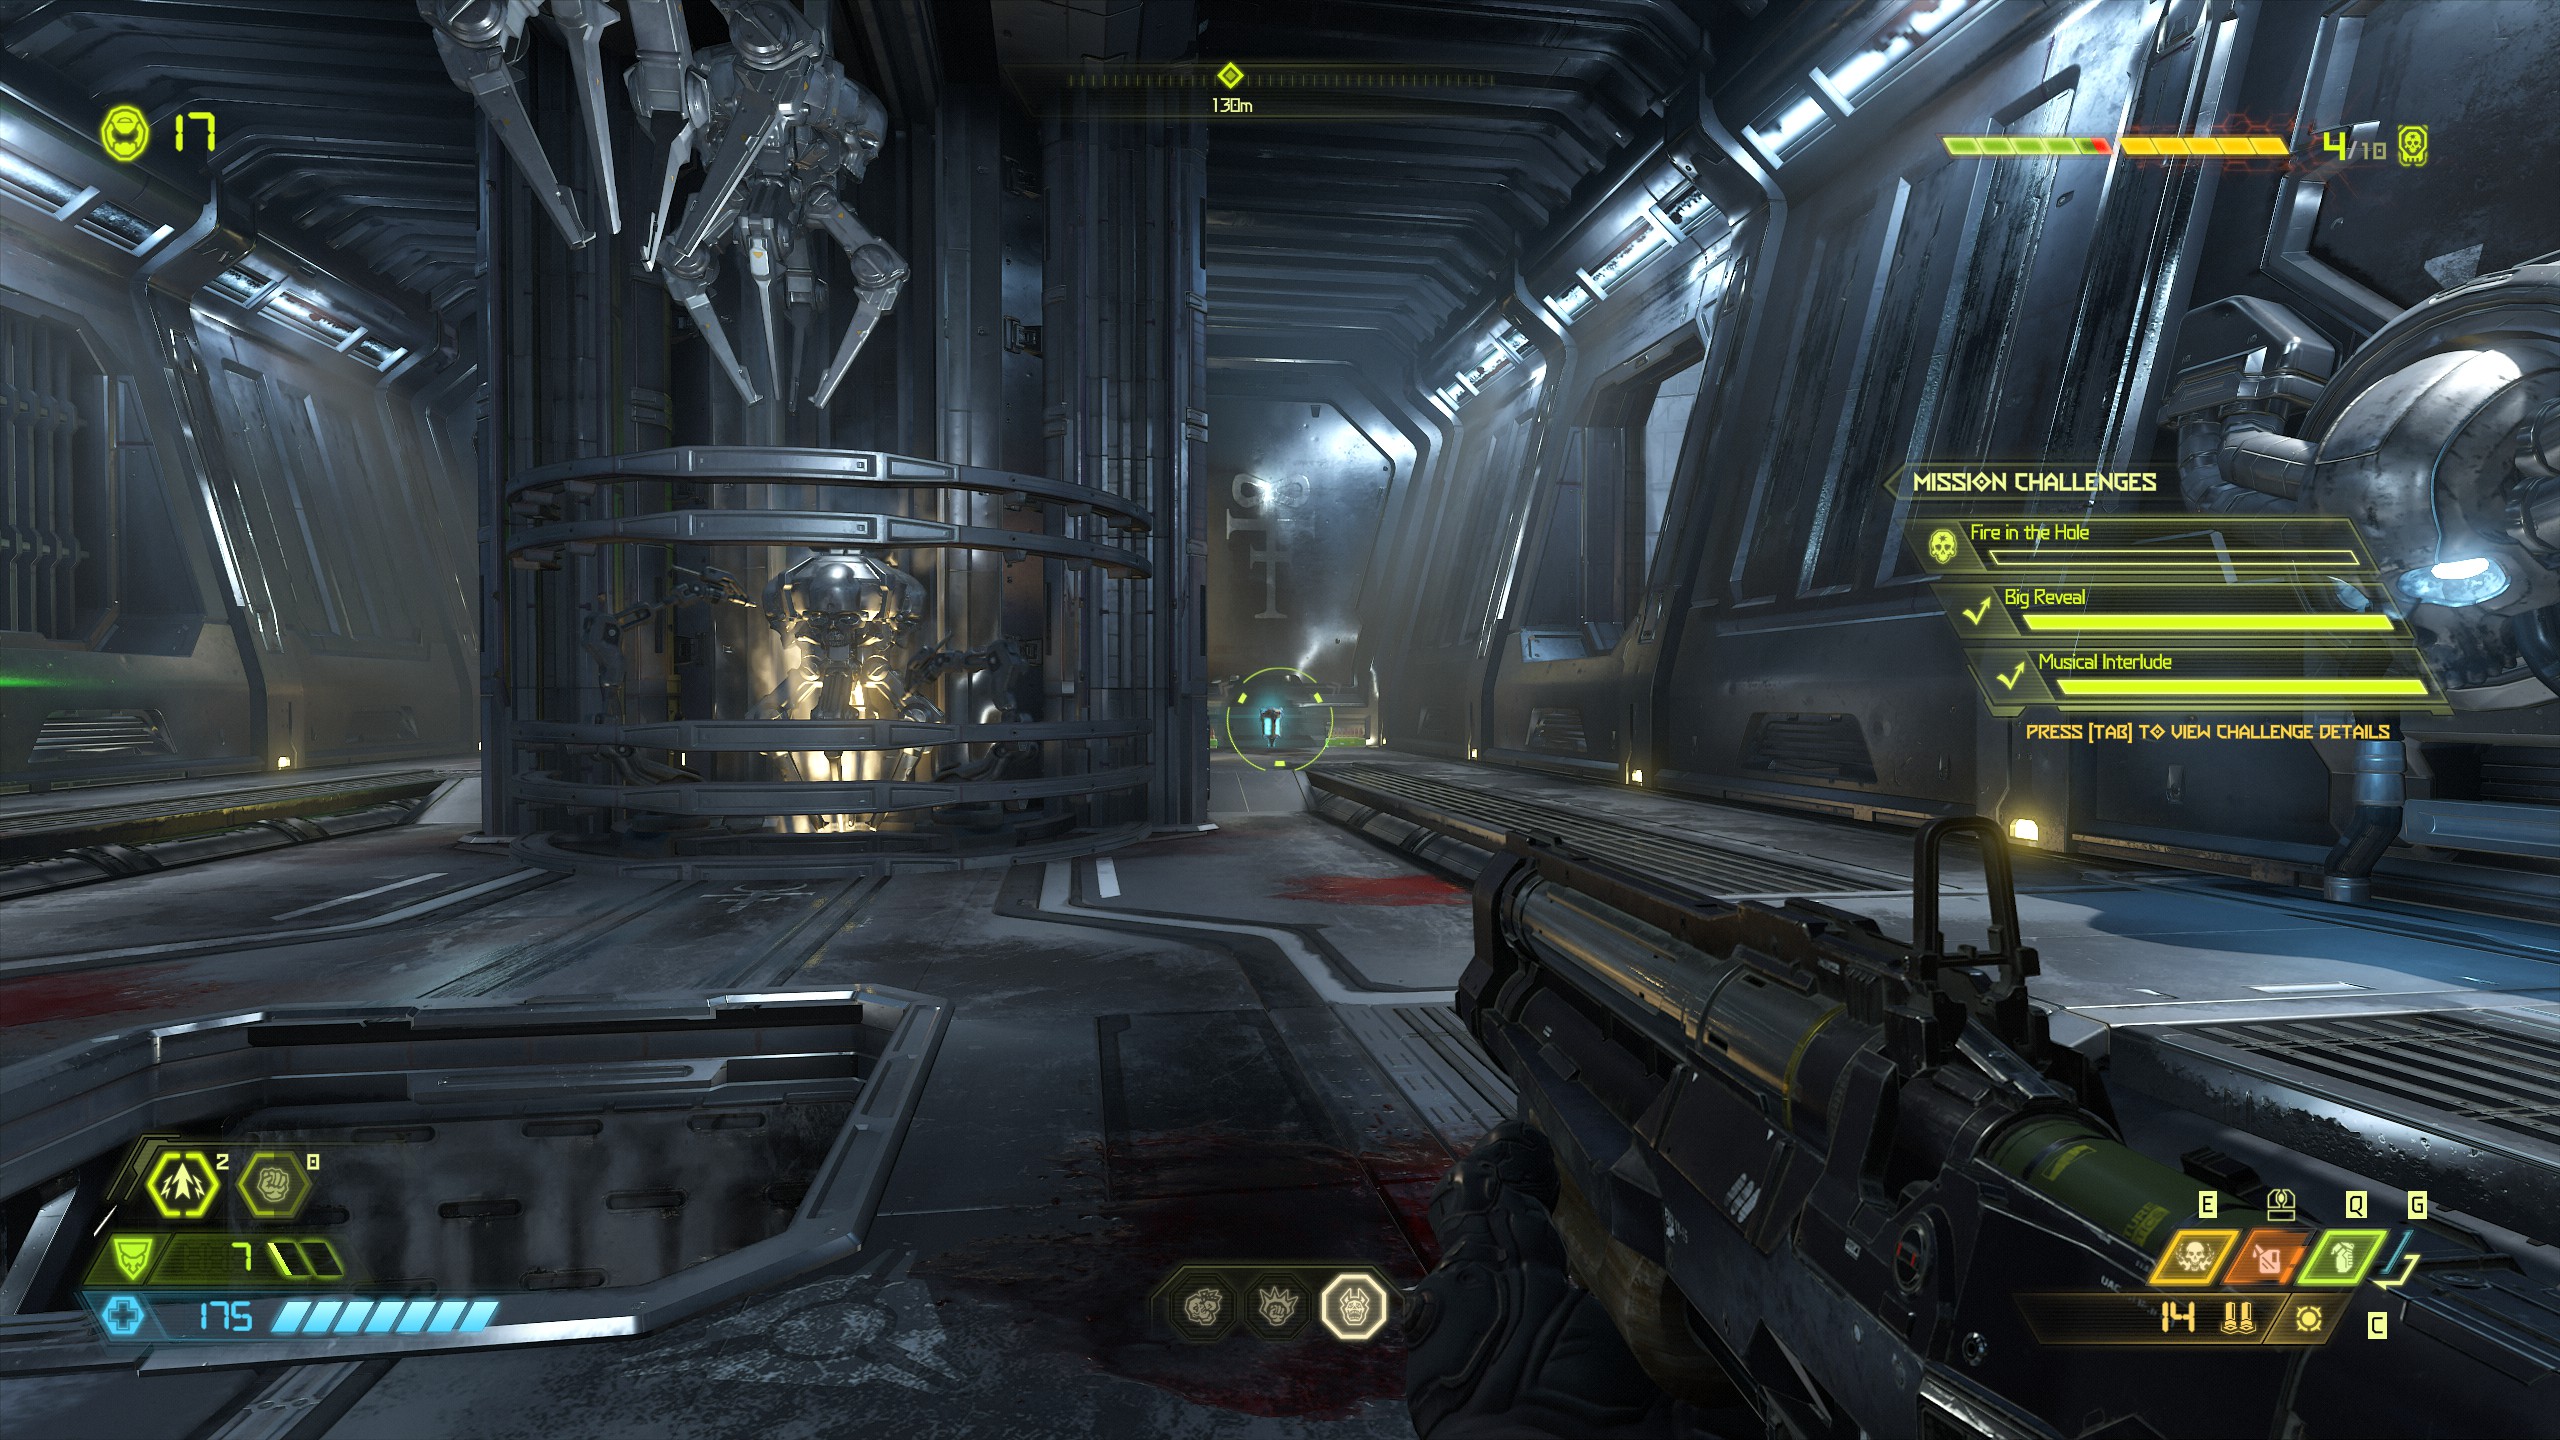
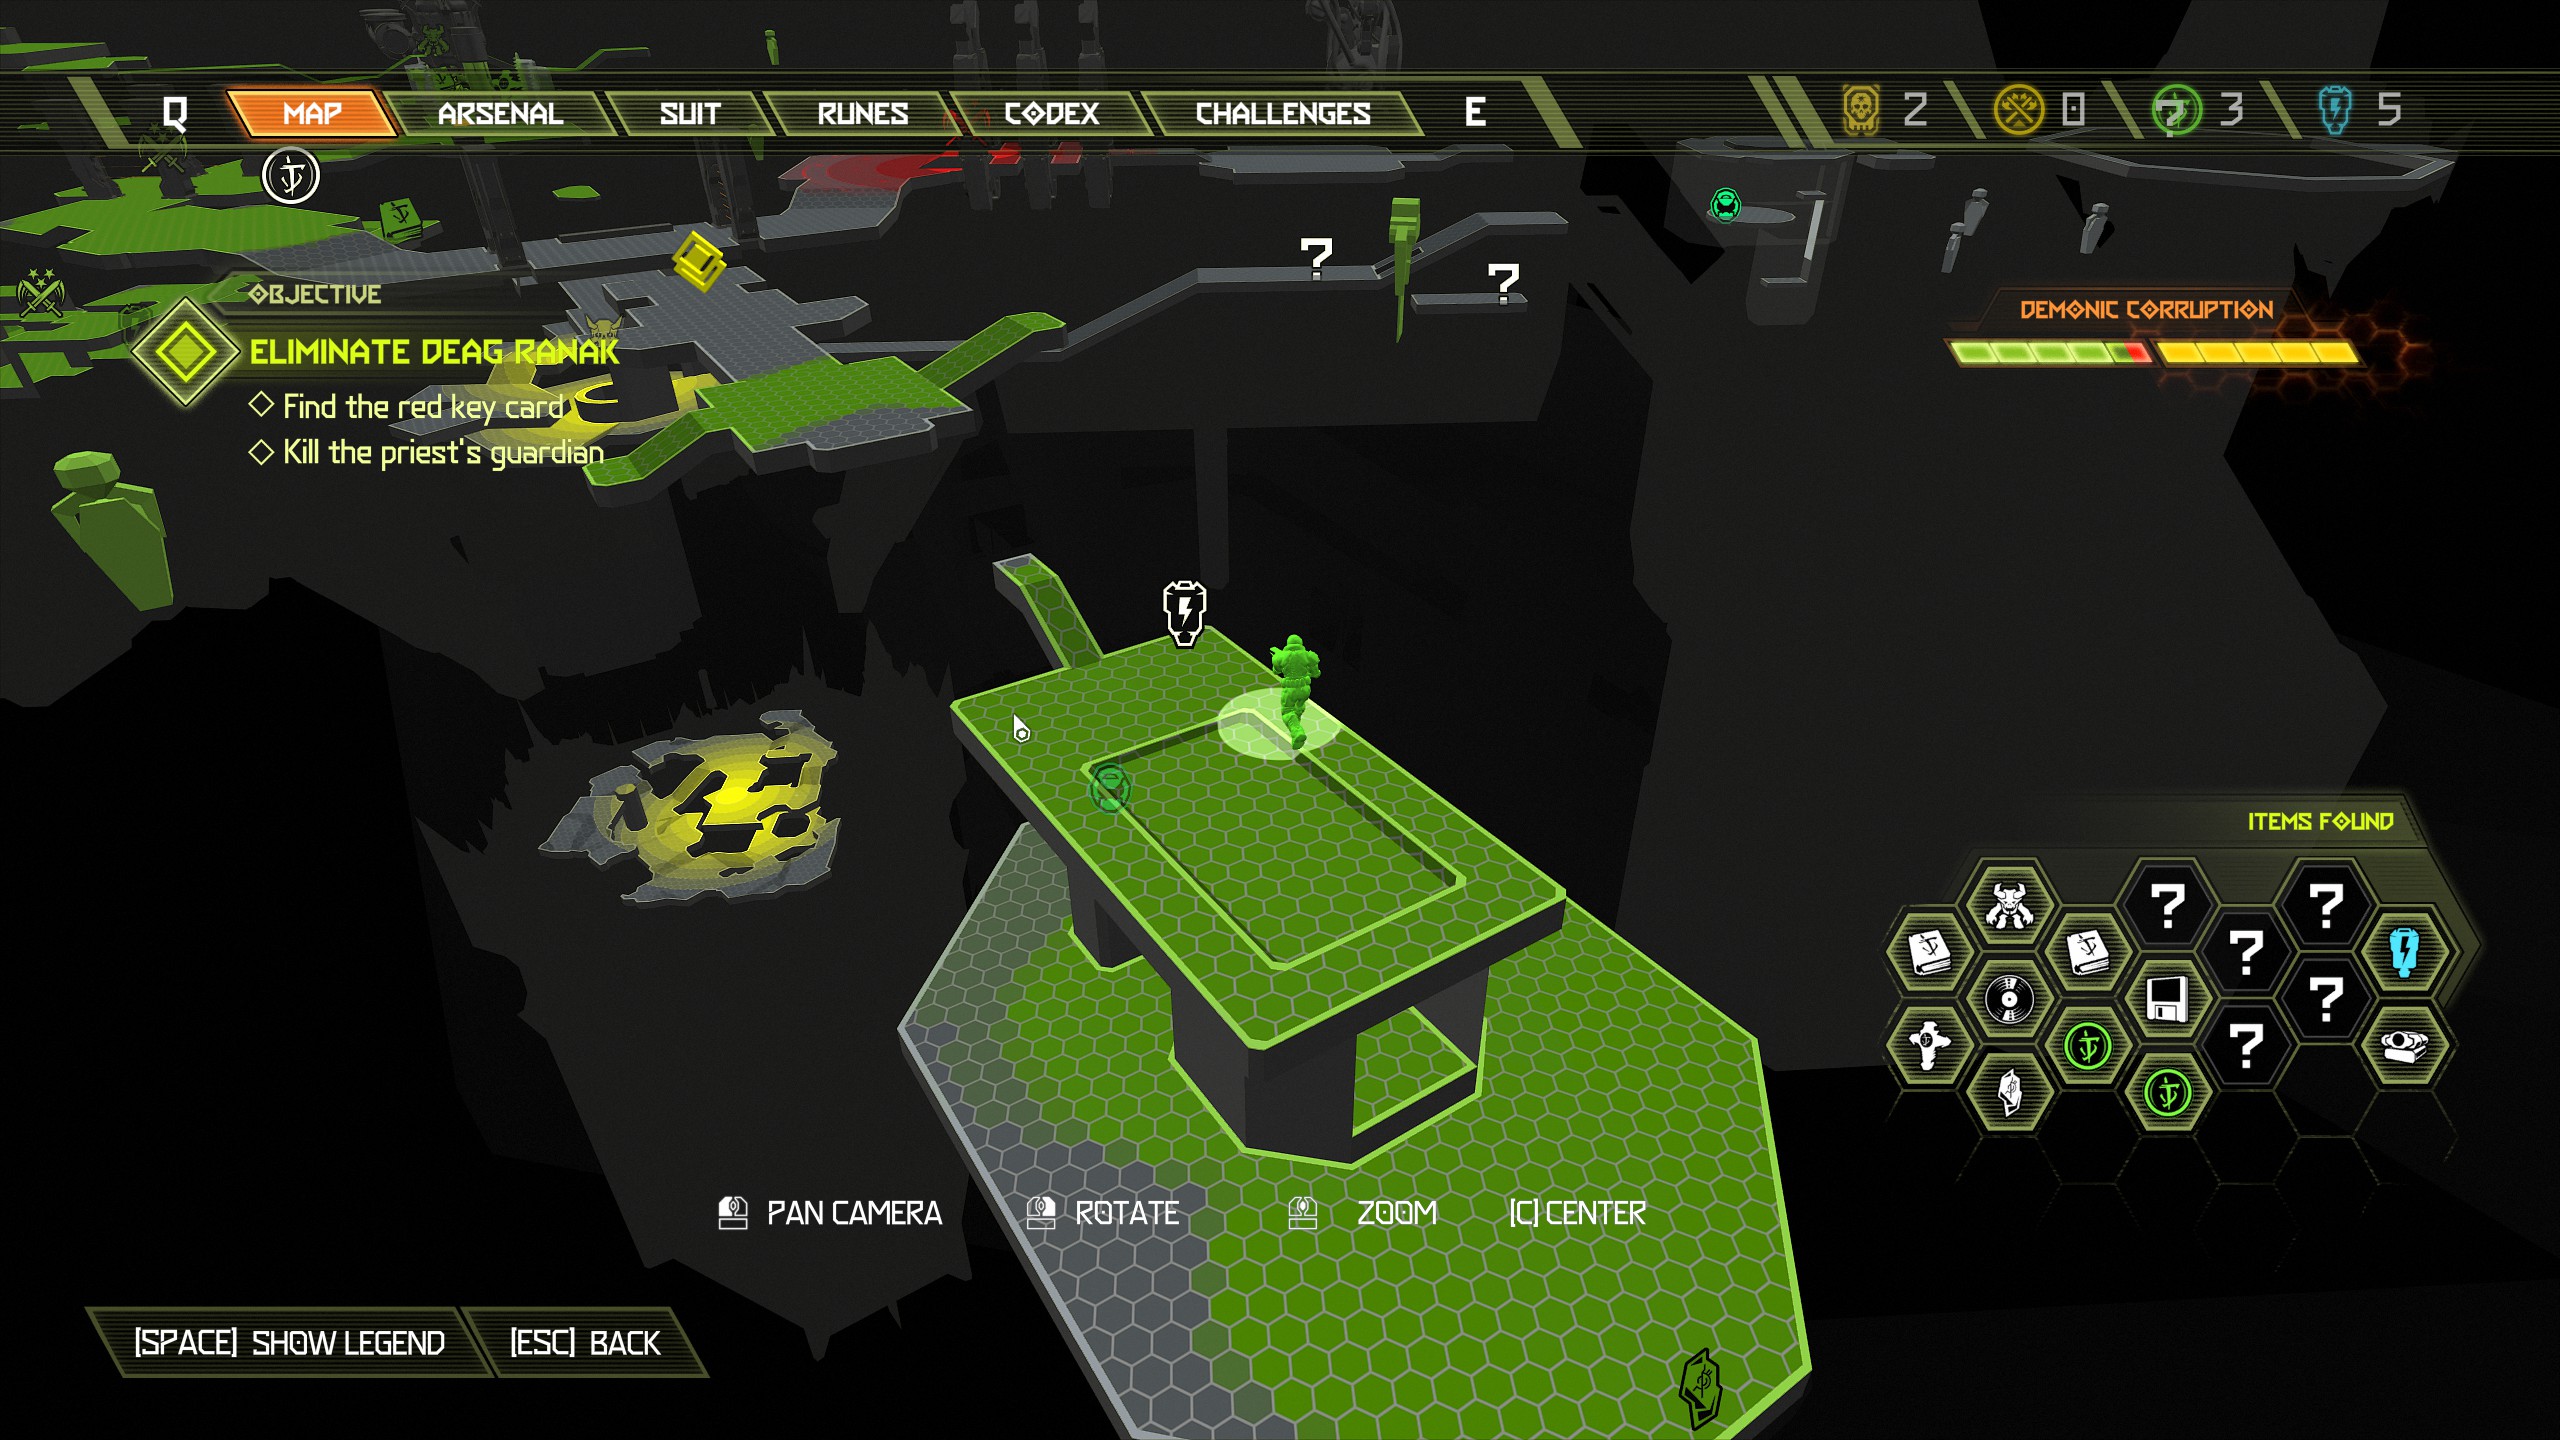
Mission 4: Doom Hunter Base [Part 2]
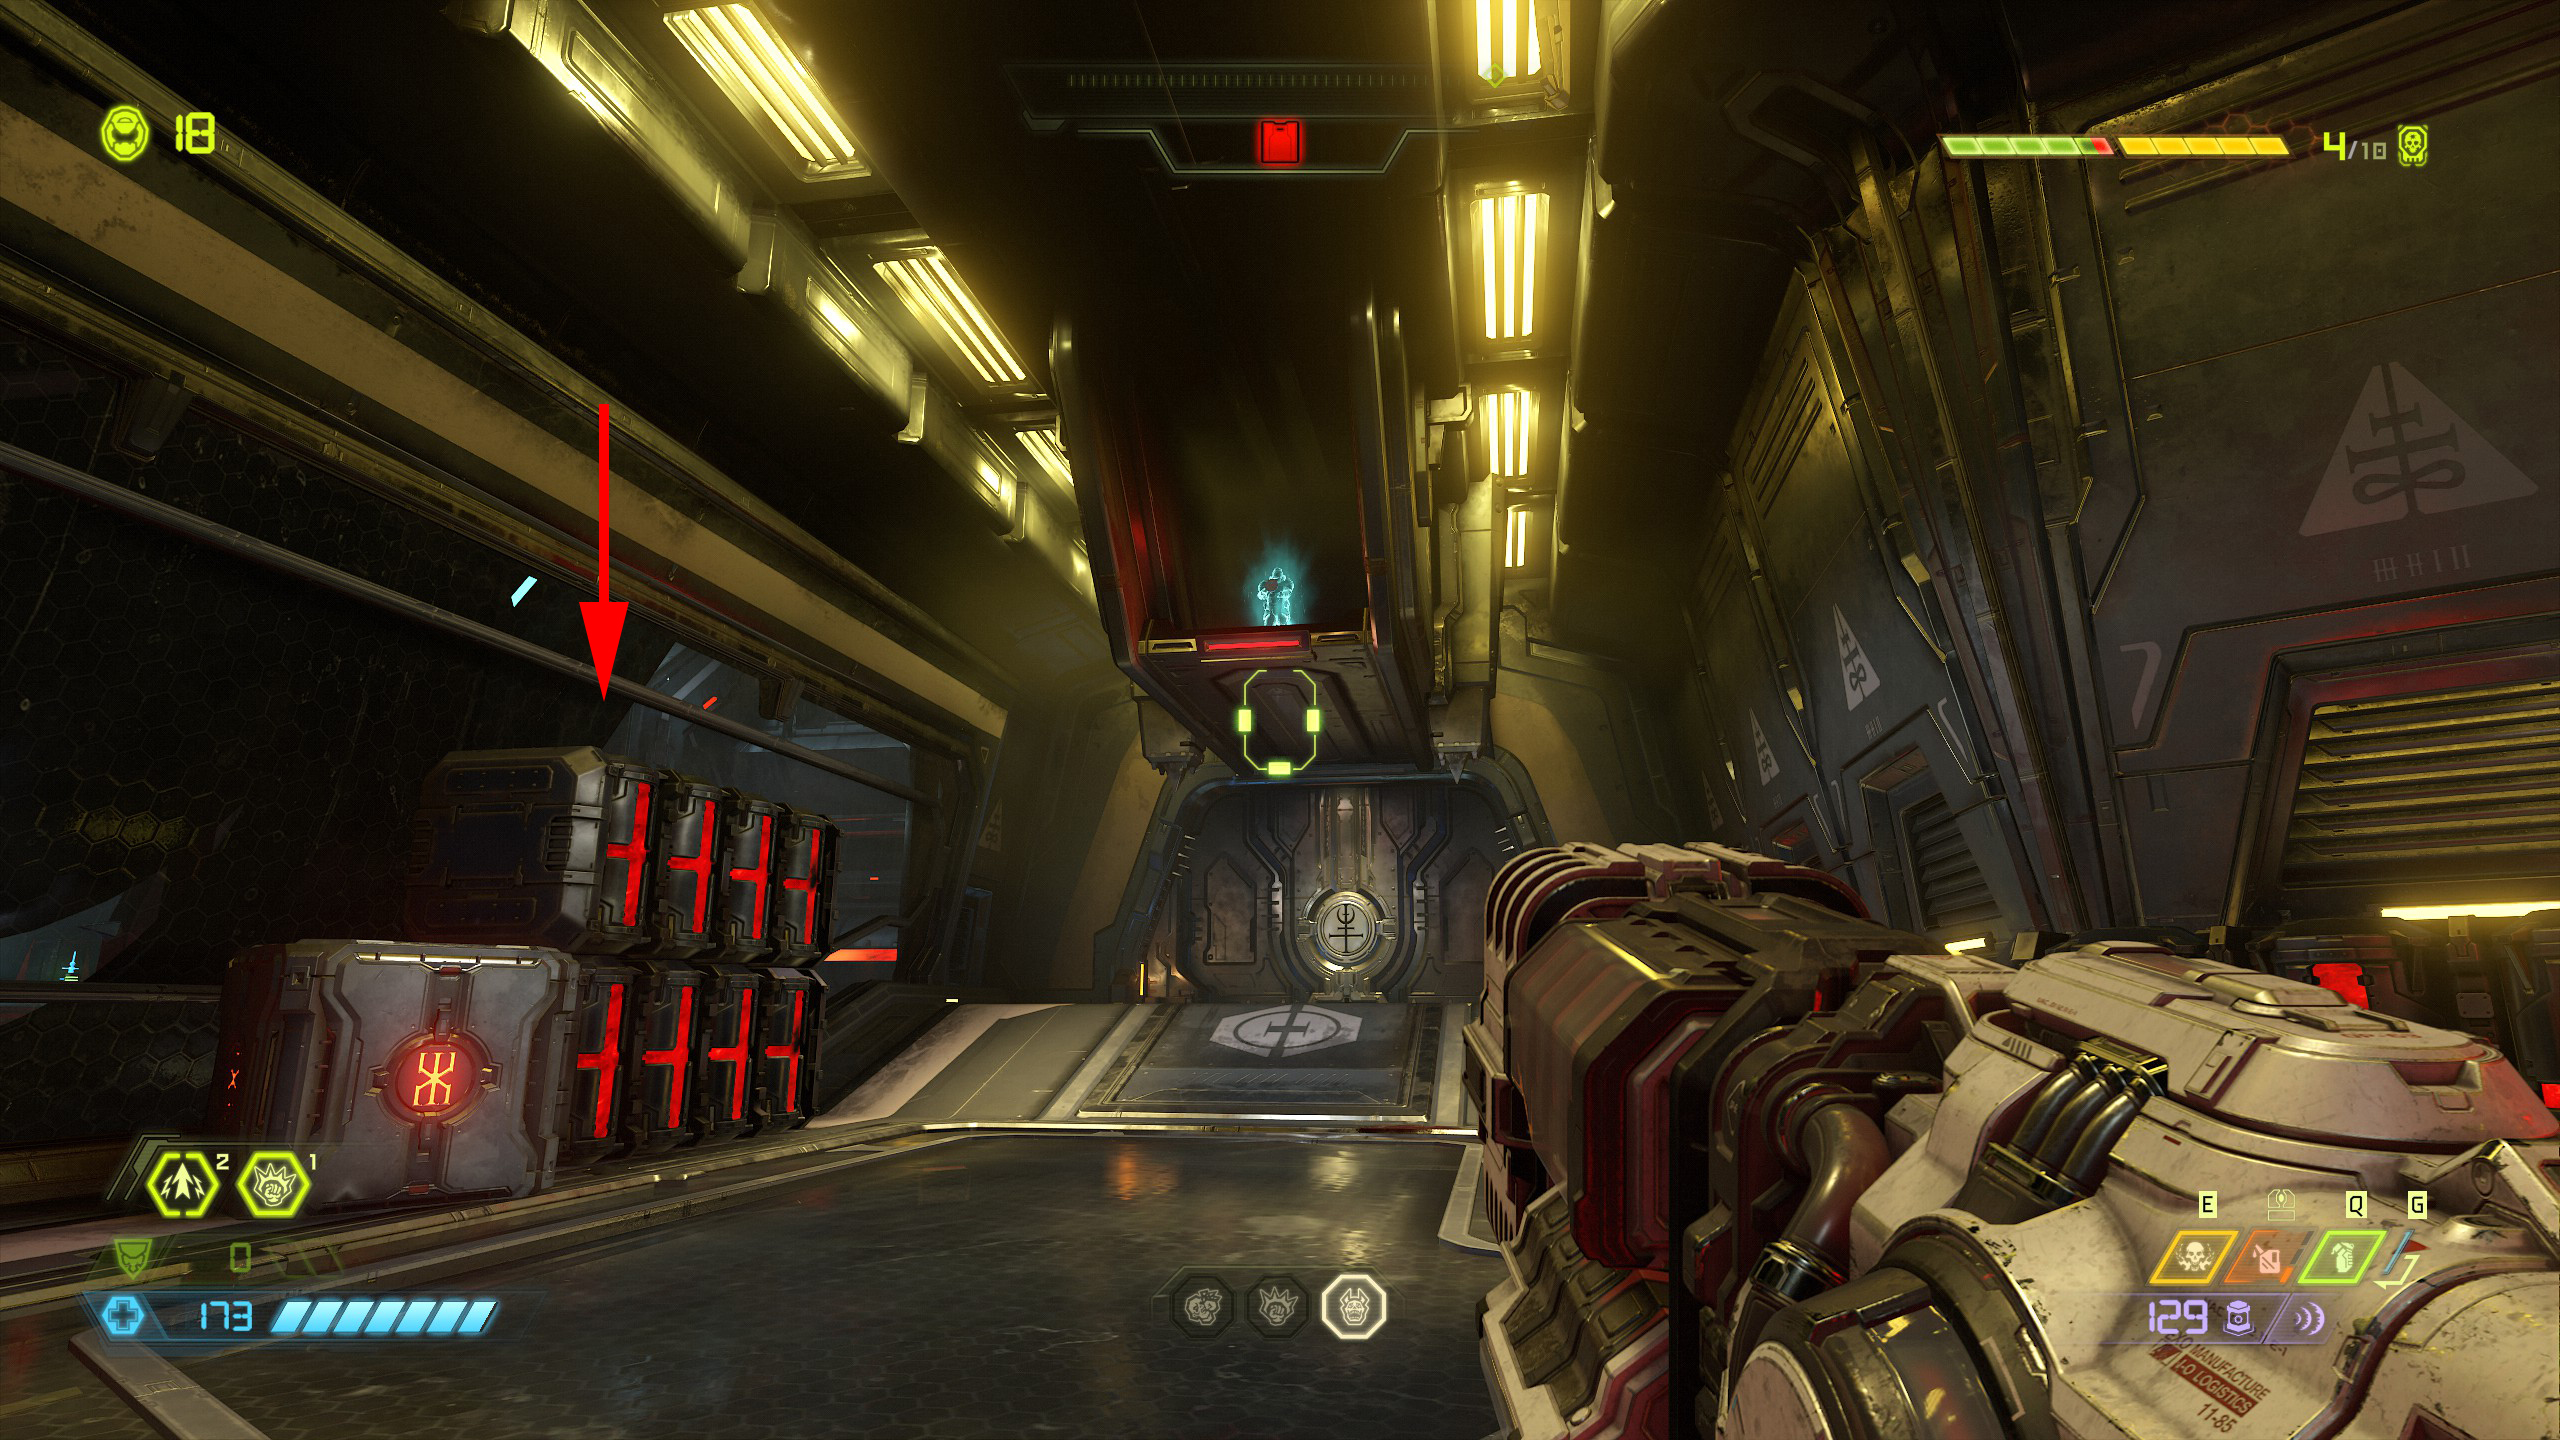
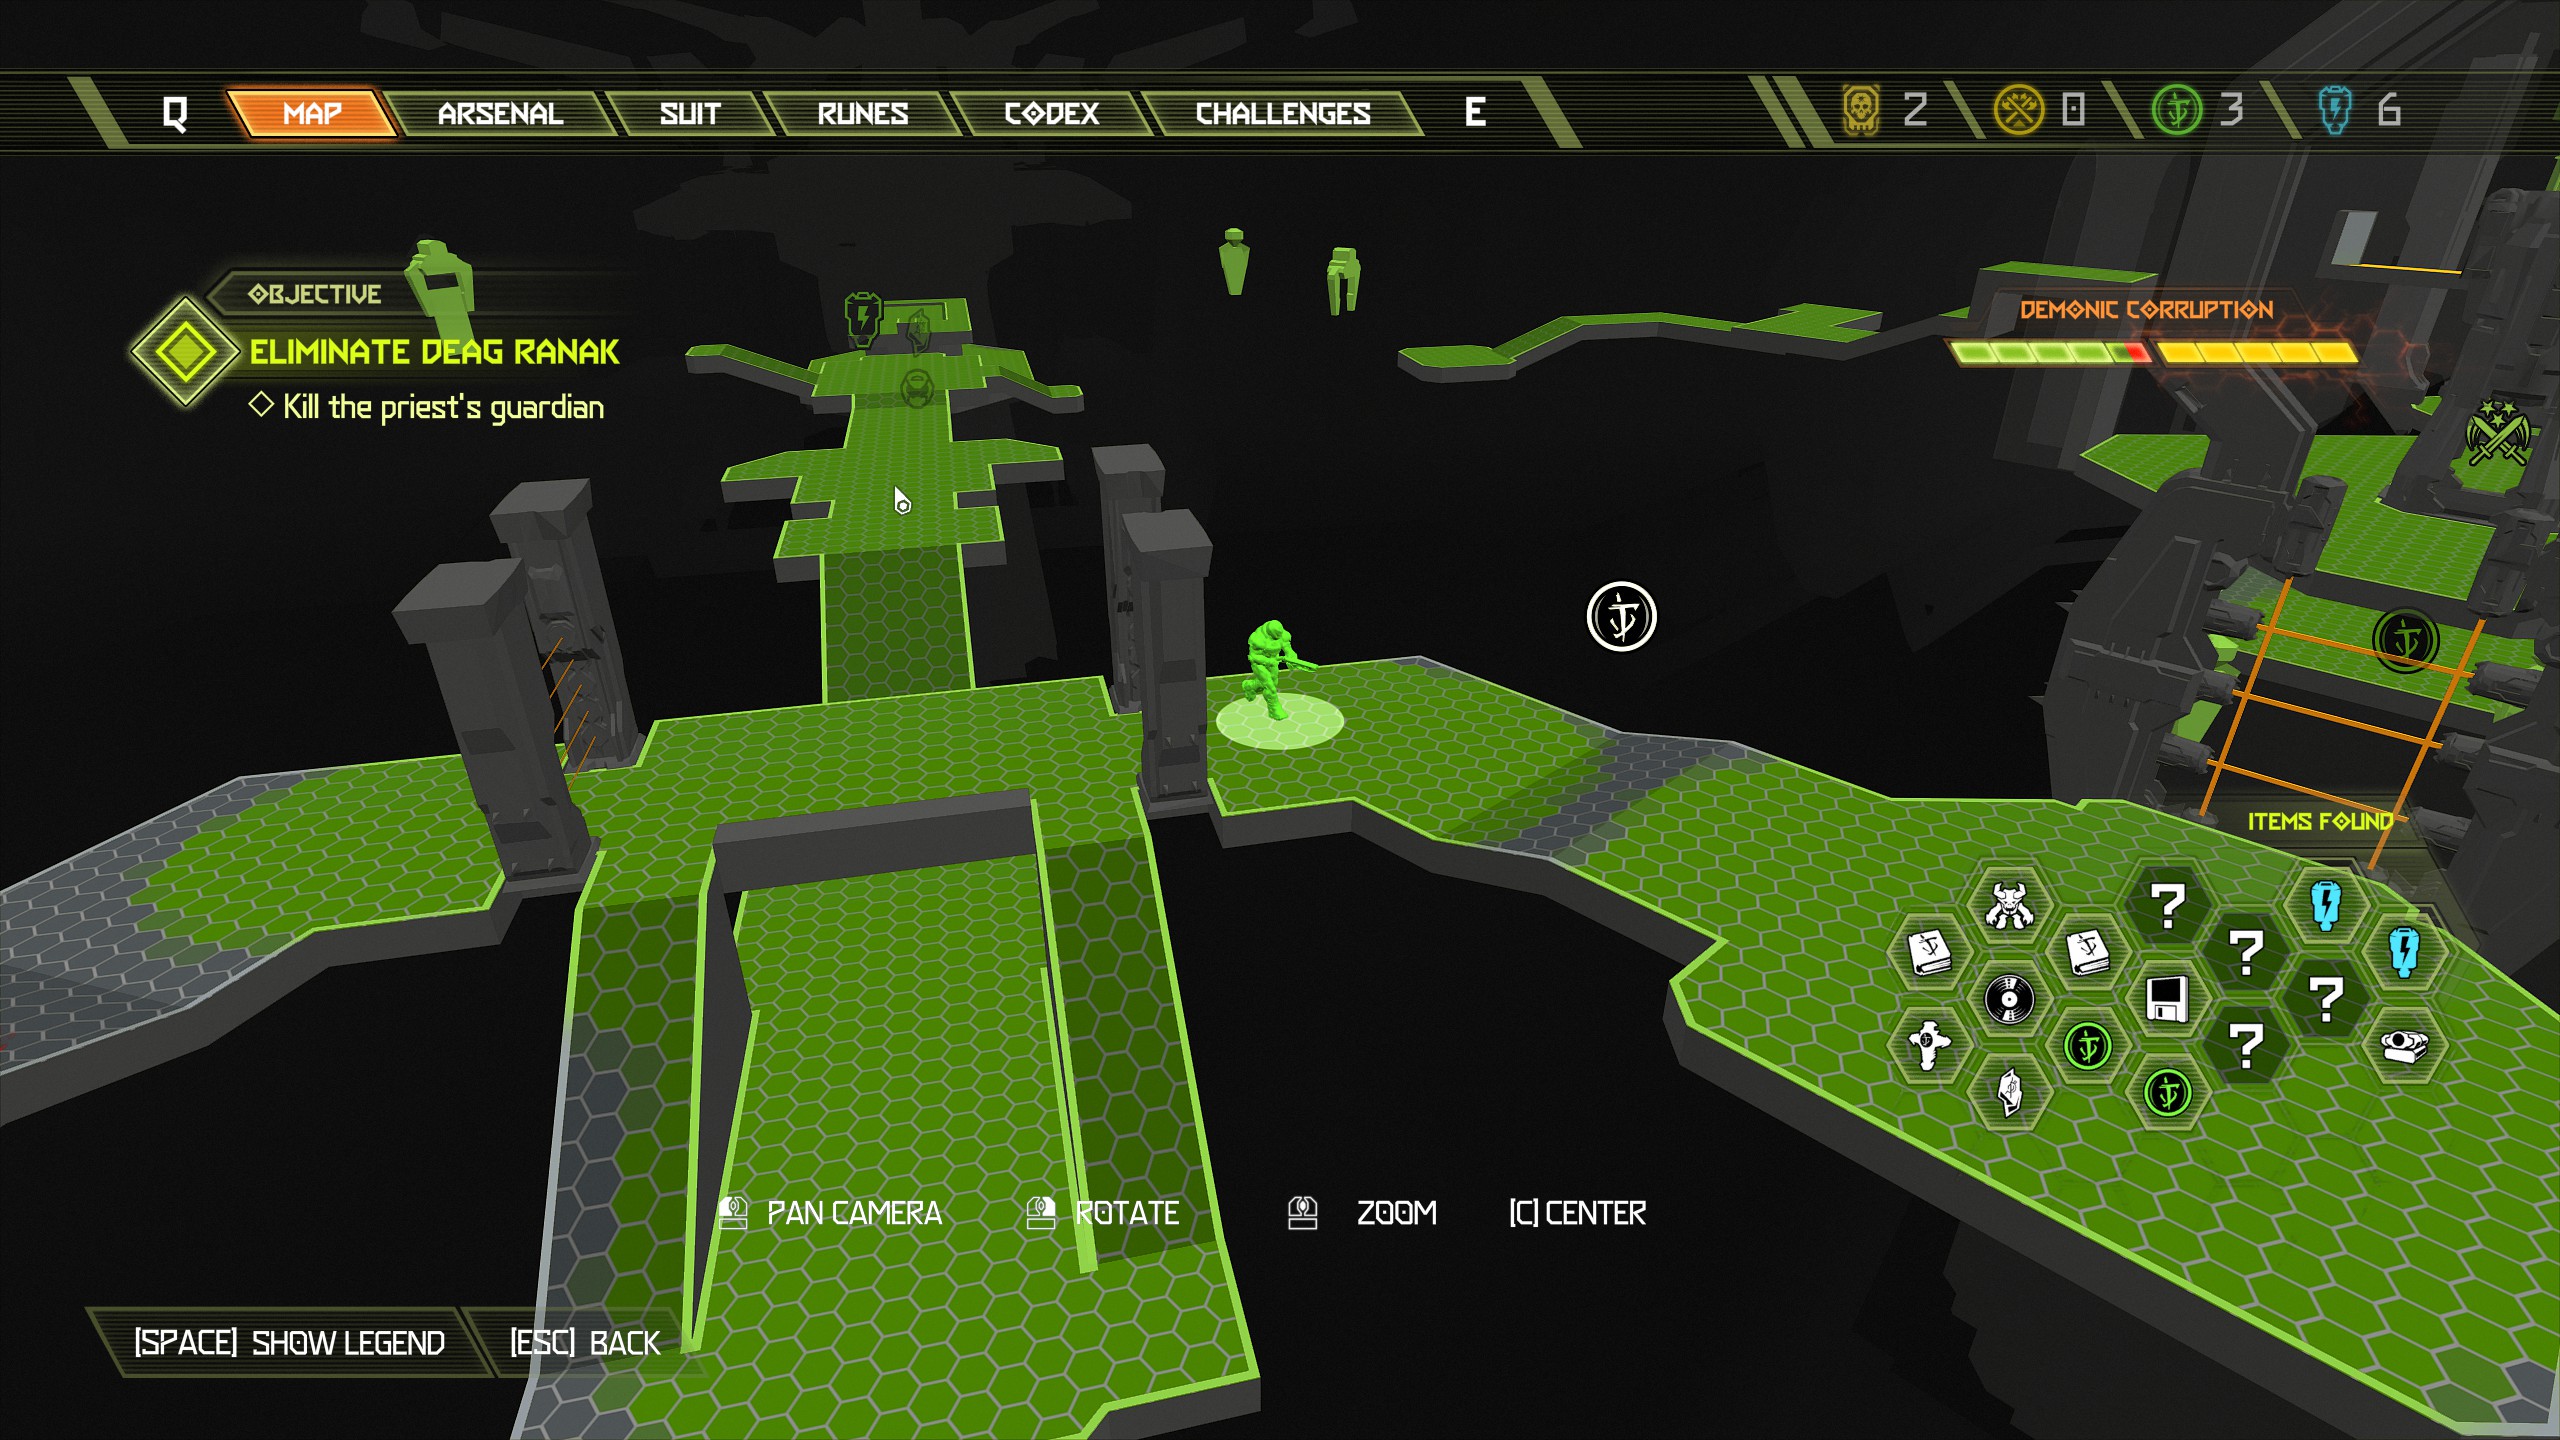
Continue the mission until you reach another small cut scene.
To continue the mission there is another platform above where you entered the machine, climb up to proceed.
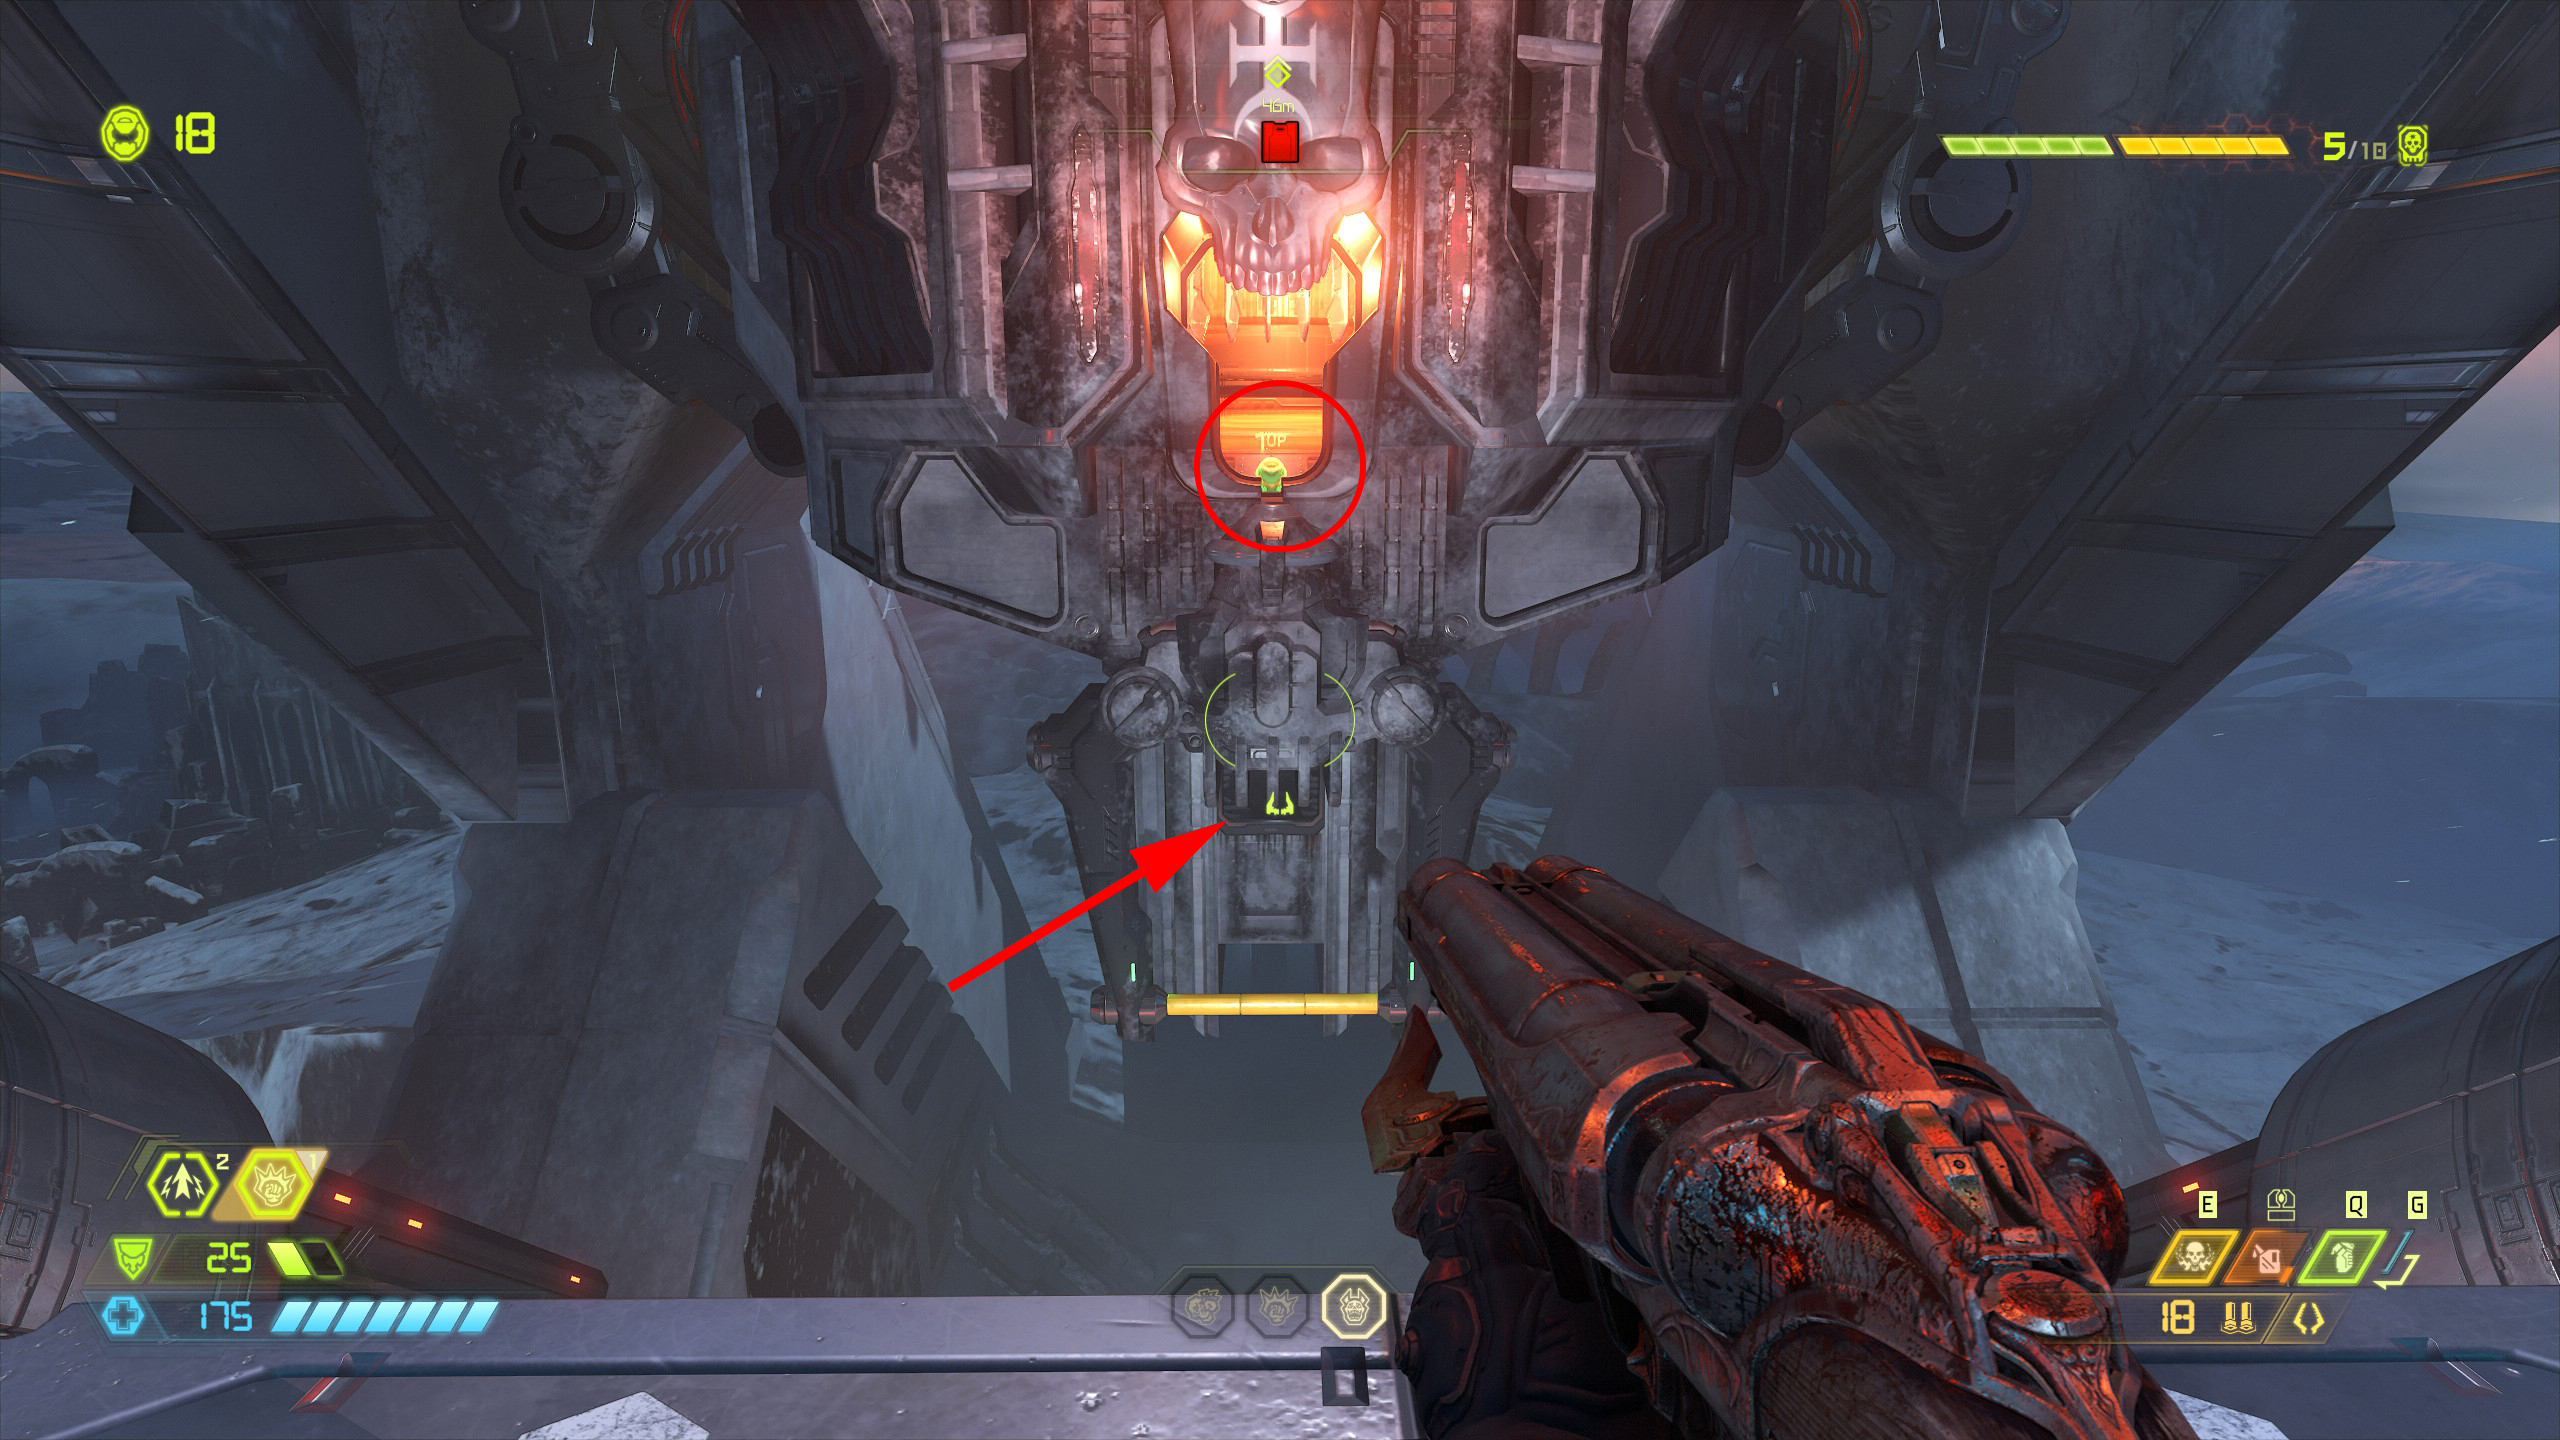
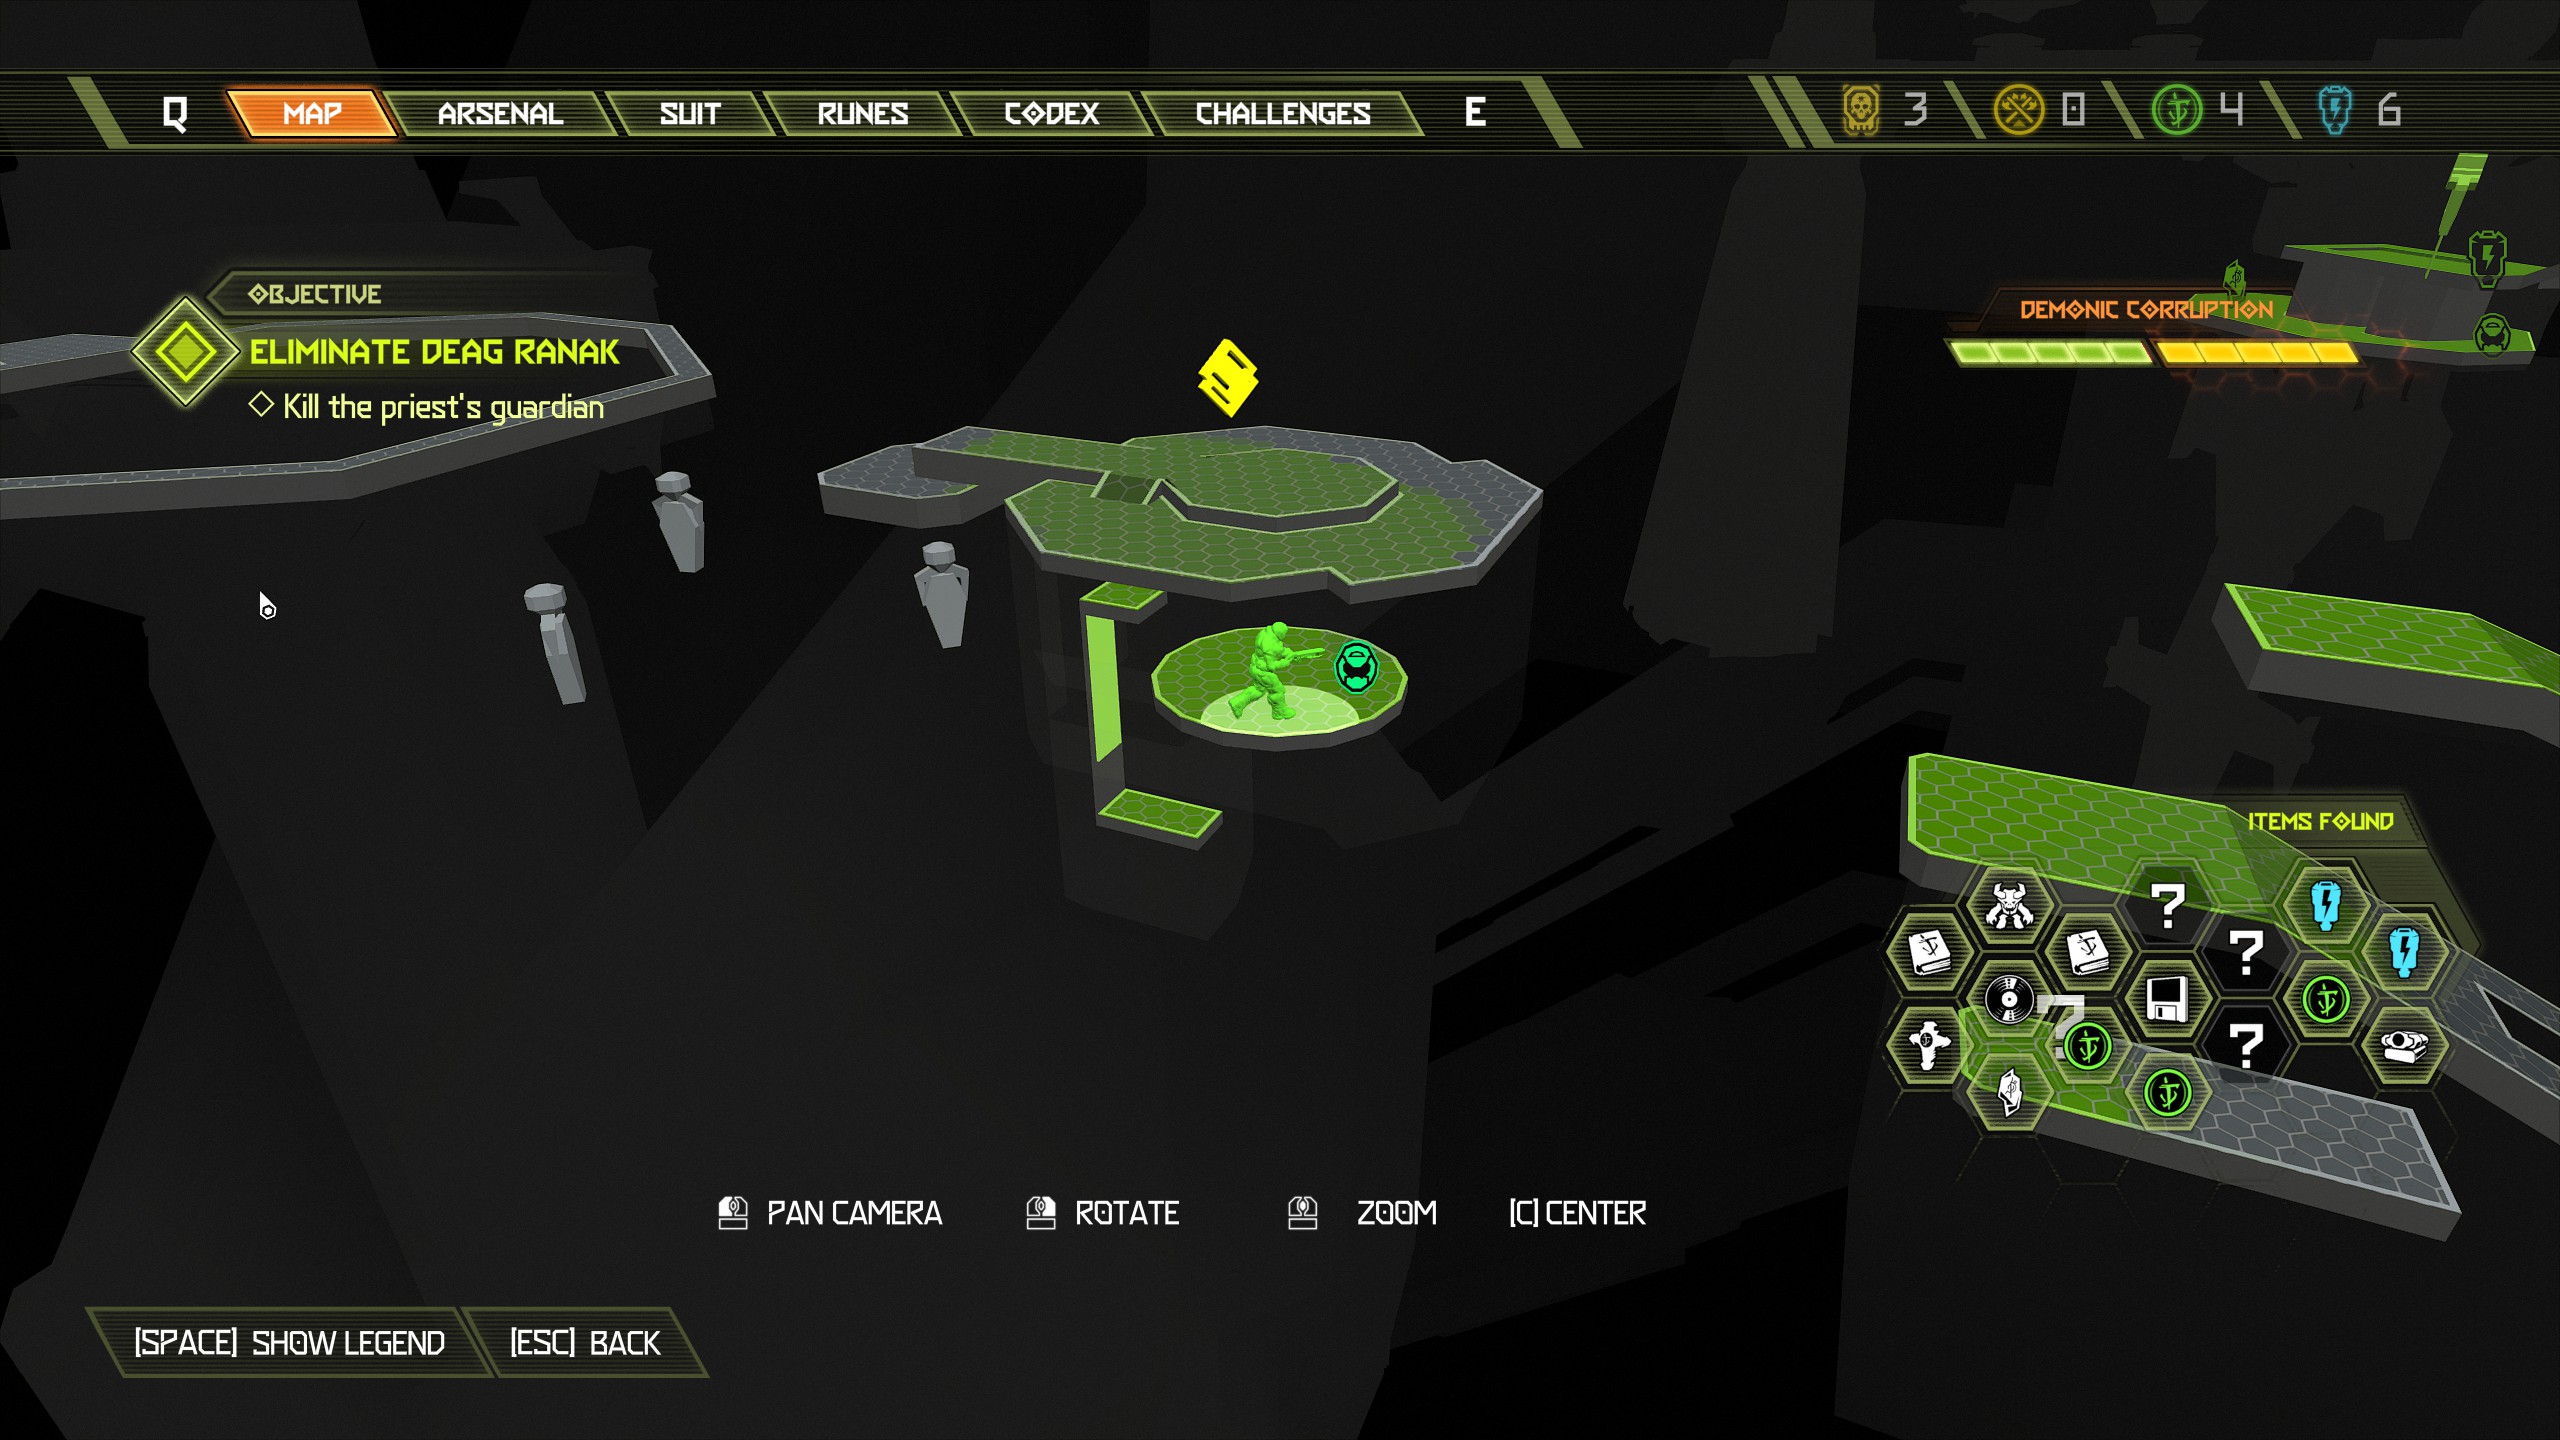
To proceed with the mission climb the nearby wall and shoot the green target above the platform in the distance which will allow you to jump across and continue.
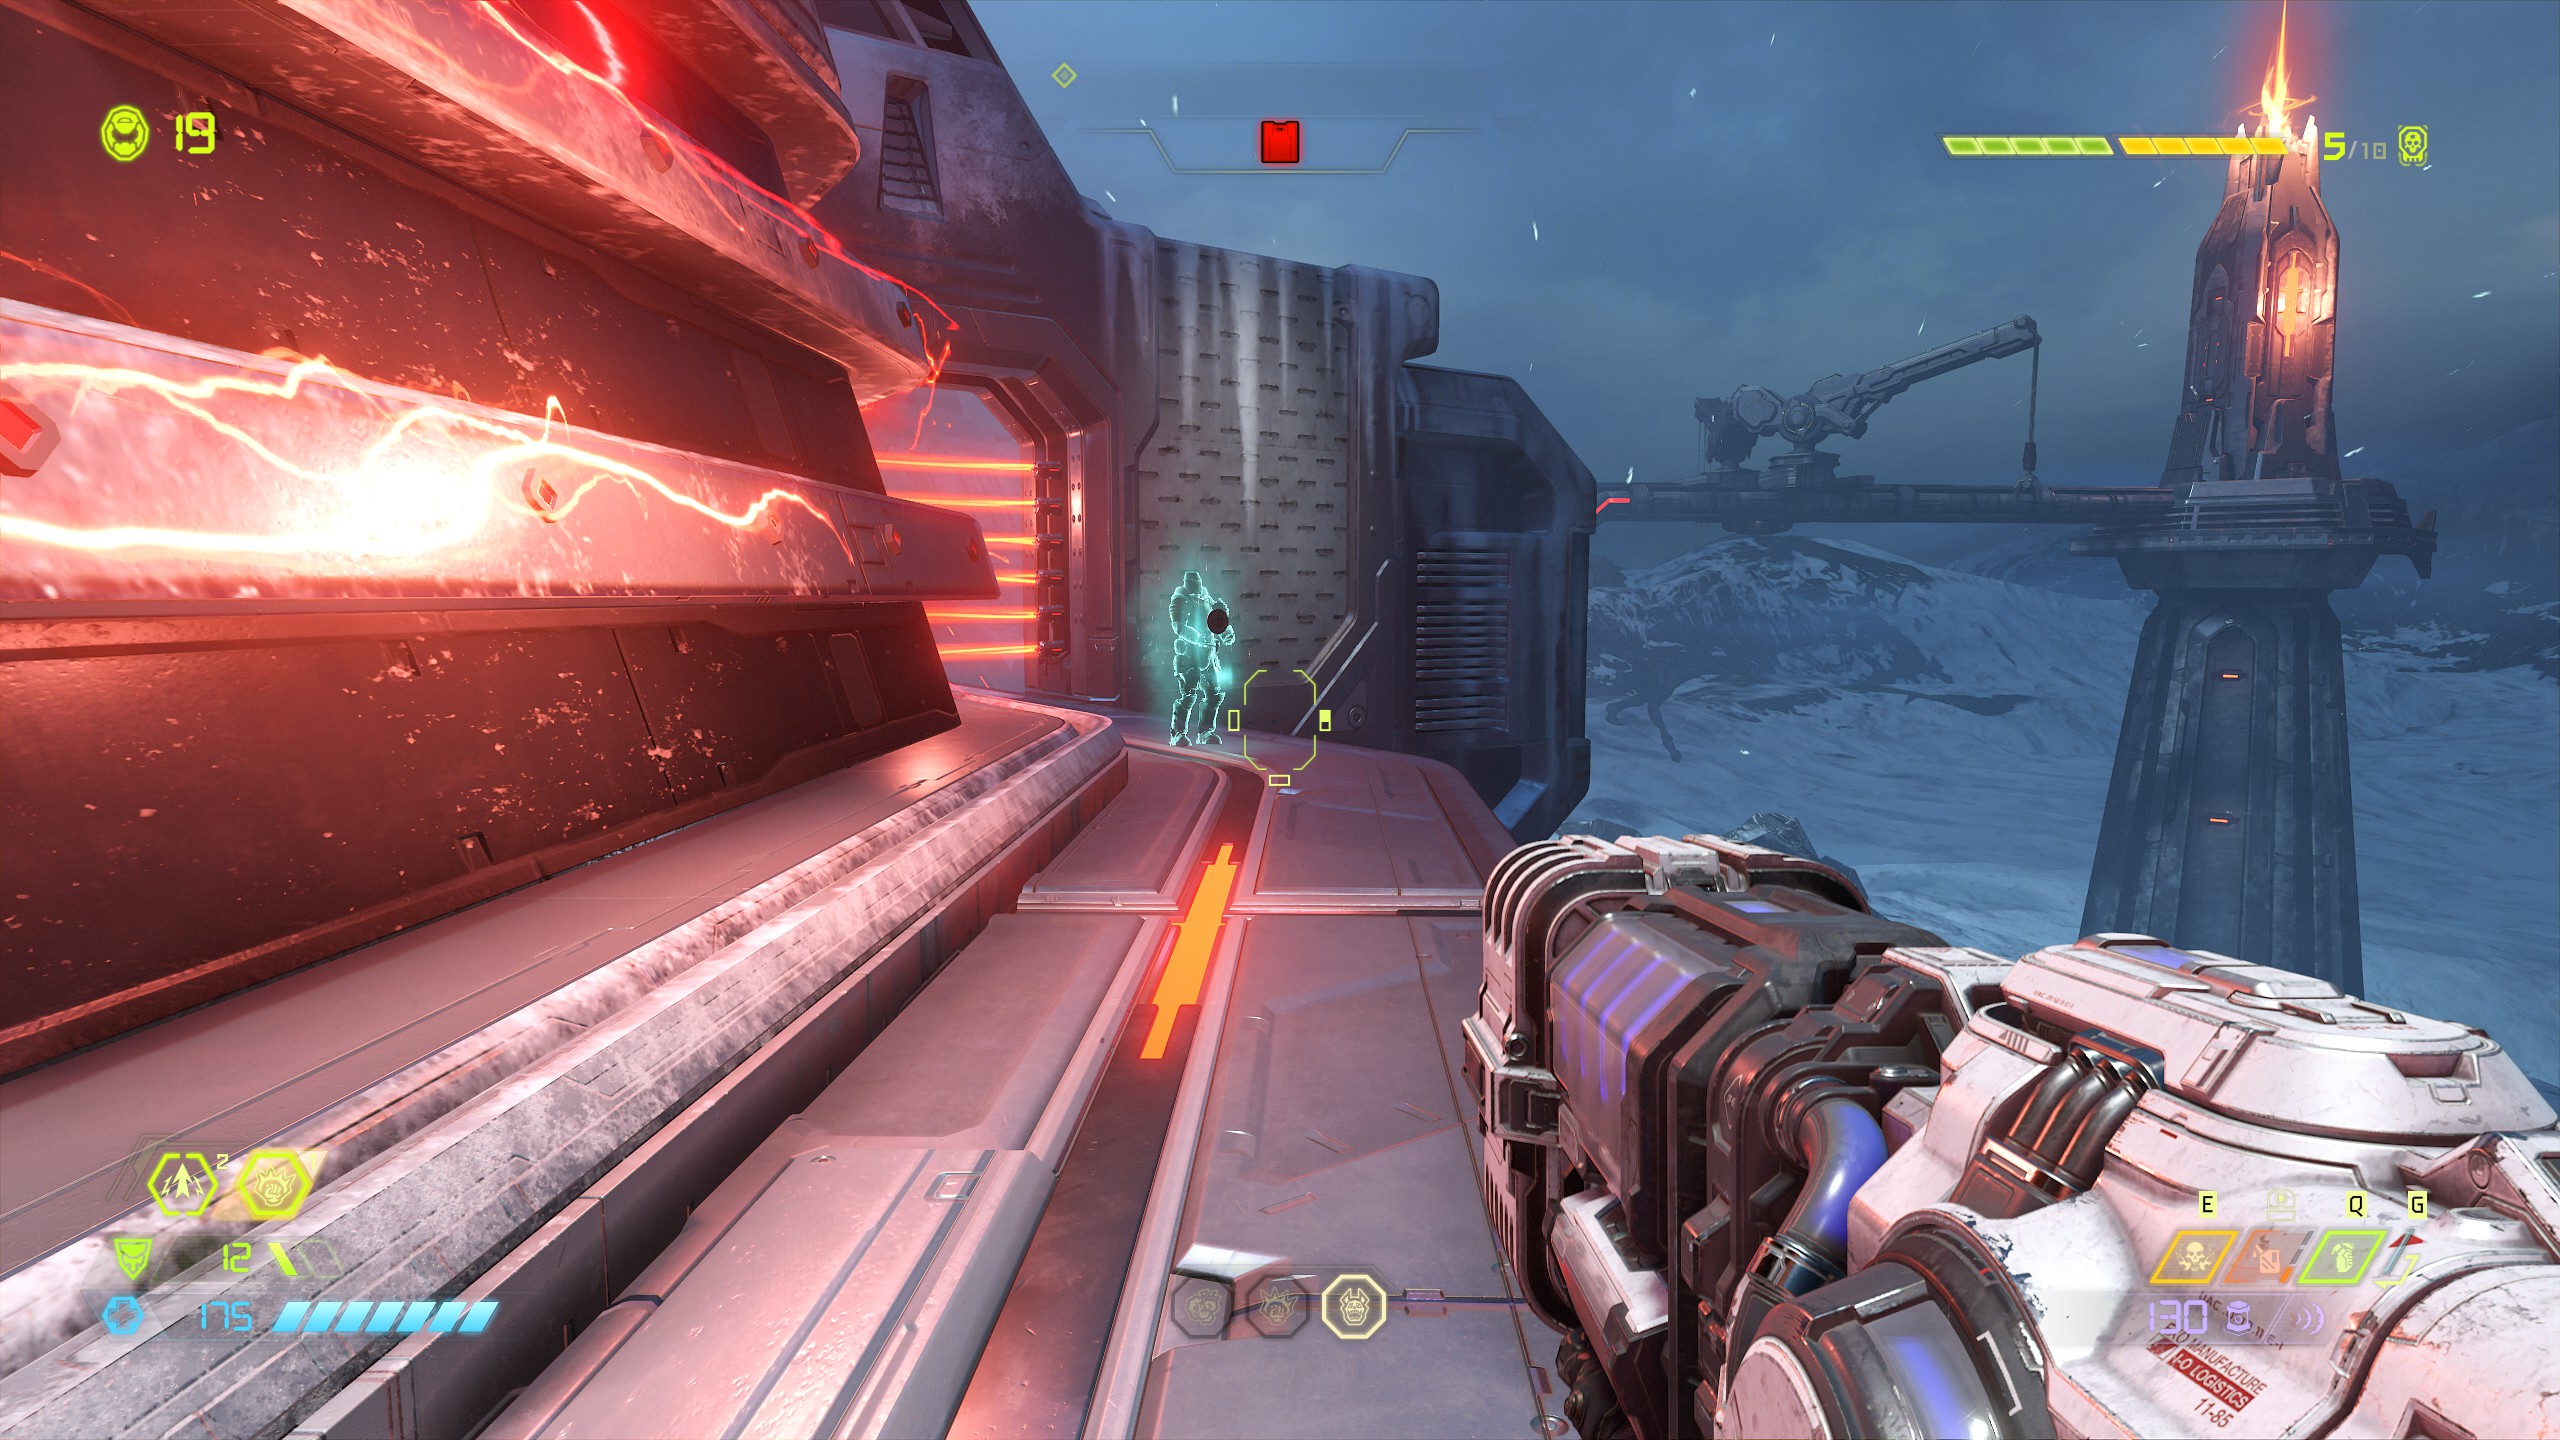
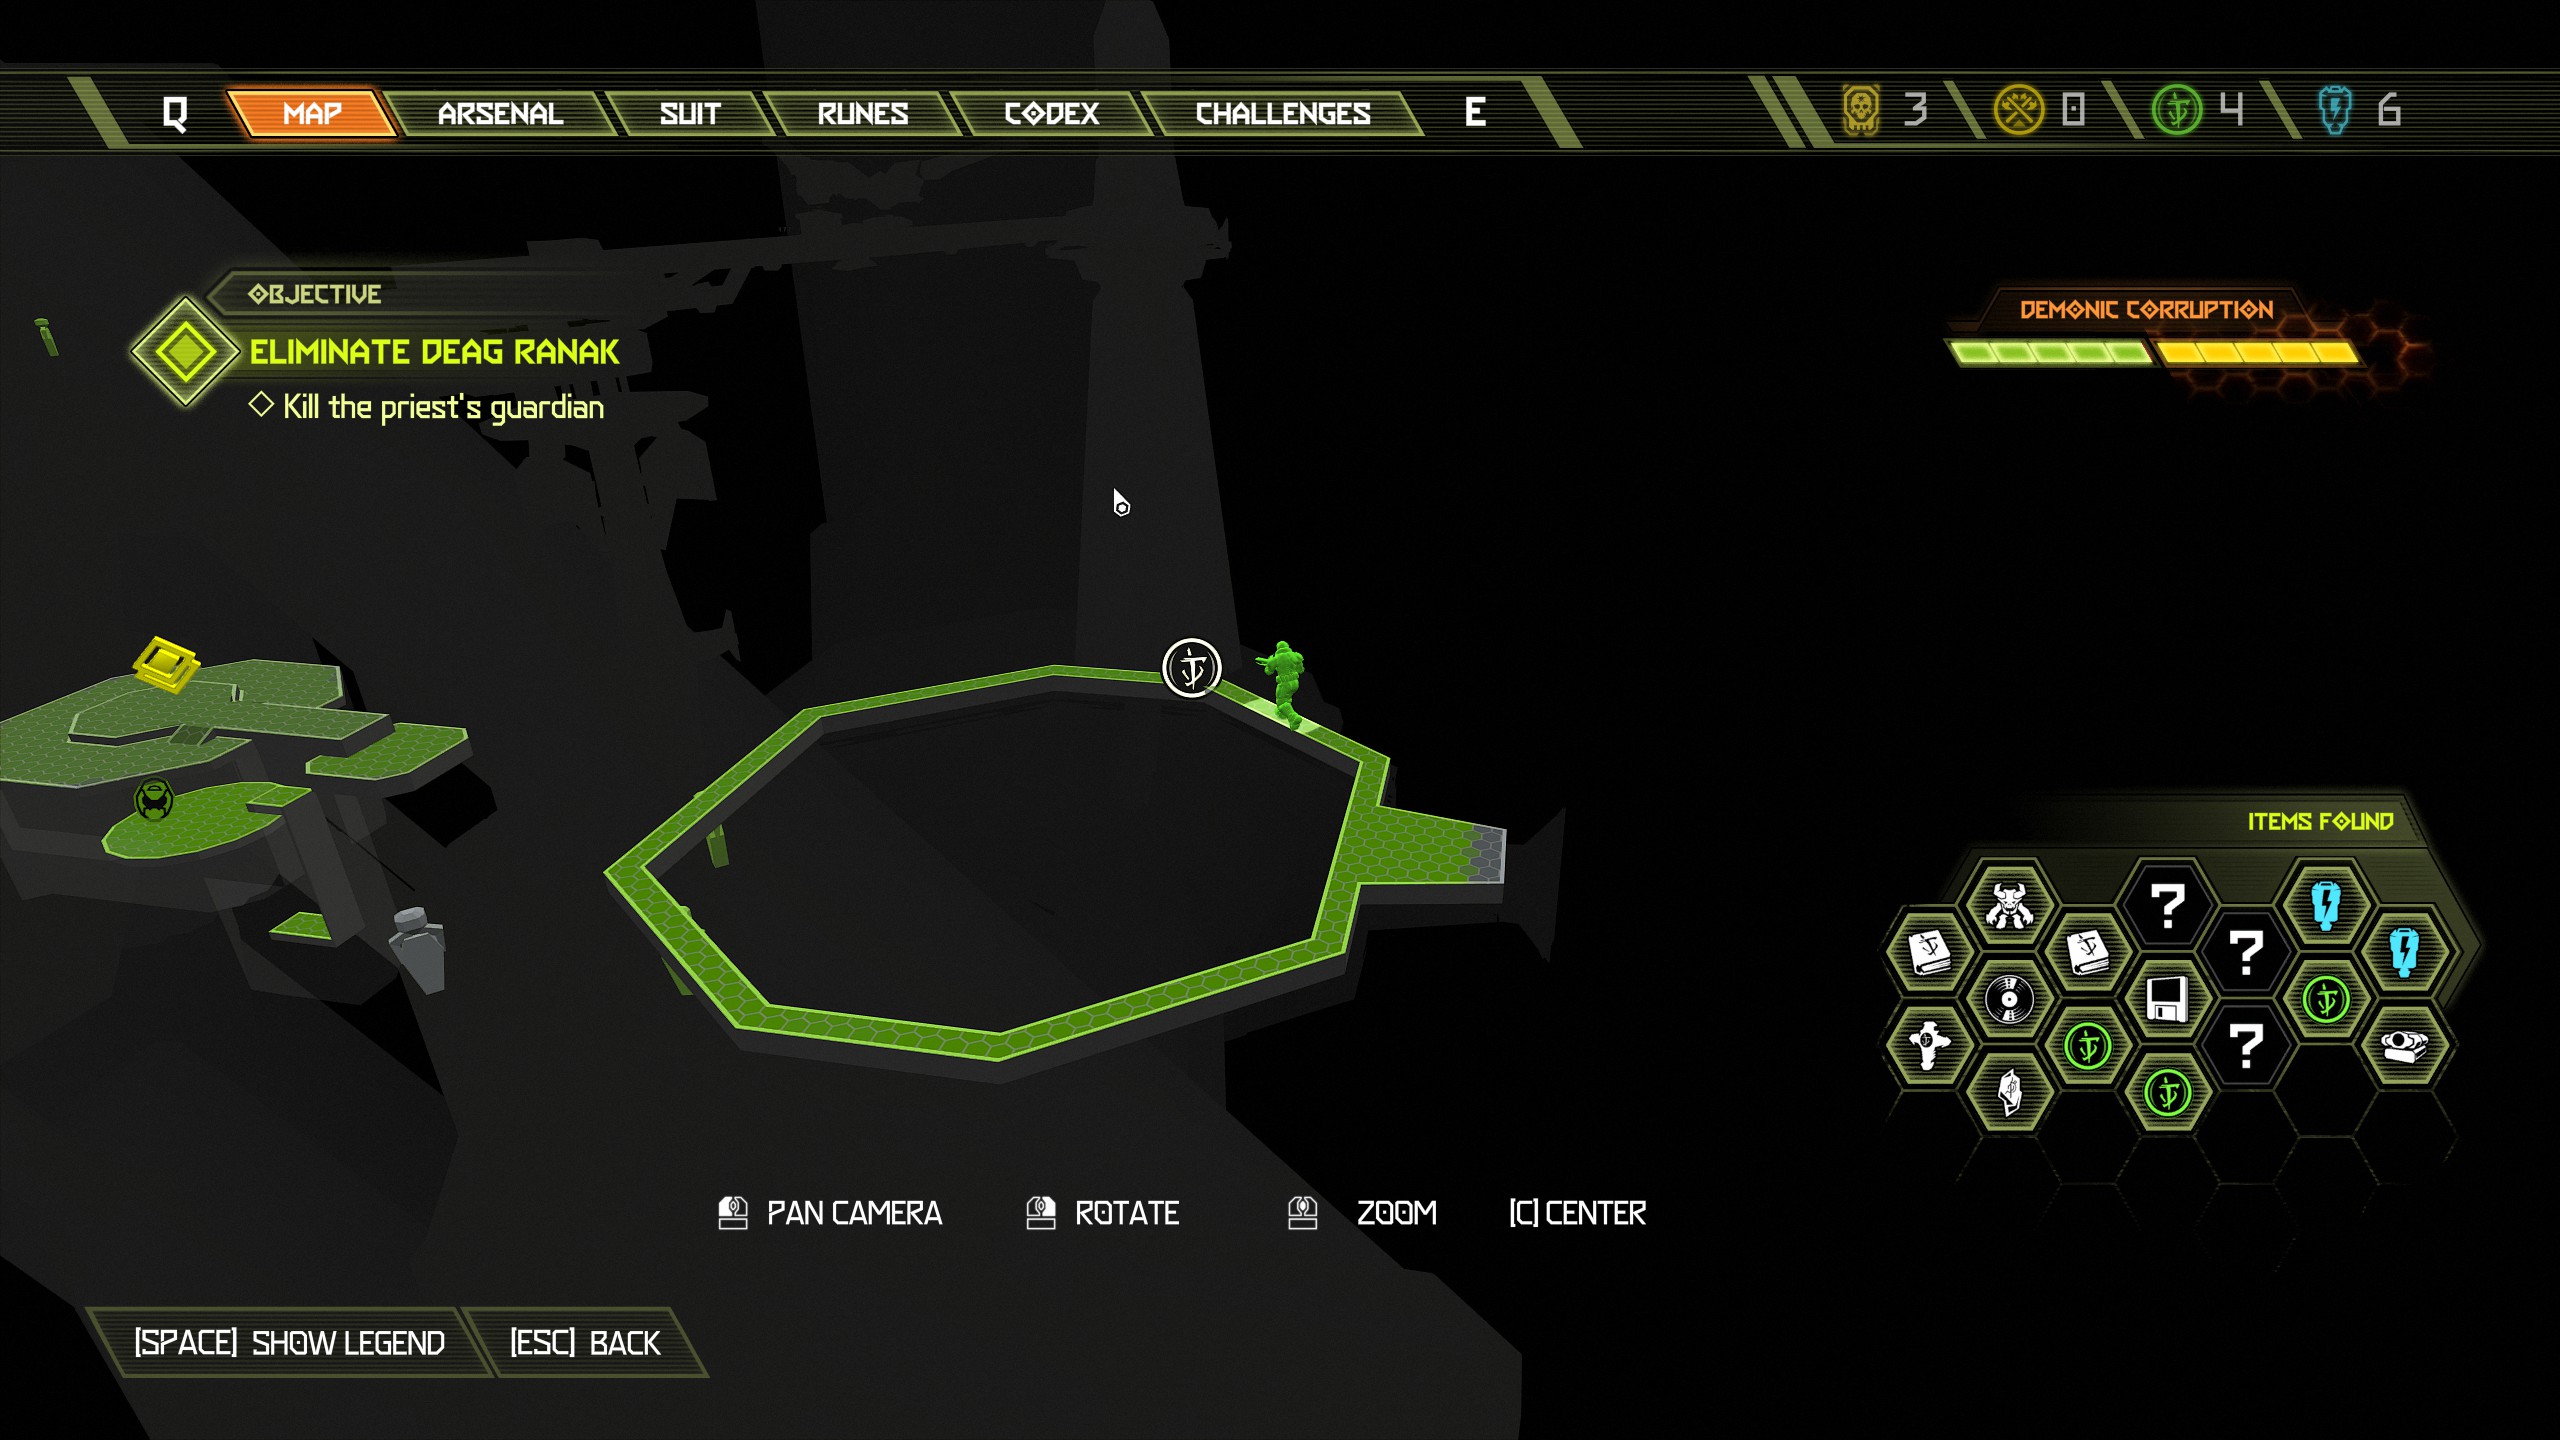
WARNING: After killing the first doom hunter, dropping down the hole will start a new encounter with two other doom hunters and automatically end the mission when they are both dead. Once you have jumped across from the electrified building make your way through and again jump over to the next area. When entering the doorway you will see a codex page at the bottom of the slope, collect the codex page and then turn around and look up above and you will see a green target located in the ceiling, shoot the green target and it will lower the slope in front of you and give you access to the doomtoy inside.
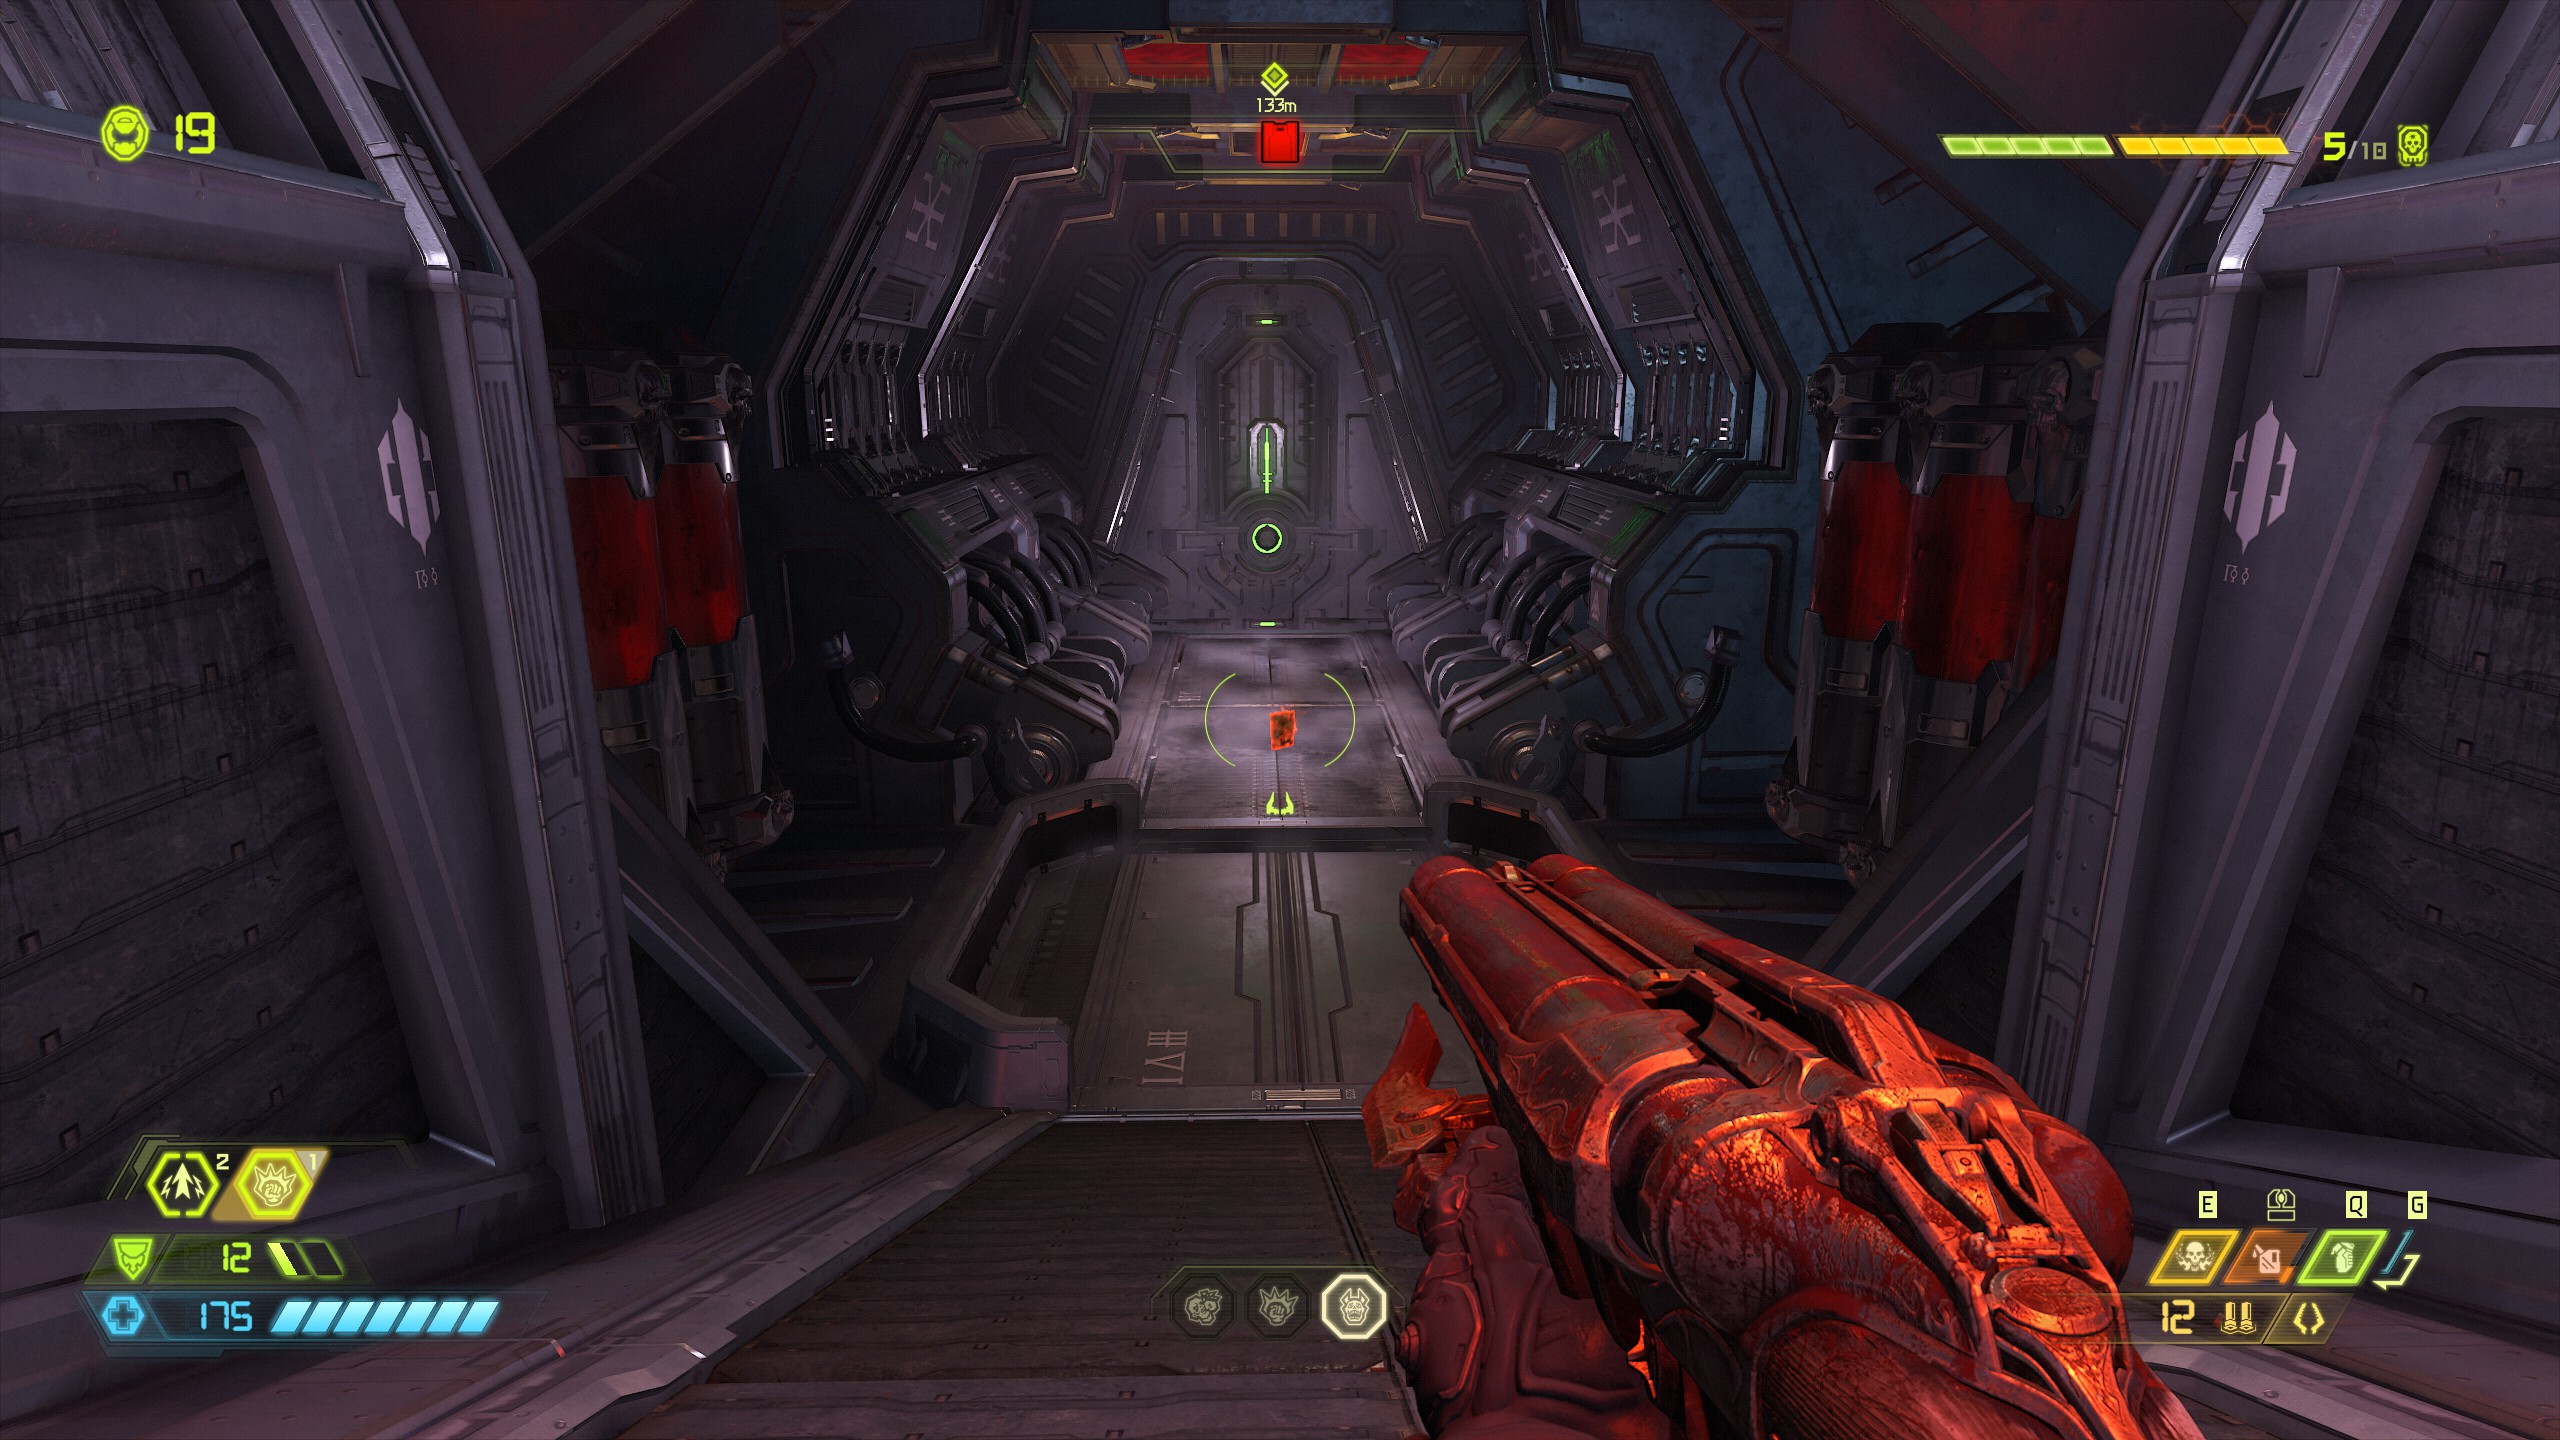
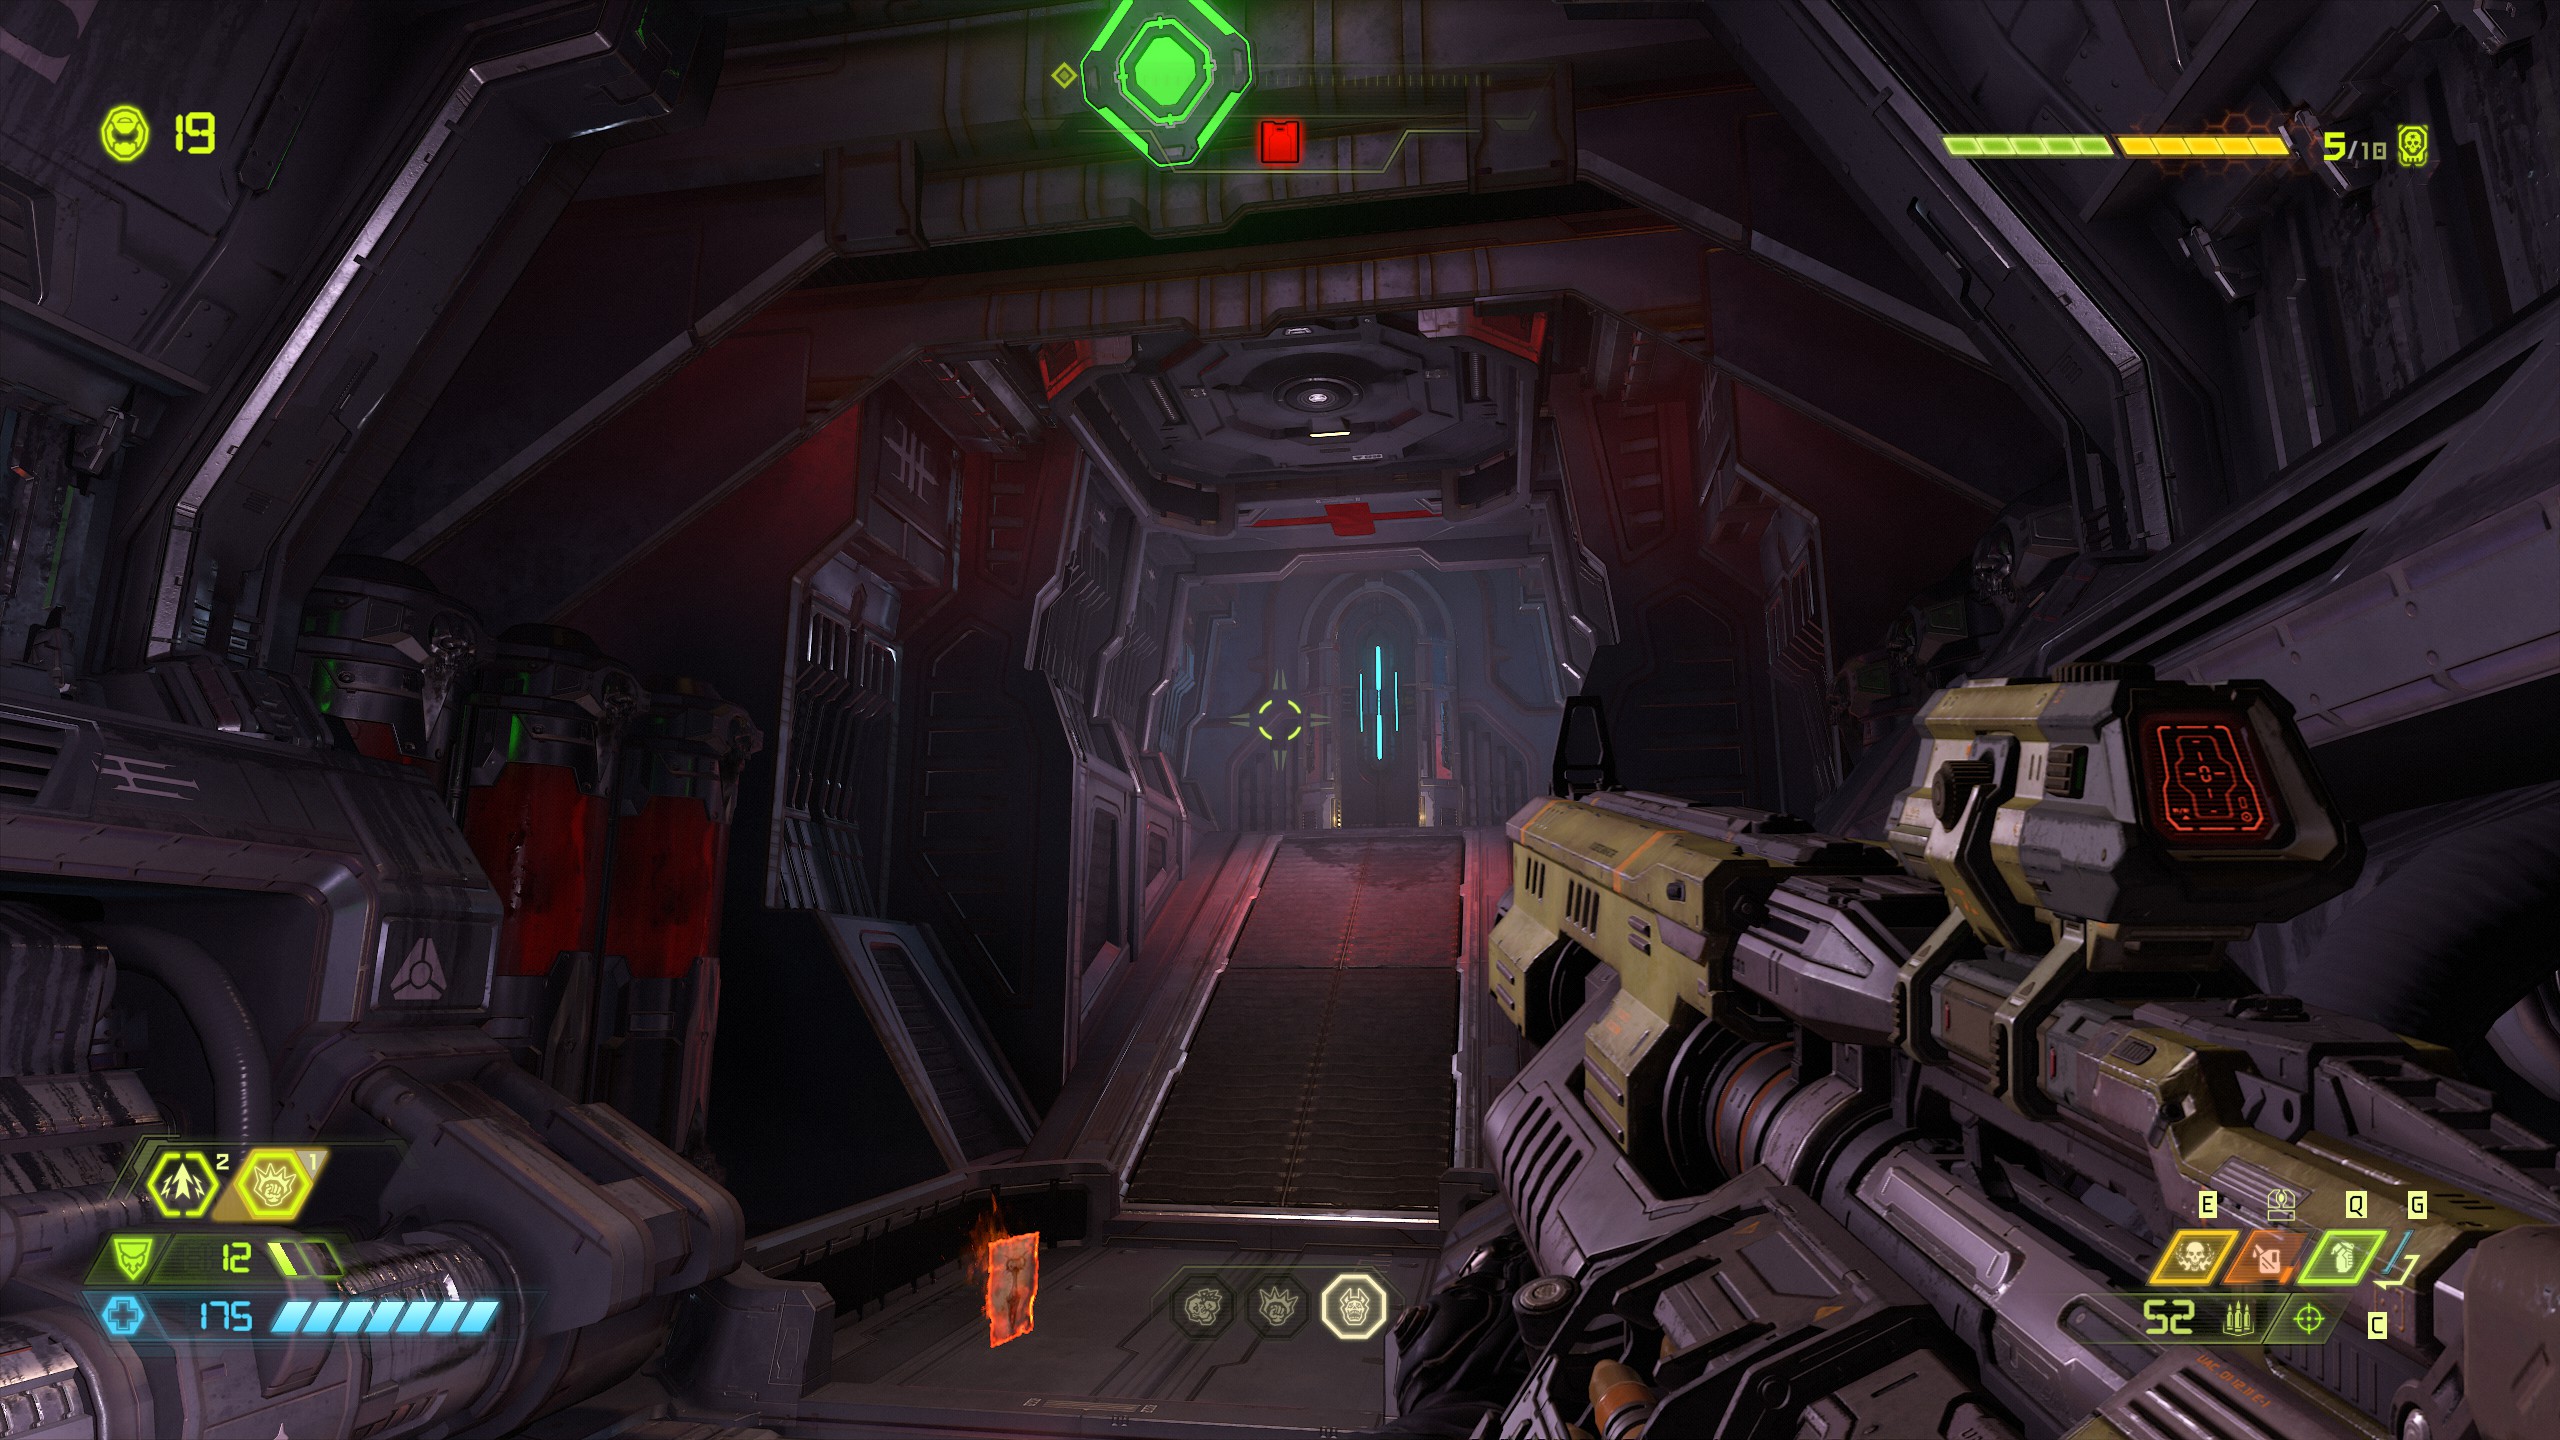
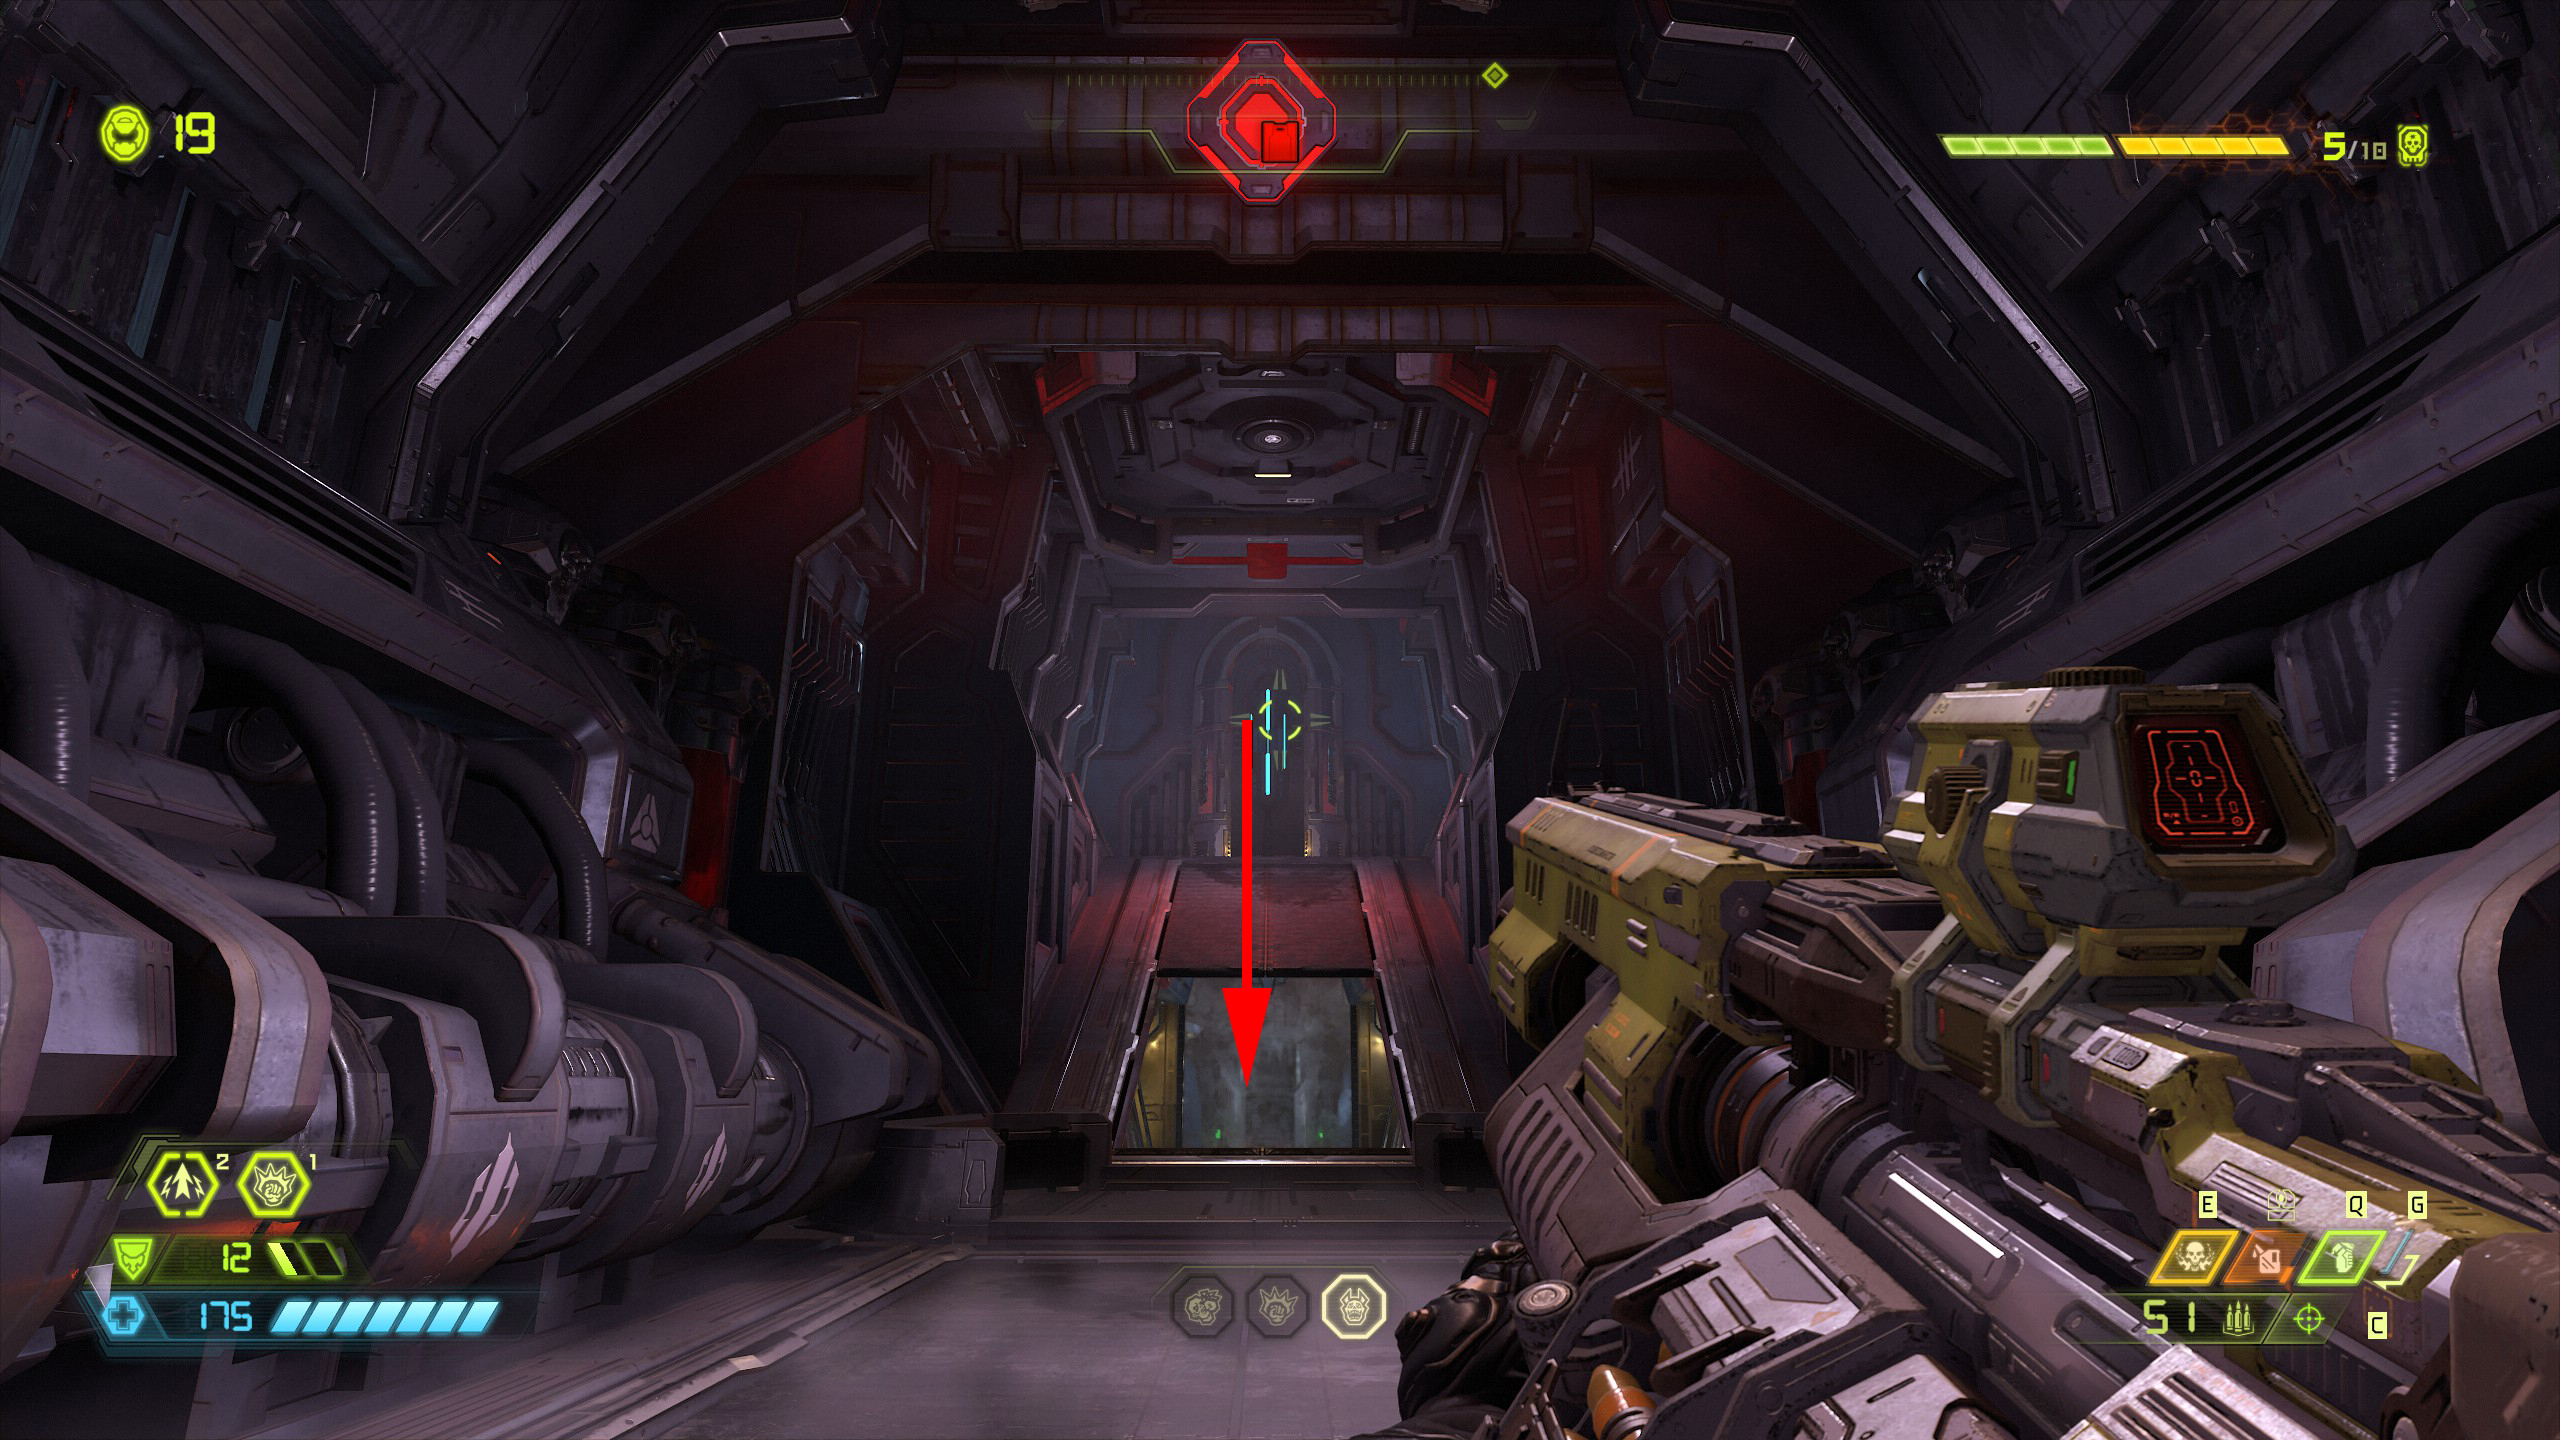
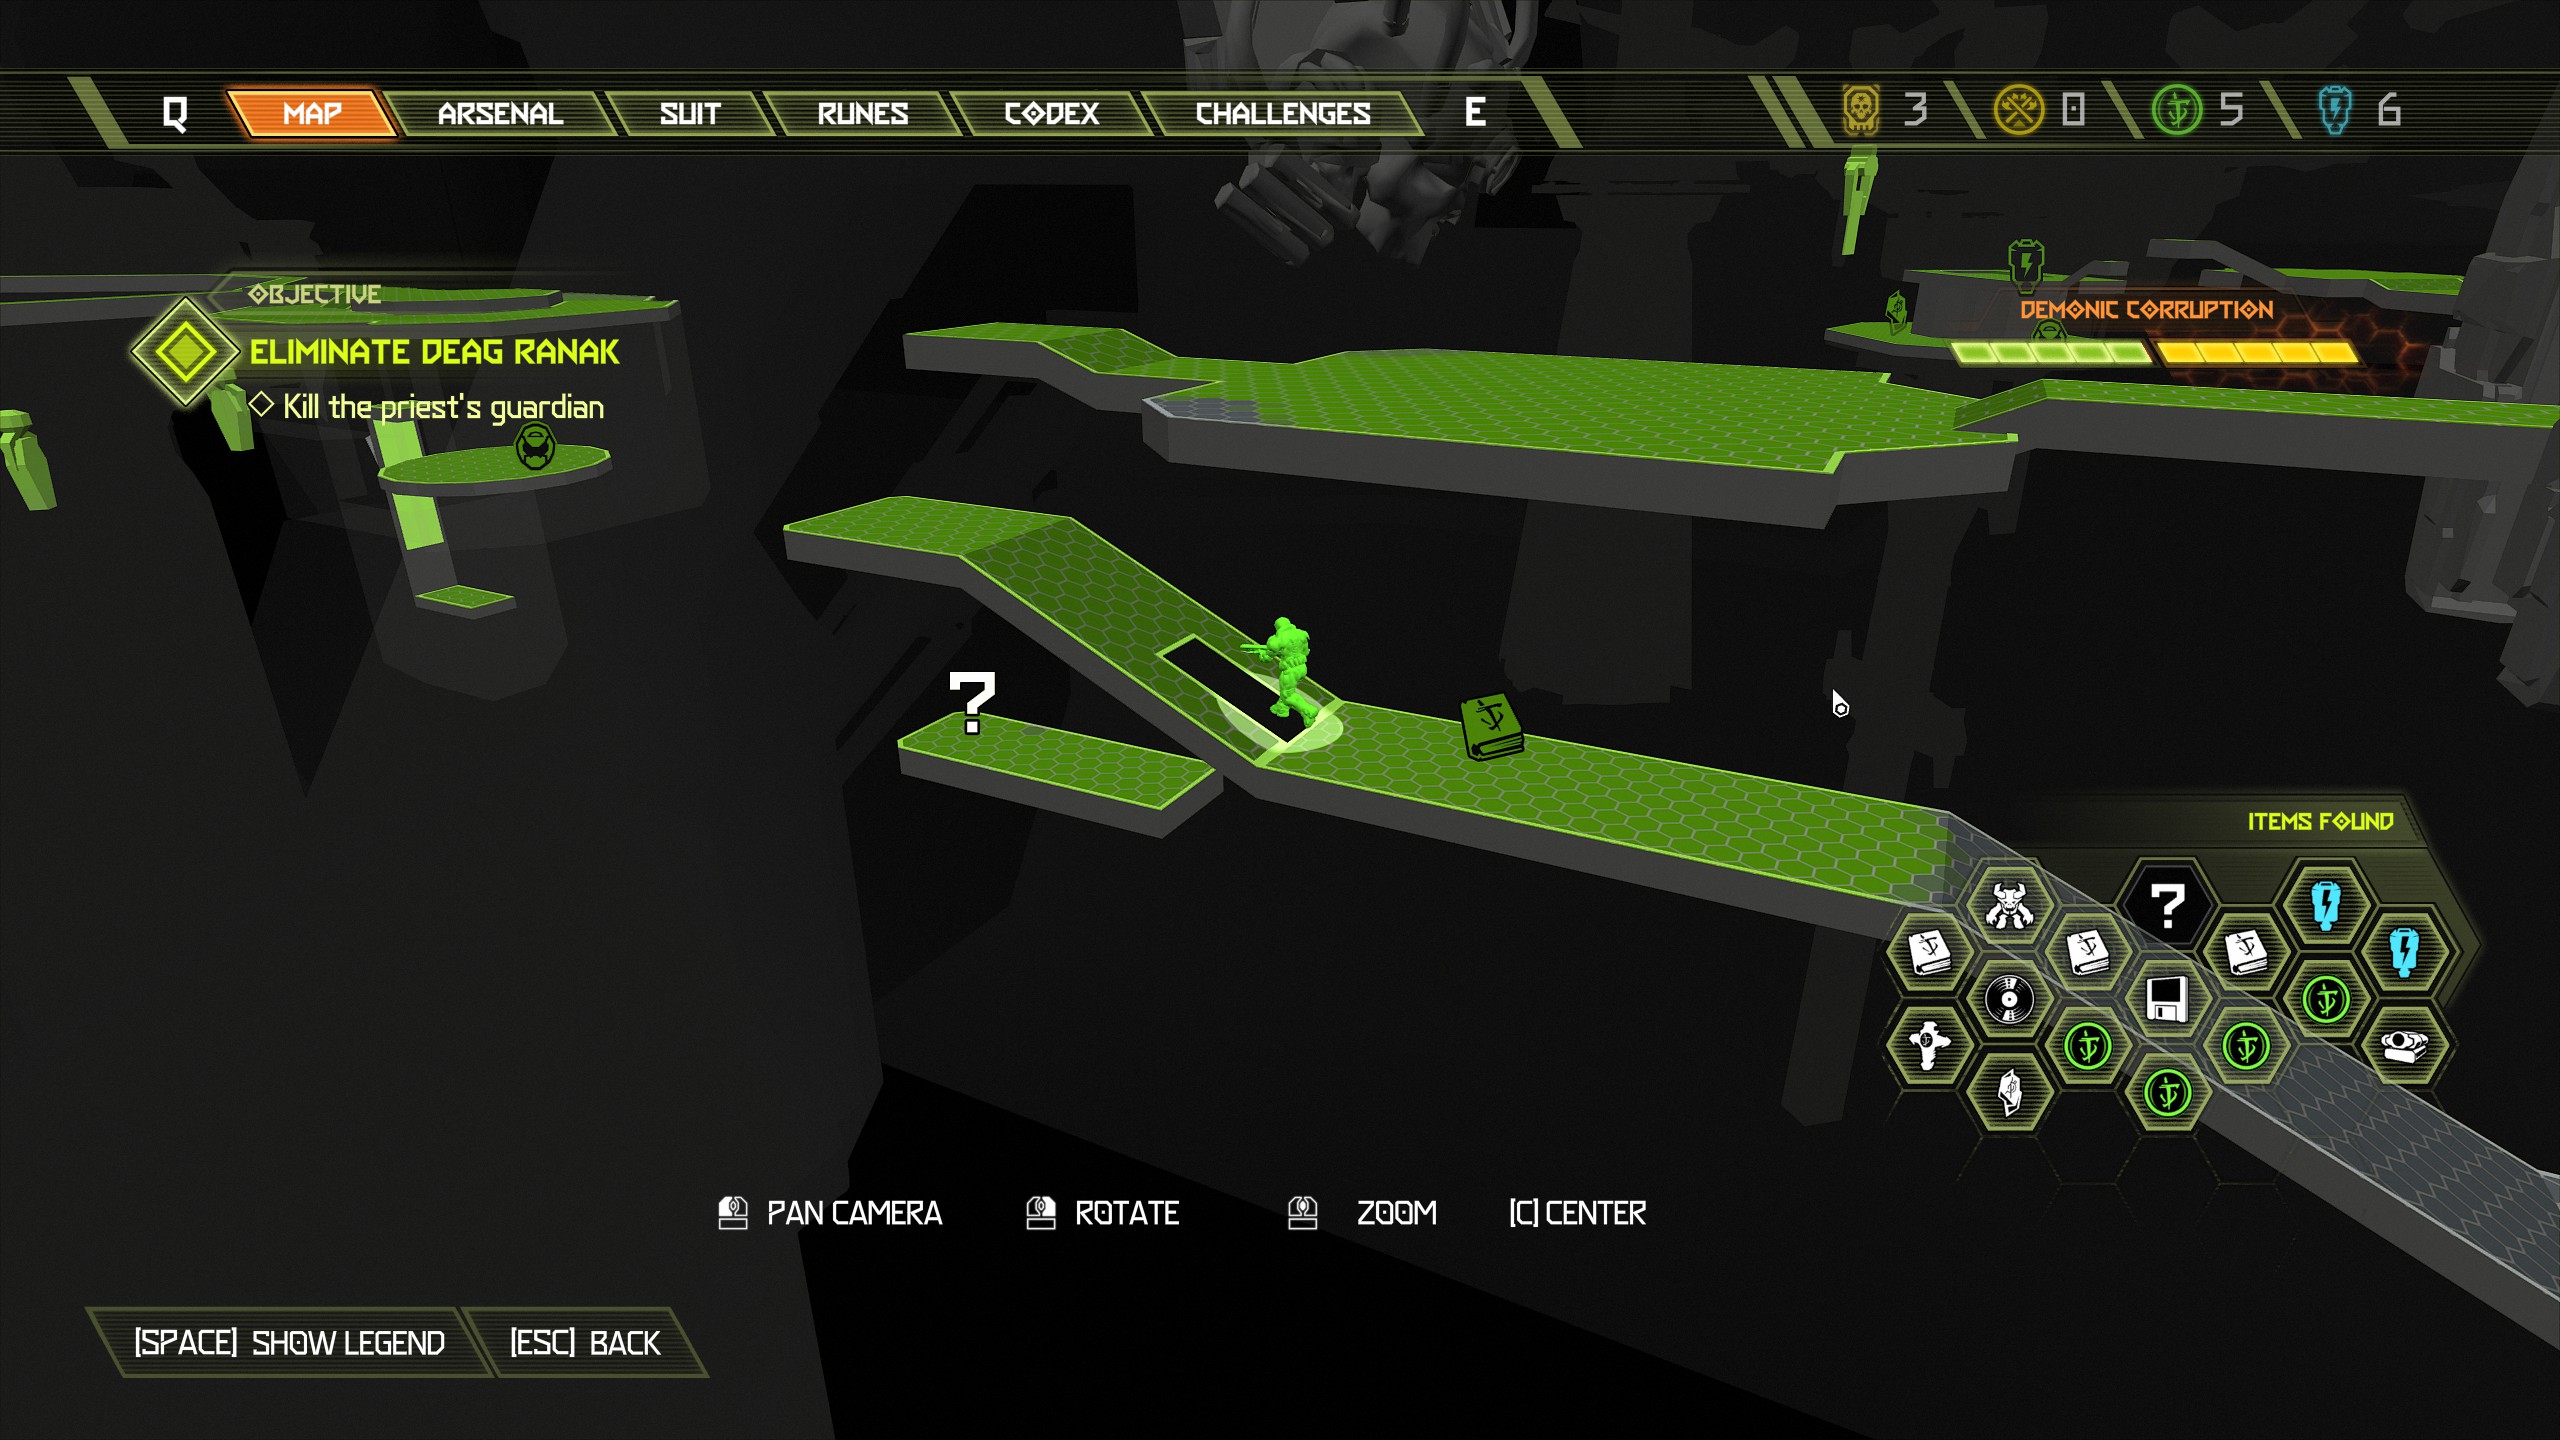
That completes the items for this mission, so go ahead and have fun killing those damn doom hunters to finish the mission.
Fortress of Doom [Part 3]
NOTE: You now have access to another secret at the fortress and two more items. You can choose any items you want to collect but for the sake of this guide it's best to keep following along, i would also advise not wasting your sentinel batteries on praetor suit tokens. Save at least 4 sentinel batteries for the end of the campaign so you can collect the last two slayer outfits. Current items to collect:
- 1 Cheat Code
- 2 Sentinel Crystals
Inside the same room as the suit will be a hole in the wall, drop out of the hole and jump/dash onto a hidden platform underneath that contains a cheat code.
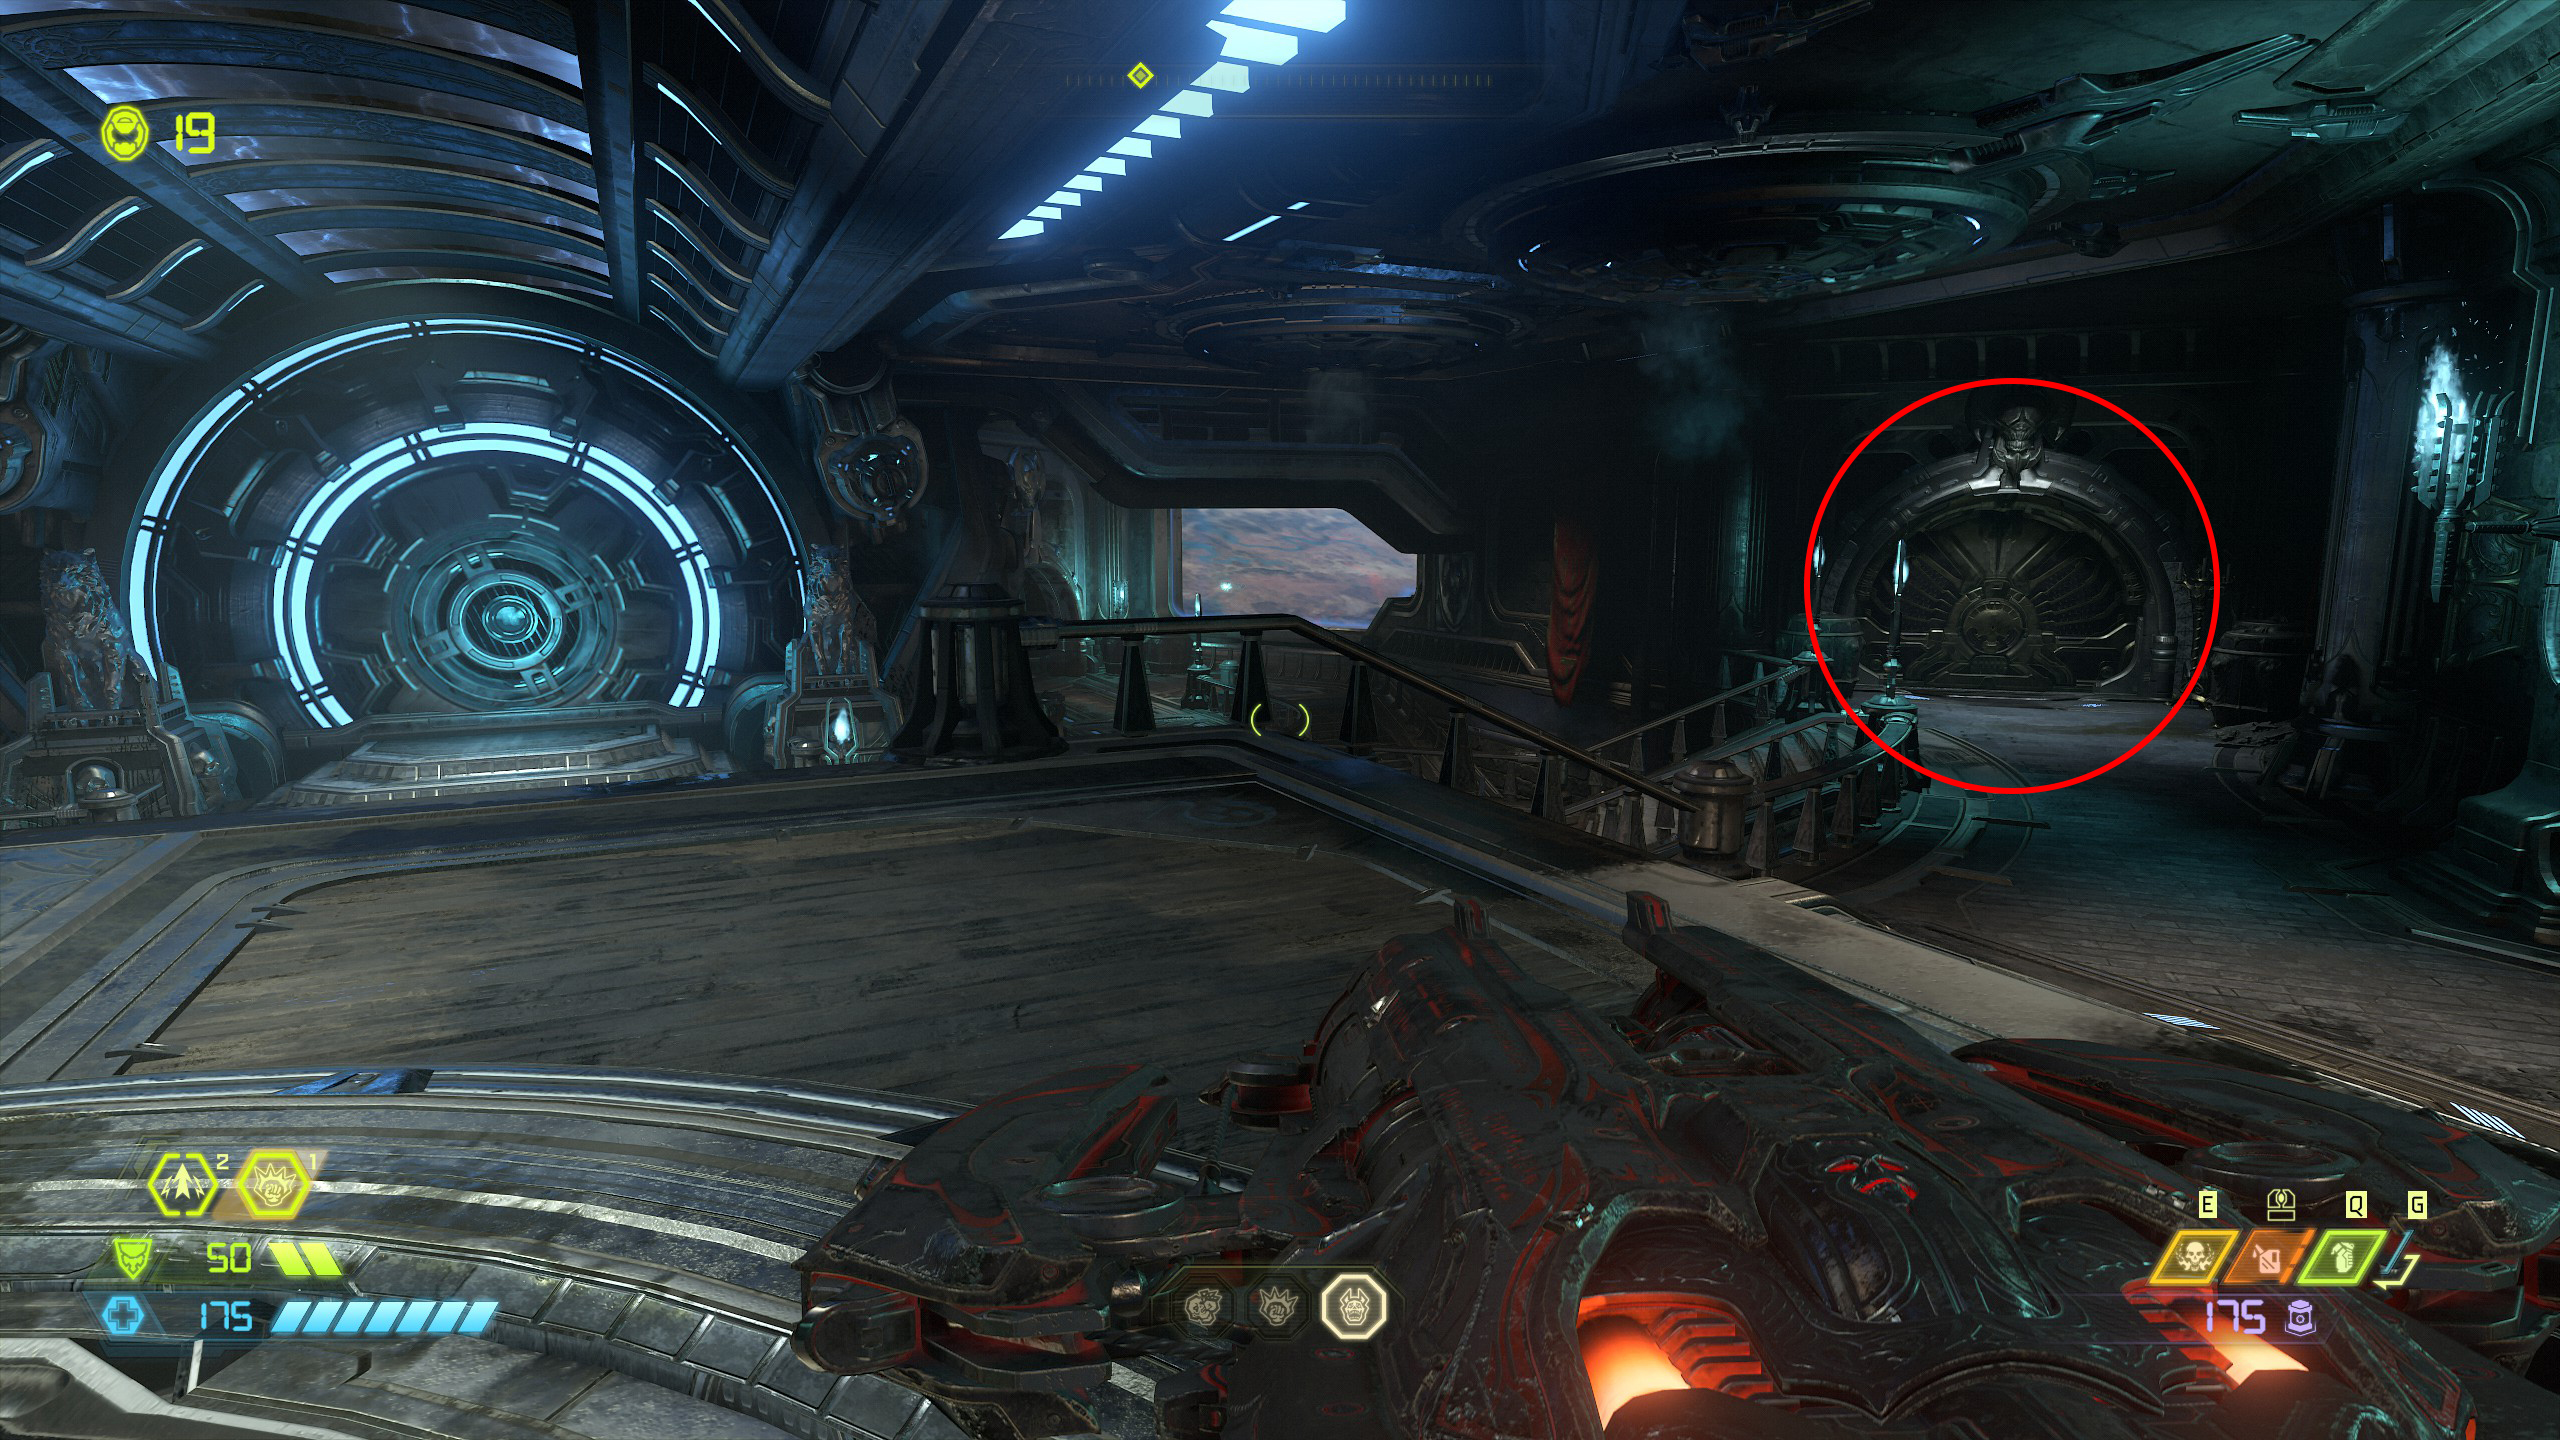
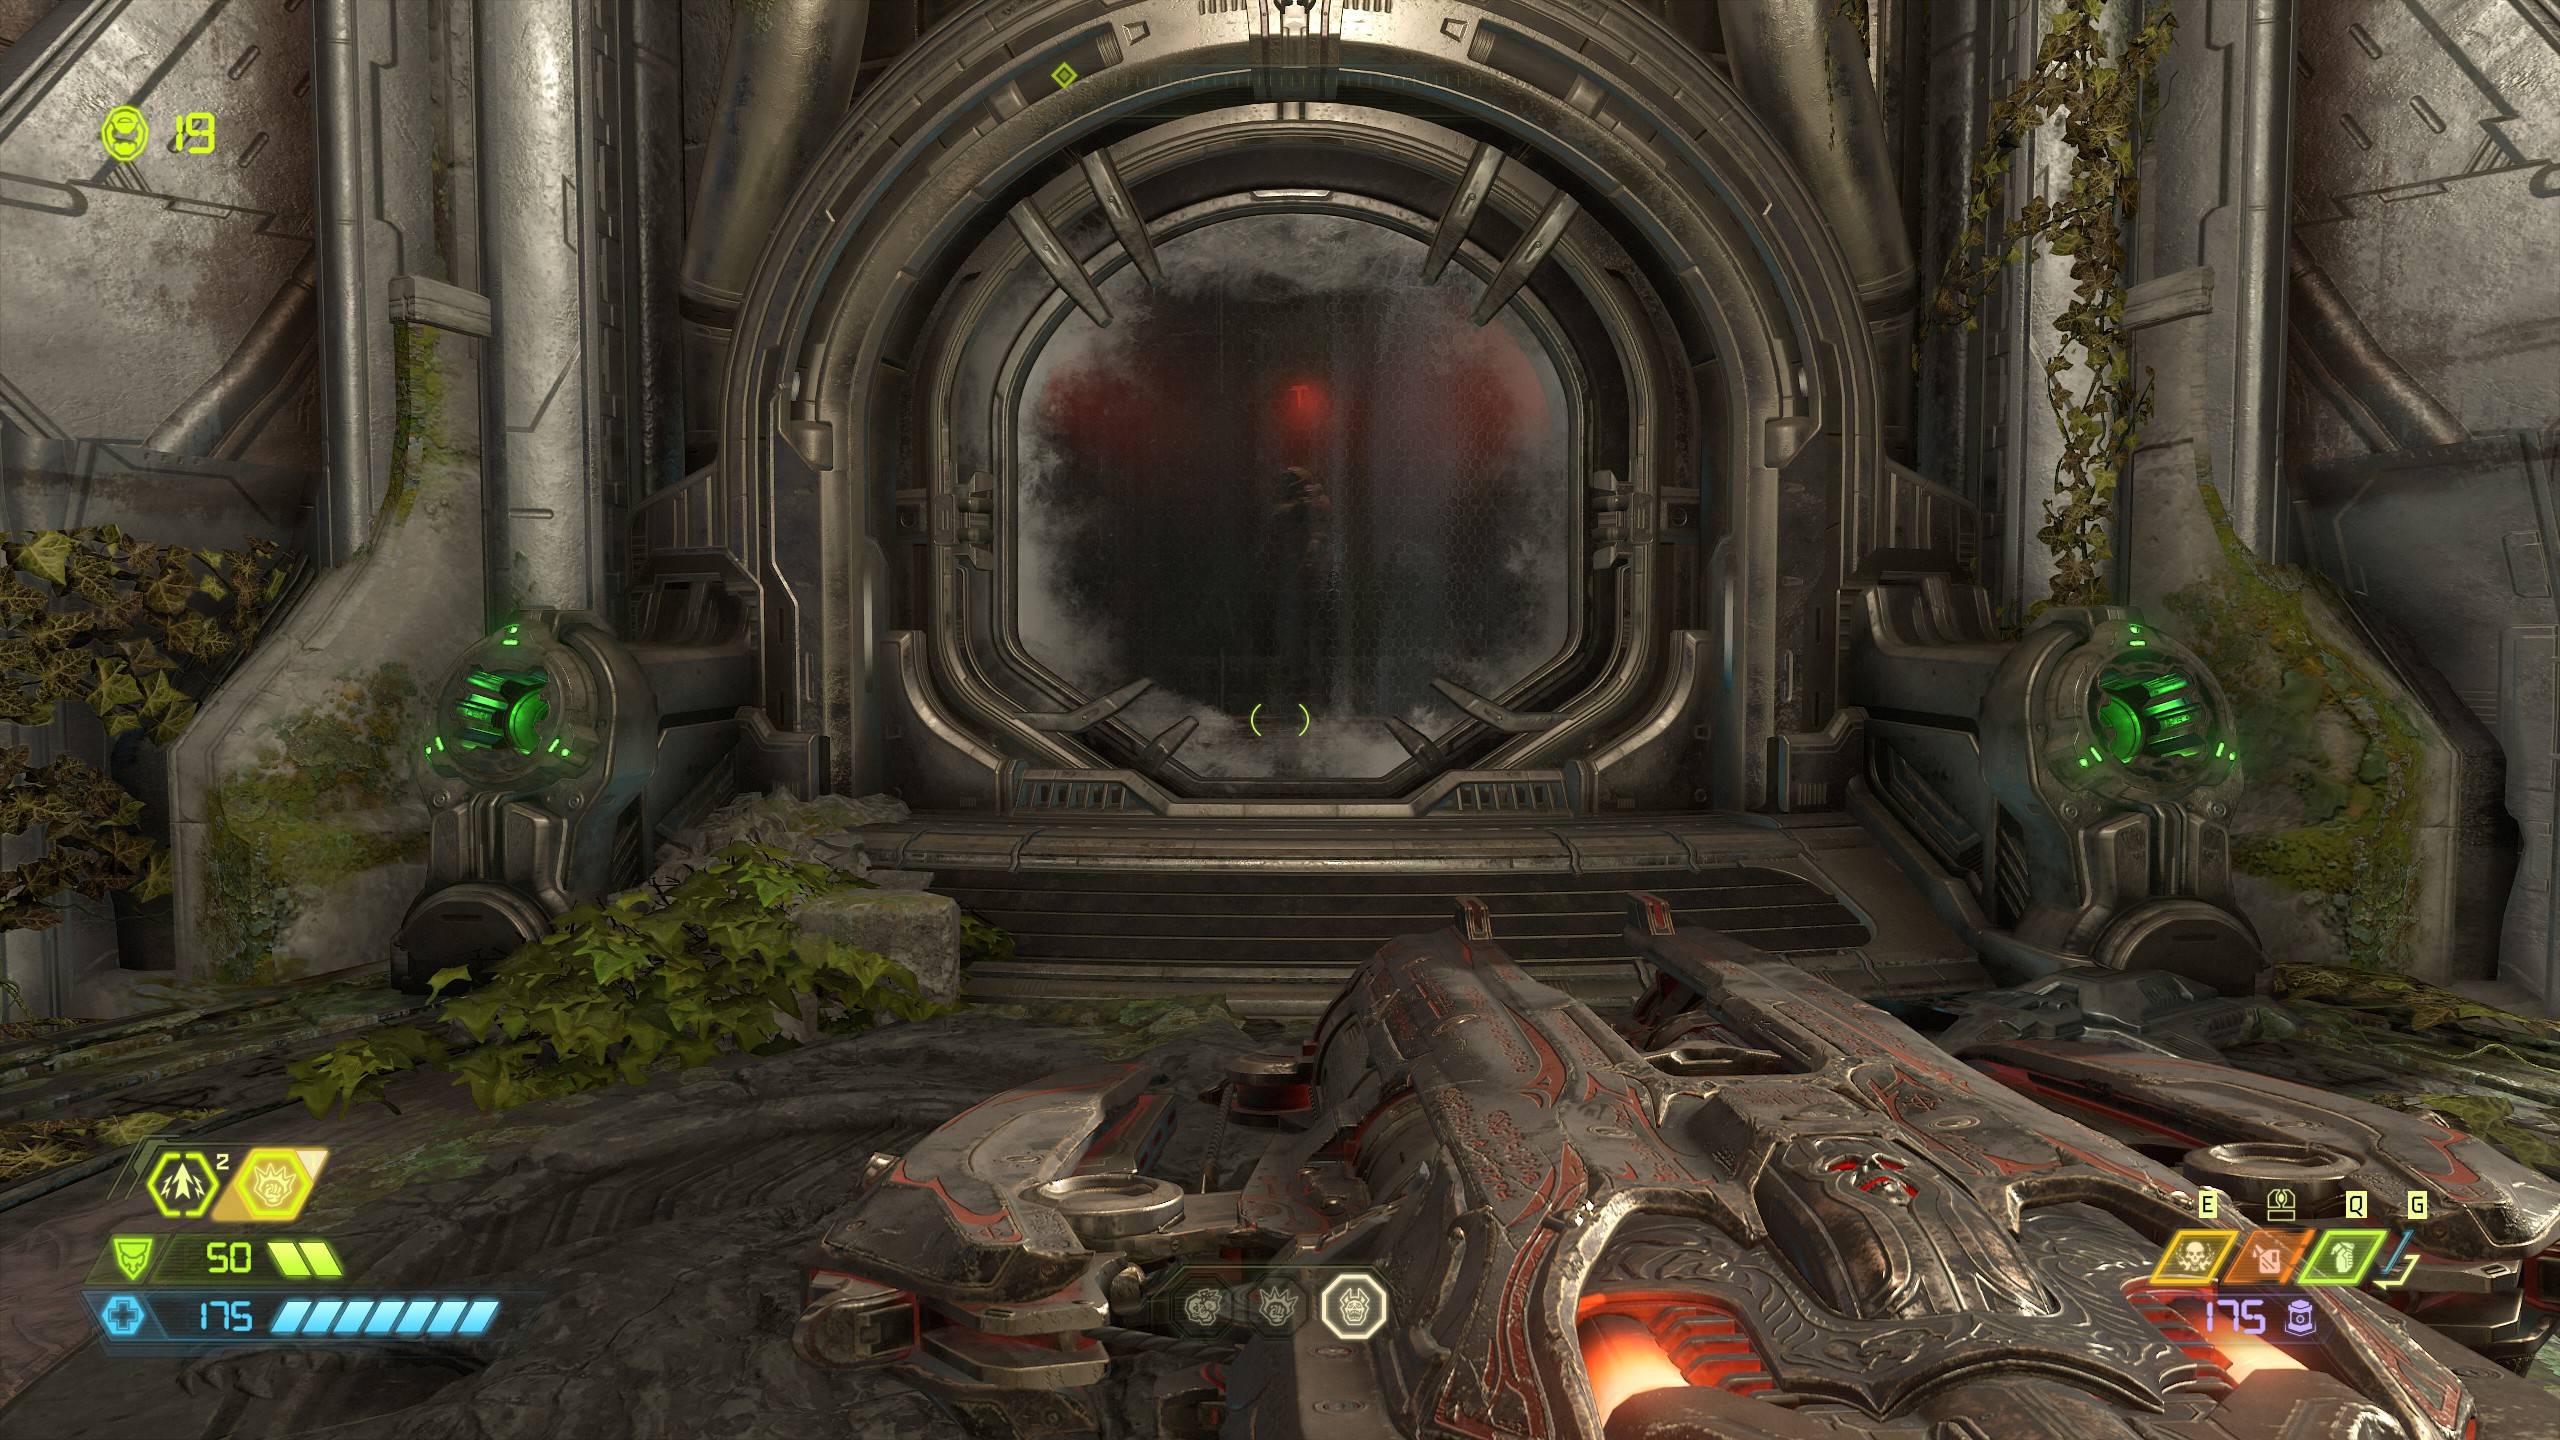
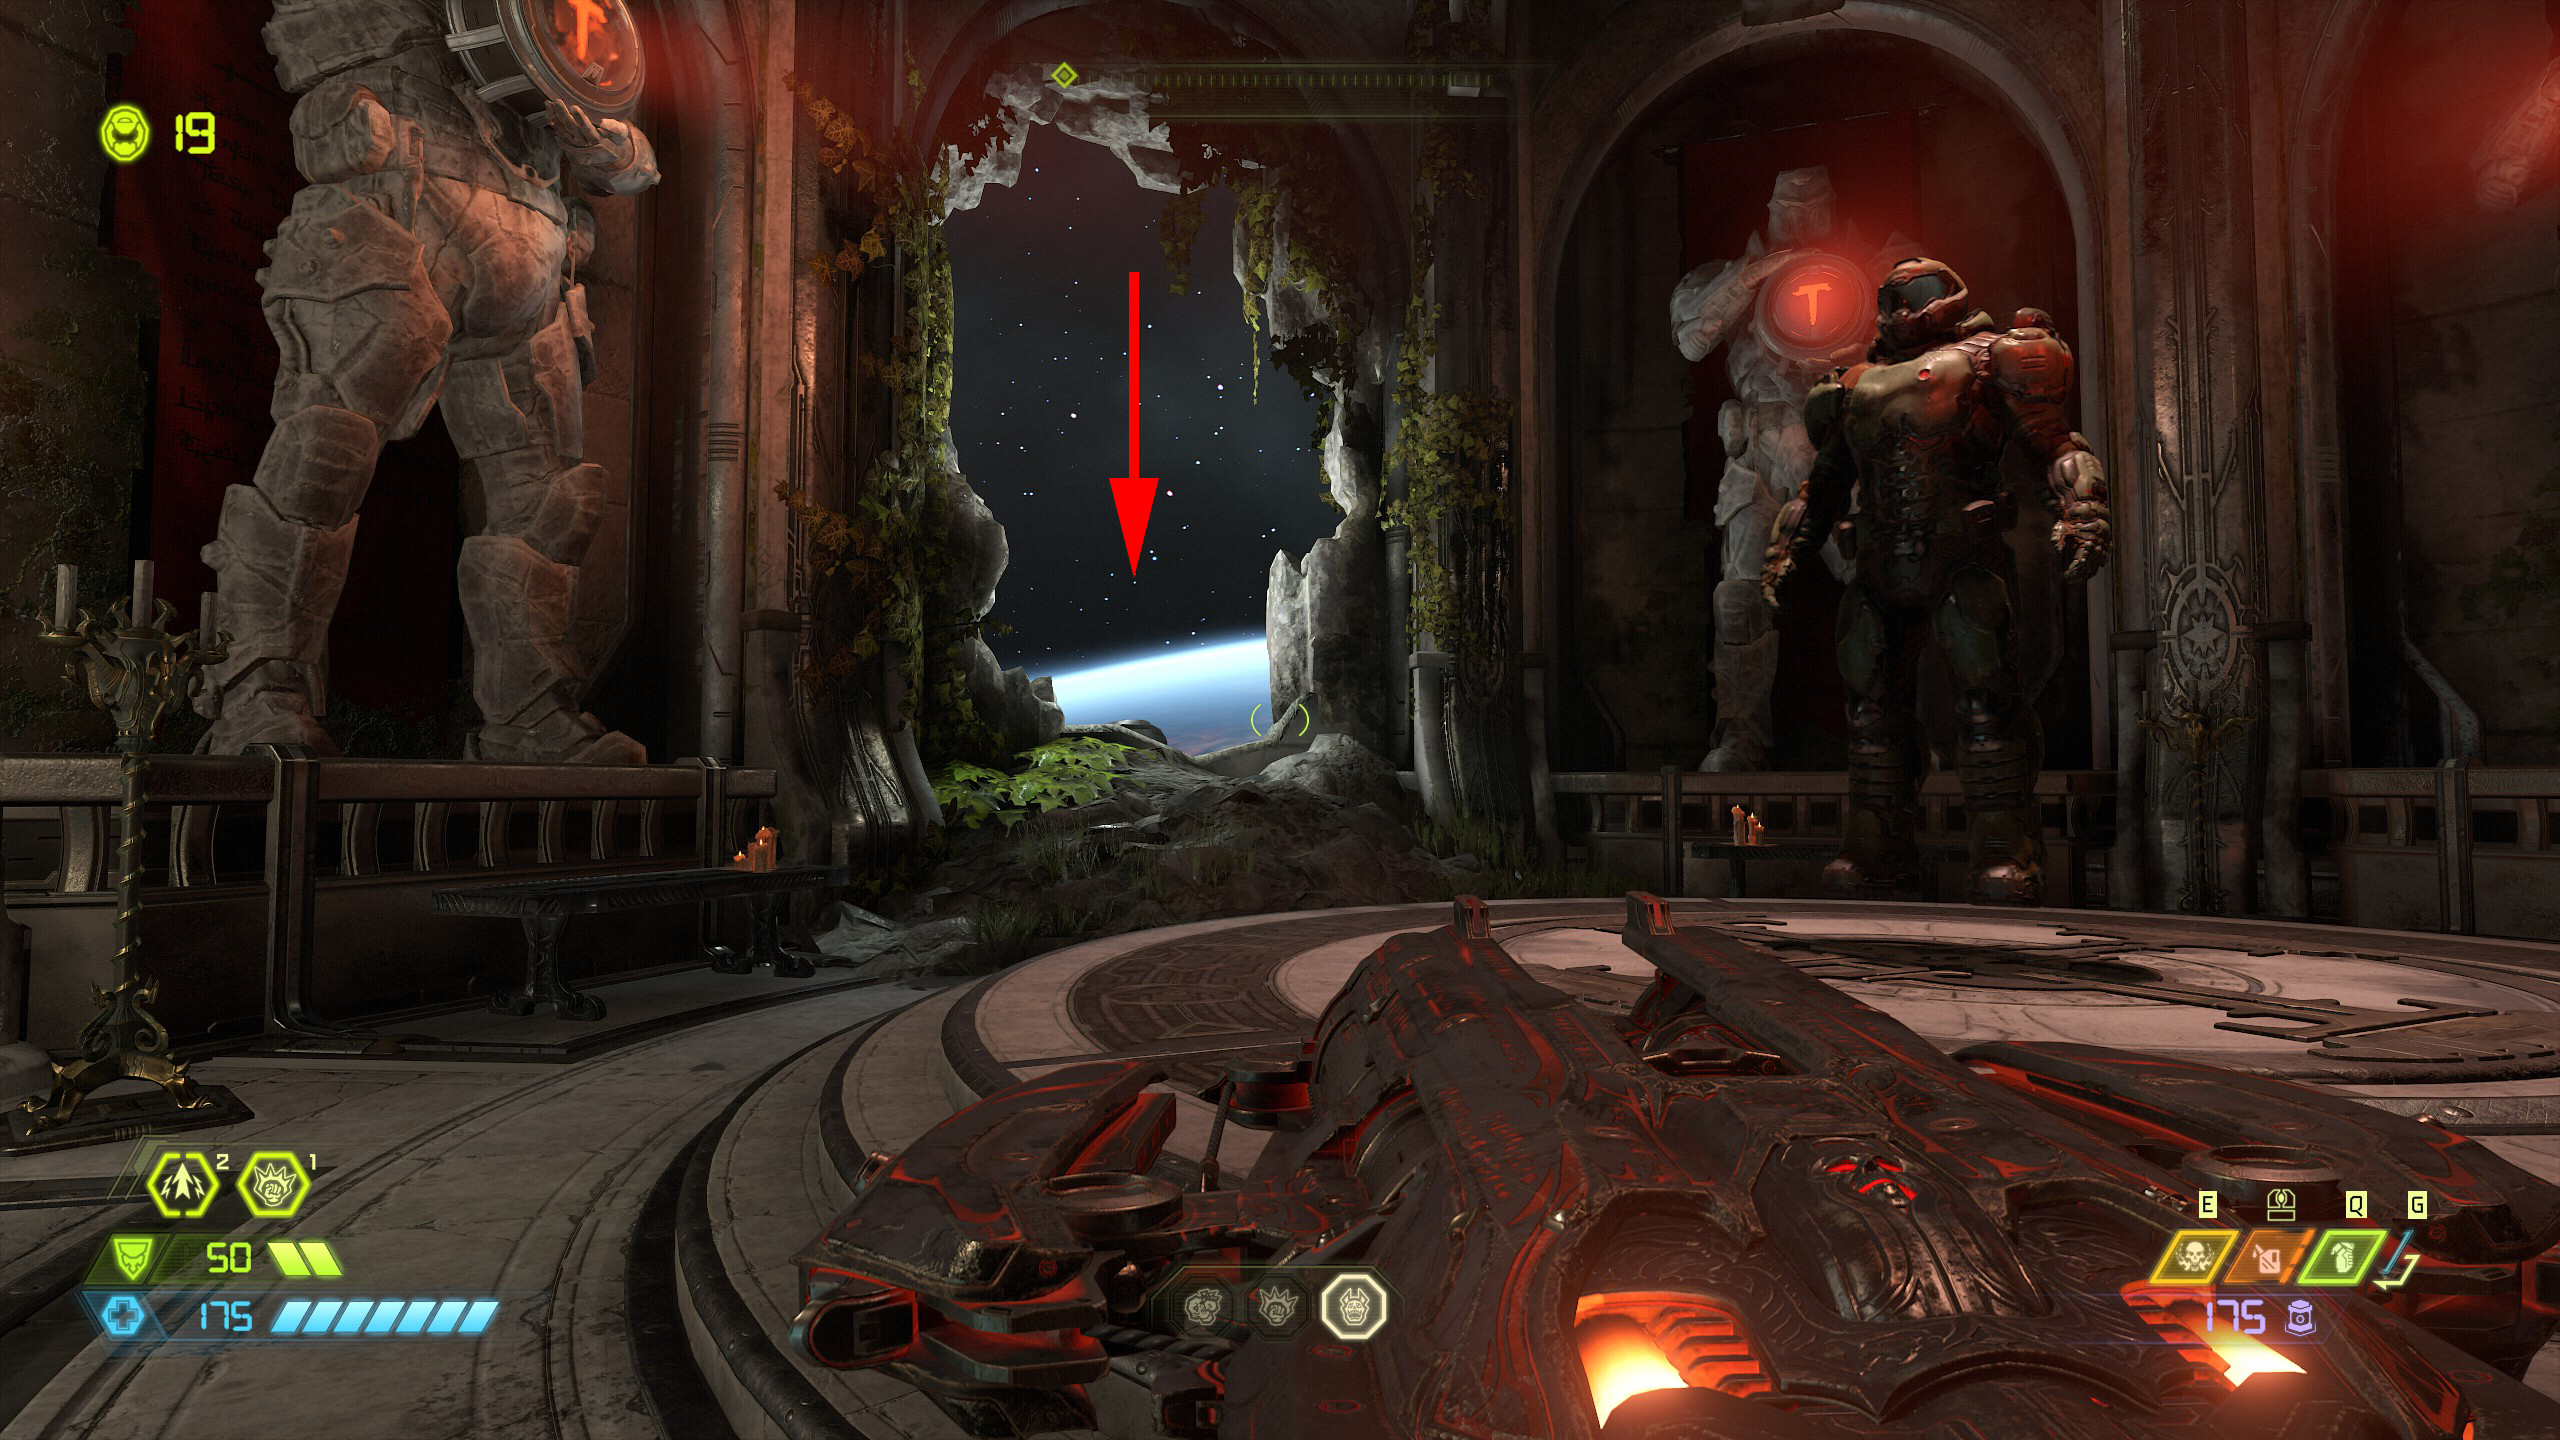
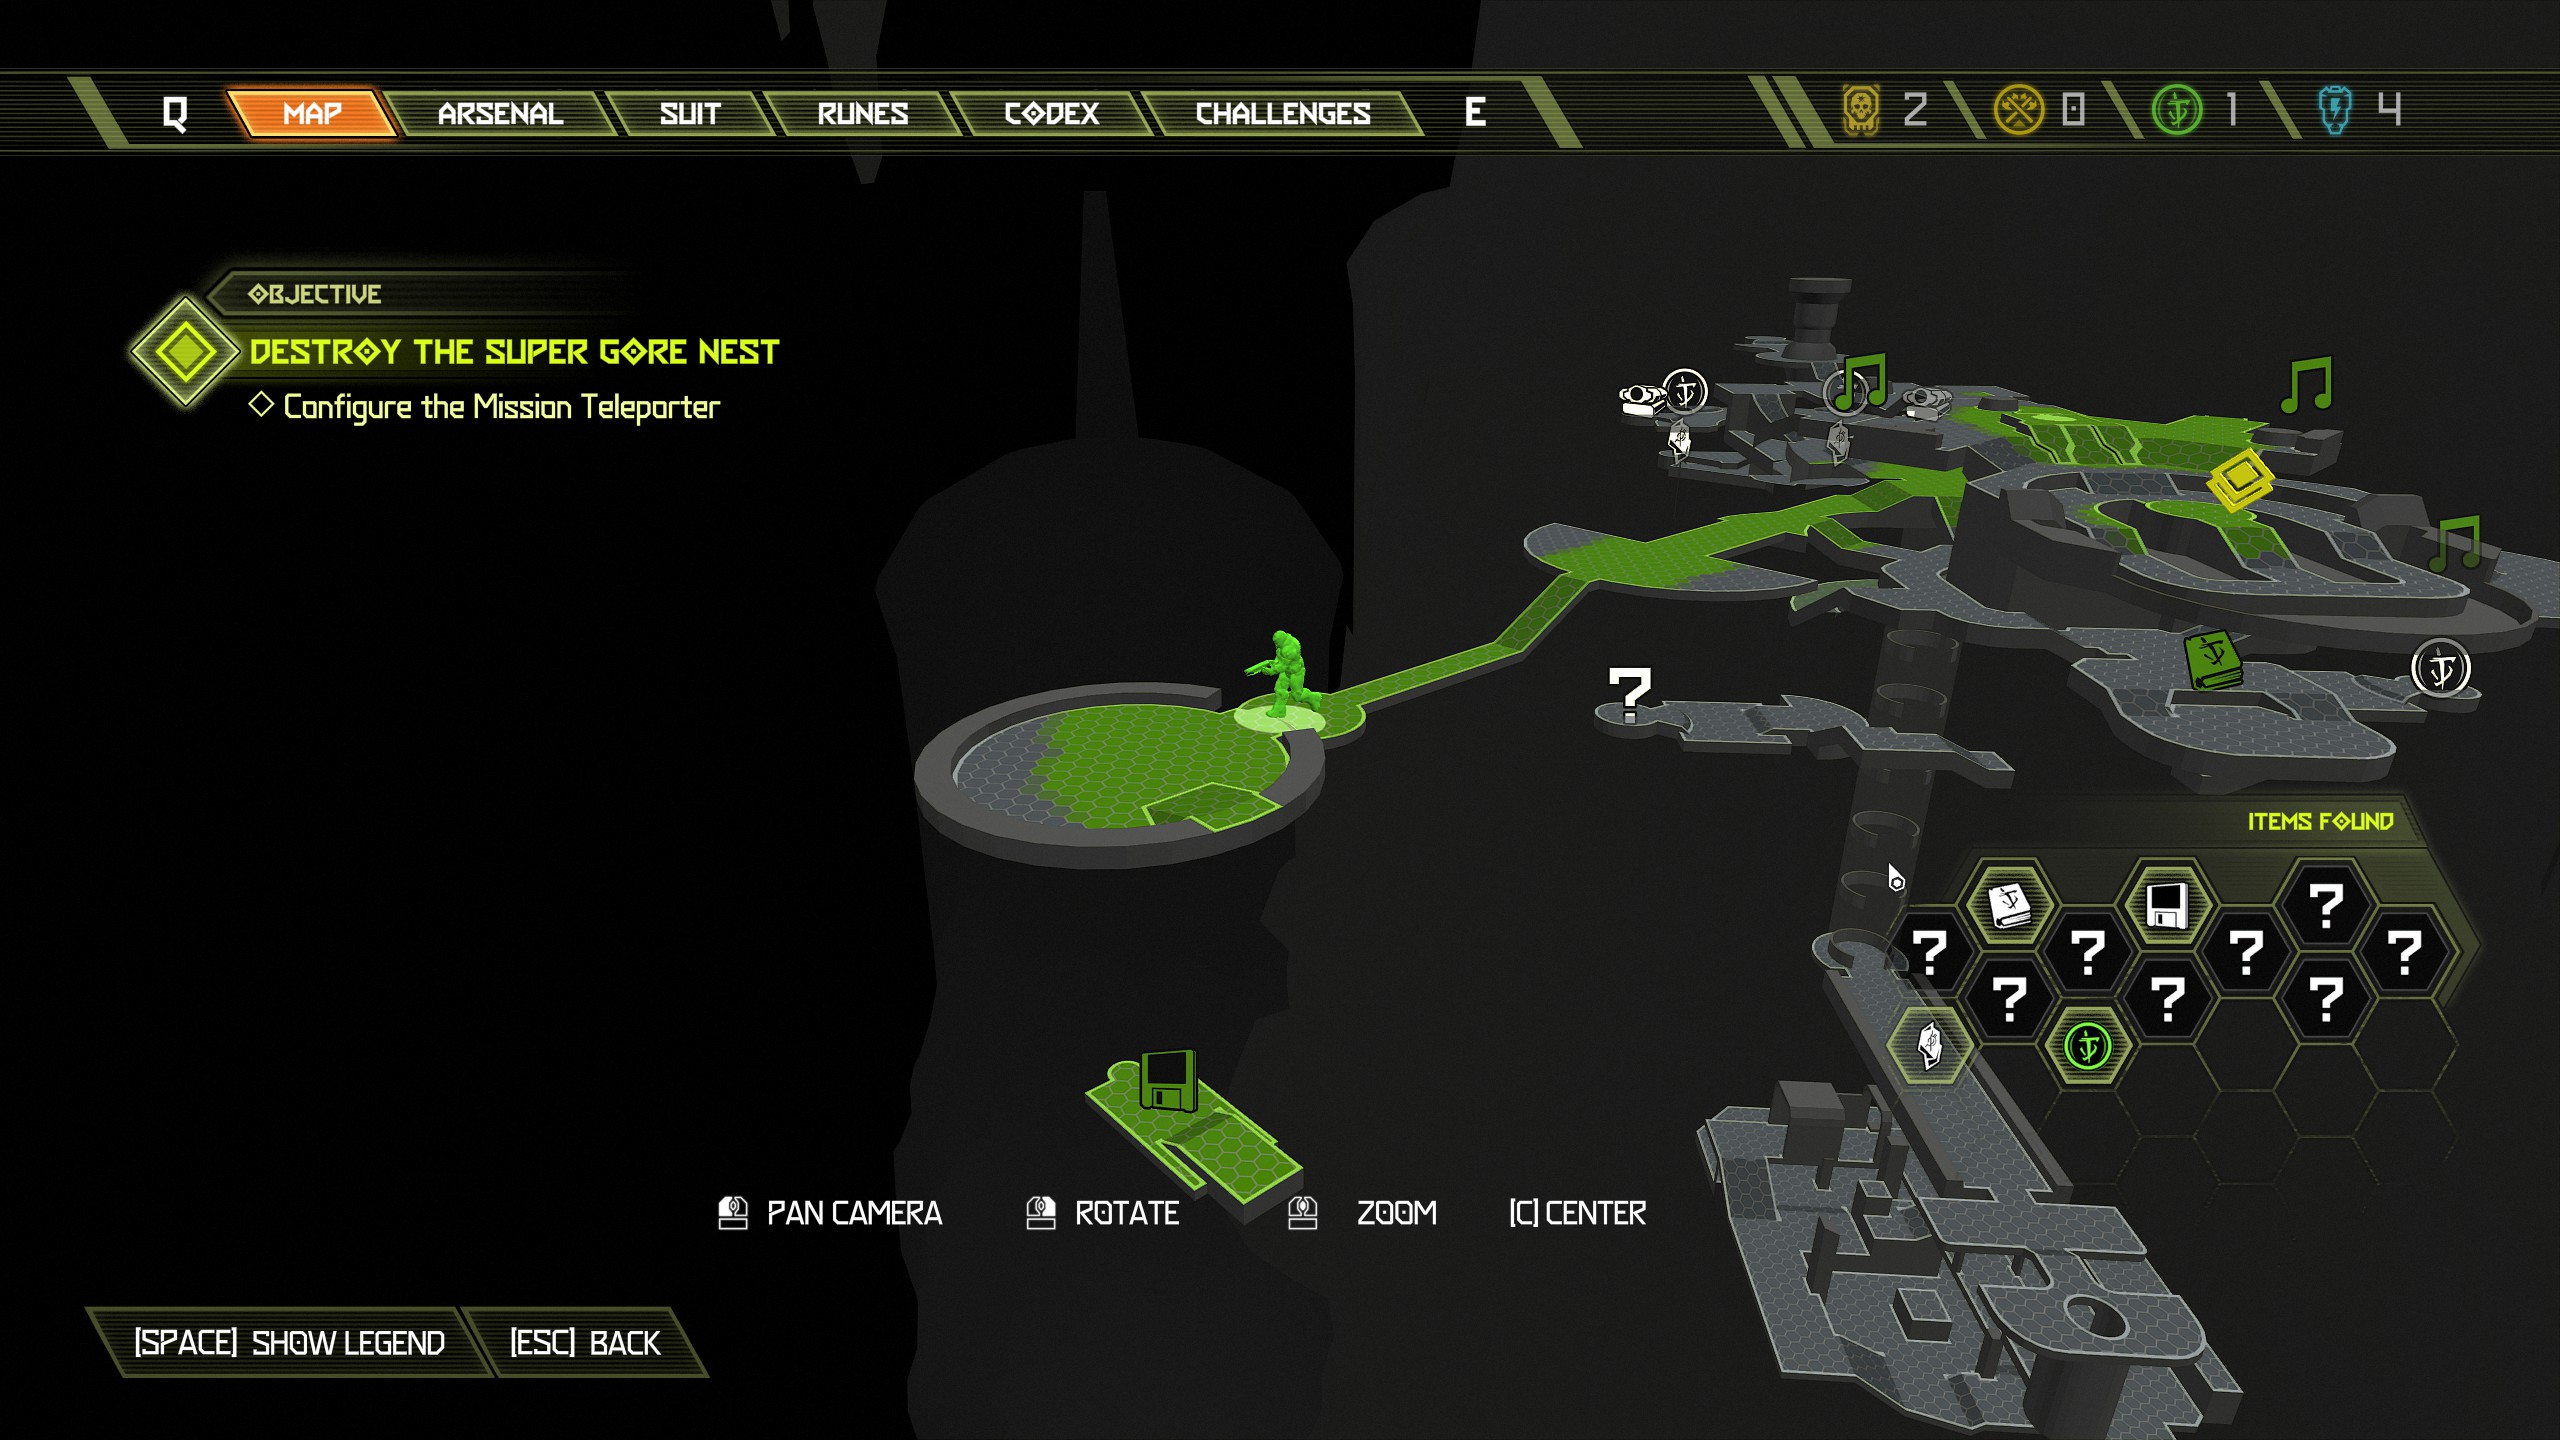
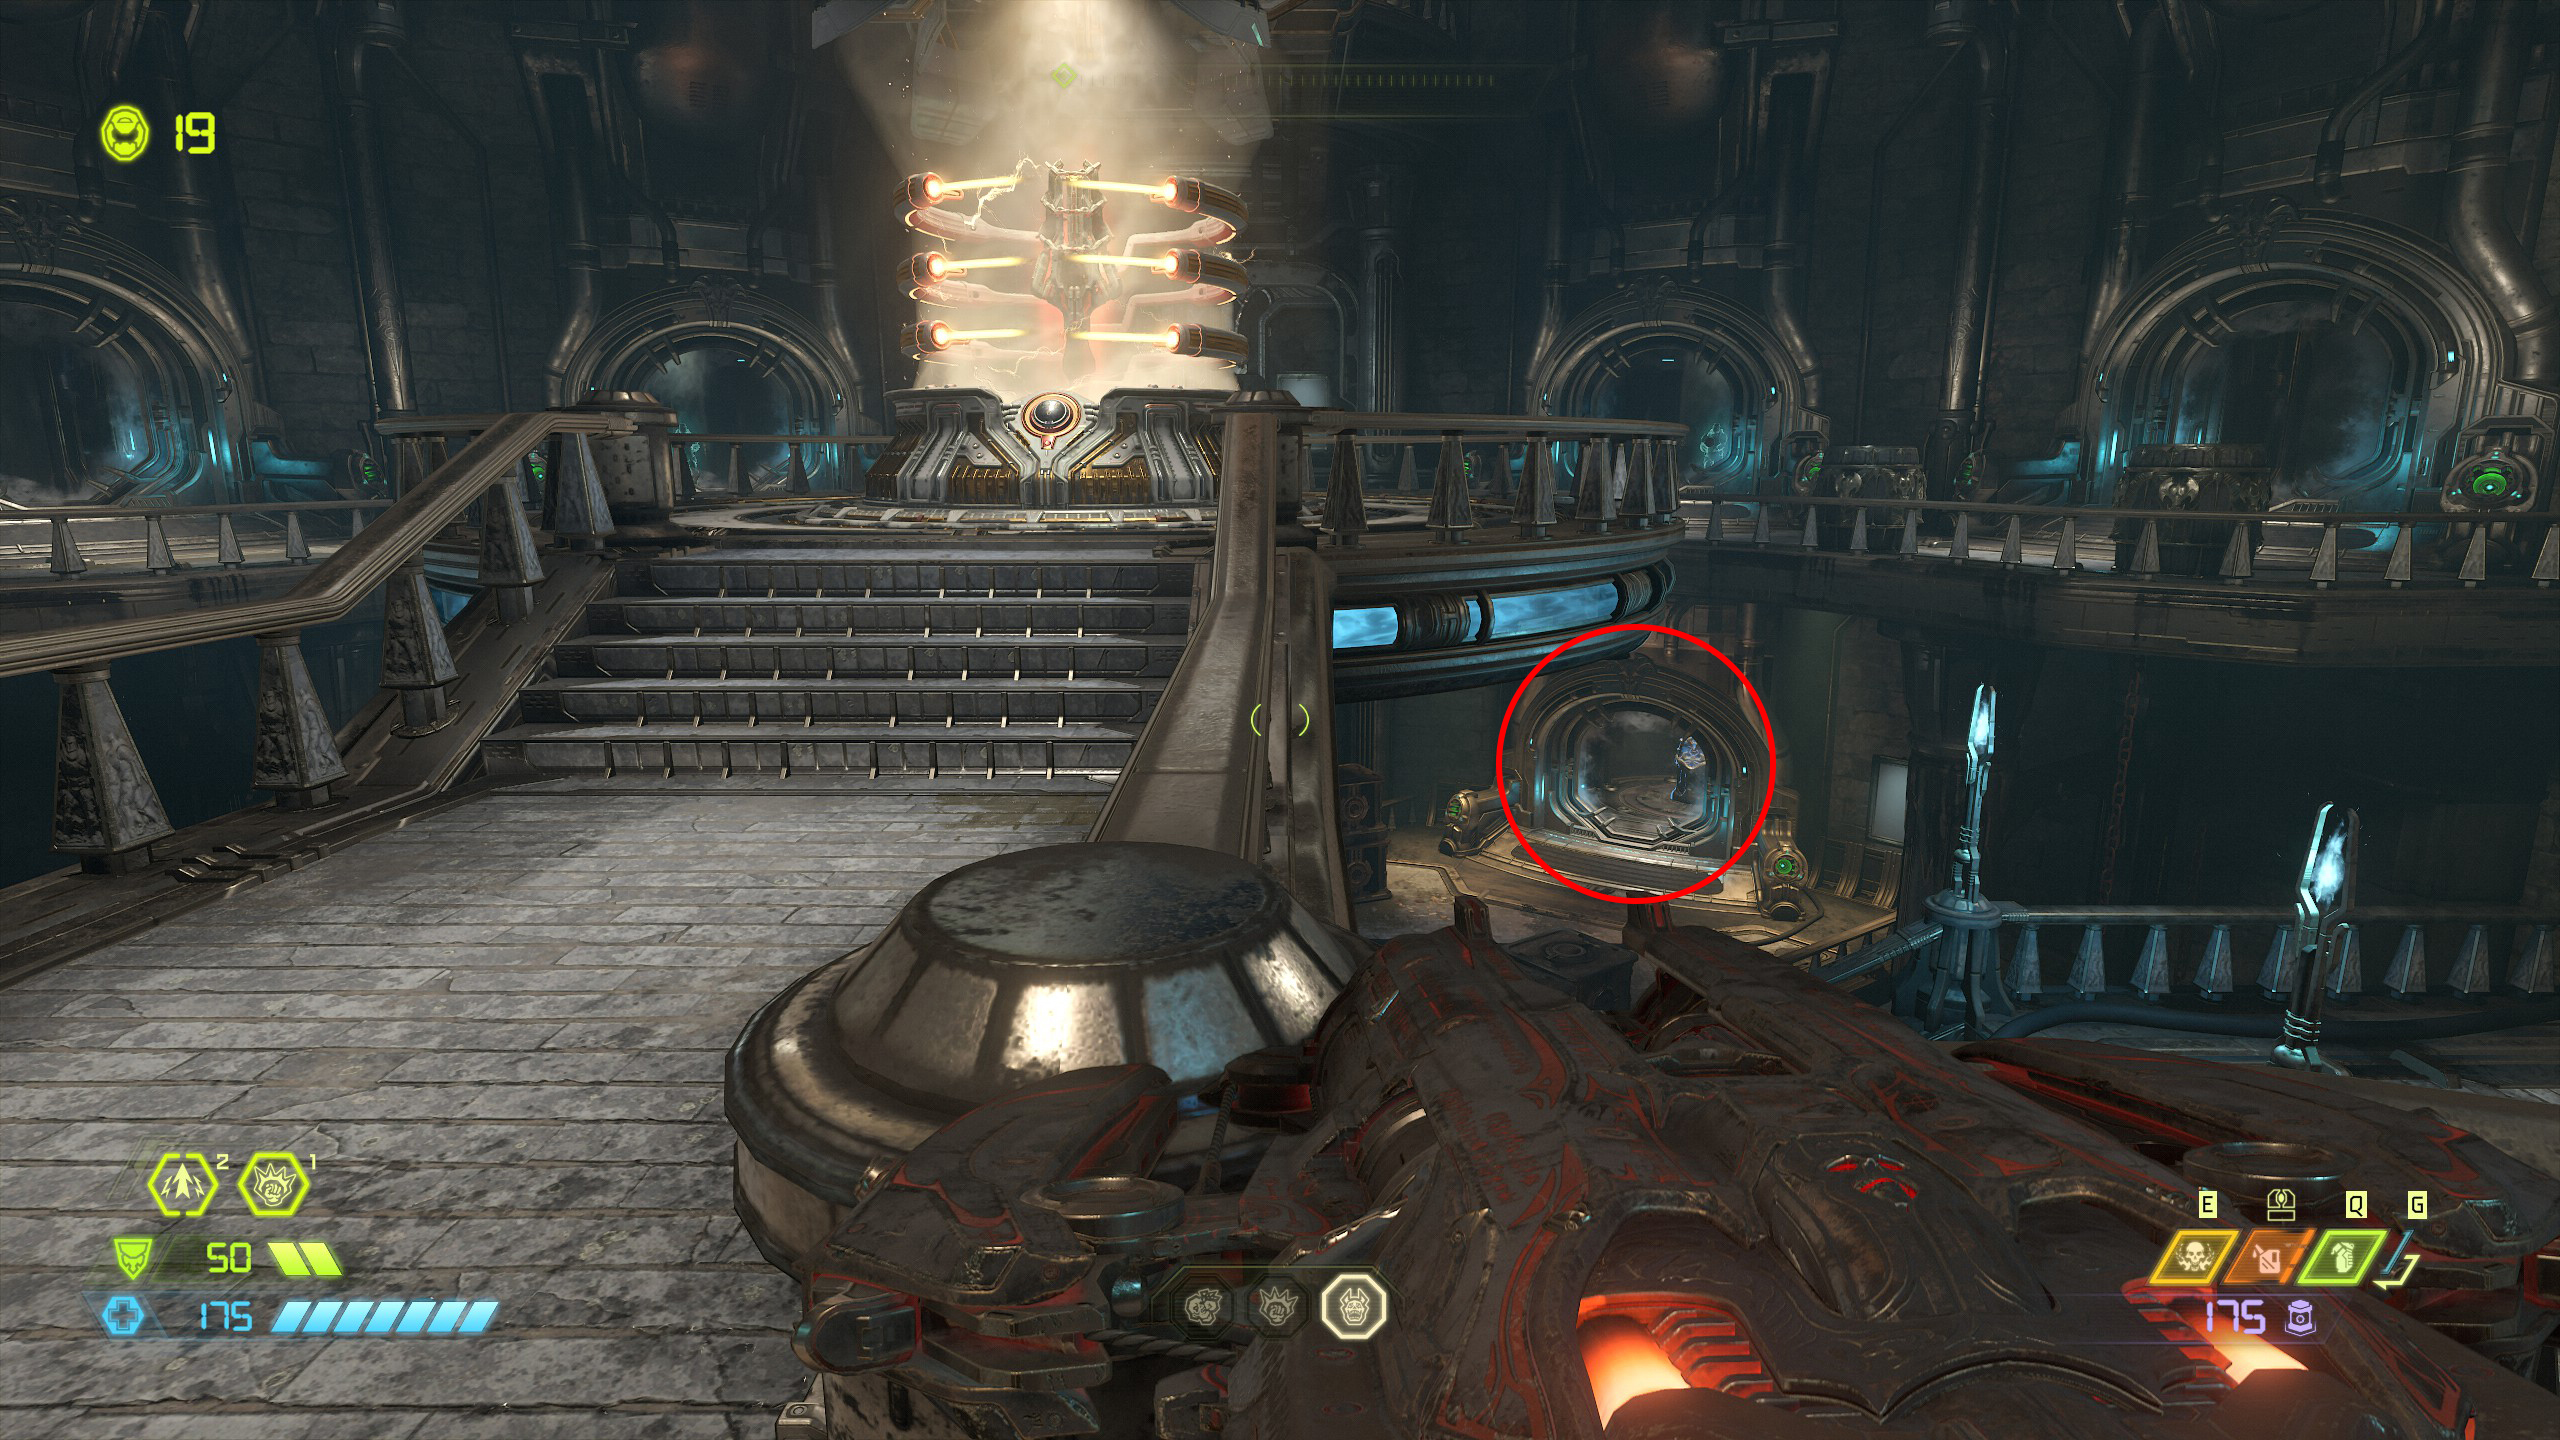
Continue to mission 5.
Mission 5: Super Gore Nest [Part 1]
NOTE: This mission is a bit of a maze but i will guide you as best i can. We will also need to bypass a few items and come back for them when we gain access, so don't worry about missing anything. And as there is so much to collect i have also had to split this mission guide into 3 parts, but this should be the only 3 part mission This mission contains:
- 3 Codex Pages
- 3 Doomtoys
- 2 Weapon Mods
- 4 Extra Lives
- 1 Secret
- 5 Praetor Suit Tokens
- 2 Secret Encounters
- 2 Runes
- 1 Cheat Code
- 1 Sentinel Crystal
- 3 Sentinel Batteries
- 1 Automap
- 2 Albums
- 1 Slayer Gate Key
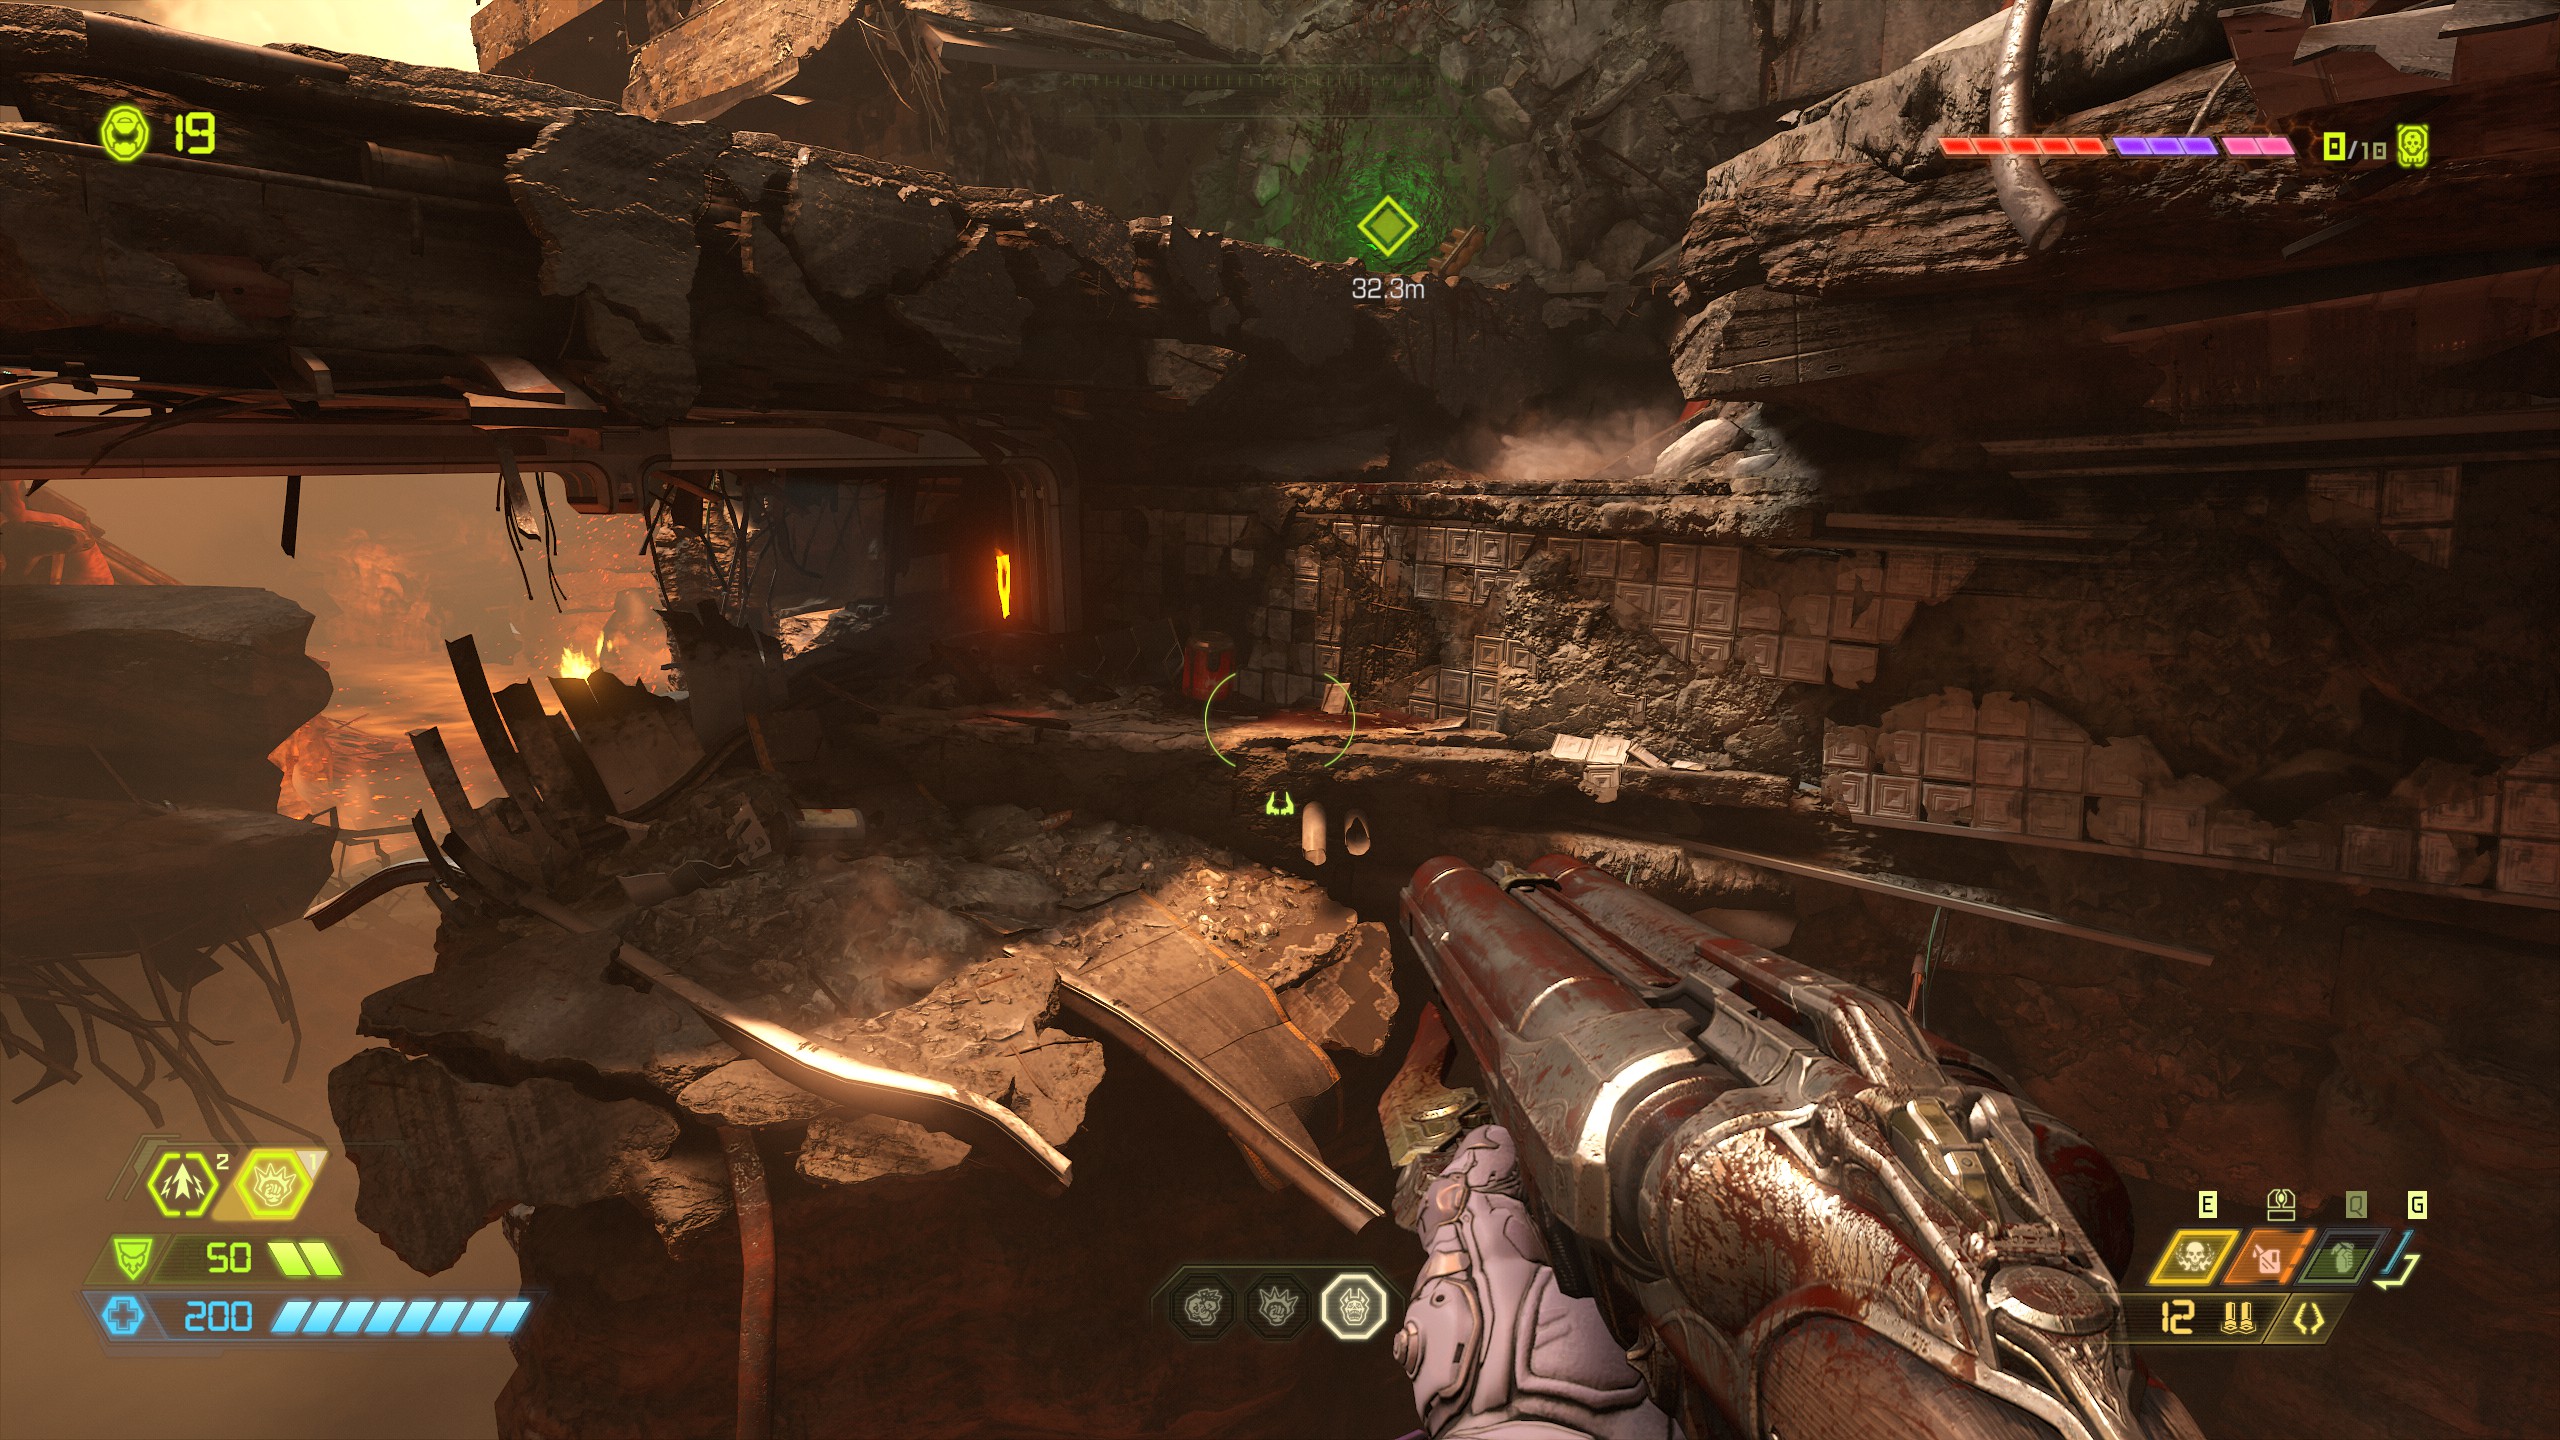
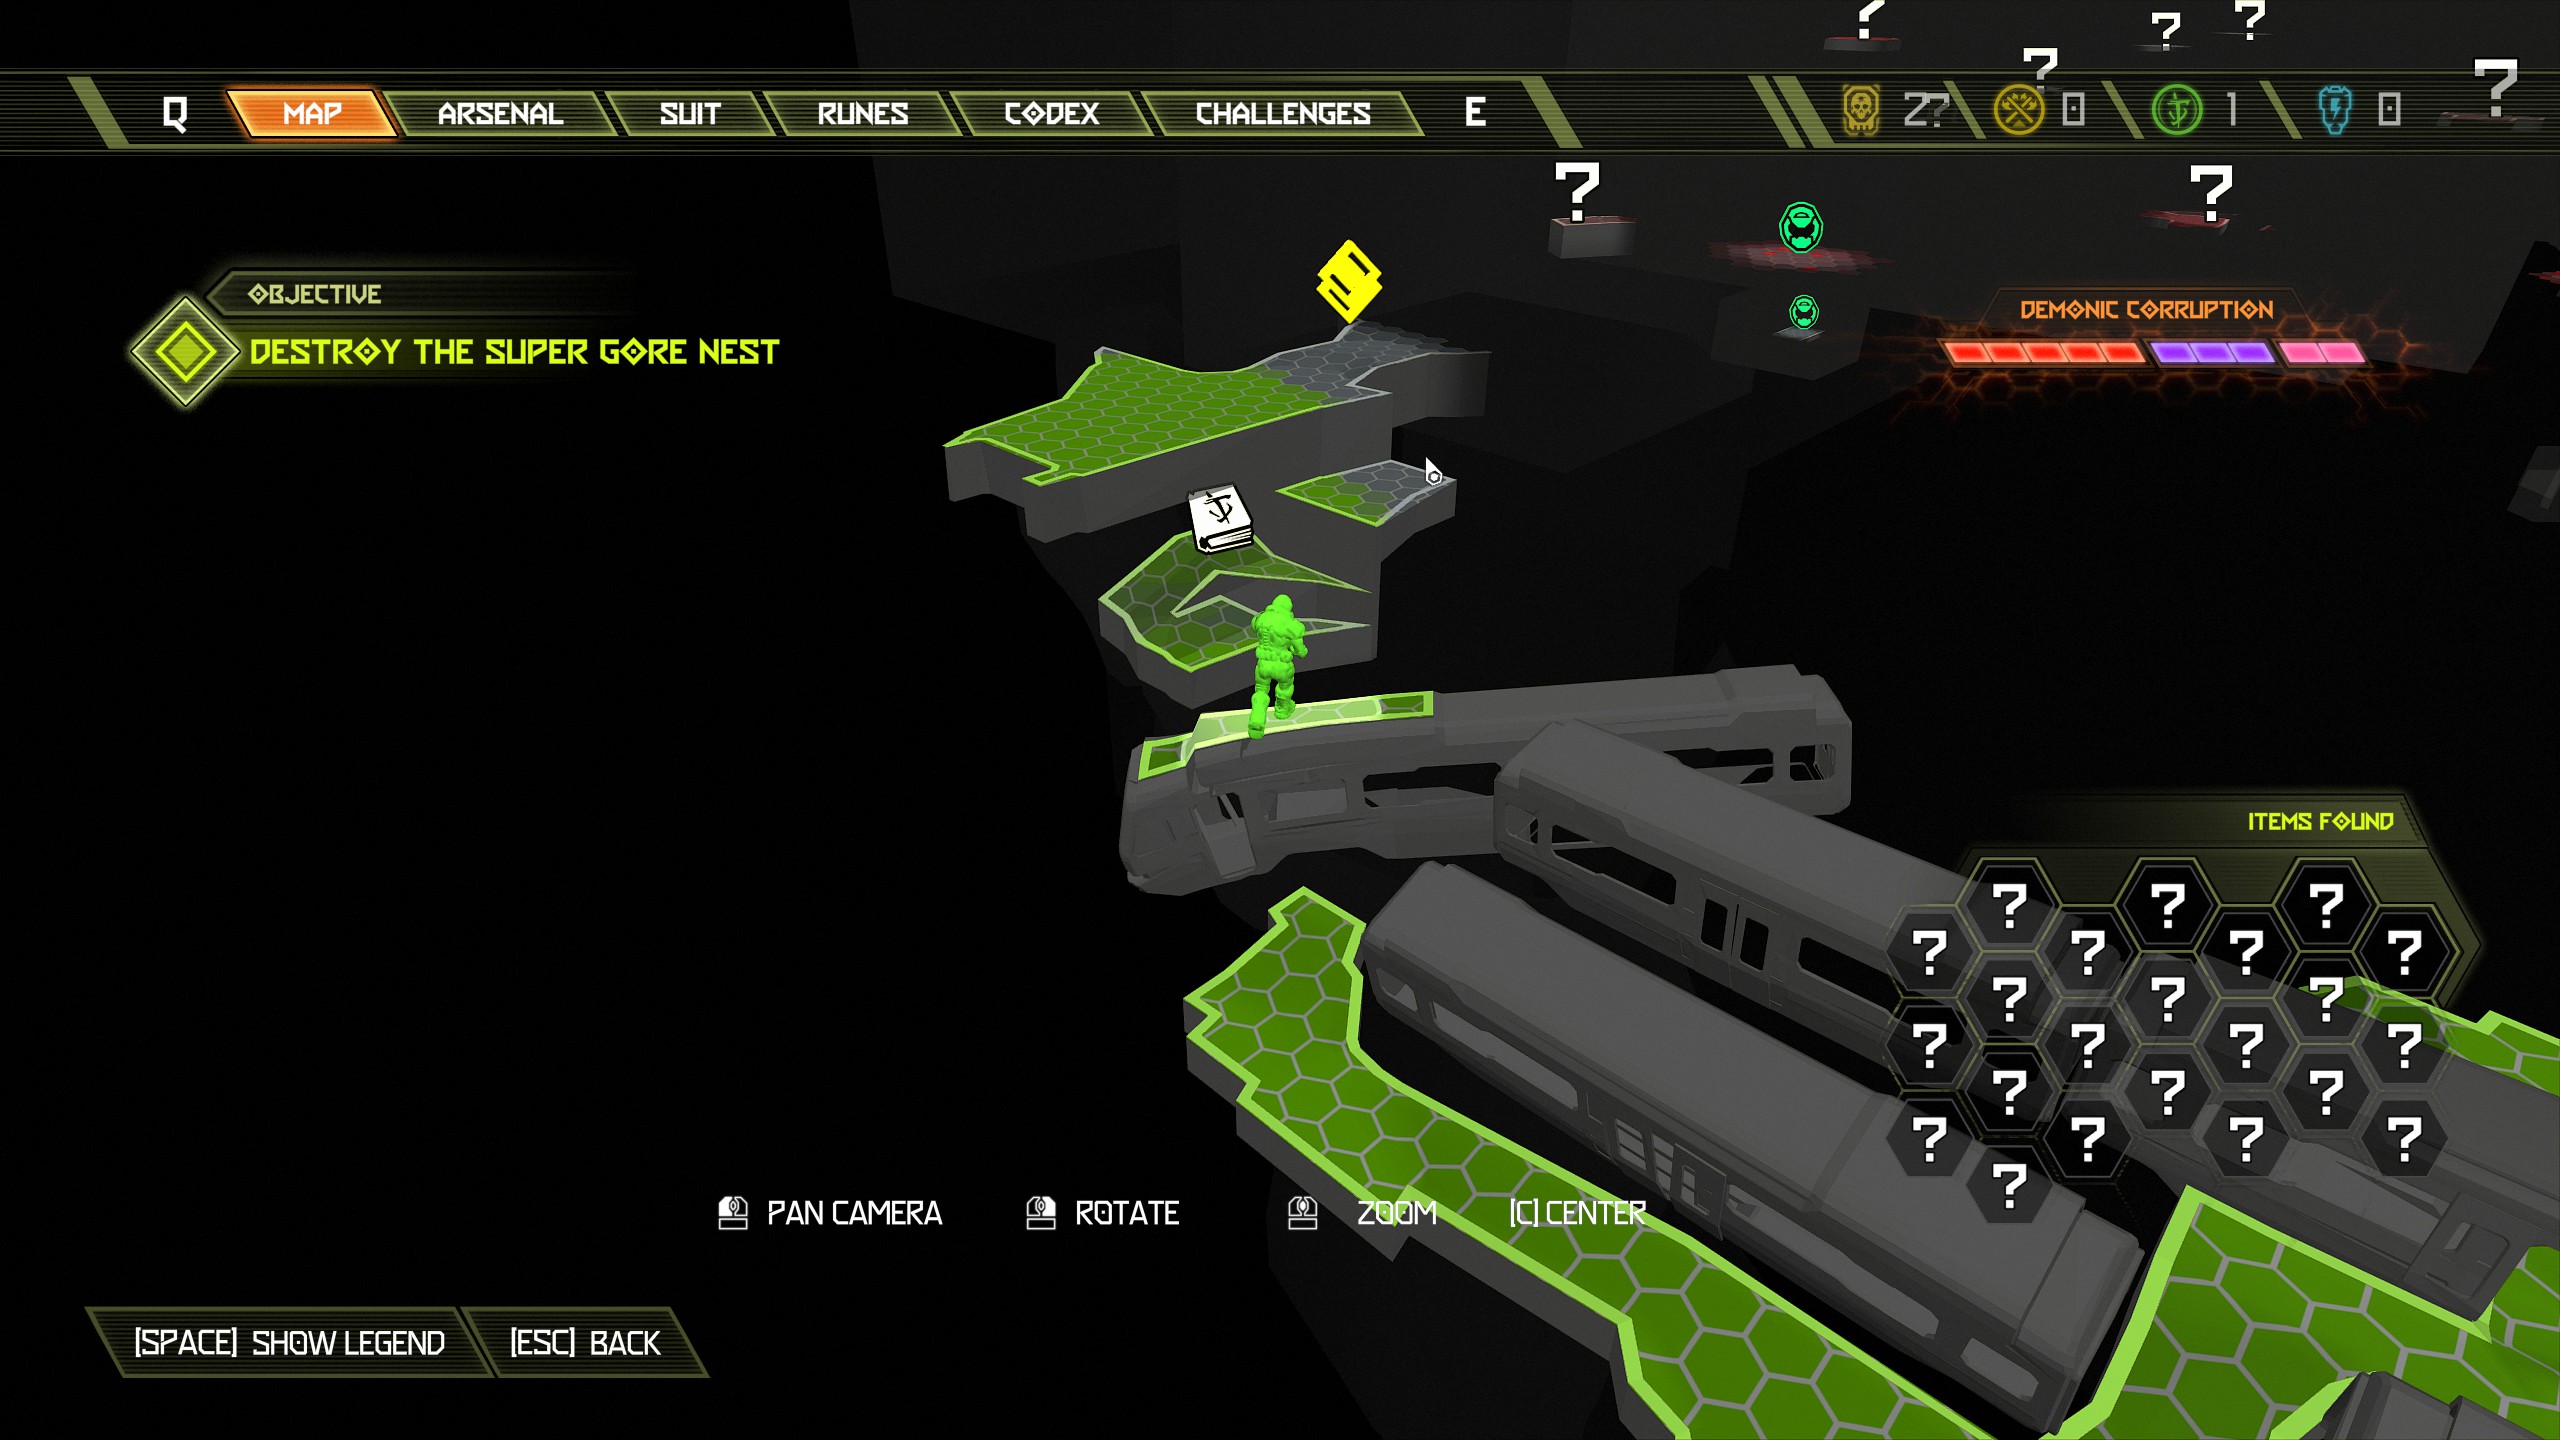
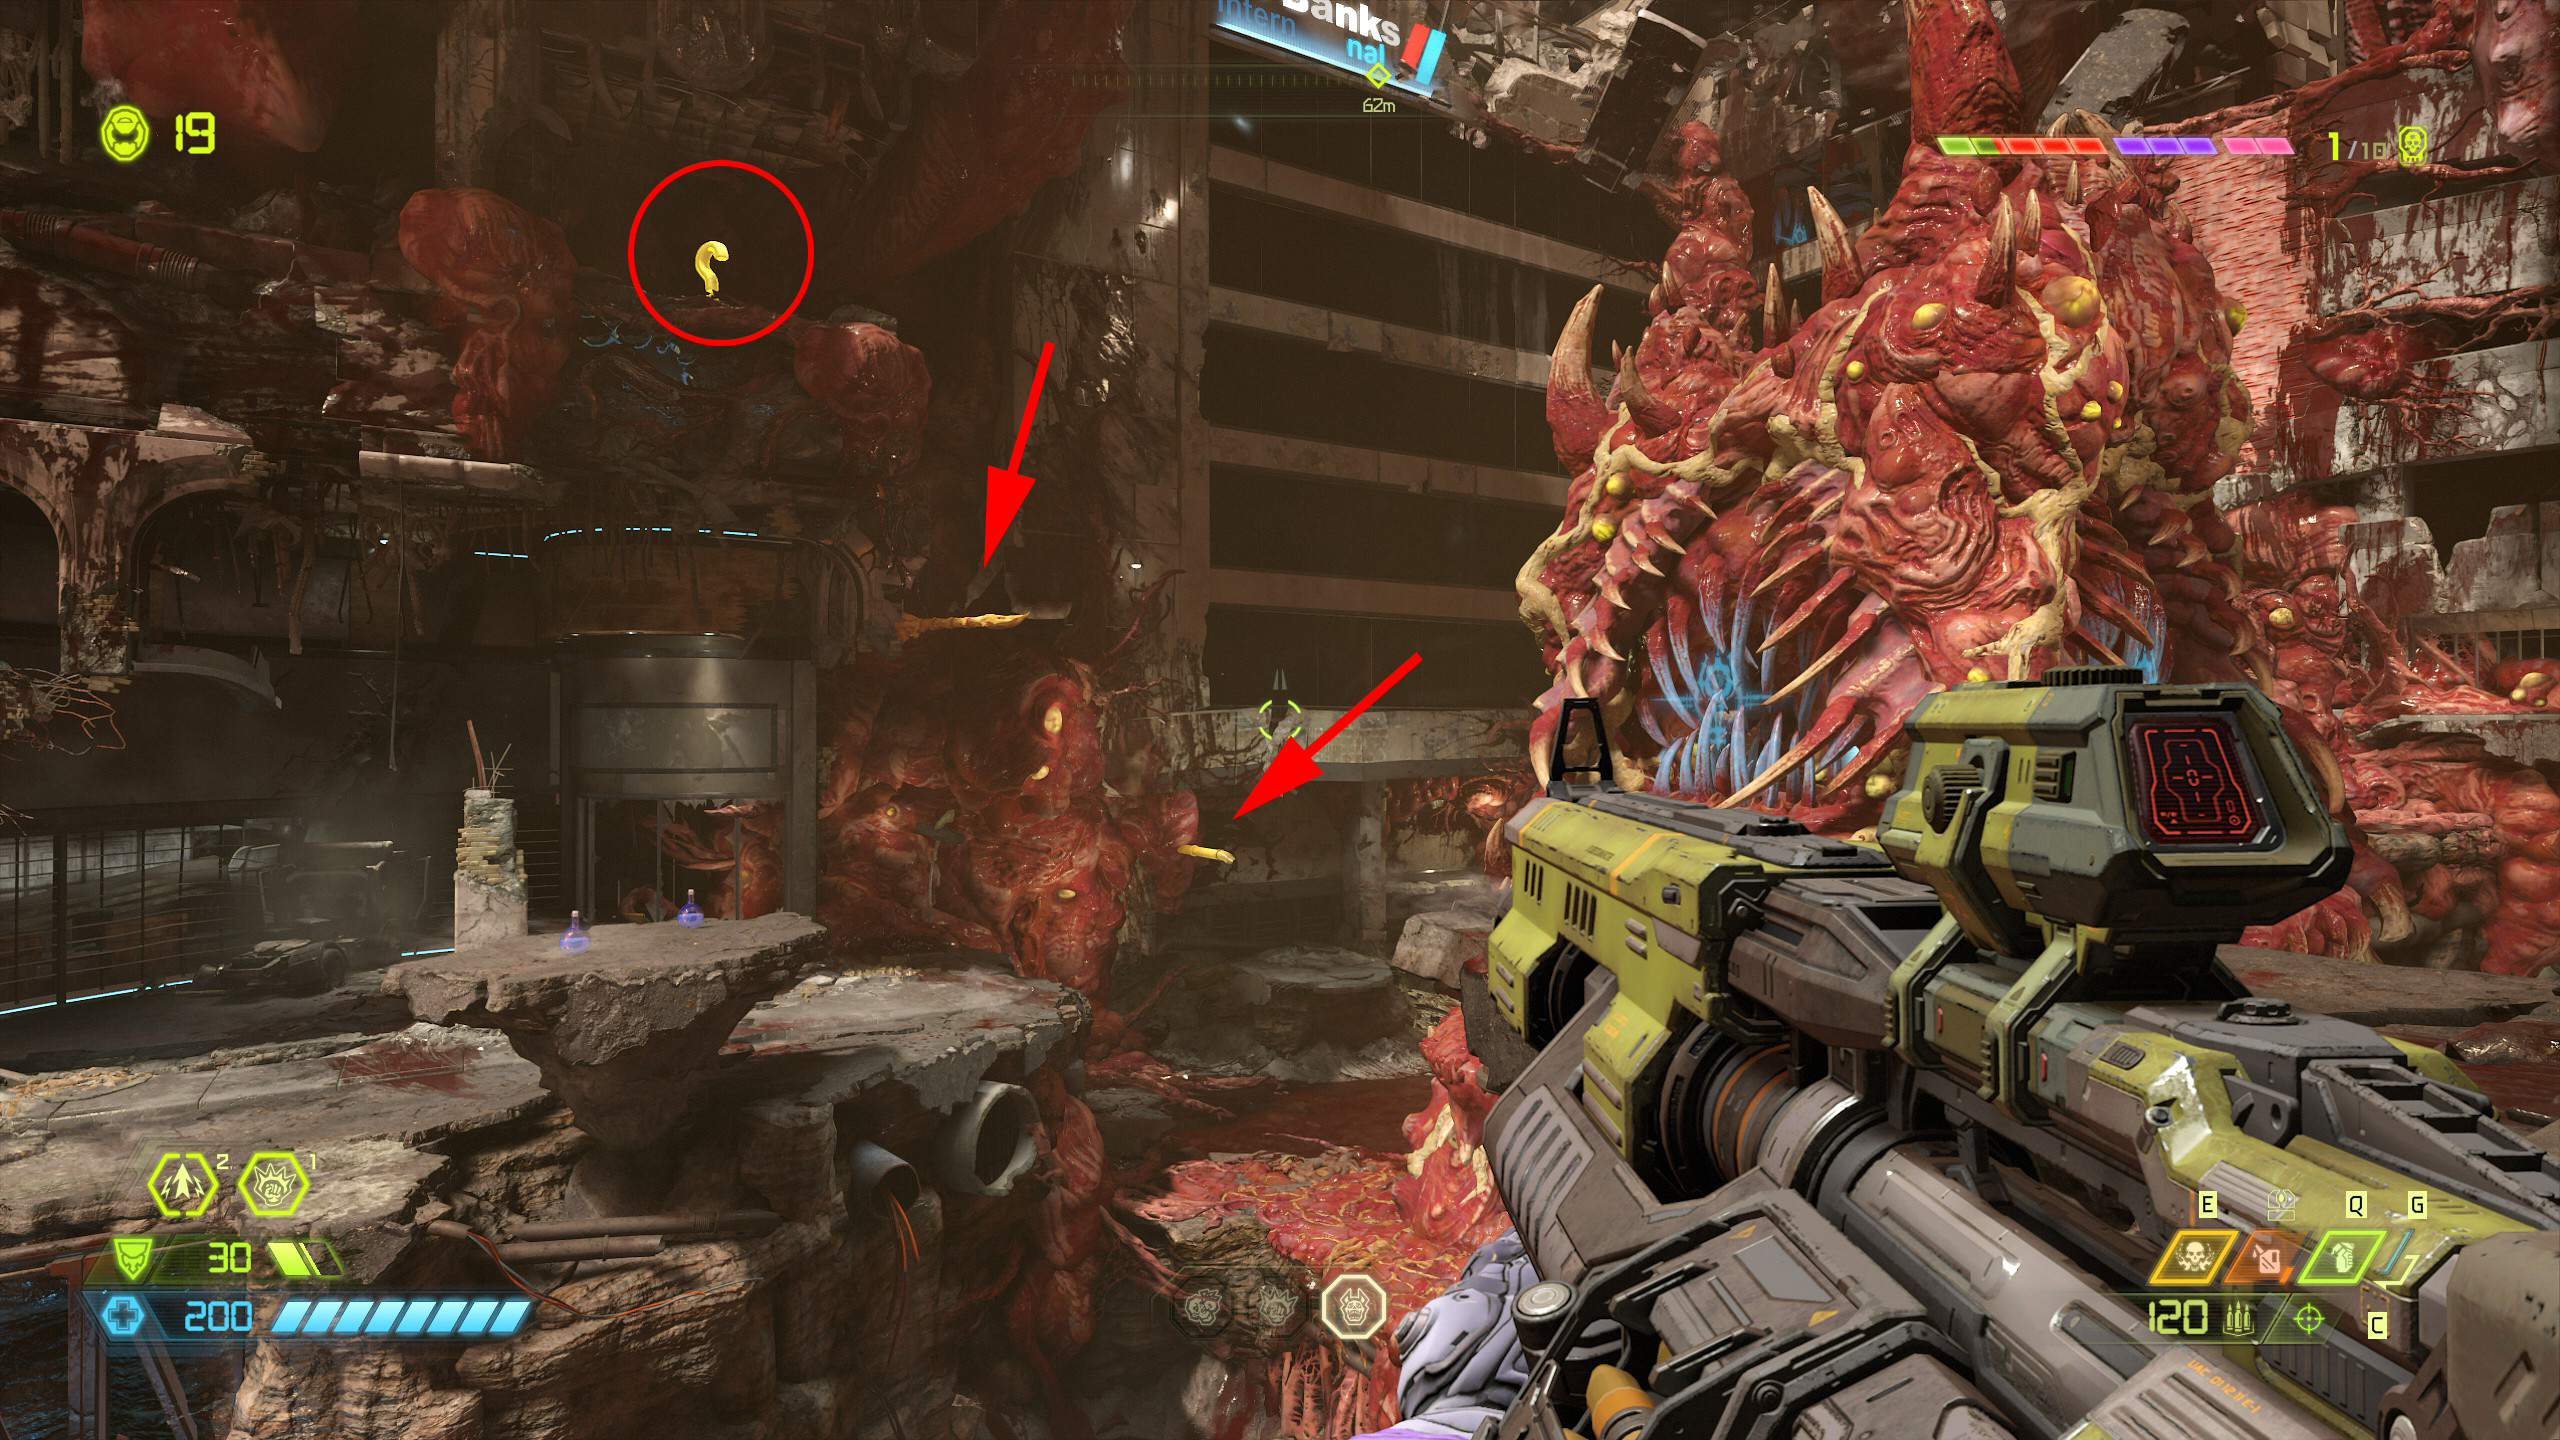
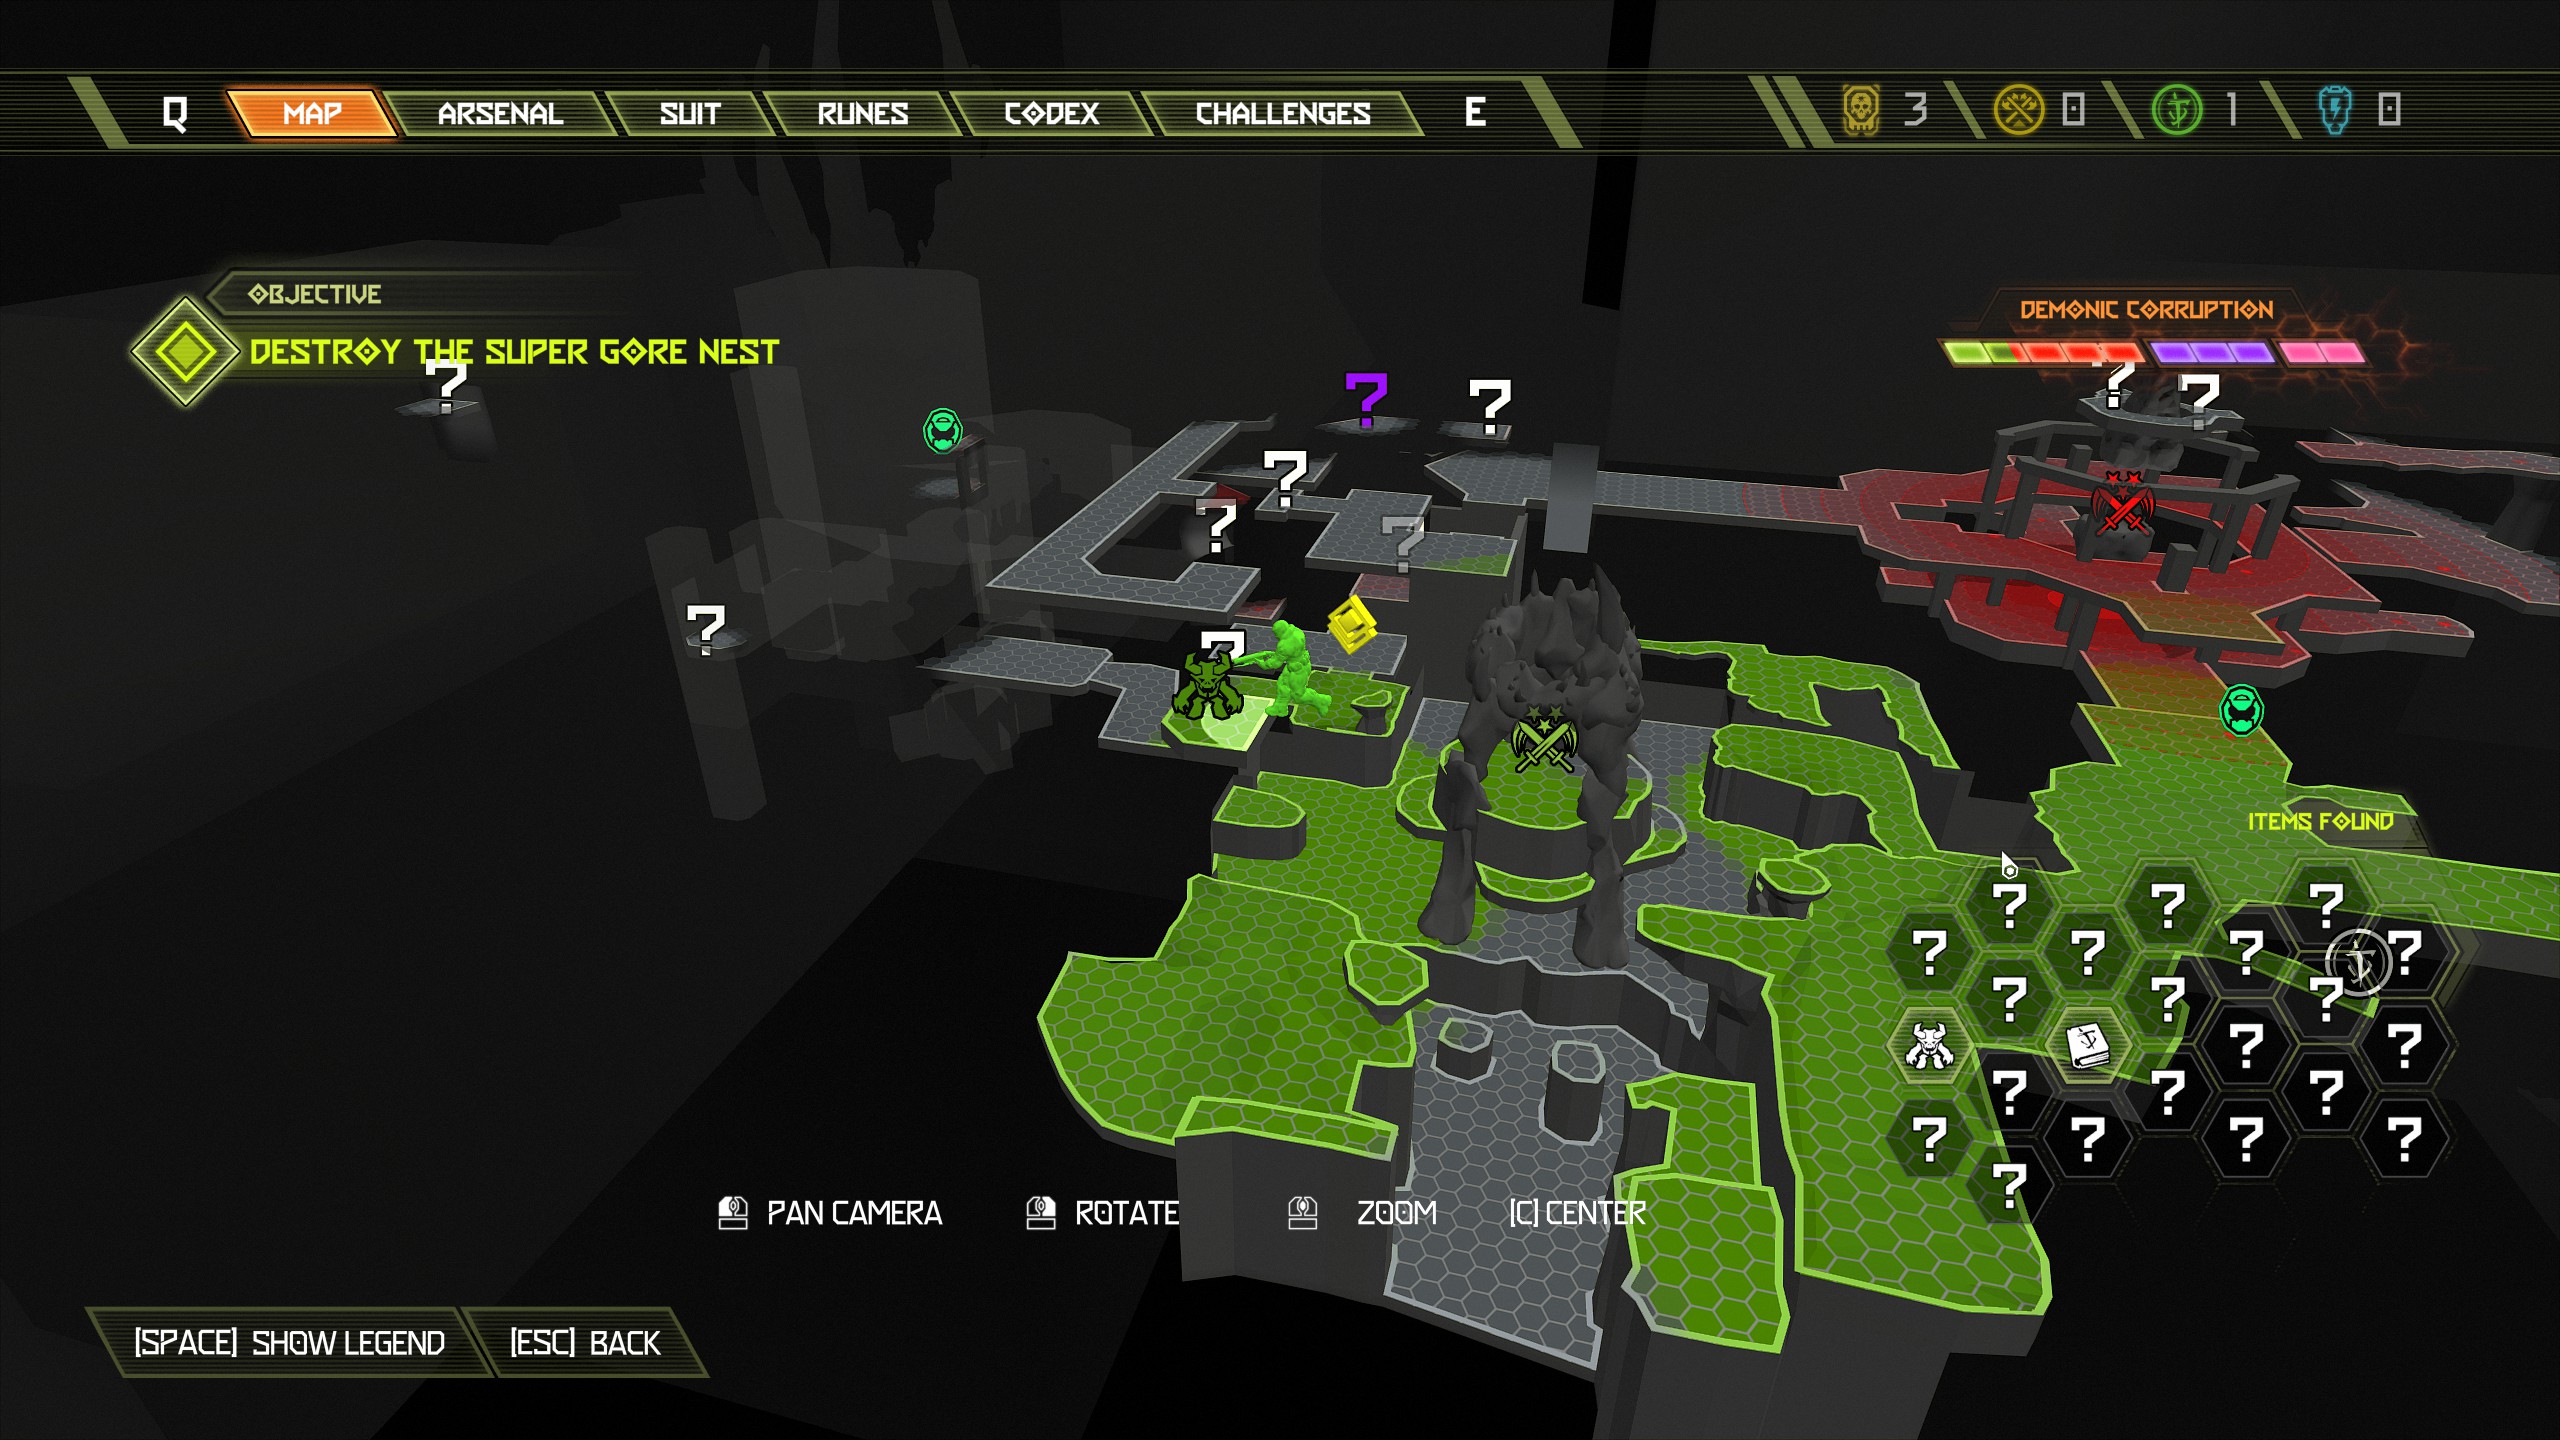
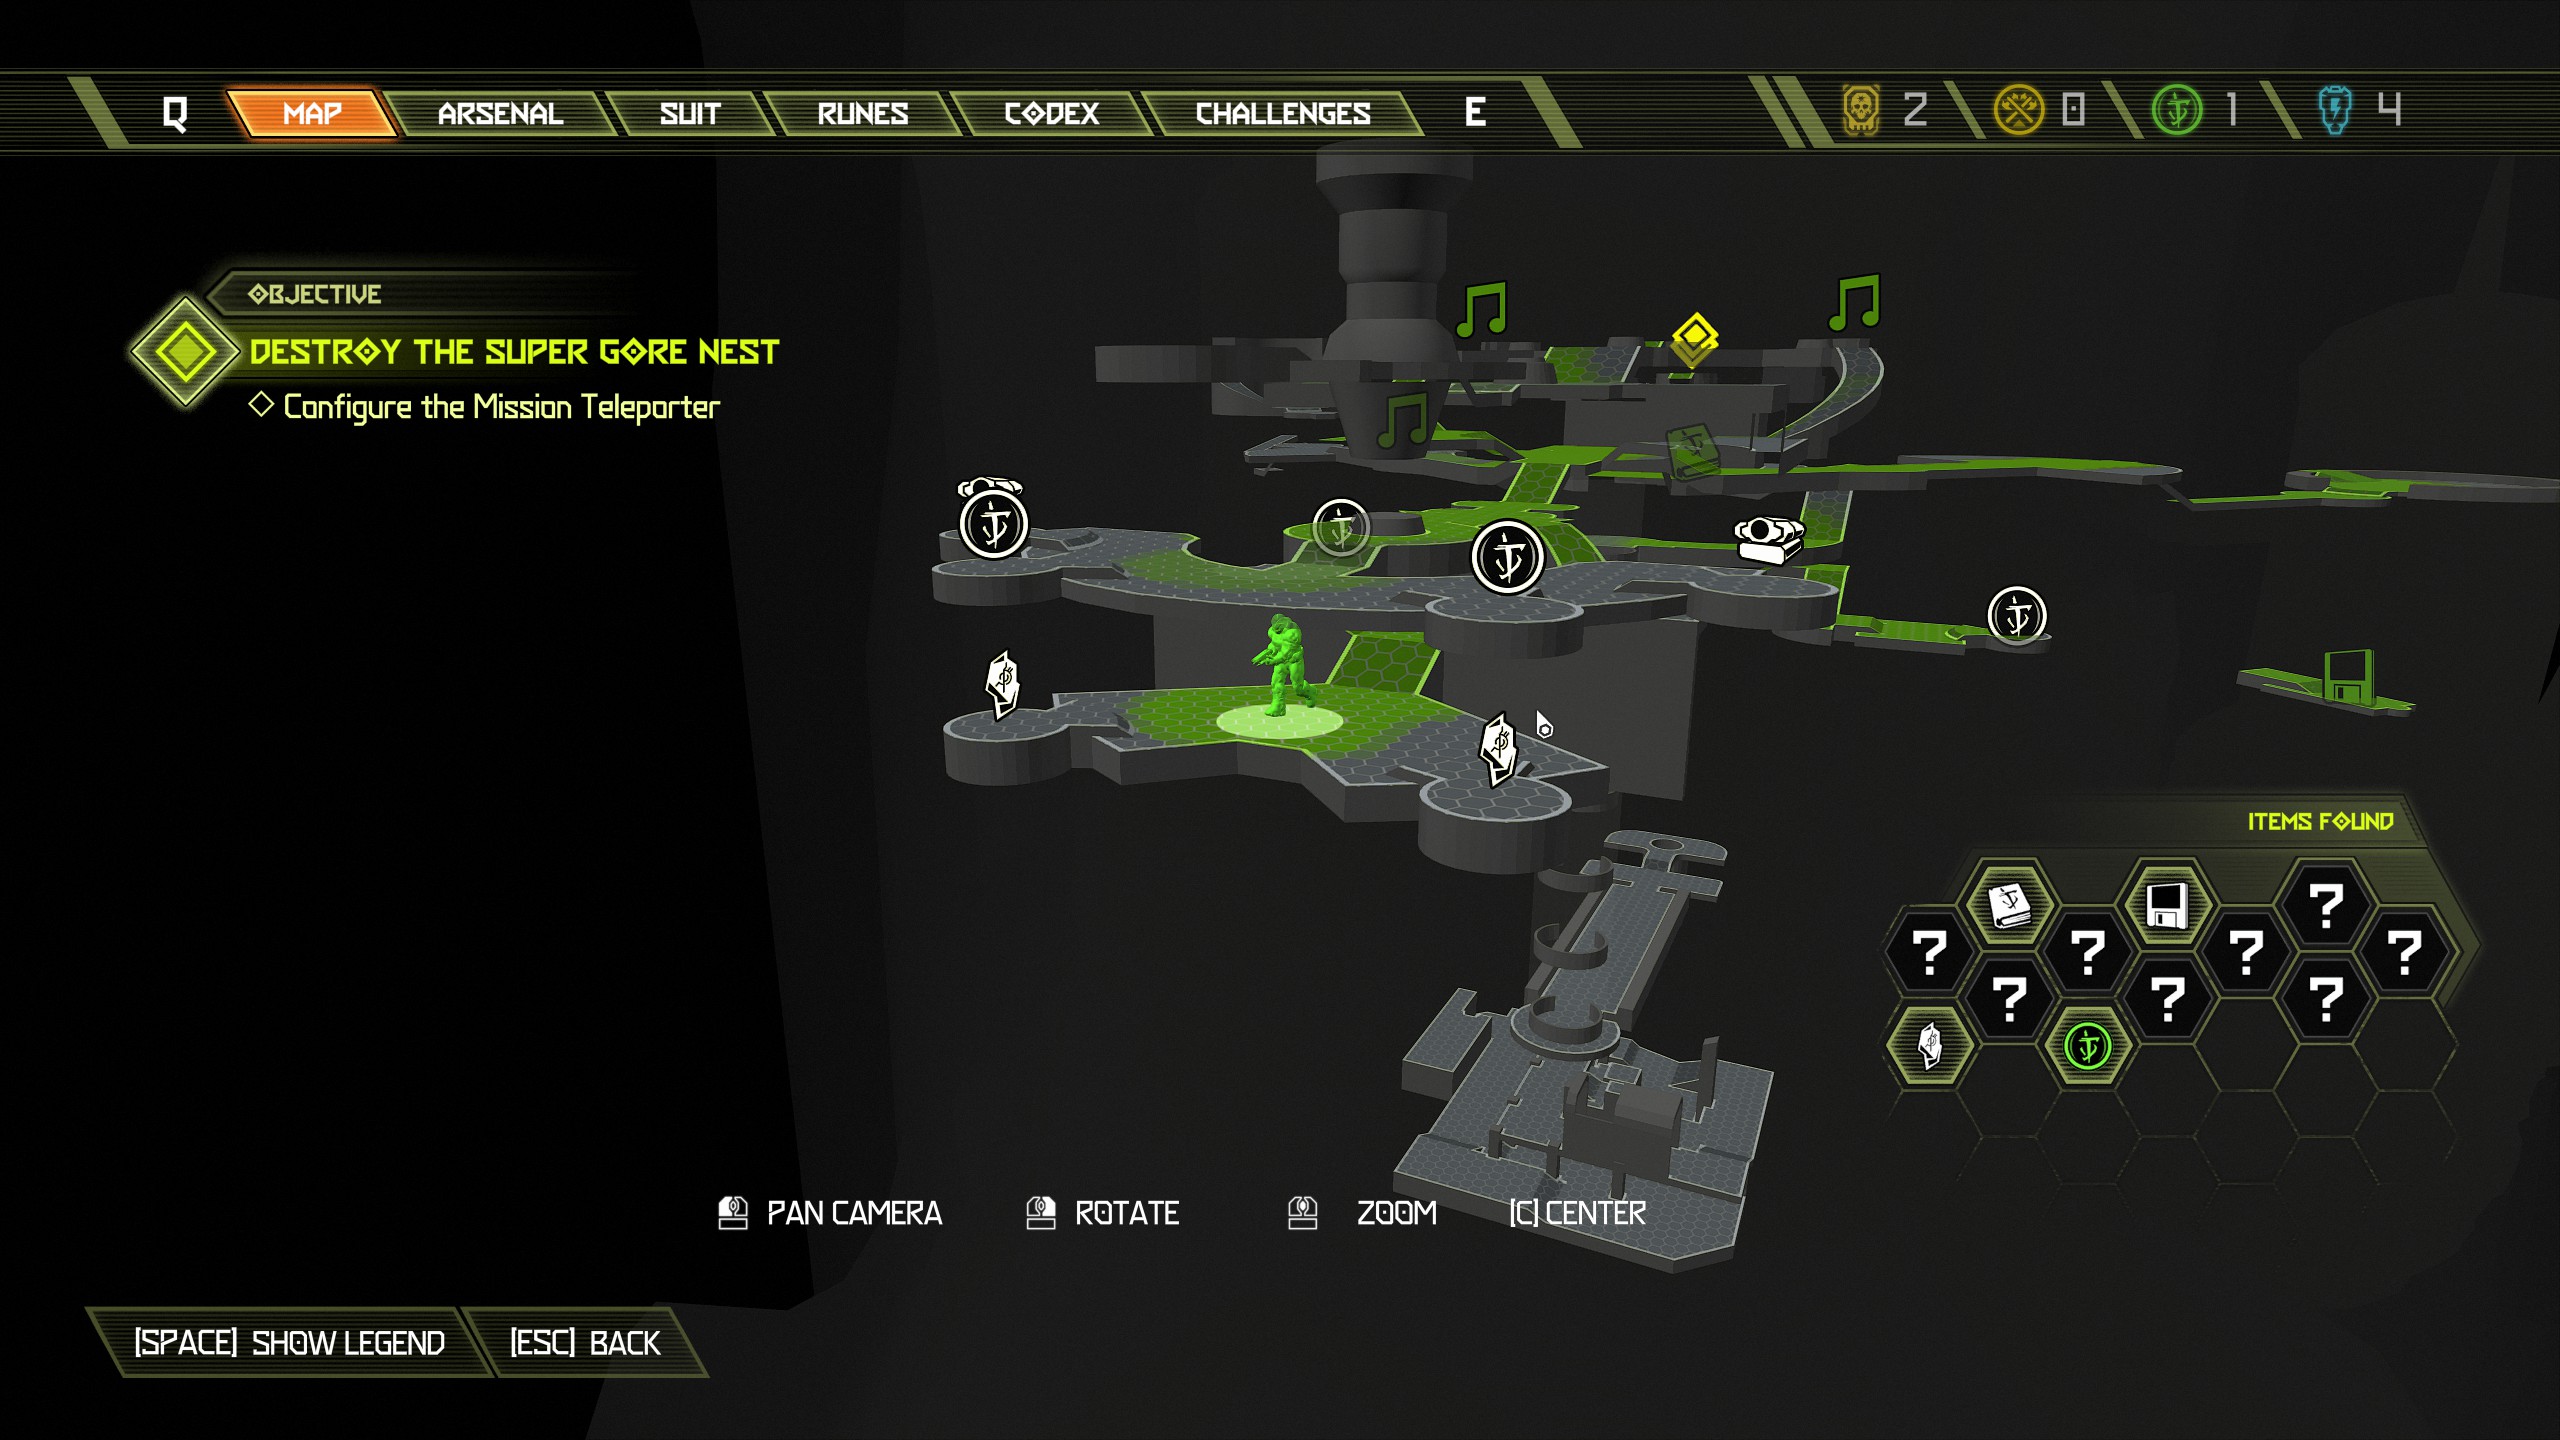
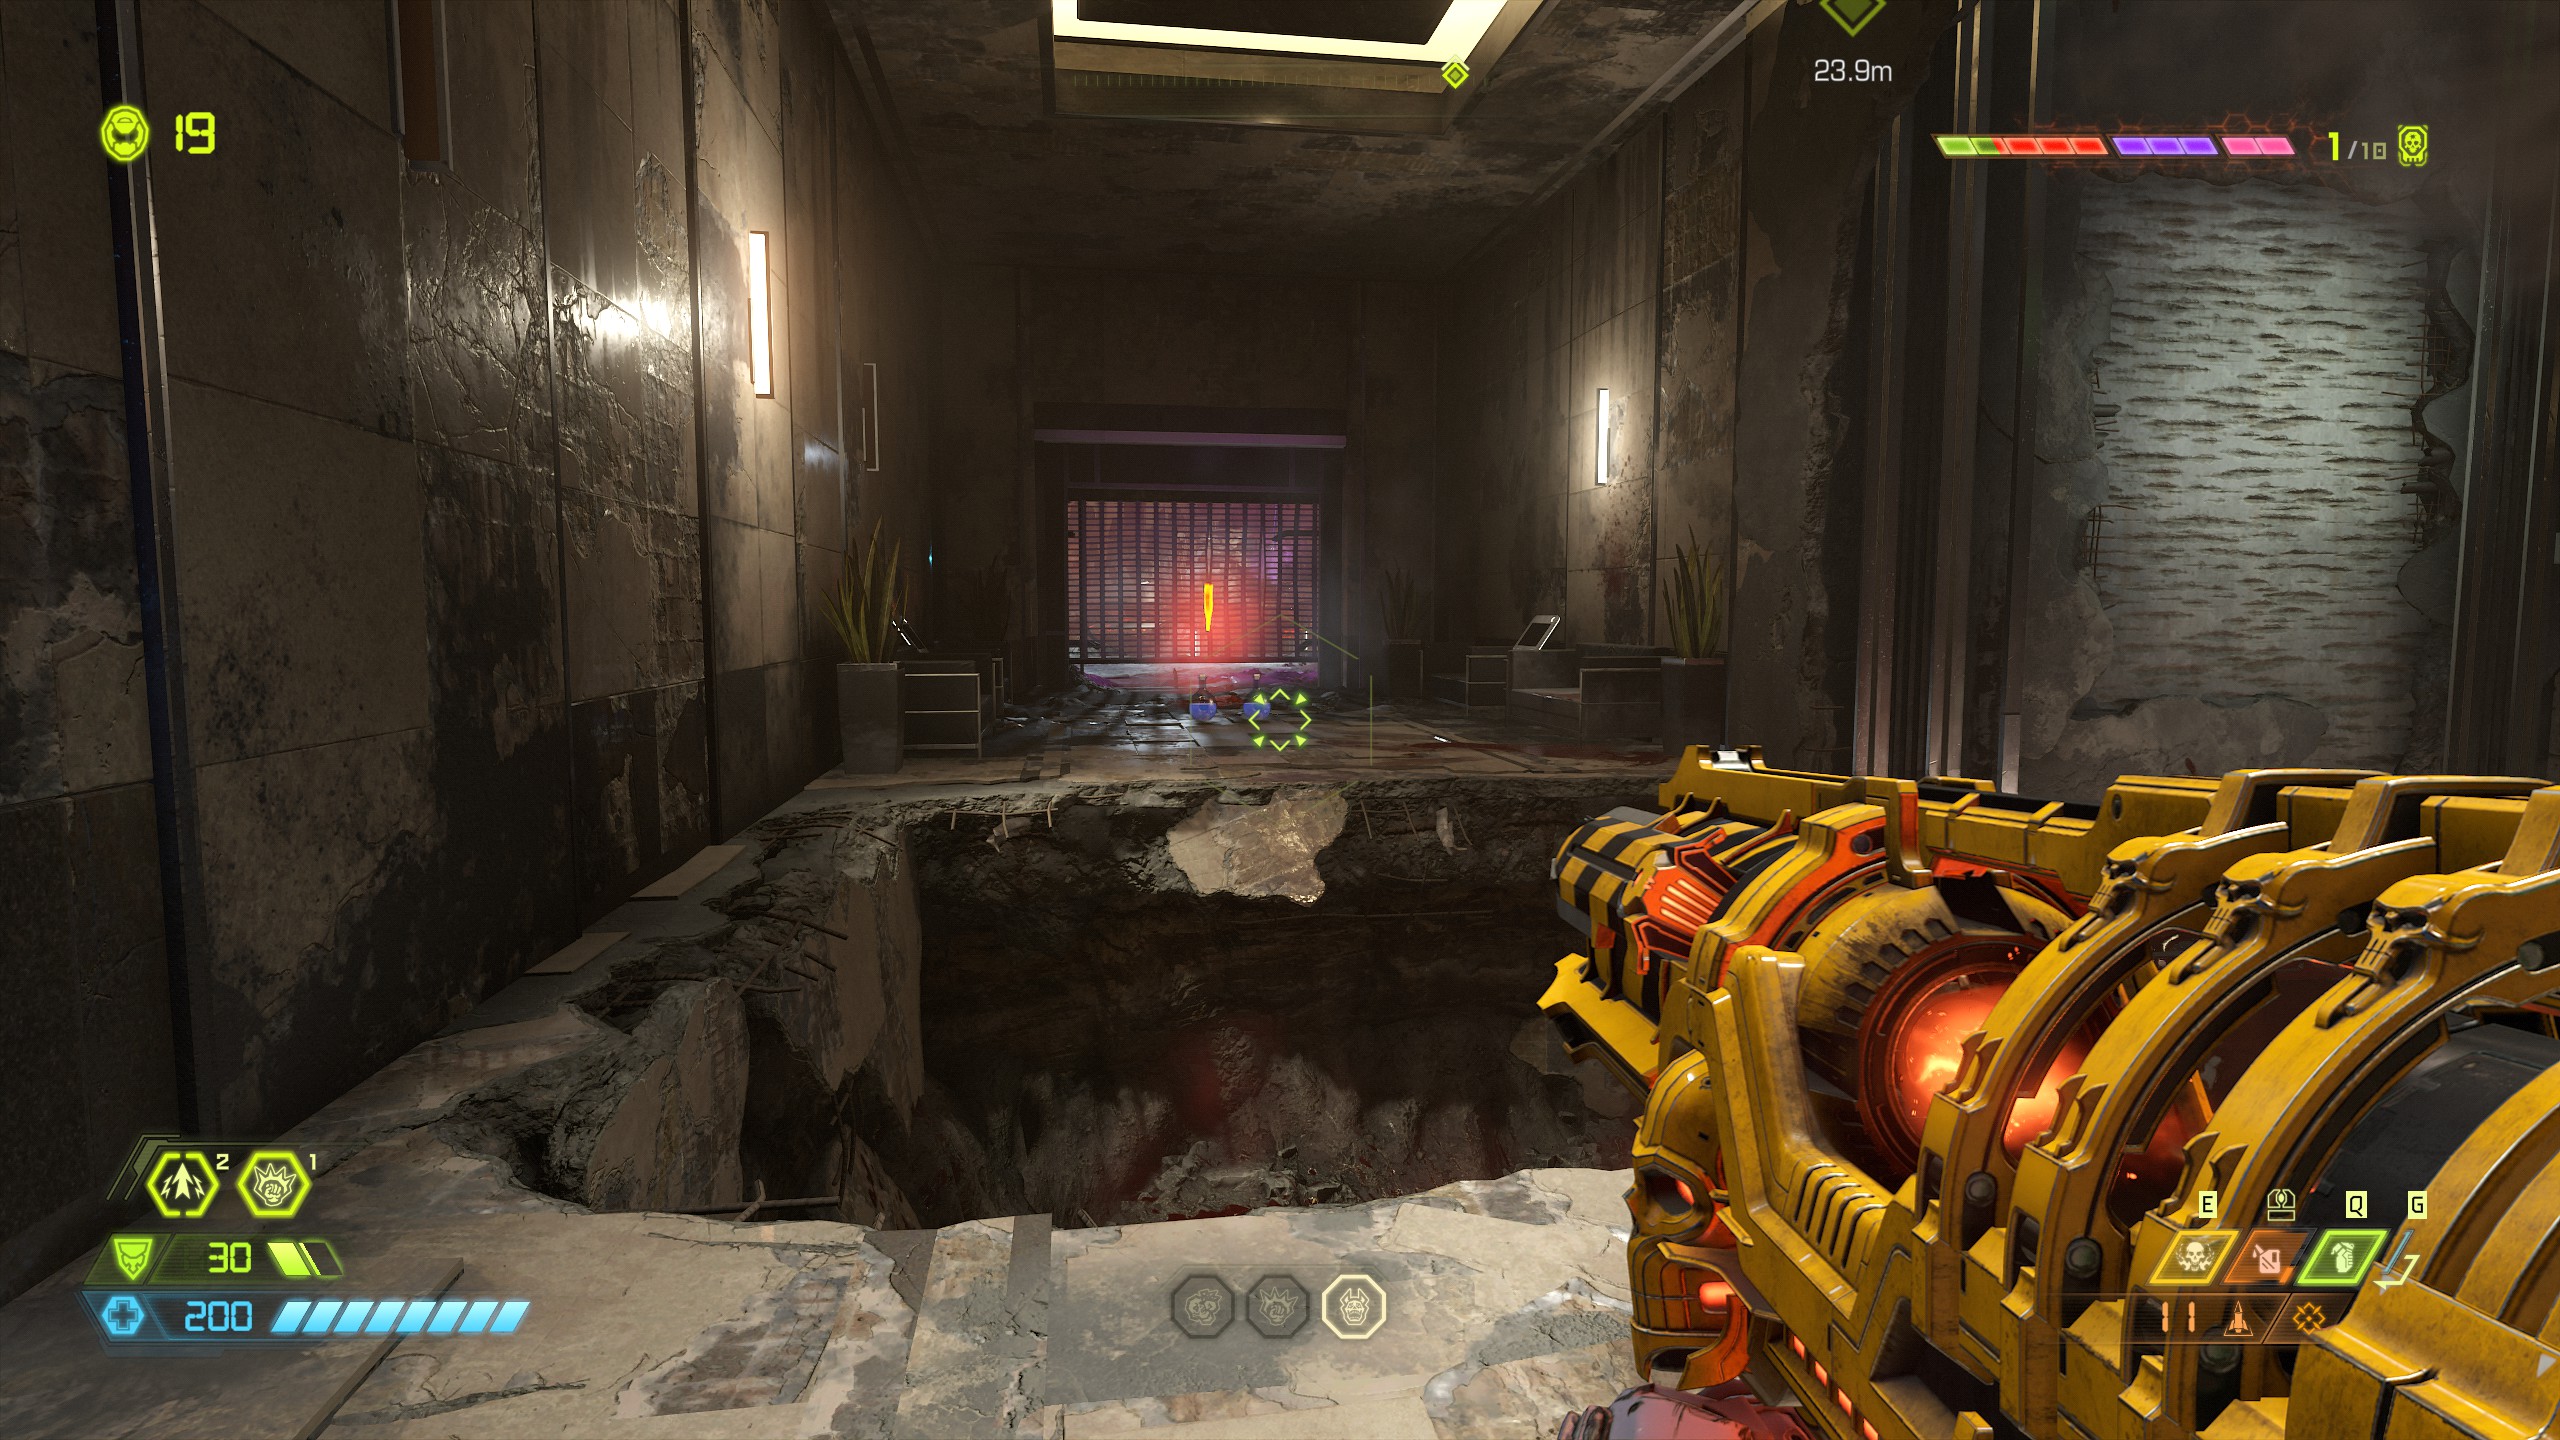
Continue into the building where the mission marker shows and straight in front of you as you enter will be a codex page.
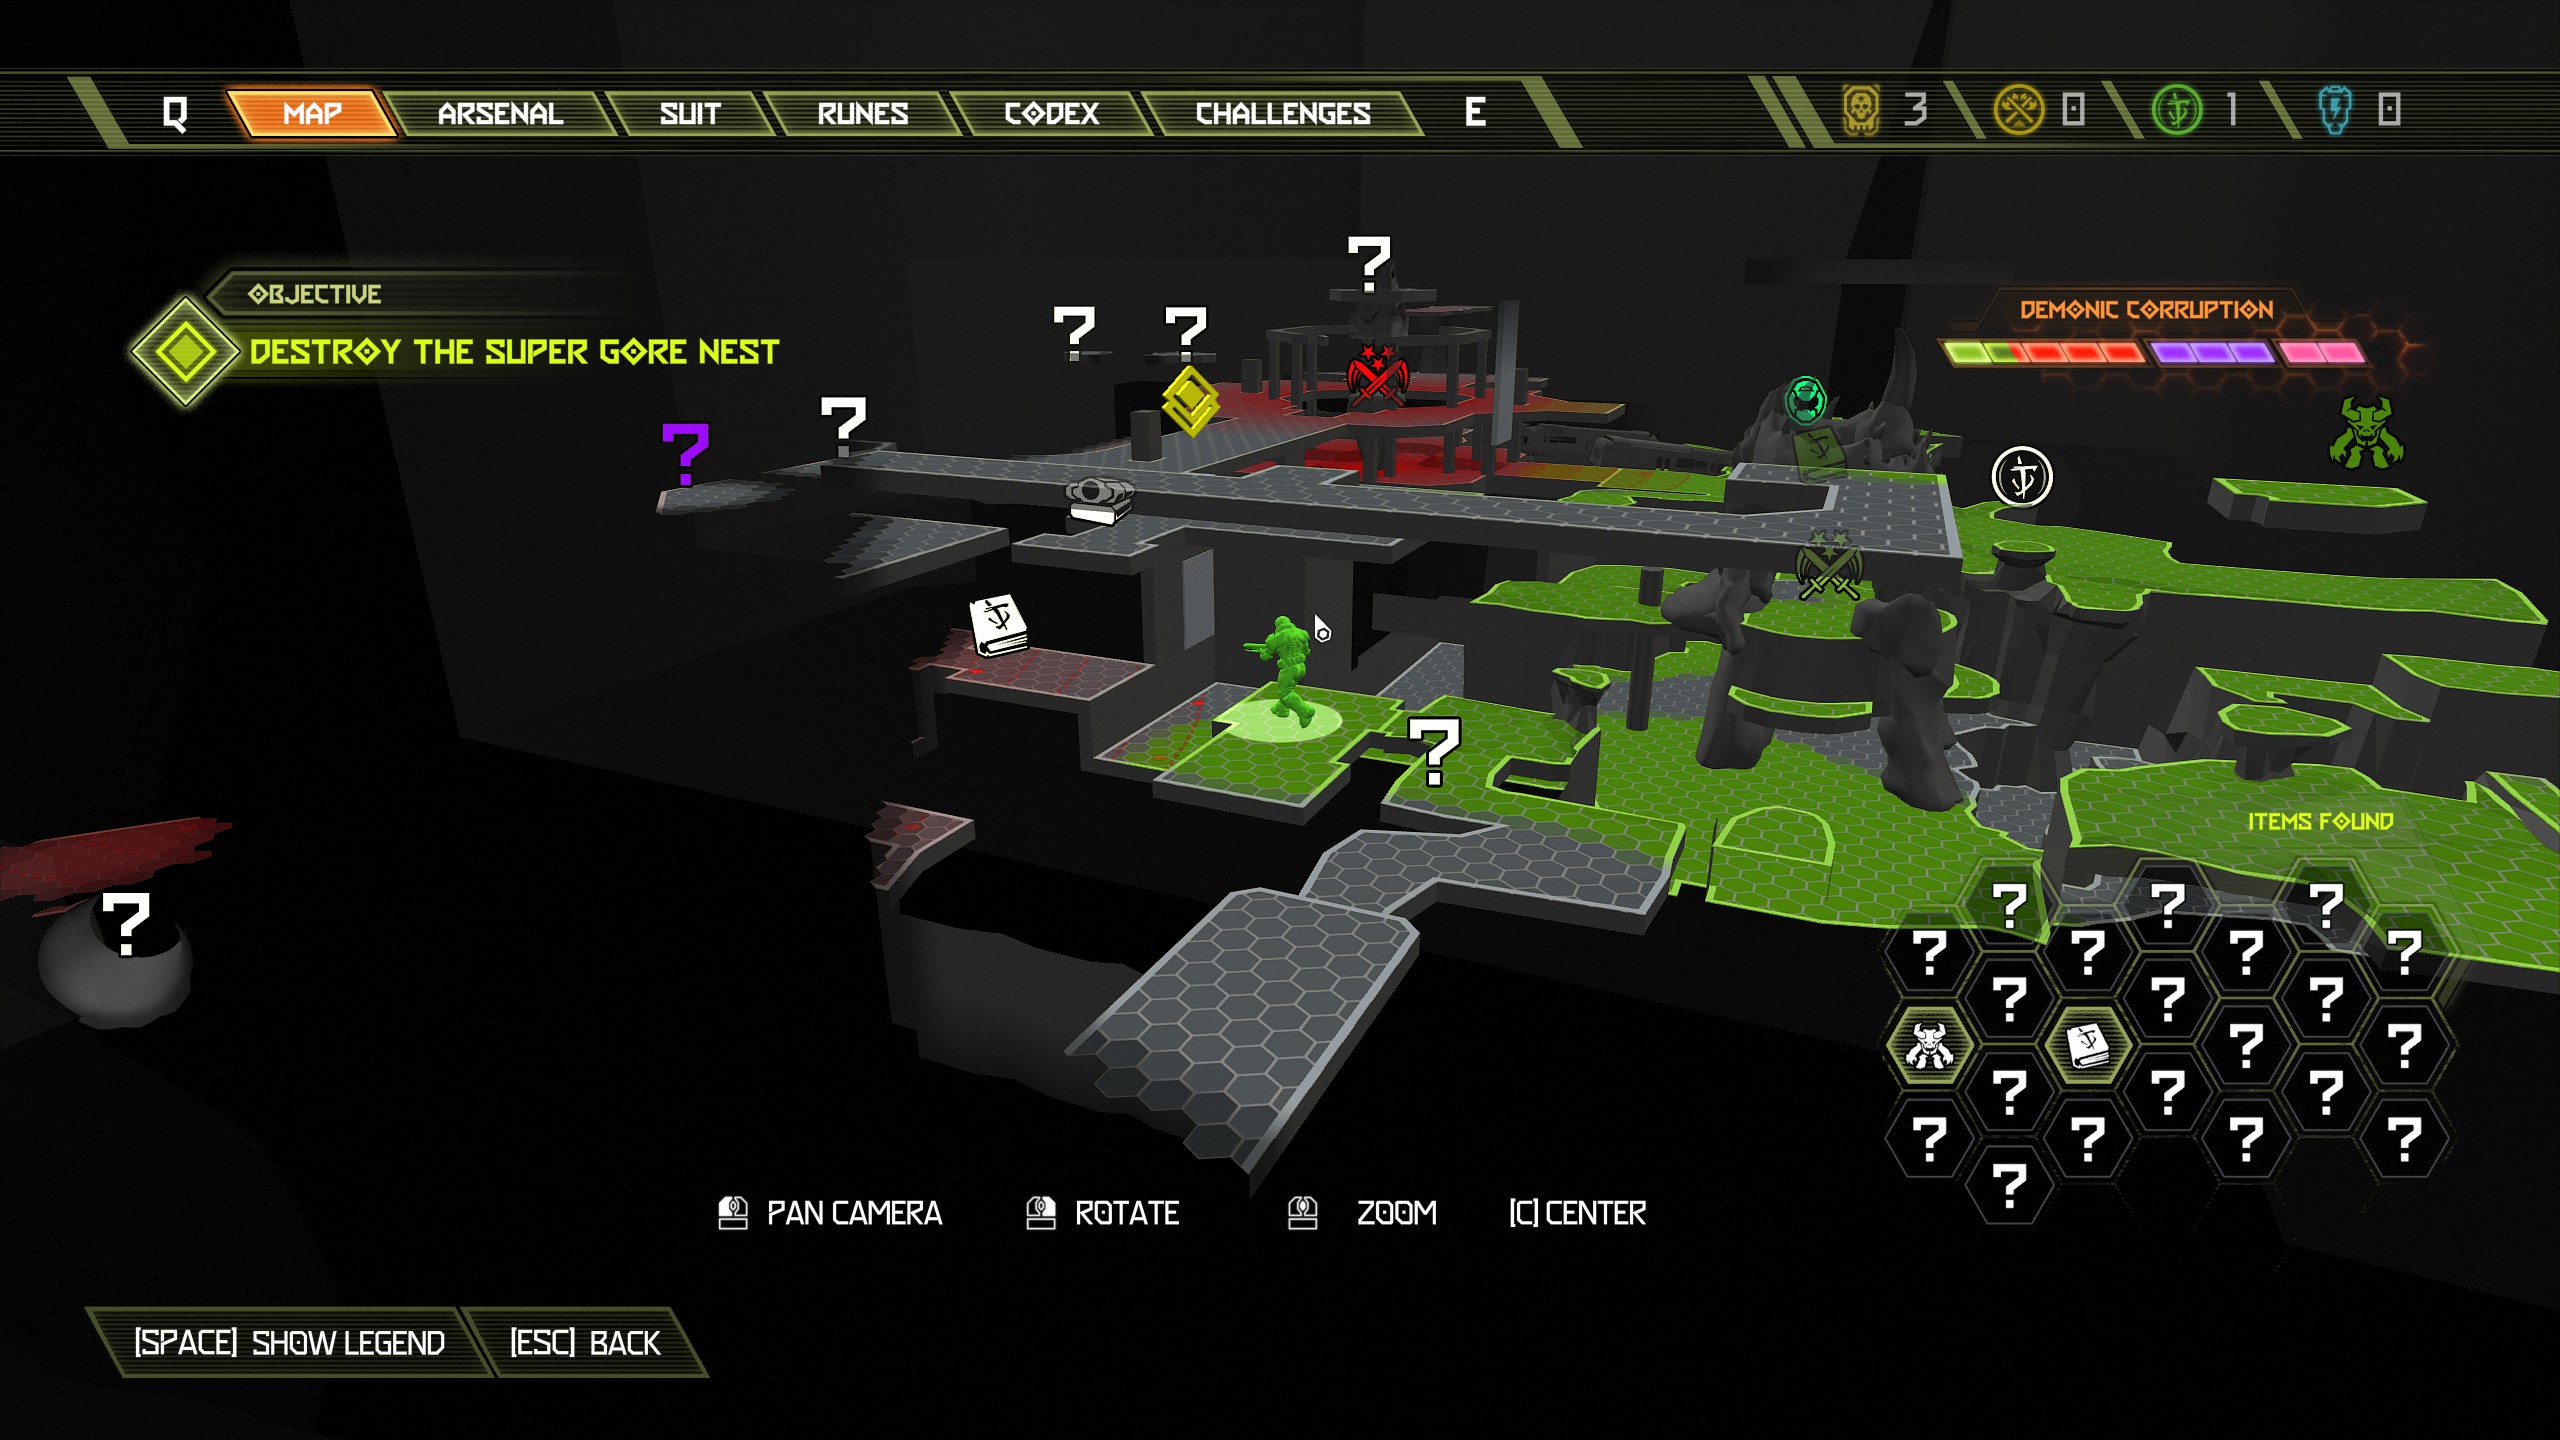
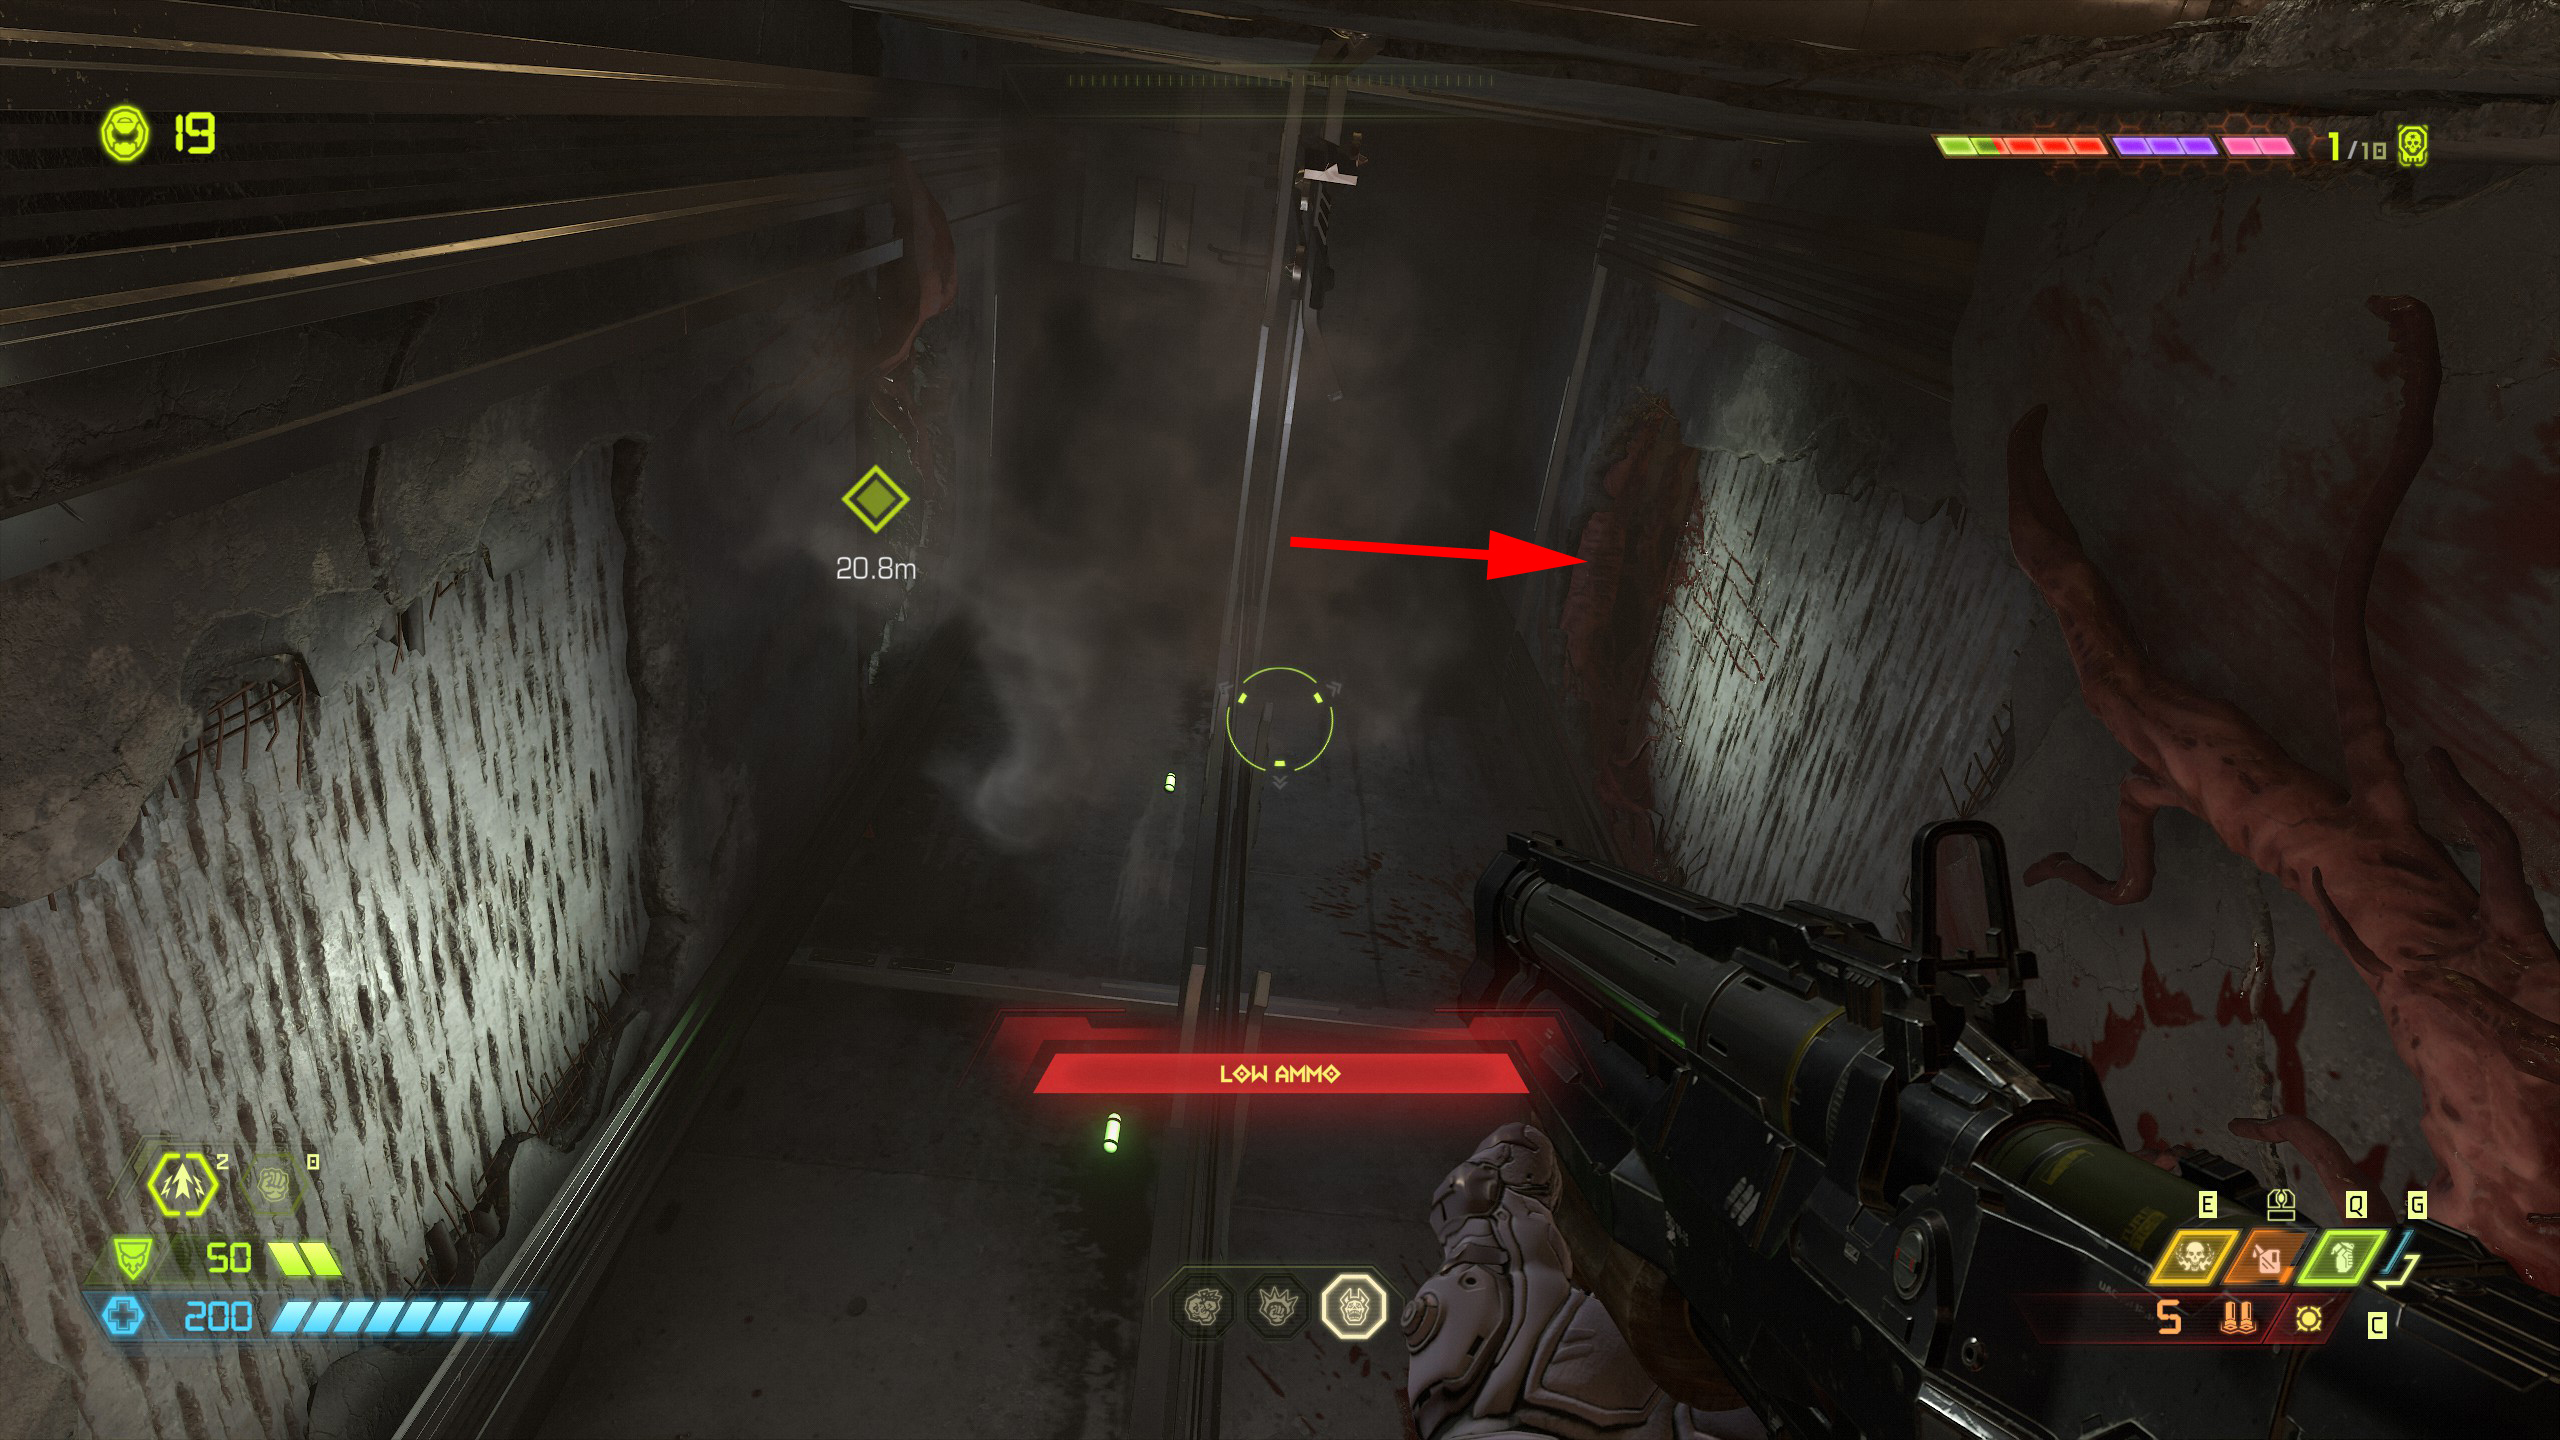
After the codex page climb the walls nearby but take the opening at the top on the right side, don't follow the mission marker. Once you're up follow it around and inside you will find a weapon mod.
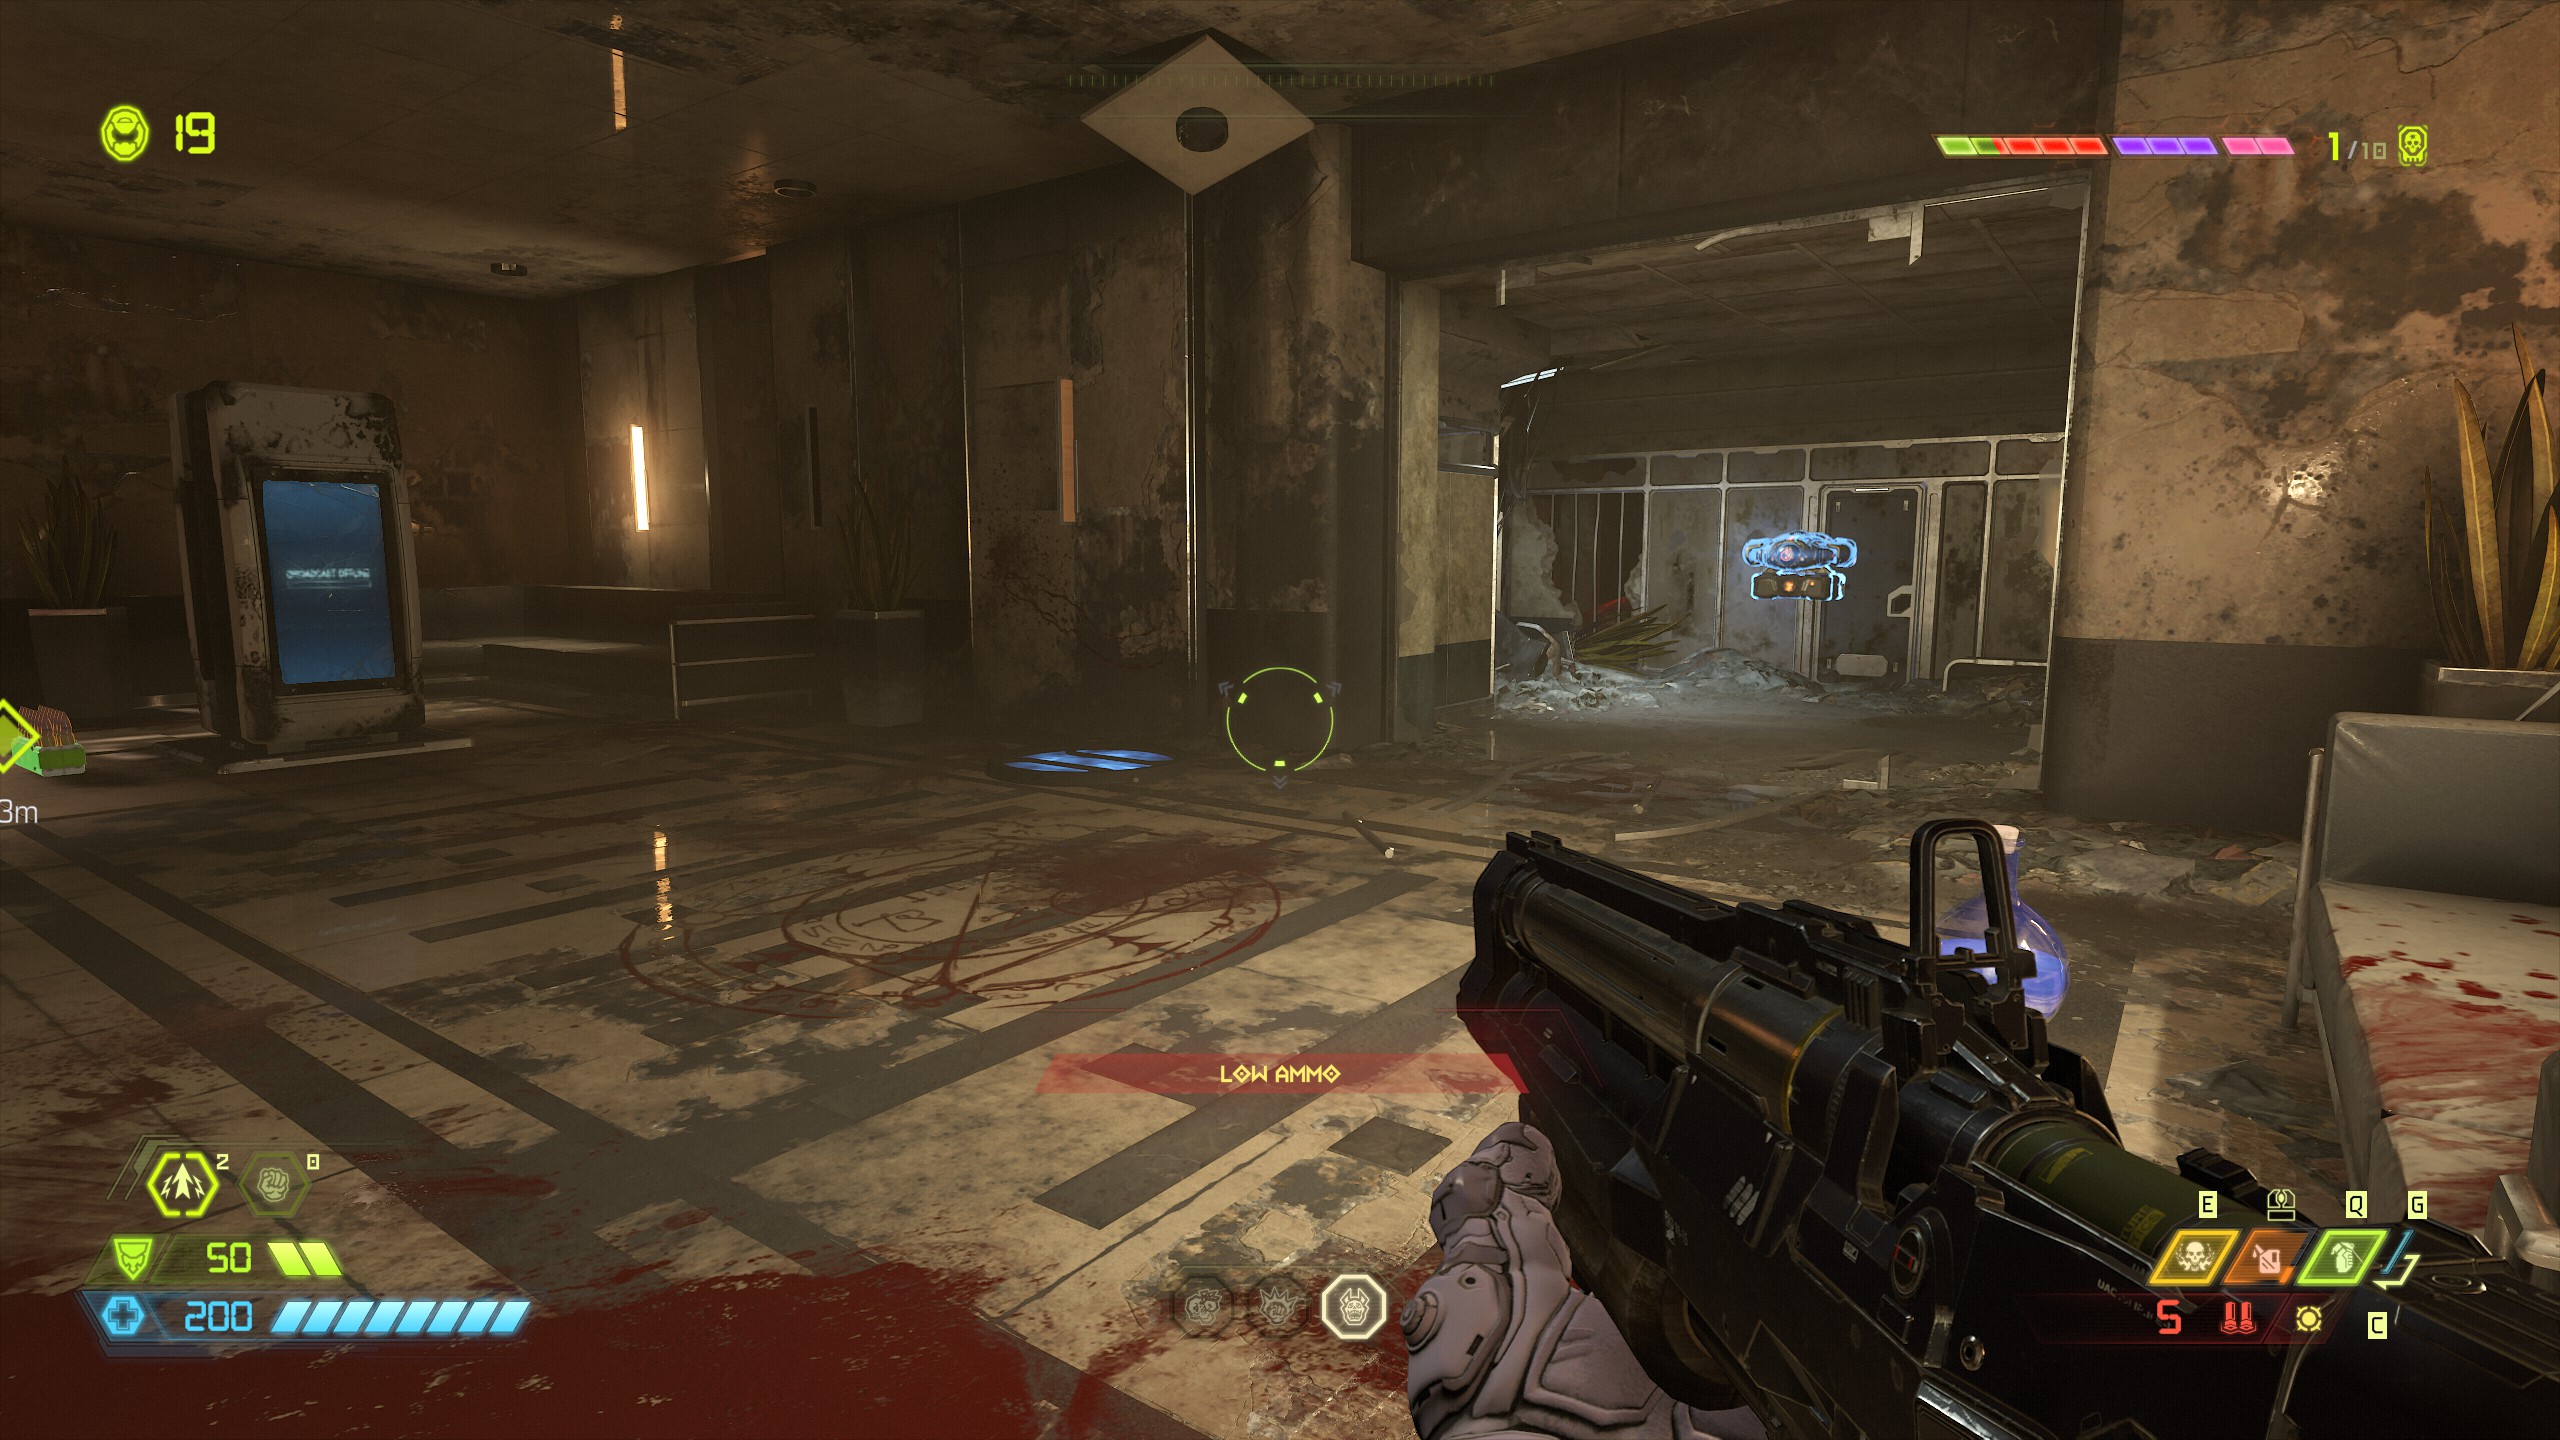
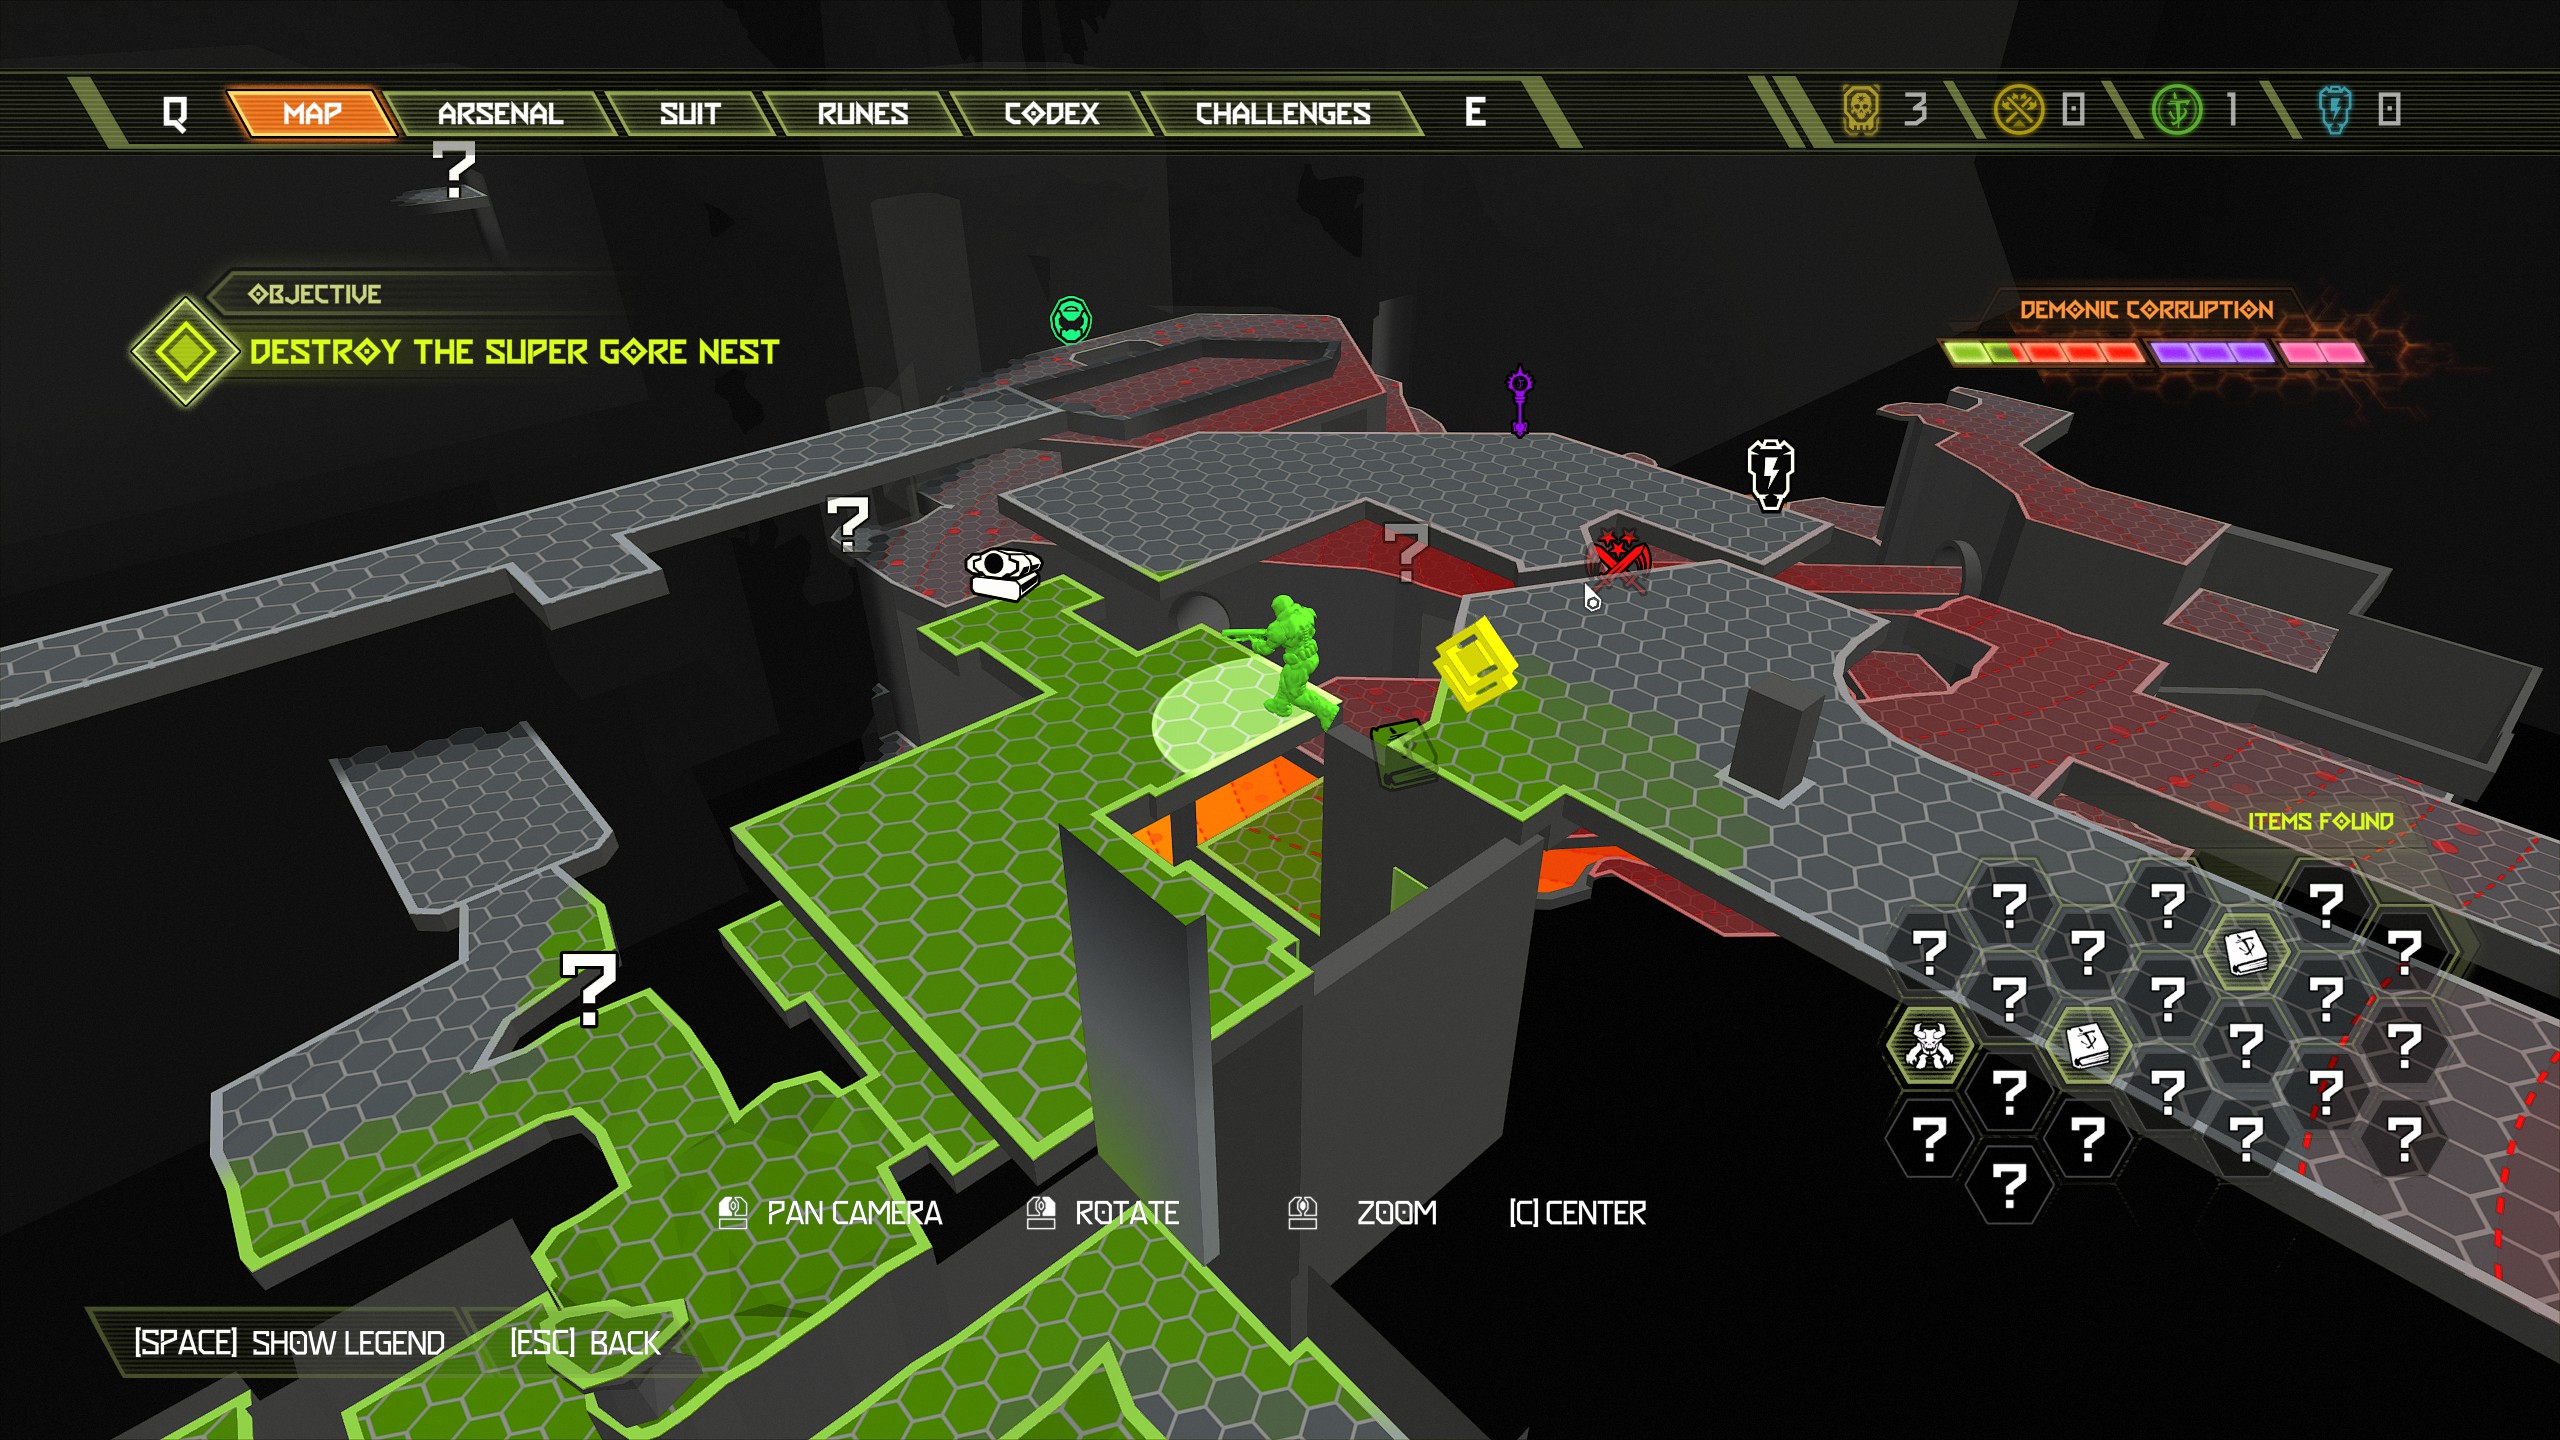
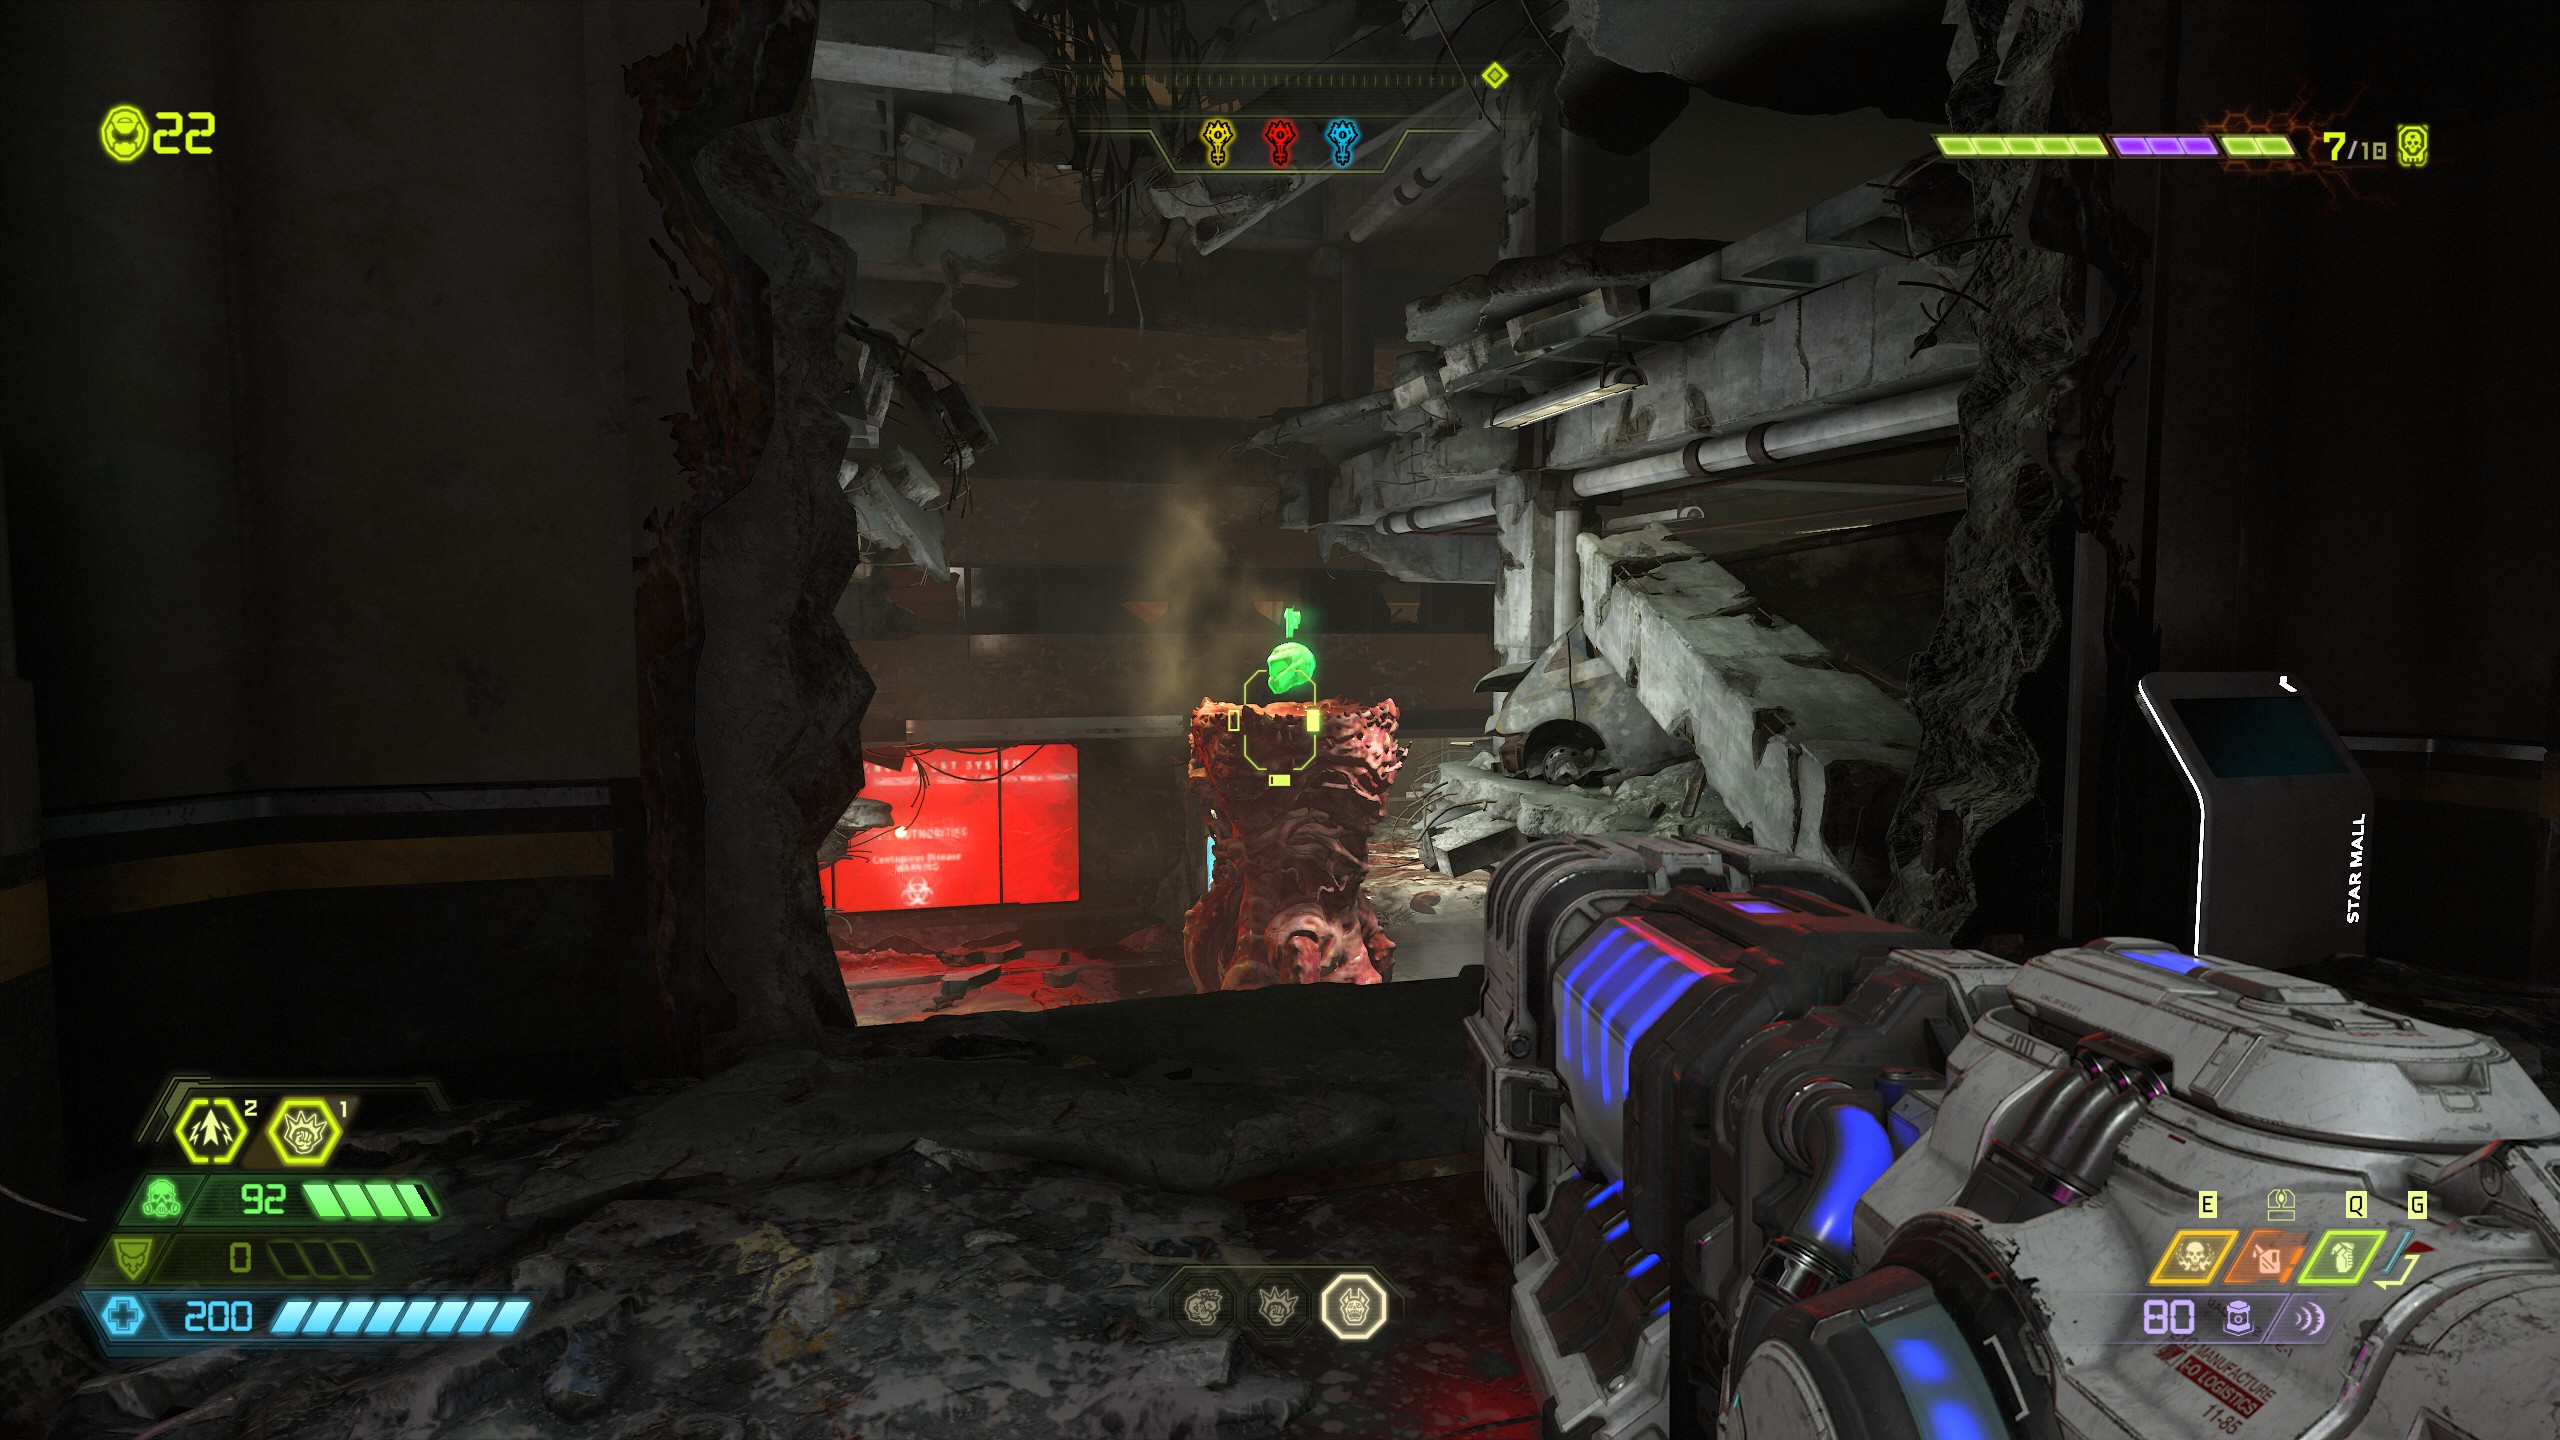
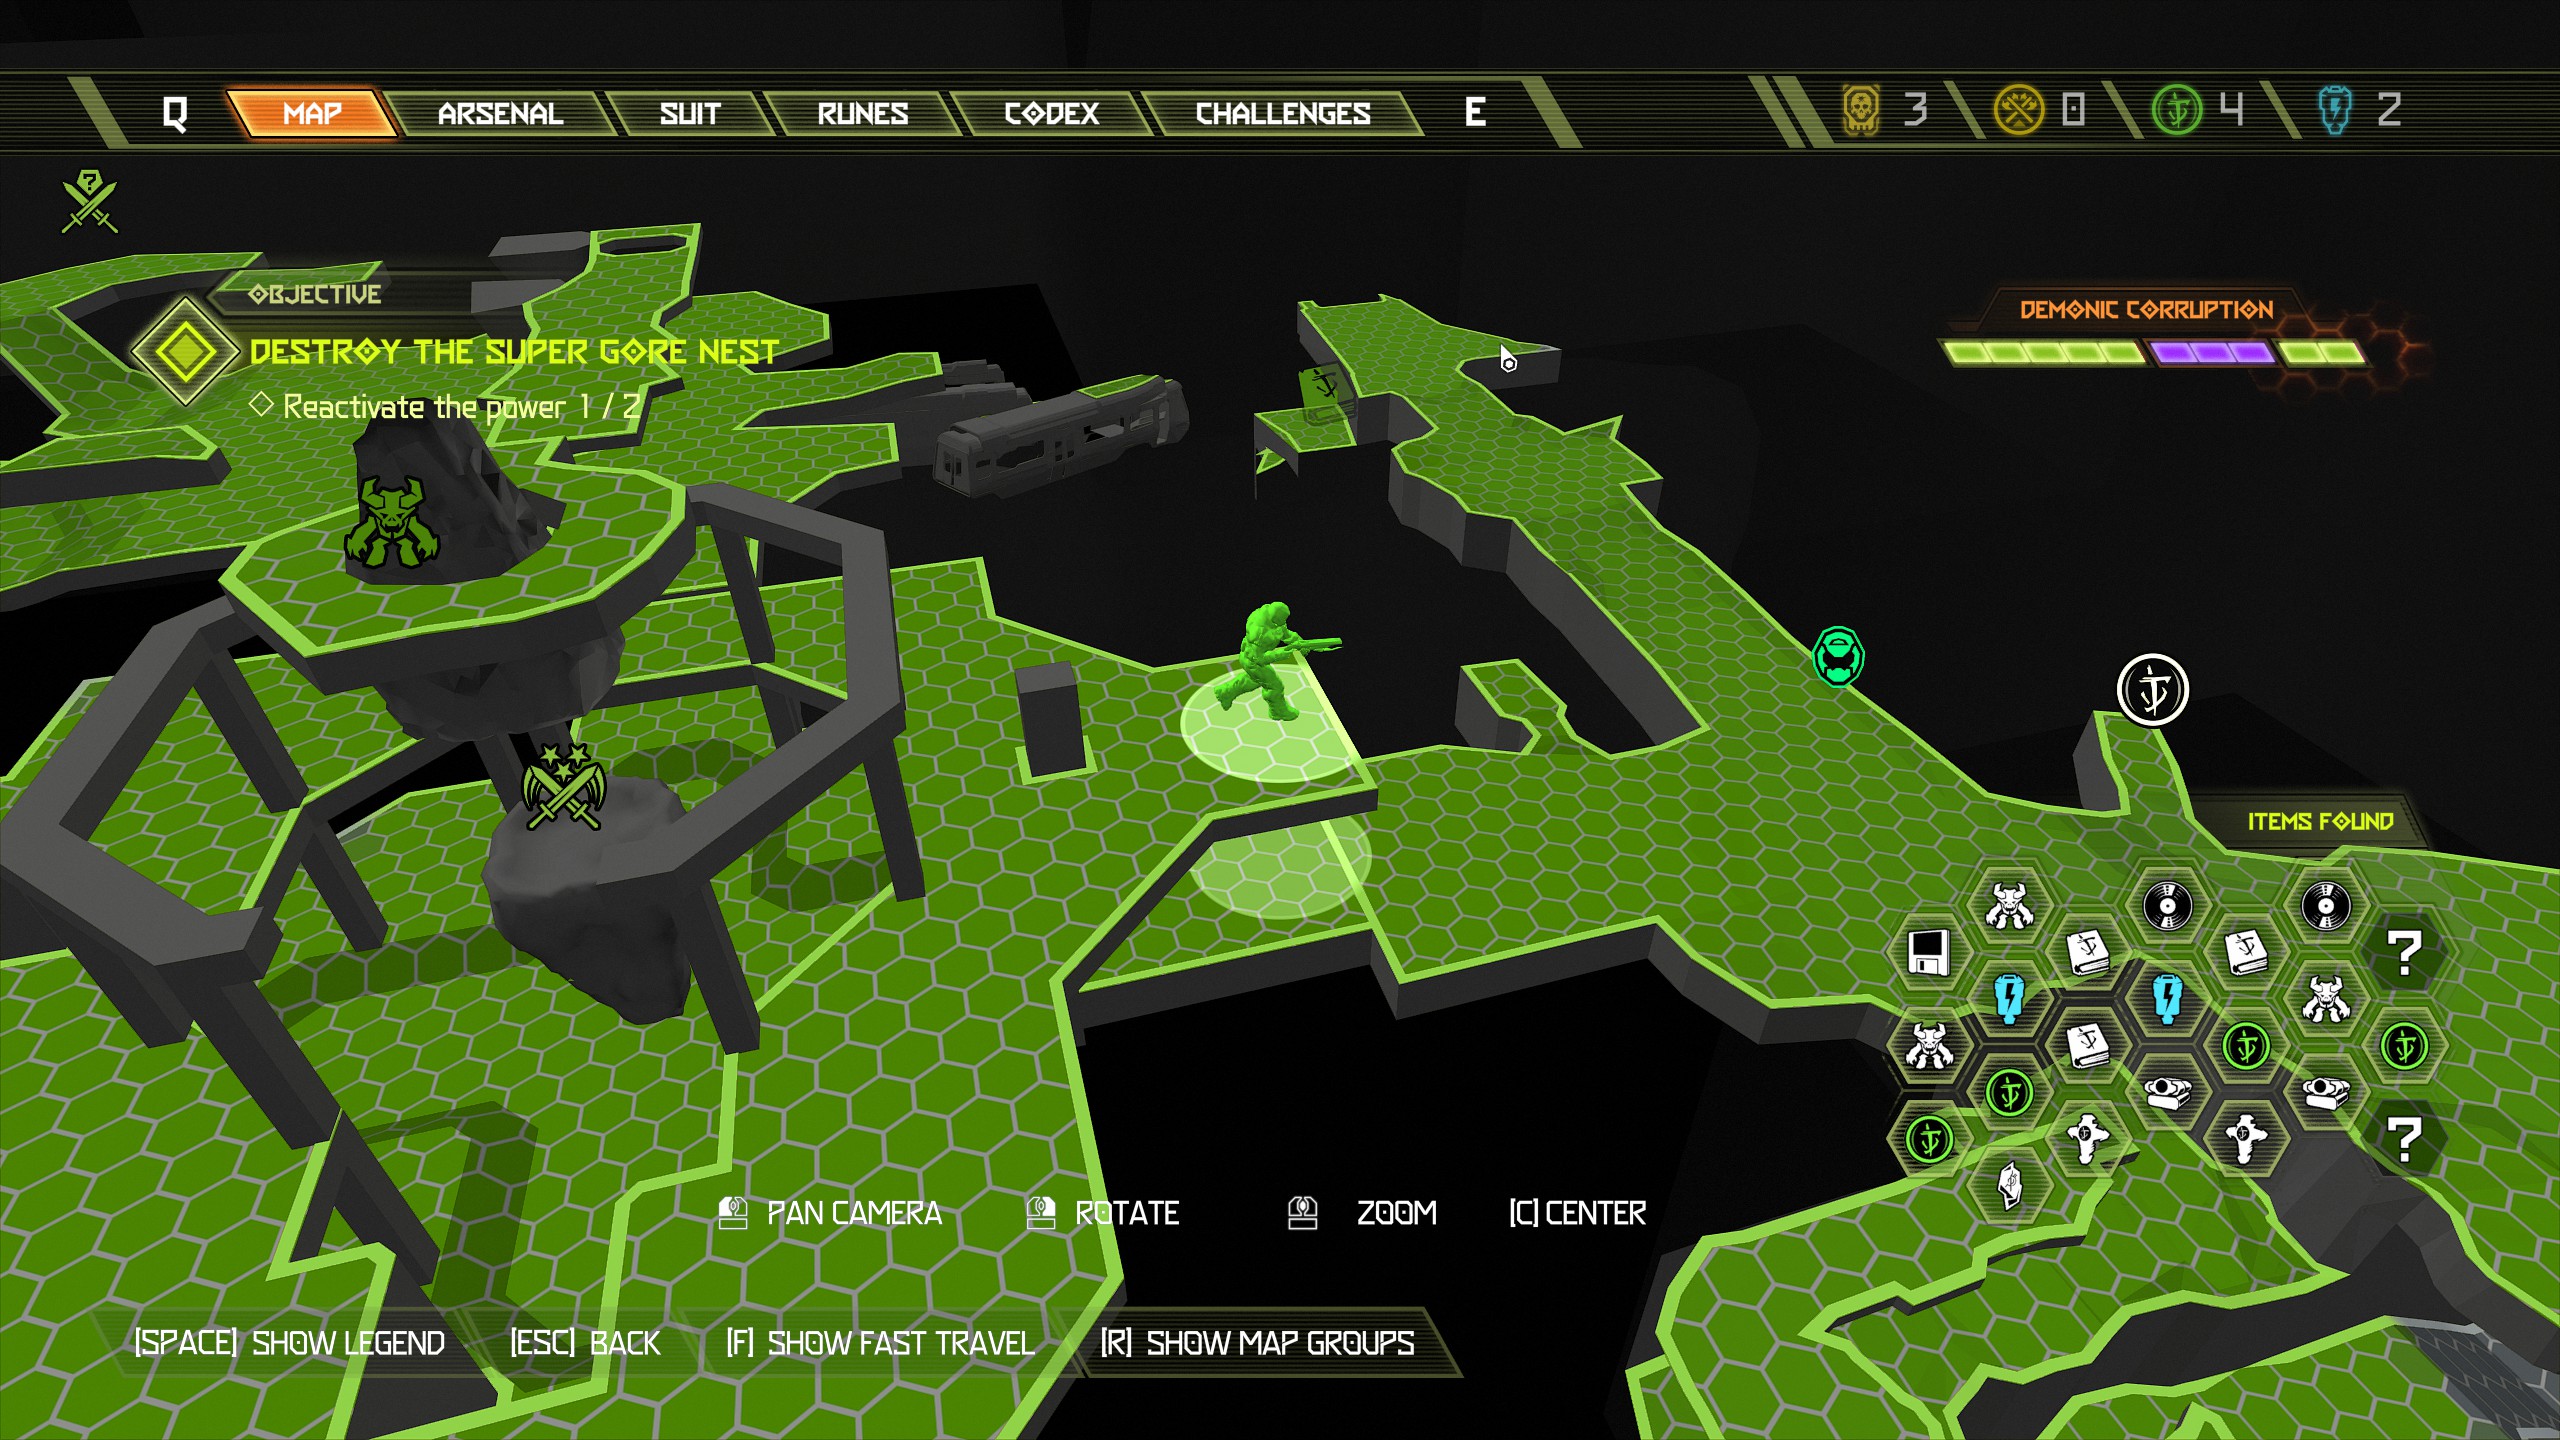
Once you collect the extra life the structure will drop down and next to it will be an opening with a health pack inside, go inside and you will collect another secret.
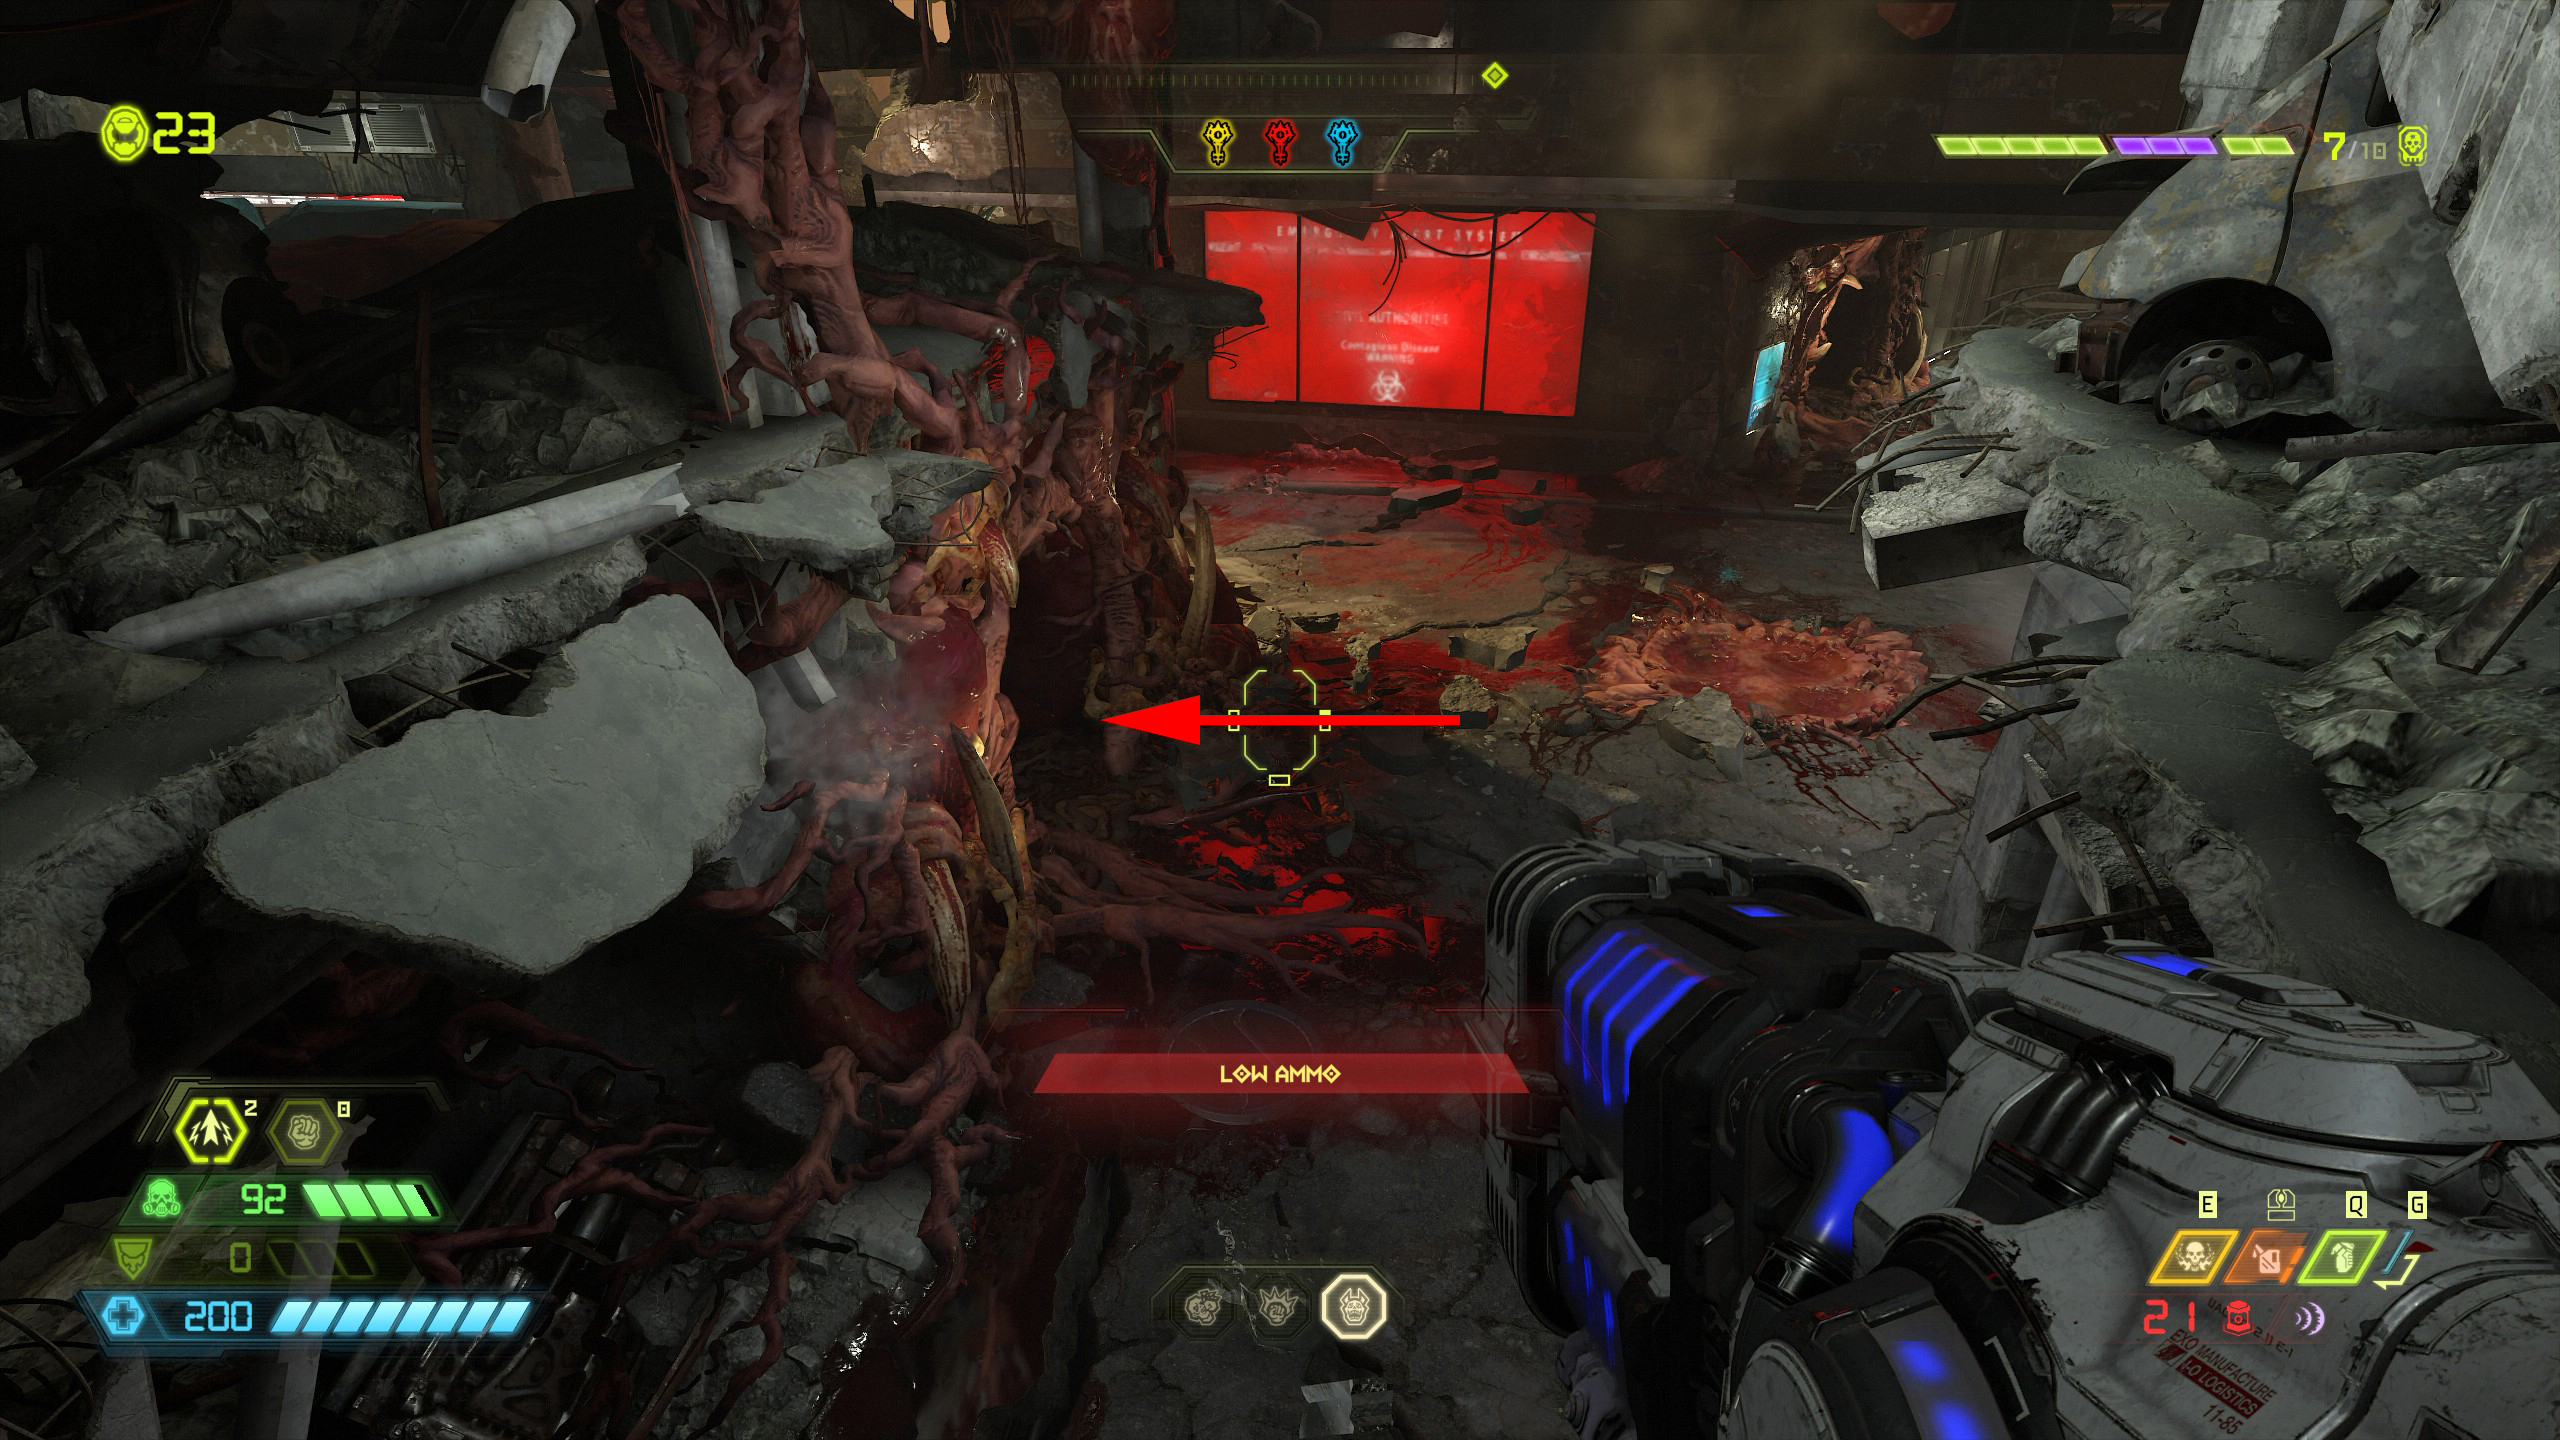
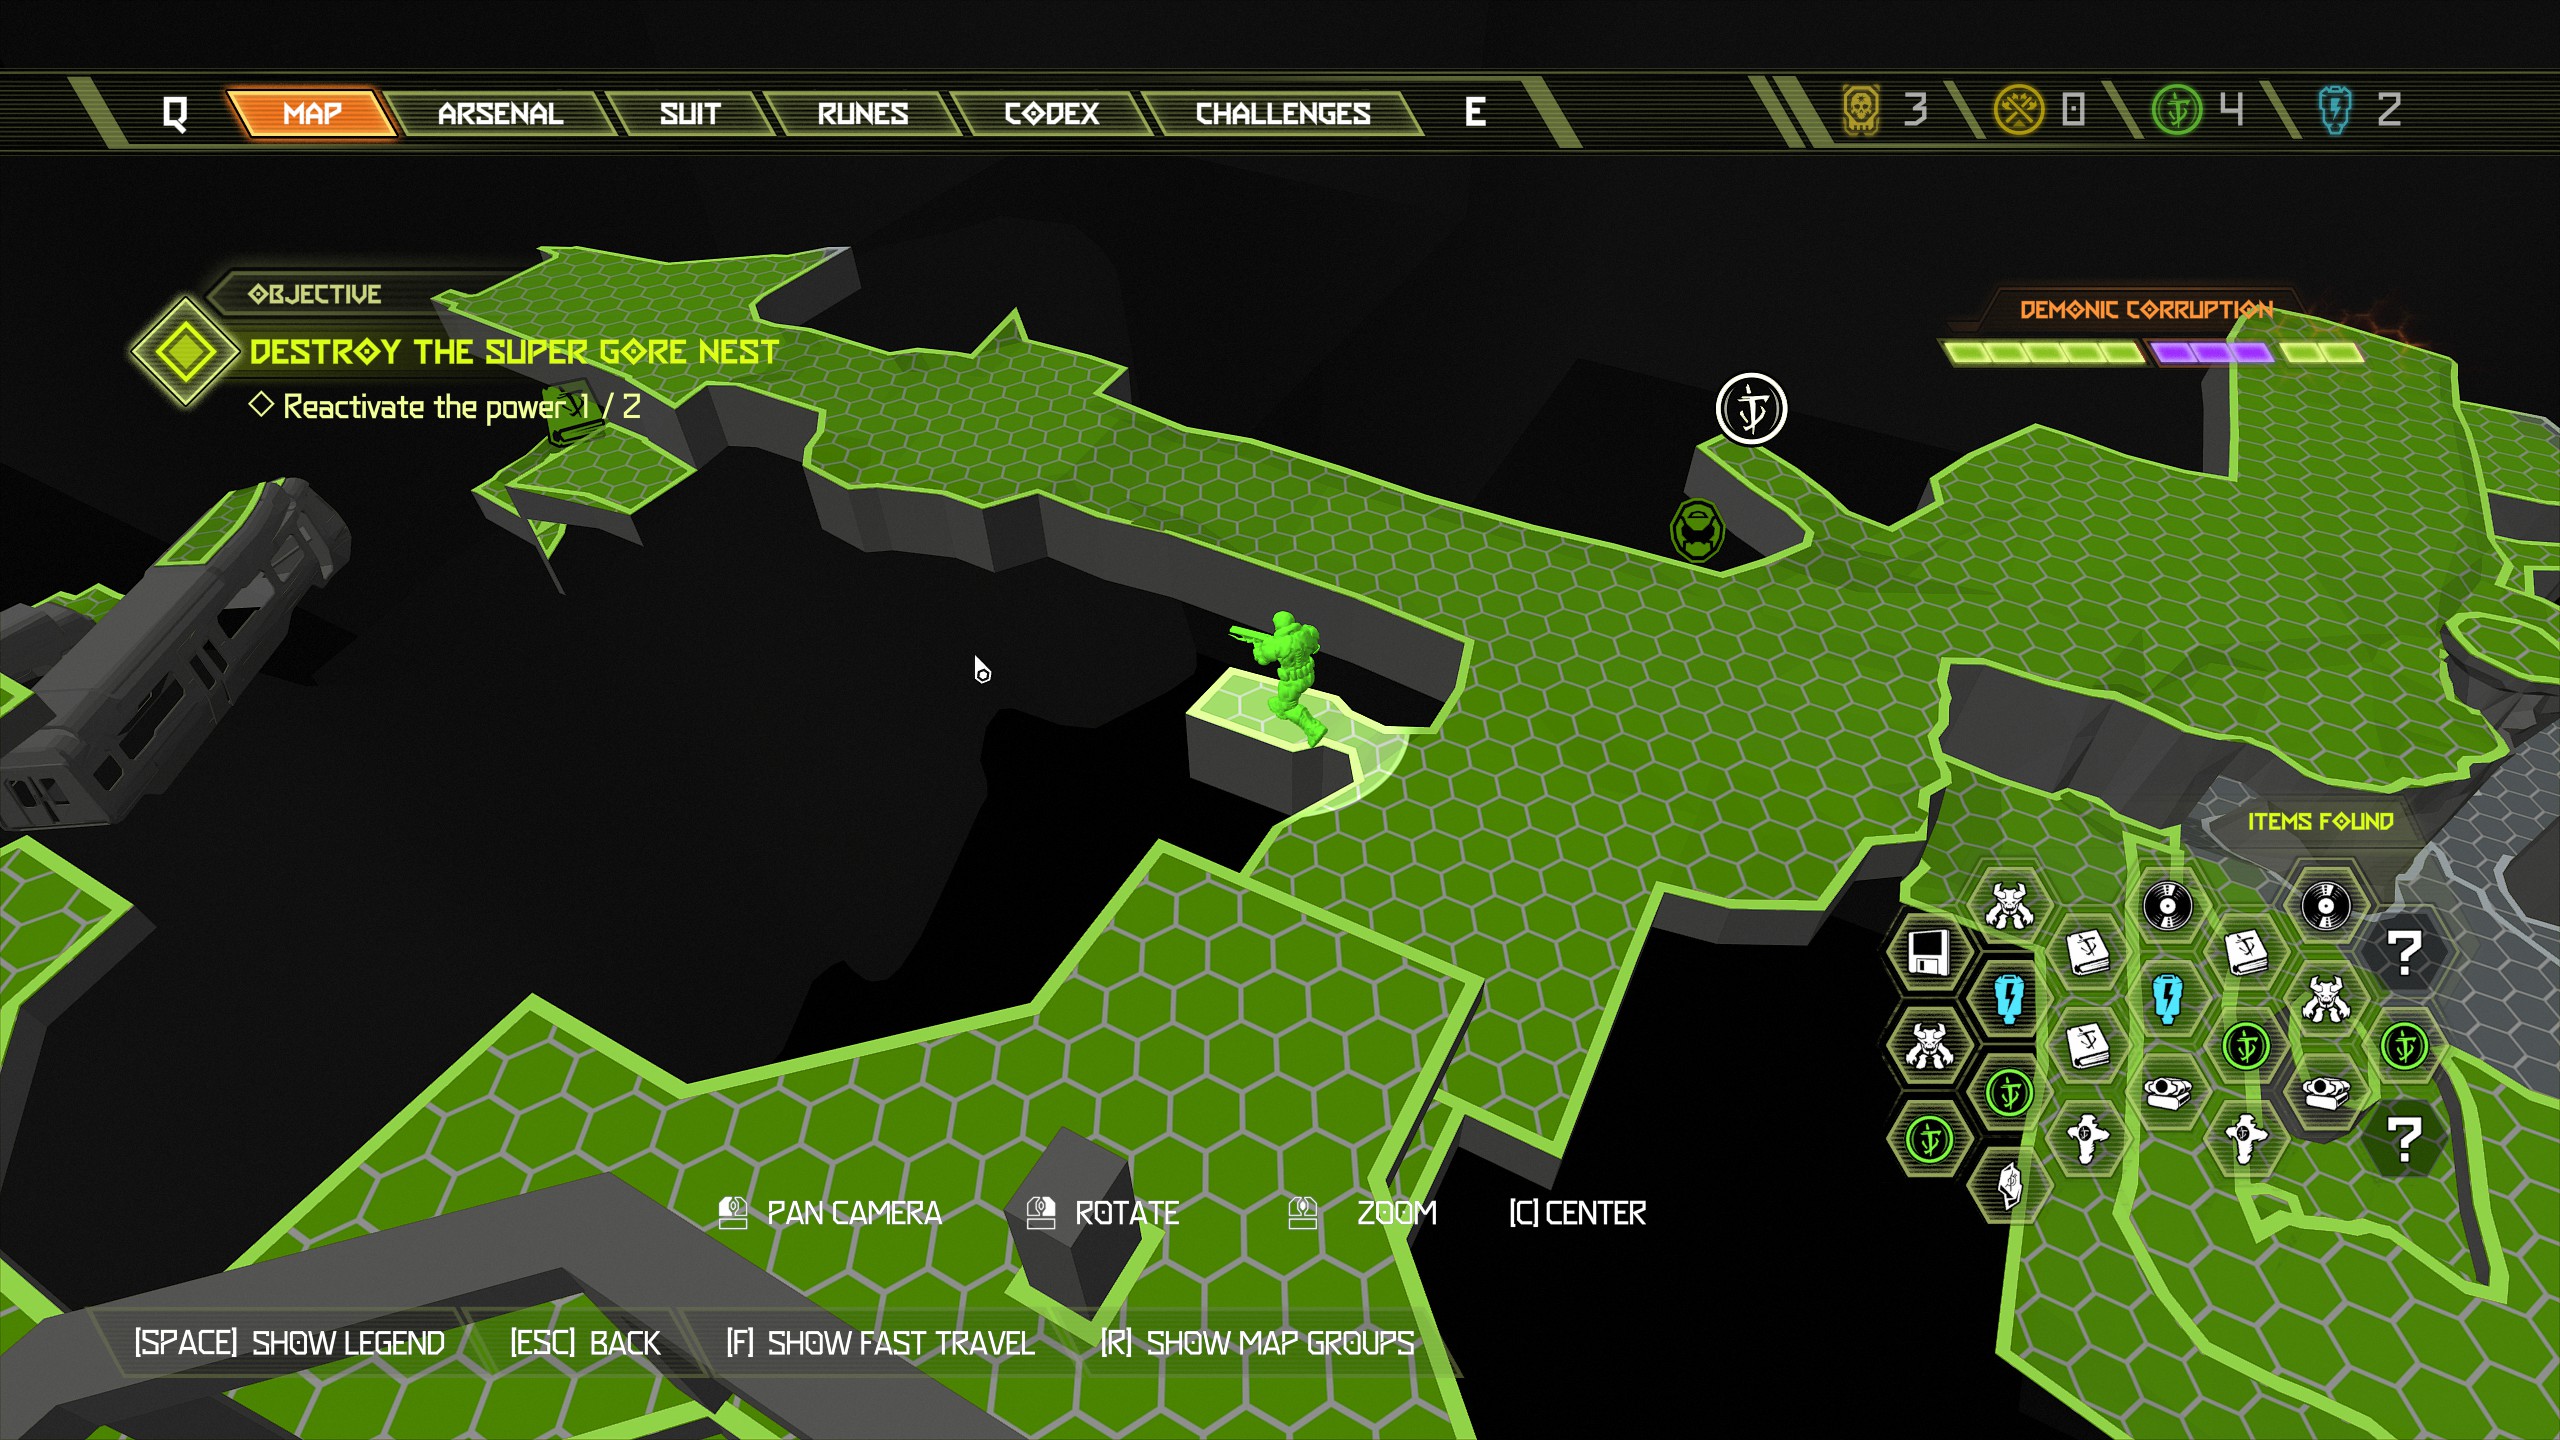
From here head across to the pillars opposite to find another opening with a praetor suit token inside.
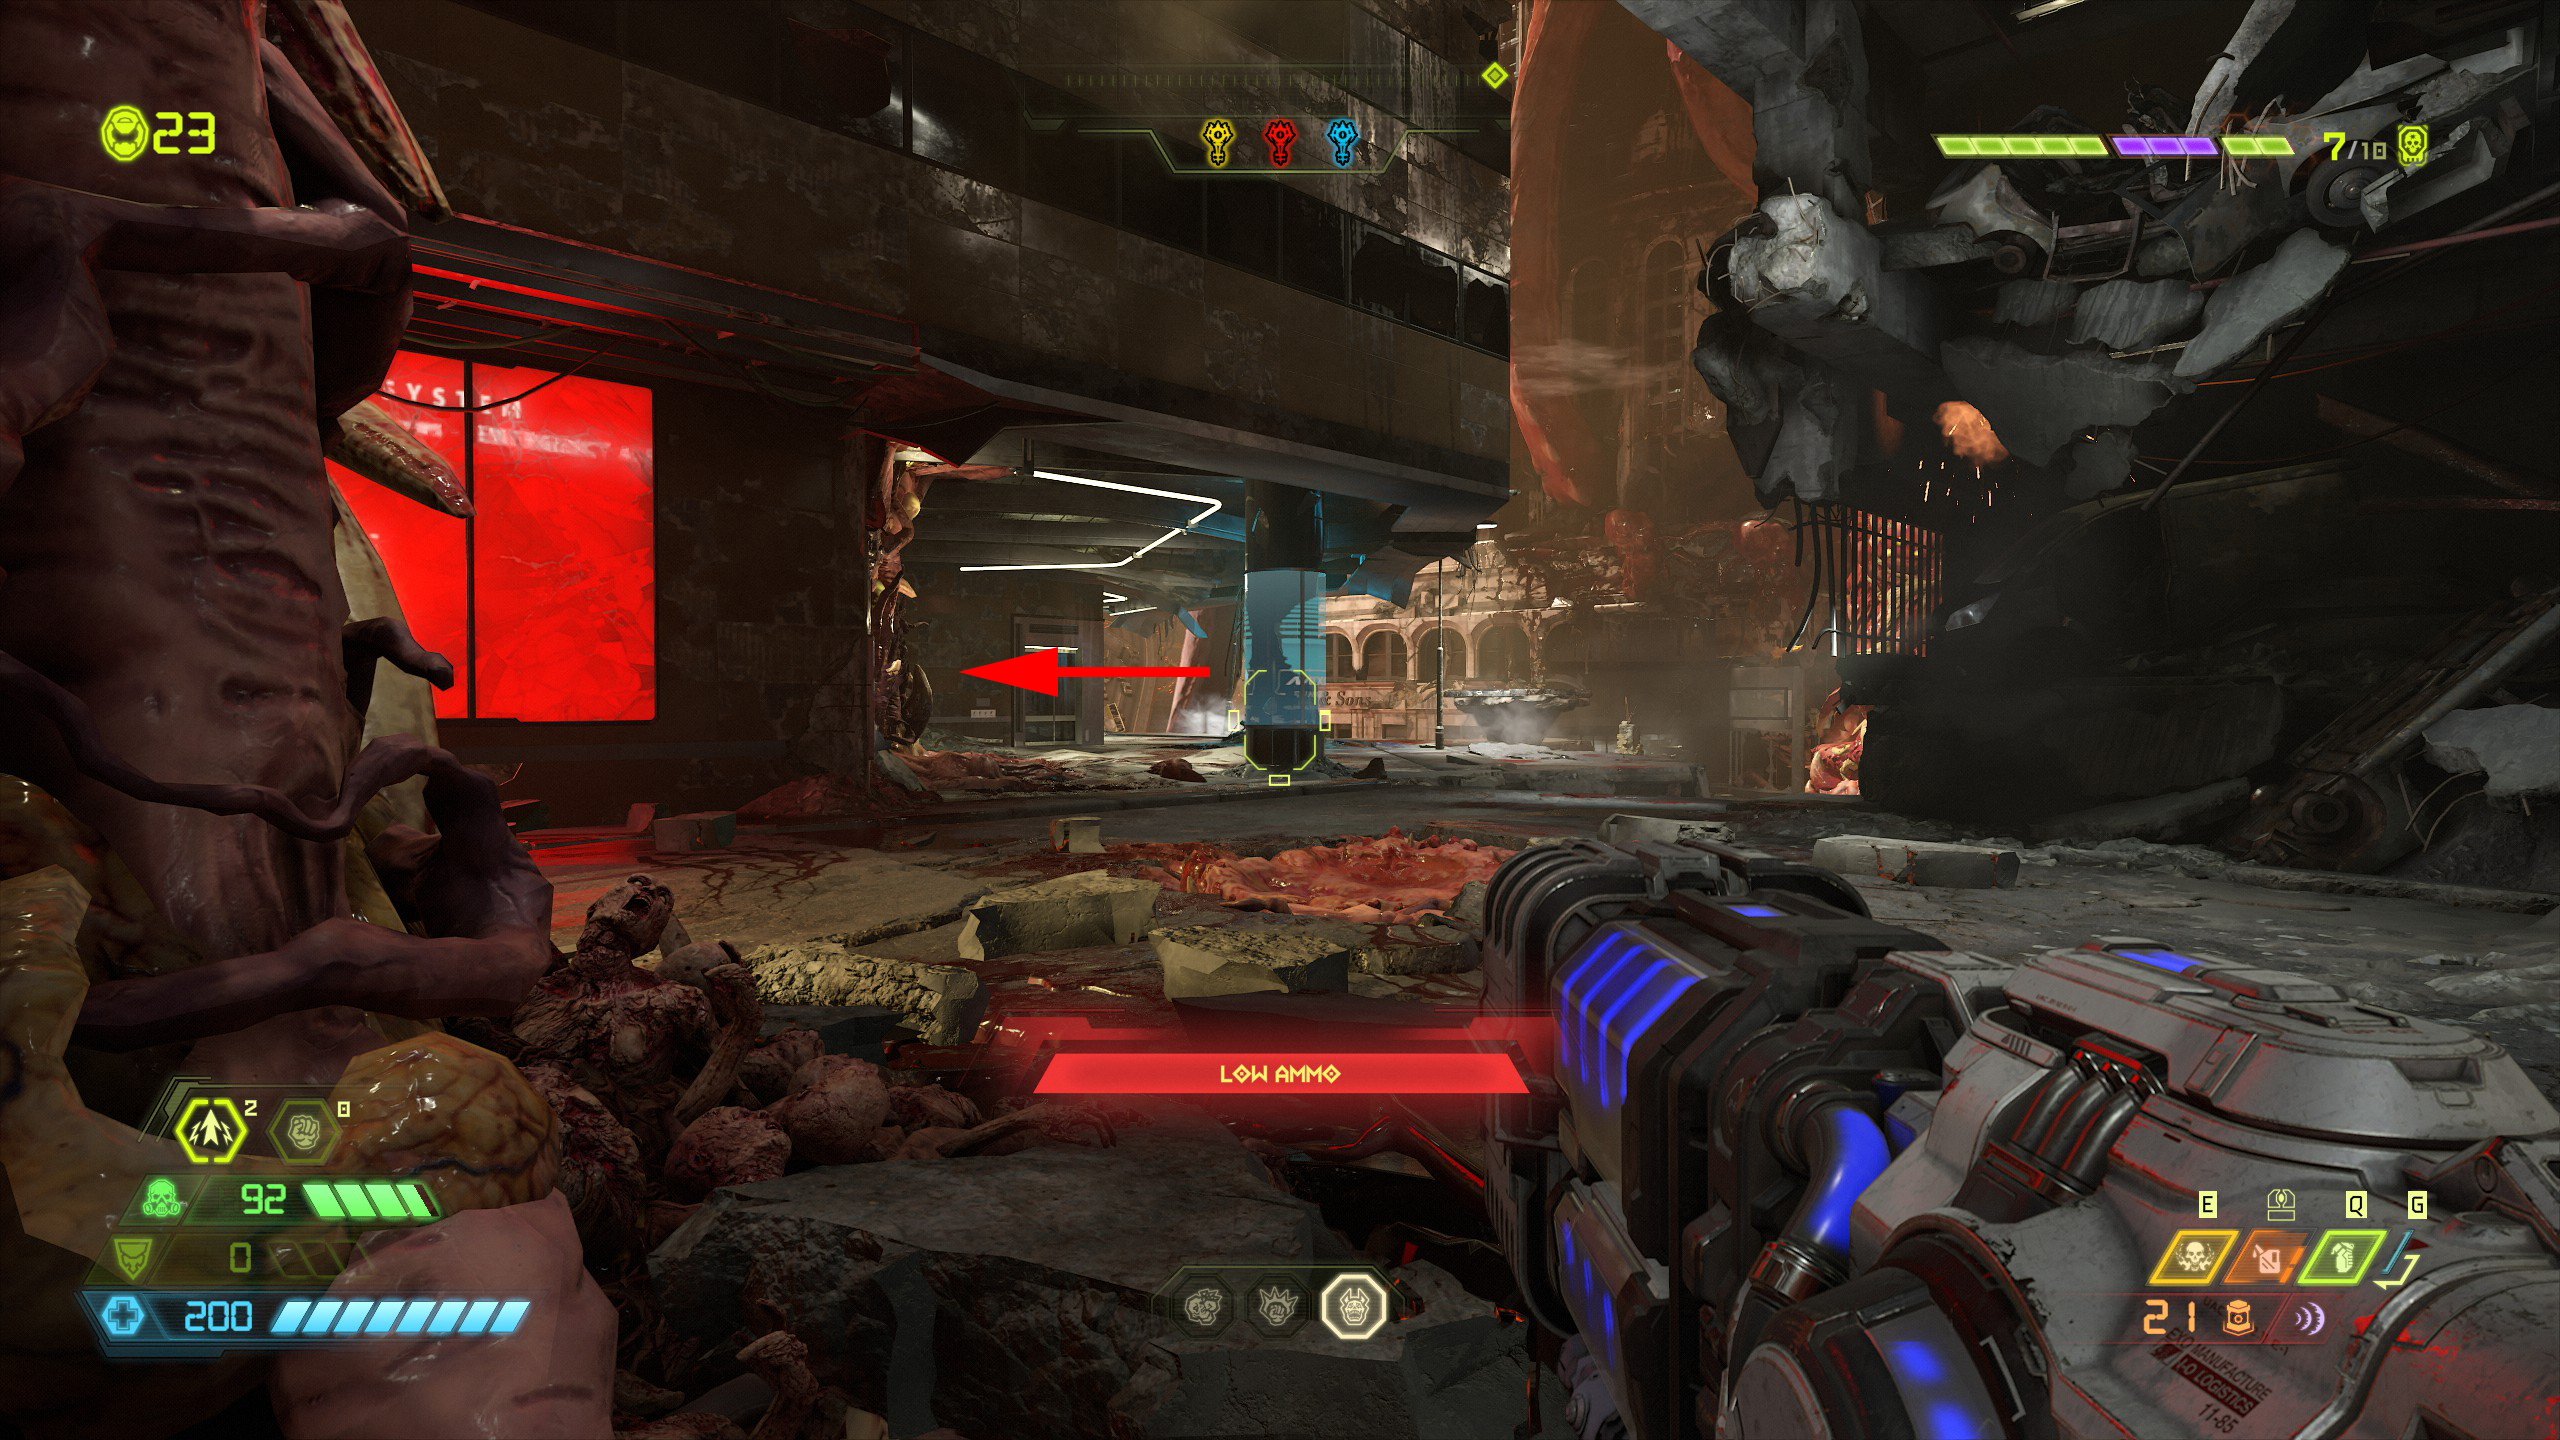
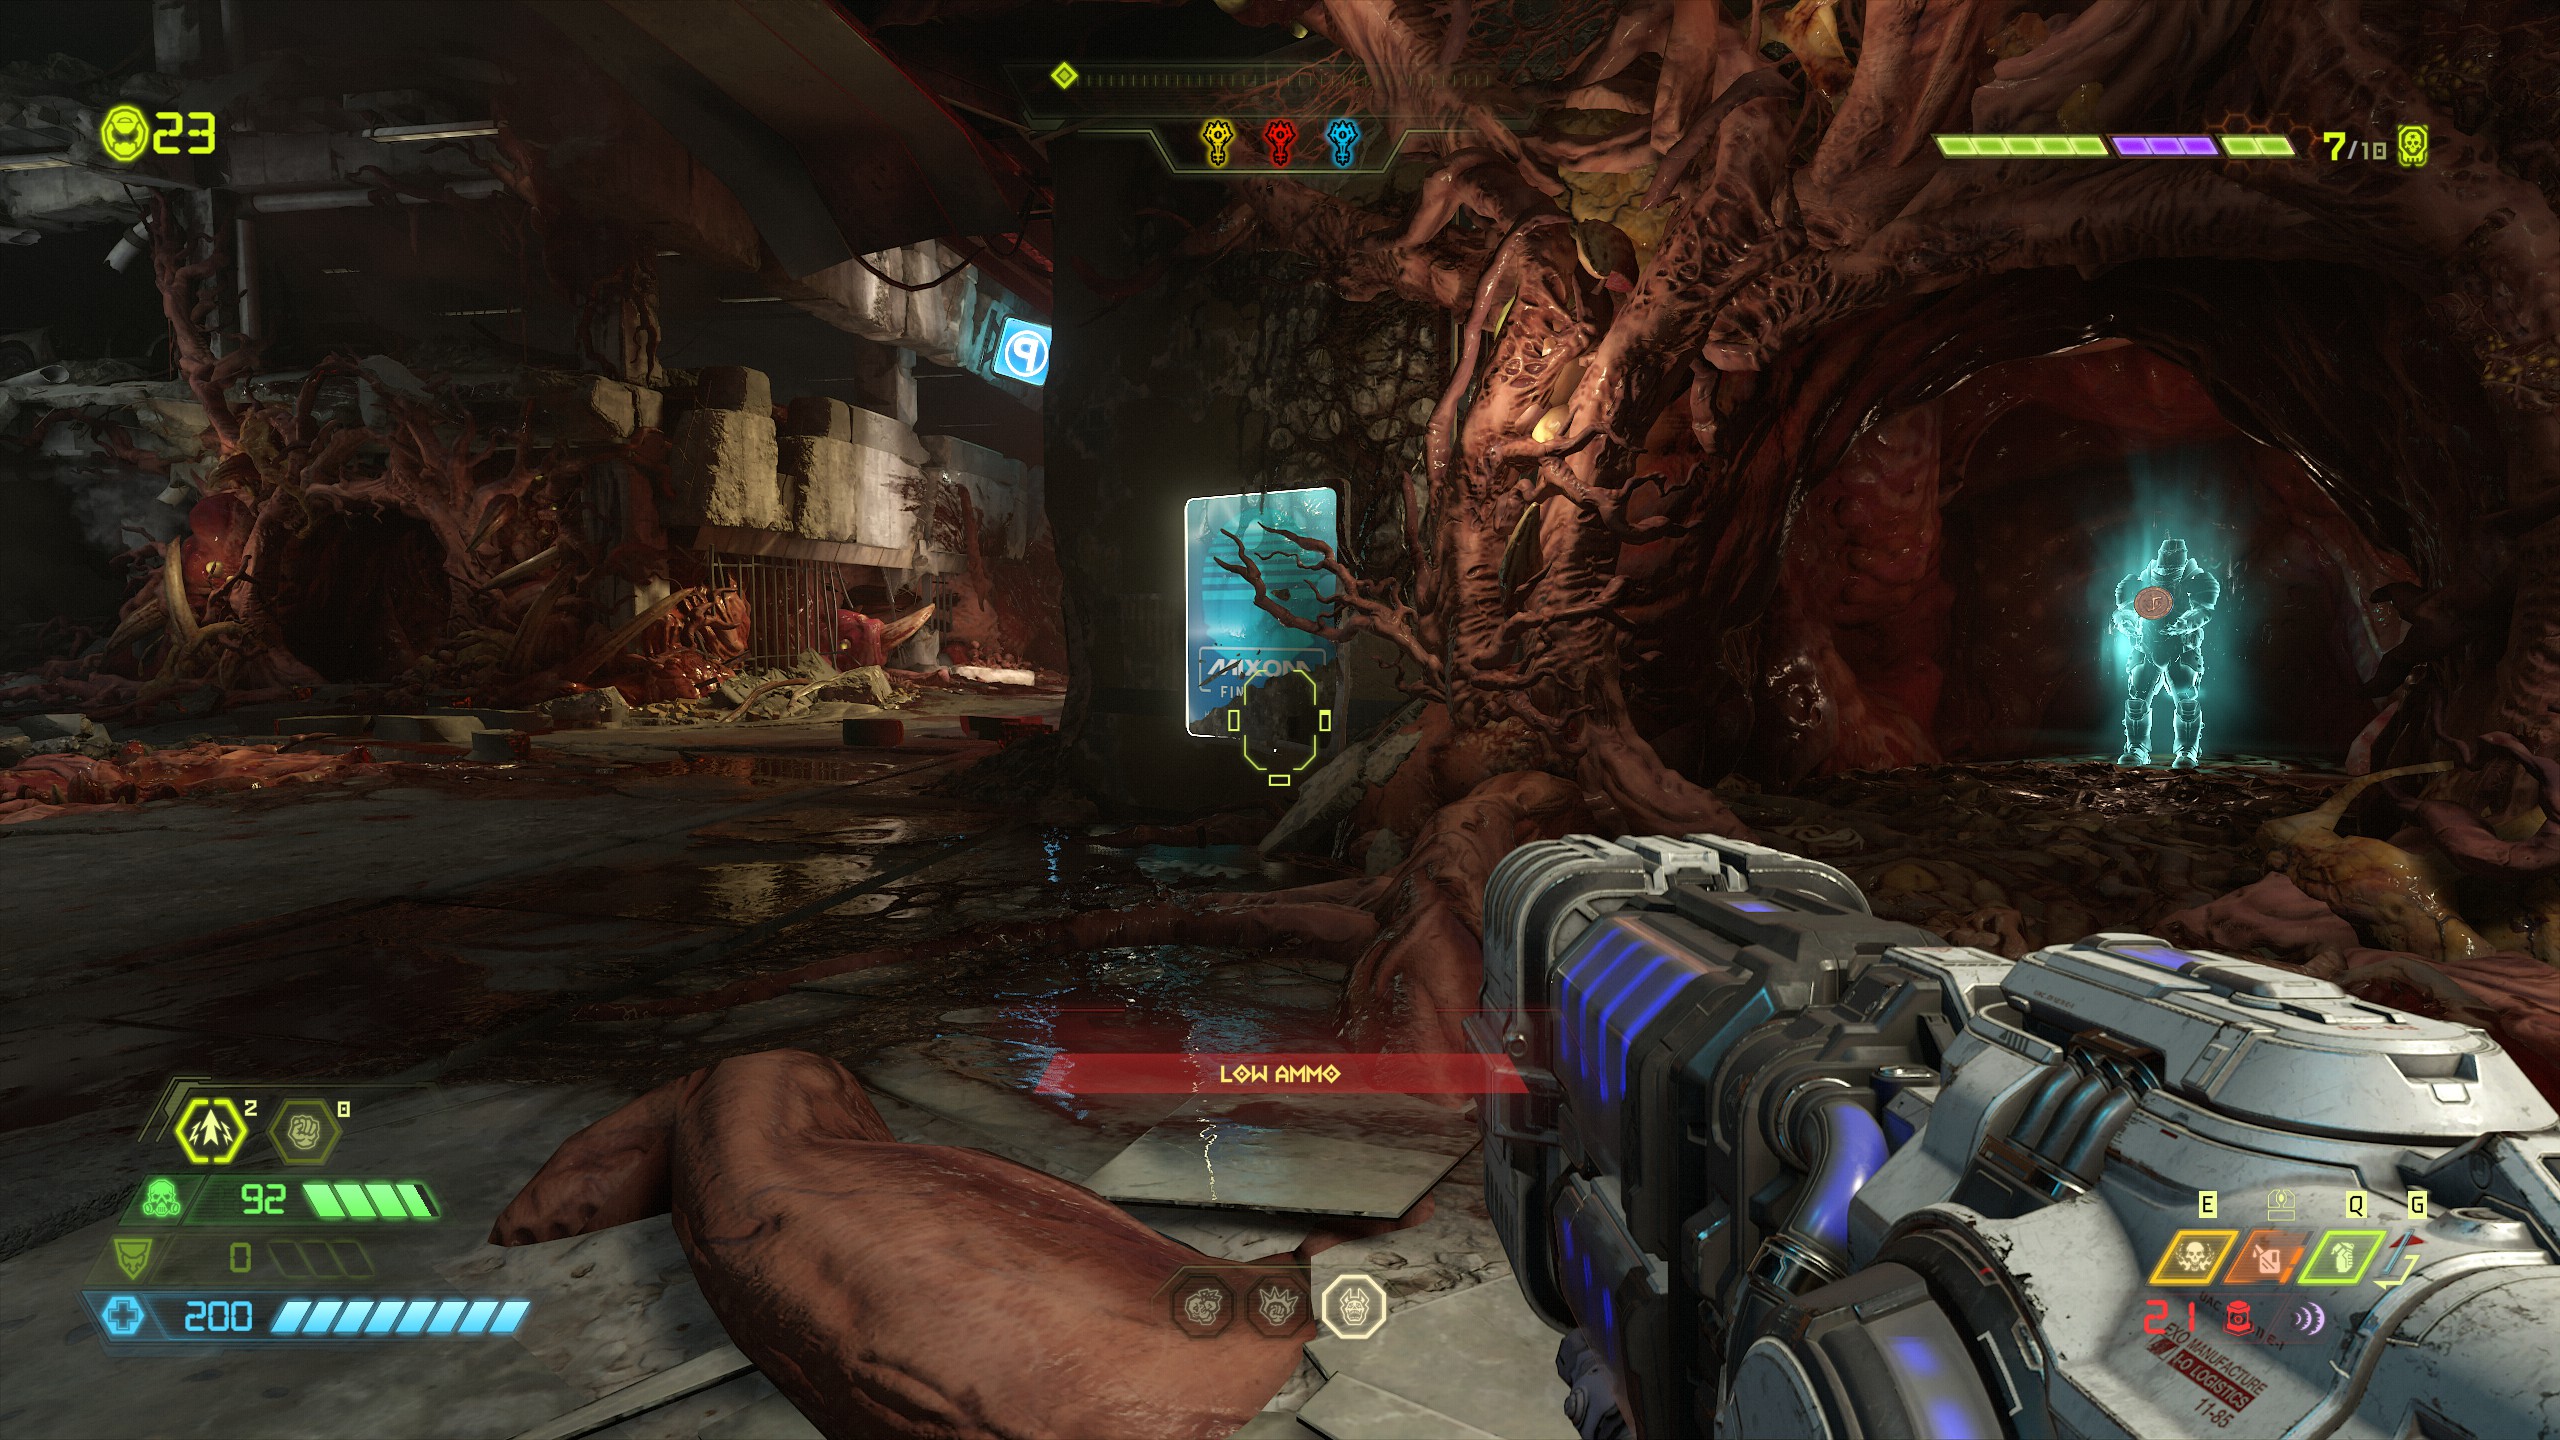
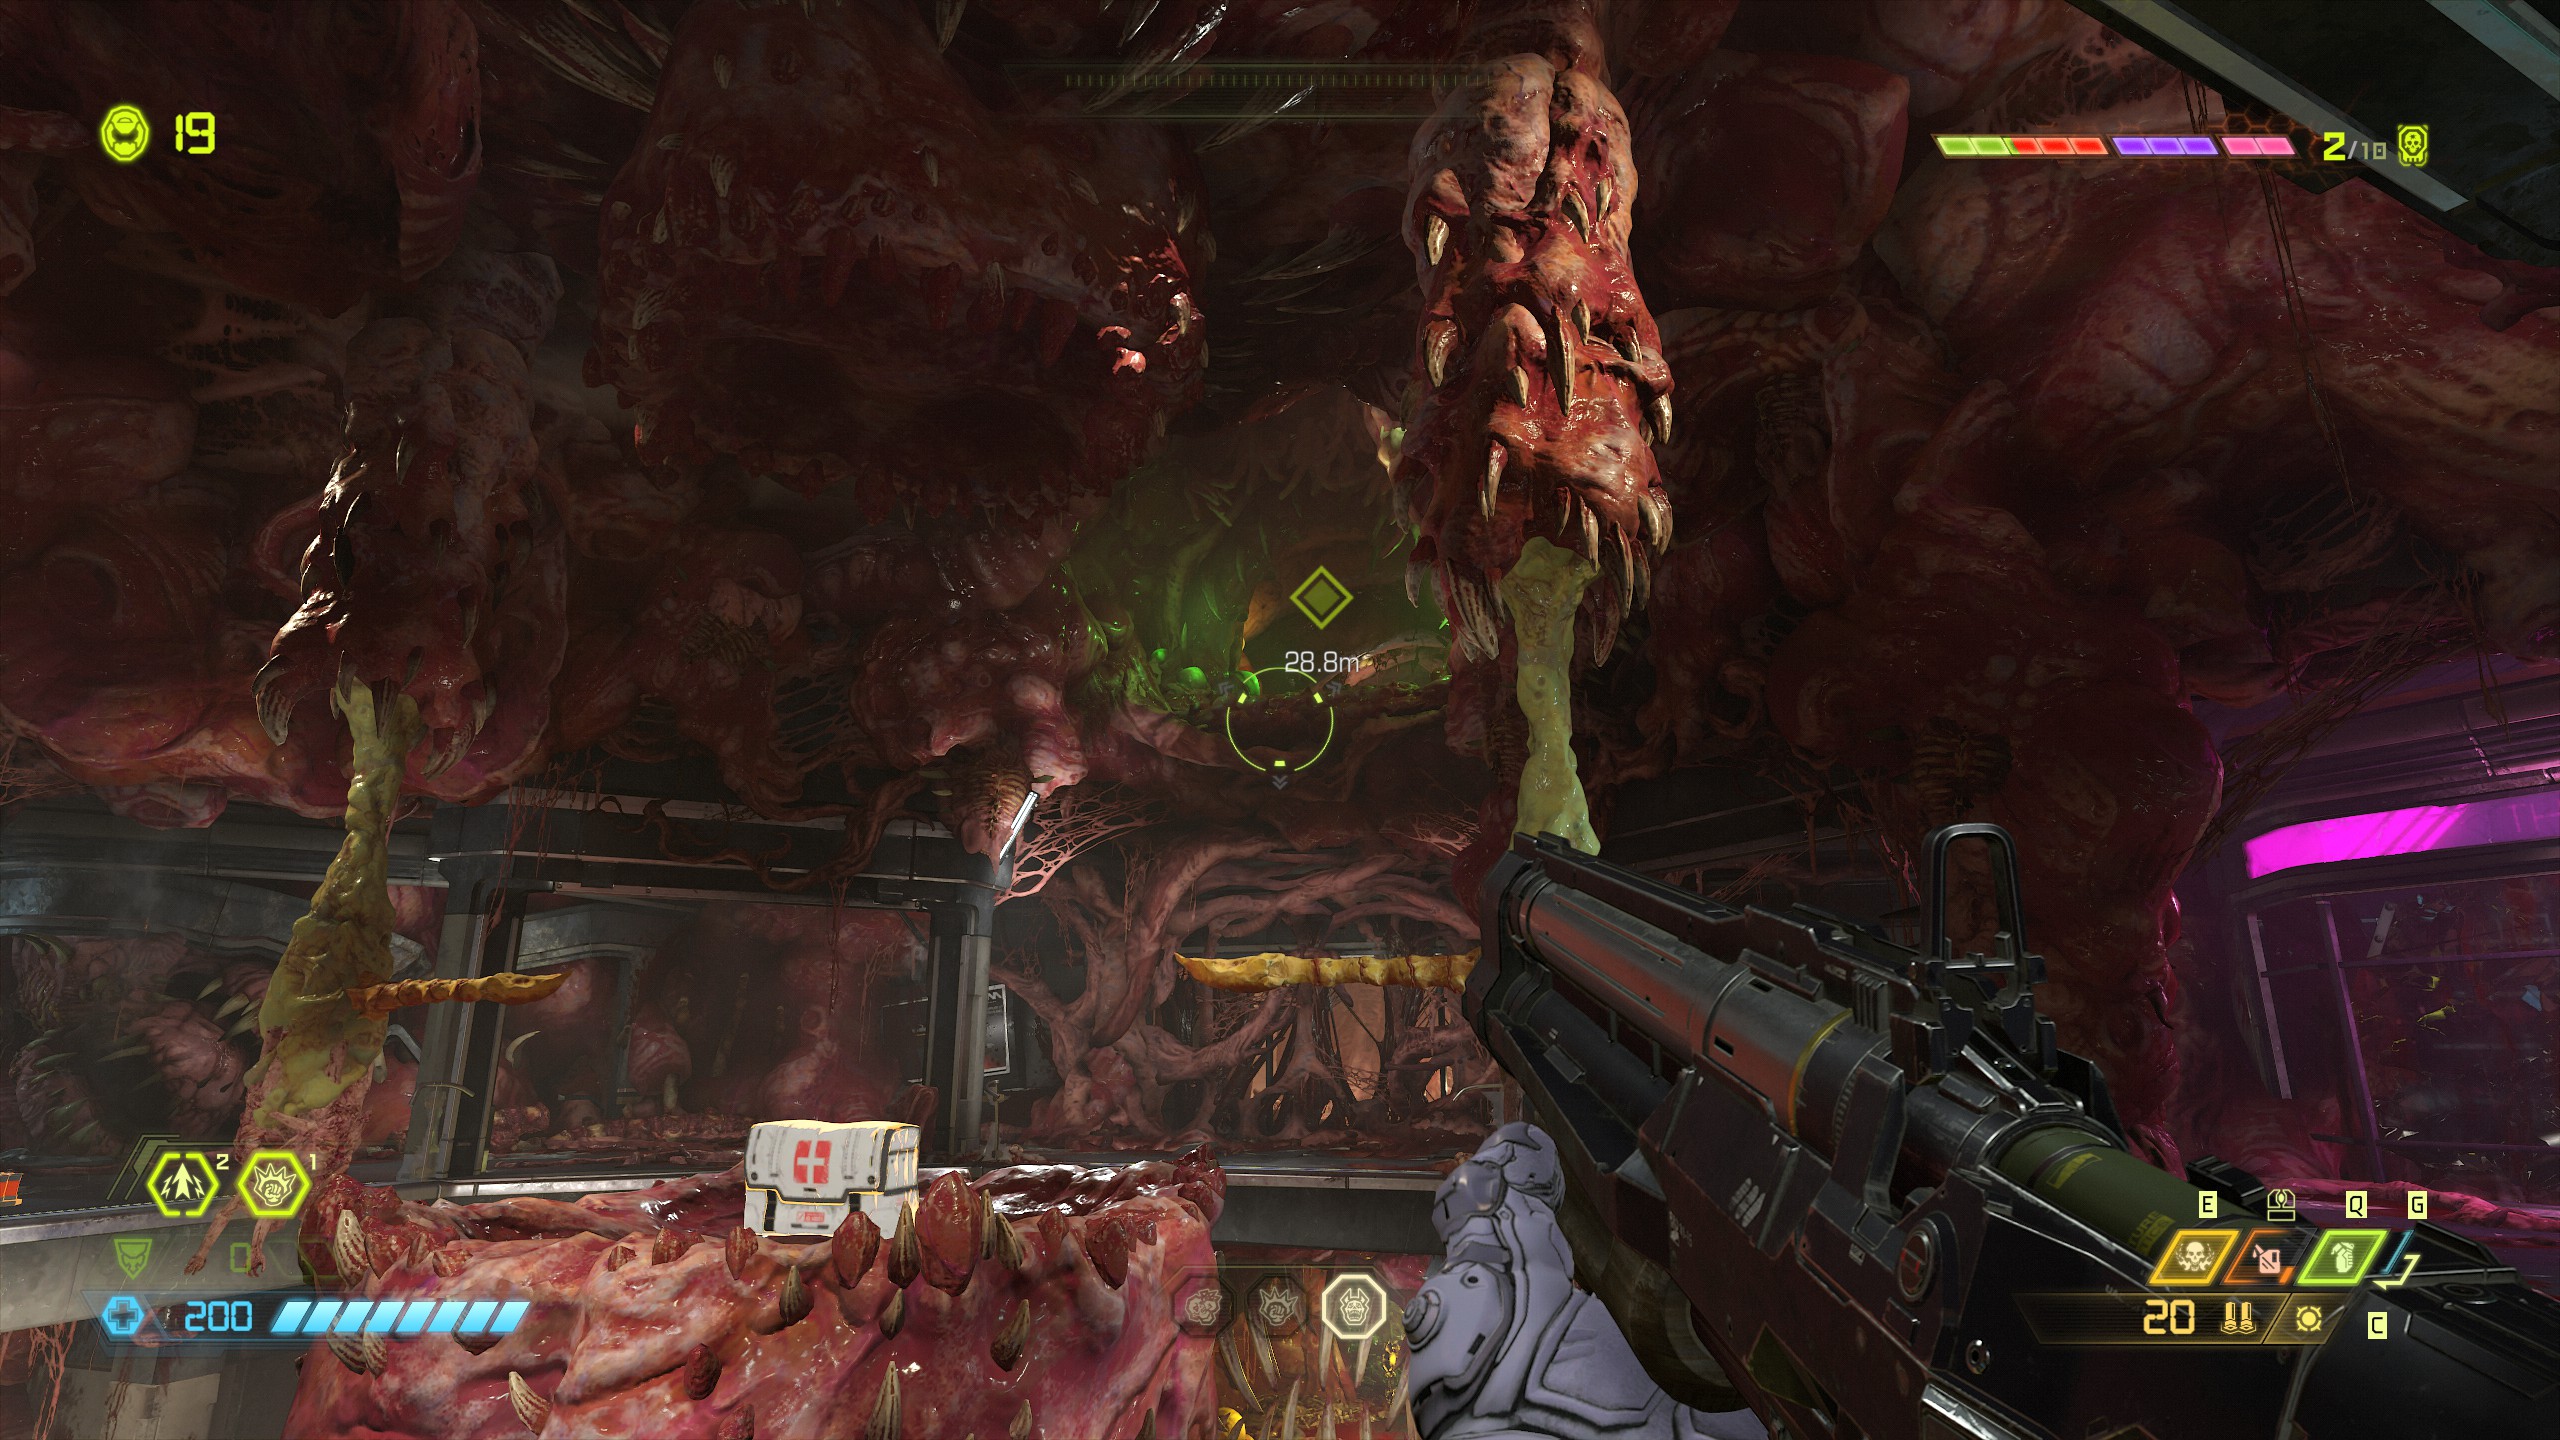
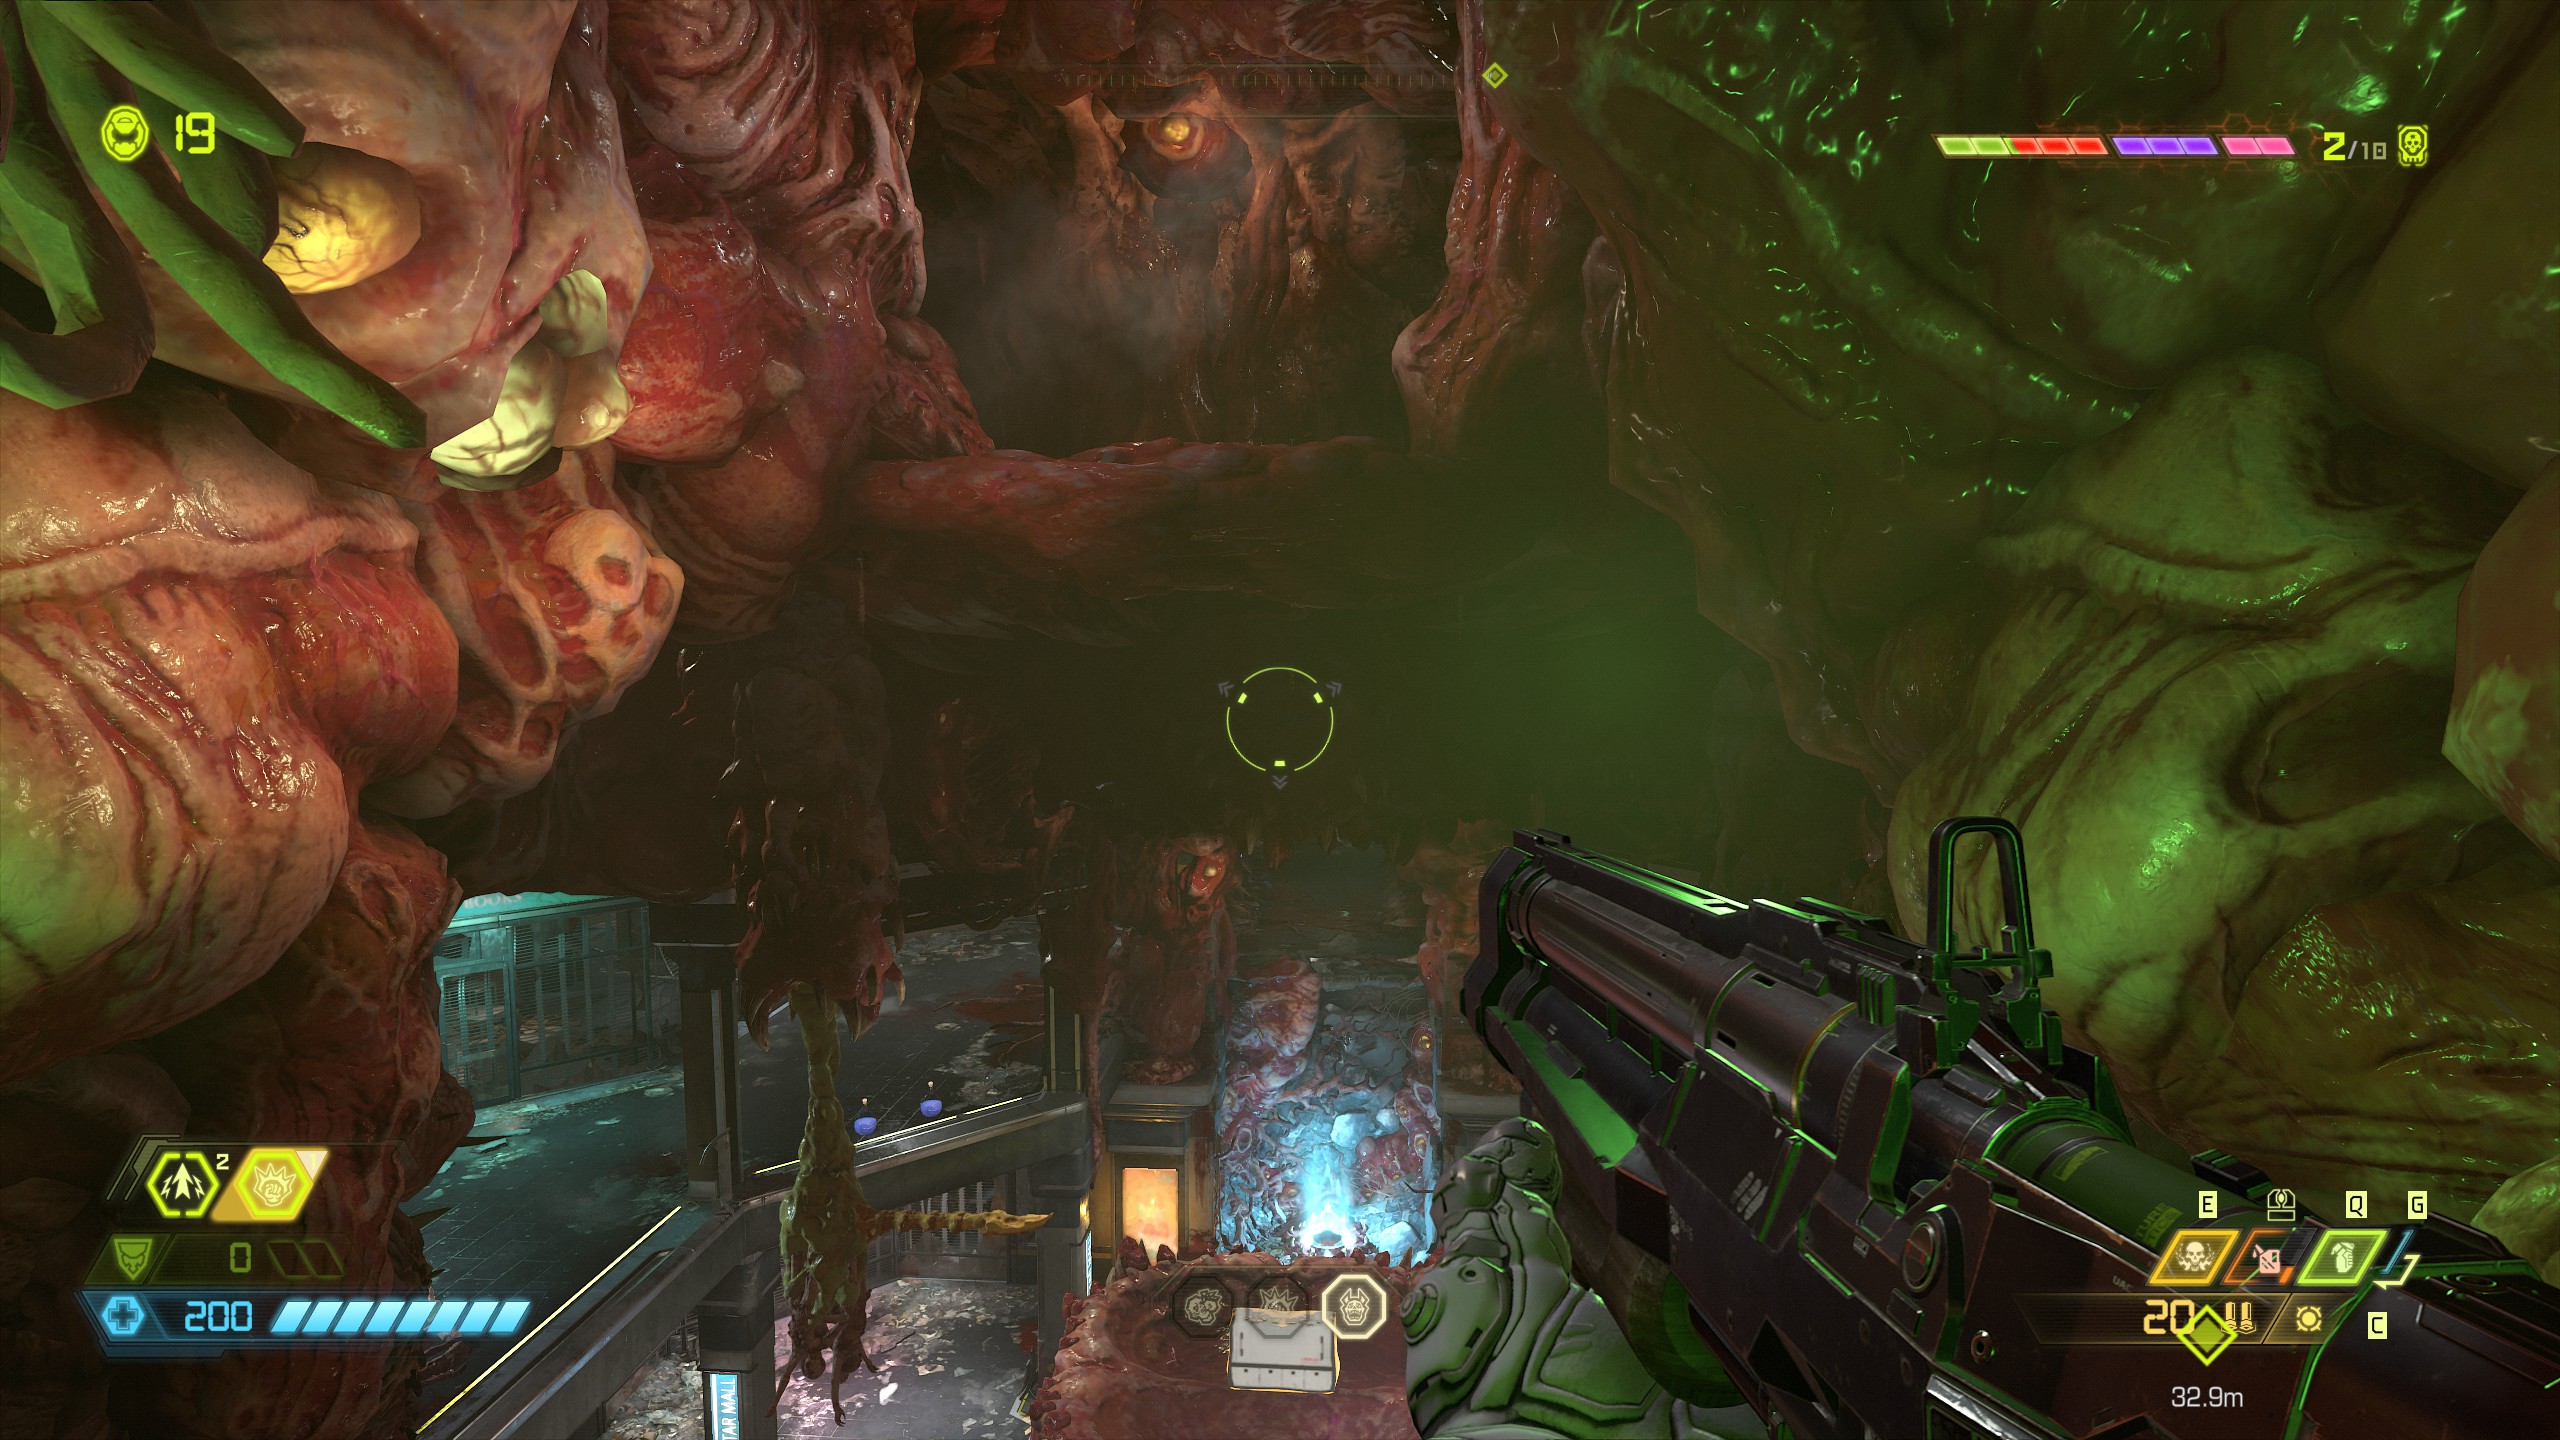
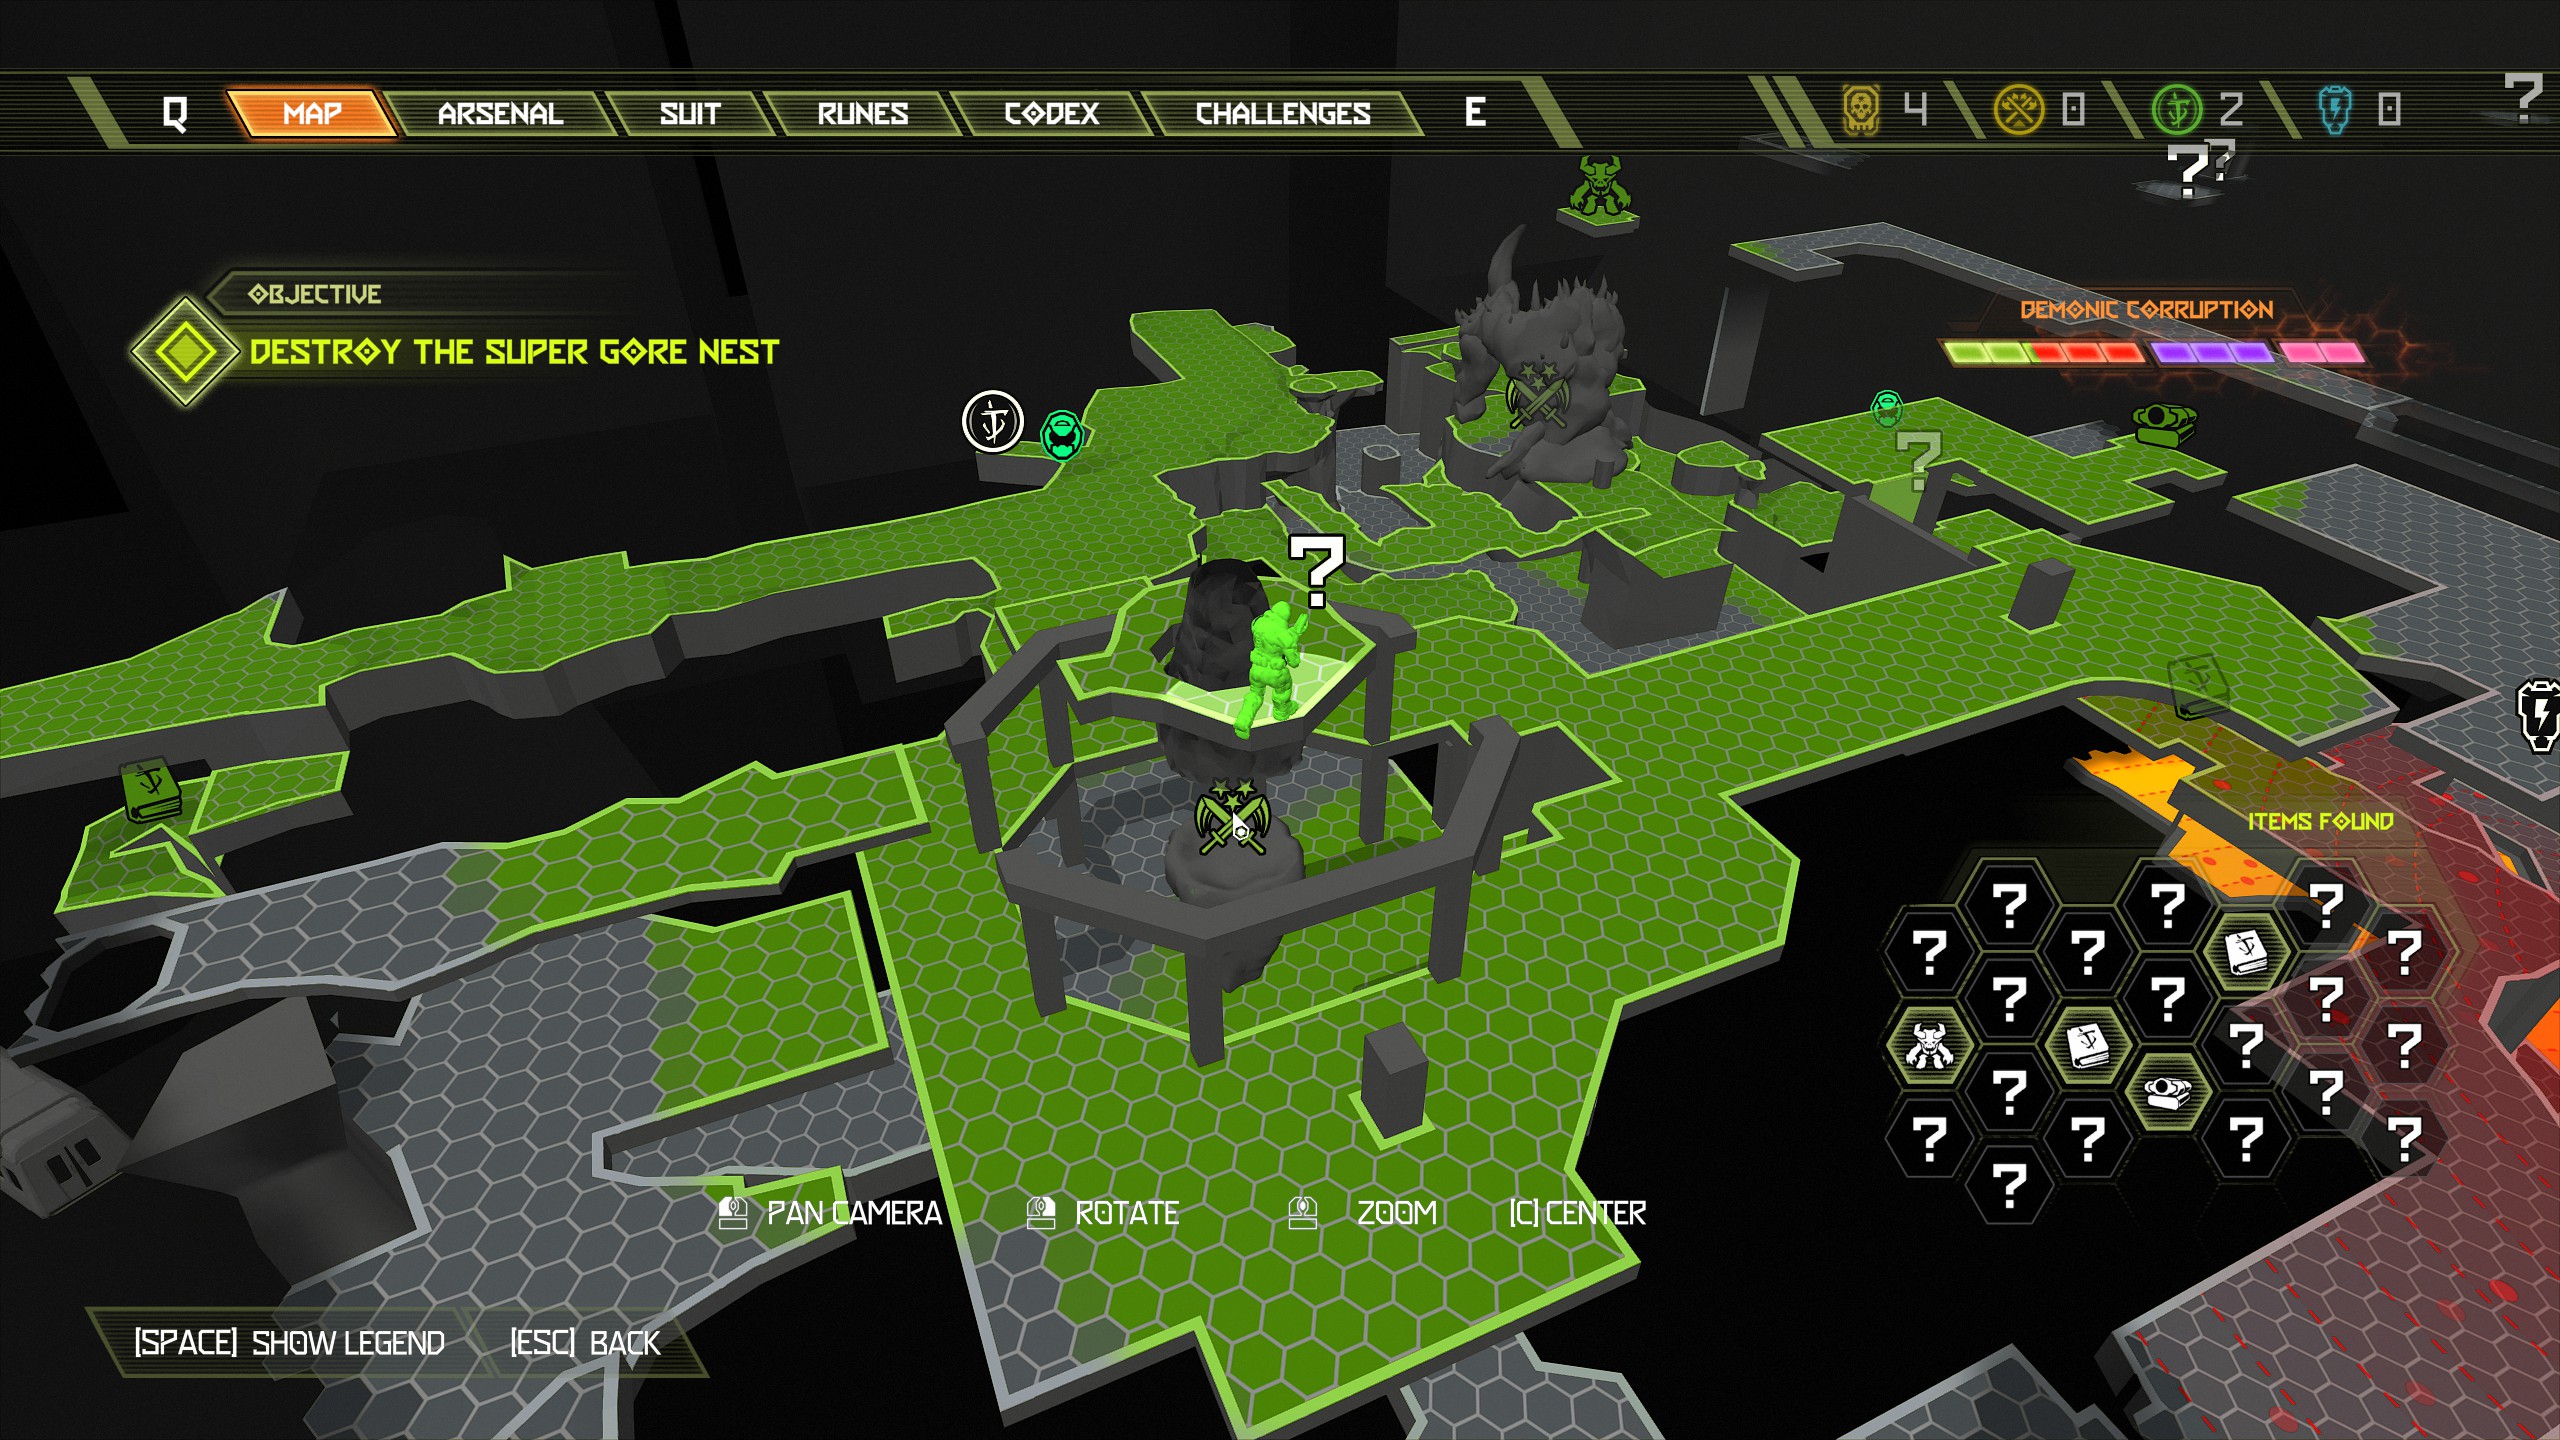
Secret Encounter:
For this encounter you will be attacked by 2 mancubus and 2 mecha zombies. After the doomtoy proceed and you will drop down into another room and activate a buff totem. Clear some of the demons and four portals will appear in the center of the room. If you stand next to the buff totem and face the portals take the nearest portal on the right side, this will bring you to the buff totem allowing you to destroy it right away and after that the first portal will close.
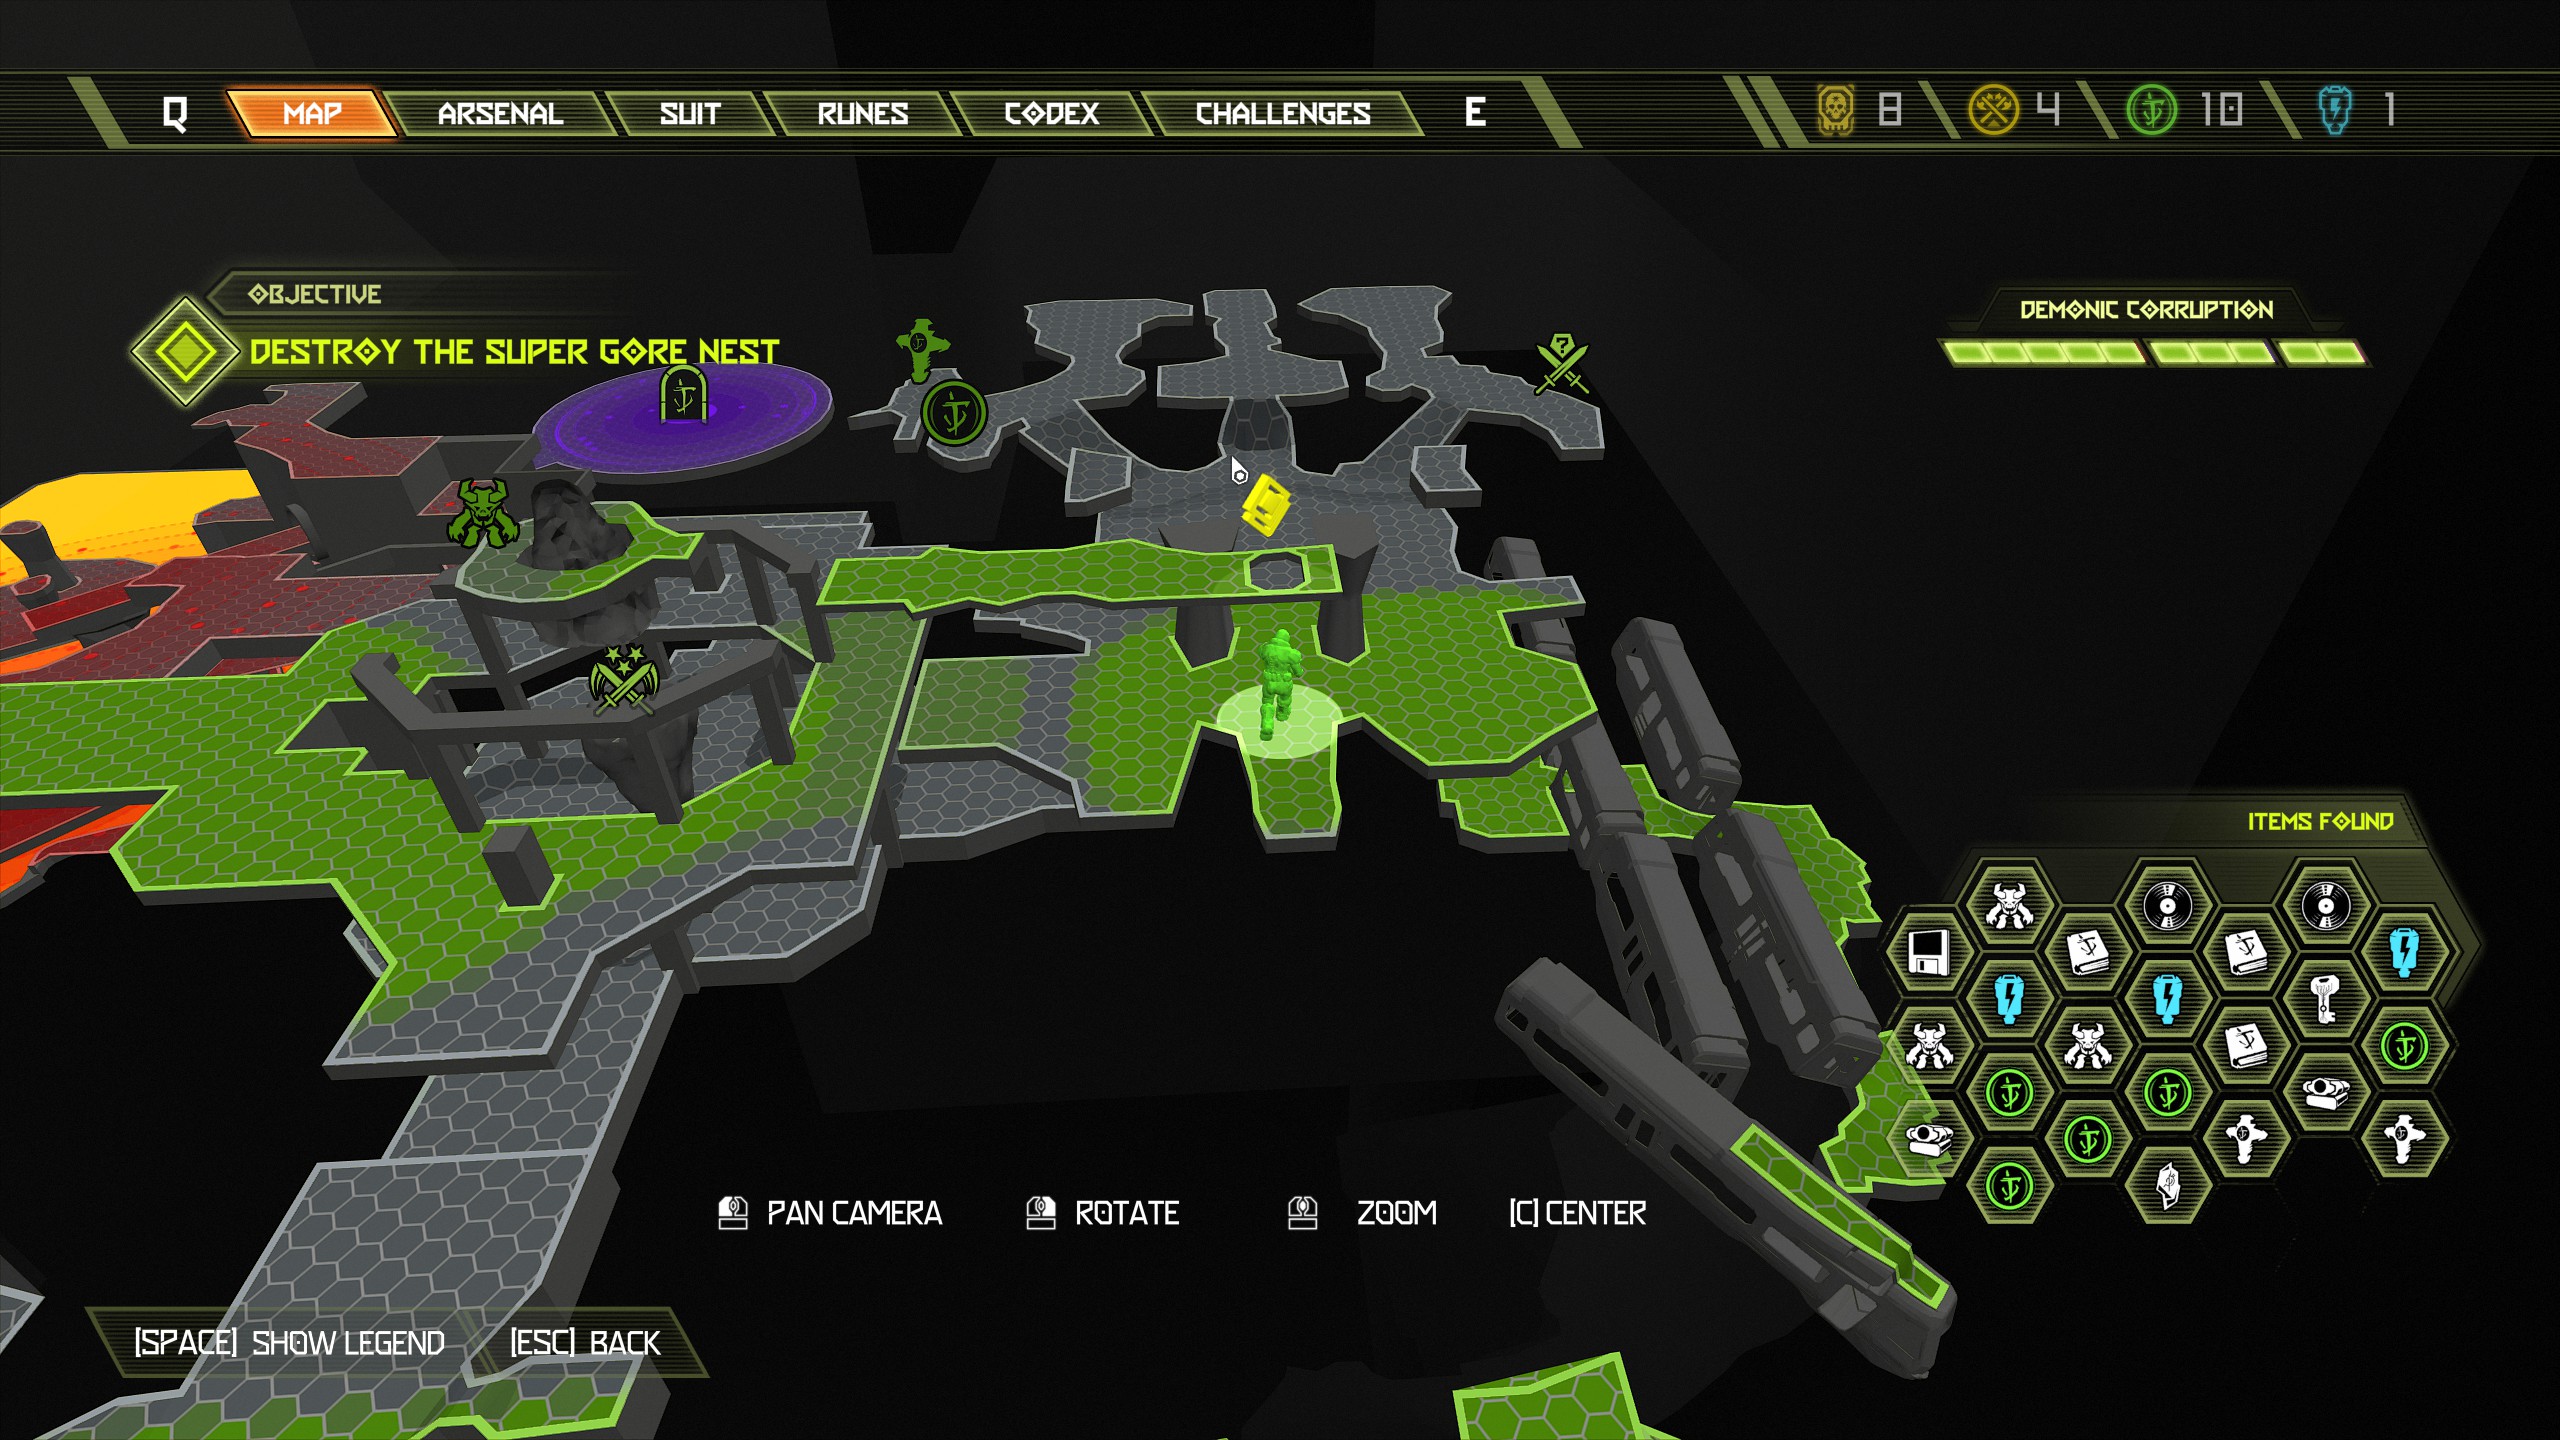
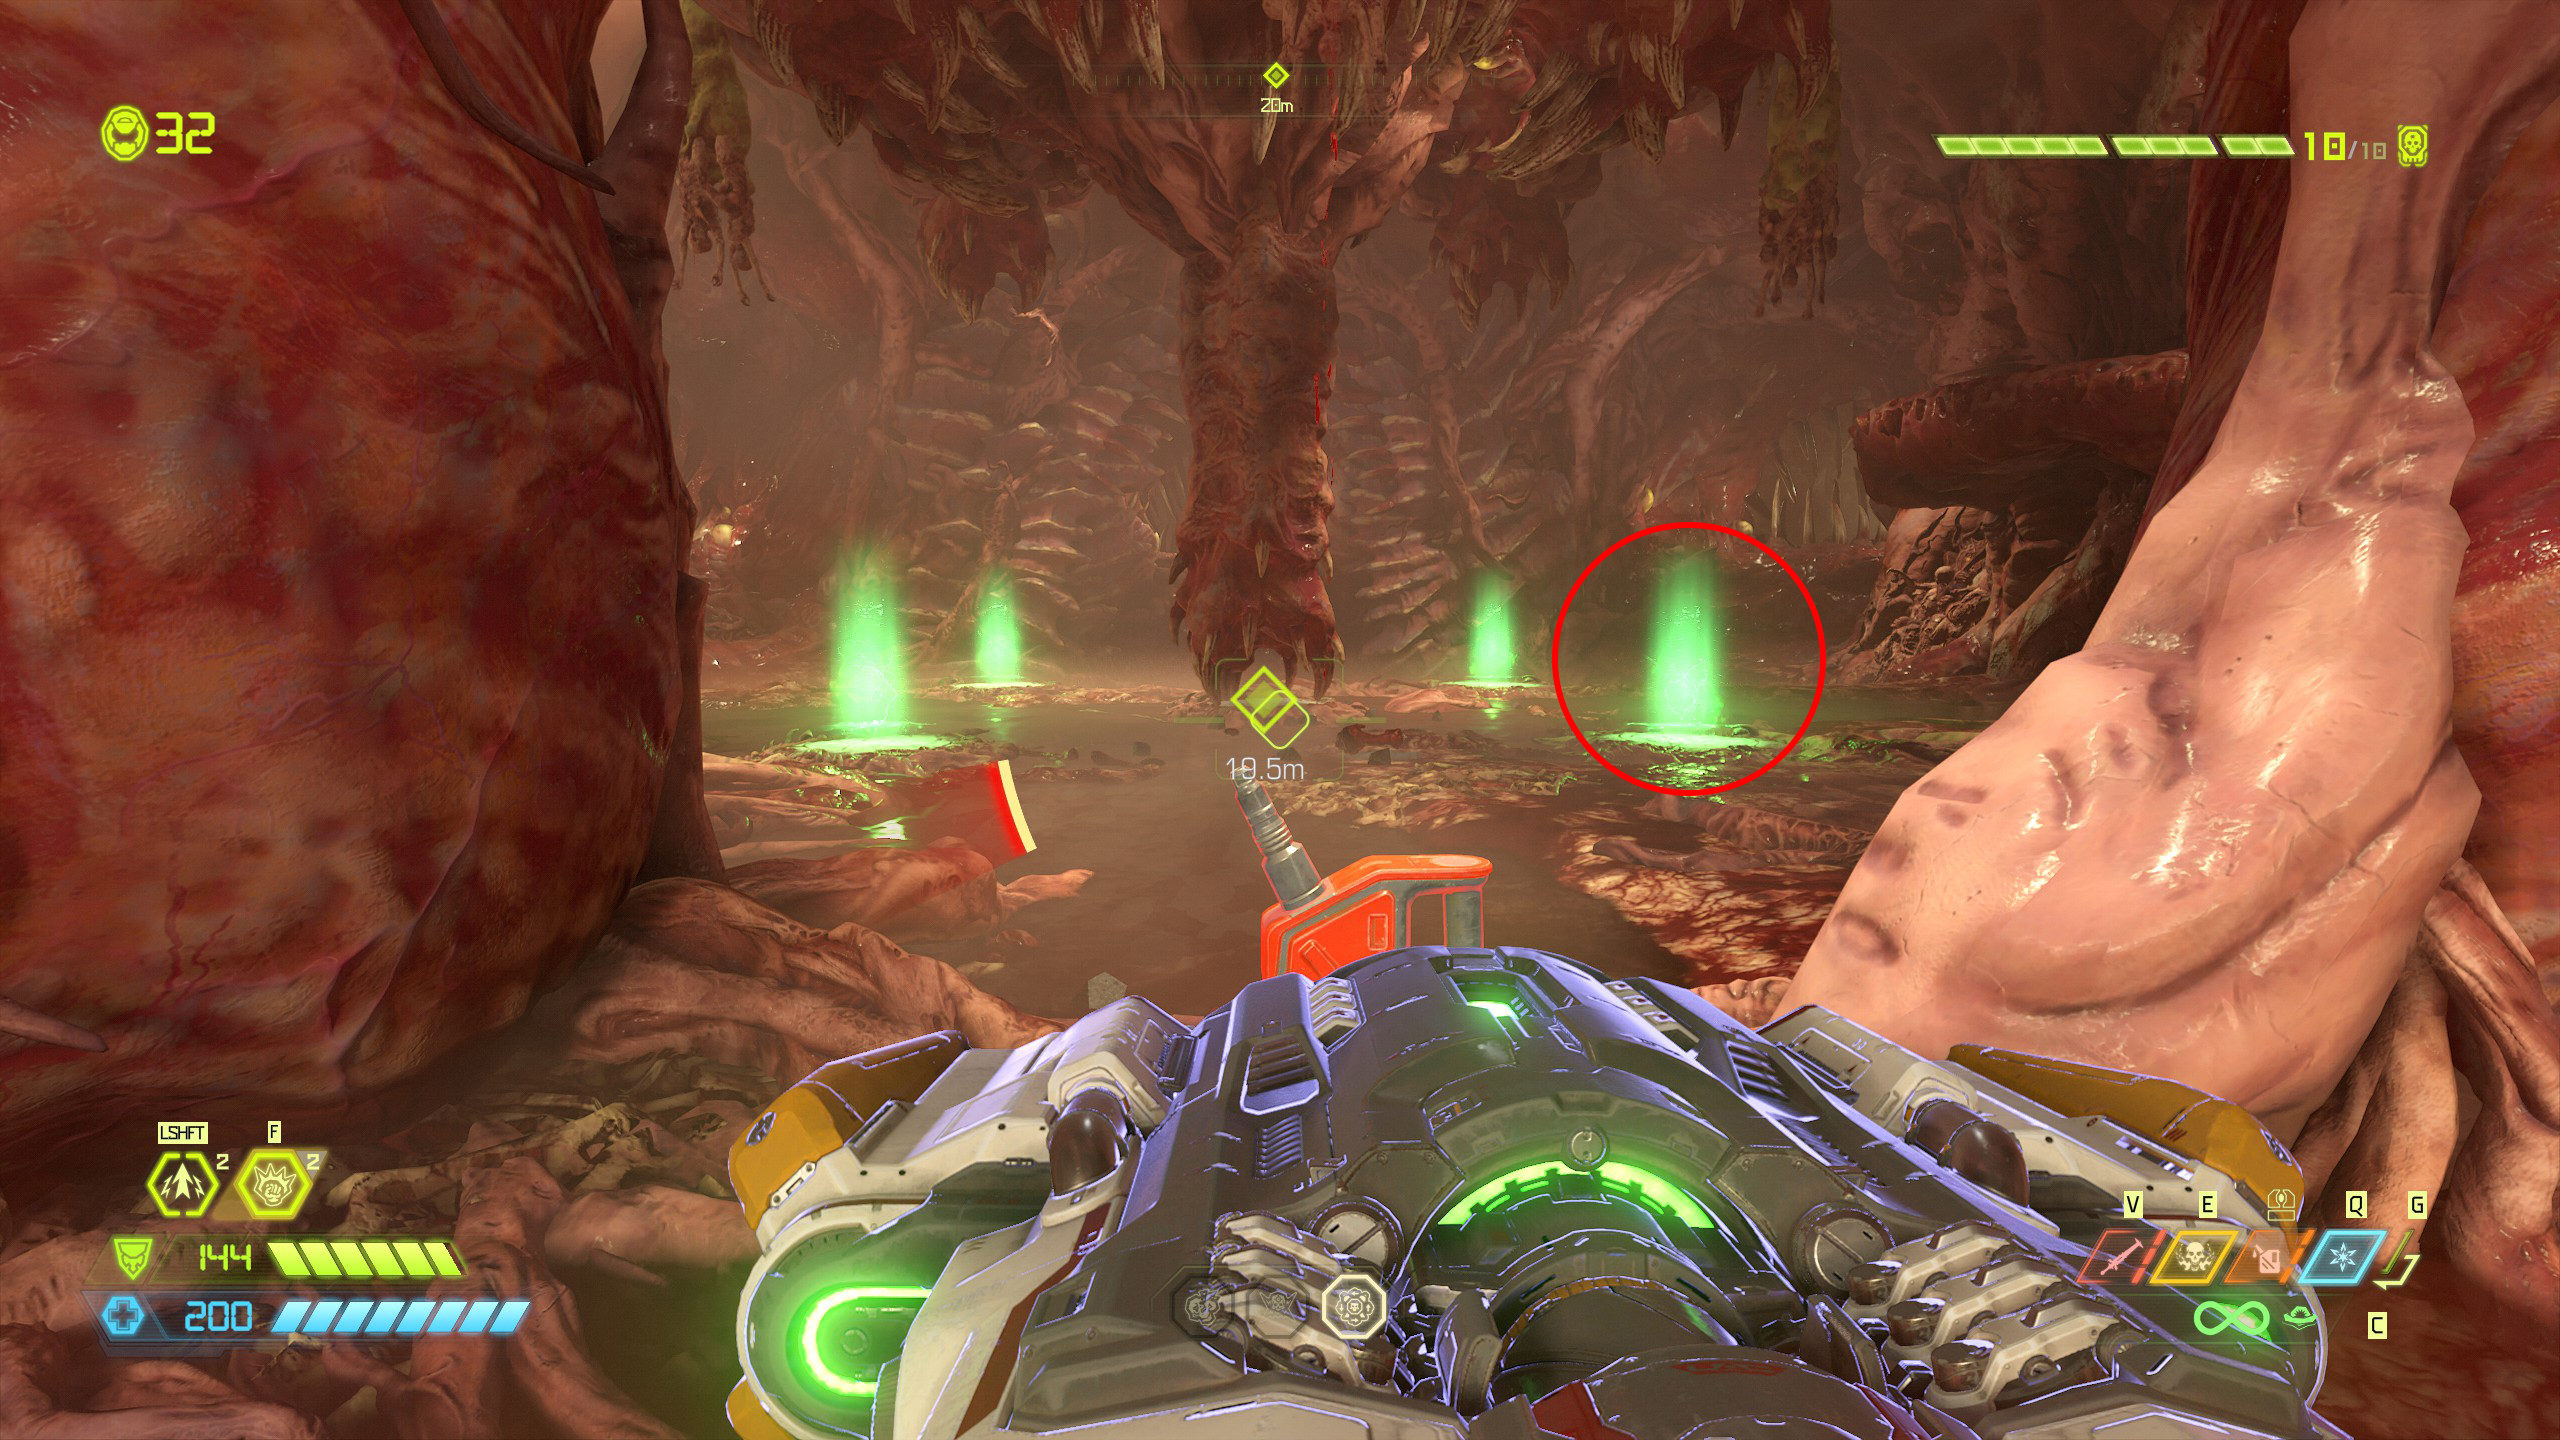
From the buff totem location, face the portals once again and this time take the nearest portal on the left, this will bring you to an armor piece and close the second portal once we exit the small enclosure.
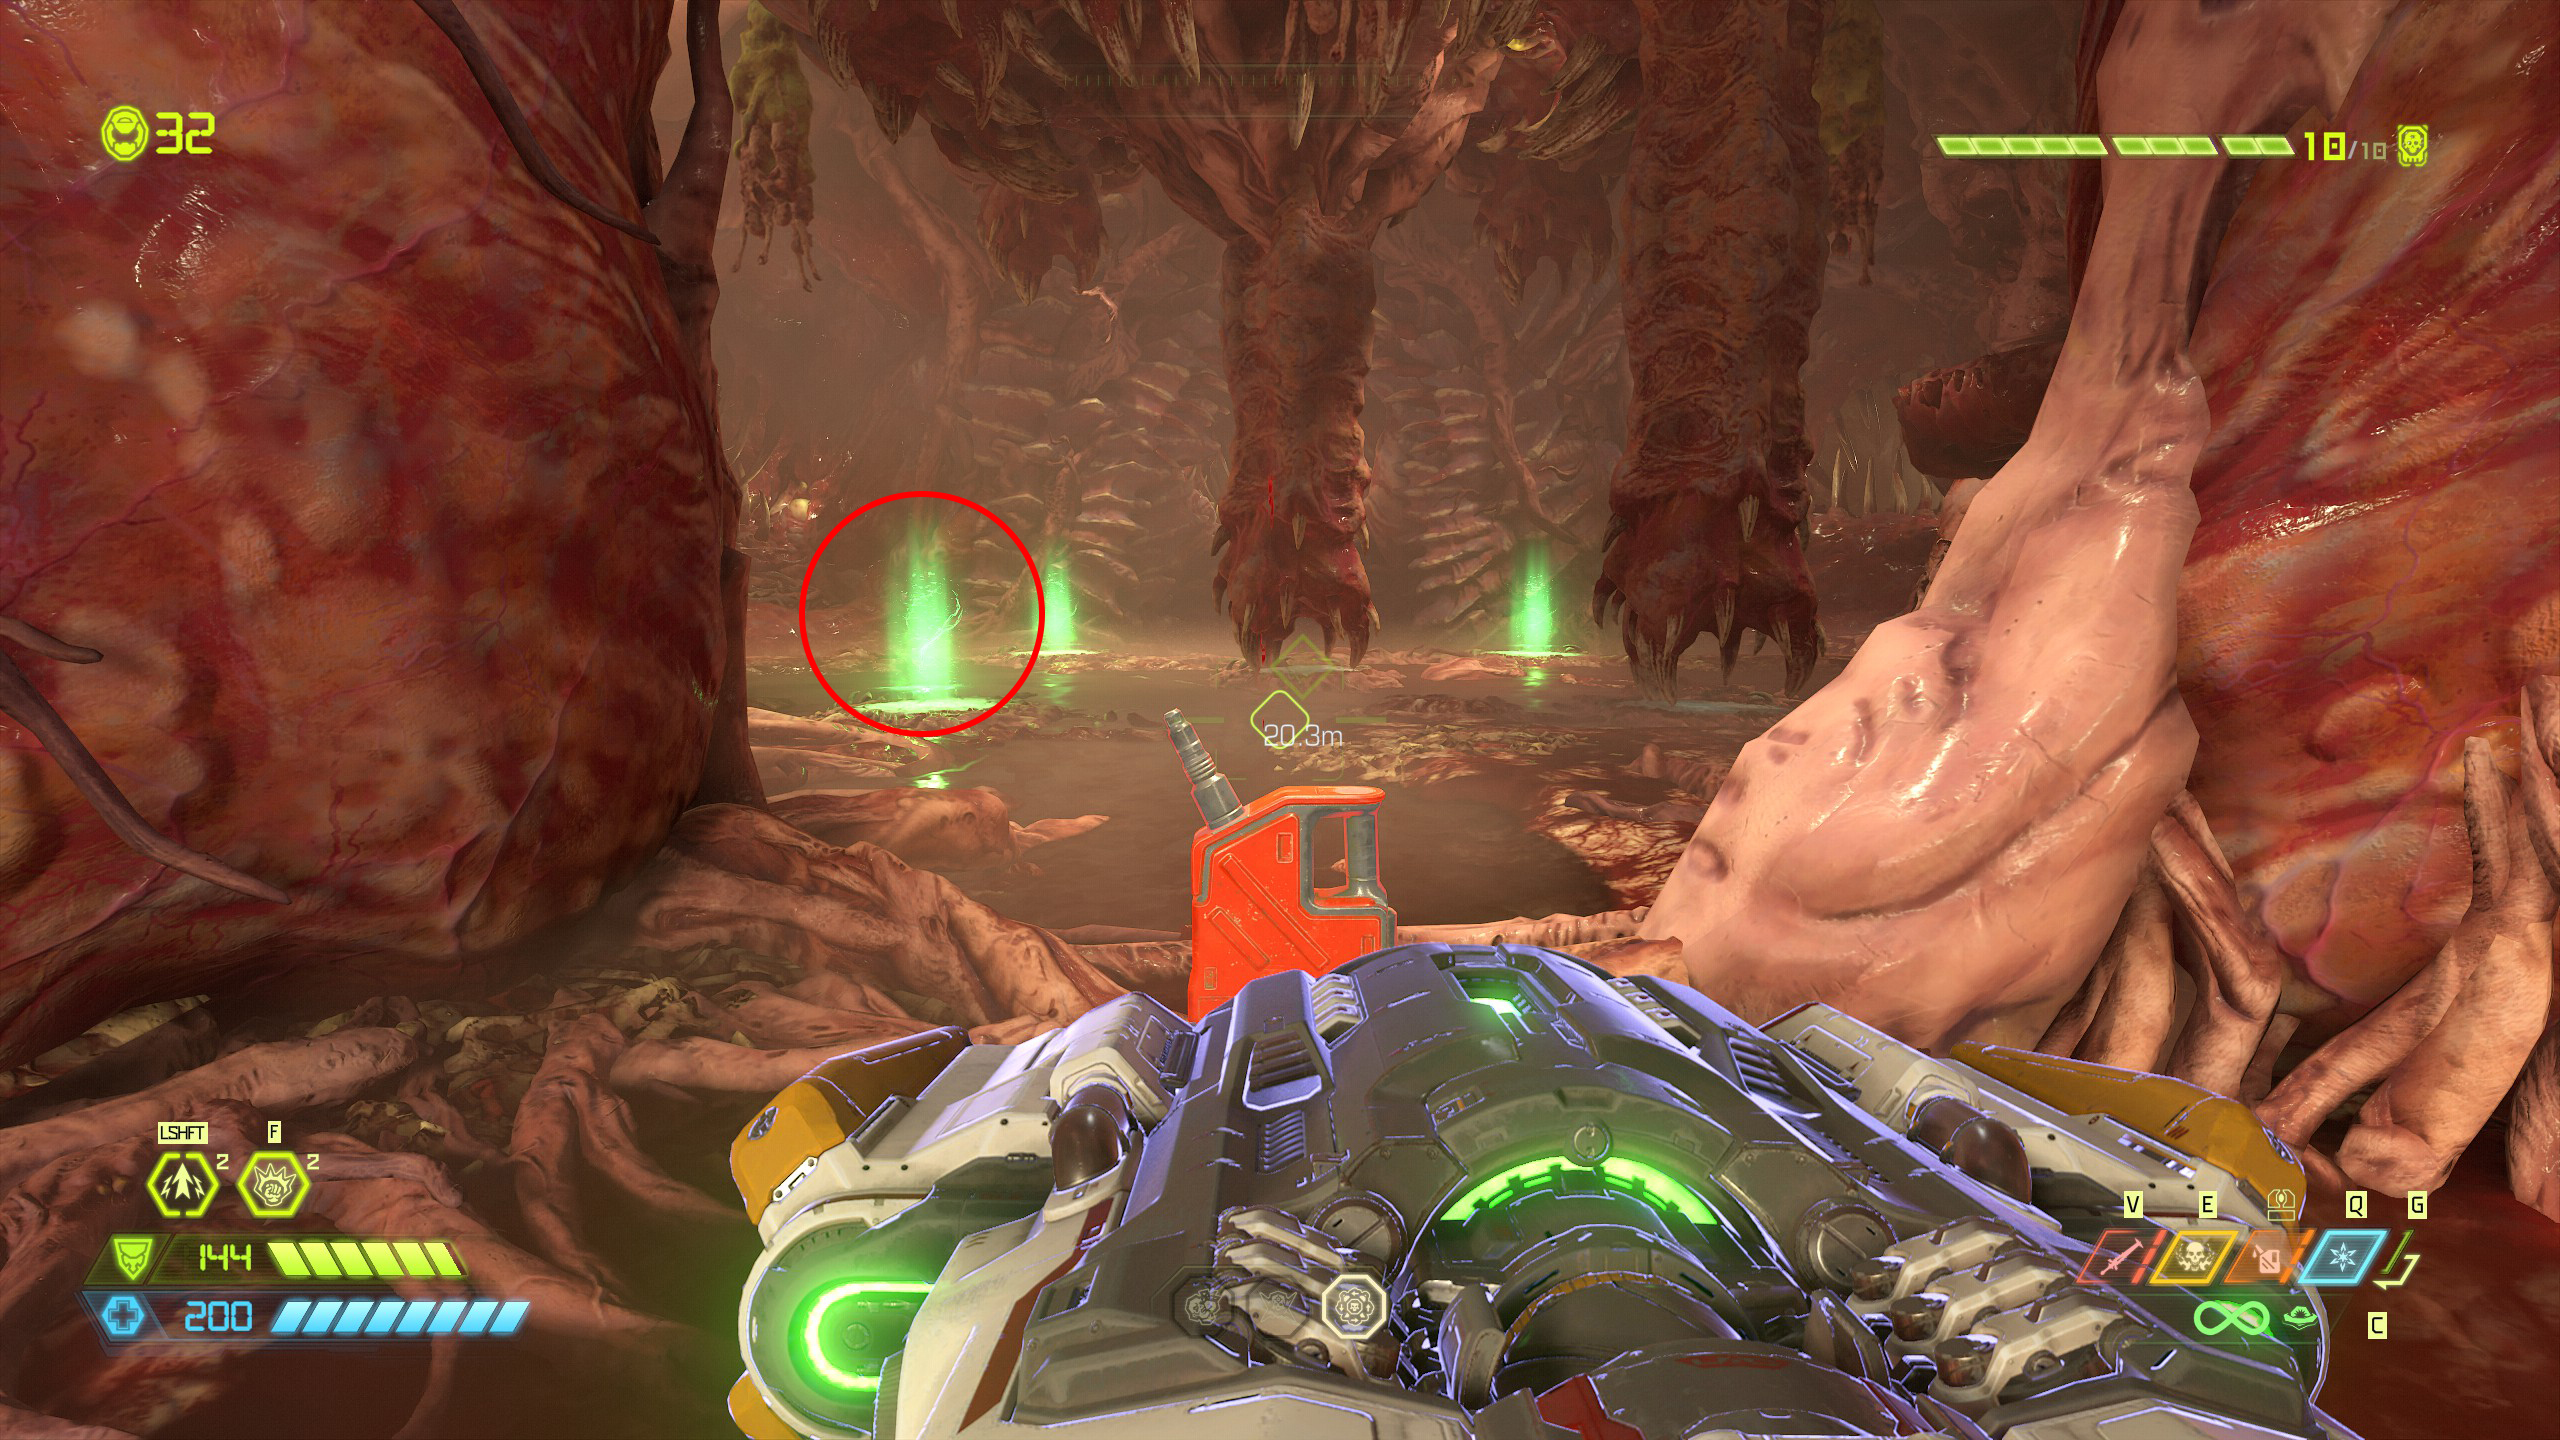
Now go back to the buff totem location, face the portals and take the furthest portal on the left, this will bring you to the praetor suit token and this time close the third portal.
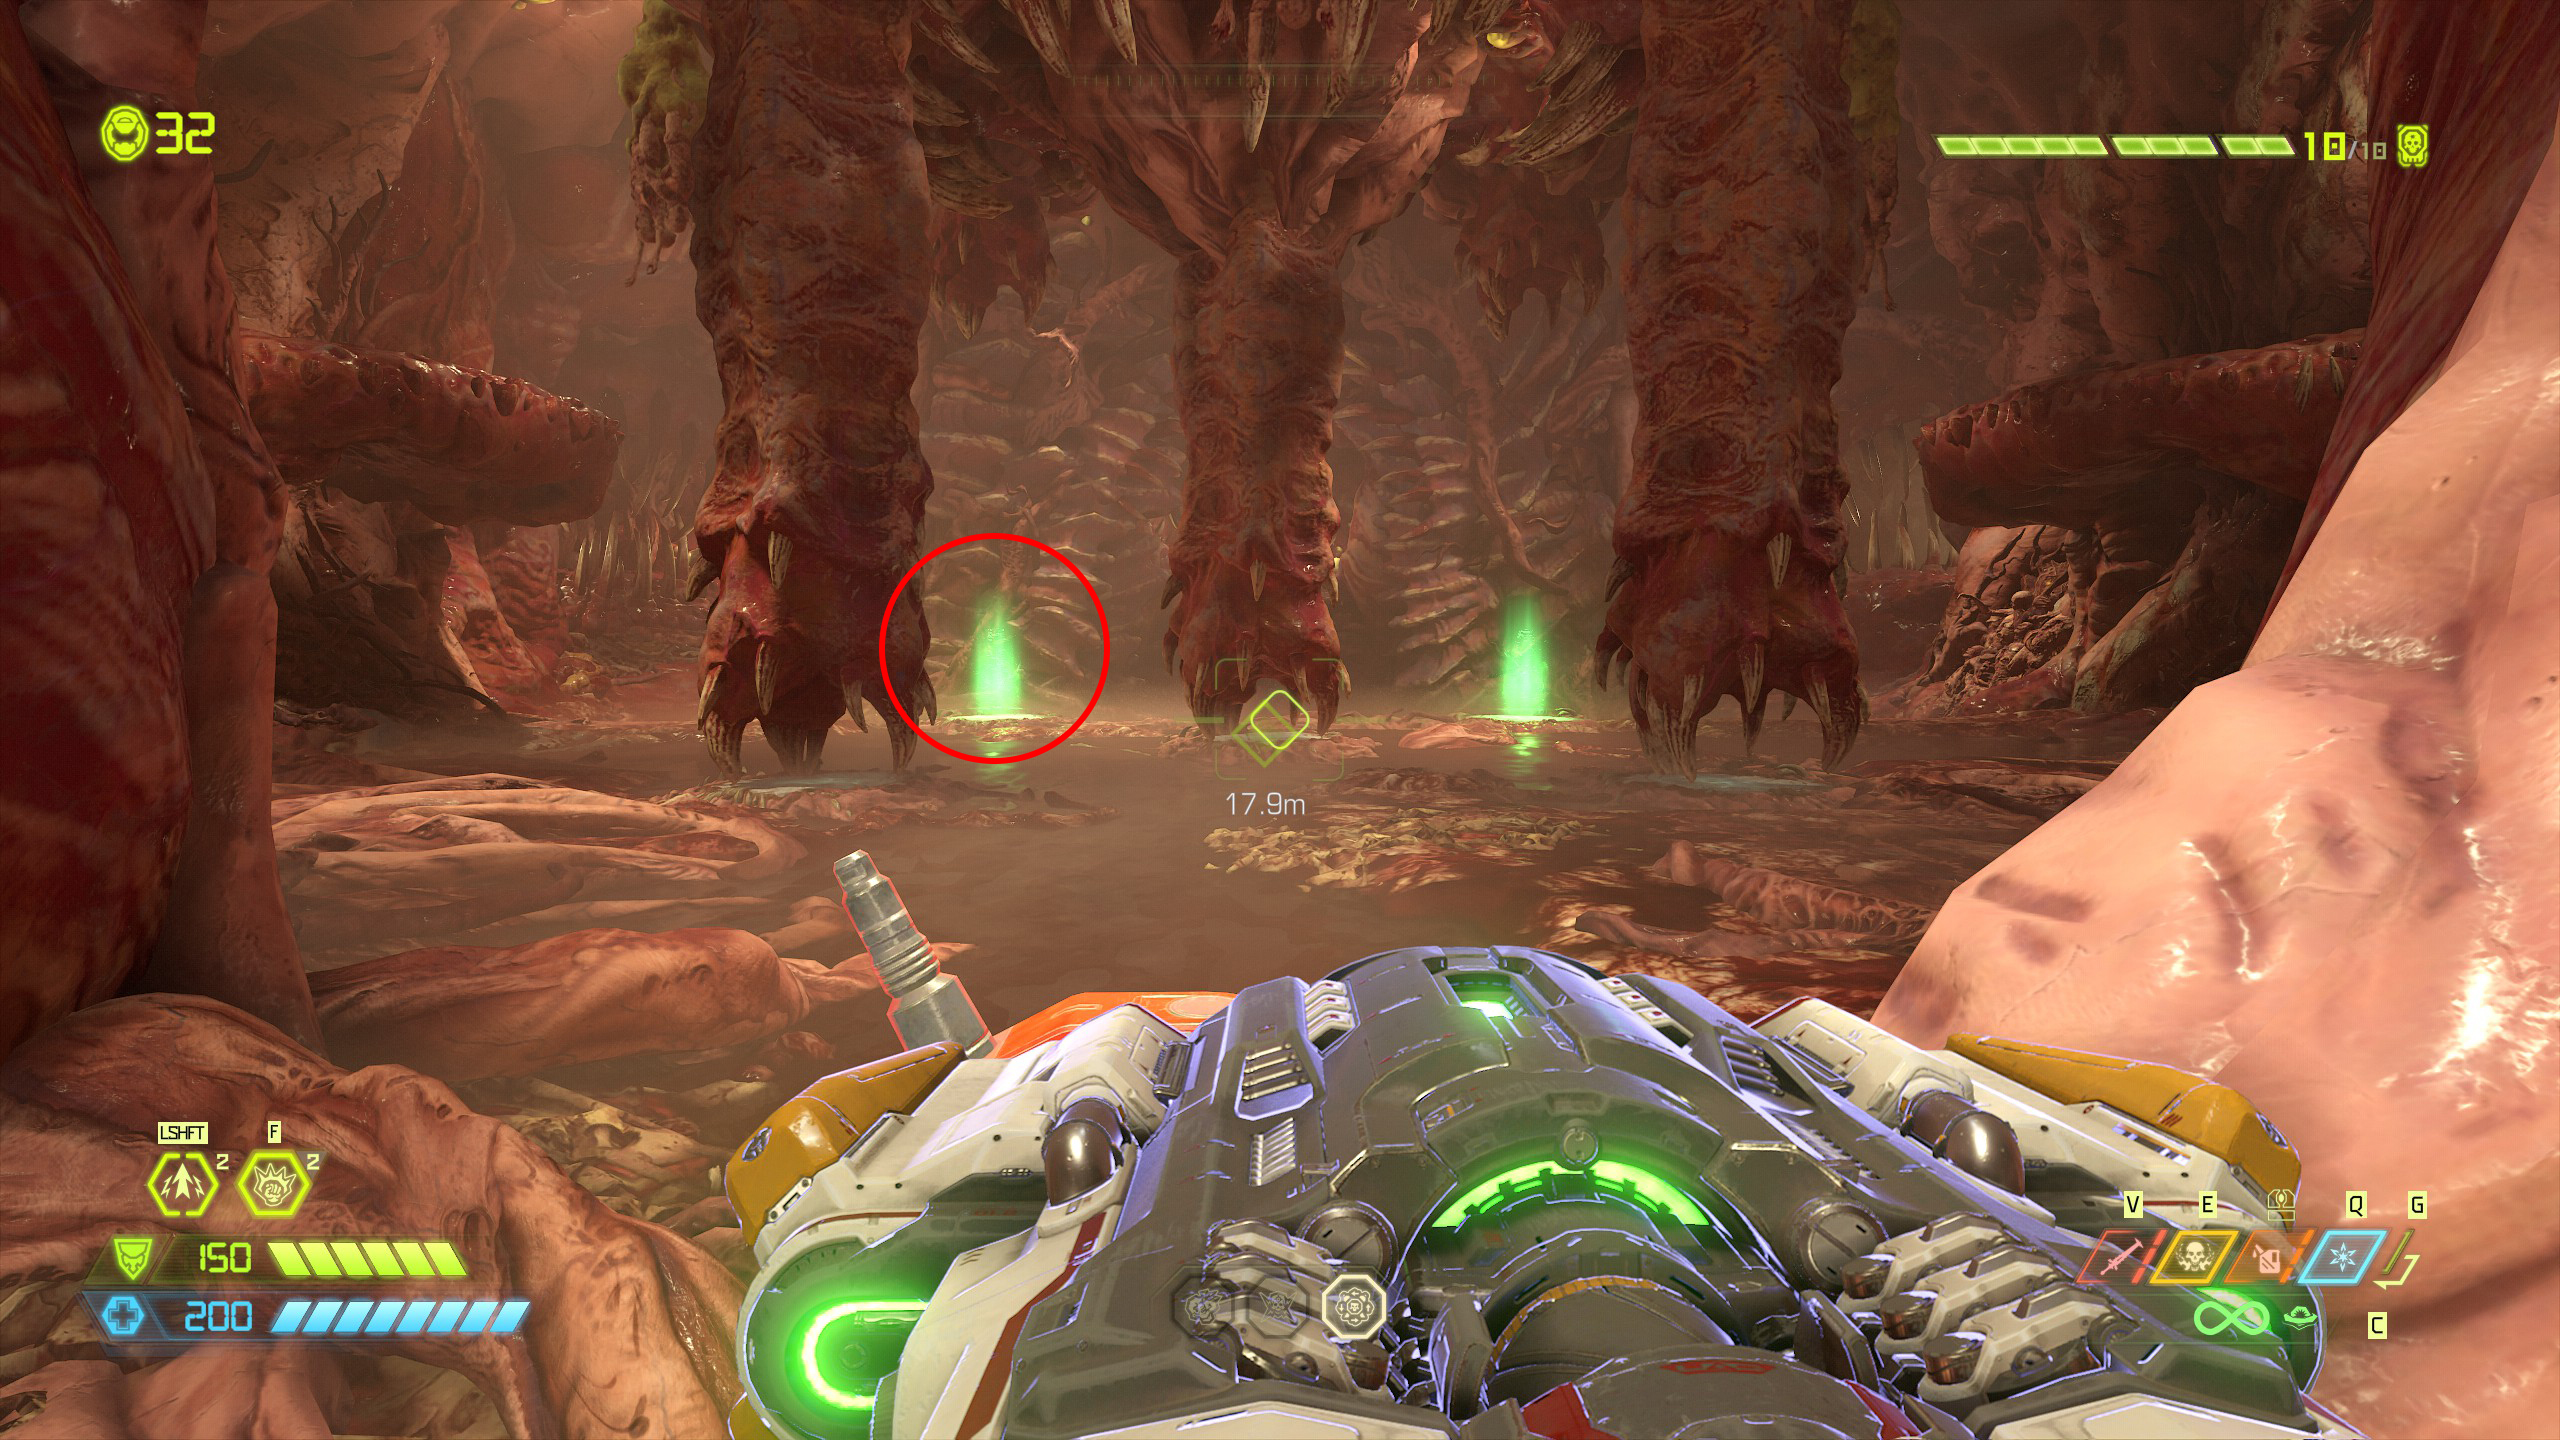
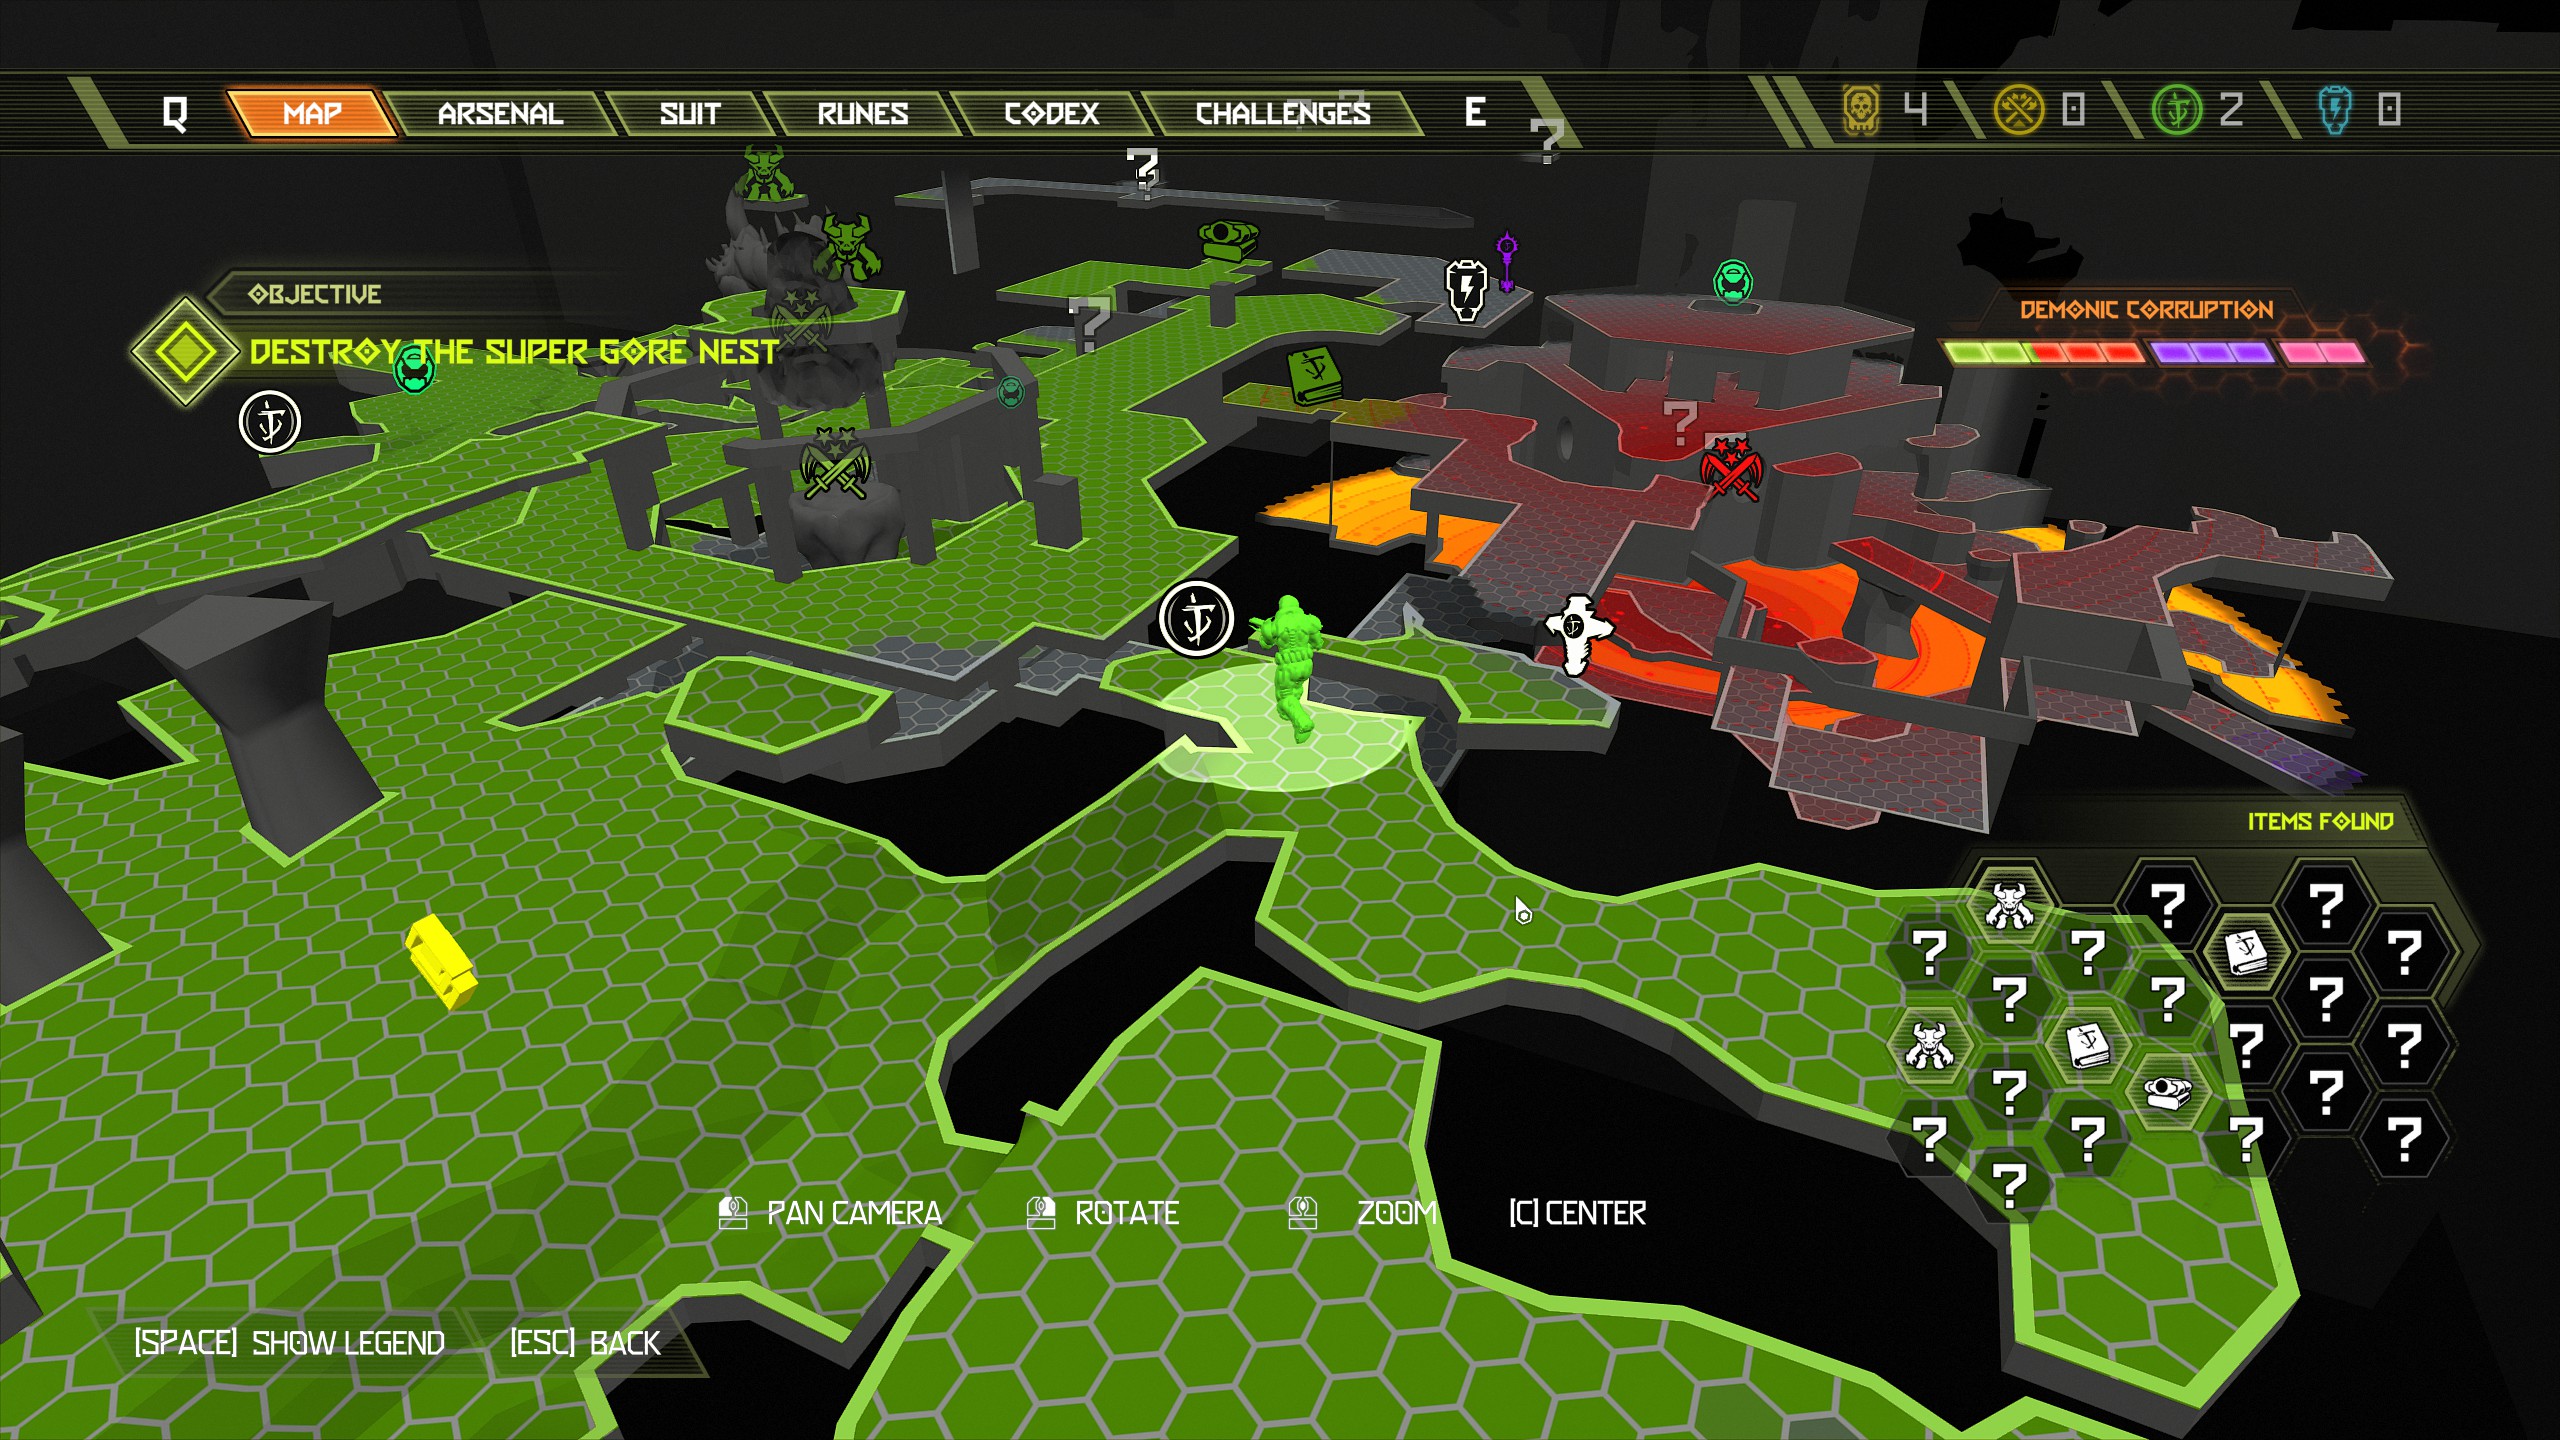
Proceed through the fourth portal and this will take you to the location of the secret encounter, but you will notice it is still locked. To unlock the secret encounter head towards the center of the room and allow the fourth portal to close and then go back. Do not enter the new portal first.
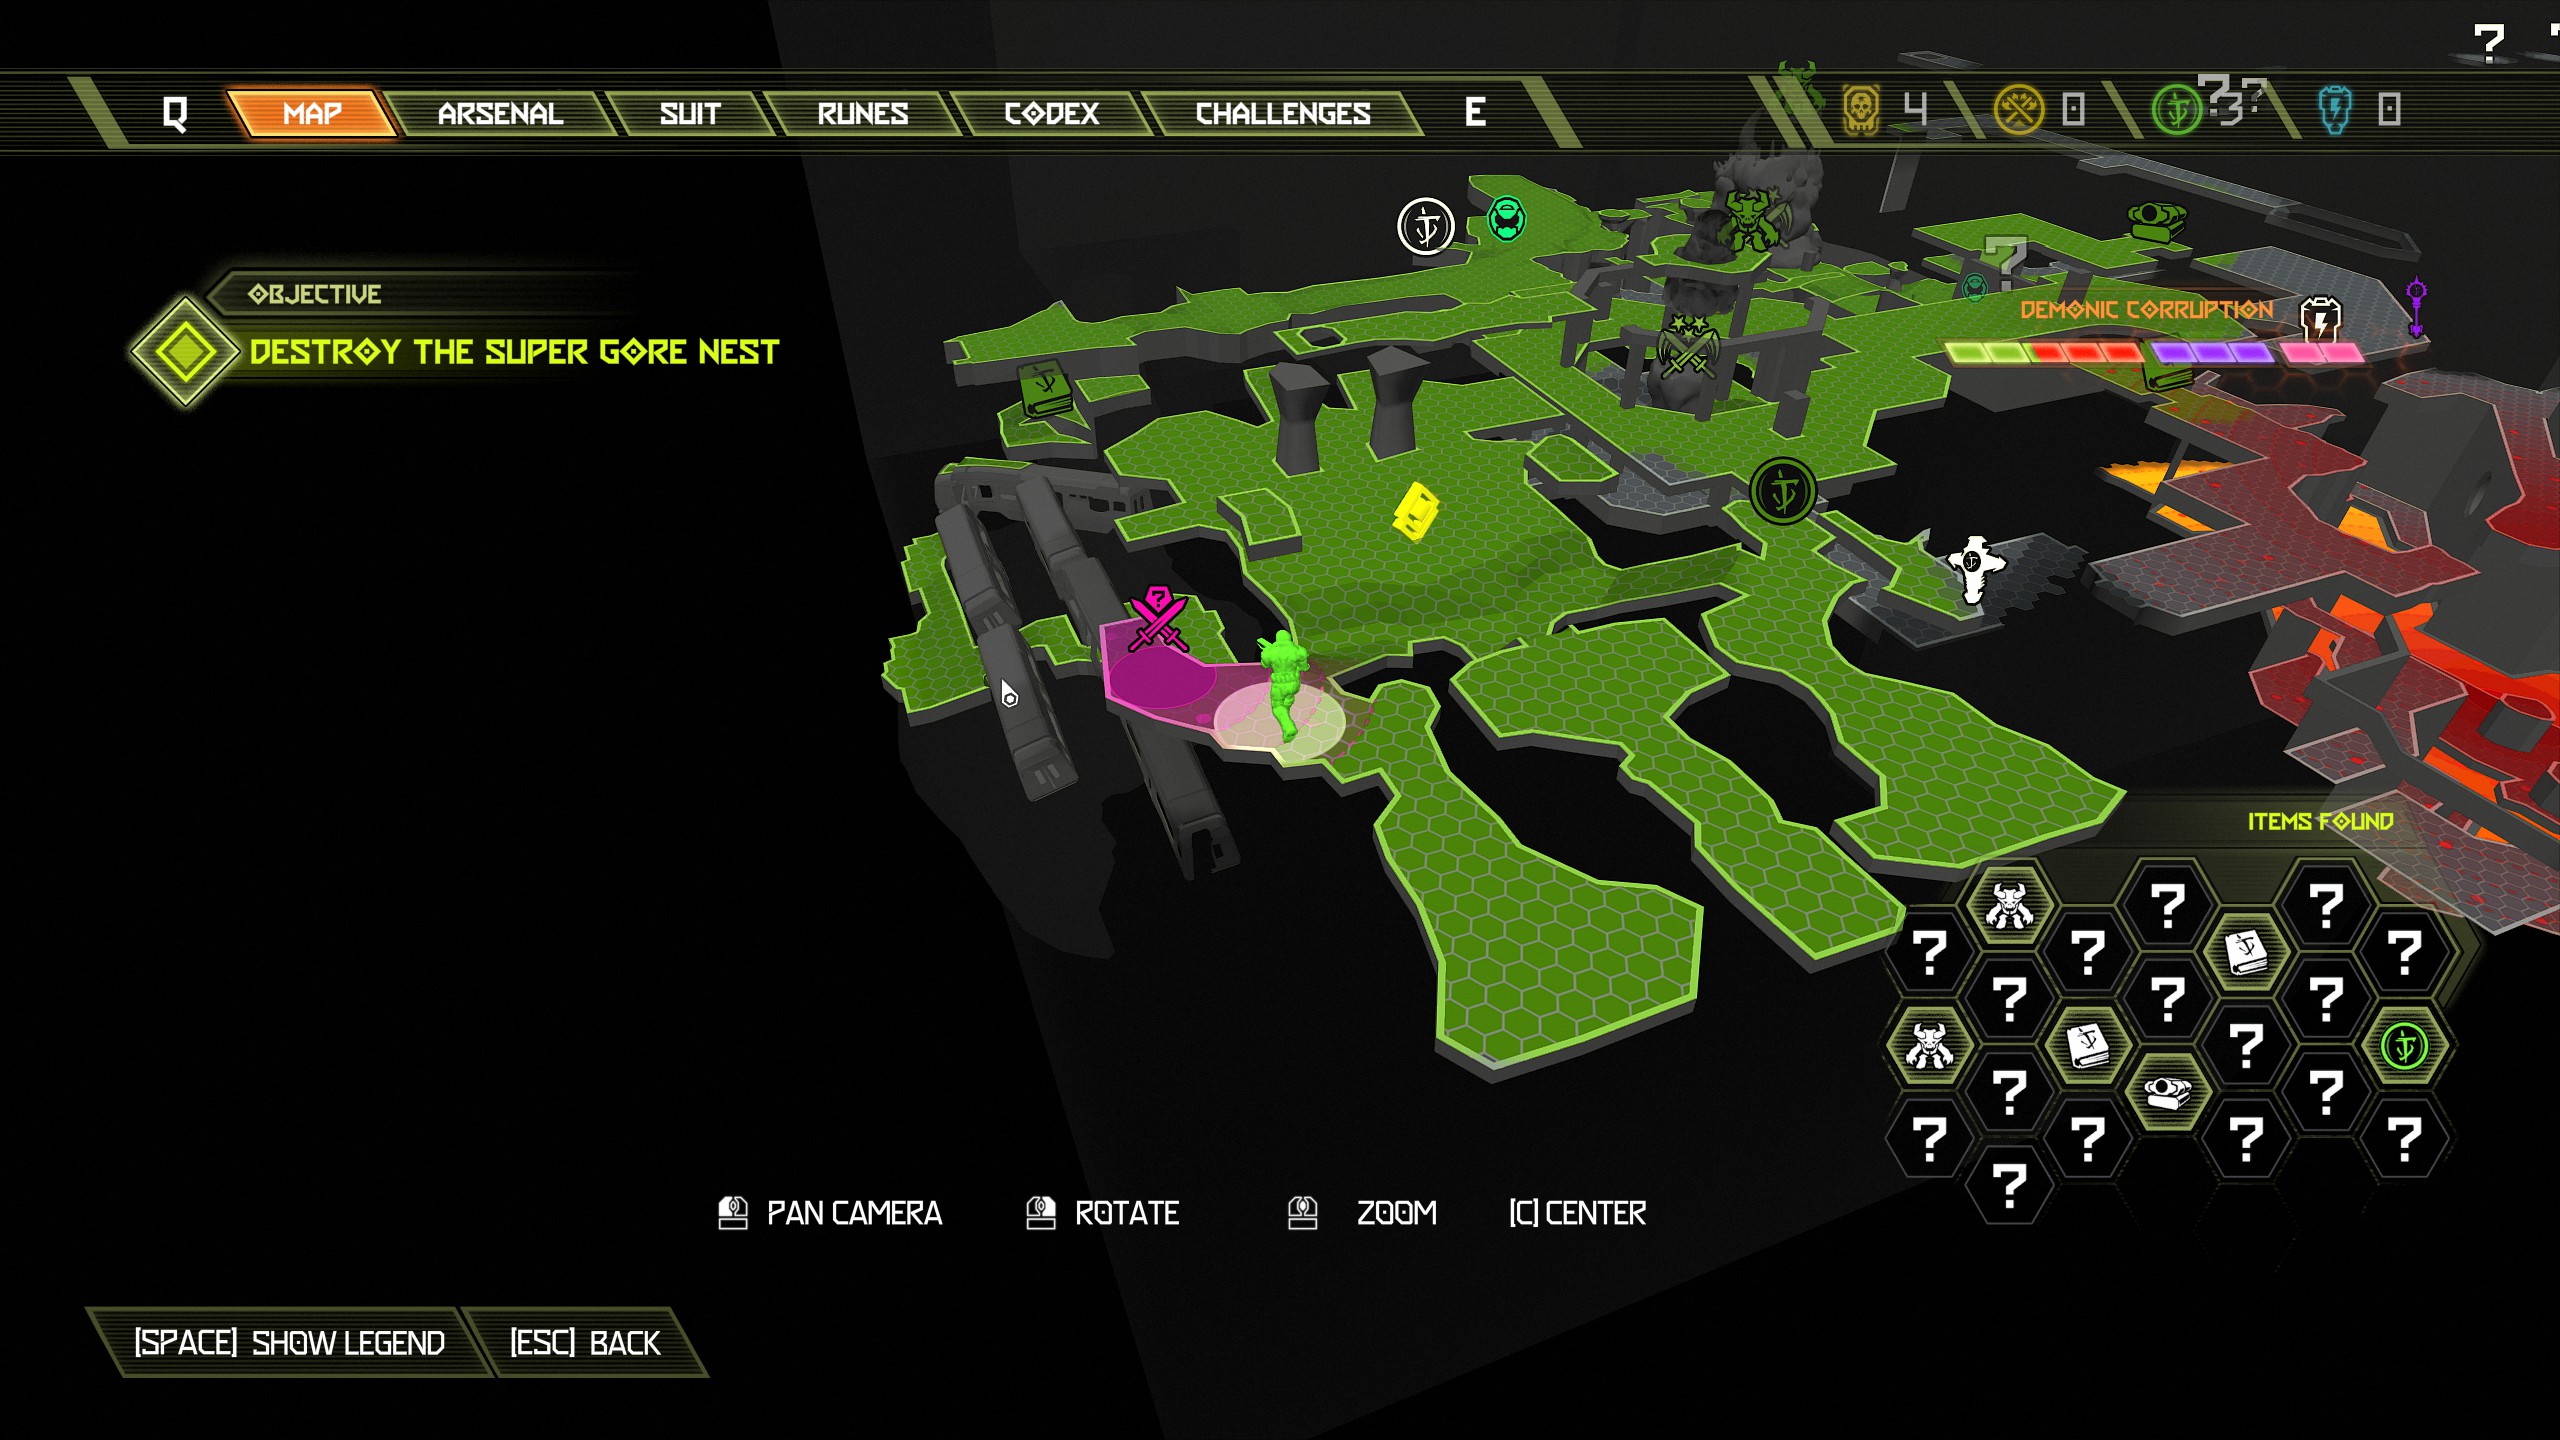
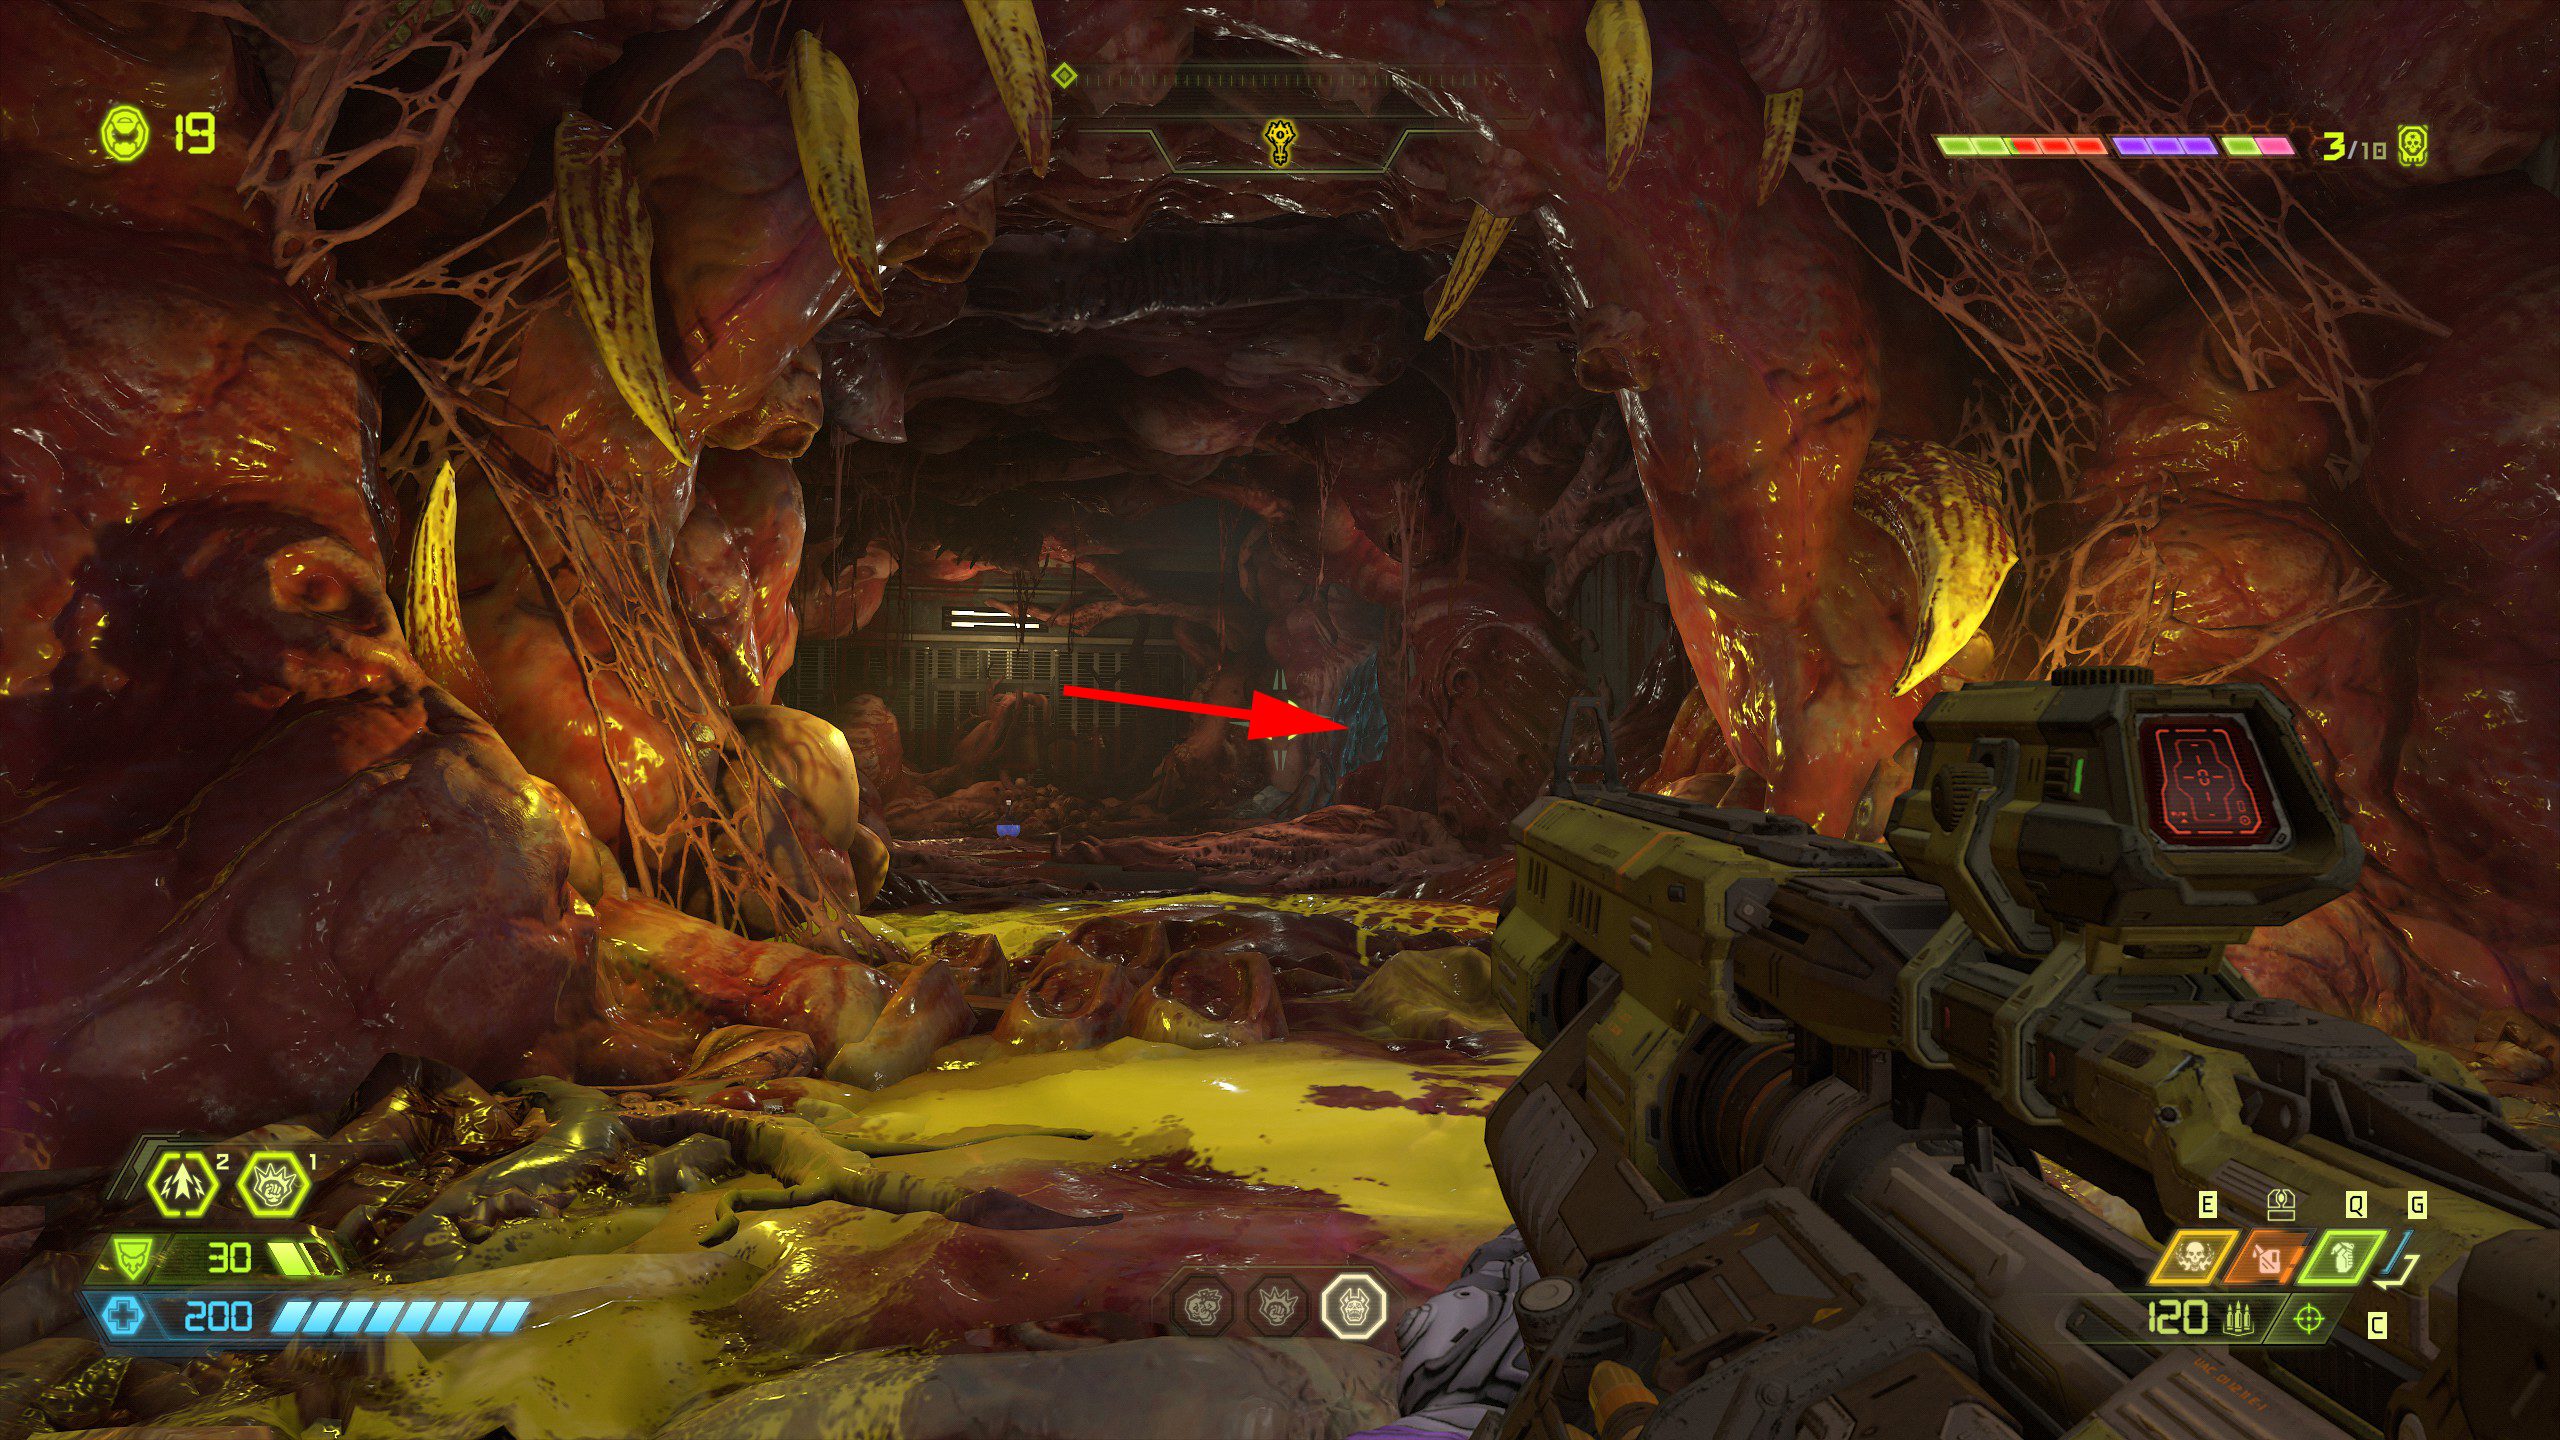
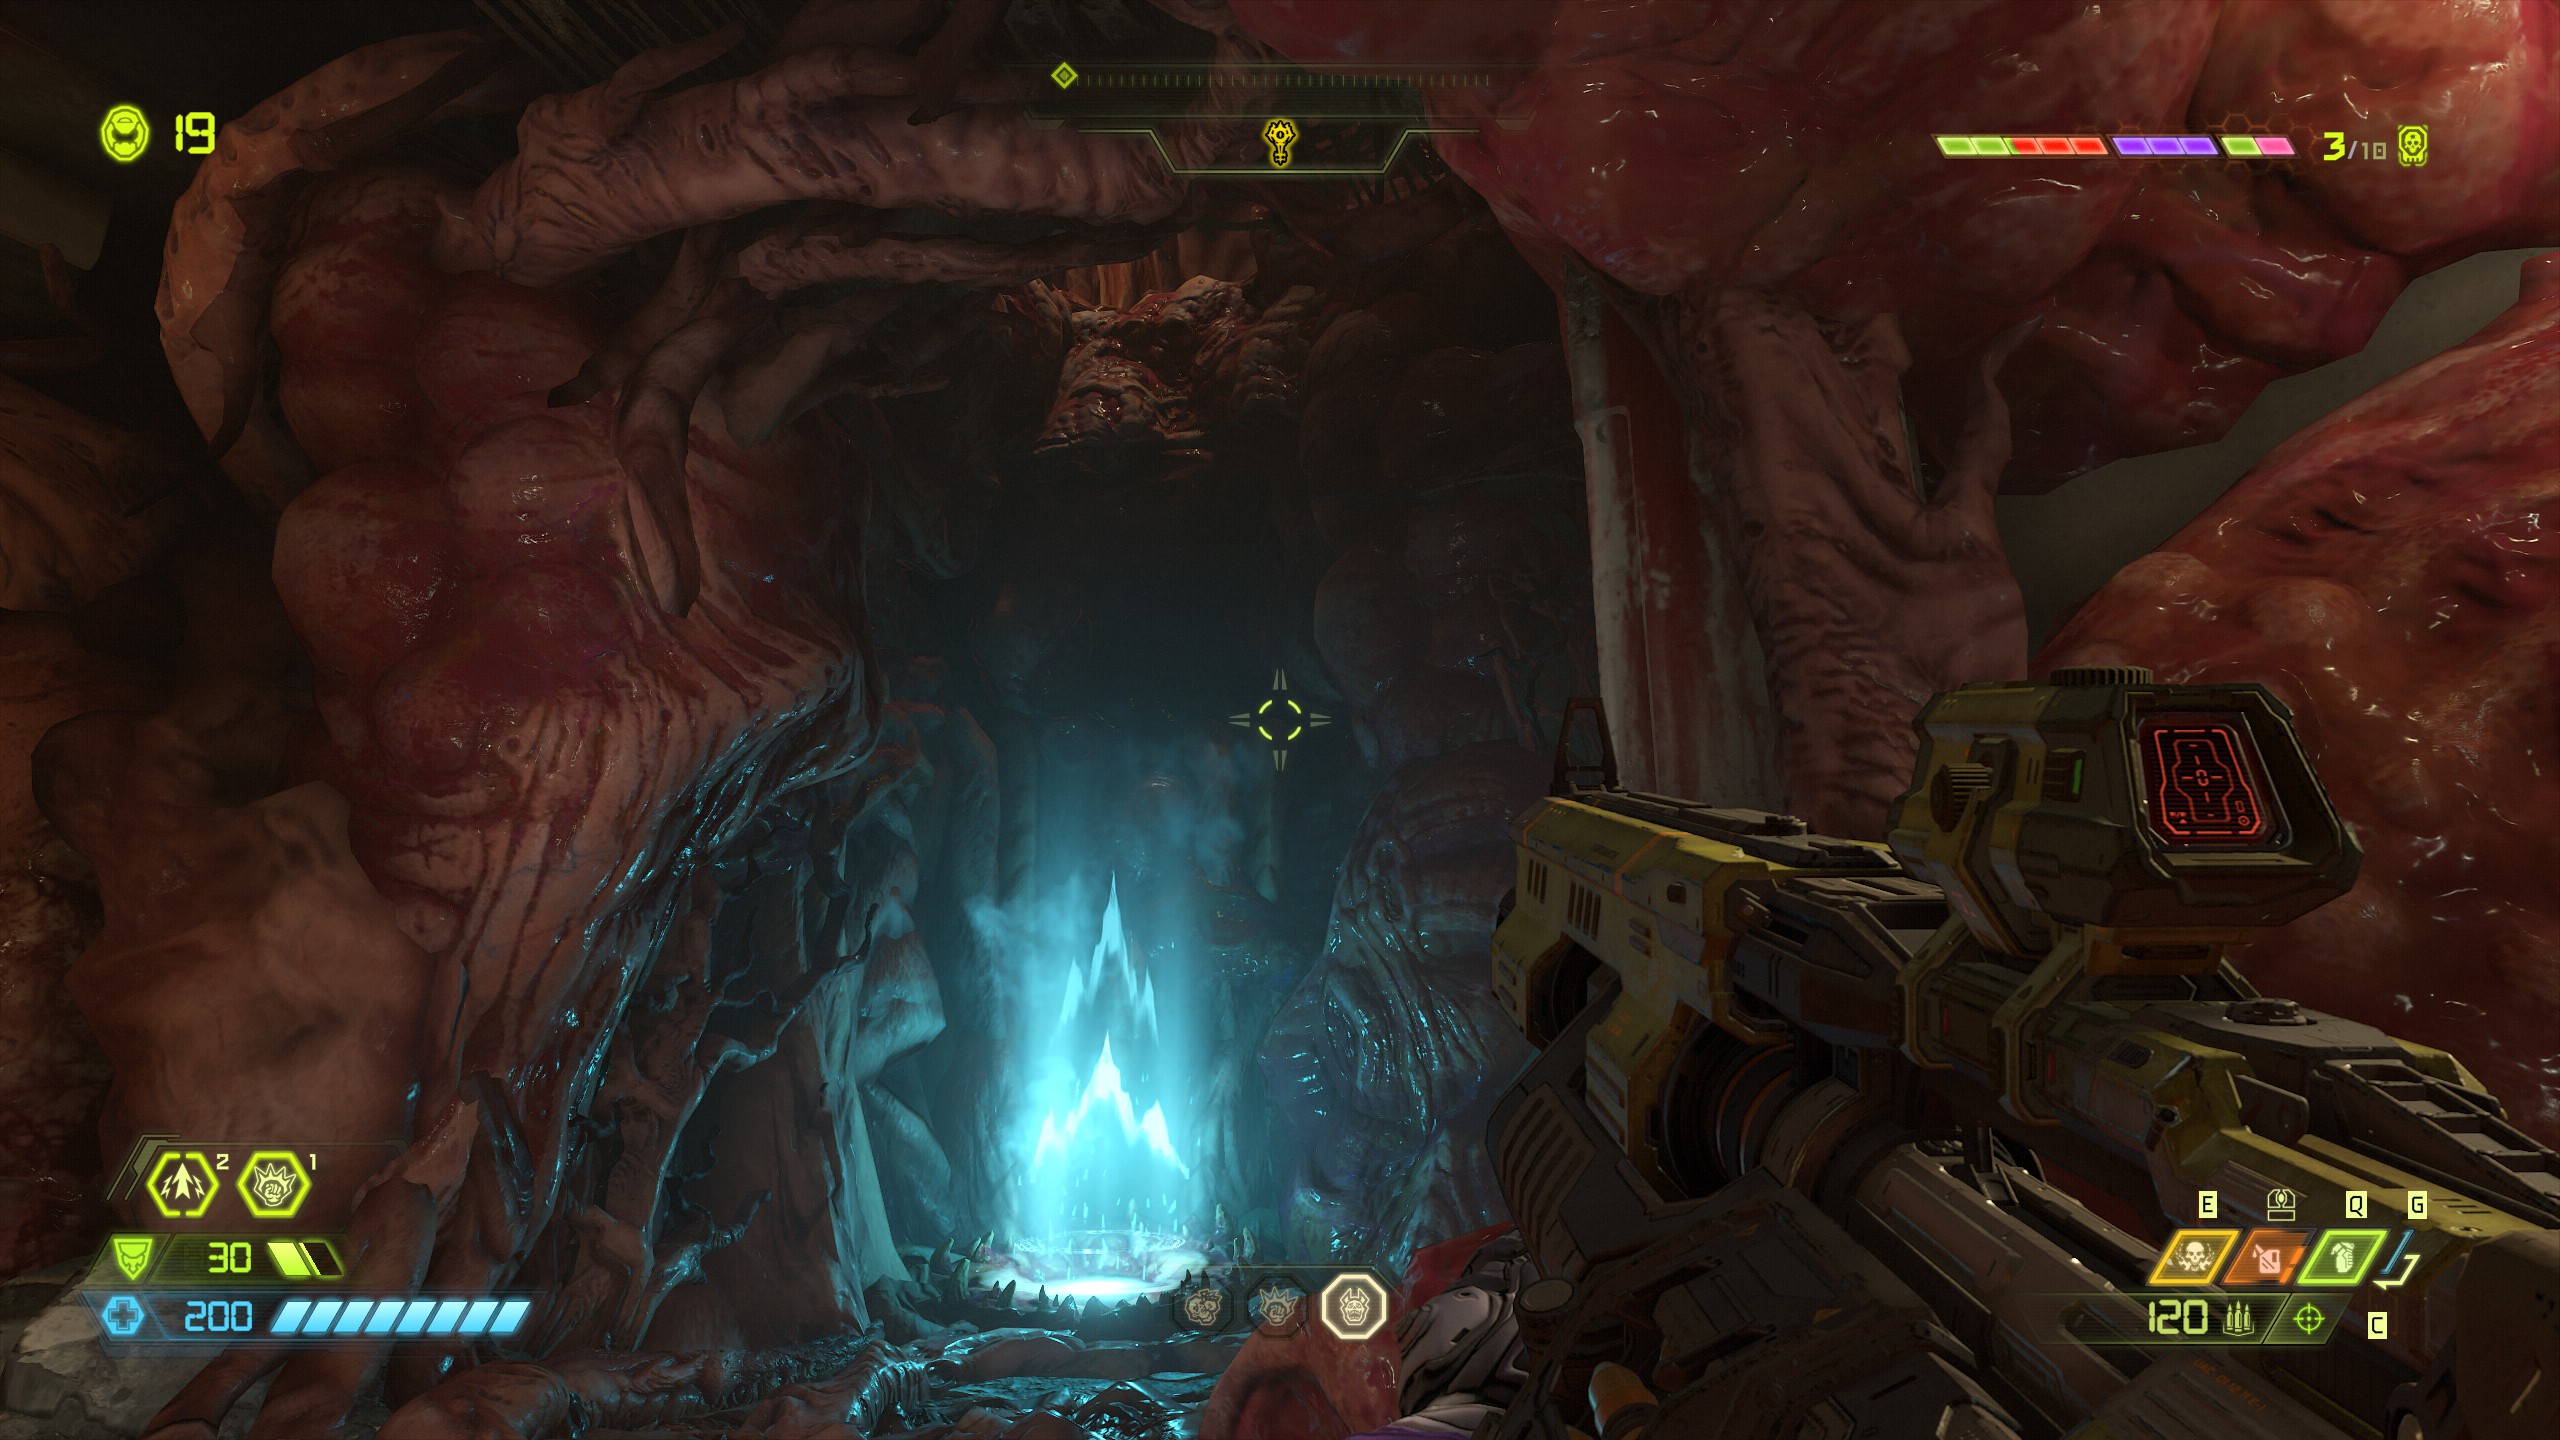
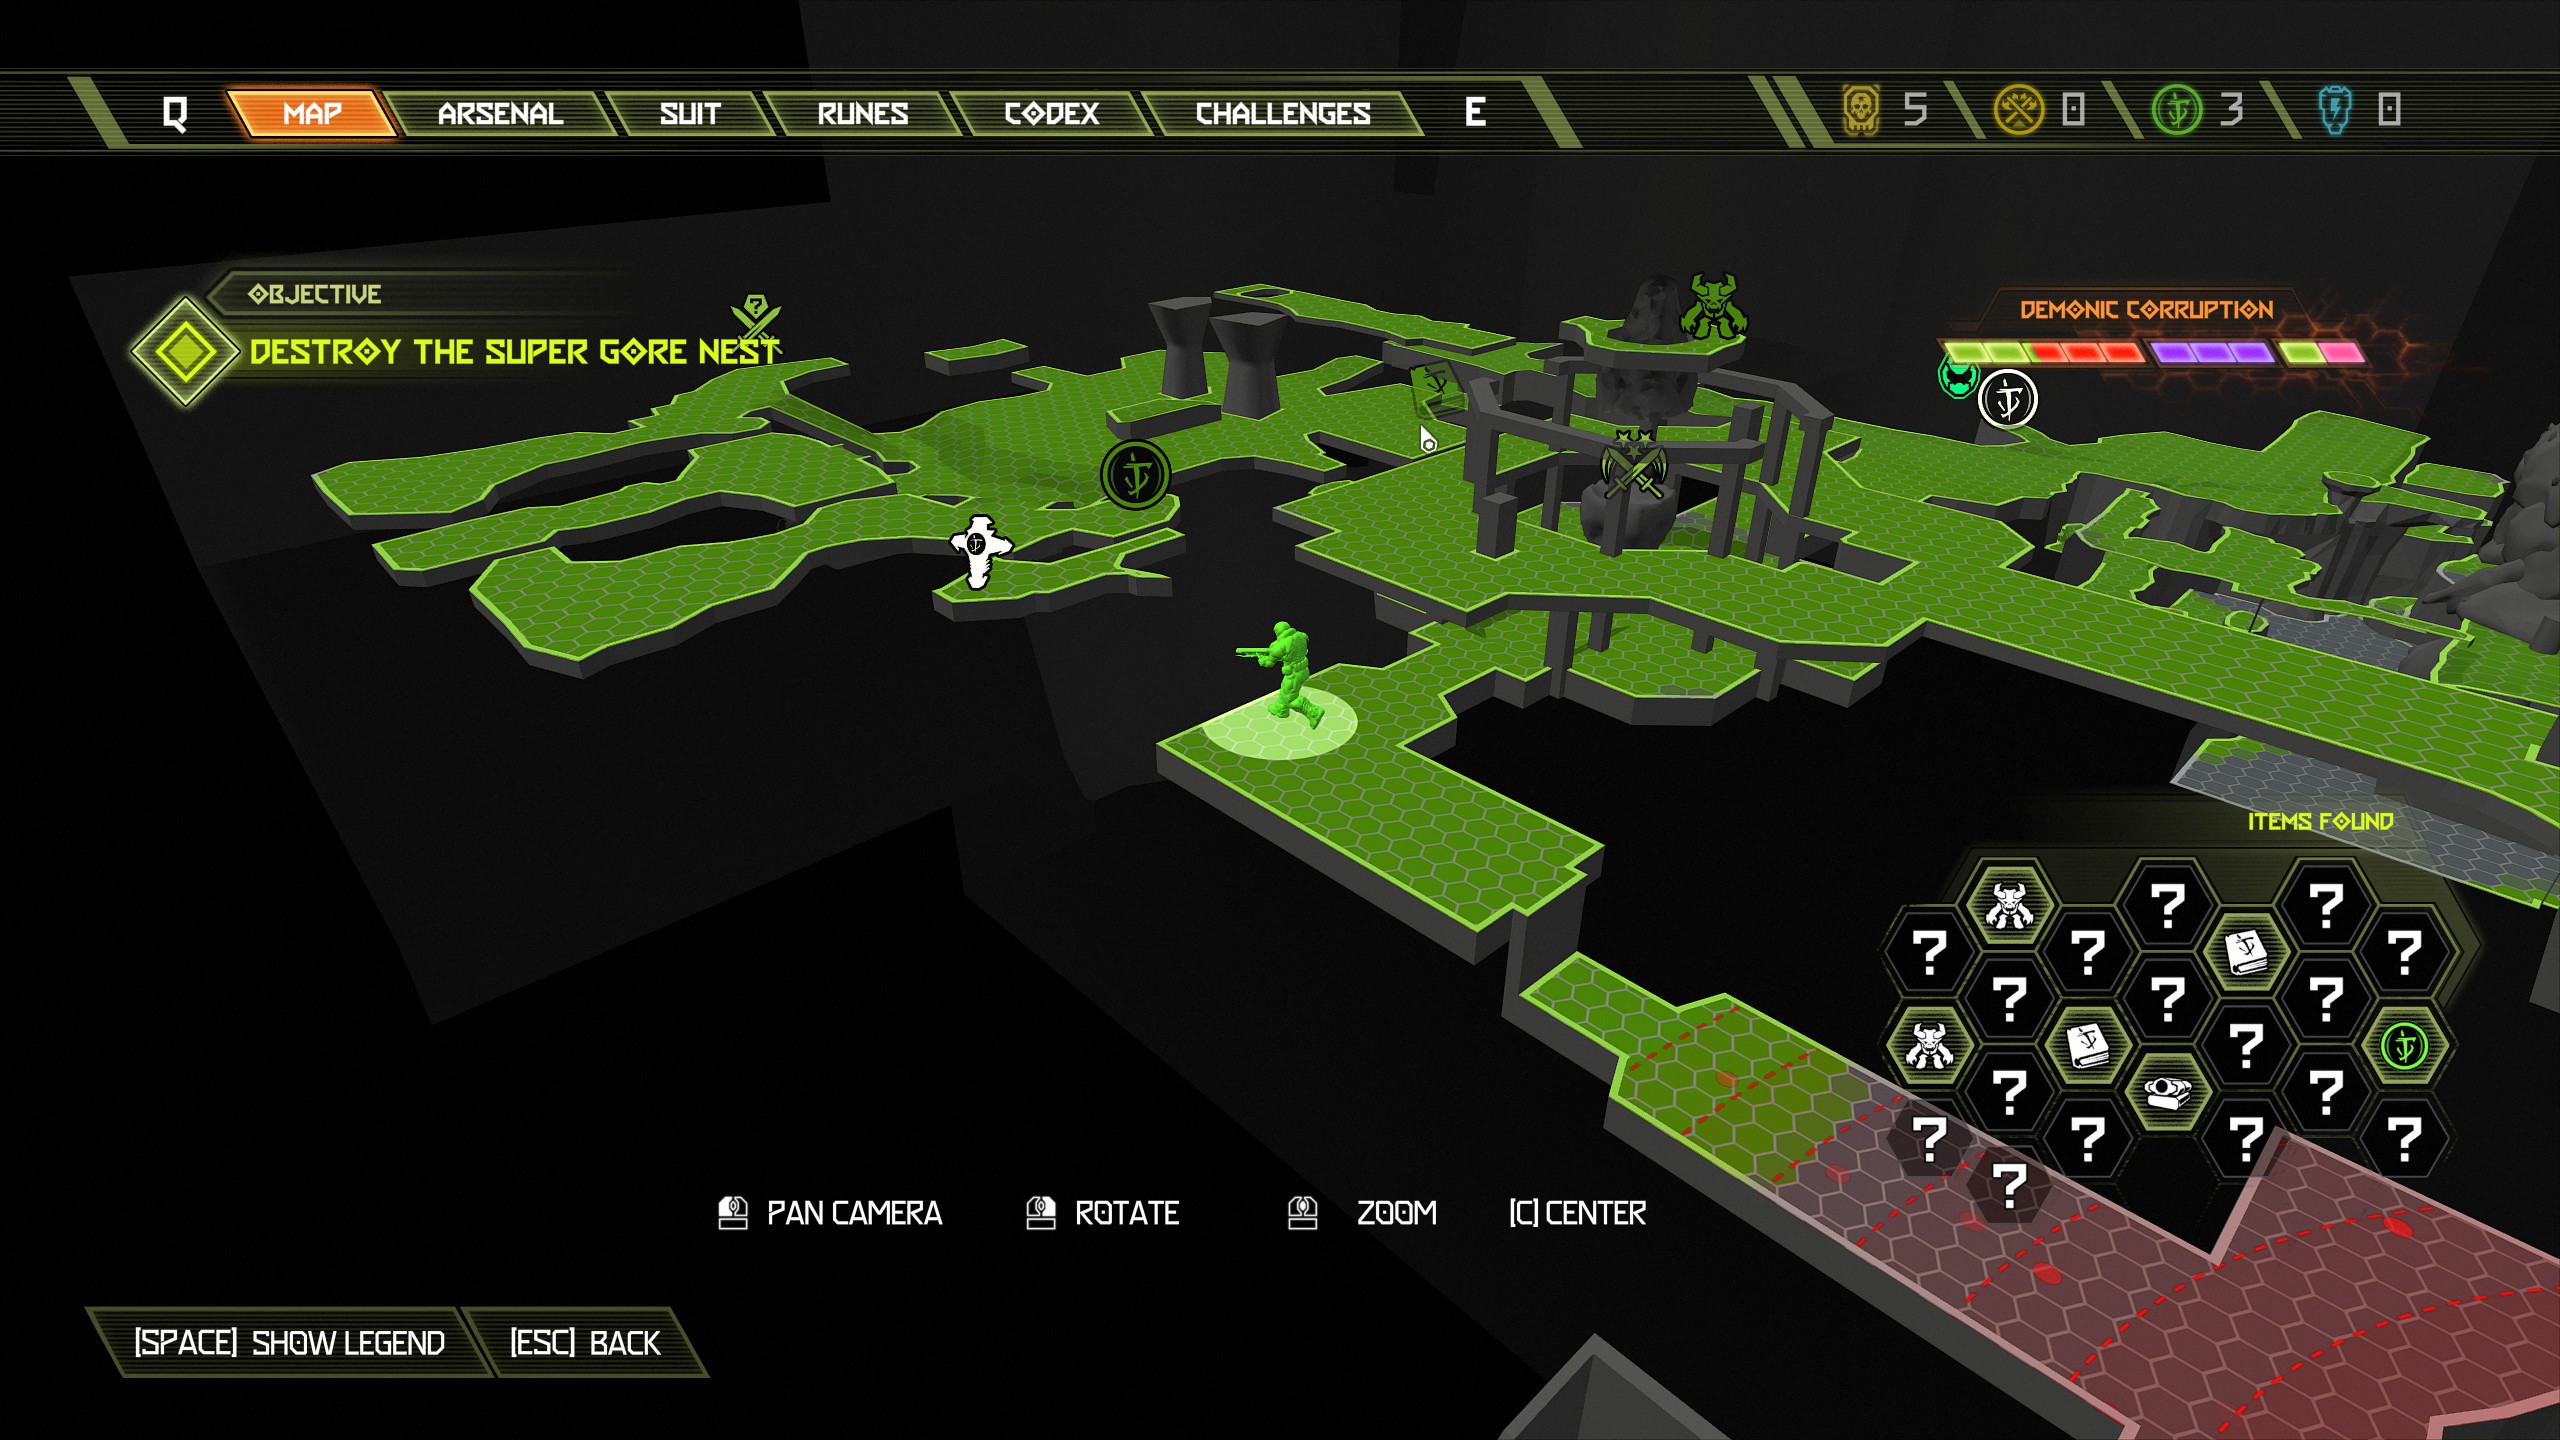
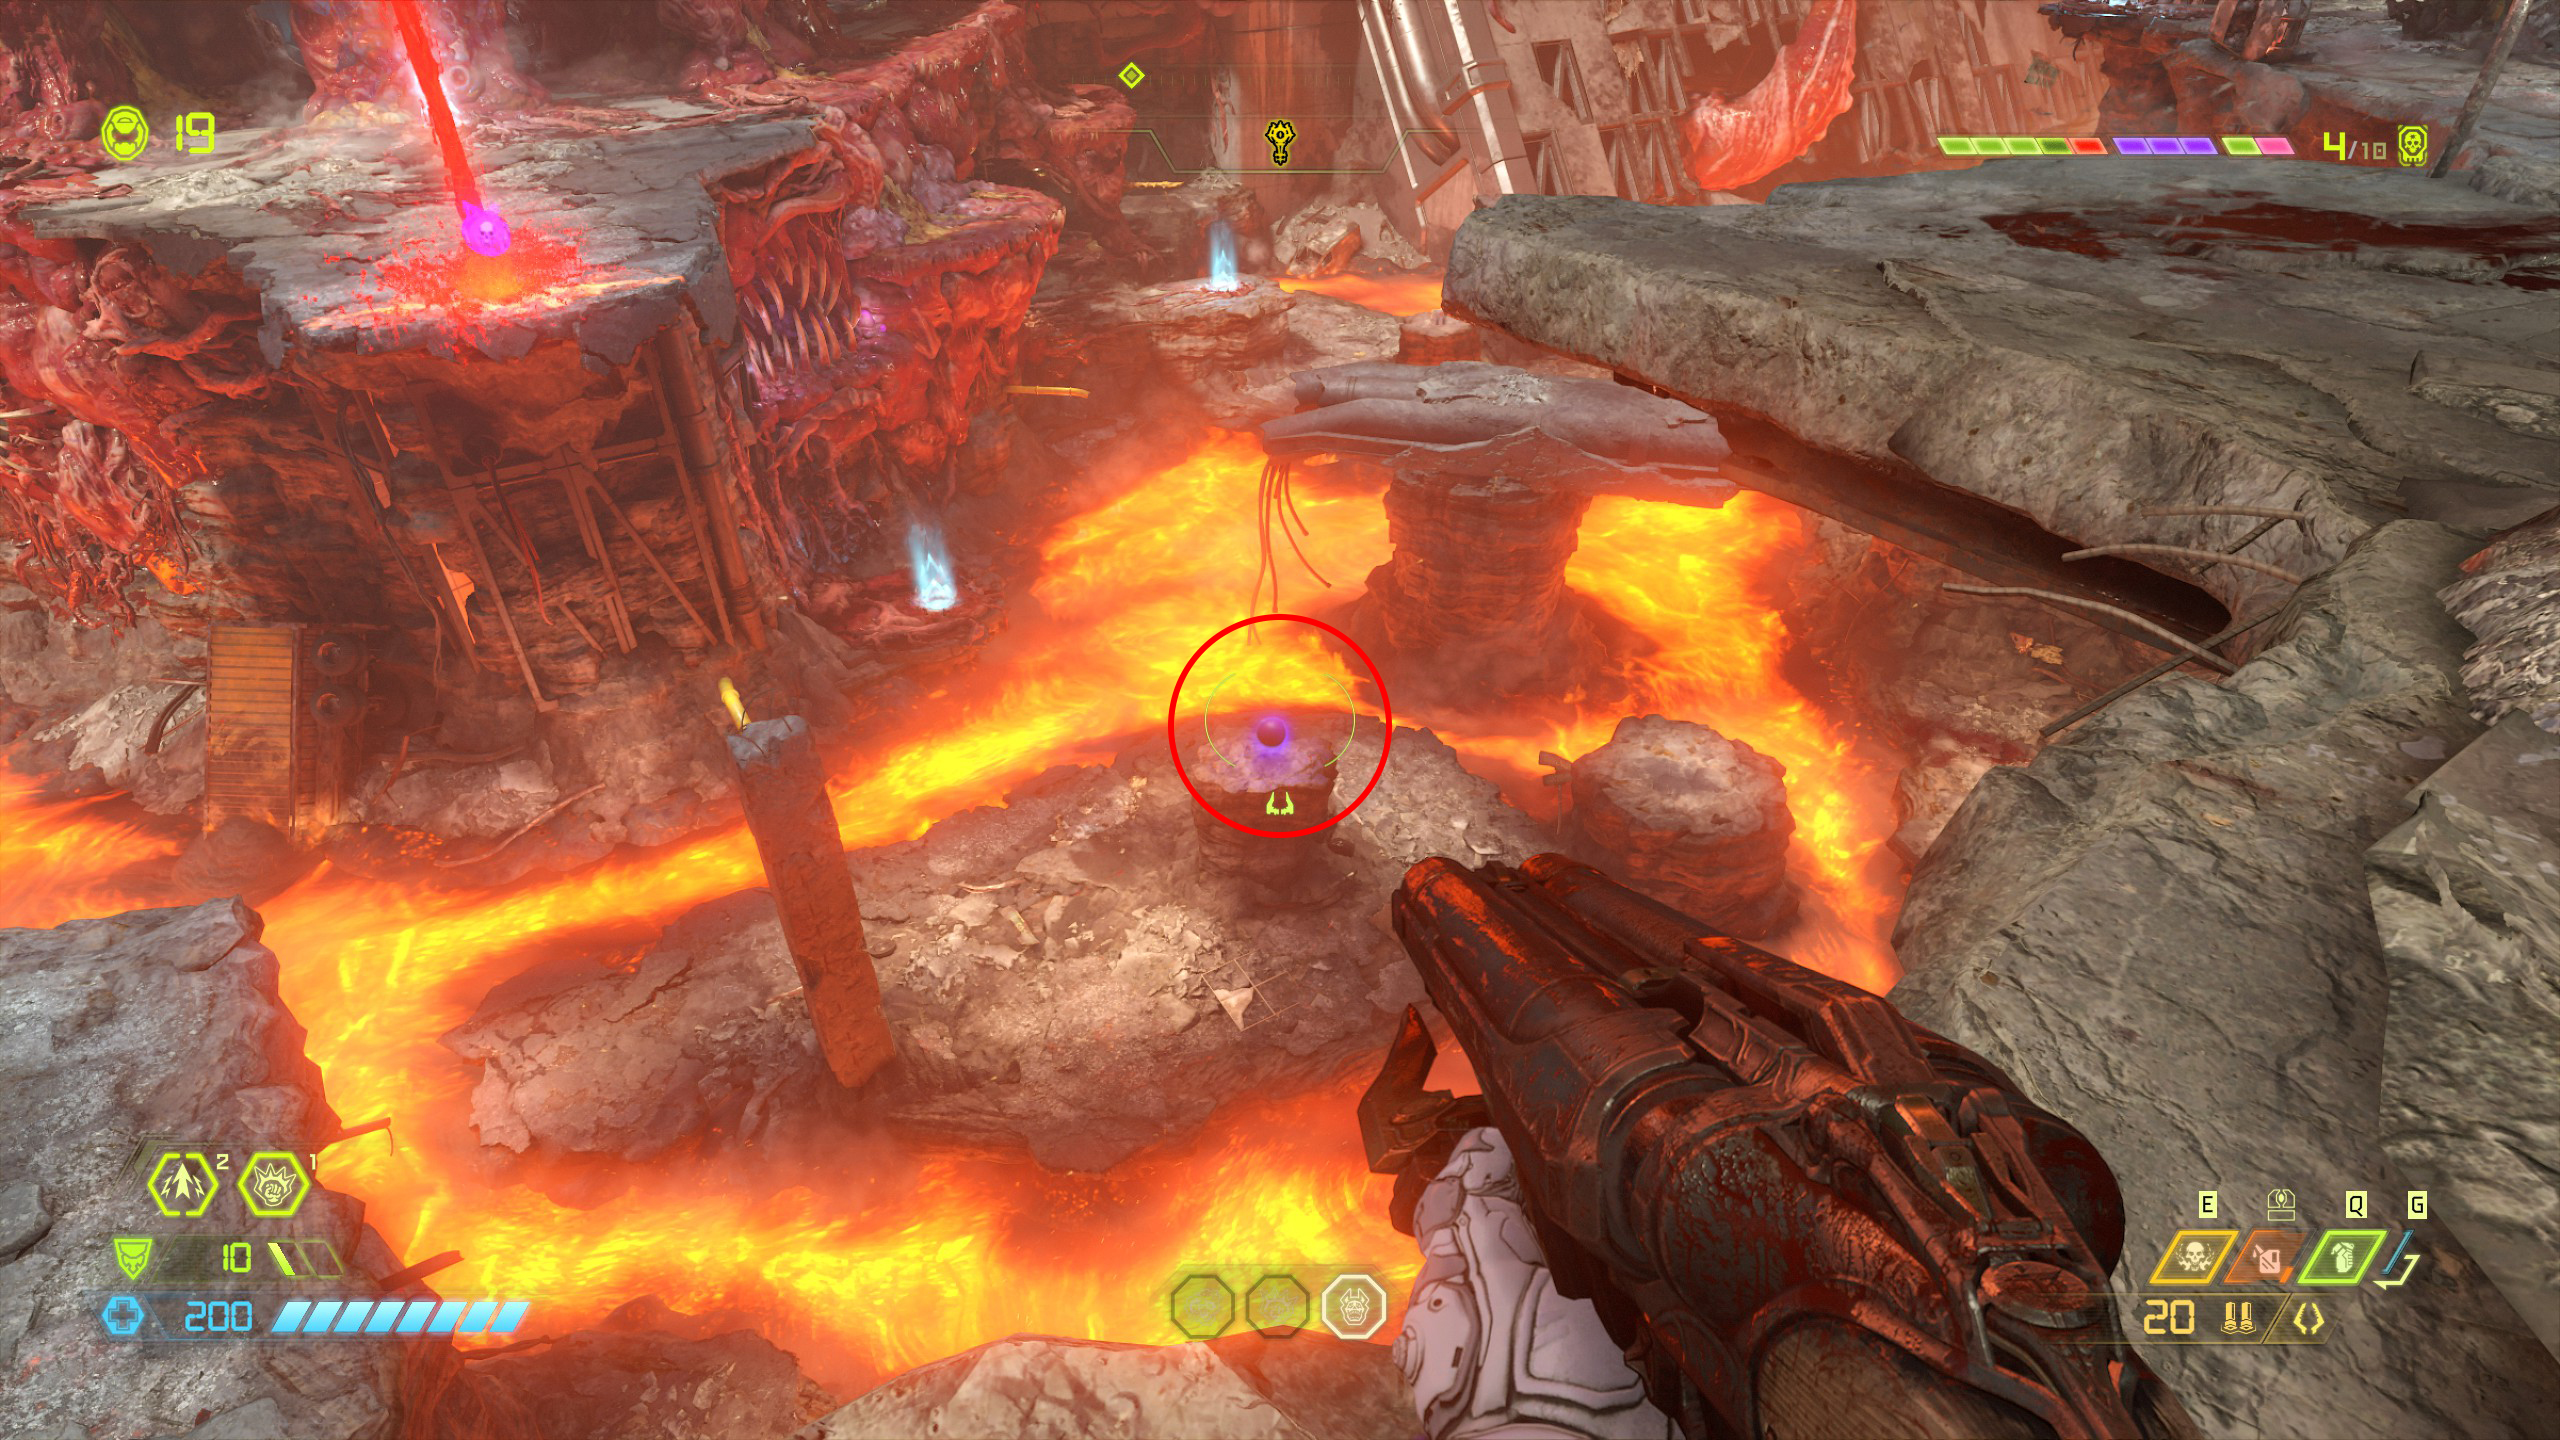
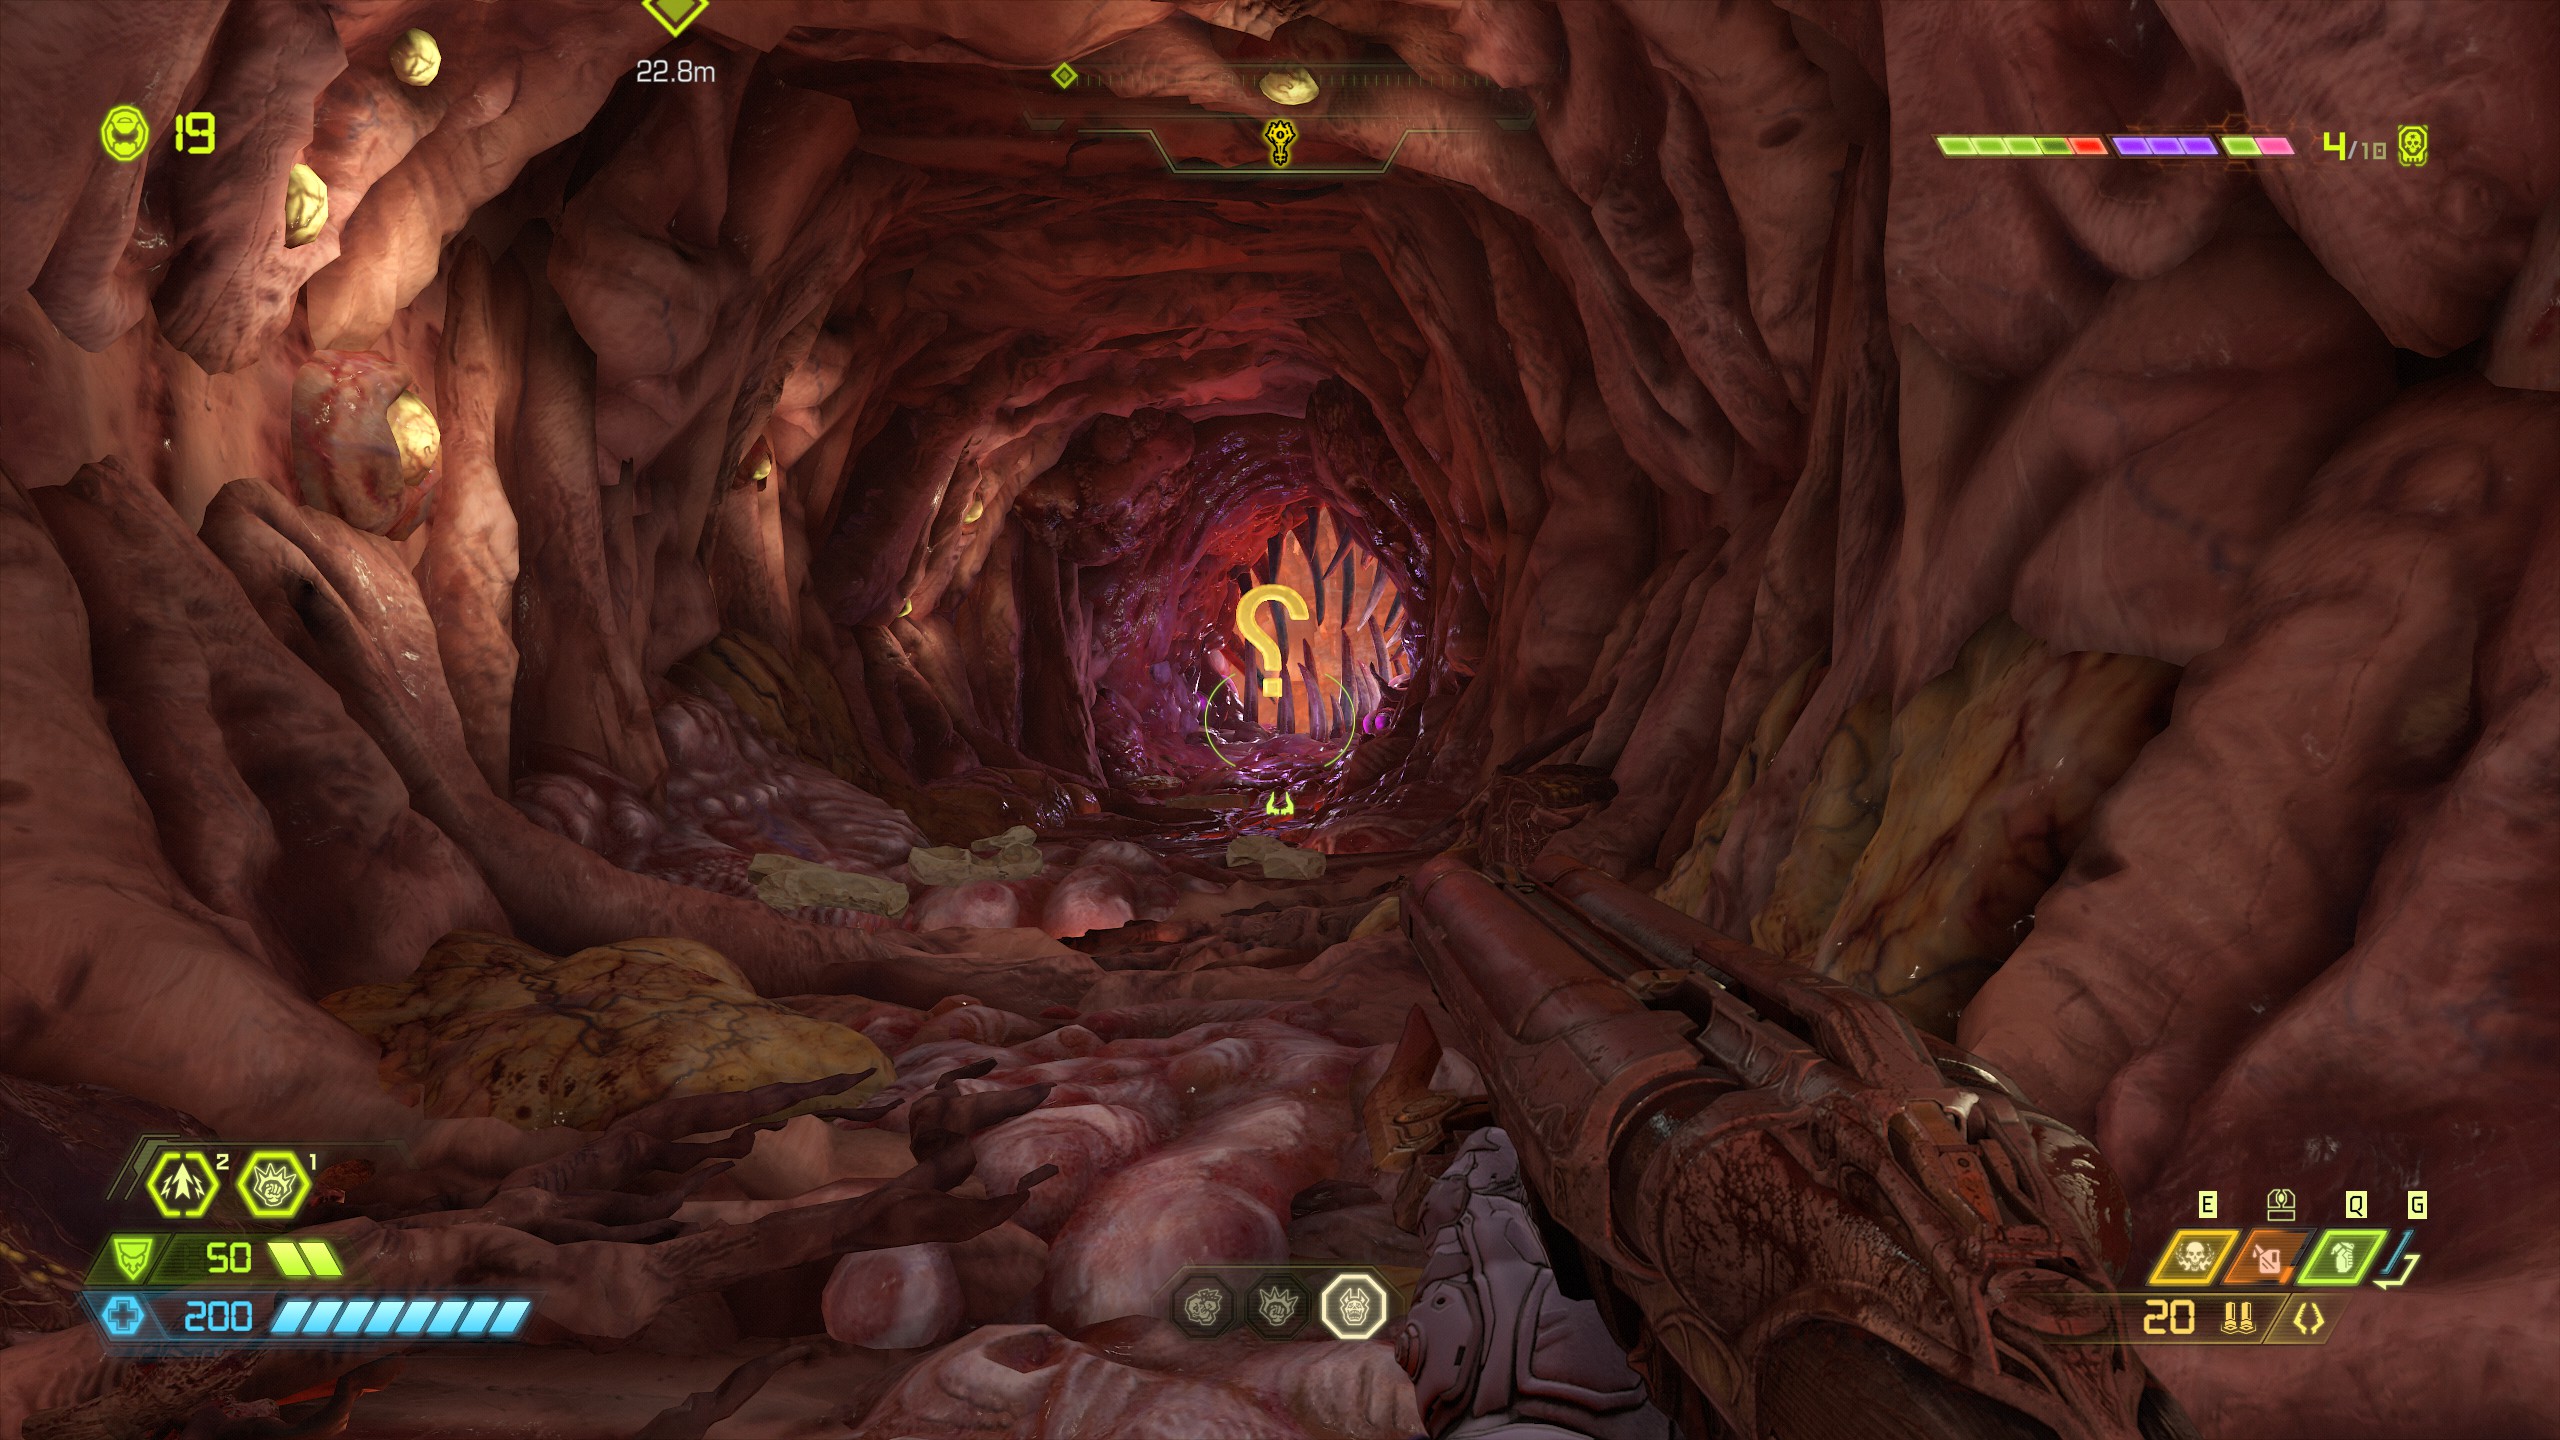
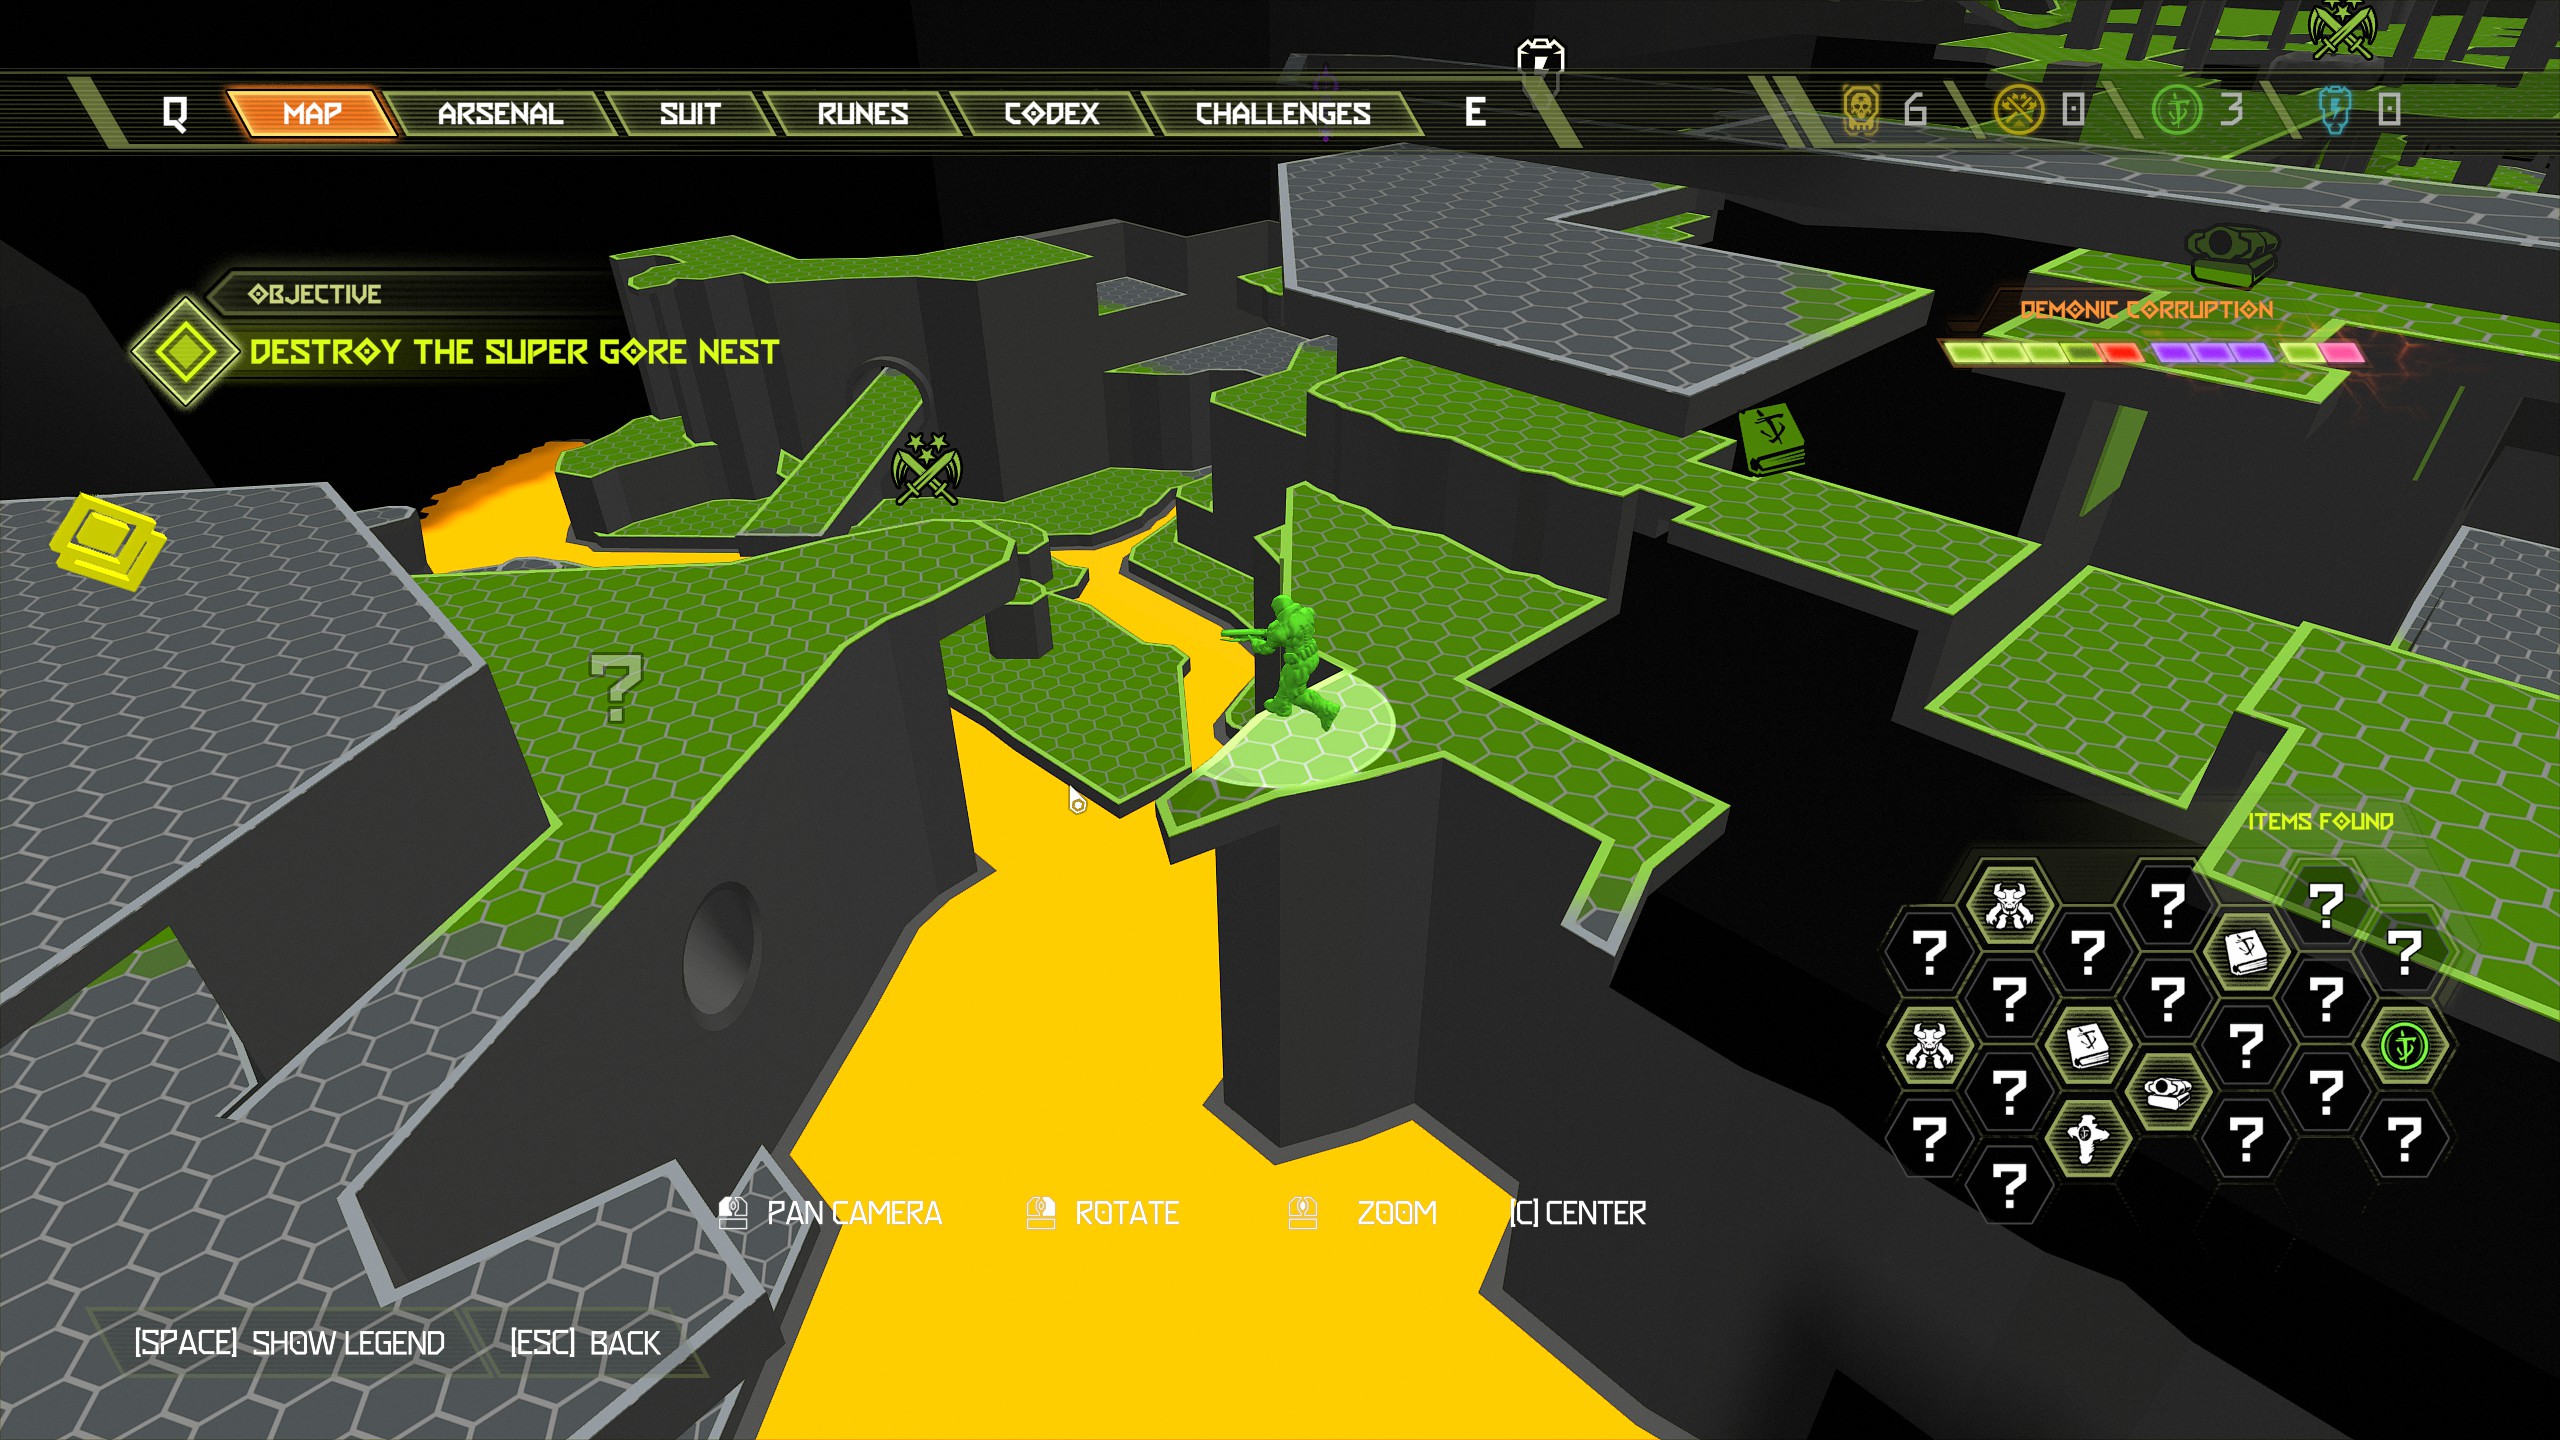
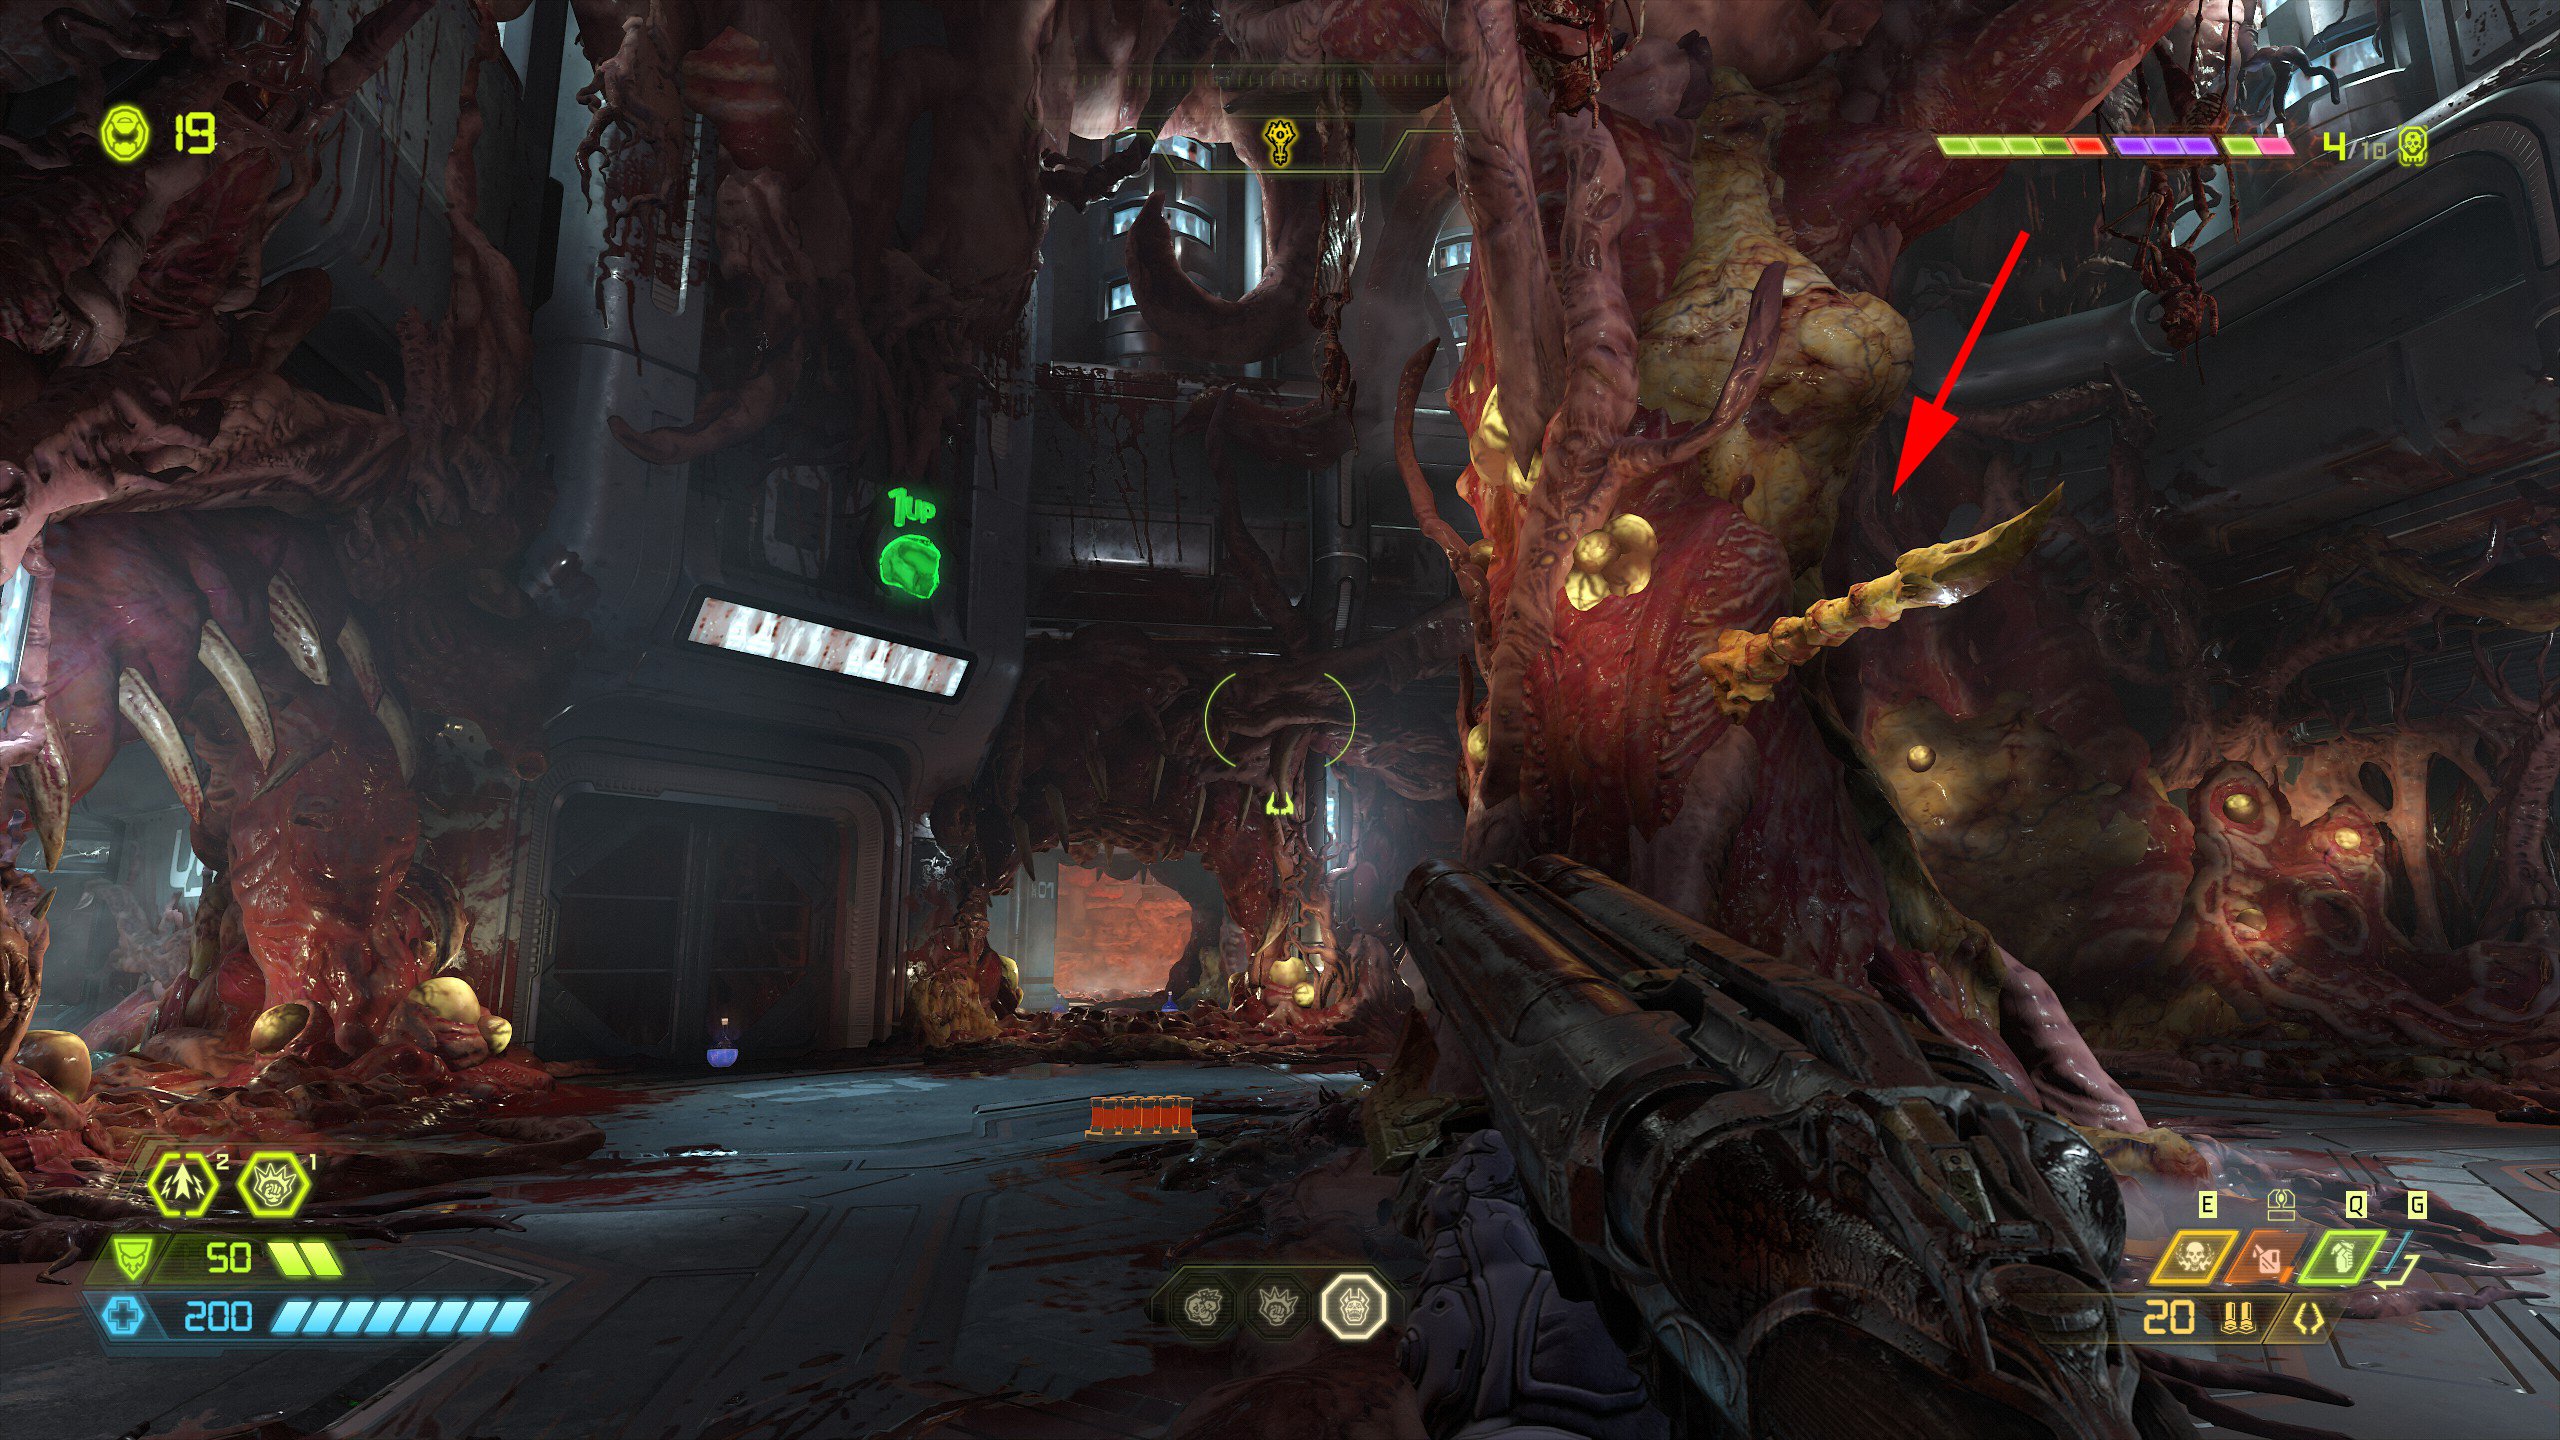
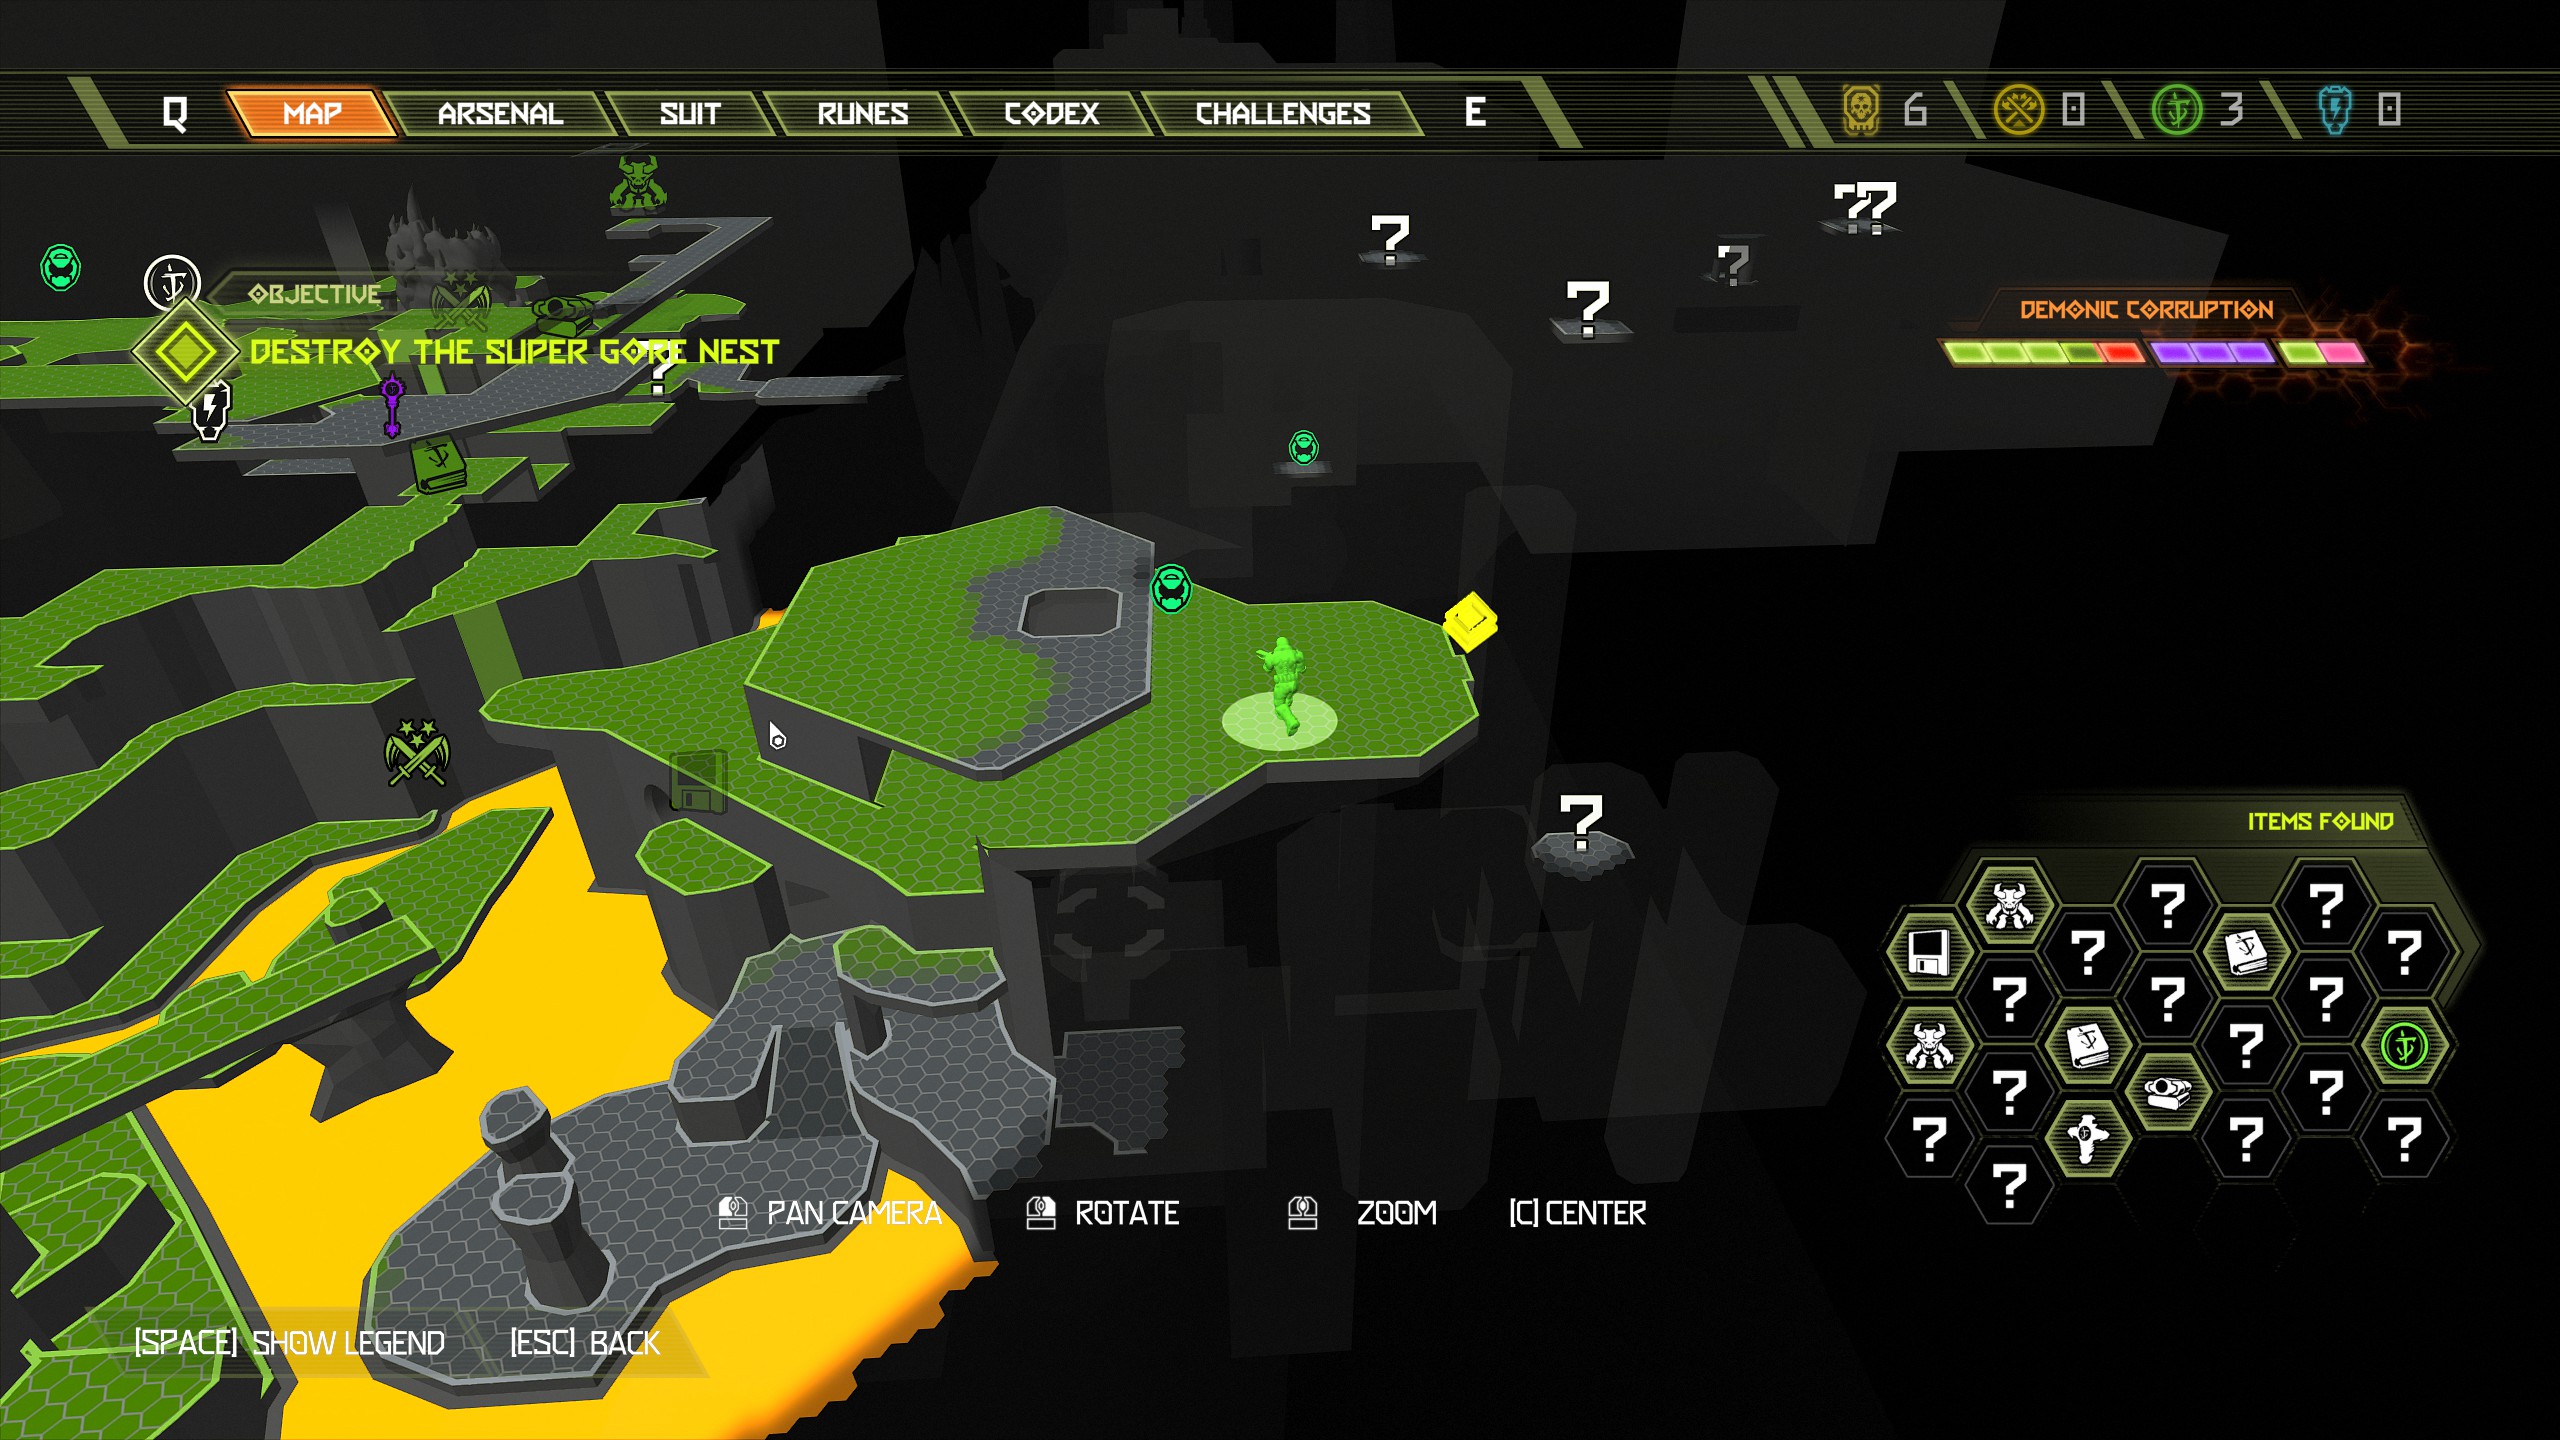
In the center of the area lower down will be a blue orb floating just over a small rock. This is not an item or secret you need to collect but as you have been collecting other blue orbs you can collect this too.
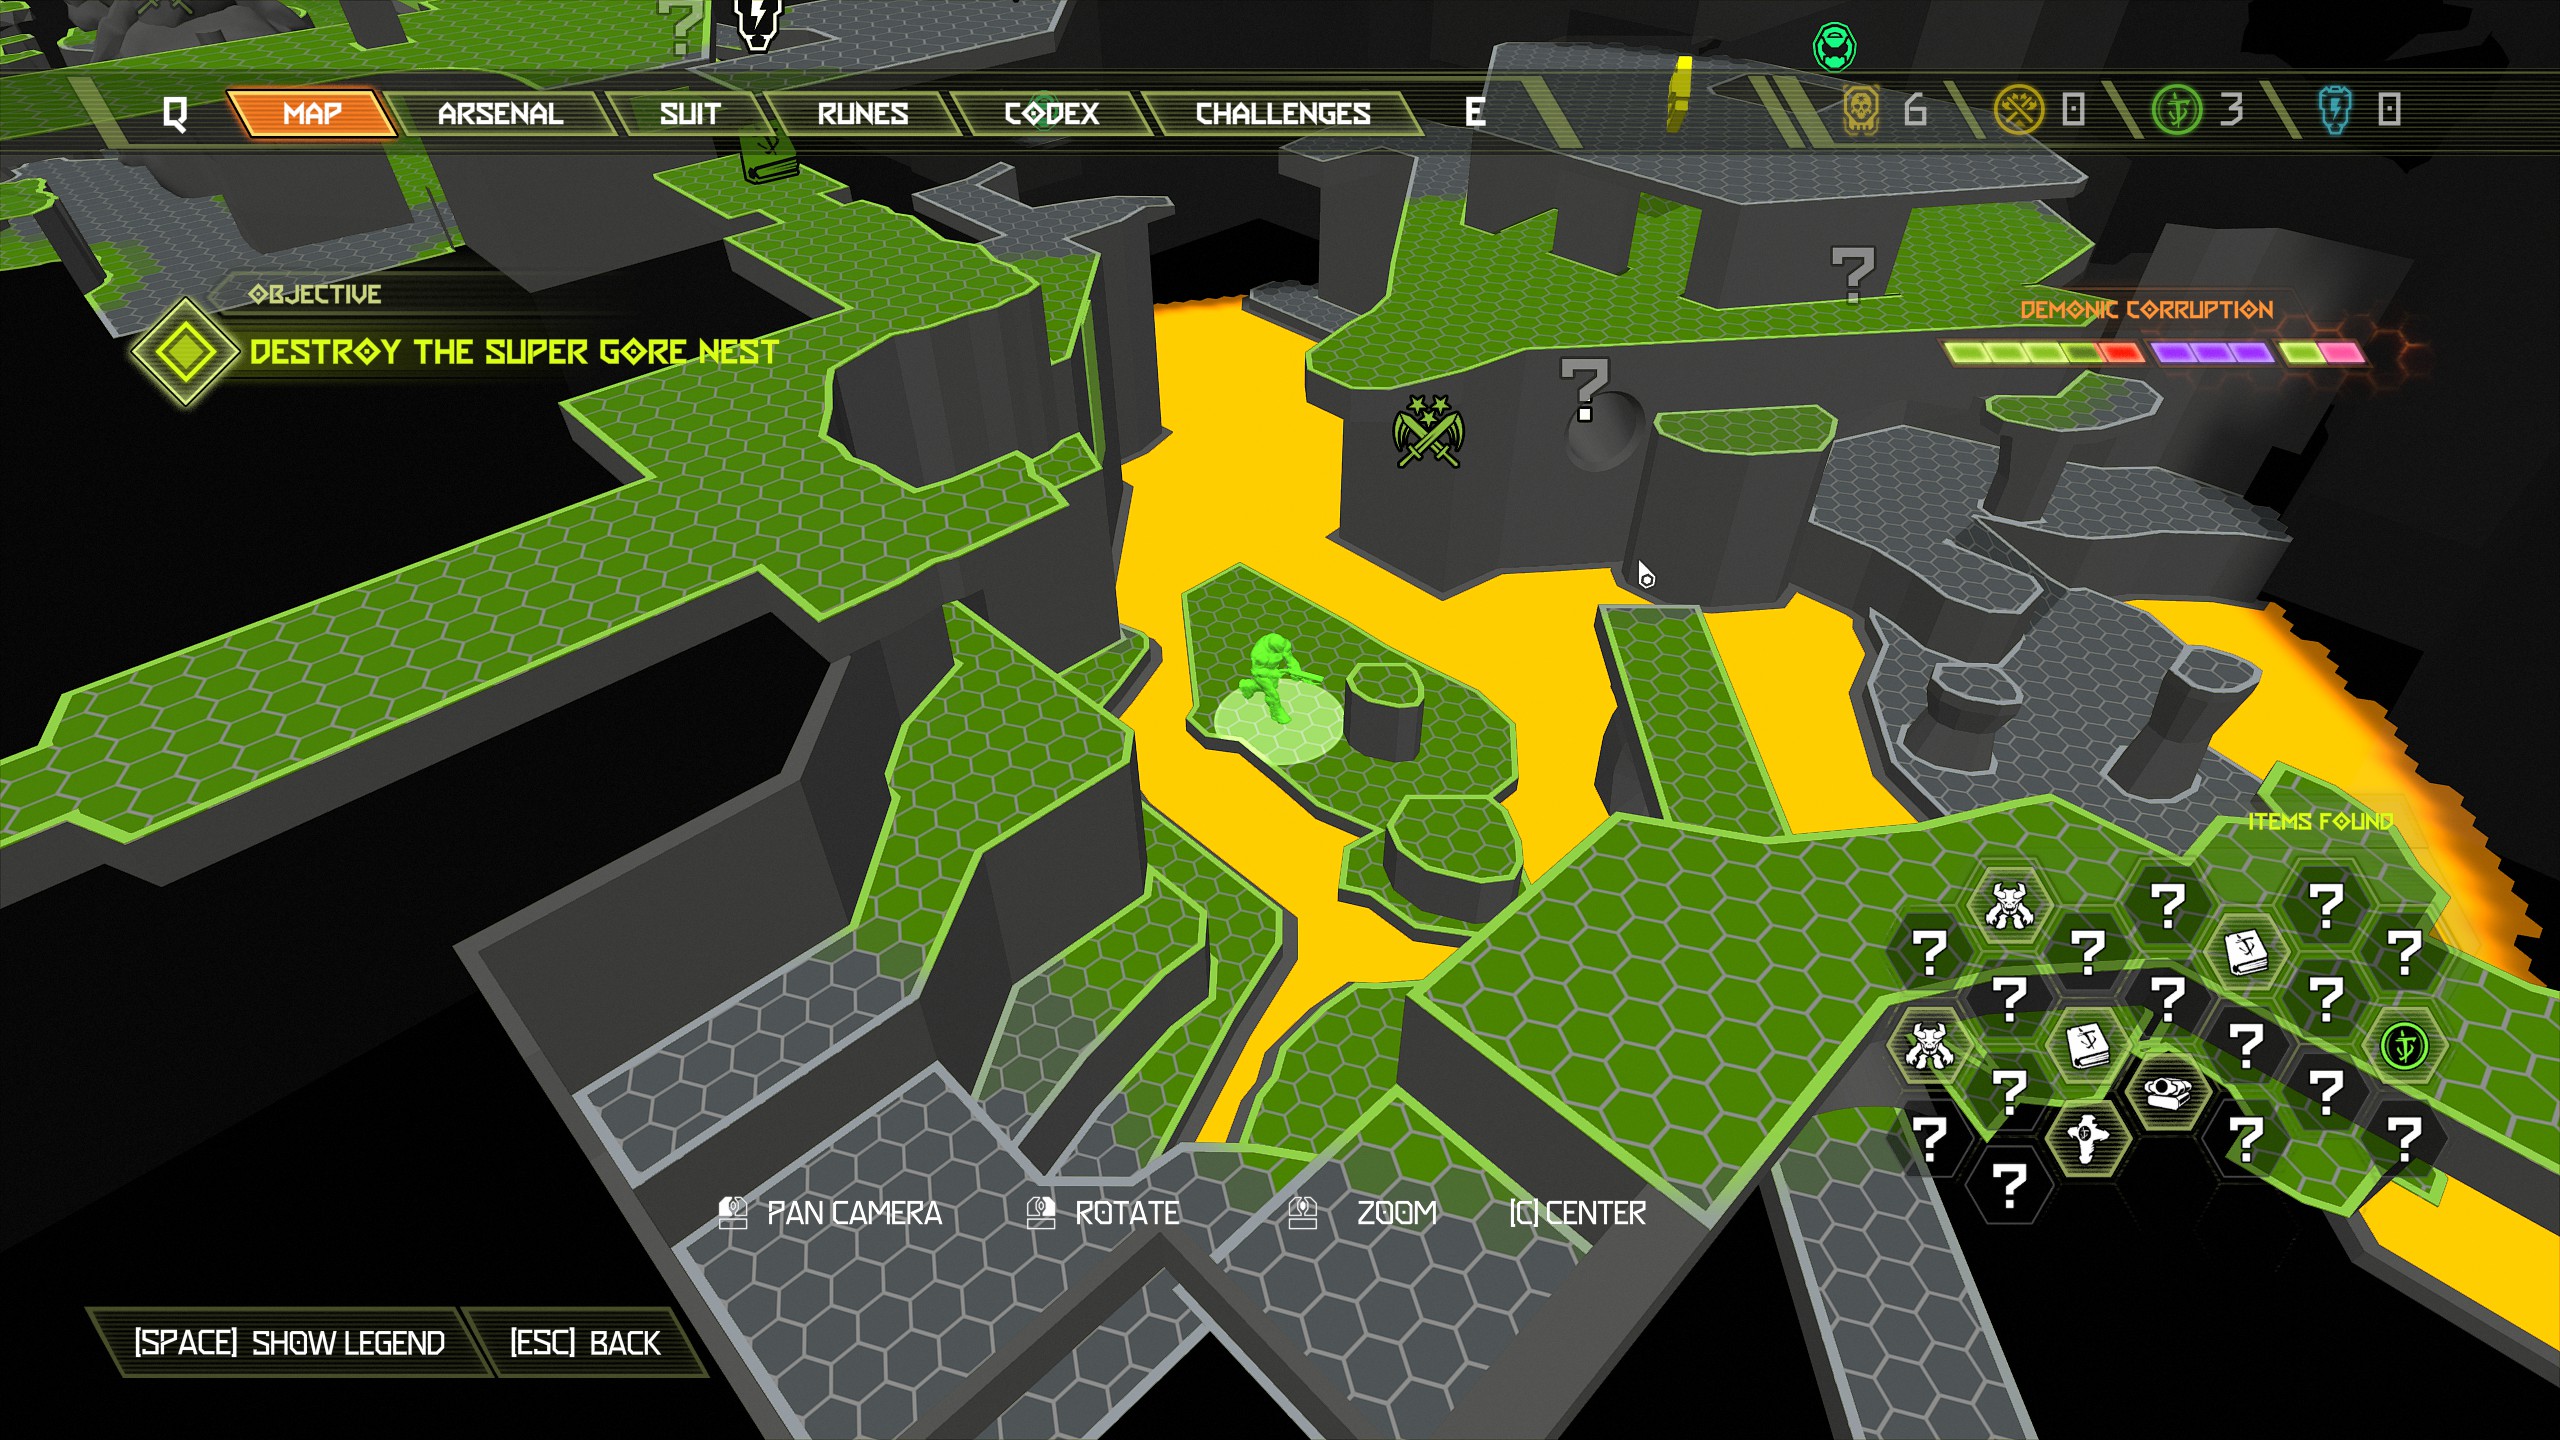
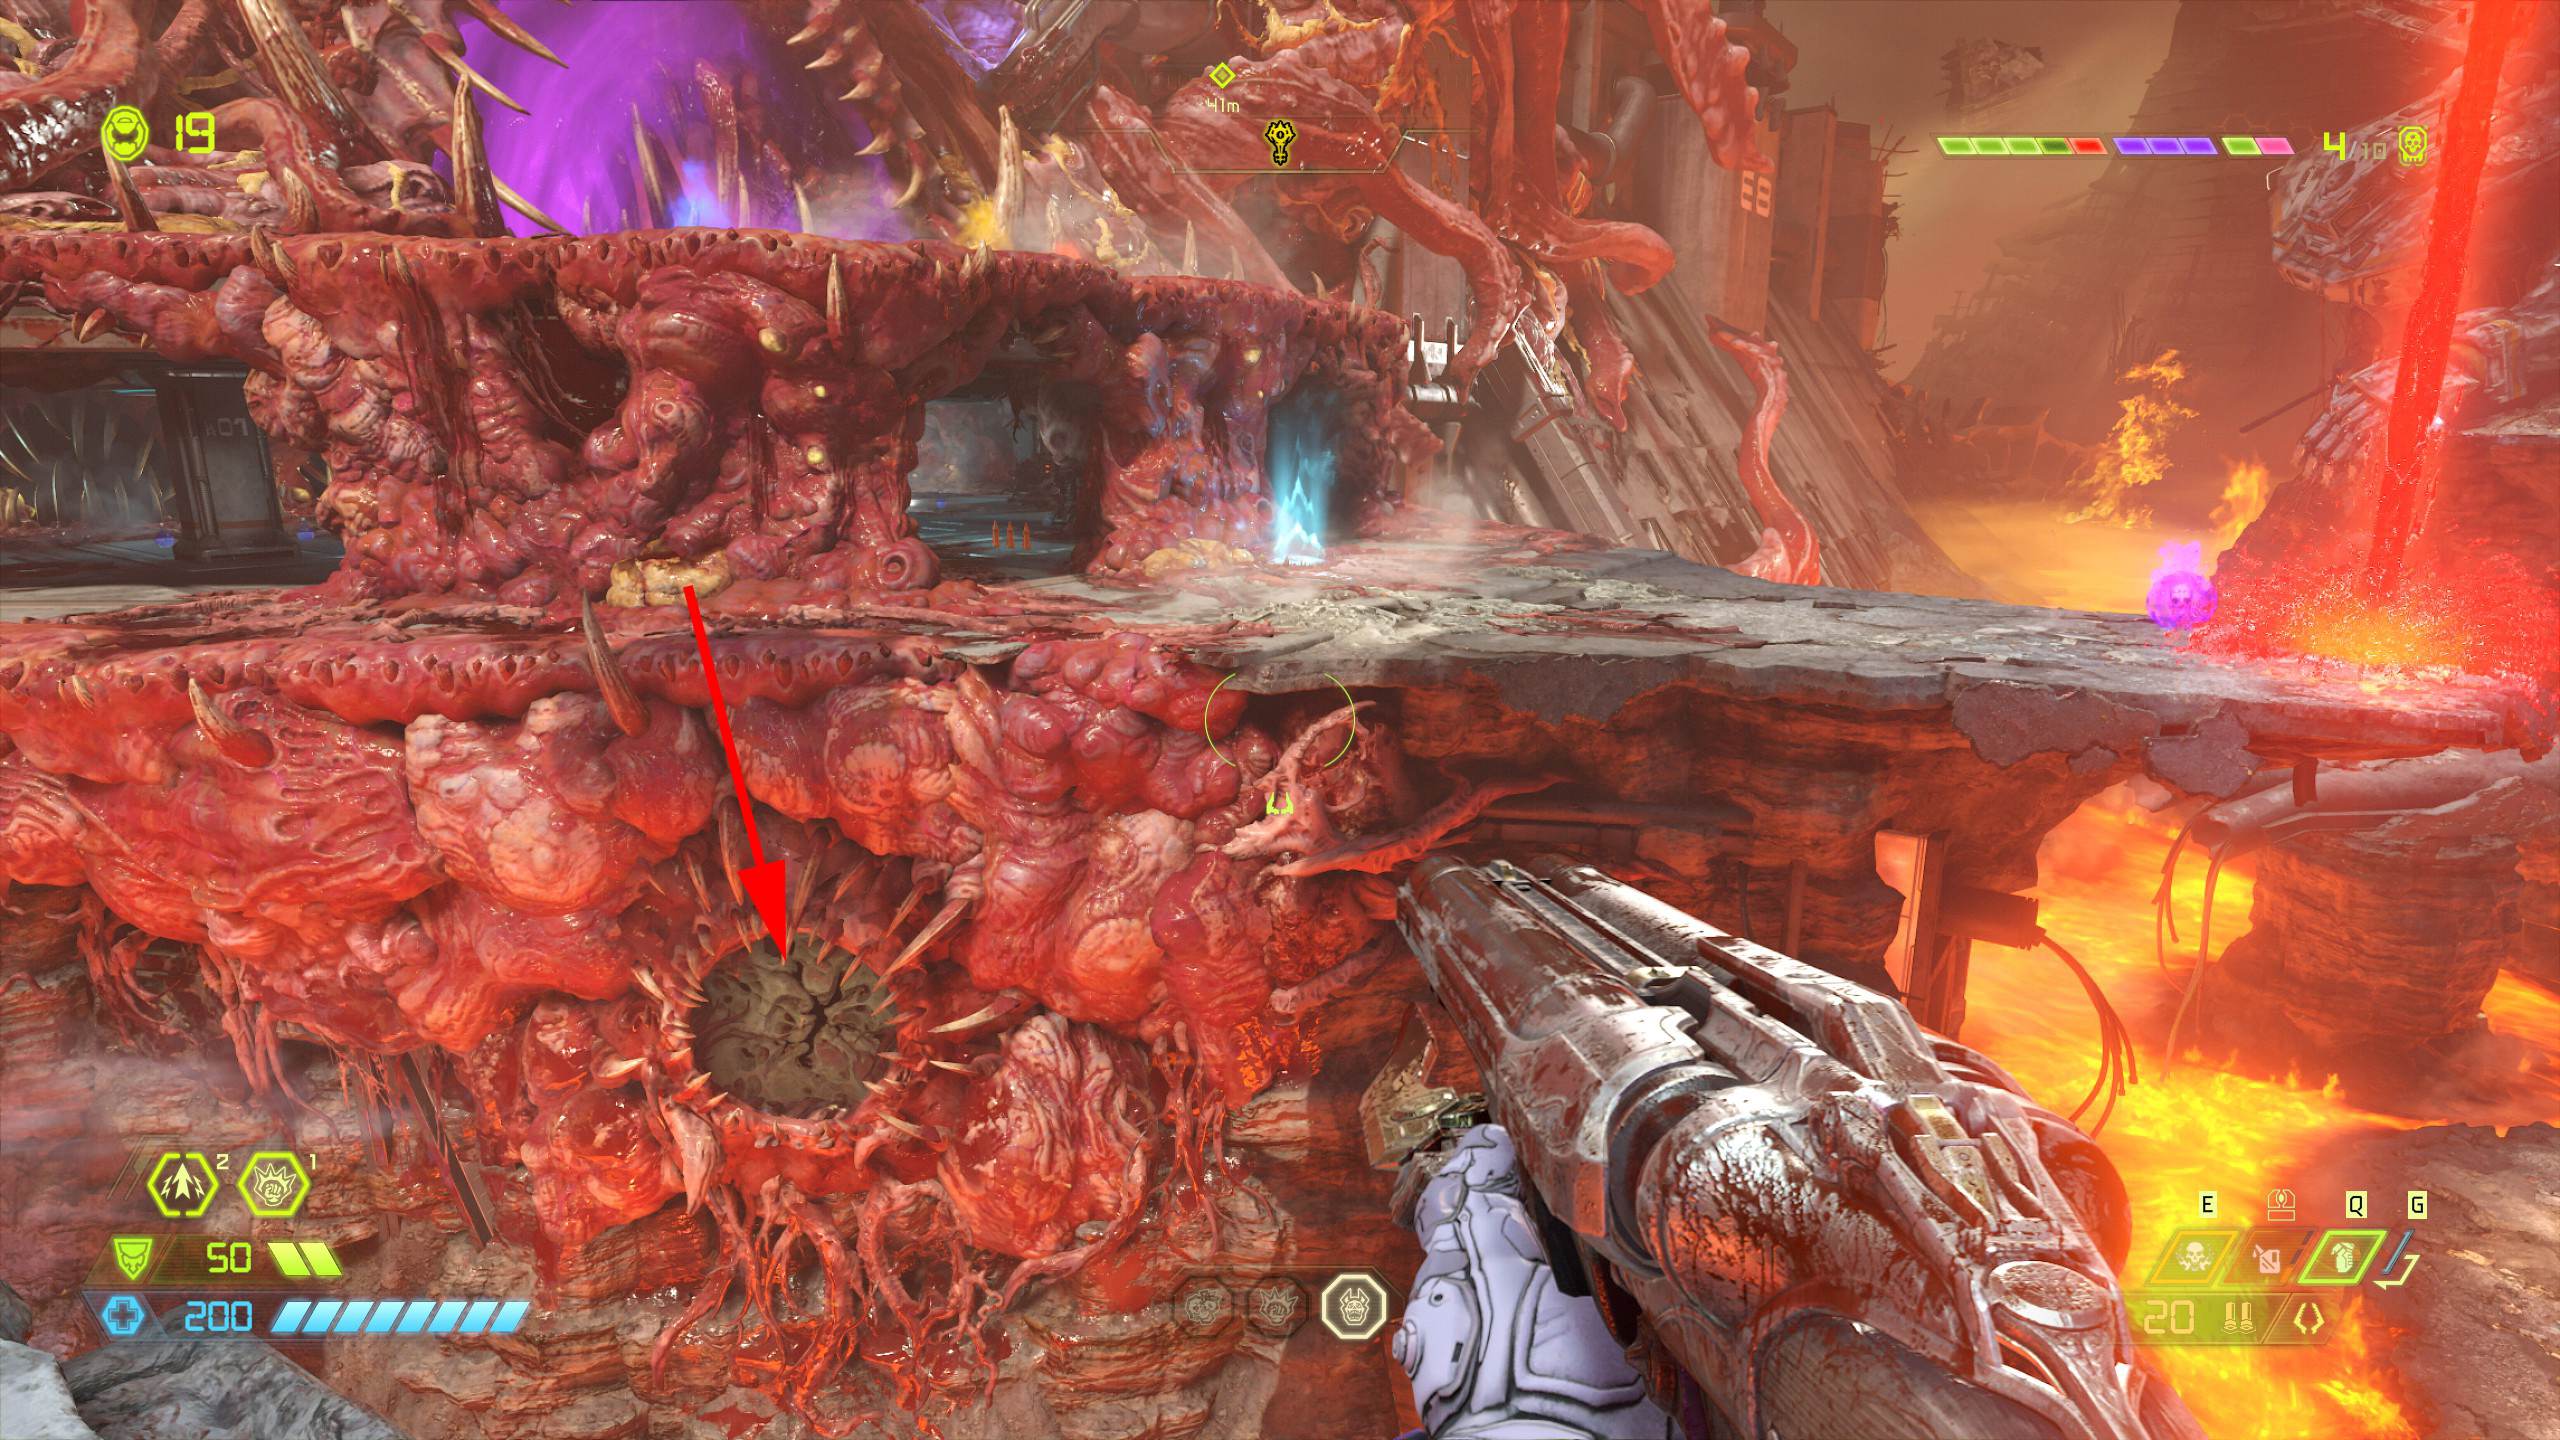
From the blue orb climb back up on the left side of the area and if you look over towards the mission marker you will see a breakable wall on the outside of the structure, jump across and break through and you will find the cheat code inside.
Mission 5: Super Gore Nest [Part 2]
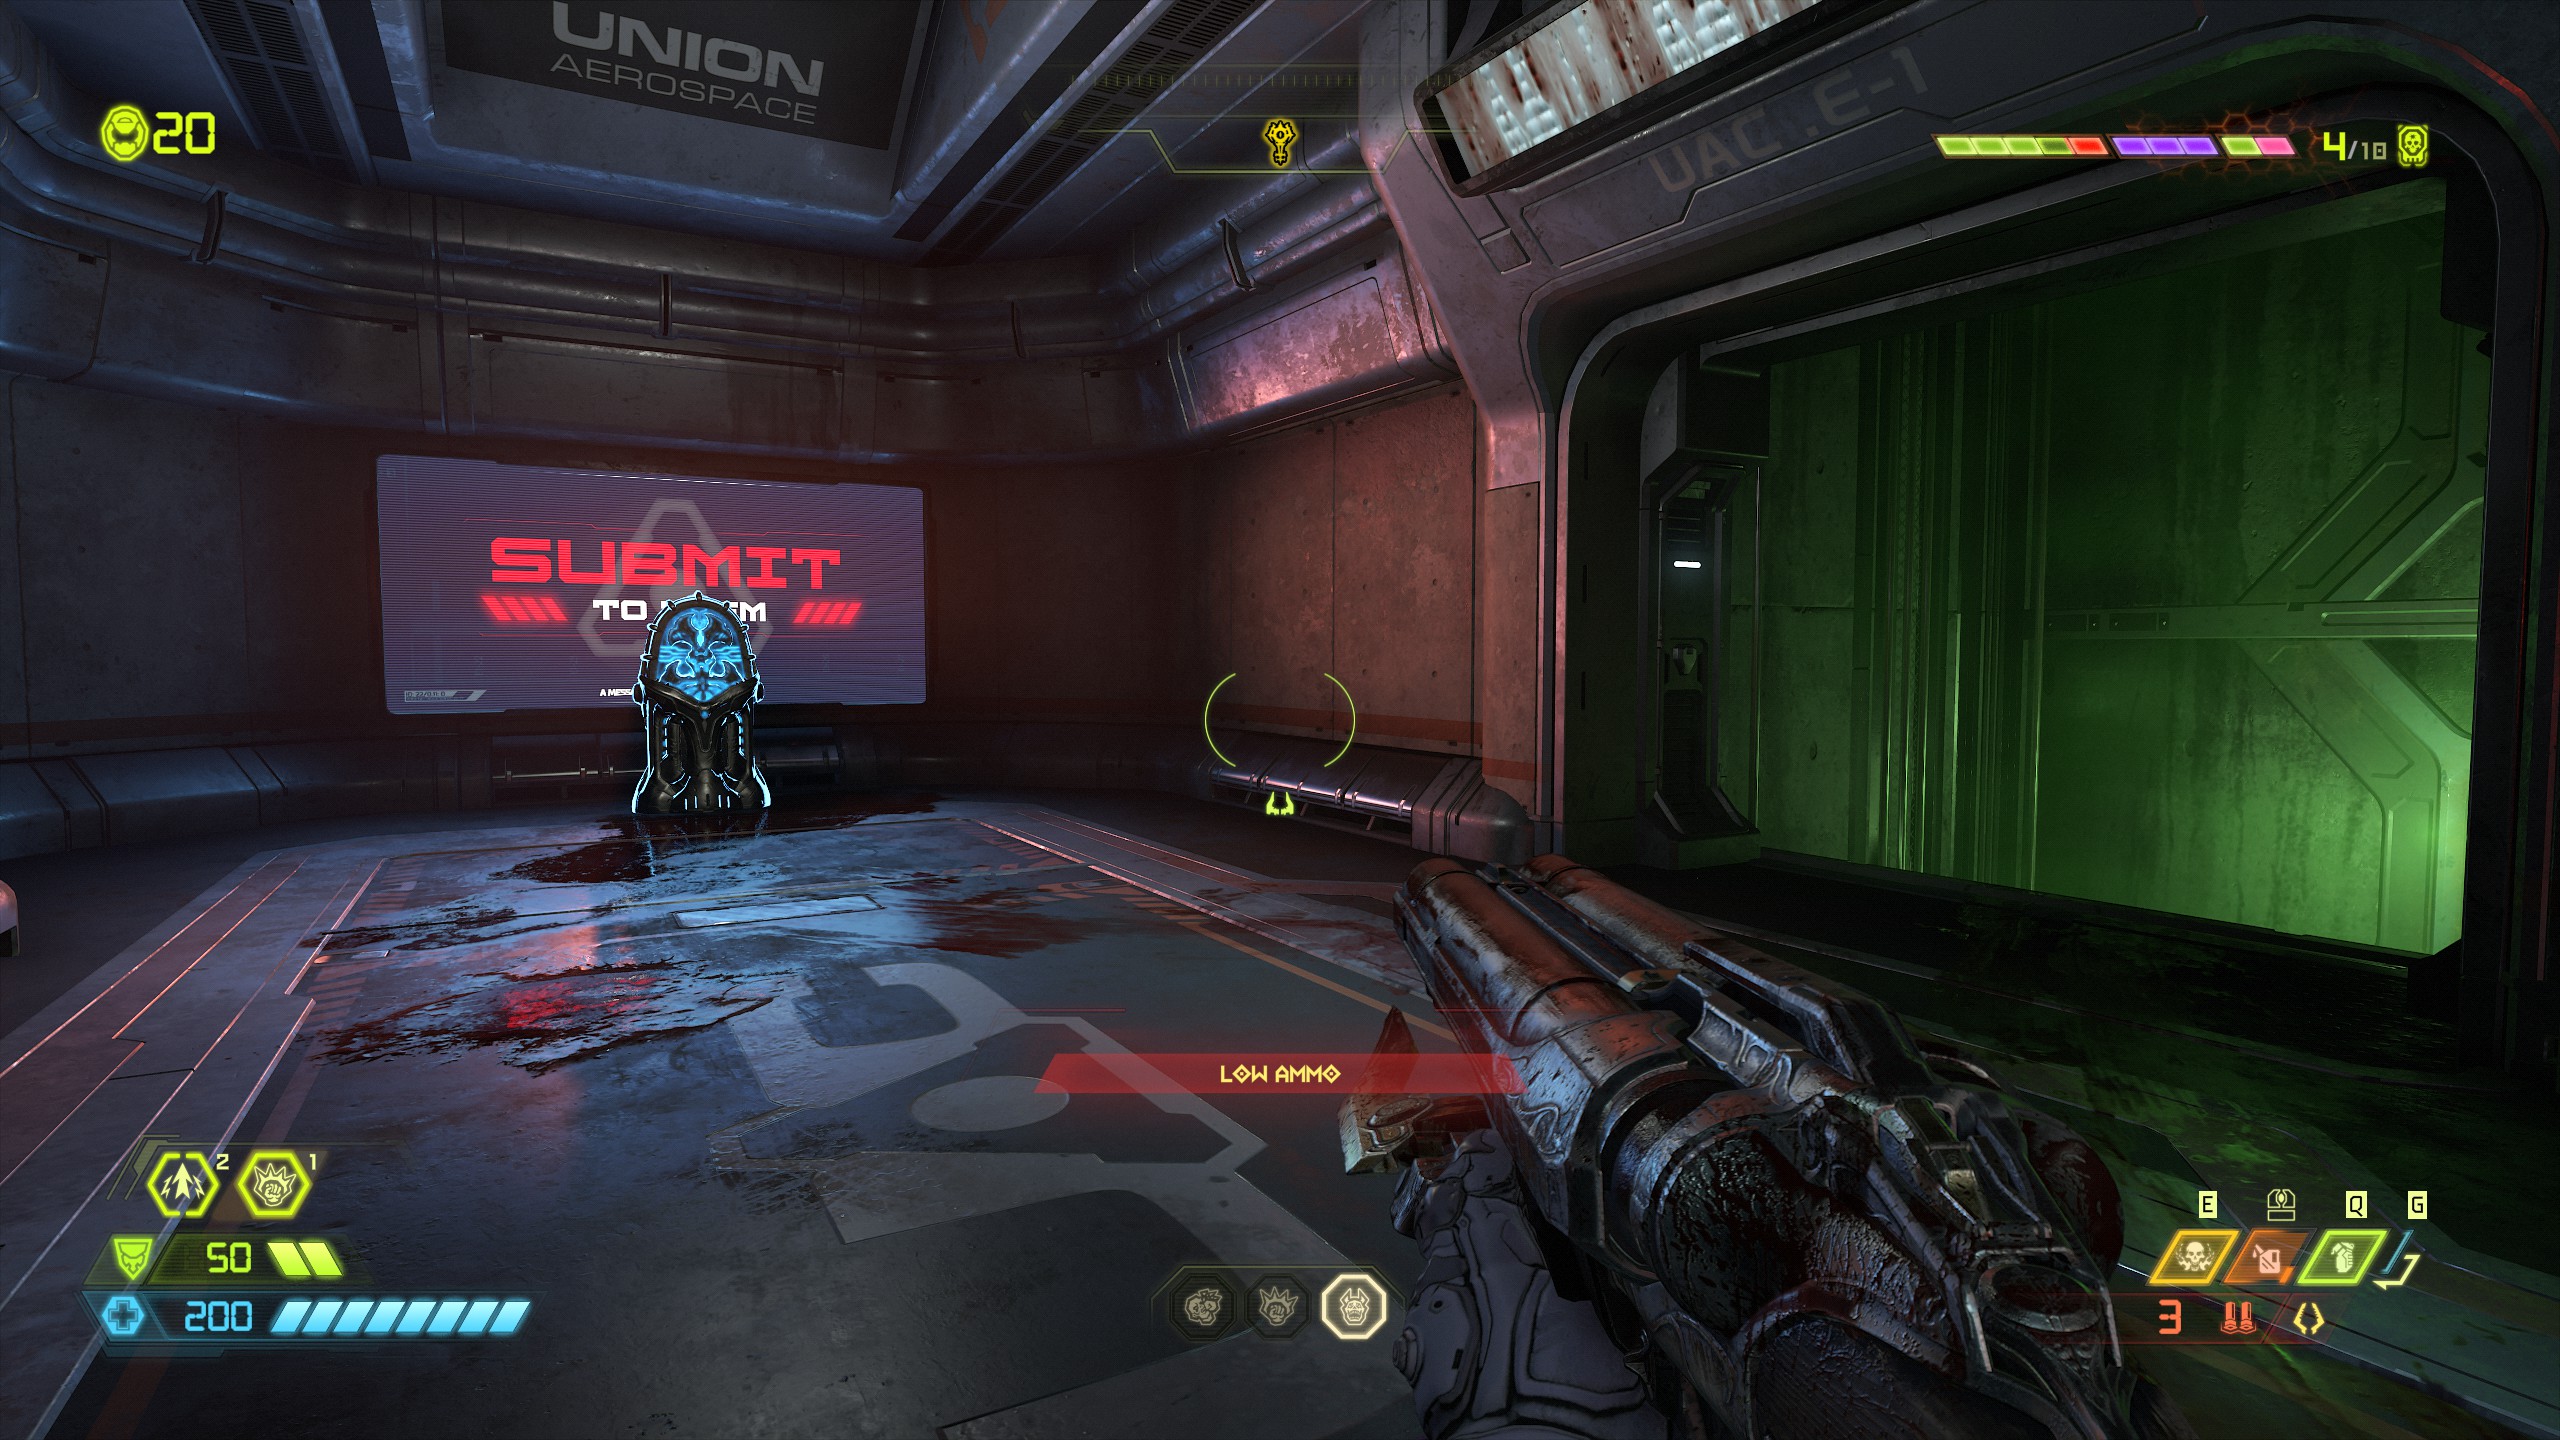
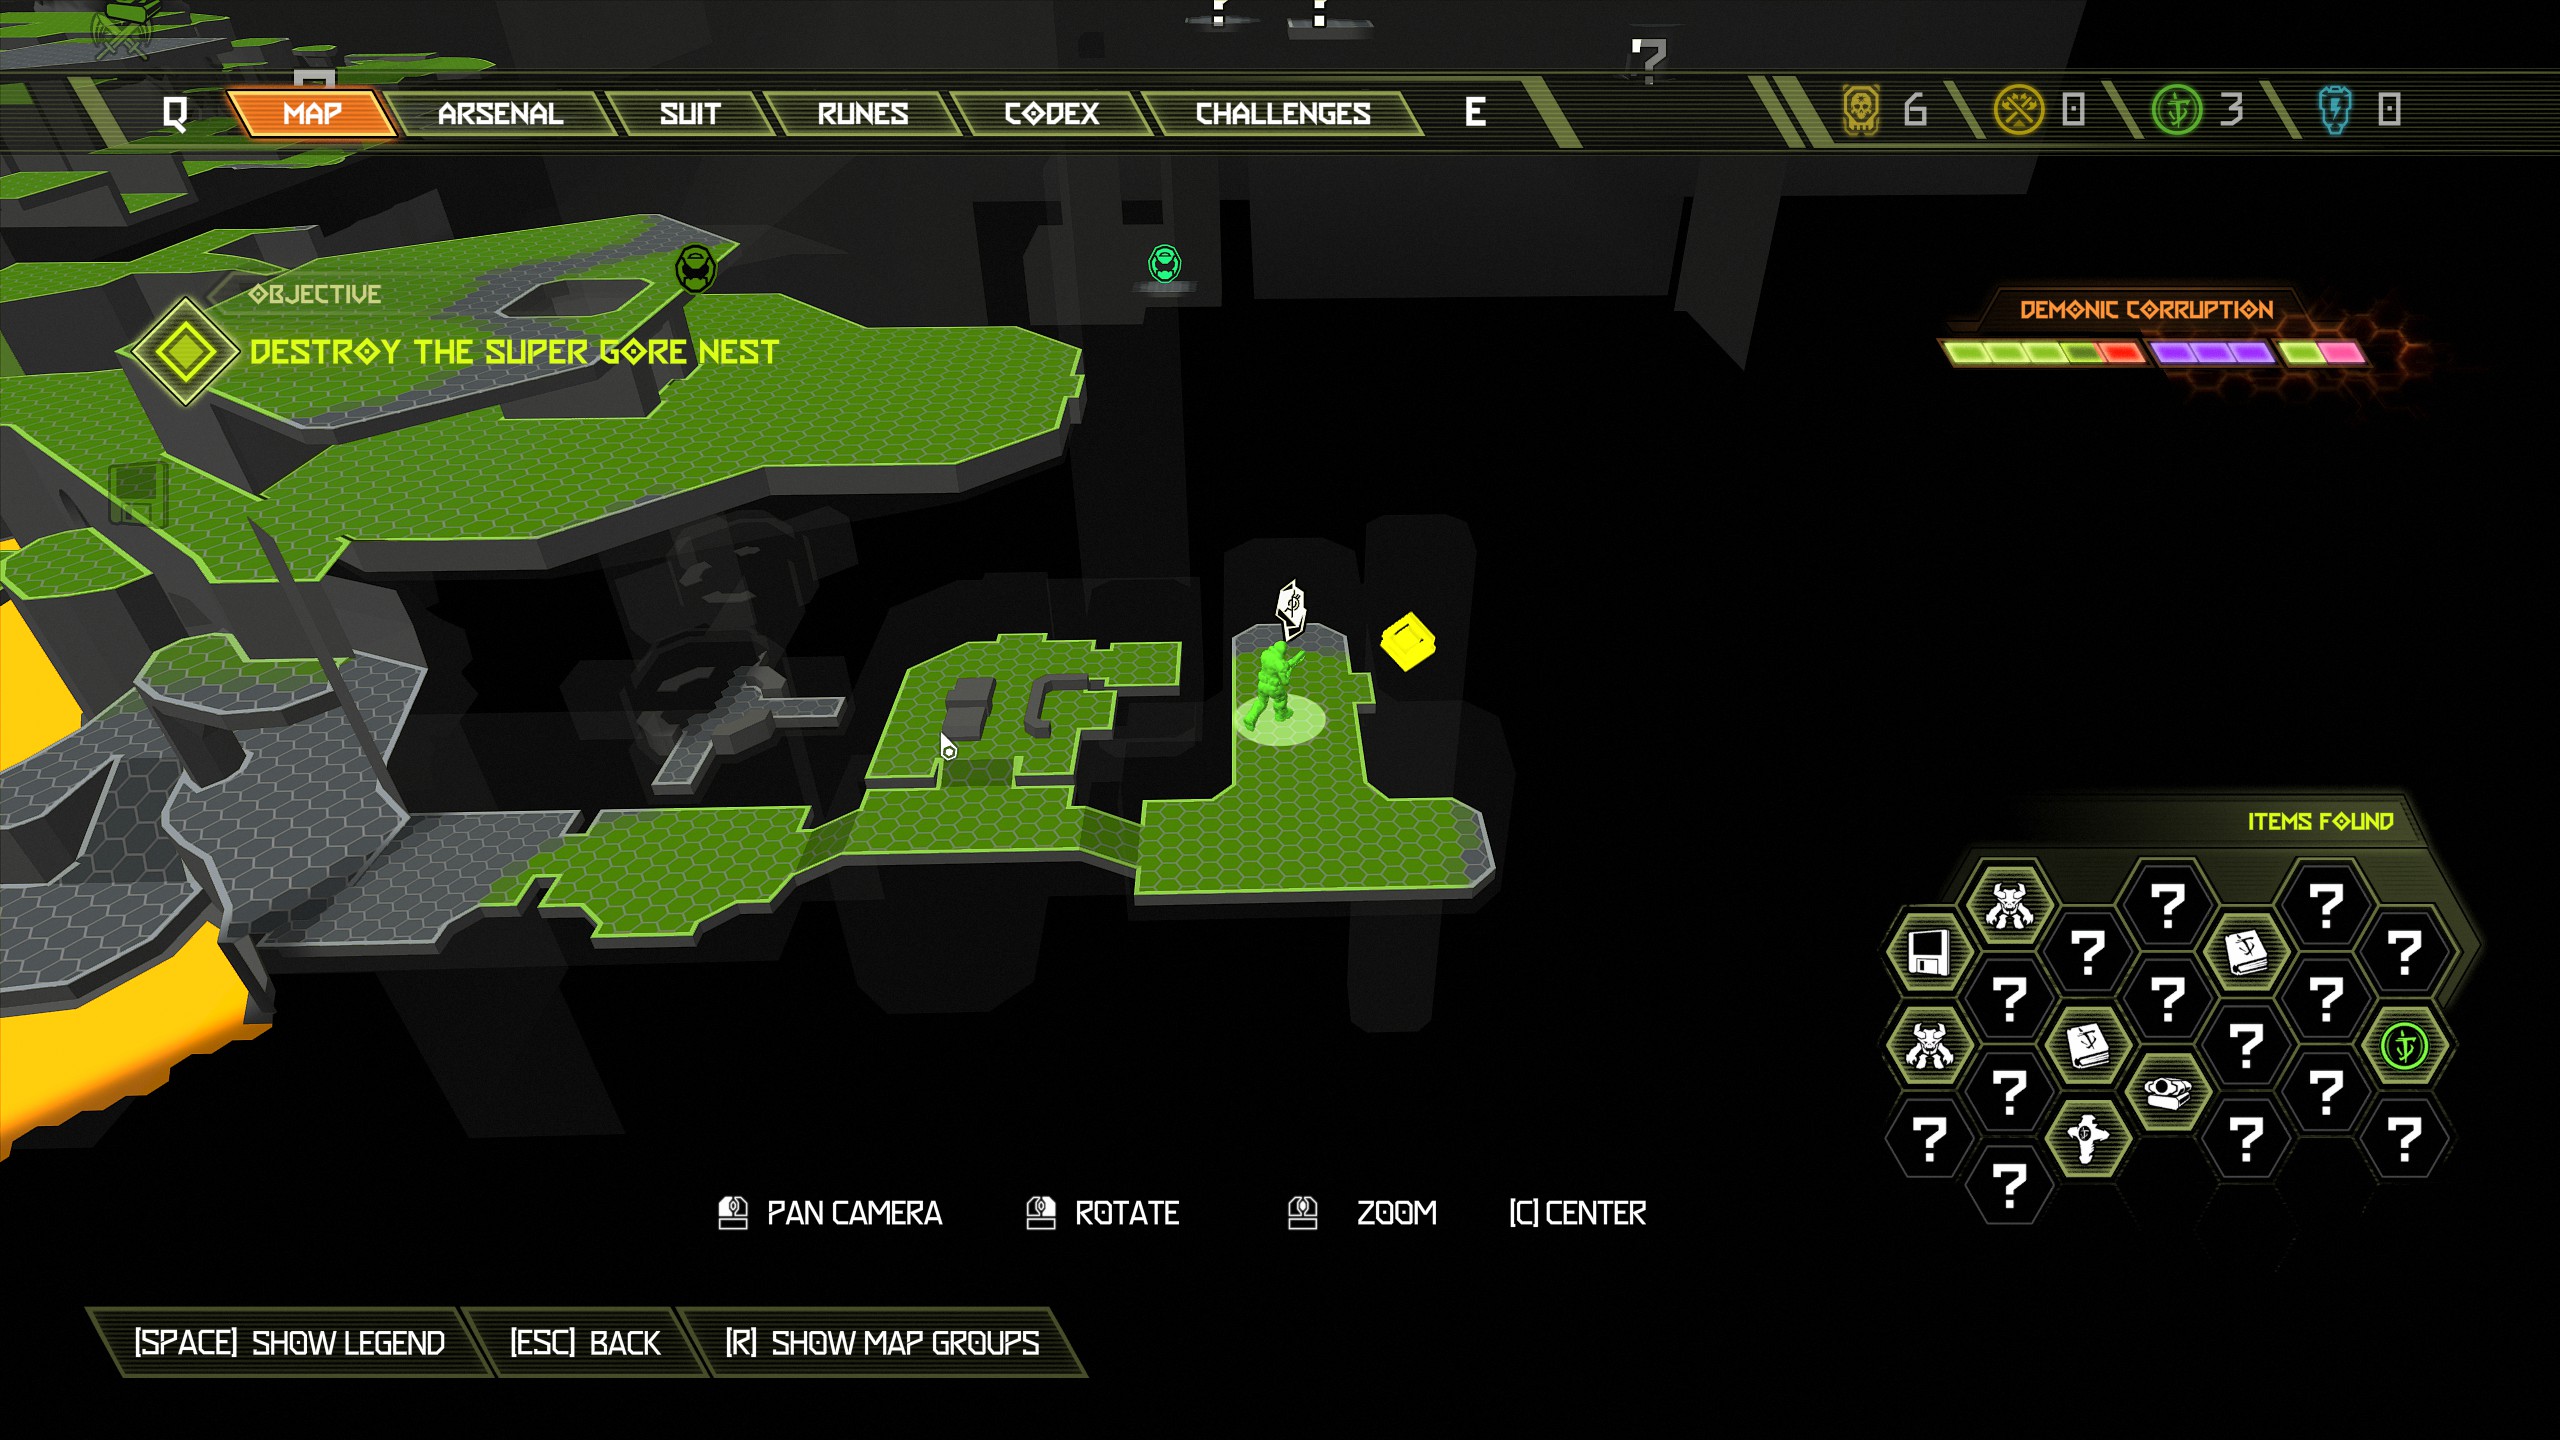
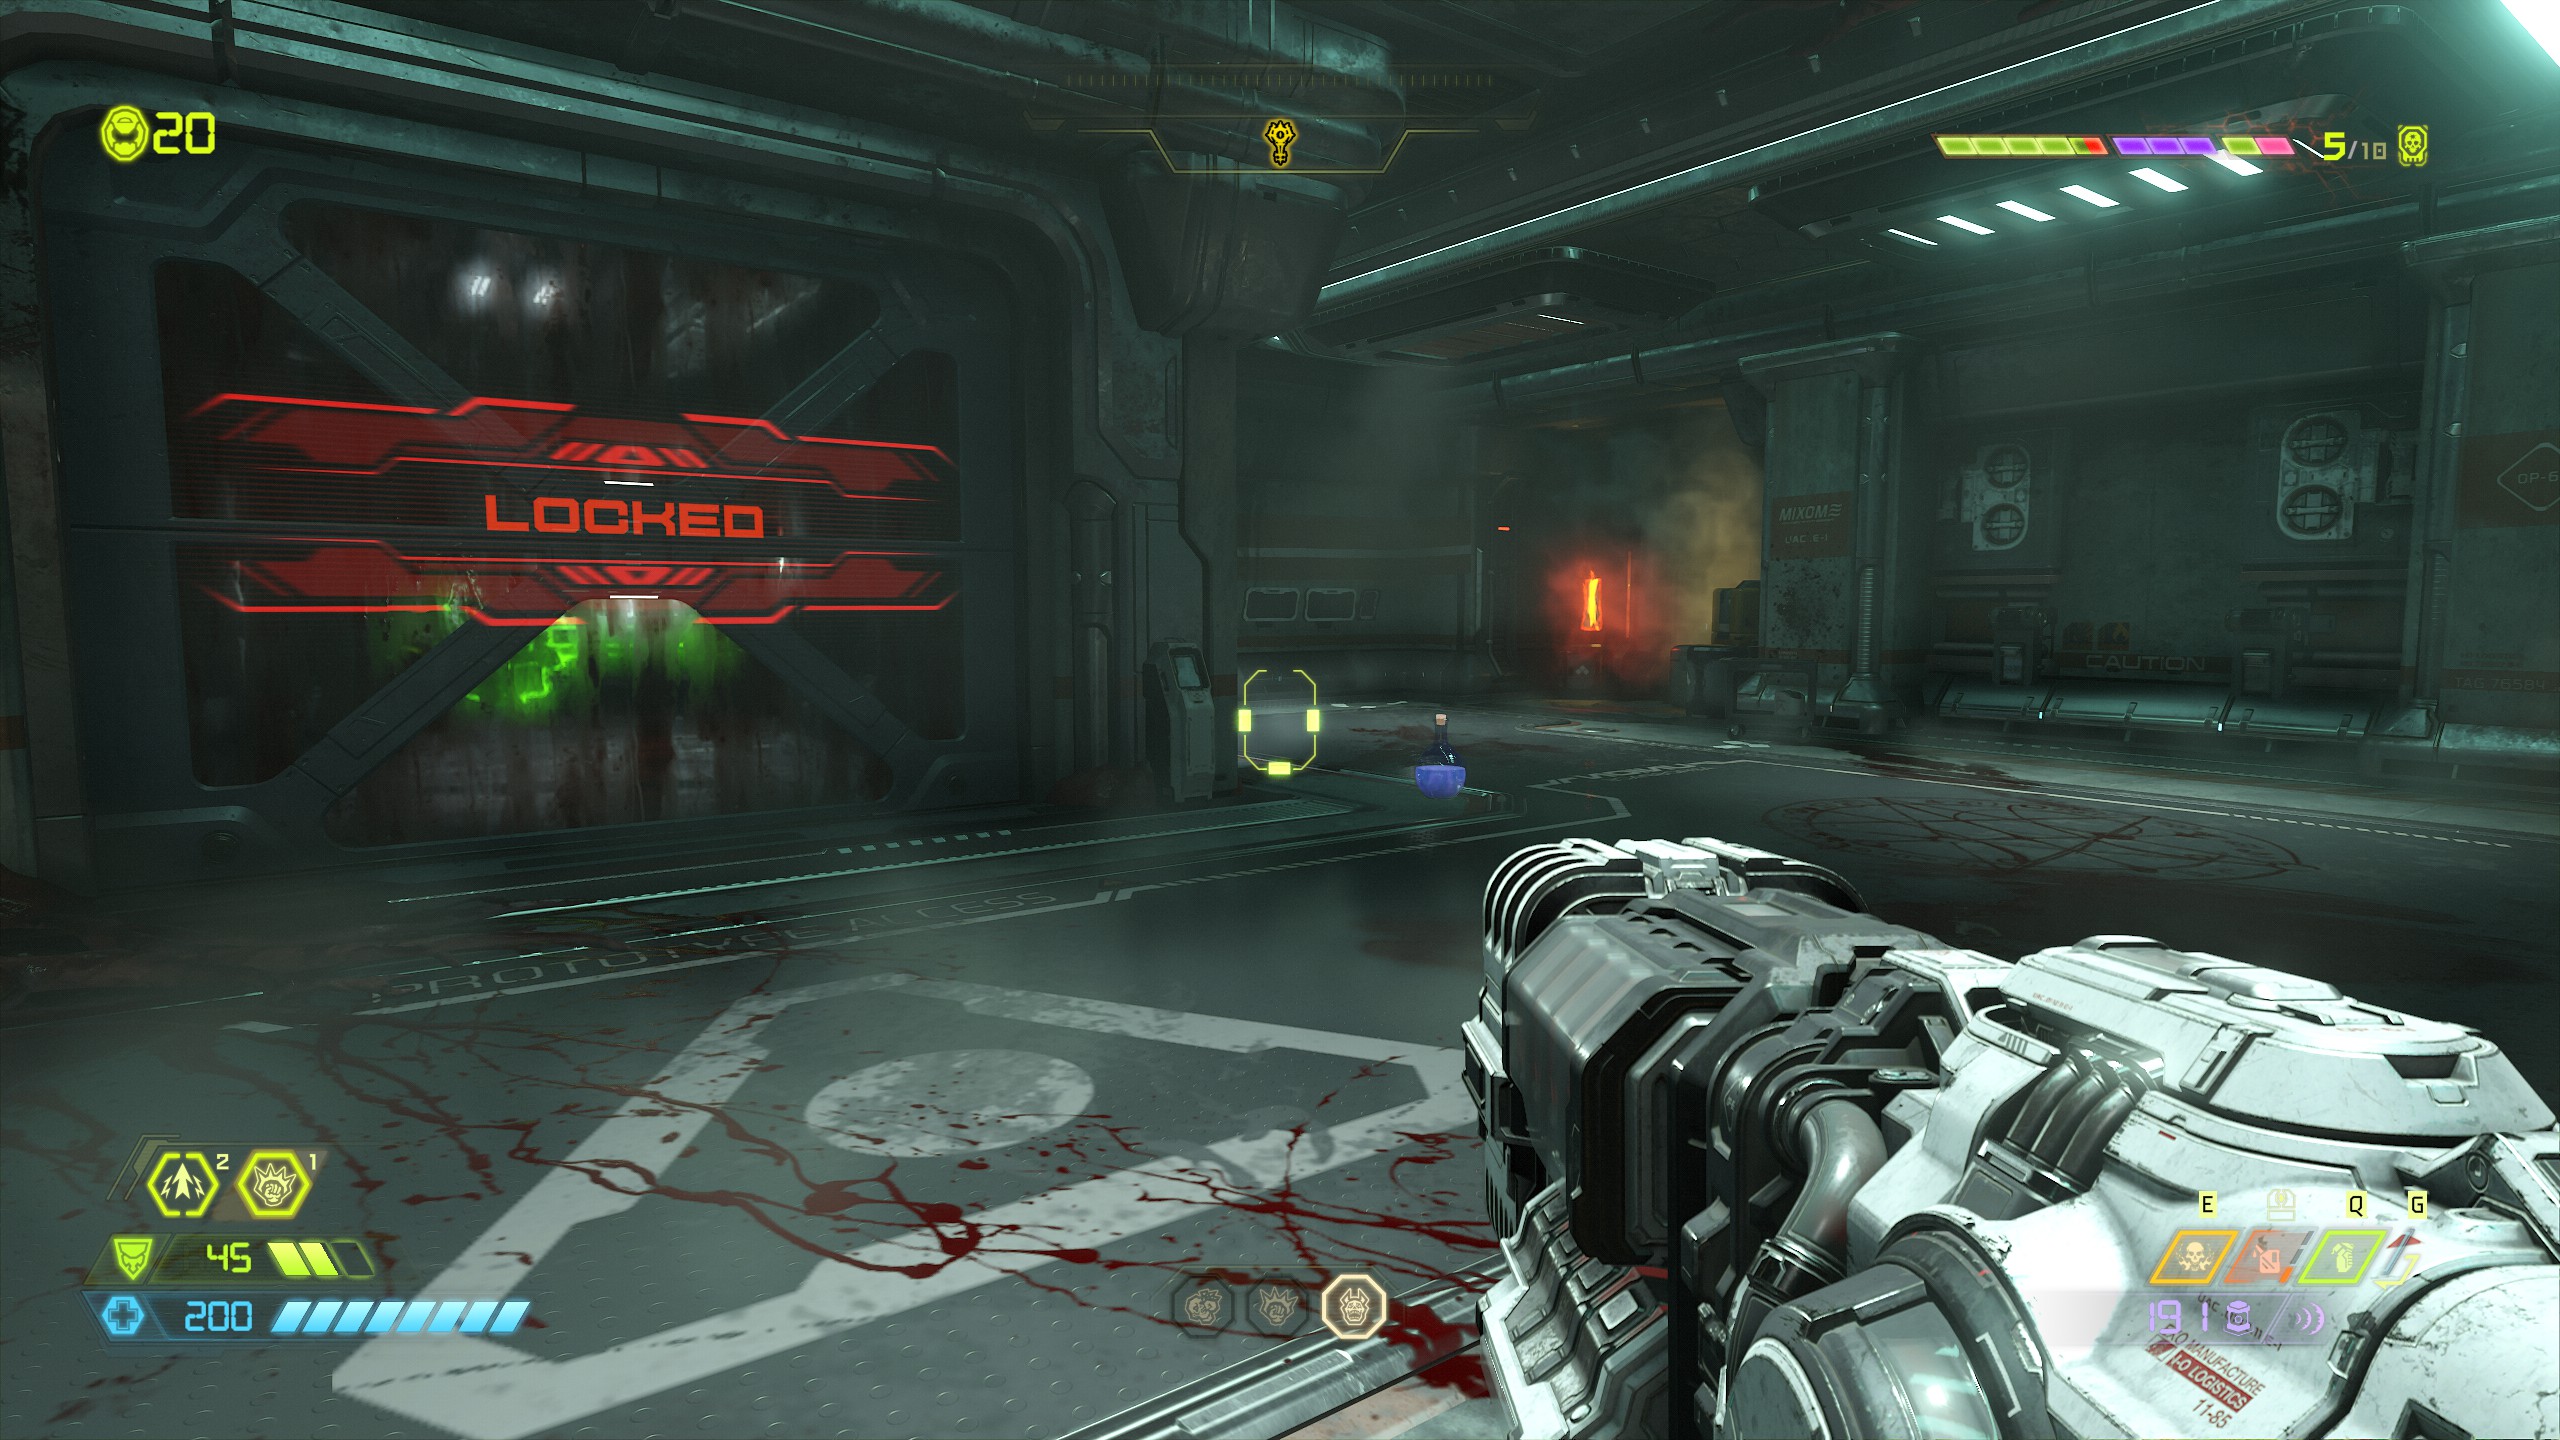
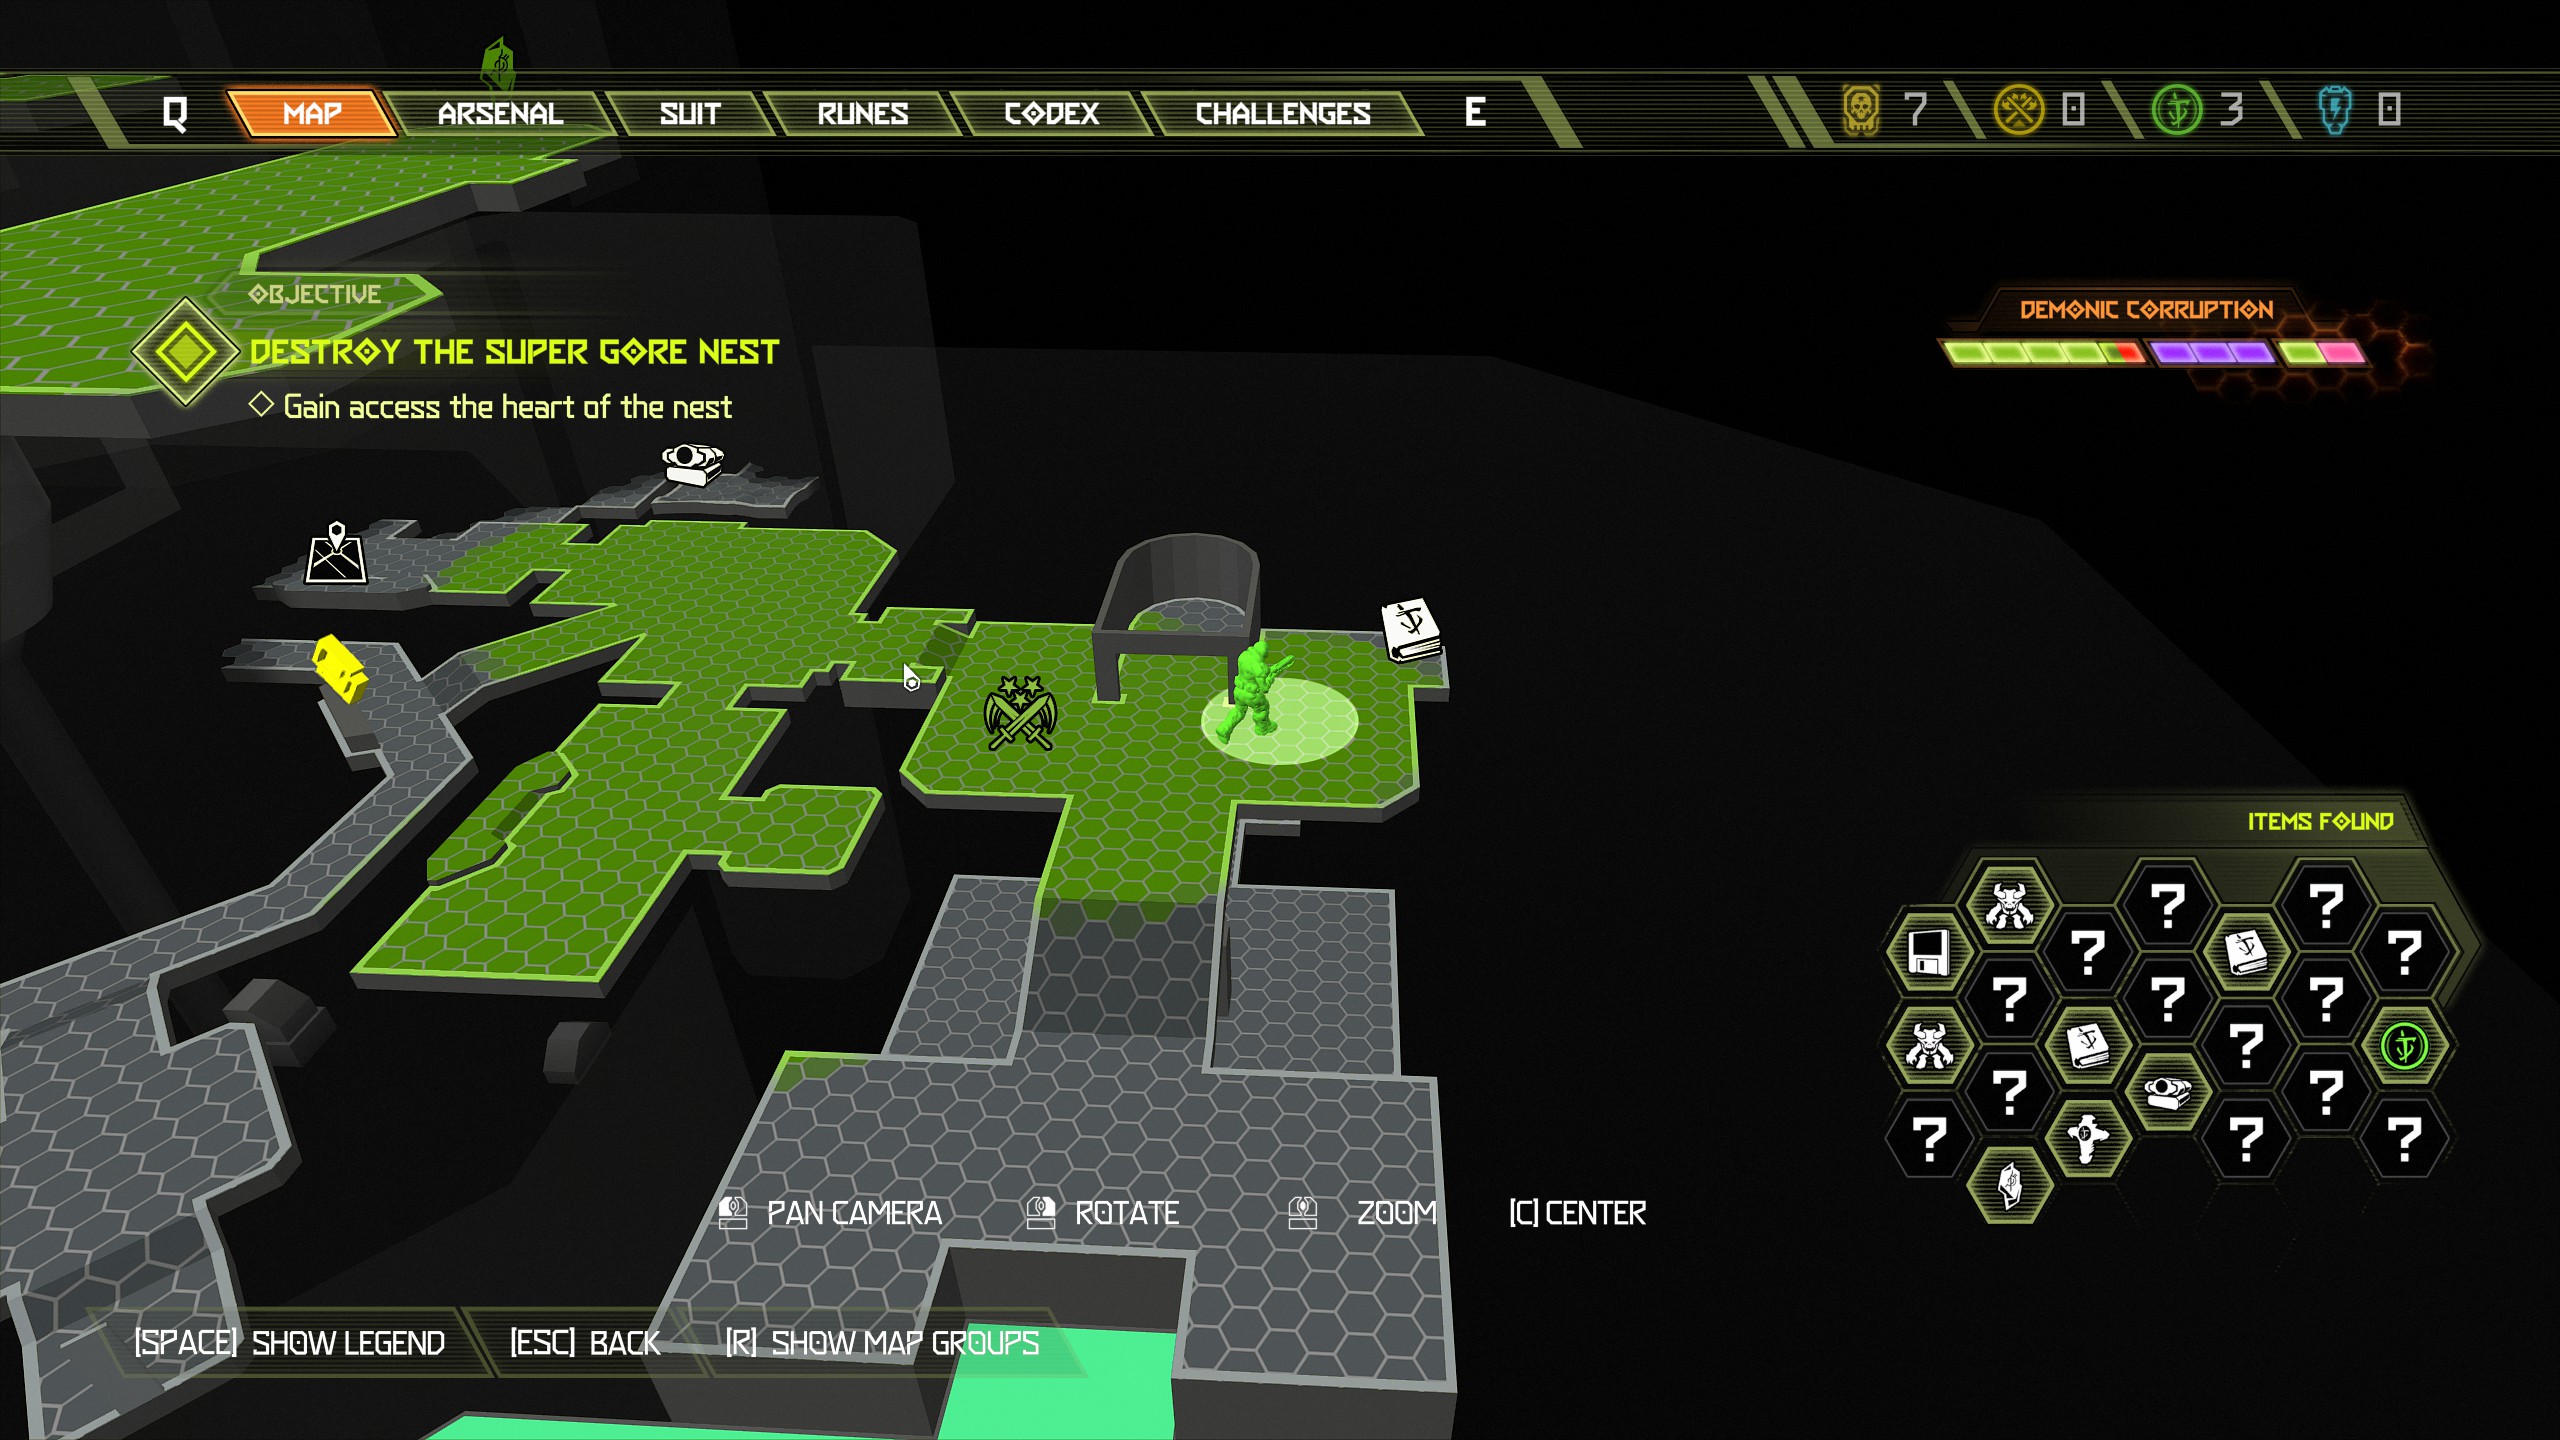
Secret Encounter:
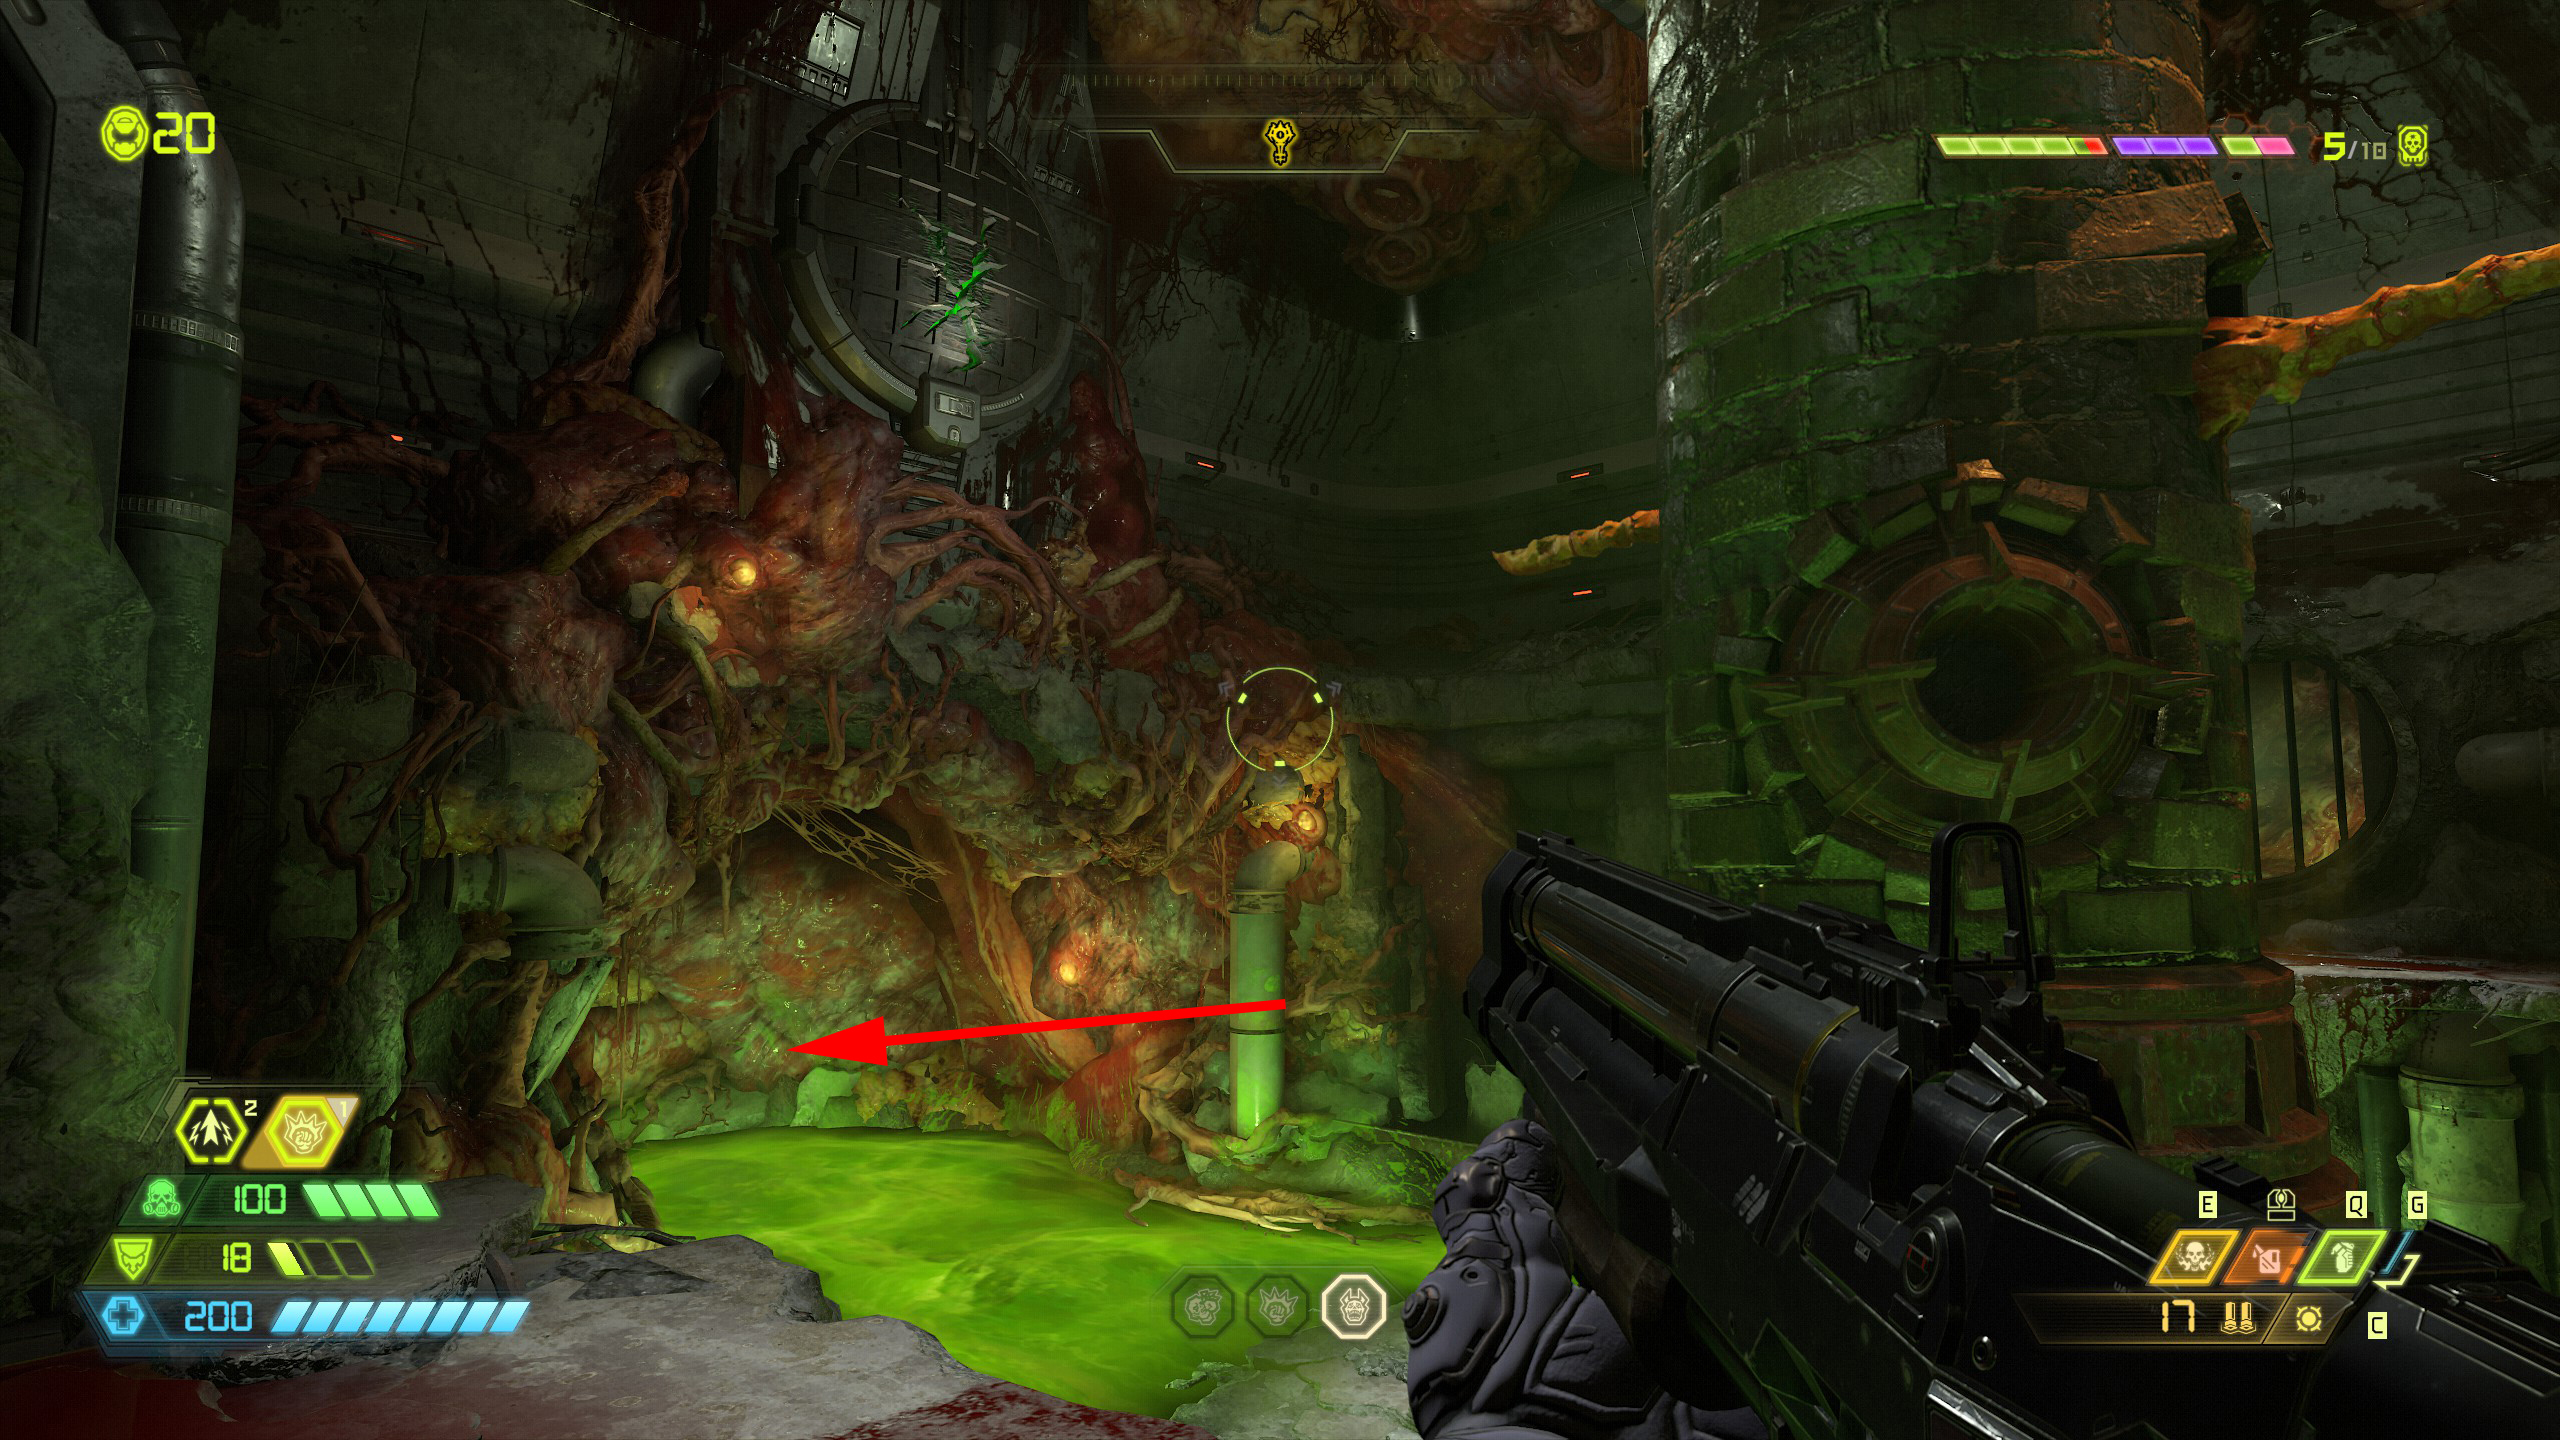
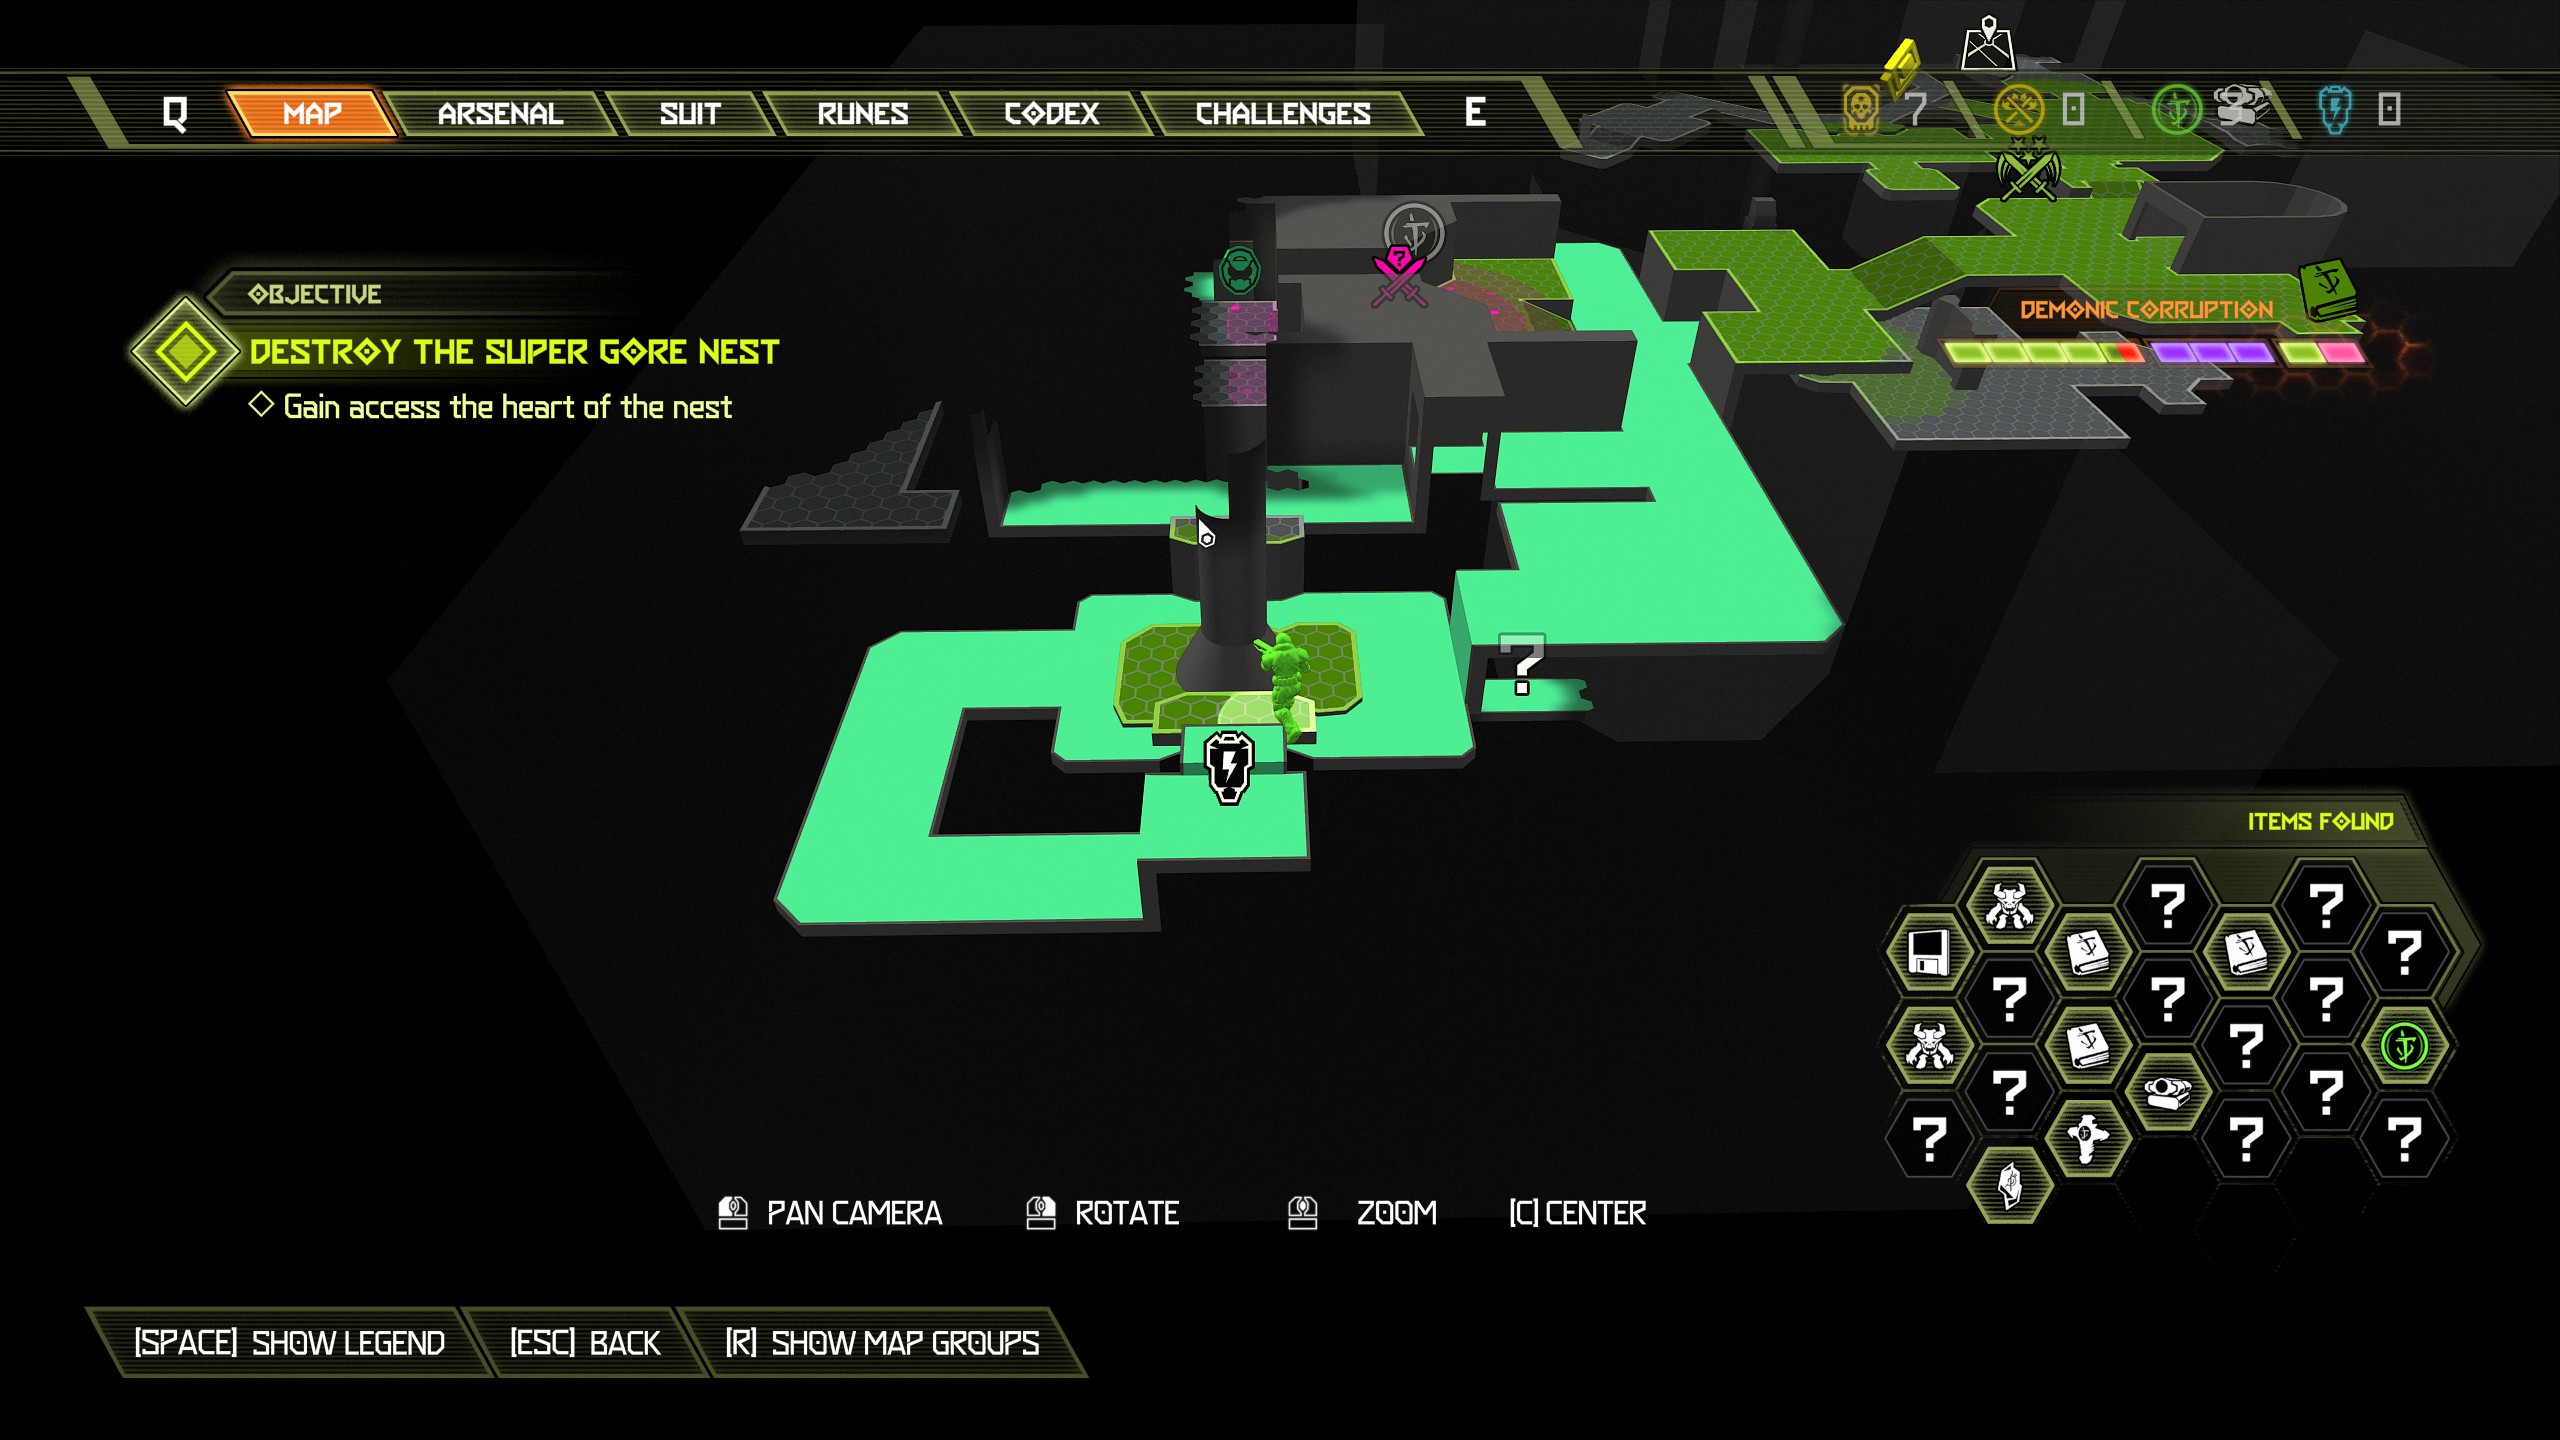
For this encounter you will be attacked by 1 mancubus, 1 carcass and 8 zombies. After the blue orb head into the next room and don't drop down, instead jump over to the top of the structure and tucked away in the back will be the secret encounter for you to complete.
Just be aware that for the encounter the mancubus will spawn right in front of you but the rest of the demons will spawn in the toxic sludge below.
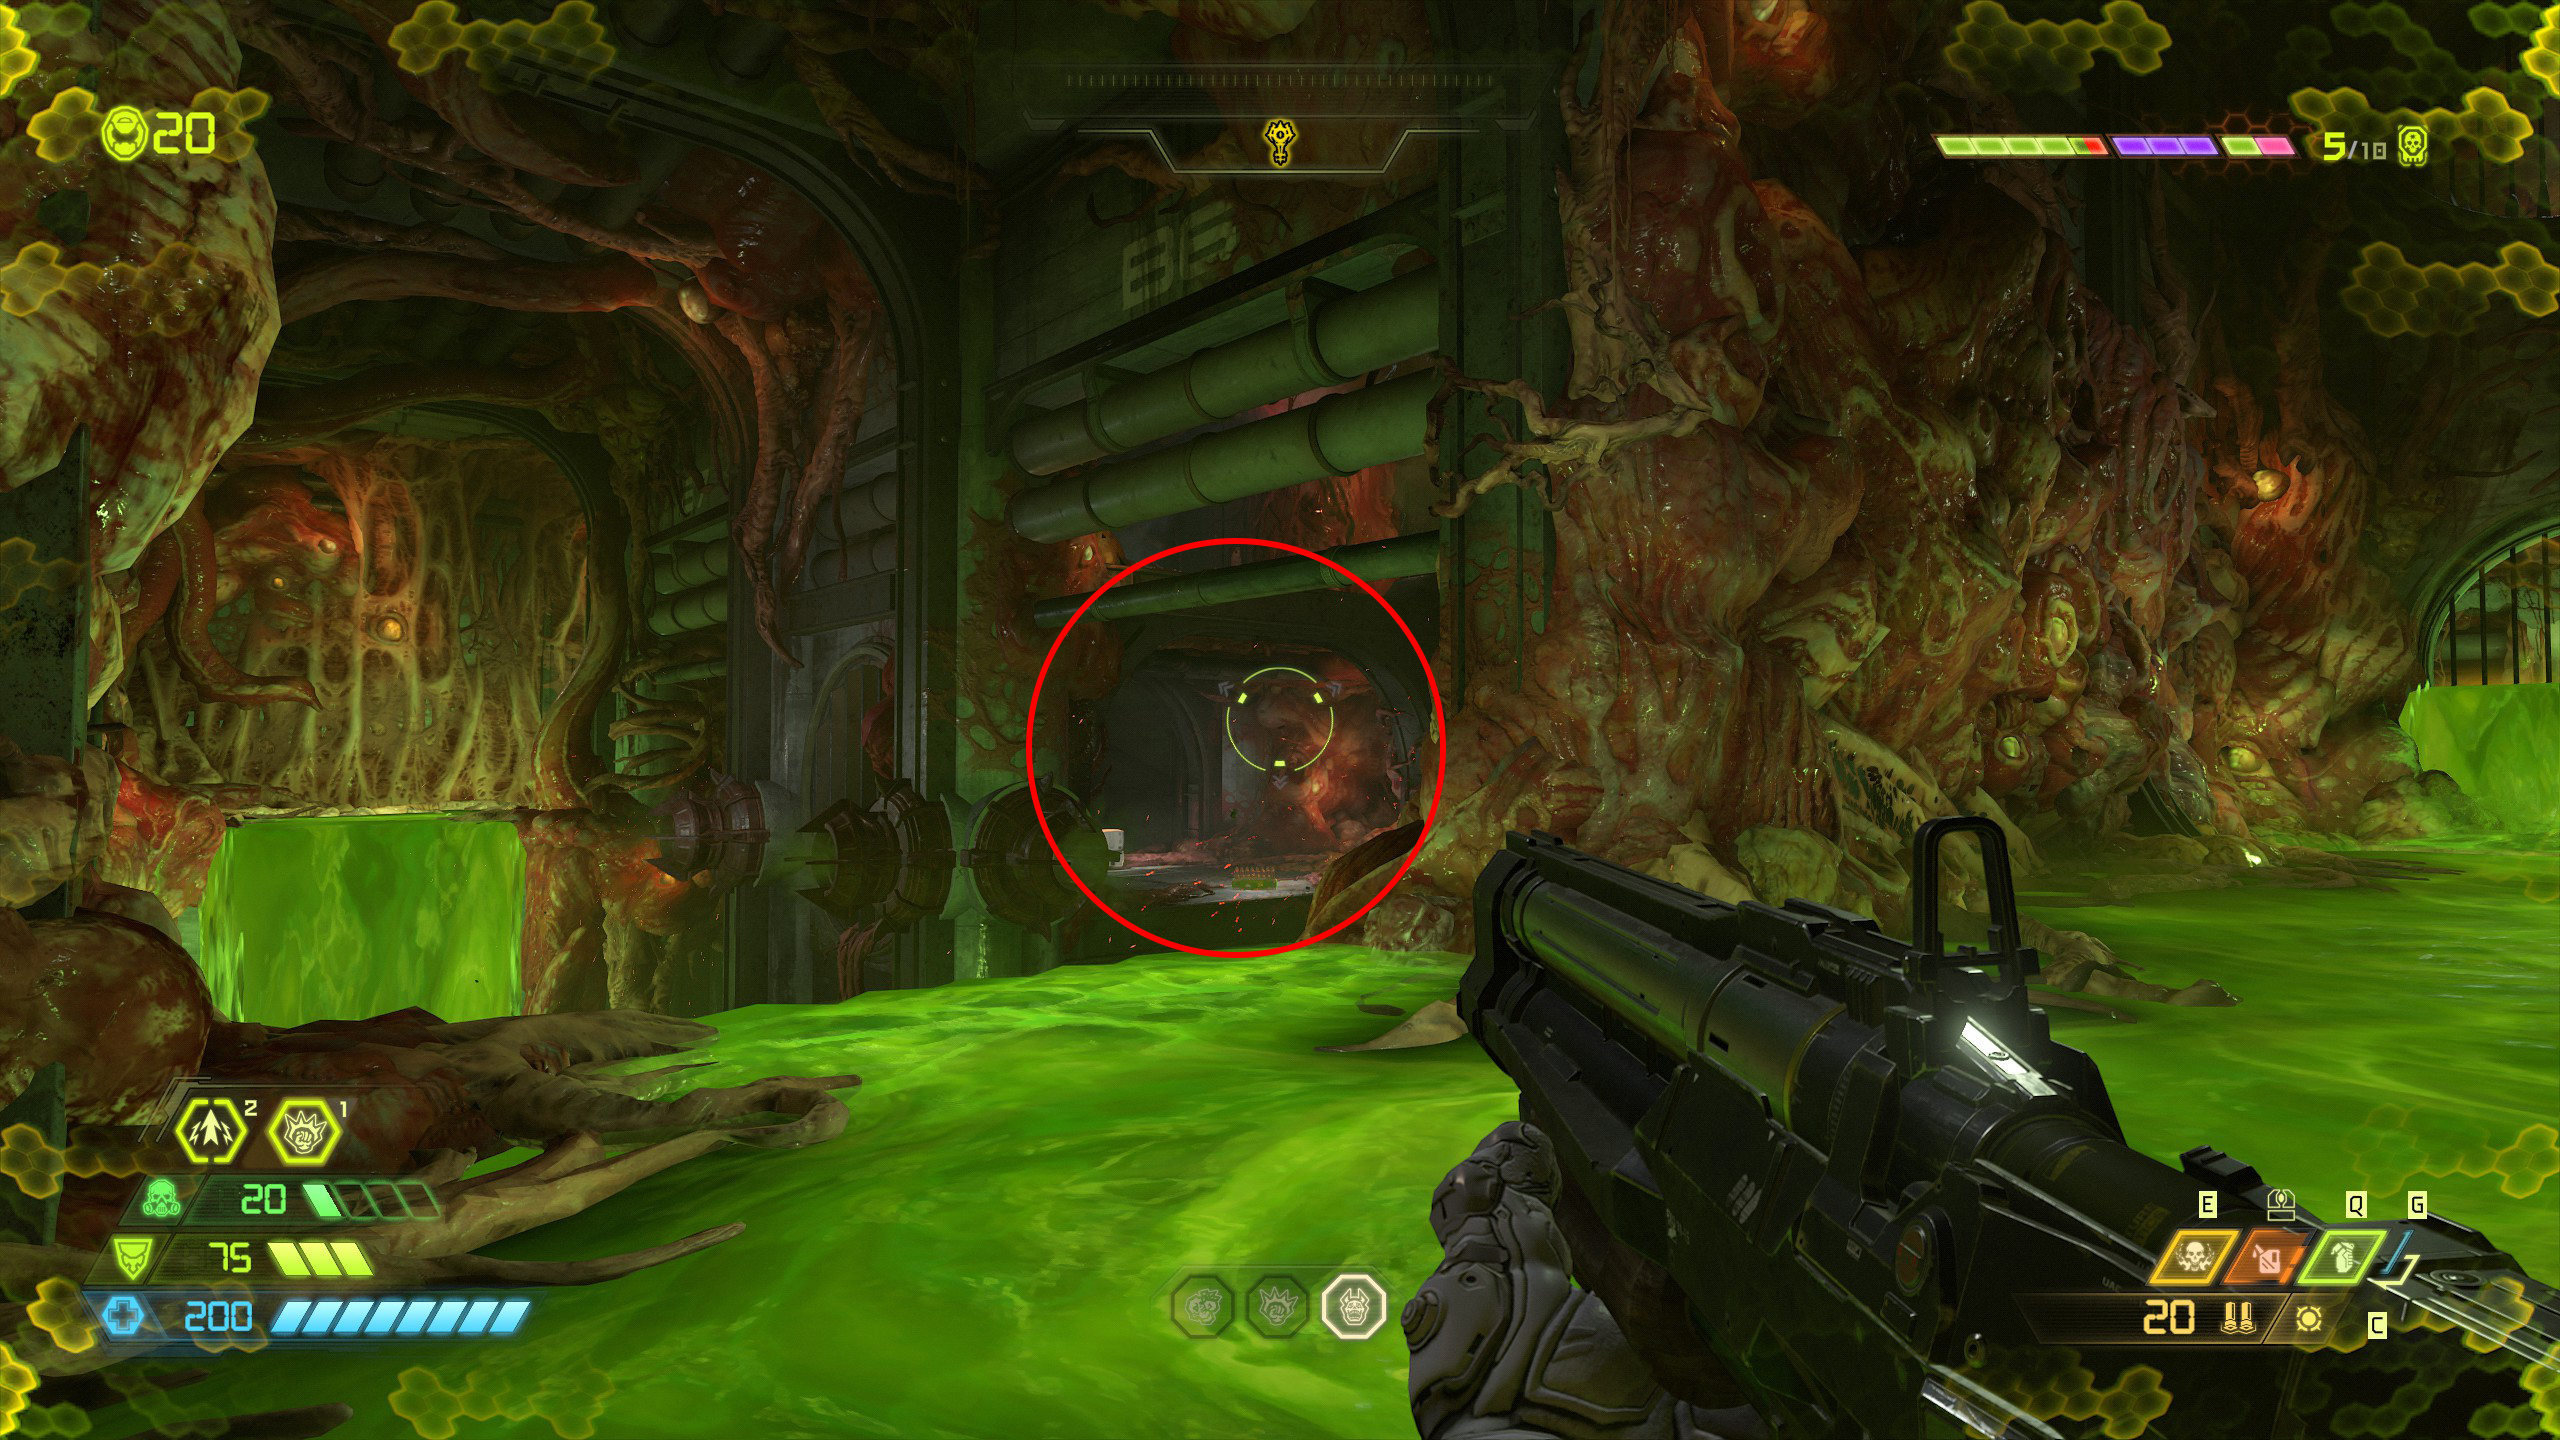
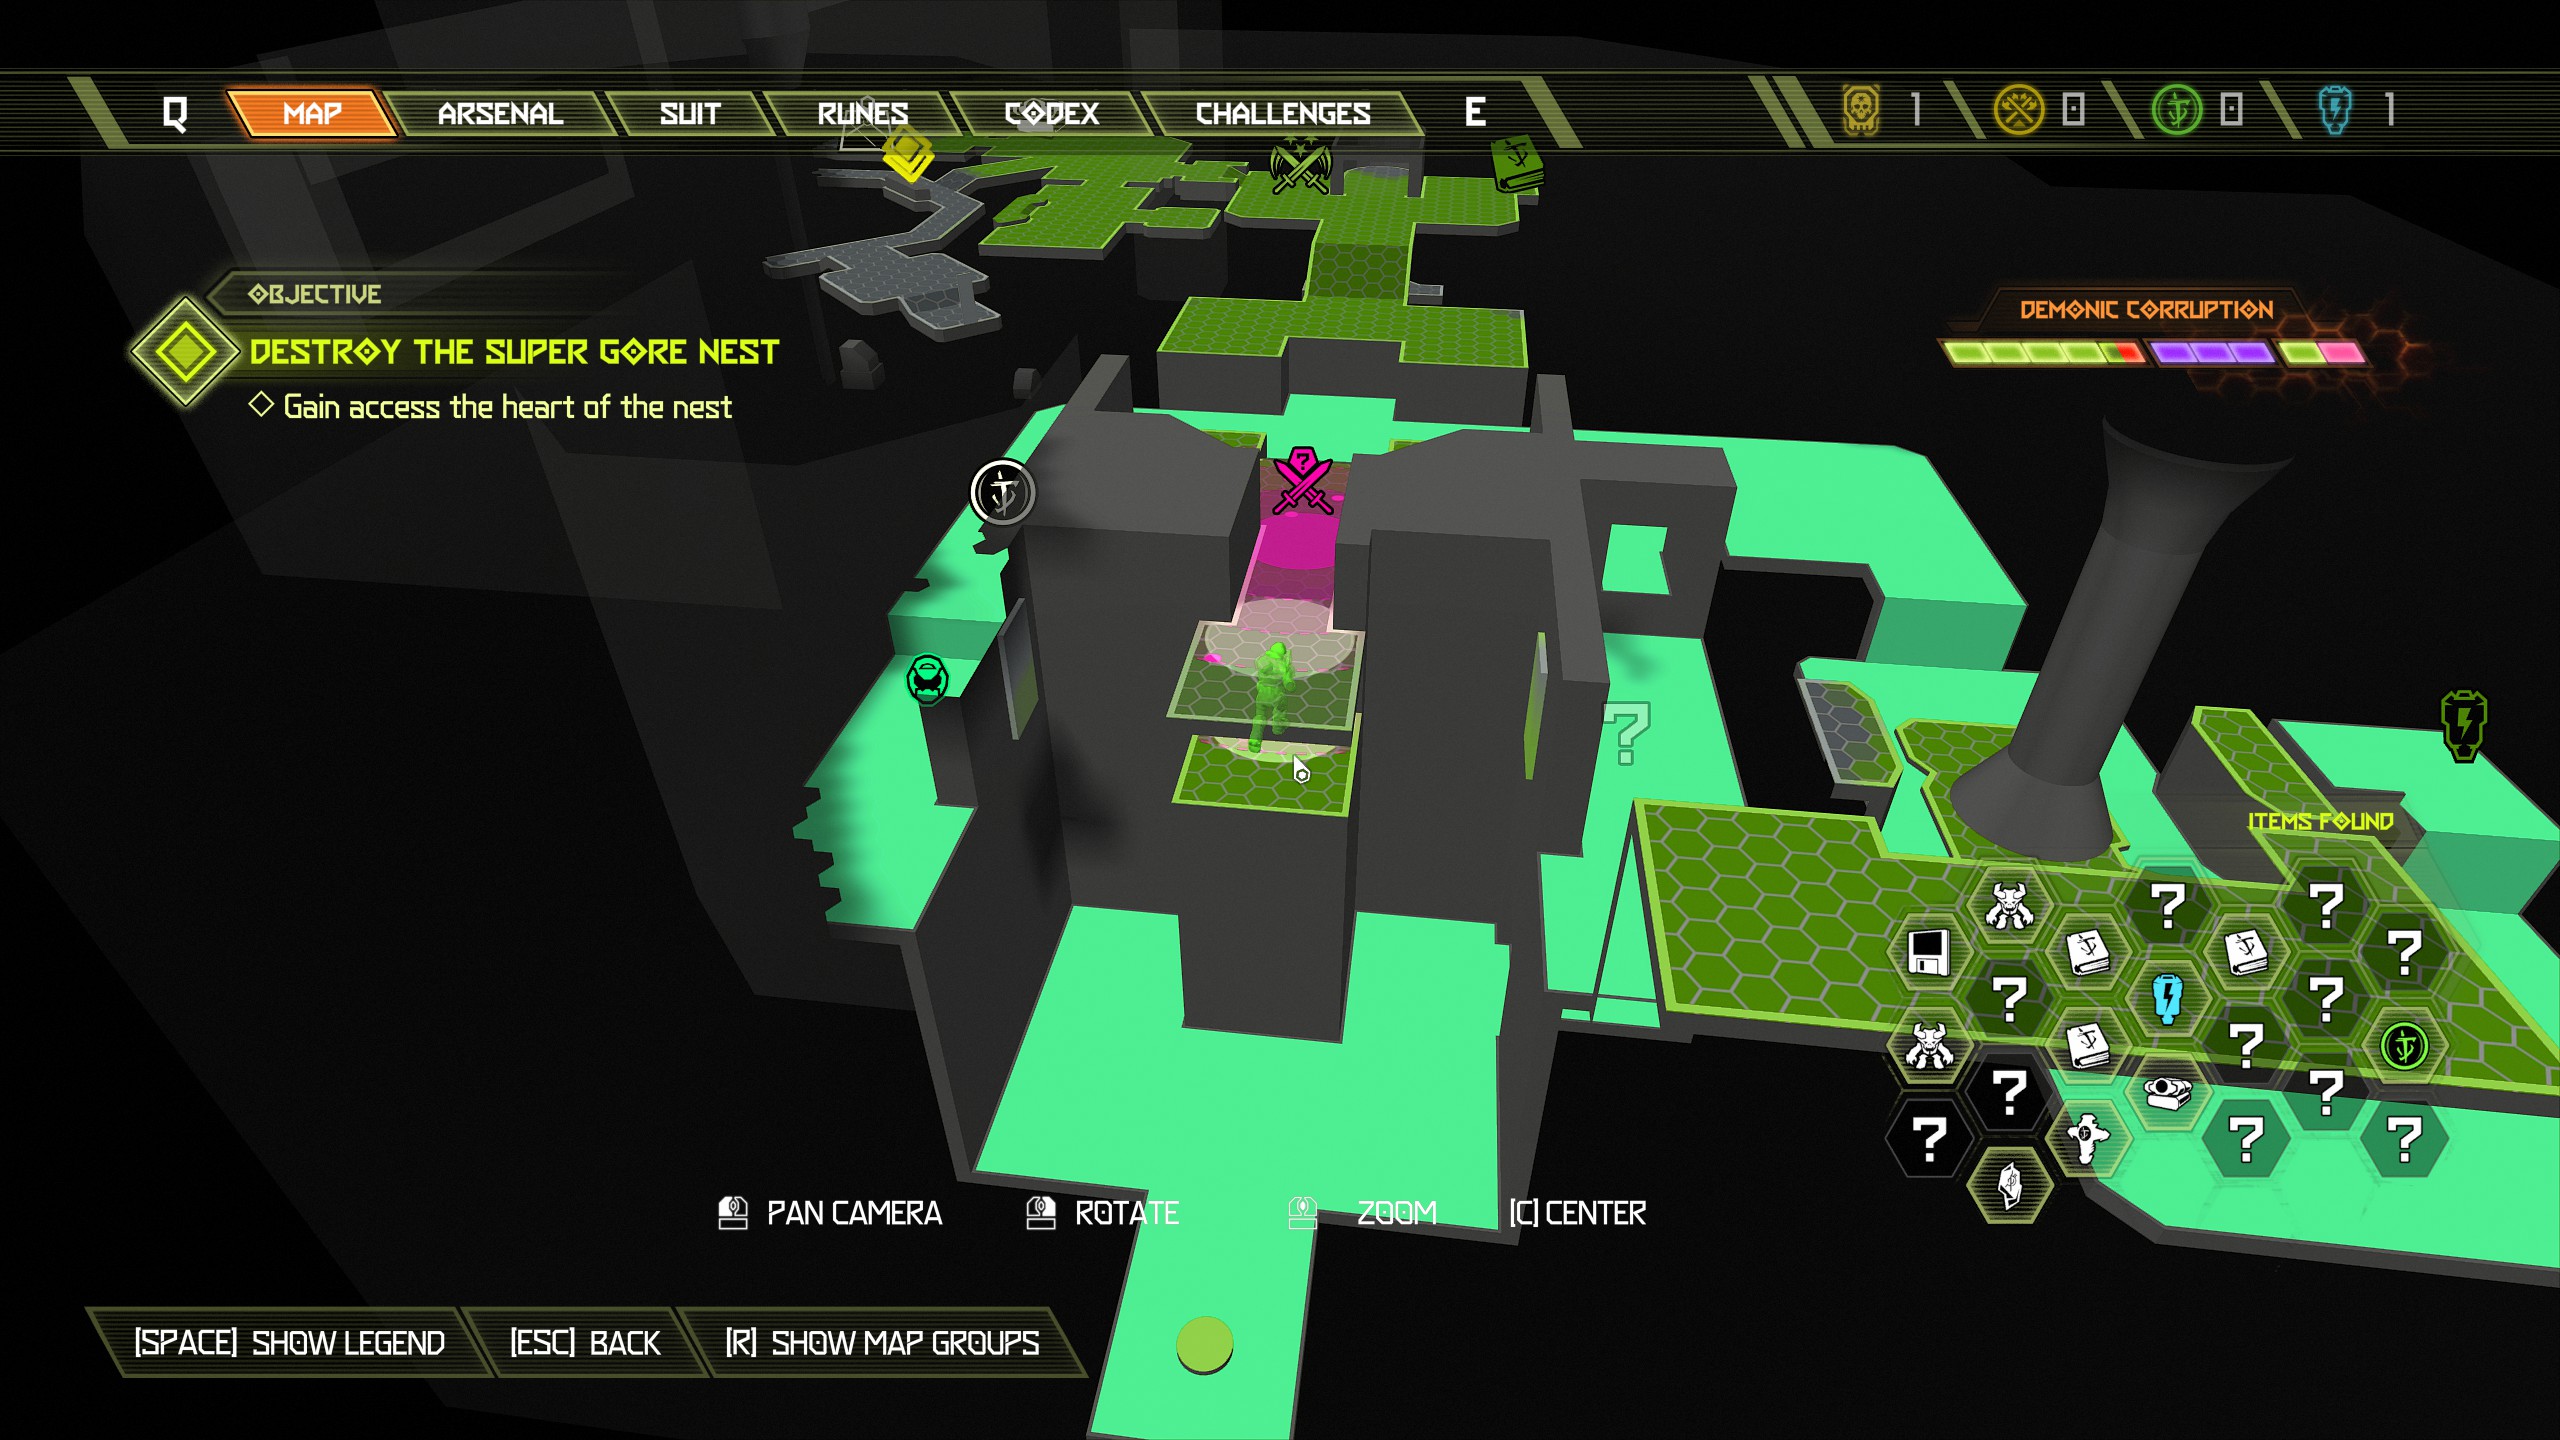
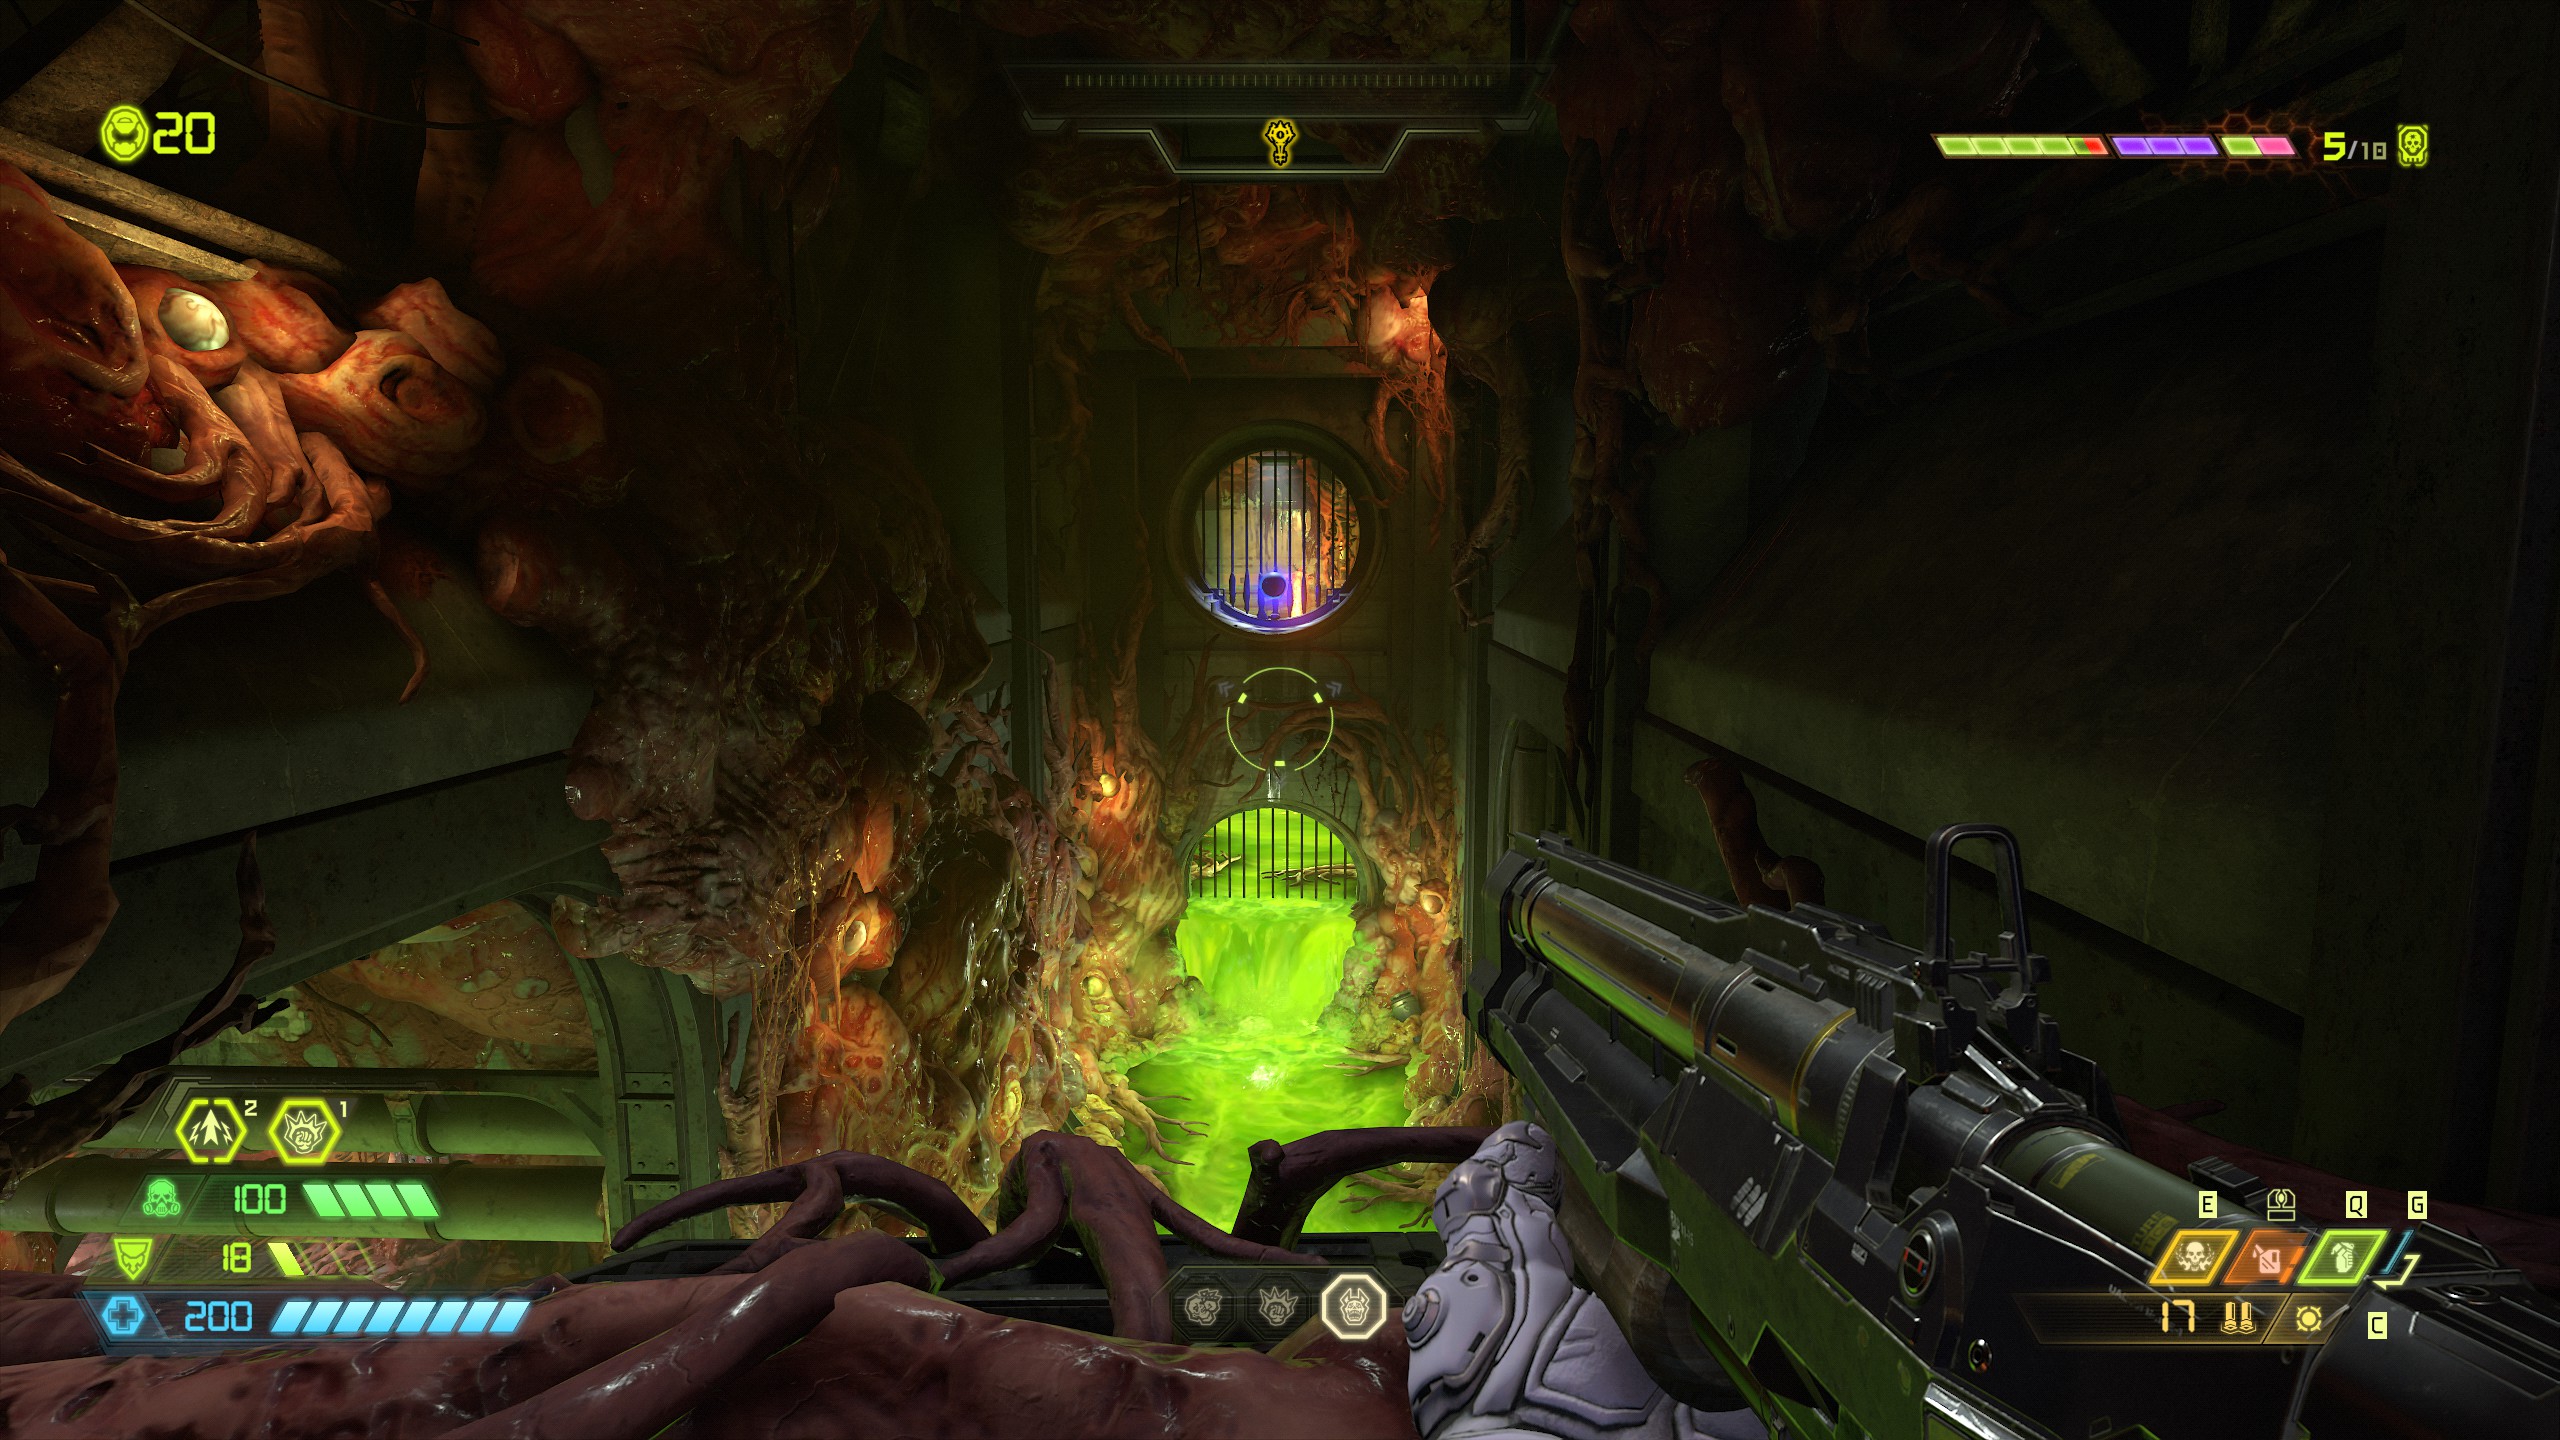
Once you have completed the secret encounter, go back to the top of the structure and face where the secret encounter was located, look down to the right side and drop down into the passage and you will find a doomtoy.
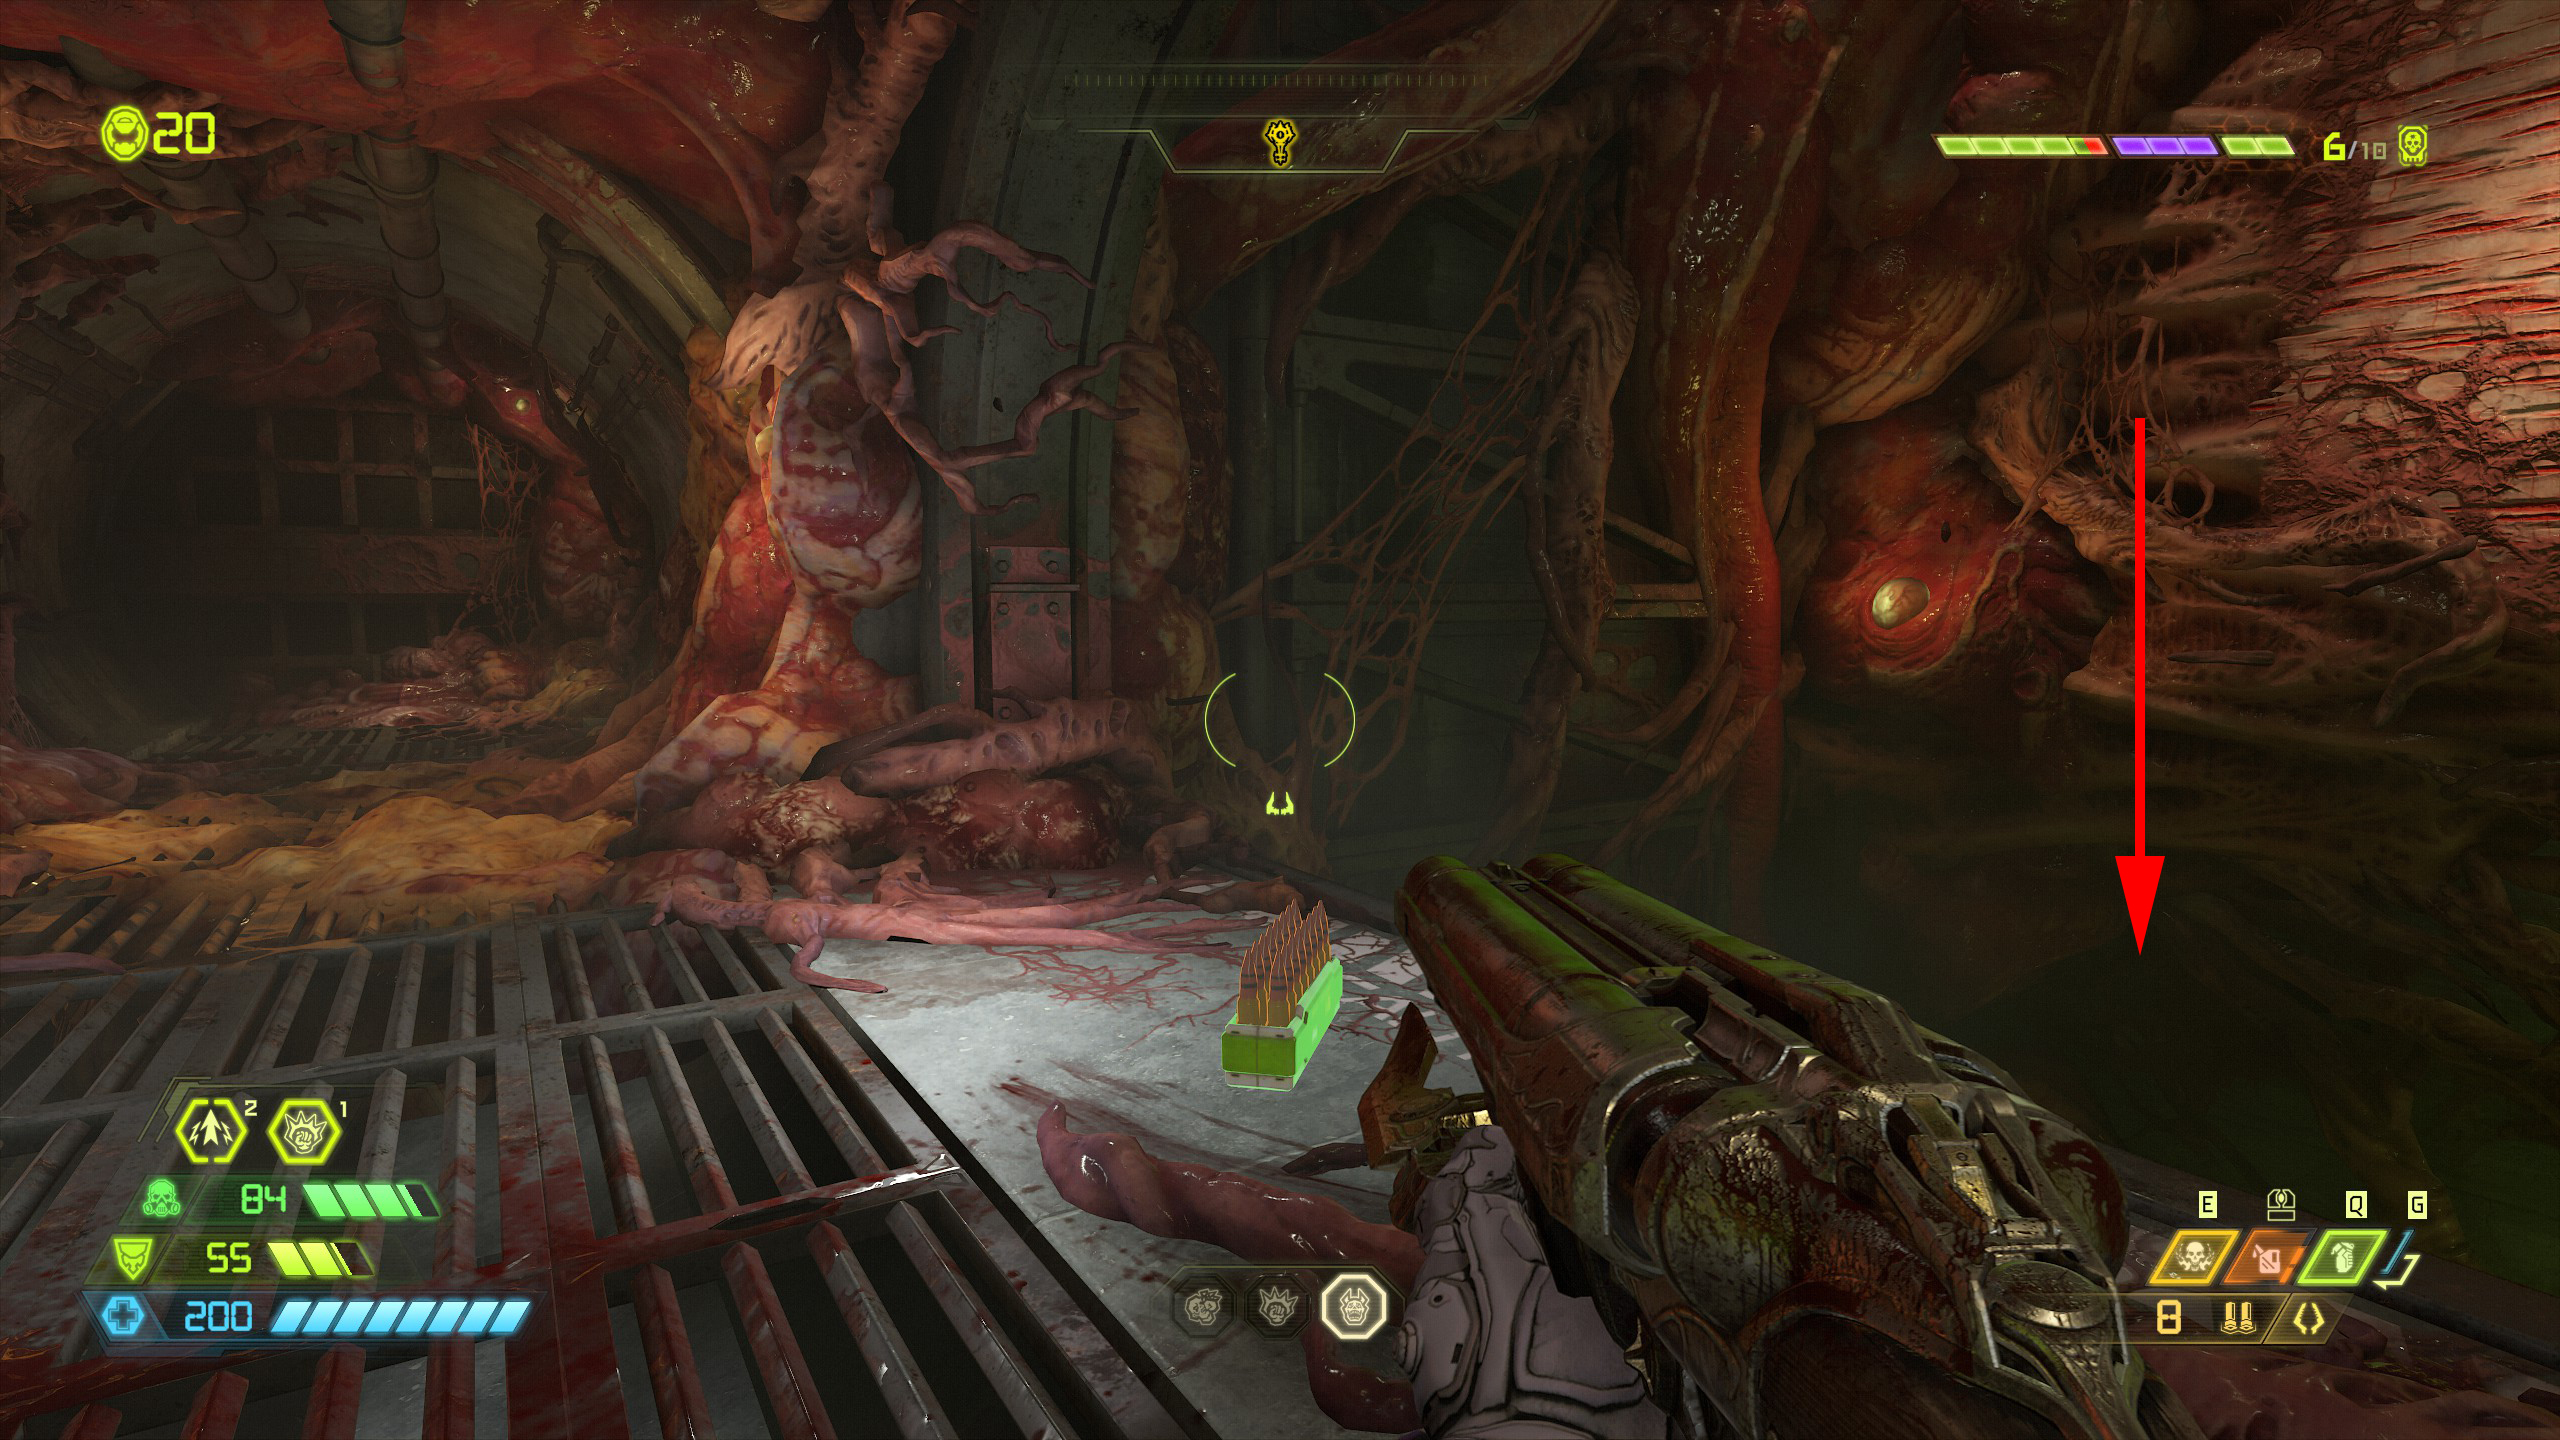
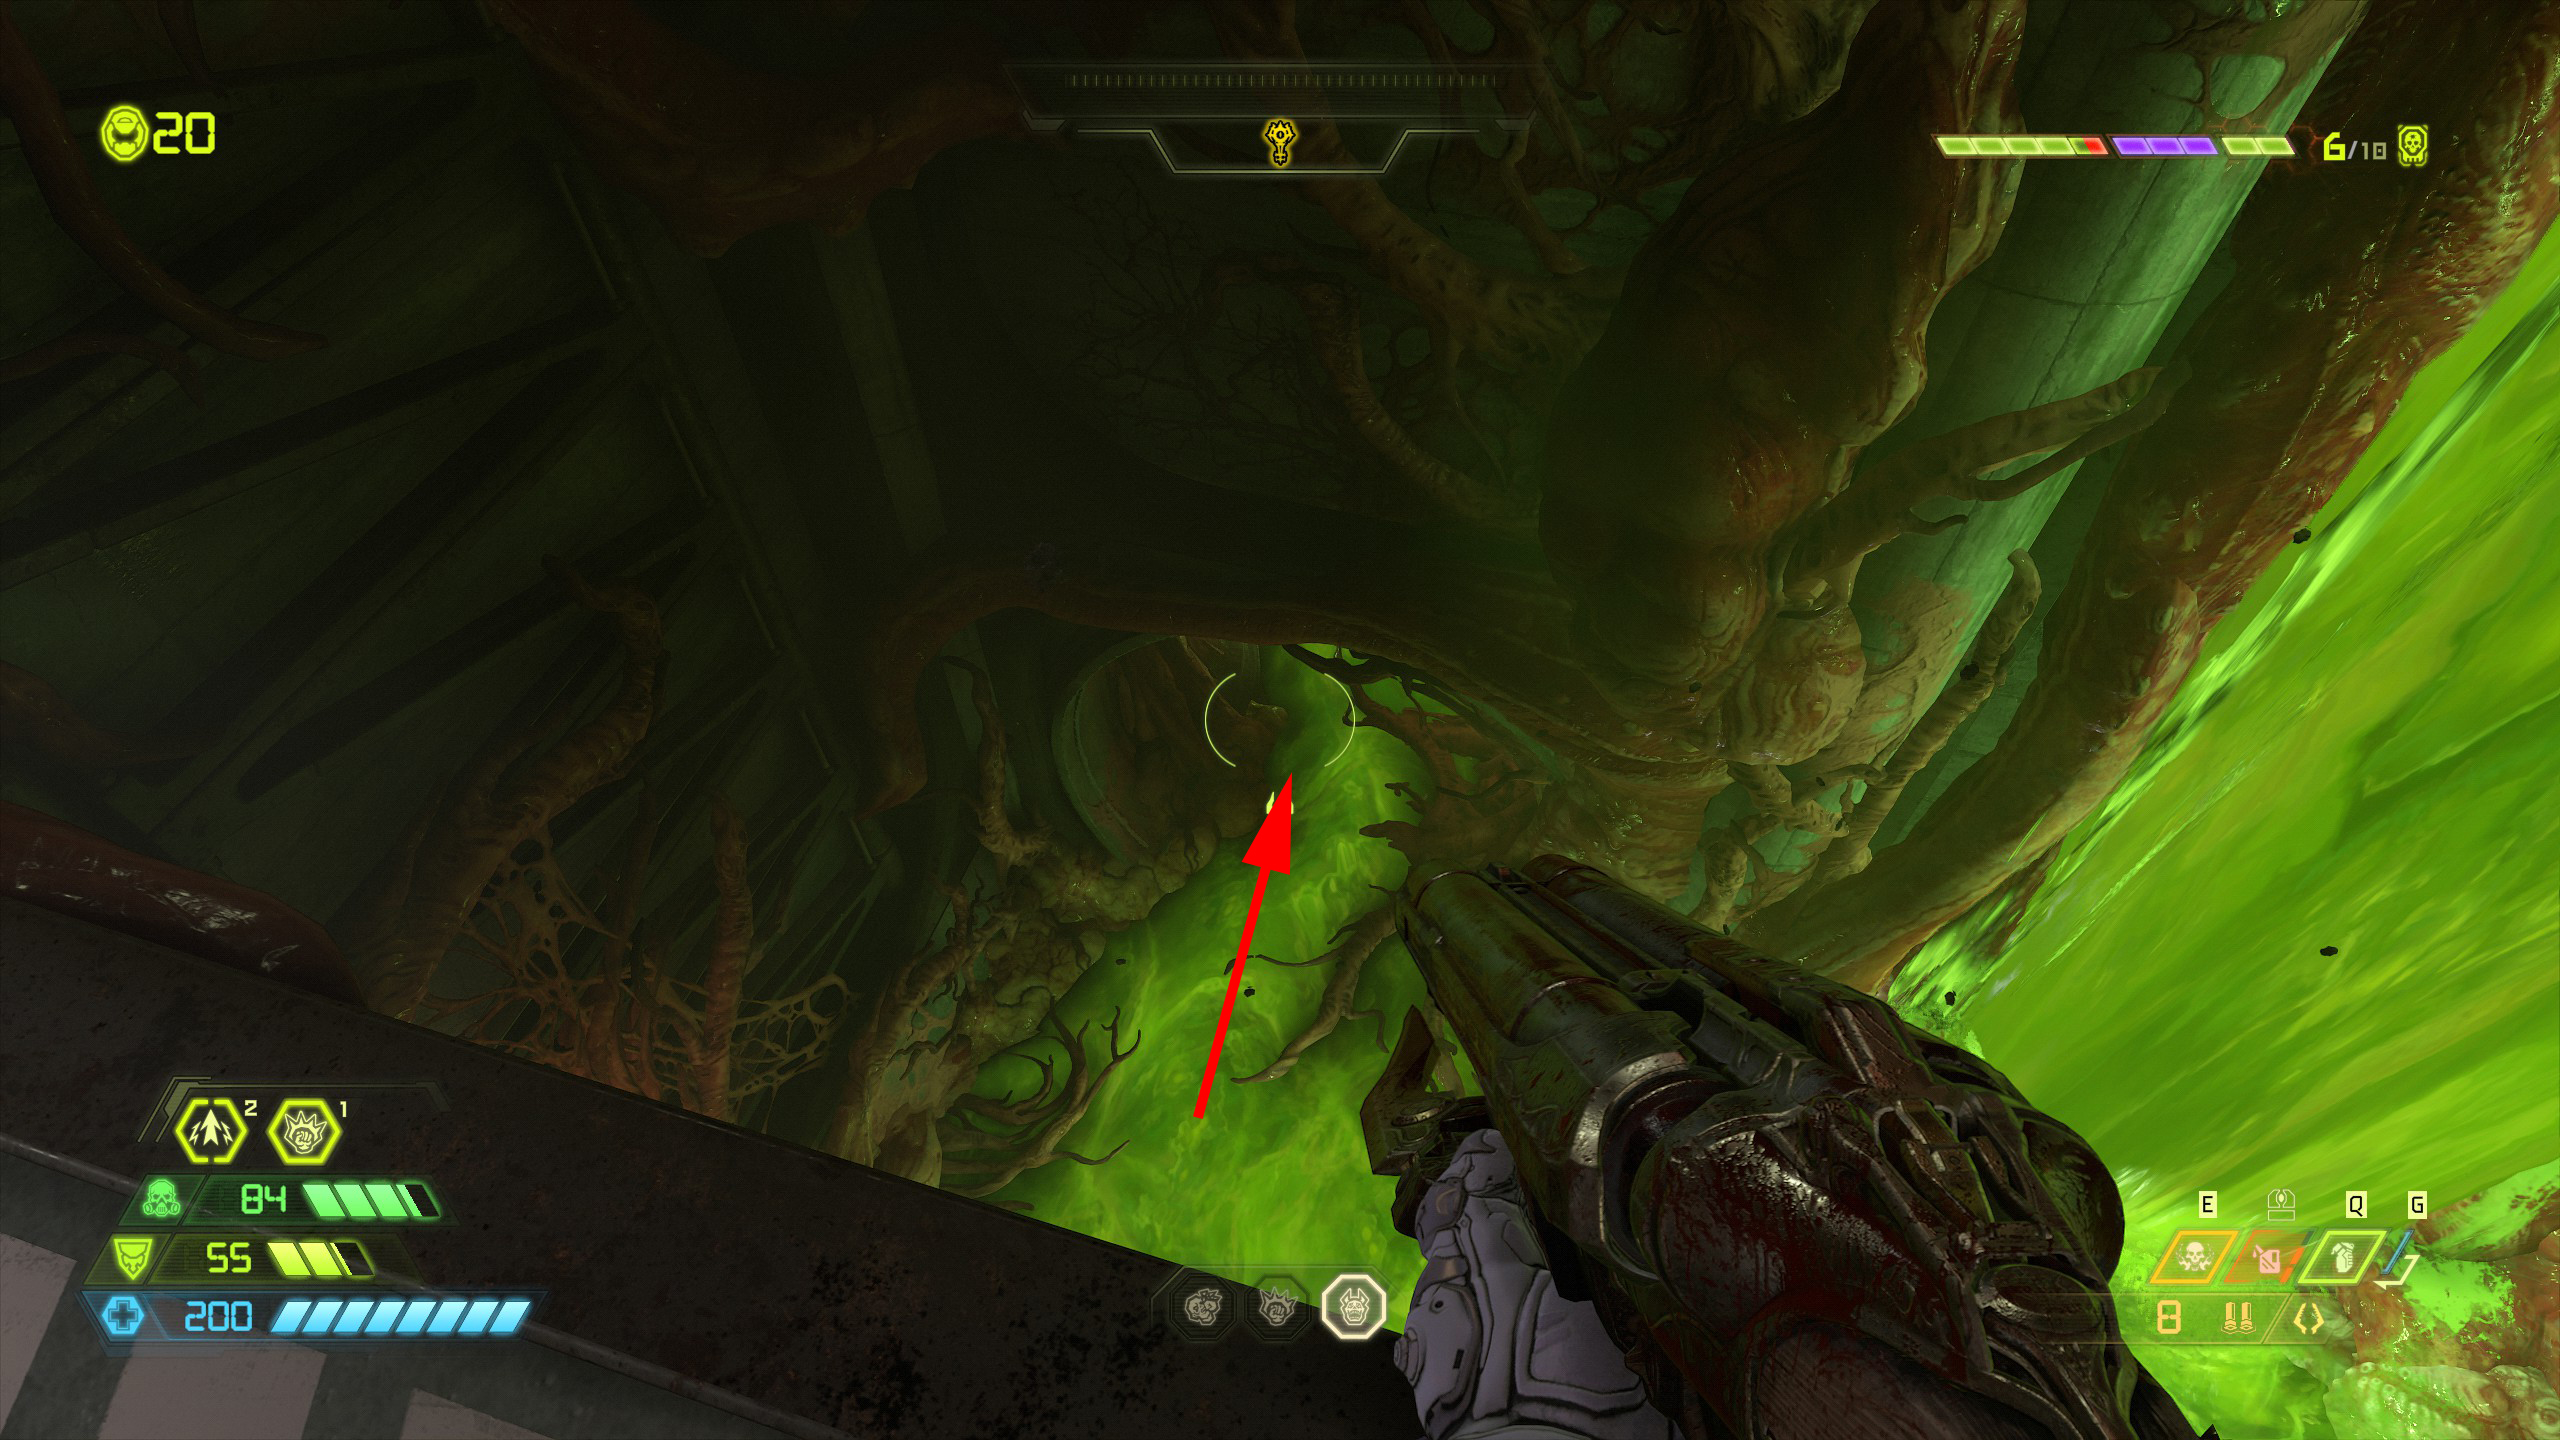
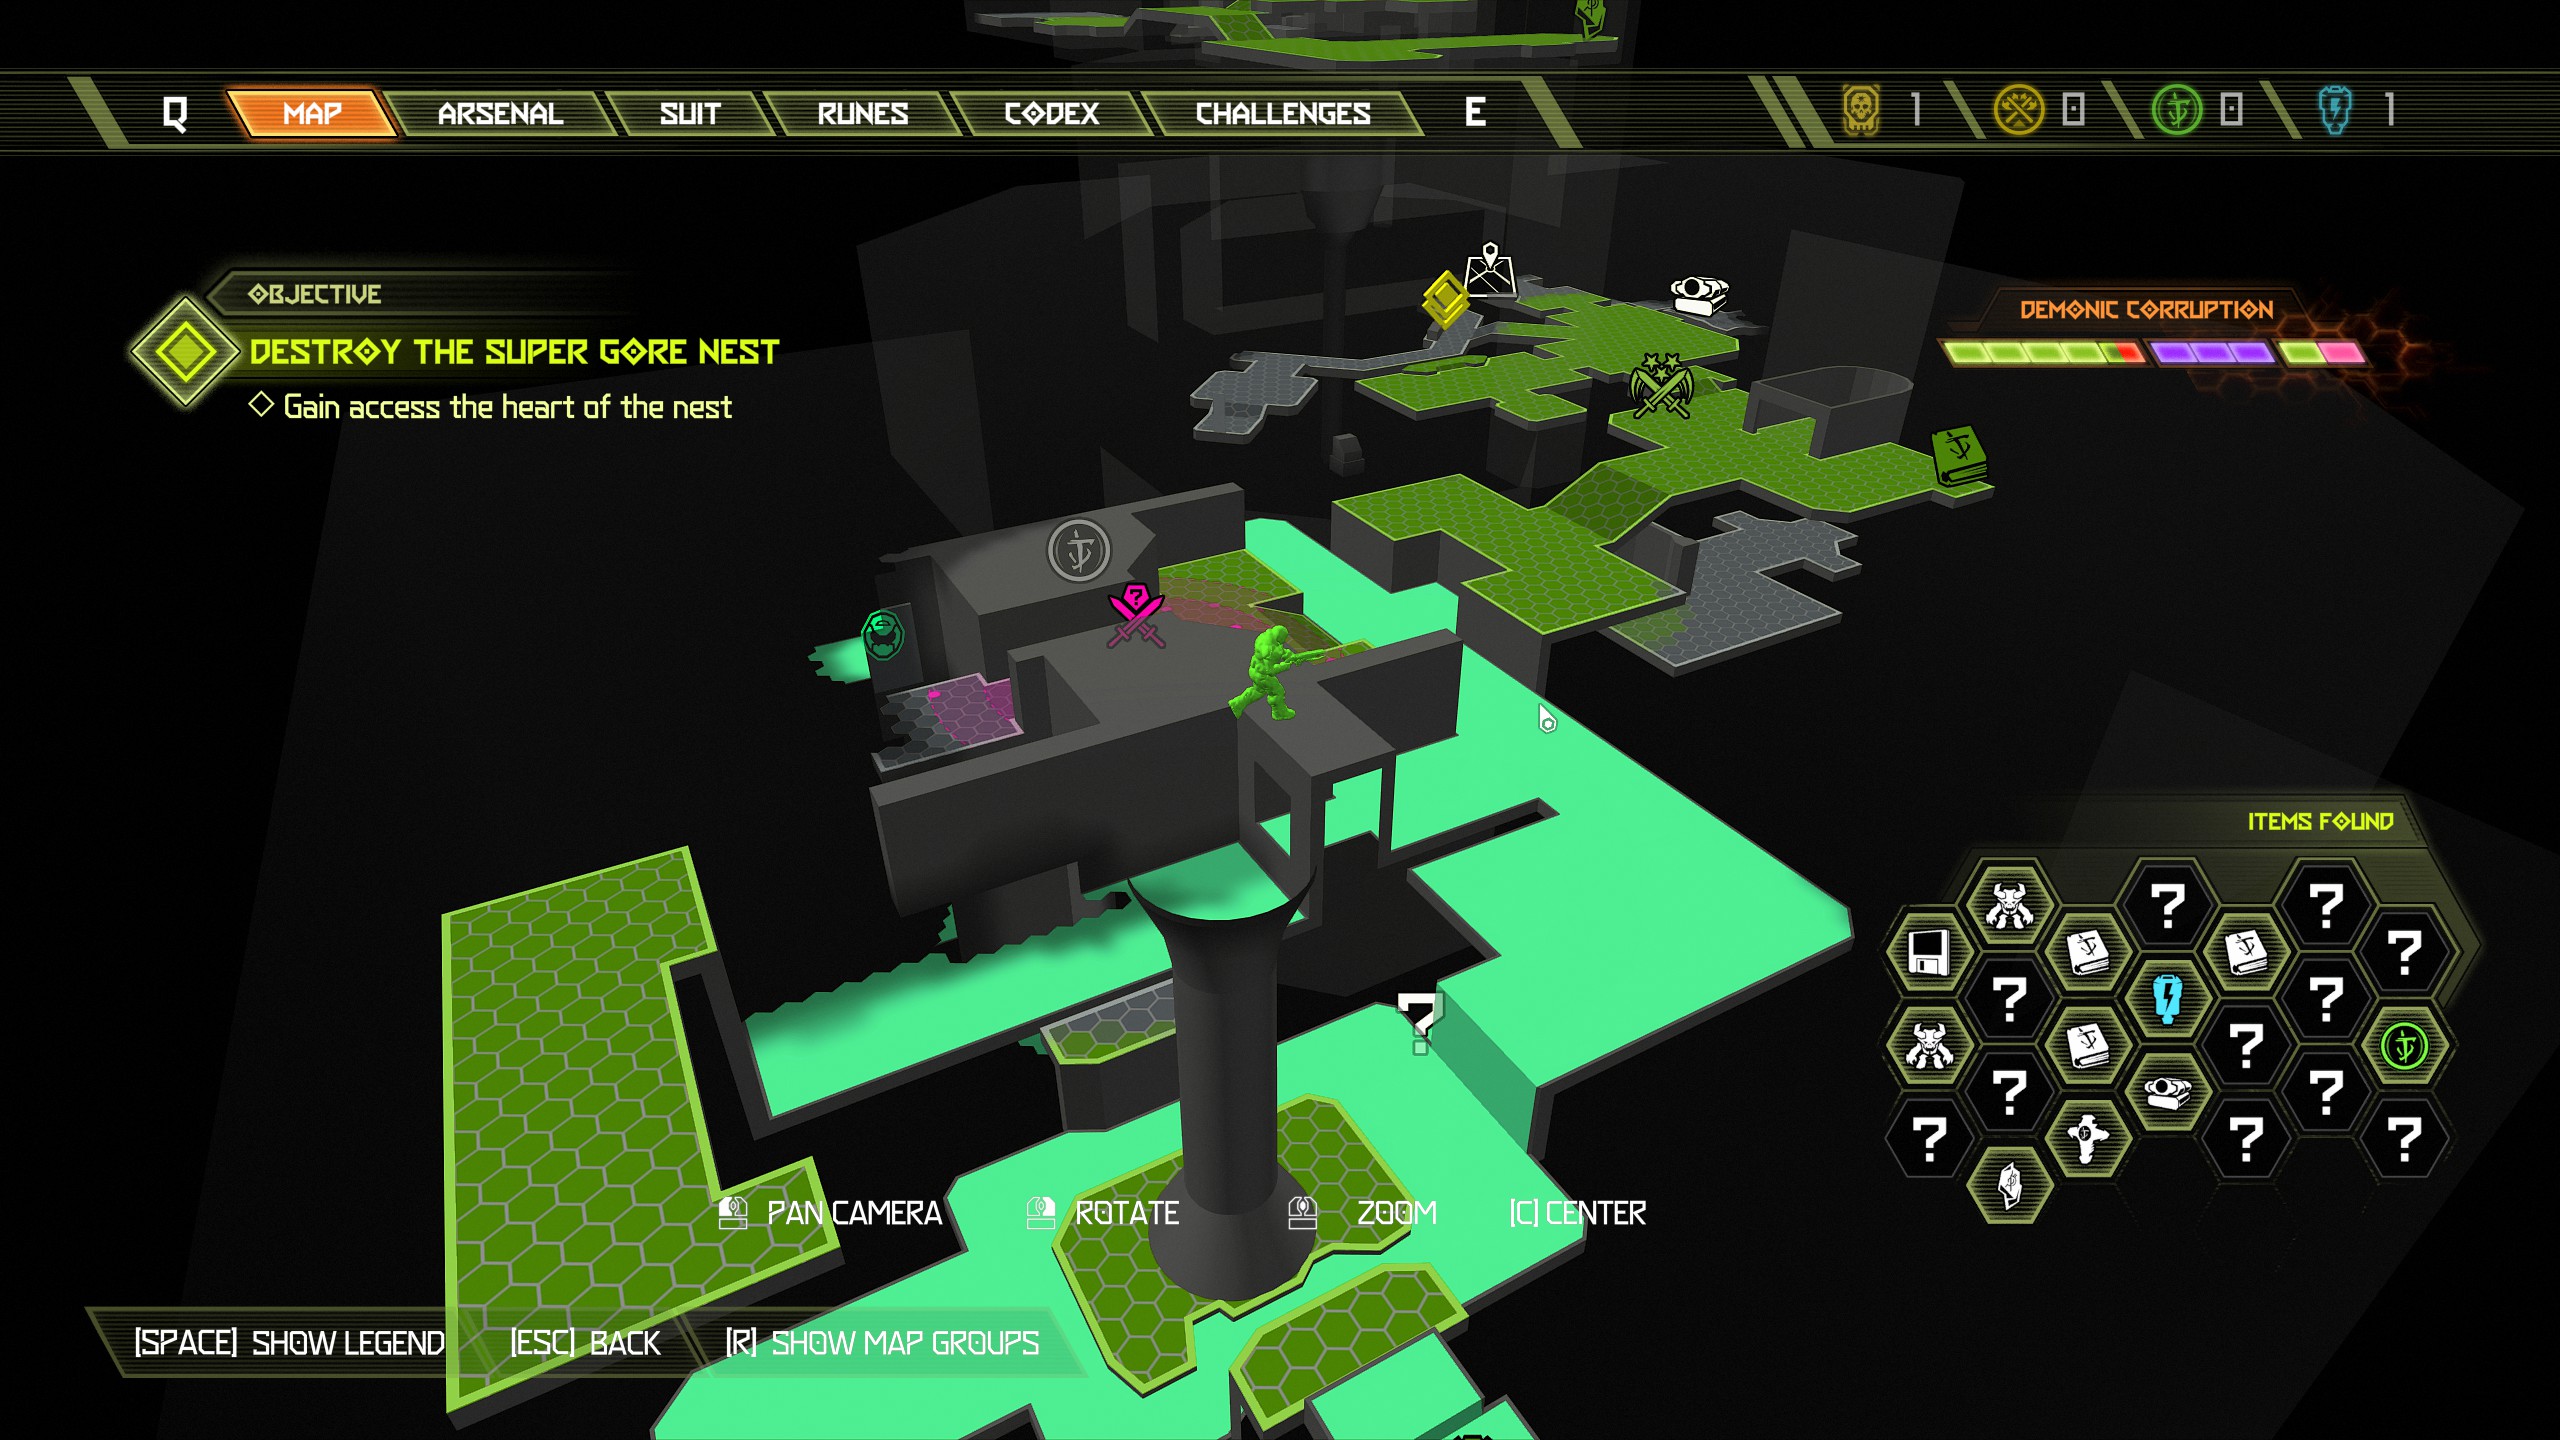
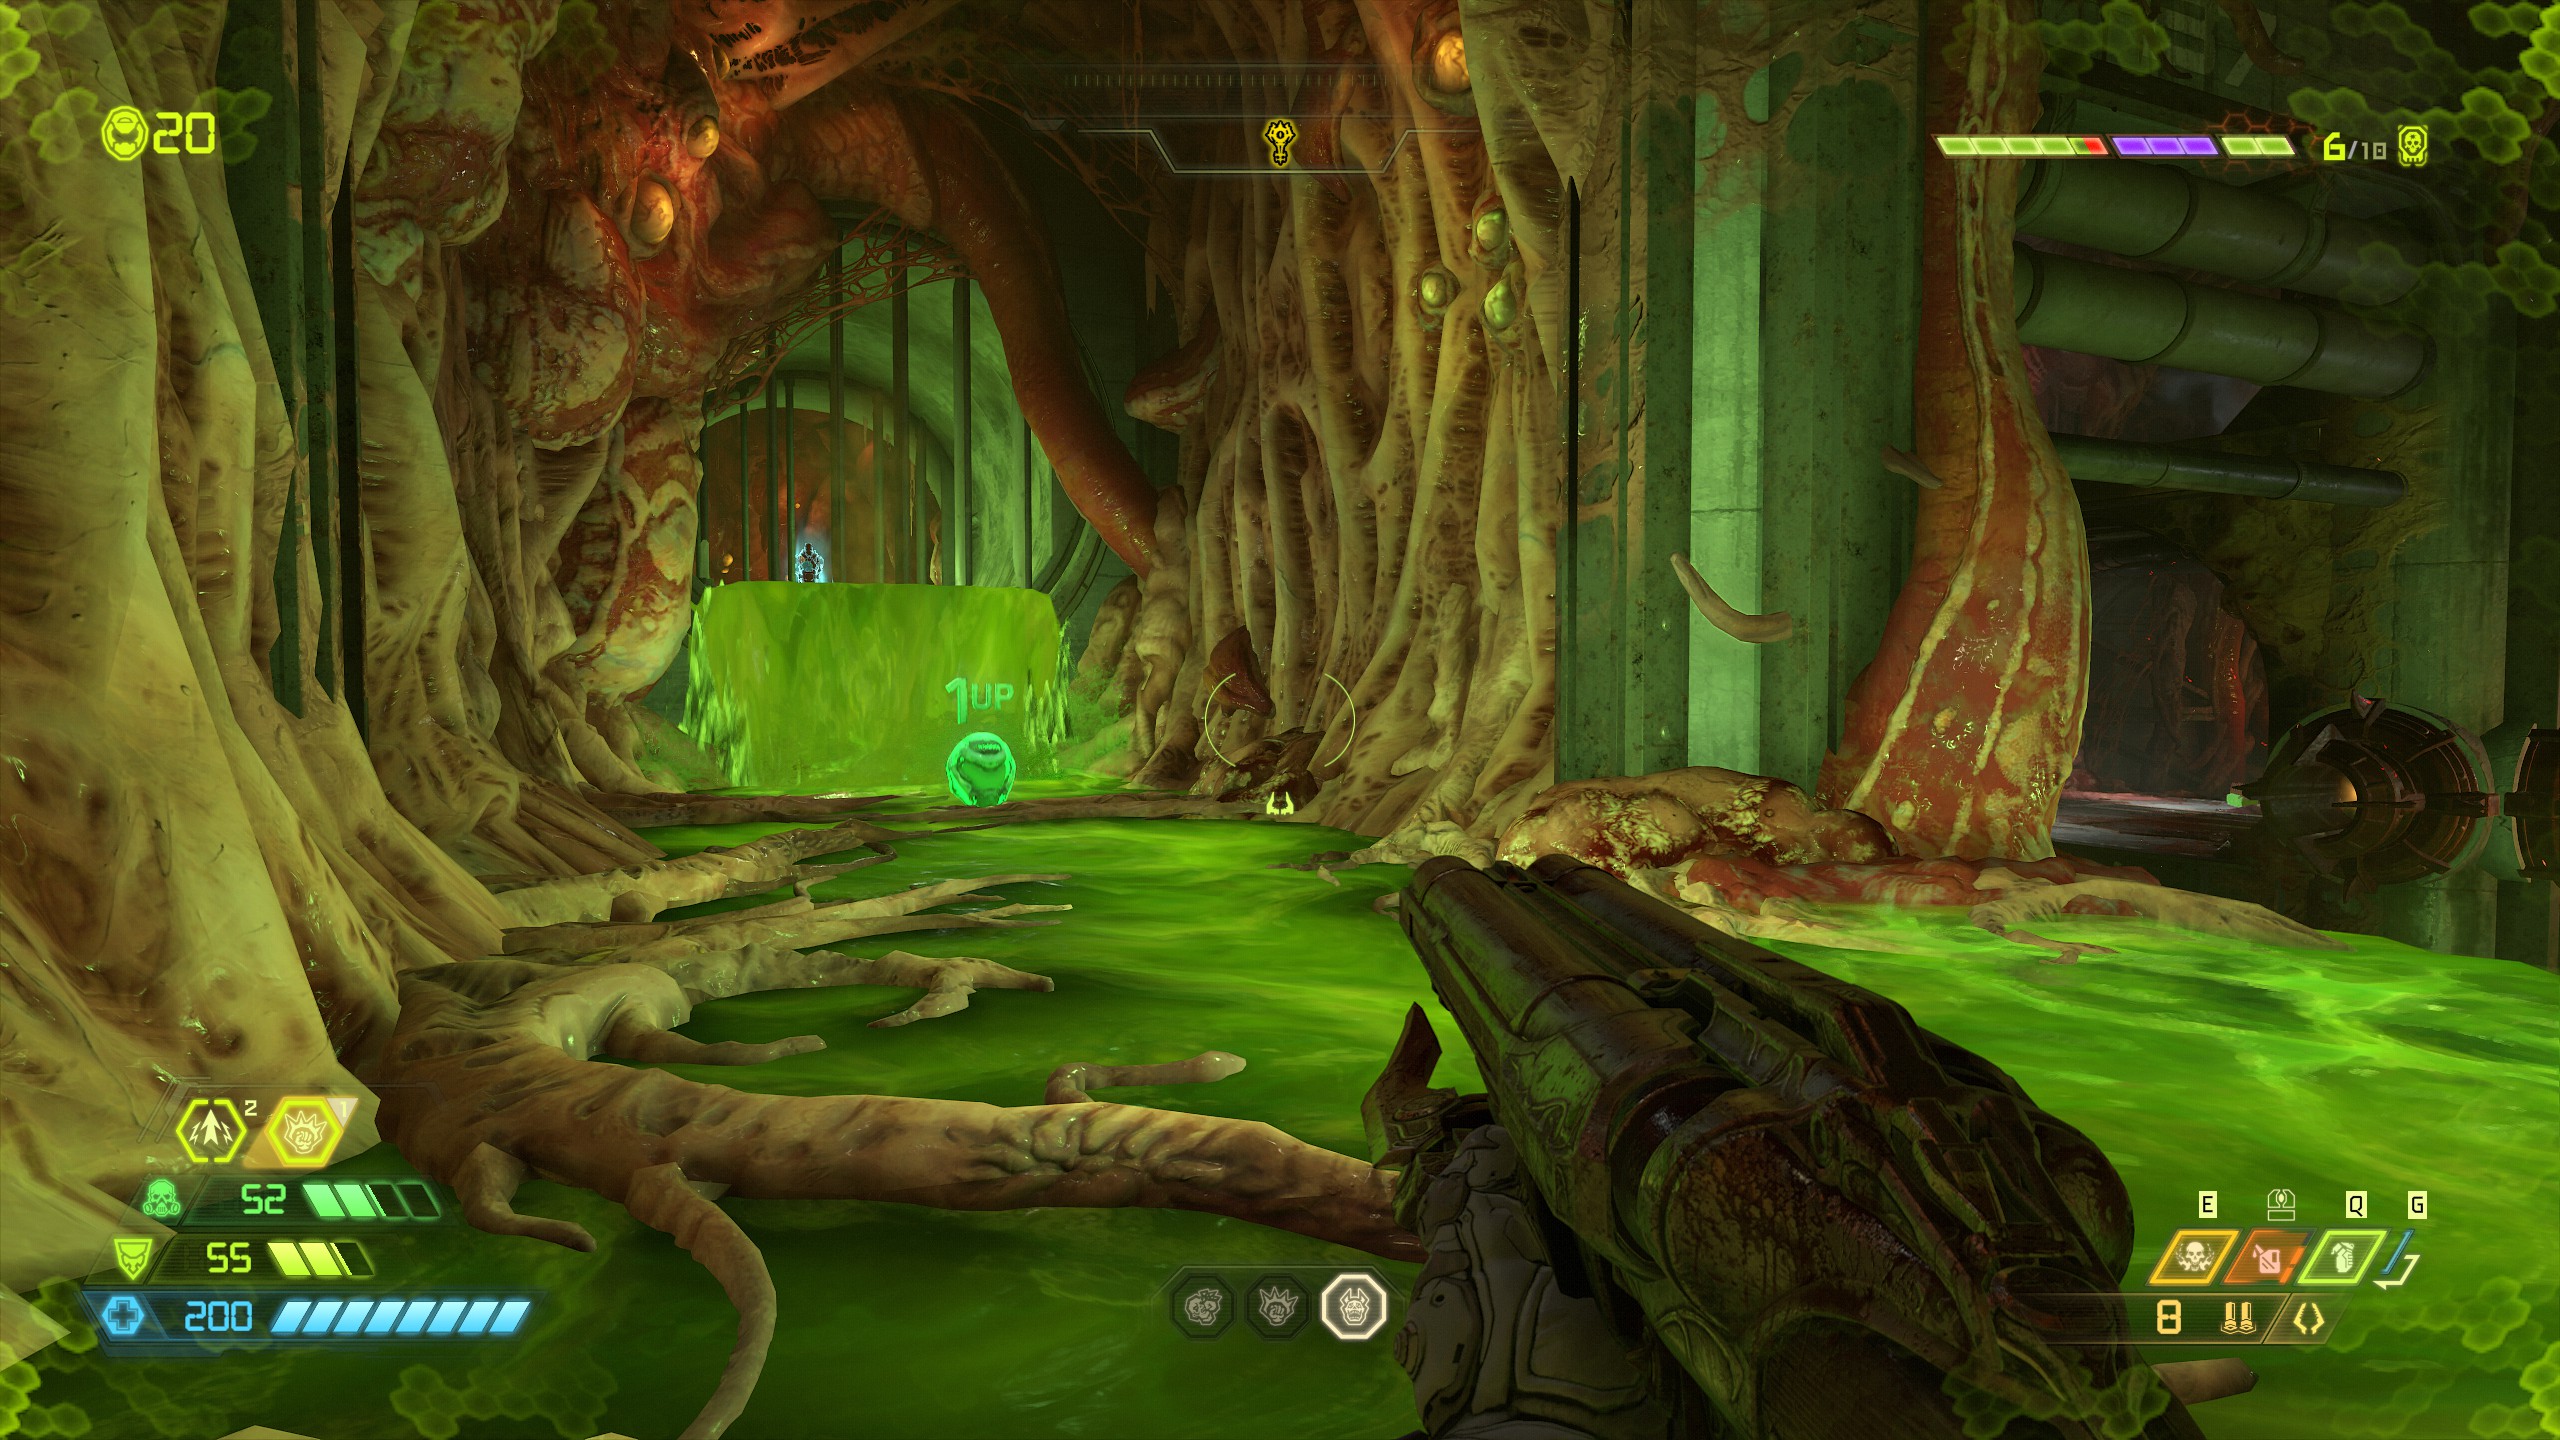
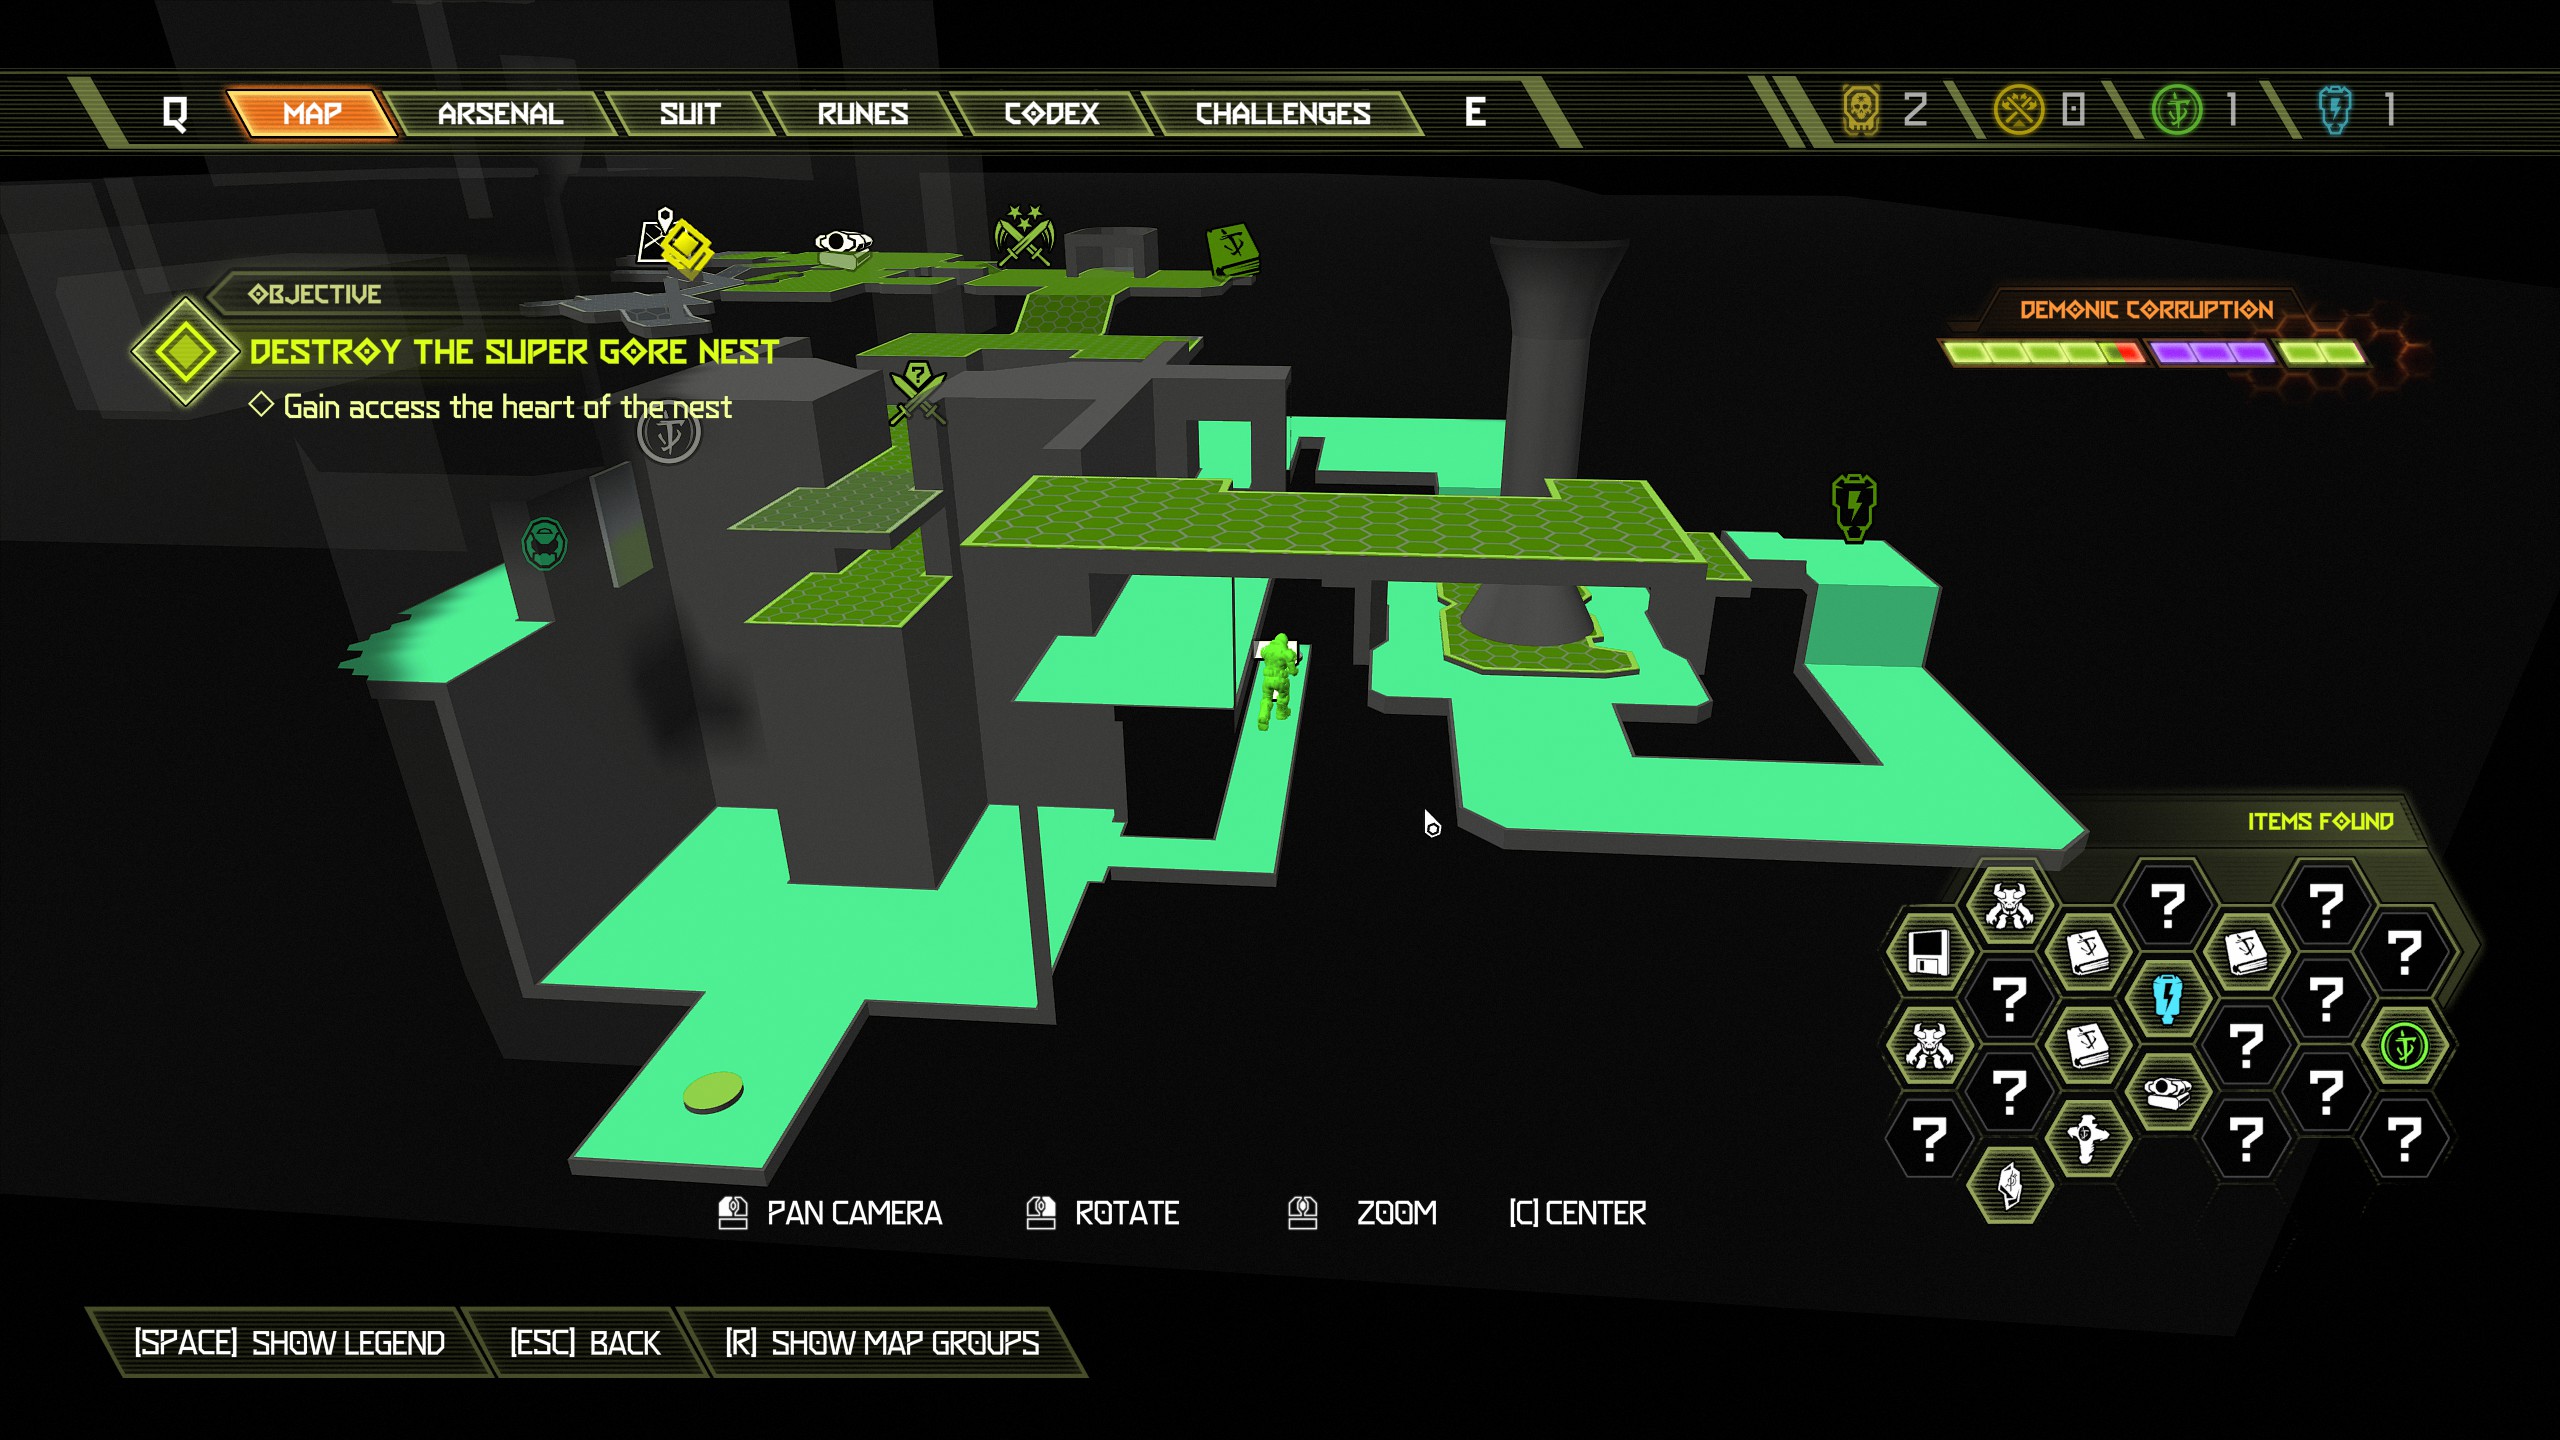 After collecting the doomtoy once again go back to the top of the structure and this time face away from the secret encounter location and look over to the right side. Jump across and onto the top of the toxic waterfall and further along will be an extra life.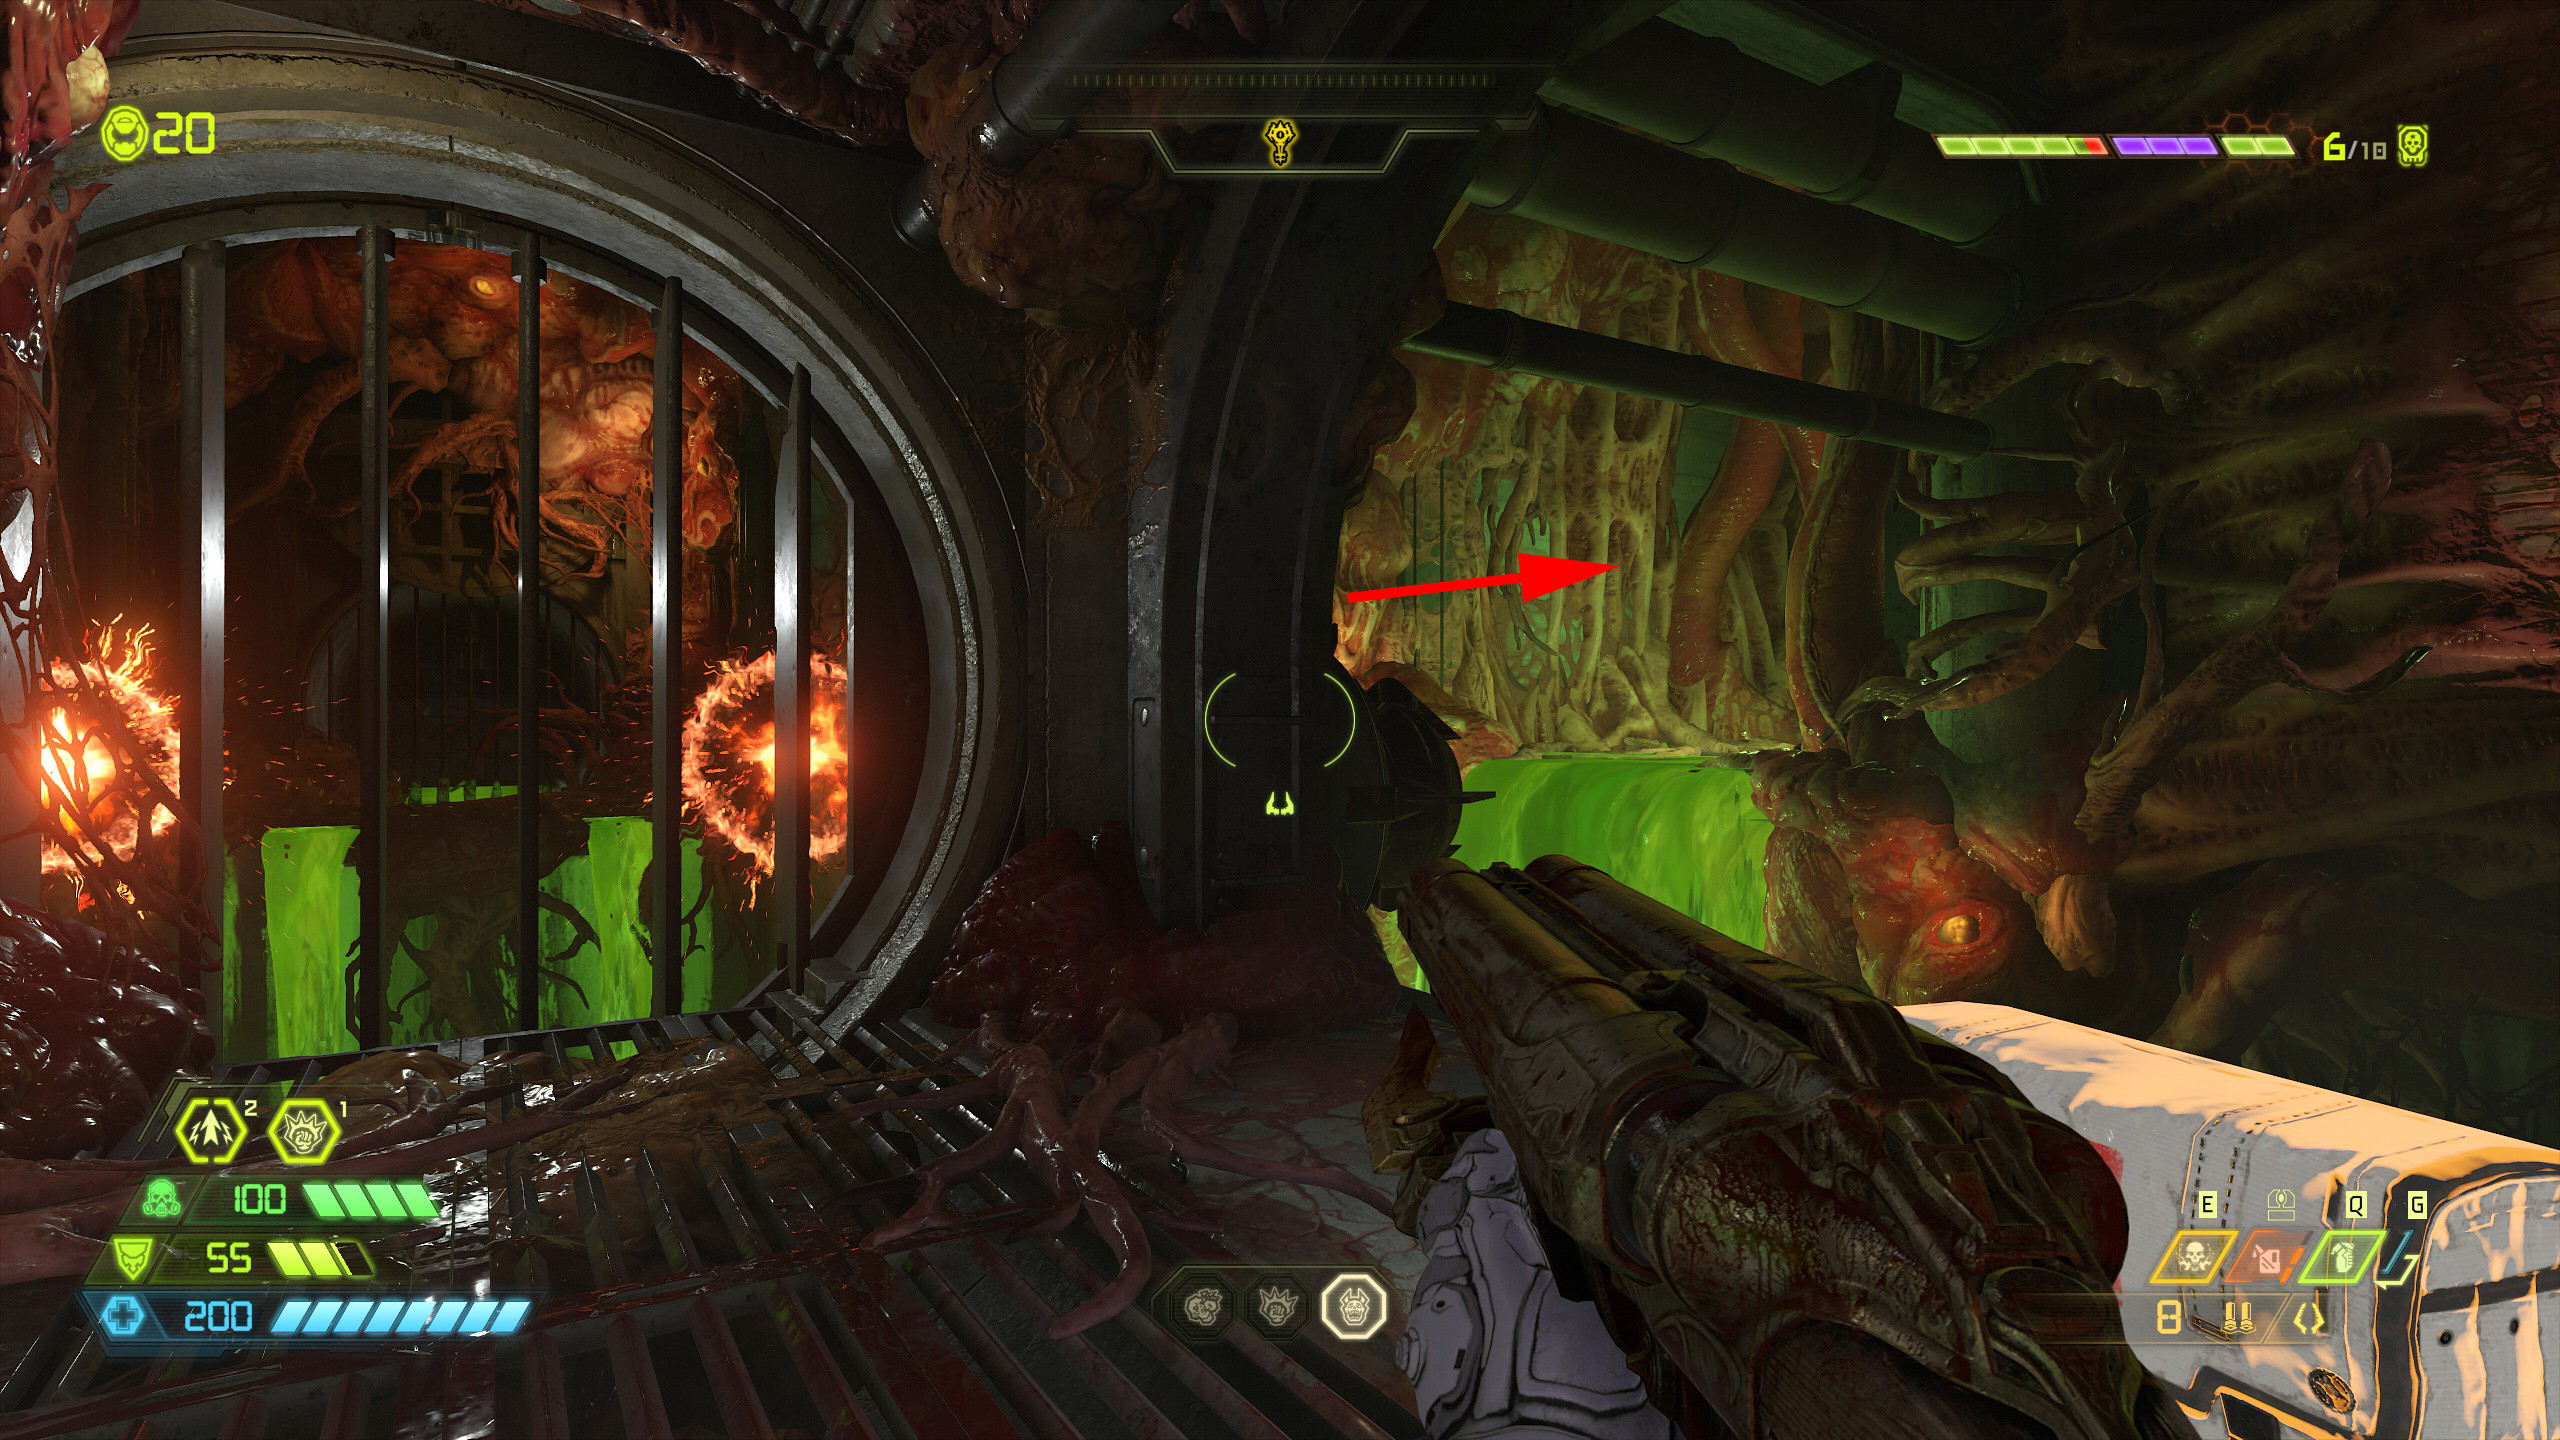
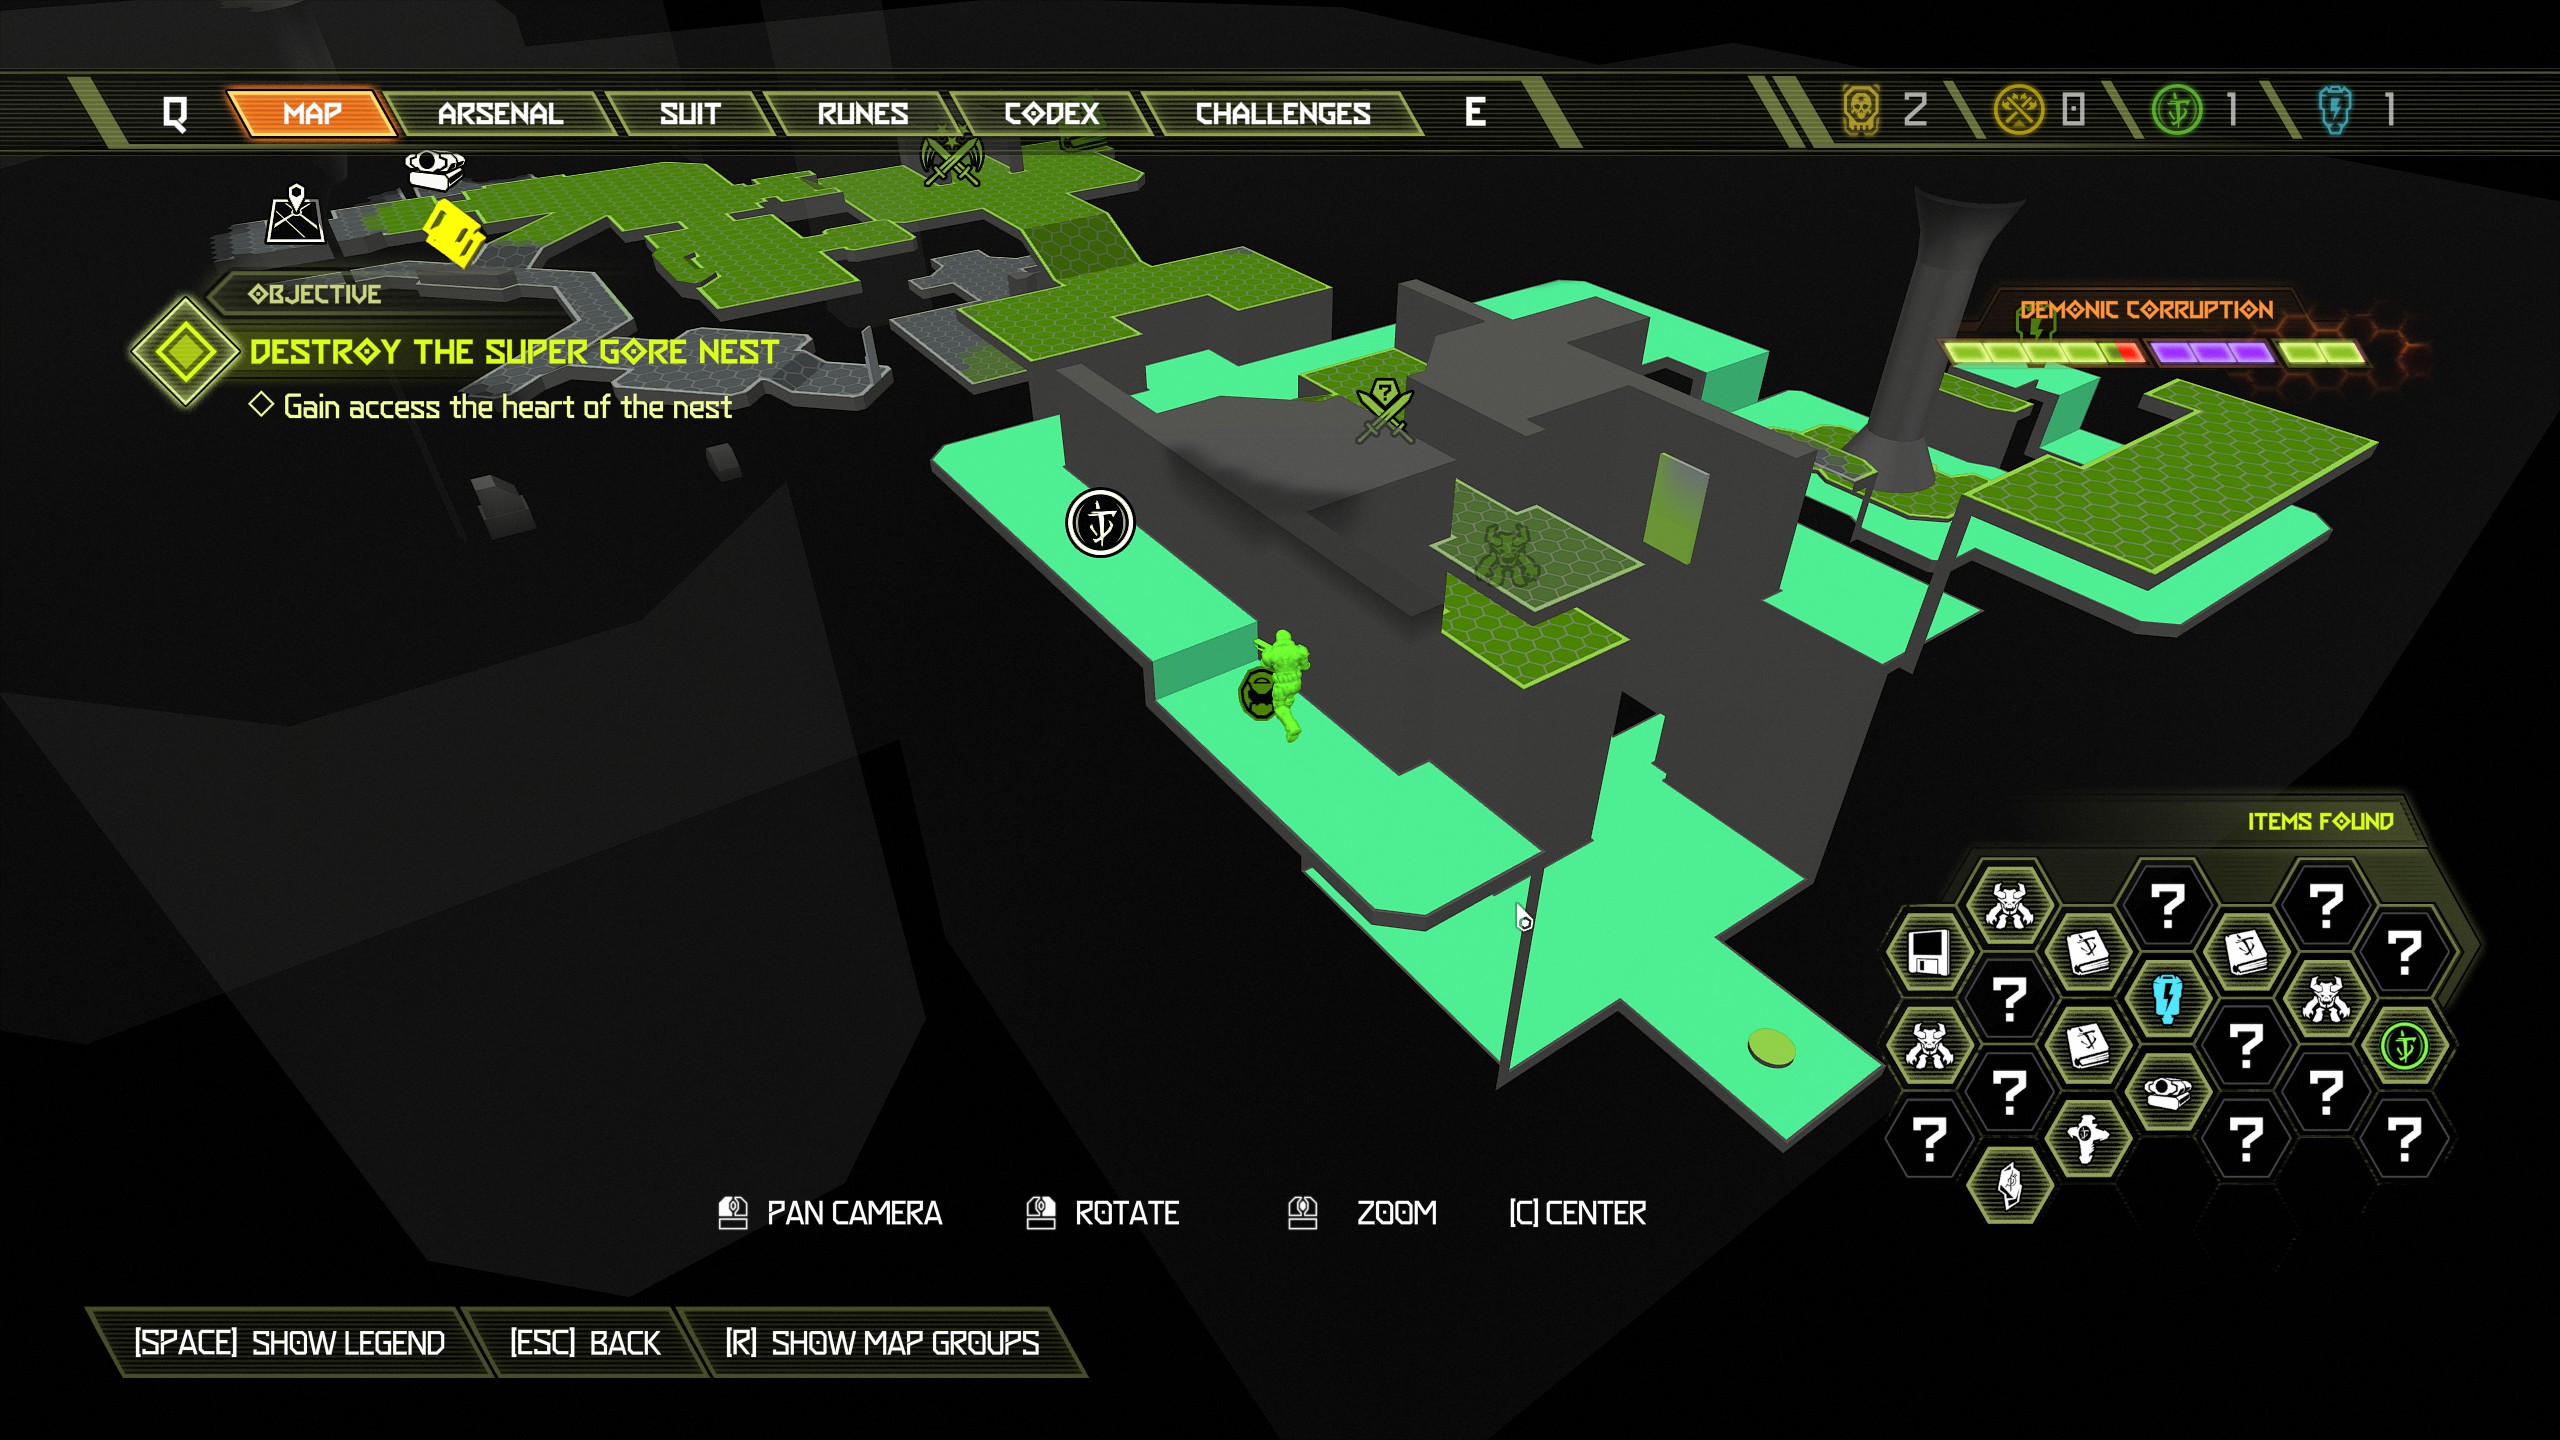
Now go back a final time to the top of the structure and climb the walls on either side to continue the mission and pick up the red key.
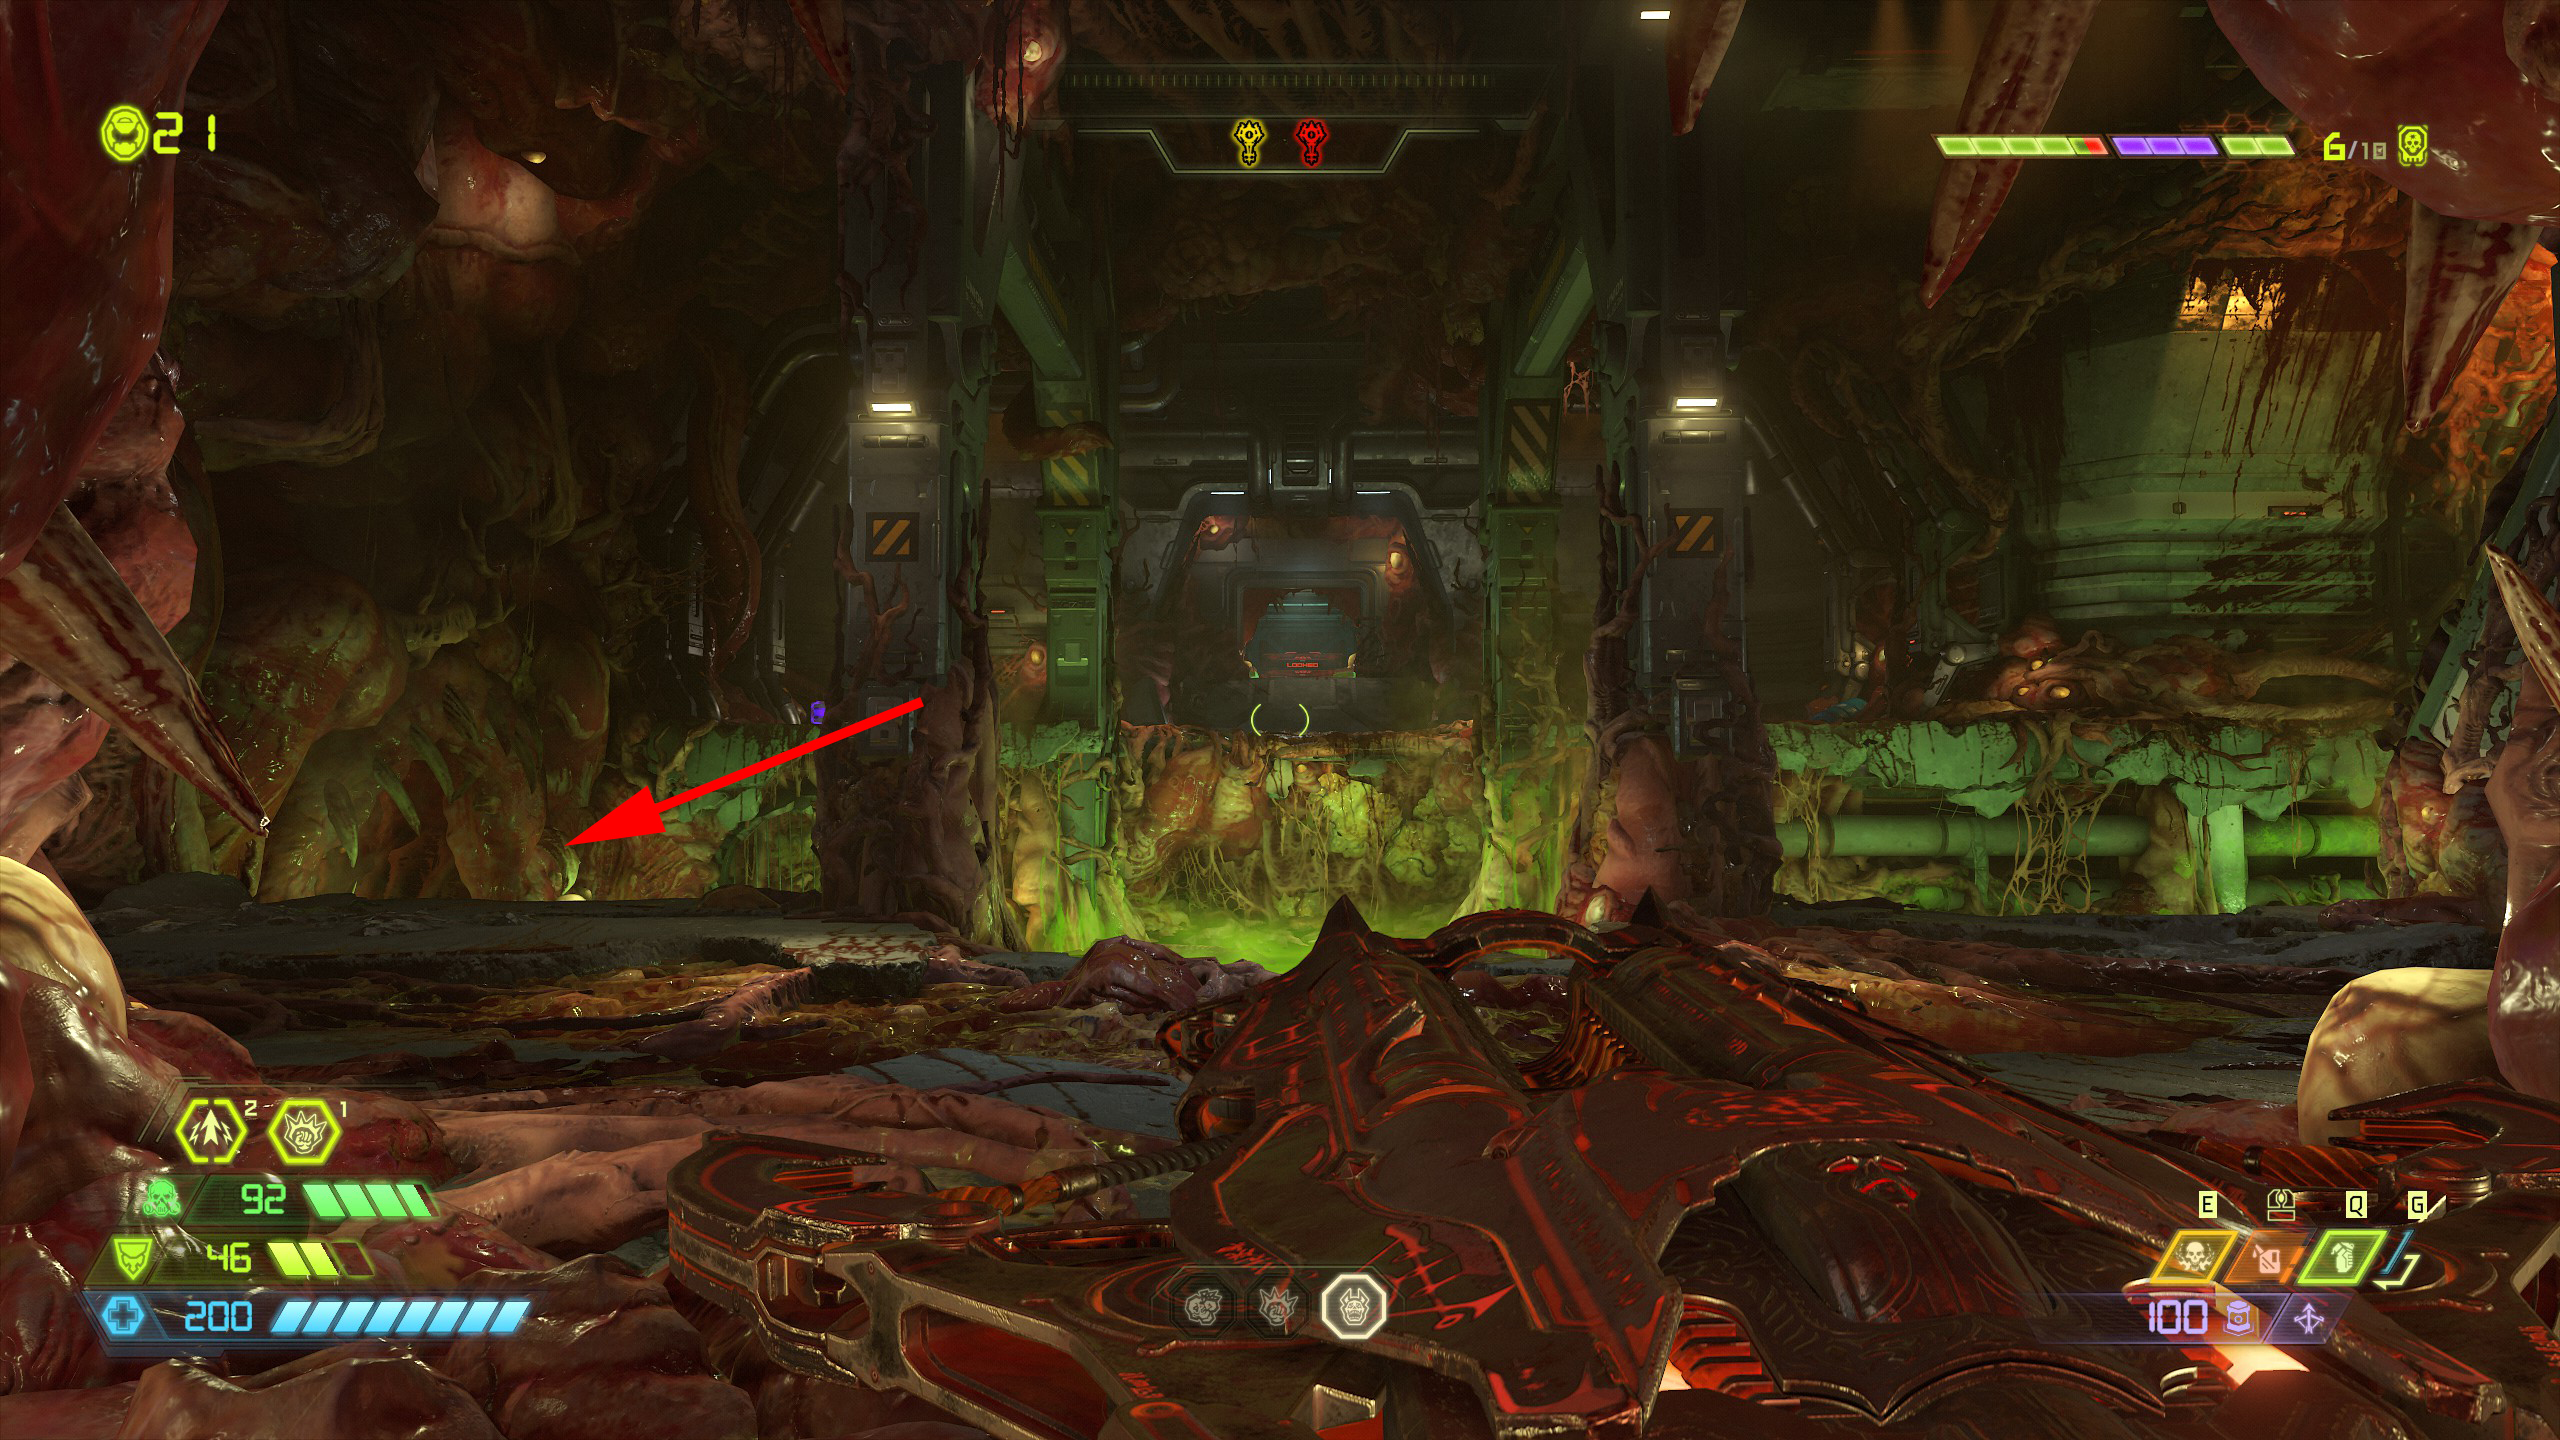
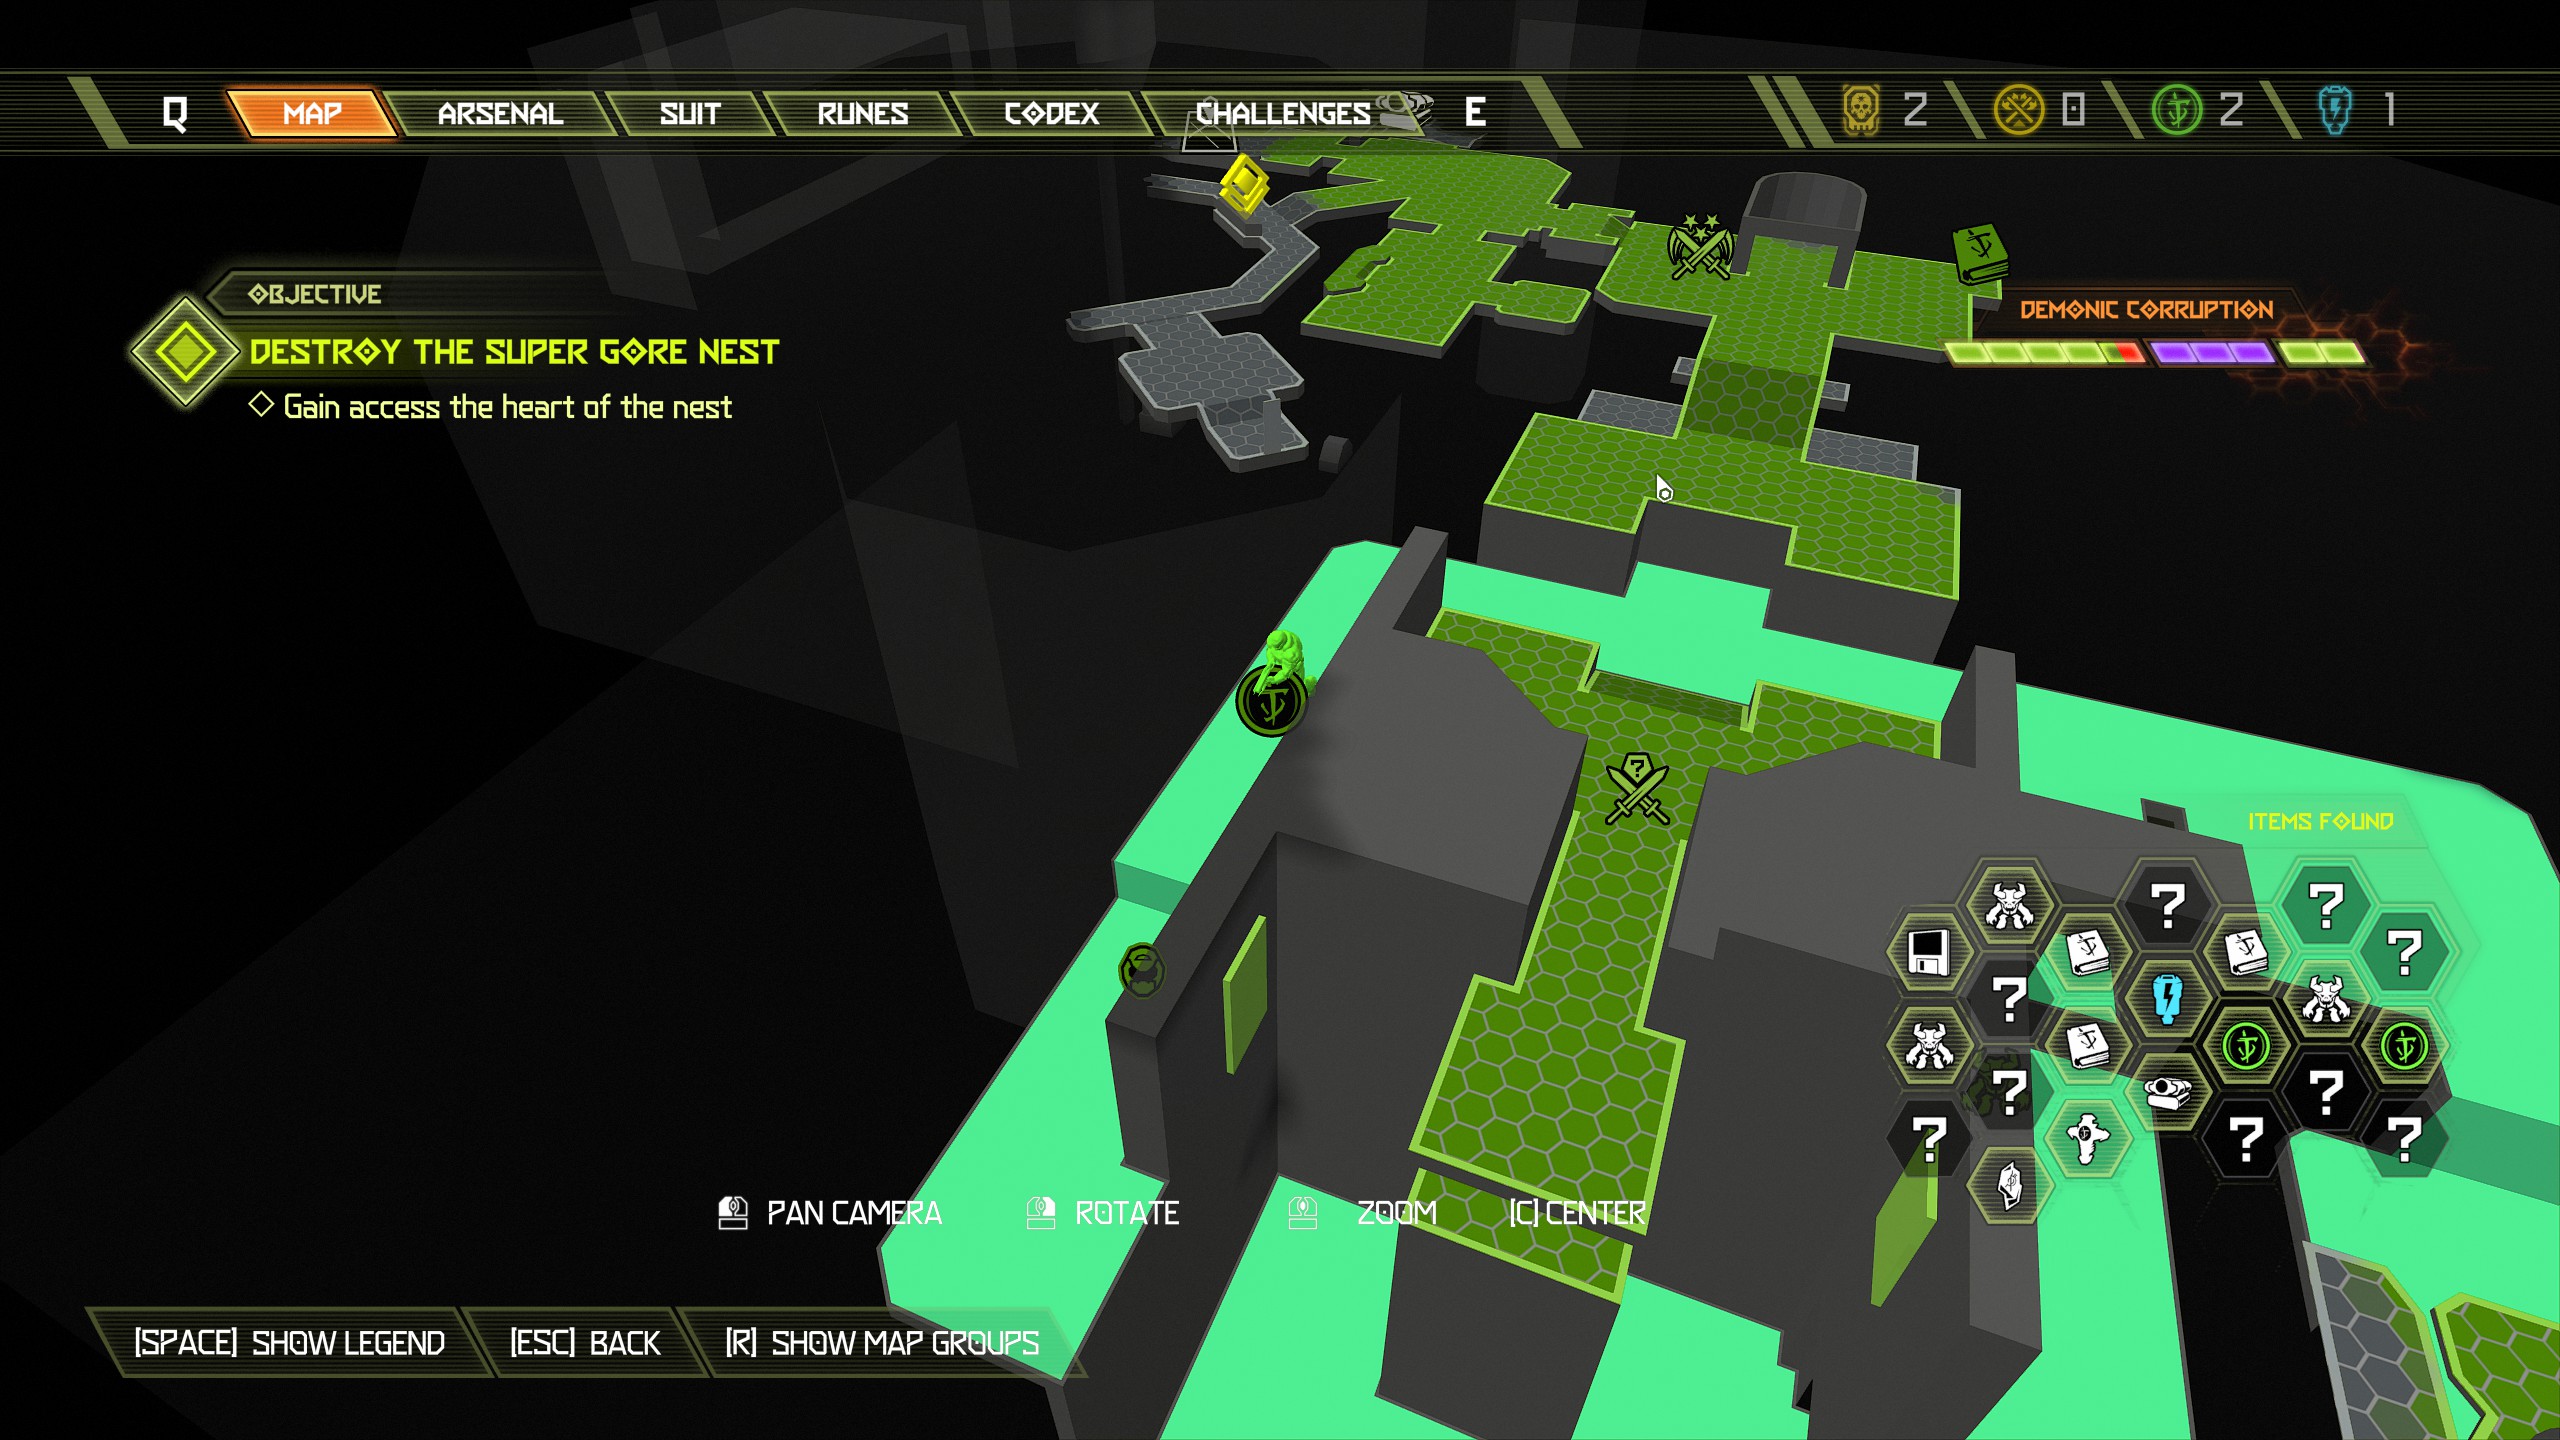
Continue the mission until you have to leave the heart chamber and don't forget to pick up your chaingun on the way through.
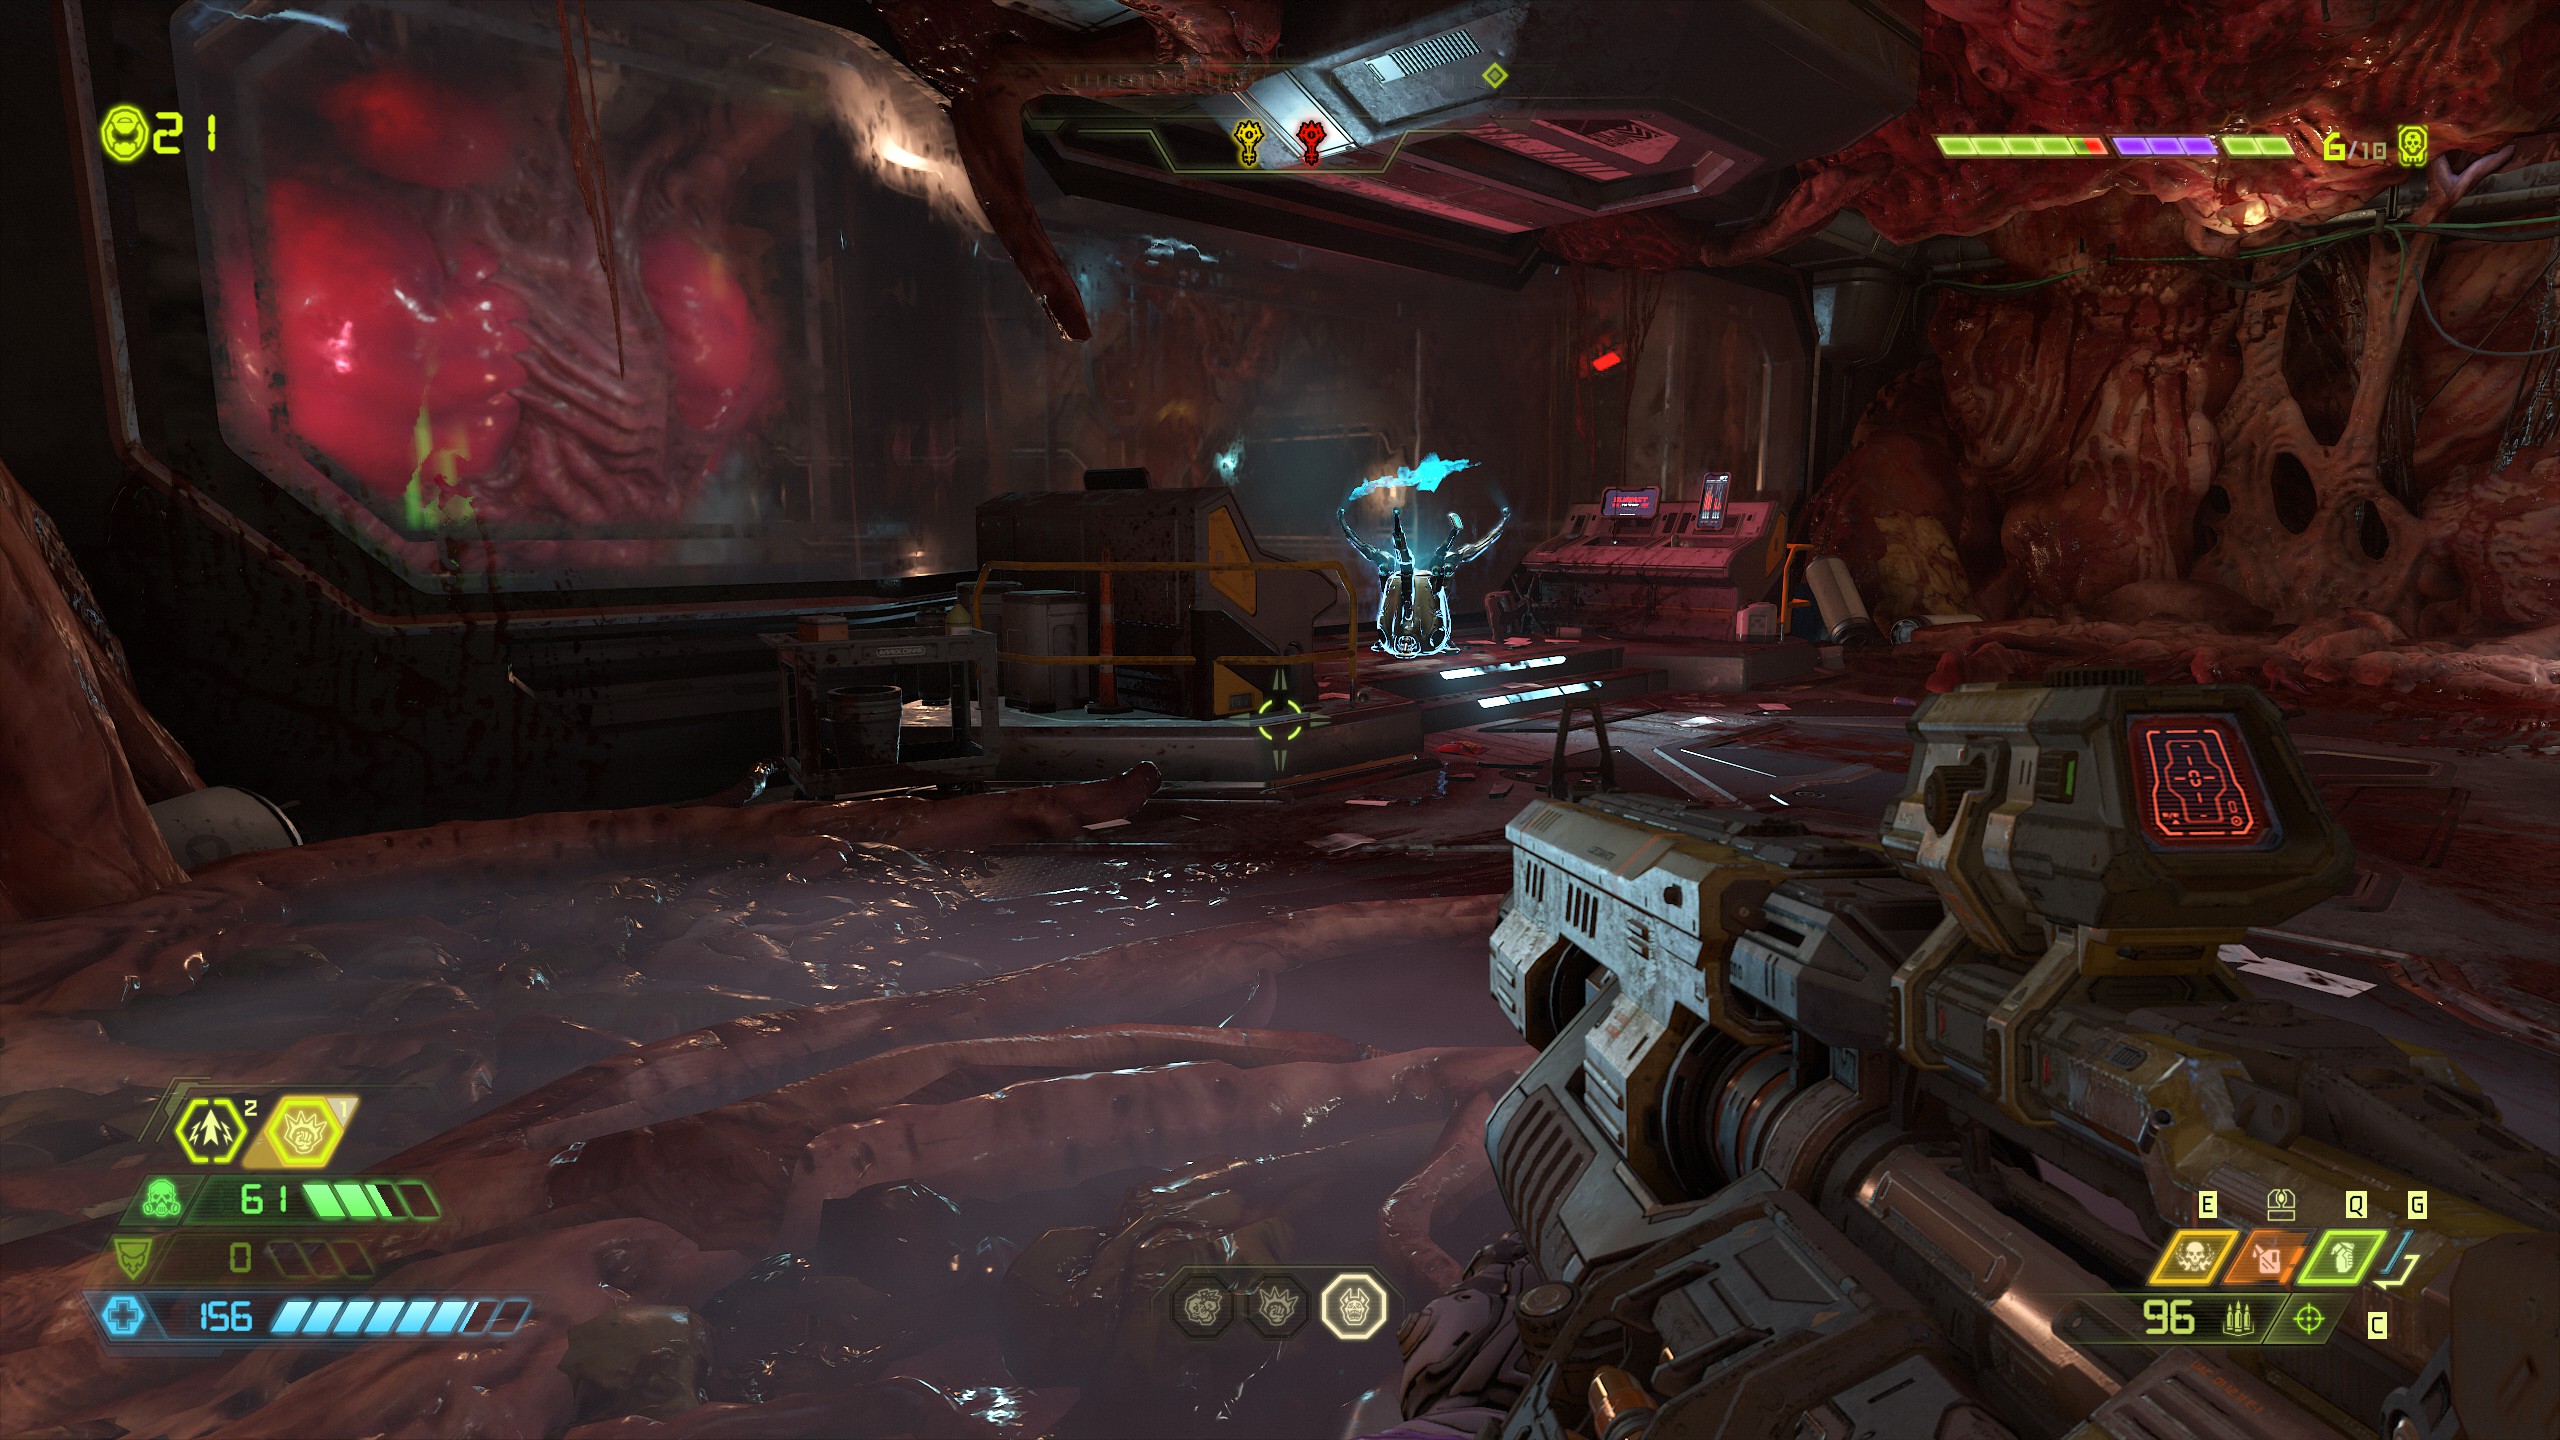
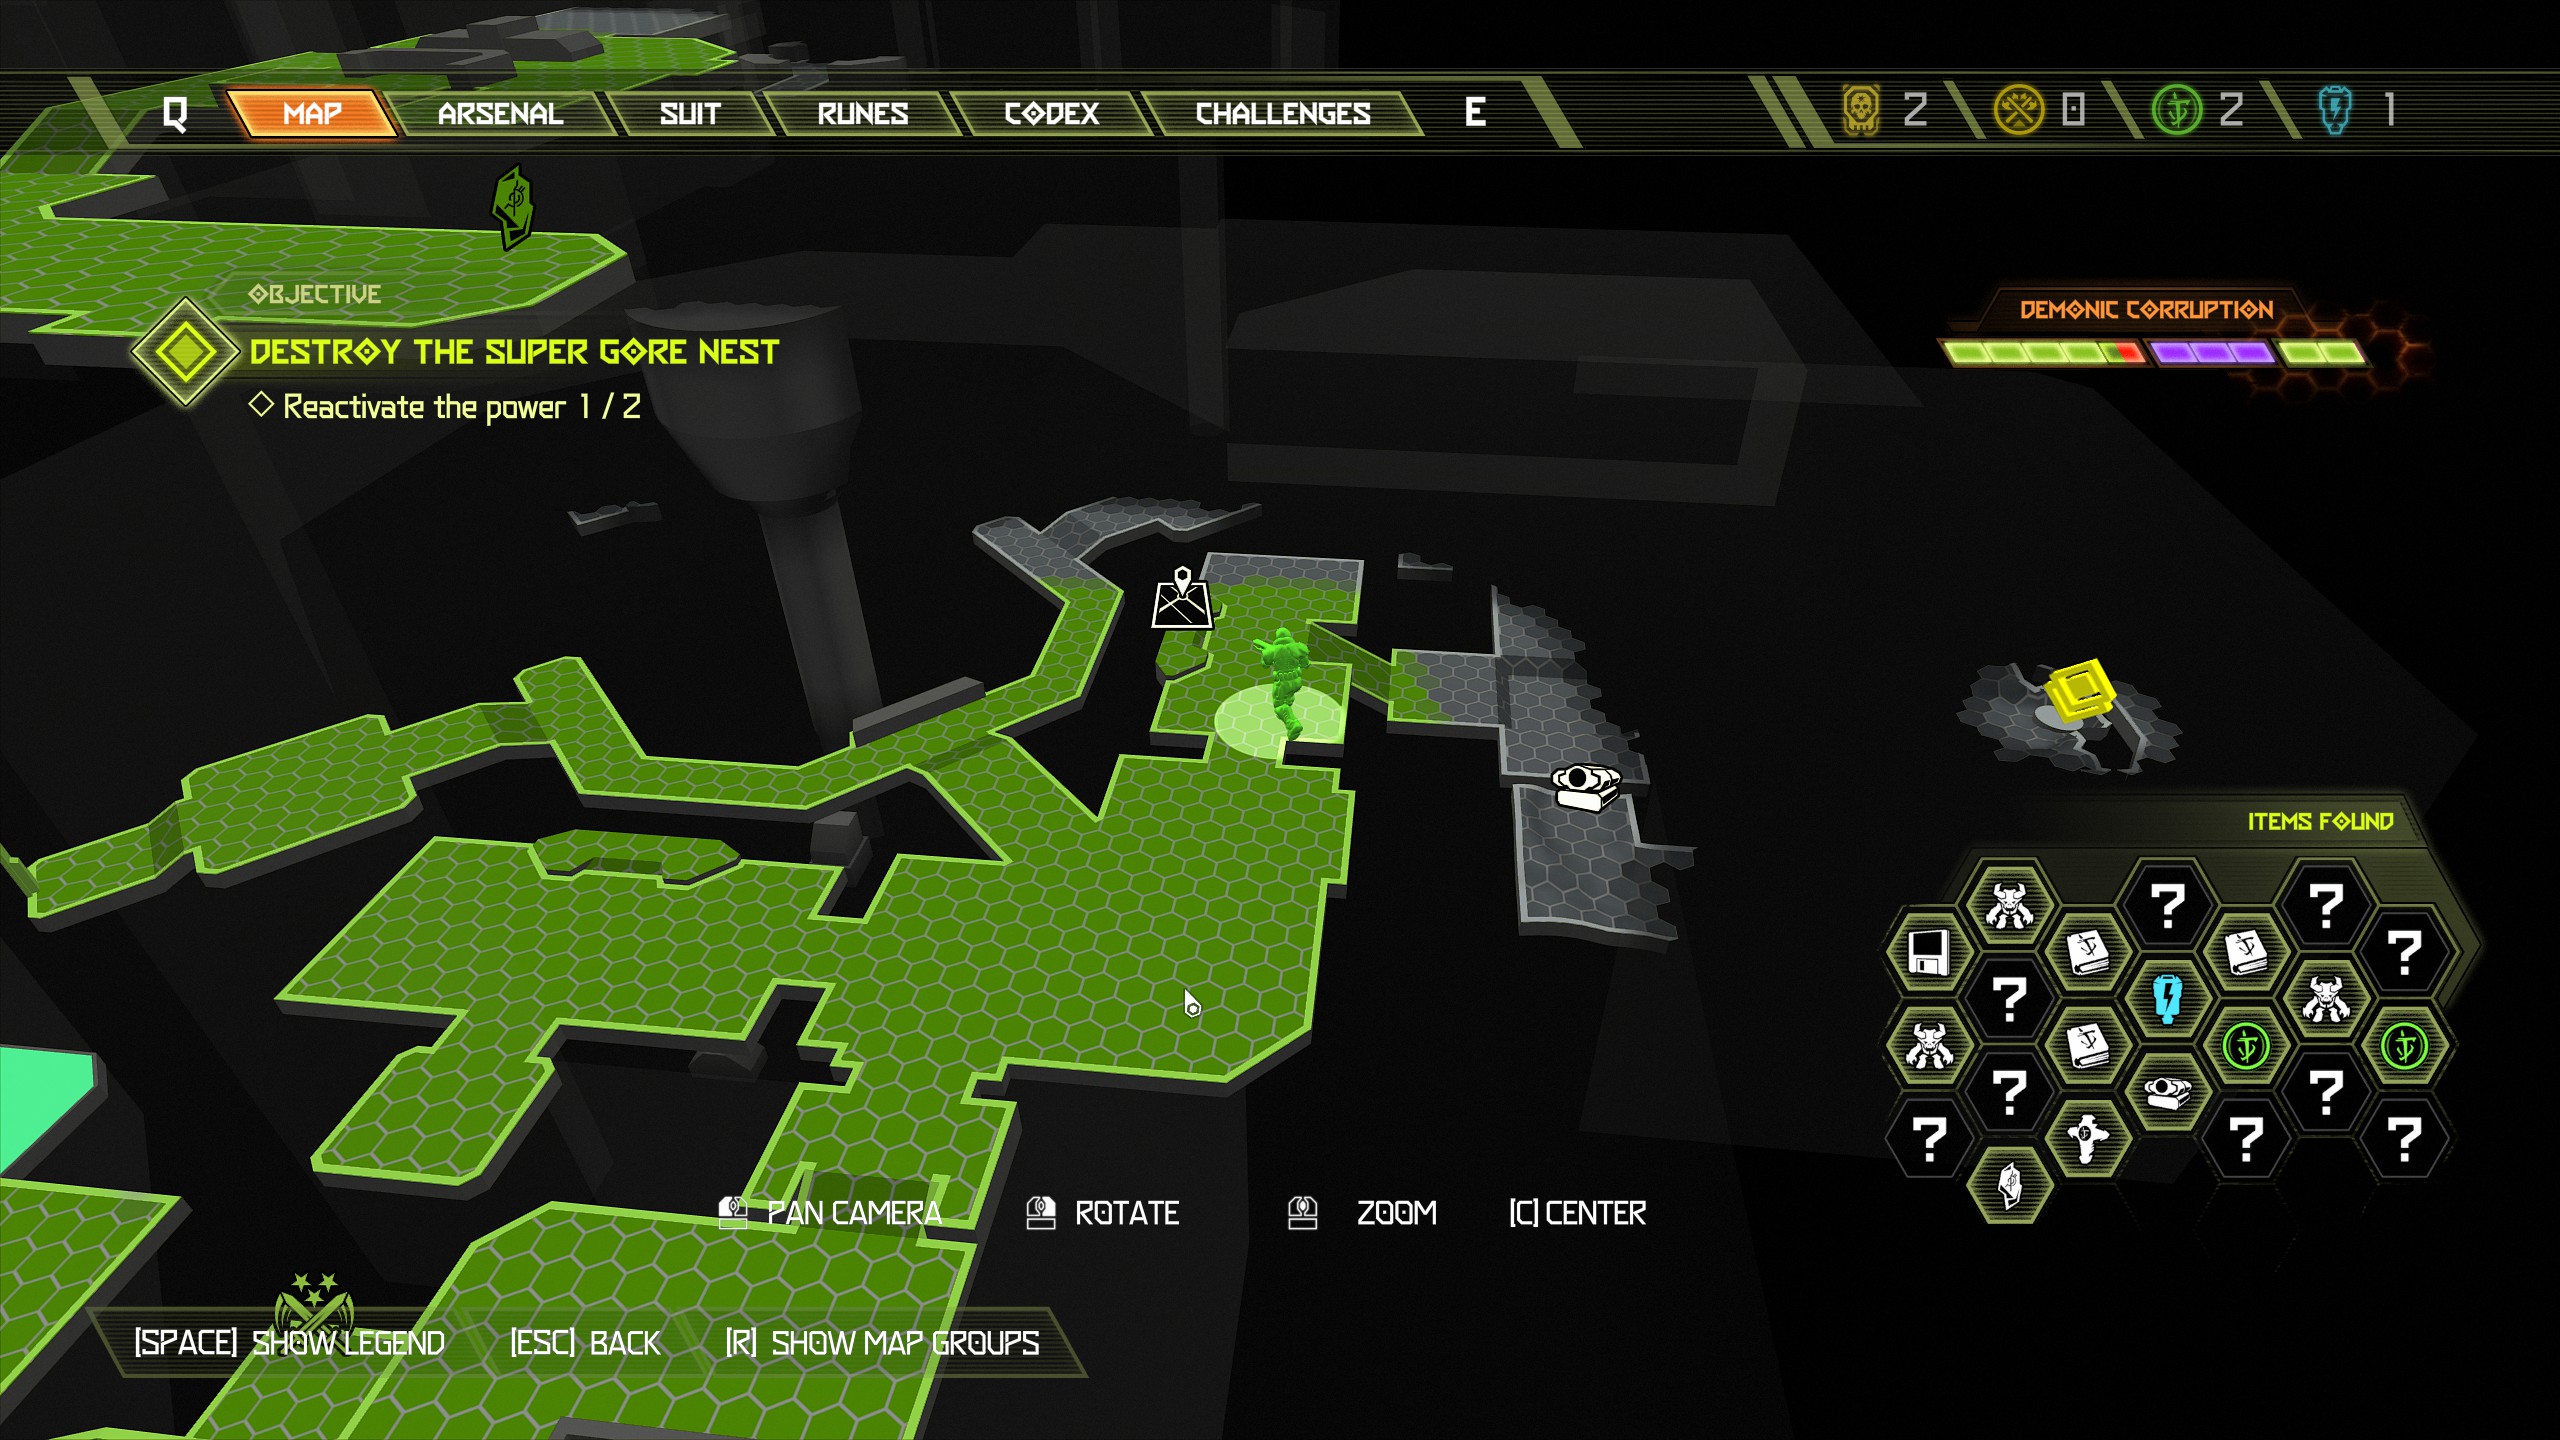
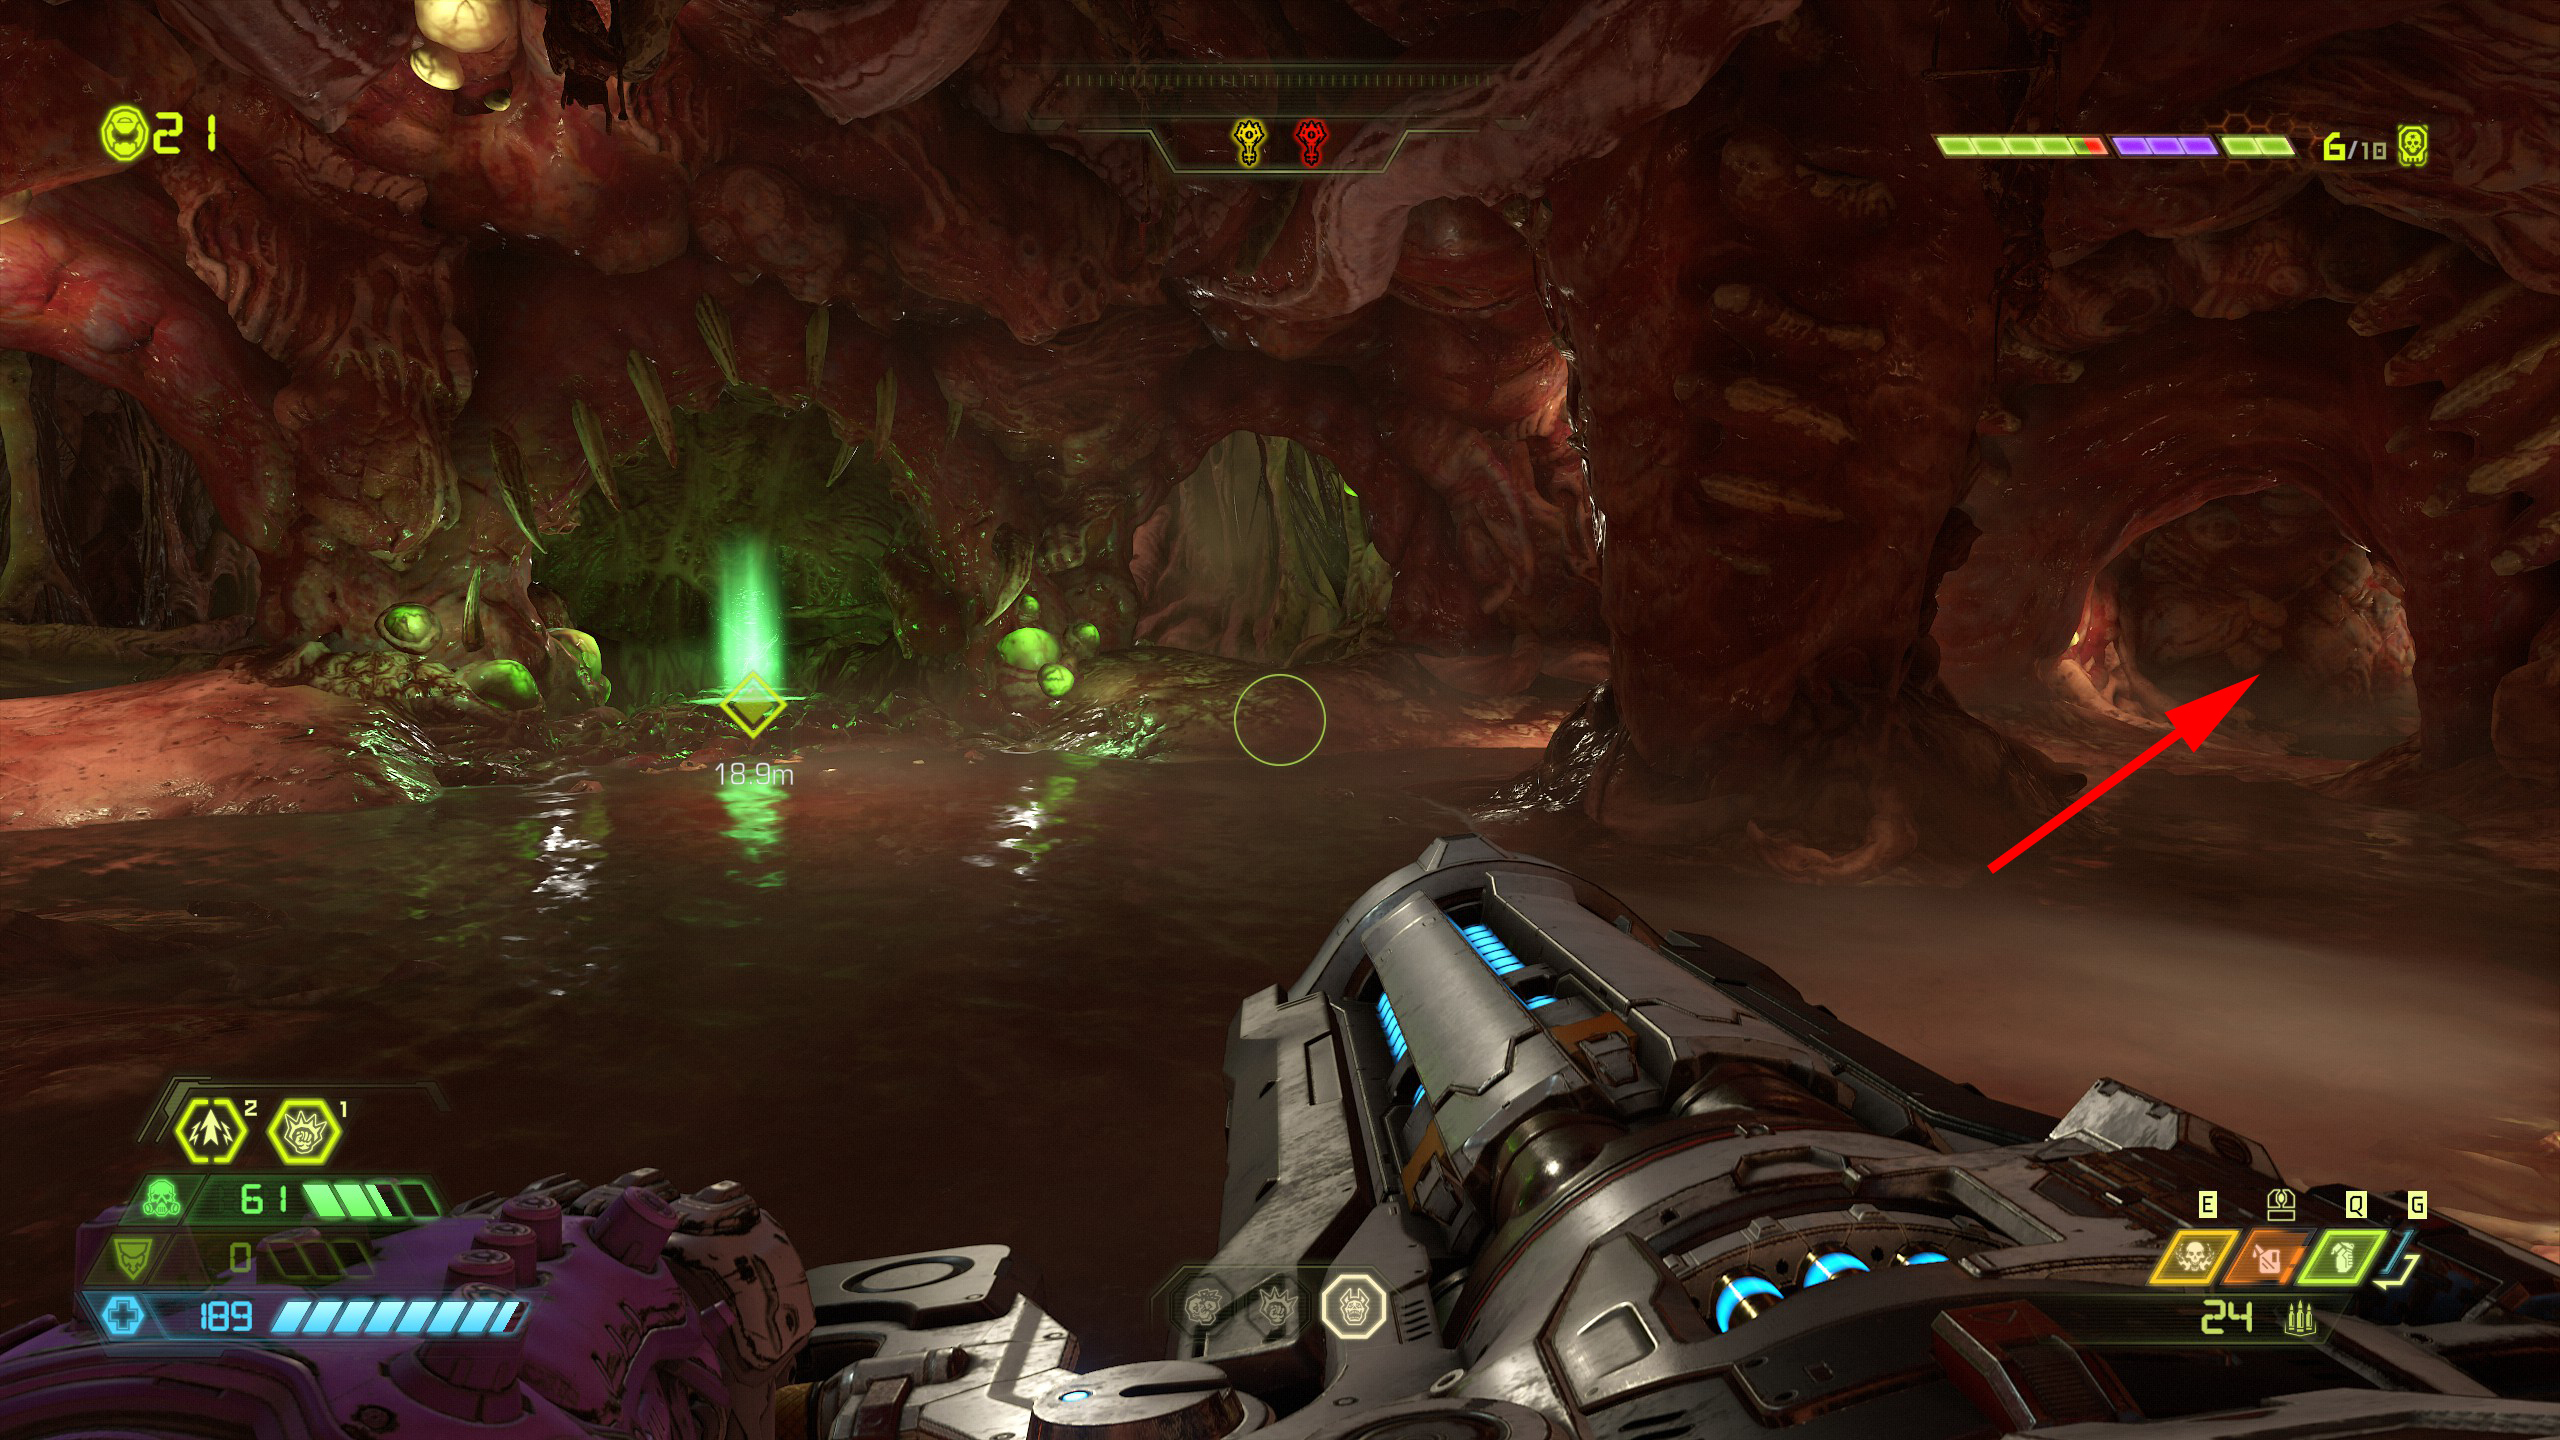
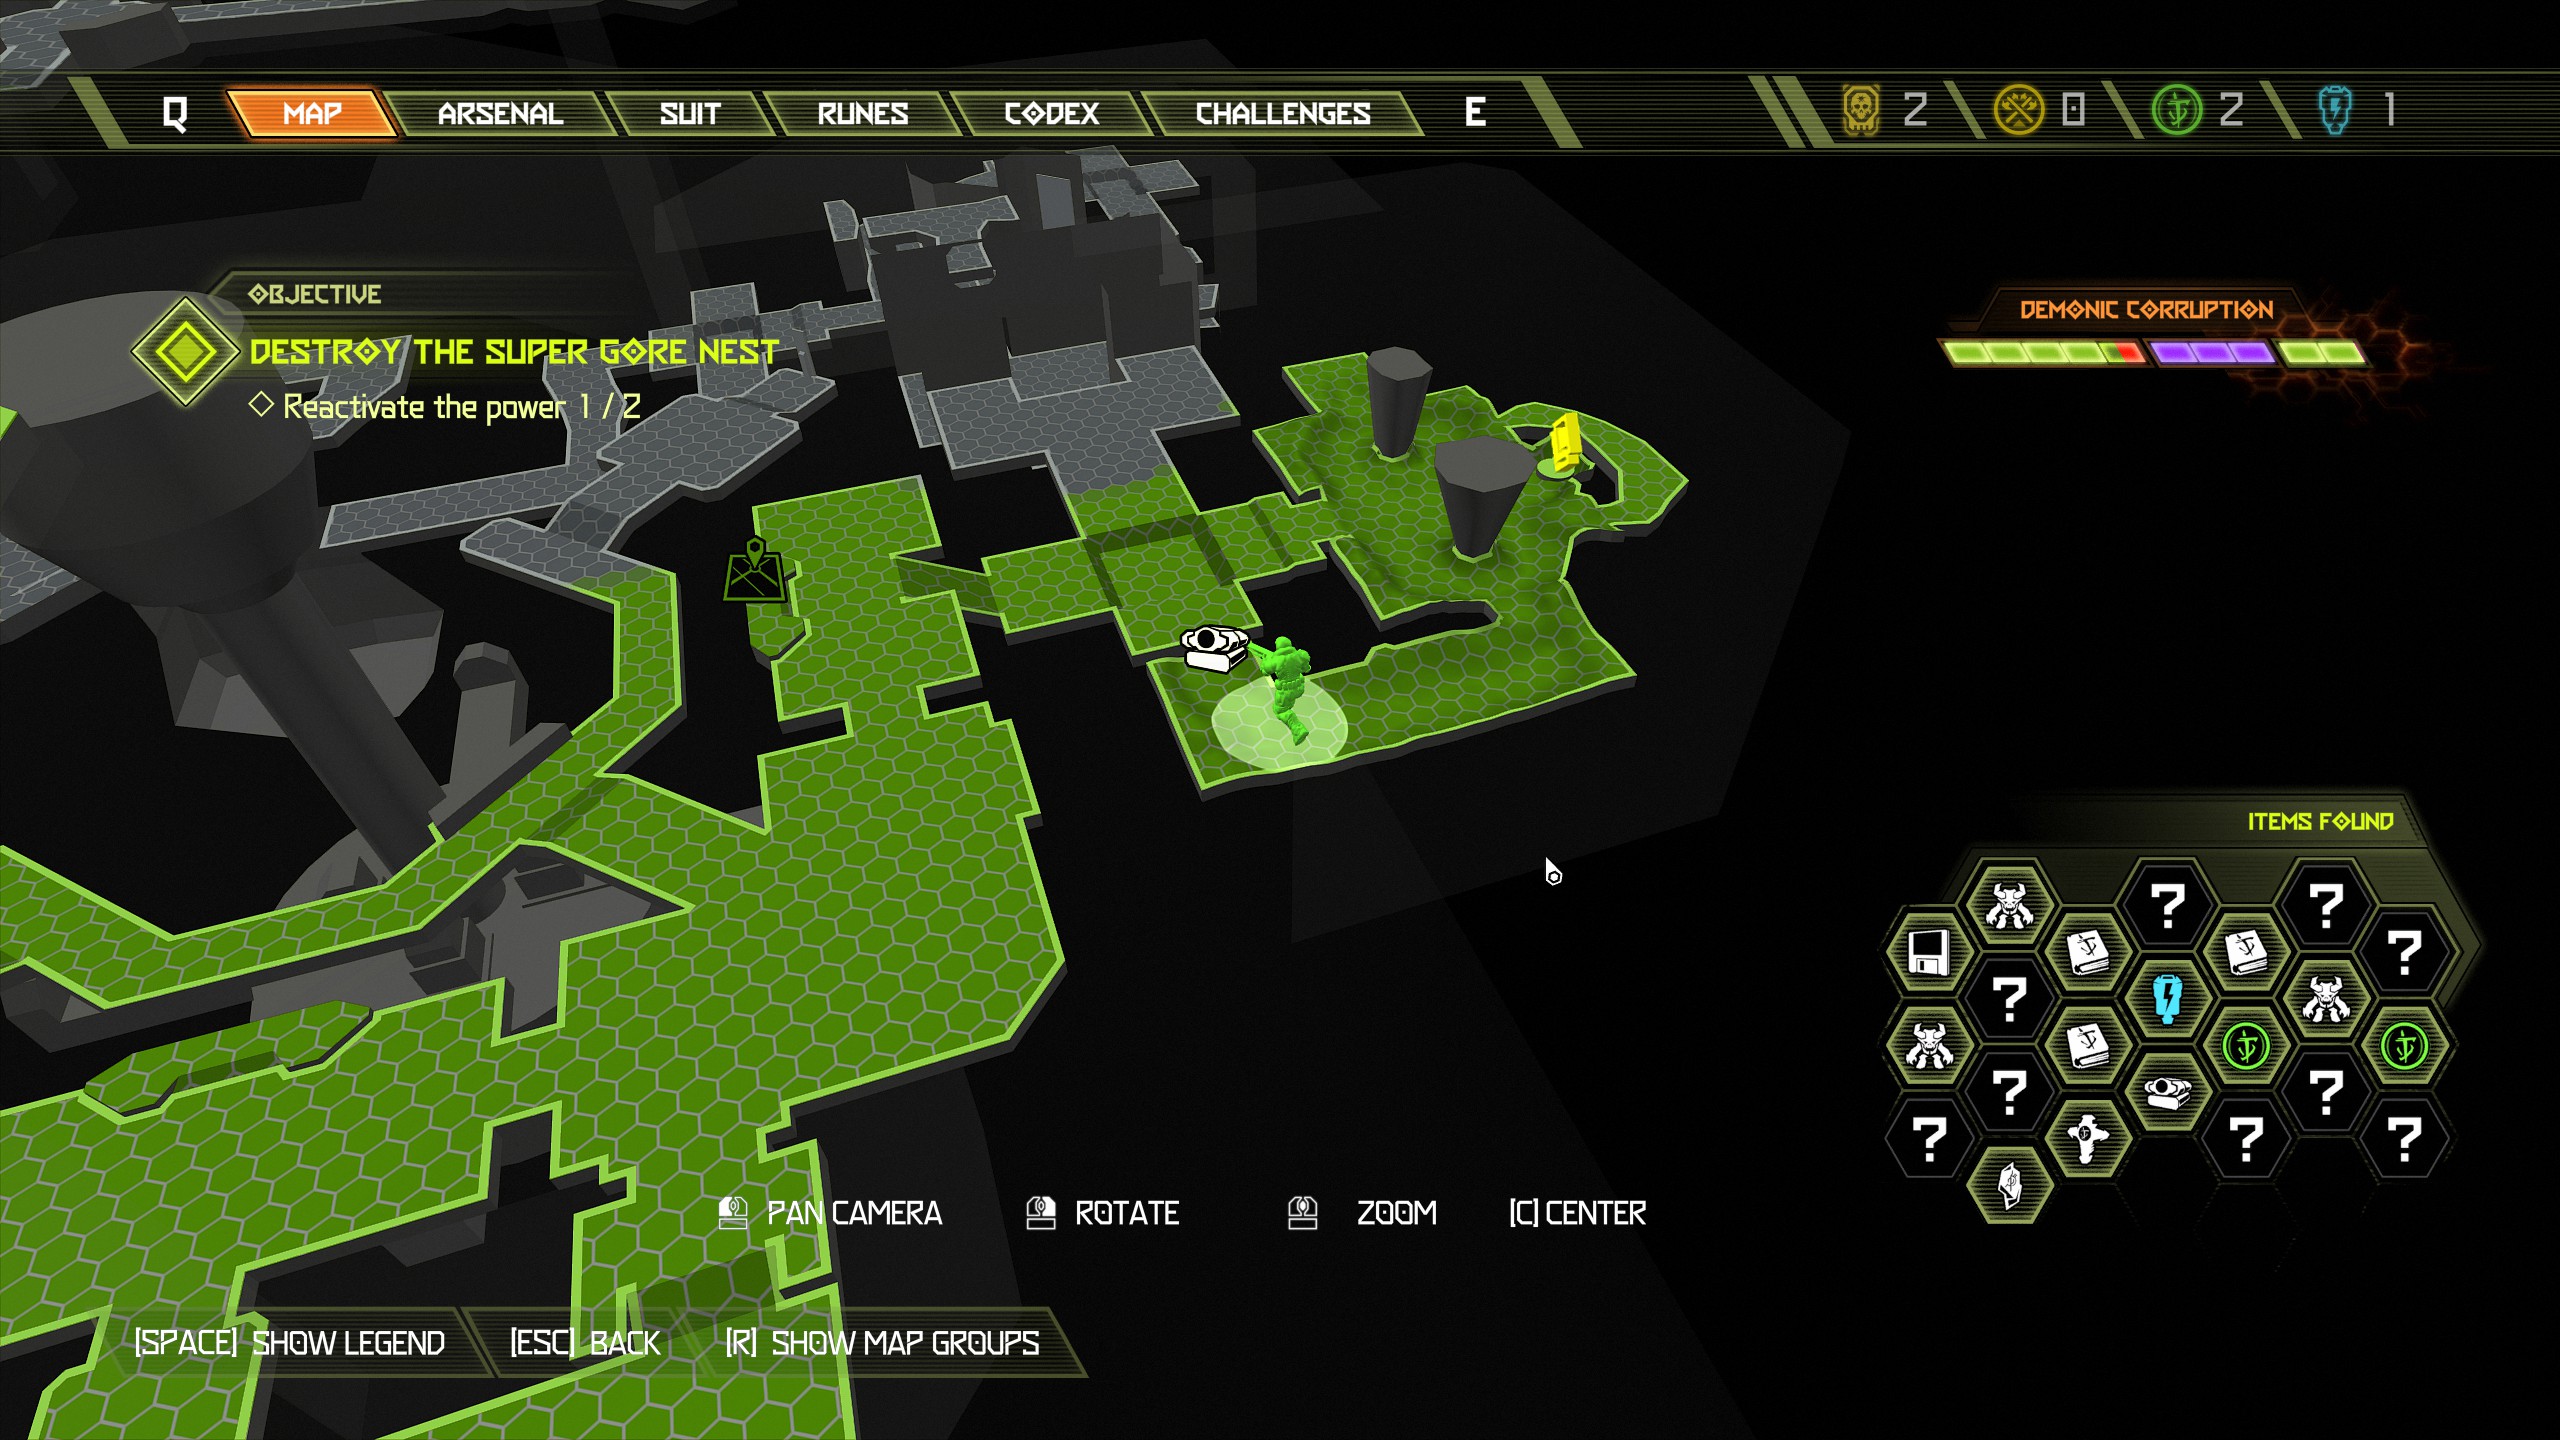
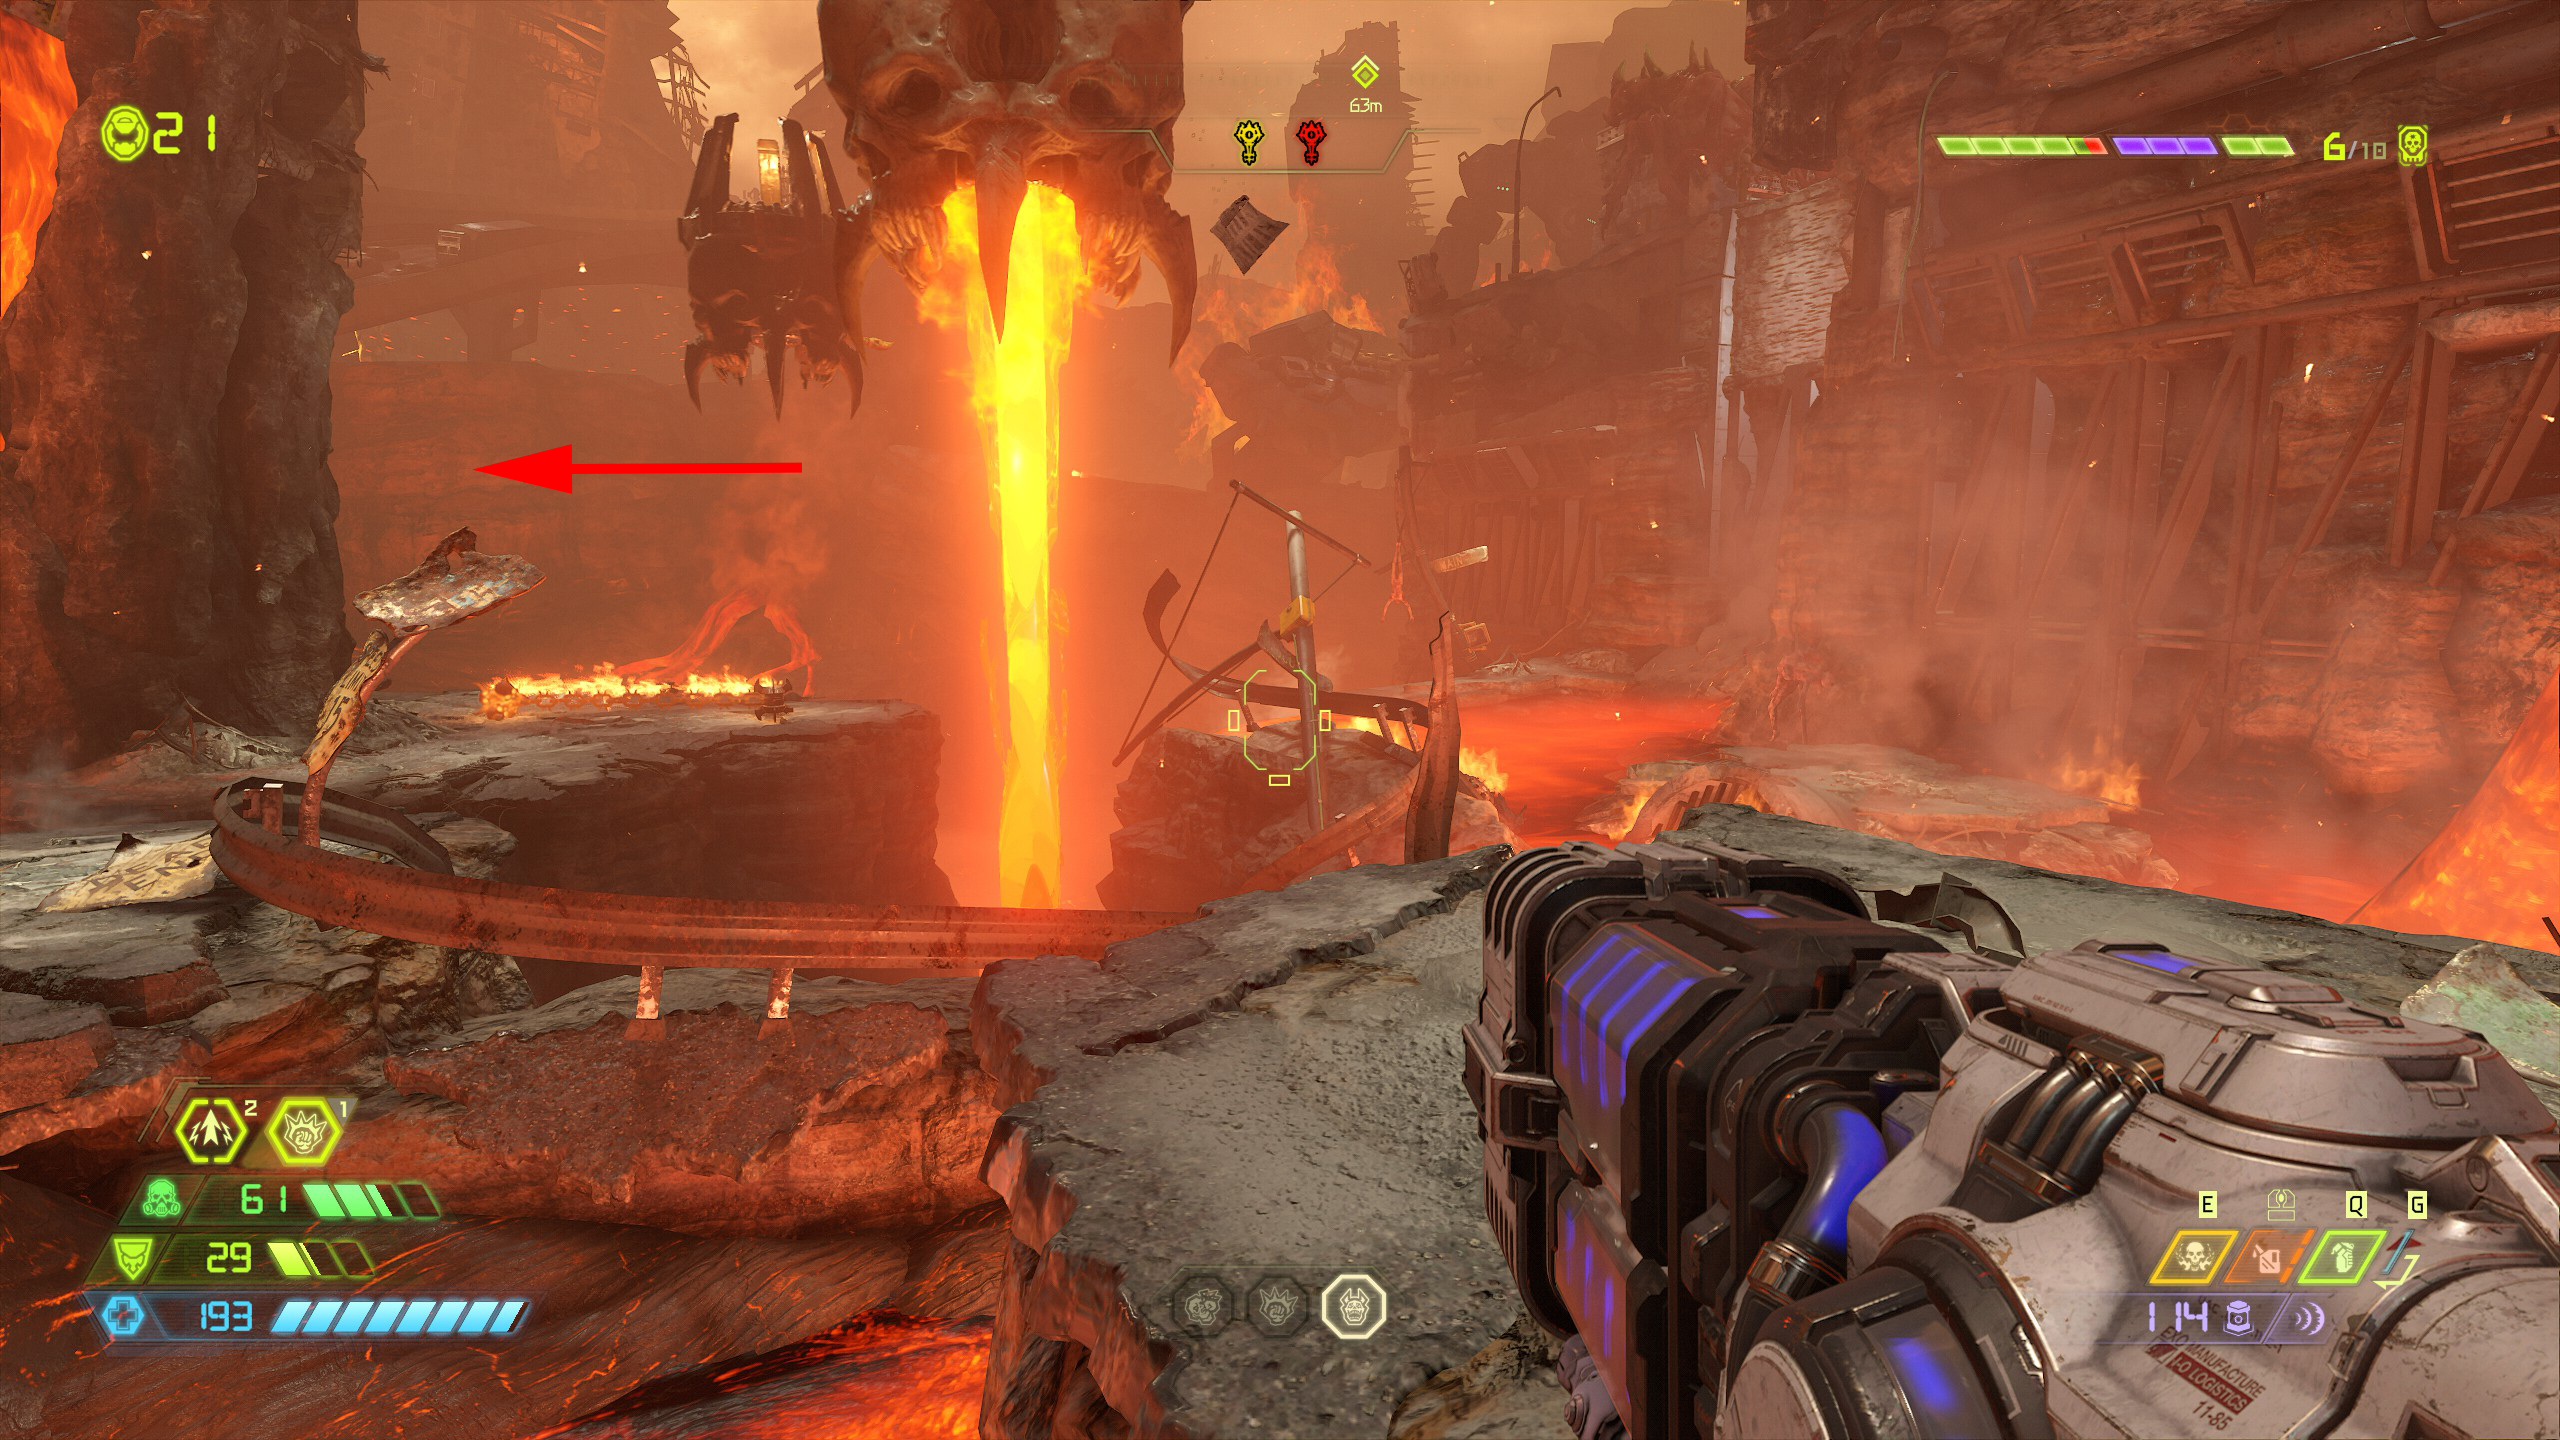
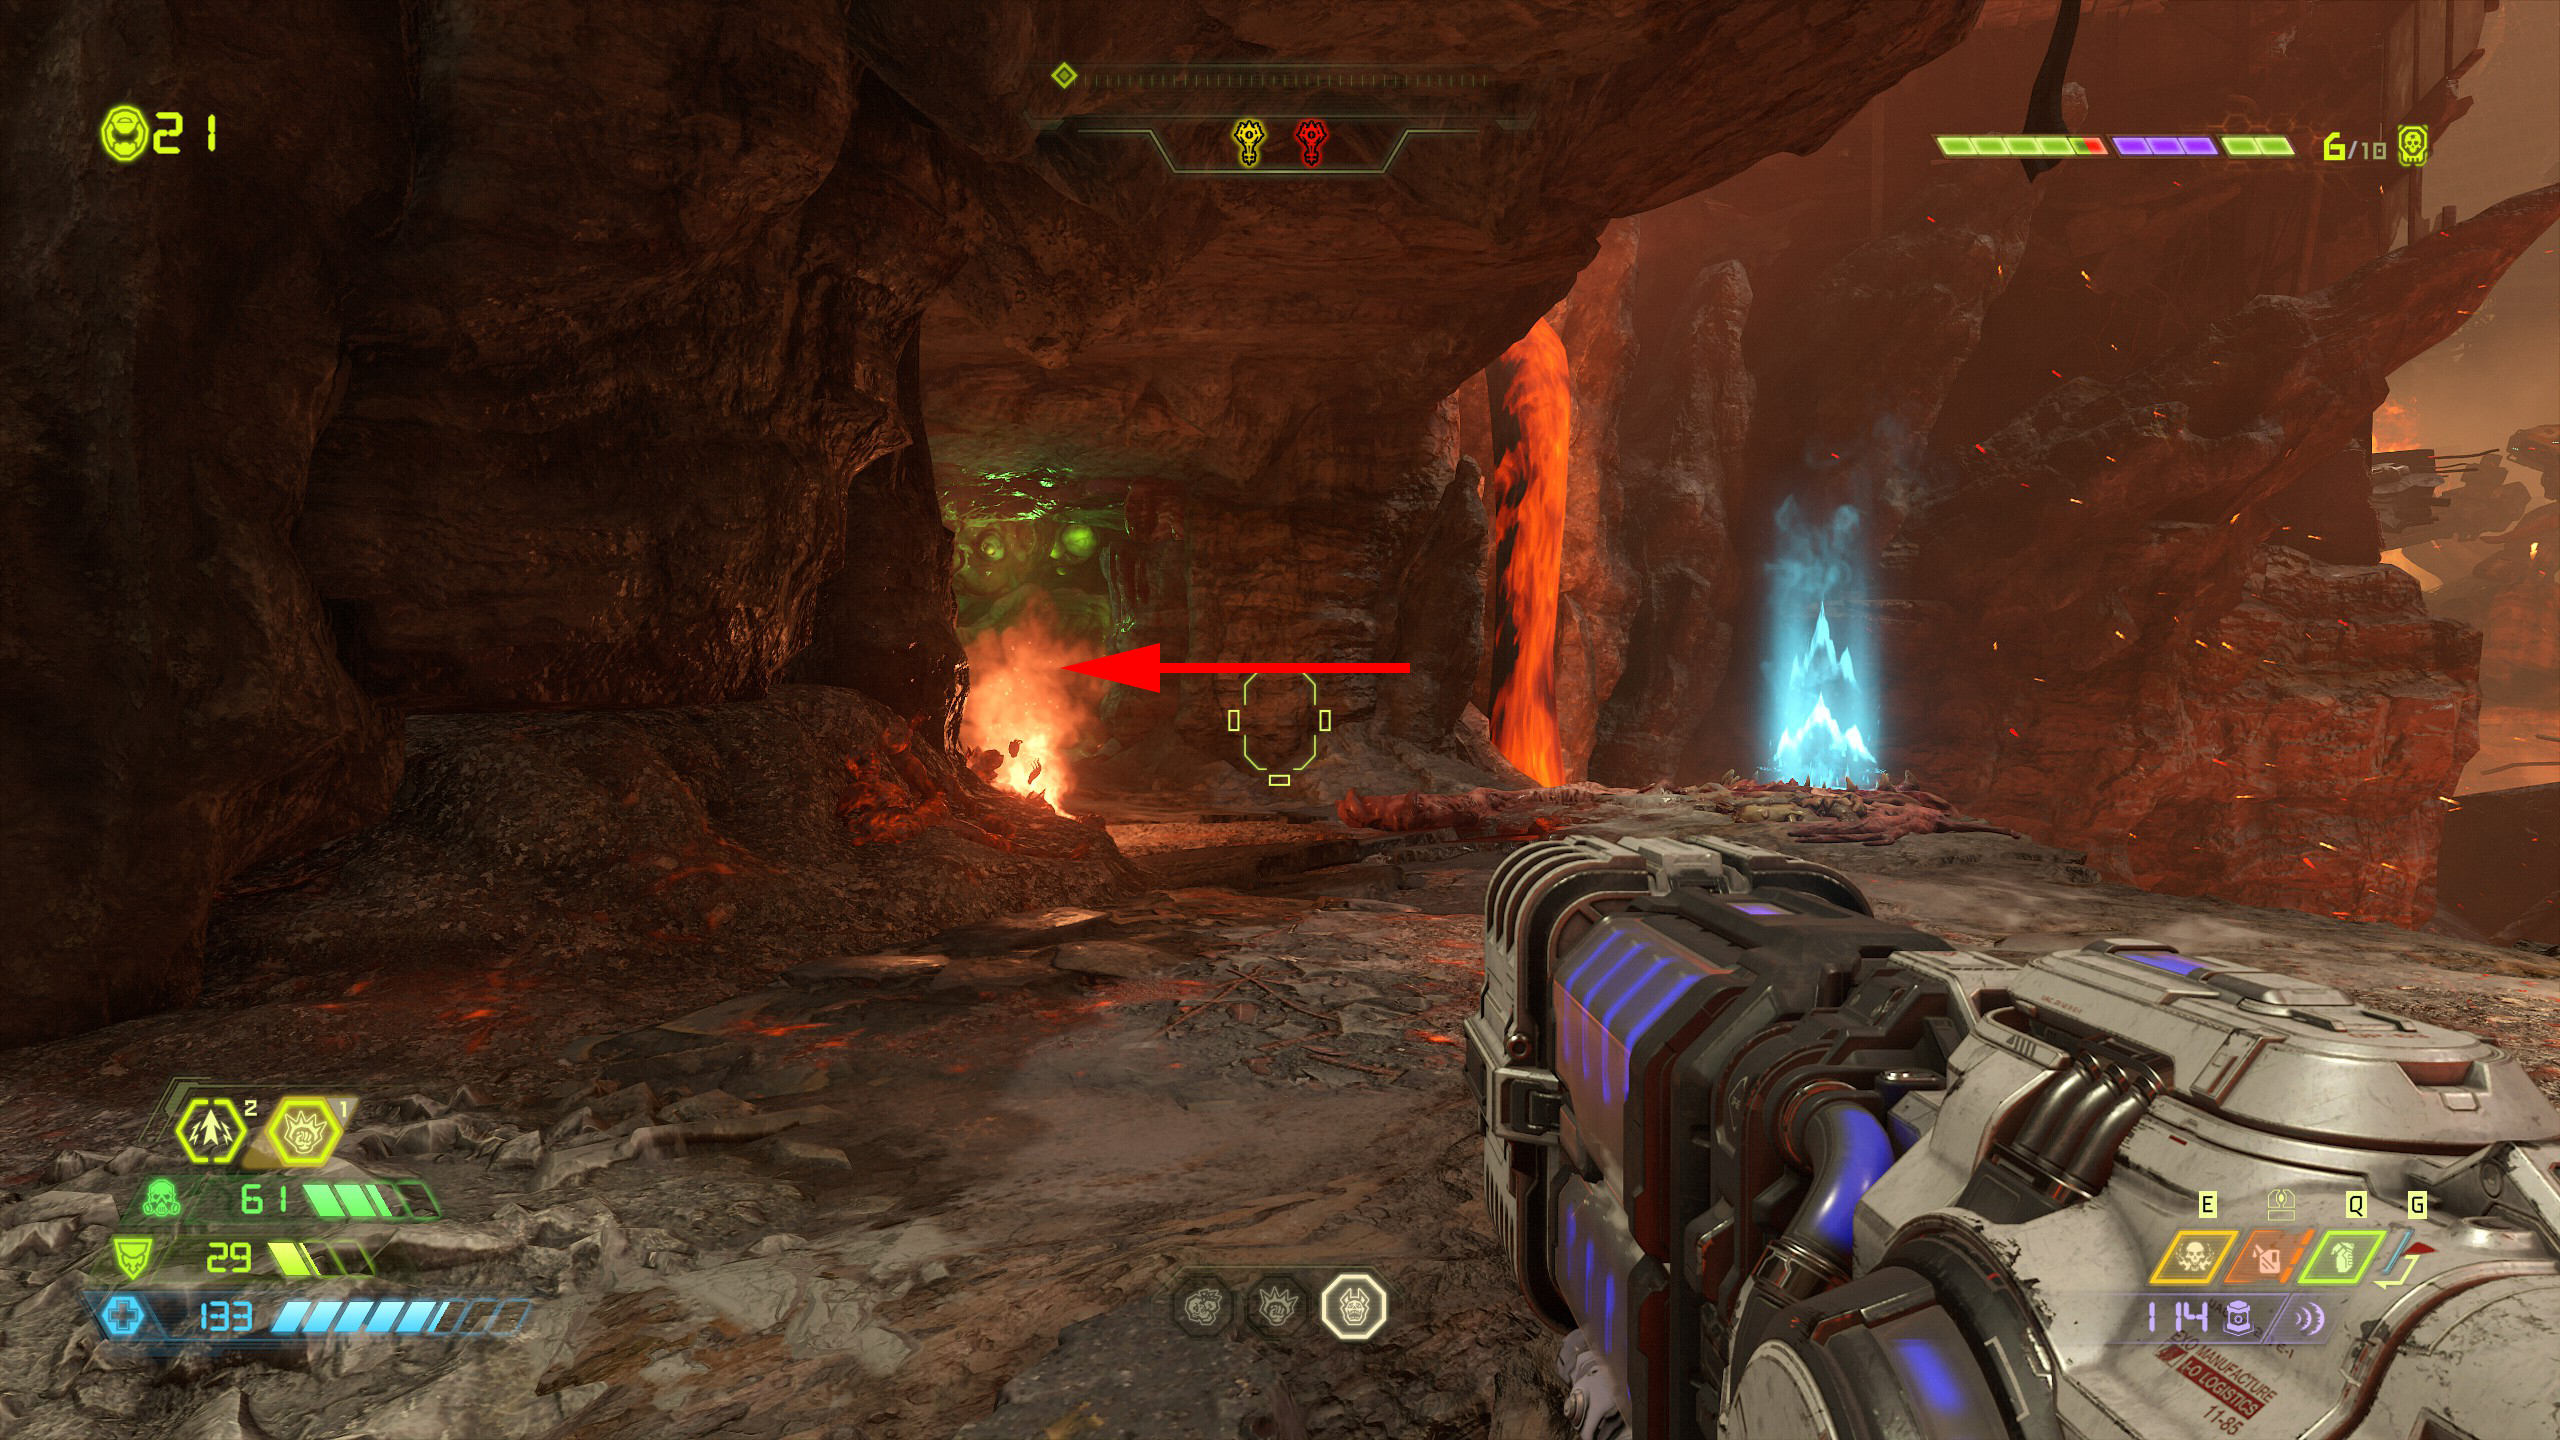
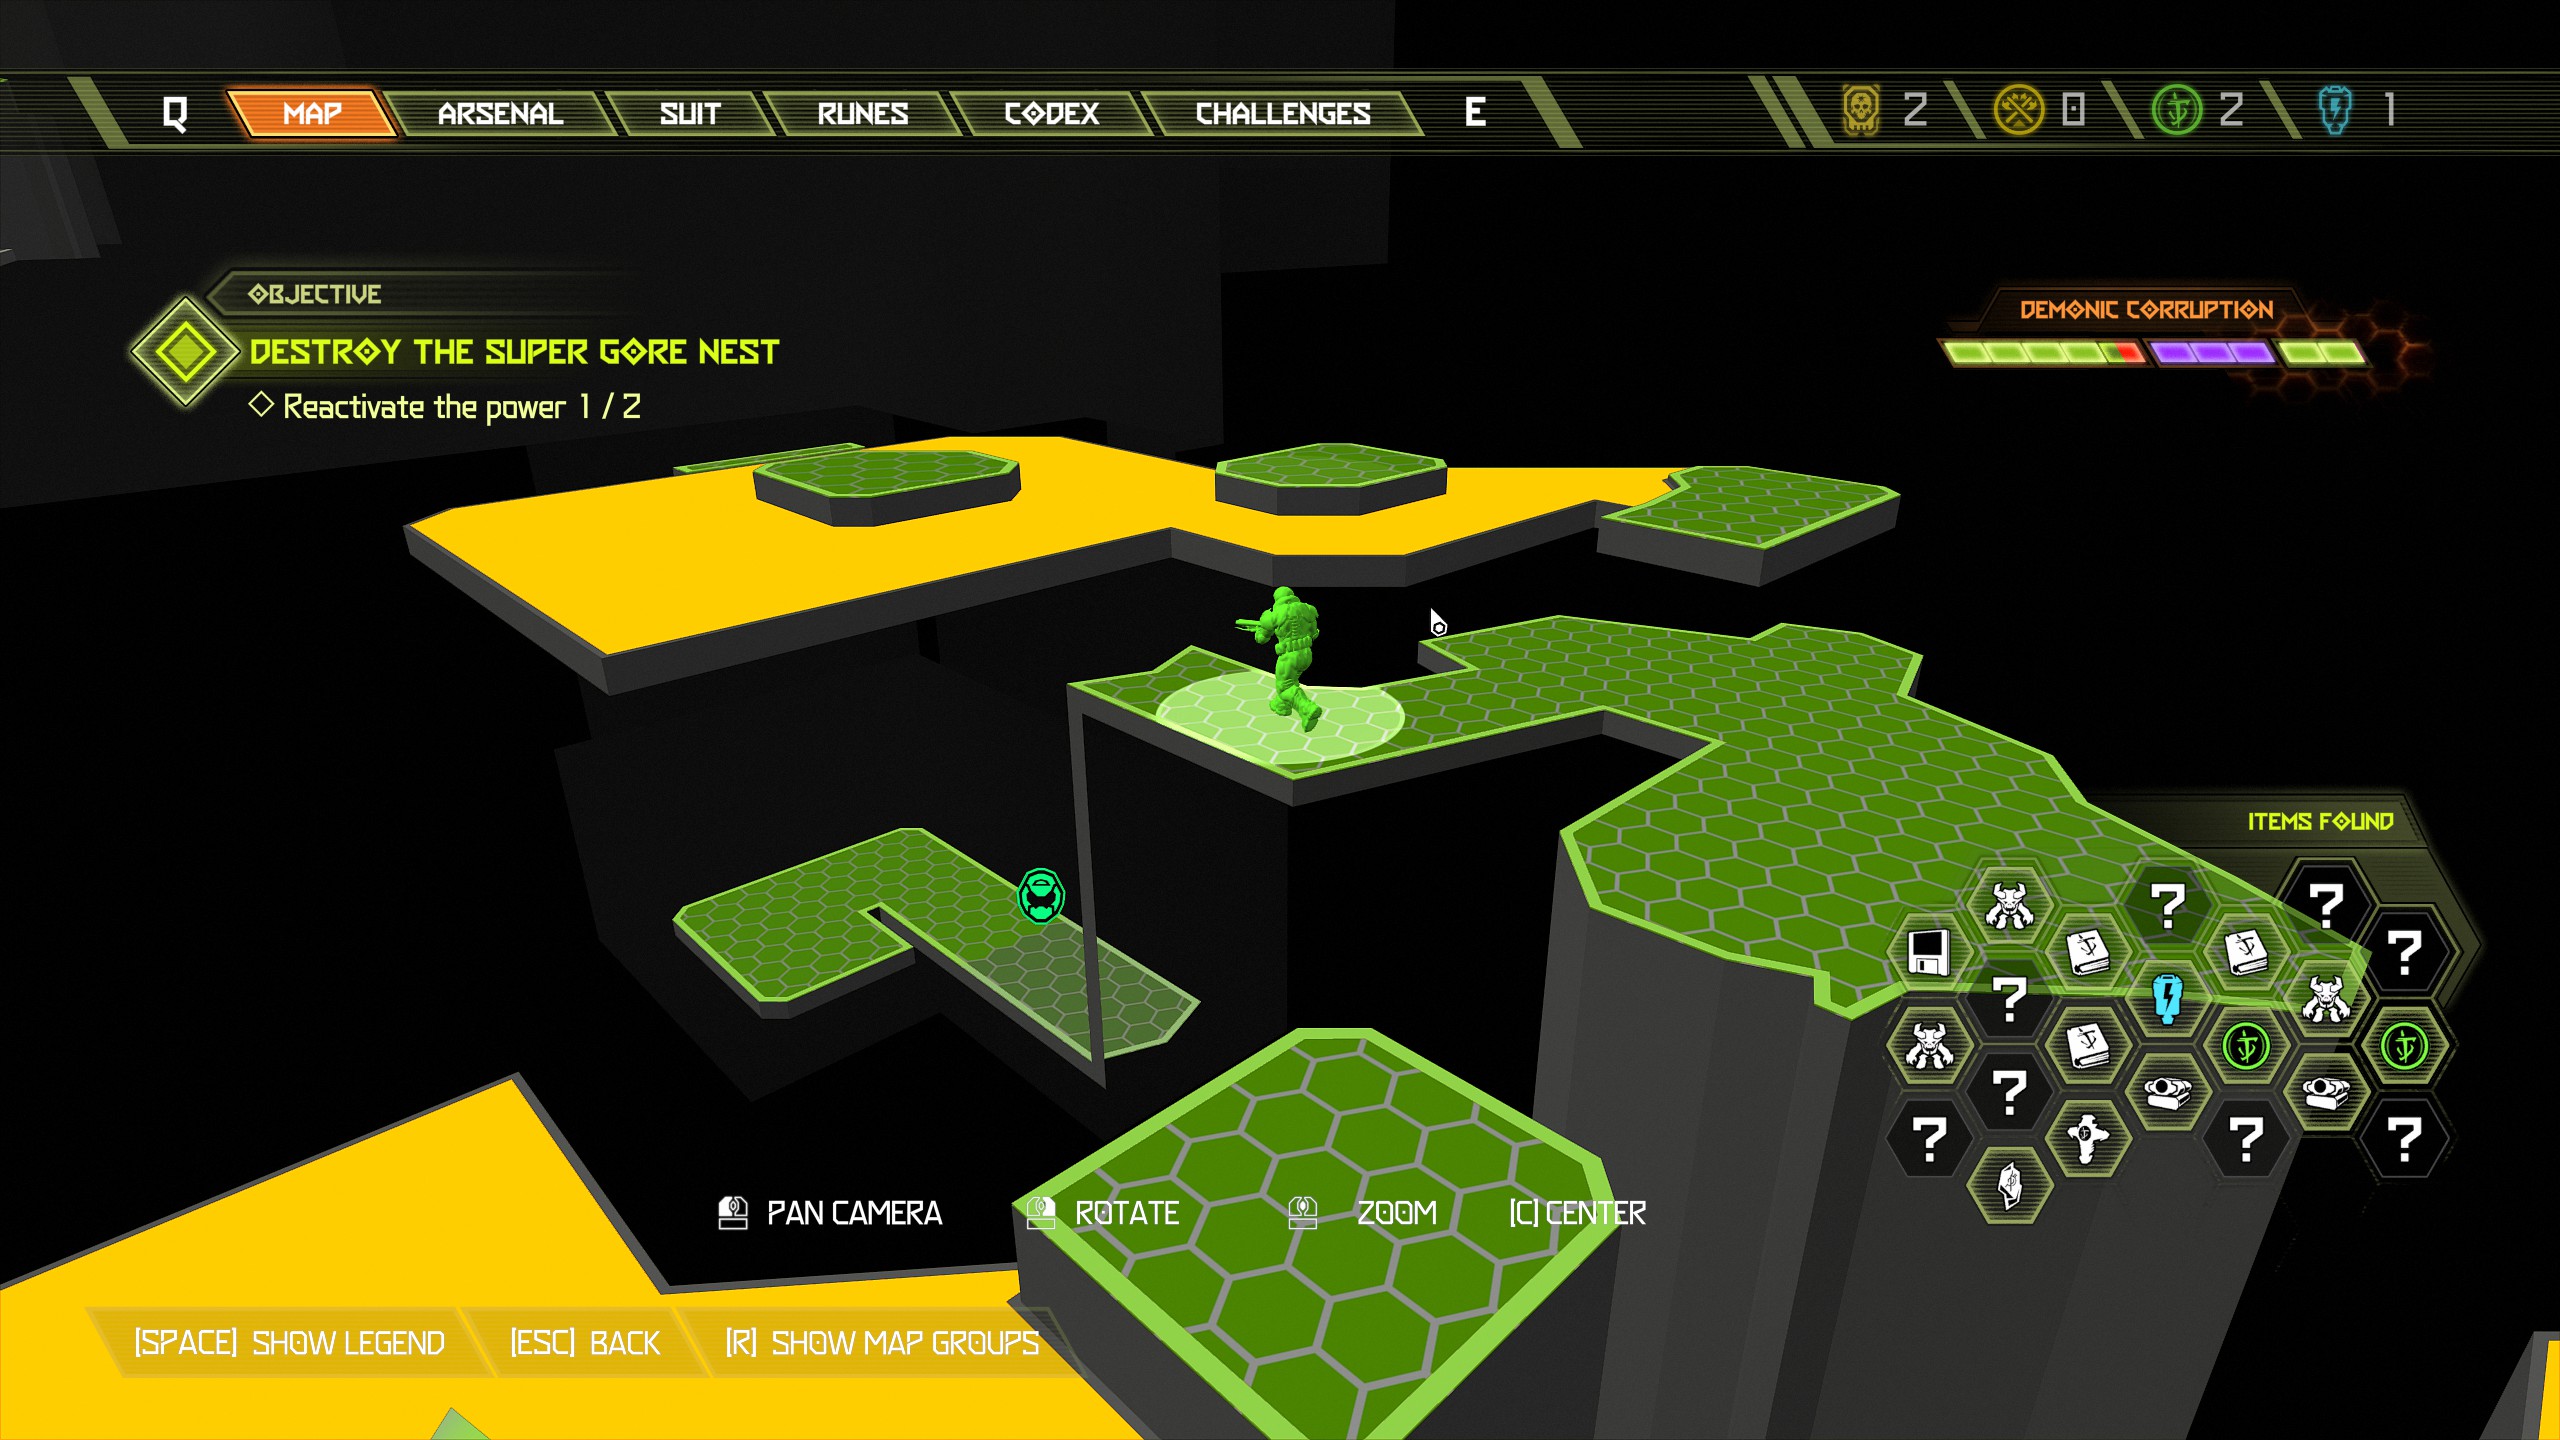
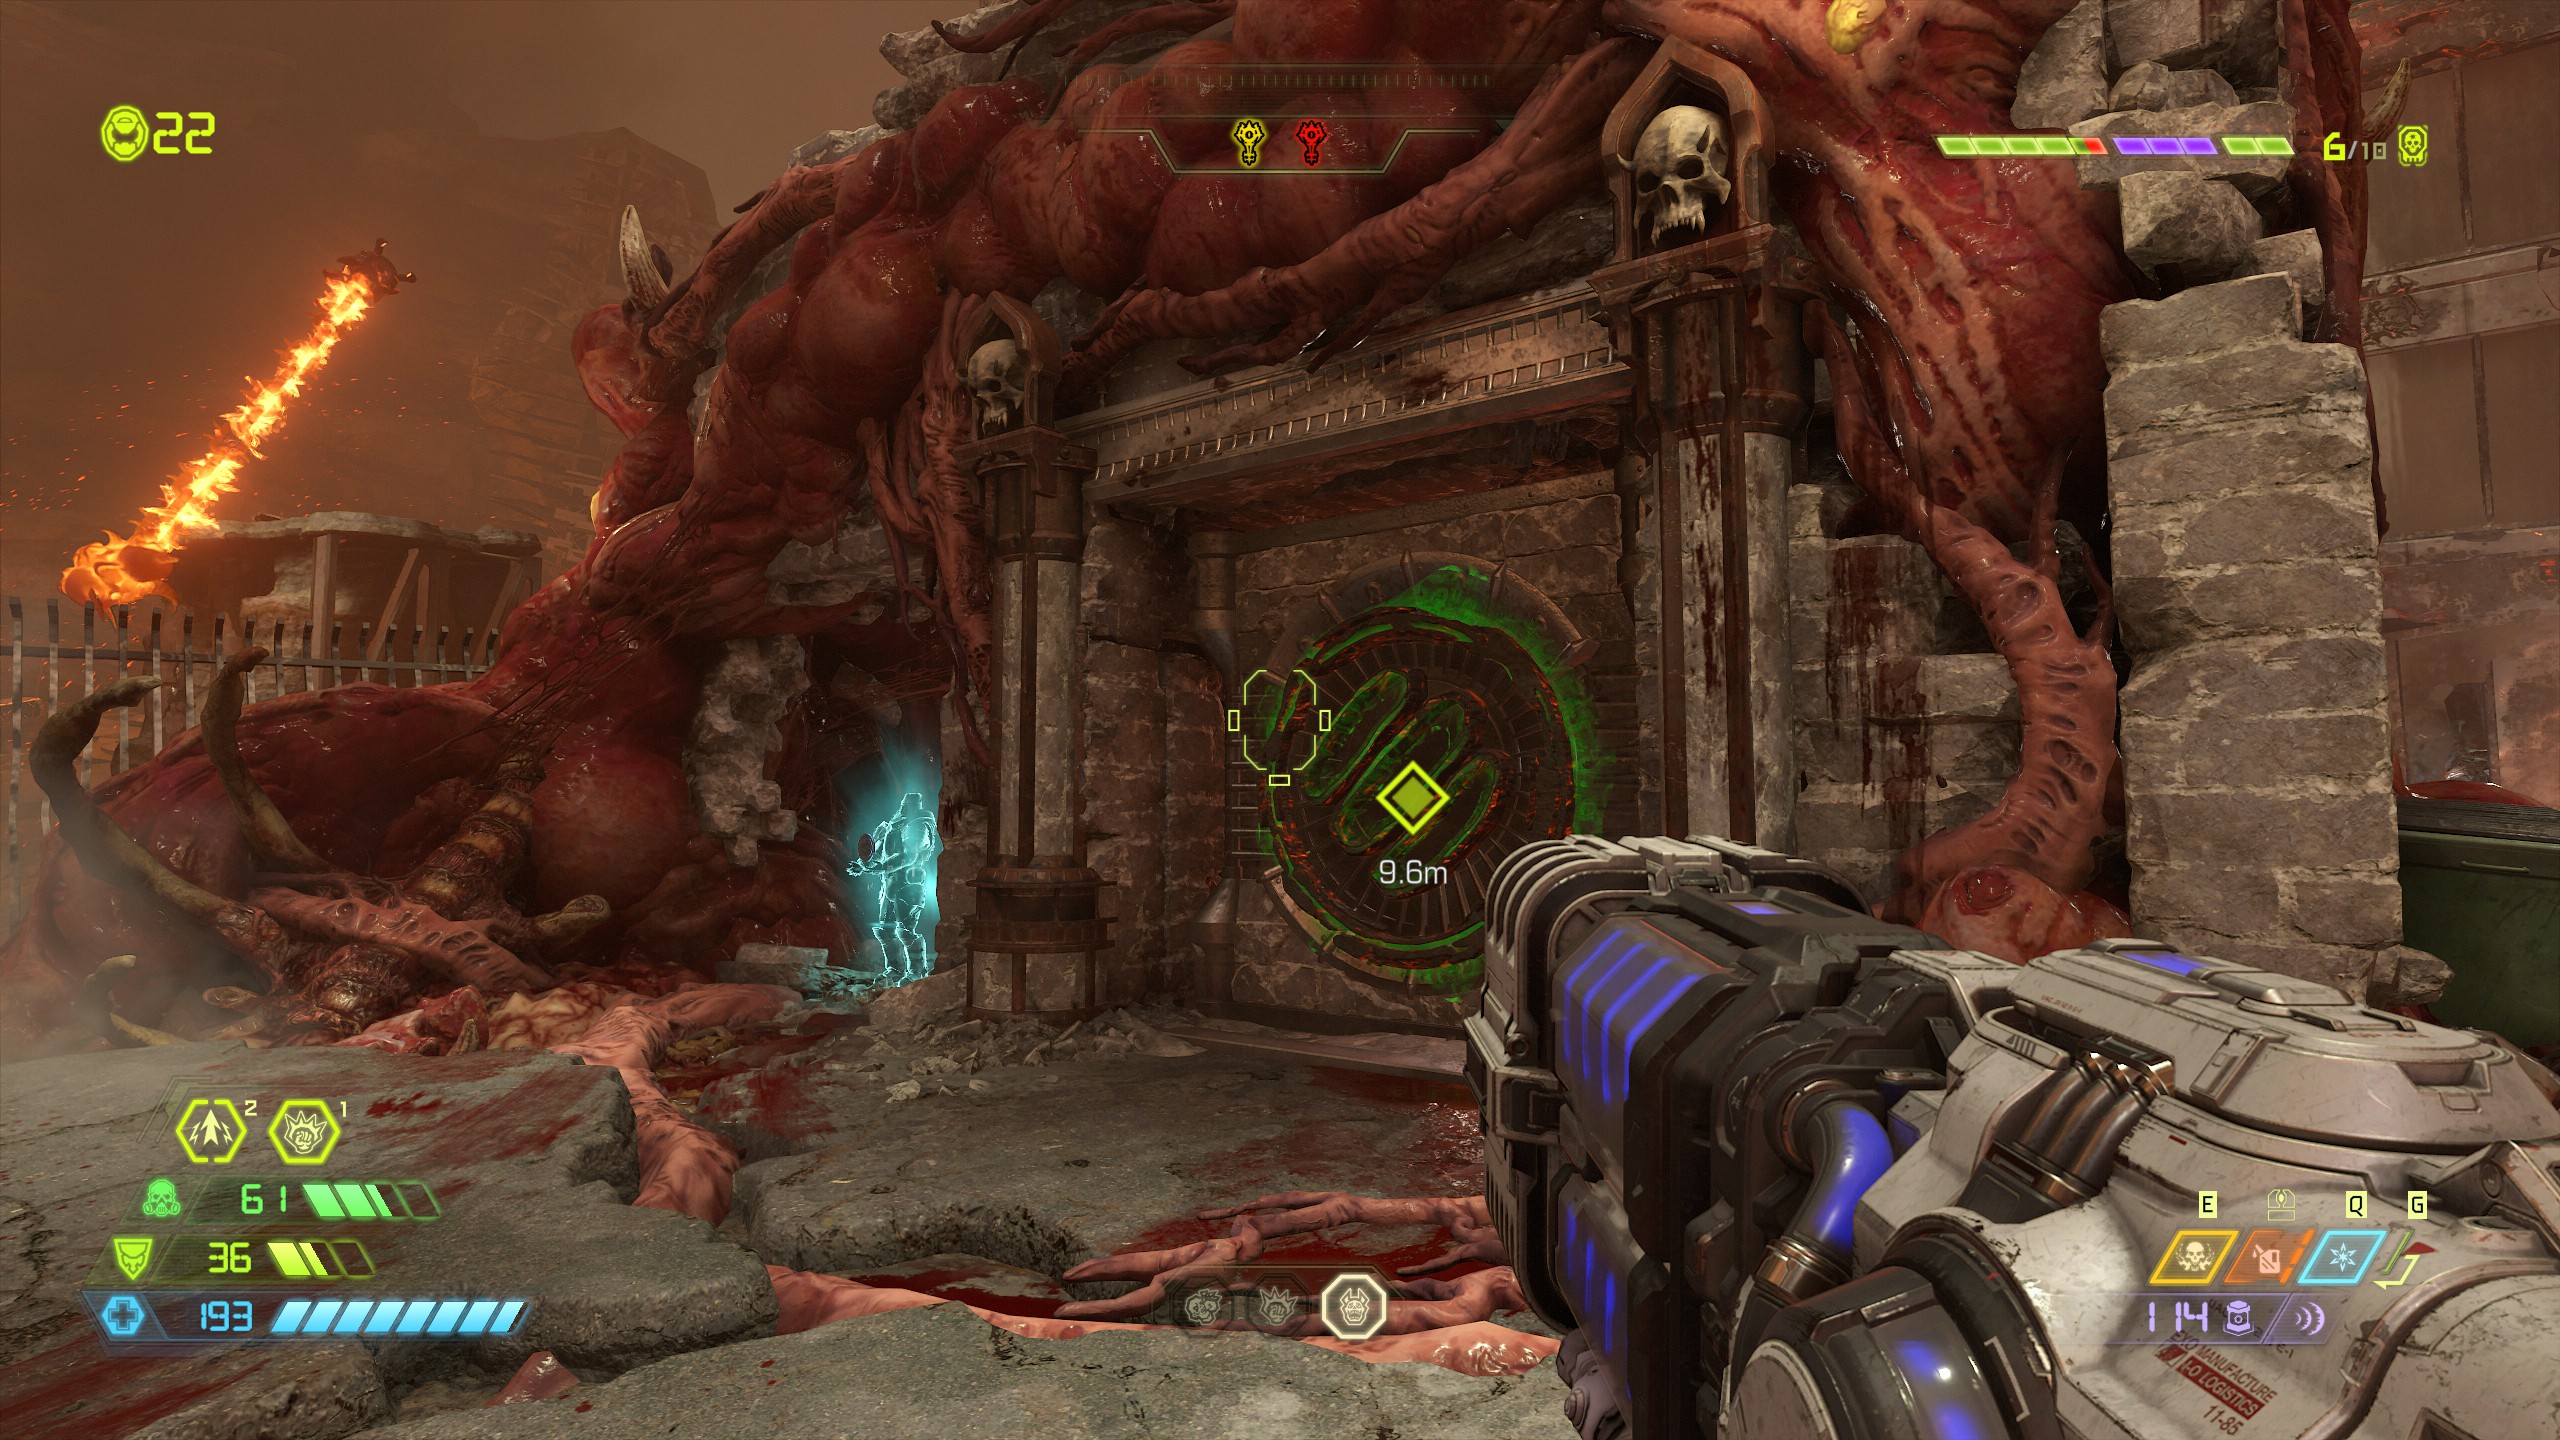
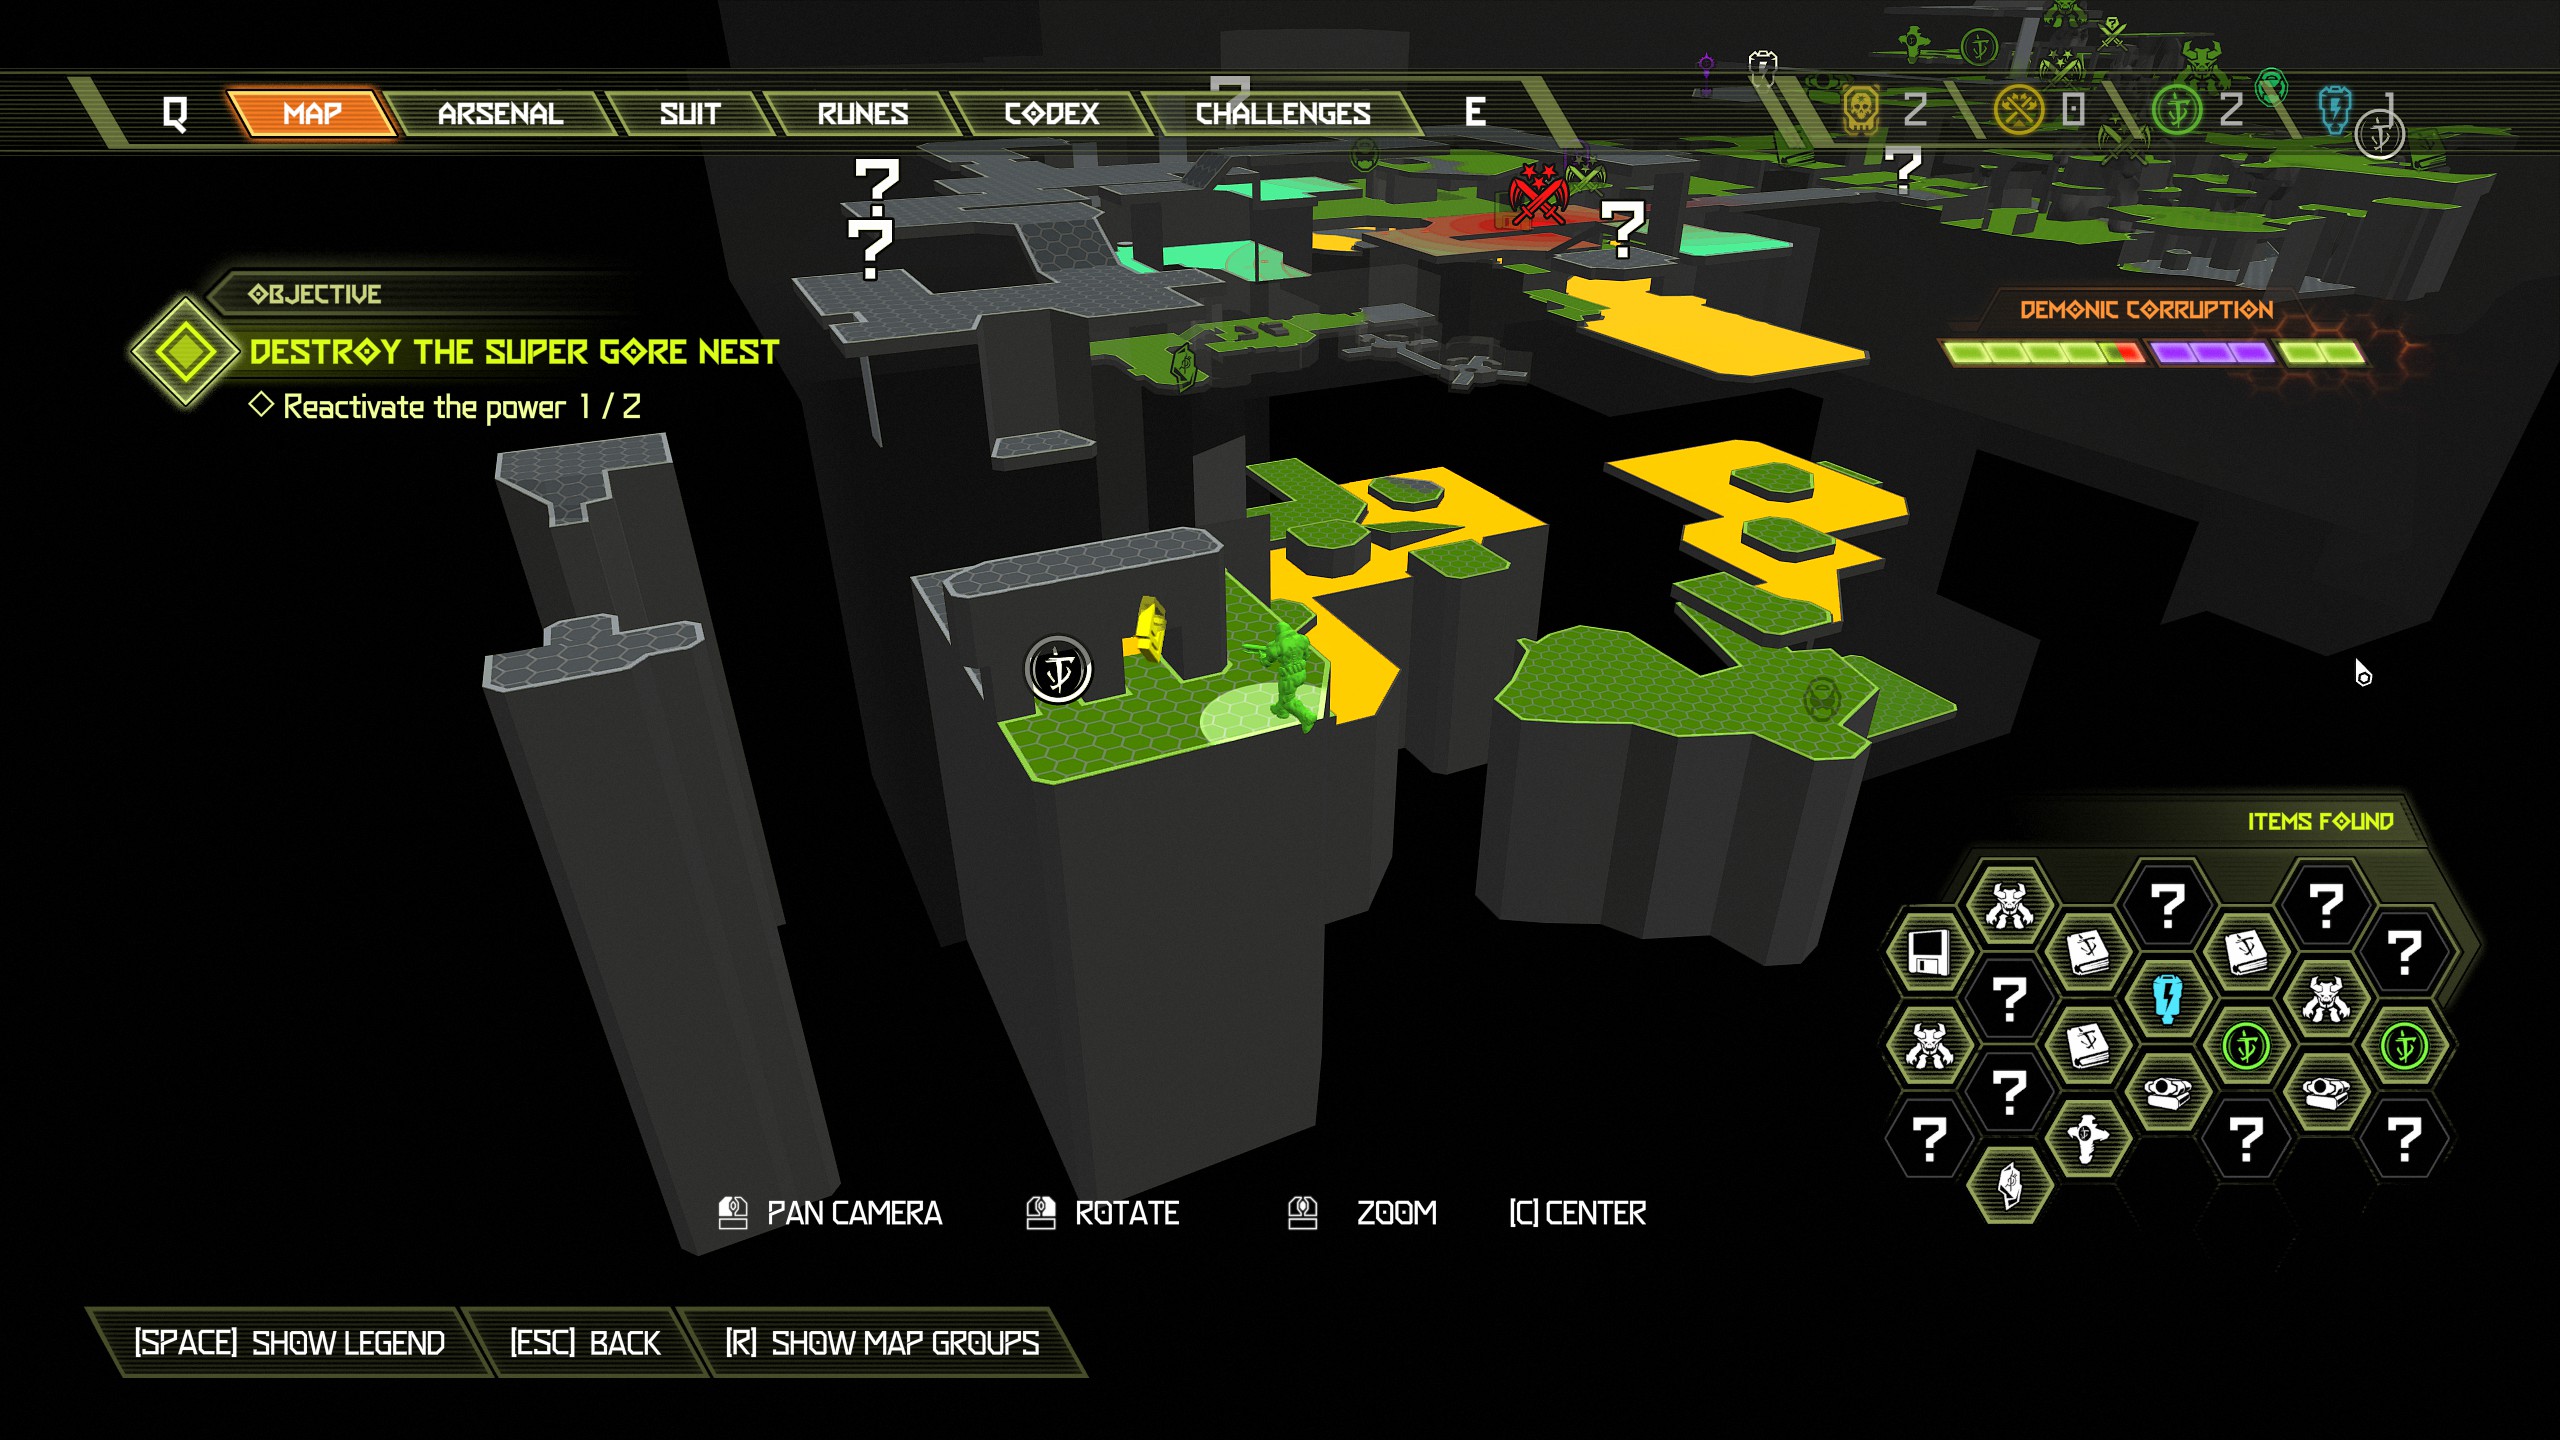
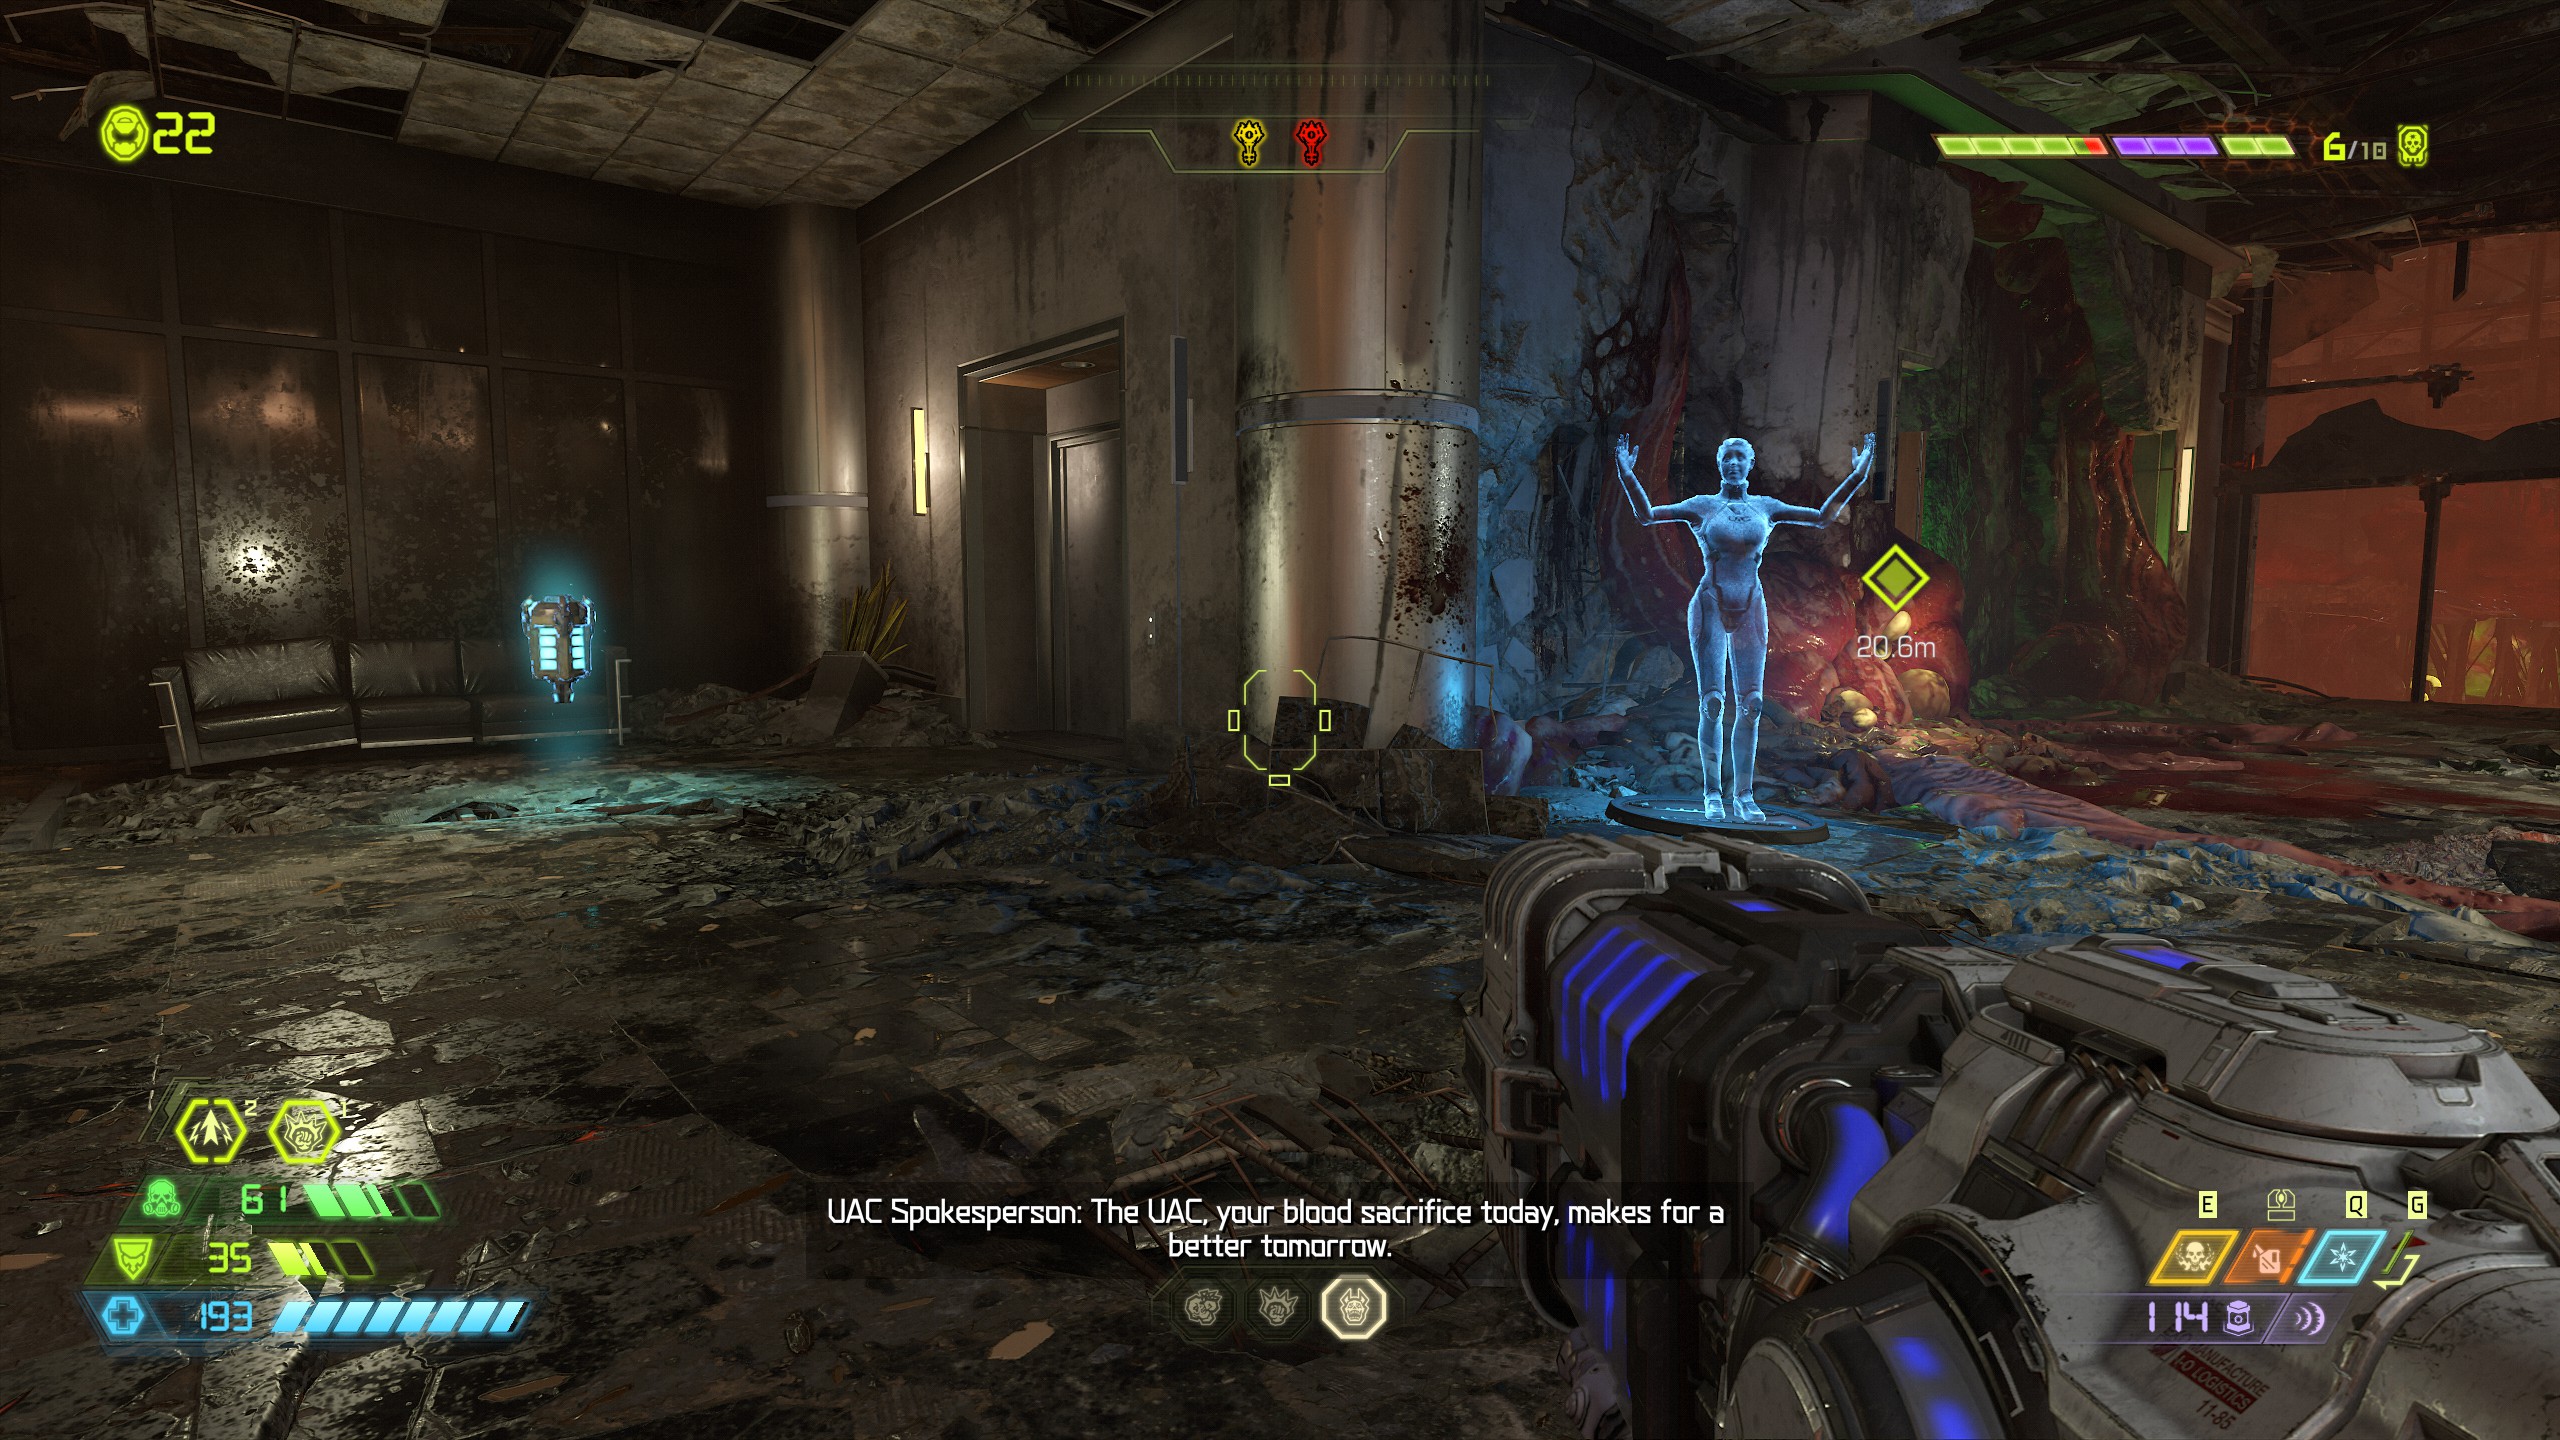
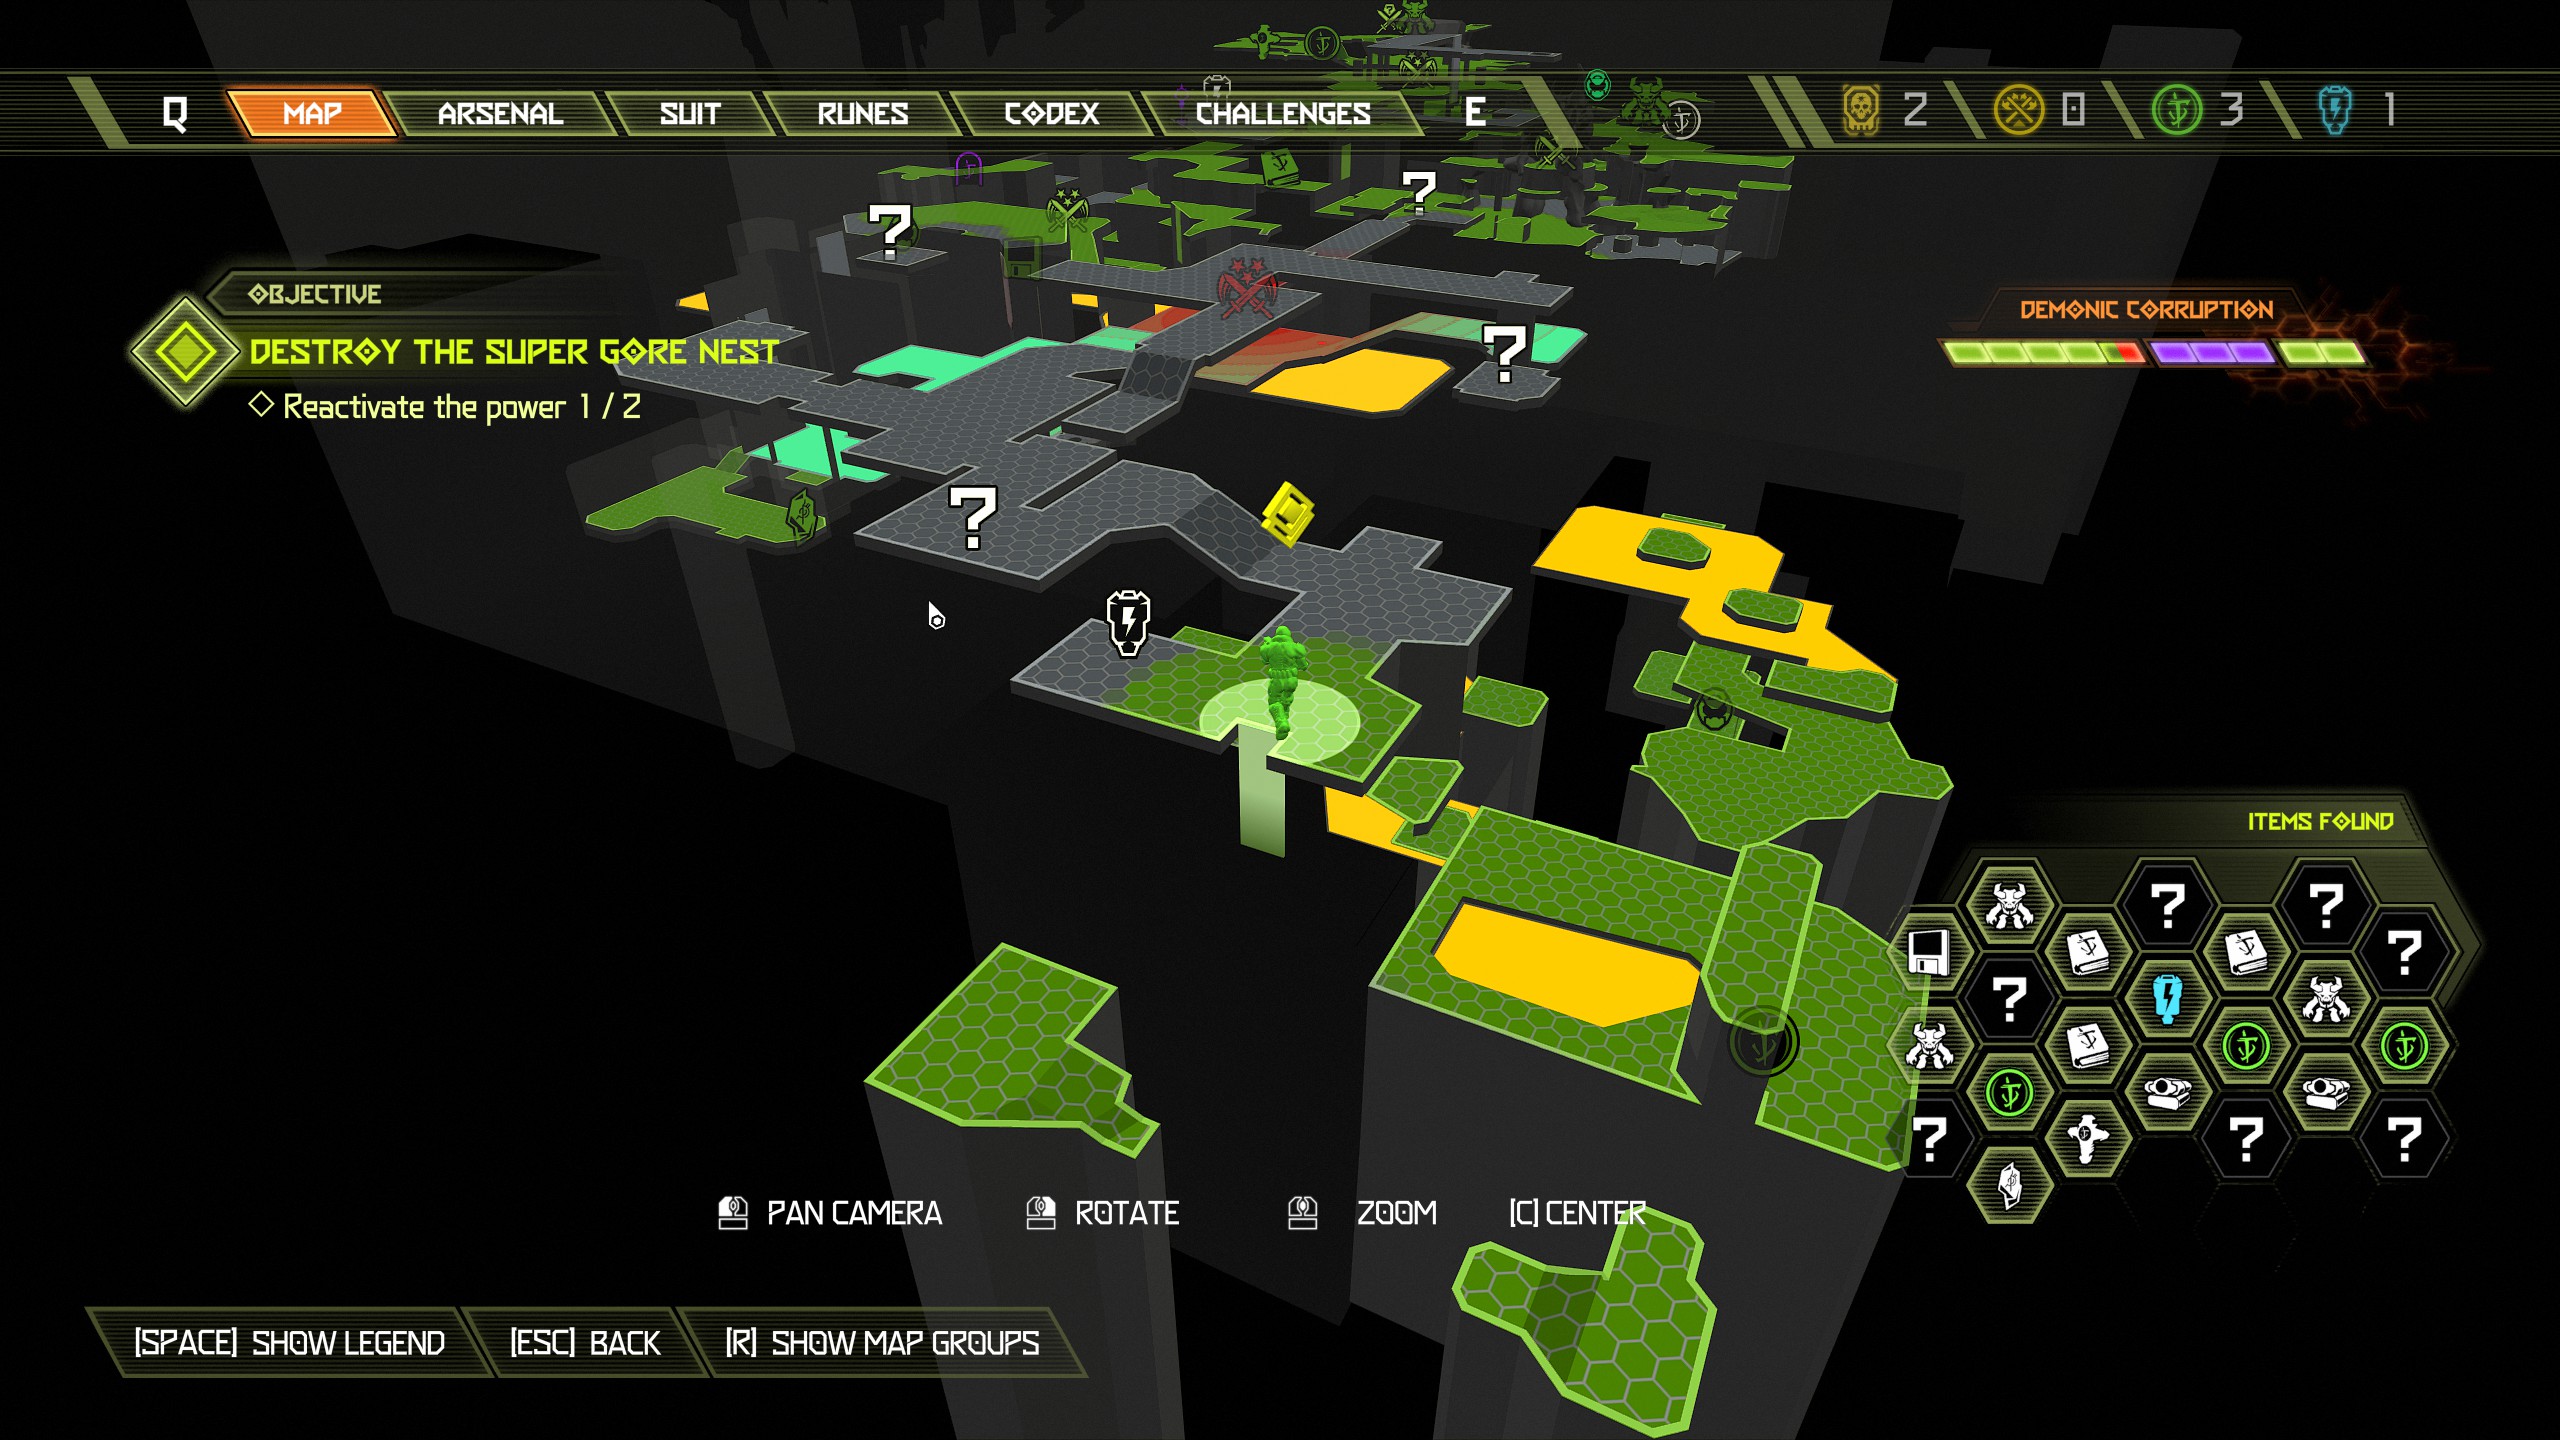
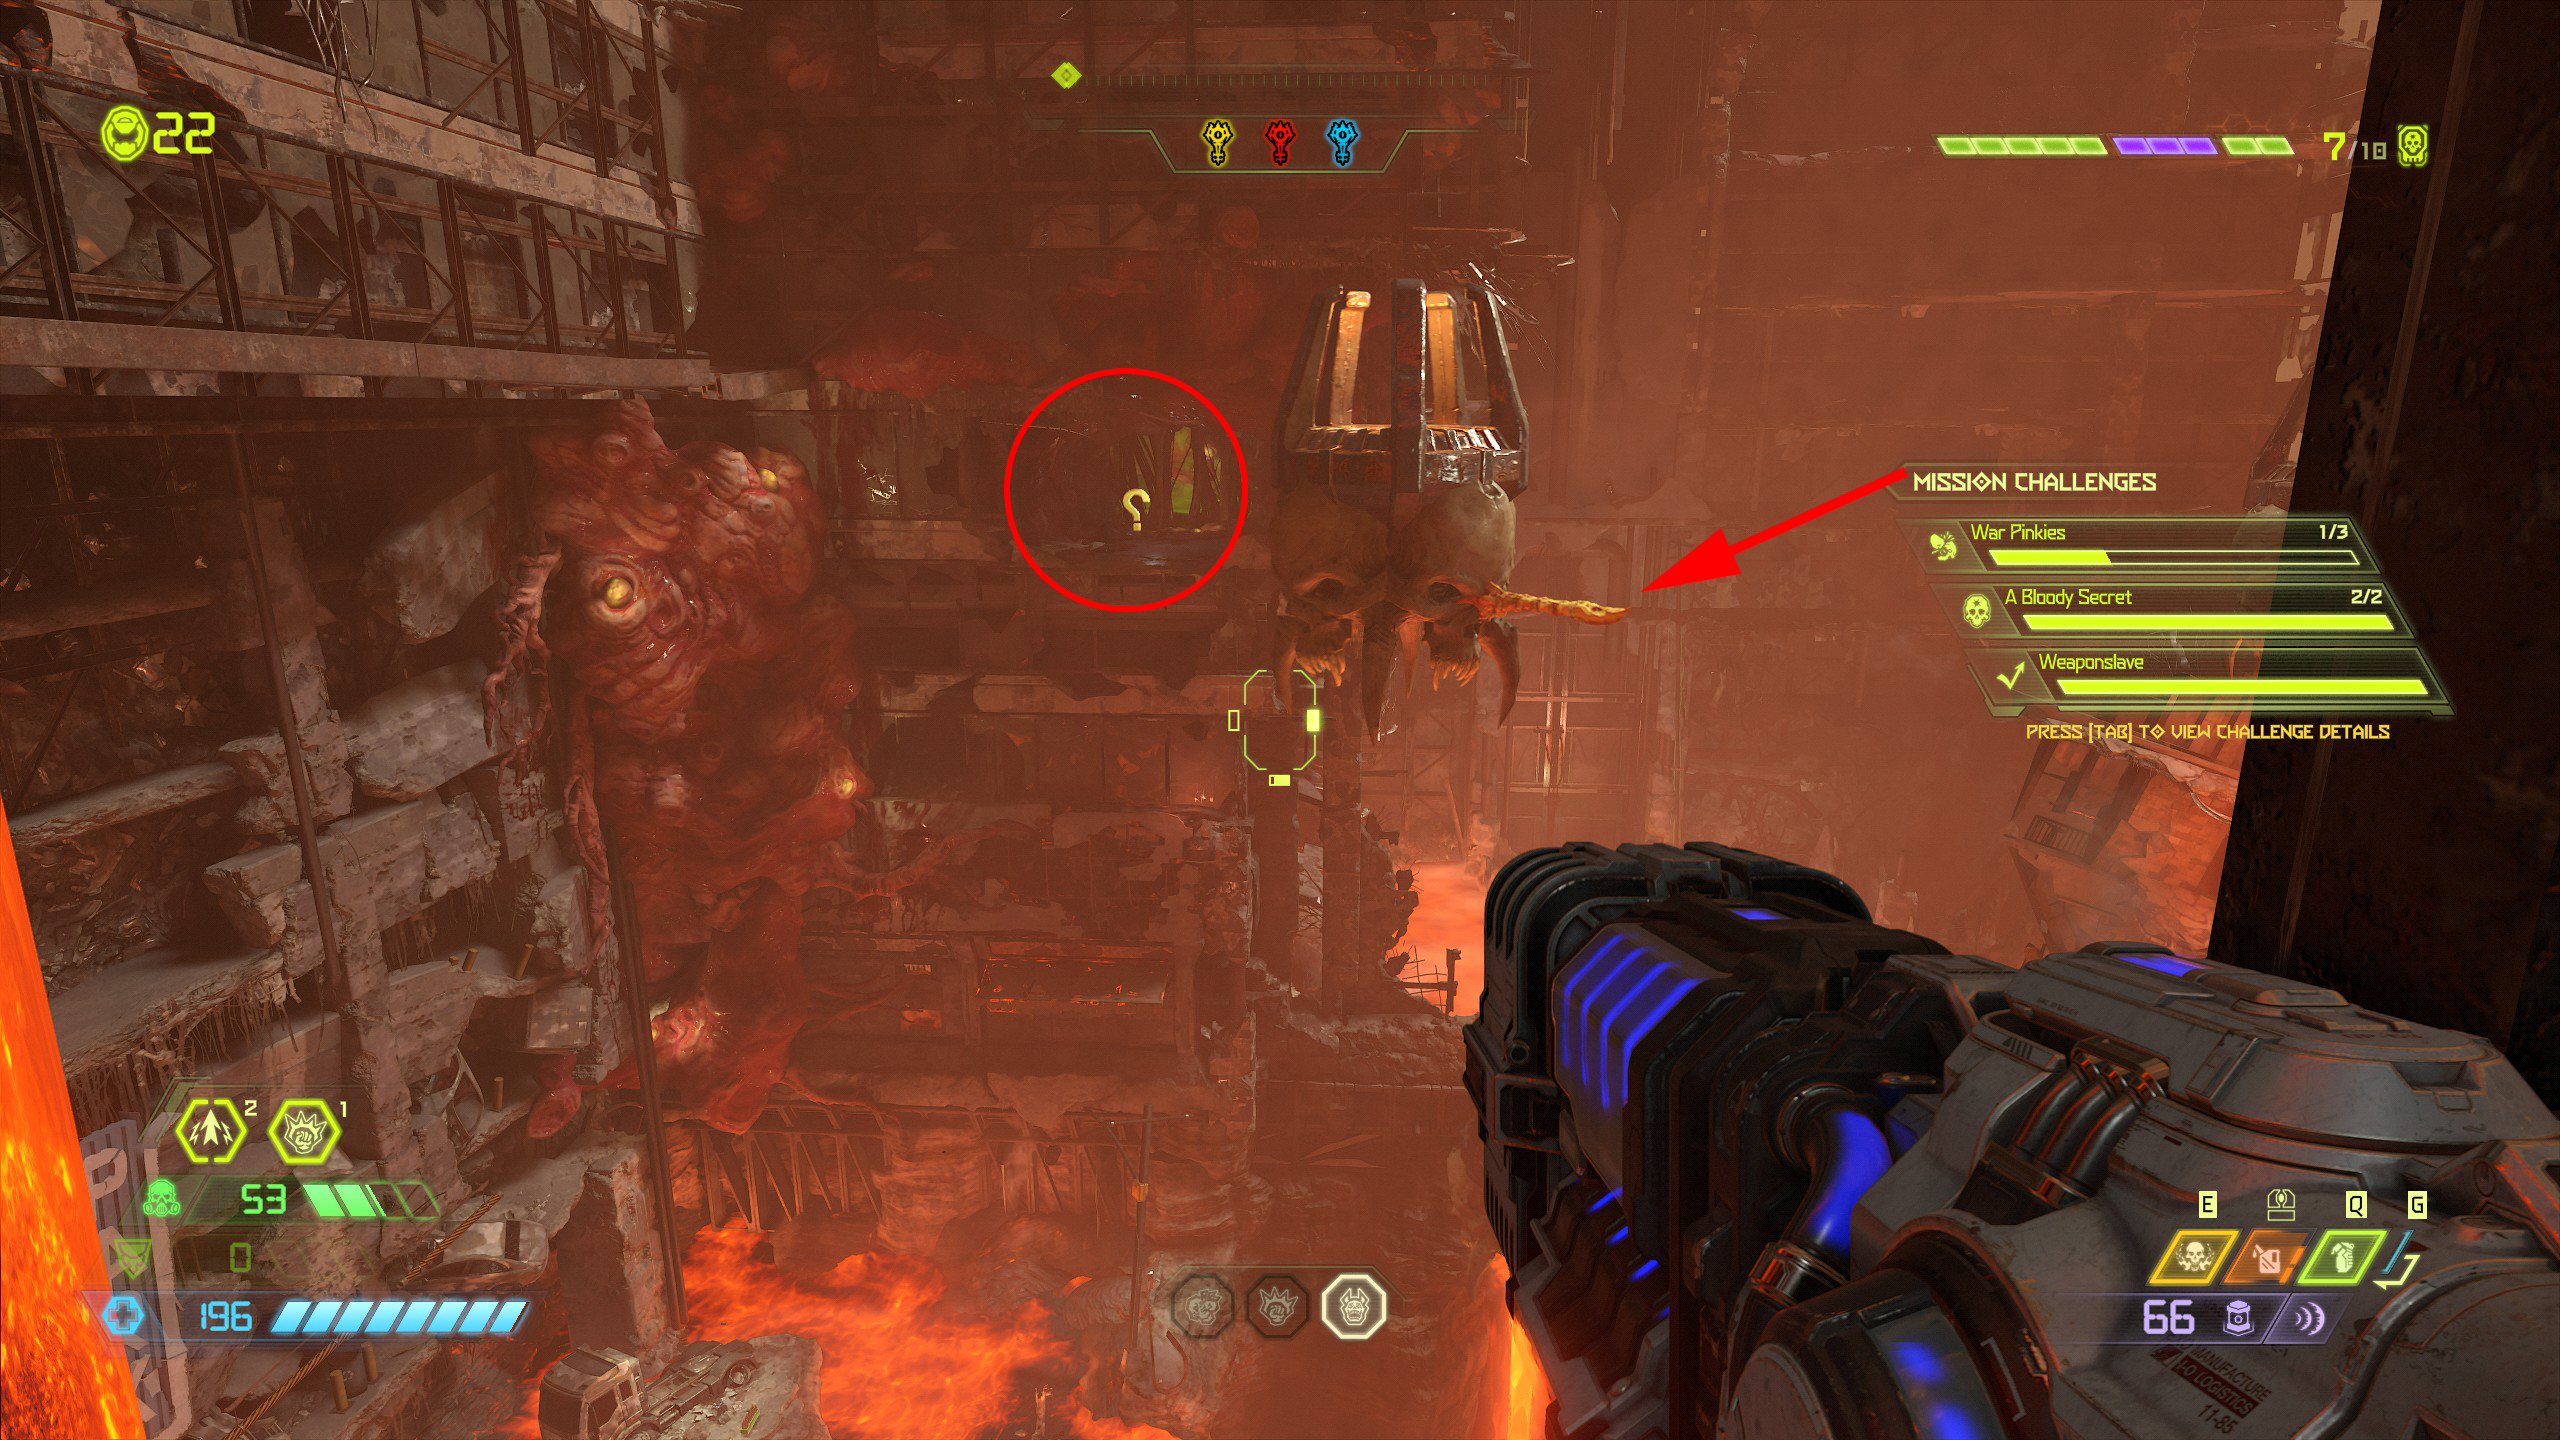
After the sentinel battery do not break through the green wall just yet, instead look out of the window towards where the buff totem was located and you should see another item sitting in the building on the opposite side. To reach the item you will need to jump and swing across using the yellow bar that is connected to the rotating skulls in front of you, just time it right.
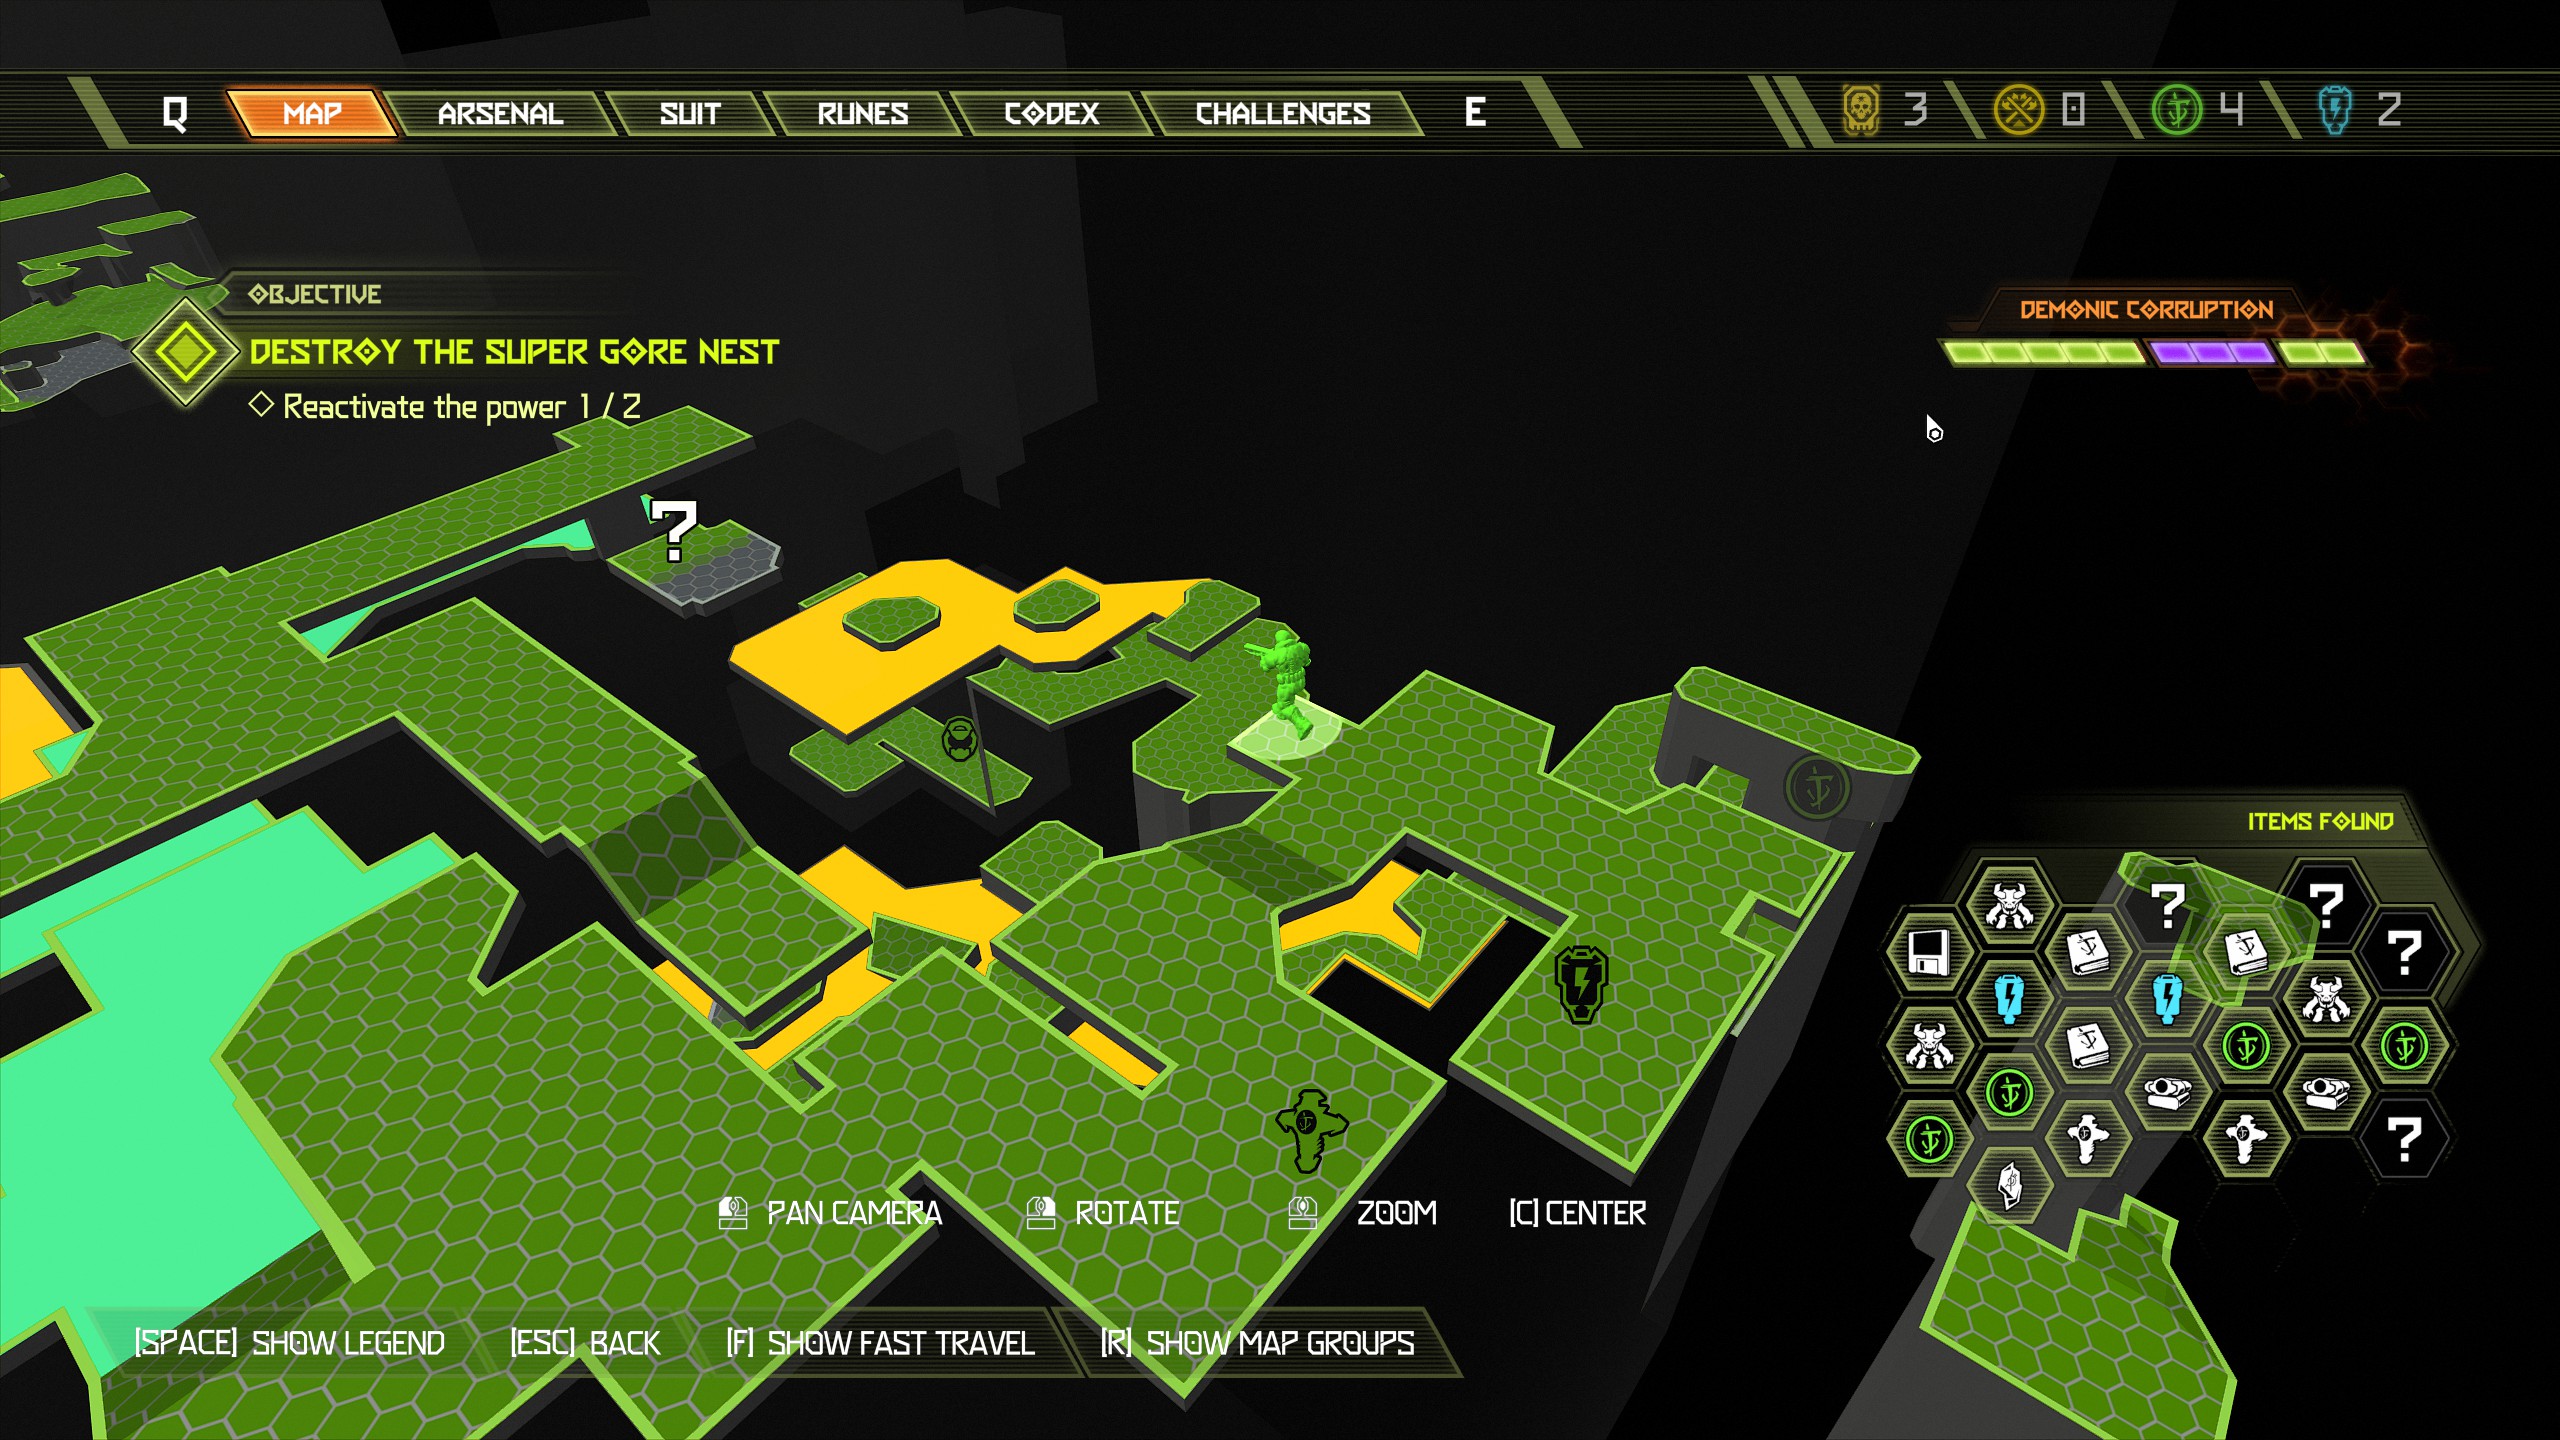
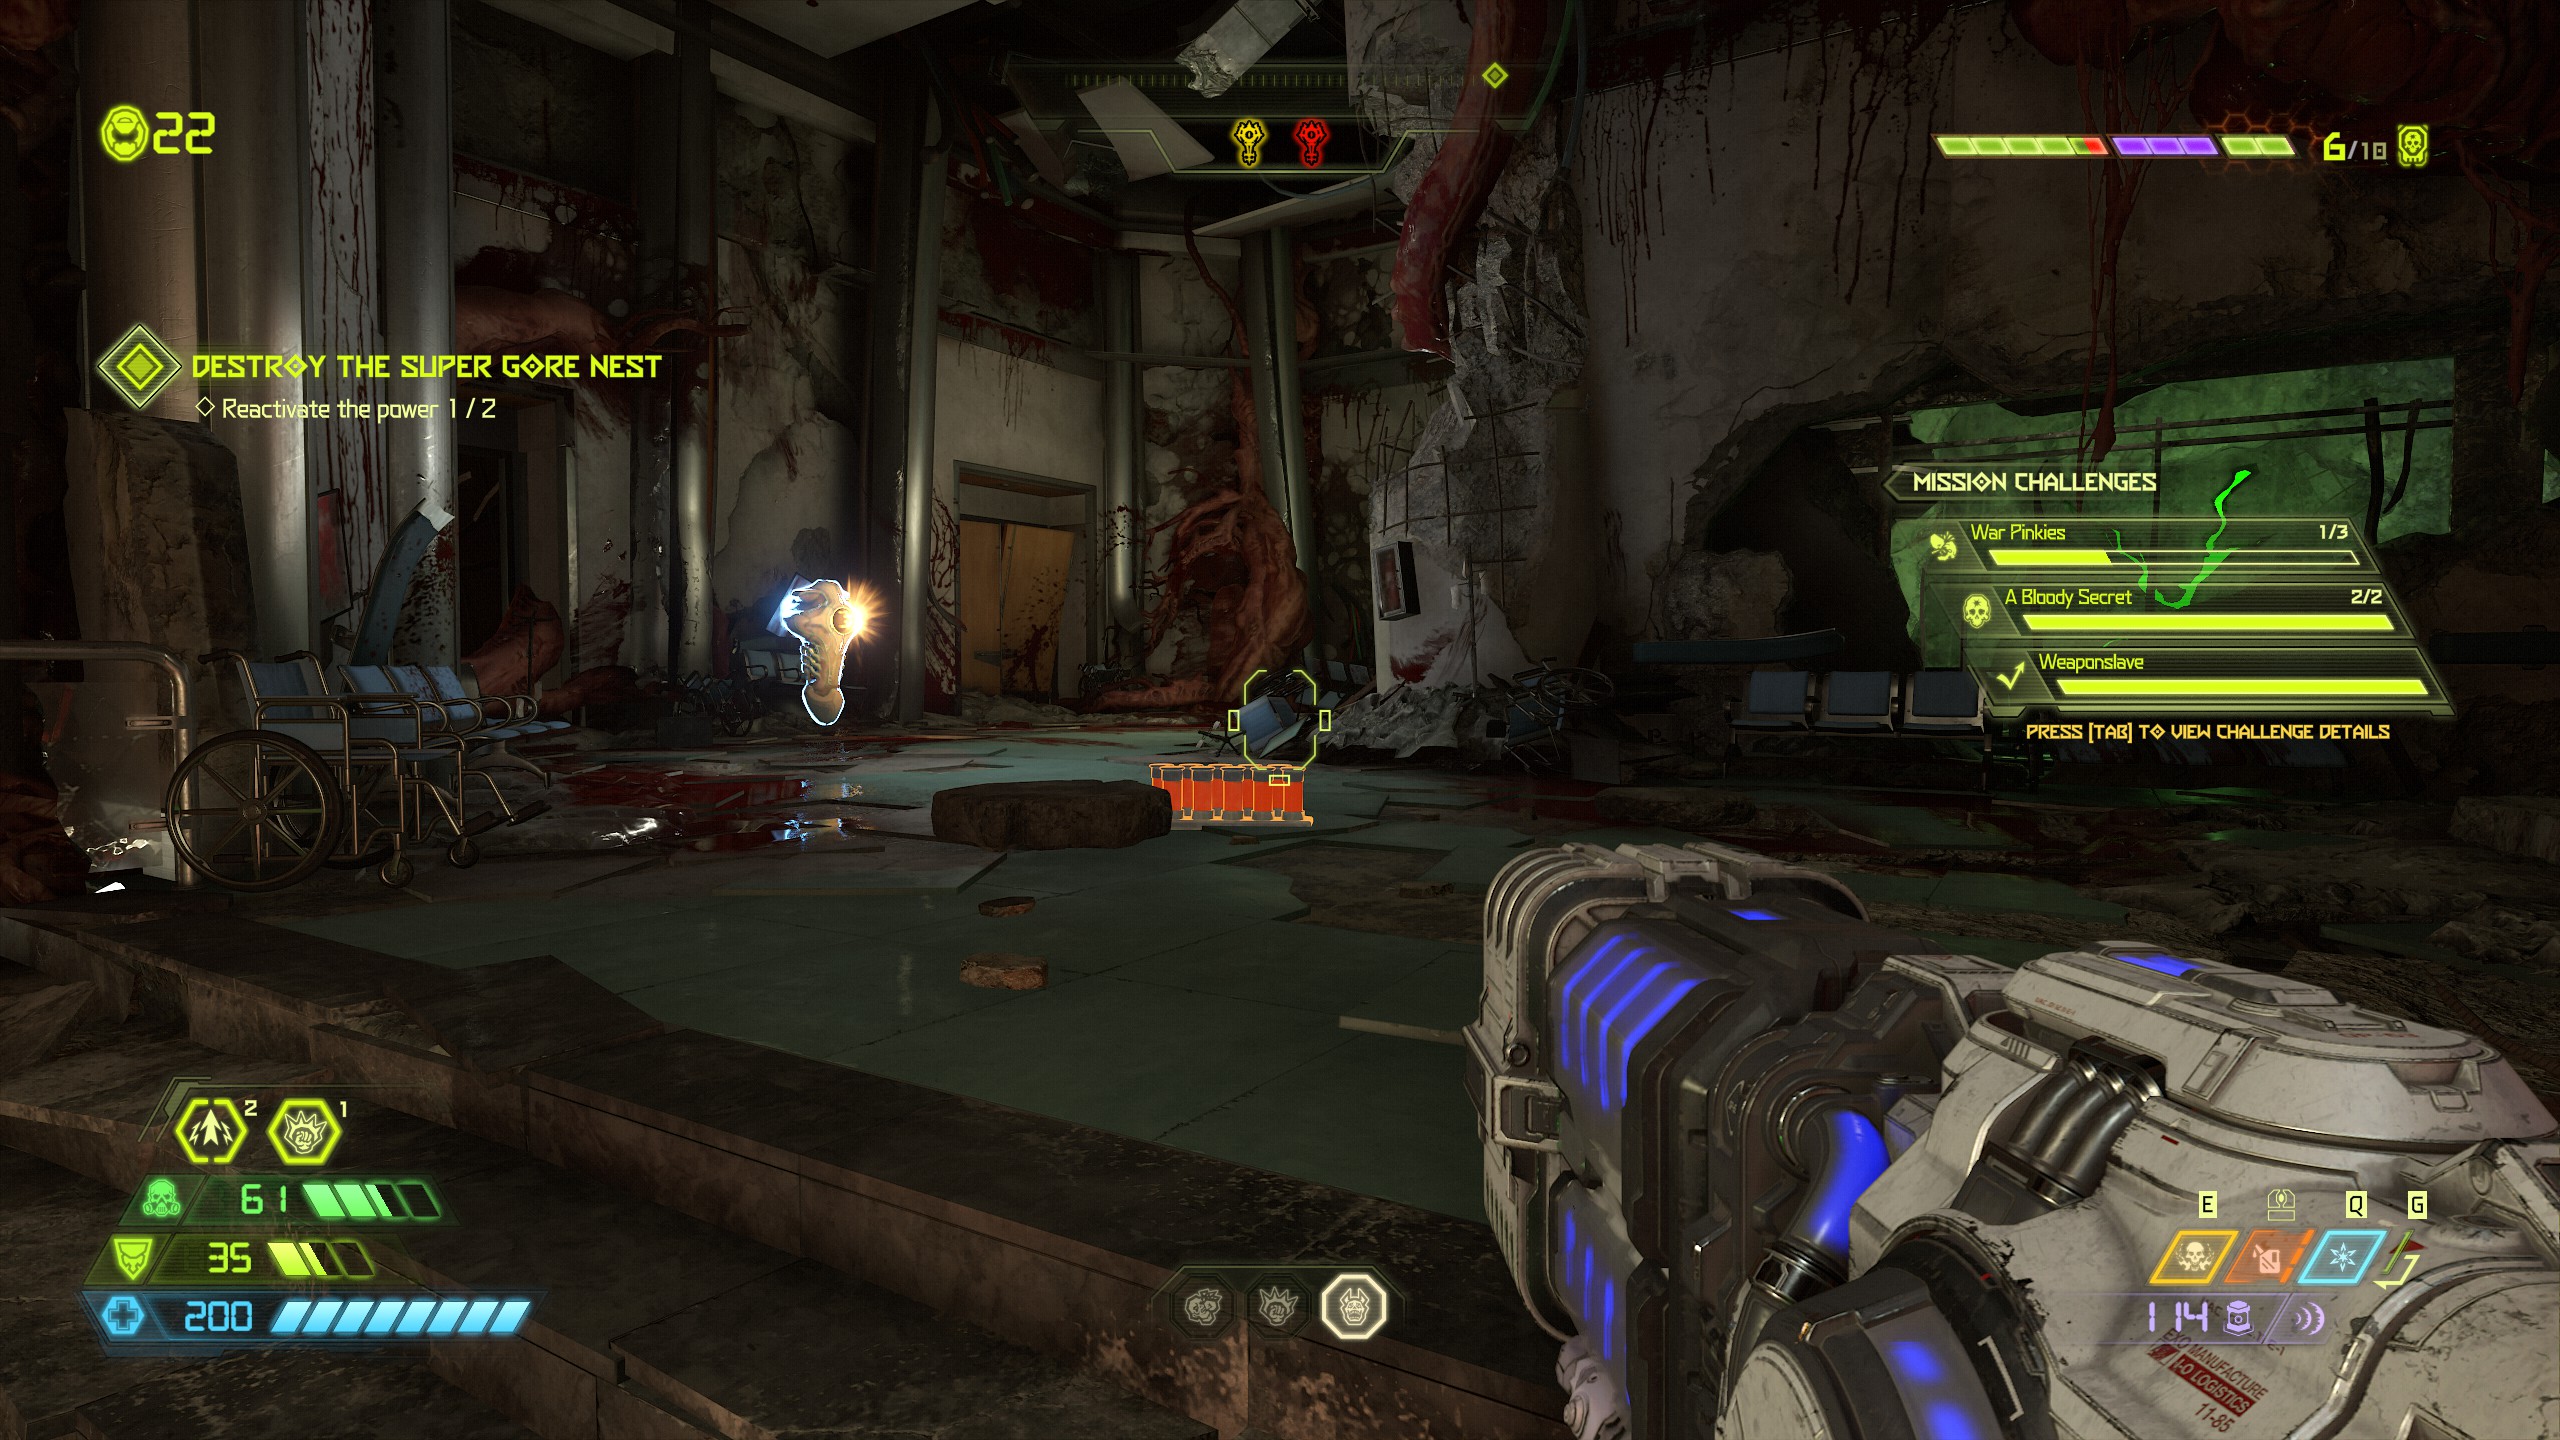
Now go back up to the building we just jumped from and break through the green wall to find a rune inside the next room.
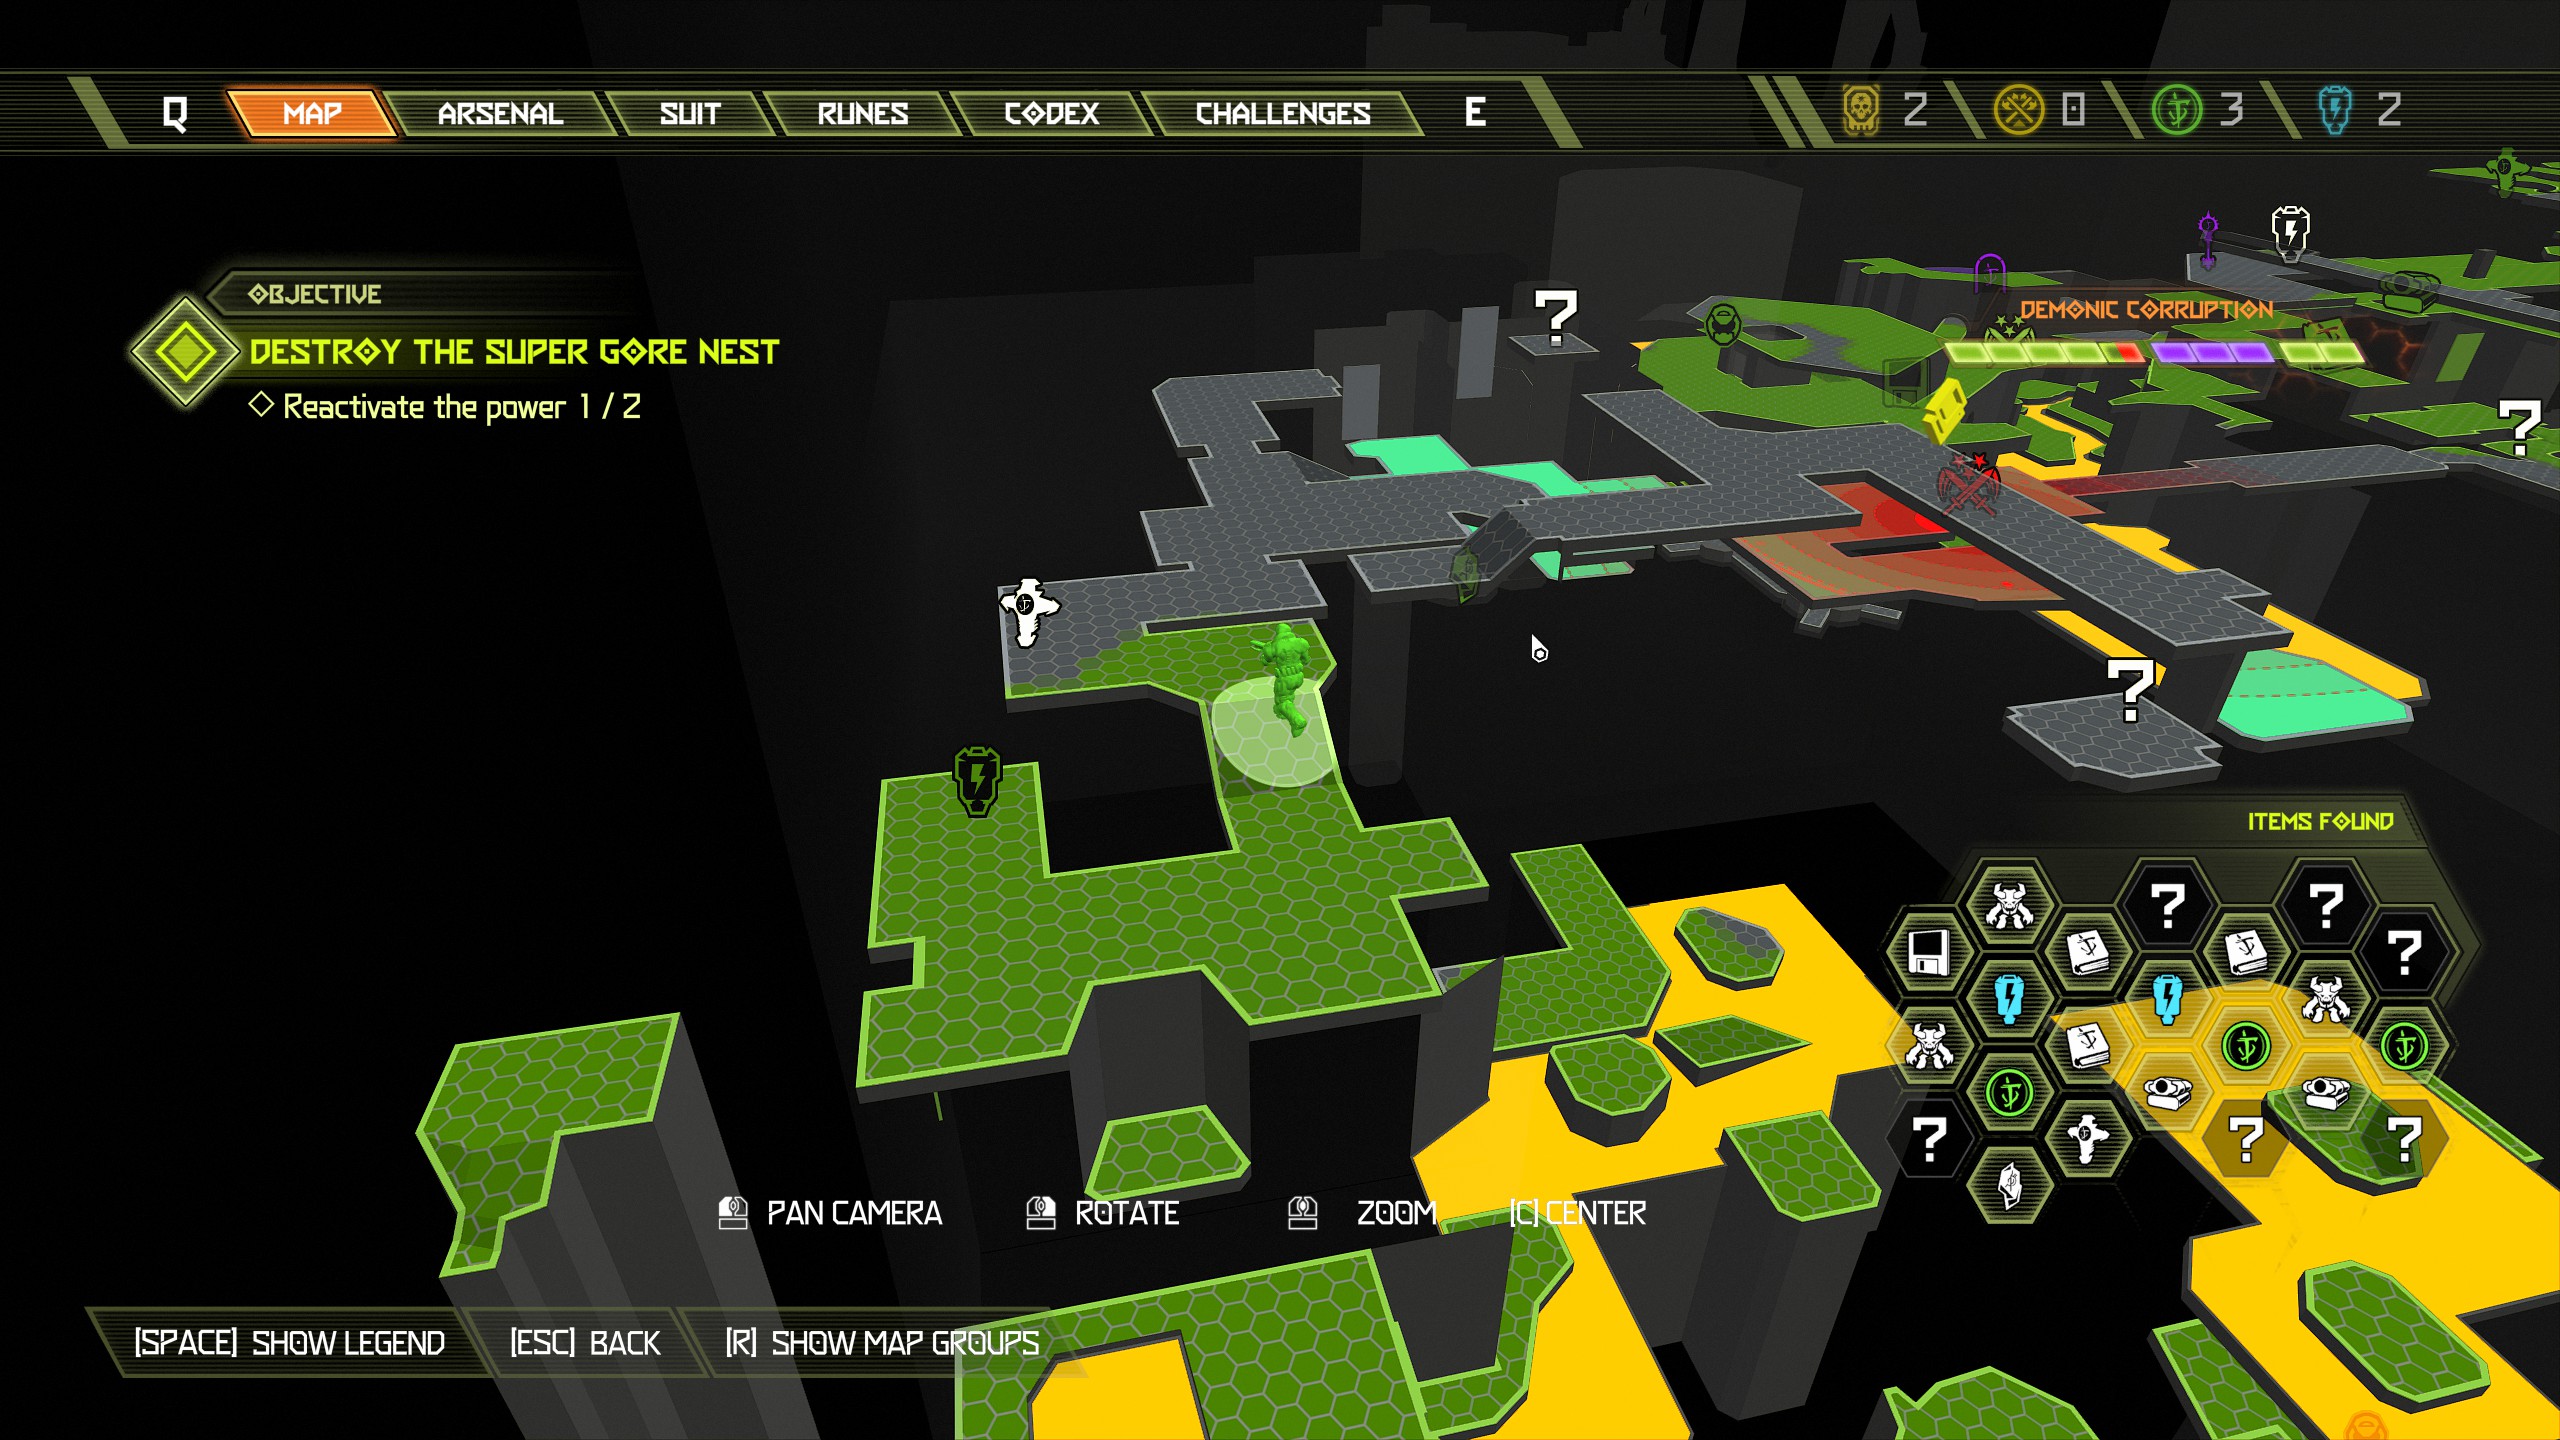
Mission 5: Super Gore Nest [Part 3]
Make your way across the walls and in the top left corner will be a praetor suit token on the highest platform, you might not see it until you reach the fourth wall but you won't miss it anyway.
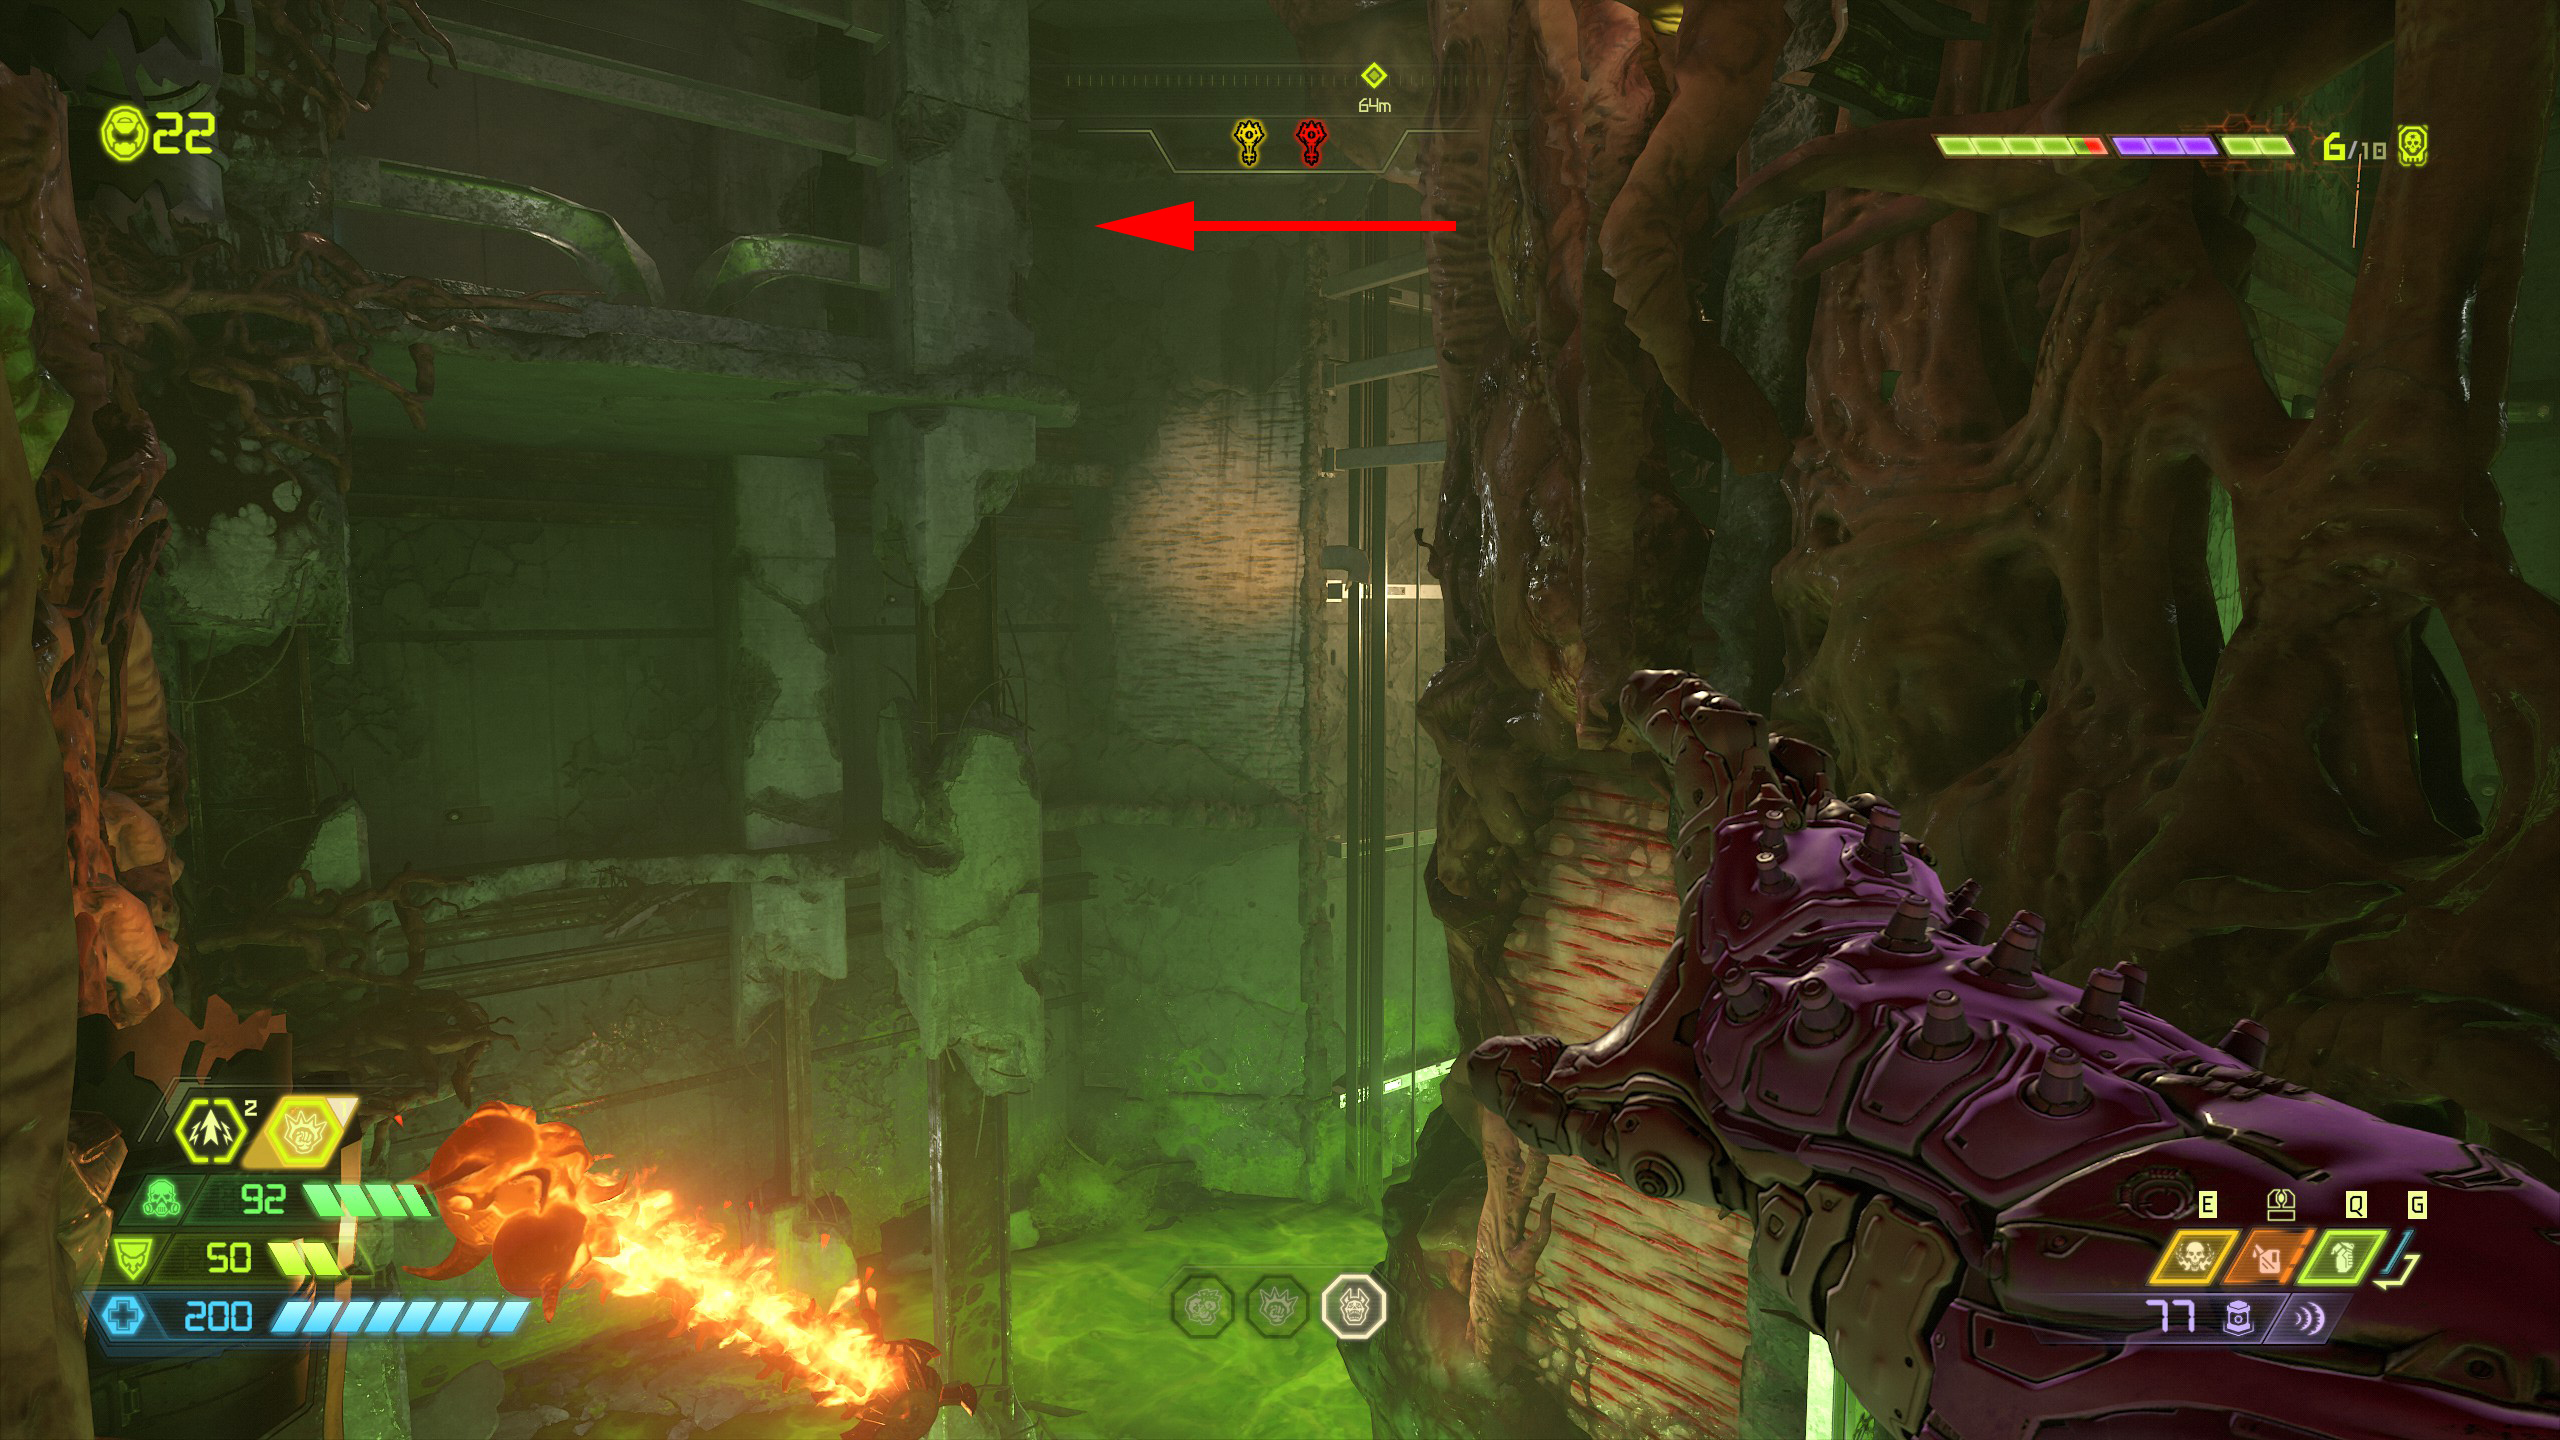
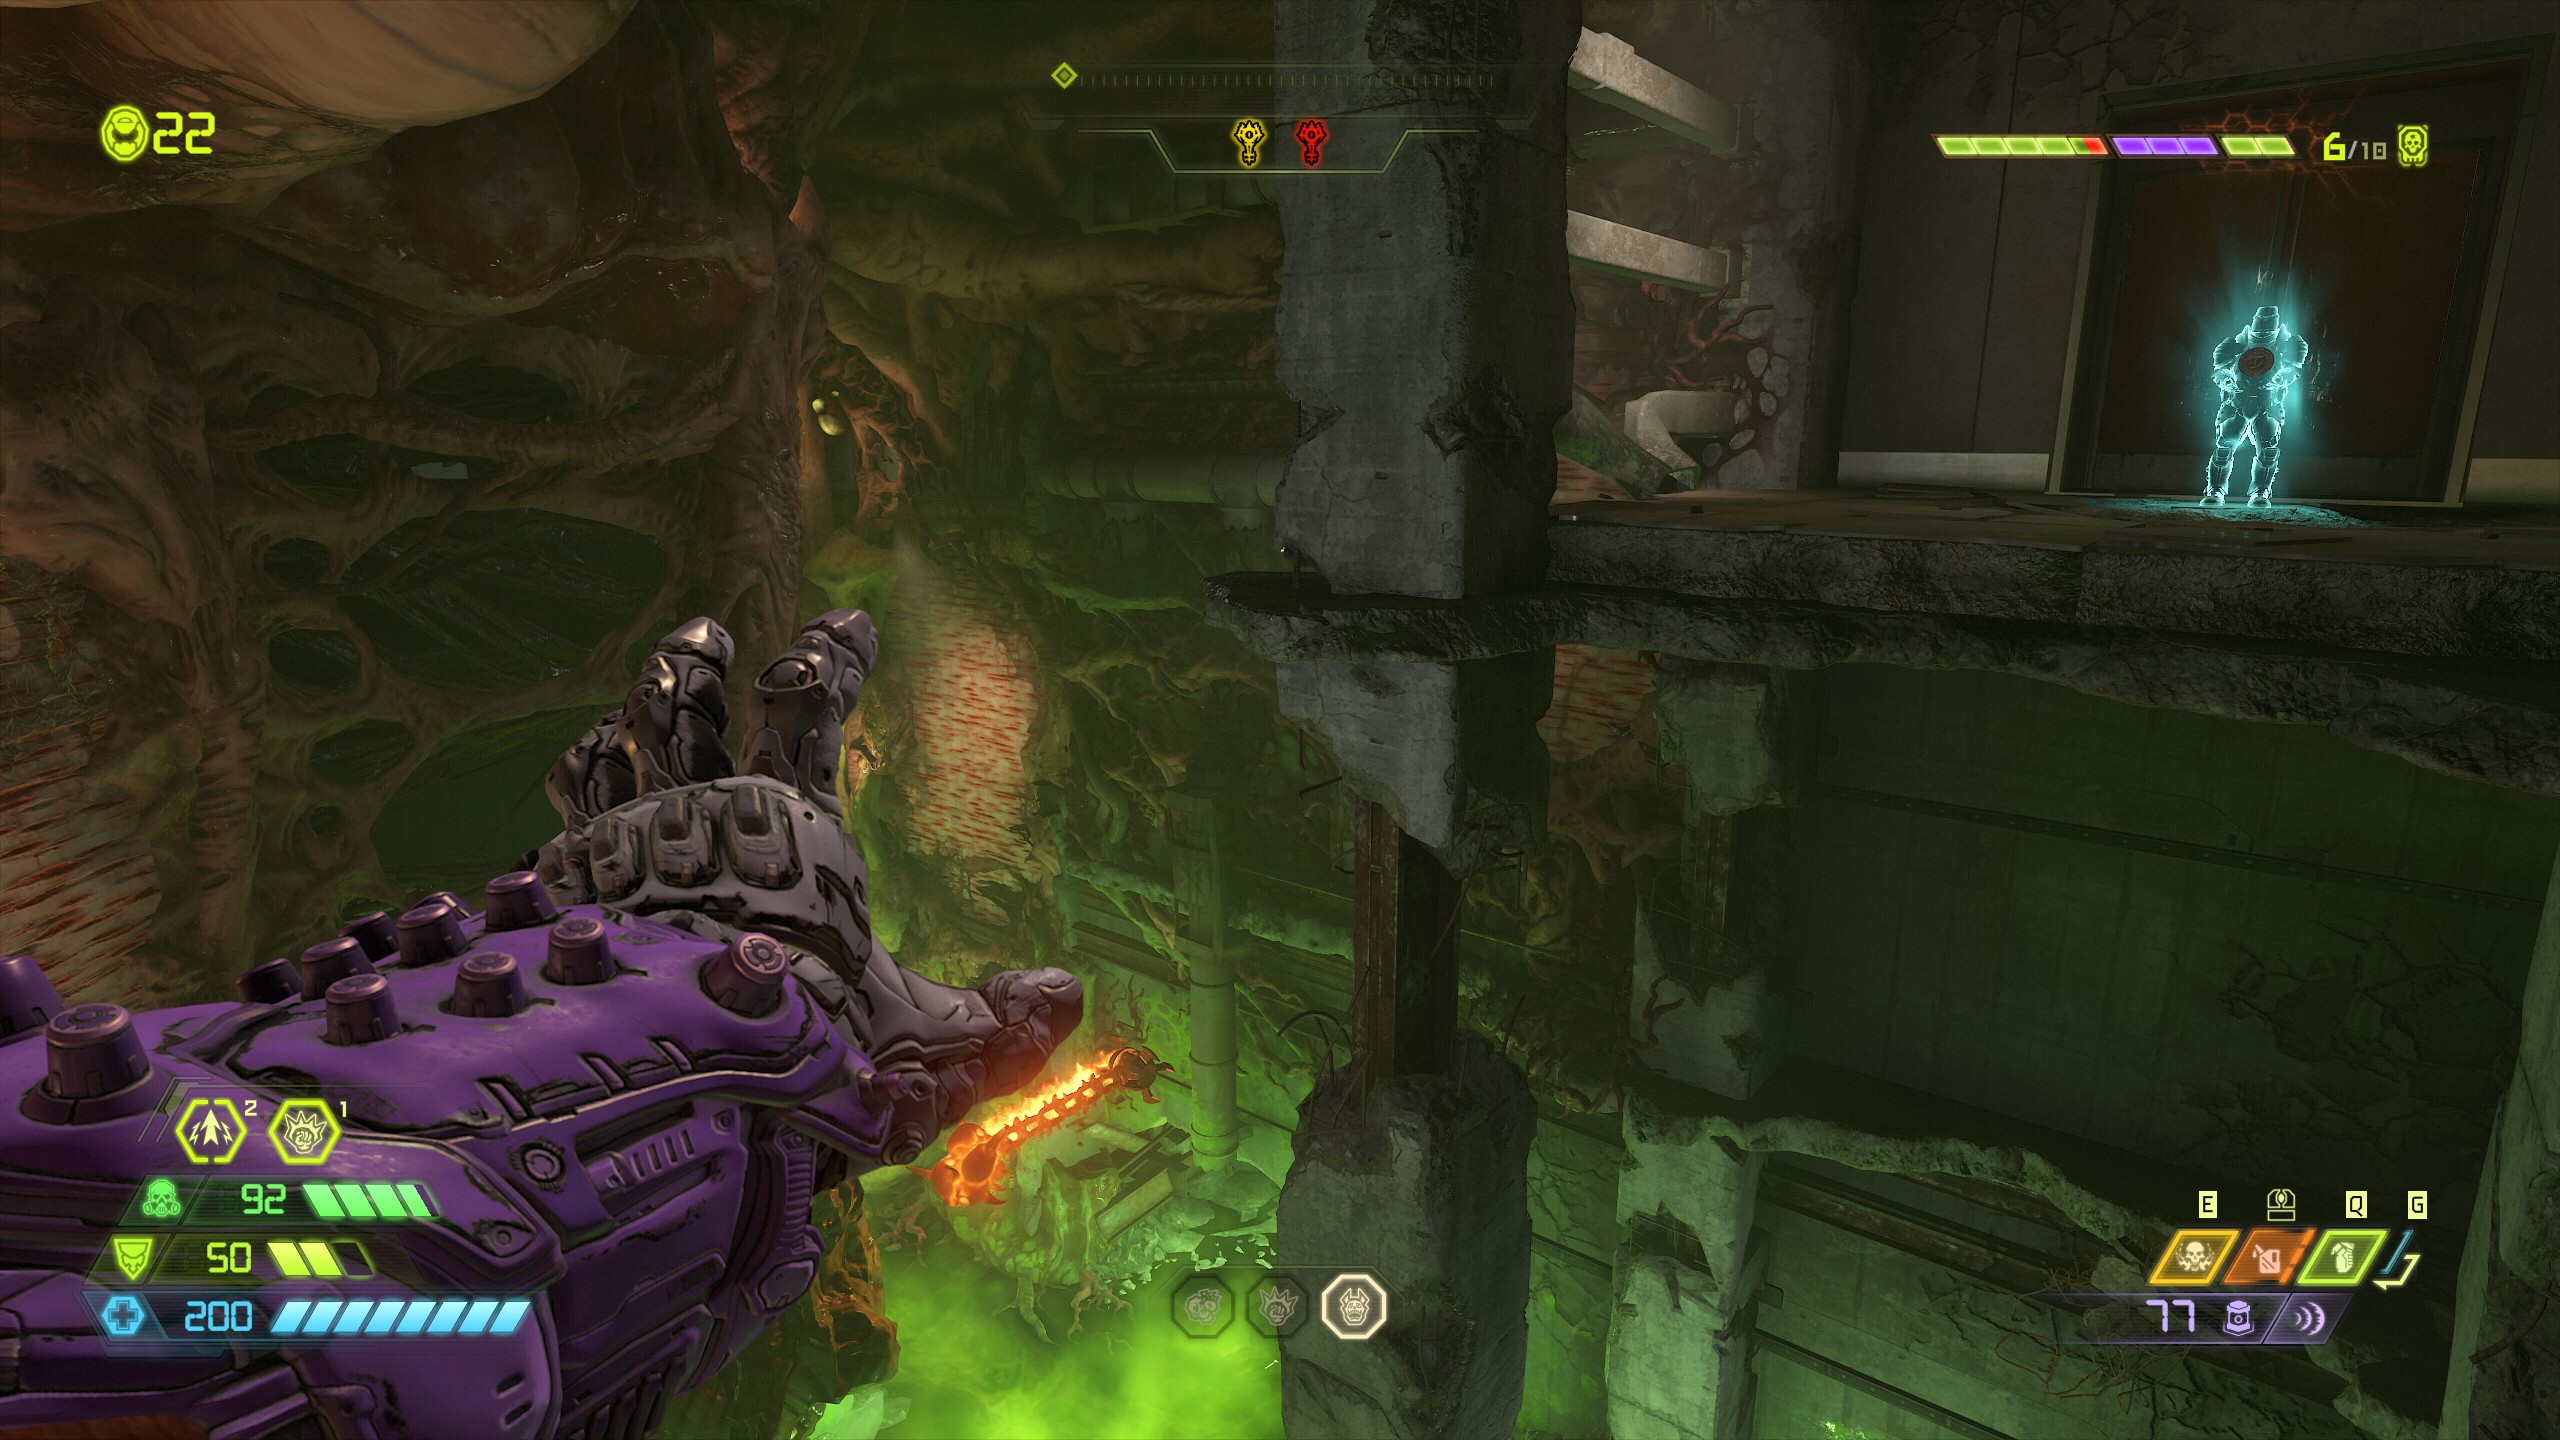
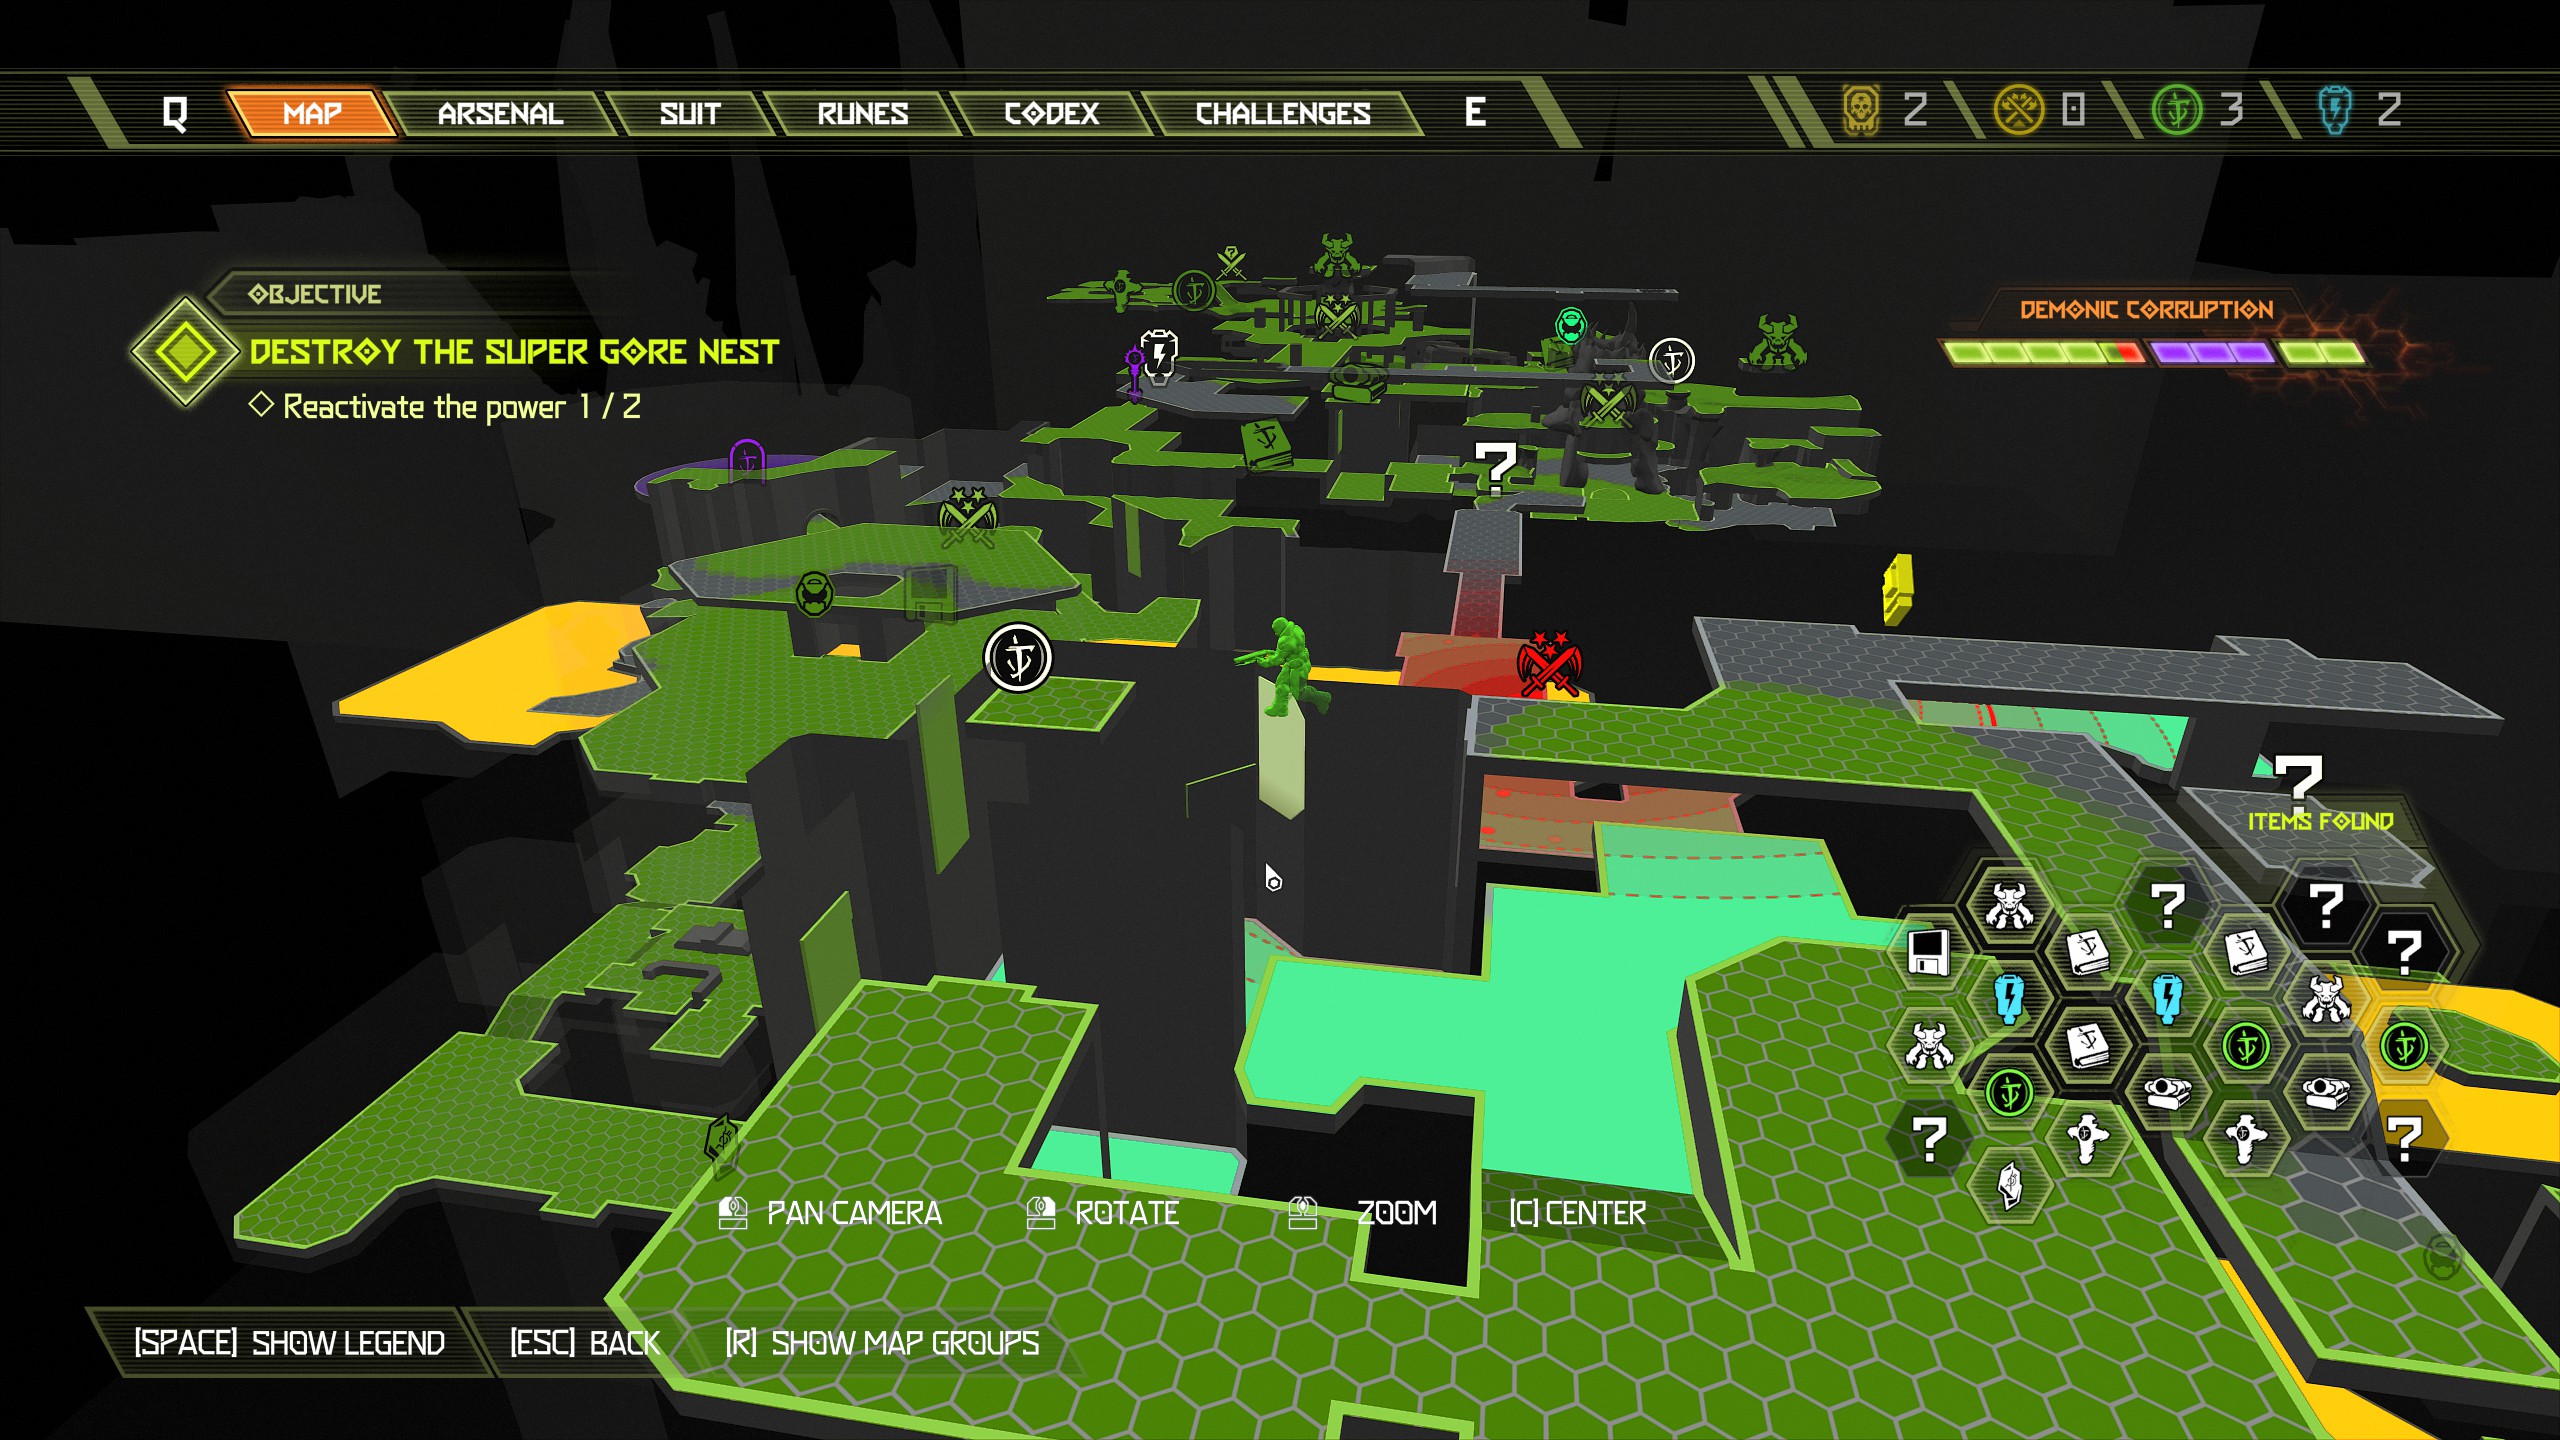
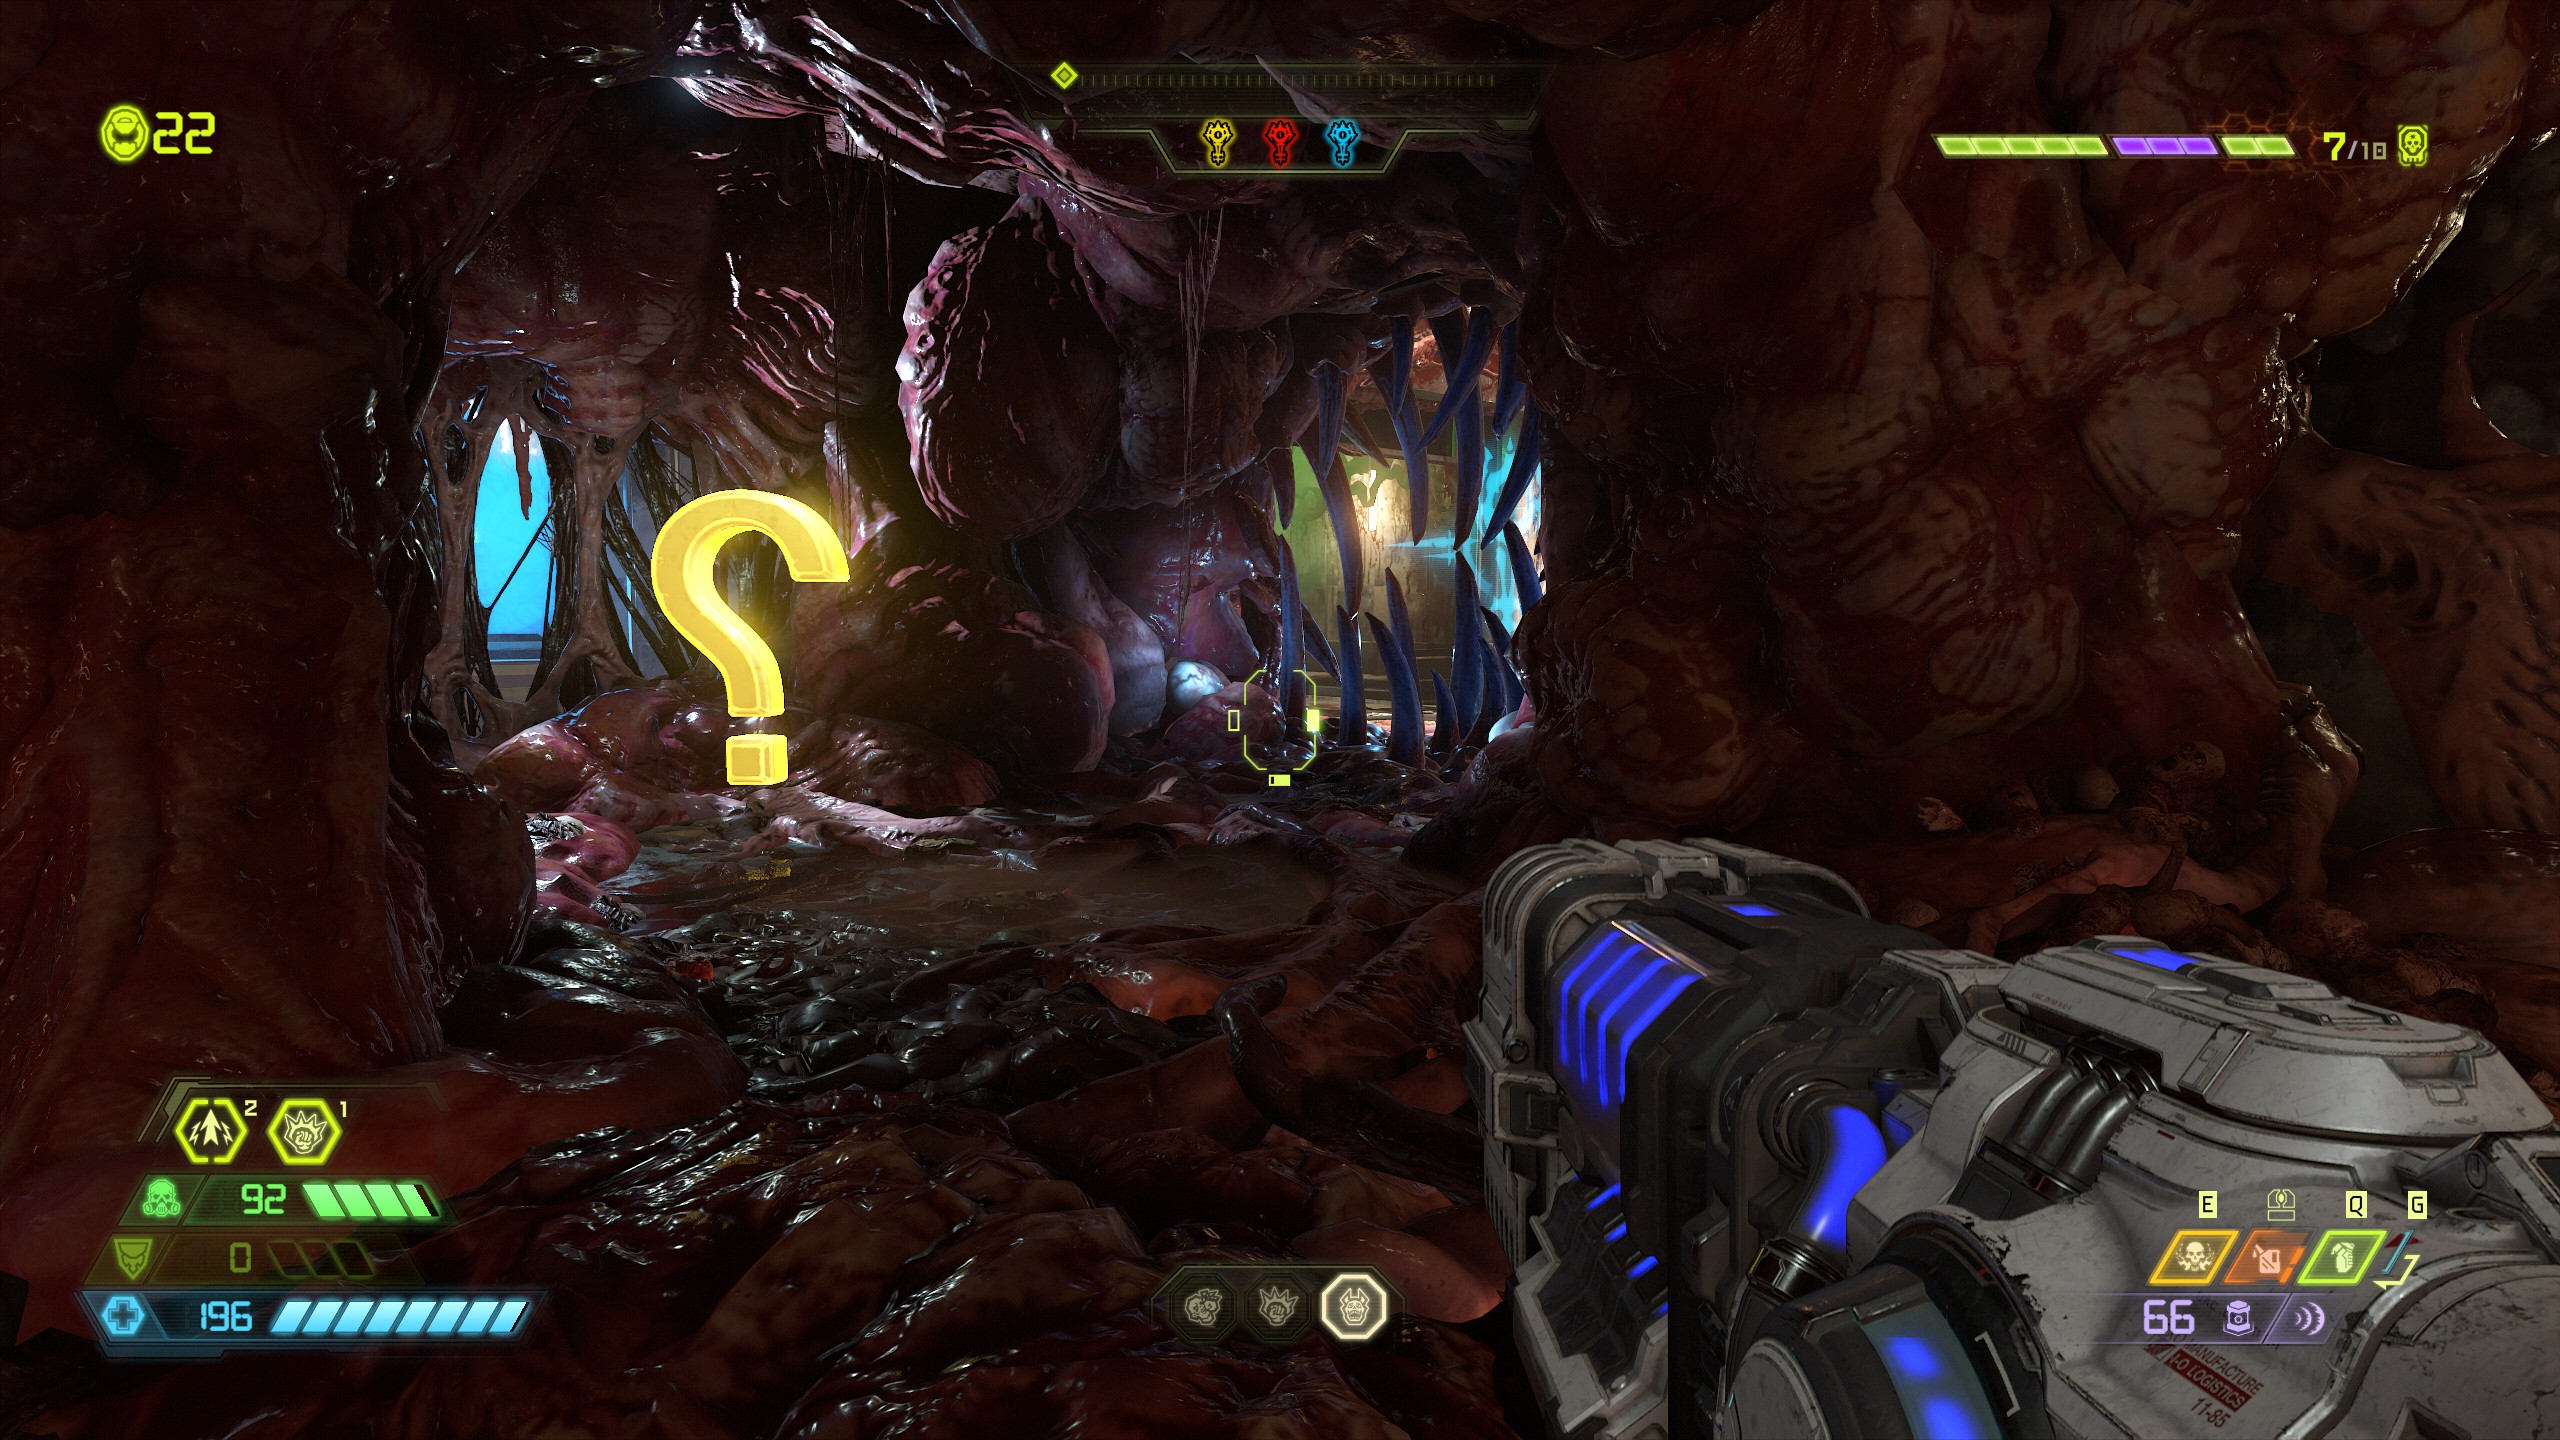
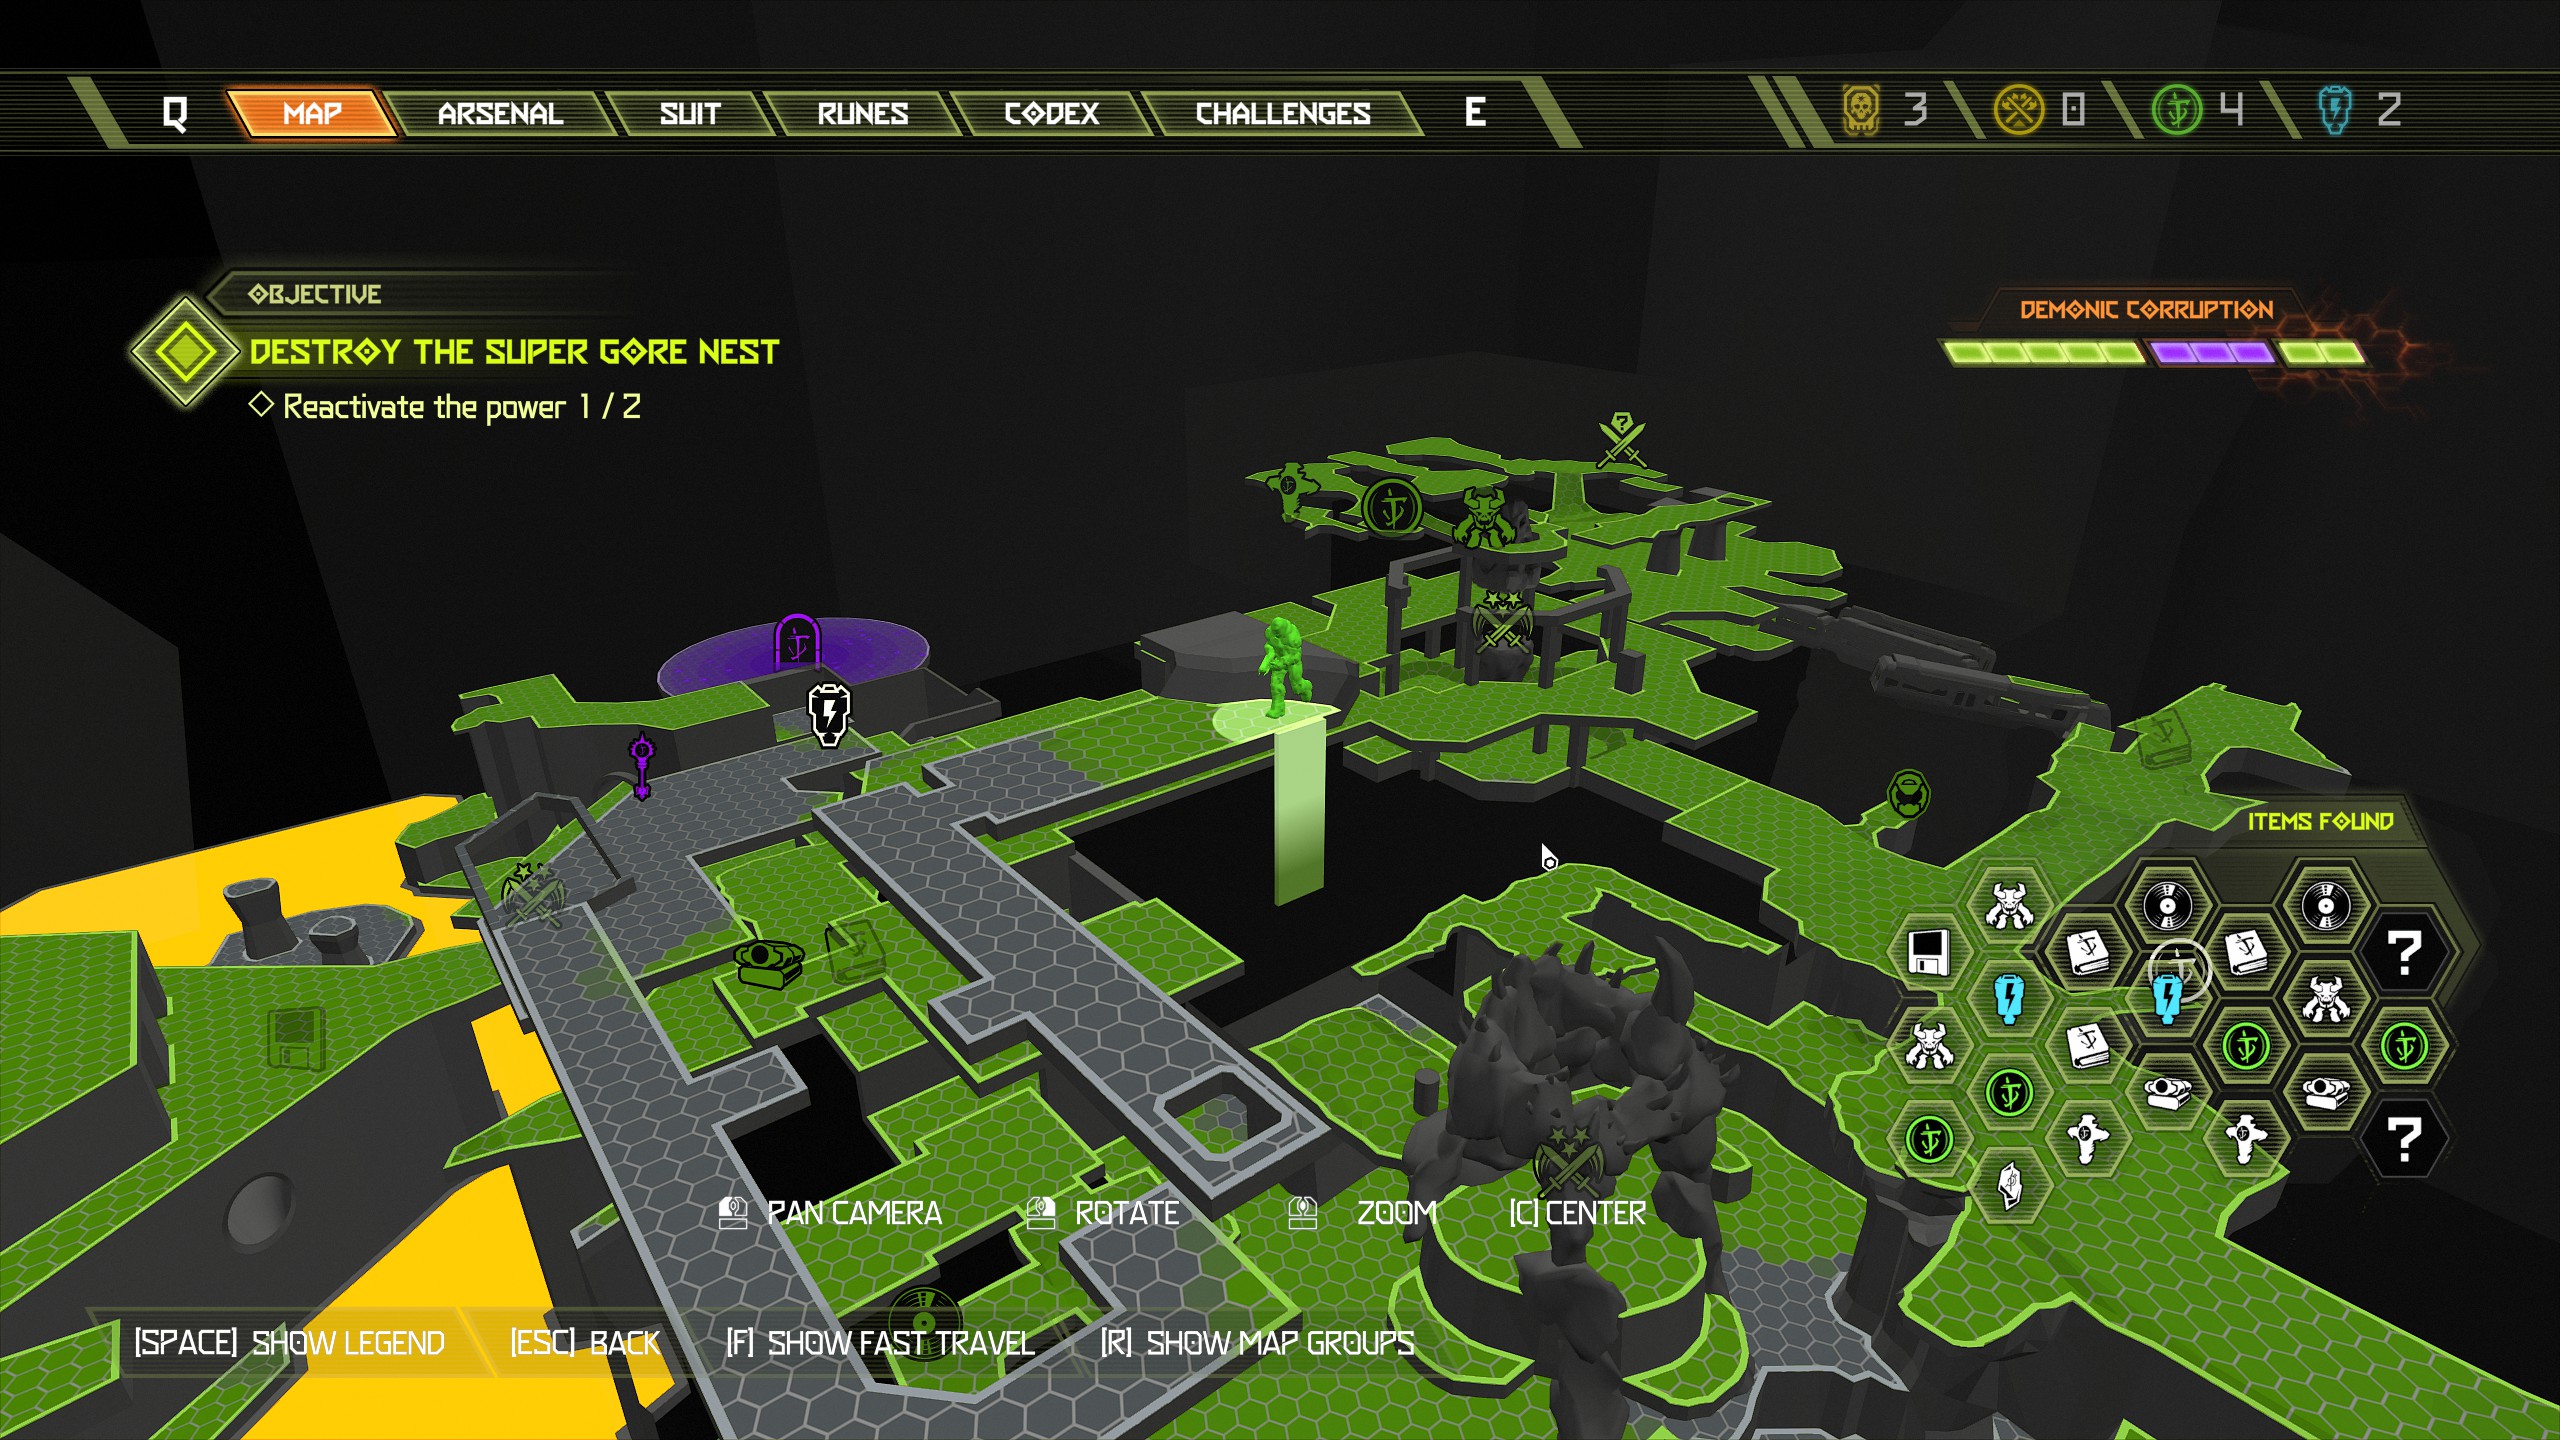
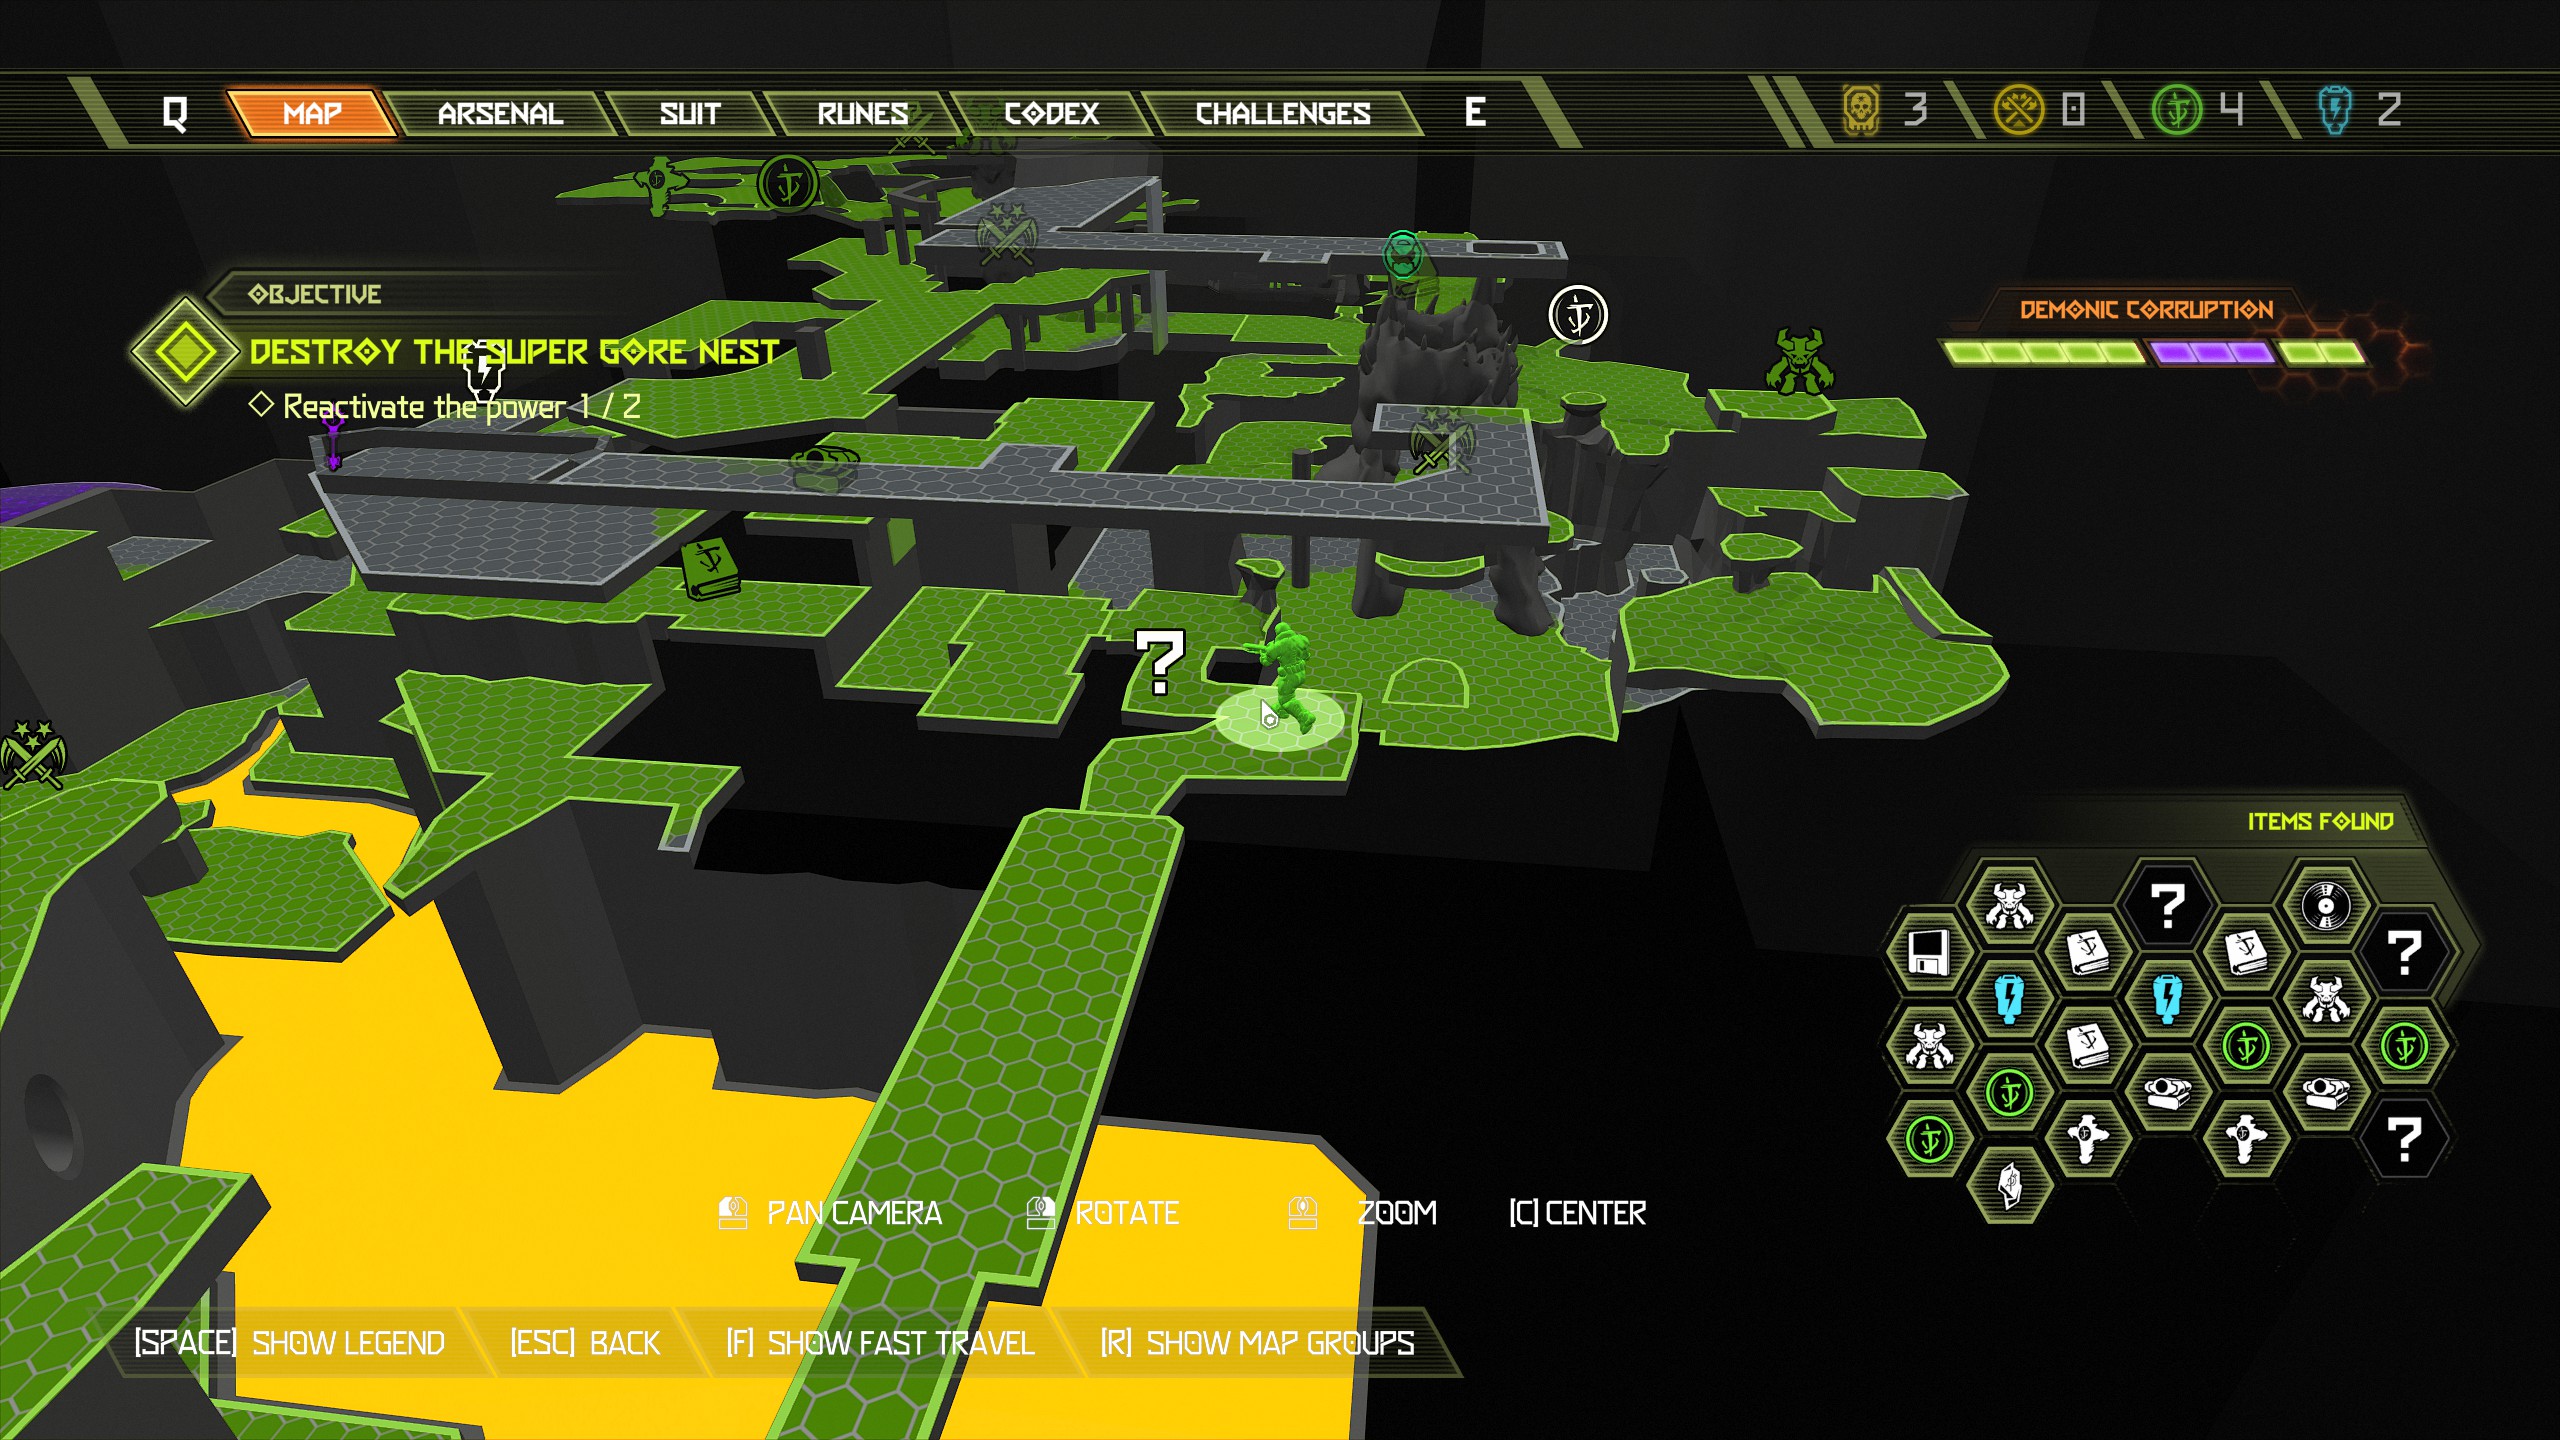 Immediately after collecting the album continue through and you will be back in the starting area. At the bottom of the central structure are more blue doors, head inside and use the booster to launch you up and reach the wall high up on the building nearby.
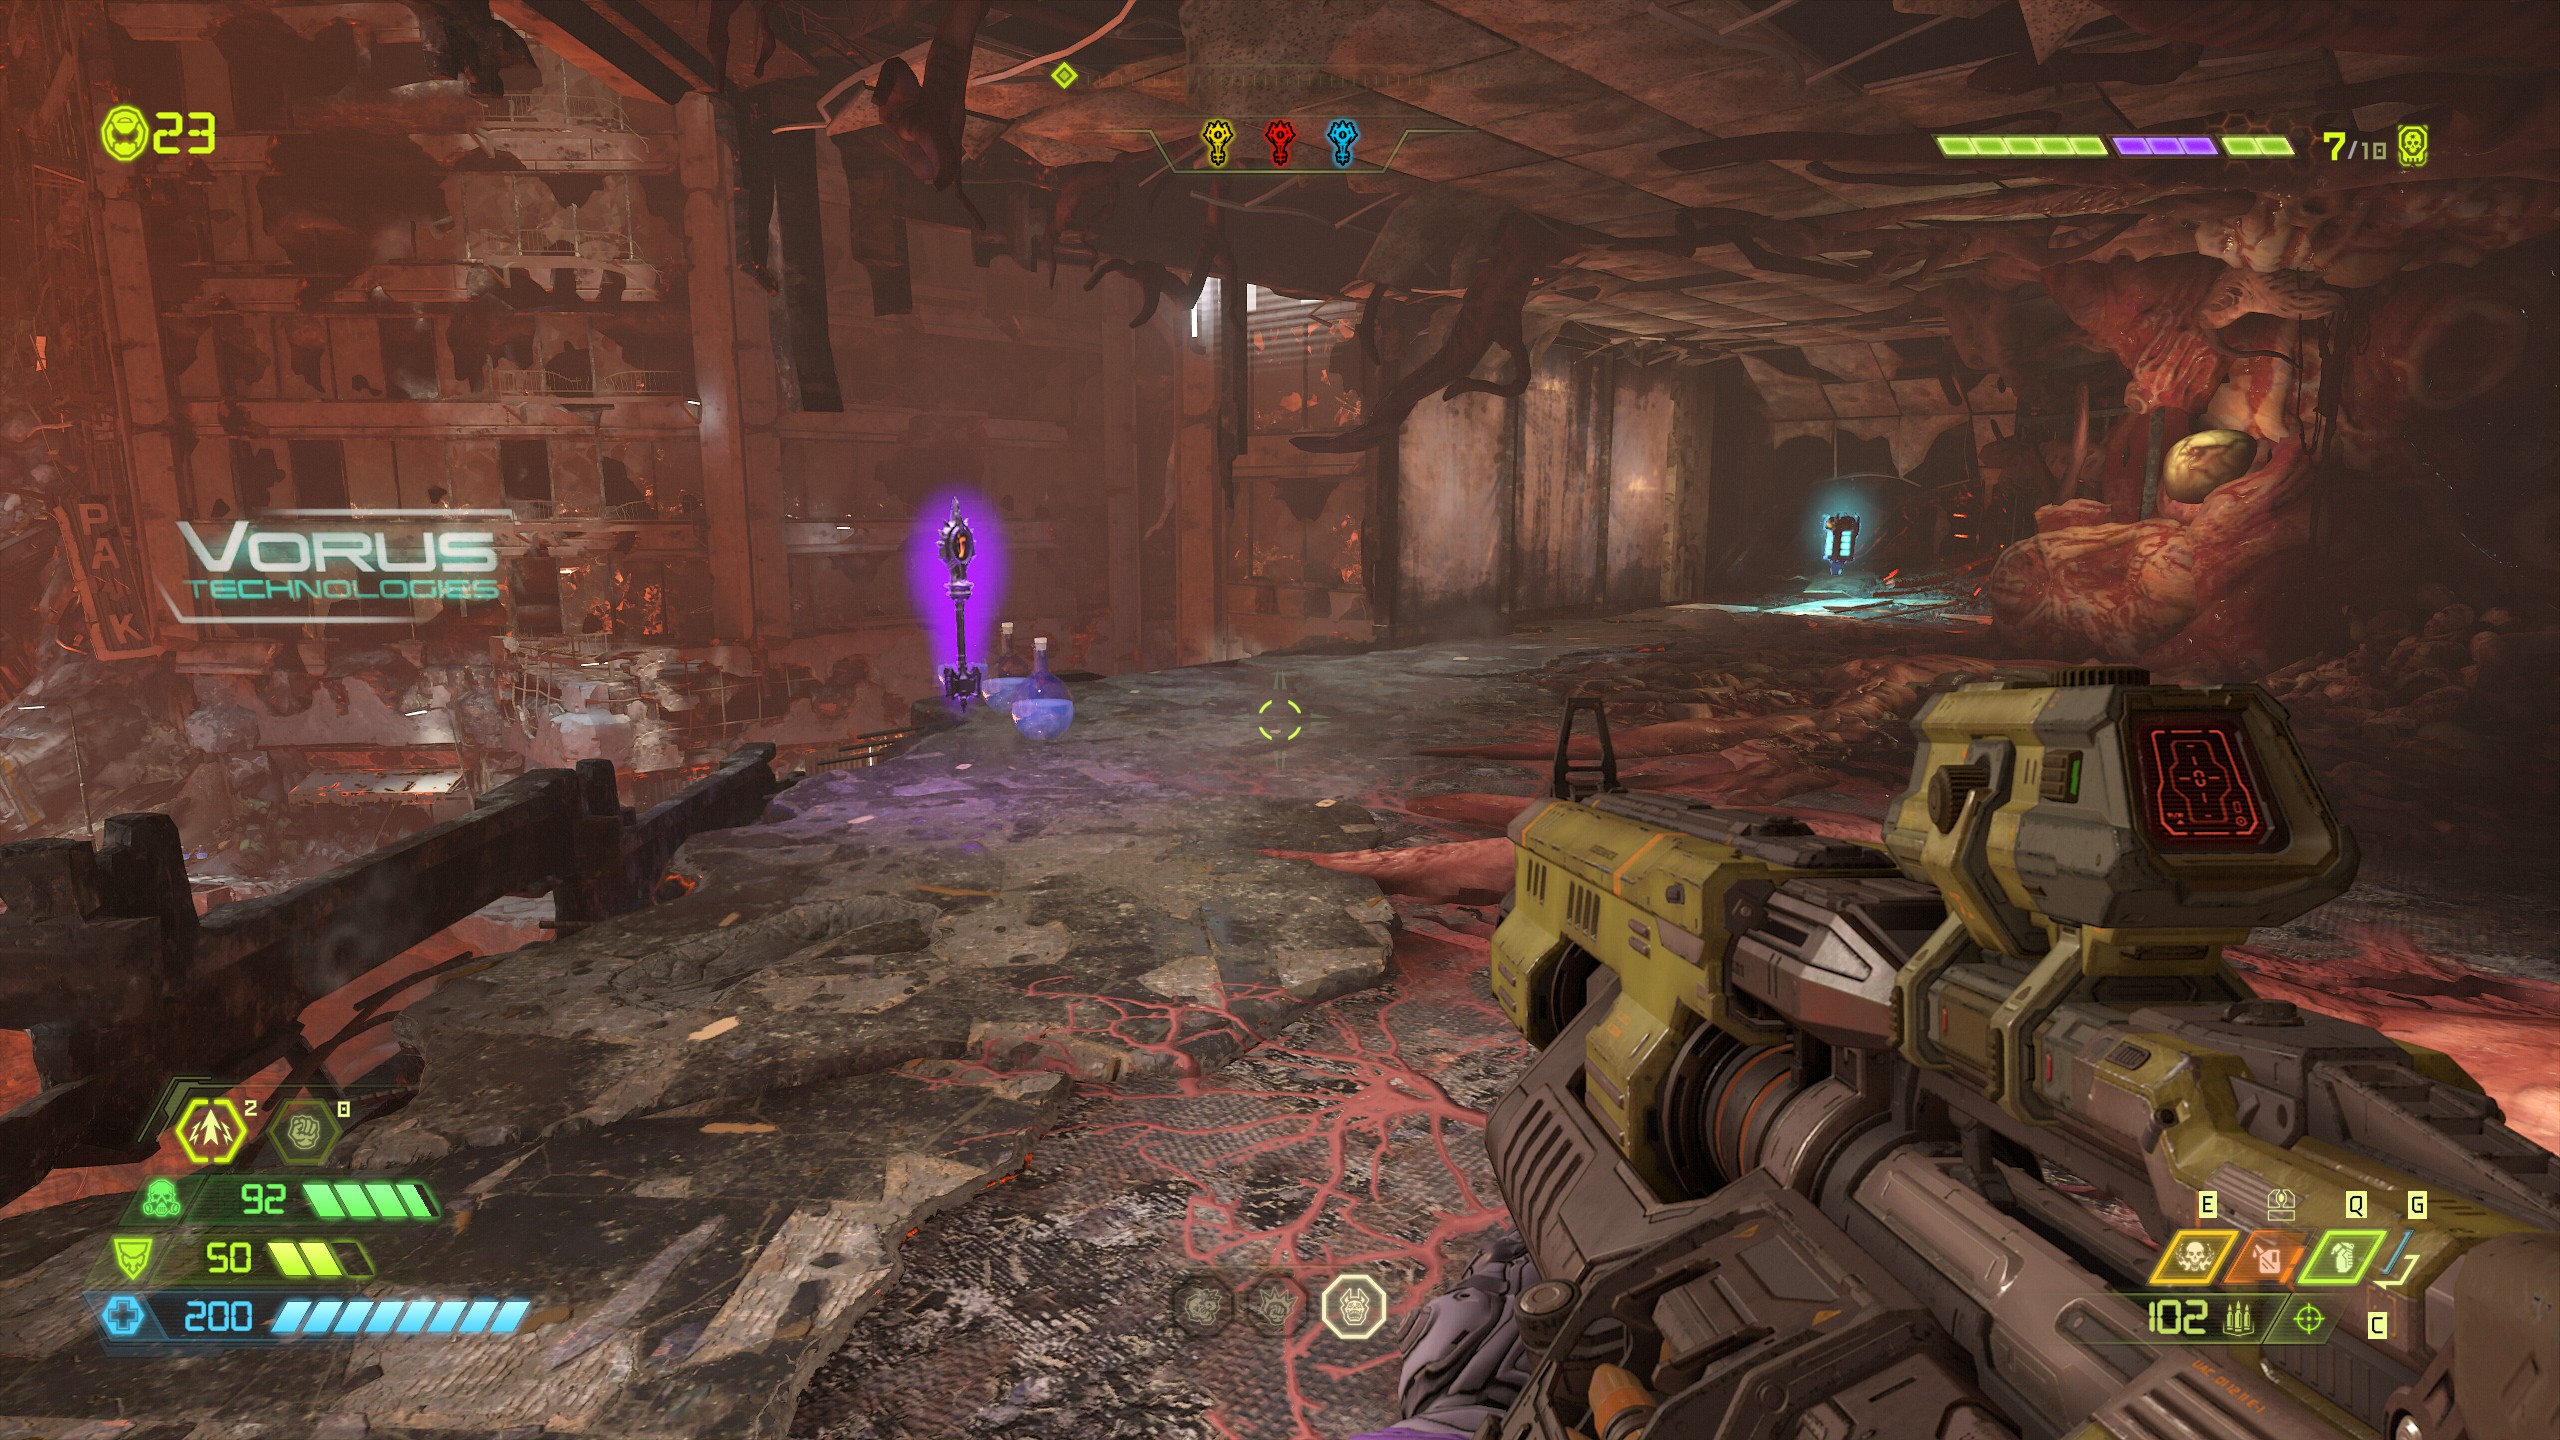
Once you're up go through another blue door and follow it all the way through to find the slayer key and a sentinel battery, just be careful of the spectre hiding inside.
After collecting both you can now jump out and complete the slayer gate and mission.
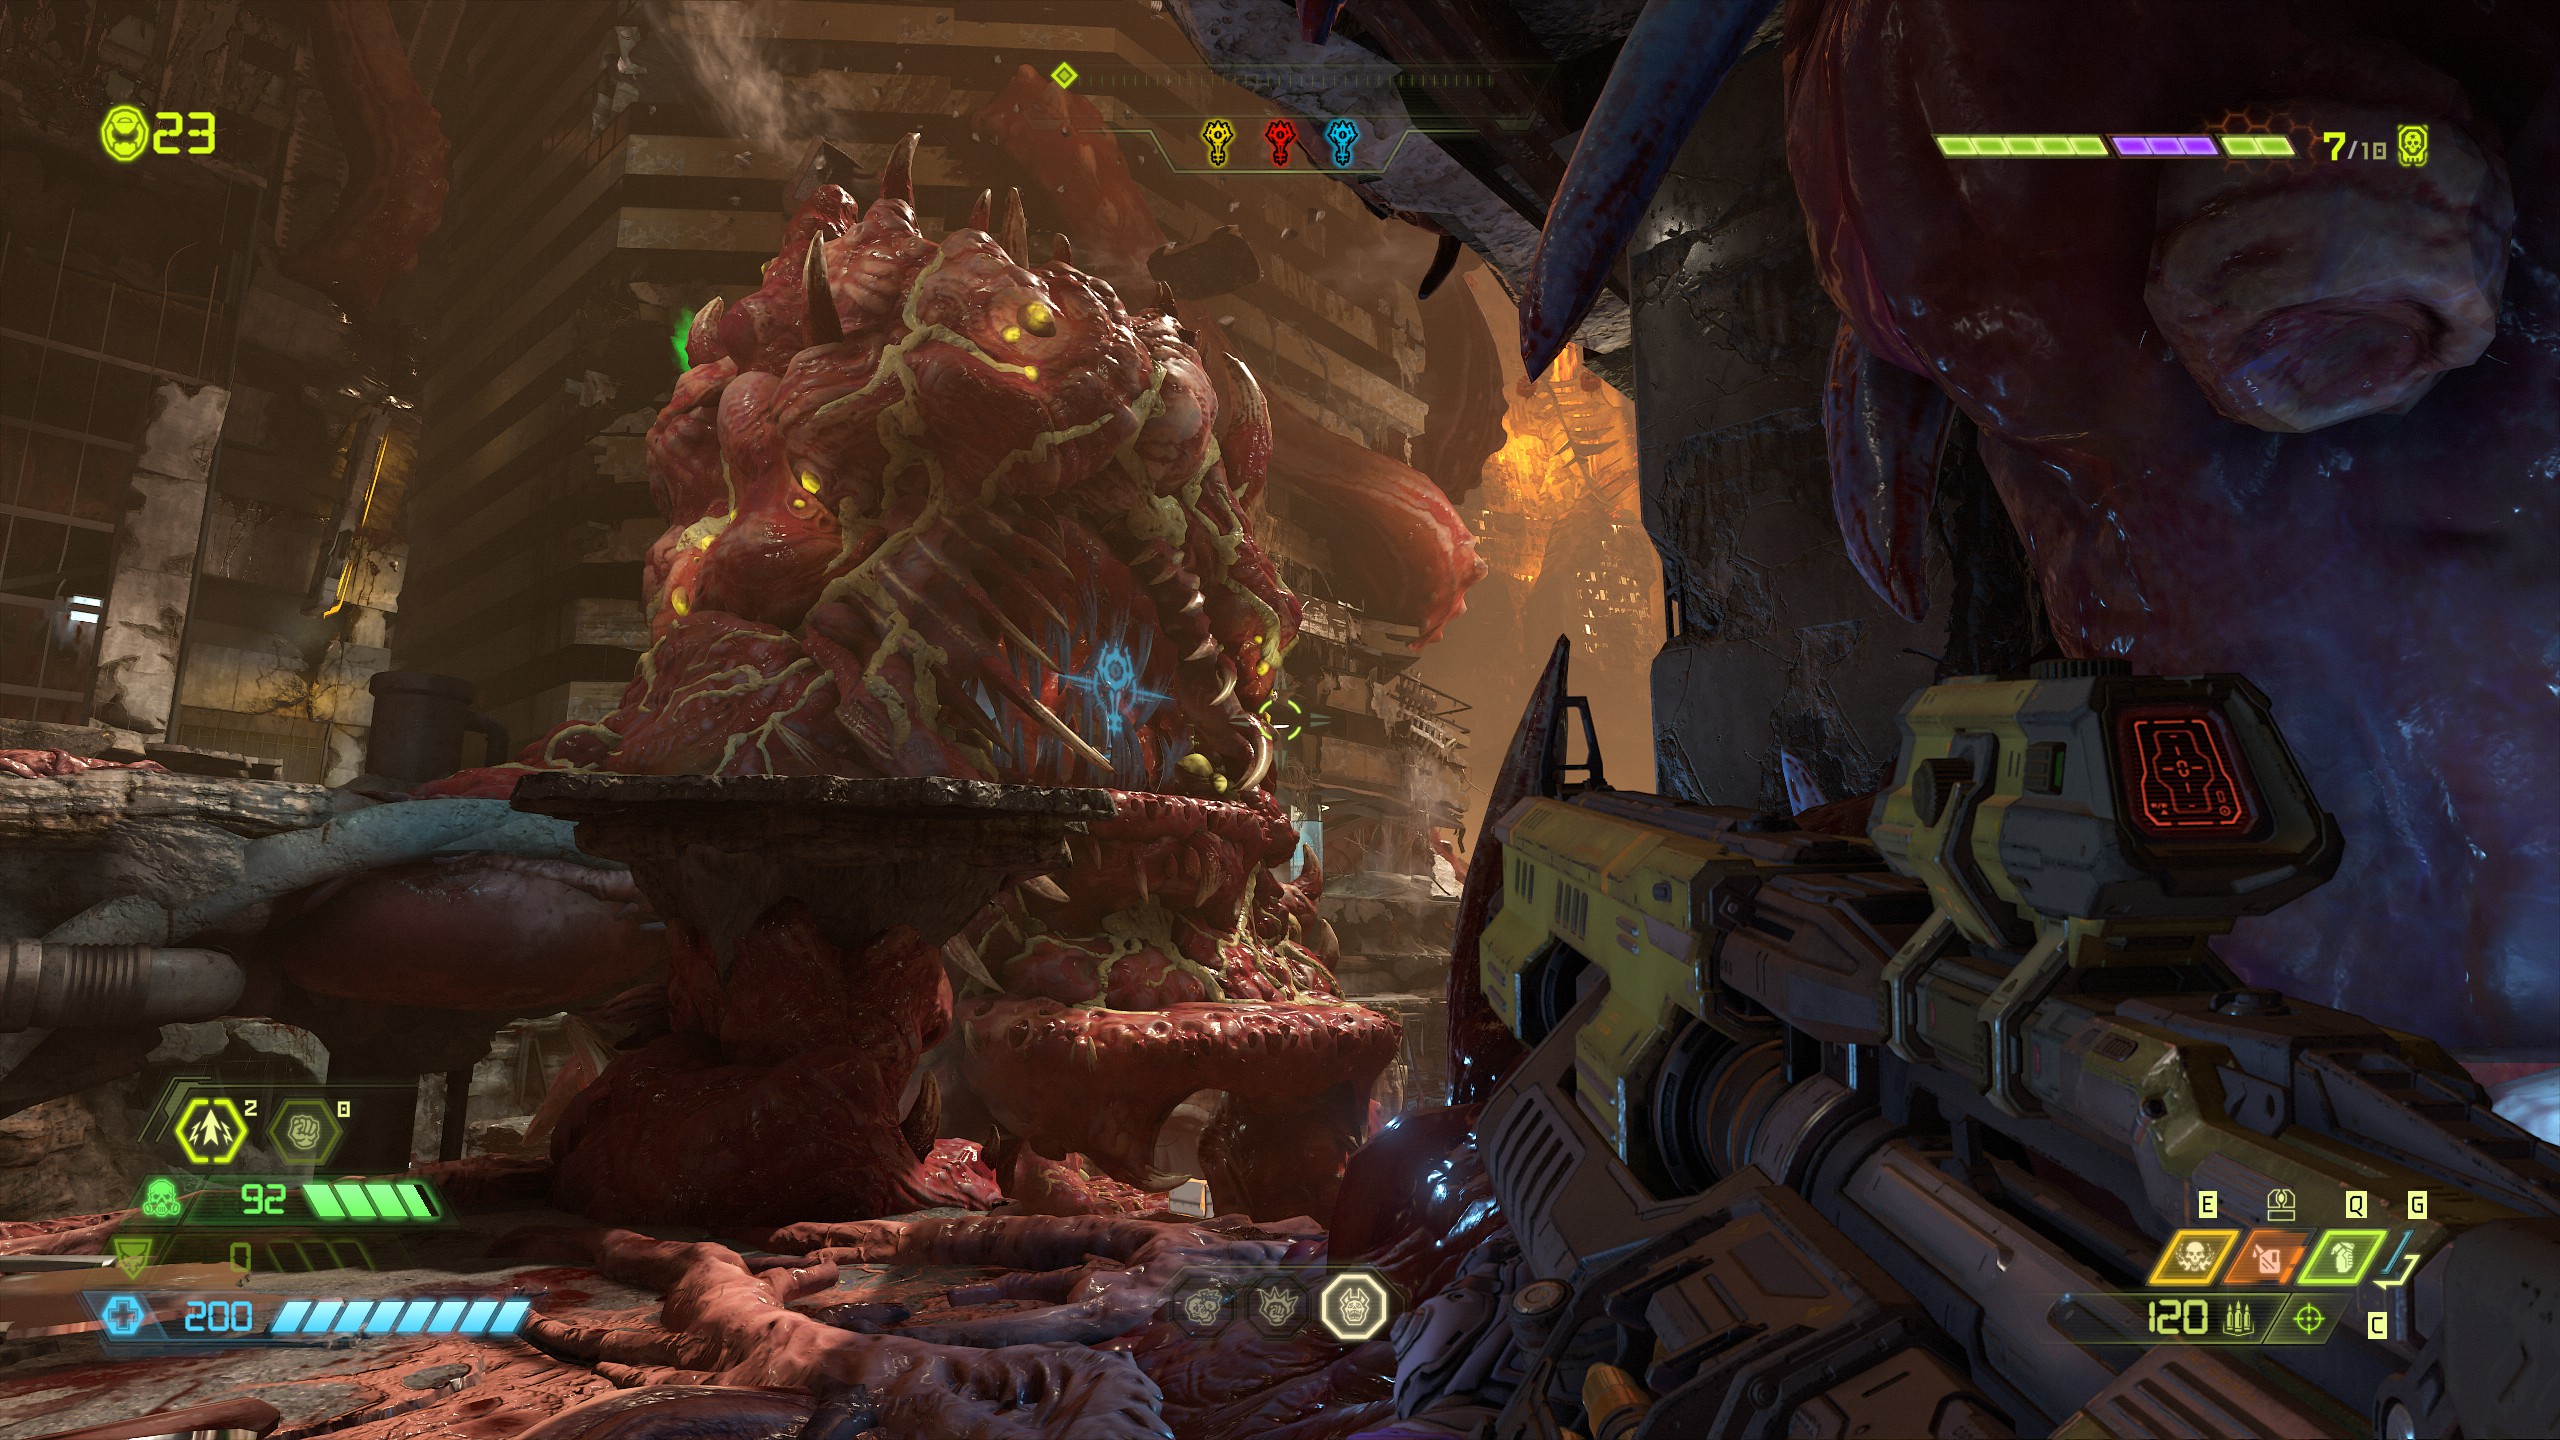
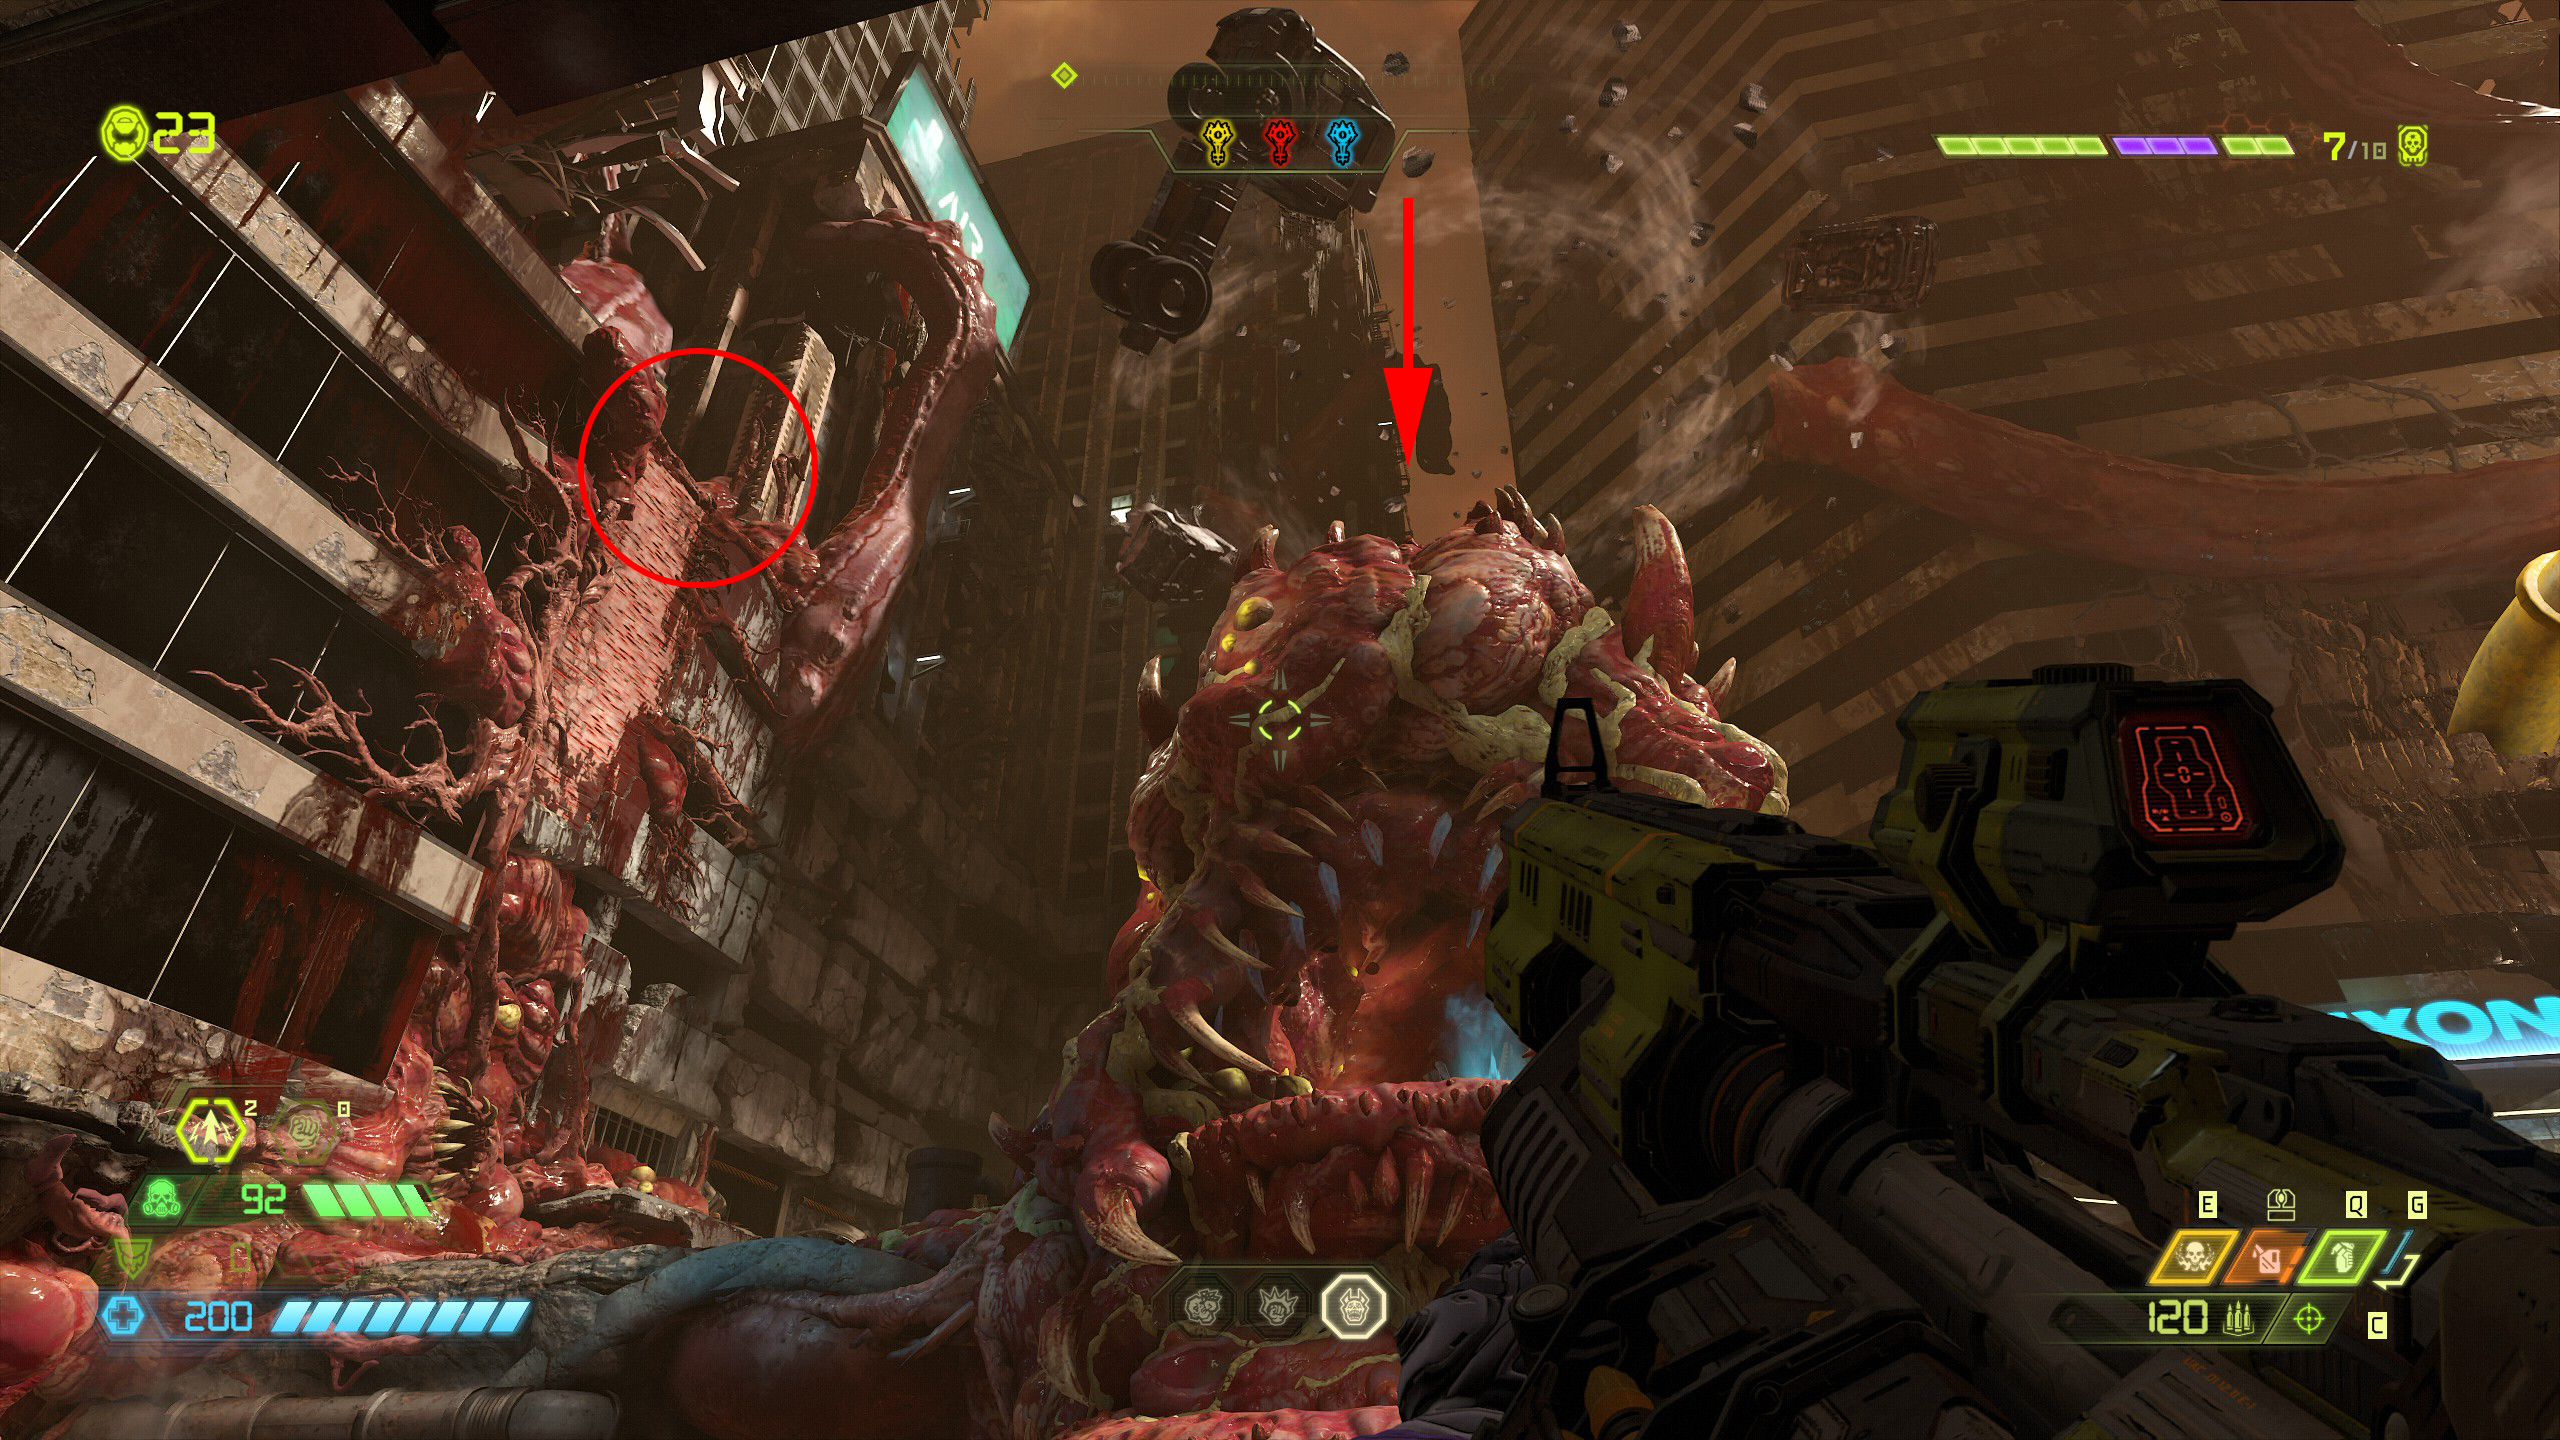
Another mission complete, lets head back to the fortress of doom.
Fortress of Doom [Part 4]
NOTE: A brief stop at the fortress and again it is up to you what you collect, just remember to focus all other items before collecting praetor suit tokens or just keep following this guide.
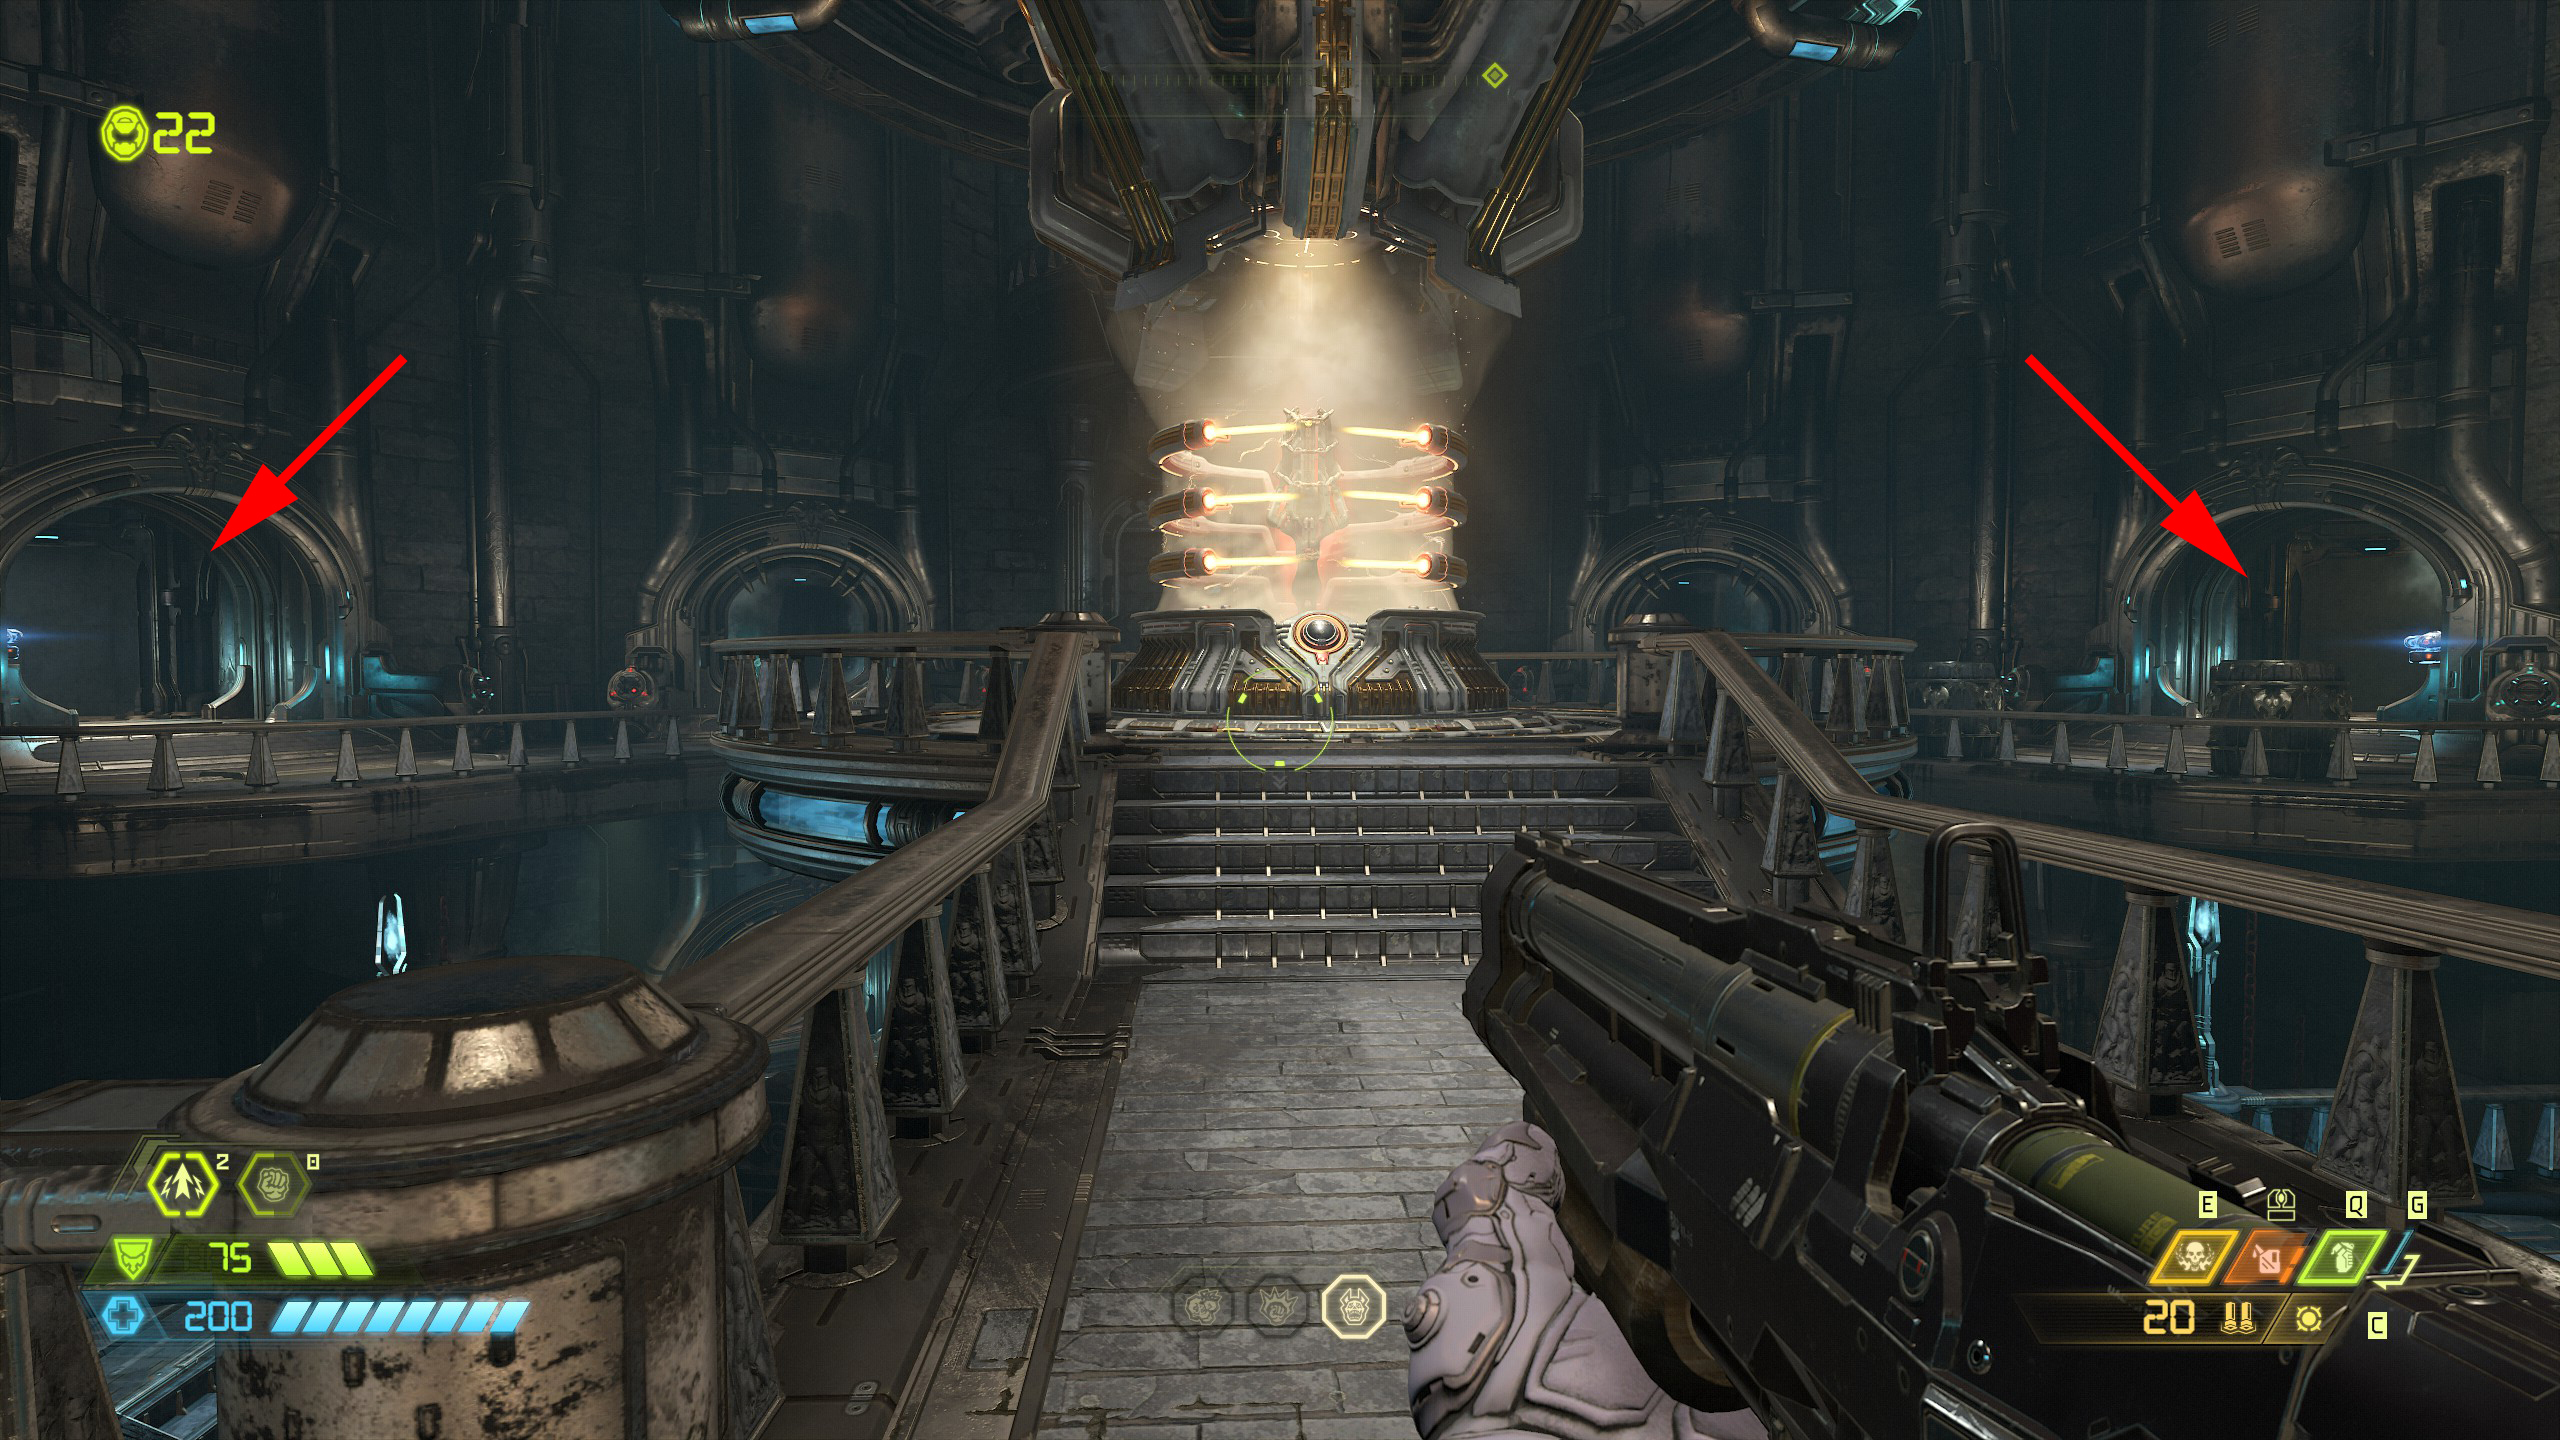
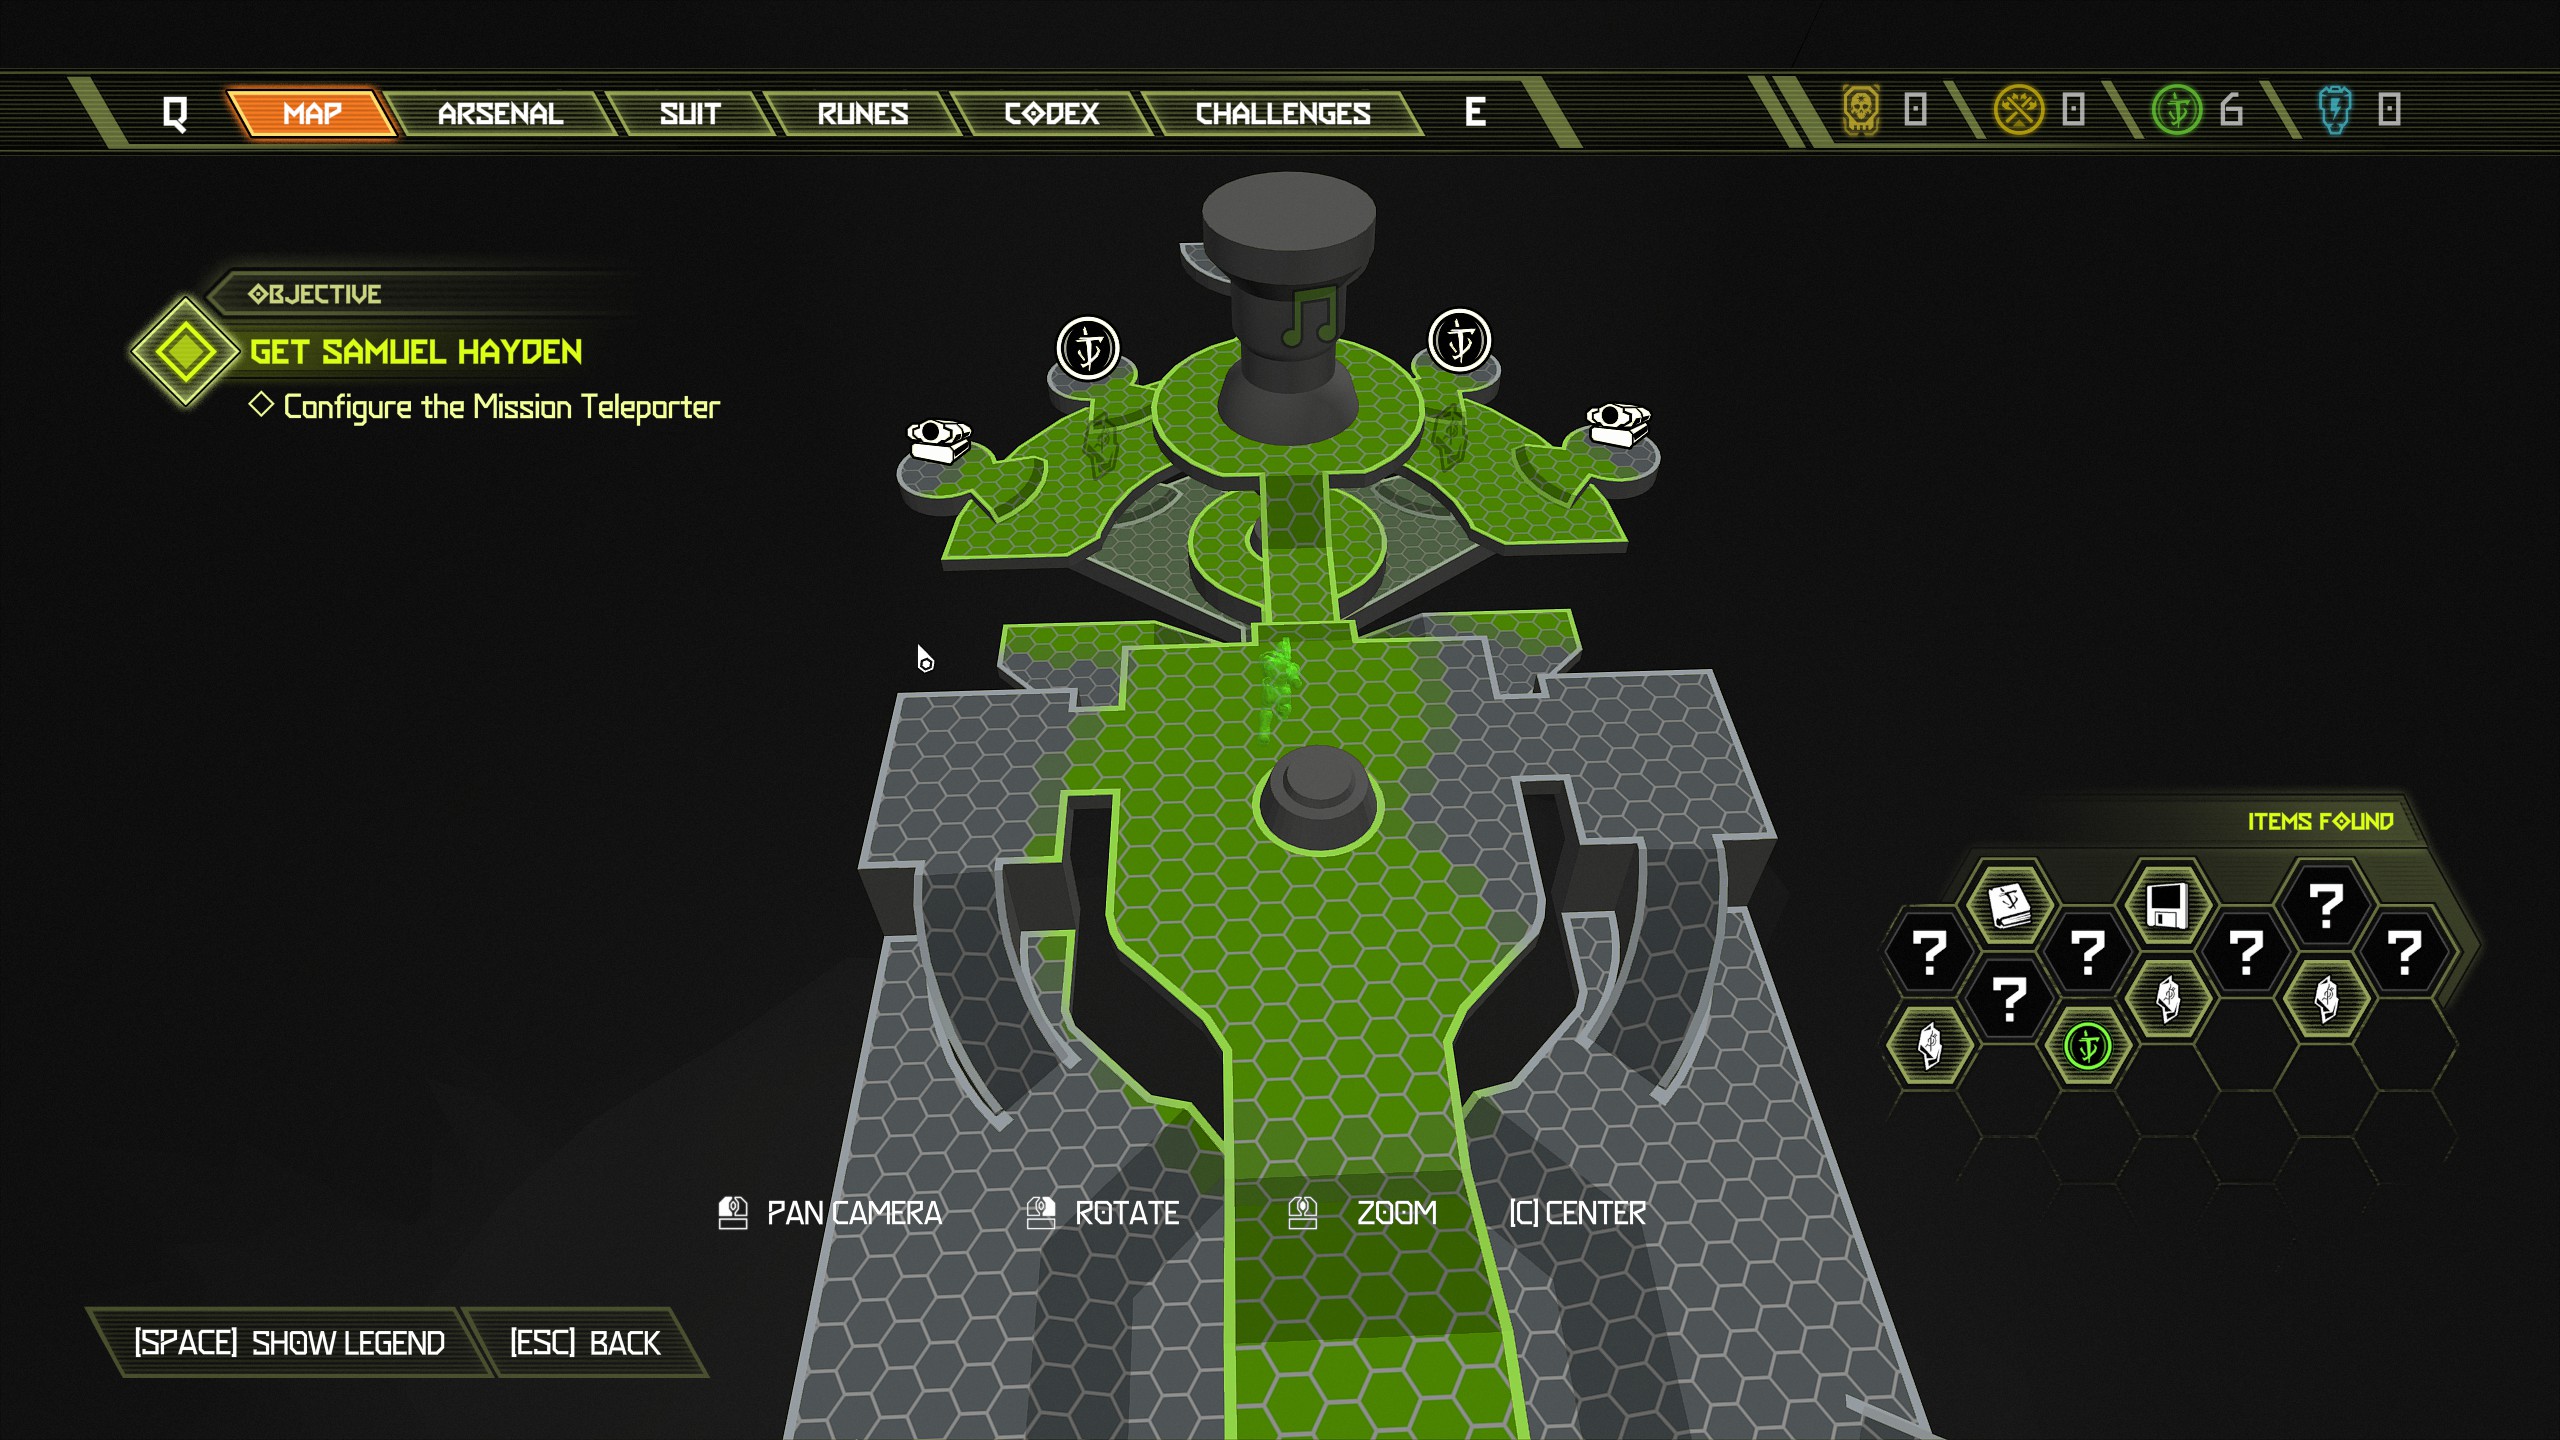
As we only have 4 sentinel batteries this time we can only collect two items. Current items to collect:
- 2 Weapon Mods
- 1 Arc Broadcast Log
Start mission 6.
Mission 6: Arc Complex [Part 1]
NOTE: This mission has a lot of items to collect just like the previous mission but with added purple goo. Most of the items are pretty straight forward to find with a lot of them close together so navigating shouldn't be much of a problem with this one. This mission contains:
- 3 Doomtoys
- 5 Praetor Suit Tokens
- 1 Slayer Gate Key
- 3 Sentinel Batteries
- 1 Automap
- 2 Weapon Mods
- 1 Cheat Code
- 4 Data Logs
- 5 Codex Pages
- 1 Sentinel Crystal
- 3 Extra Lives
- 2 Secret Encounters
- 2 Runes
- 2 Albums
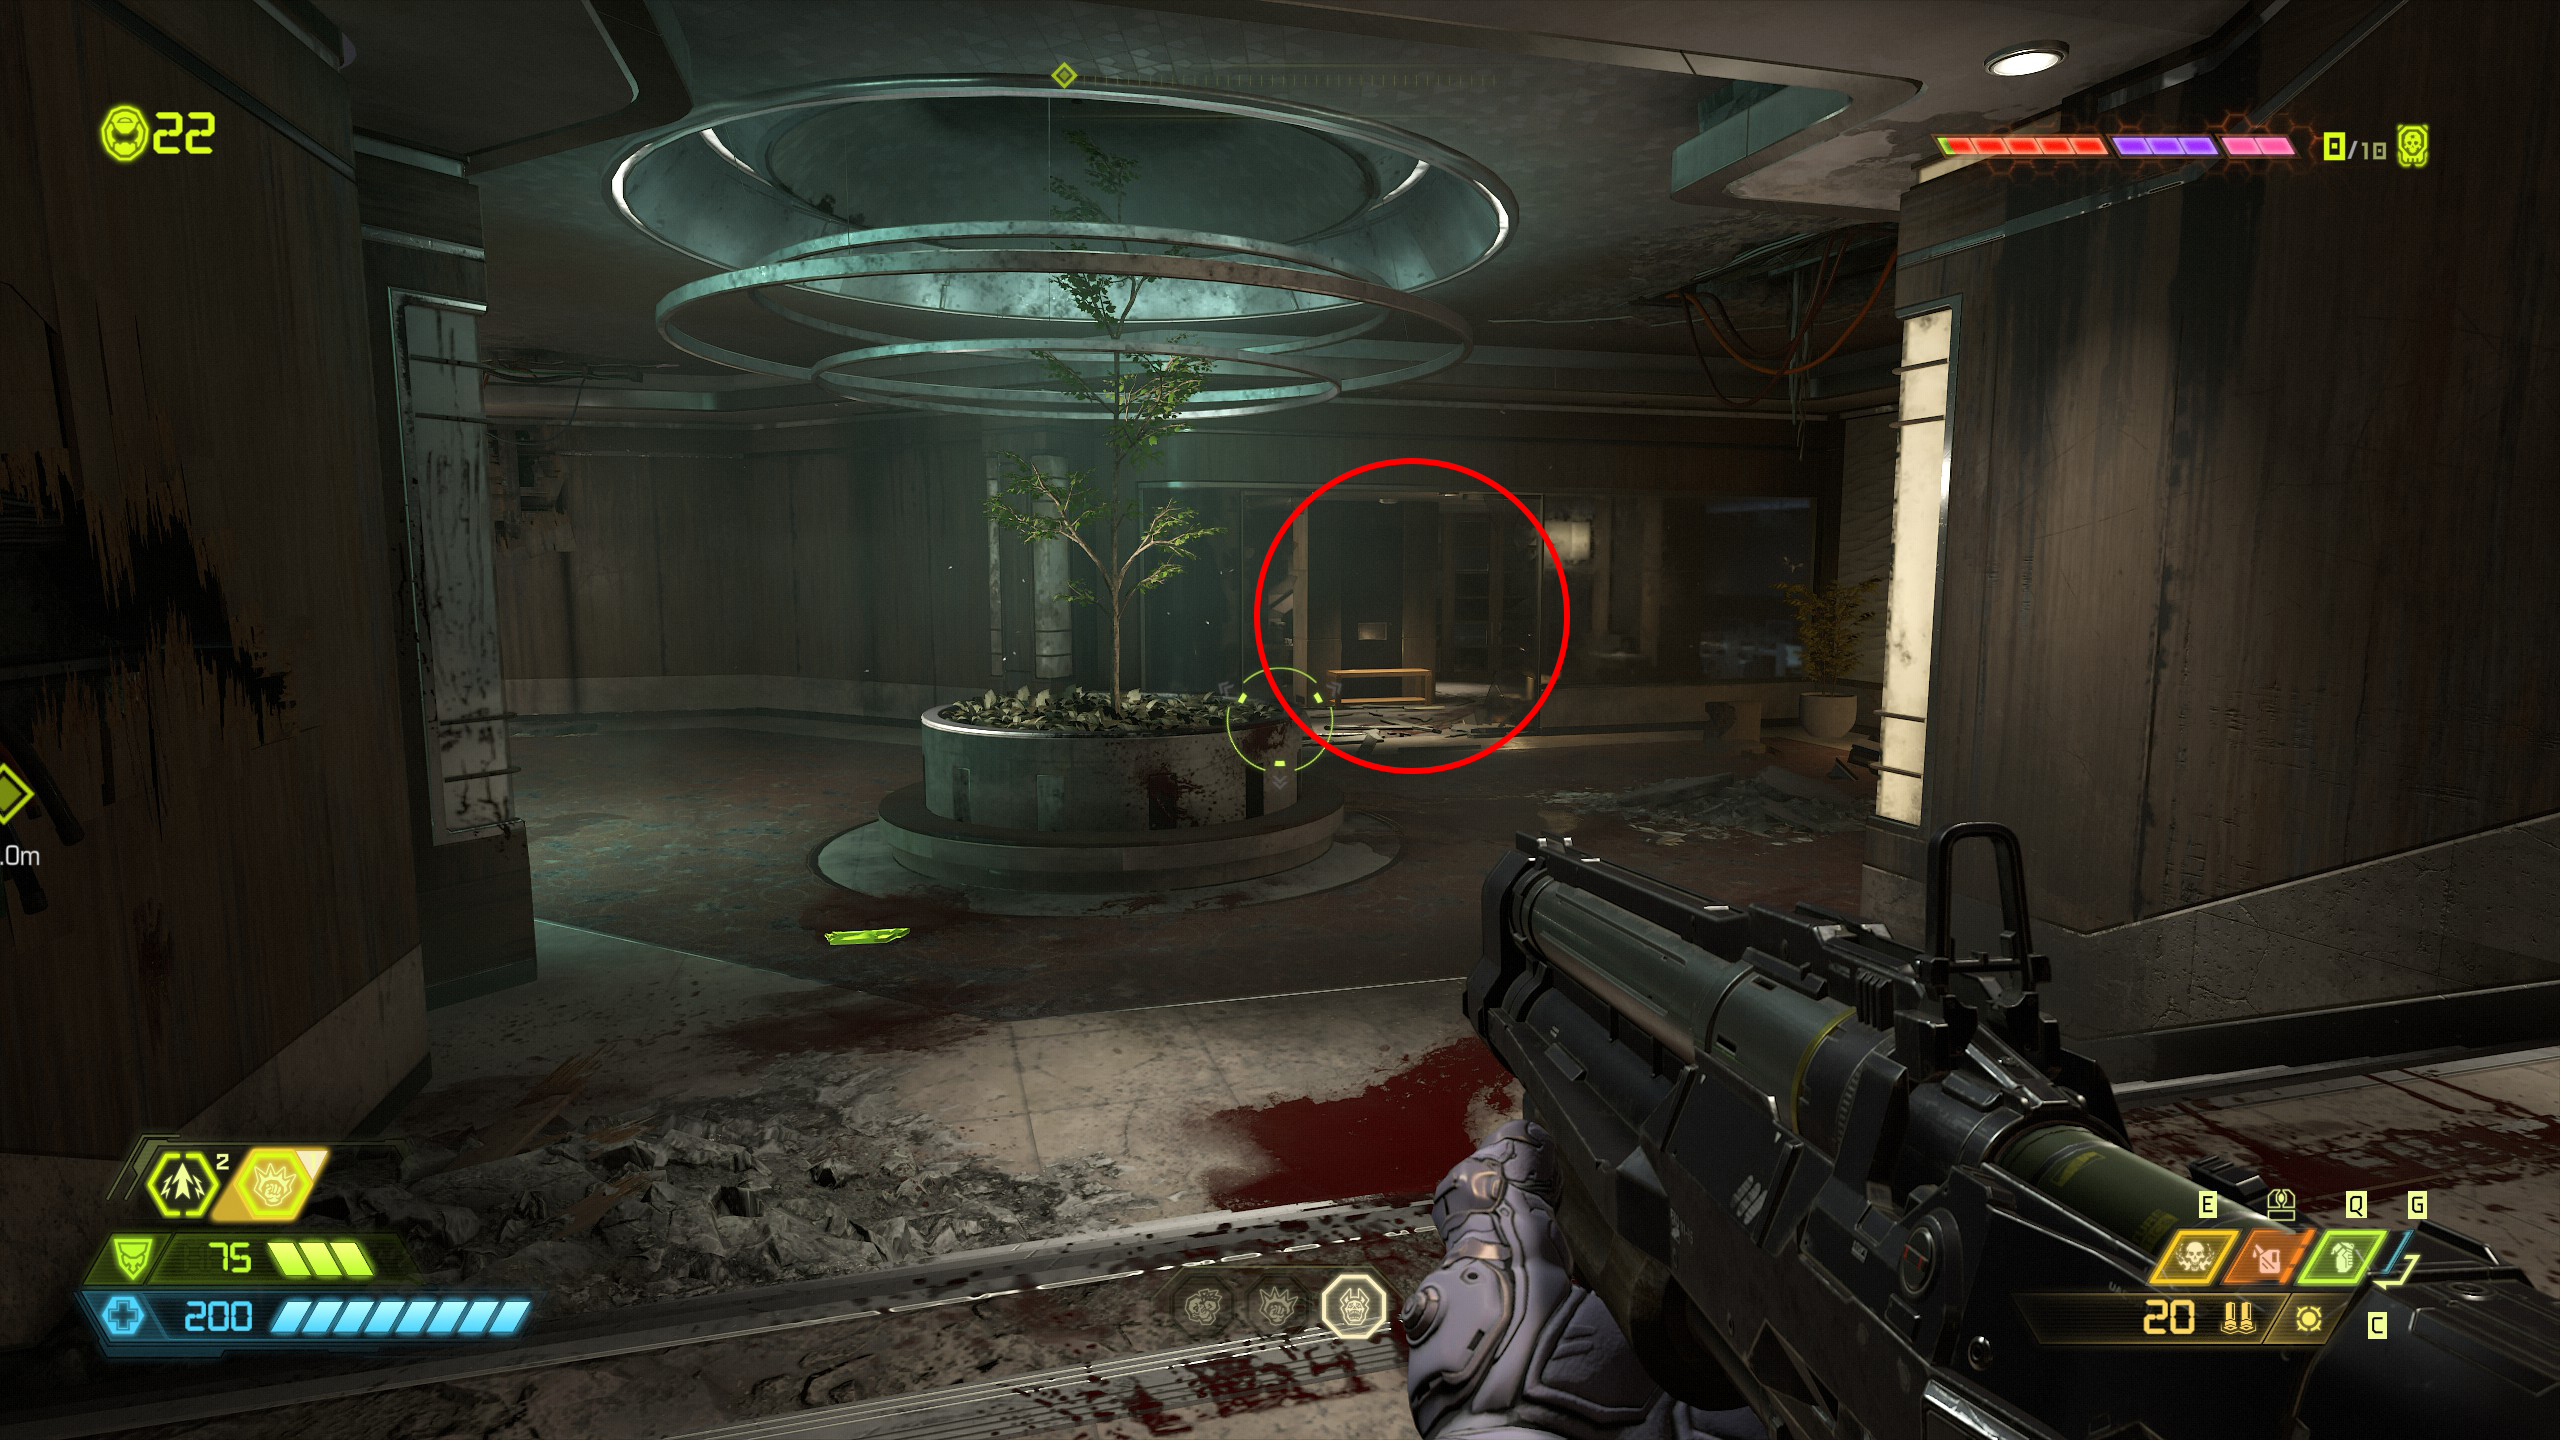
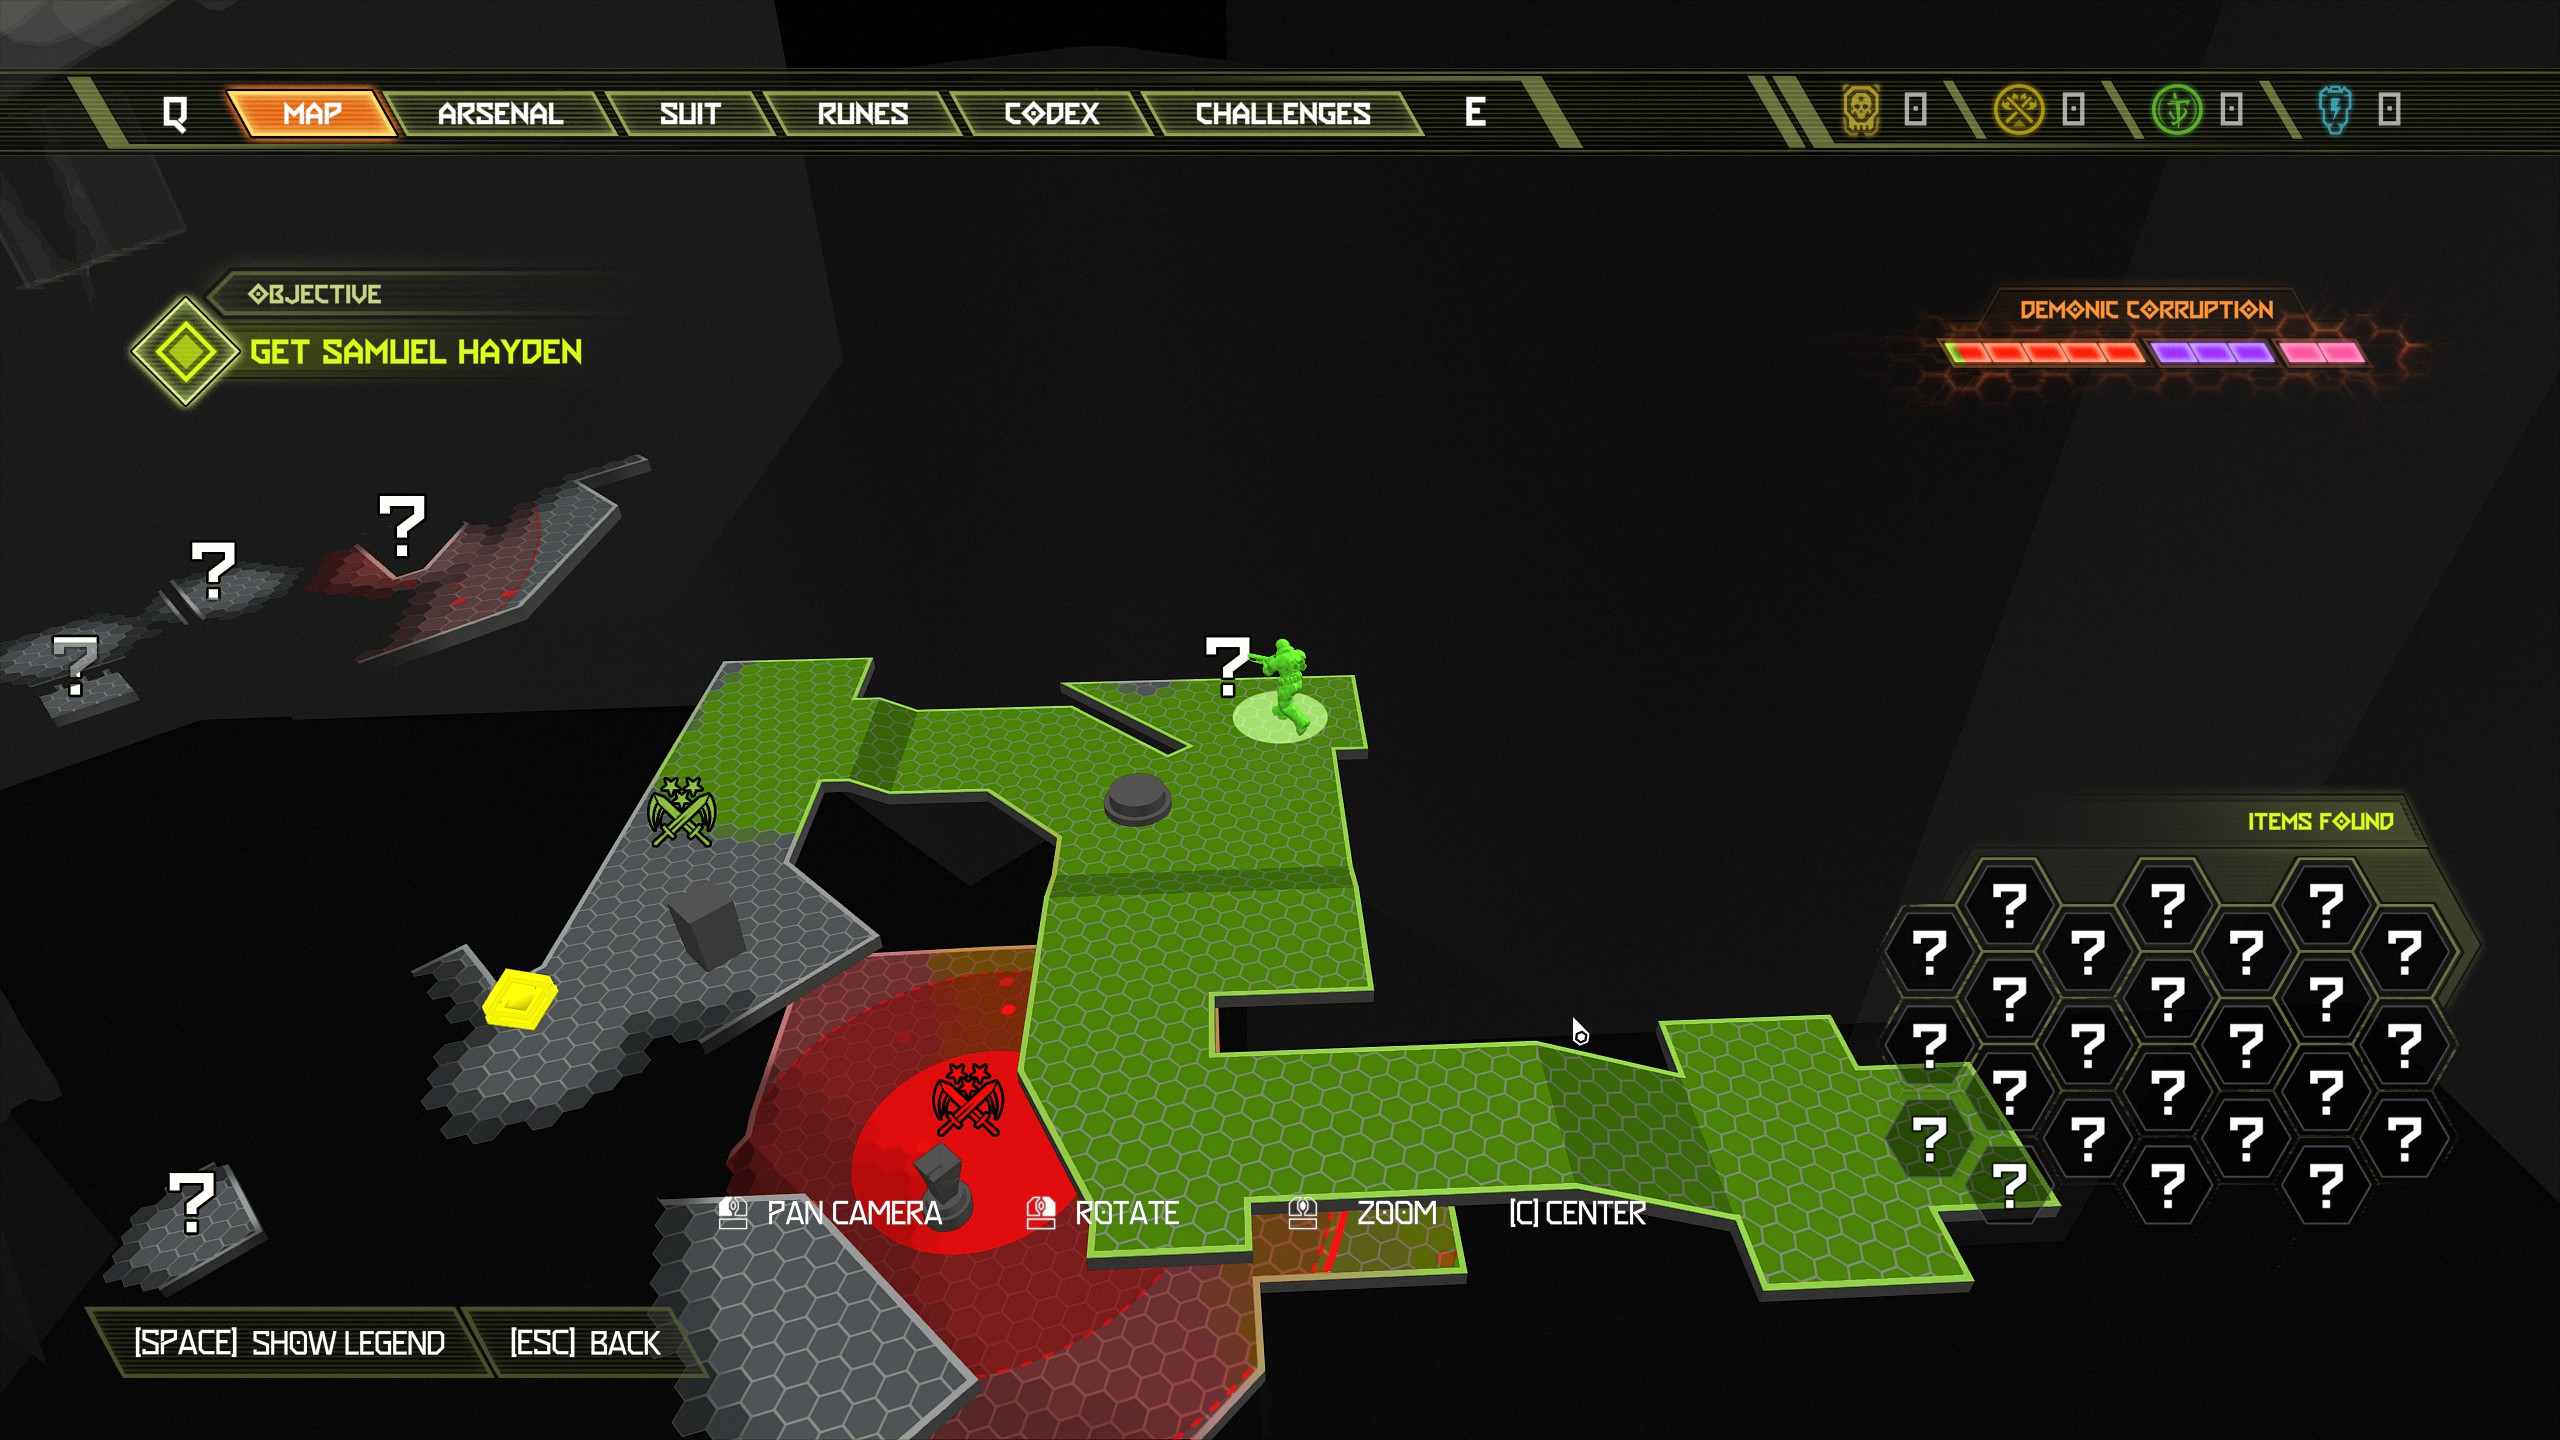
Continue the mission through the building until you reach the ground floor, you will know when you are there because you will see the purple goo and demons fighting outside of the window.
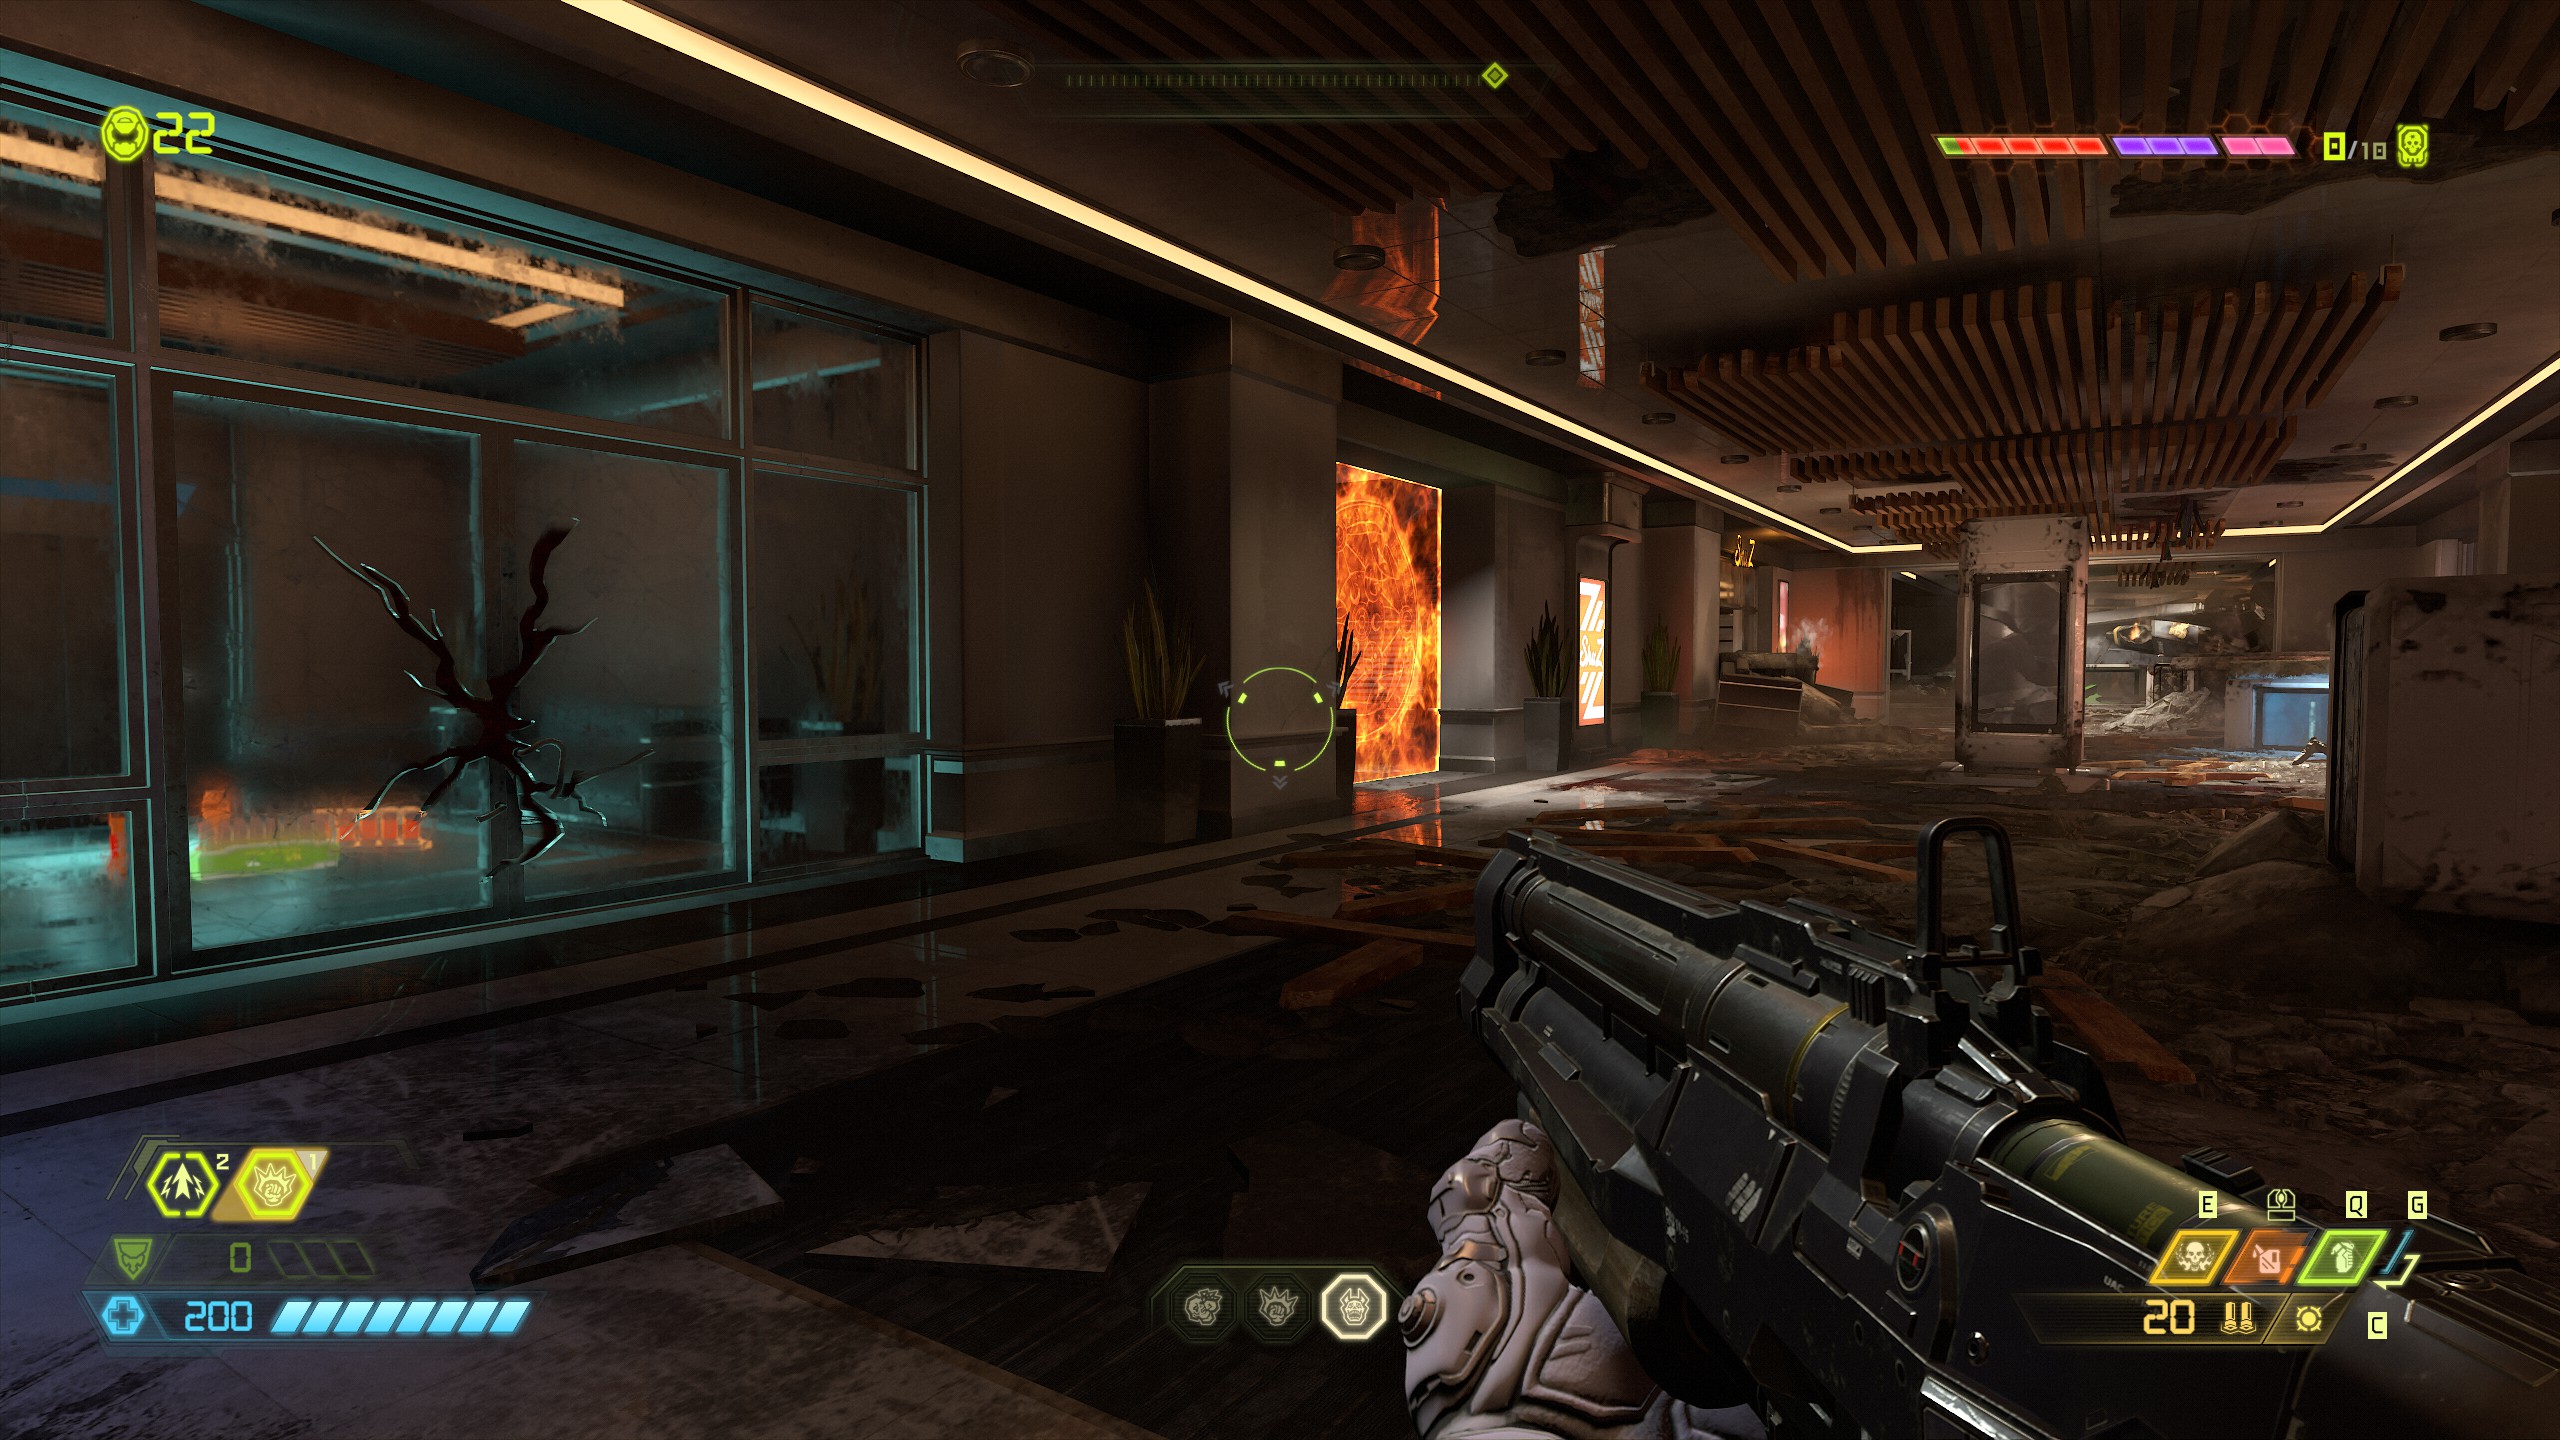
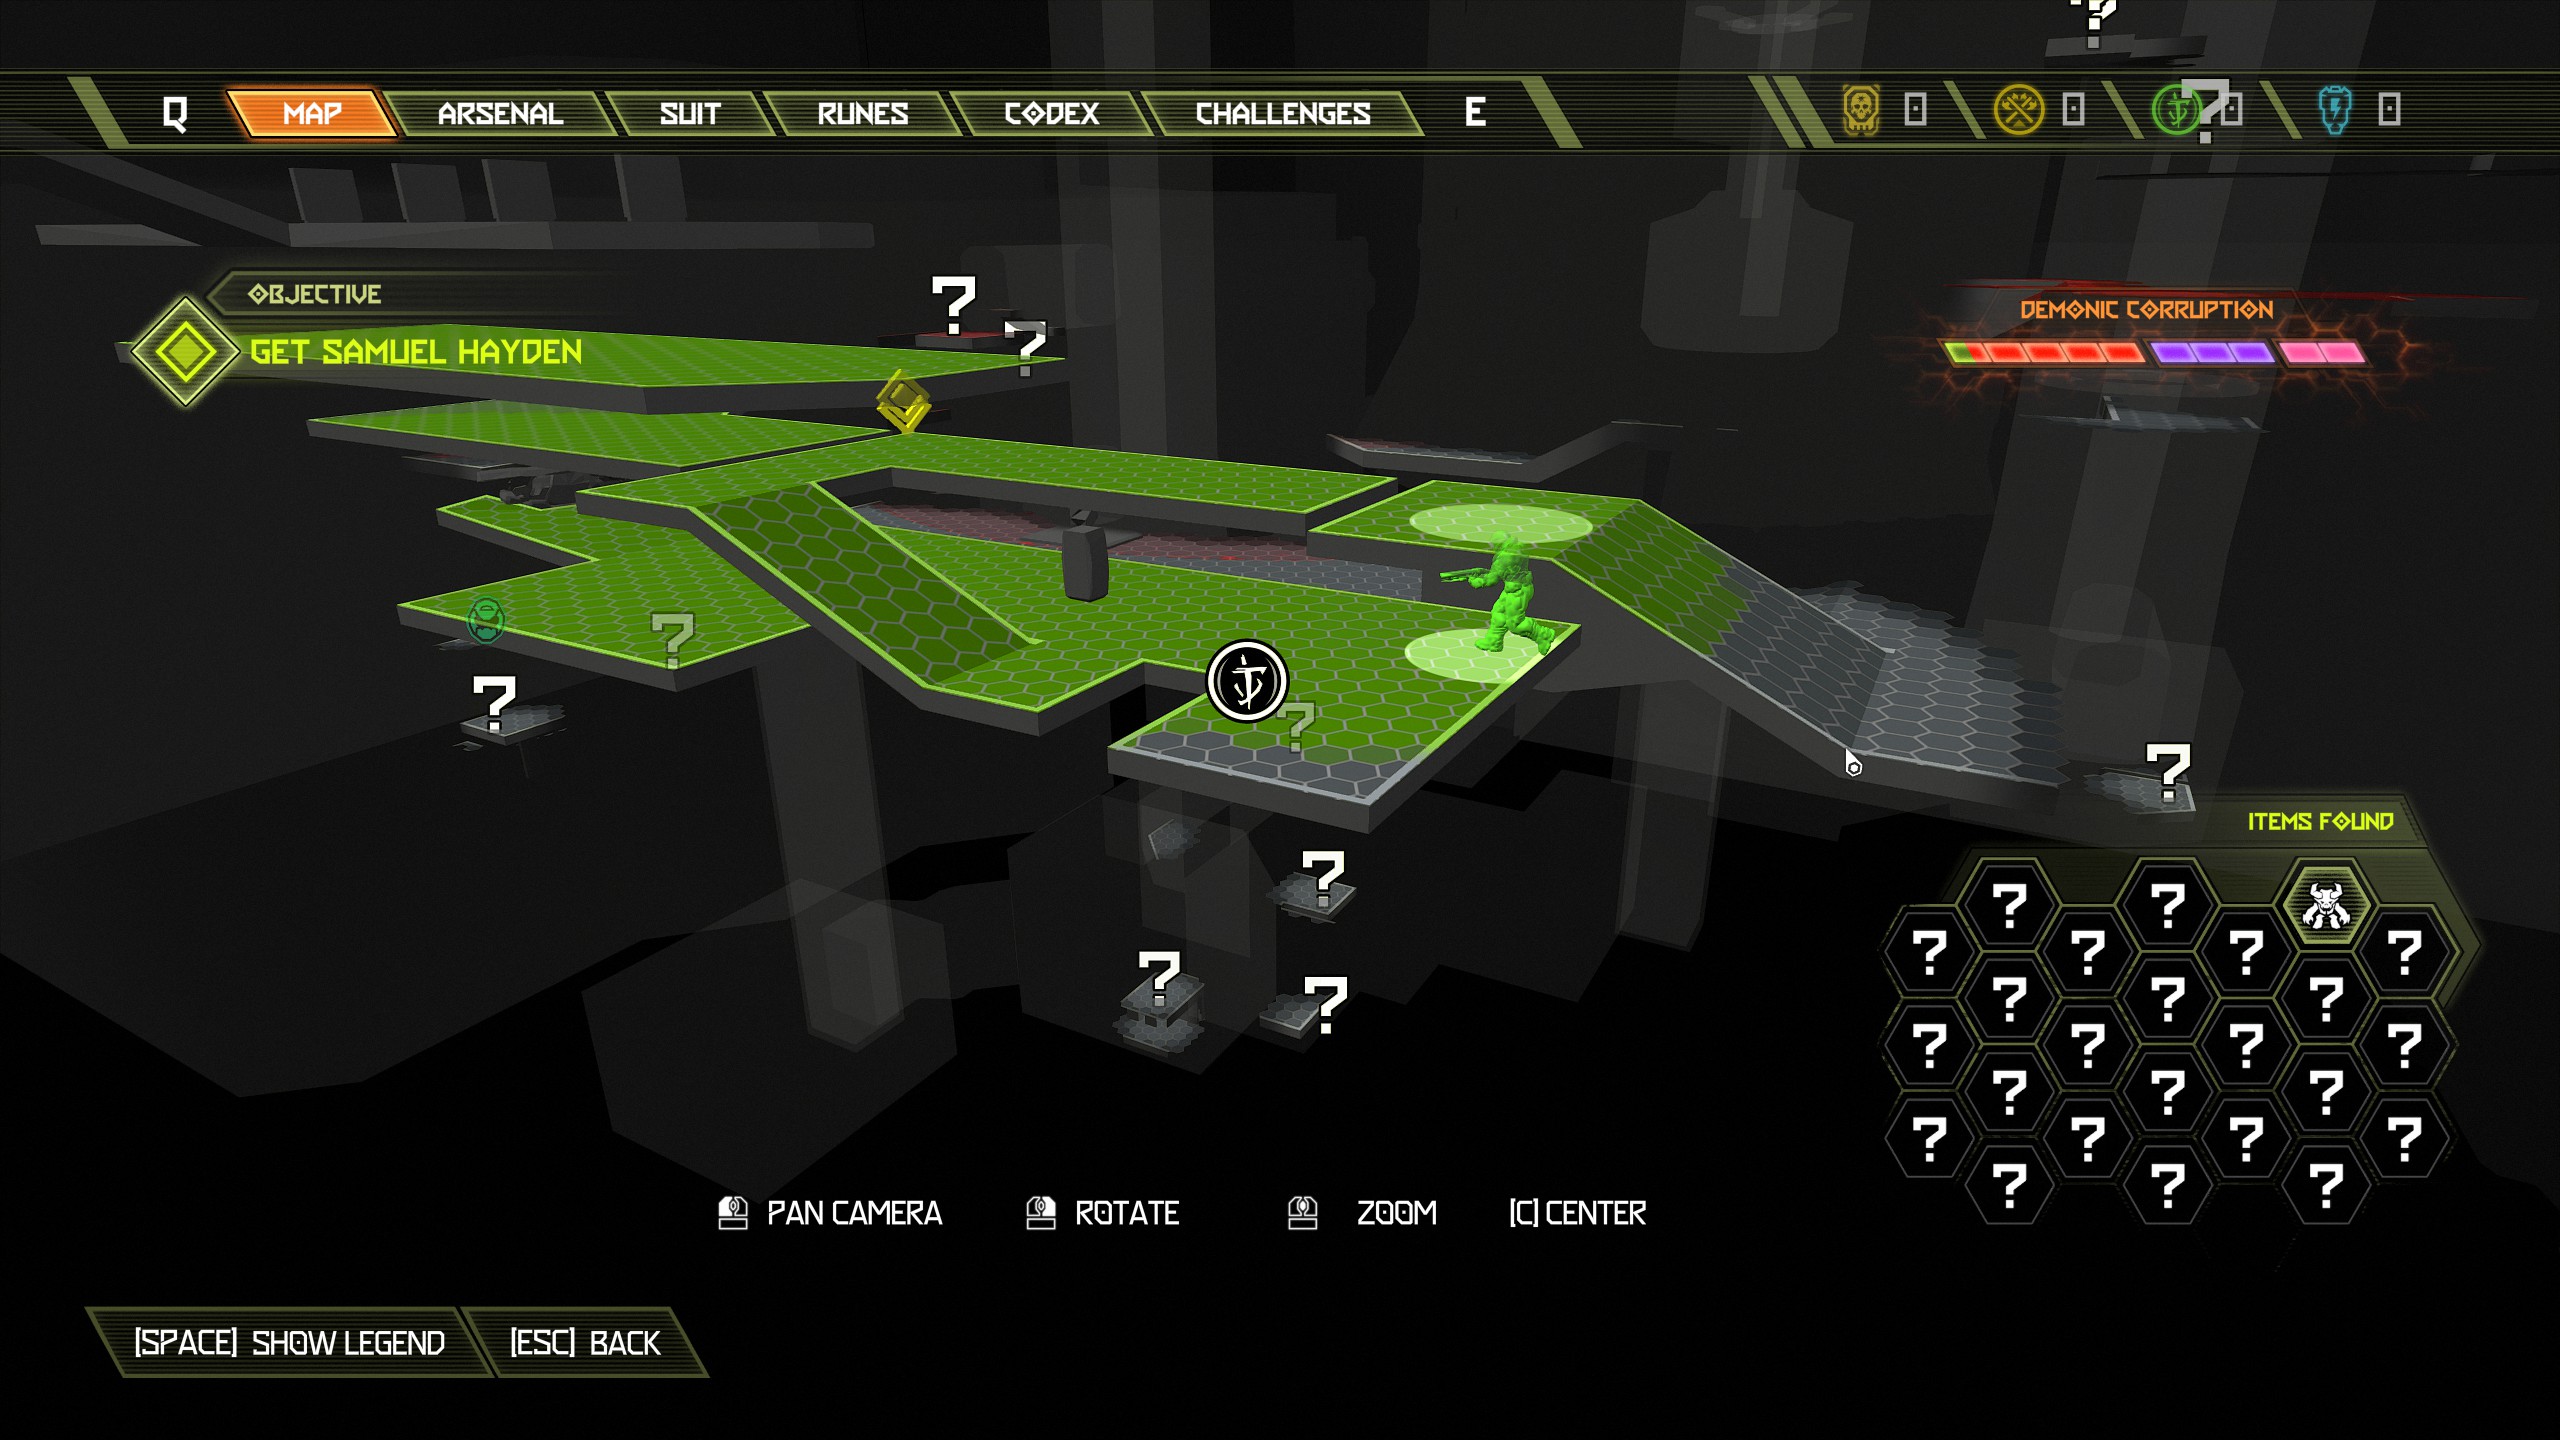
Now make your way outside and kill all demons, you will then be directed into the opposite building and when you're inside make your way up through to the slayer gate, from there you can collect more items.
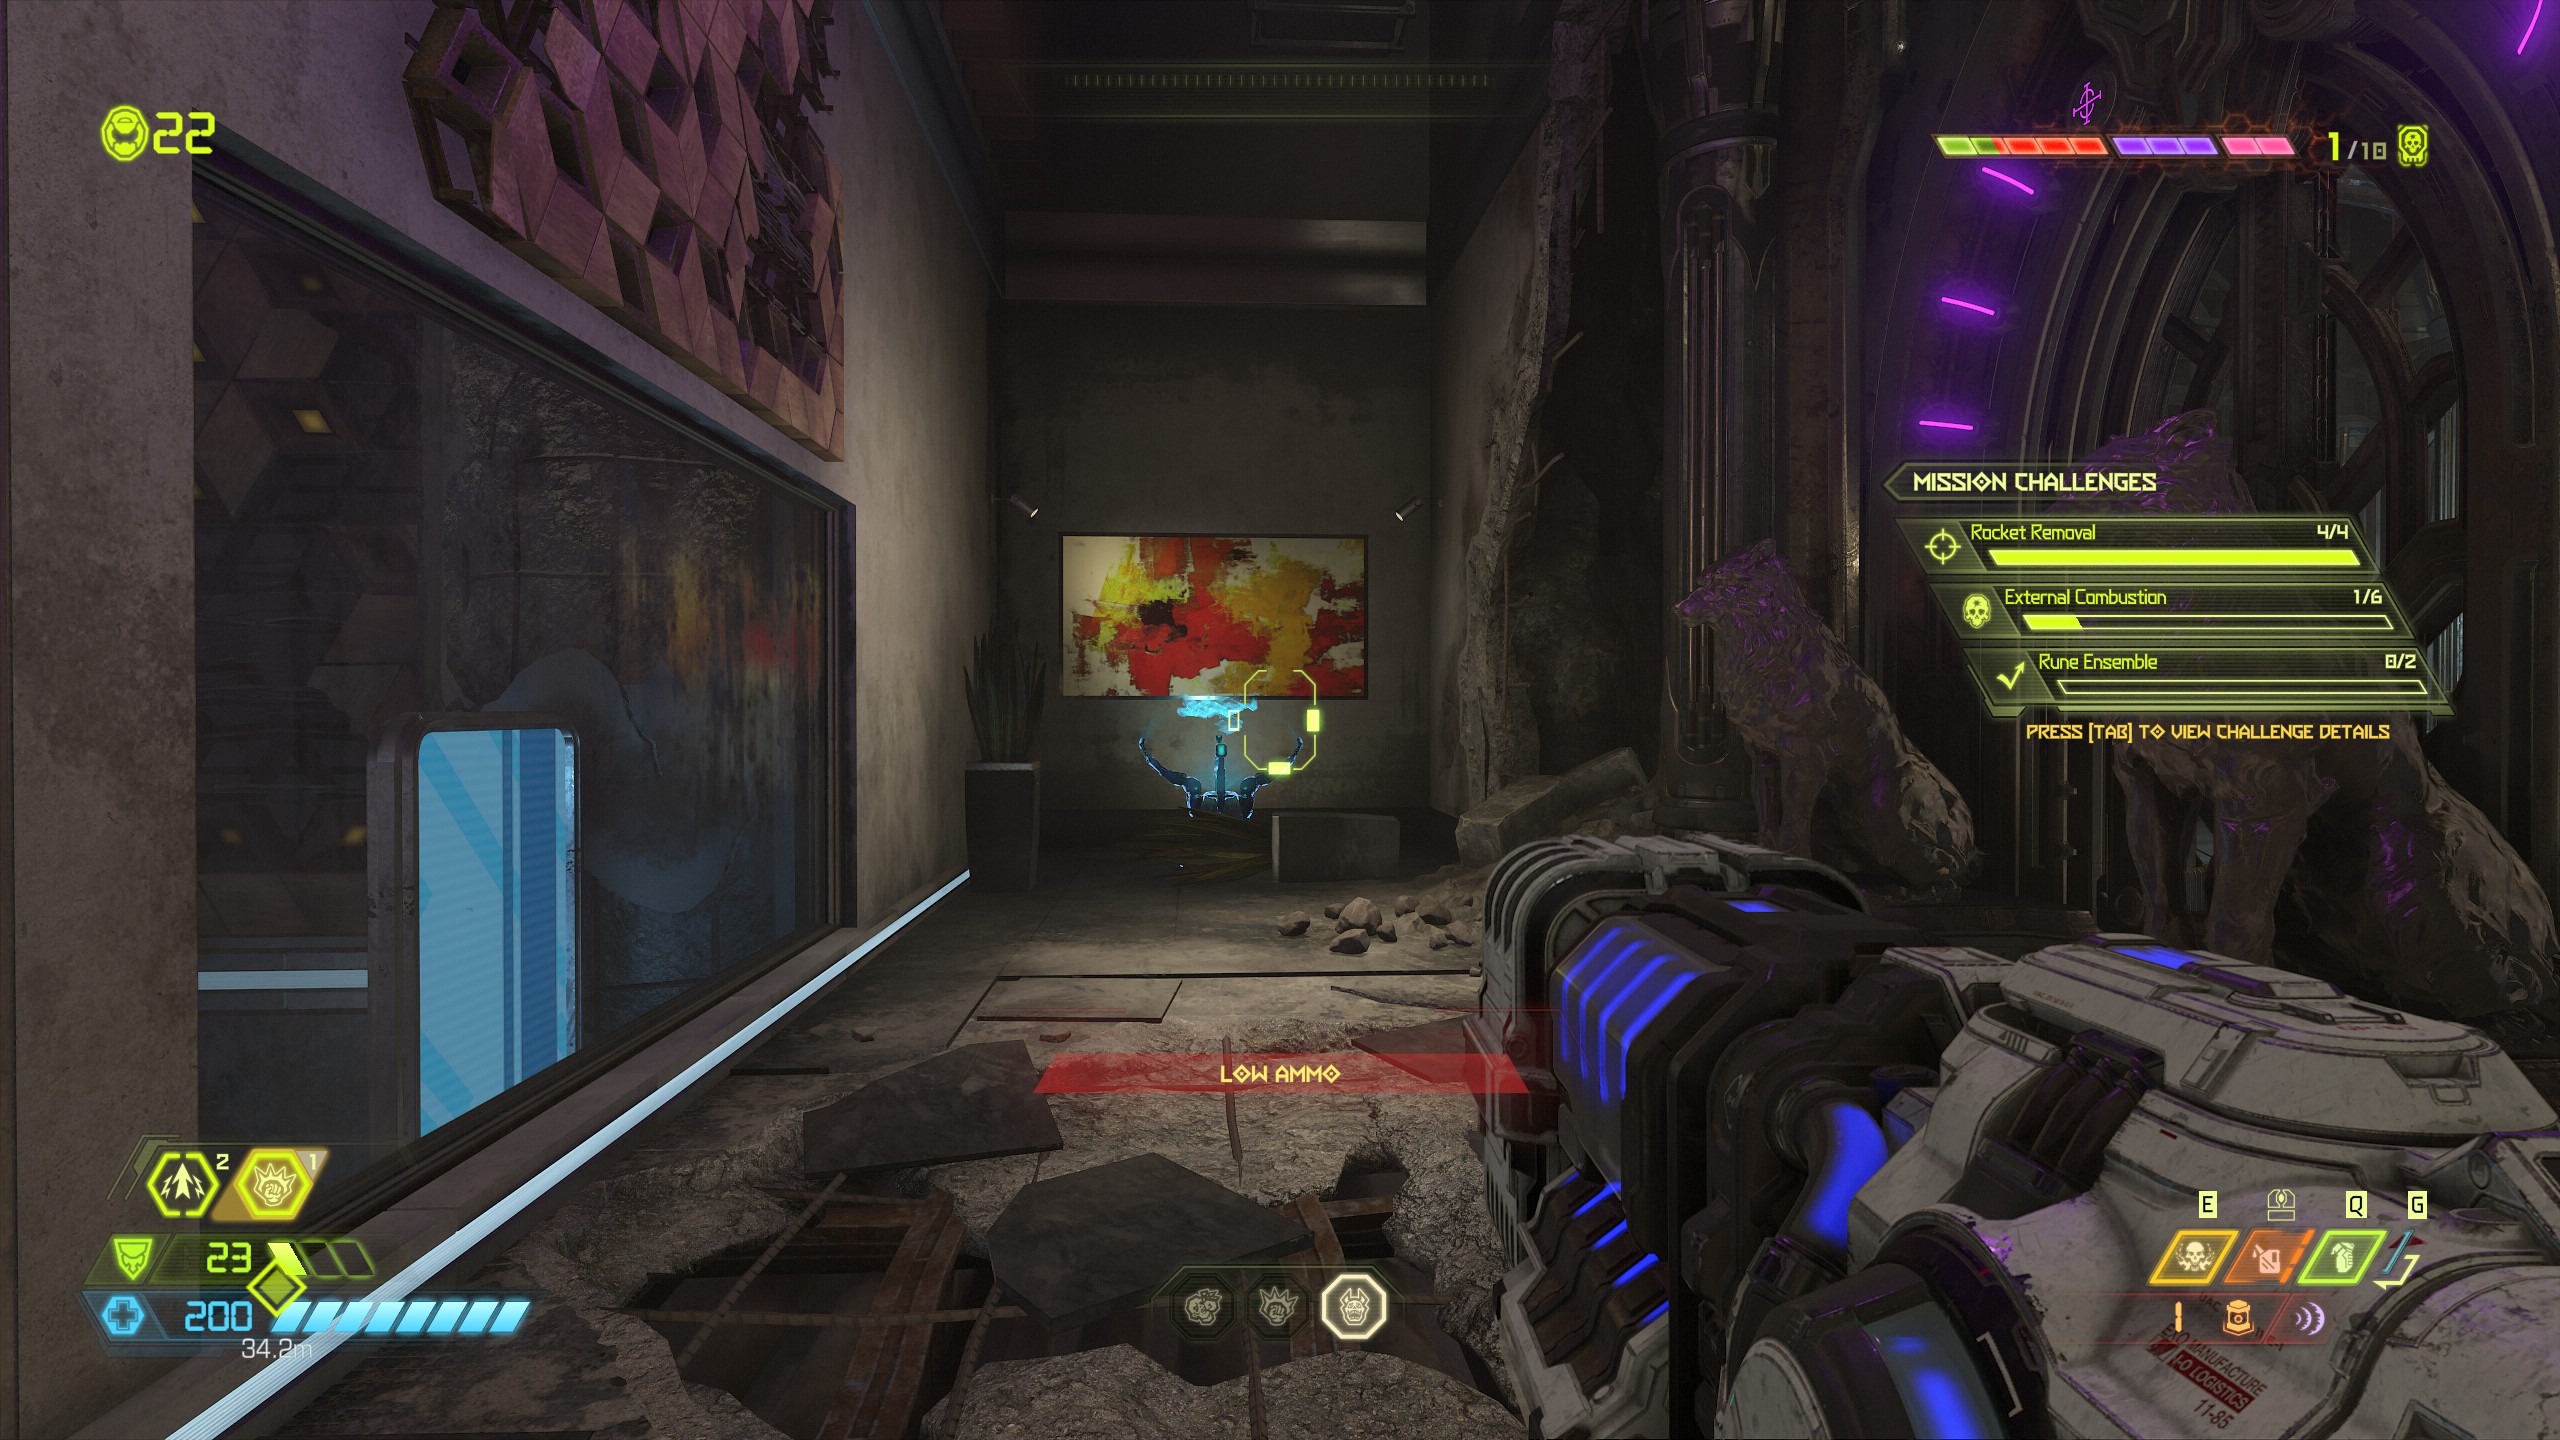
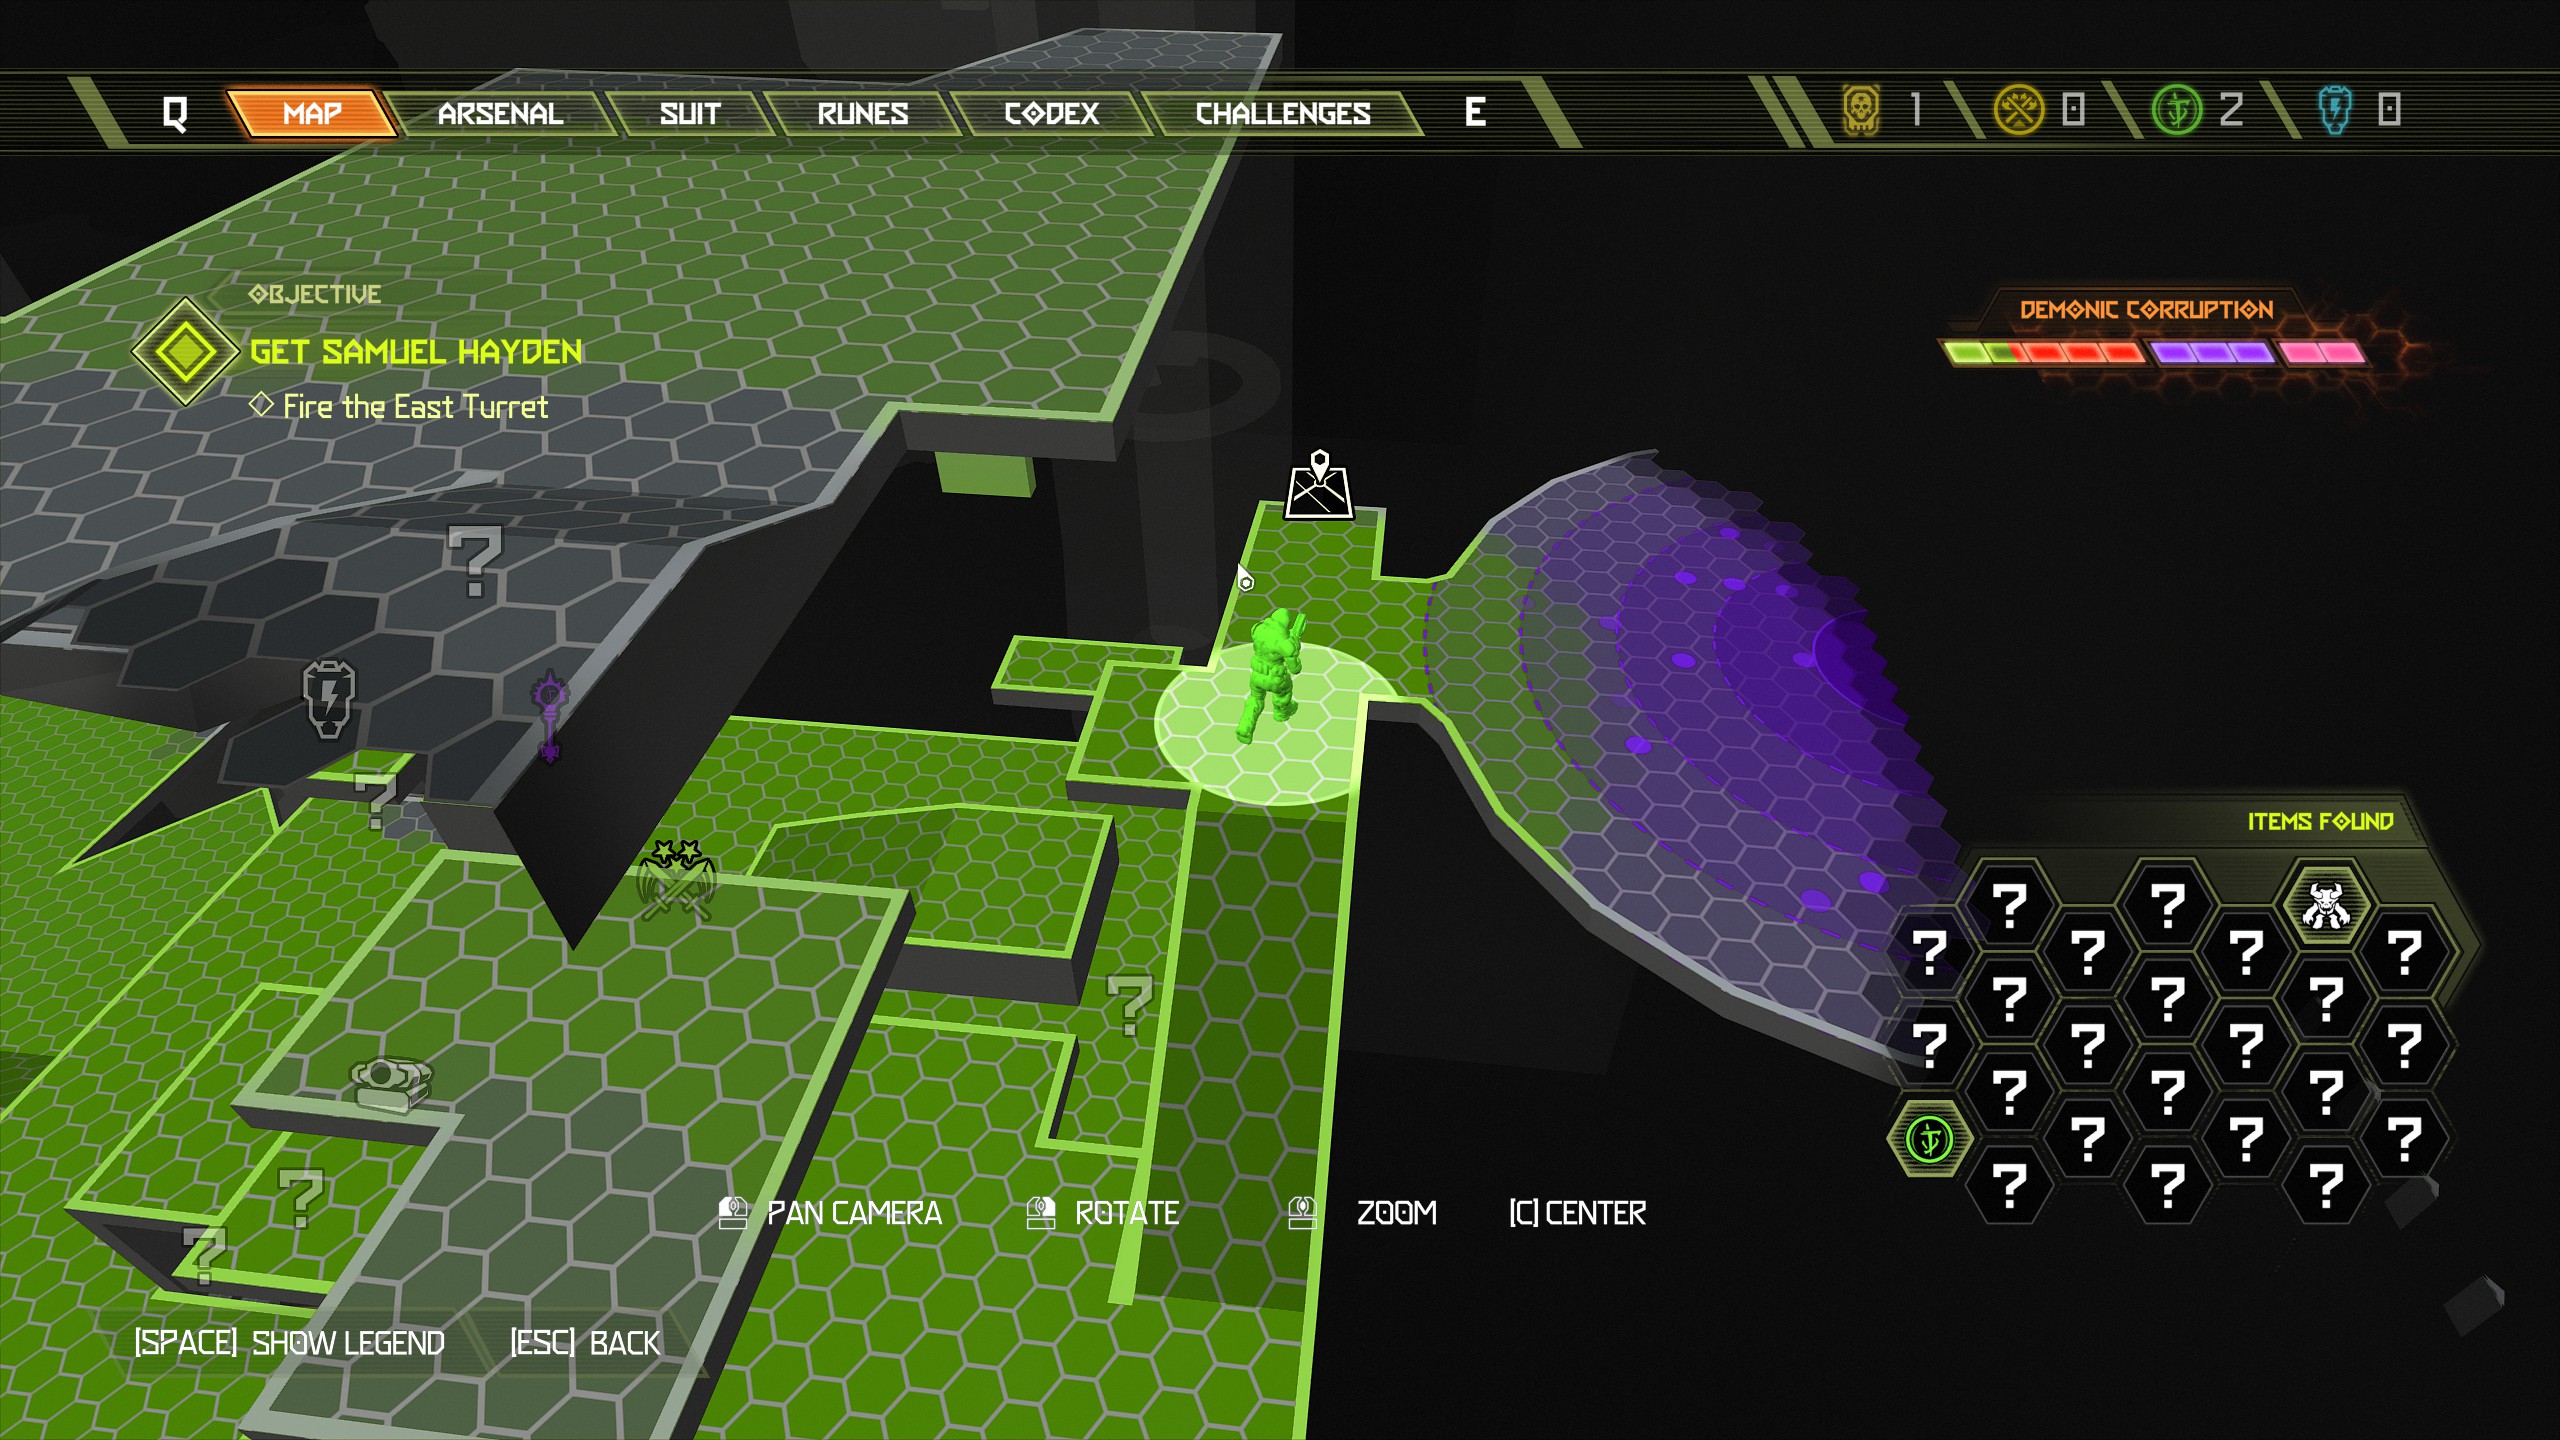
Again standing next to the slayer gate look out across the broken walkway nearby. On the opposite side in the small opening will be a sentinel battery and a doomtoy, jump across and you will see them on your left and right side.
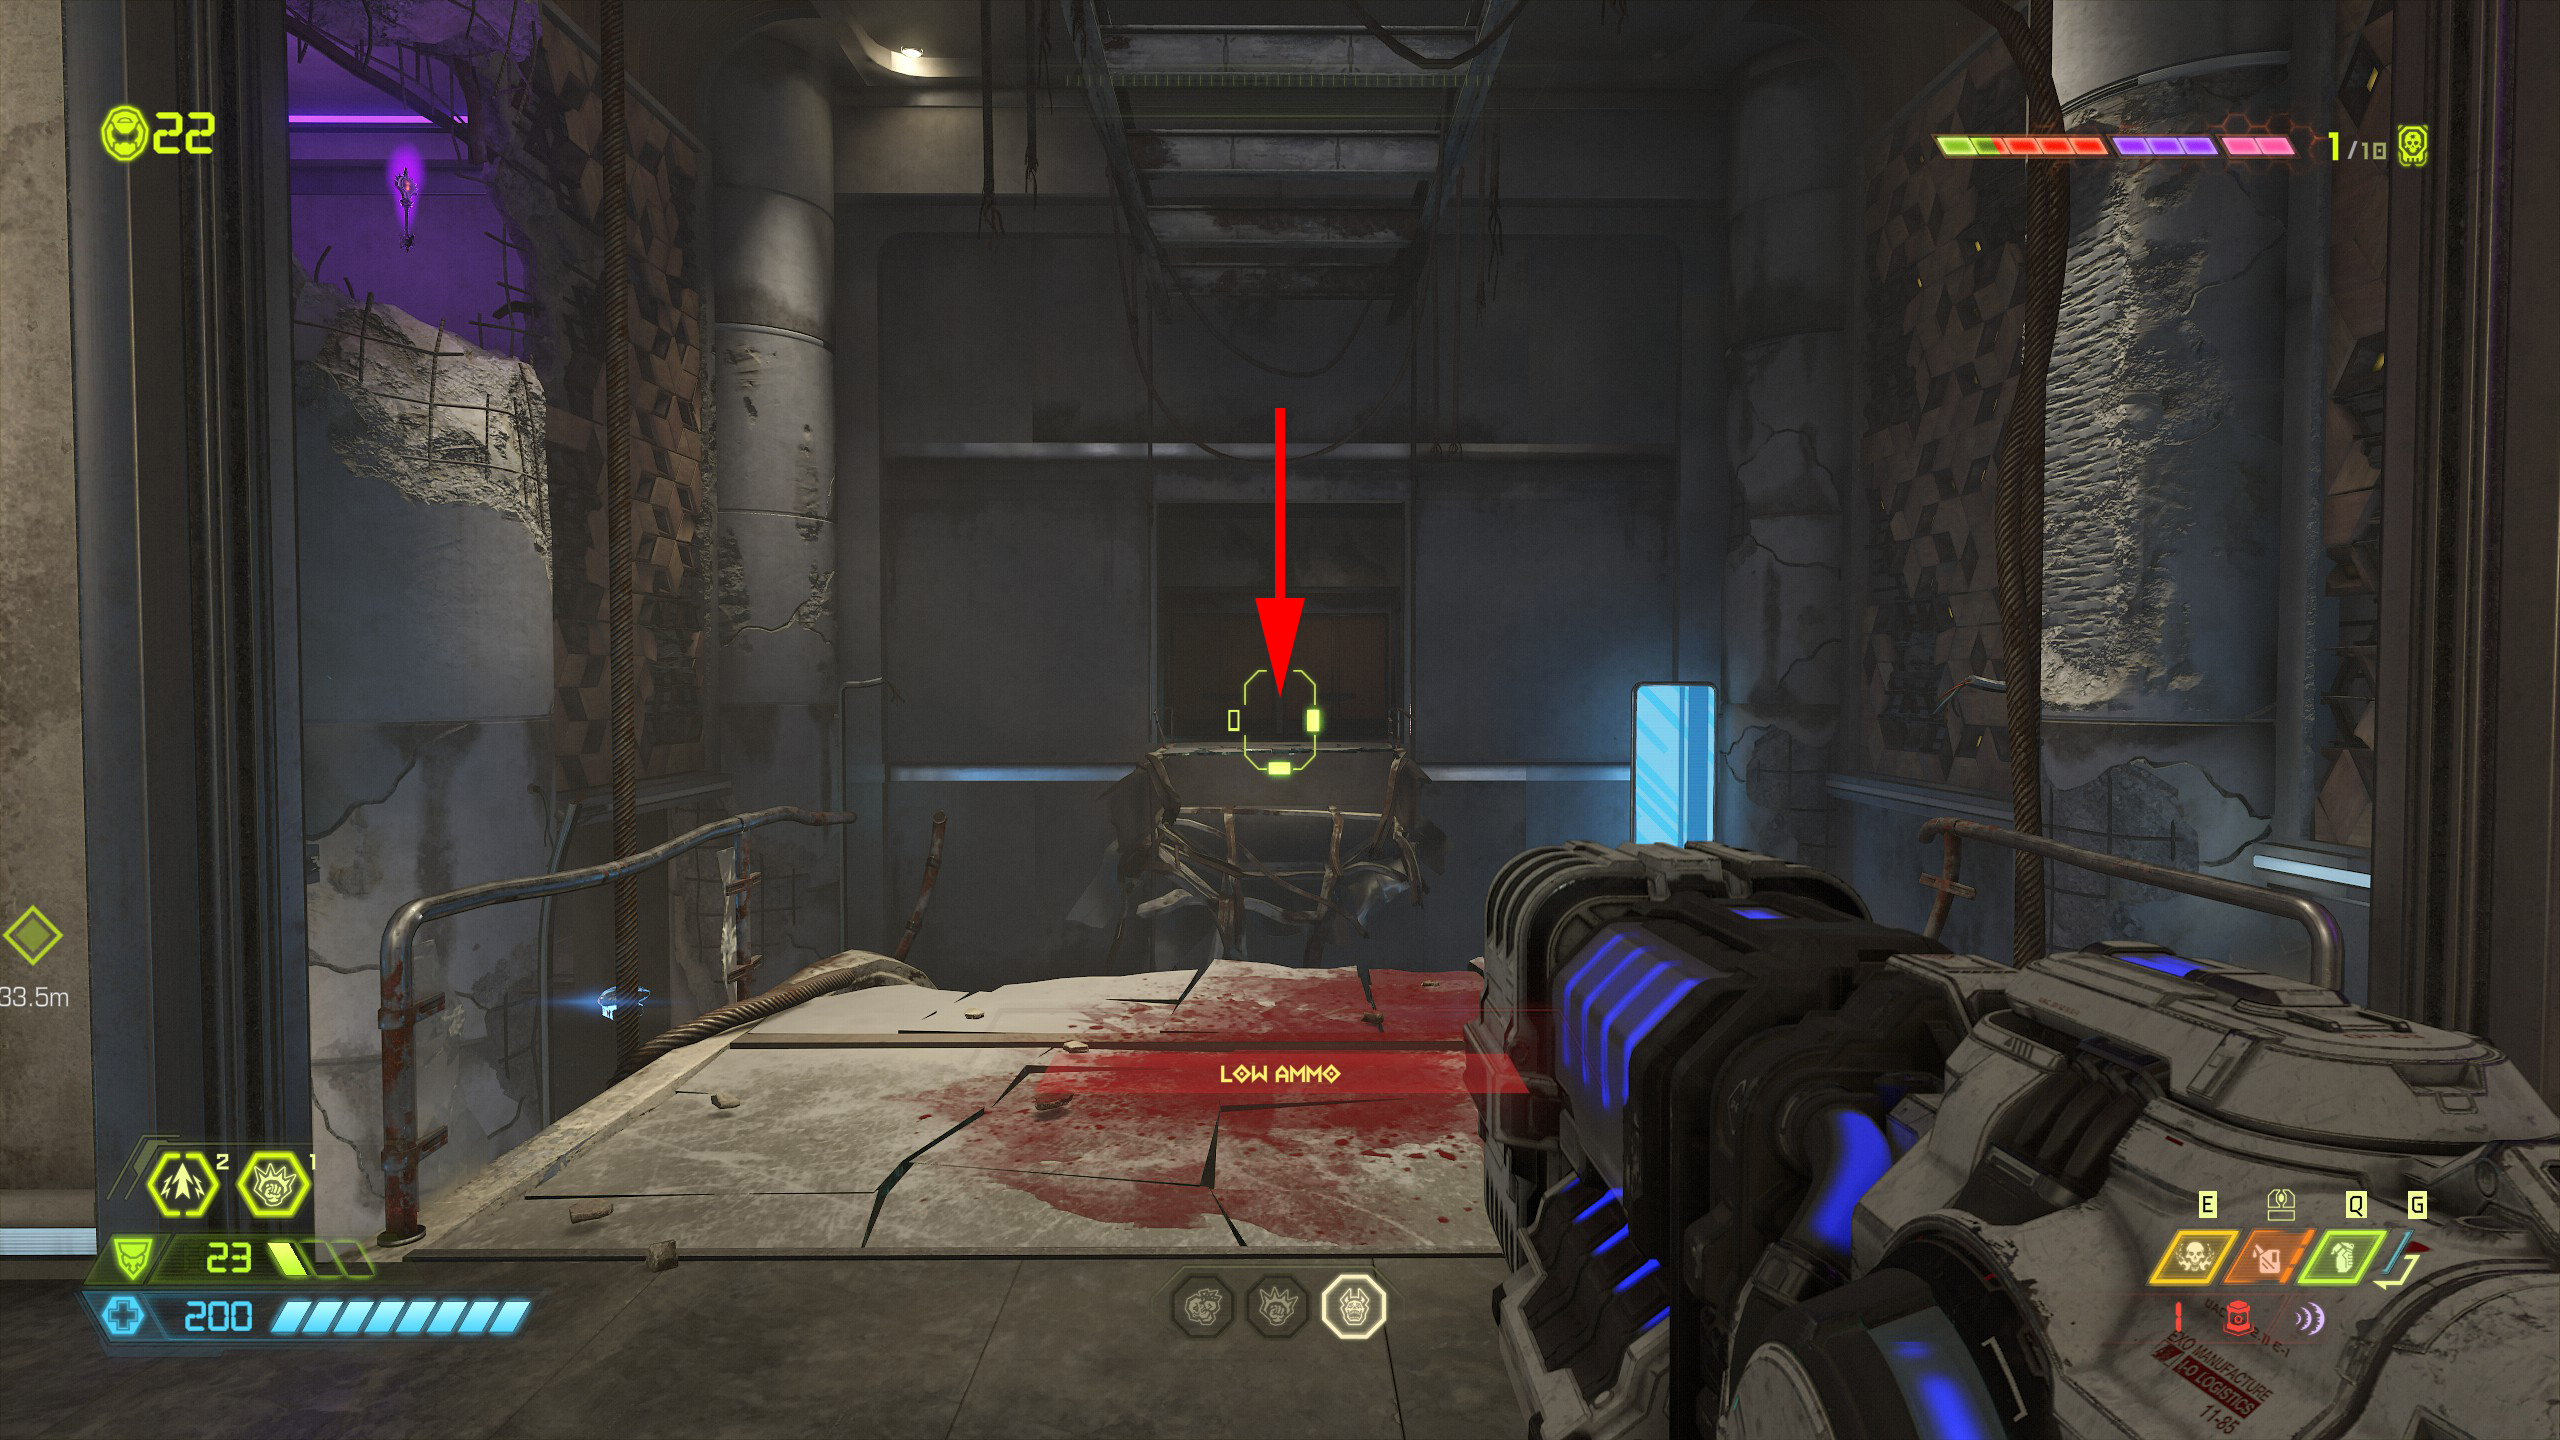
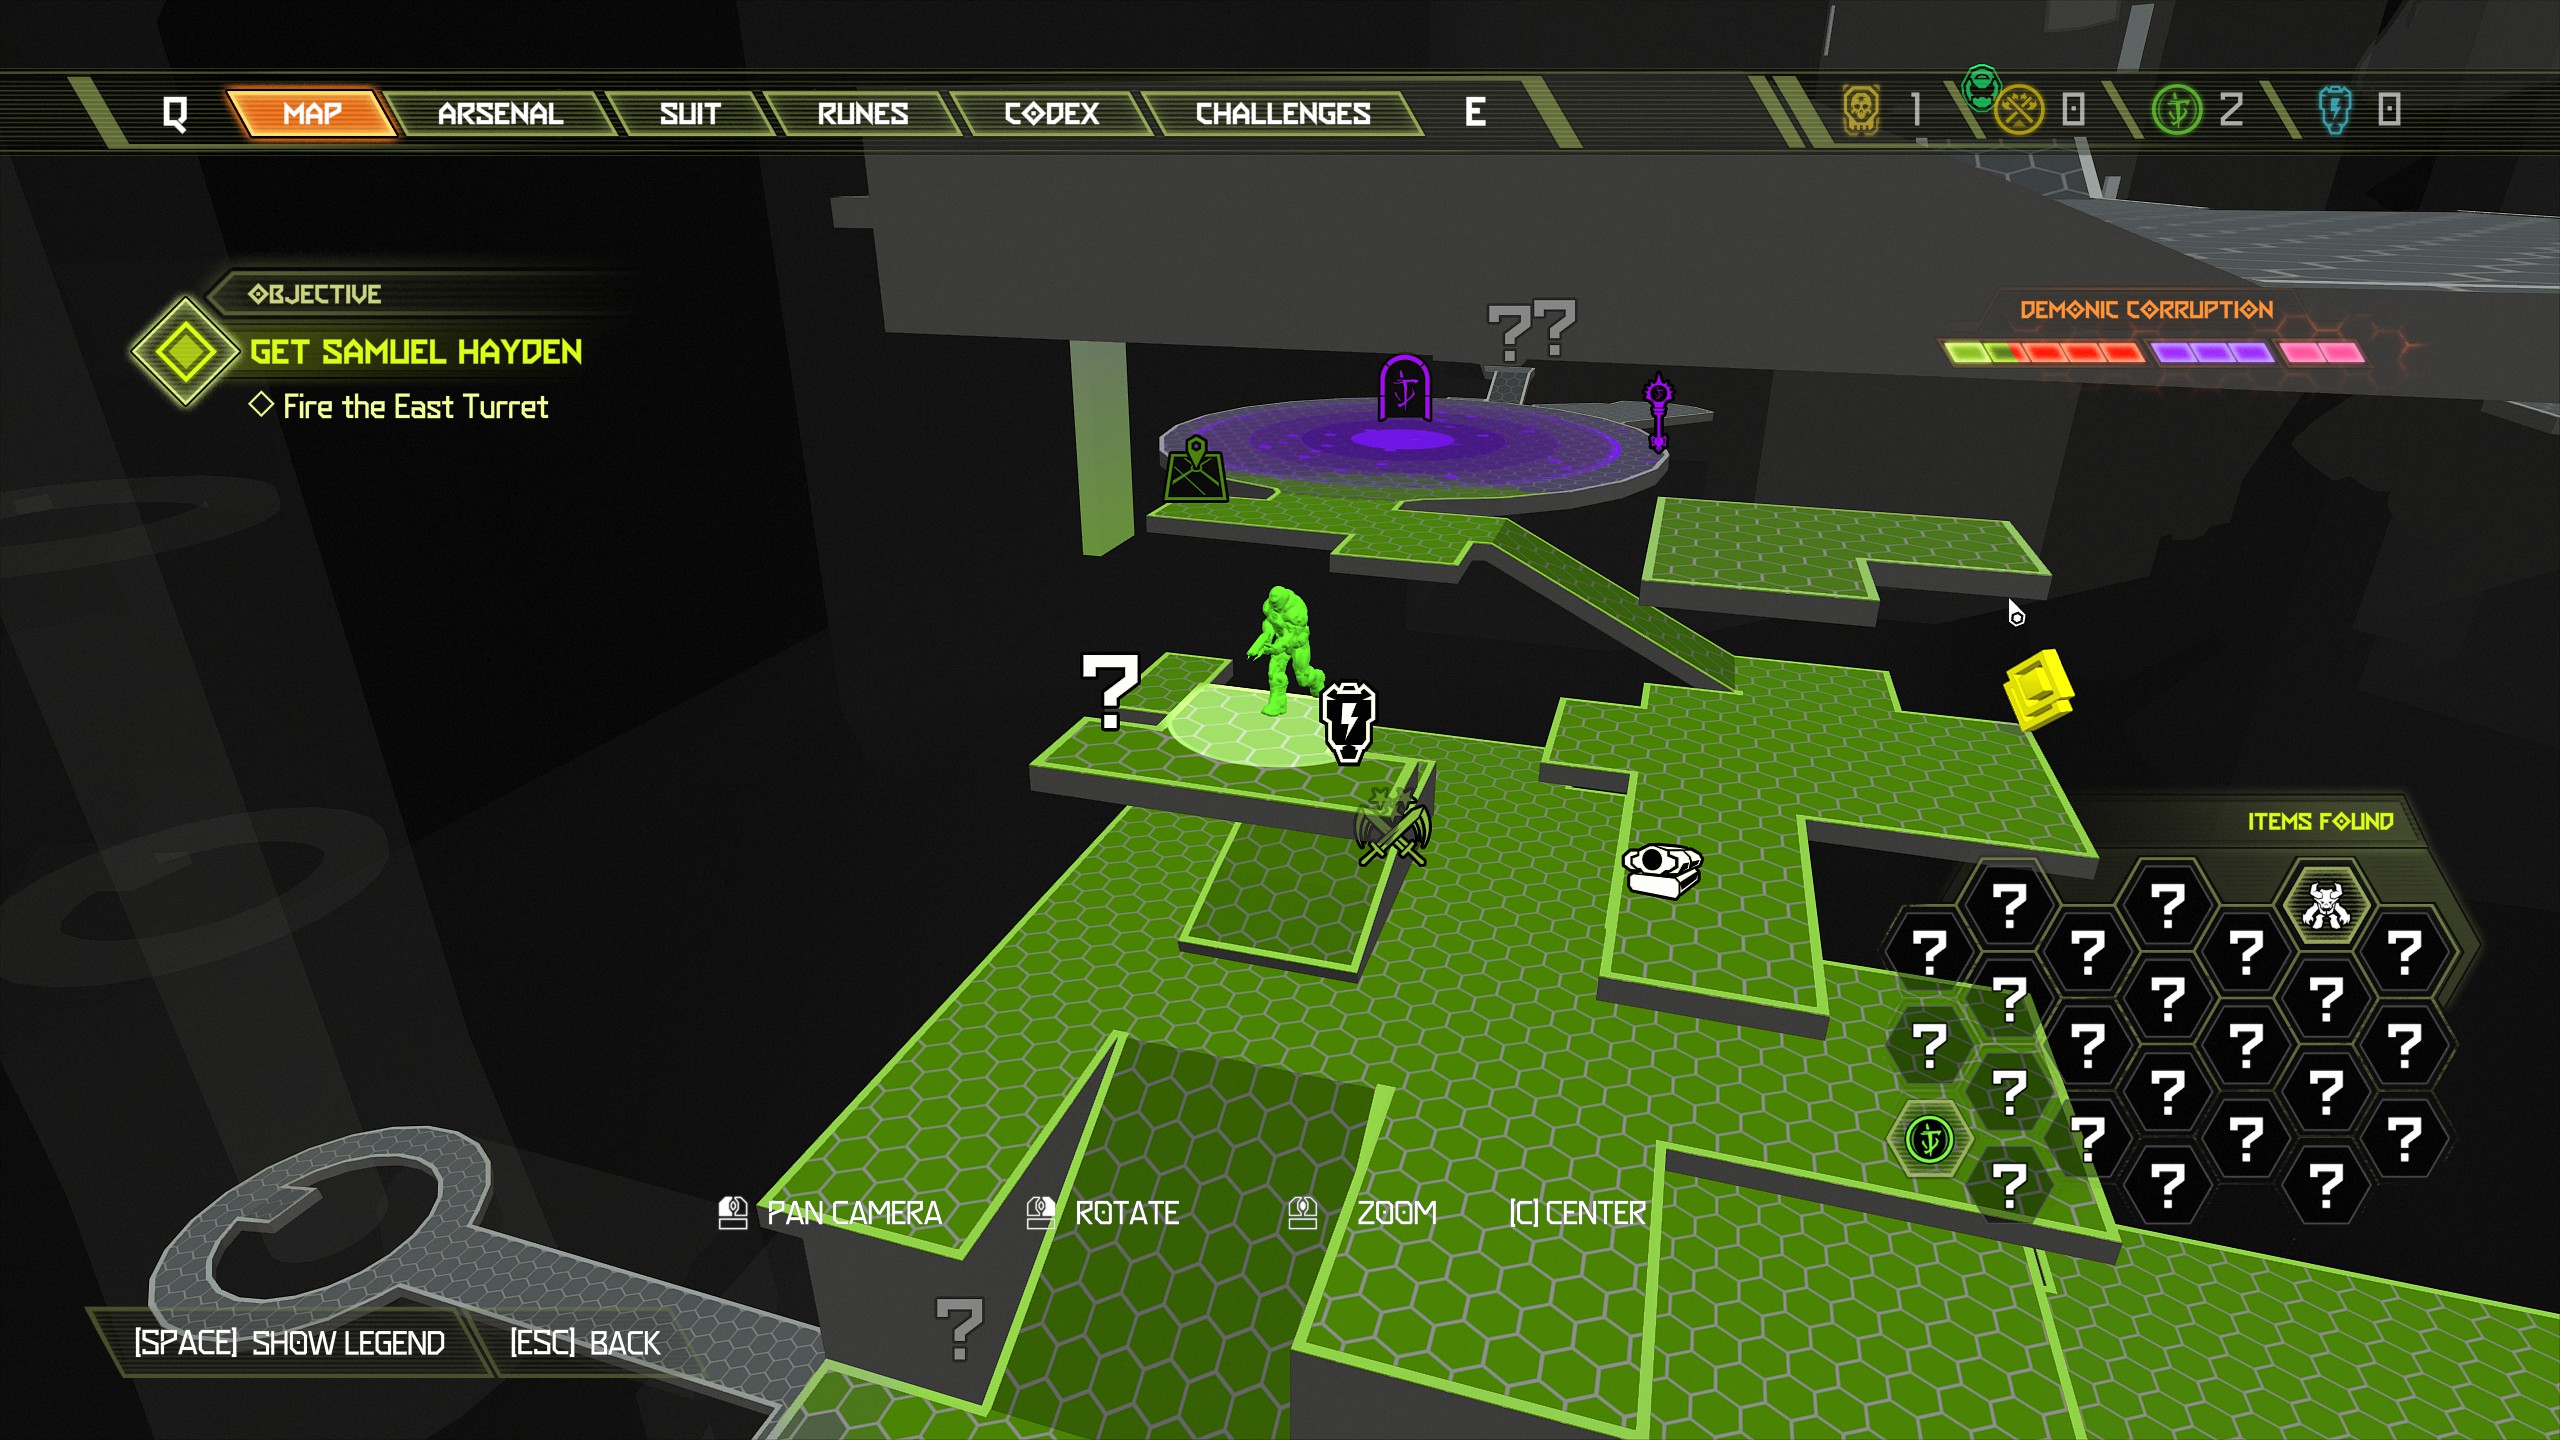
Now go back to the slayer gate and look out across the broken walkway, but this time on the right side wall you can see a wall you're able to climb, use it to jump across and collect the slayer gate key on the opposite side.
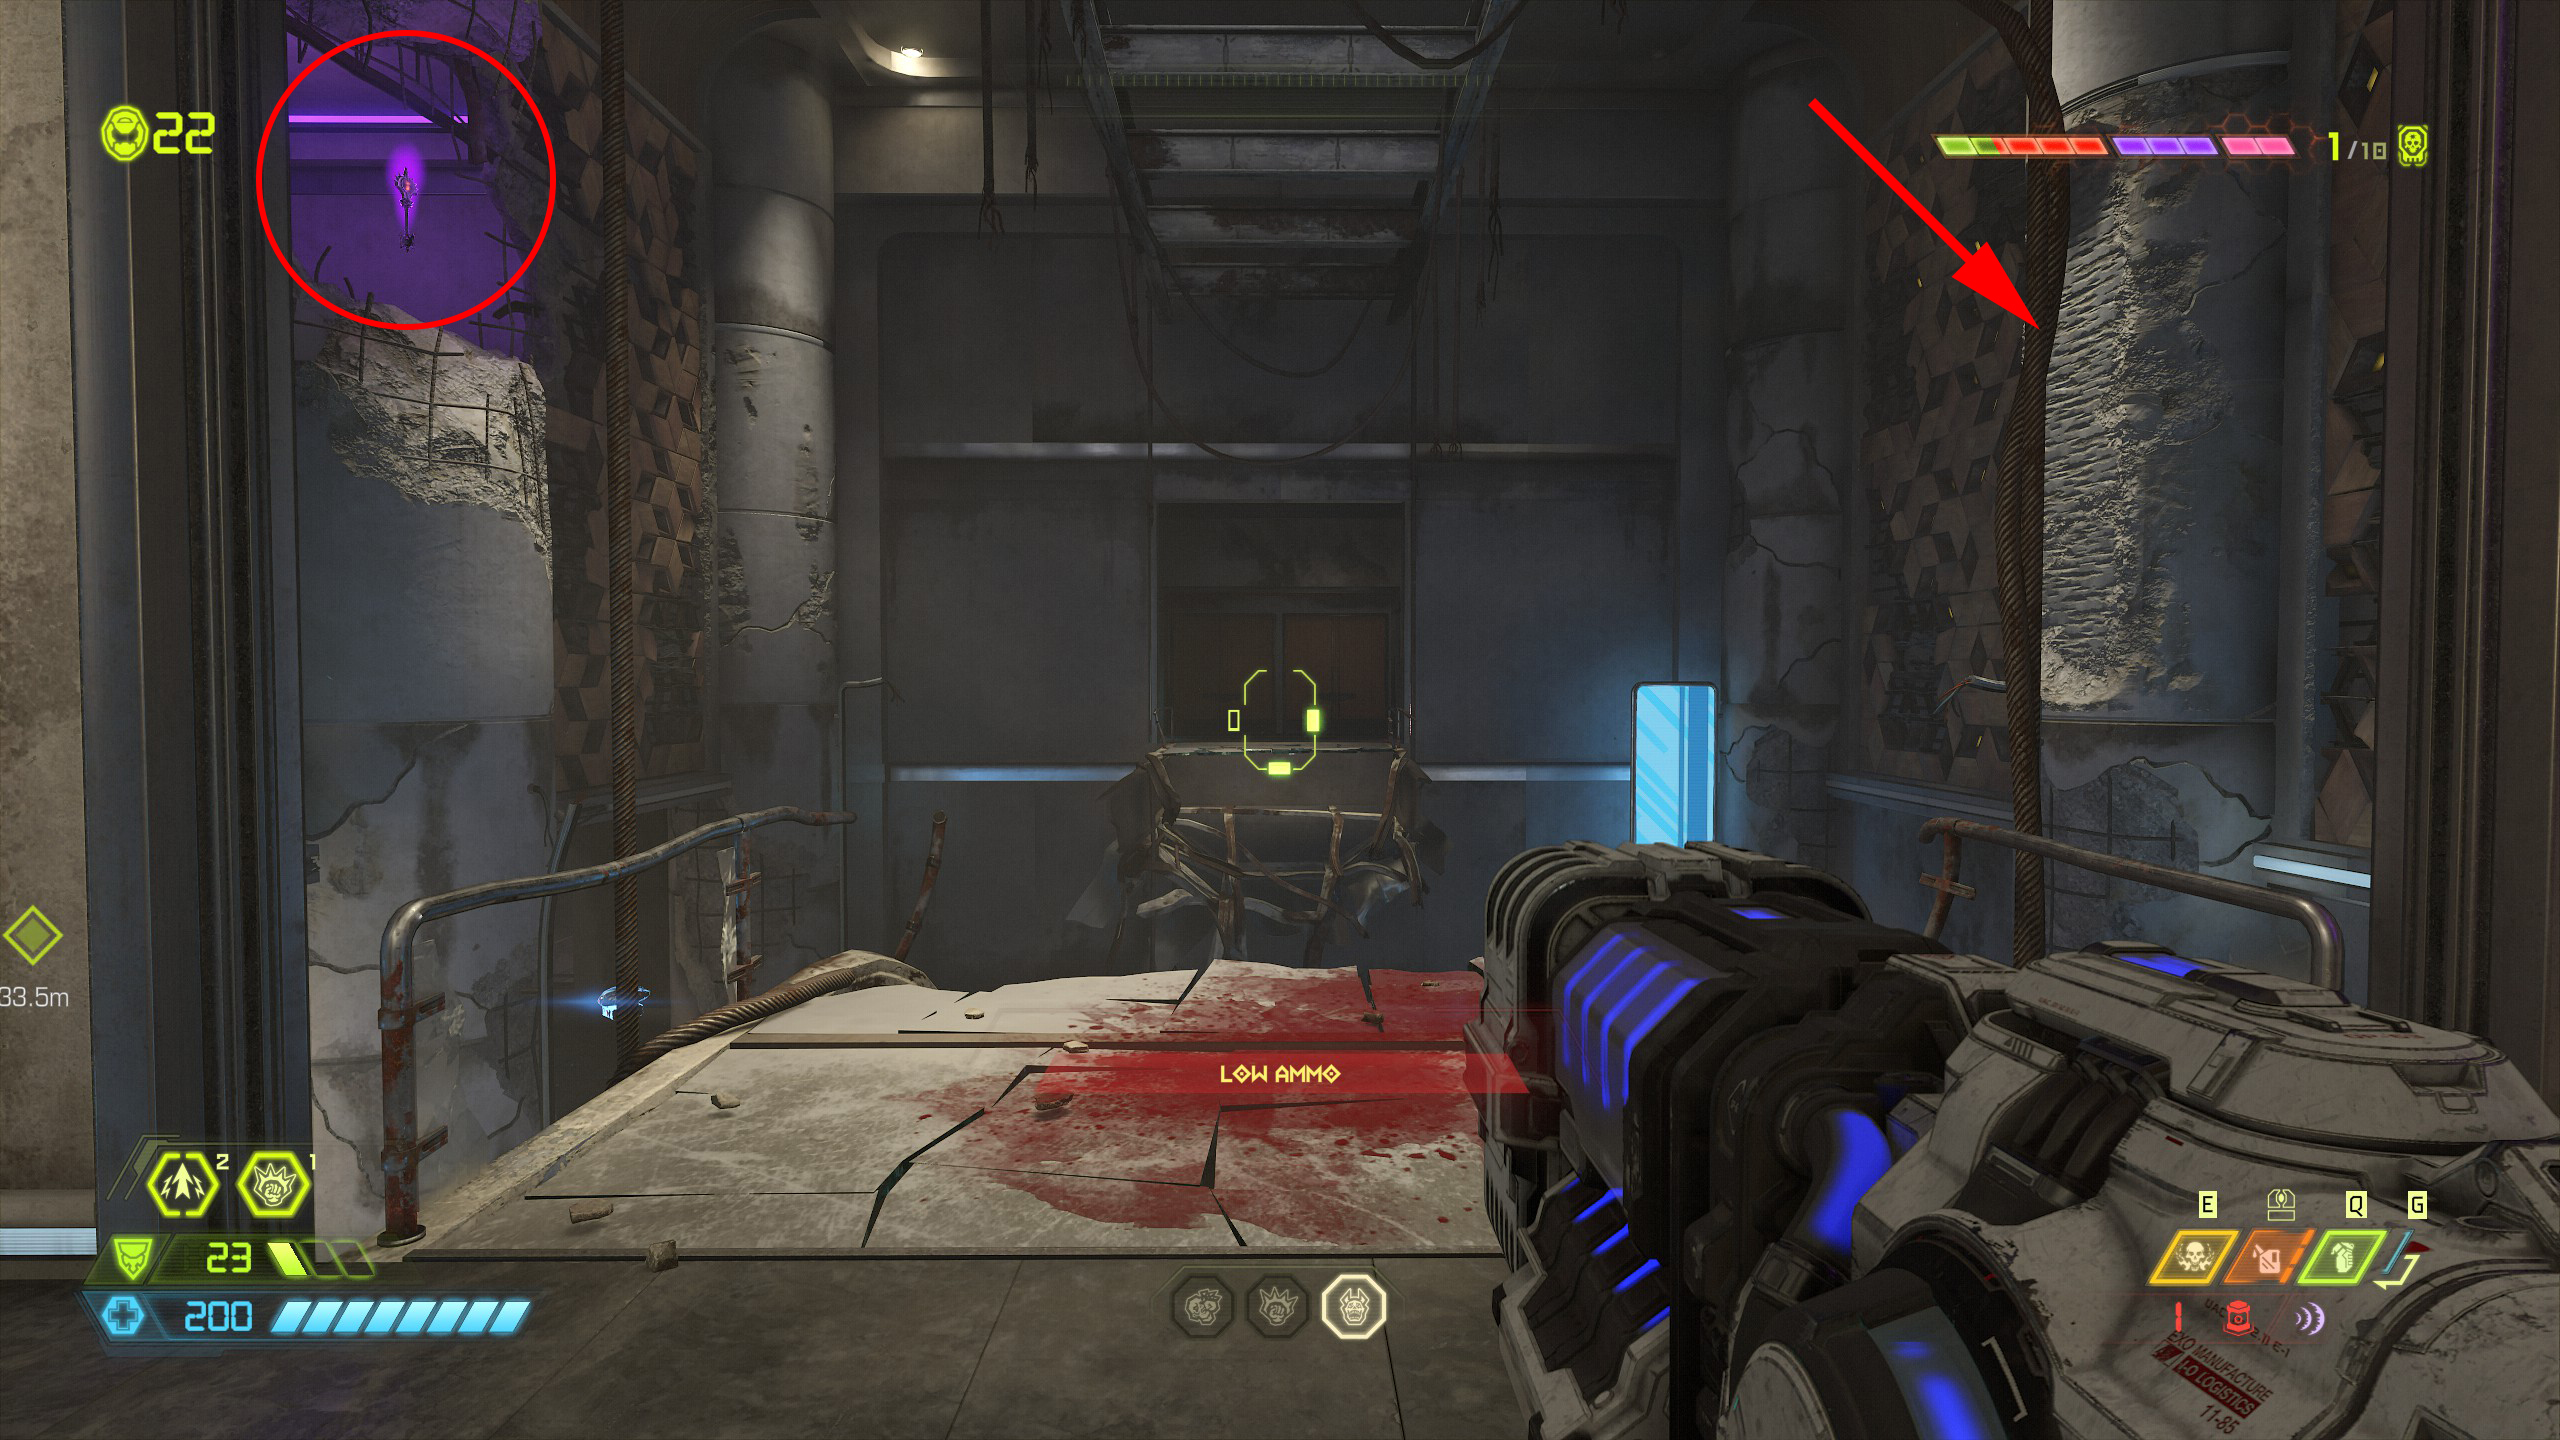
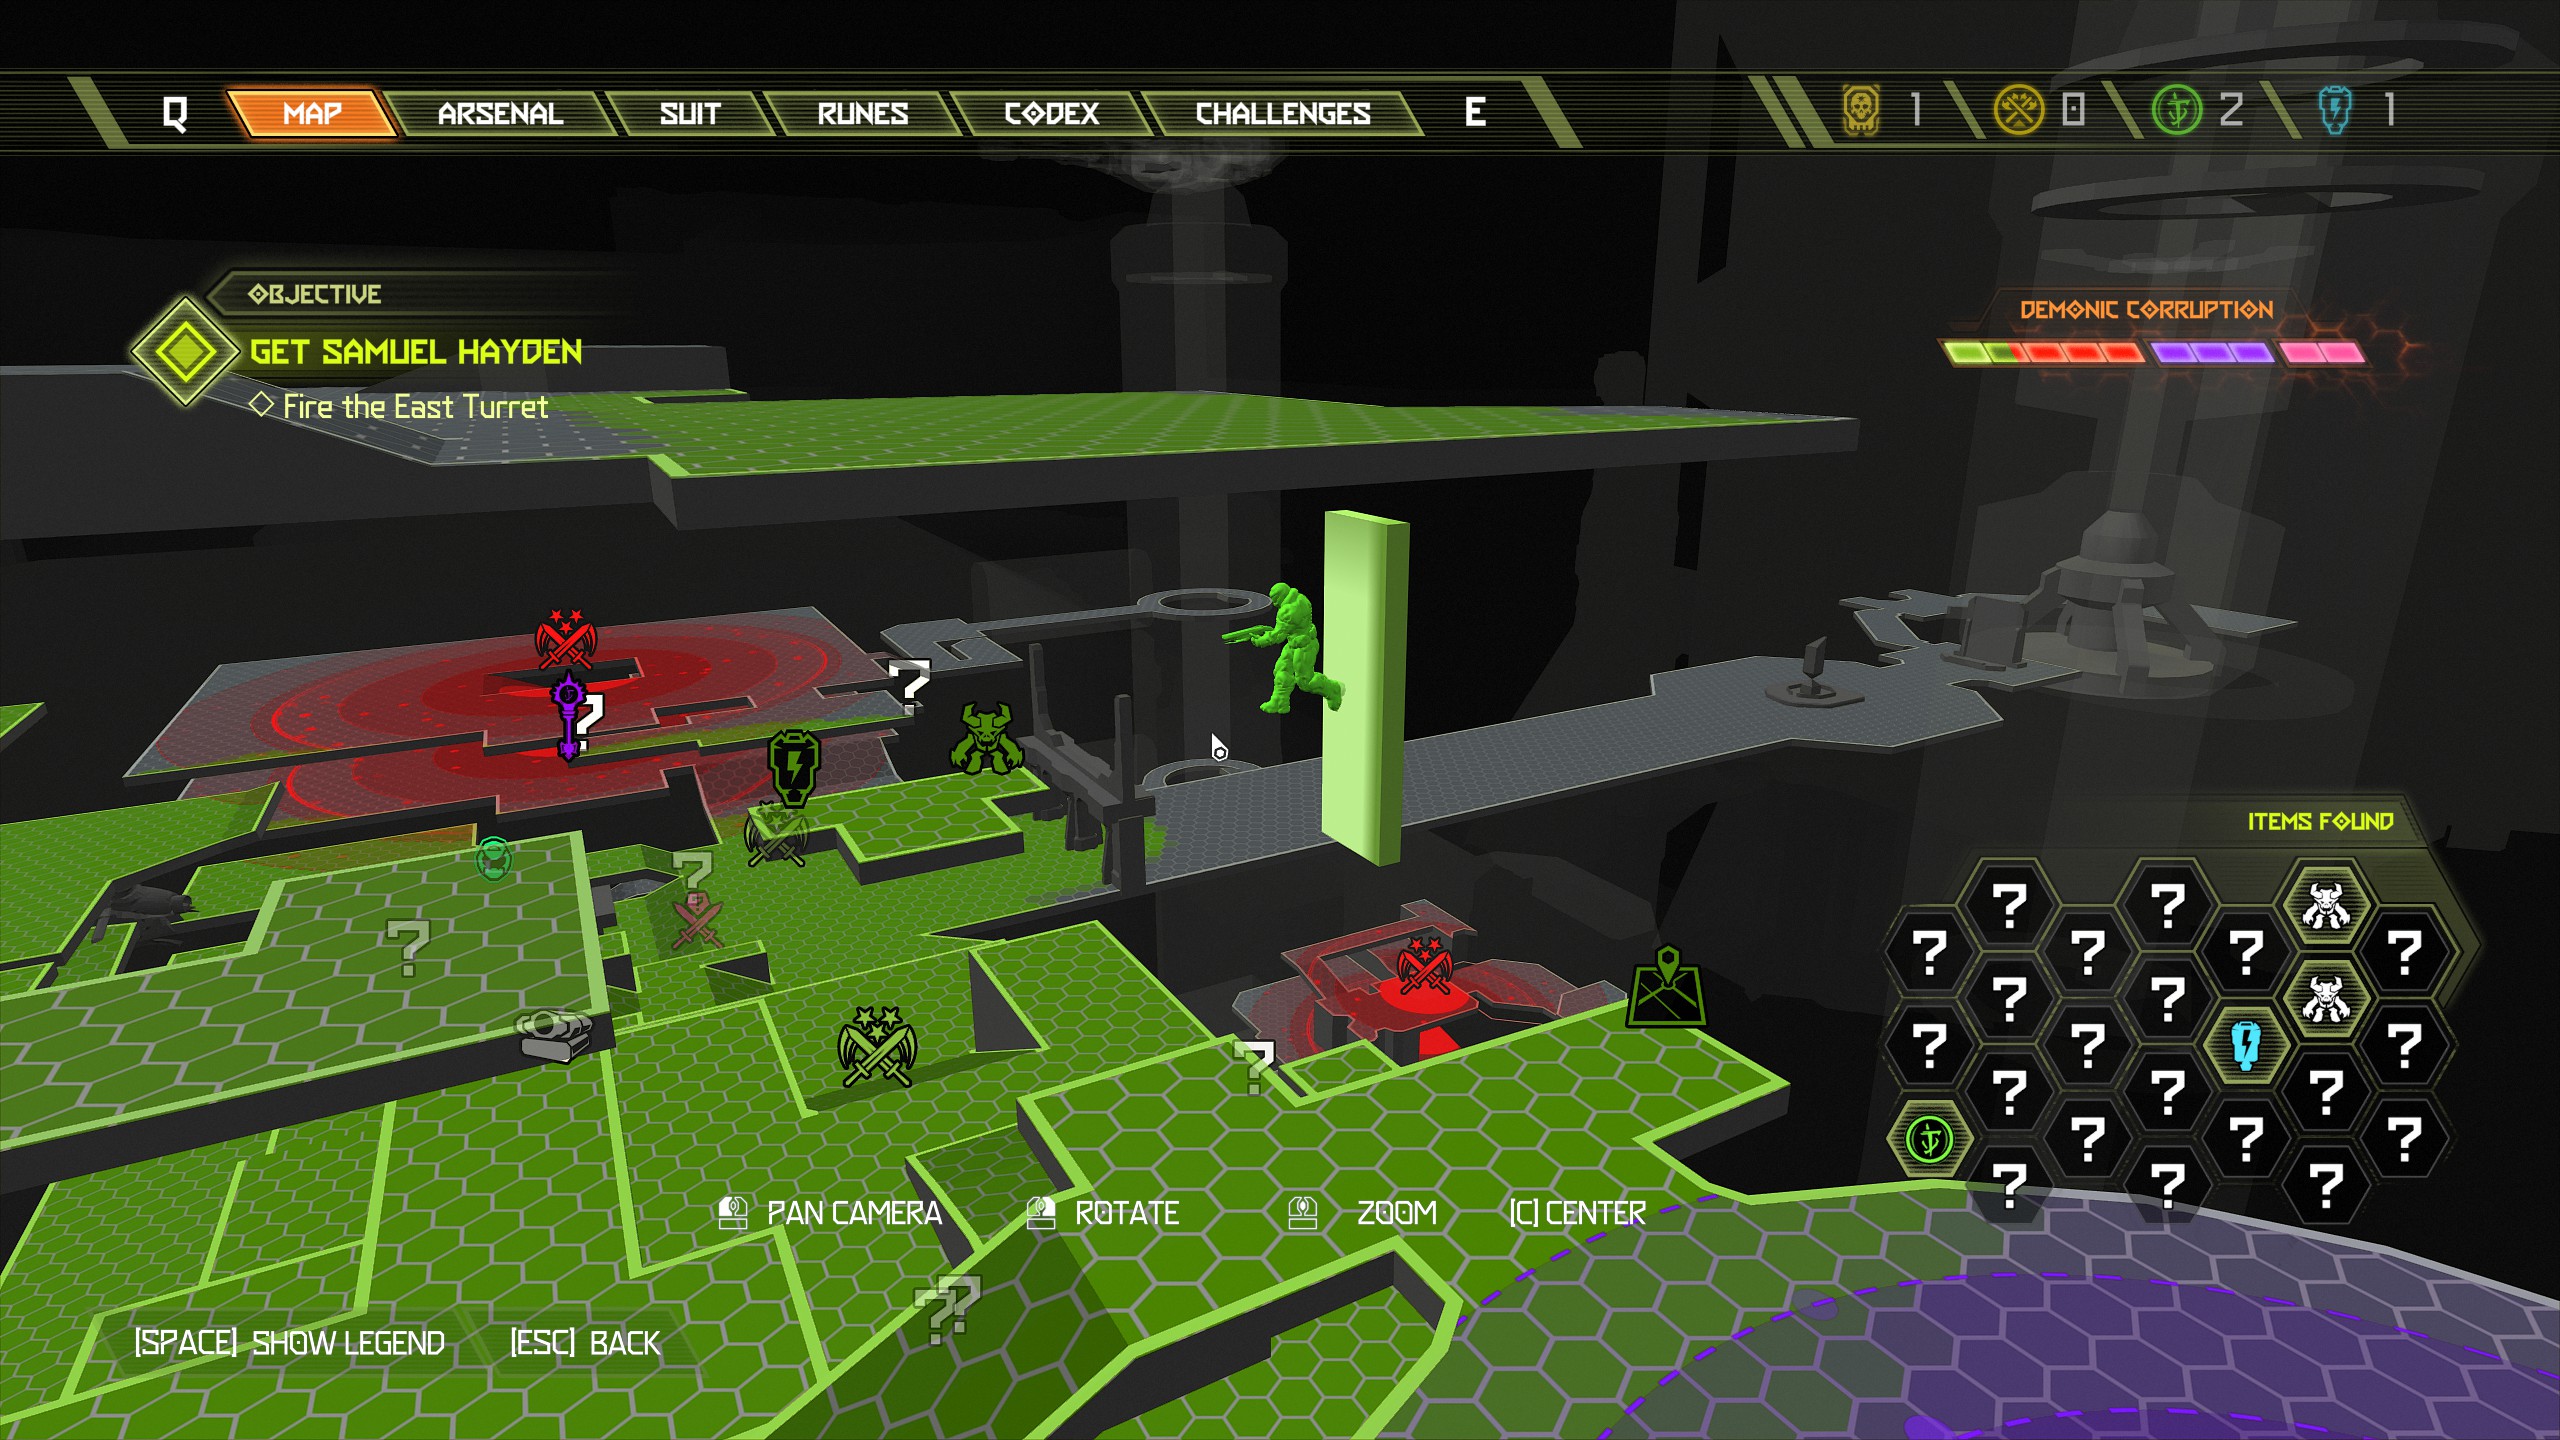
After collecting the slayer gate key drop down into the hatch behind it, but do not exit through the window and instead look towards the broken walkway and slightly left to see a weapon mod. Collect the weapon mod and then continue the mission out of the window.
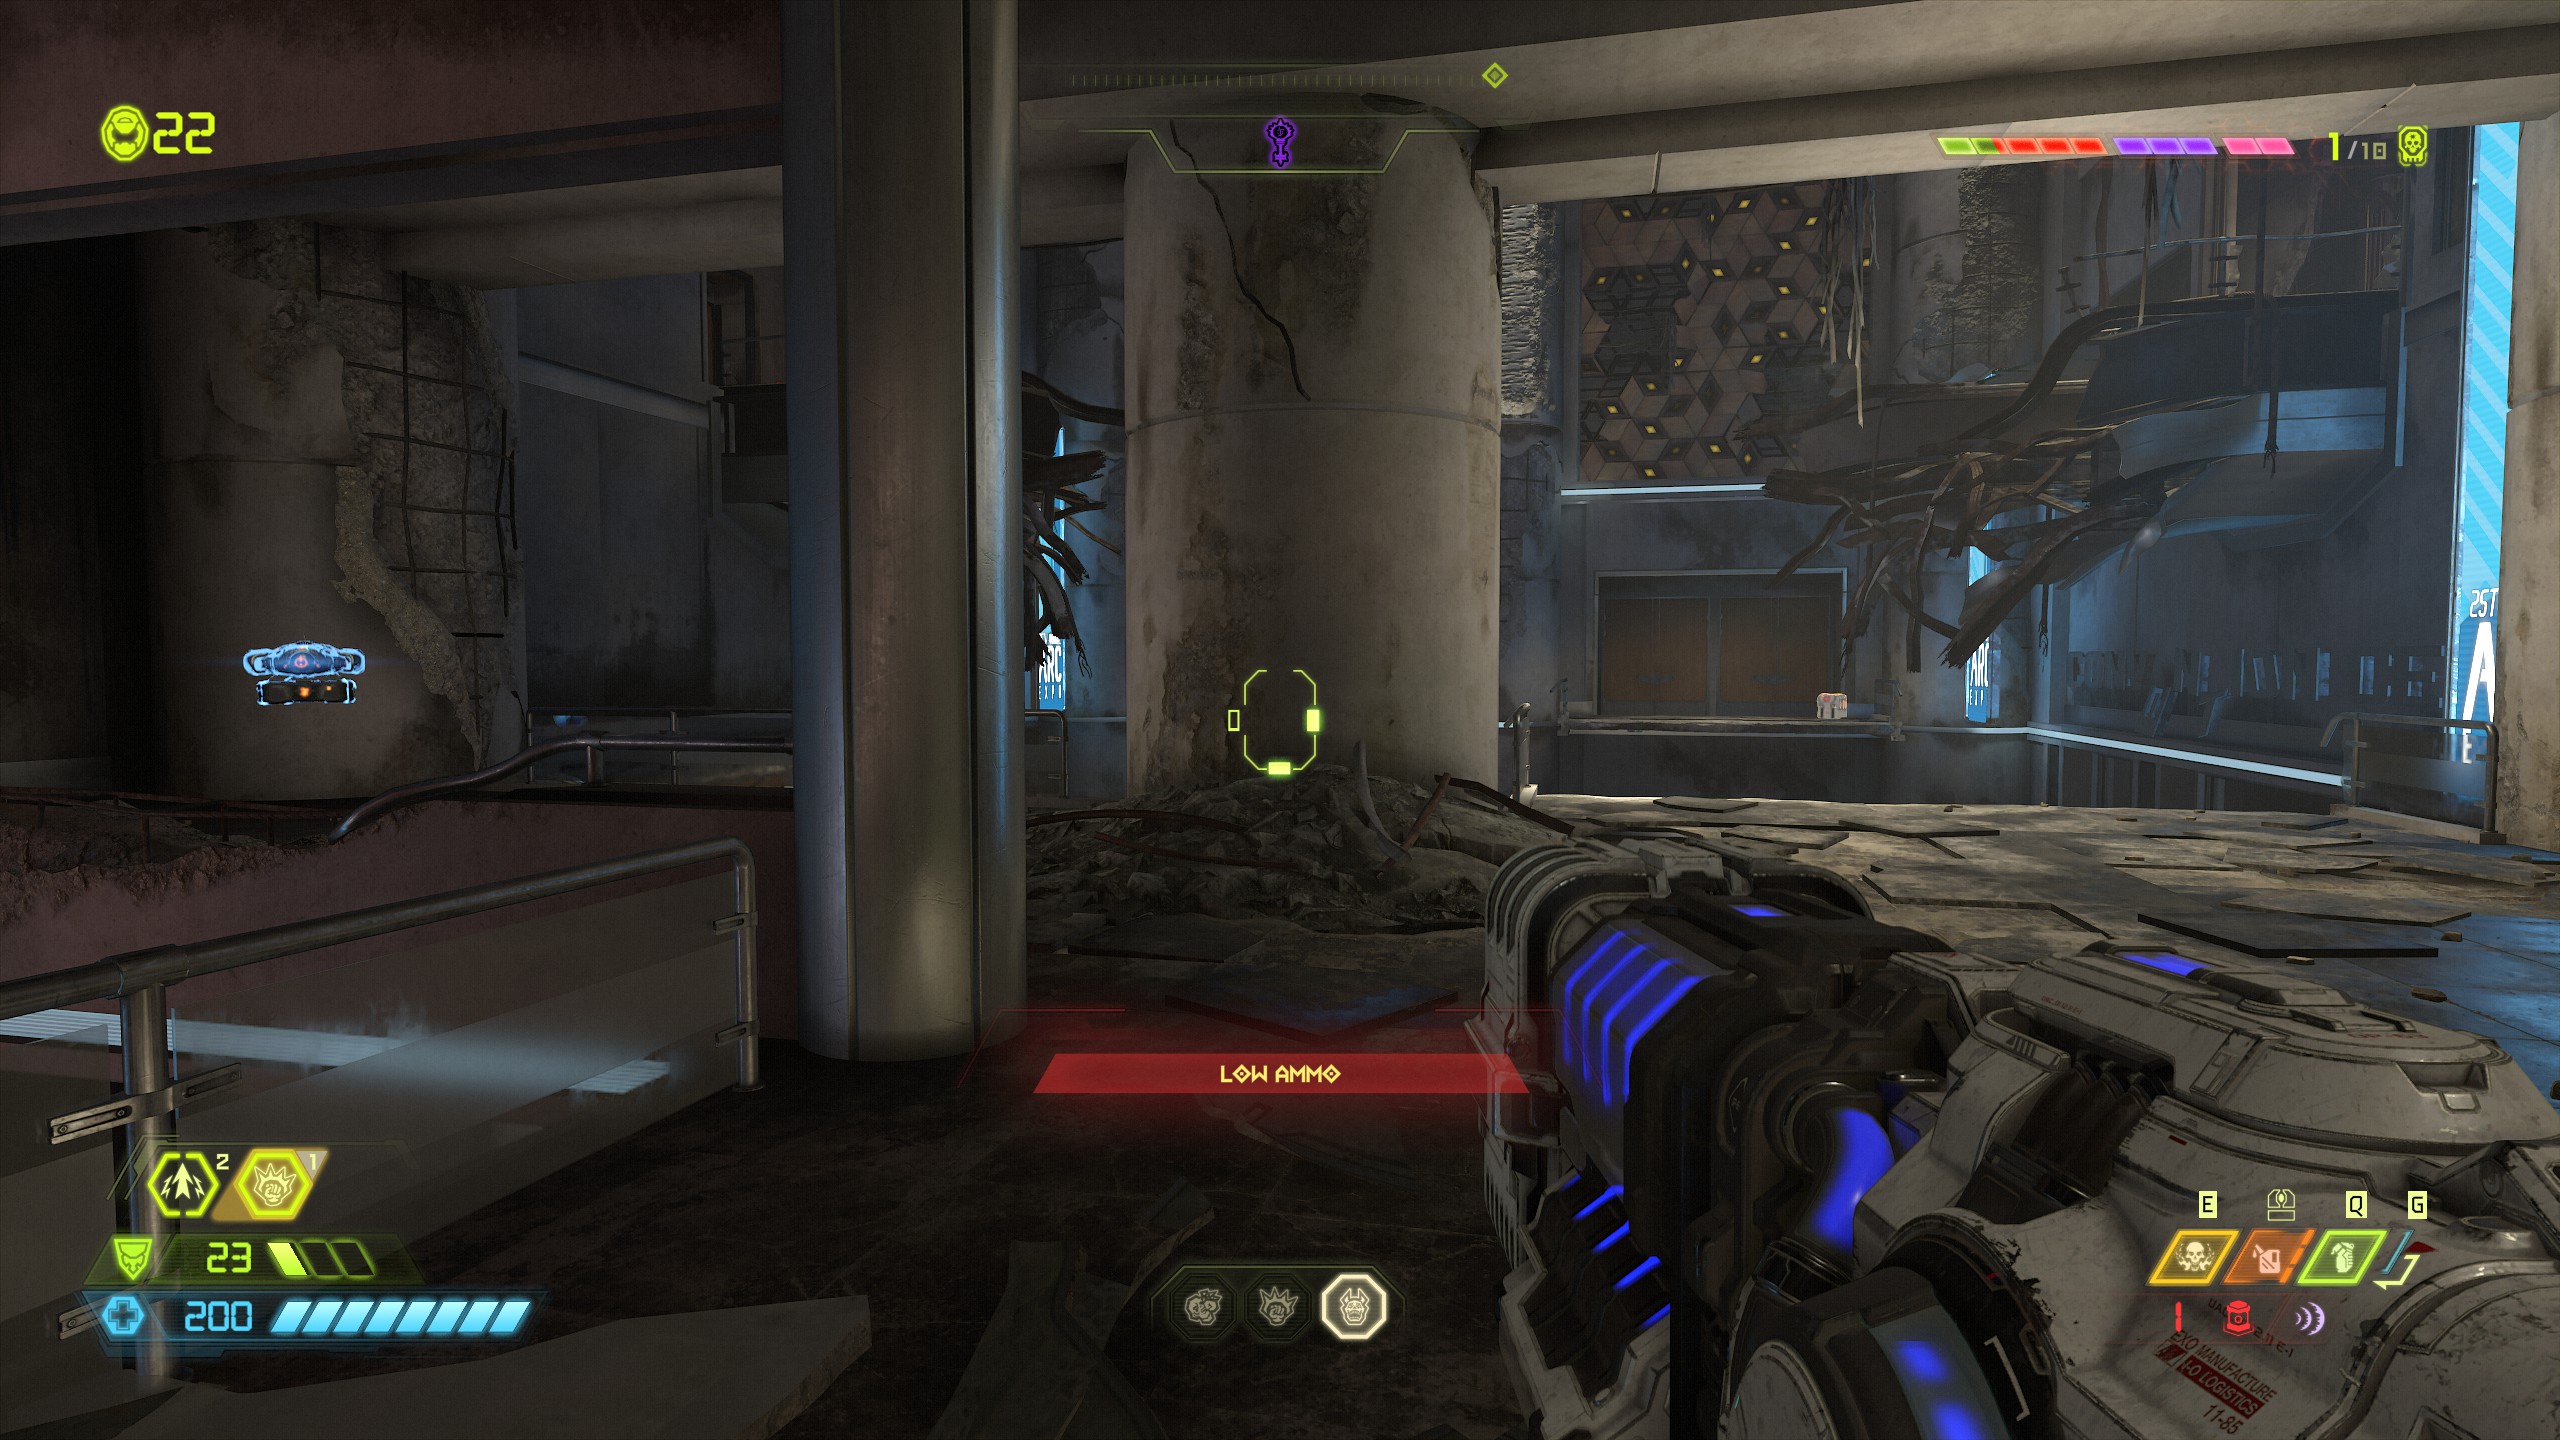
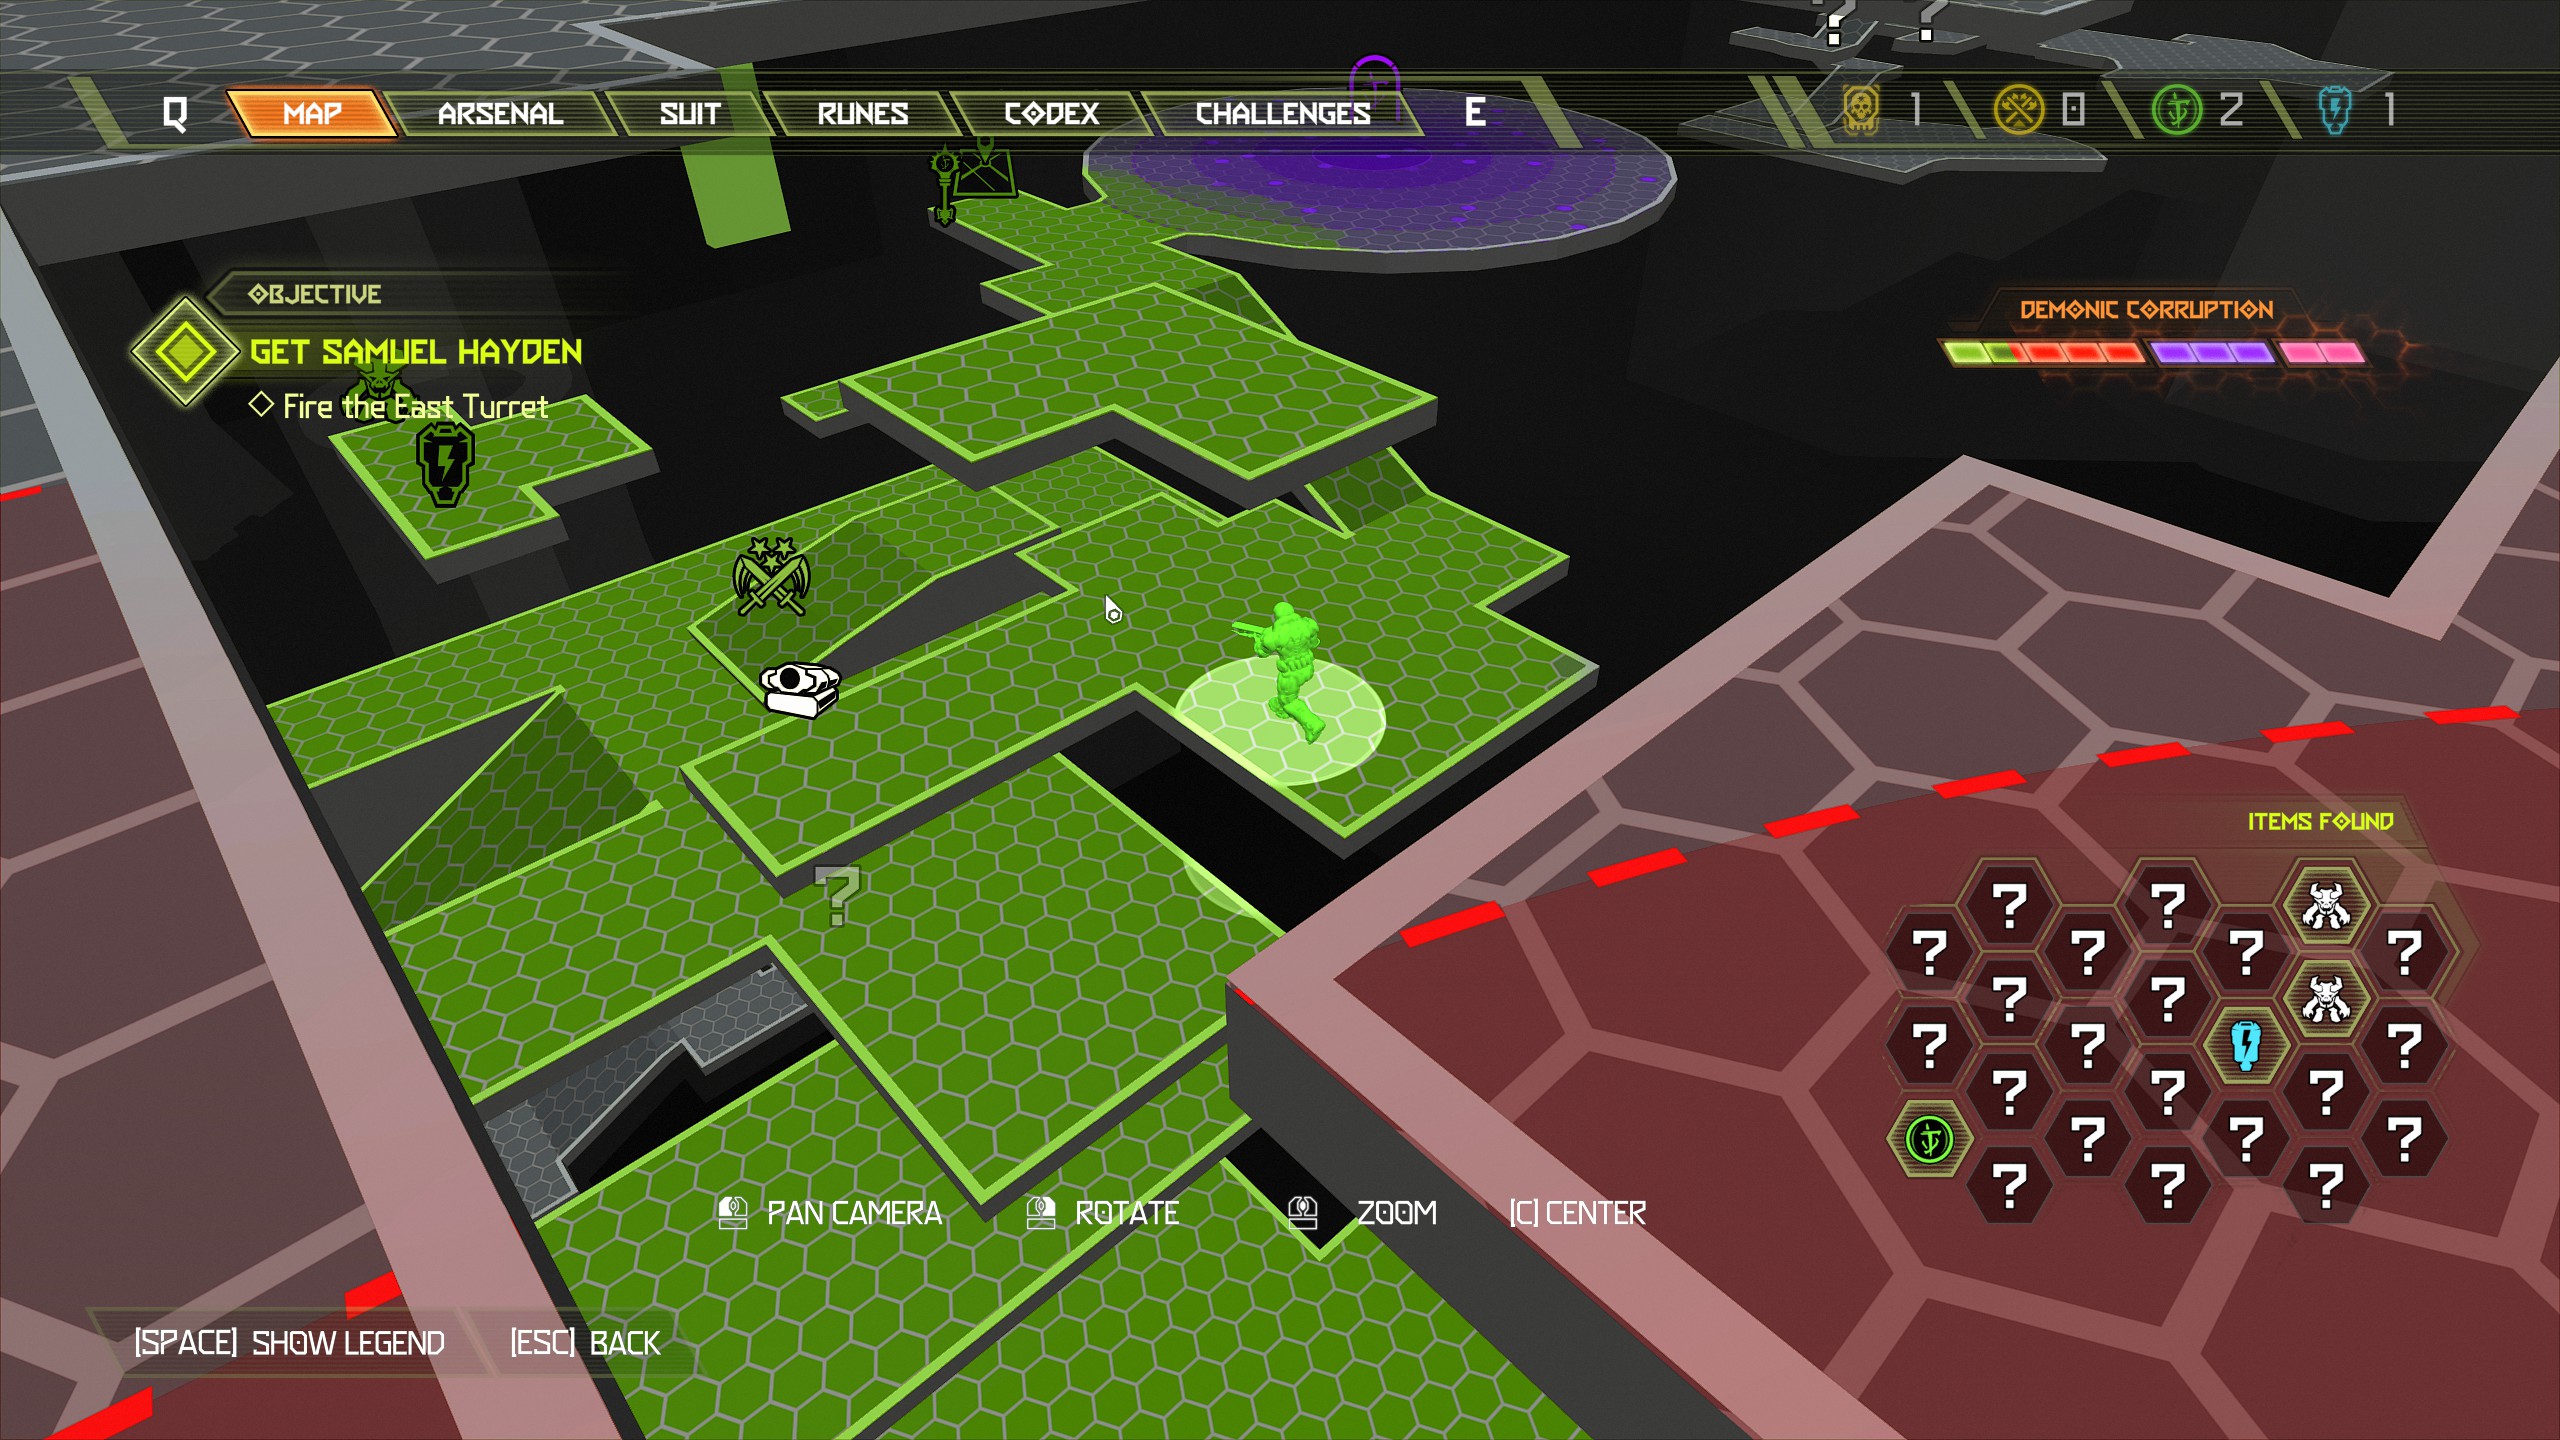
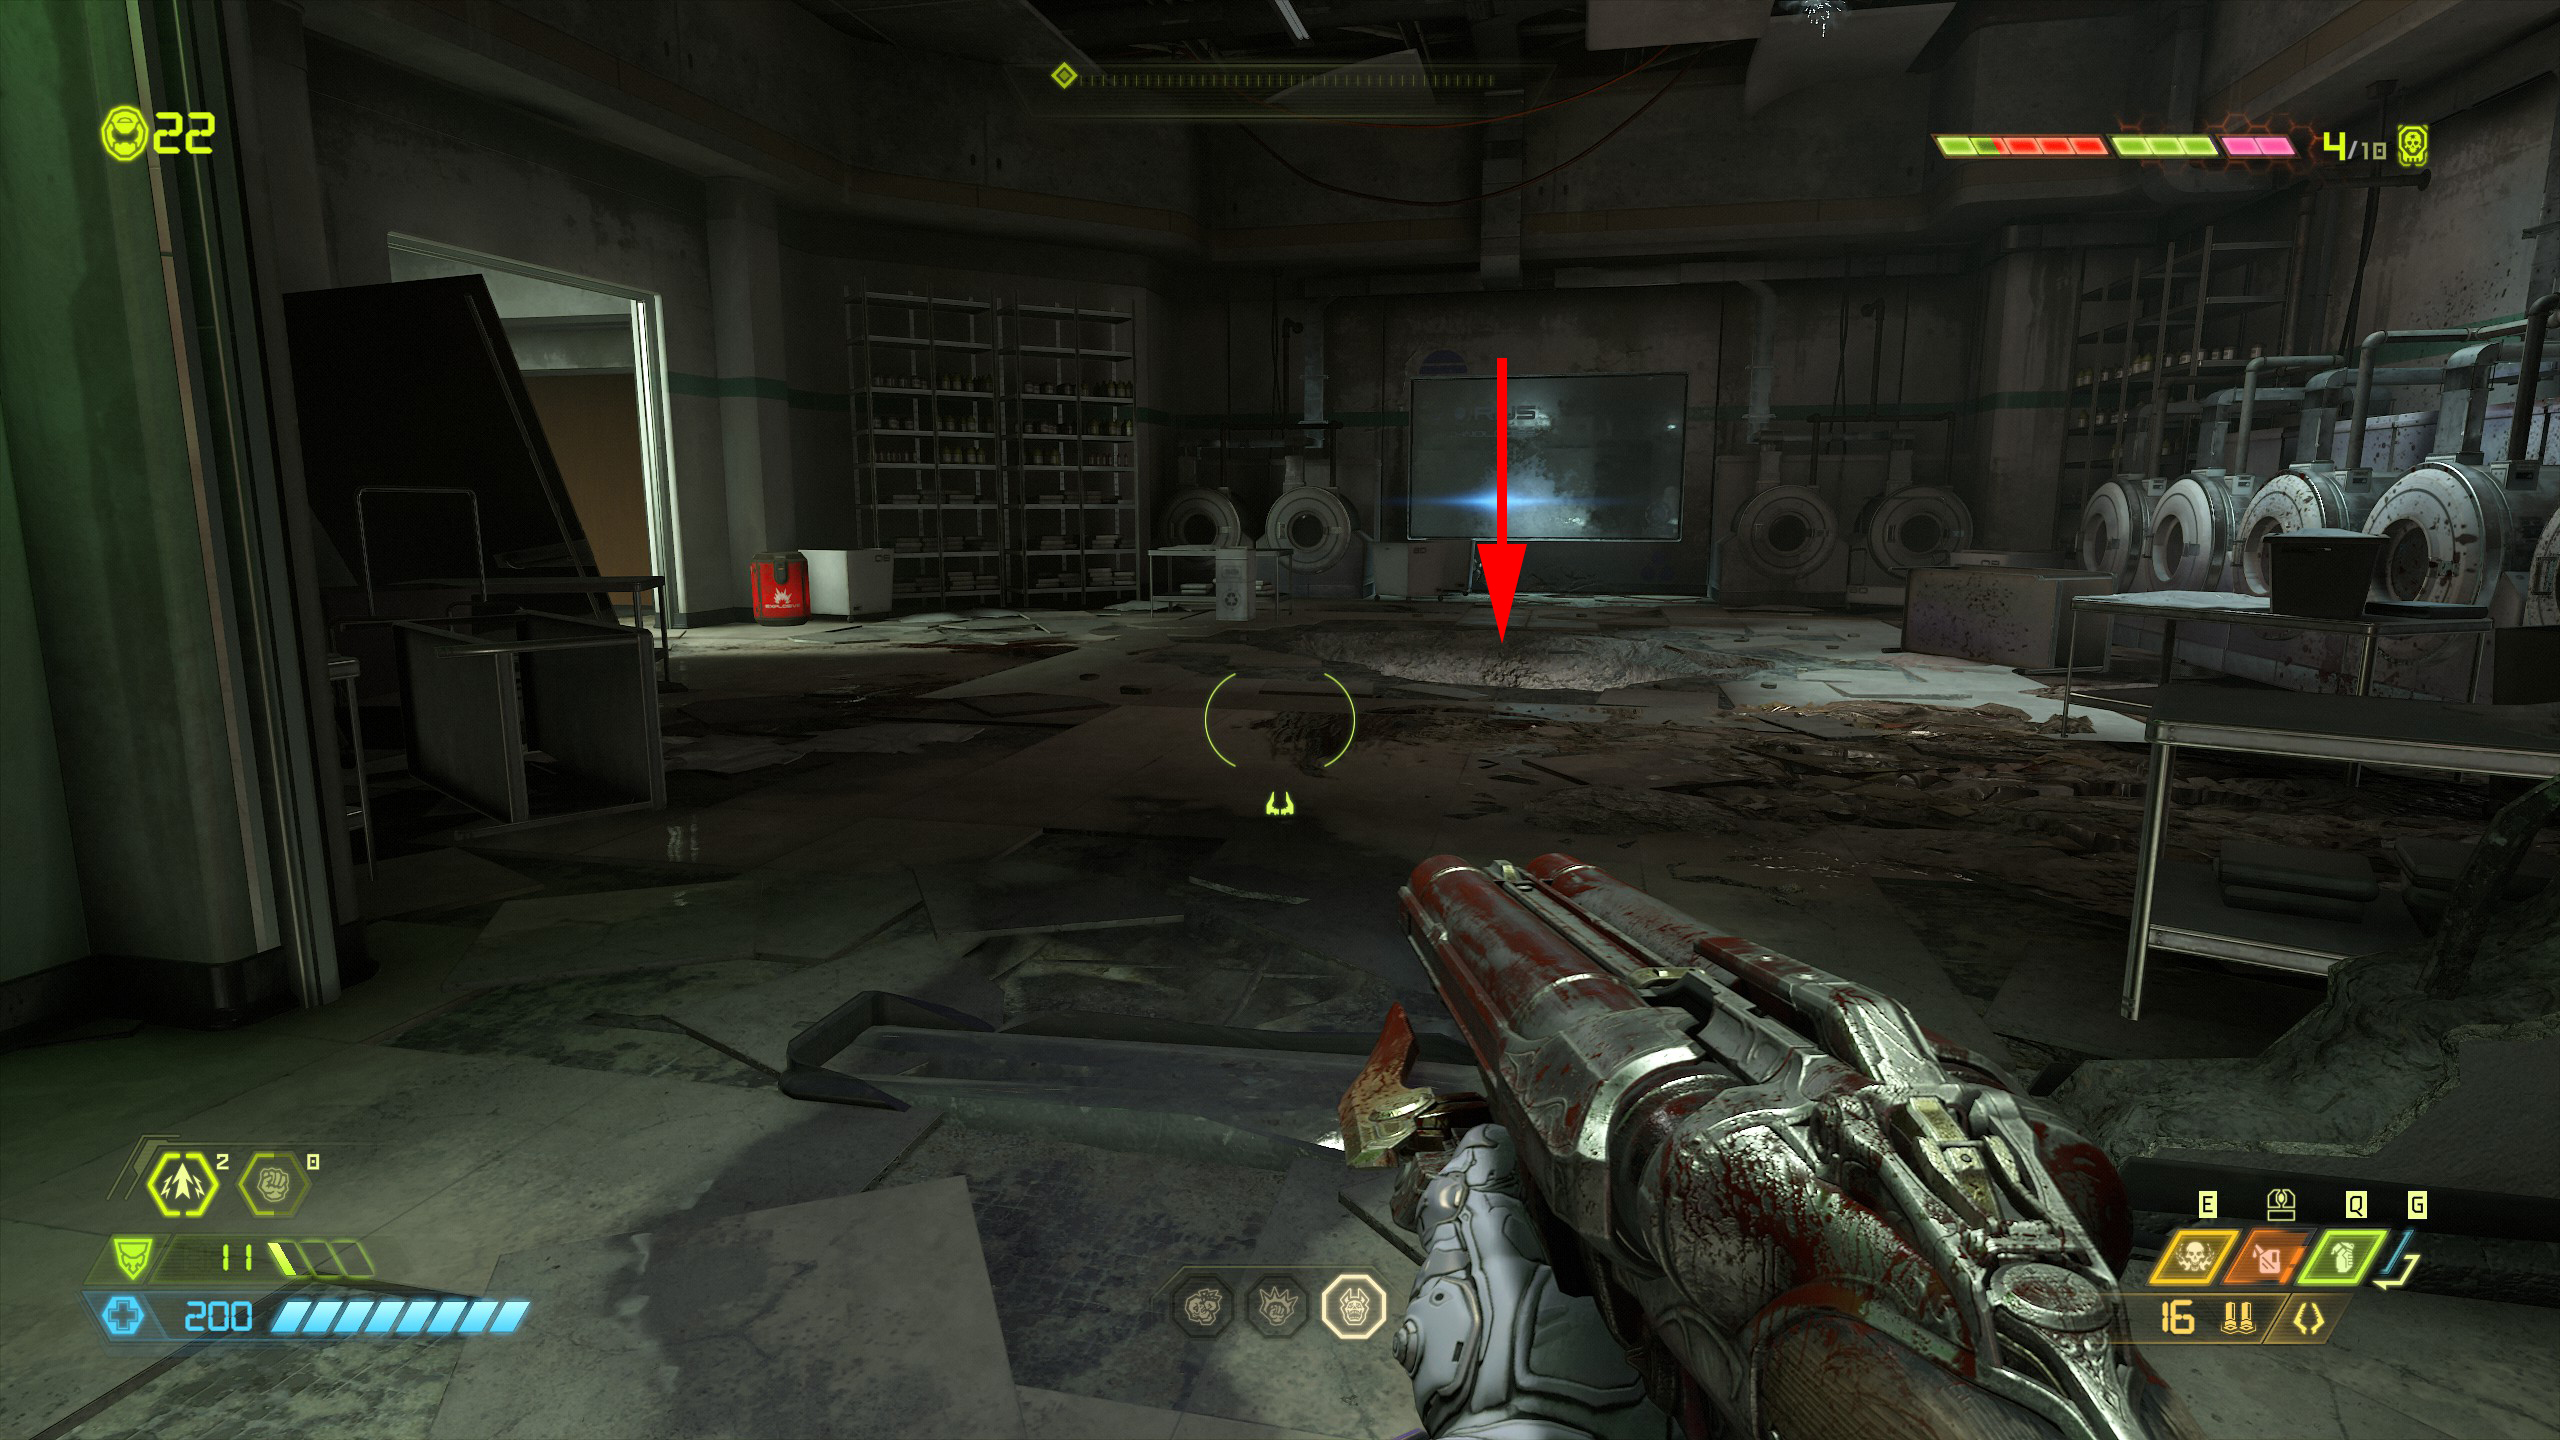
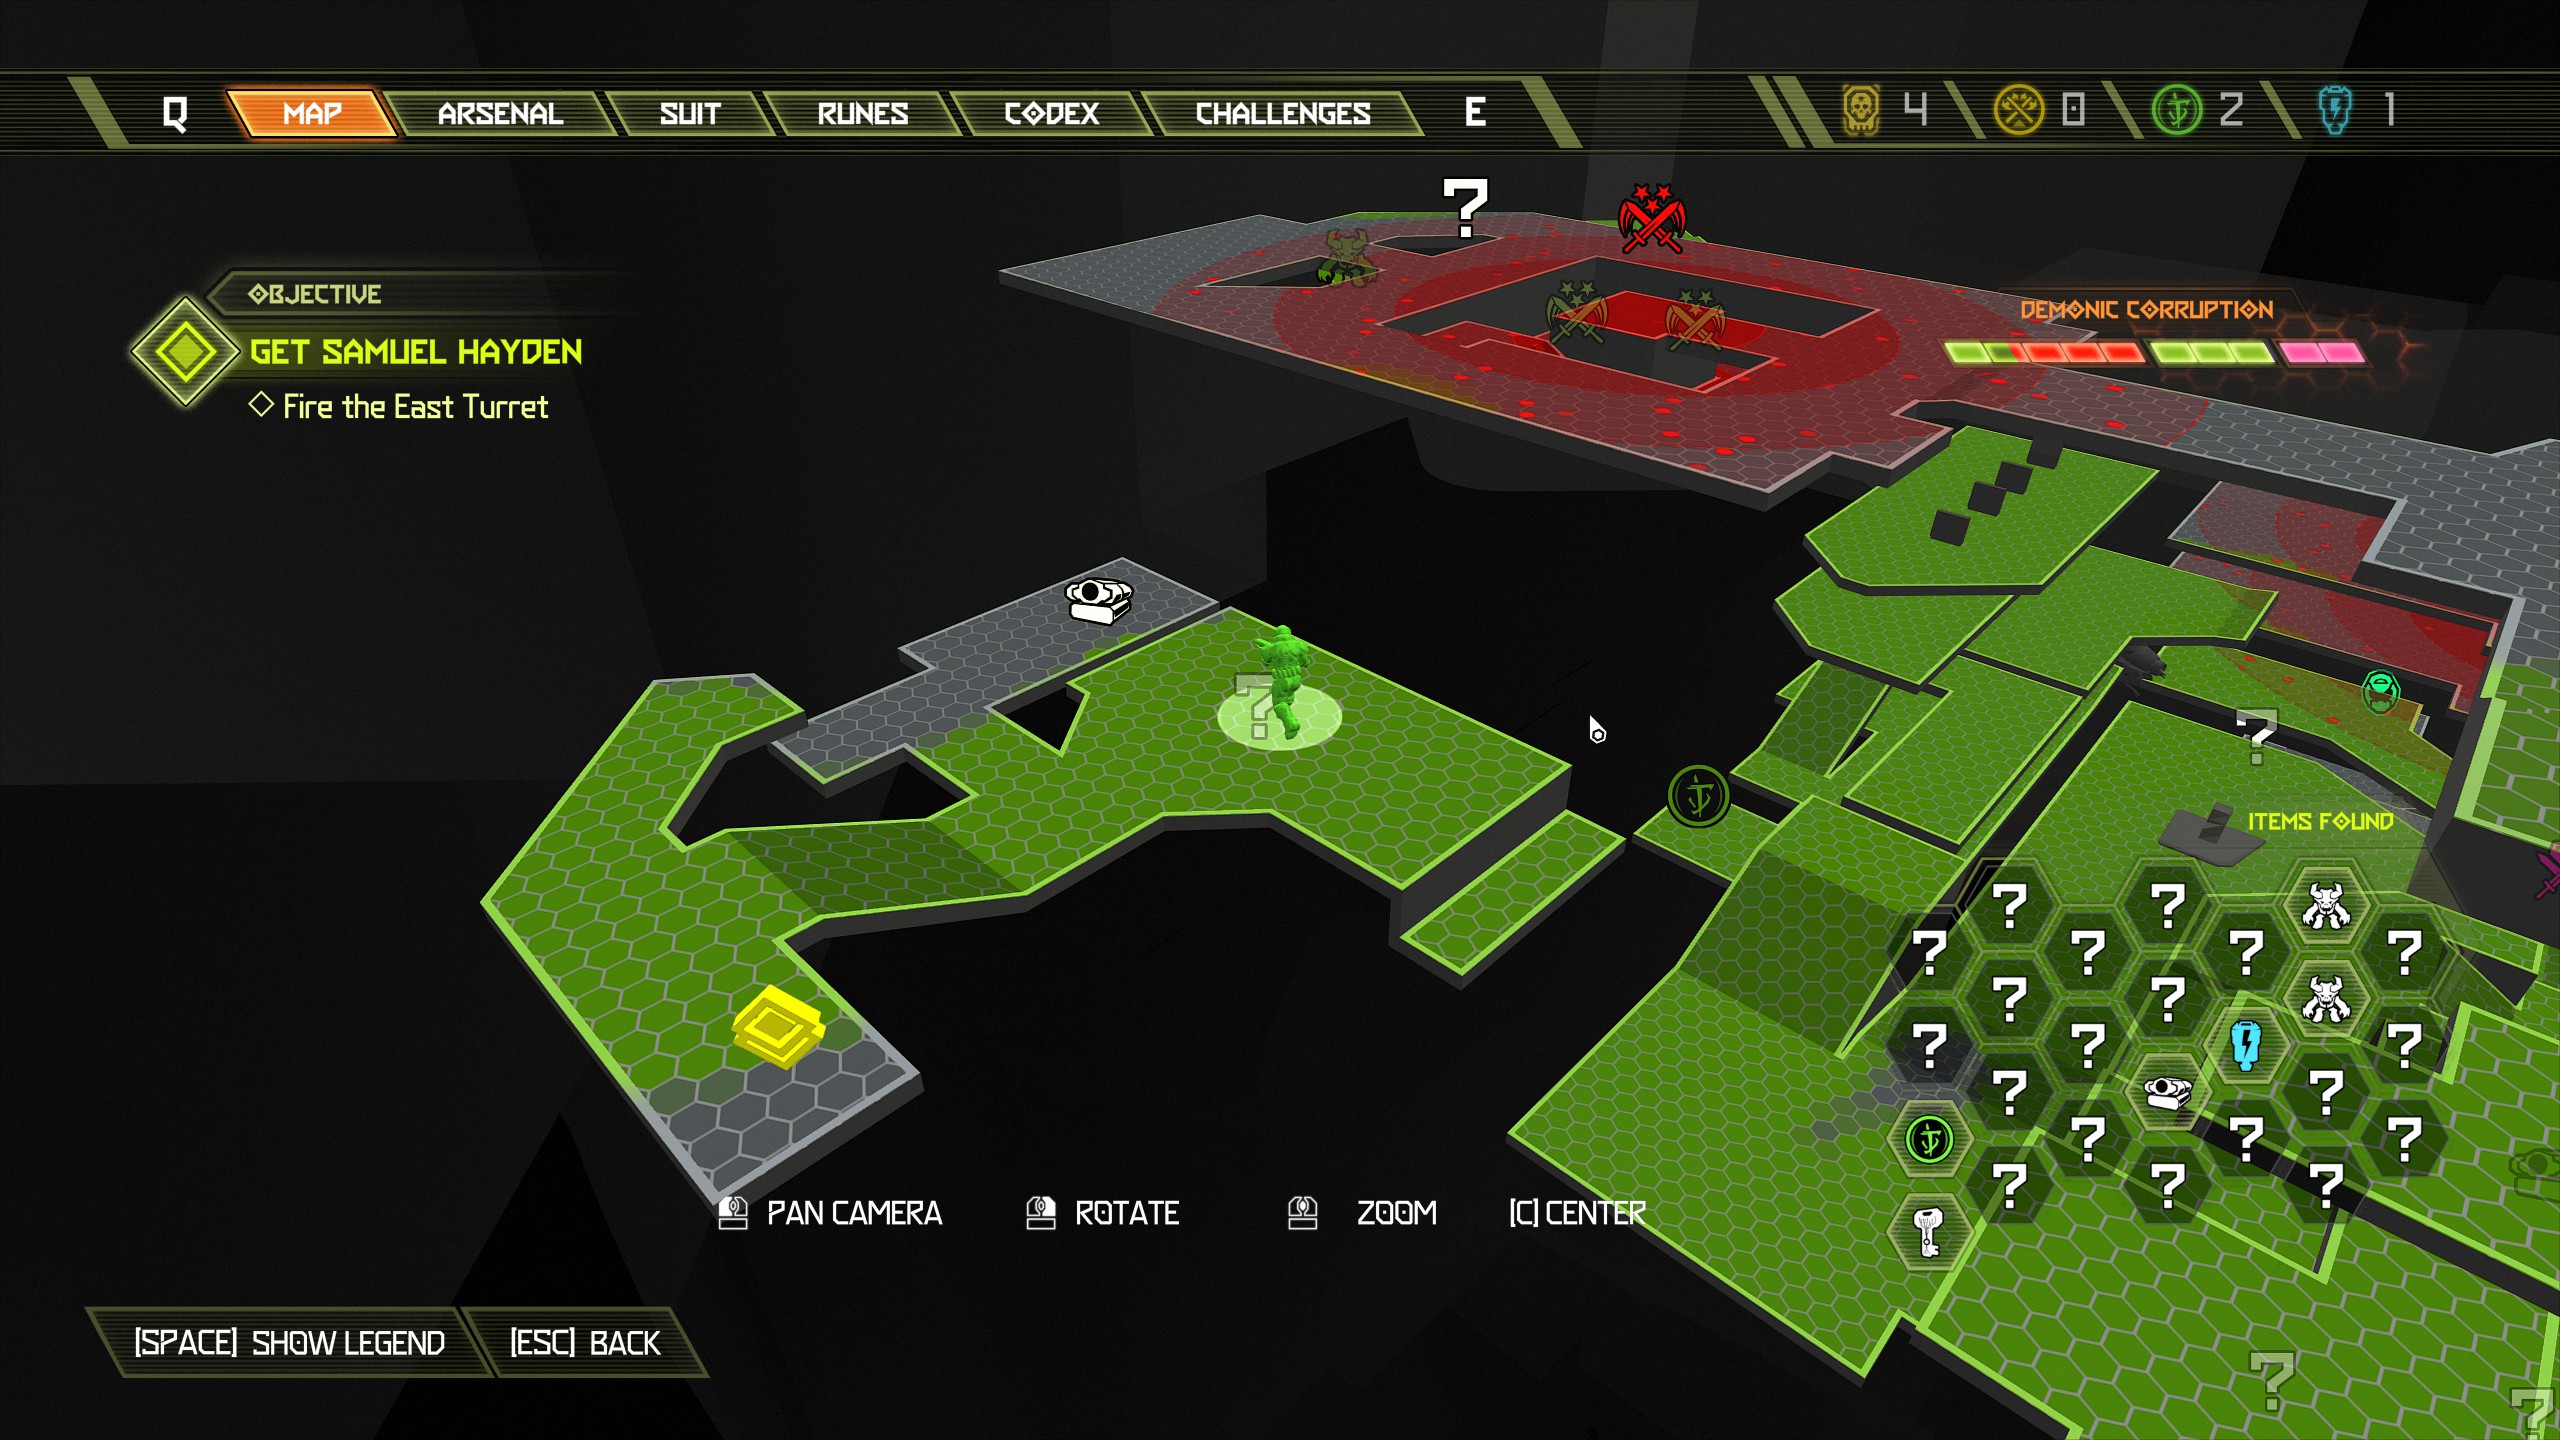
From there move up the stairway and at the top on the right will be a data log, press it and collect.
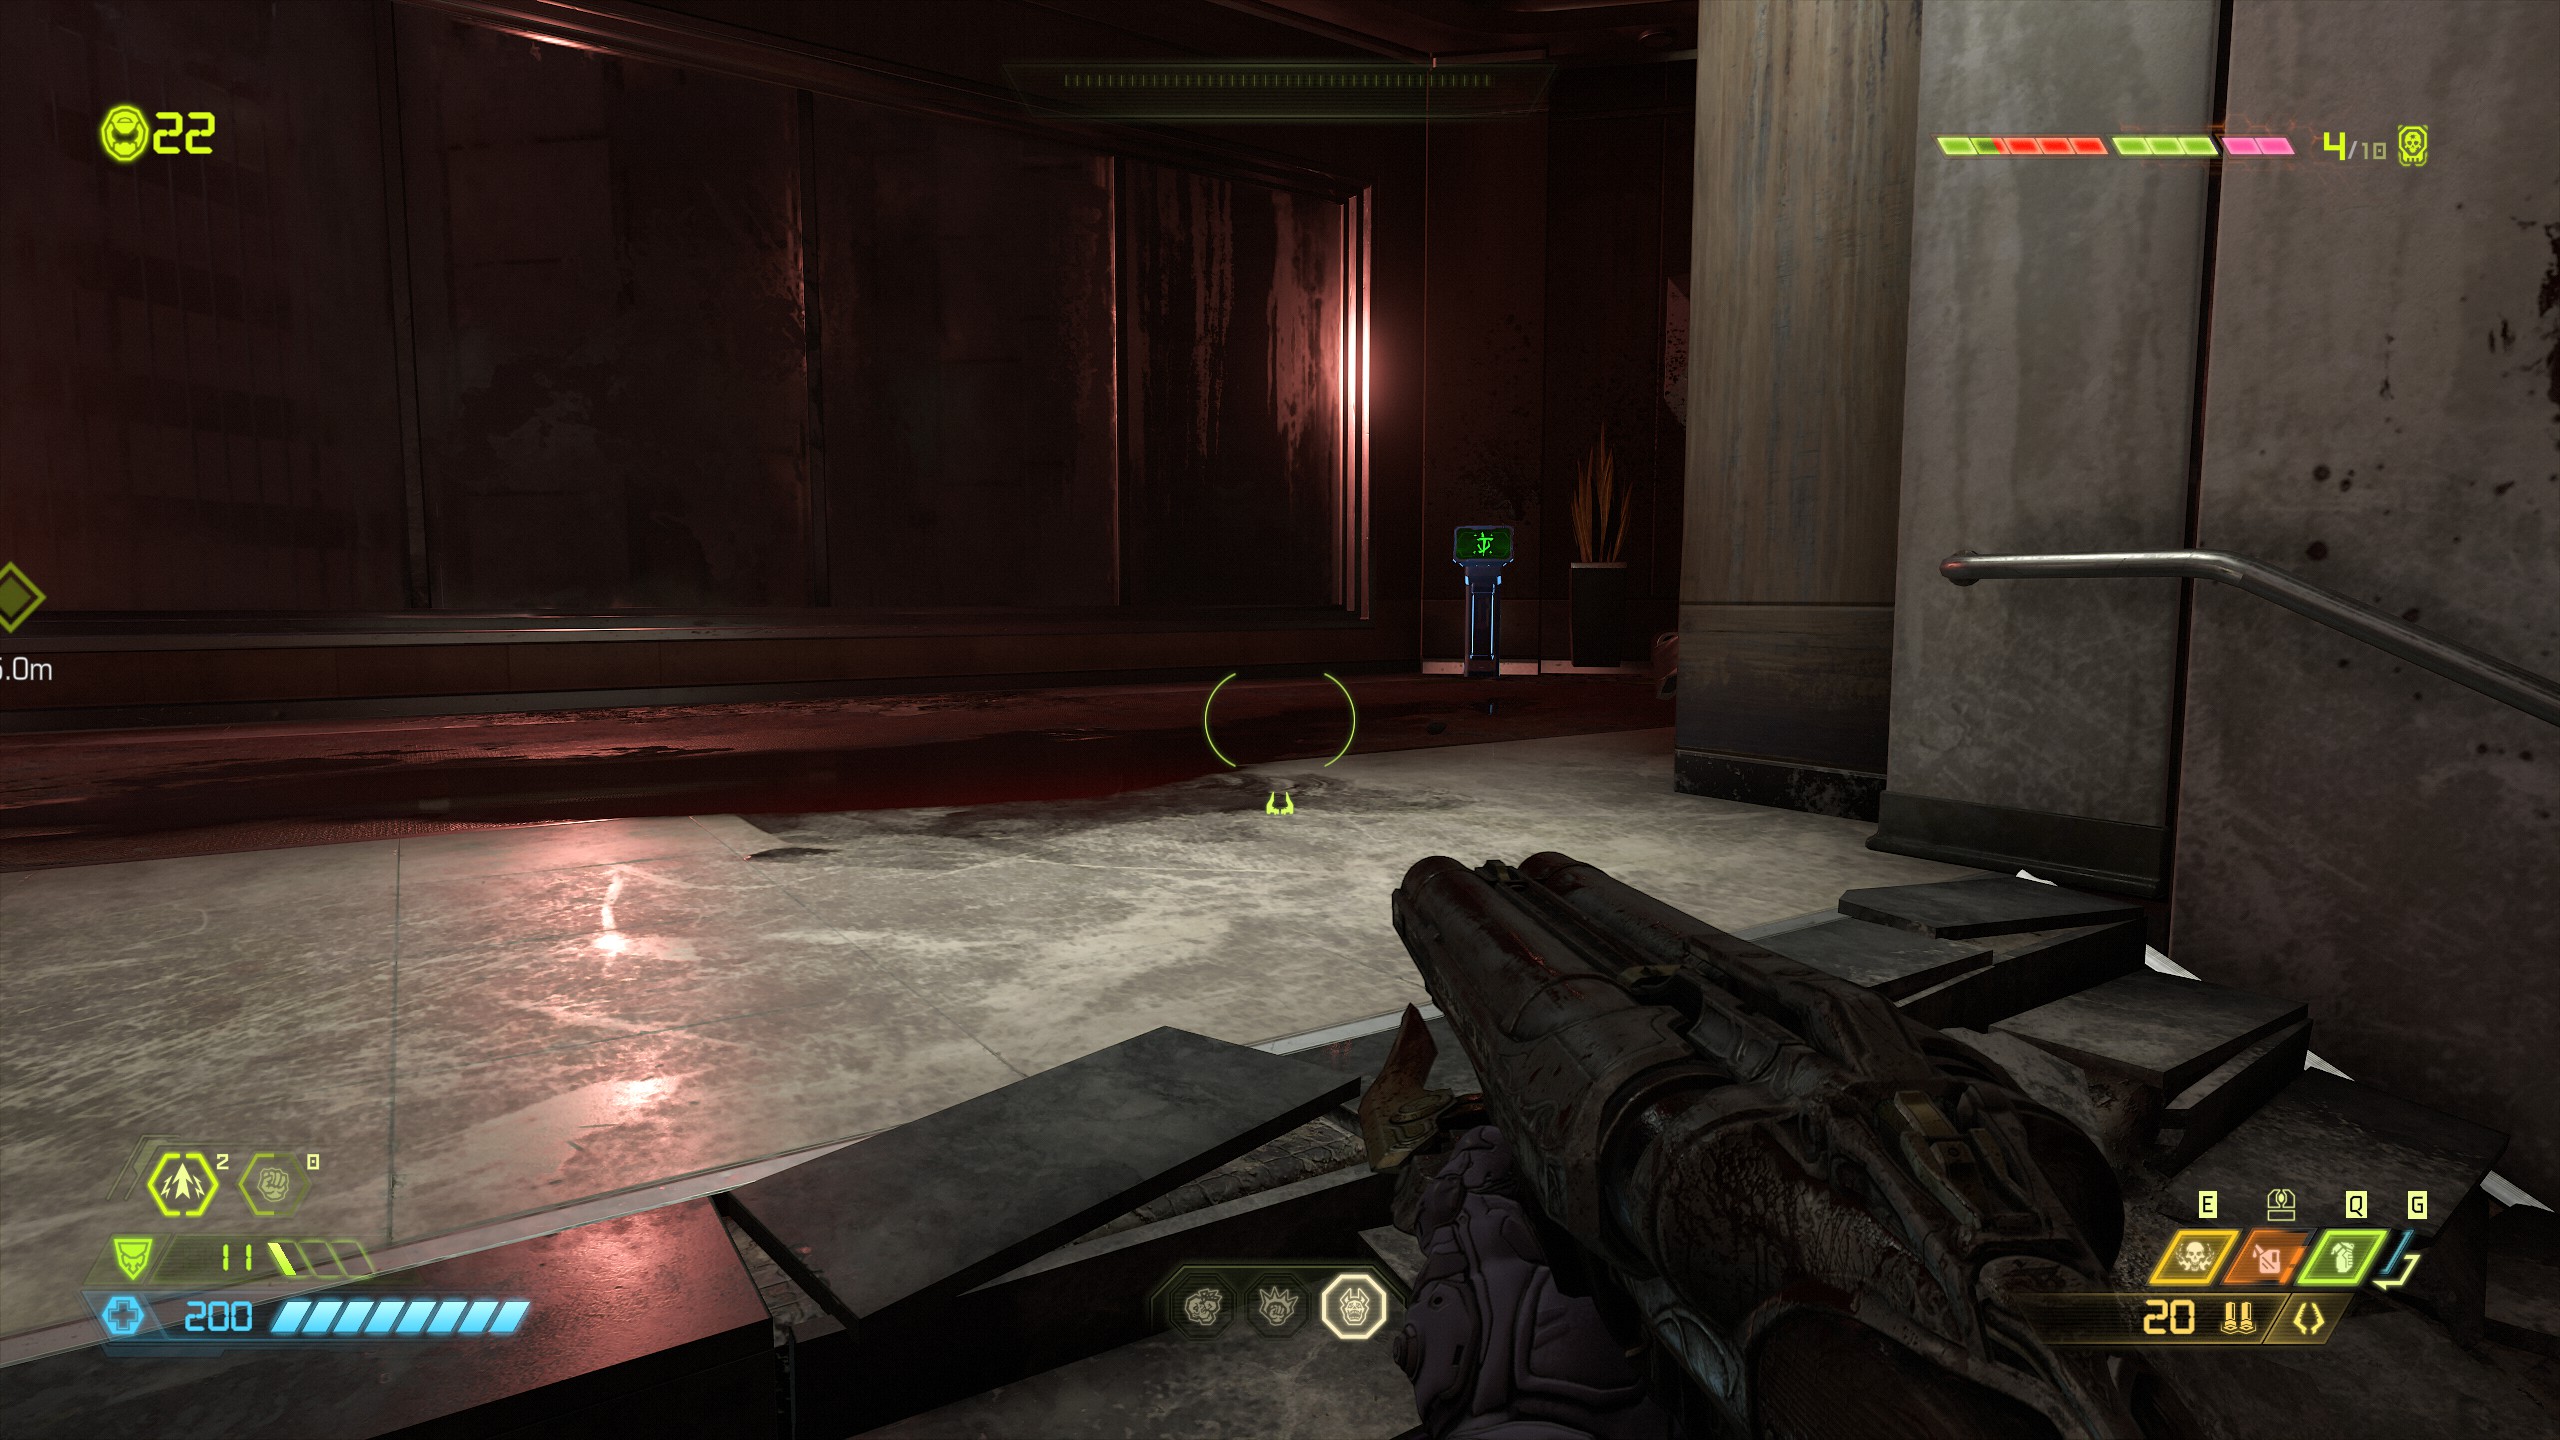
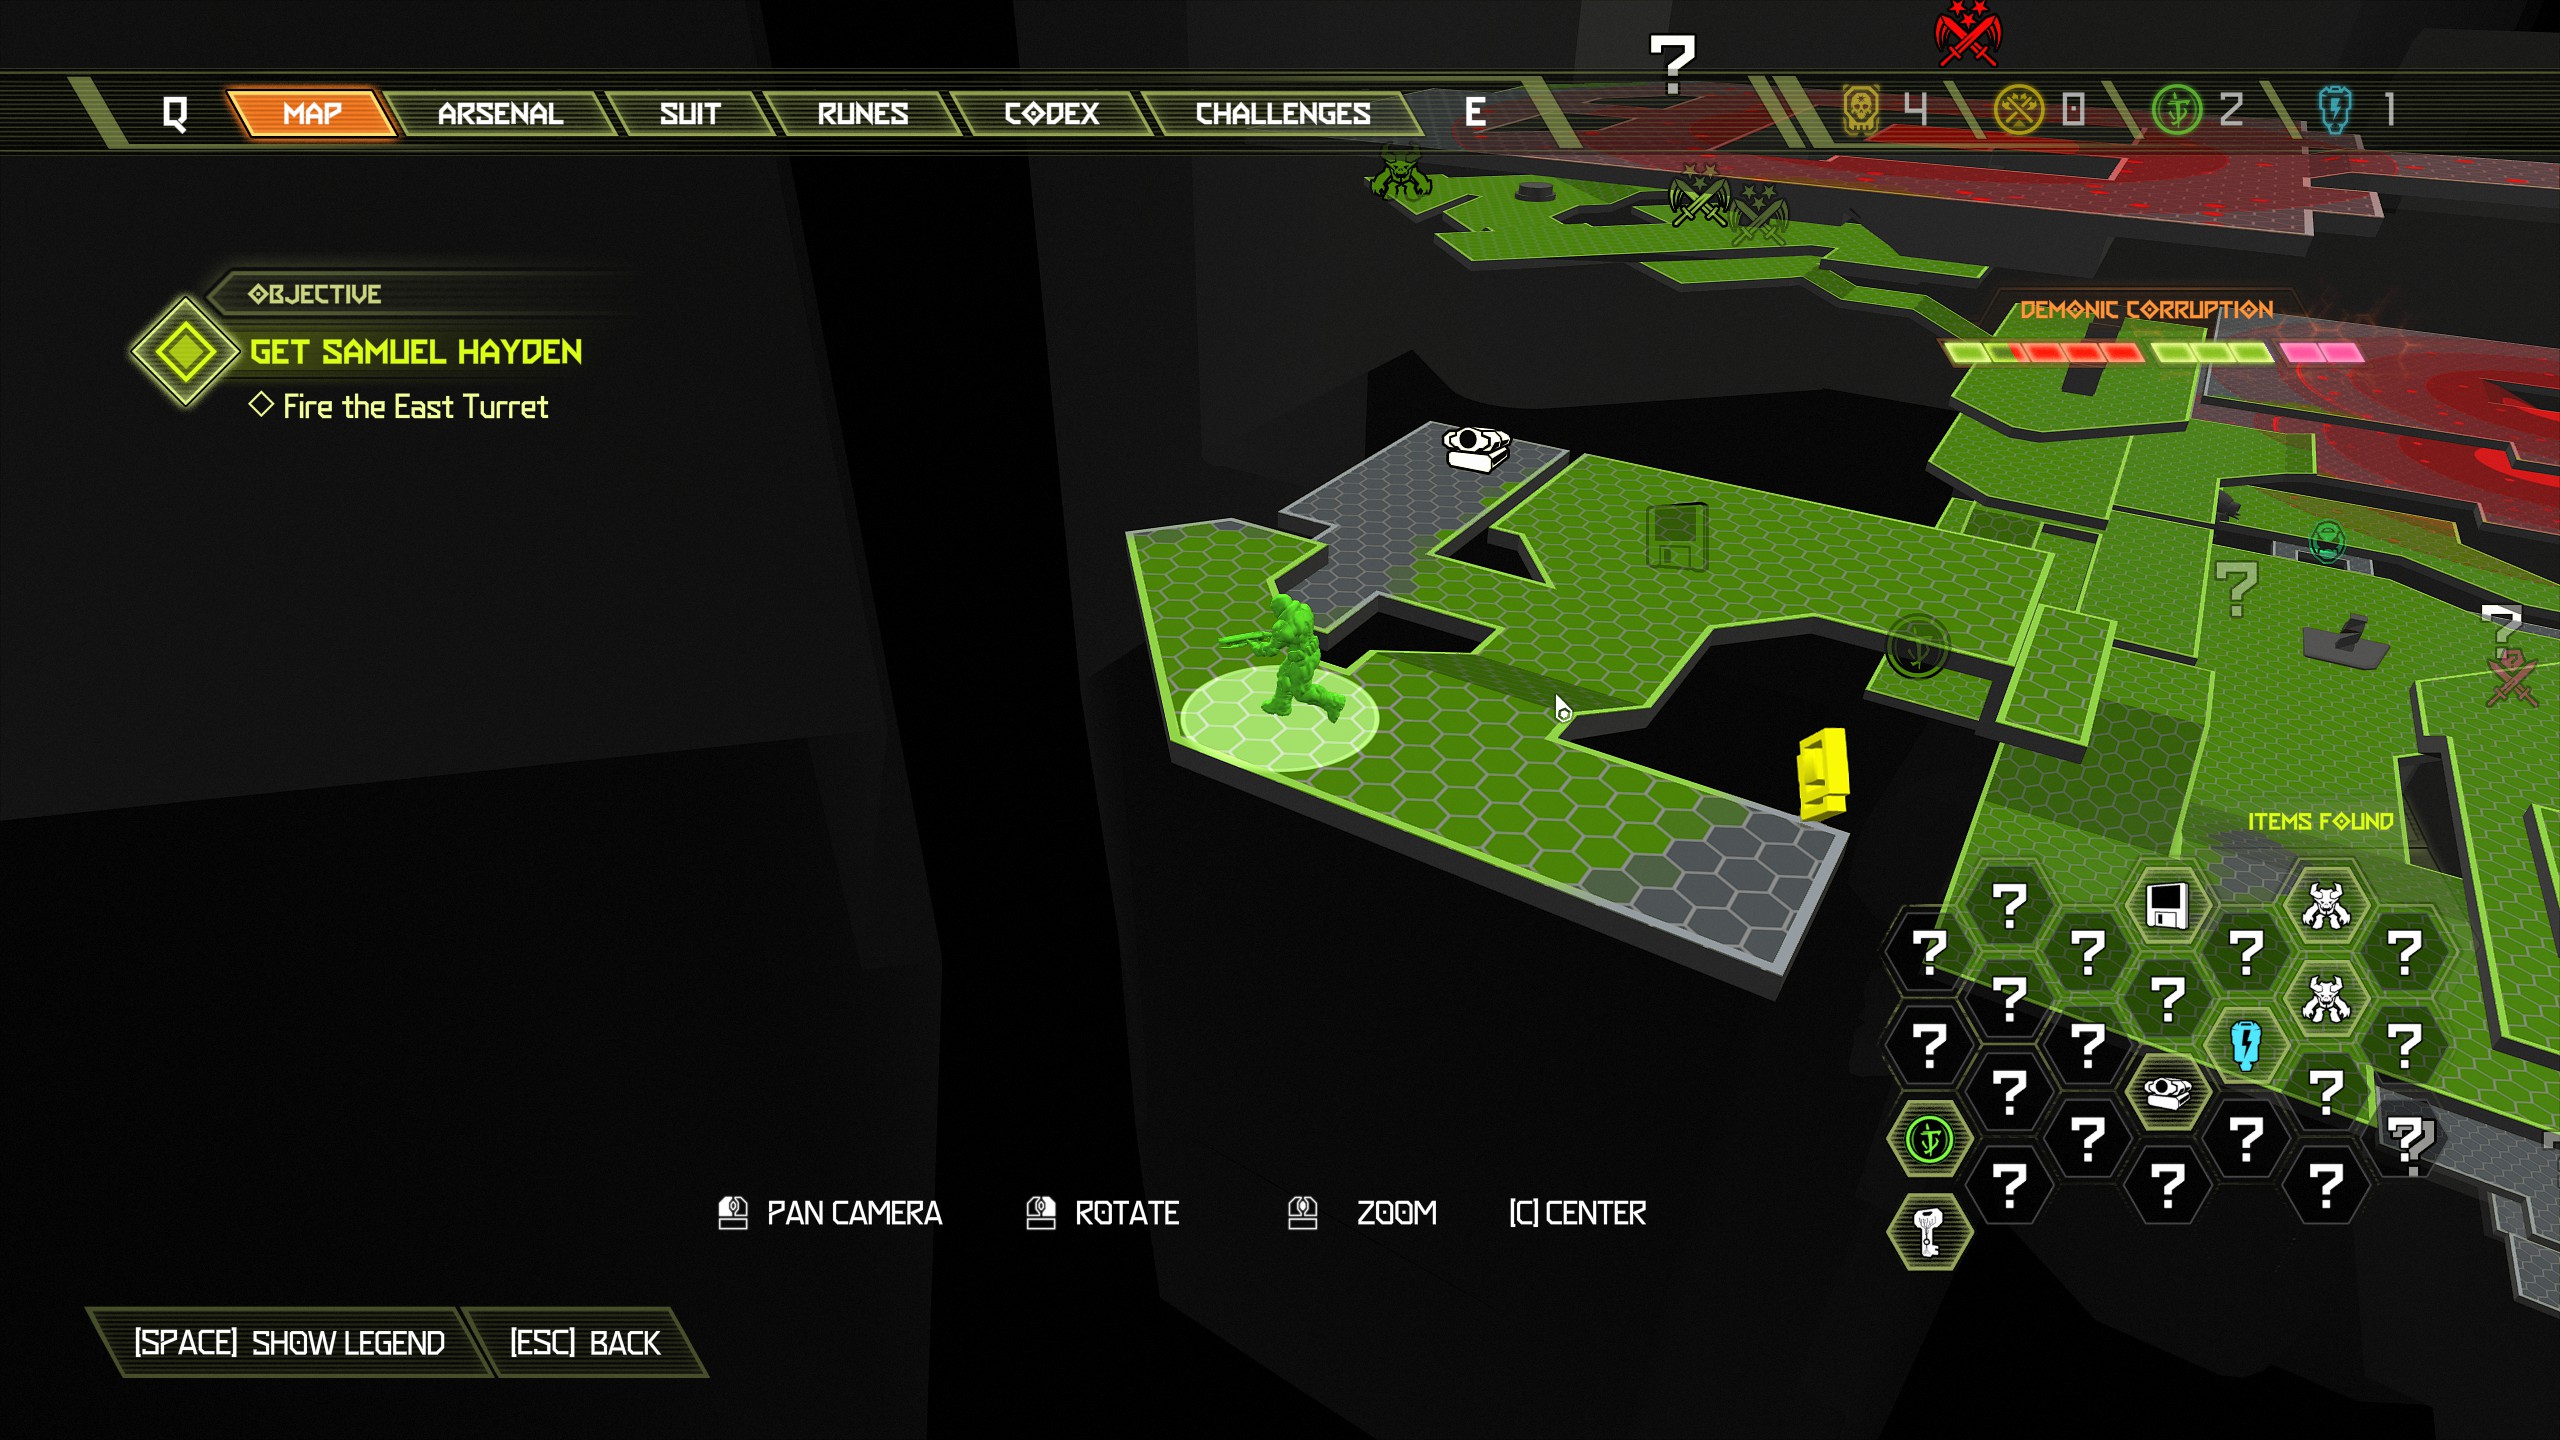
Continue further around to the right and you will come to a breakable wall, break through and inside will be a weapon mod which should be the final weapon mod in the game, collect it and proceed with the mission.
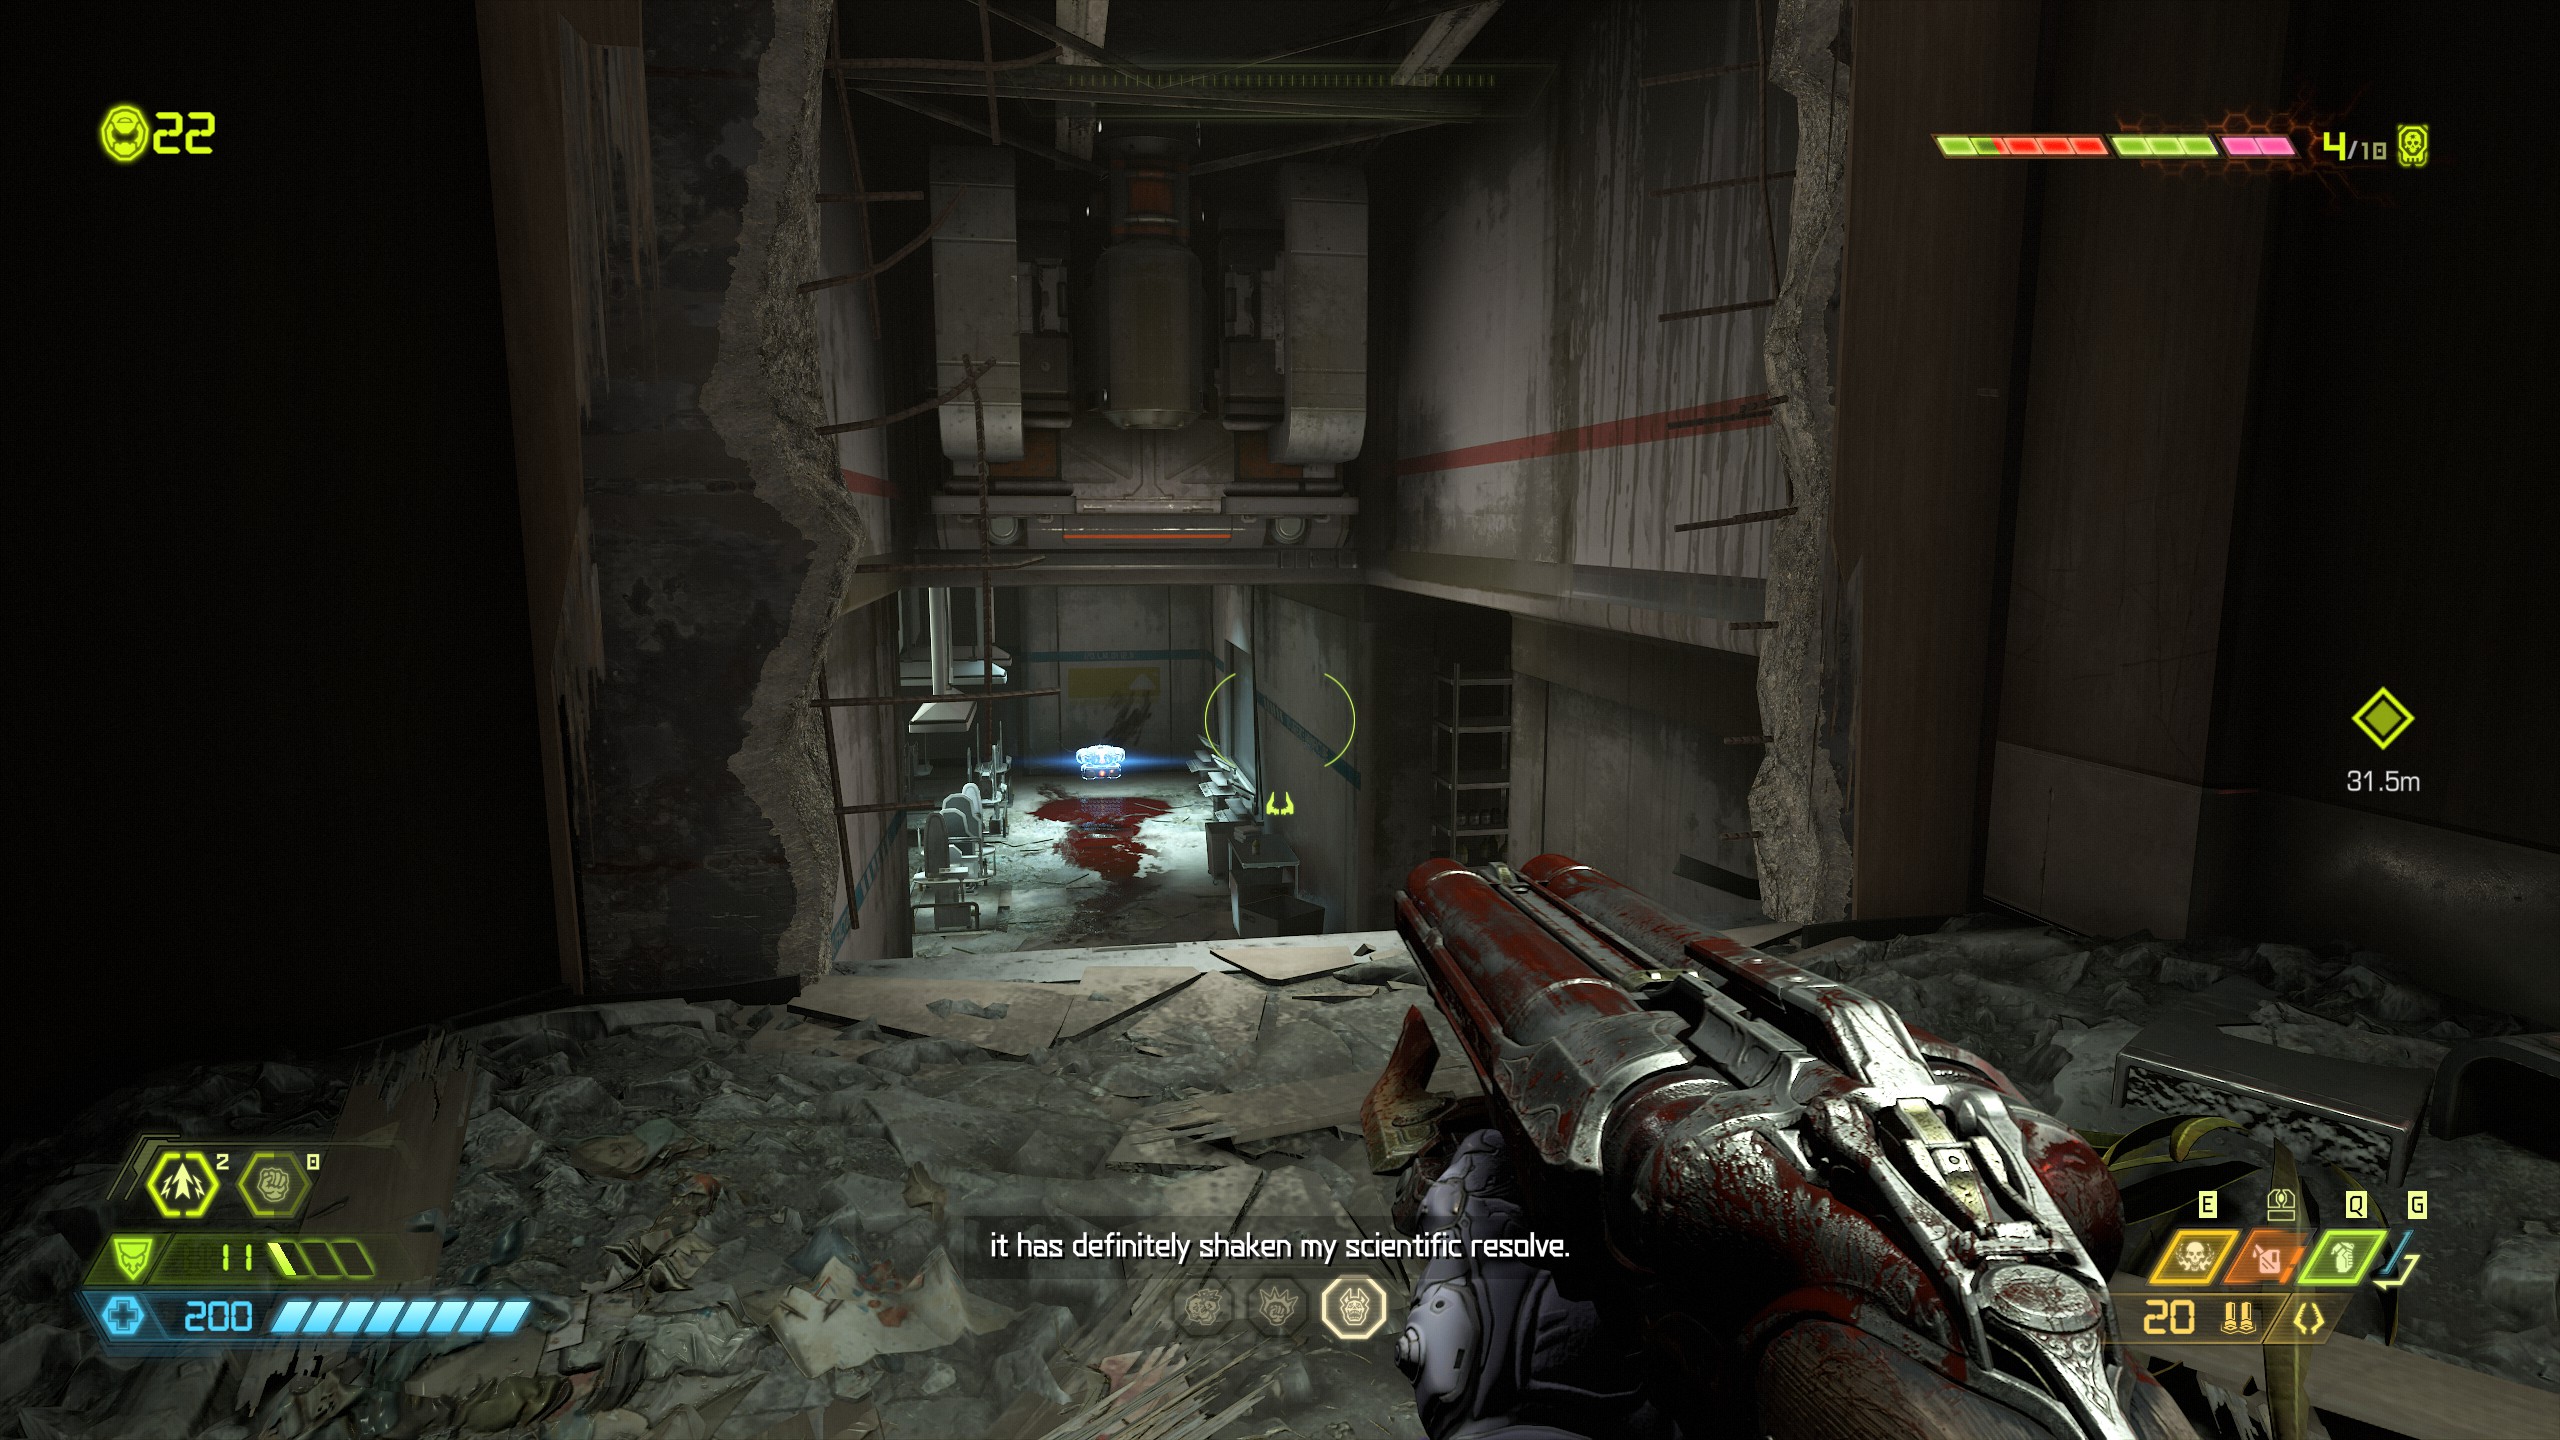
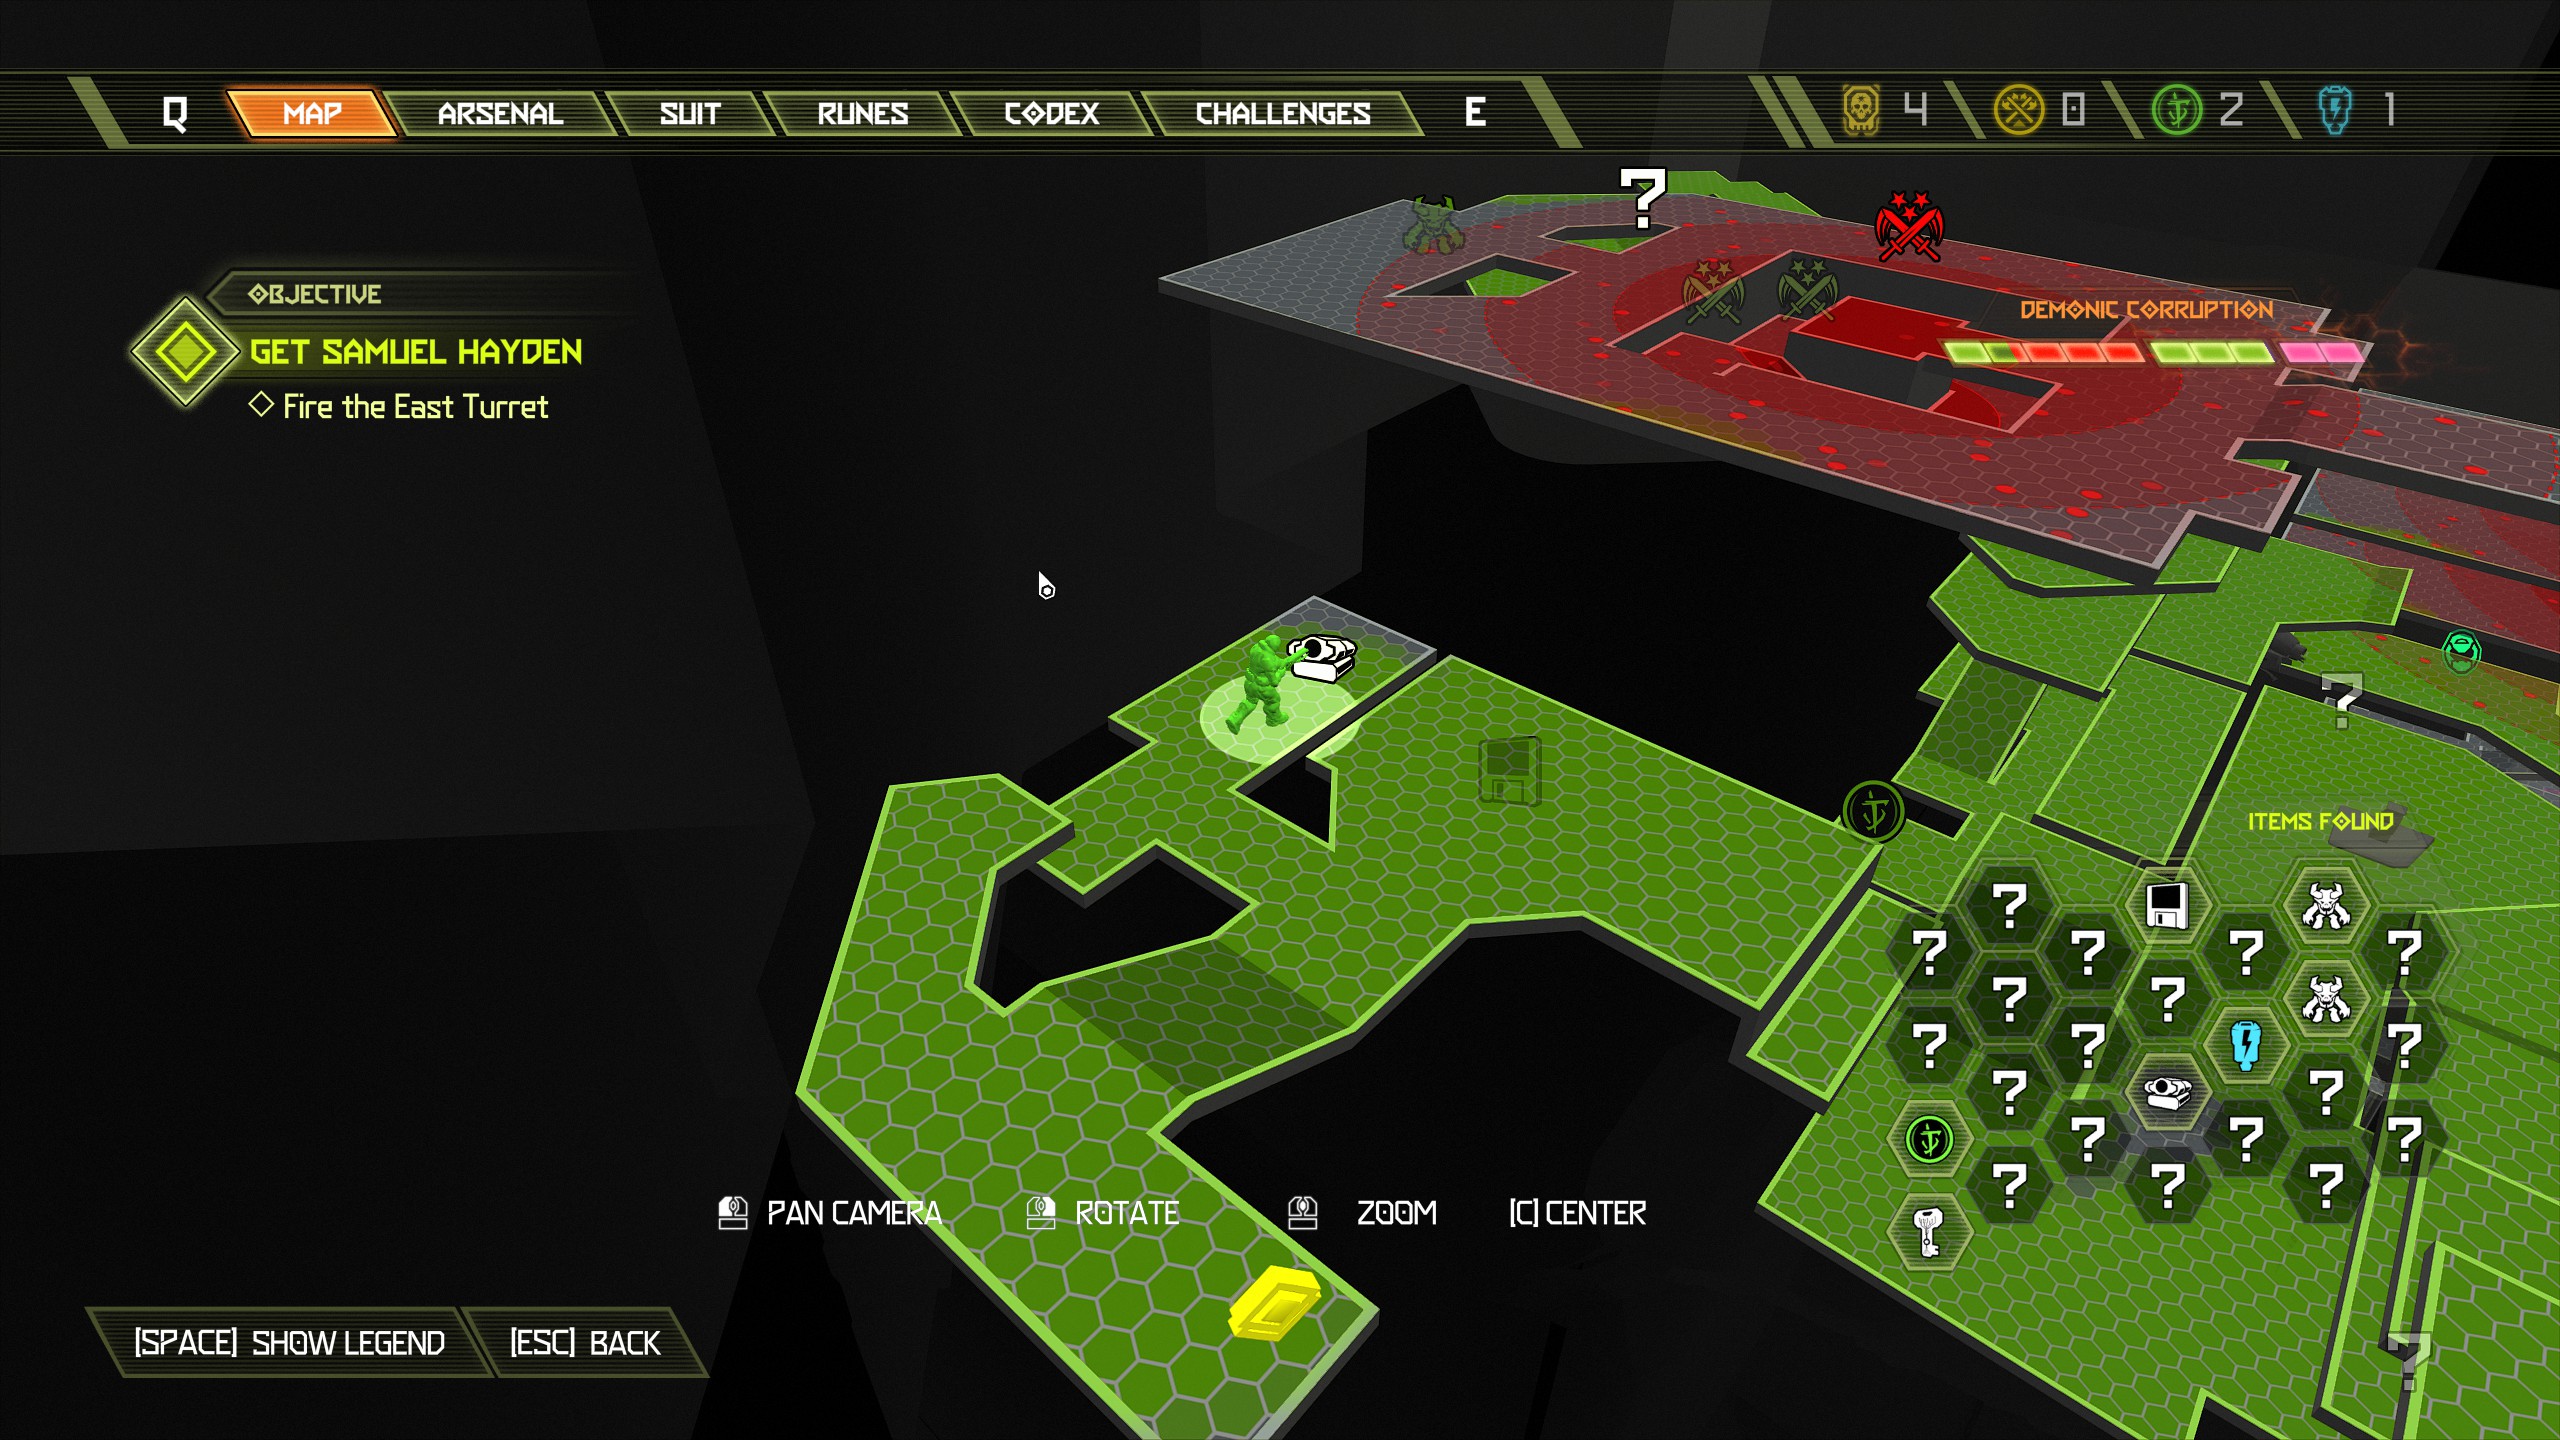
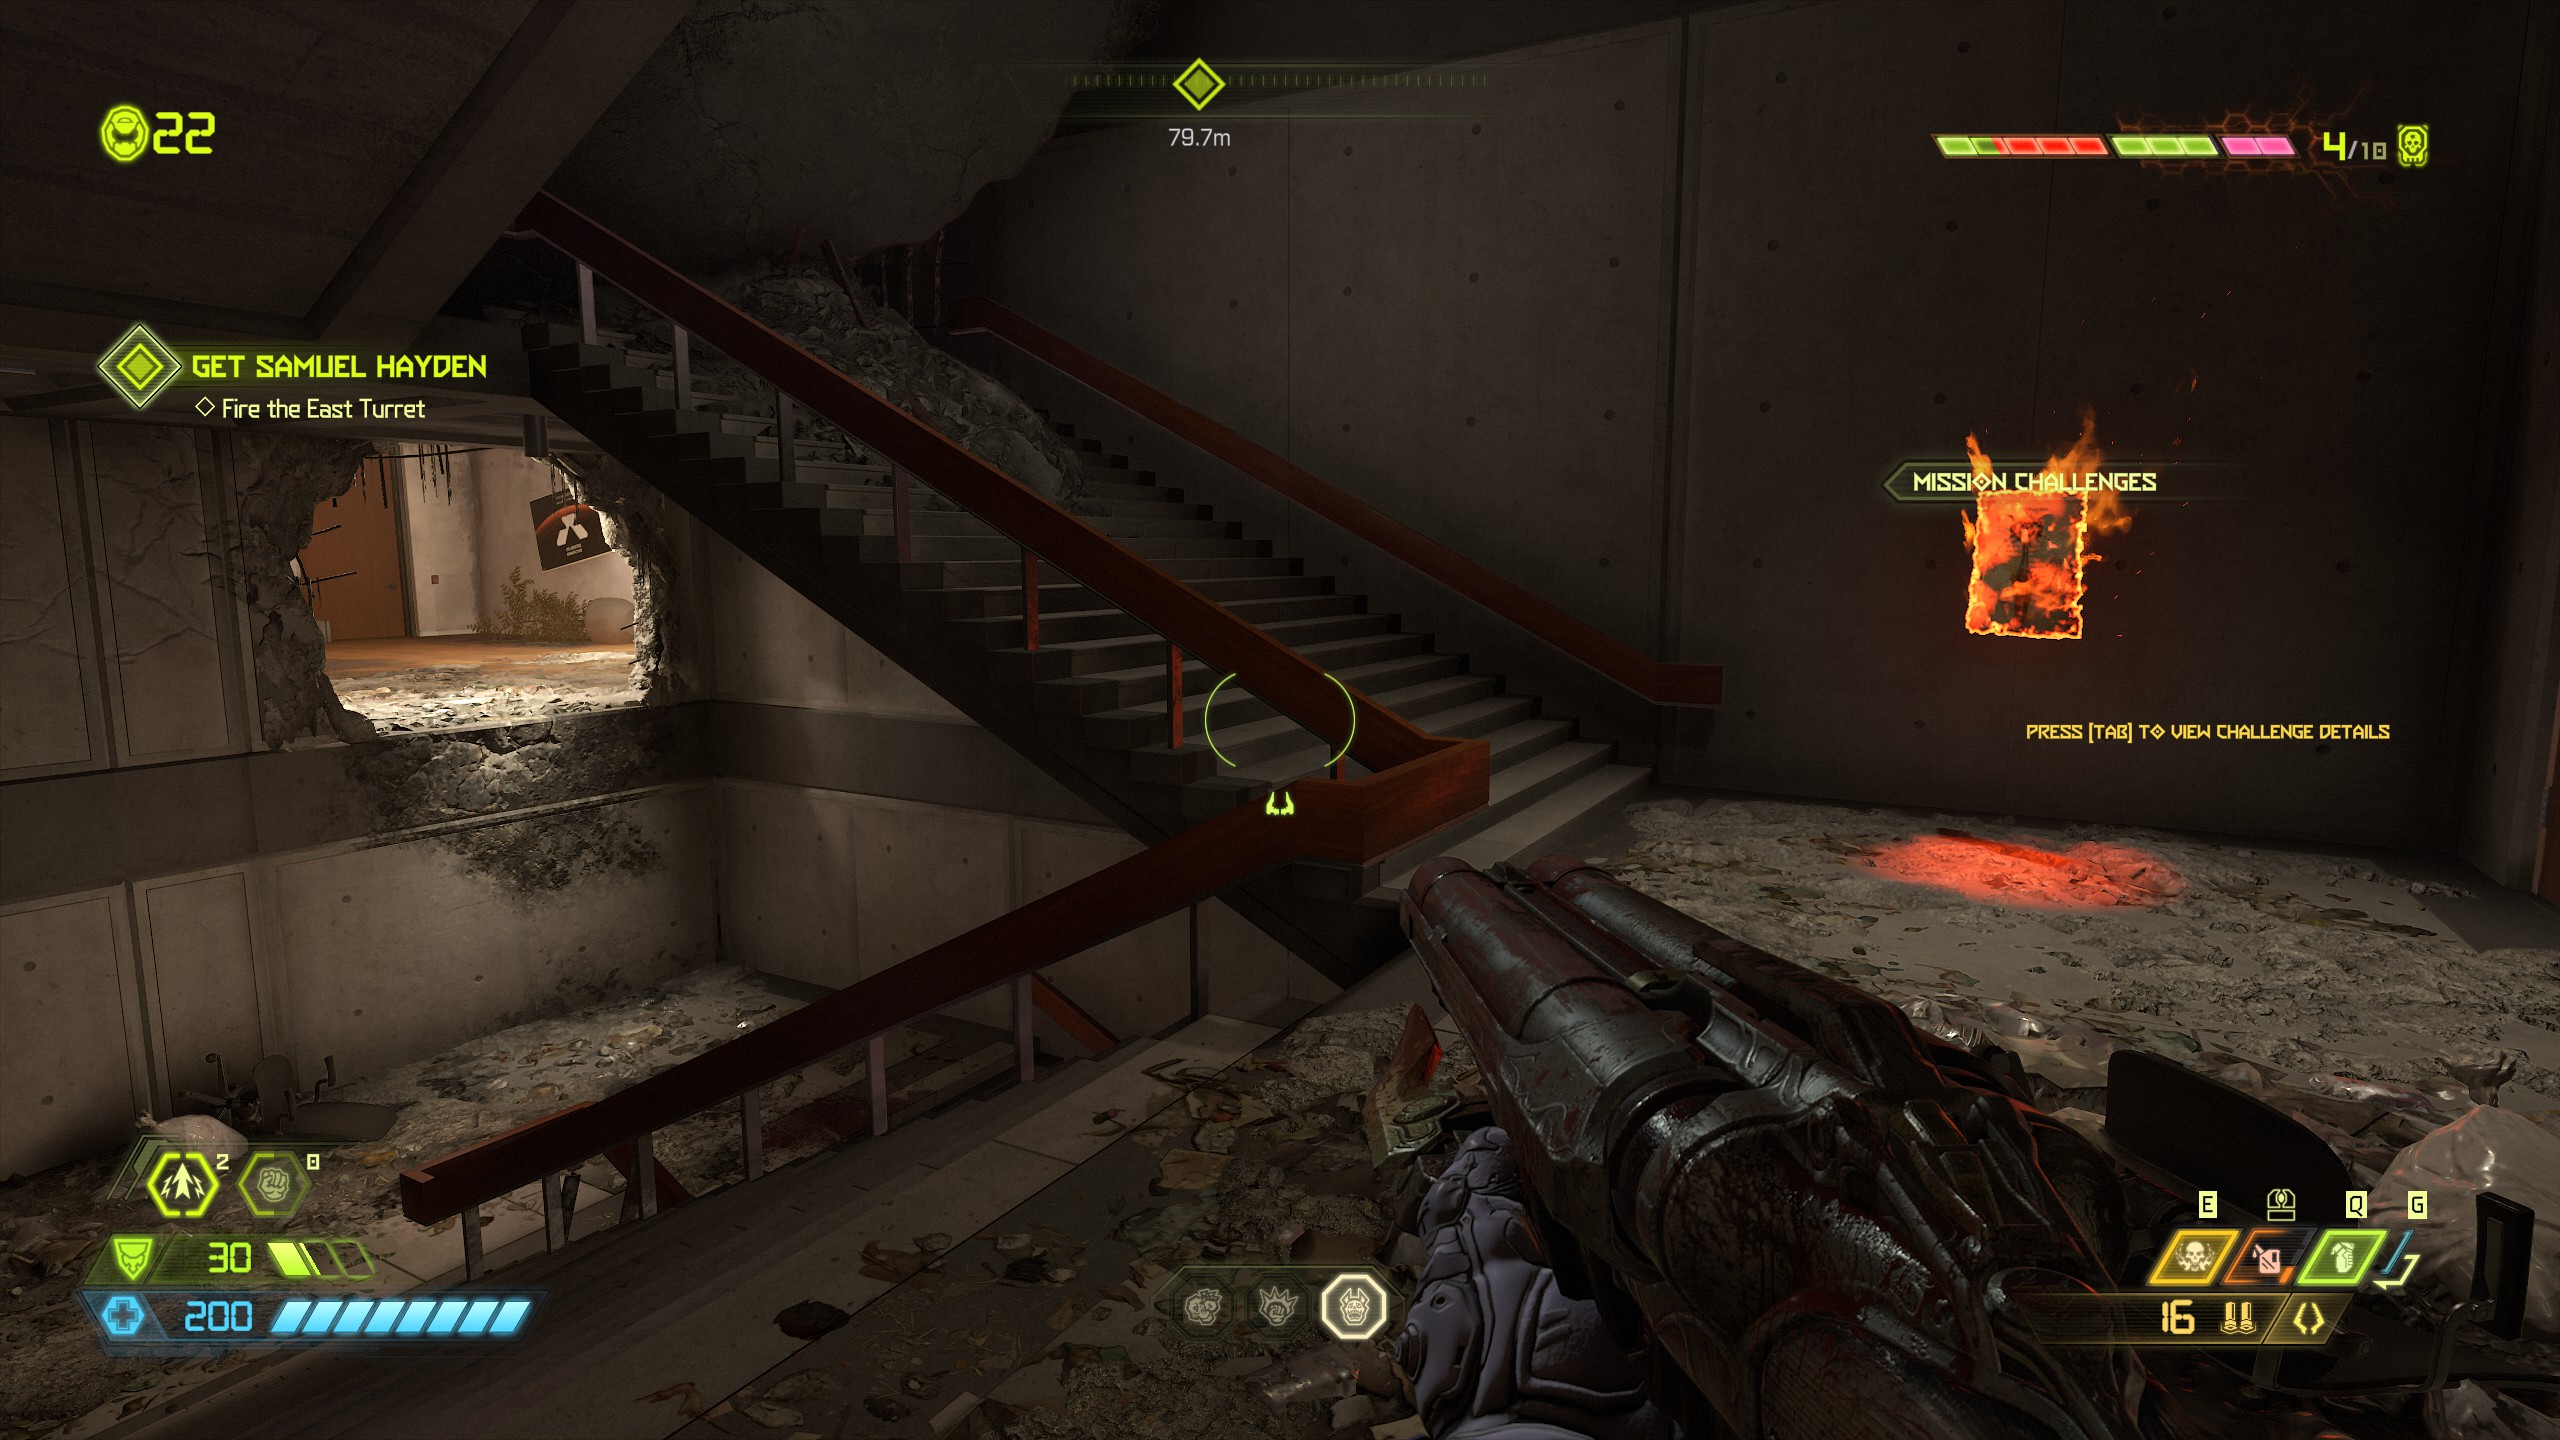
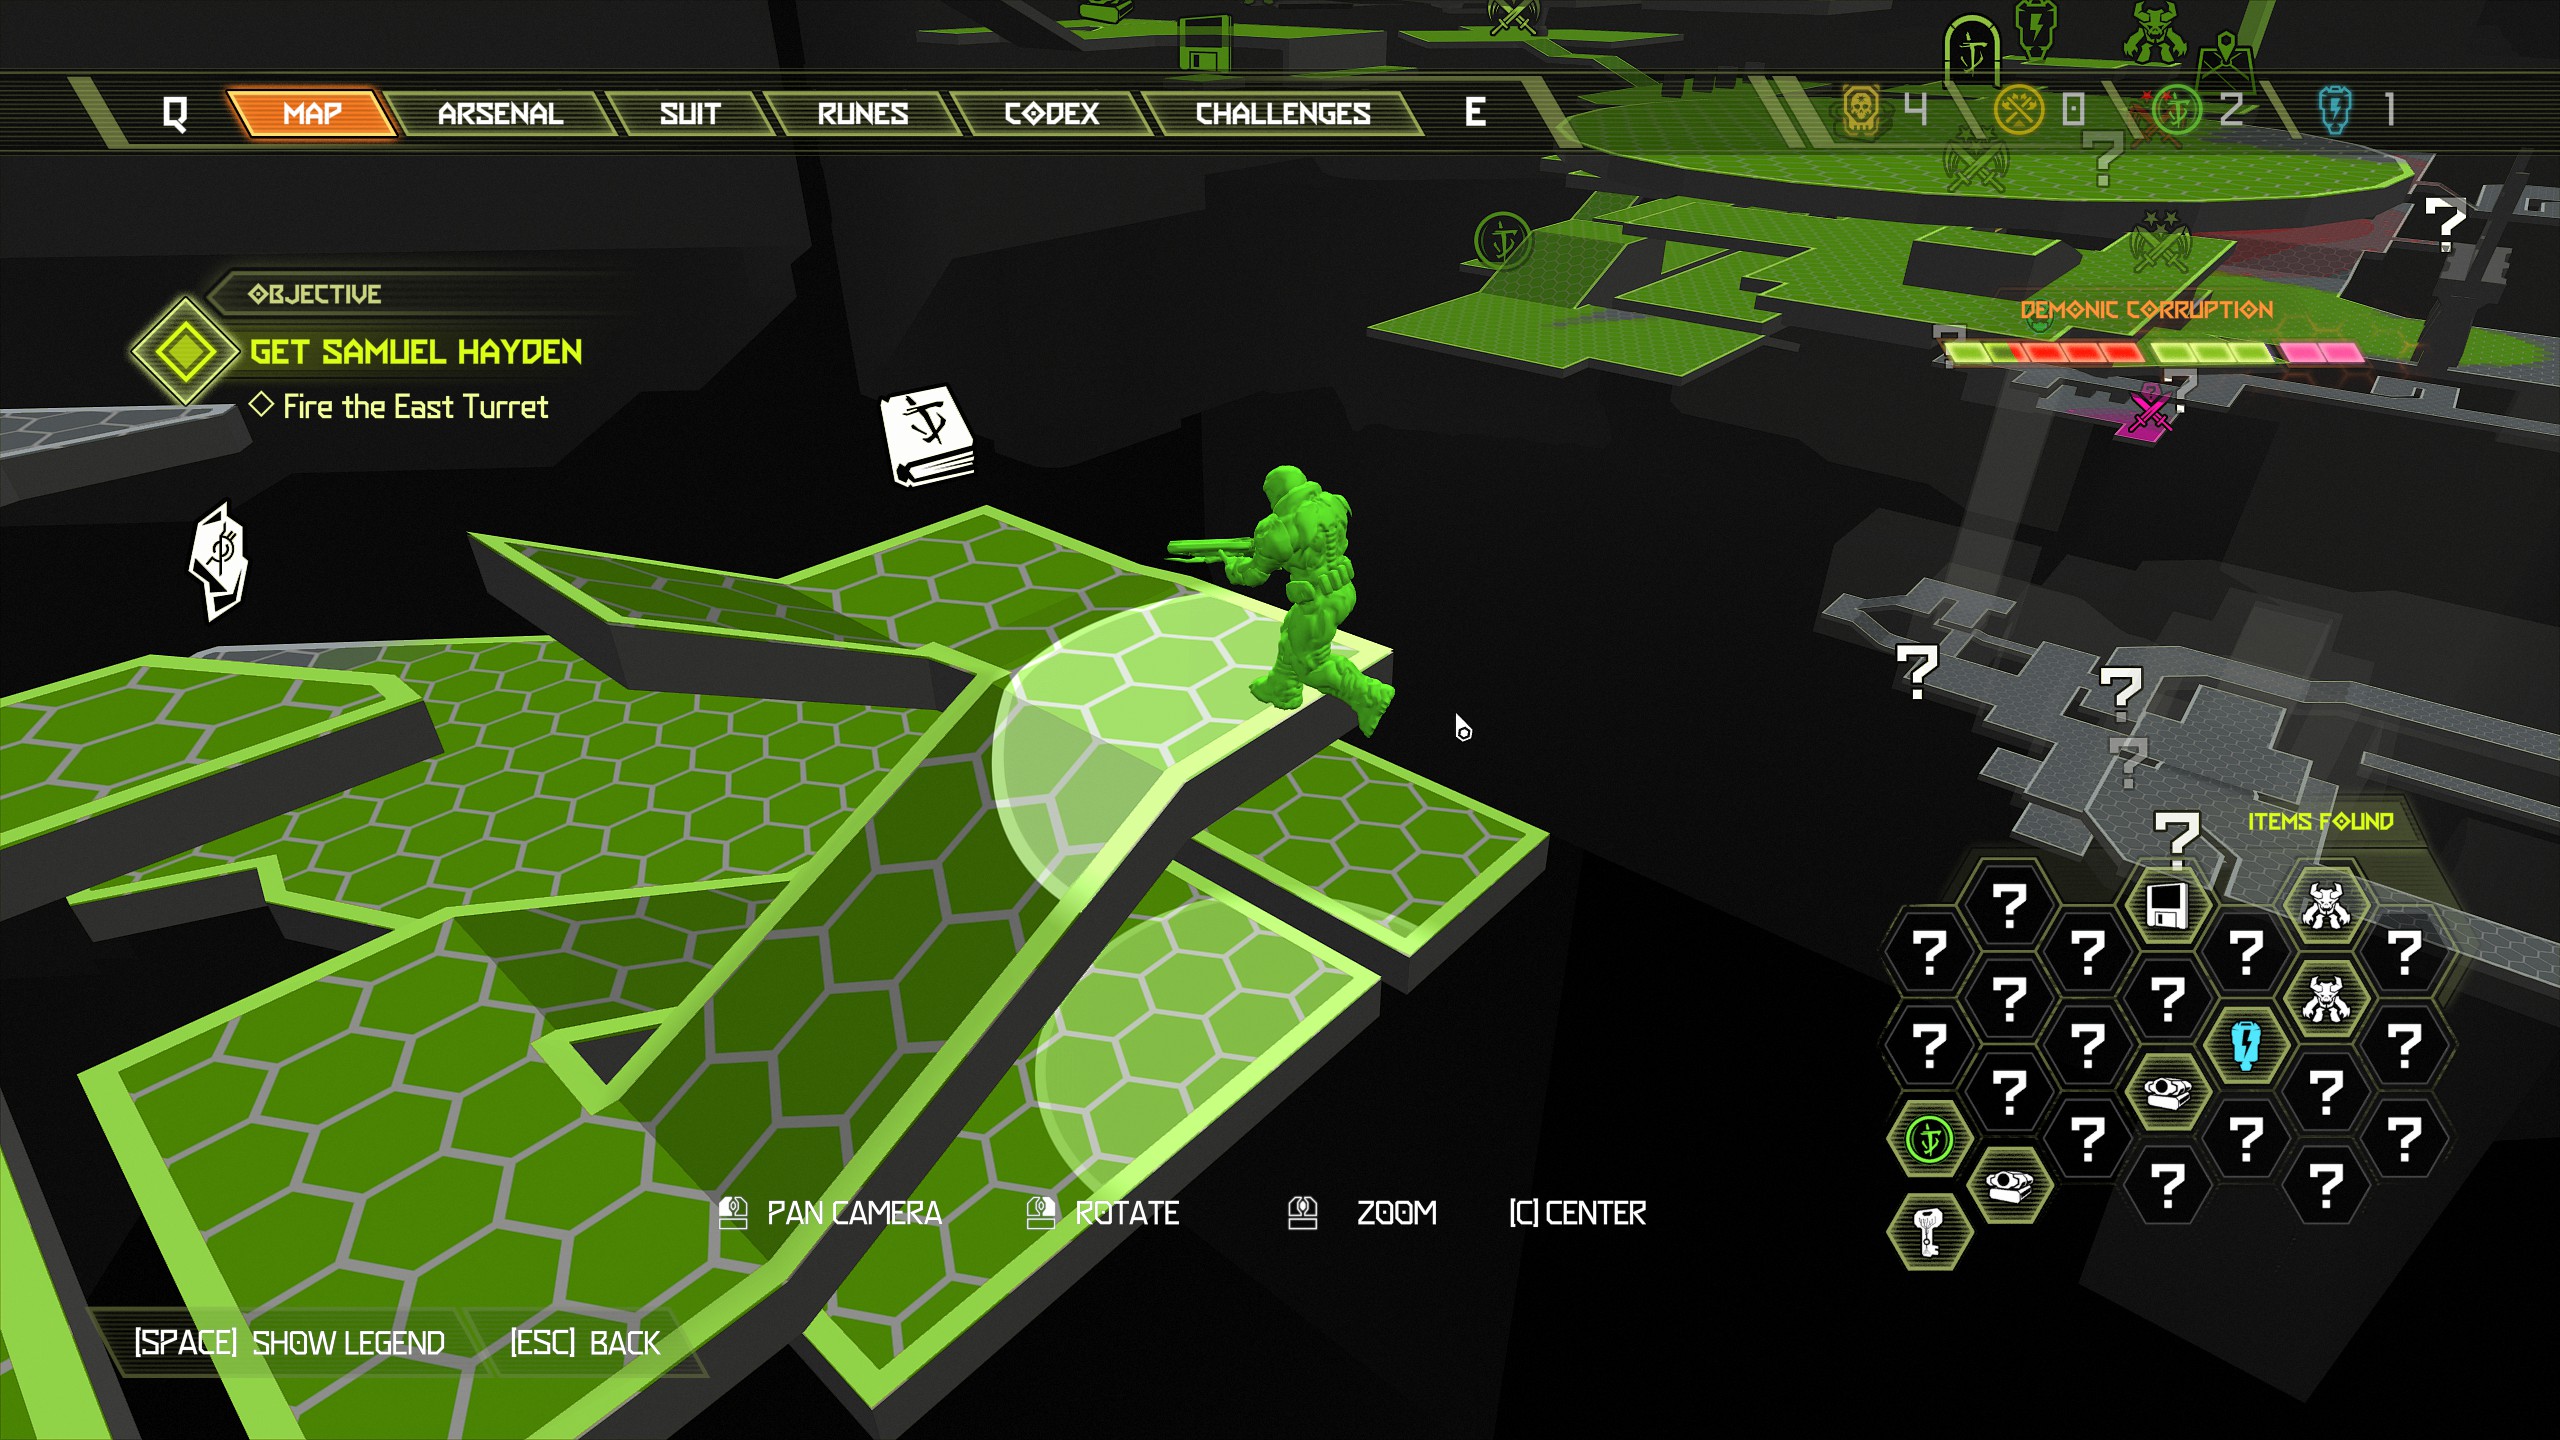
From the codex page head back down the stairway and into the hole in the wall, just around the corner on the right side will be a sentinel crystal. Now you can continue the mission through the green wall and start swinging.
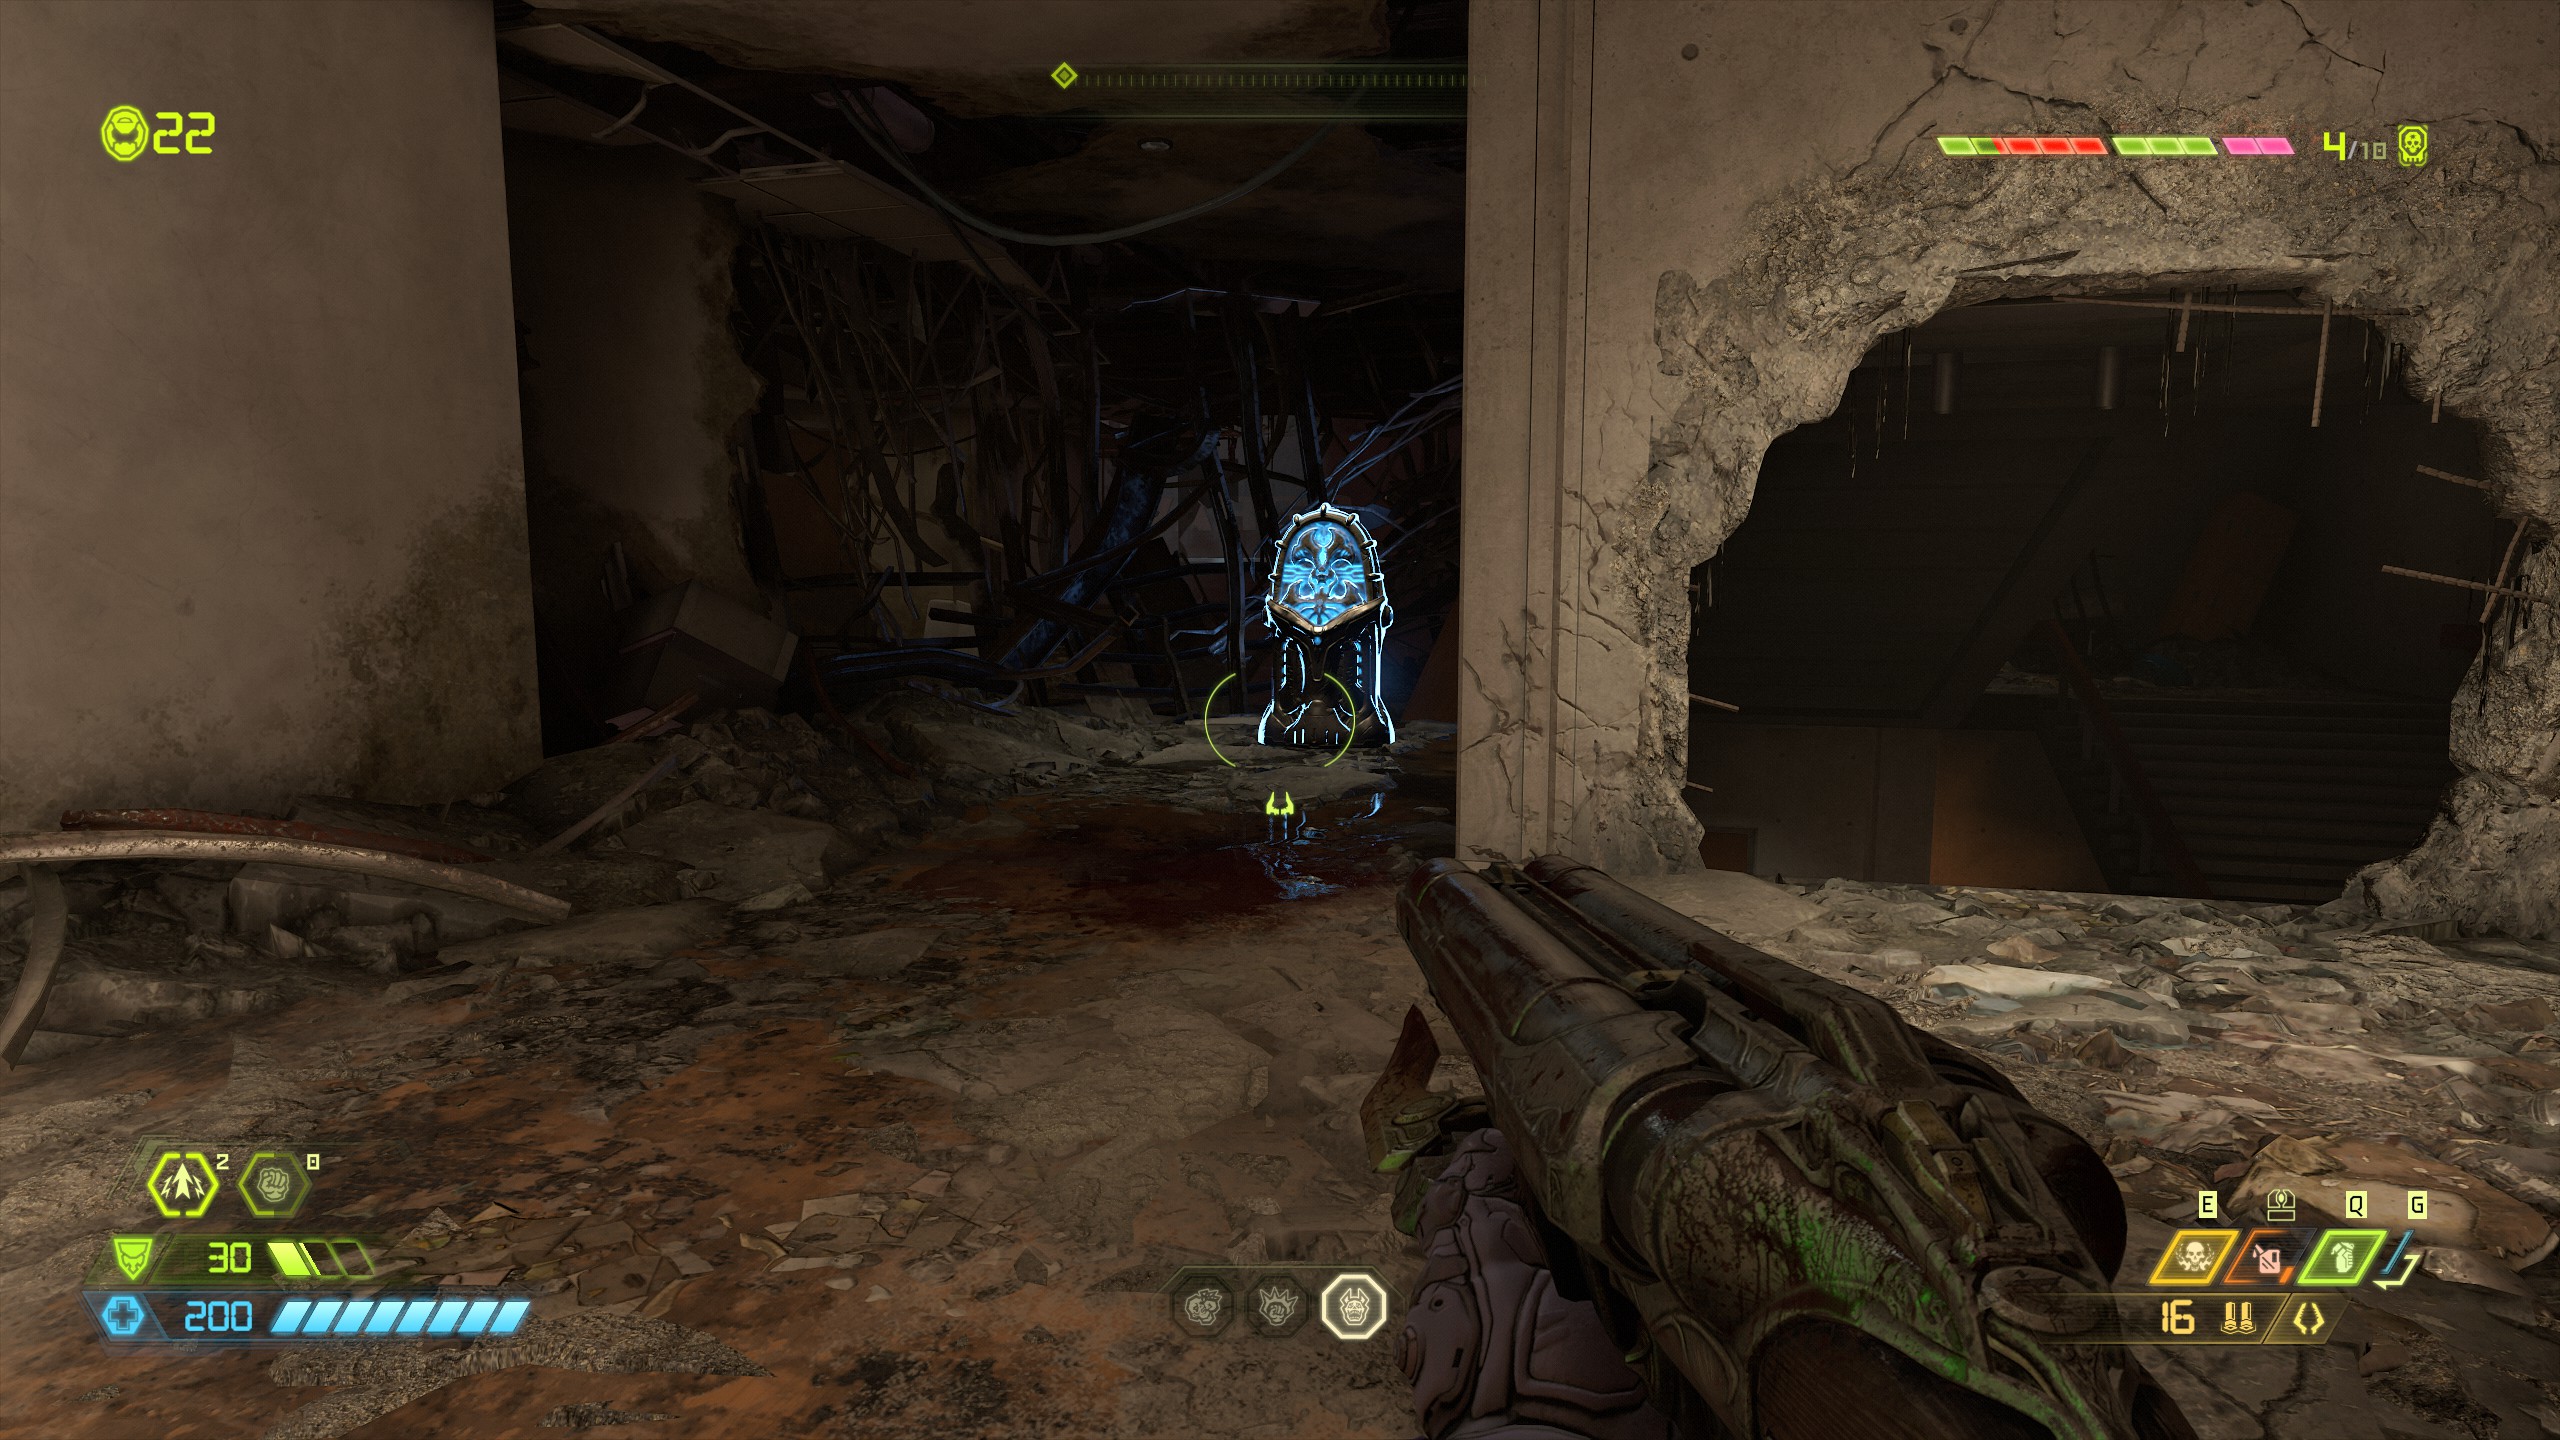
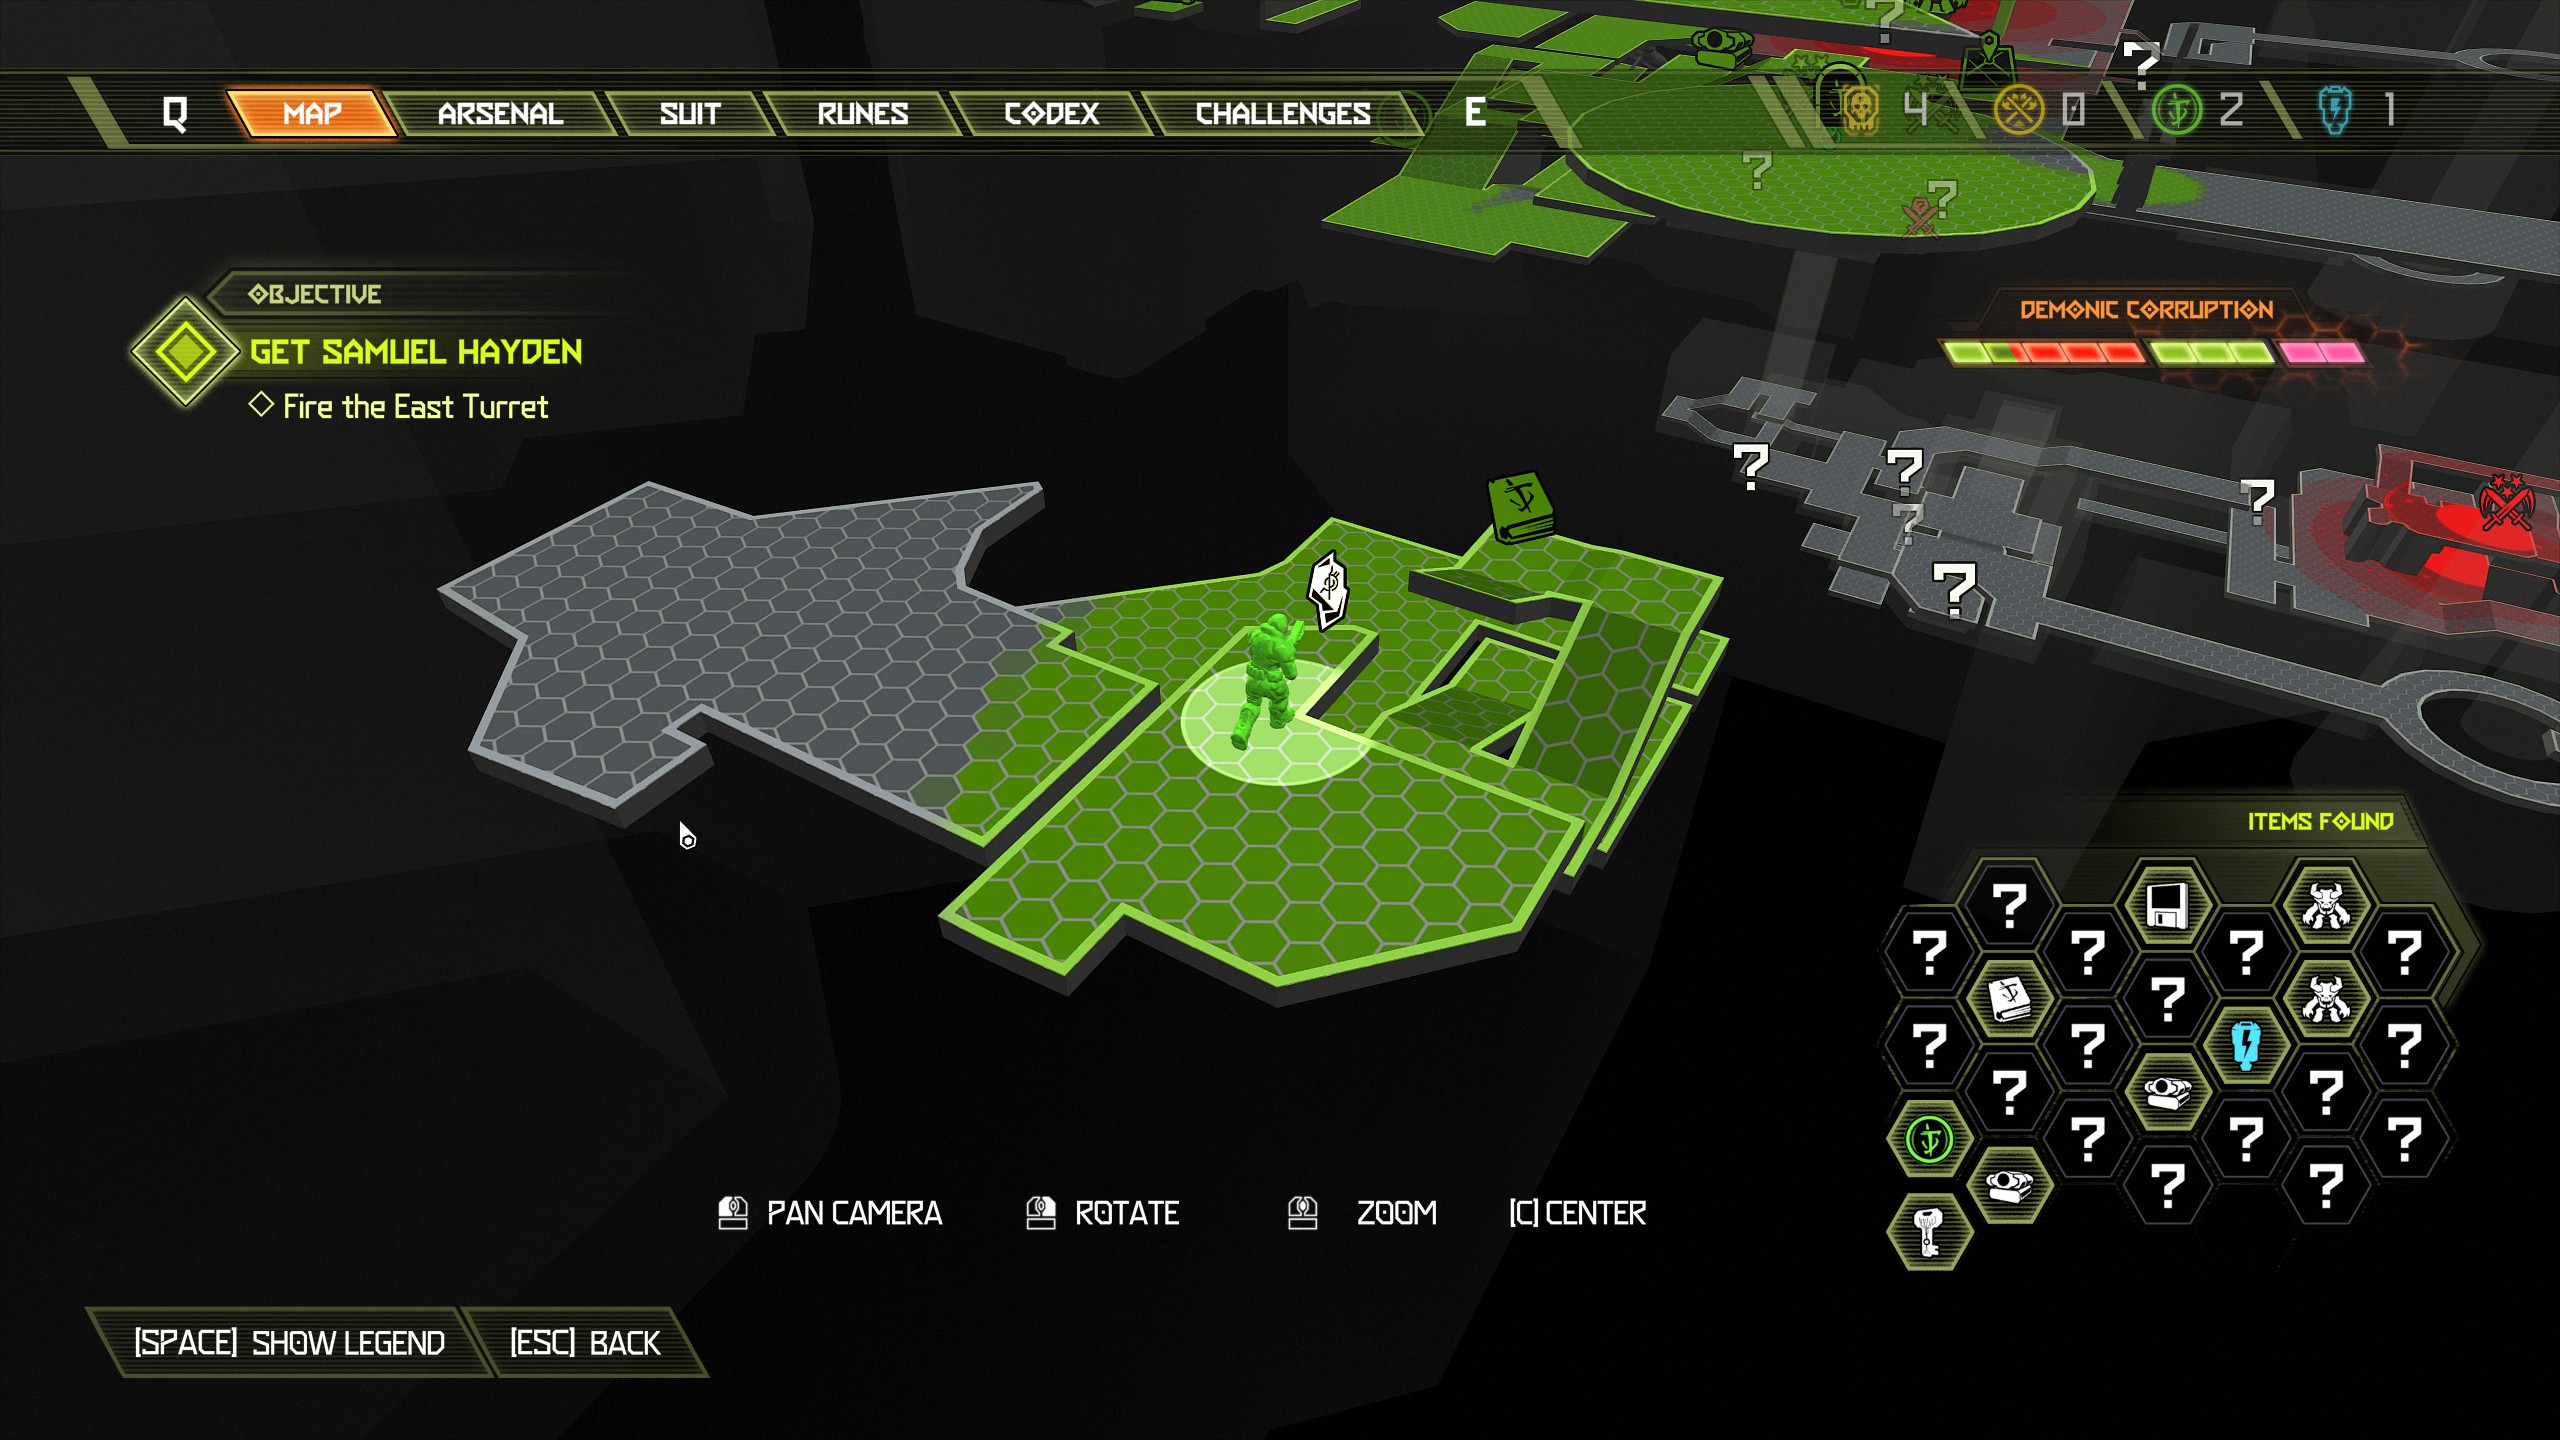
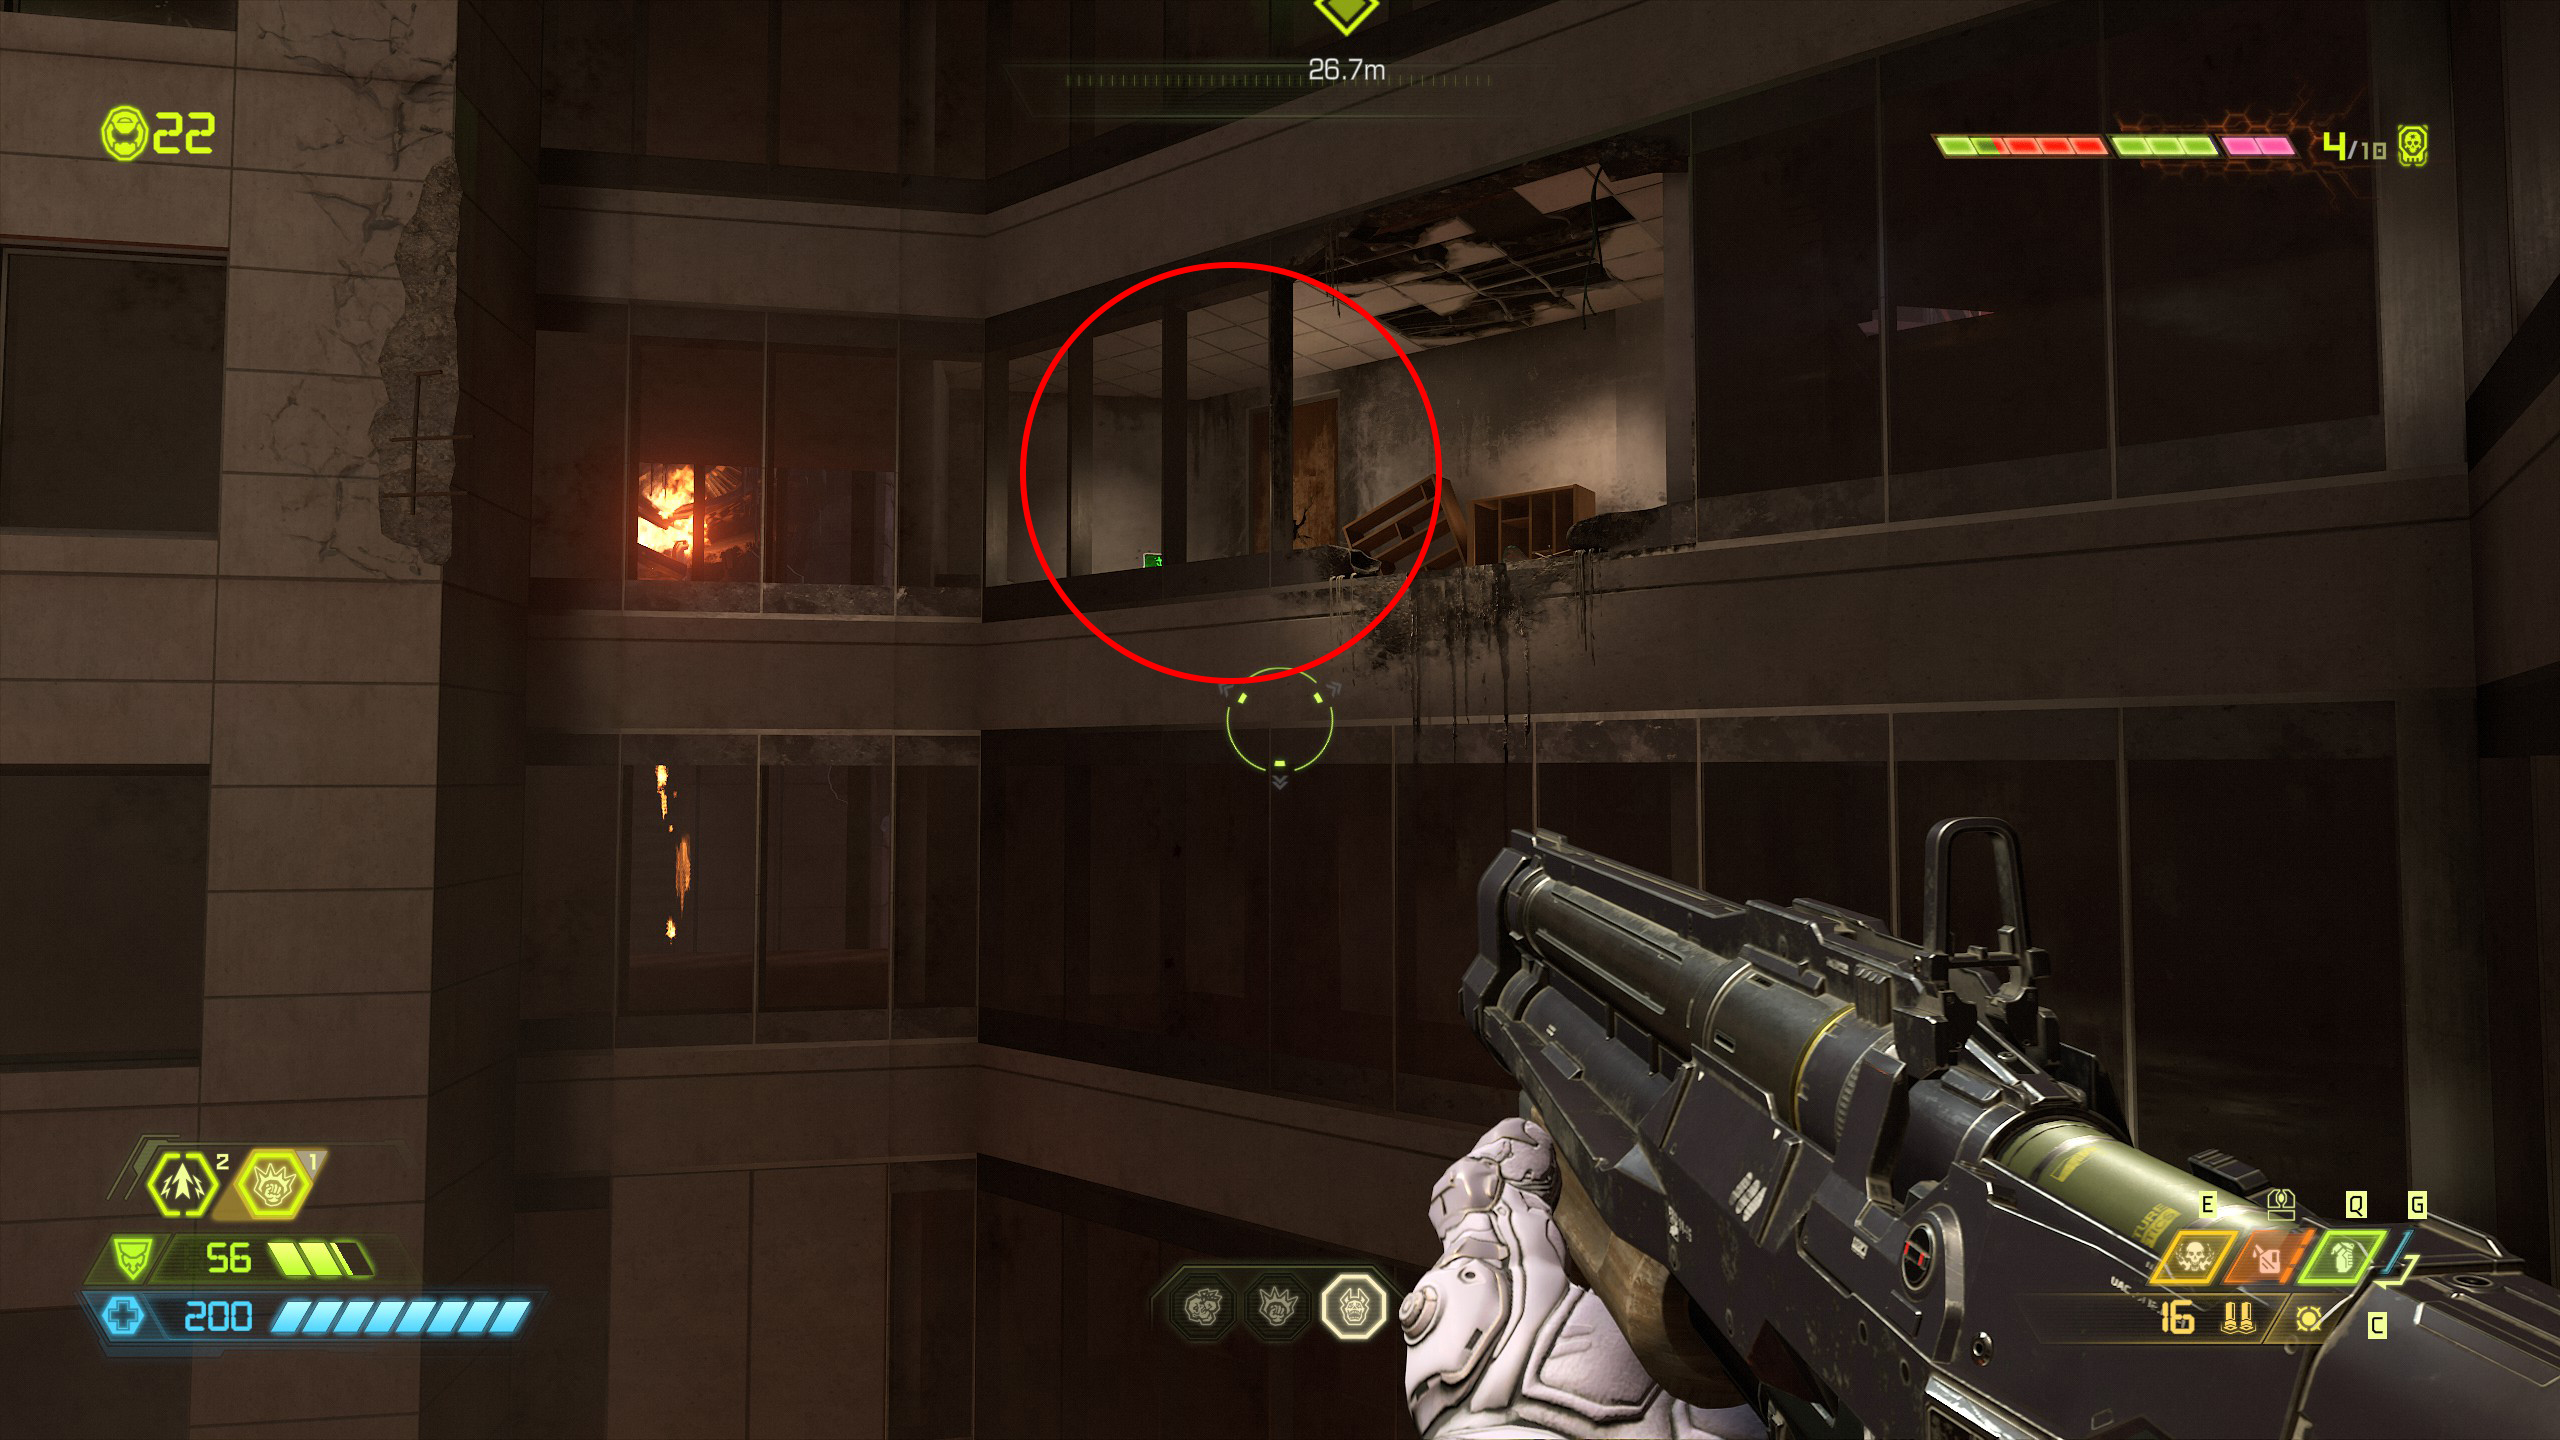
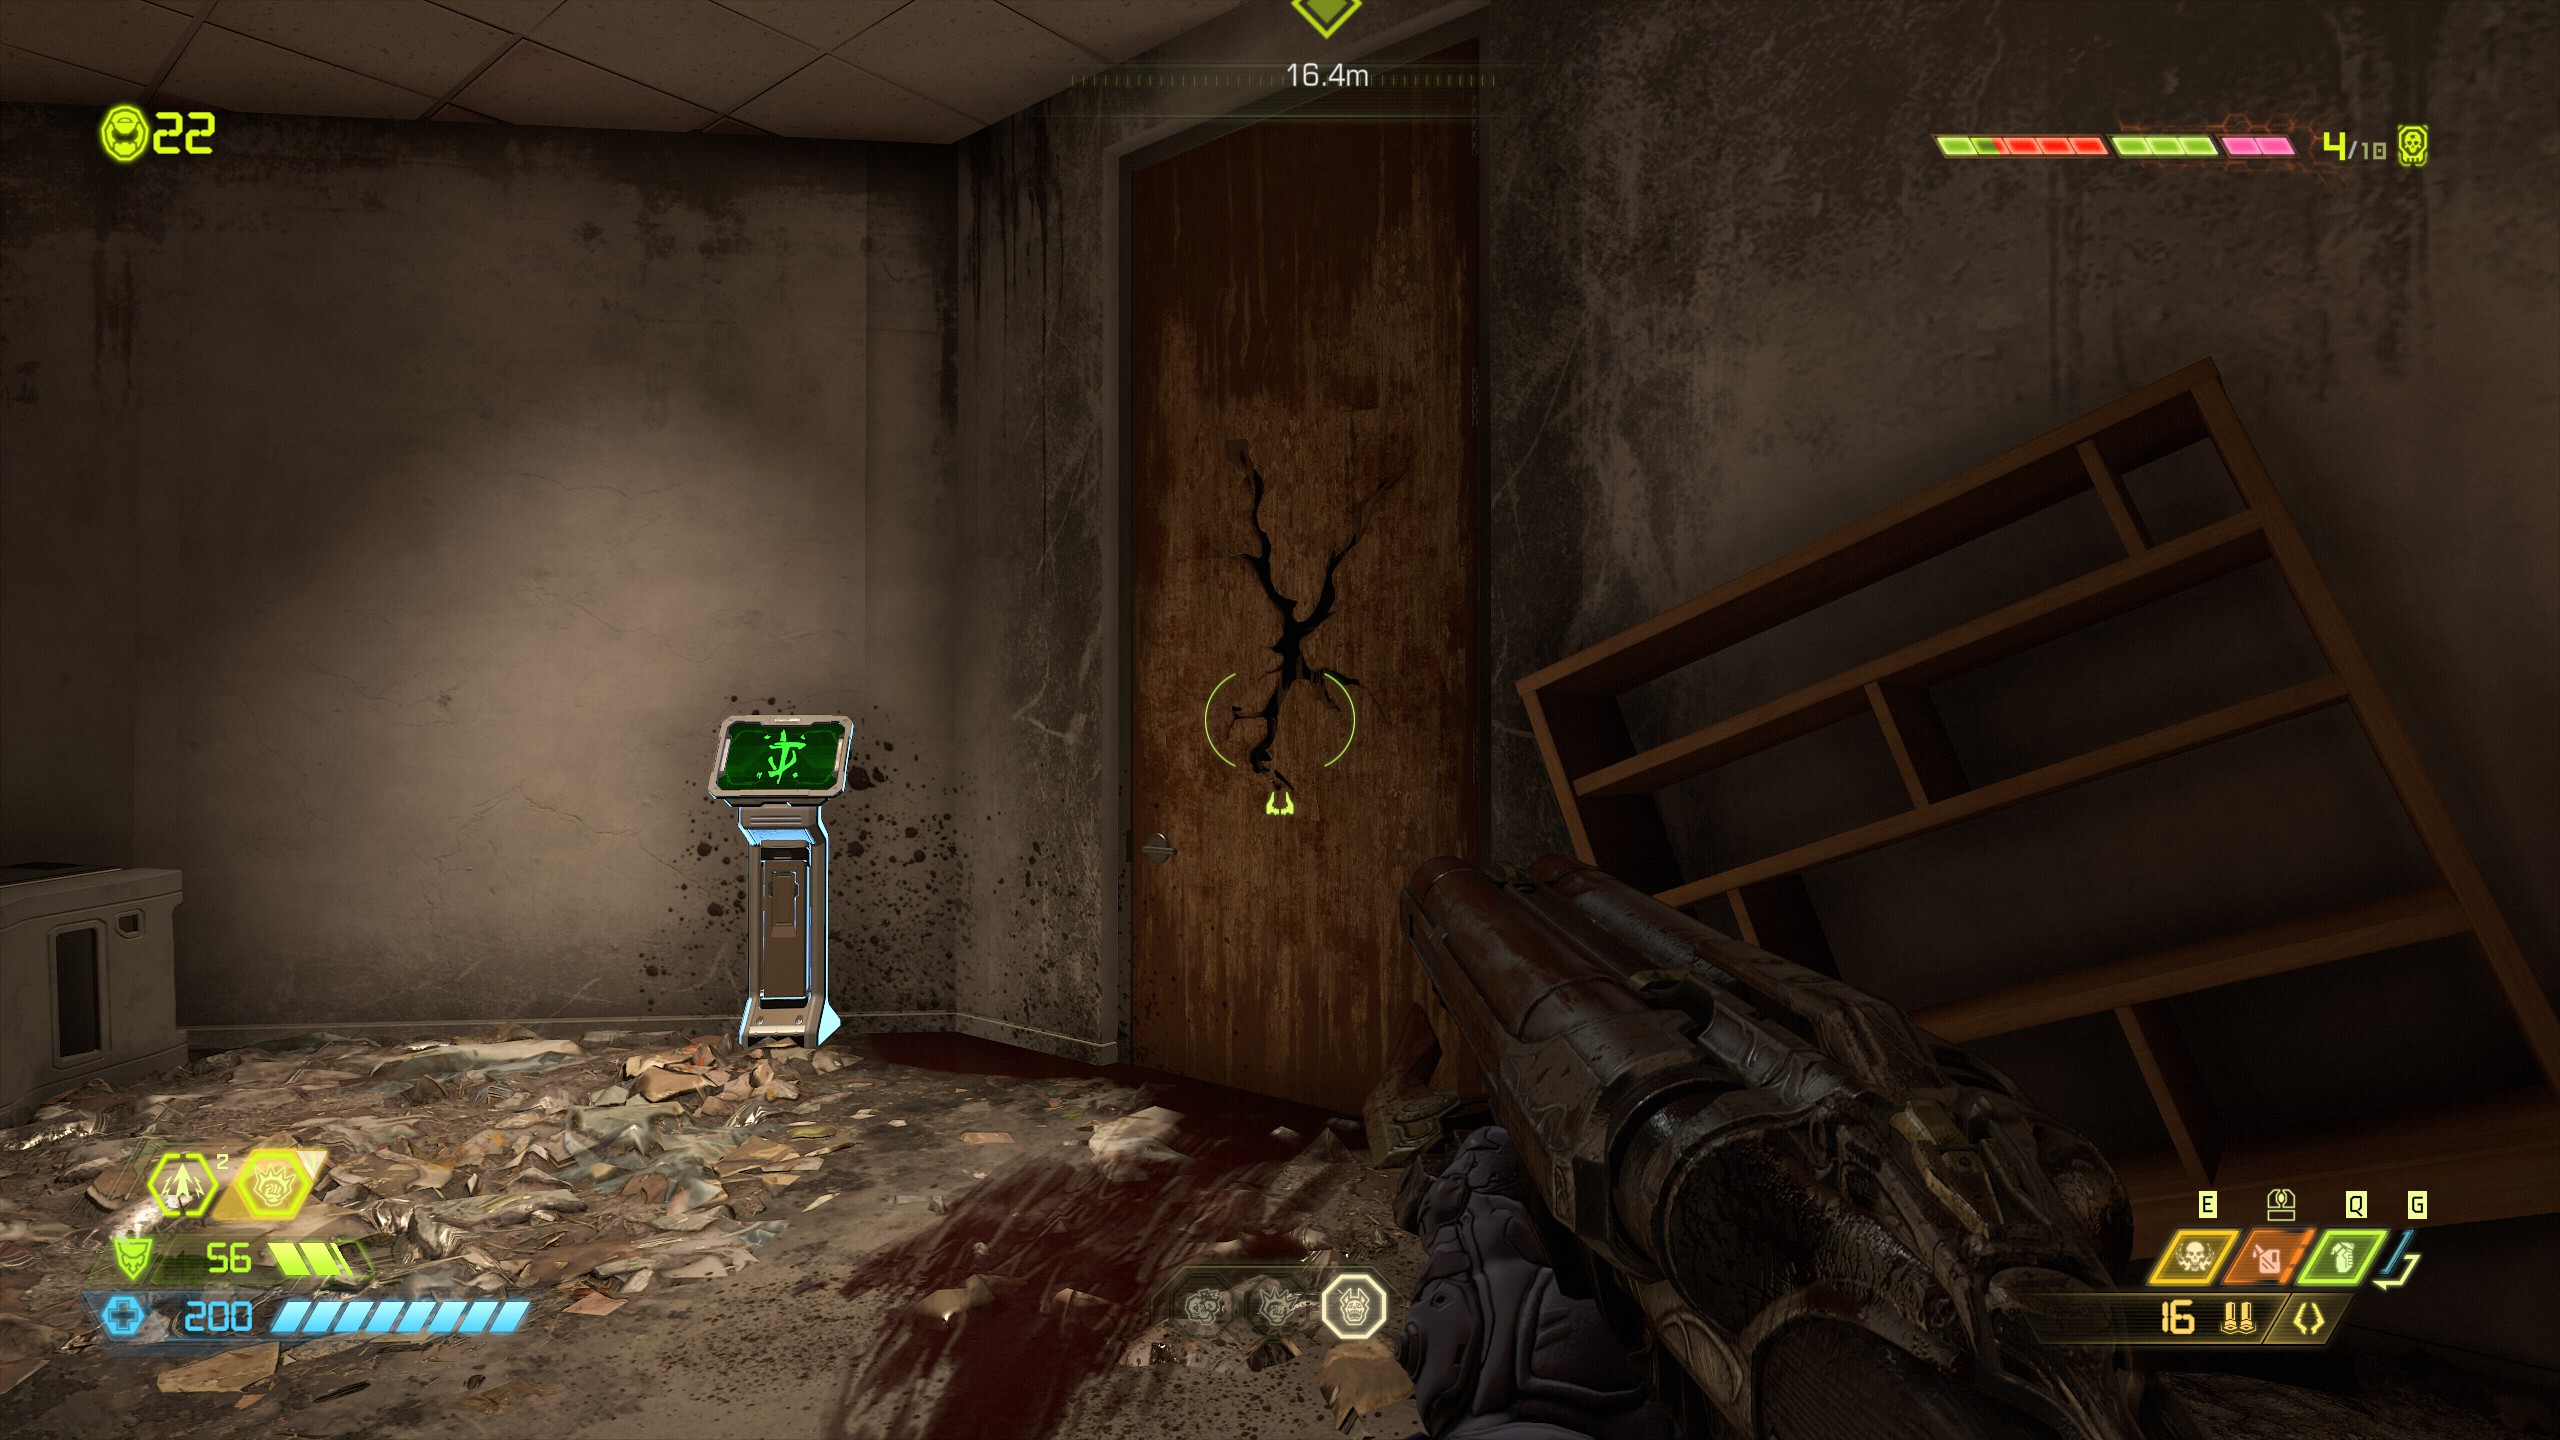
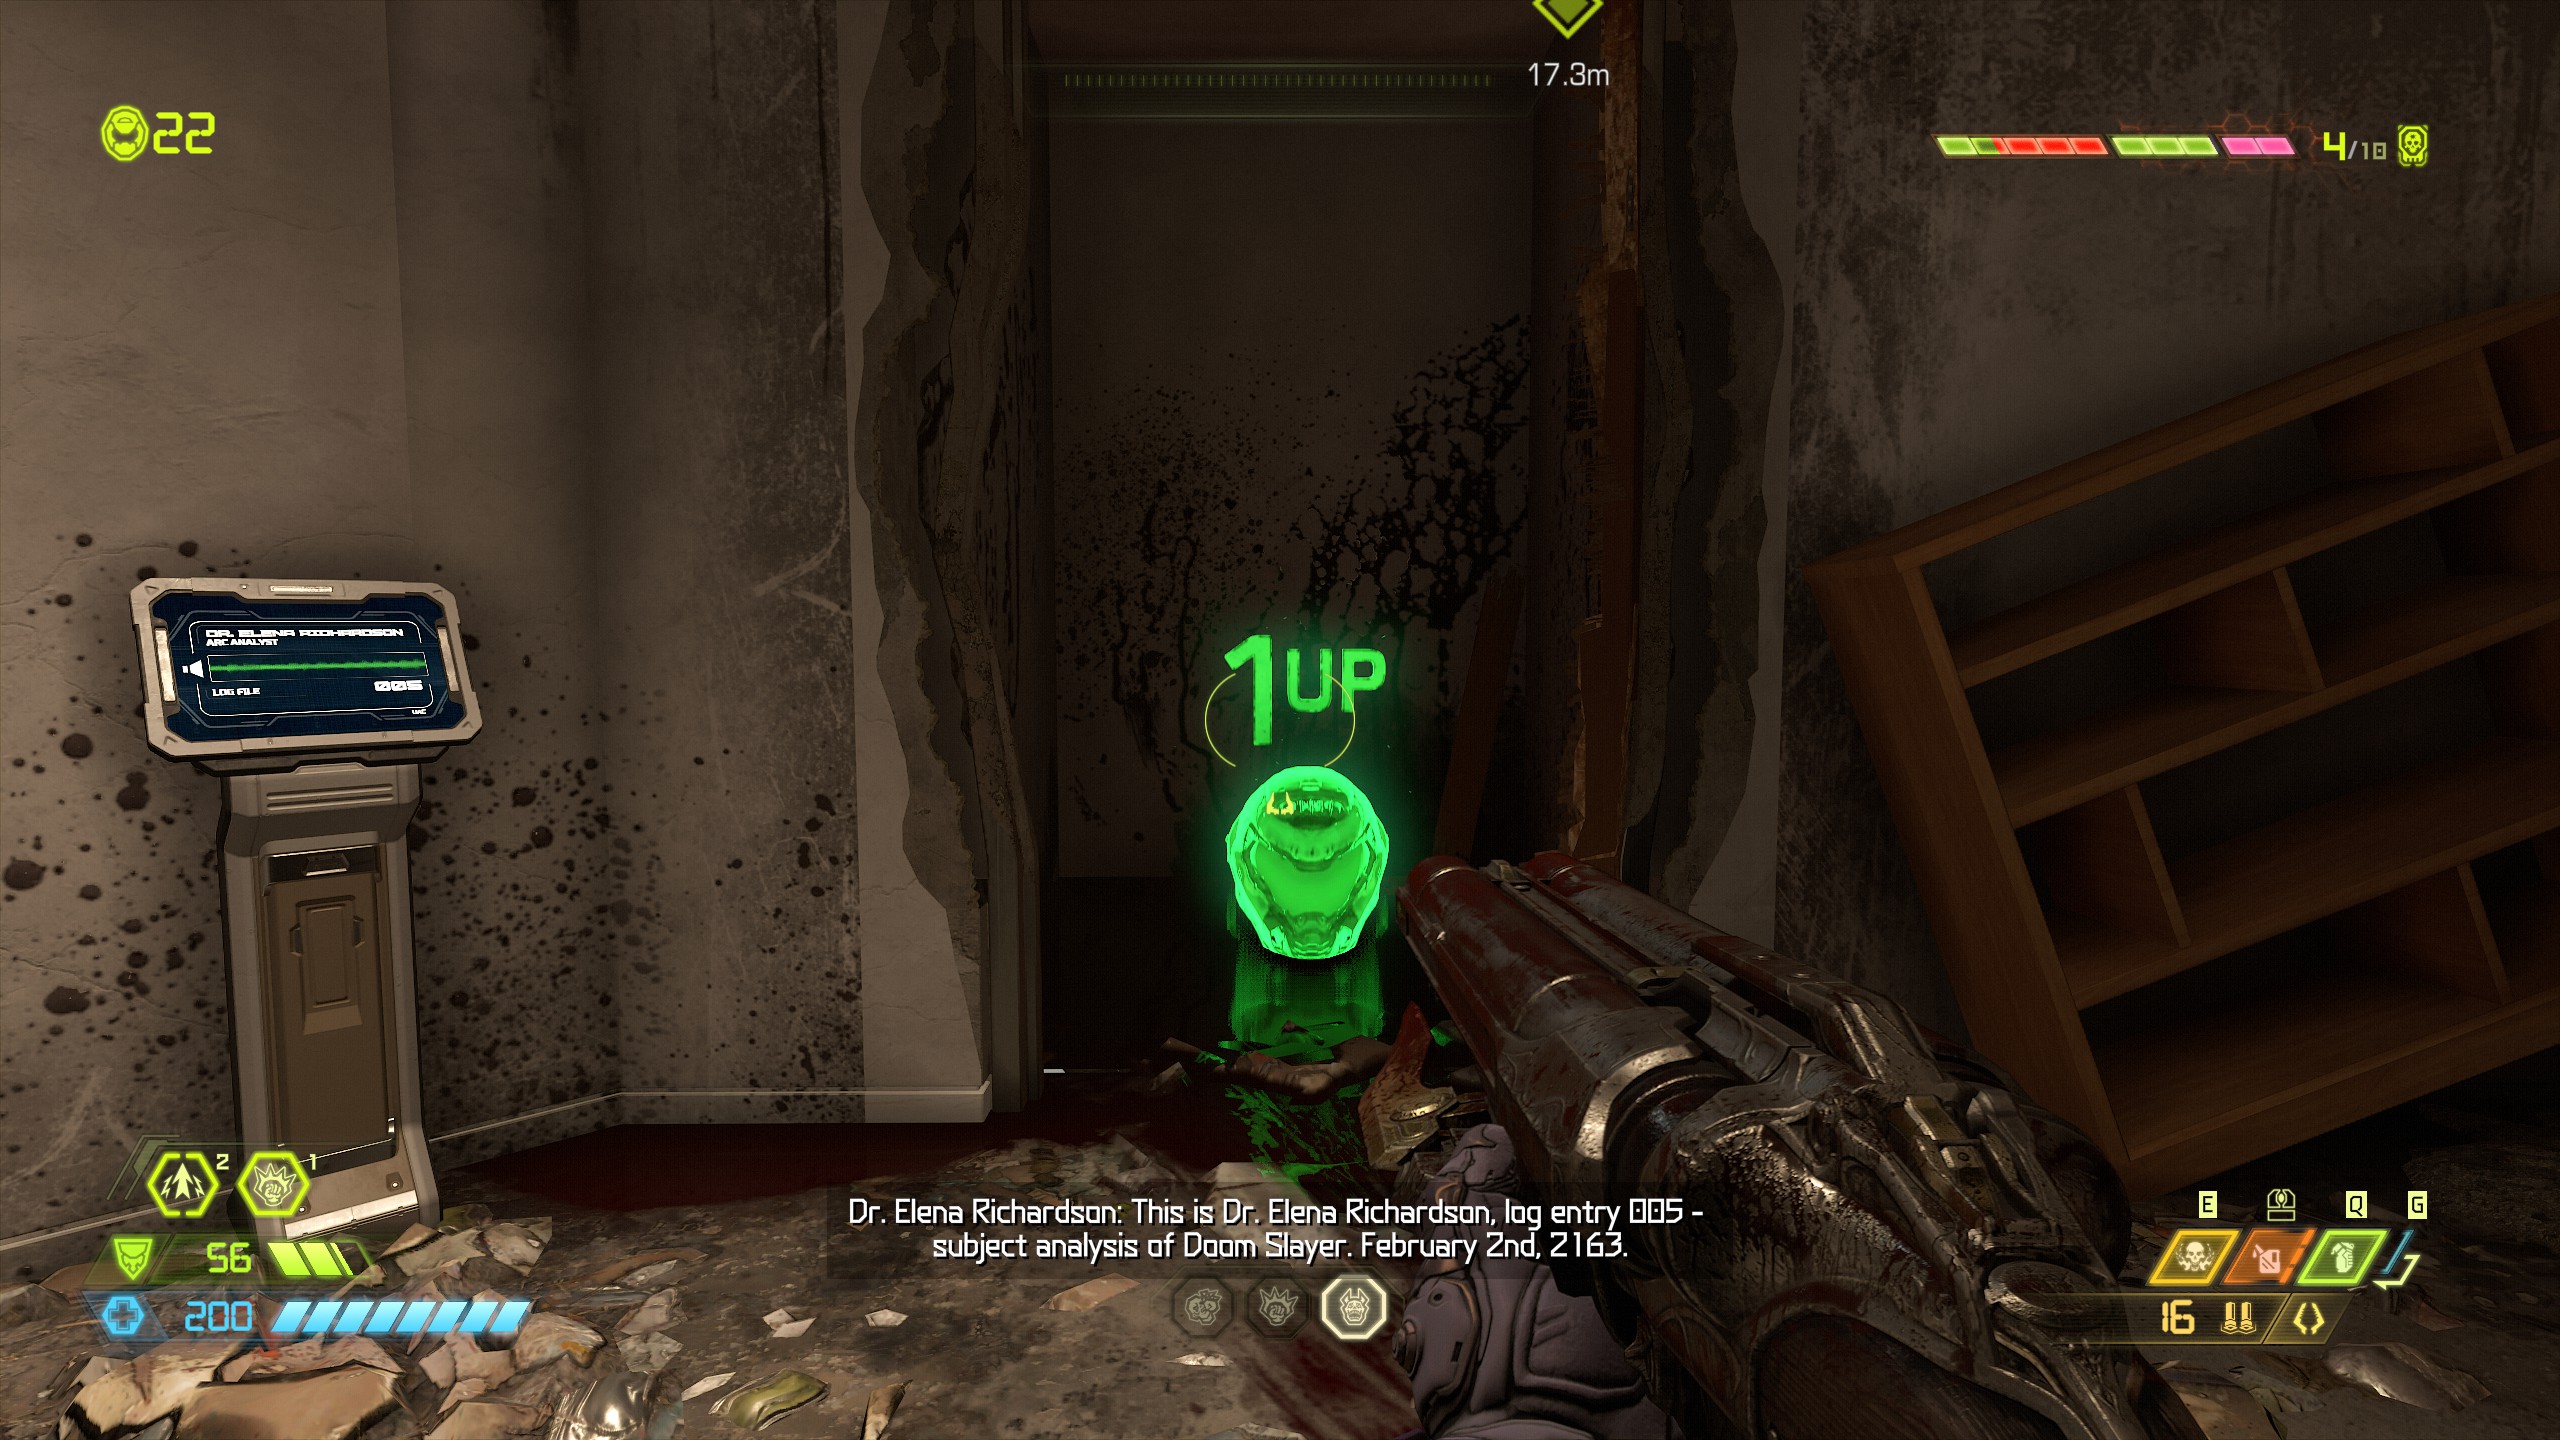
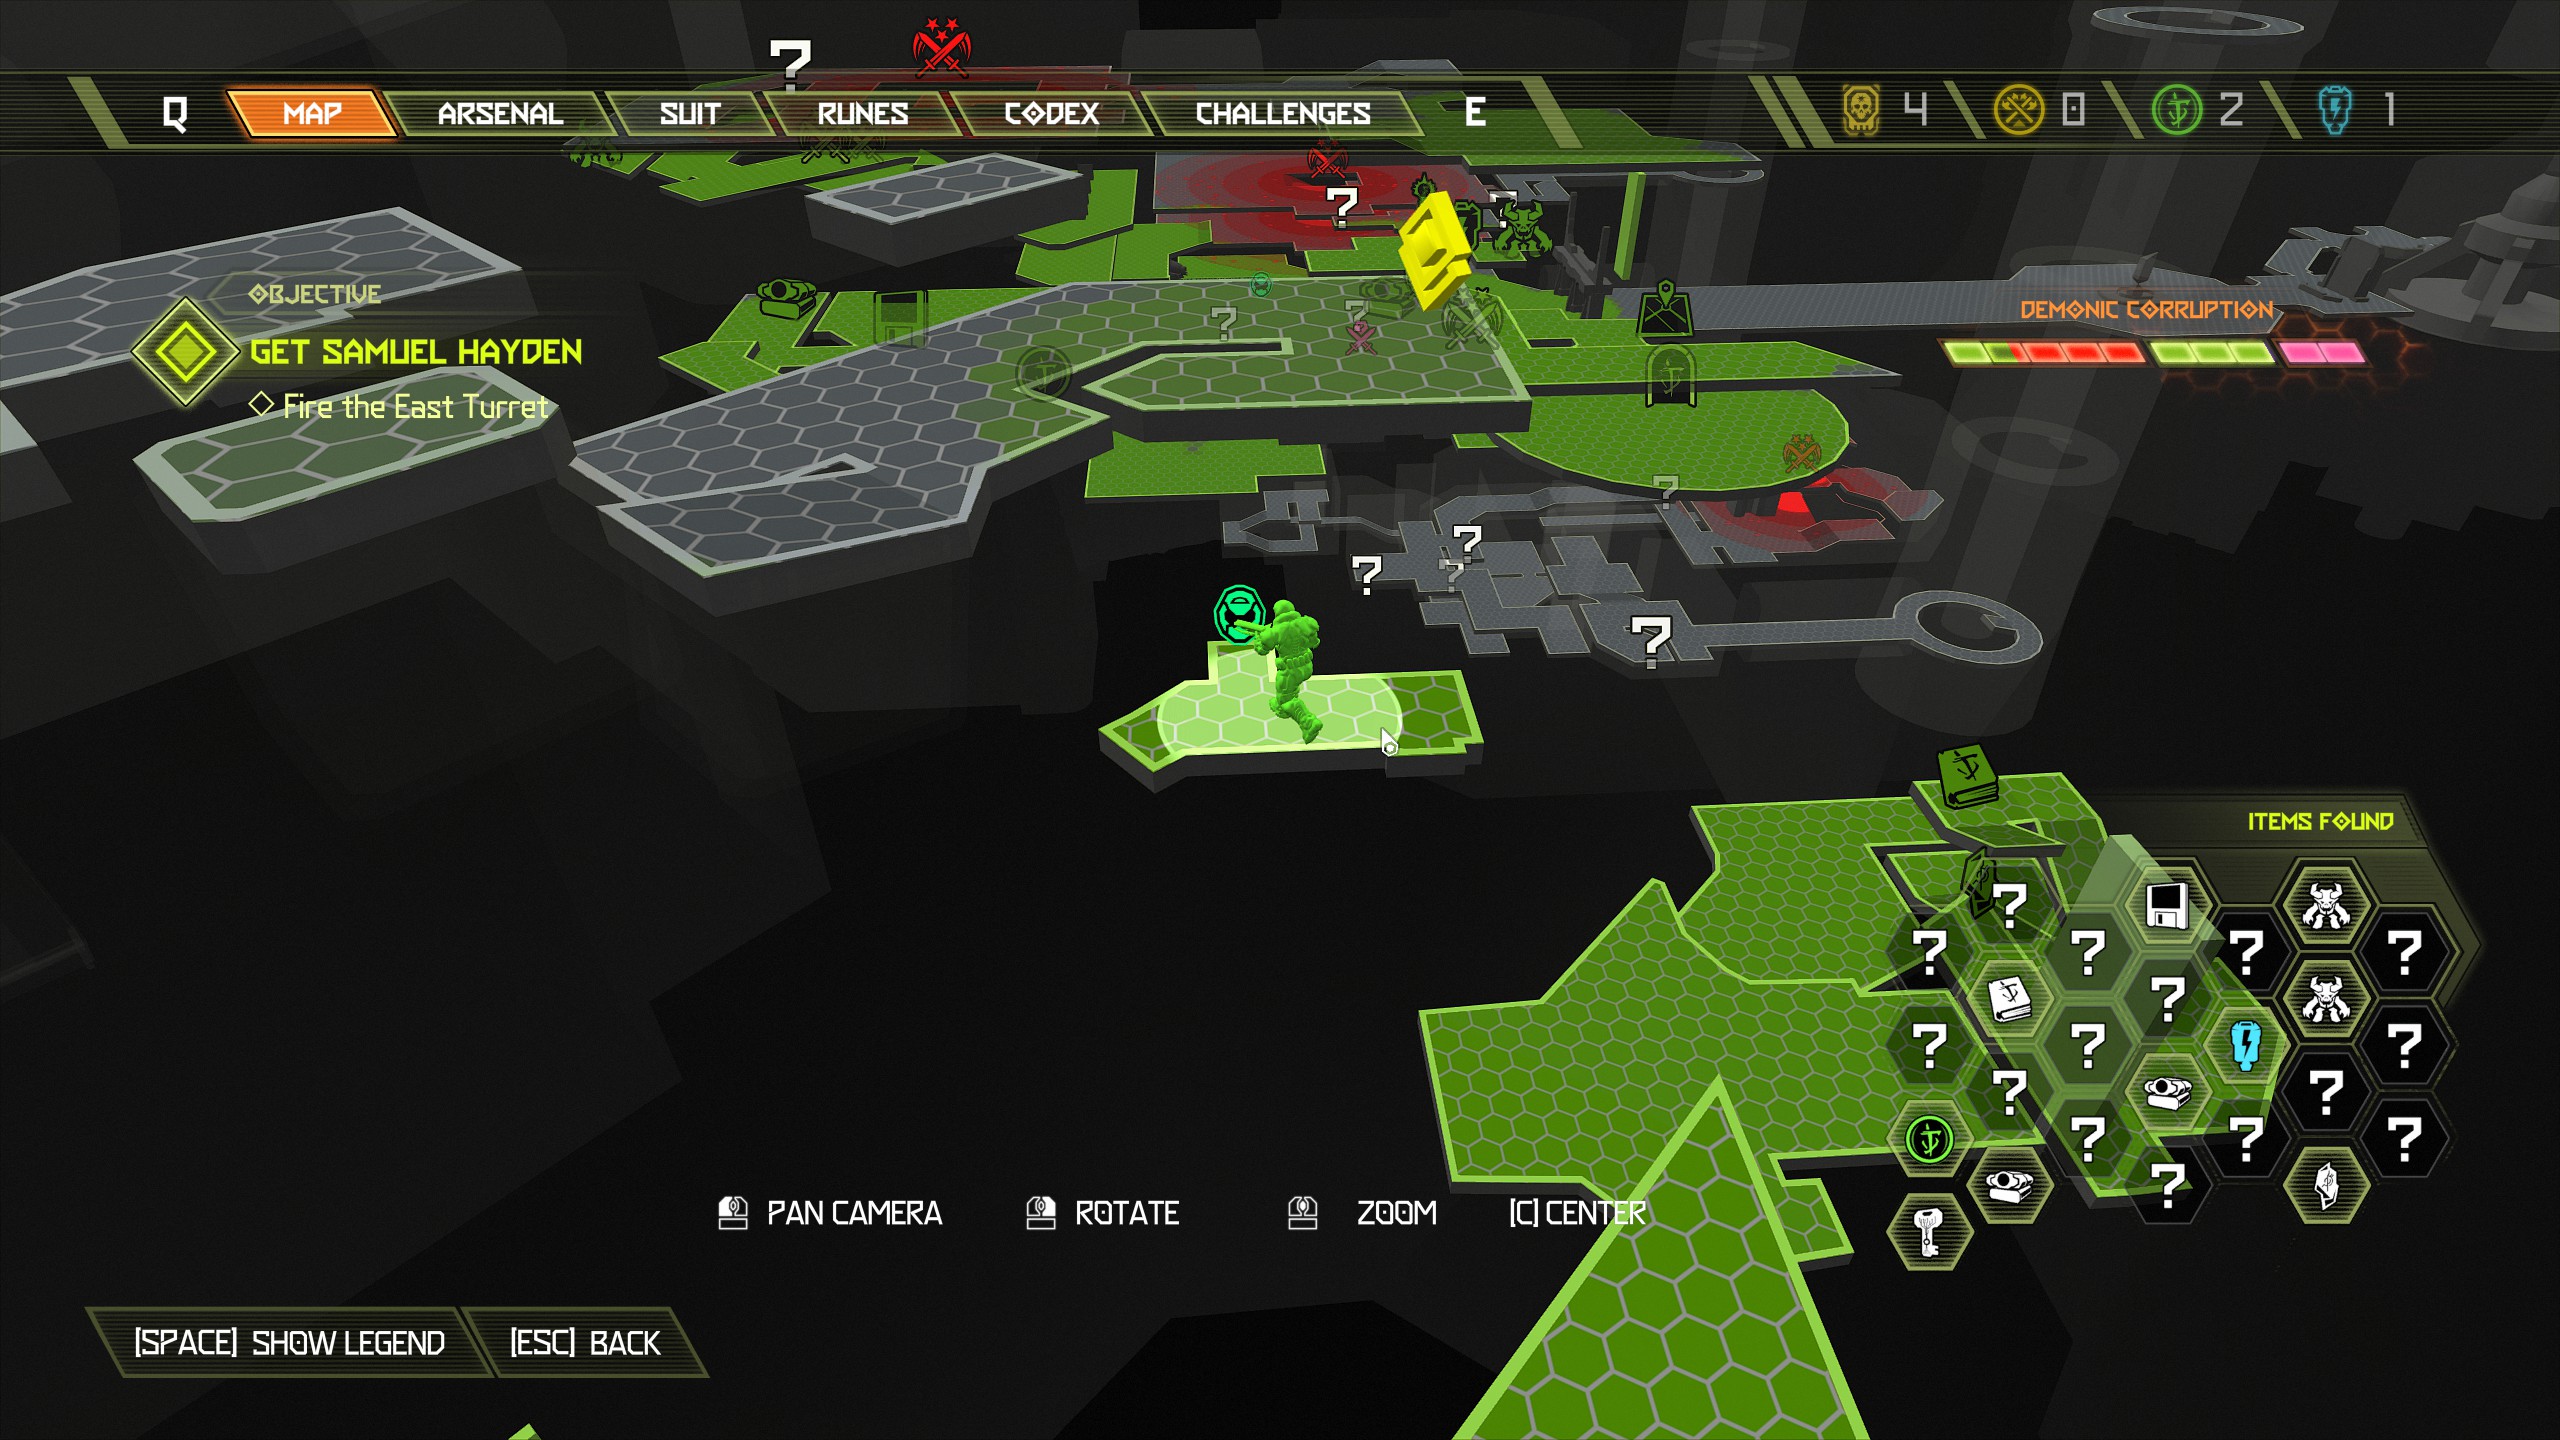
Continue swinging further up using the yellow bars until you're back inside at the top of the building.
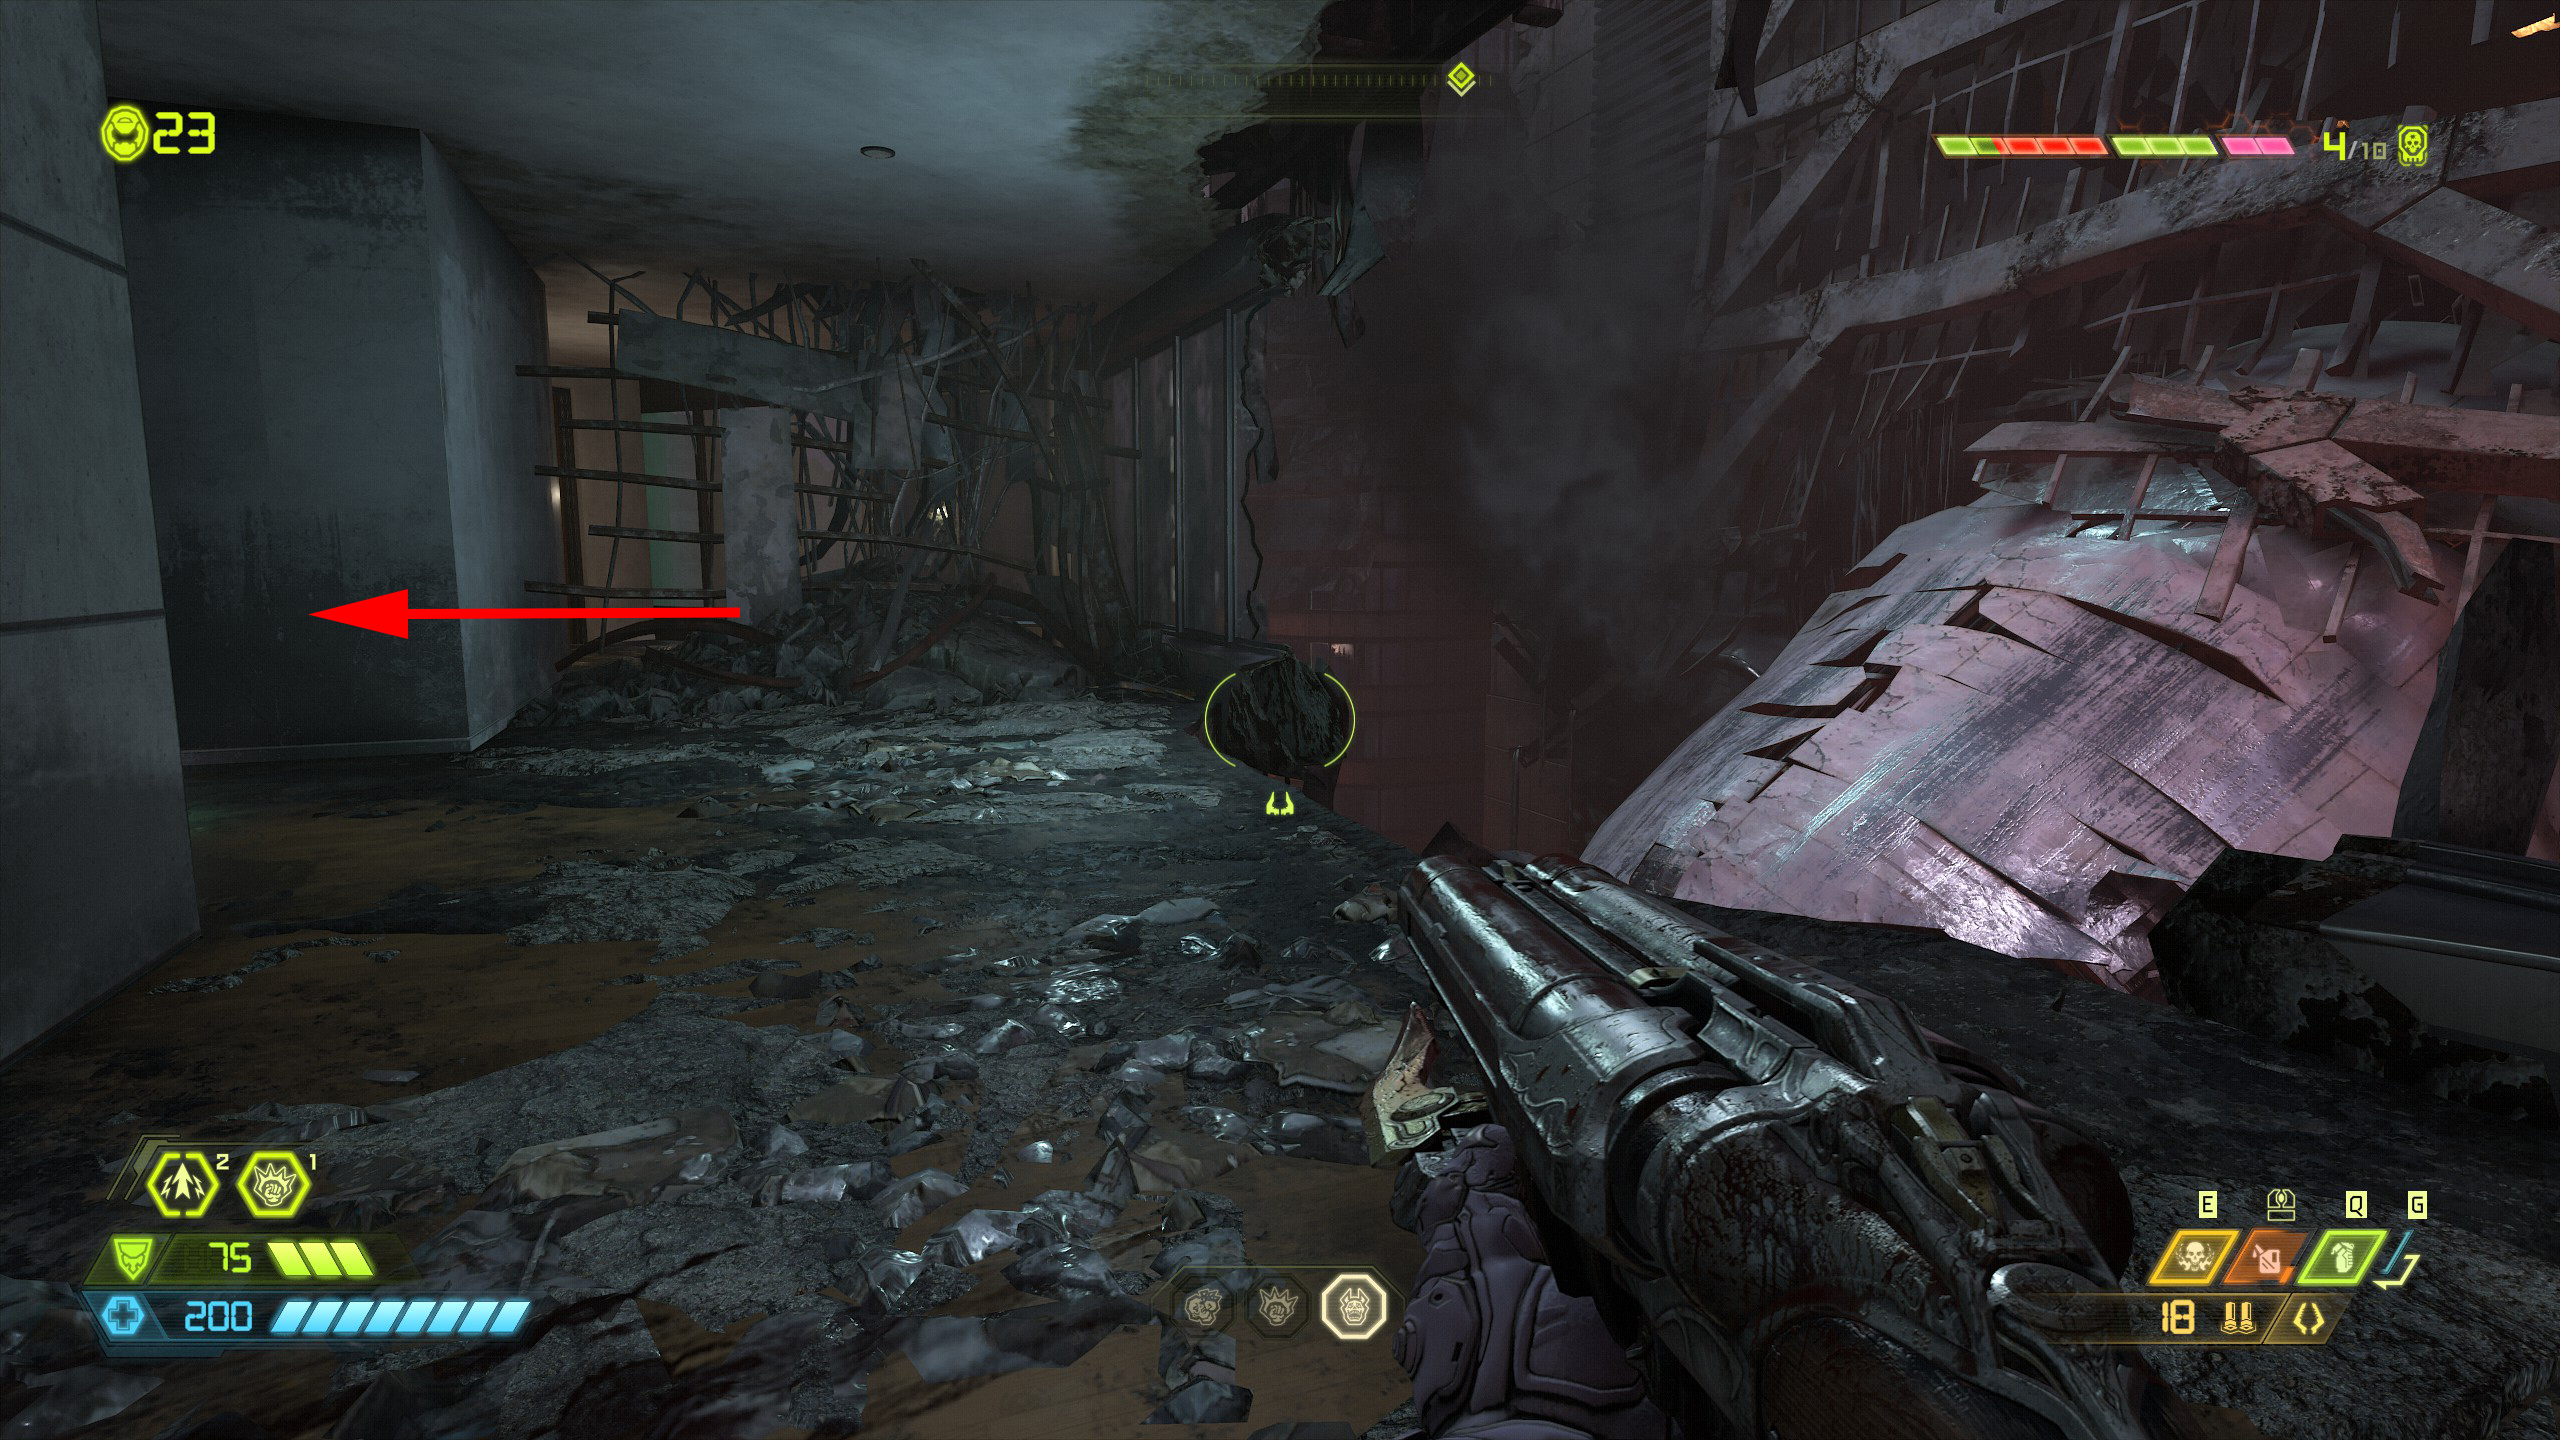
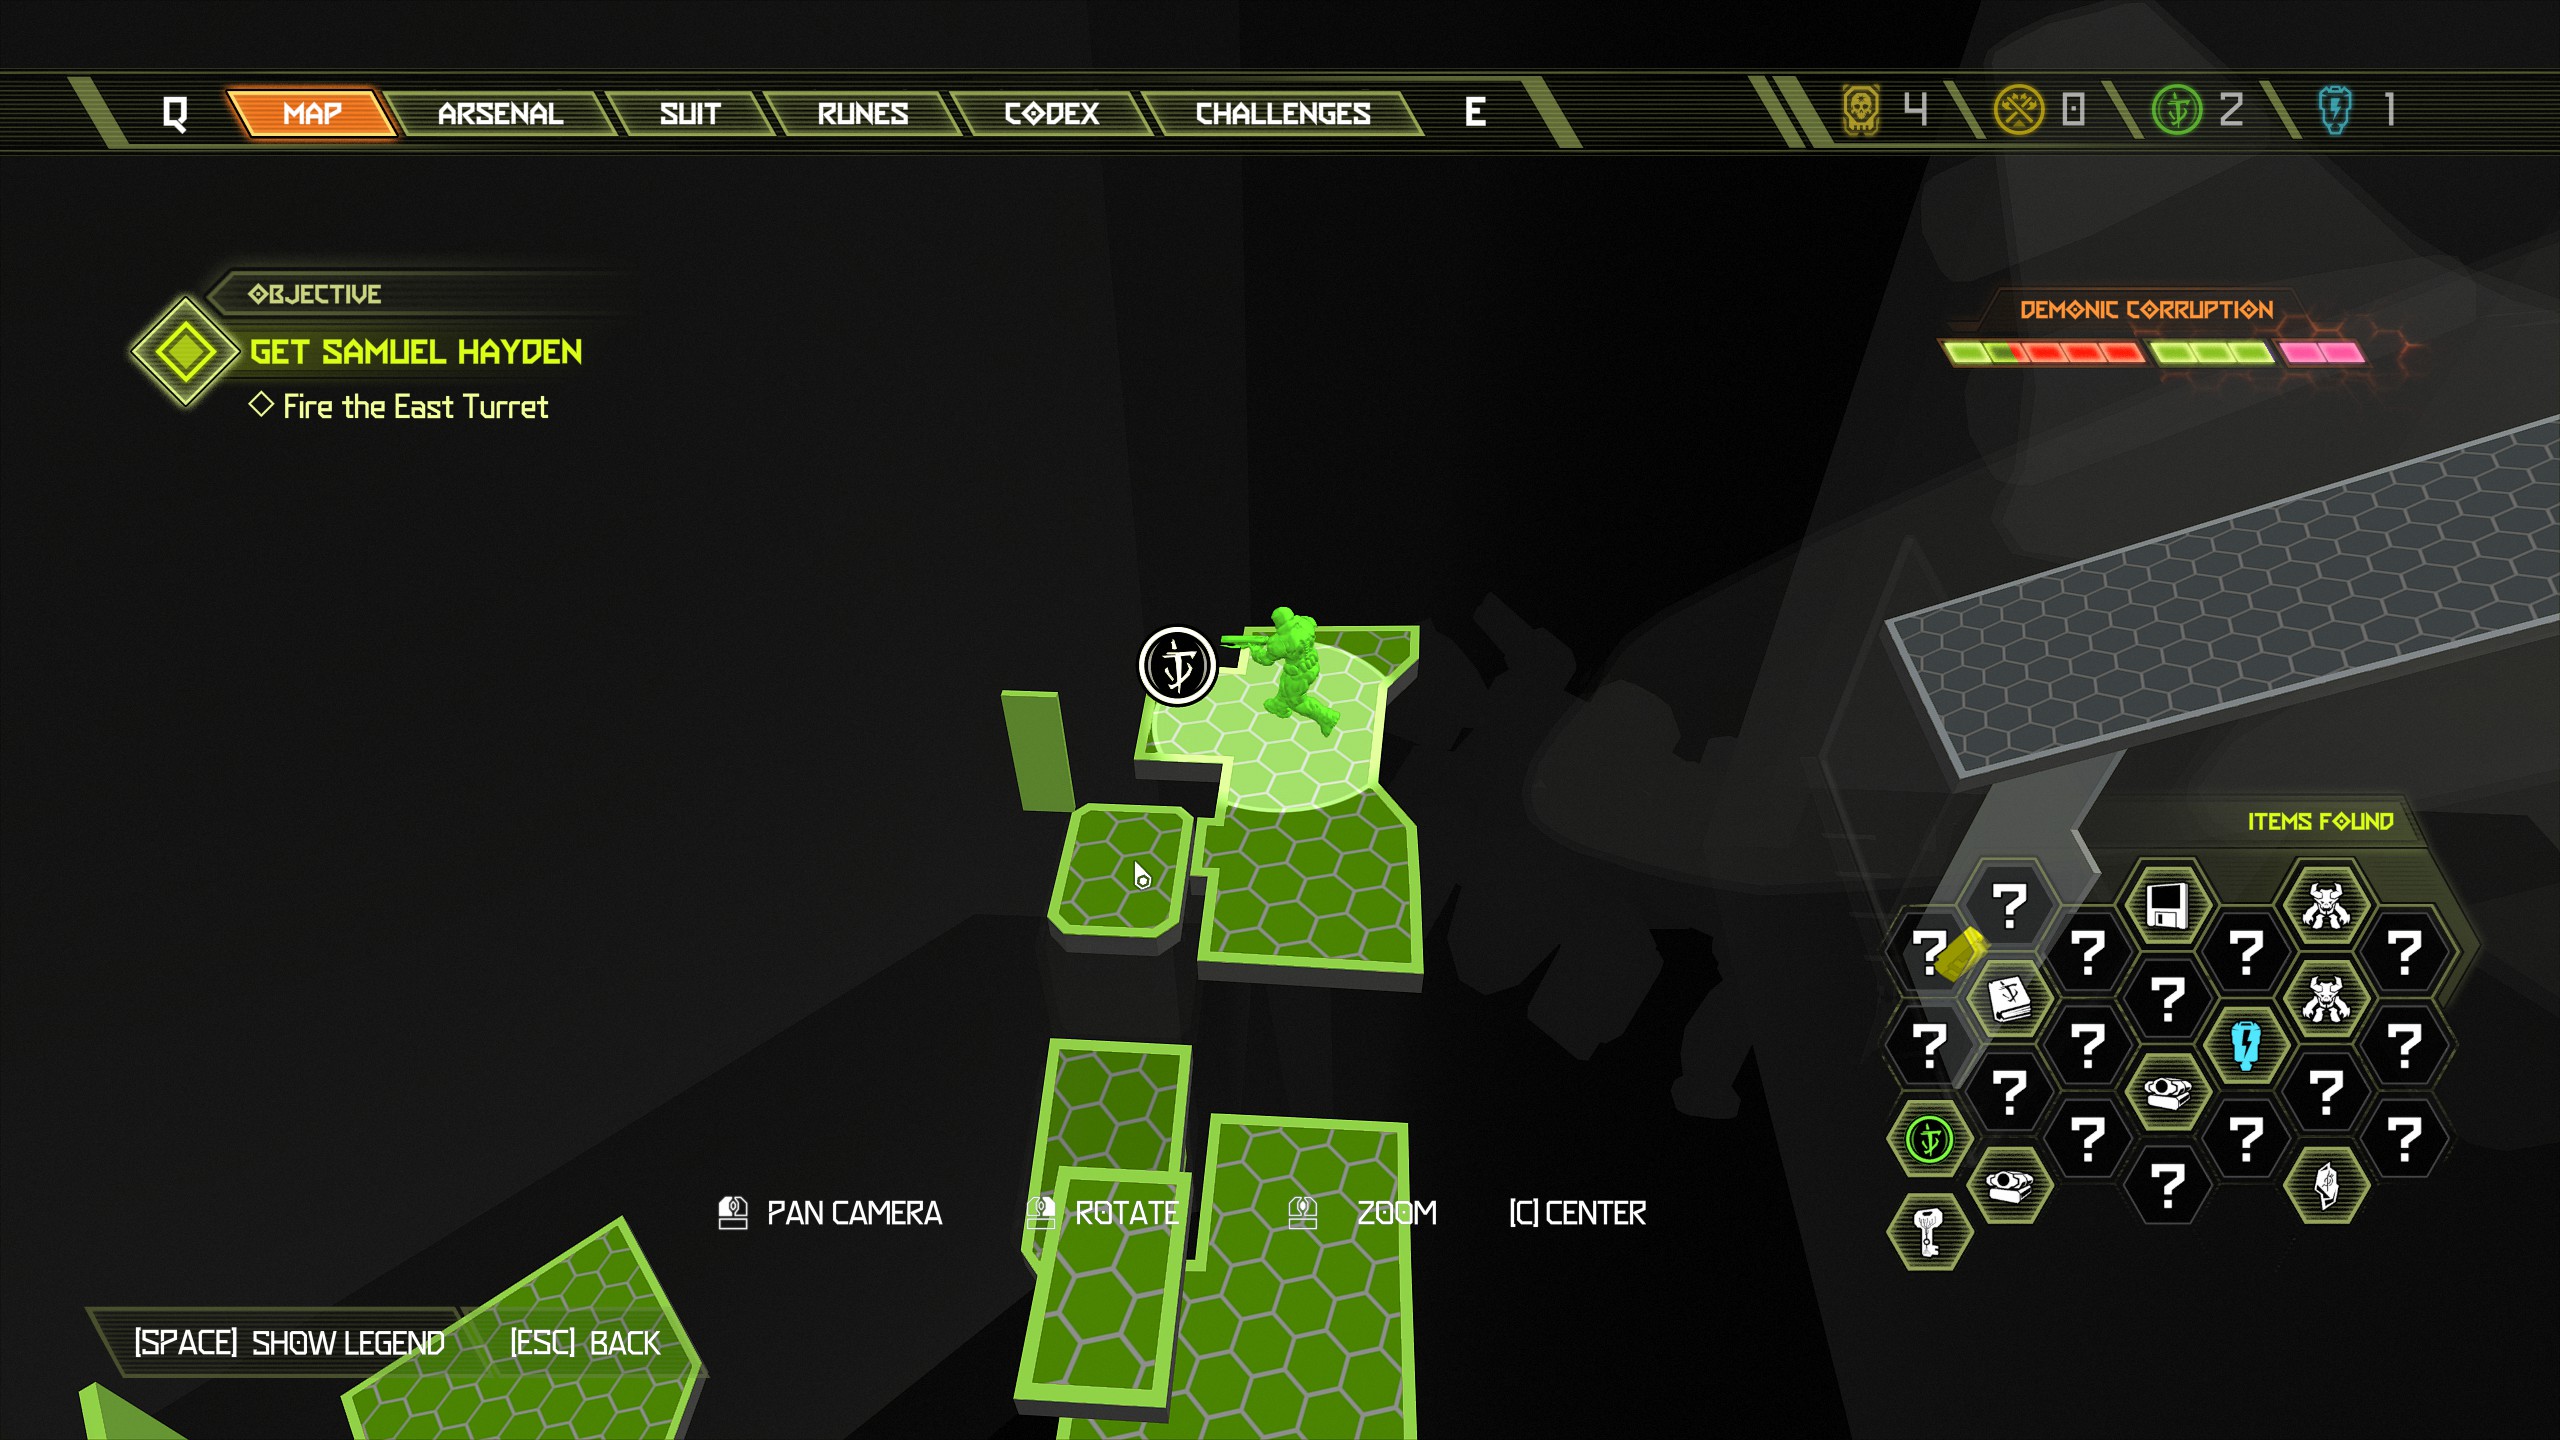
Secret Encounter:
For this encounter you will be attacked by 1 cacodemon, 1 pain elemental, 1 arachnotron.
After jumping across the large gap make your way through the front of the aircraft and into the next room with the large hole in front of you. Clear the room and proceed up the stairway to the next level.
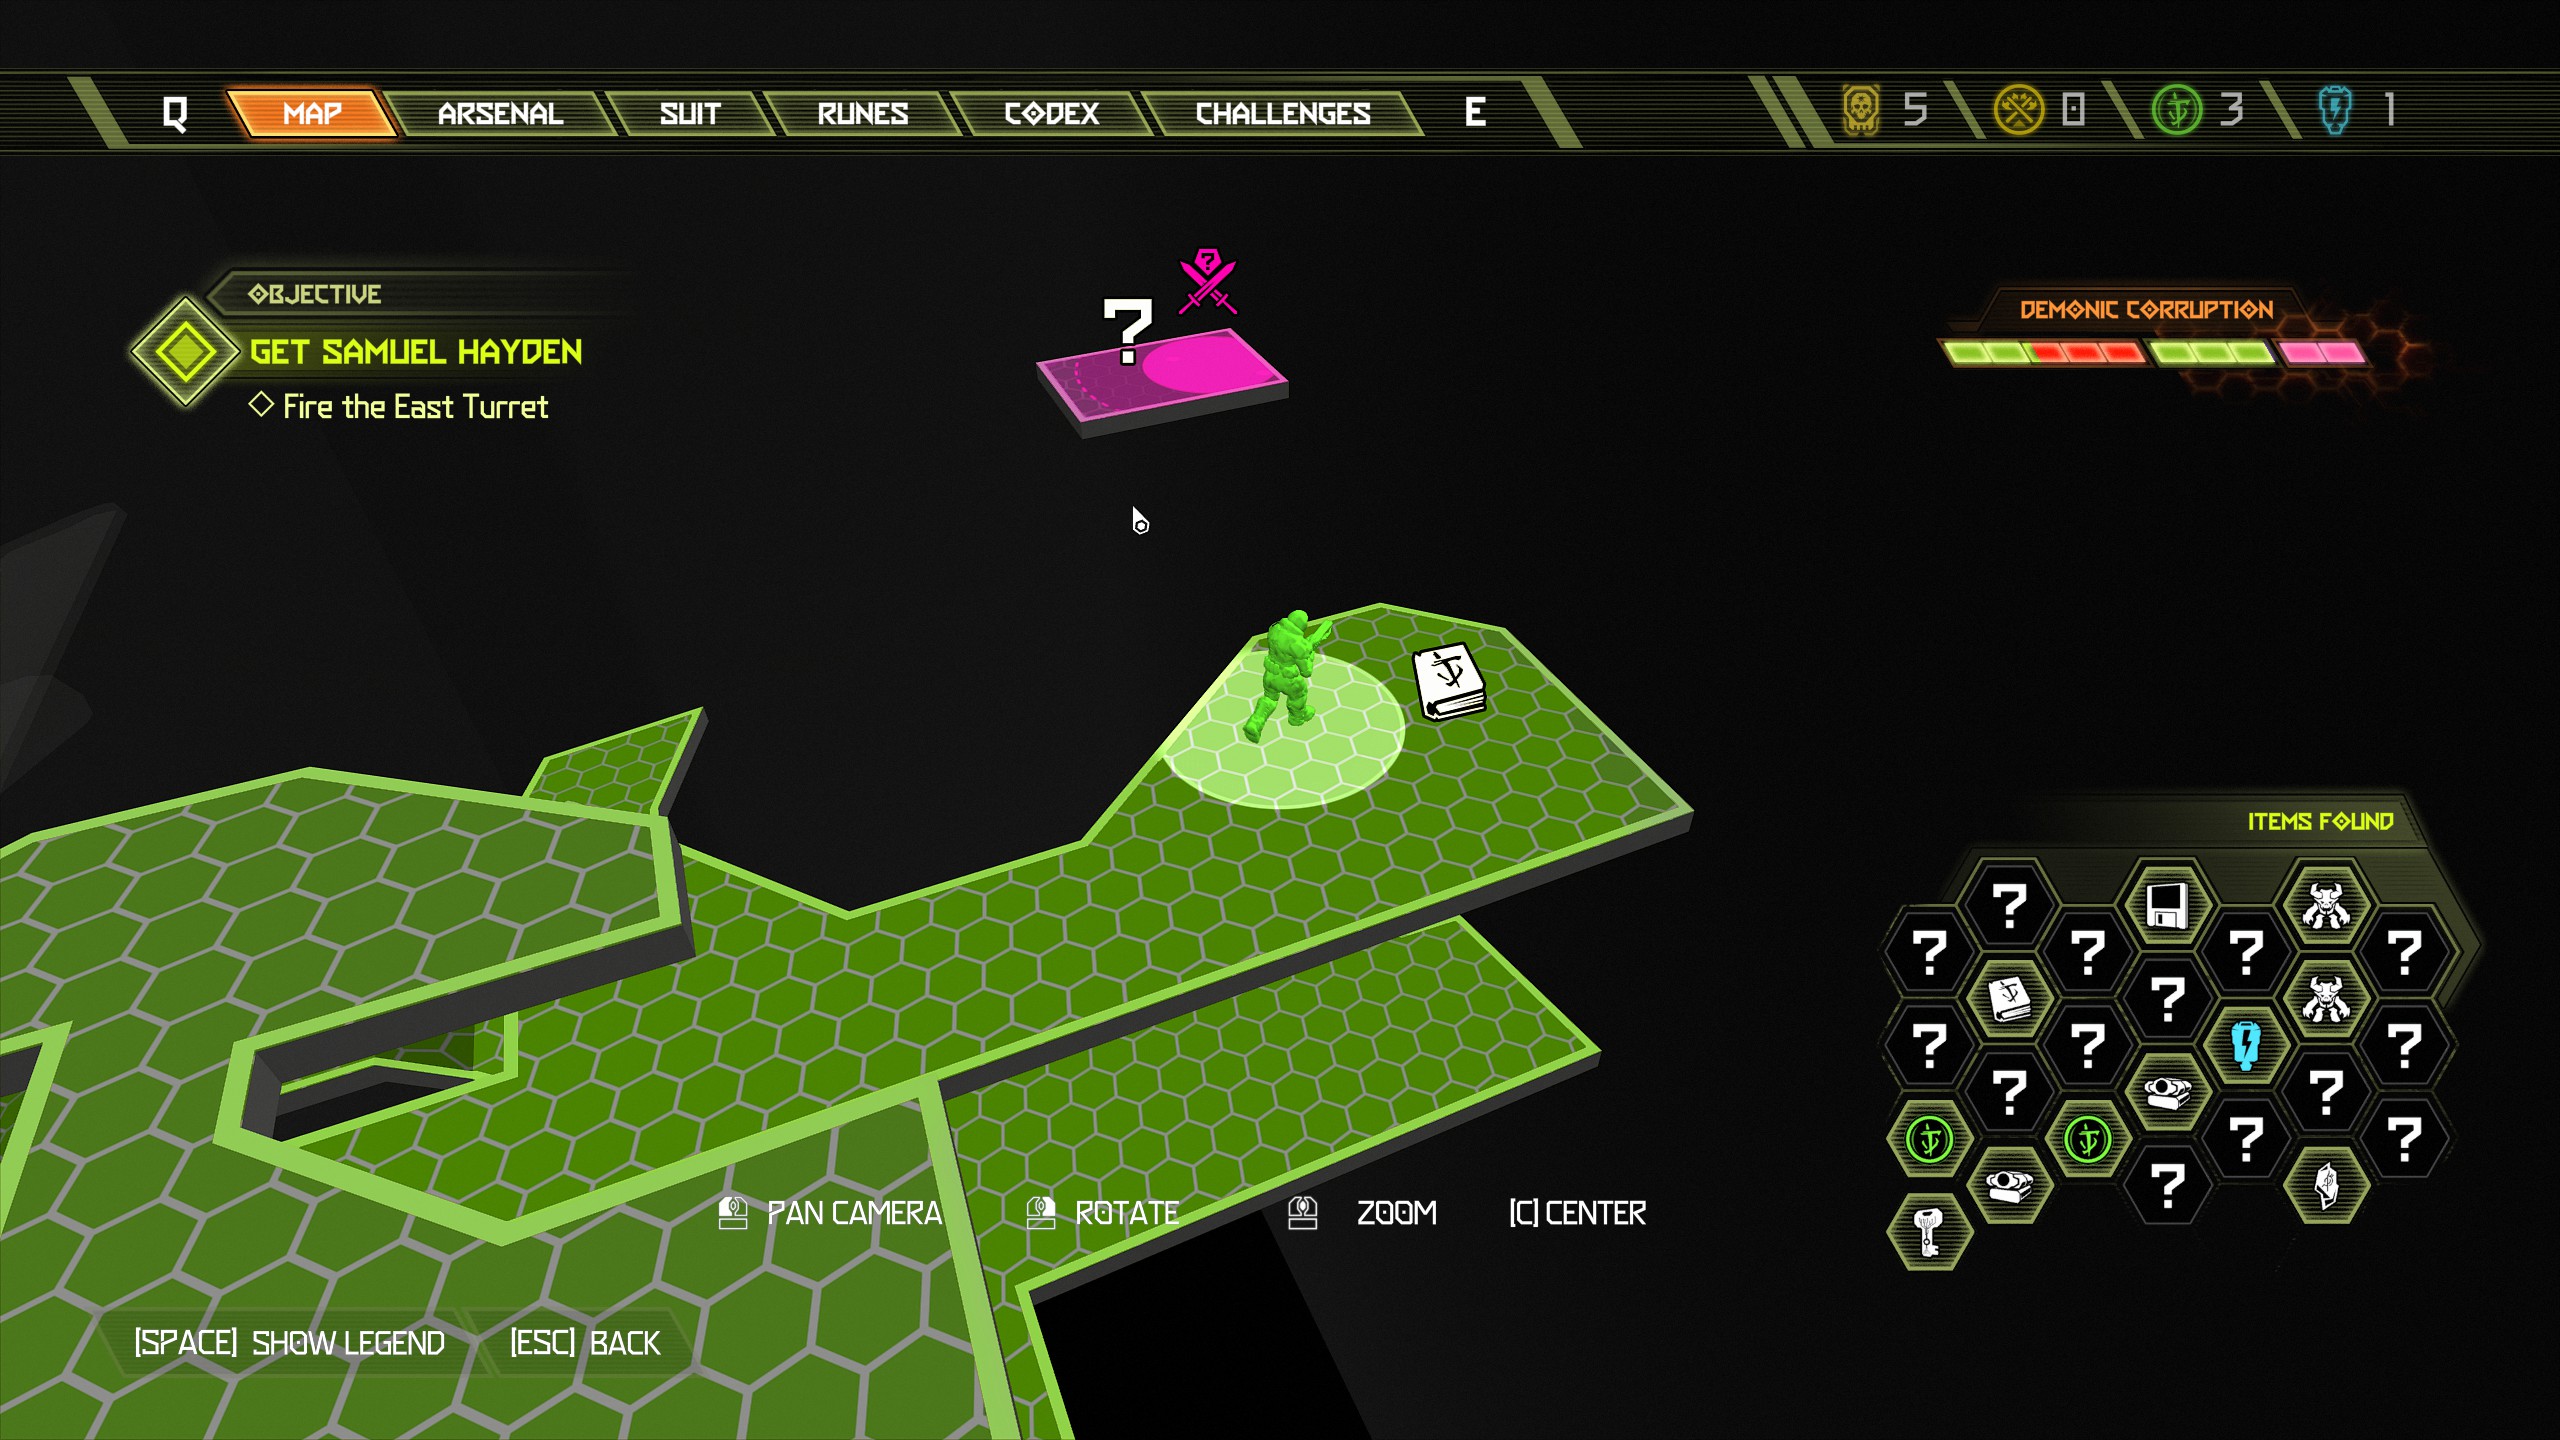
When you reach the next level take a left and follow it around, you will see the secret encounter along with a praetor suit token on the other side of the large hole. On the nearside straight ahead of you will be a codex page hiding behind the pillar, collect the page and from there you can jump across for the secret encounter and praetor suit token.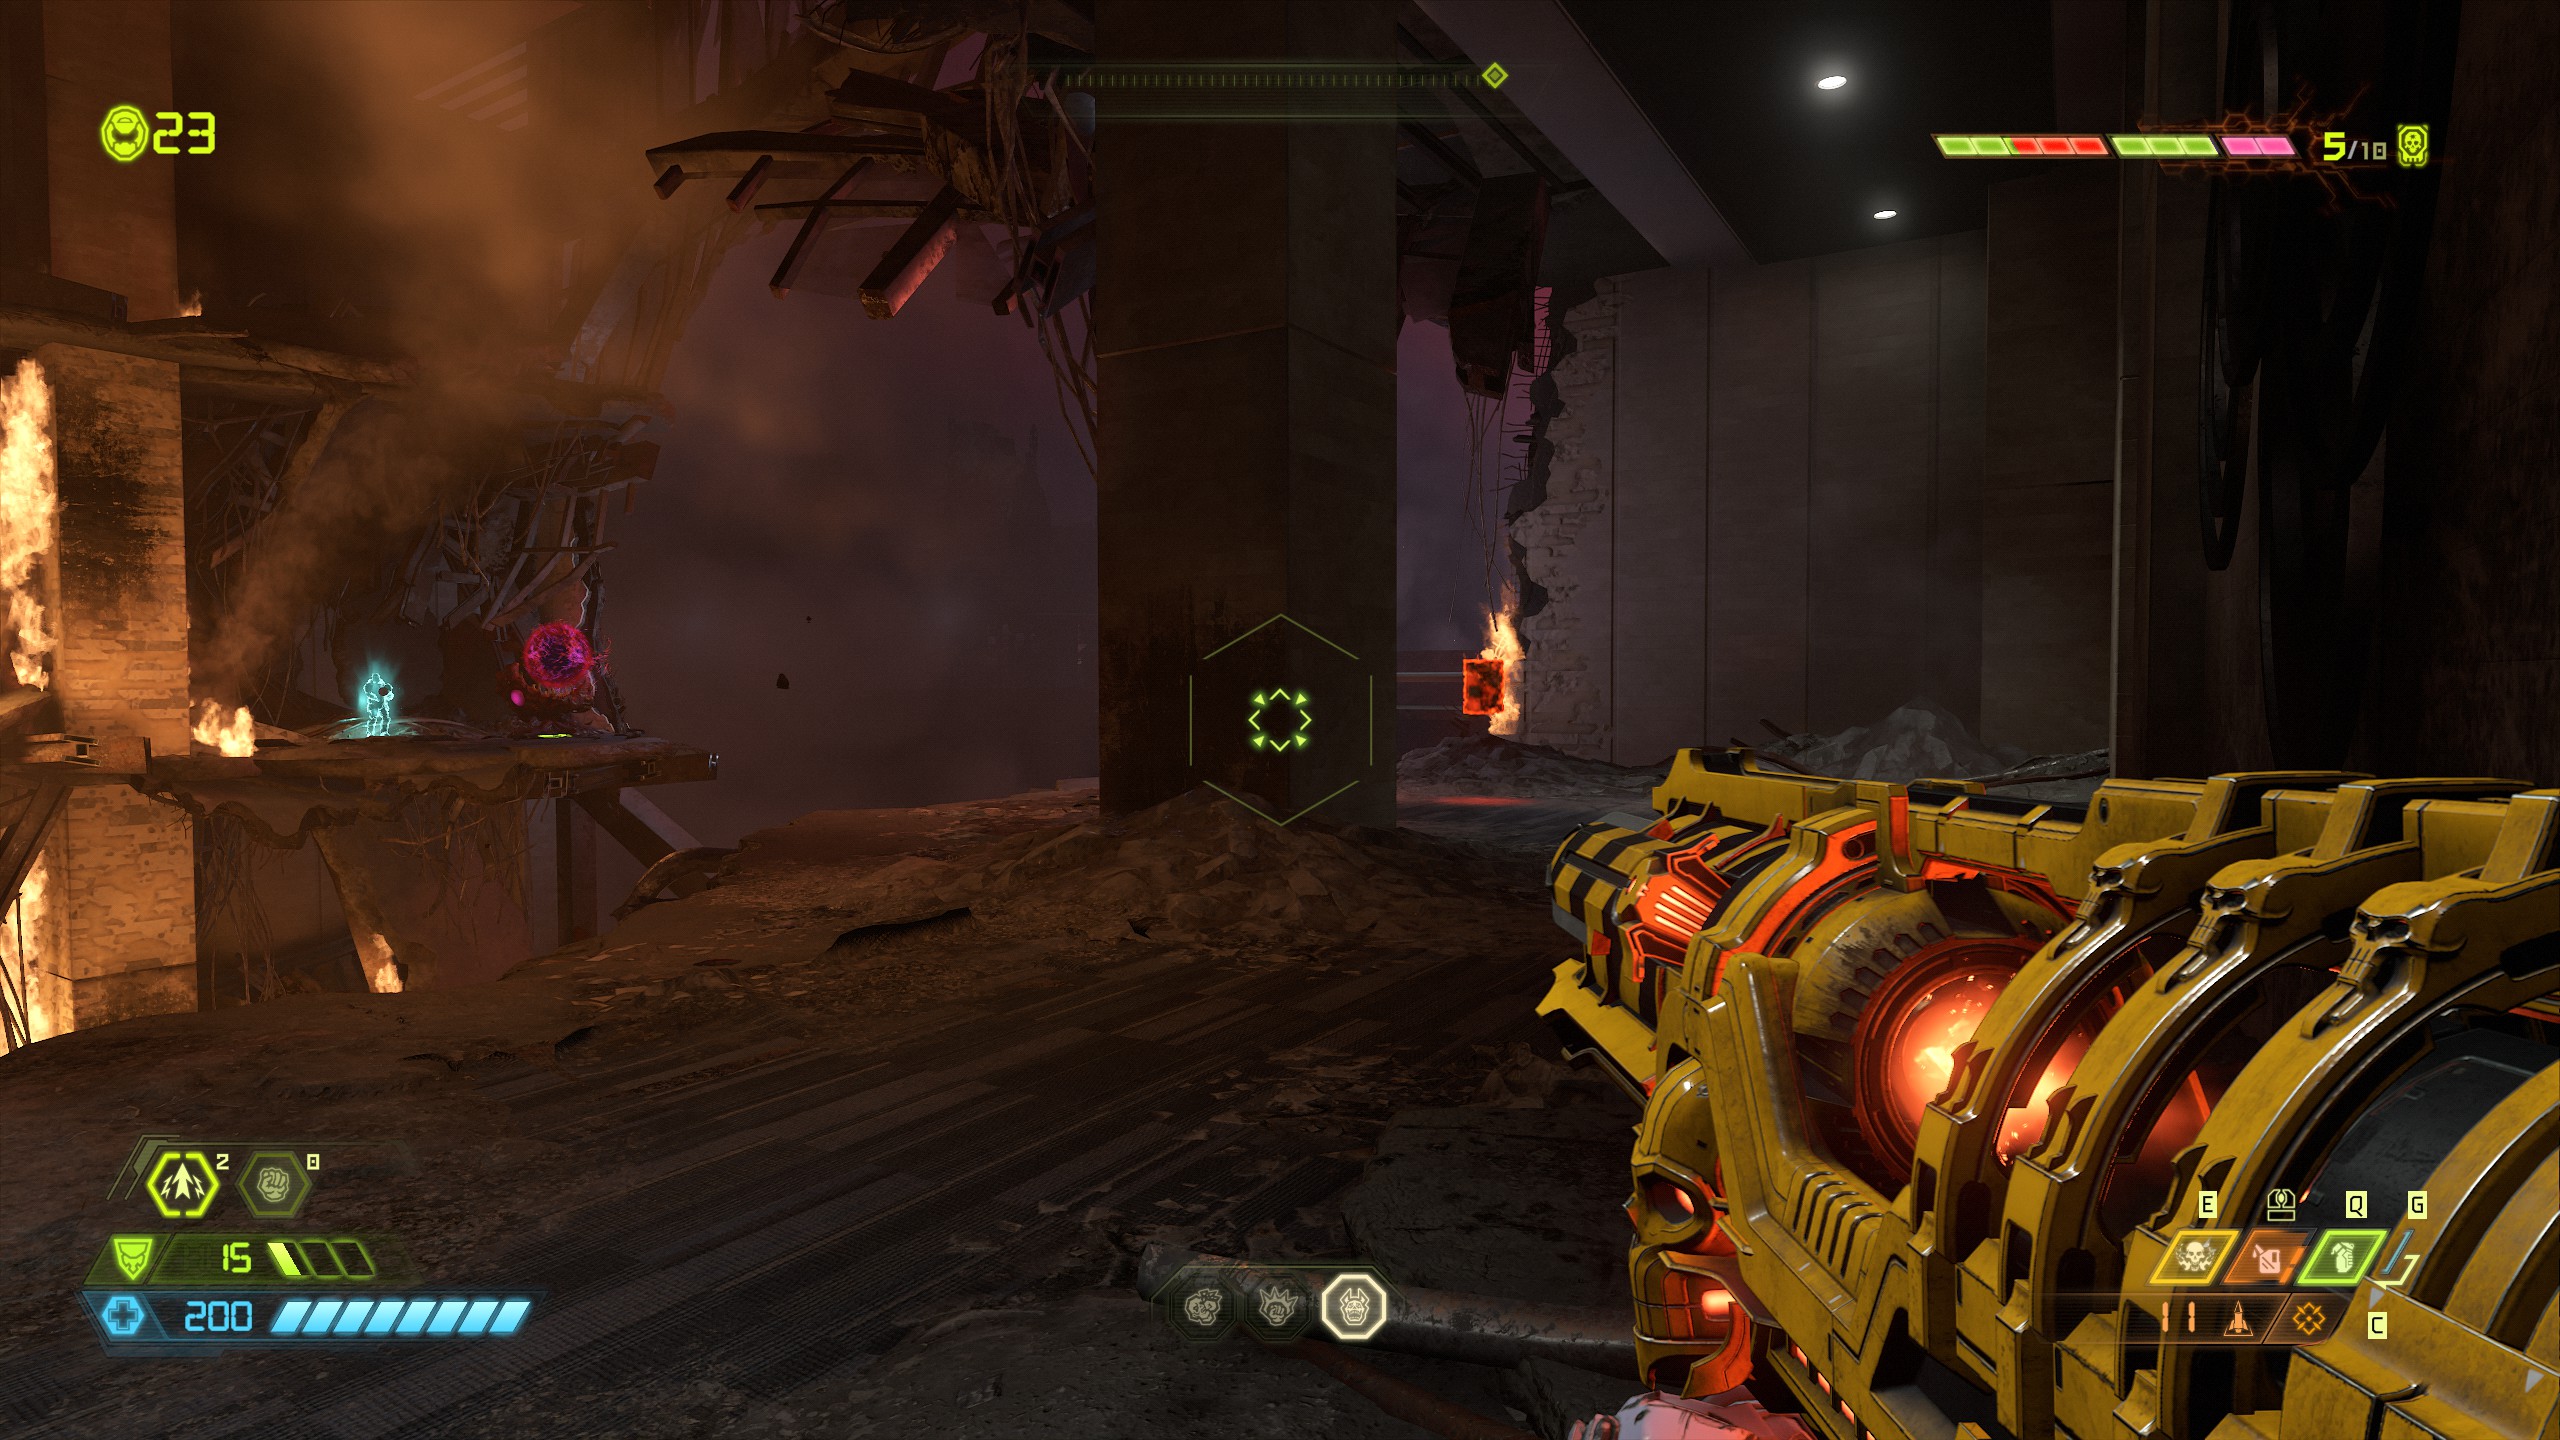
Mission 6: Arc Complex [Part 2]
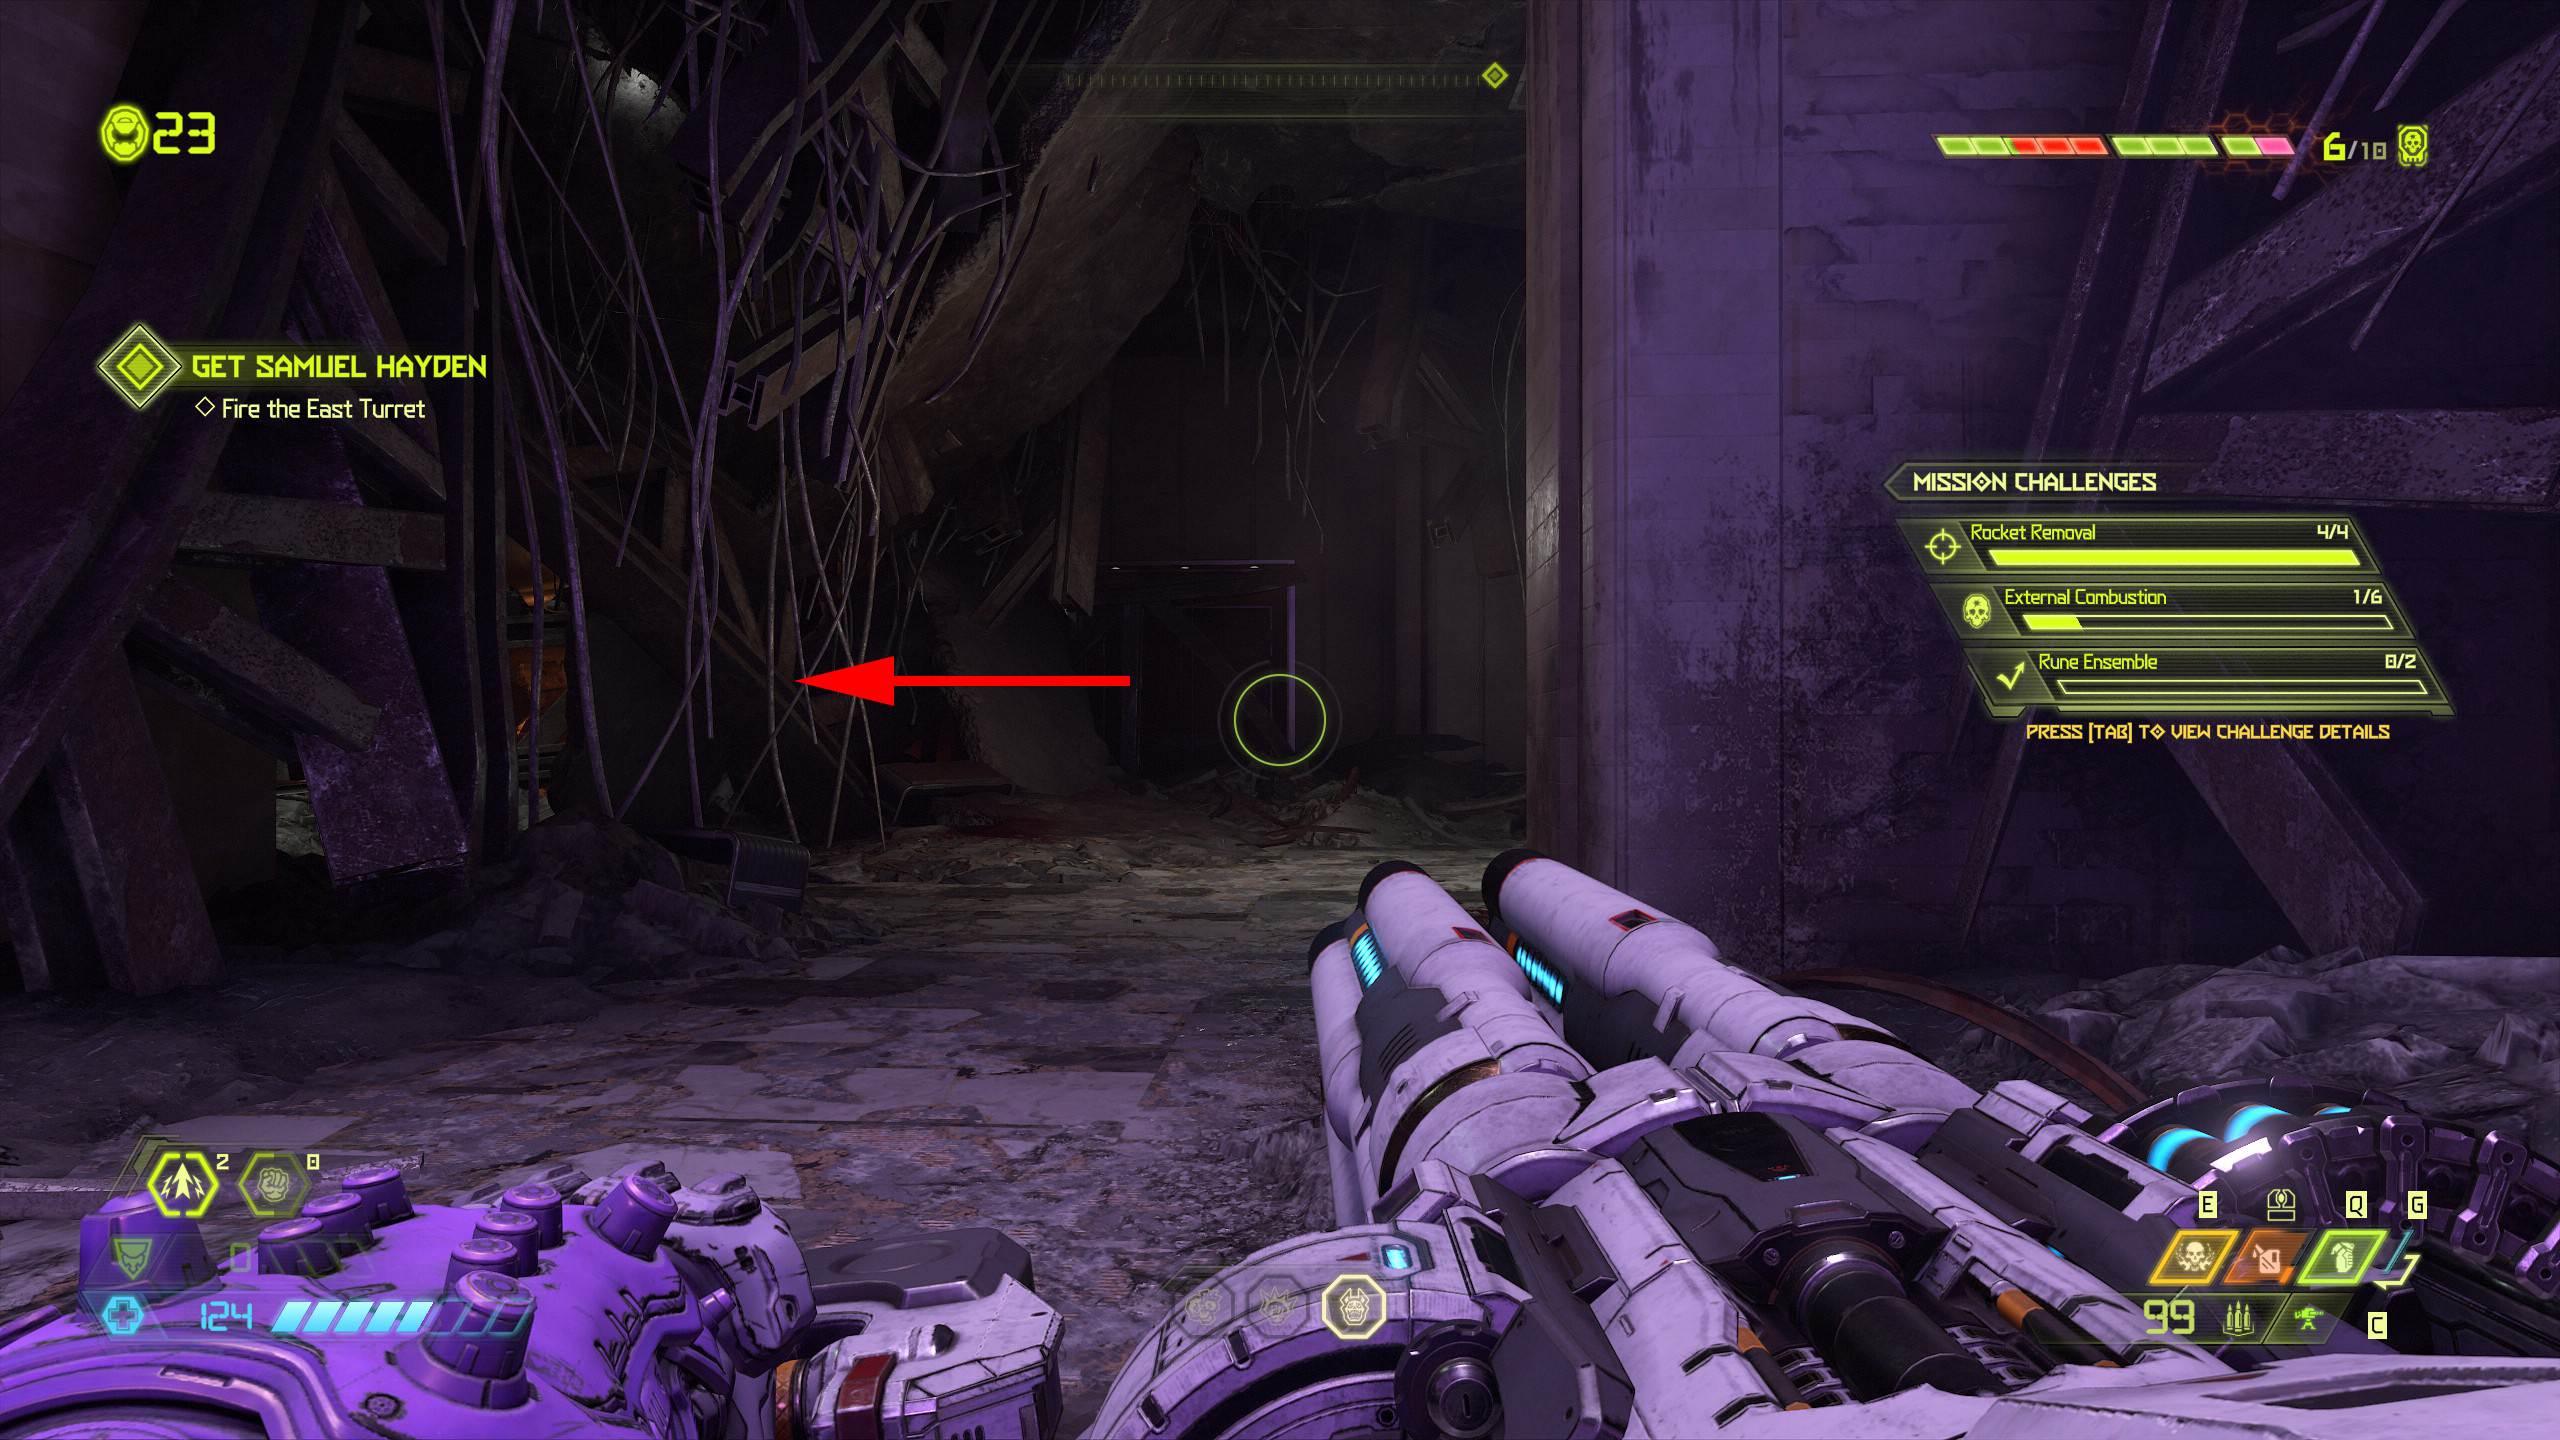
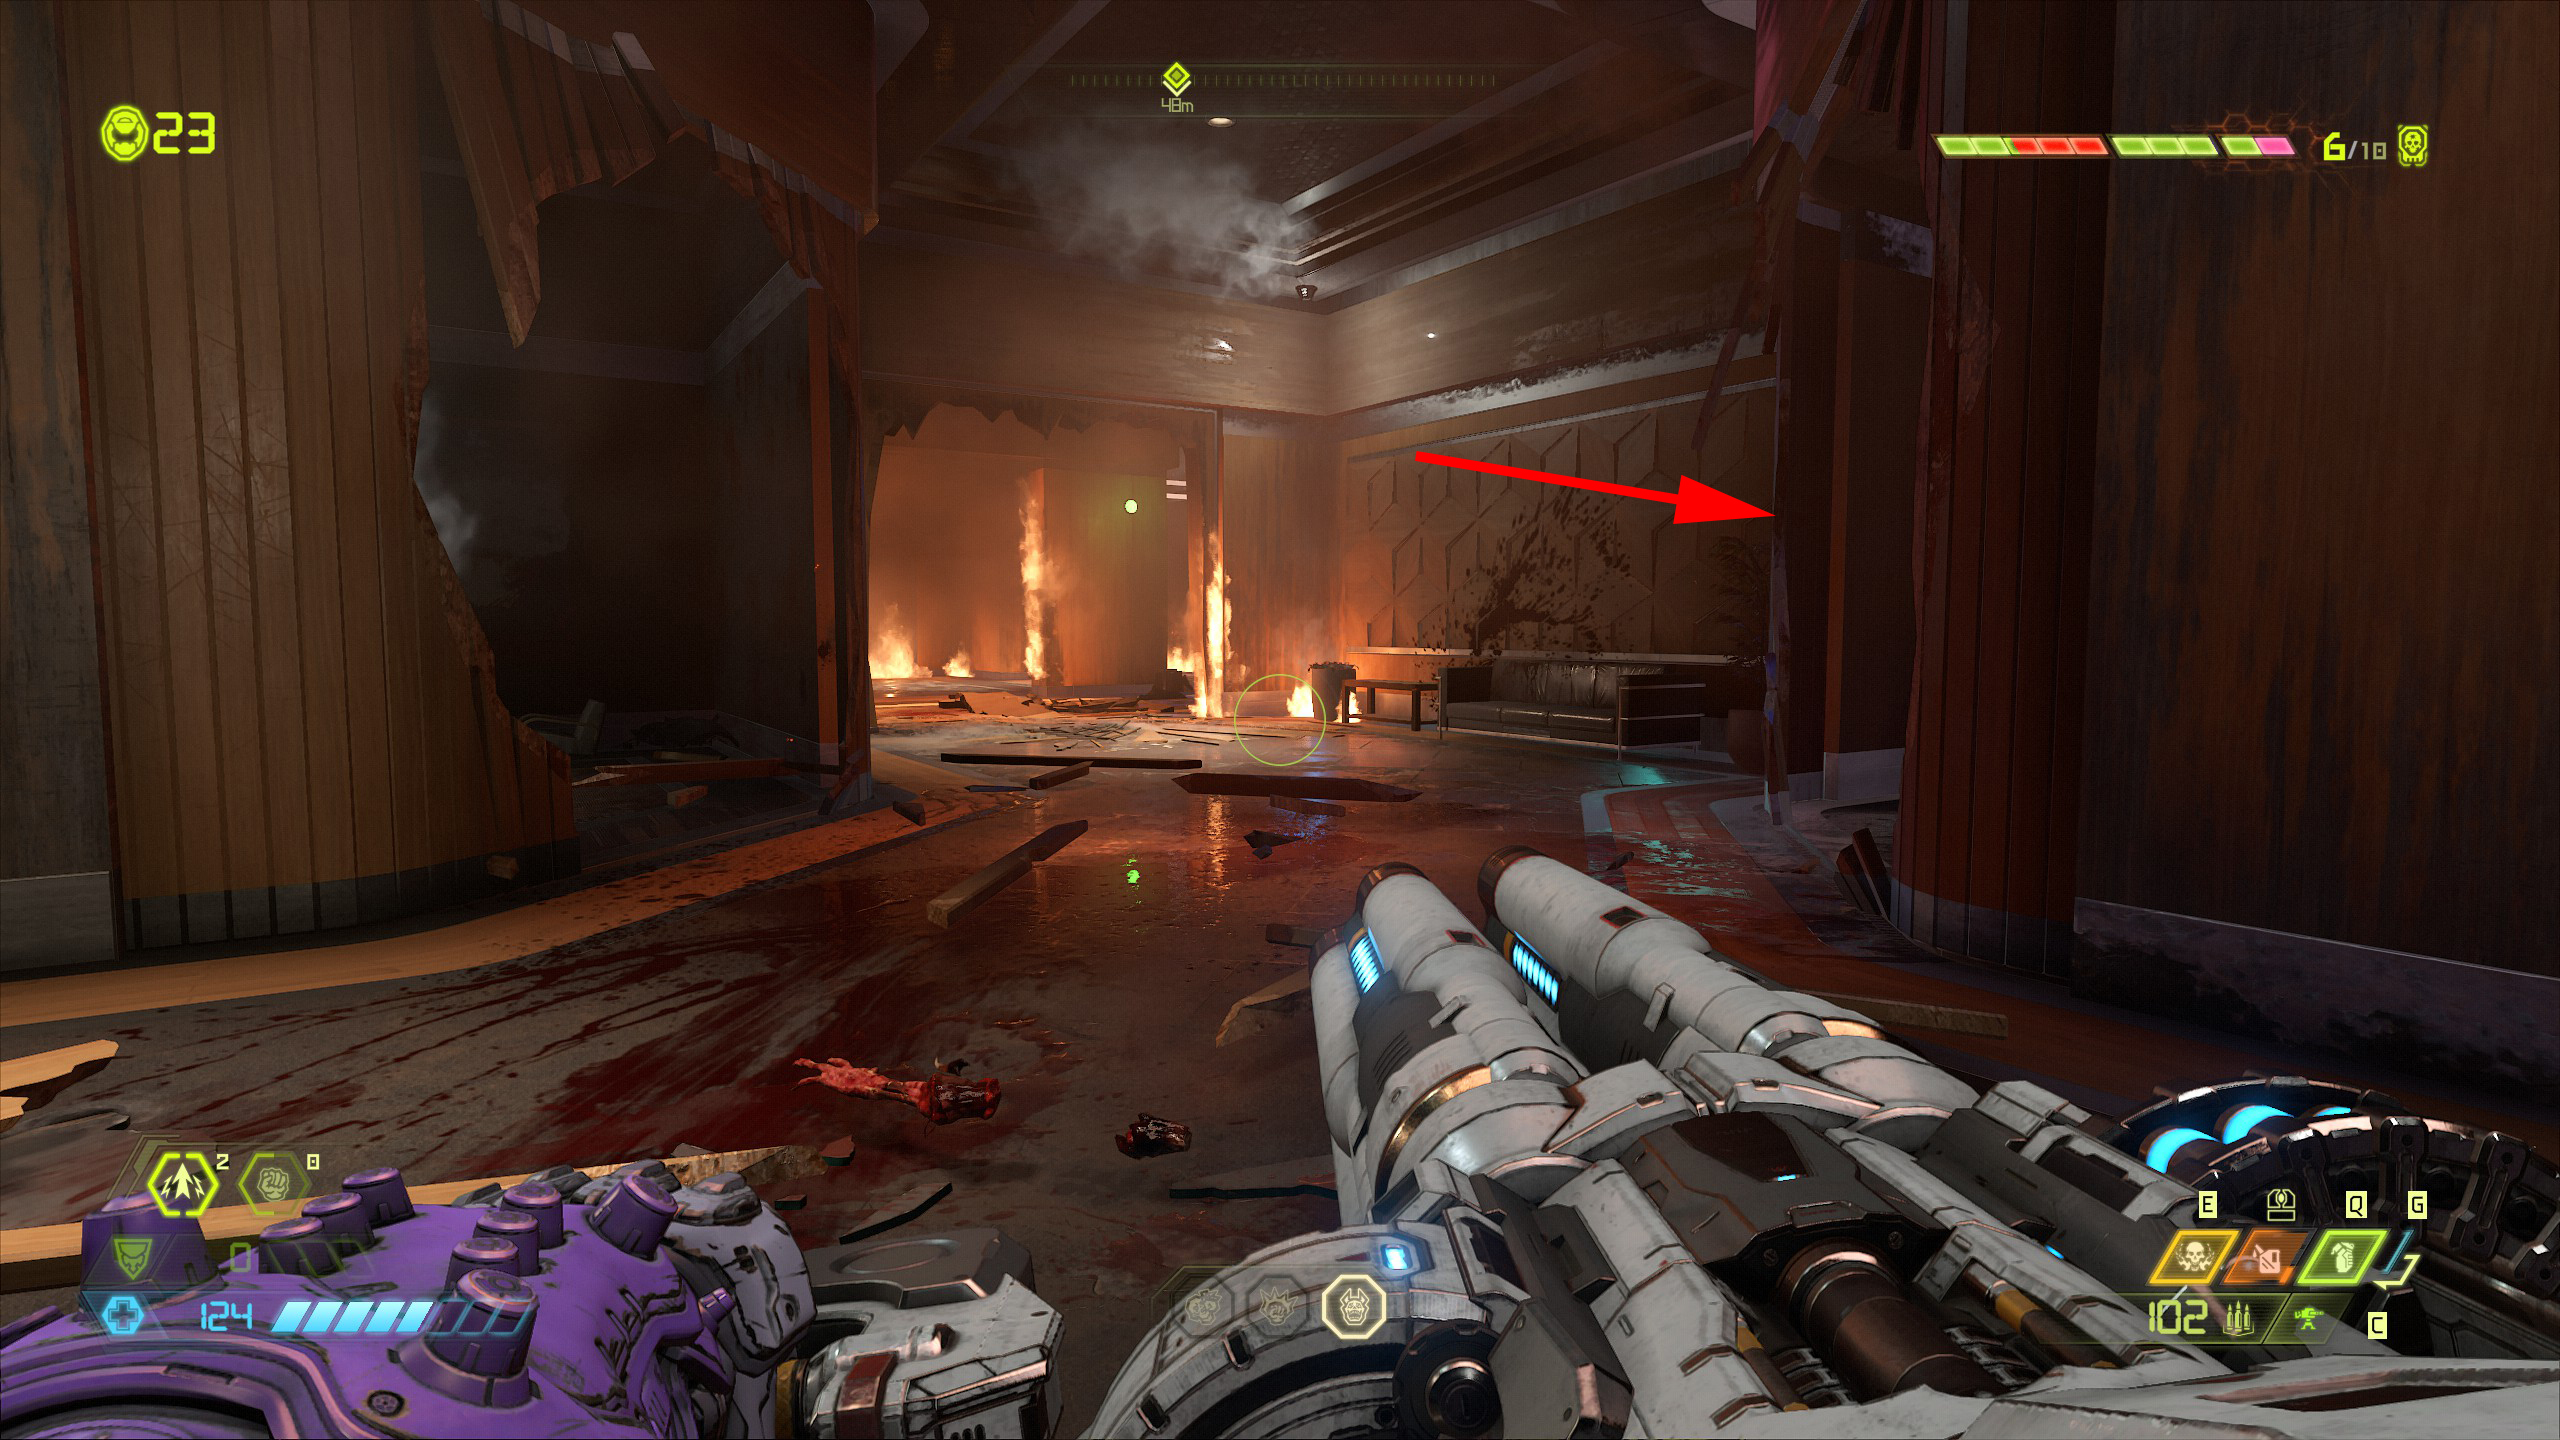
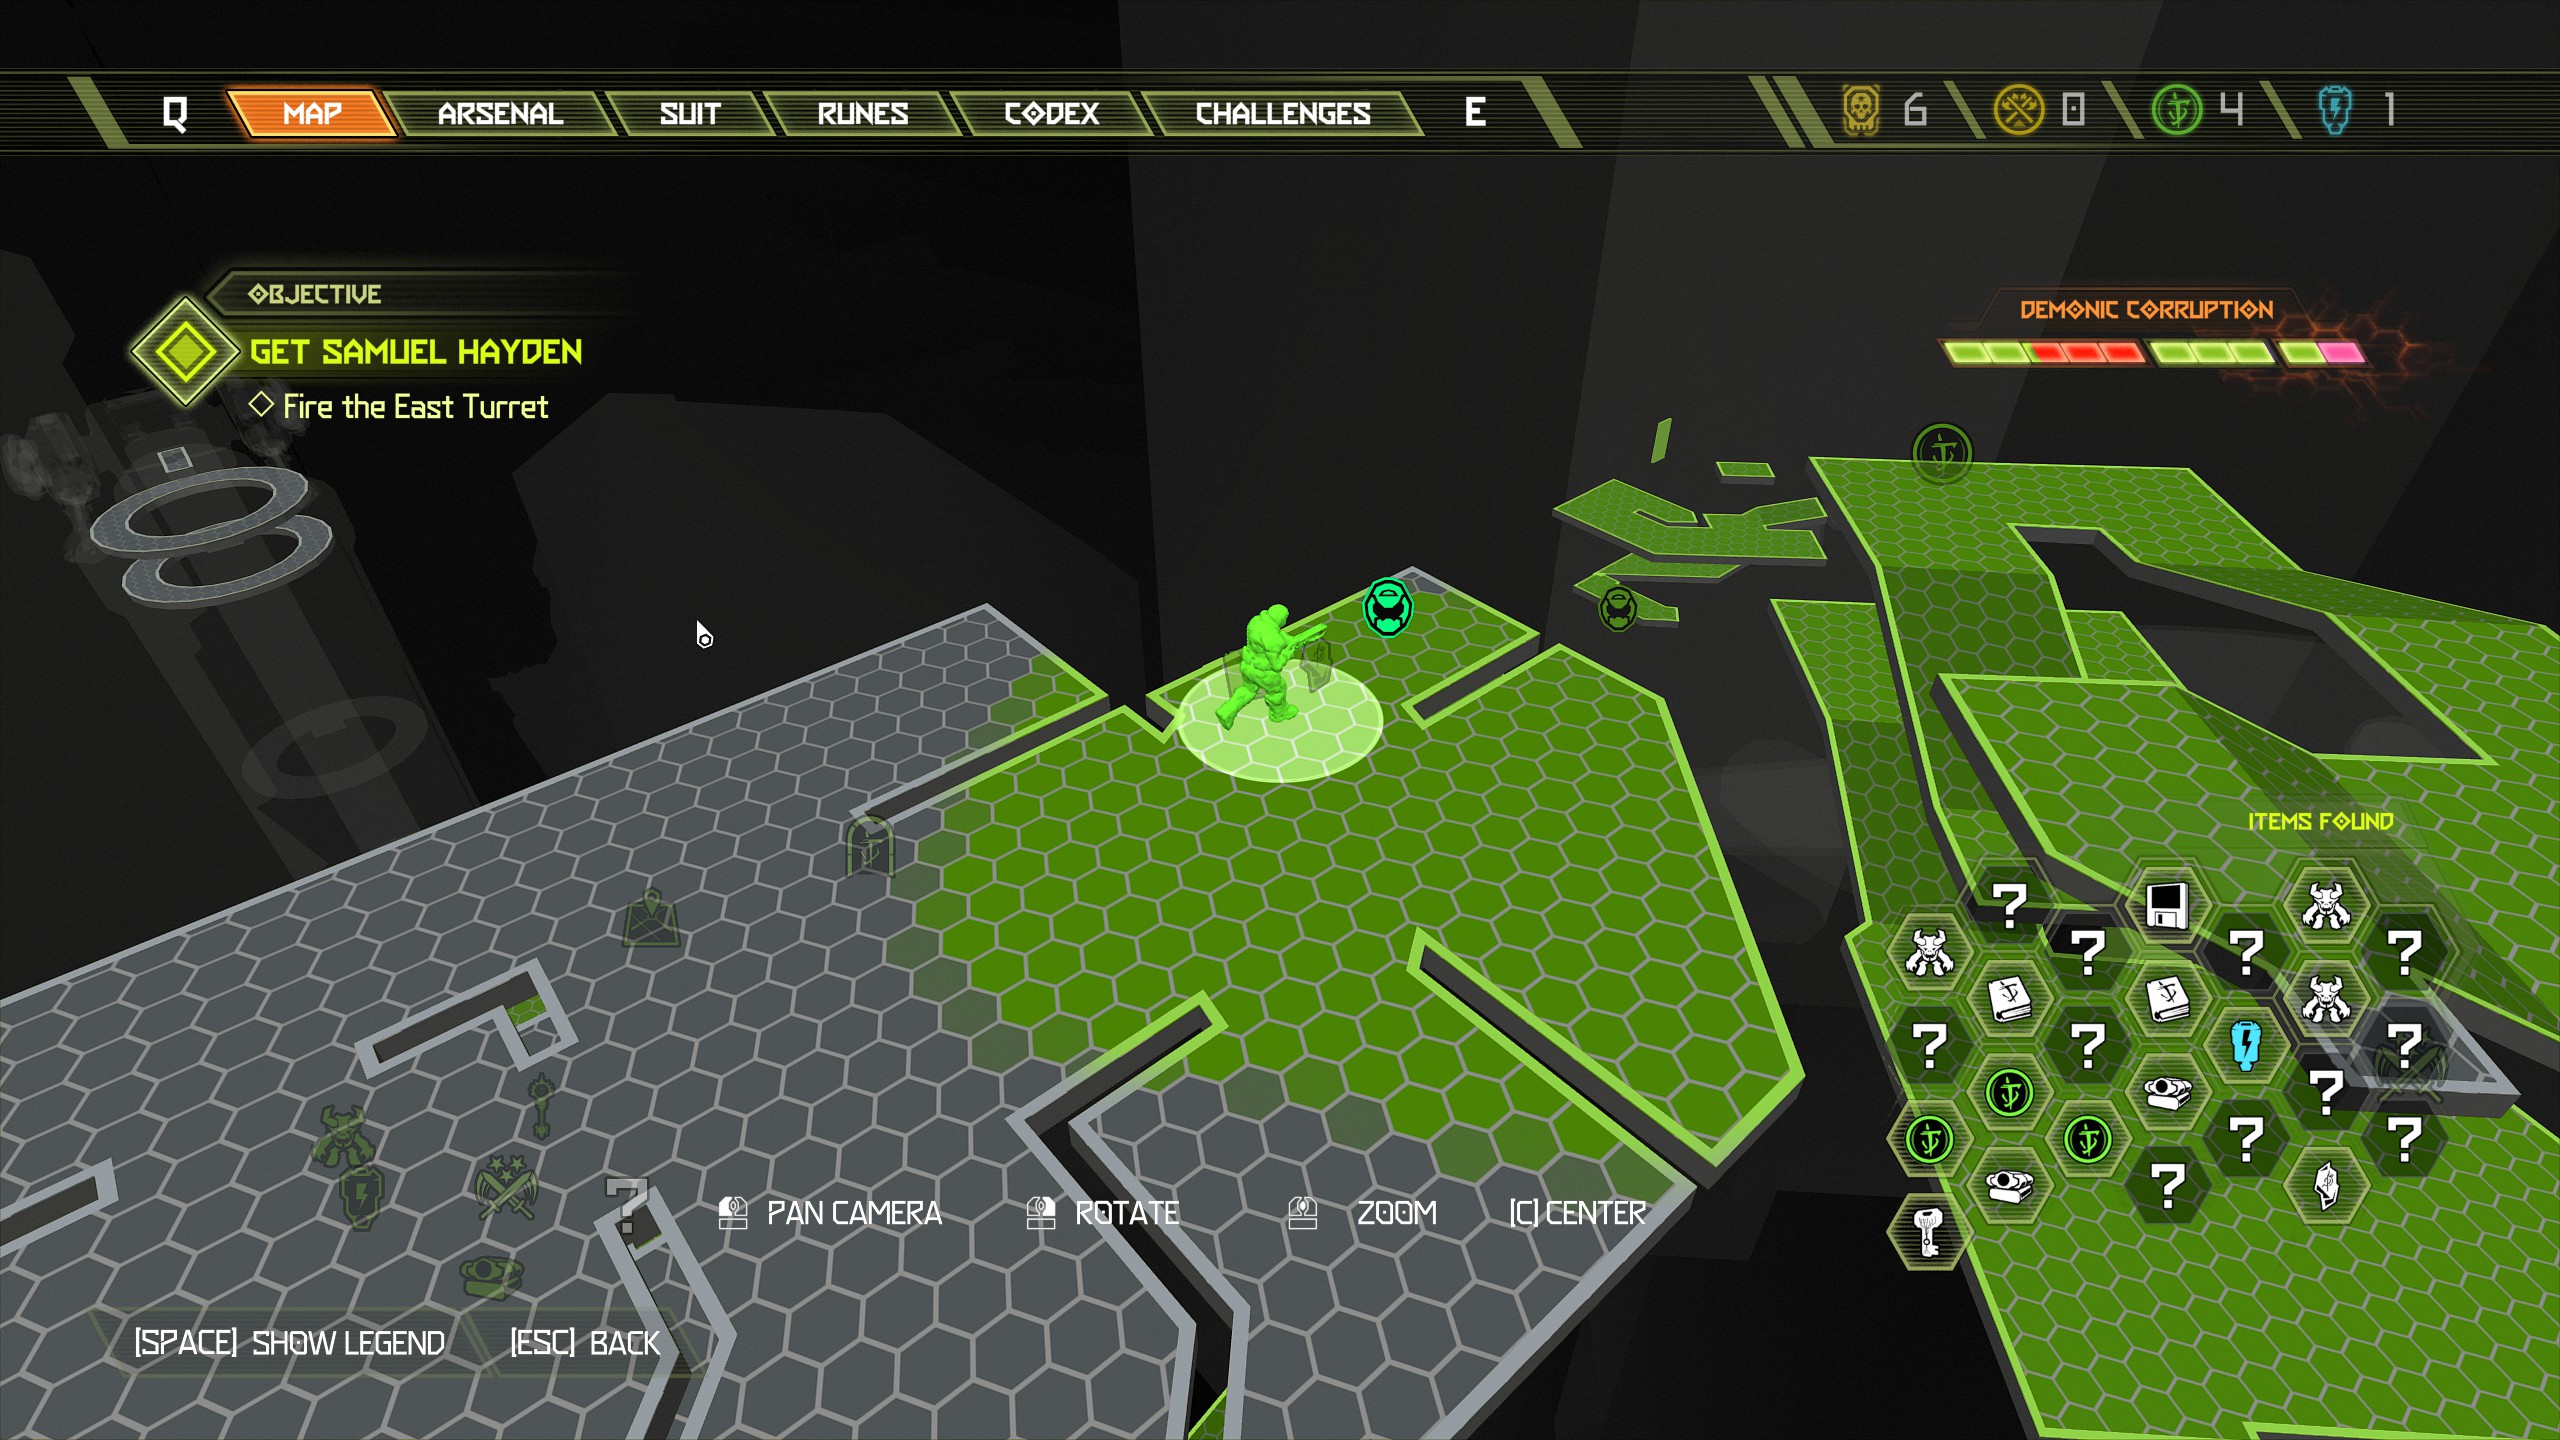
Make your way further into the building and drop down into the hole. In front of you as you land will be a rune. Now continue the mission.
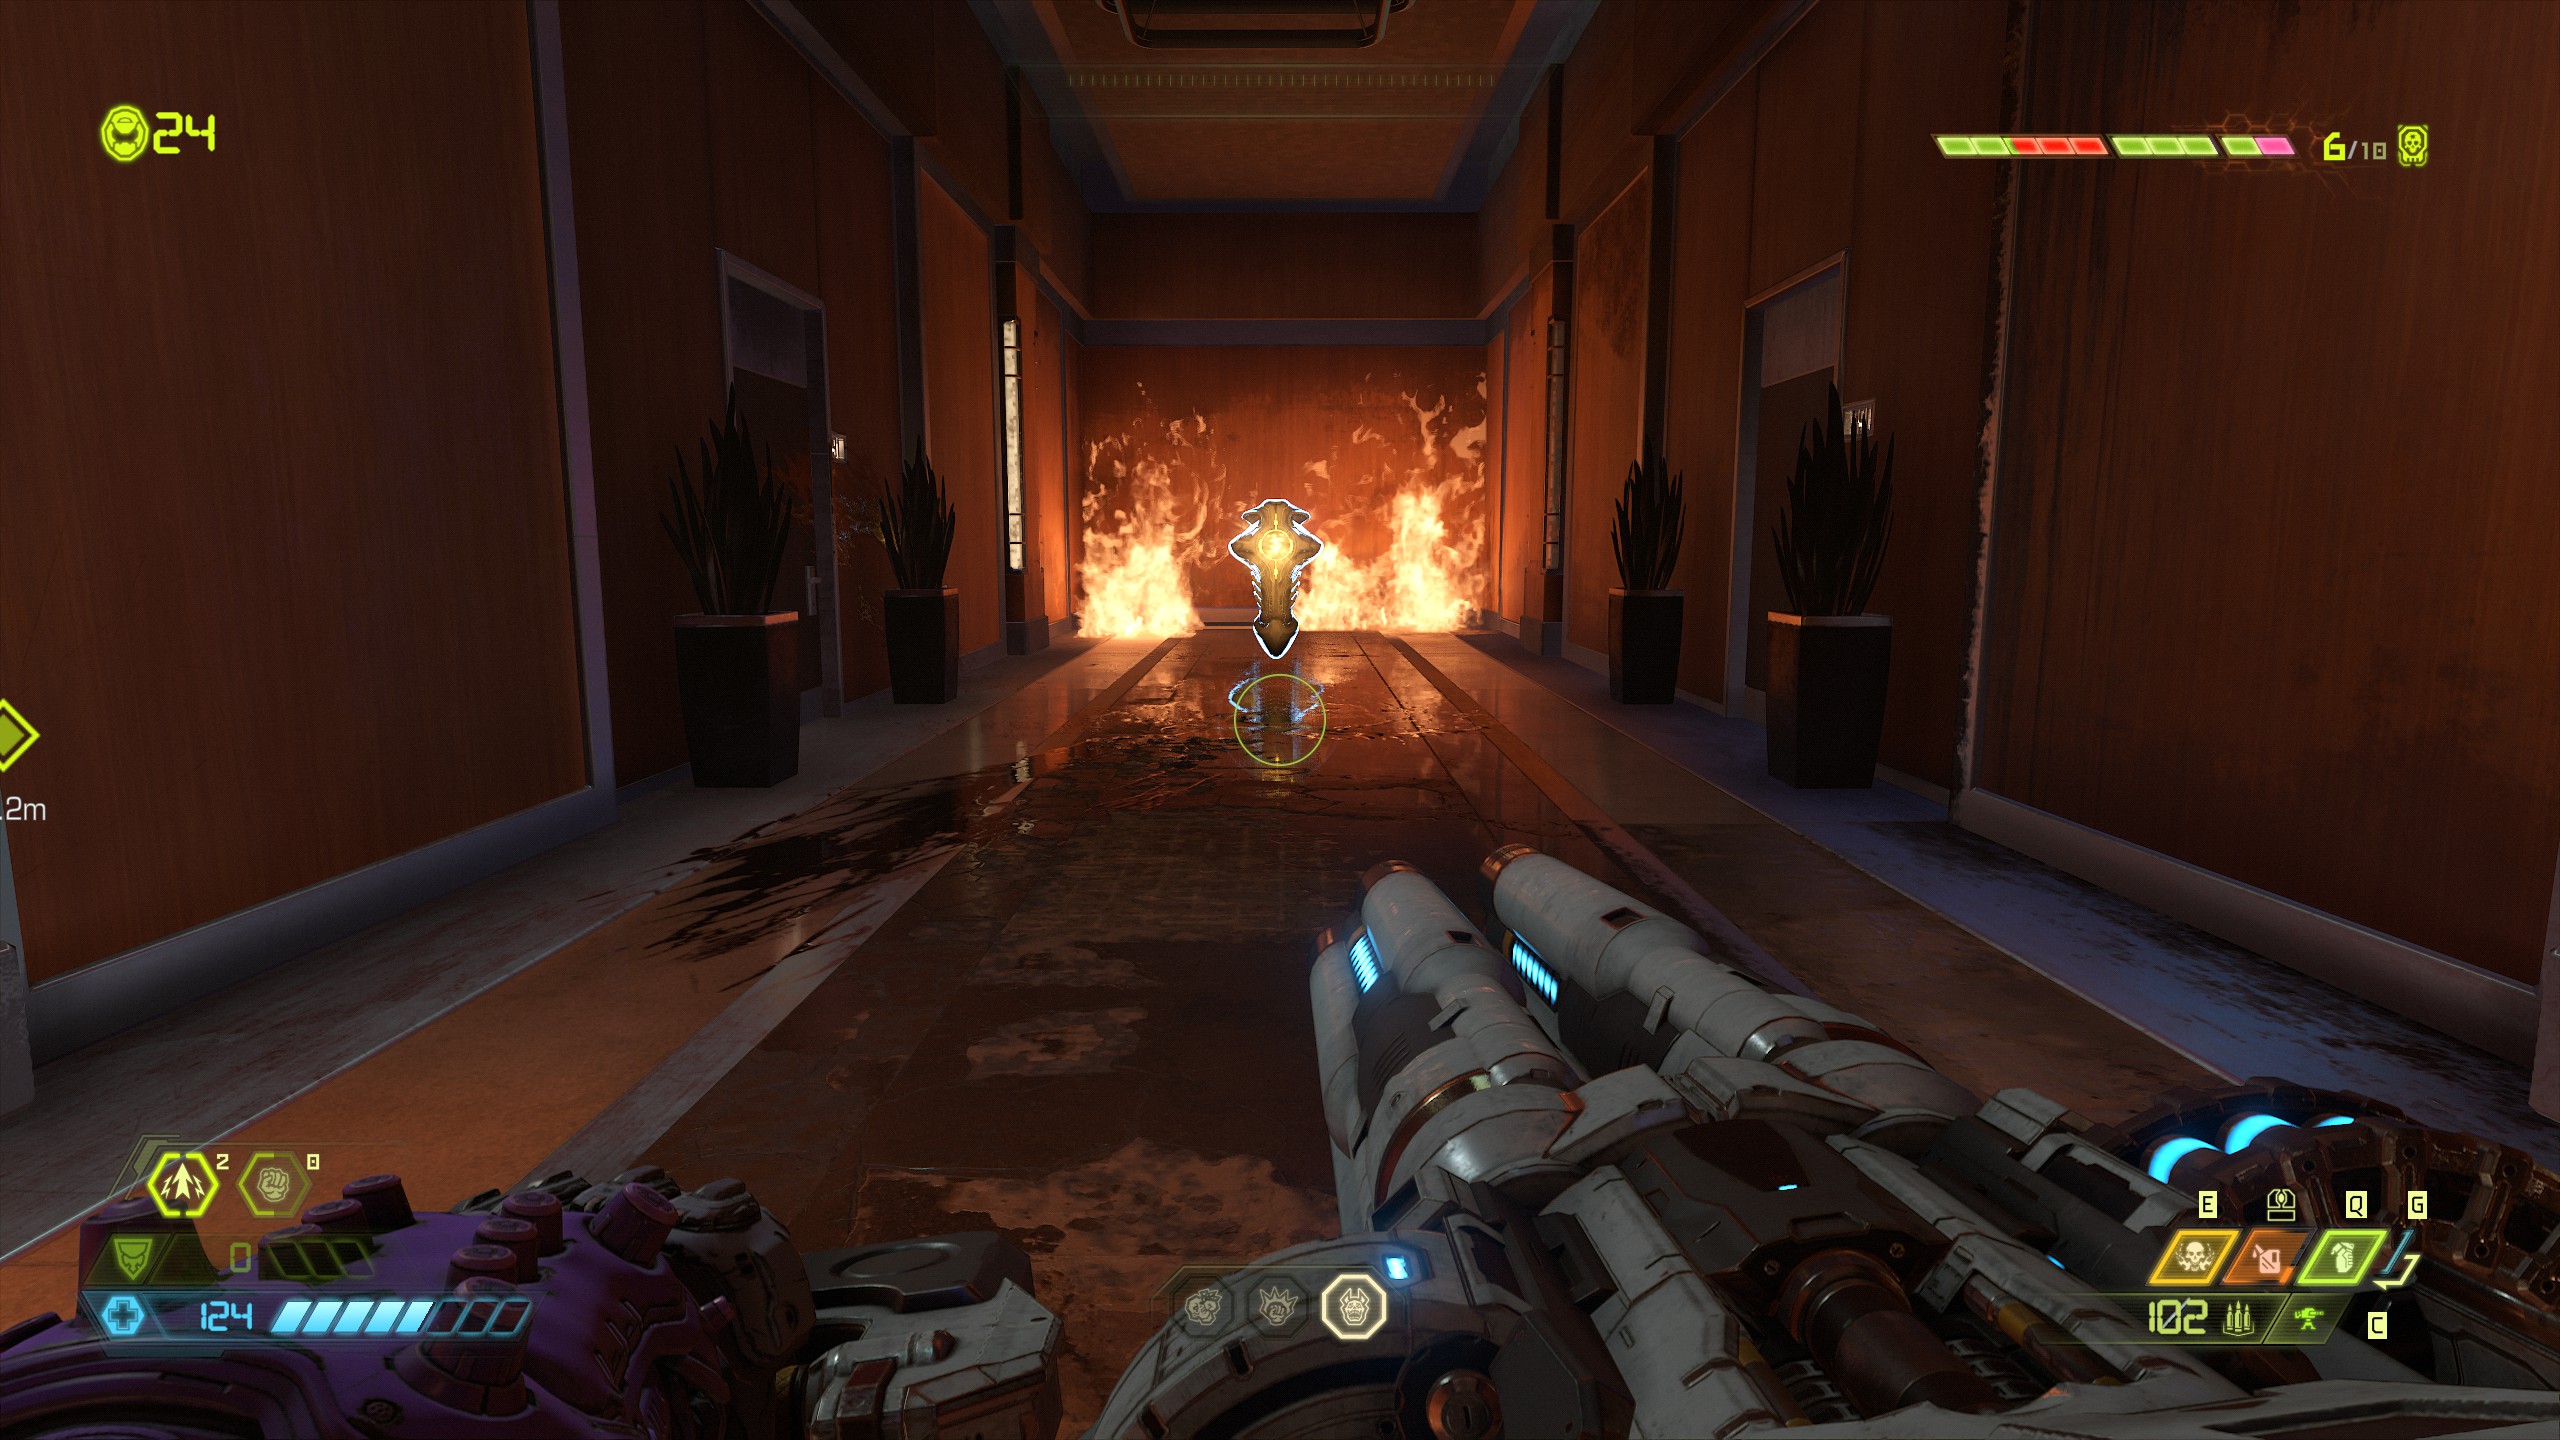
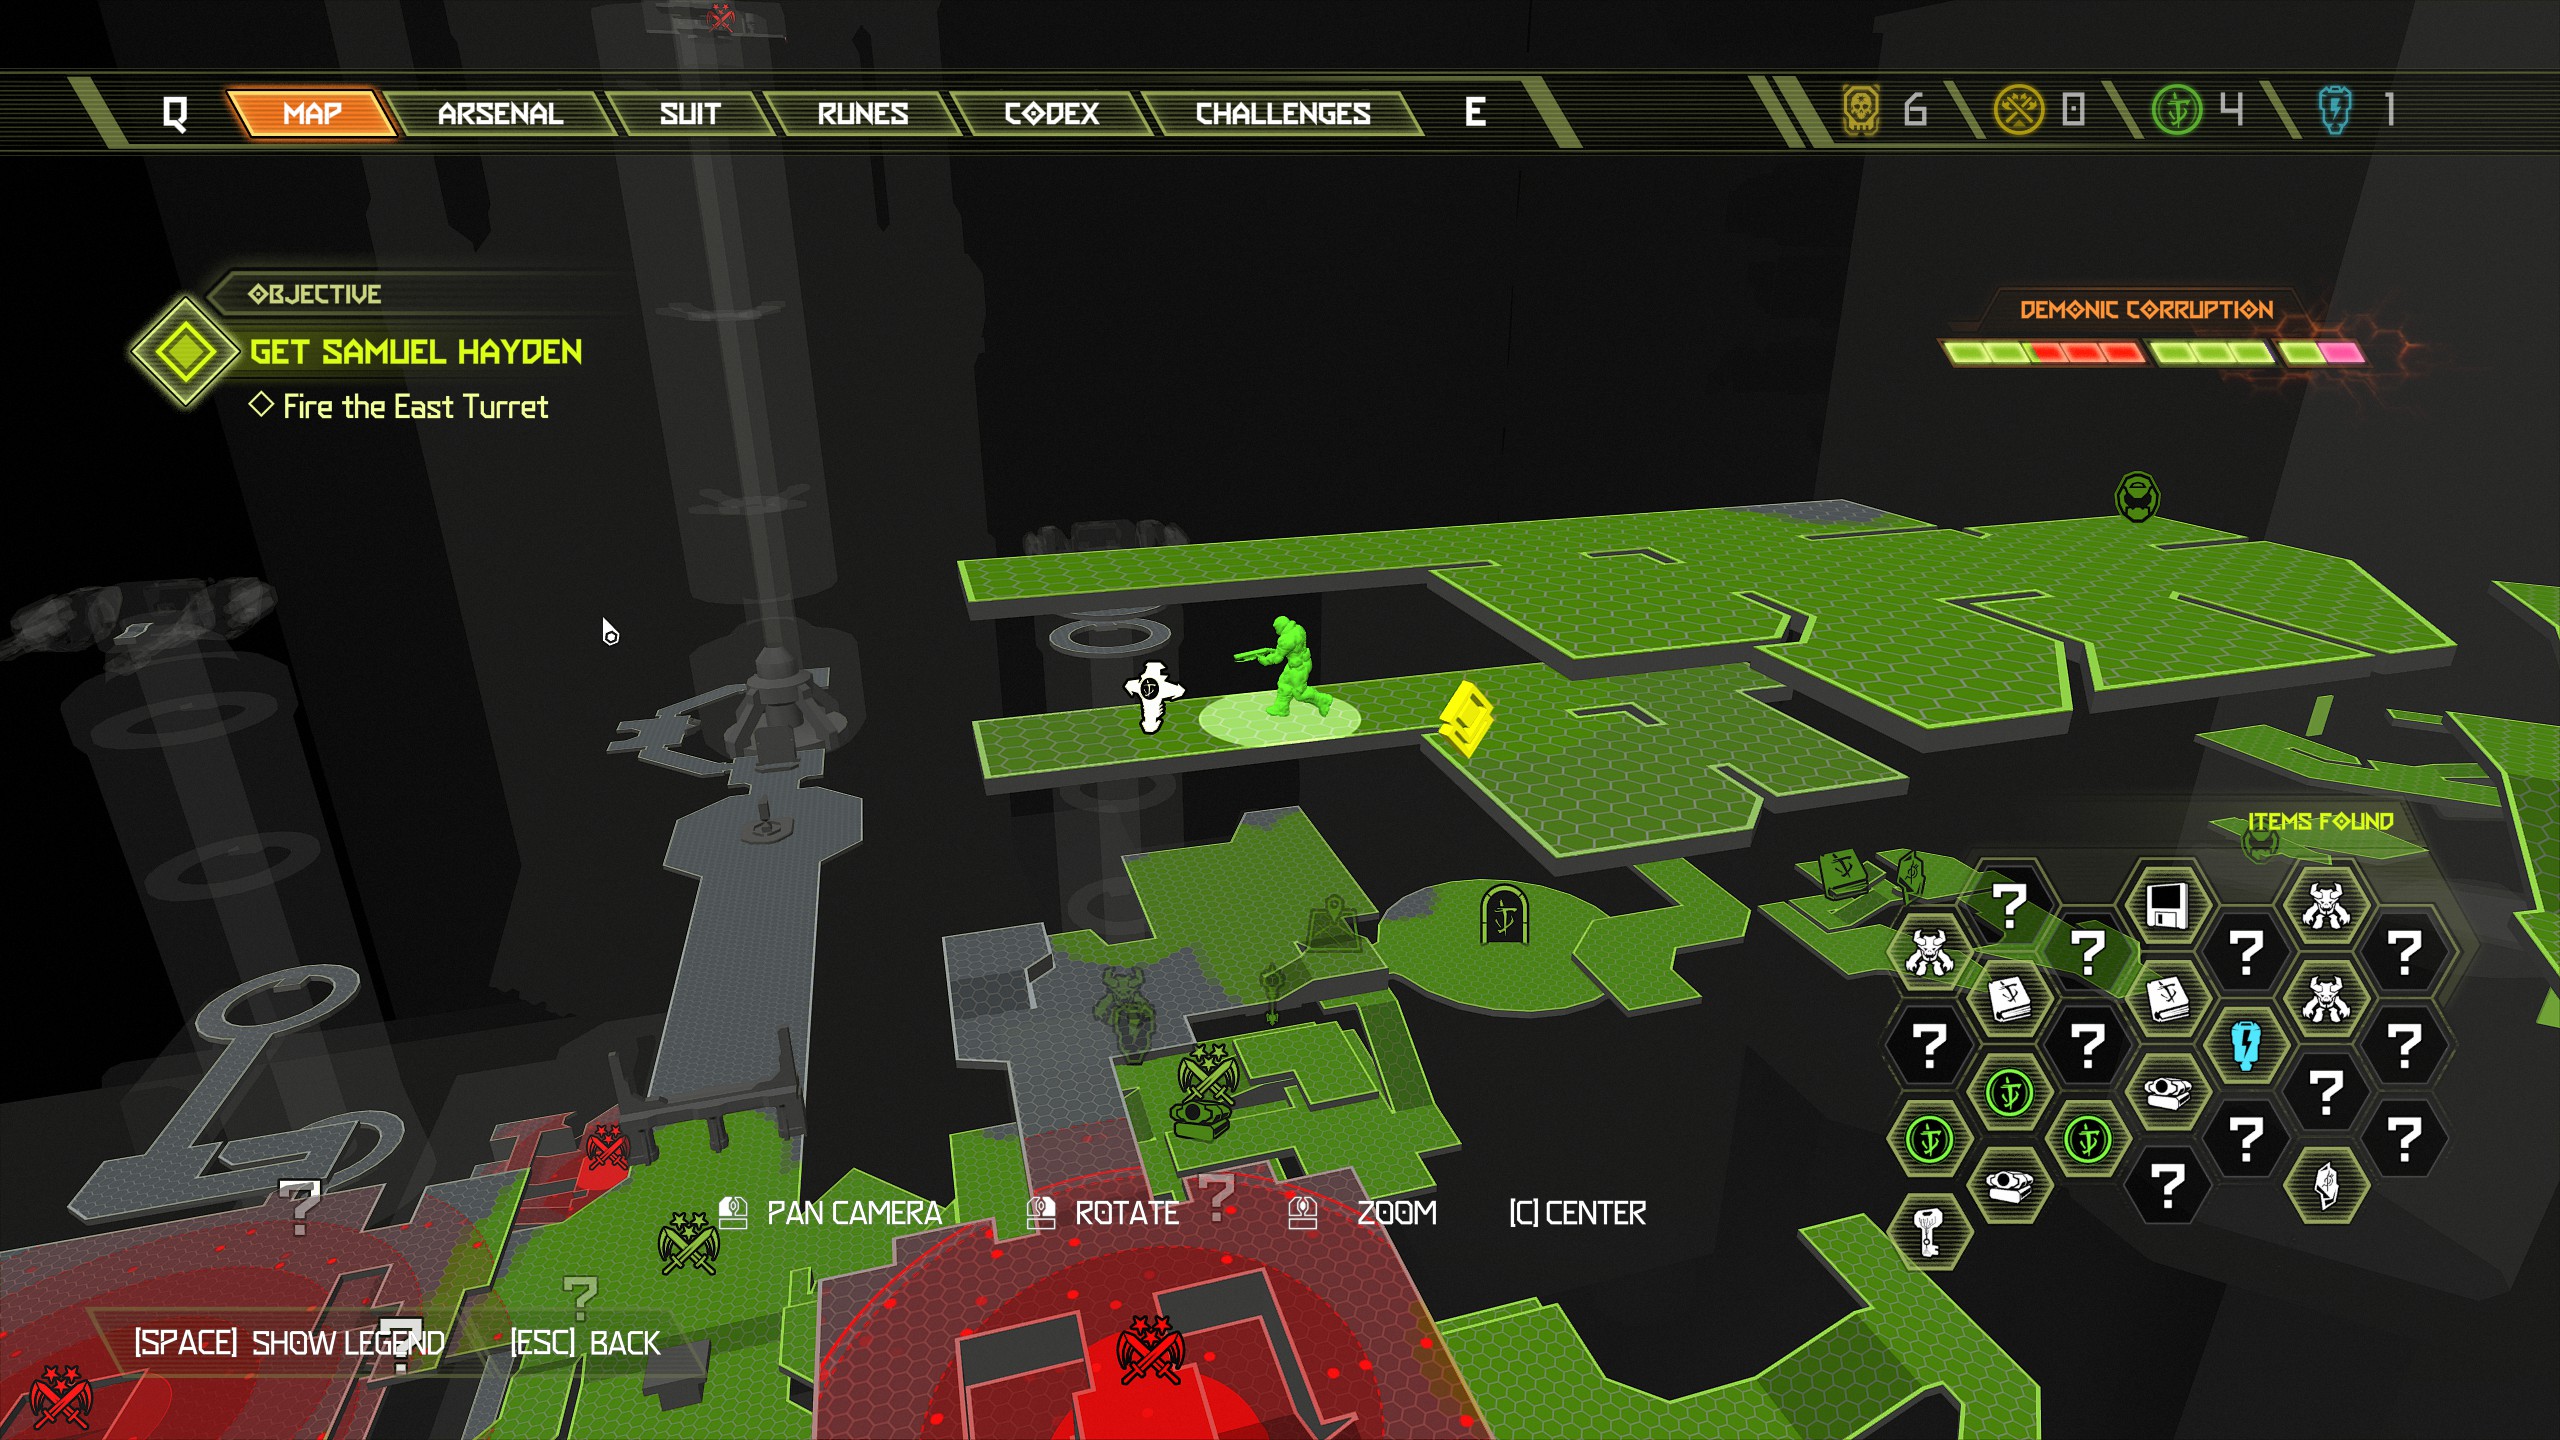
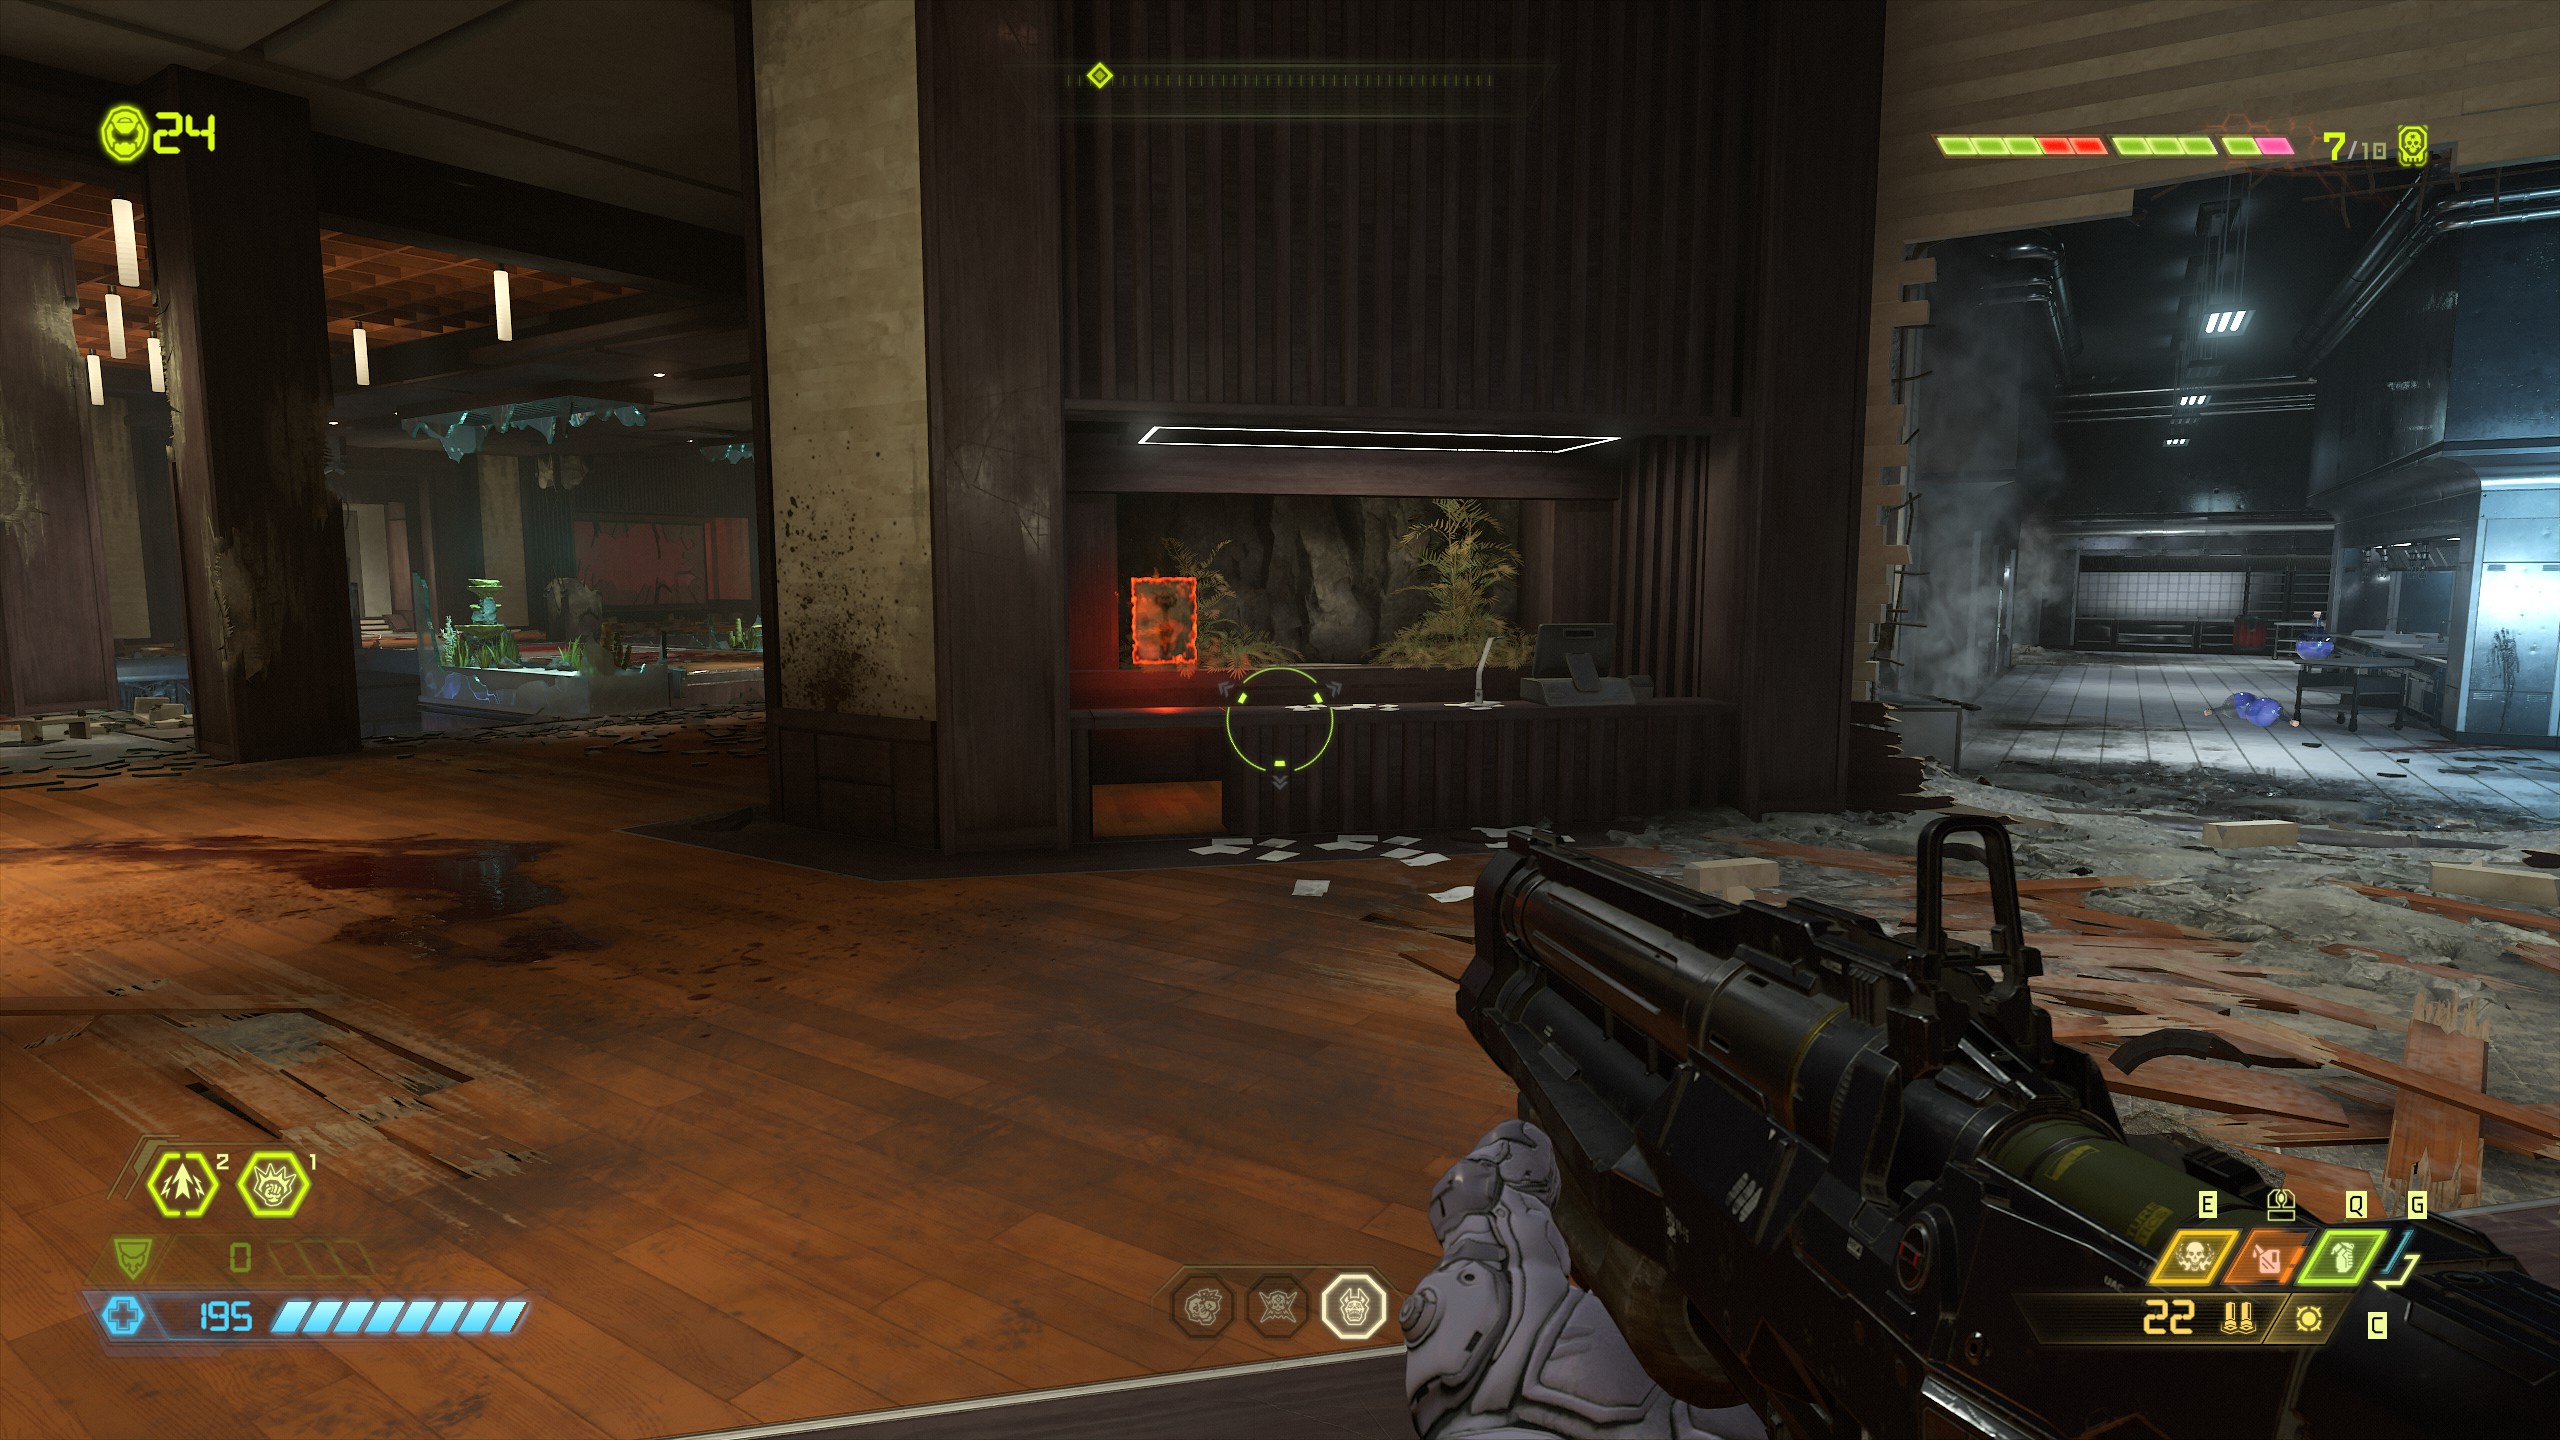
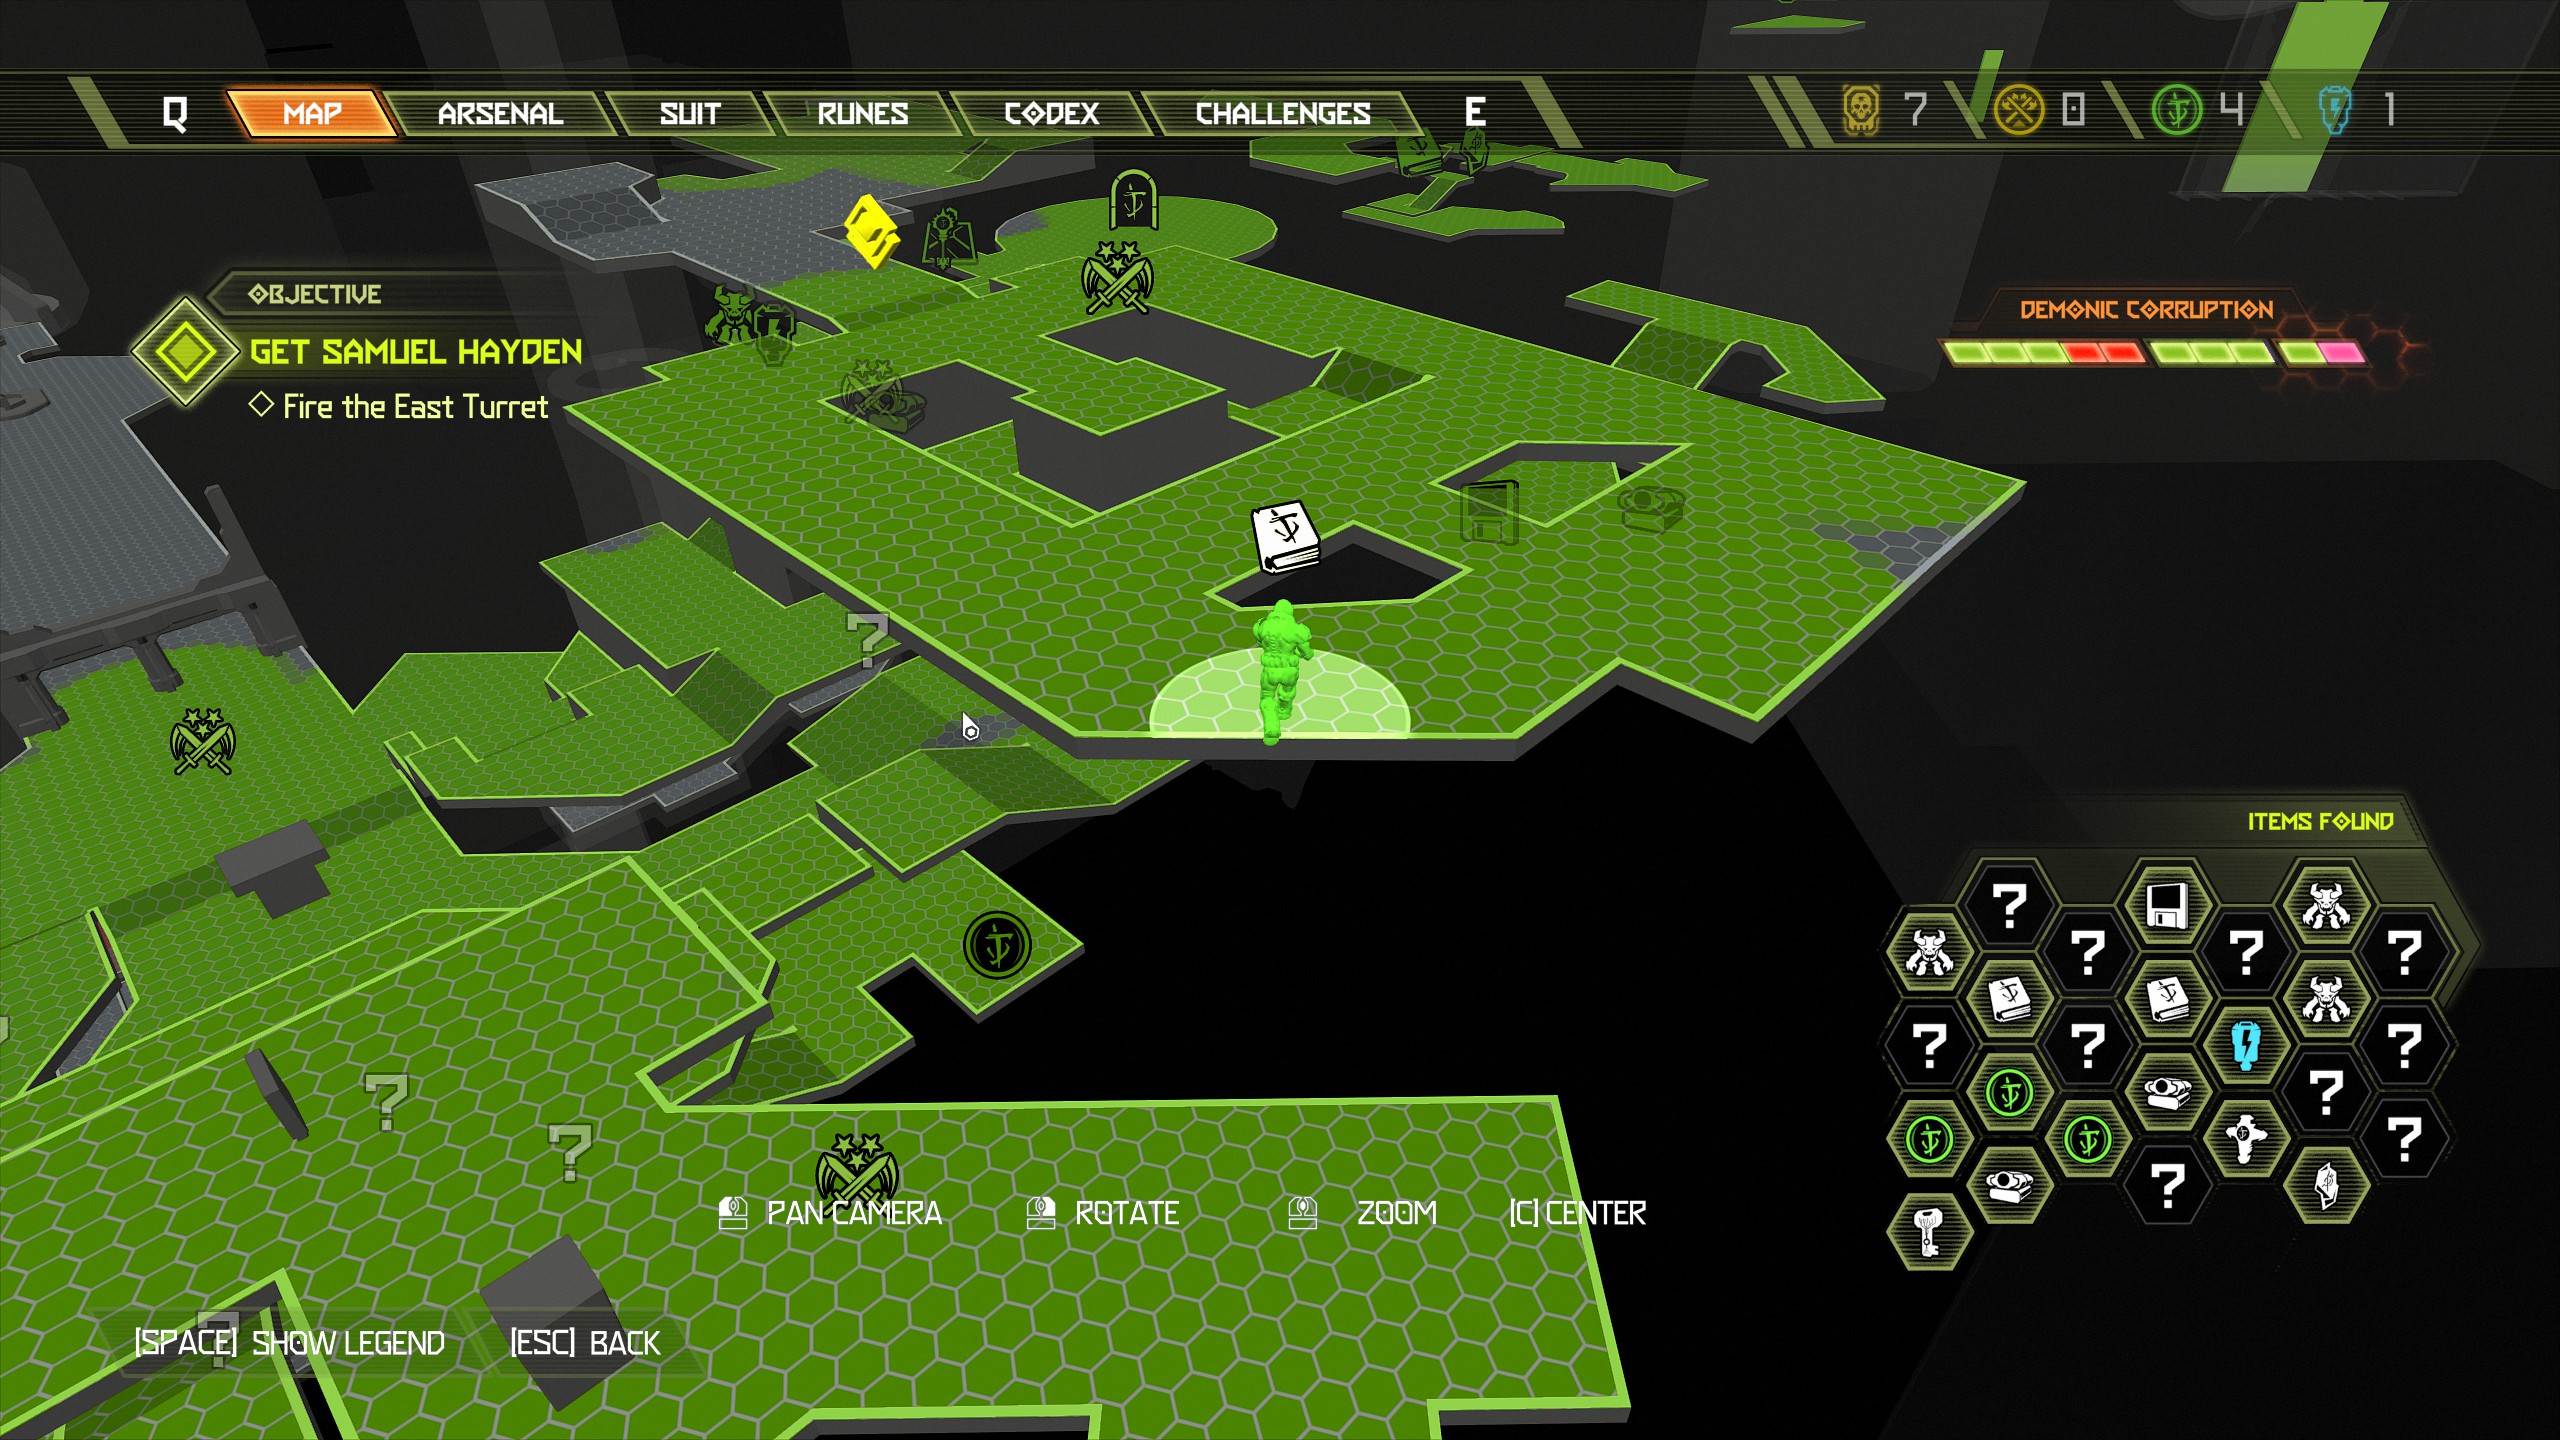
Continue now until you fire the first gun turret.
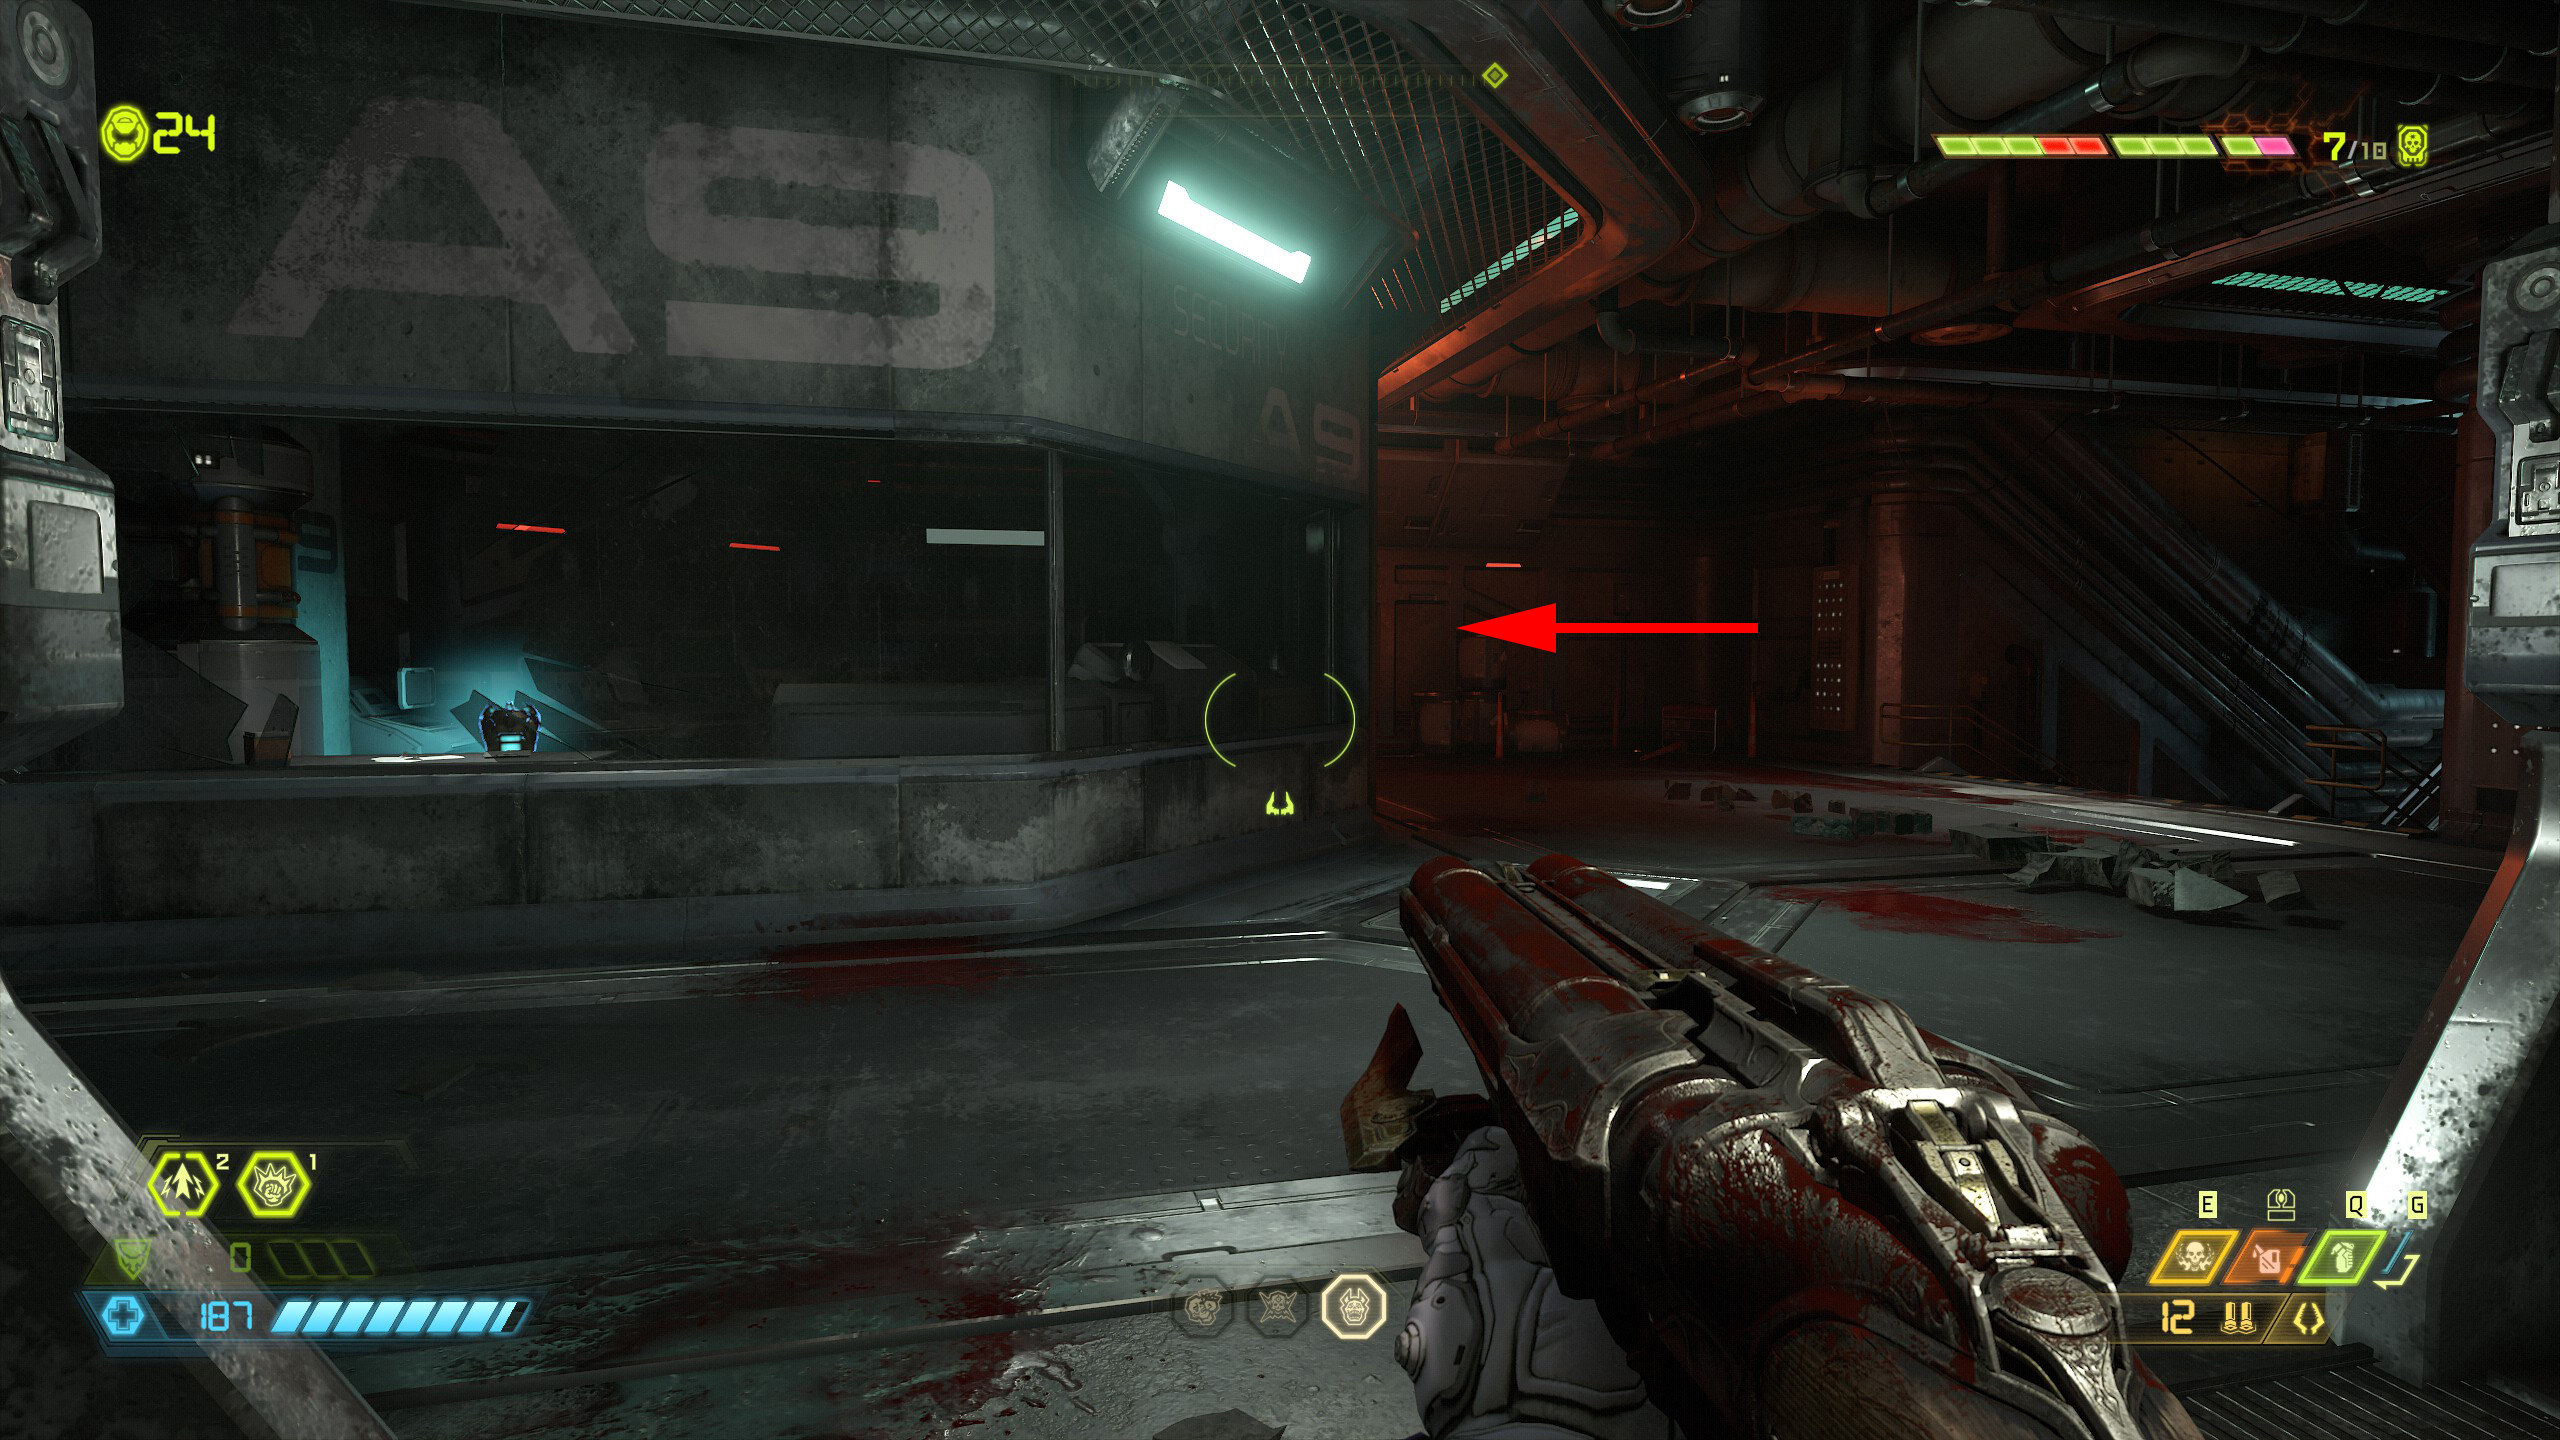
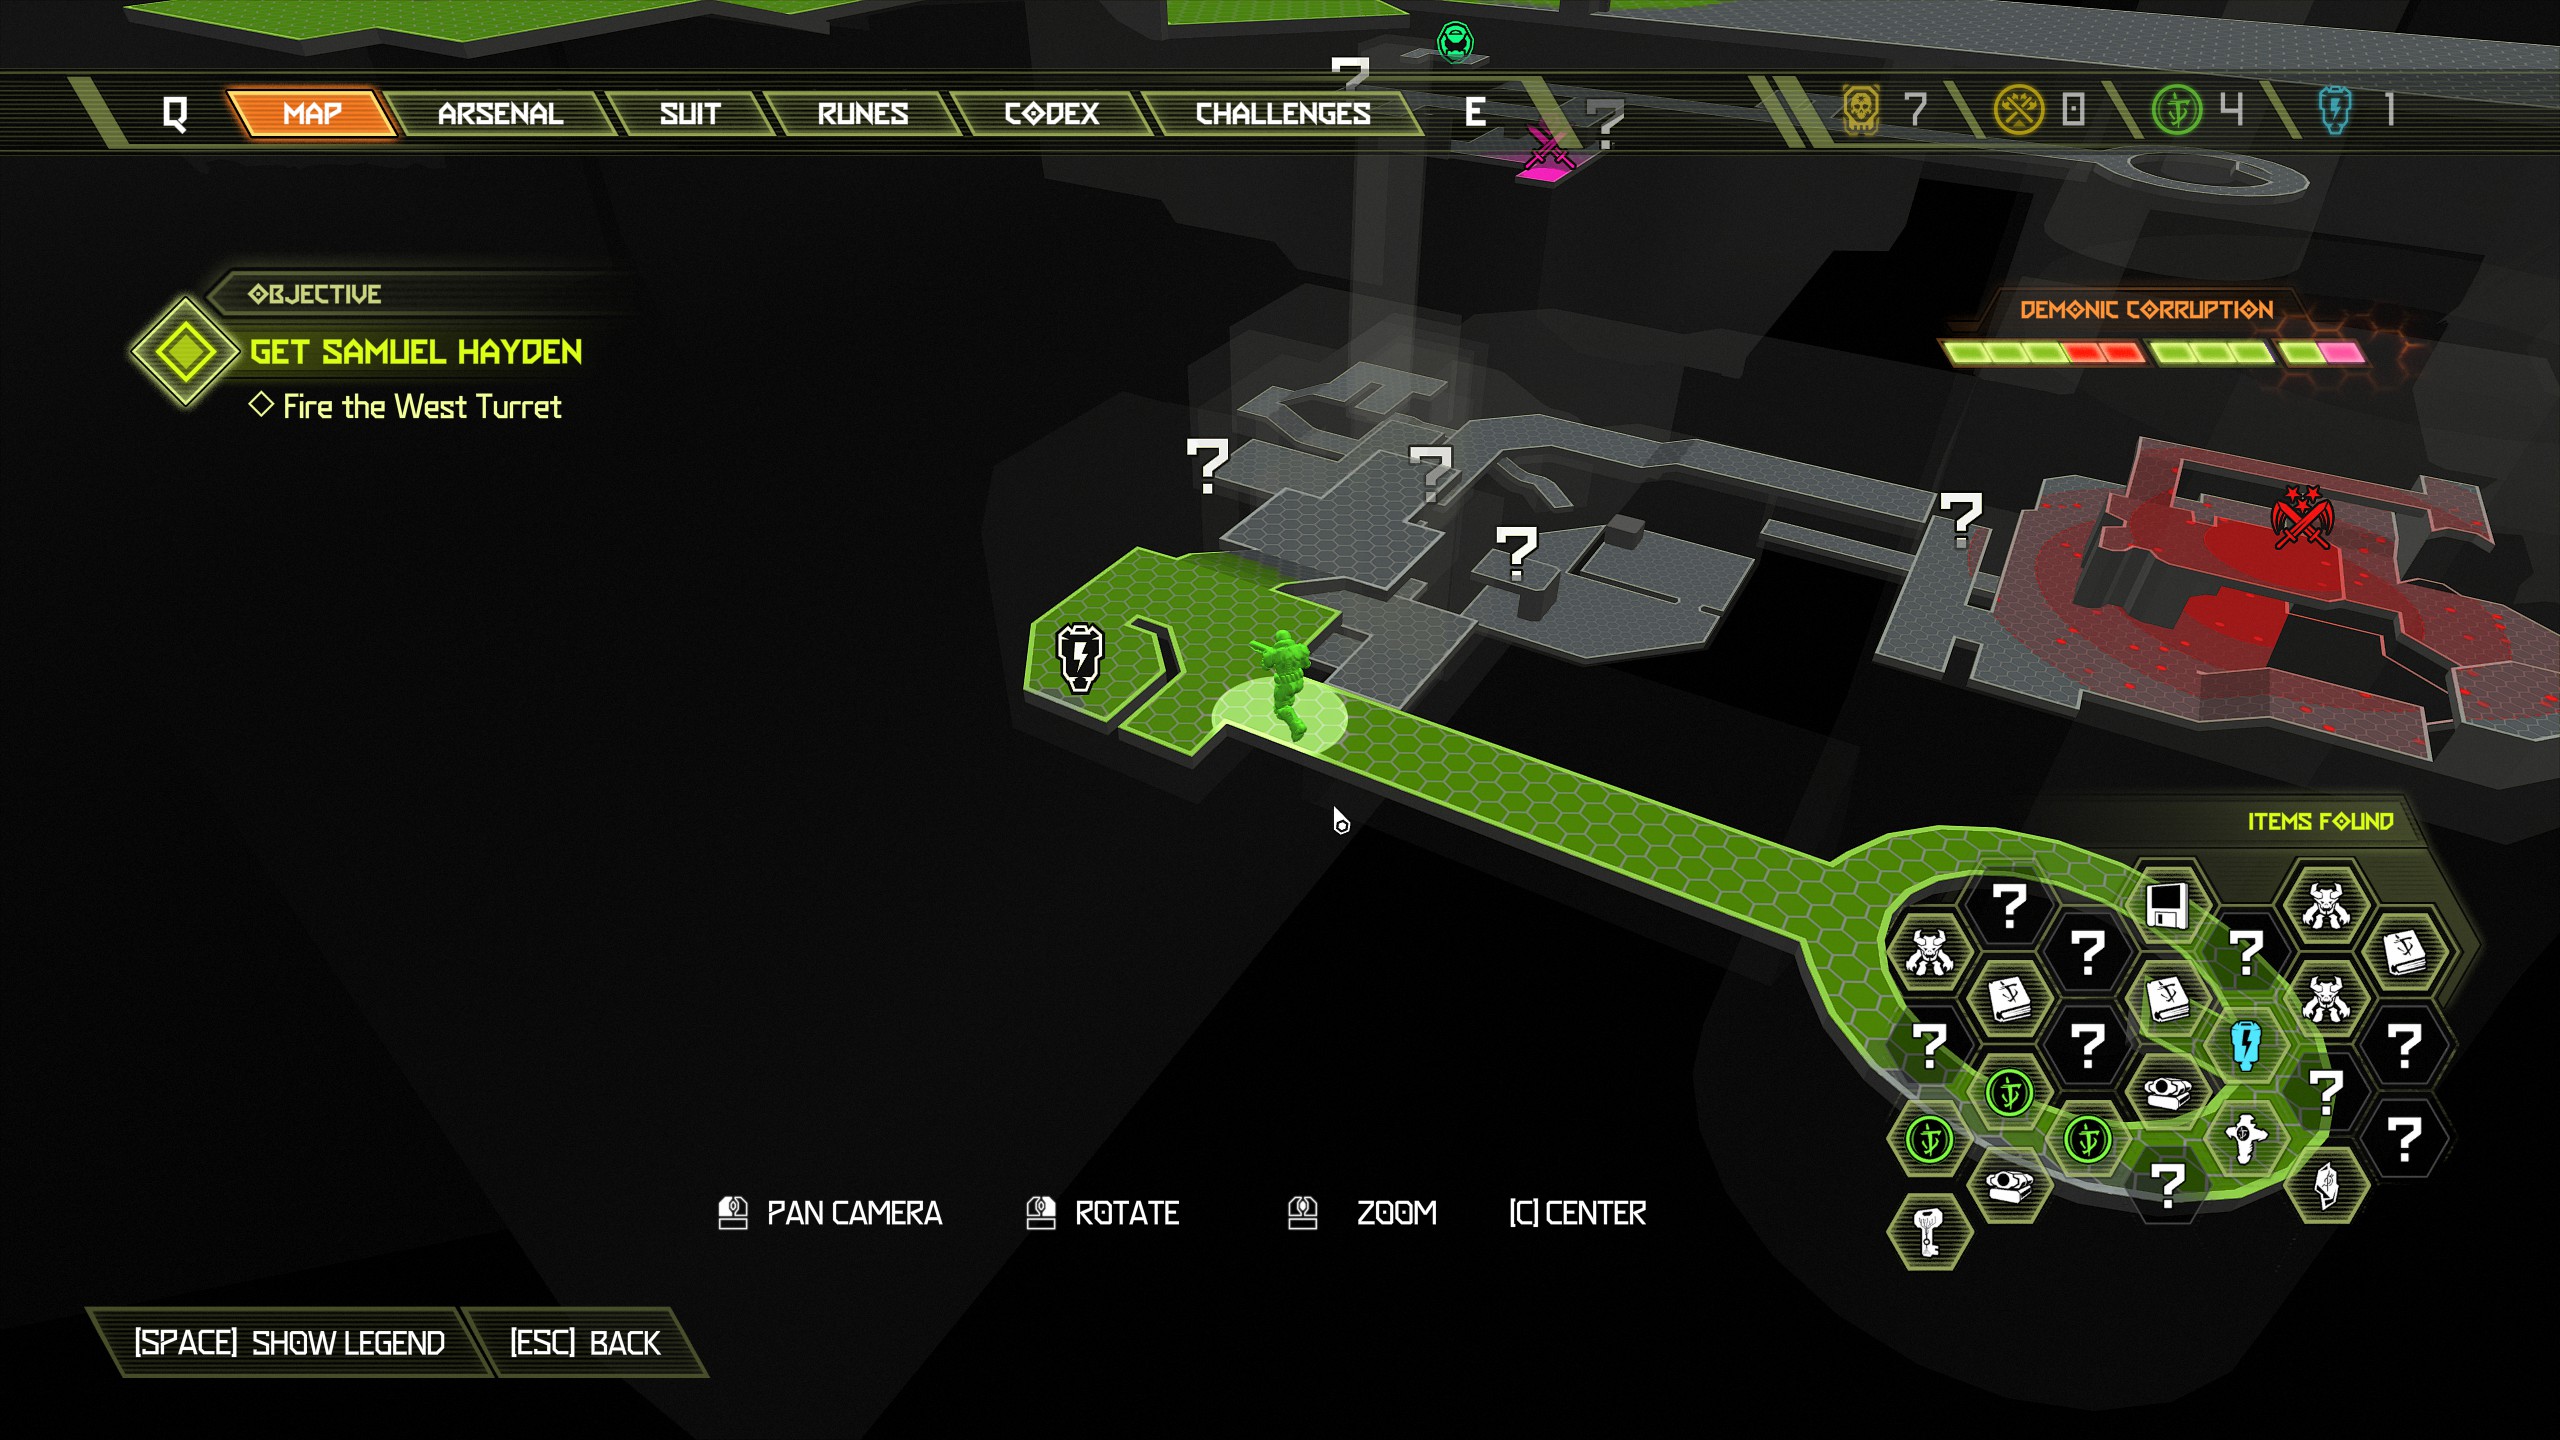
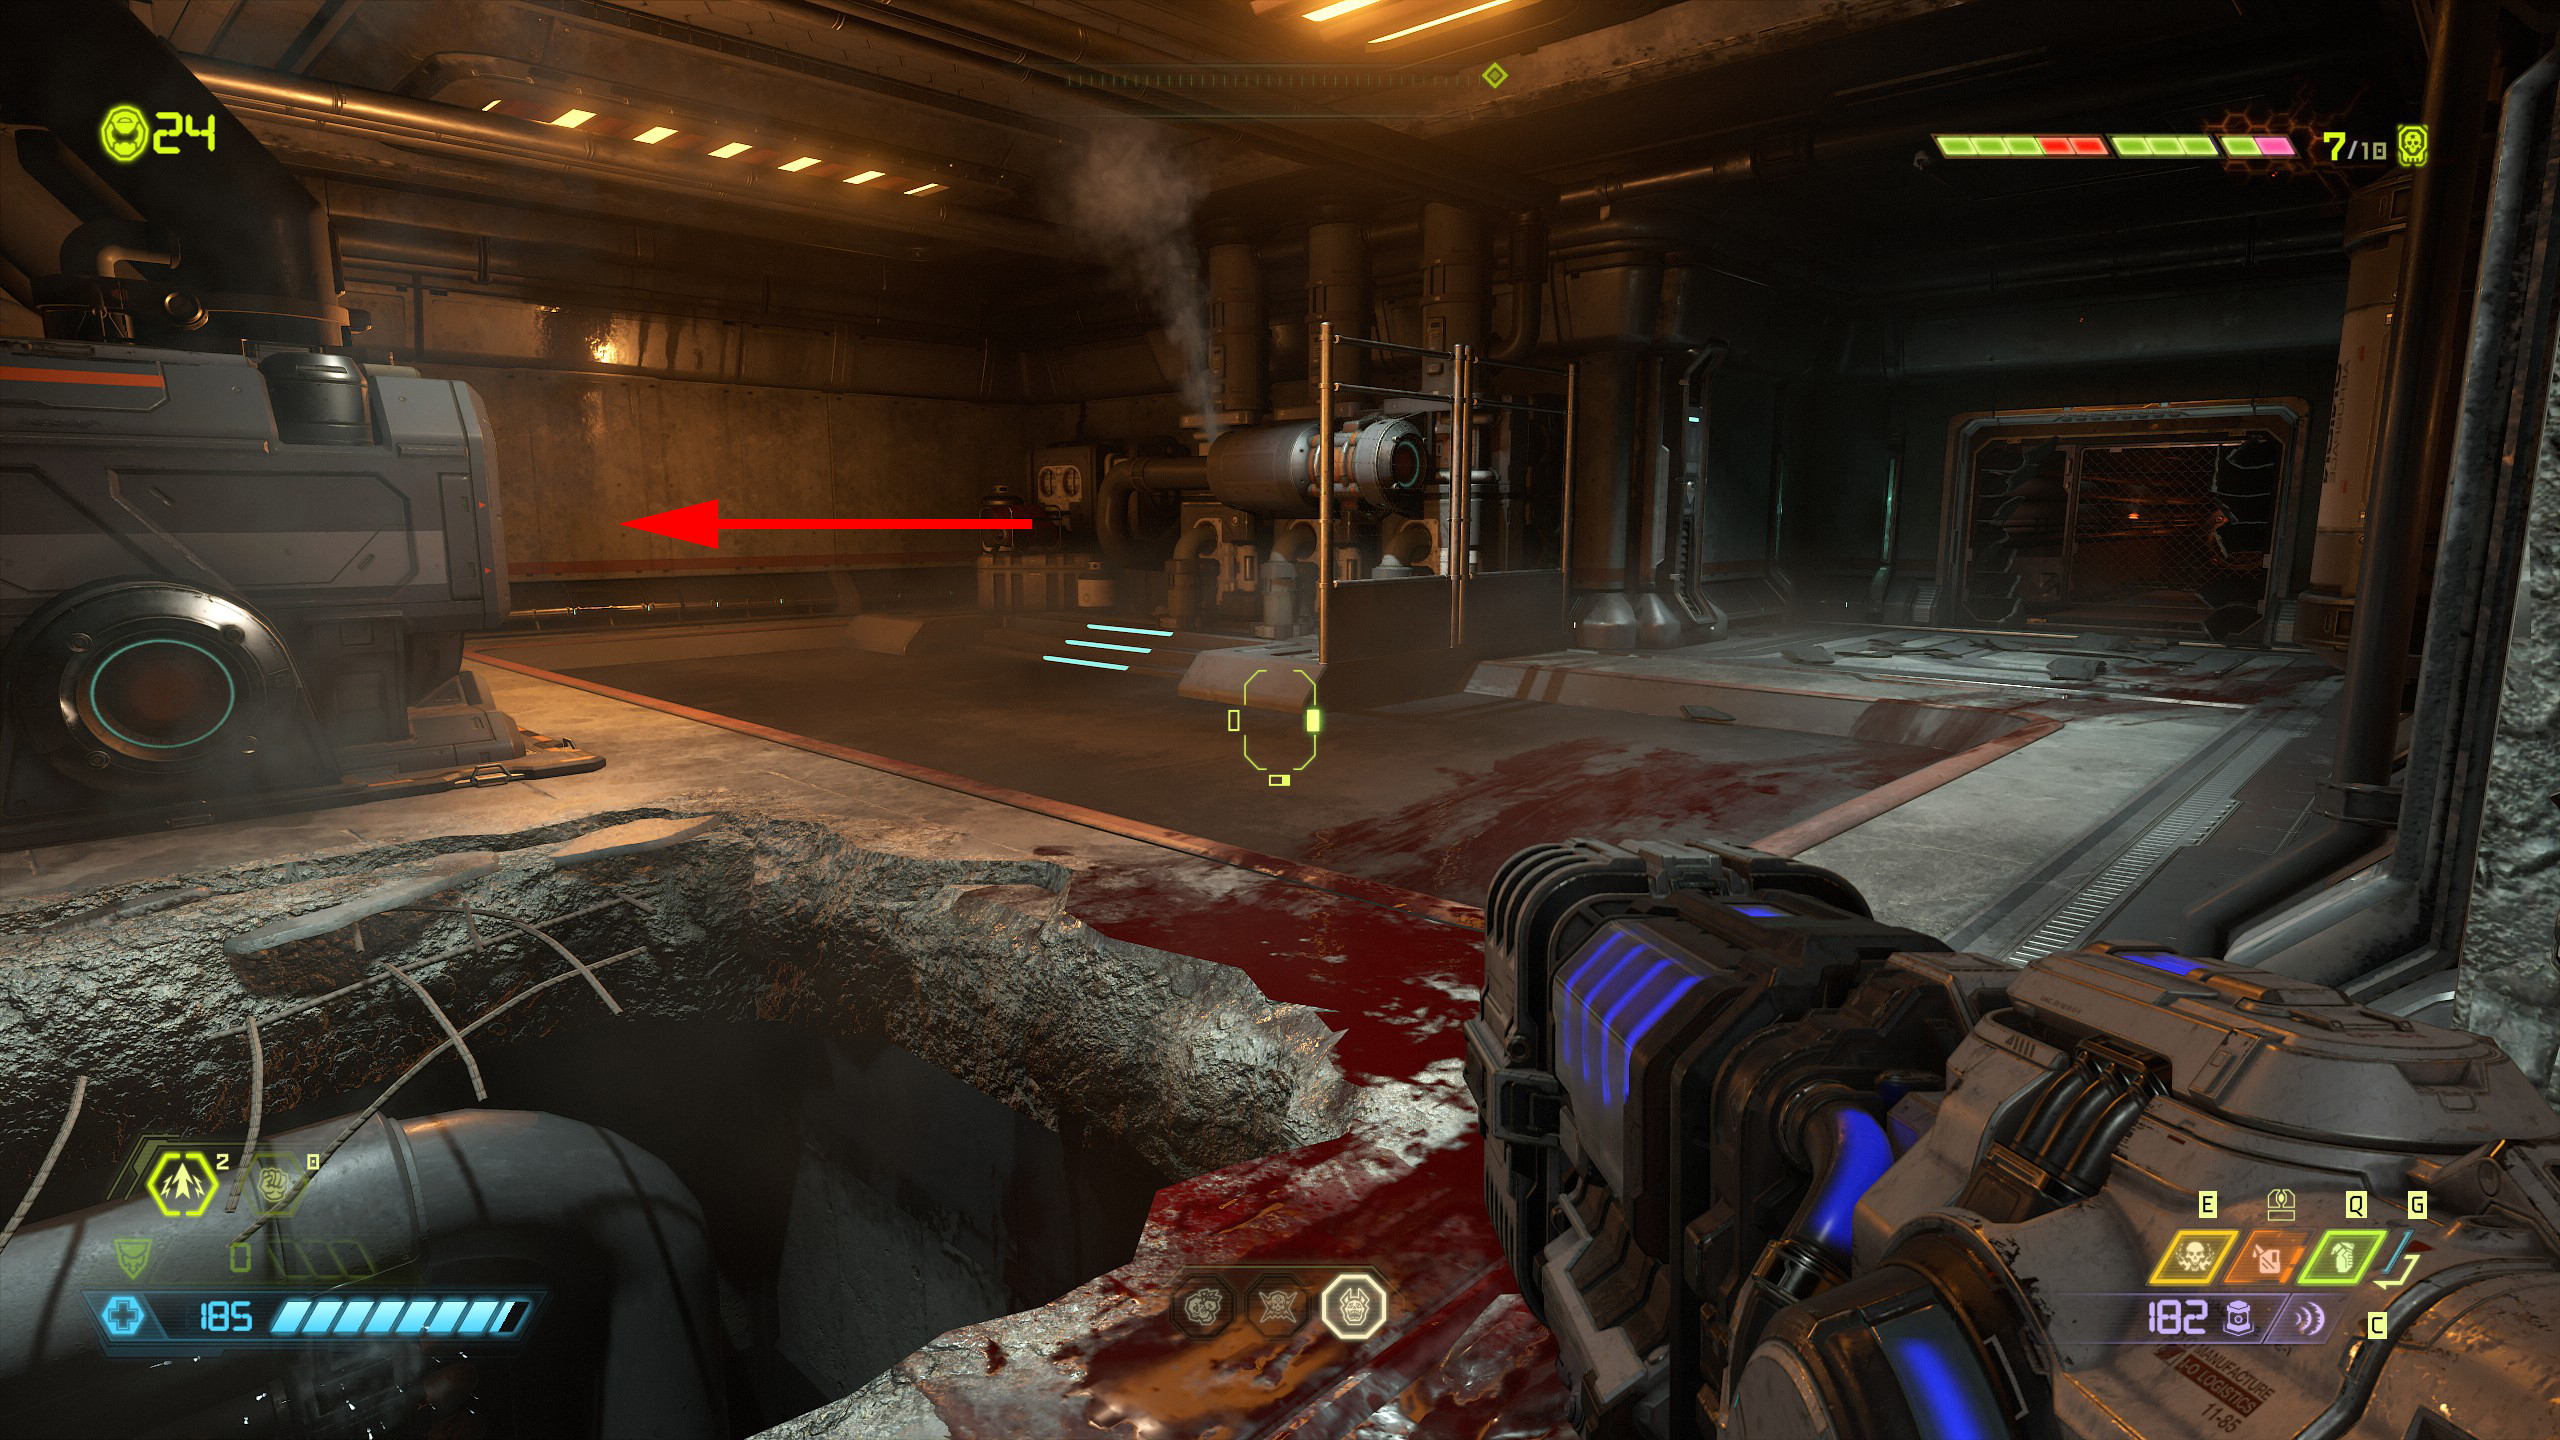
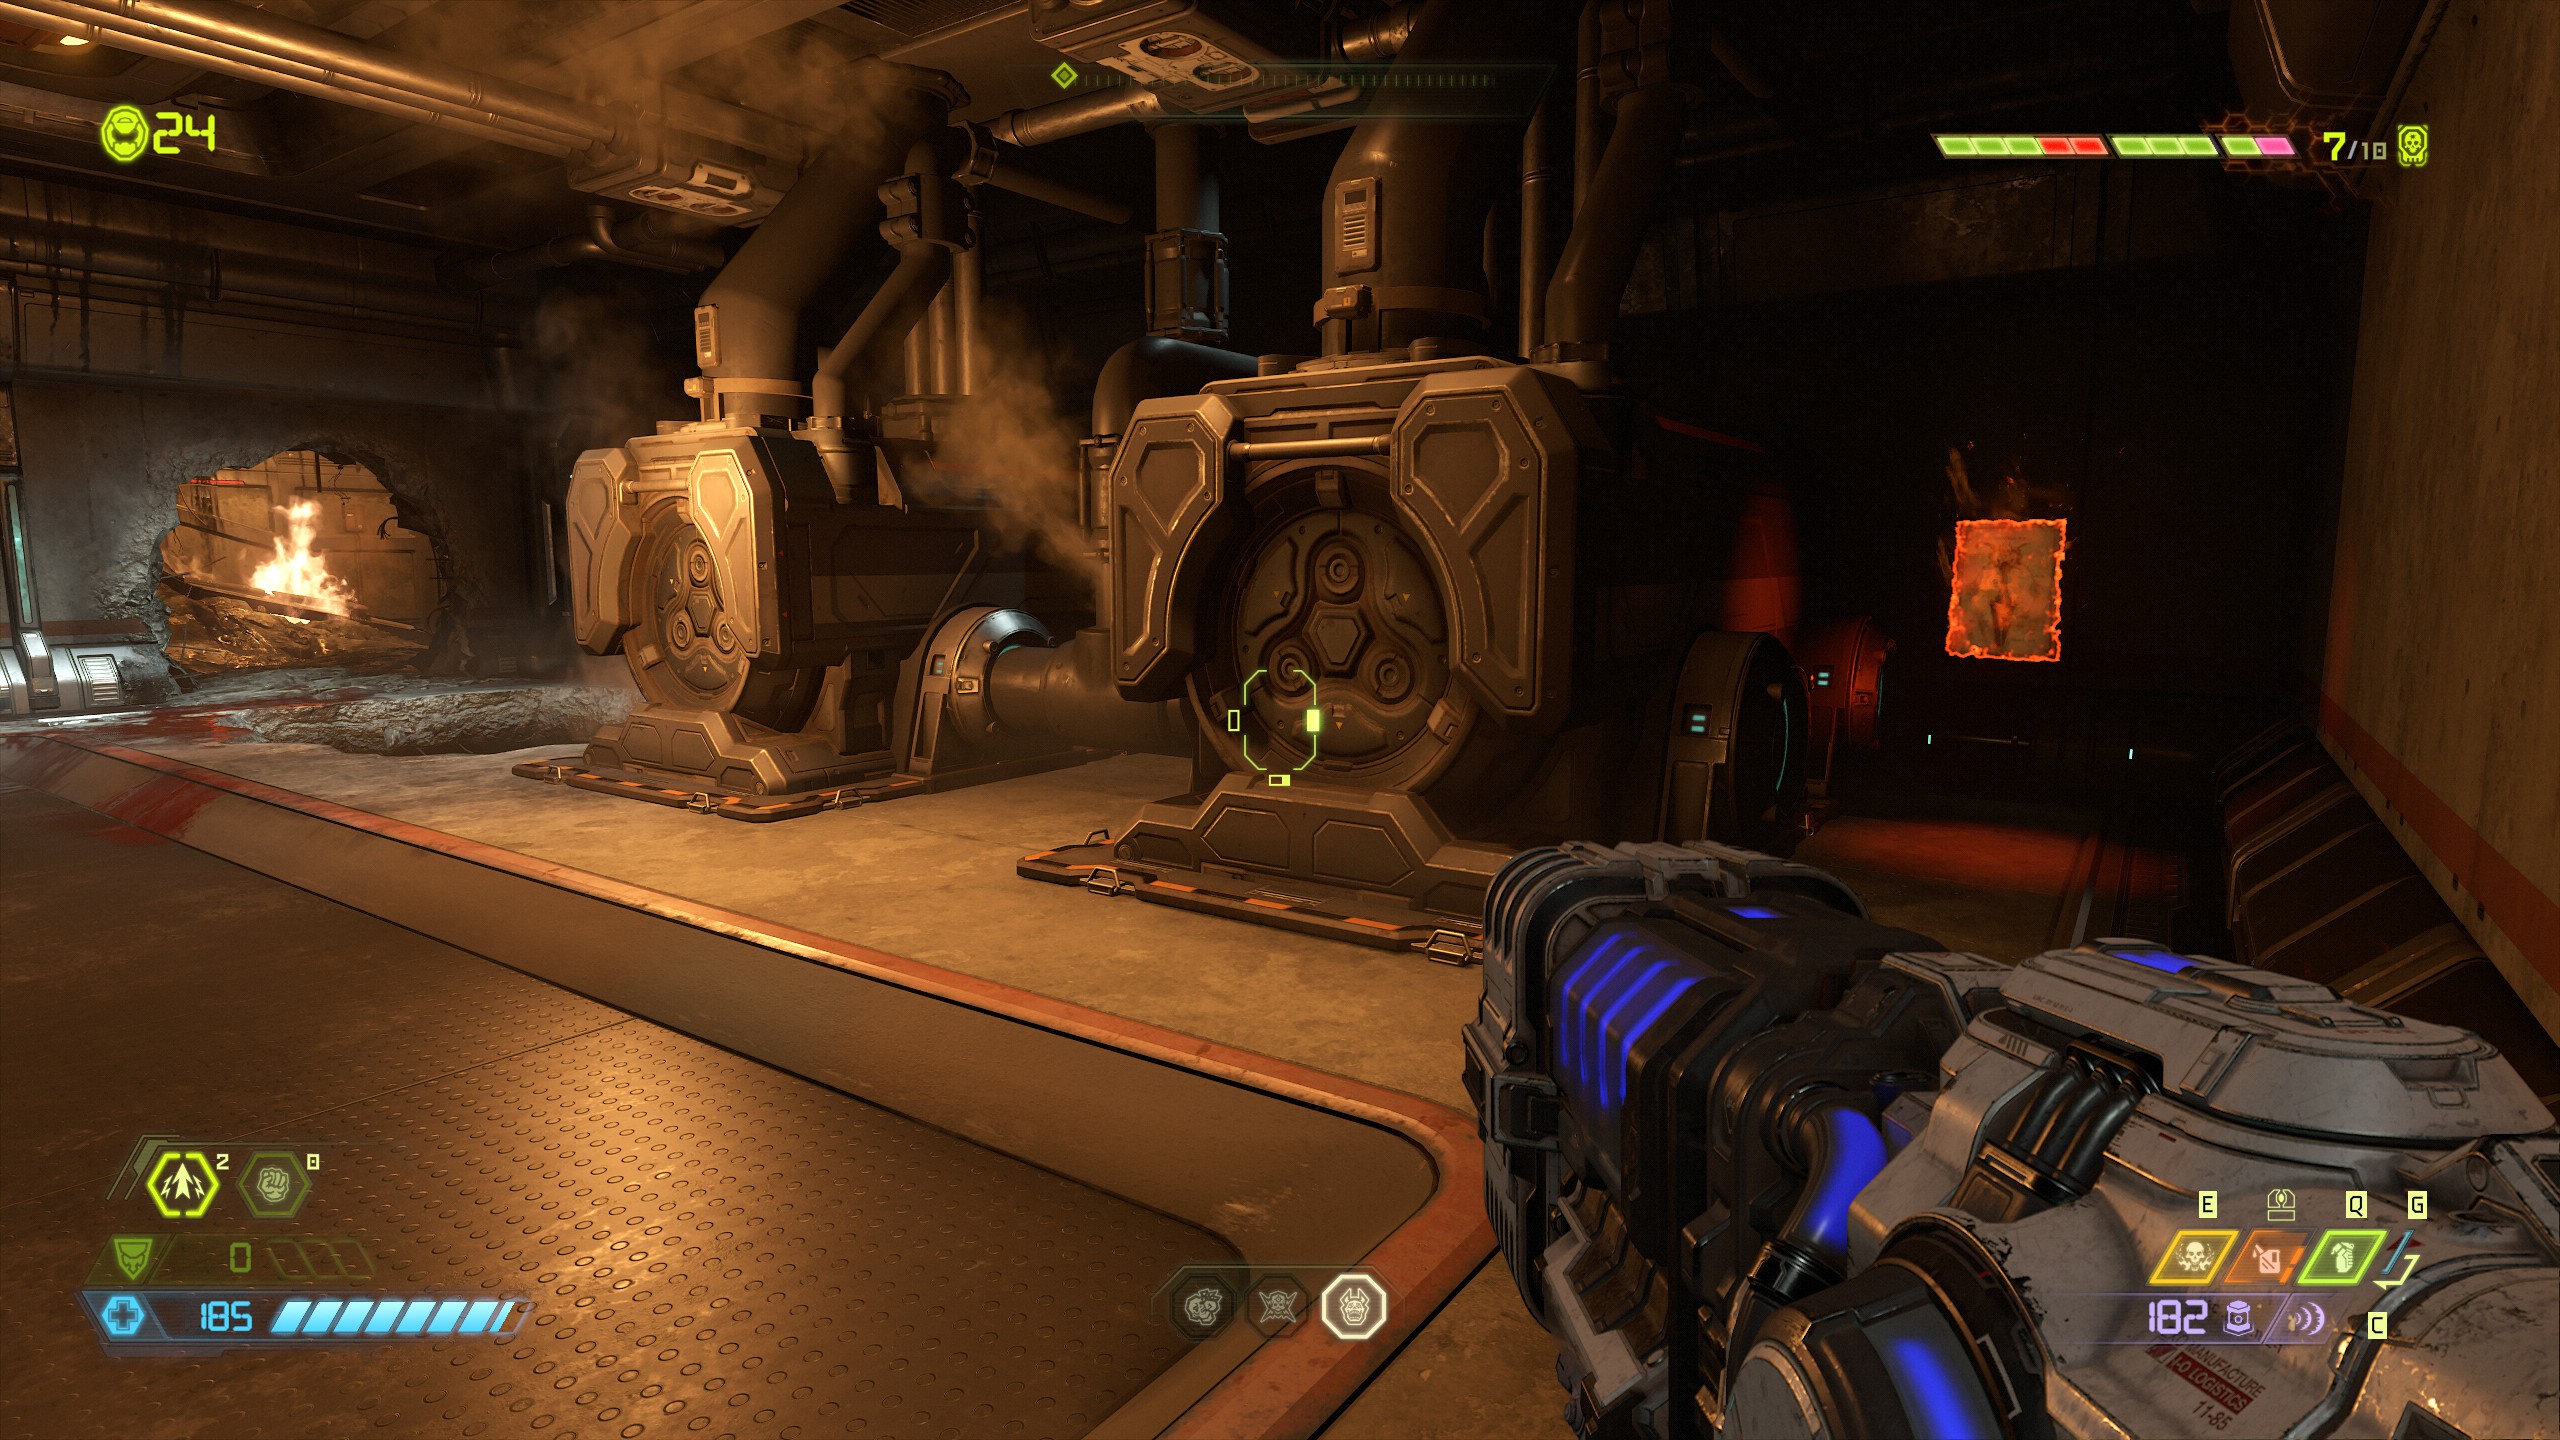
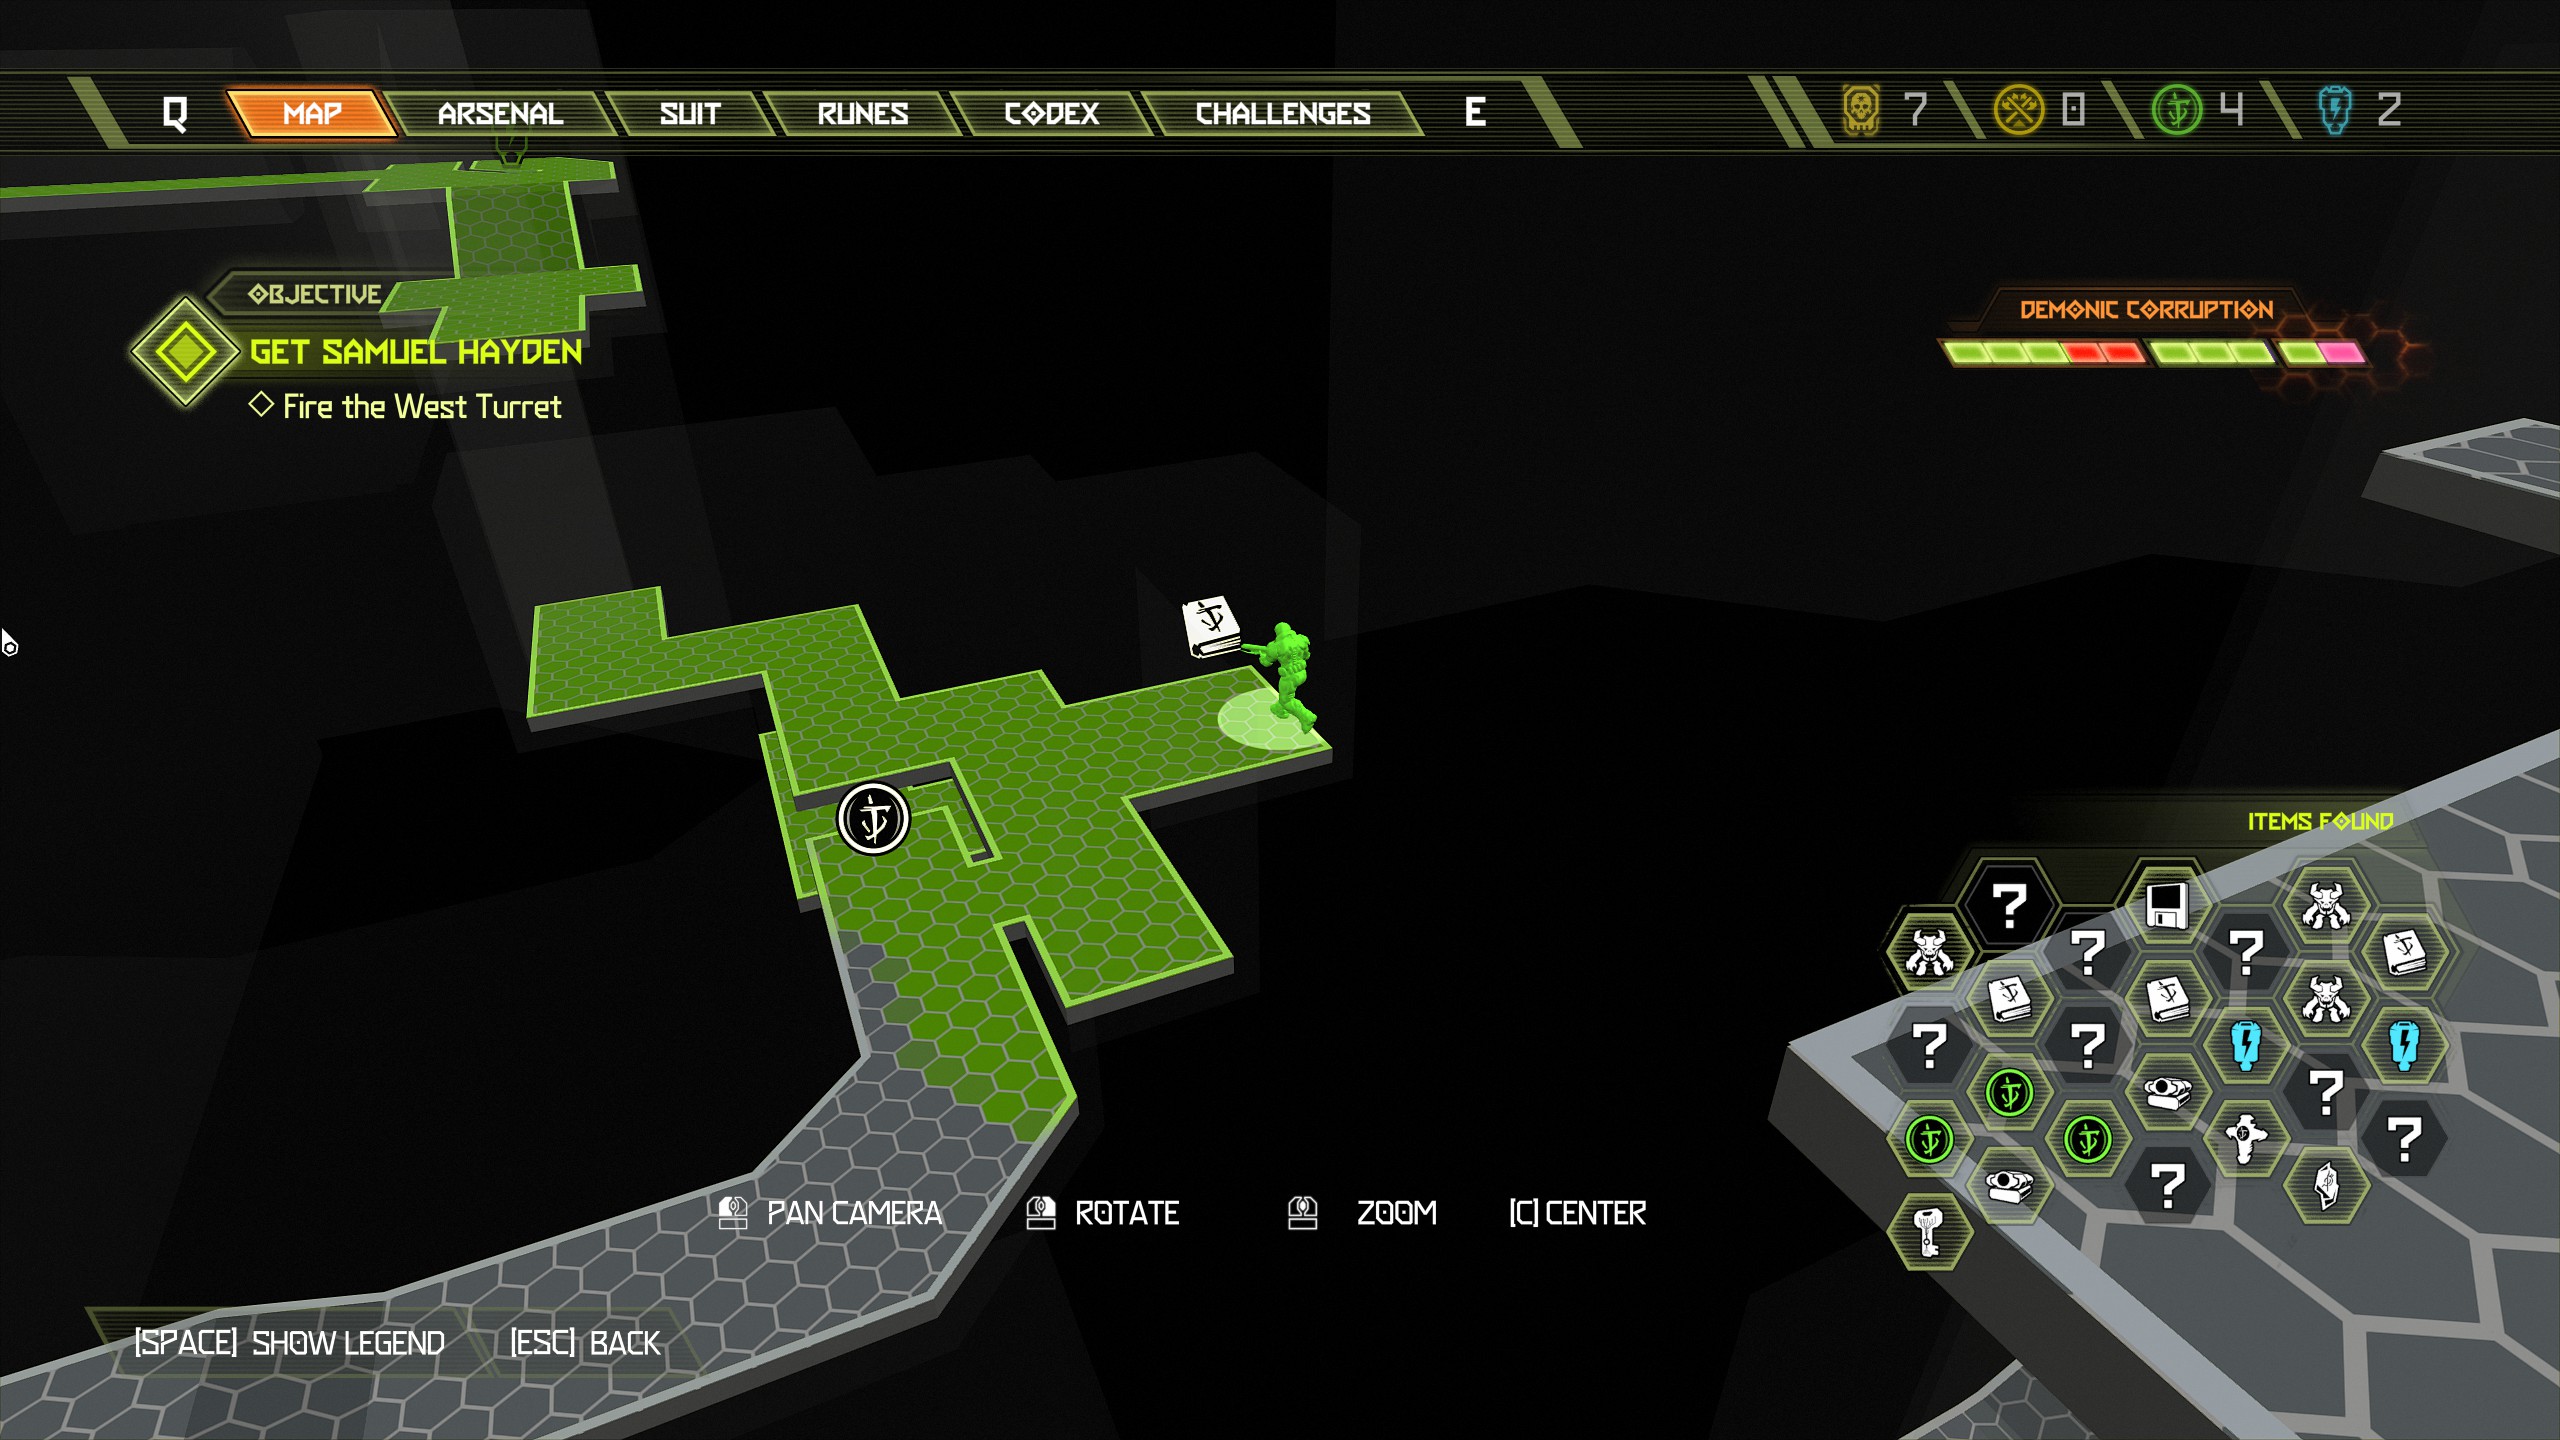 From the codex page proceed through opening in the wall and immediately on your right will be a praetor suit token.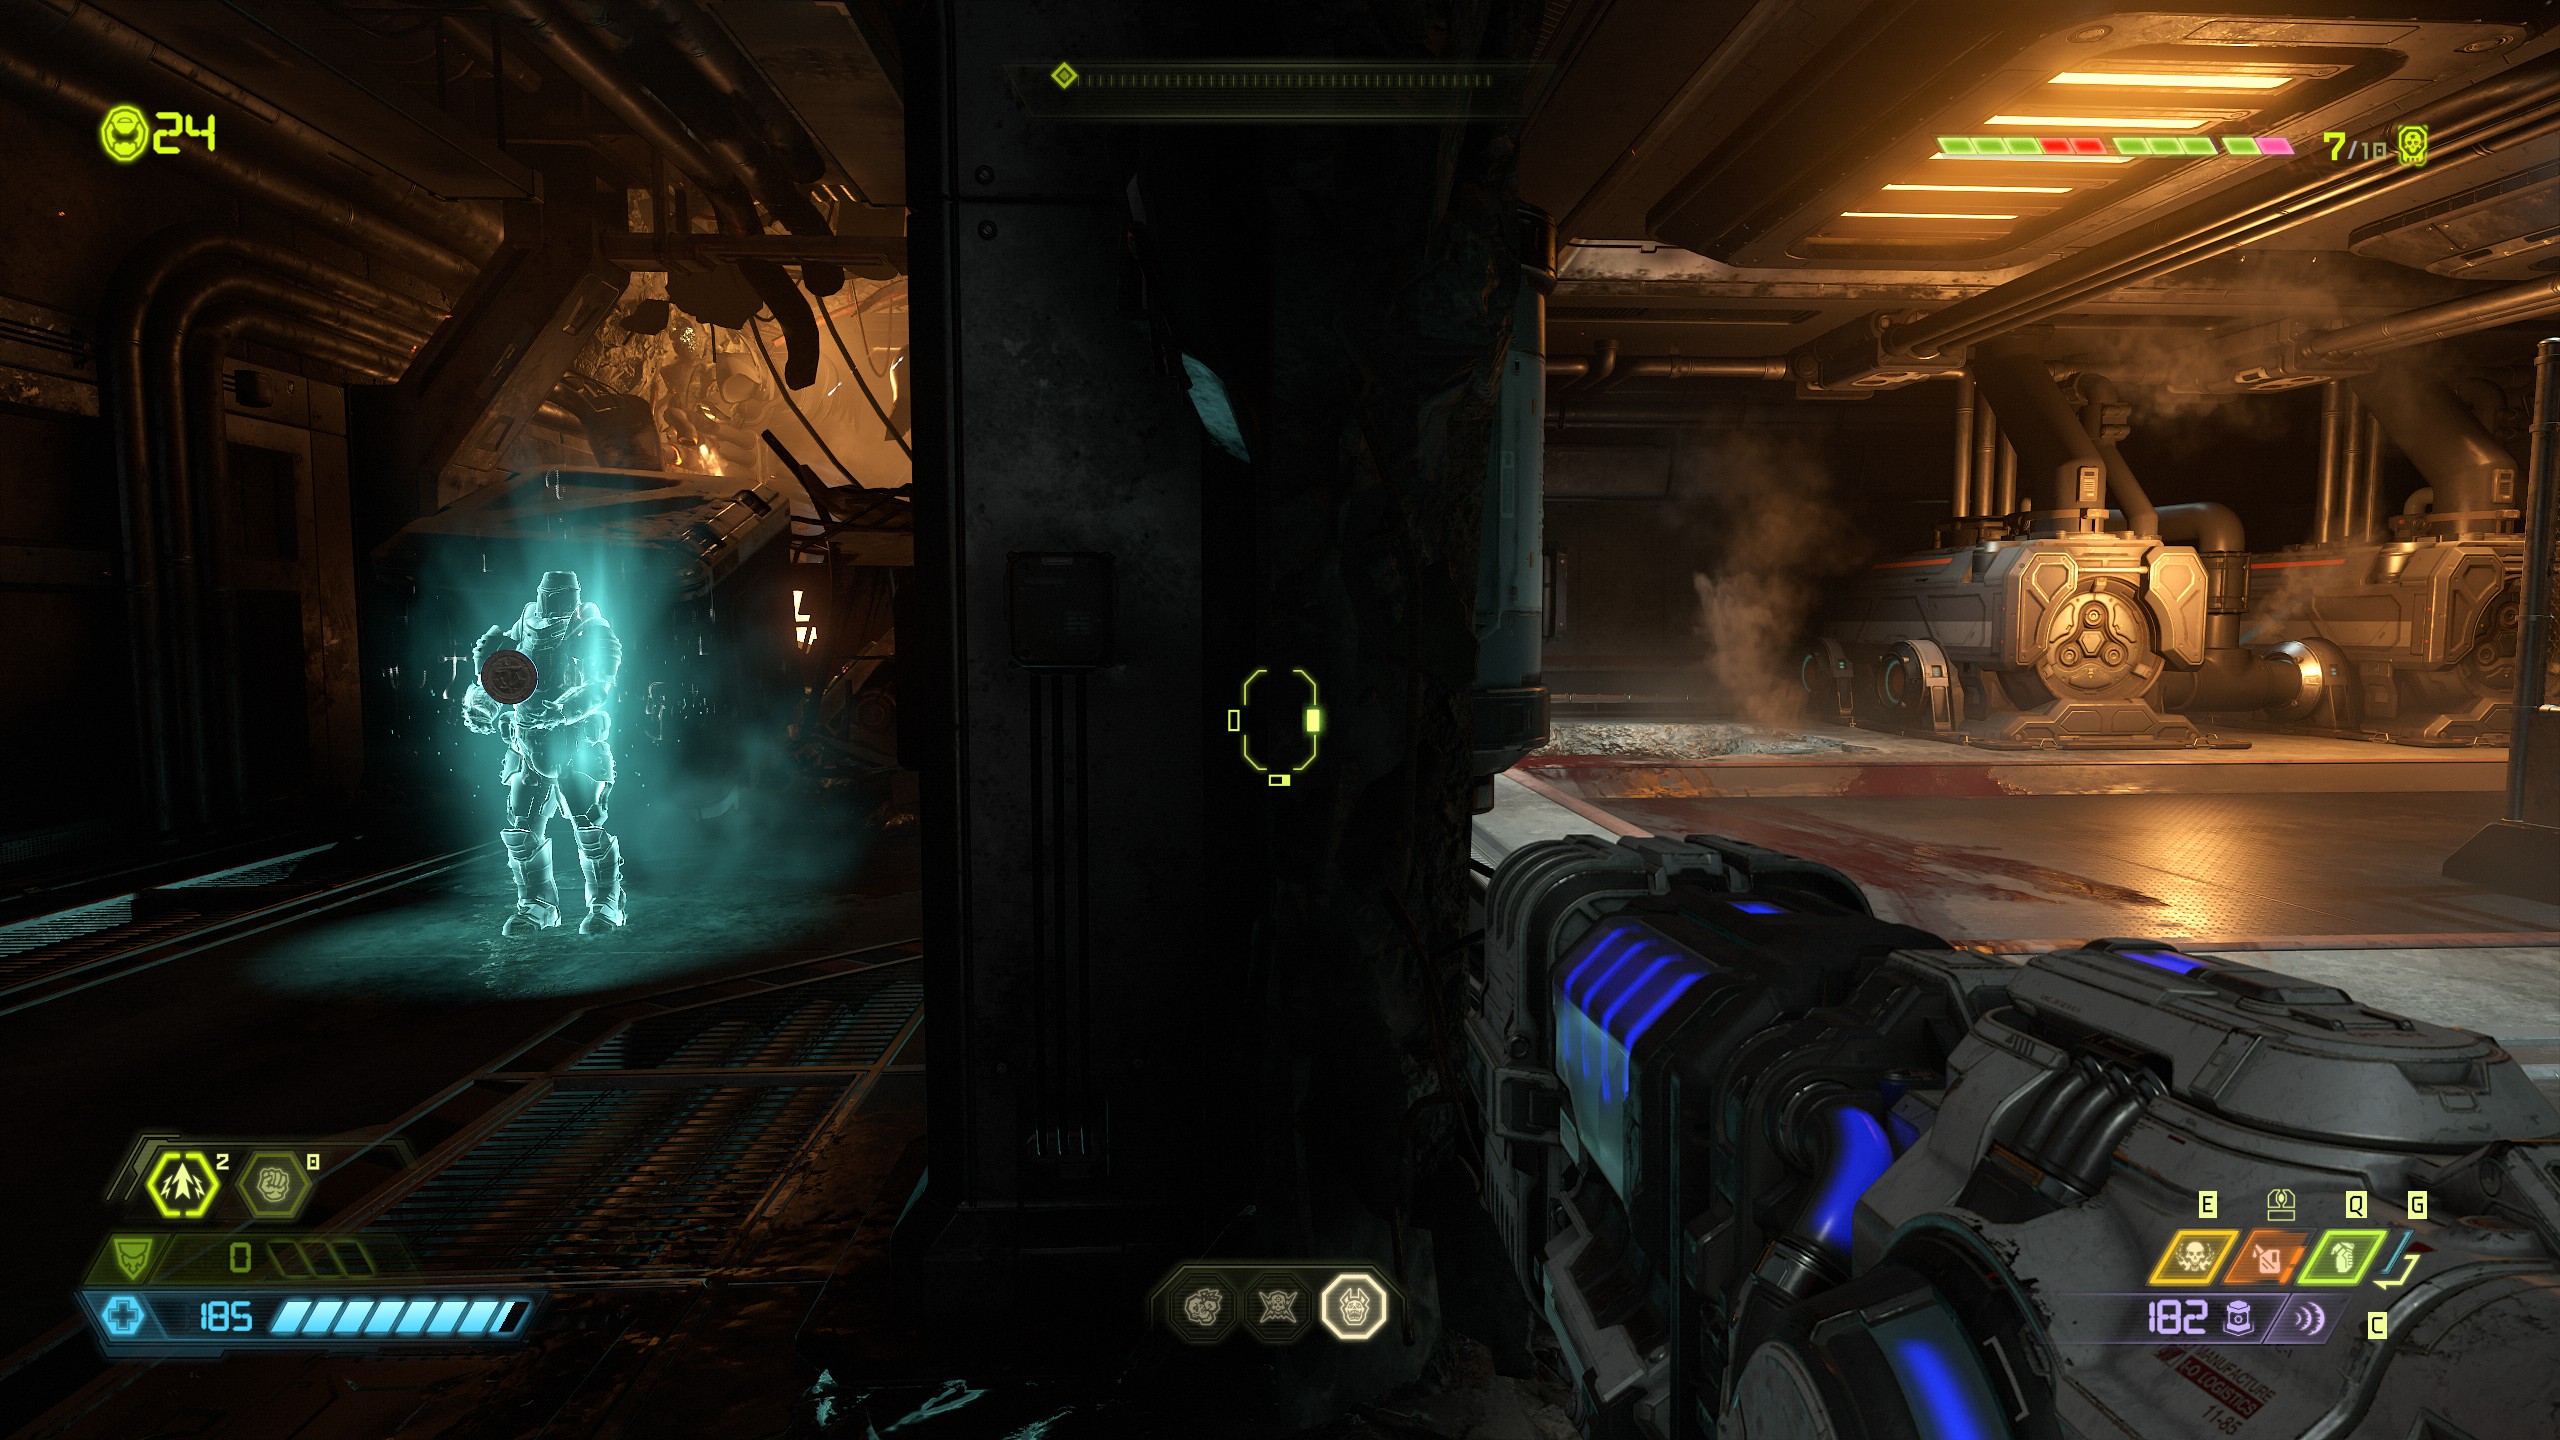
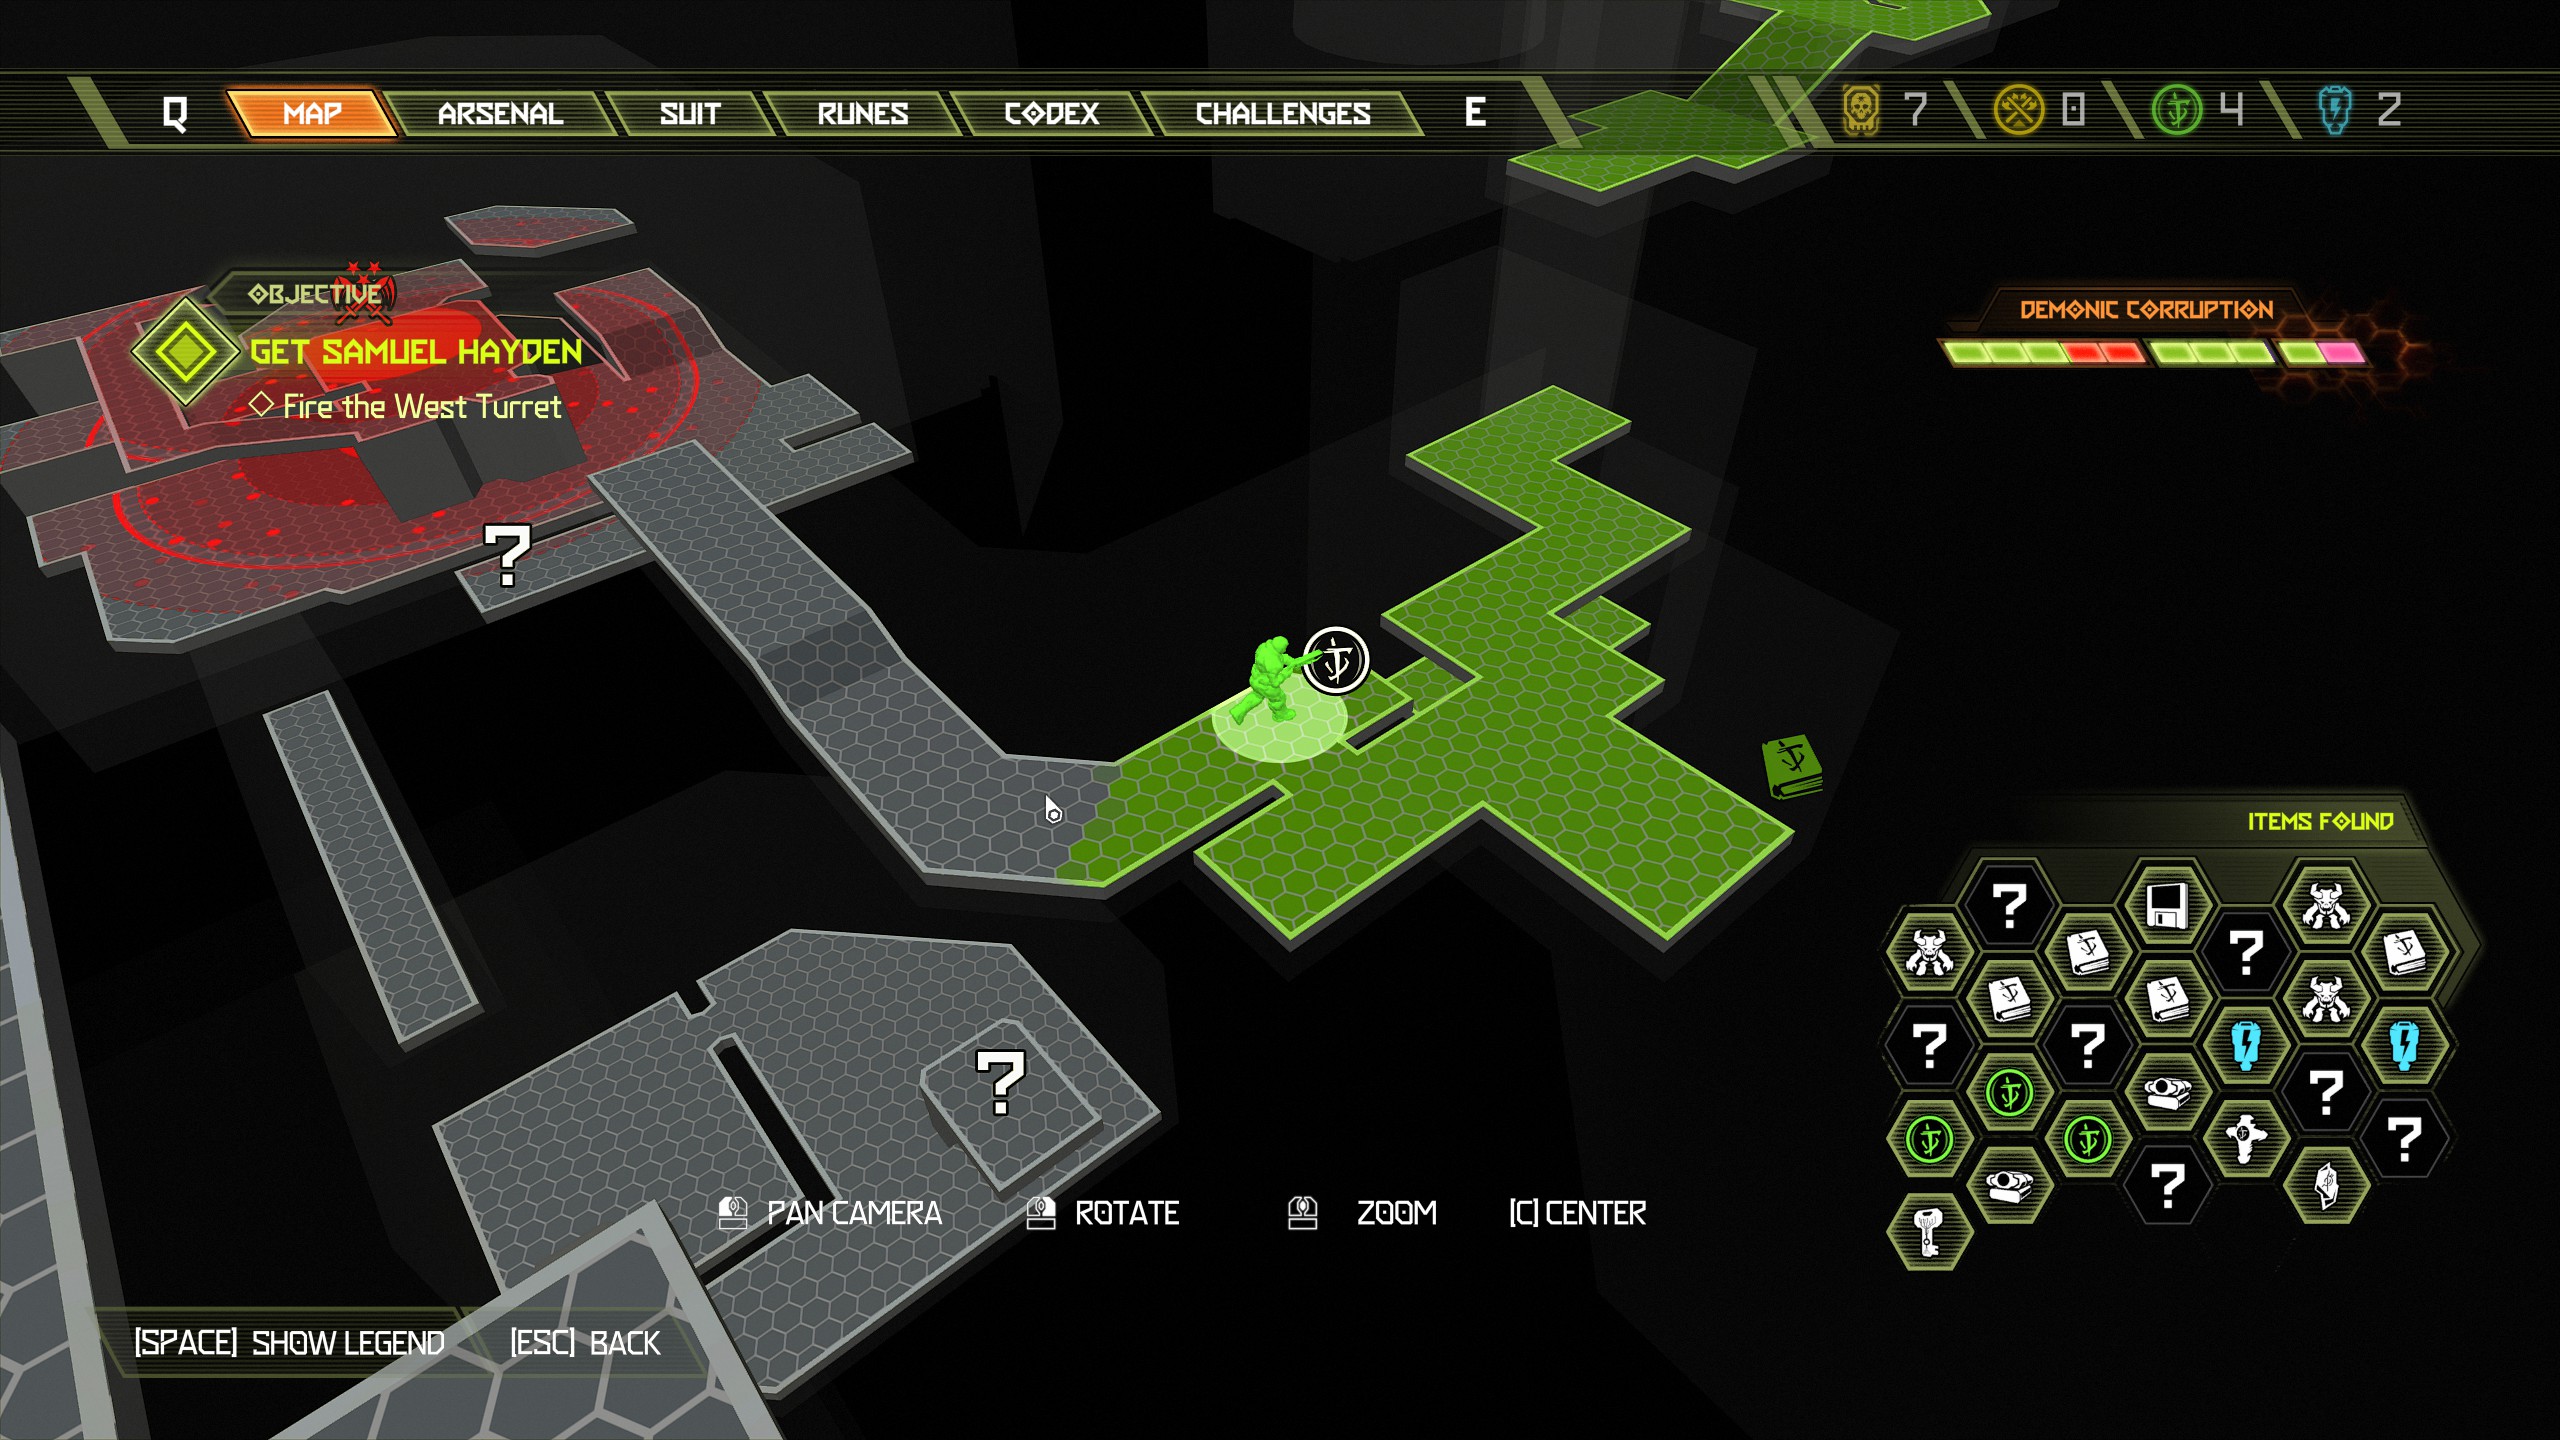
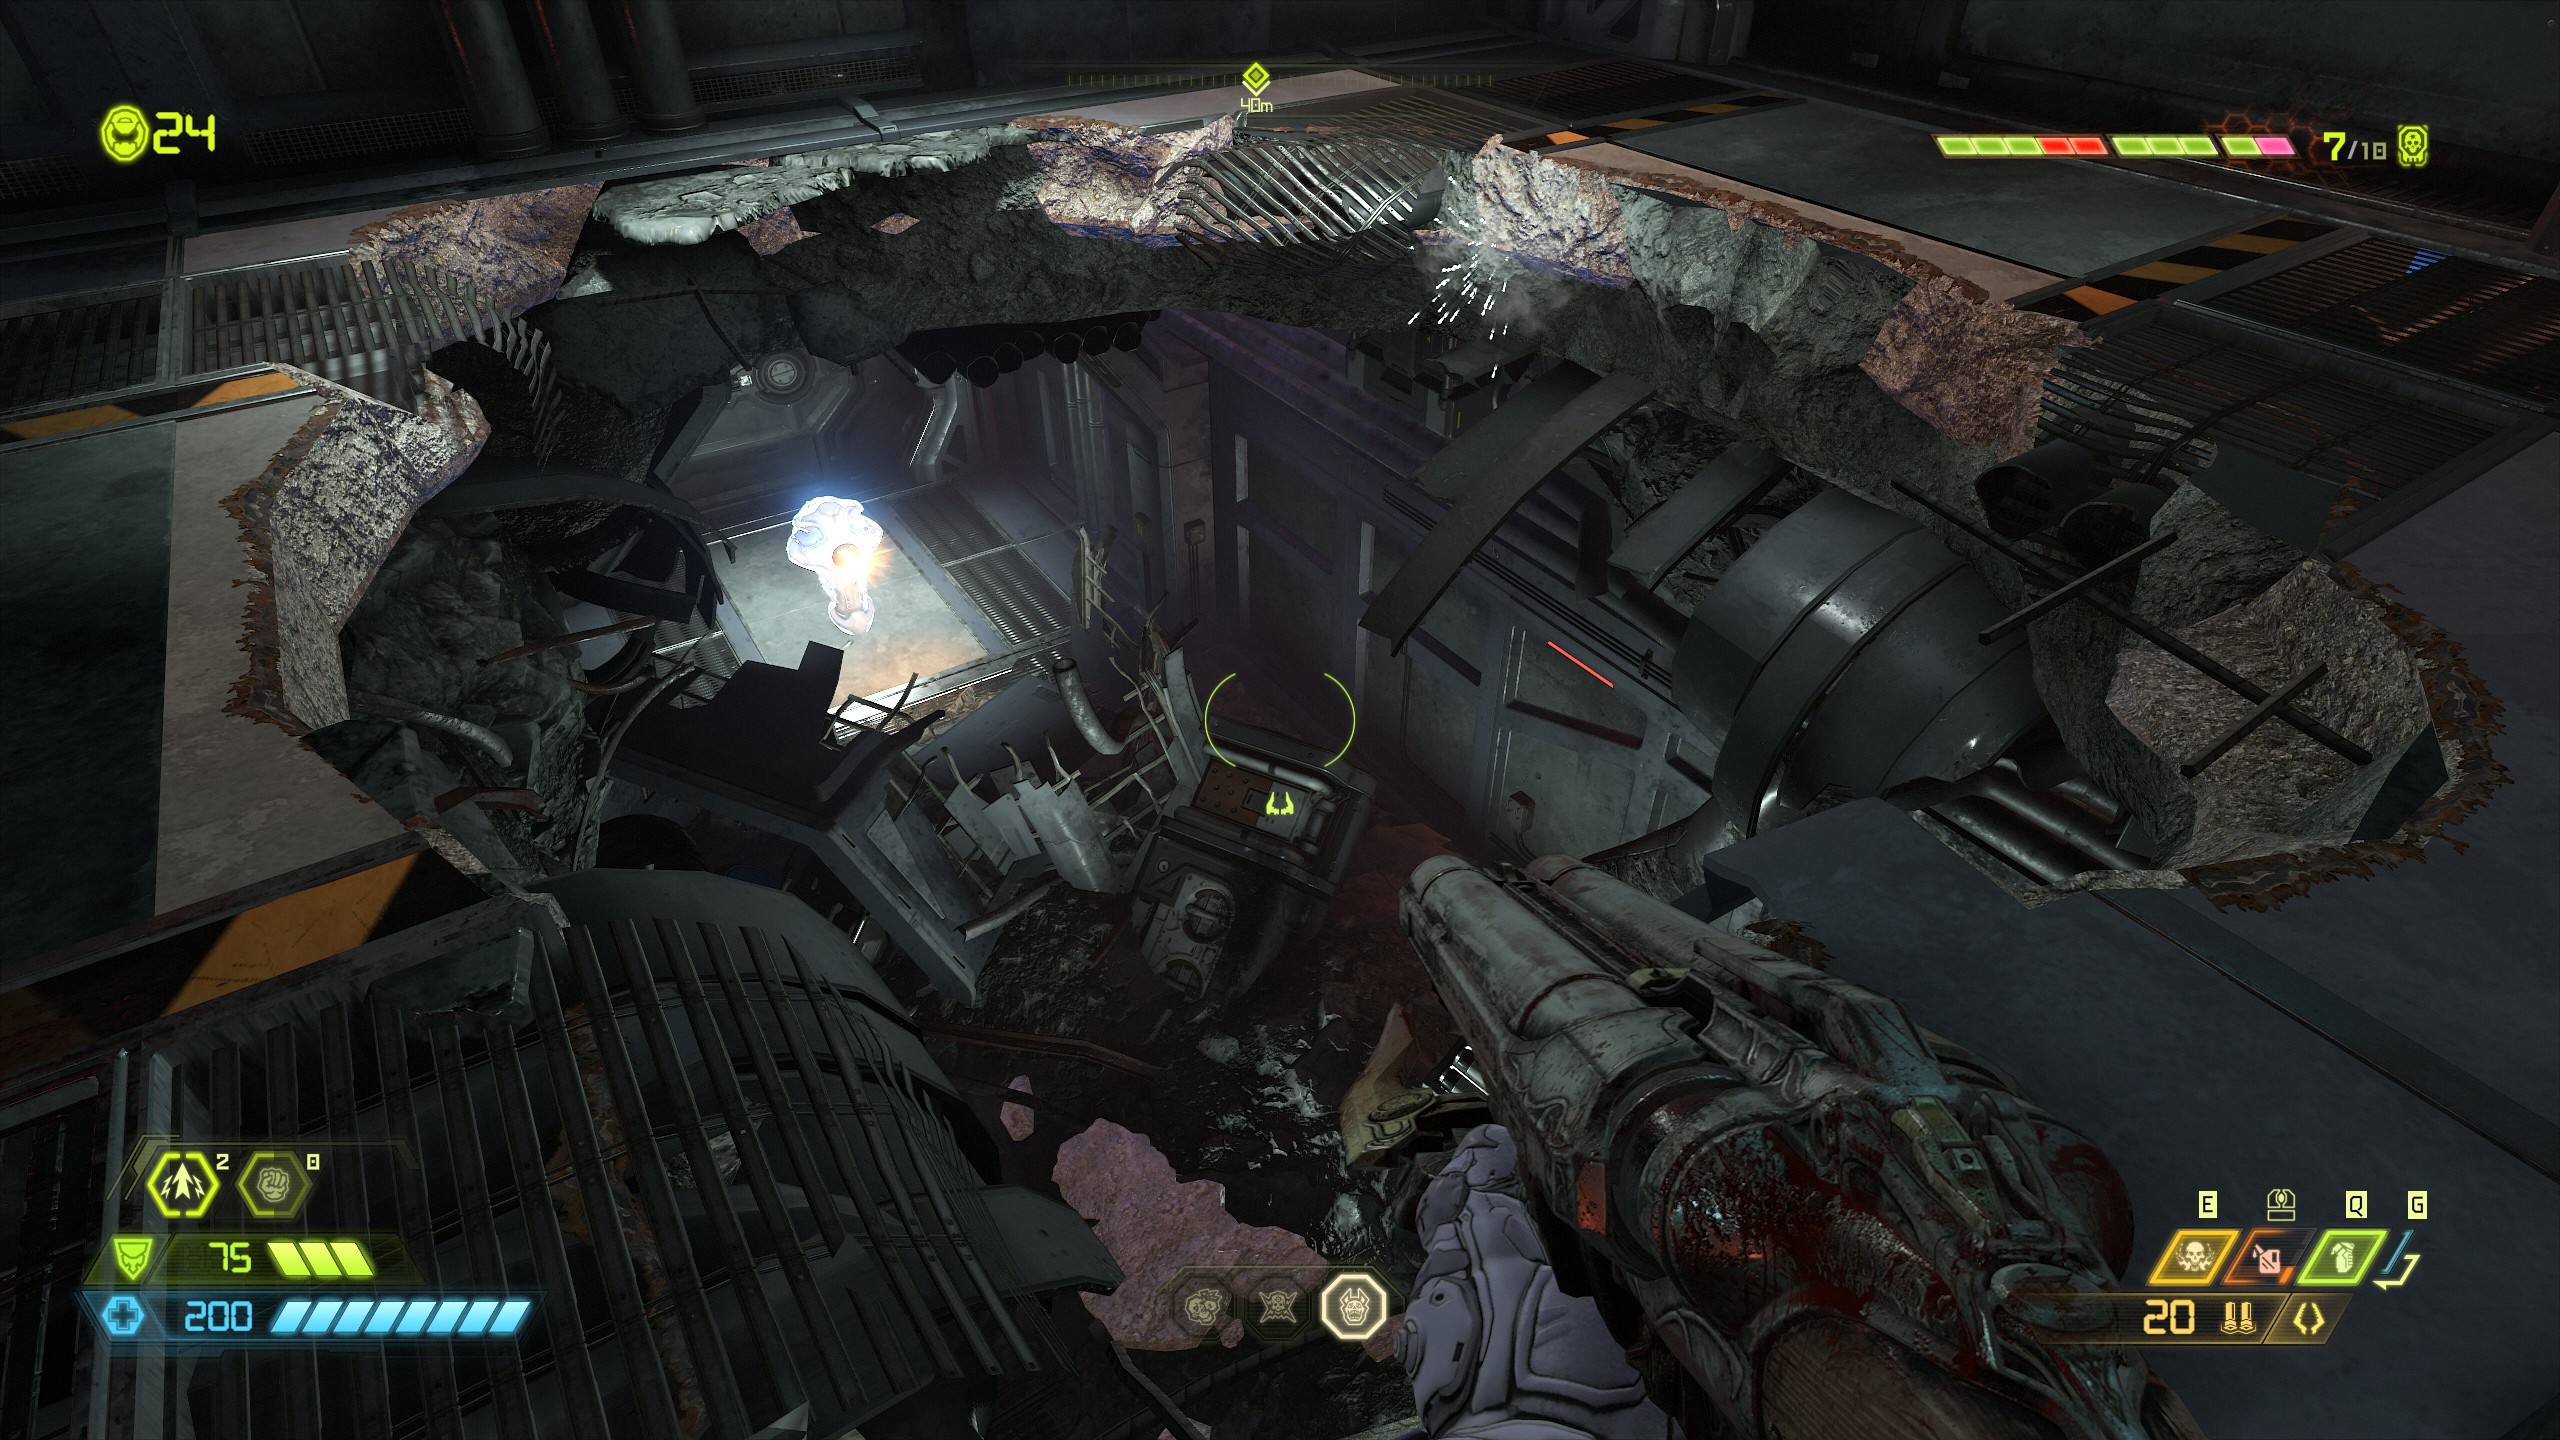
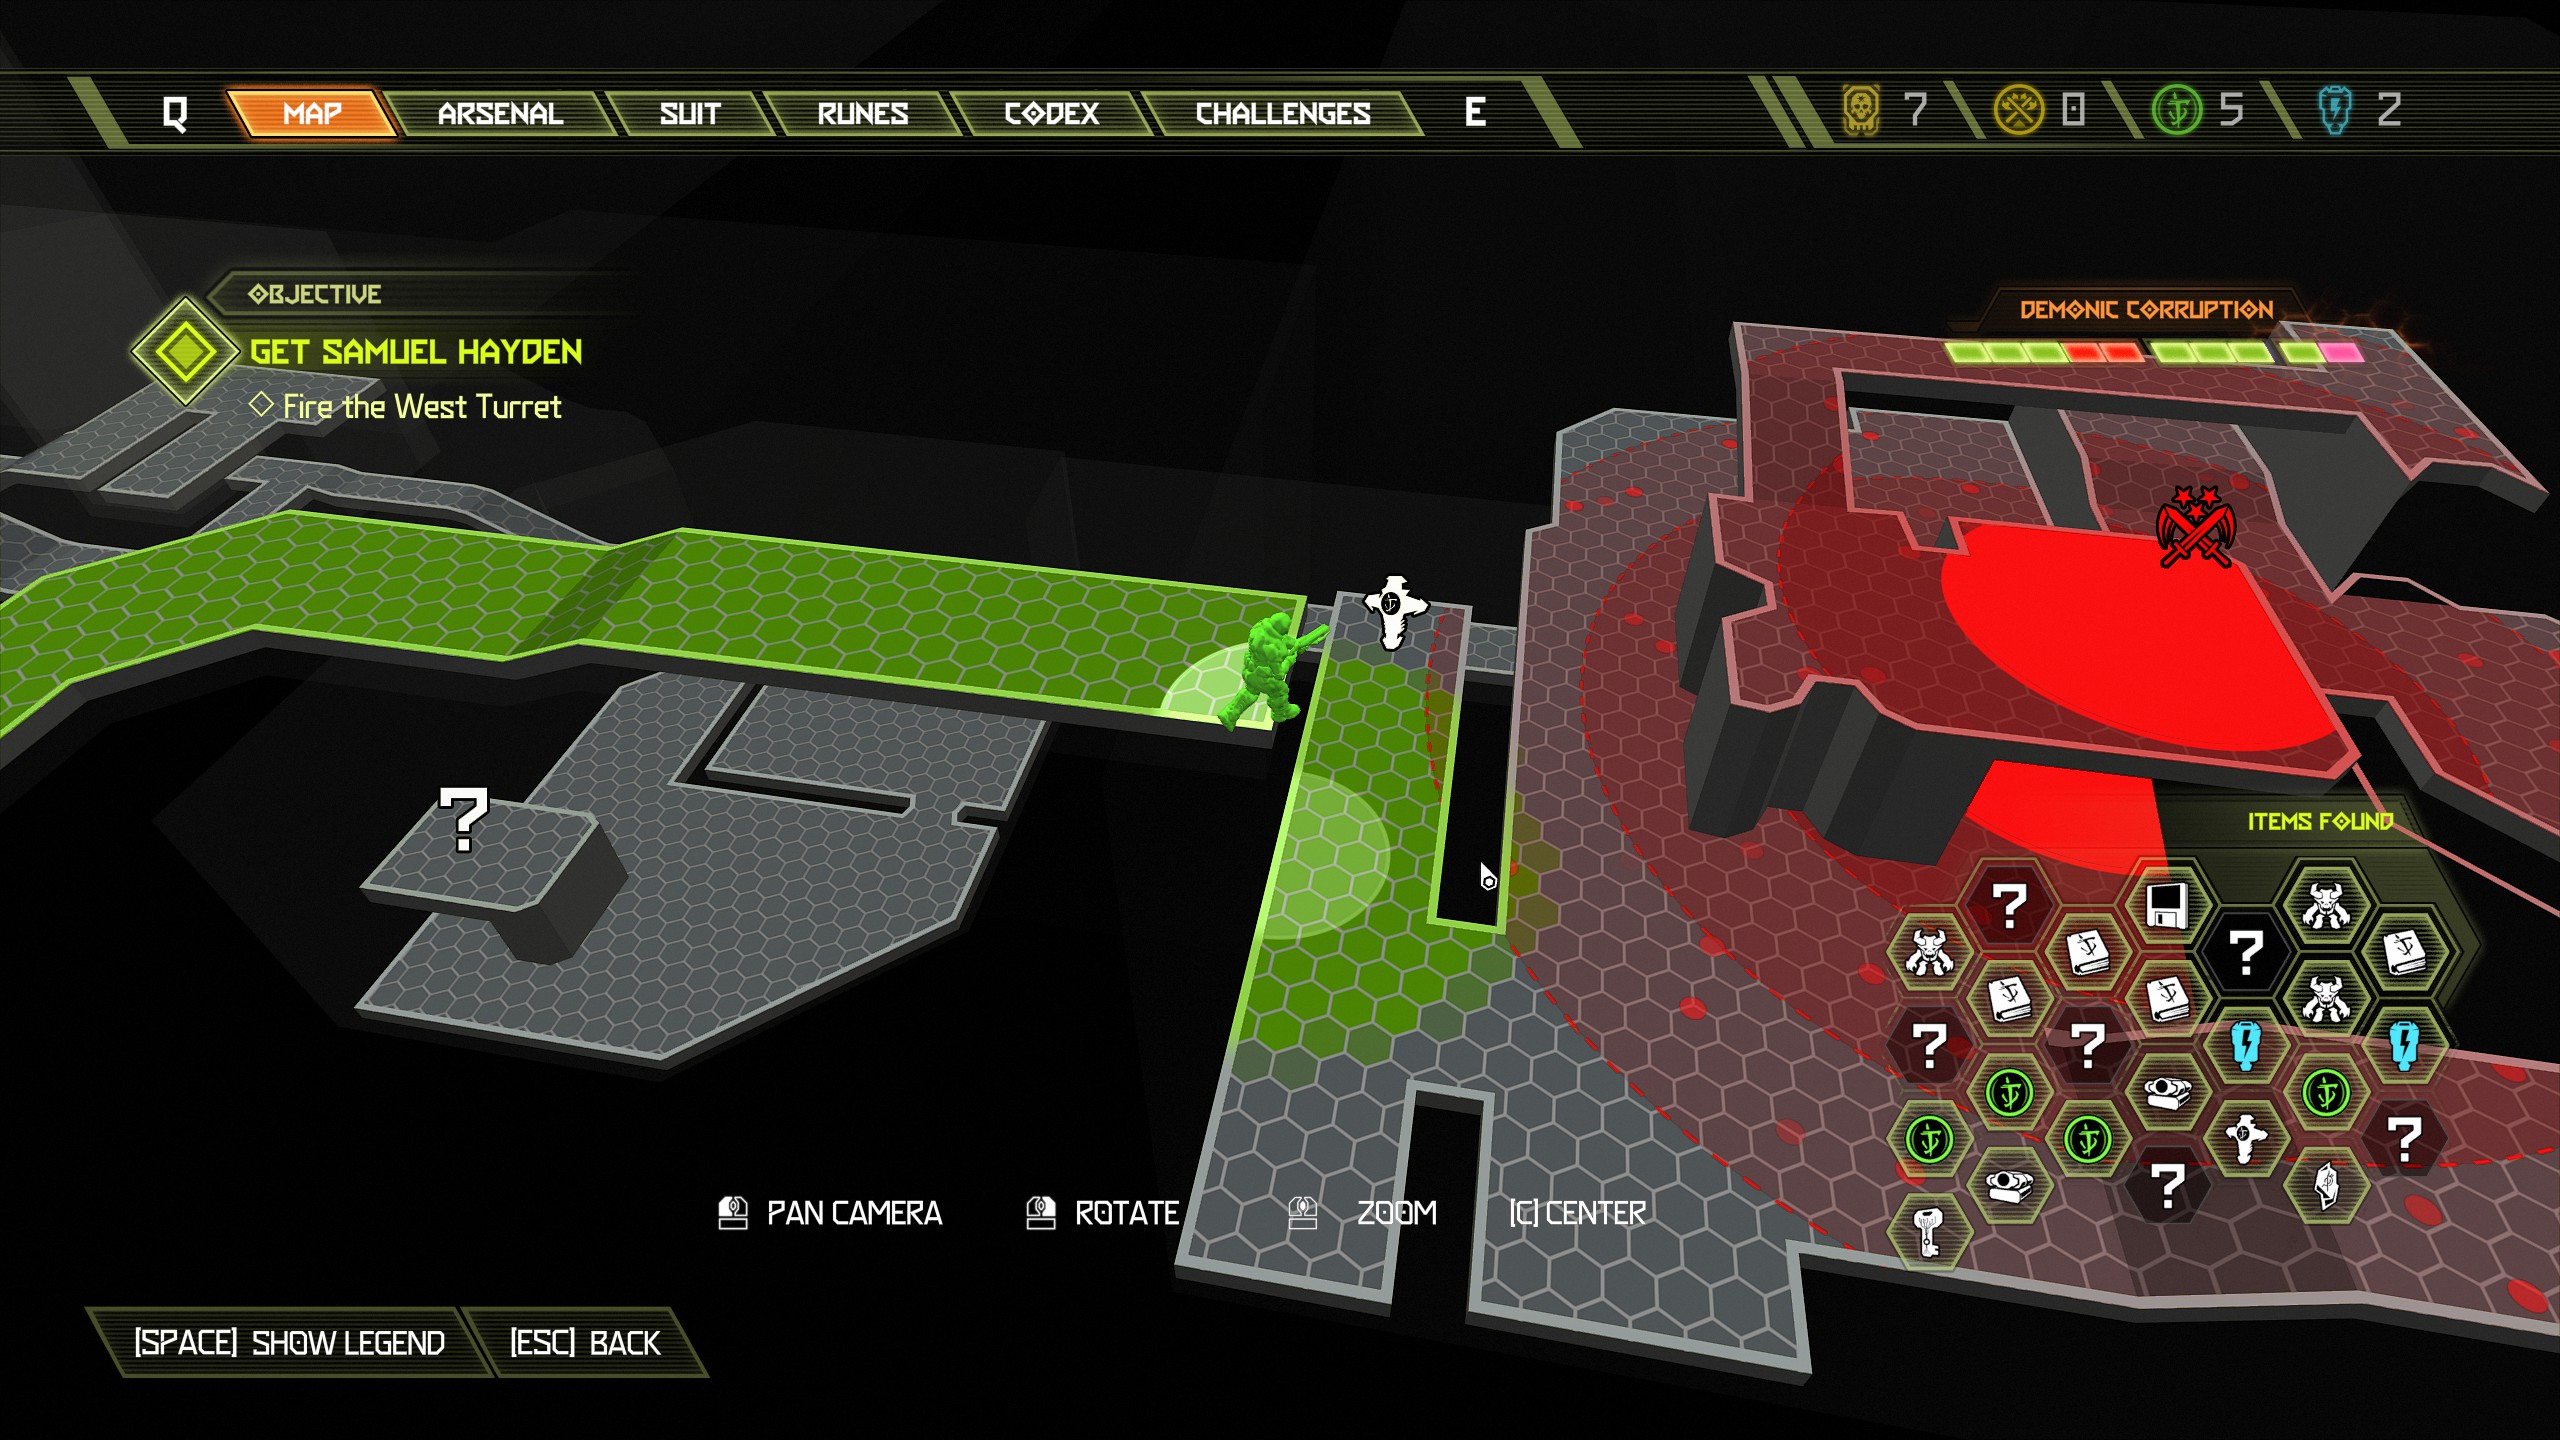
Now continue the mission until you reach the purple goo that slows you down.
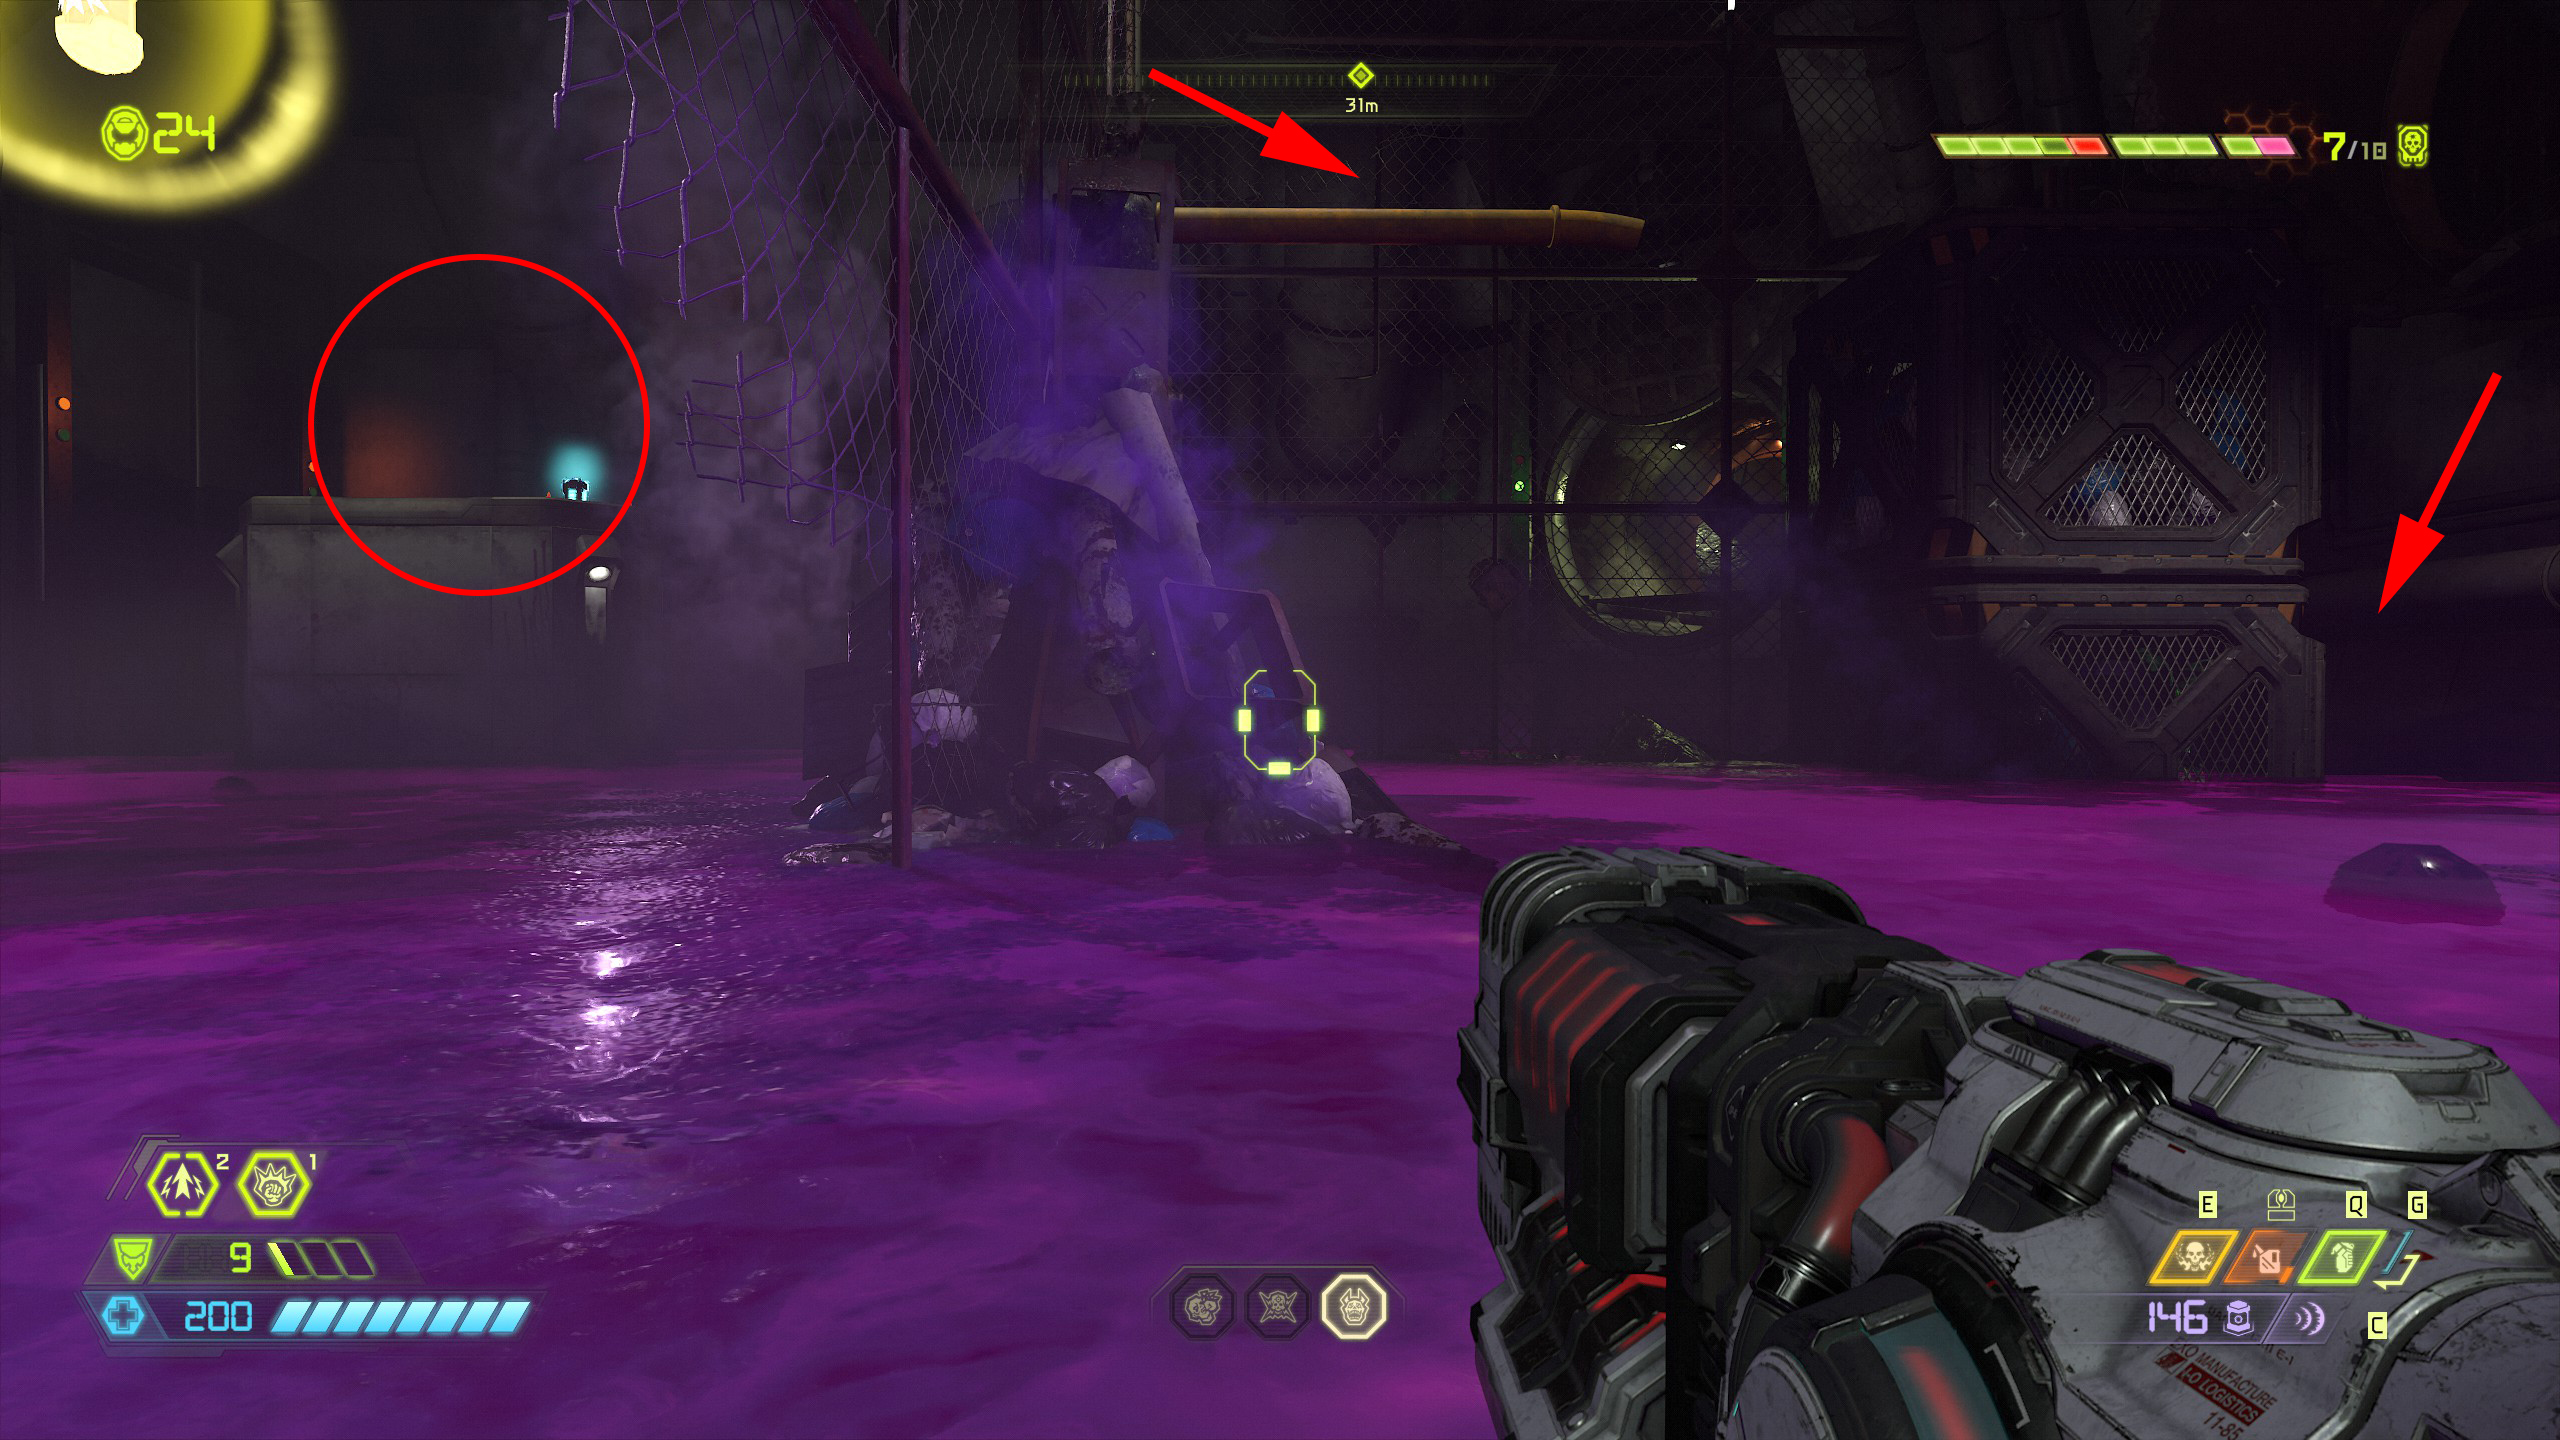
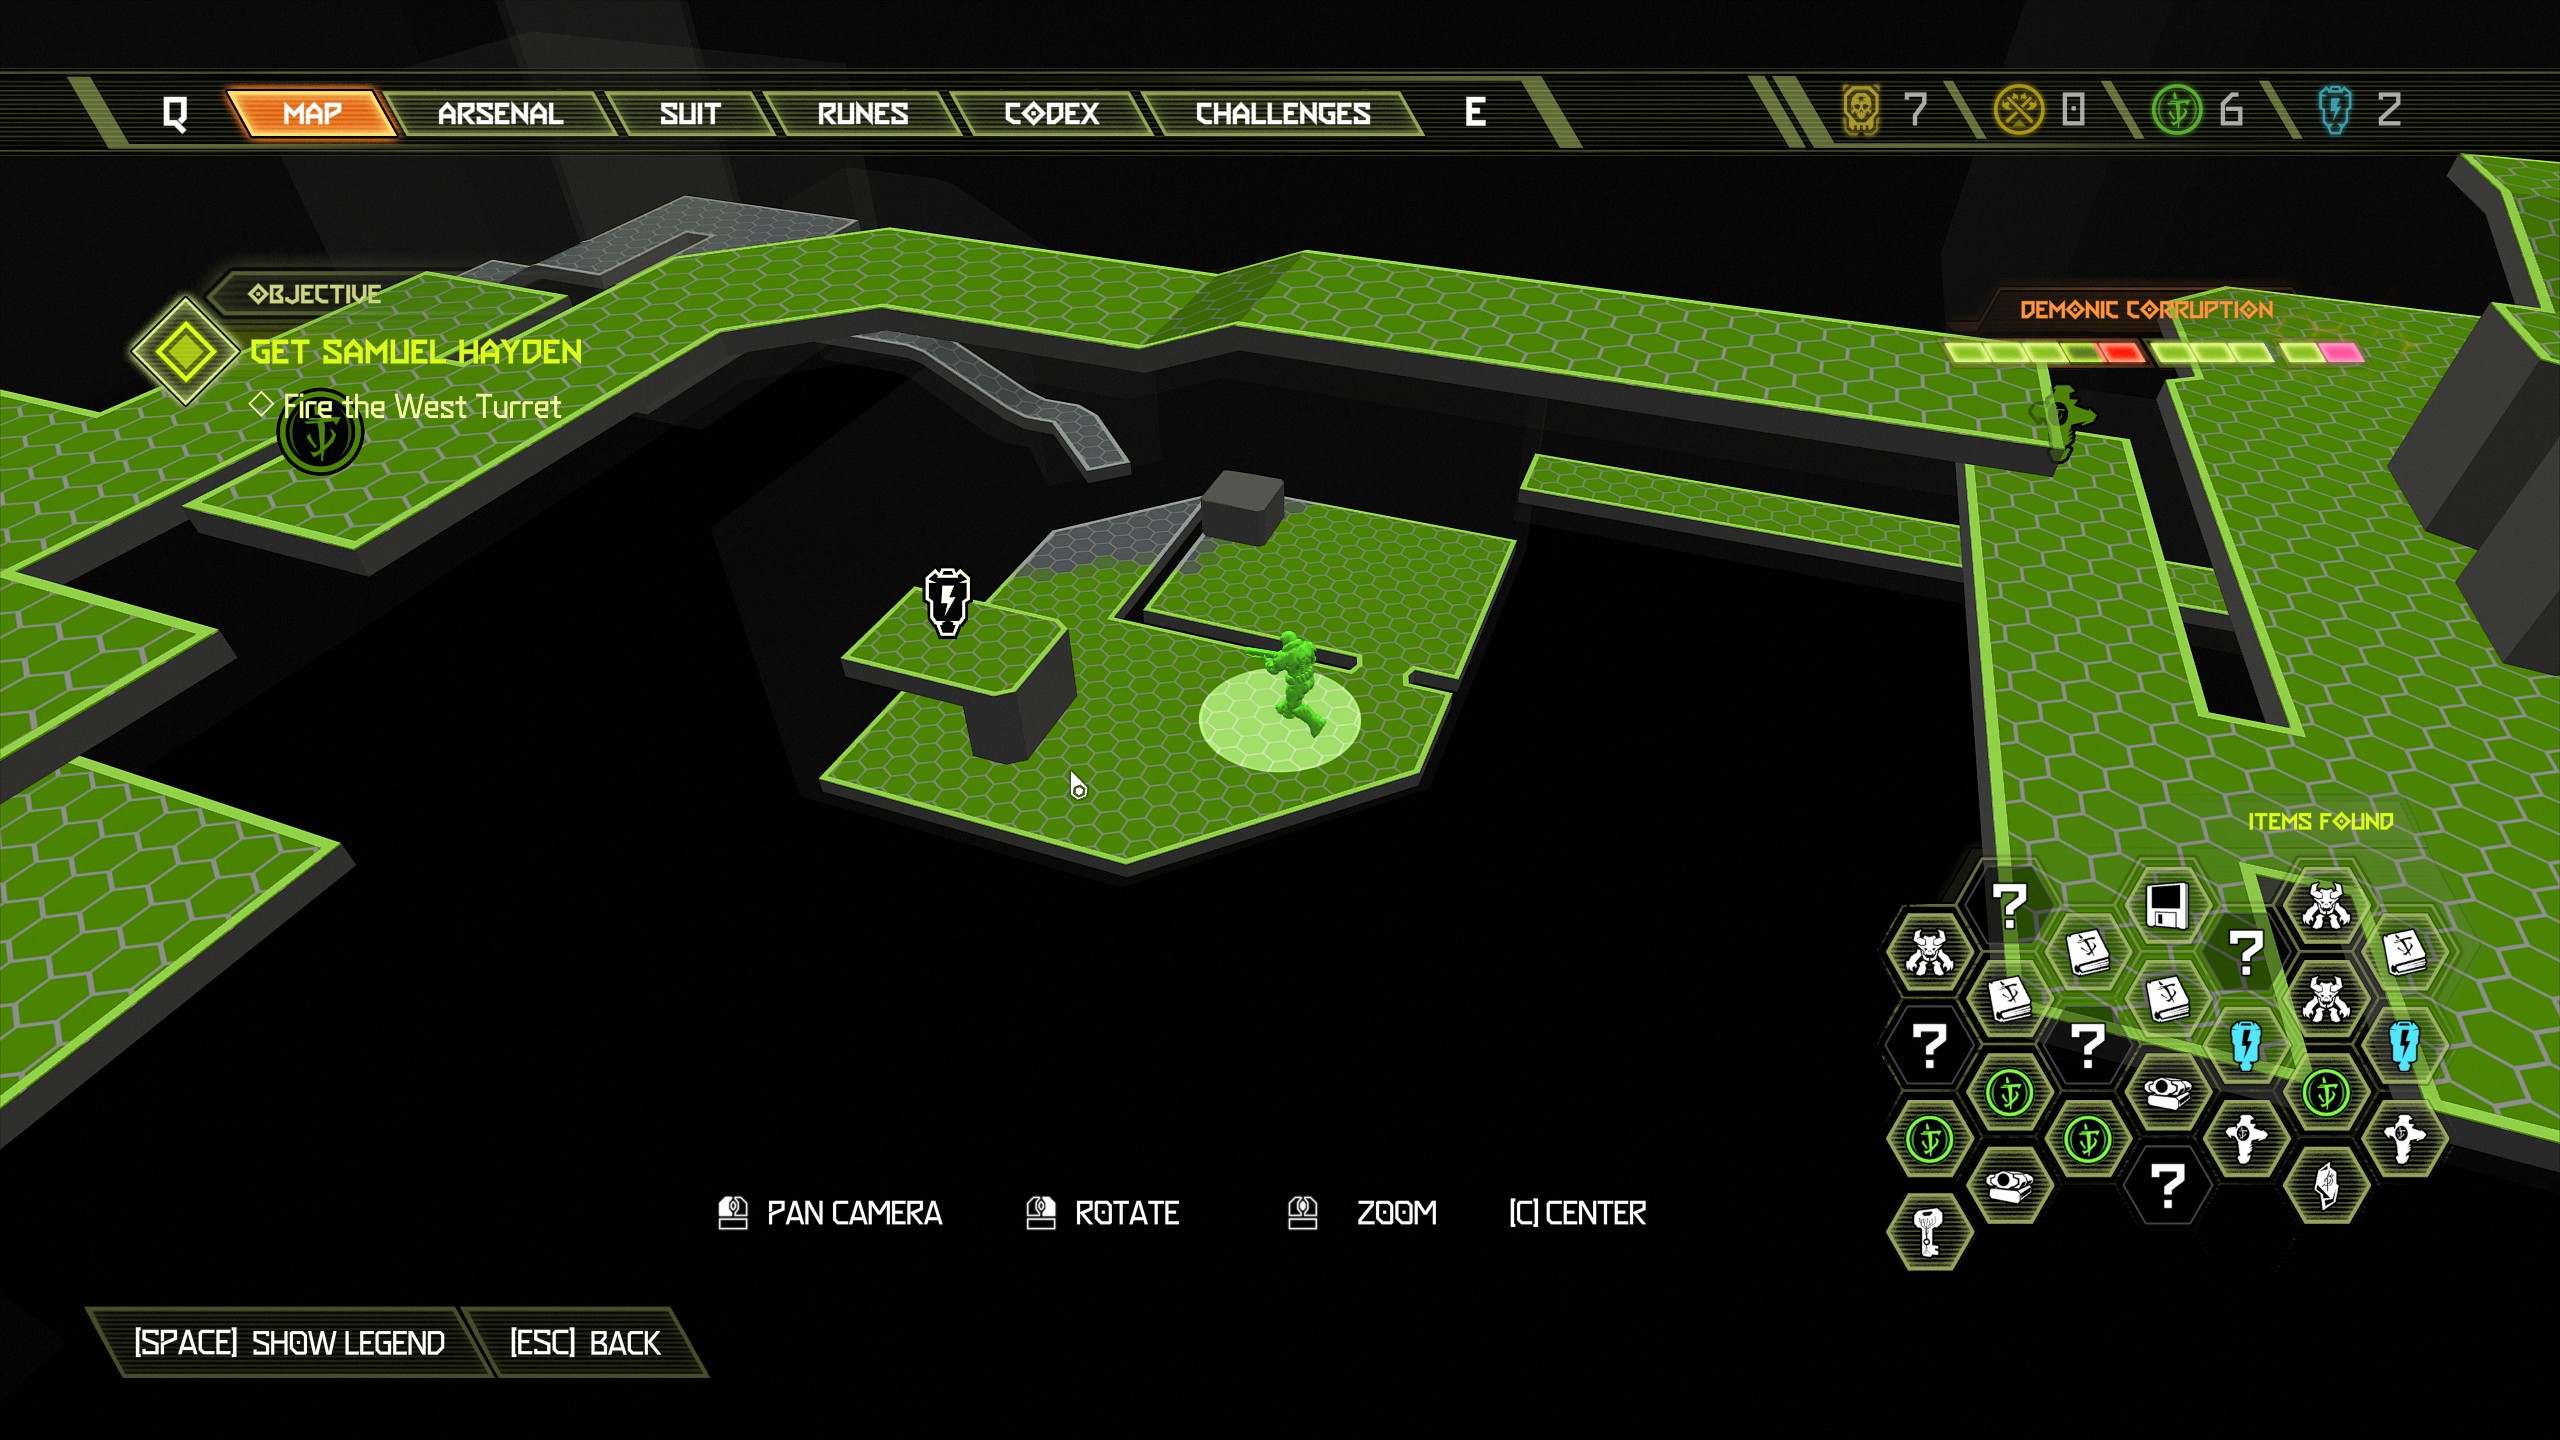
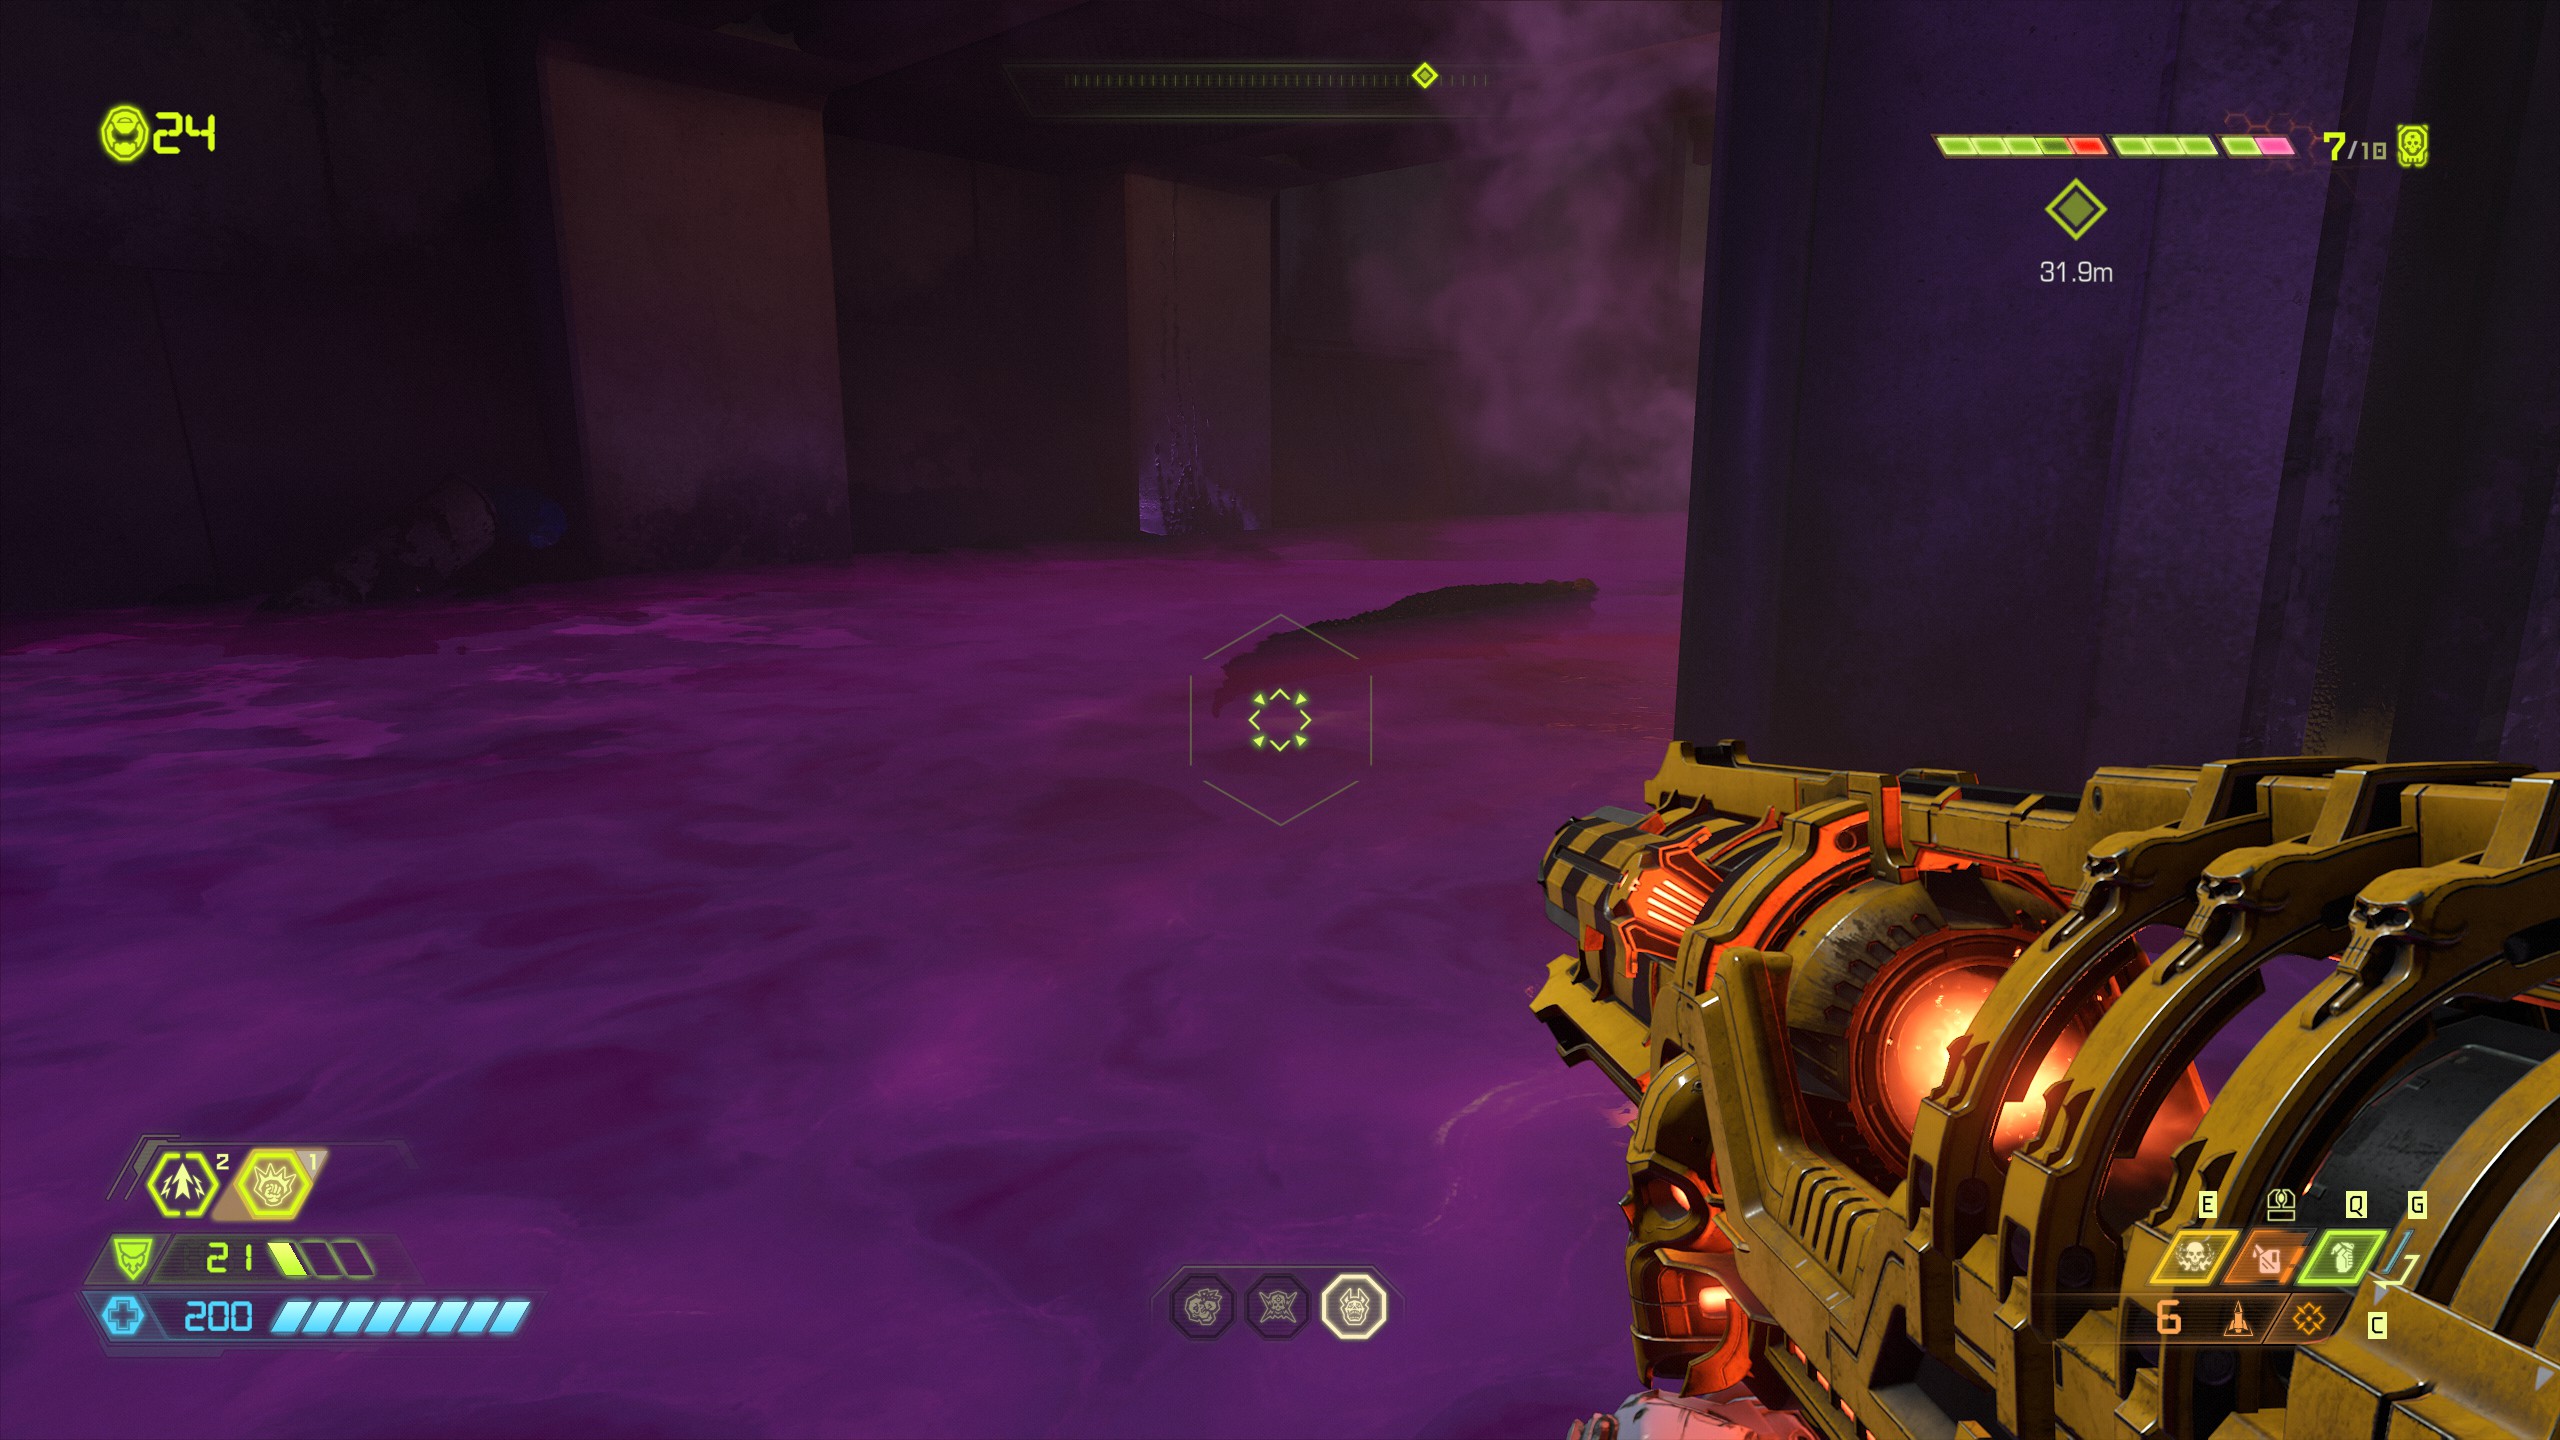
You will see a large cube on the right side, melee it twice to move it and then use it to reach the yellow bar and swing across to the sentinel battery on the other side of the fence sitting on a platform.
I also noticed a crocodile under the platform that the battery sits on that quickly disappeared when i got close, weird.
Secret Encounter:
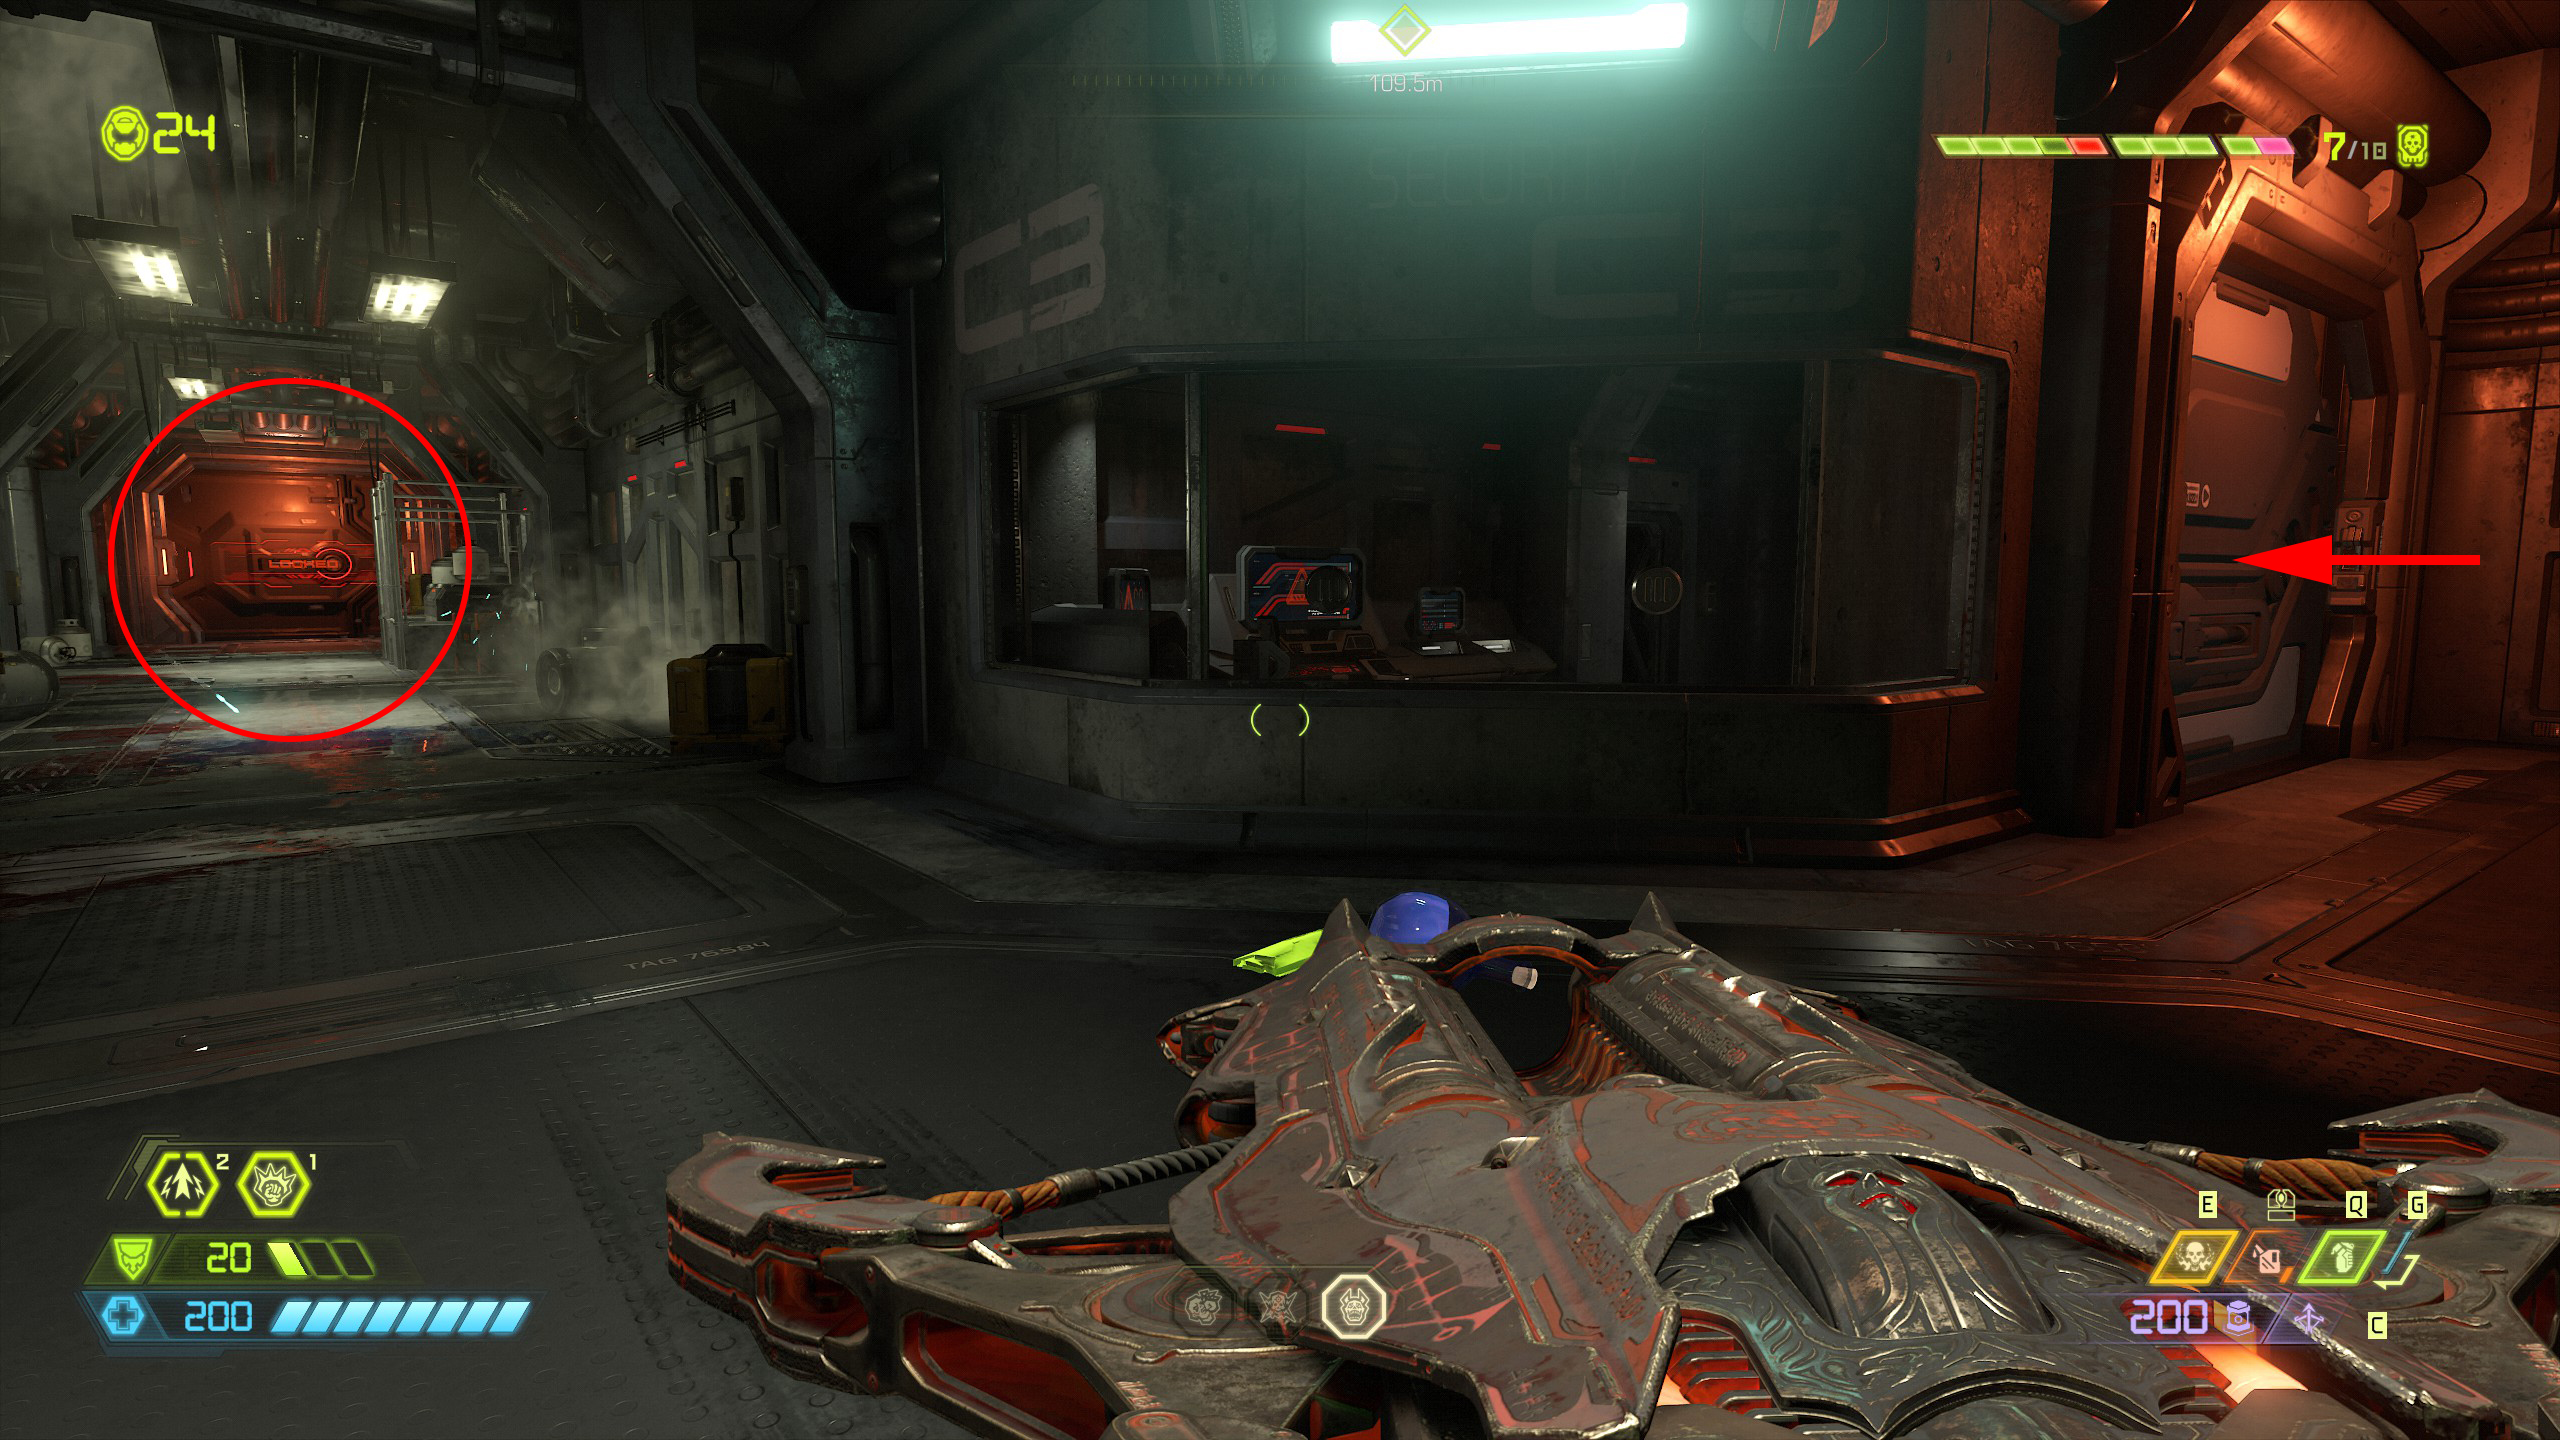
For this encounter you will be attacked by 1 mancubus, 3 prowlers. Make your way into the elevator and when you reach the lower level continue down the passage through the electric sparks, as you turn the first corner you will notice a locked door on your left side. To unlock the door follow the passage further along and in the small room at the end on the left side will be a yellow button you can activate. Activate the button to unlock the door and then go back to the door which should now be green, inside will be a codex page for you to collect.
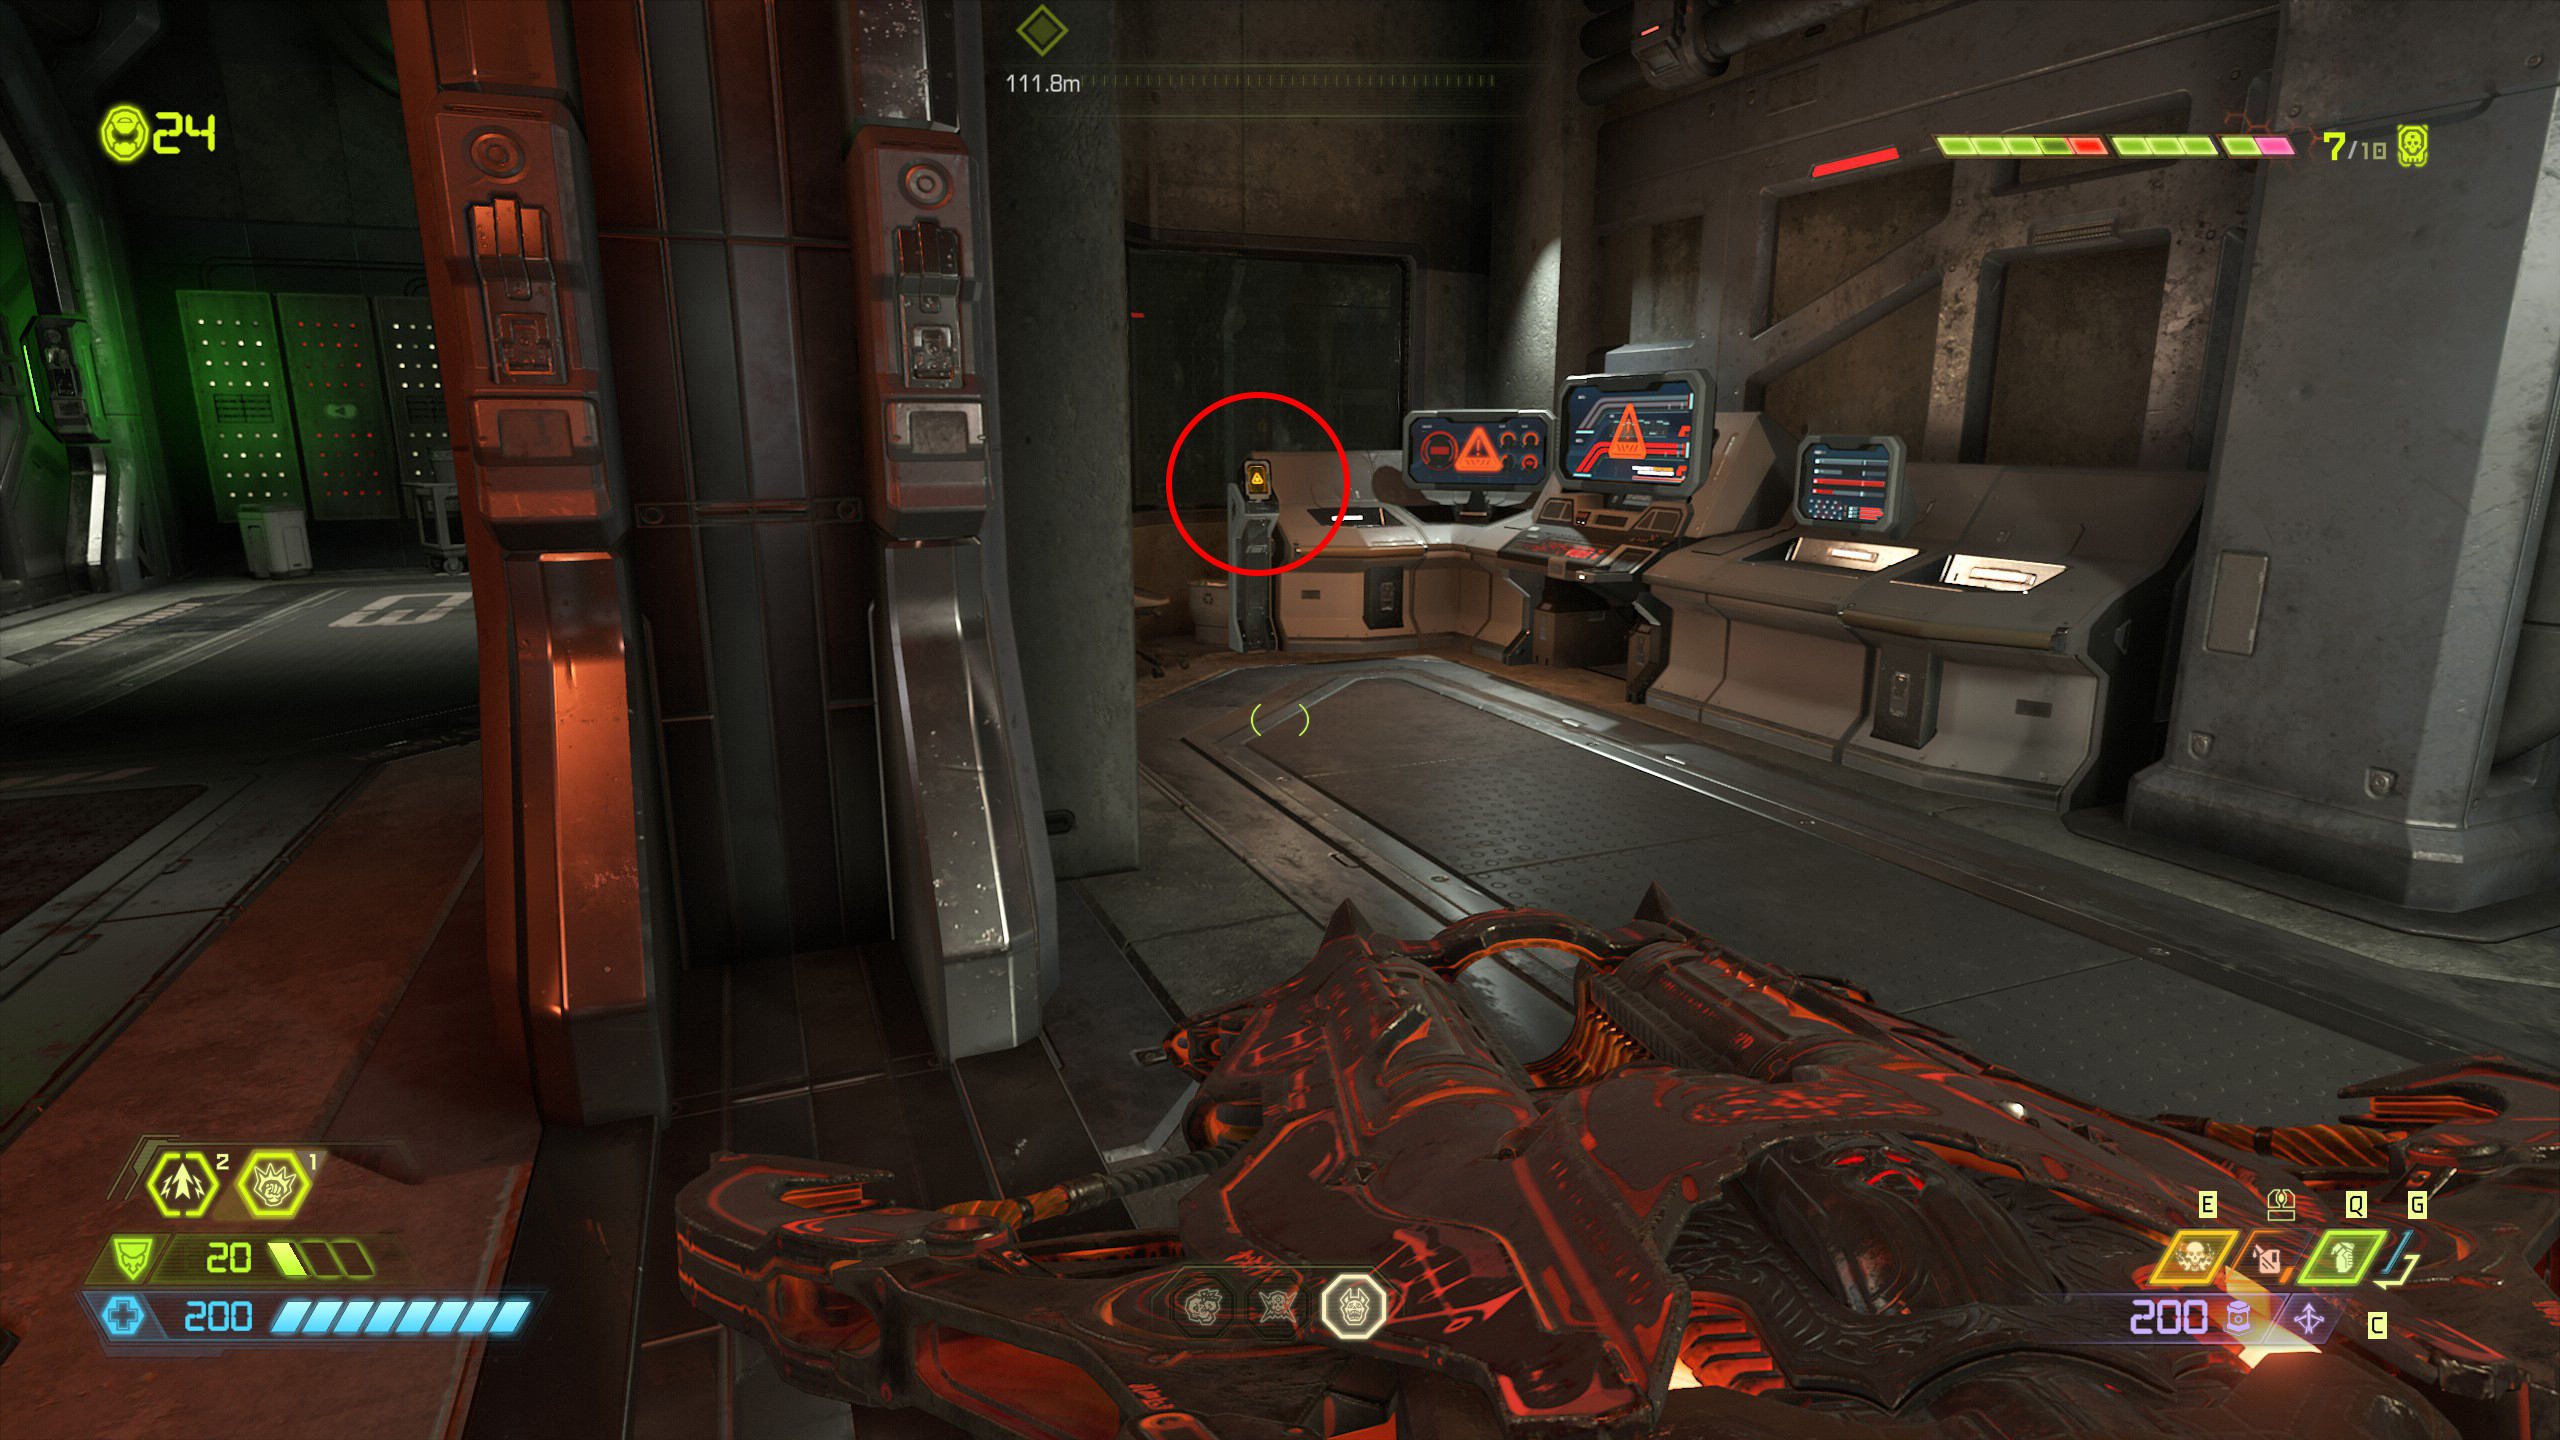
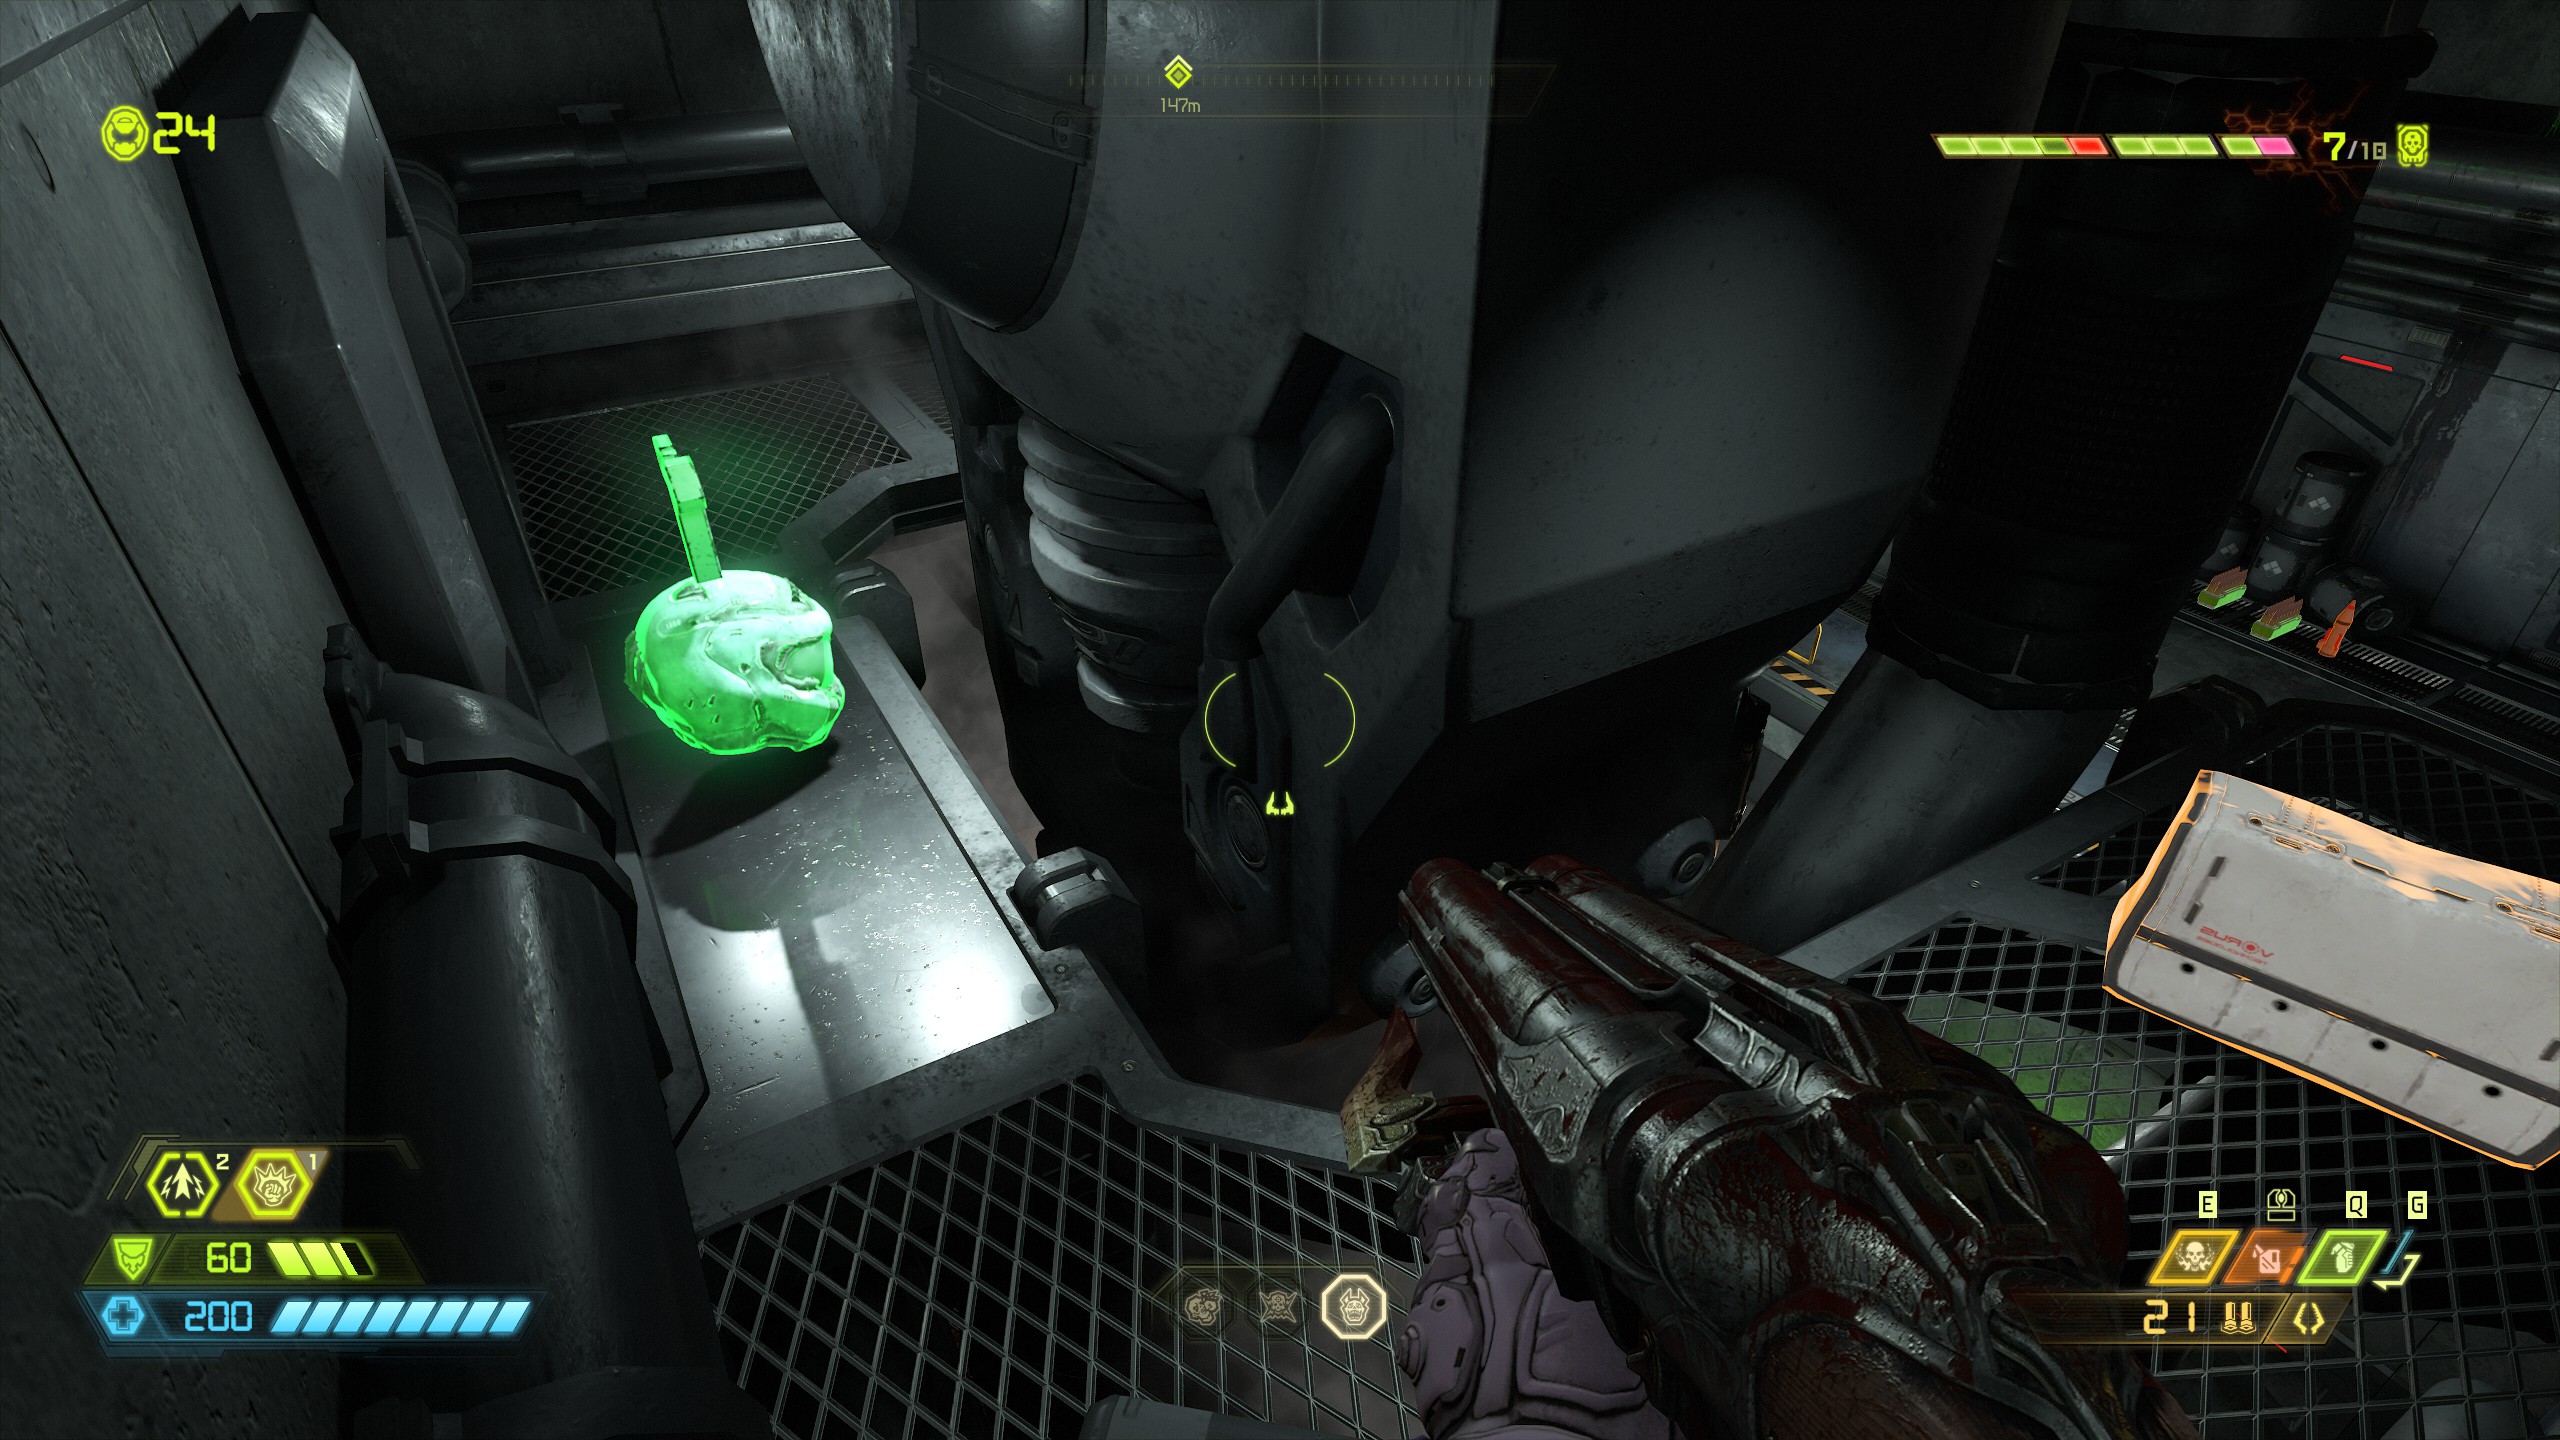
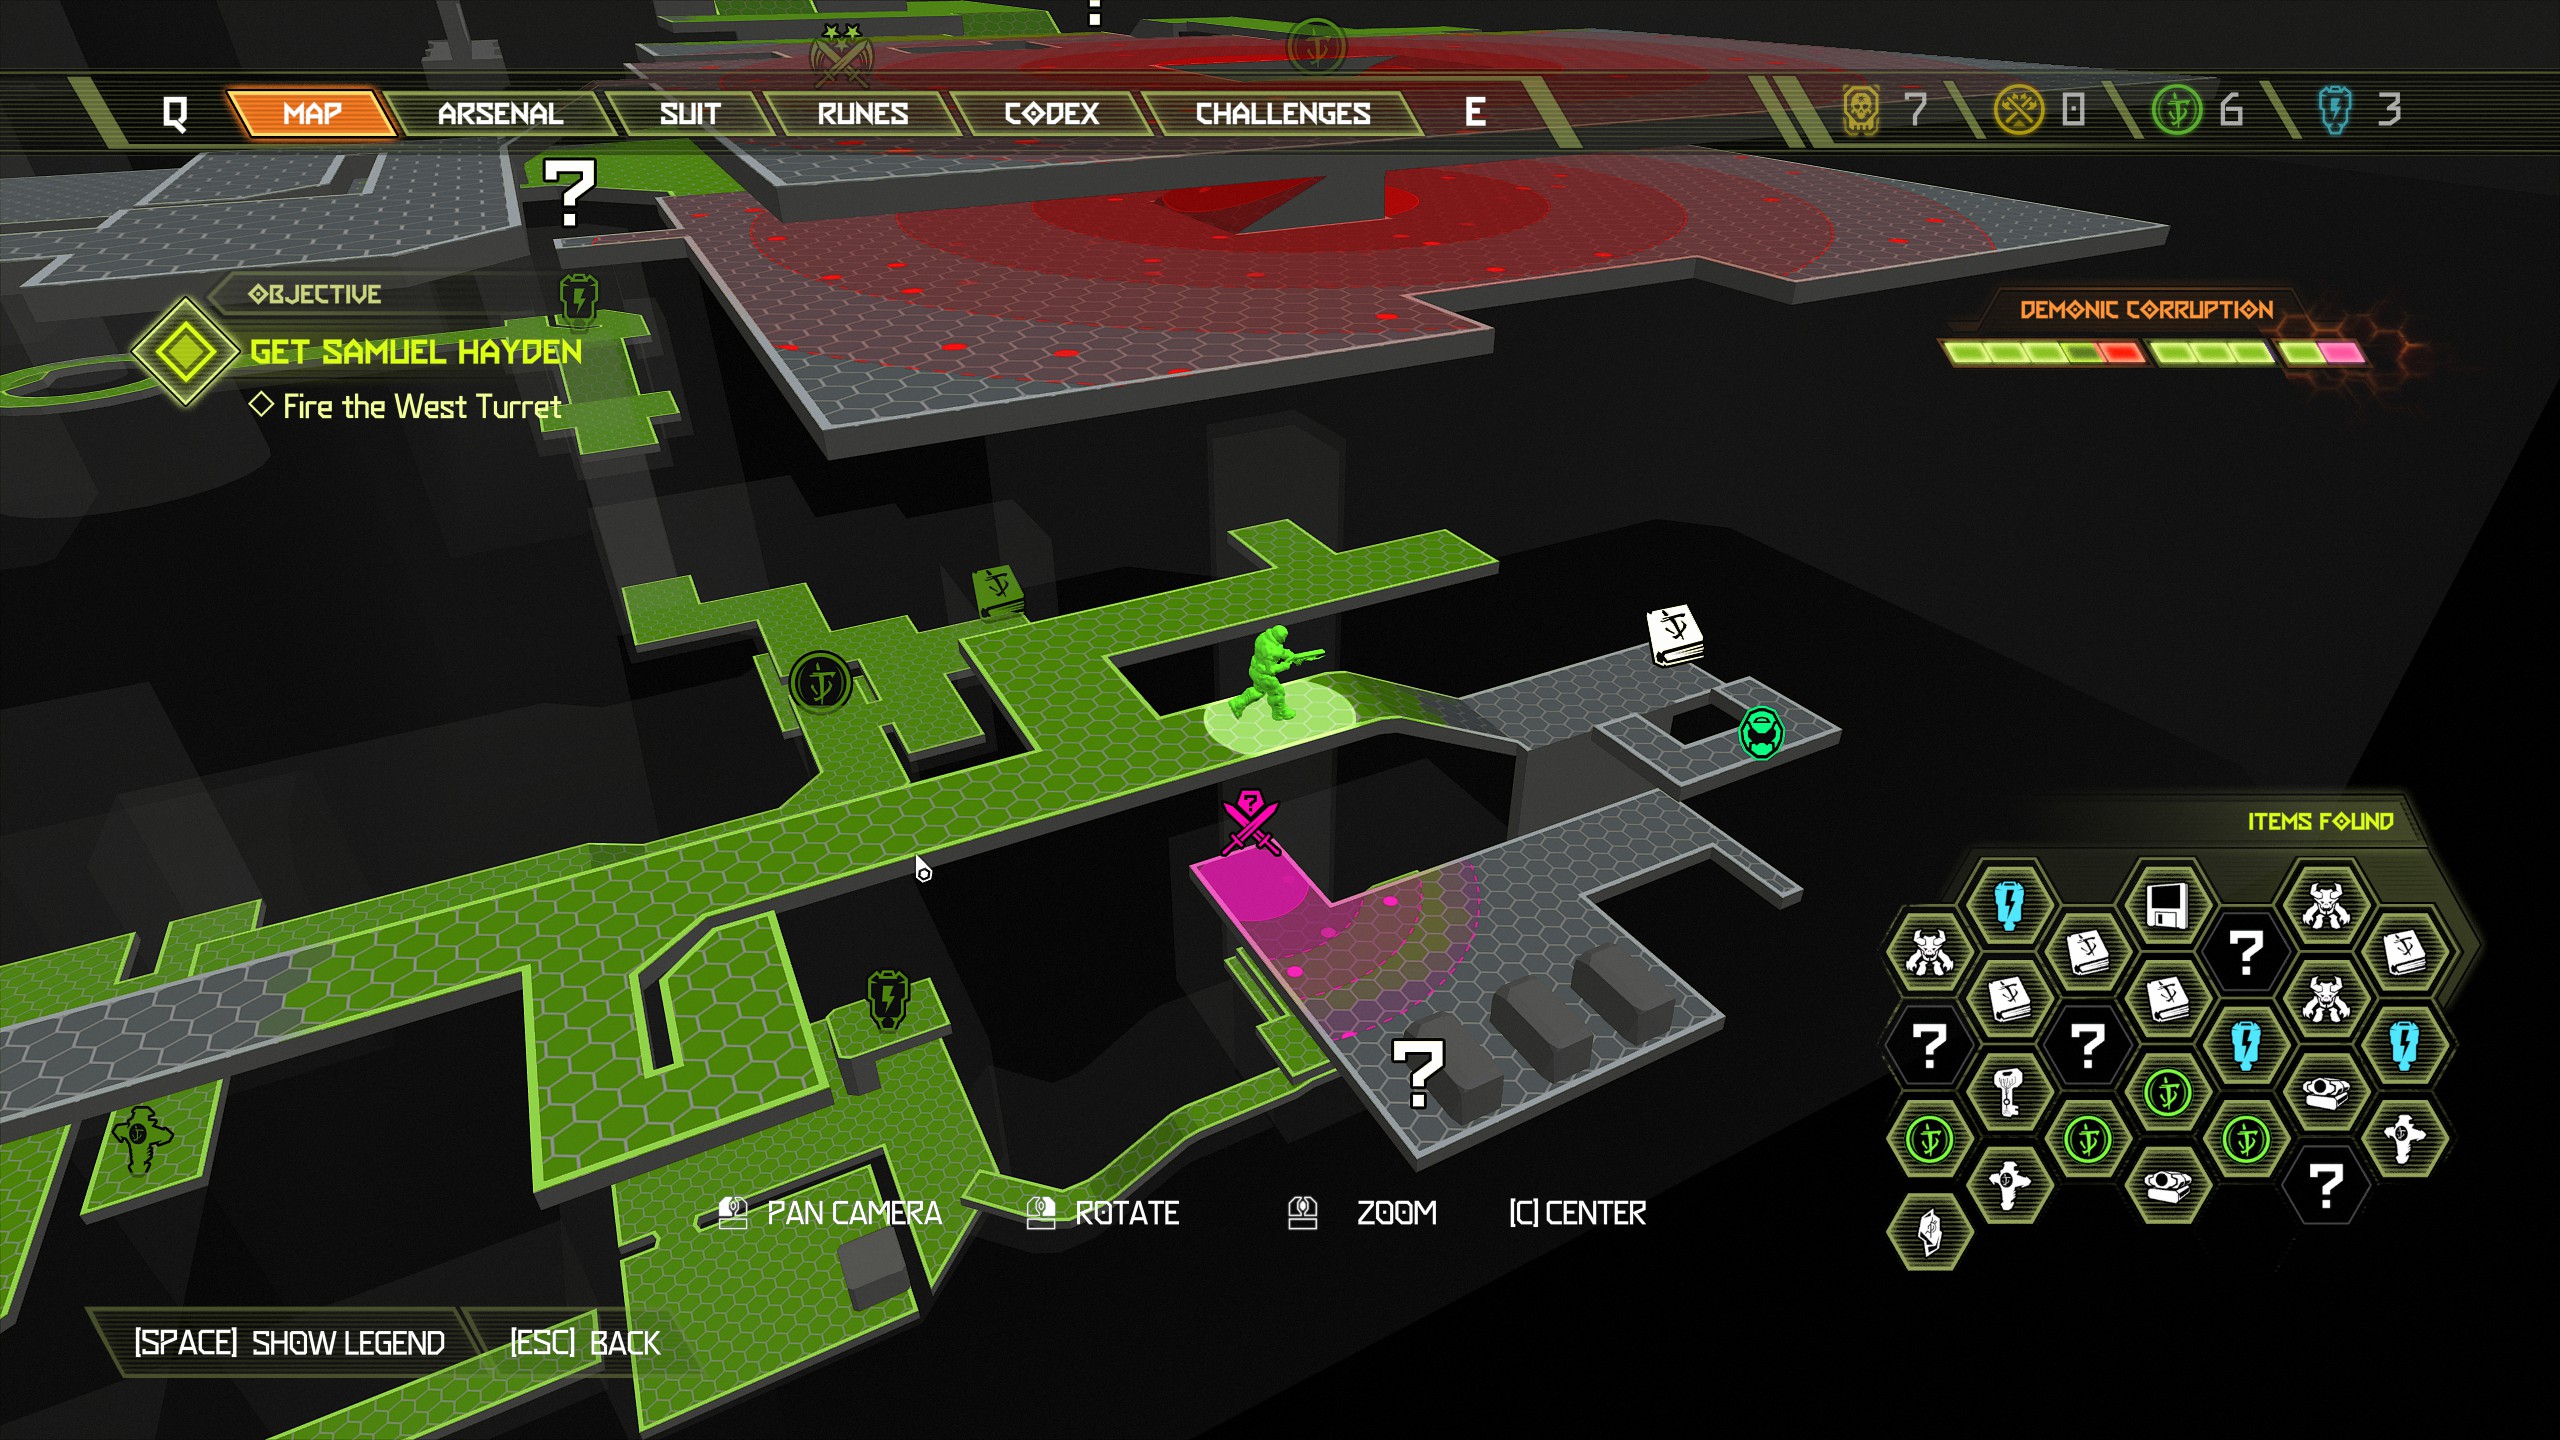 From the codex page climb up to the nearby platform above with the green lights to find an extra life behind the large piece of machinery.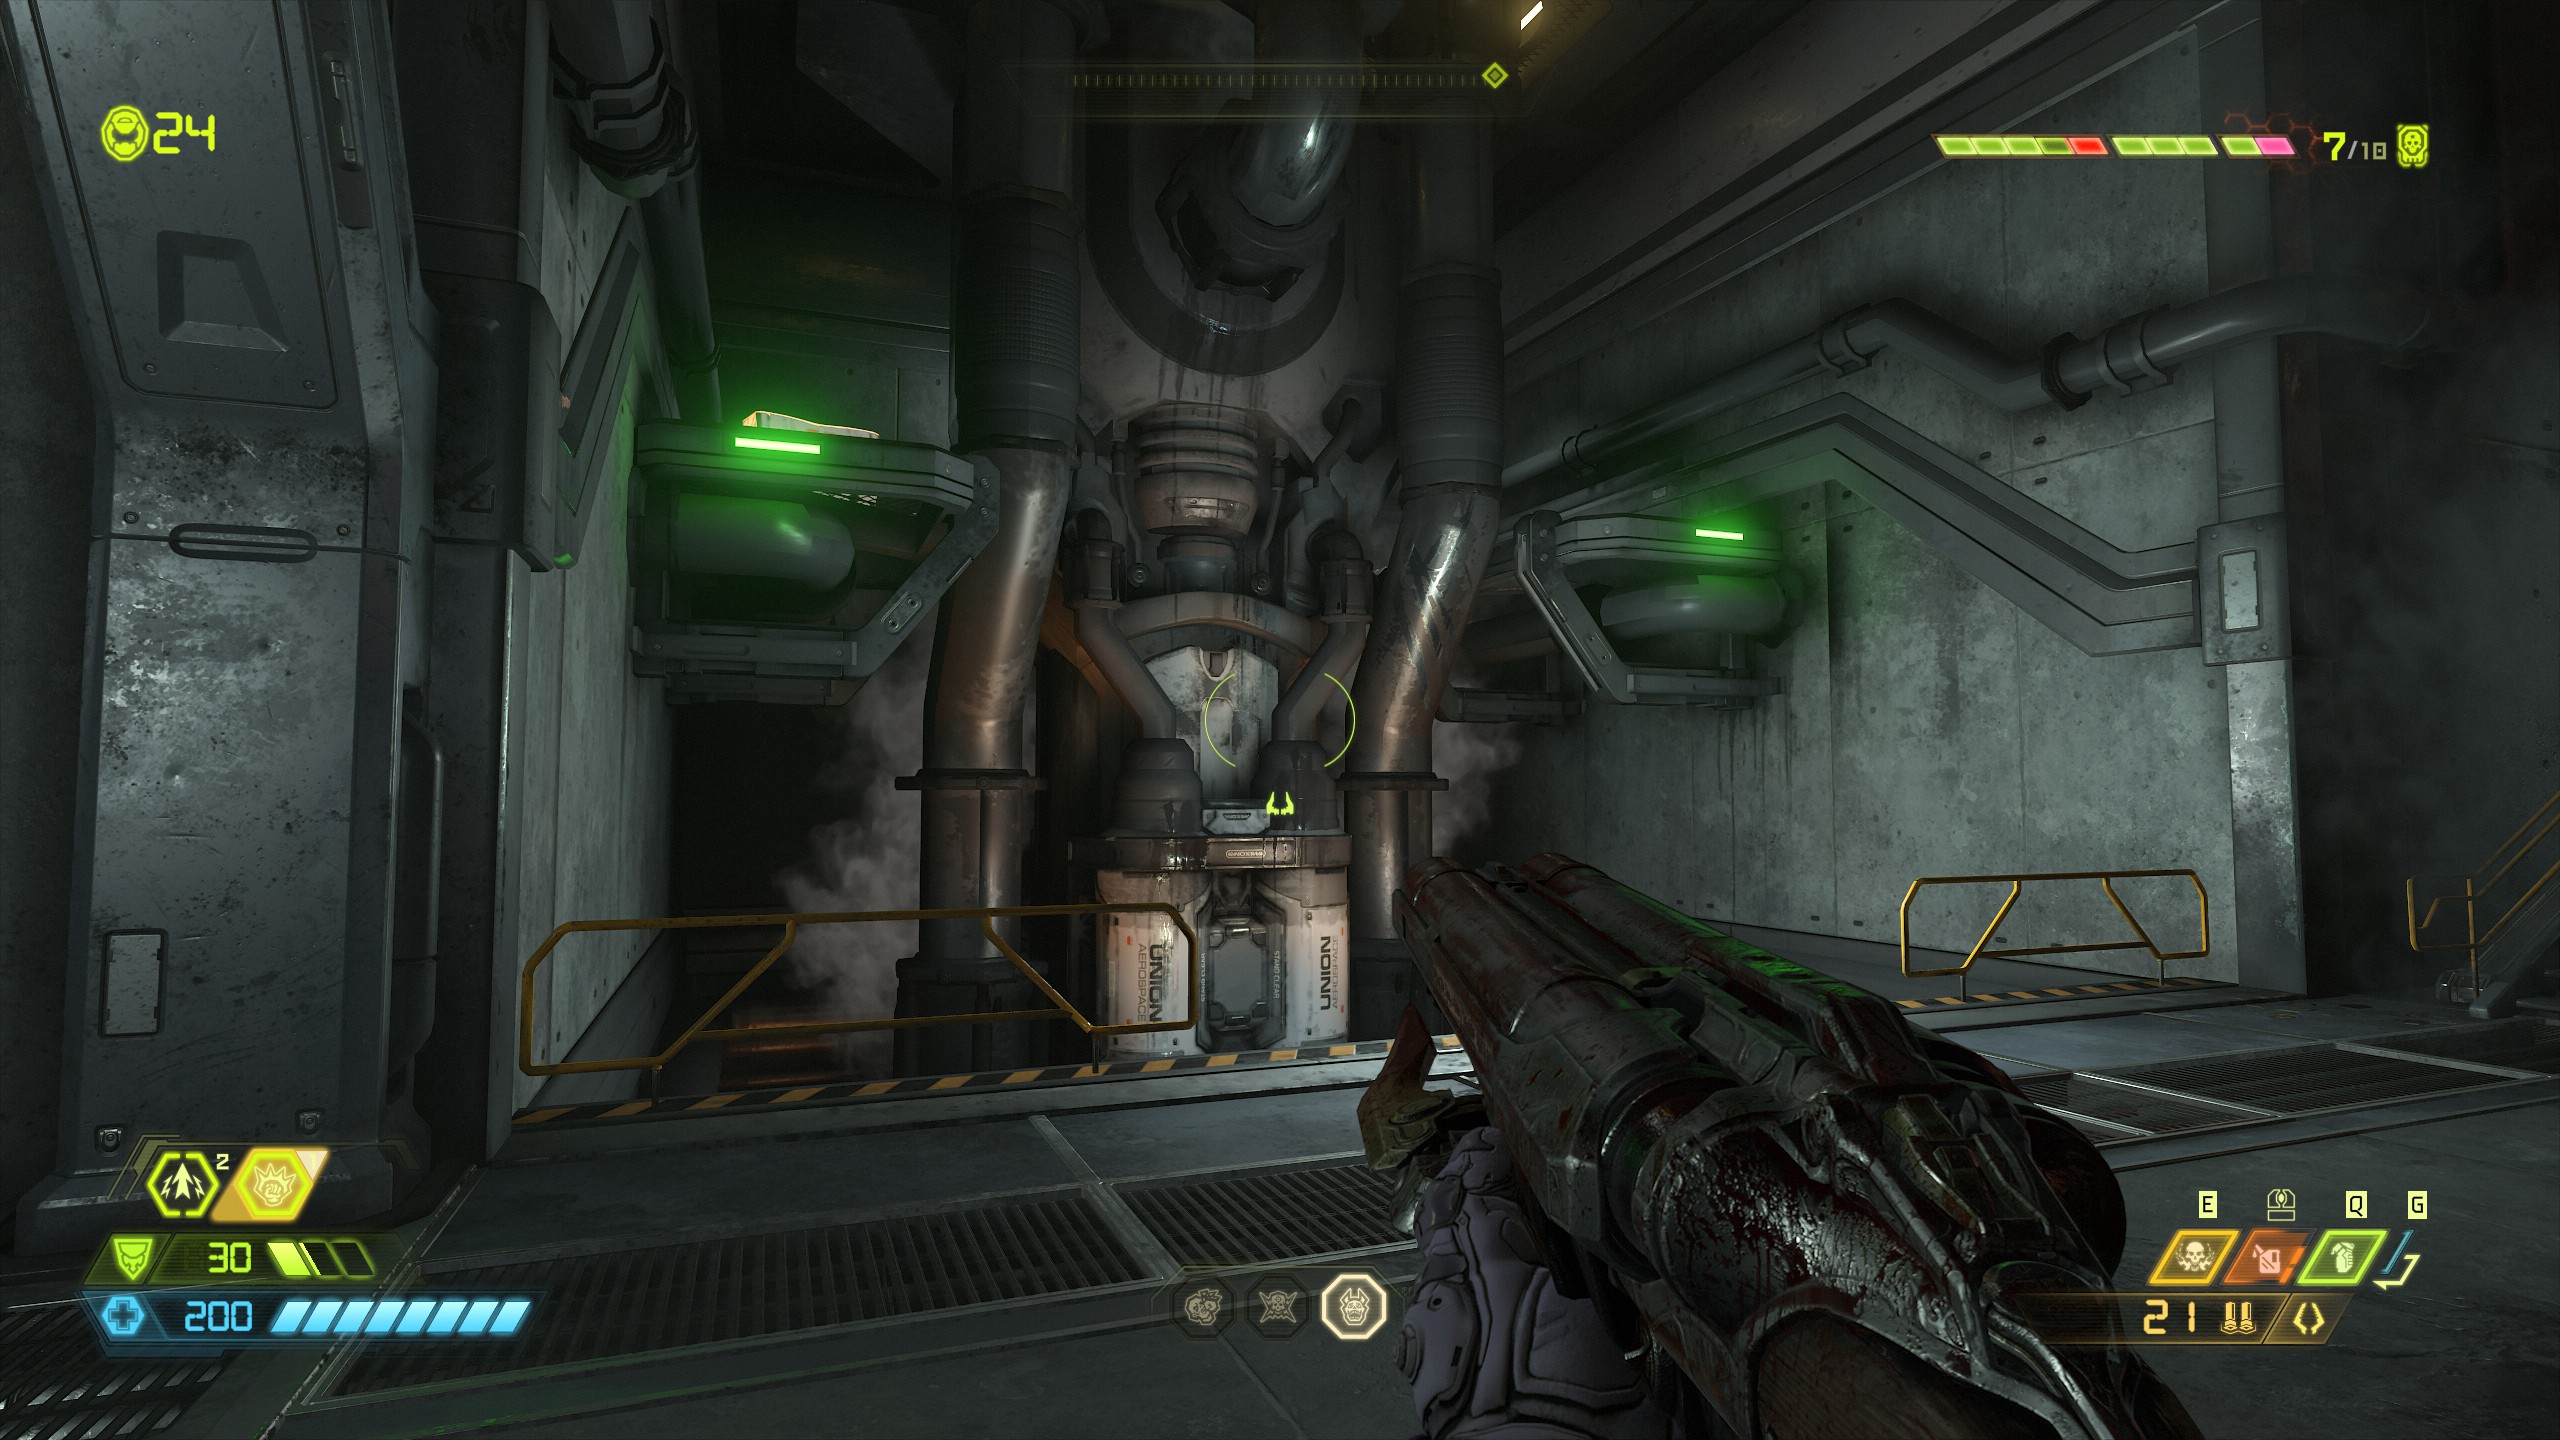
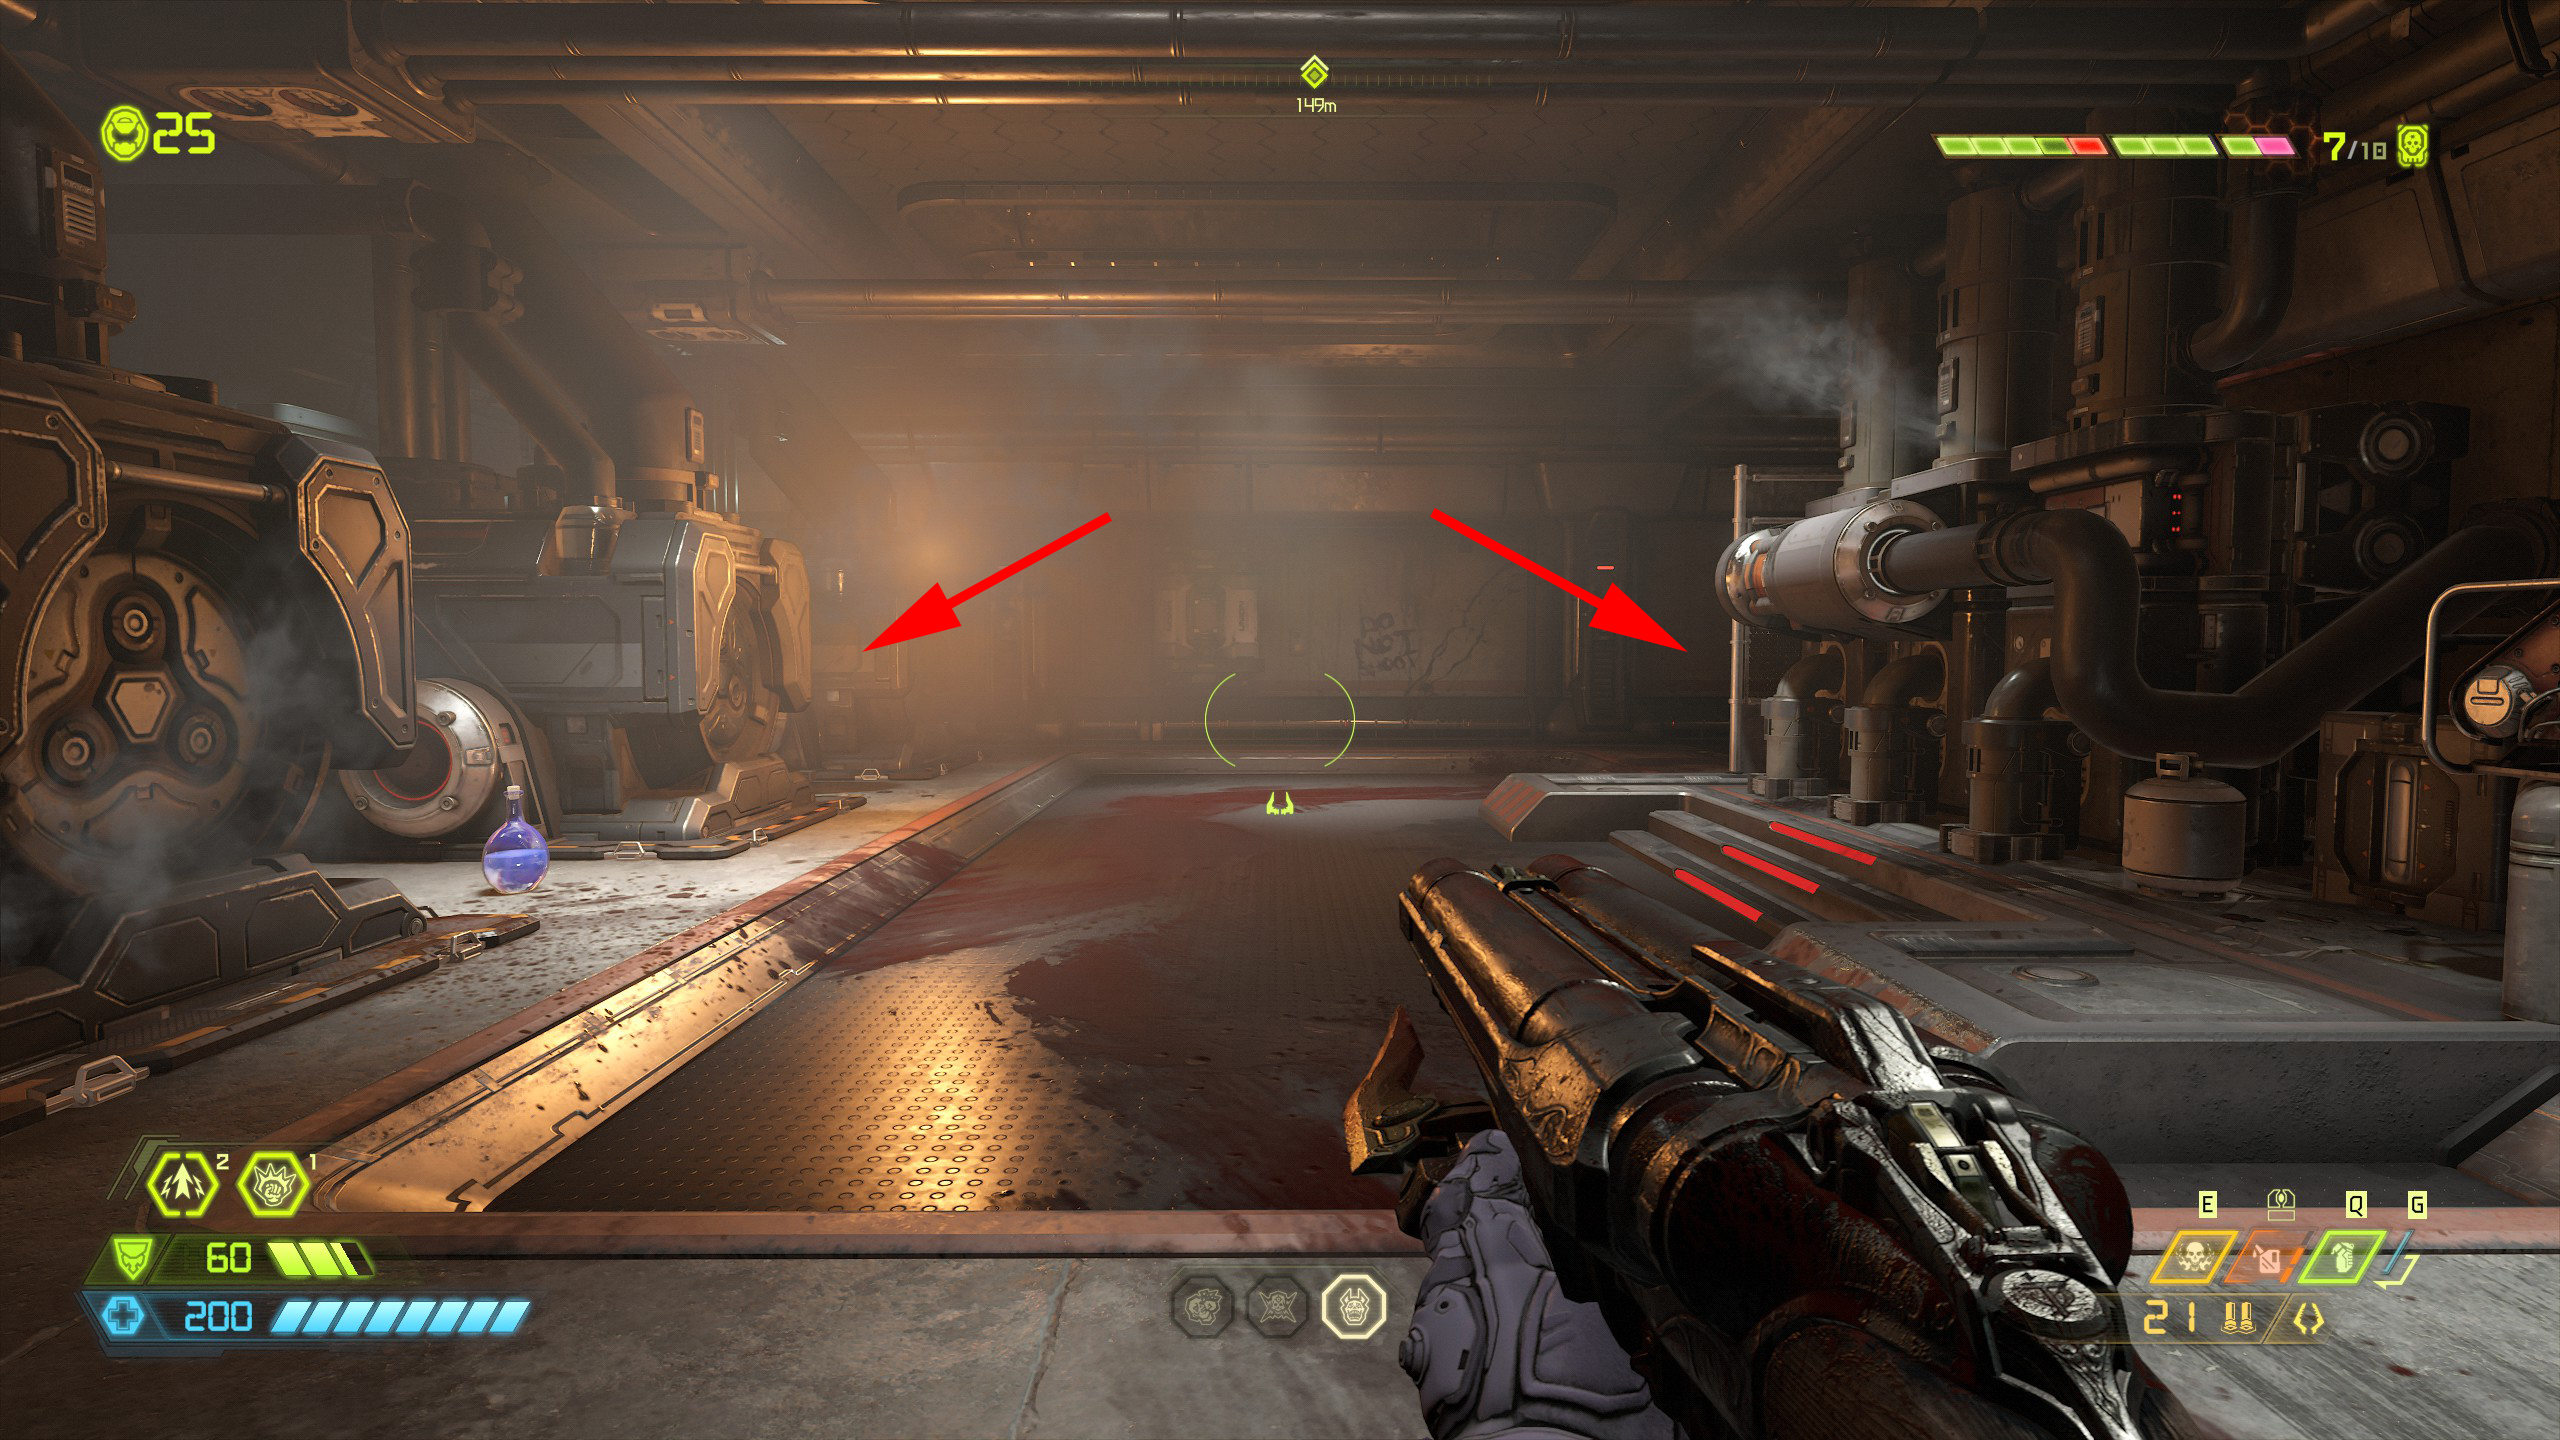
After the extra life drop down to the lower area and on the far left side behind a couple of crates you will find a secret album and on the far right side you will find the secret encounter.
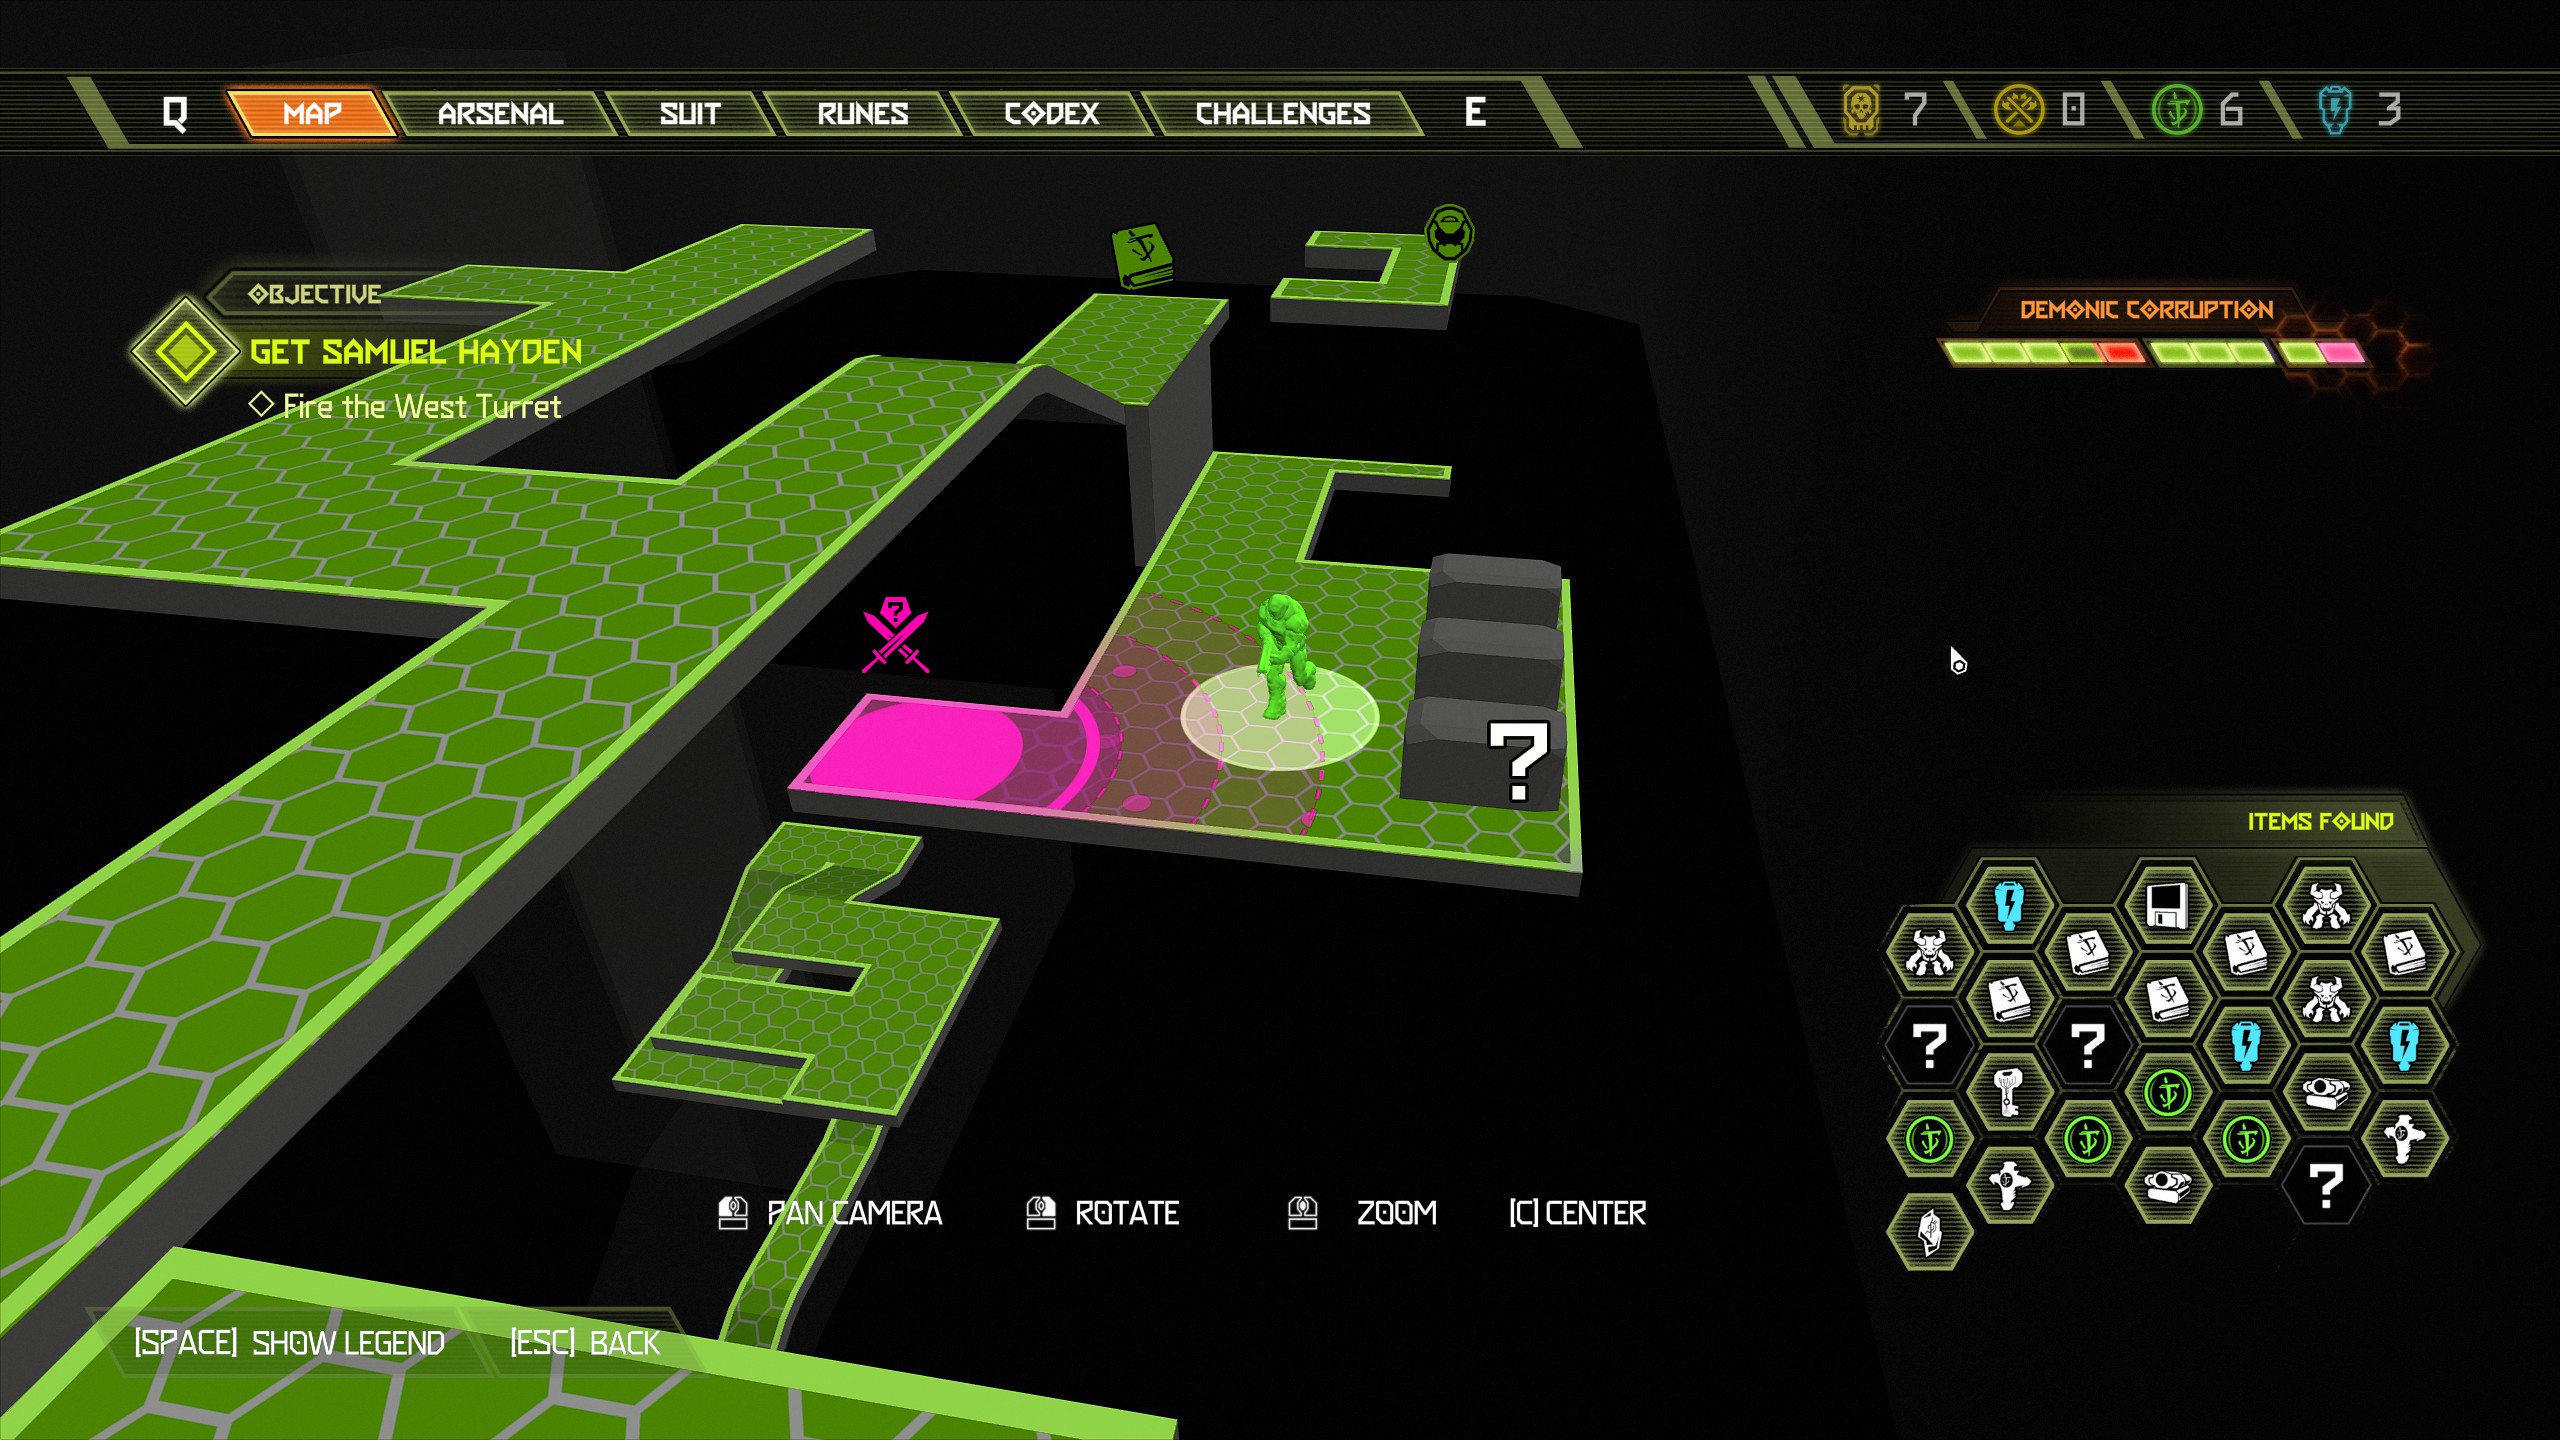
Continue the mission past the next gun turret until you reach the indoor car park.
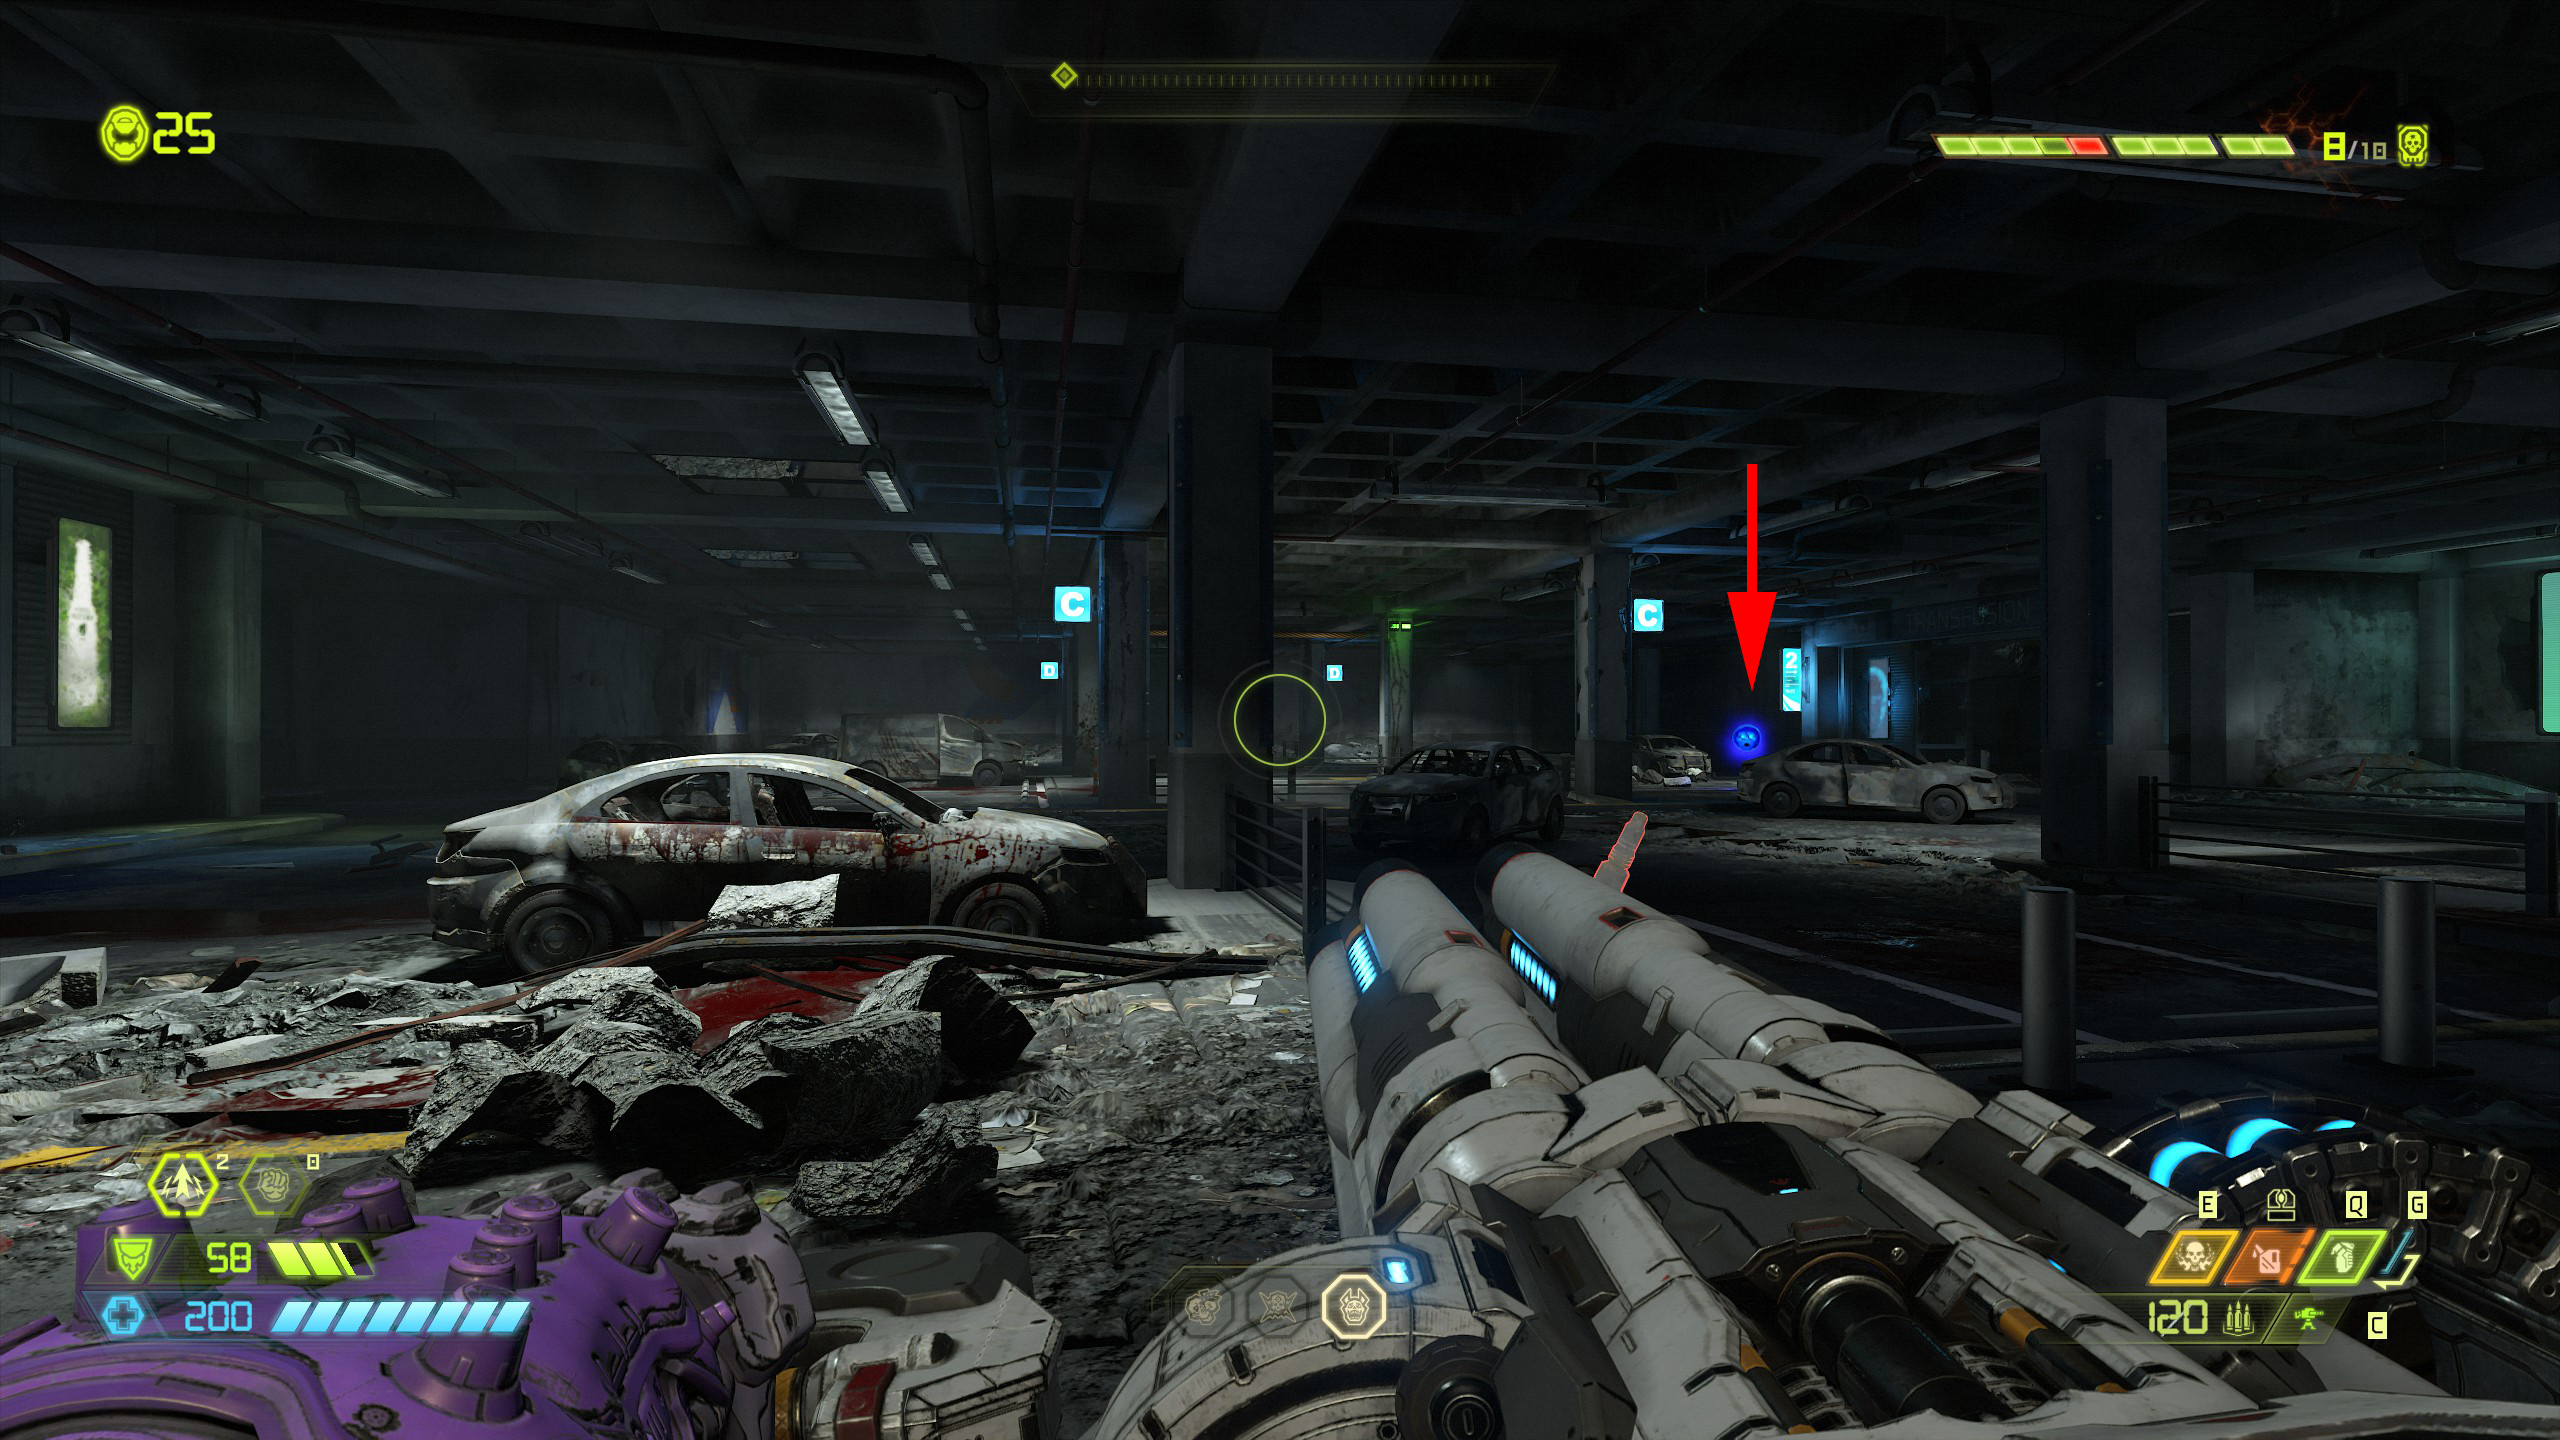
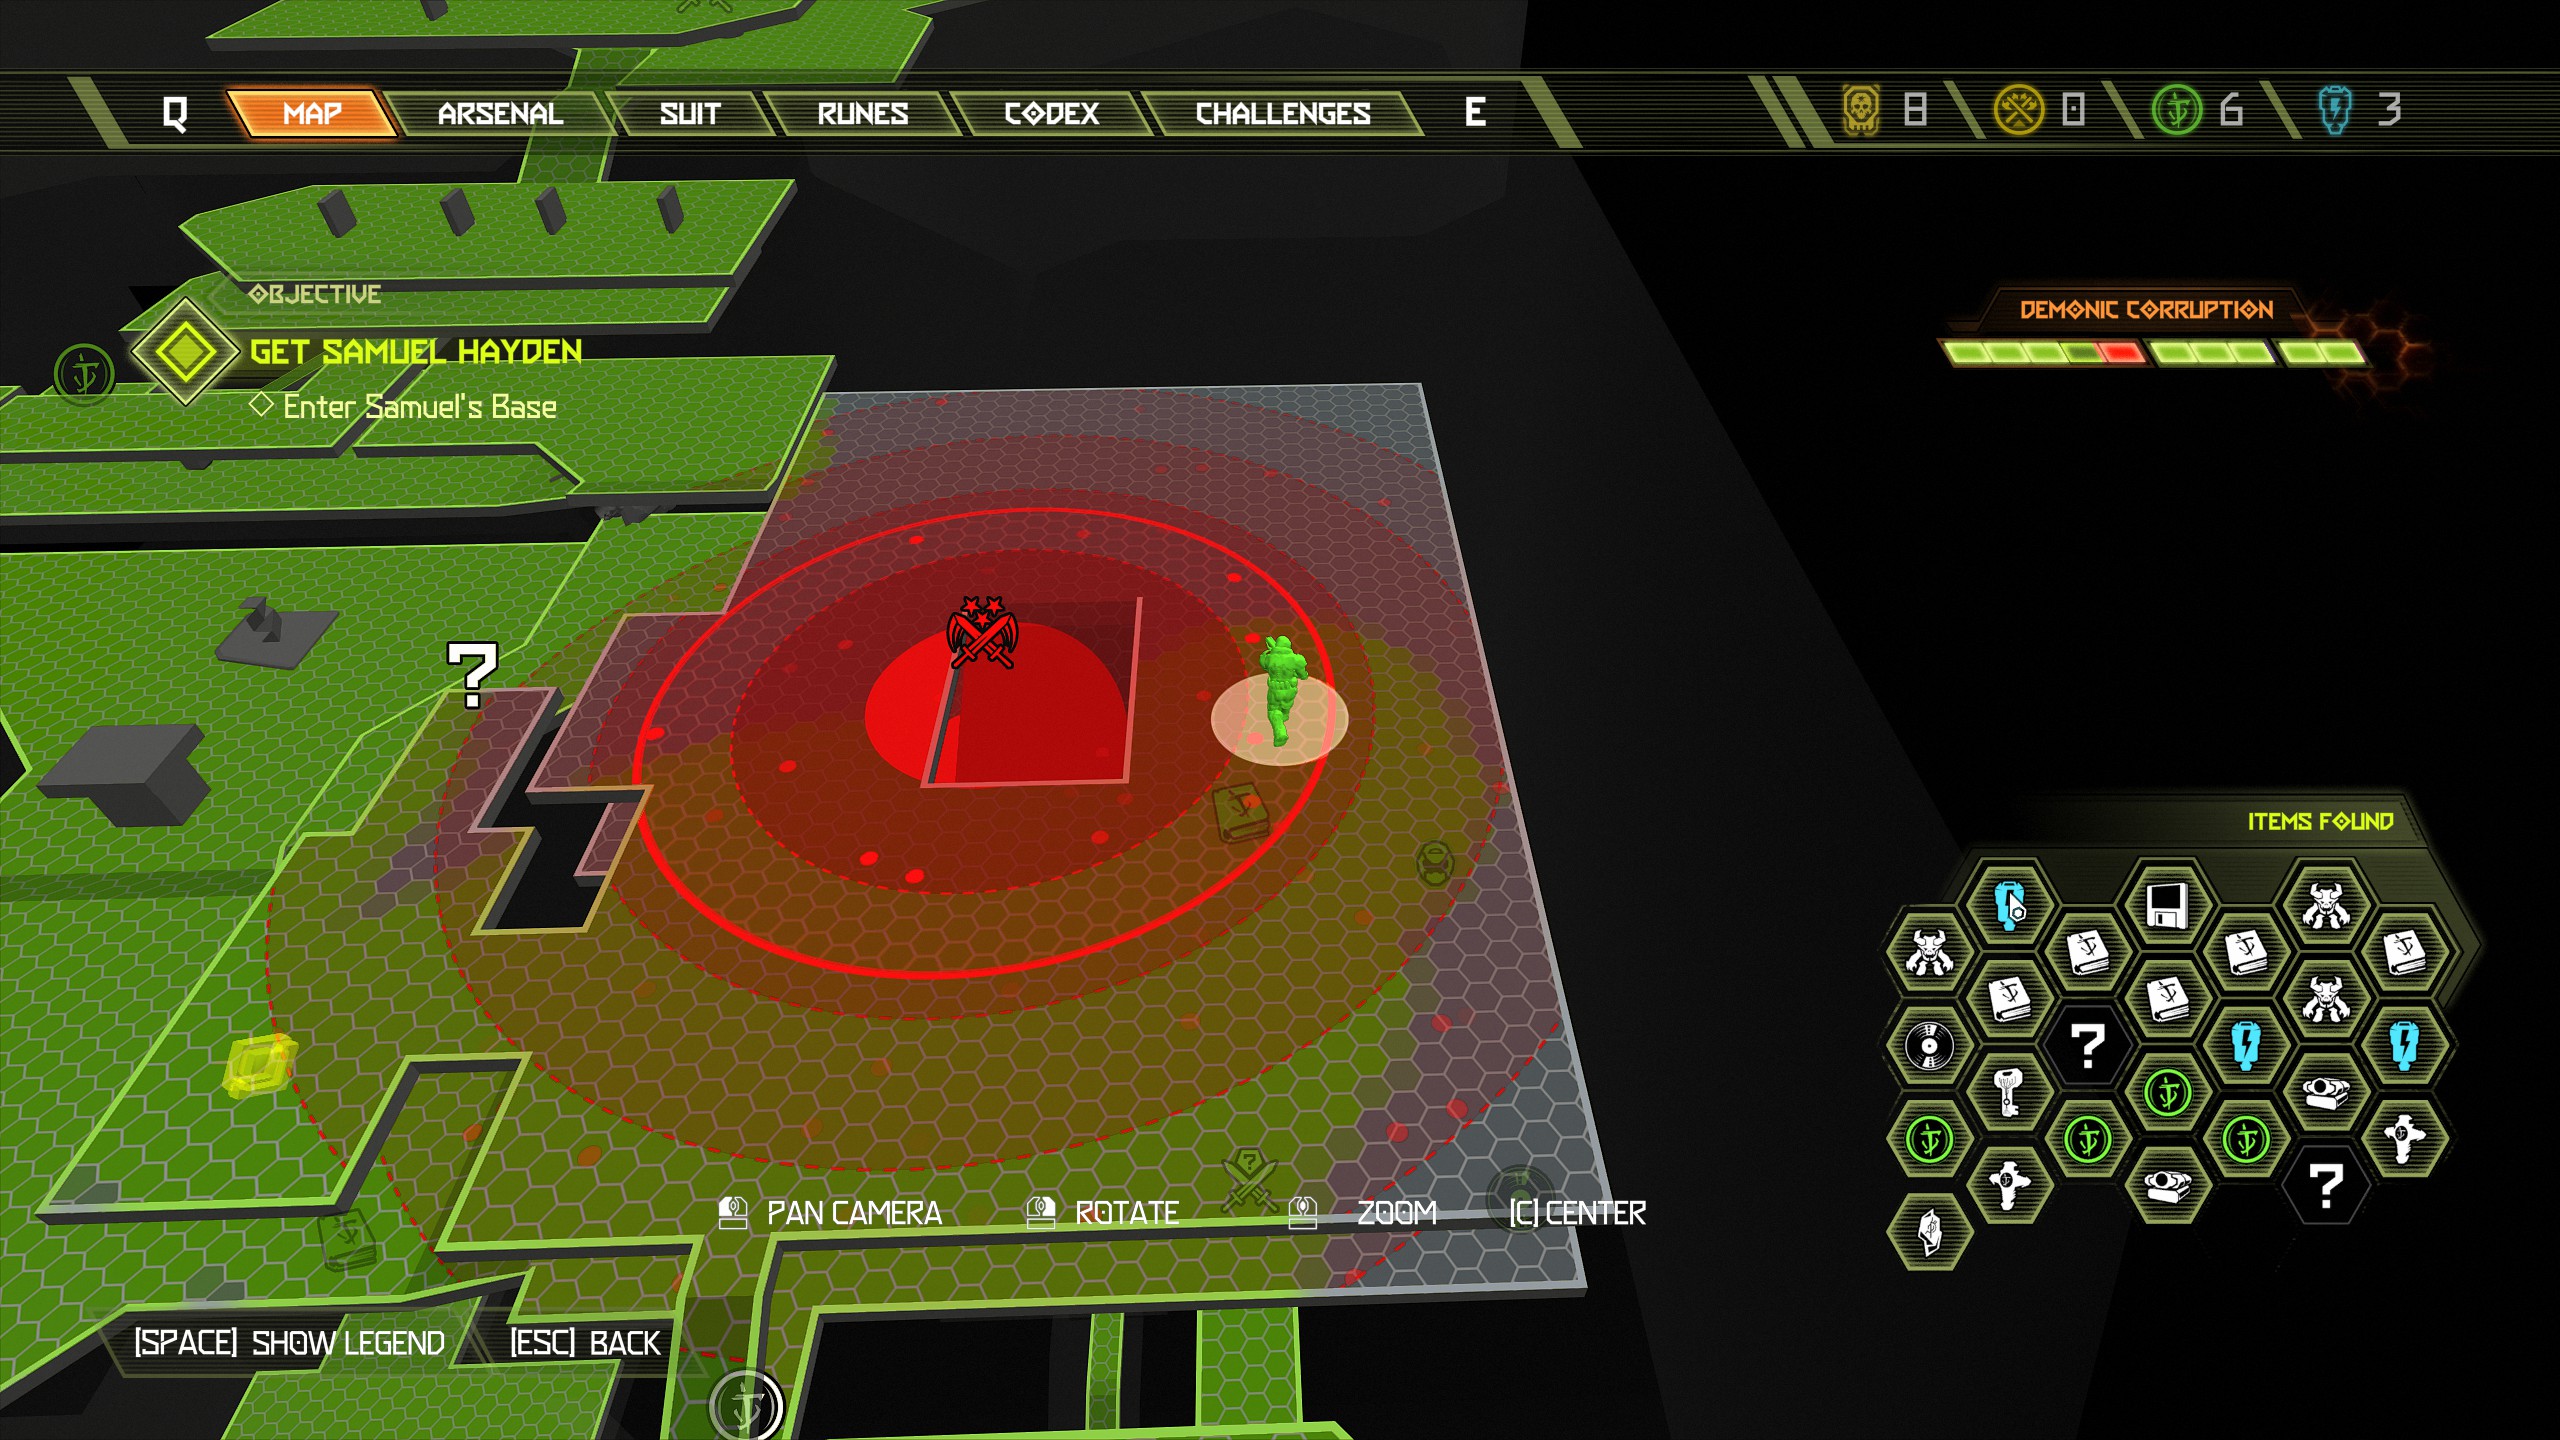
Now again go back to where you entered and this time on the left side you will see a small room with a data log and an album inside. Now move to the lower level car park.
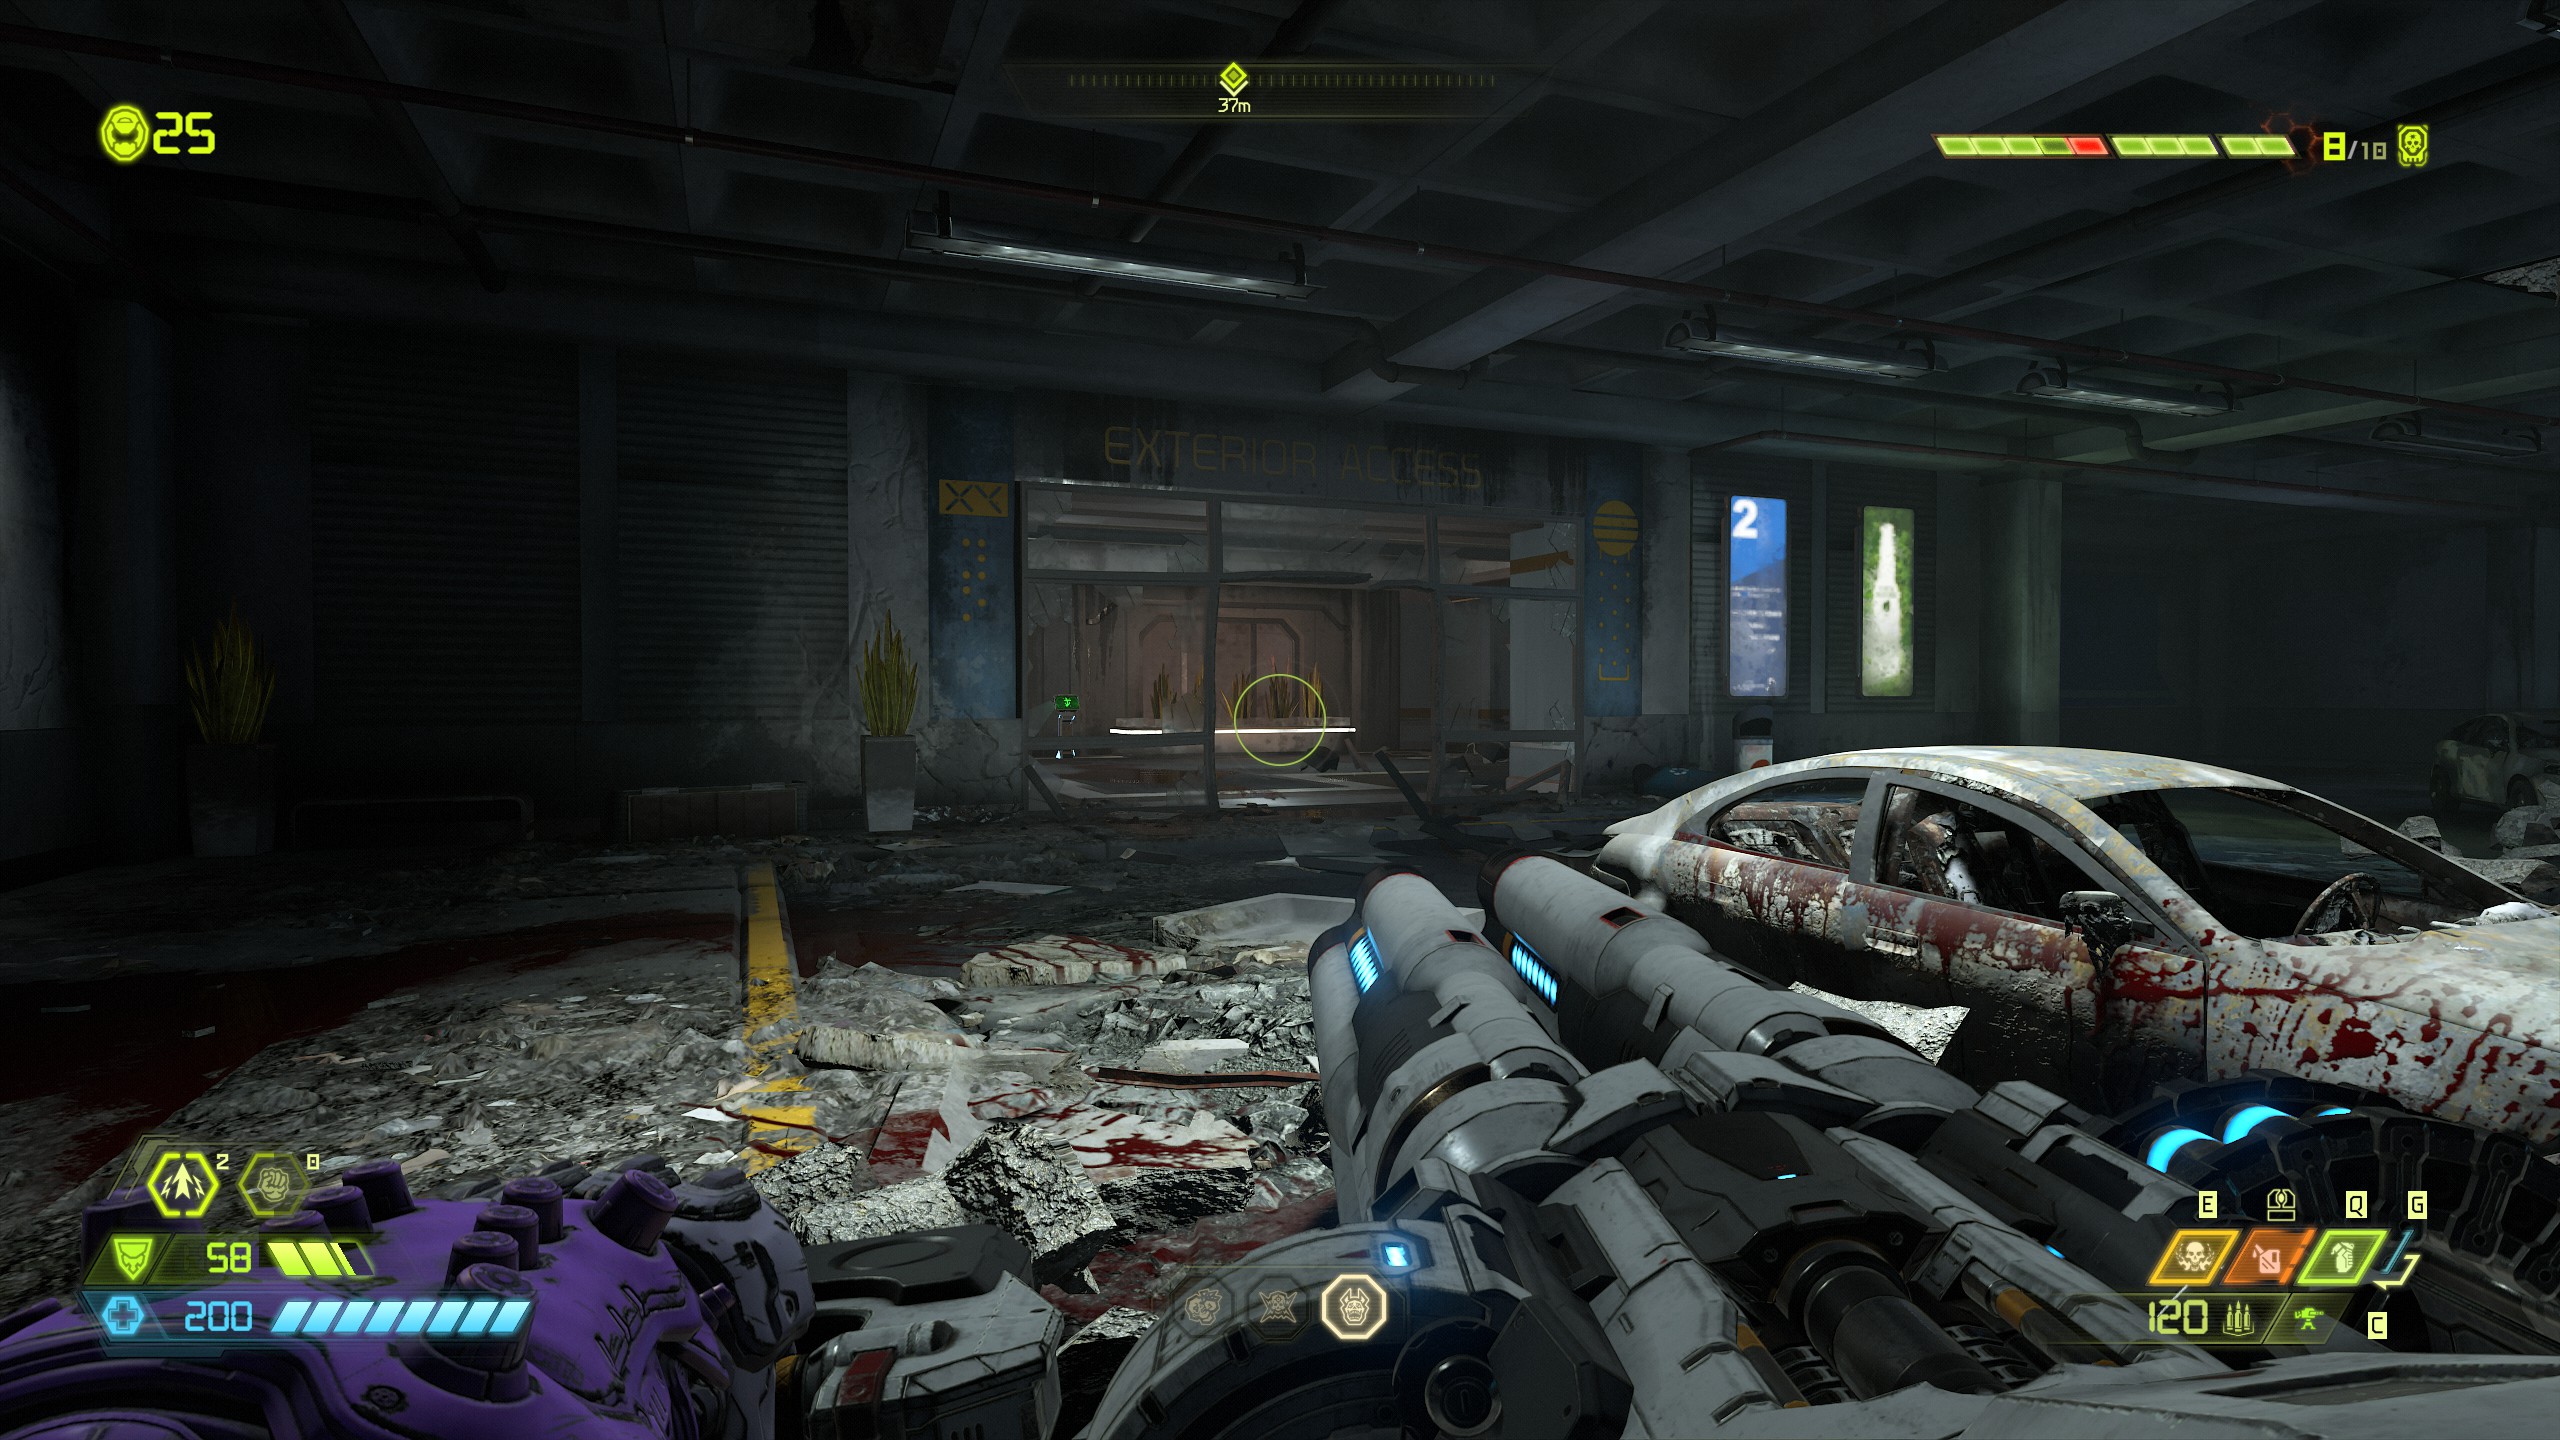
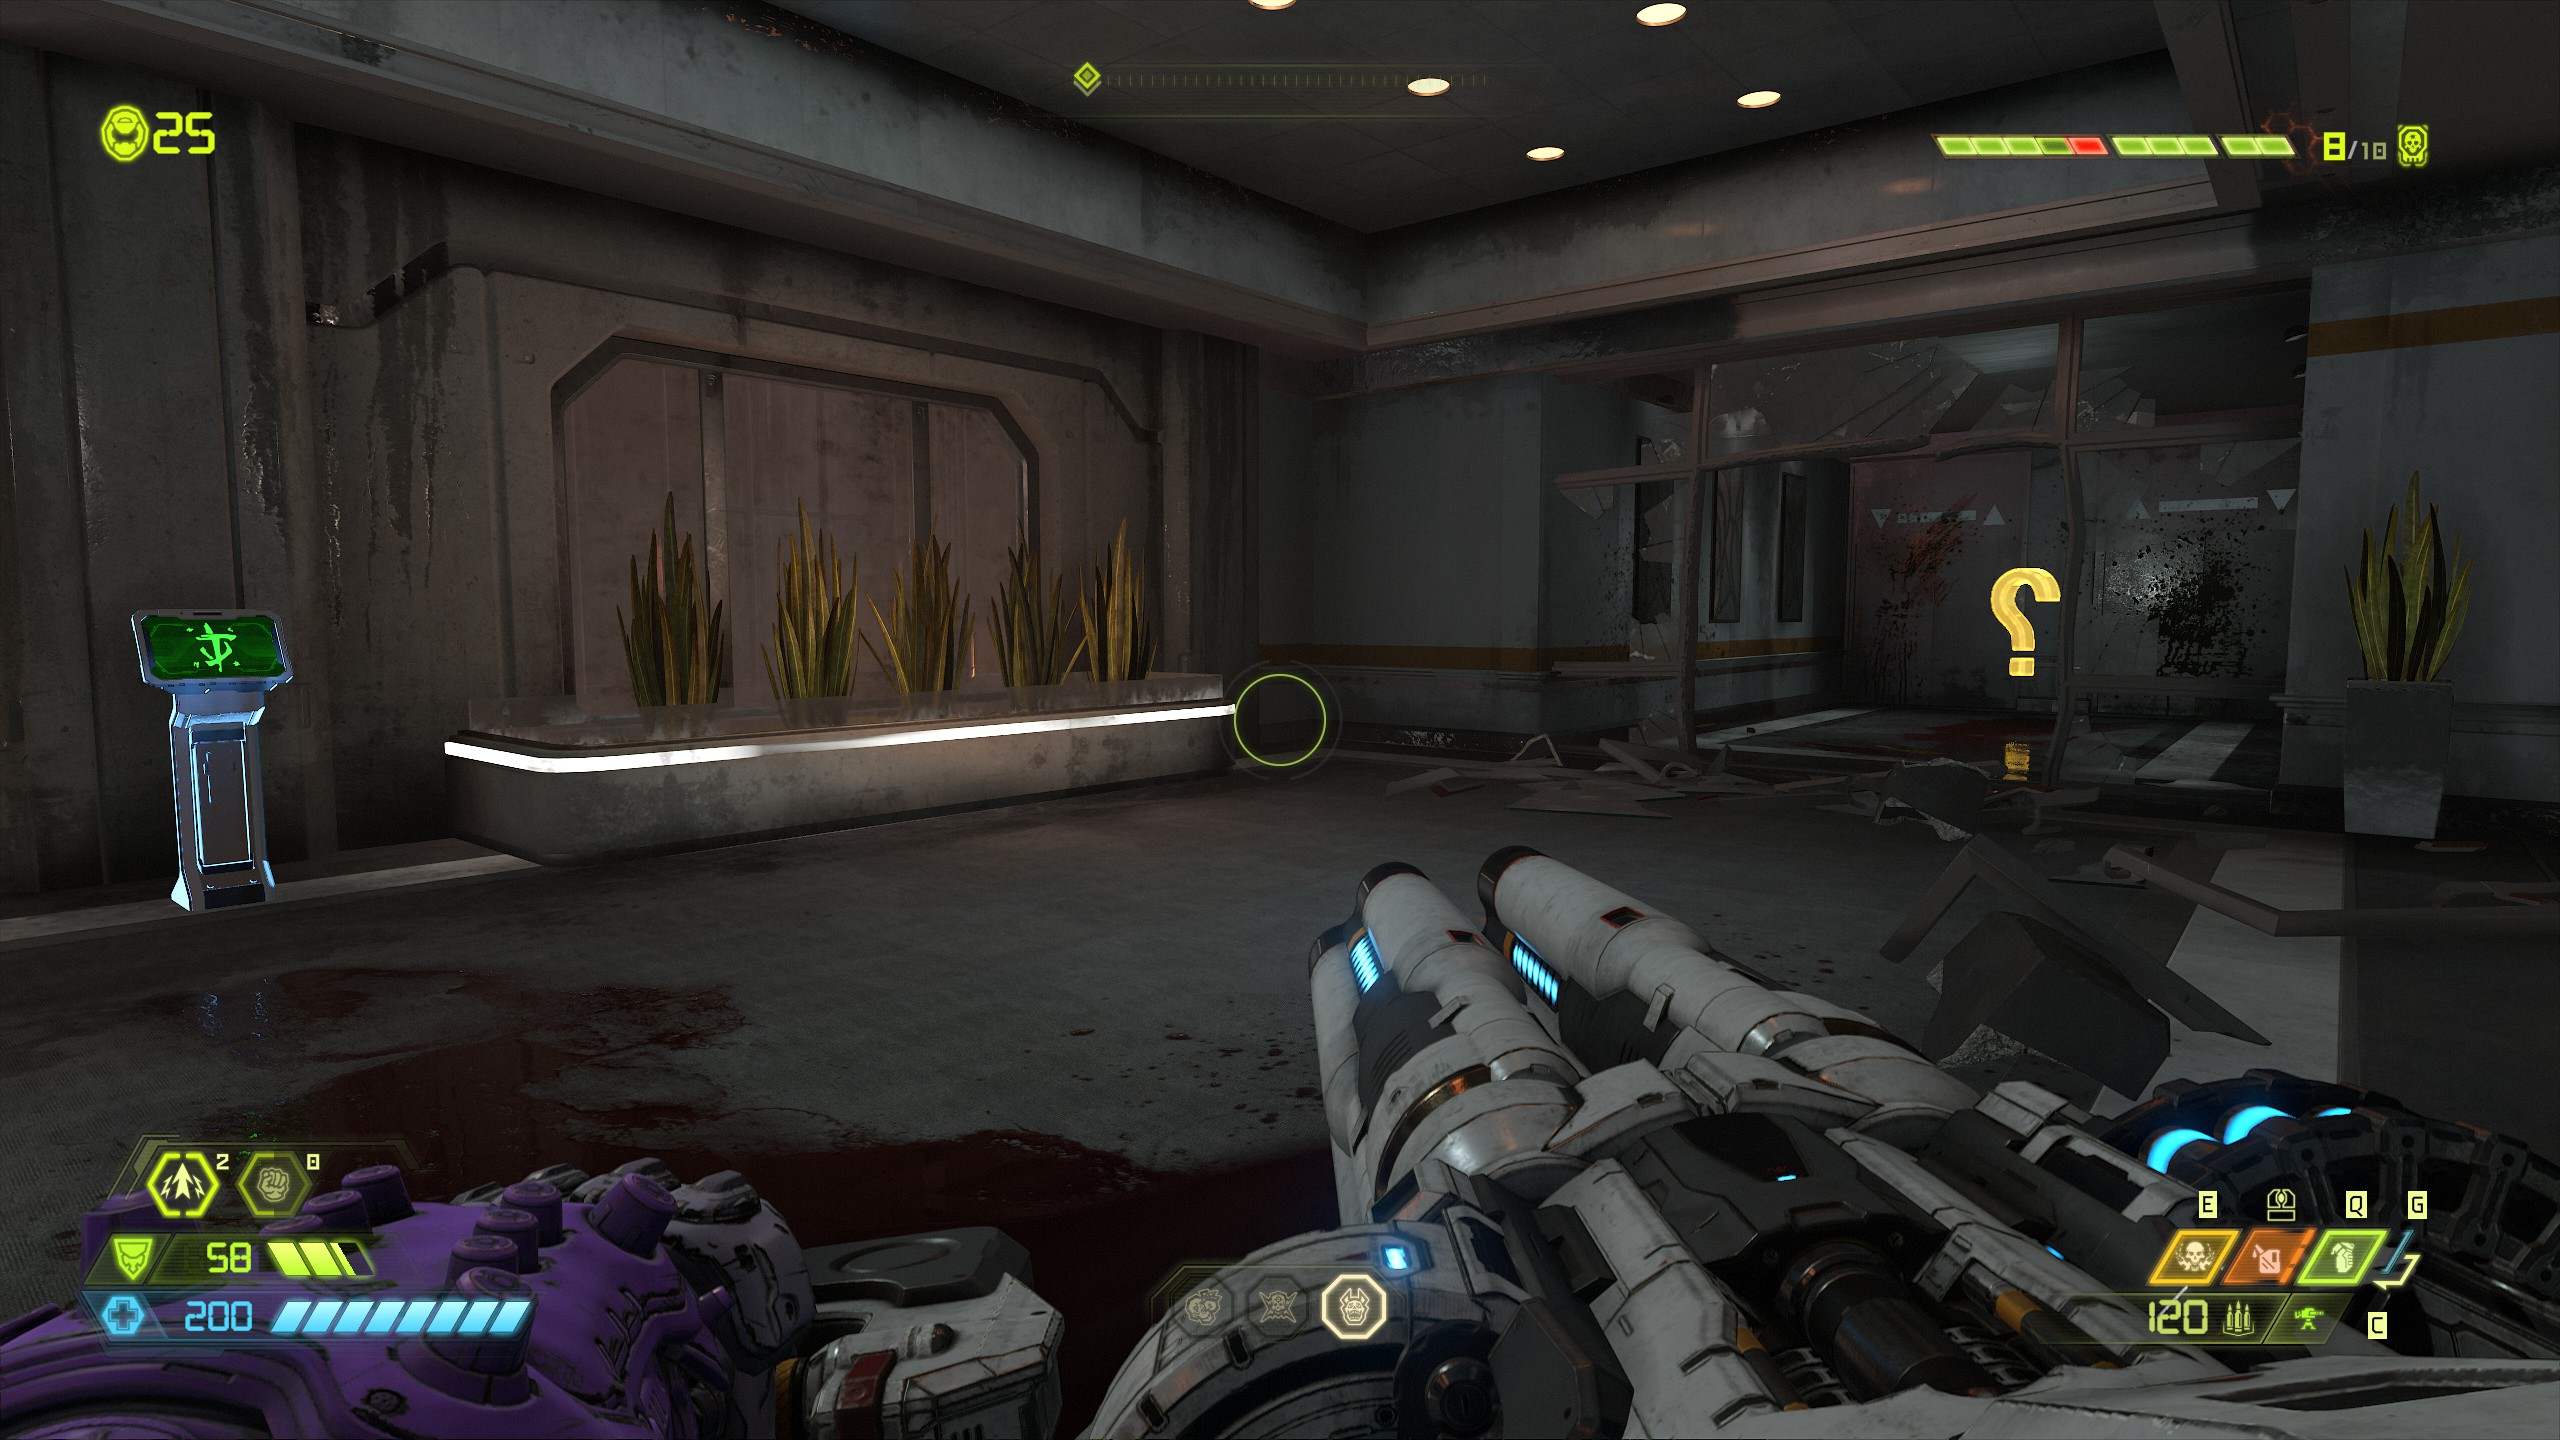
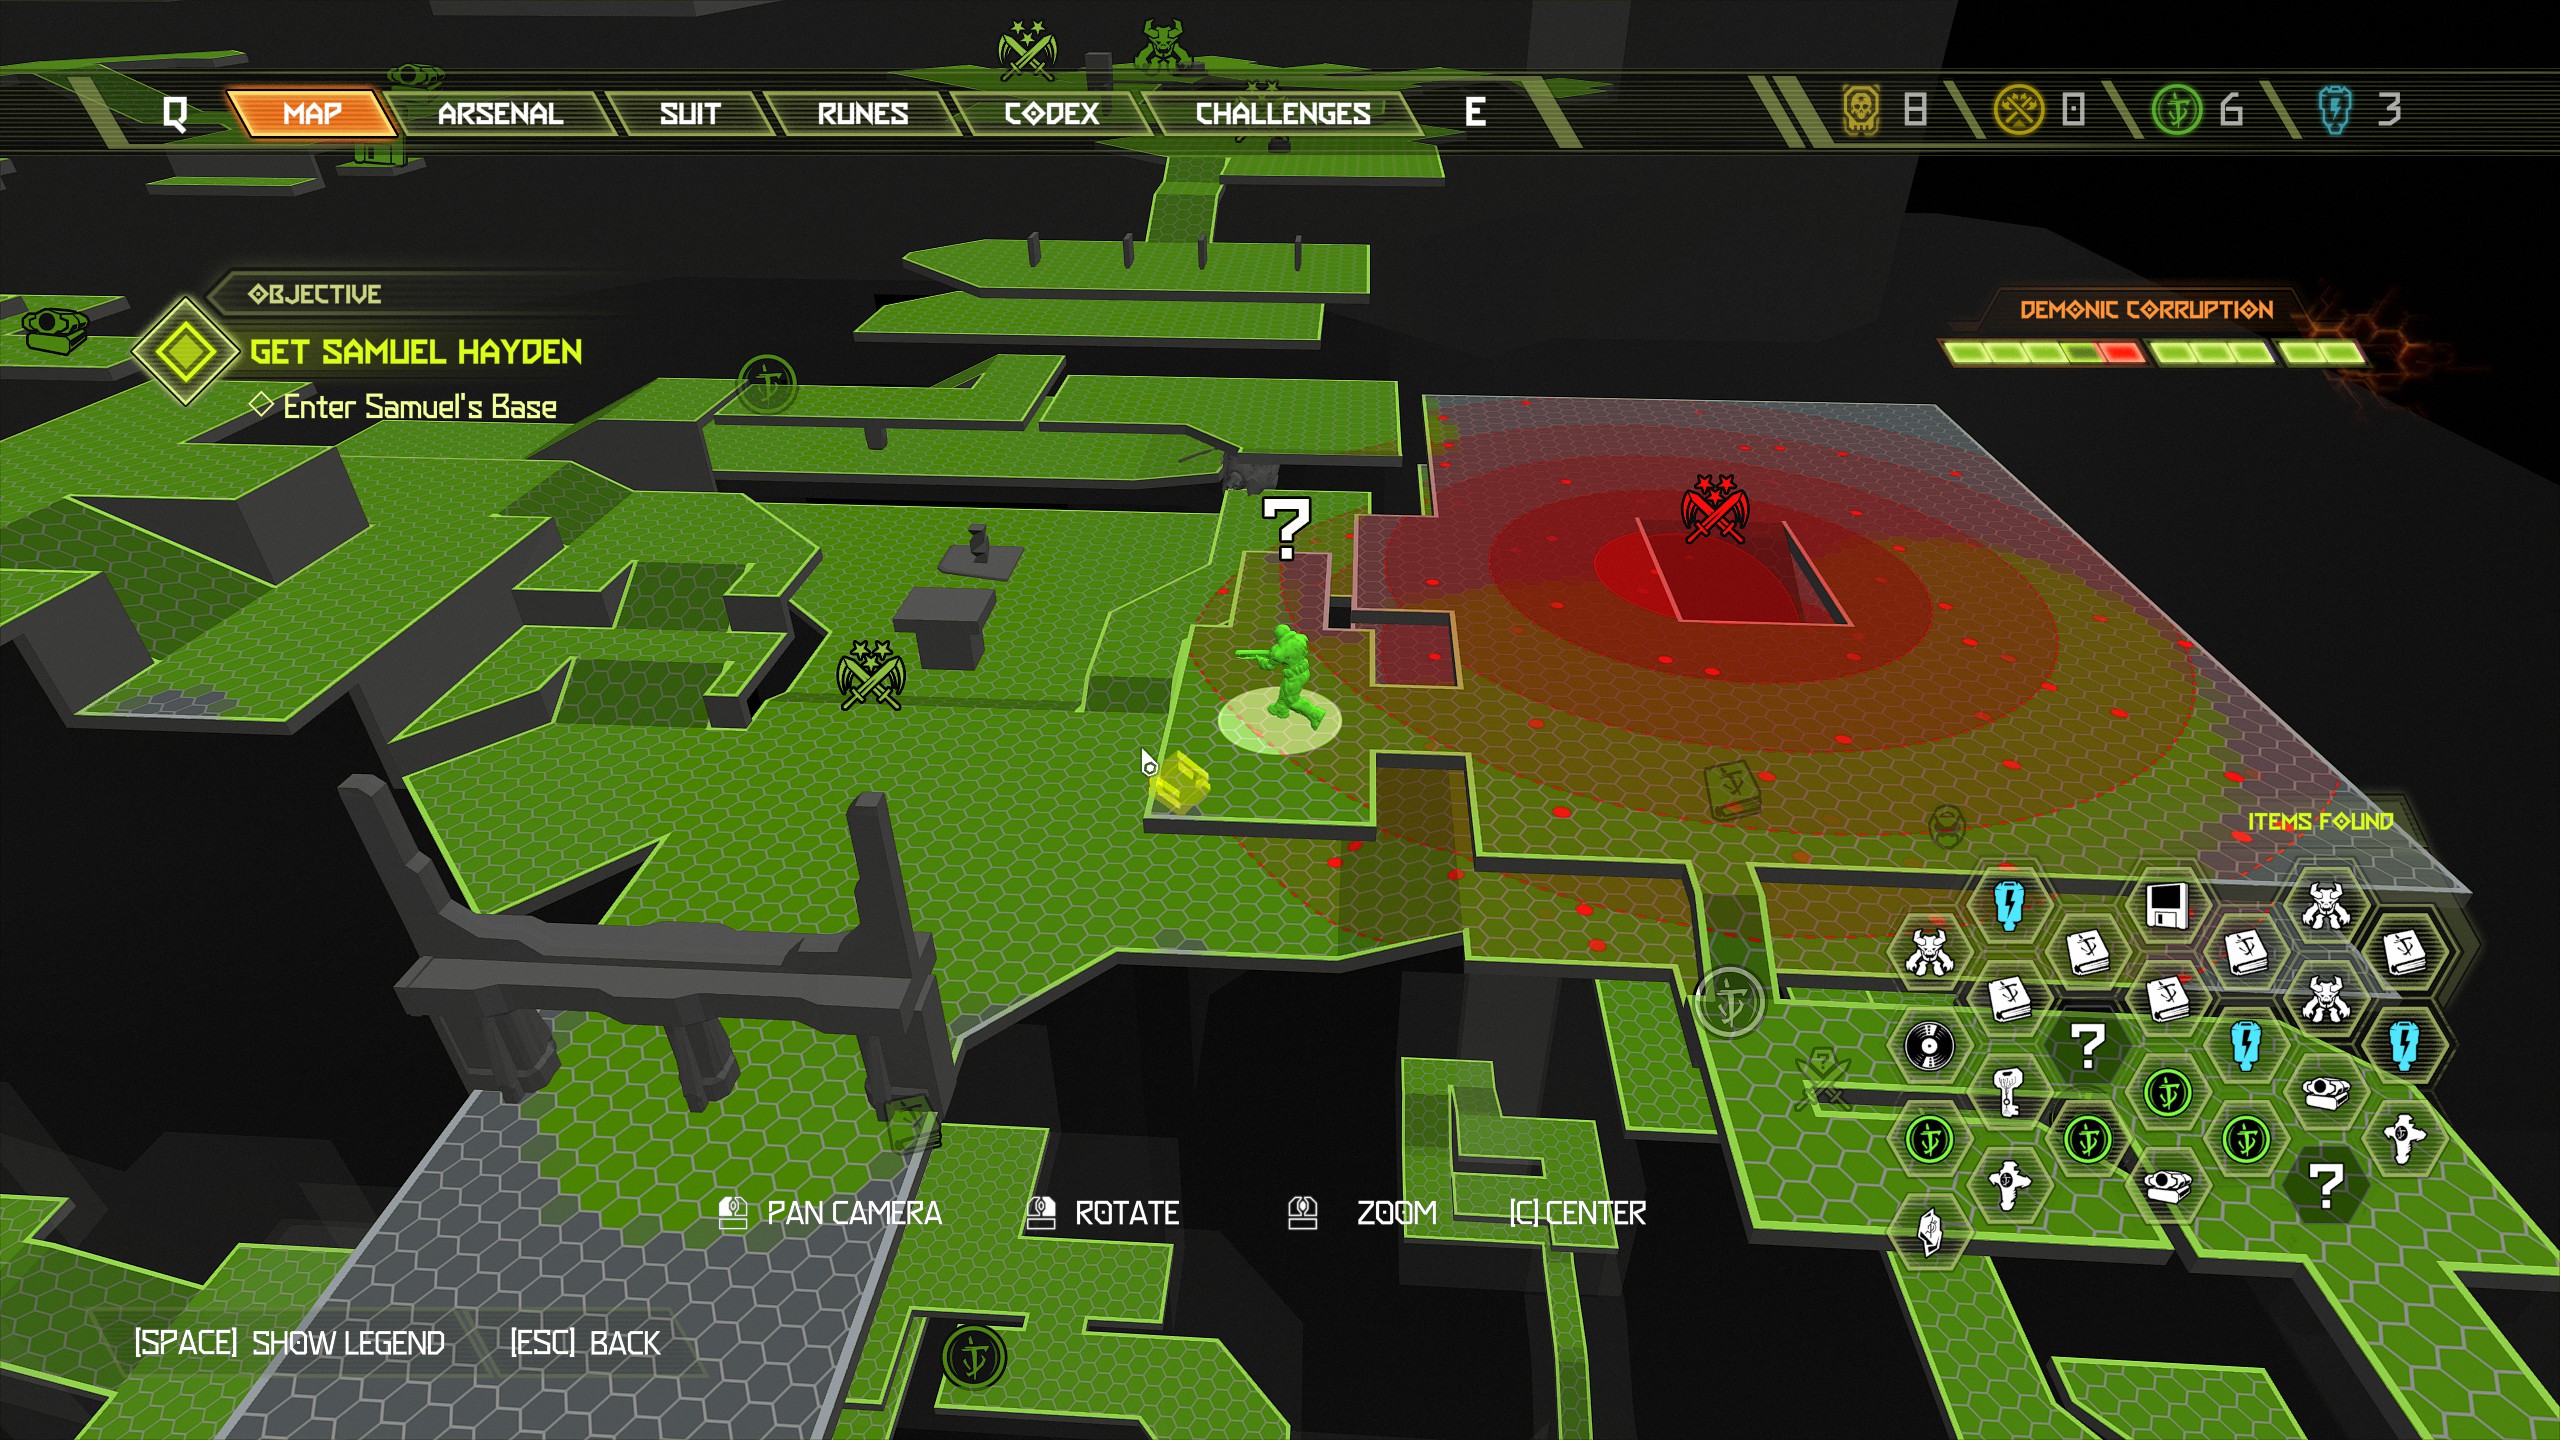 As you head down to the lower car park a mancubus will jump out from the wall opposite you and reveal a praetor suit token, collect the token after clearing the area and then head back outside following the mission.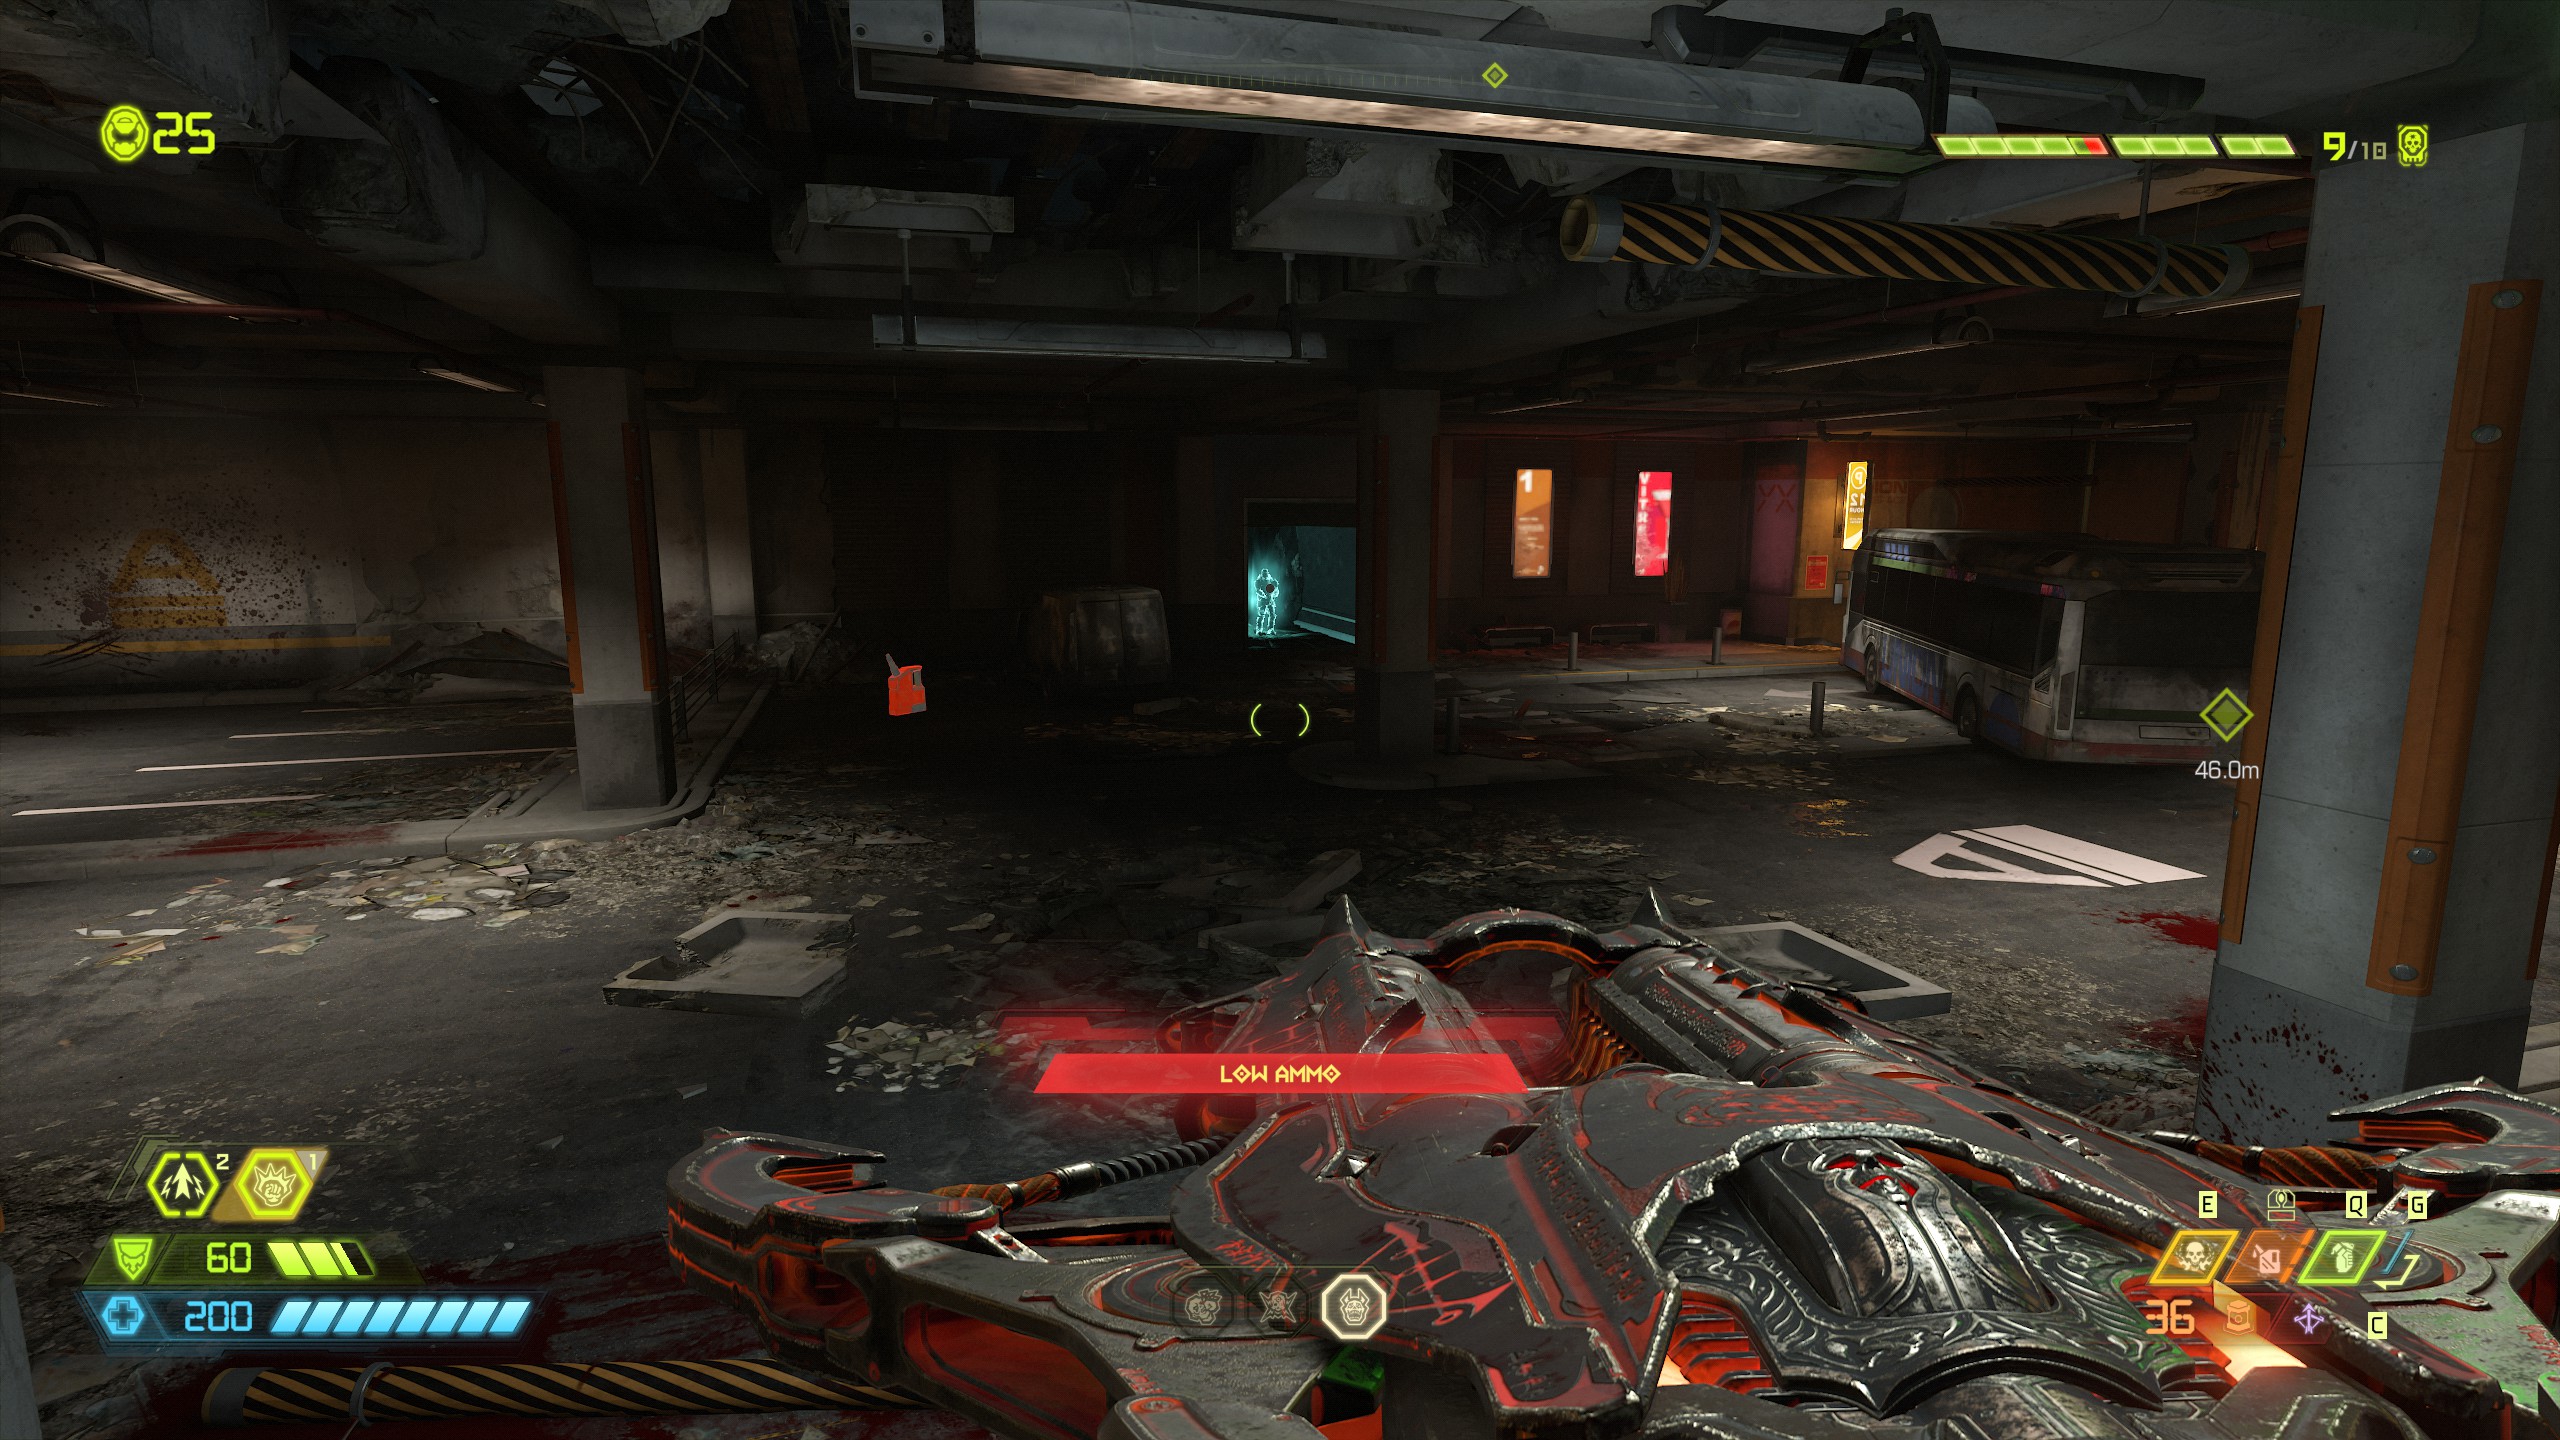
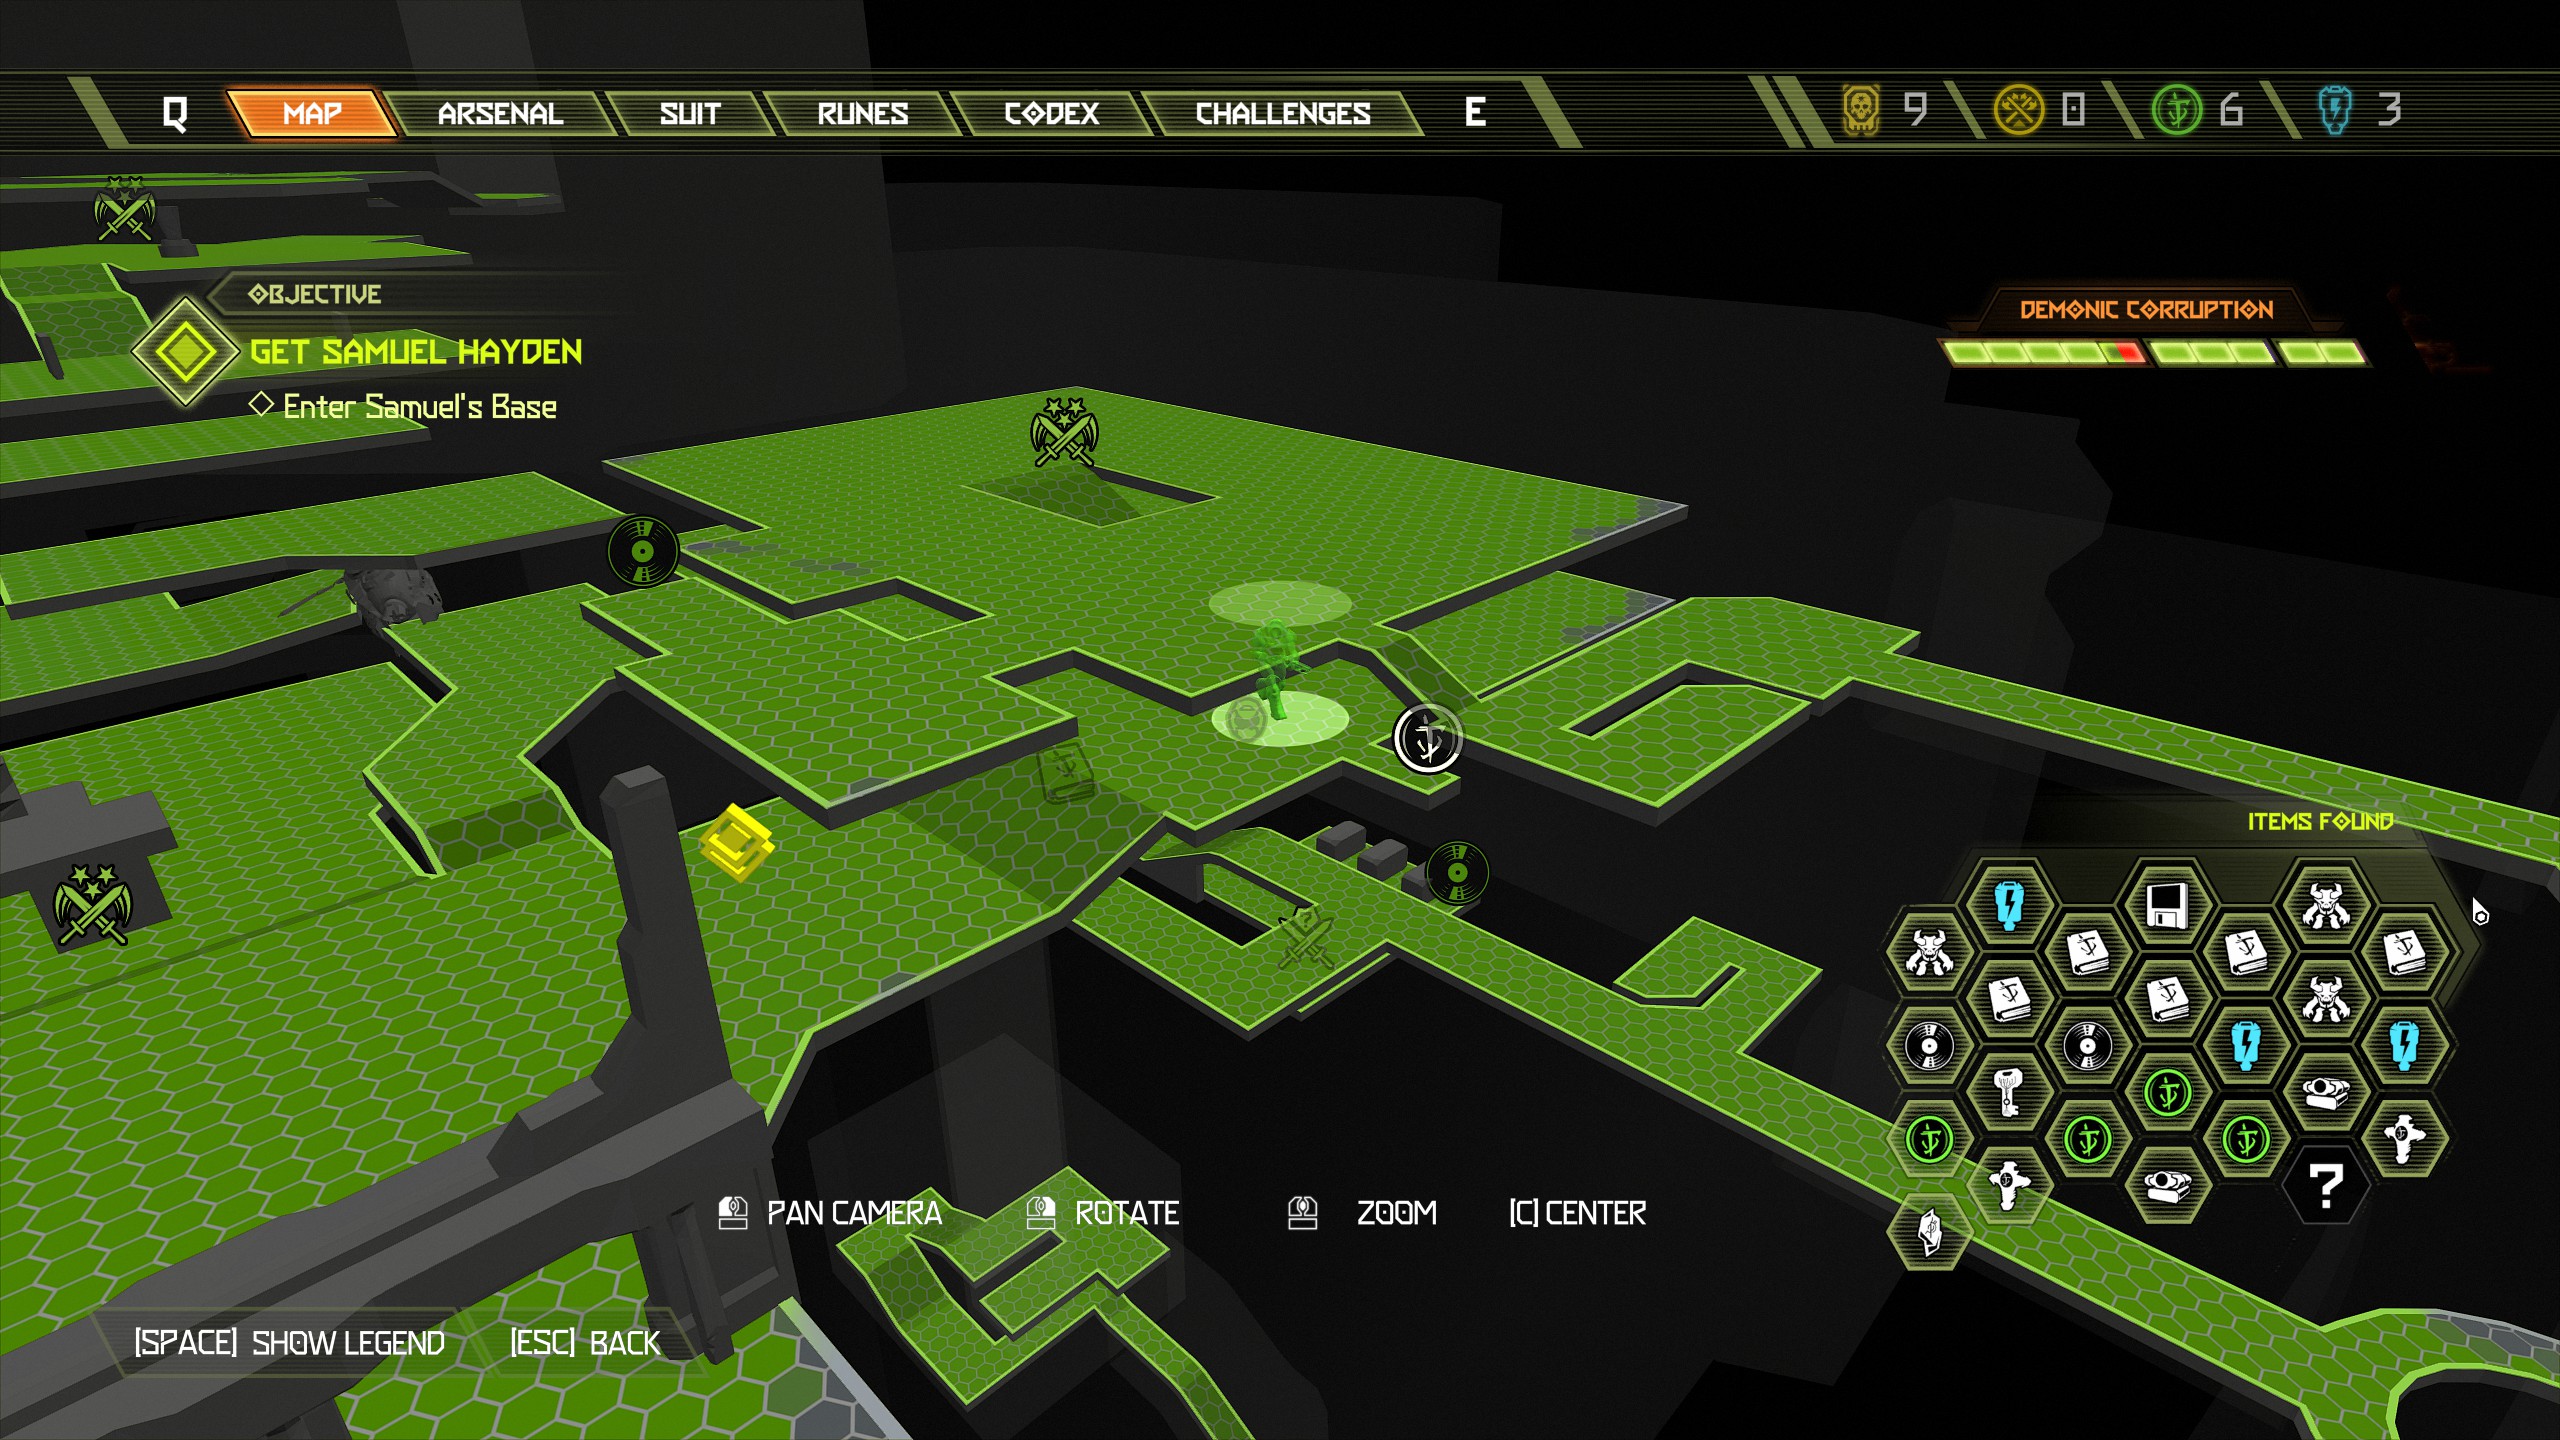
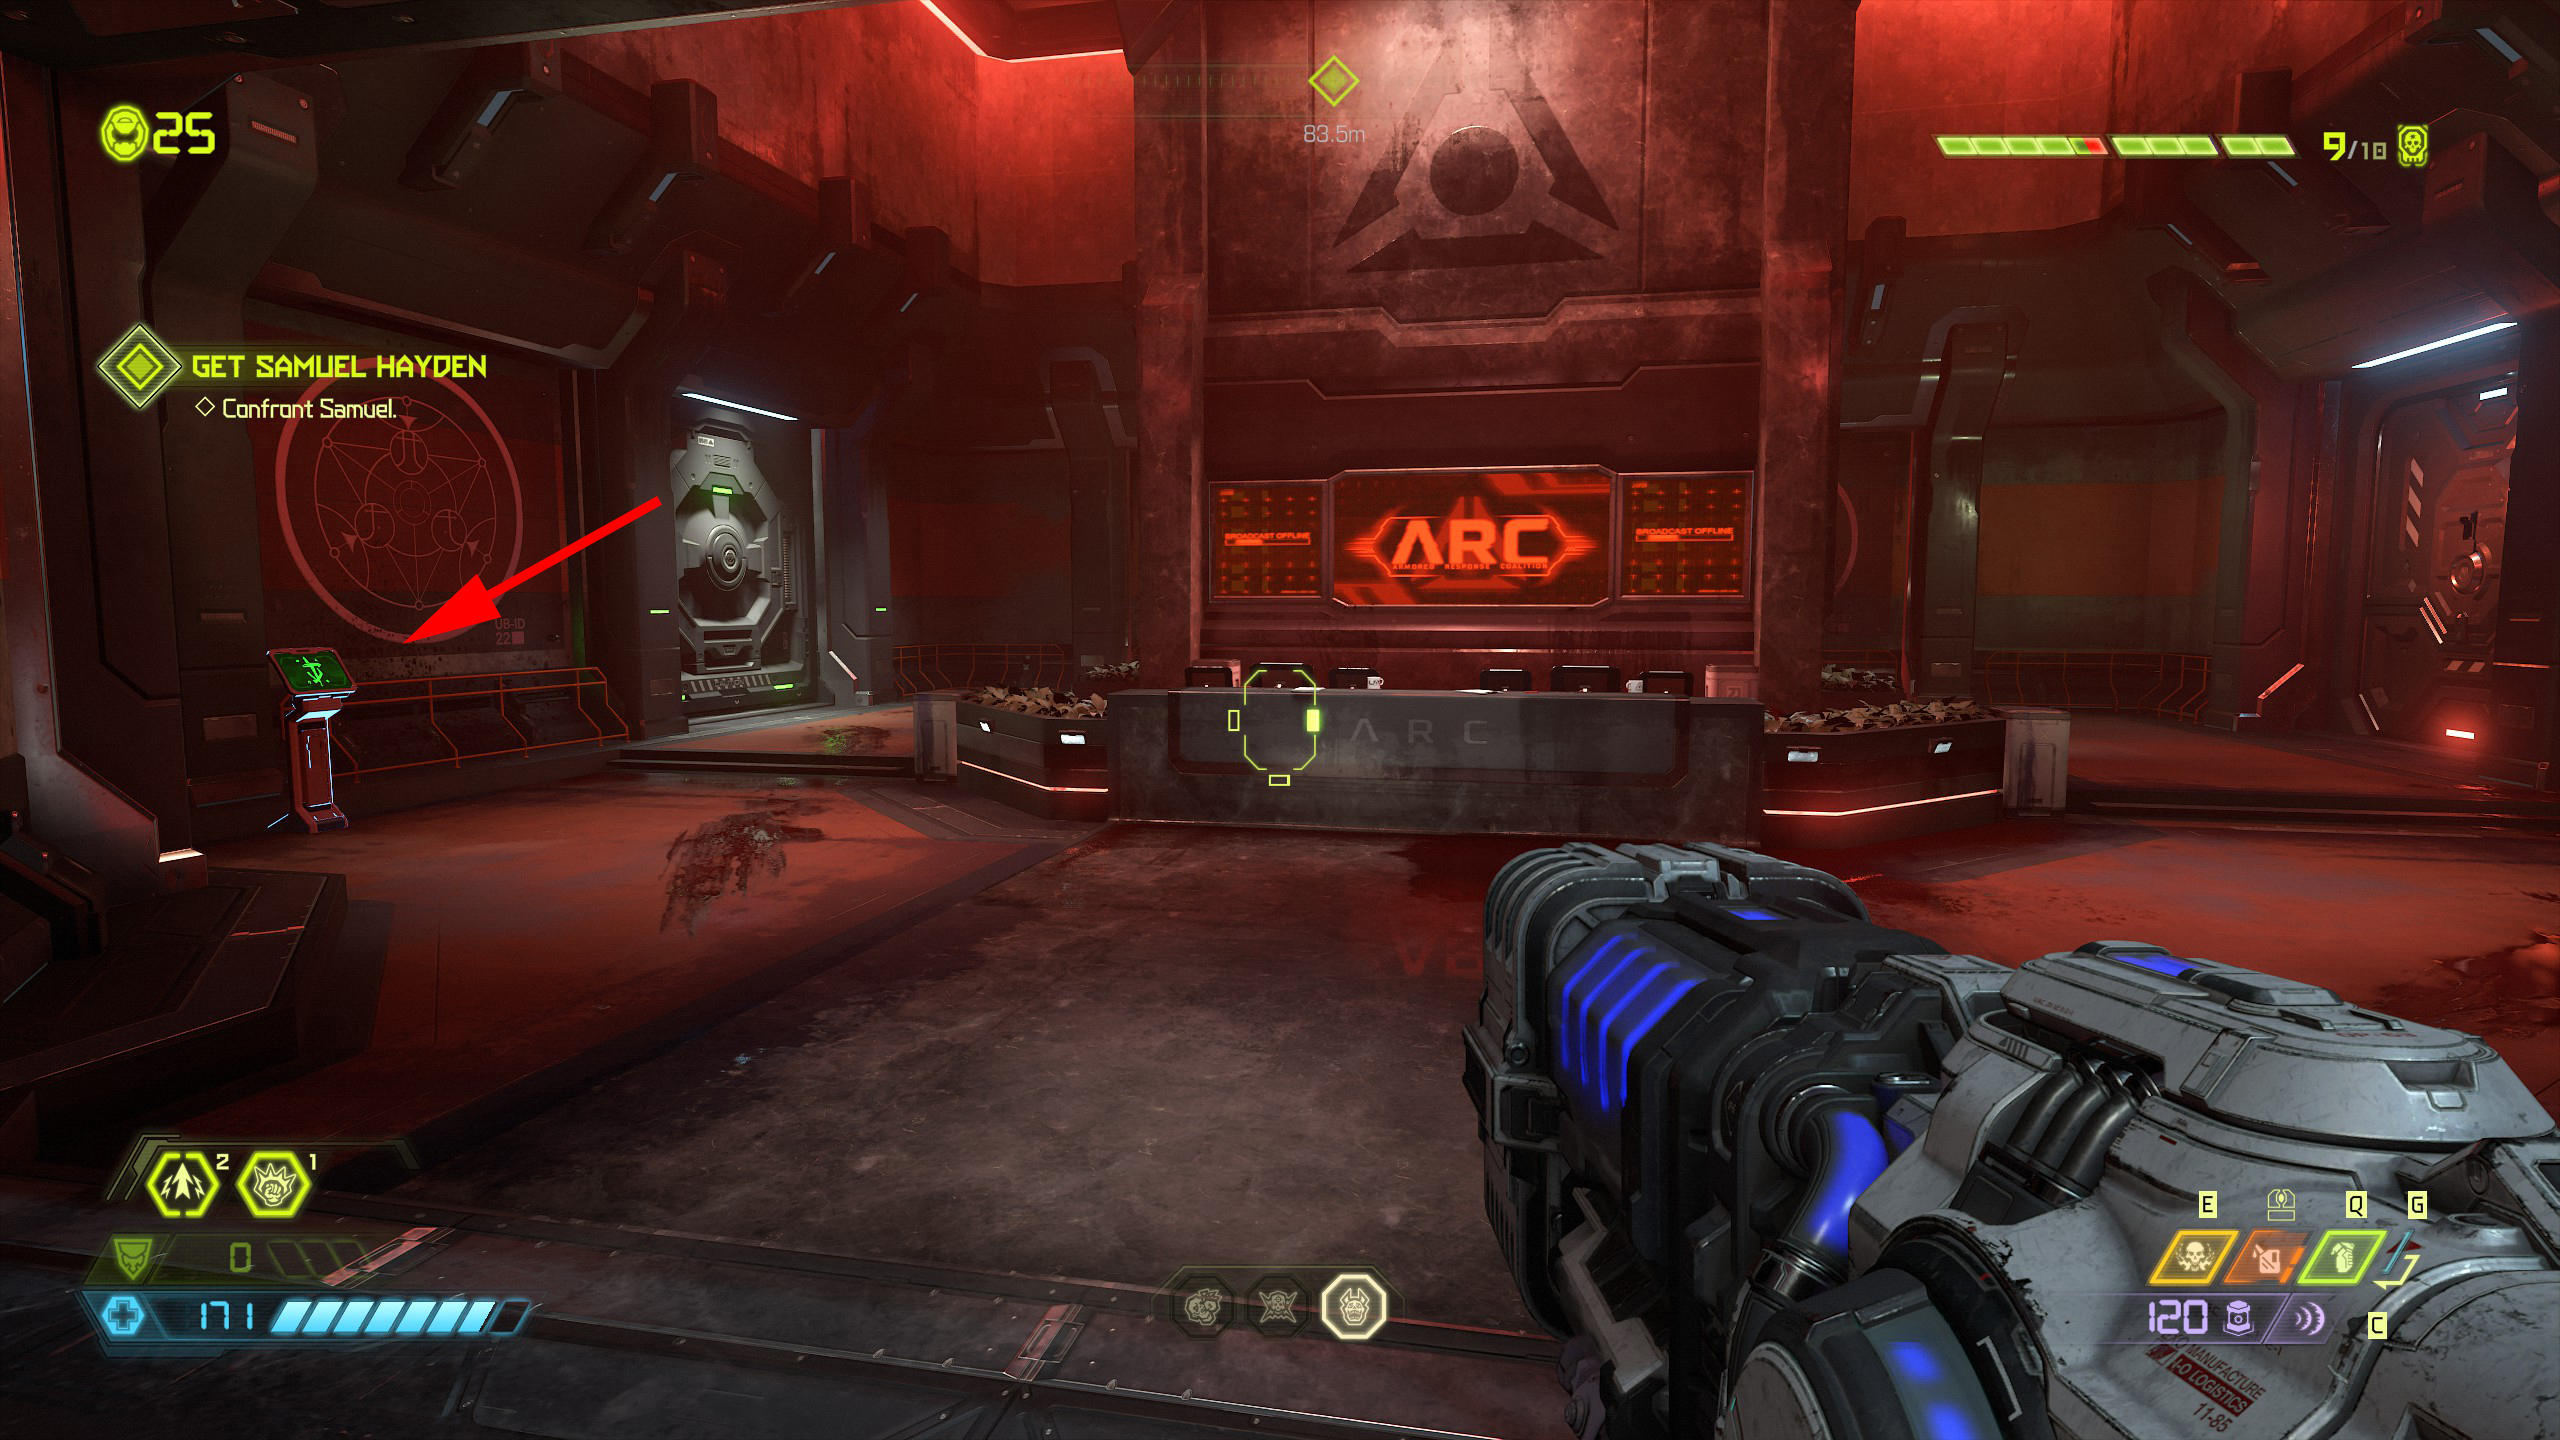
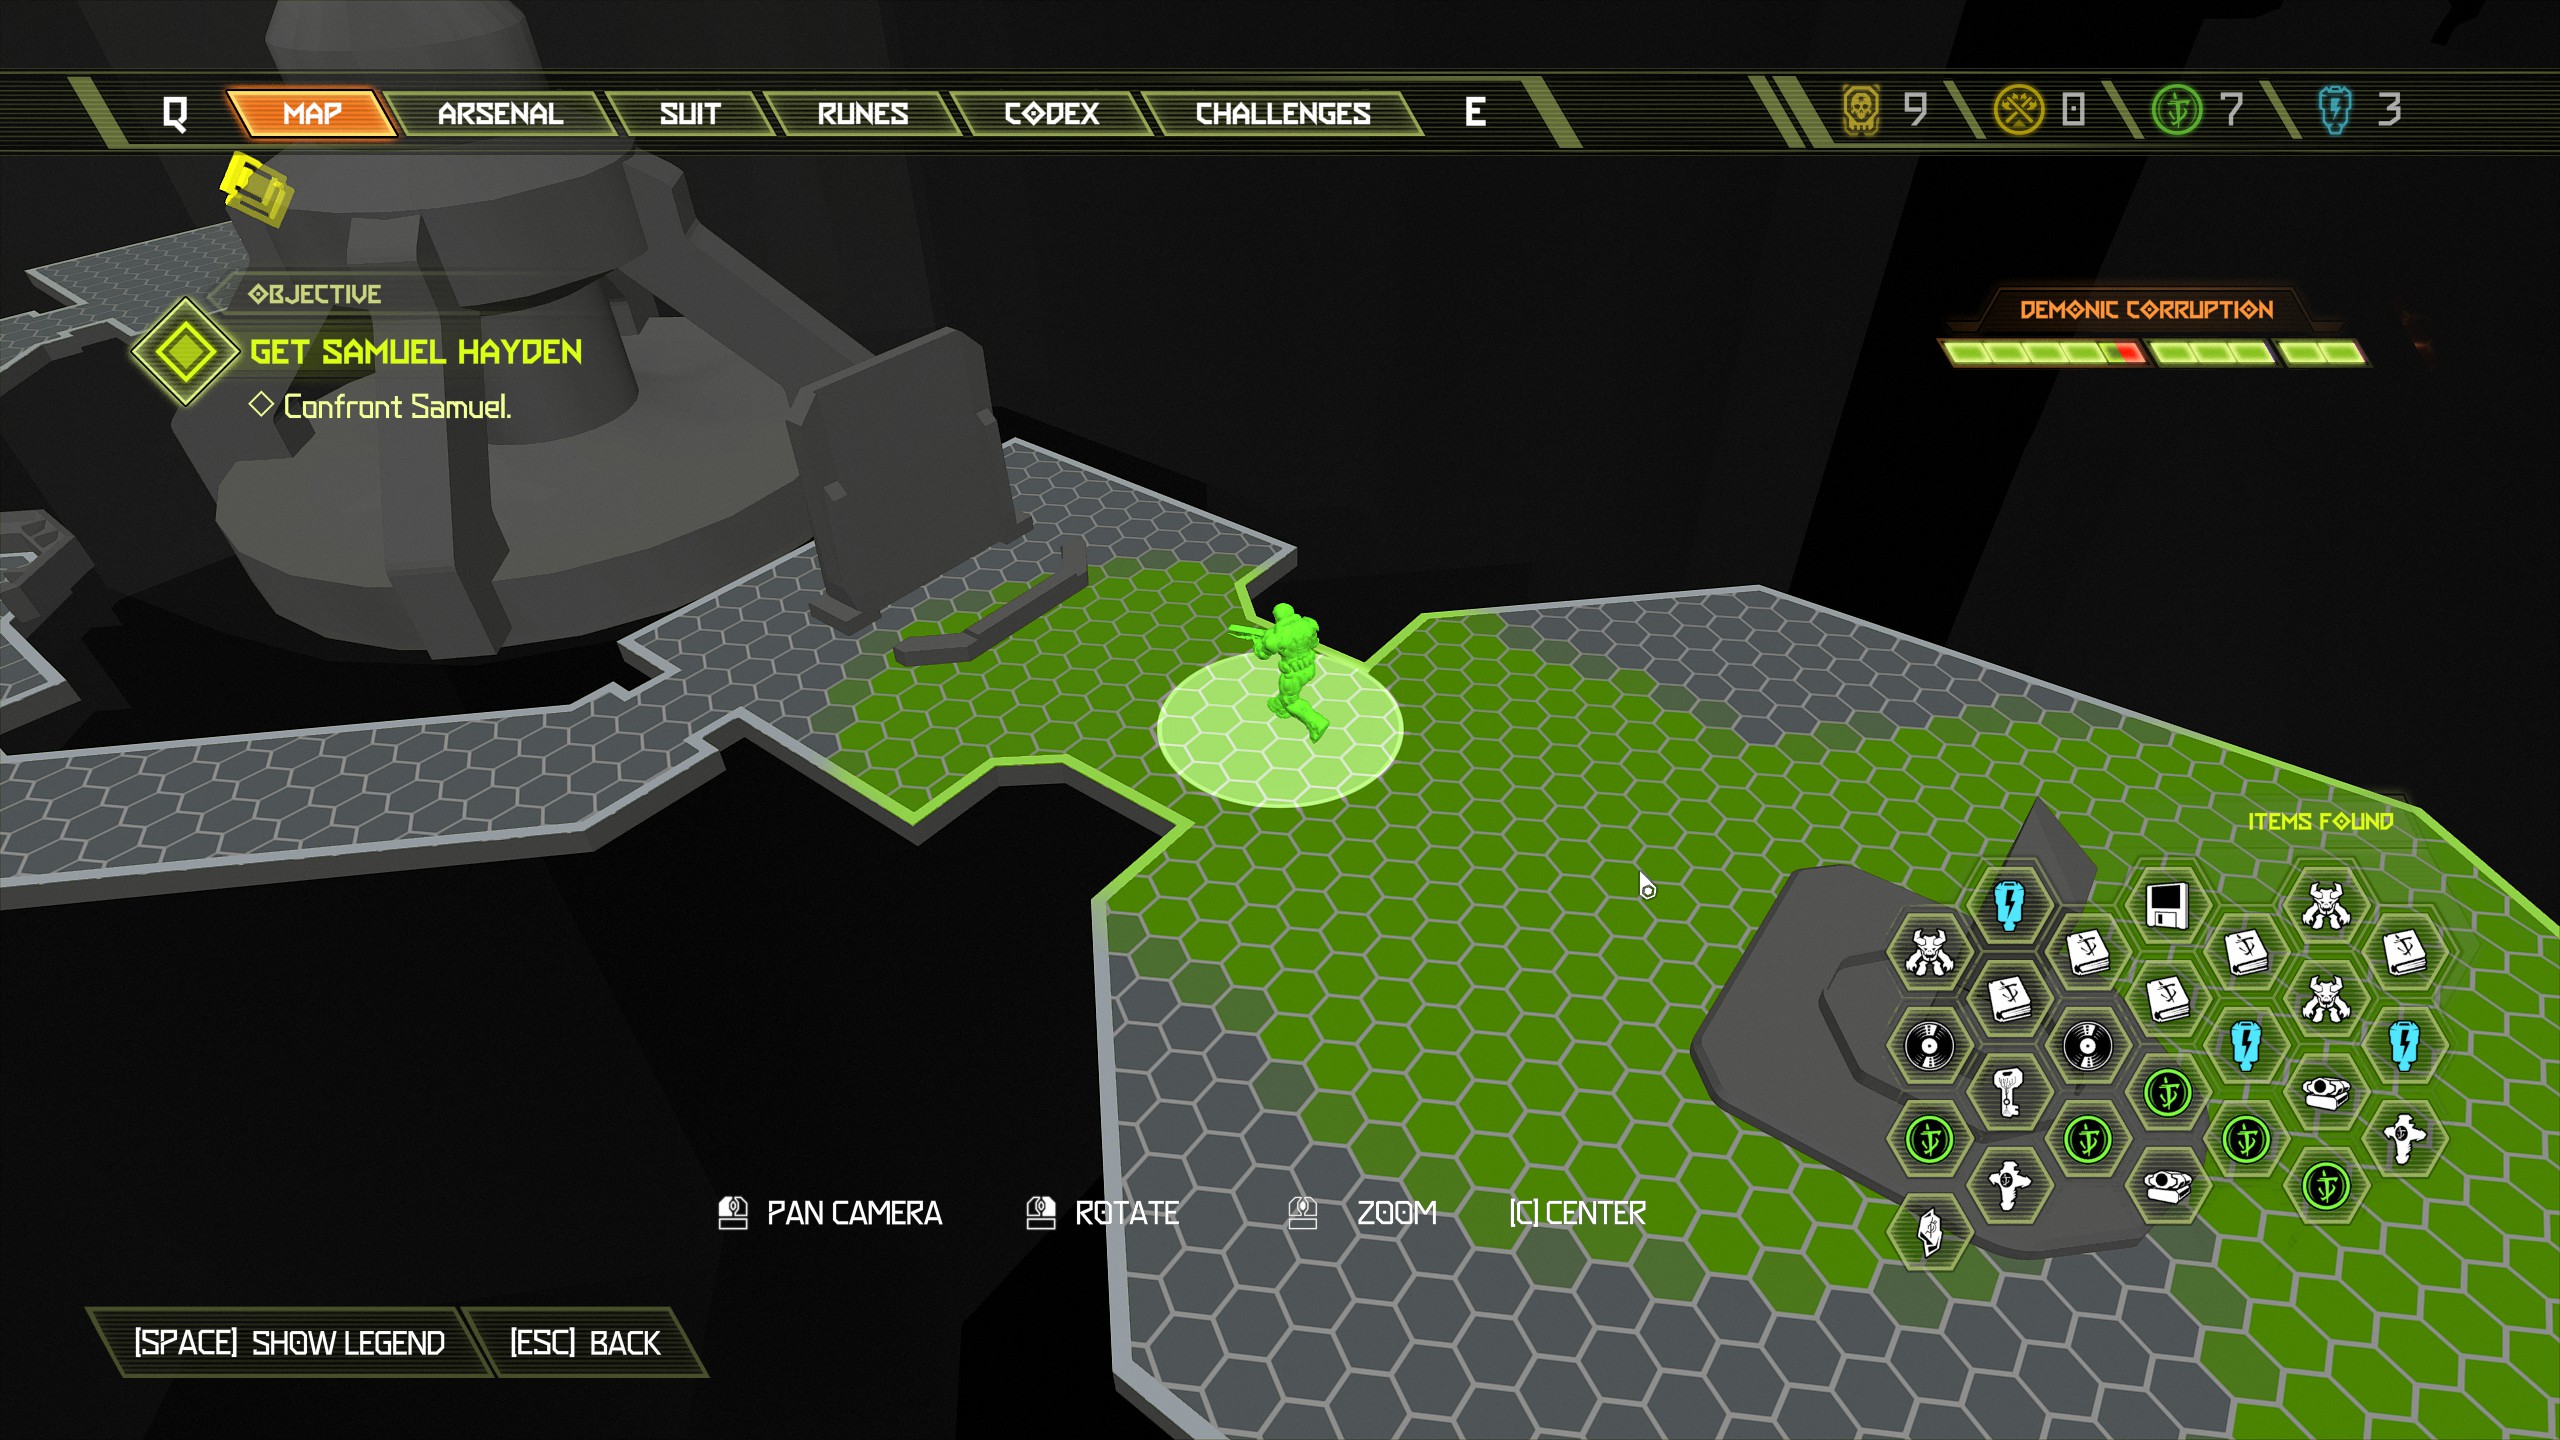
Now have fun with the marauder and finish the mission (The ballista works a treat btw).
Fortress of Doom [Part 5]
NOTE: Once again a brief stop at the fortress, only two items to collect here which includes the broadcast log. You can if you wish collect one of the slayer outfits instead of the token because you will not gain enough sentinel batteries to collect everything in the fortress at the end of the campaign. I only chose the token for the gameplay benefit. Current items to collect:
- 1 Praetor Suit Token
or- 1 Slayer Outfit
- 1 Arc Broadcast Log
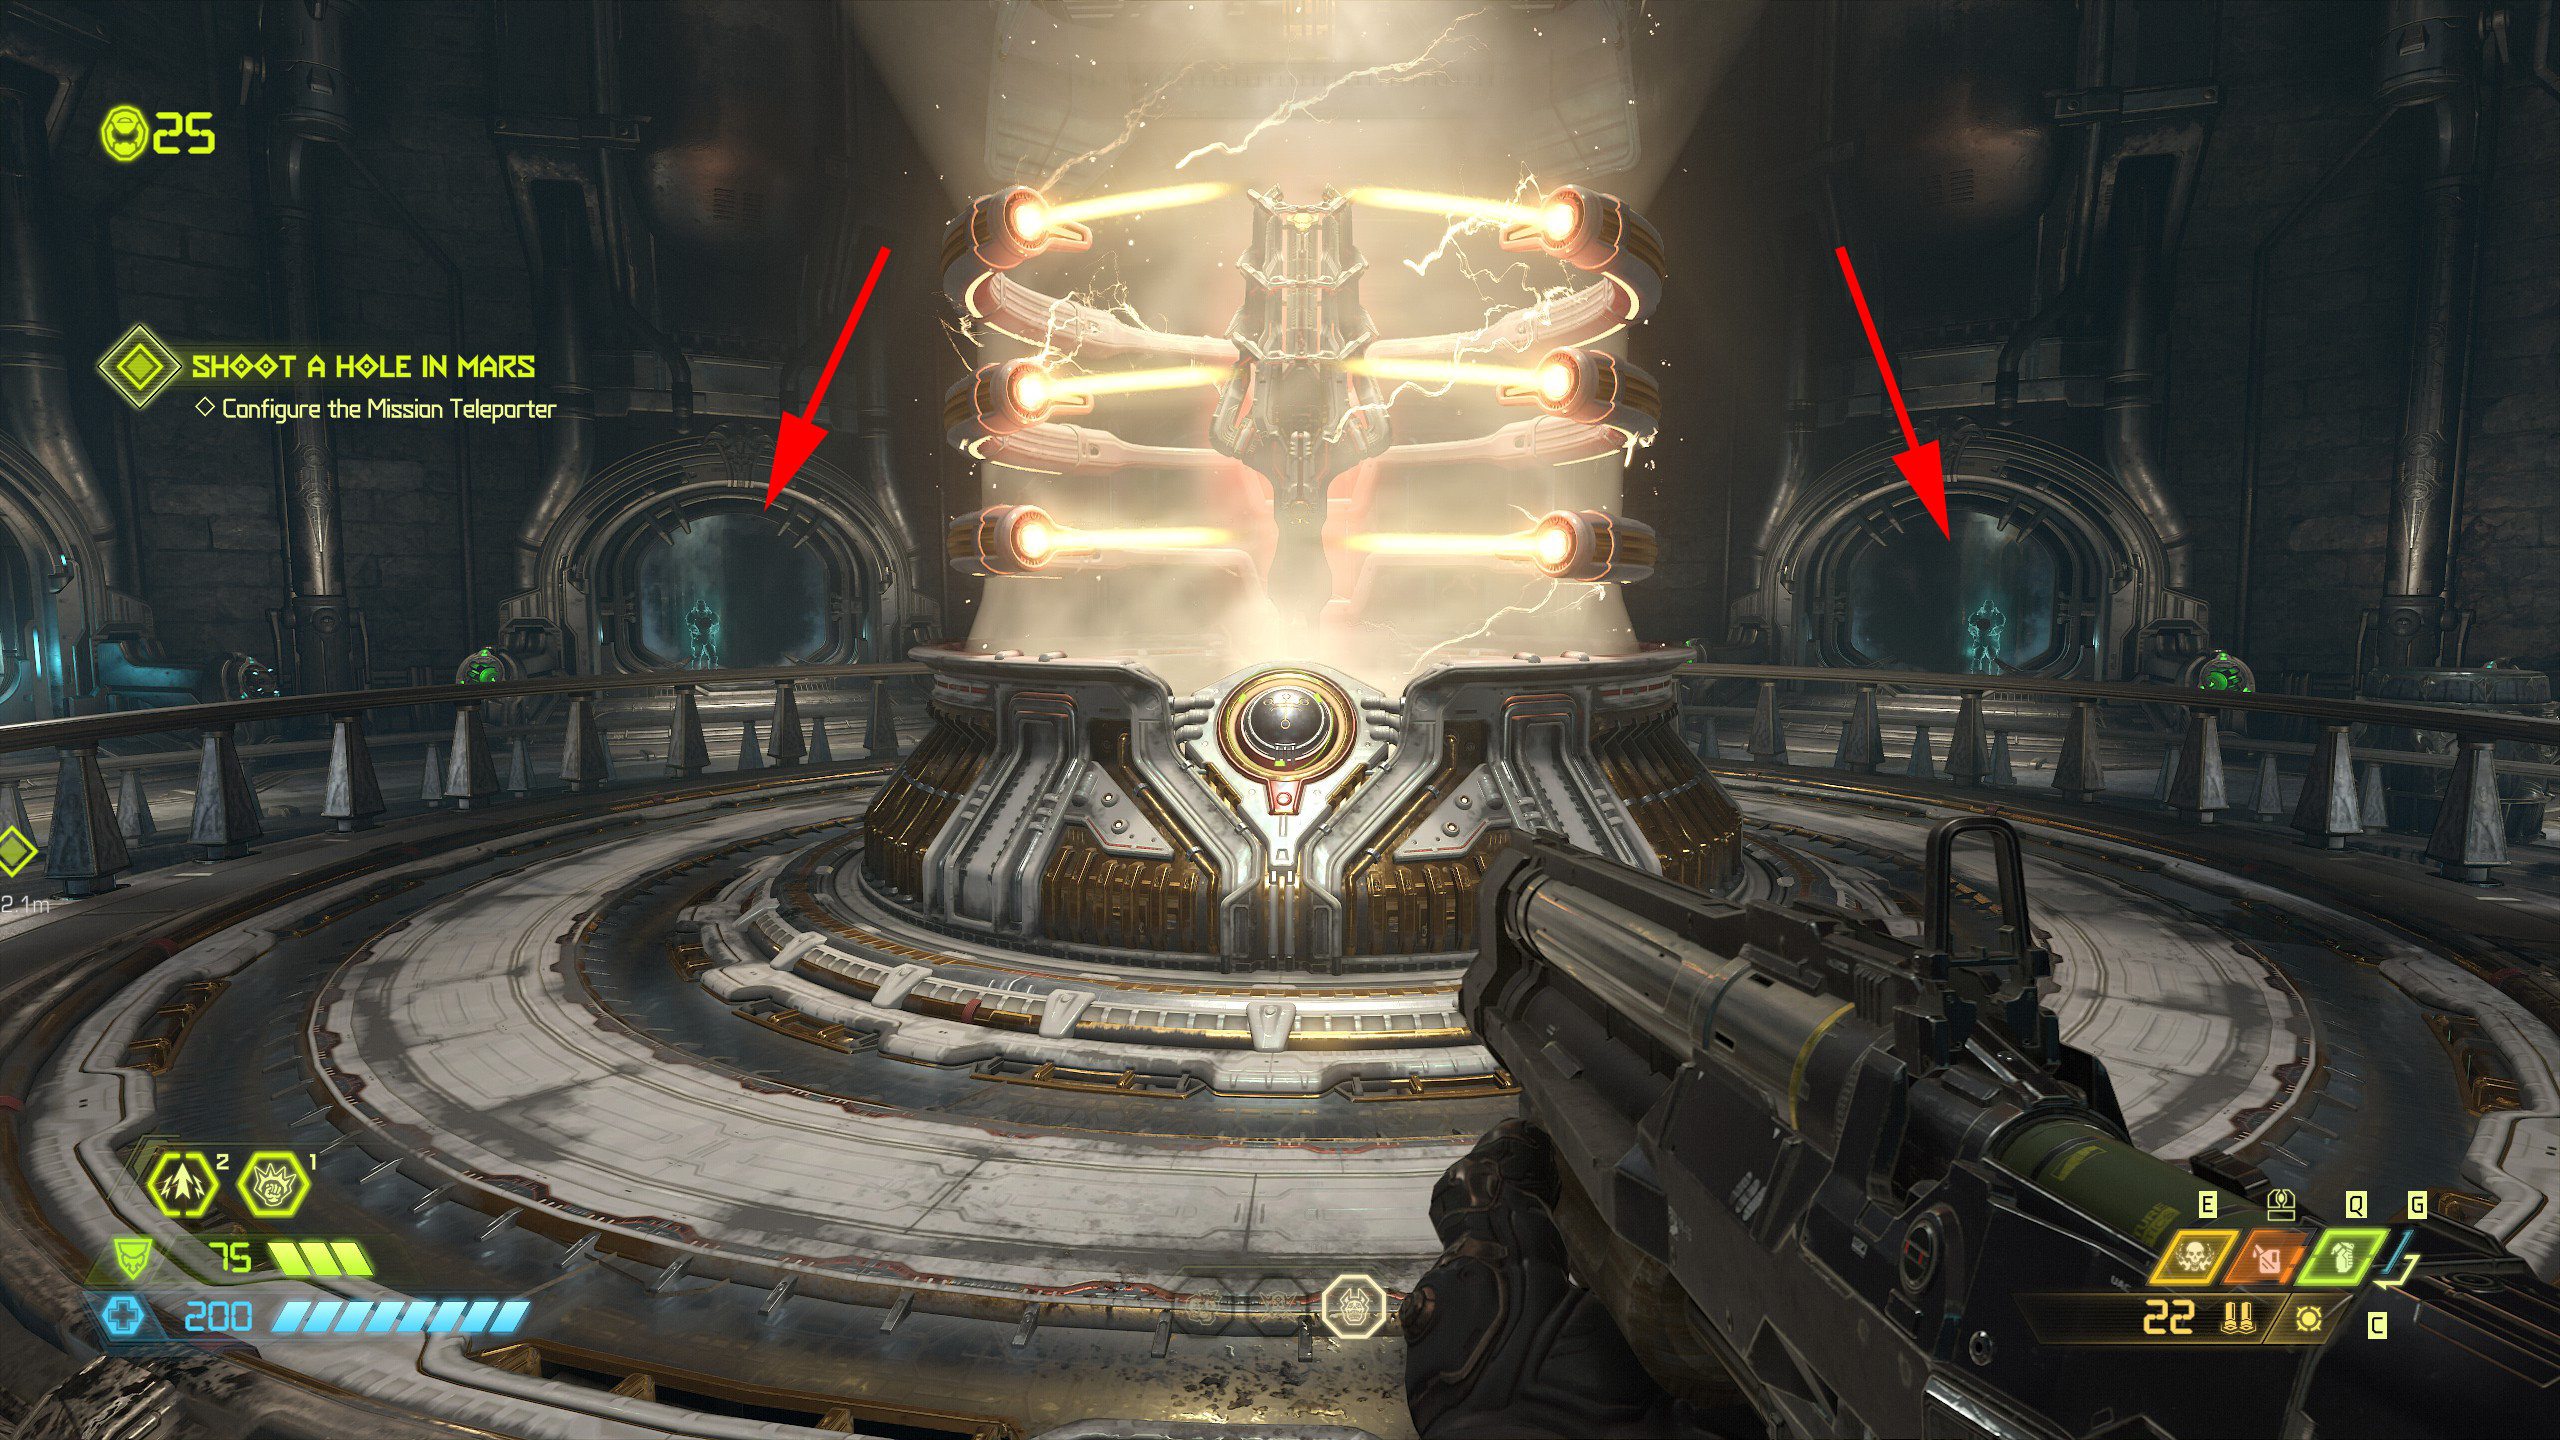
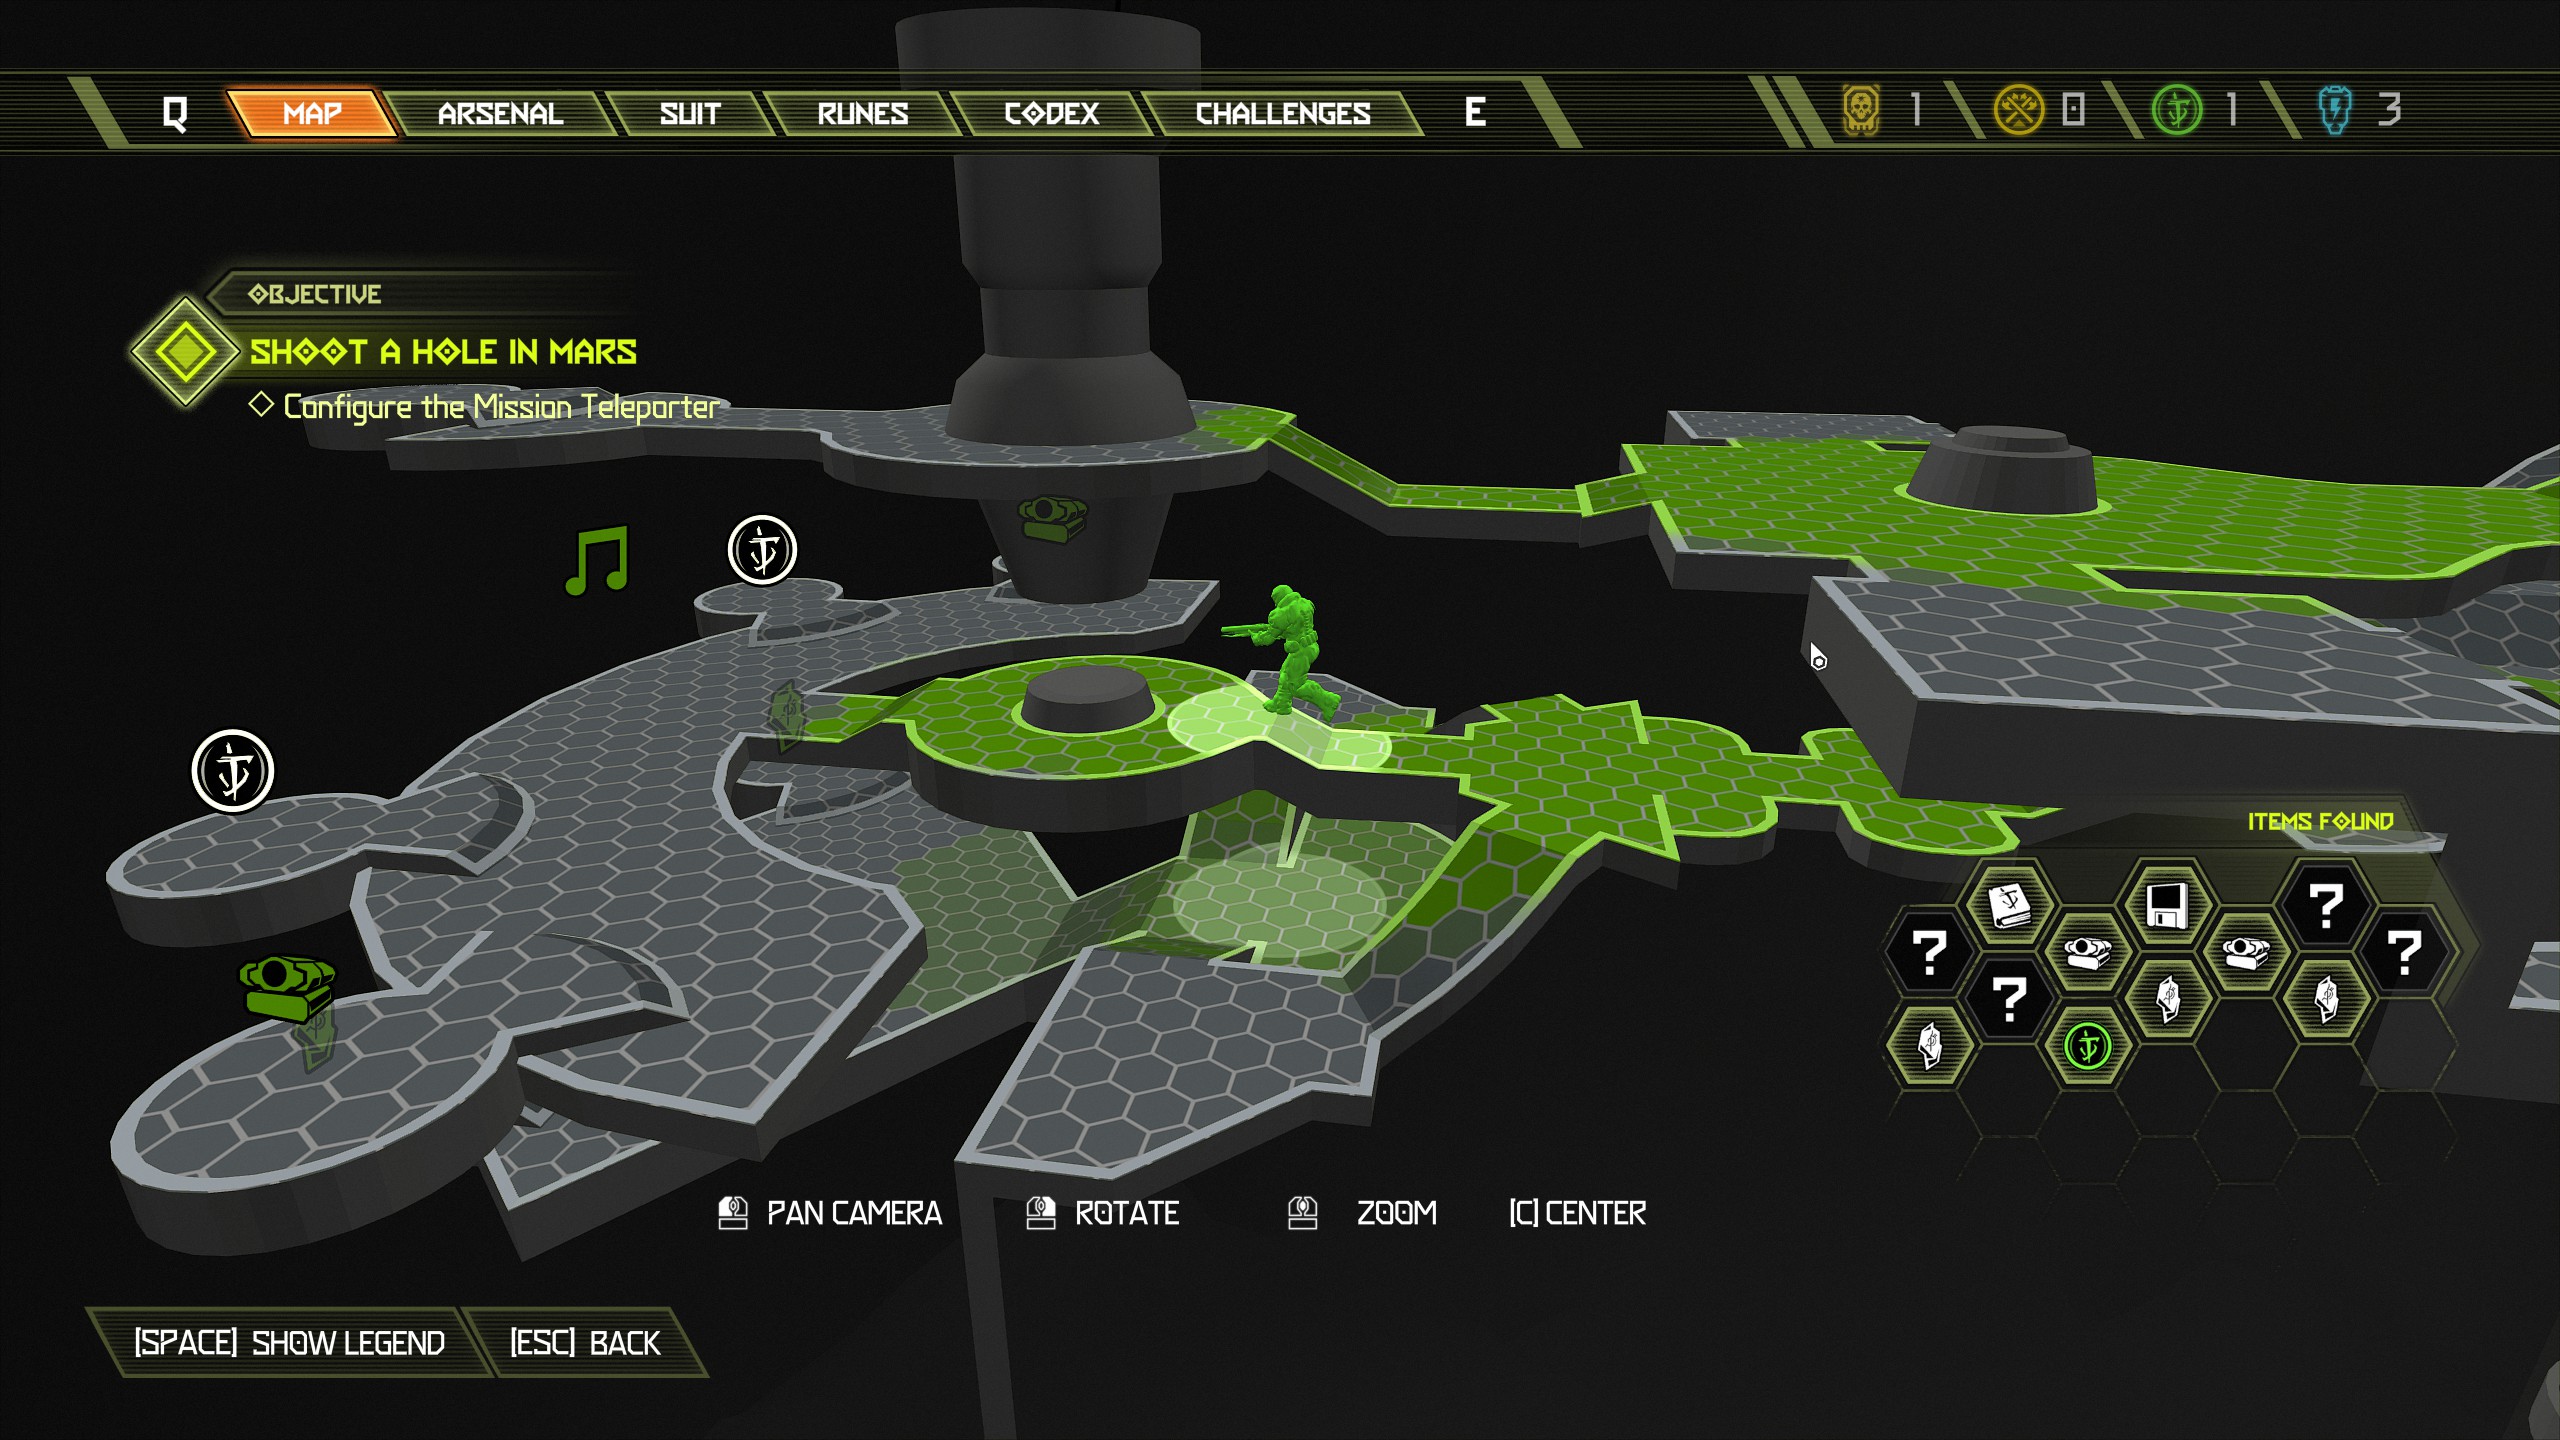
Mission 7 awaits.
Mission 7: Mars Core [Part 1]
NOTE: We have a lot of platforming on this mission and a few items that you could miss if you're not careful, but i have tried to guide you as best i can without overcomplicating things which i hope works out. Overall this is a pretty good mission with plenty to collect whilst also finding the last of your runes here. This mission contains:
- 2 Runes
- 6 Extra Lives
- 3 Sentinel Batteries
- 1 Automap
- 5 Praetor Suit Tokens
- 2 Codex Pages
- 2 Secret Encounters
- 3 Doomtoys
- 1 Cheat Code
- 2 Albums
- 1 Sentinel Crystal
- 1 Slayer Gate Key
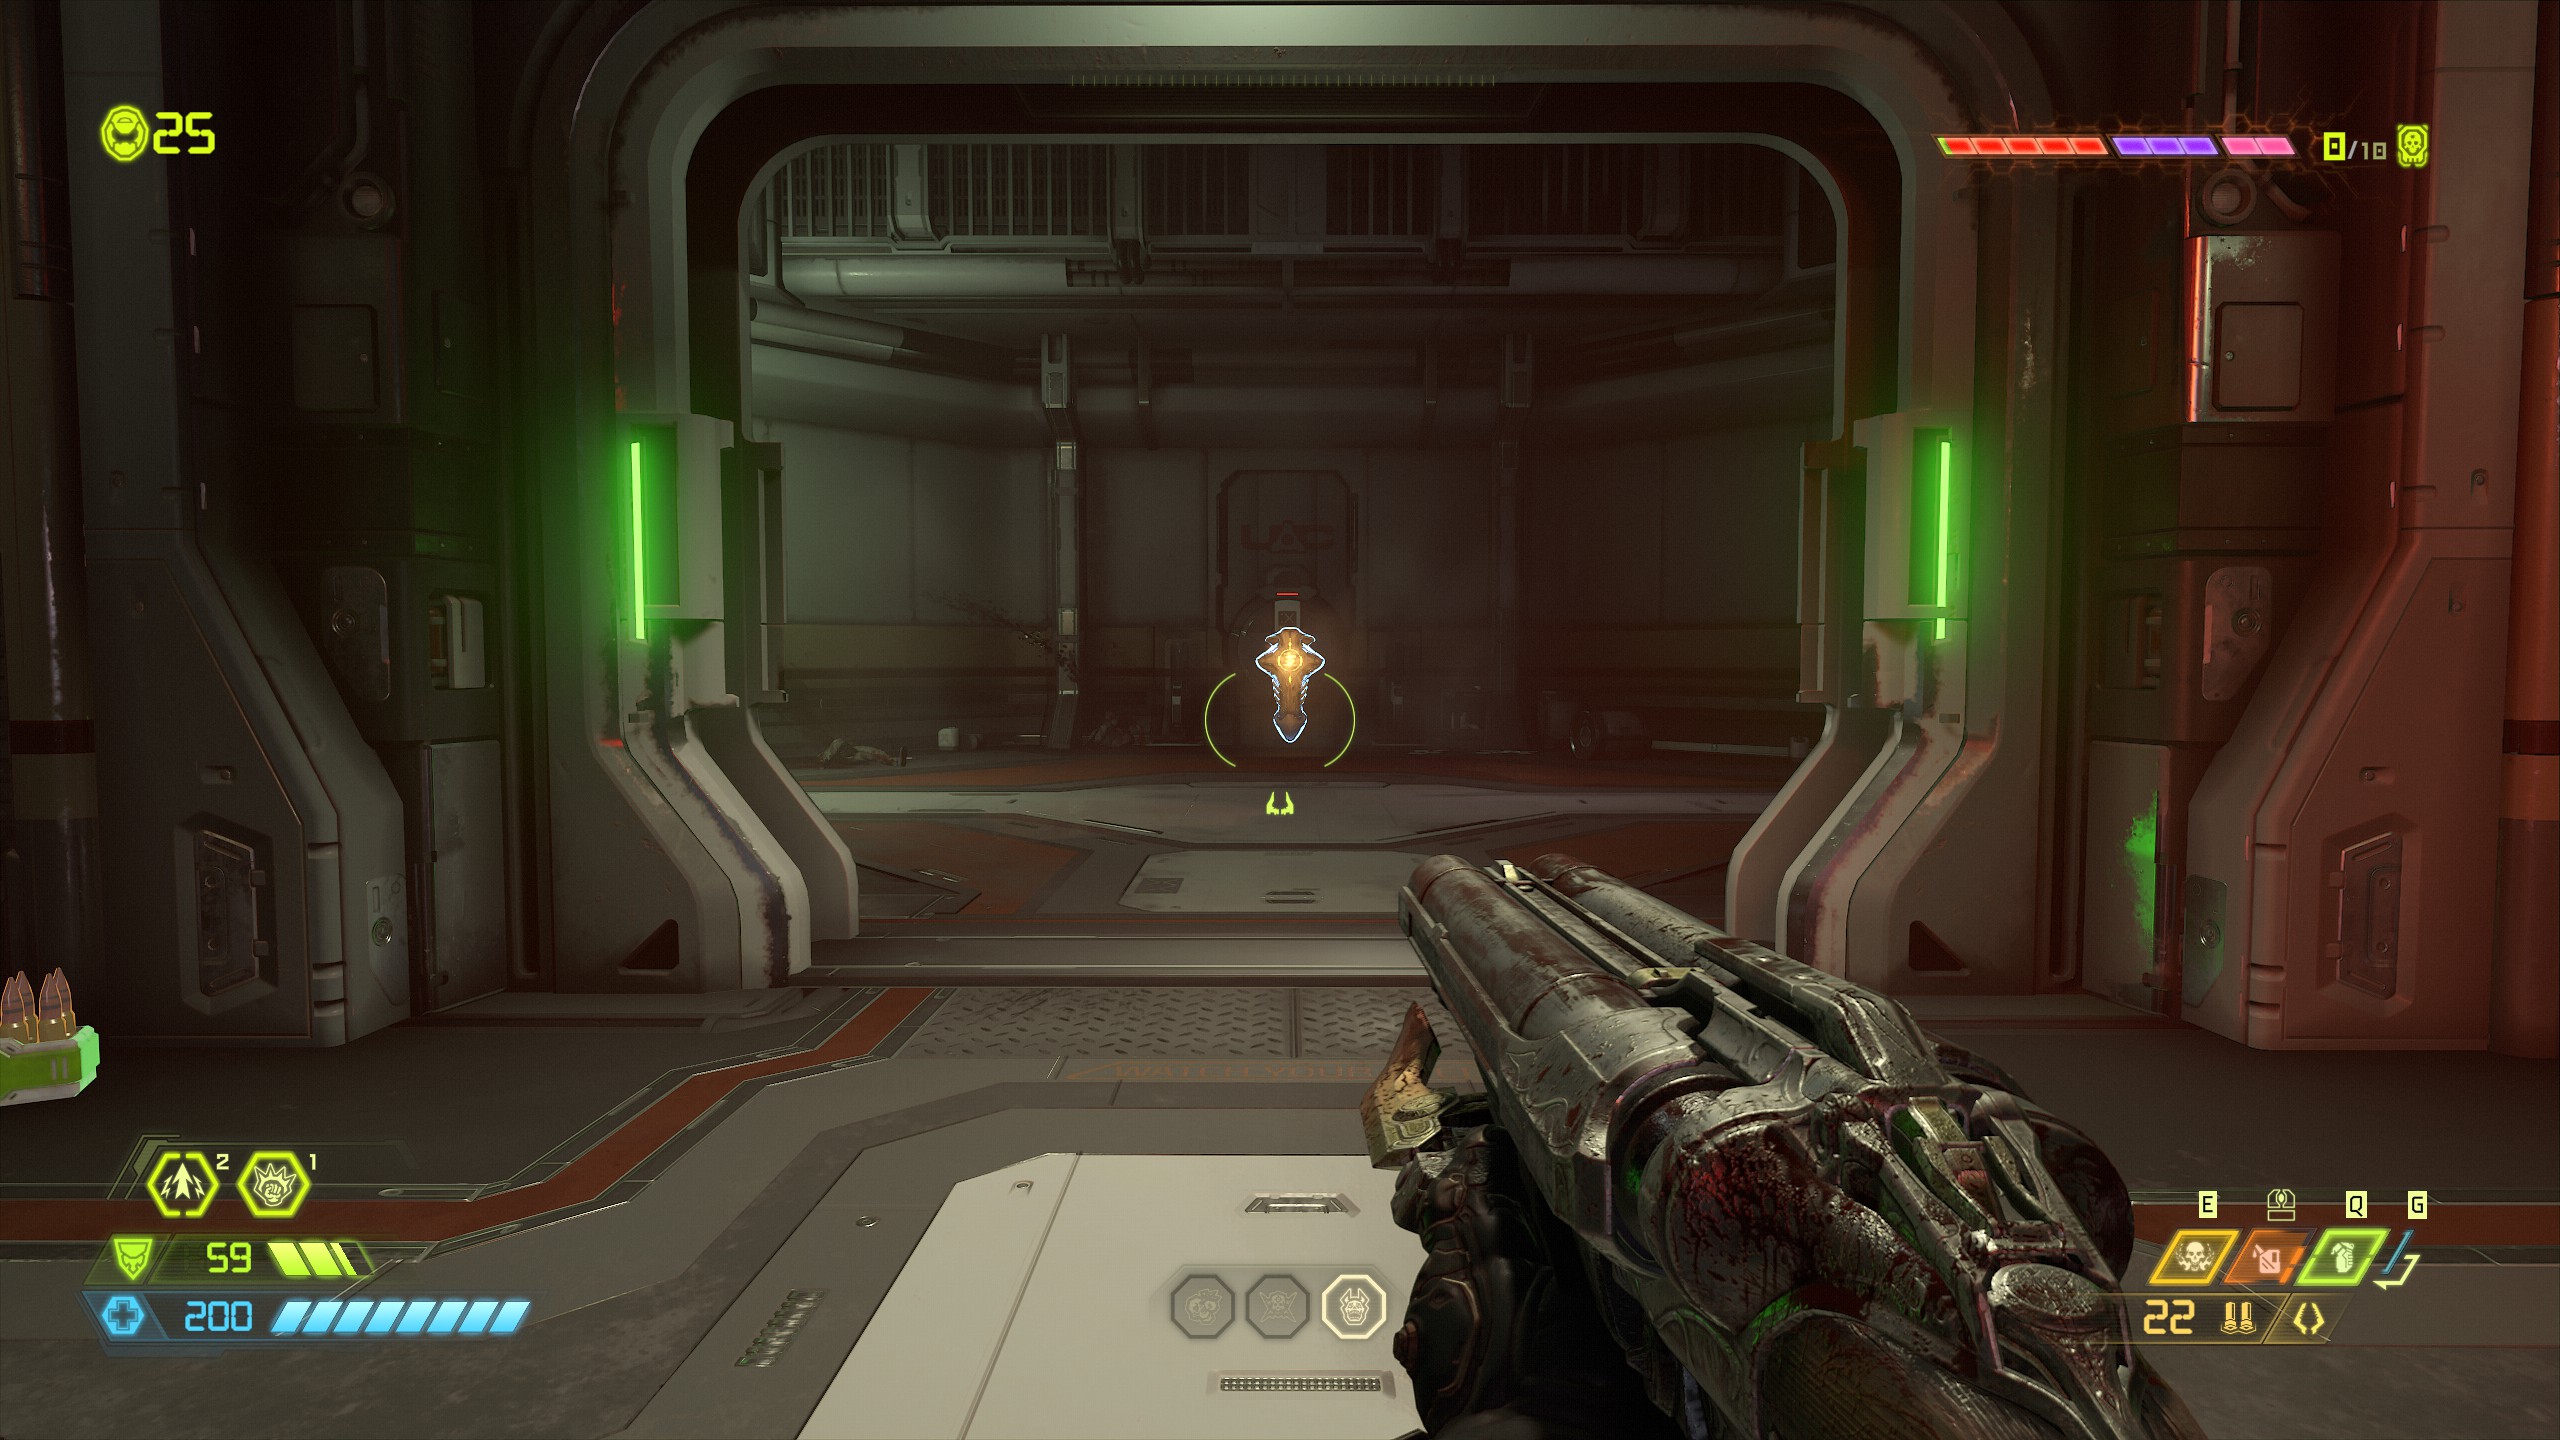
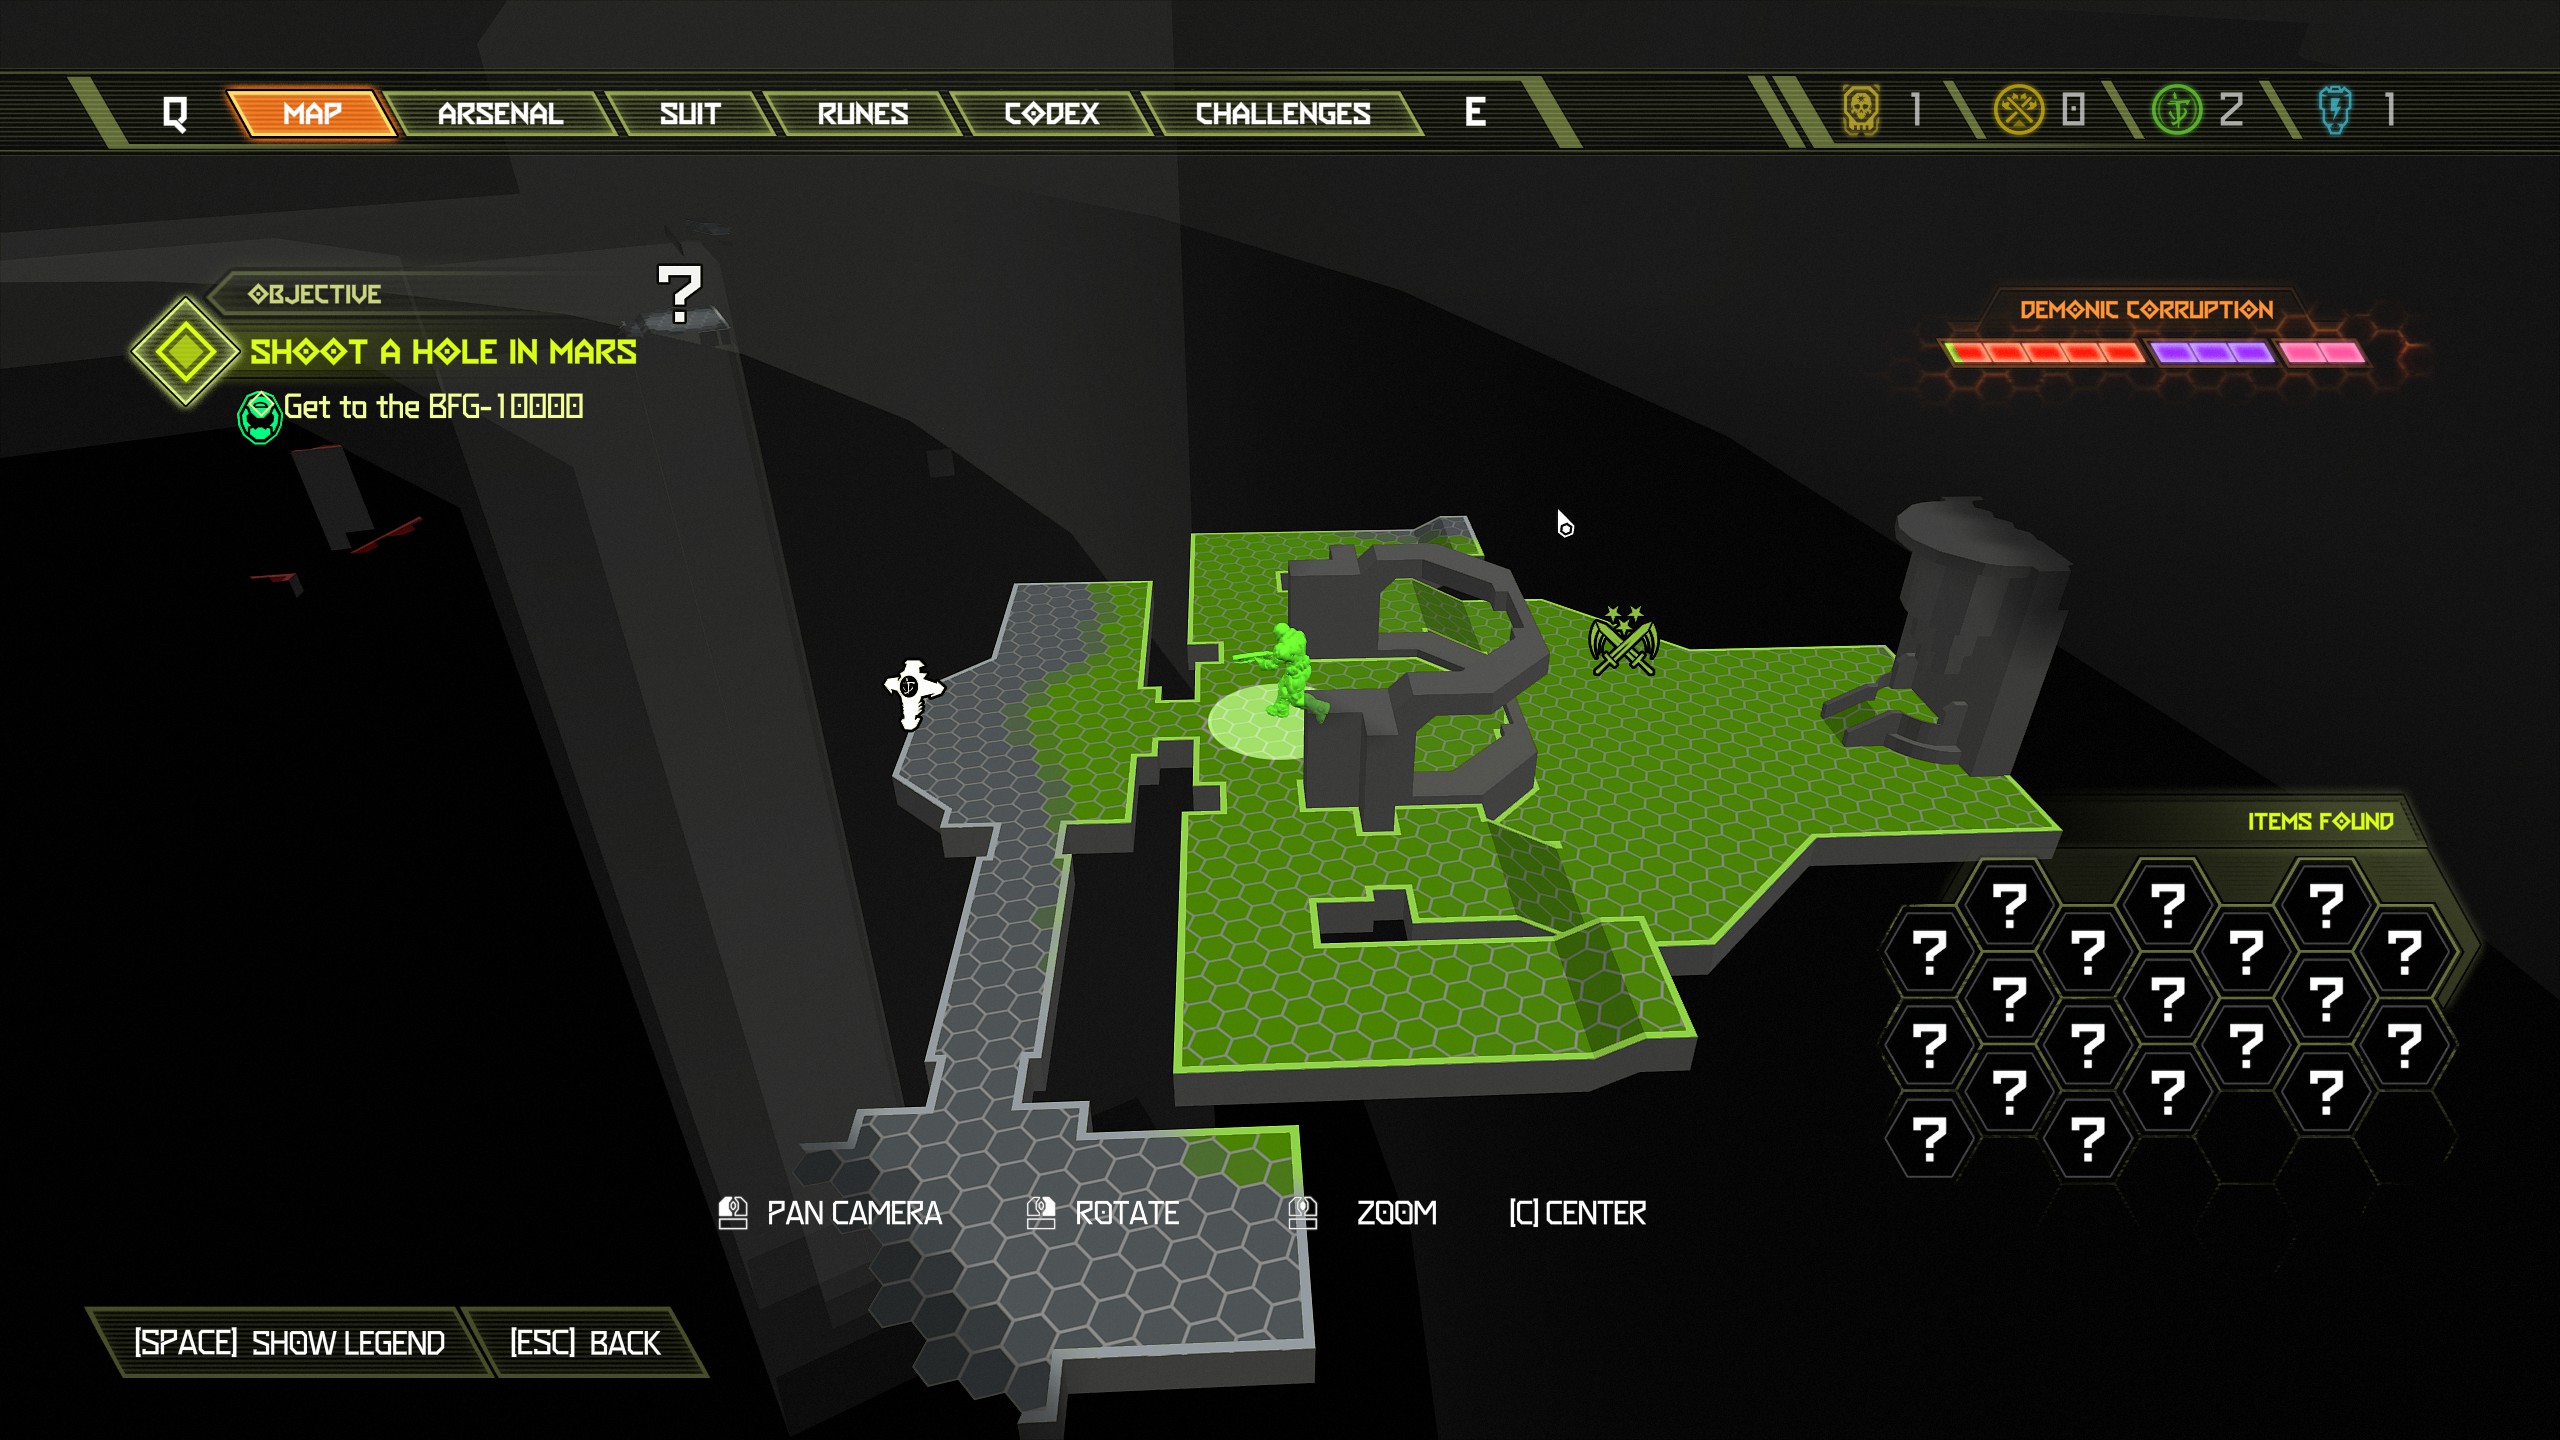
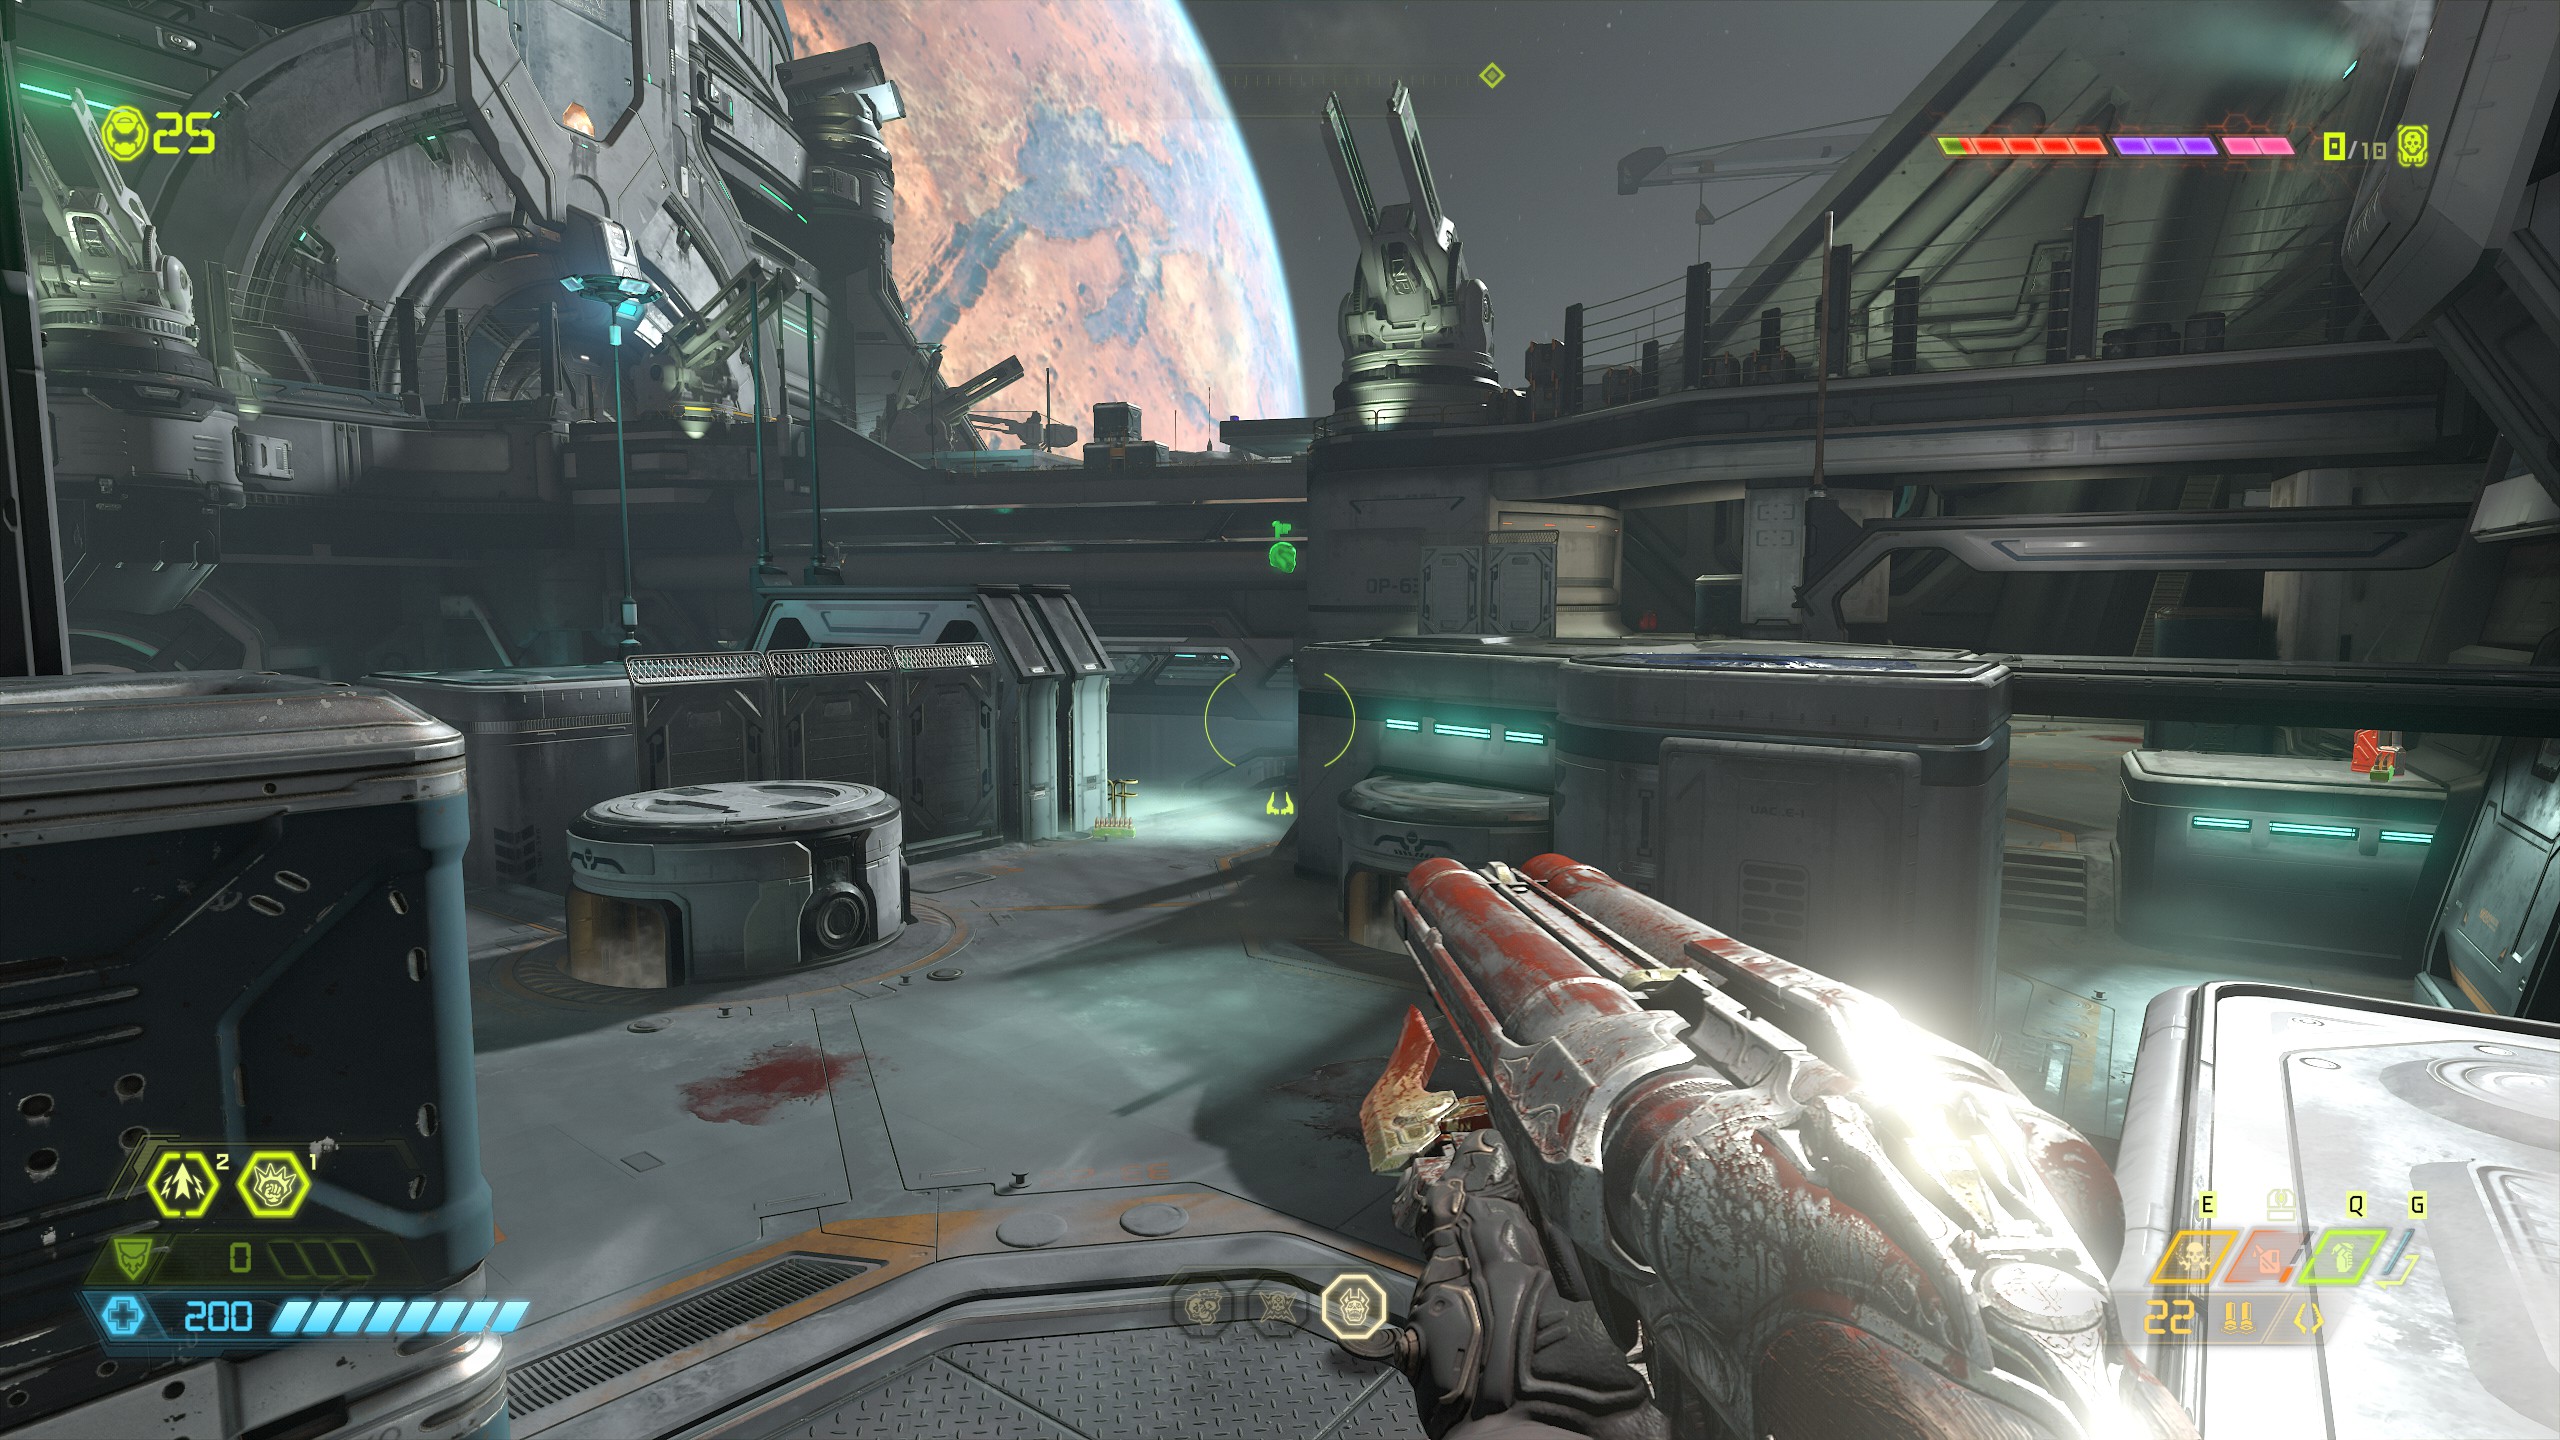
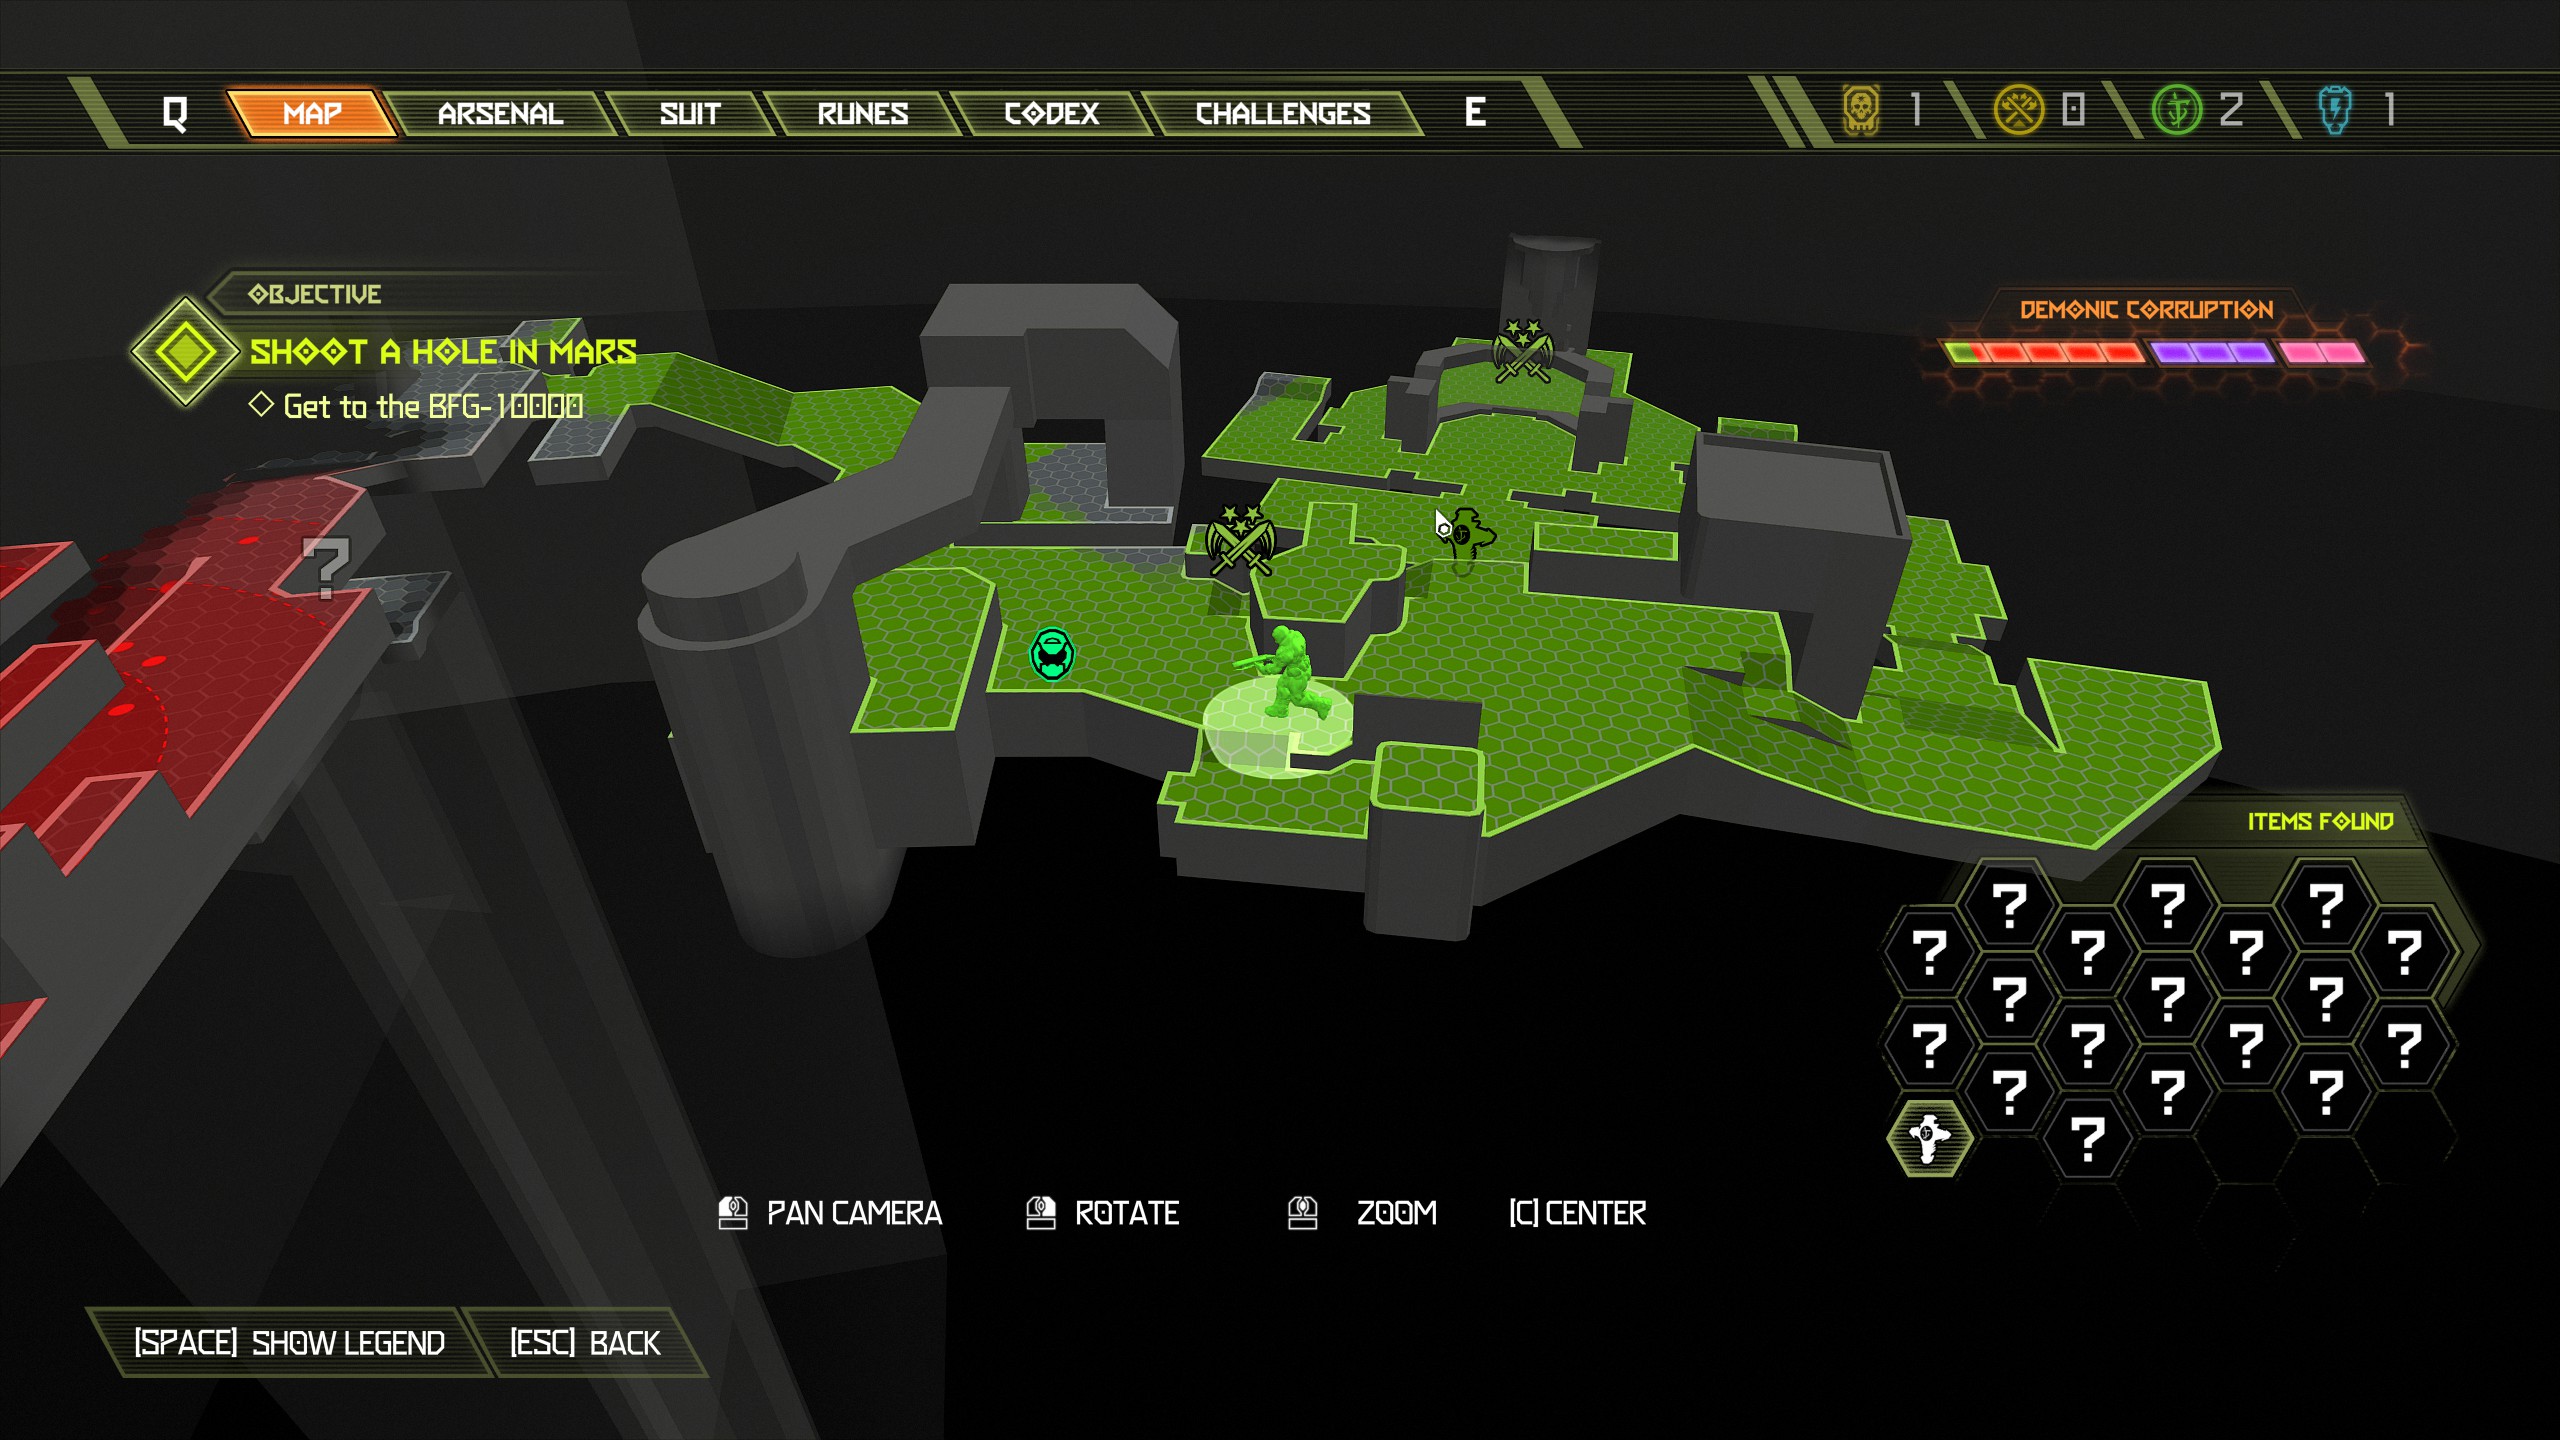
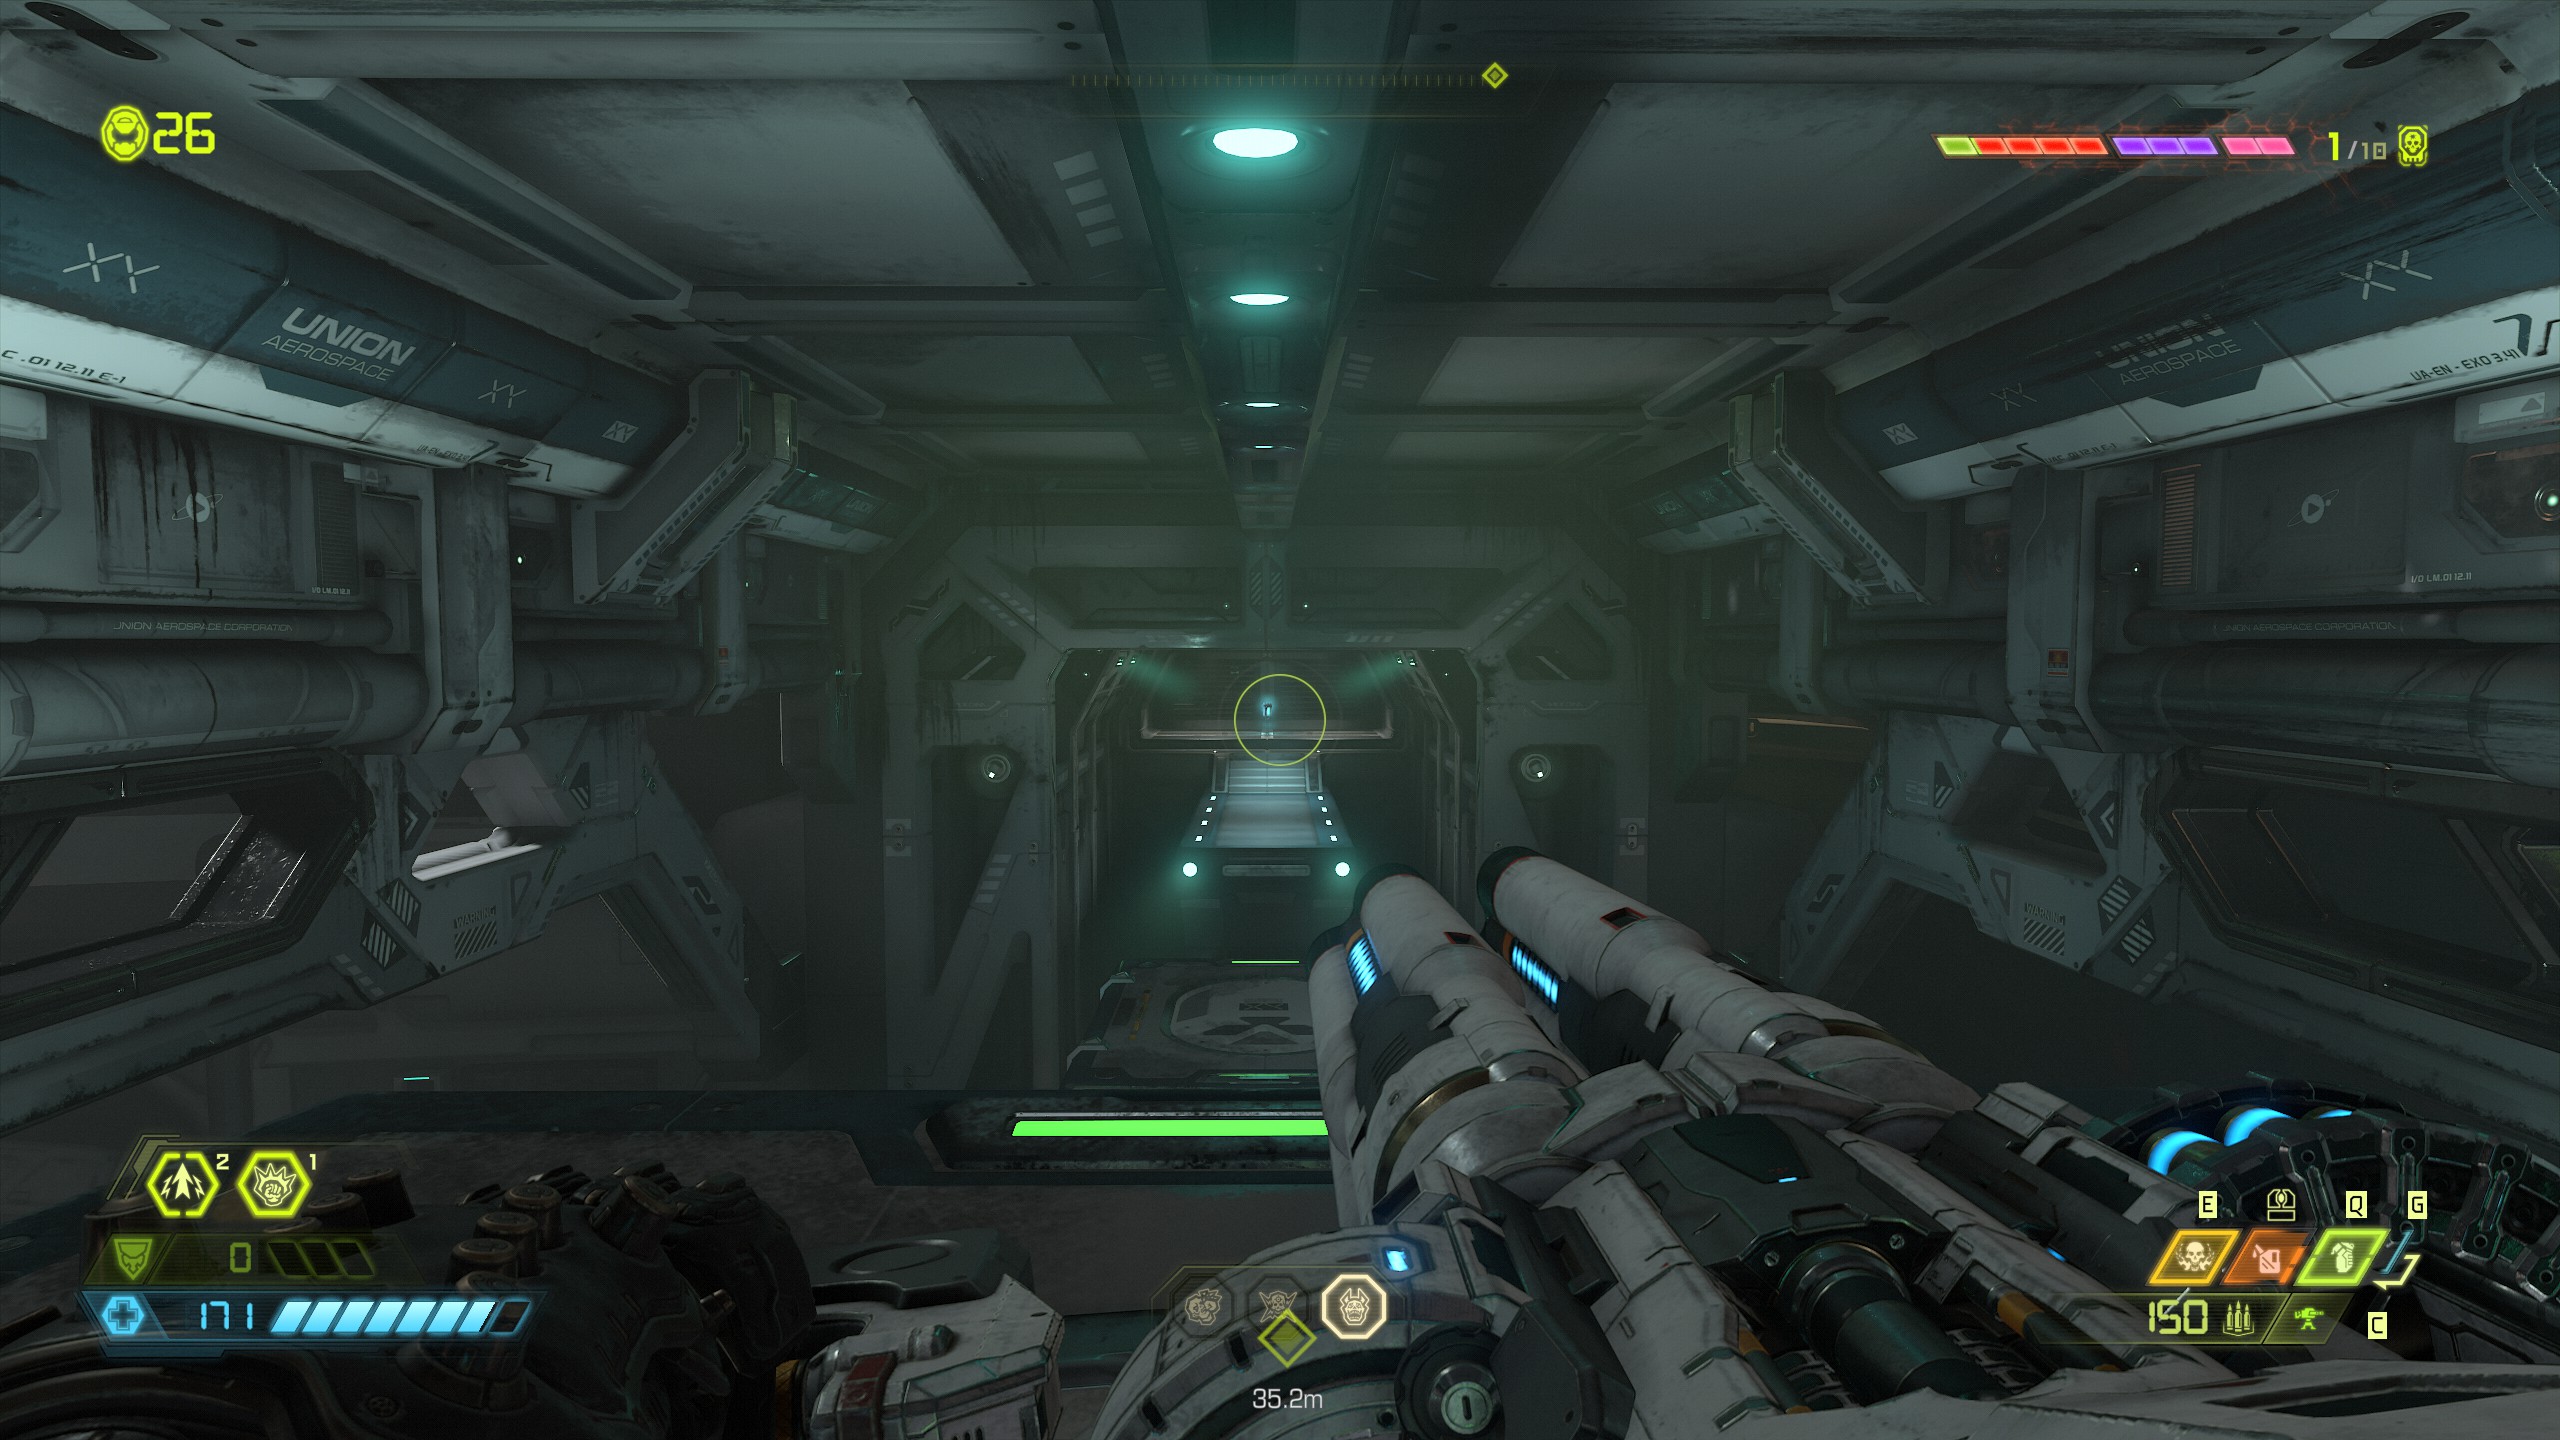
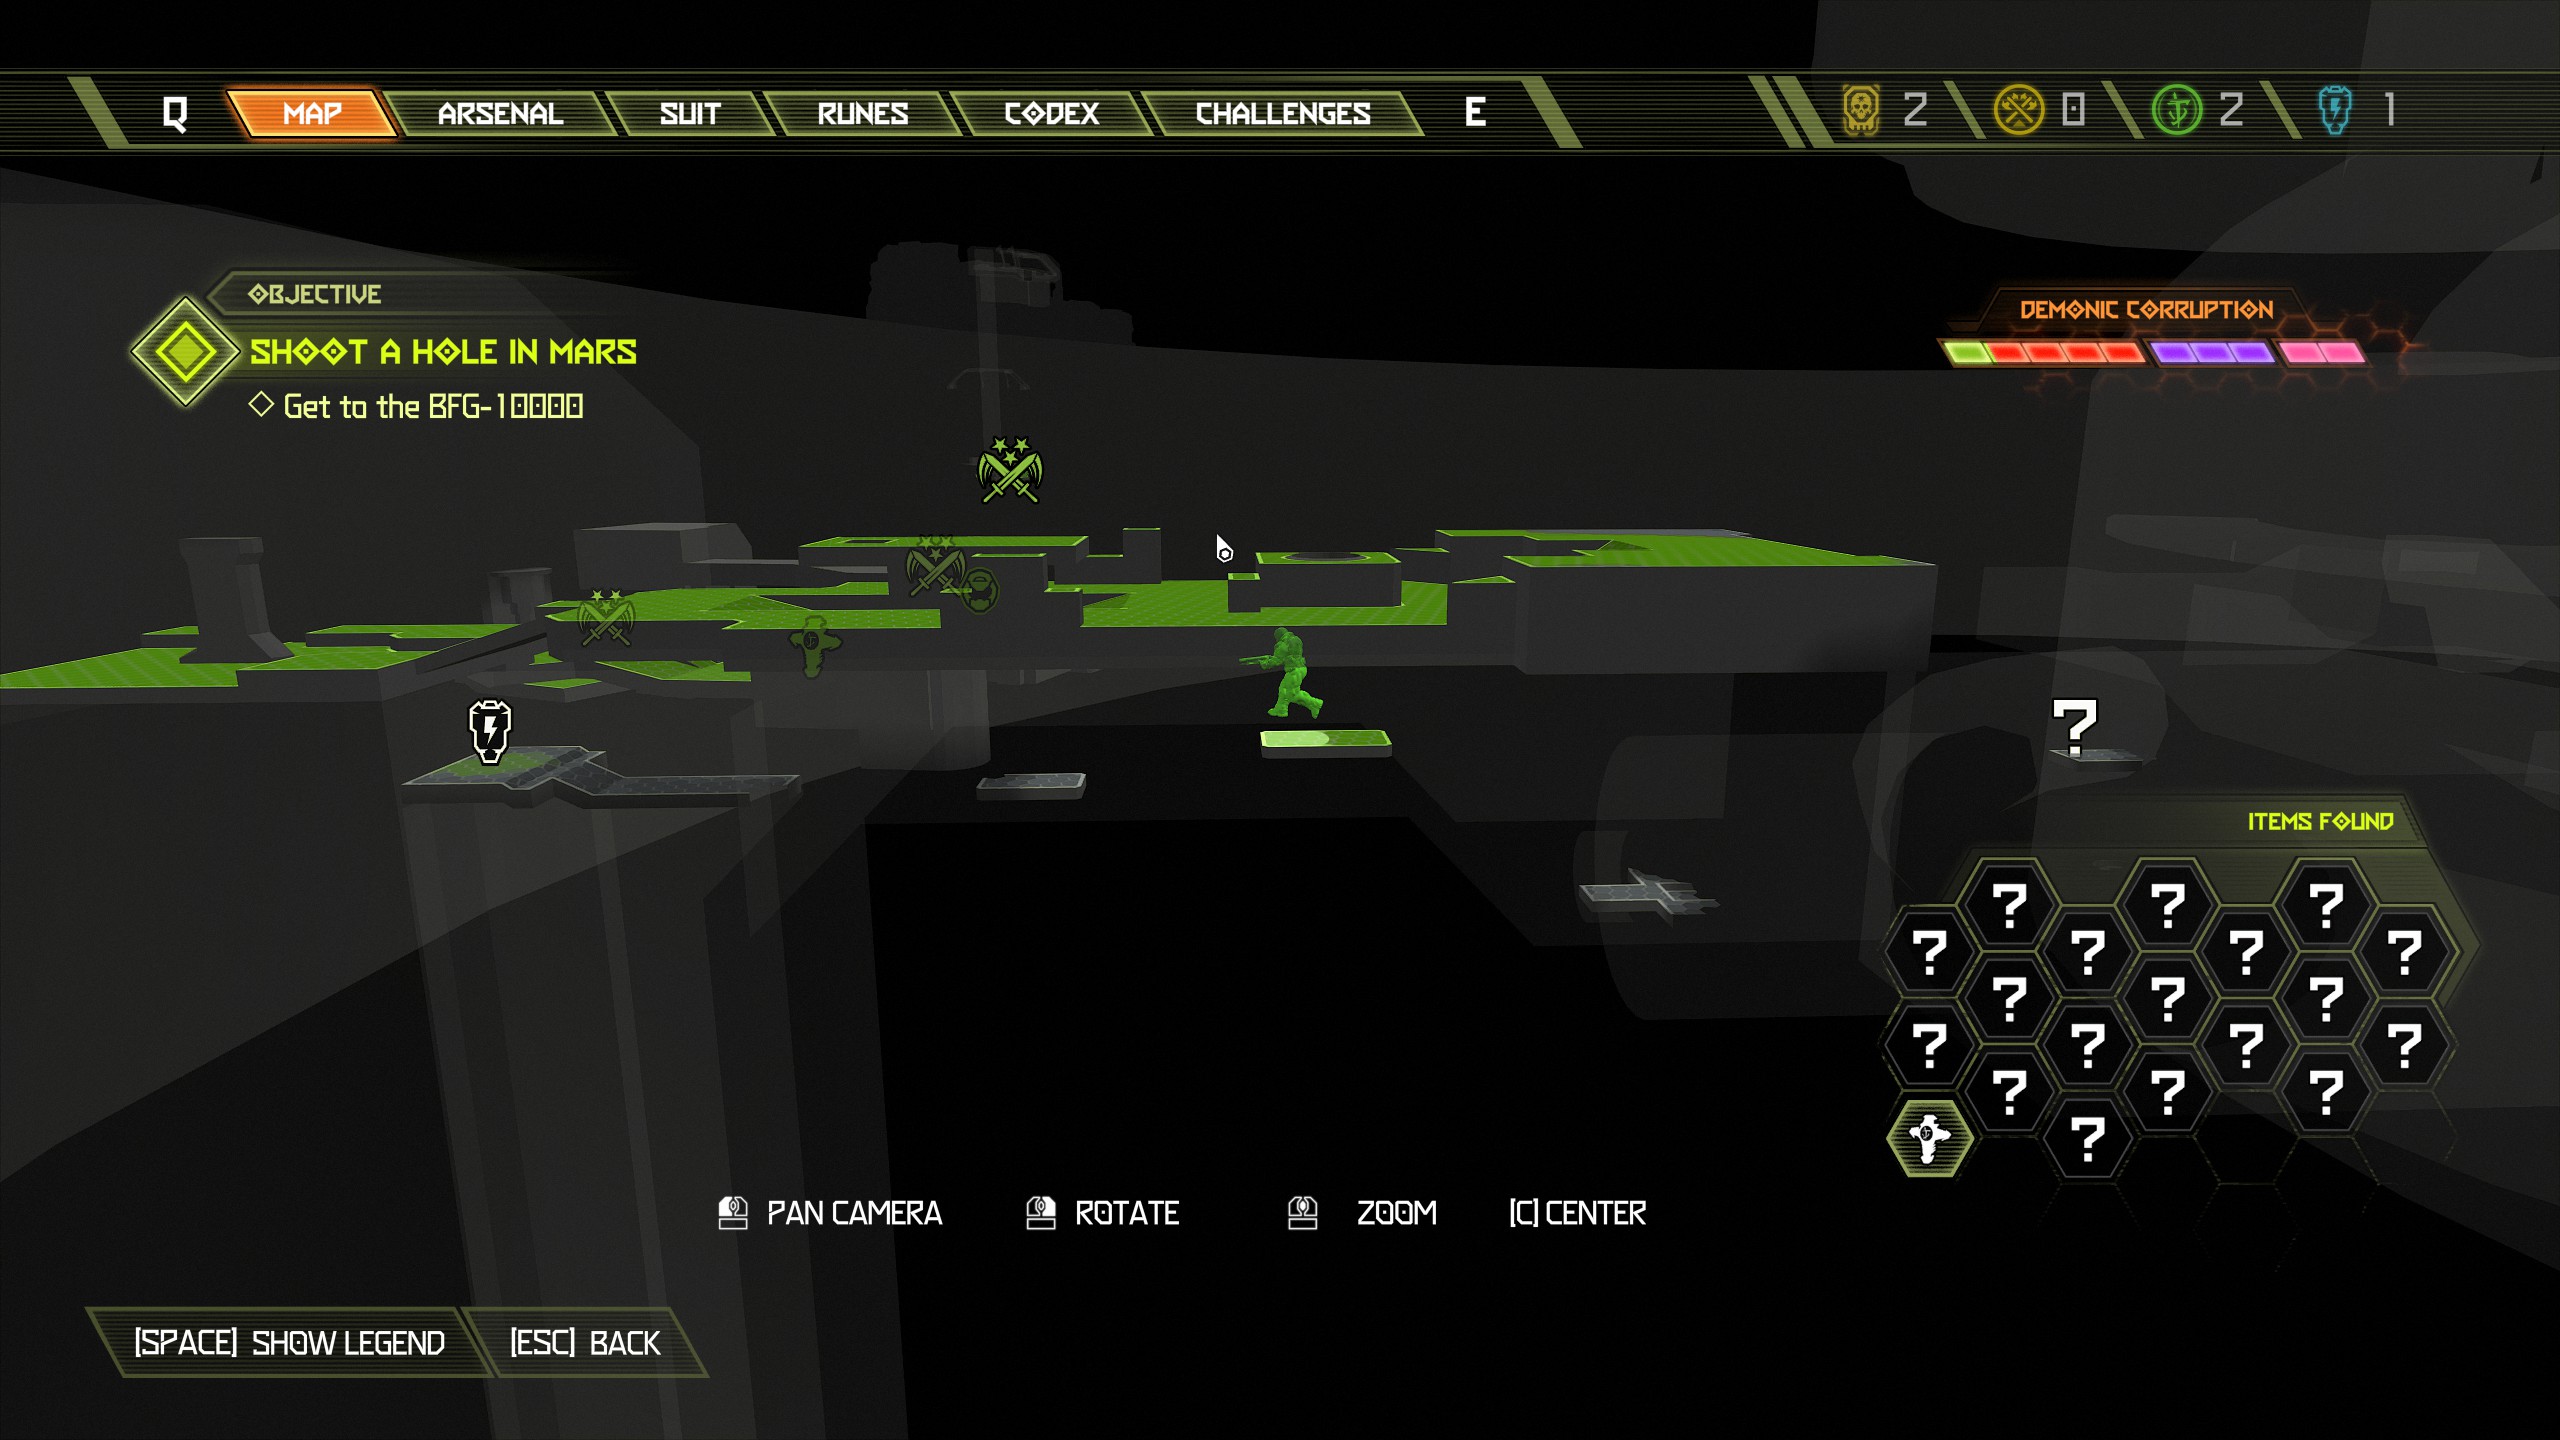
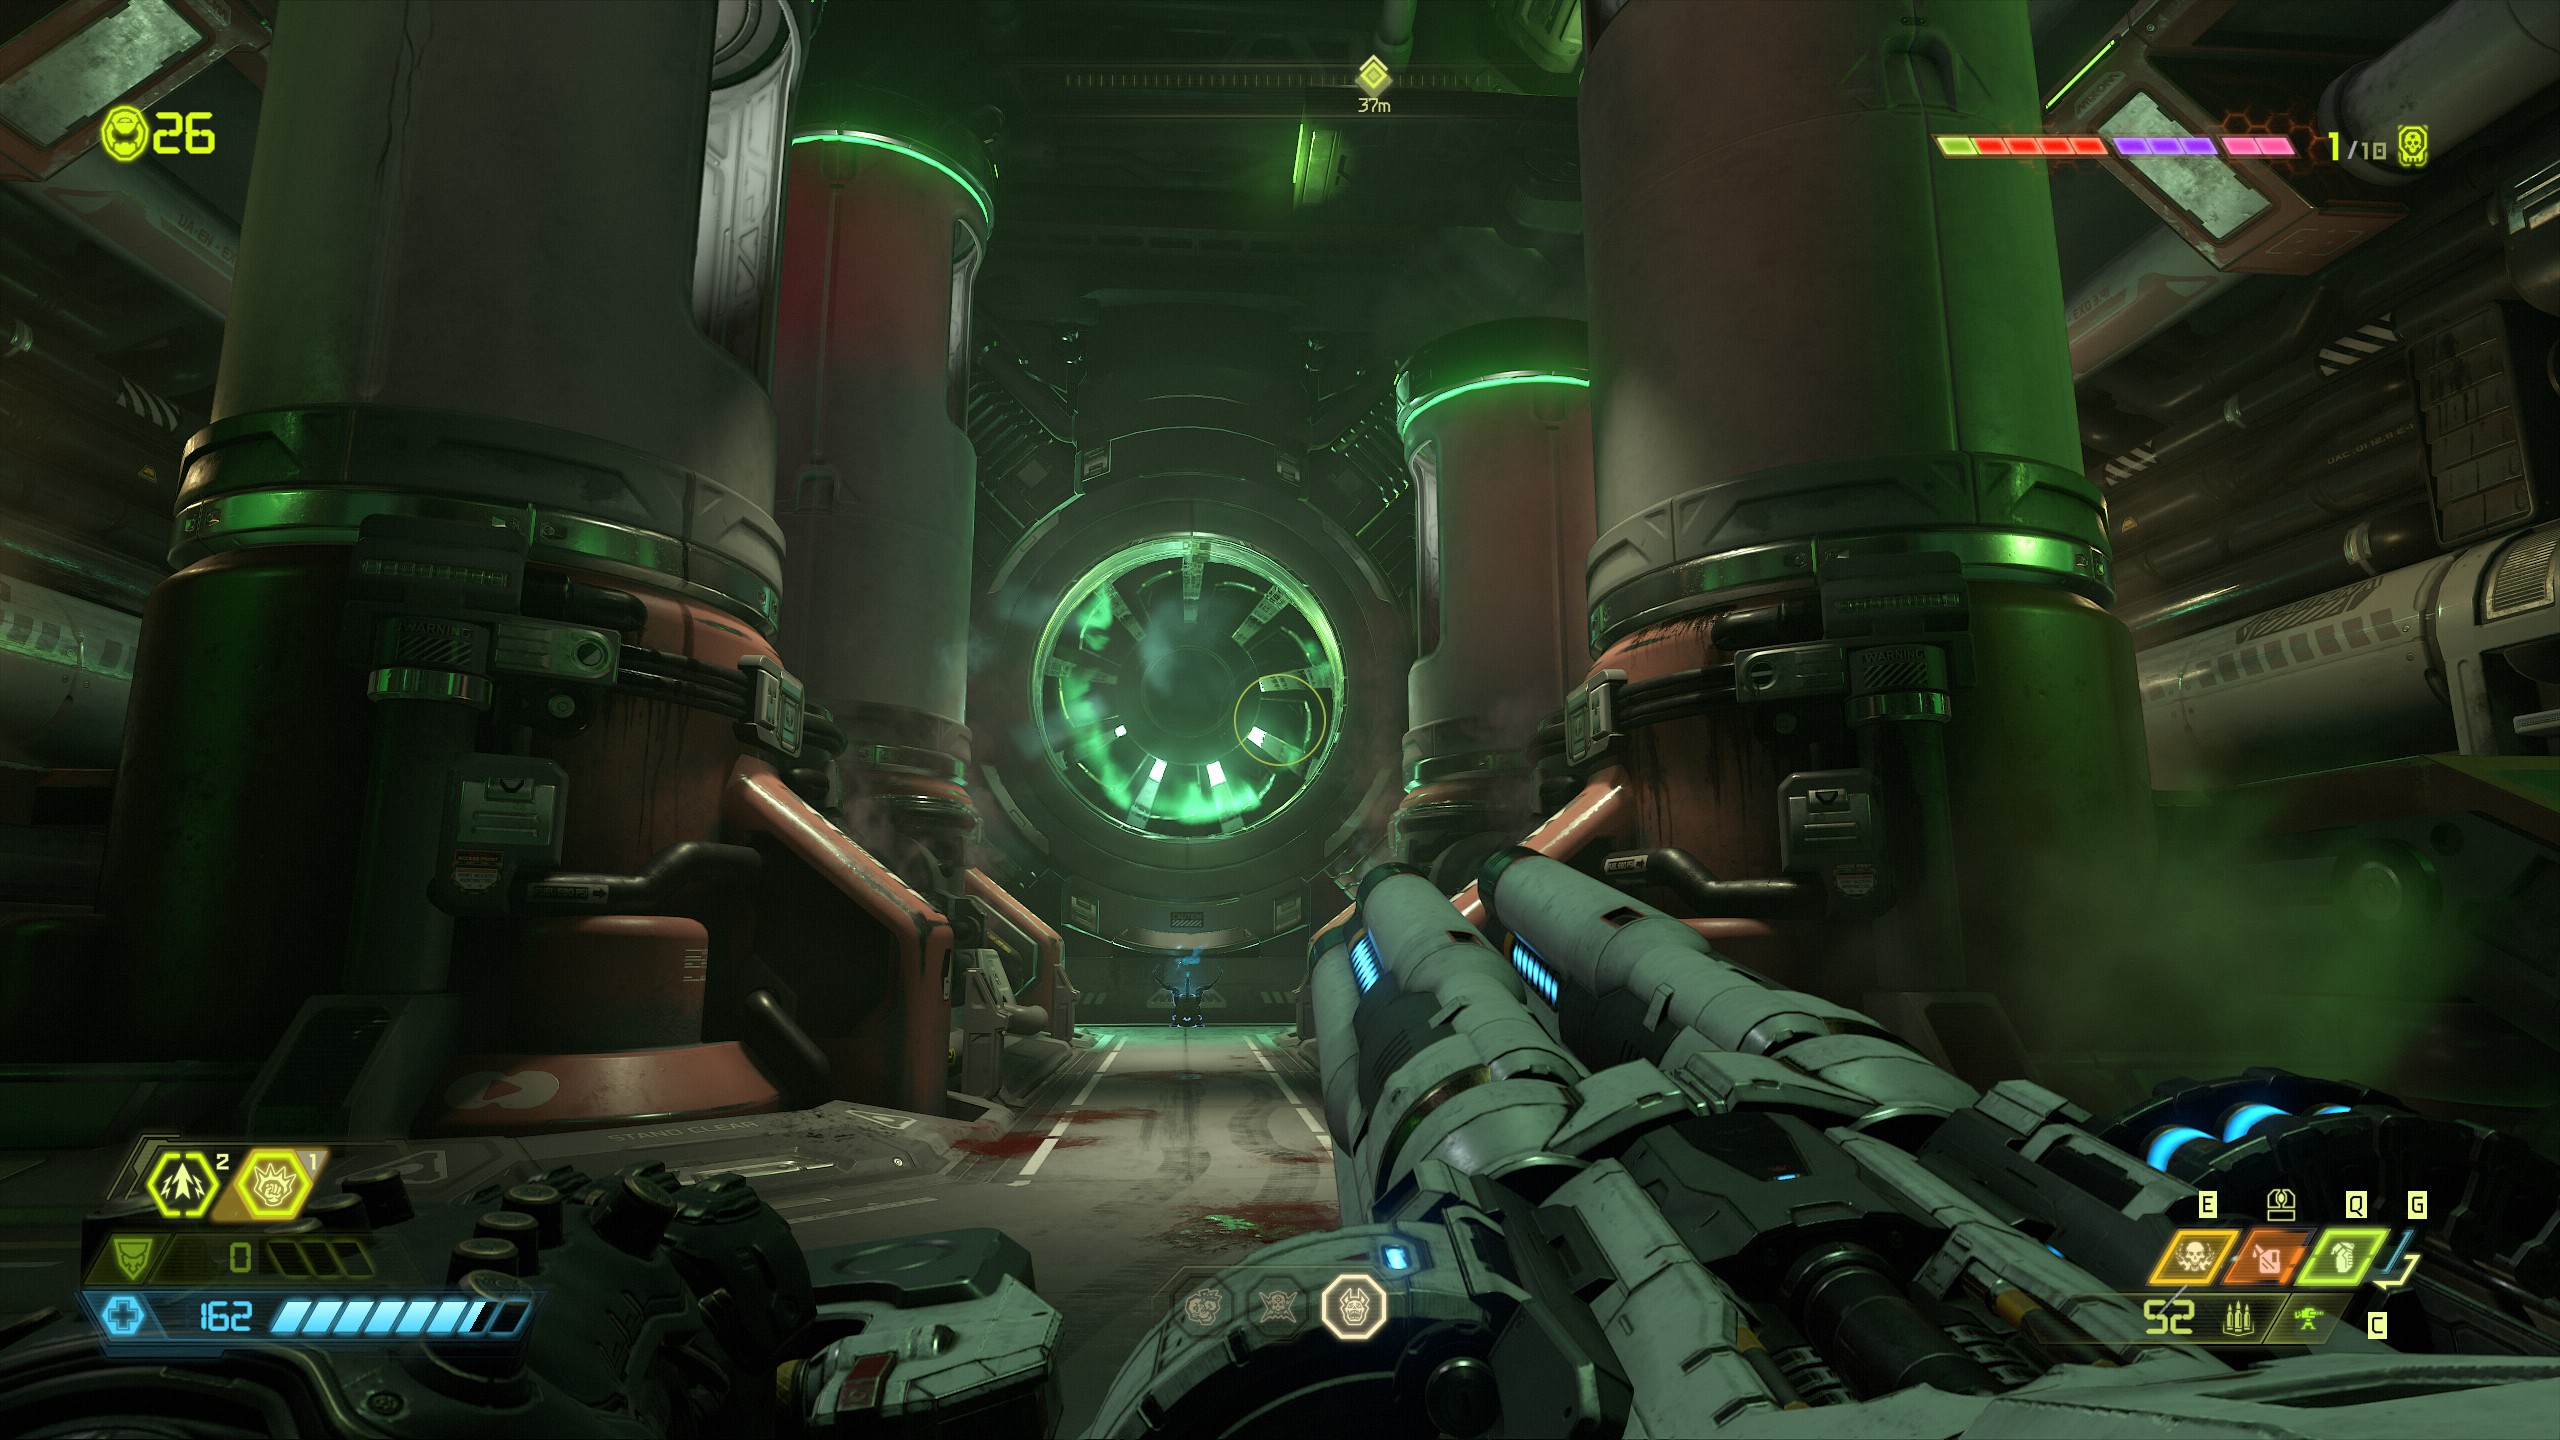
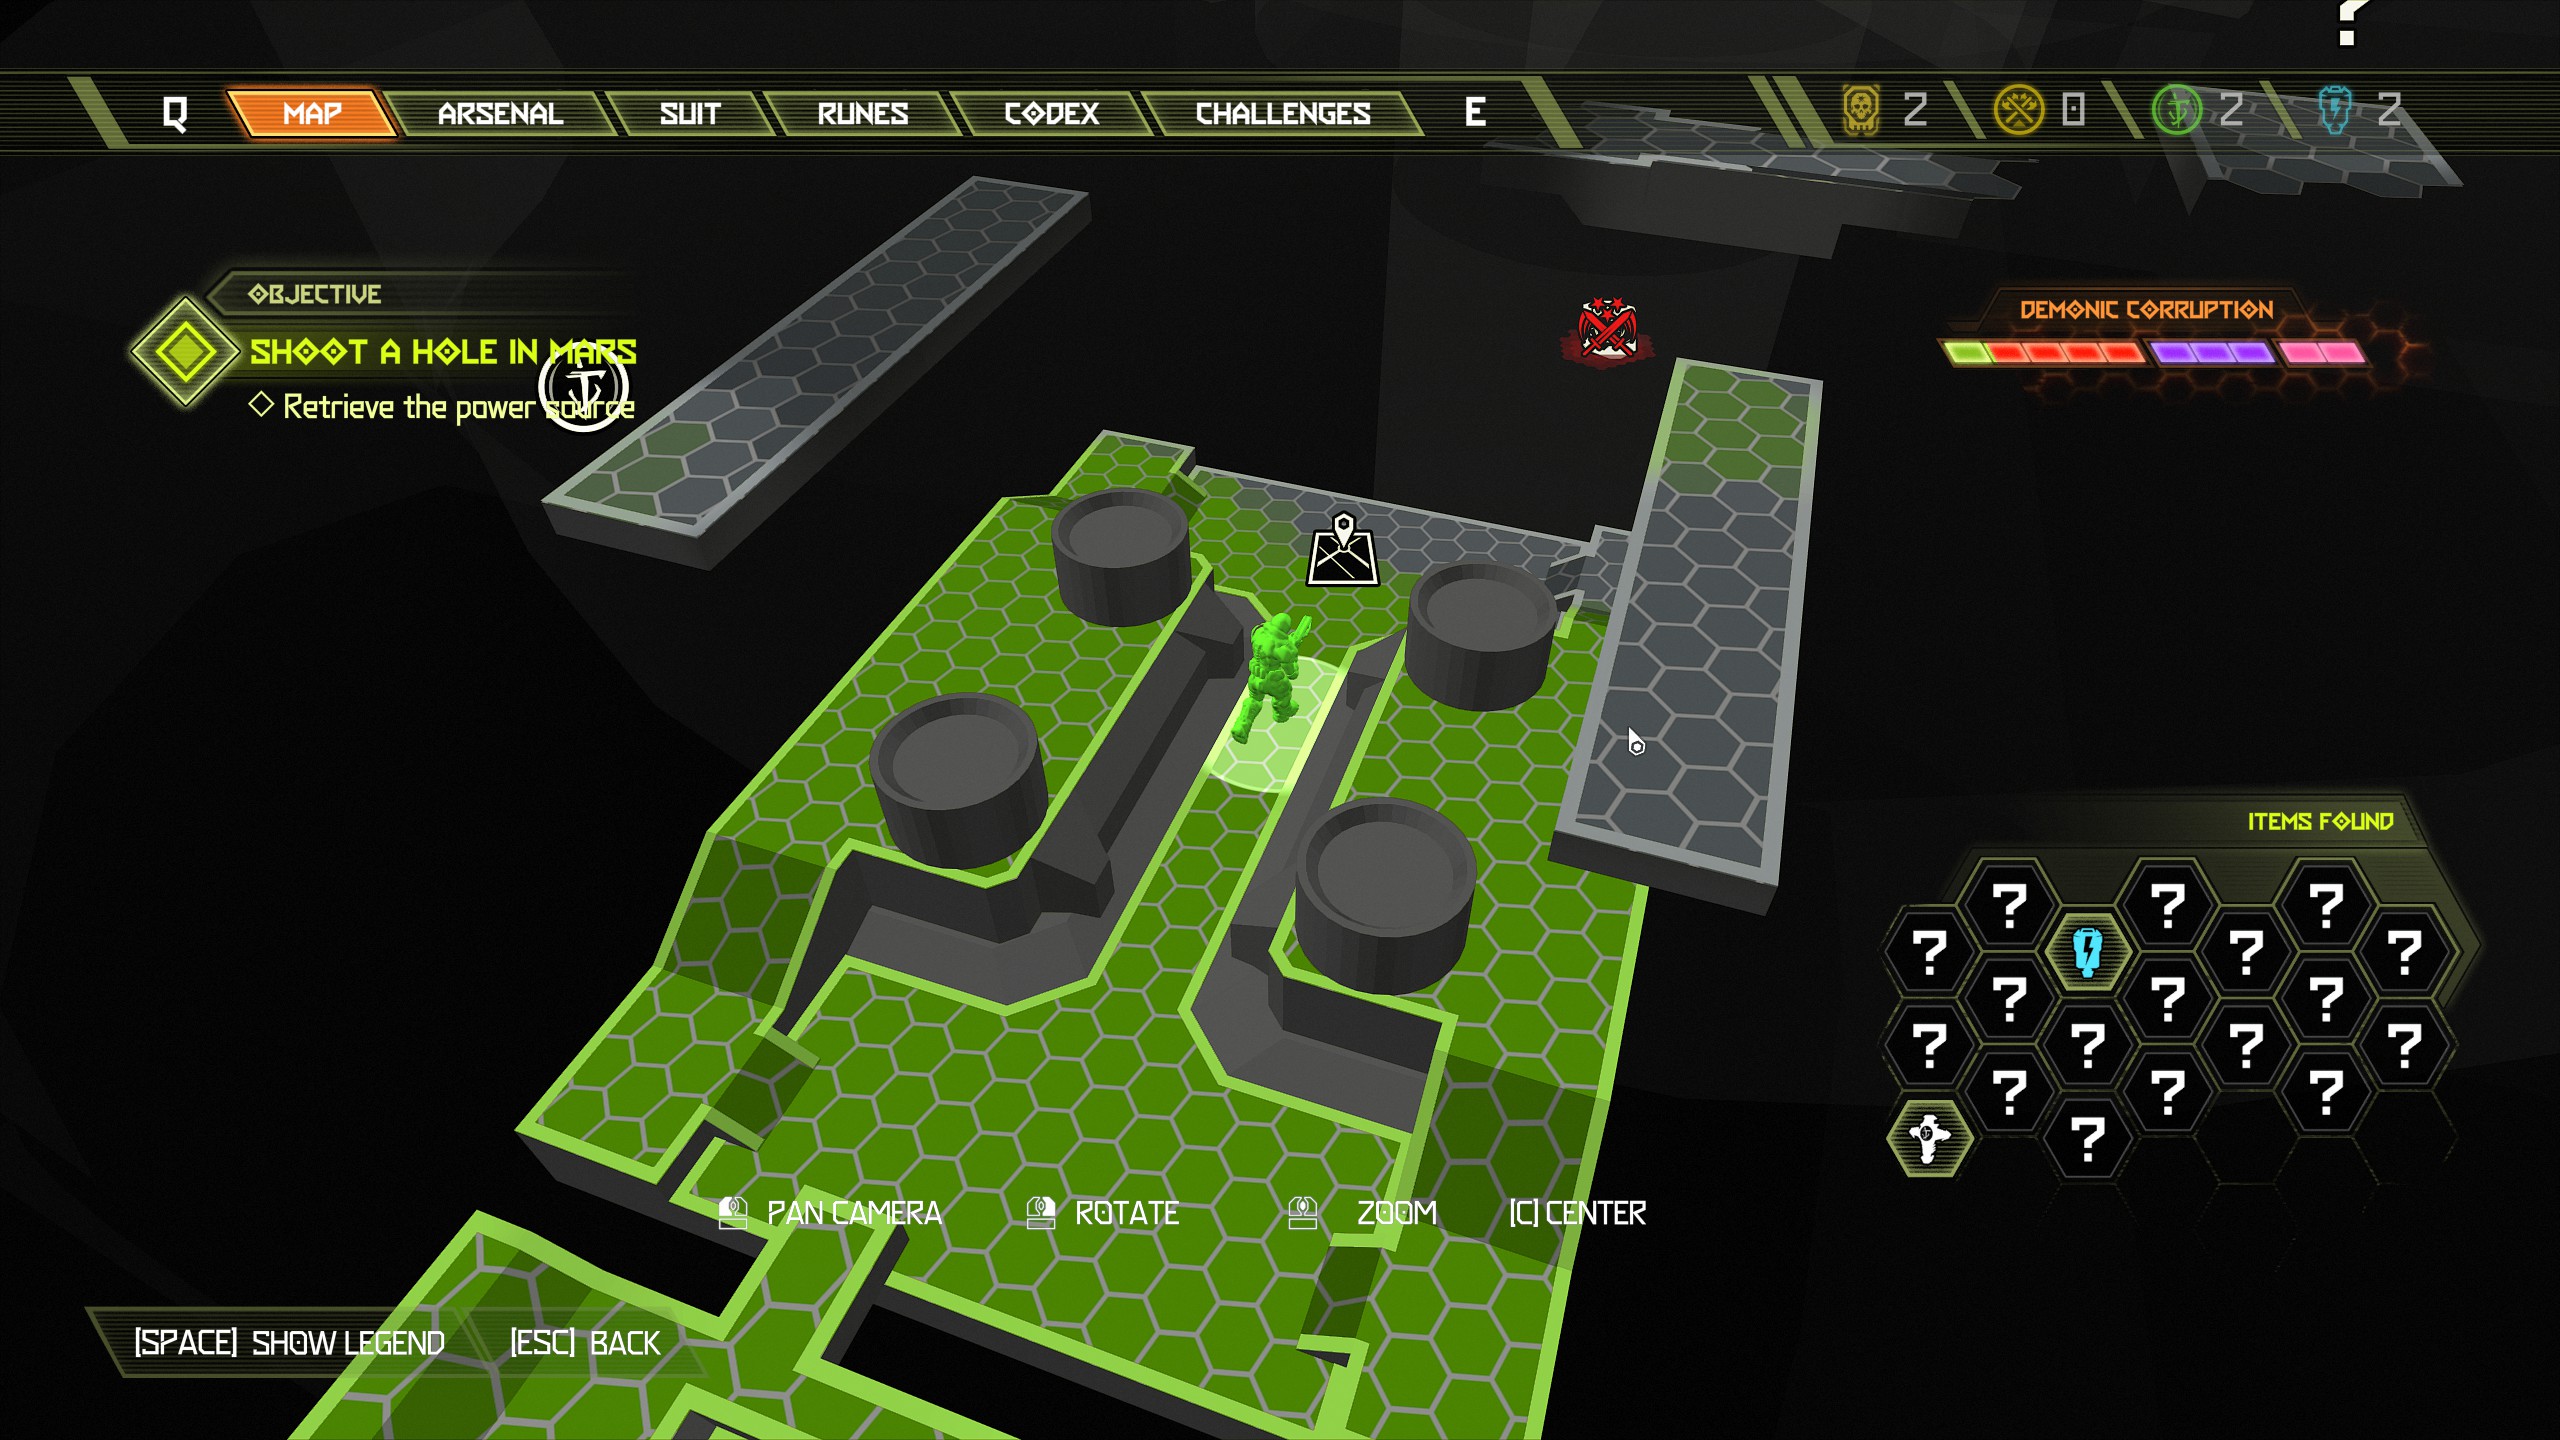
At the top do not follow the mission direction into the shaft just yet and instead look on the opposite side and you will find a praetor suit token on the platform lower down.
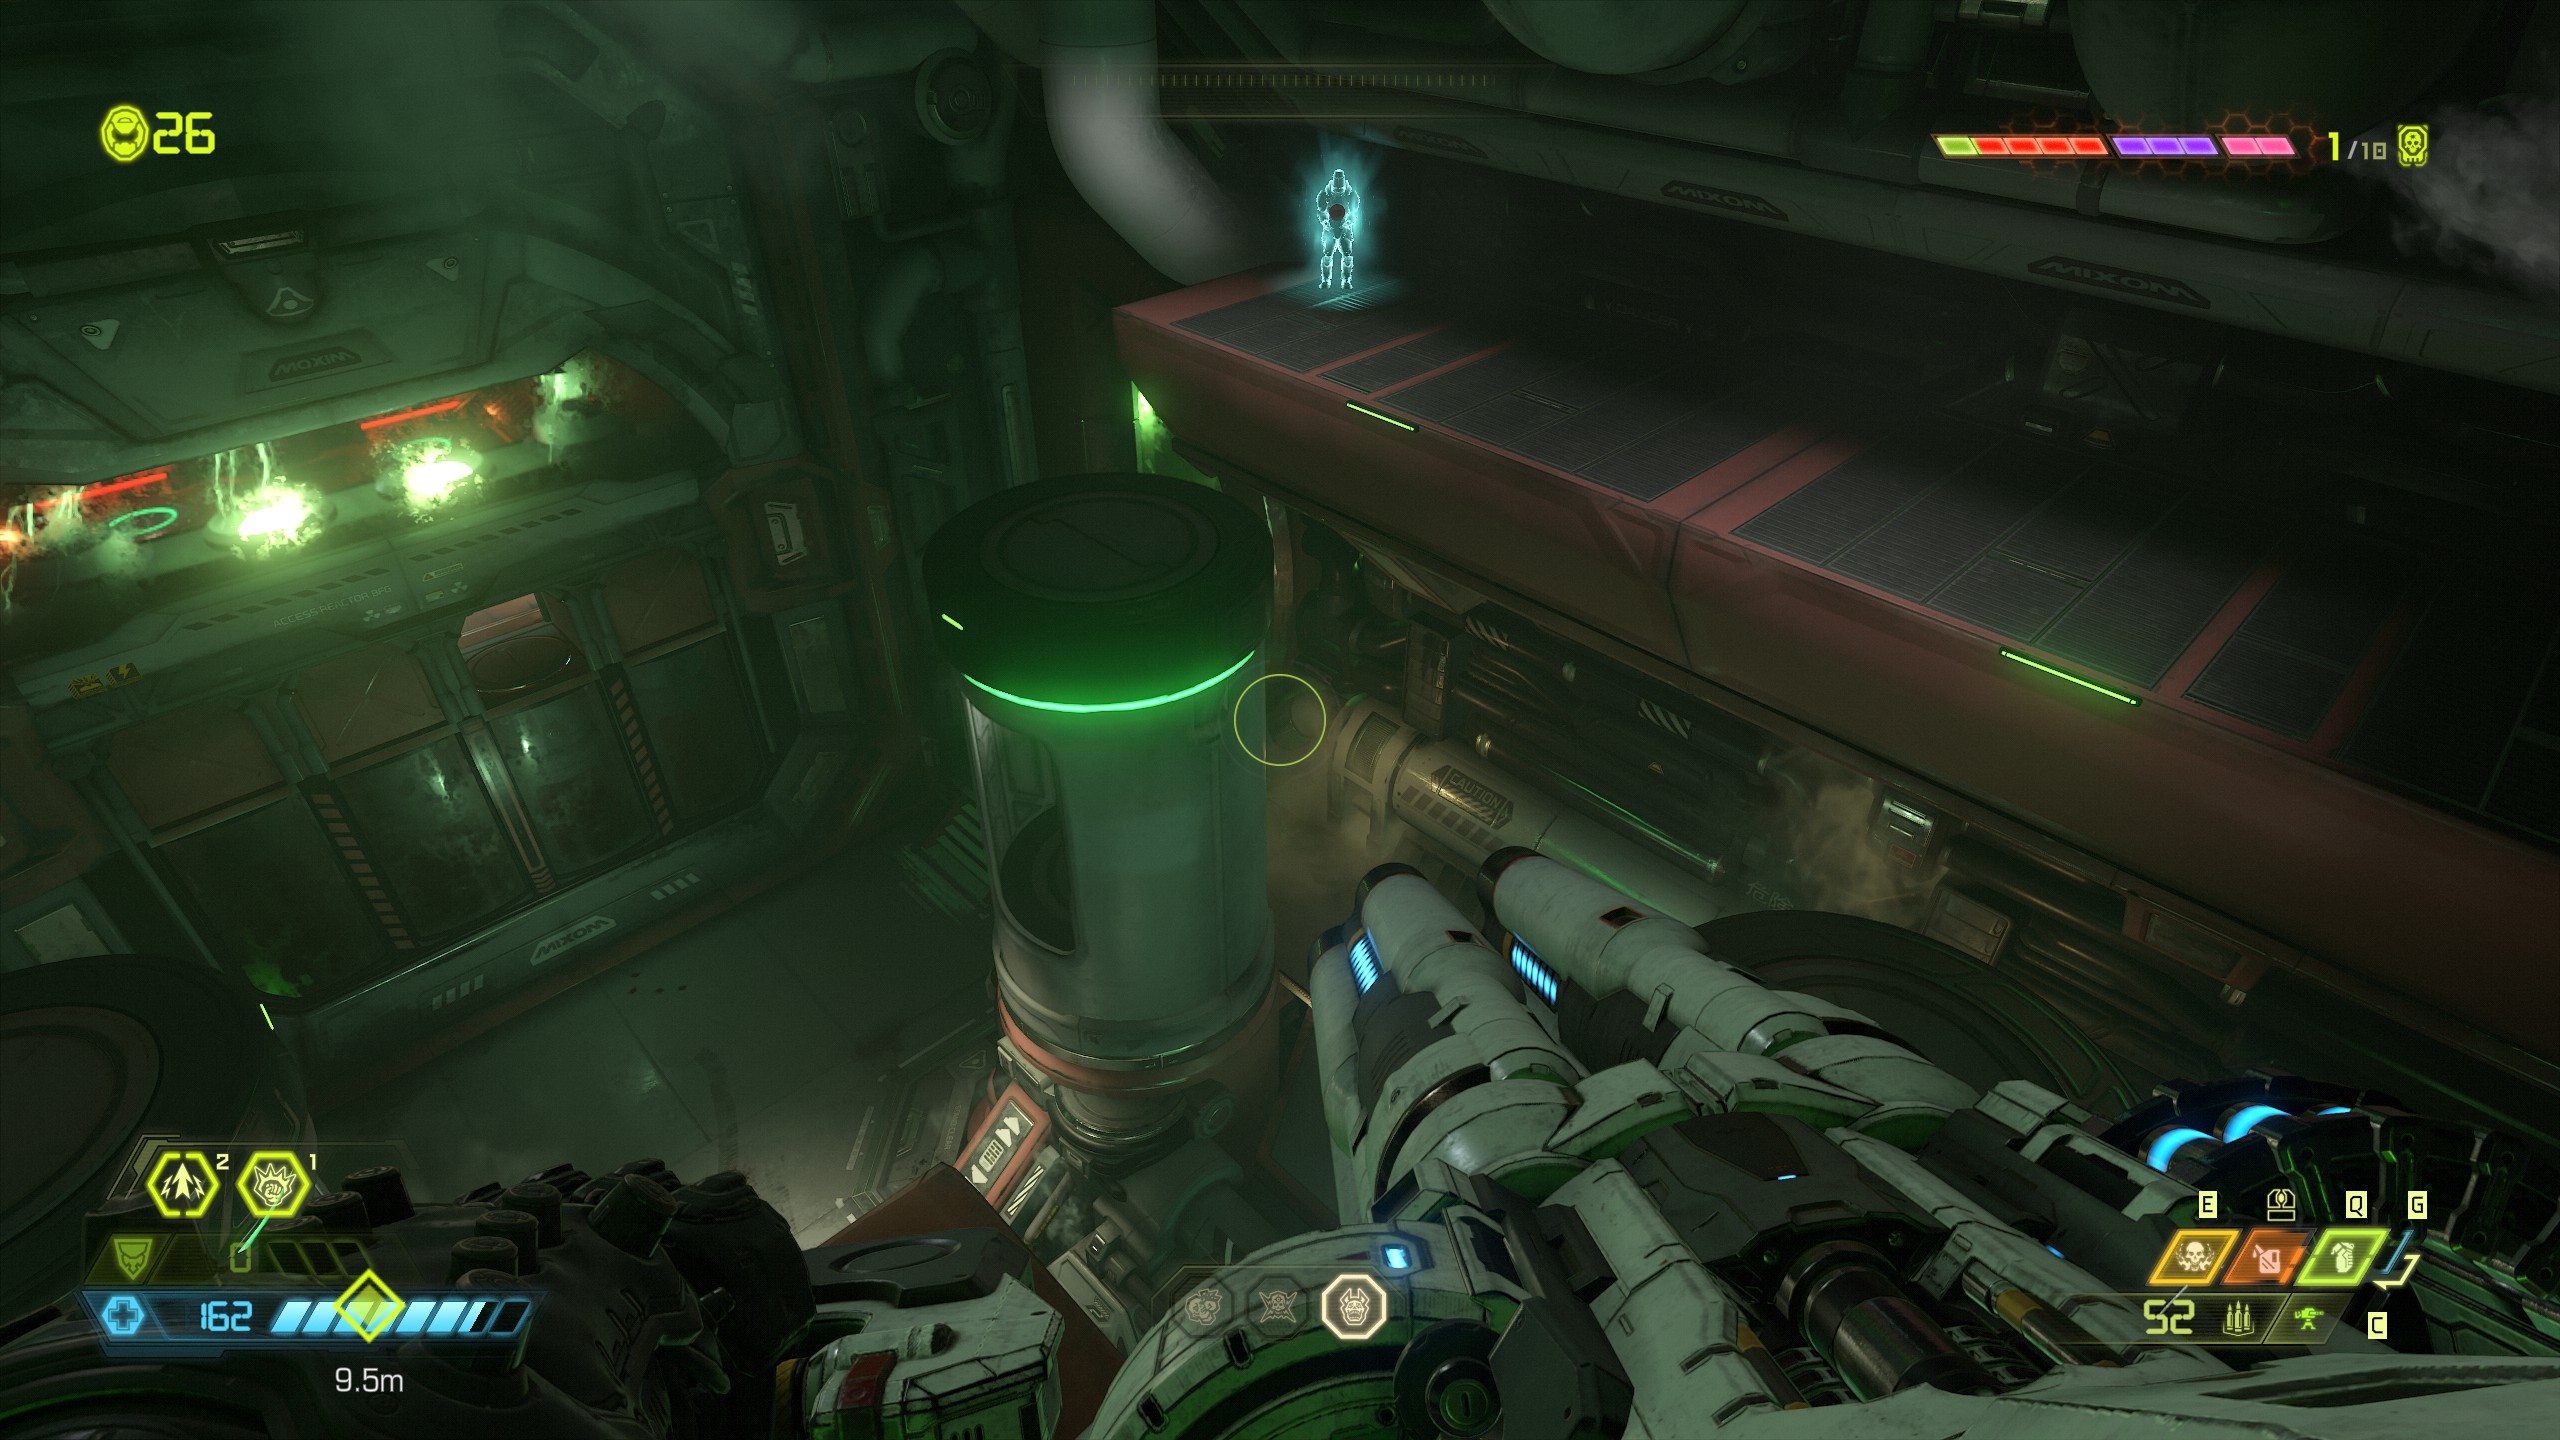
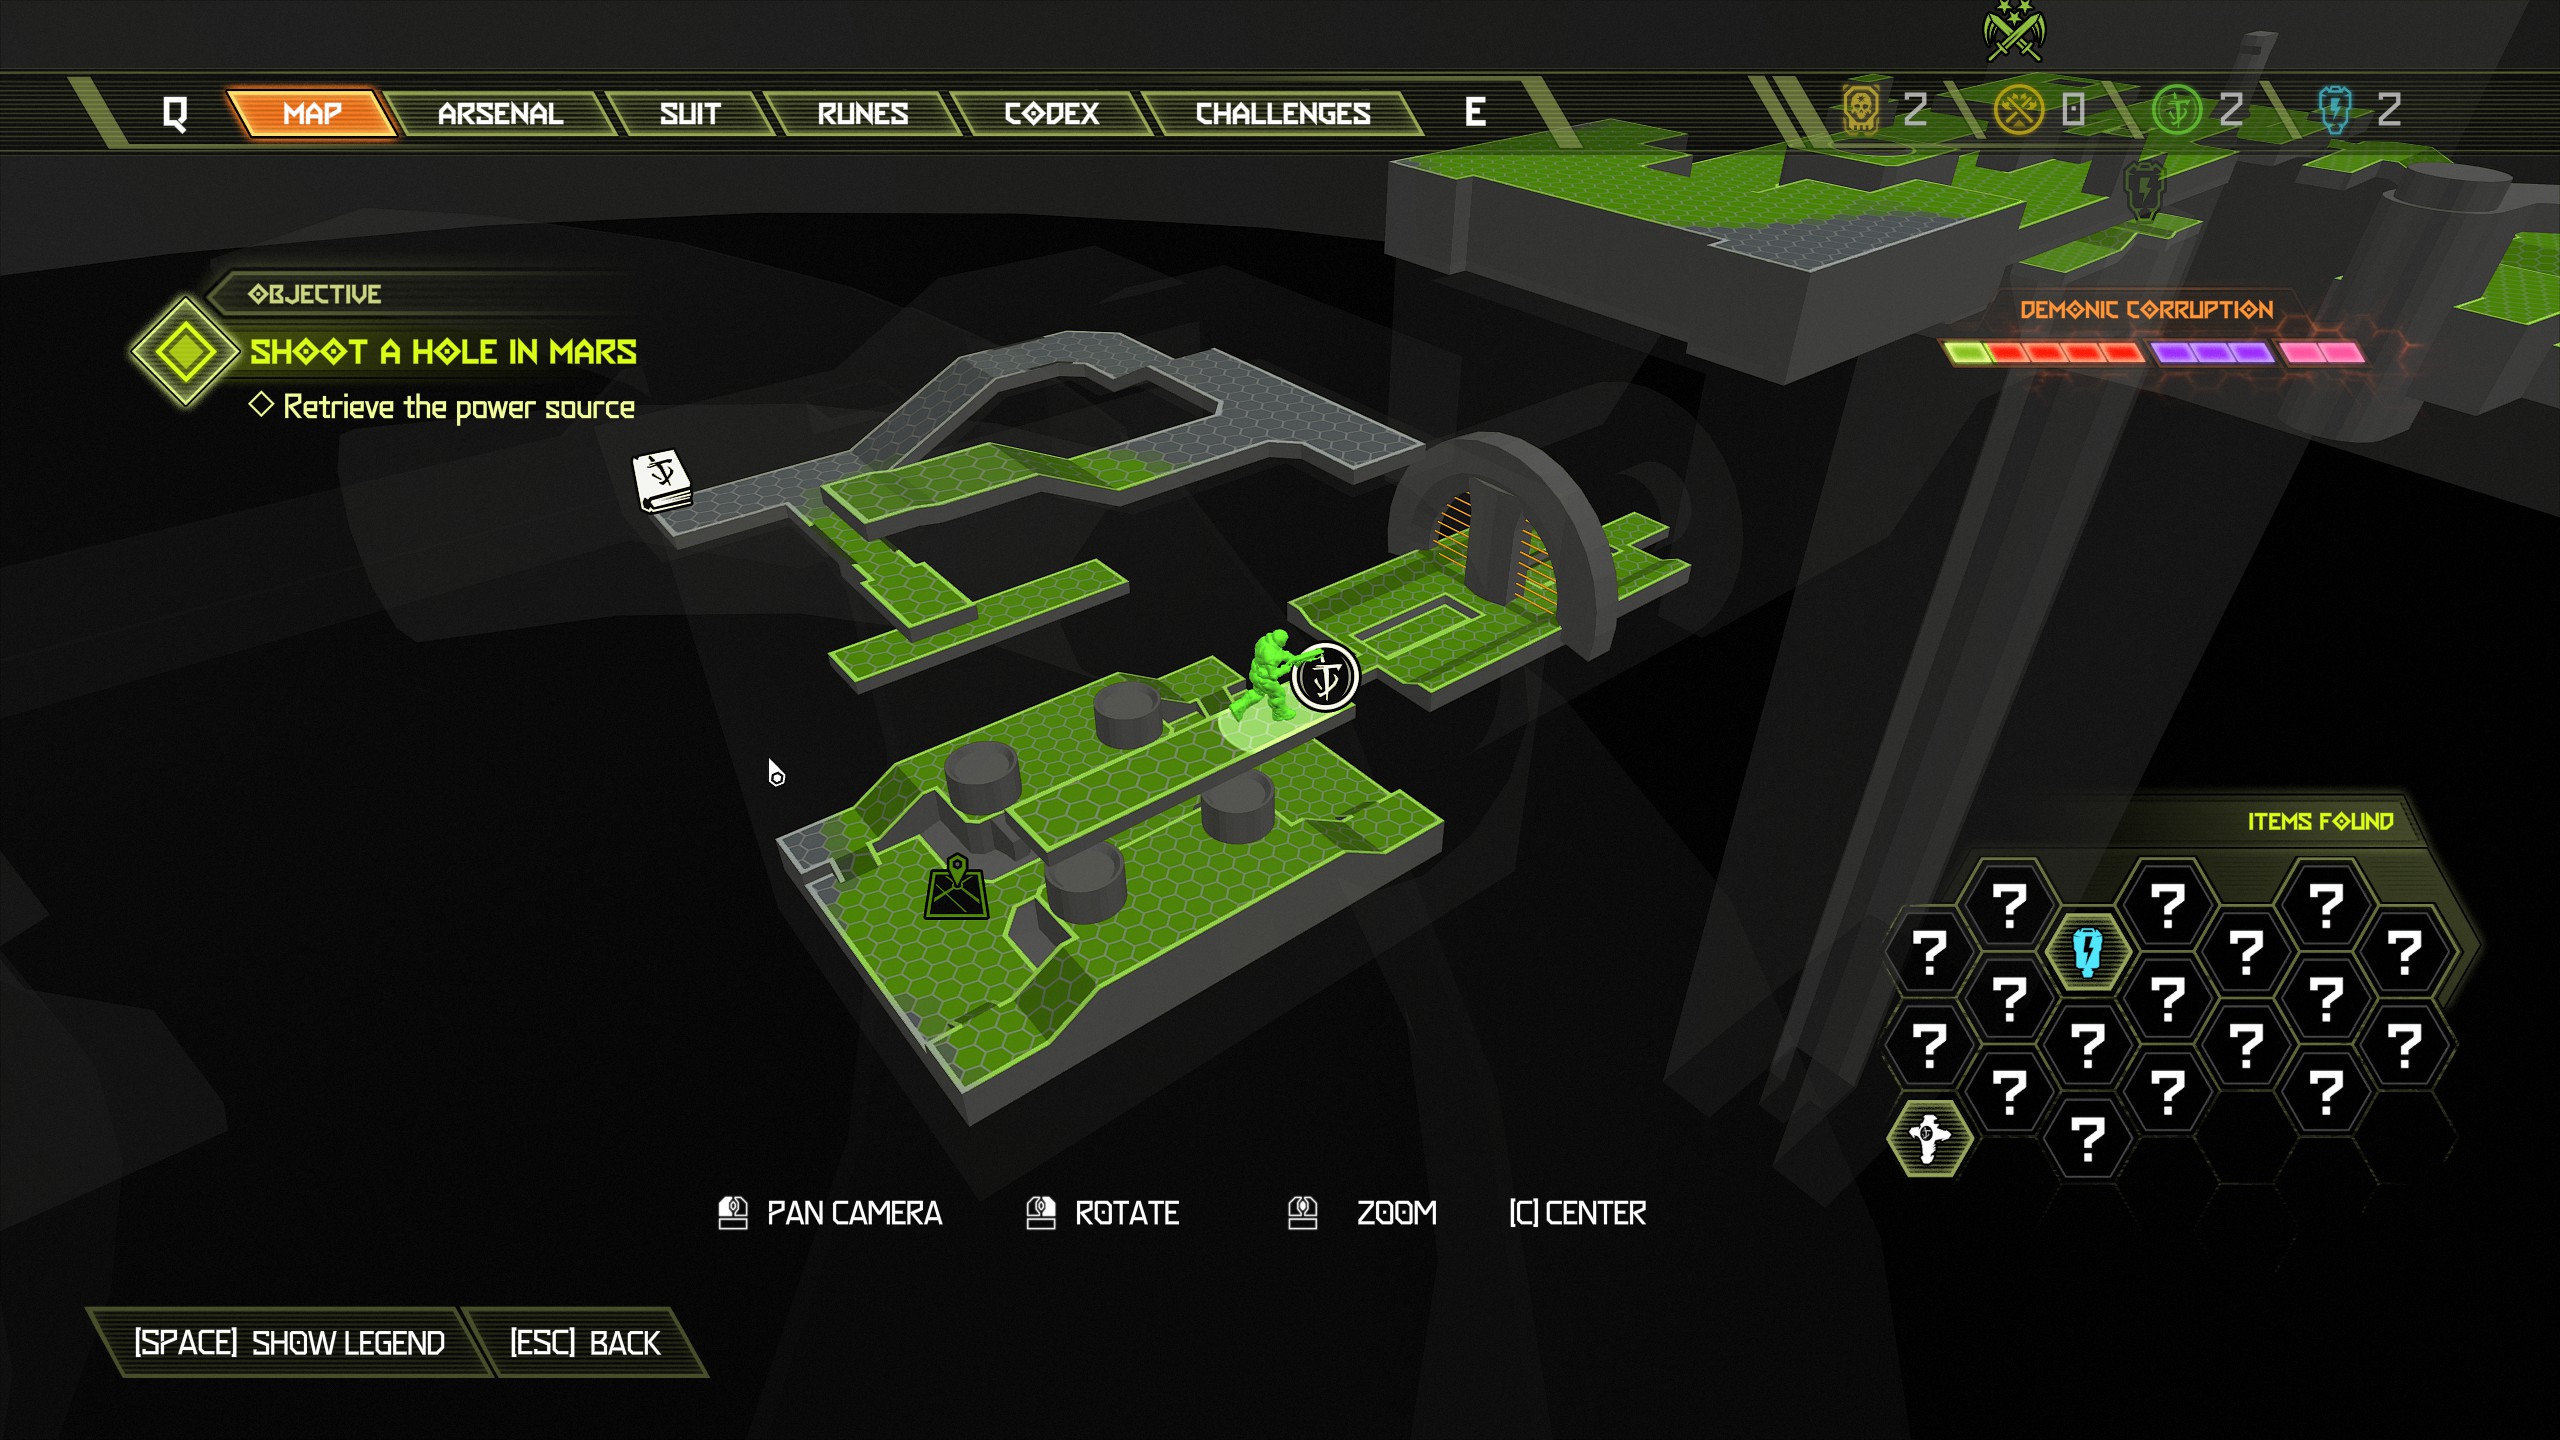
Now follow the mission marker through the shaft and immediately on your left side will be a codex page, collect it and then move on from here.
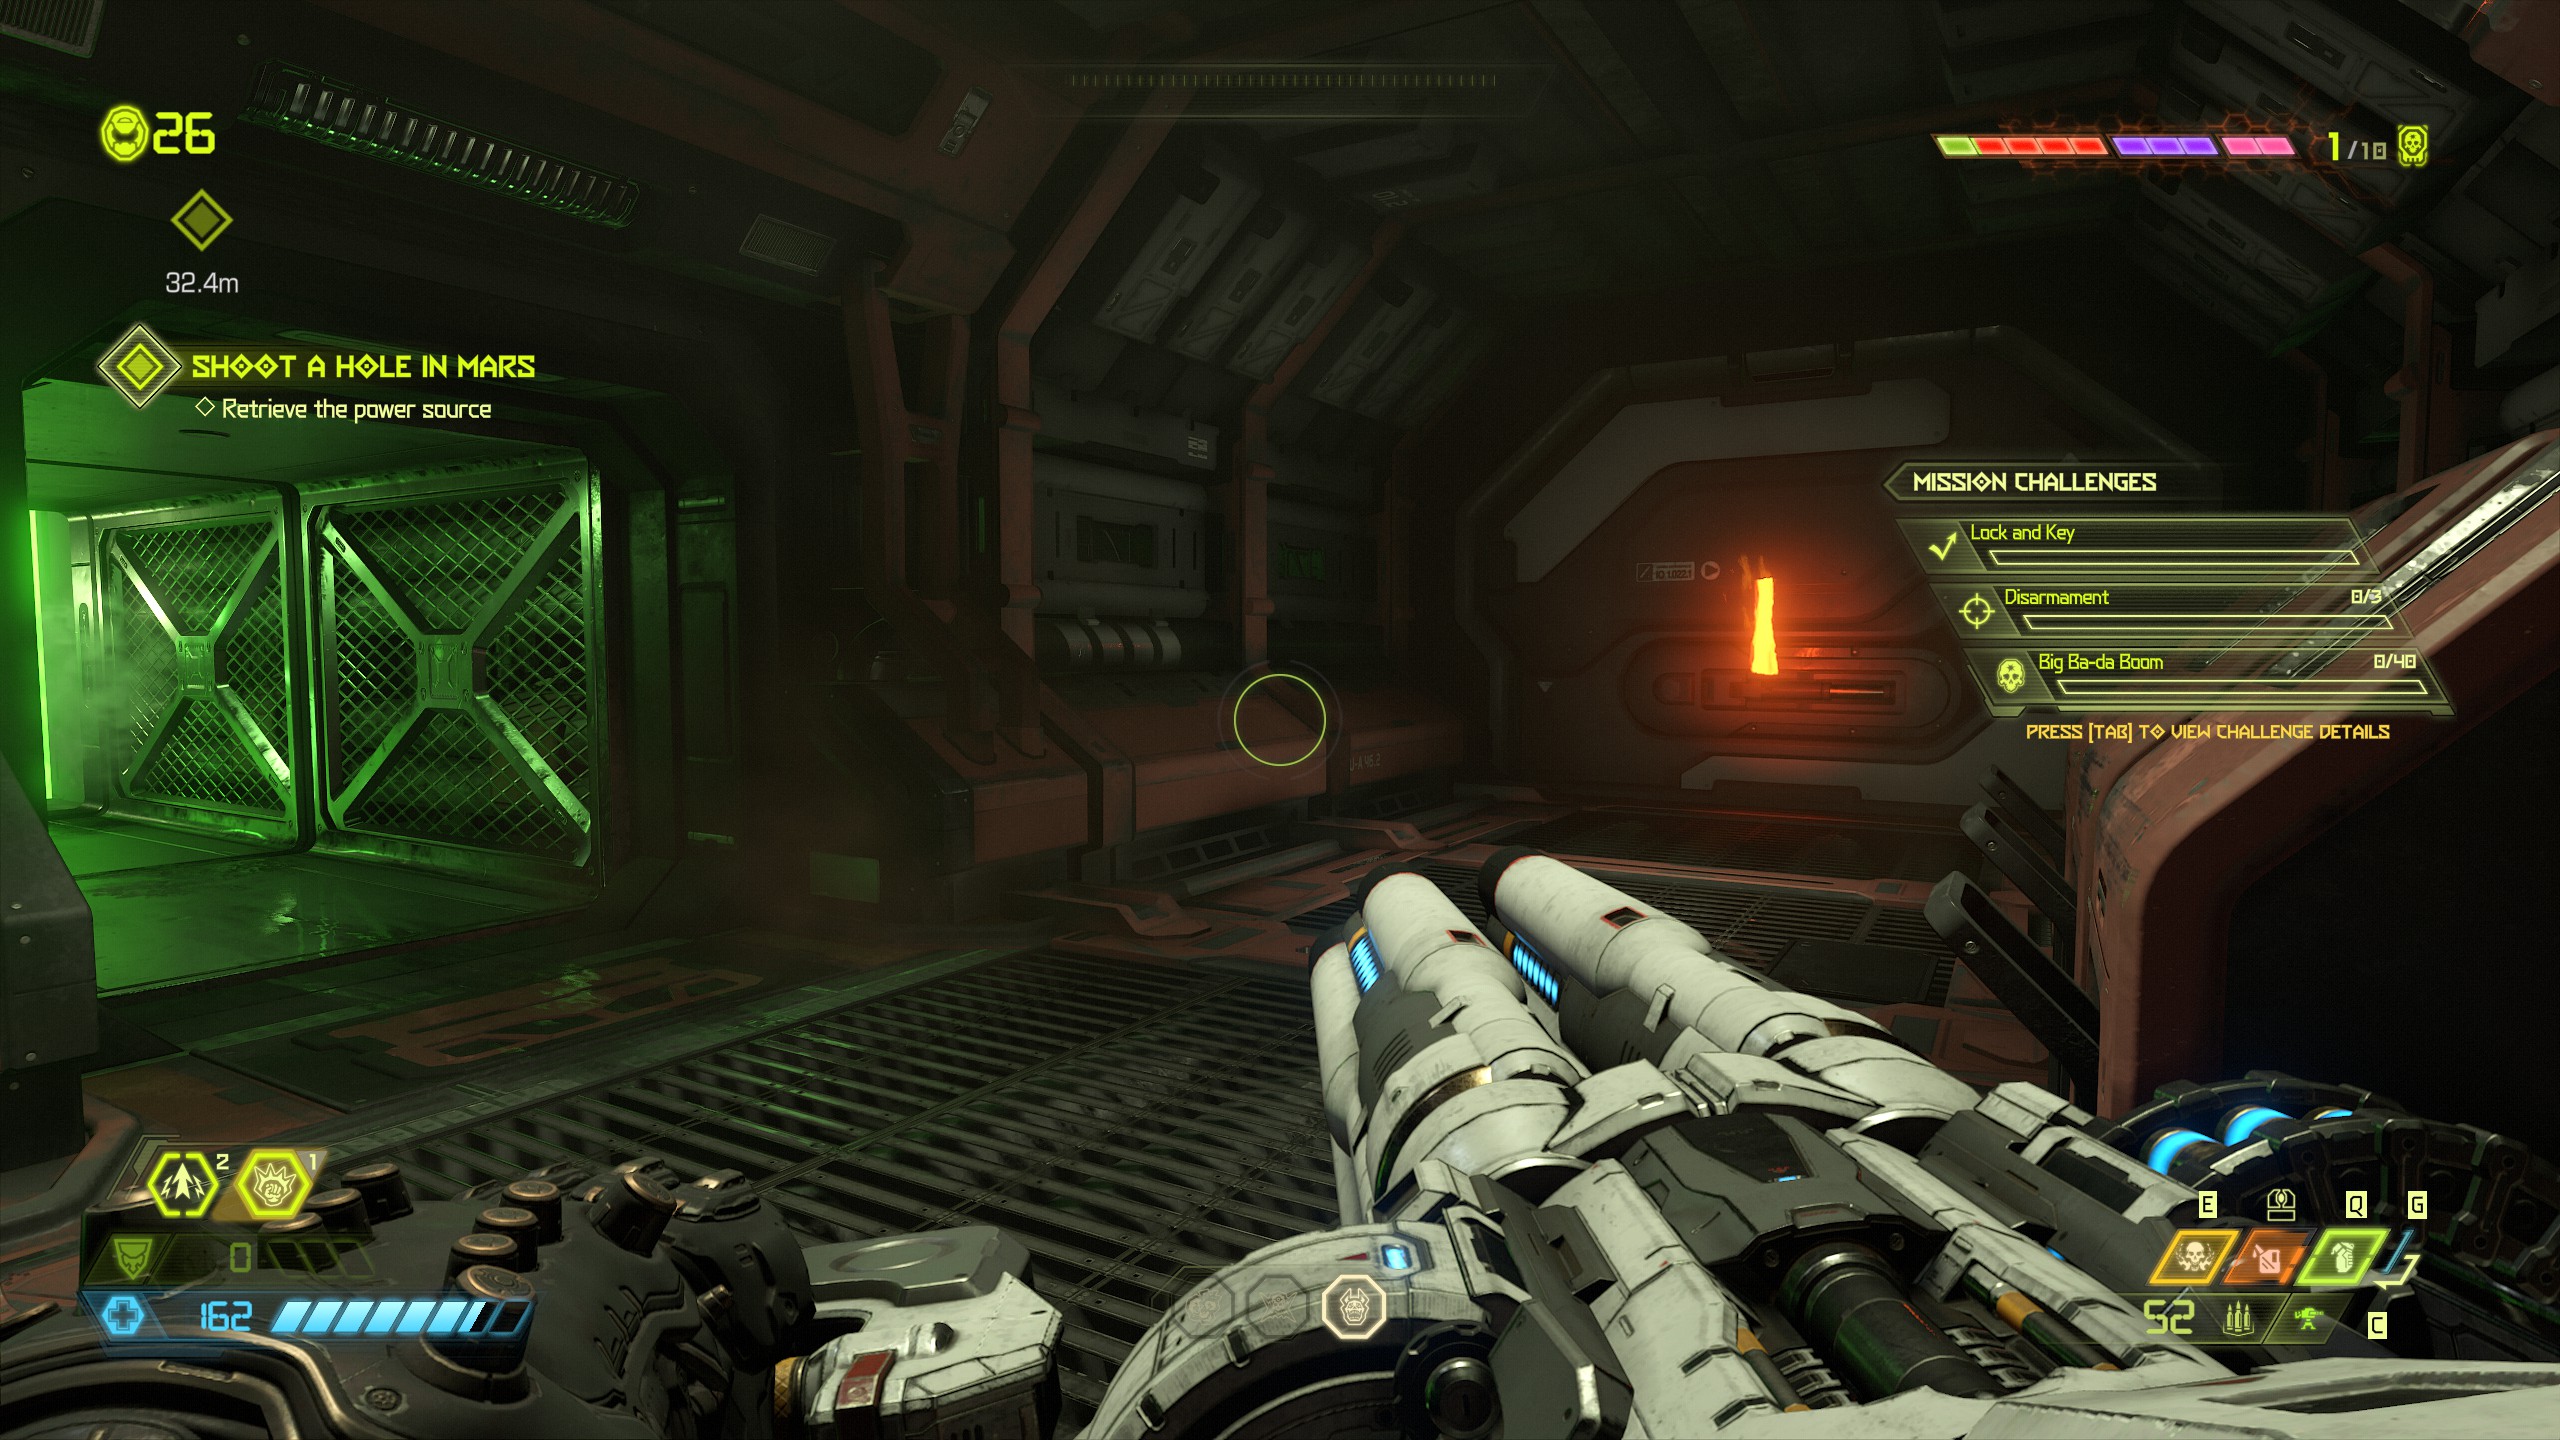
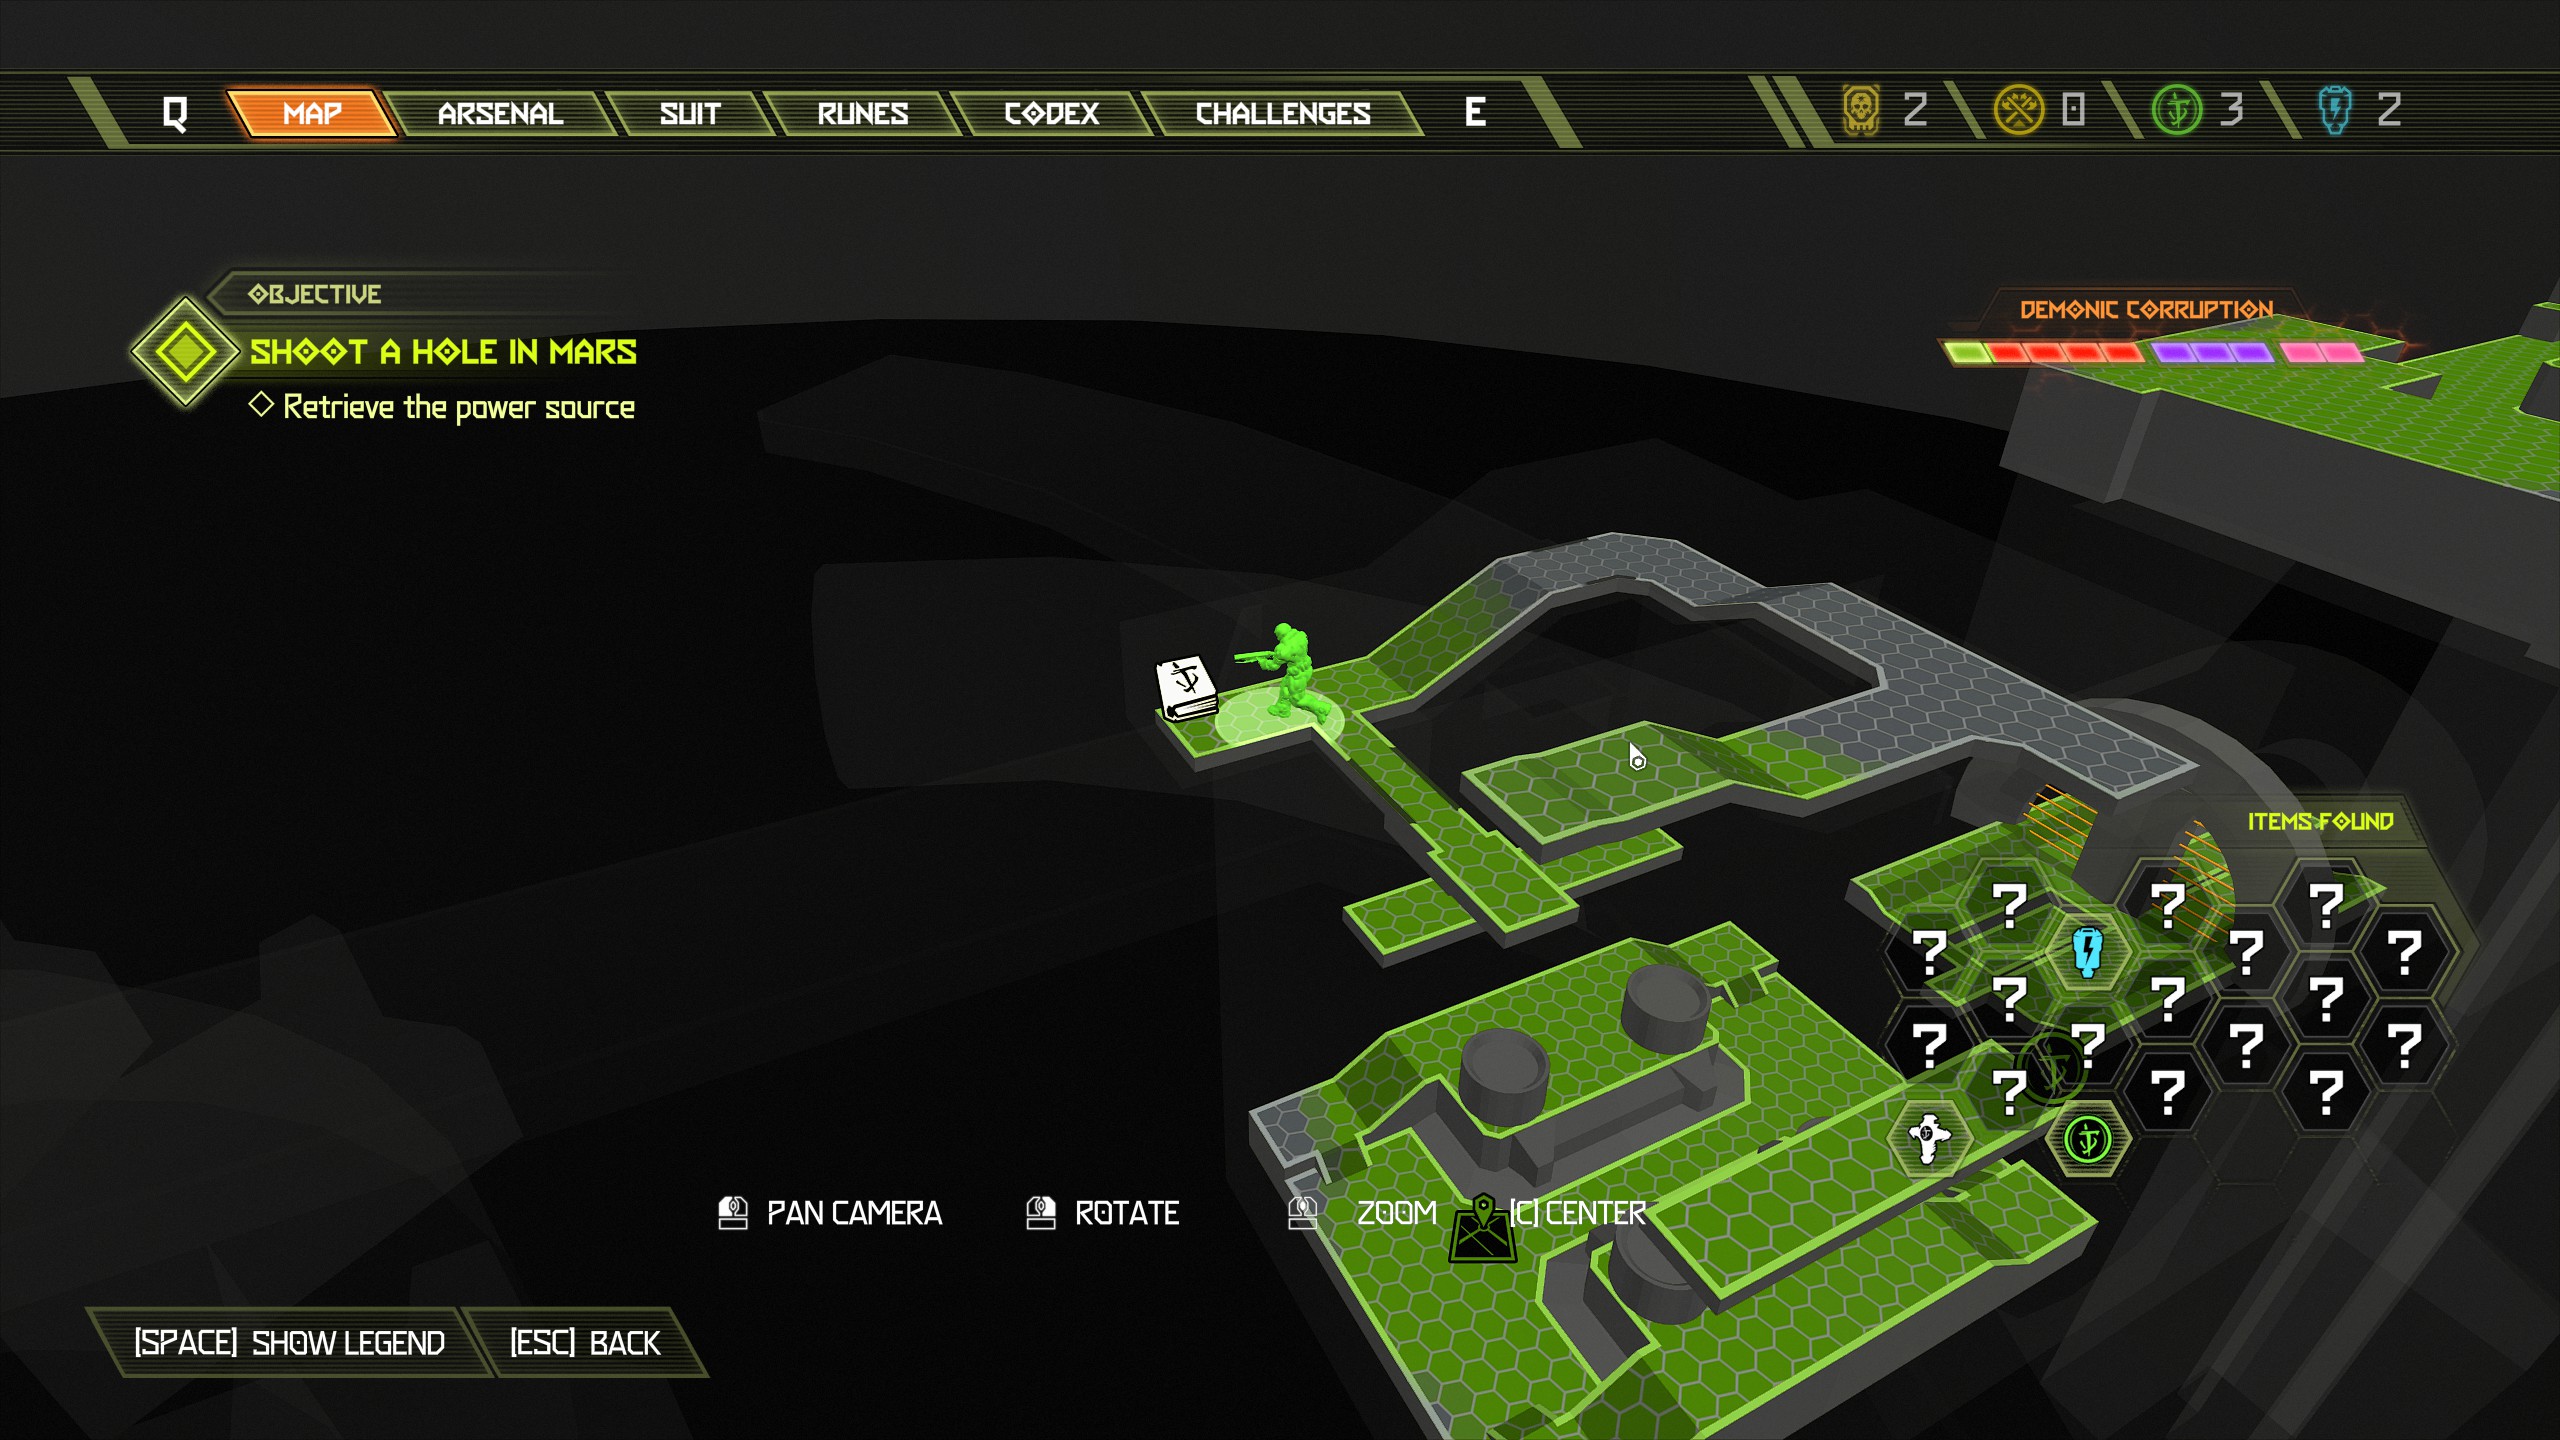
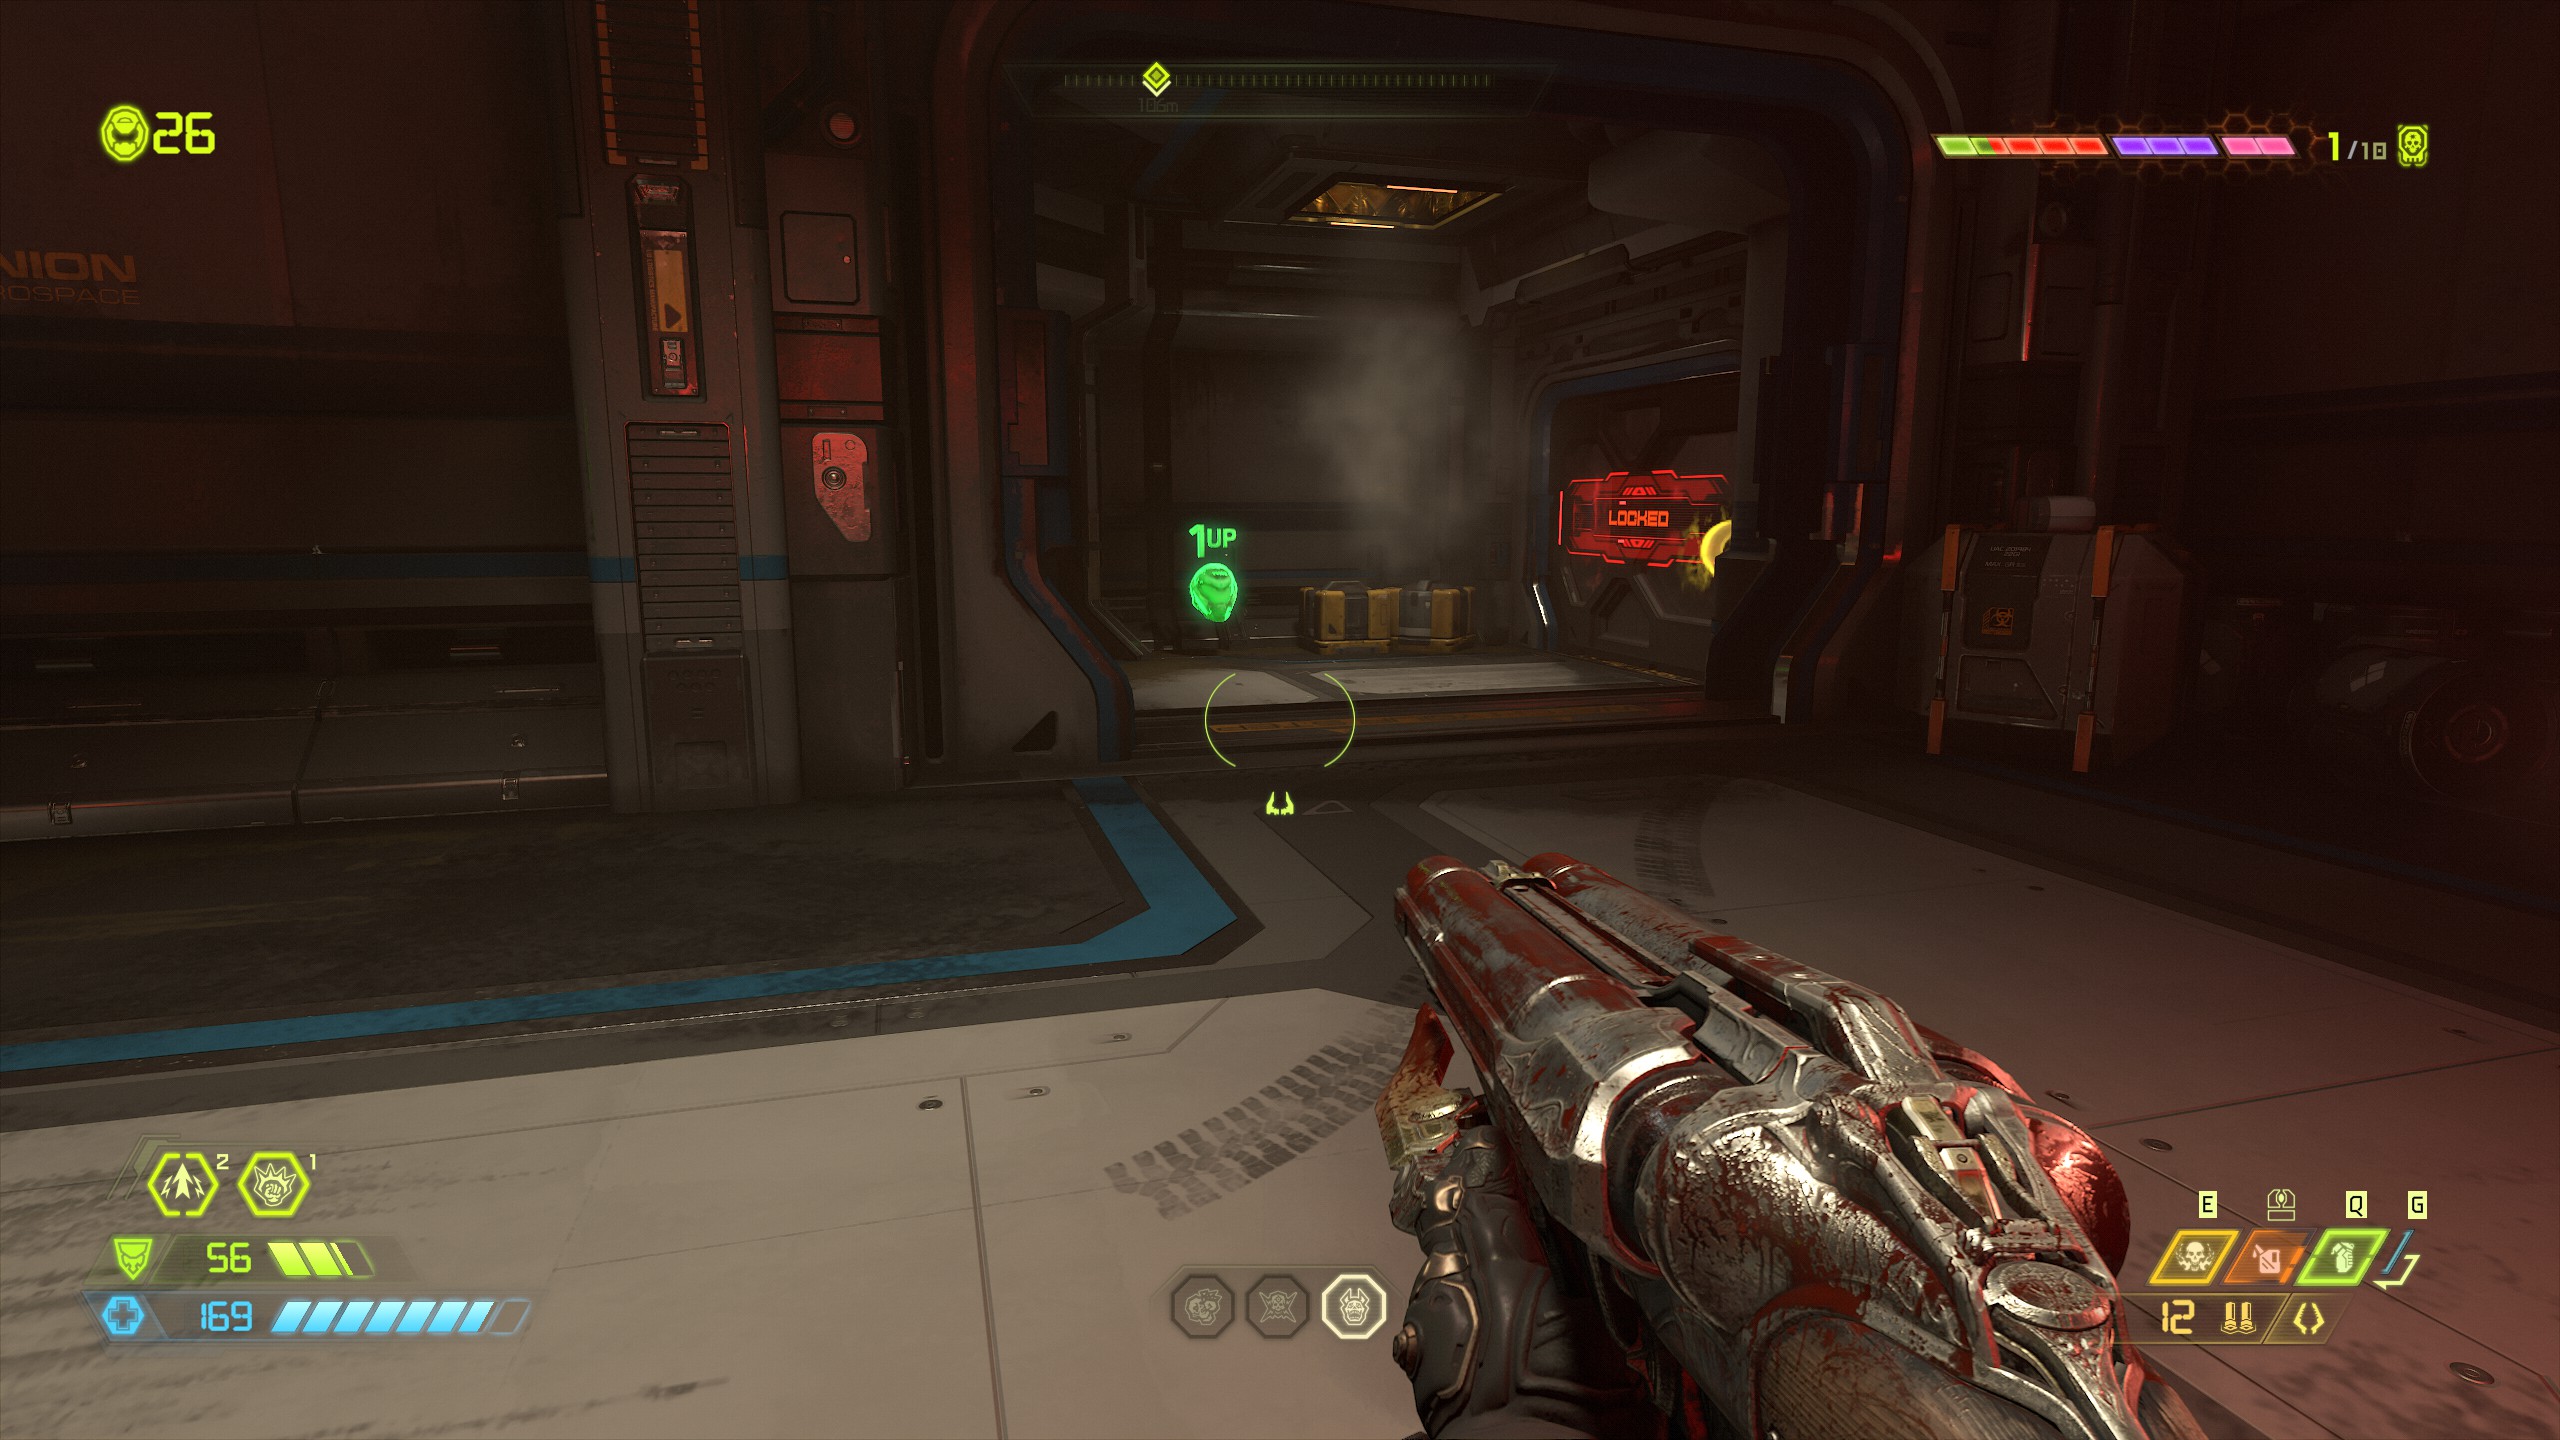
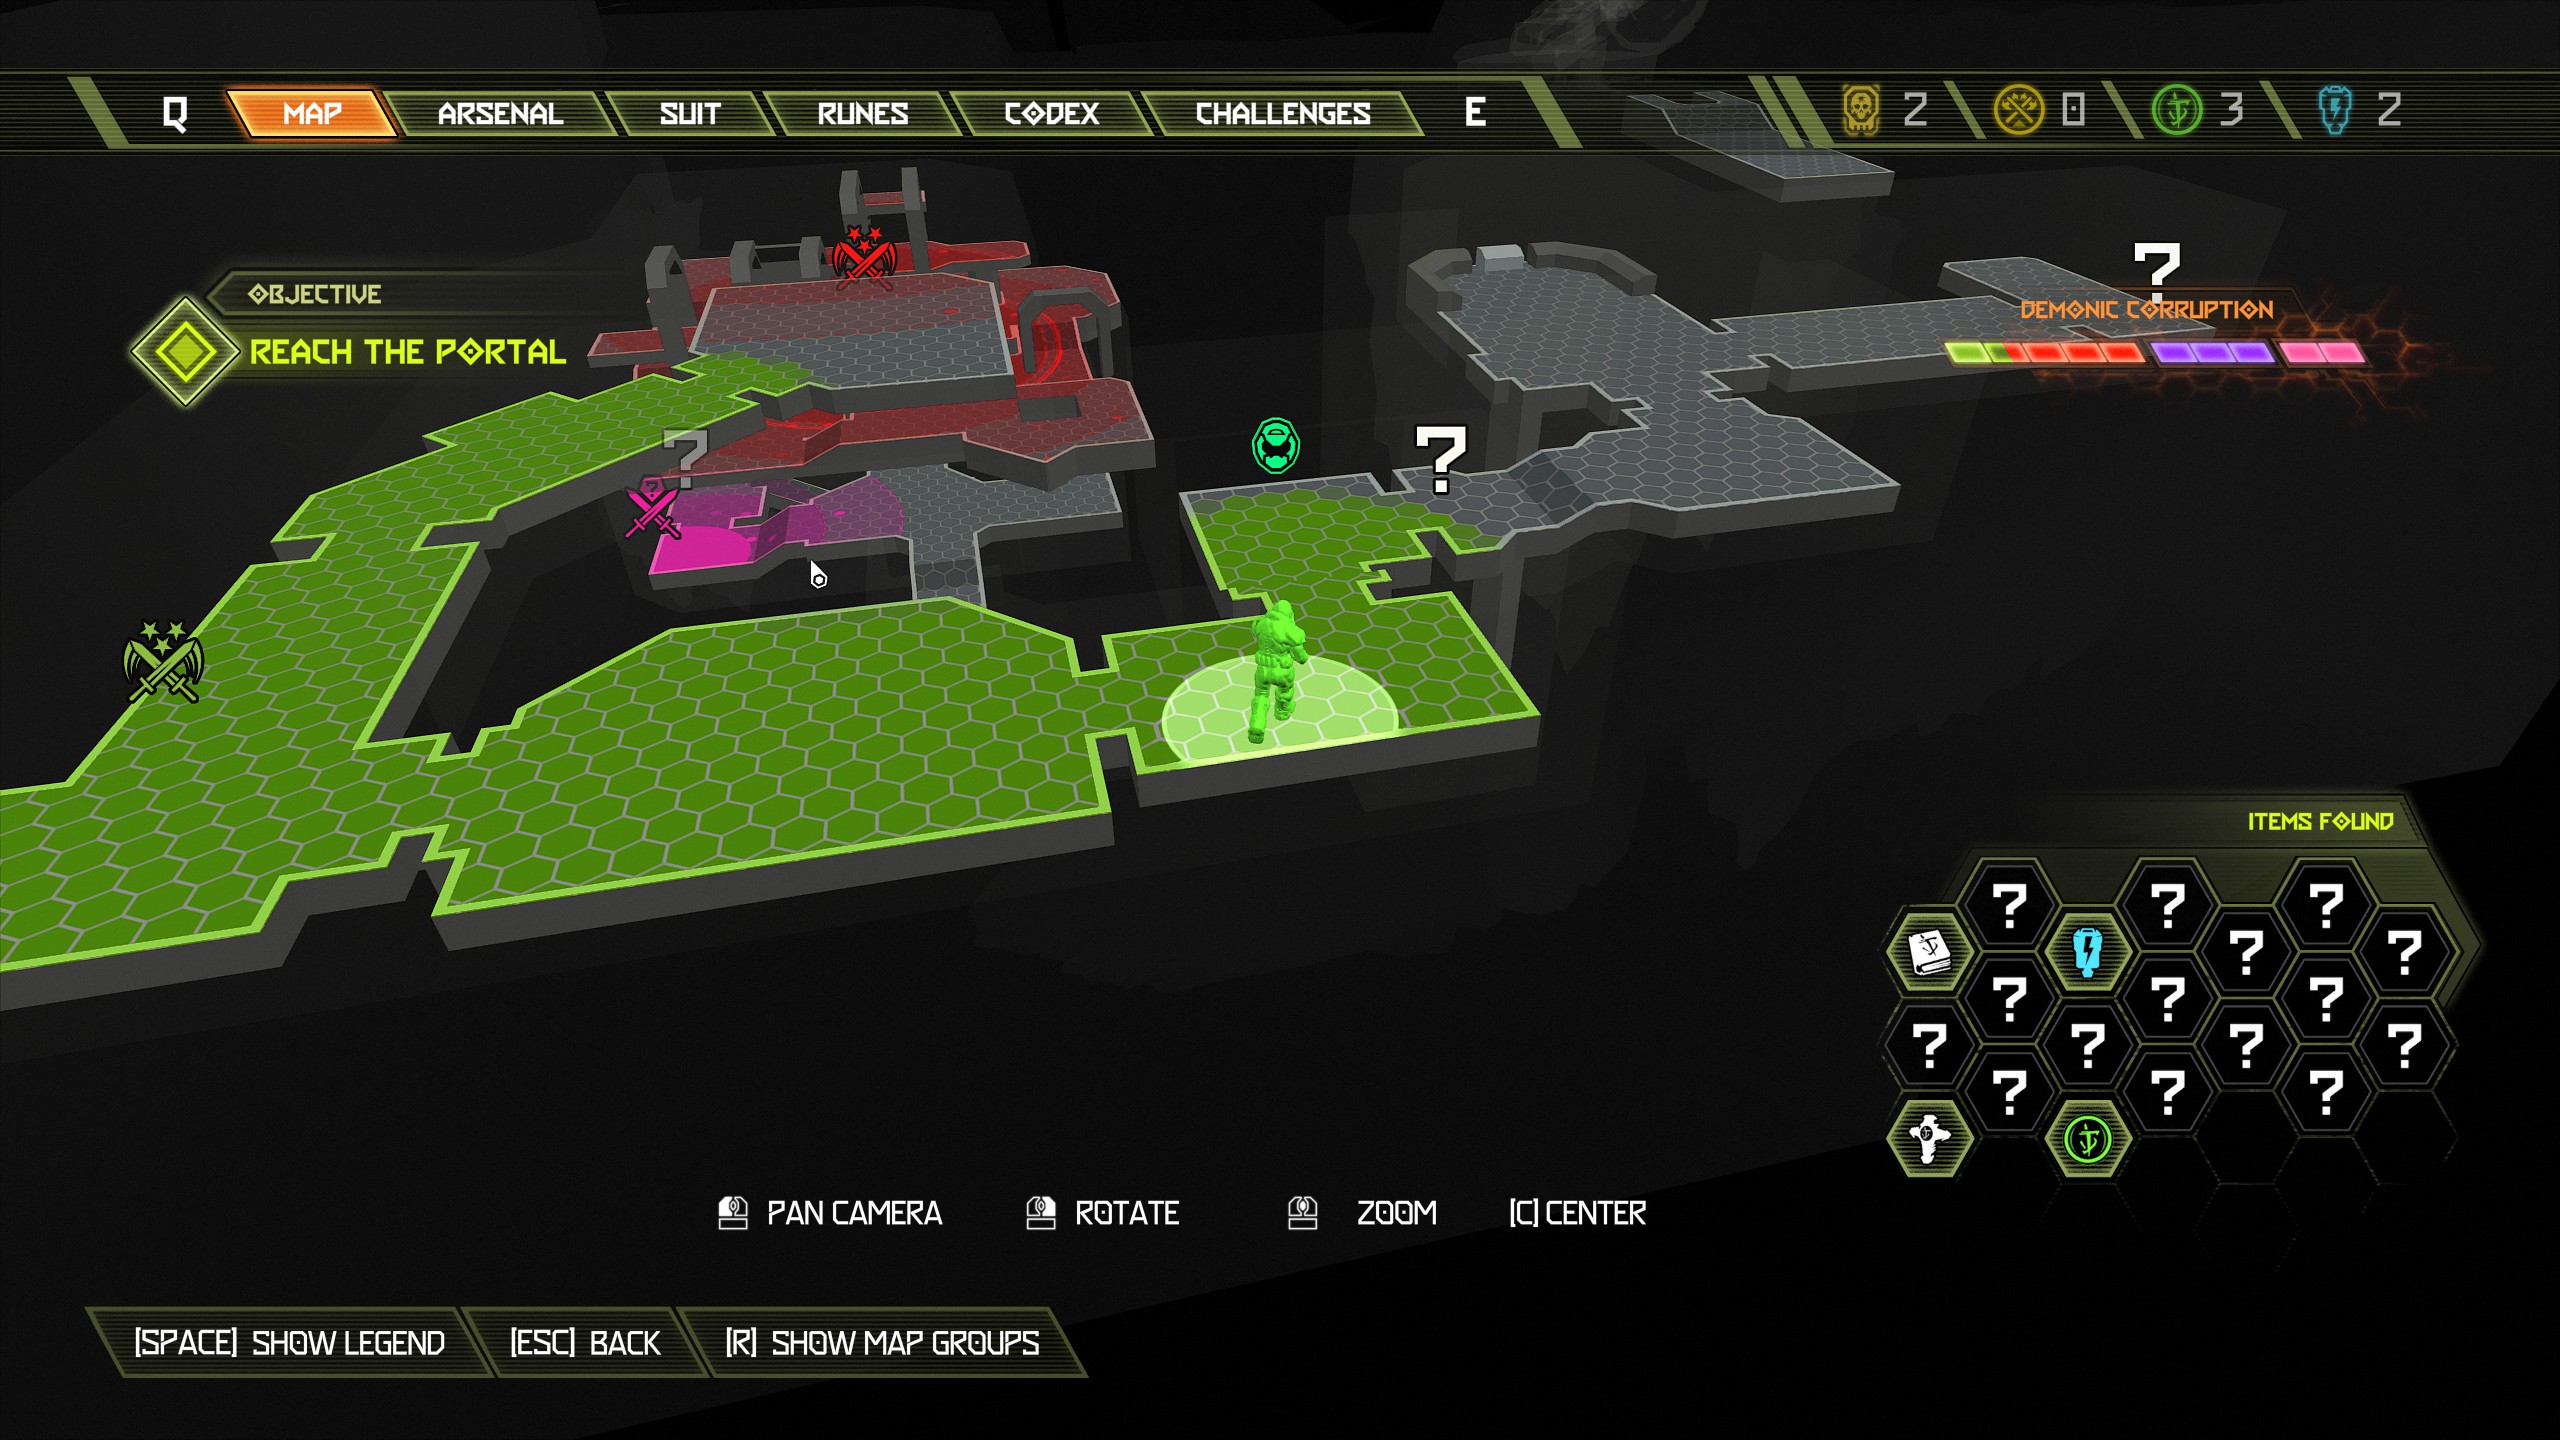
Secret Encounter:
For this encounter you will be attacked by 1 revenant, 1 spectre, 1 imp, 2 gargoyles. After picking up the extra life you will once again head back outside and have another buff totem to destroy, destroy the totem and demons and then follow the mission marker into the hole.
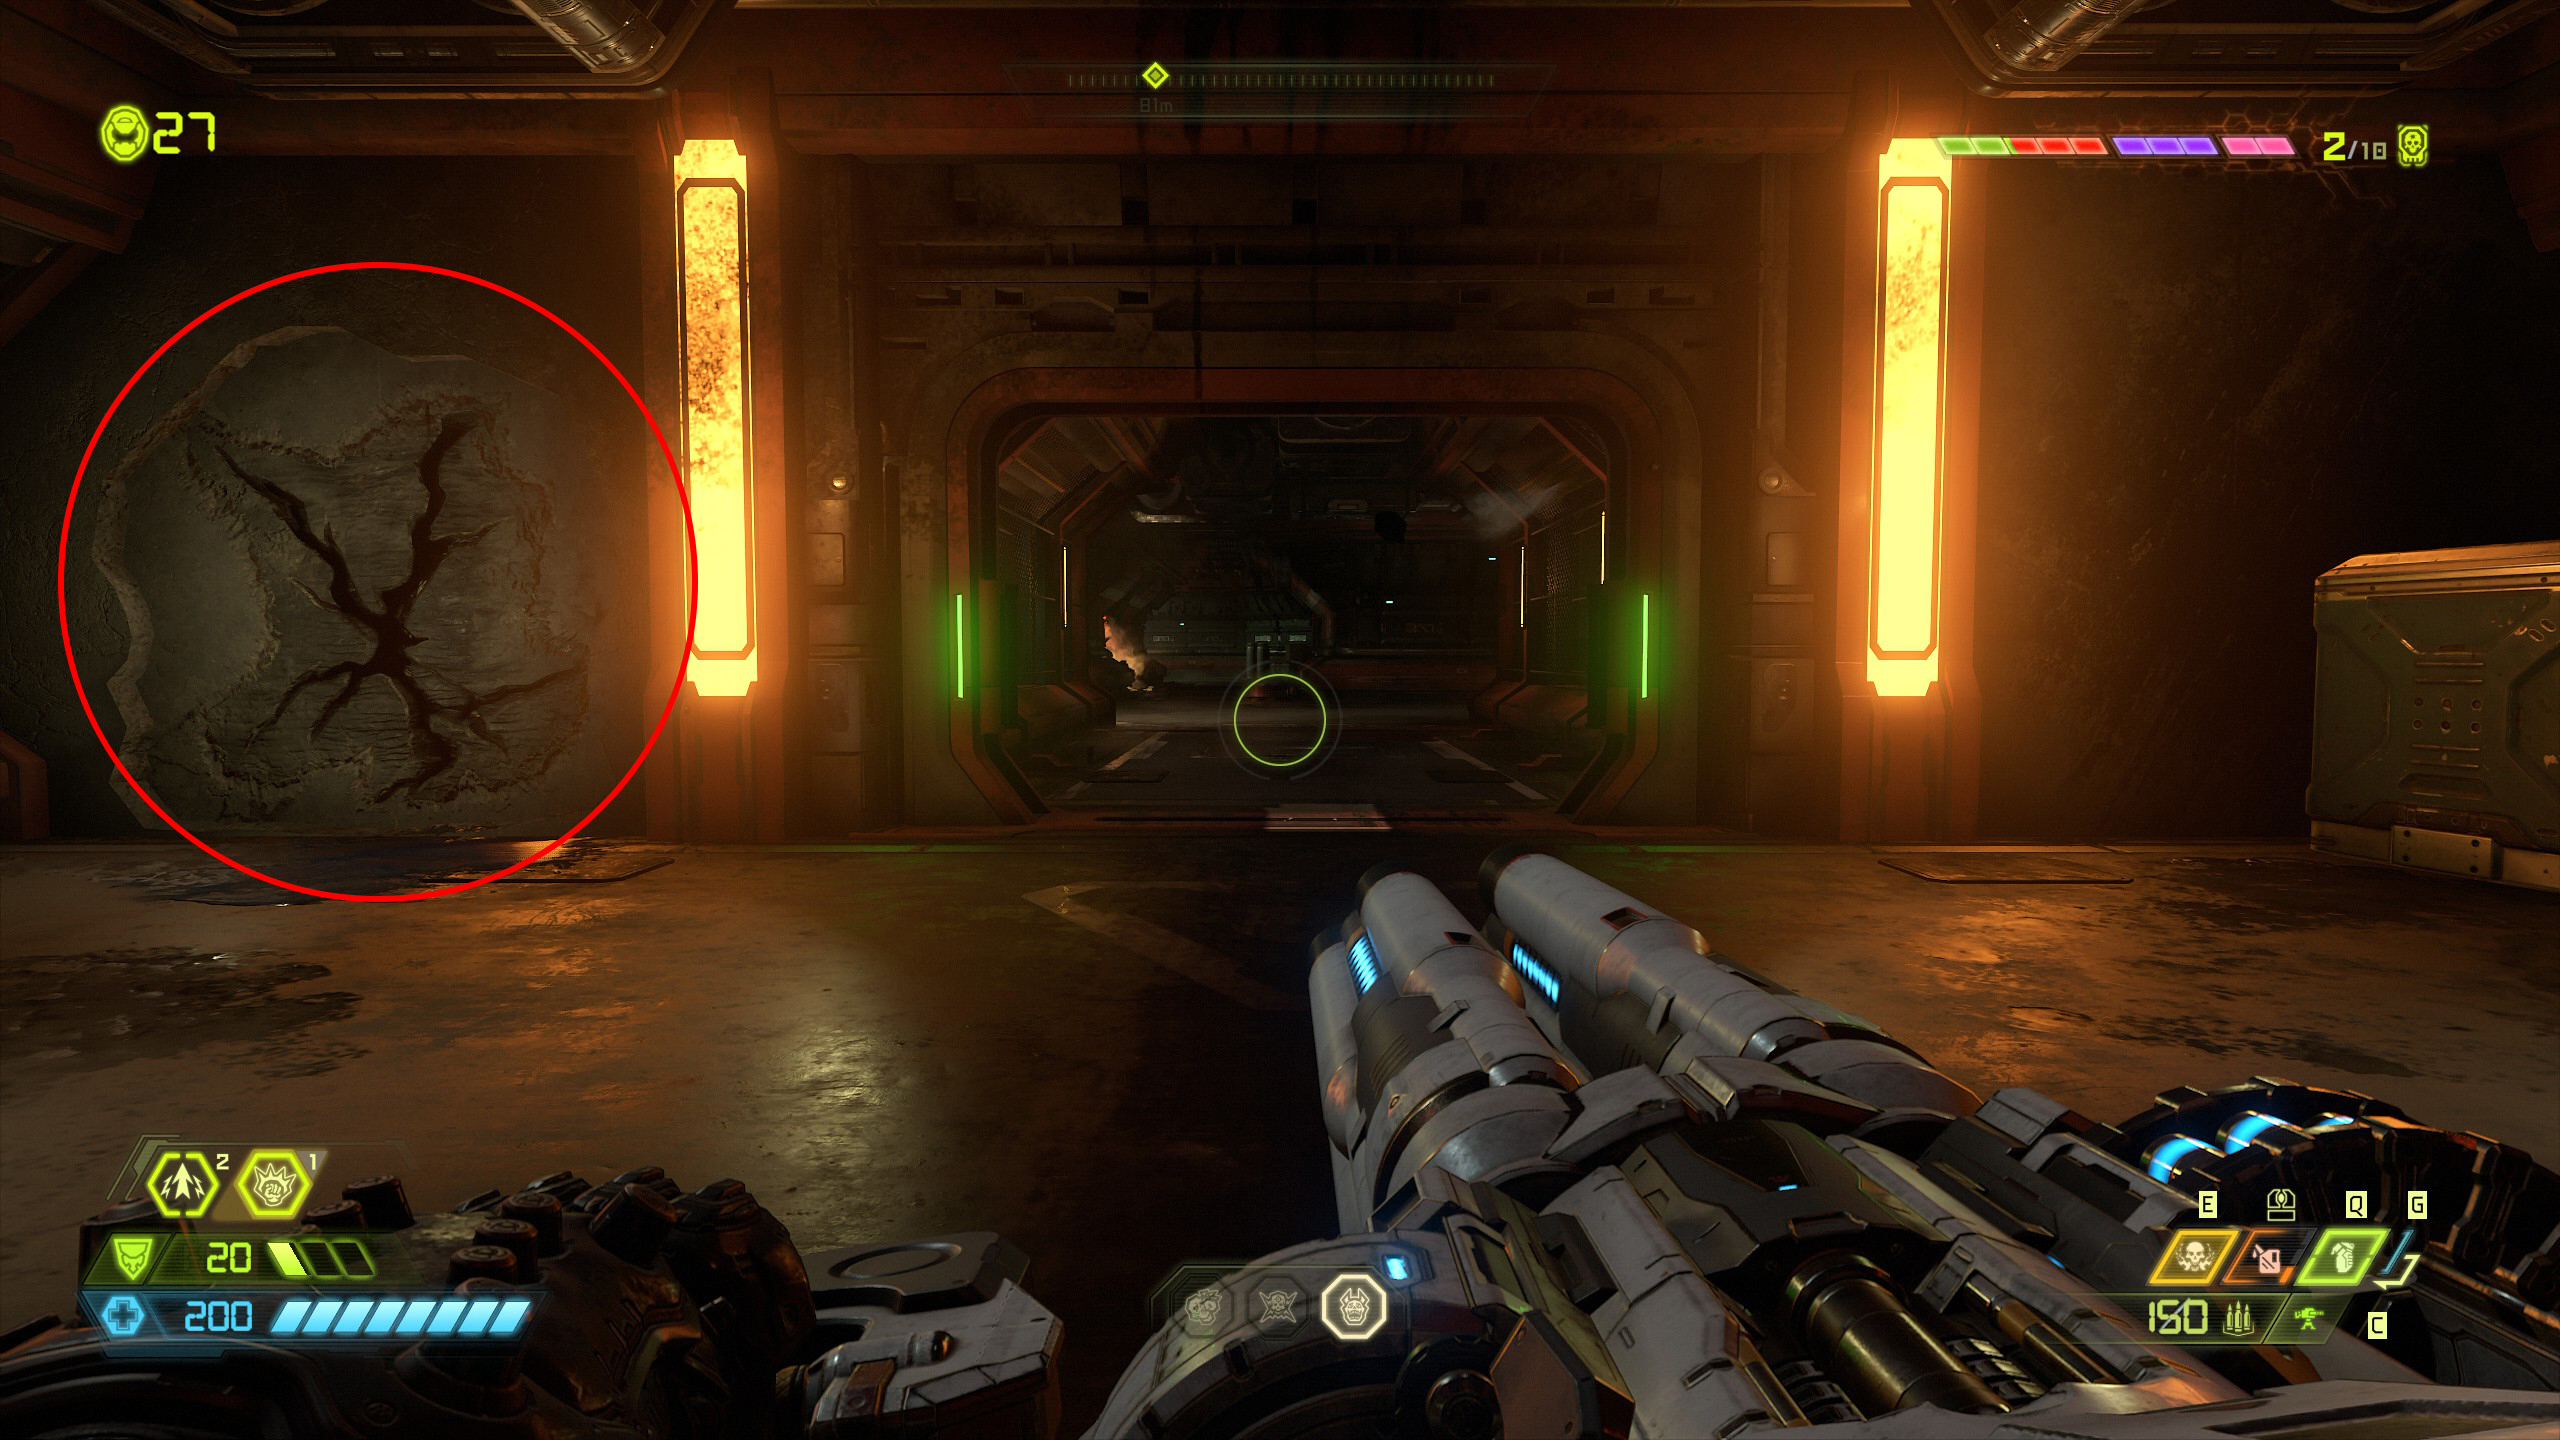
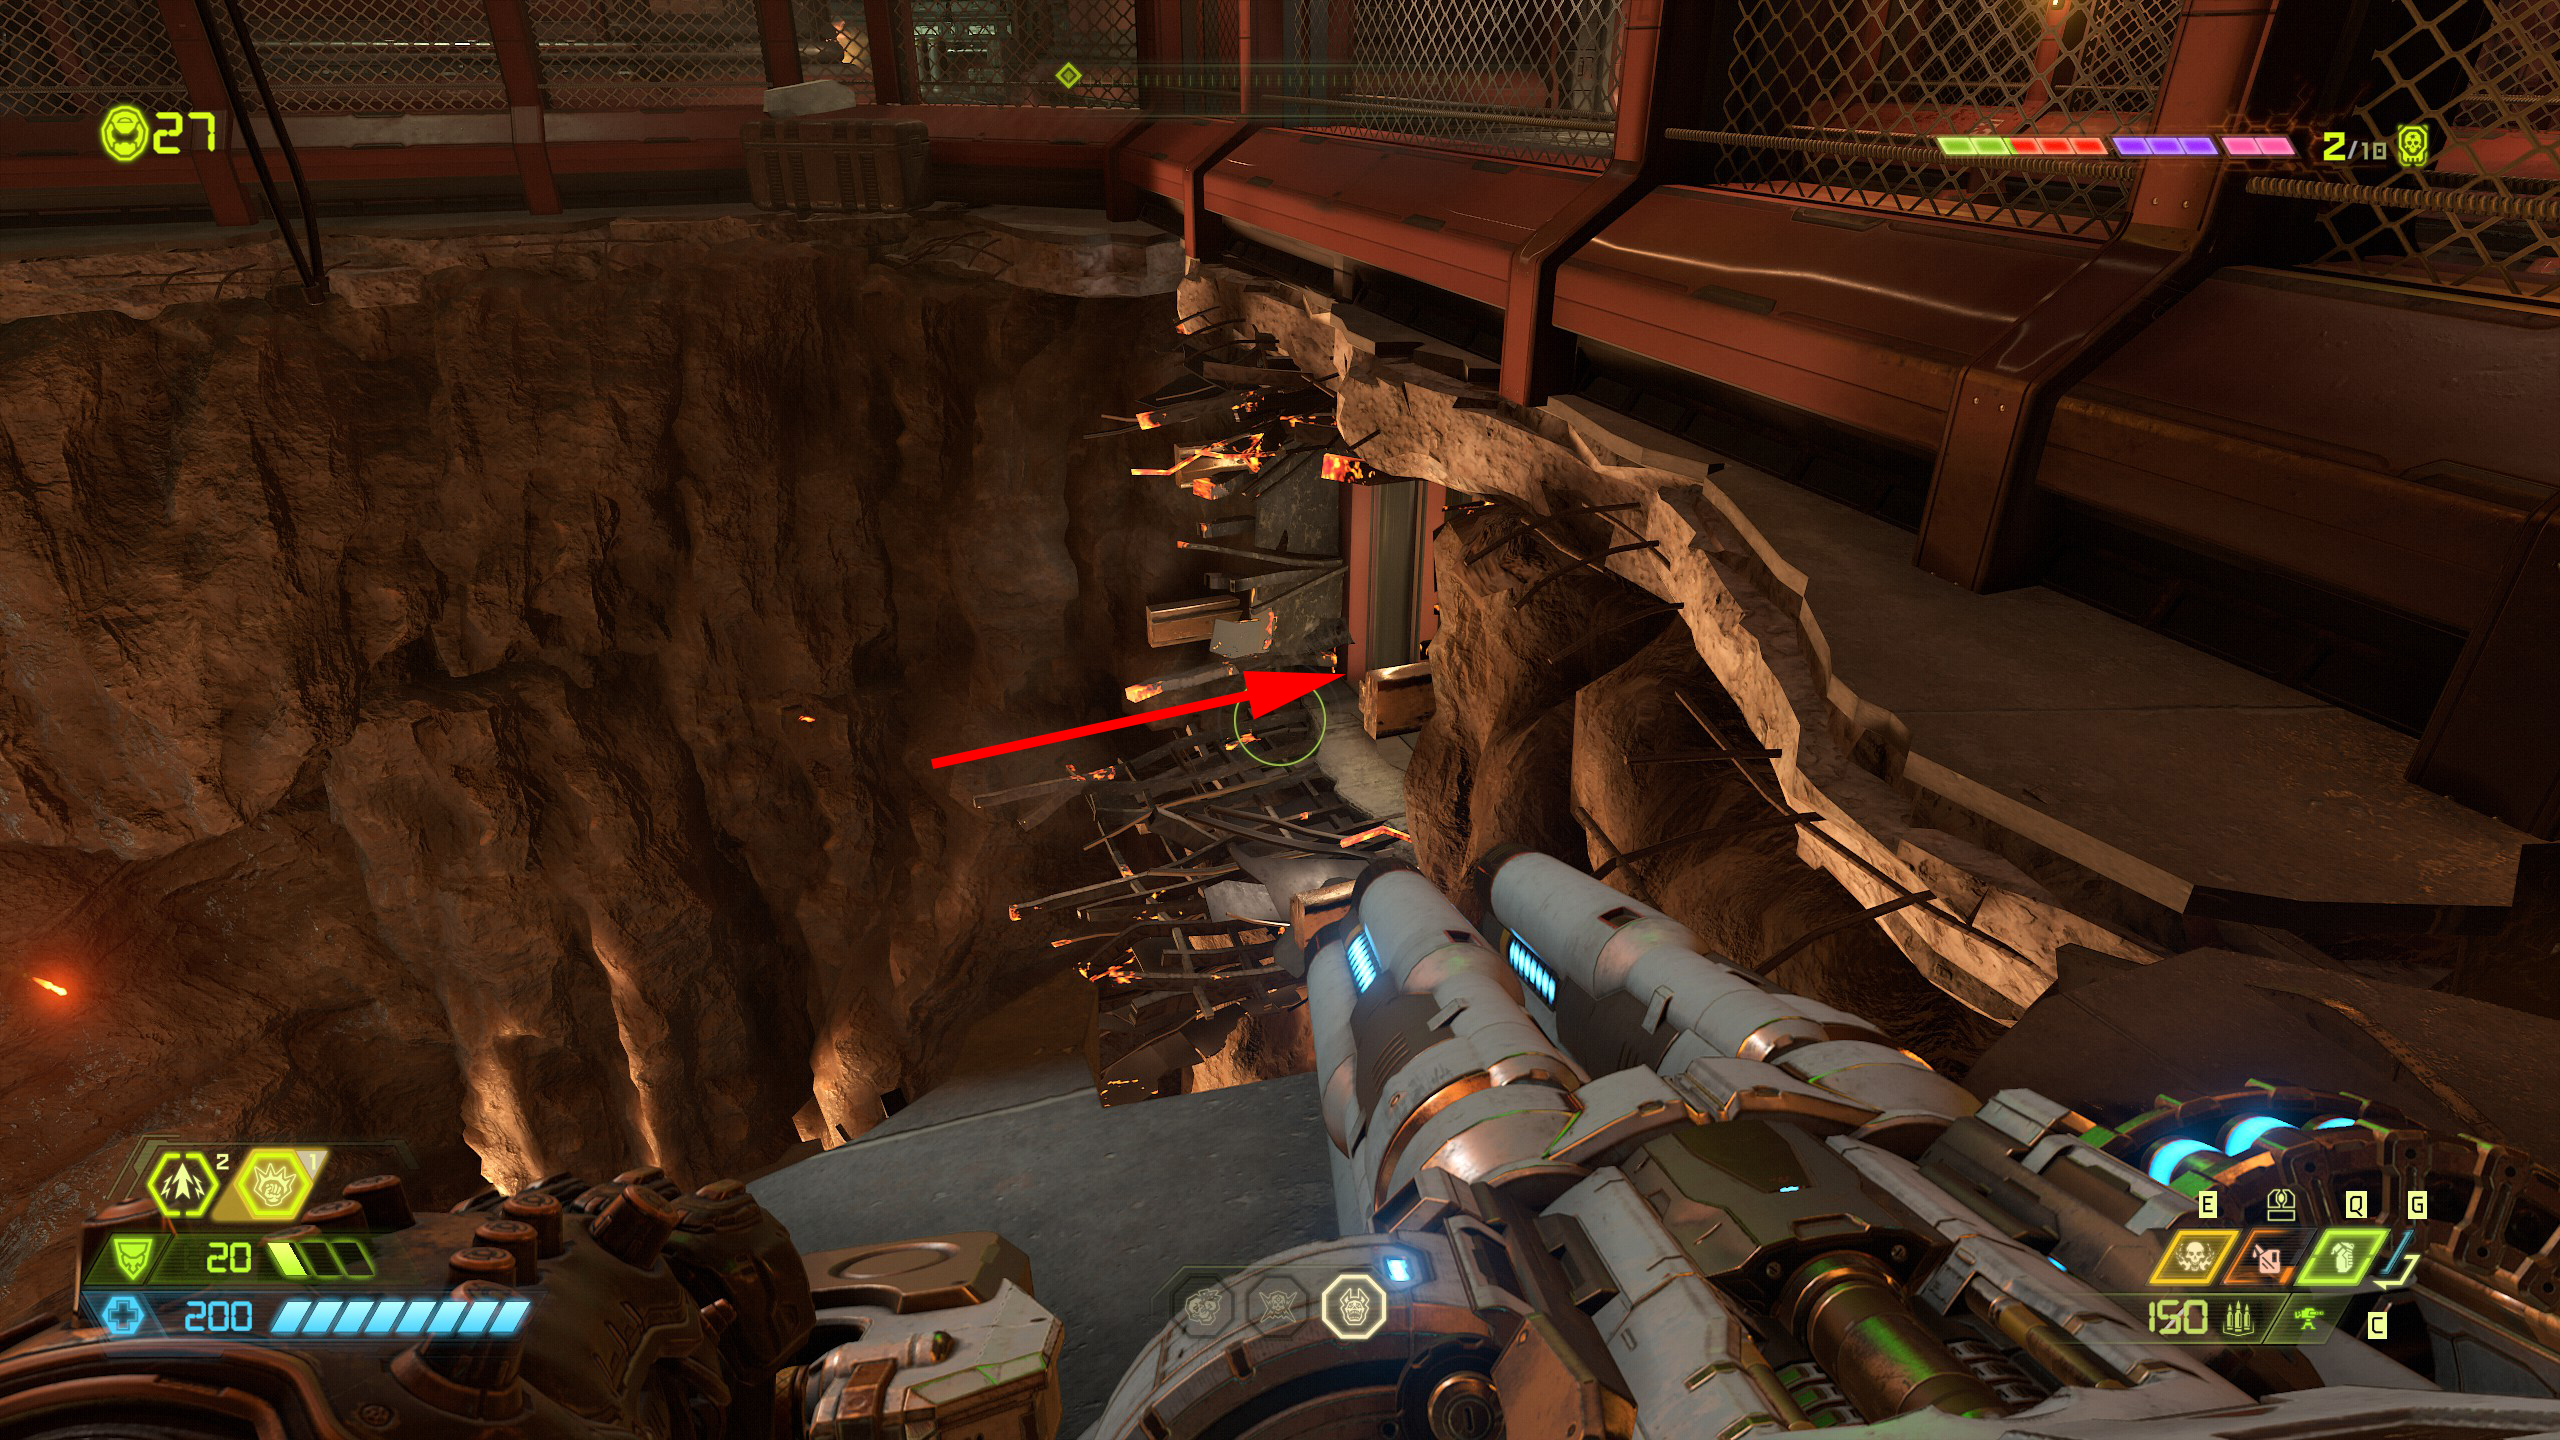
As soon as you drop down into the hole look to the left side and you will see a breakable wall, break through and lower down on the right side is an opening that you can drop and dash into.
The opening is a little hard to see but it is there and once inside you will find a praetor suit token and the secret encounter.
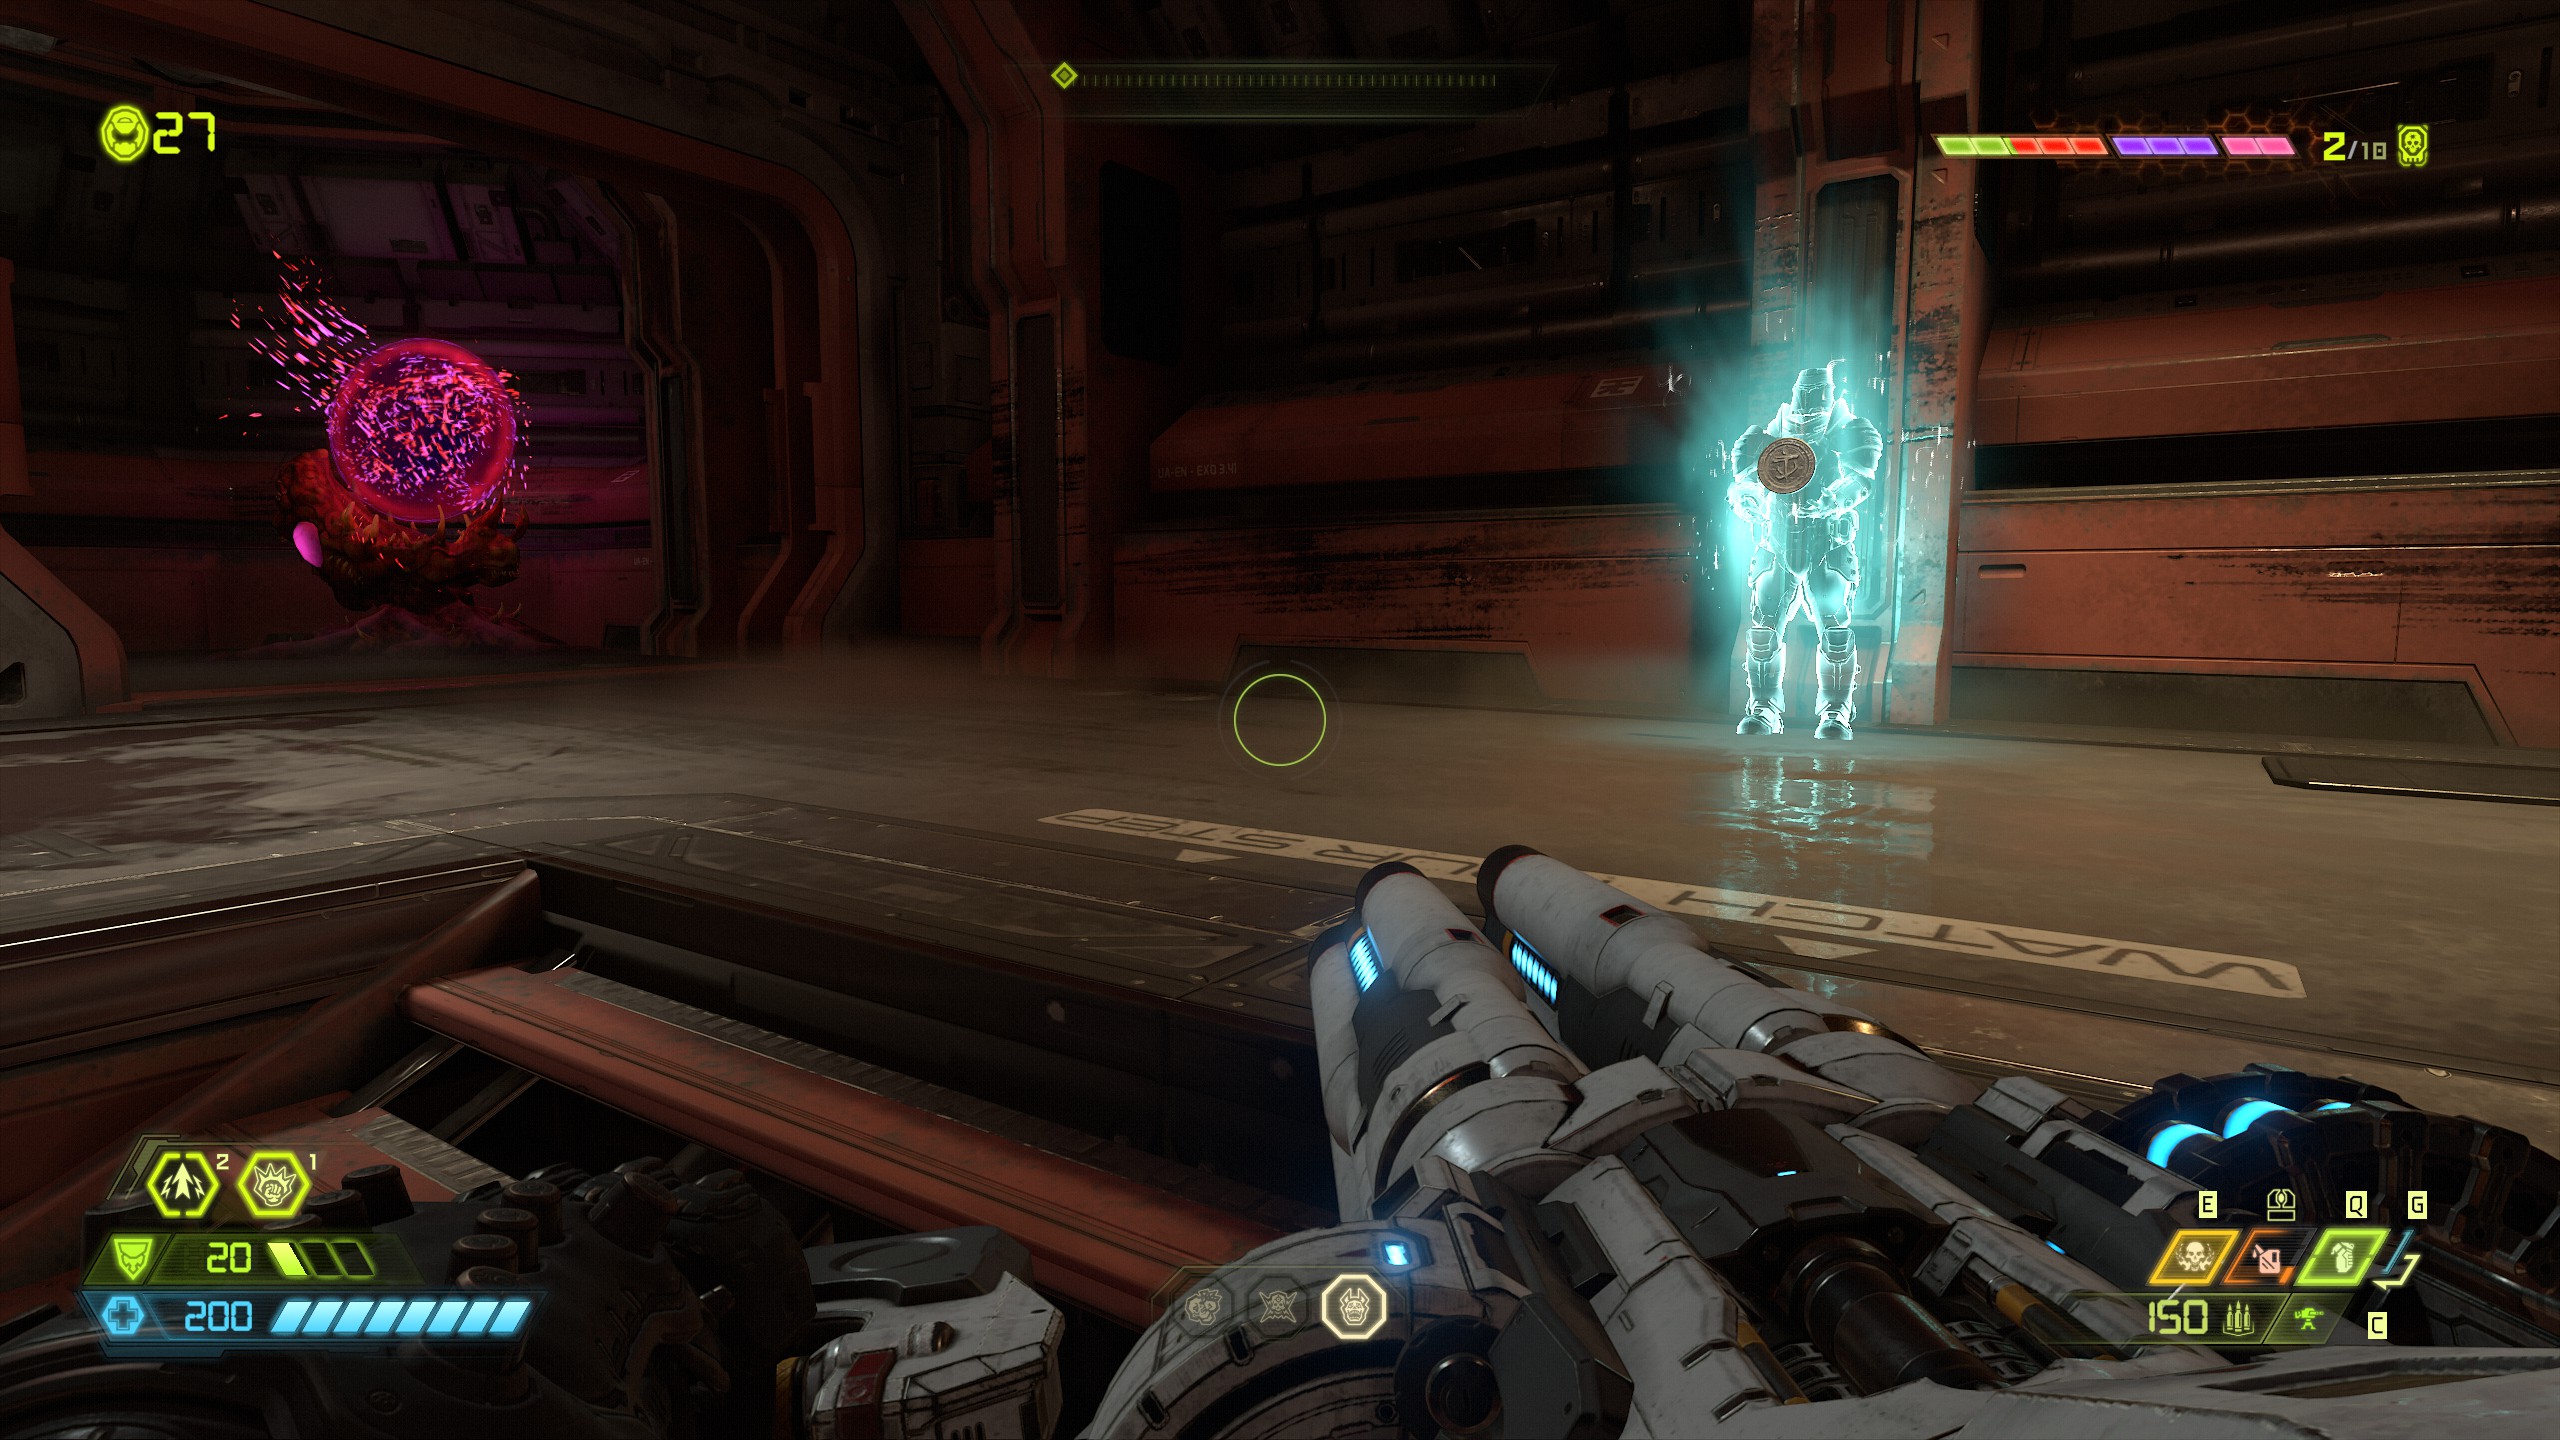
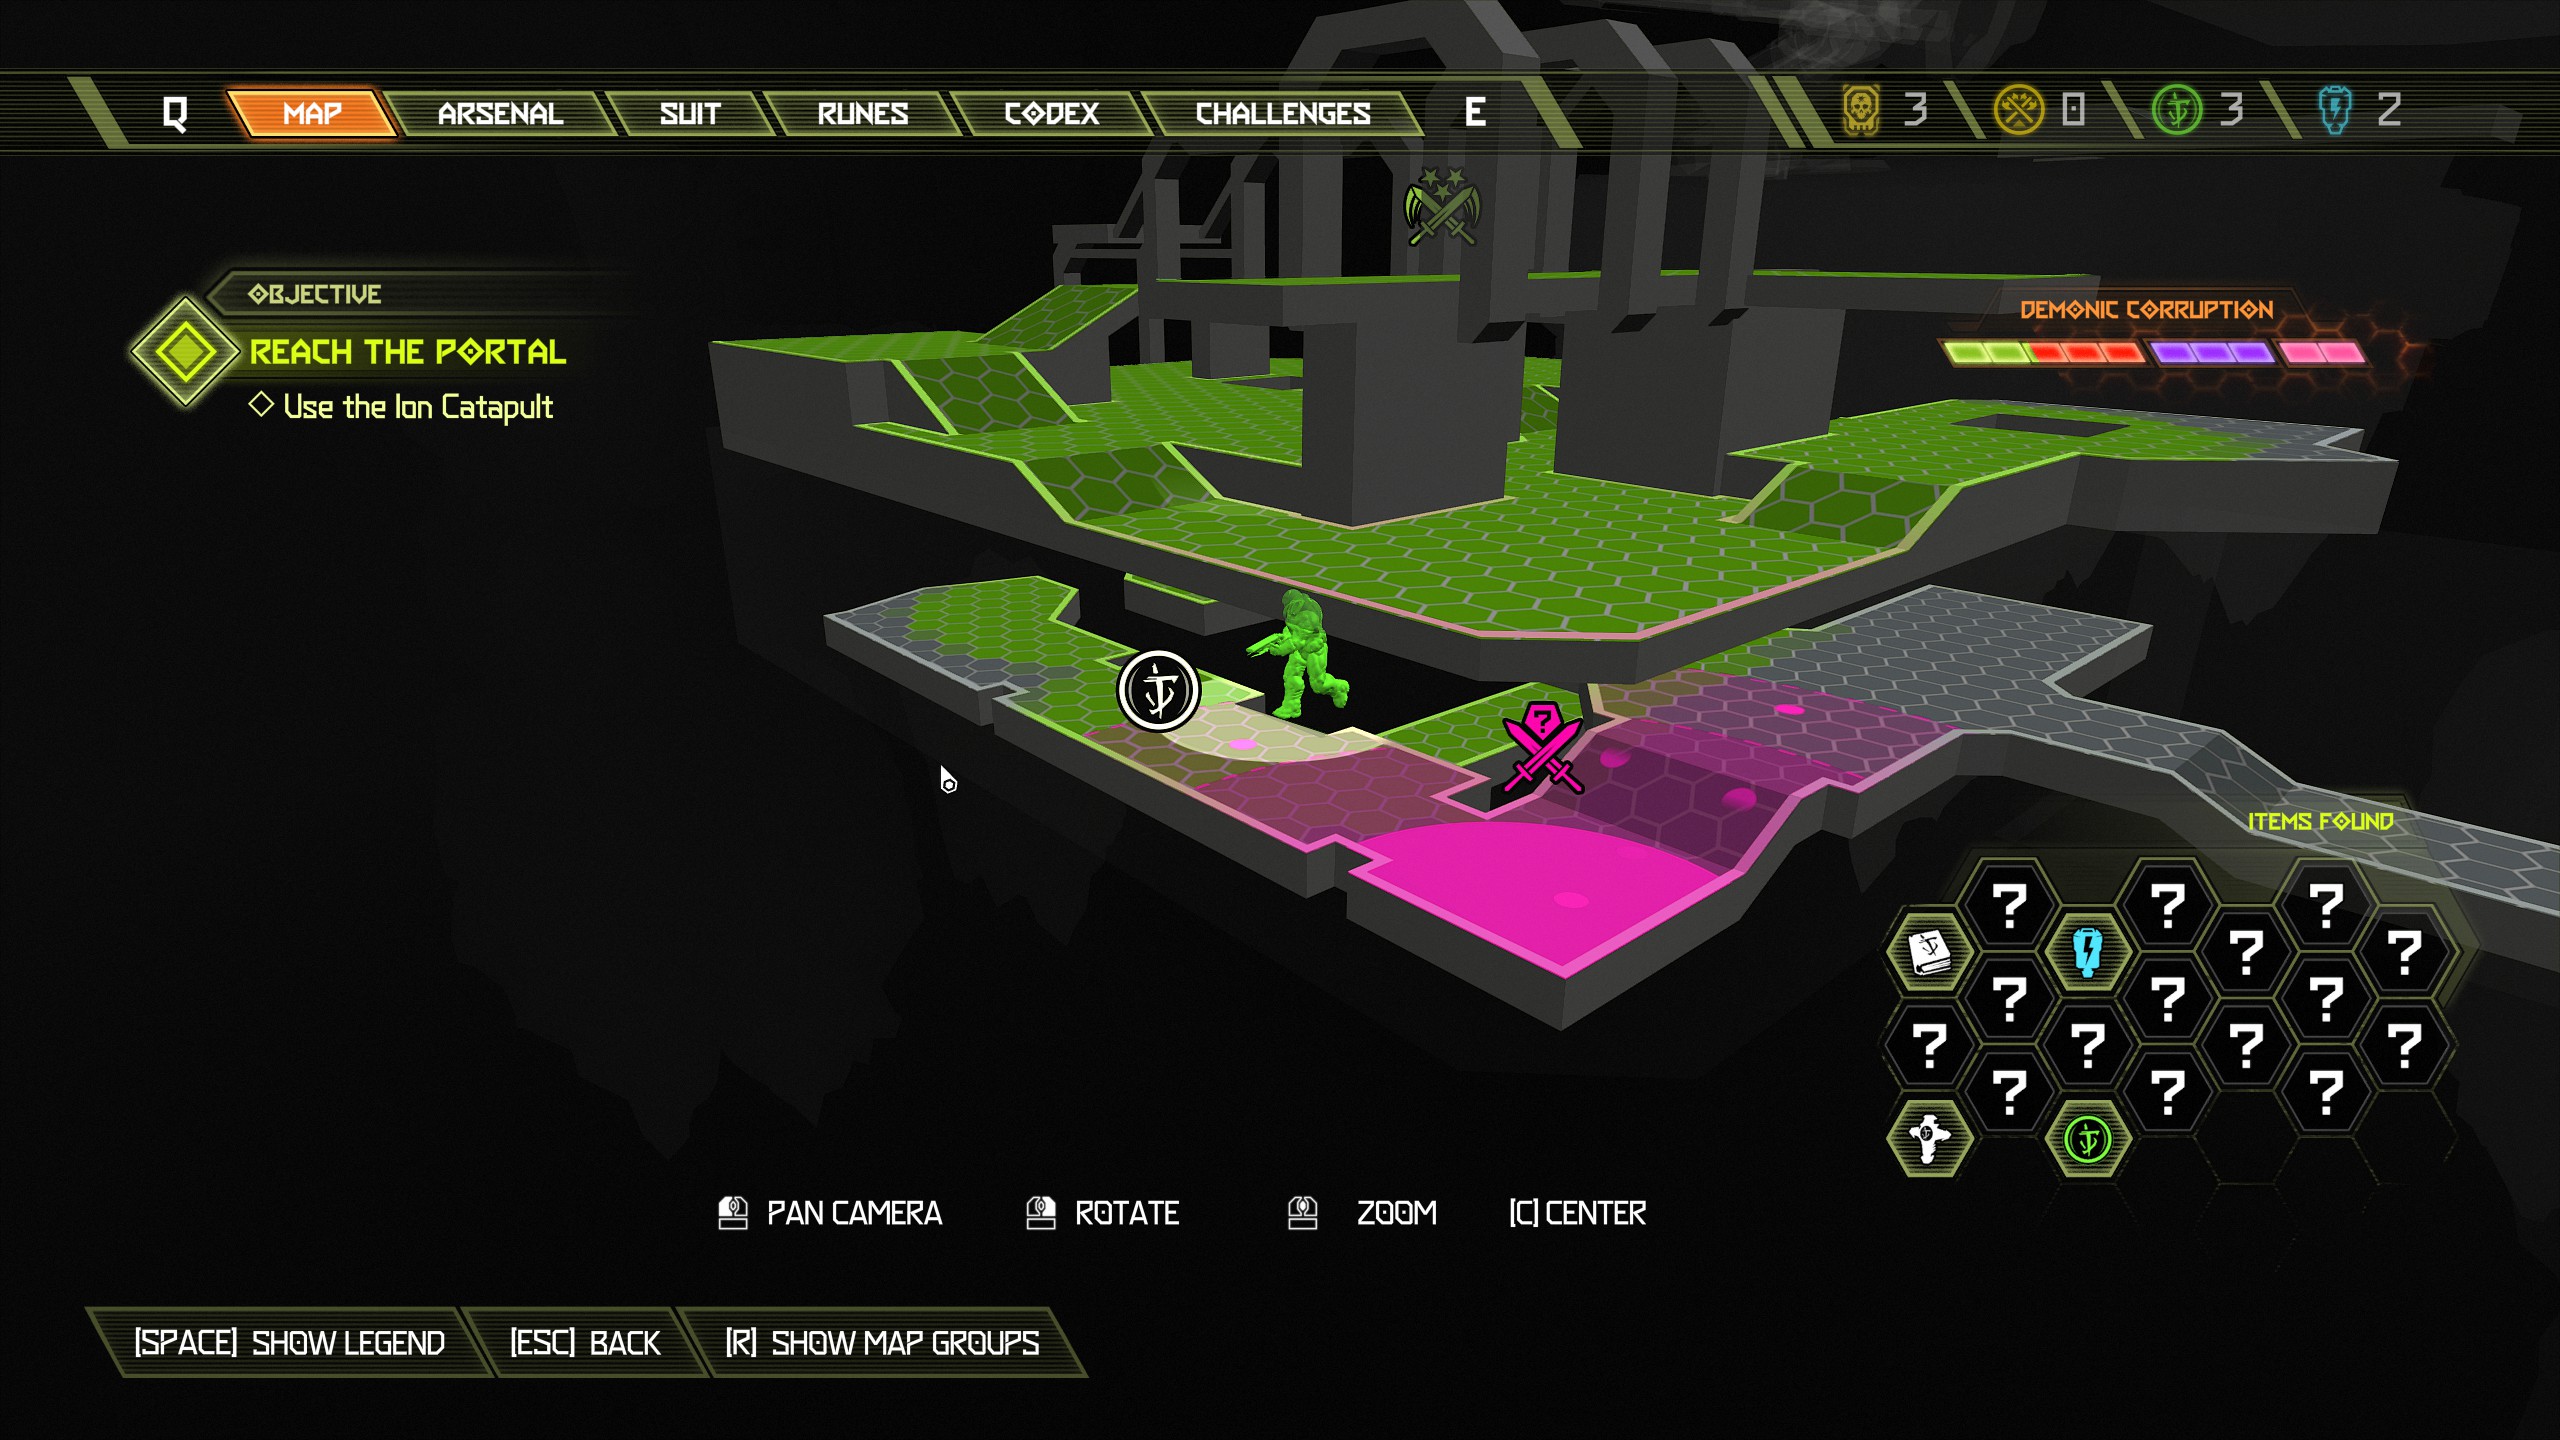
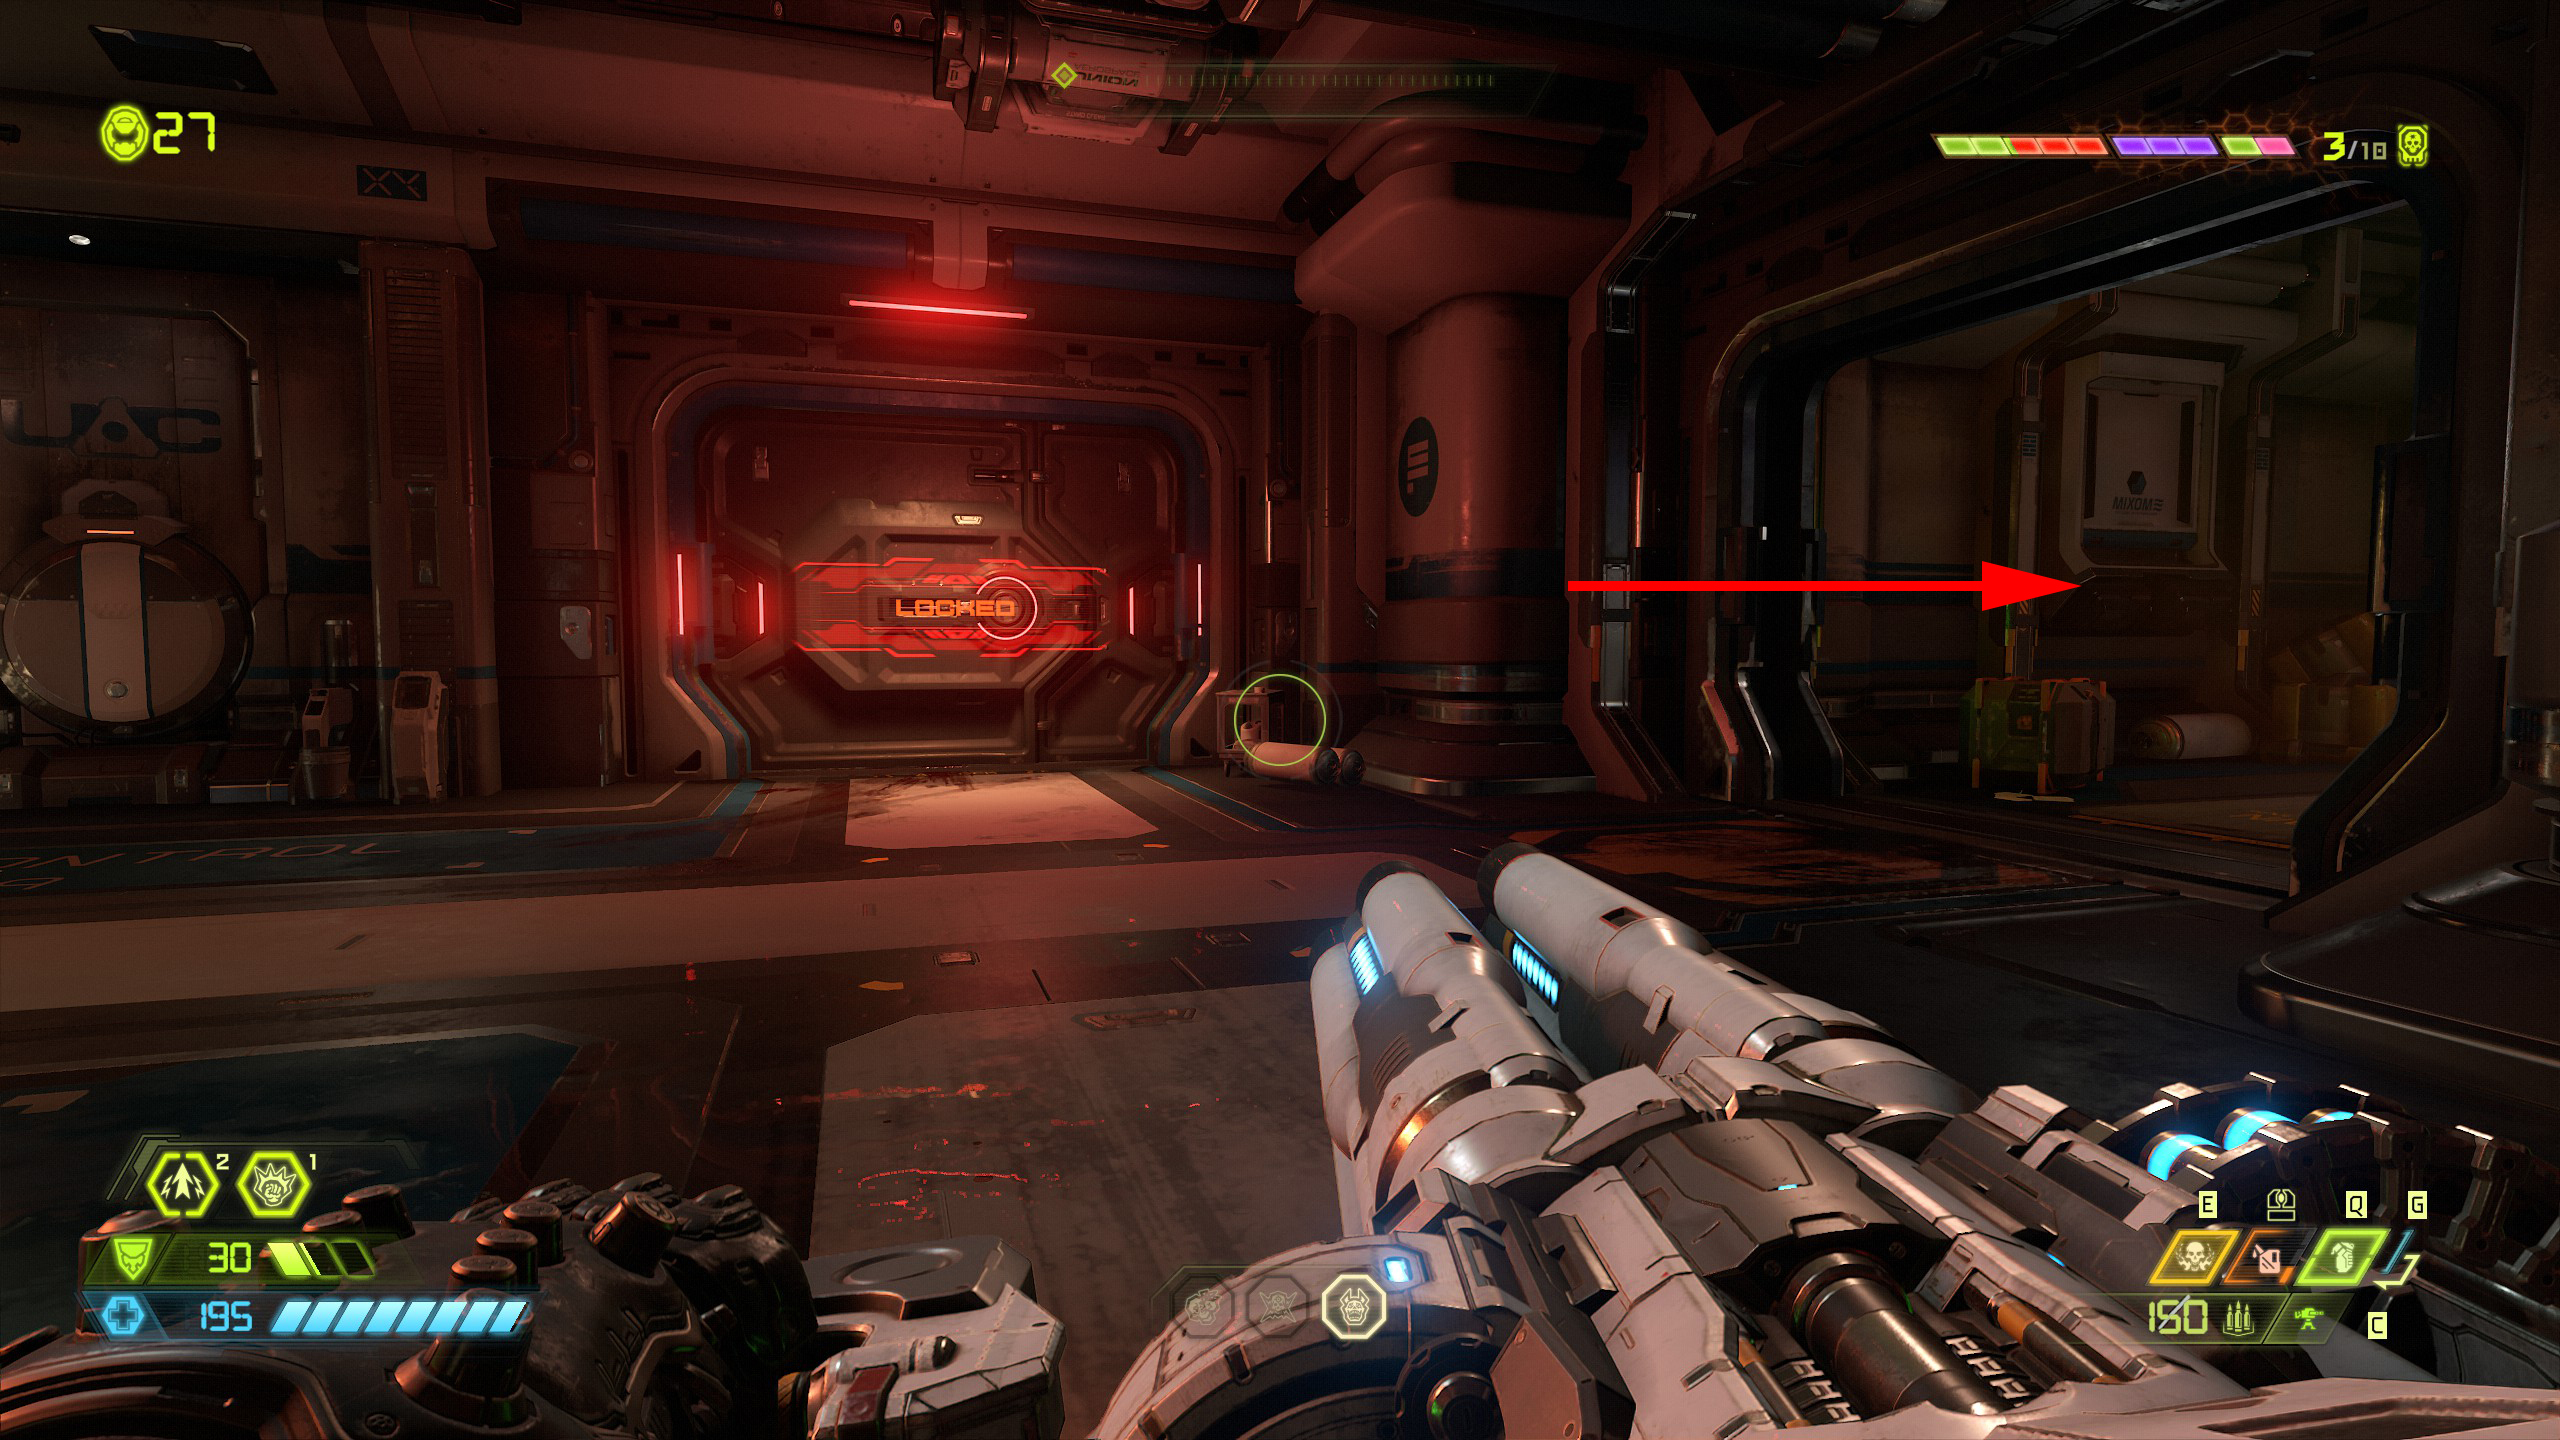
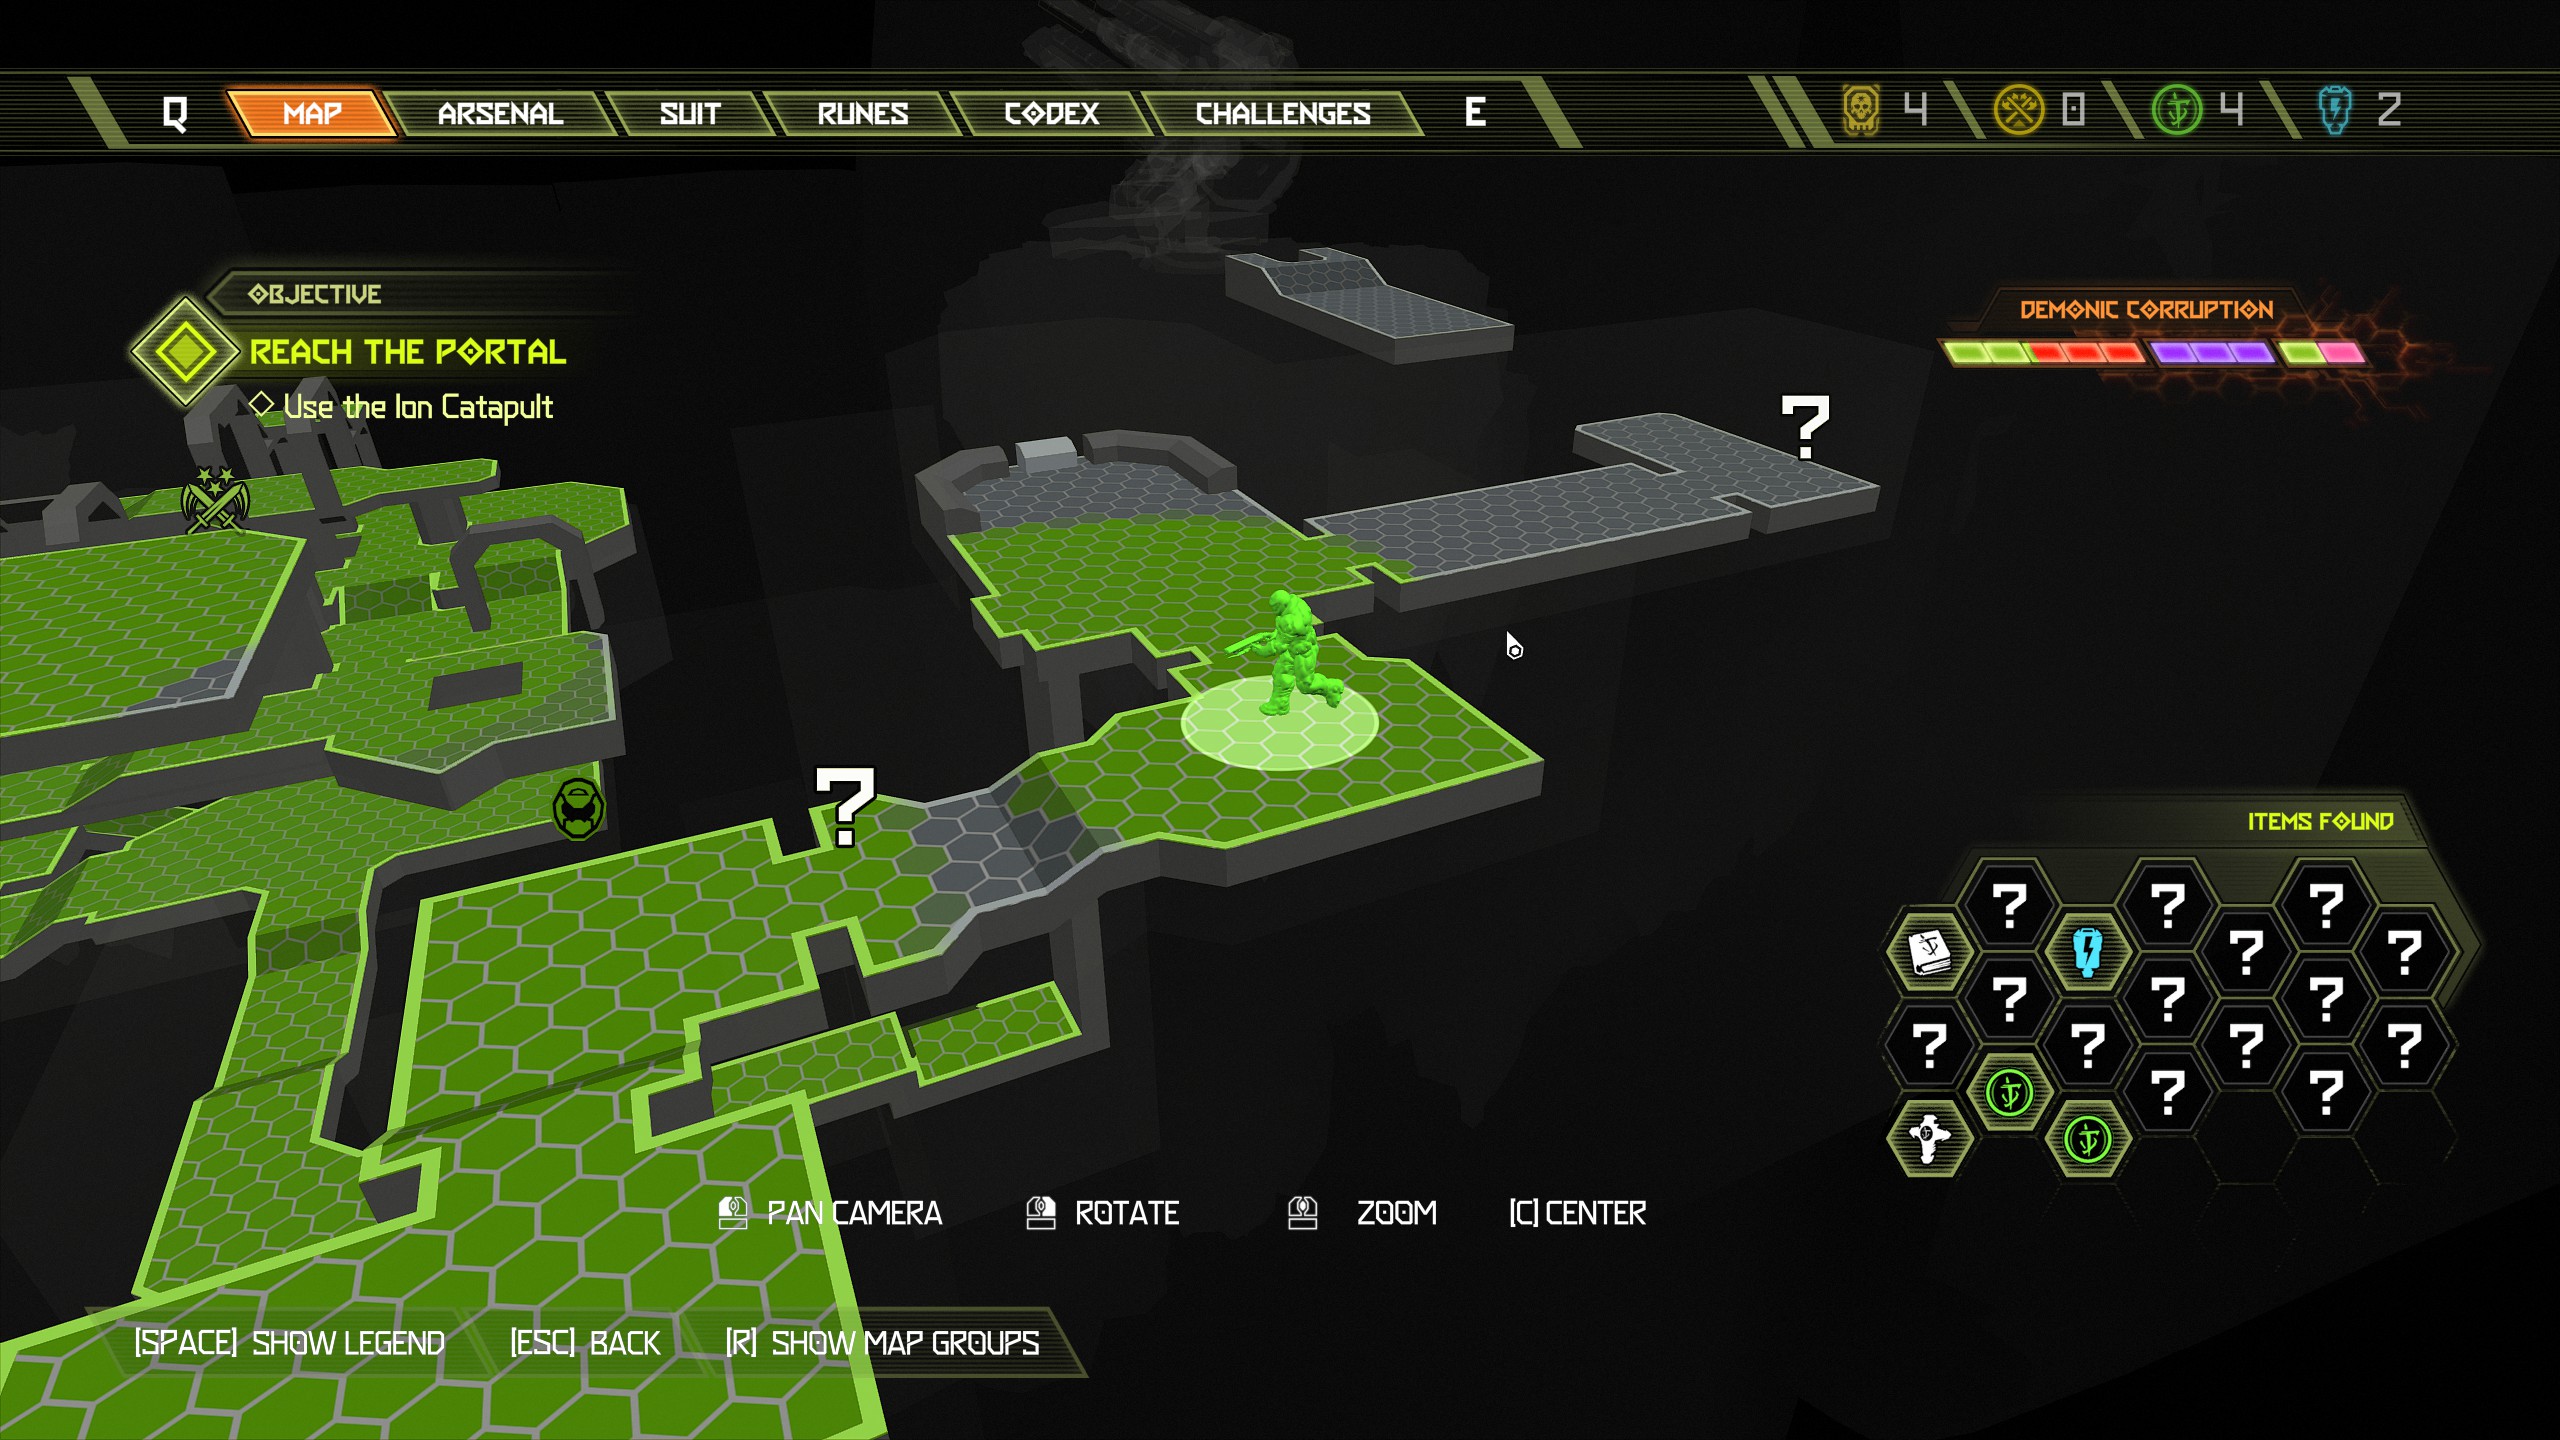
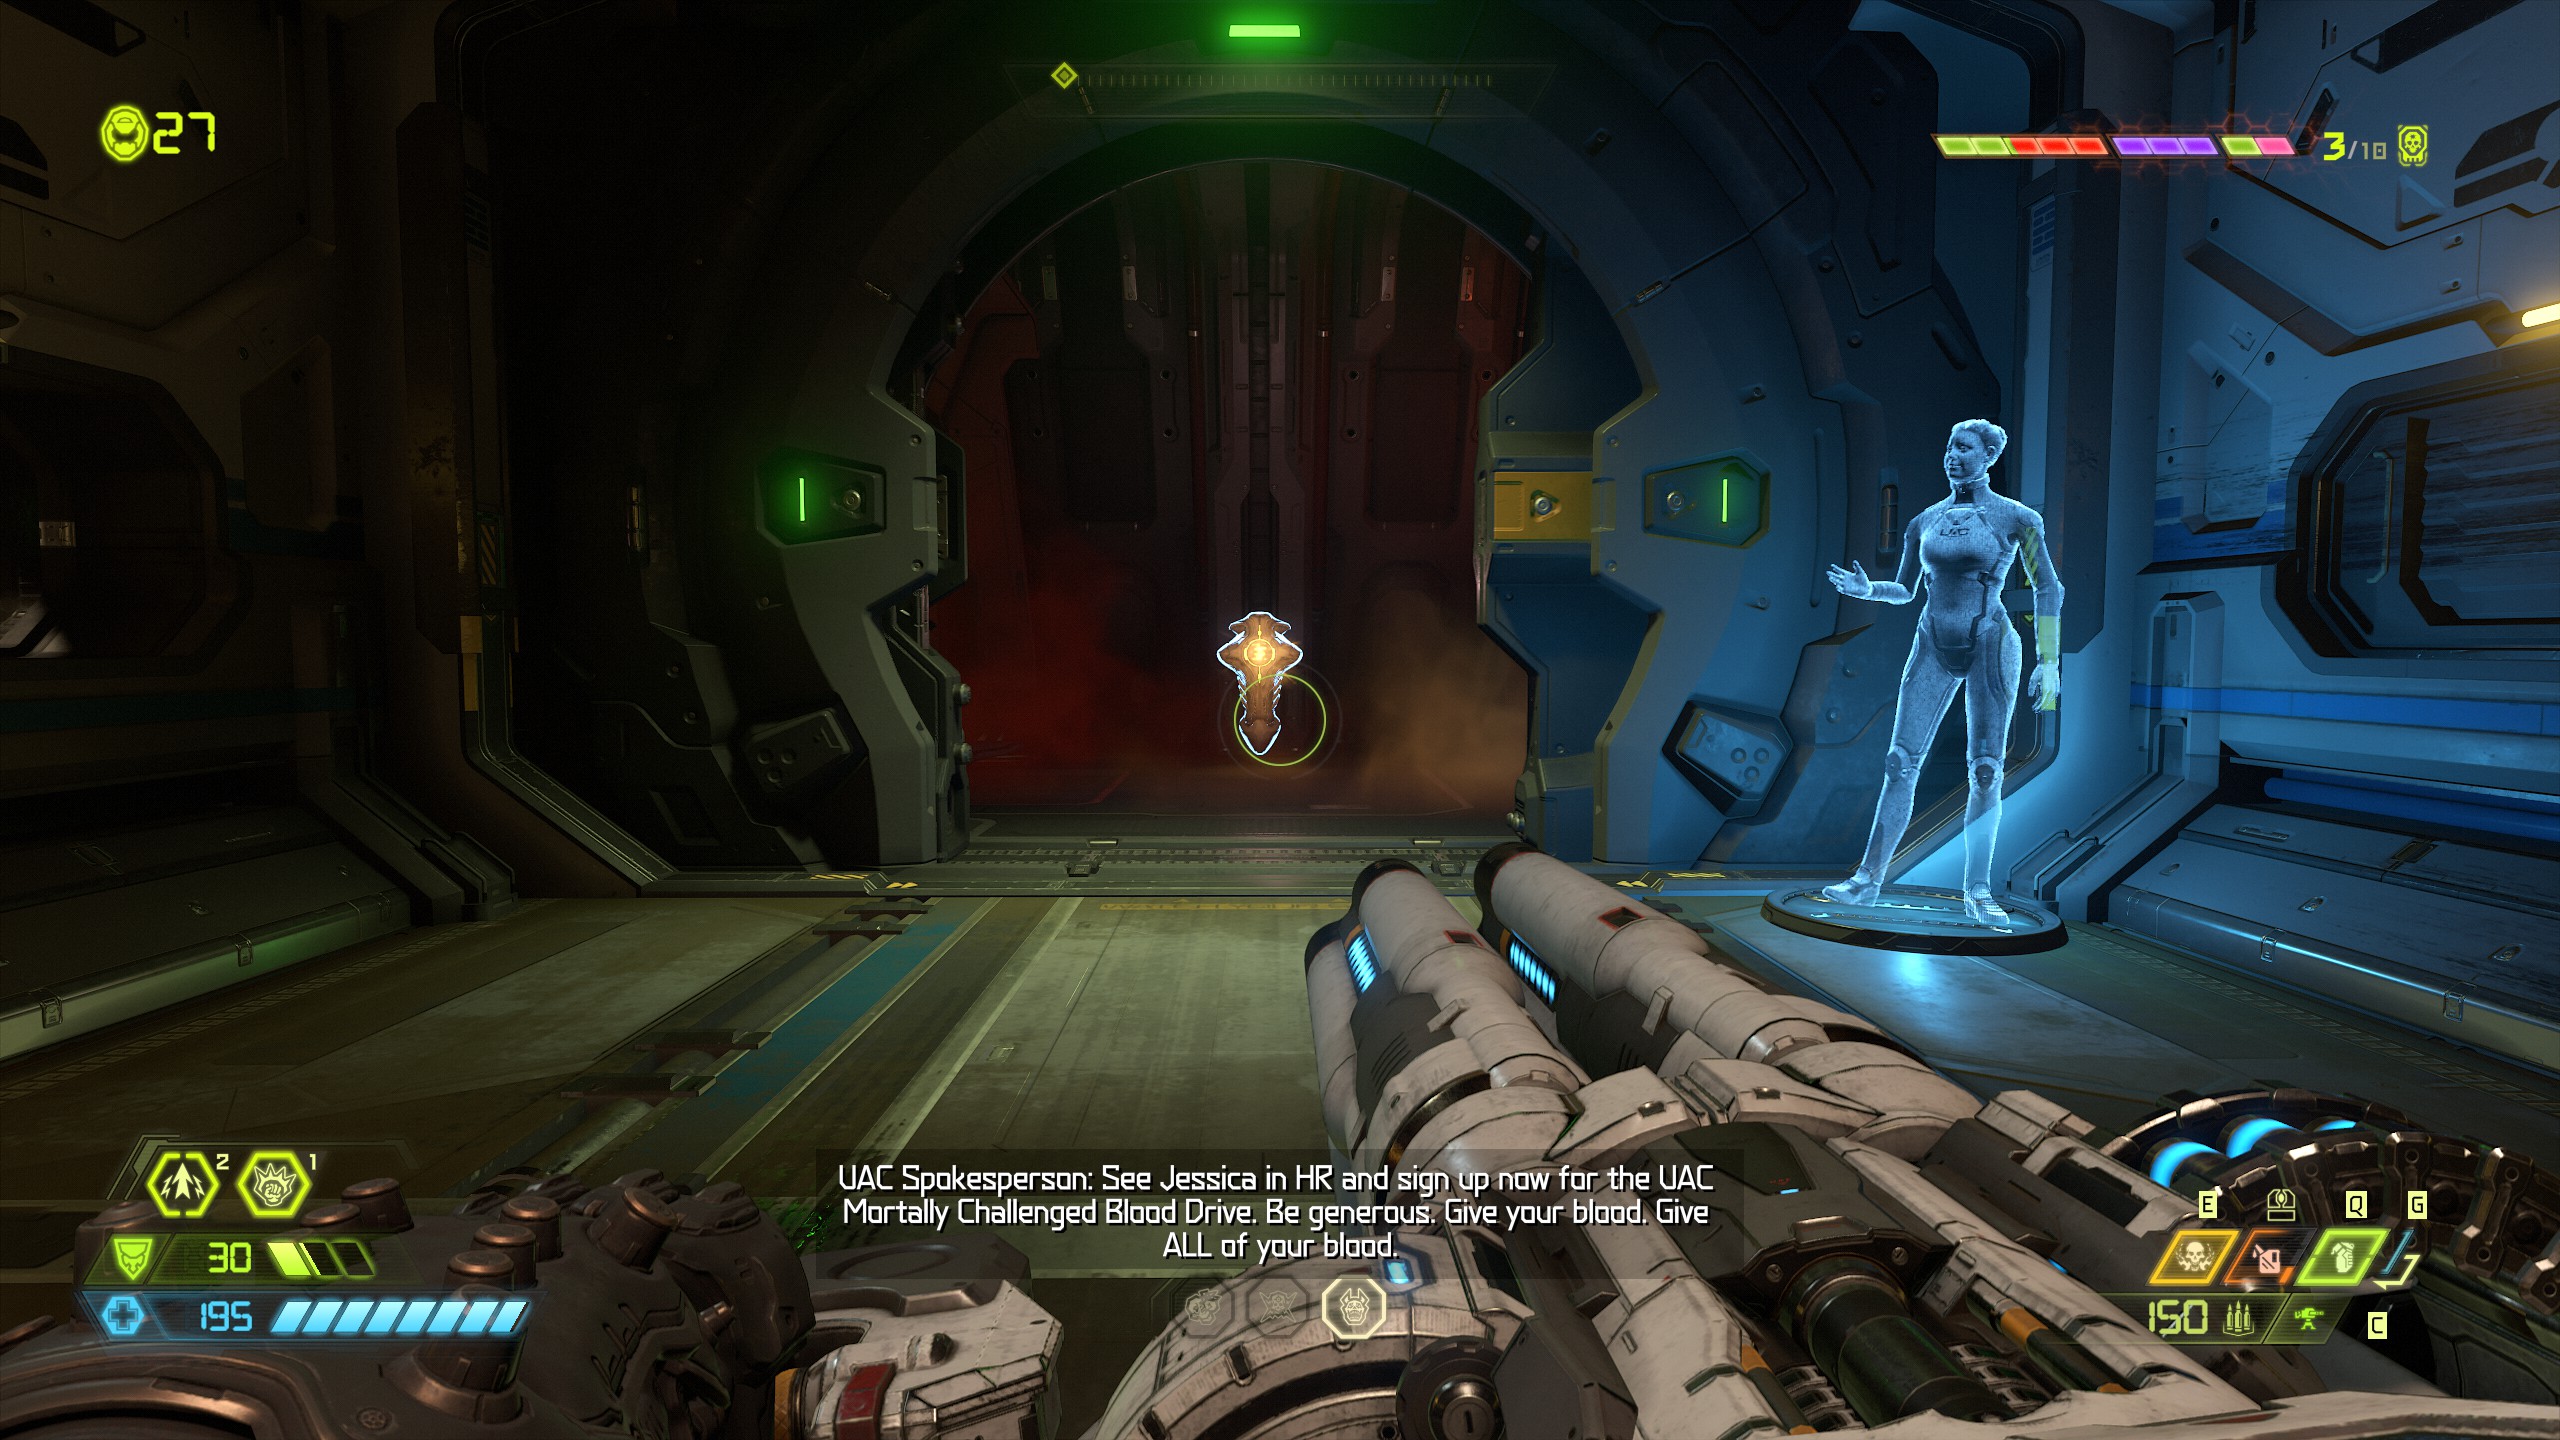
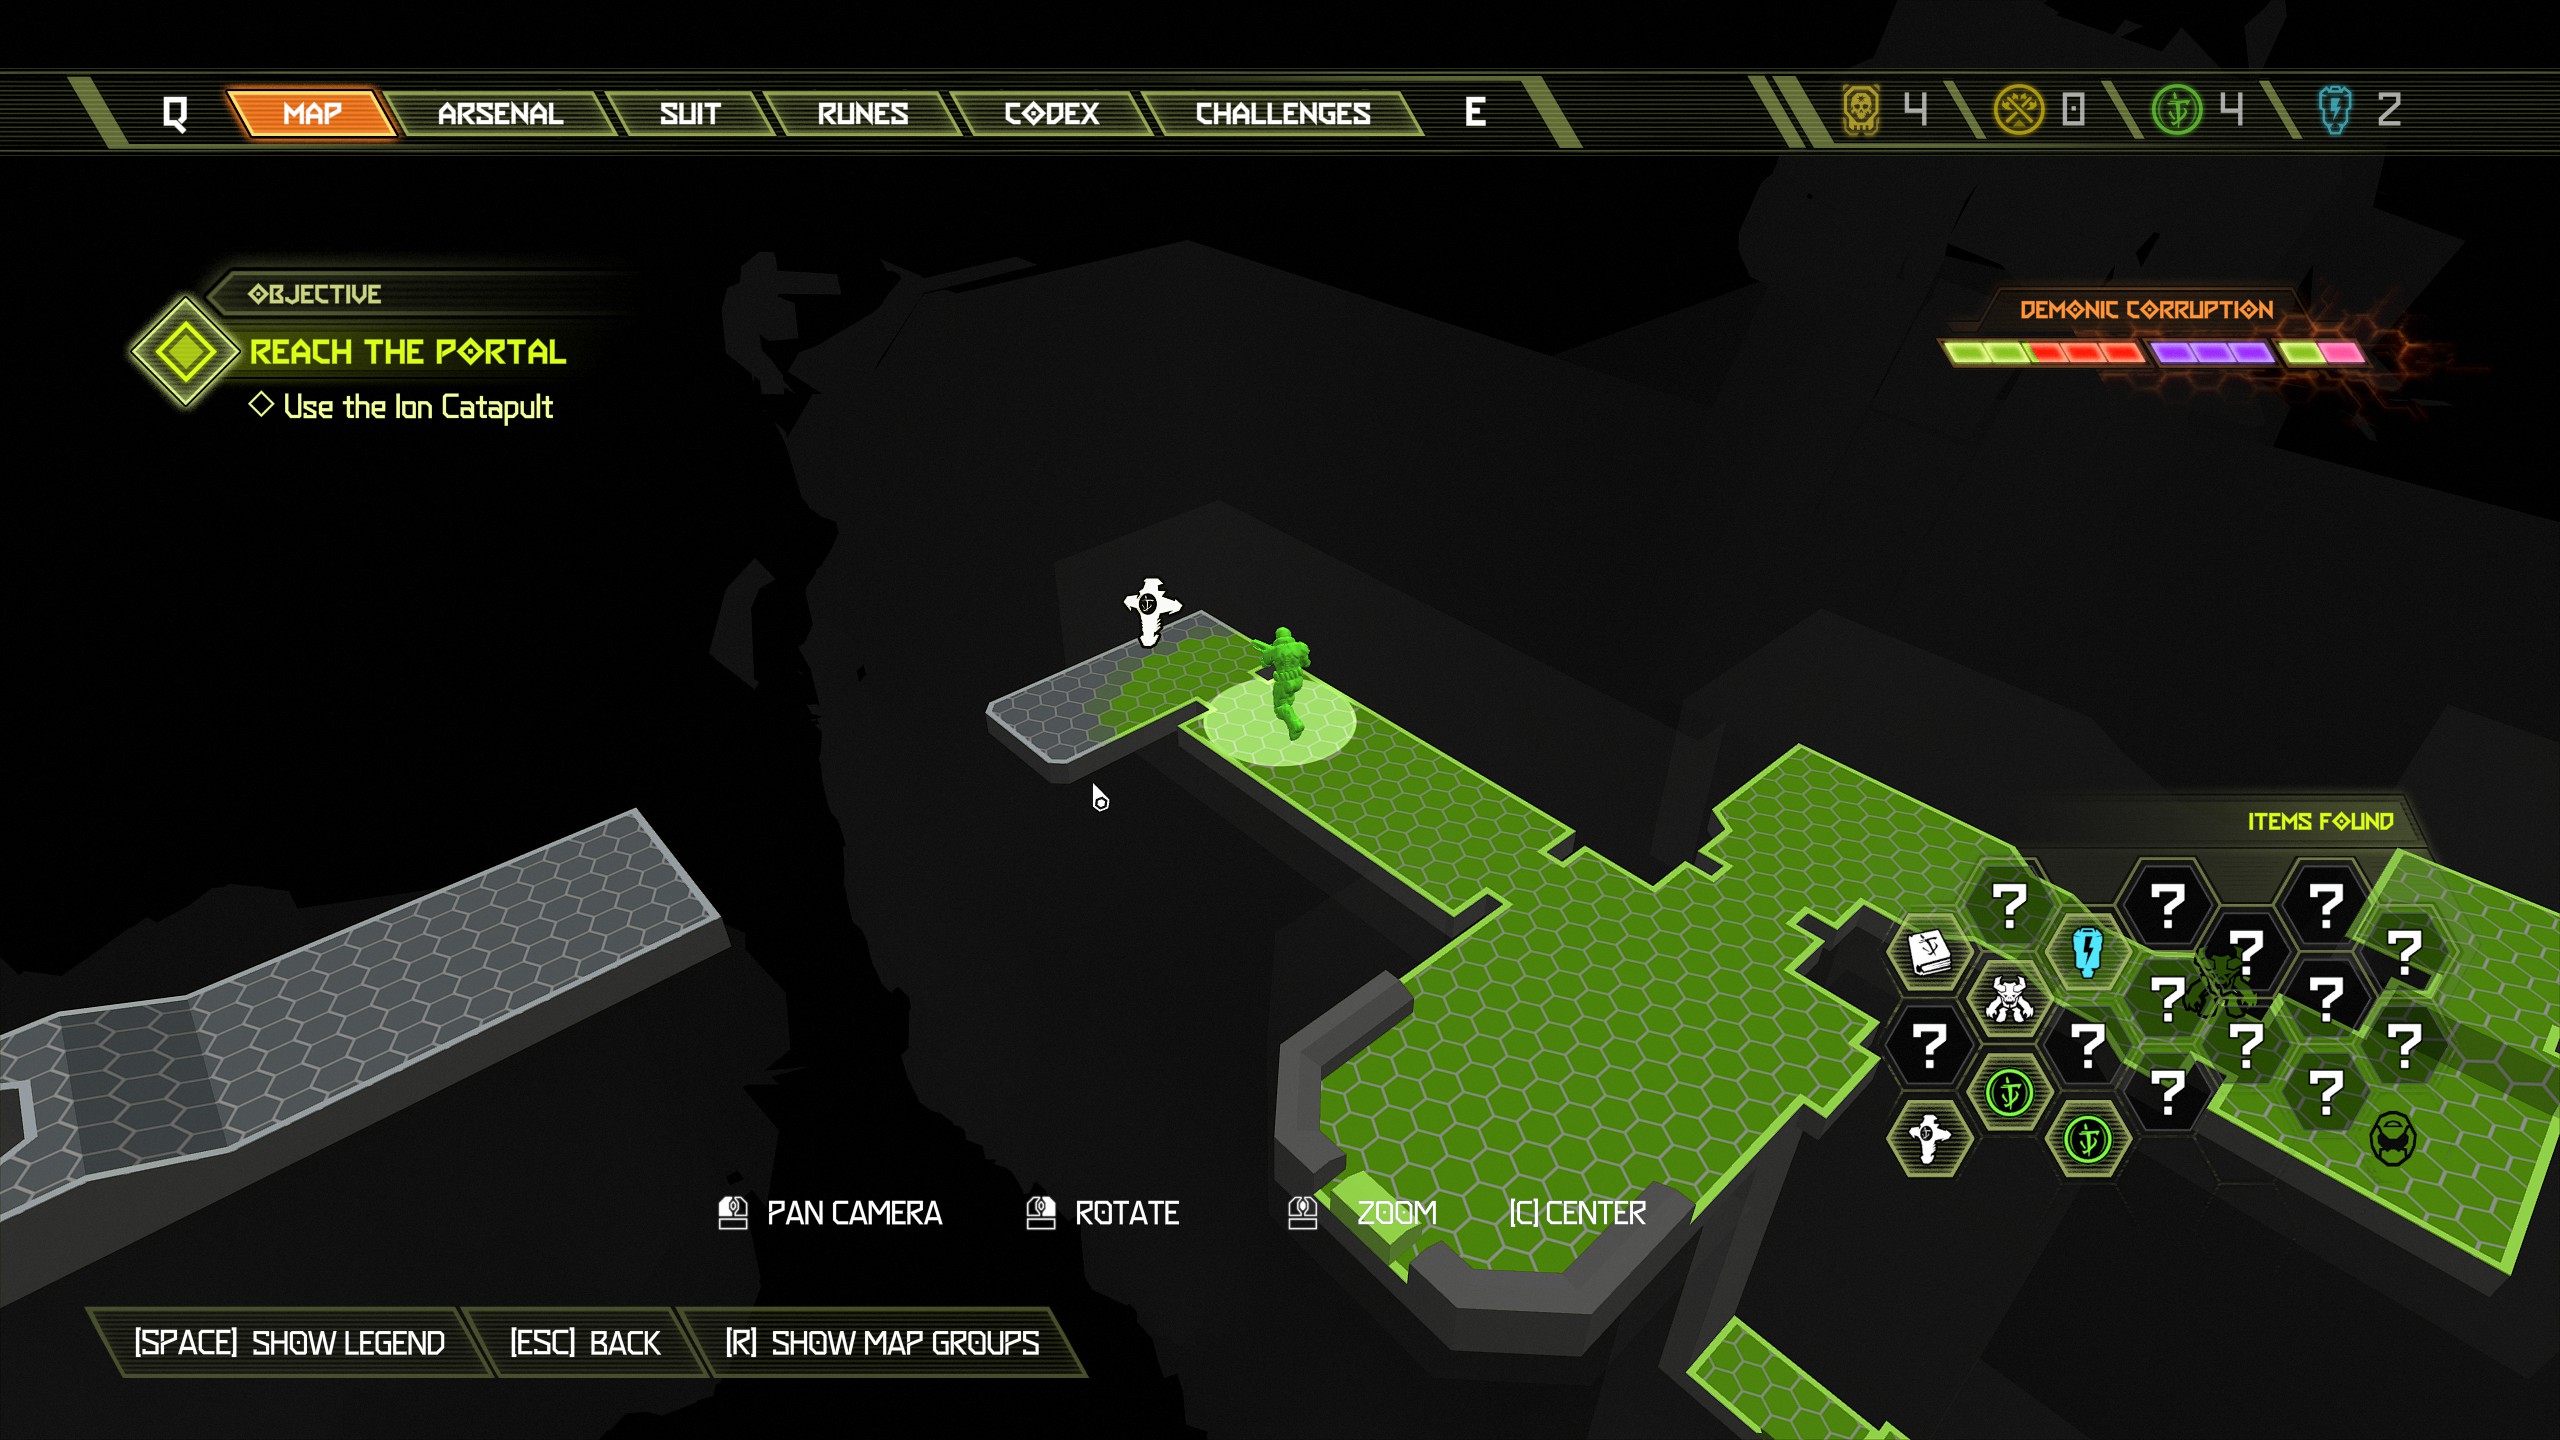
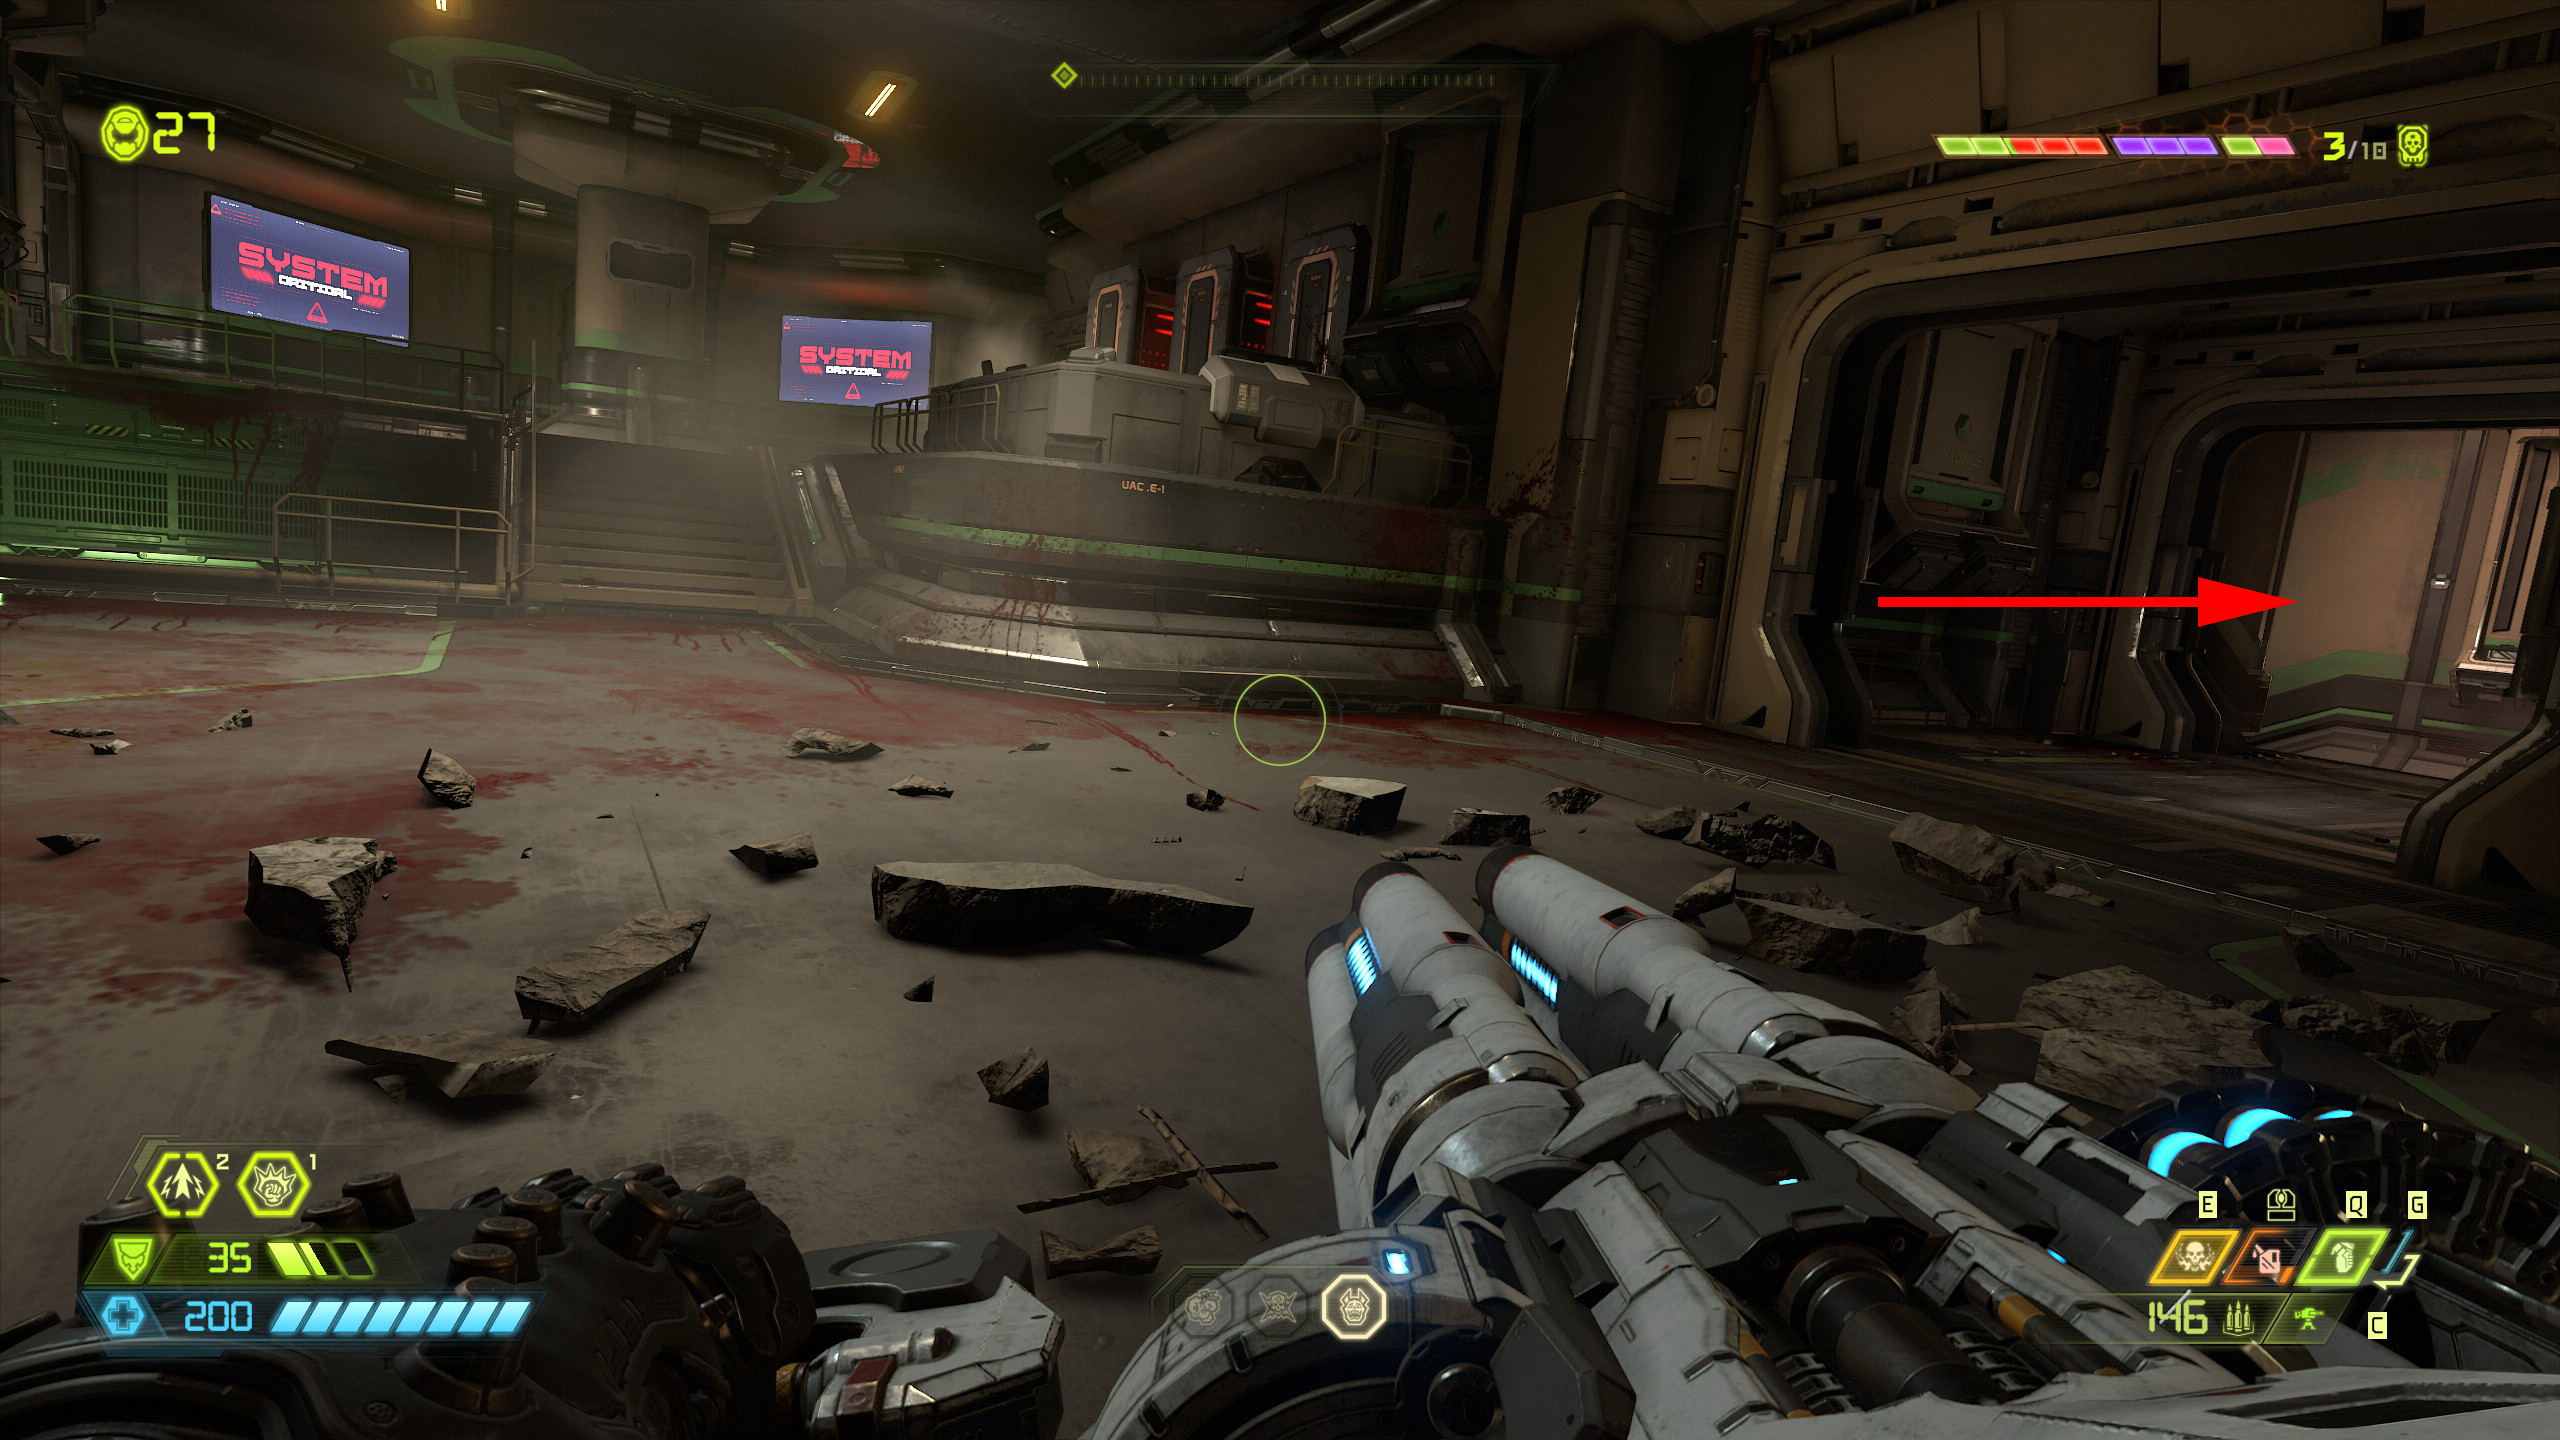
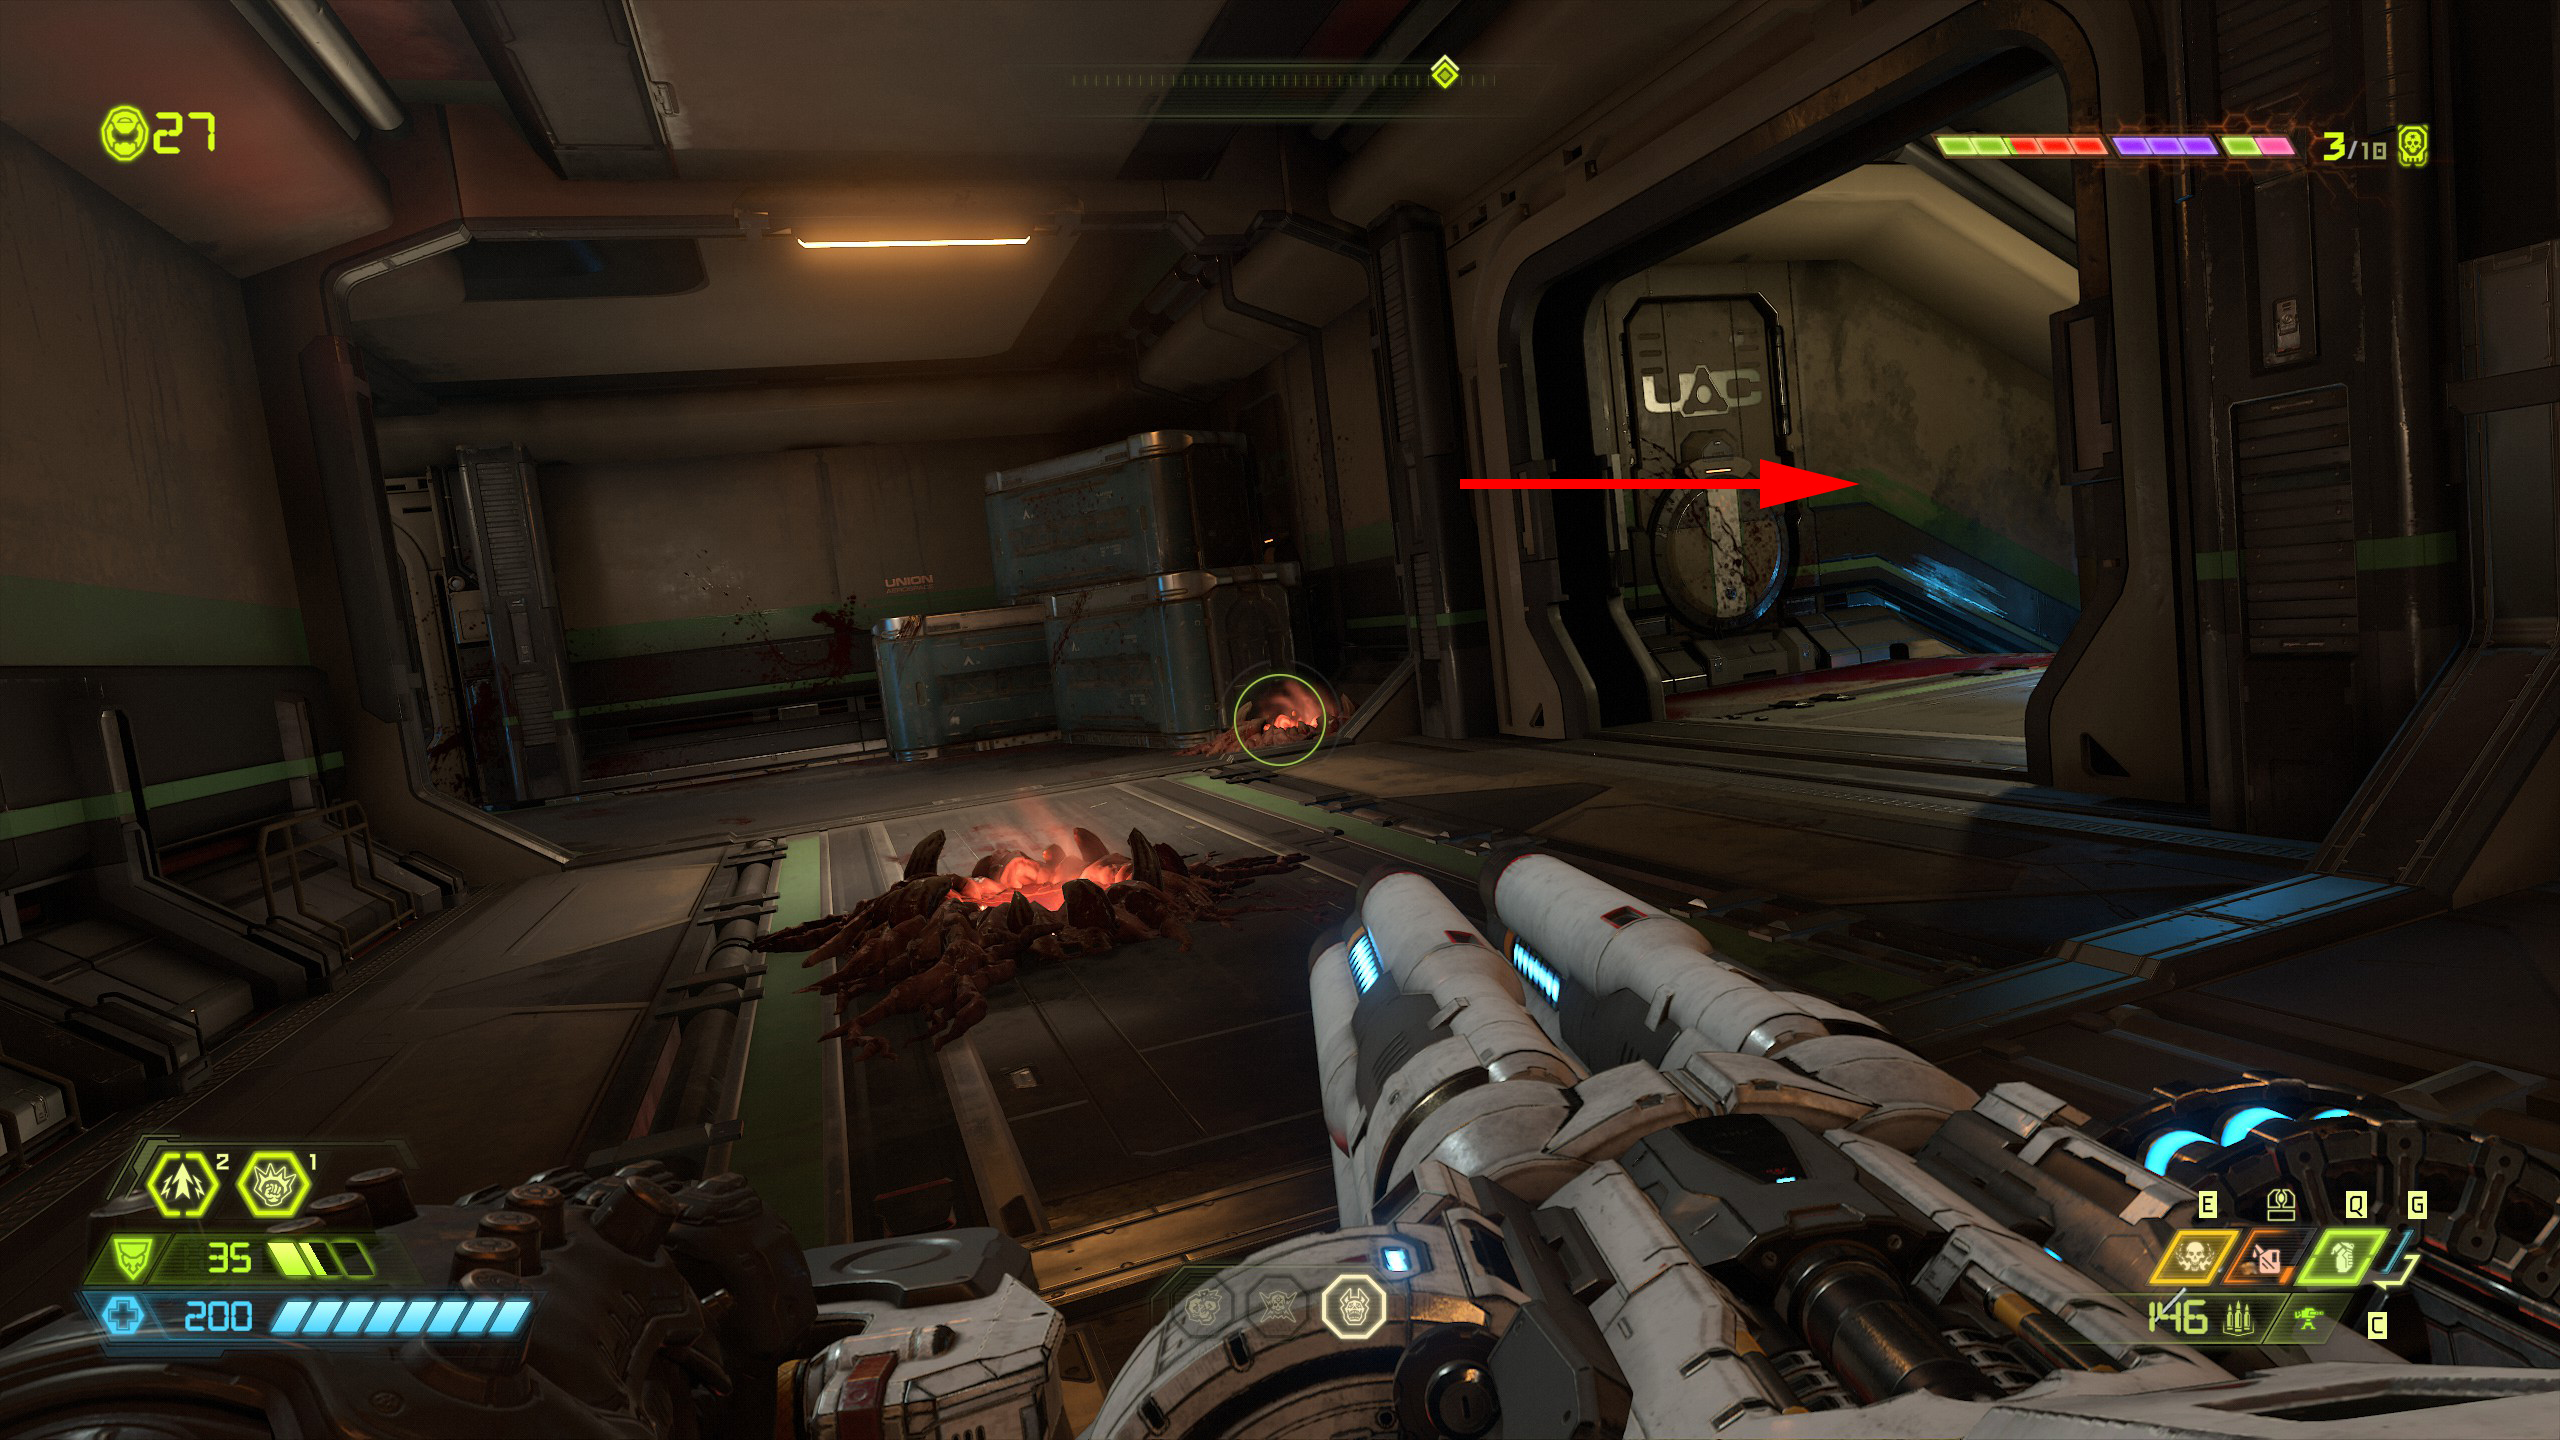
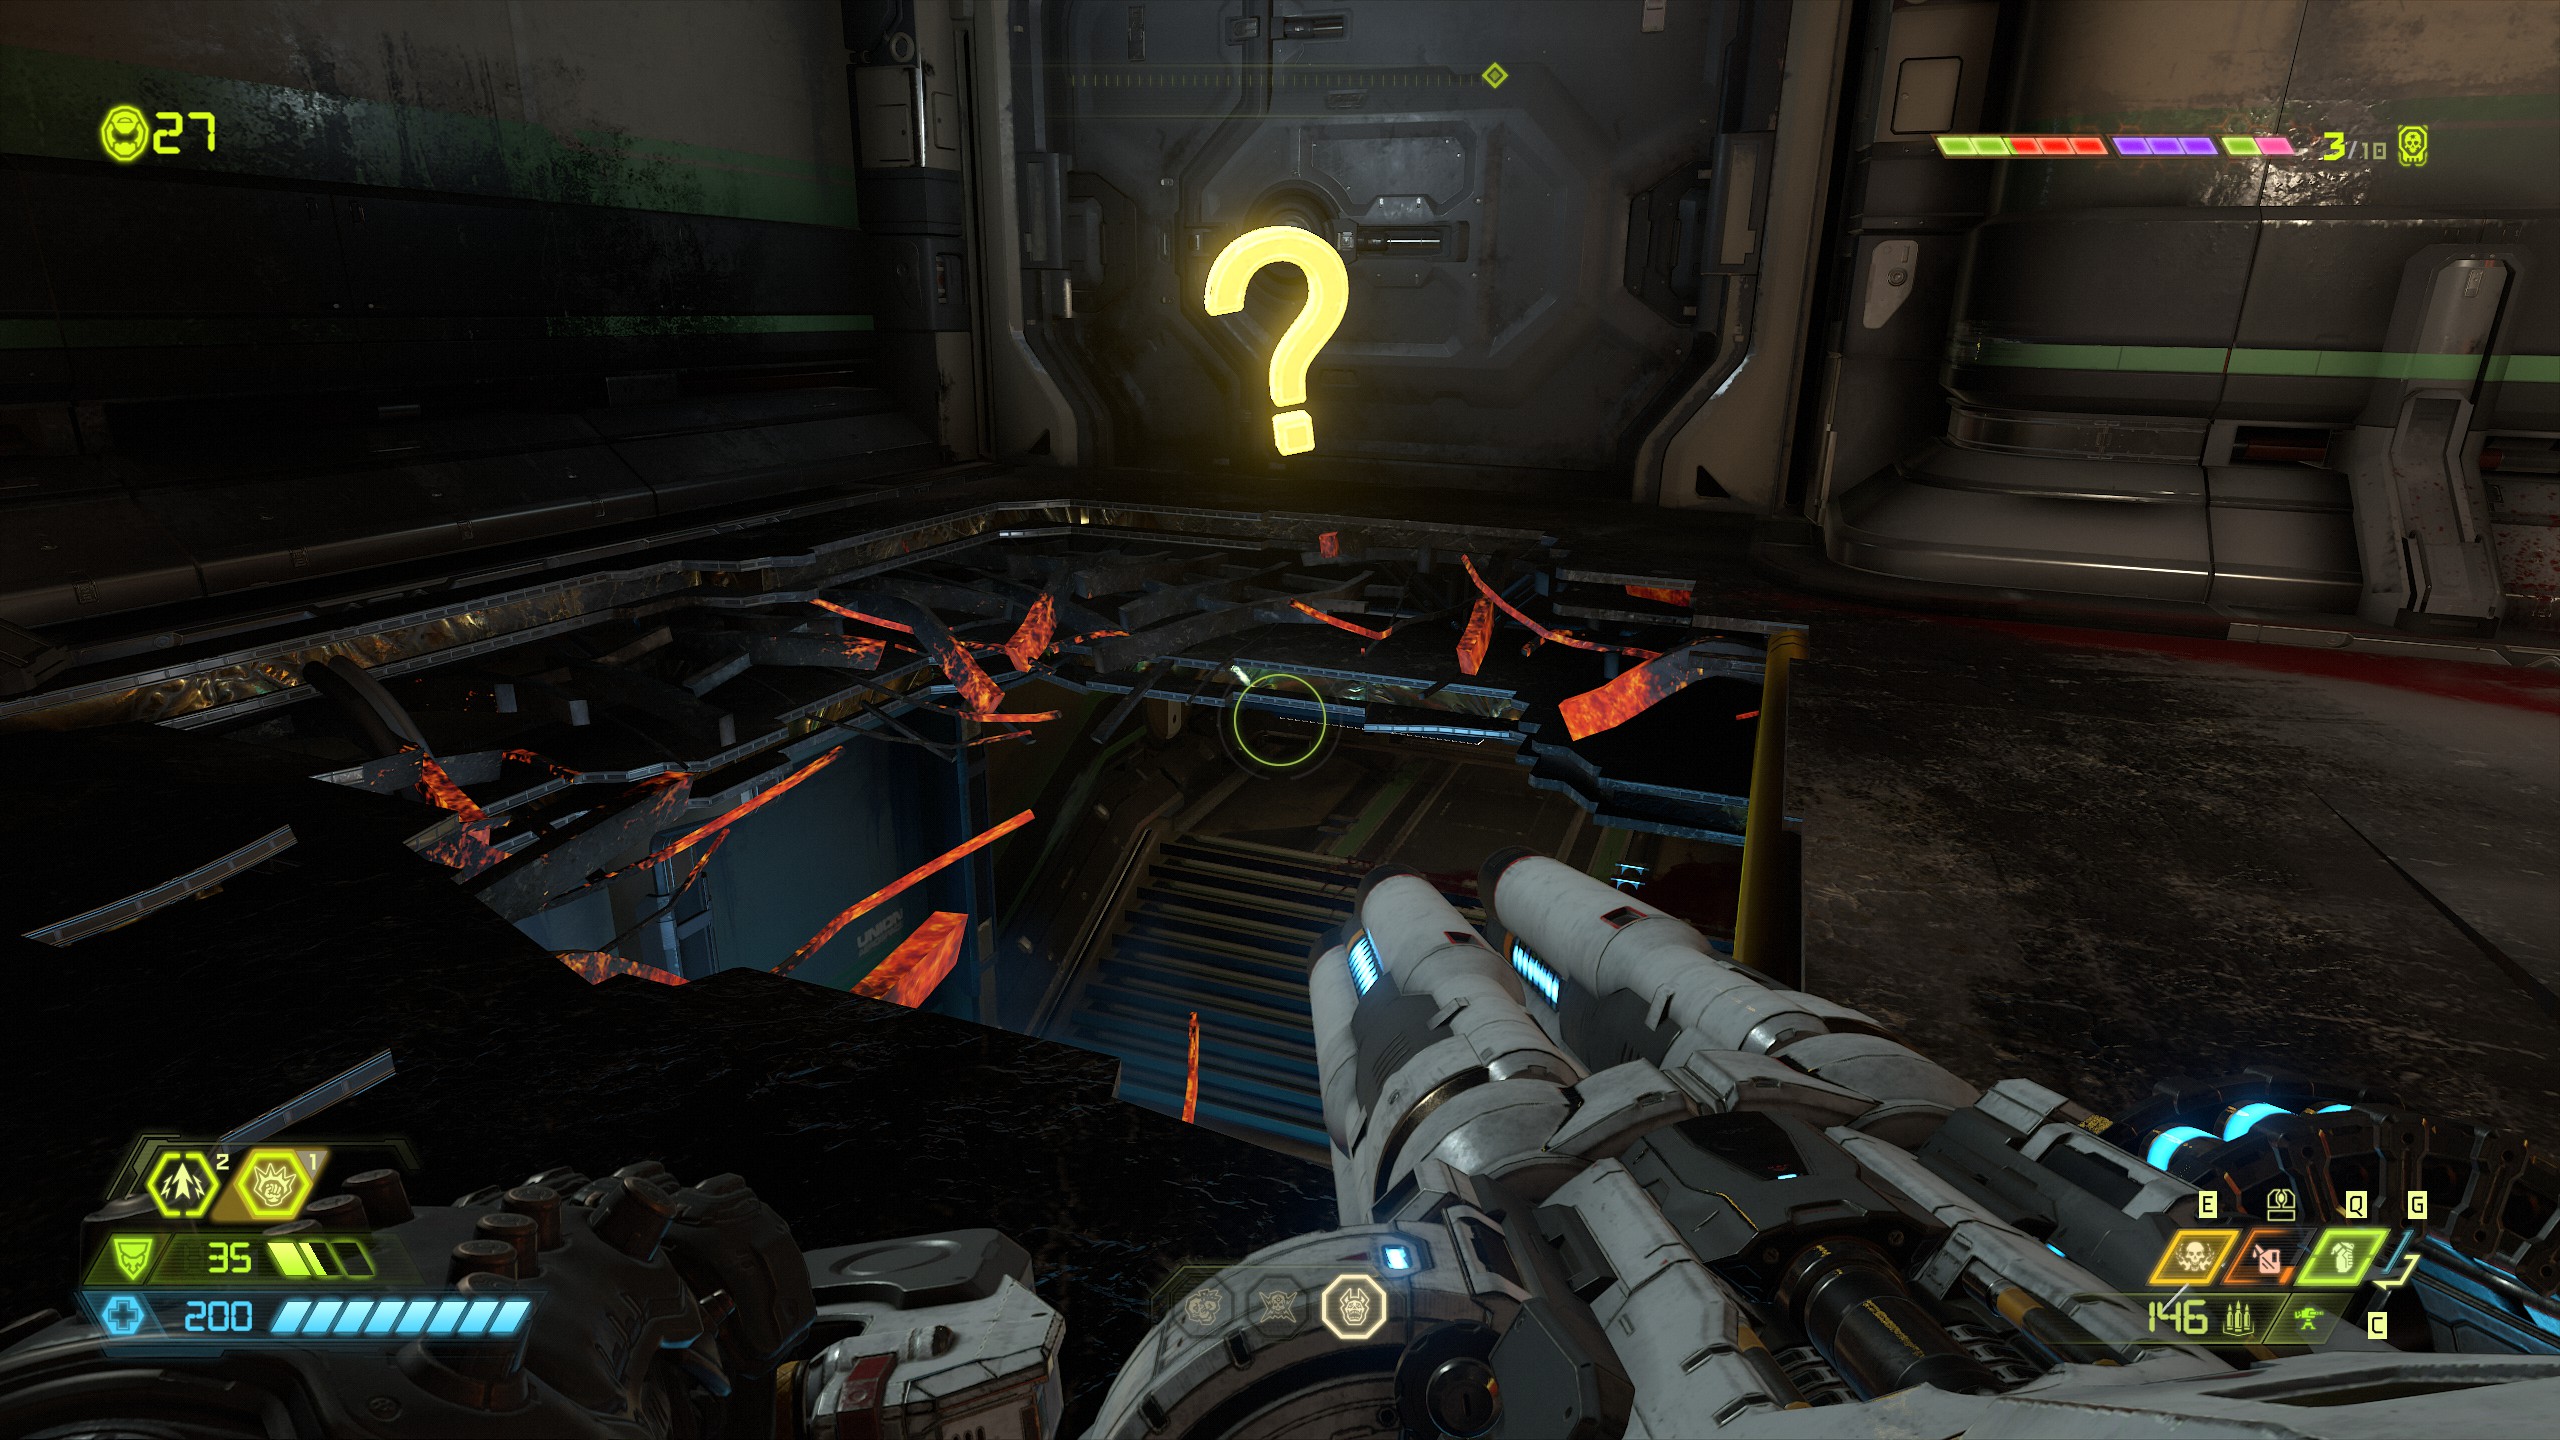
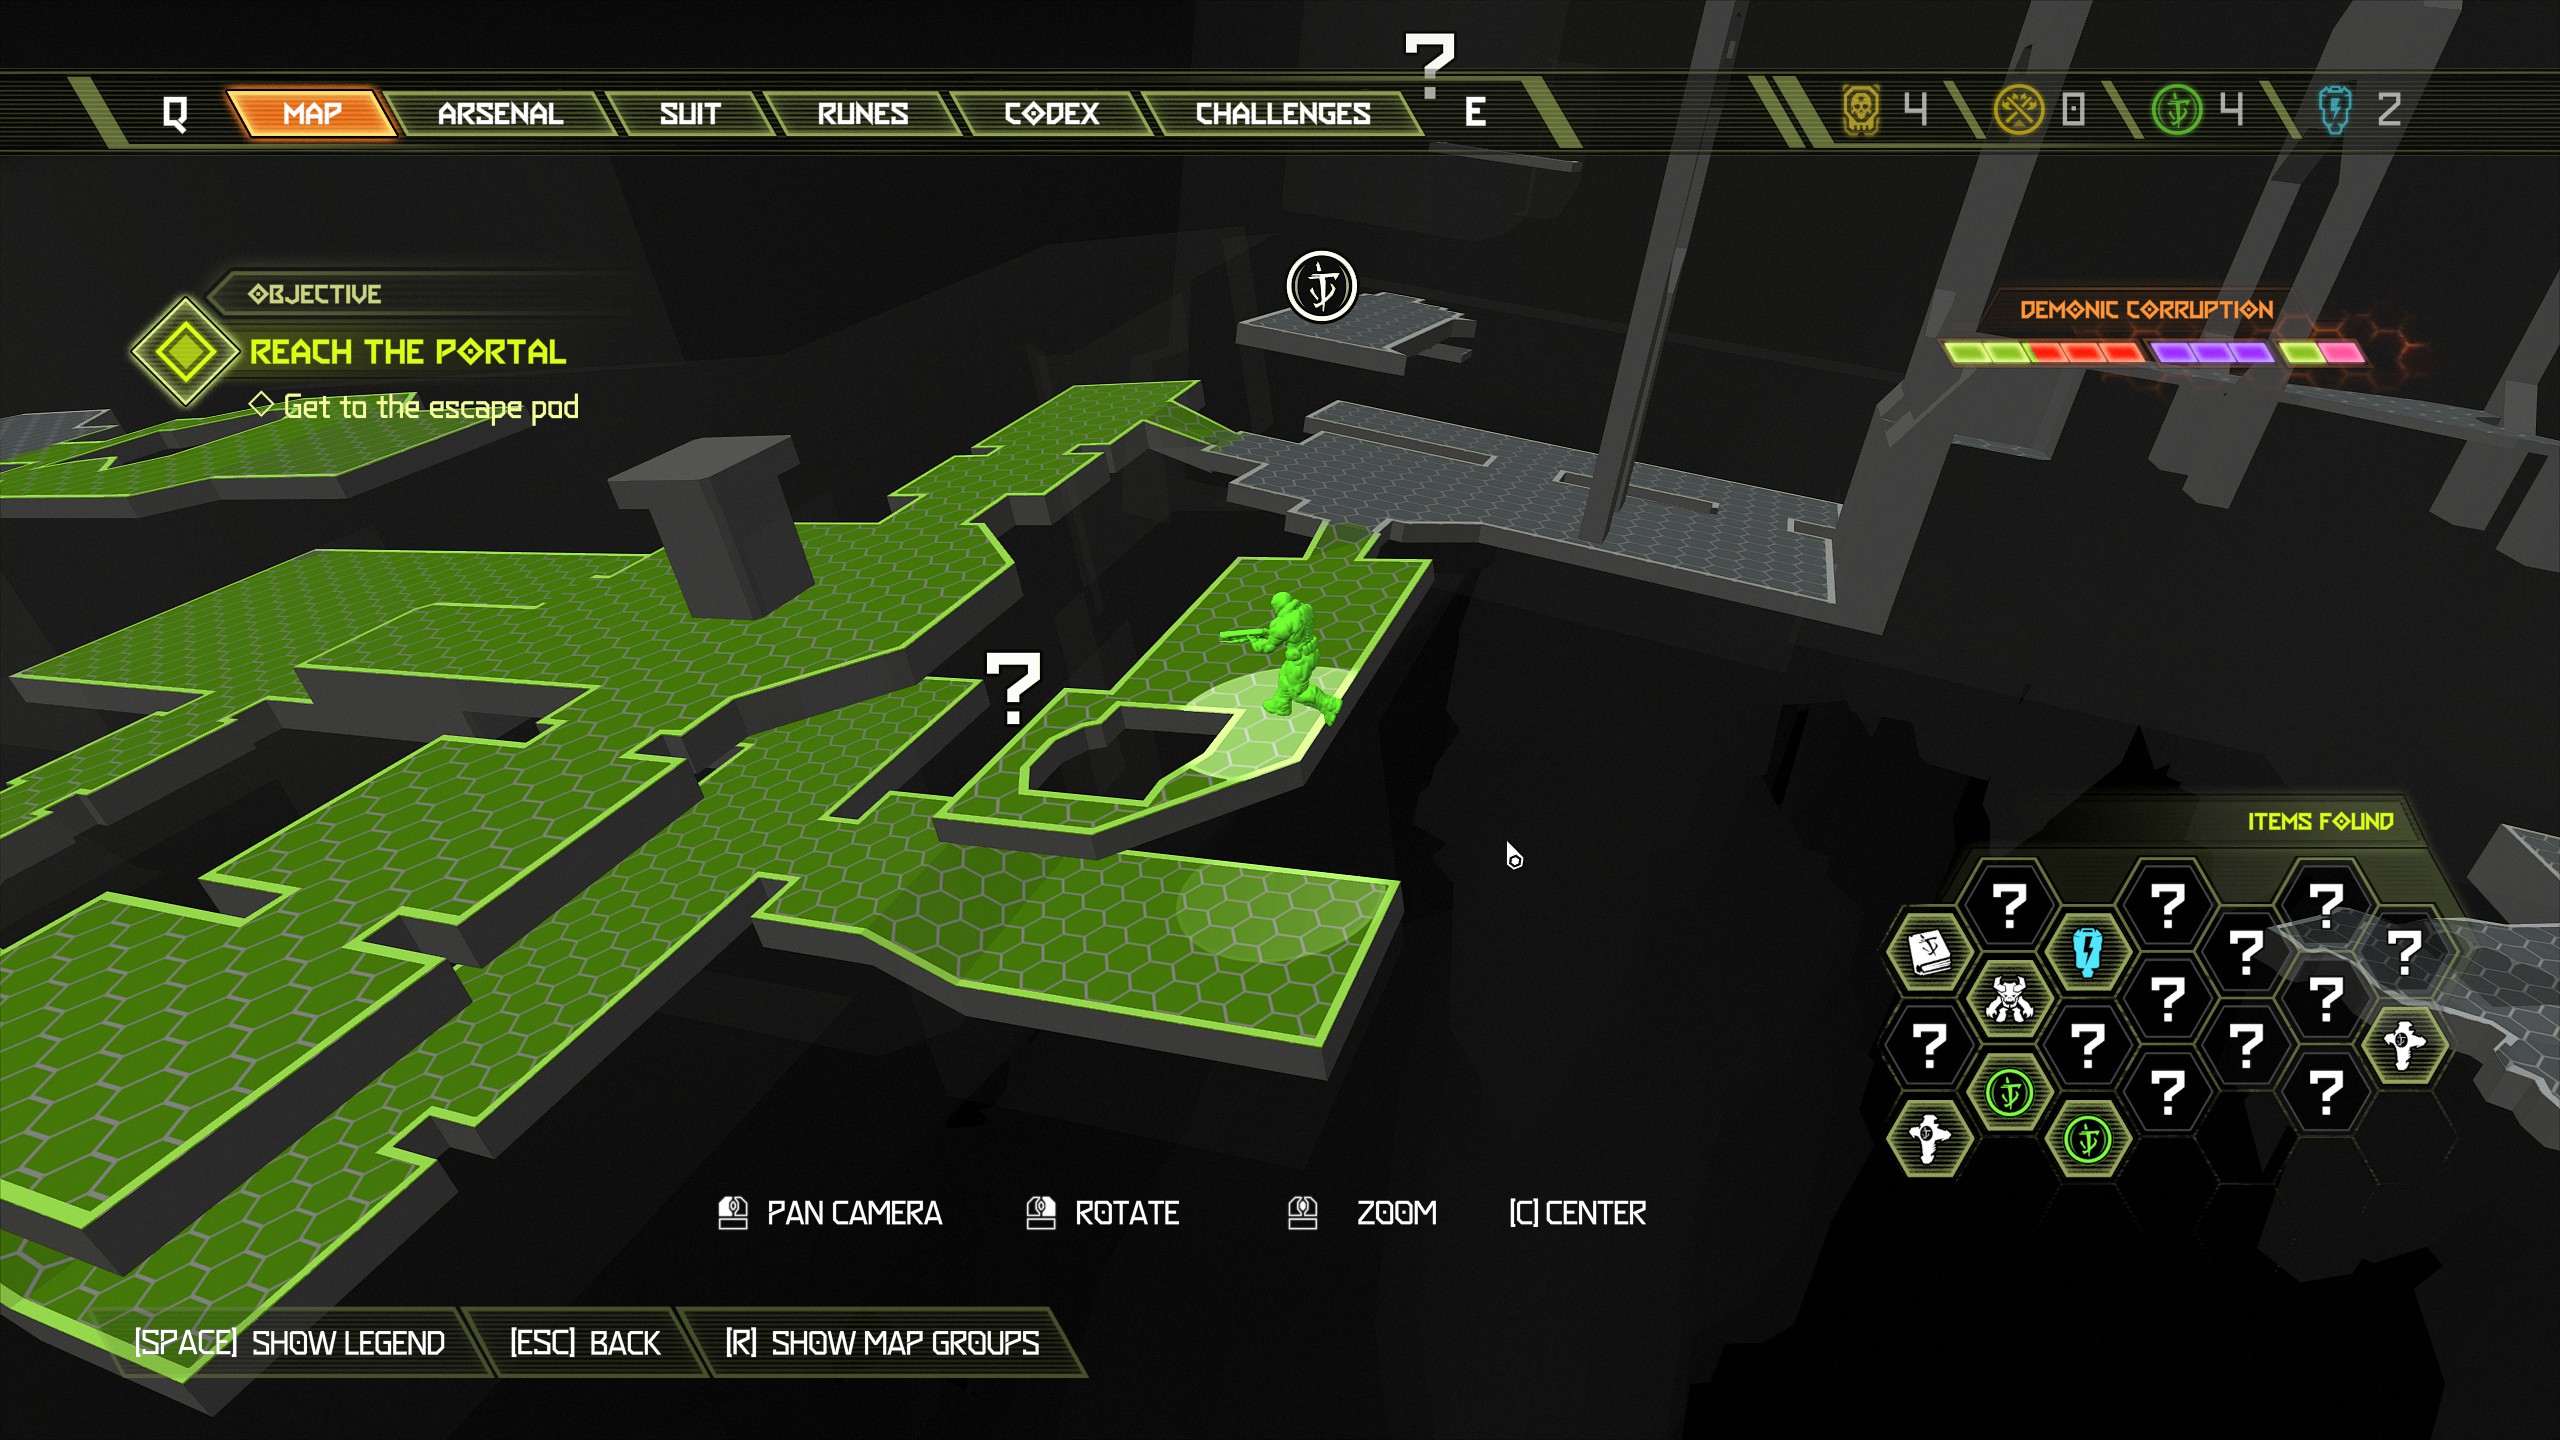
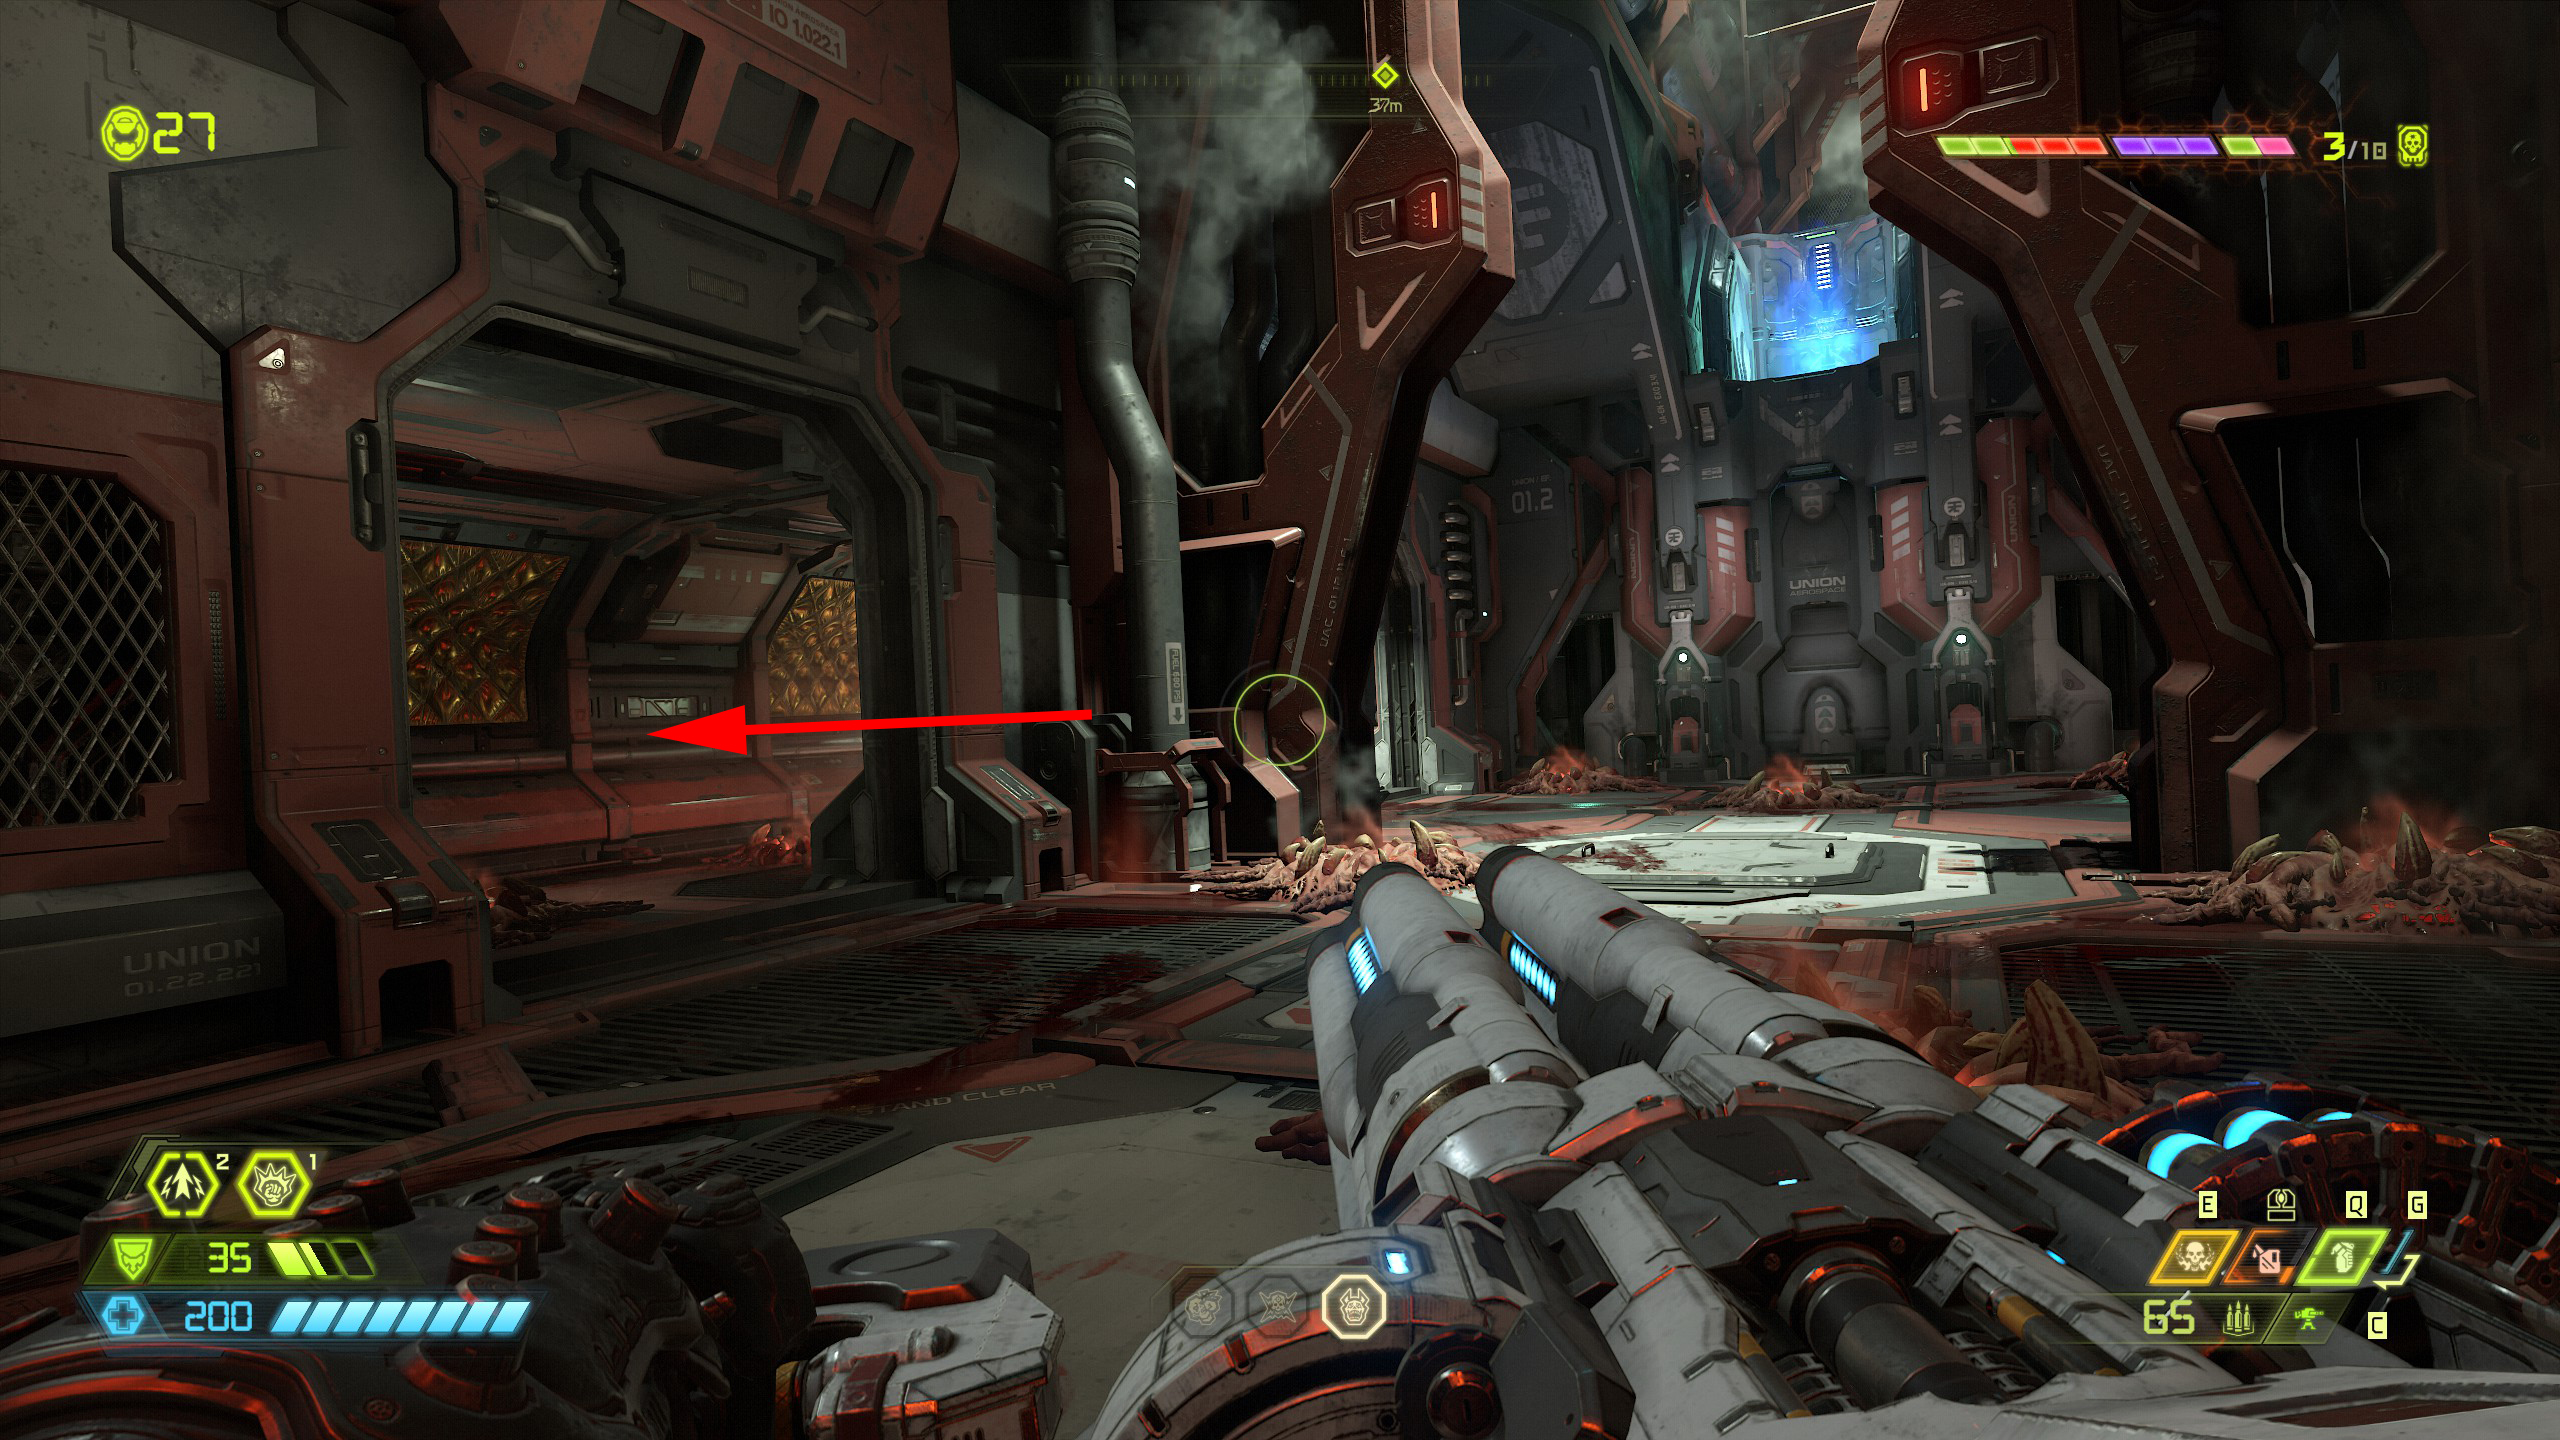
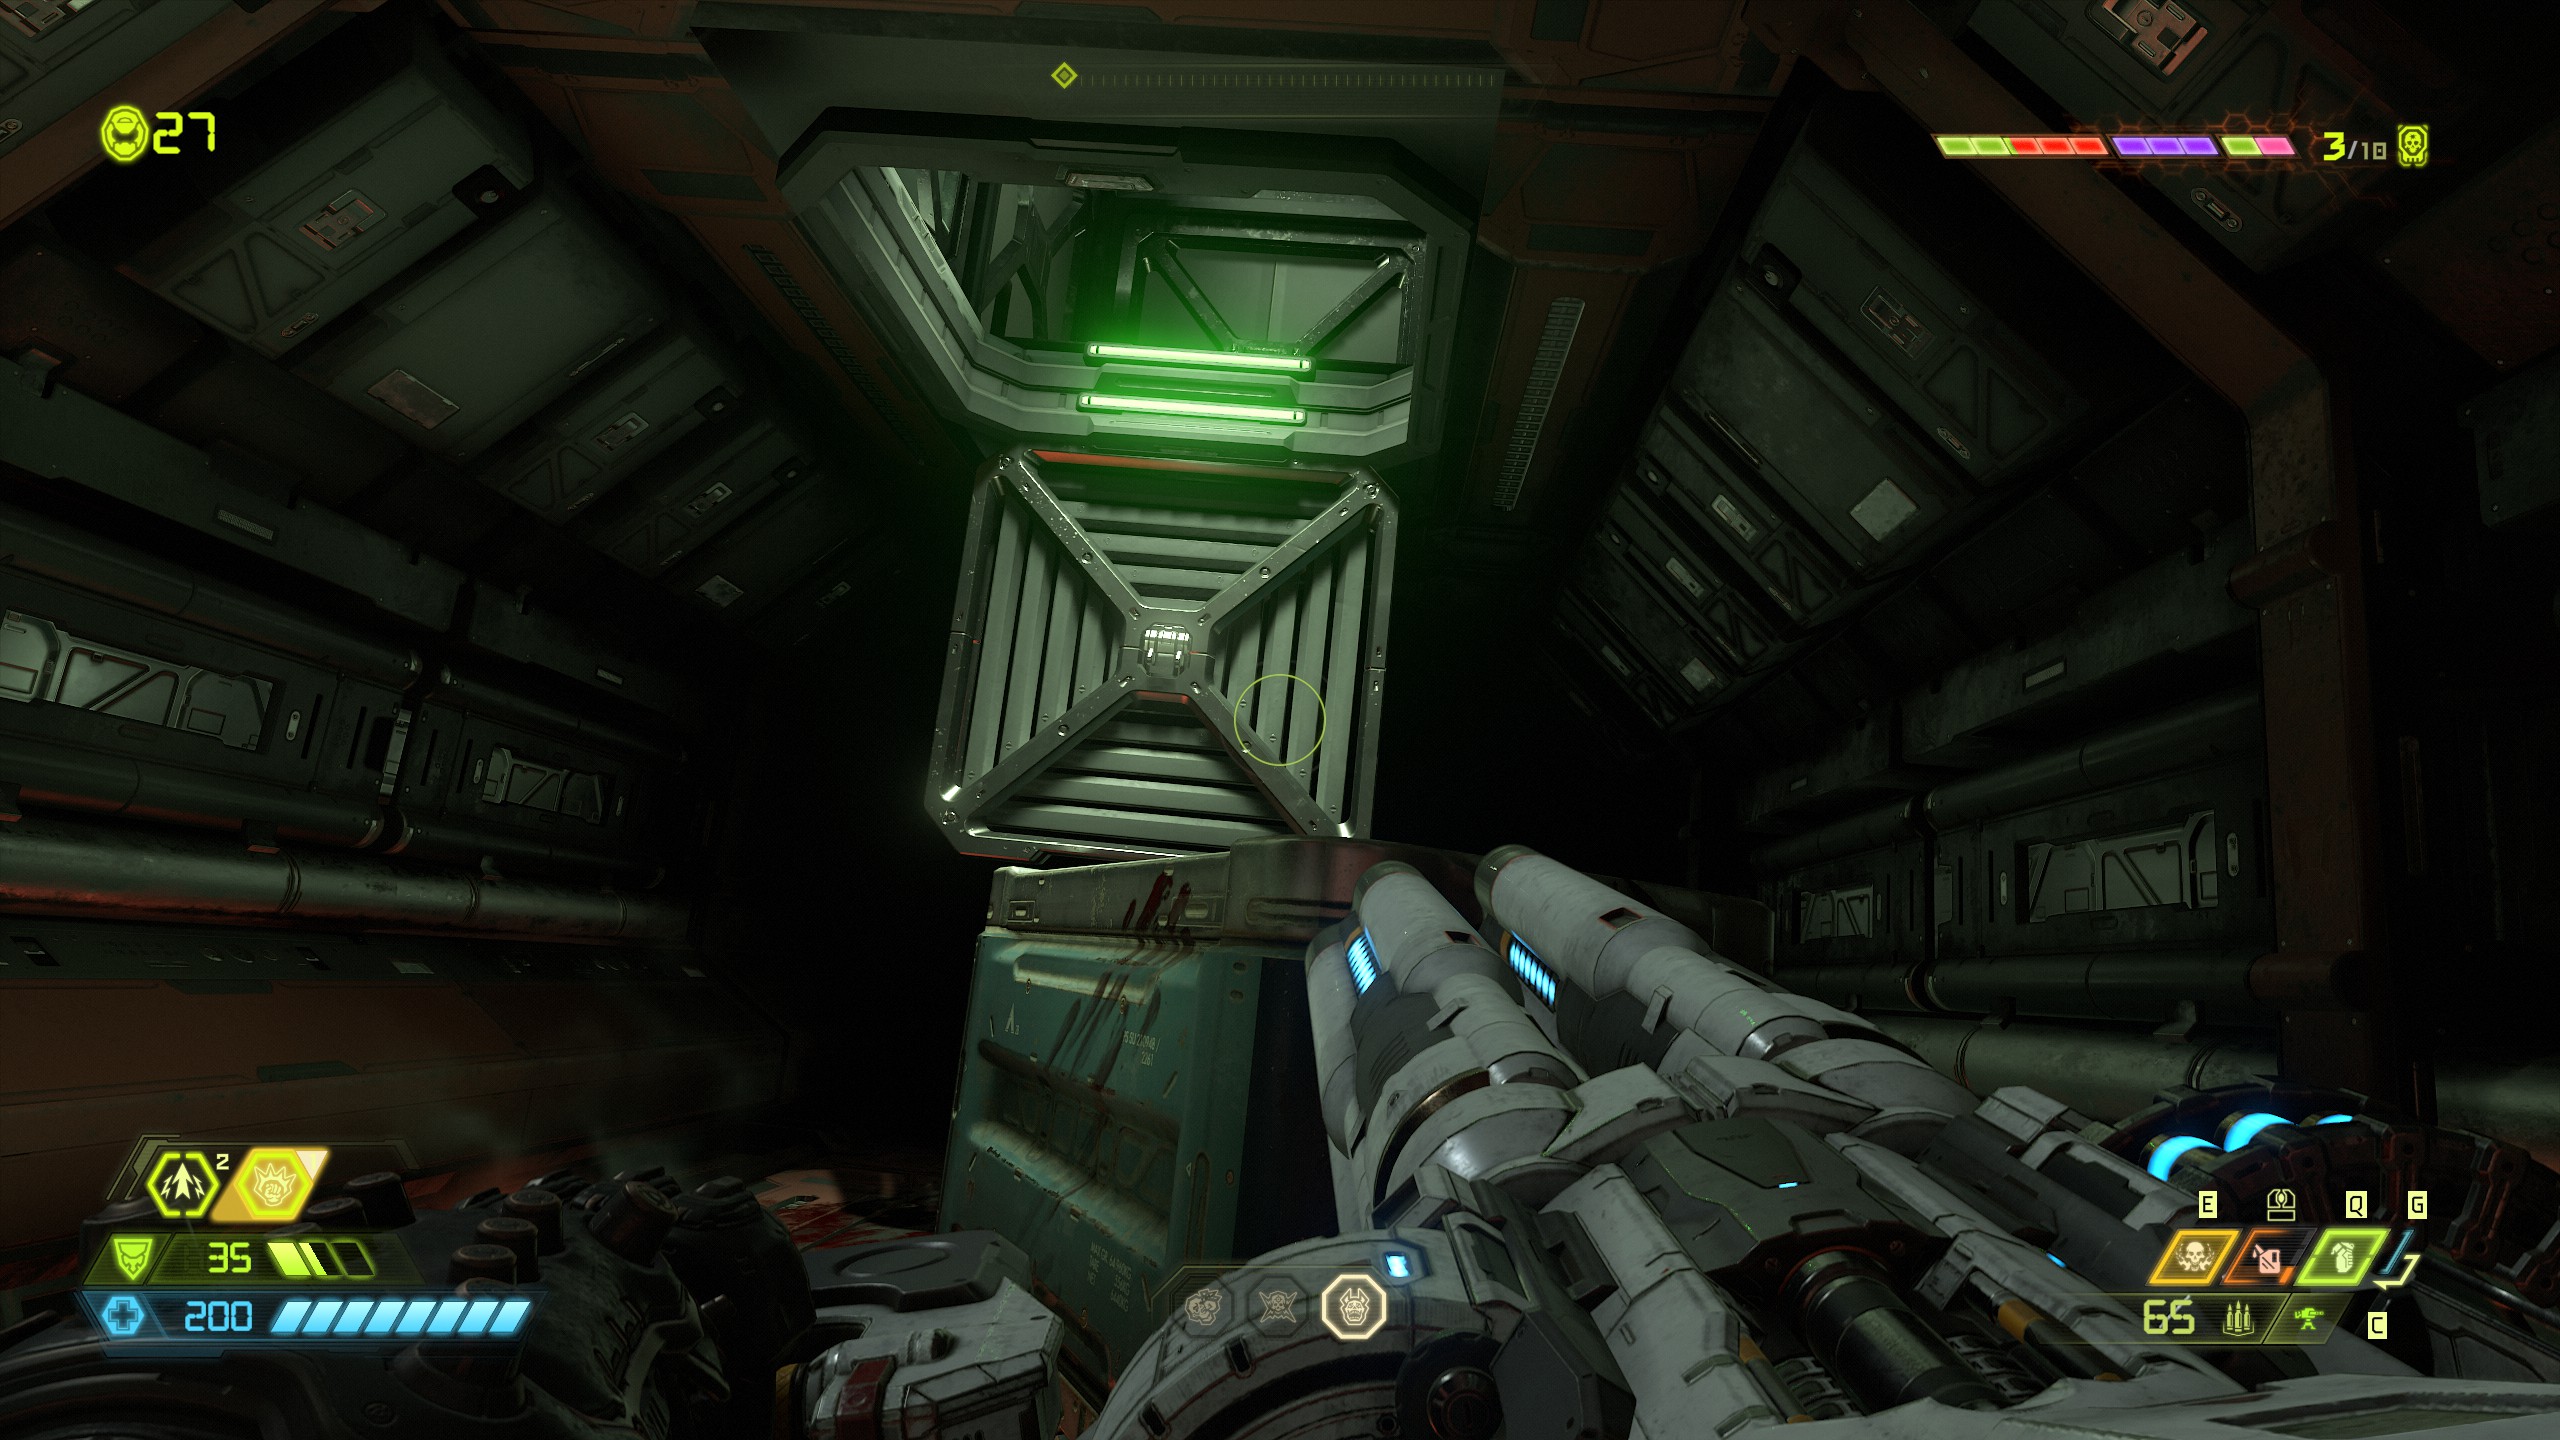
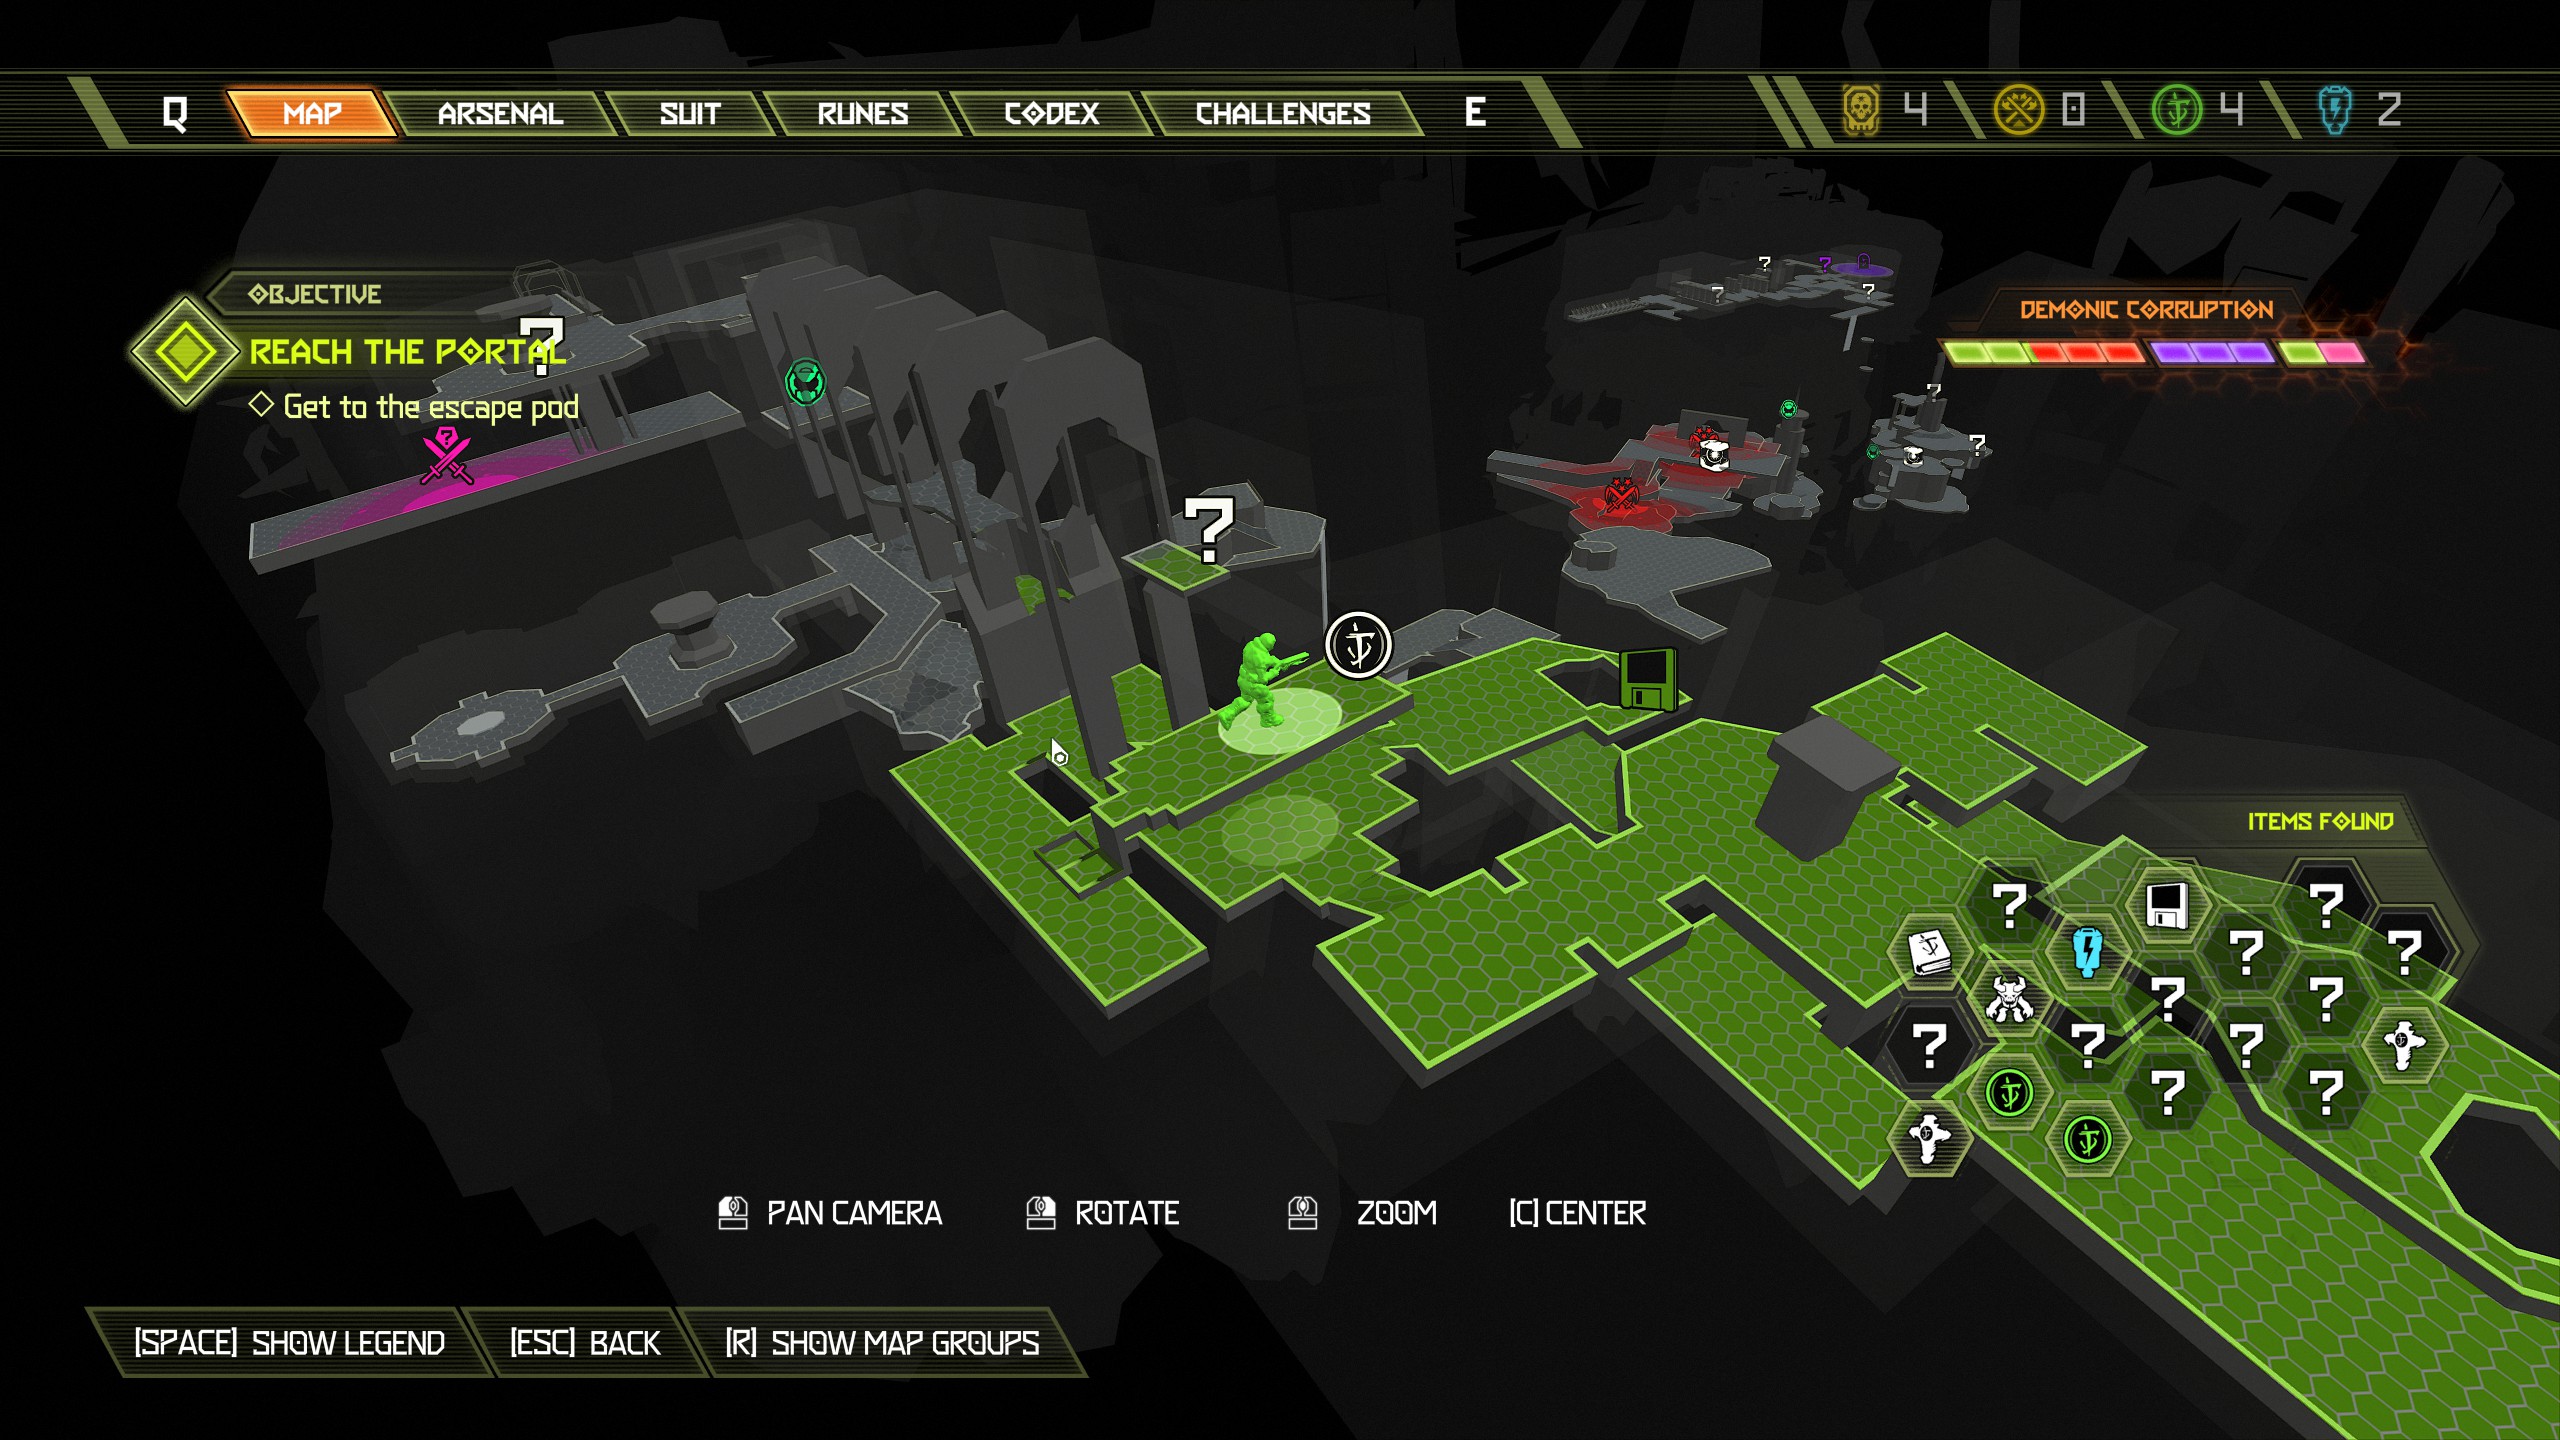 Now from the praetor suit token jump across to the platform just above the blue booster. From the top of the blue booster turn around and face the direction you just jumped from, you will see a album hidden in the shaft out in front of you up above. Use the yellow bar to swing up and collect it.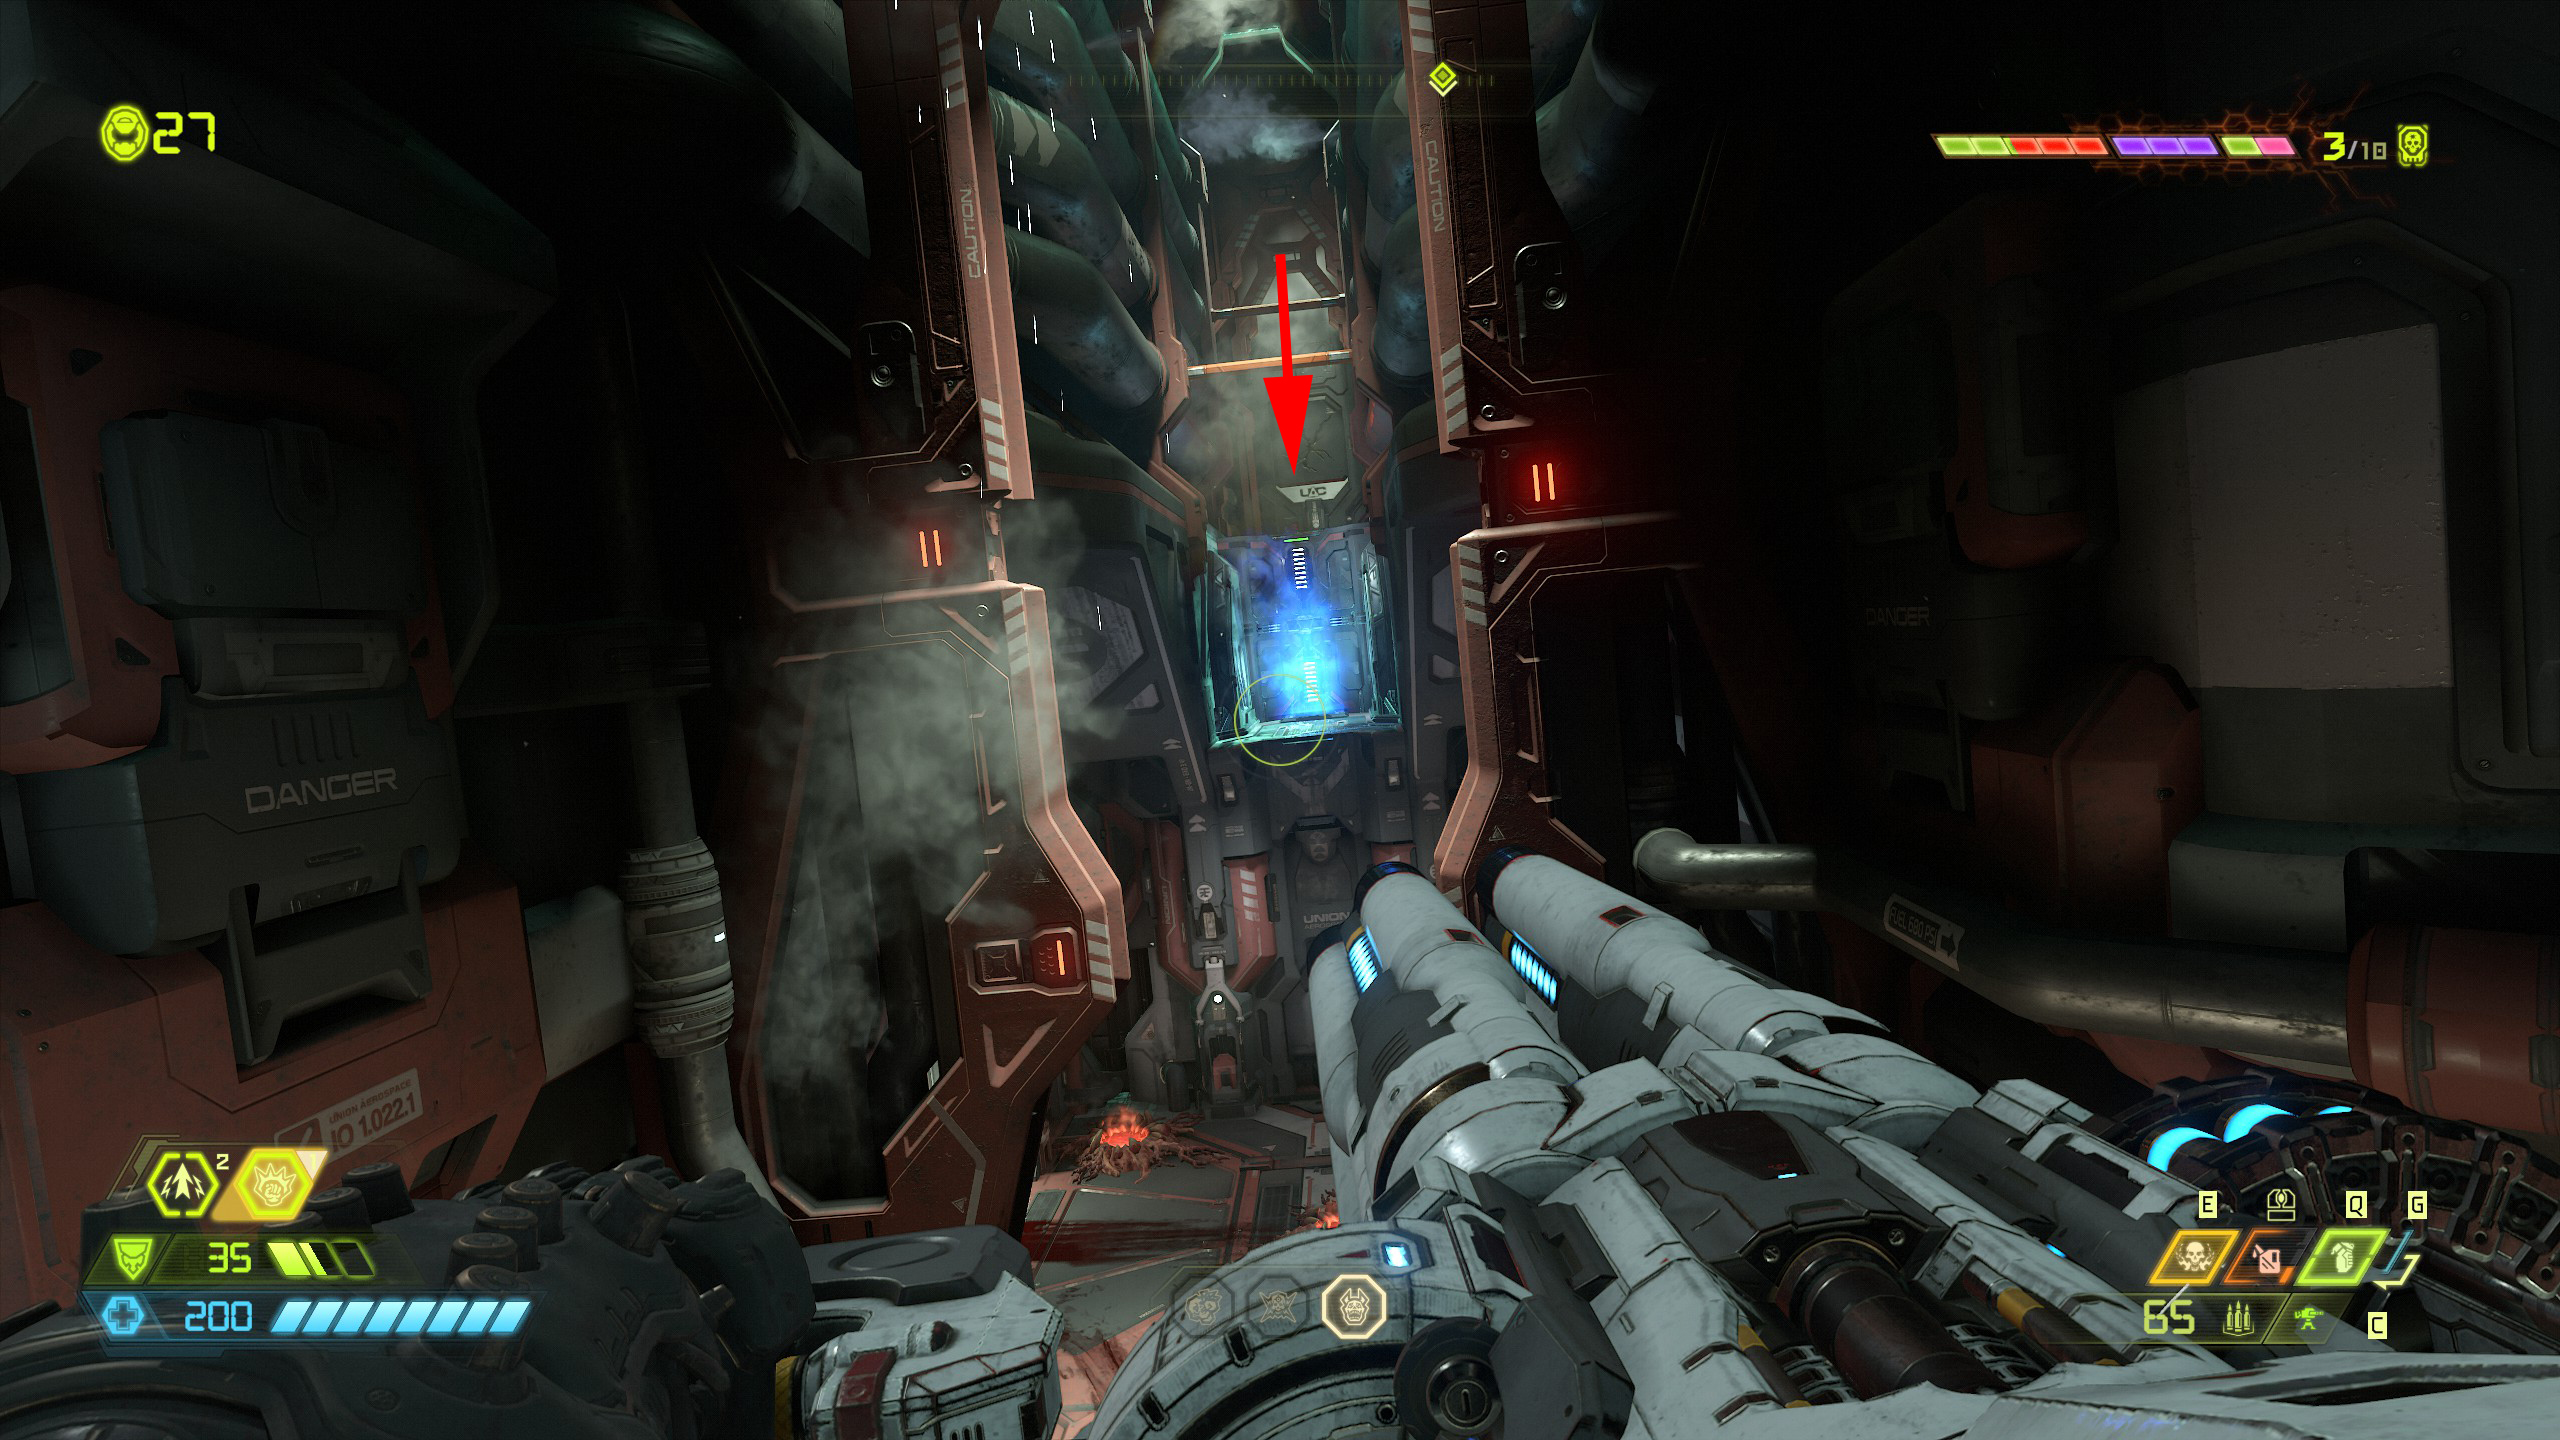
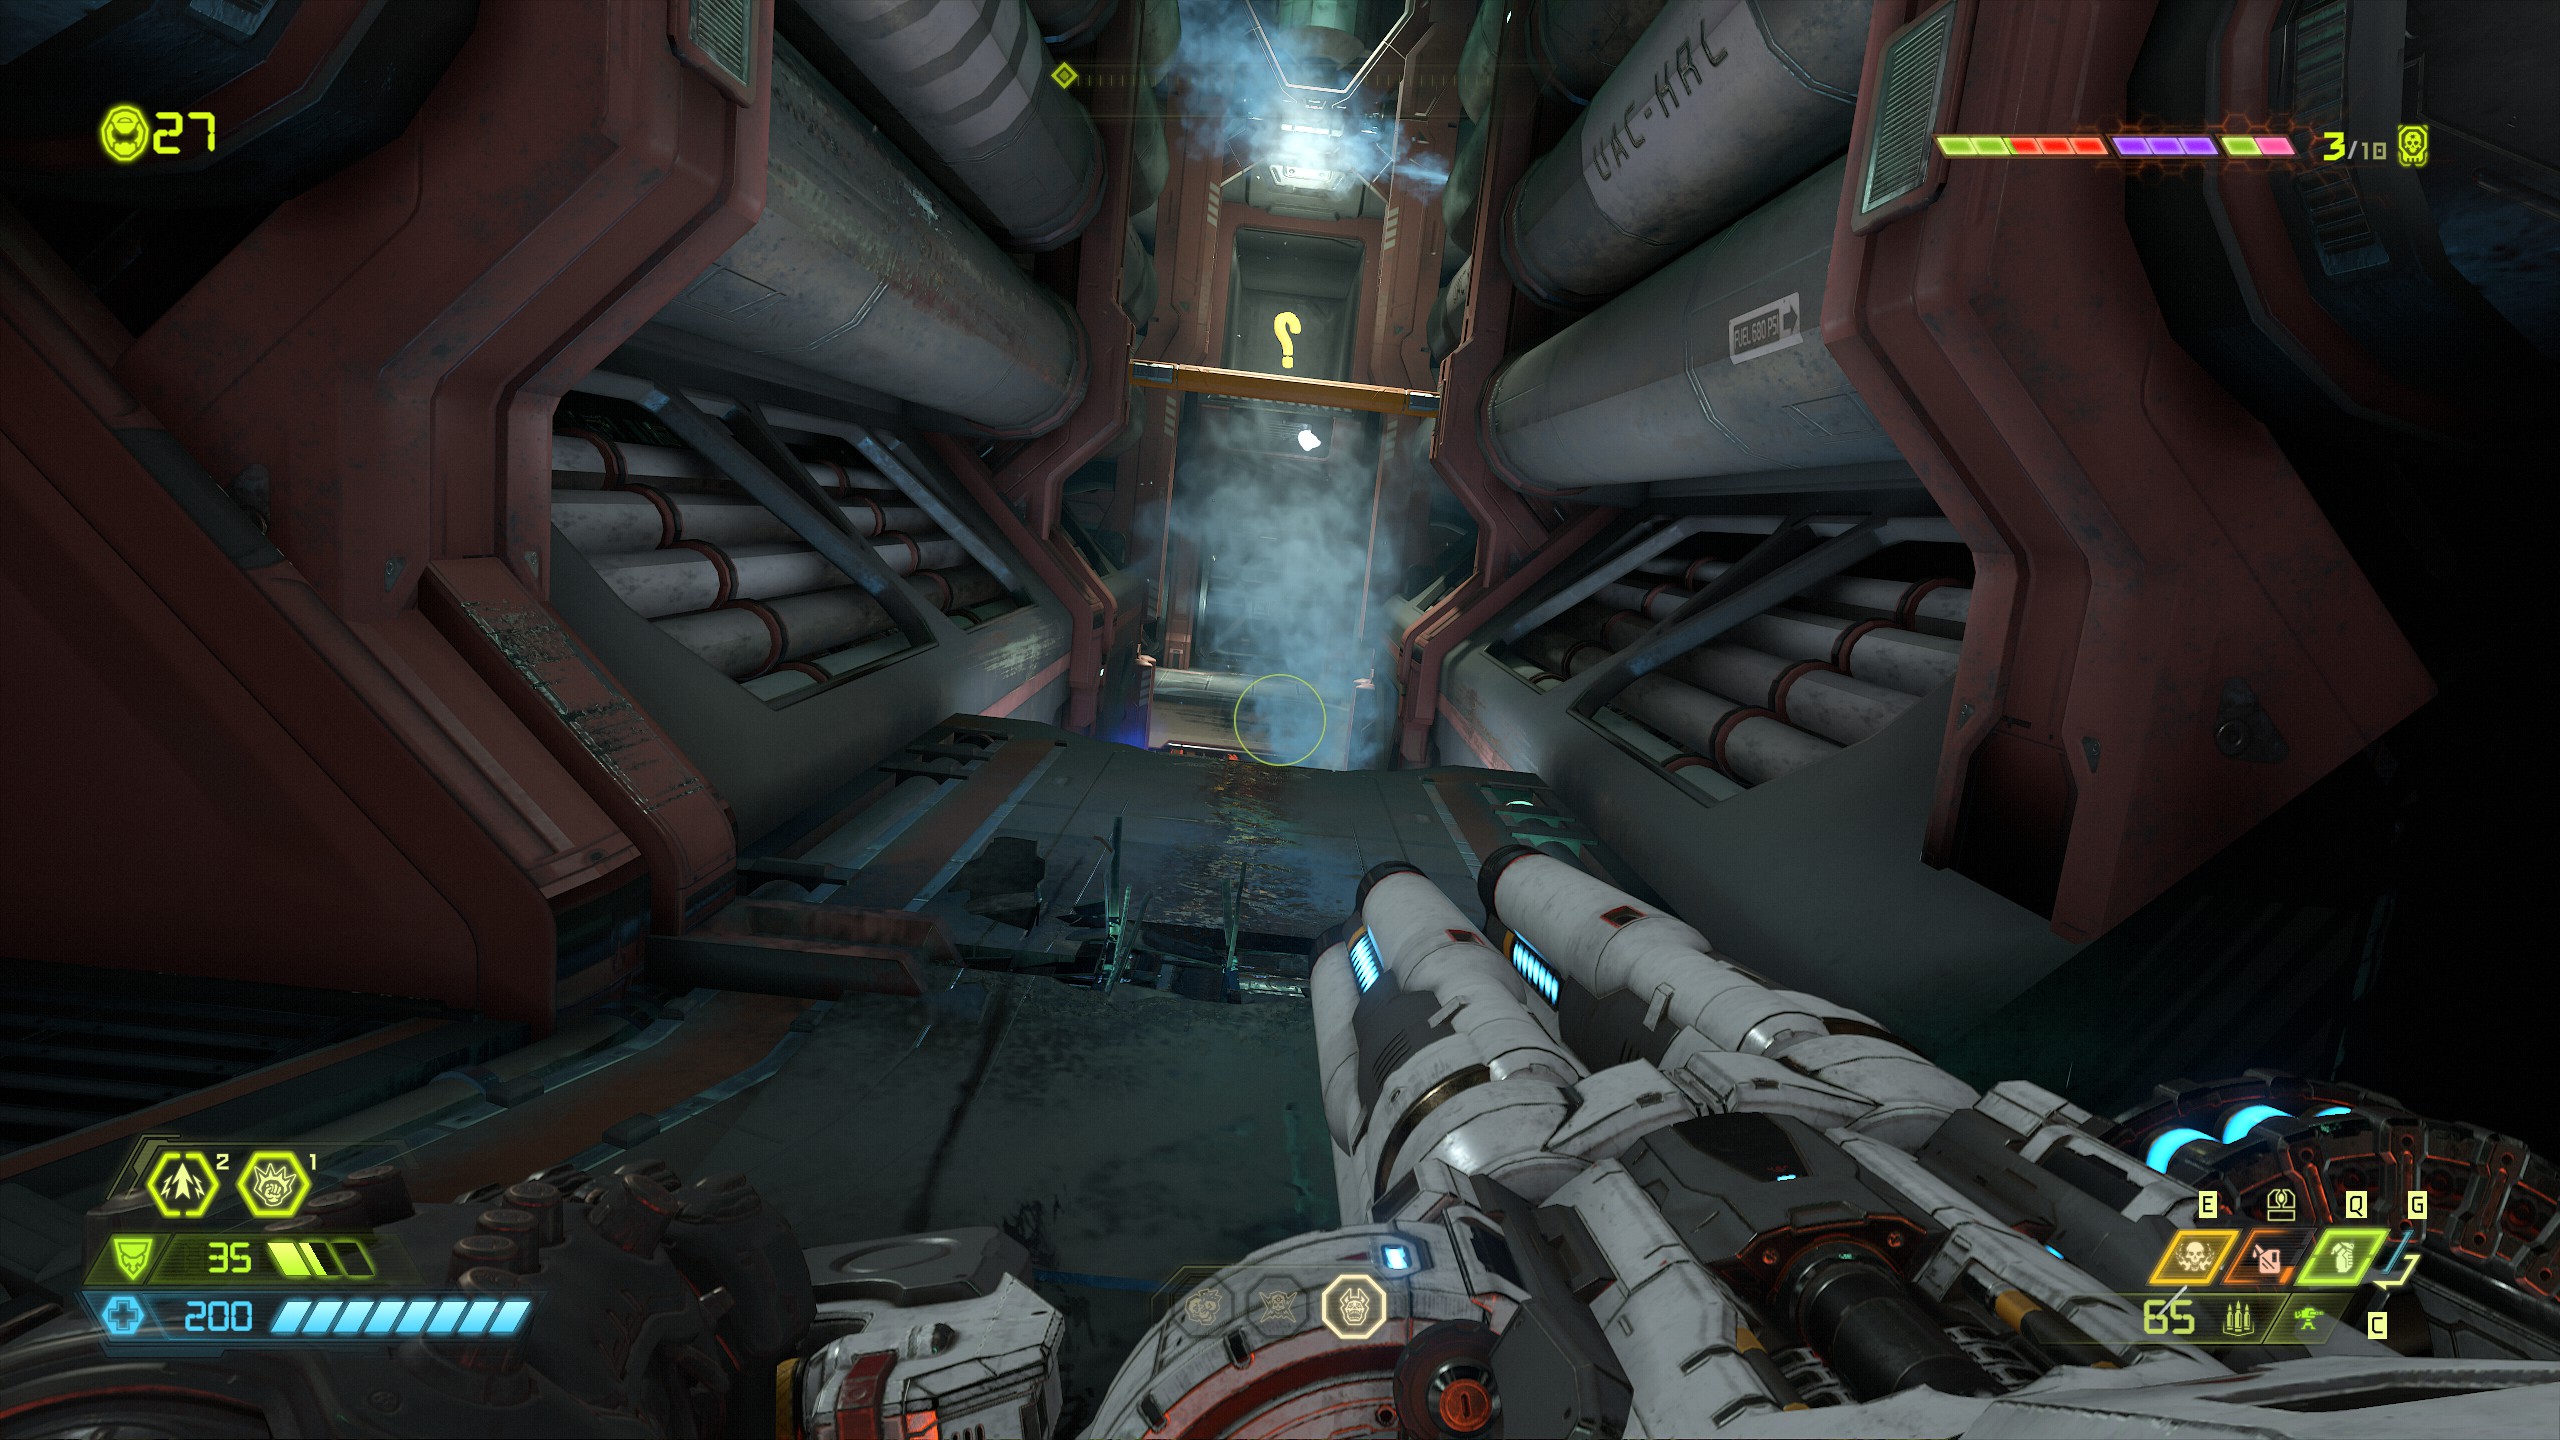
 Immediately from the shaft jump back towards the booster but this time using the yellow bars to break through the wall on the opposite side and inside the small room will be an extra life.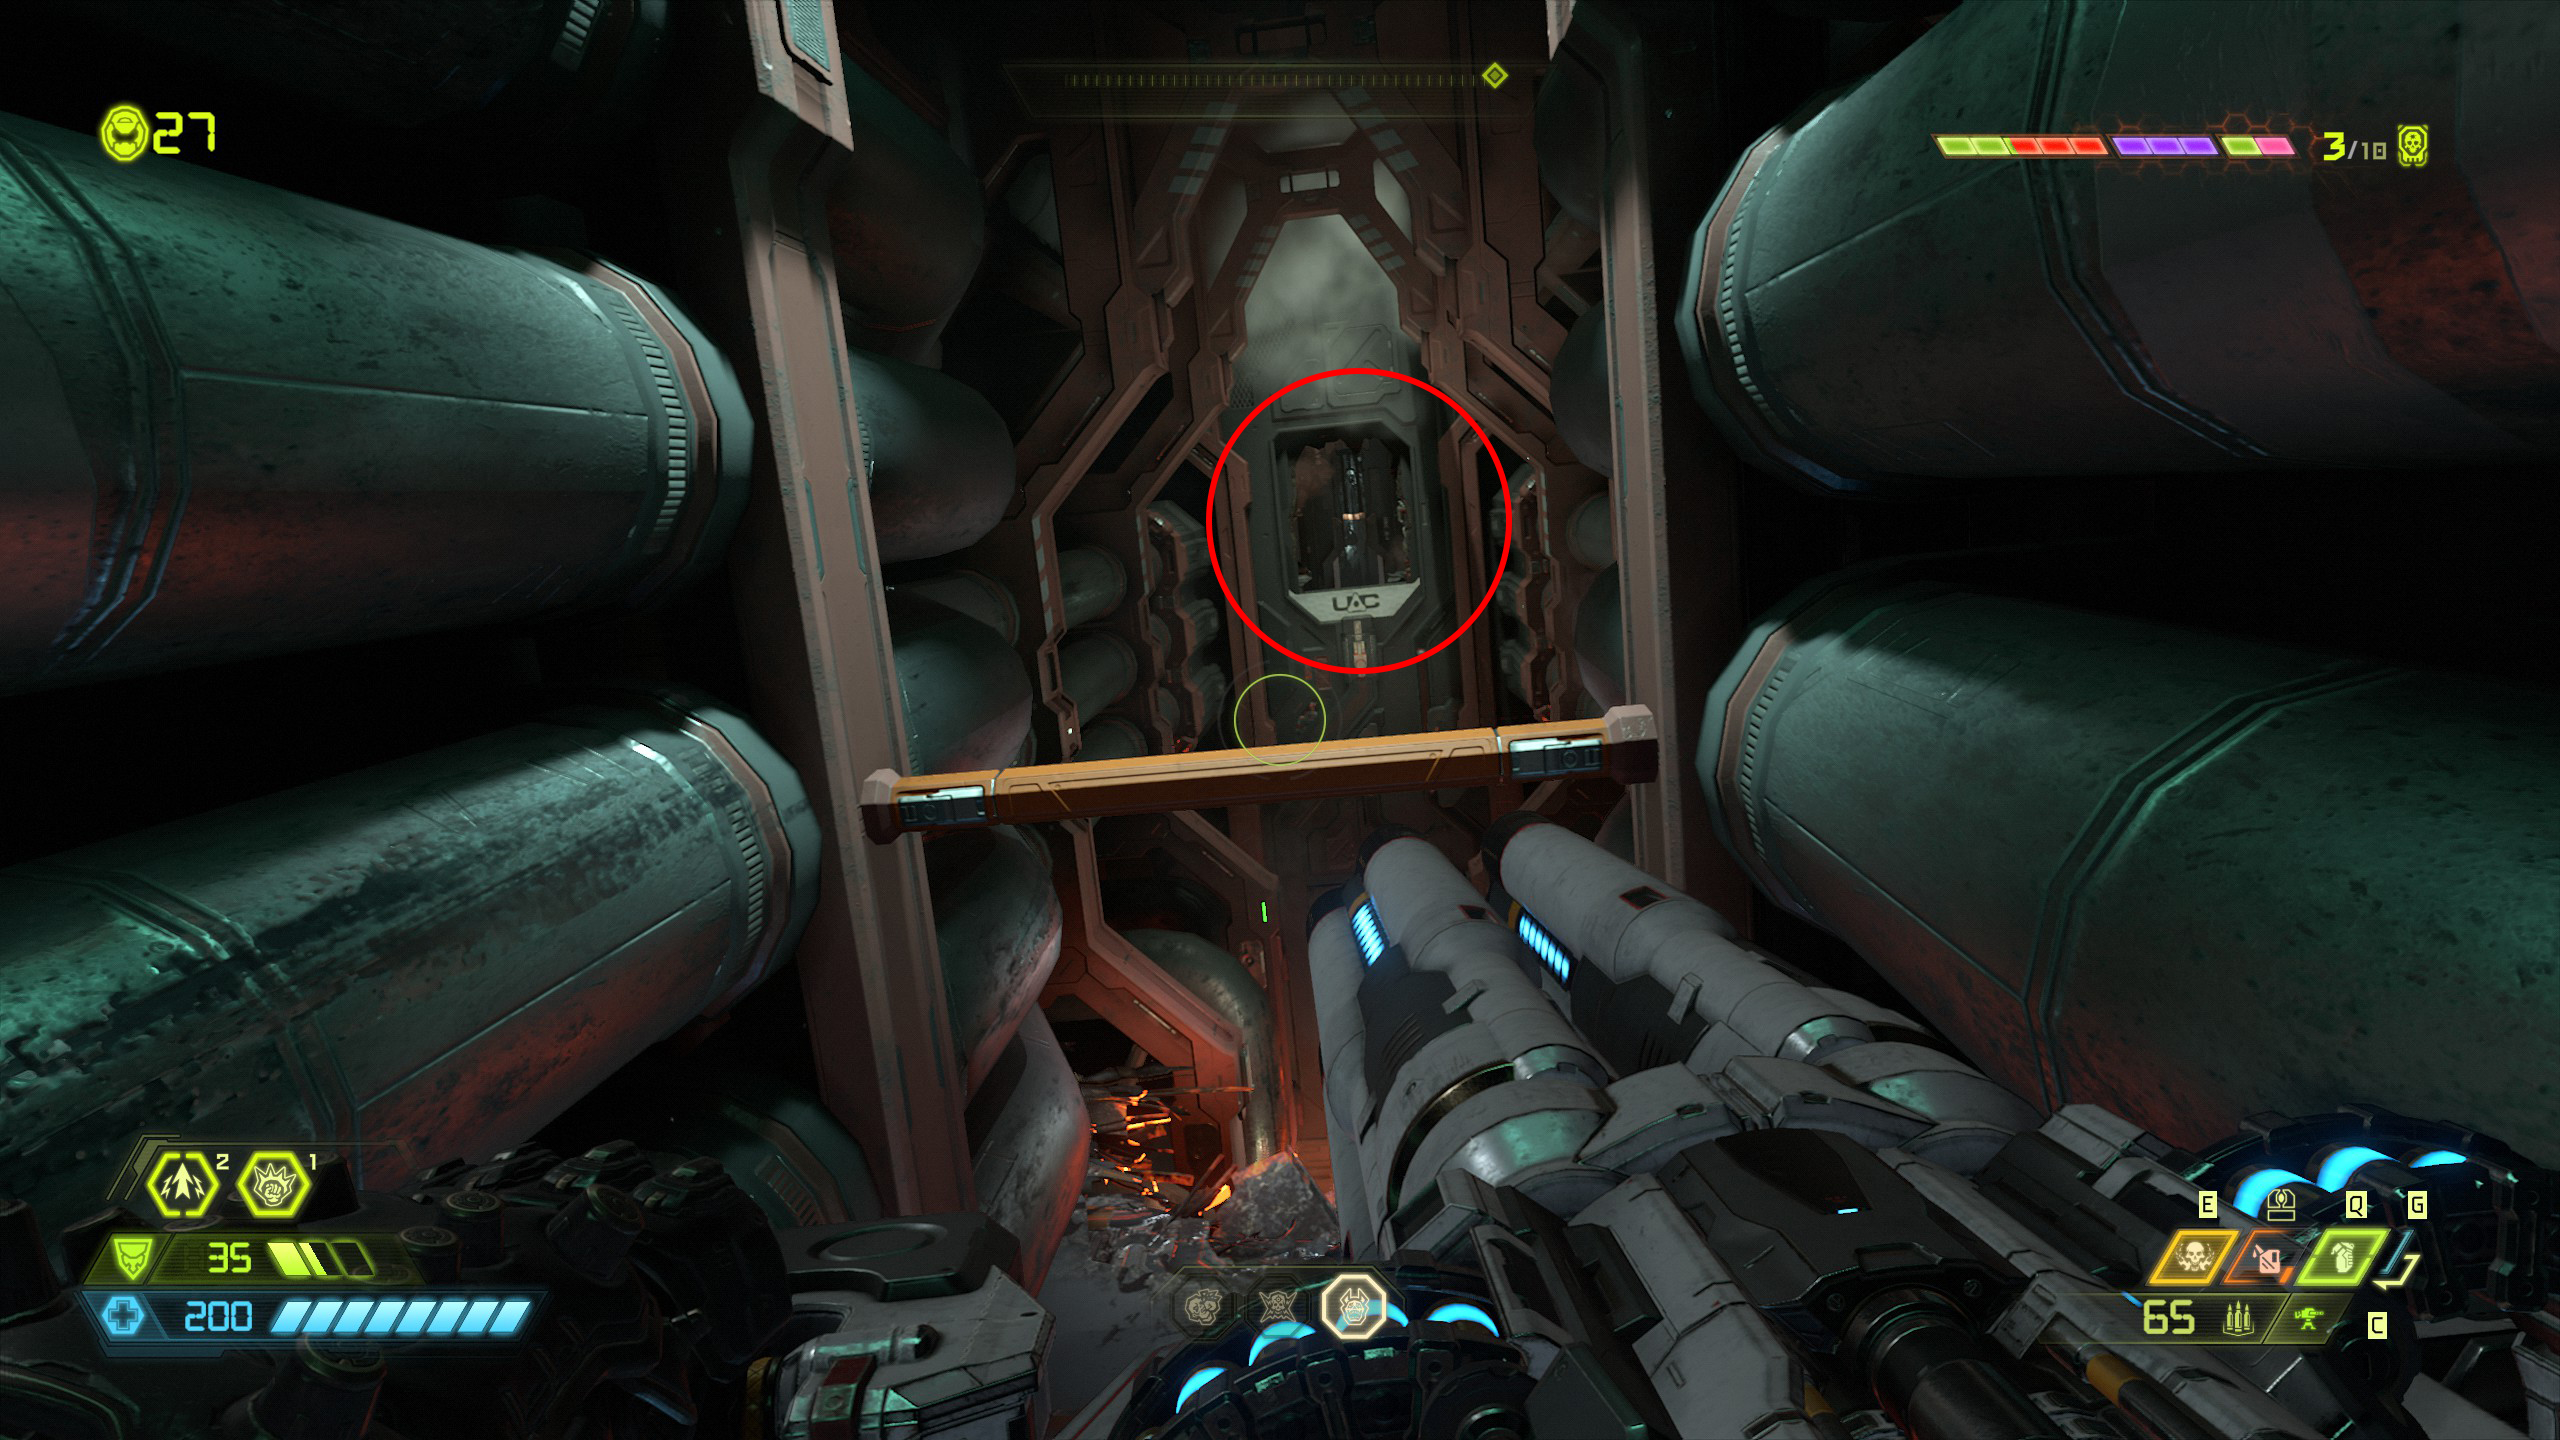
To continue the mission drop down the large hole that we have been jumping over, it looks like you might die if you fall but it actually takes you back outside.
Mission 7: Mars Core [Part 2]
Secret Encounter:
For this encounter you will be attacked by 1 whiplash, 4 imps, 1 prowler, 1 cacodemon. After dropping down into the large hole enter the building on the left side. When inside break through the vent up ahead and enter the portal which will bring you to the secret encounter.
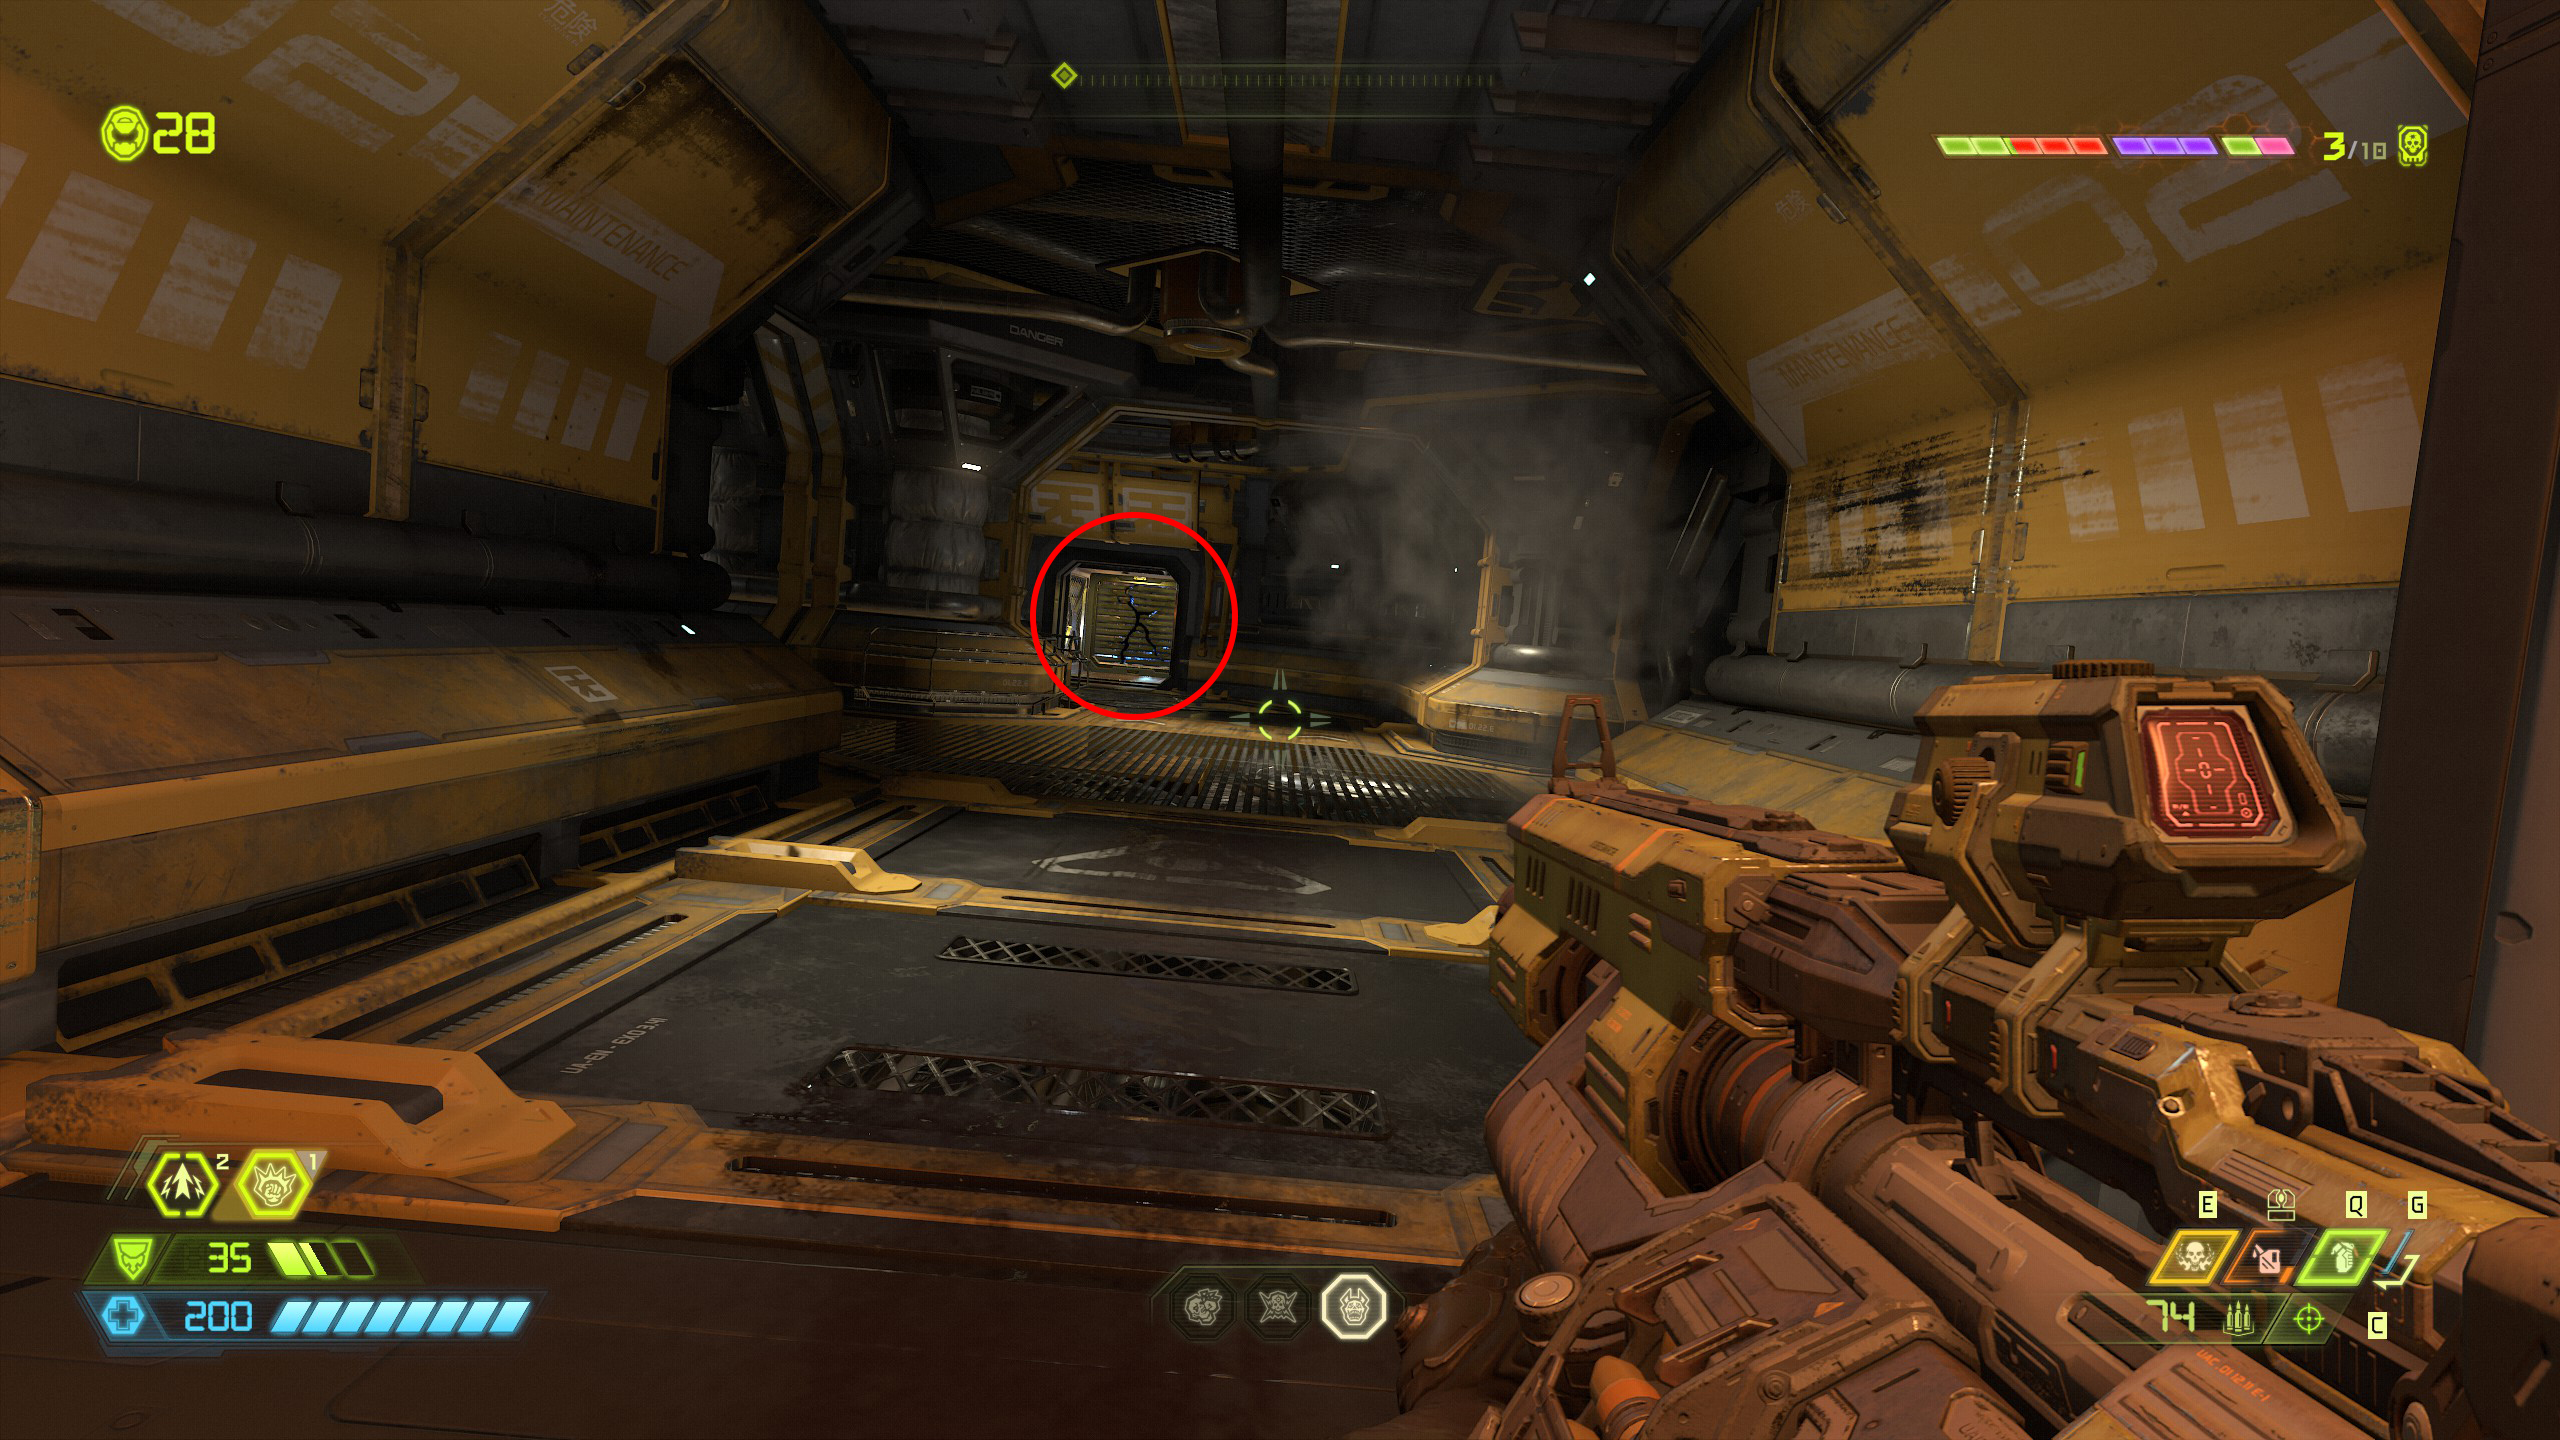
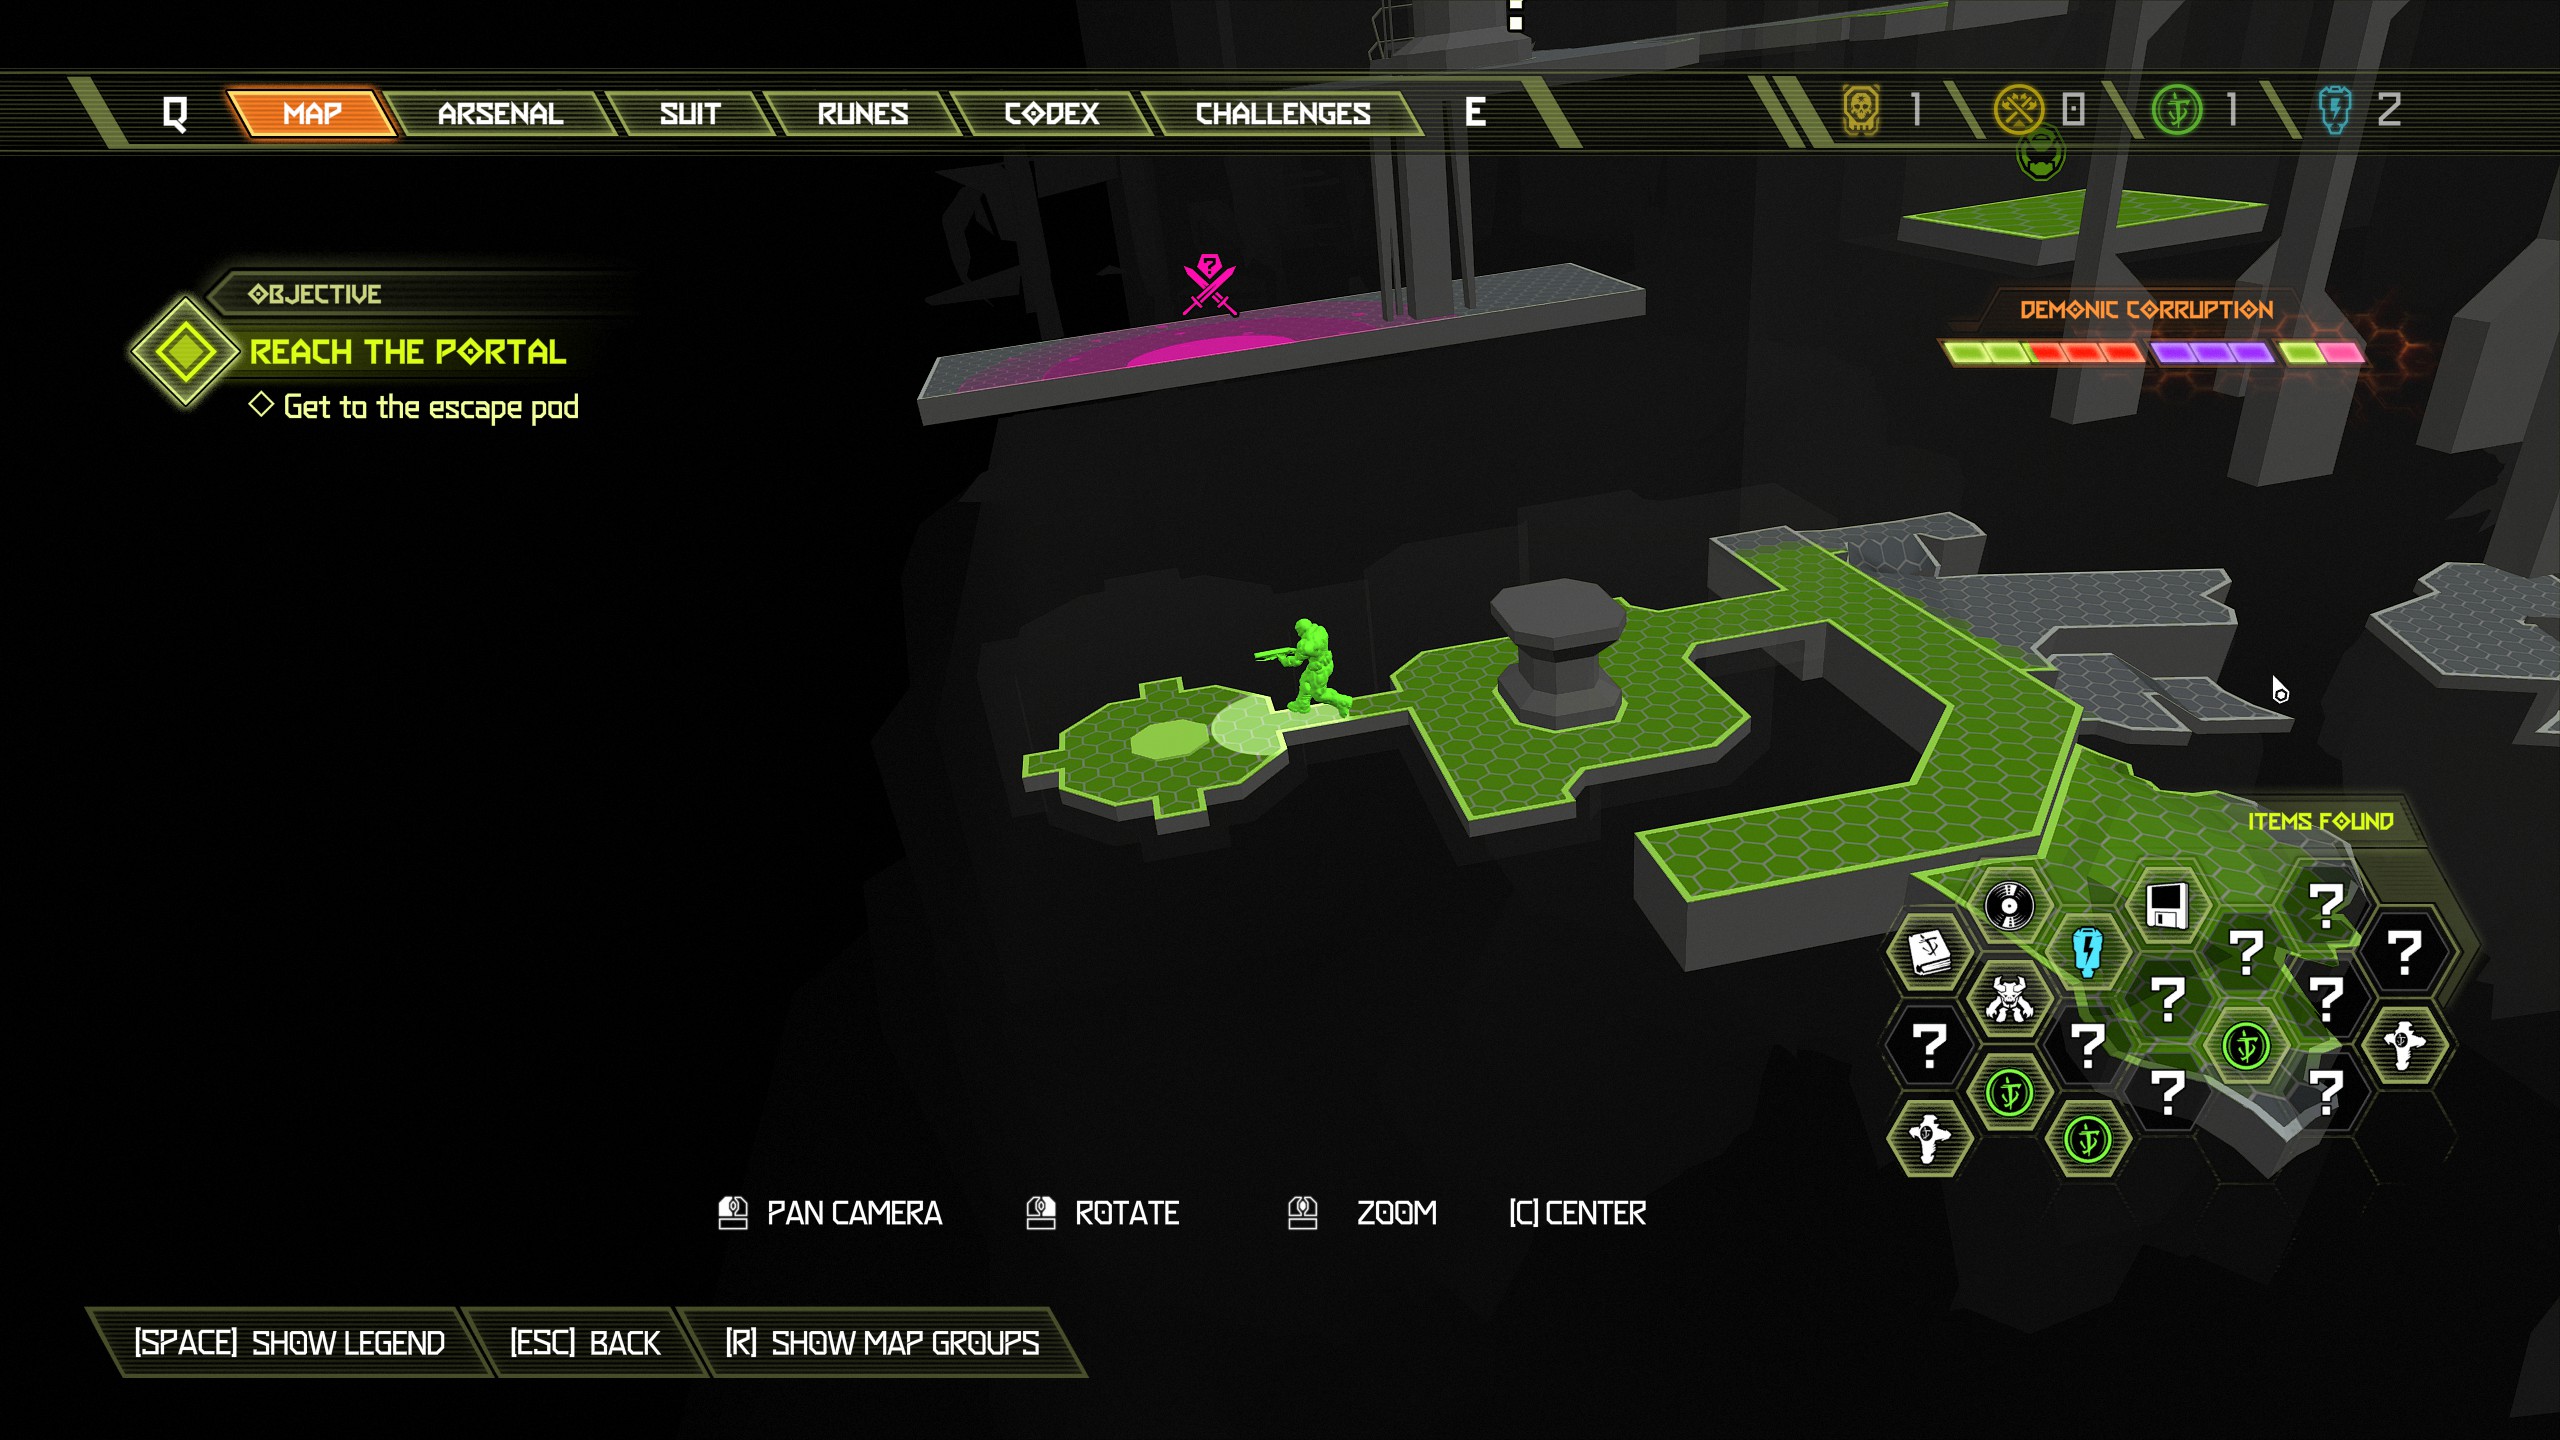
After completing the secret encounter use the nearby booster to jump up to the level above and inside at the back of the room will be a doomtoy.
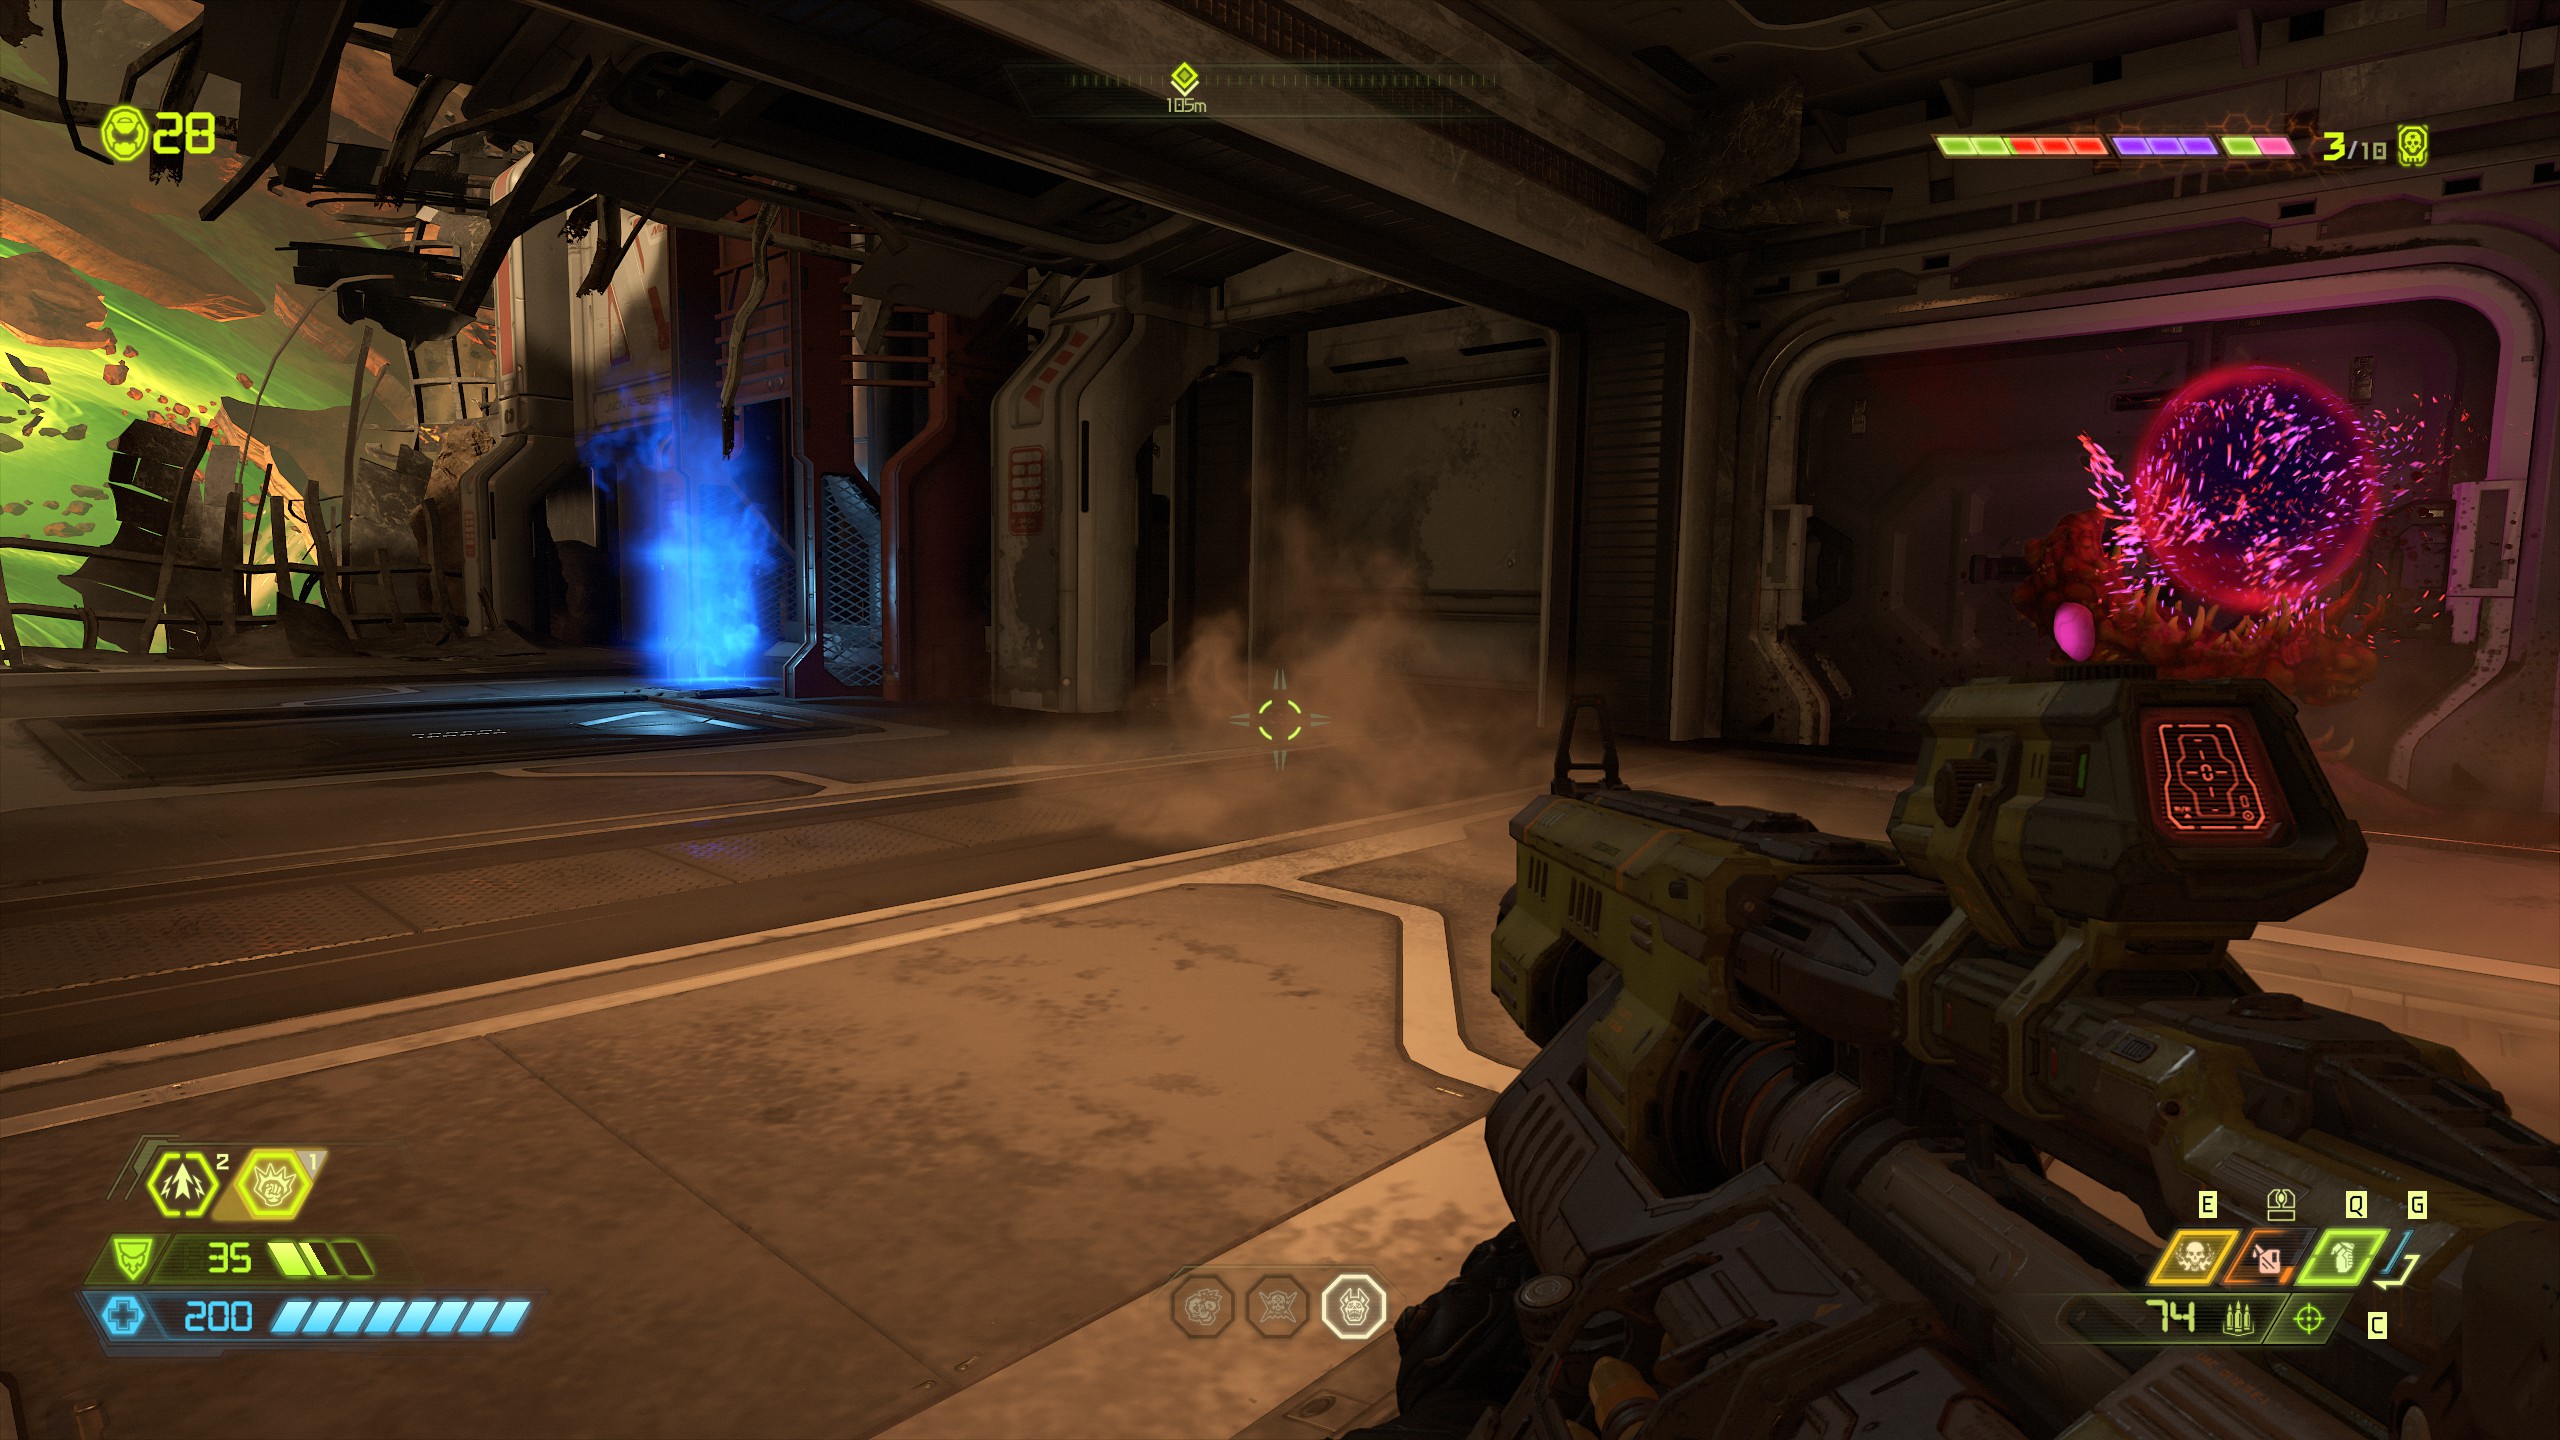
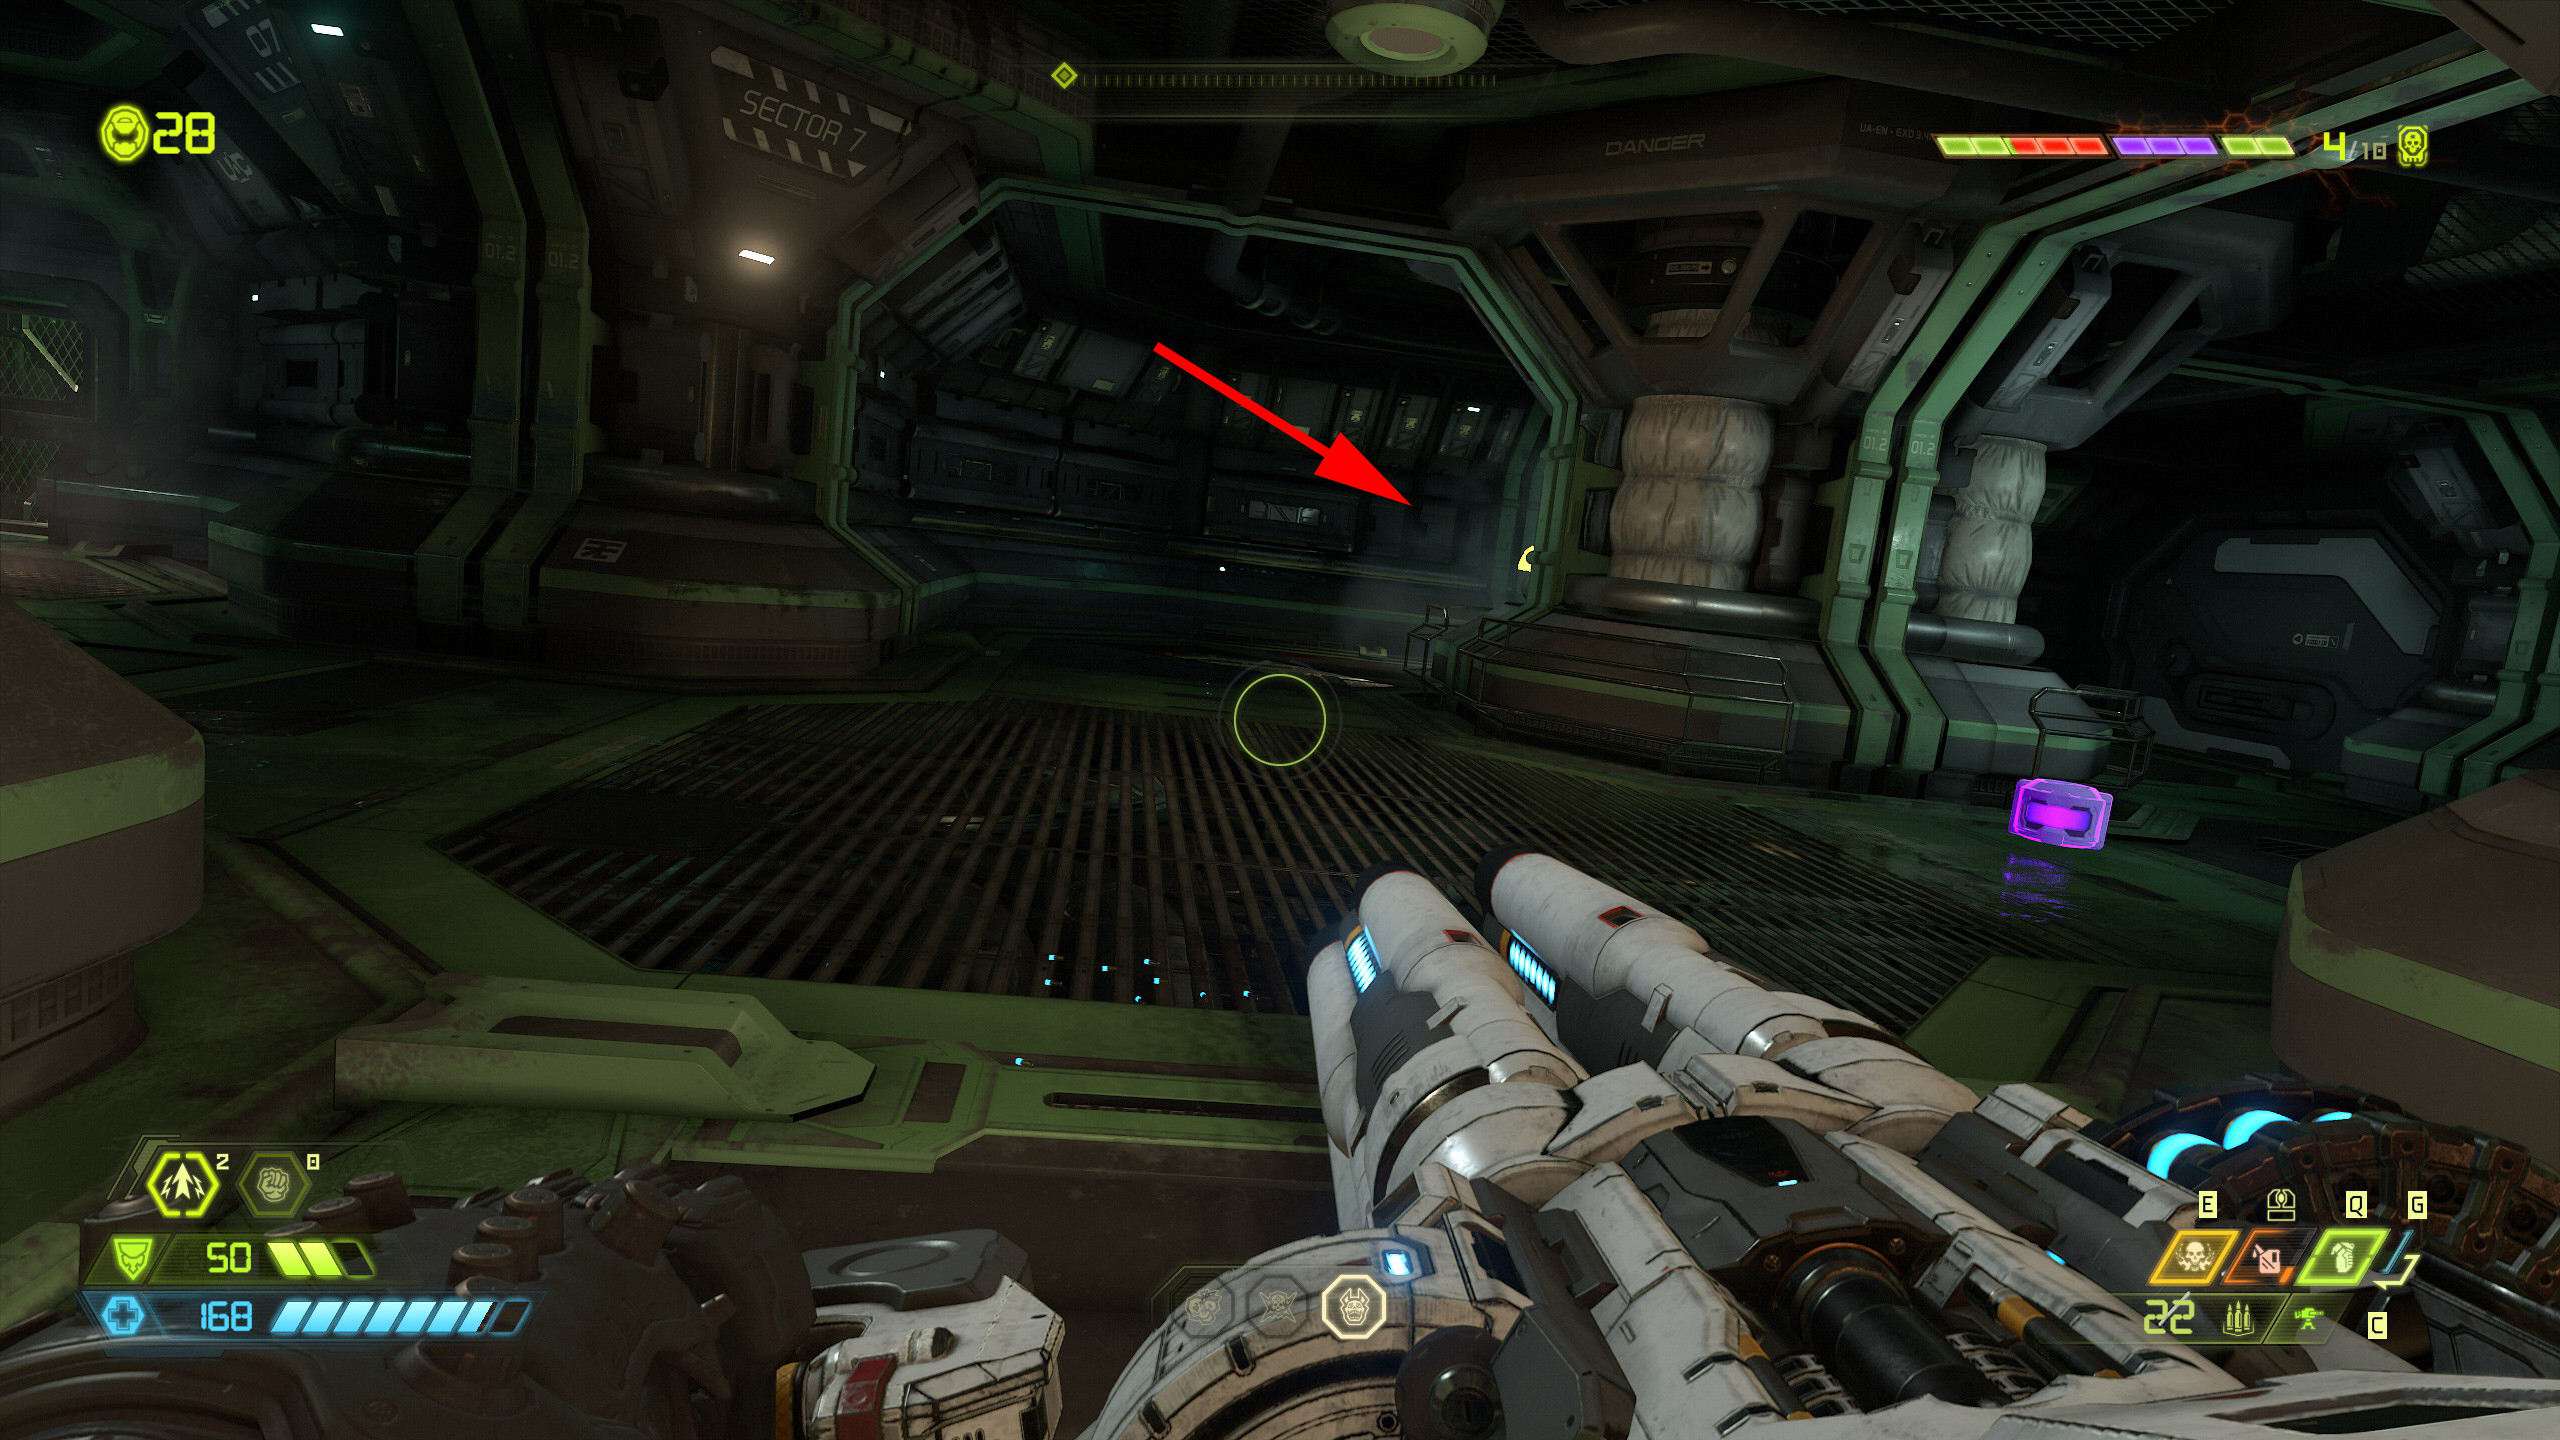
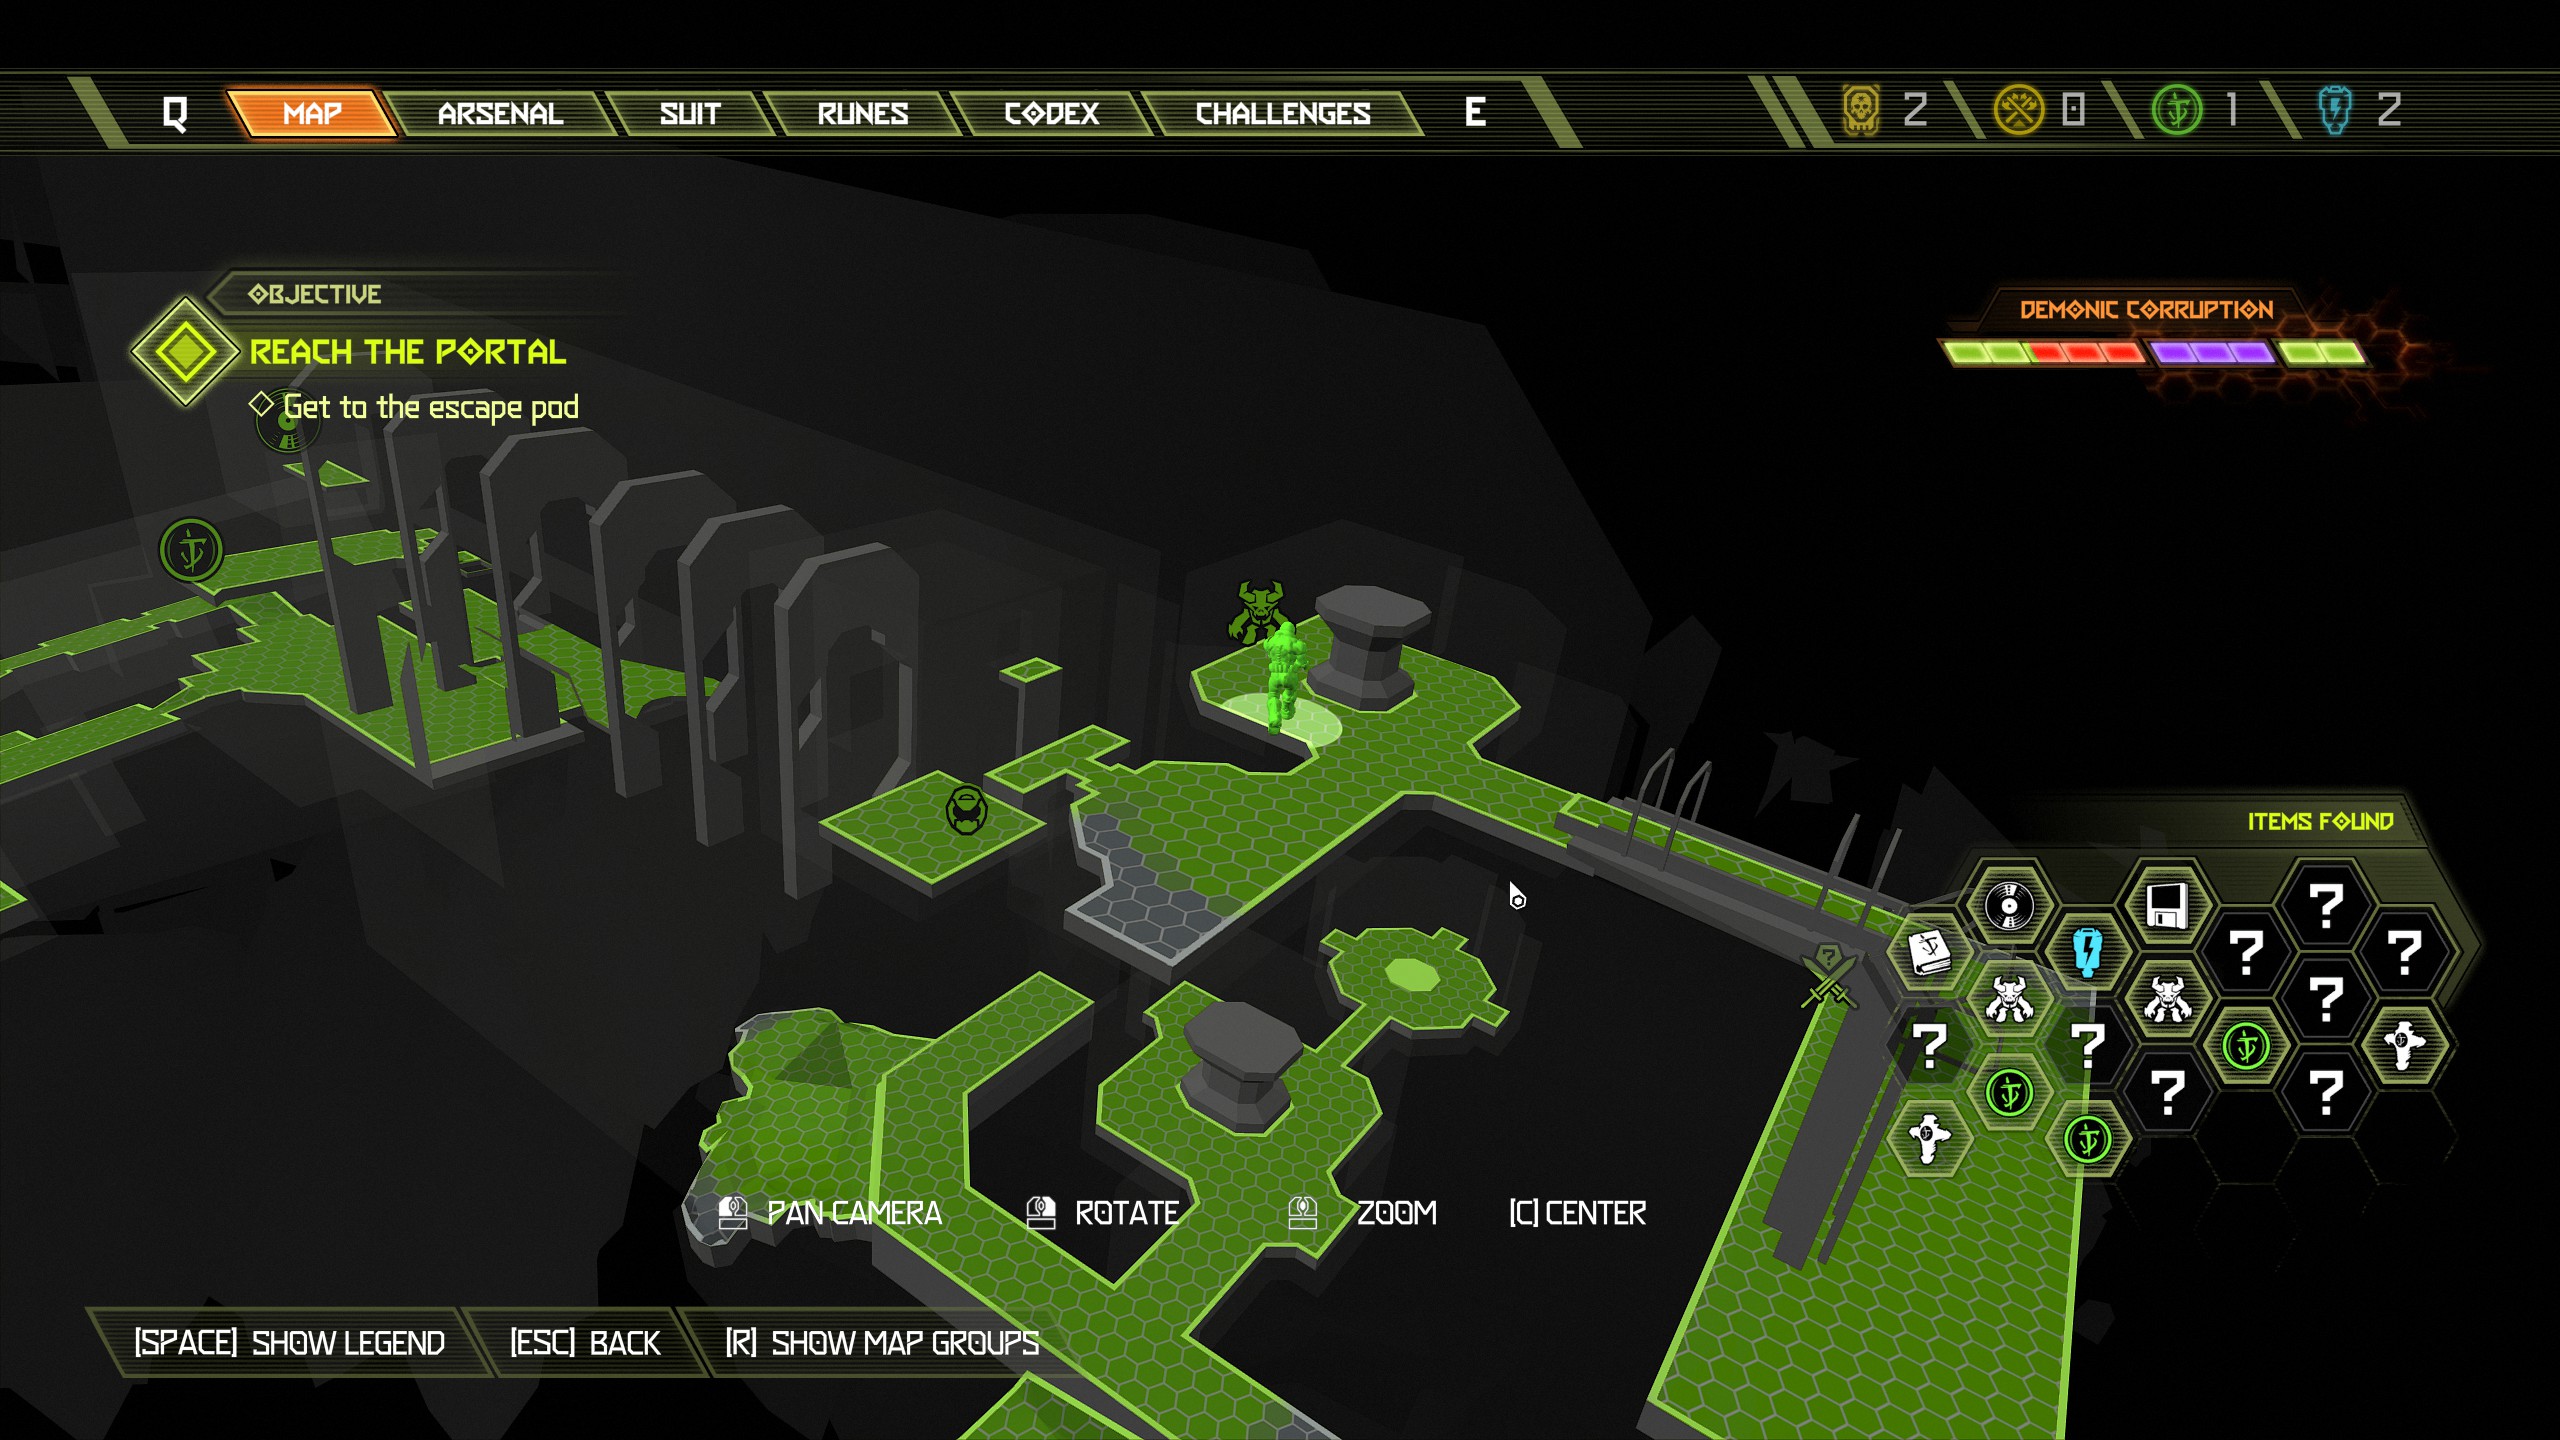
From the doomtoy continue the mission and make your way across more platforms to the next small battle area. You will need to kill everything in the area to unlock the door.
Starting from the top look across to the small structure ahead with the rotating transmitters, on the top of that structure will be an extra life.
You will need to use the nearby booster and land on the very top next to the extra life otherwise there is no access from lower down.
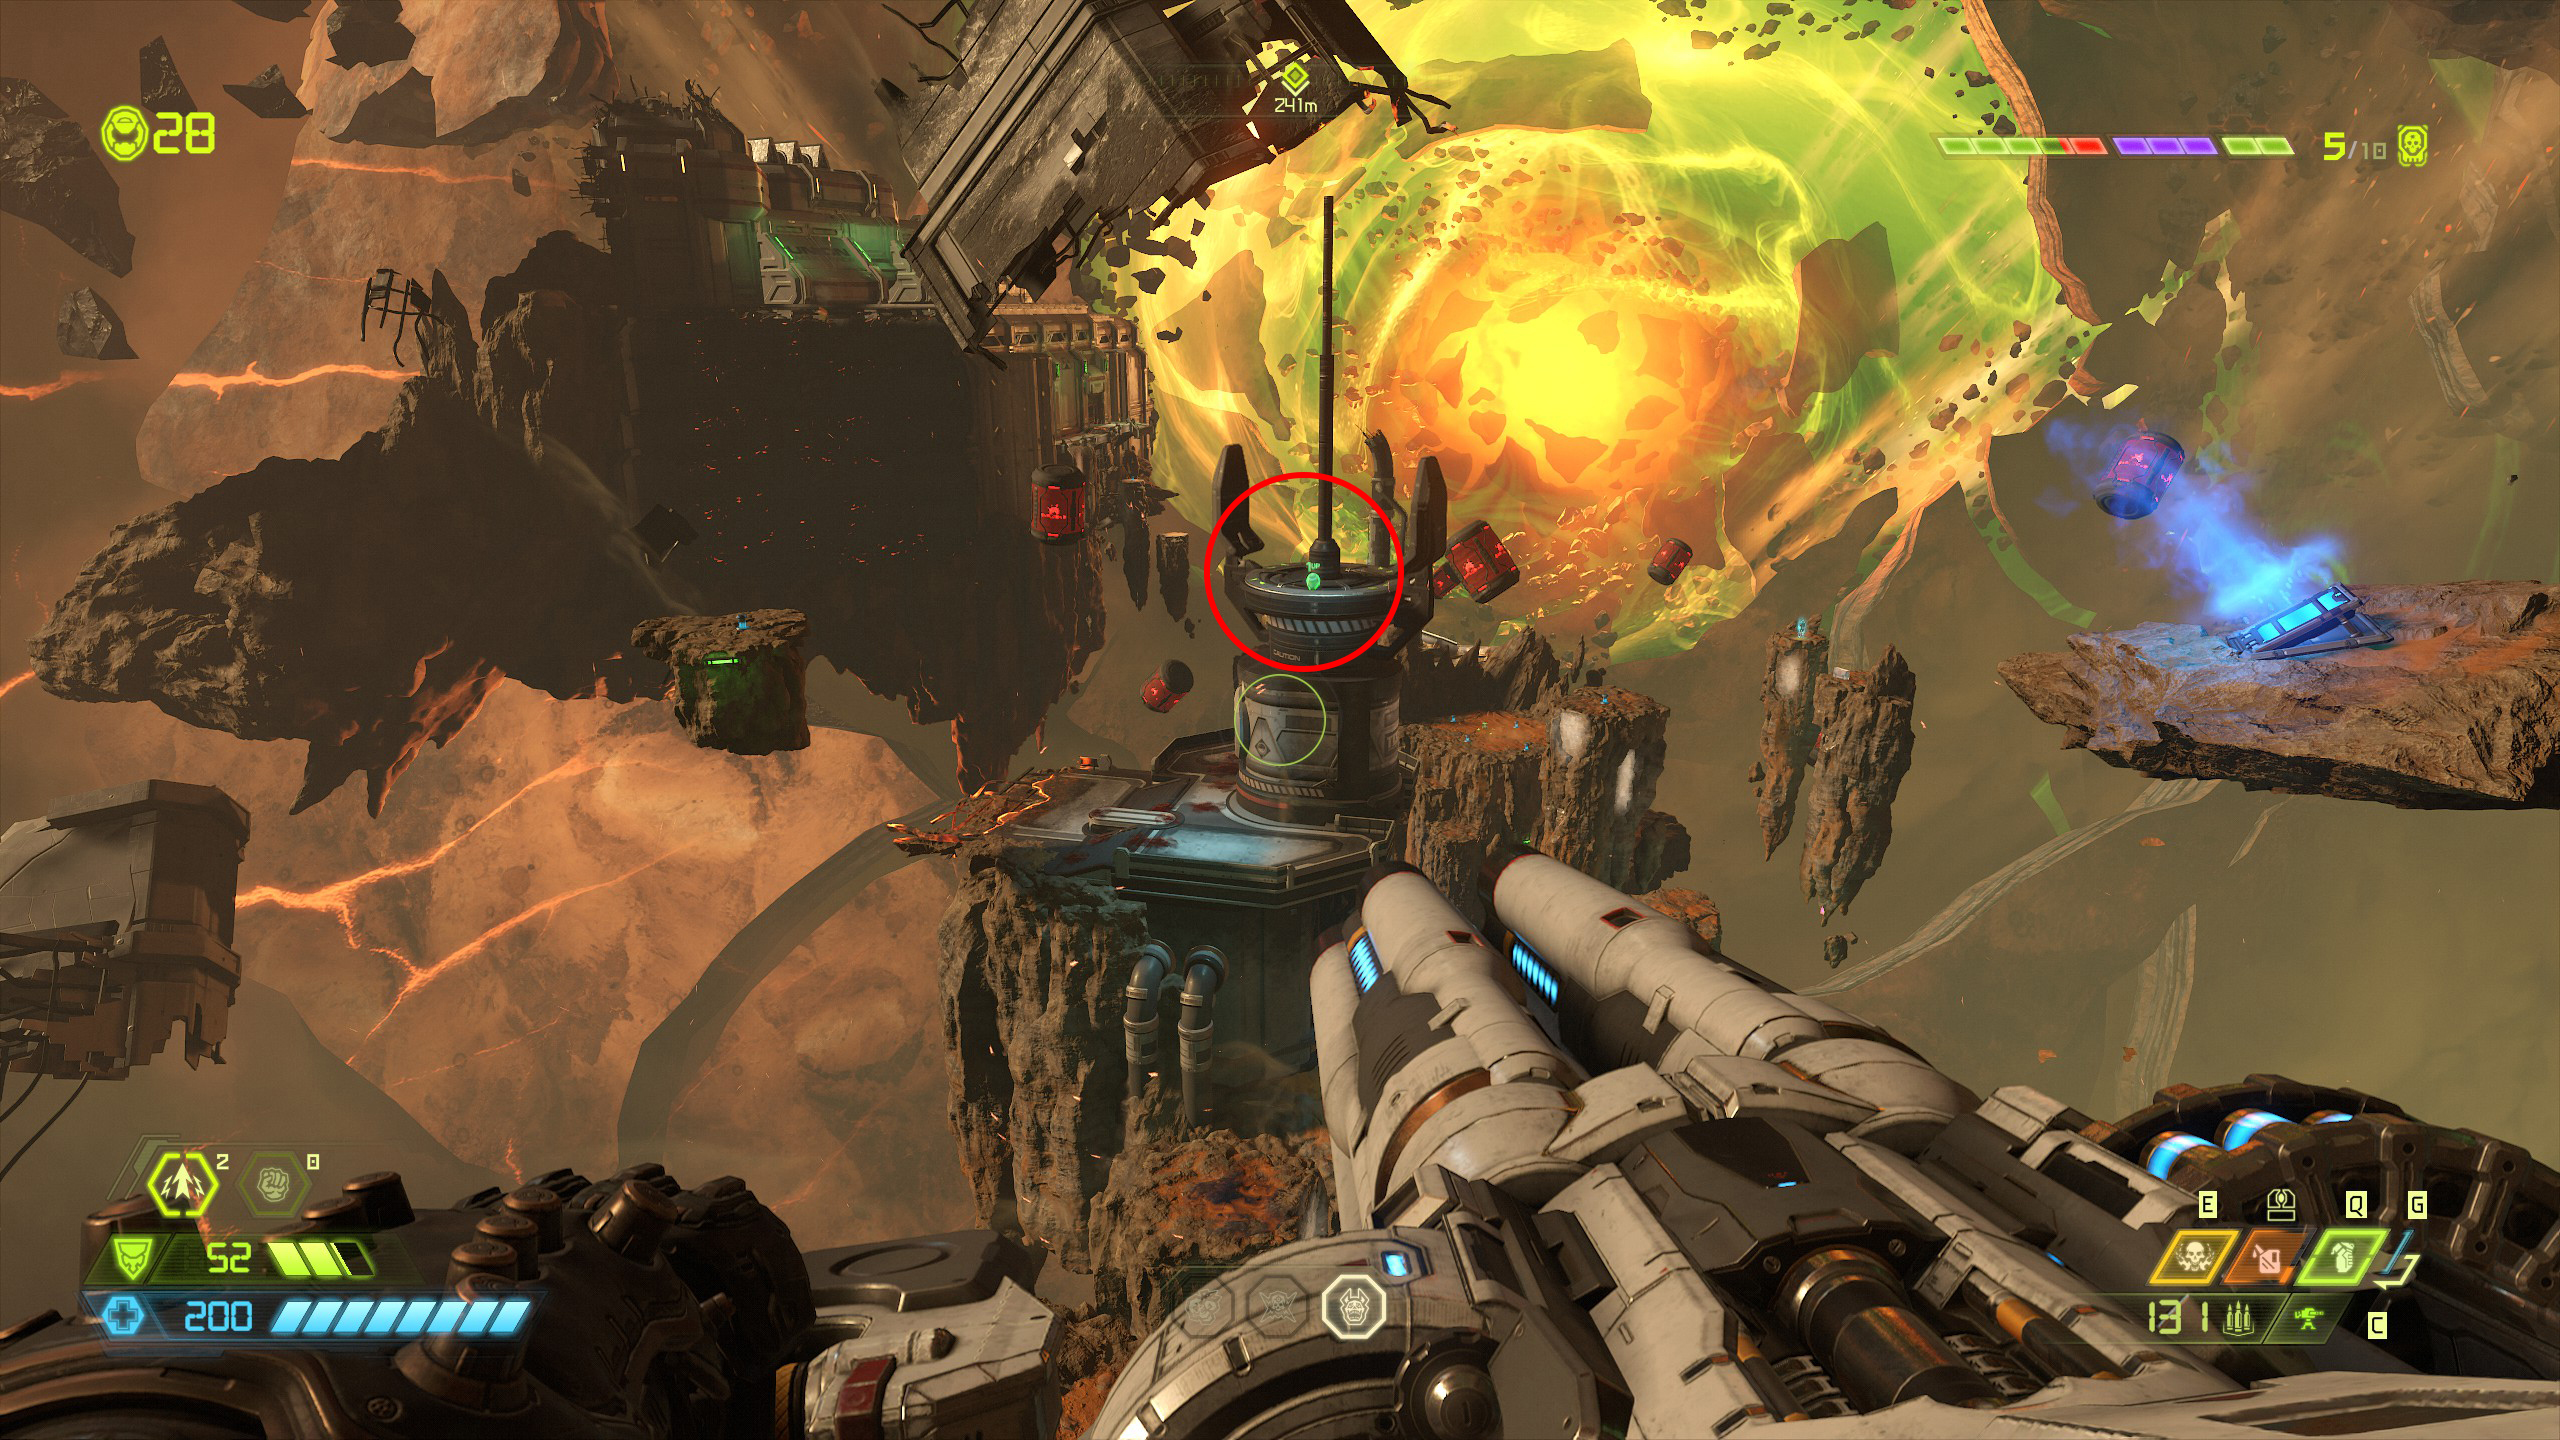
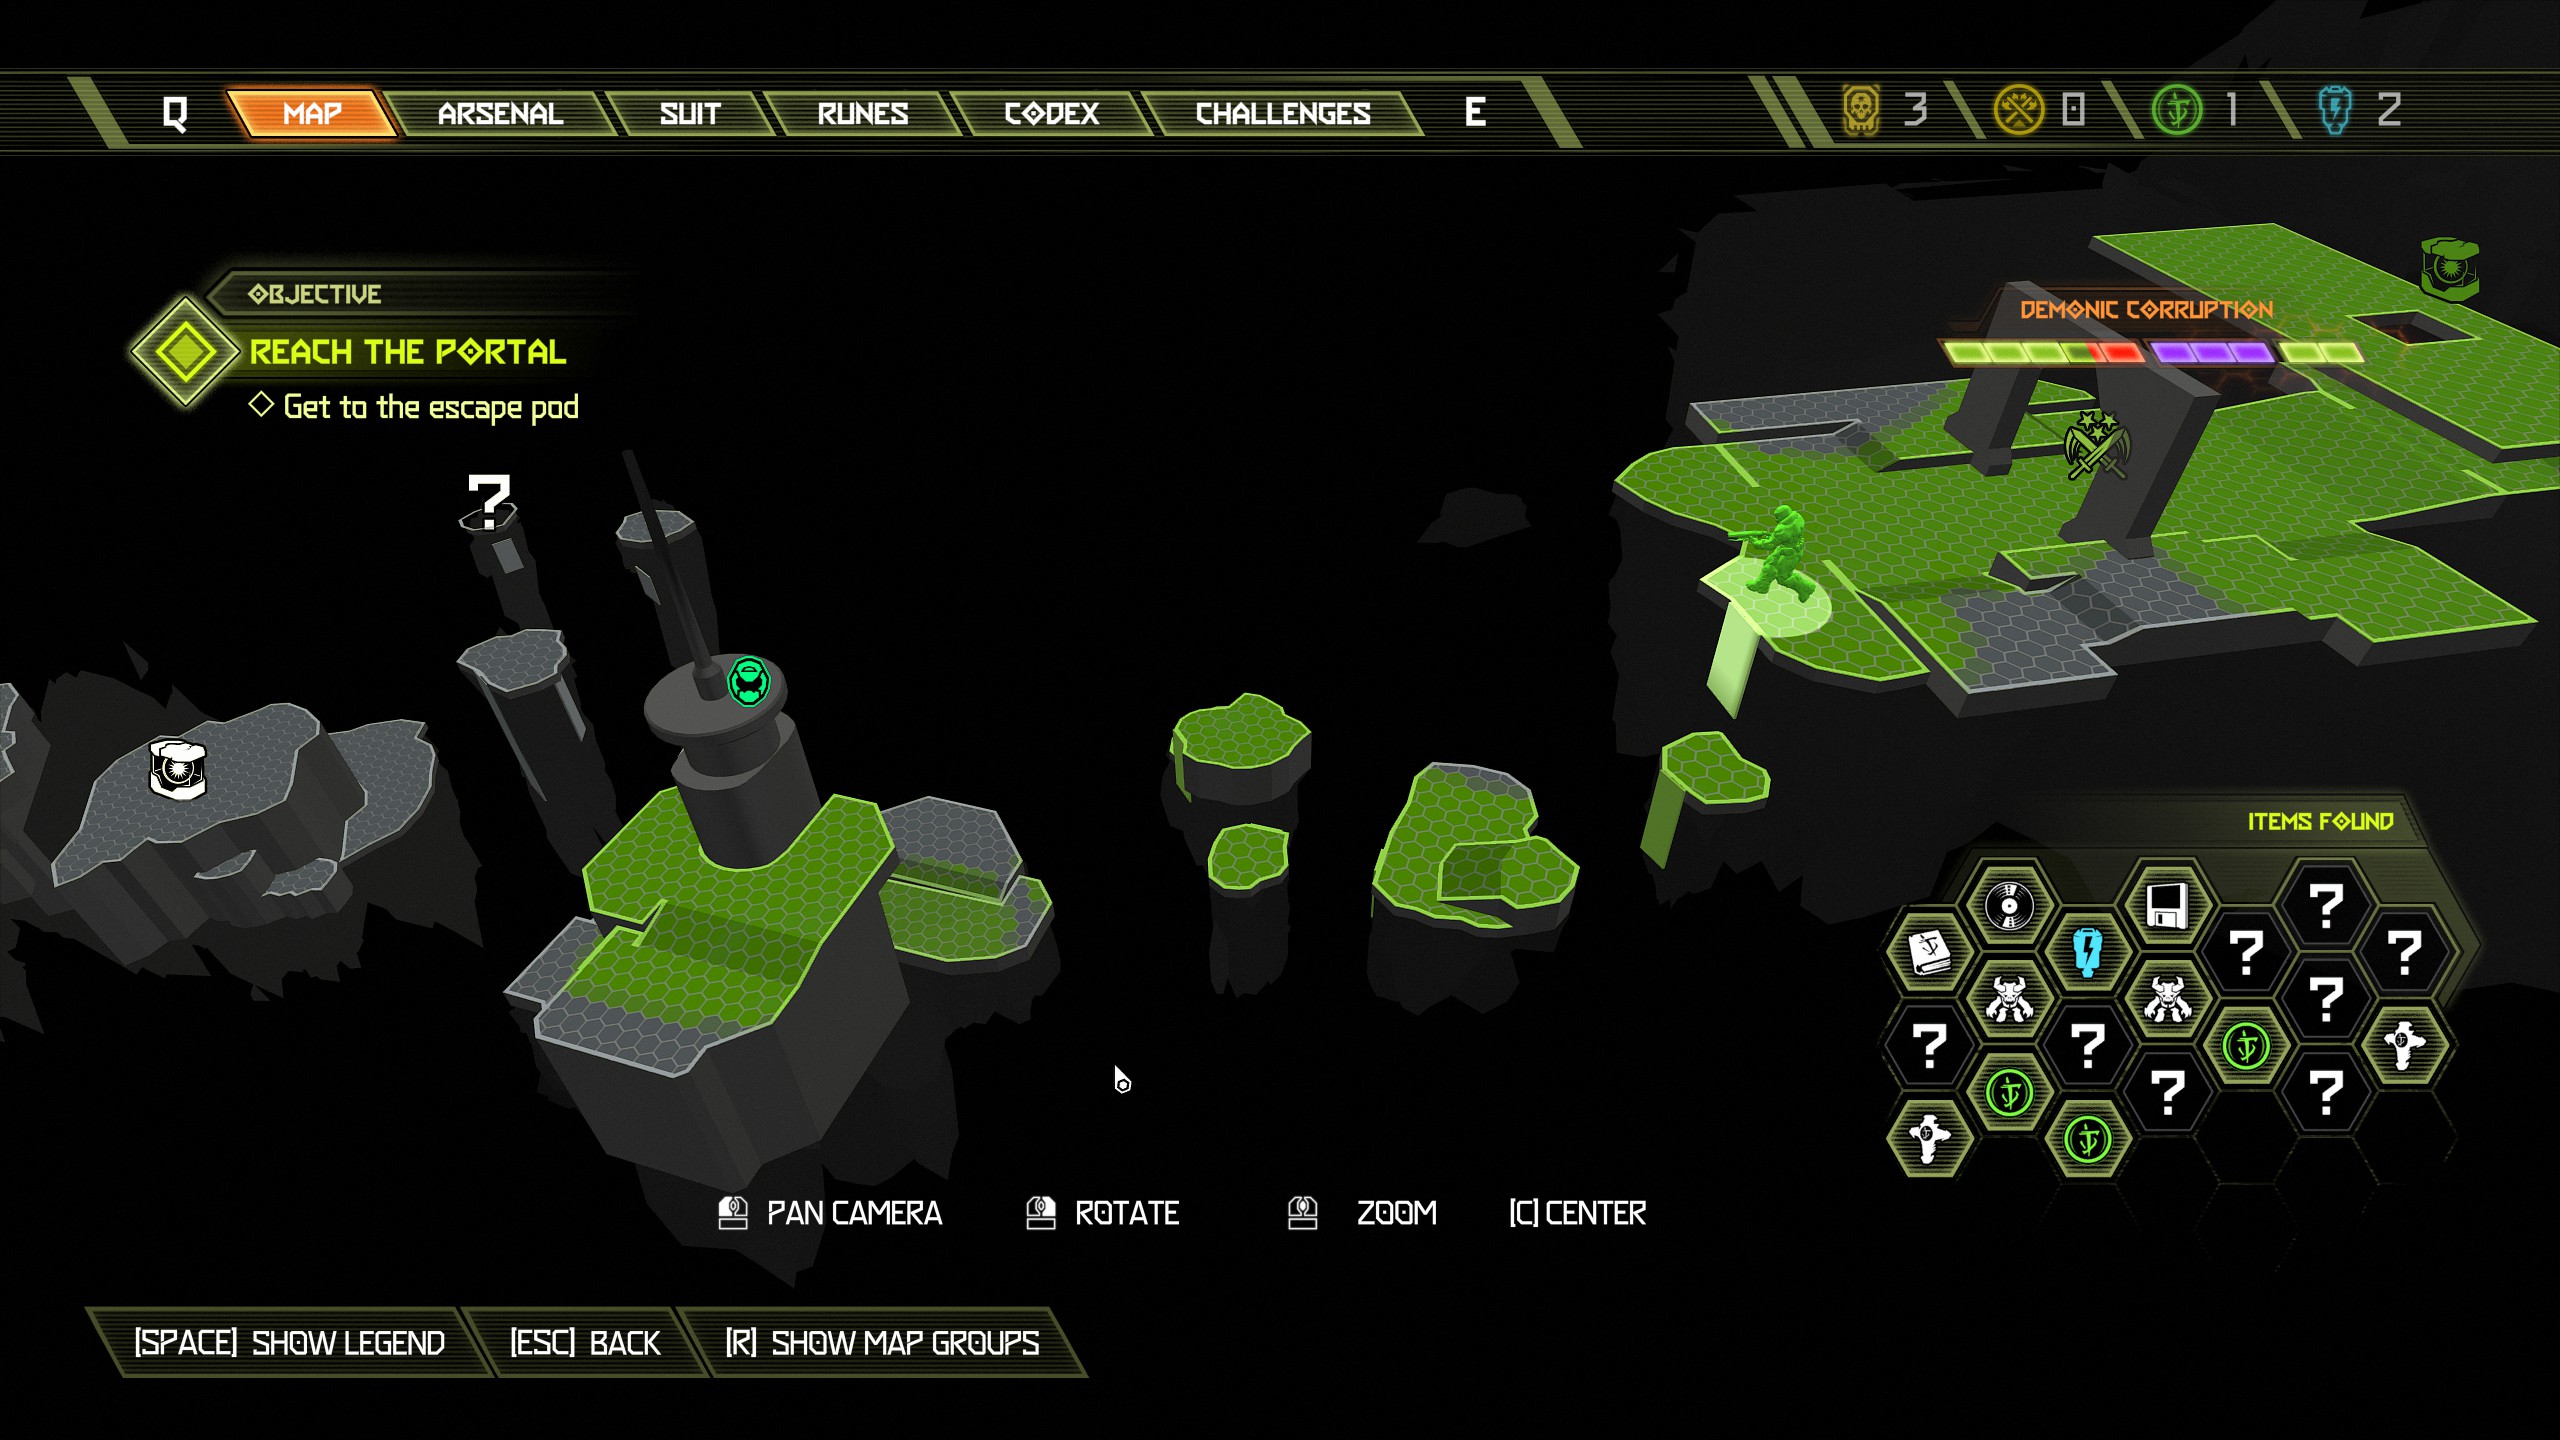
From the transmitter look further ahead on the smaller platforms and you will see a praetor suit token on the far side, use the nearby platform to reach it or if you drop down use the walls to reach the nearby platform and from there you will be able to jump across.
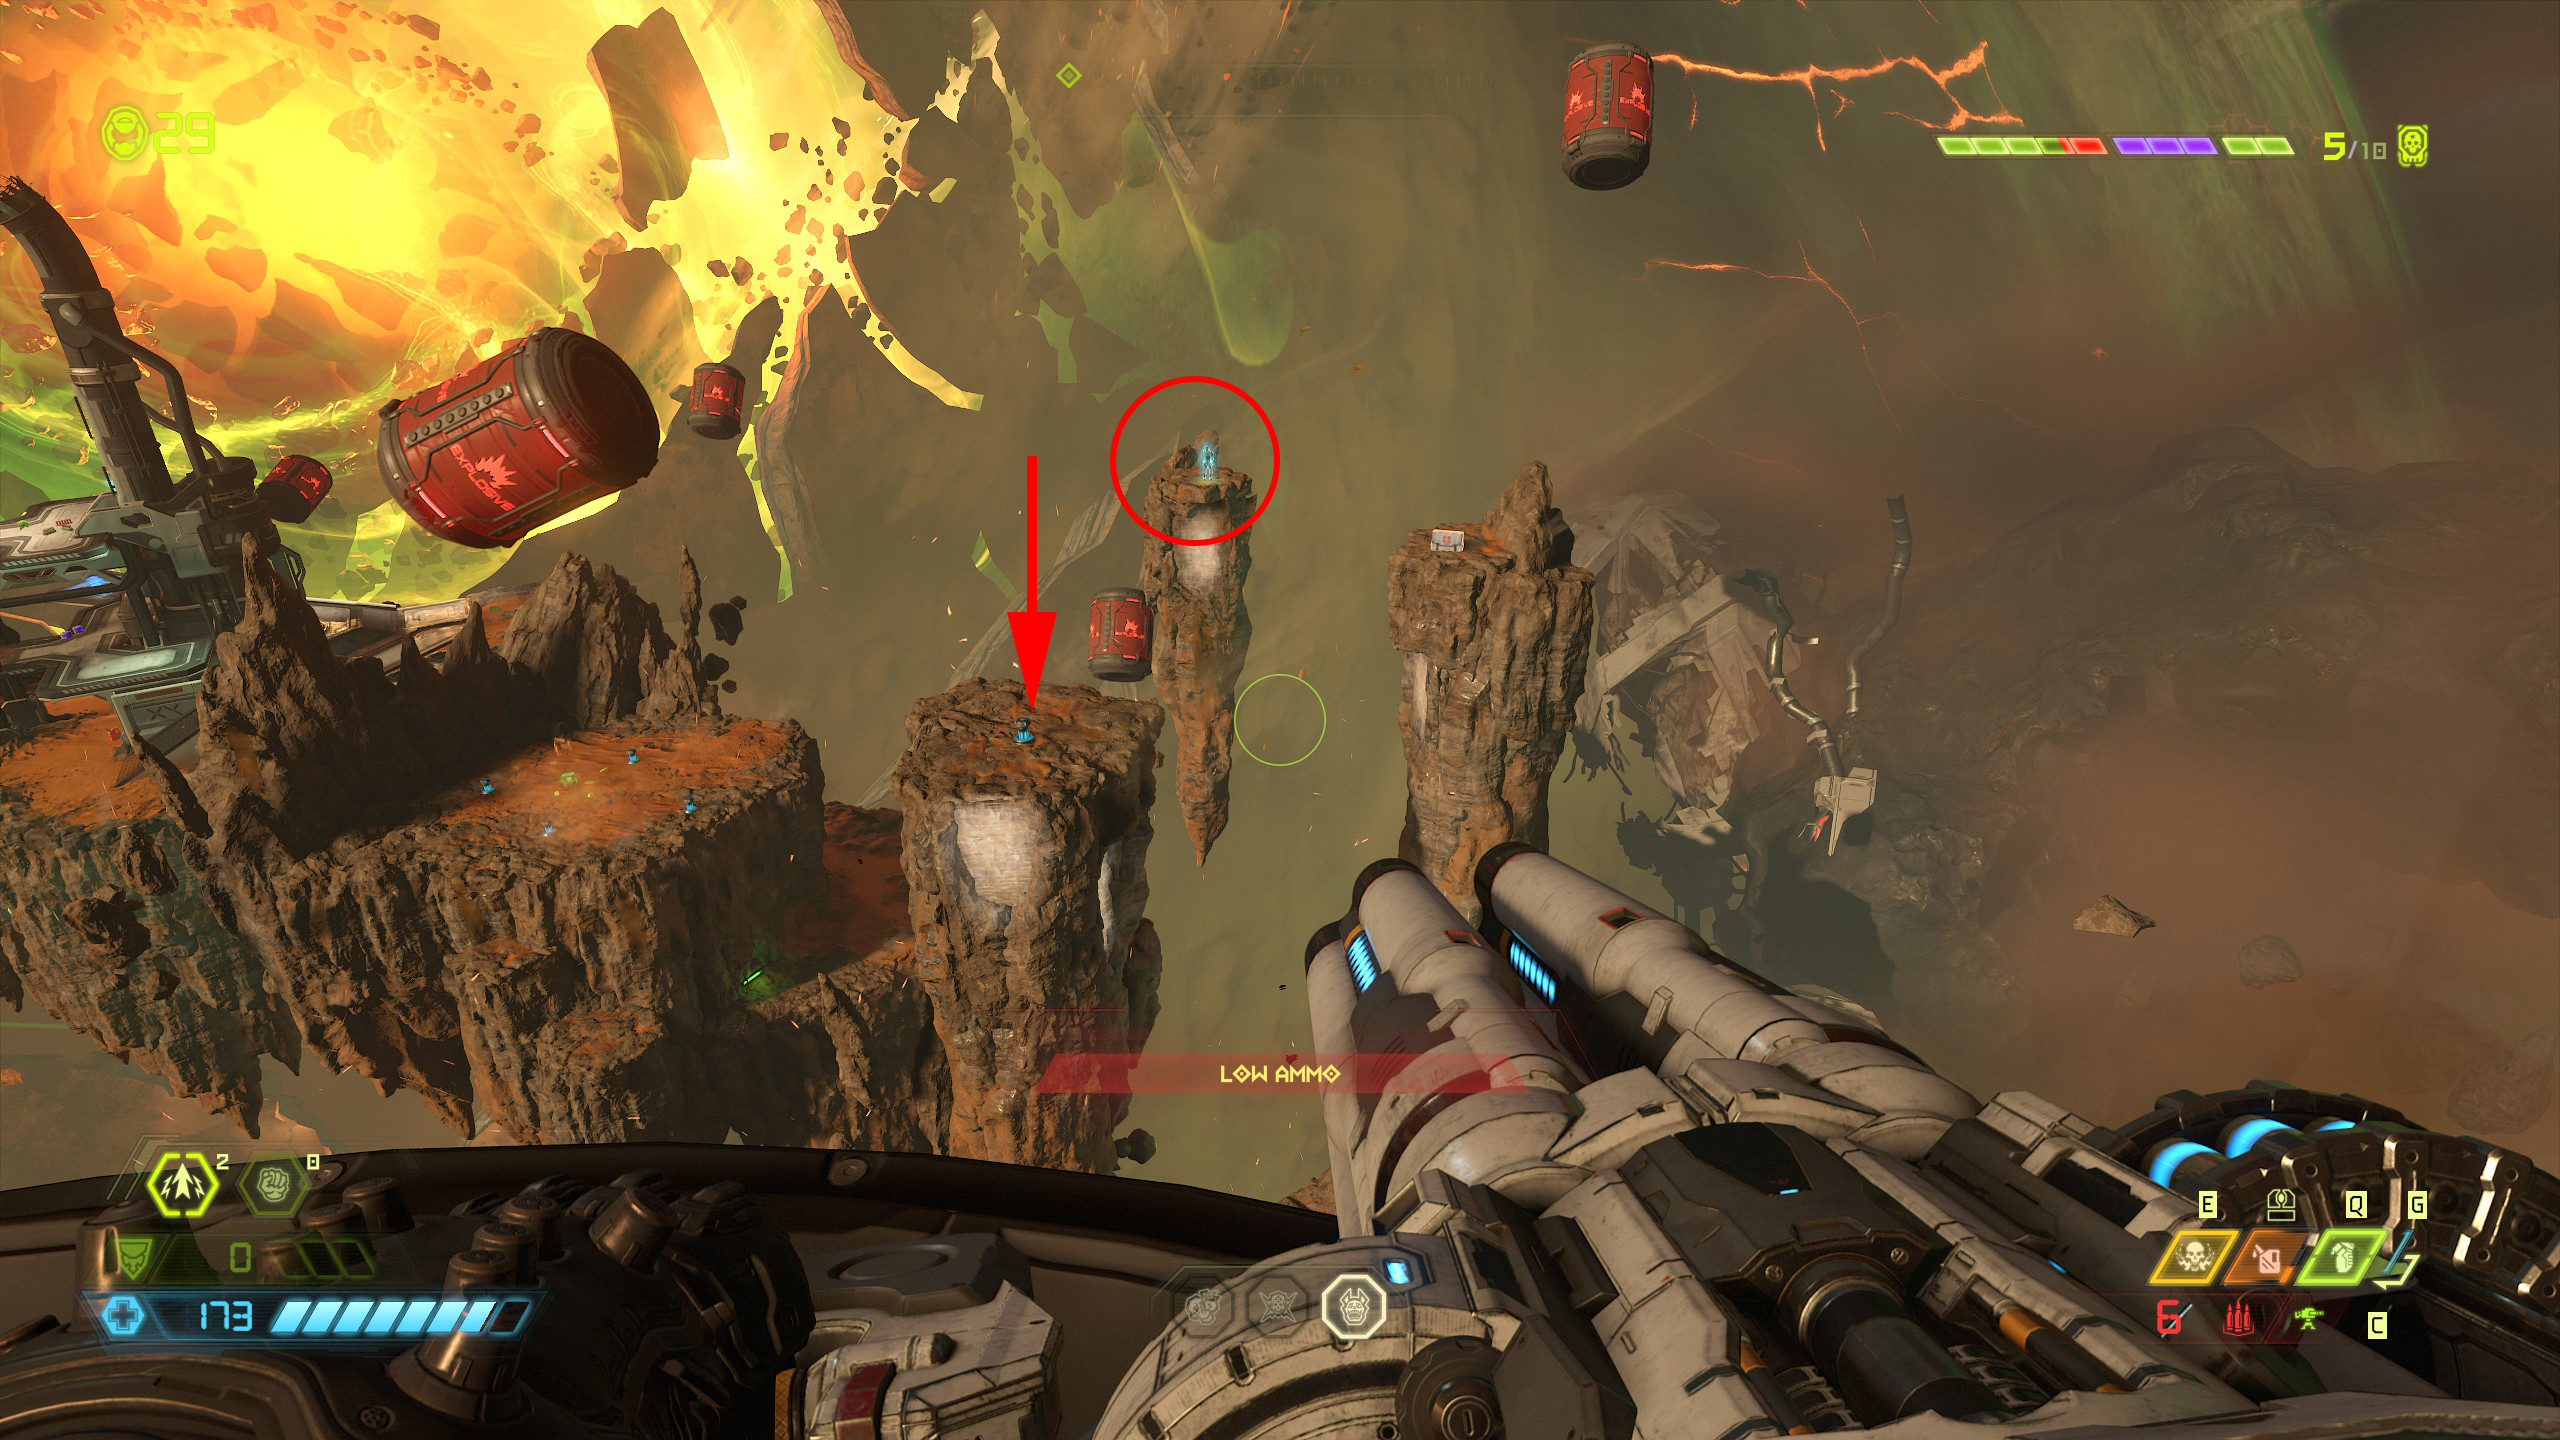
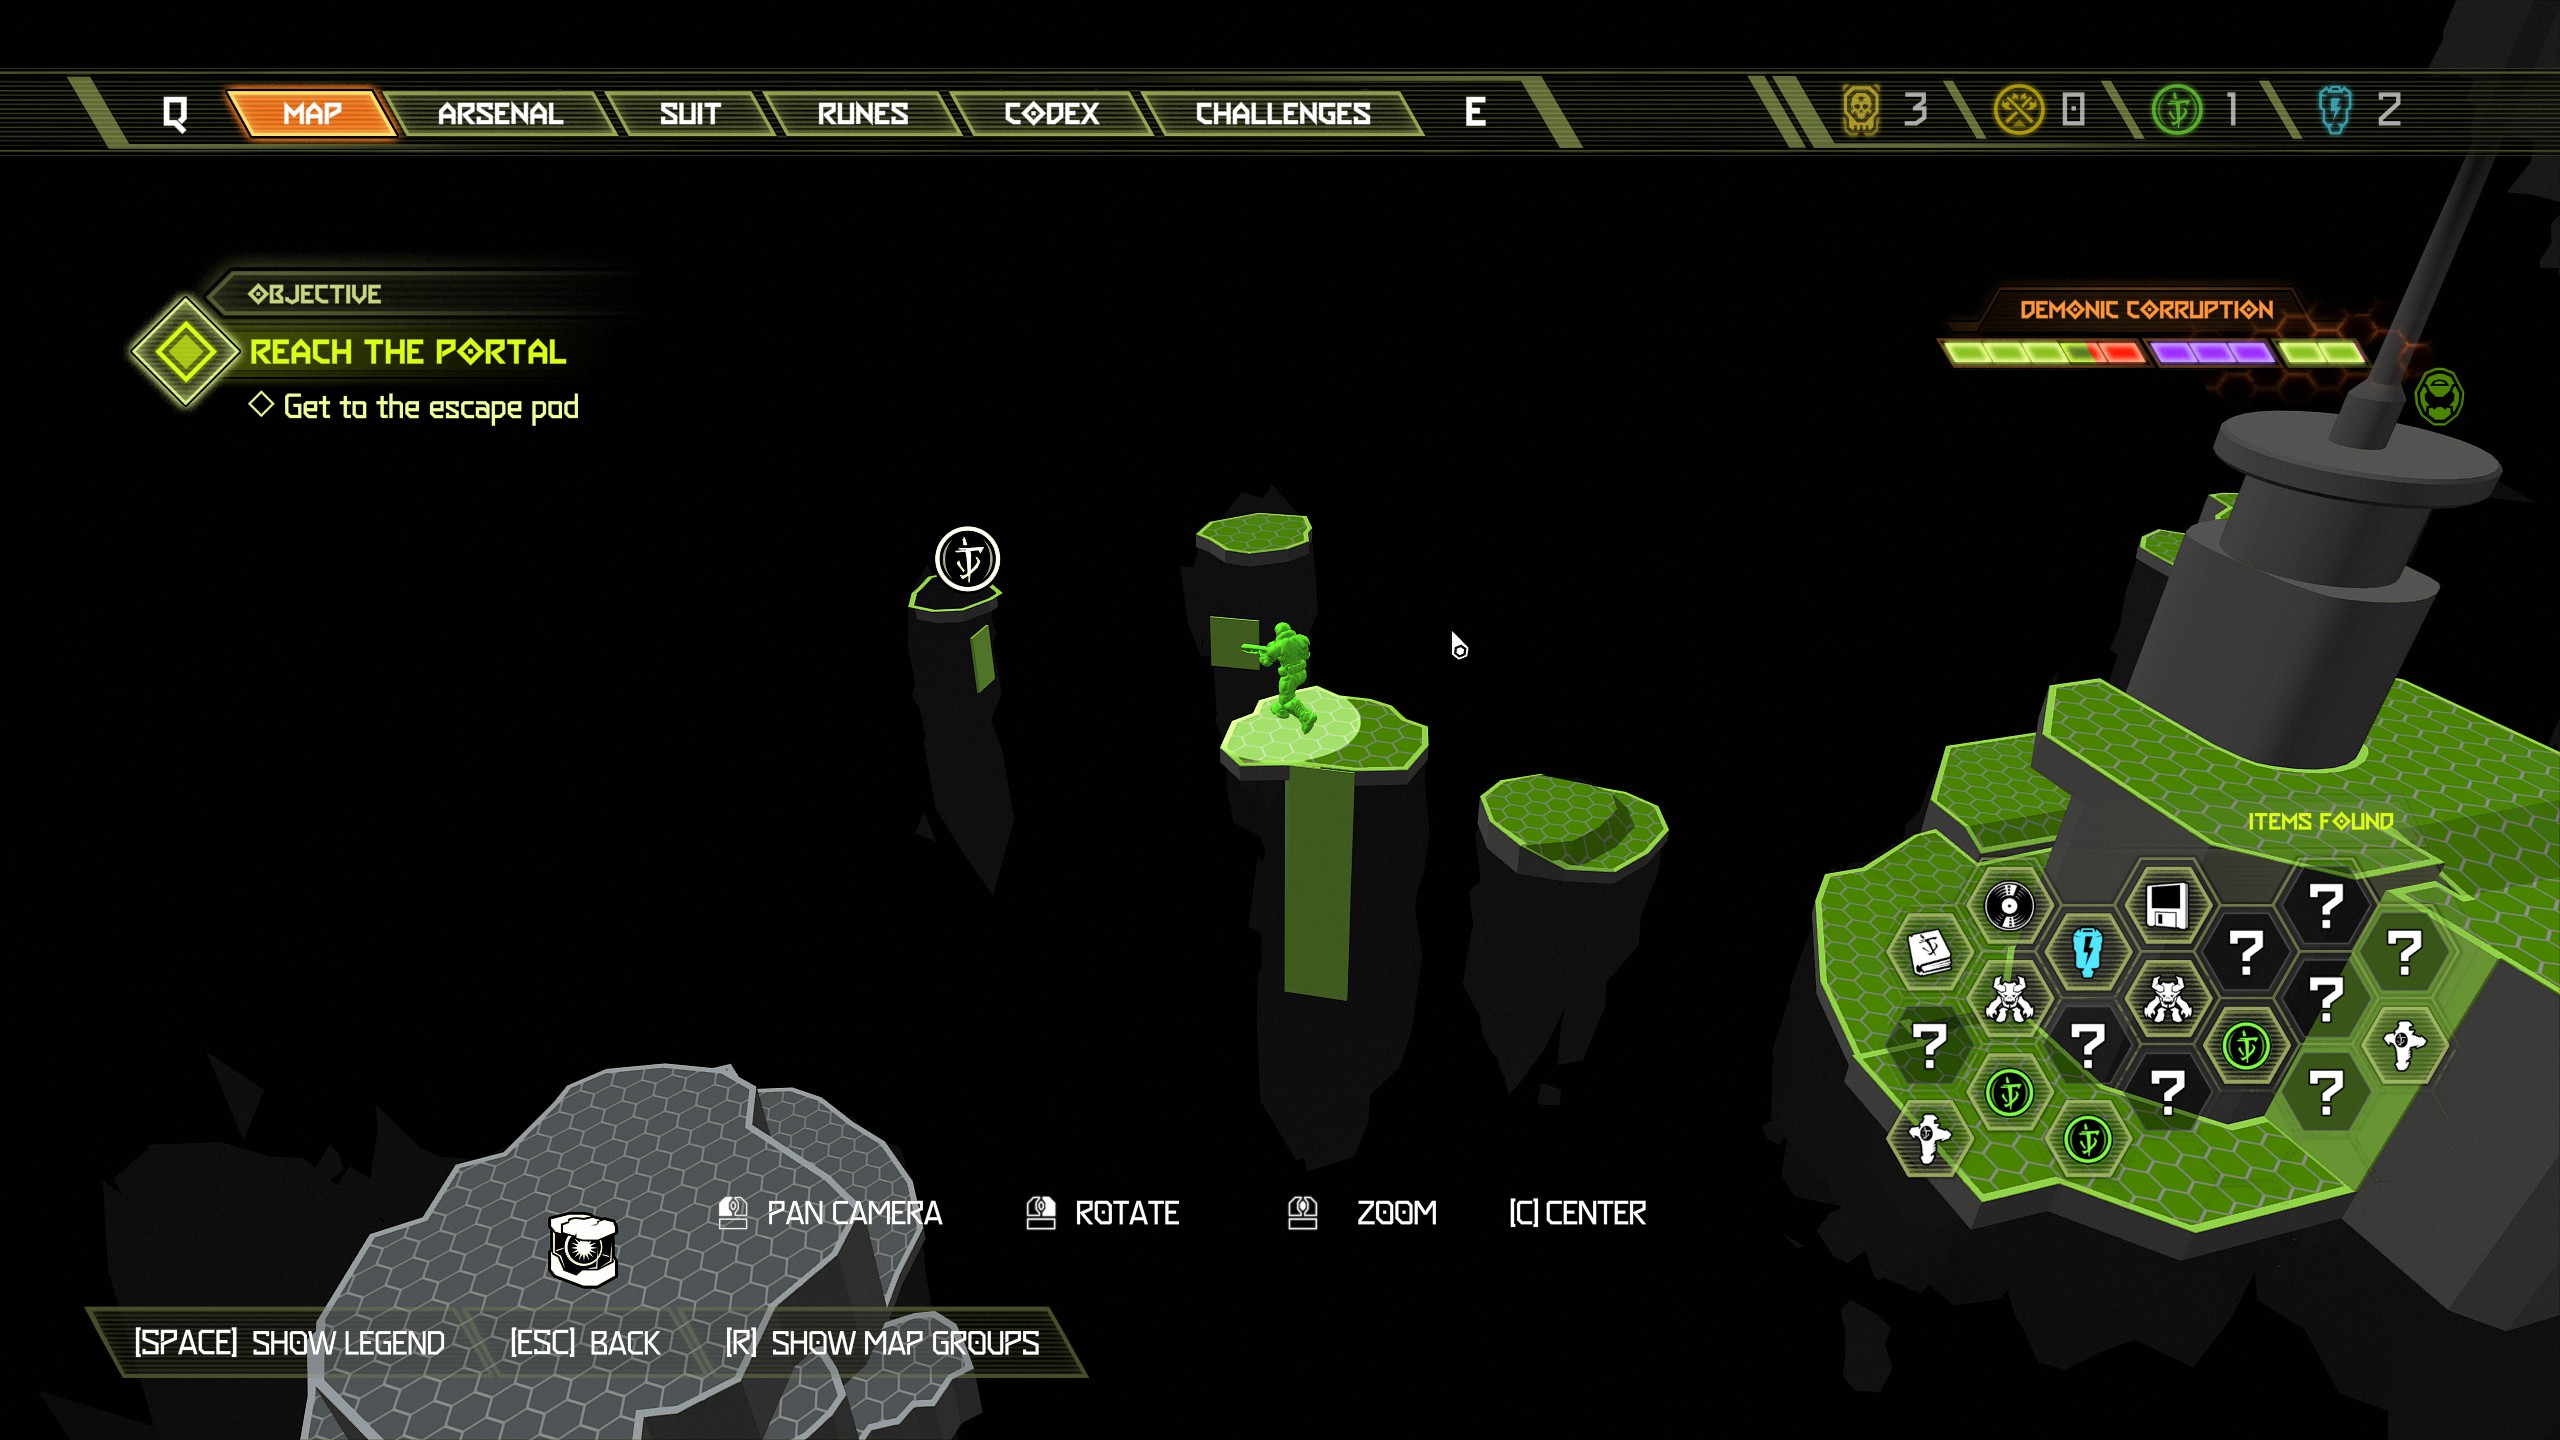
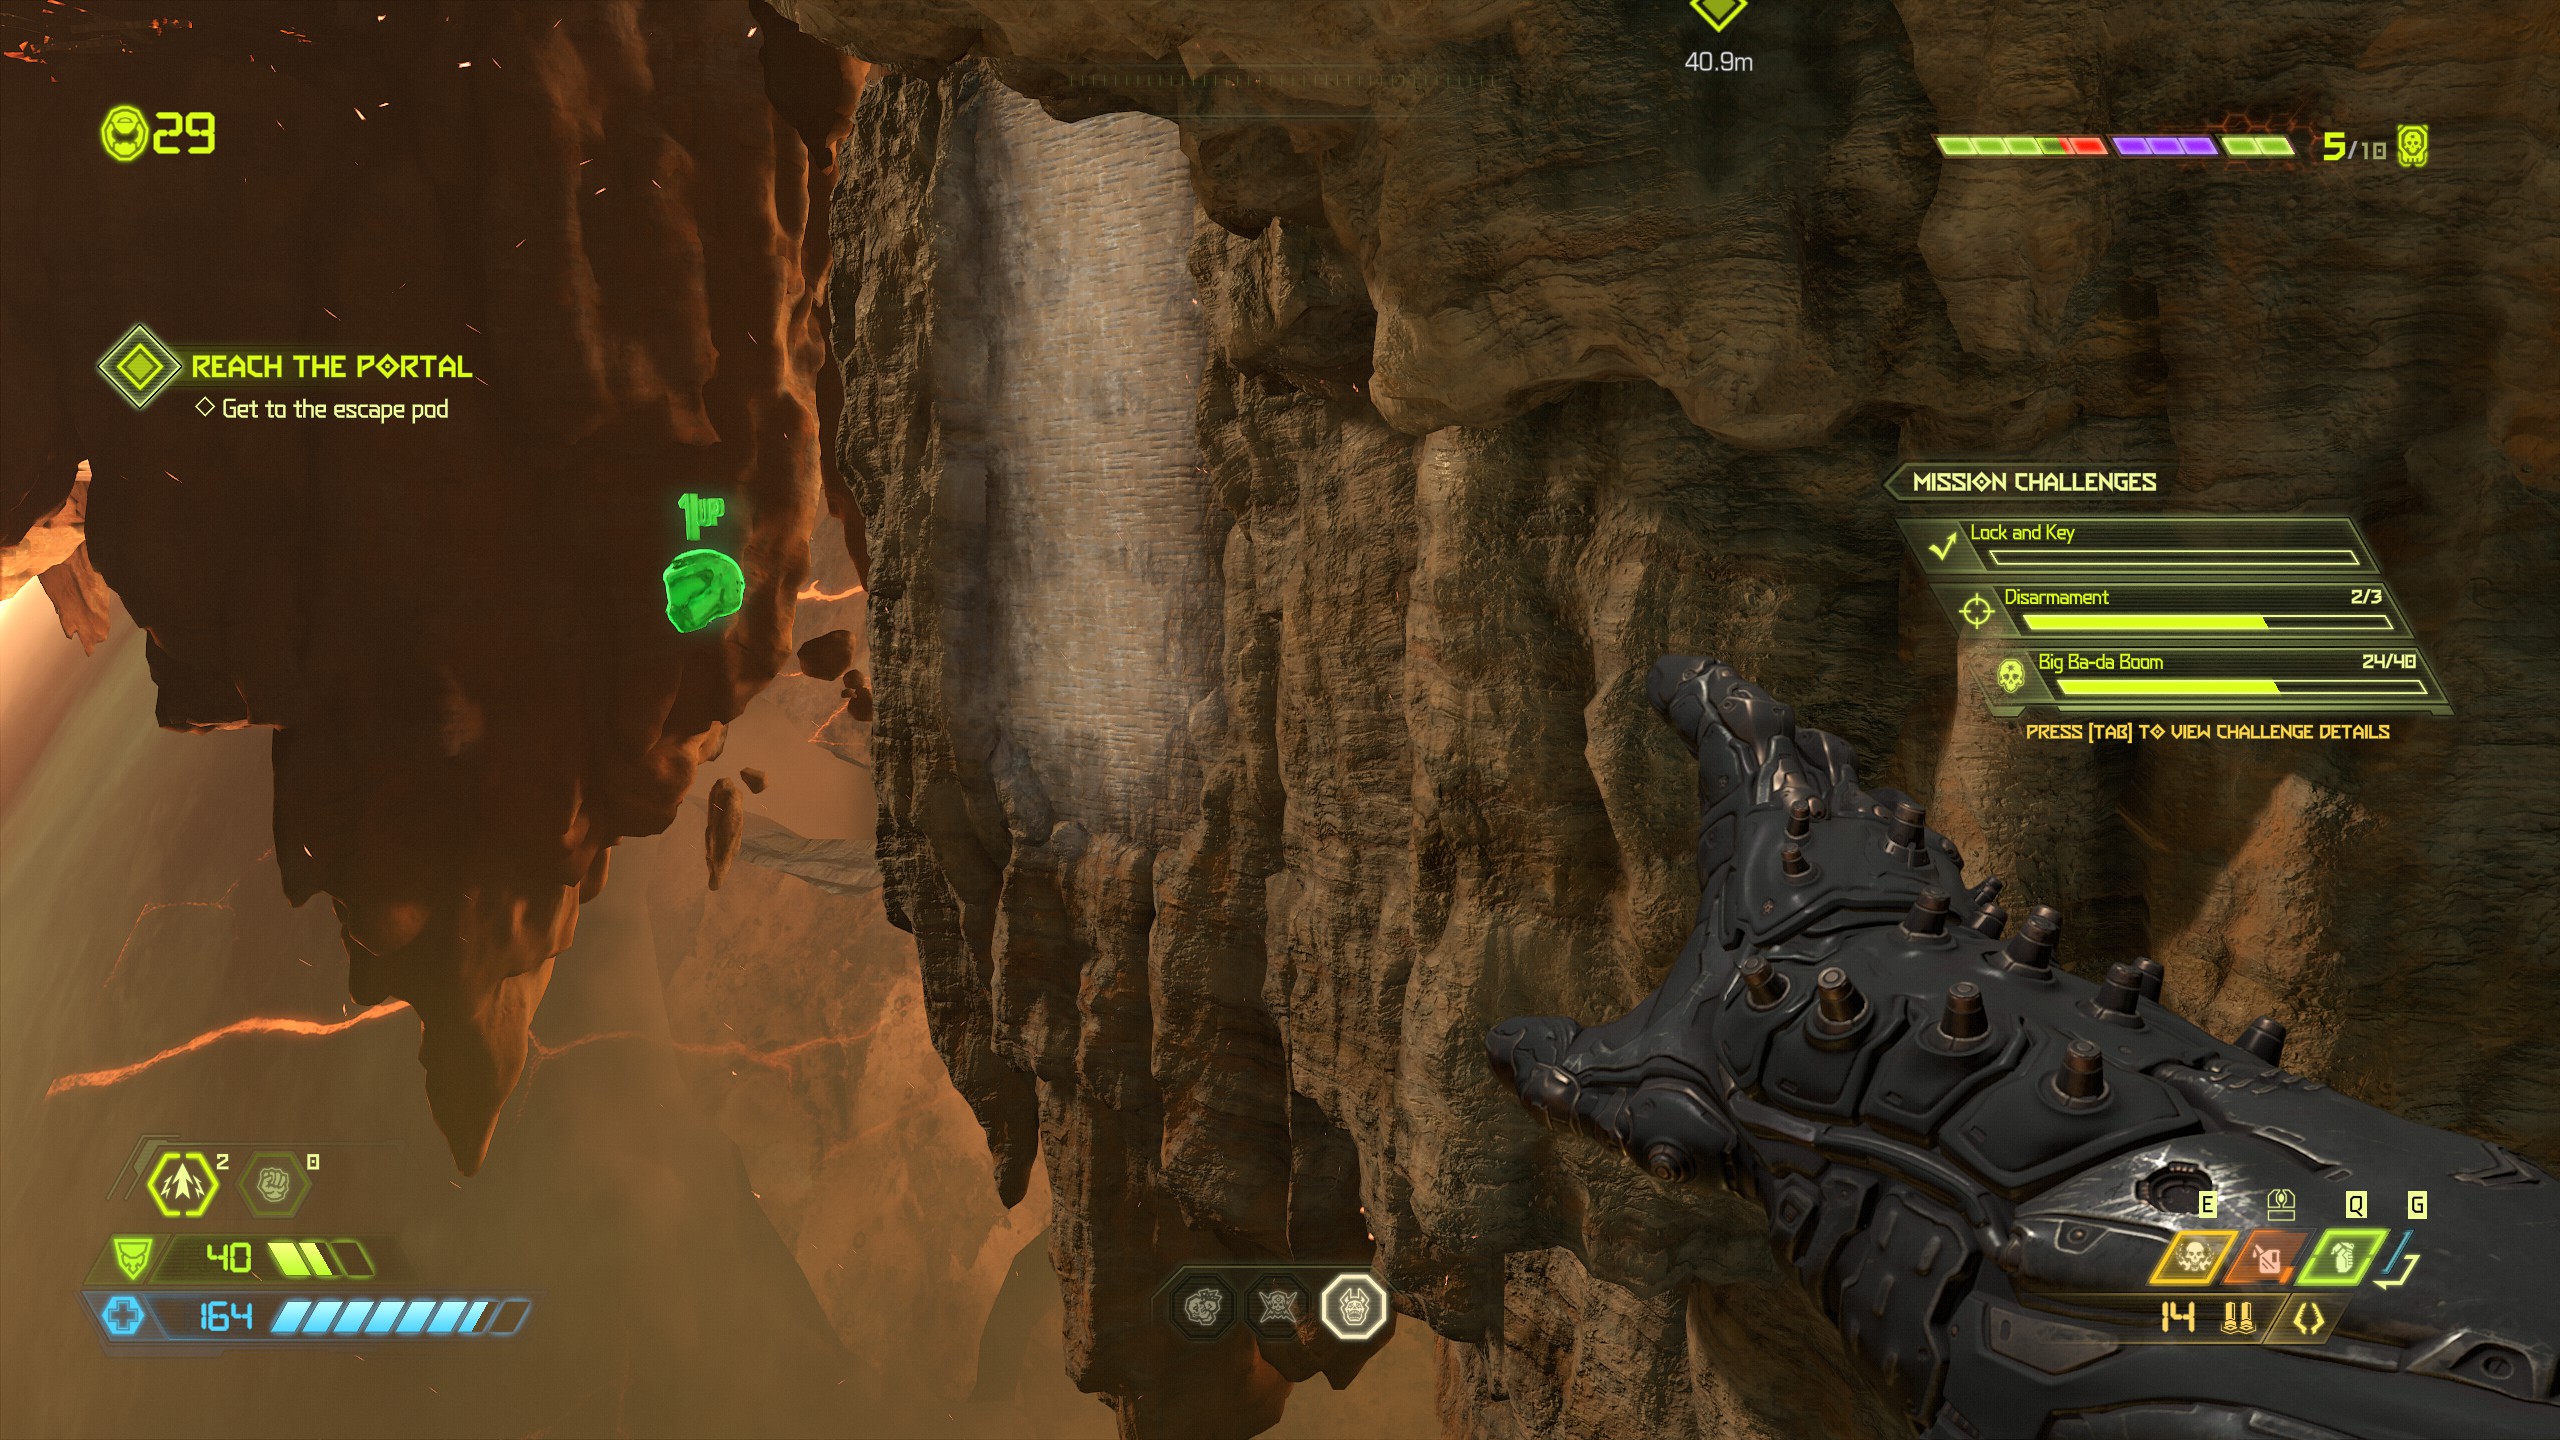
Now from the praetor suit token drop down onto the large platform with the four electricity pins. From there make your way to the next platform using the walls underneath and as you jump from wall to wall you will see an extra life that you can collect on your way back up.
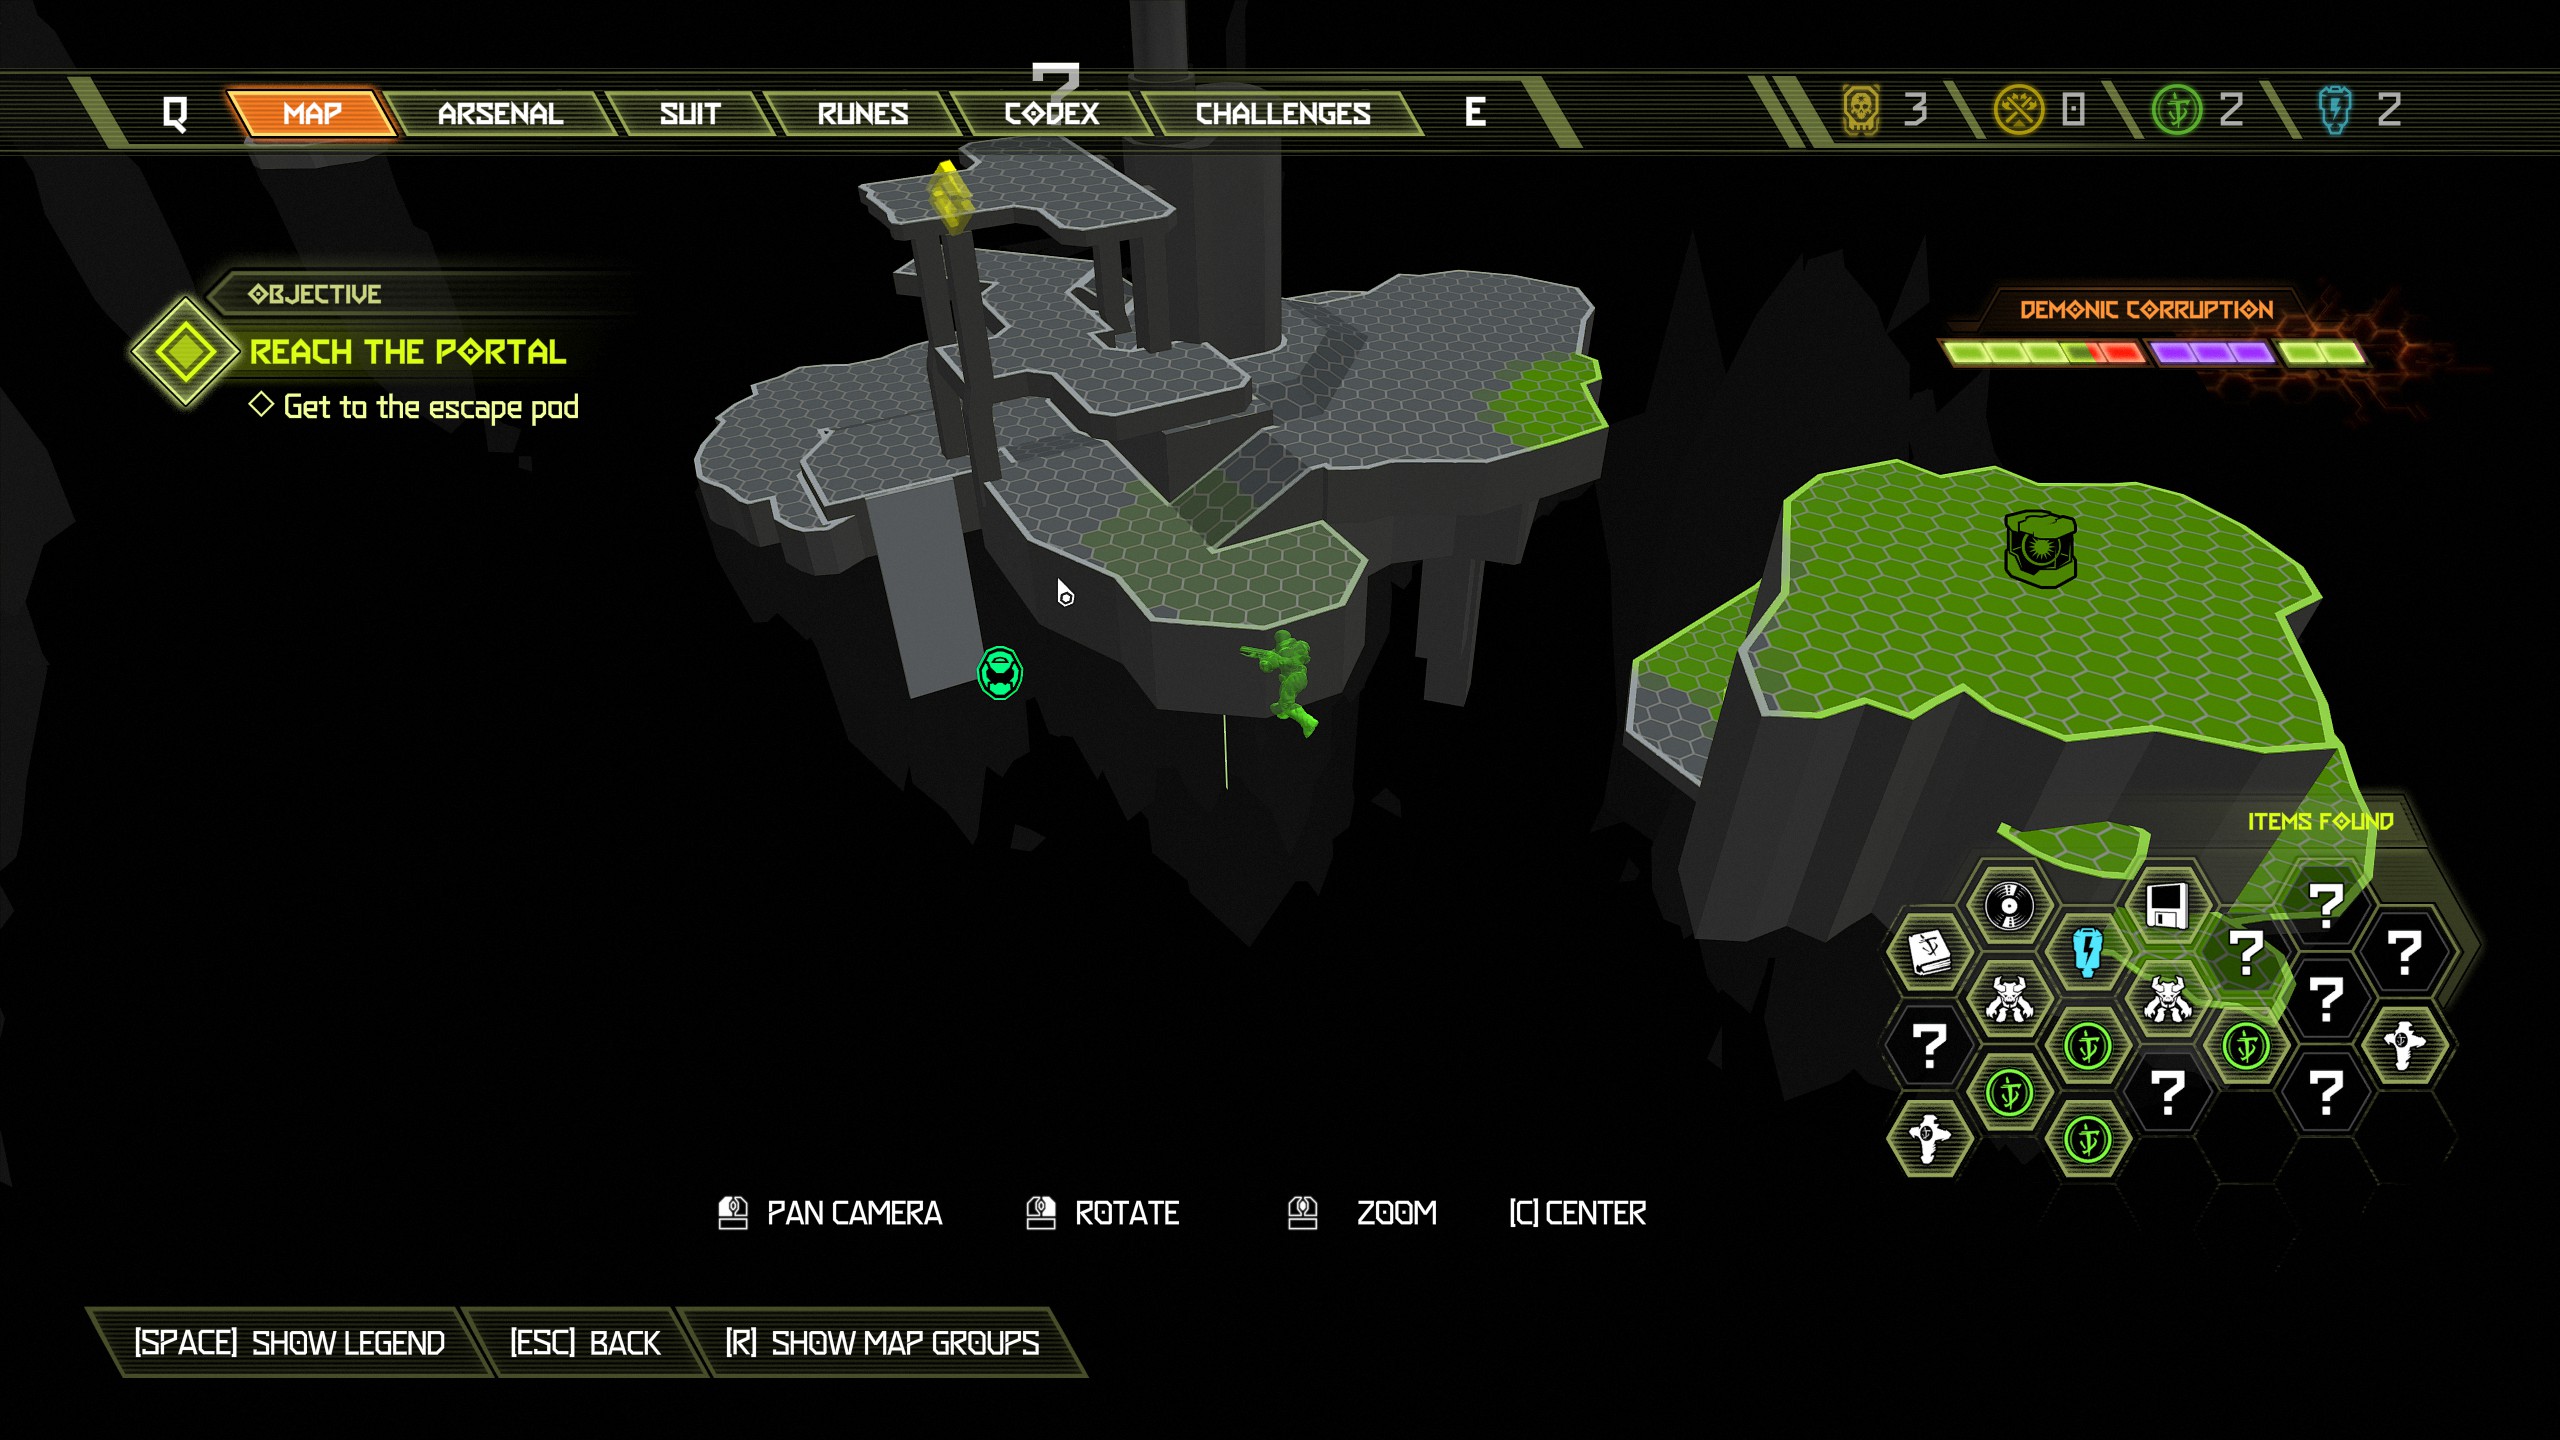
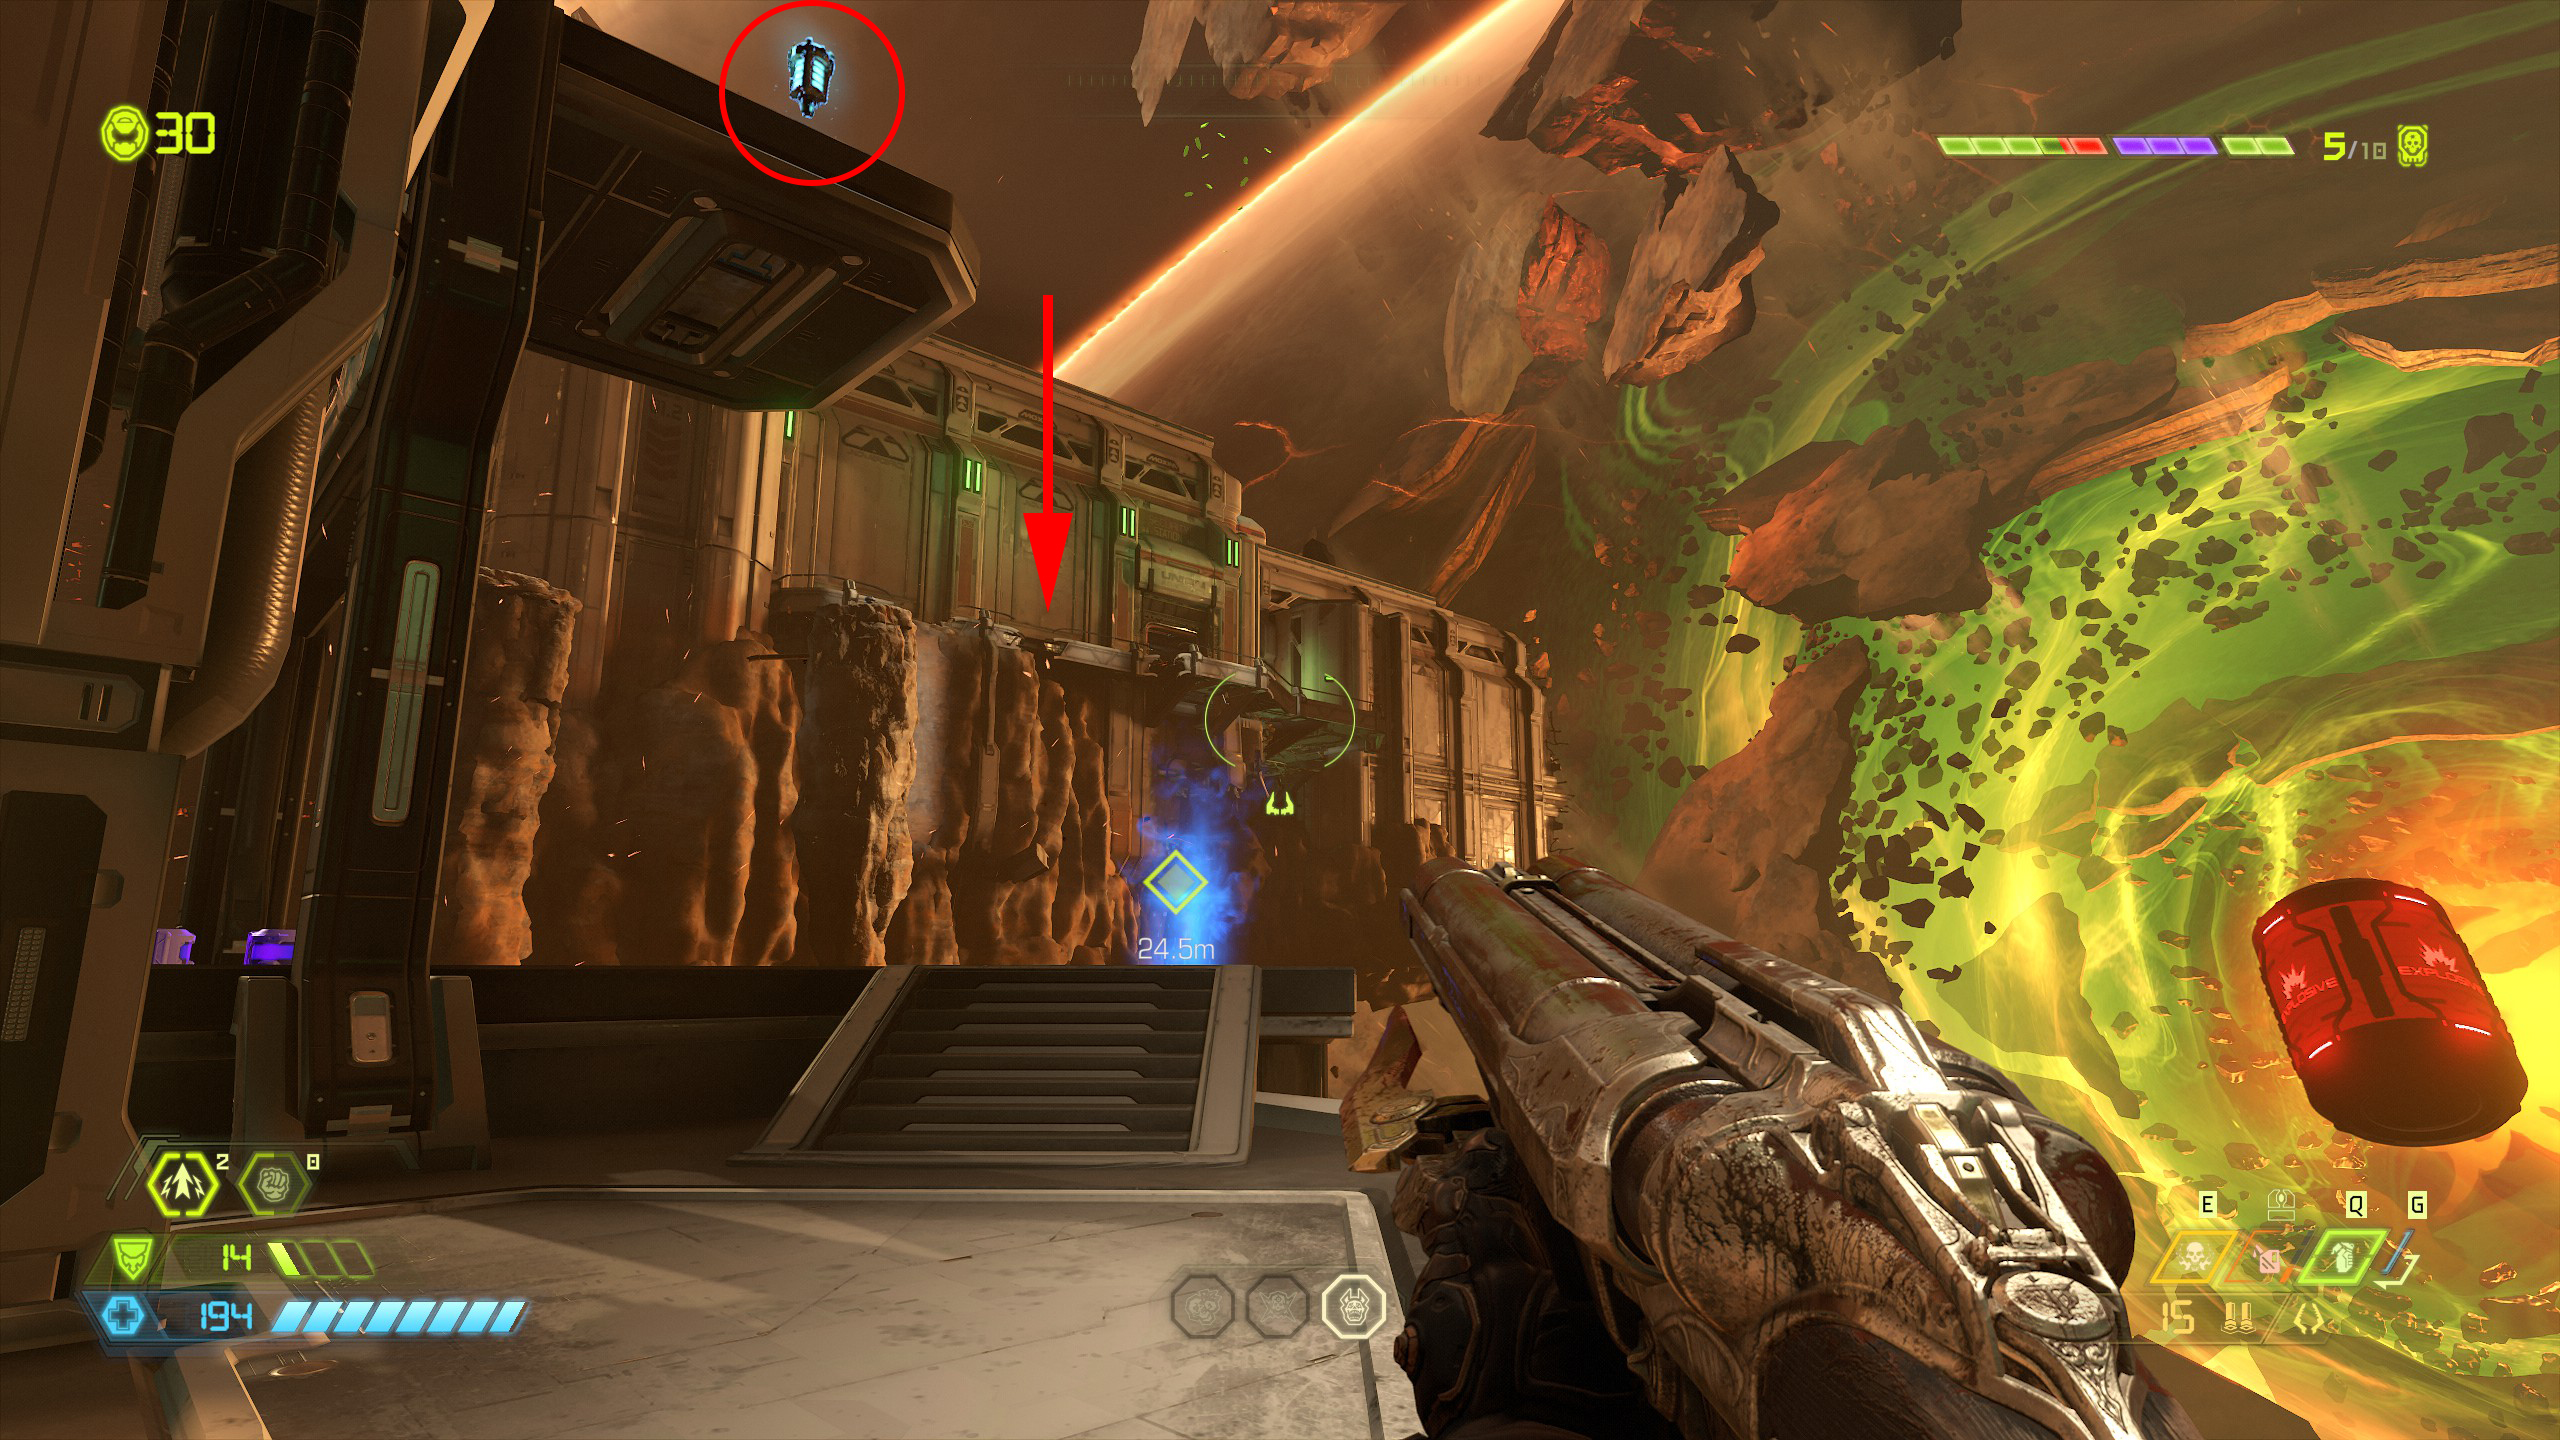
When you're at the top of the platform you will notice a sentinel battery on the ledge above you, to reach it use the booster to jump across to the opposite side higher up and then jump back across using the small platforms and collect the sentinel battery.
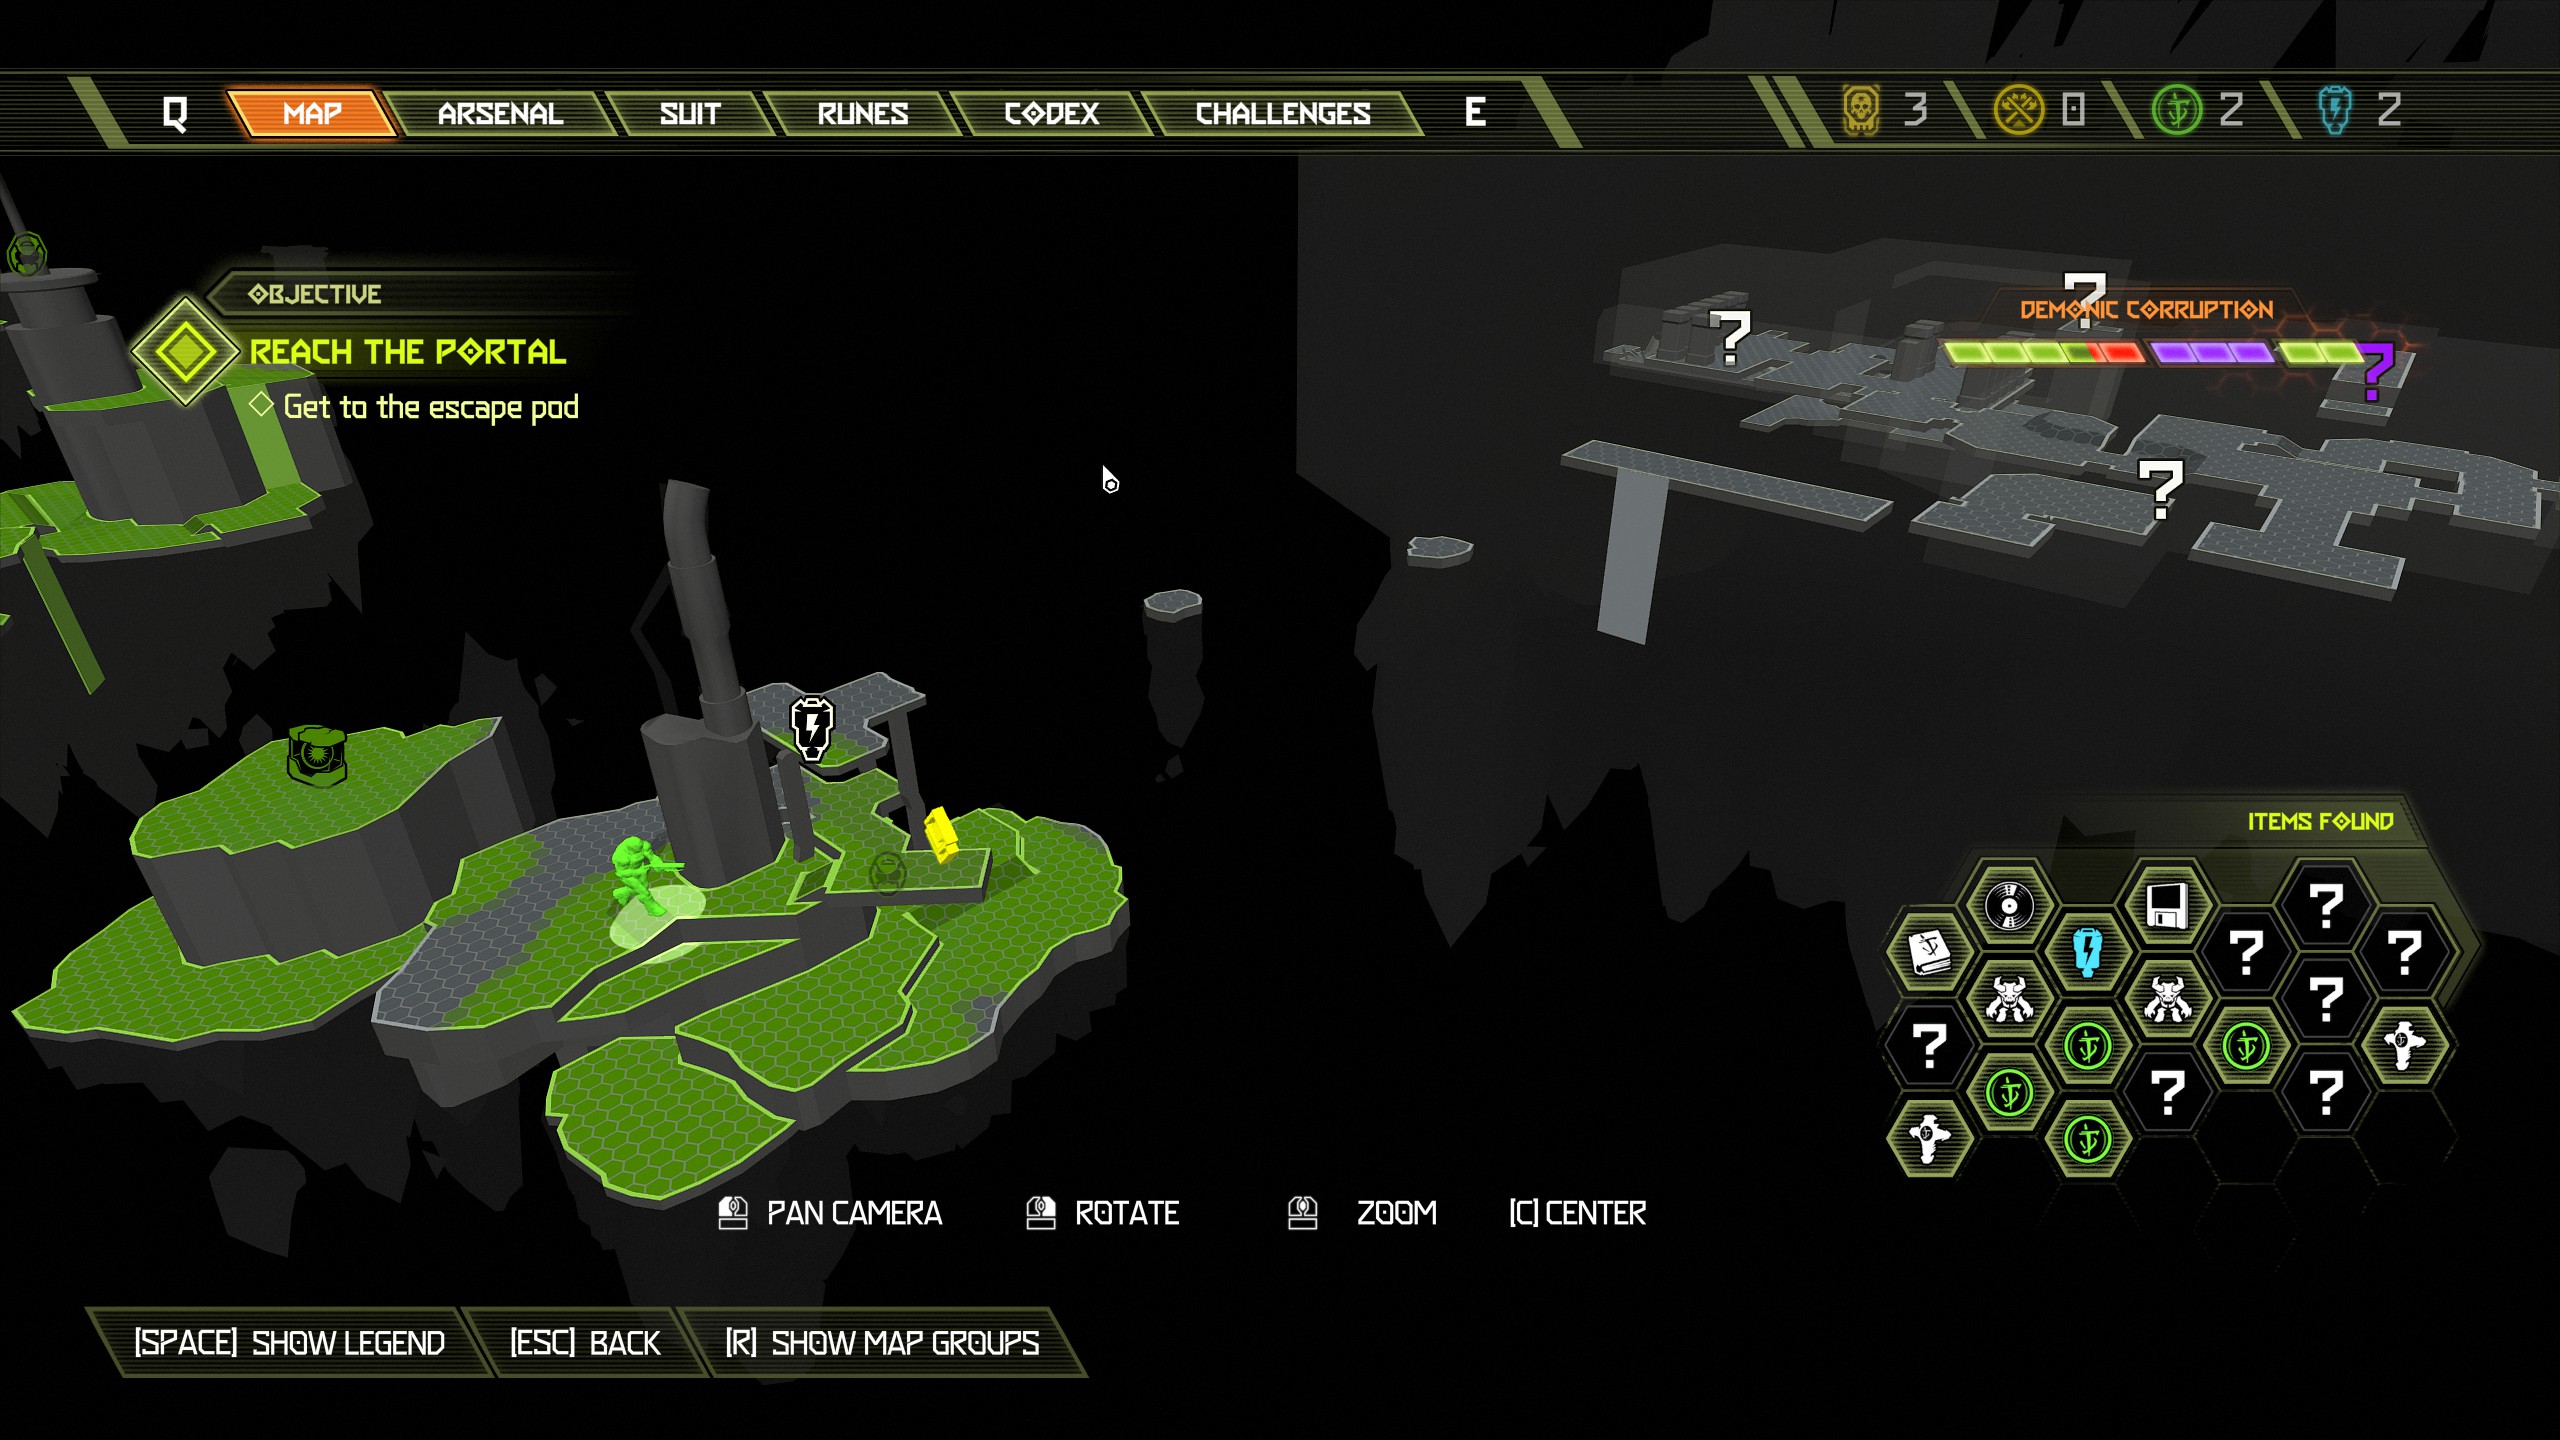
Now from the sentinel battery use the same booster to continue the mission and jump back across. Once across enter the nearby building and inside will be a sentinel crystal for you. To proceed with the mission from there you will need to exit the building and turn left and then jump across the opening.
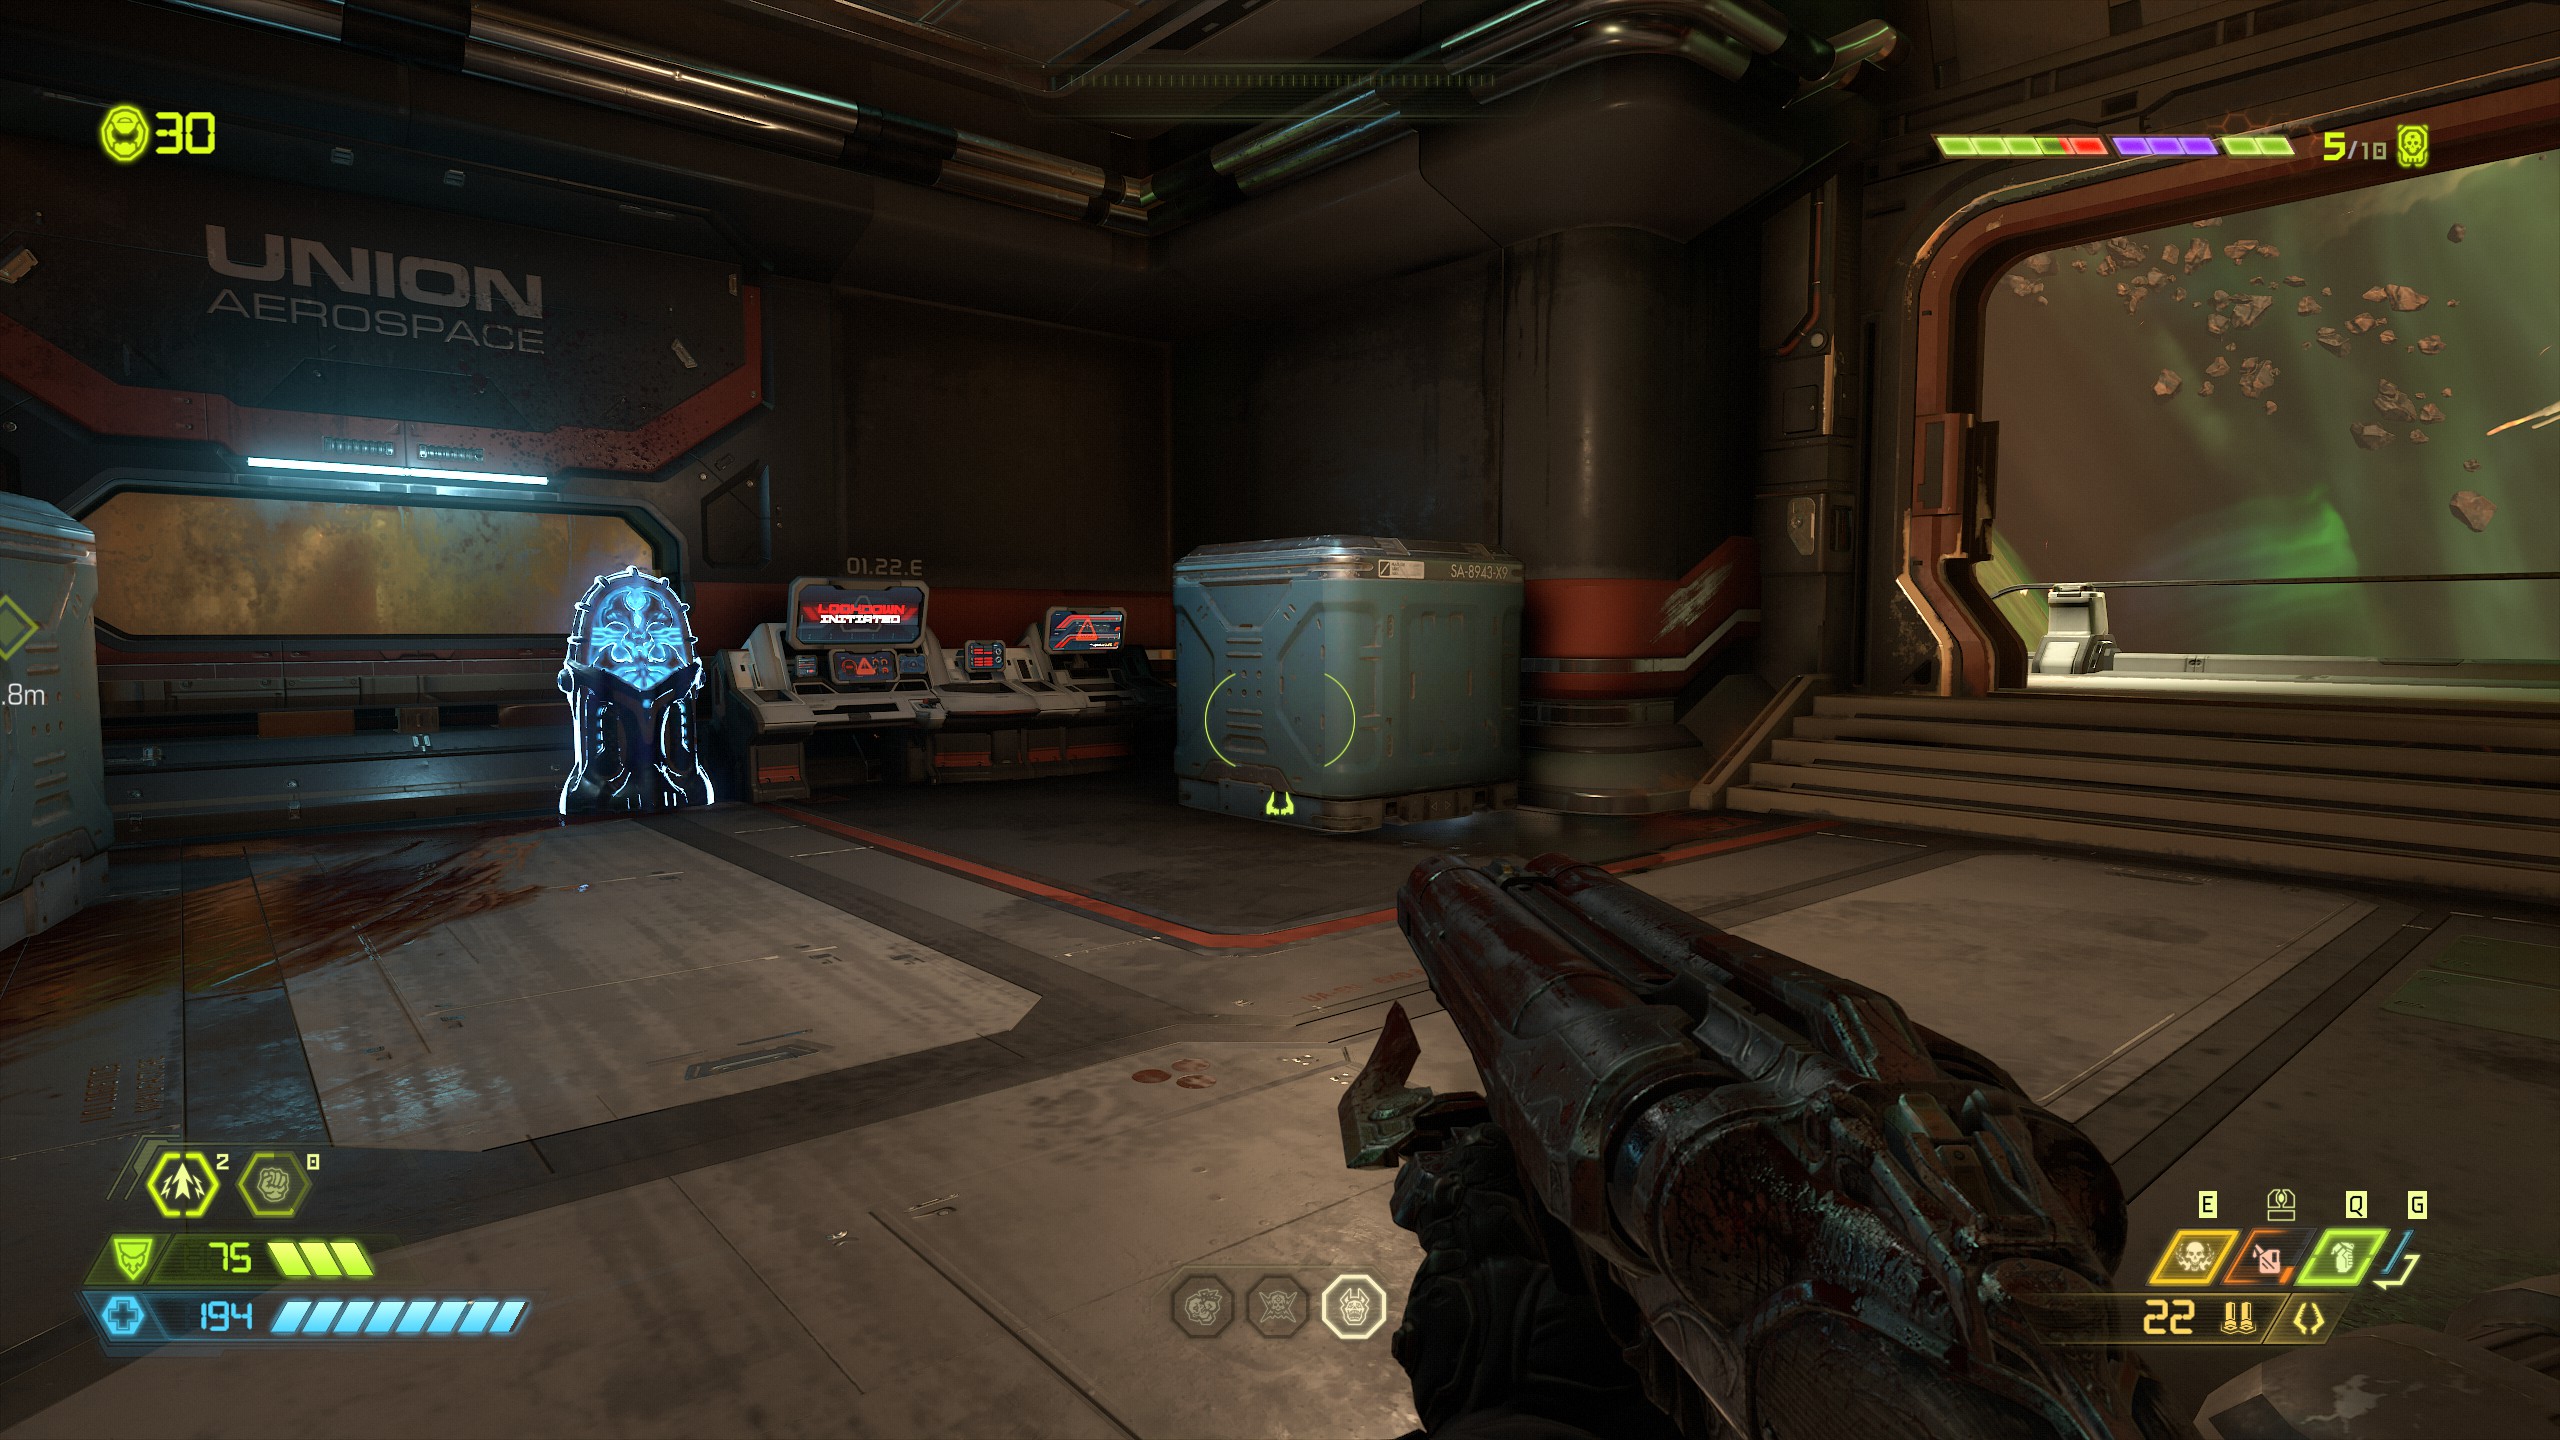
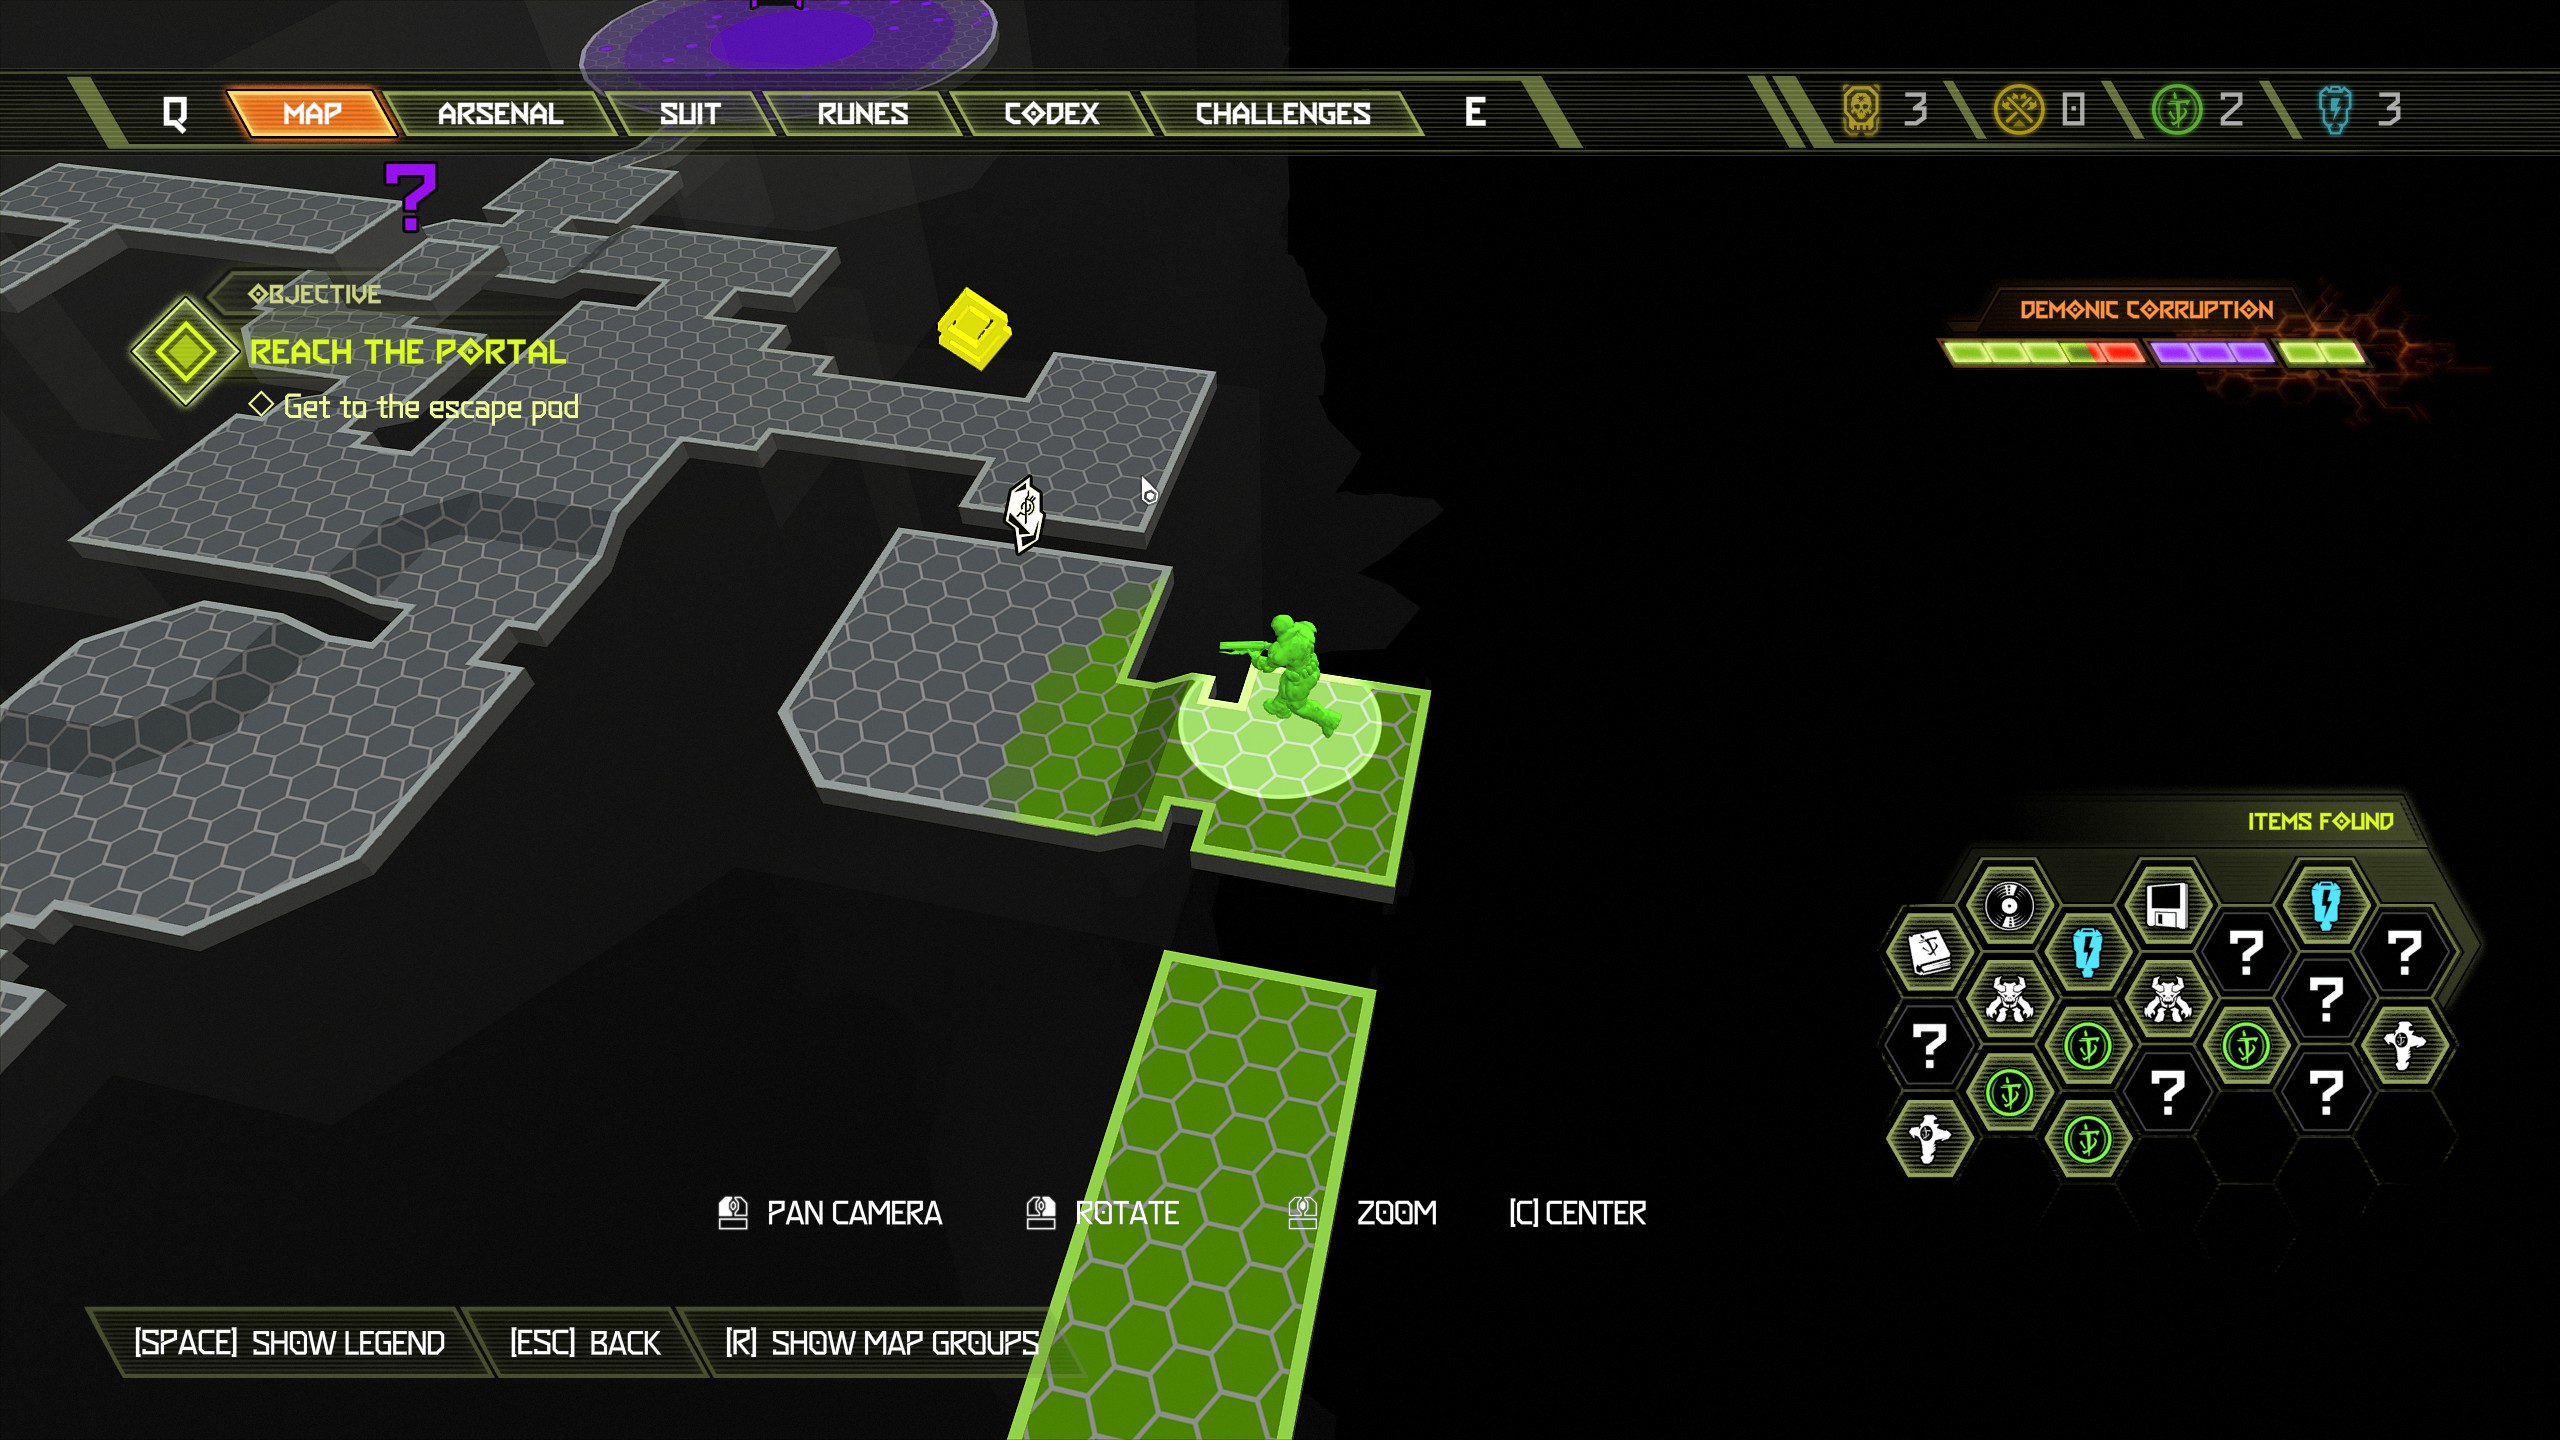
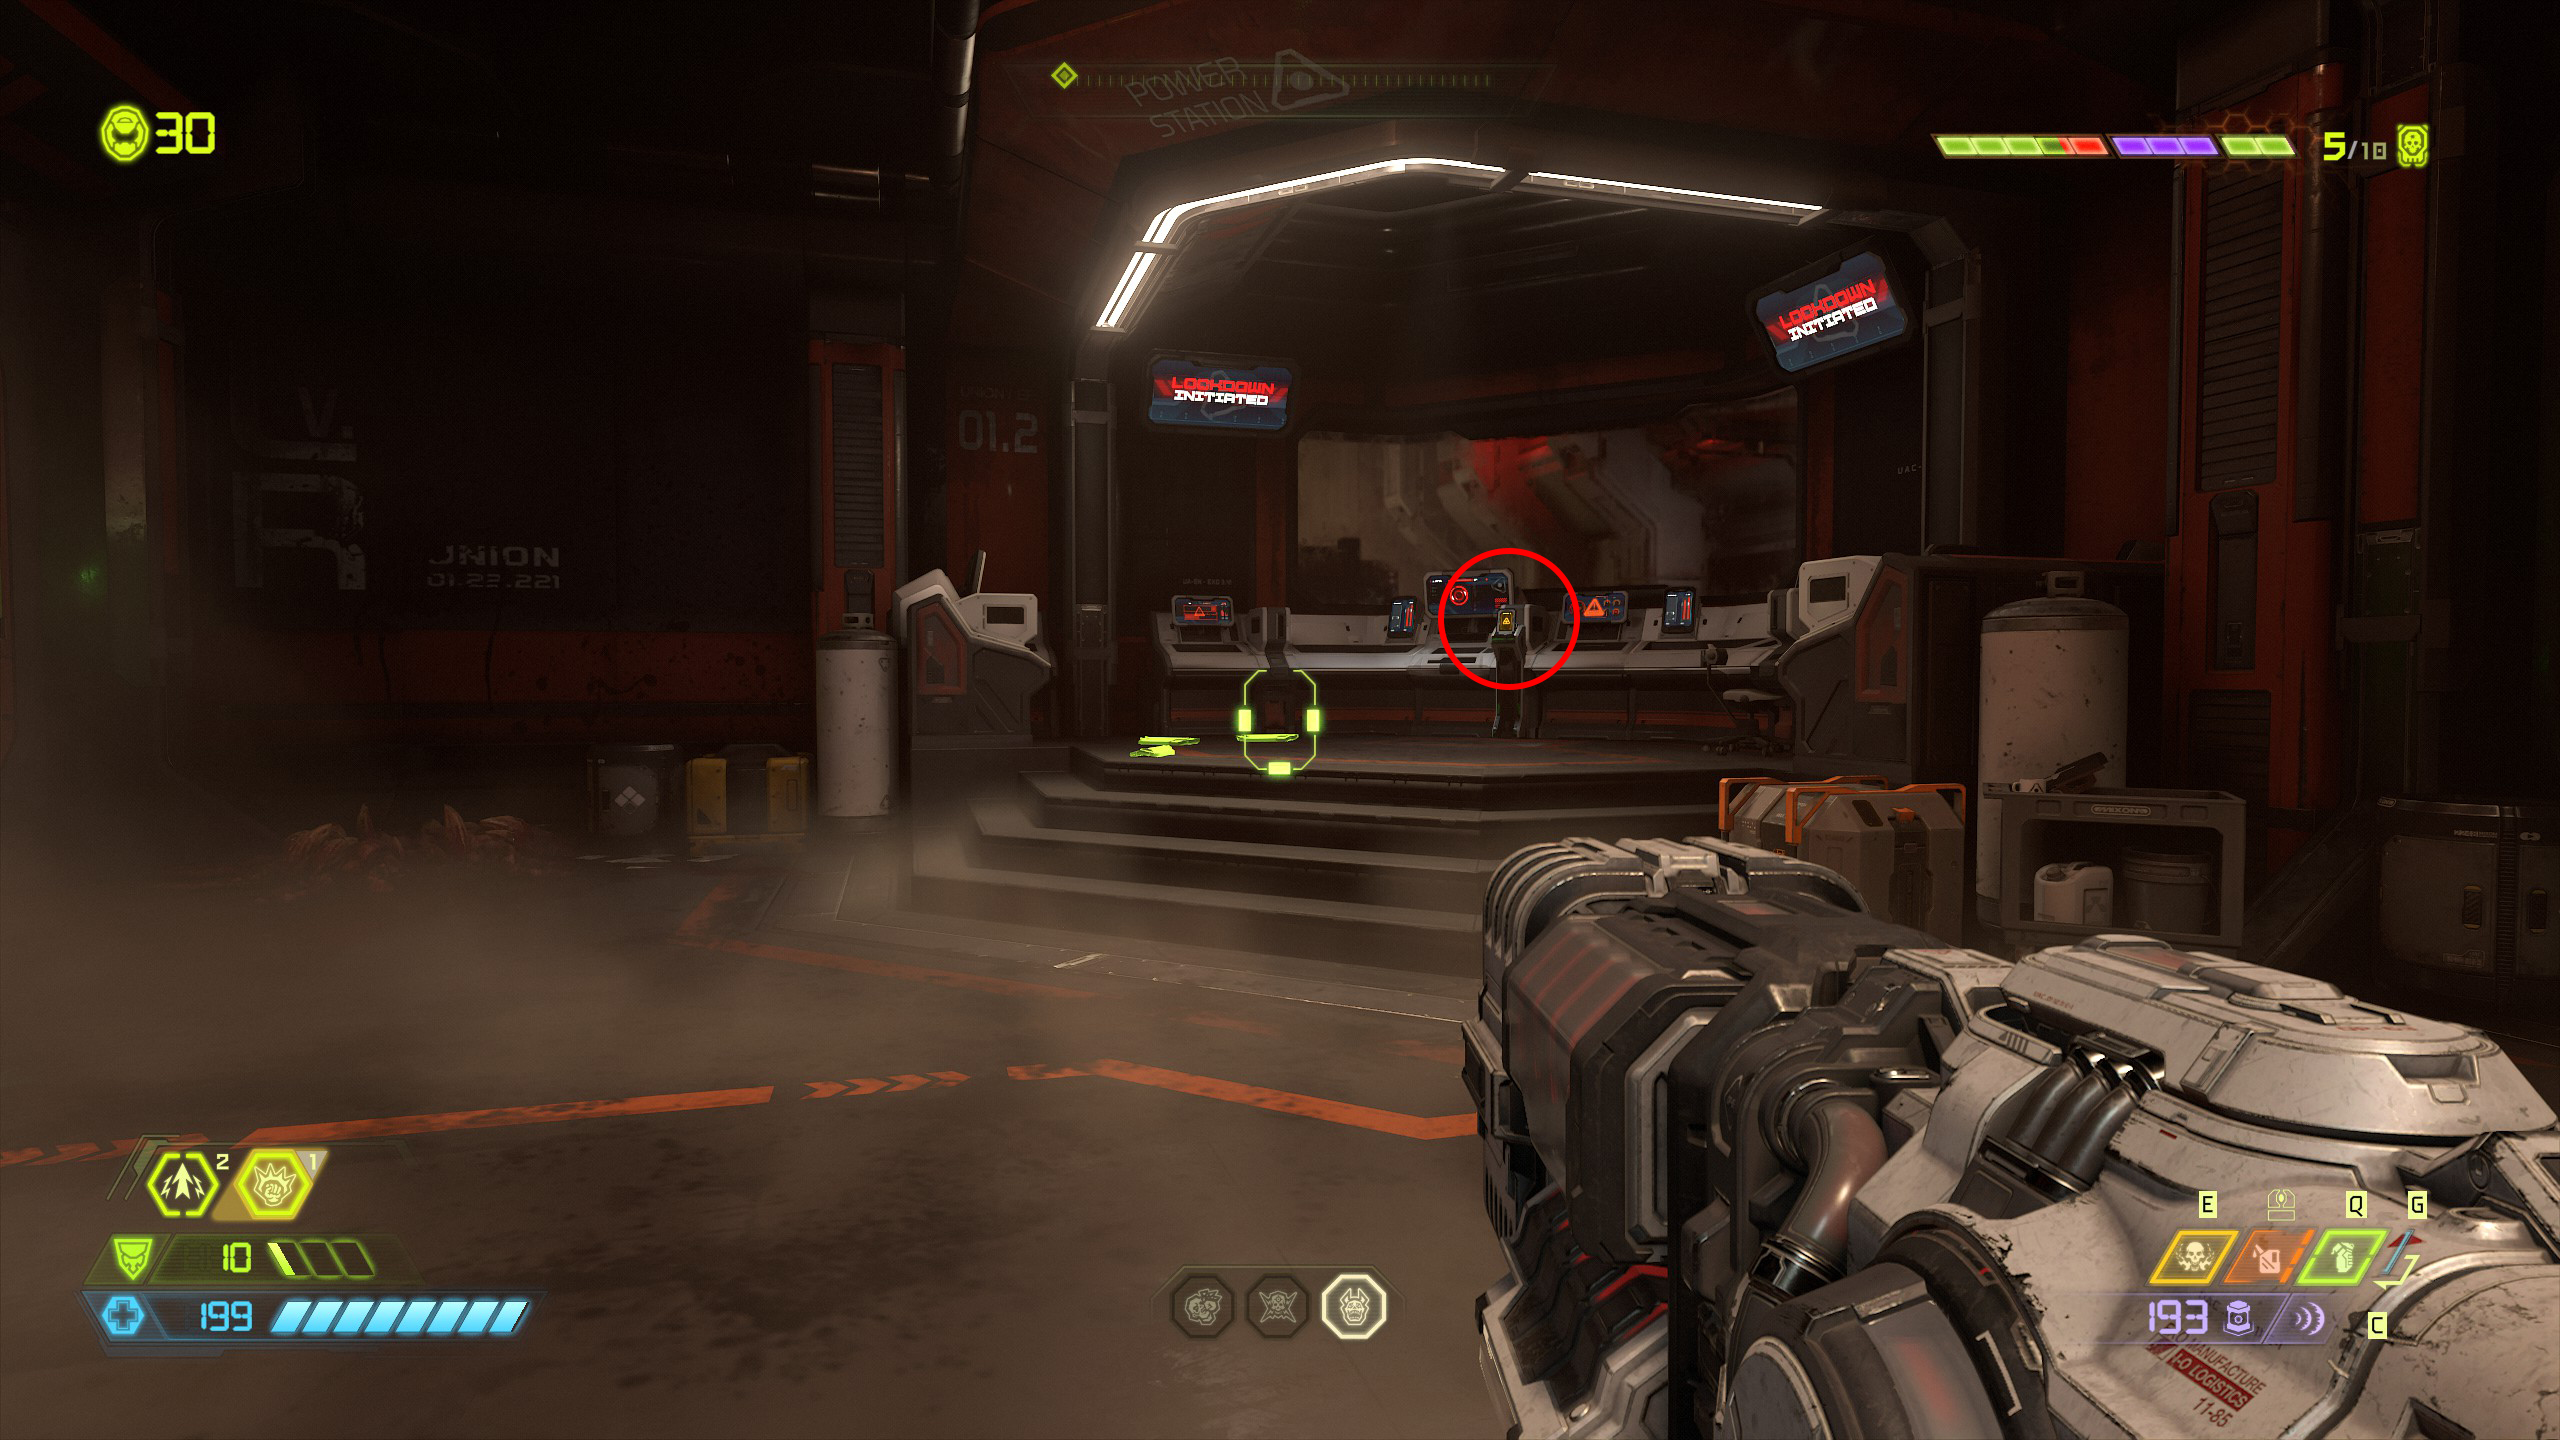
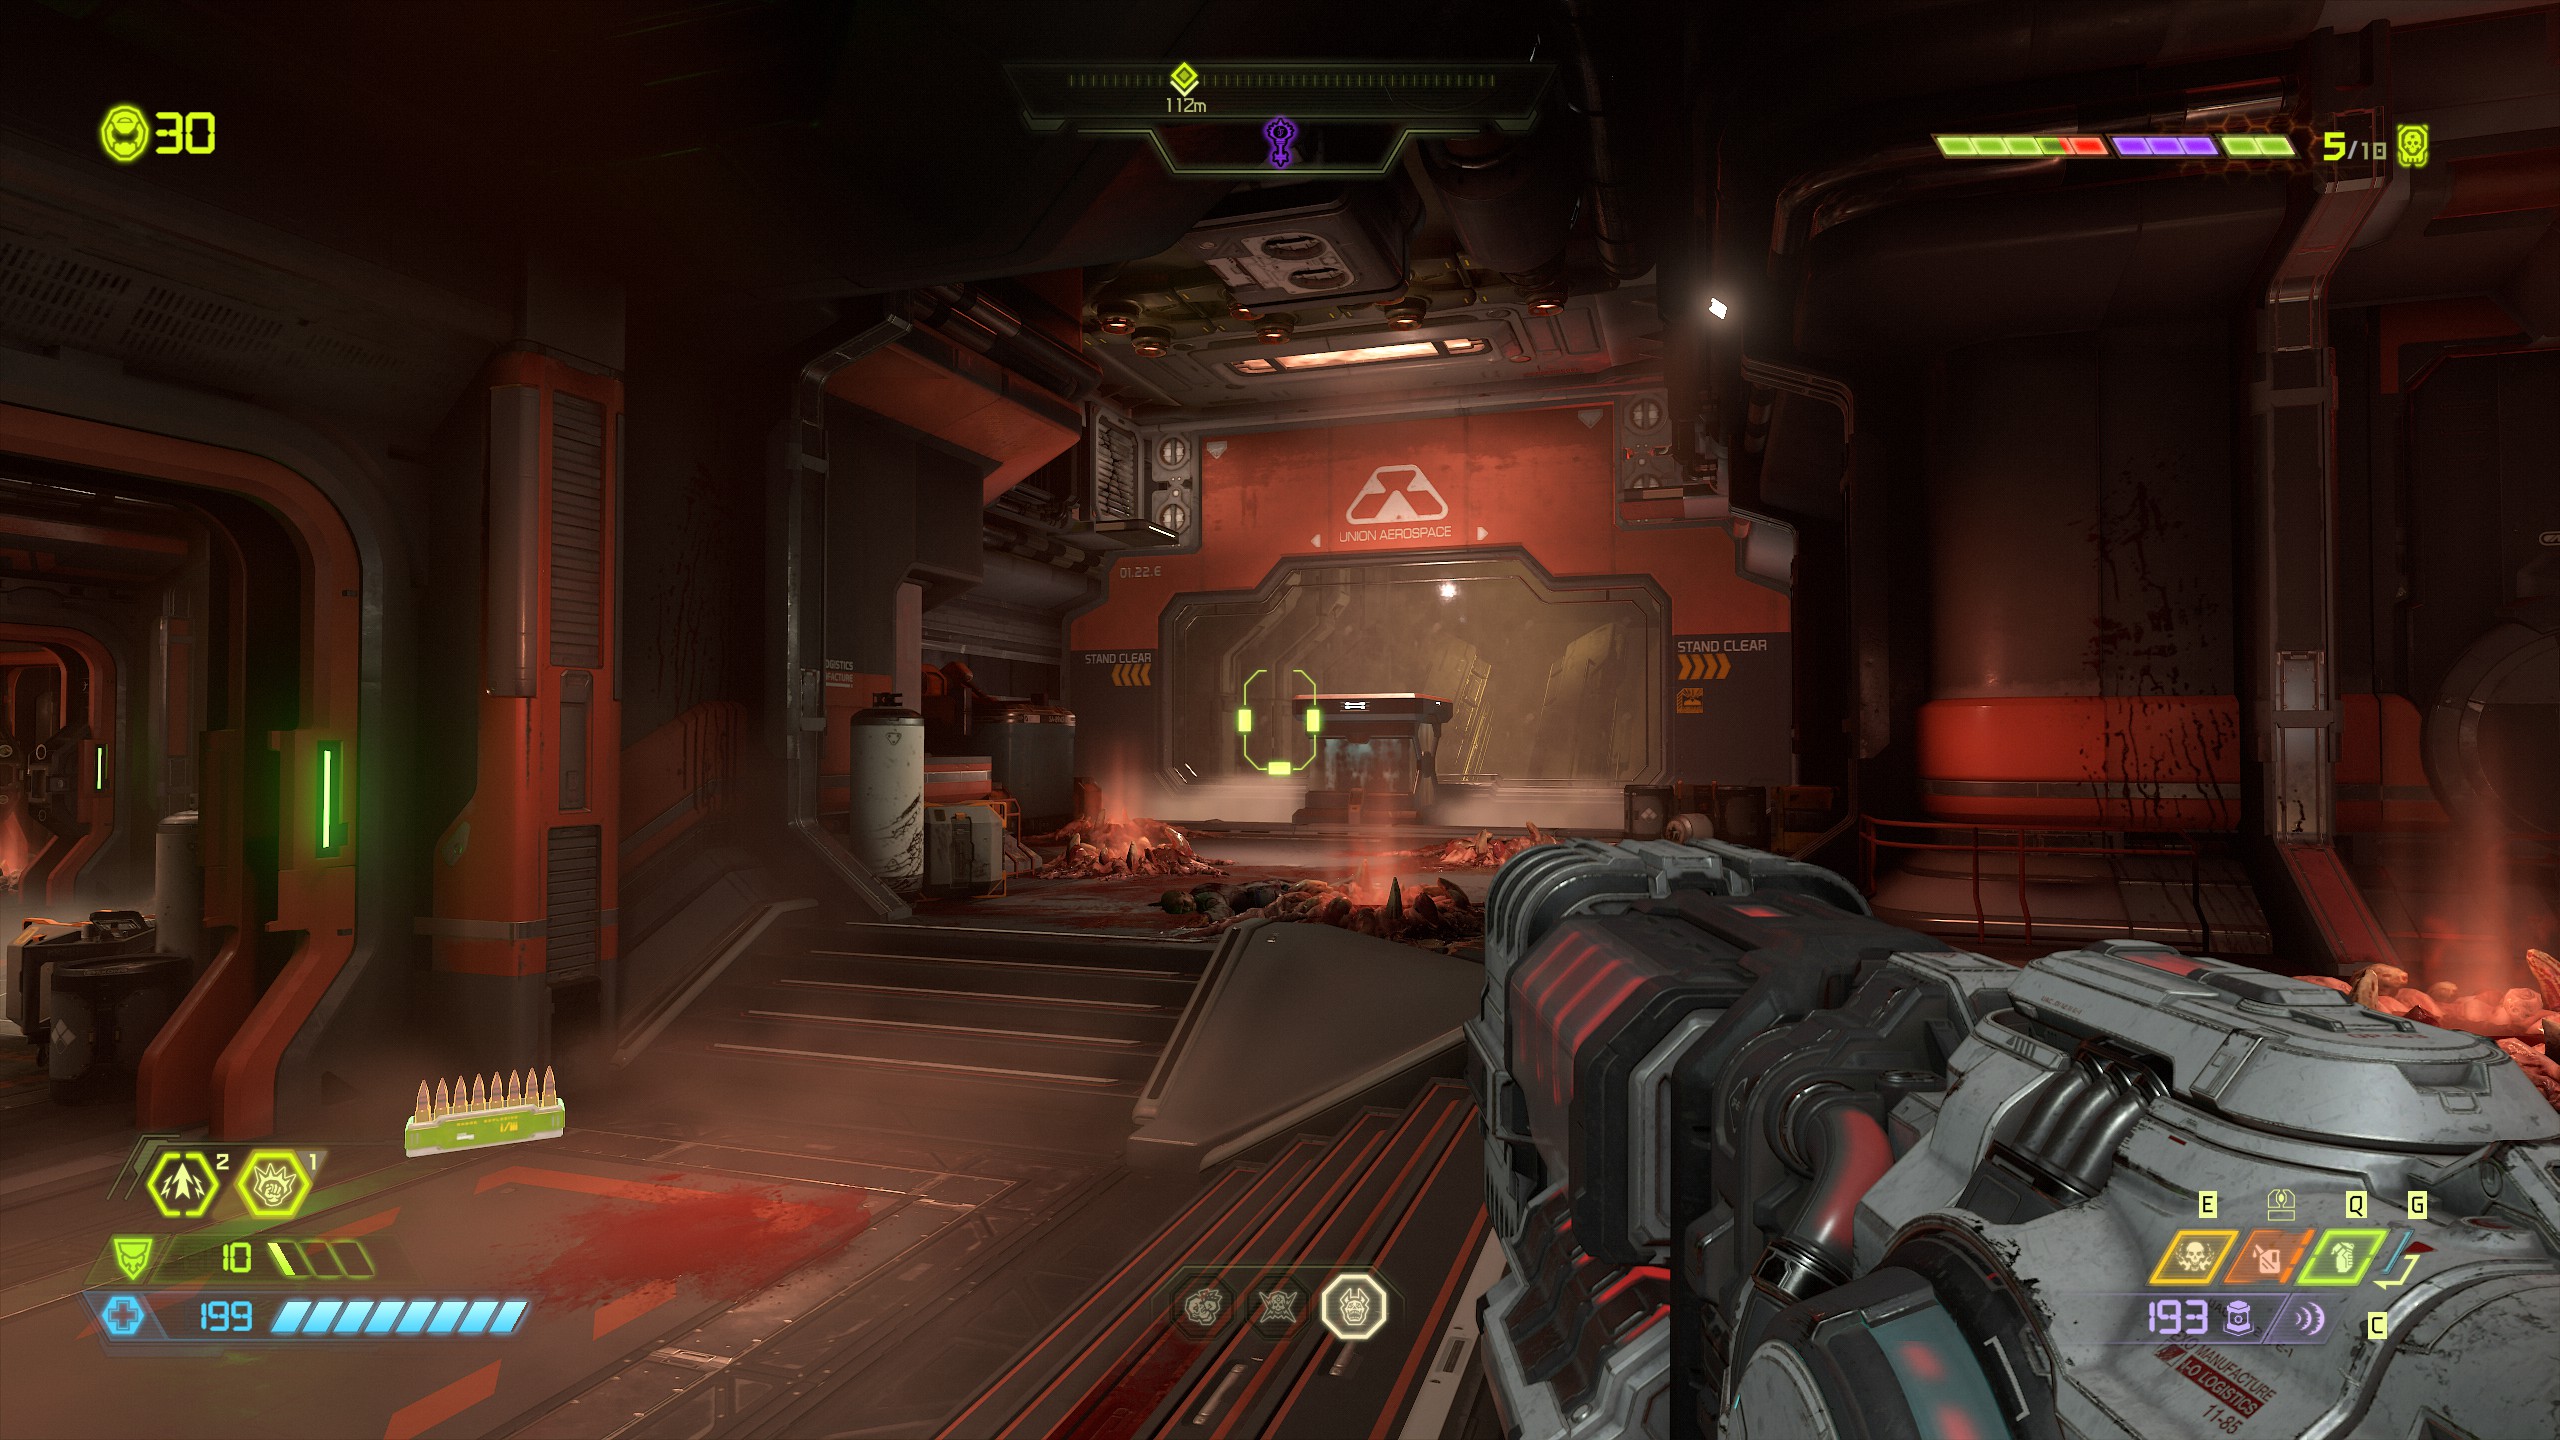
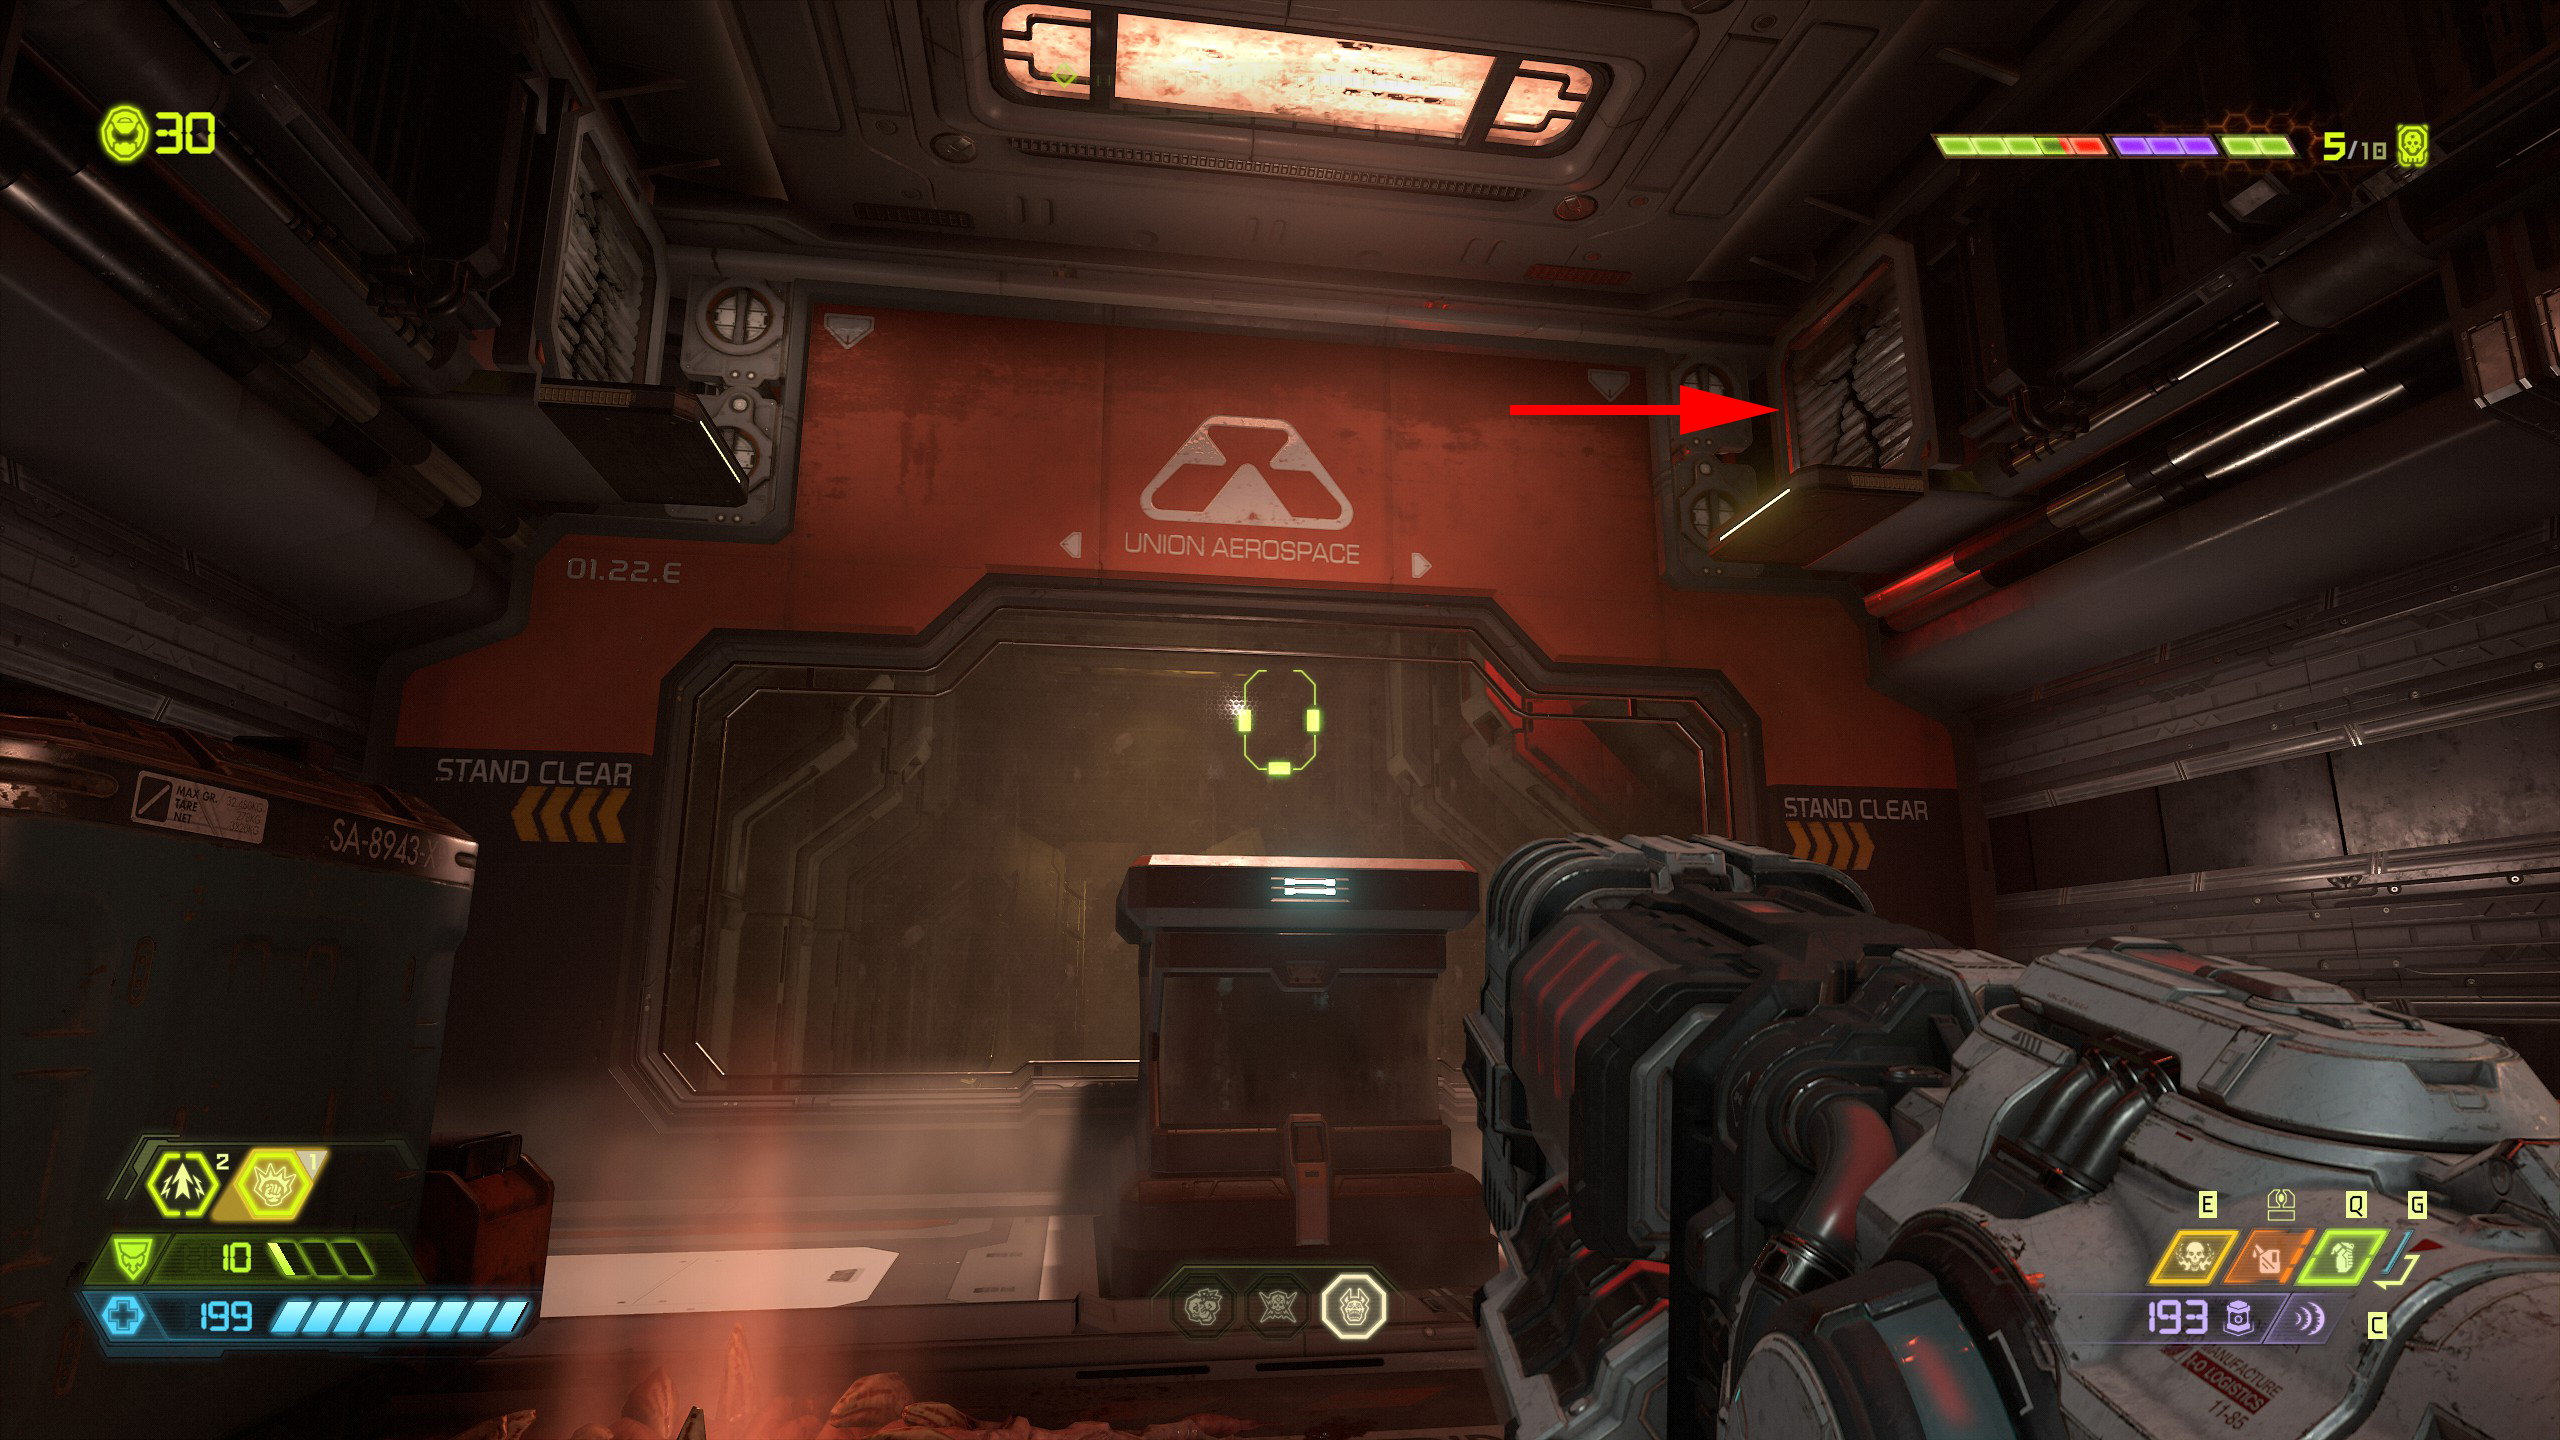
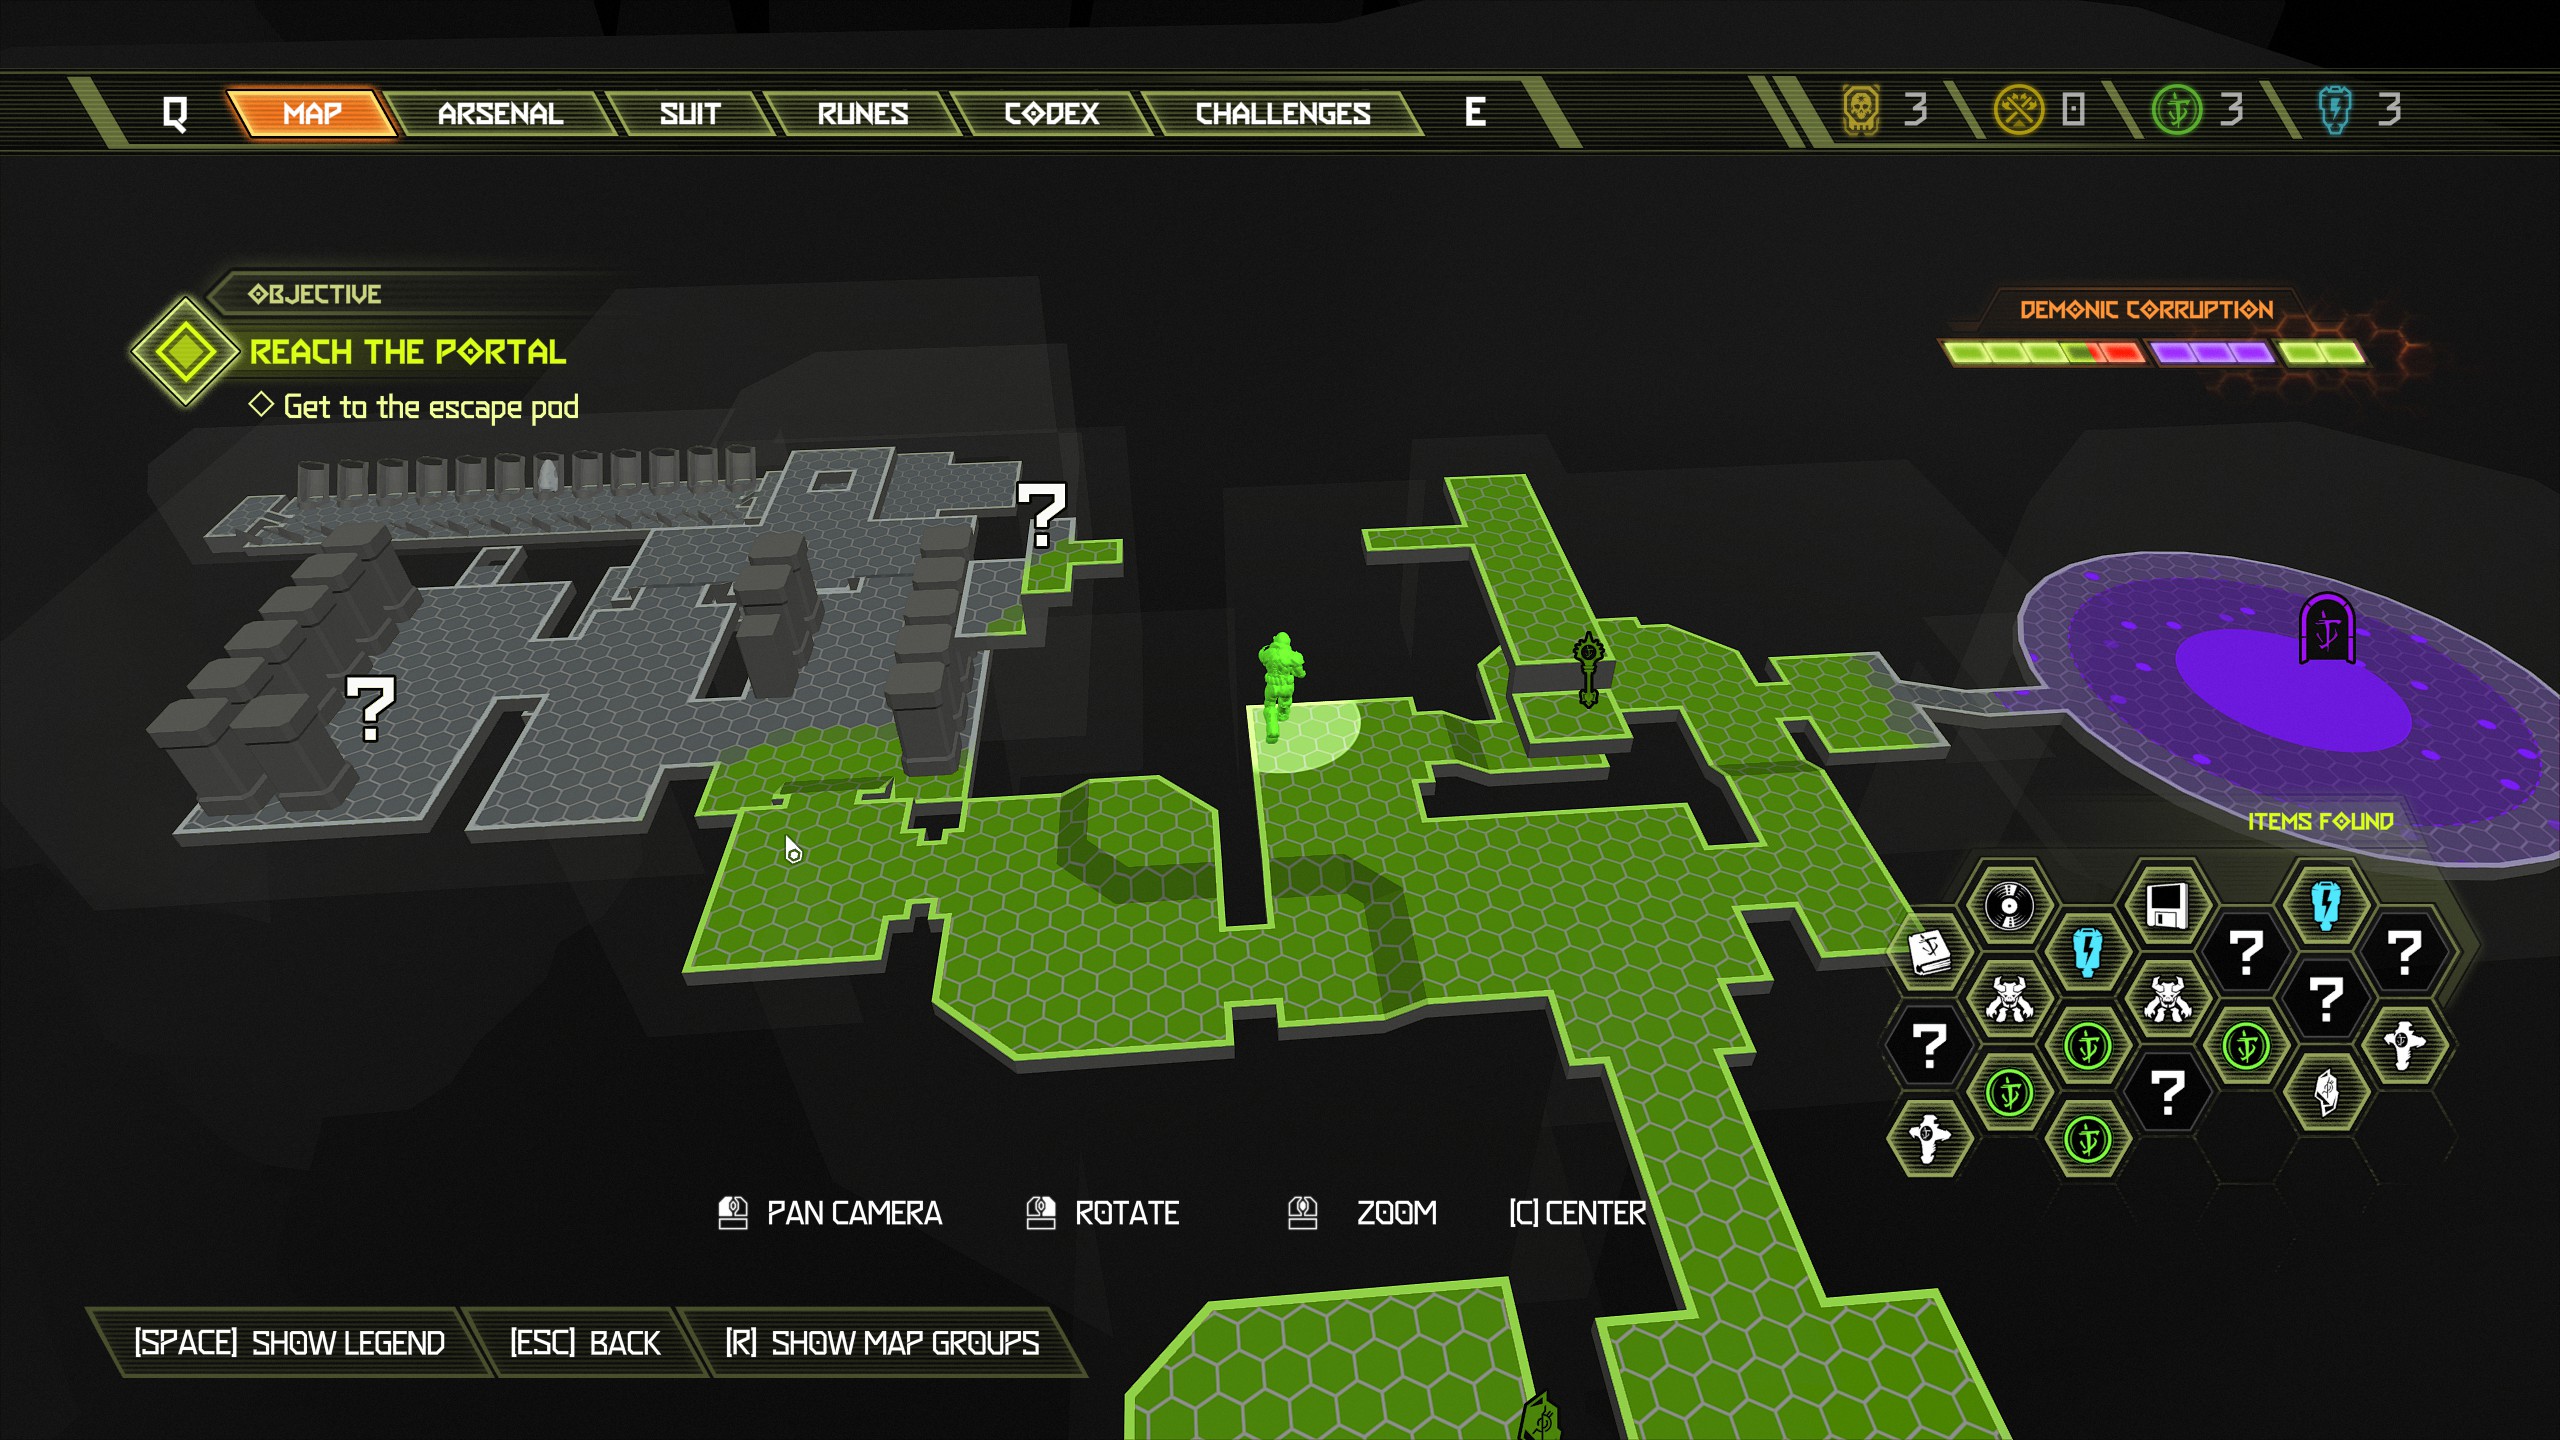
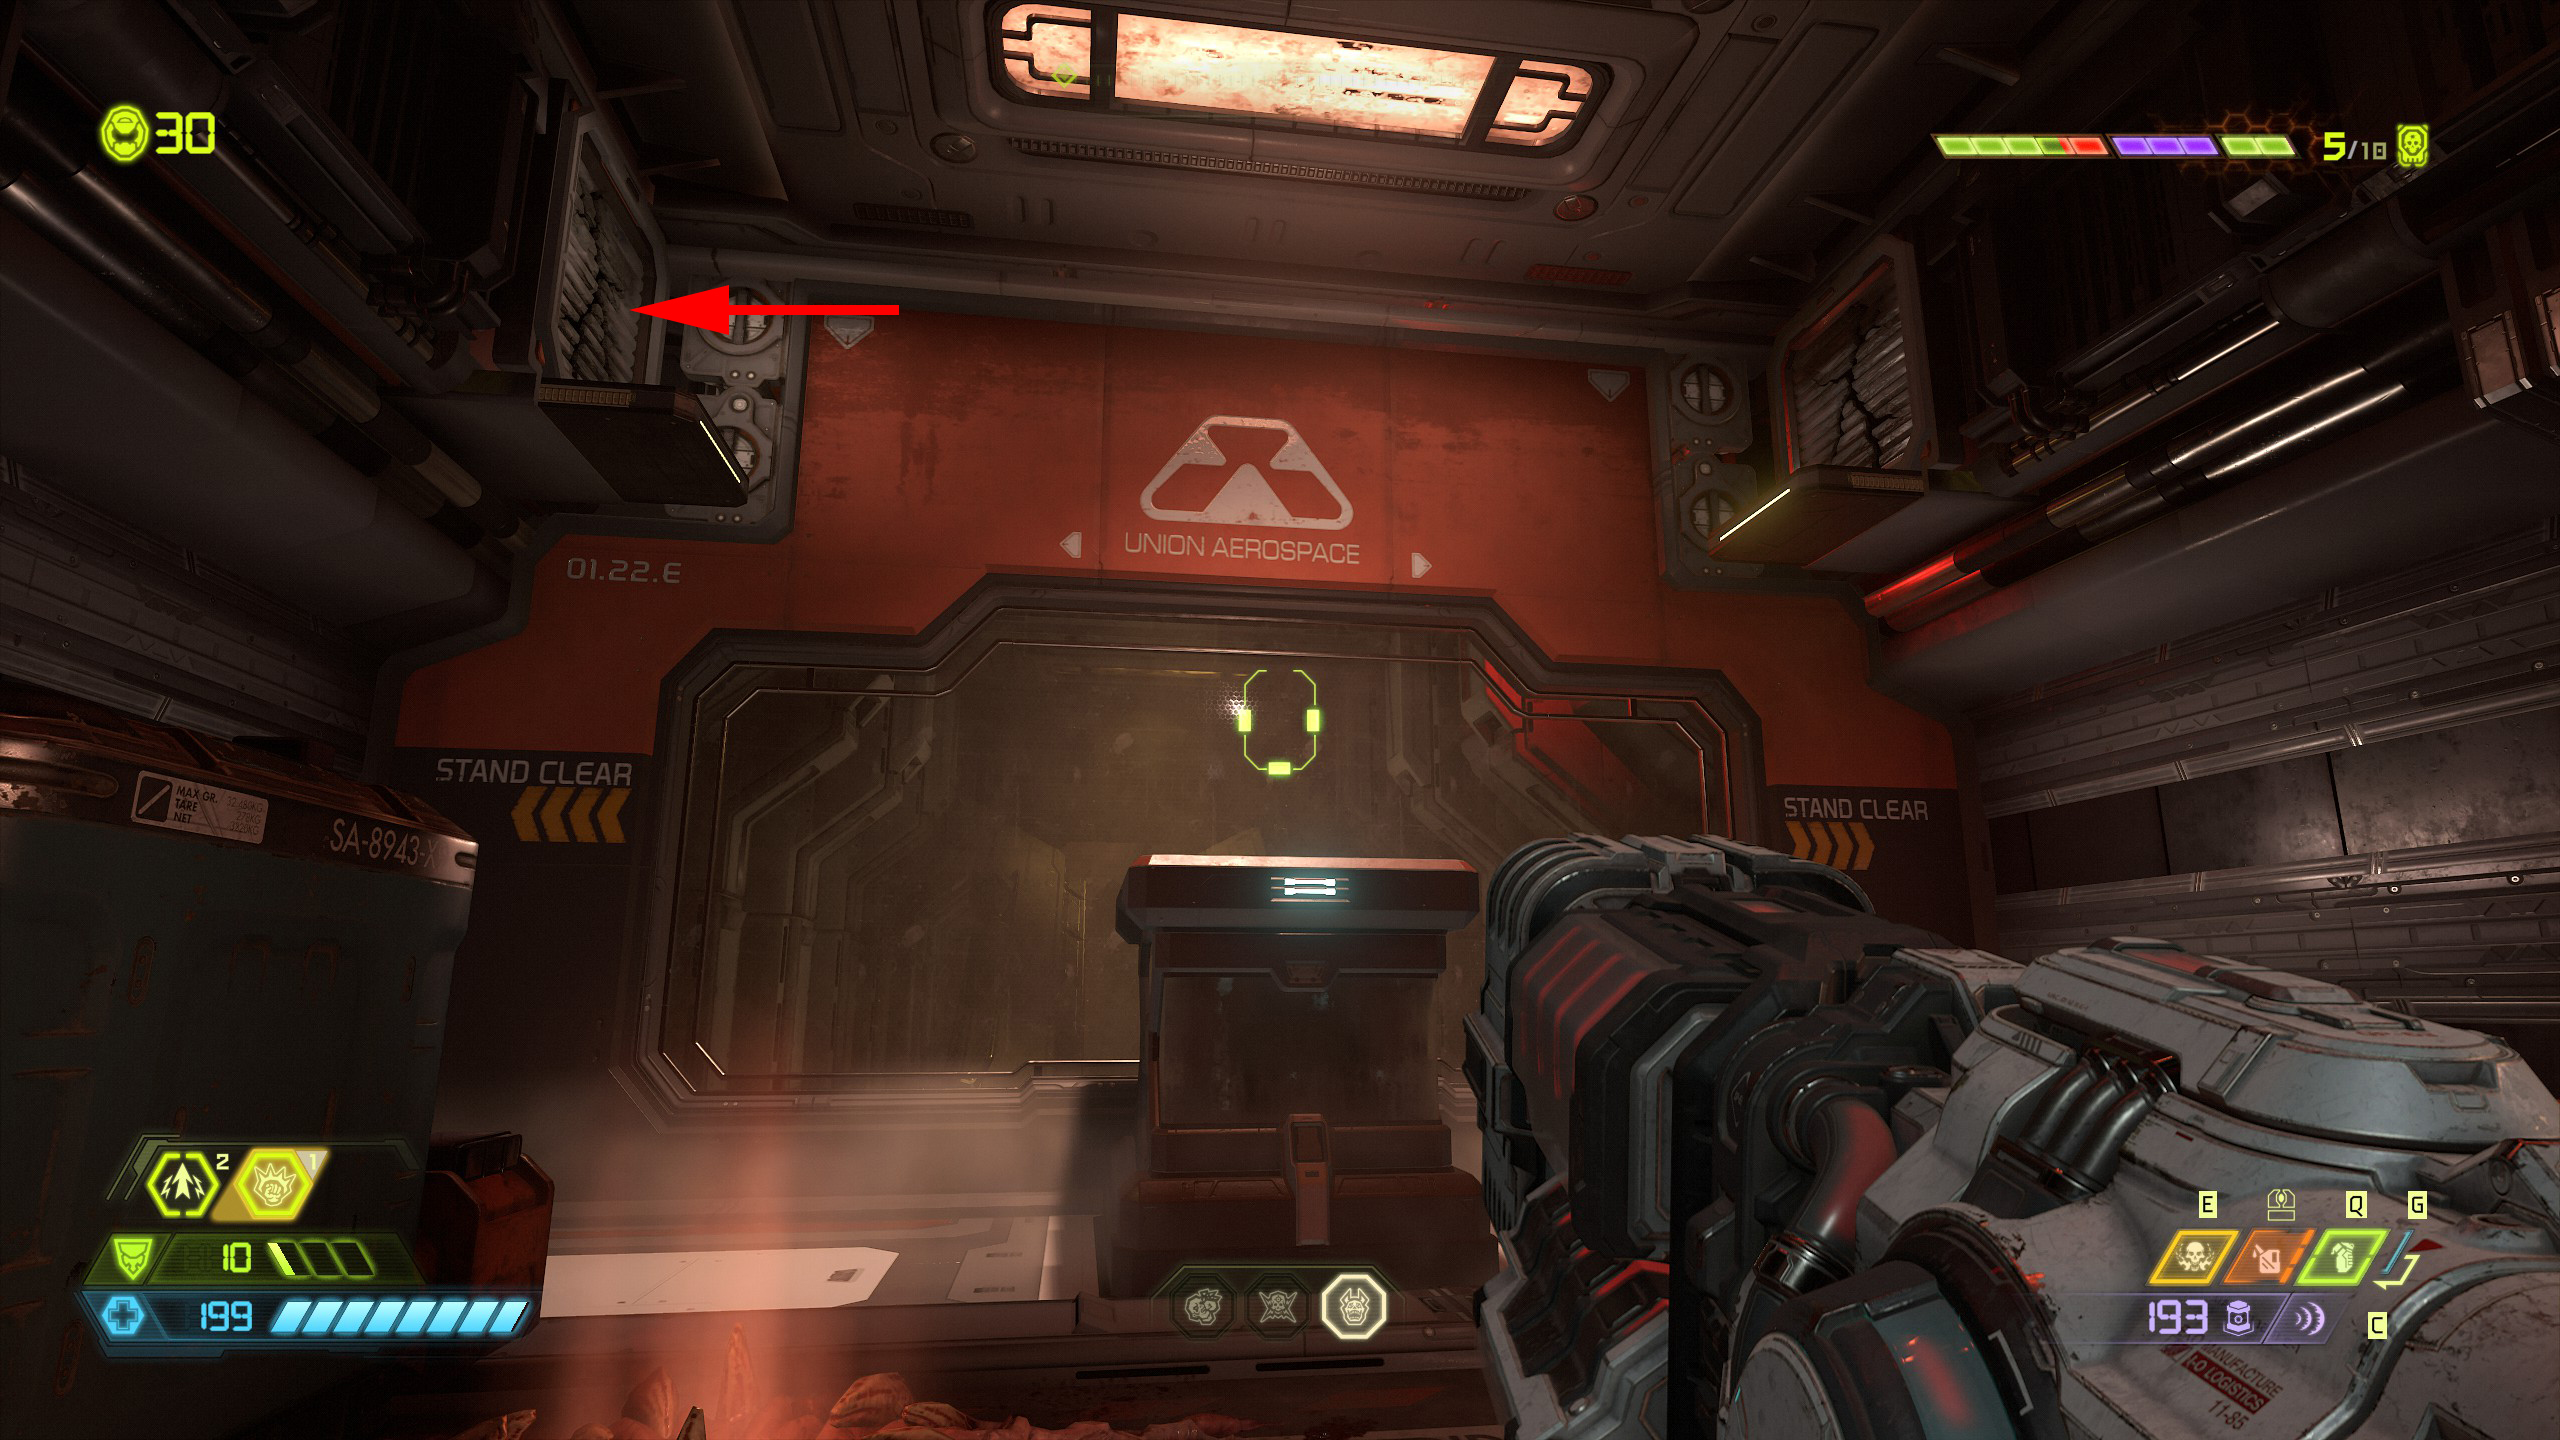
After collecting the slayer gate key exit out of the vent and go back to where we just entered it but this time enter the left vent to find an album inside. Now you can complete the slayer gate or just continue the mission.
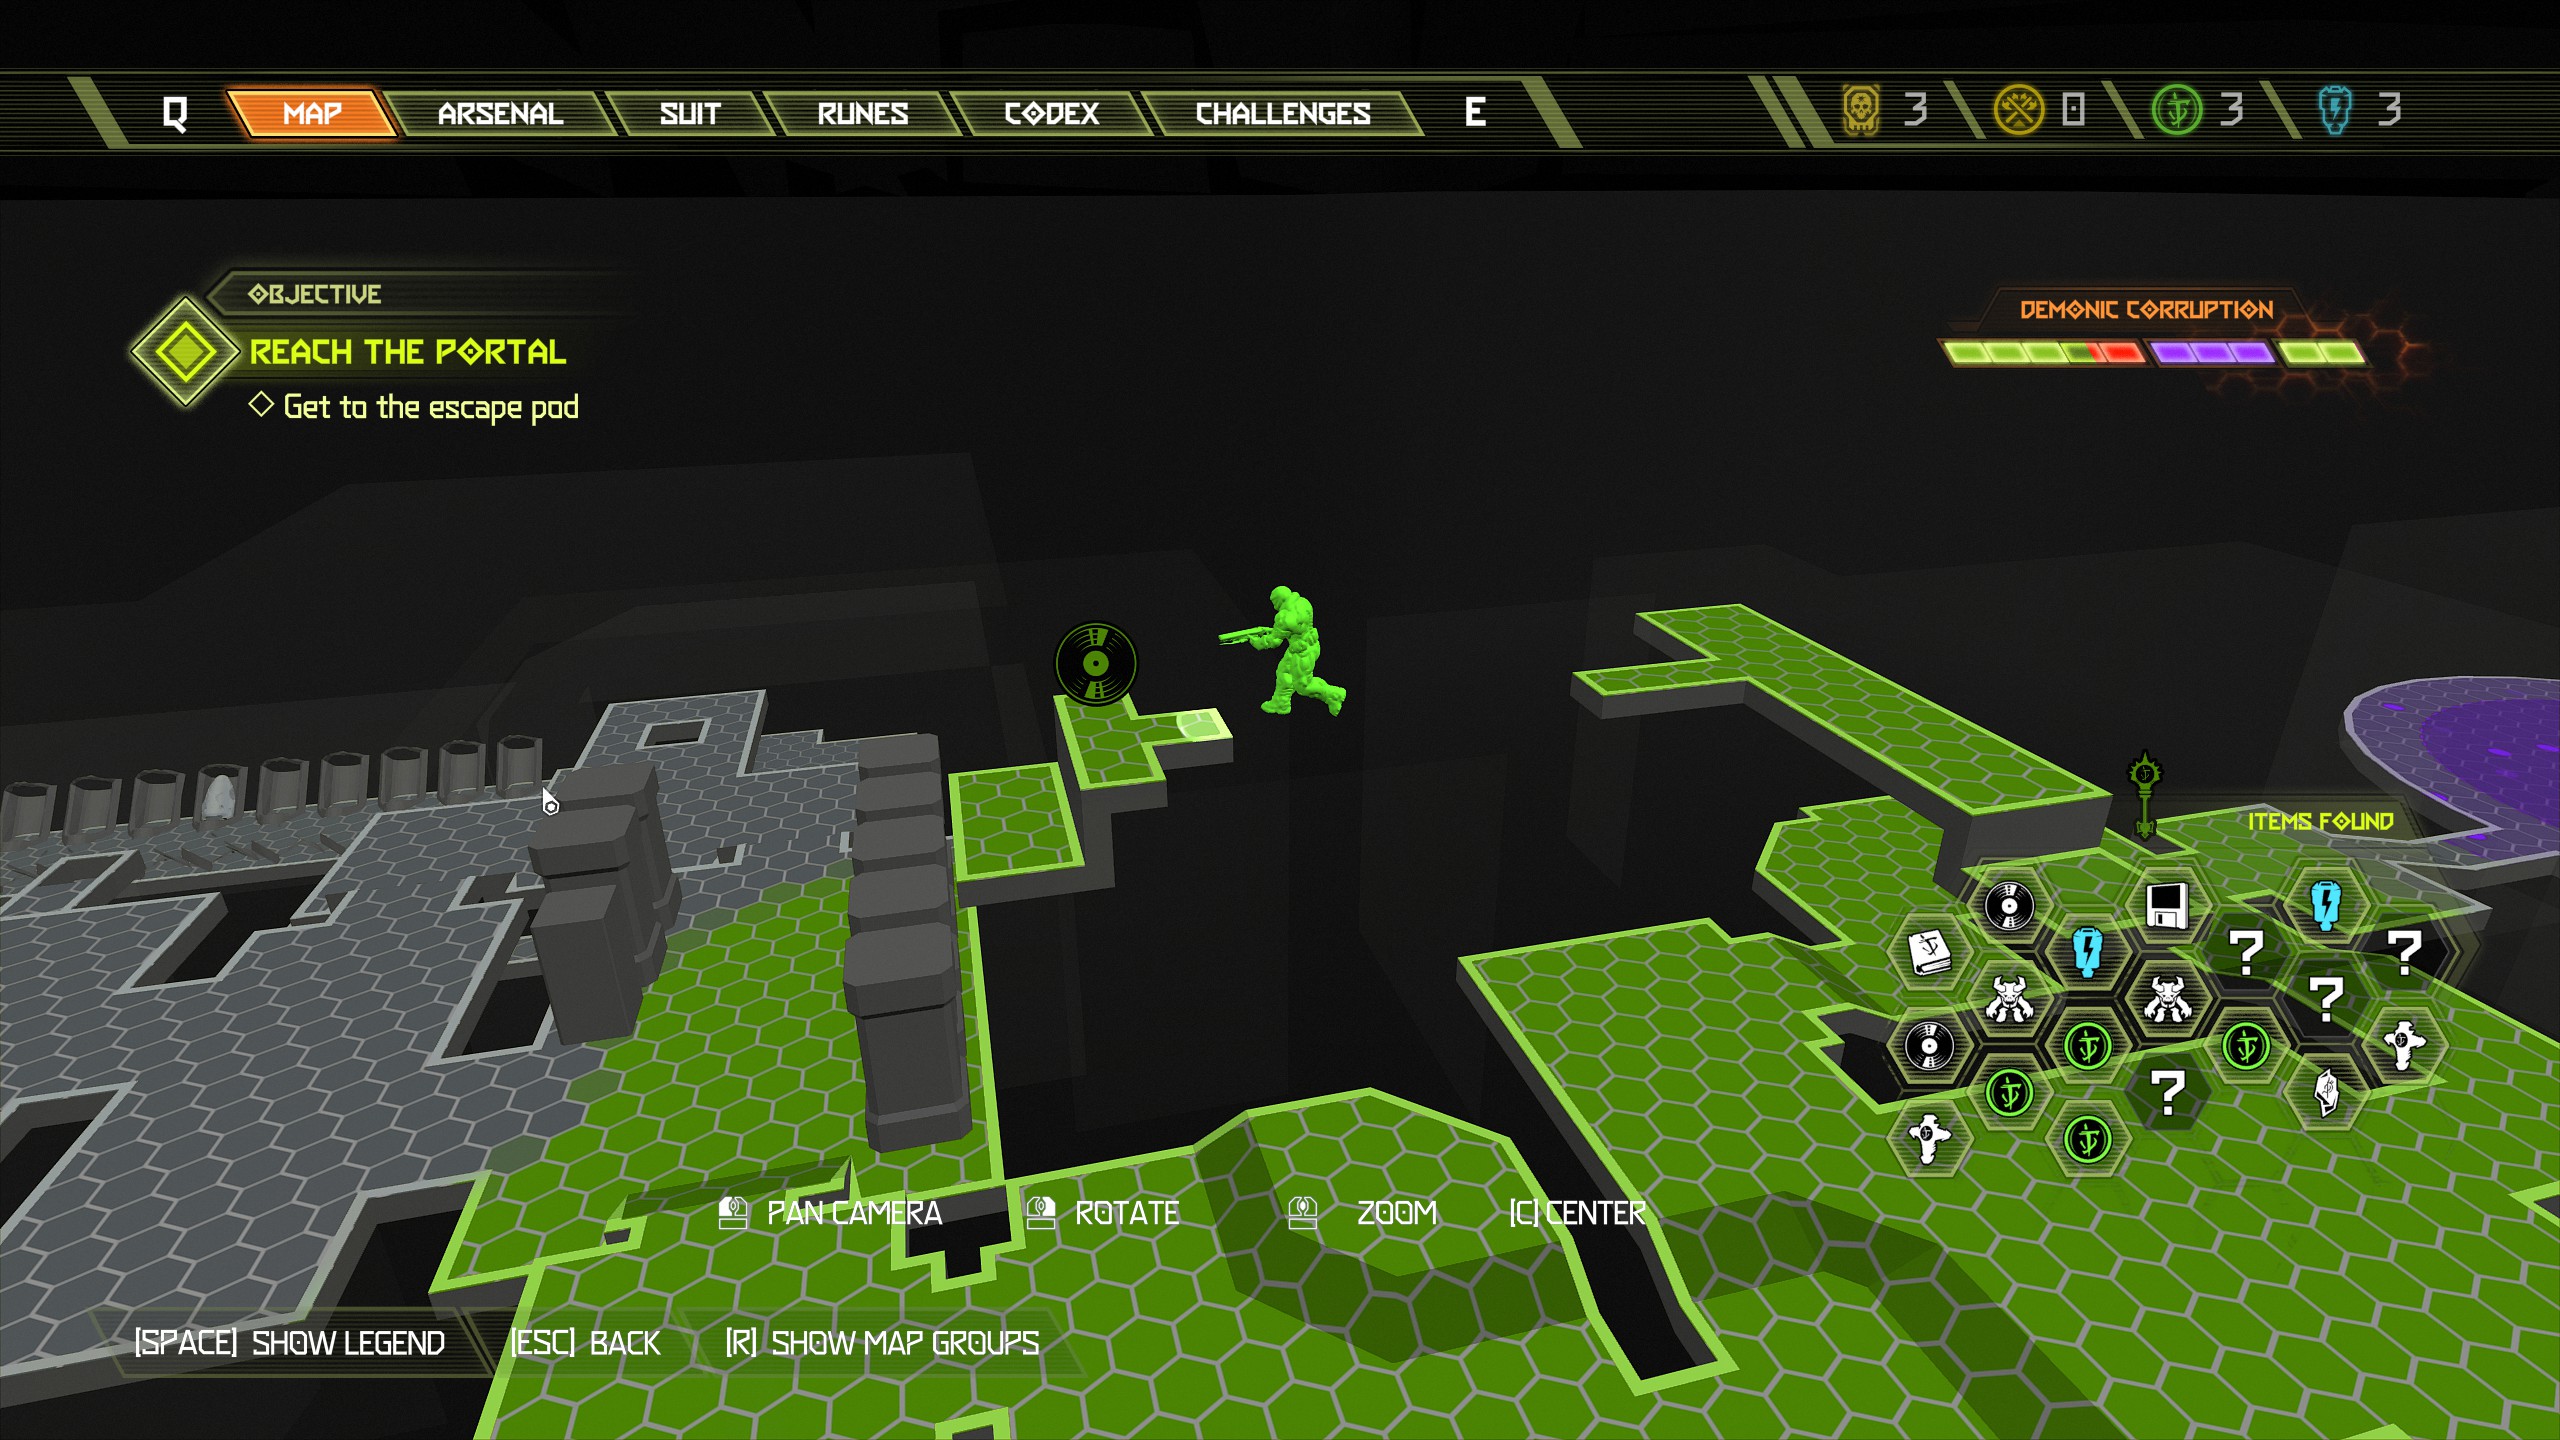
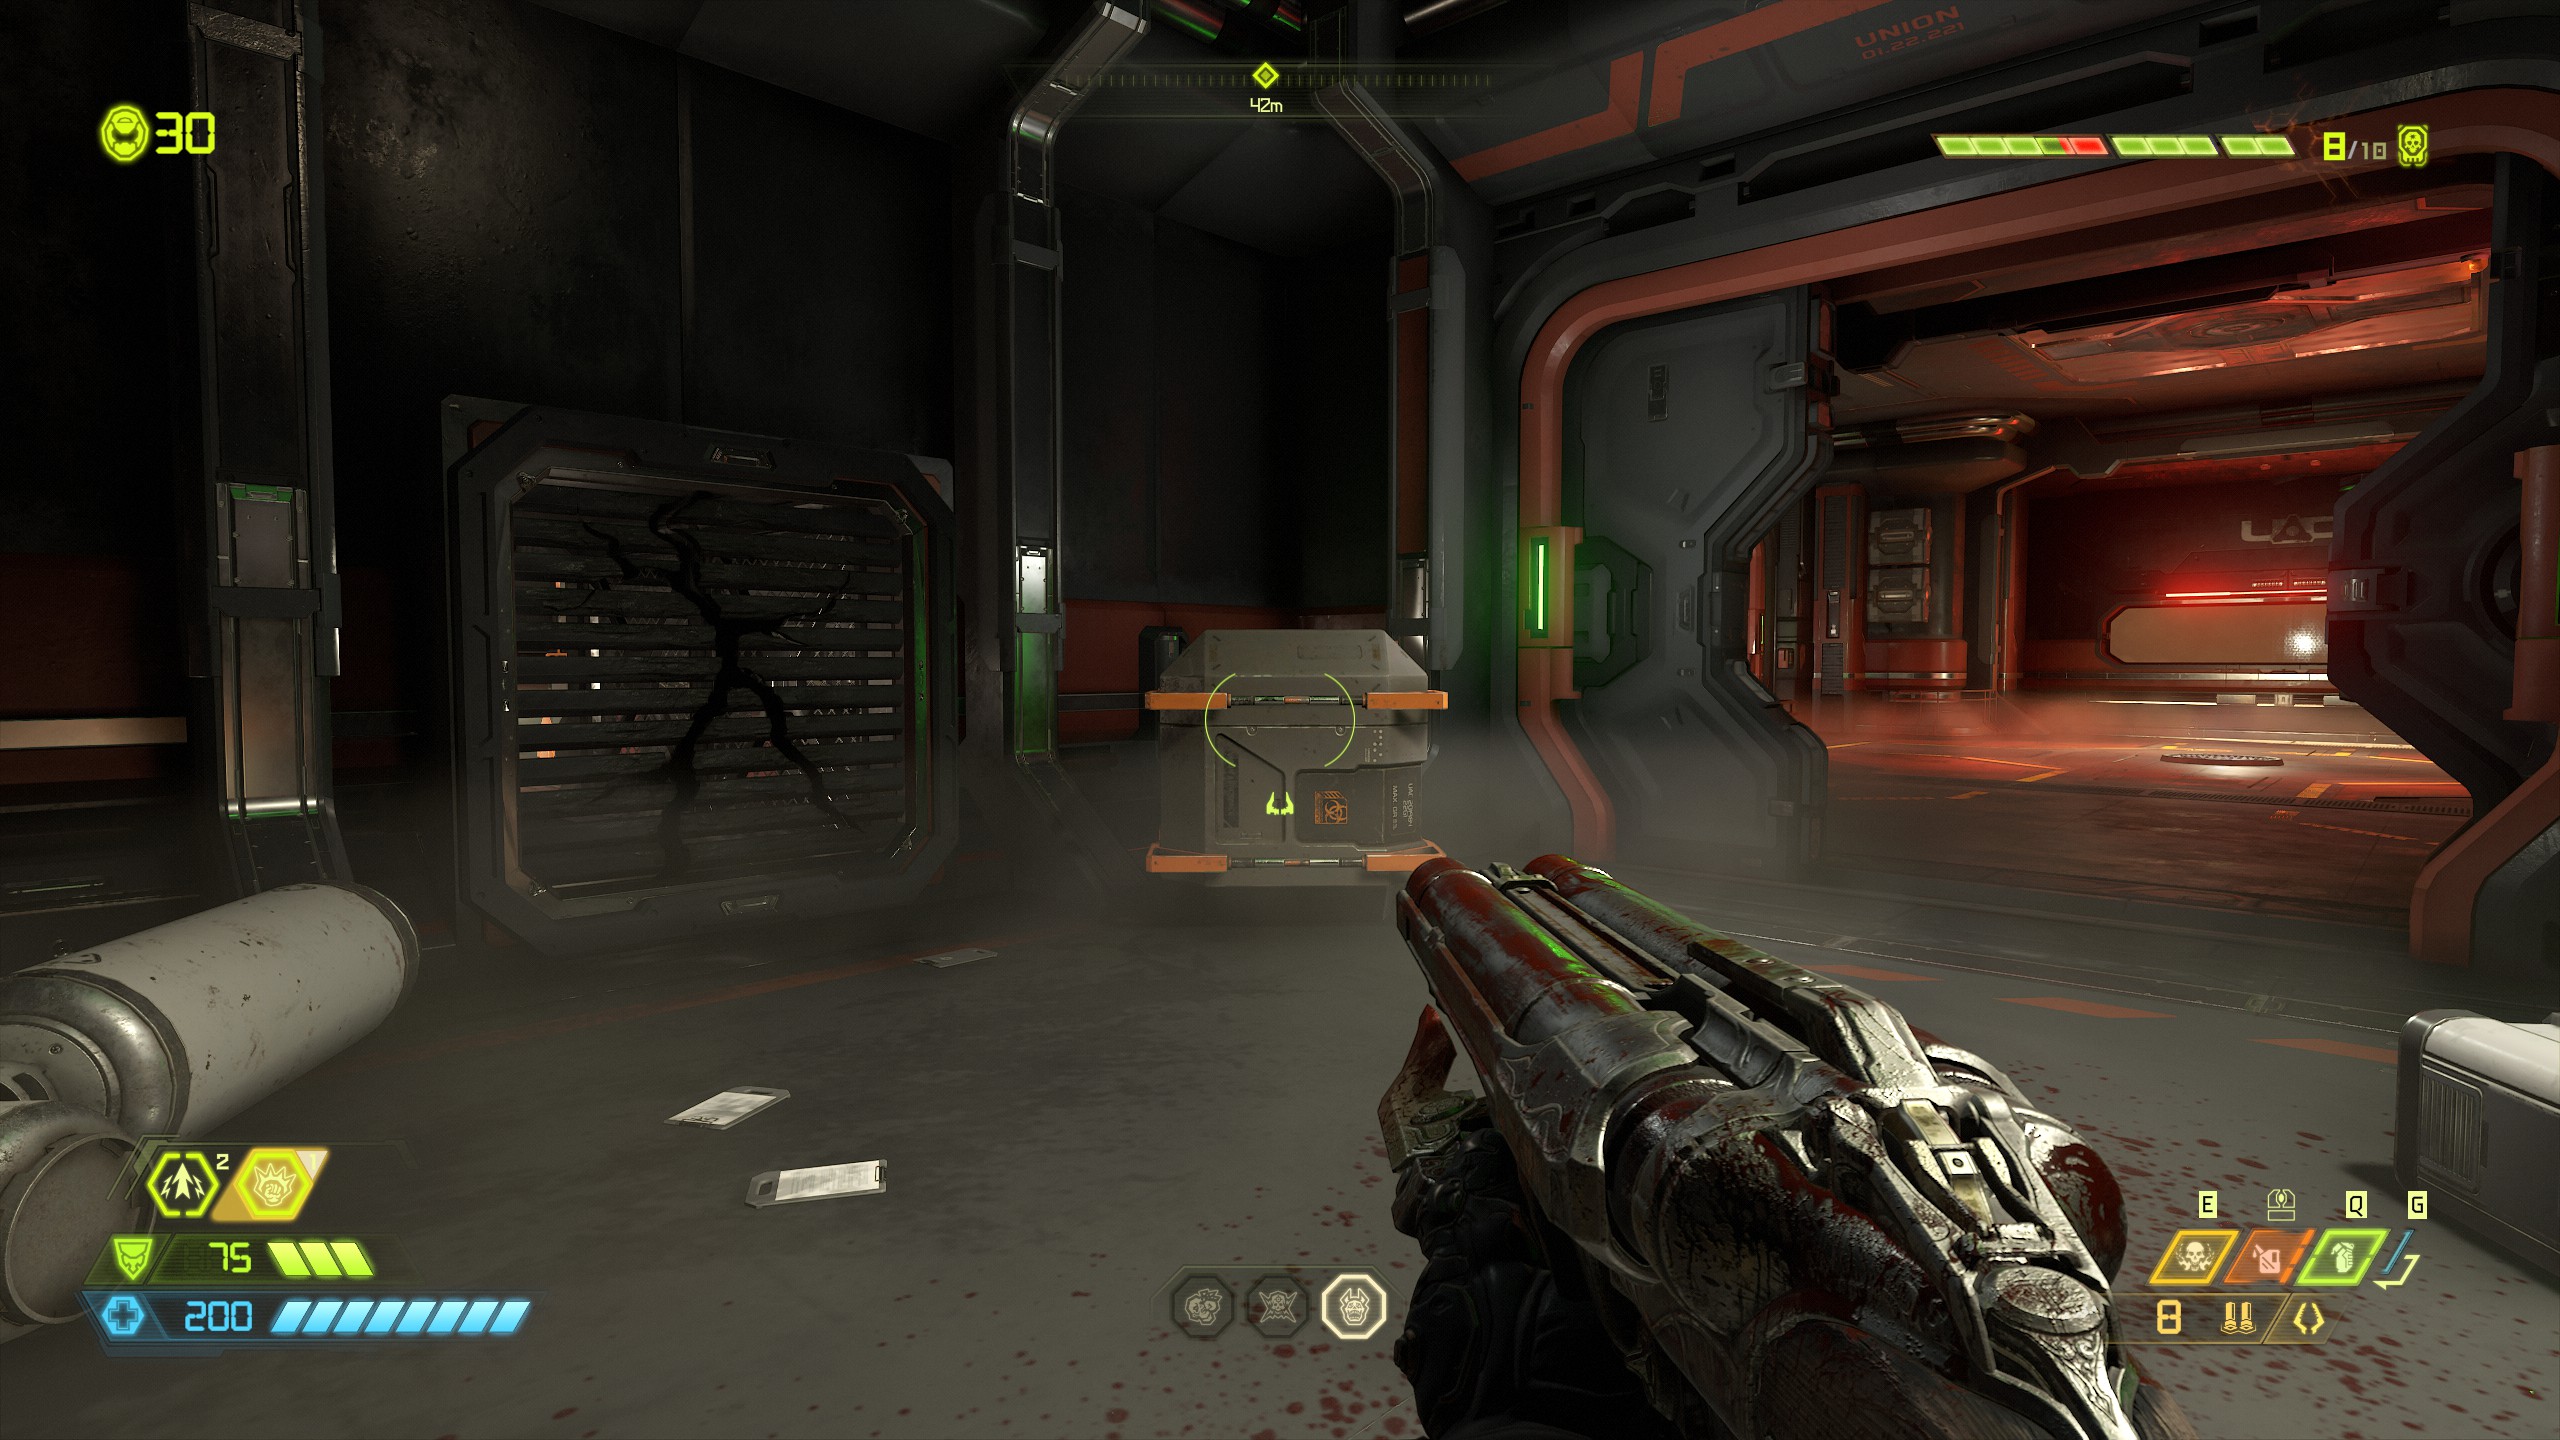
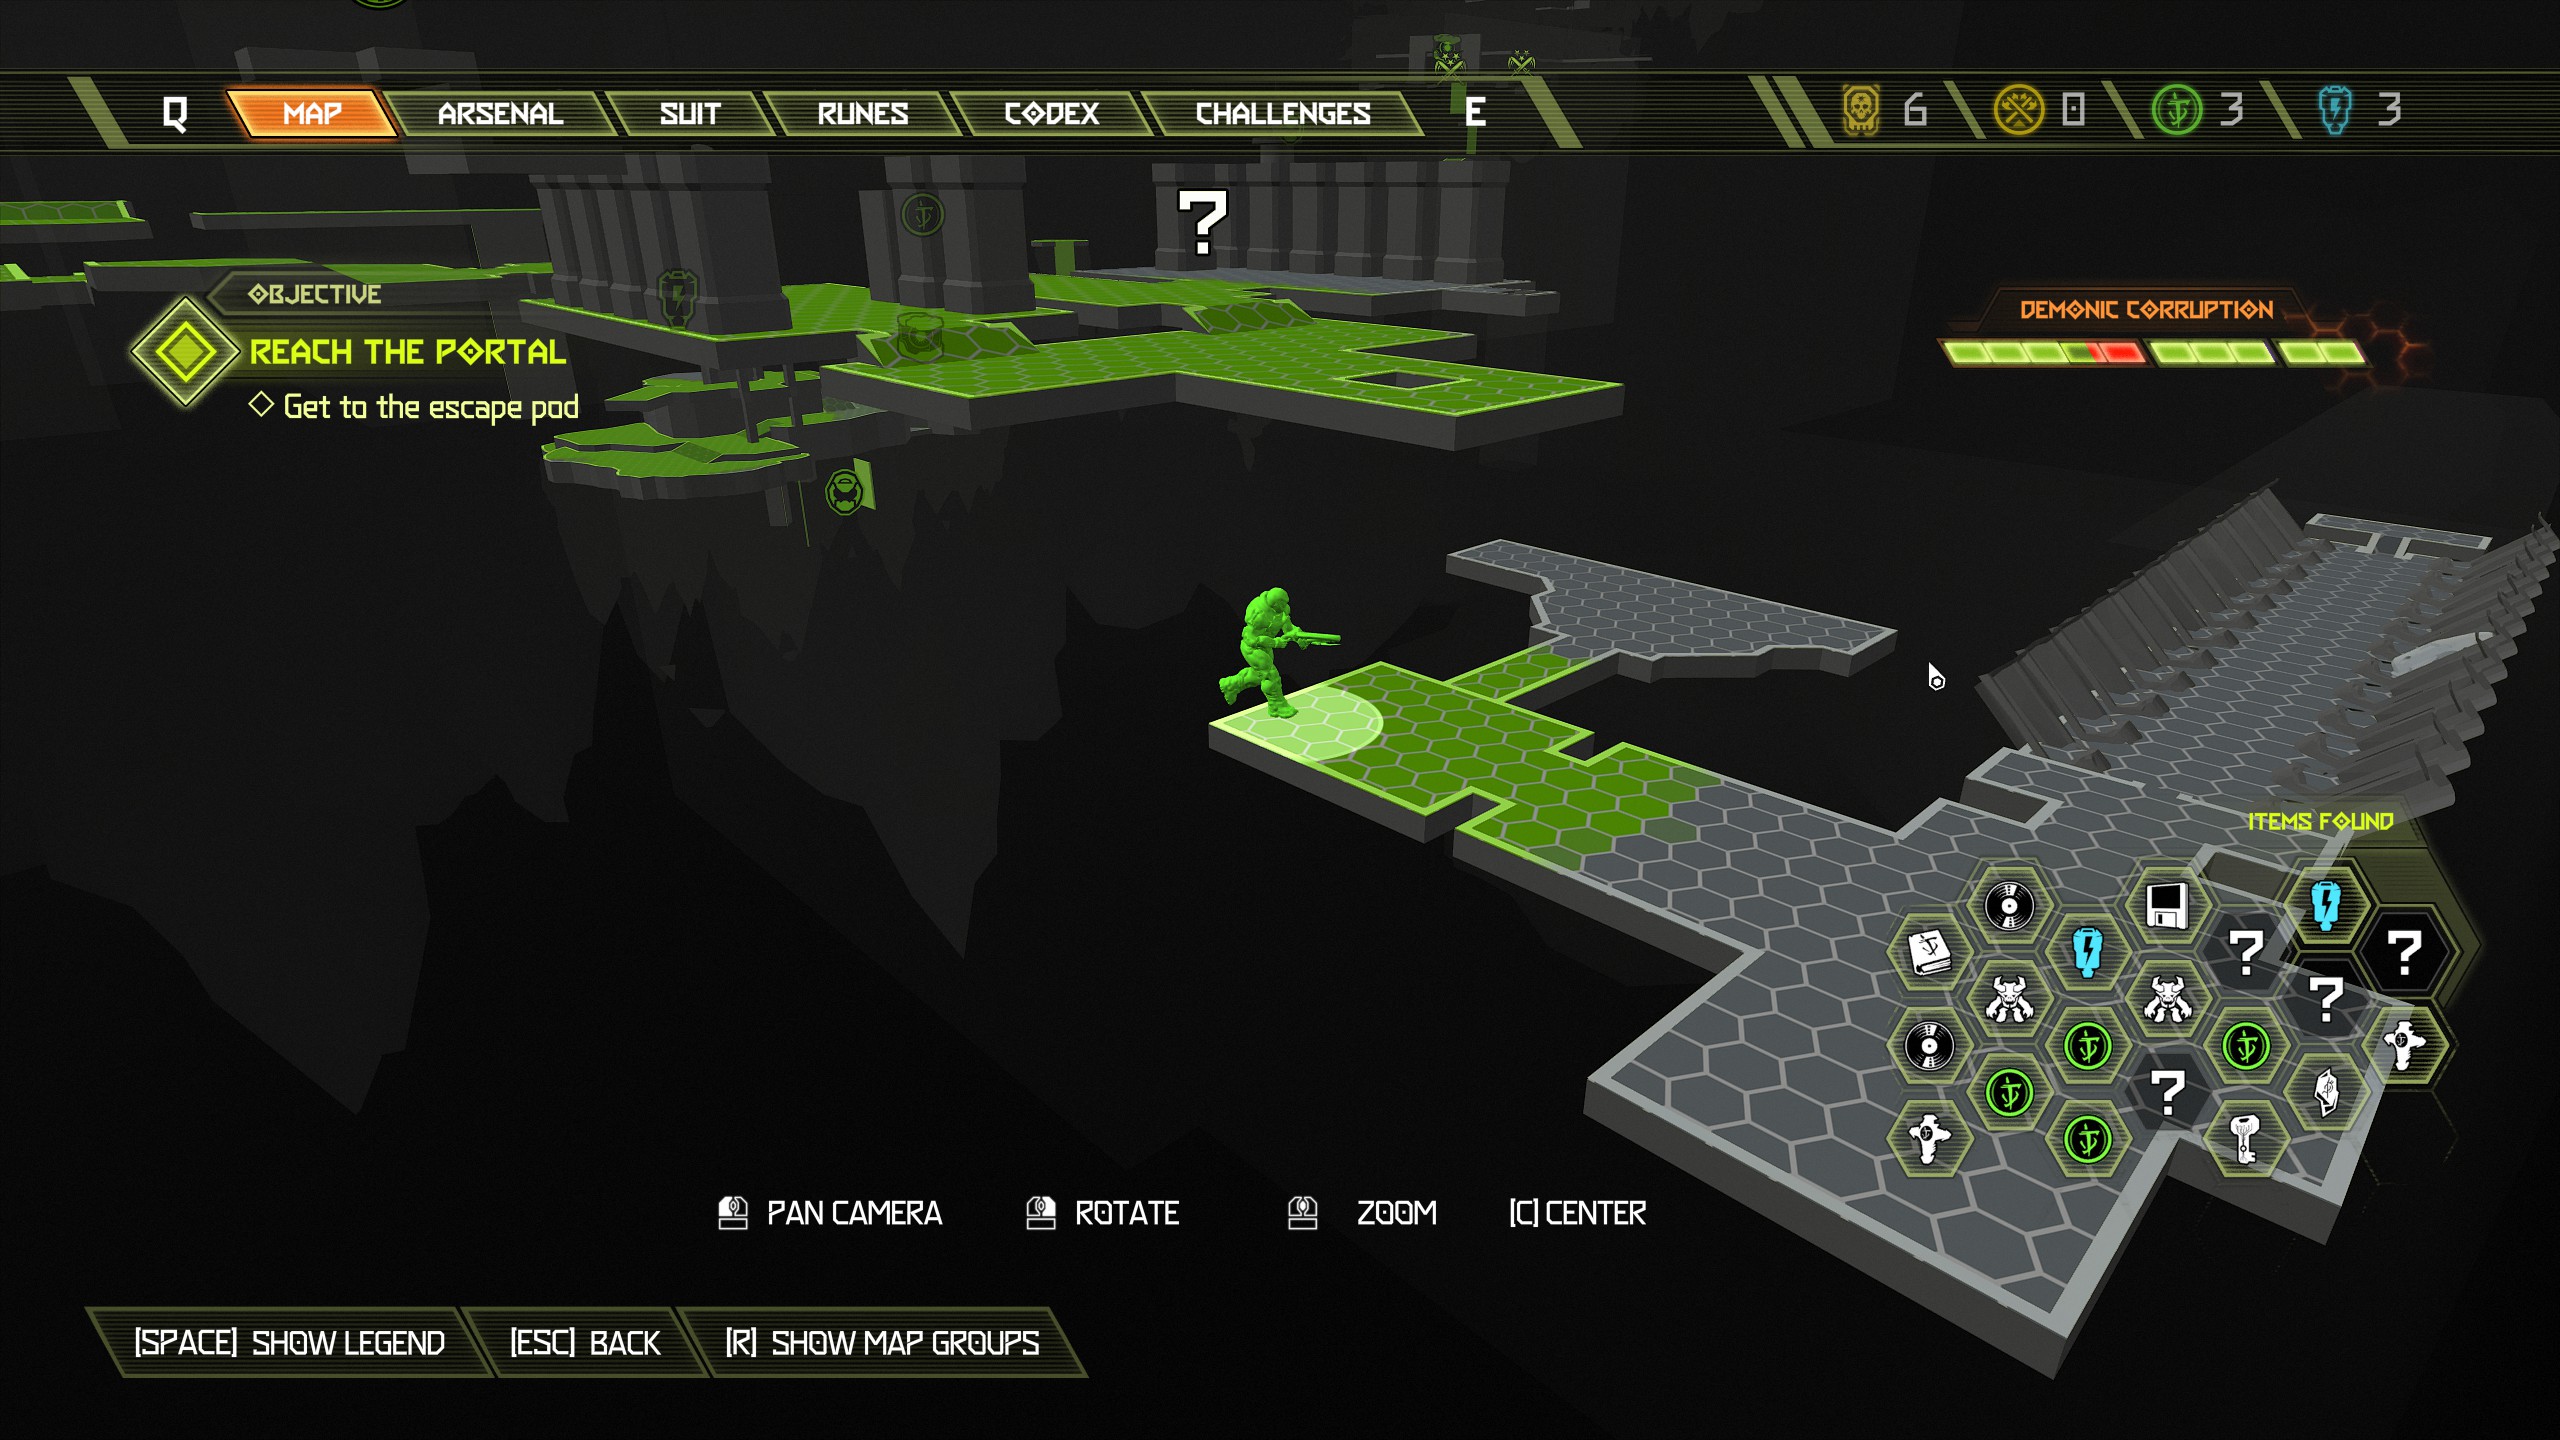
Continue the mission and port into the next area
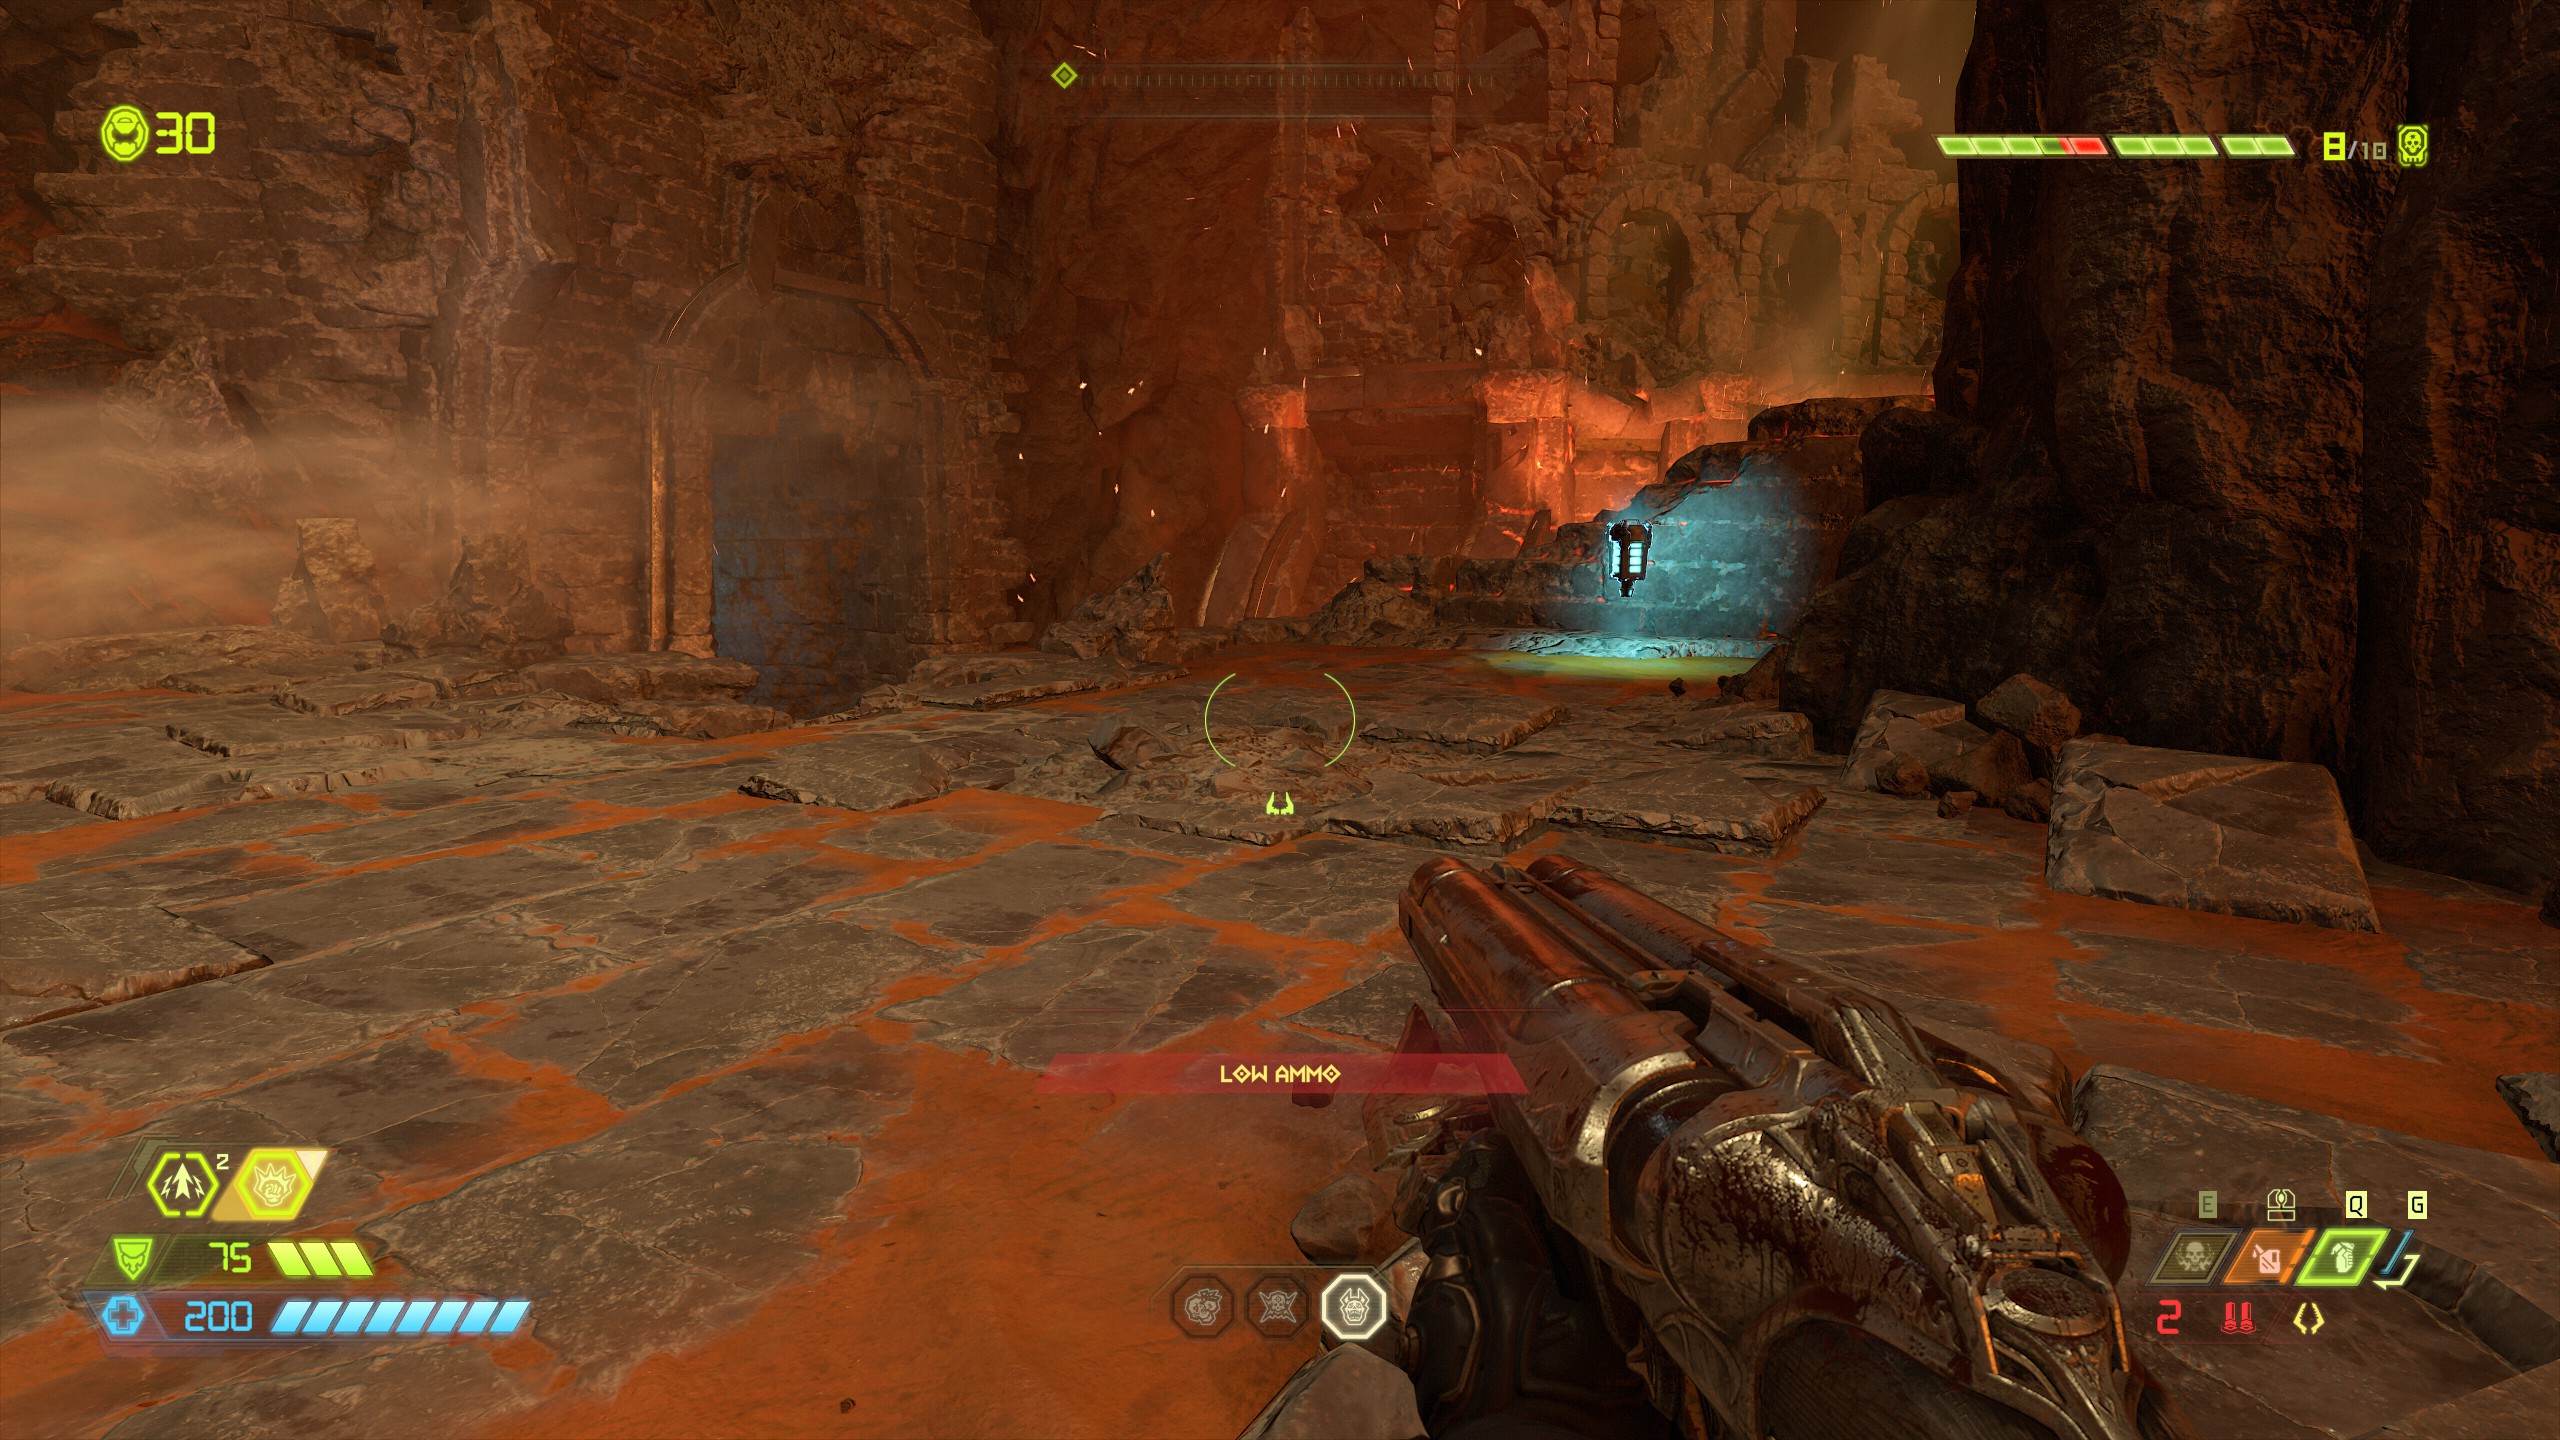
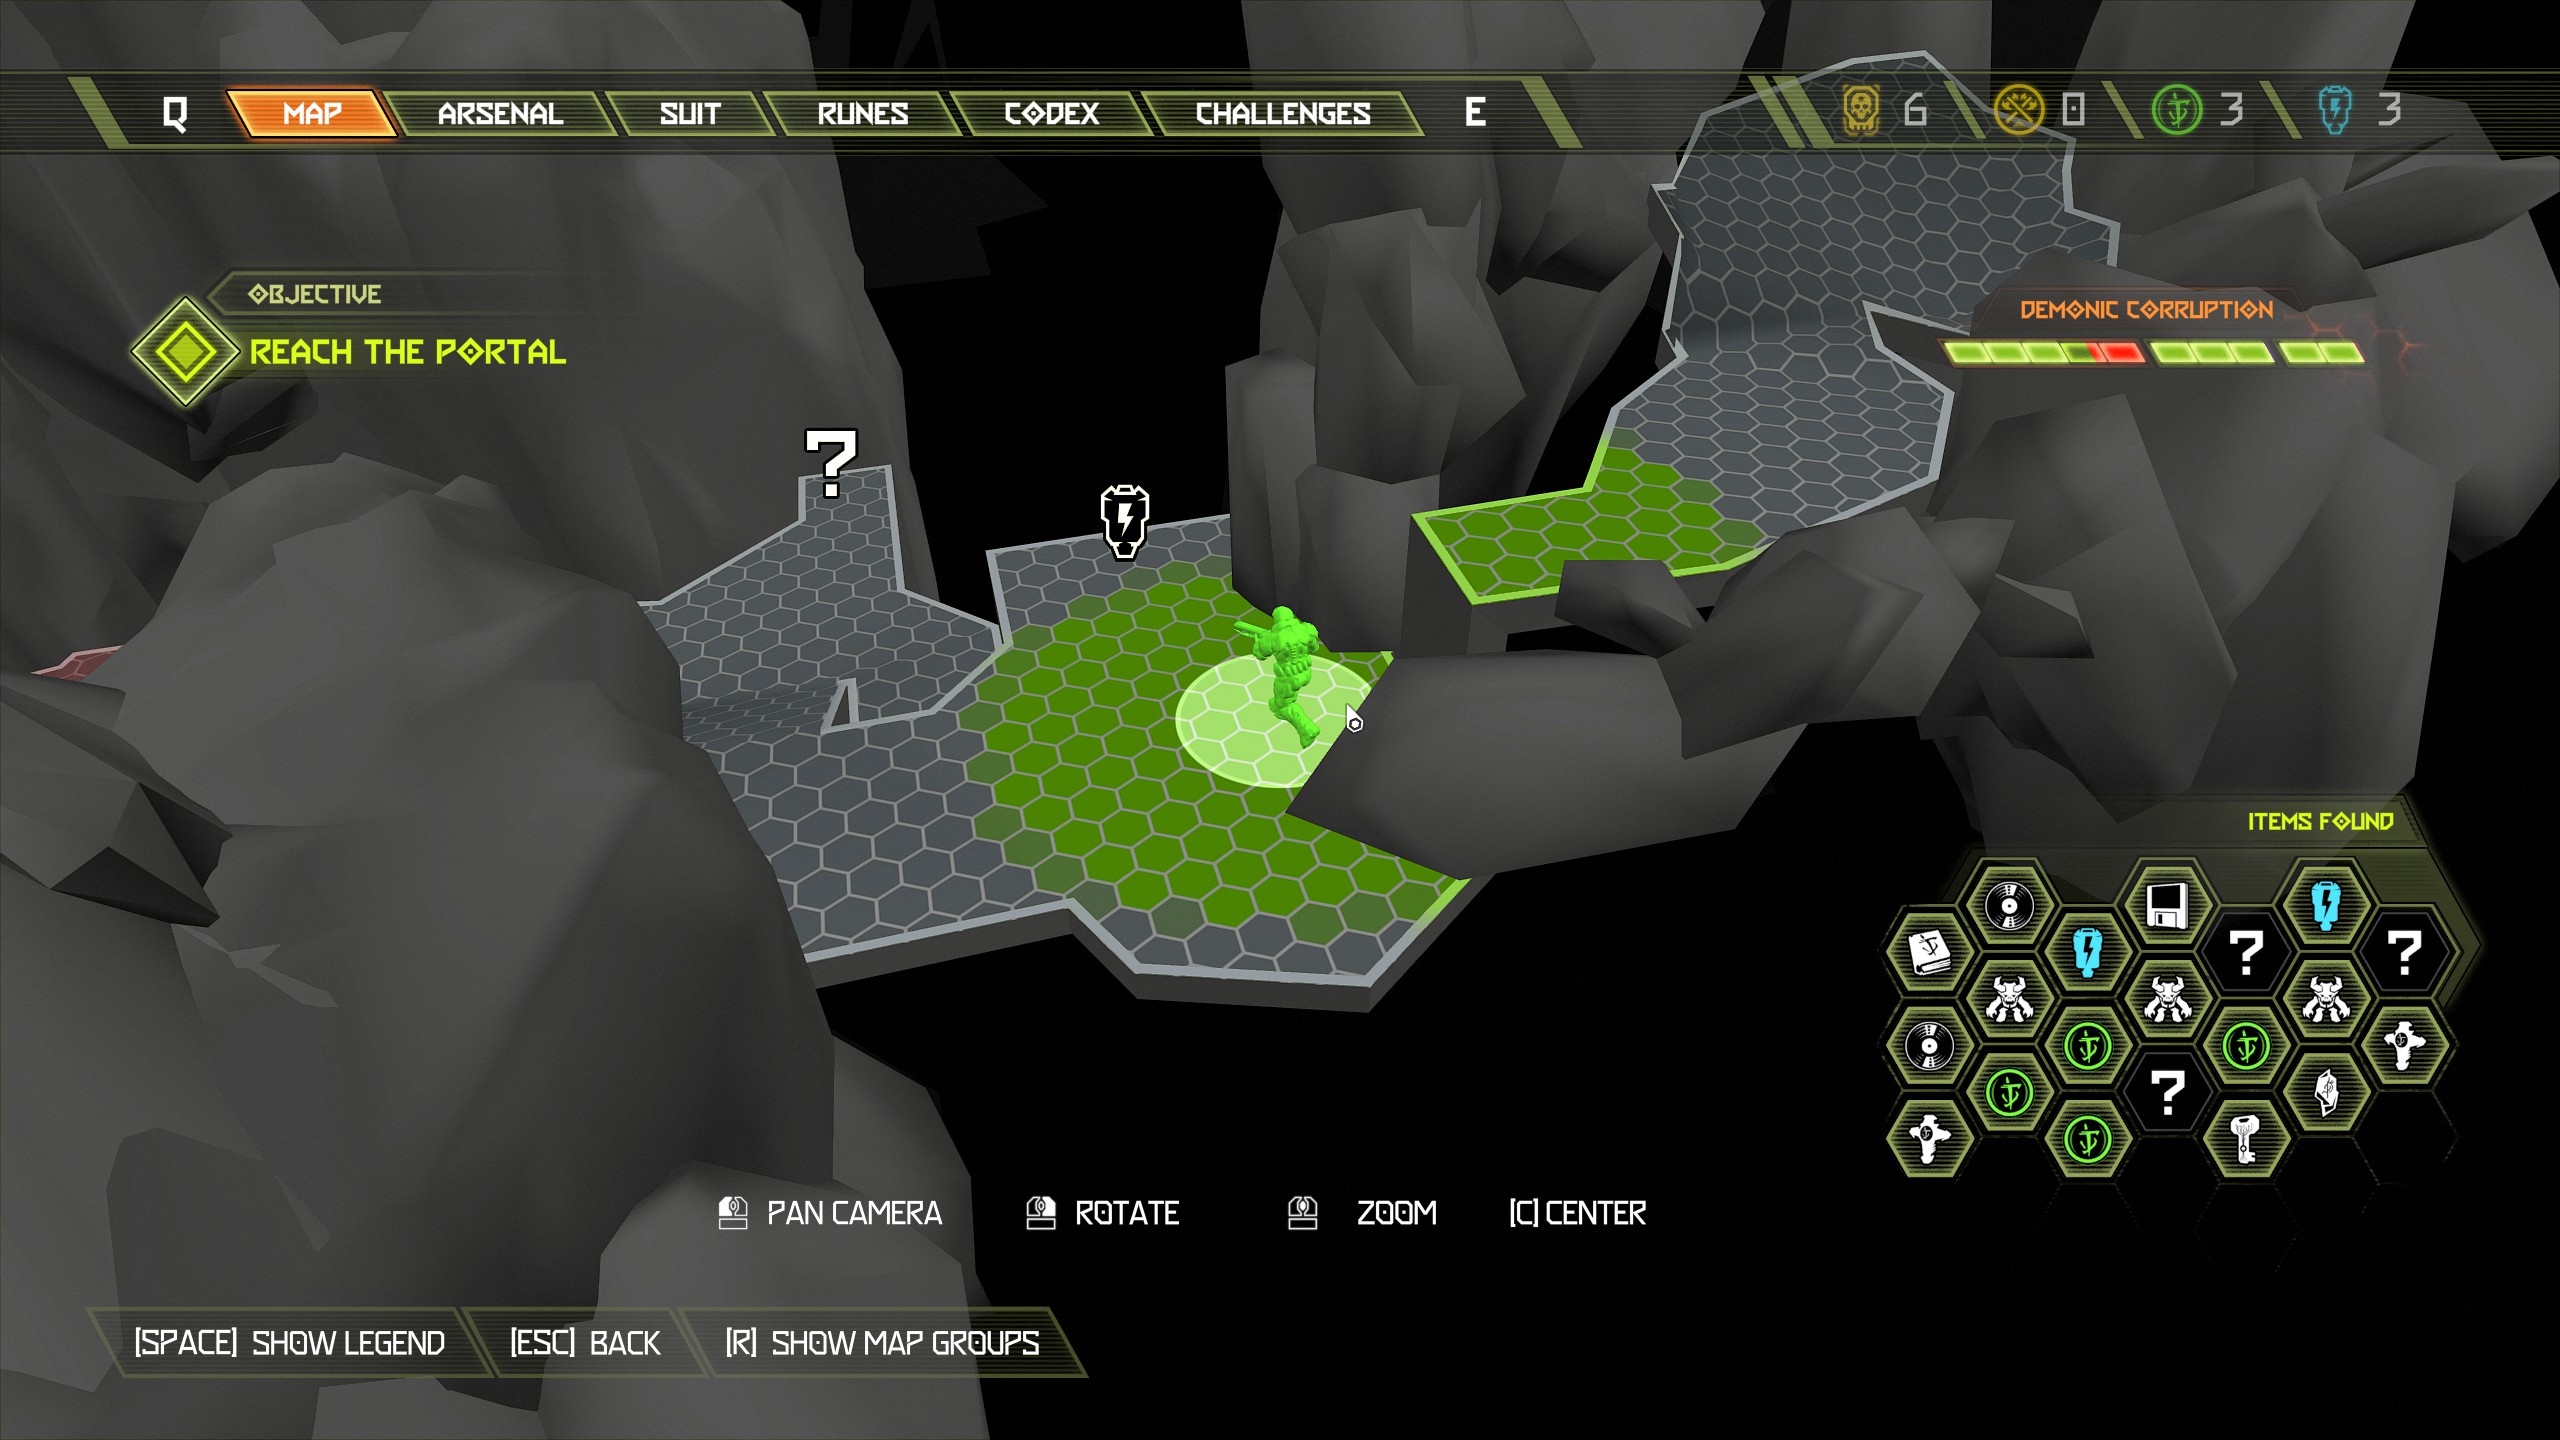
Straight after the sentinel battery drop down again and on the right side next to the flames is another codex page.
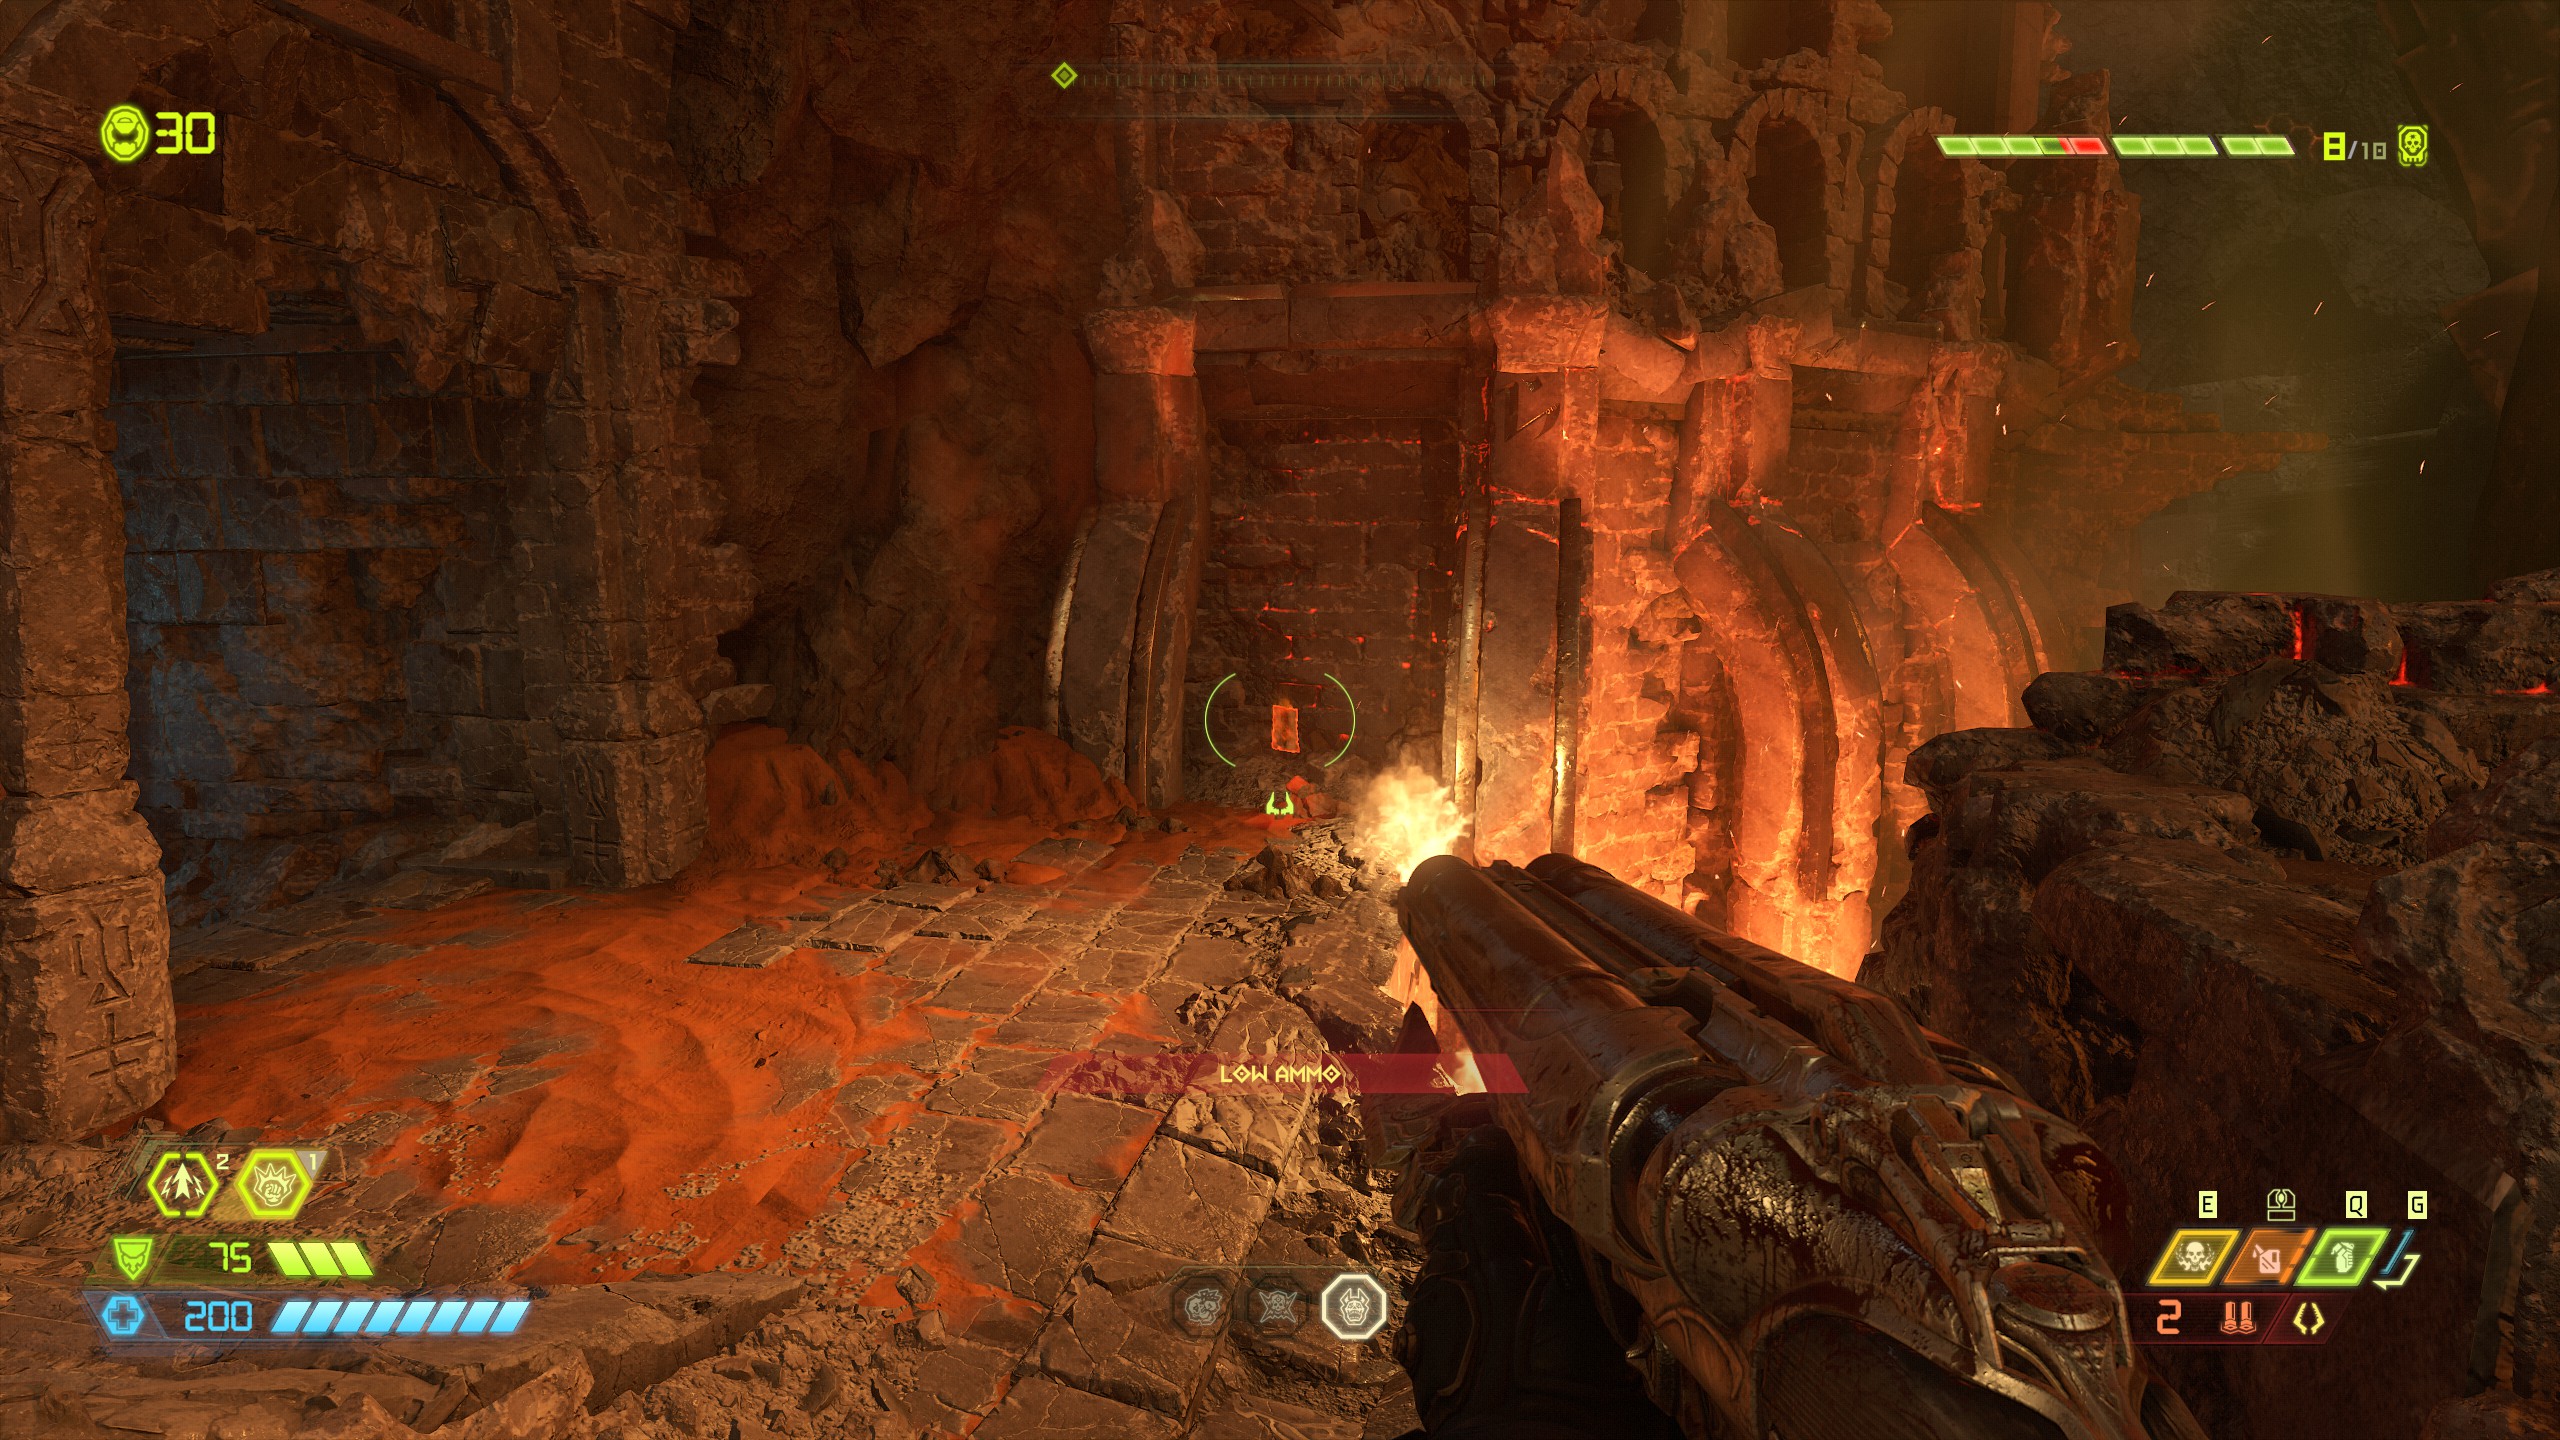
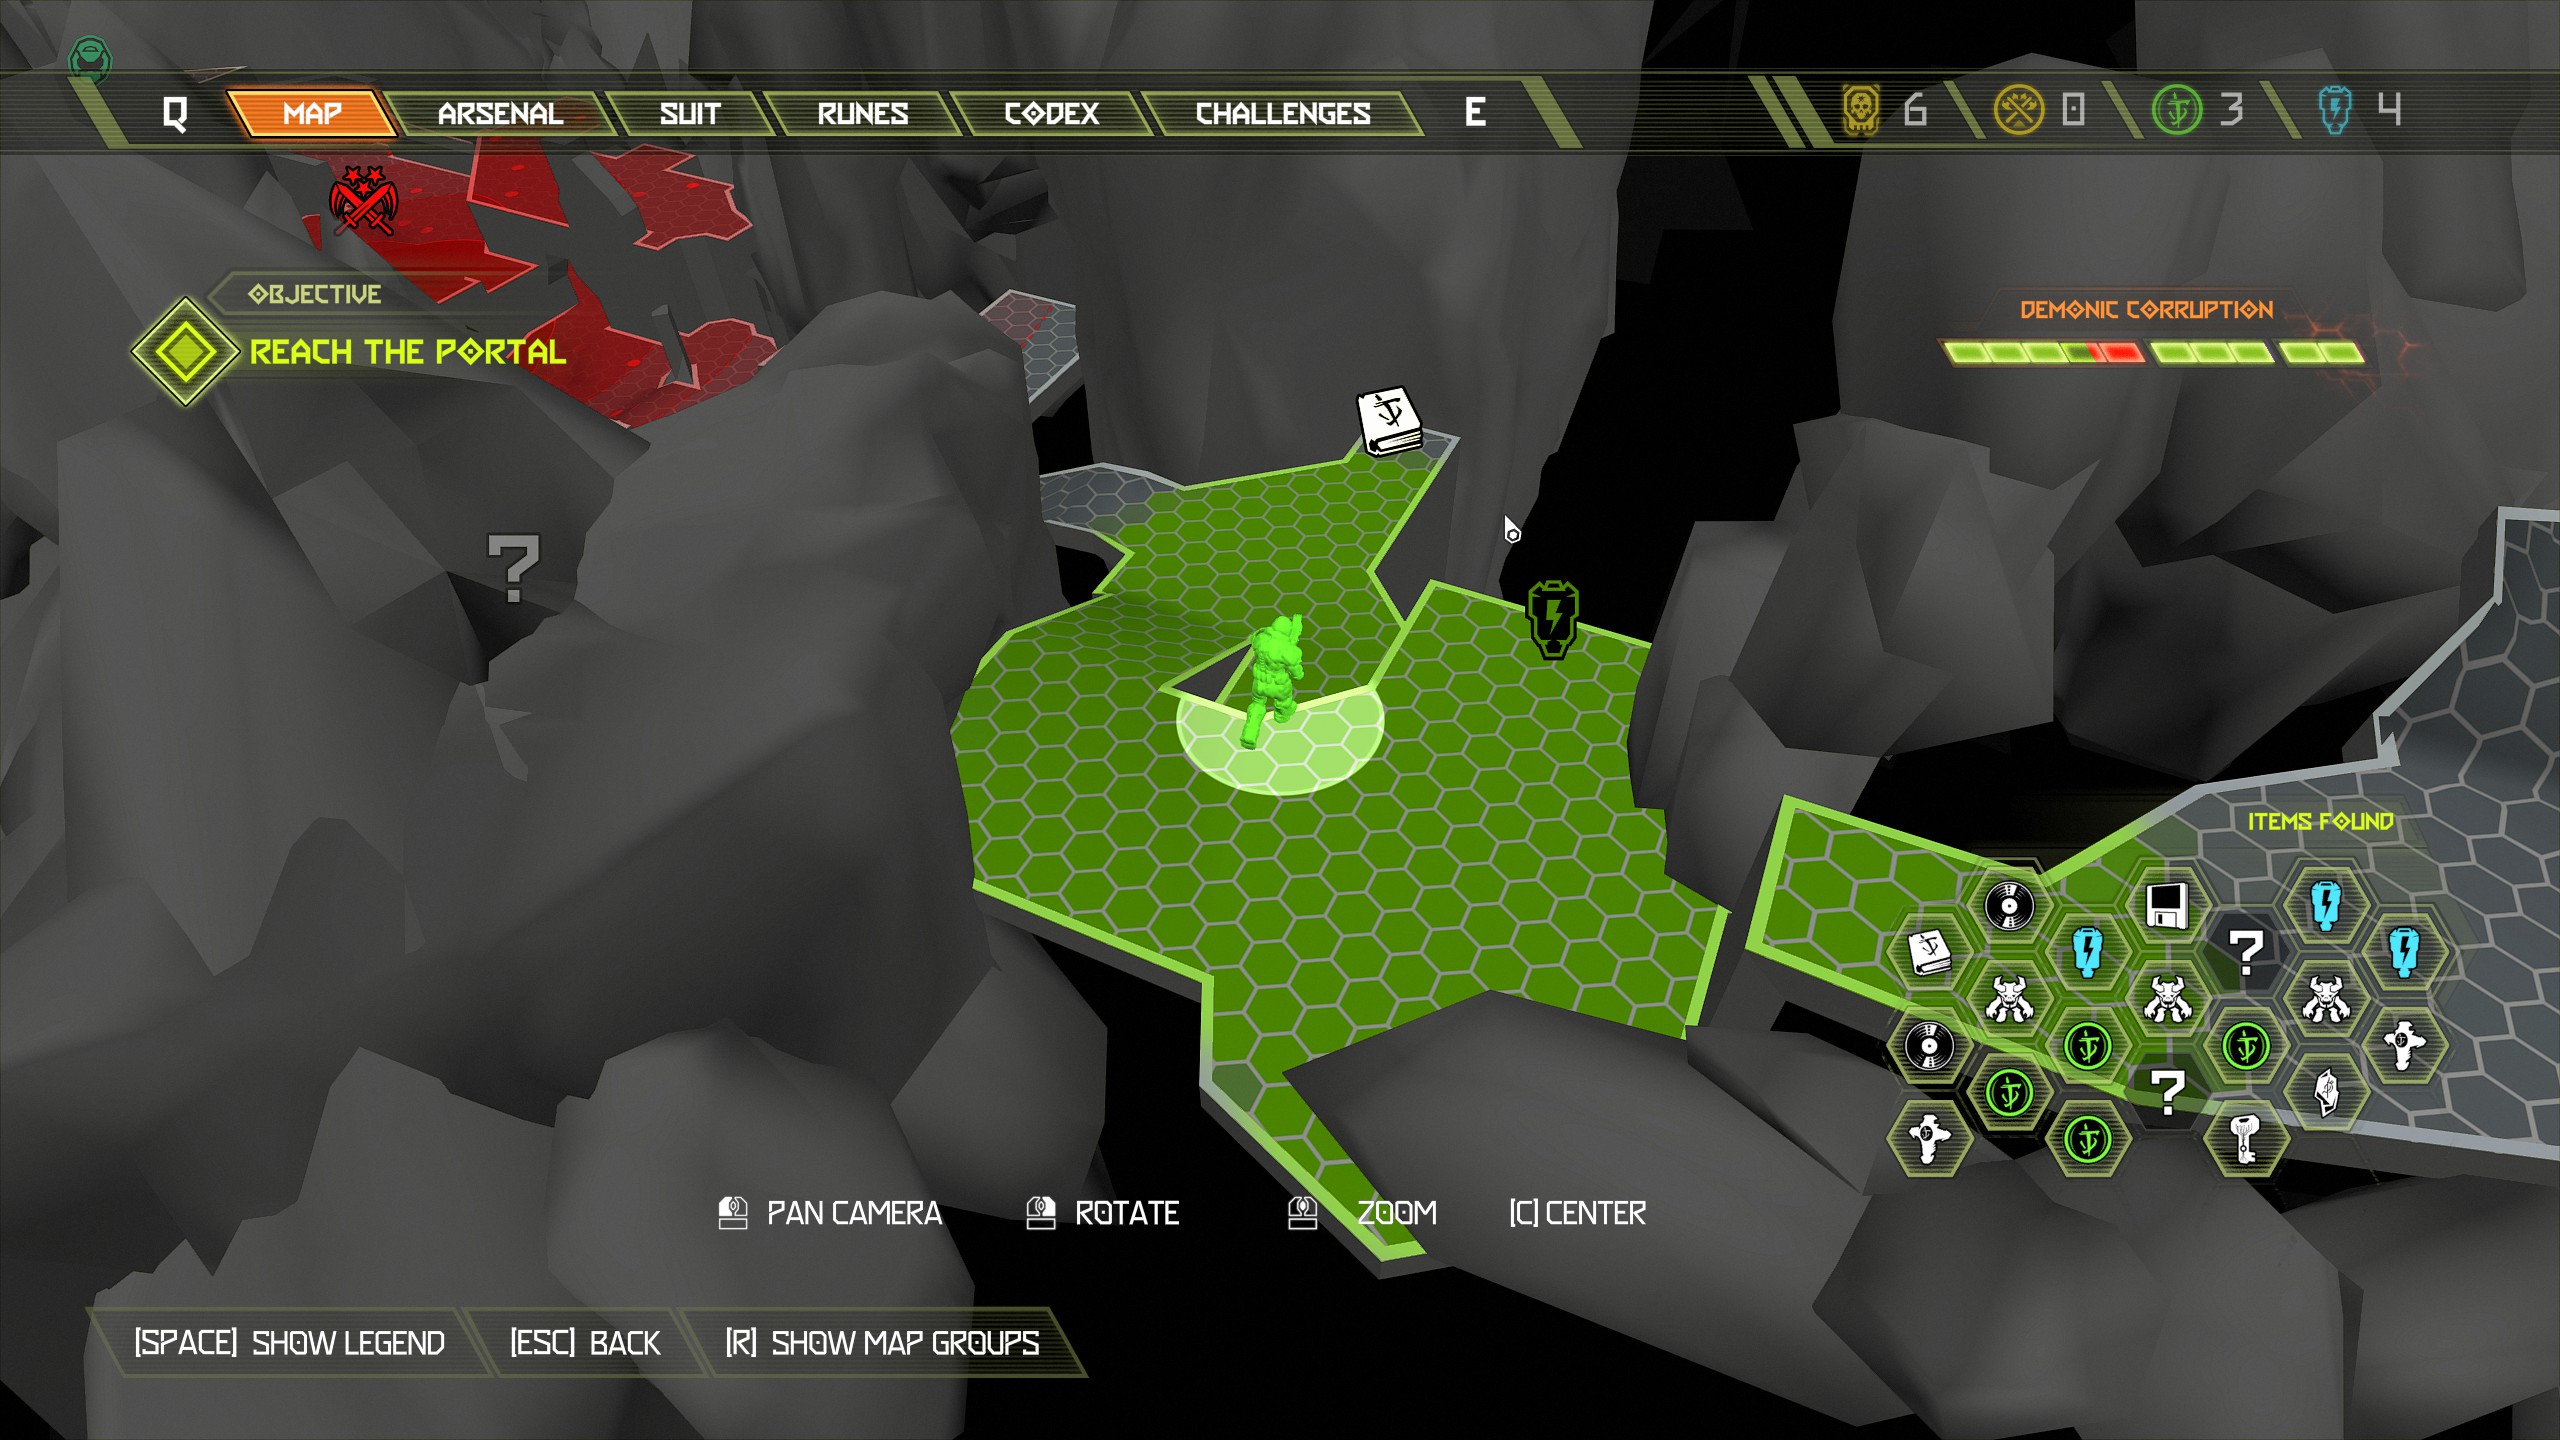
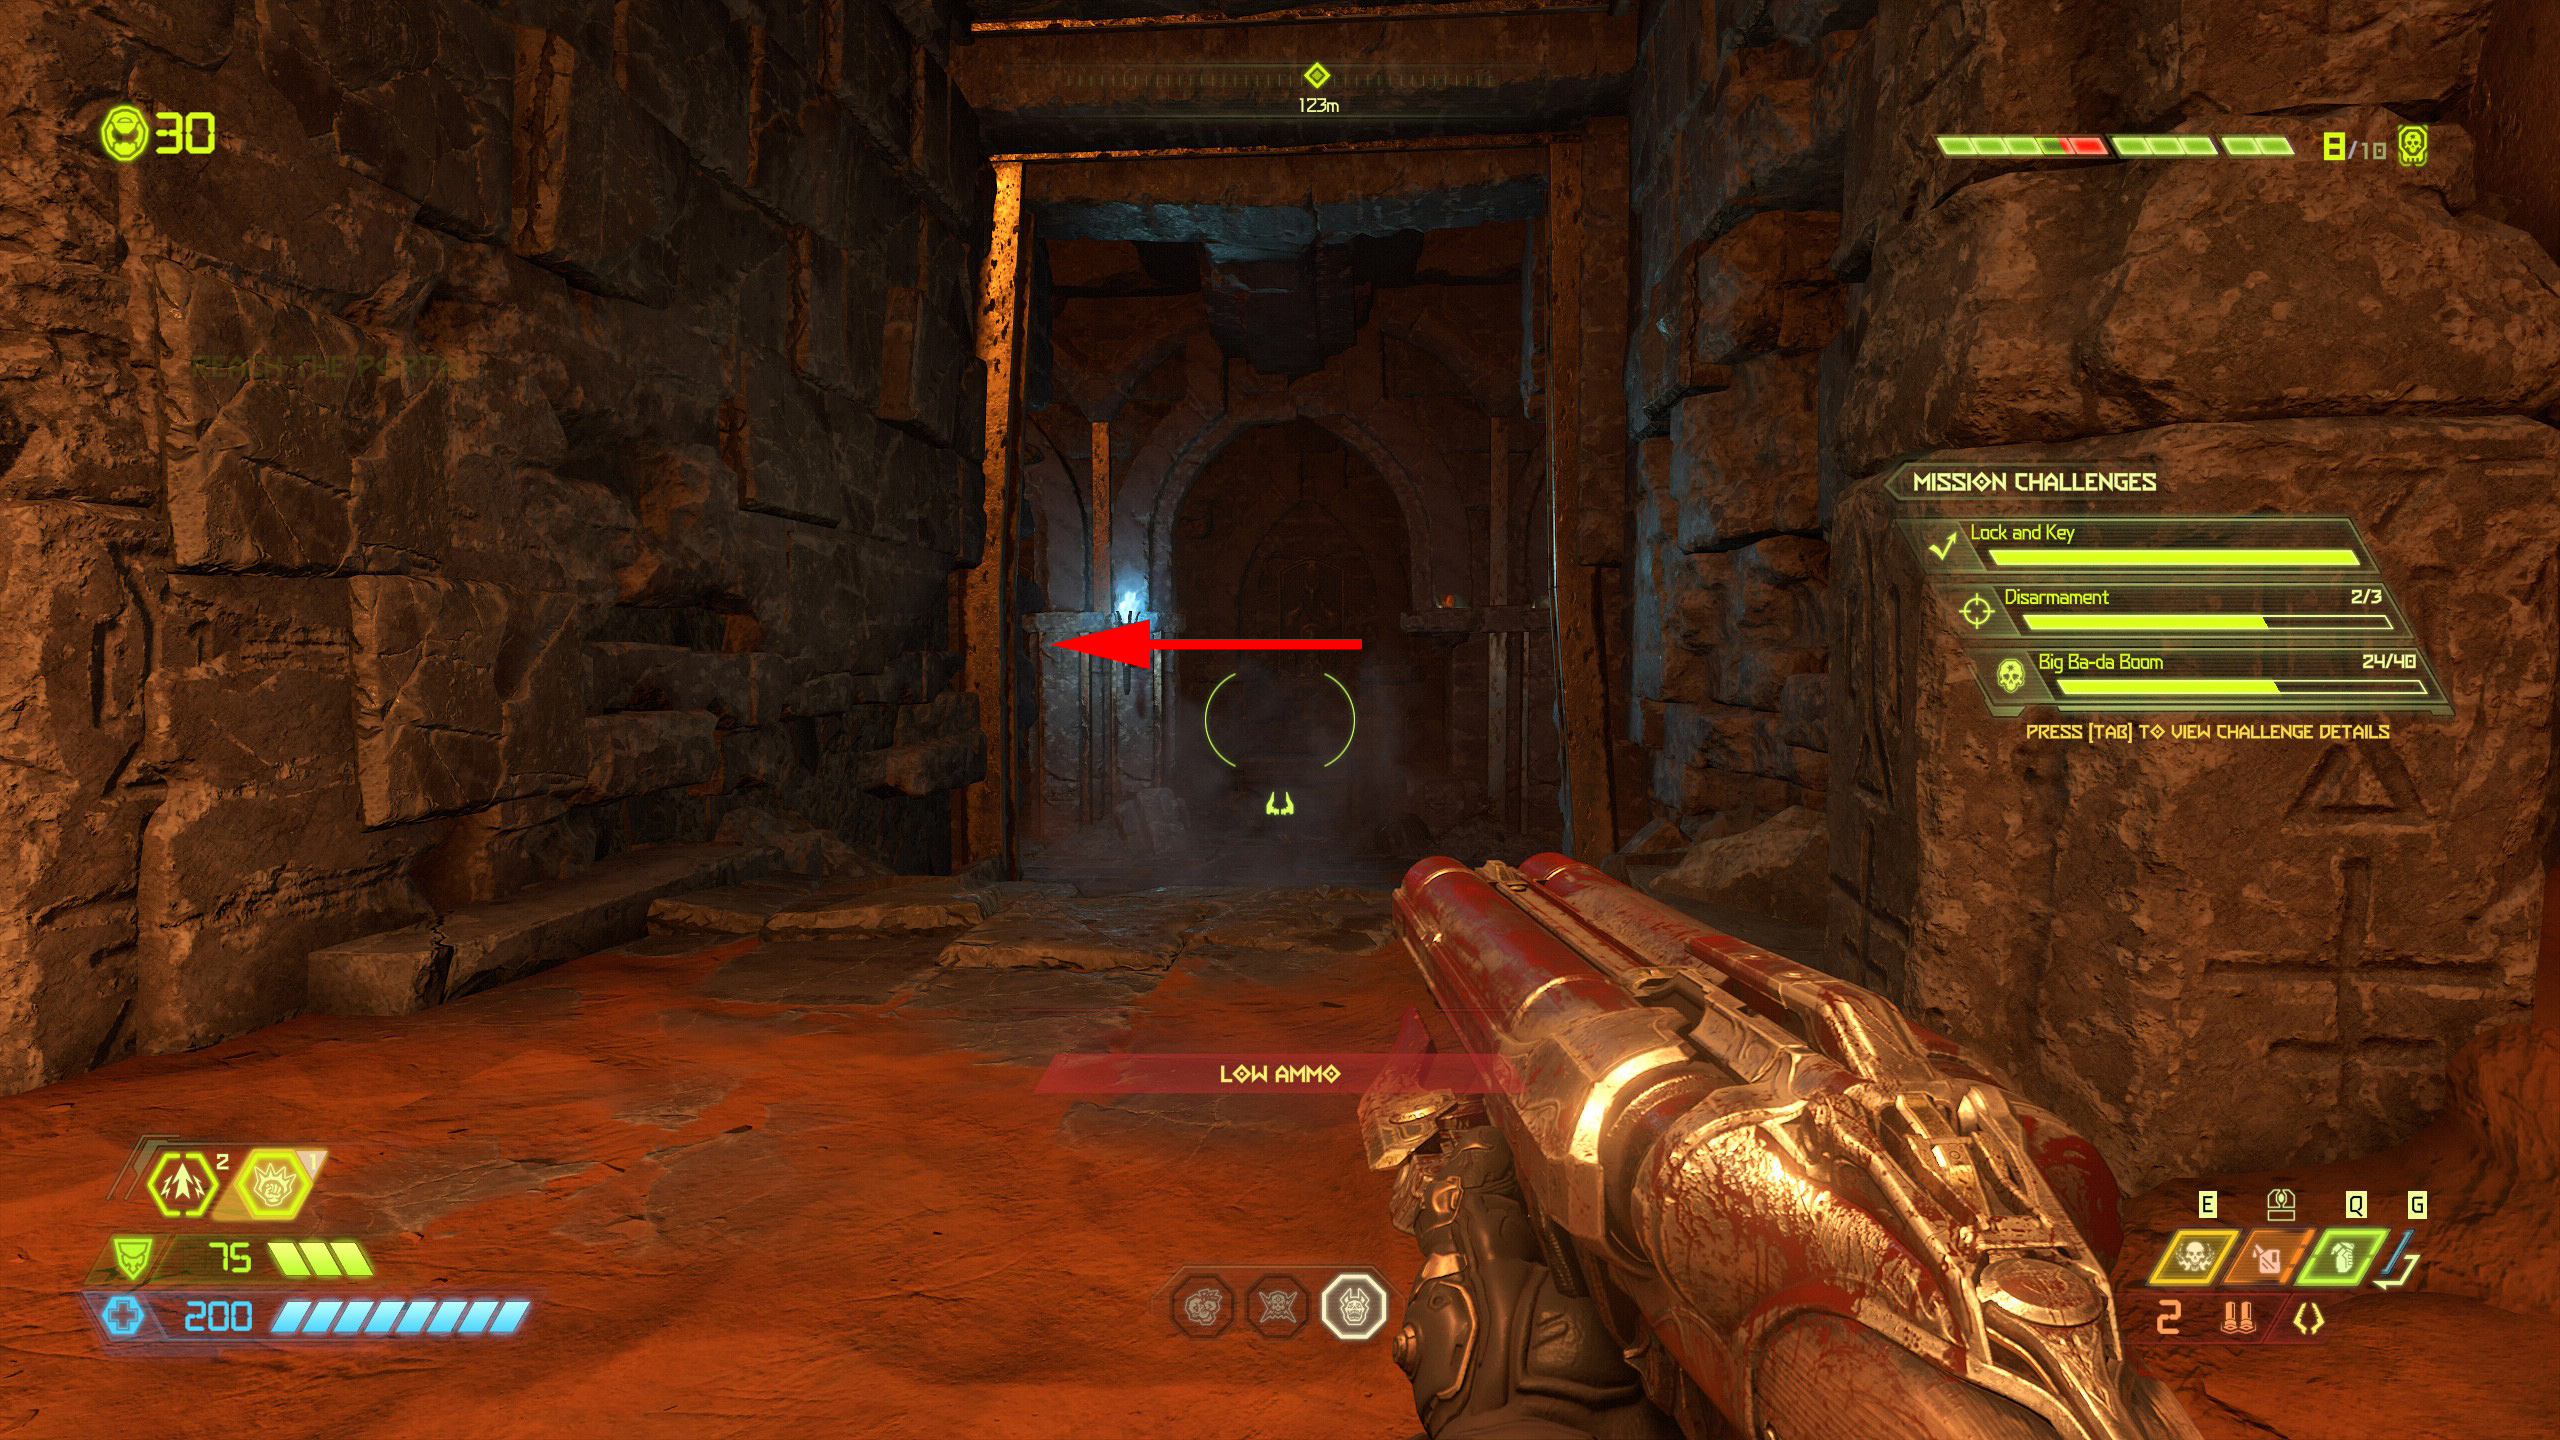
From the codex page move on through the passage but do not break through the green wall and instead turn left, at the end of the path will be a praetor suit token. Now continue and break through the green wall.
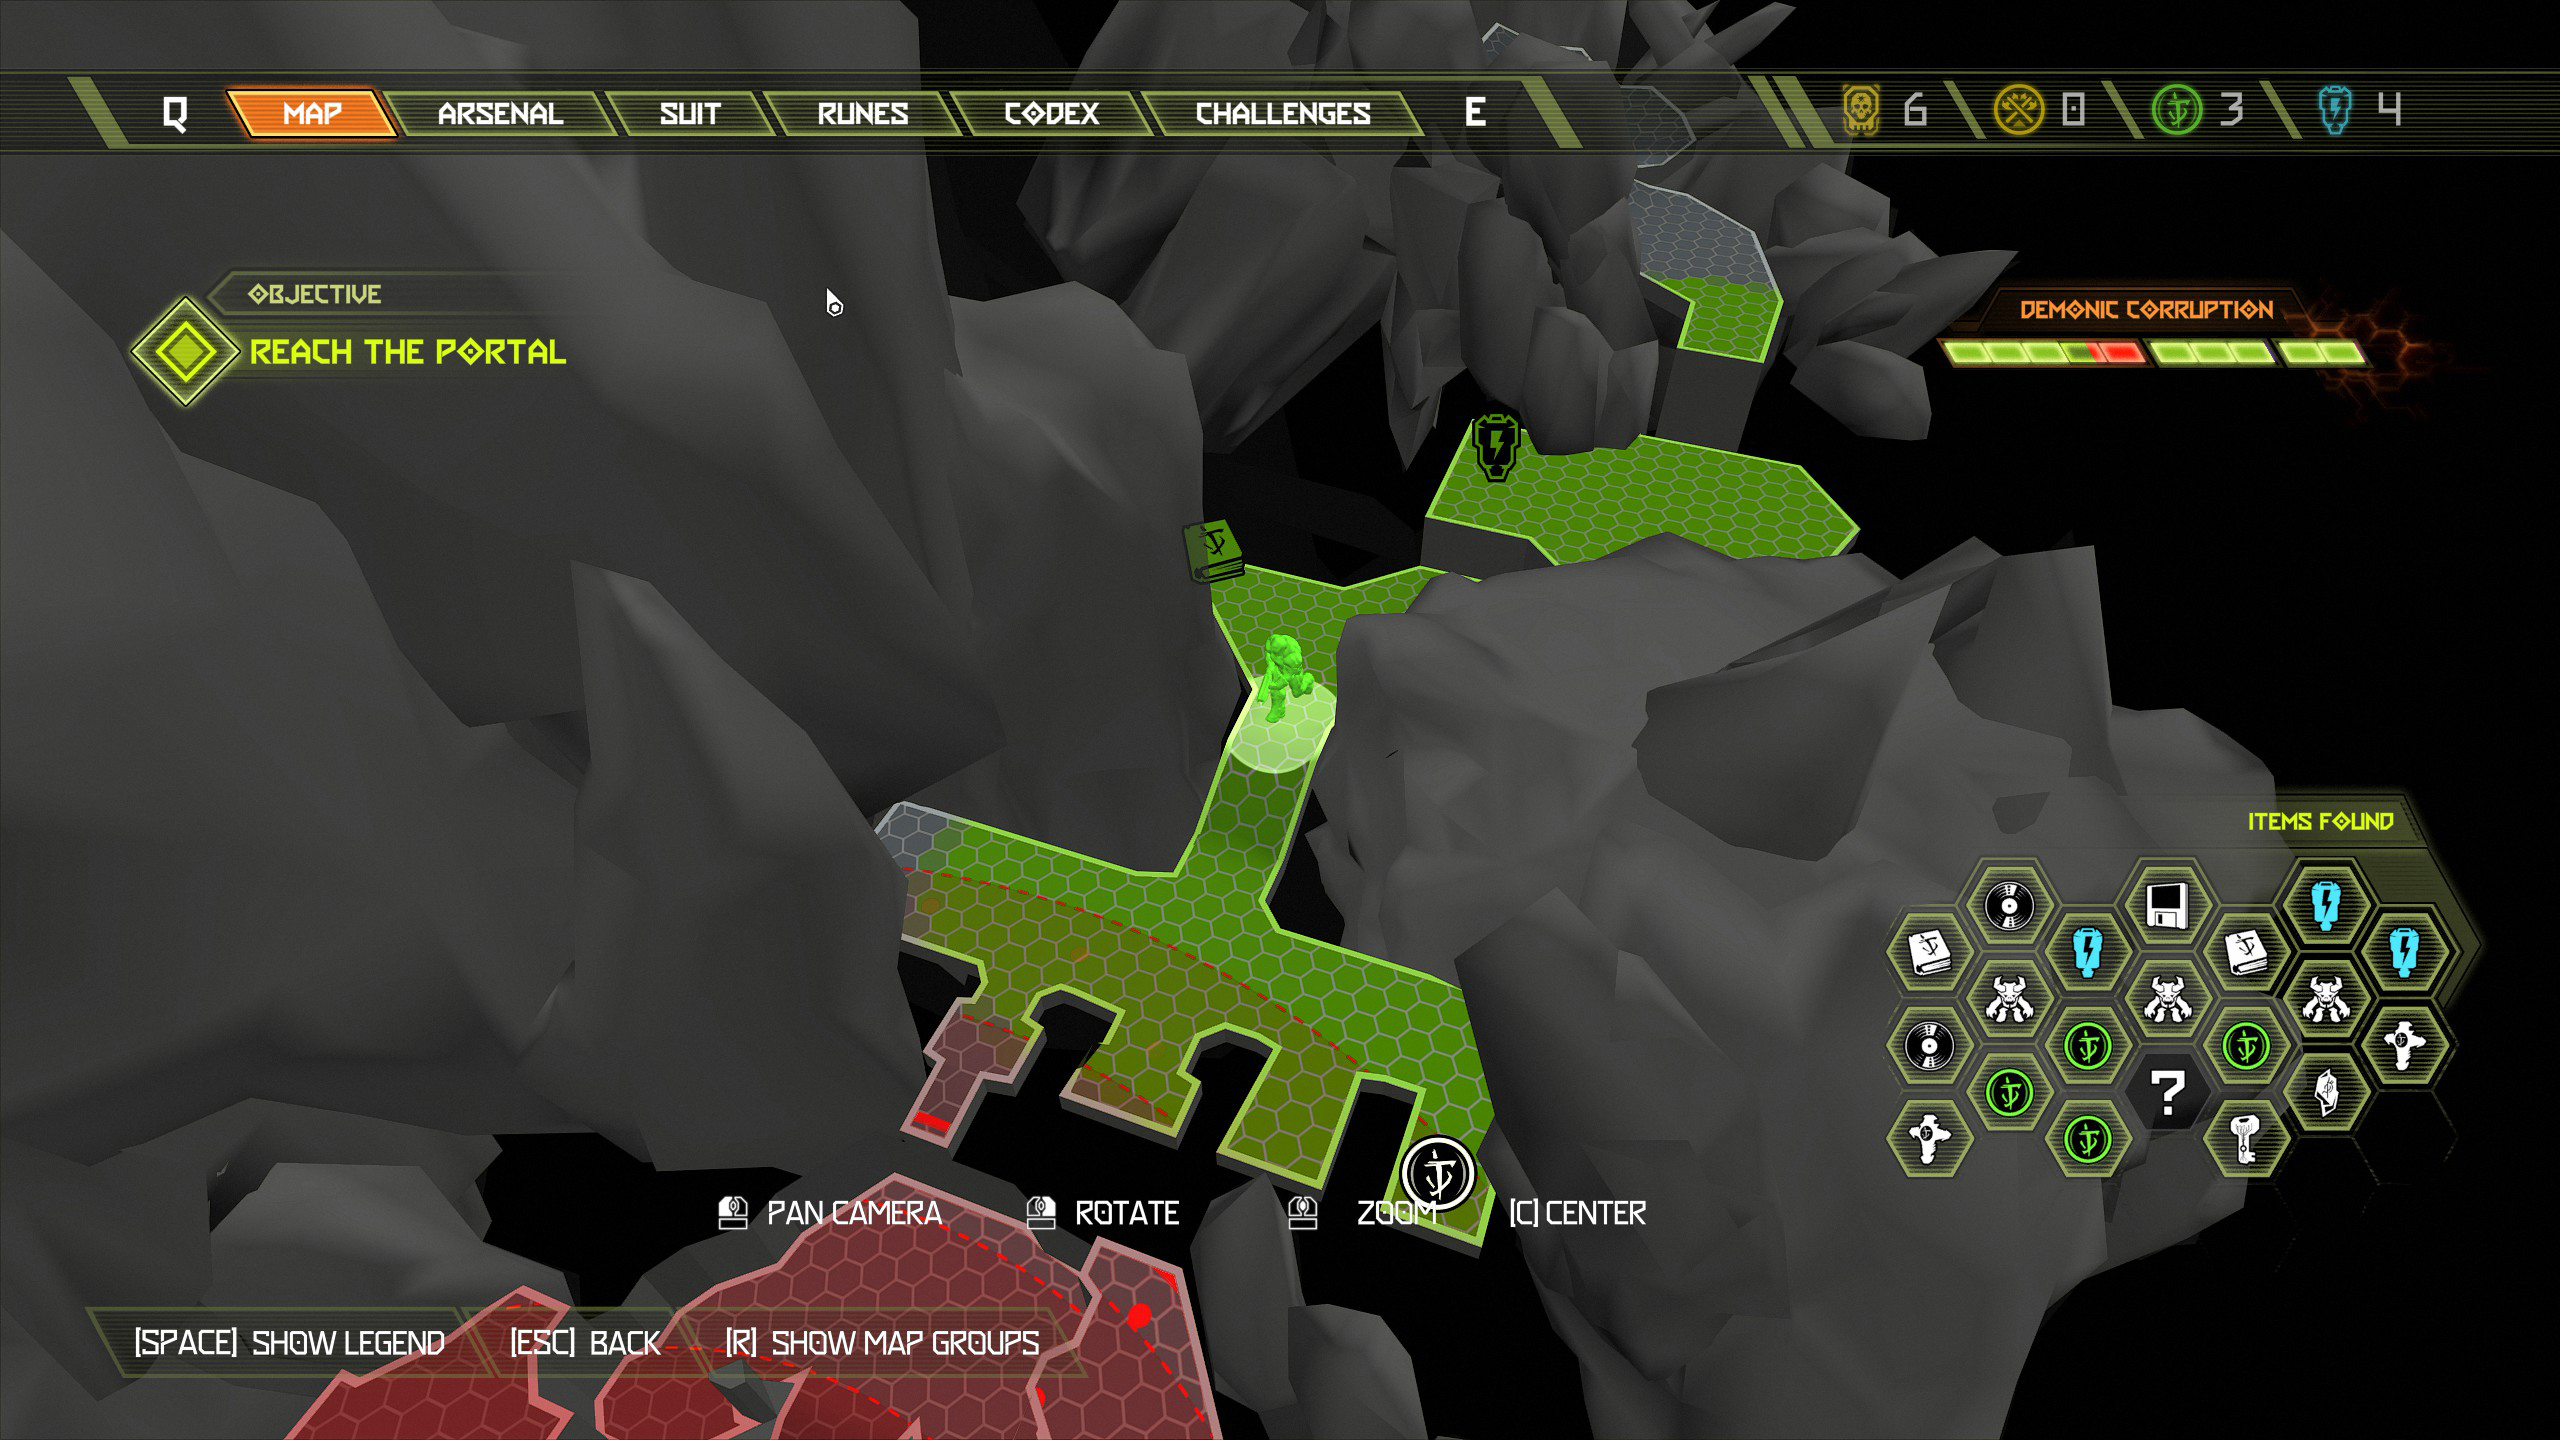
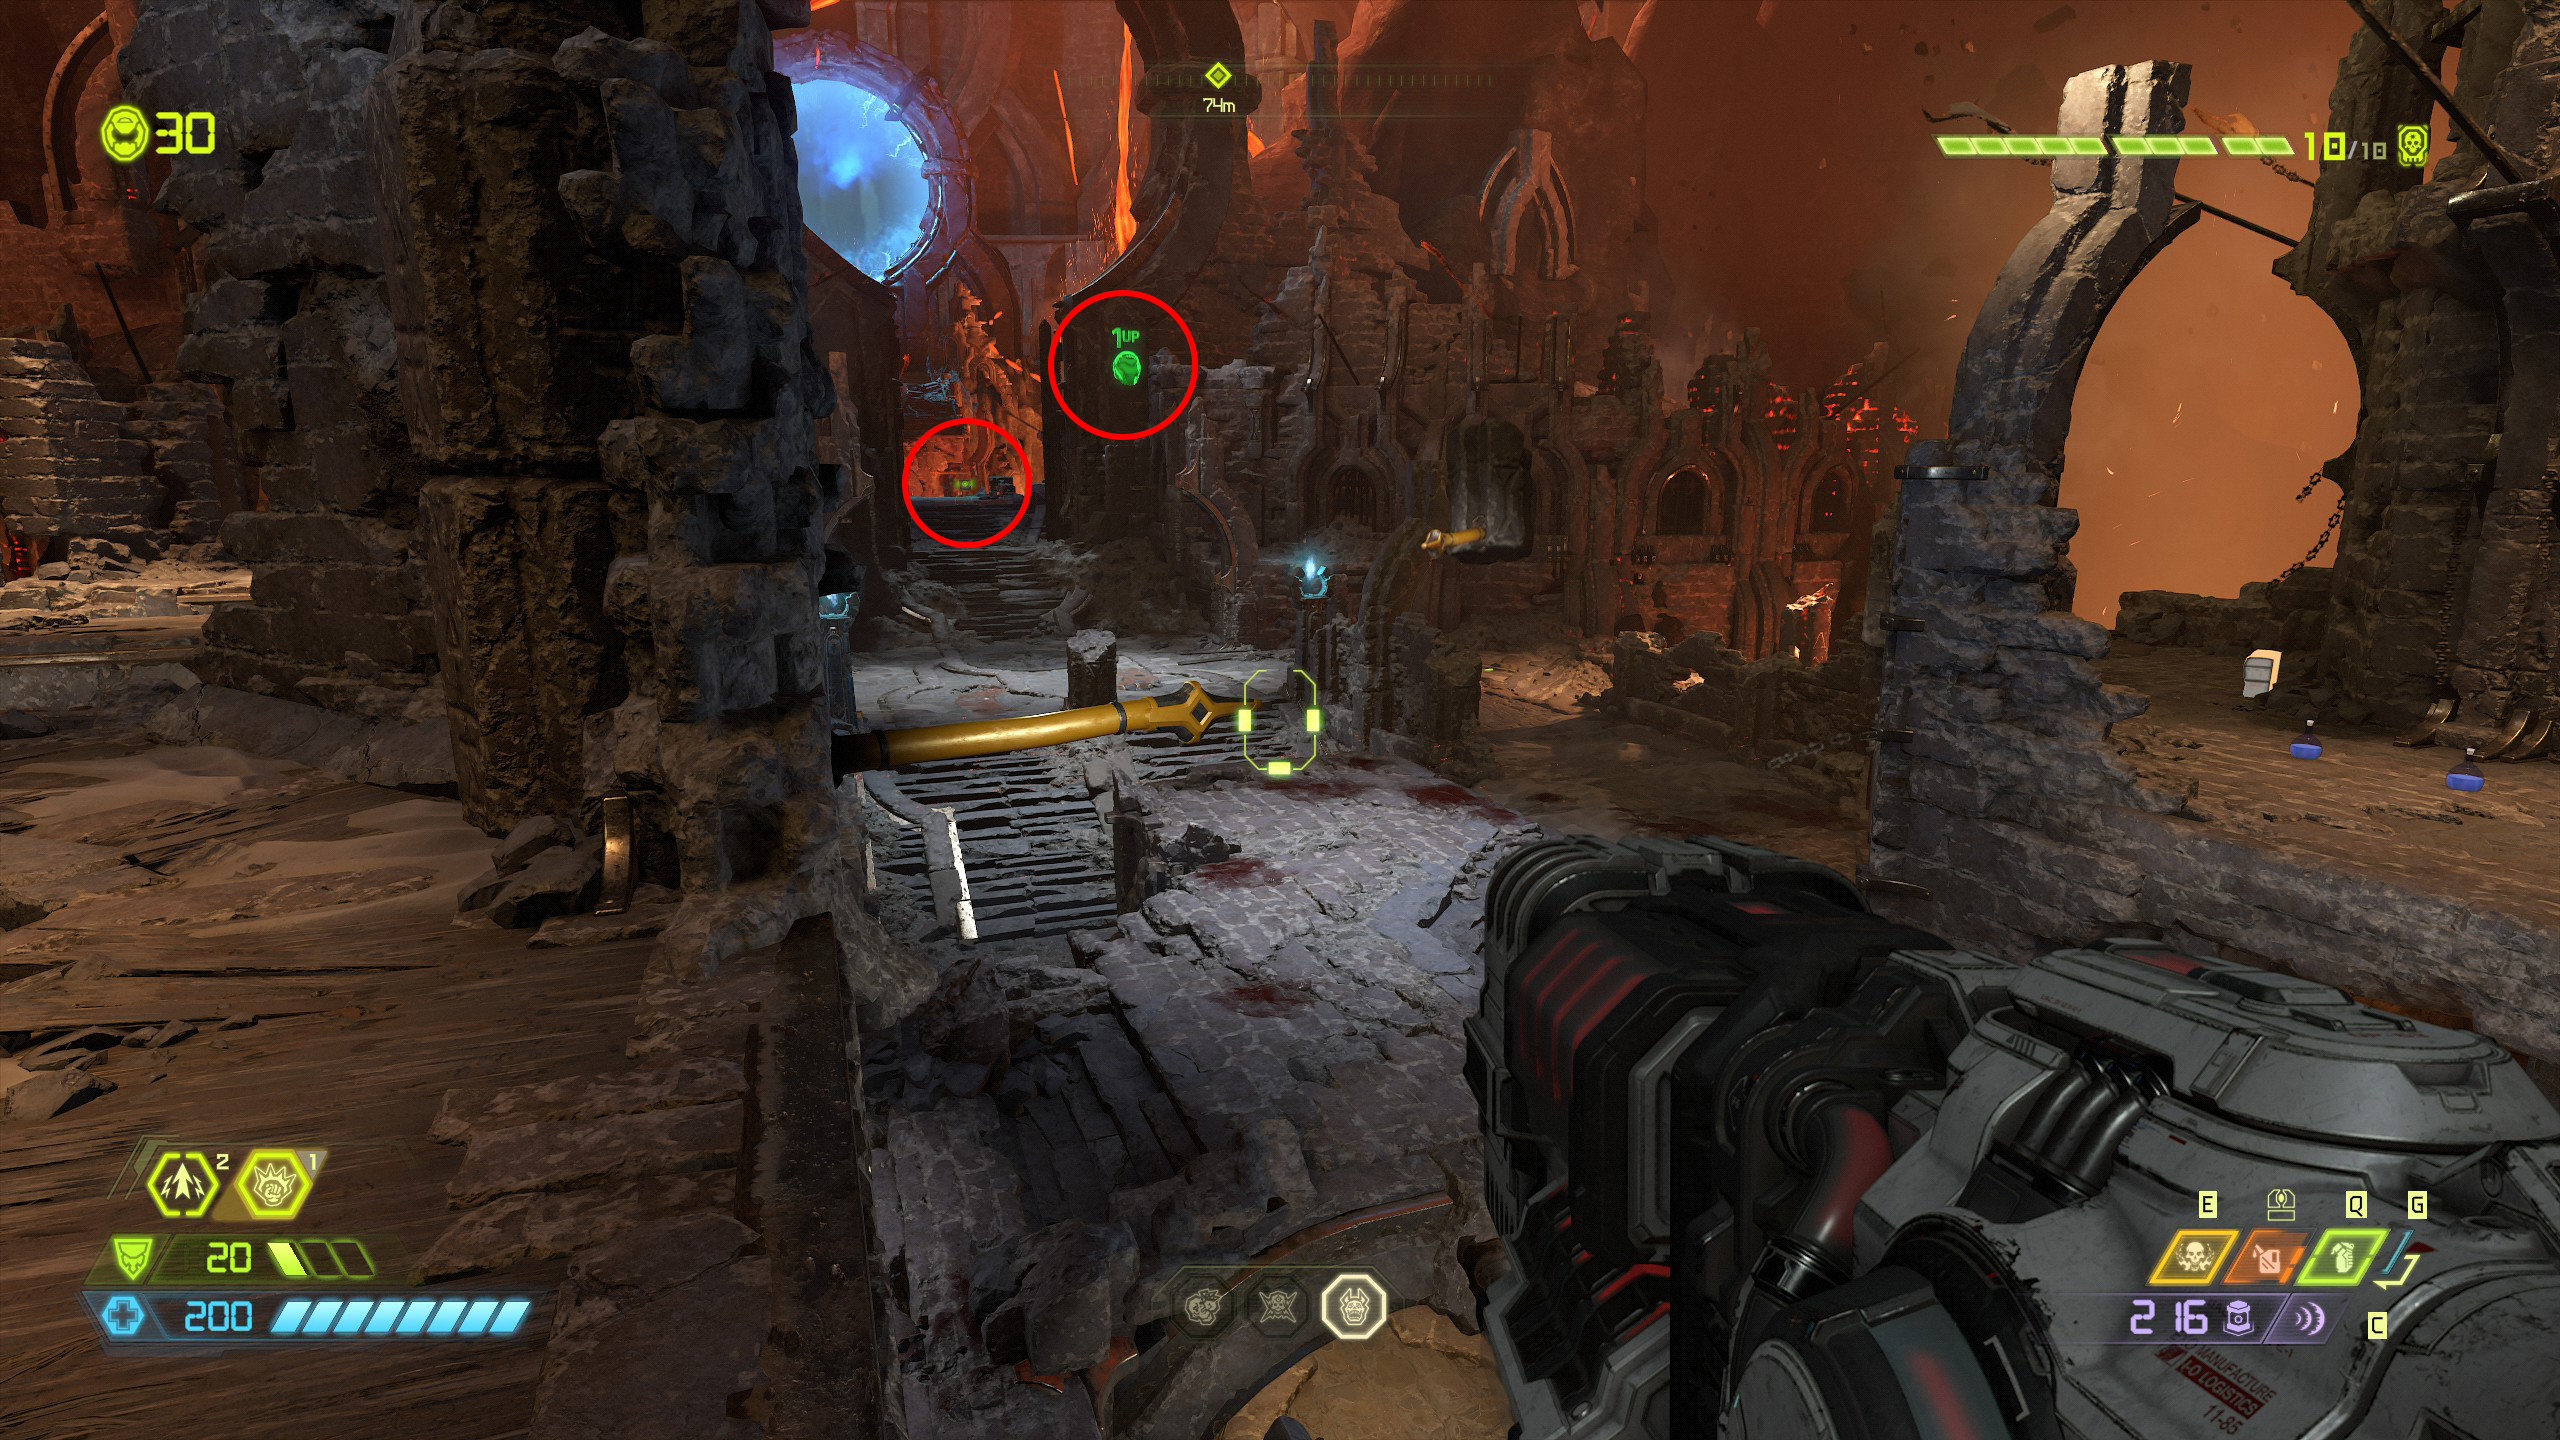
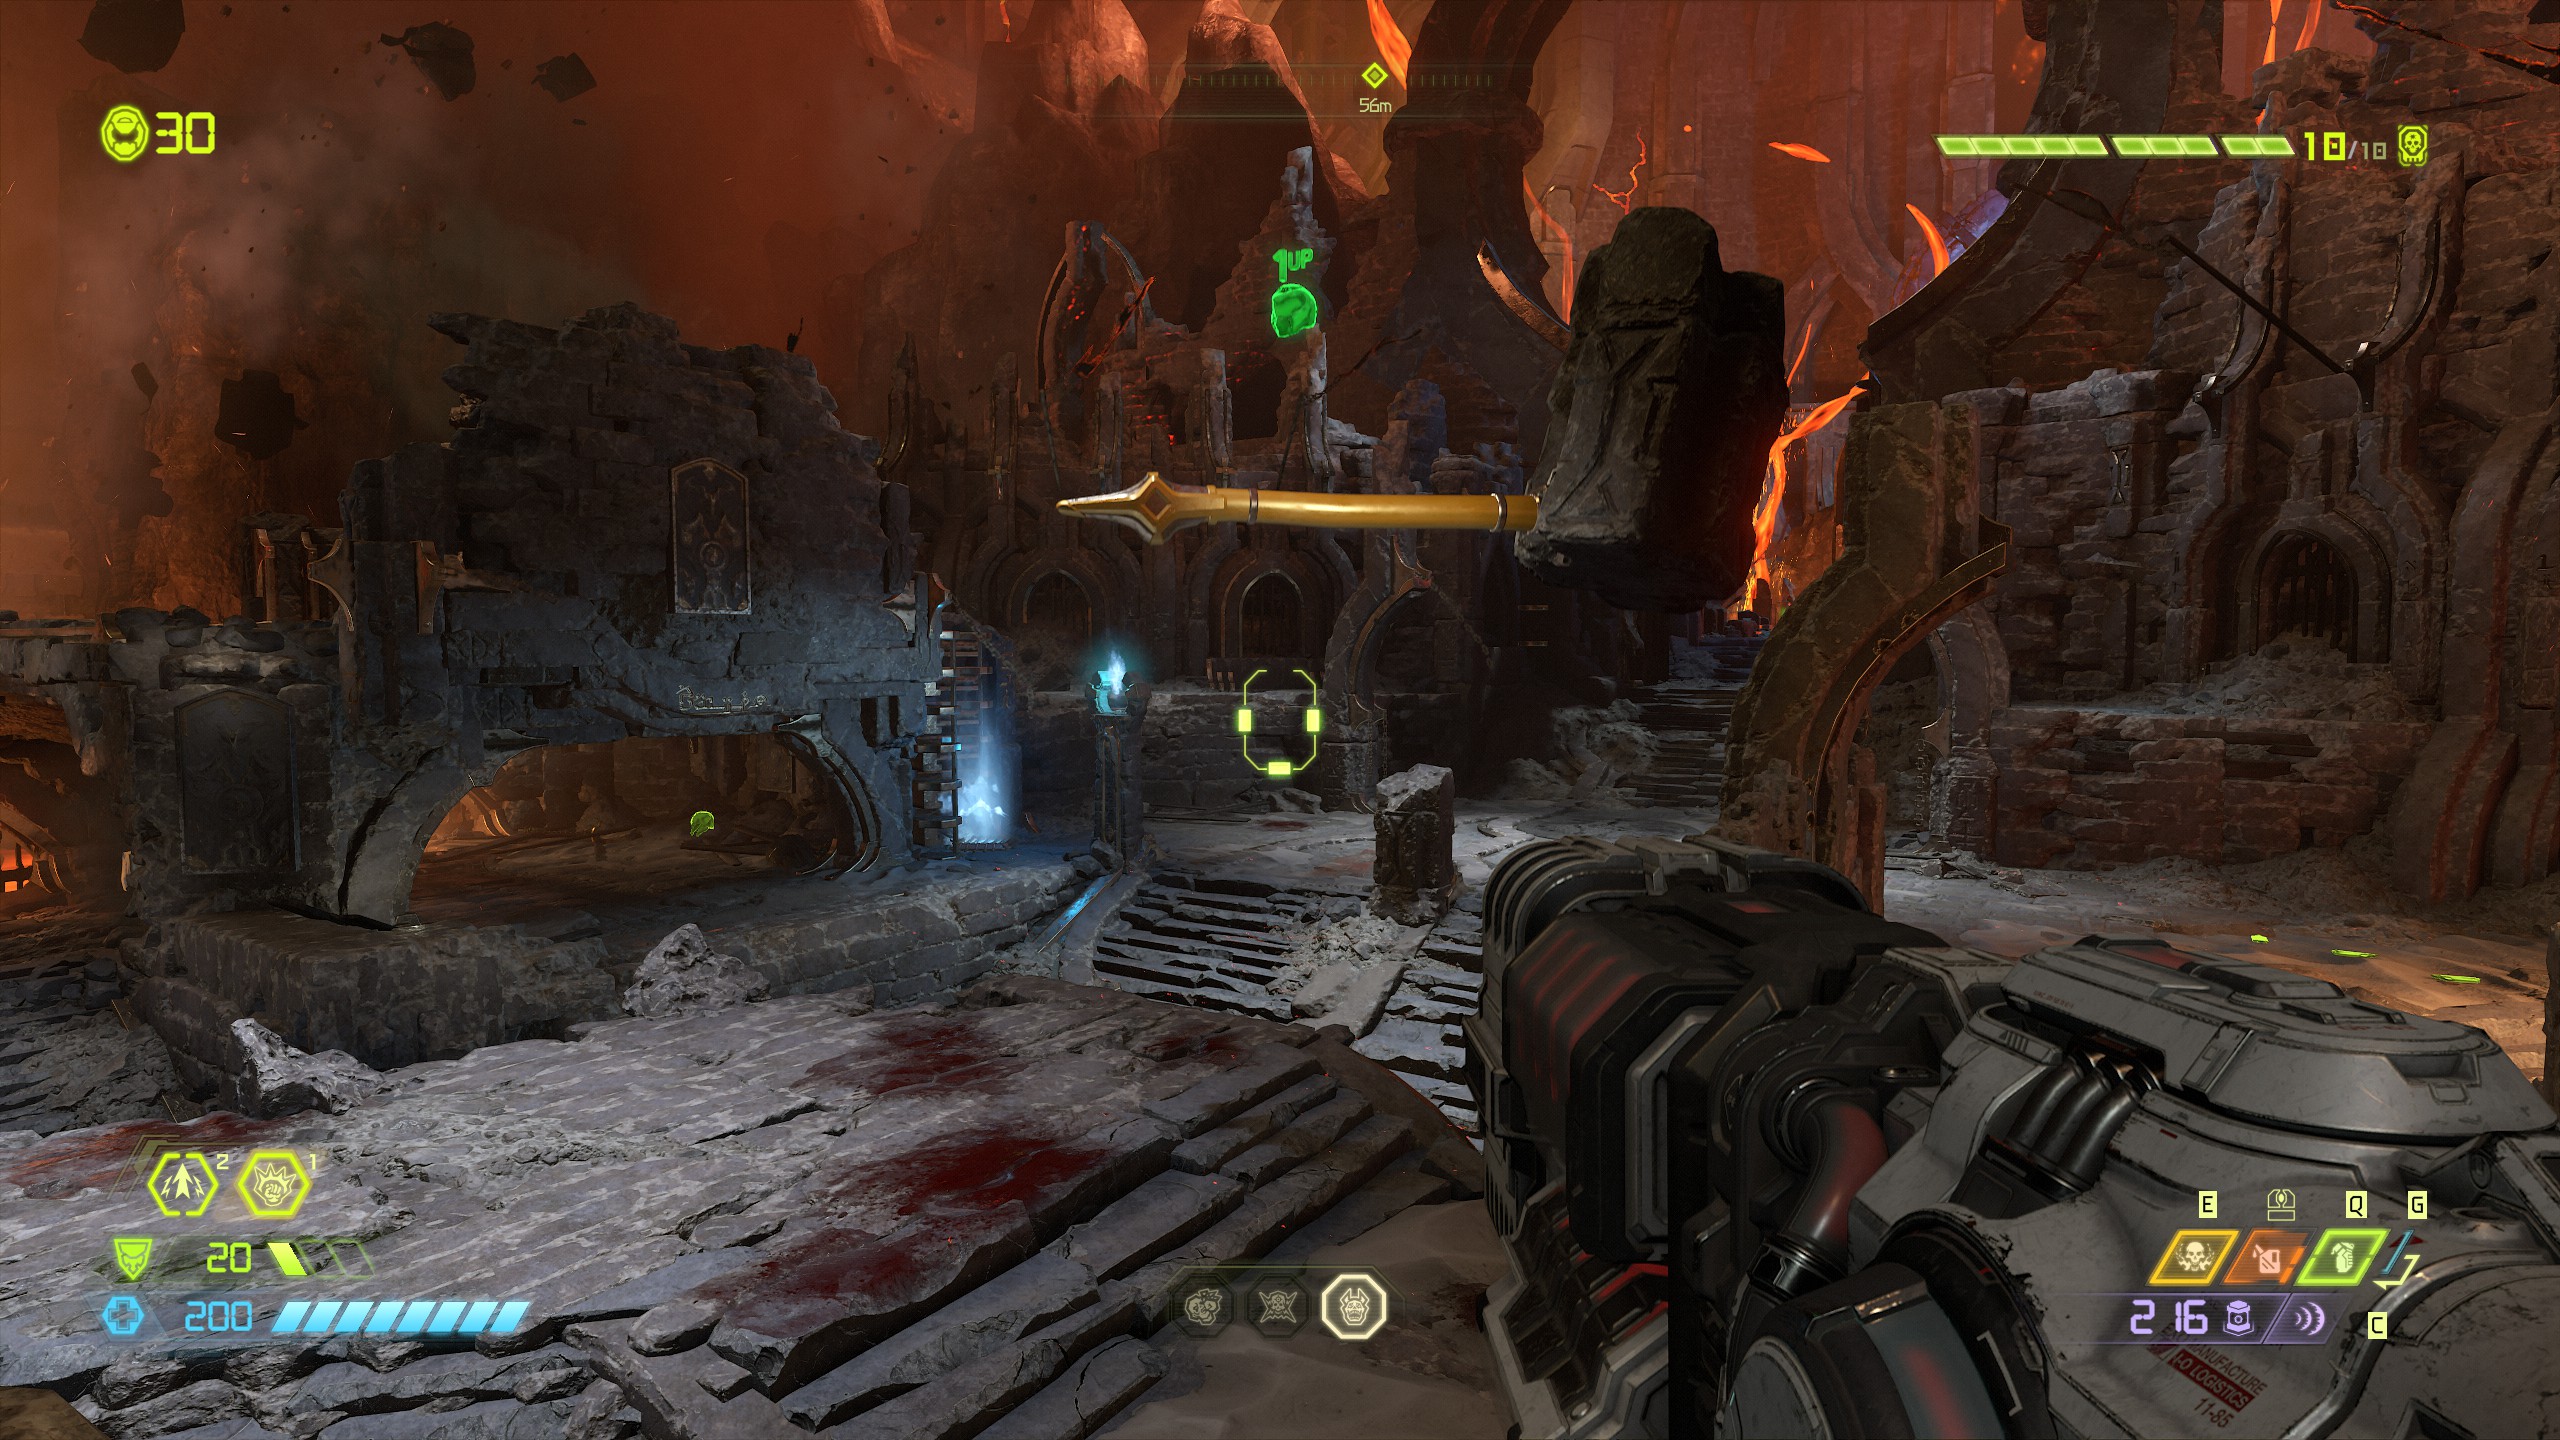
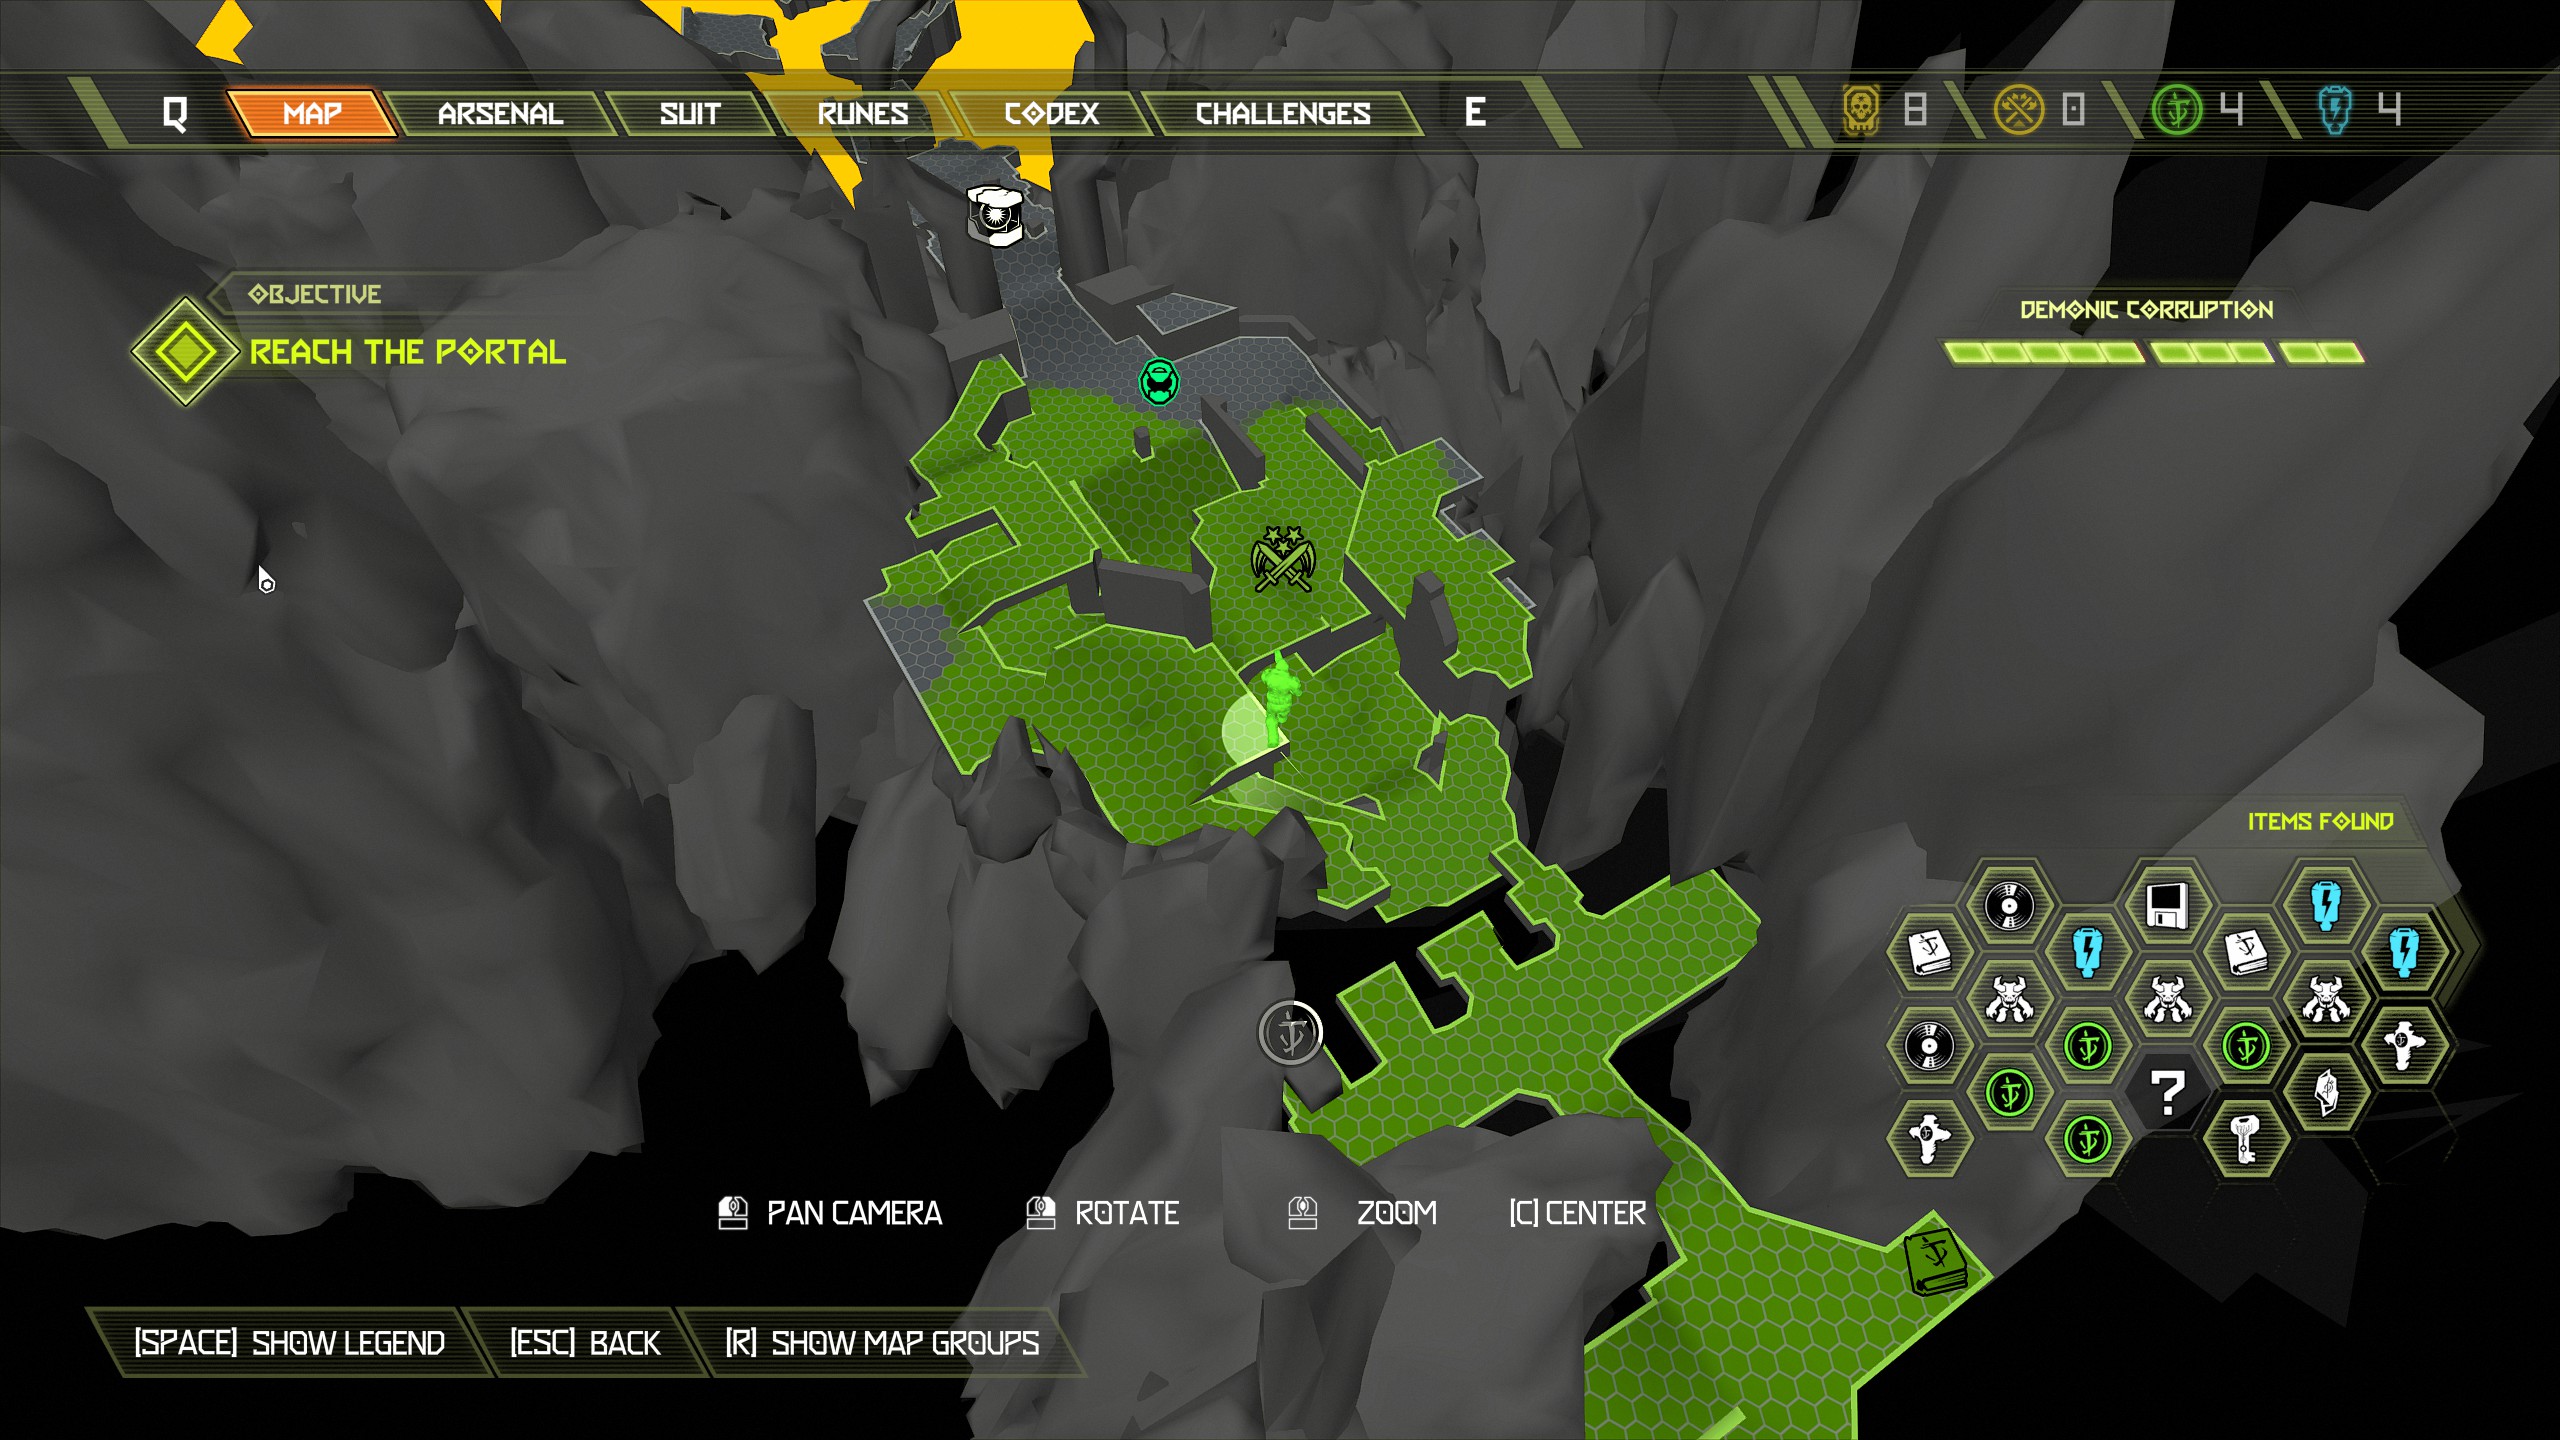
Time to head to sentinel prime!
Mission 8: Sentinel Prime
NOTE: This is a quick and easy mission and contains only a boss fight. You will find mostly codex pages throughout this mission and nothing is really hidden away so you could easily find everything without even using the guide.
You can also use cheat codes on this mission and then repeat it over and over to gain a slayer level each time you complete it, you just won't gain exp by doing it. This mission contains:
- 9 Codex Pages
- 2 Extra Lives
- 1 Automap
- 1 Praetor Suit Token
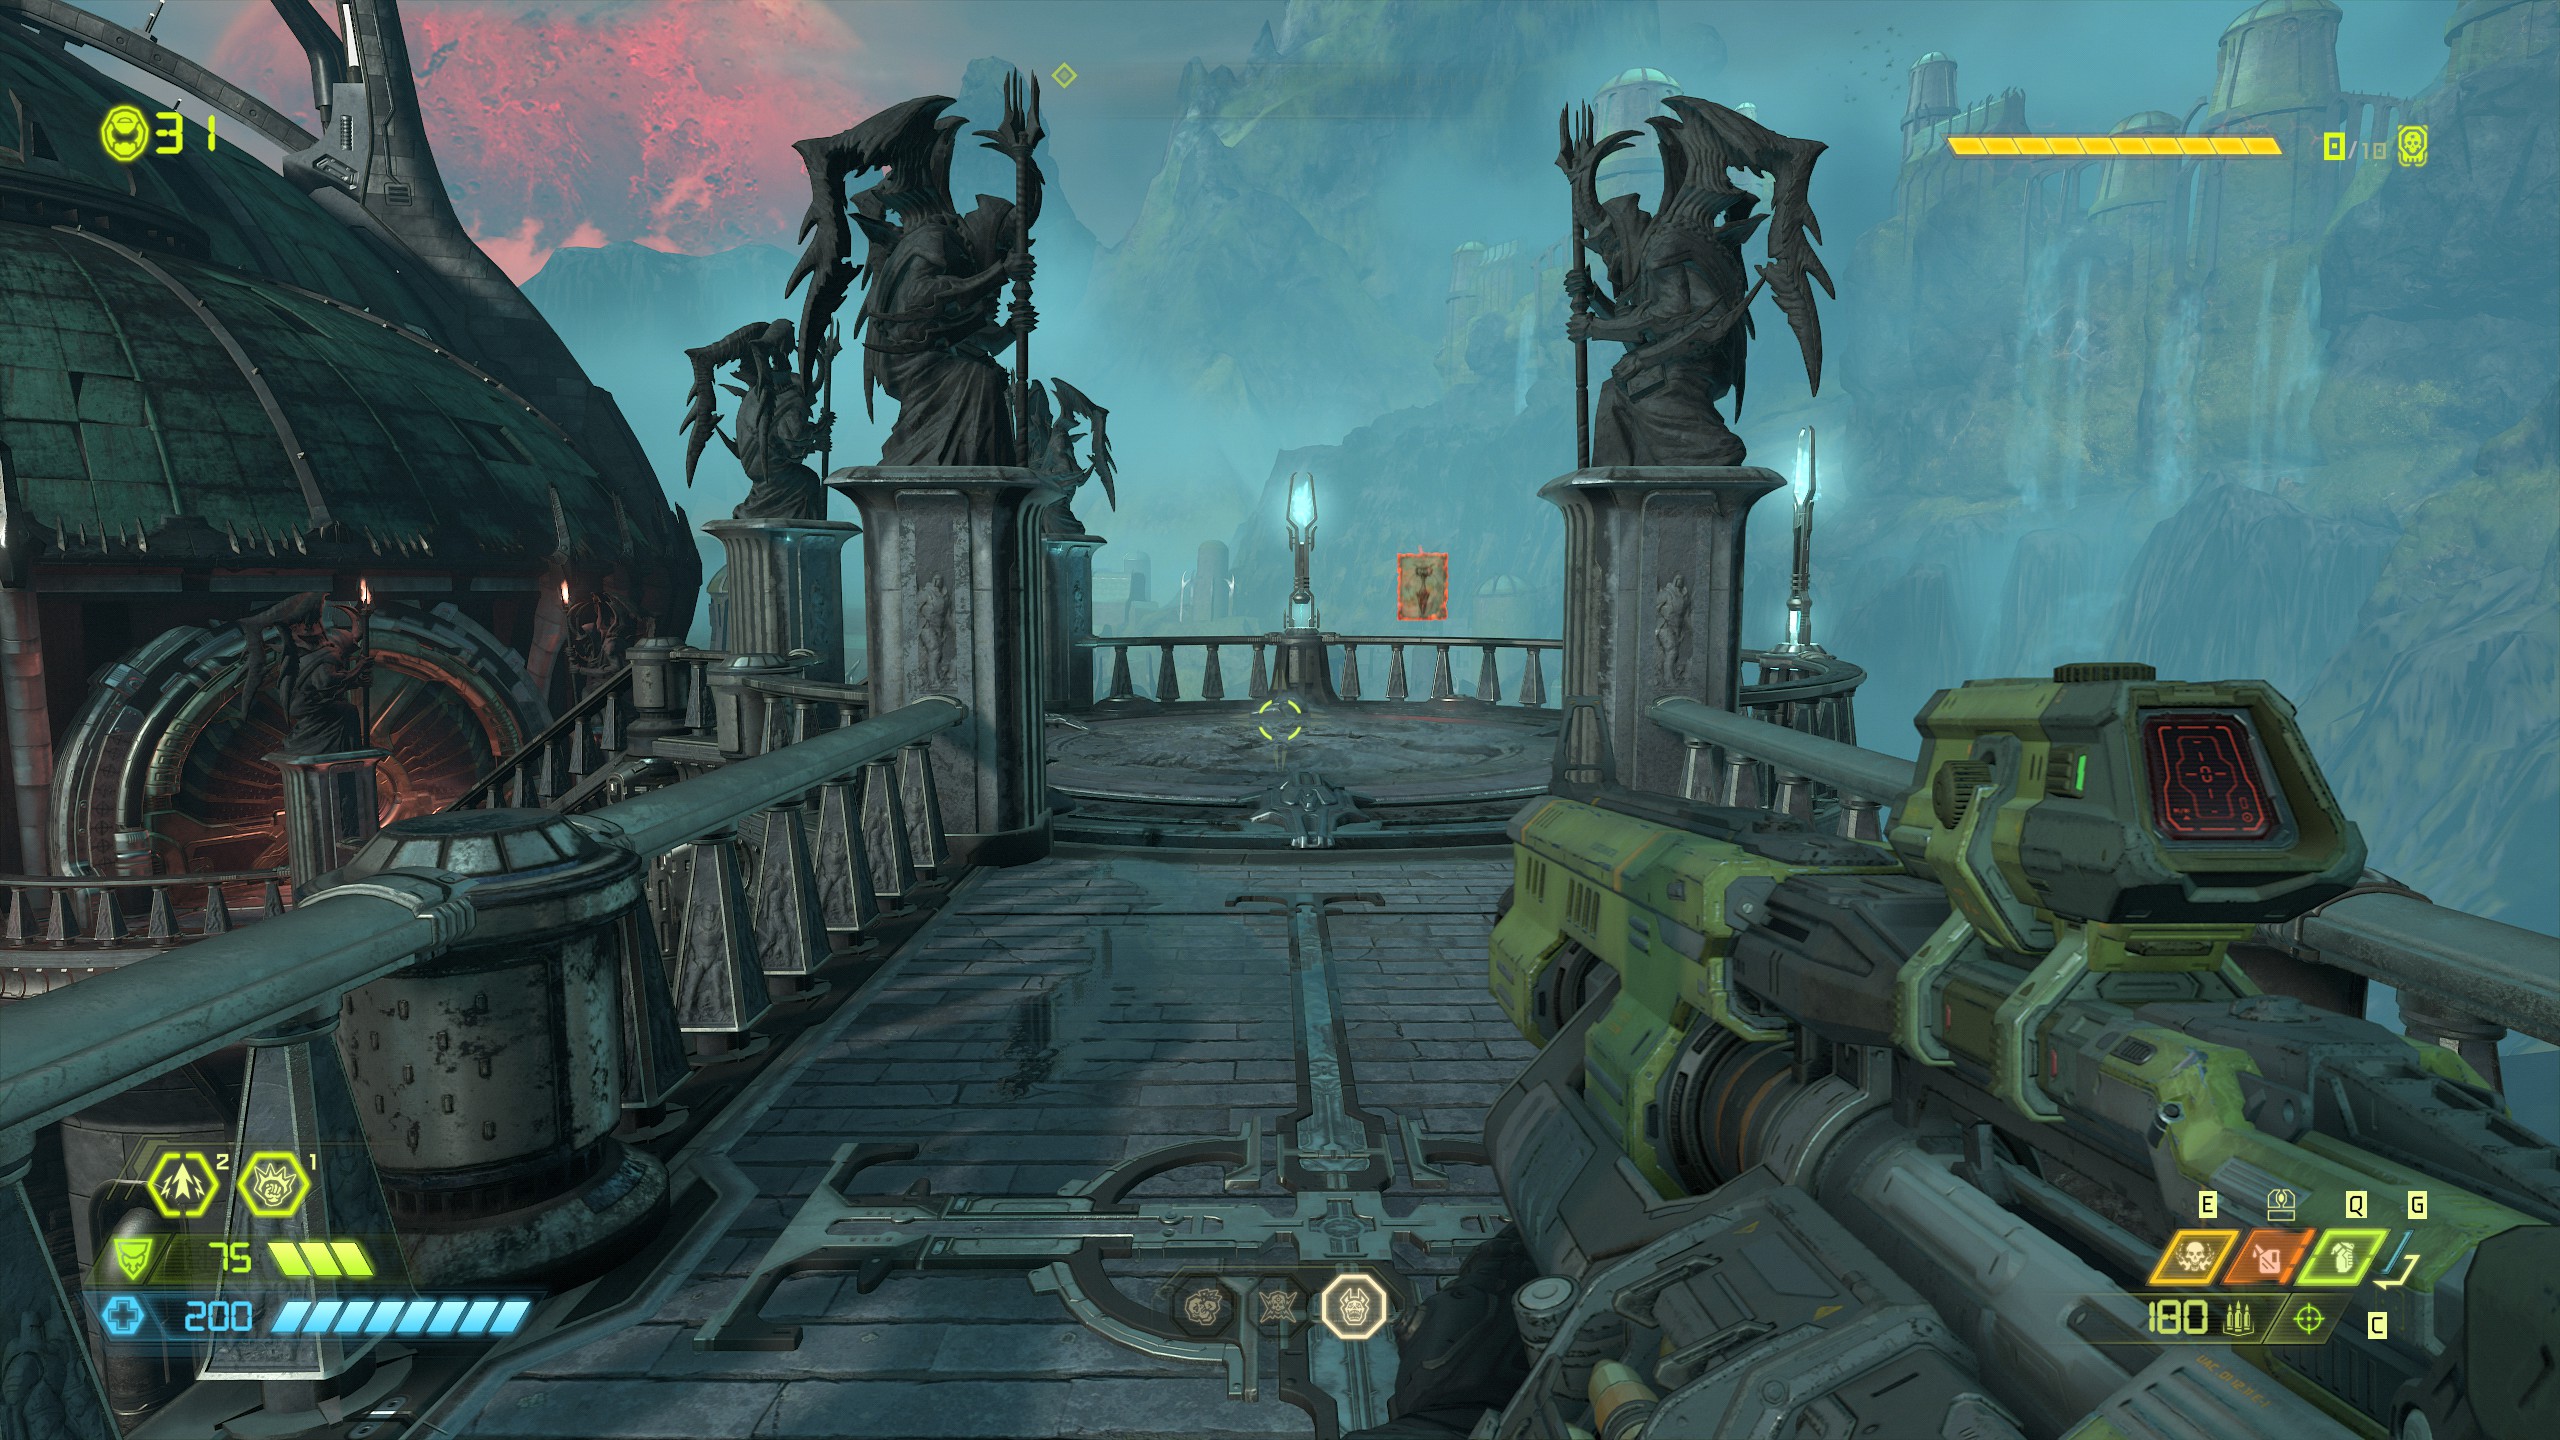
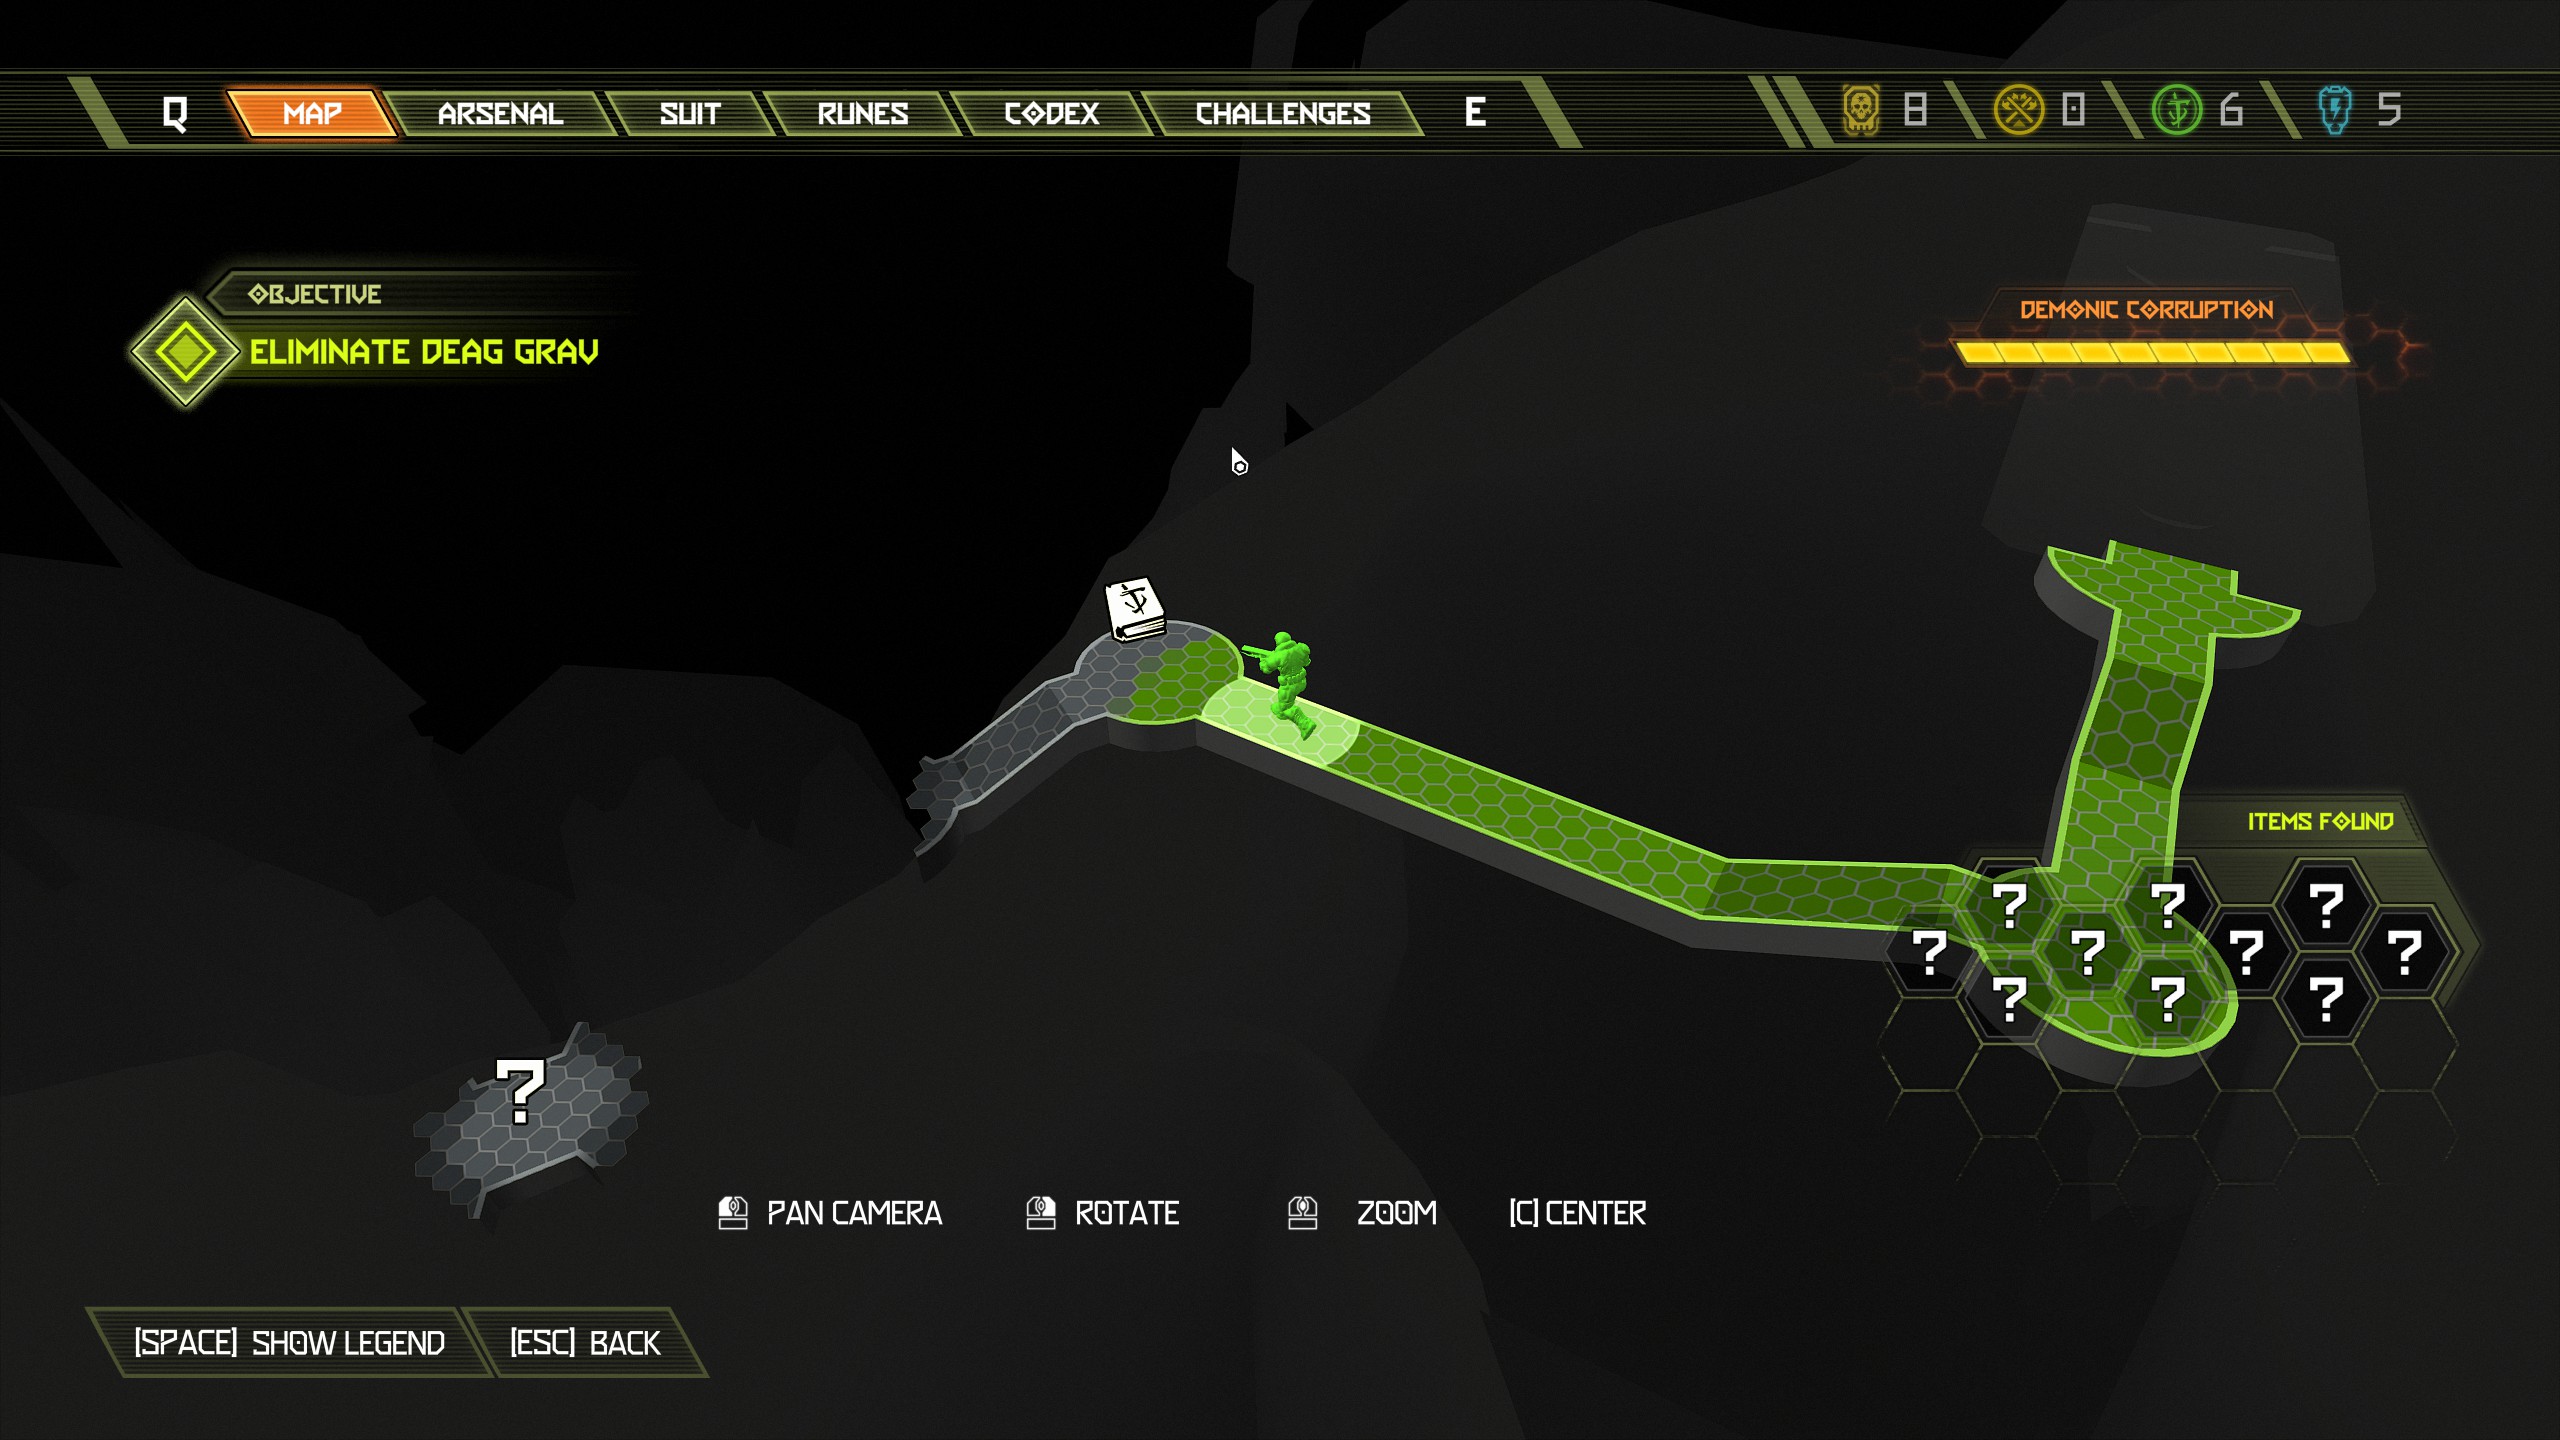
Continue on and after activating the skull pedestal you will head down on the lift and a short cut scene will appear, immediately after the cut scene you will see a codex page straight in front of you.
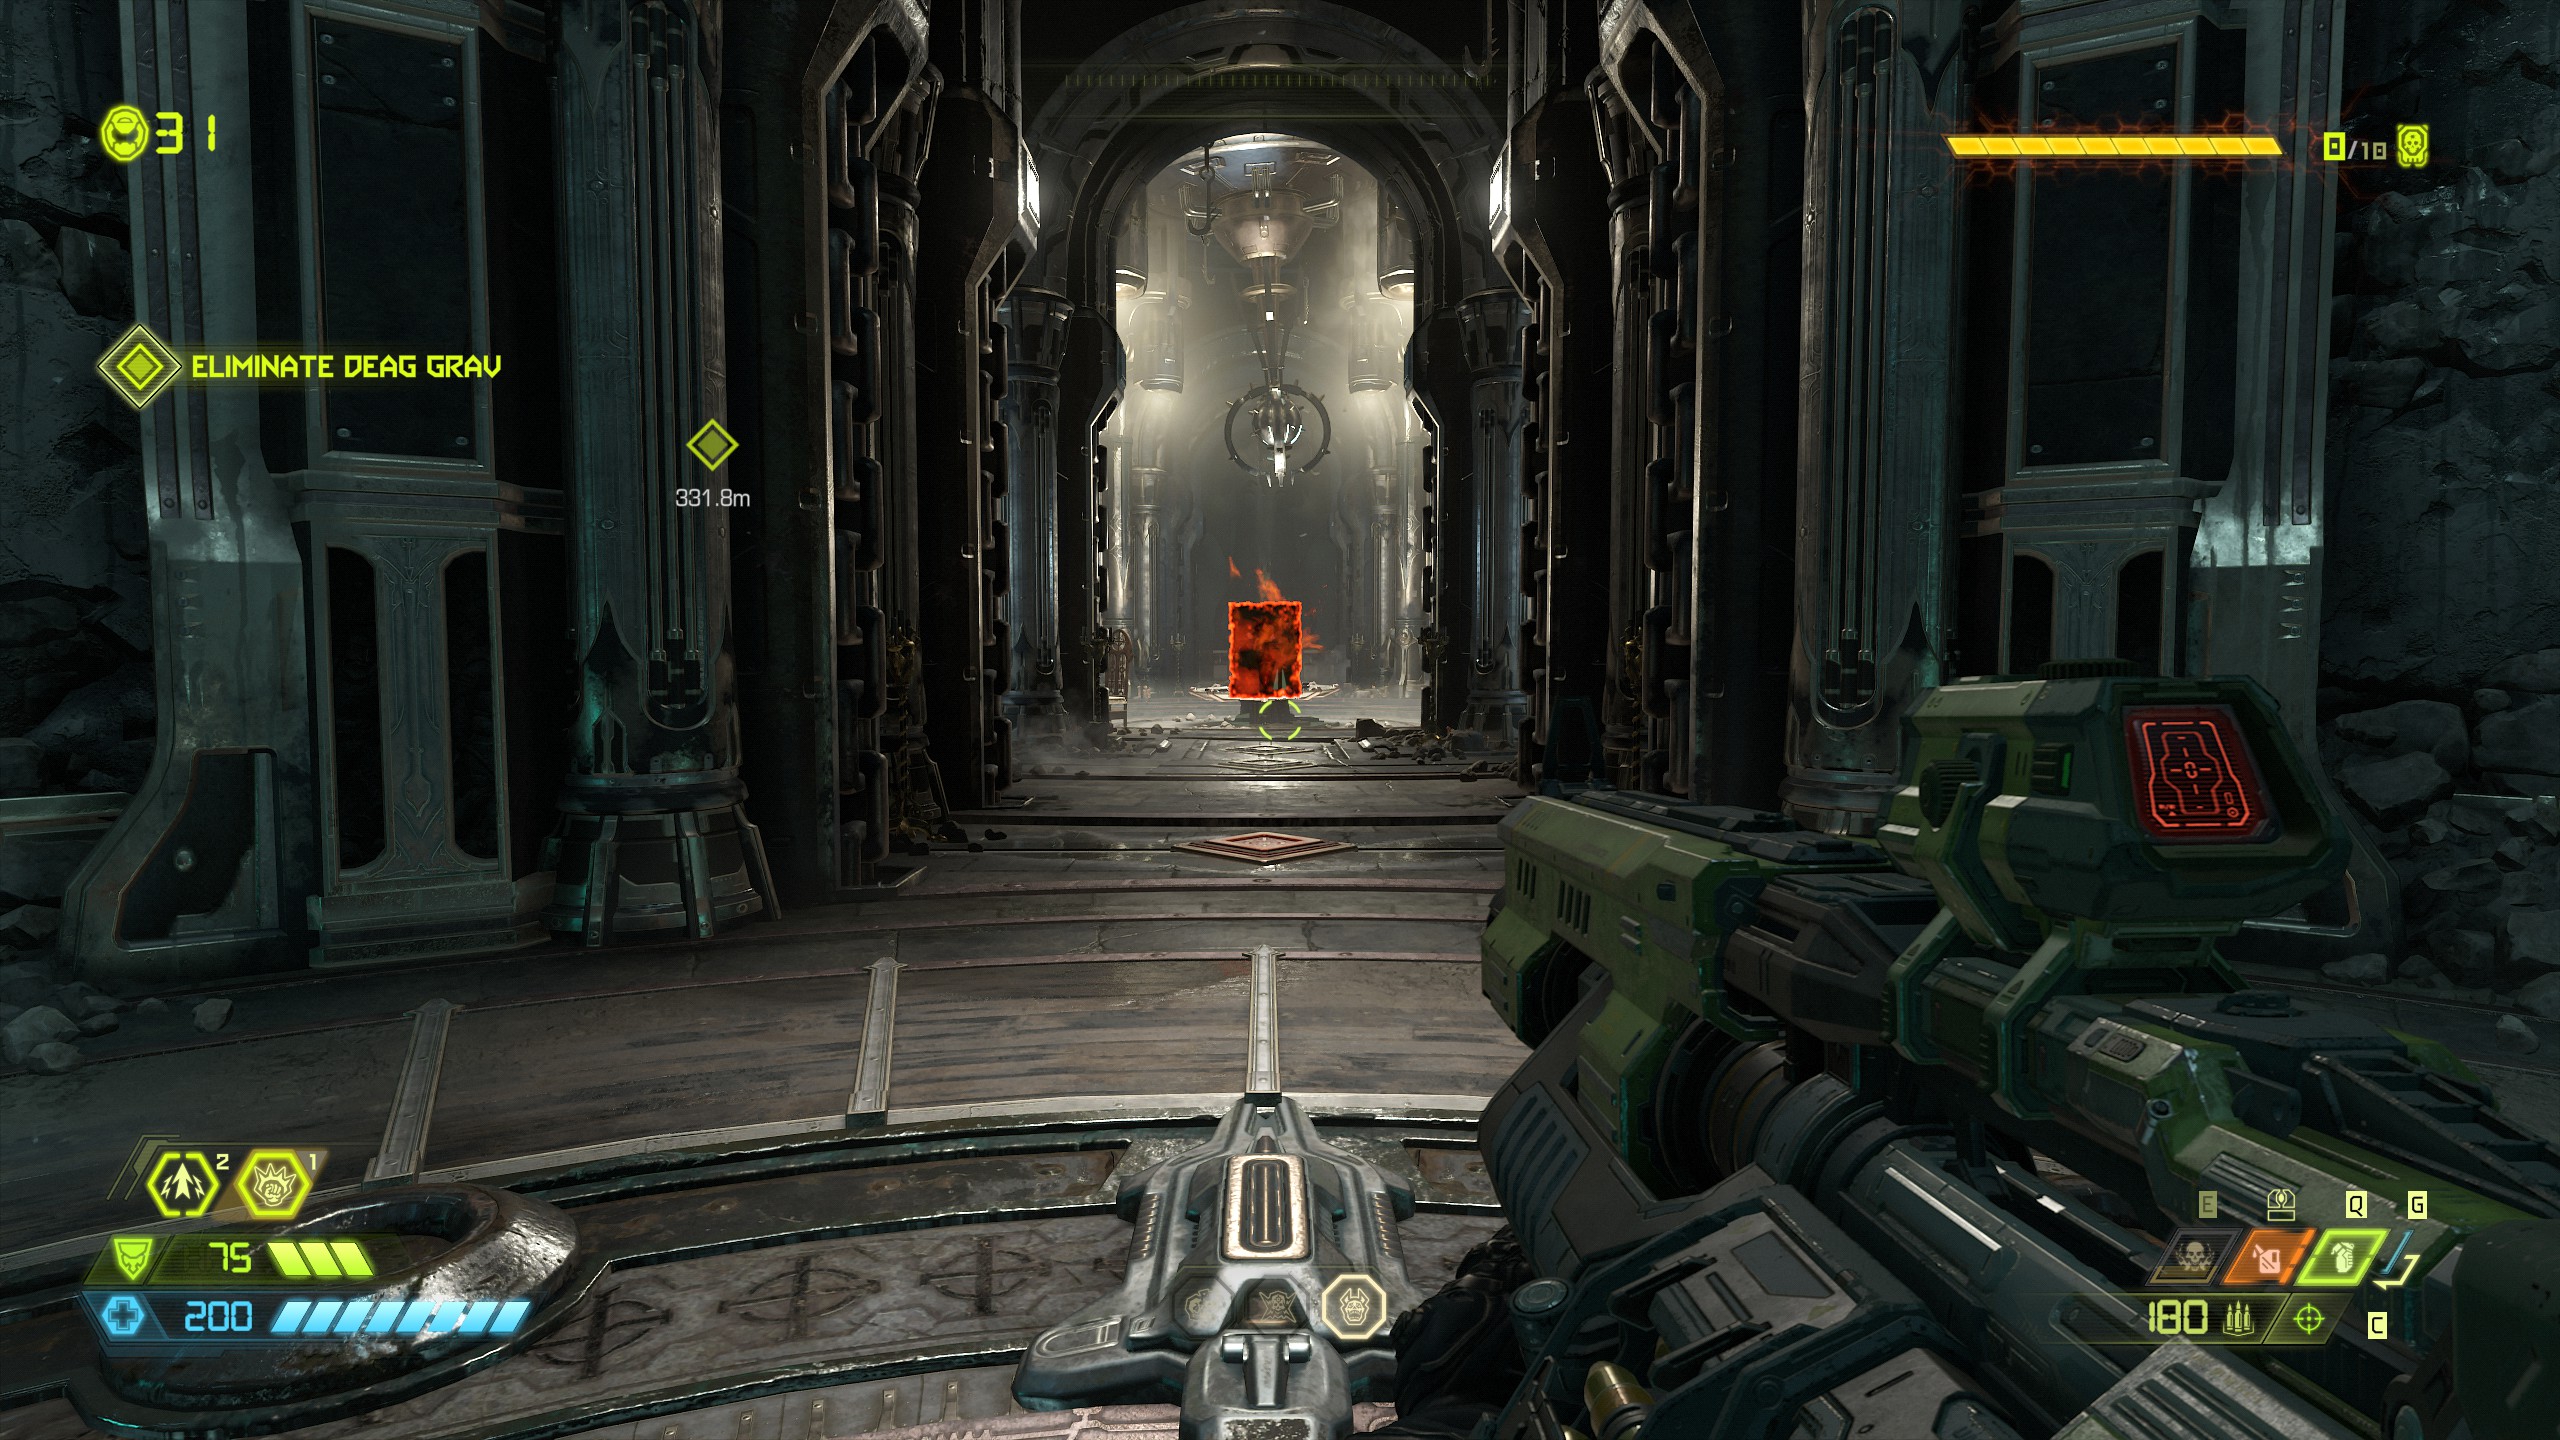
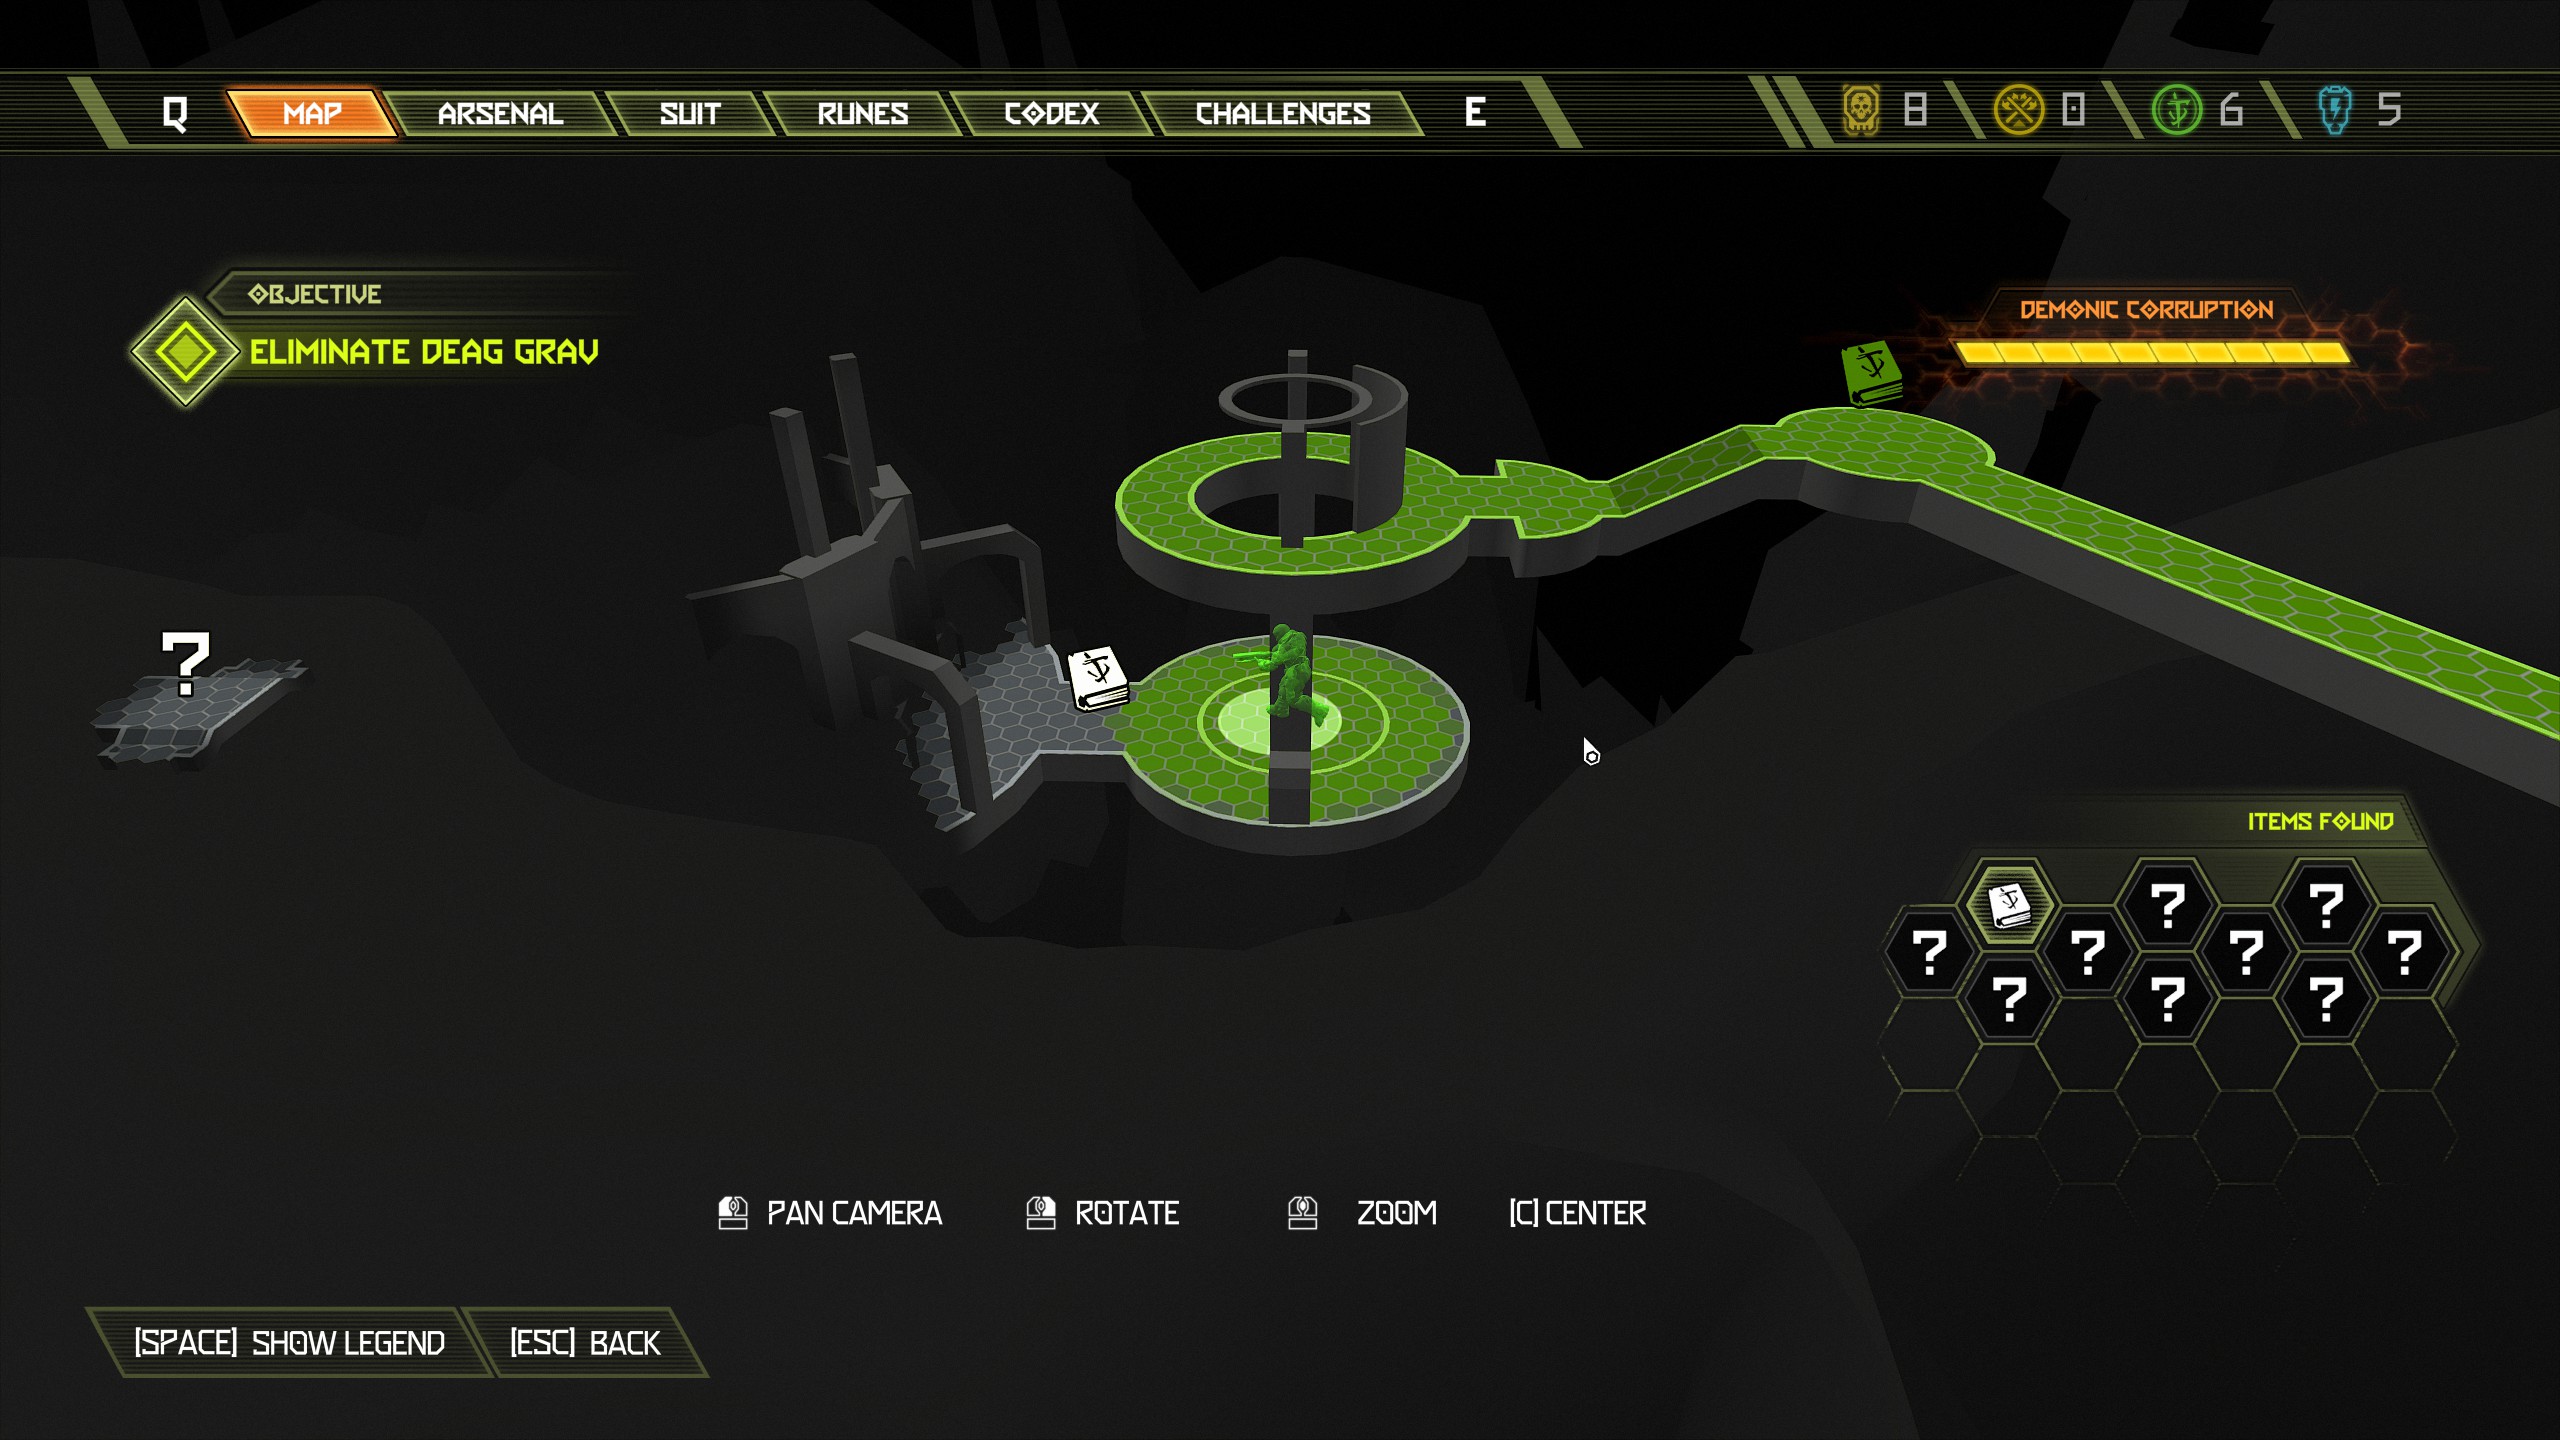
Now continue through the room and just before you enter the next room there will be another codex page in the passage.
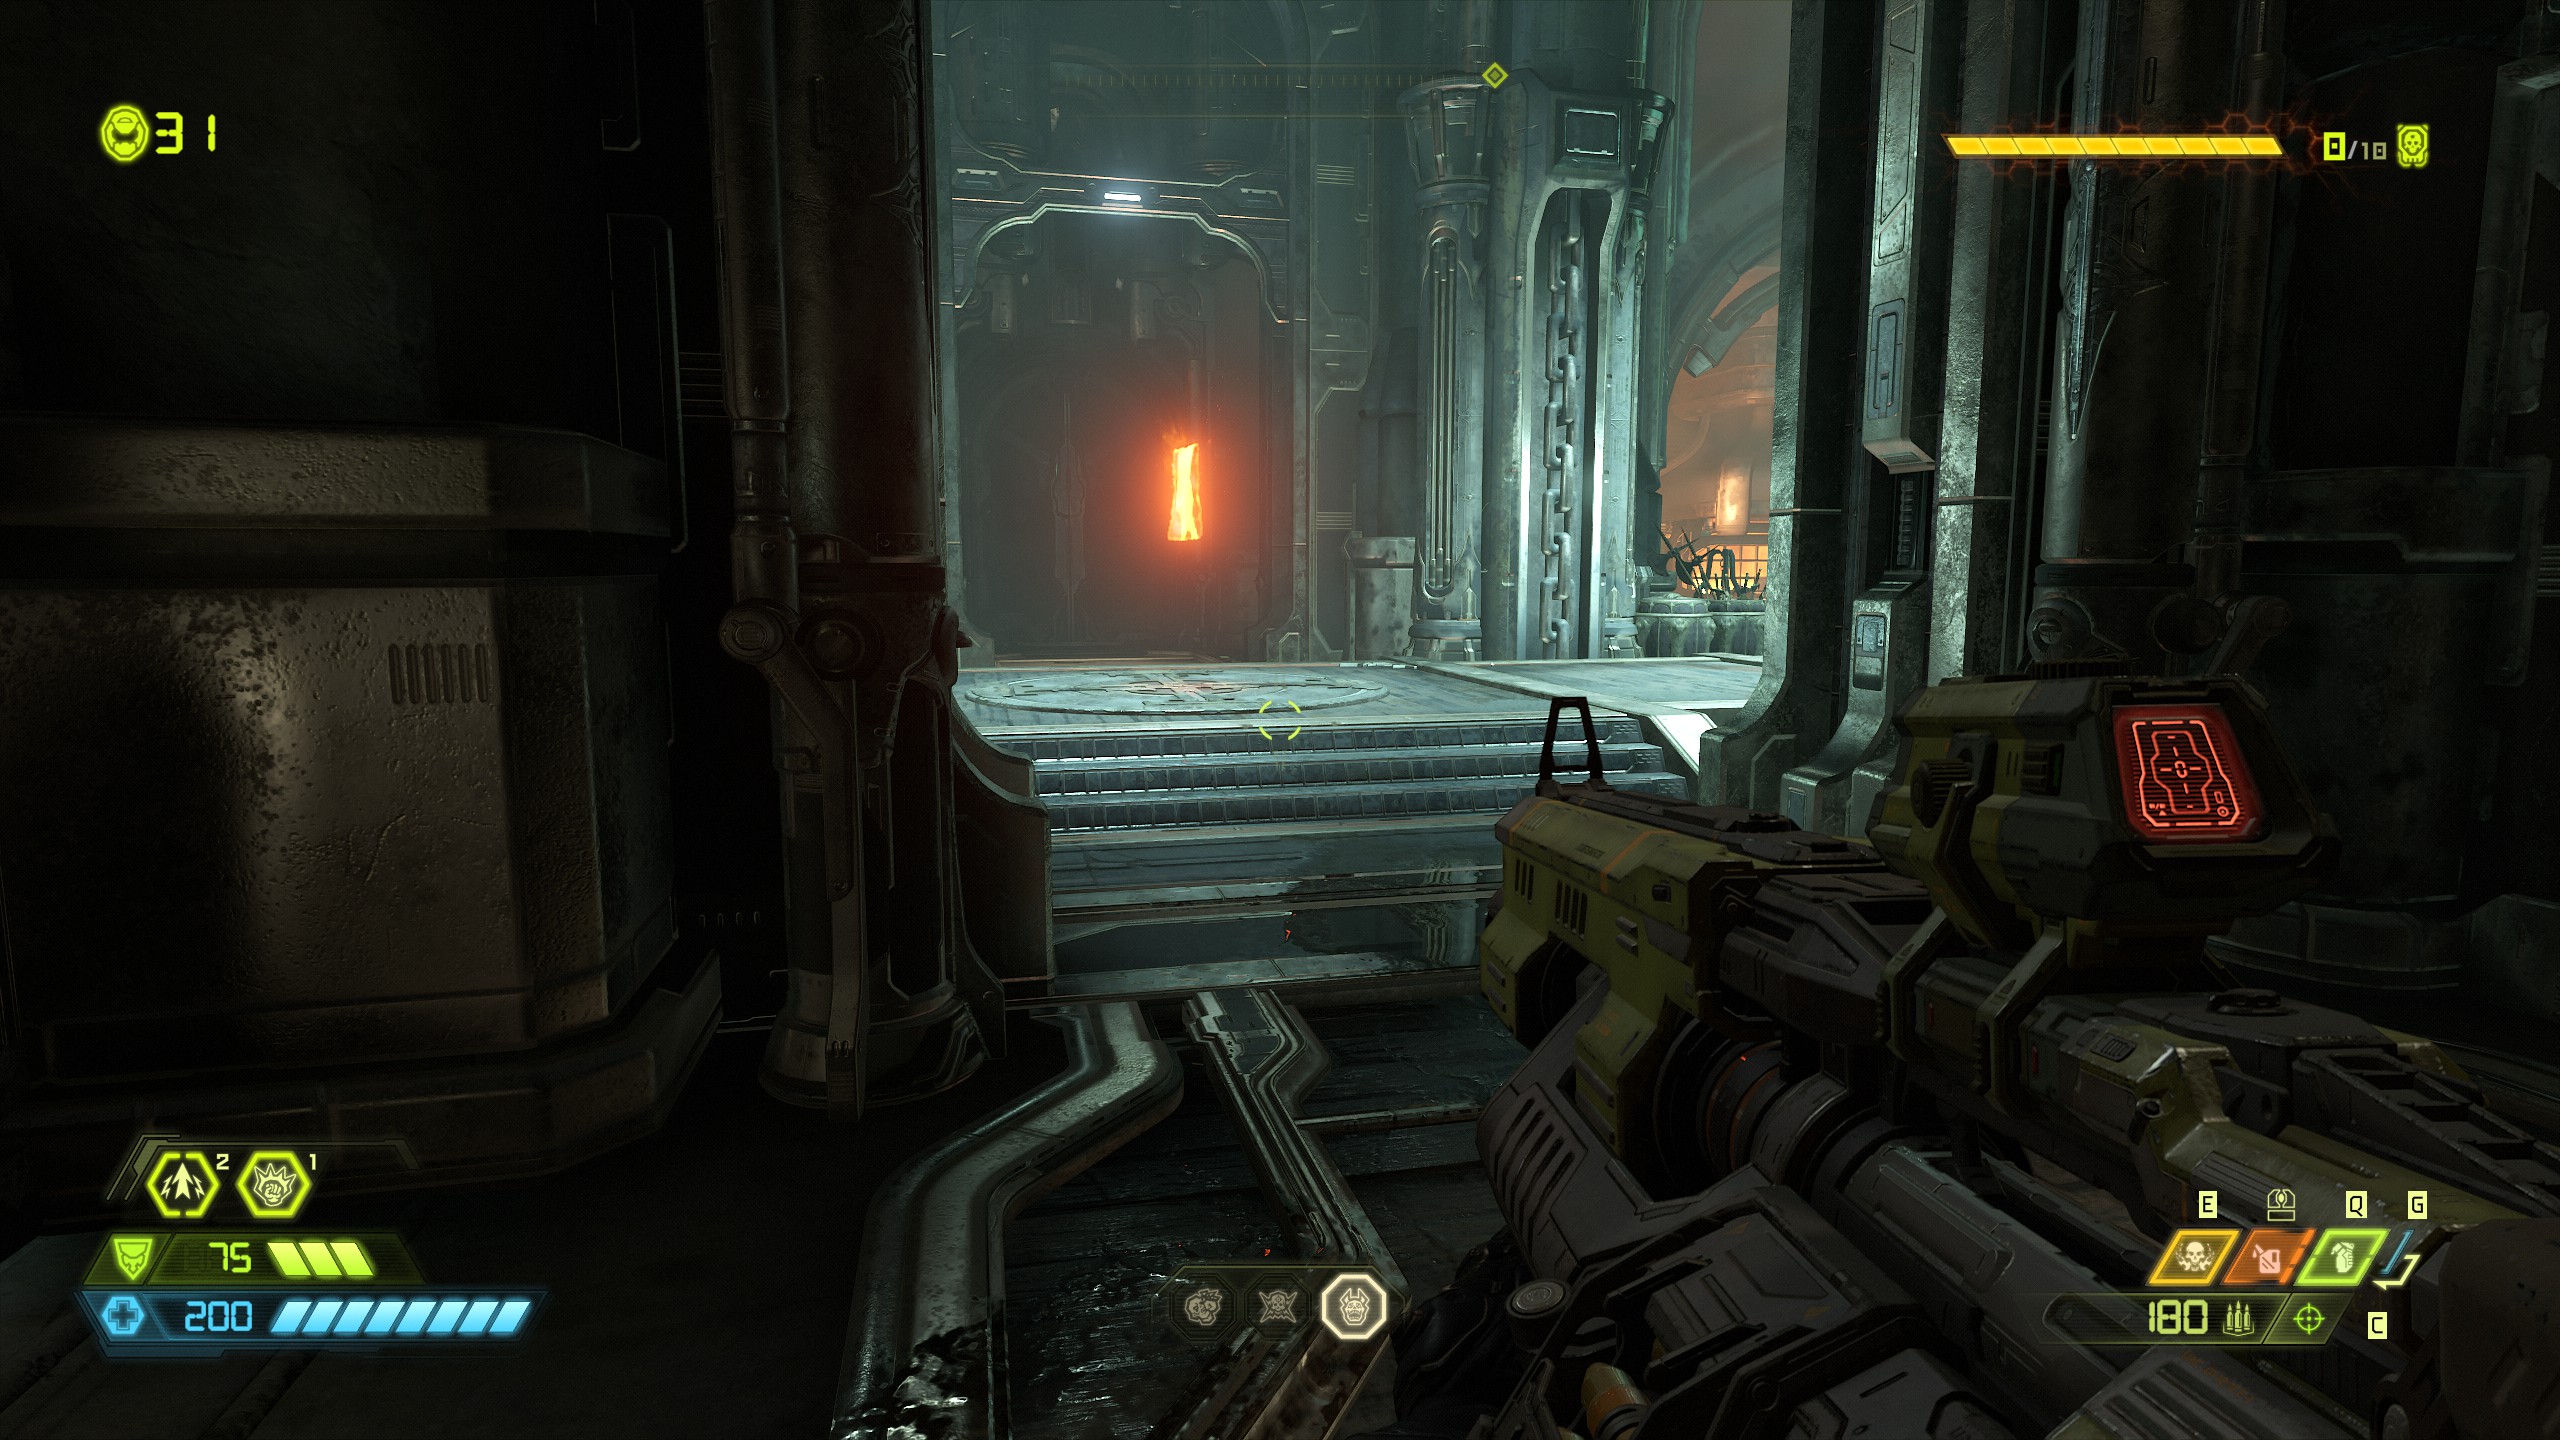
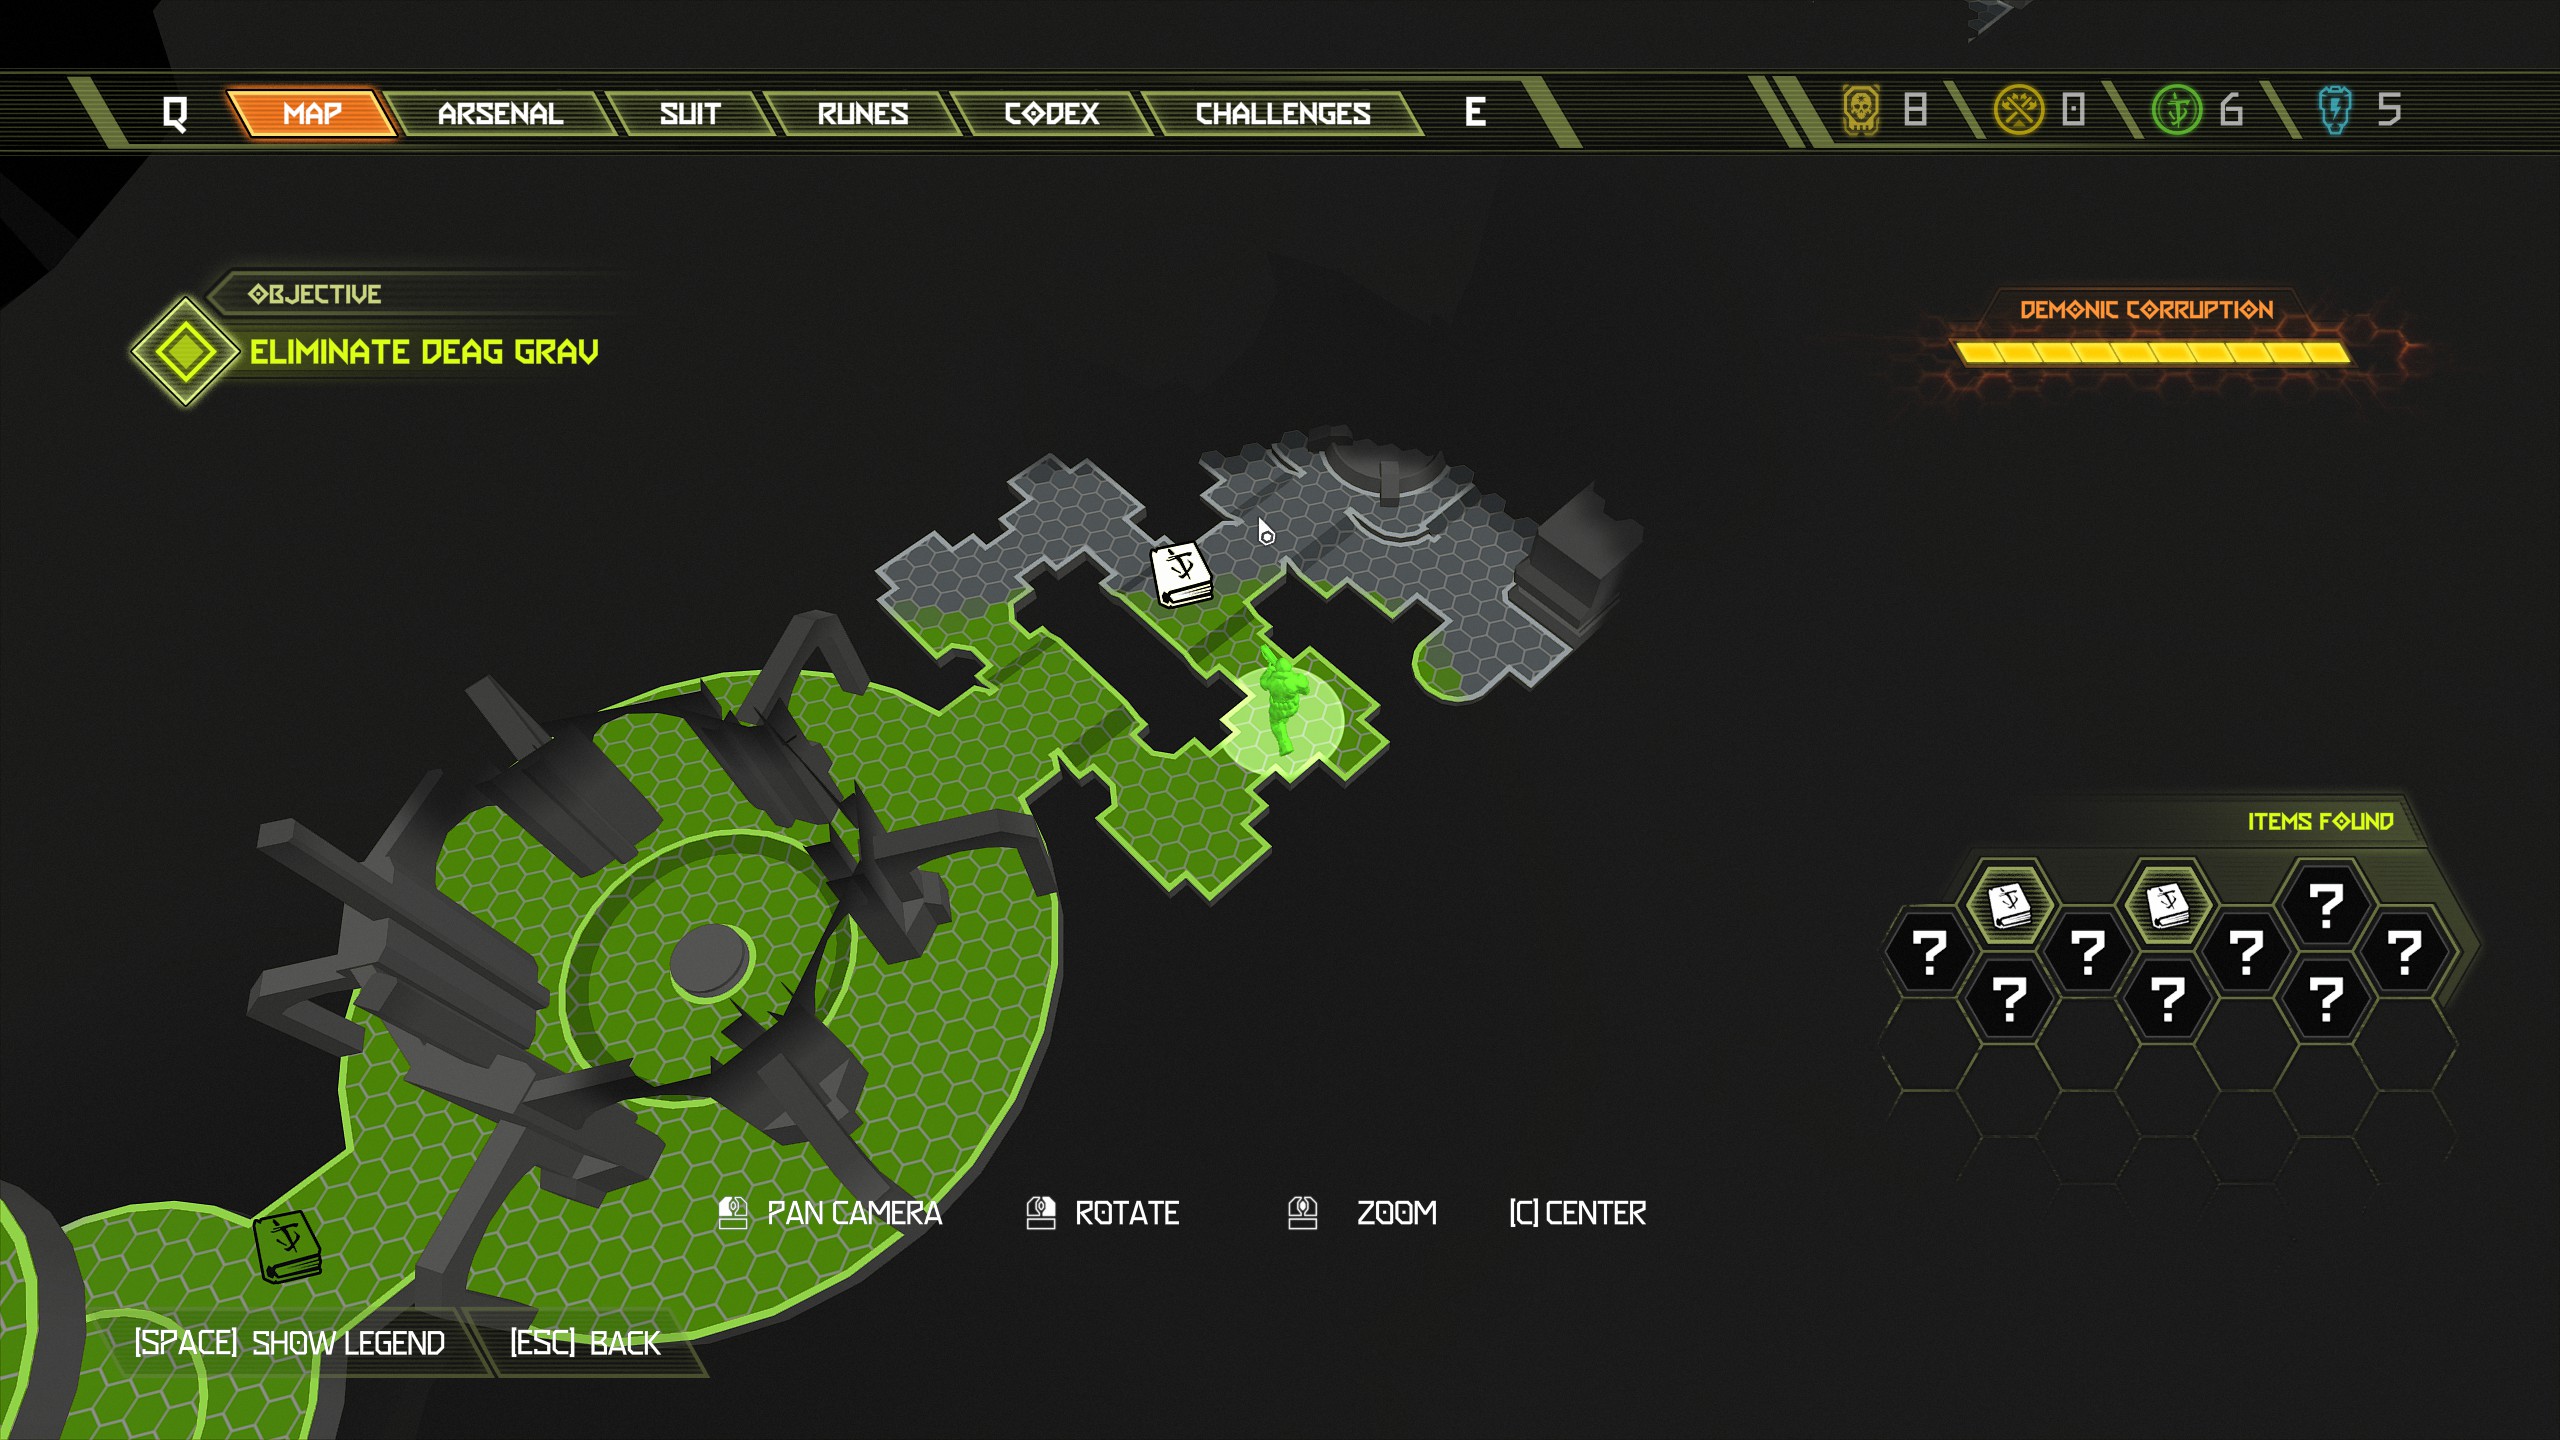
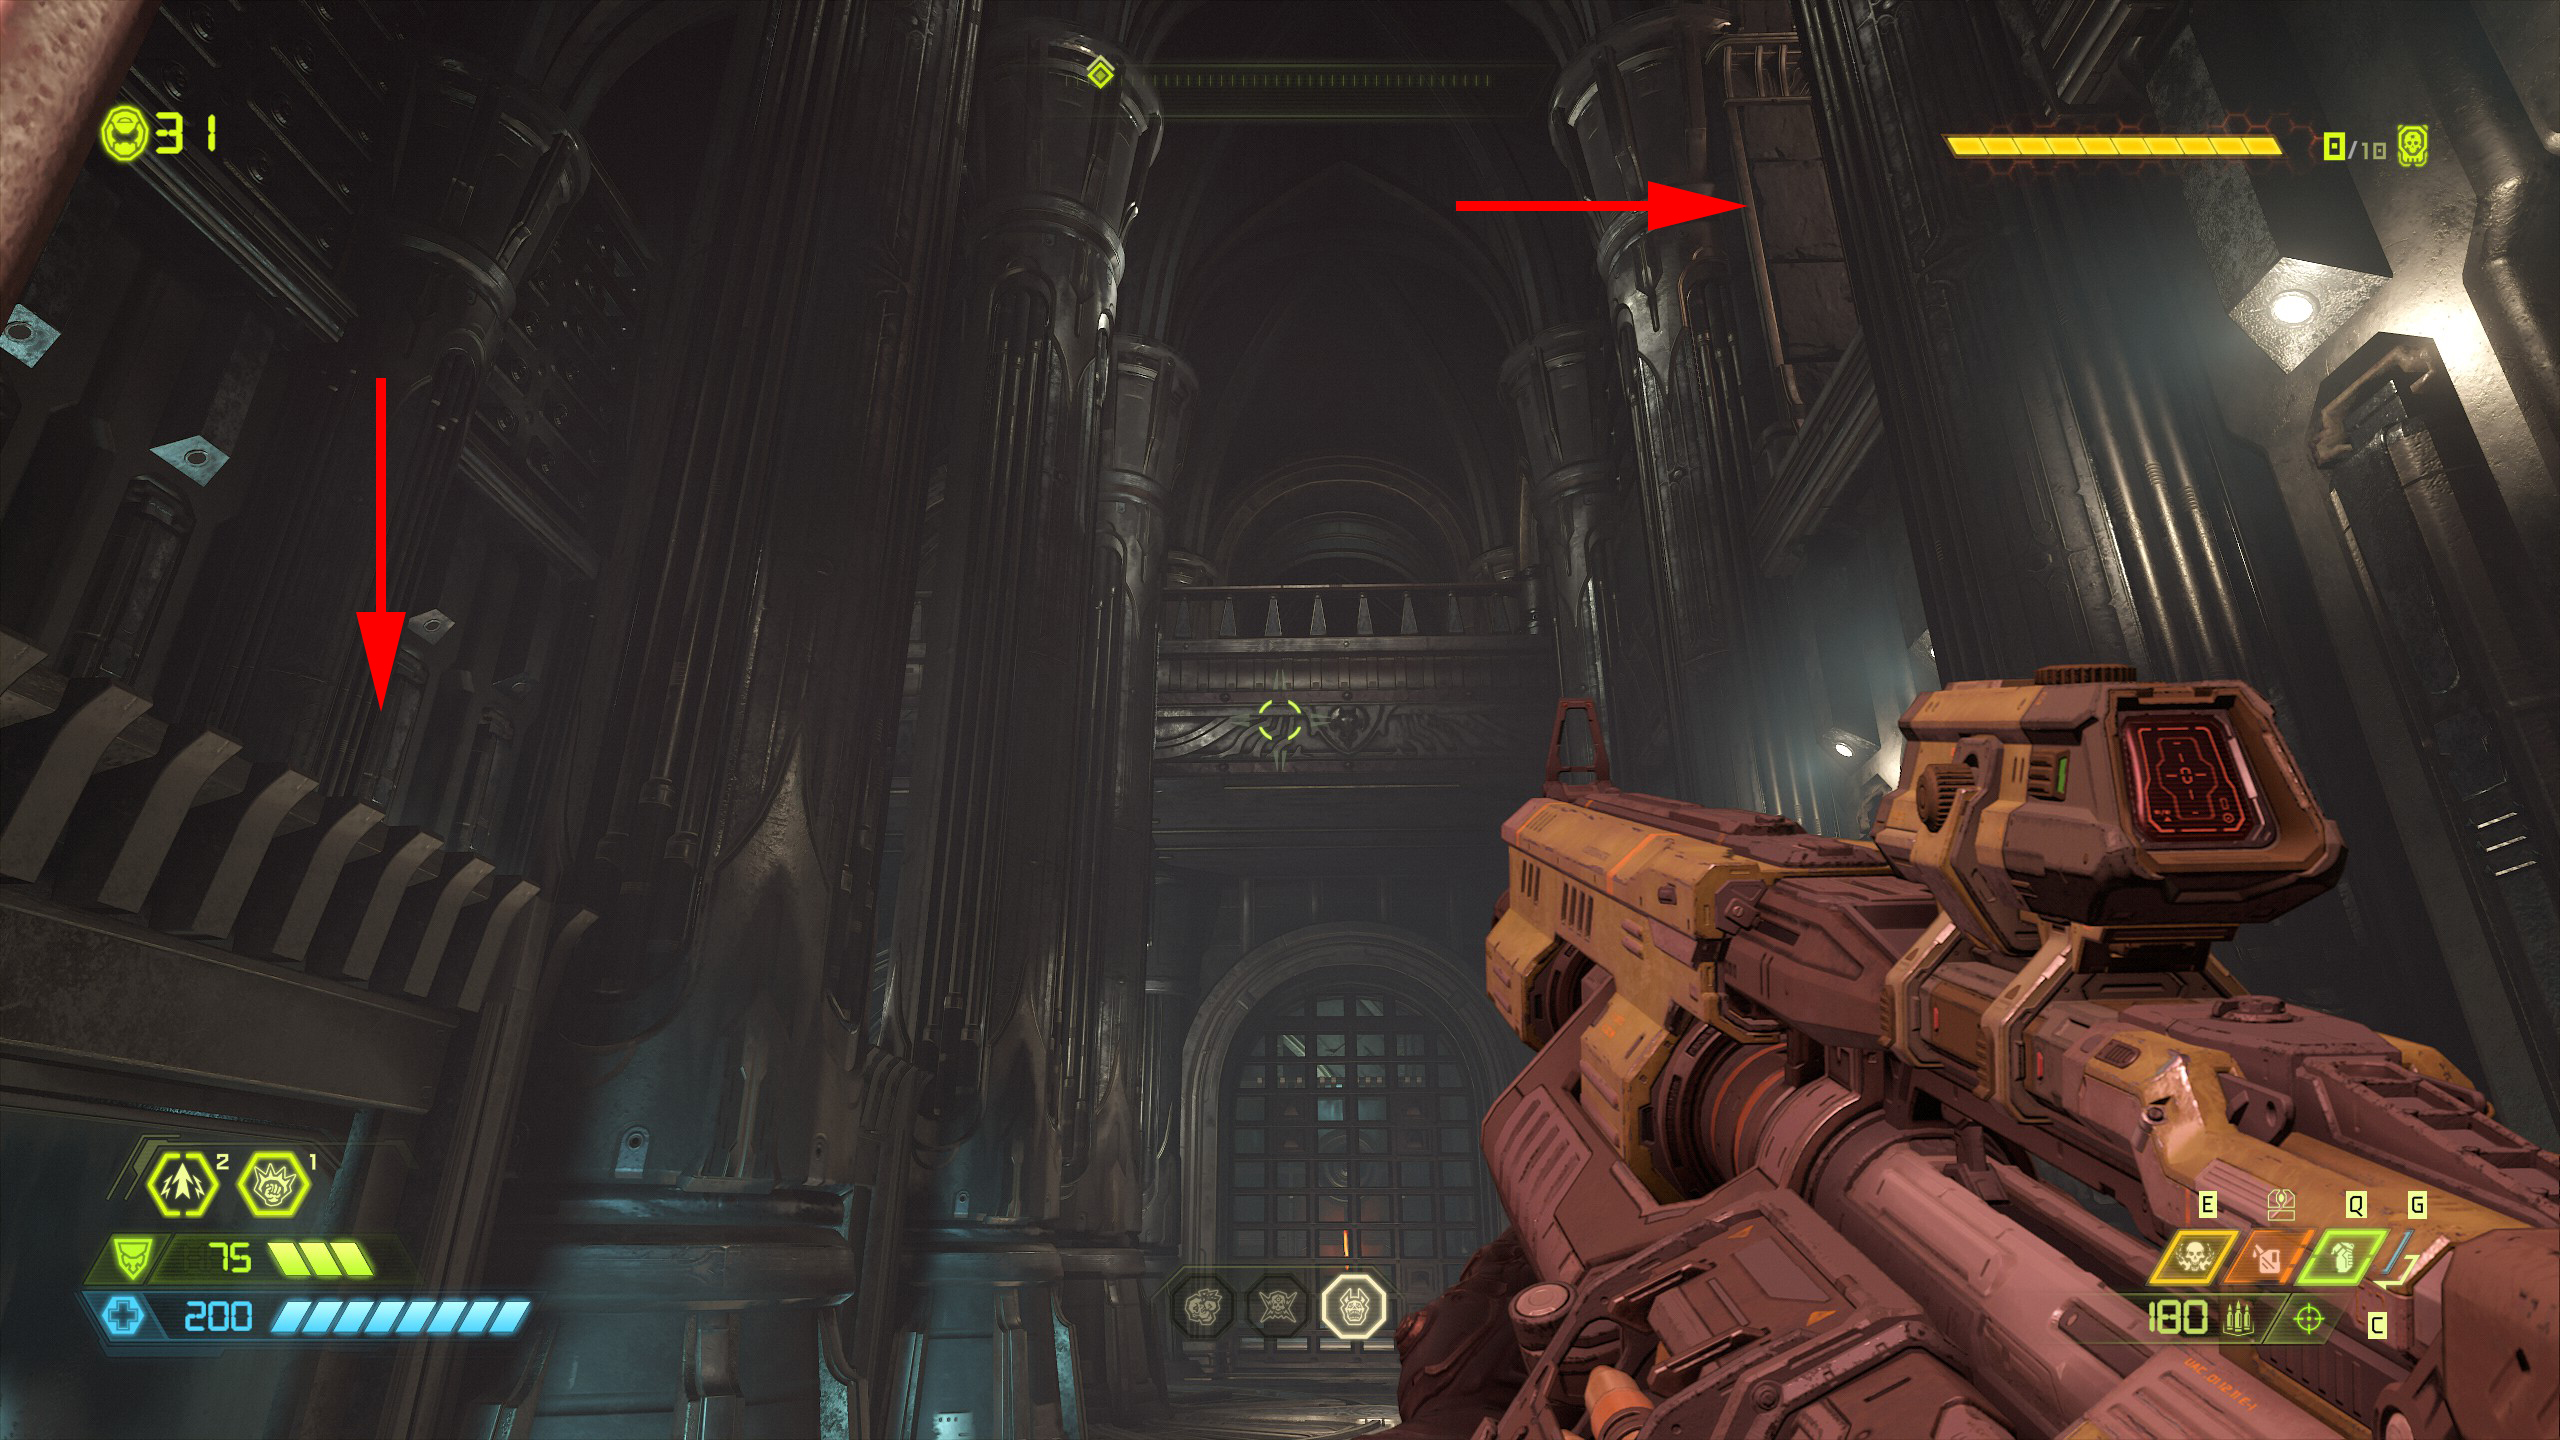
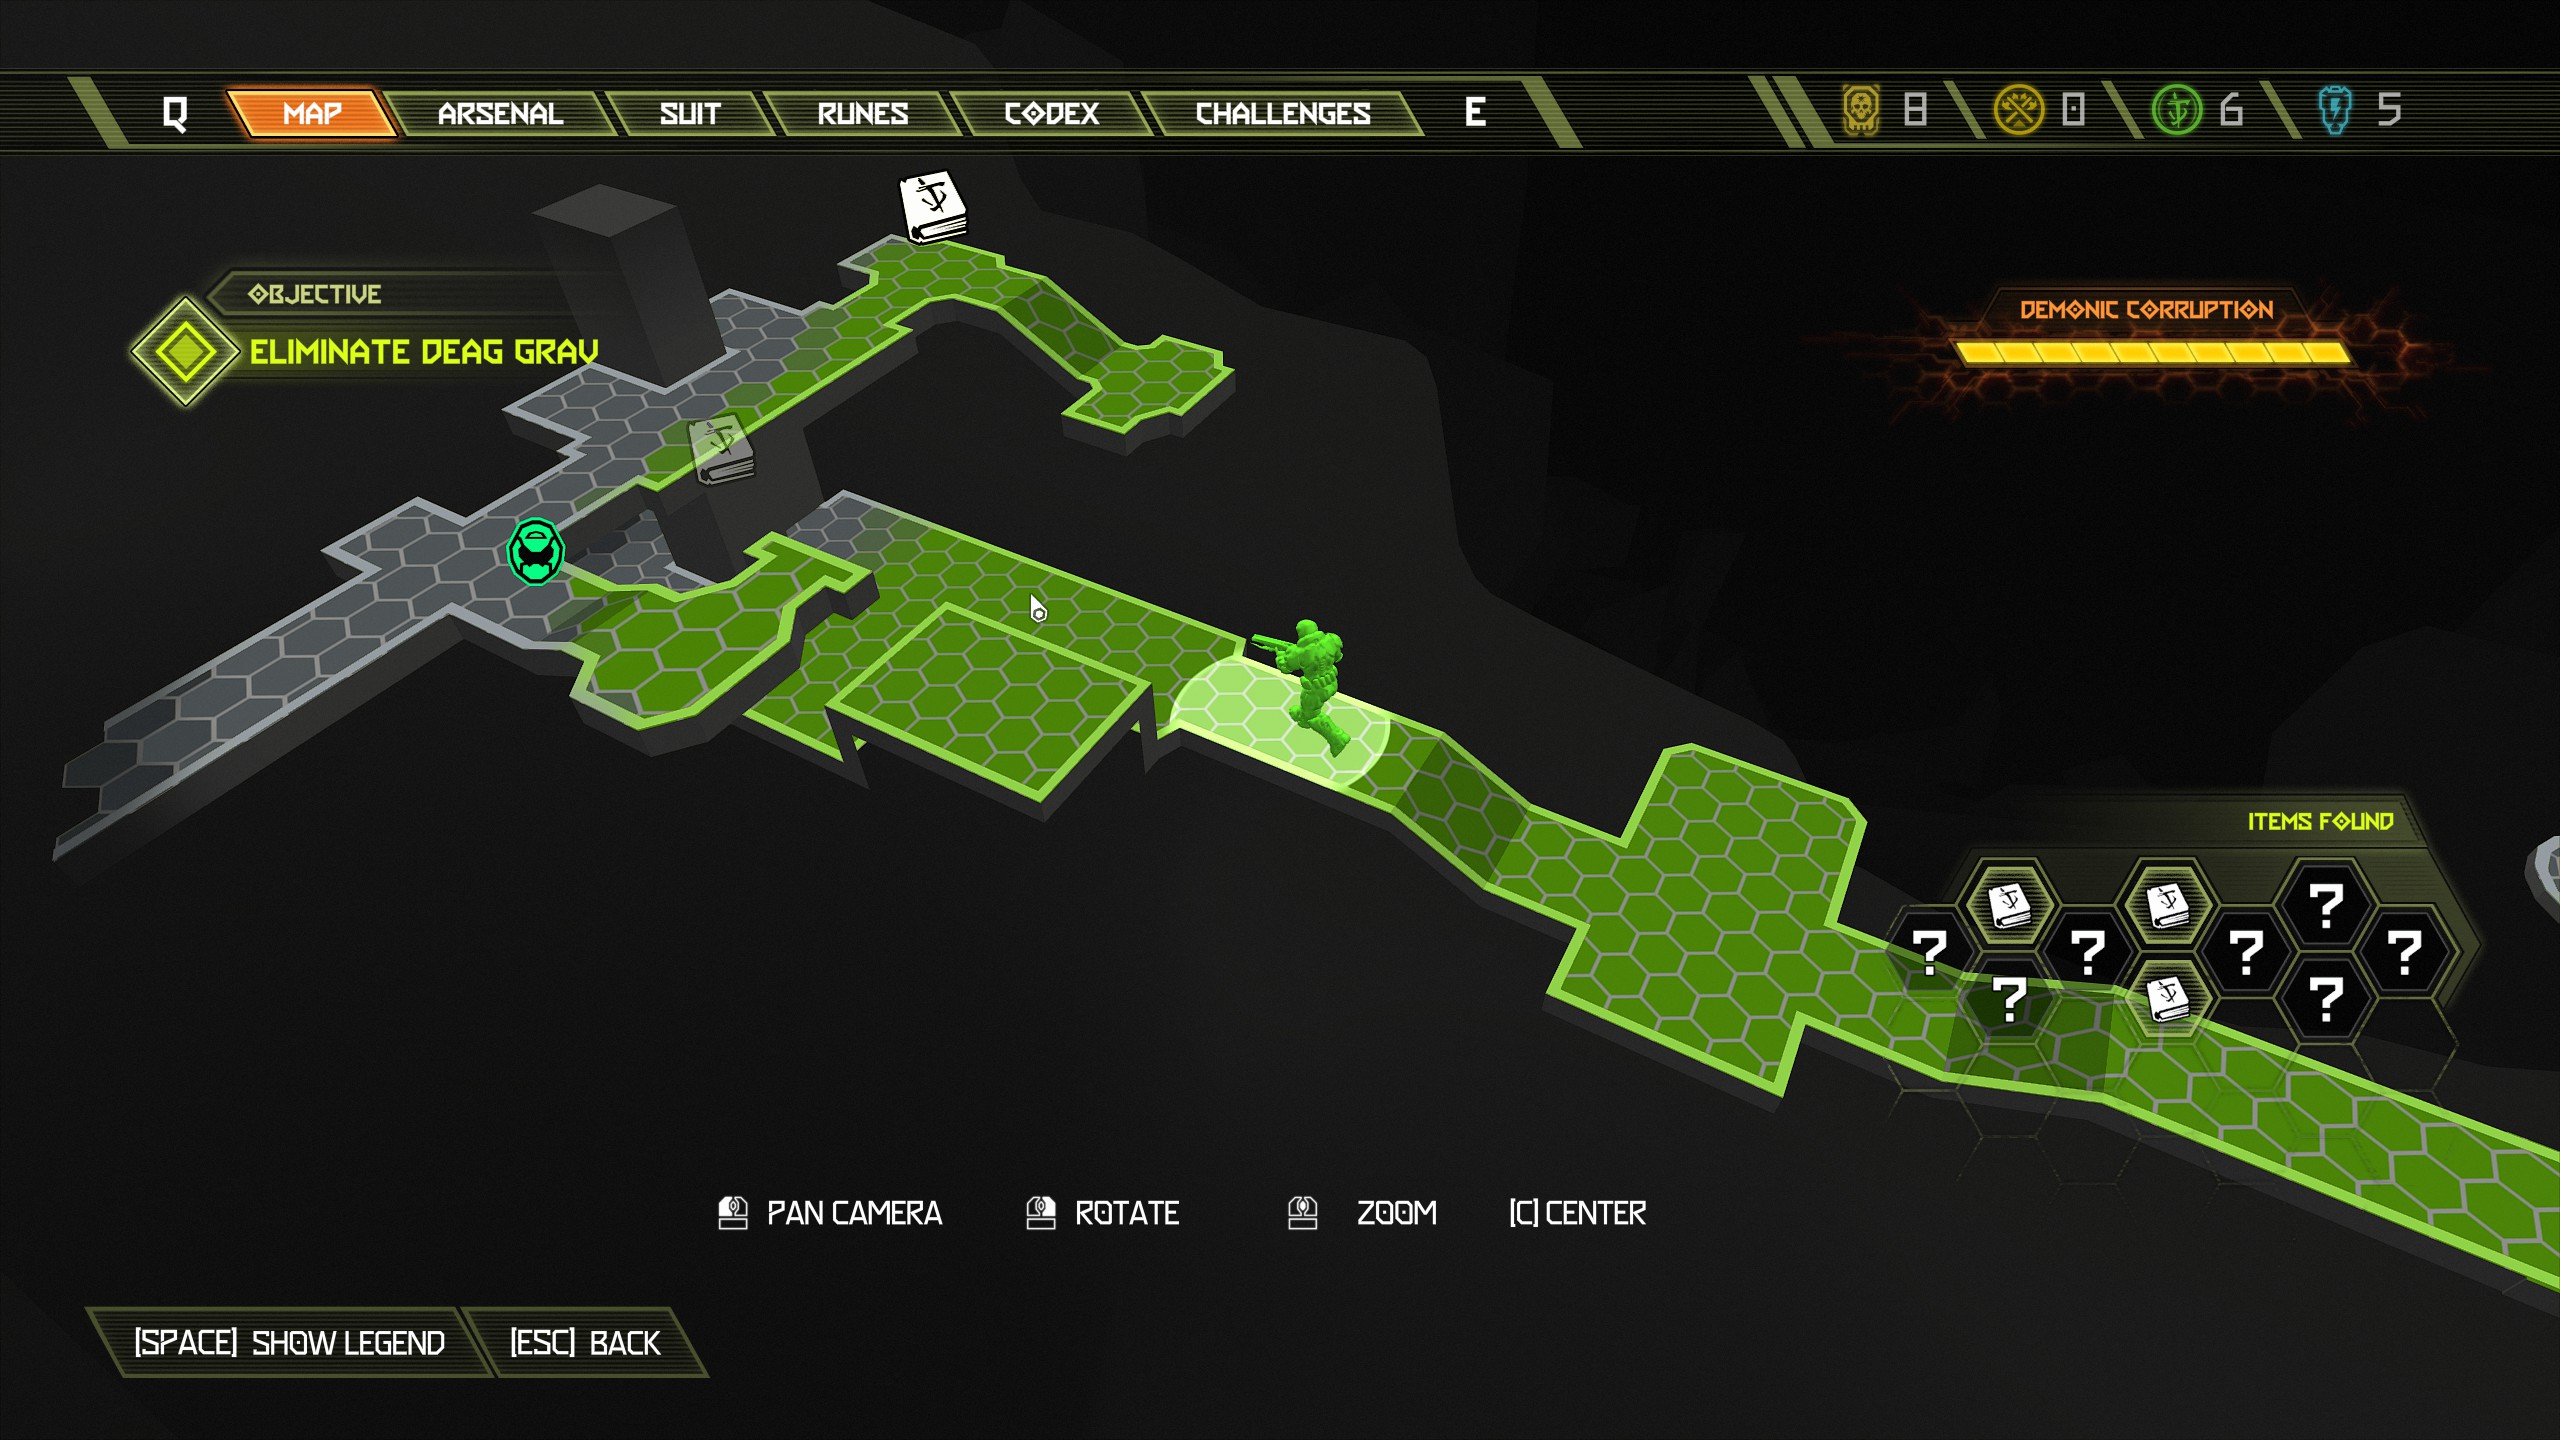
Now from the skull pedestal look out to the opening on the opposite side, jump across and inside will be an extra life.
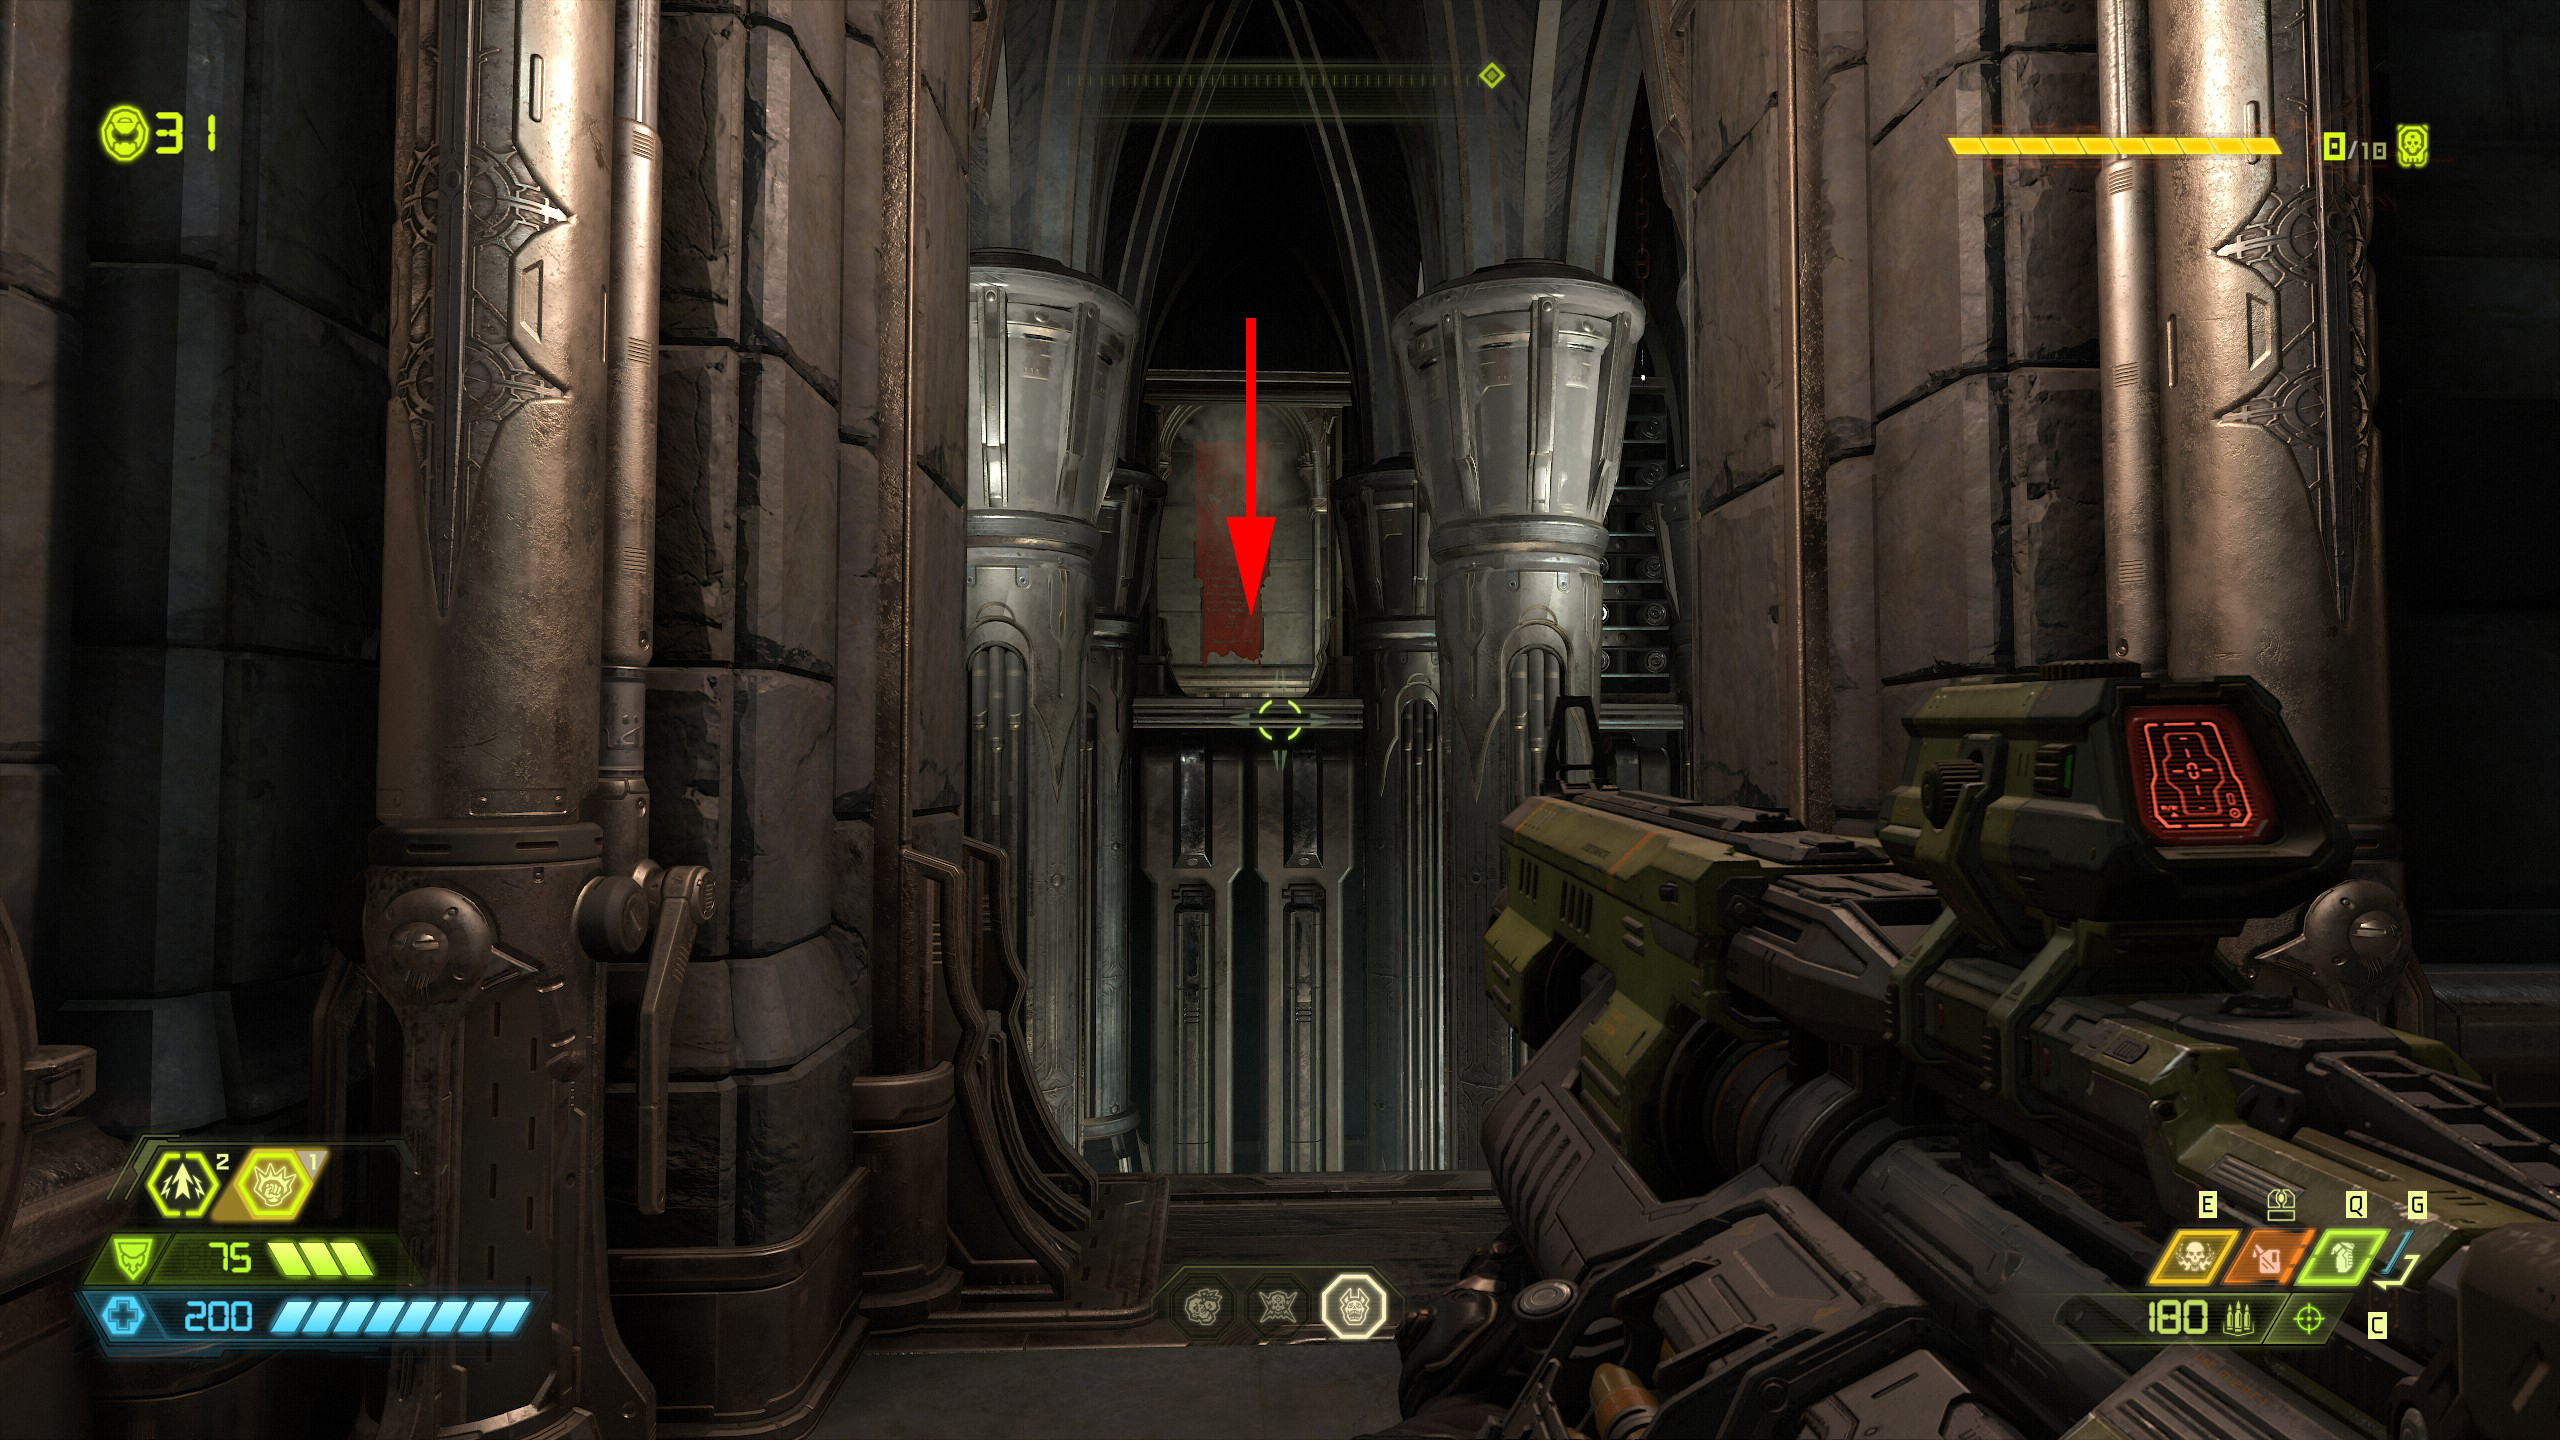
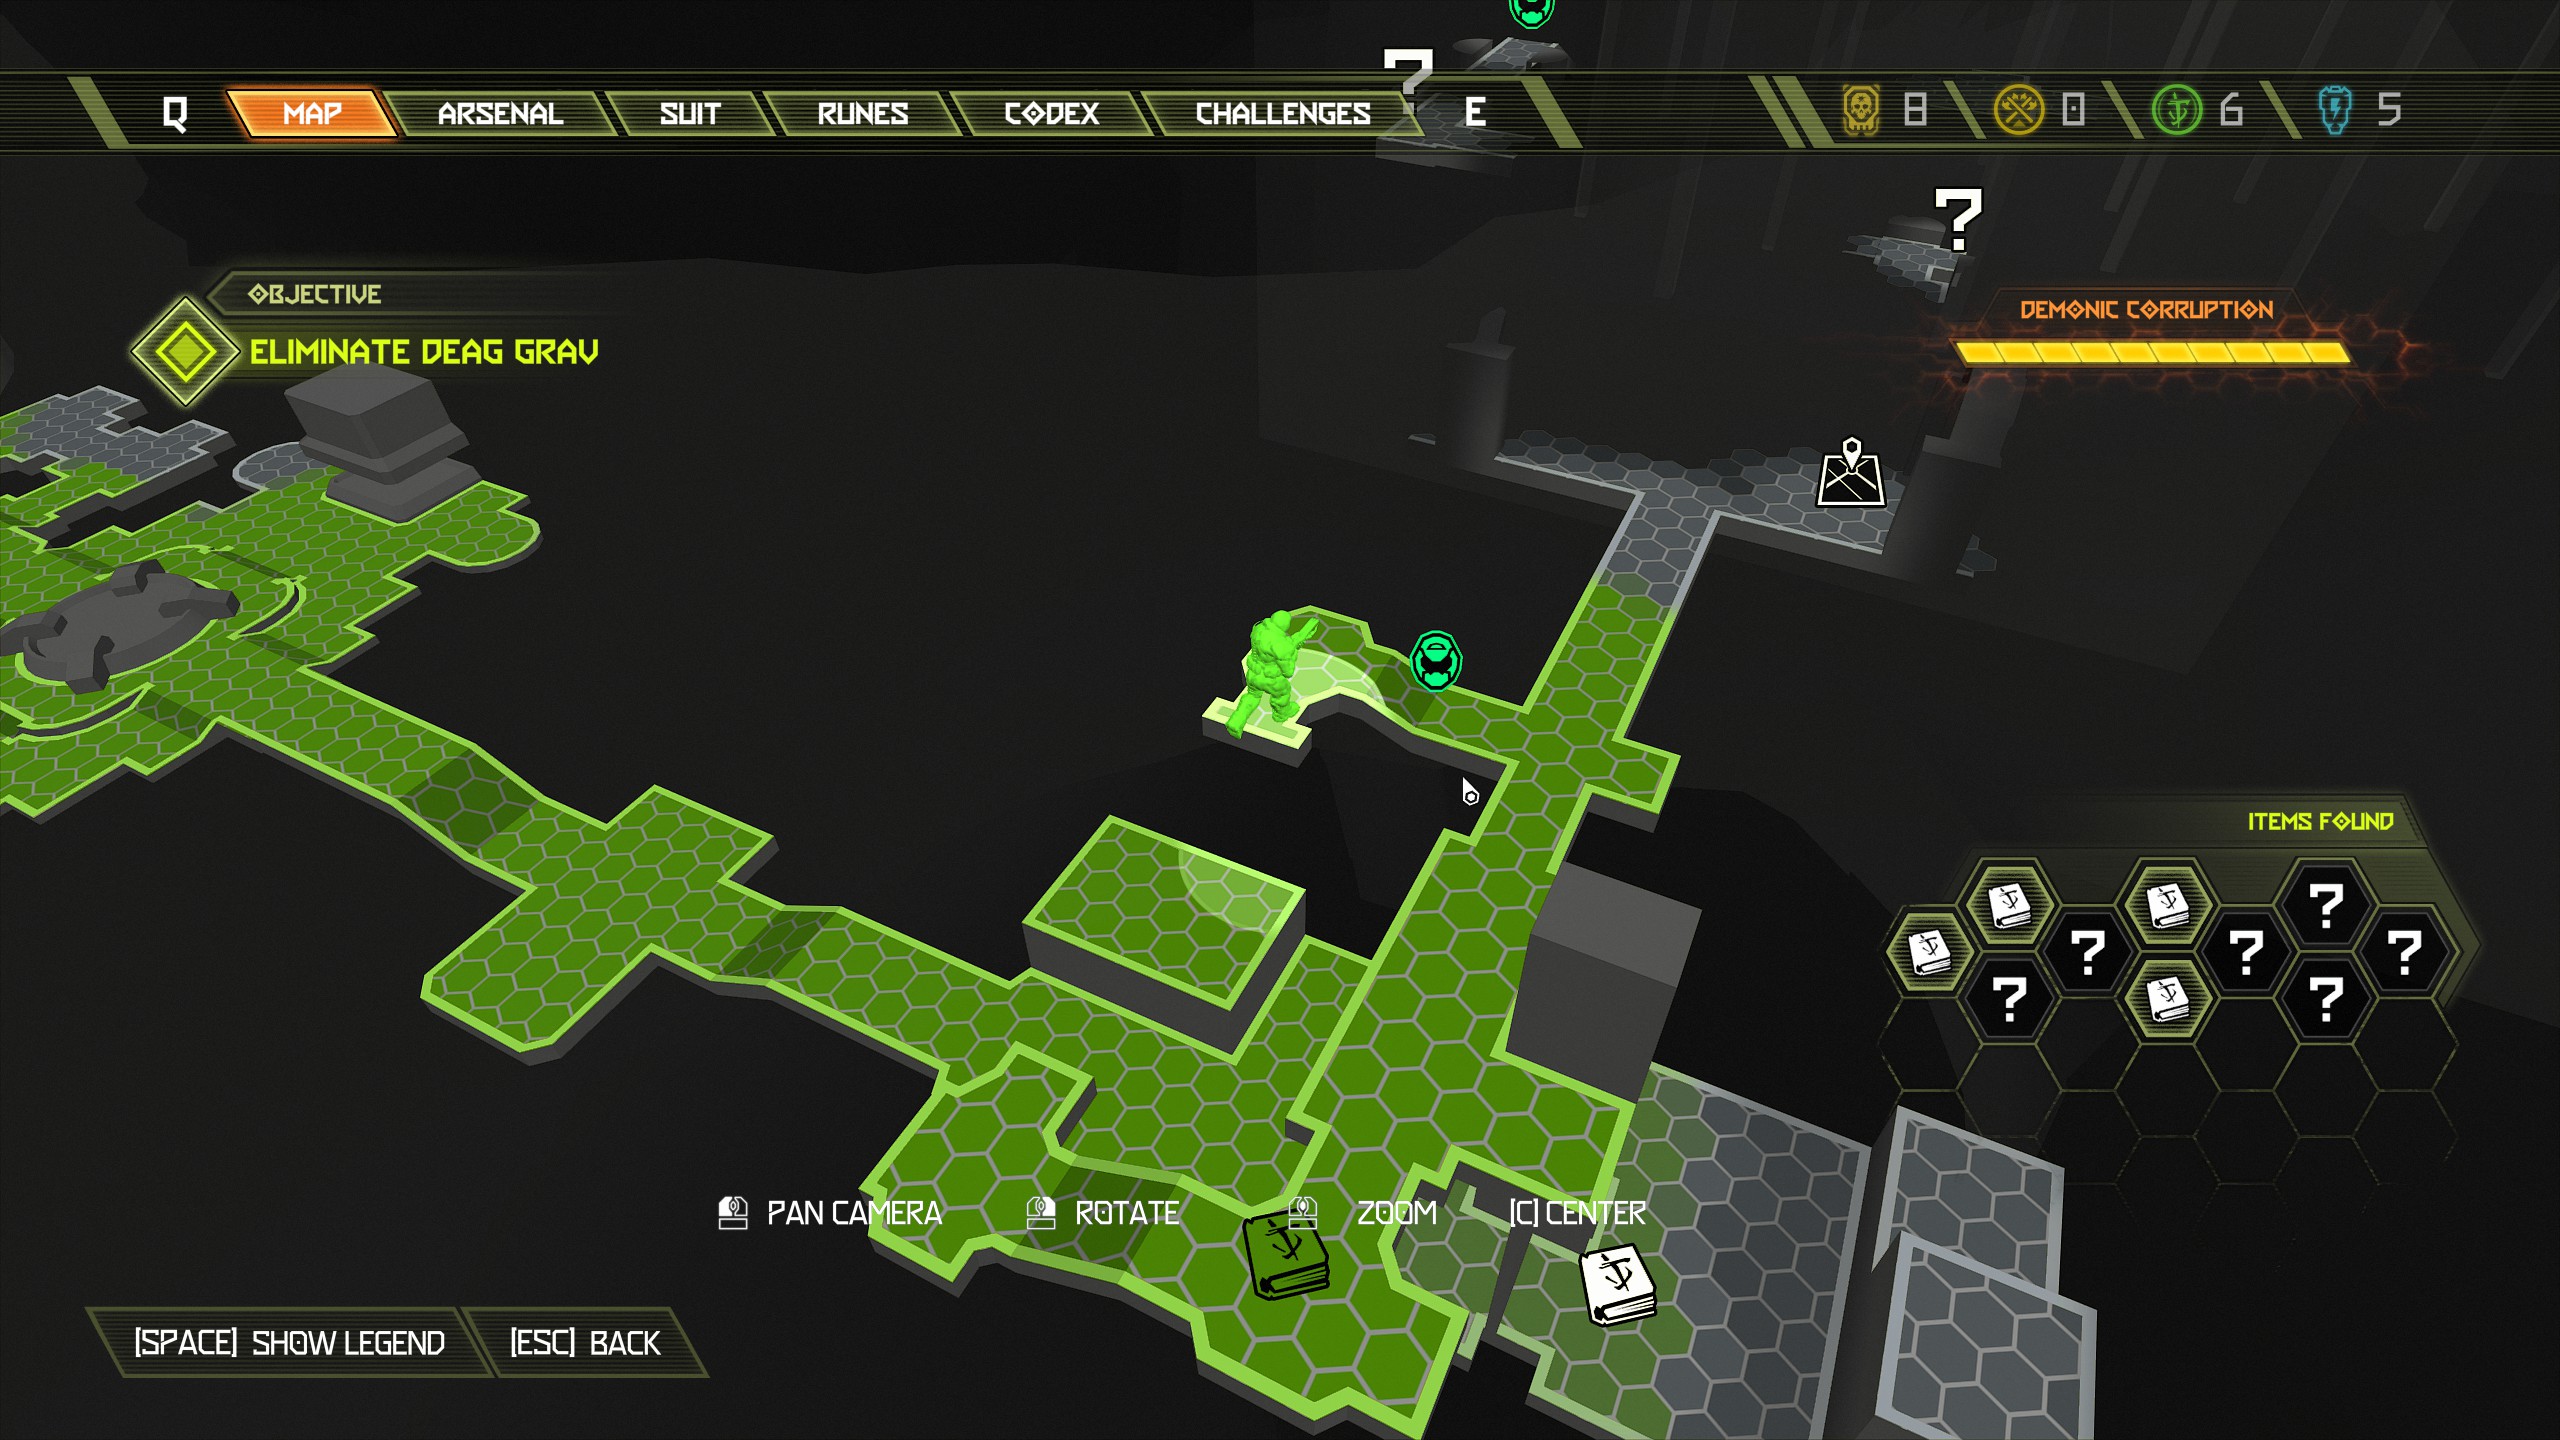
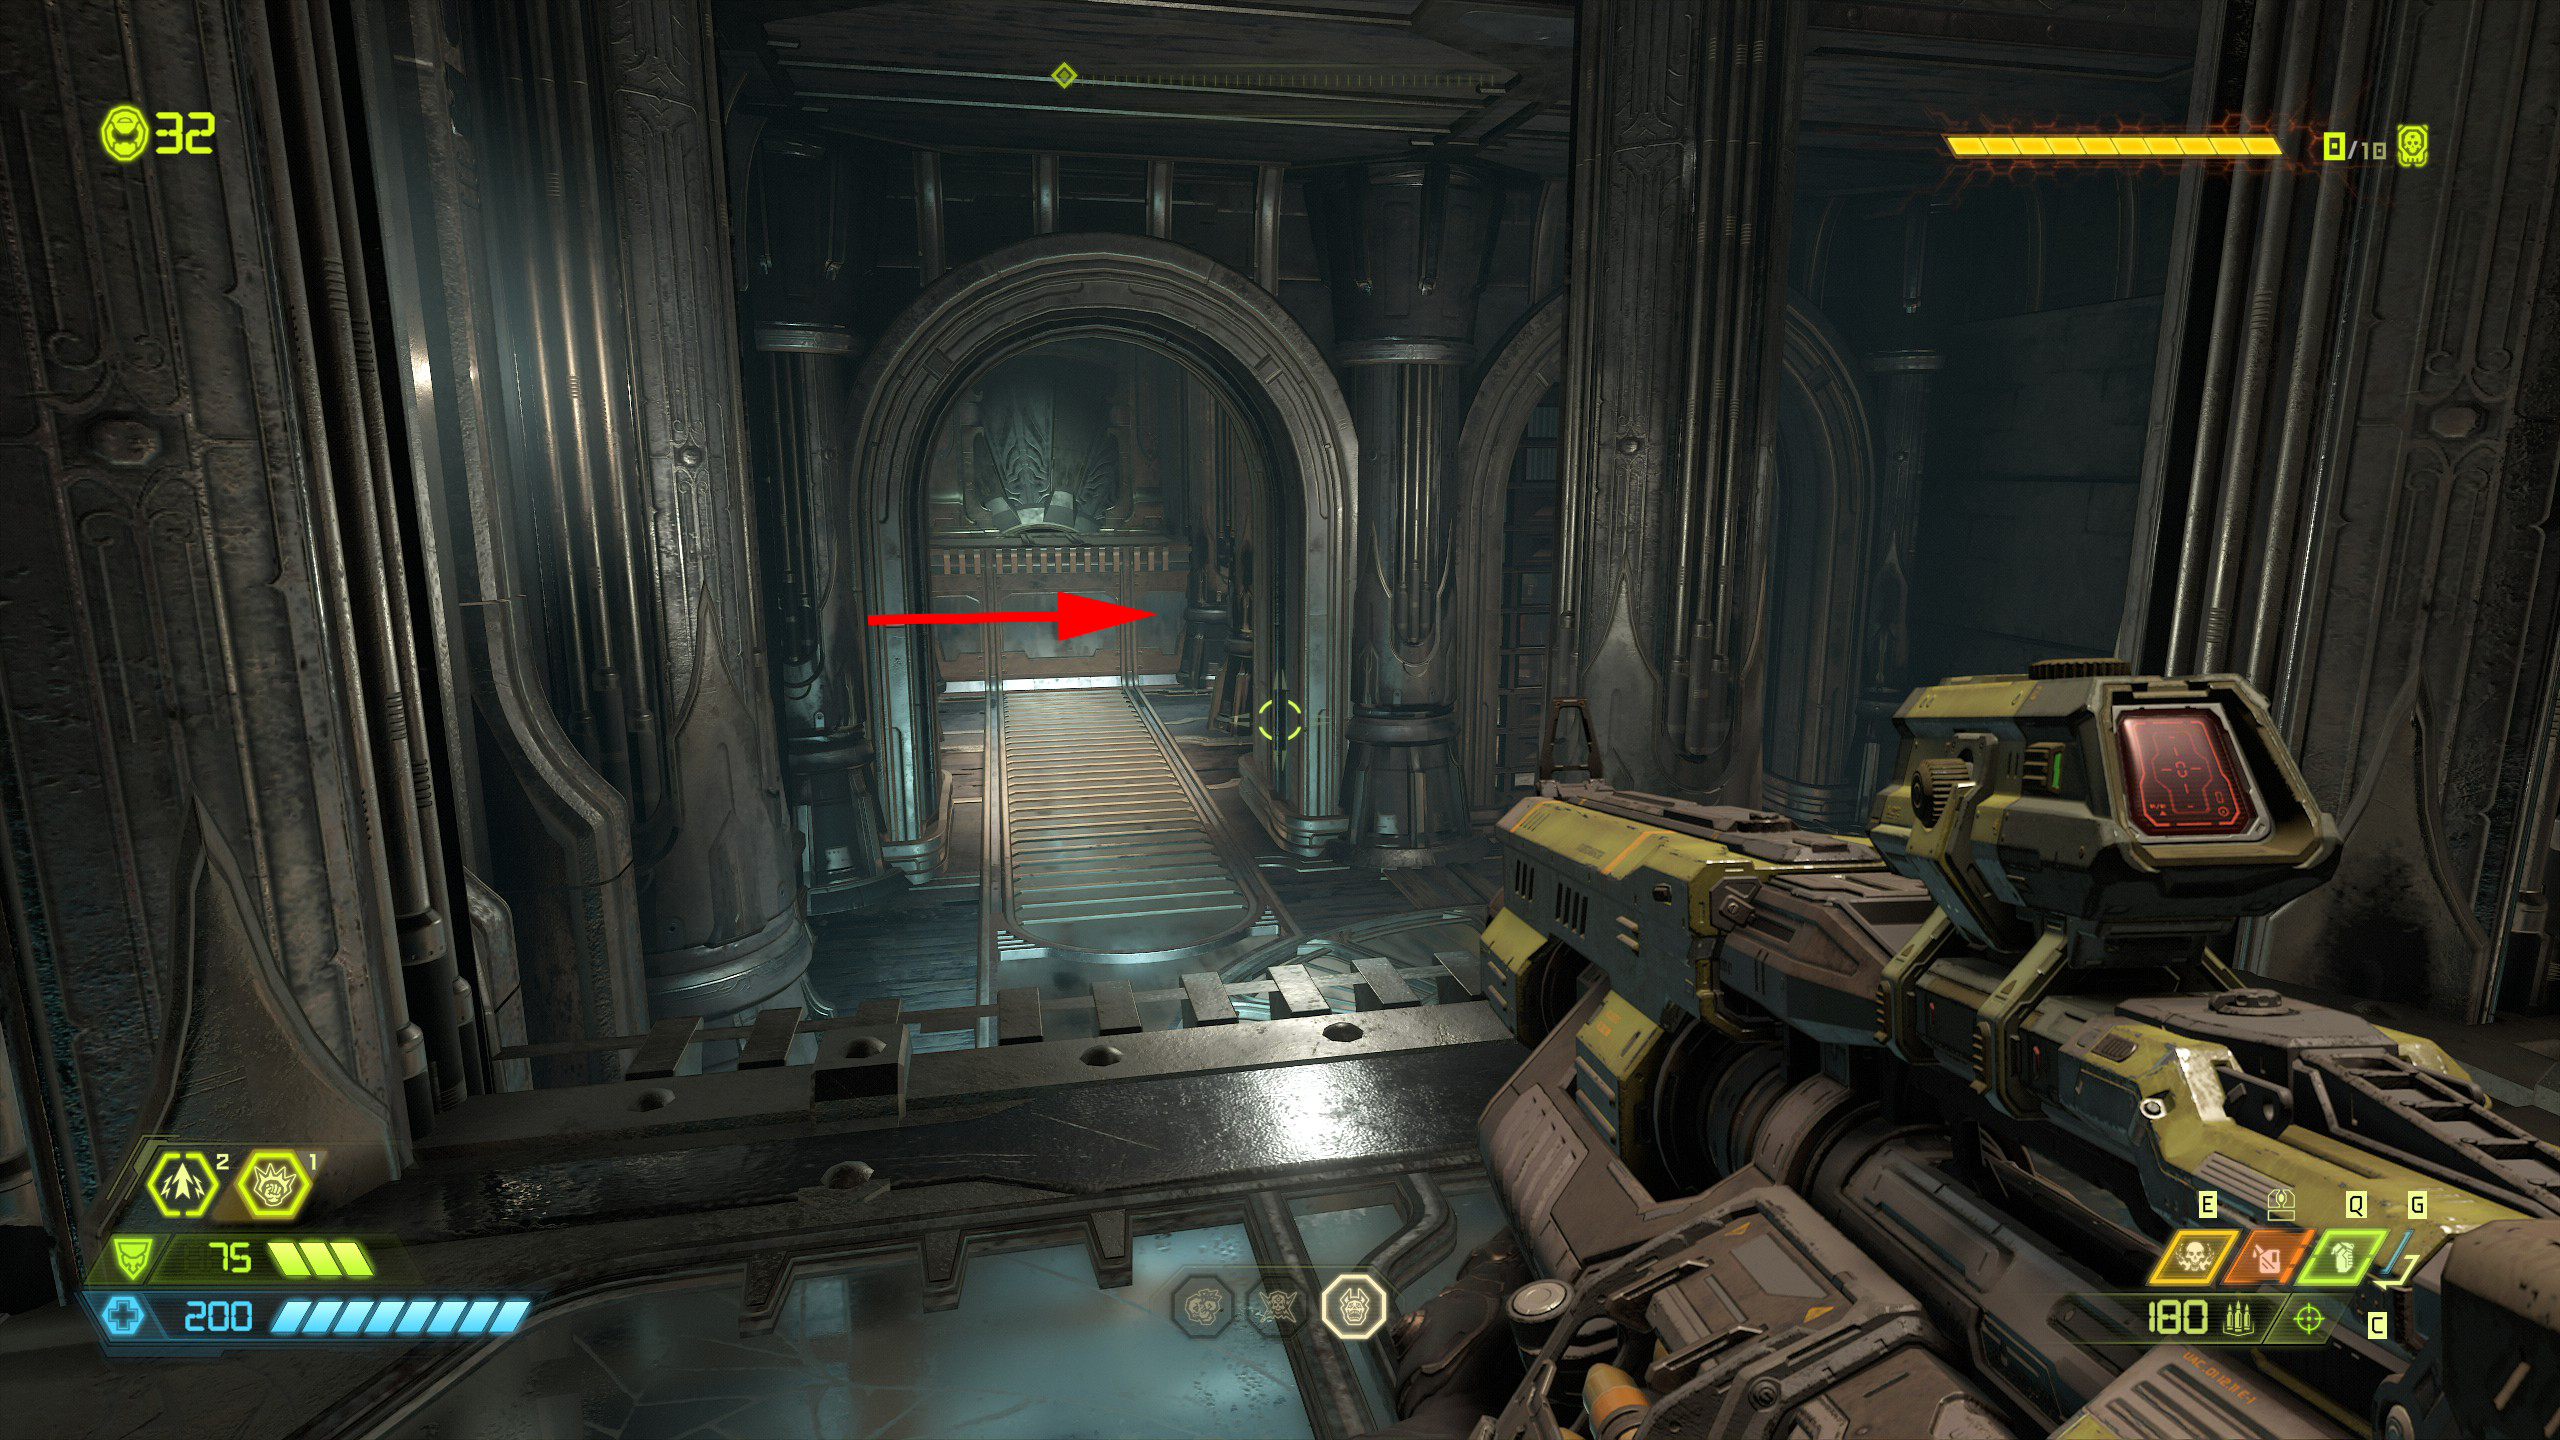
After the extra life go back to where you entered the room and now you can collect the codex page behind the gate, you can reach it by taking the left side path.
And on the right side of the stairway in the far room will be a codex page, you should be able to see it from the automap.
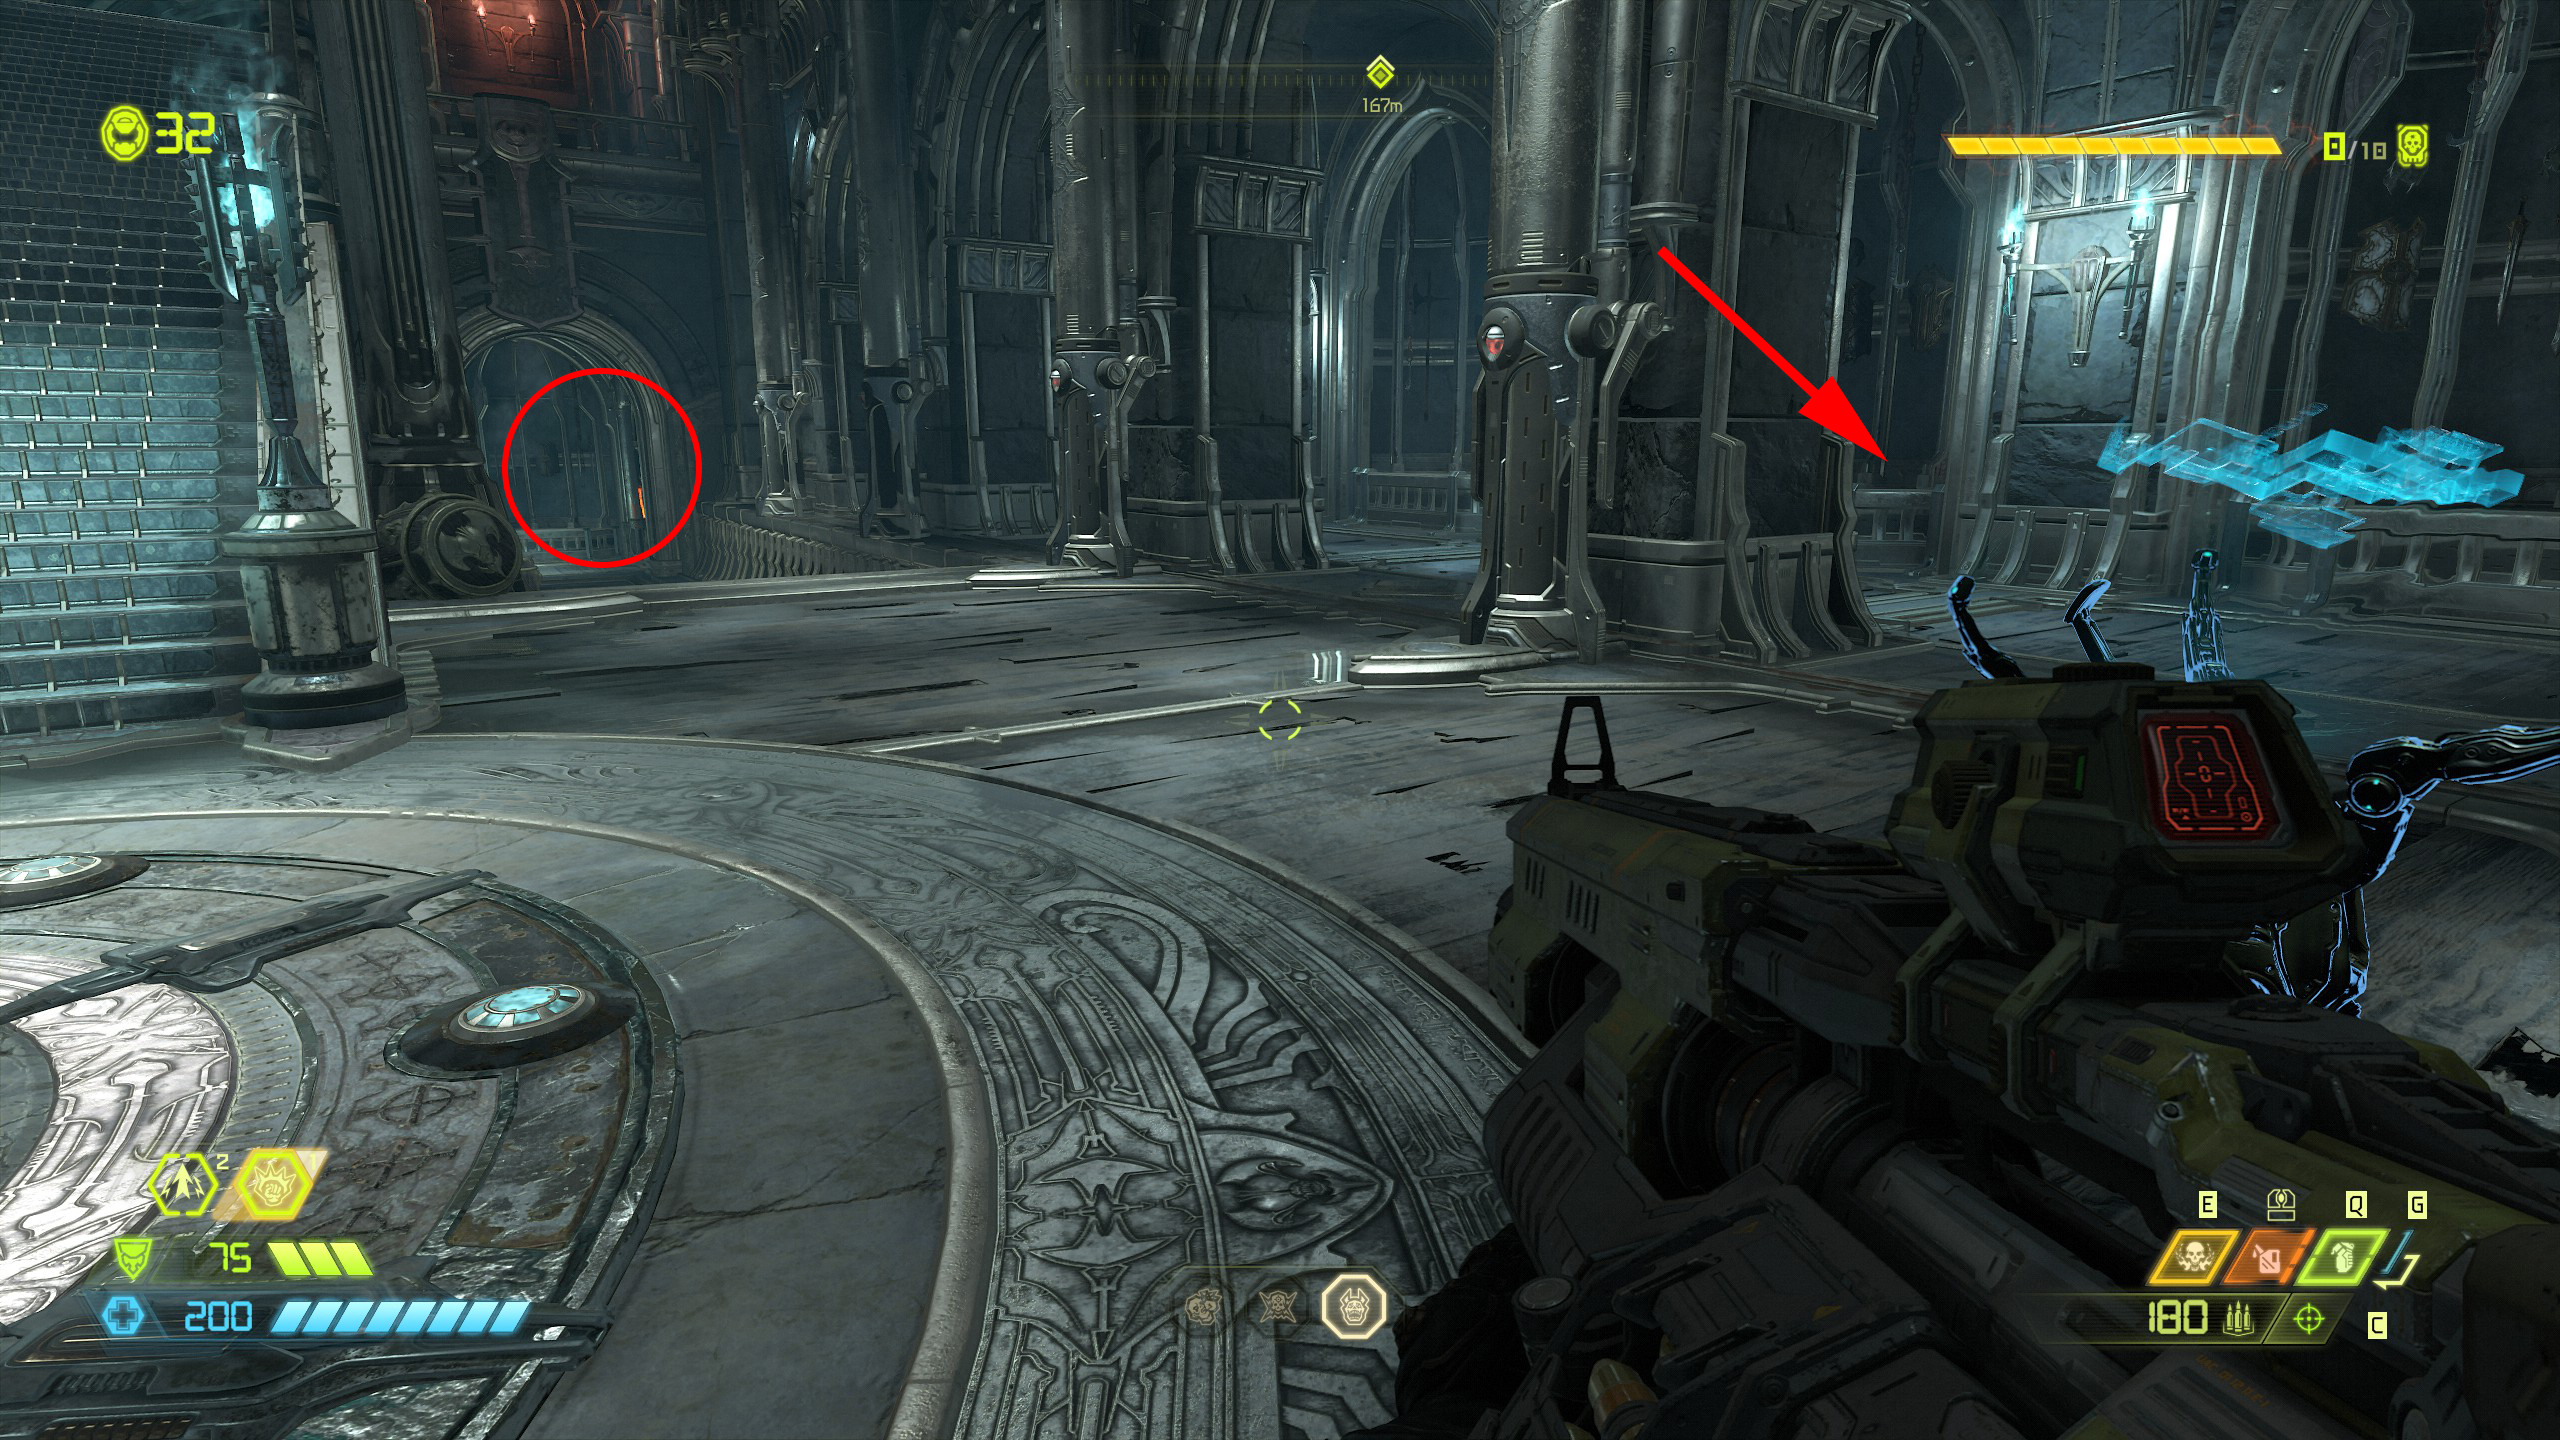
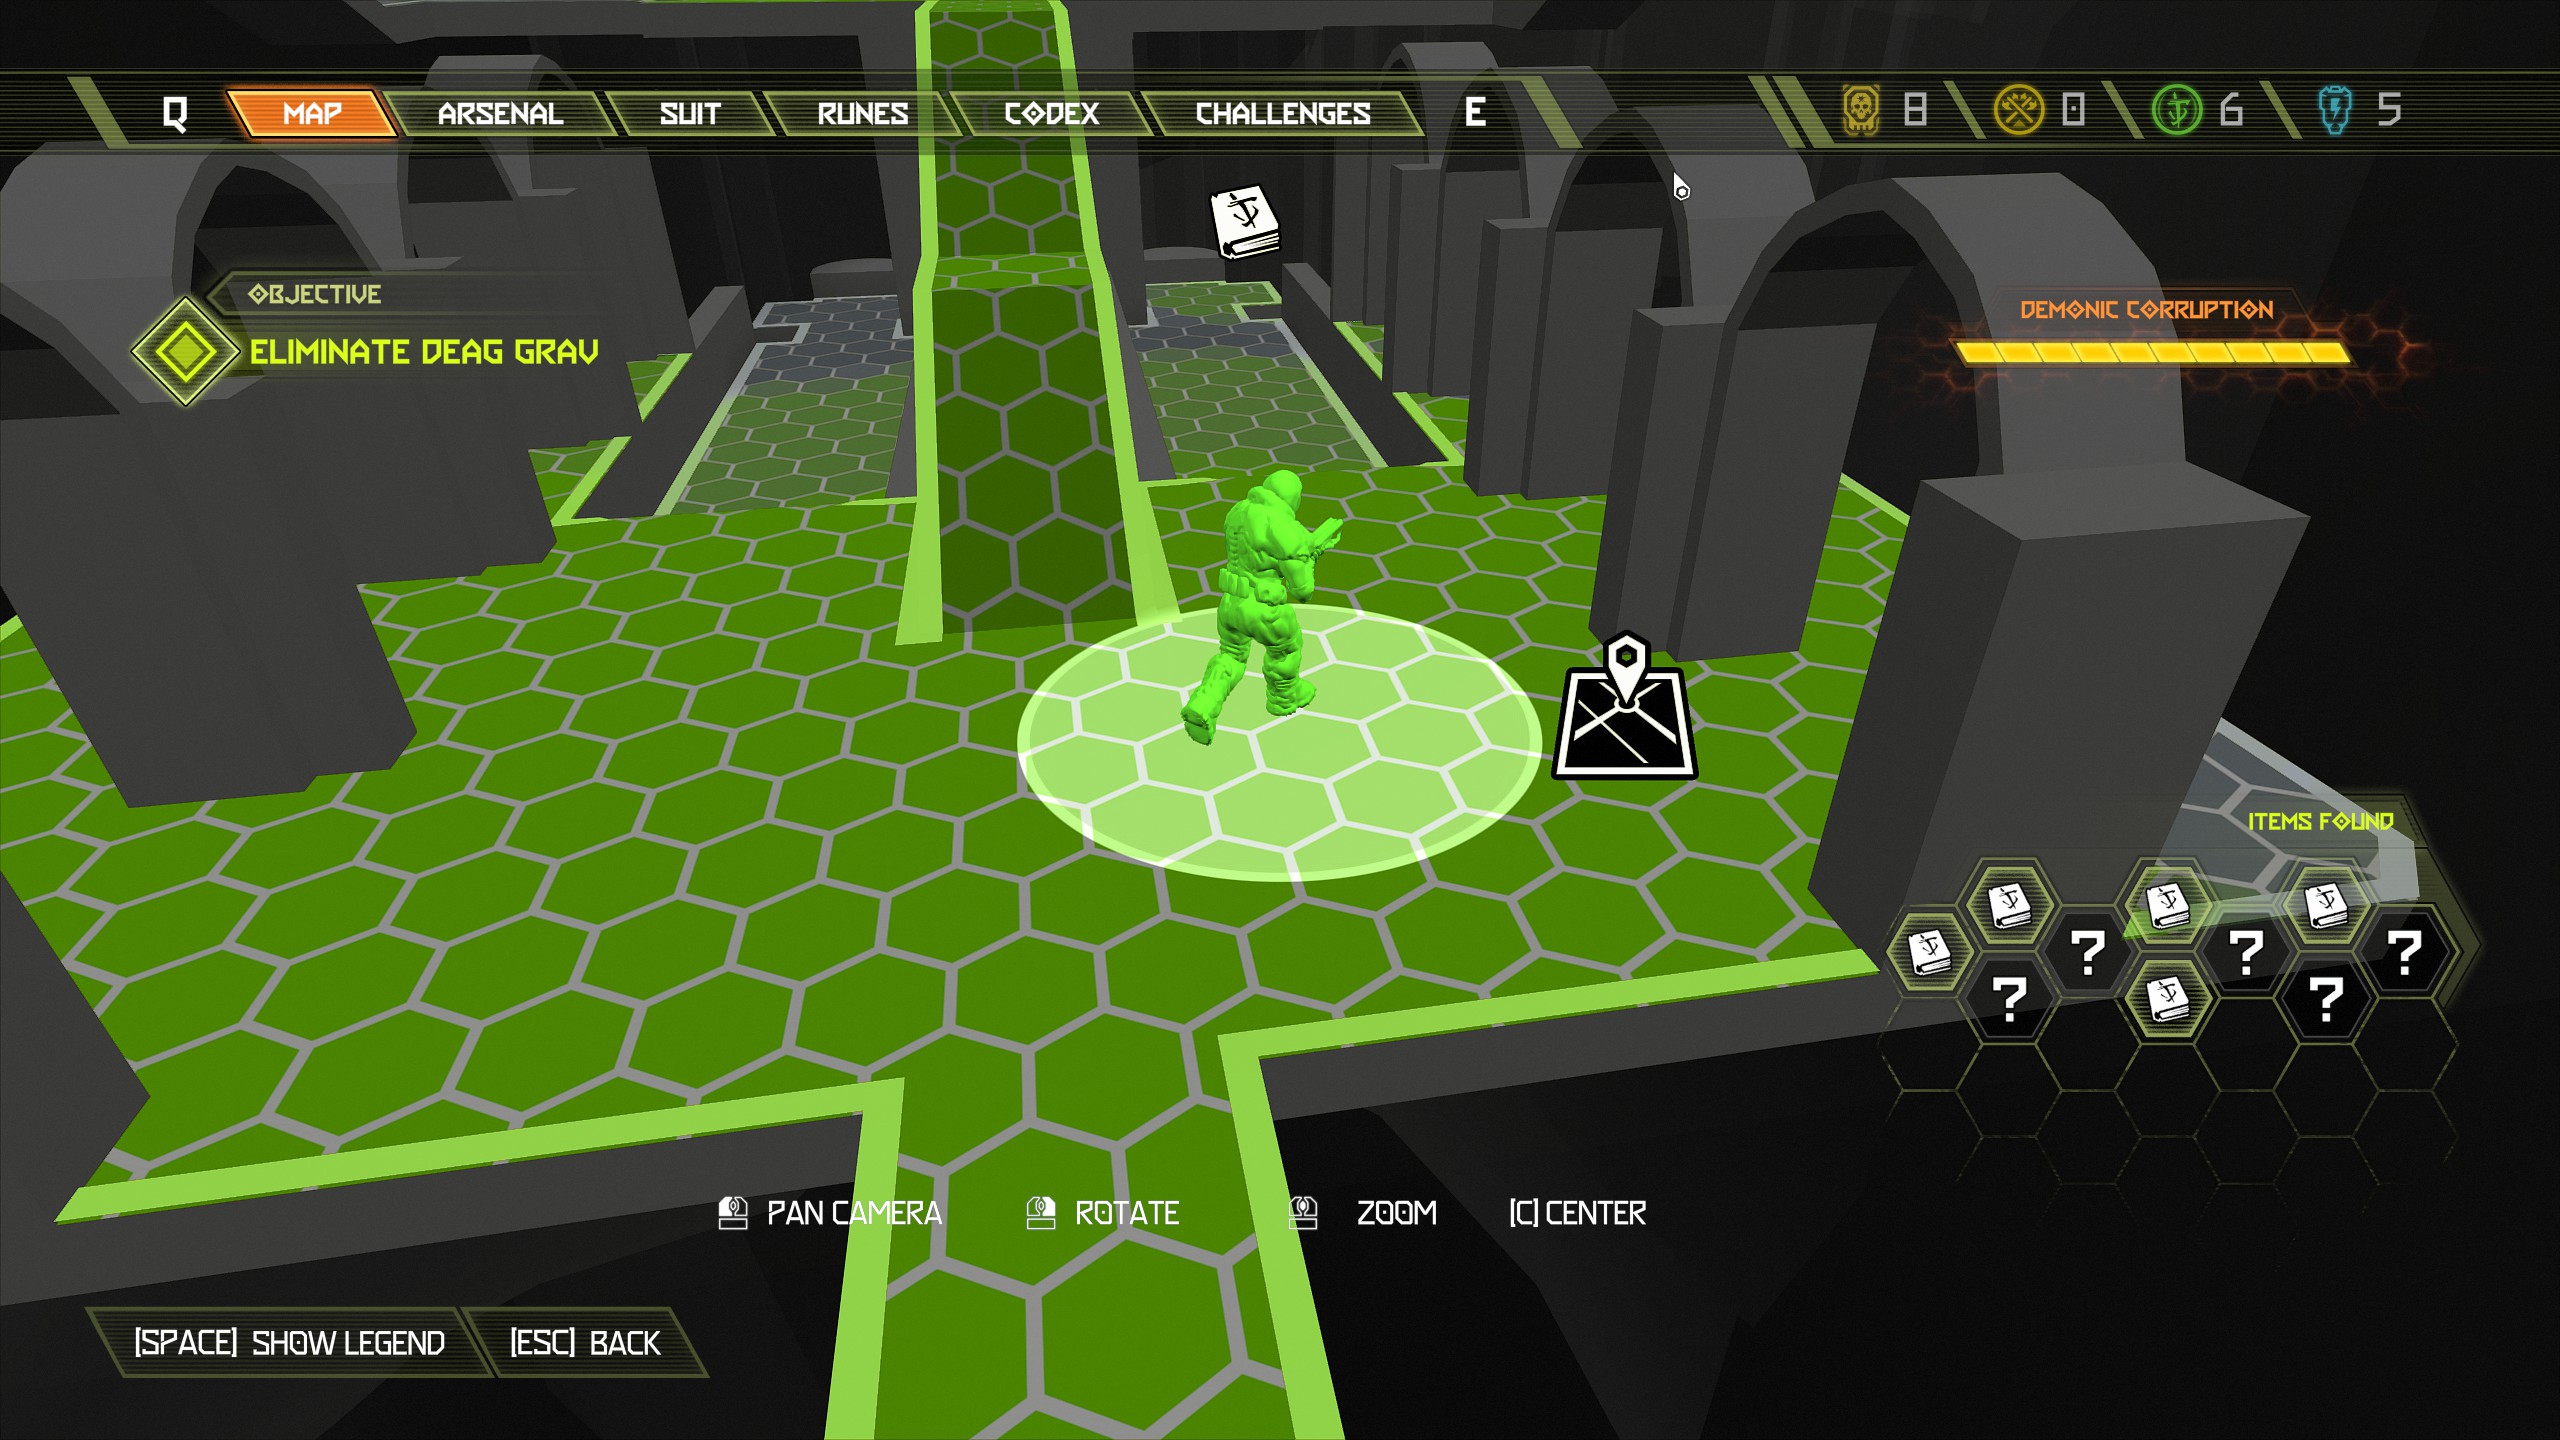
Once you have both items head up the main stairway and at the top turn right and follow it all the way around, when you reach the opening jump across to the opening on the opposite side to find a praetor suit token and an extra life.
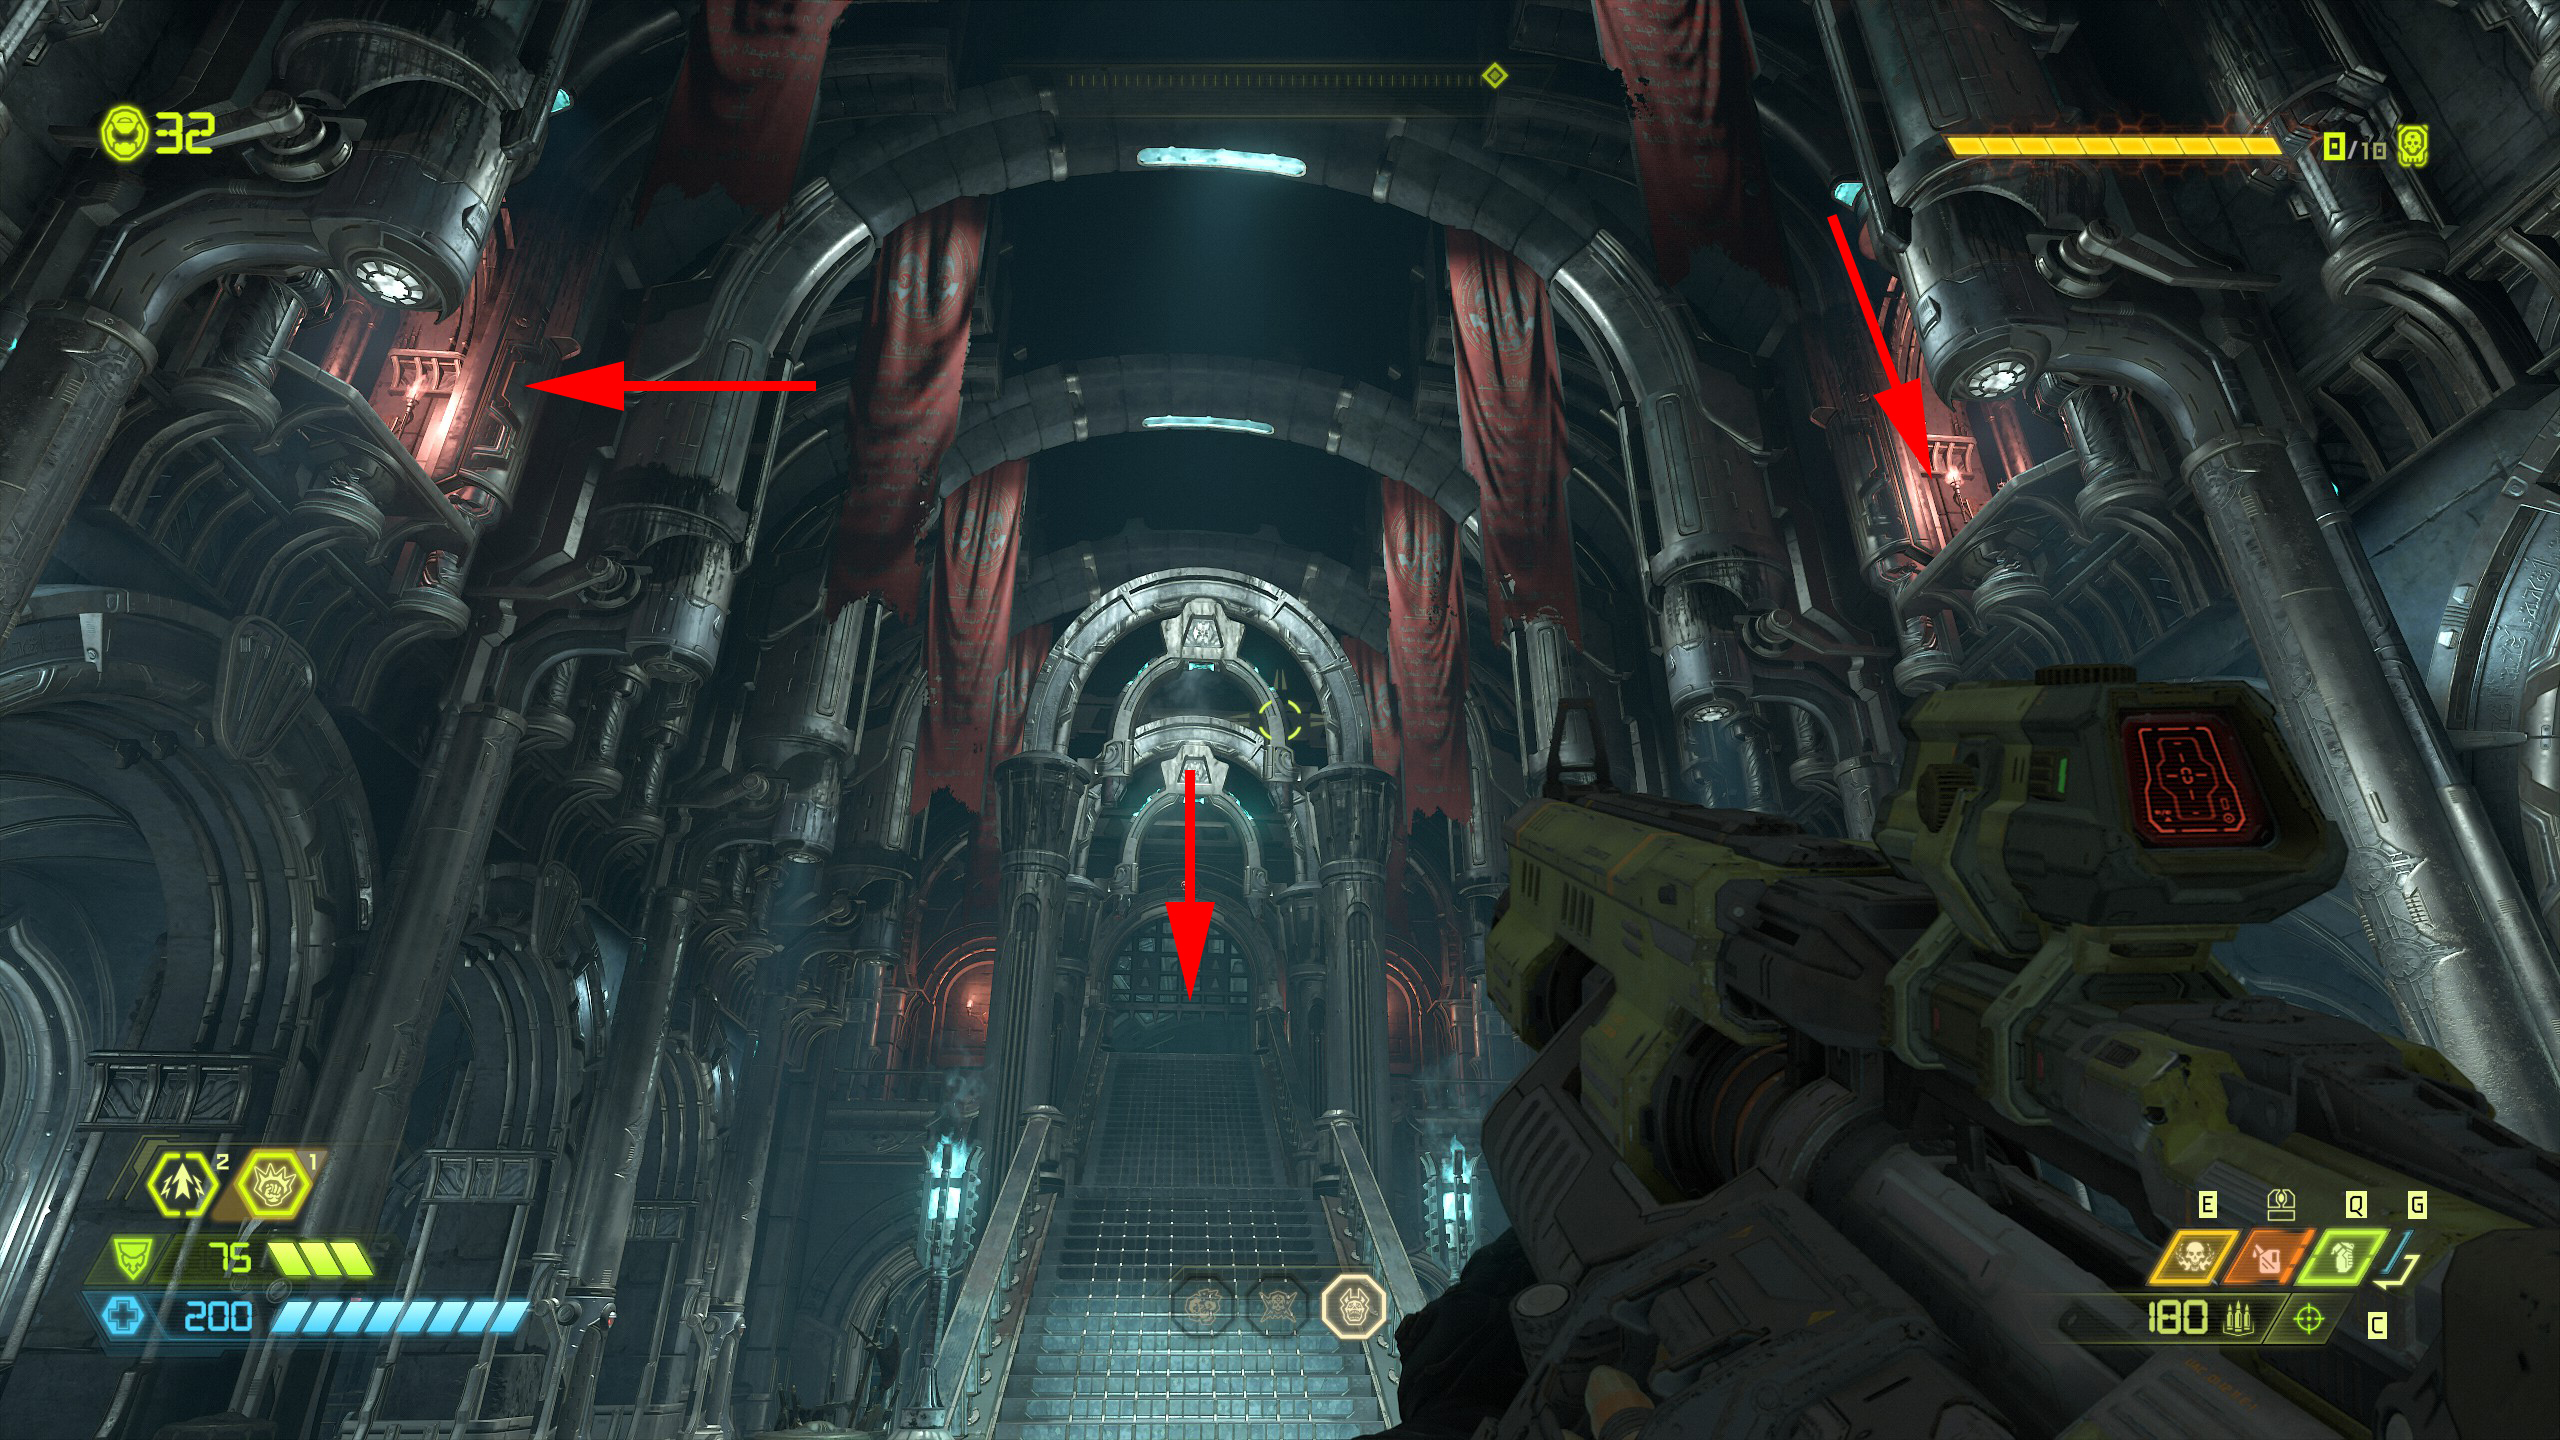
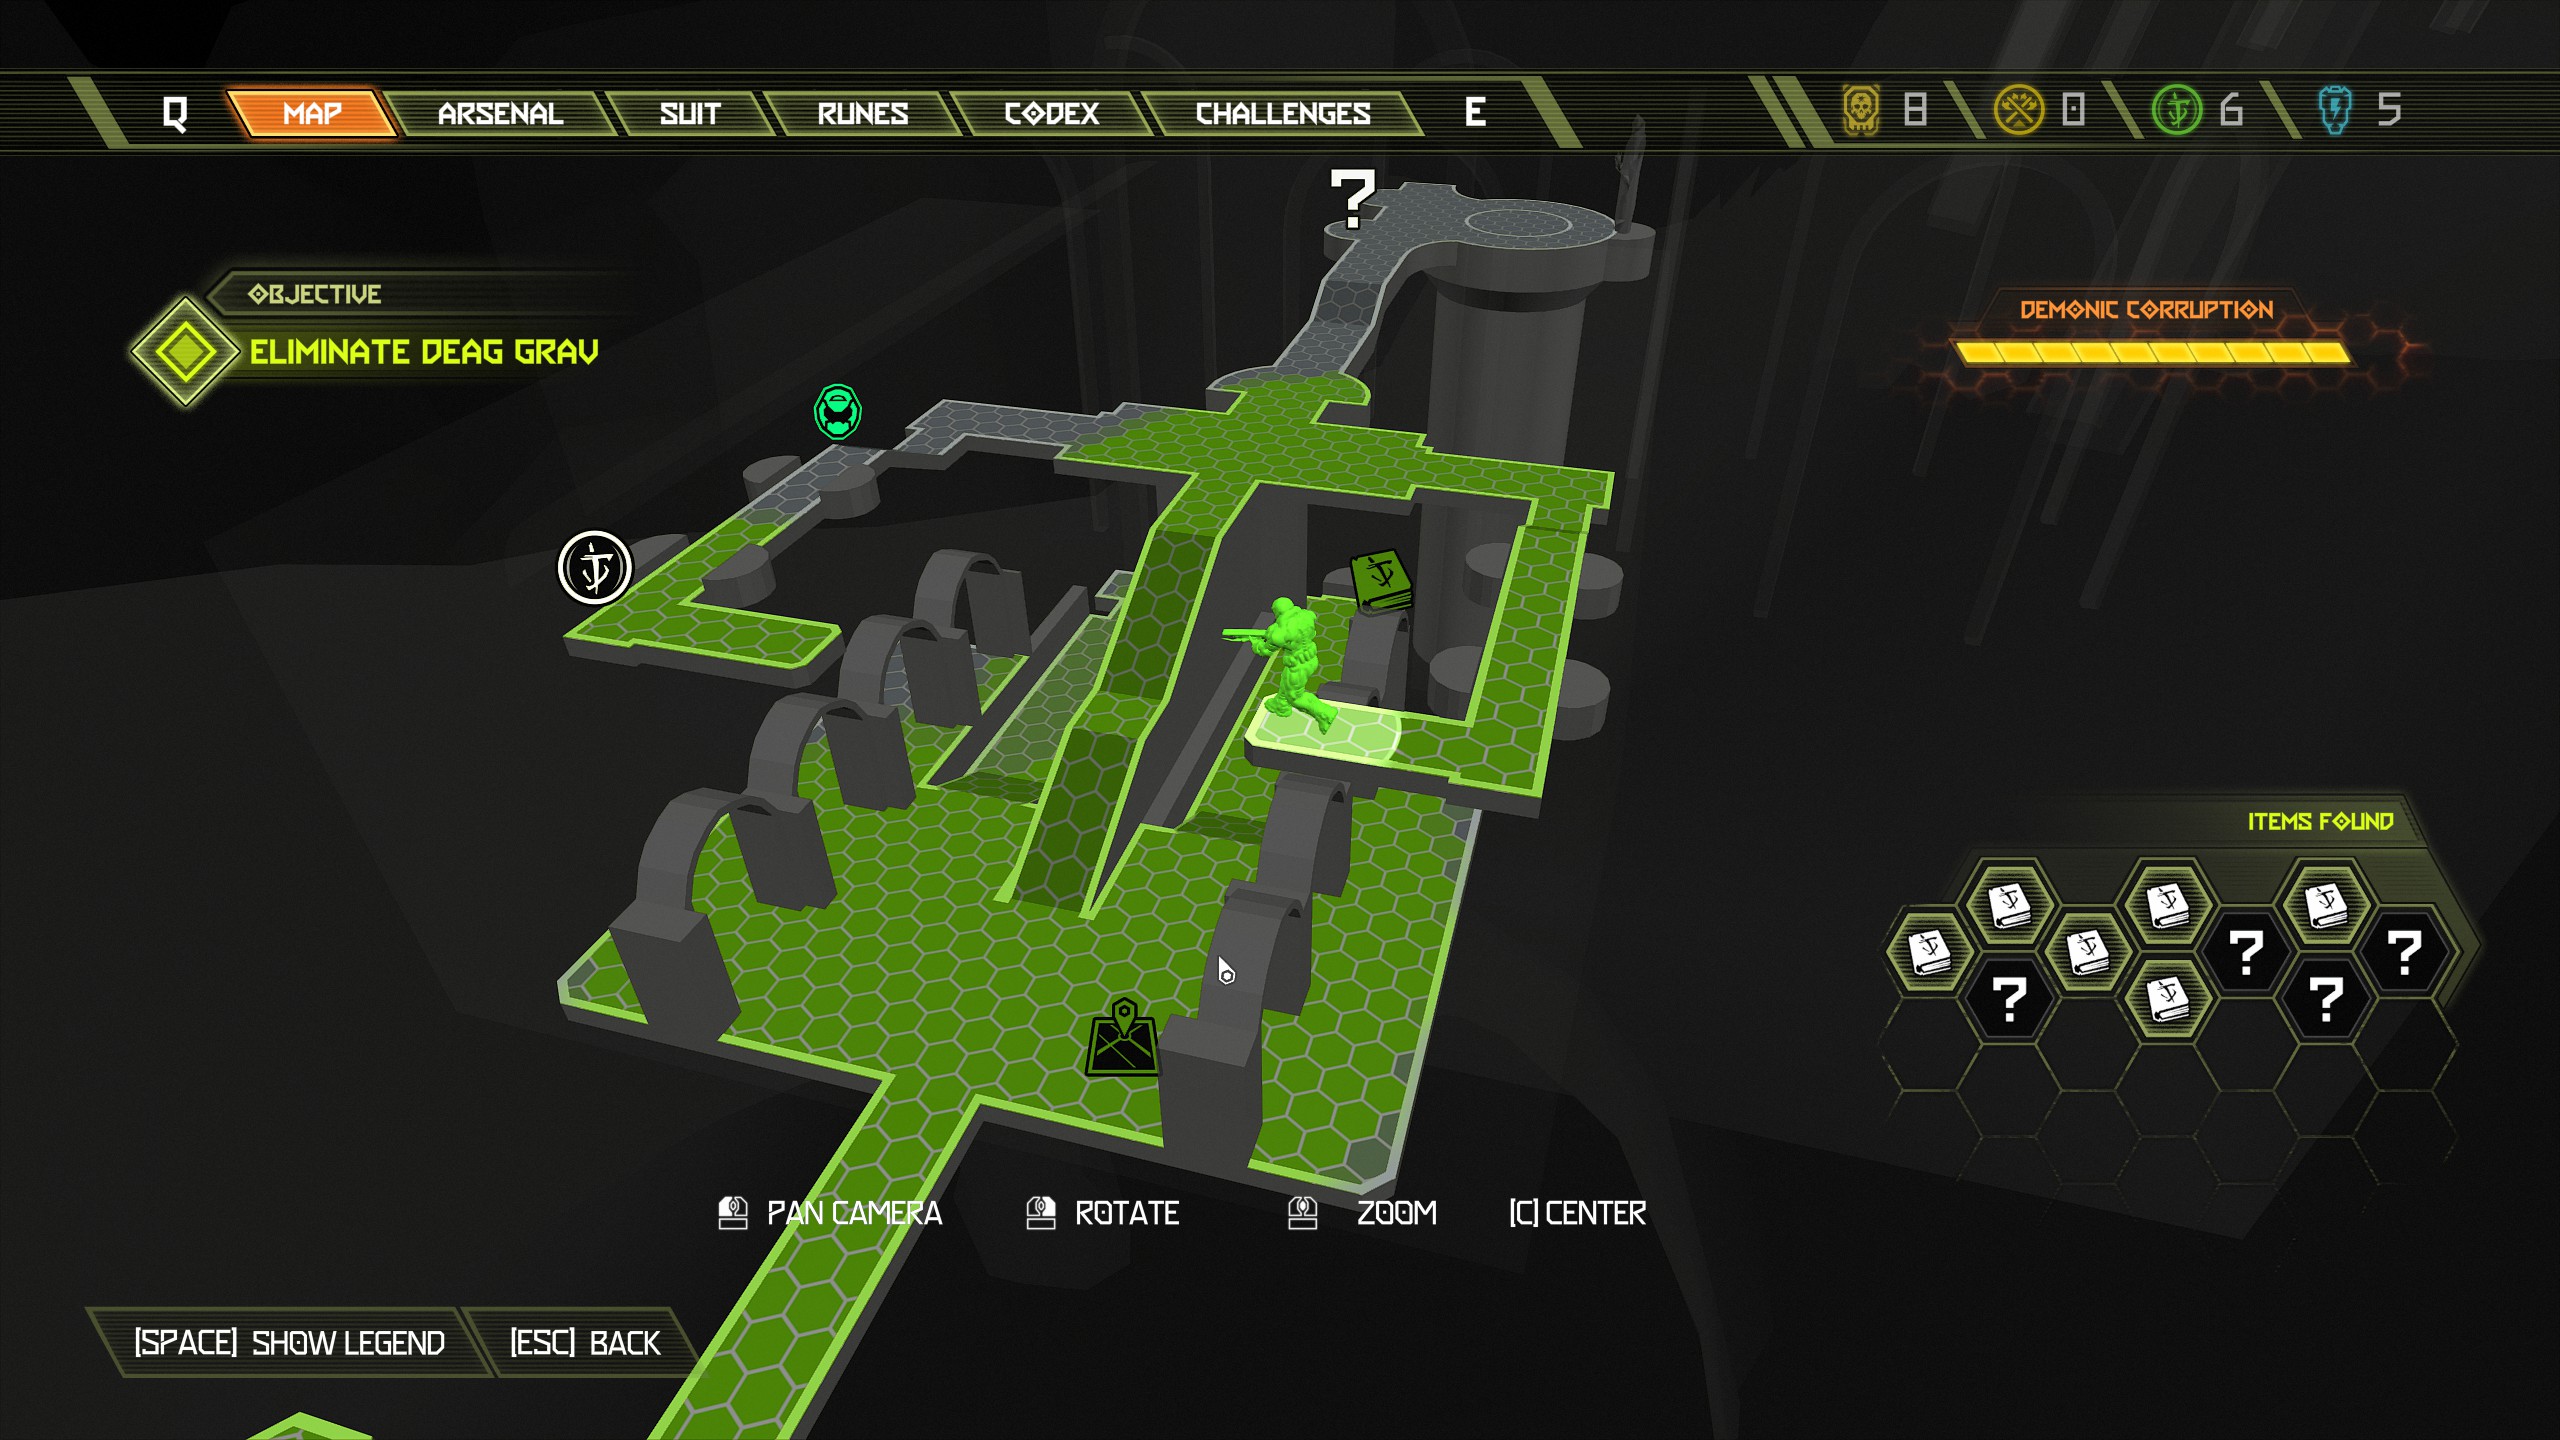
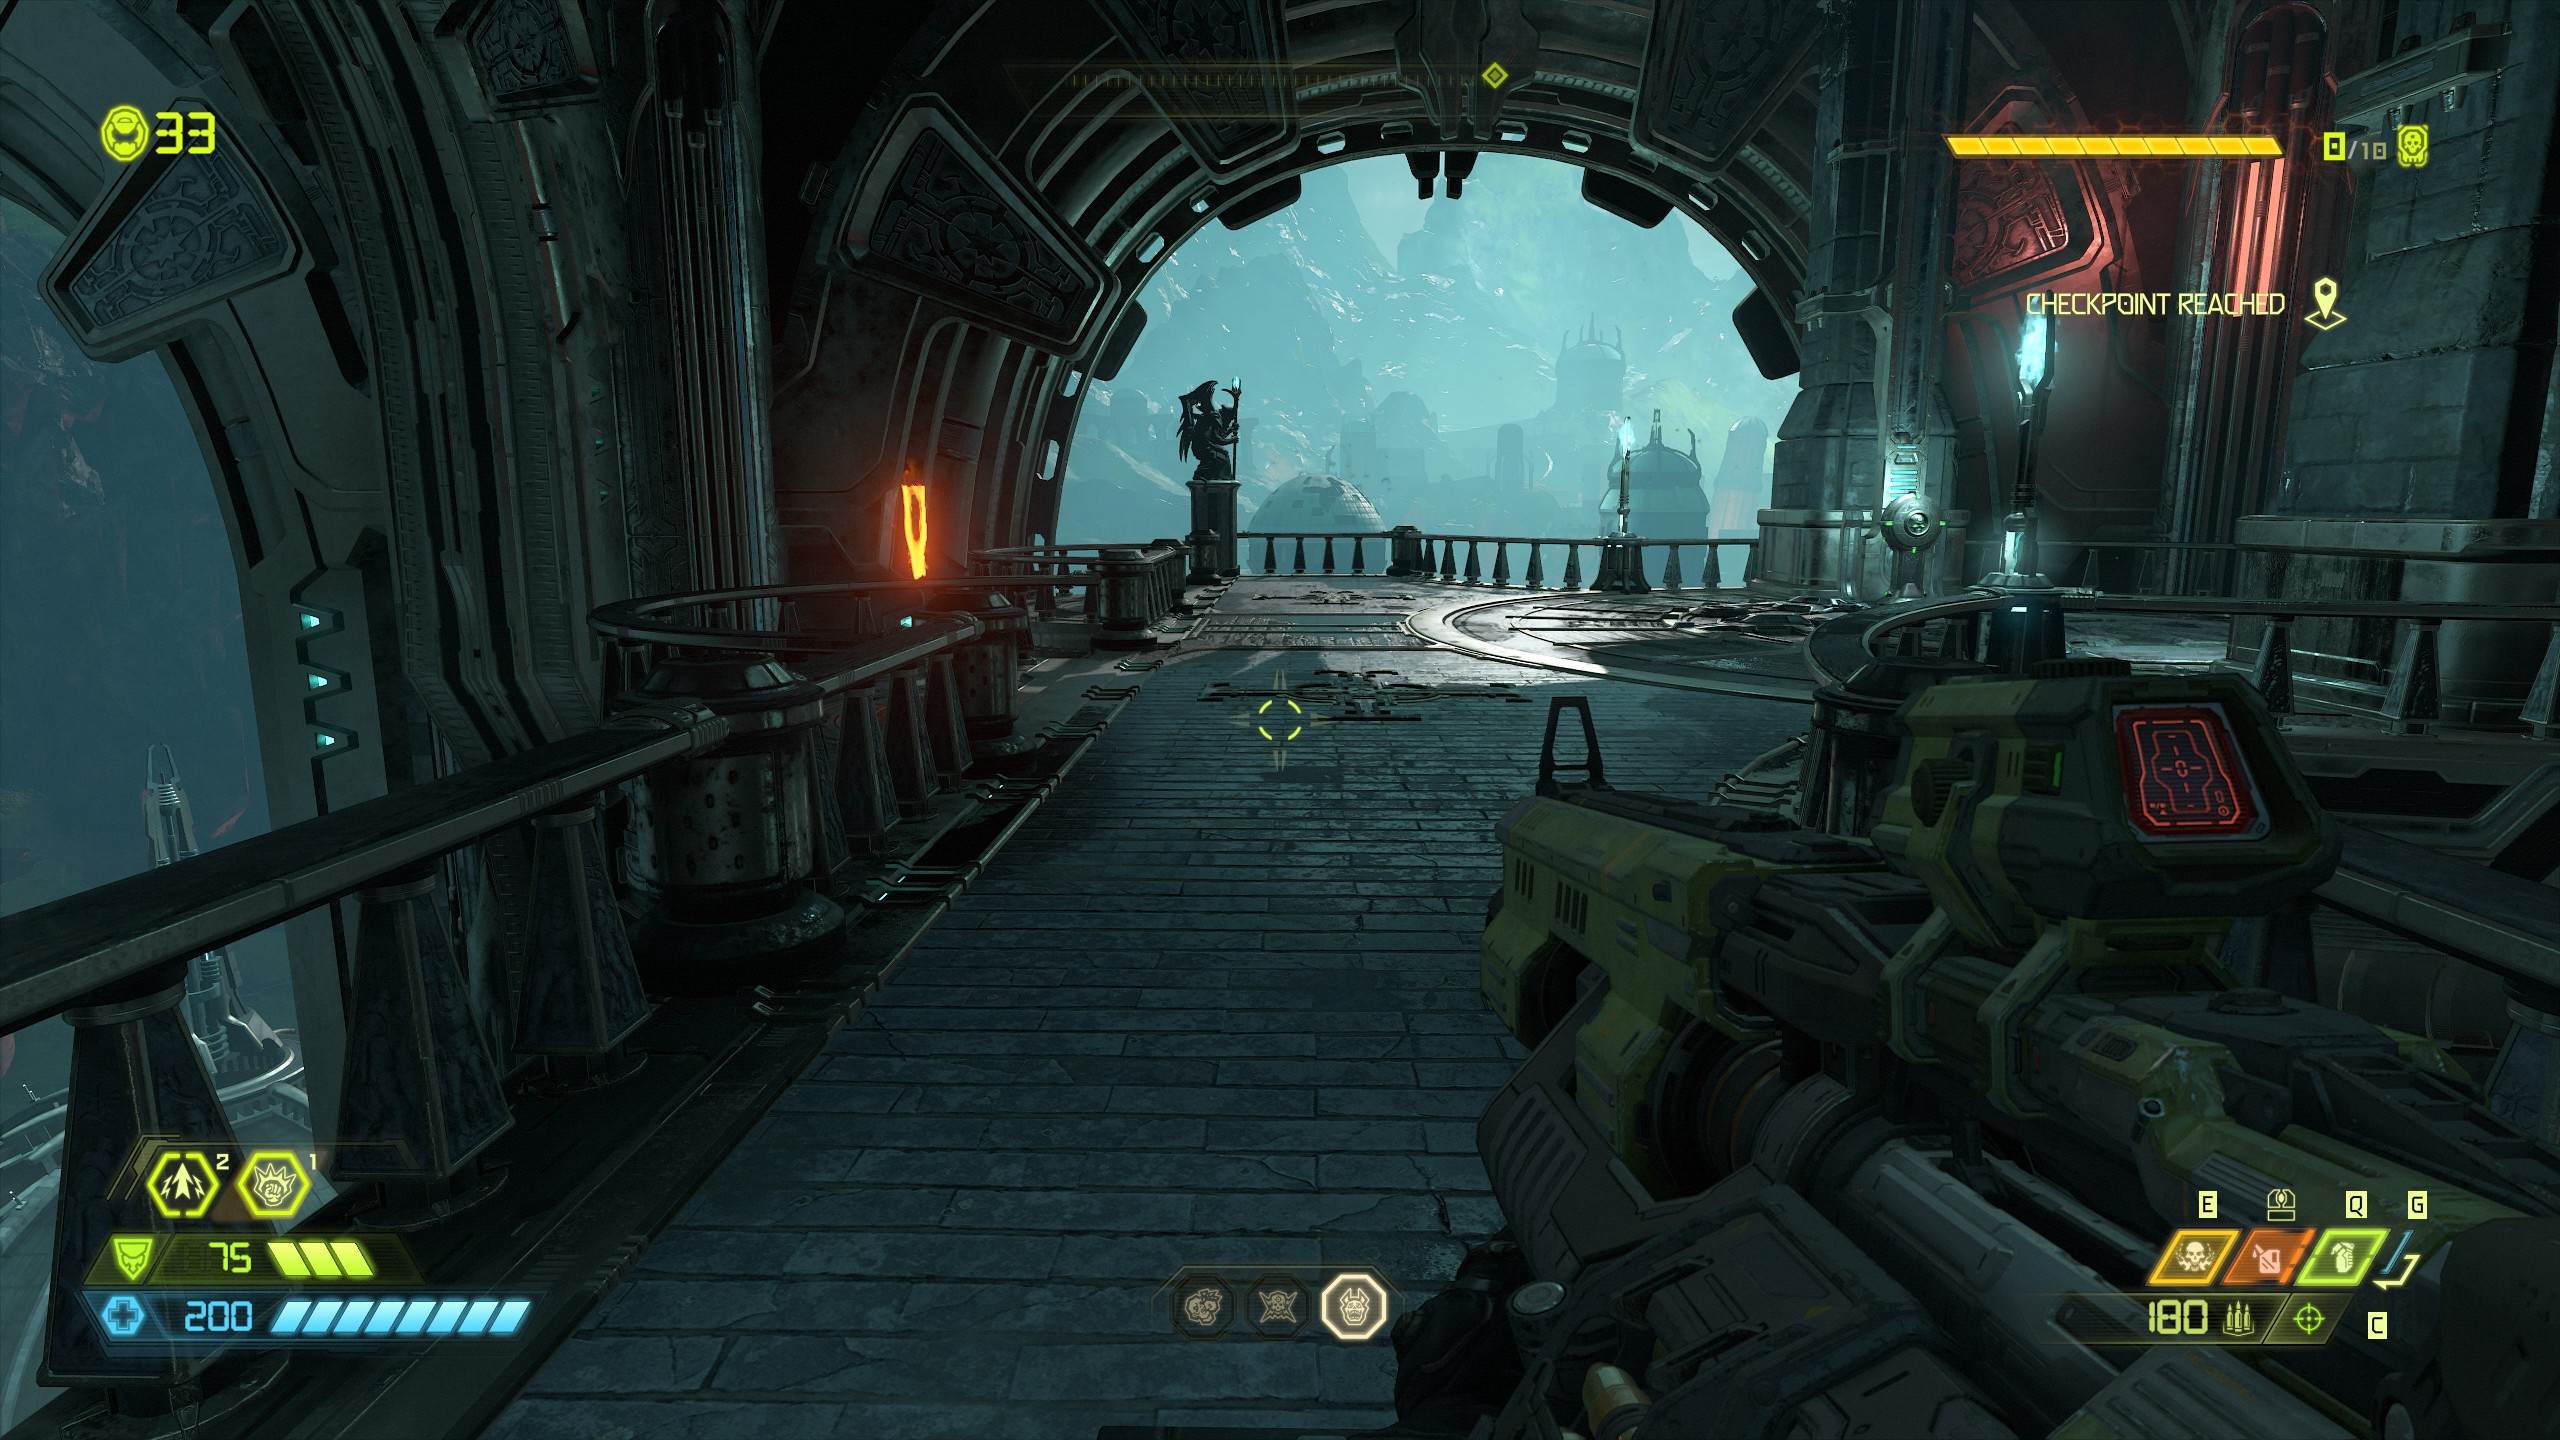
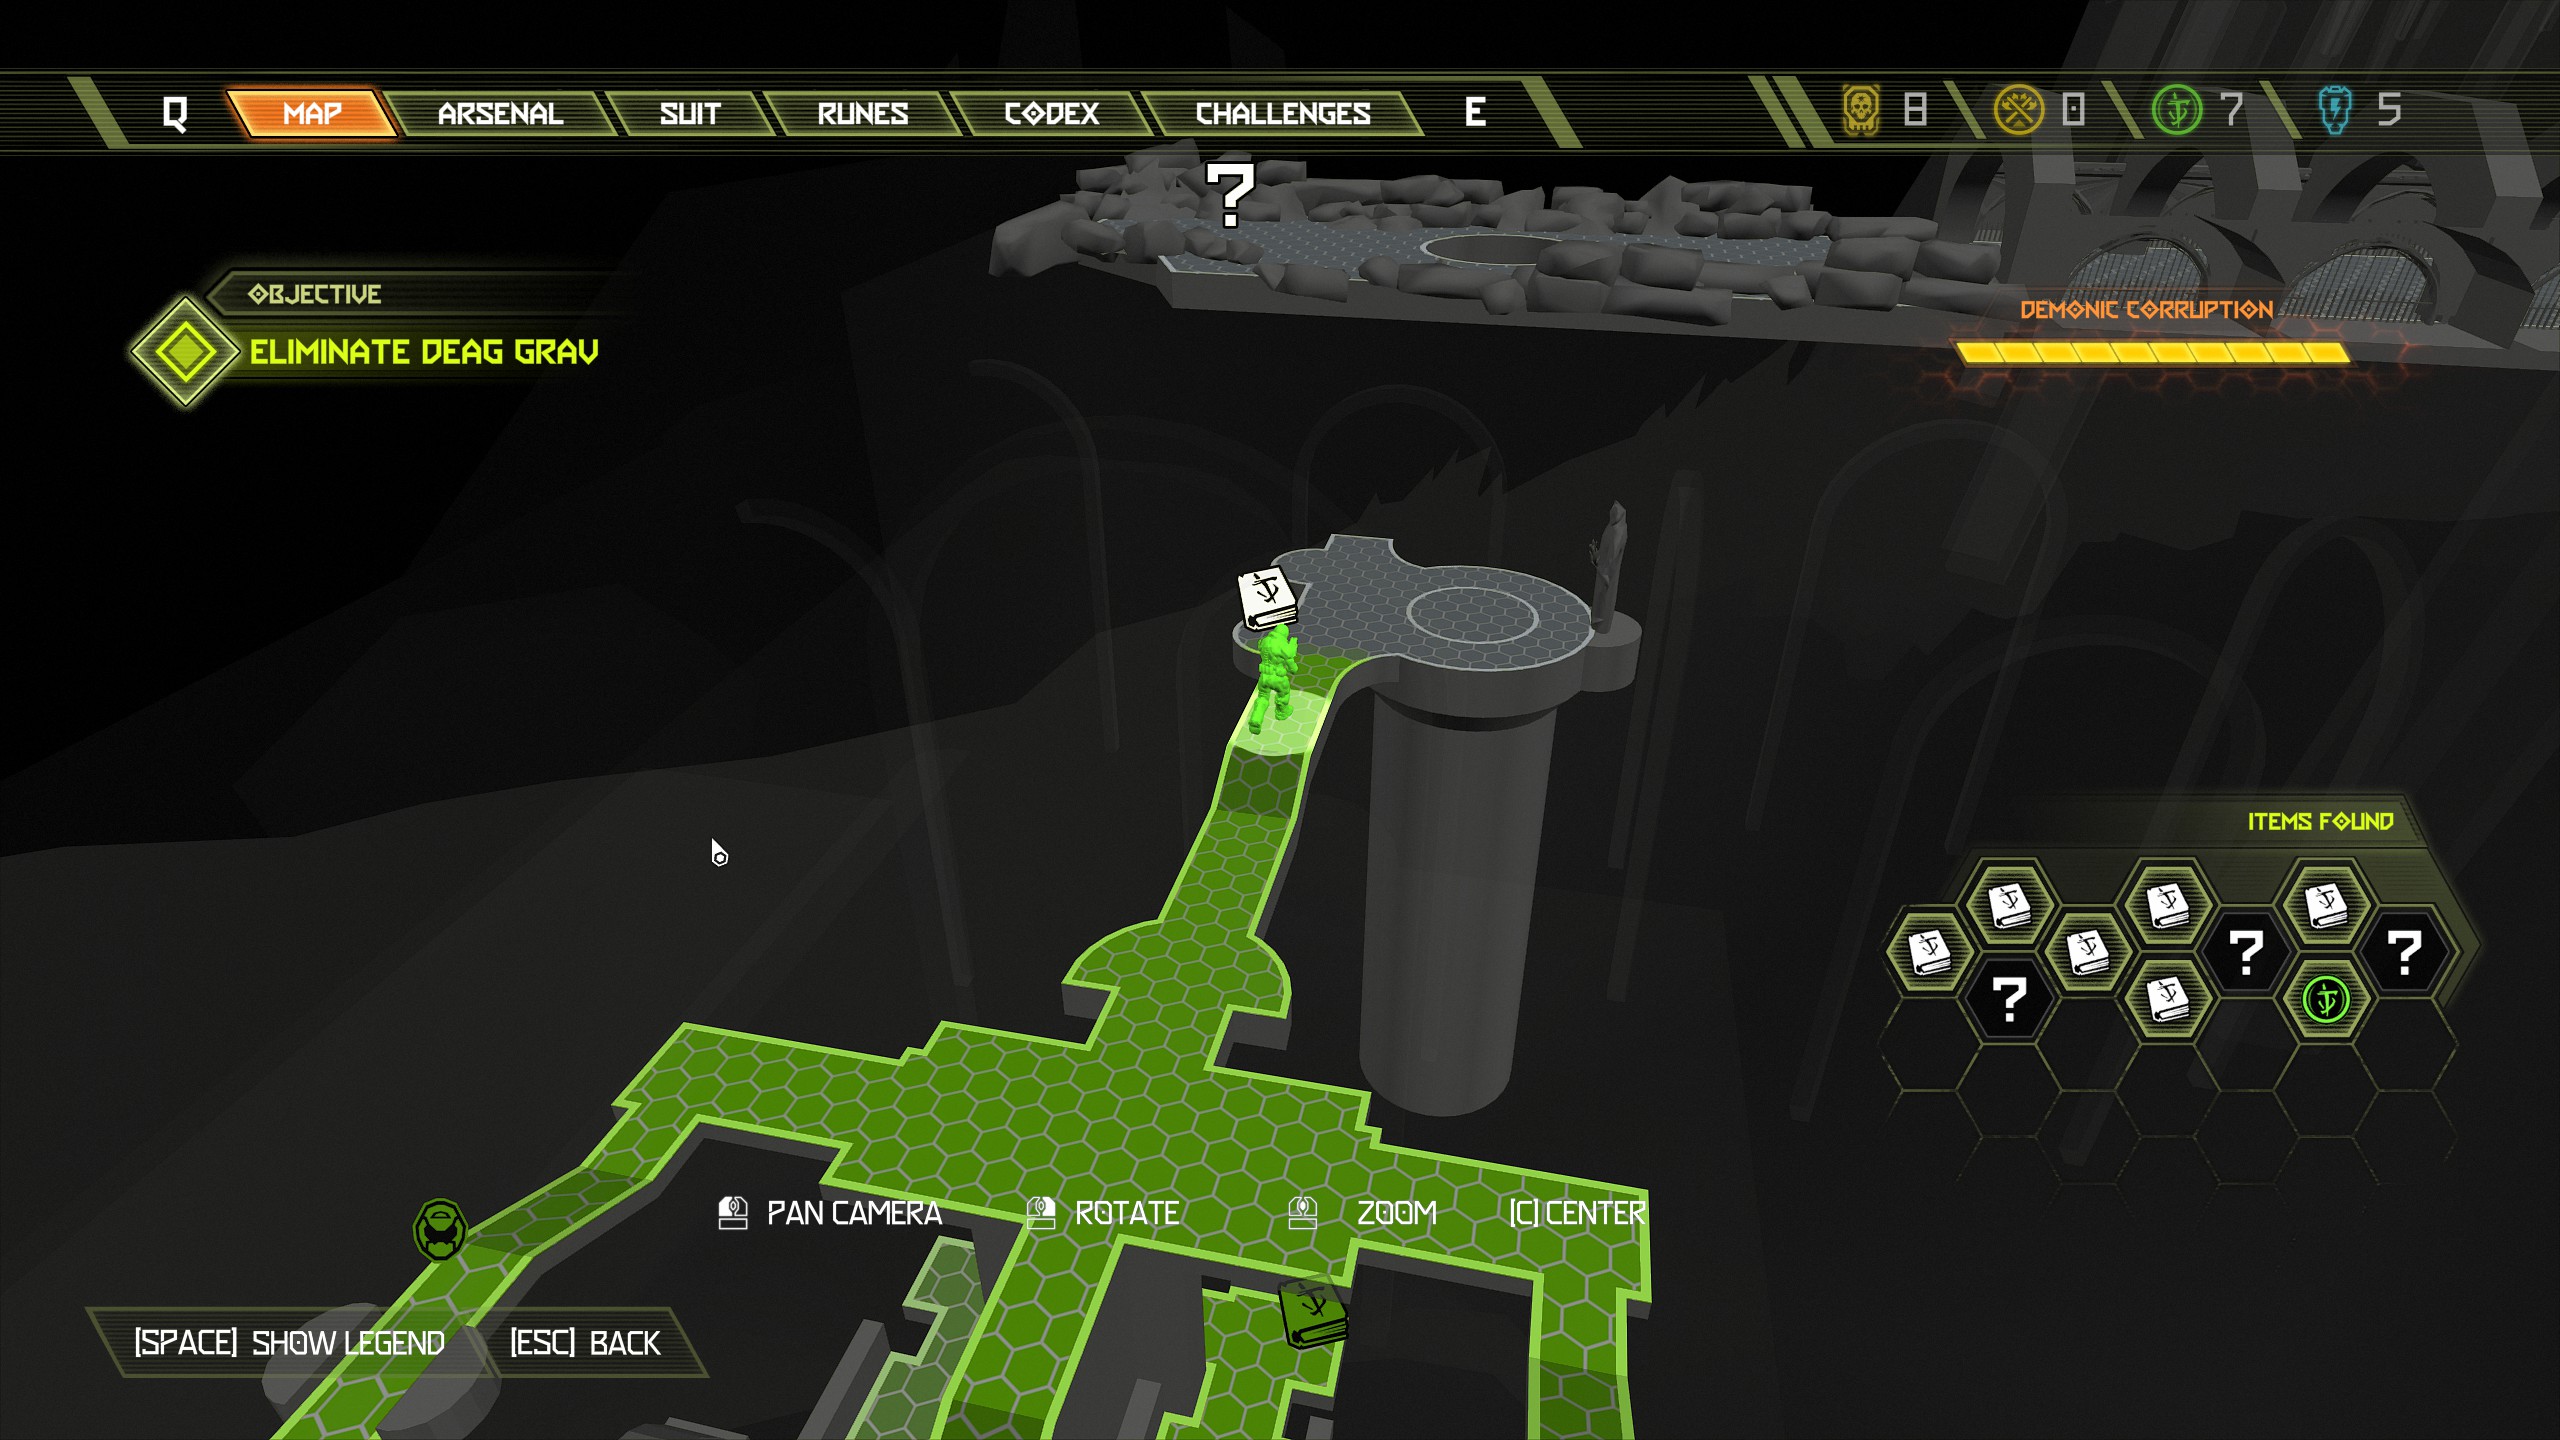
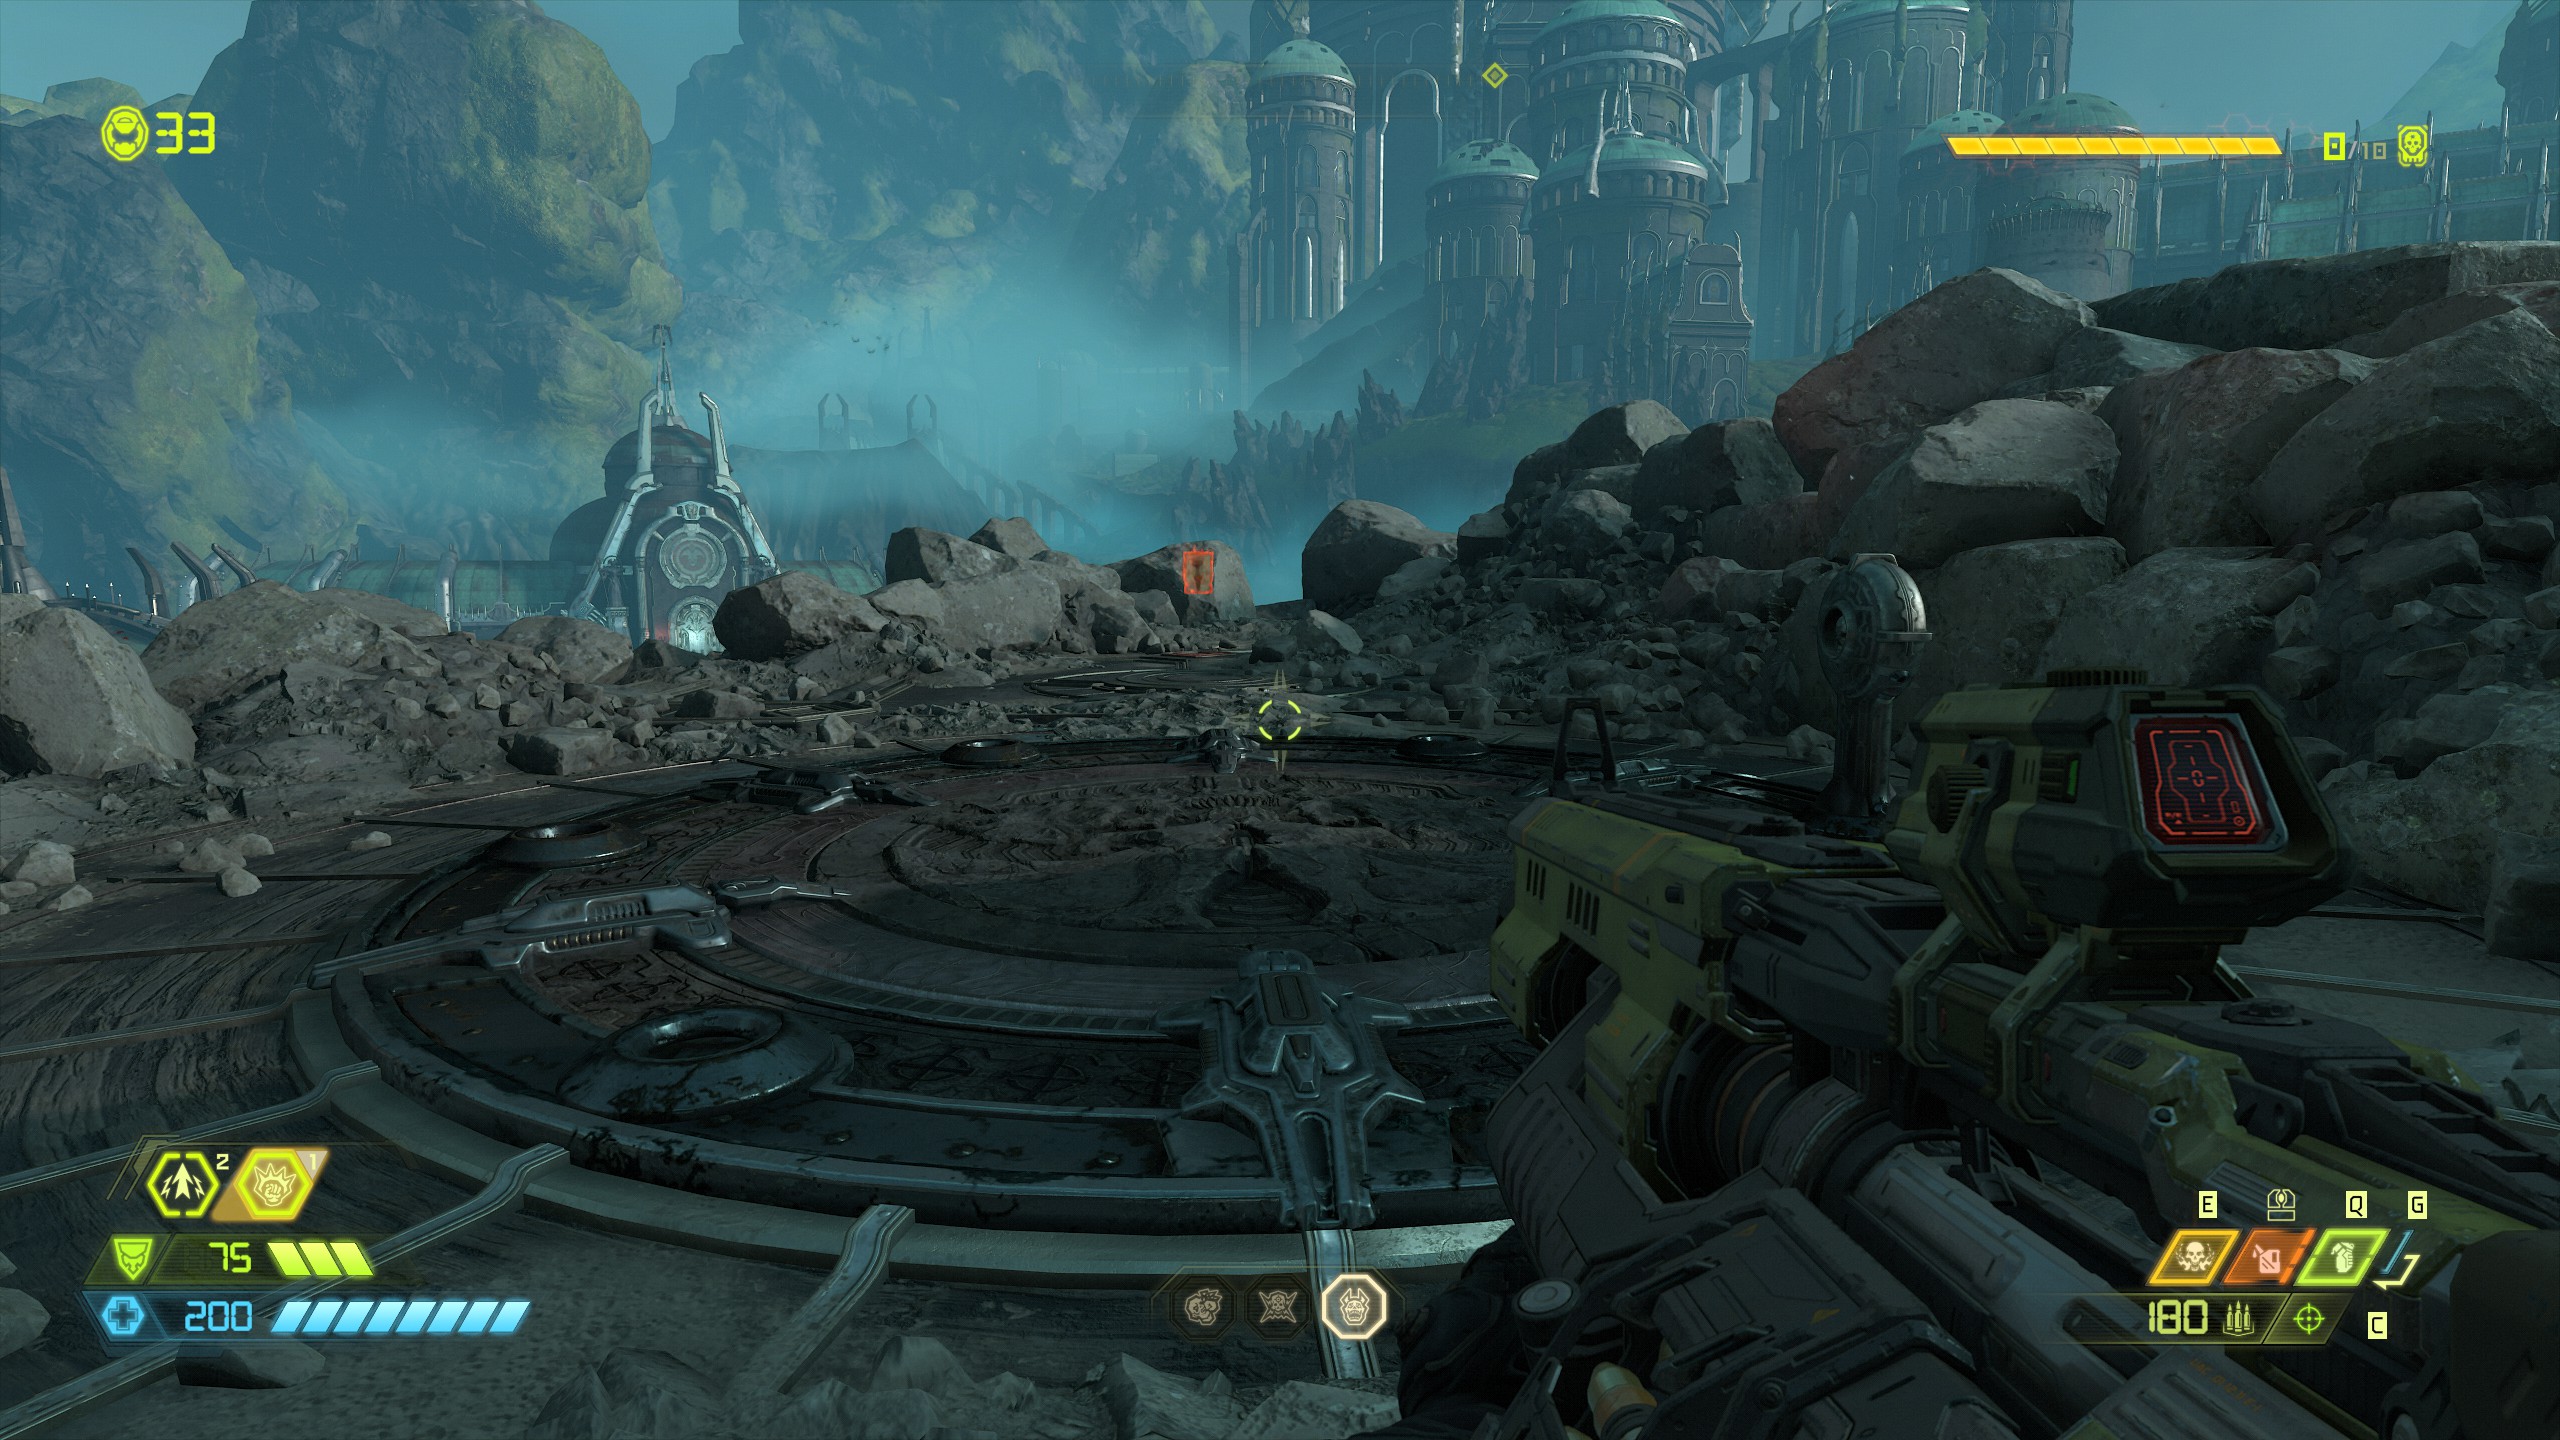
From there go and activate the skull pedestal and the lift will take you up, when you reach the top turn around and behind you will be a codex page.
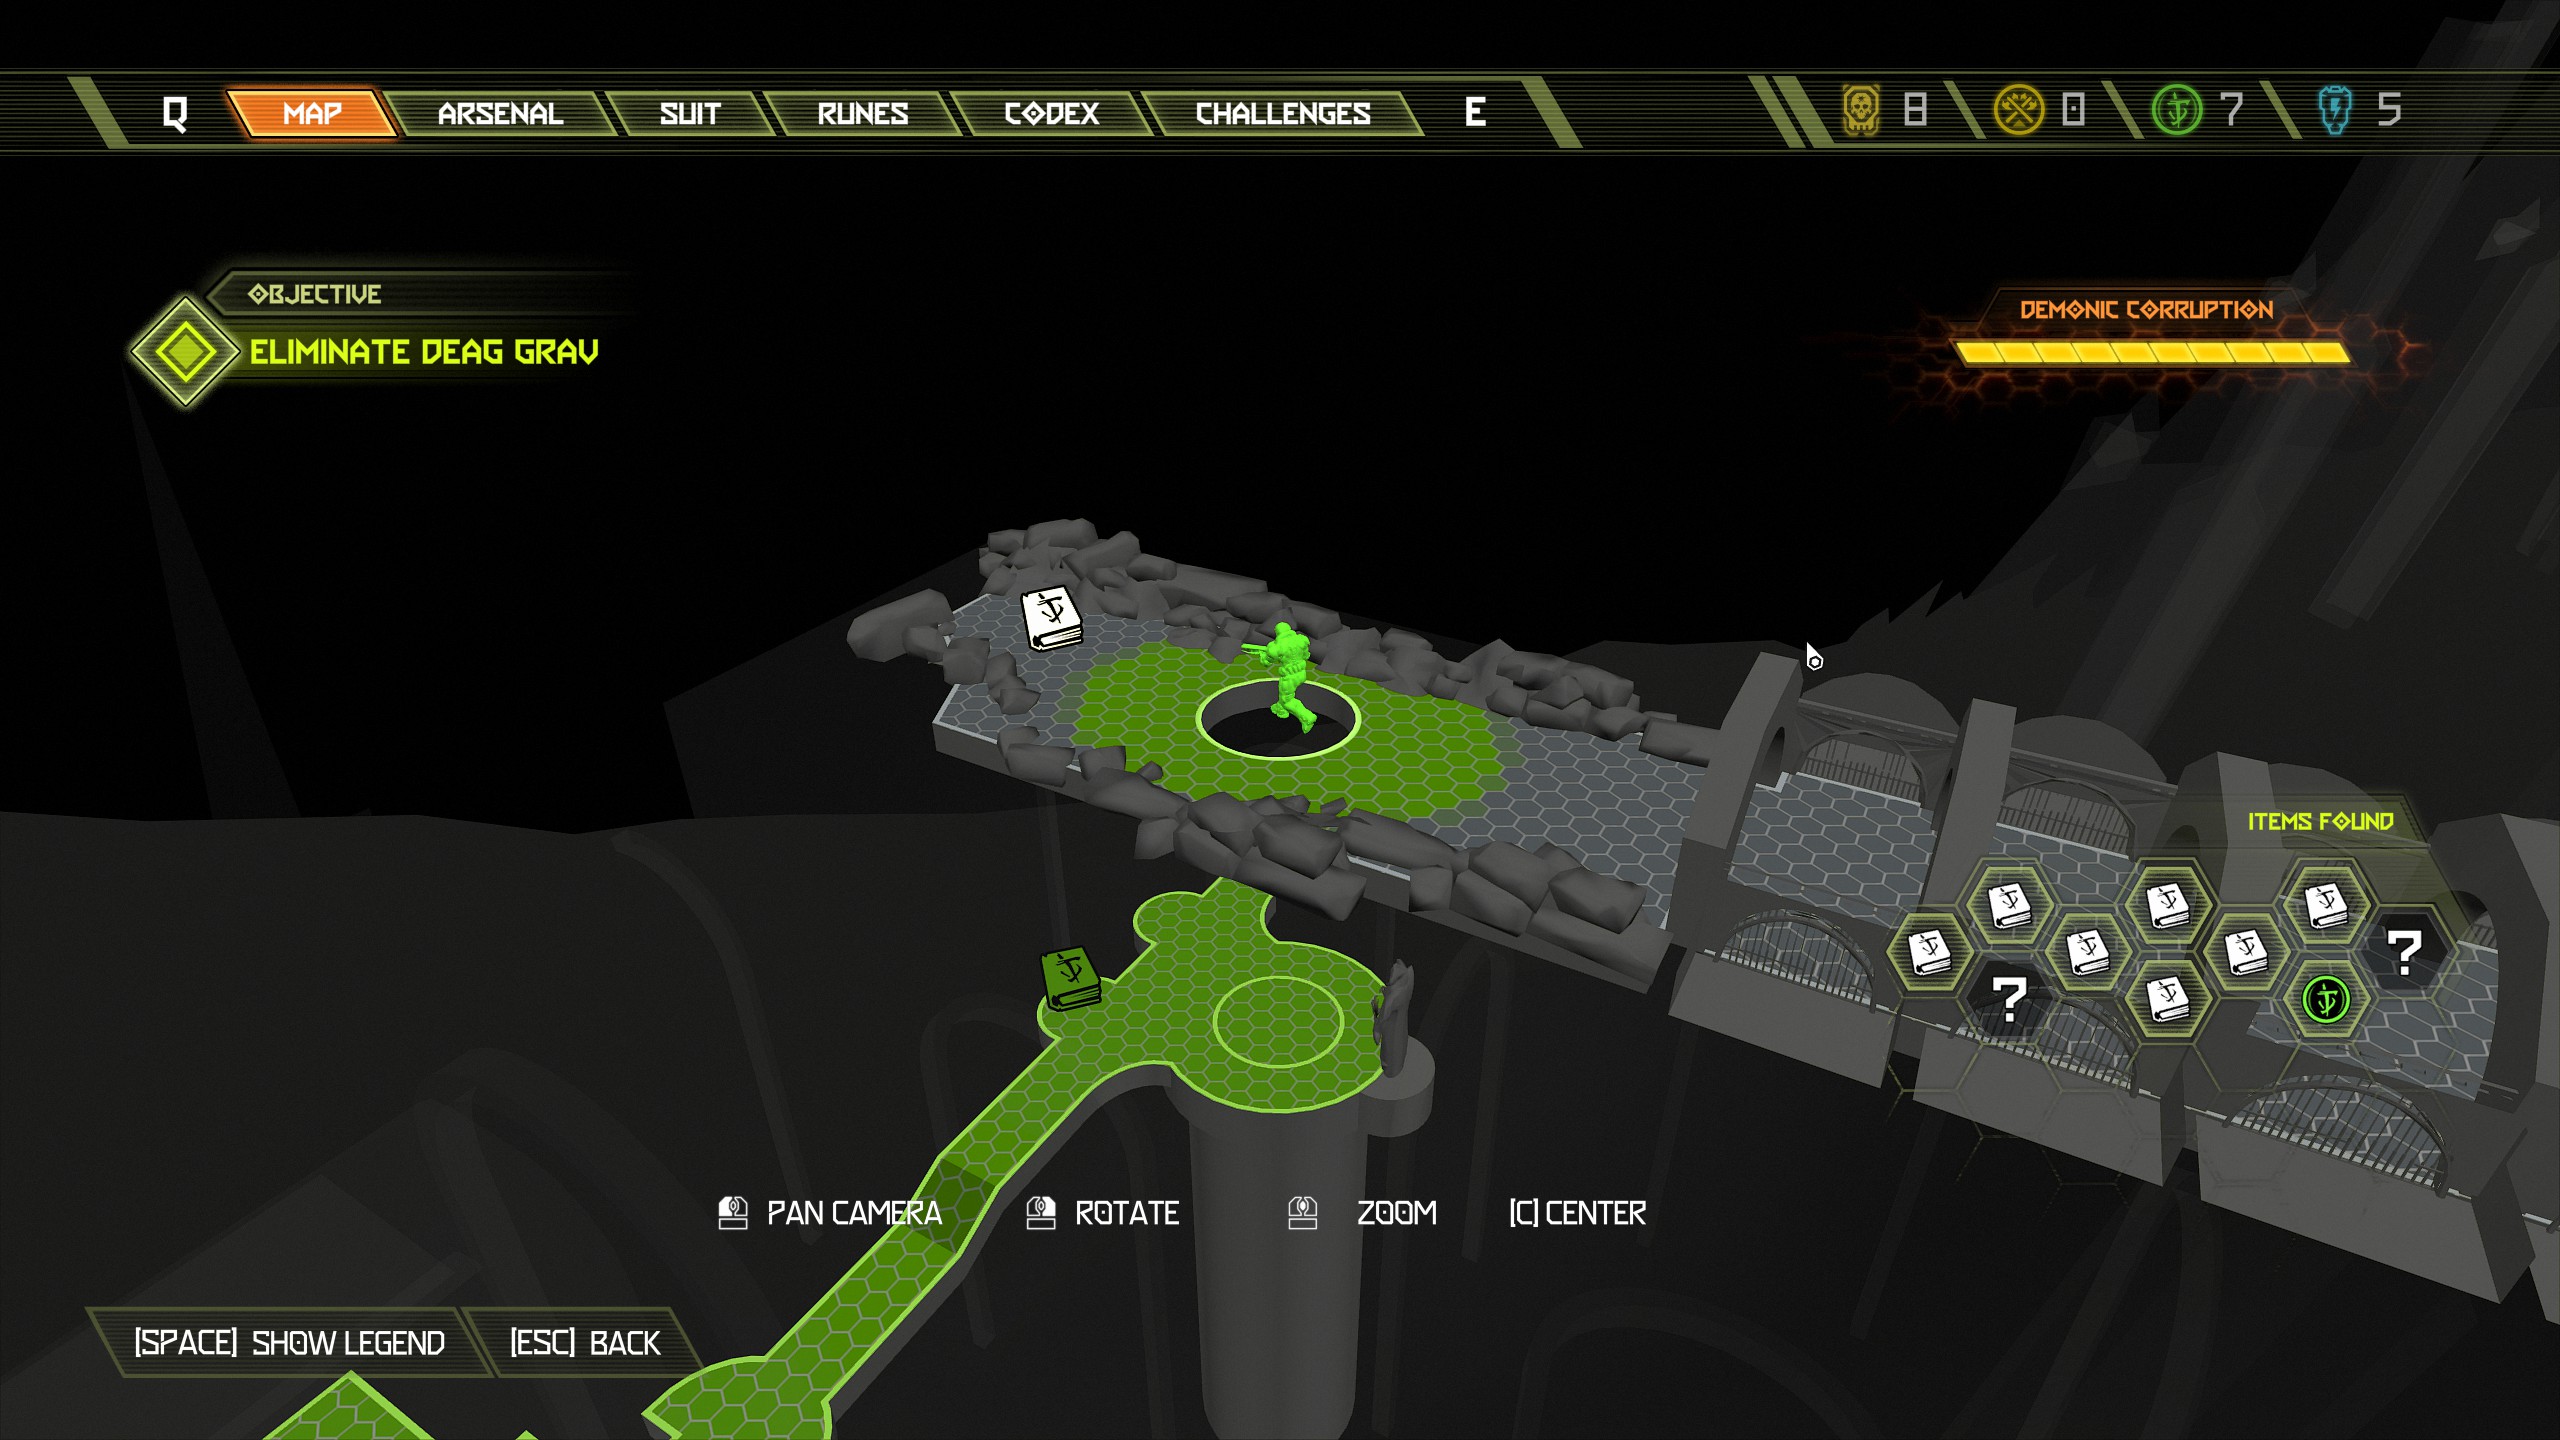
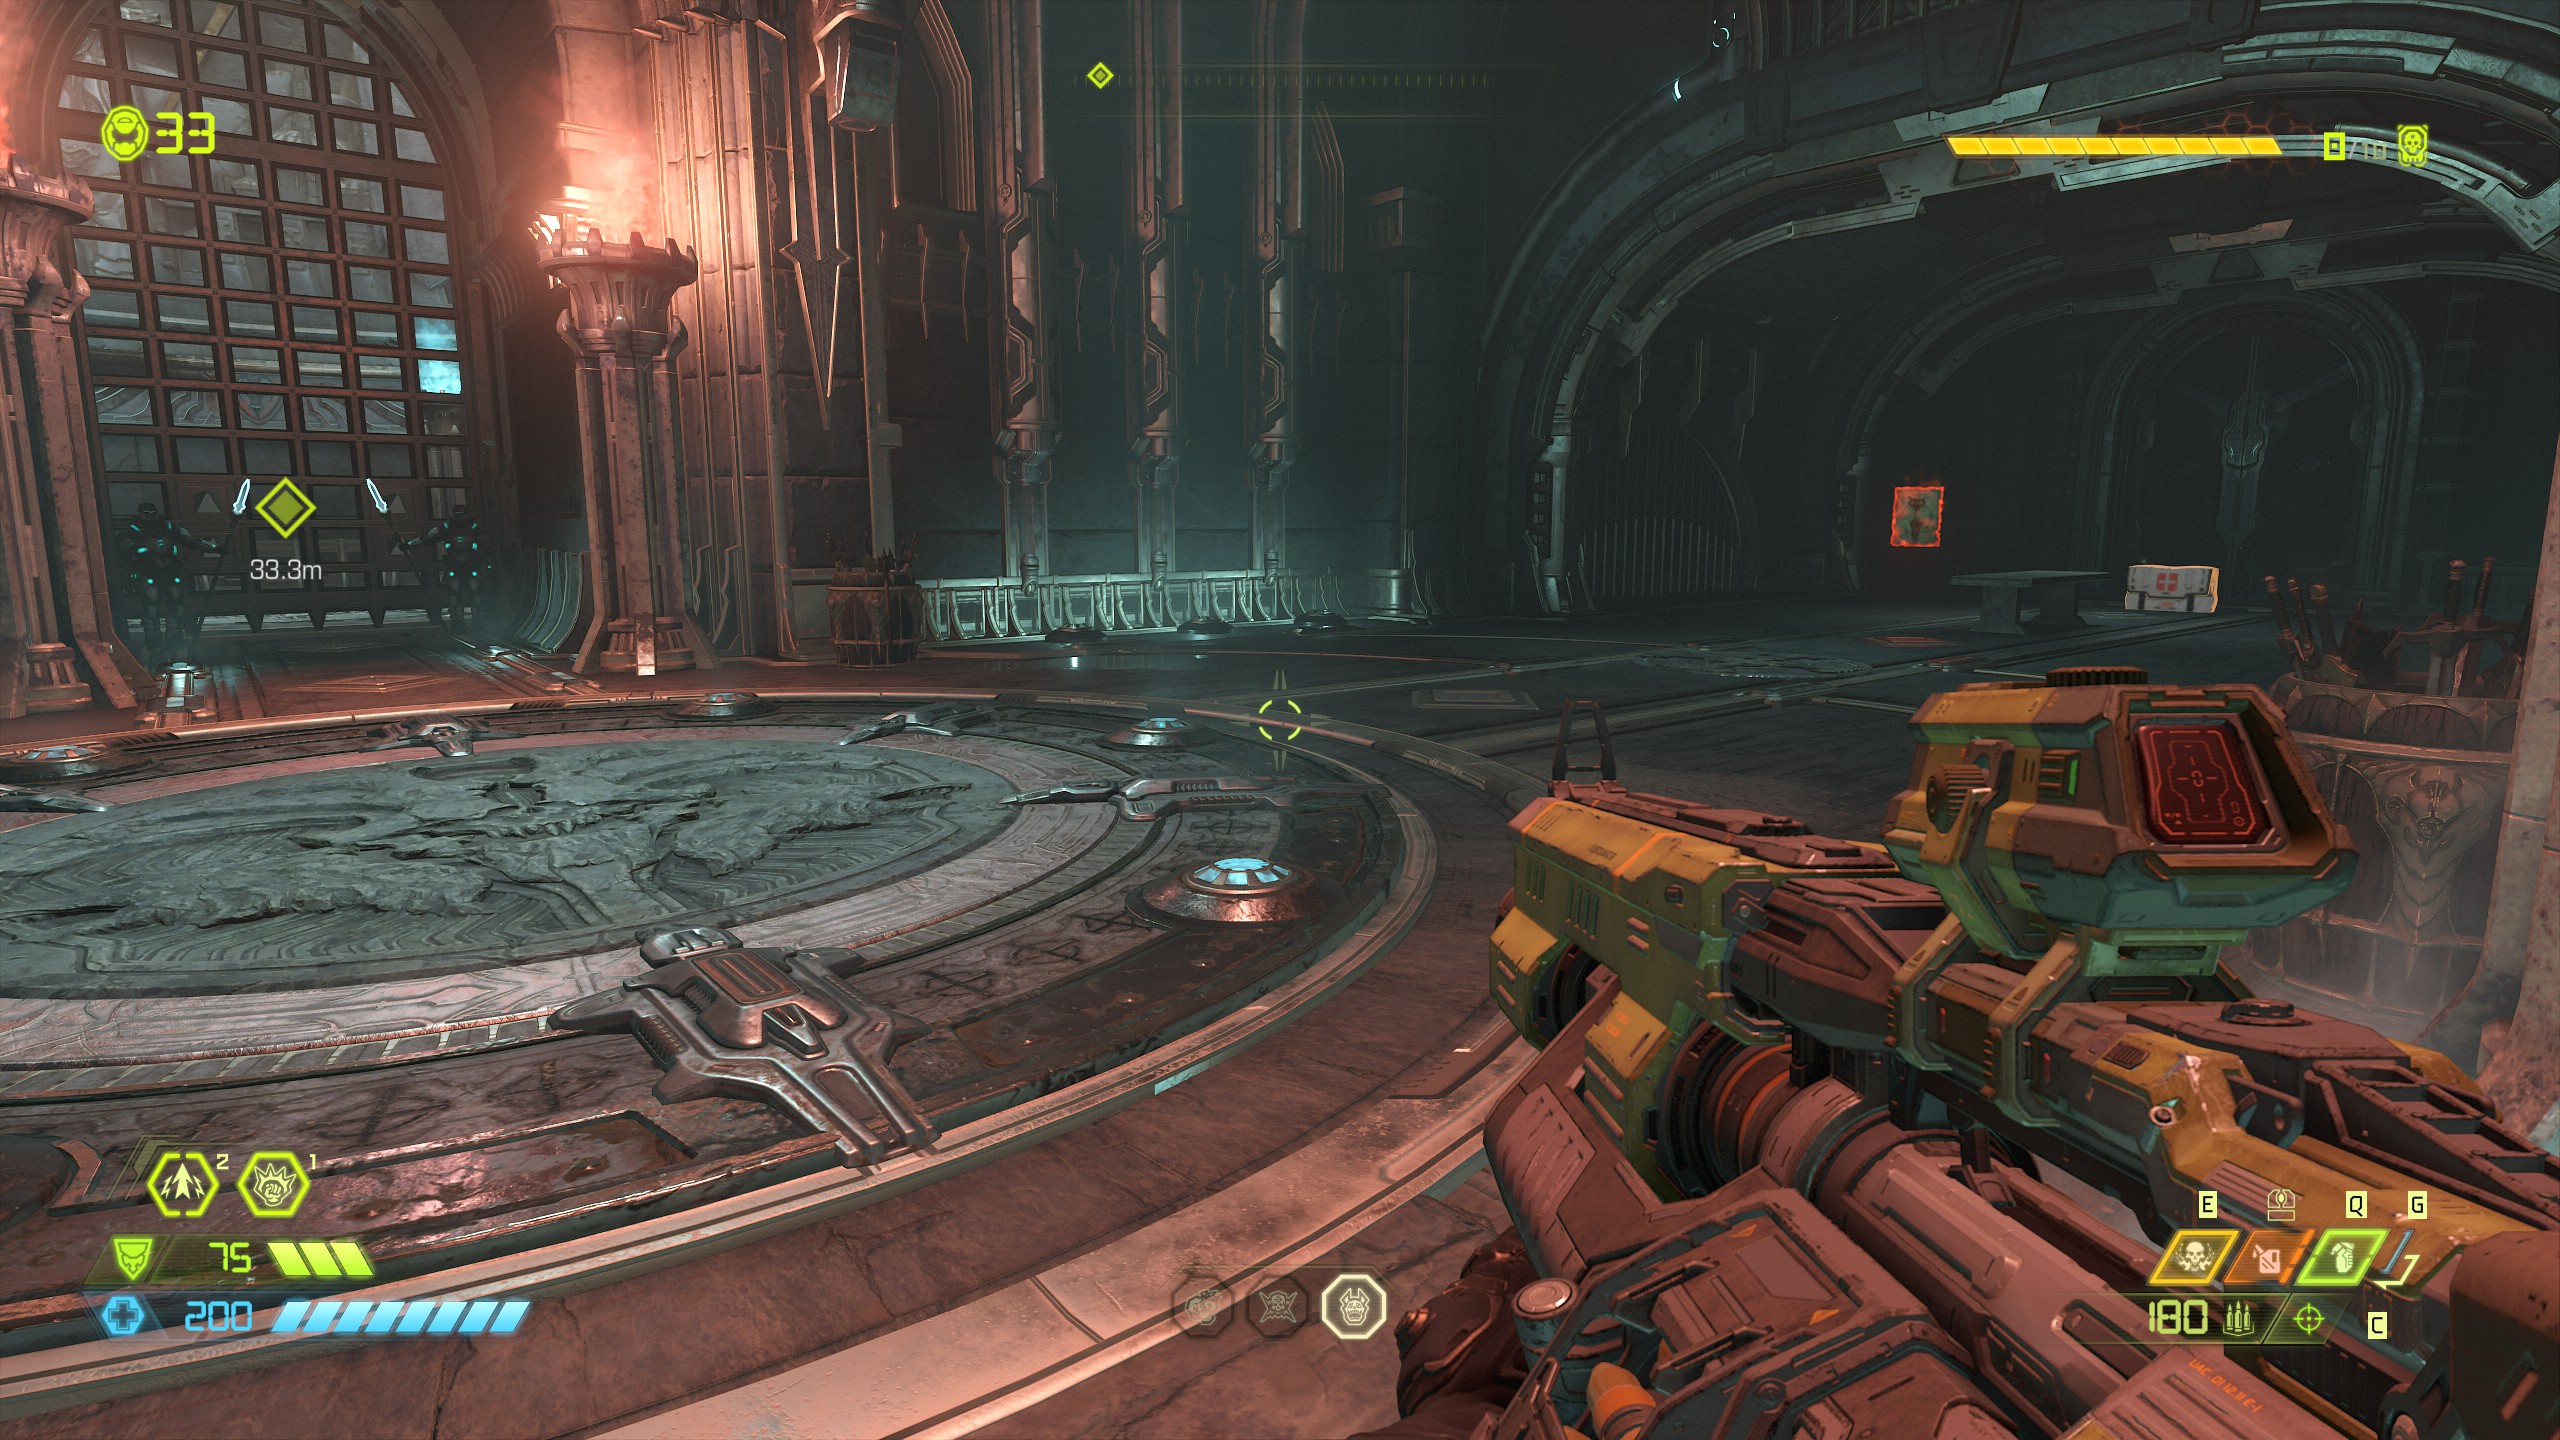
Now make your way to the end room near the boss area and on the right side of the room will be the last codex page and the final item for this mission.
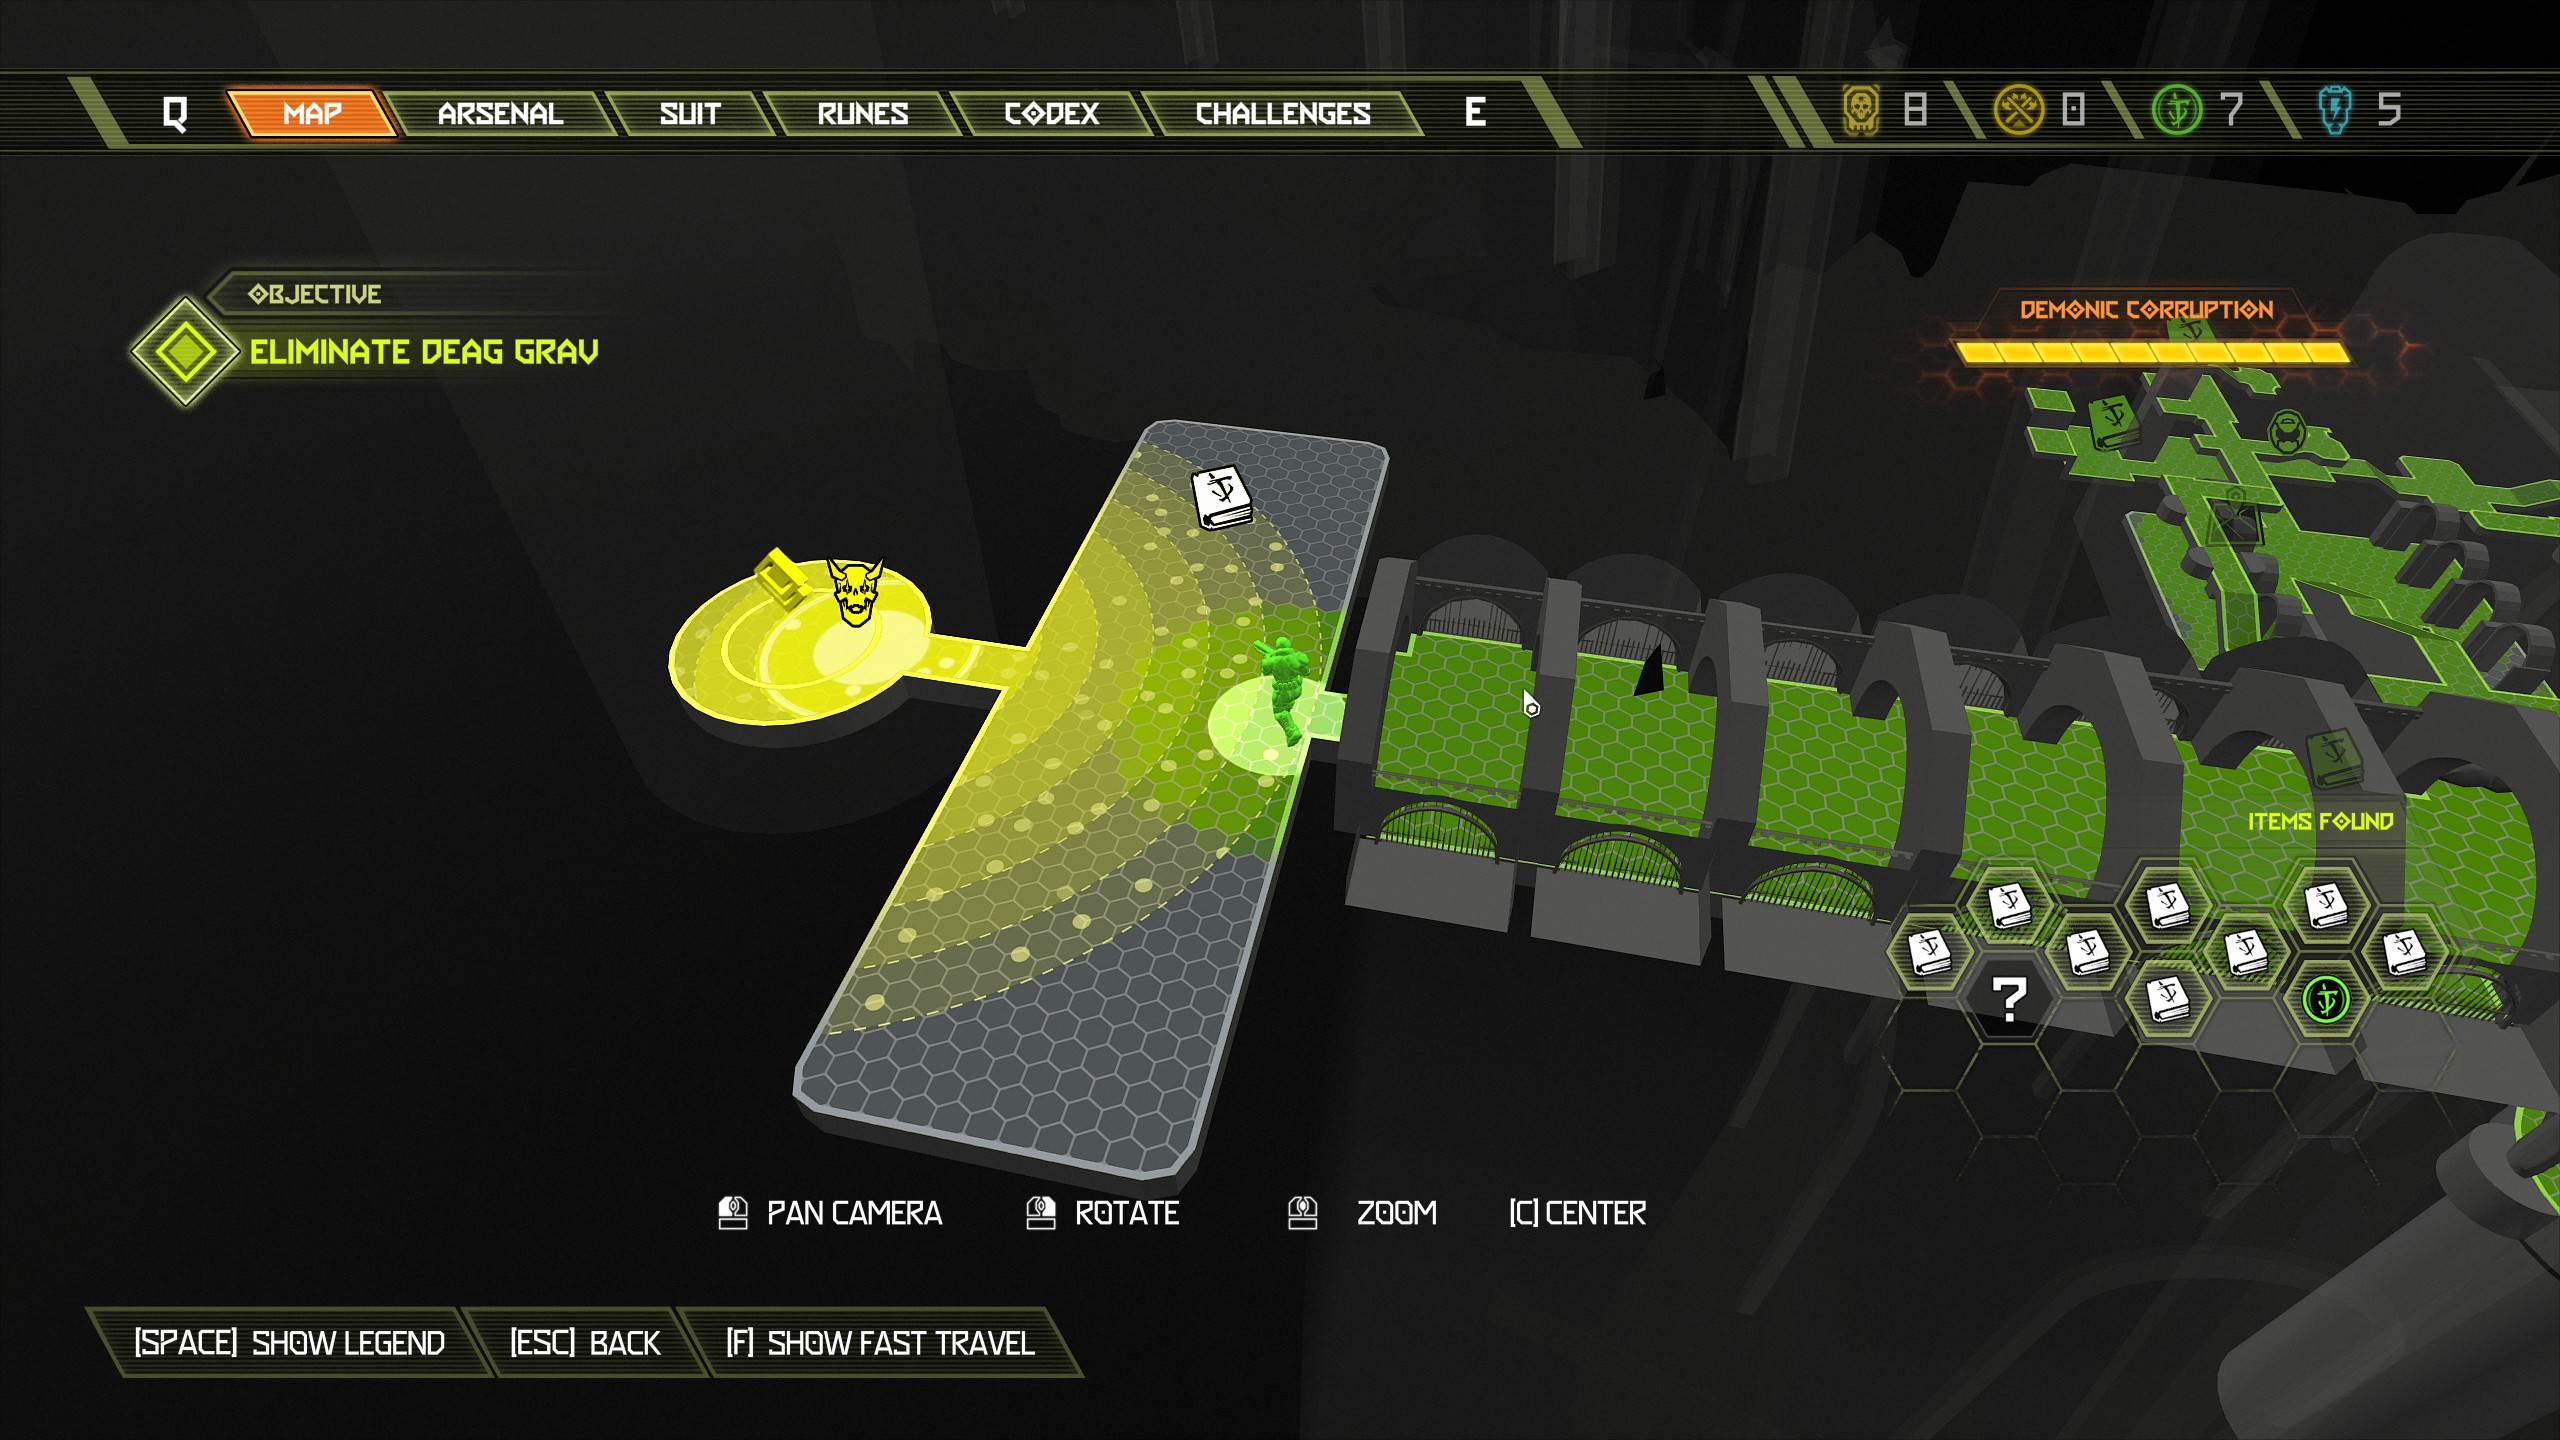
Now destroy the boss, complete the mission and then we can get back to the fortress of doom
Fortress of Doom [Part 6]
NOTE: A new item is available for you to collect and it will be the last of the hidden items. I have also added two praetor suit tokens for you to collect but again you might be best to collect the last two slayer outfits if you haven't already. Beyond this point you will only gain 4 more sentinel batteries. Current items to collect:
- 2 Praetor Suit Tokens
or- 2 Slayer Outfits
- 1 Cheat Code
- 1 Arc Broadcast Log
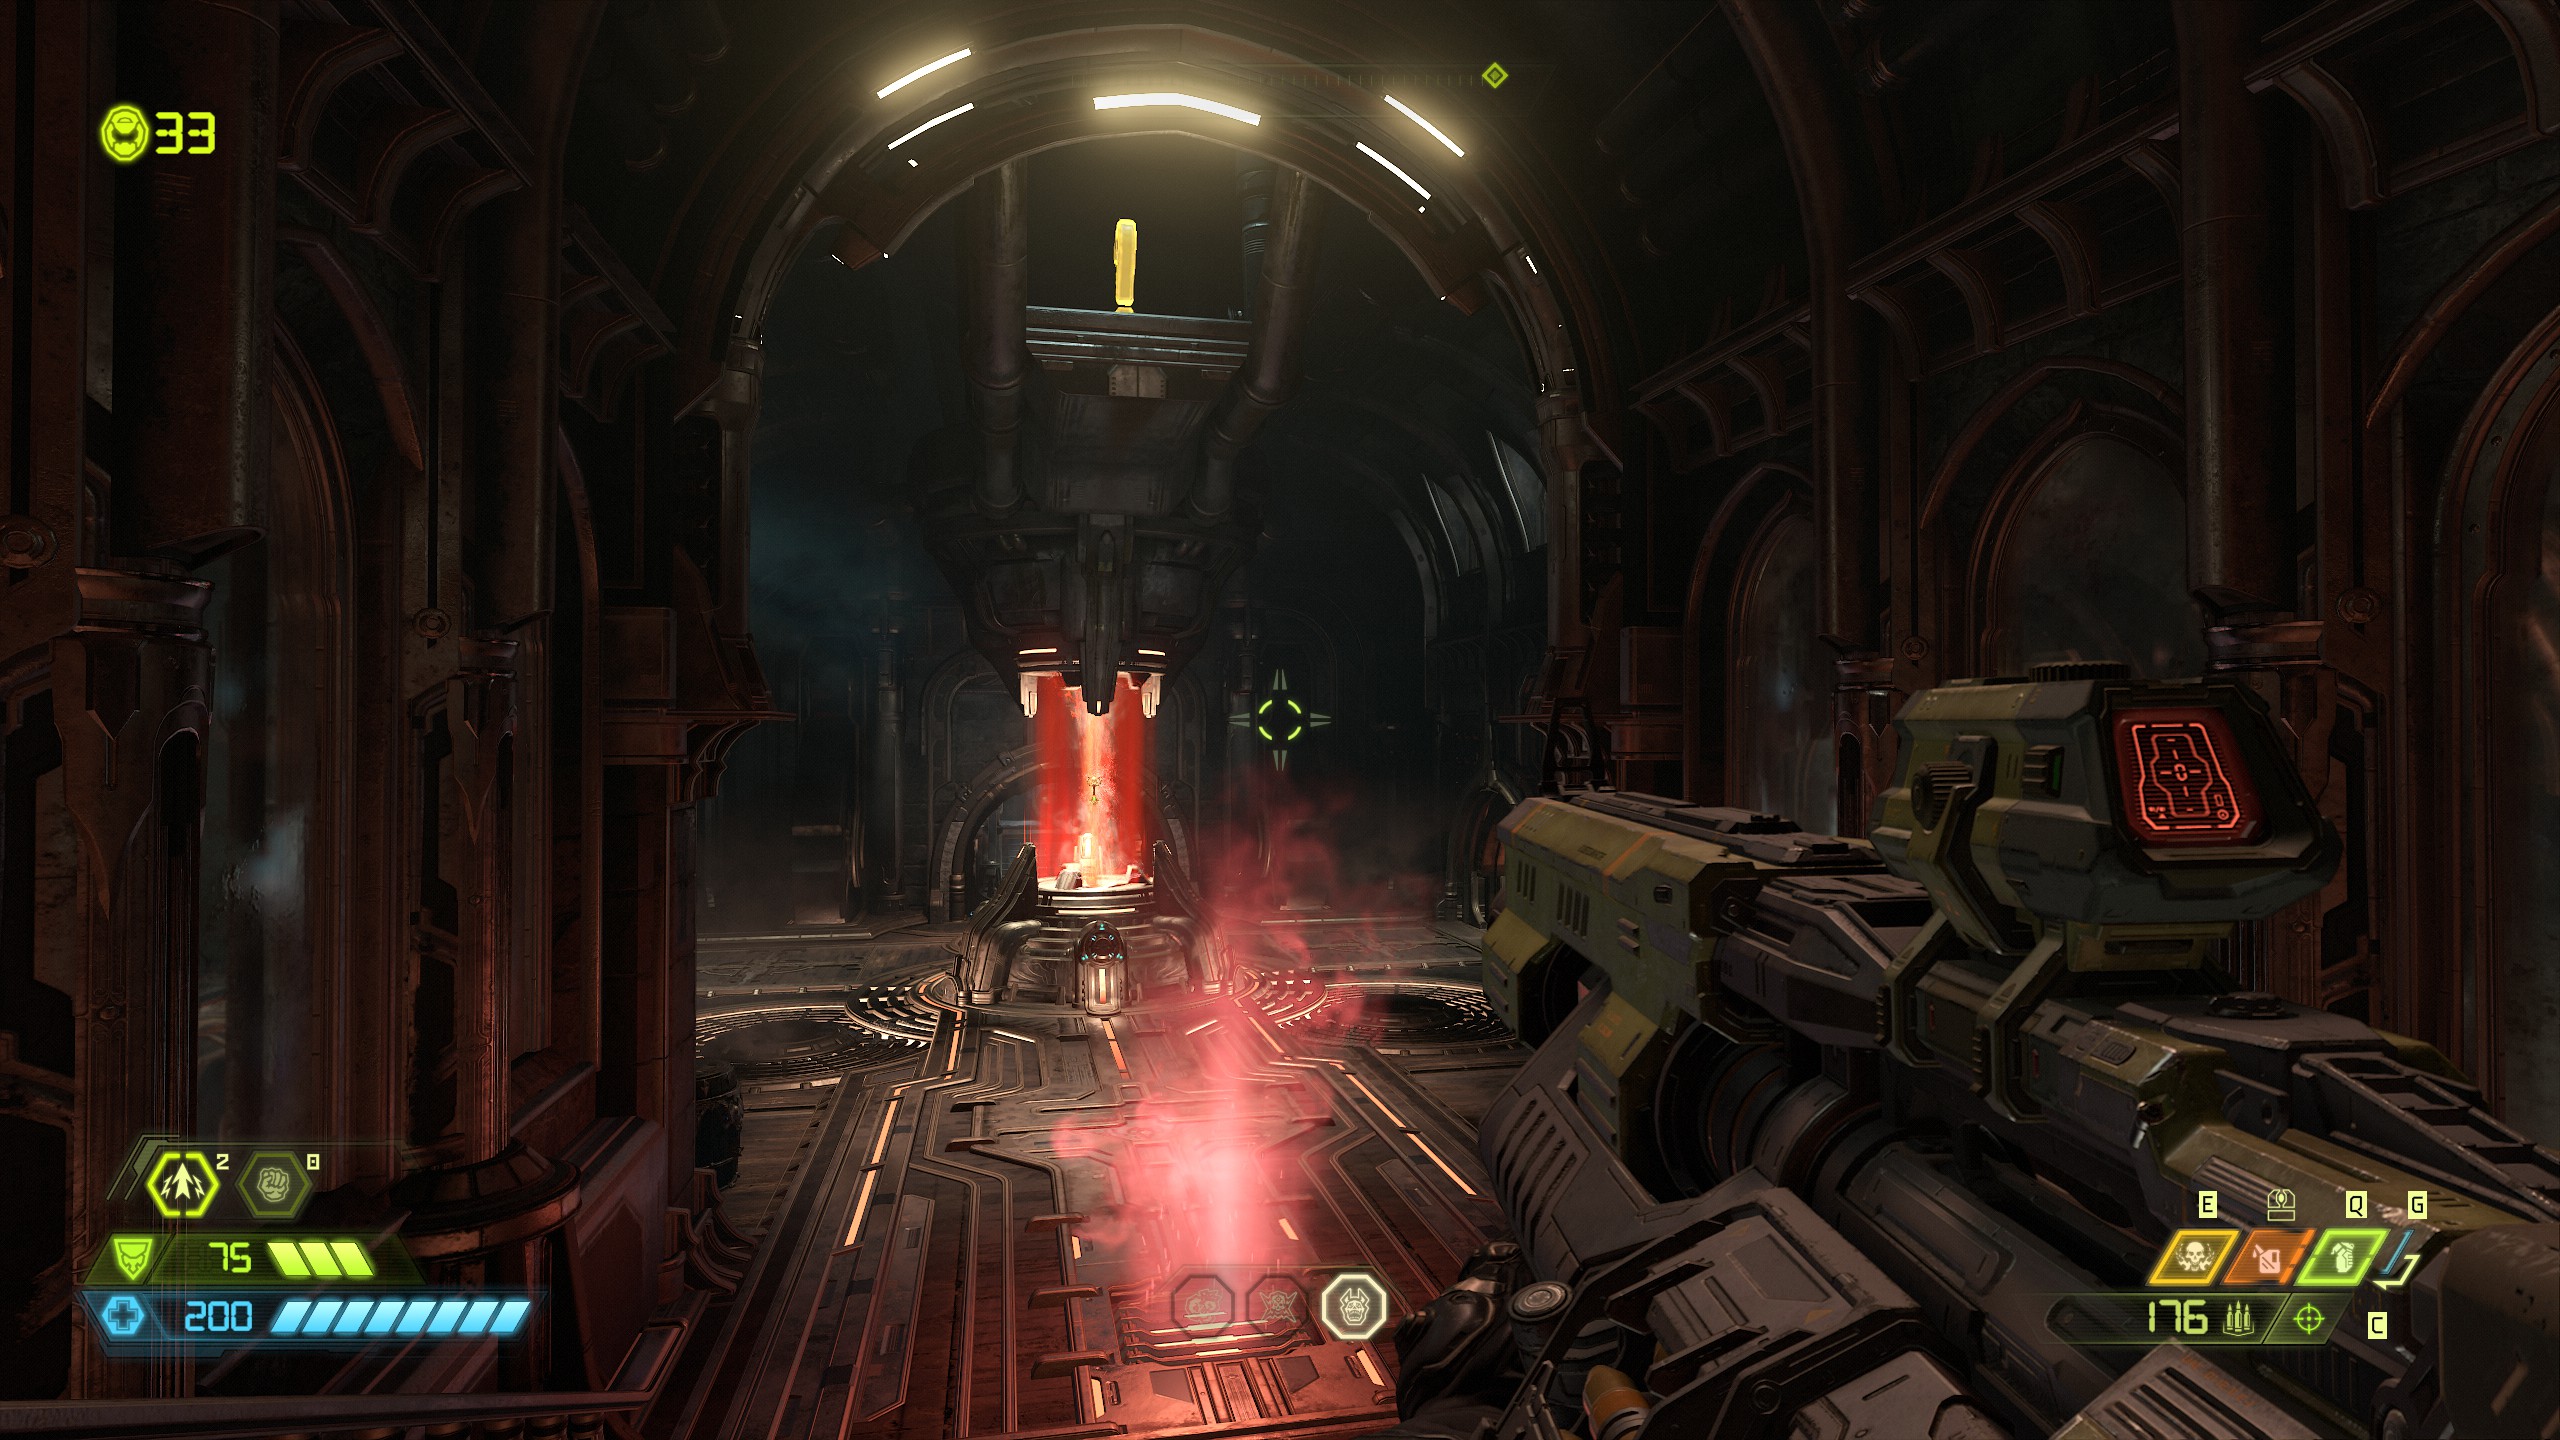
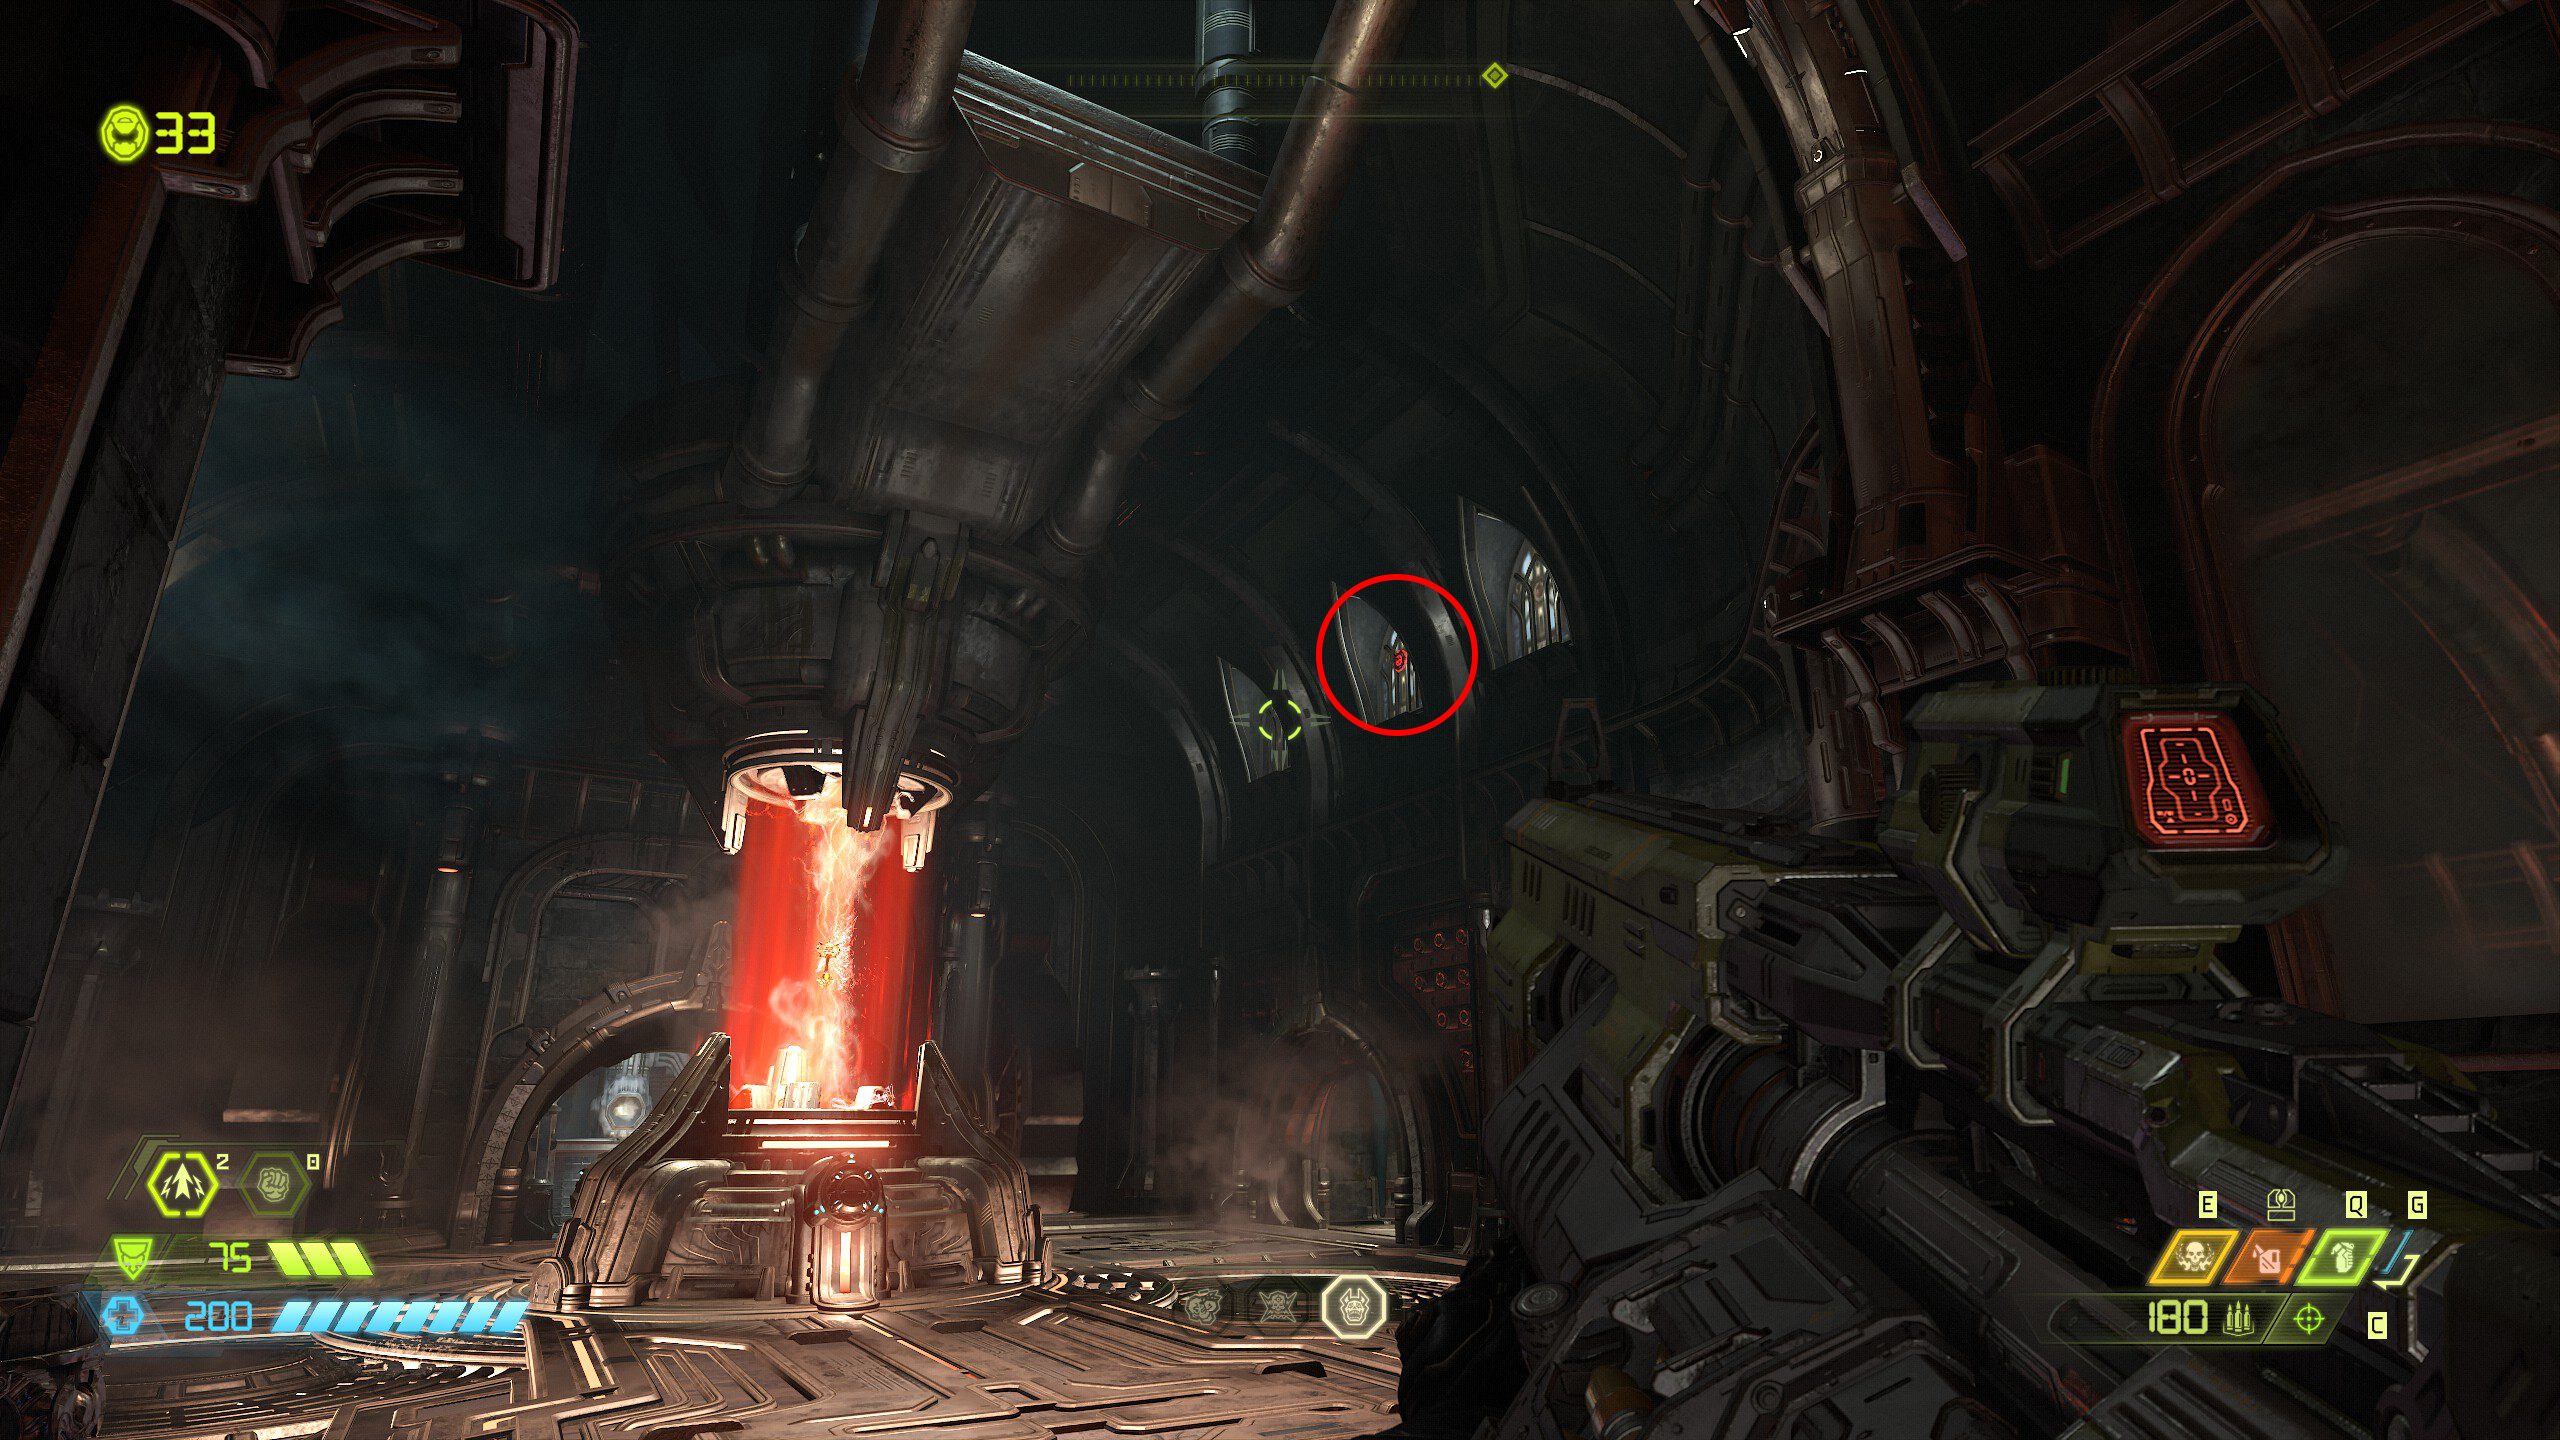
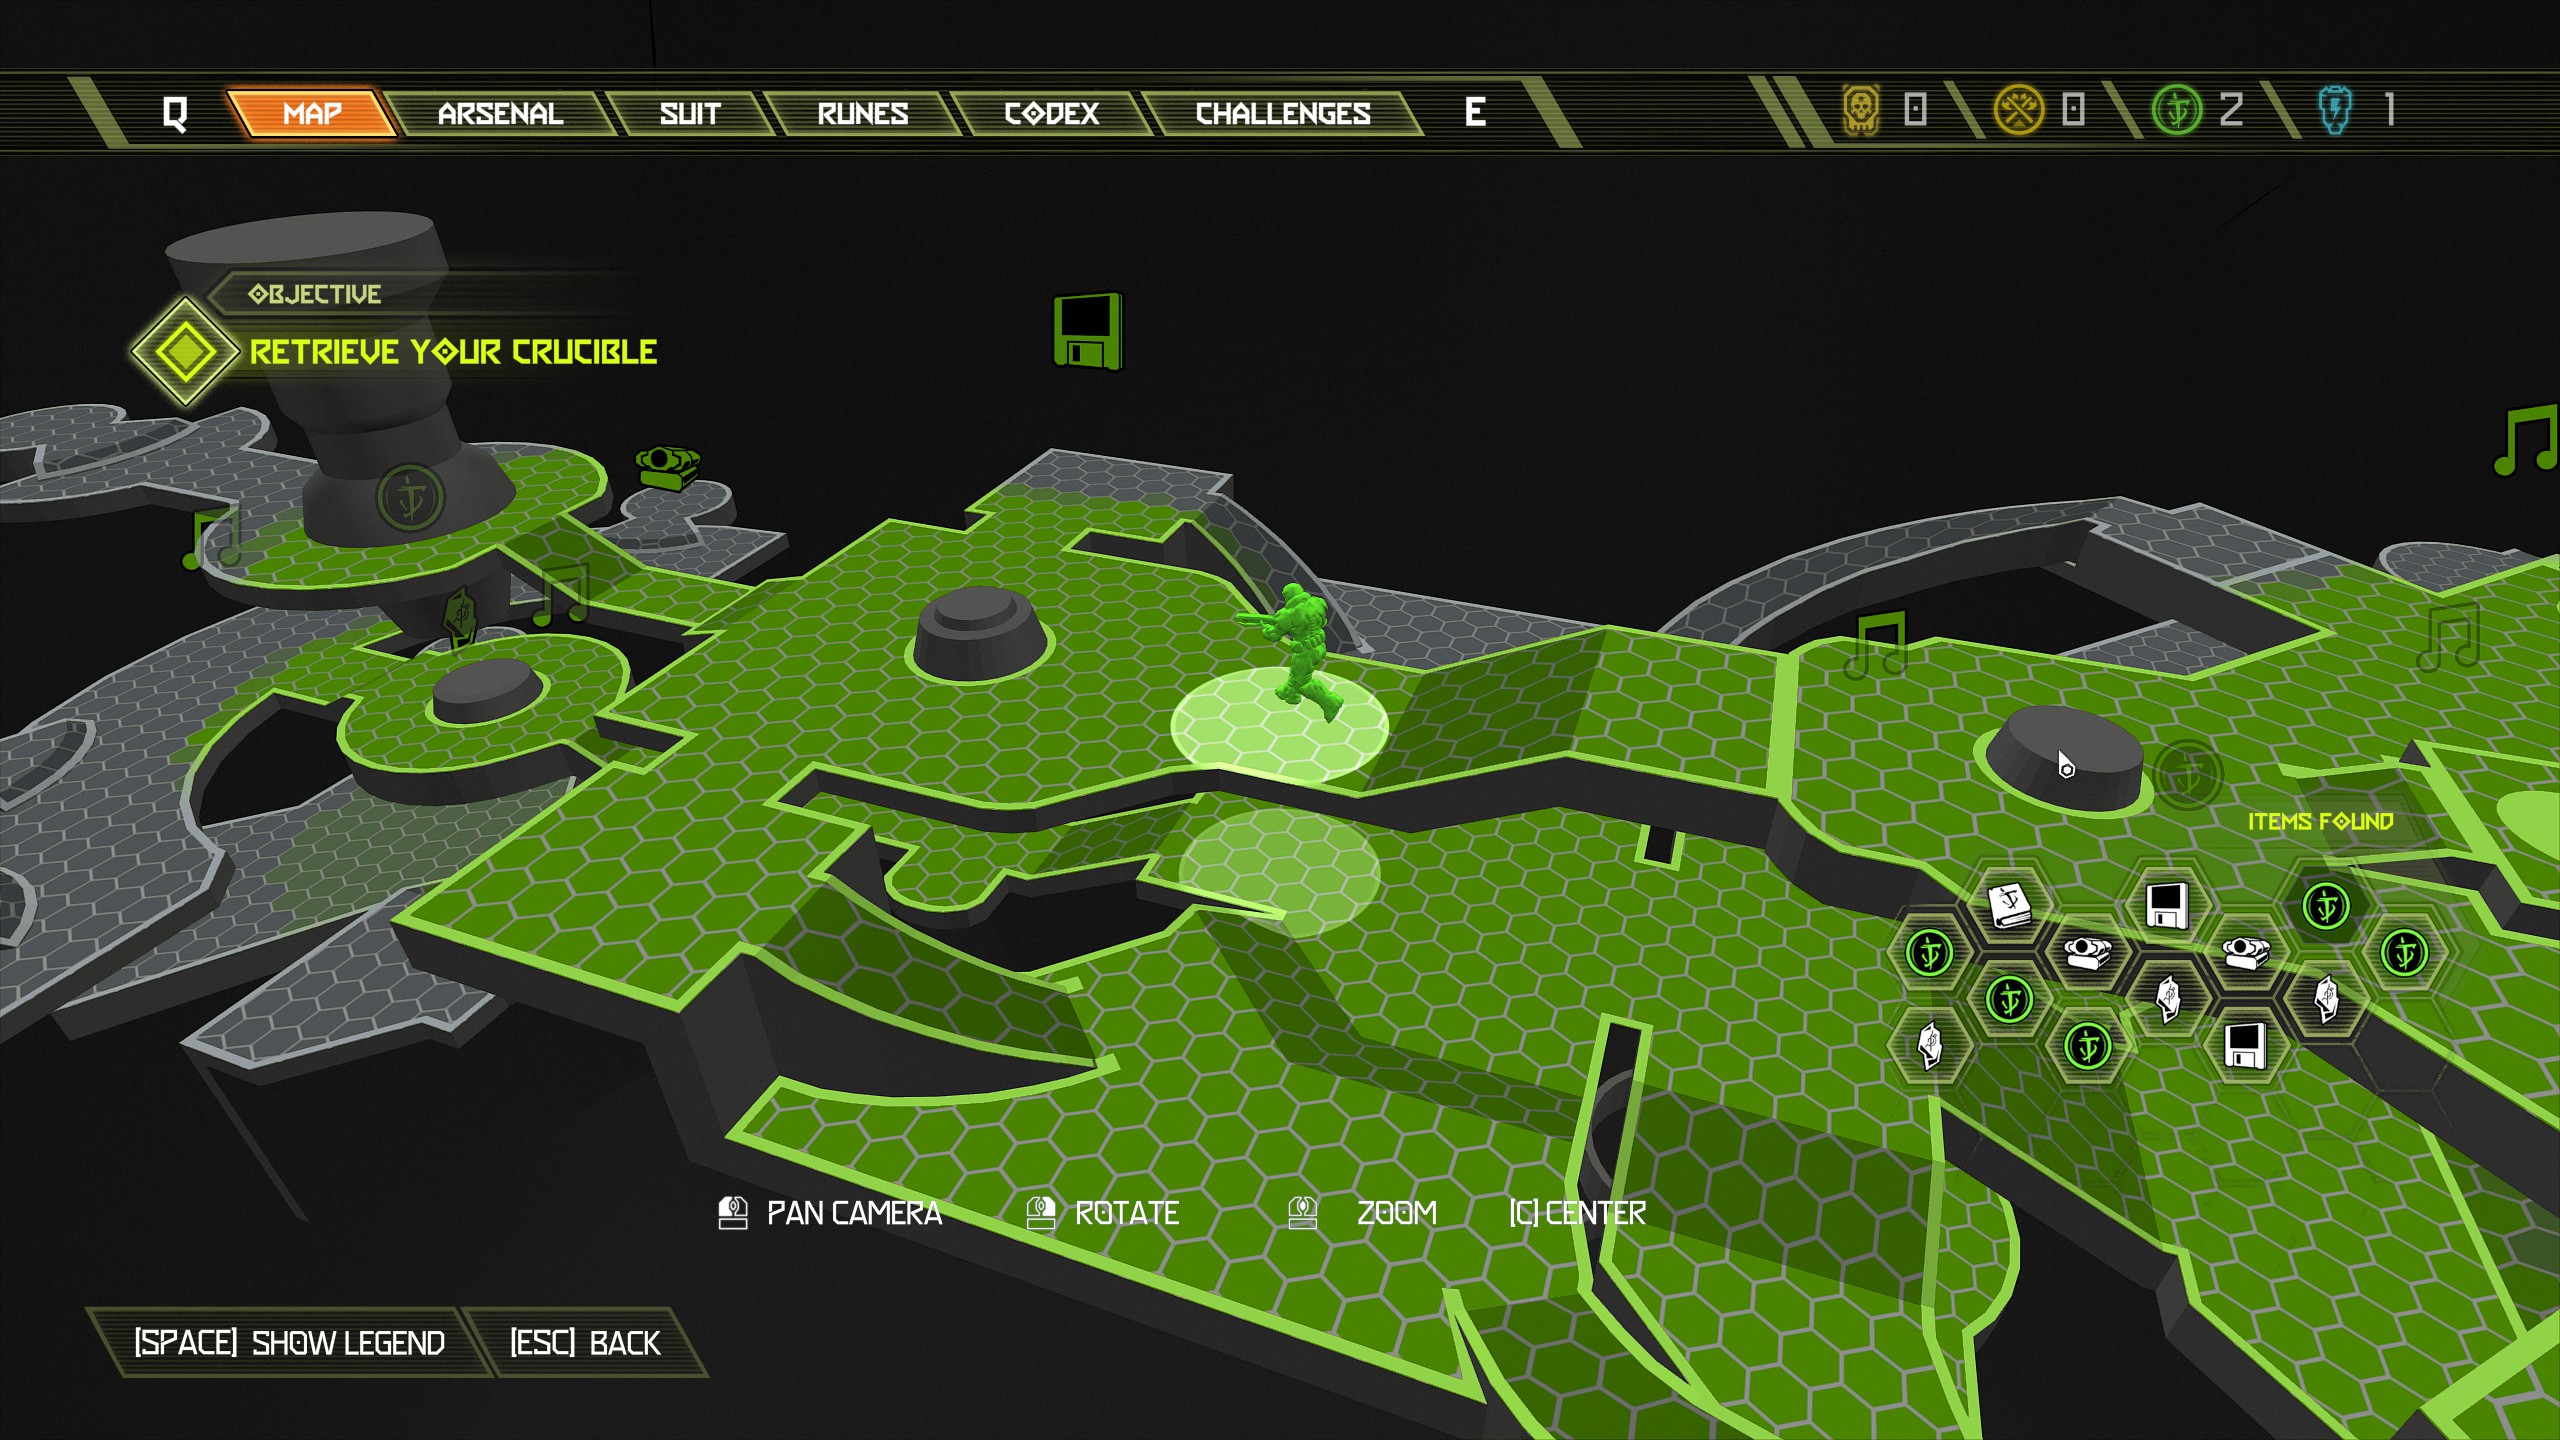
Once you get things up and running, from the main room go straight through to the room that contains the crucible and you will see a cheat code hidden on the platform above as you enter.
To reach it shoot the red marker on the top right central window and a red booster will appear that will allow you to jump up and collect the cheat code.
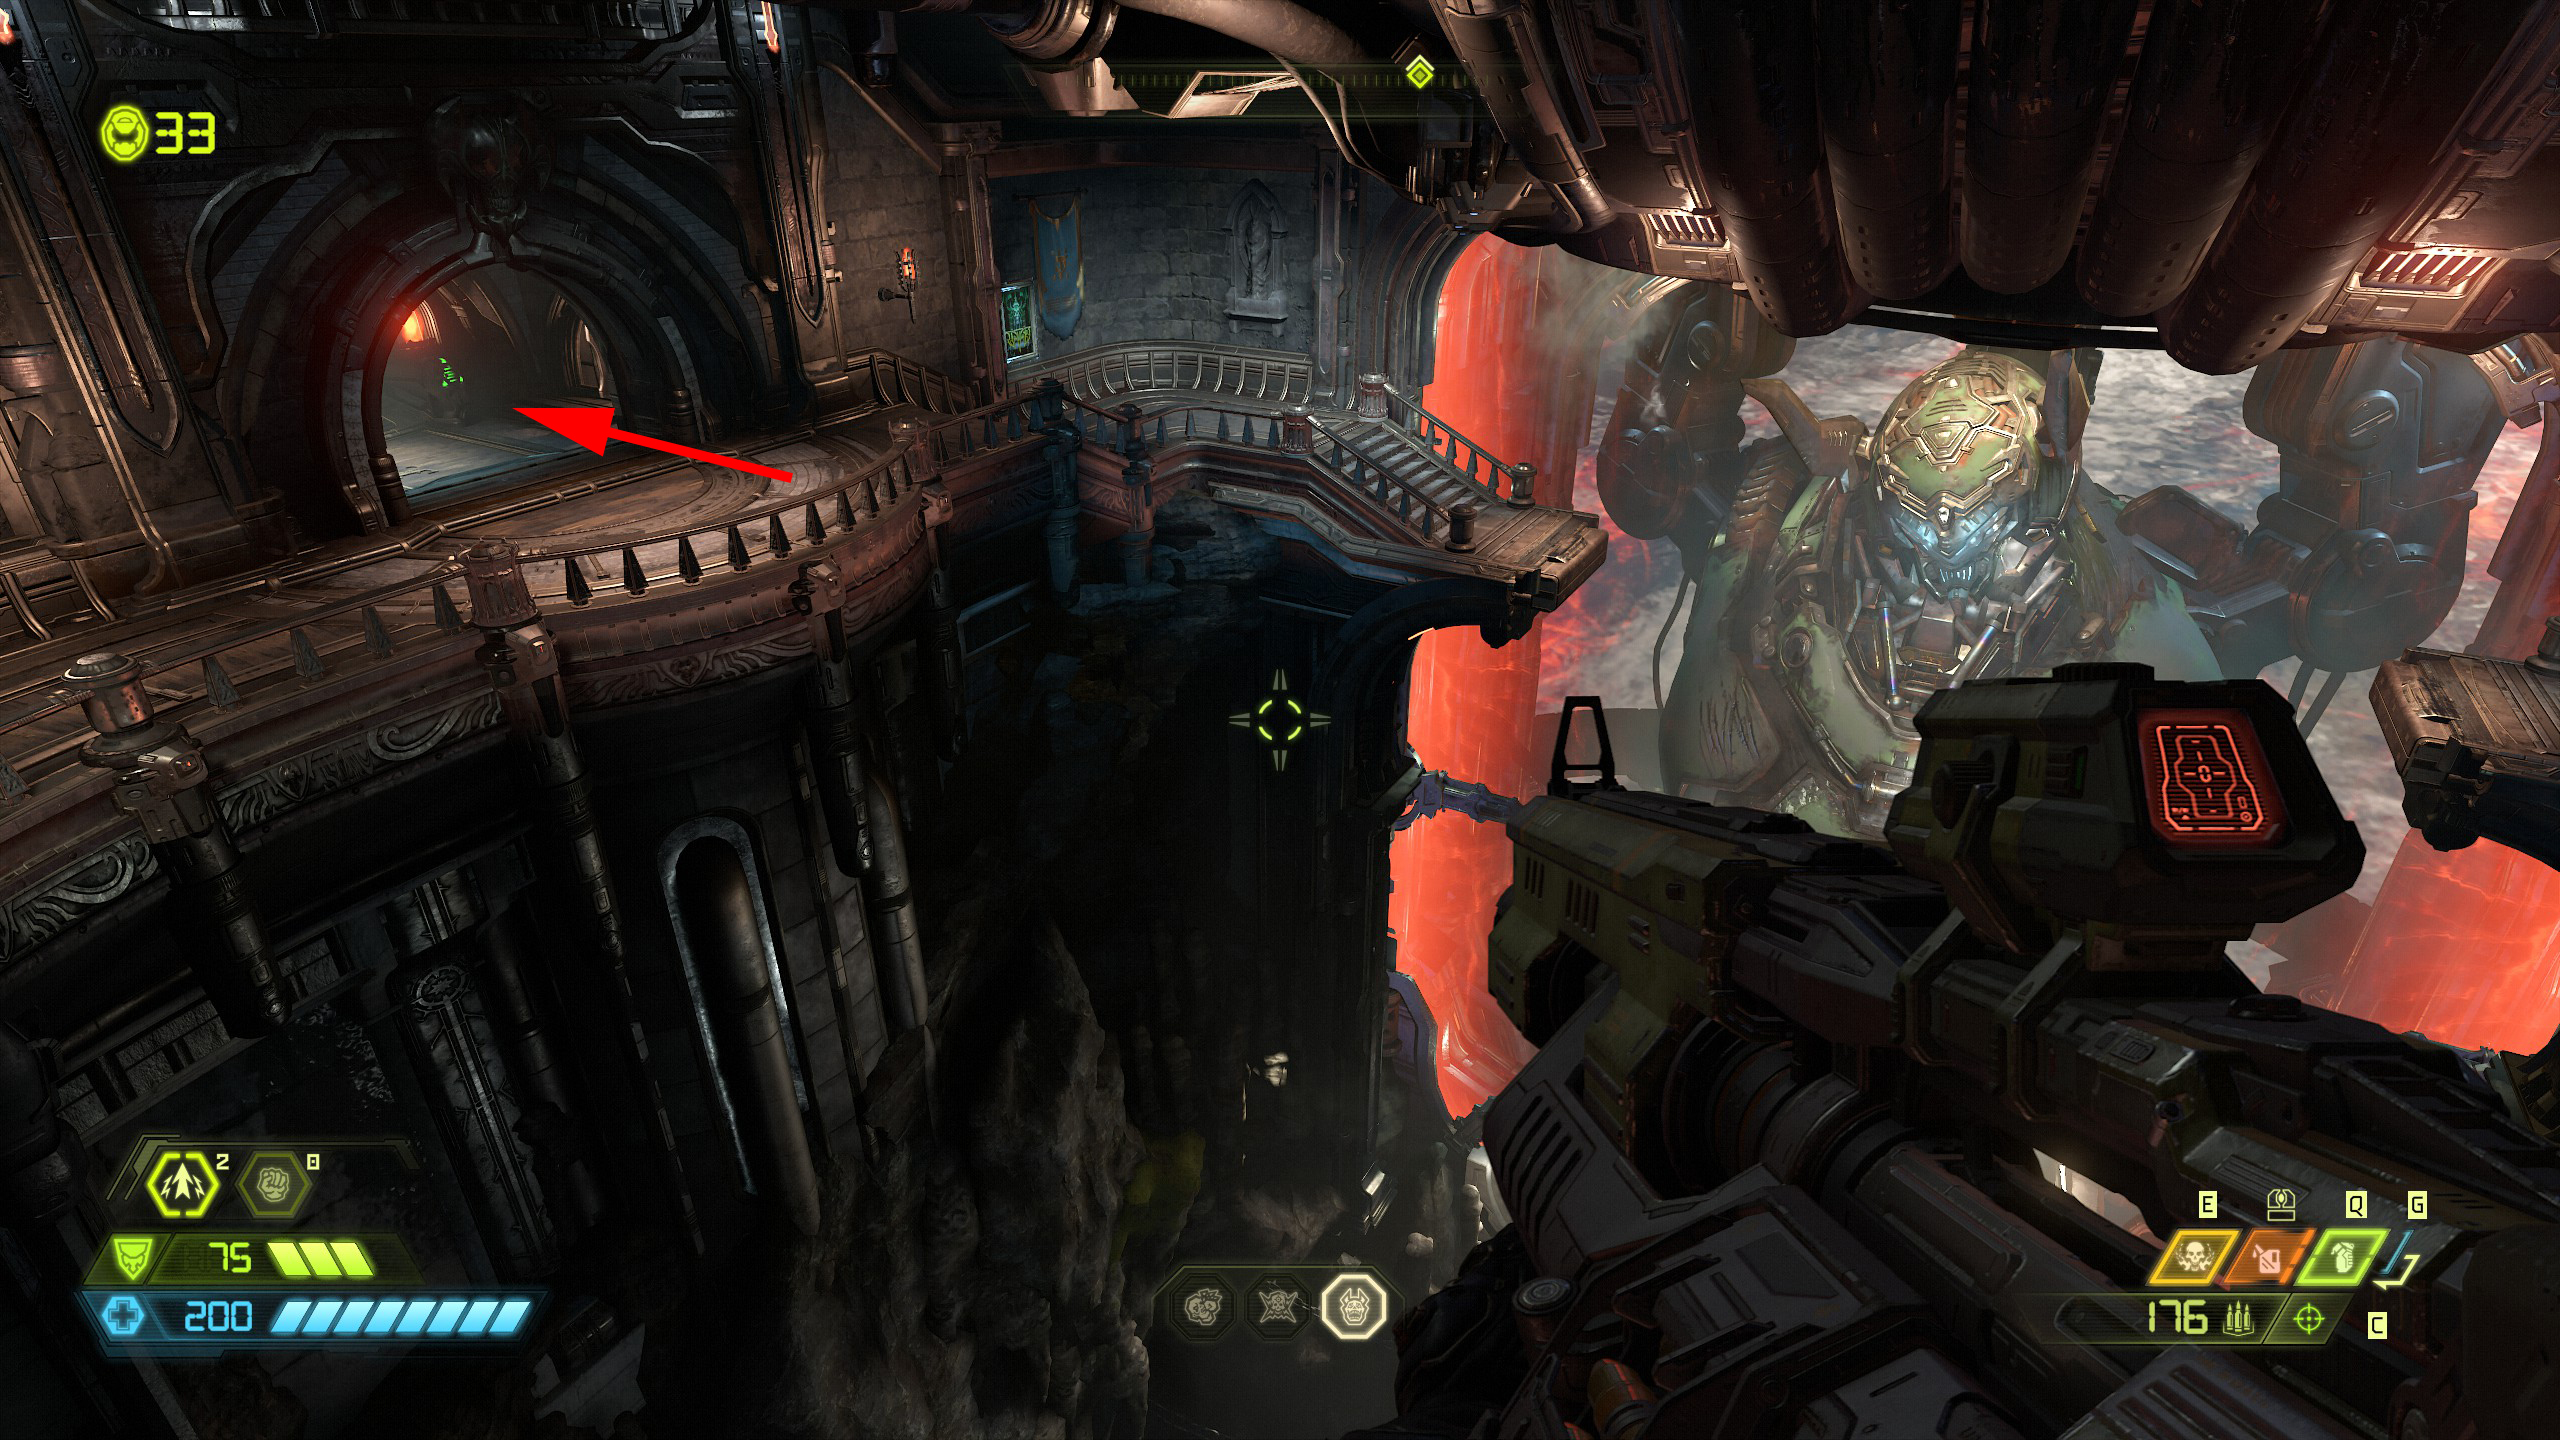
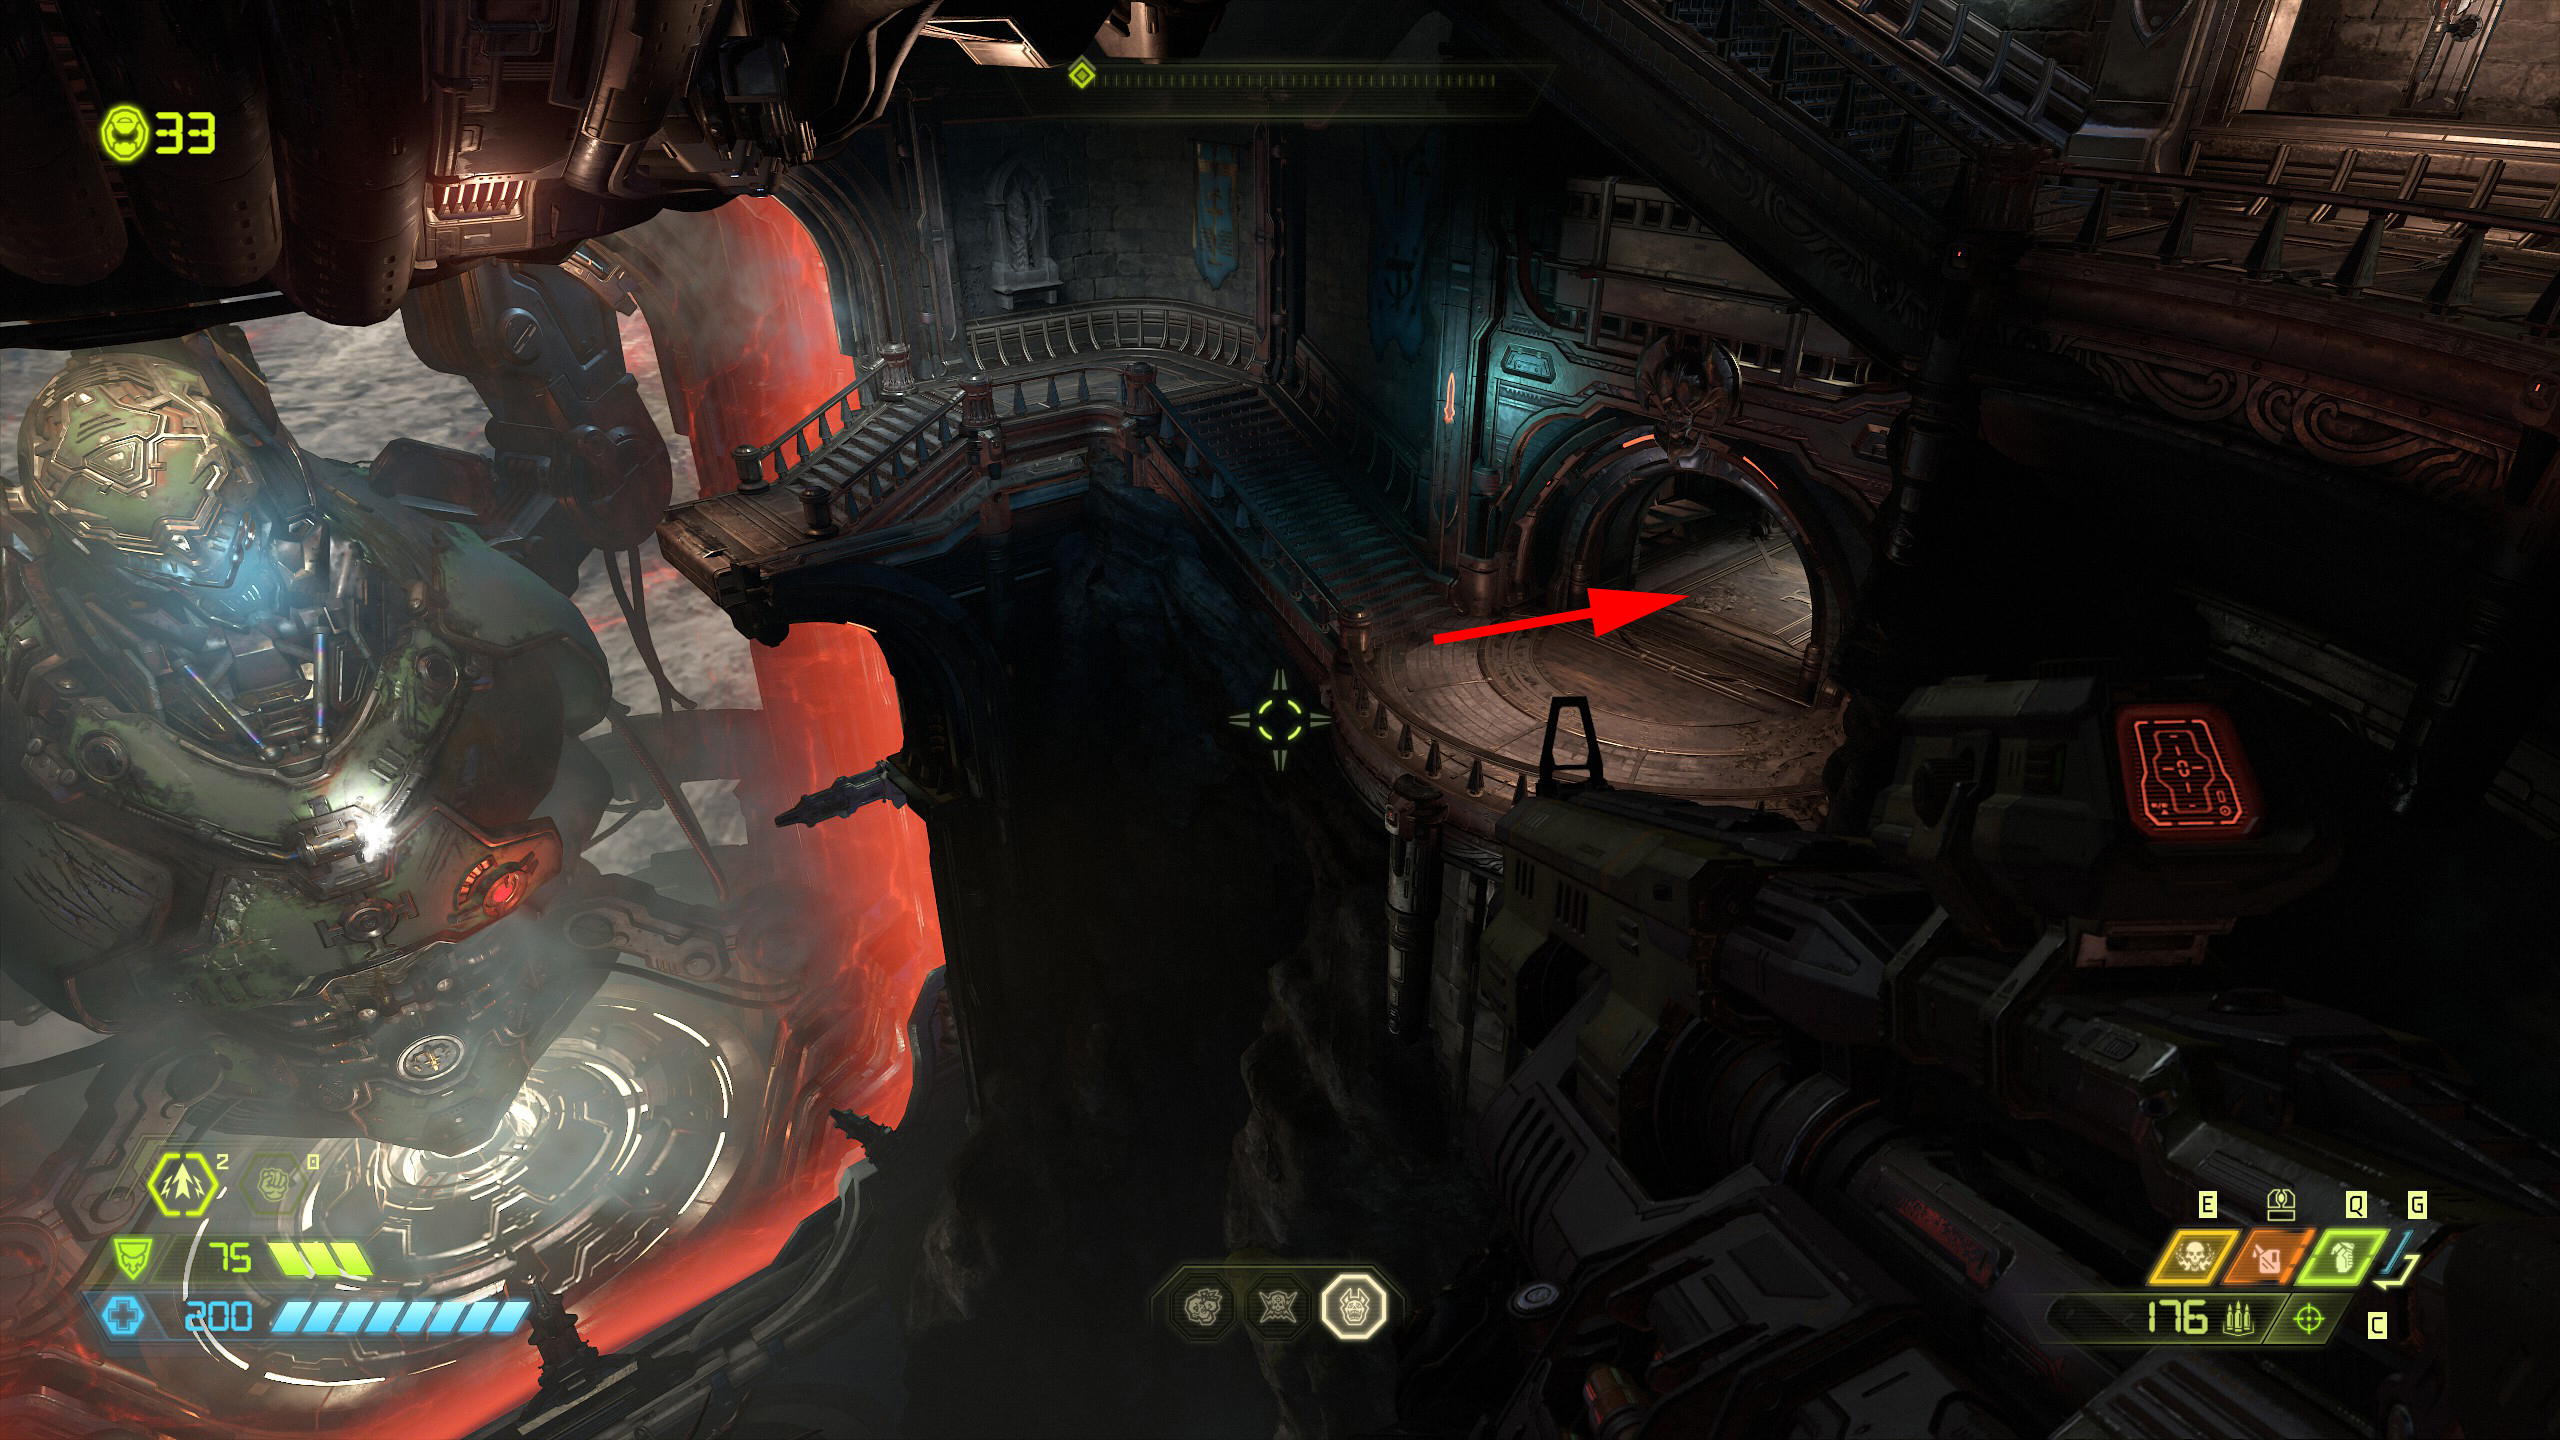
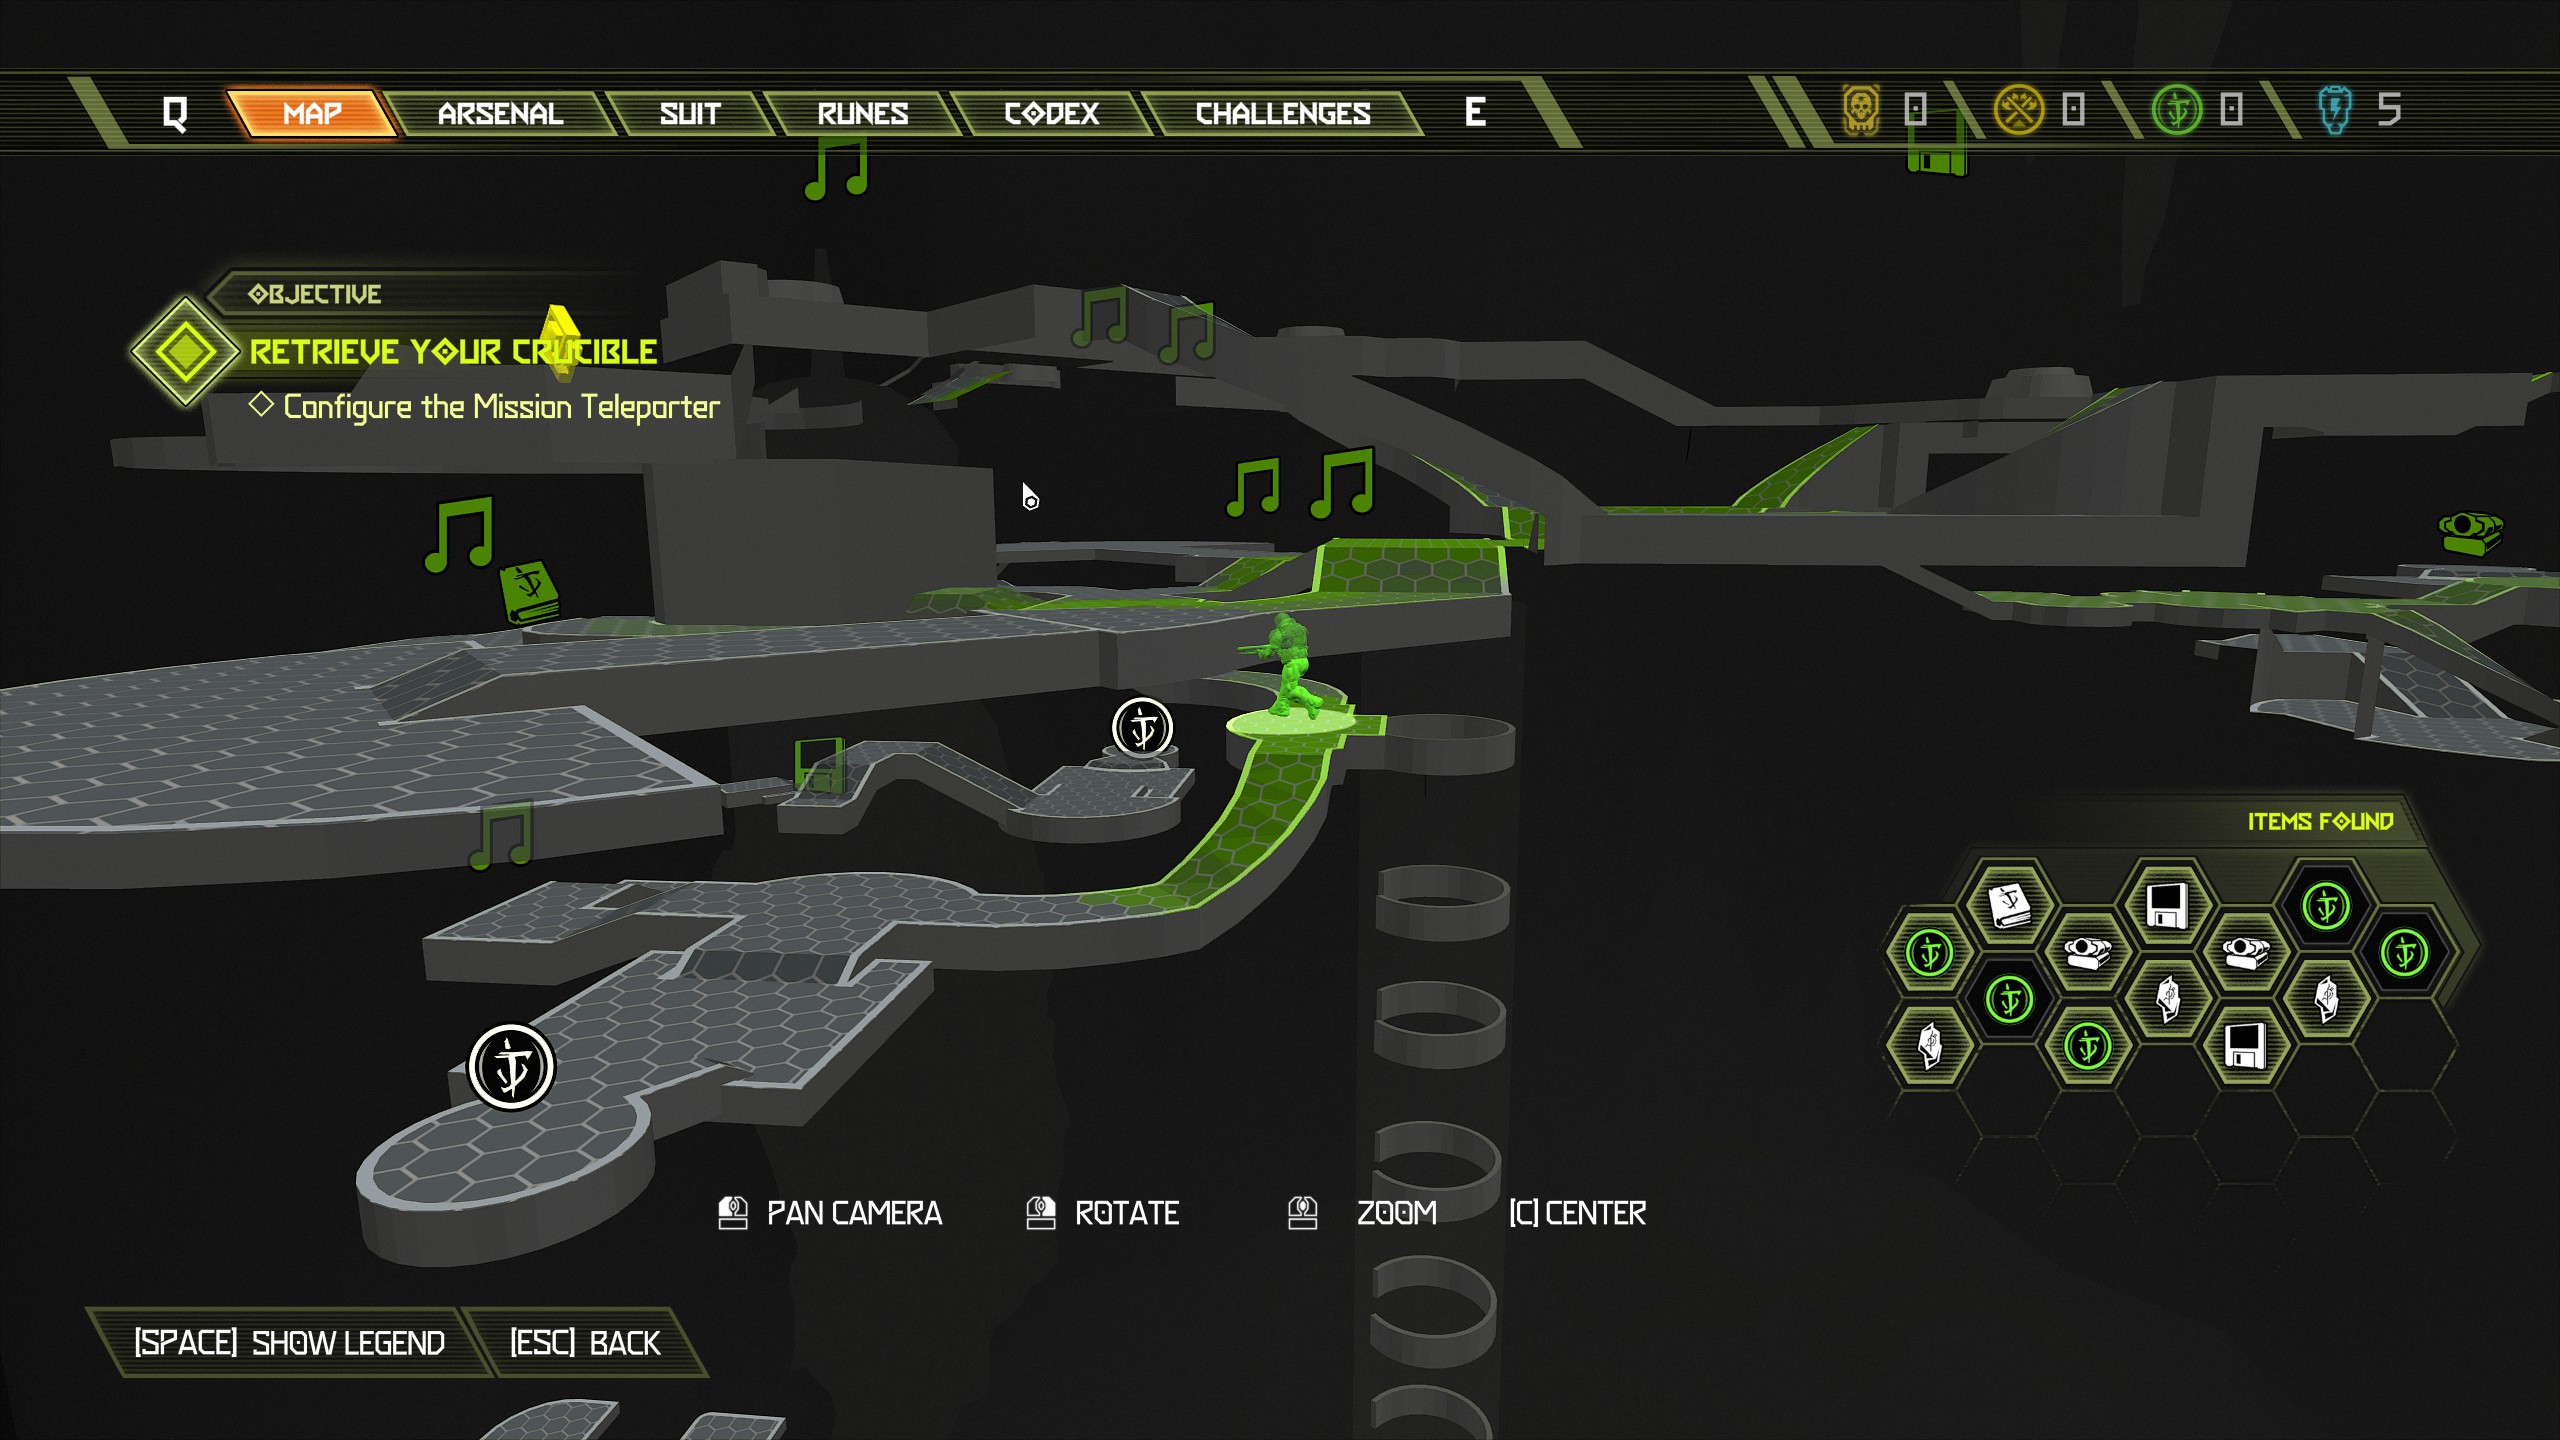
If you don't want the praetor suit tokens head outside on the left side of the fortress to collect another slayer outfit and one in the room opposite the main room at the top.
Mission 9: Taras Nabad [Part 1]
NOTE: This mission has a few hidden items including an achievement for collecting and completing everything. One hidden item can be difficult to reach so you might need to use the fast travel a few times at the end of the mission which i will explain later. This is another mission that can also be difficult to navigate so i will do my best to guide you, and don't forget to complete the challenges if you want the achievement. This mission contains:
- 7 Codex Pages
- 3 Sentinel Batteries
- 2 Albums
- 5 Praetor Suit Tokens
- 2 Secret Encounters
- 2 Mastery Tokens
- 1 Automap
- 3 Doomtoys
- 3 Extra Lives
- 1 Slayer Gate Key
- 1 Cheat Code
- 1 Sentinel Crystal
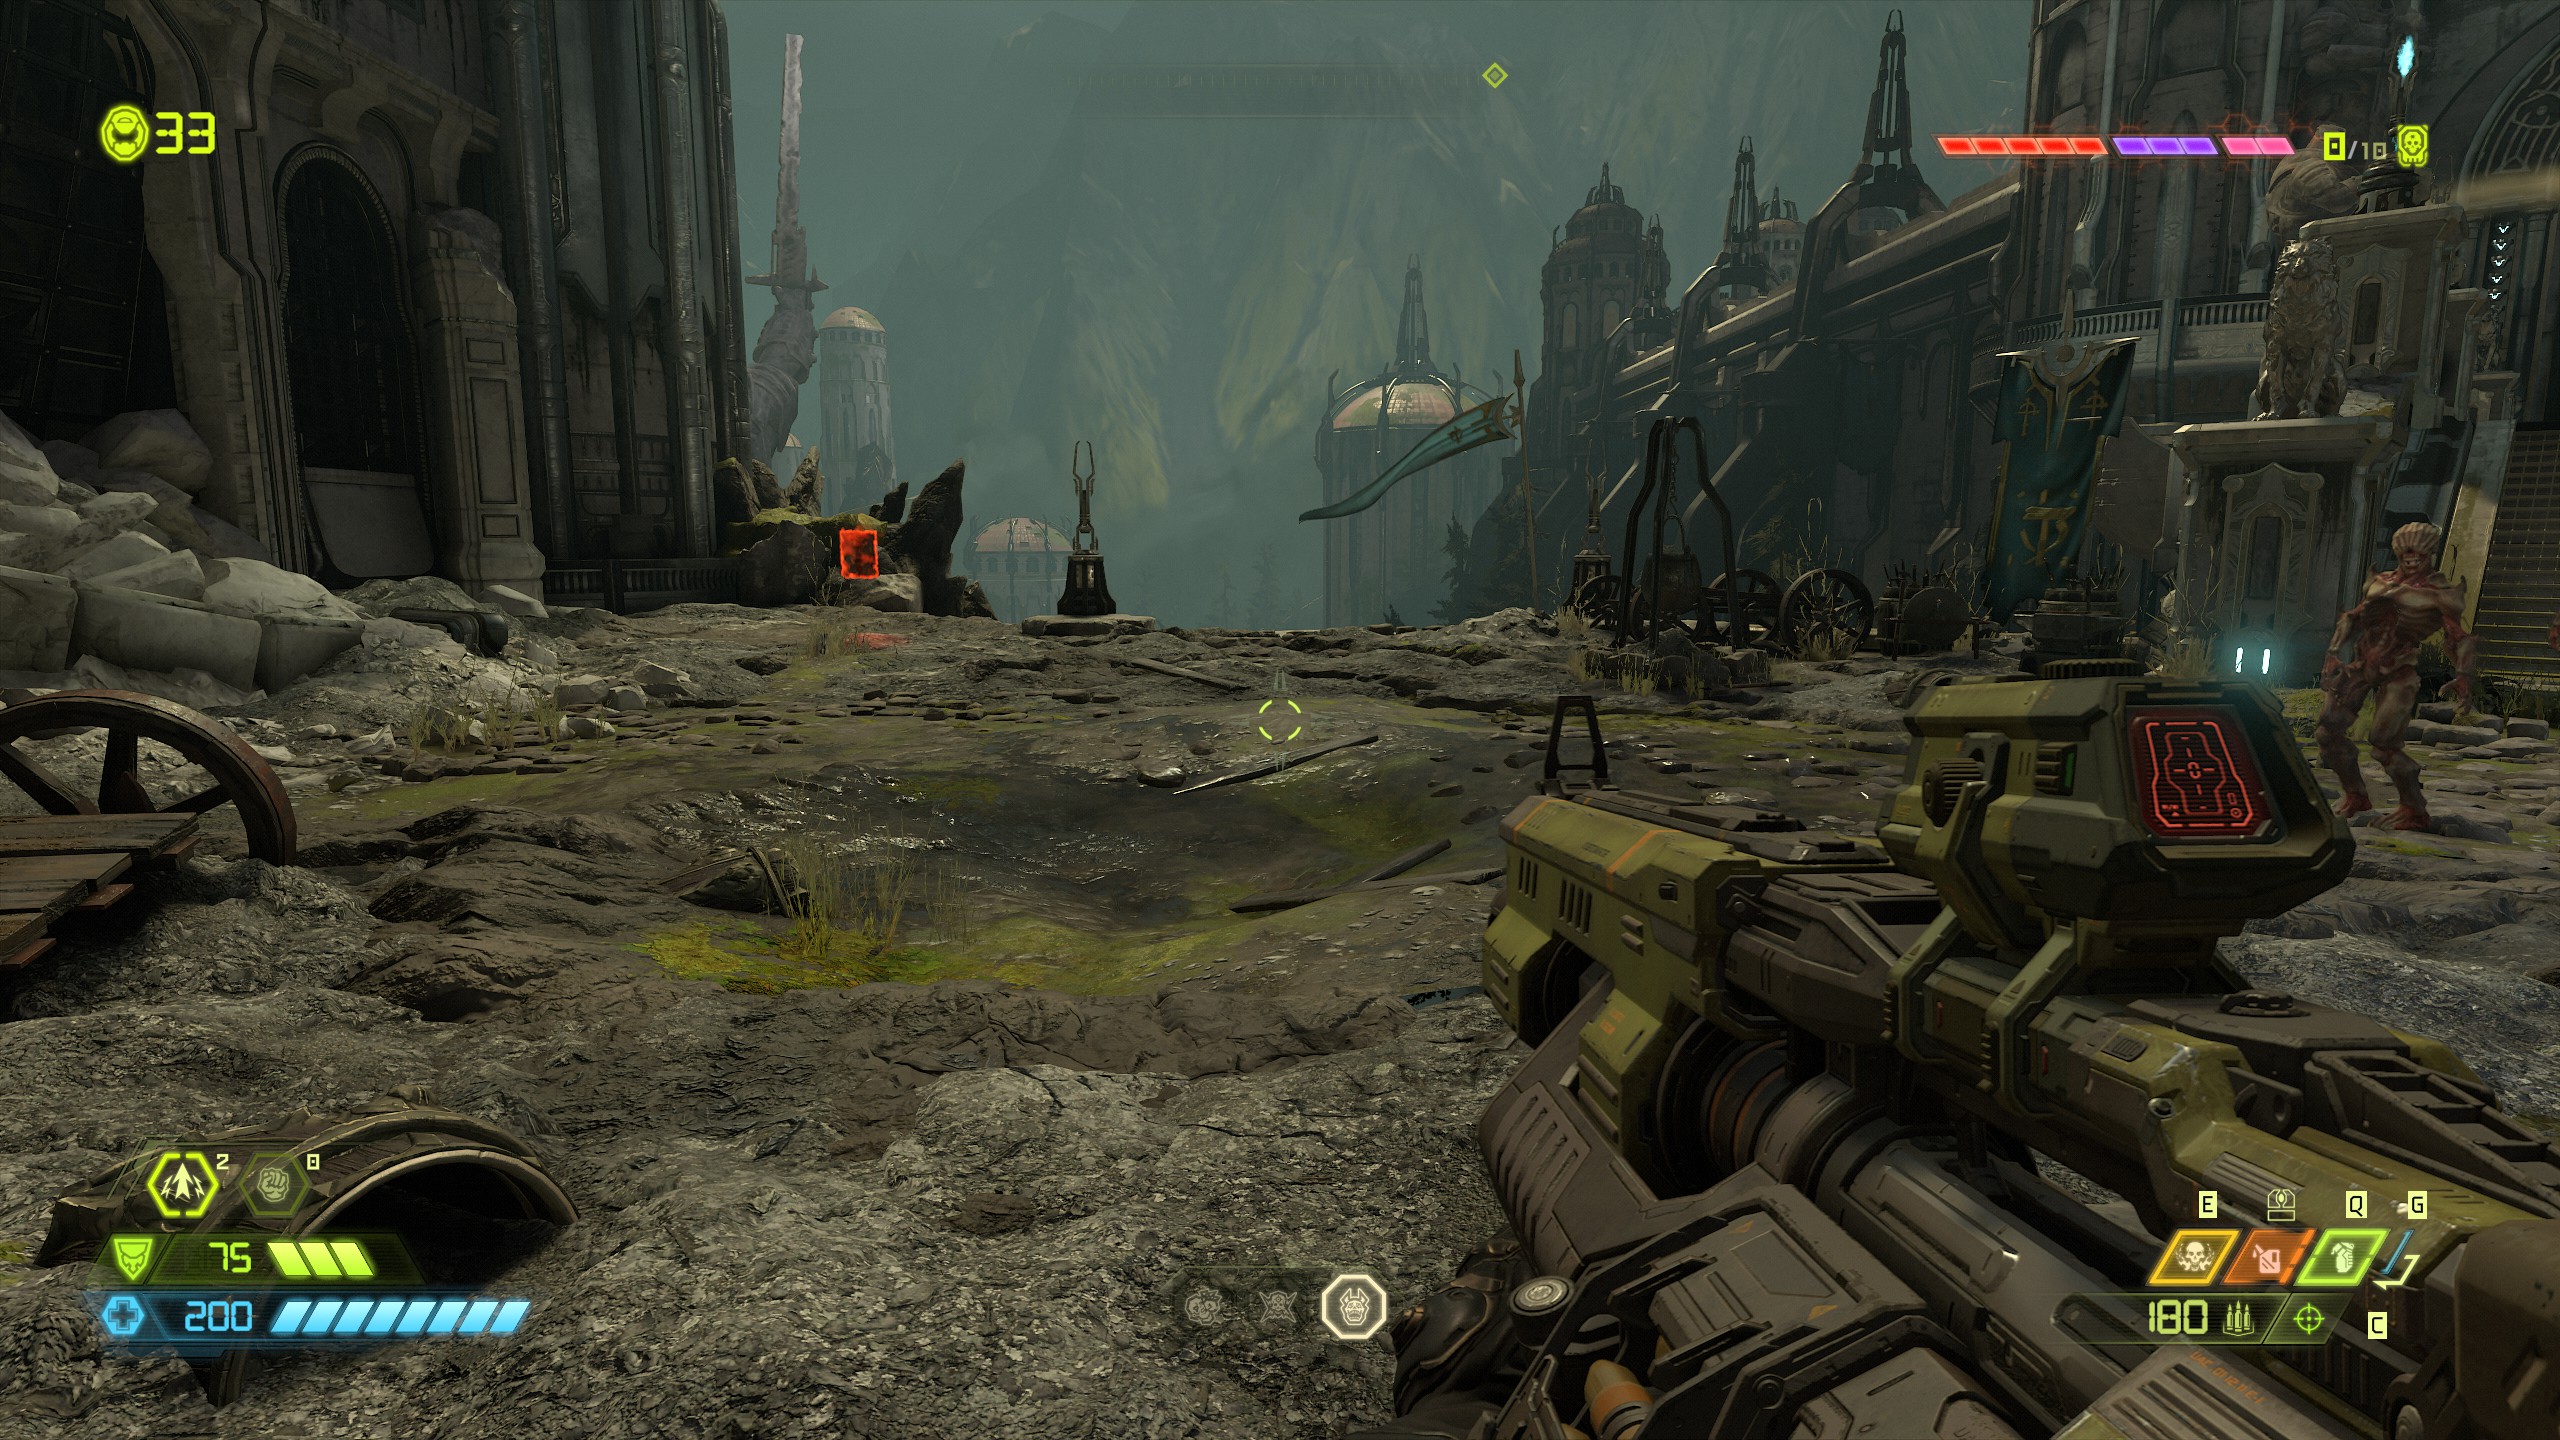
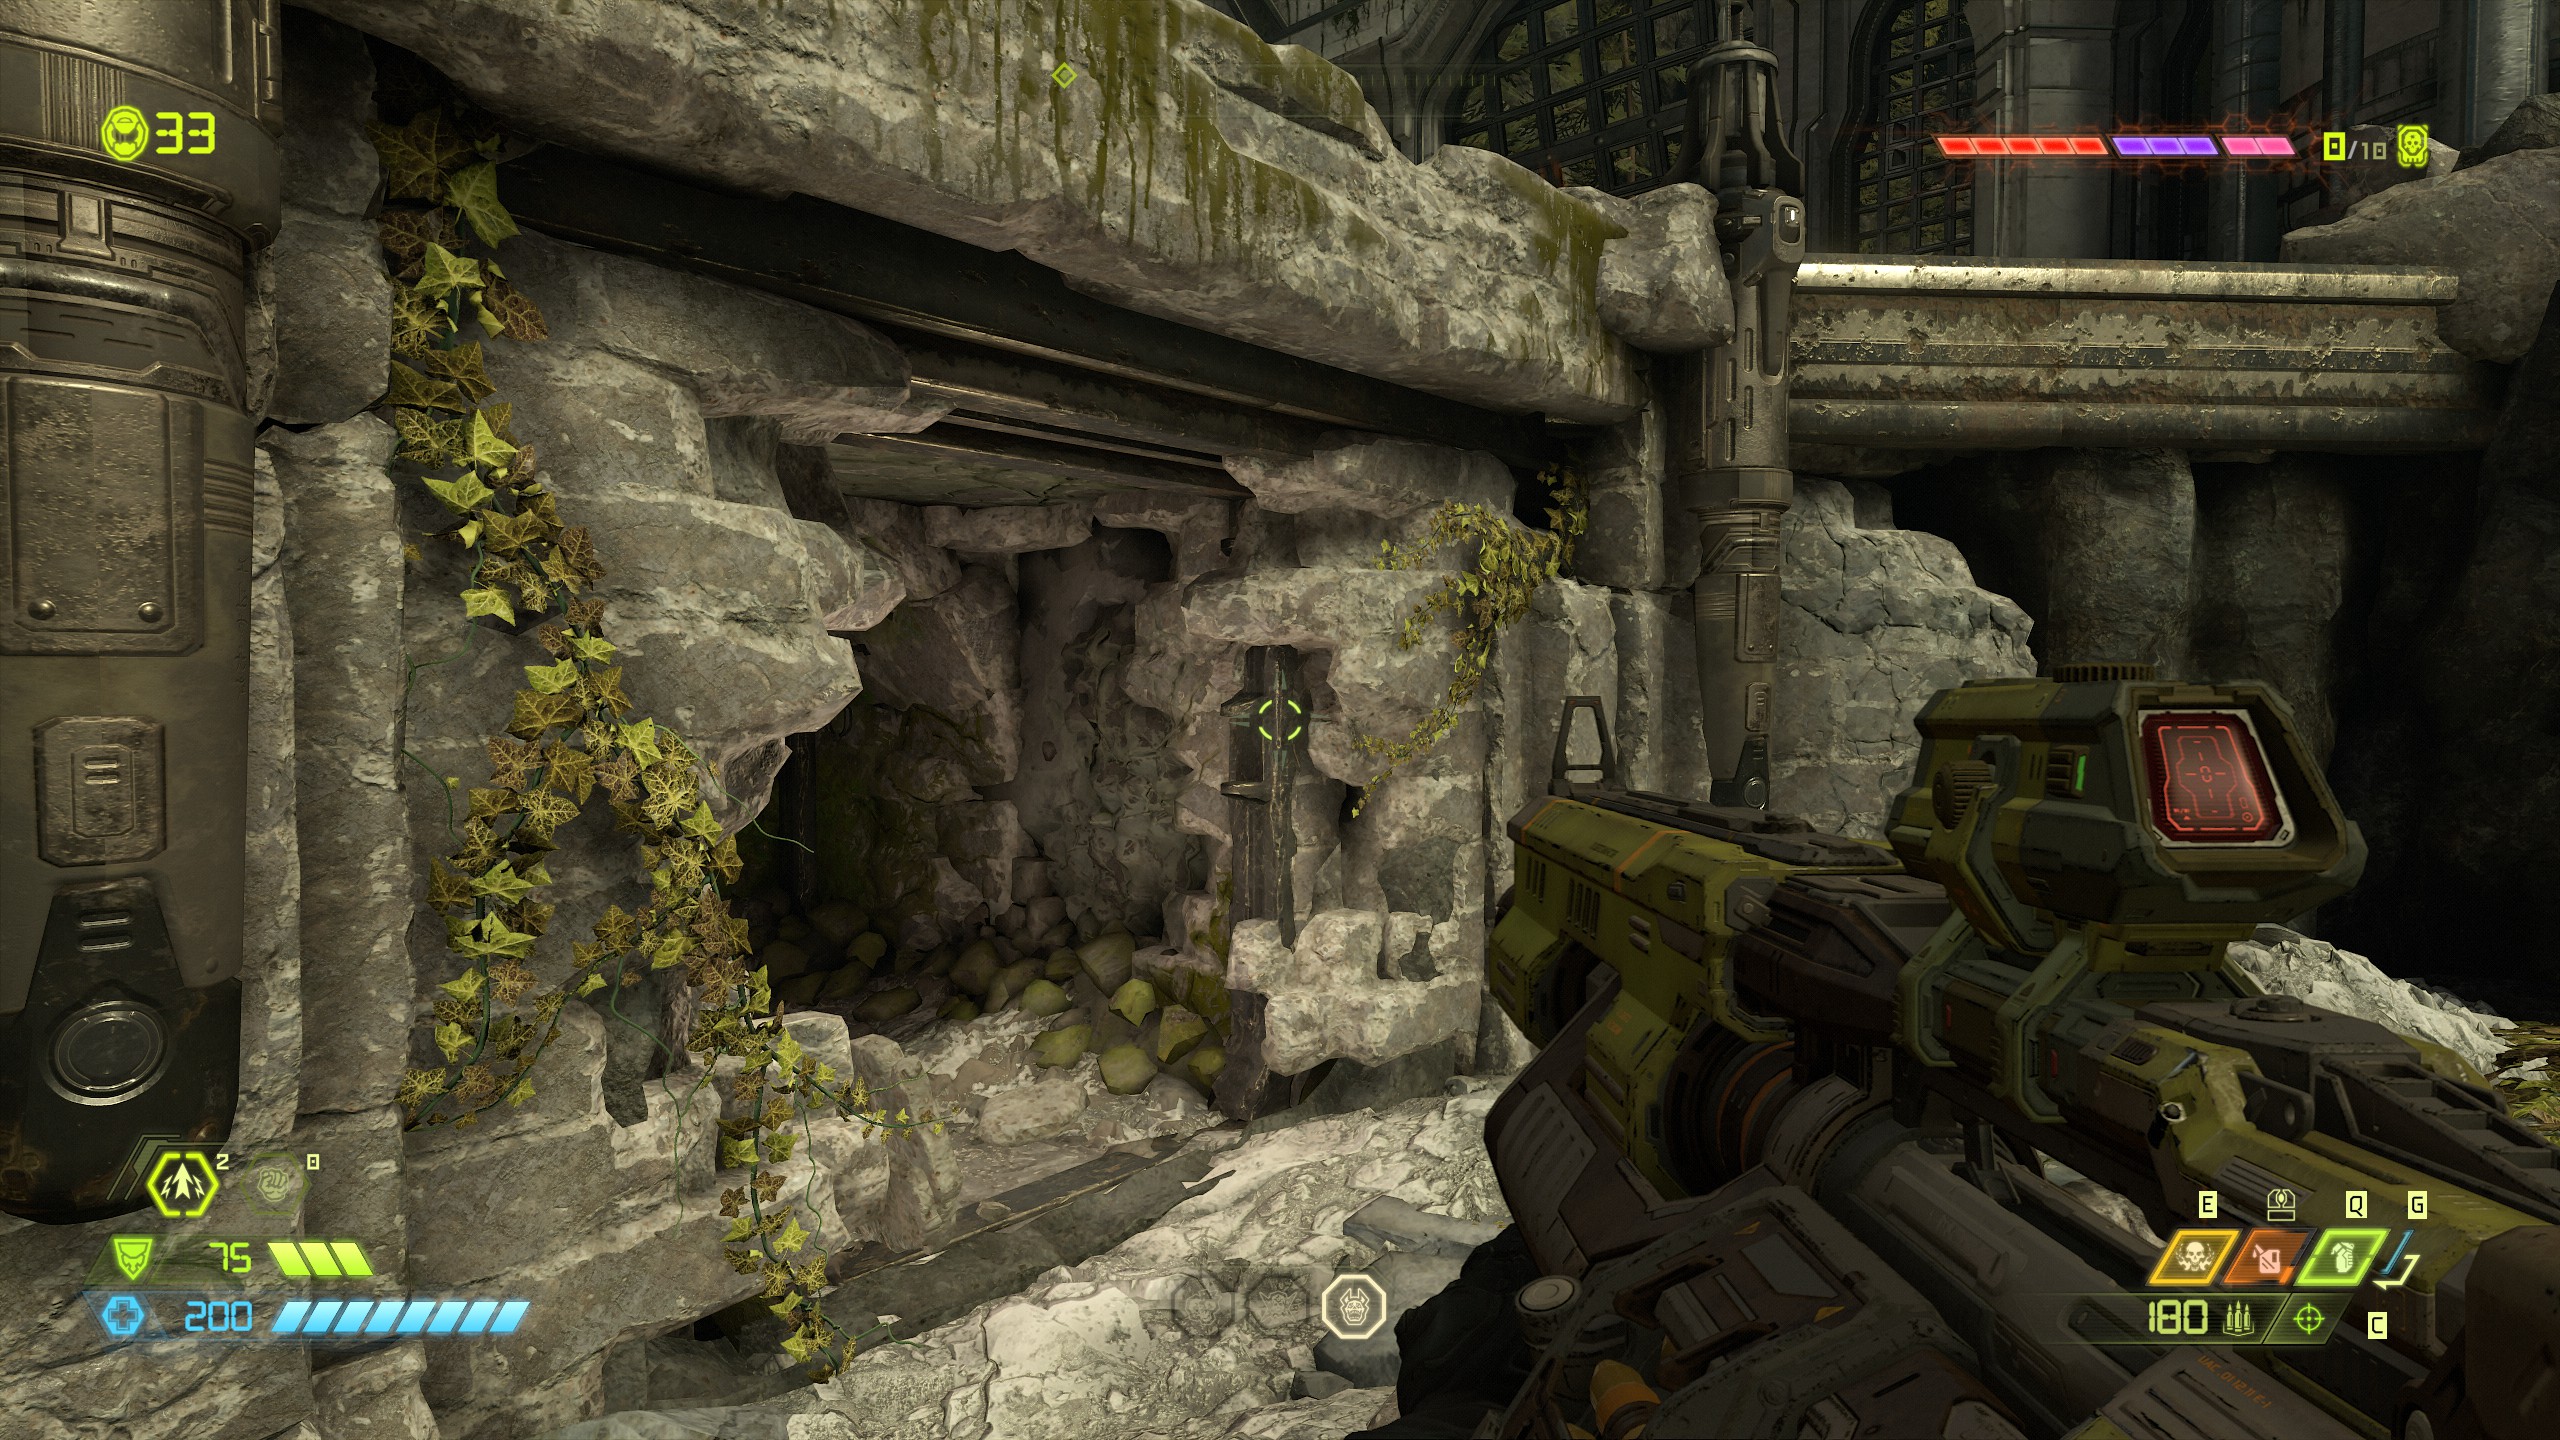
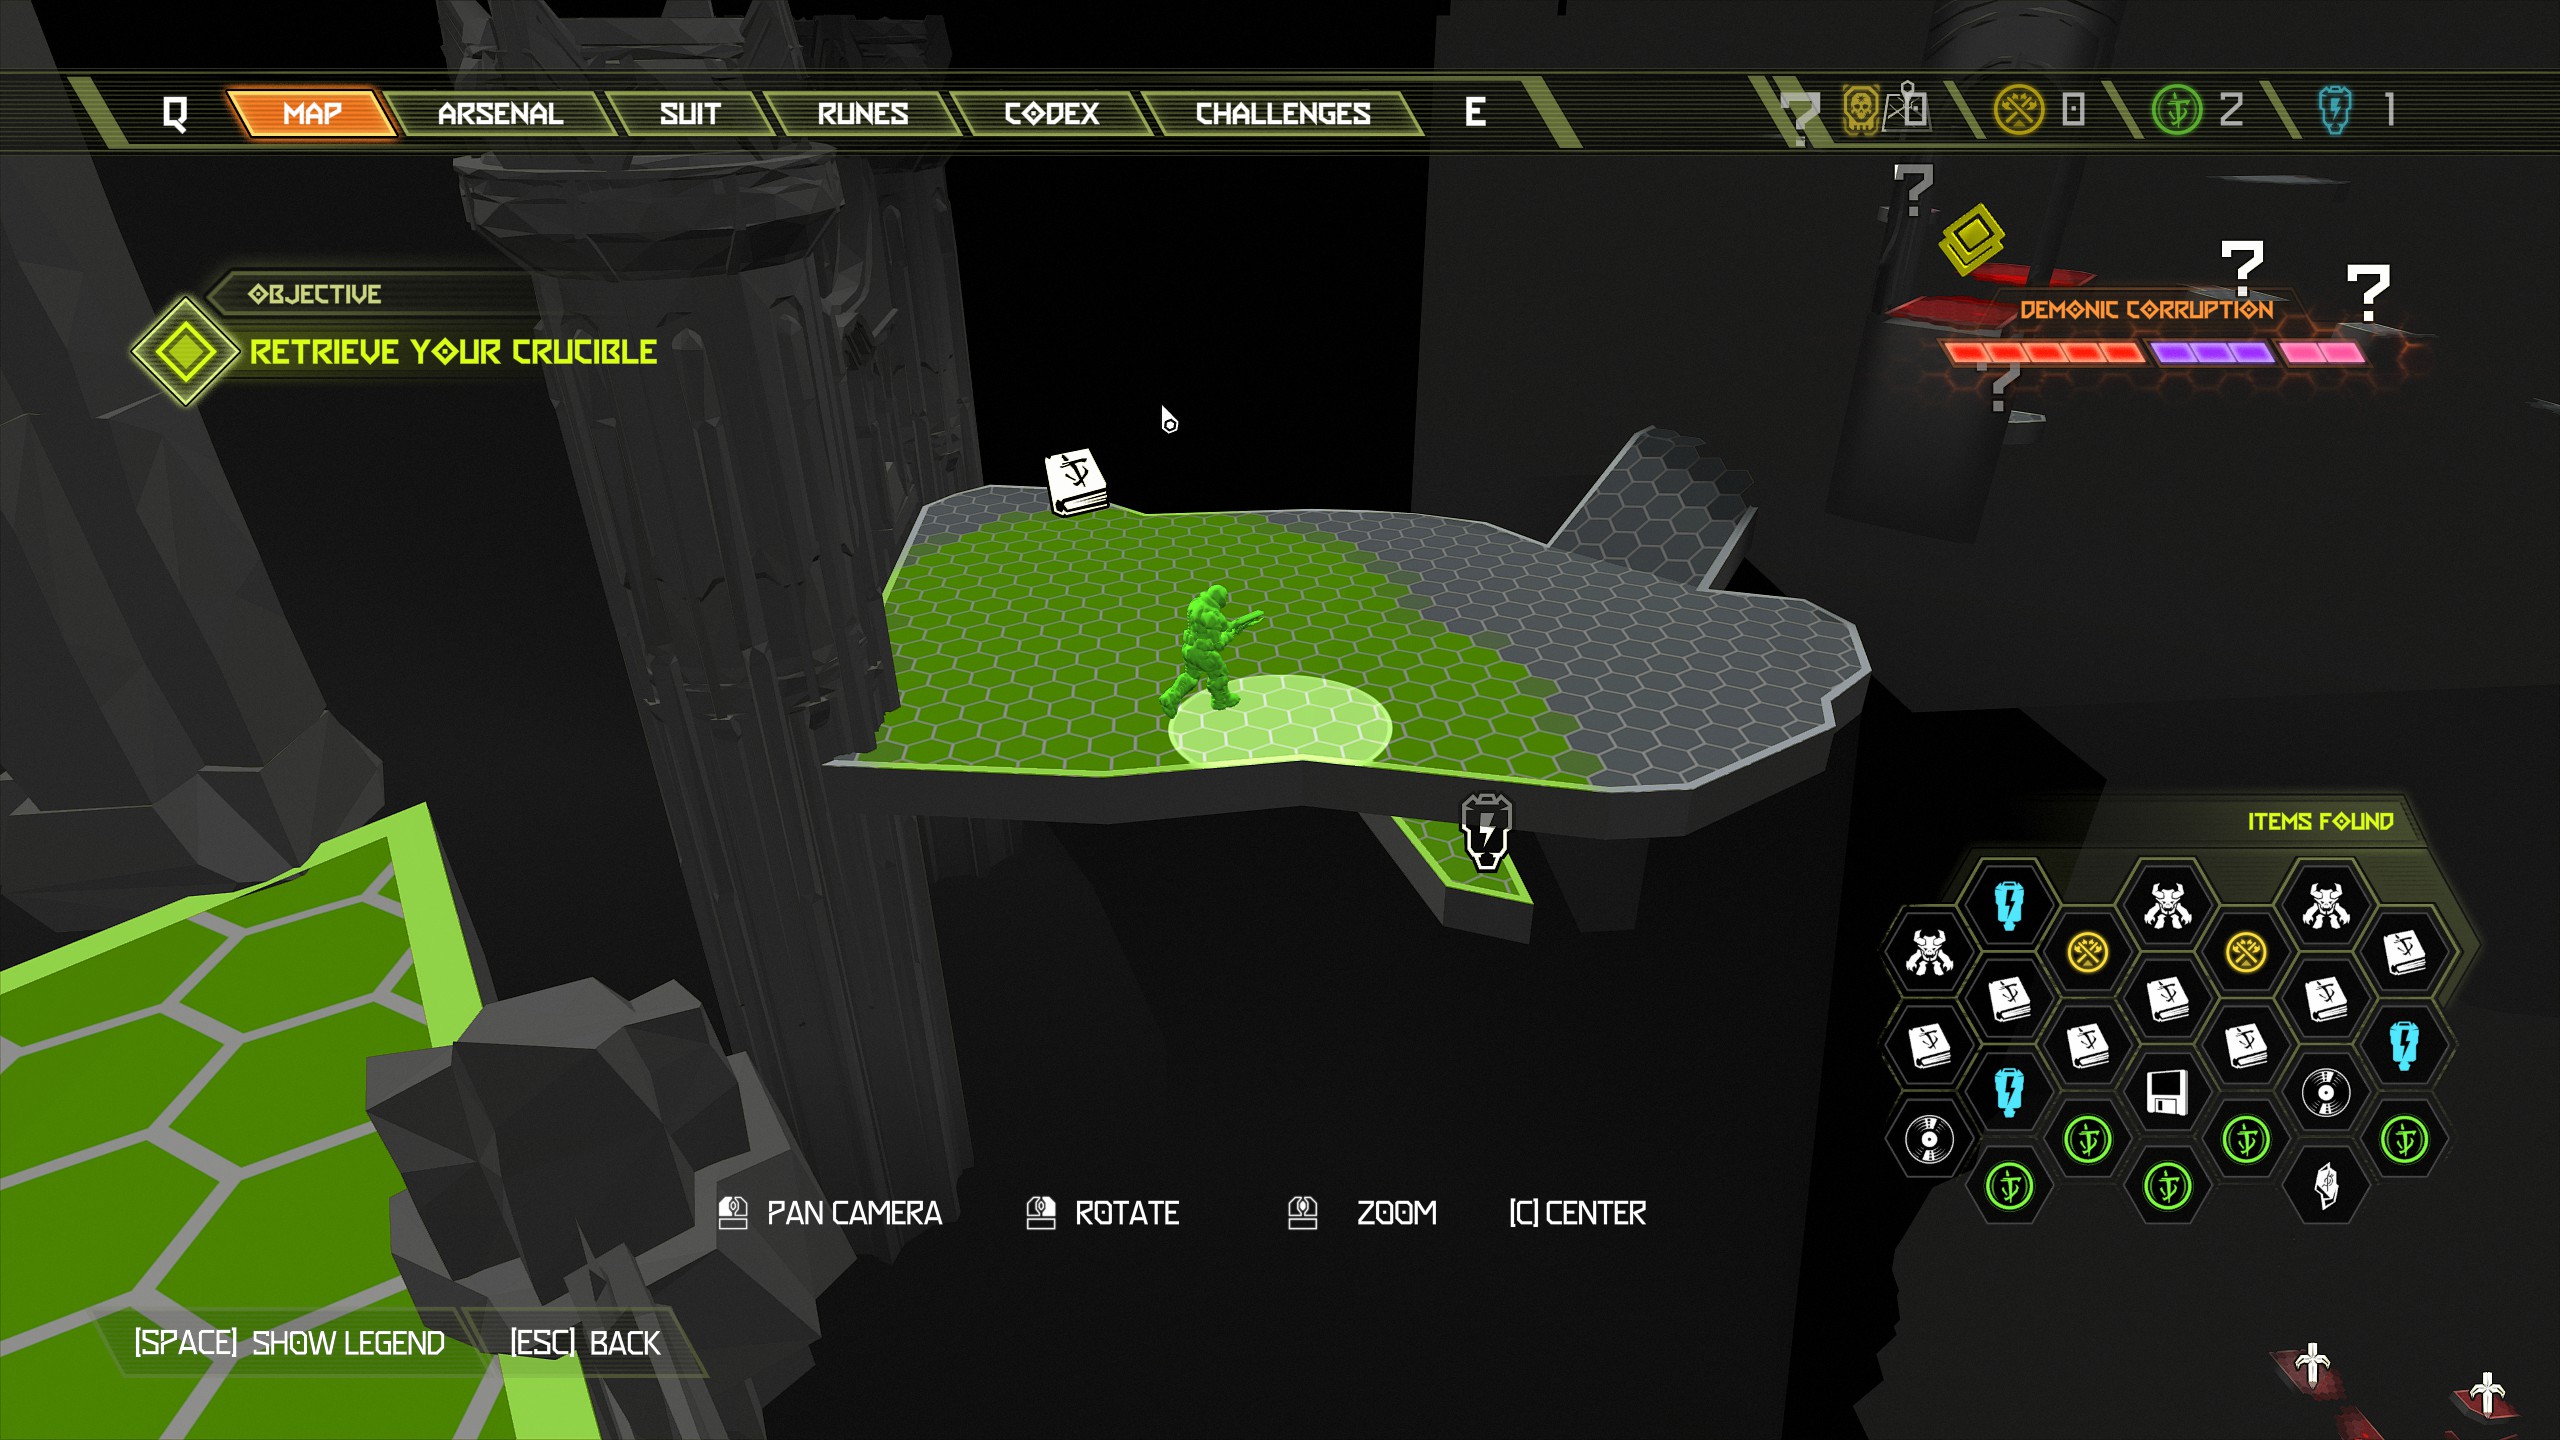
Now swing back using the yellow bar for a third time and continue the mission by climbing the wall on the left side of the door.
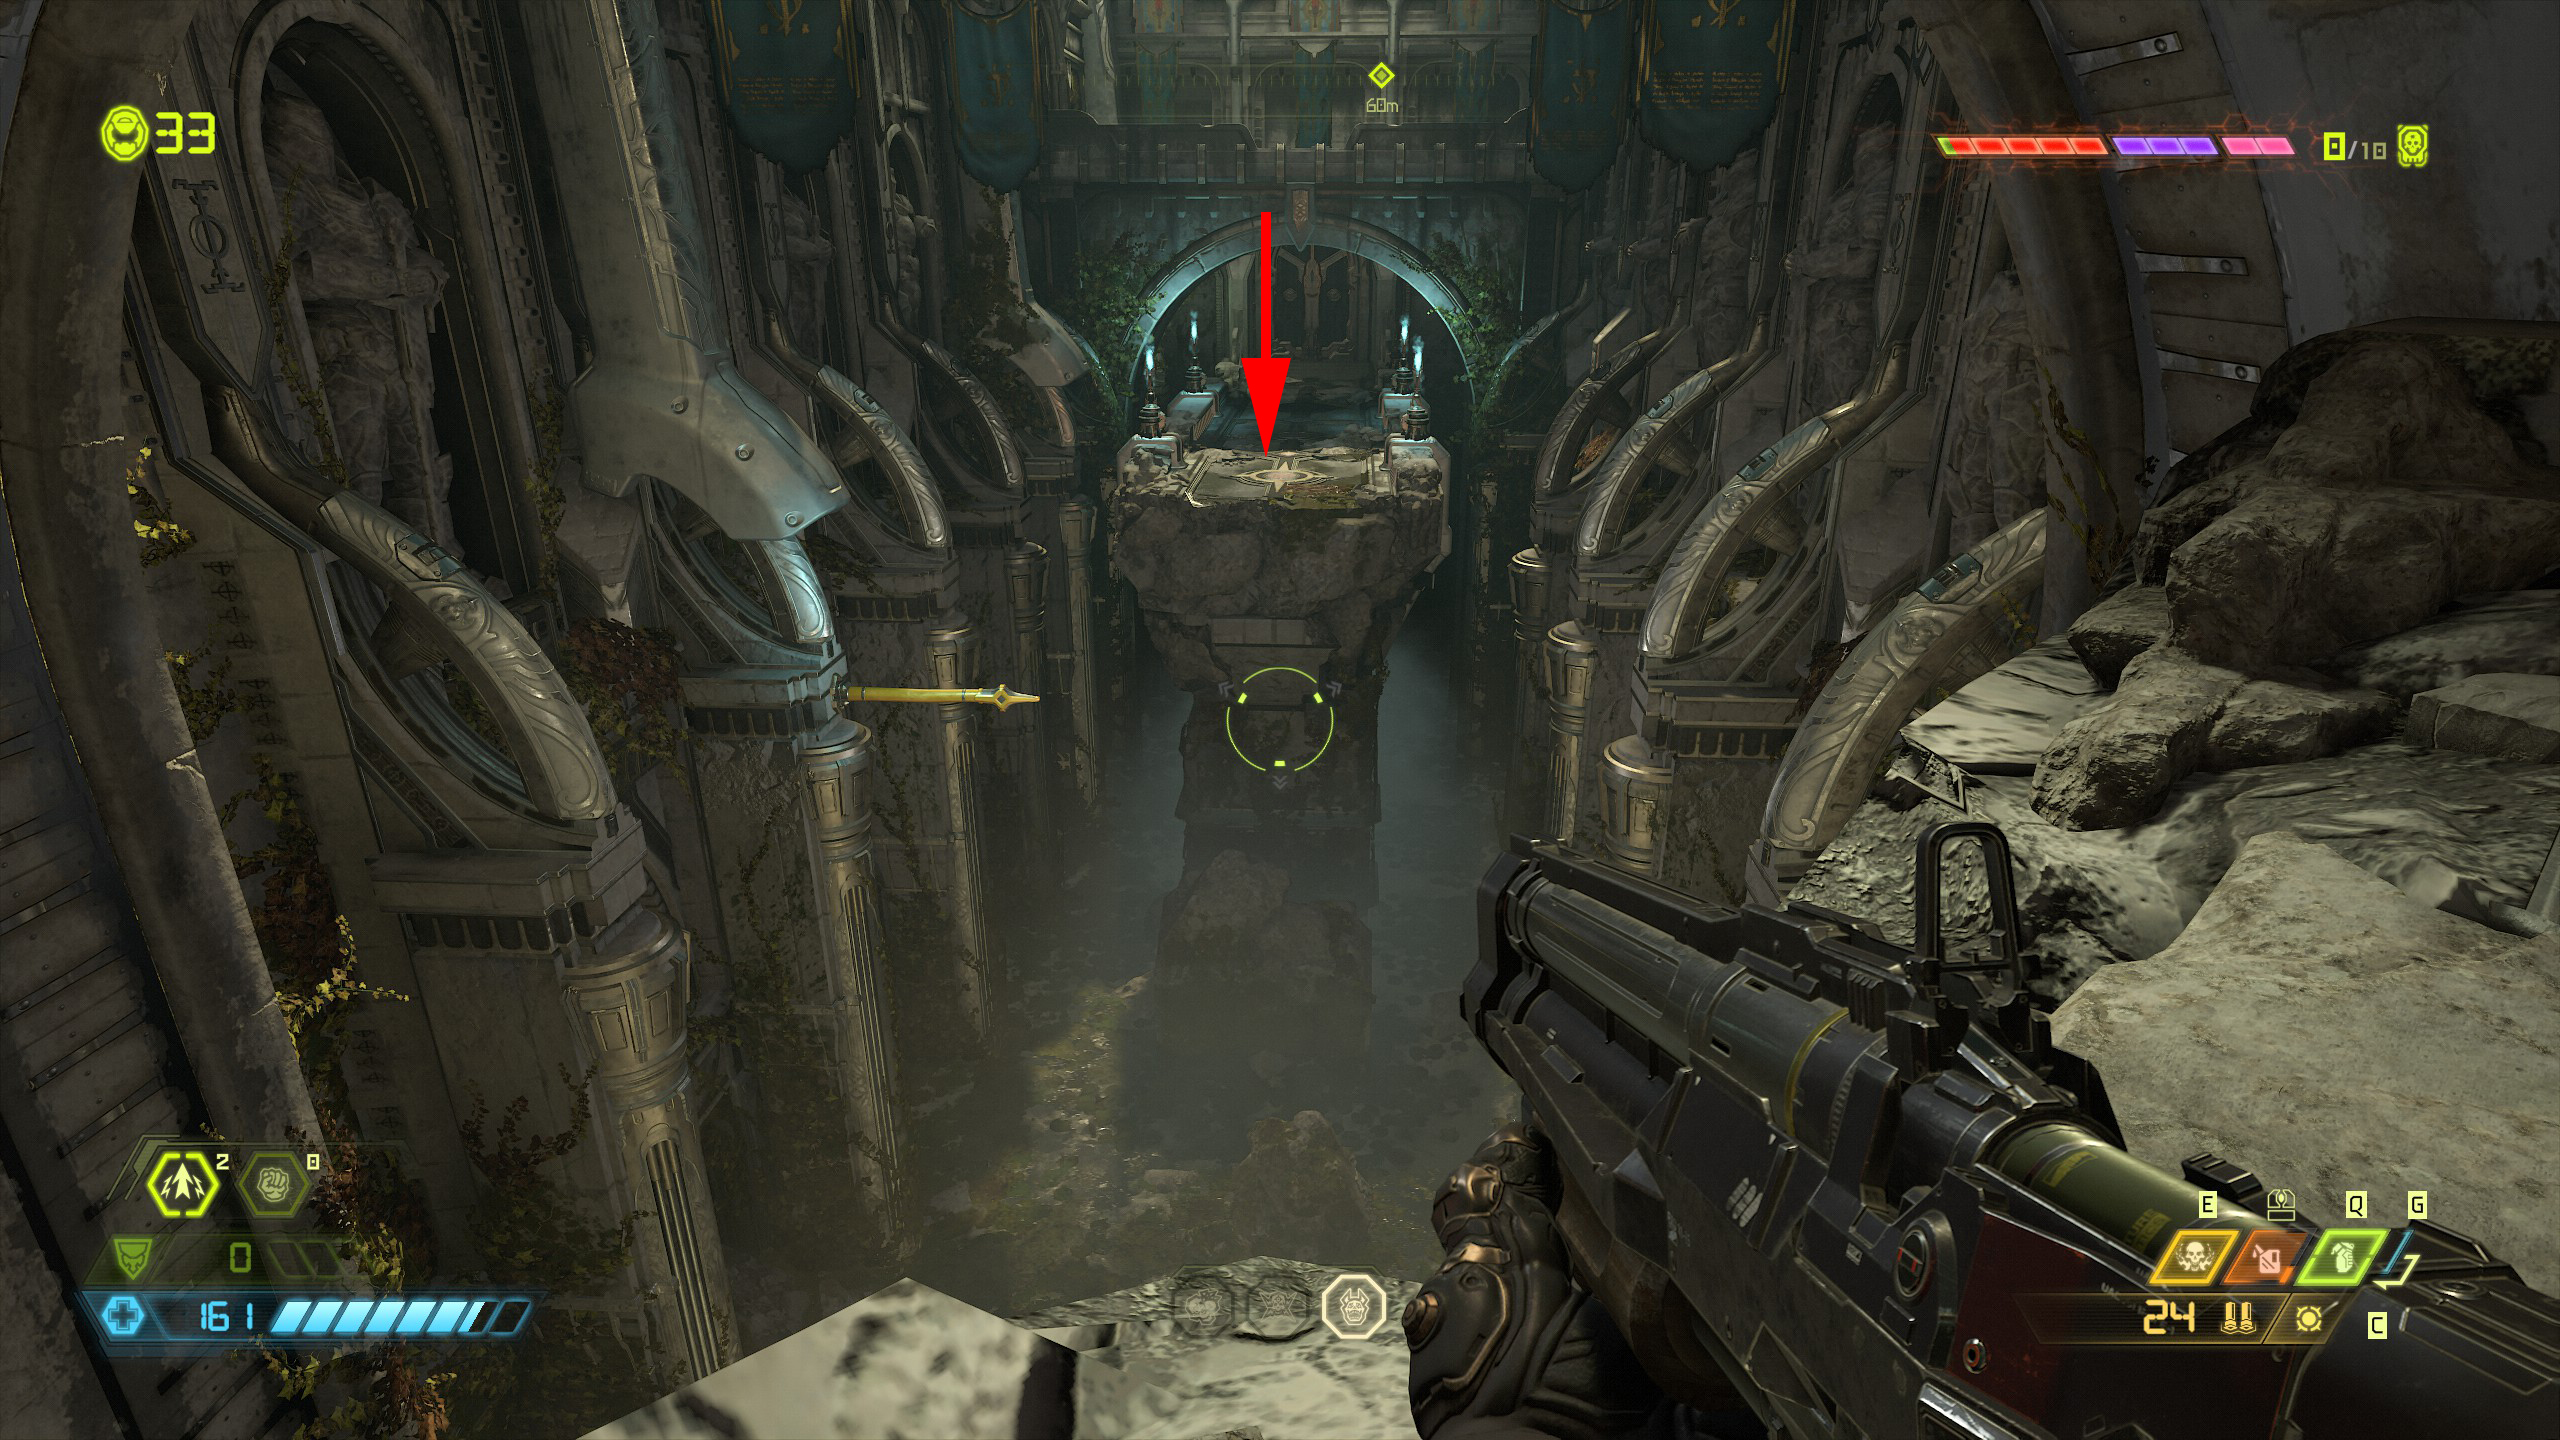
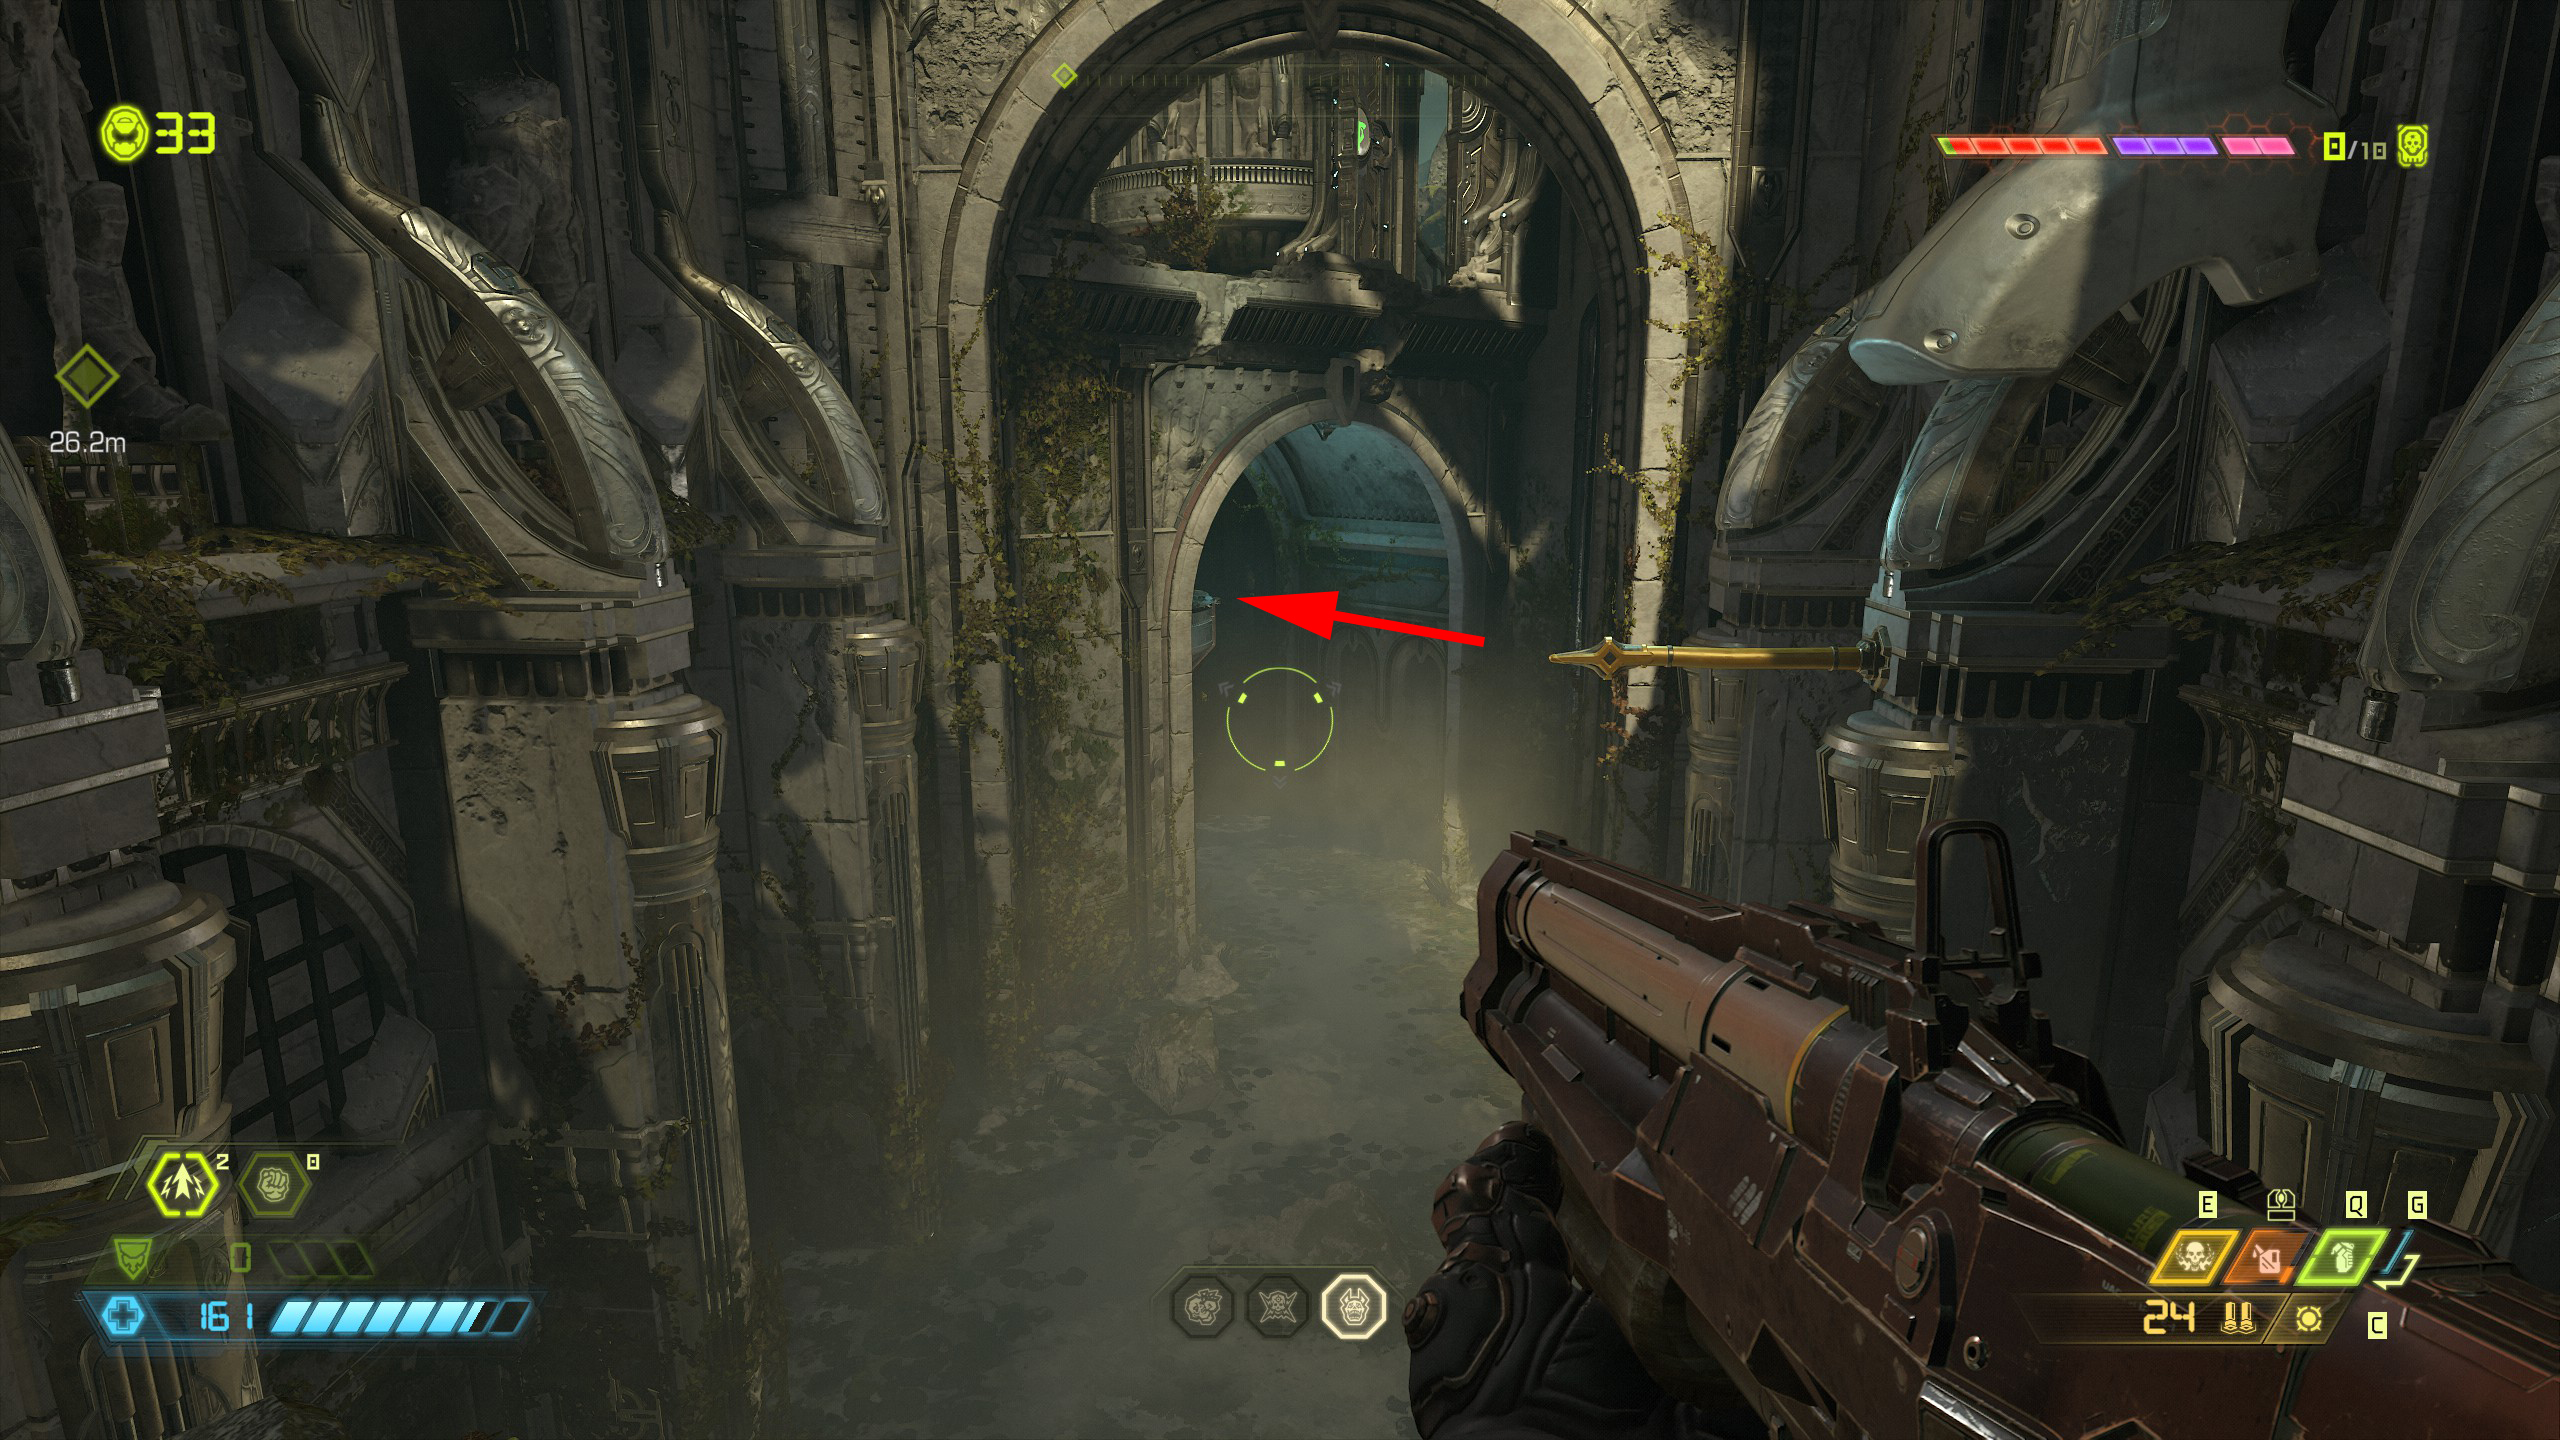
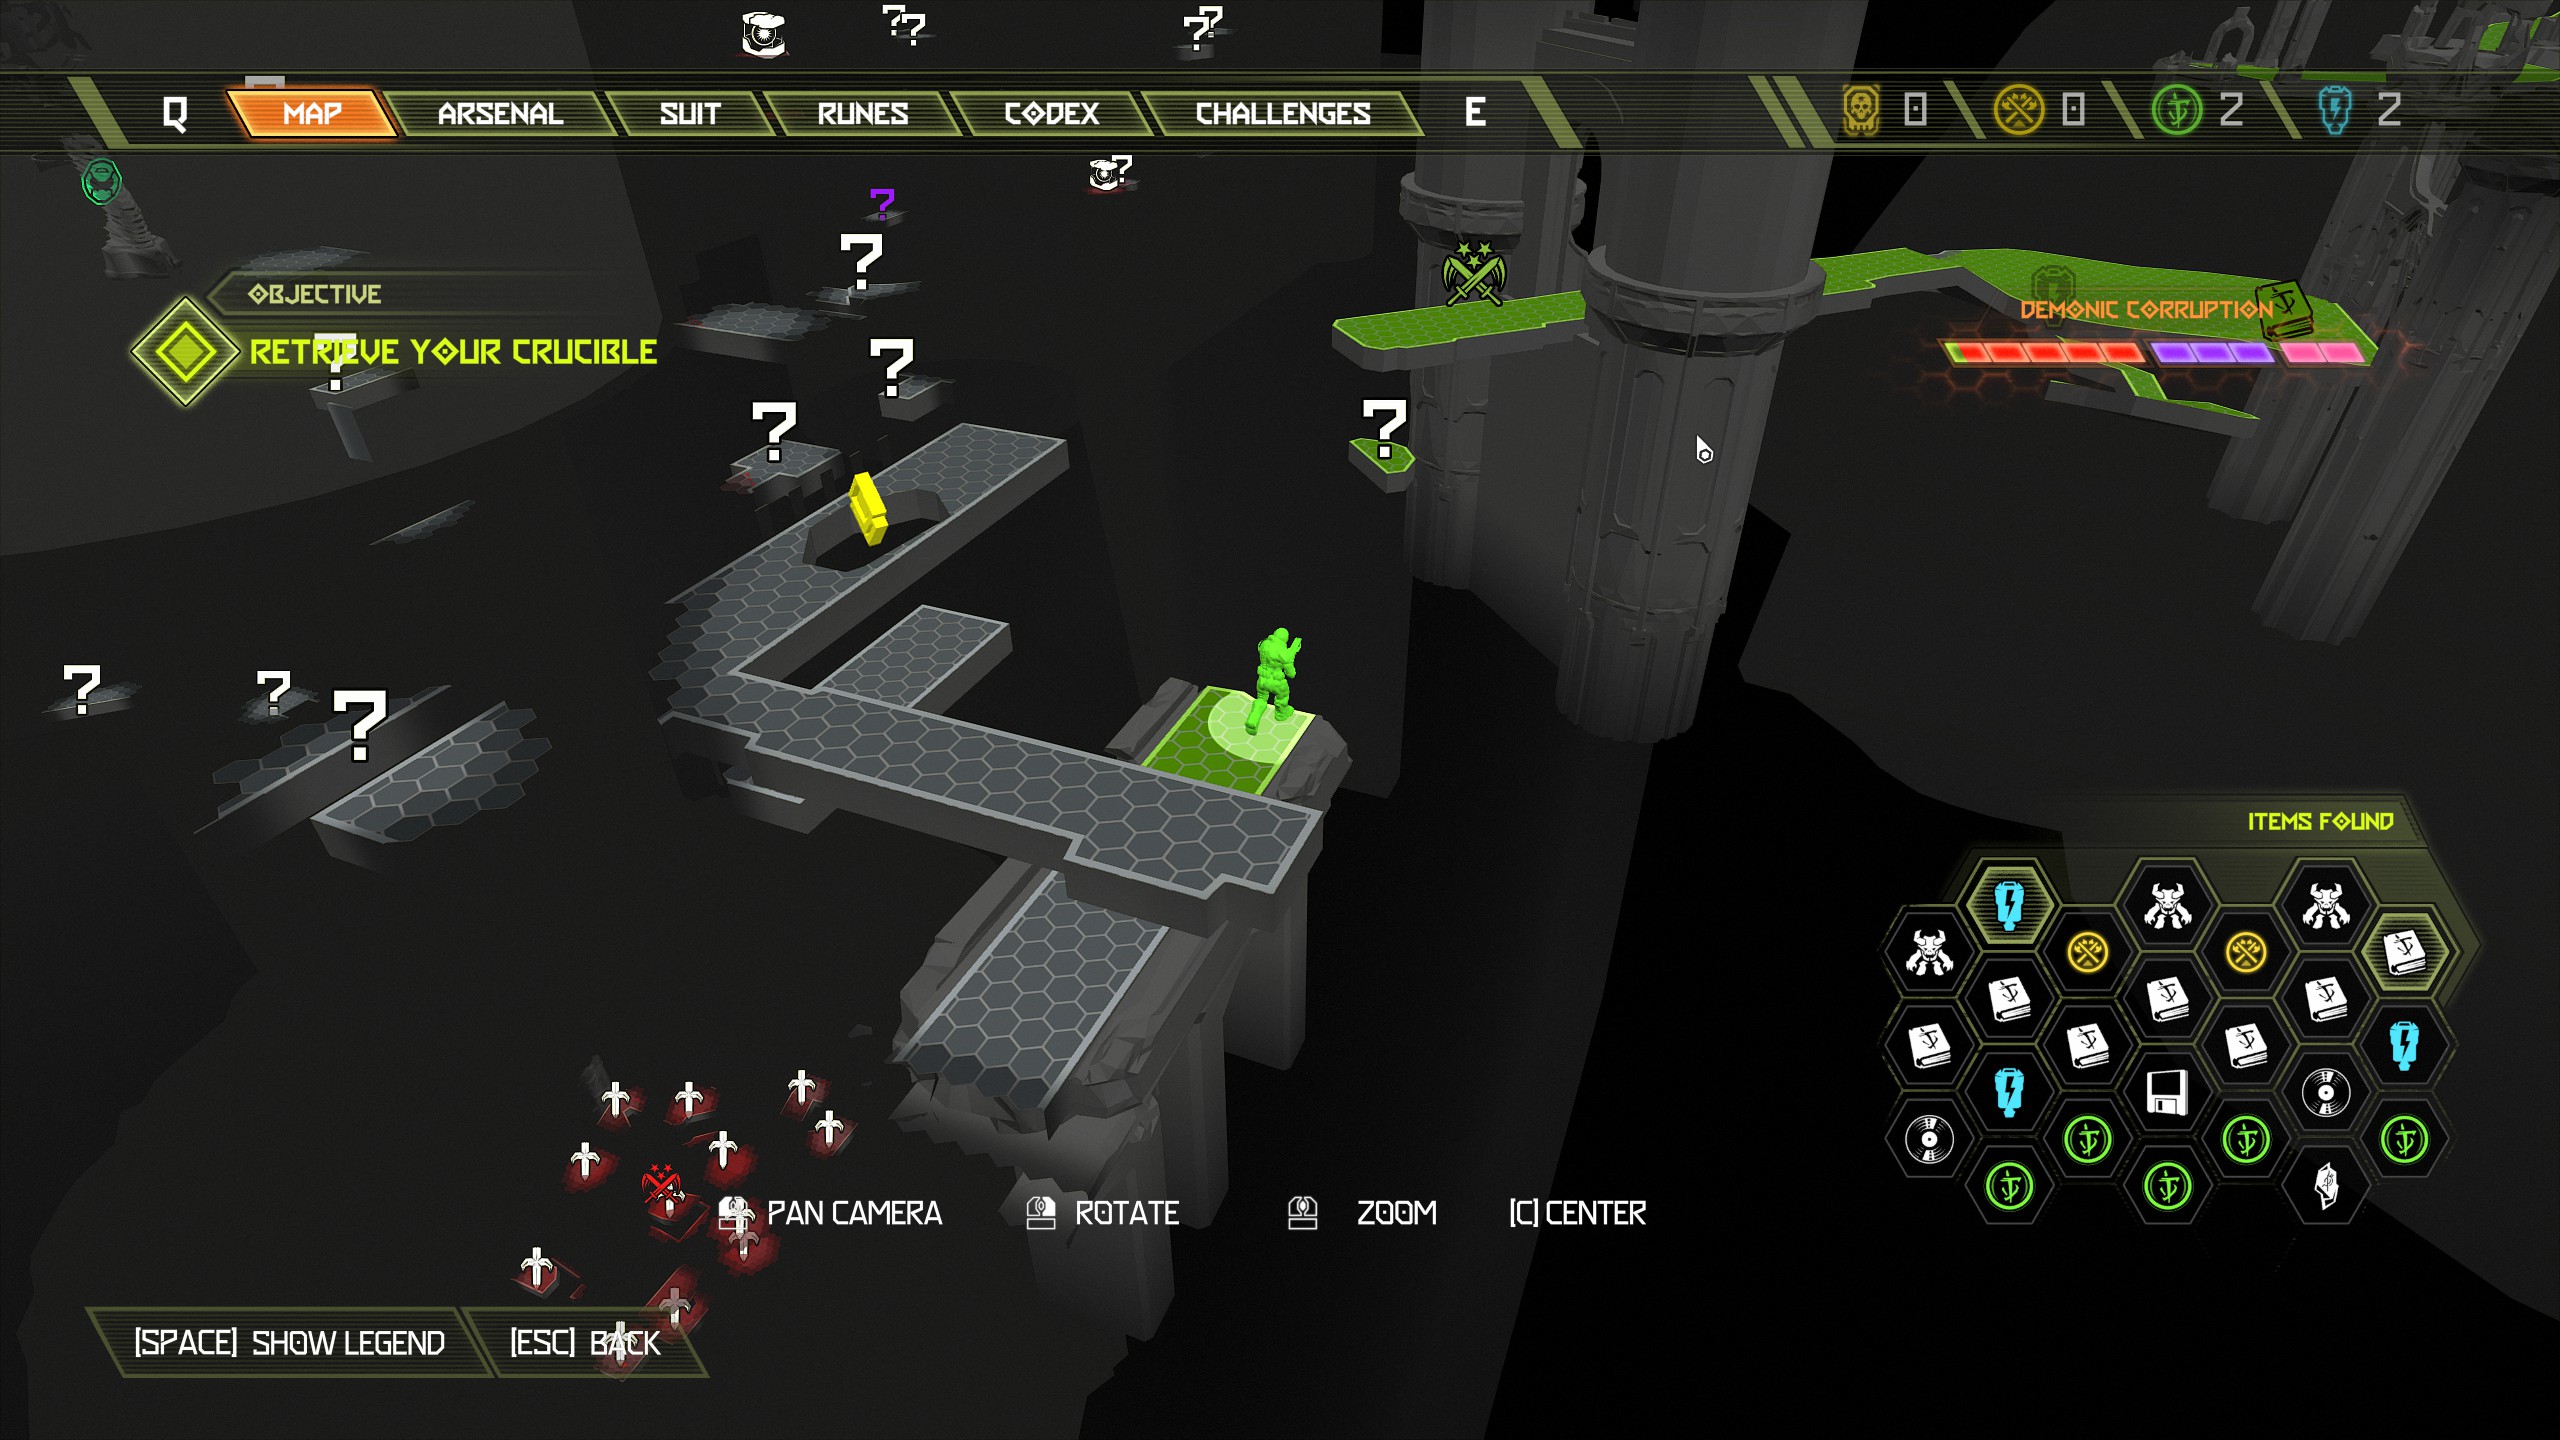
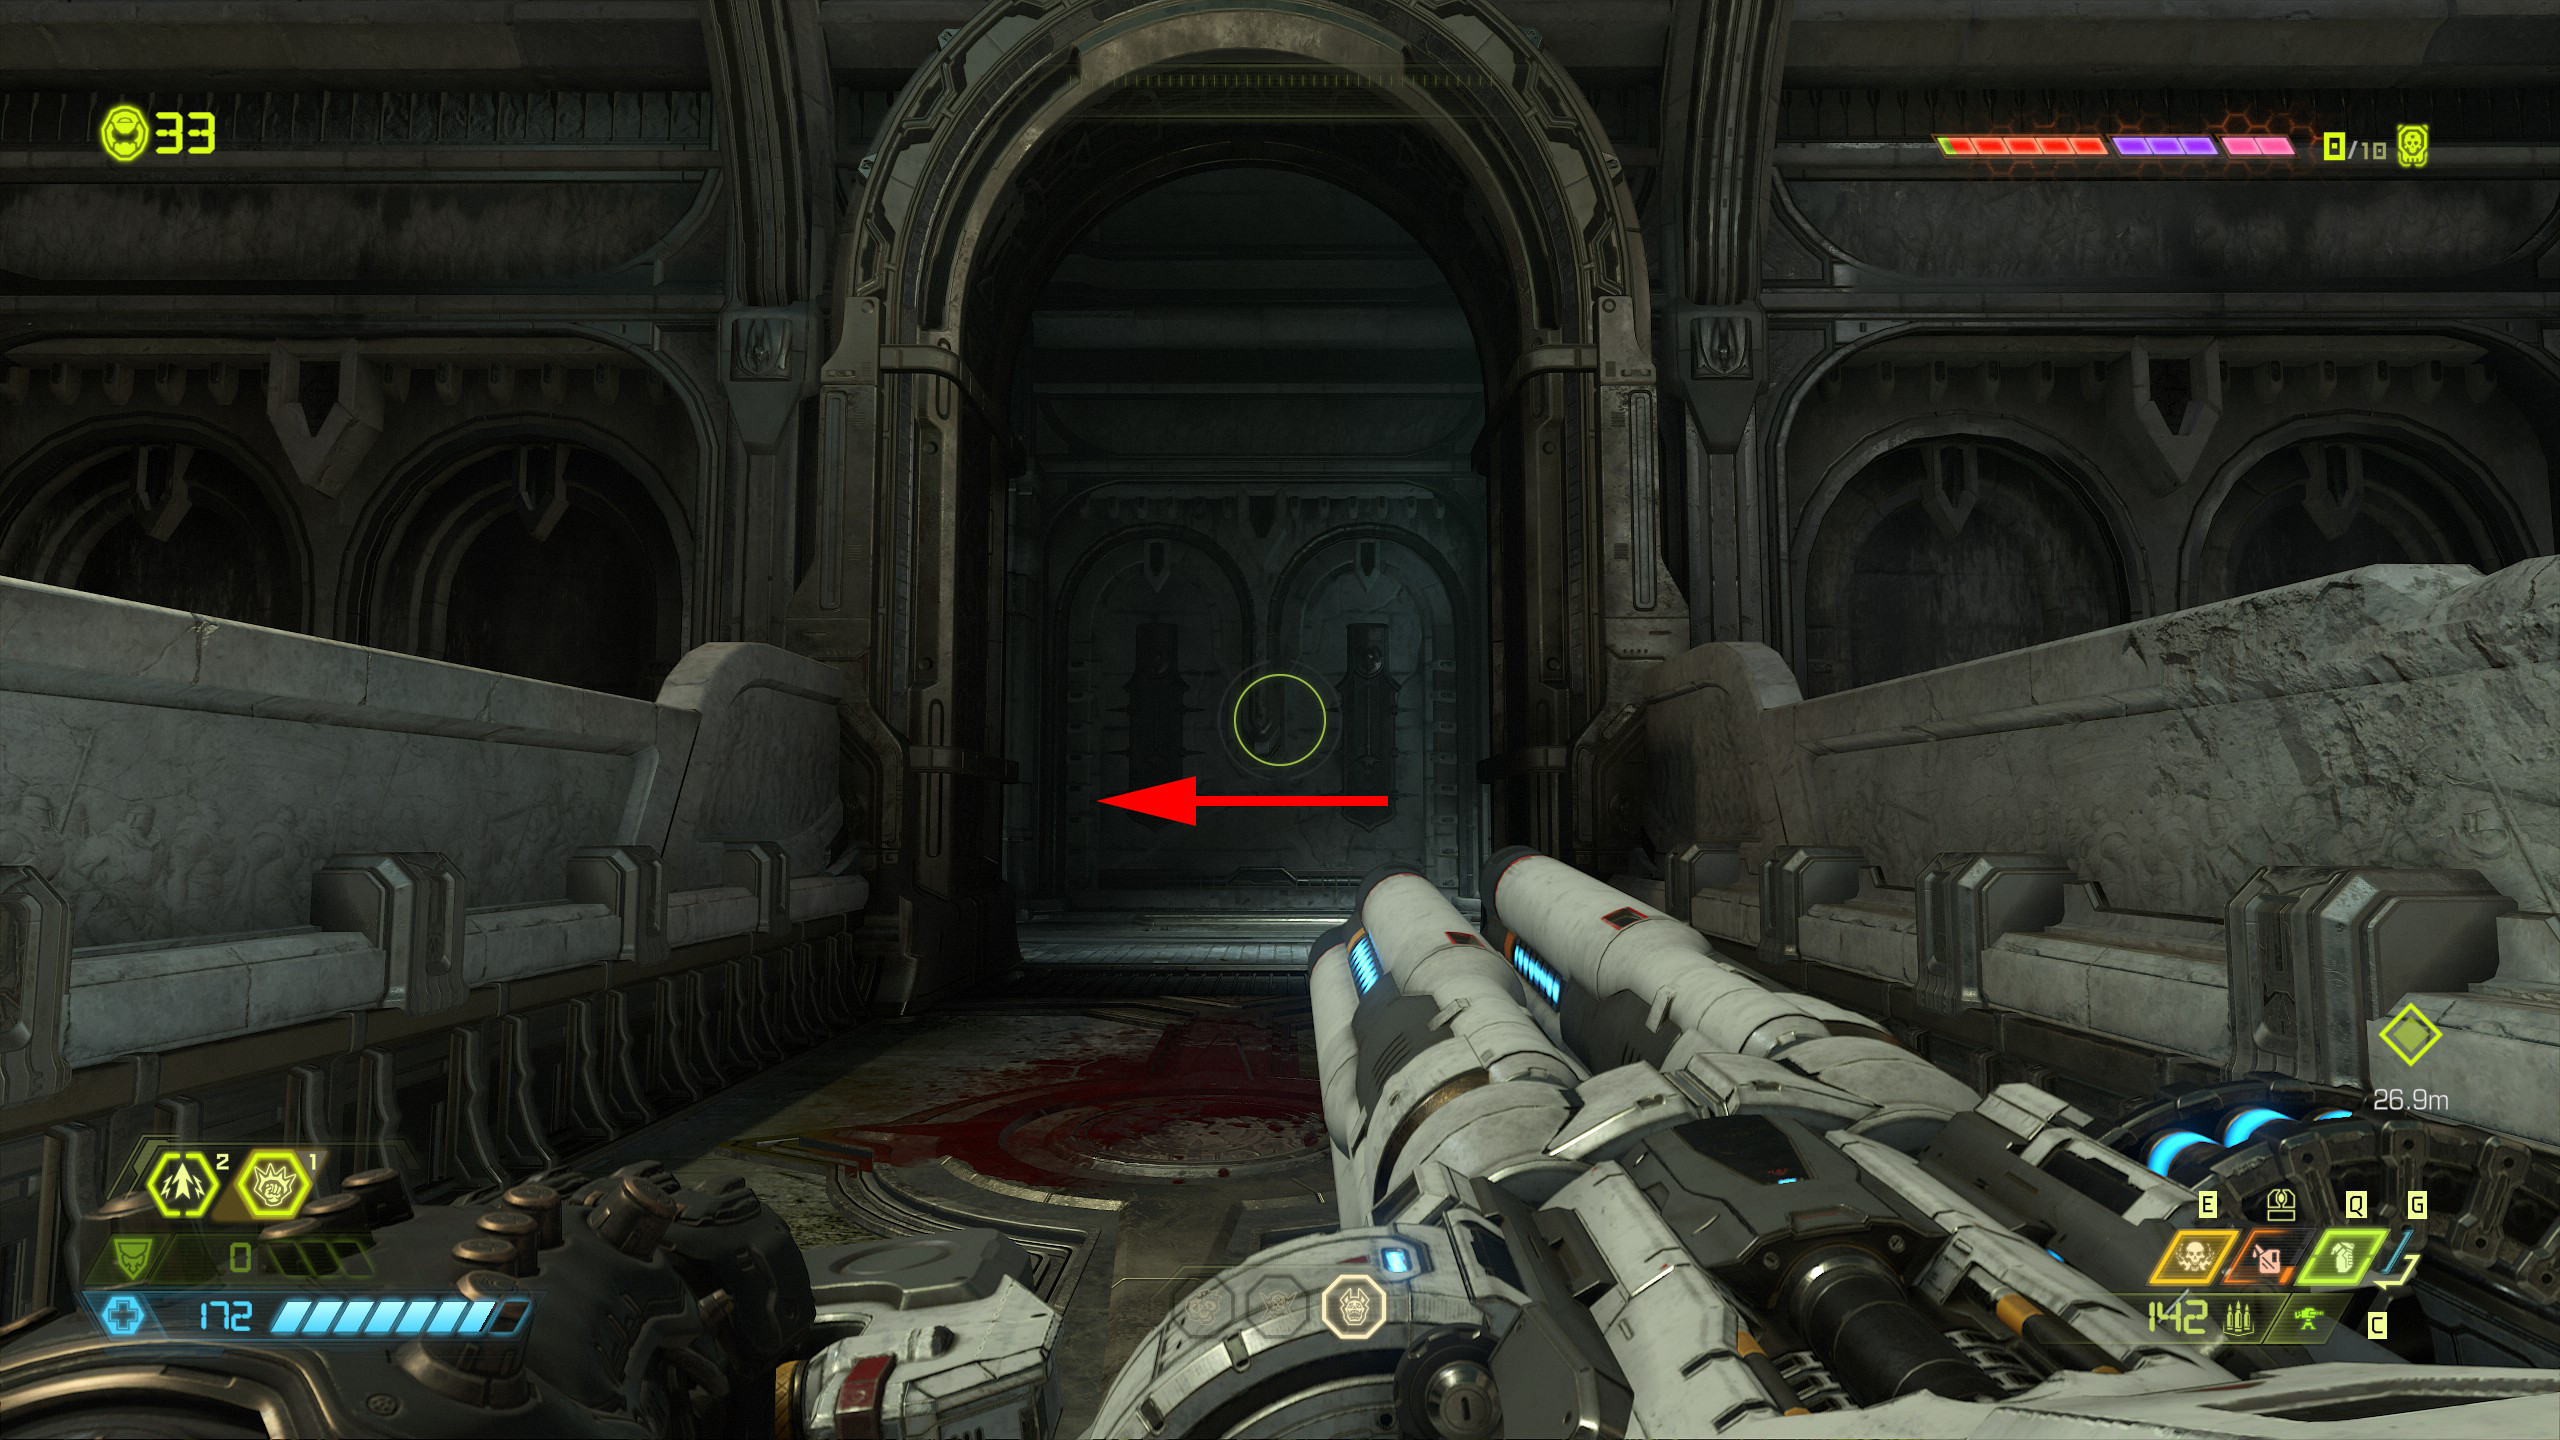
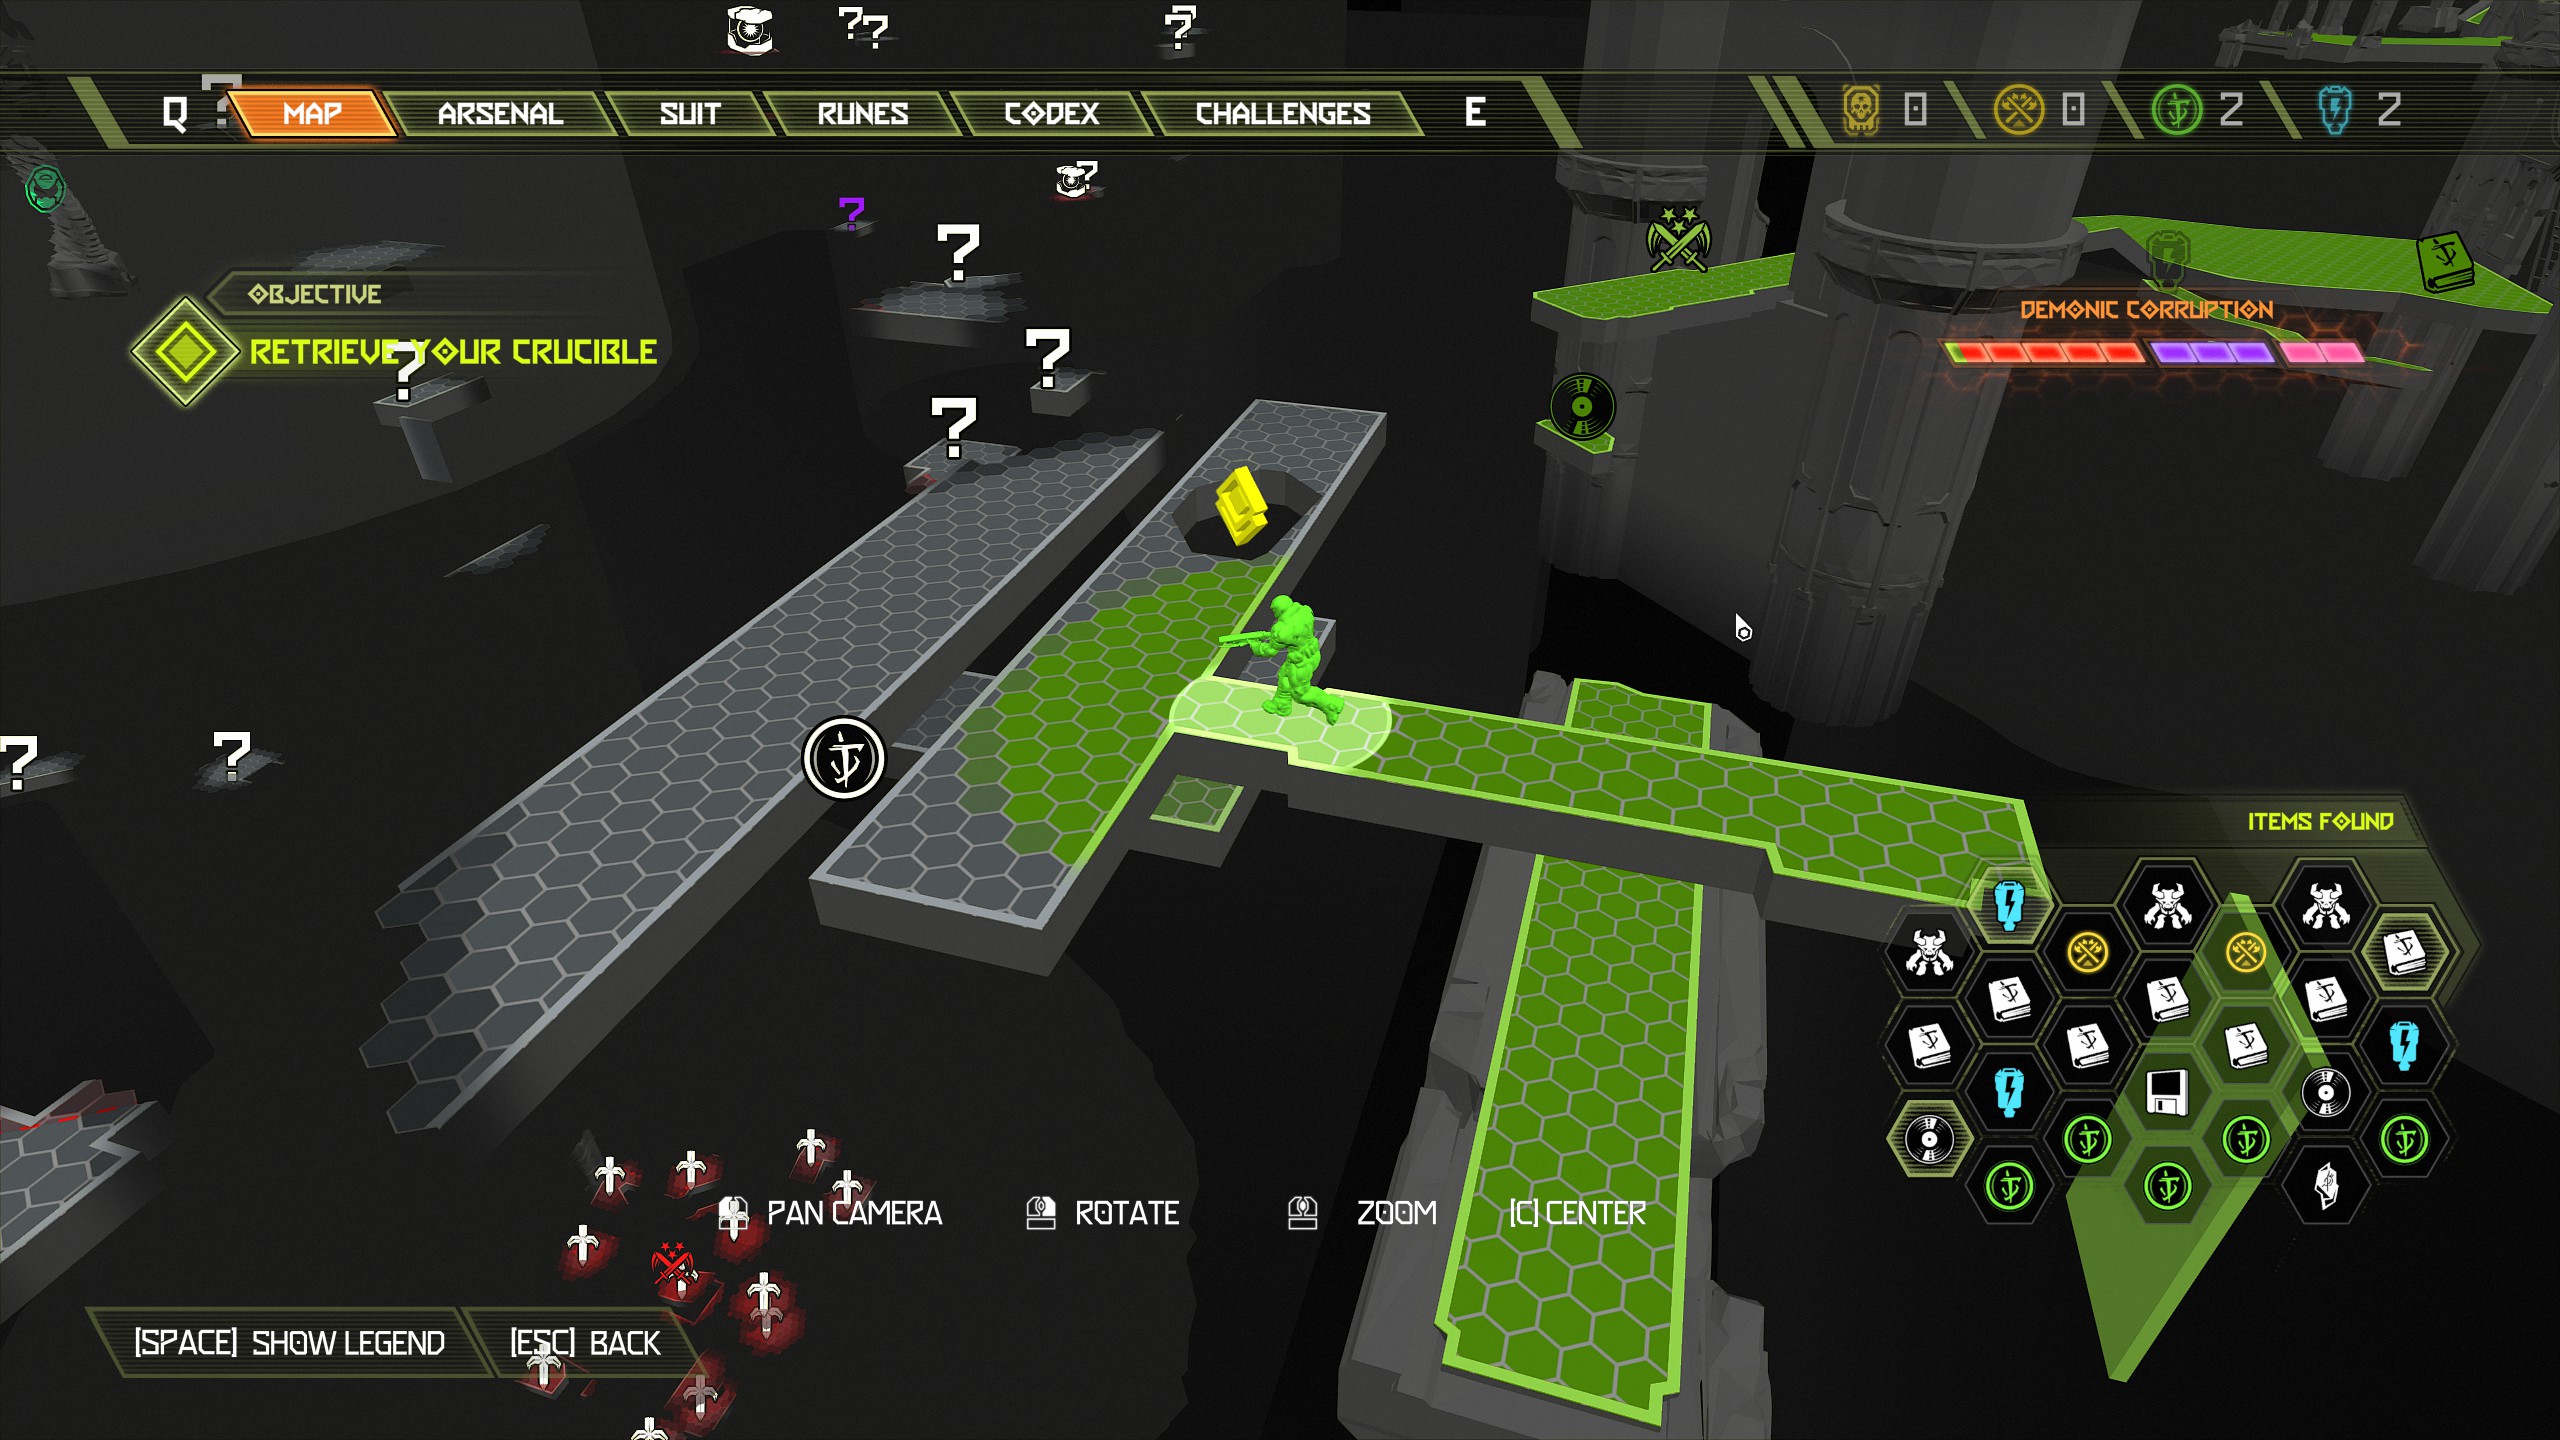
Secret Encounter:
For this encounter you will be attacked by 1 zombie, 1 cacodemon, 1 doom hunter, 1 pain elemental. After collecting the praetor suit token continue on and drop down into the hole. When you come out into the large open area, clear it of demons and on the left side as you entered the area there is a breakable wall and behind it is the secret encounter. This one can be a little difficult to complete.
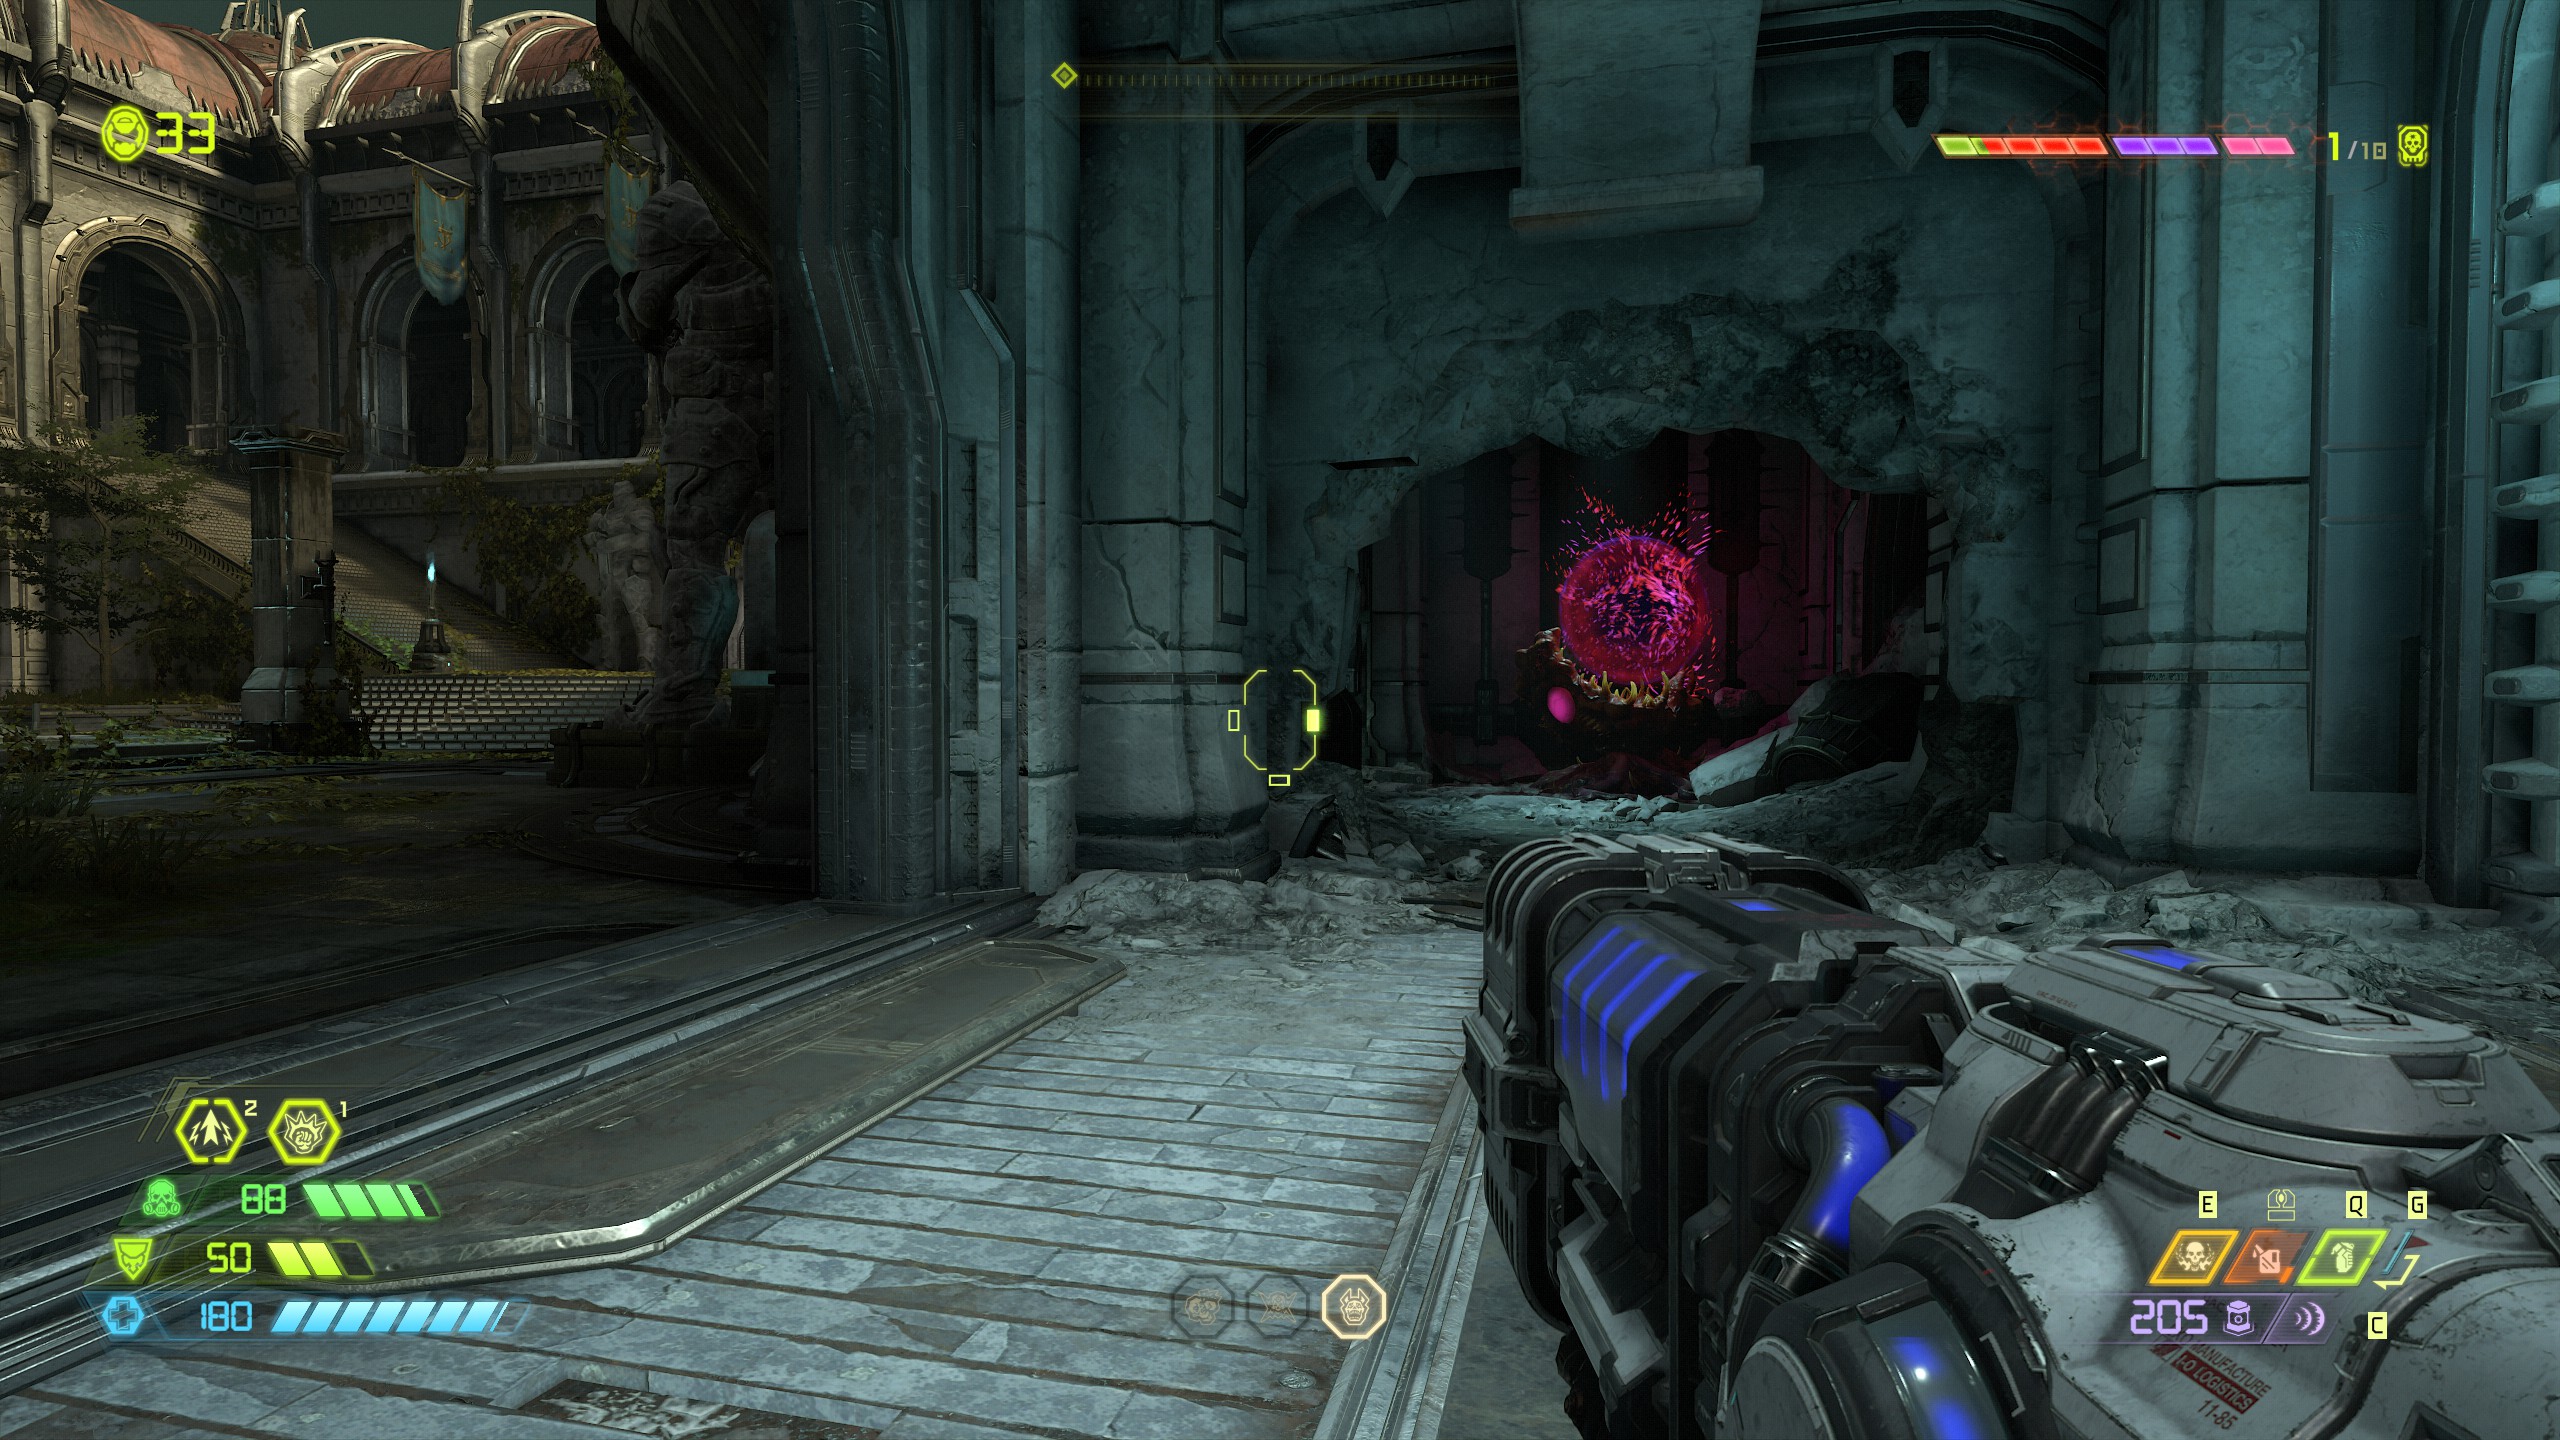
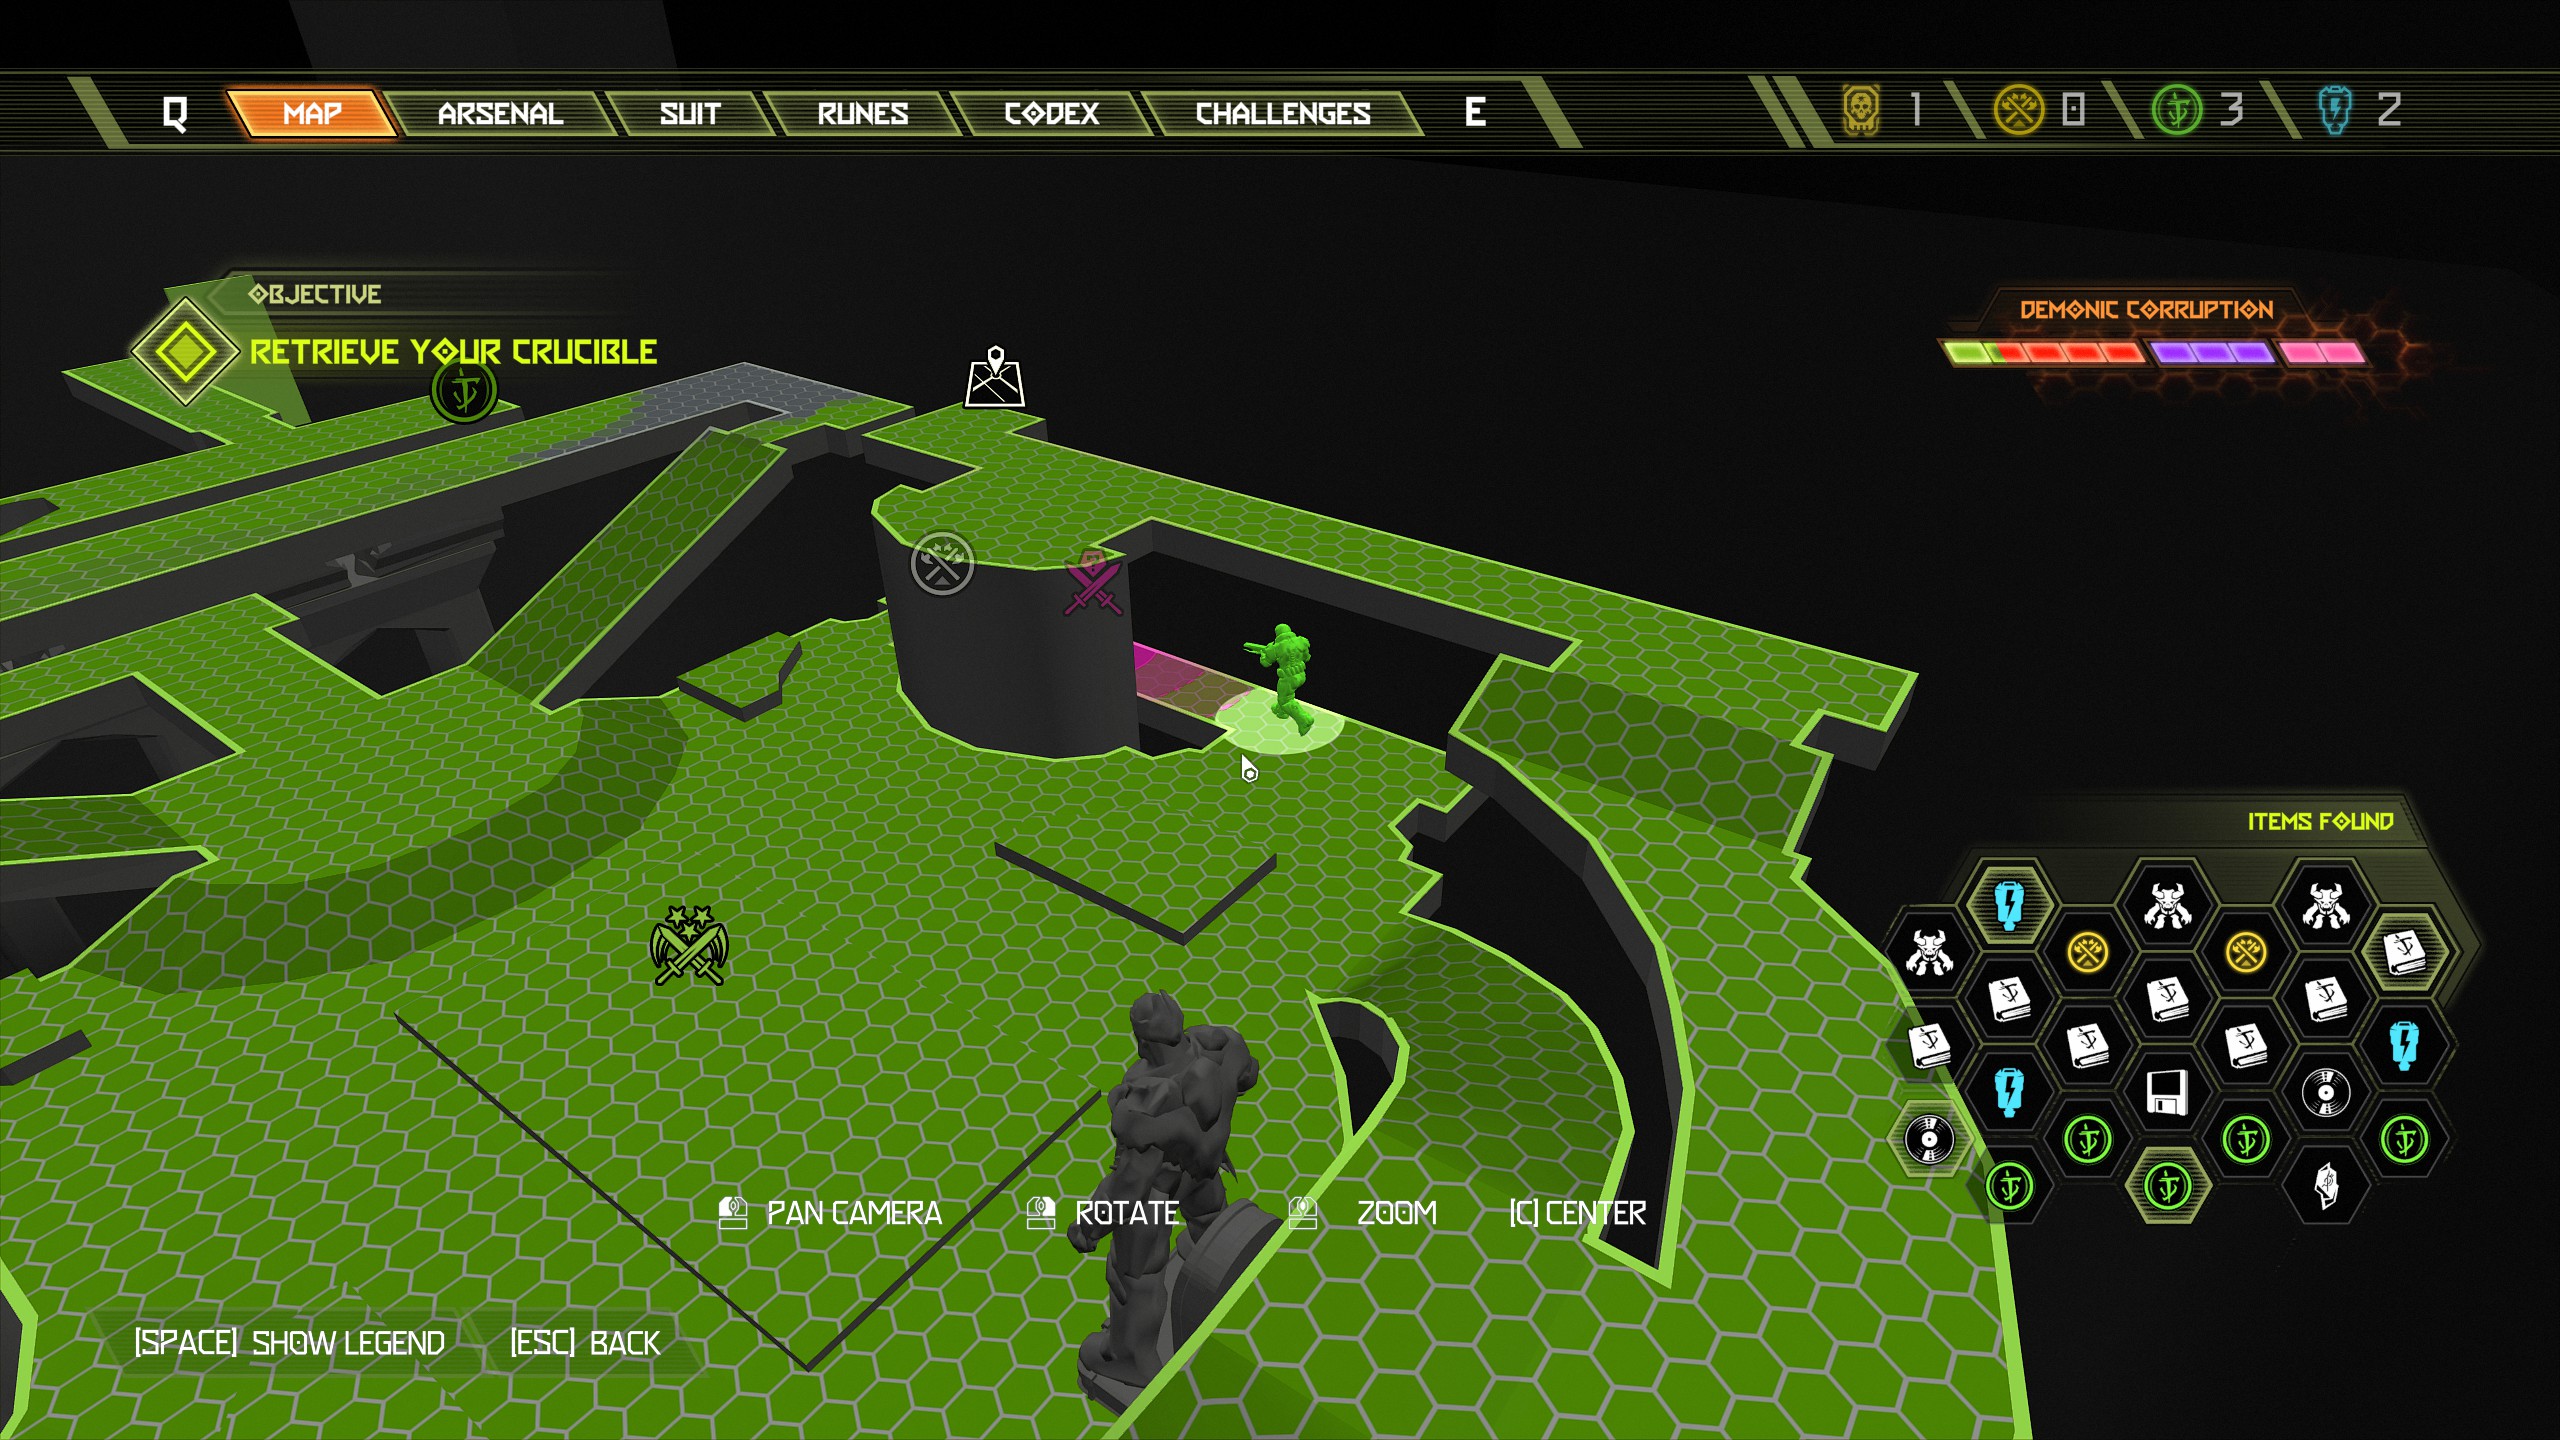
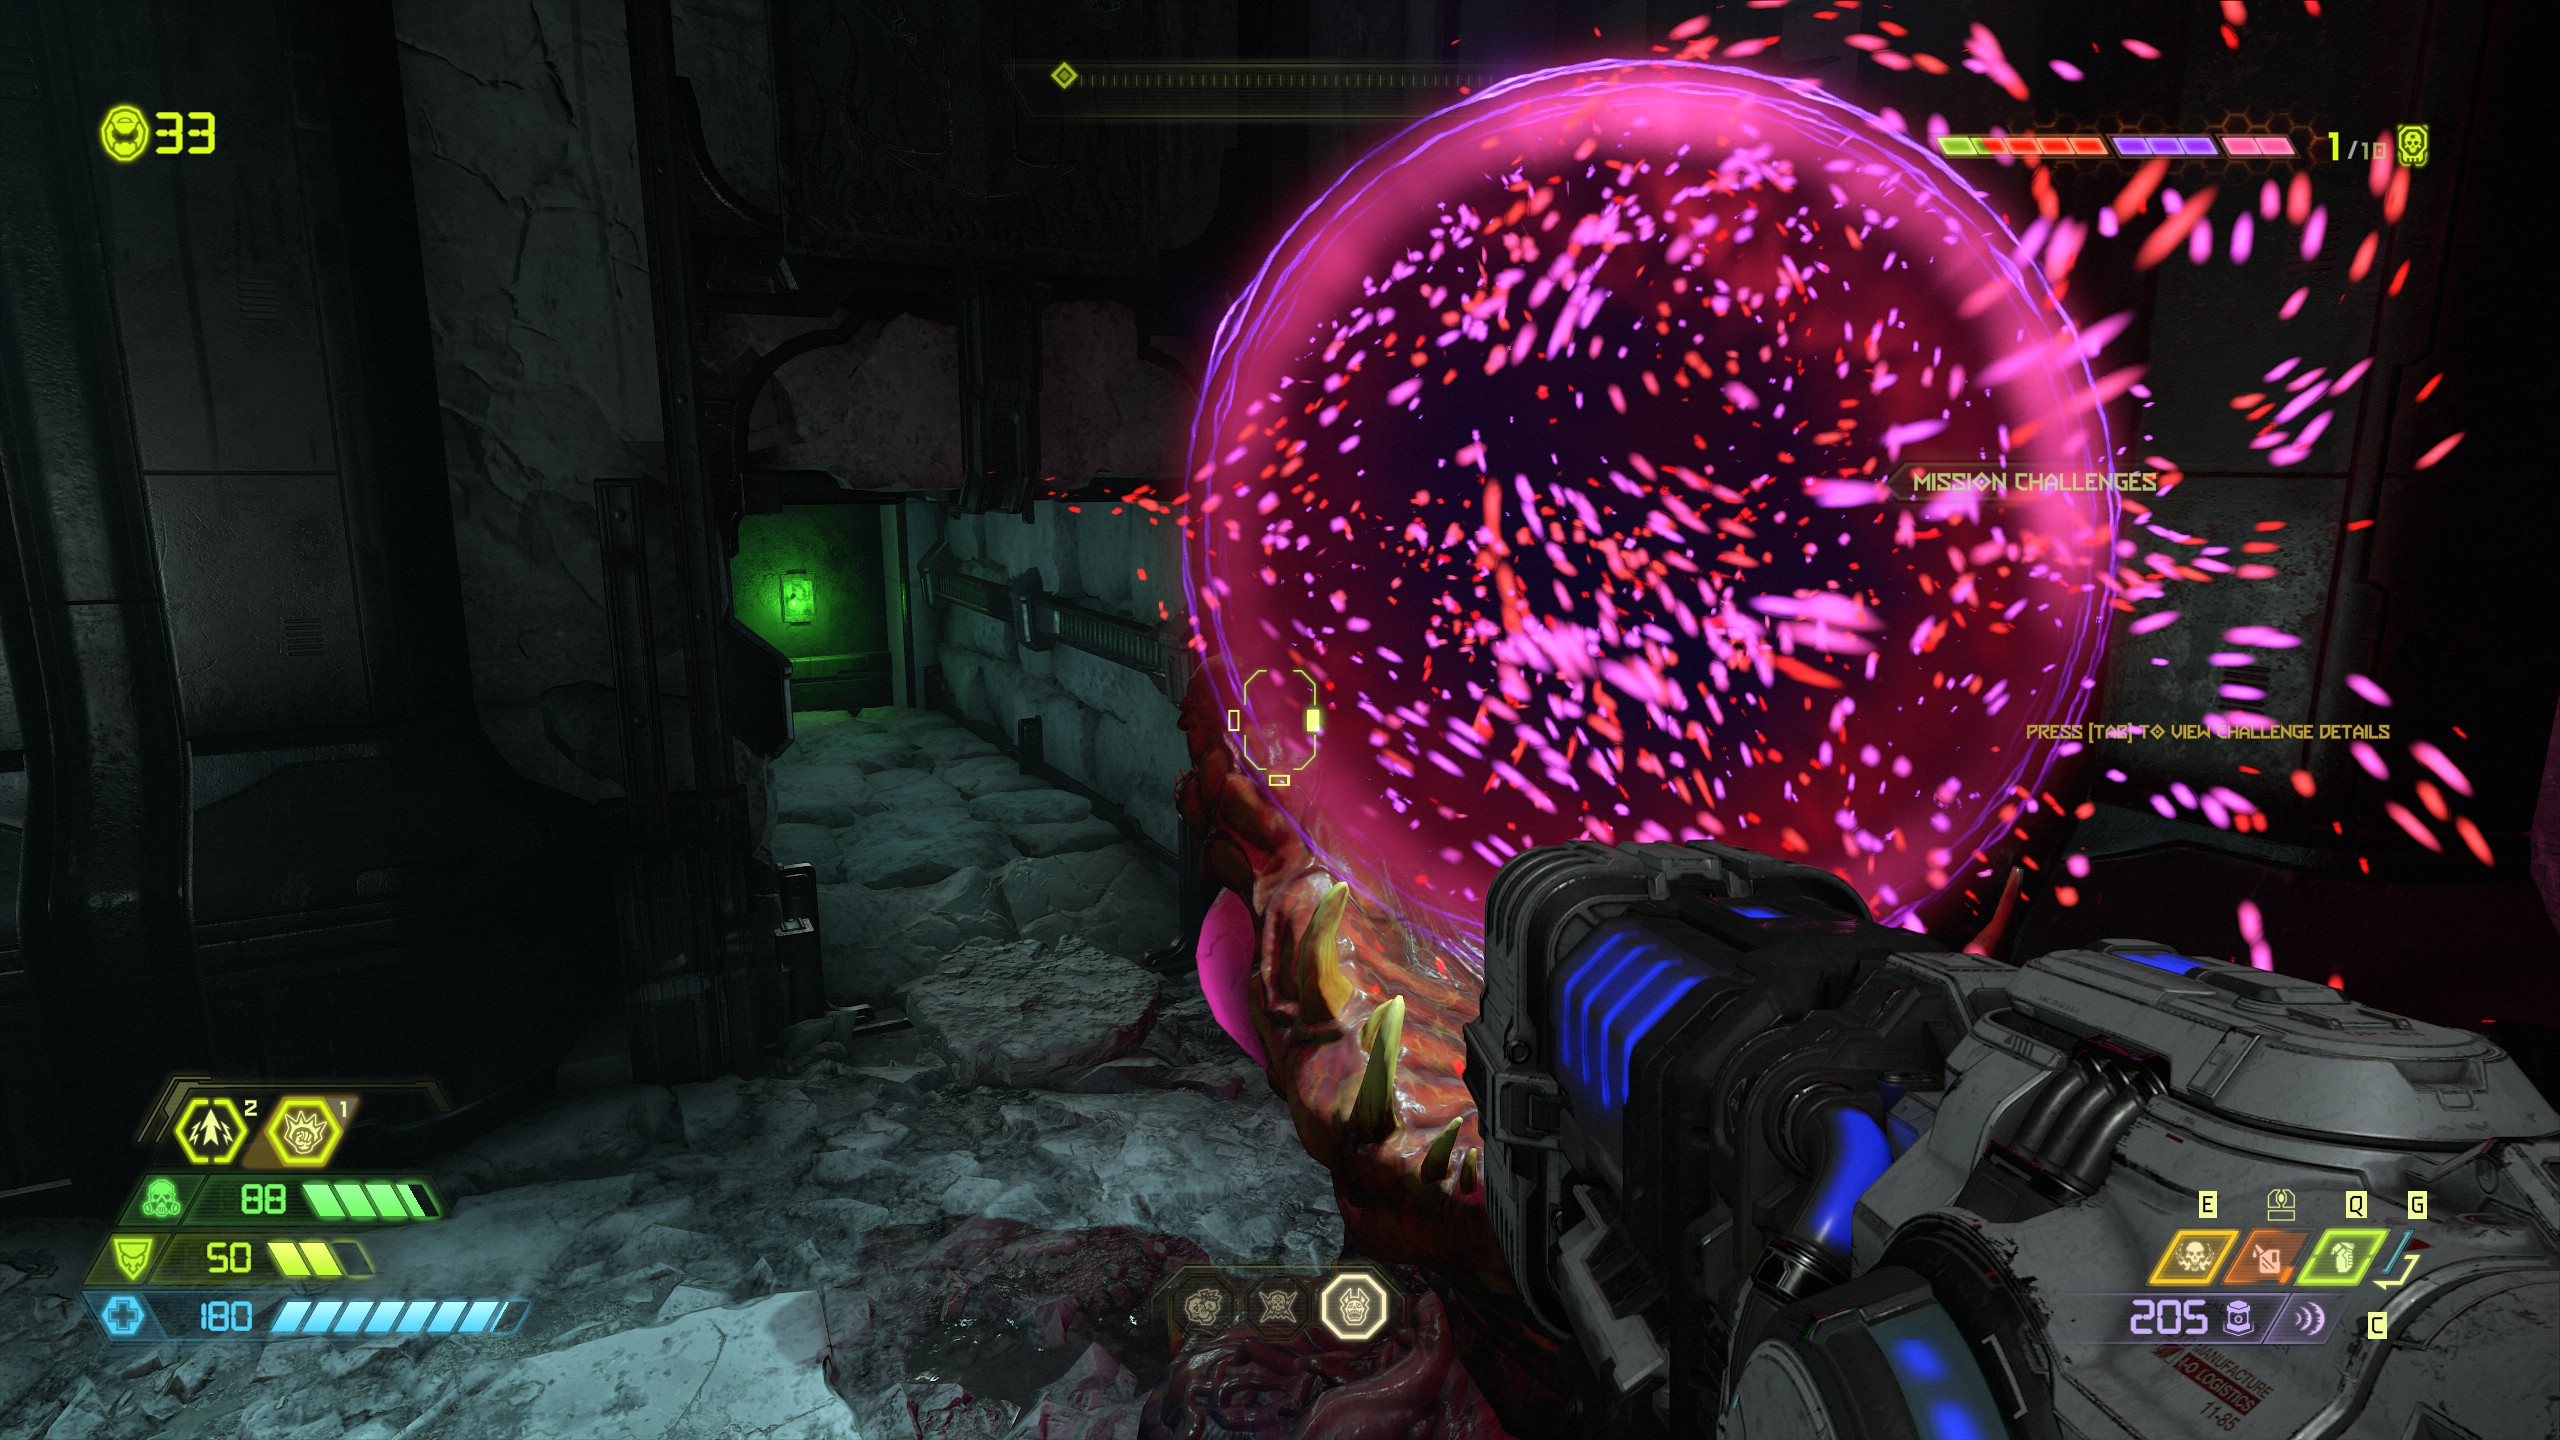
As you face the secret encounter there is a small nook on the left with a green button inside, press it and it will give you access to the mastery token next door. To guide you better the mastery token will be on your left side as you entered the area.
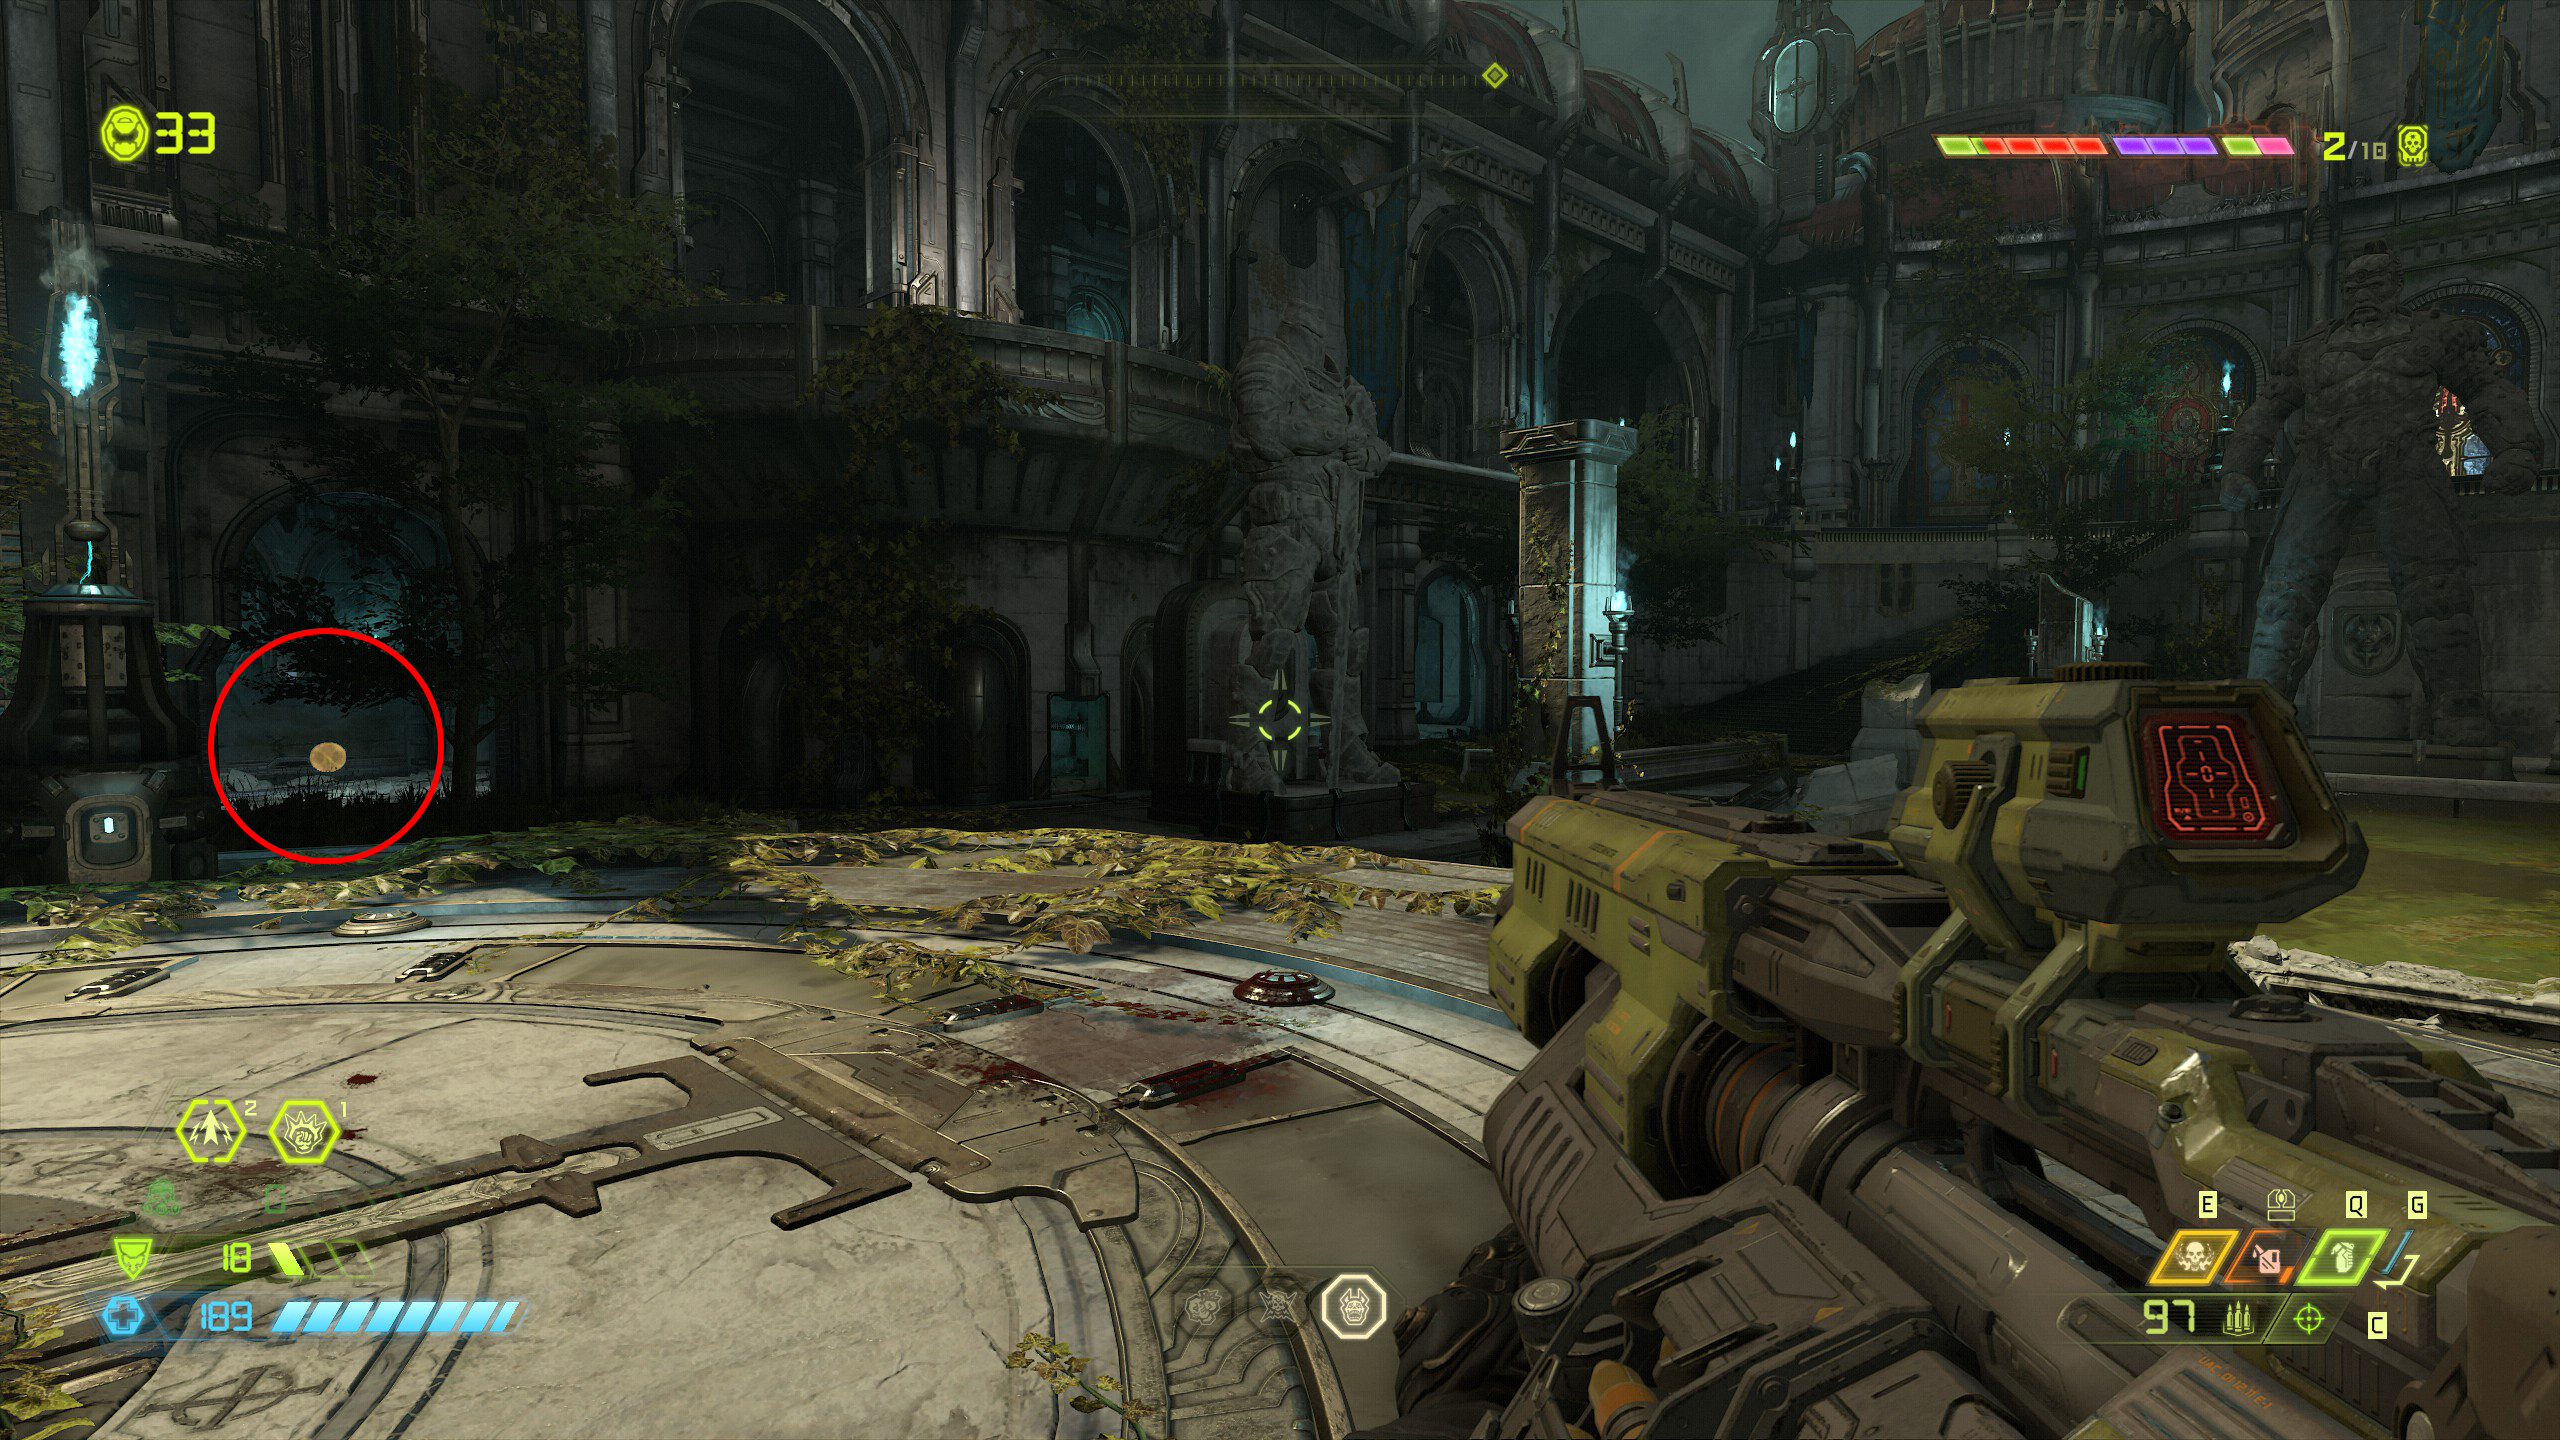
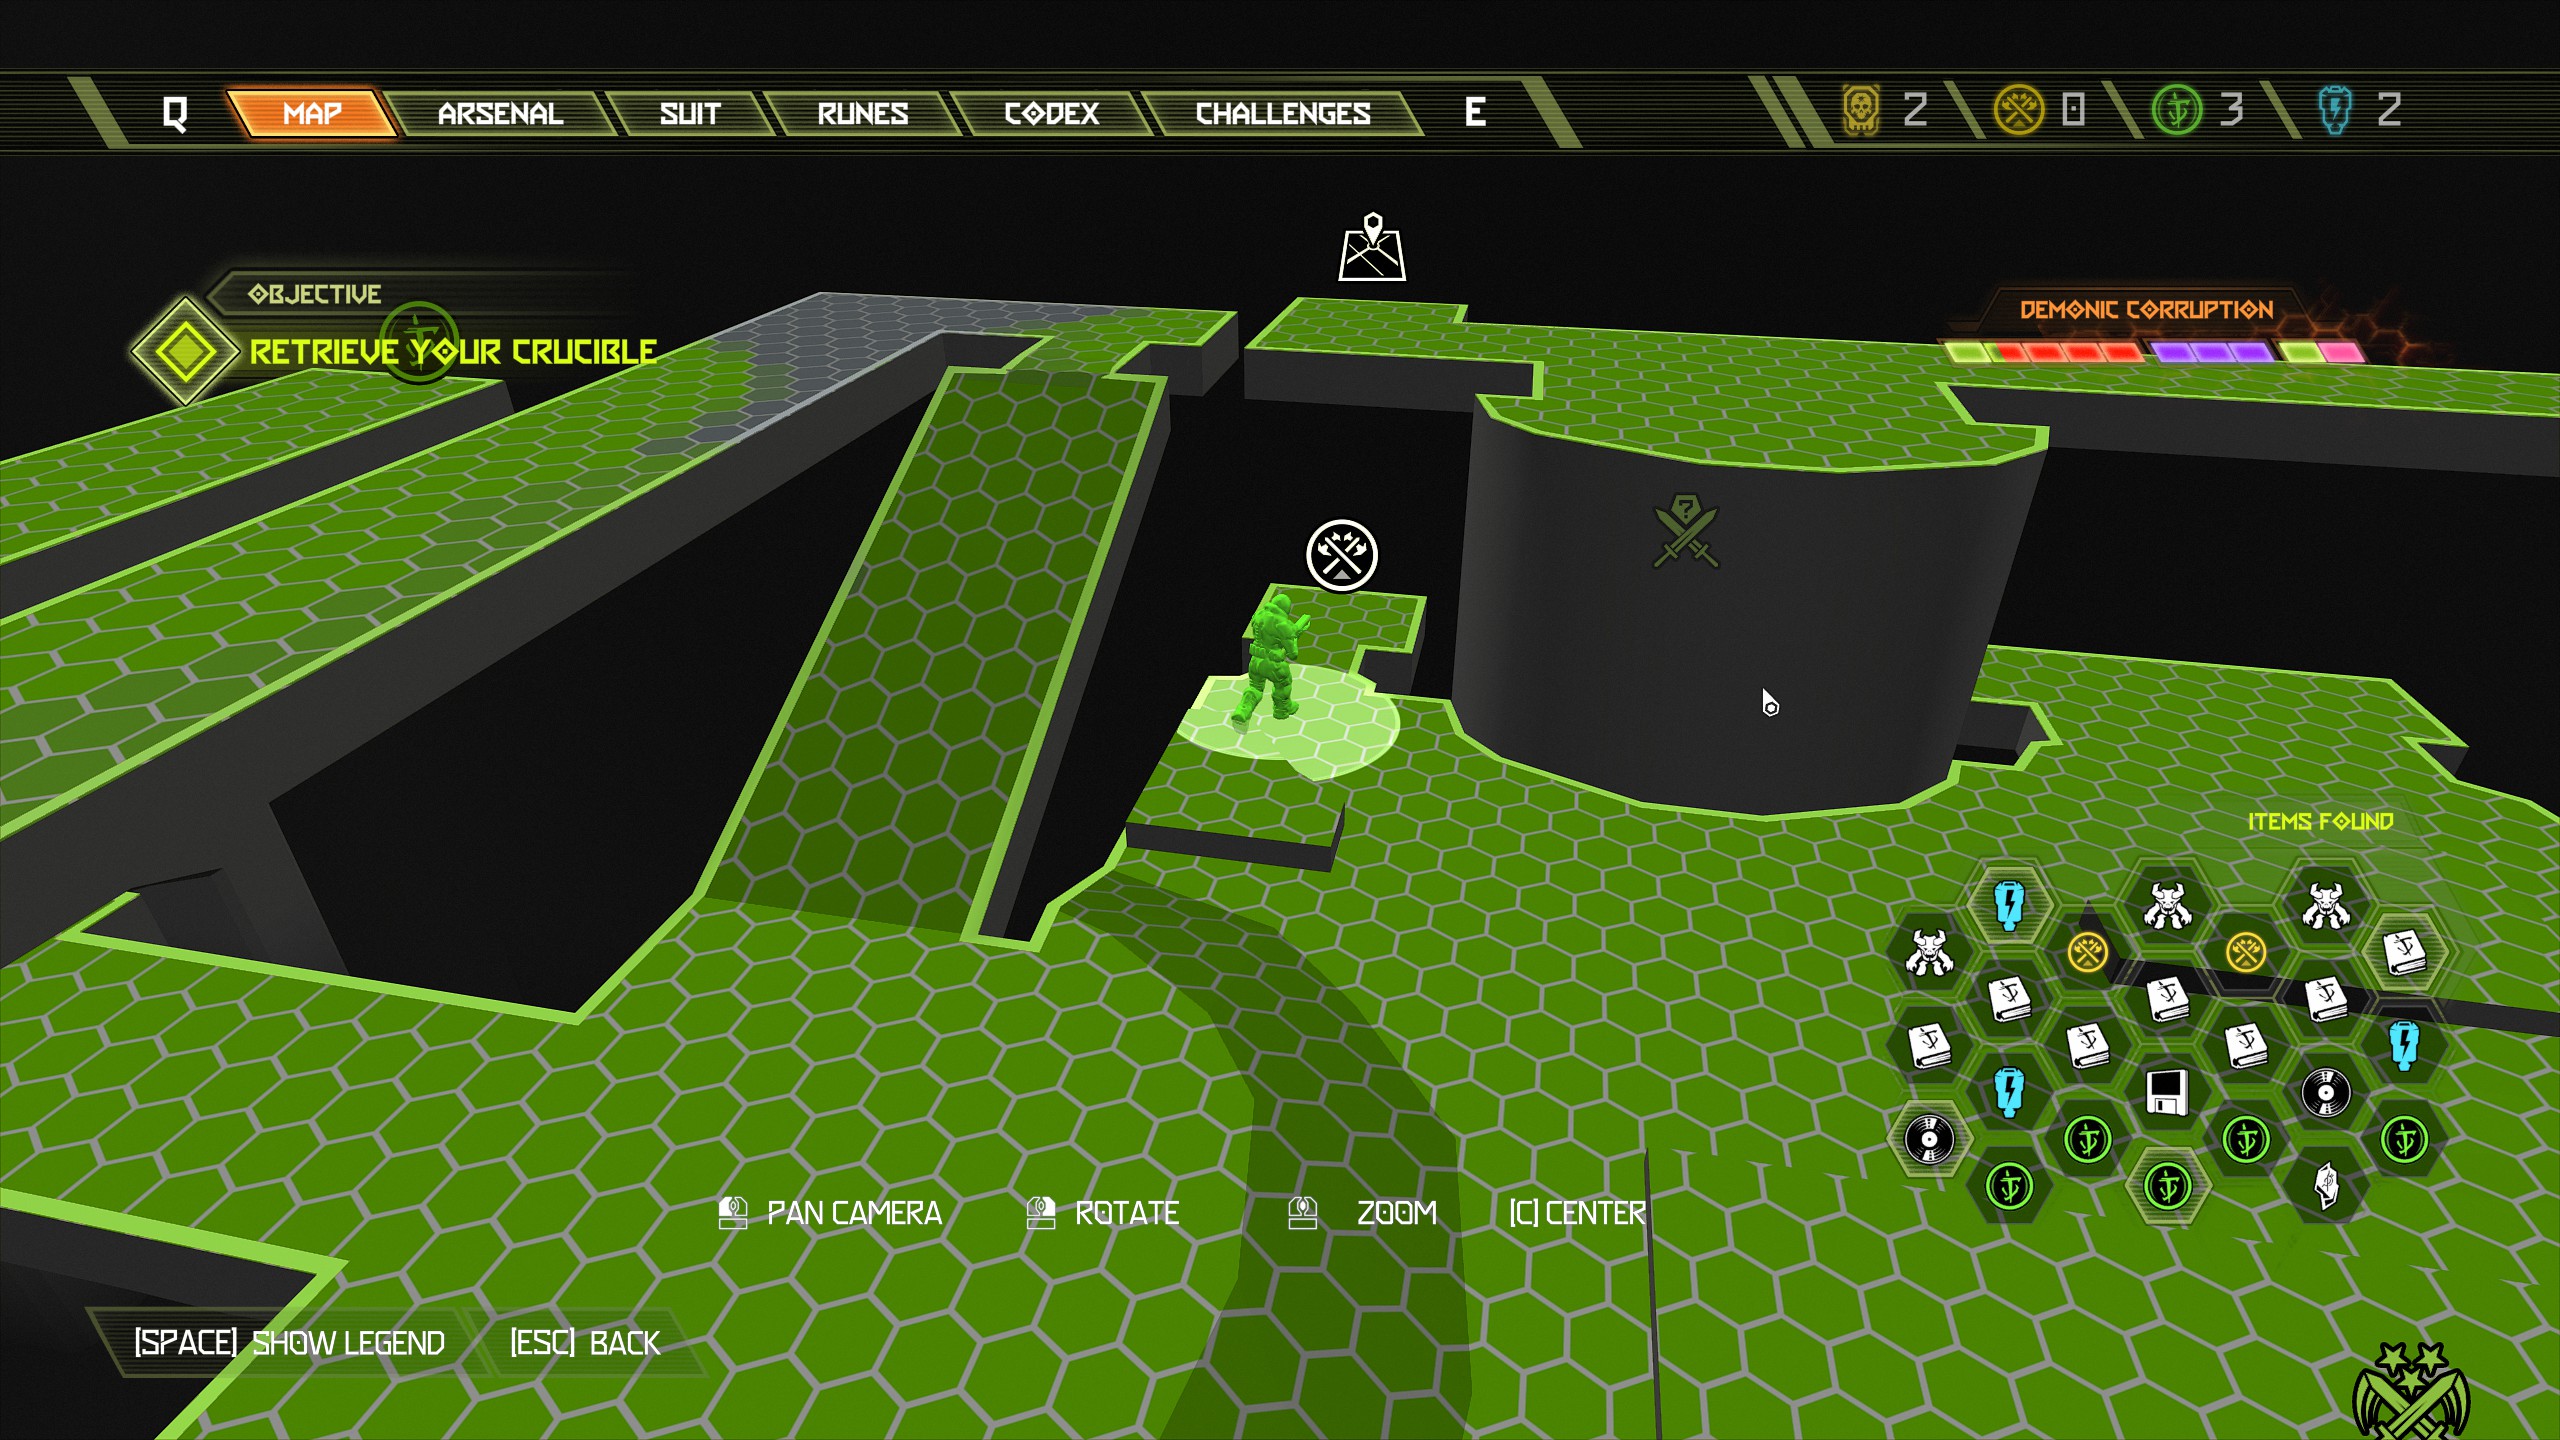 Now again stand where you entered the area and this time climb to the upper platform on the left side and turn left again to find the automap just inside.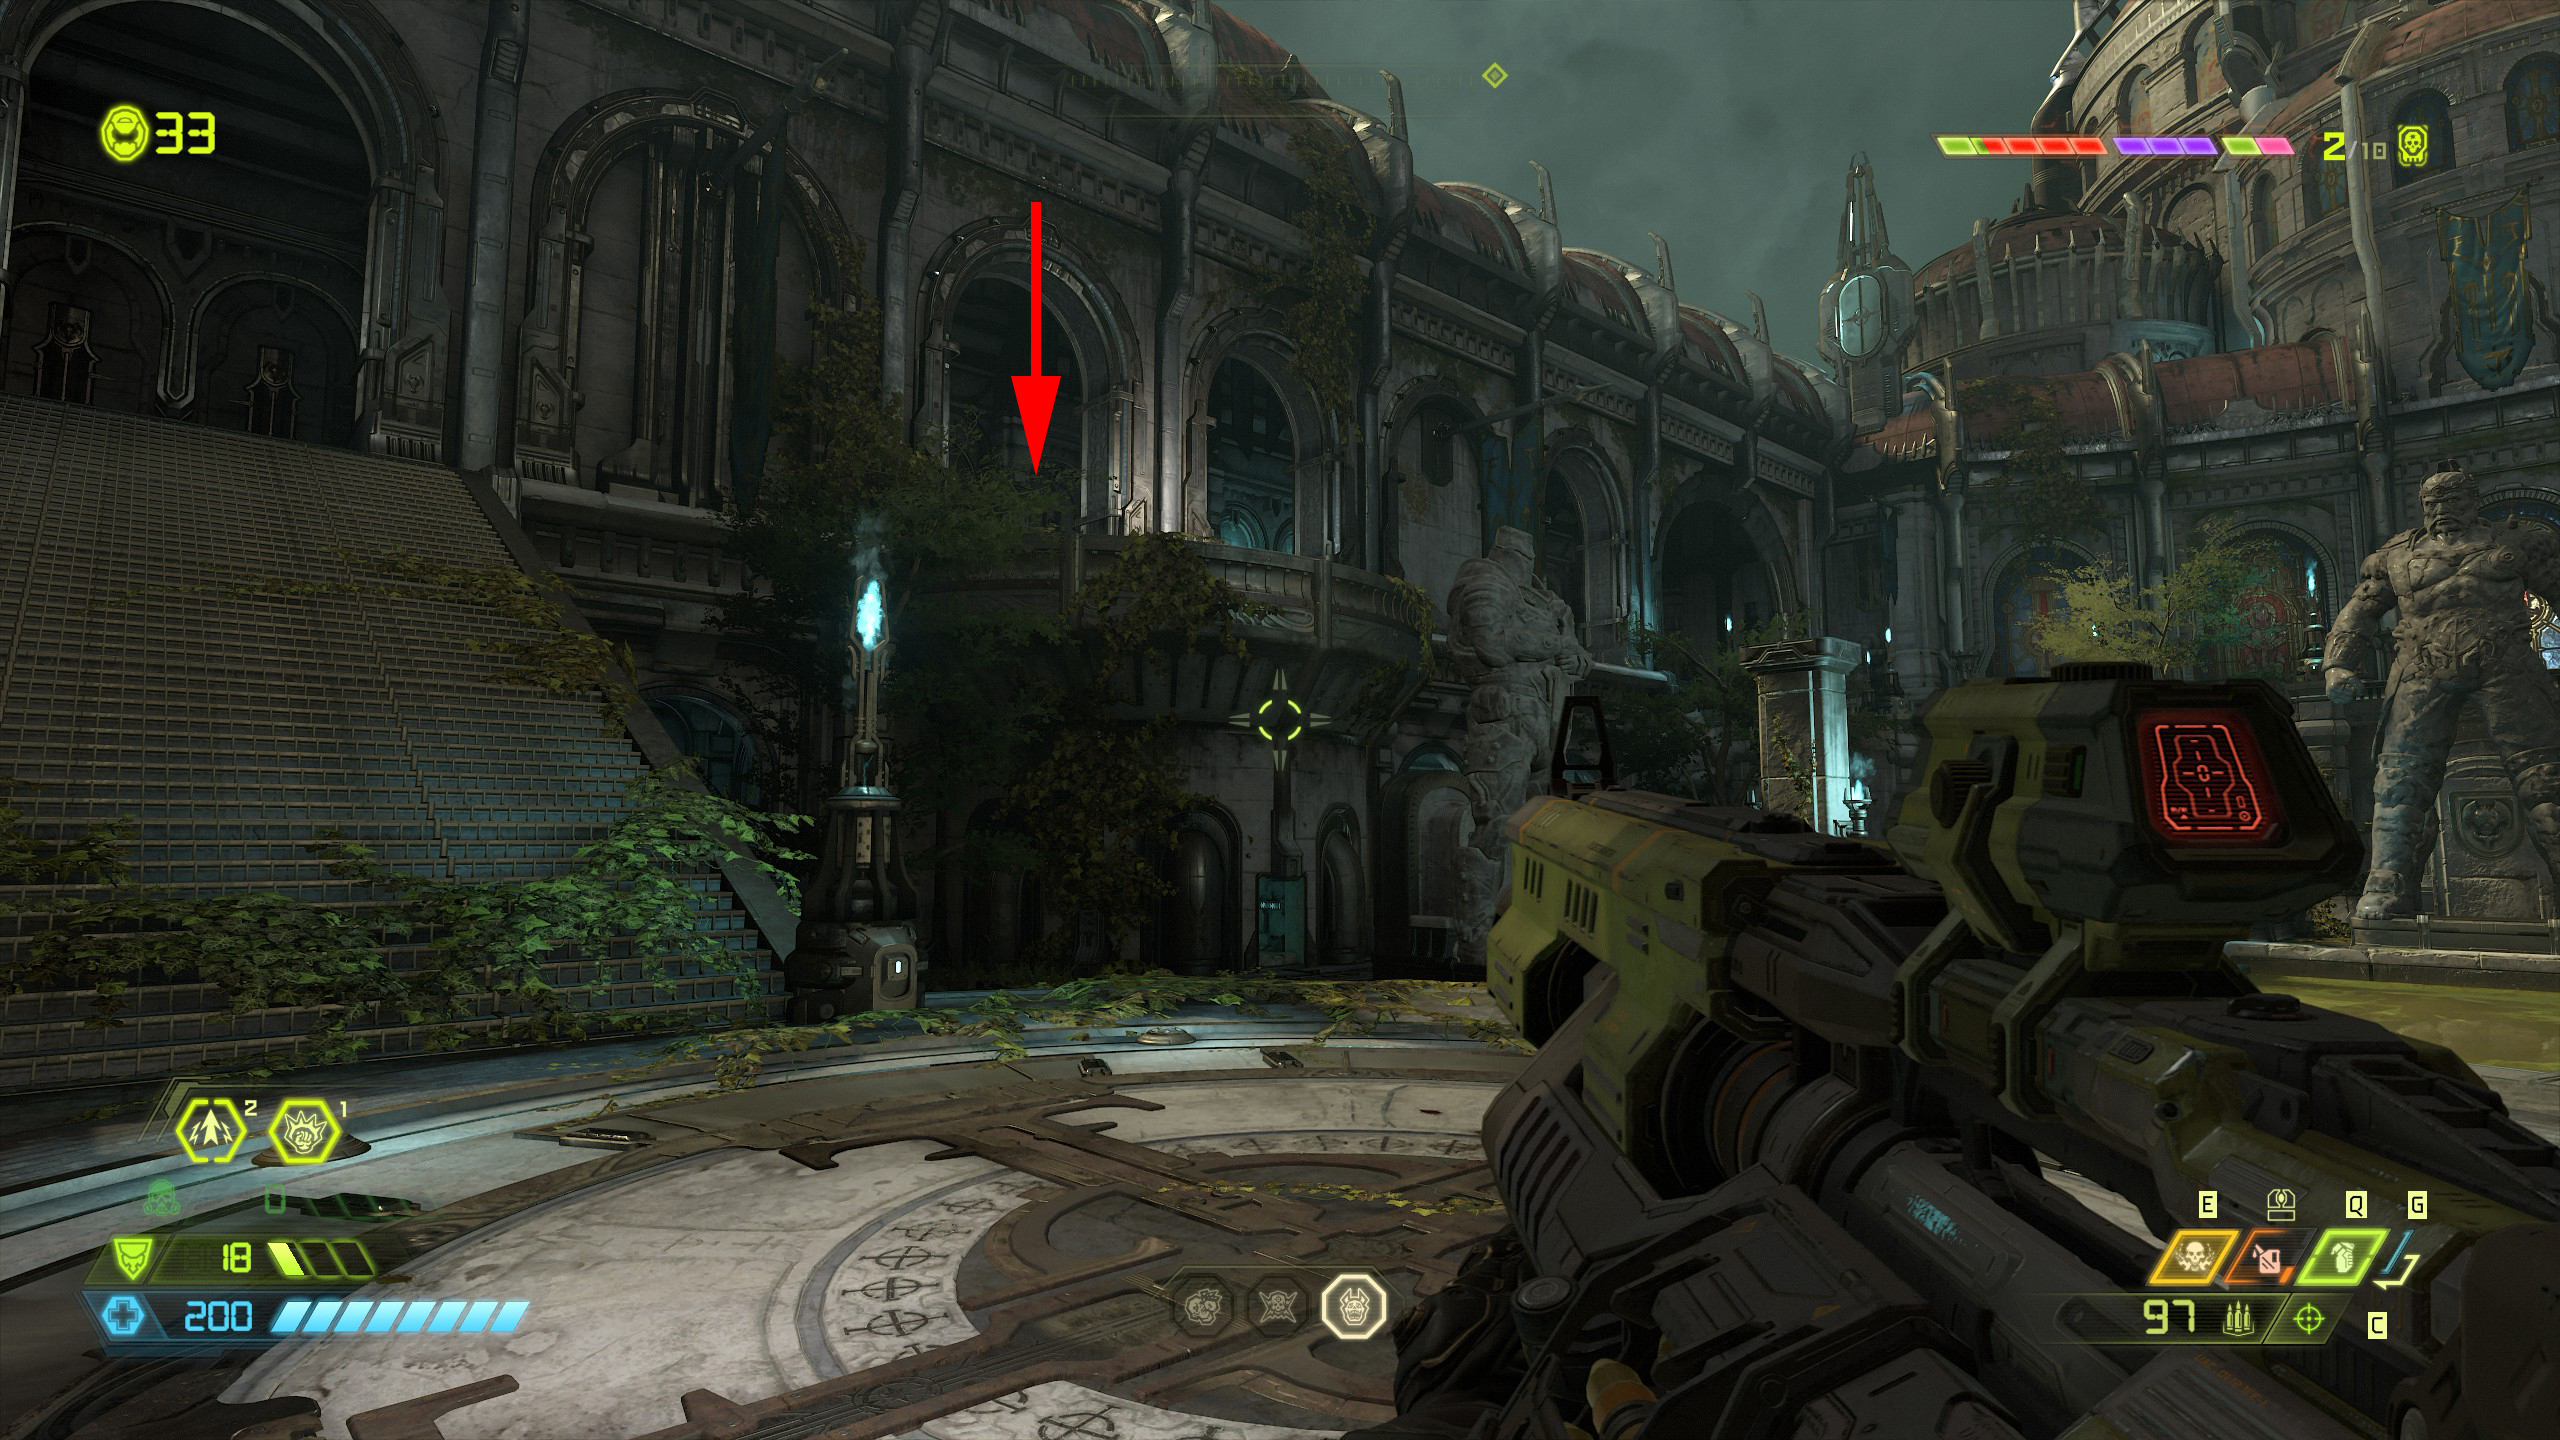
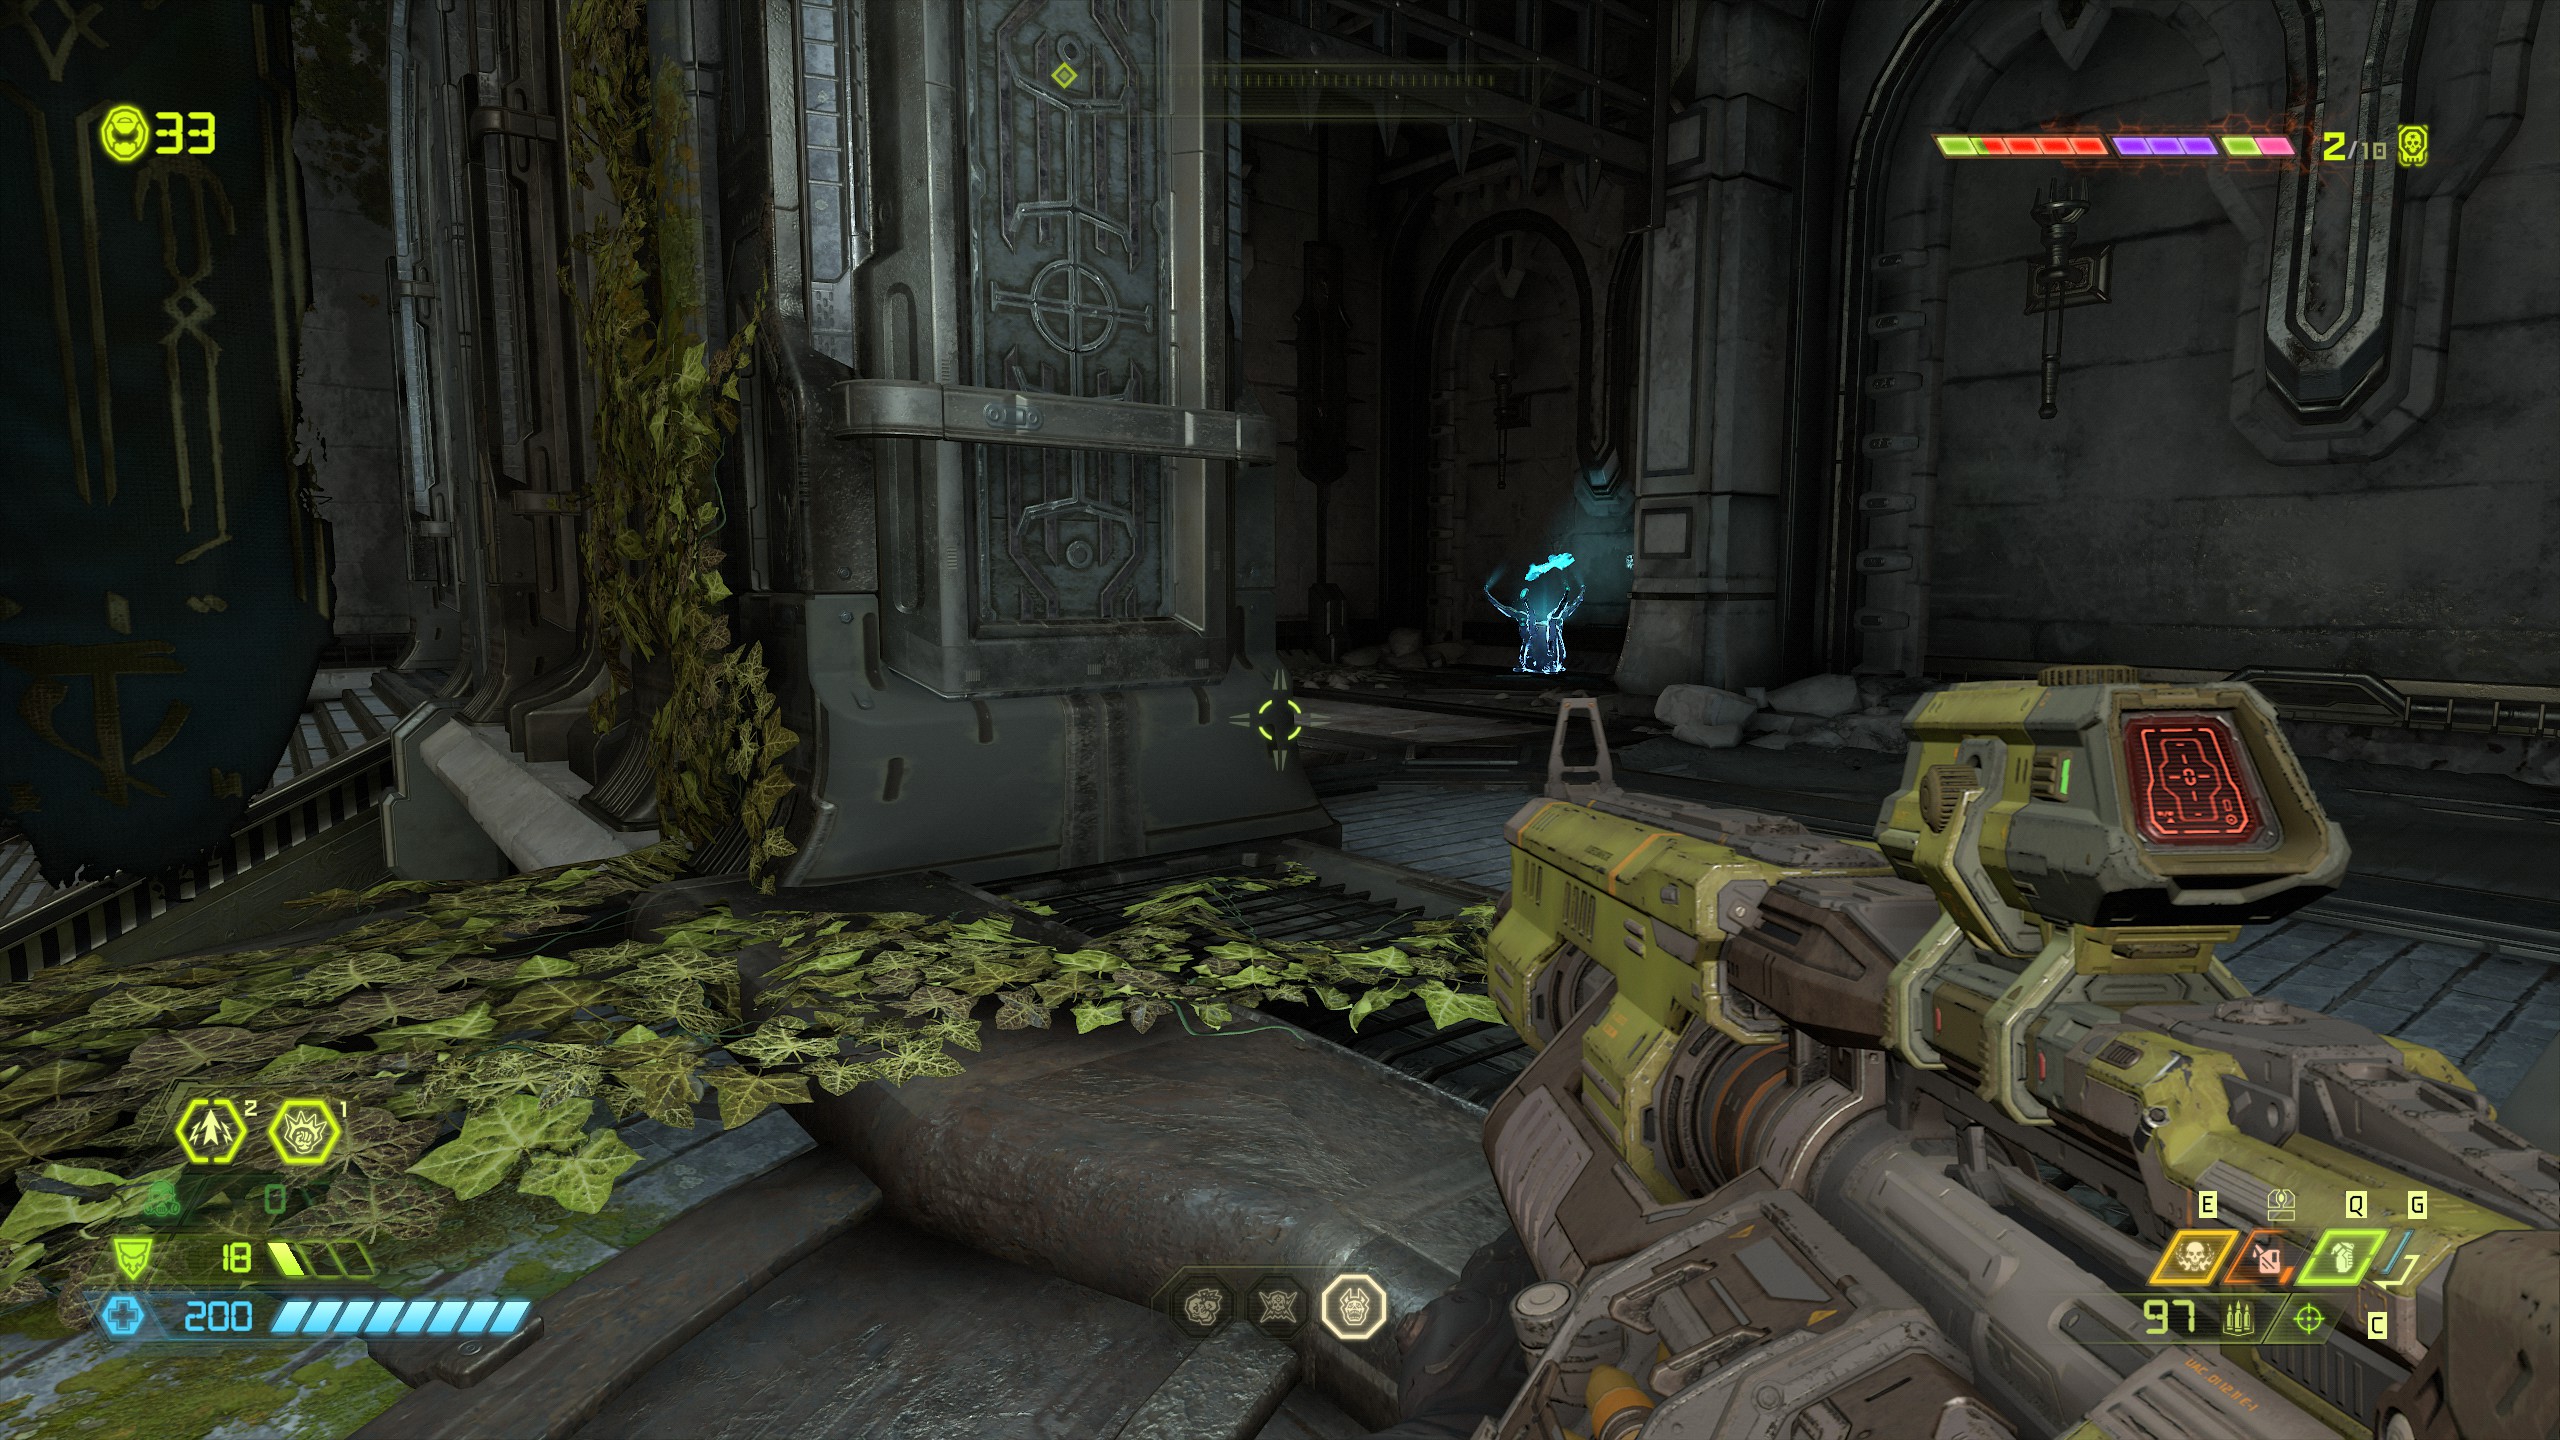
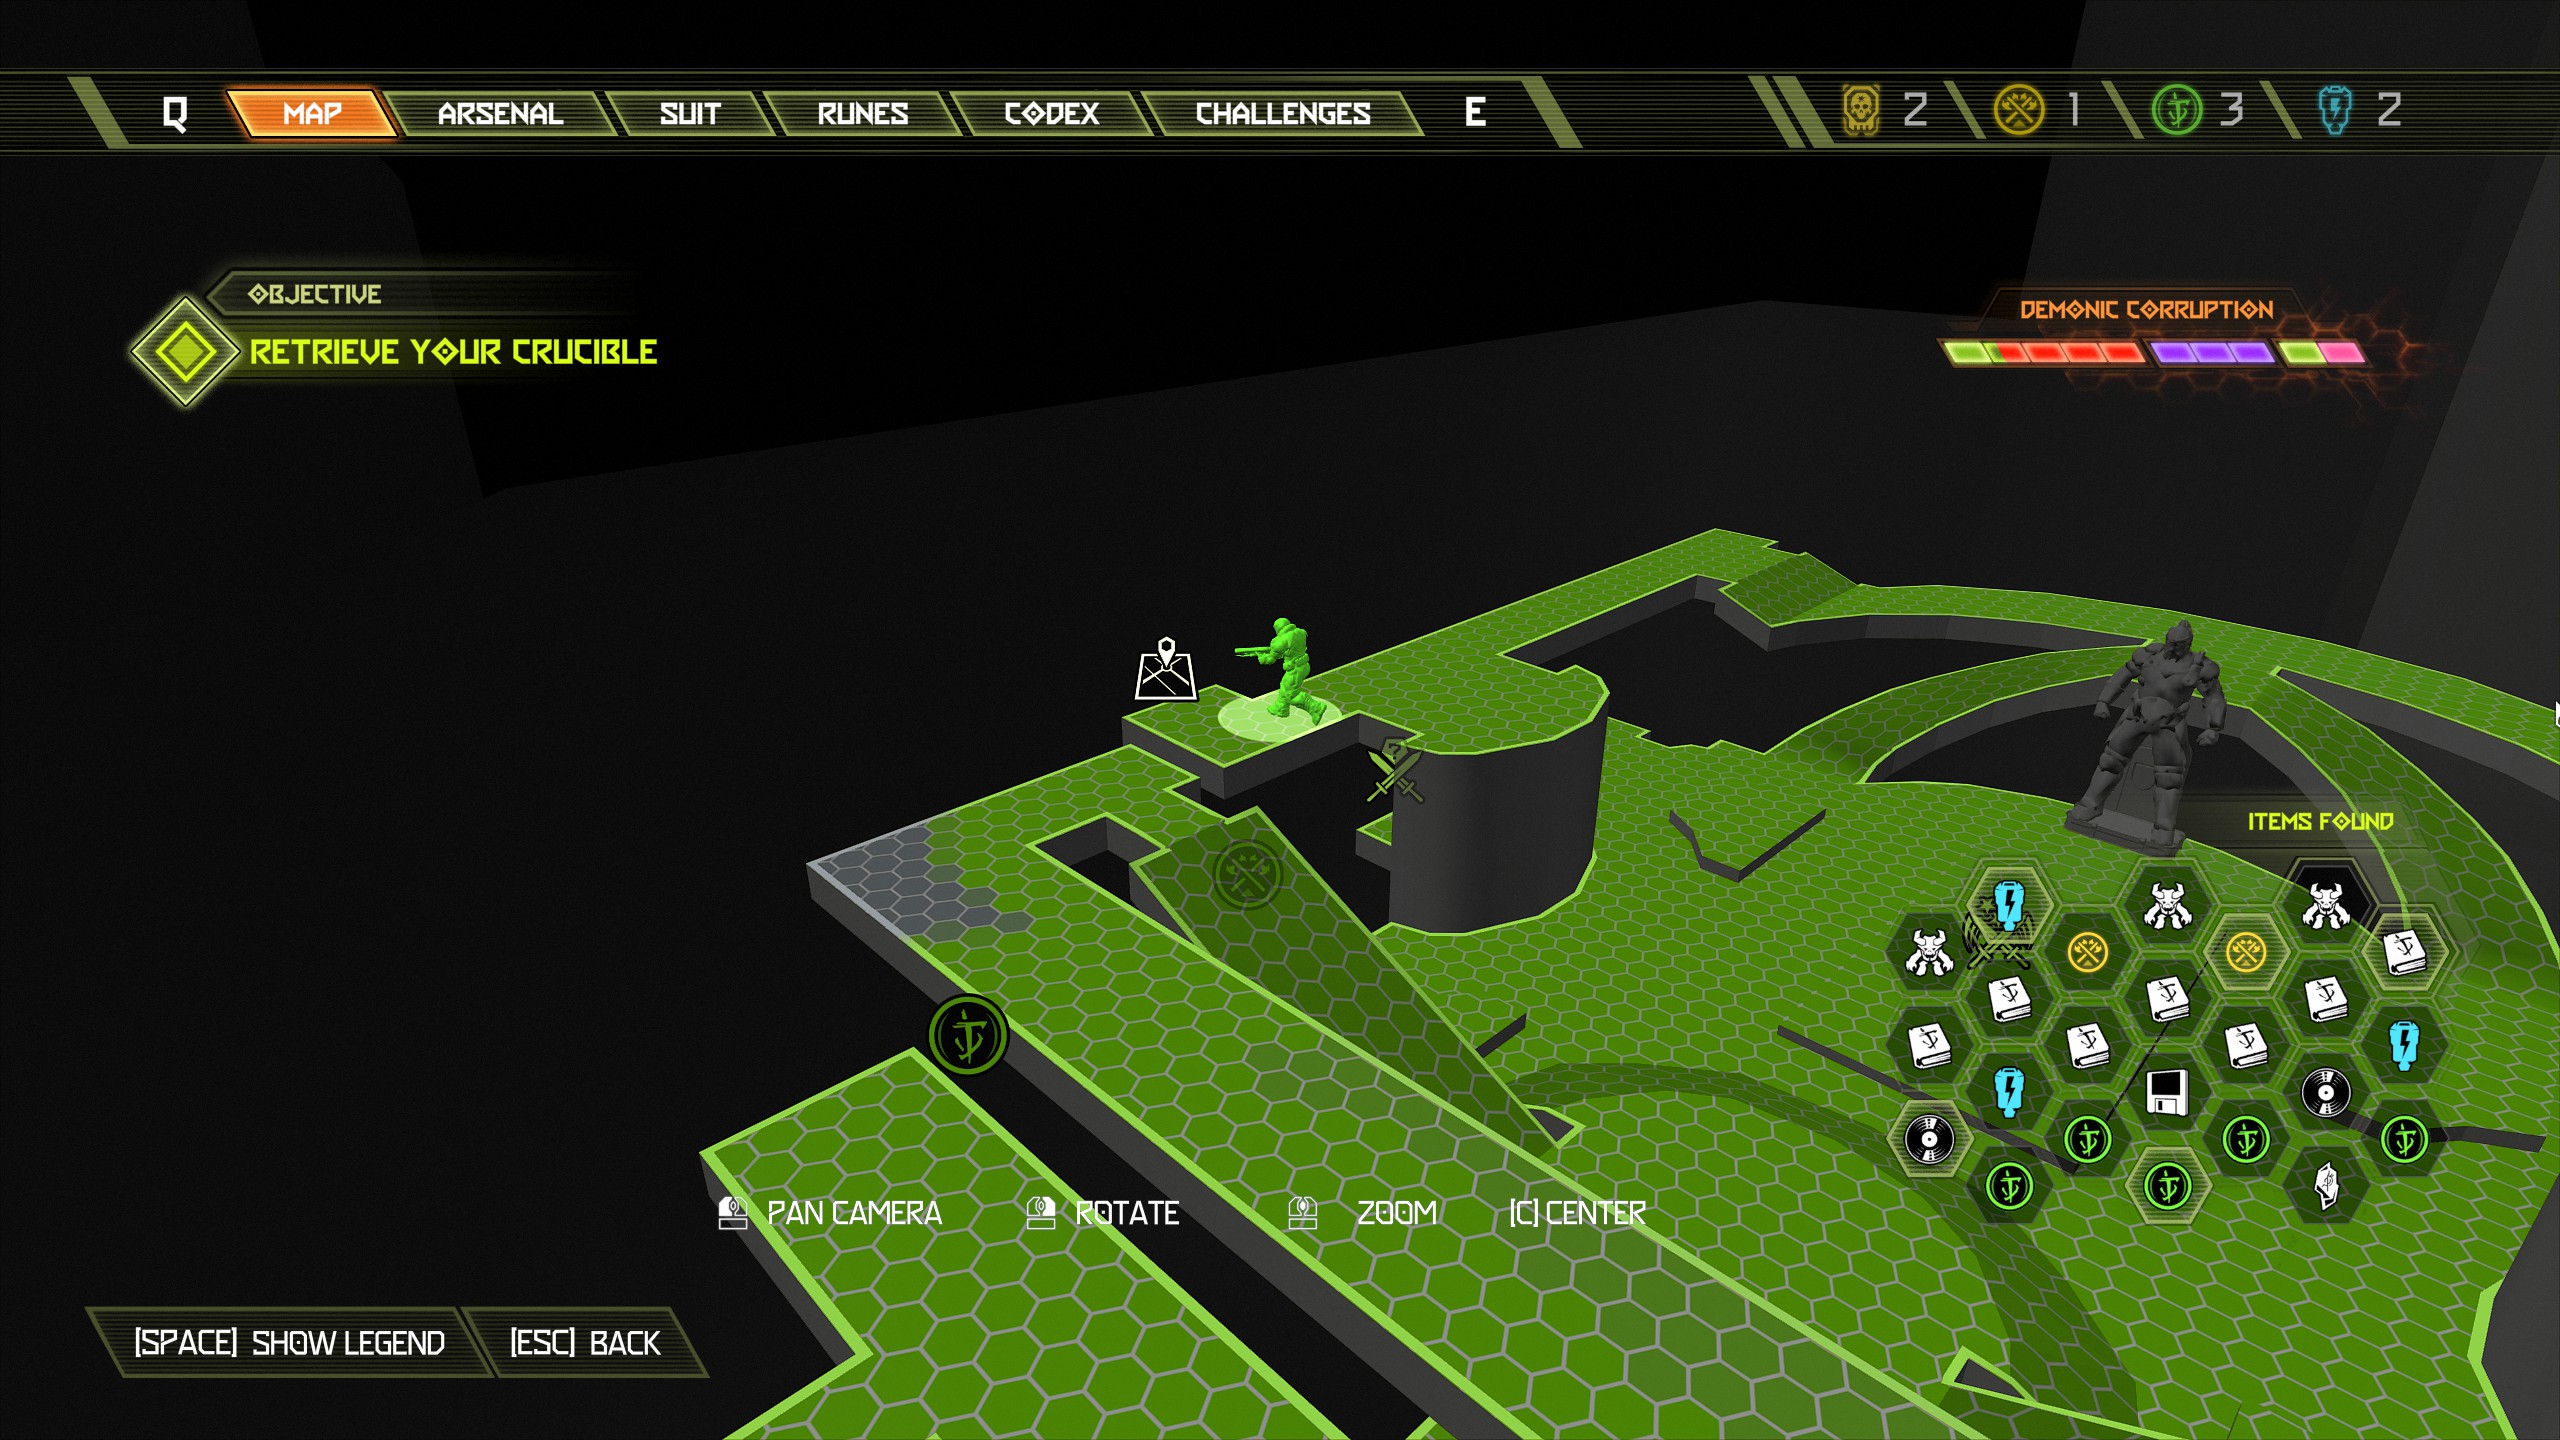 This is where things start getting tricky to navigate. As you entered the area you will see the stairway on your right side, at the top of the stairway is a room on the left side that contains a steel block on a chain that you need to break to access the sentinel battery in the room below.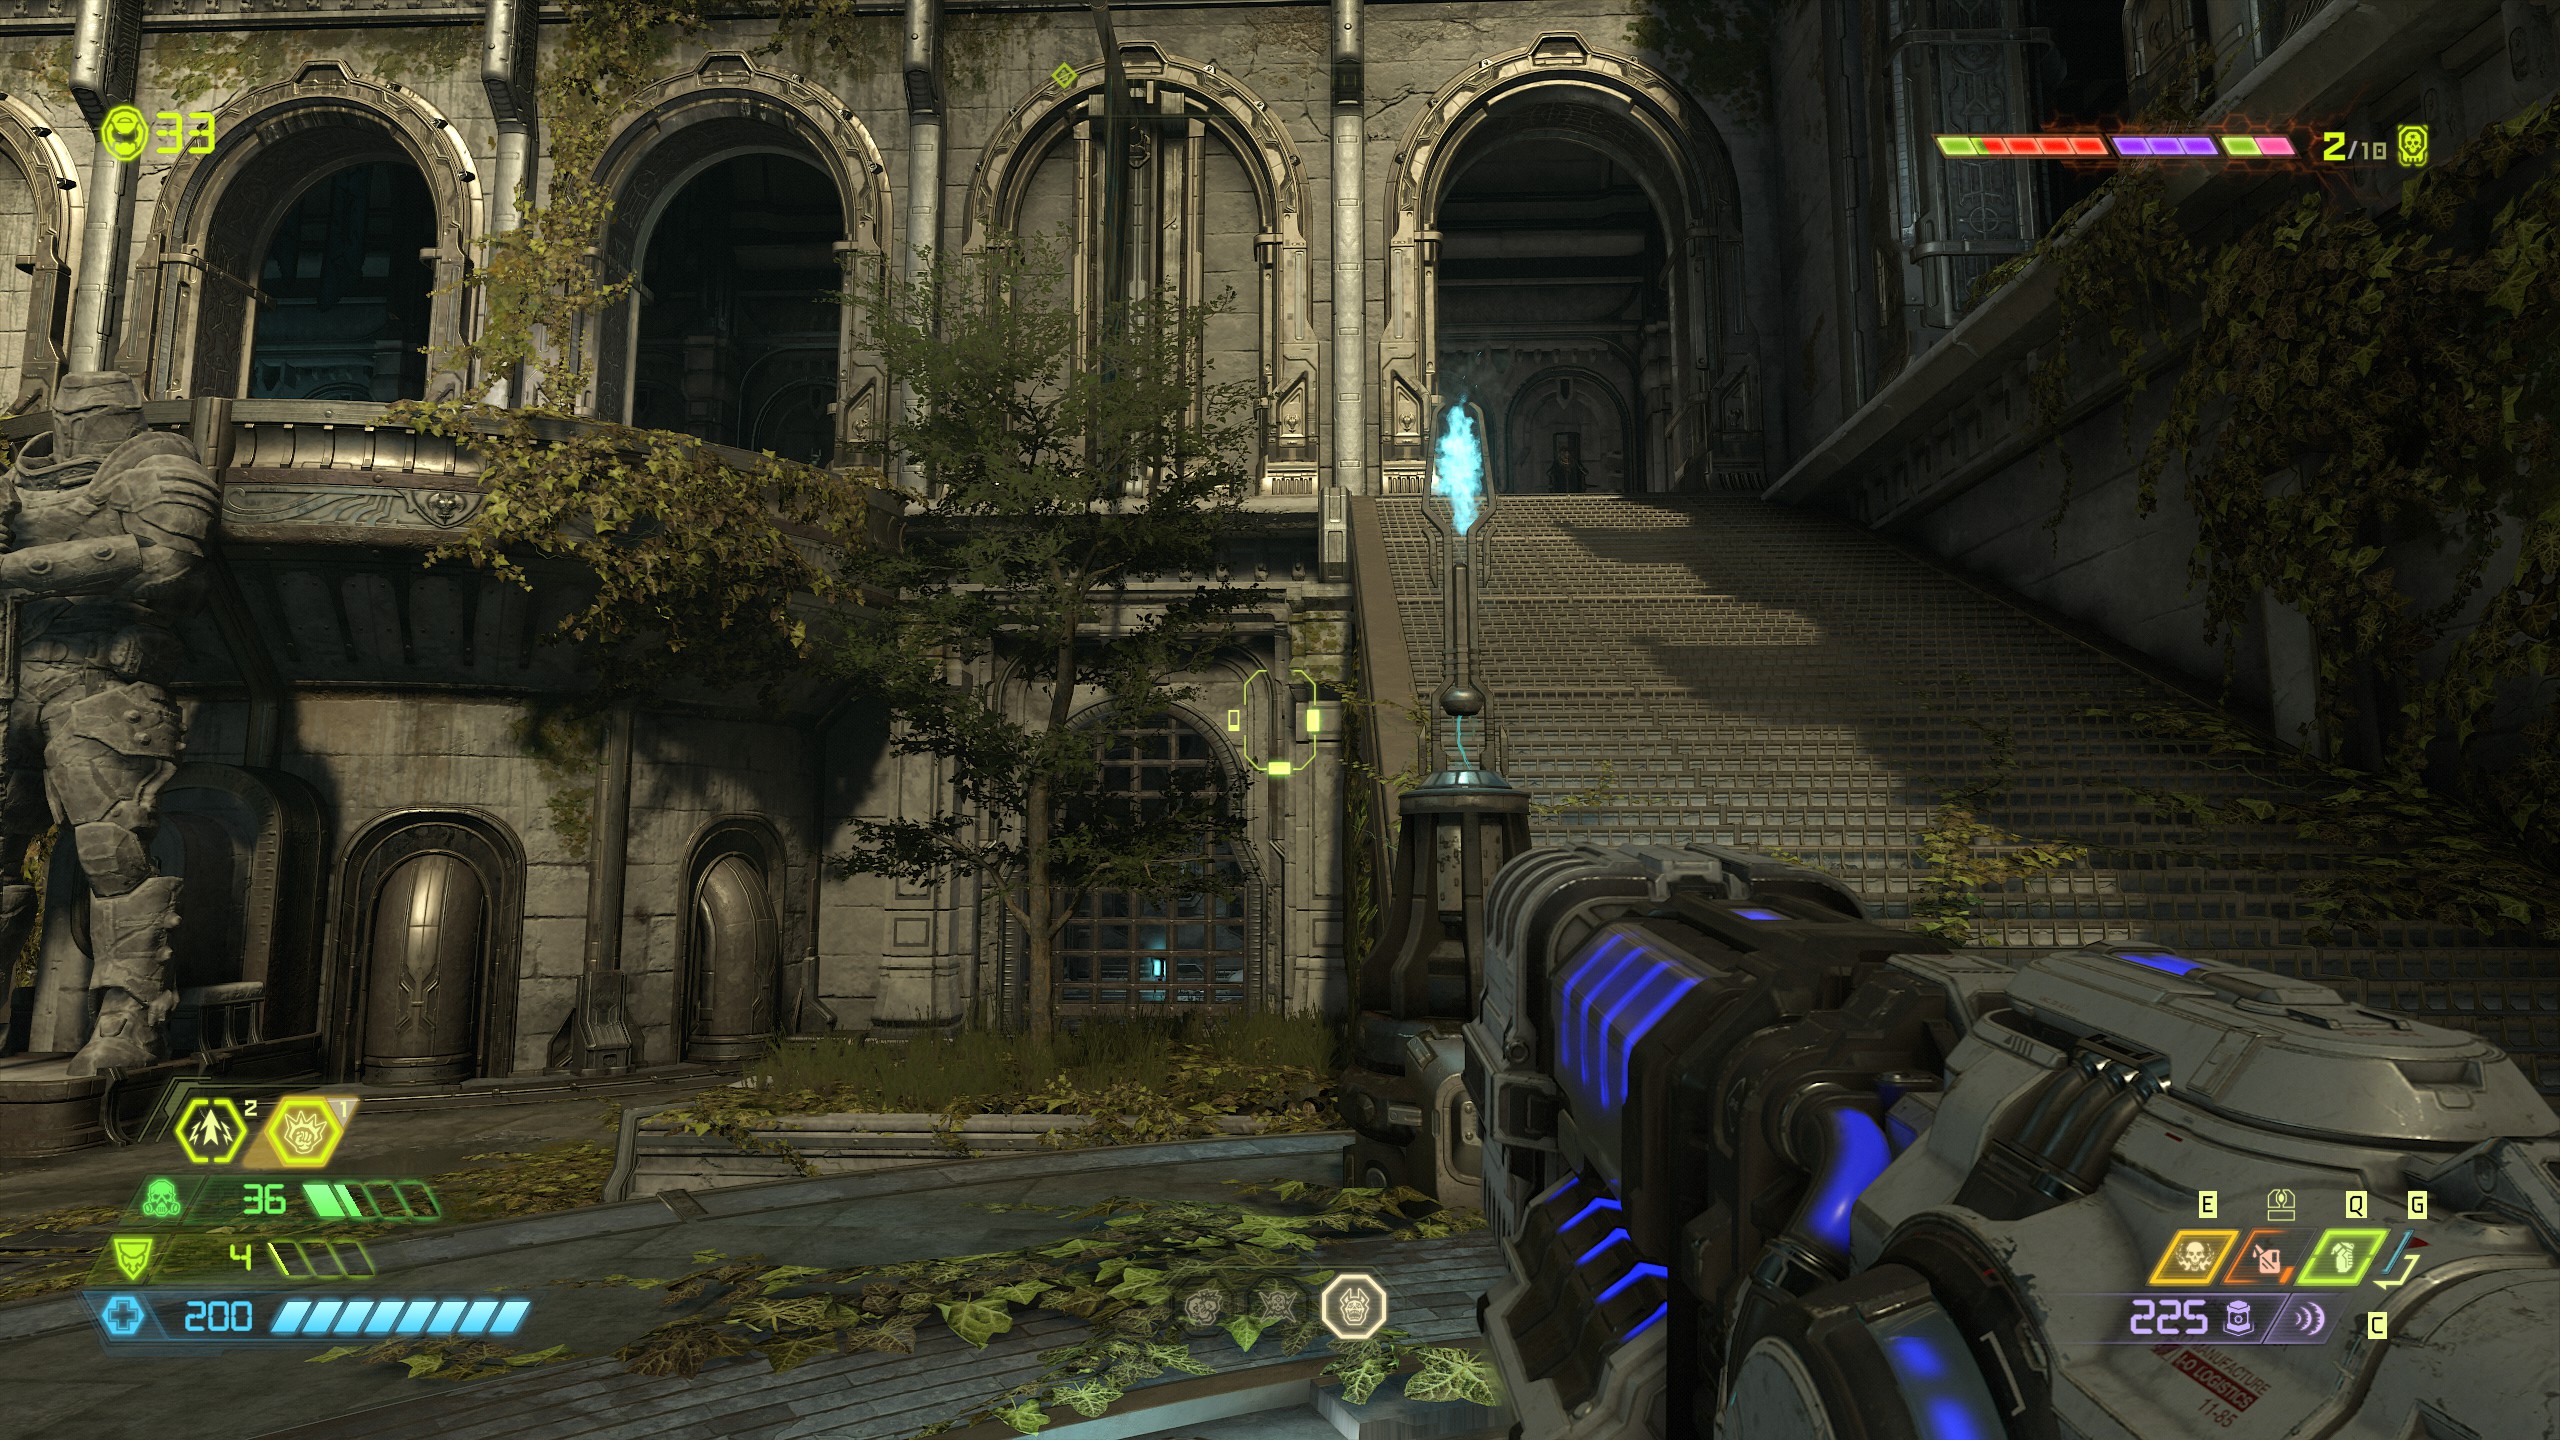
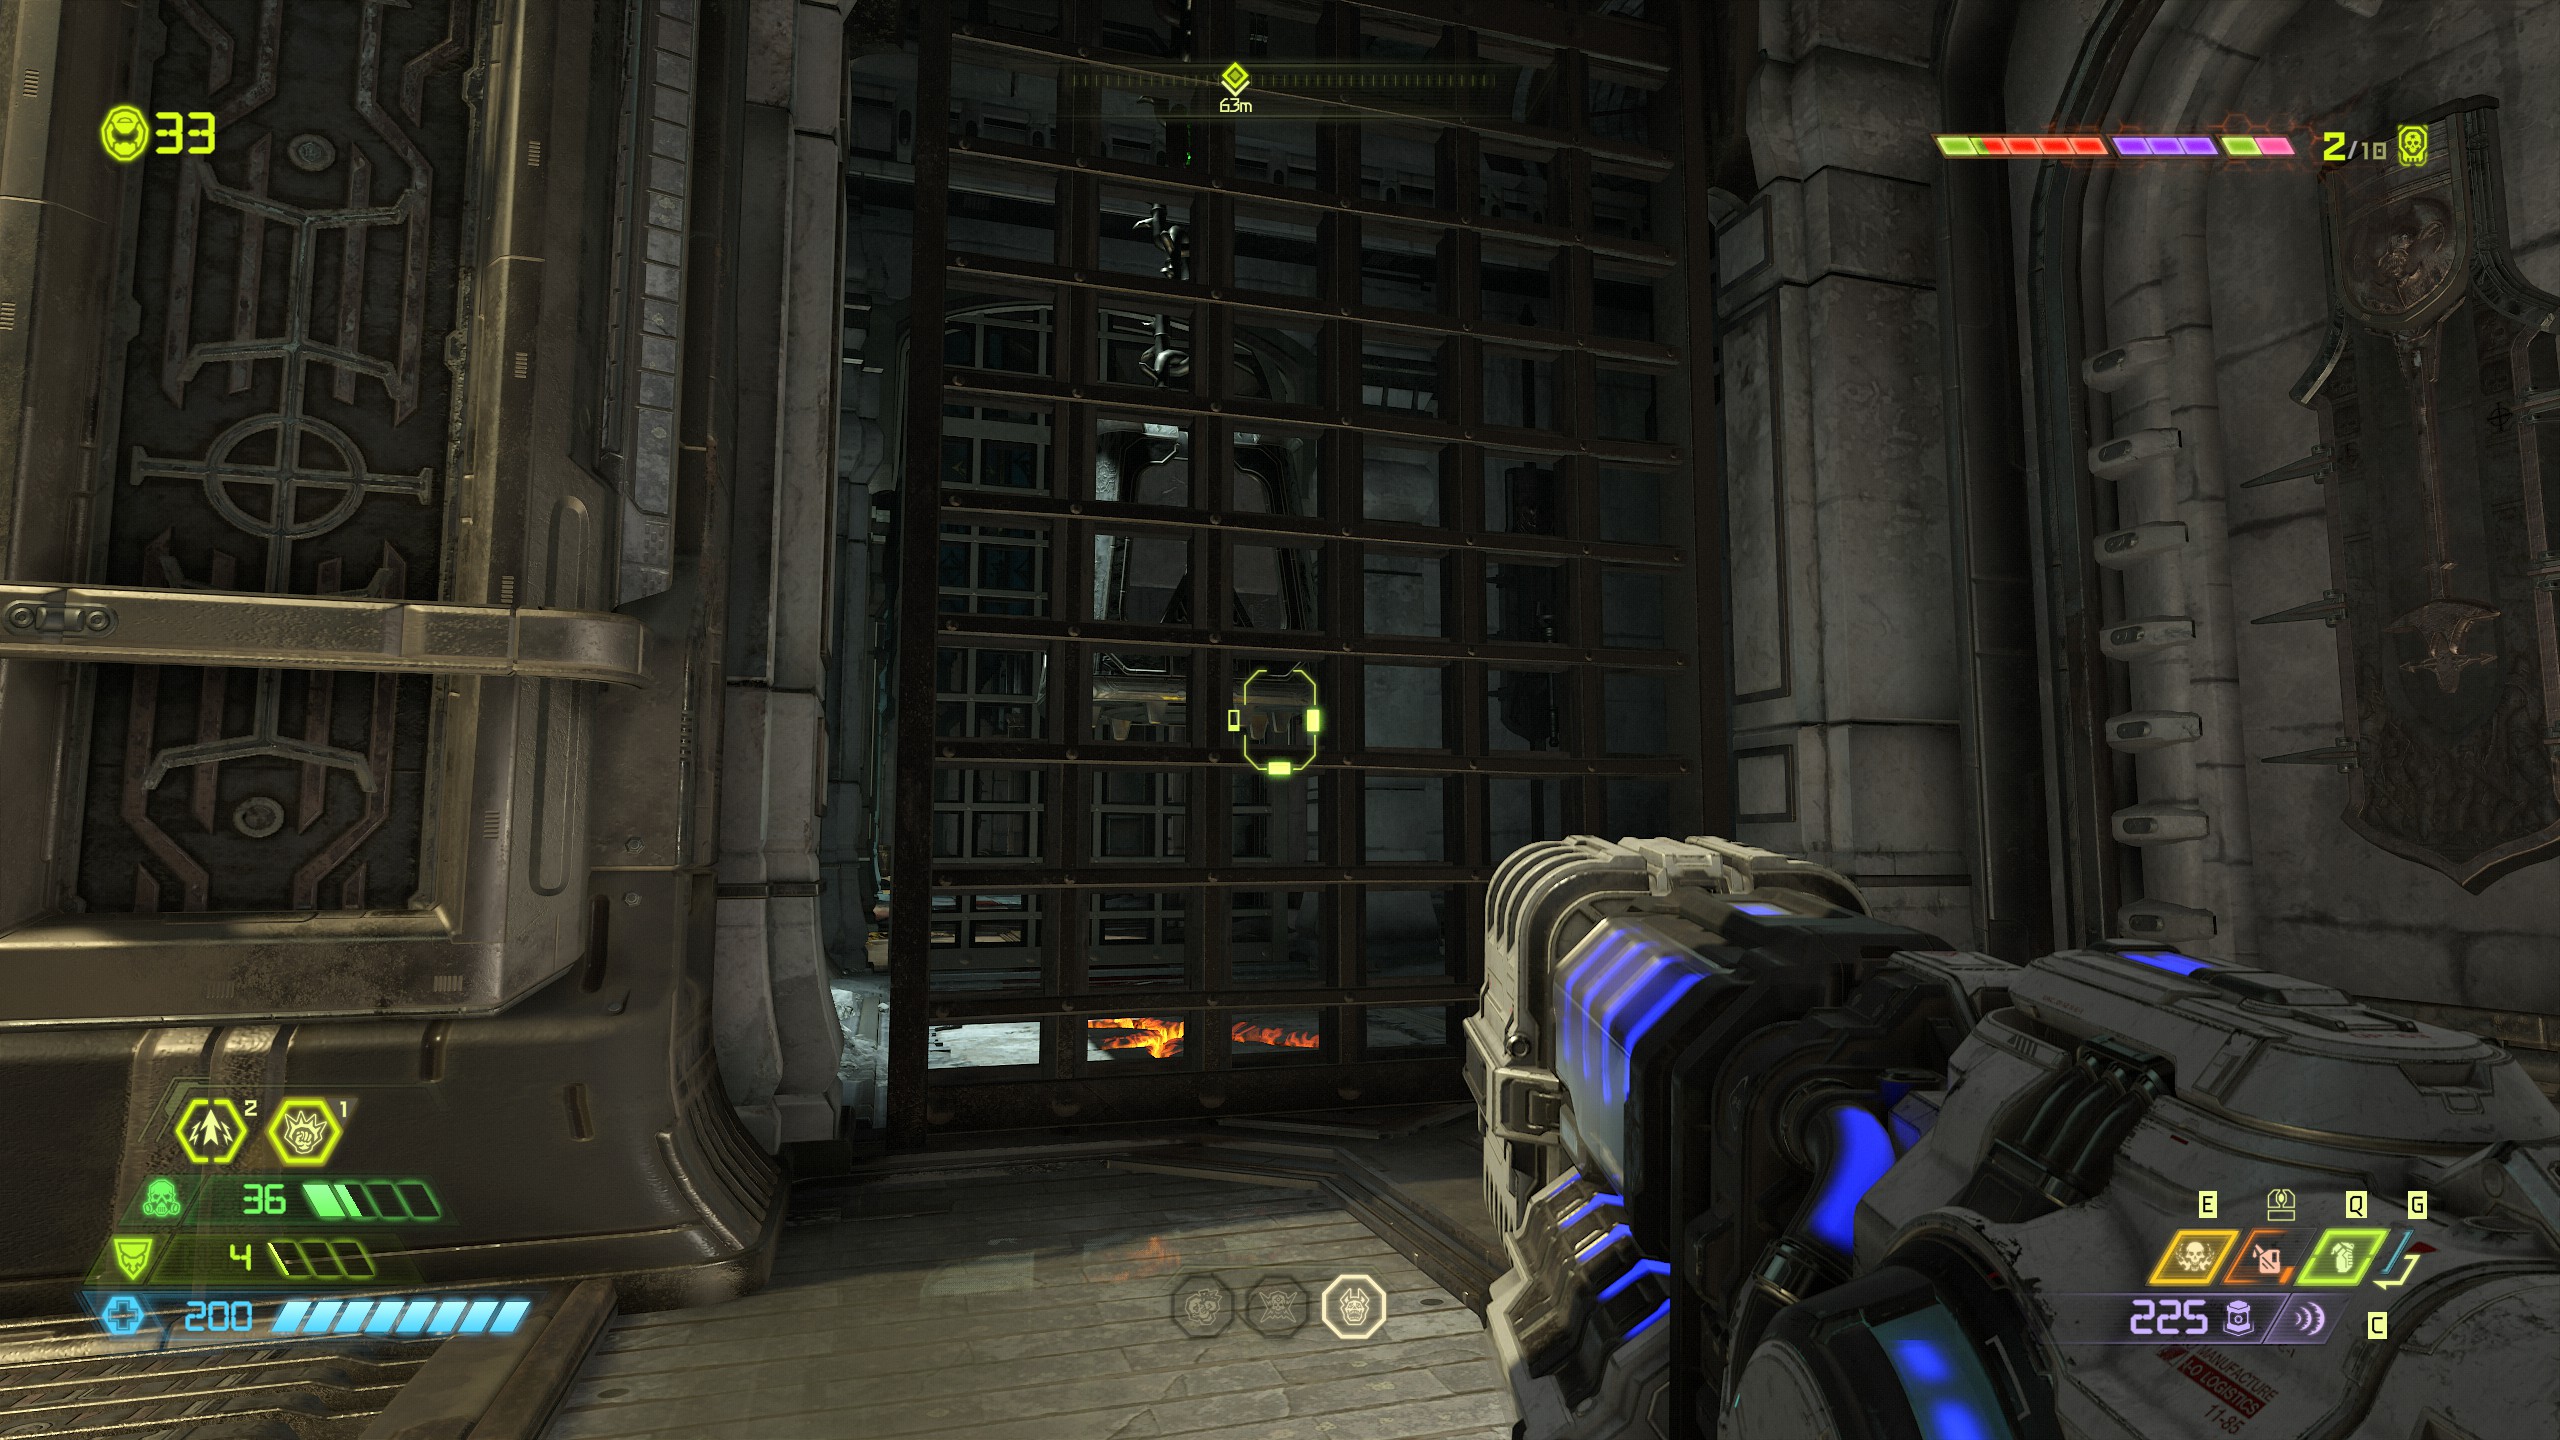
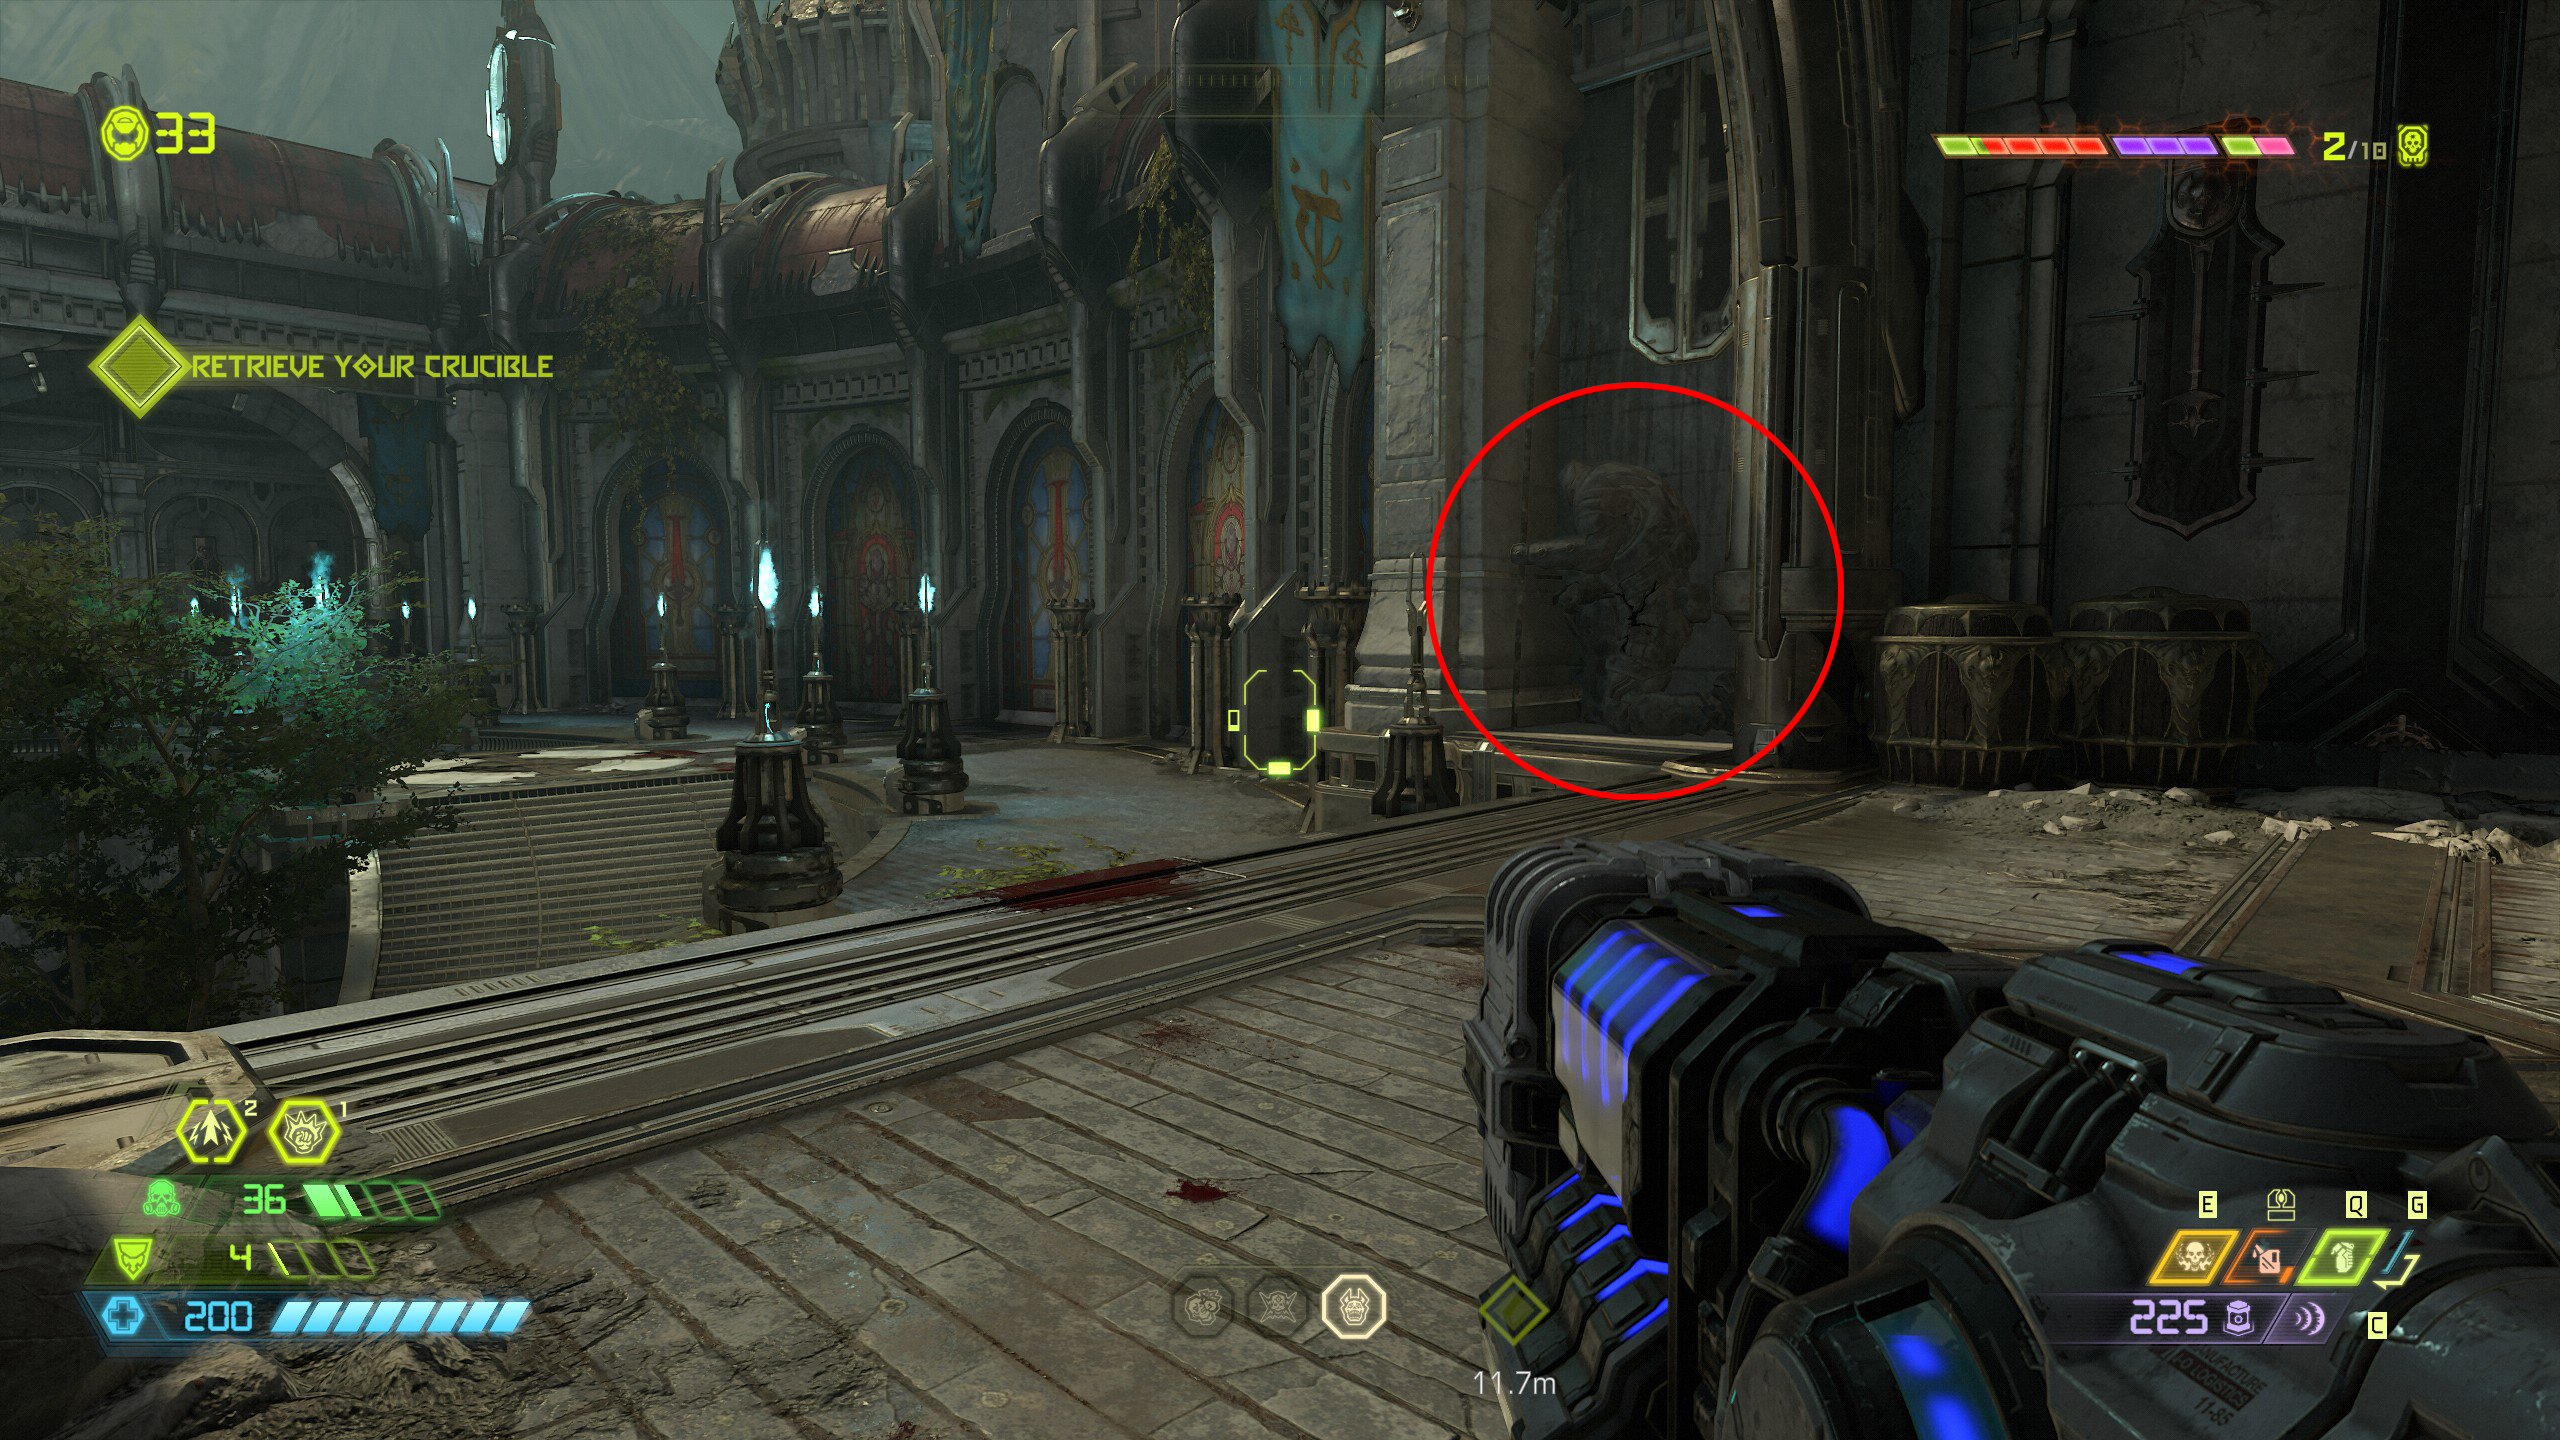
To unlock the room with the steel block then stand where you entered the area and then head to the far right corner. You will see a statue kneeling down just to the left of the barrels and behind it will be a green button, press the button and it will unlock the gate and allow access to the steel block.
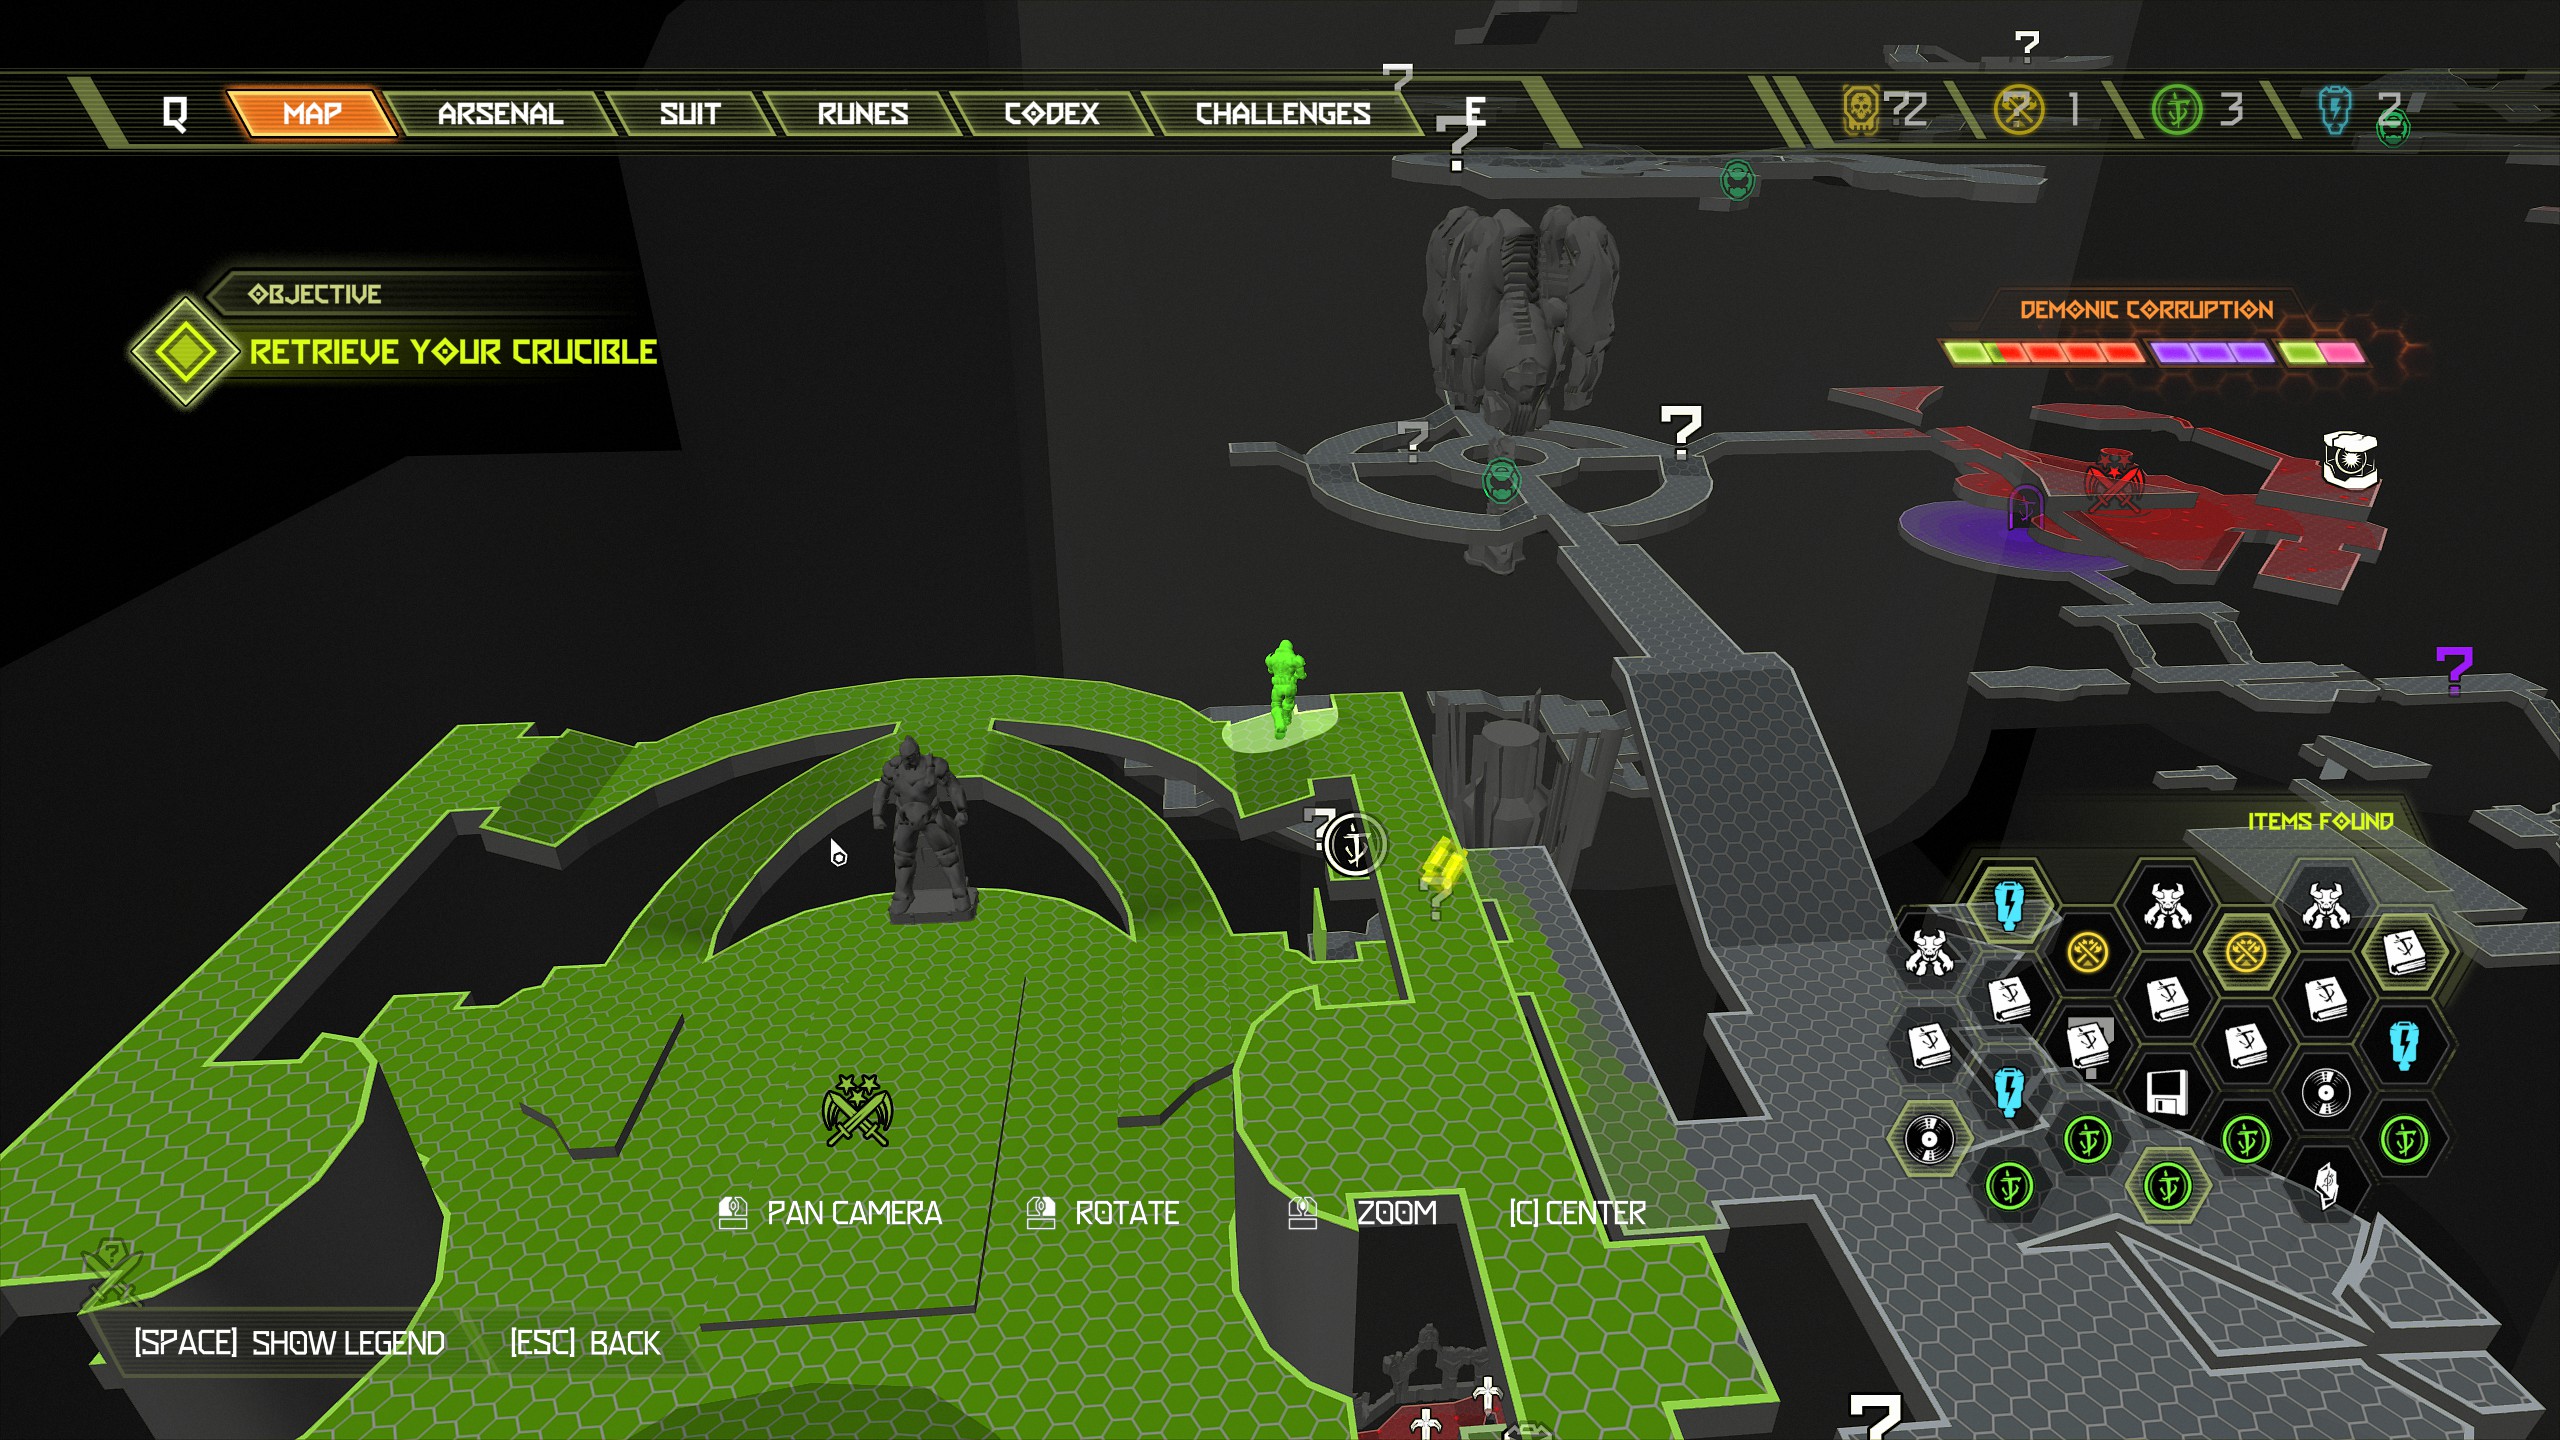
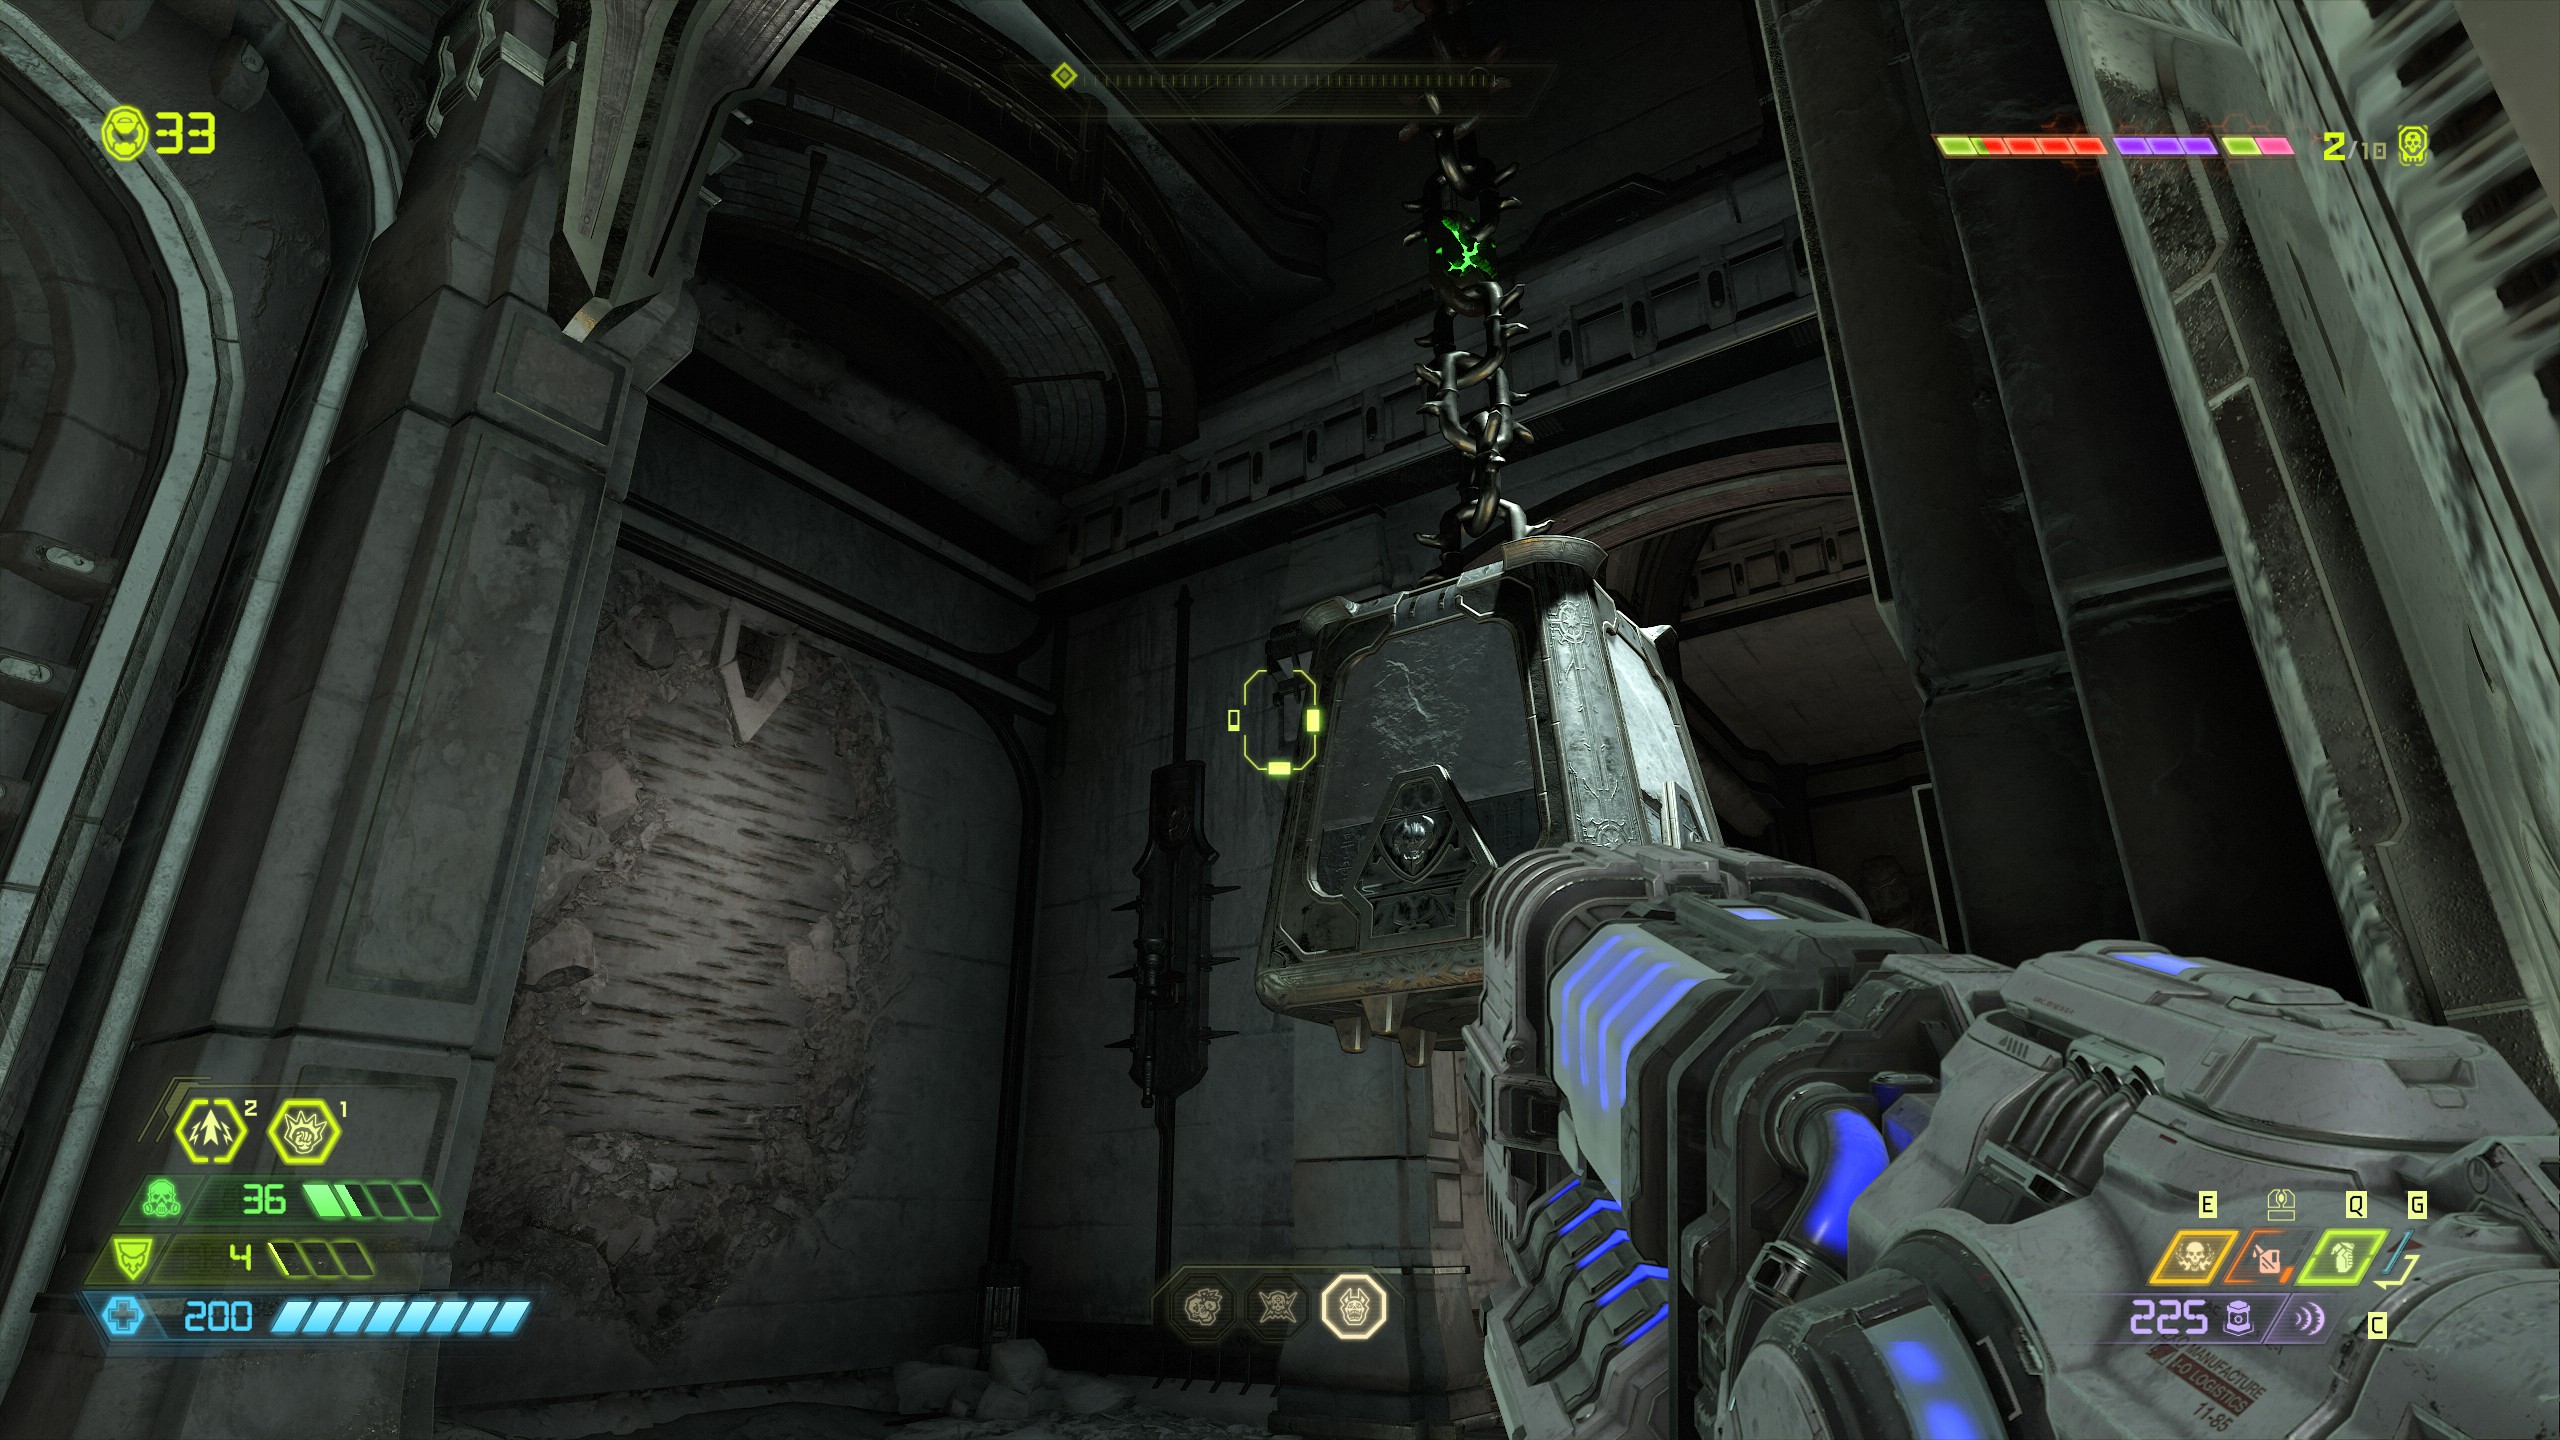
So now you have access go back to the steel block. Climb the wall and break the chain and then drop down into the room below to collect your sentinel battery.
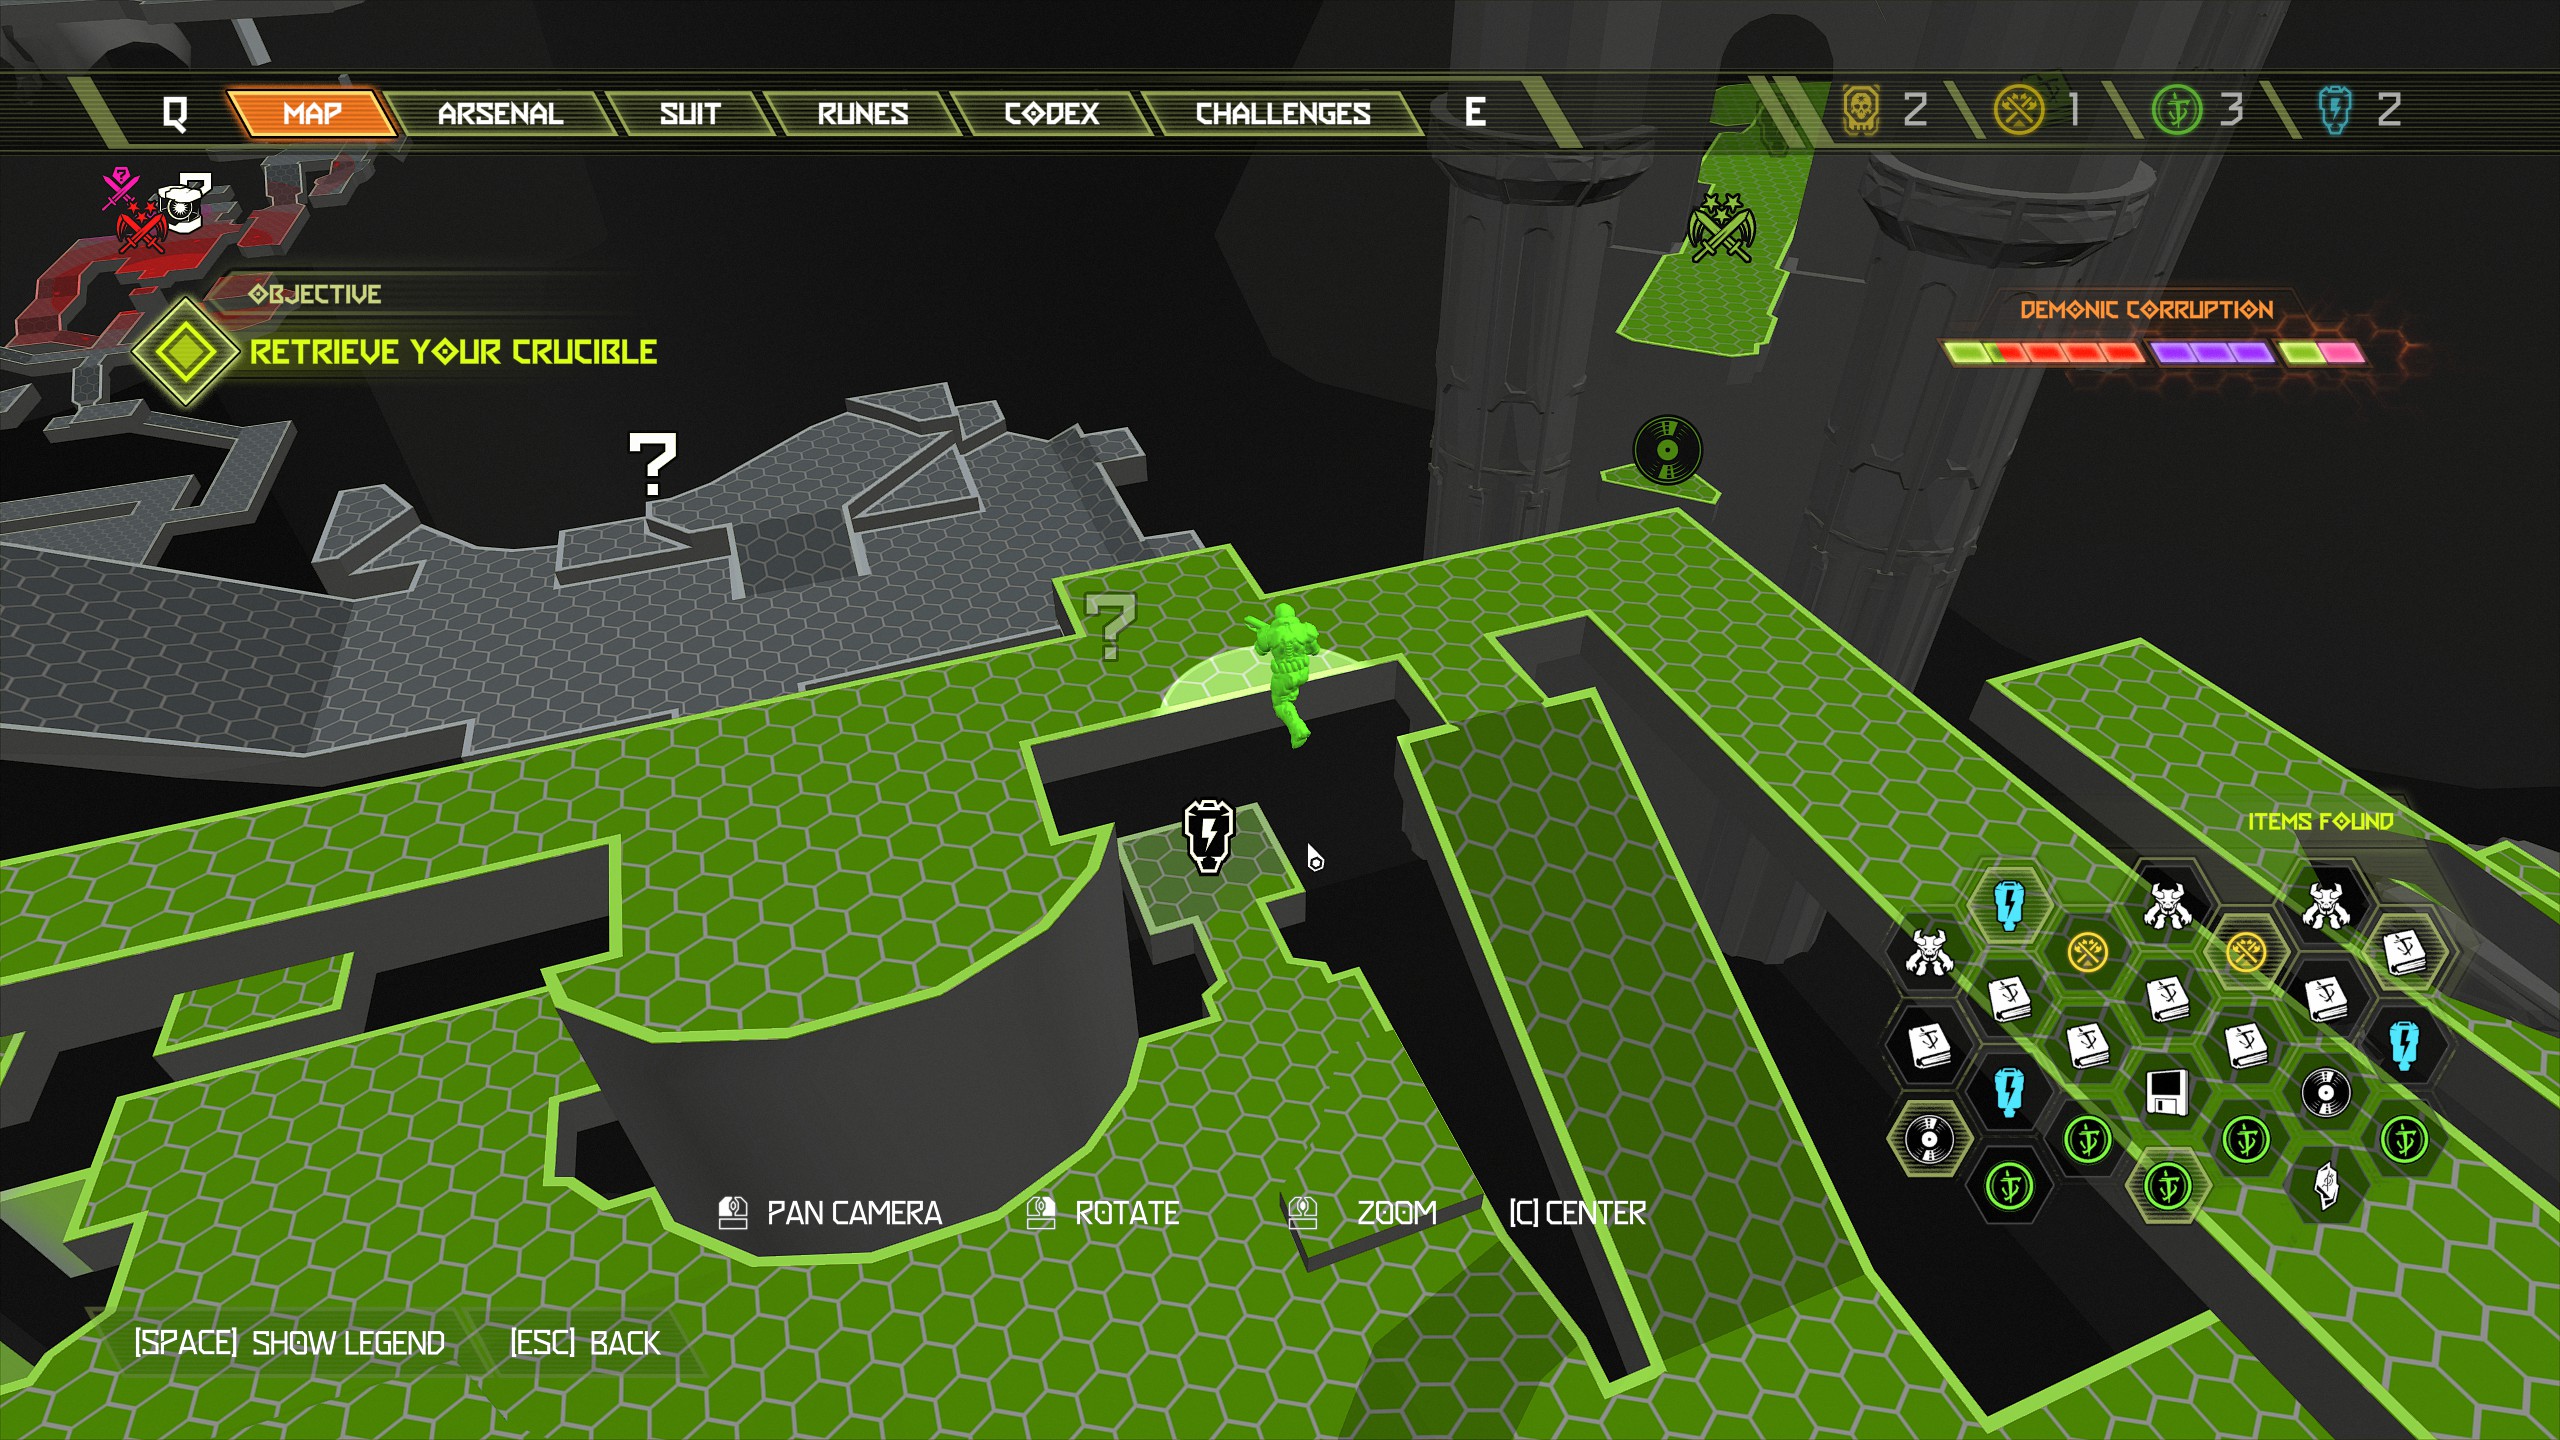
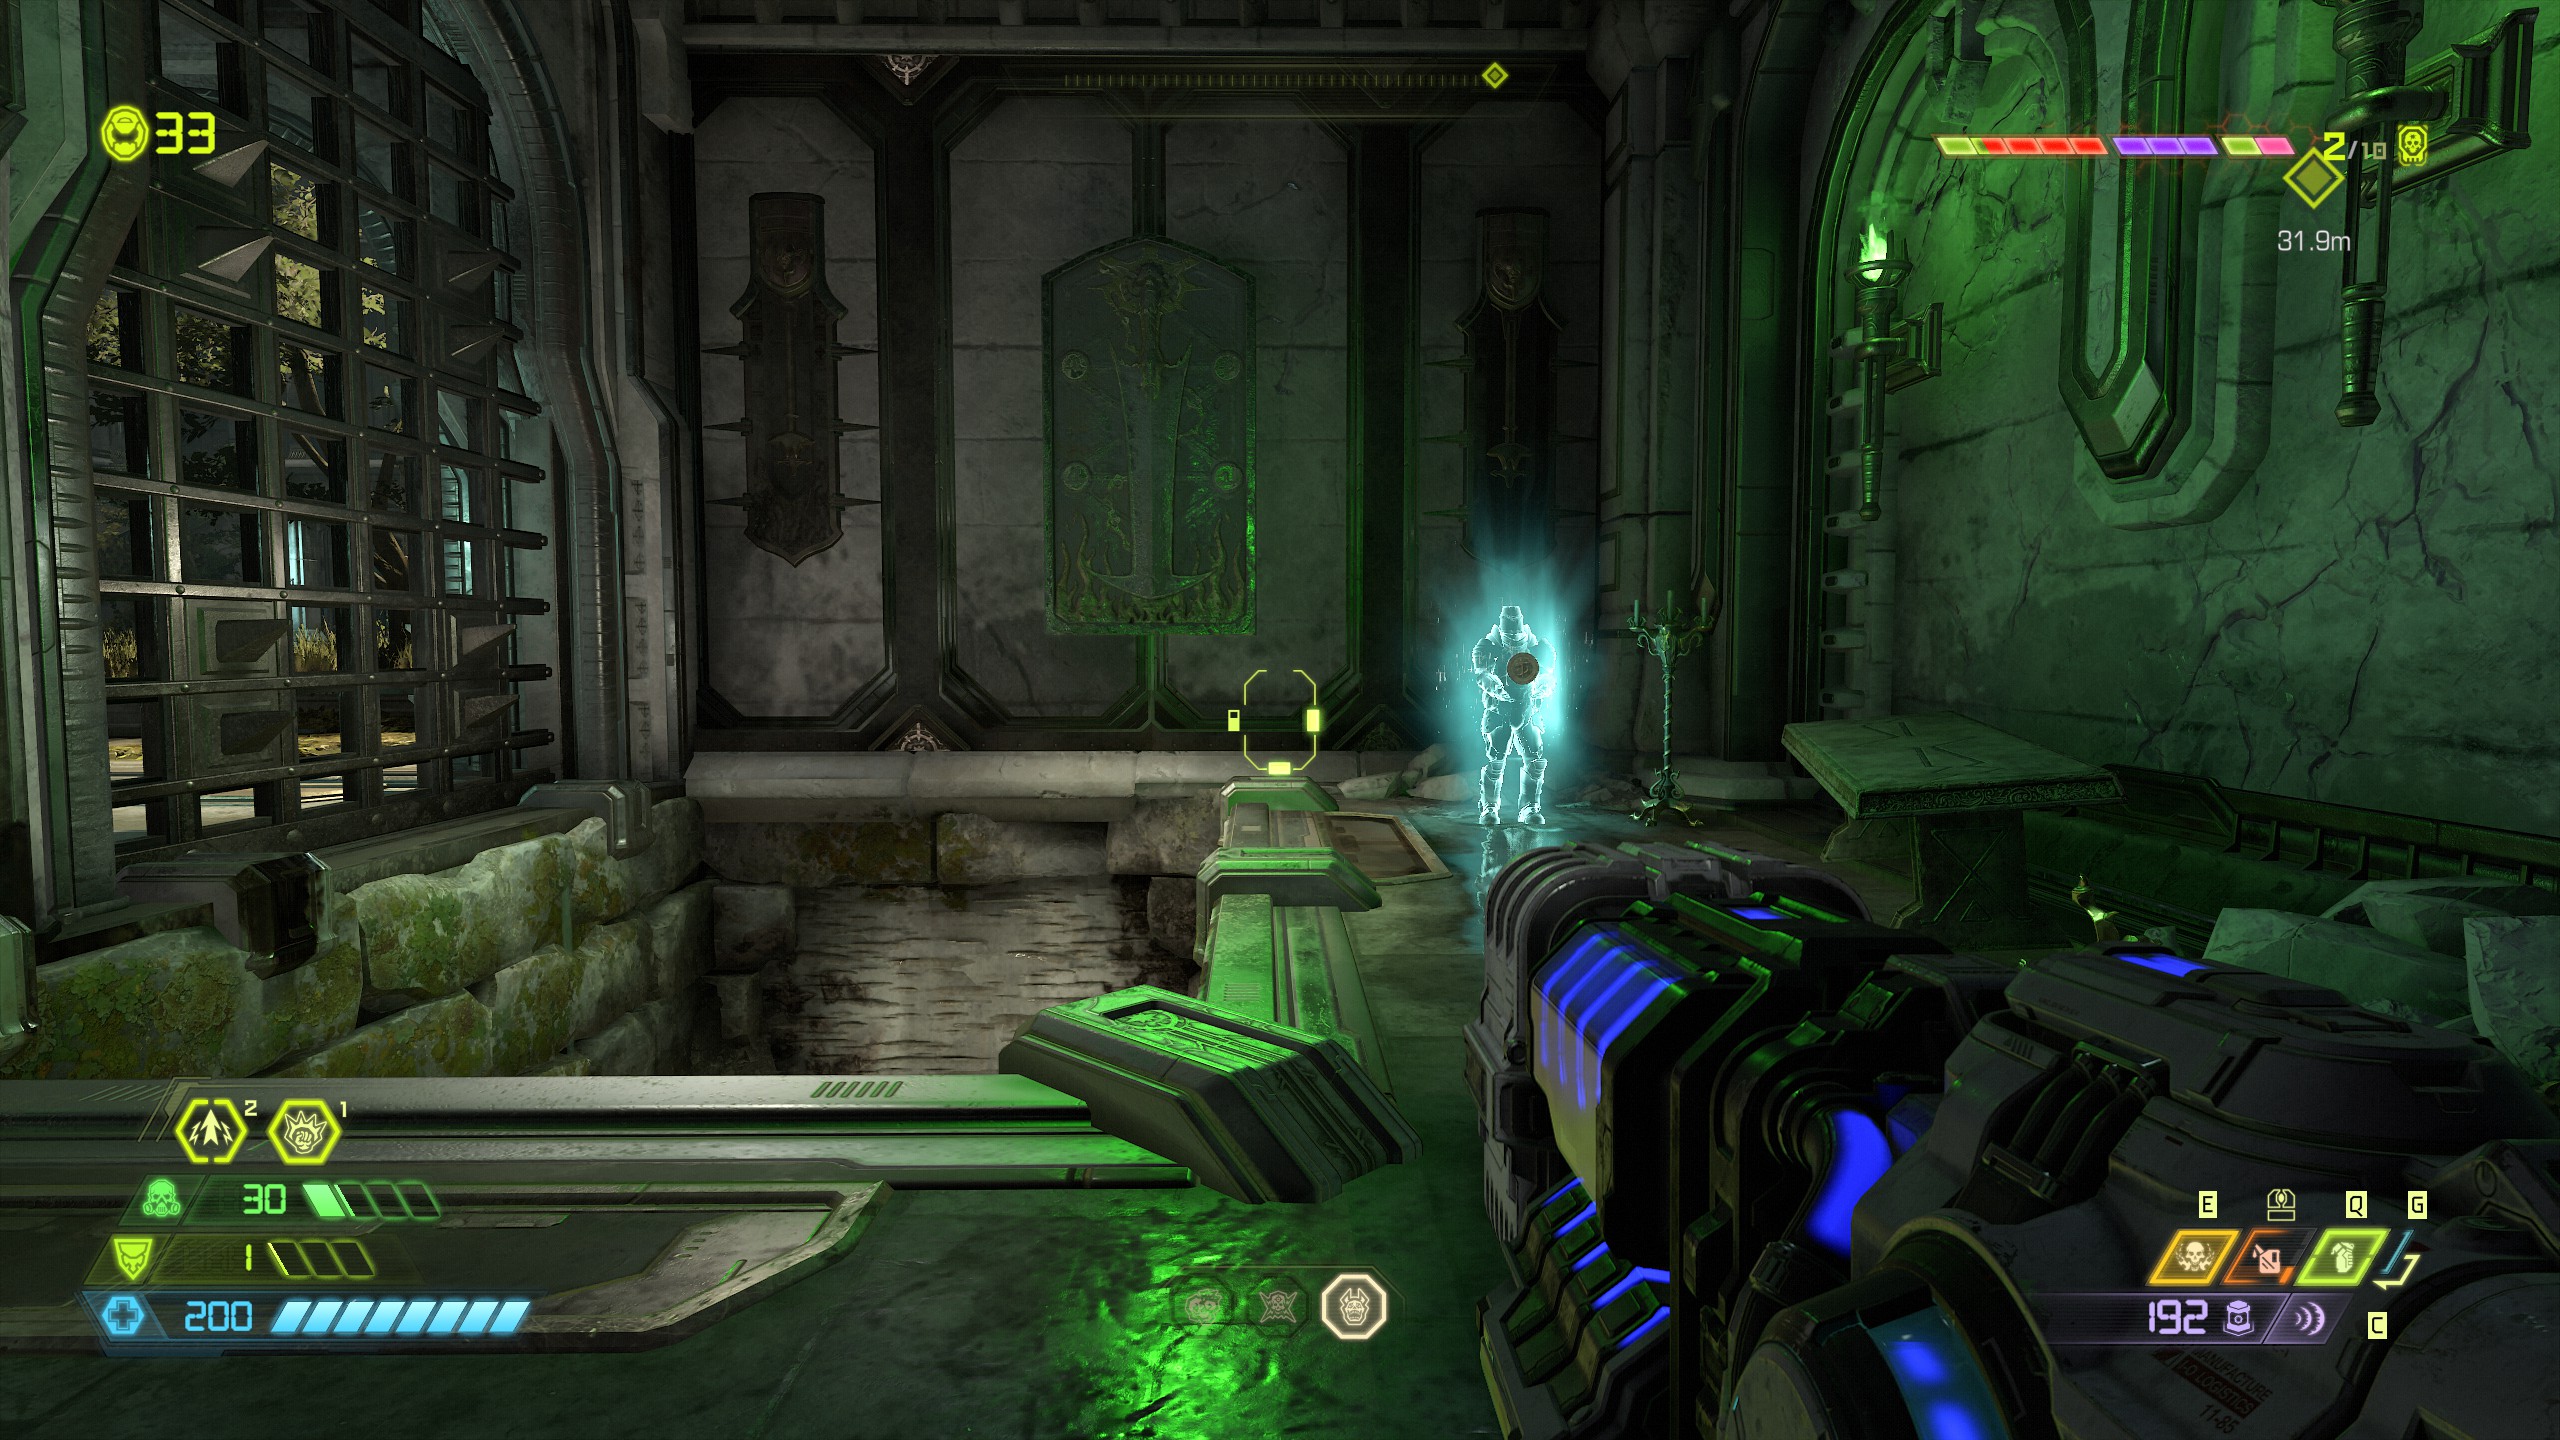
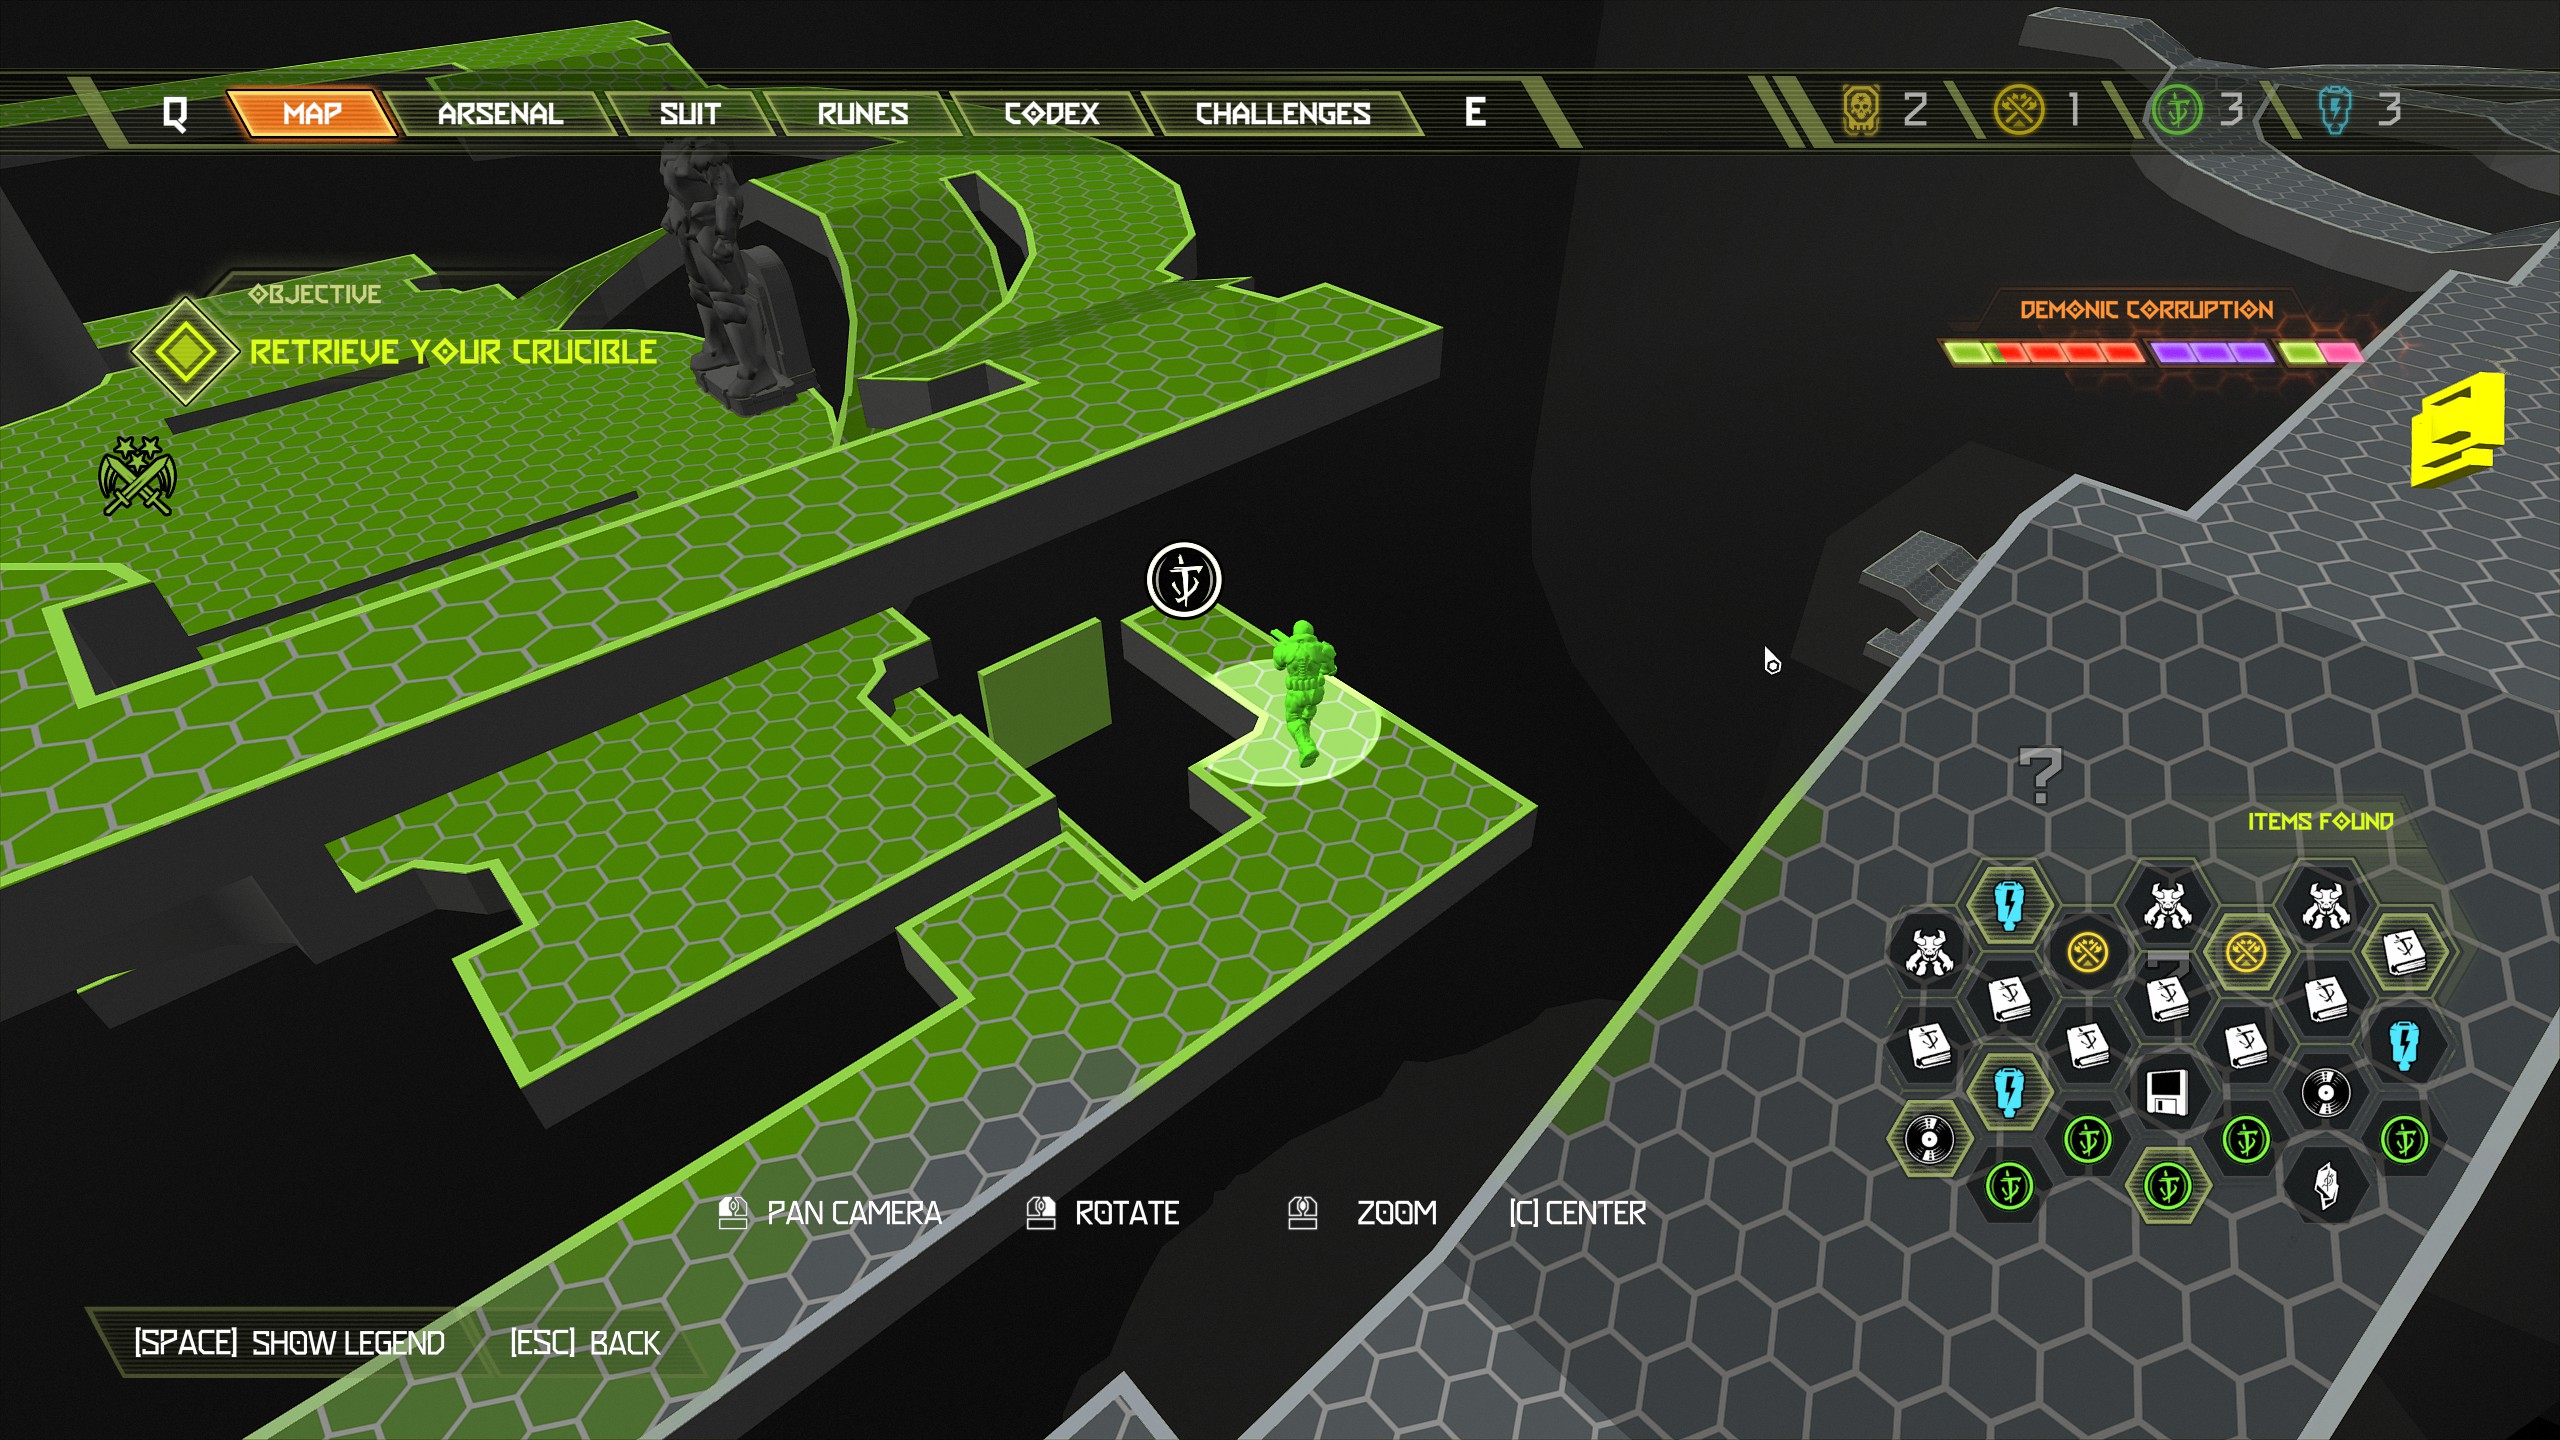
Move into the next area and straight in front of you at the top of the steps will be a codex page.
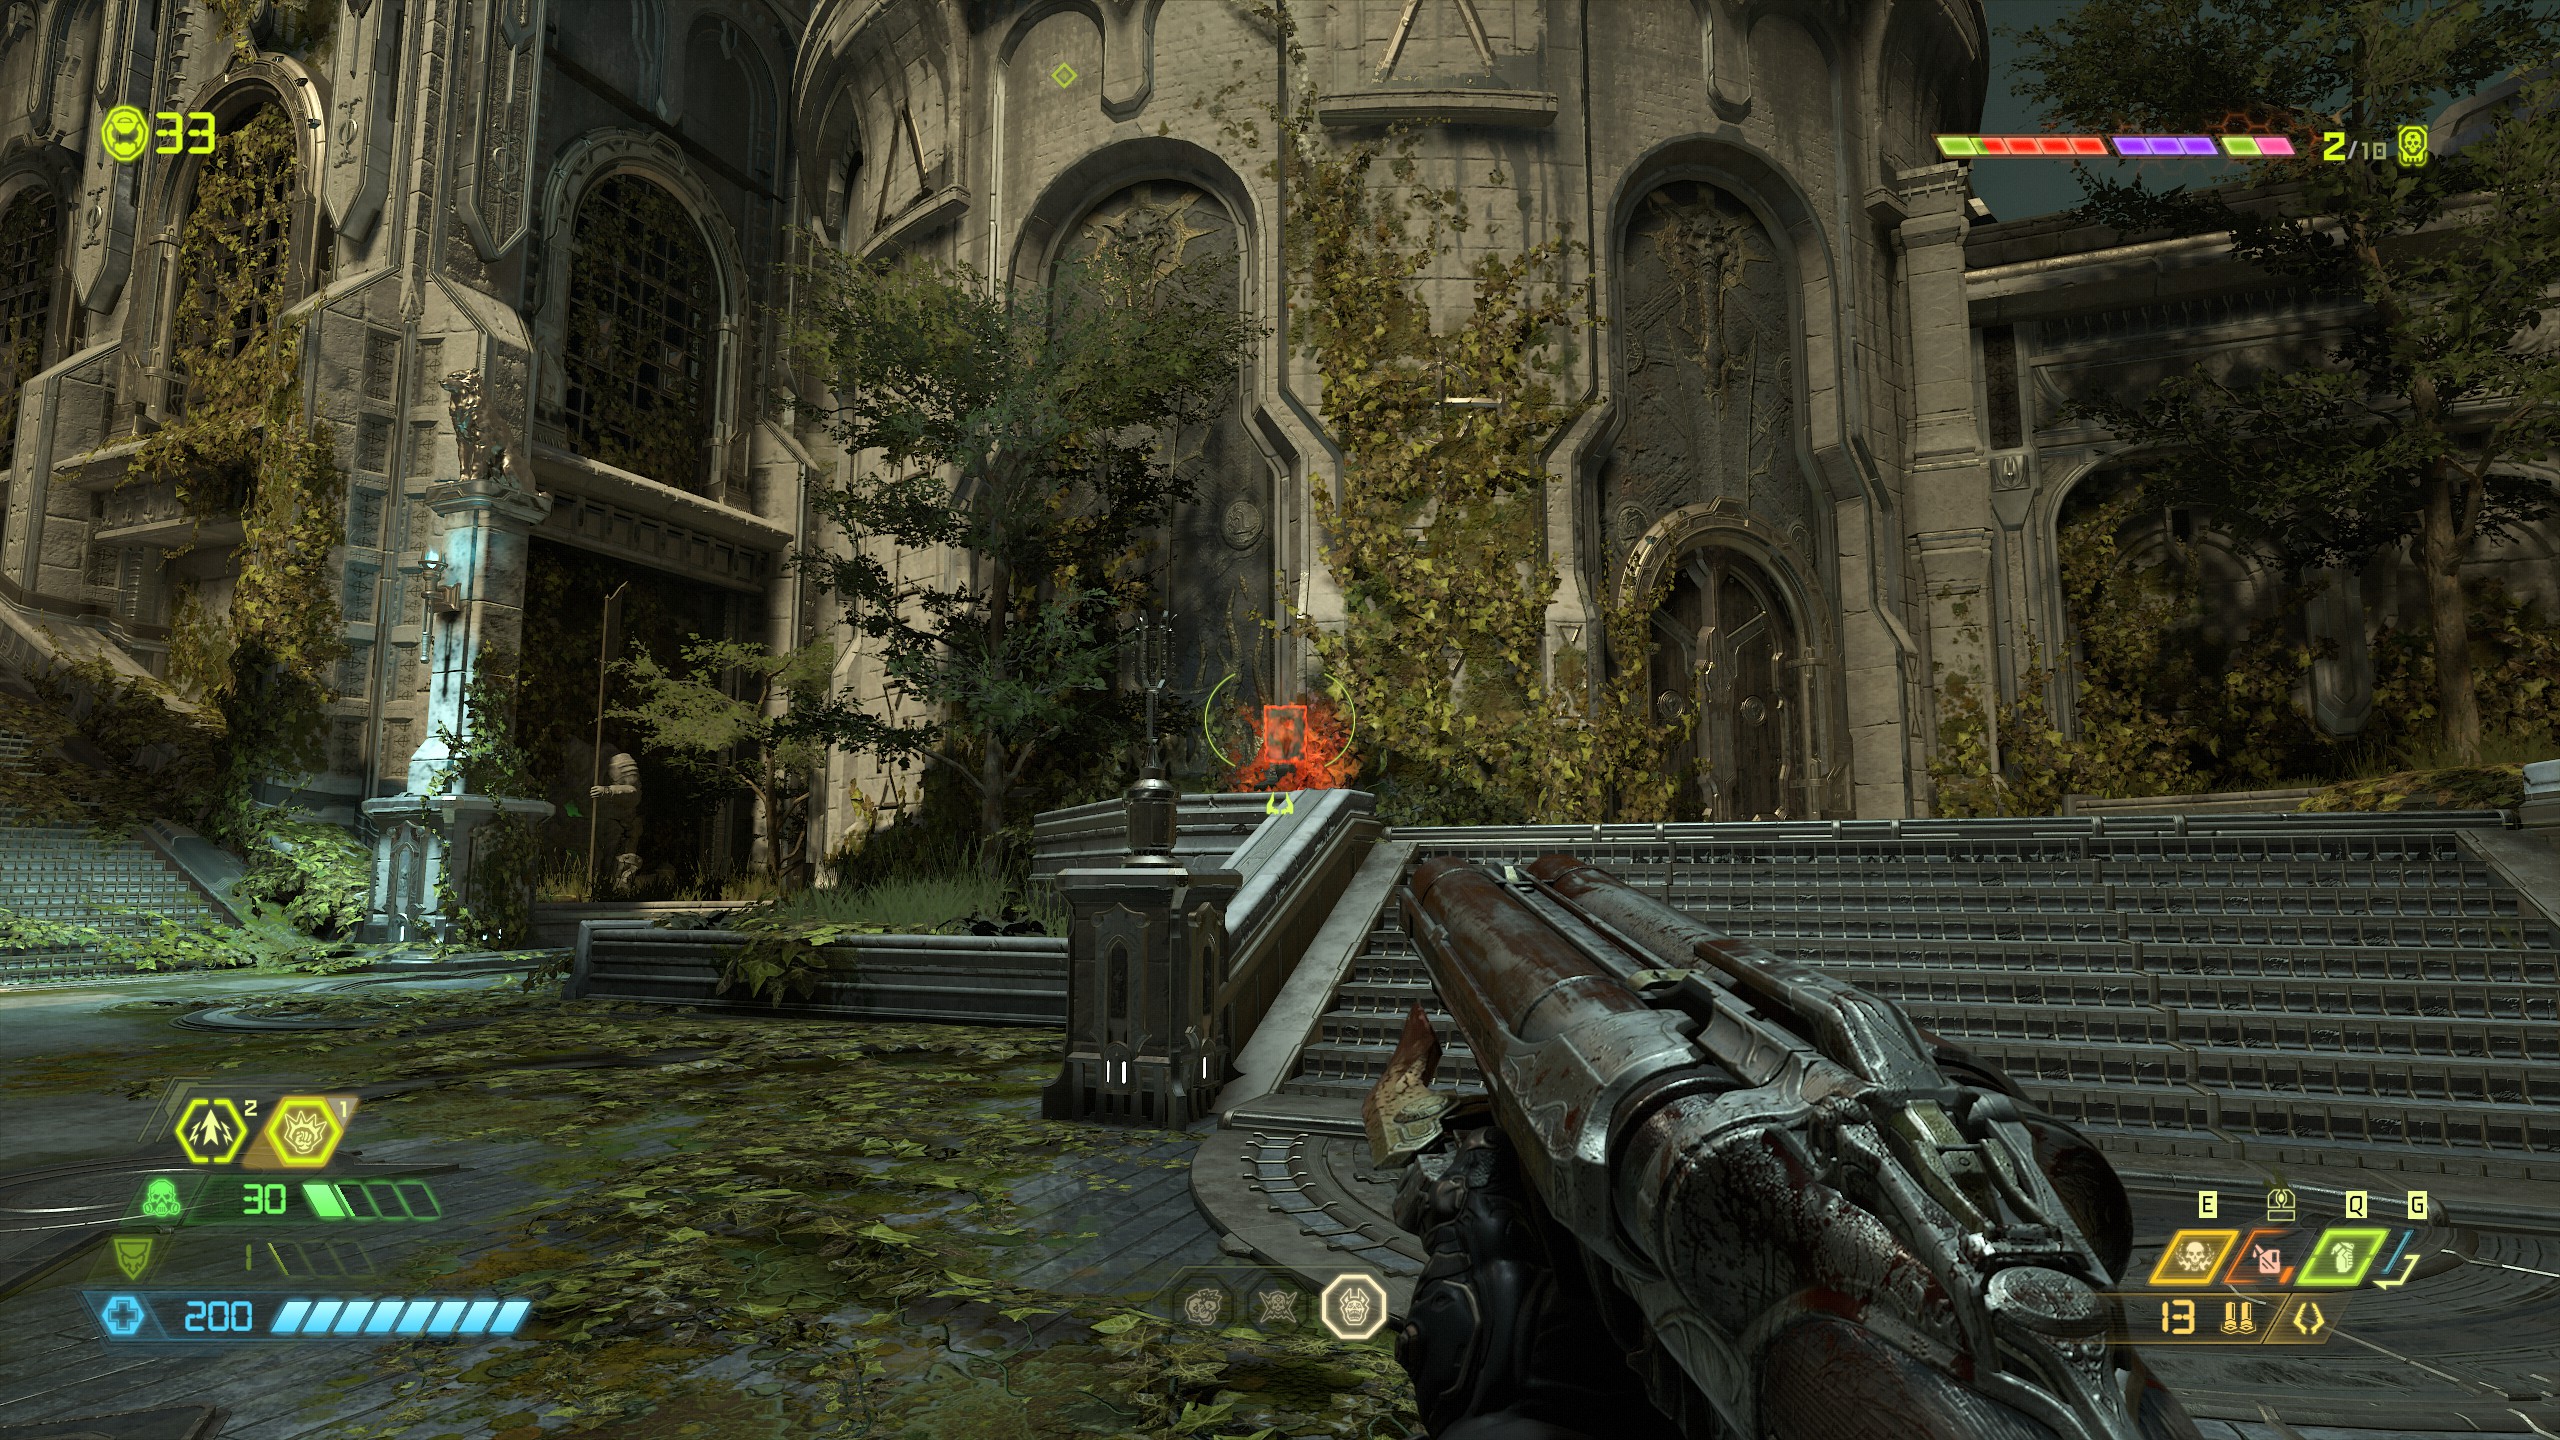
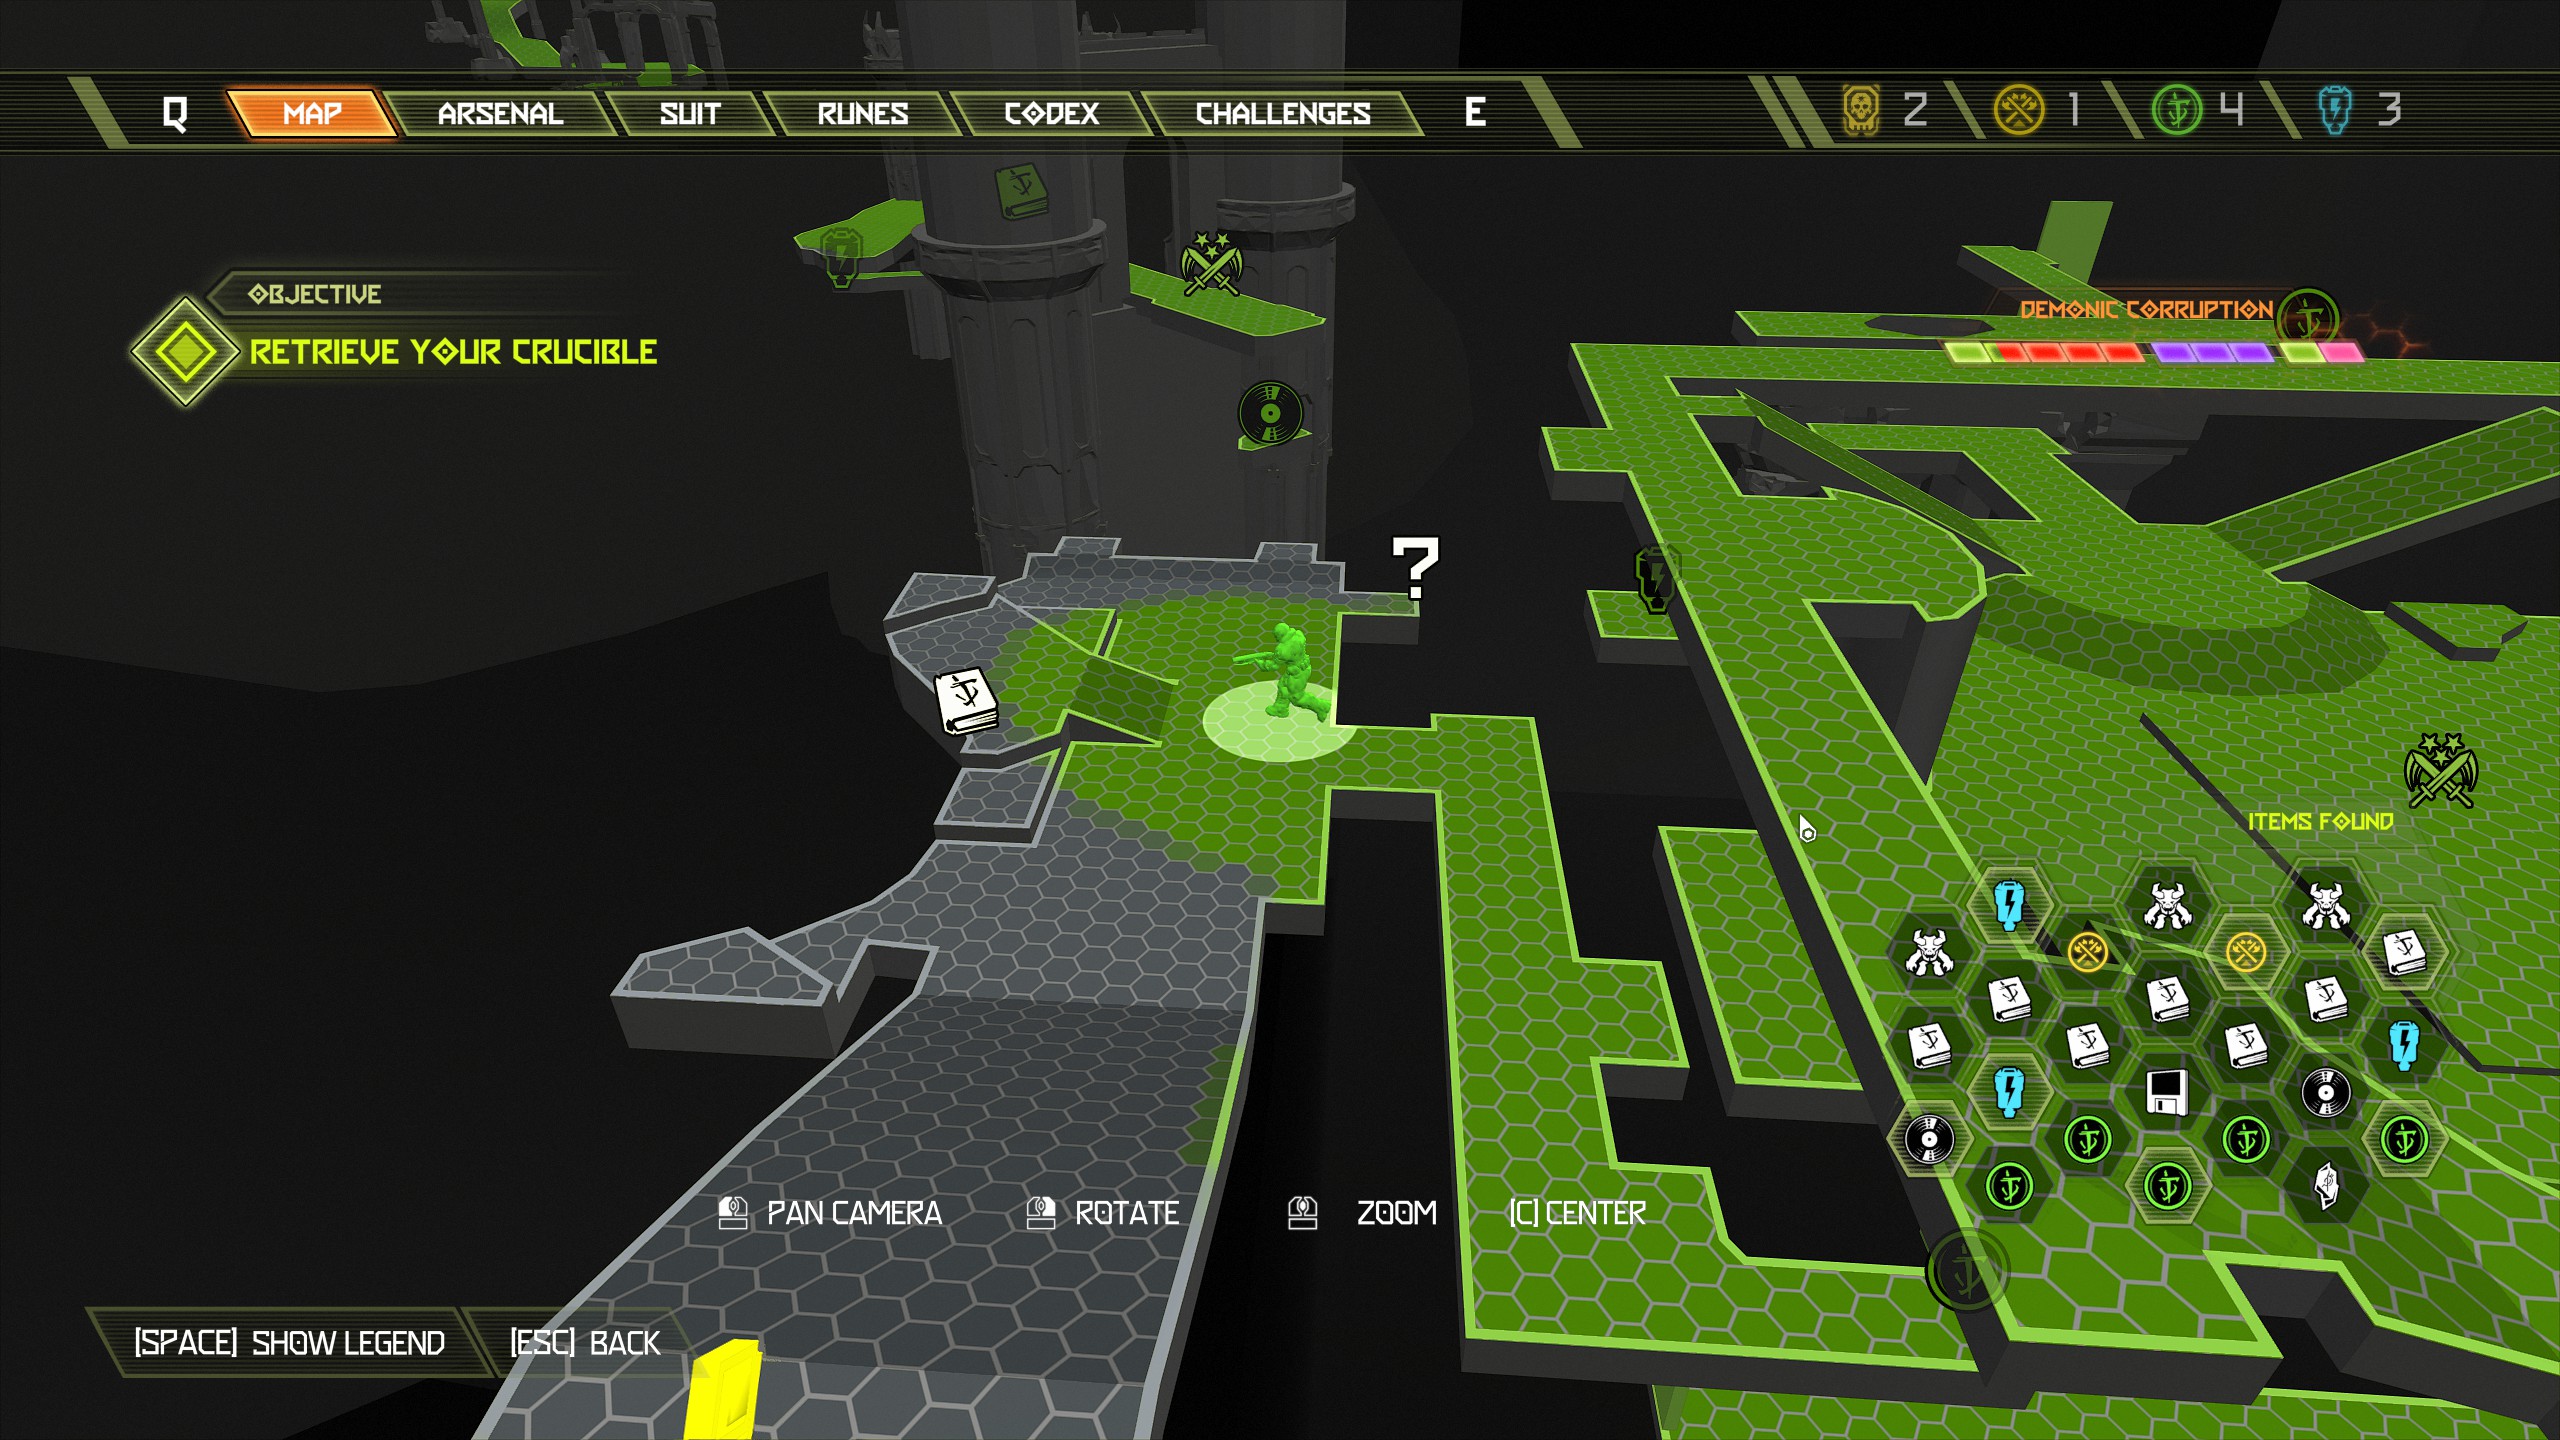
After collecting the codex page look to the left side of the steps at the kneeling statue tucked away in the alcove, break the statue to find another green button hidden behind it. Press the button and then stand on the platform that has activated in the center of the main stairway.
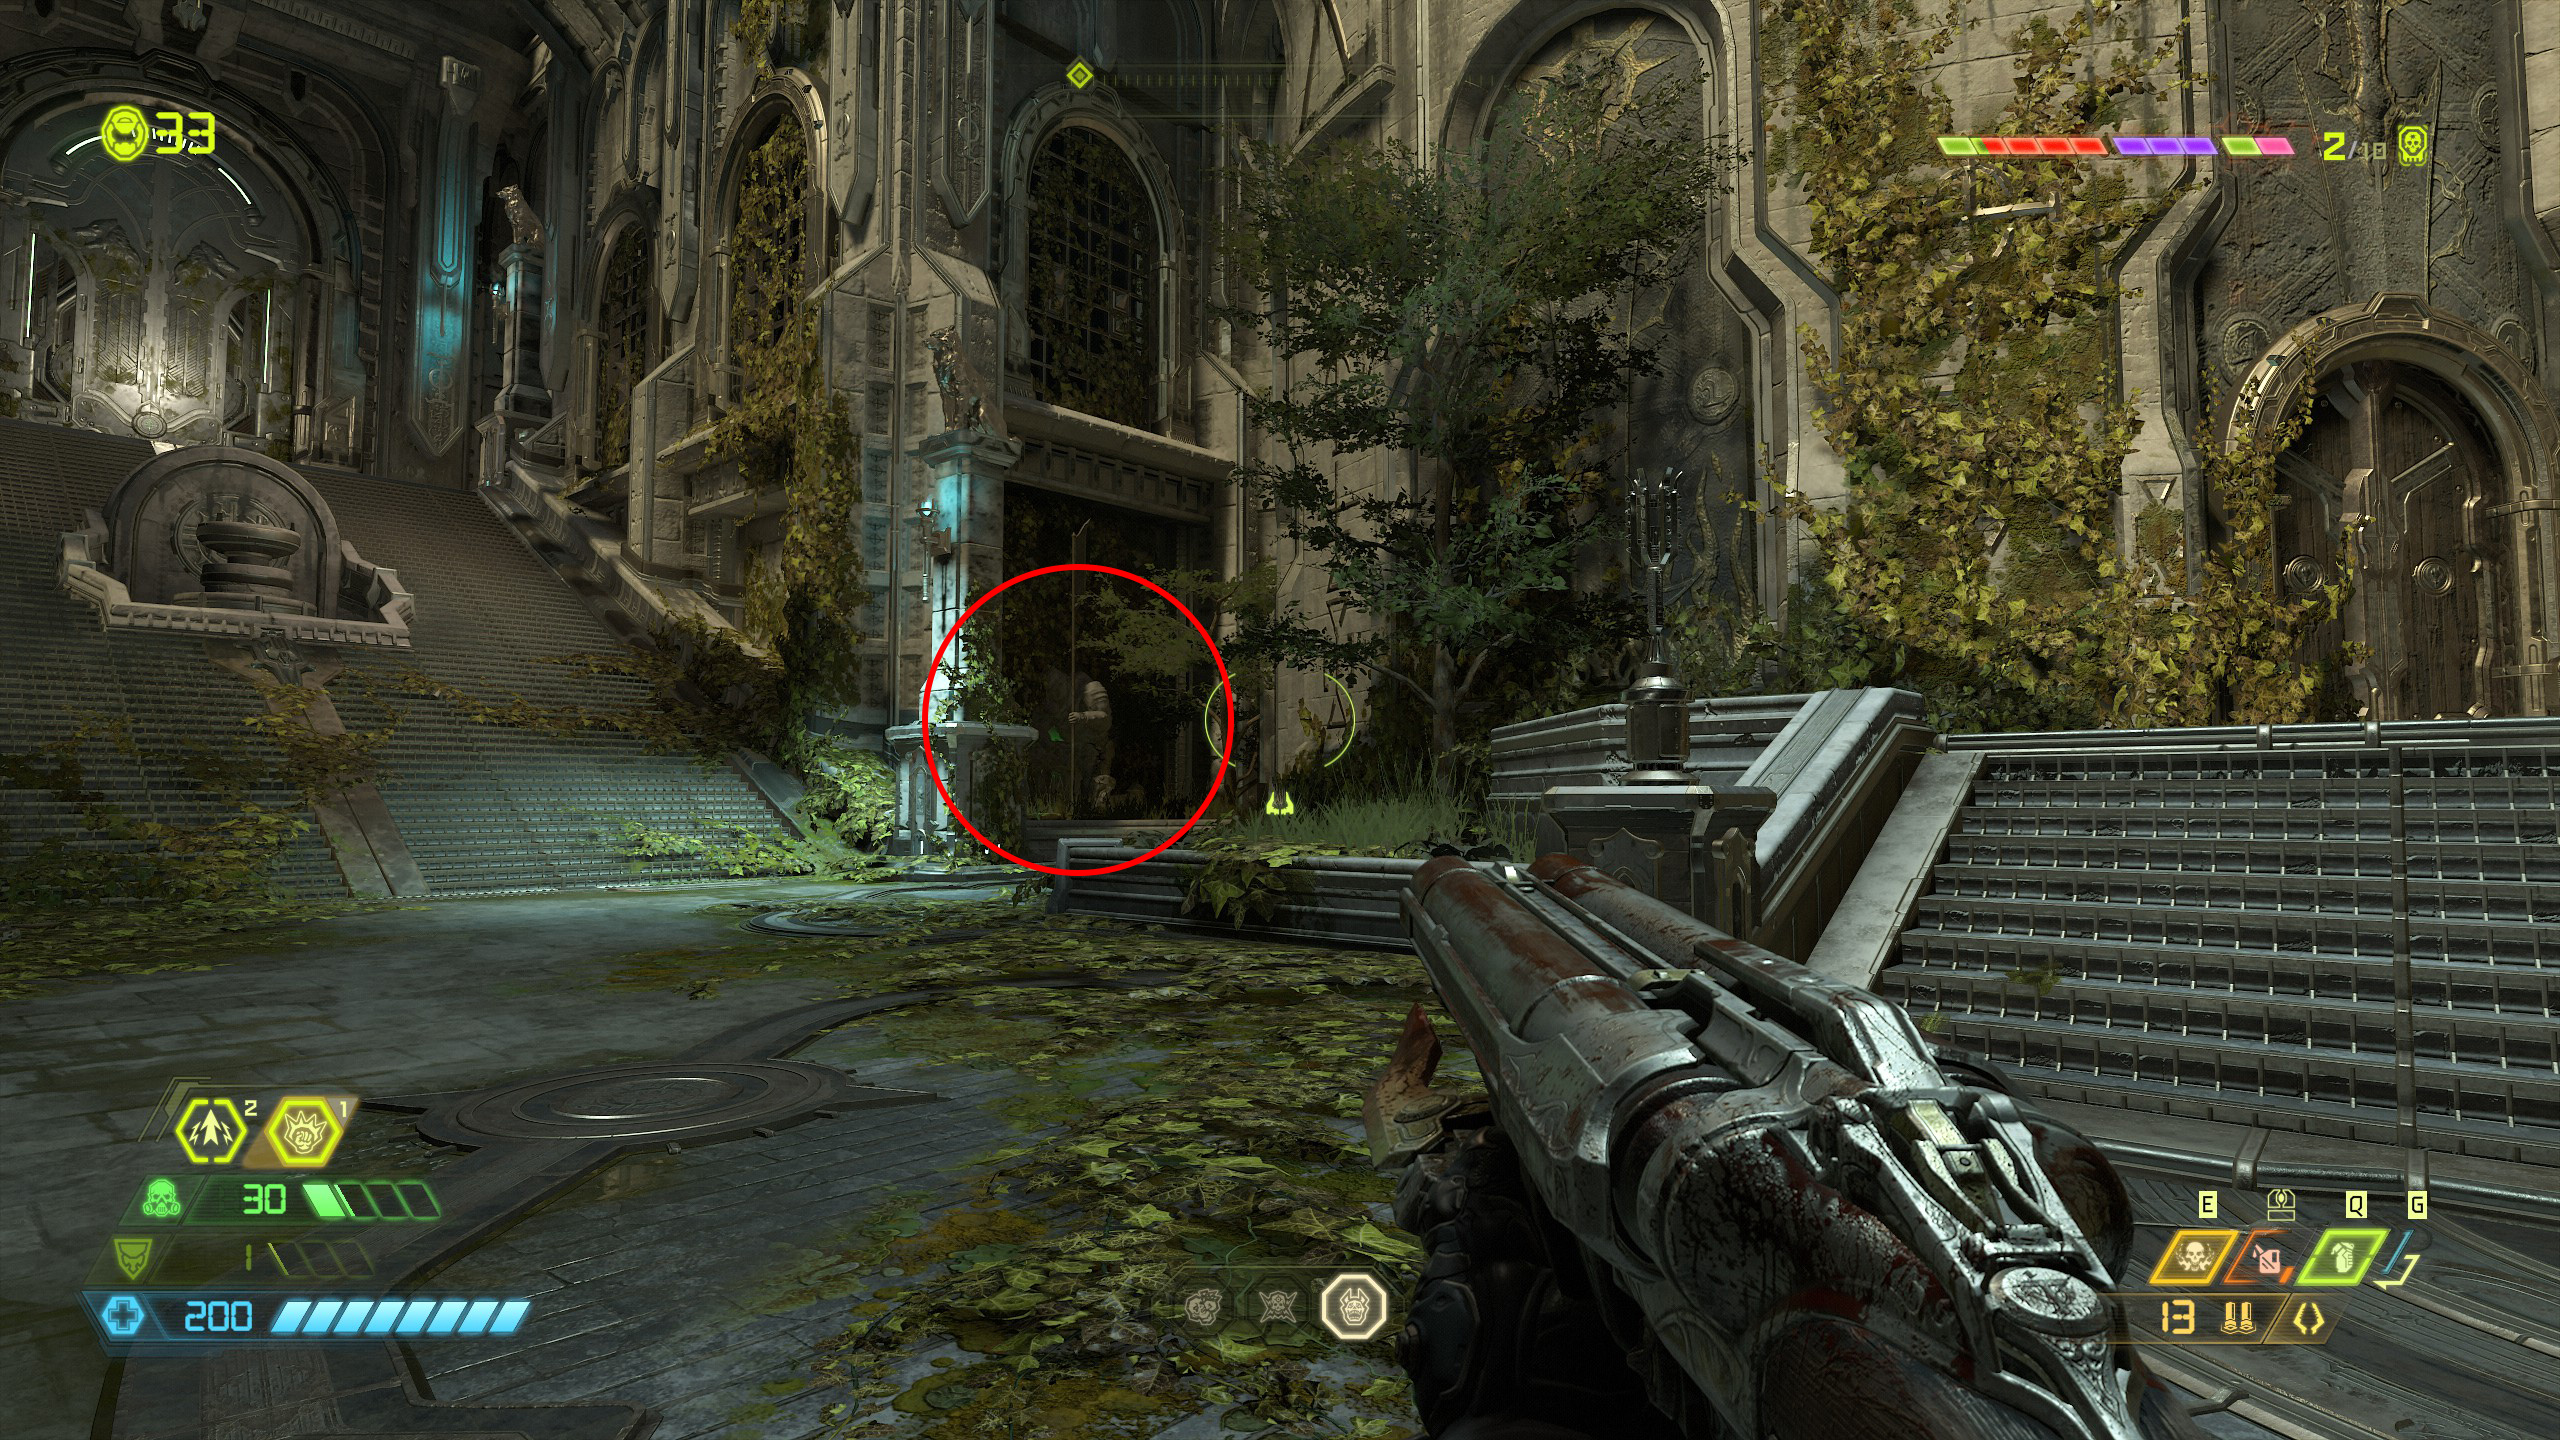
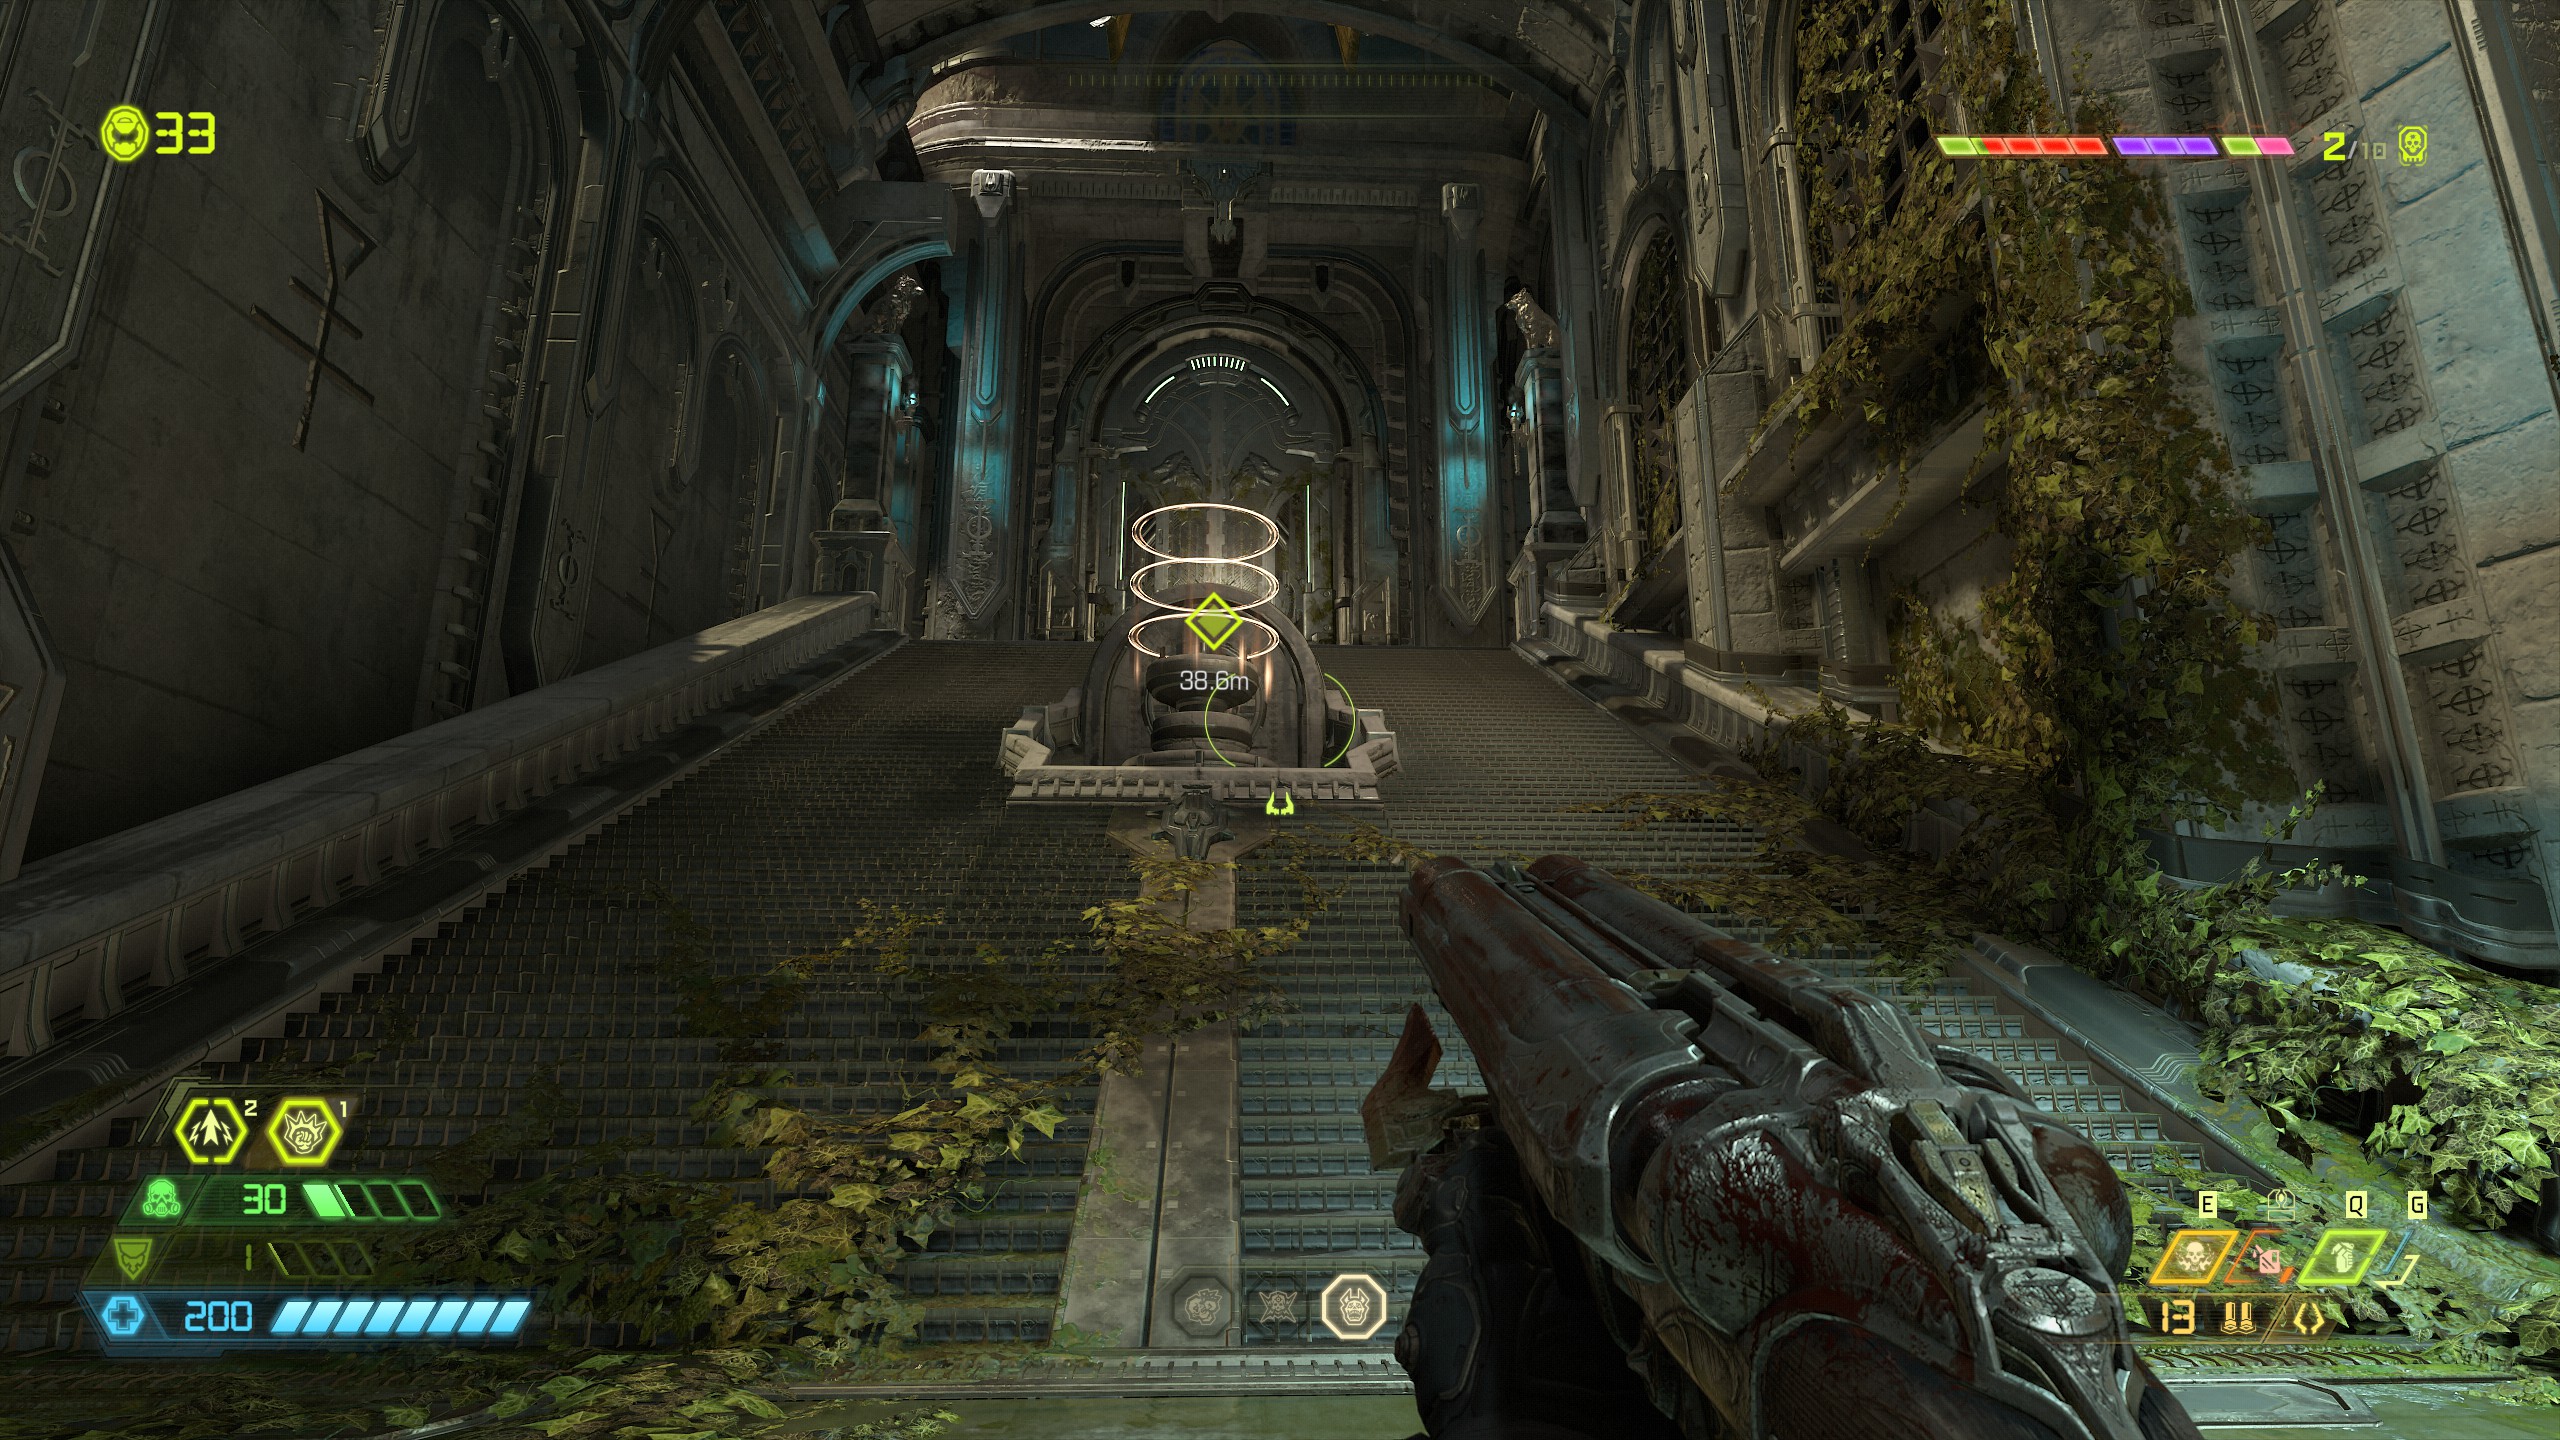
Standing on the platform will unlock the gate situated on the opposite side next to where we entered the area and inside will be a doomtoy.
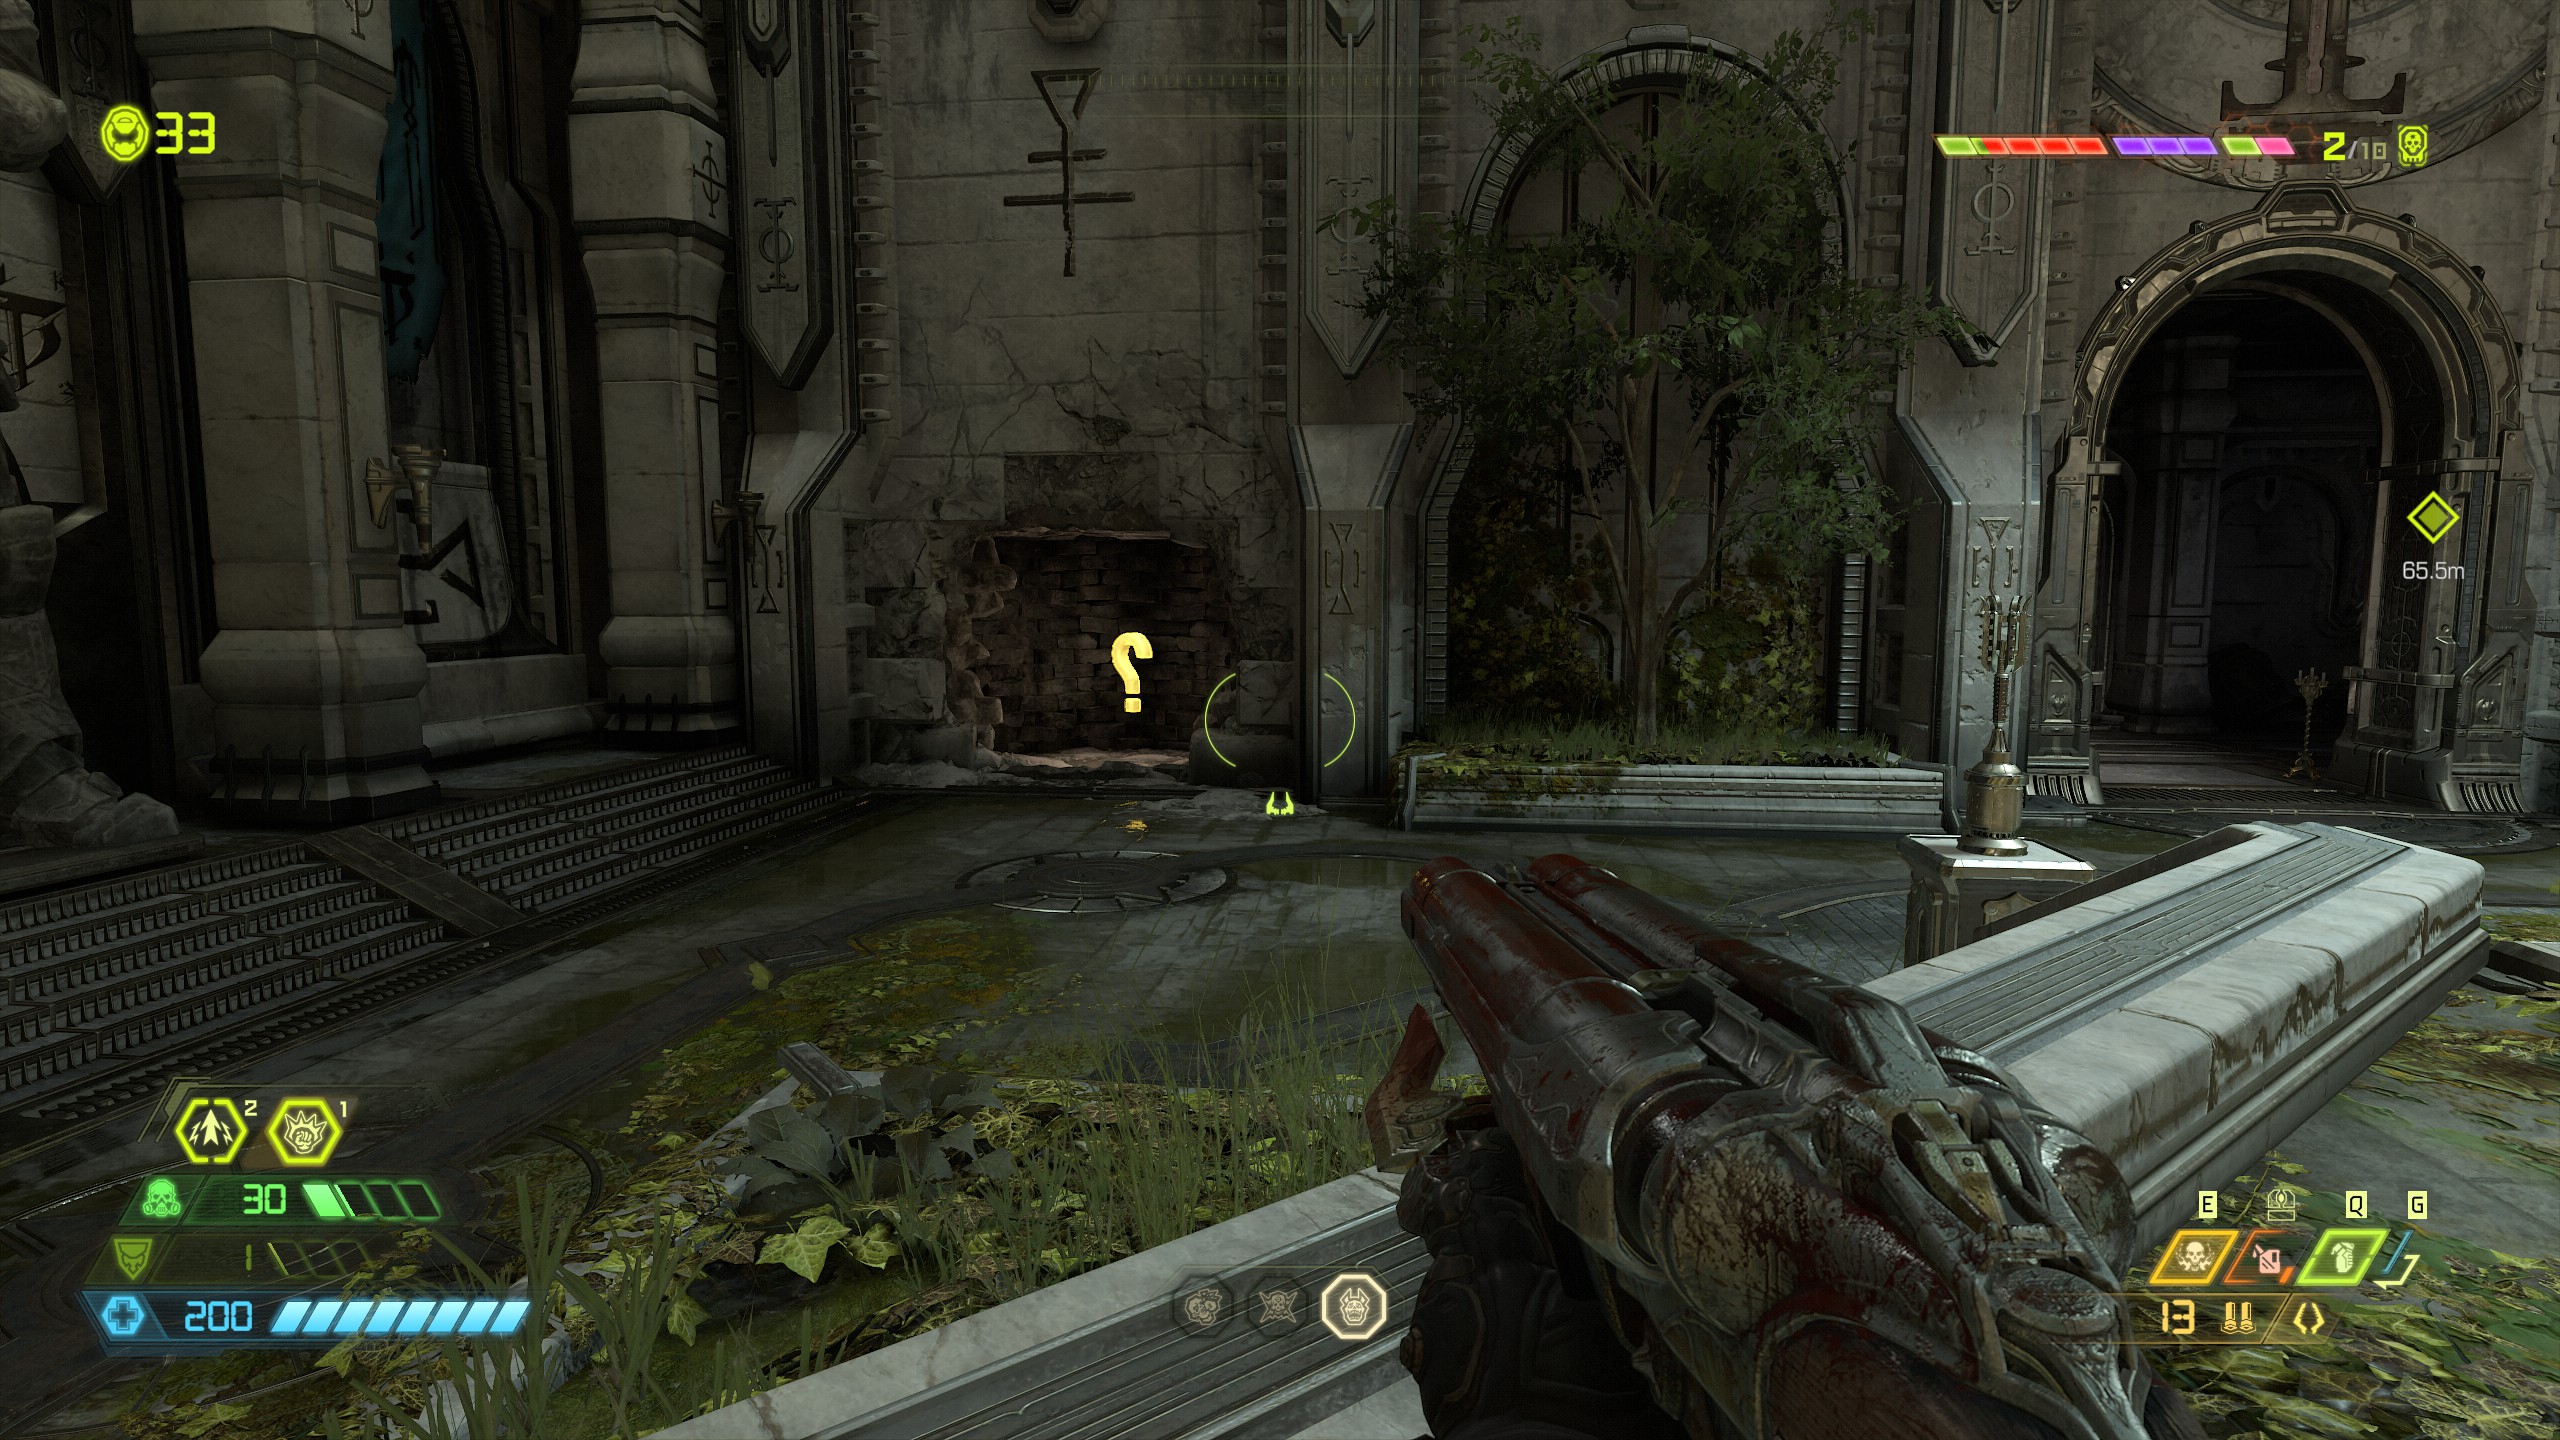
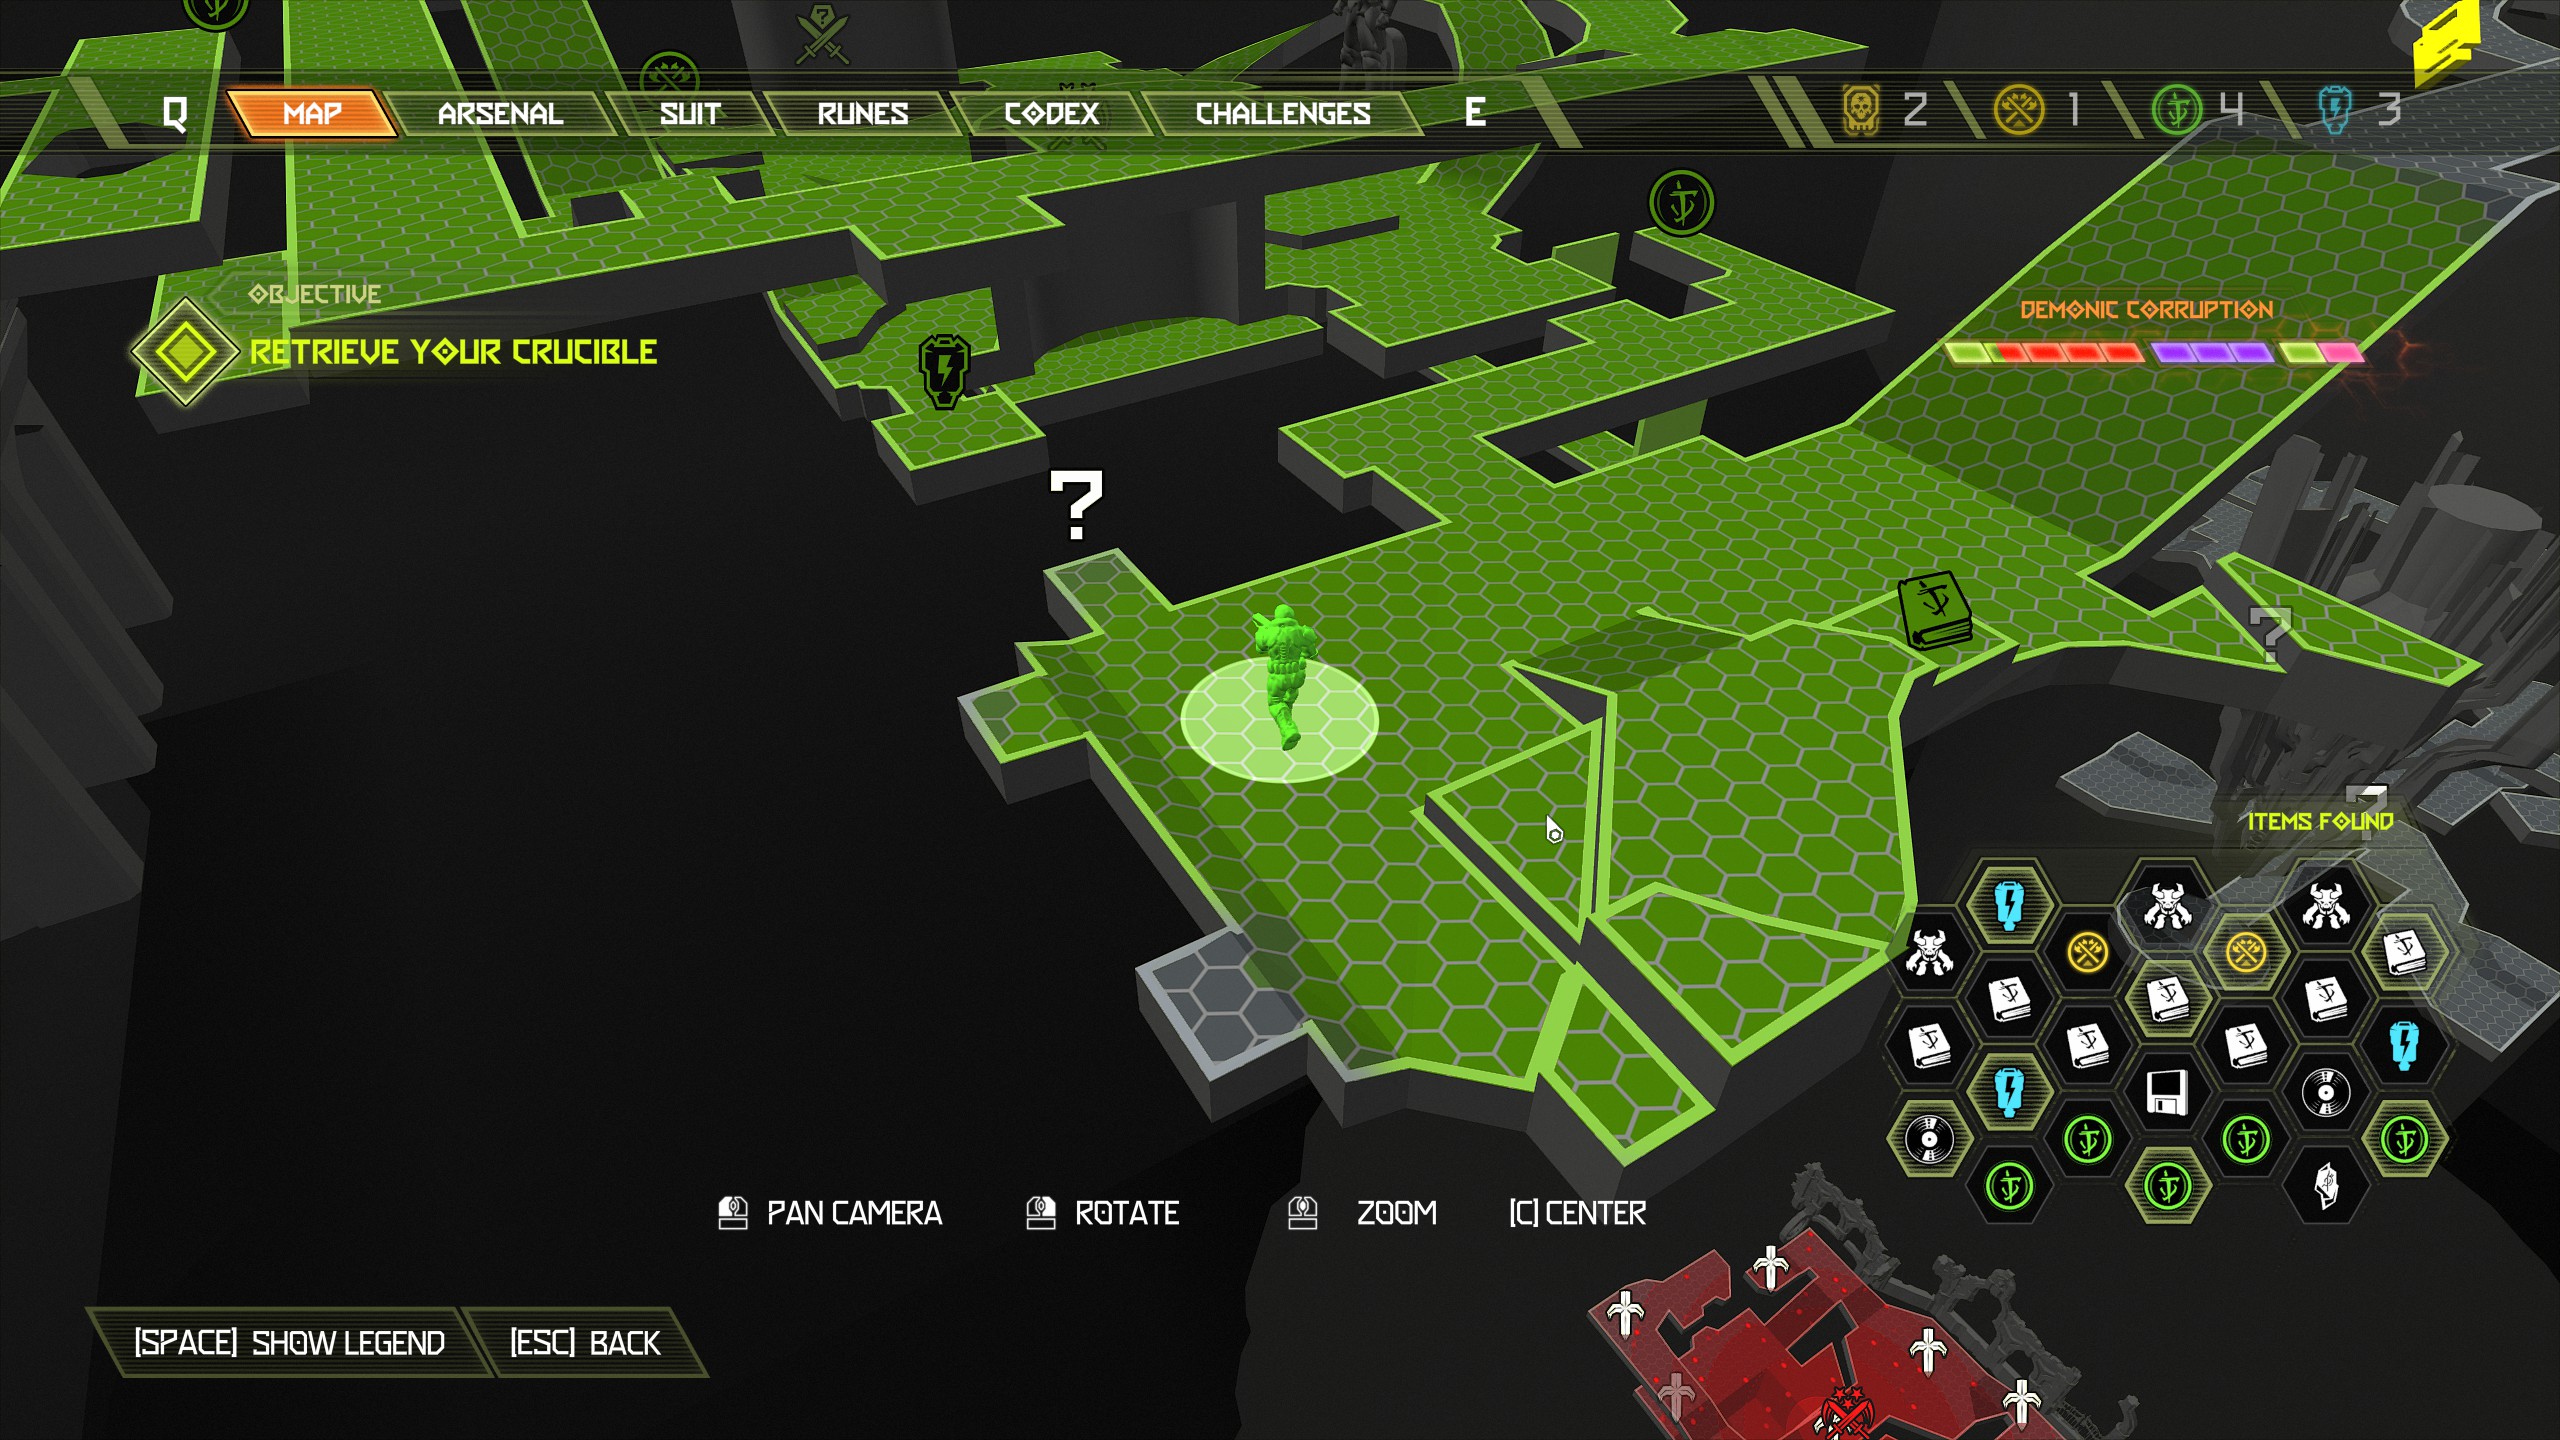
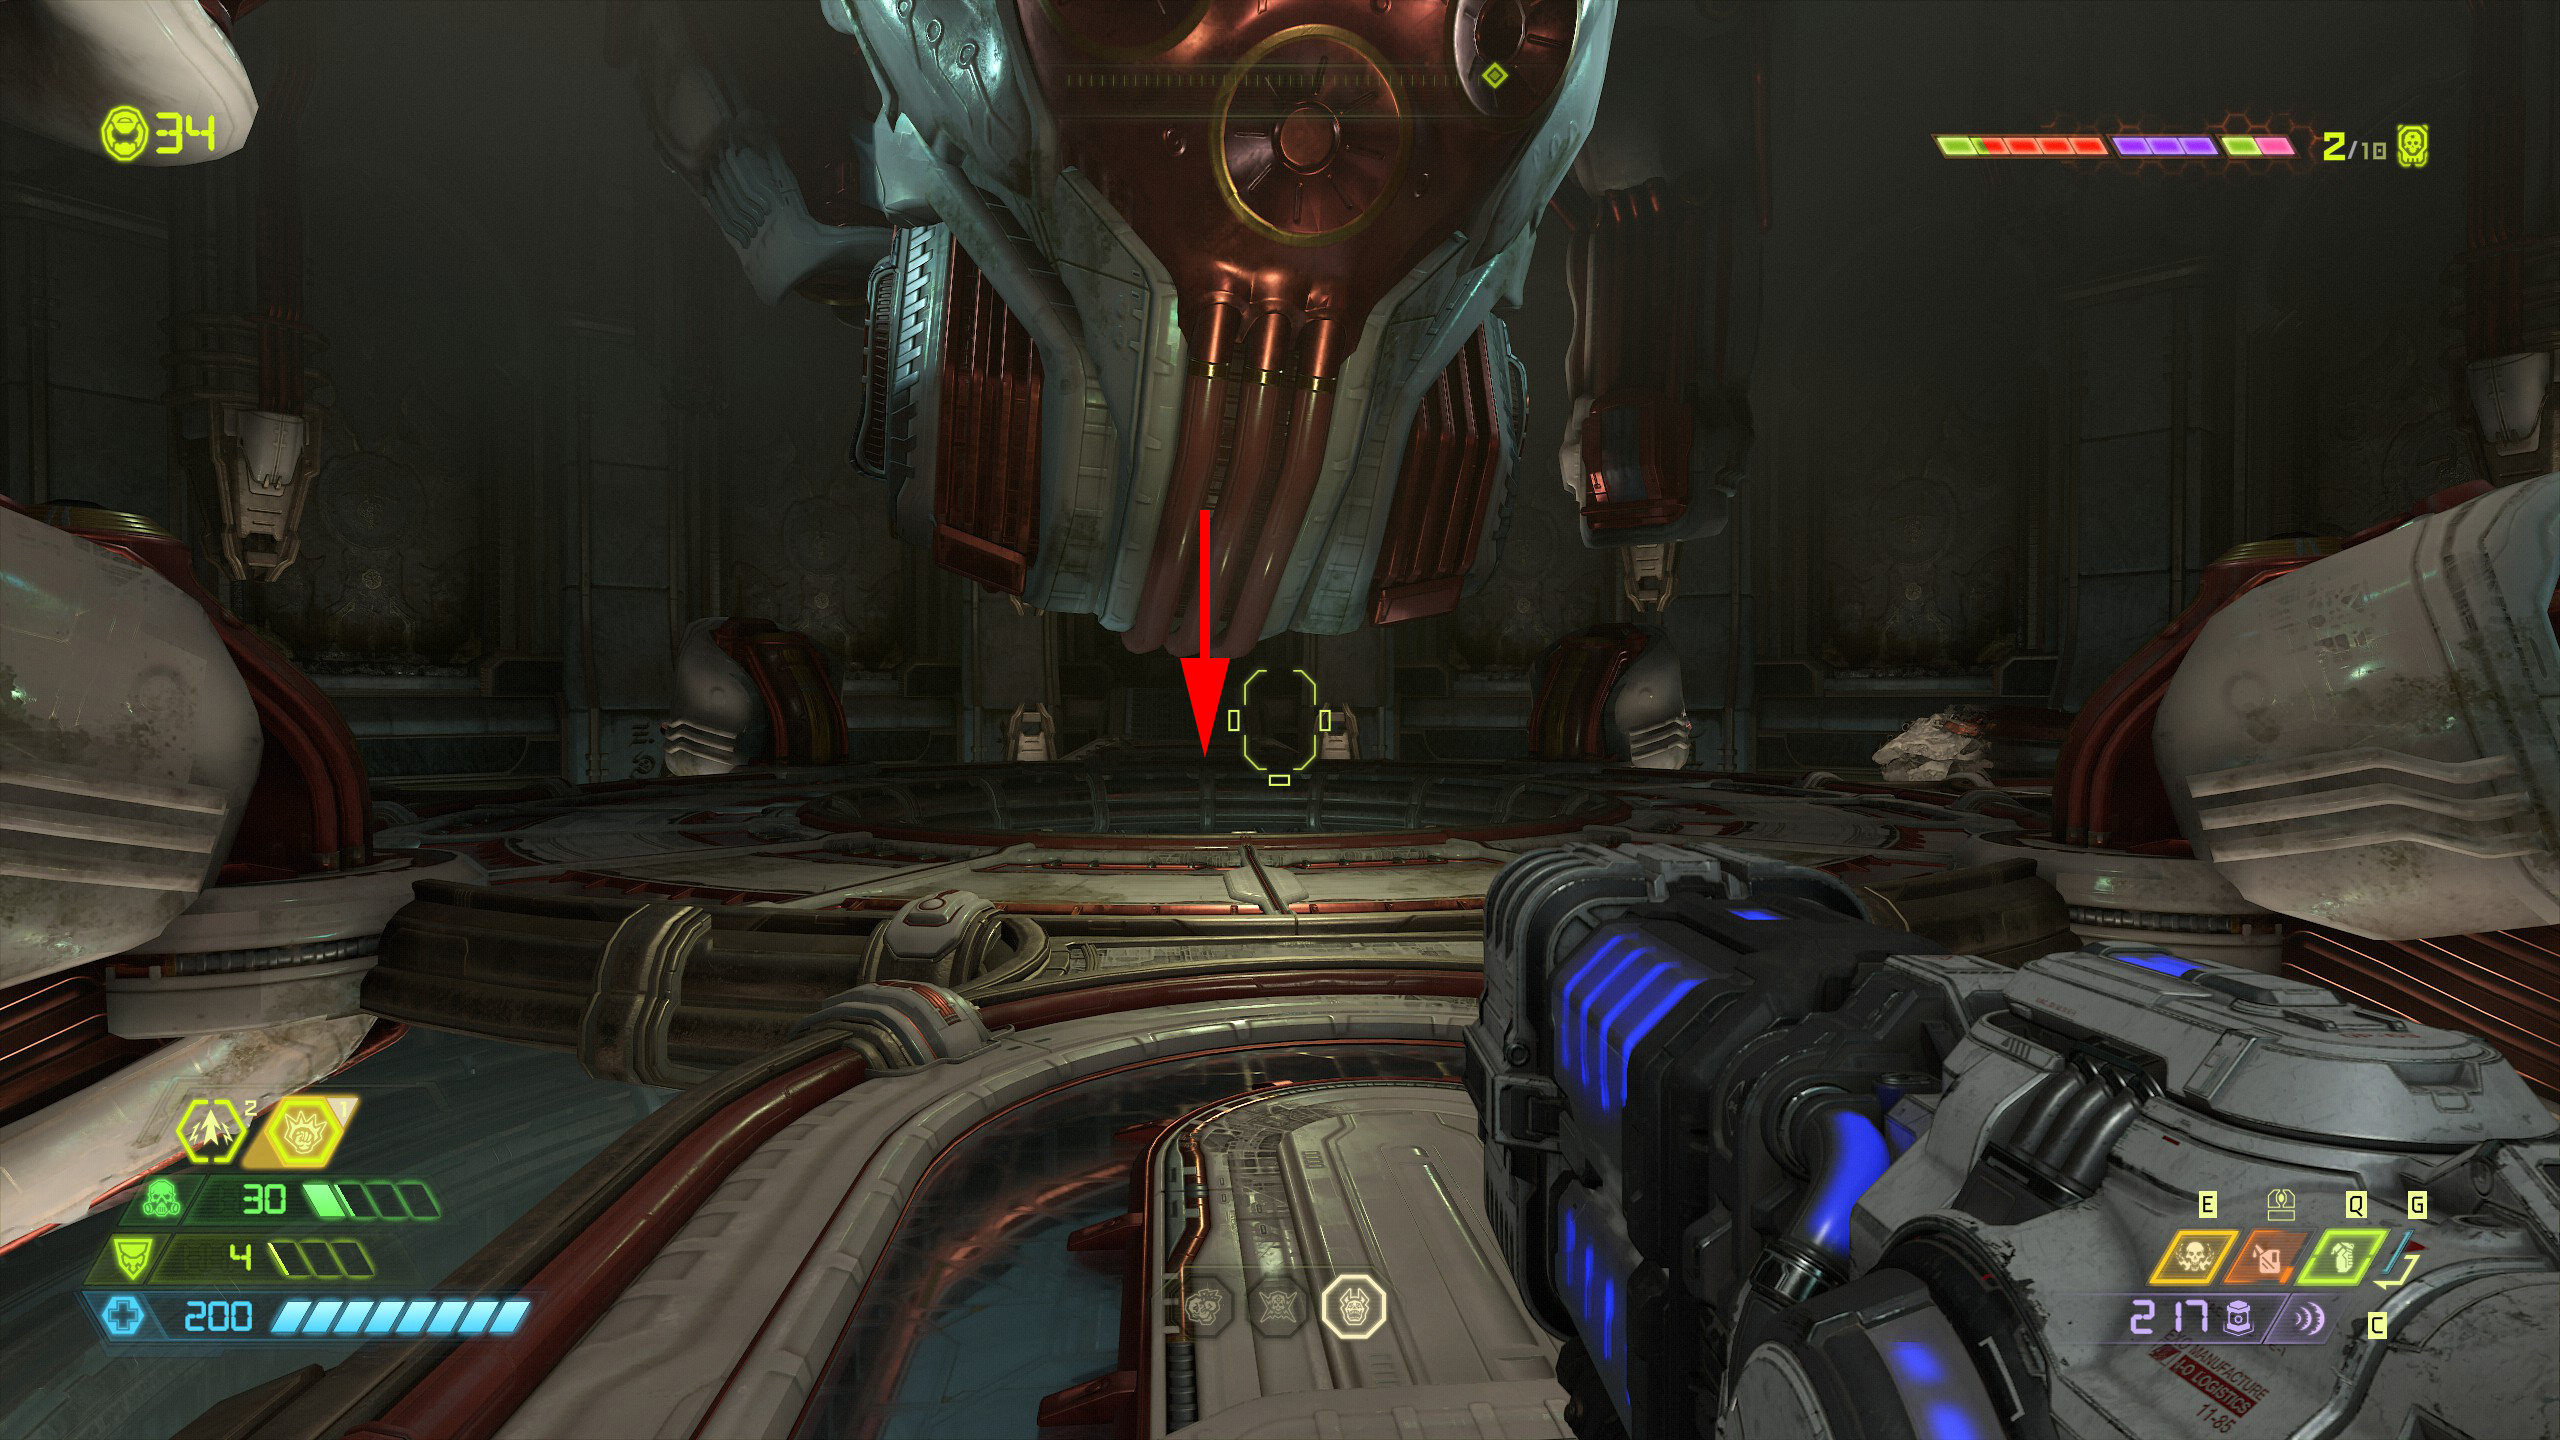
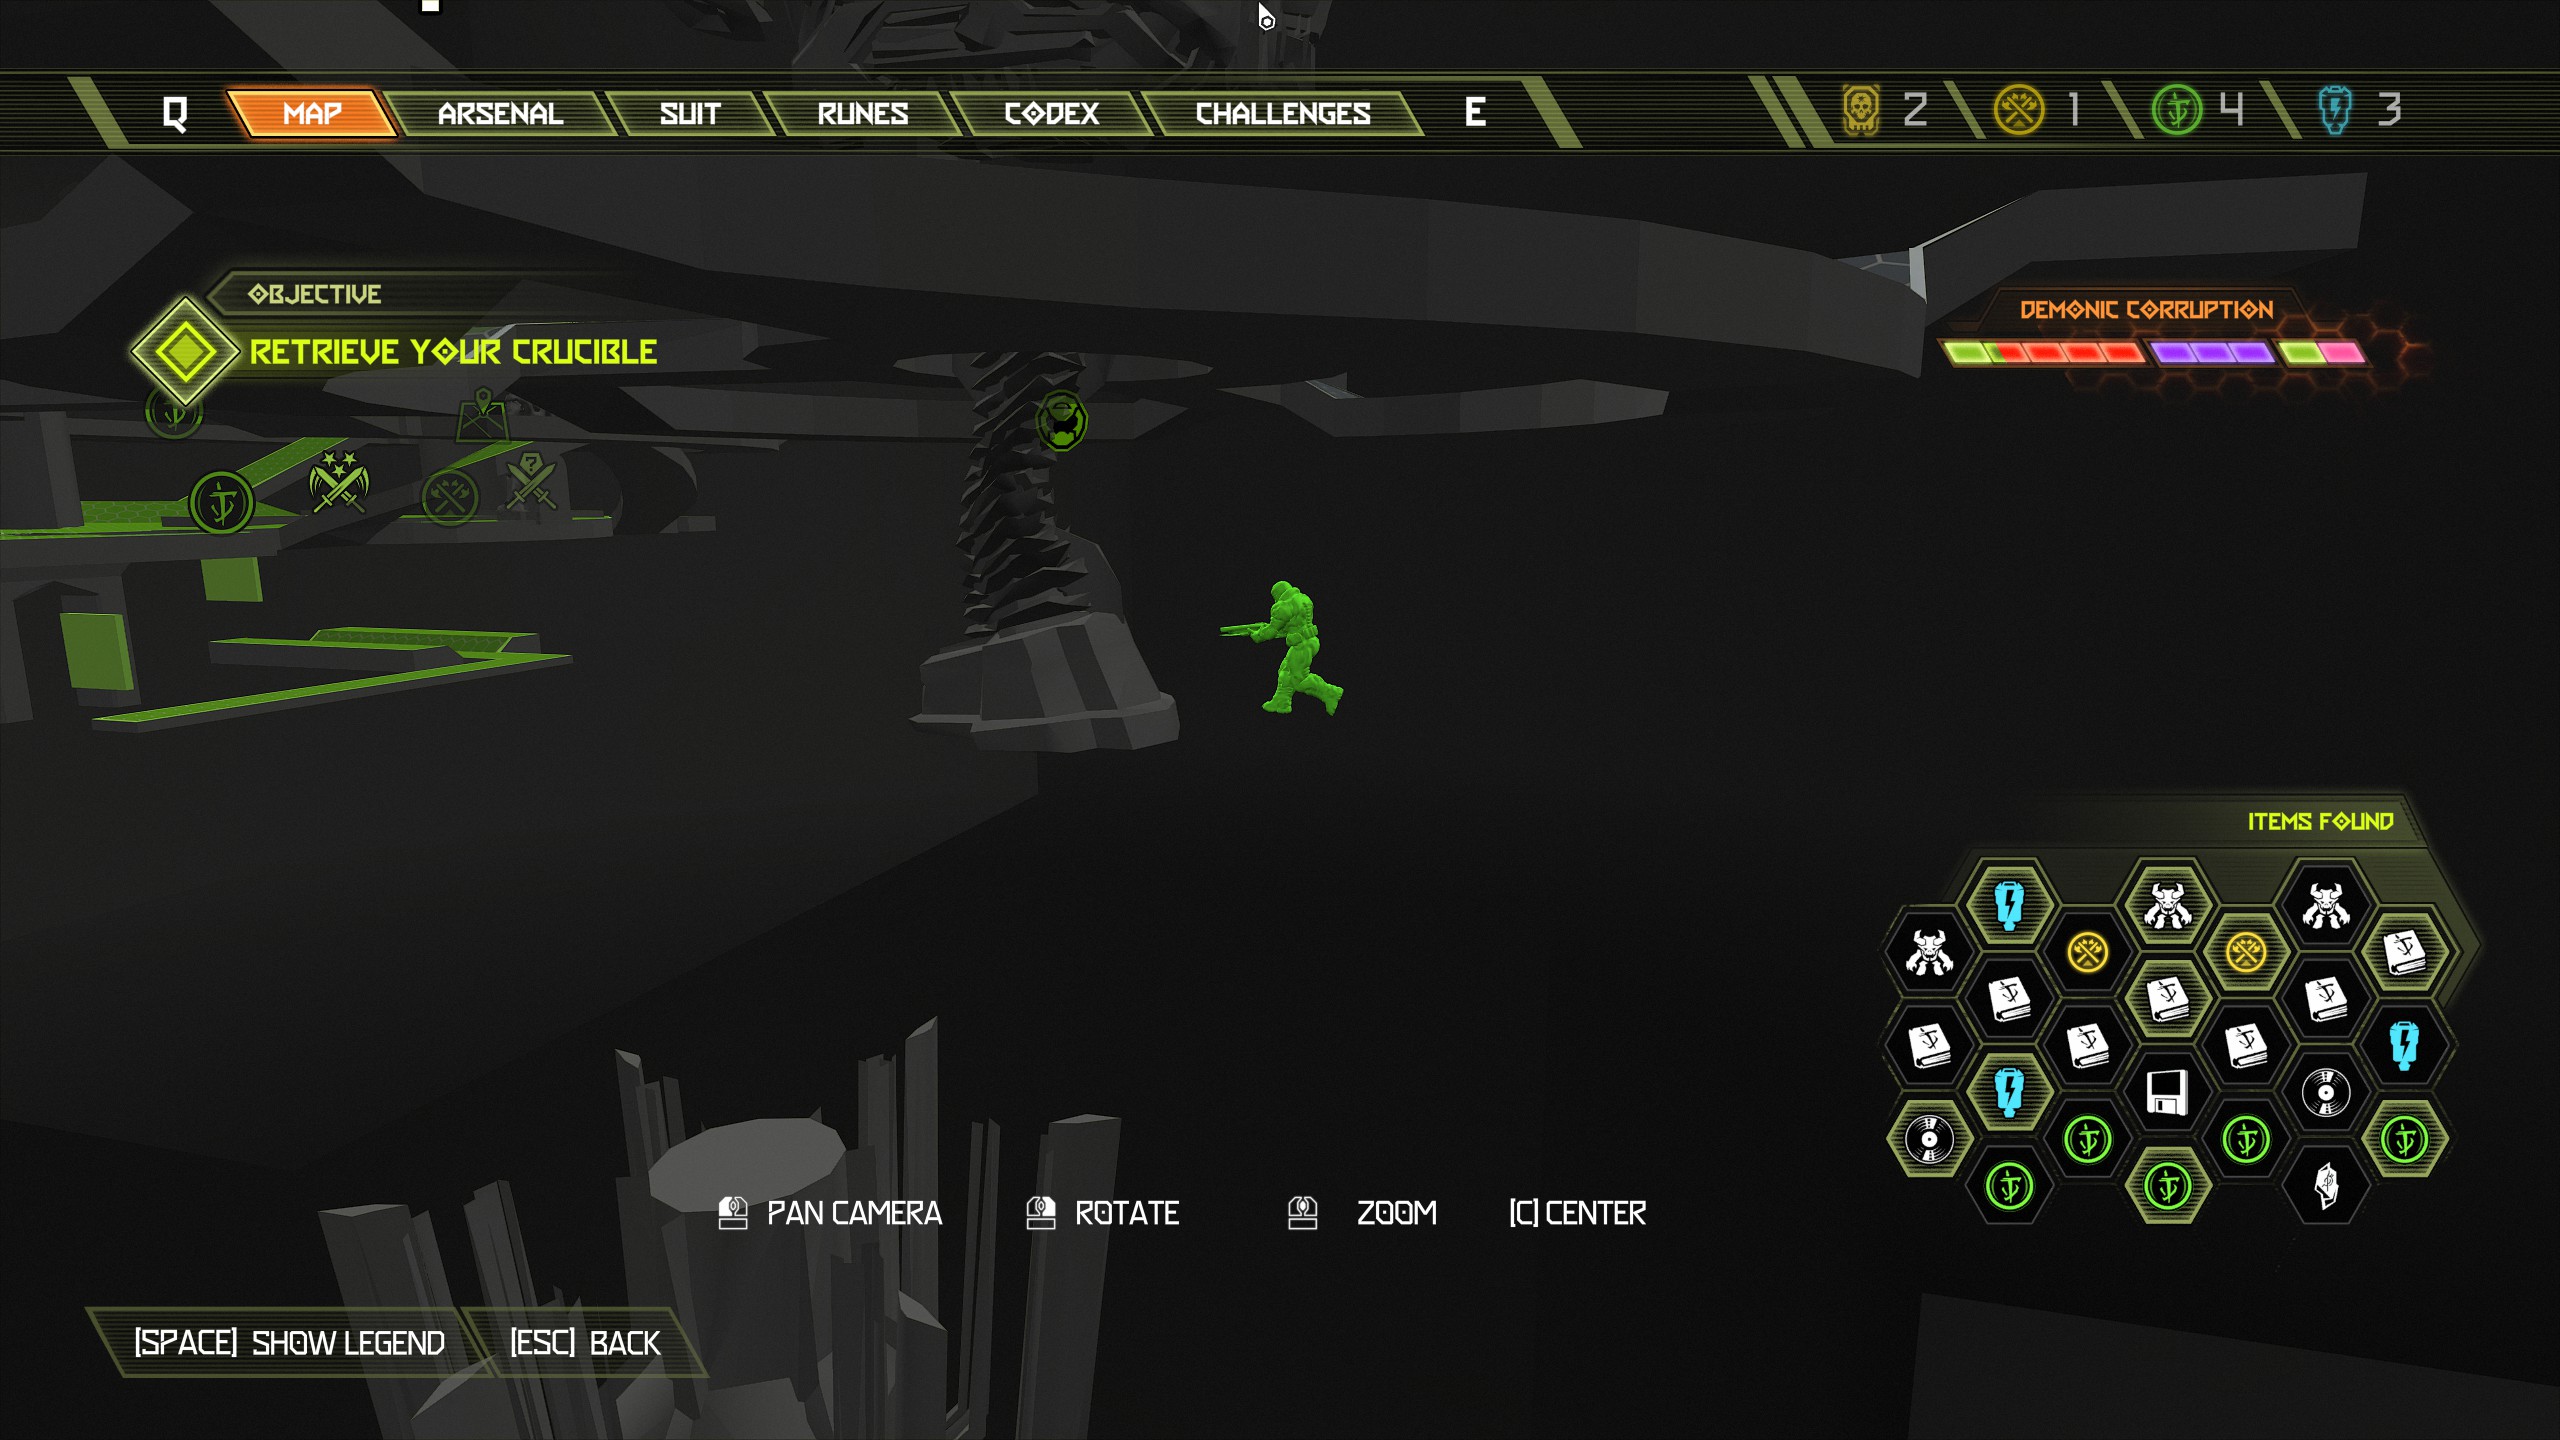
On the right side of the hole head towards the mission marker and you will come across another codex page, you can't miss it.
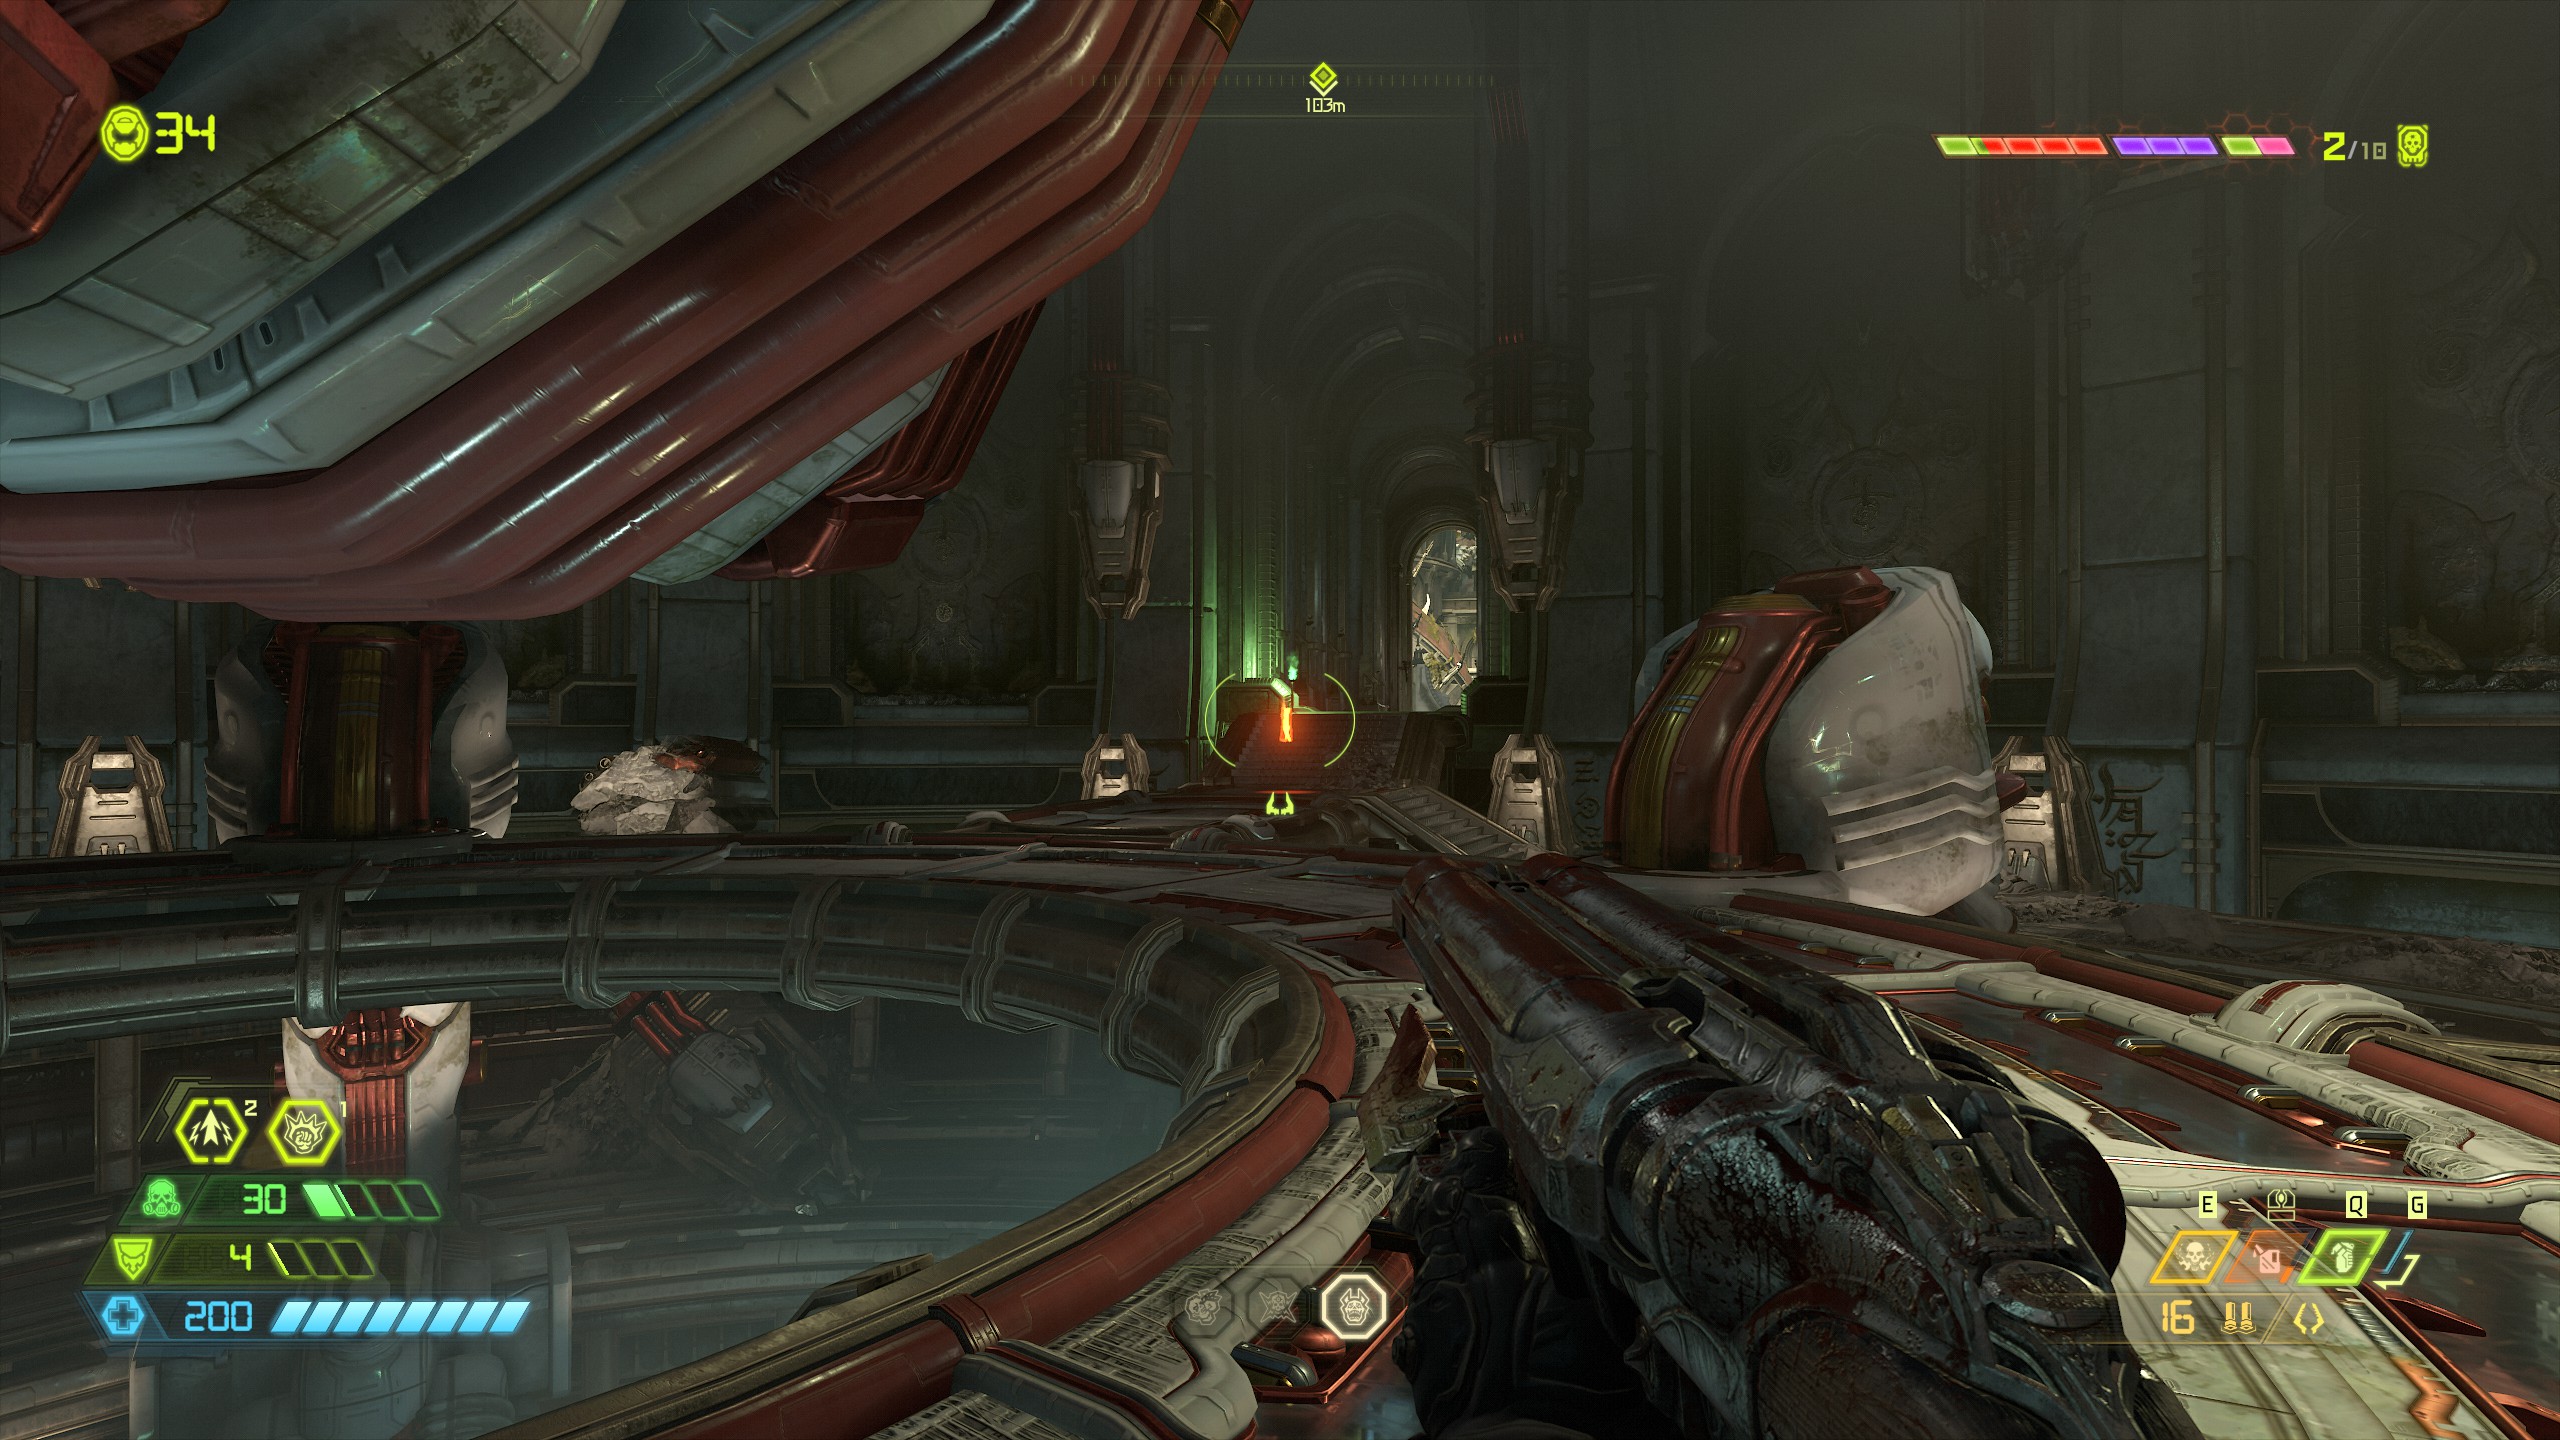
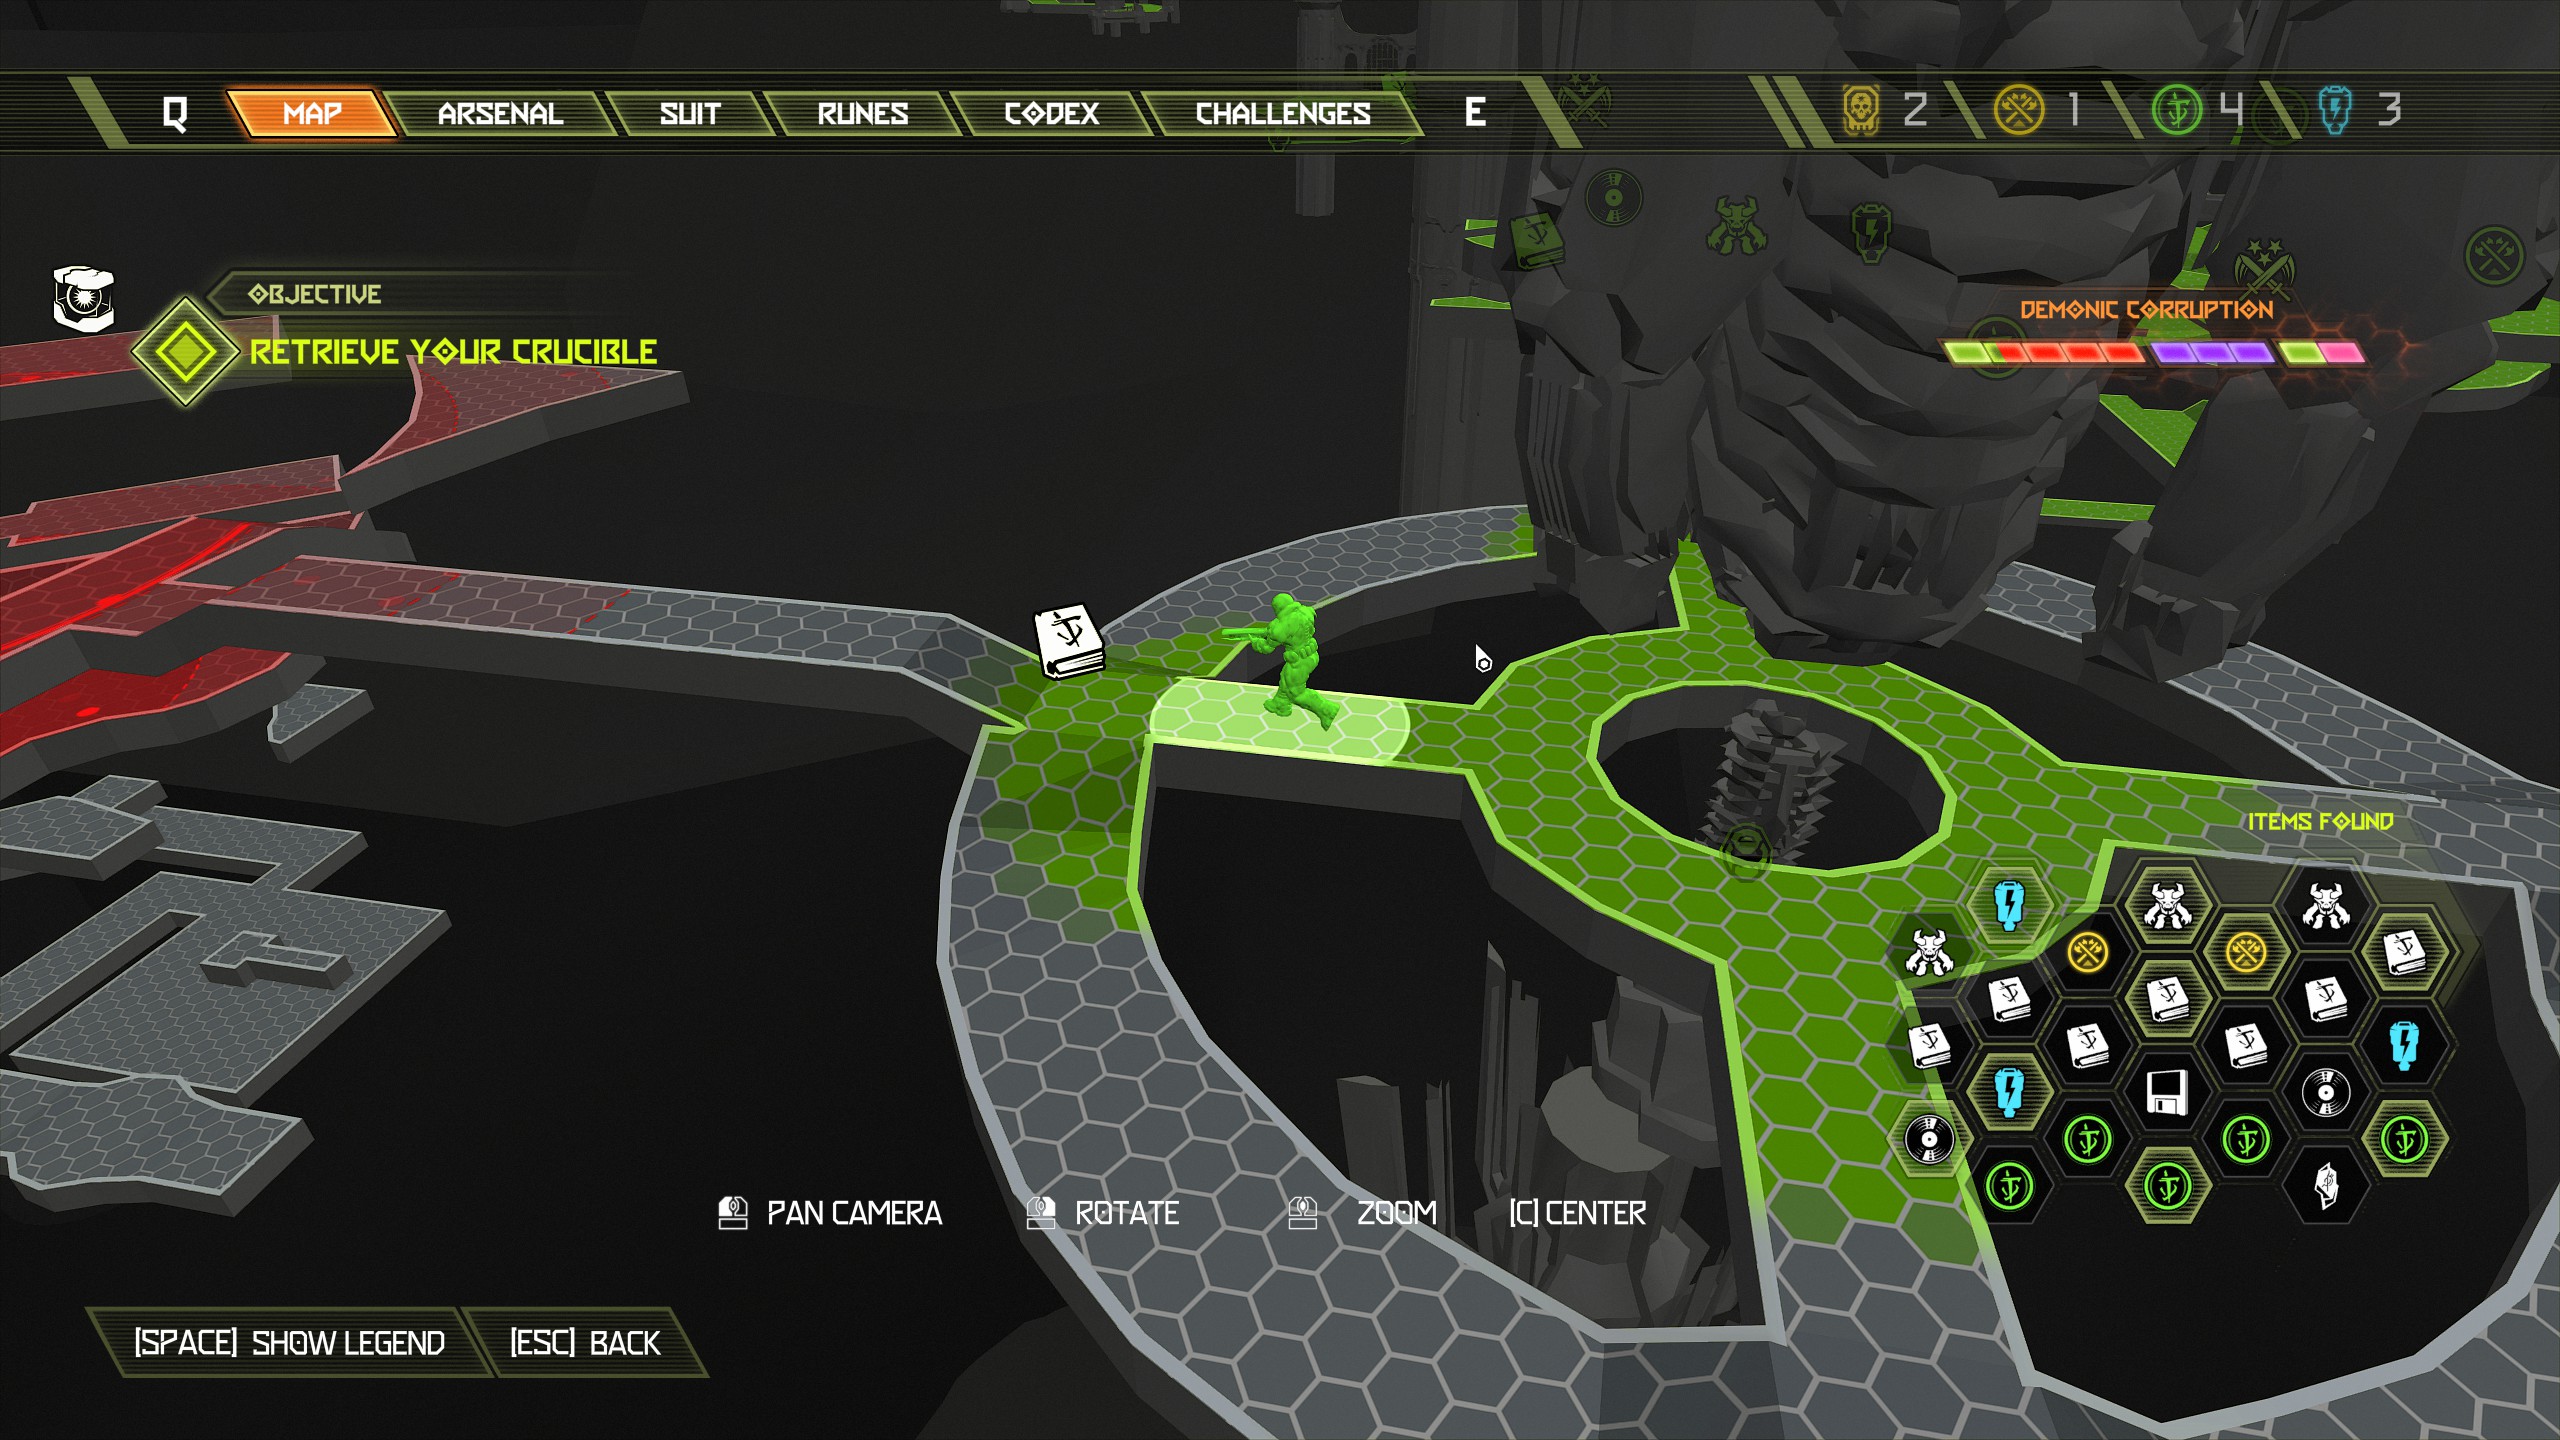
Proceed with the mission outside and take the lift down into the sewer. When in the sewer you will come across the slayer gate, ignore it for now and drain the water in the next area.
Mission 9: Taras Nabad [Part 2]
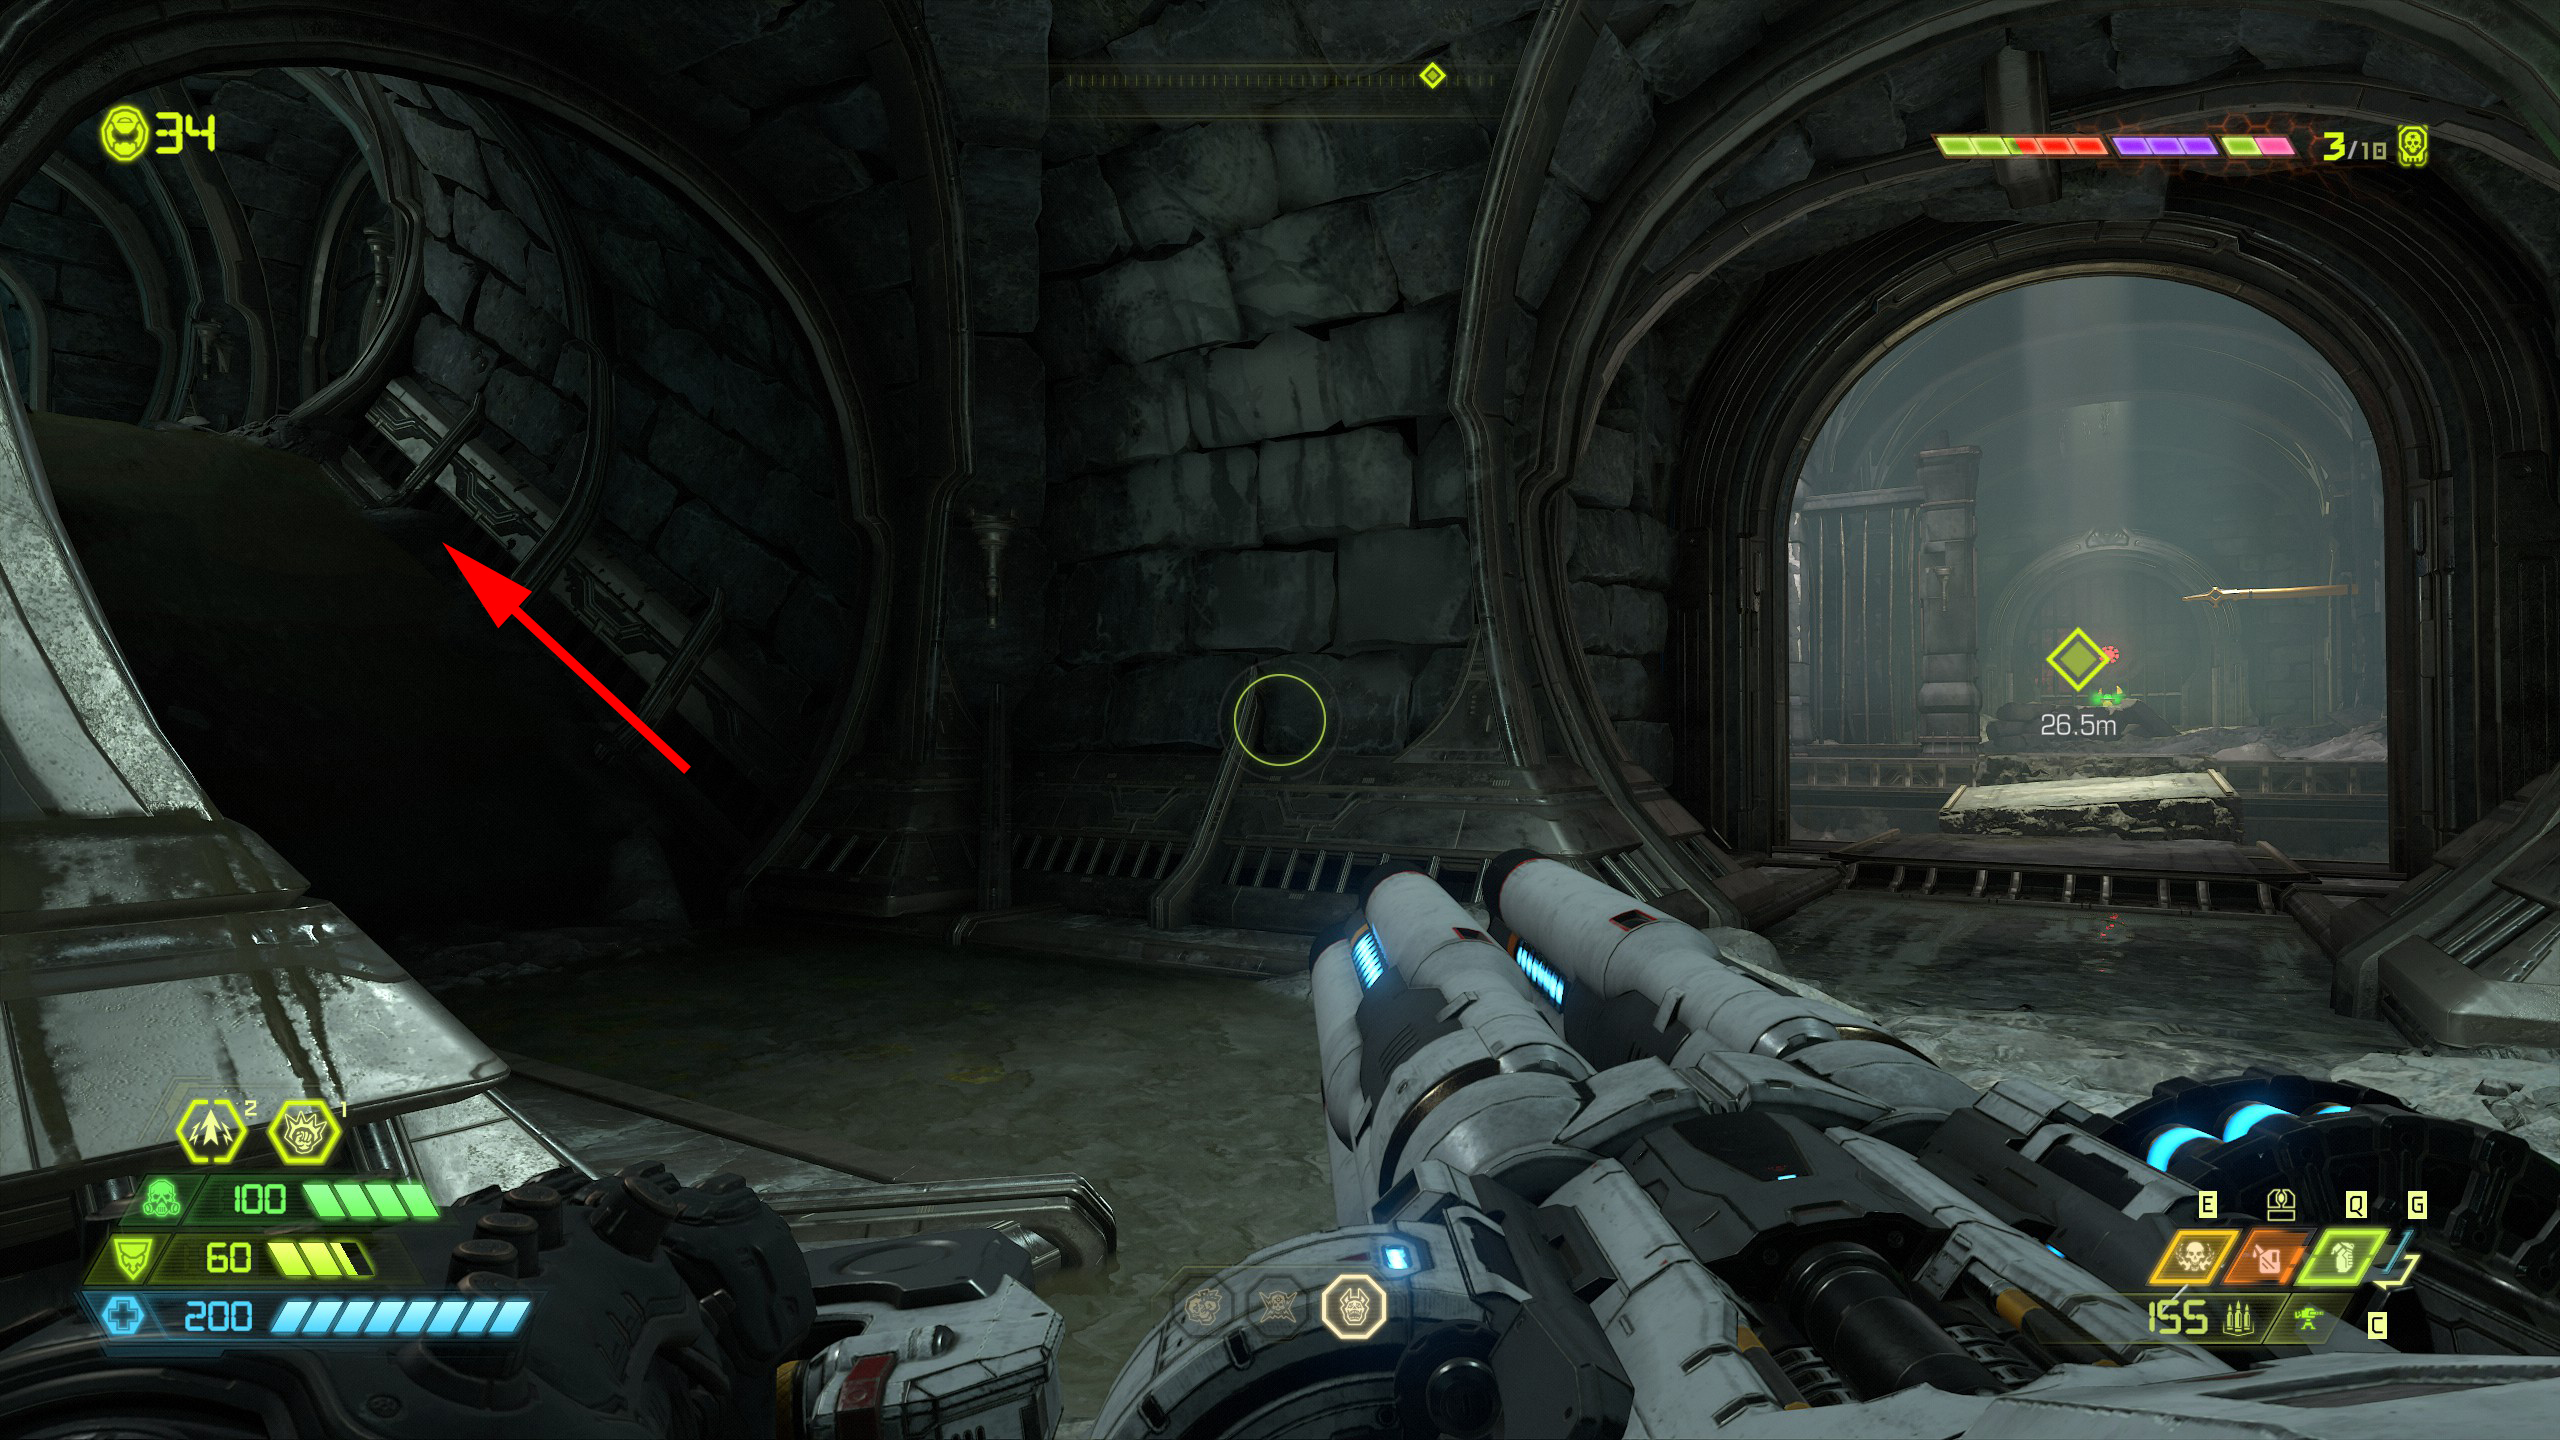
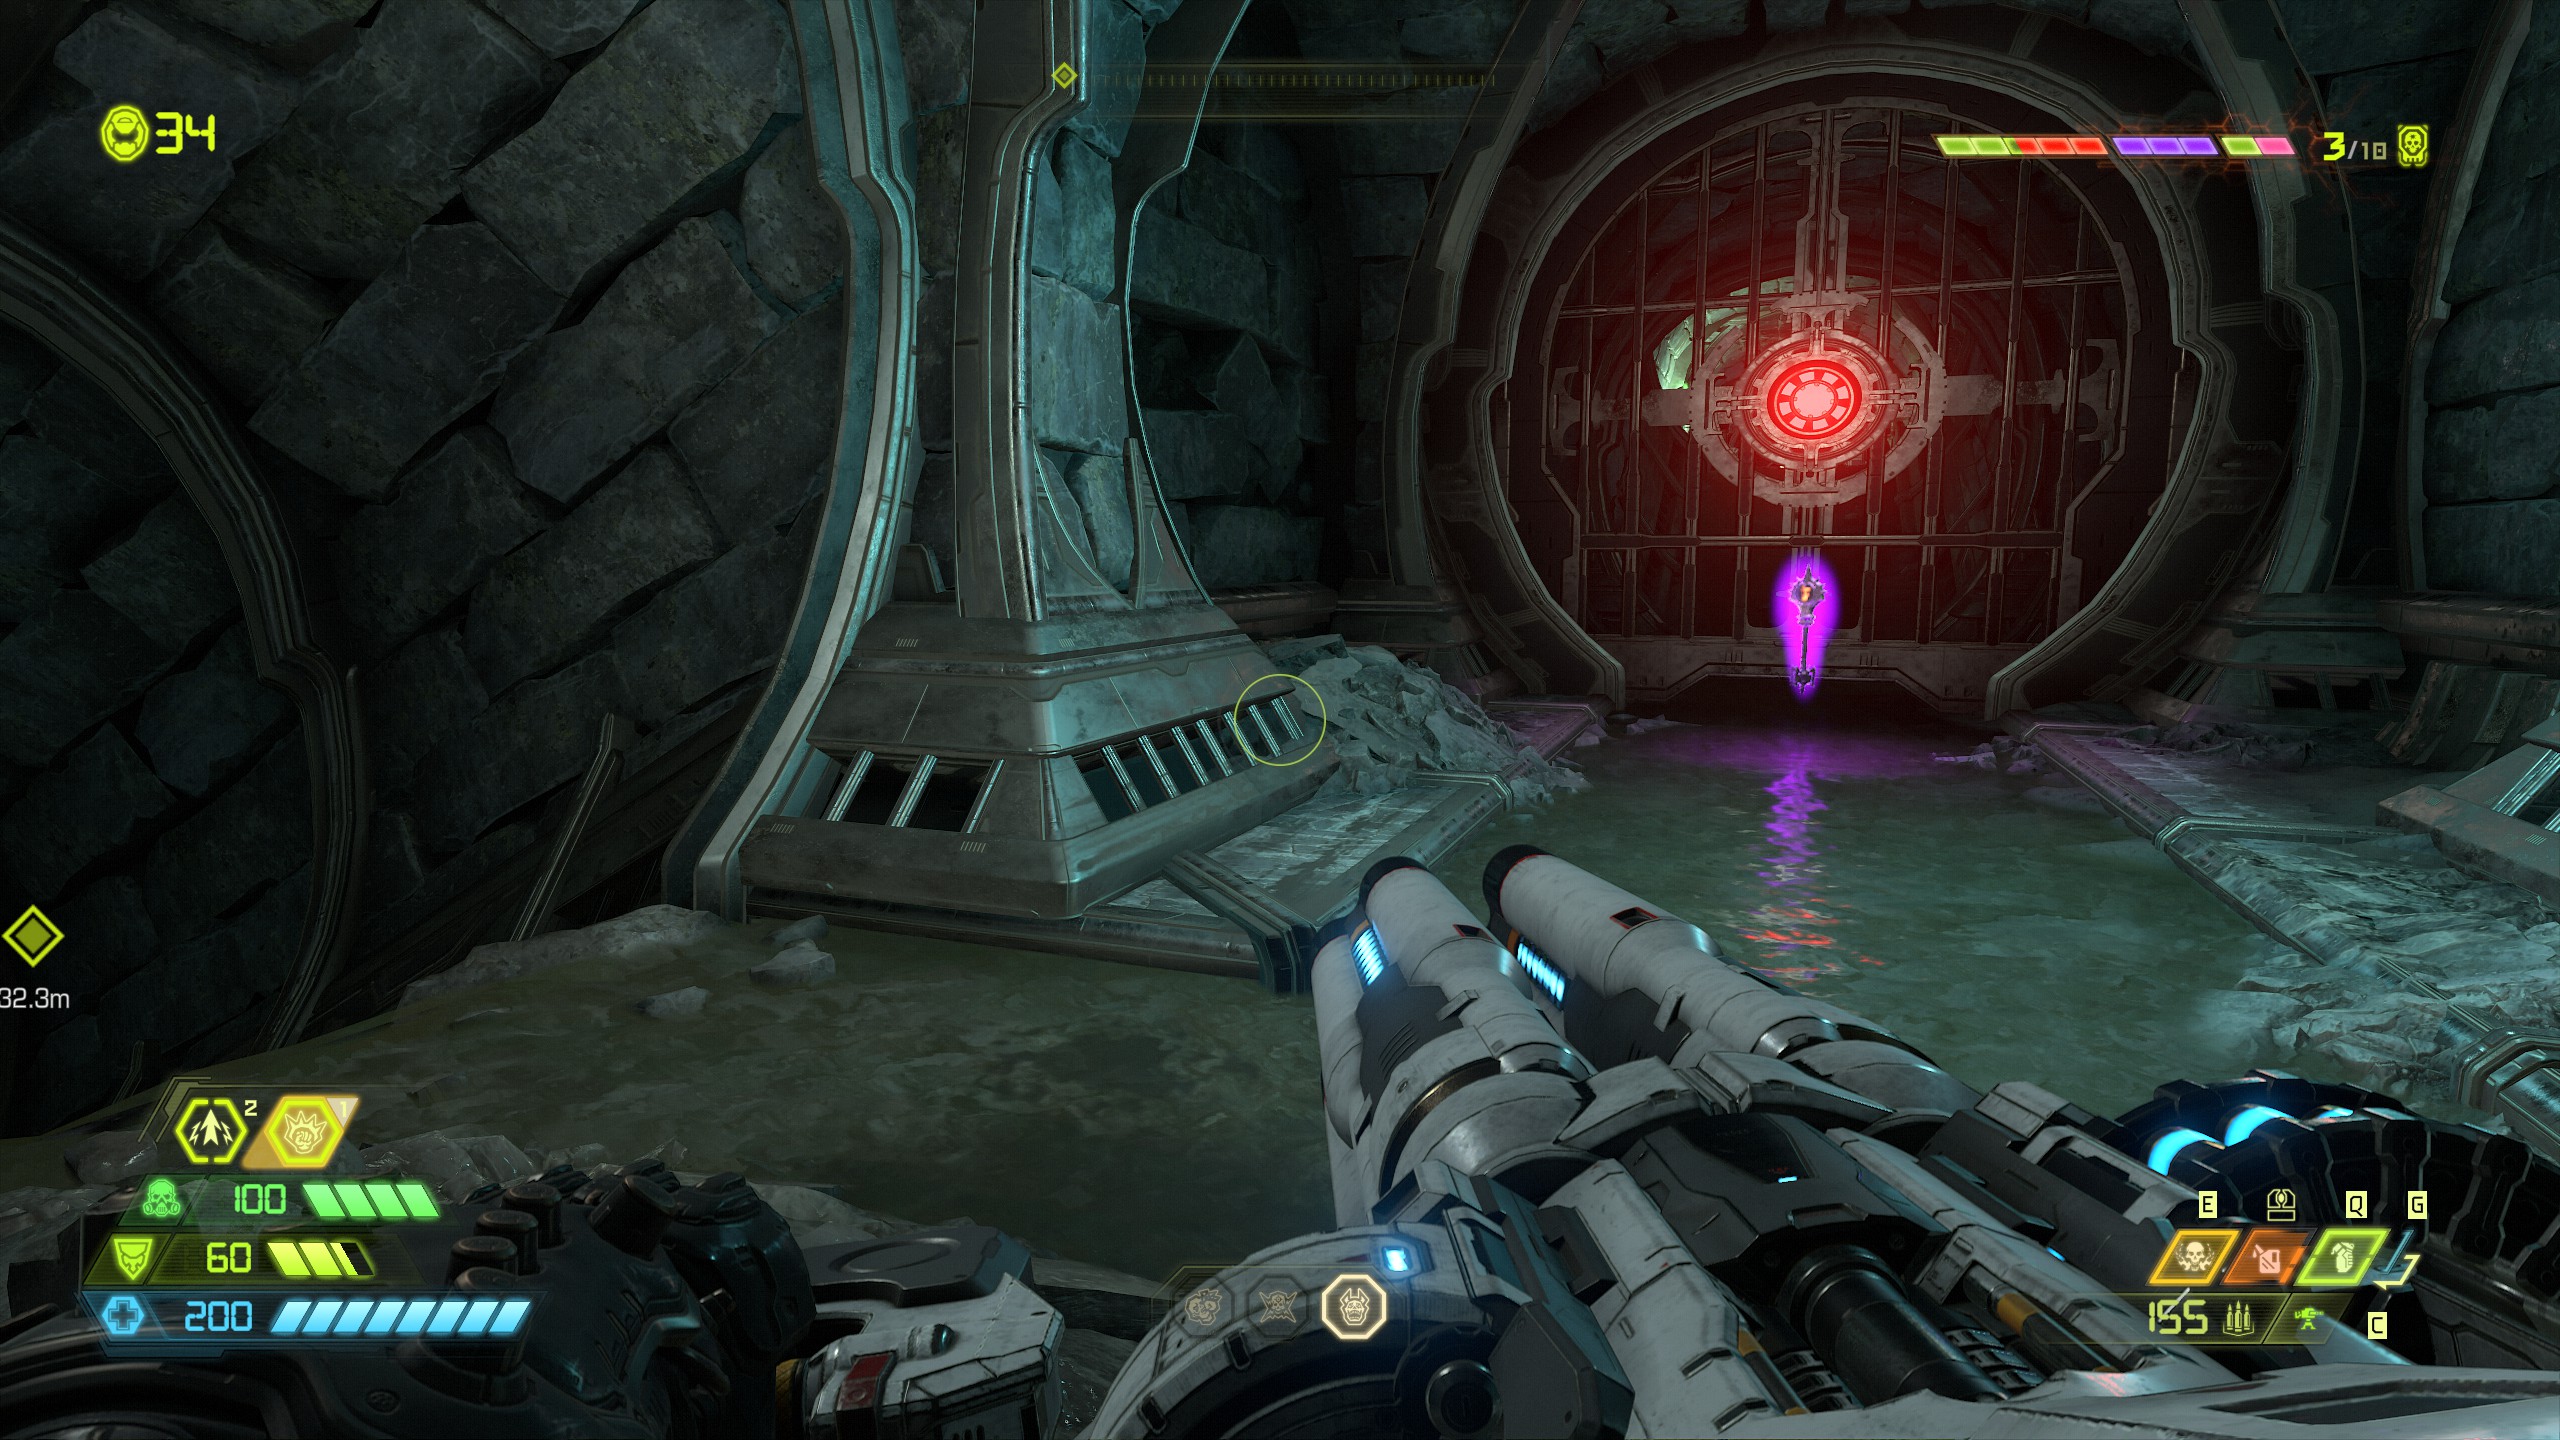
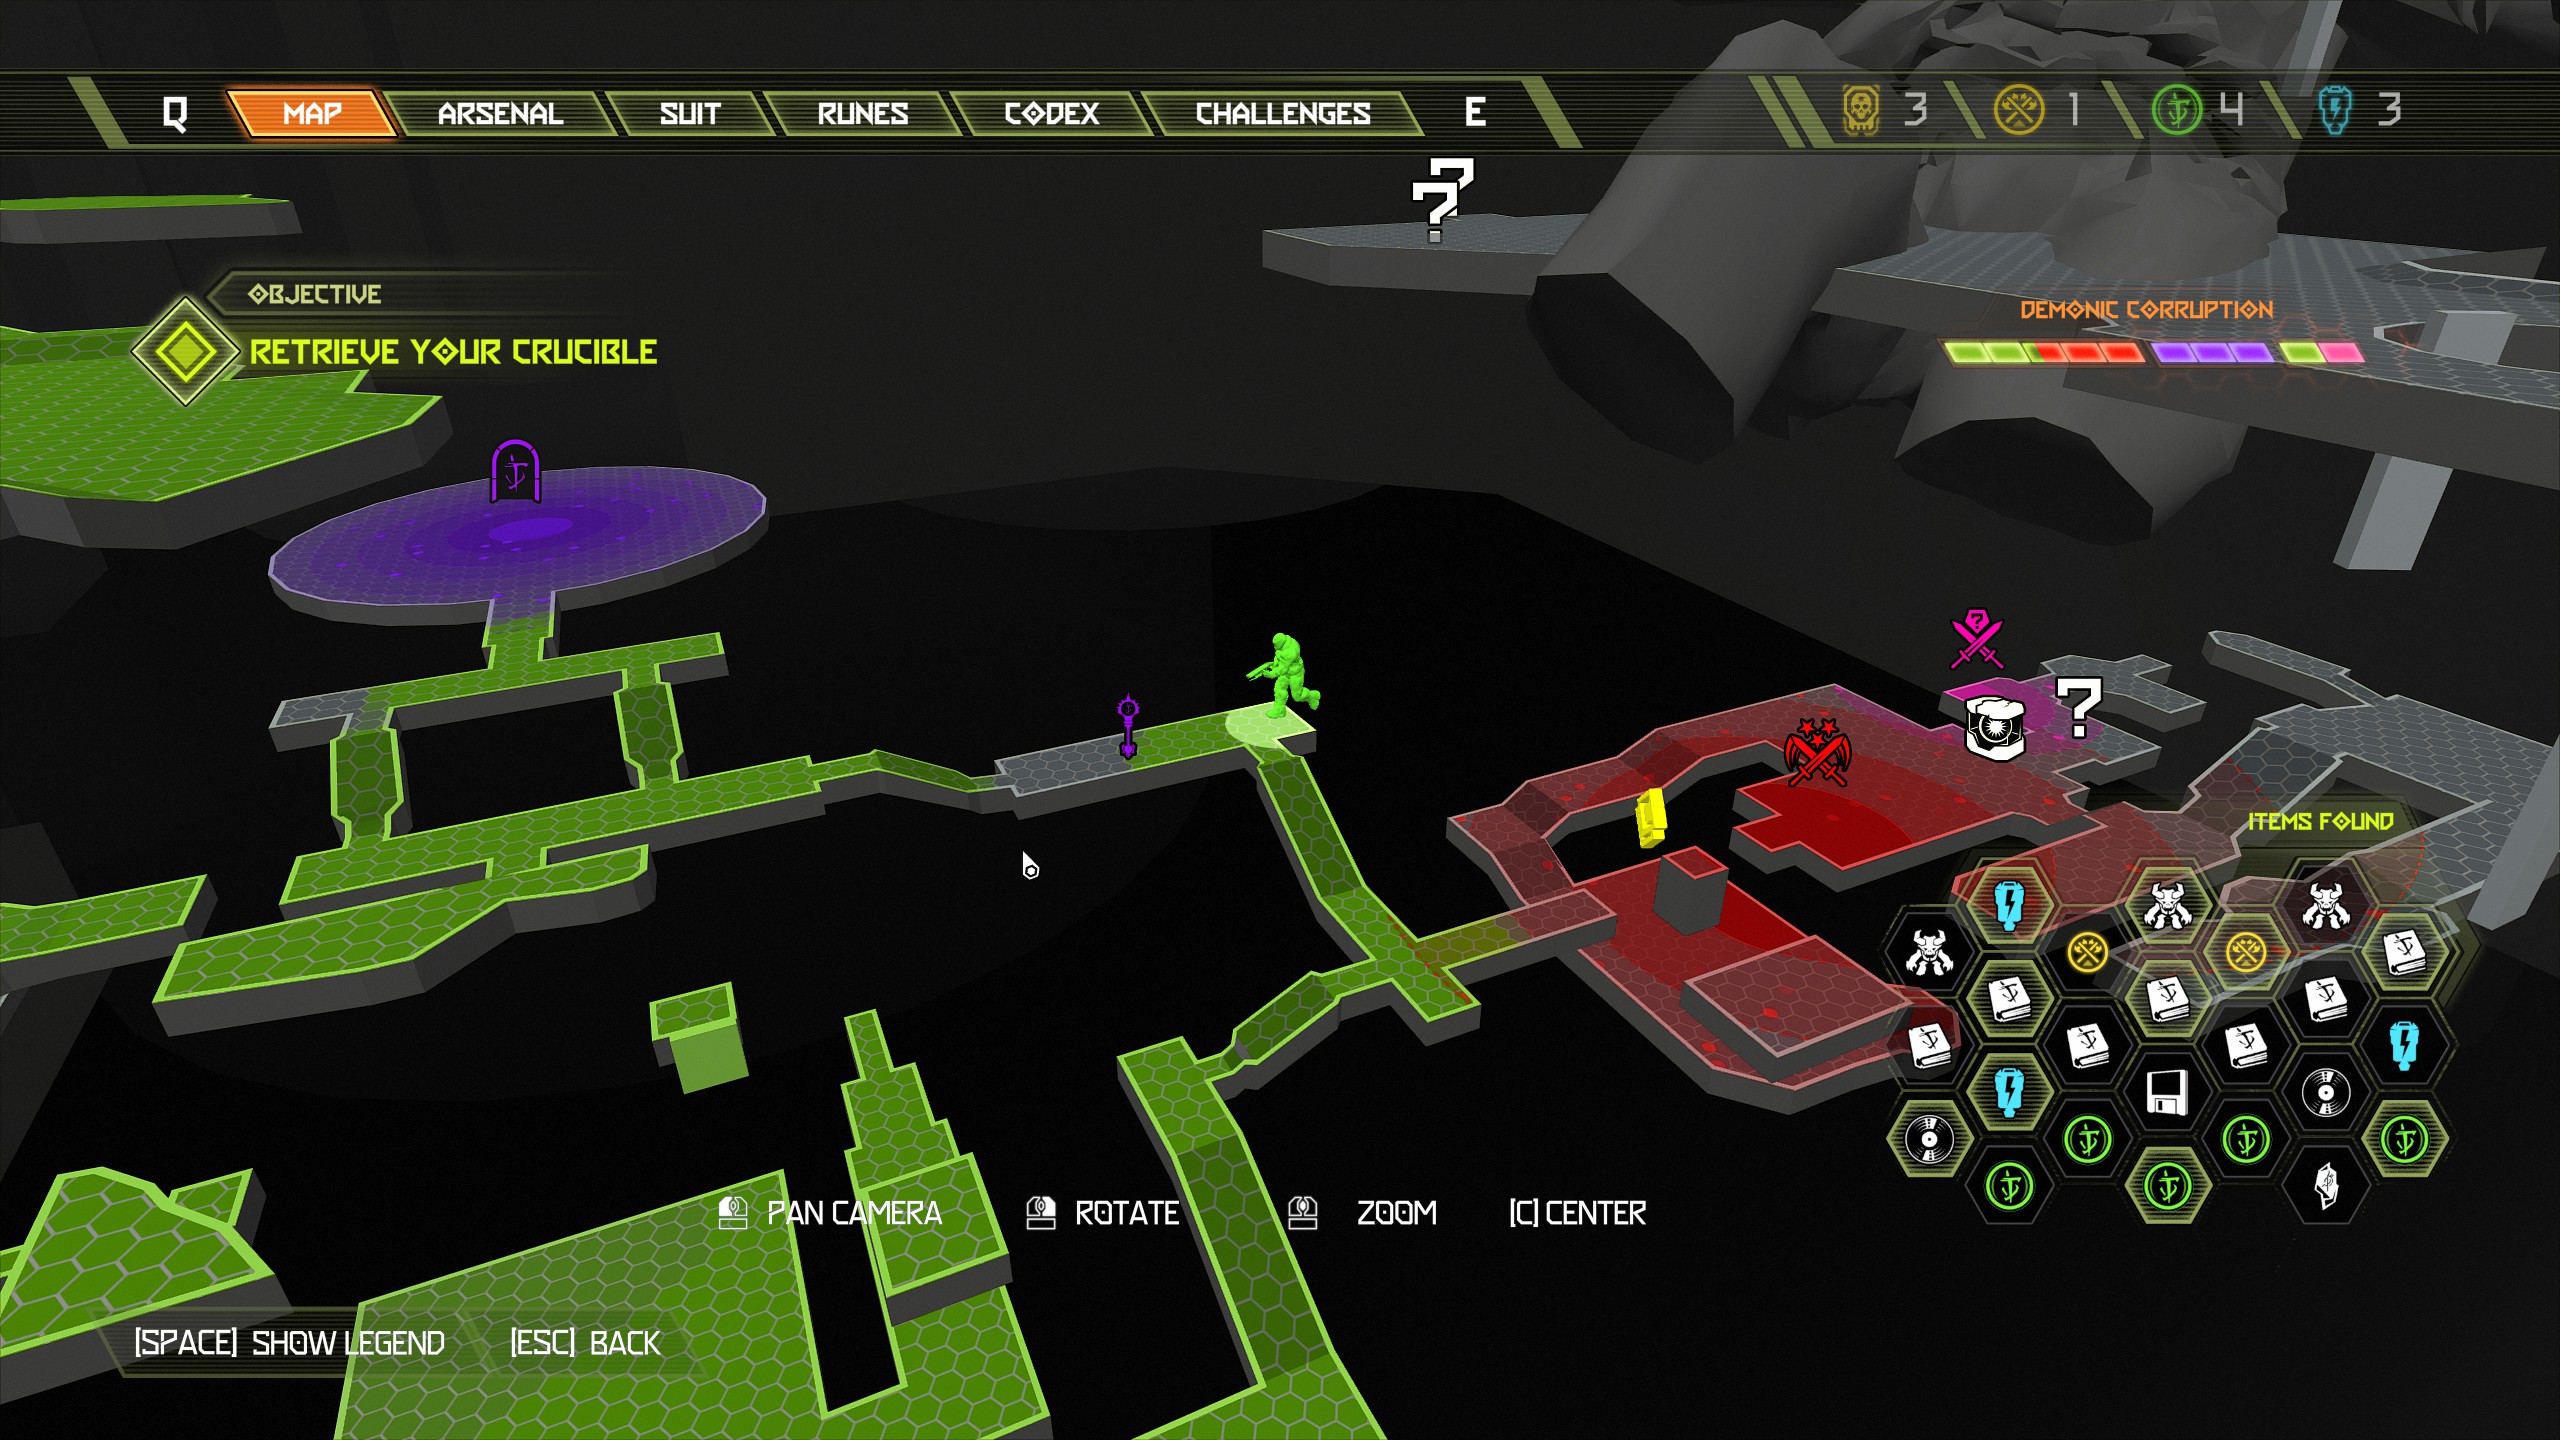
Secret Encounter:
For this encounter you will be attacked by 2 mecha zombies, 1 marauder. After completing the slayer gate make your way out of the sewer and into the next room, as you enter take the stairway on the far right corner and at the top of the stairway on the left side will be a breakable wall. Head through the wall and inside you will find the secret encounter and a cheat code.
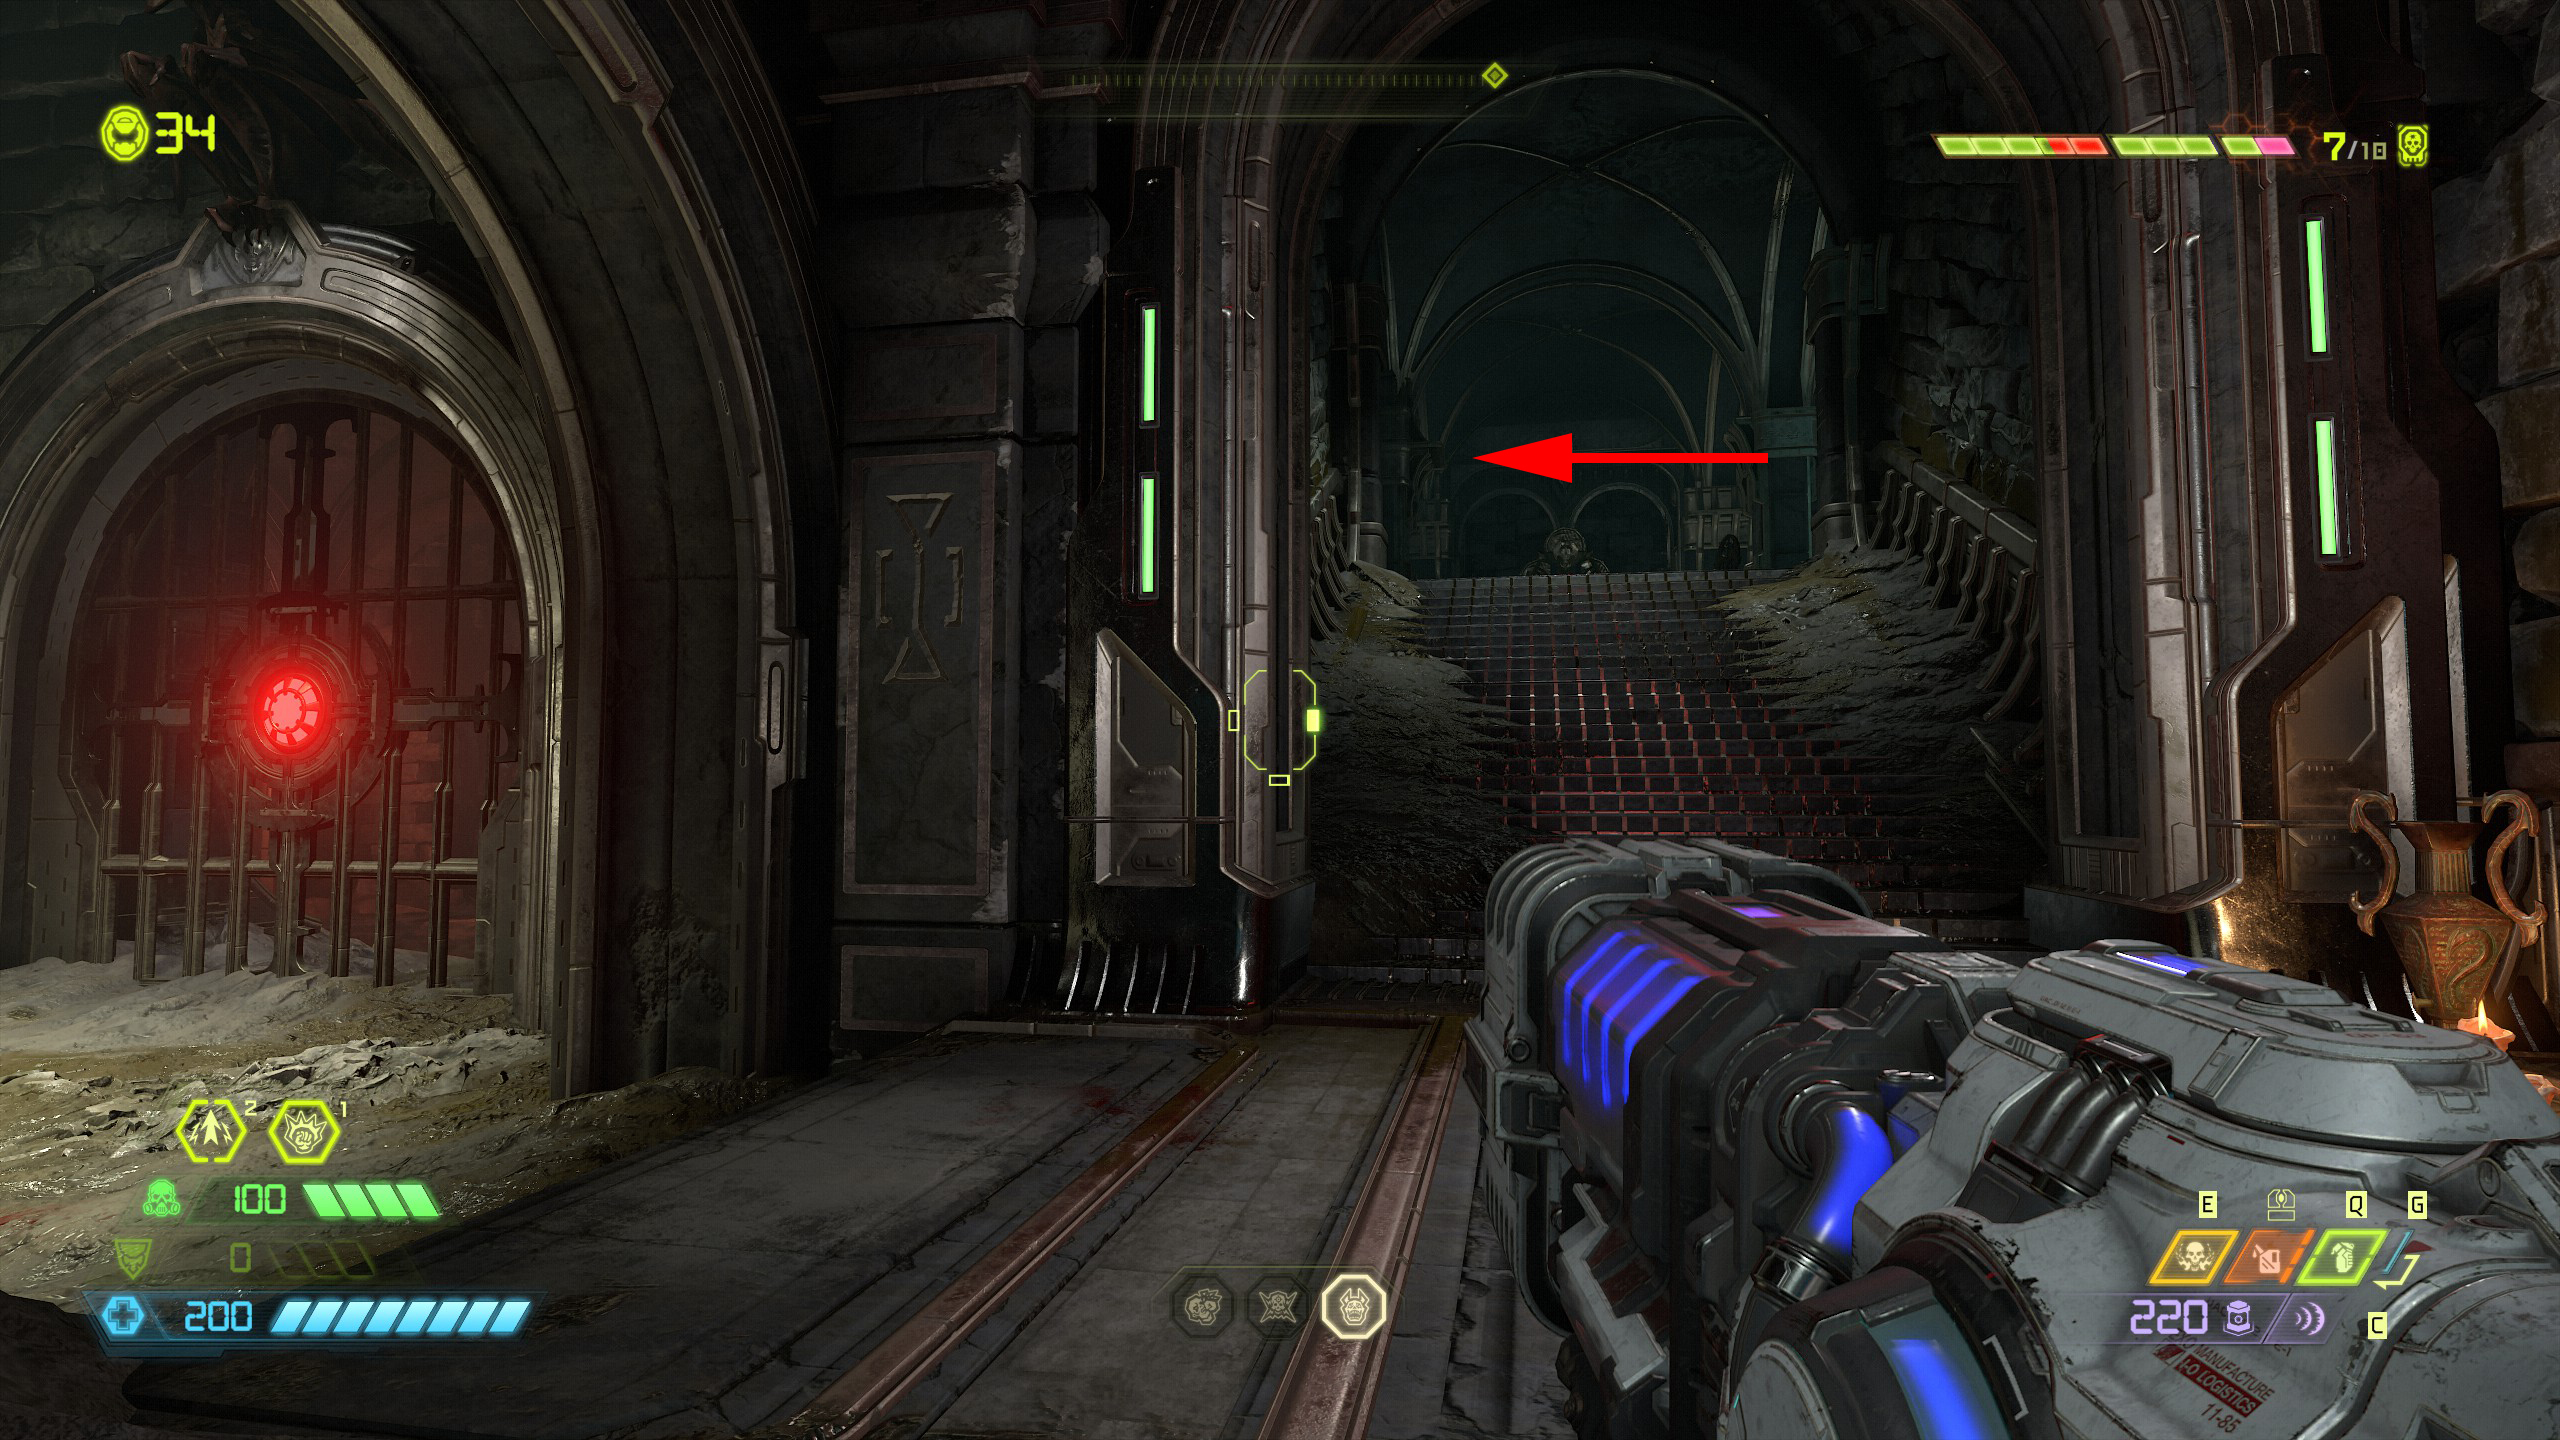
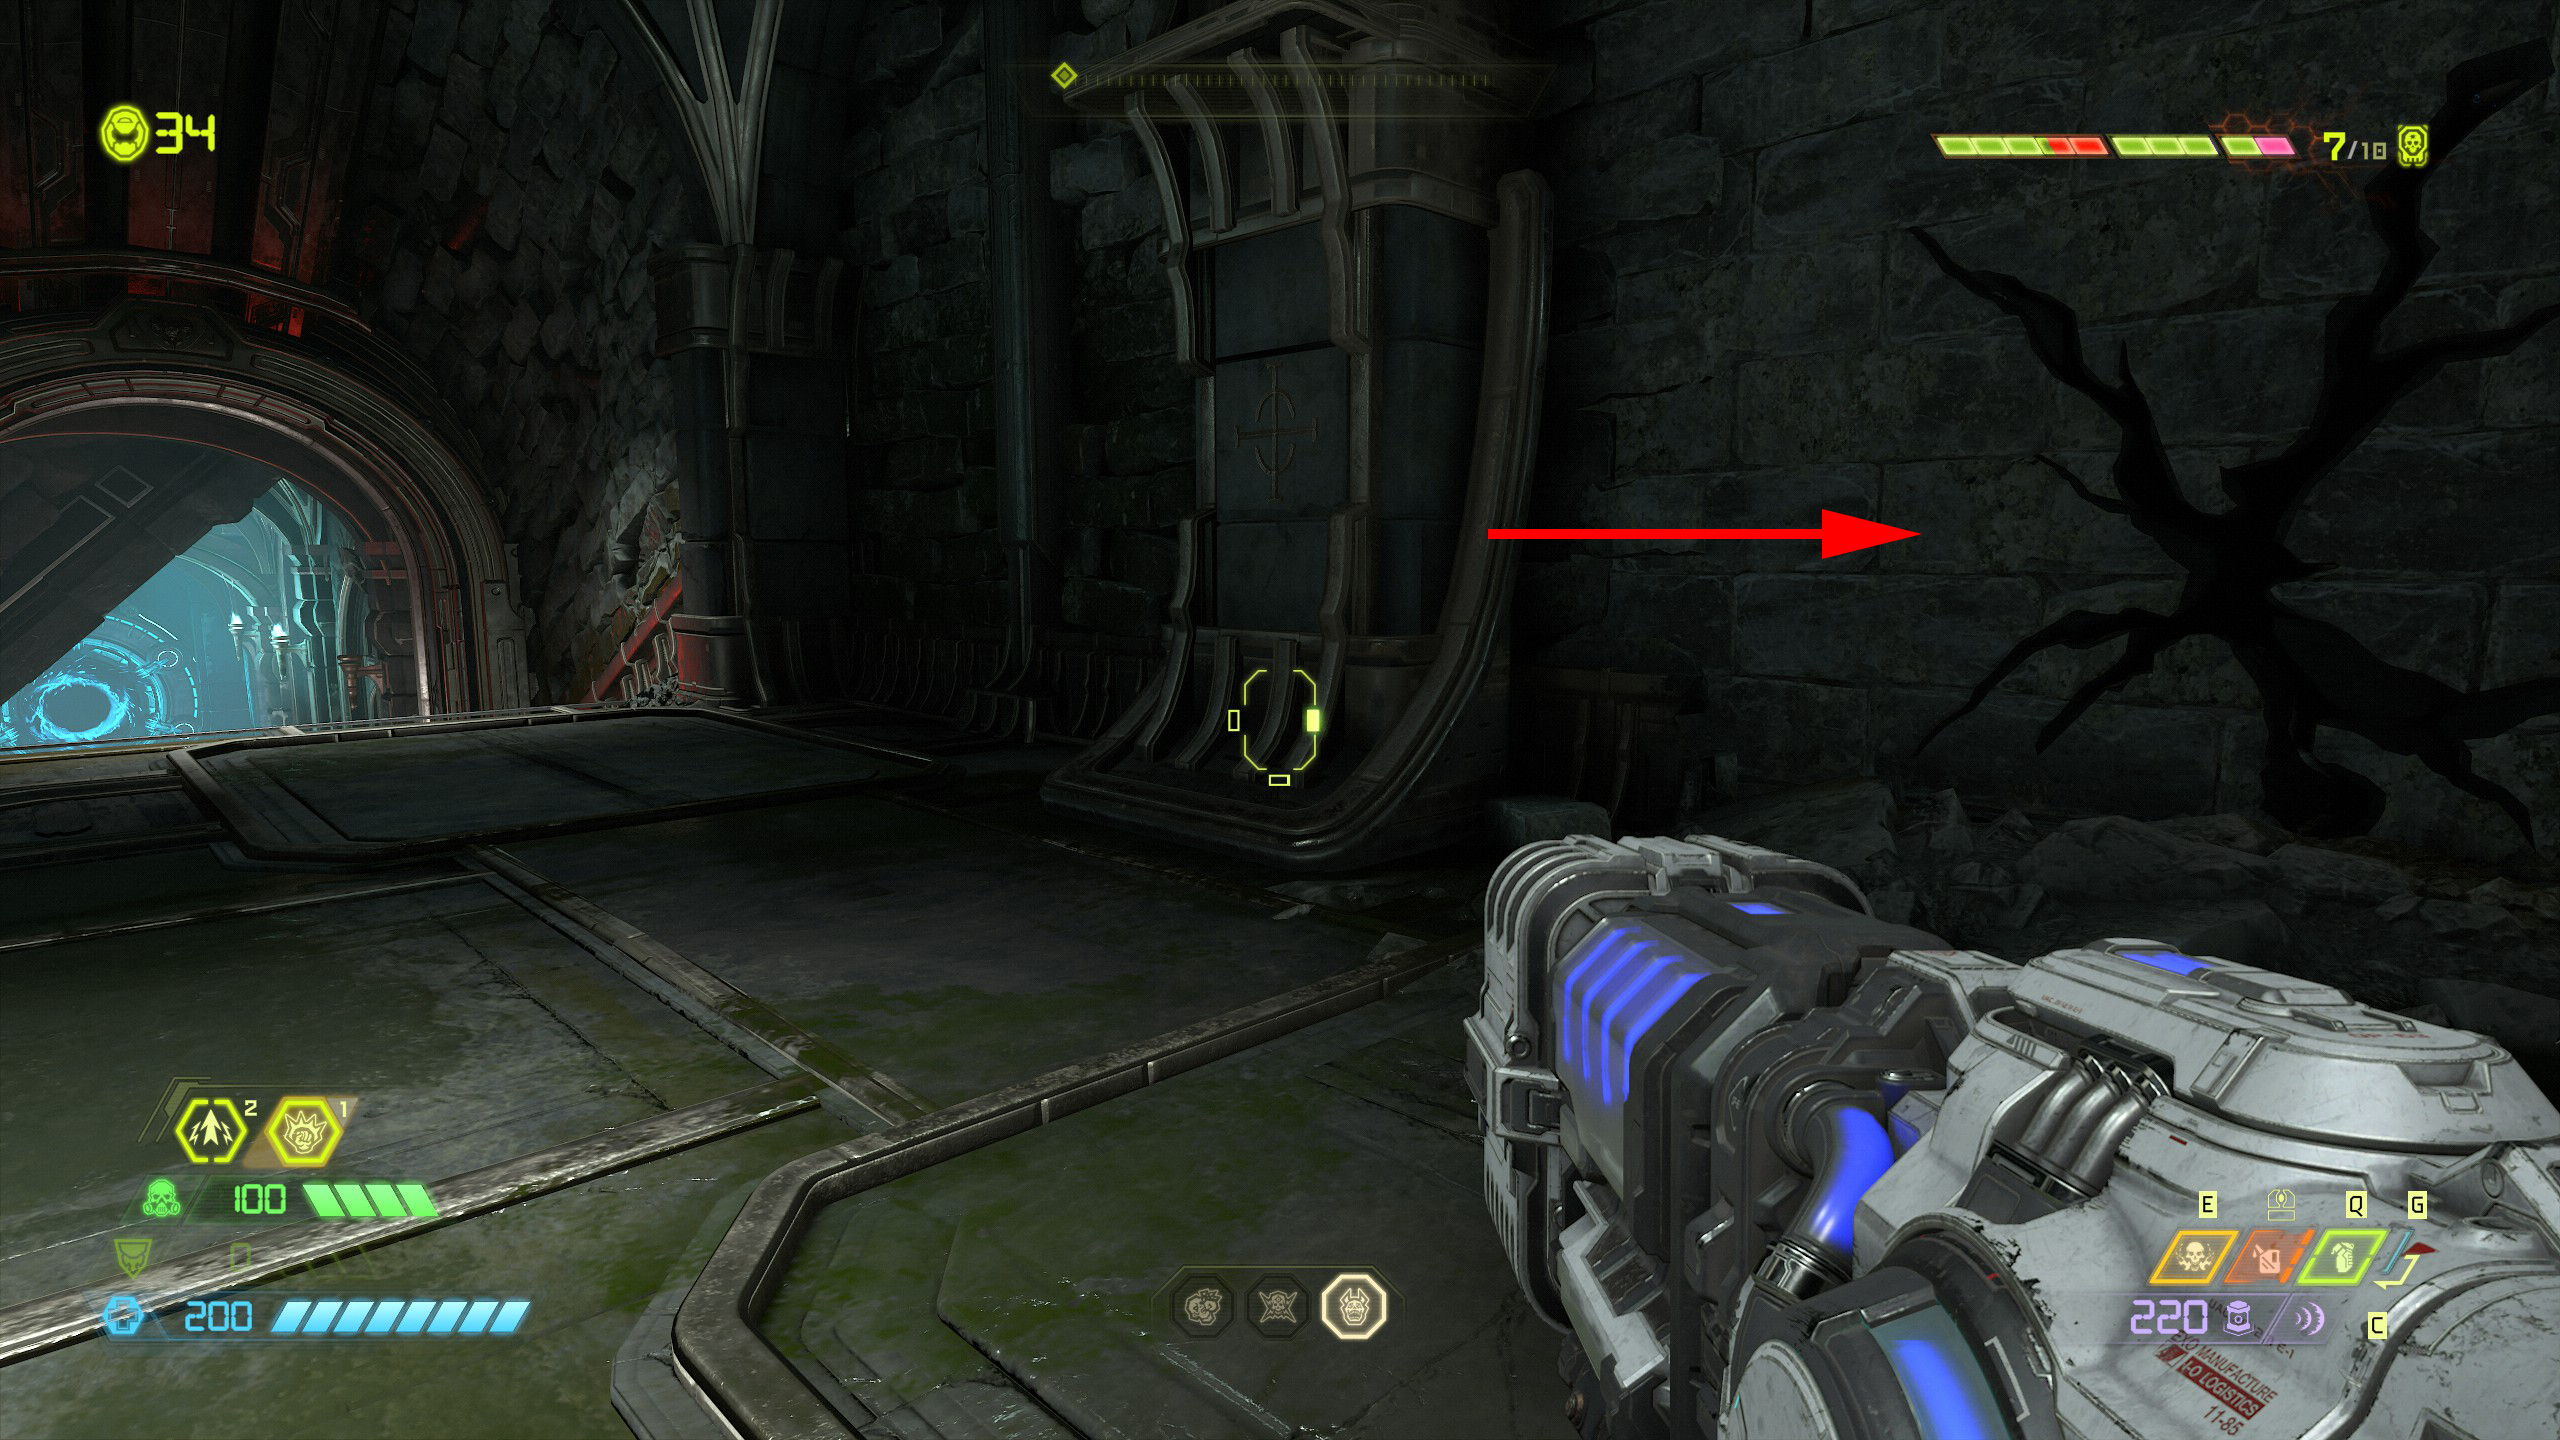
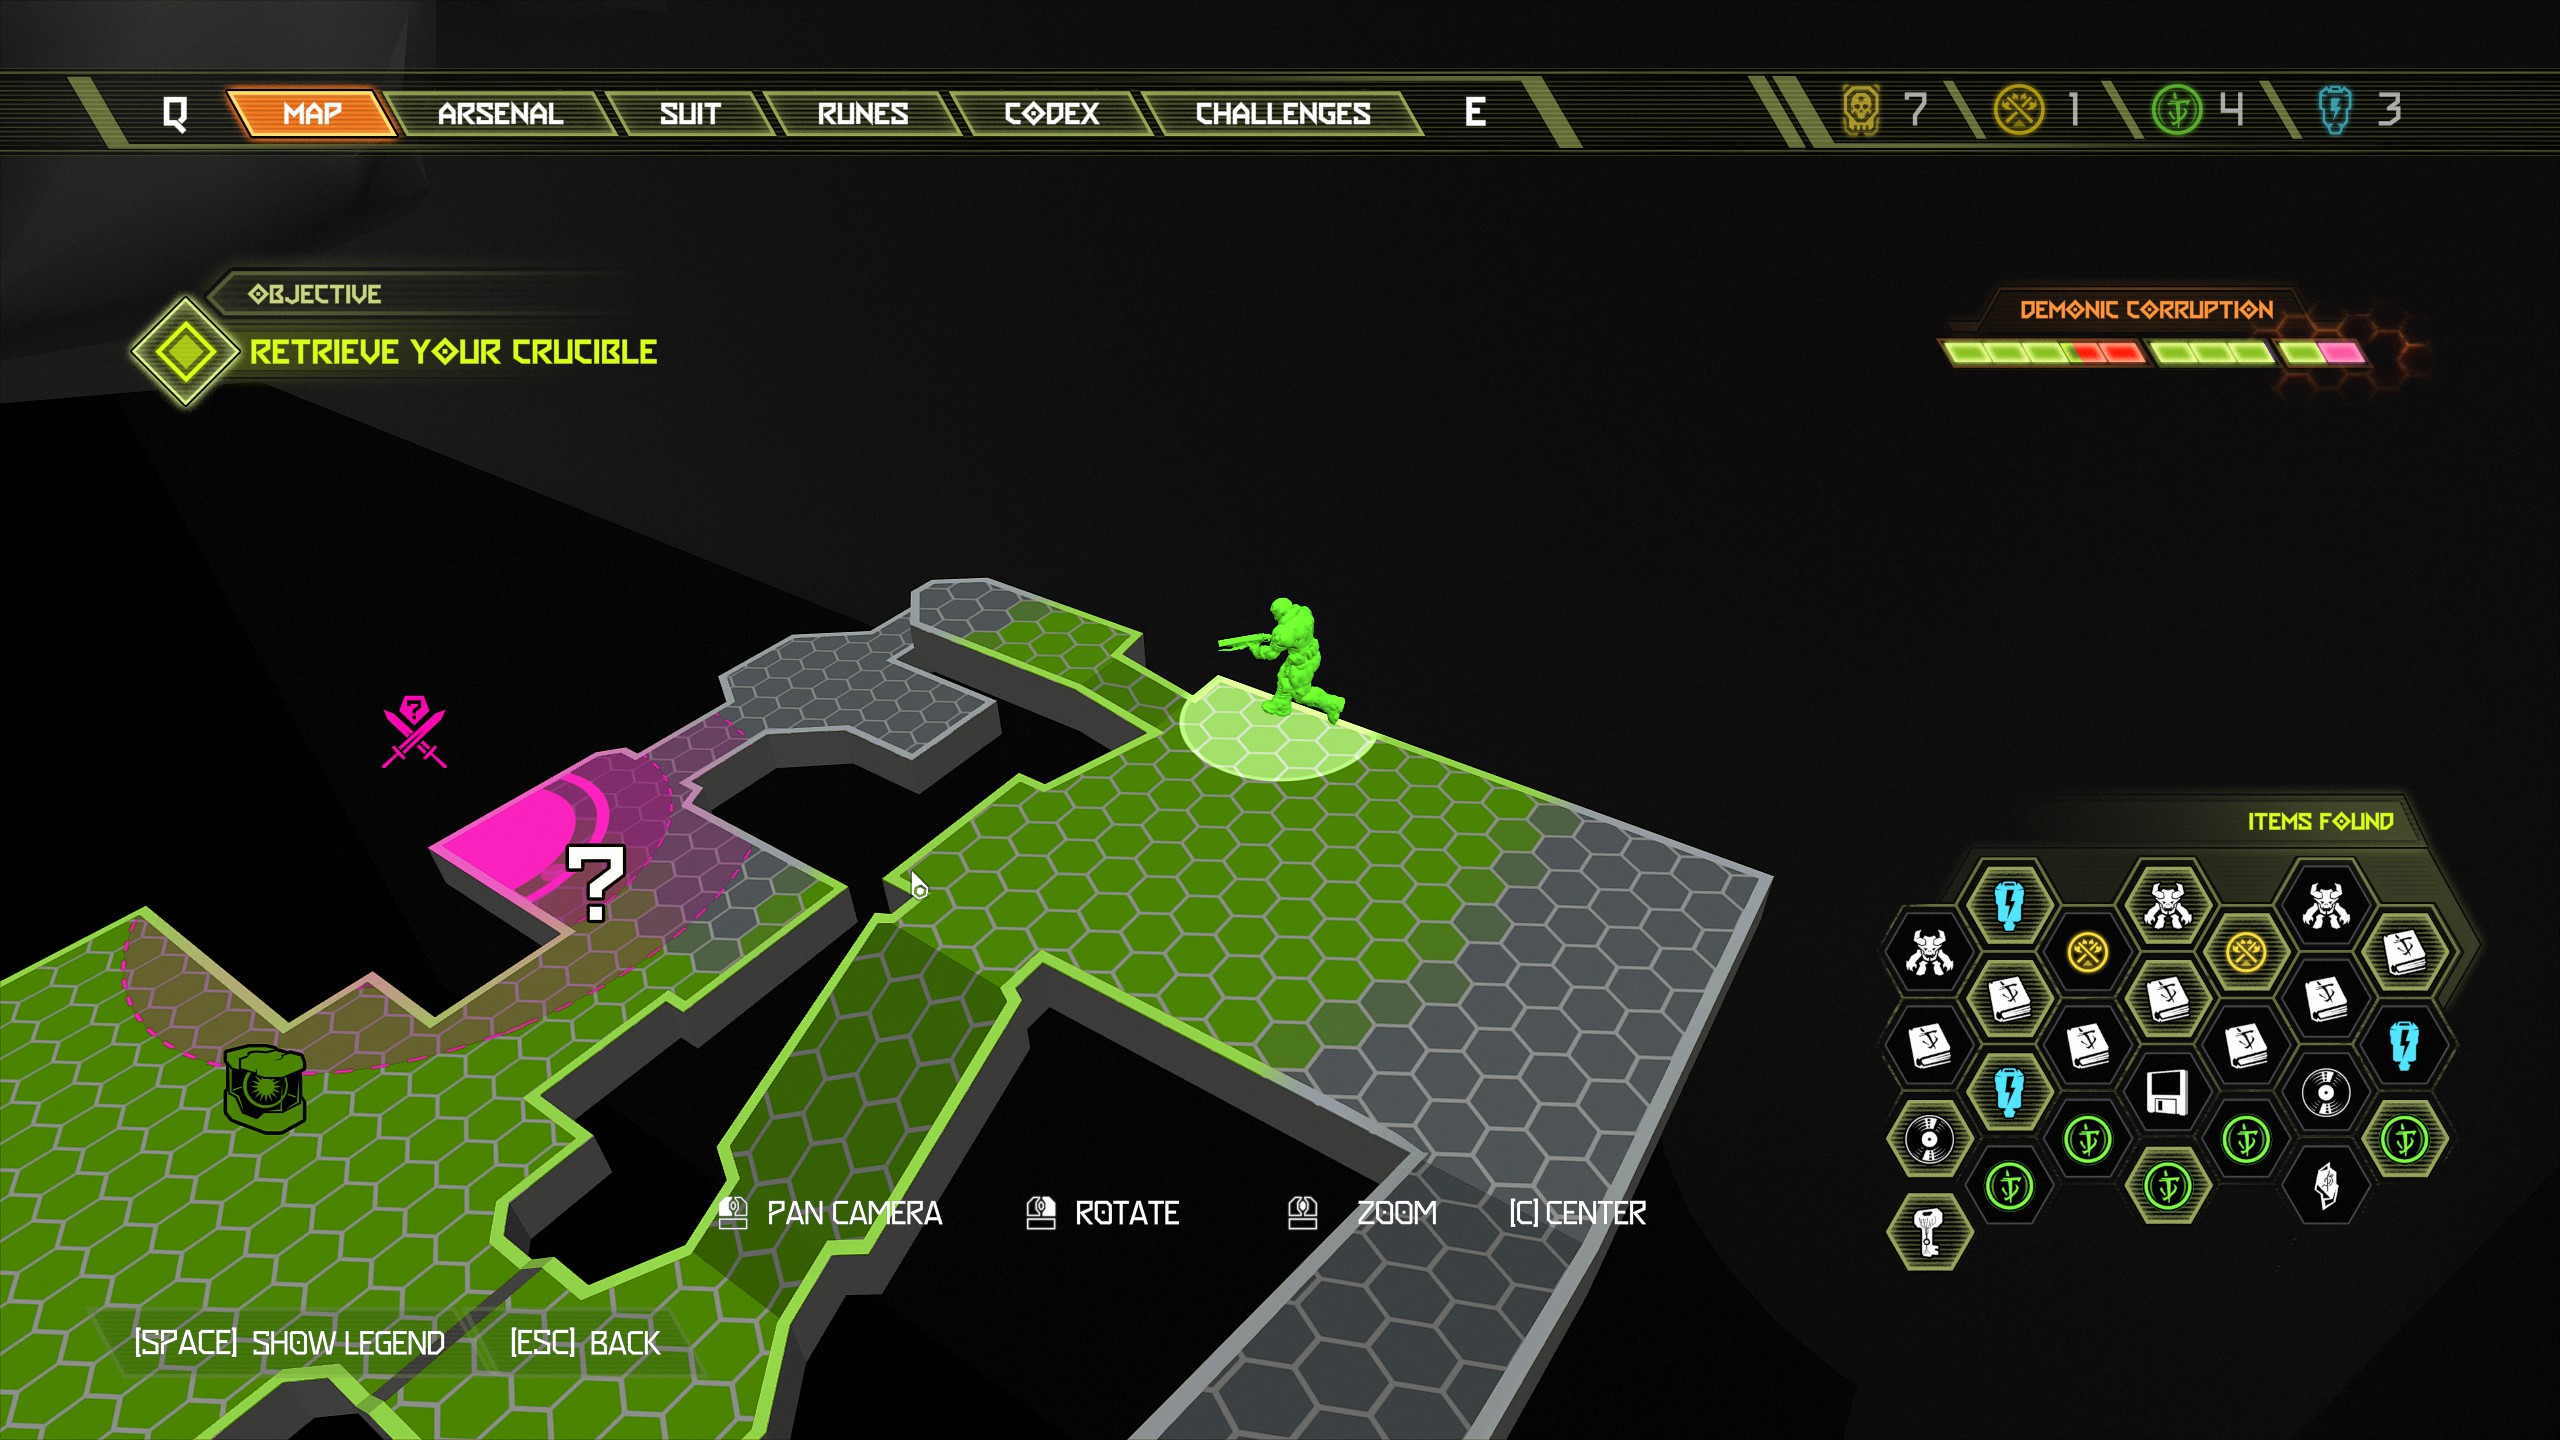
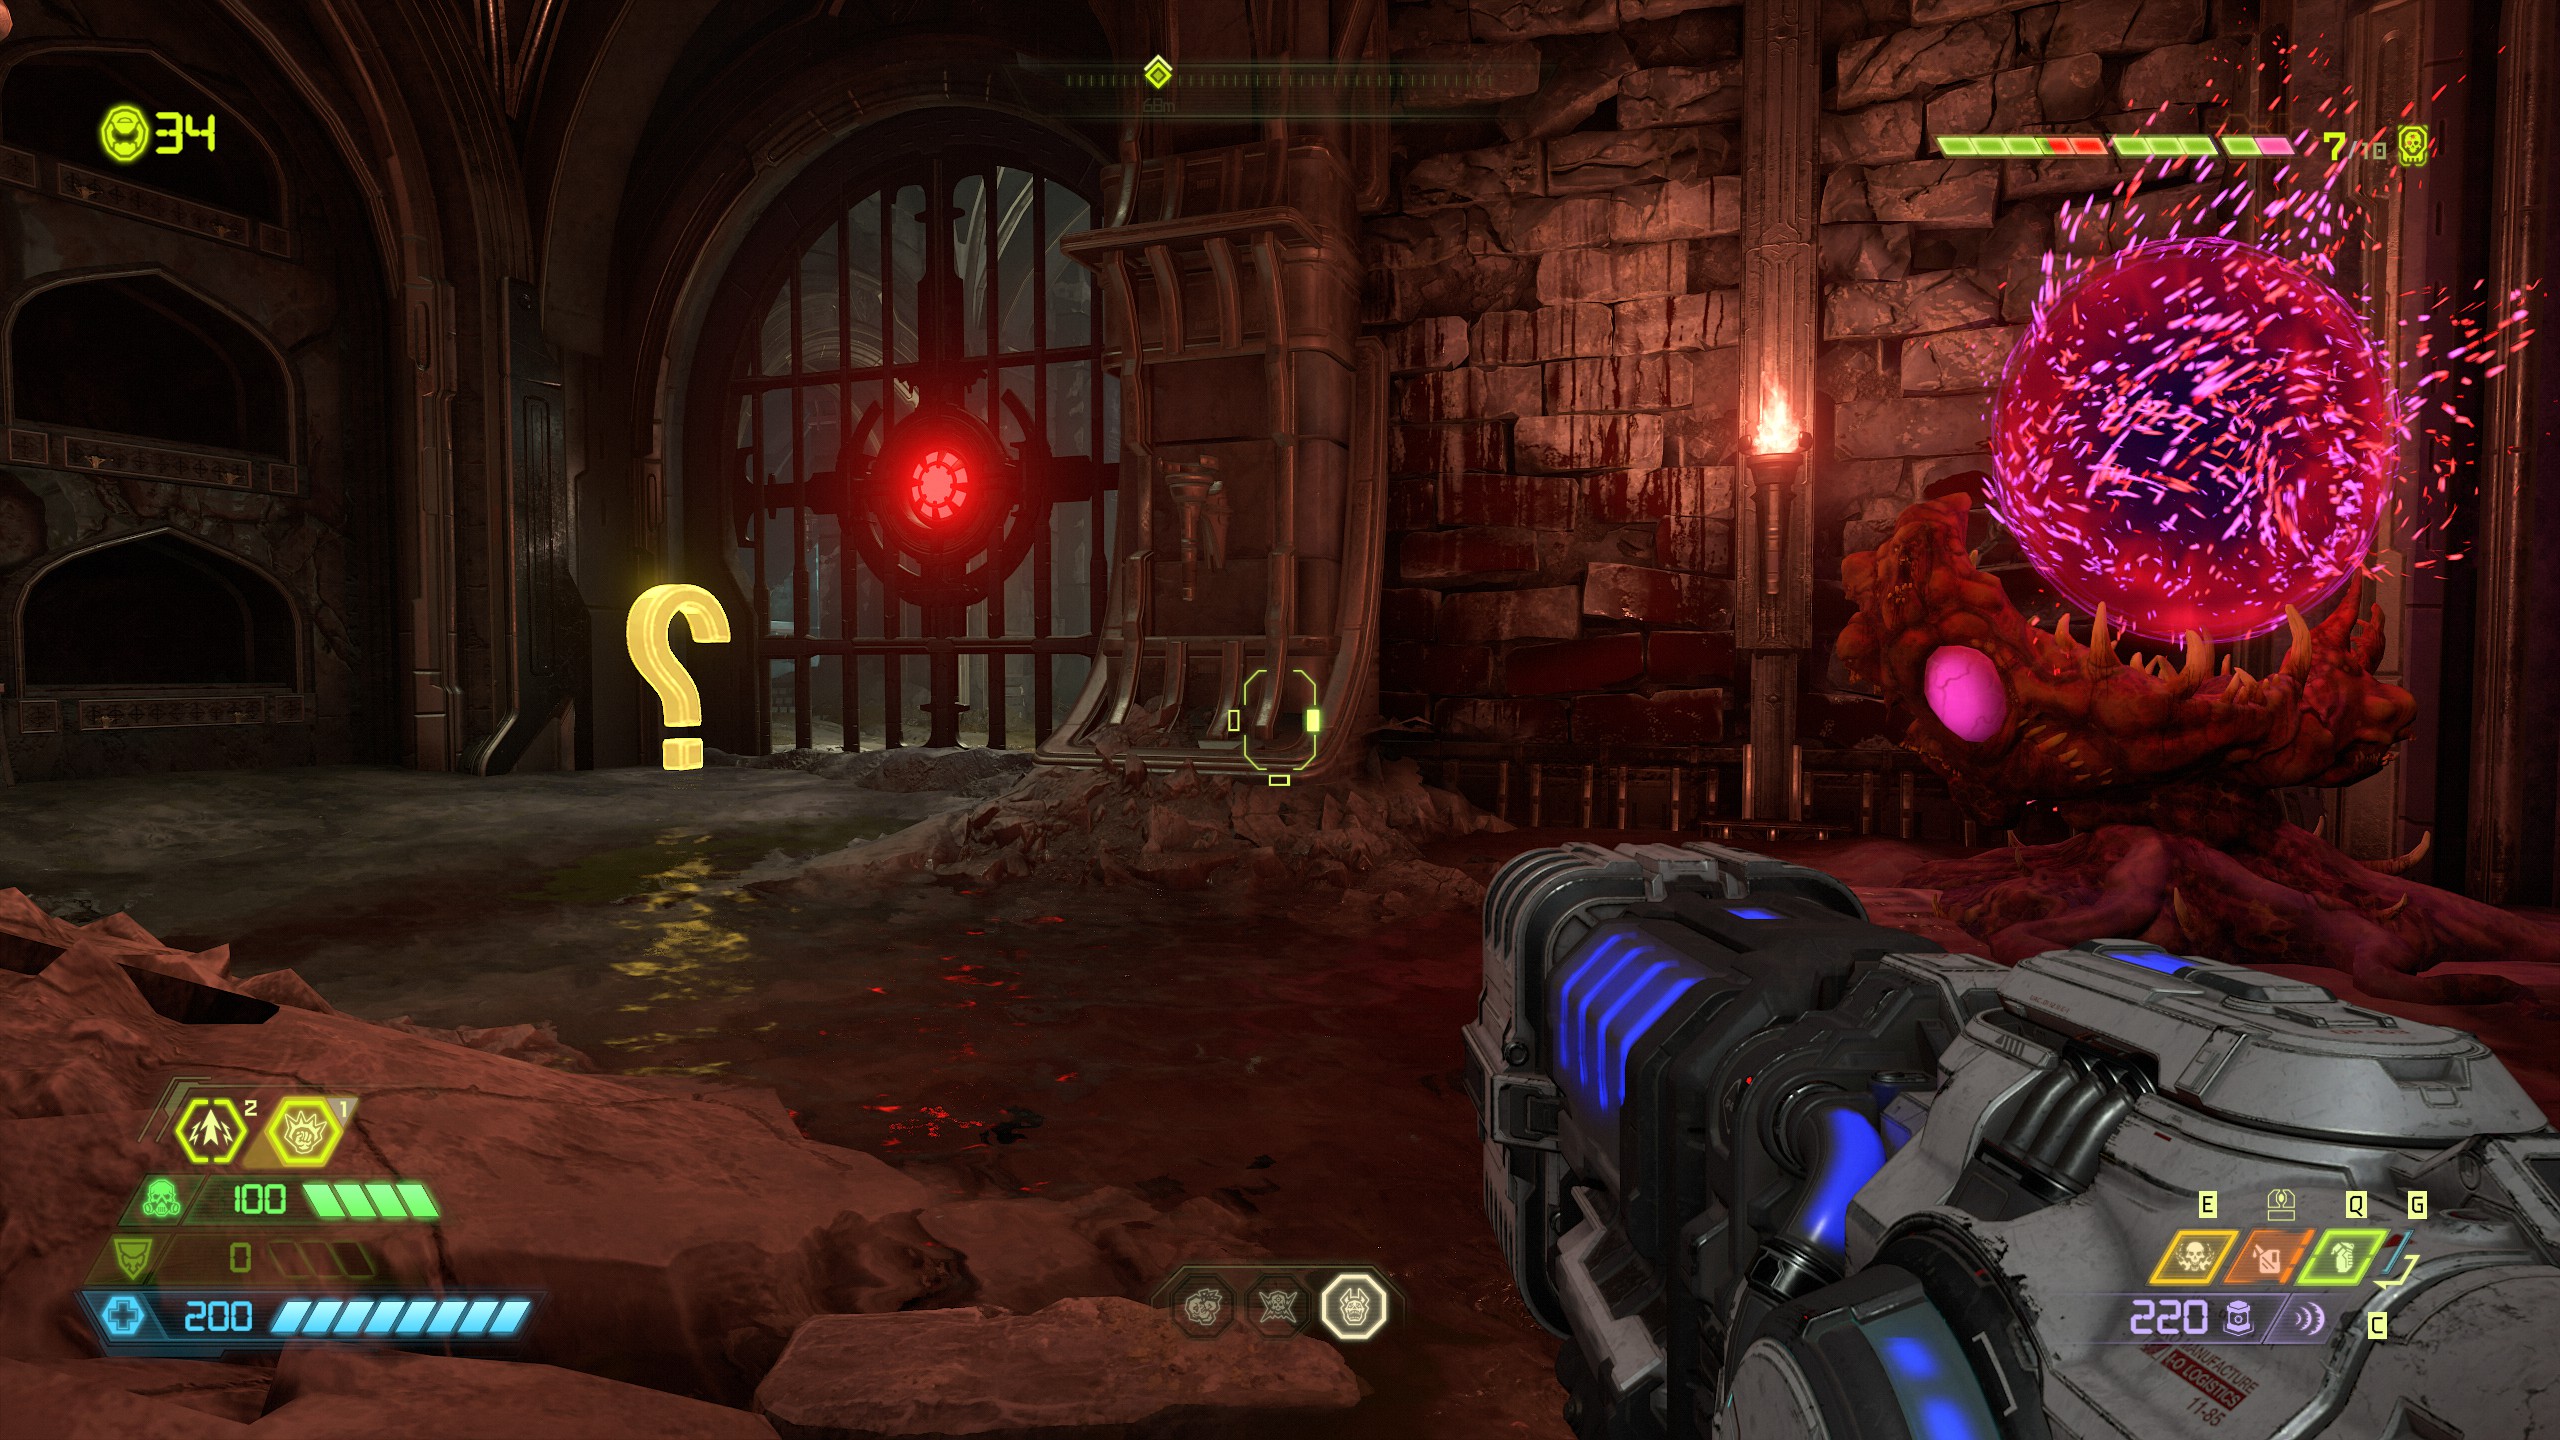
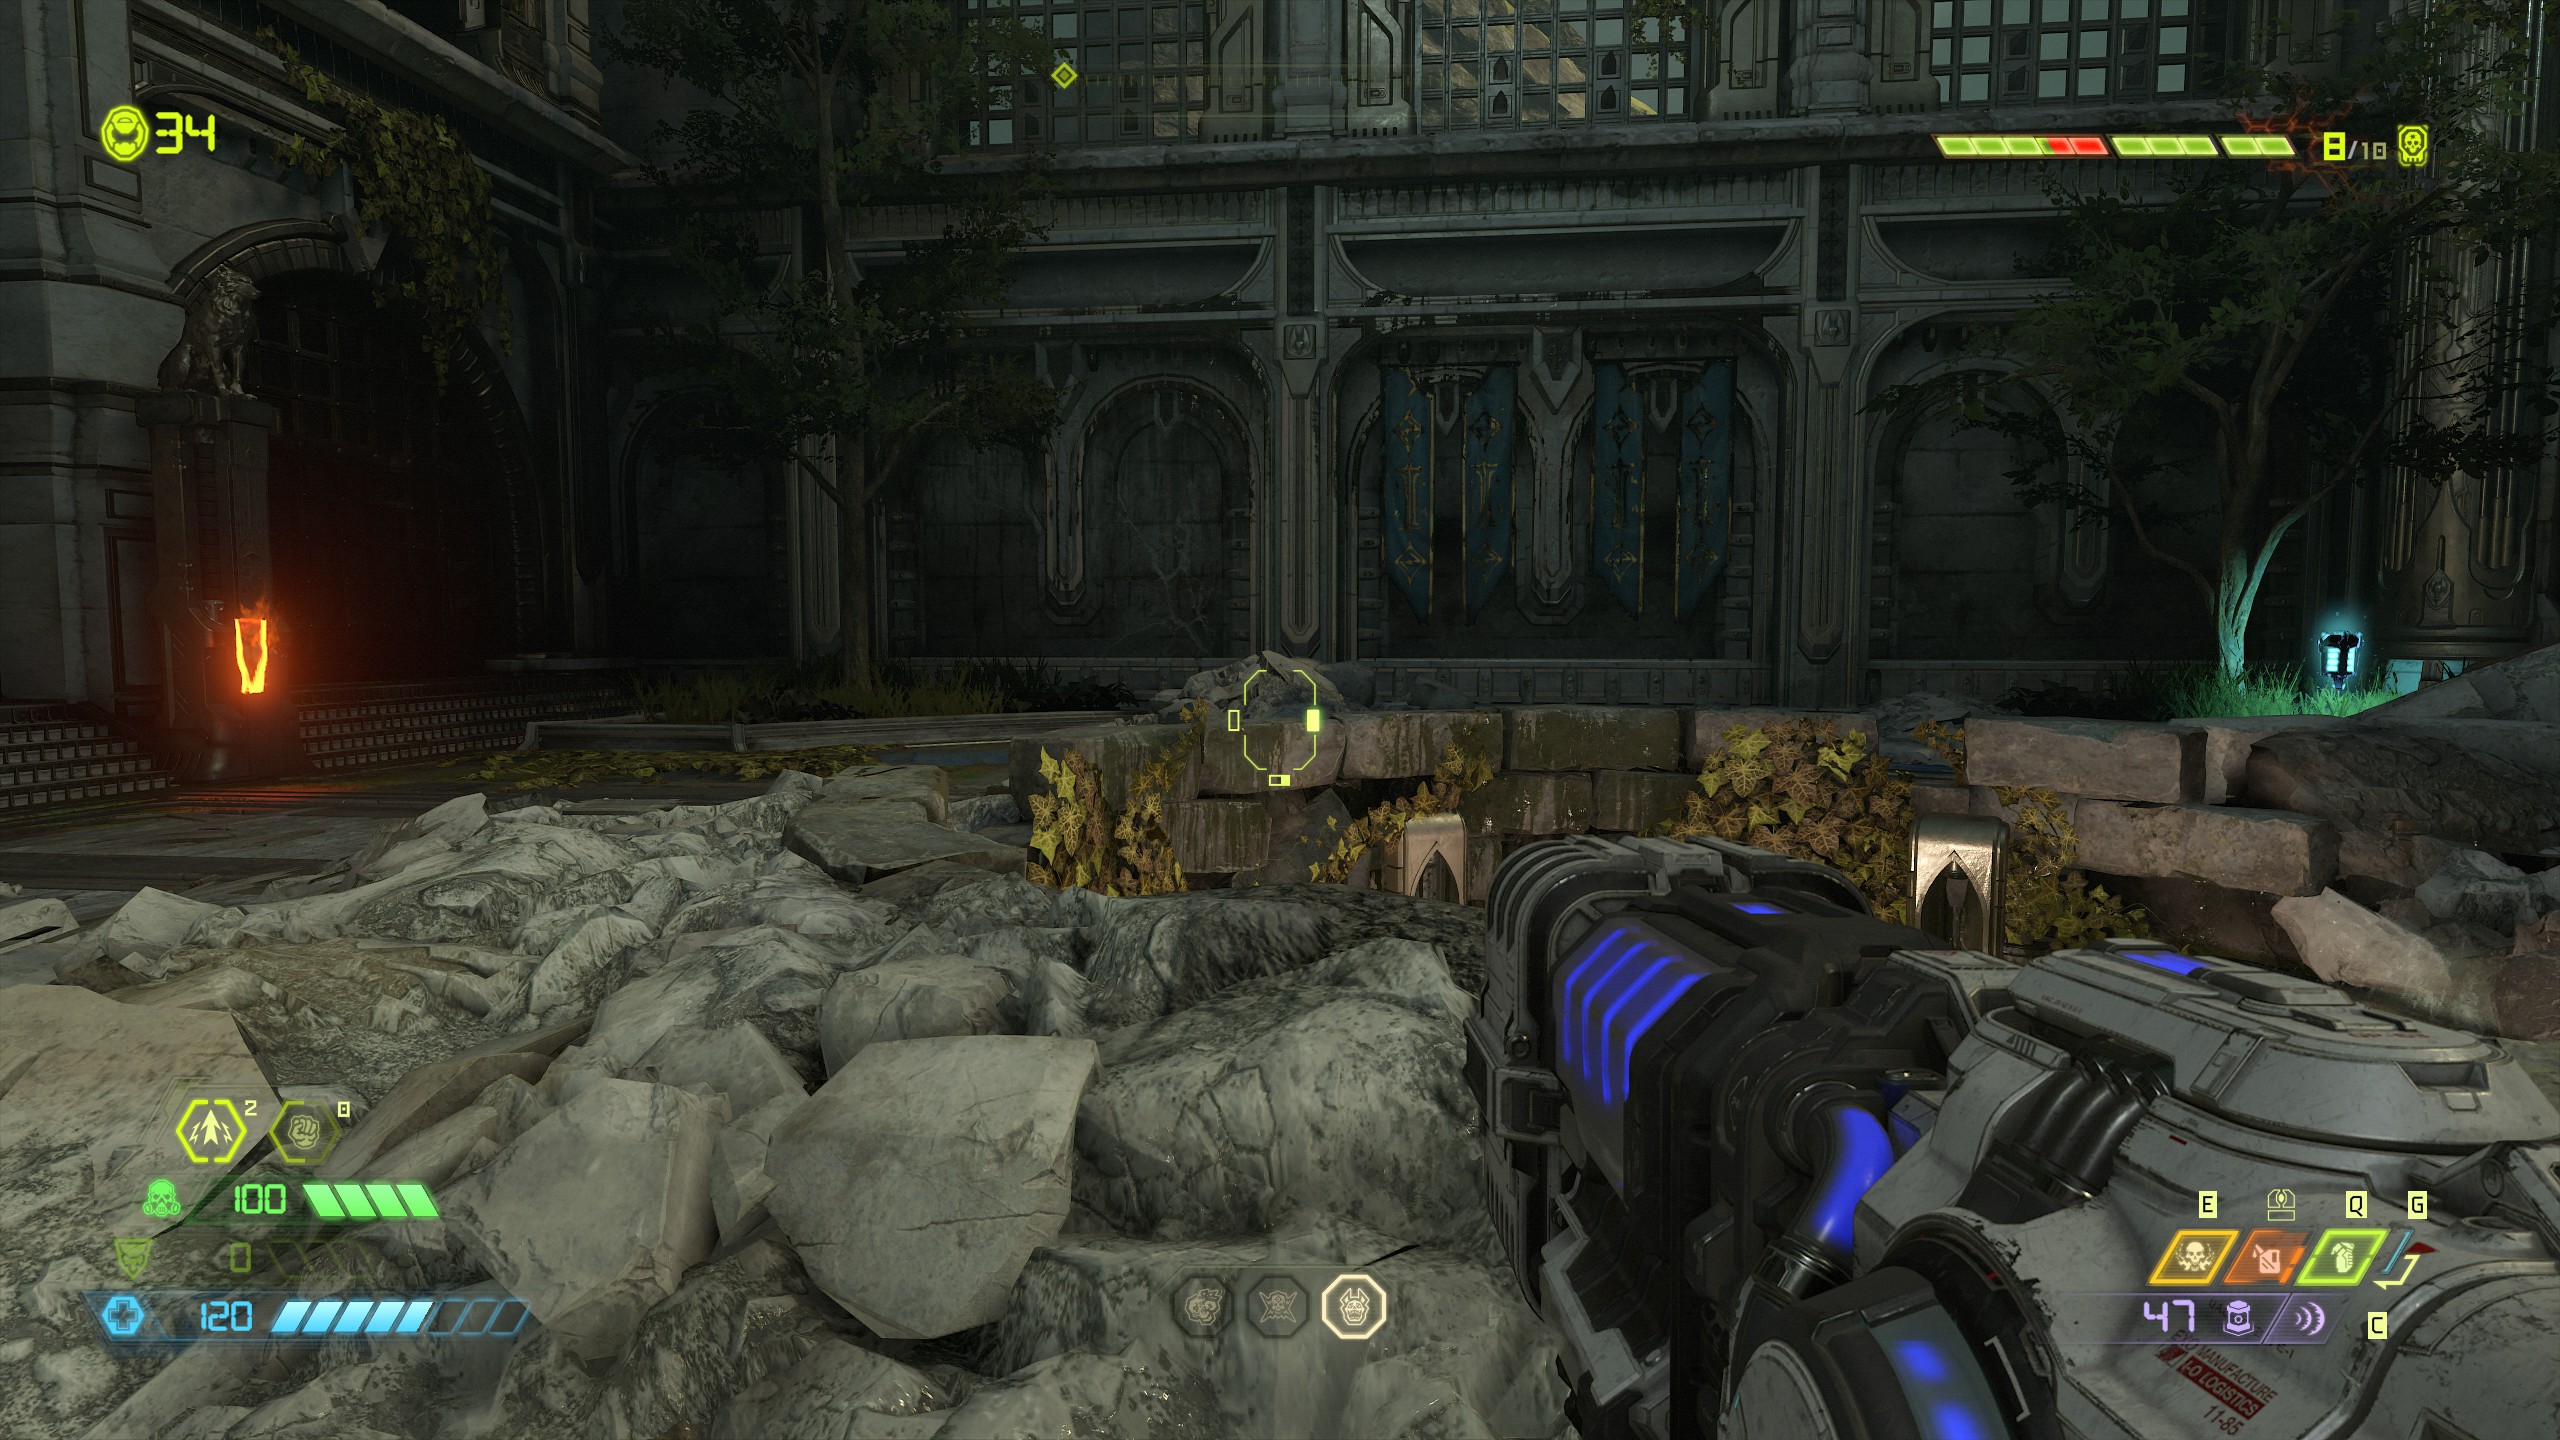
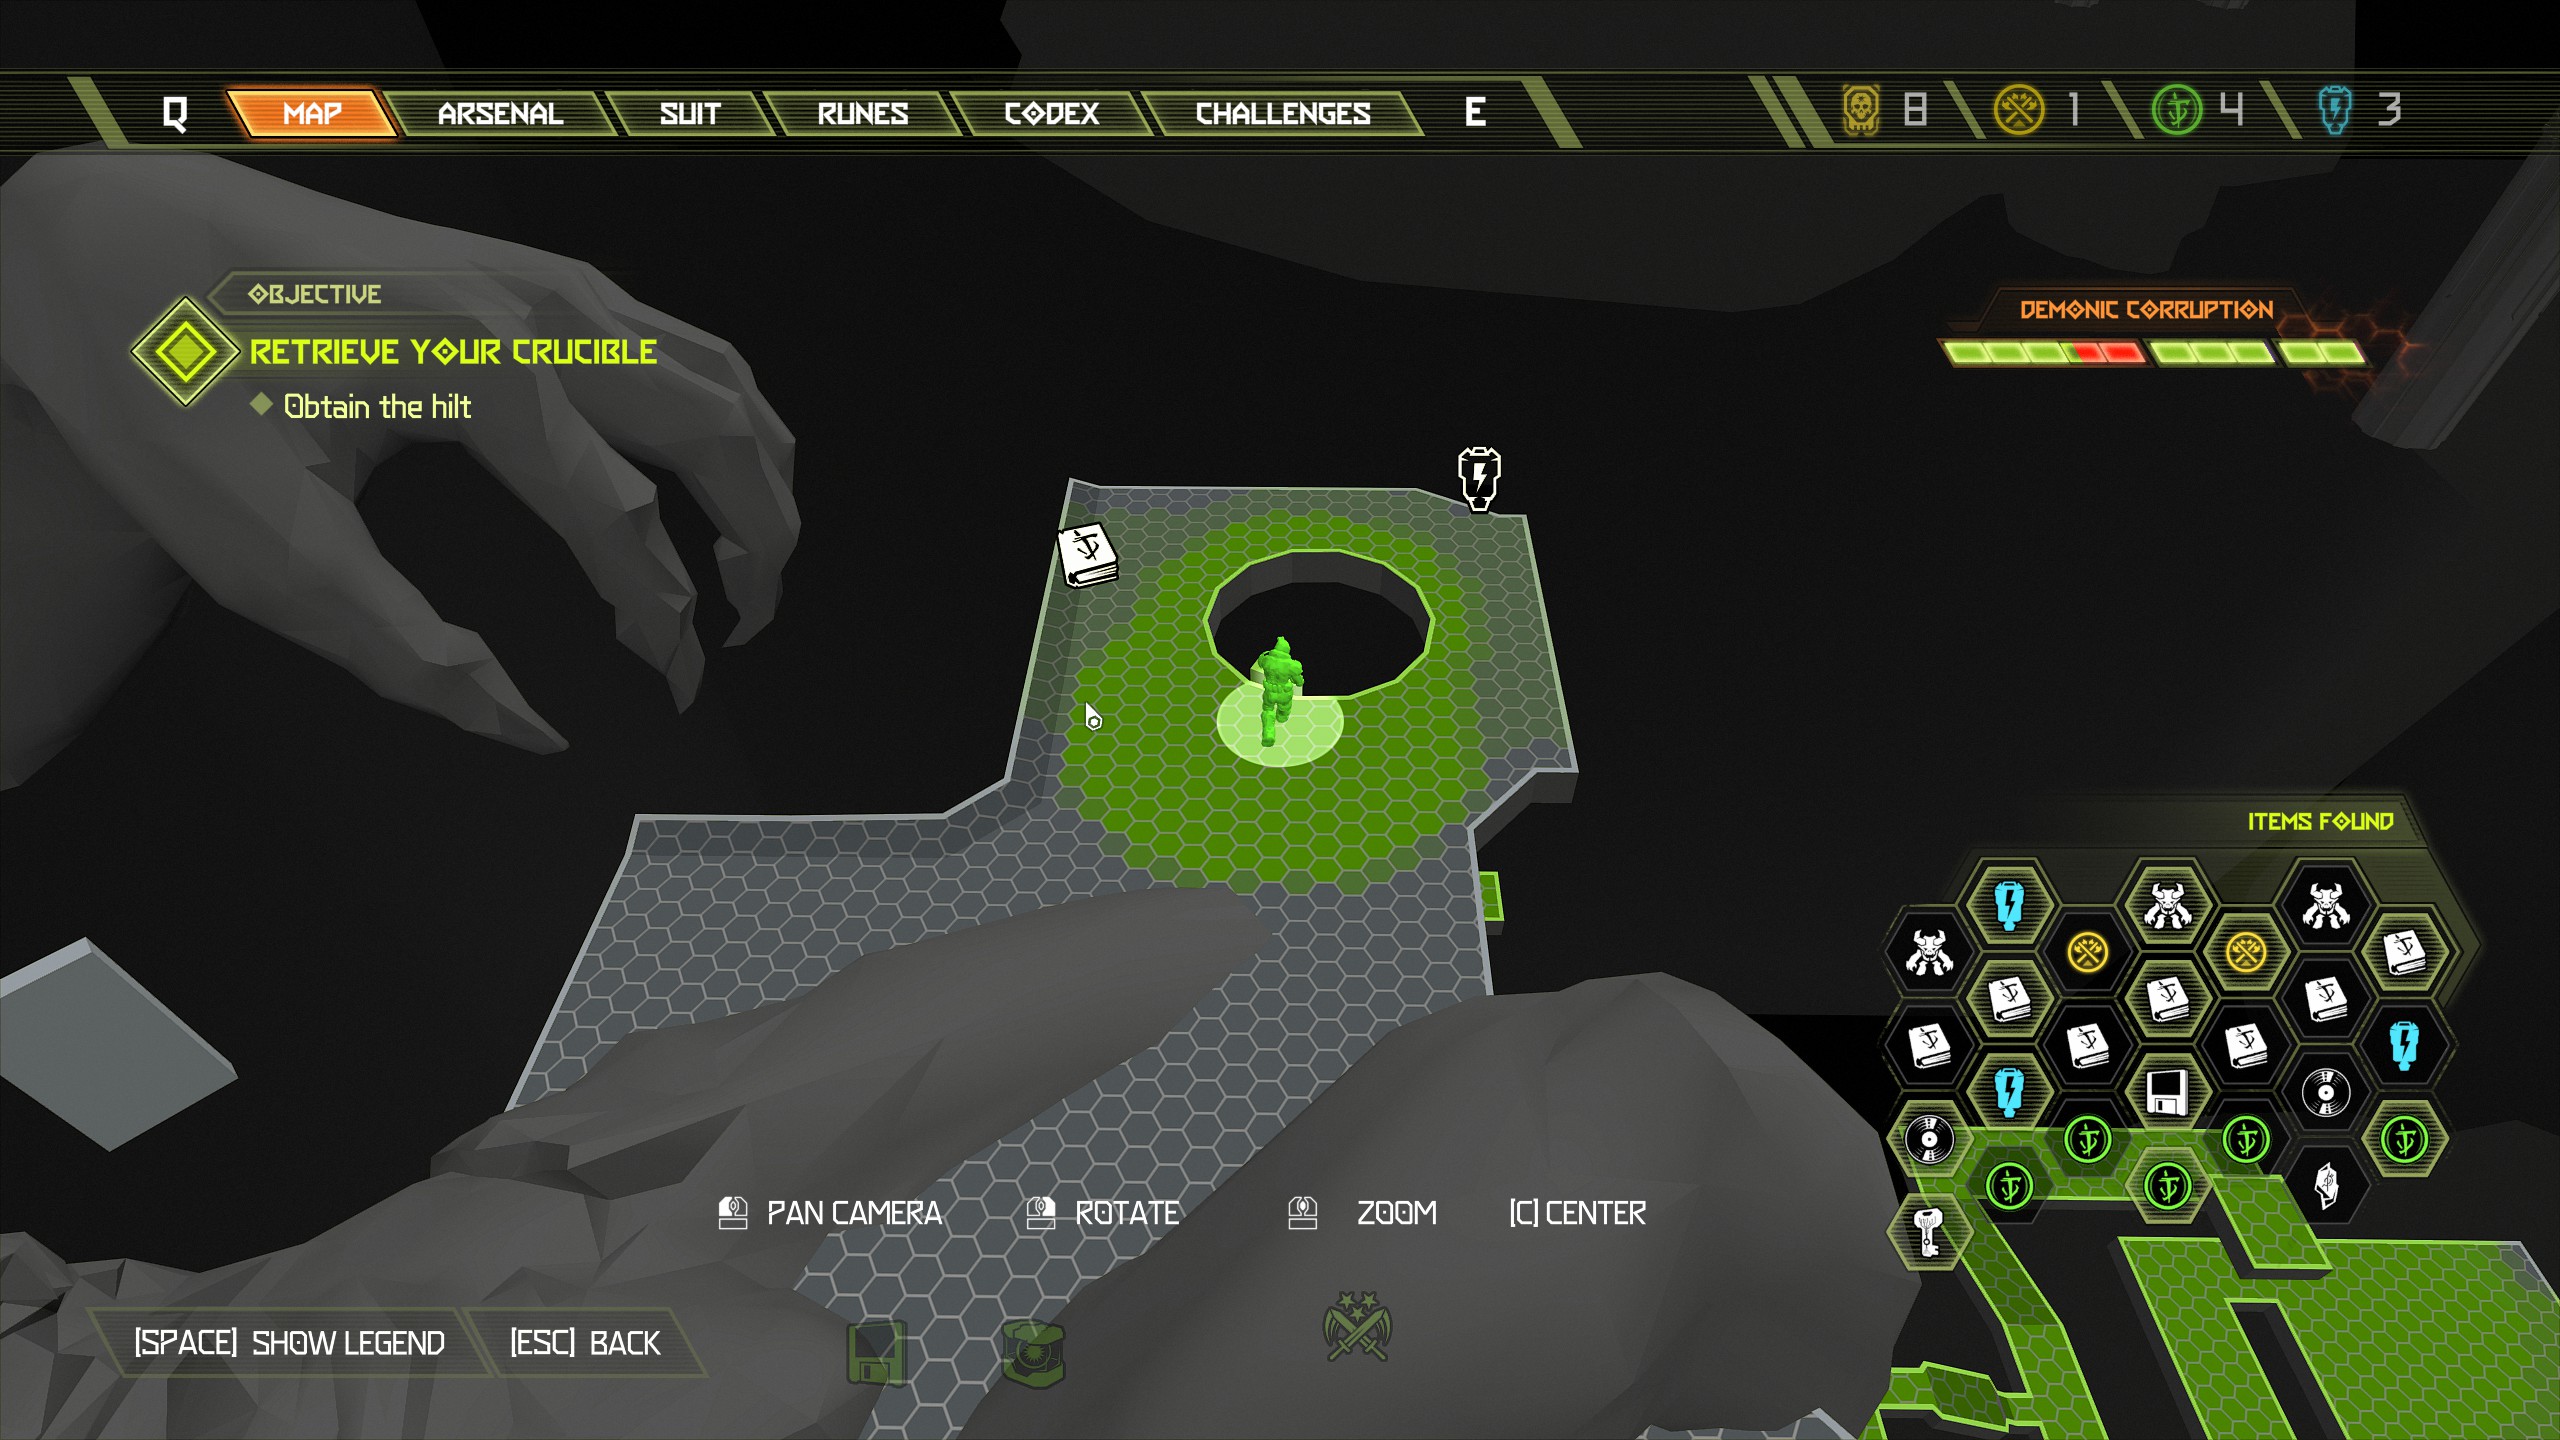
From there climb up the large demon to reach the crucible which will initiate a small cut scene, after the cut scene look down towards the demons legs and on the right side you will see a praetor suit token and a breakable wall with a doomtoy inside.
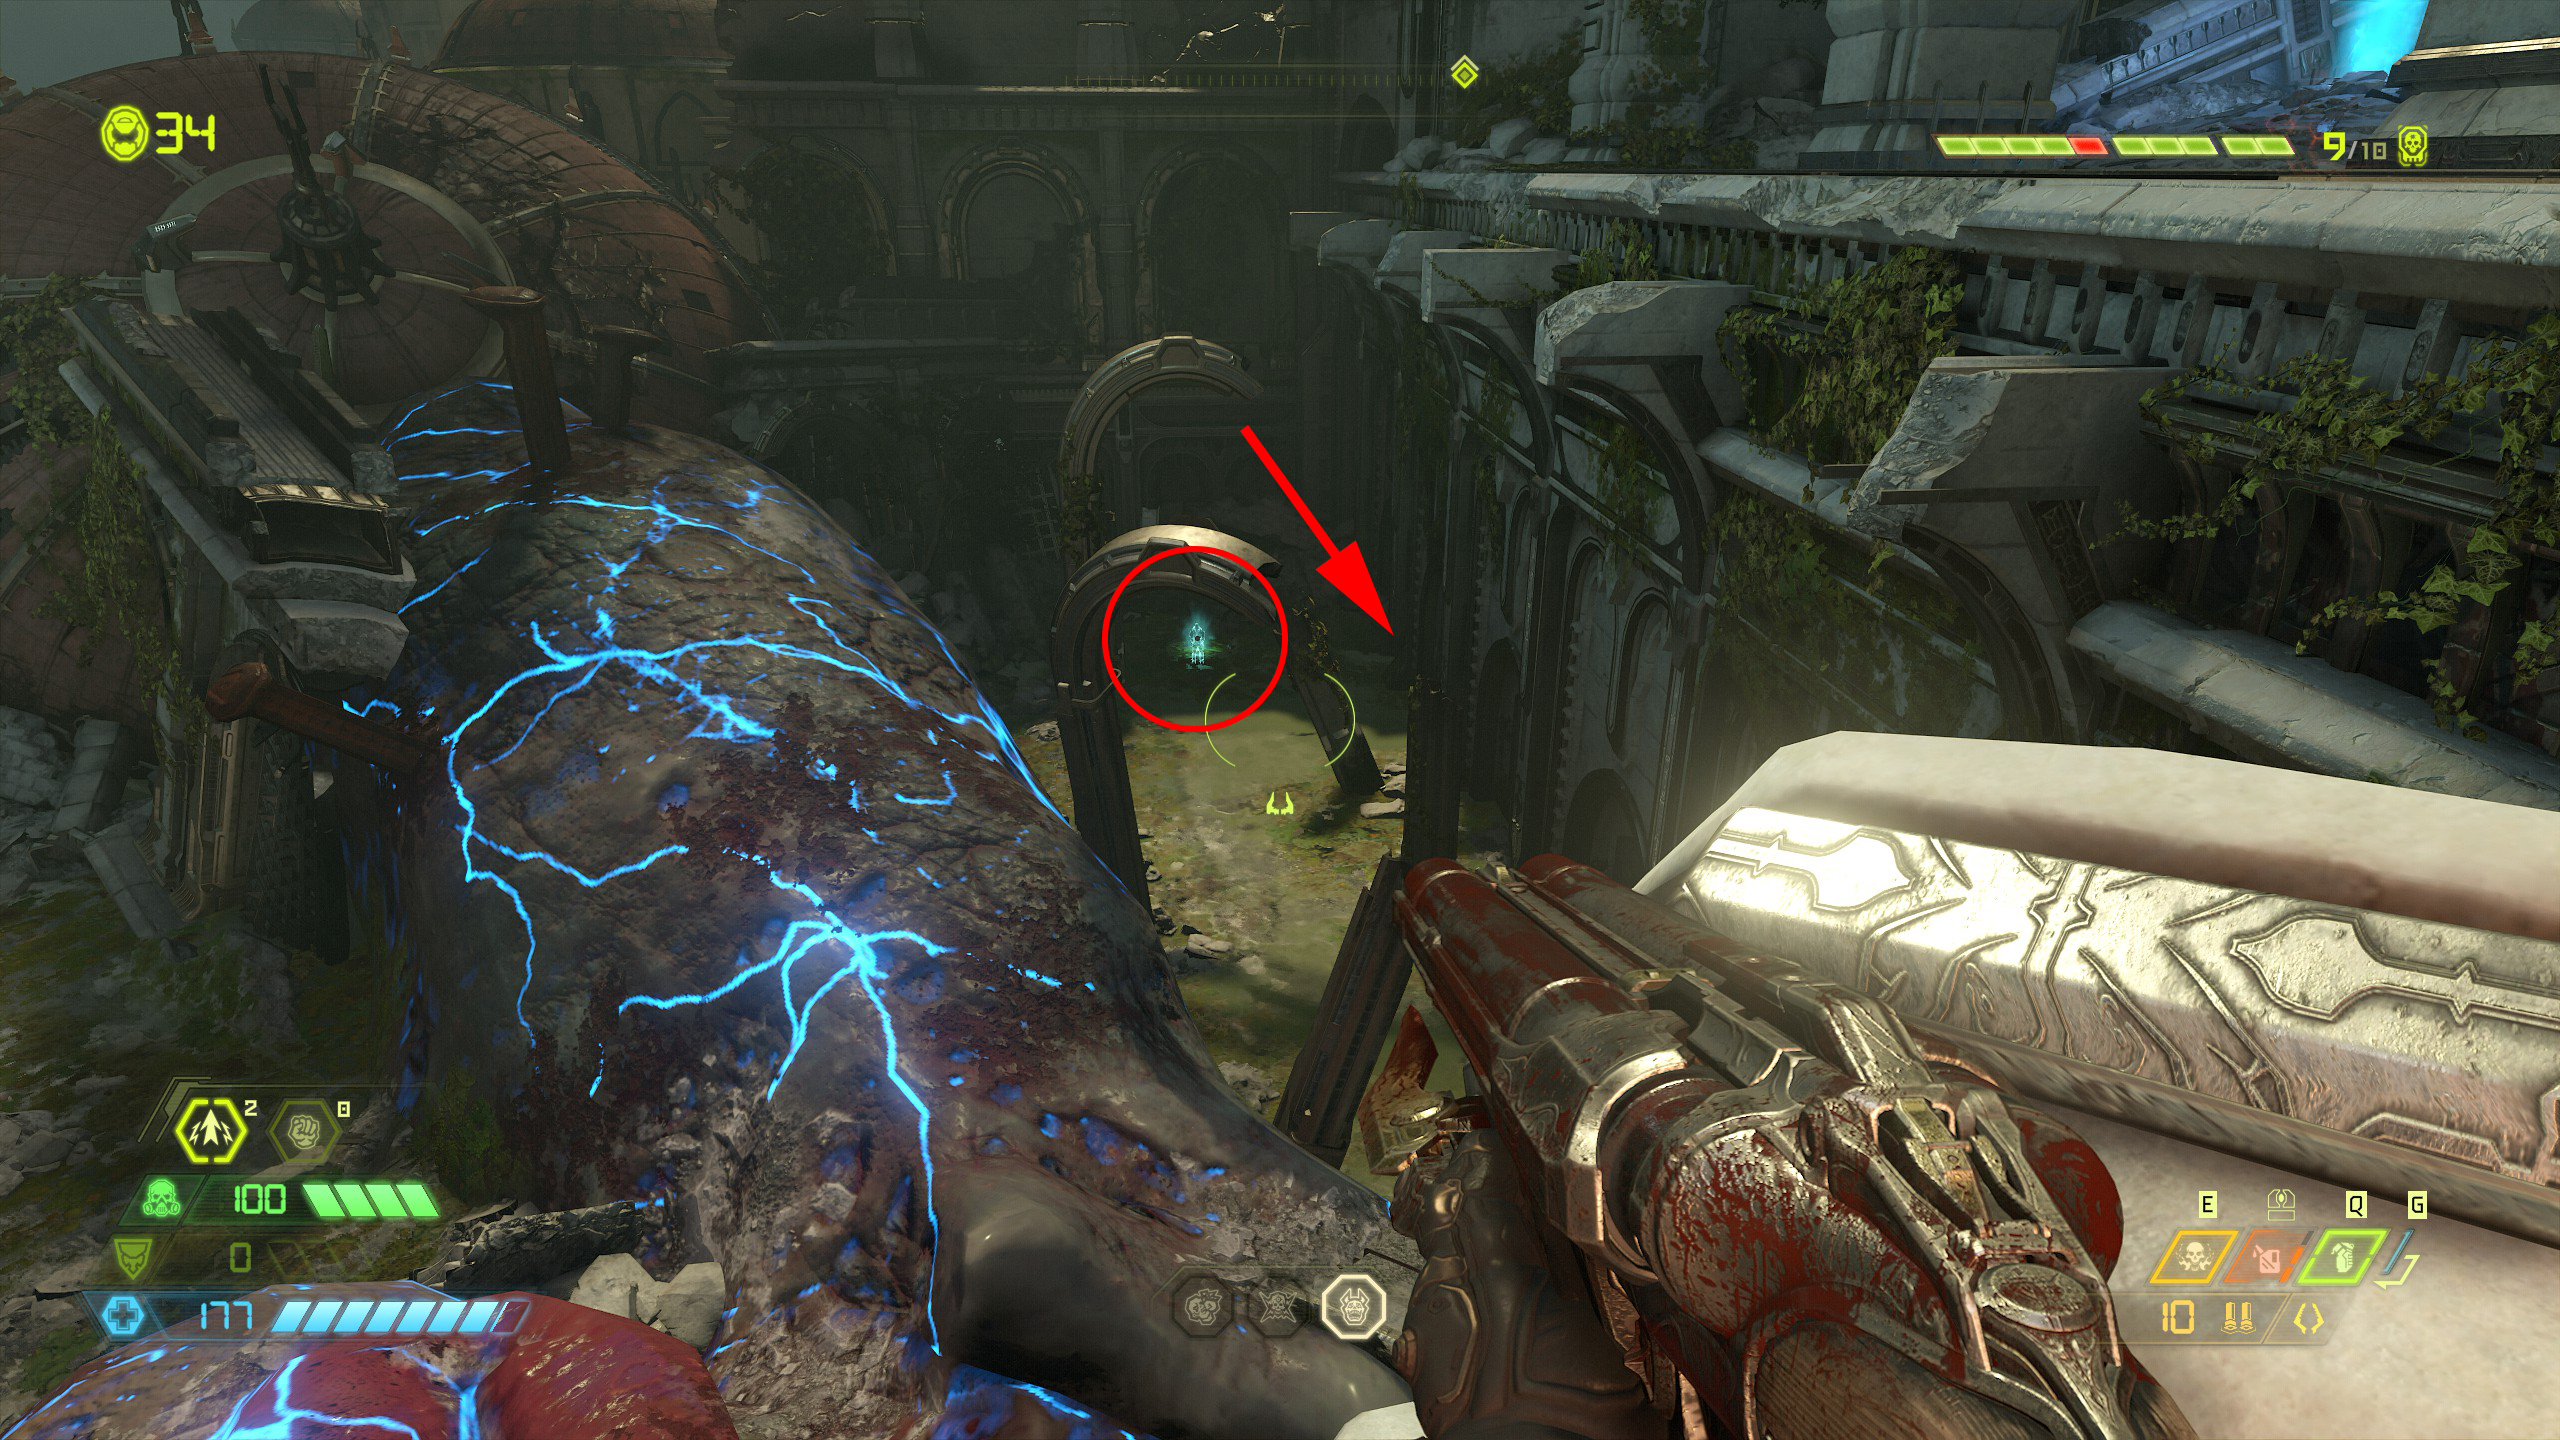
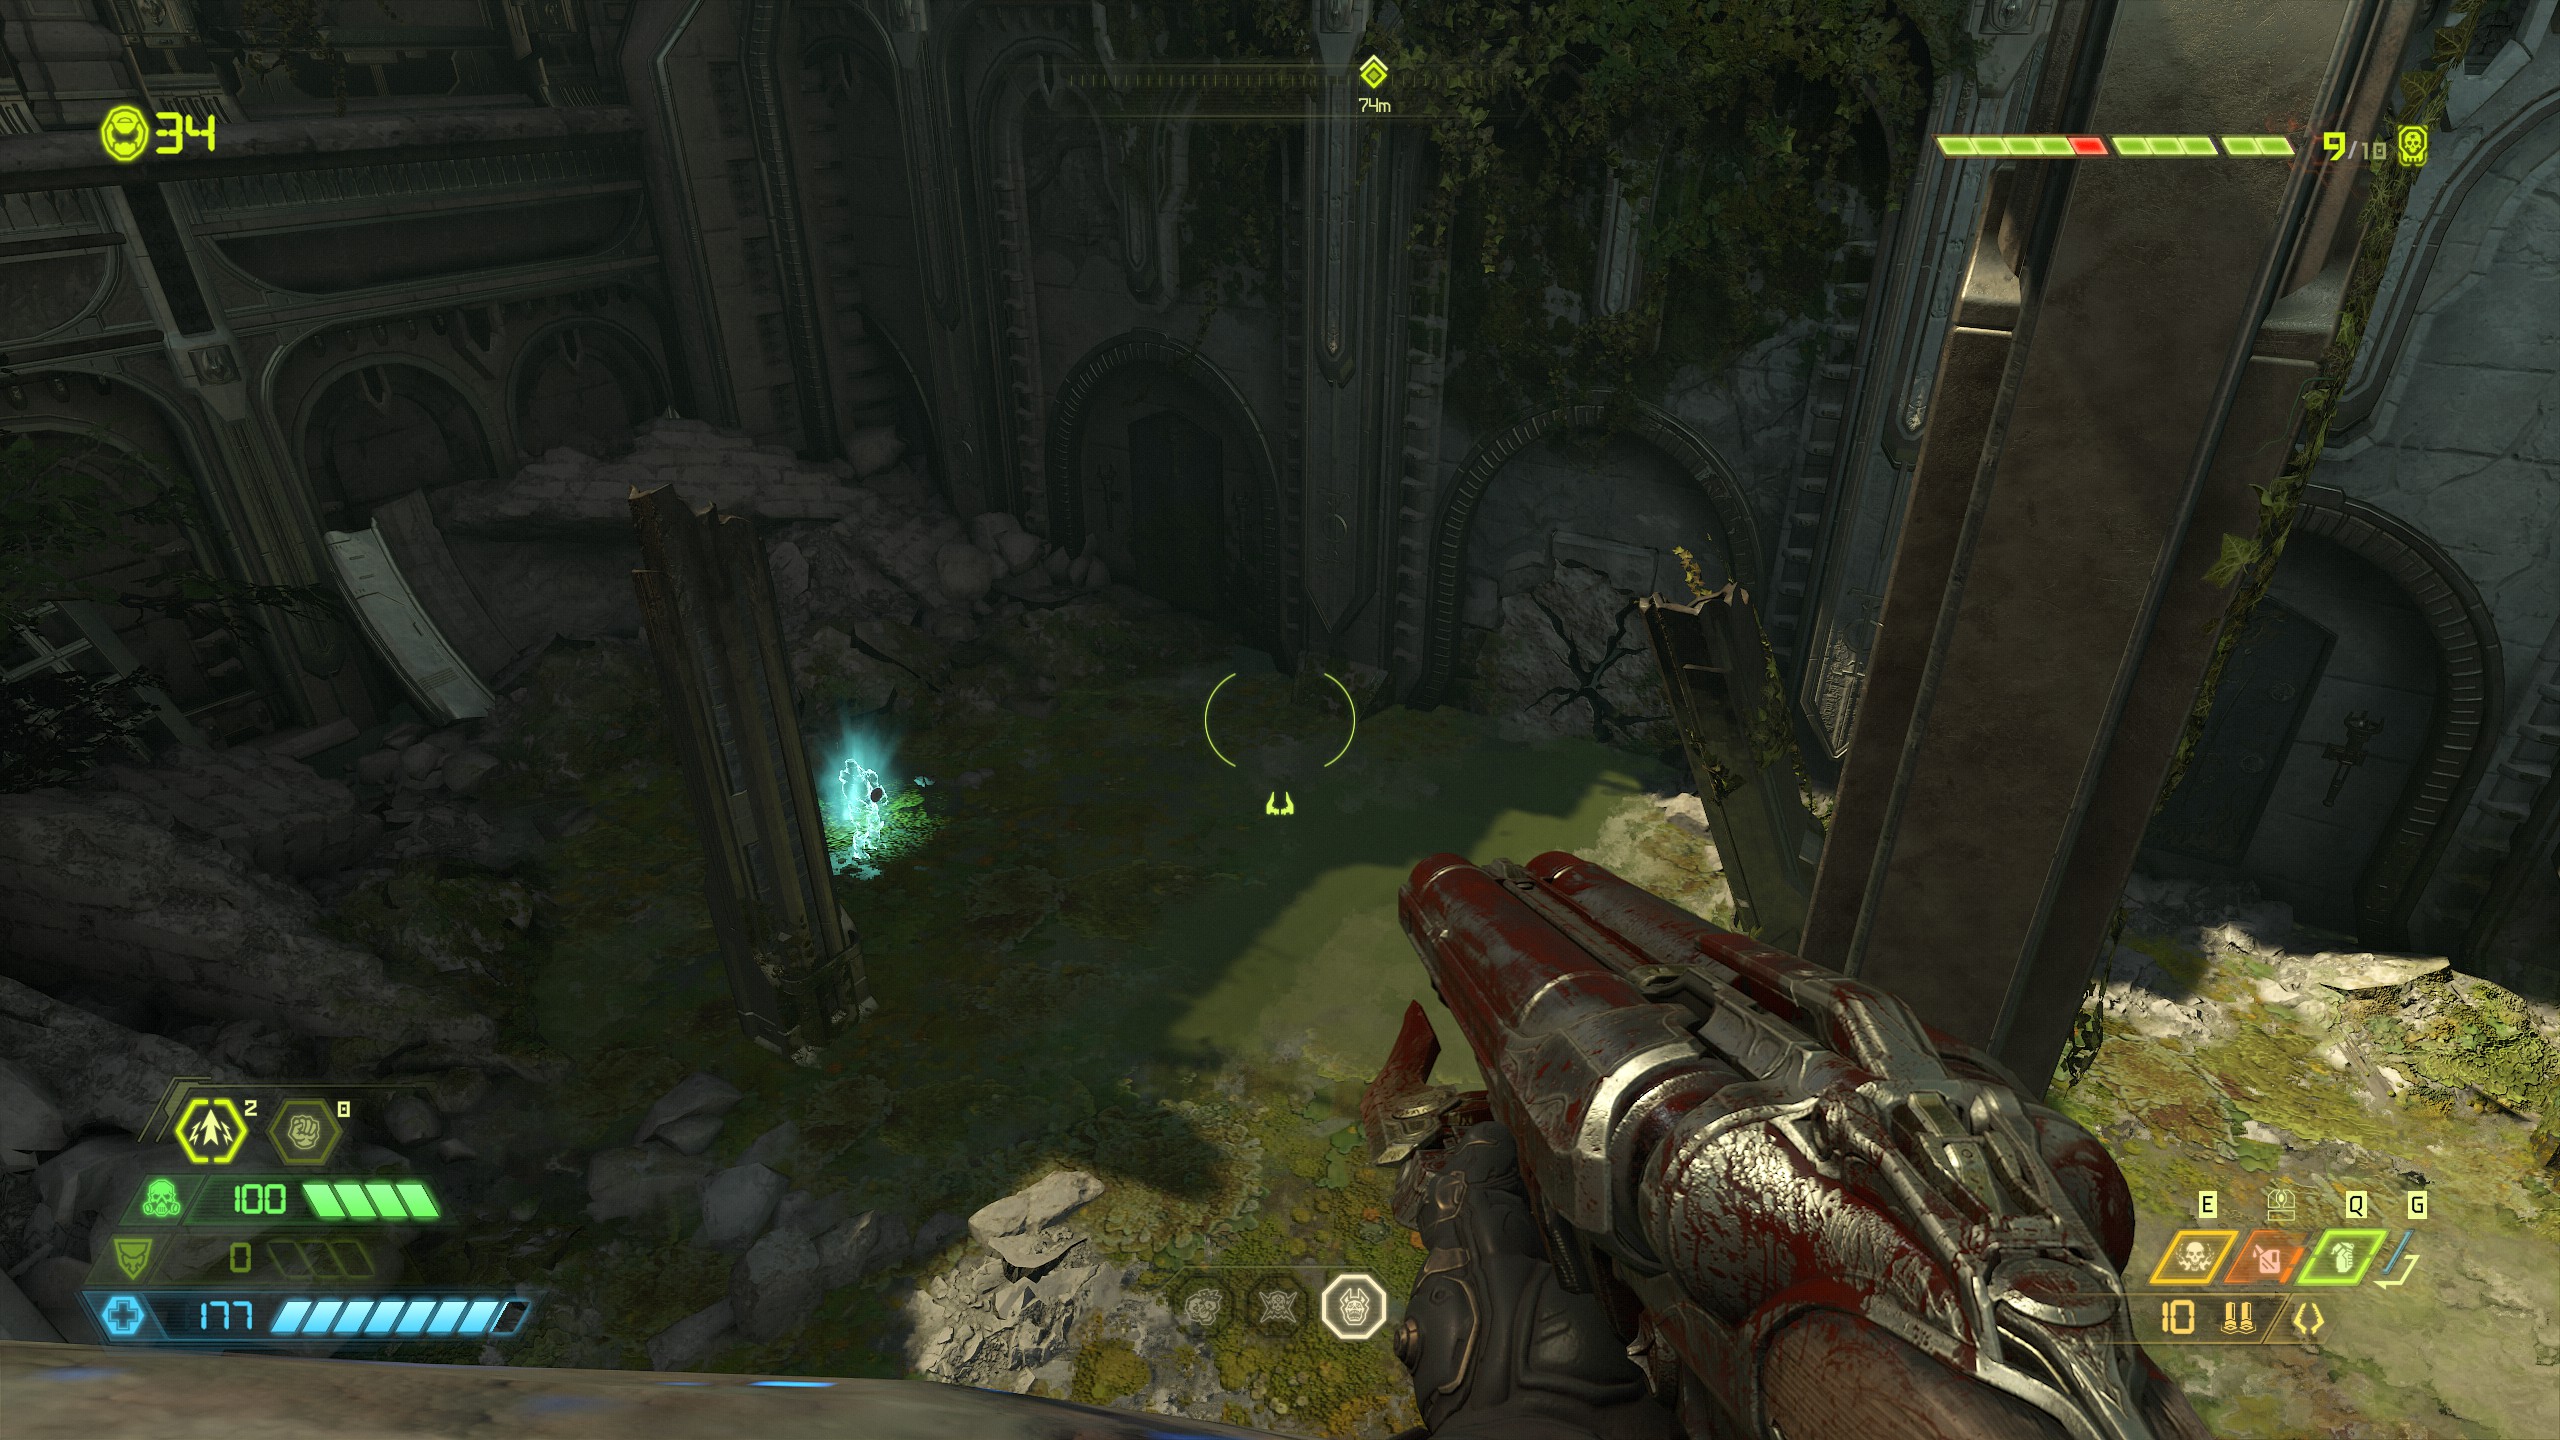
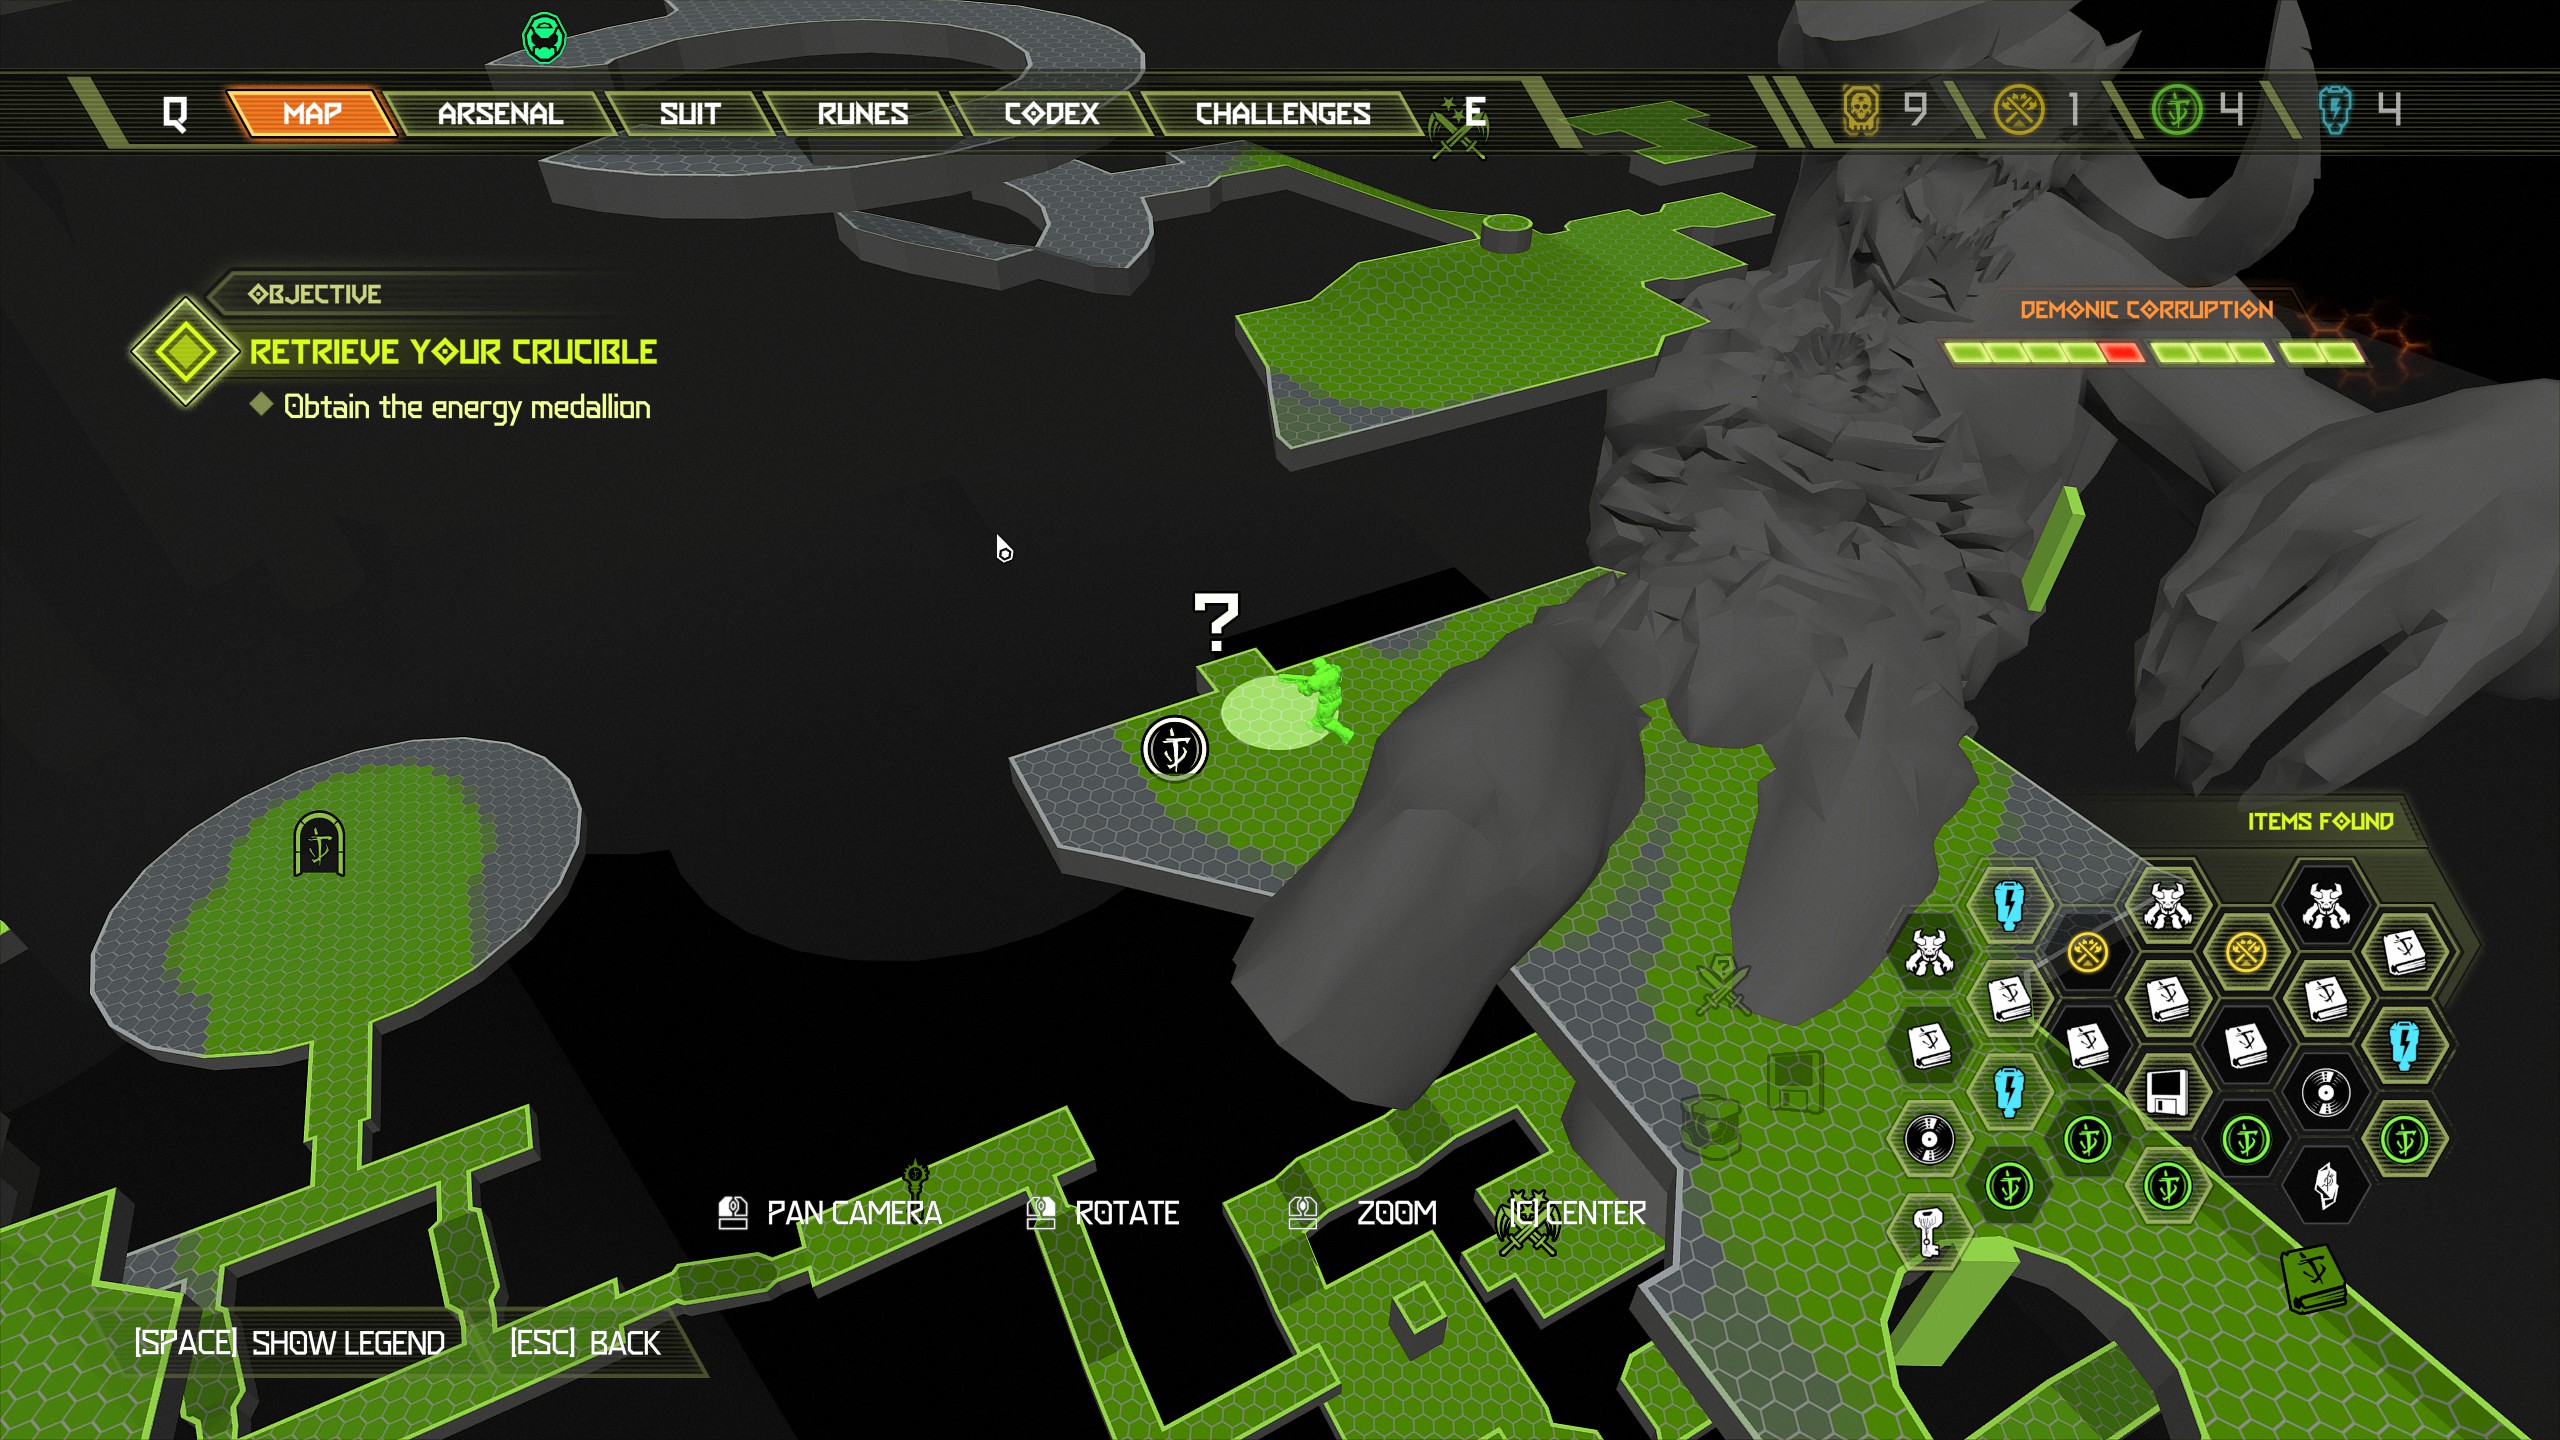
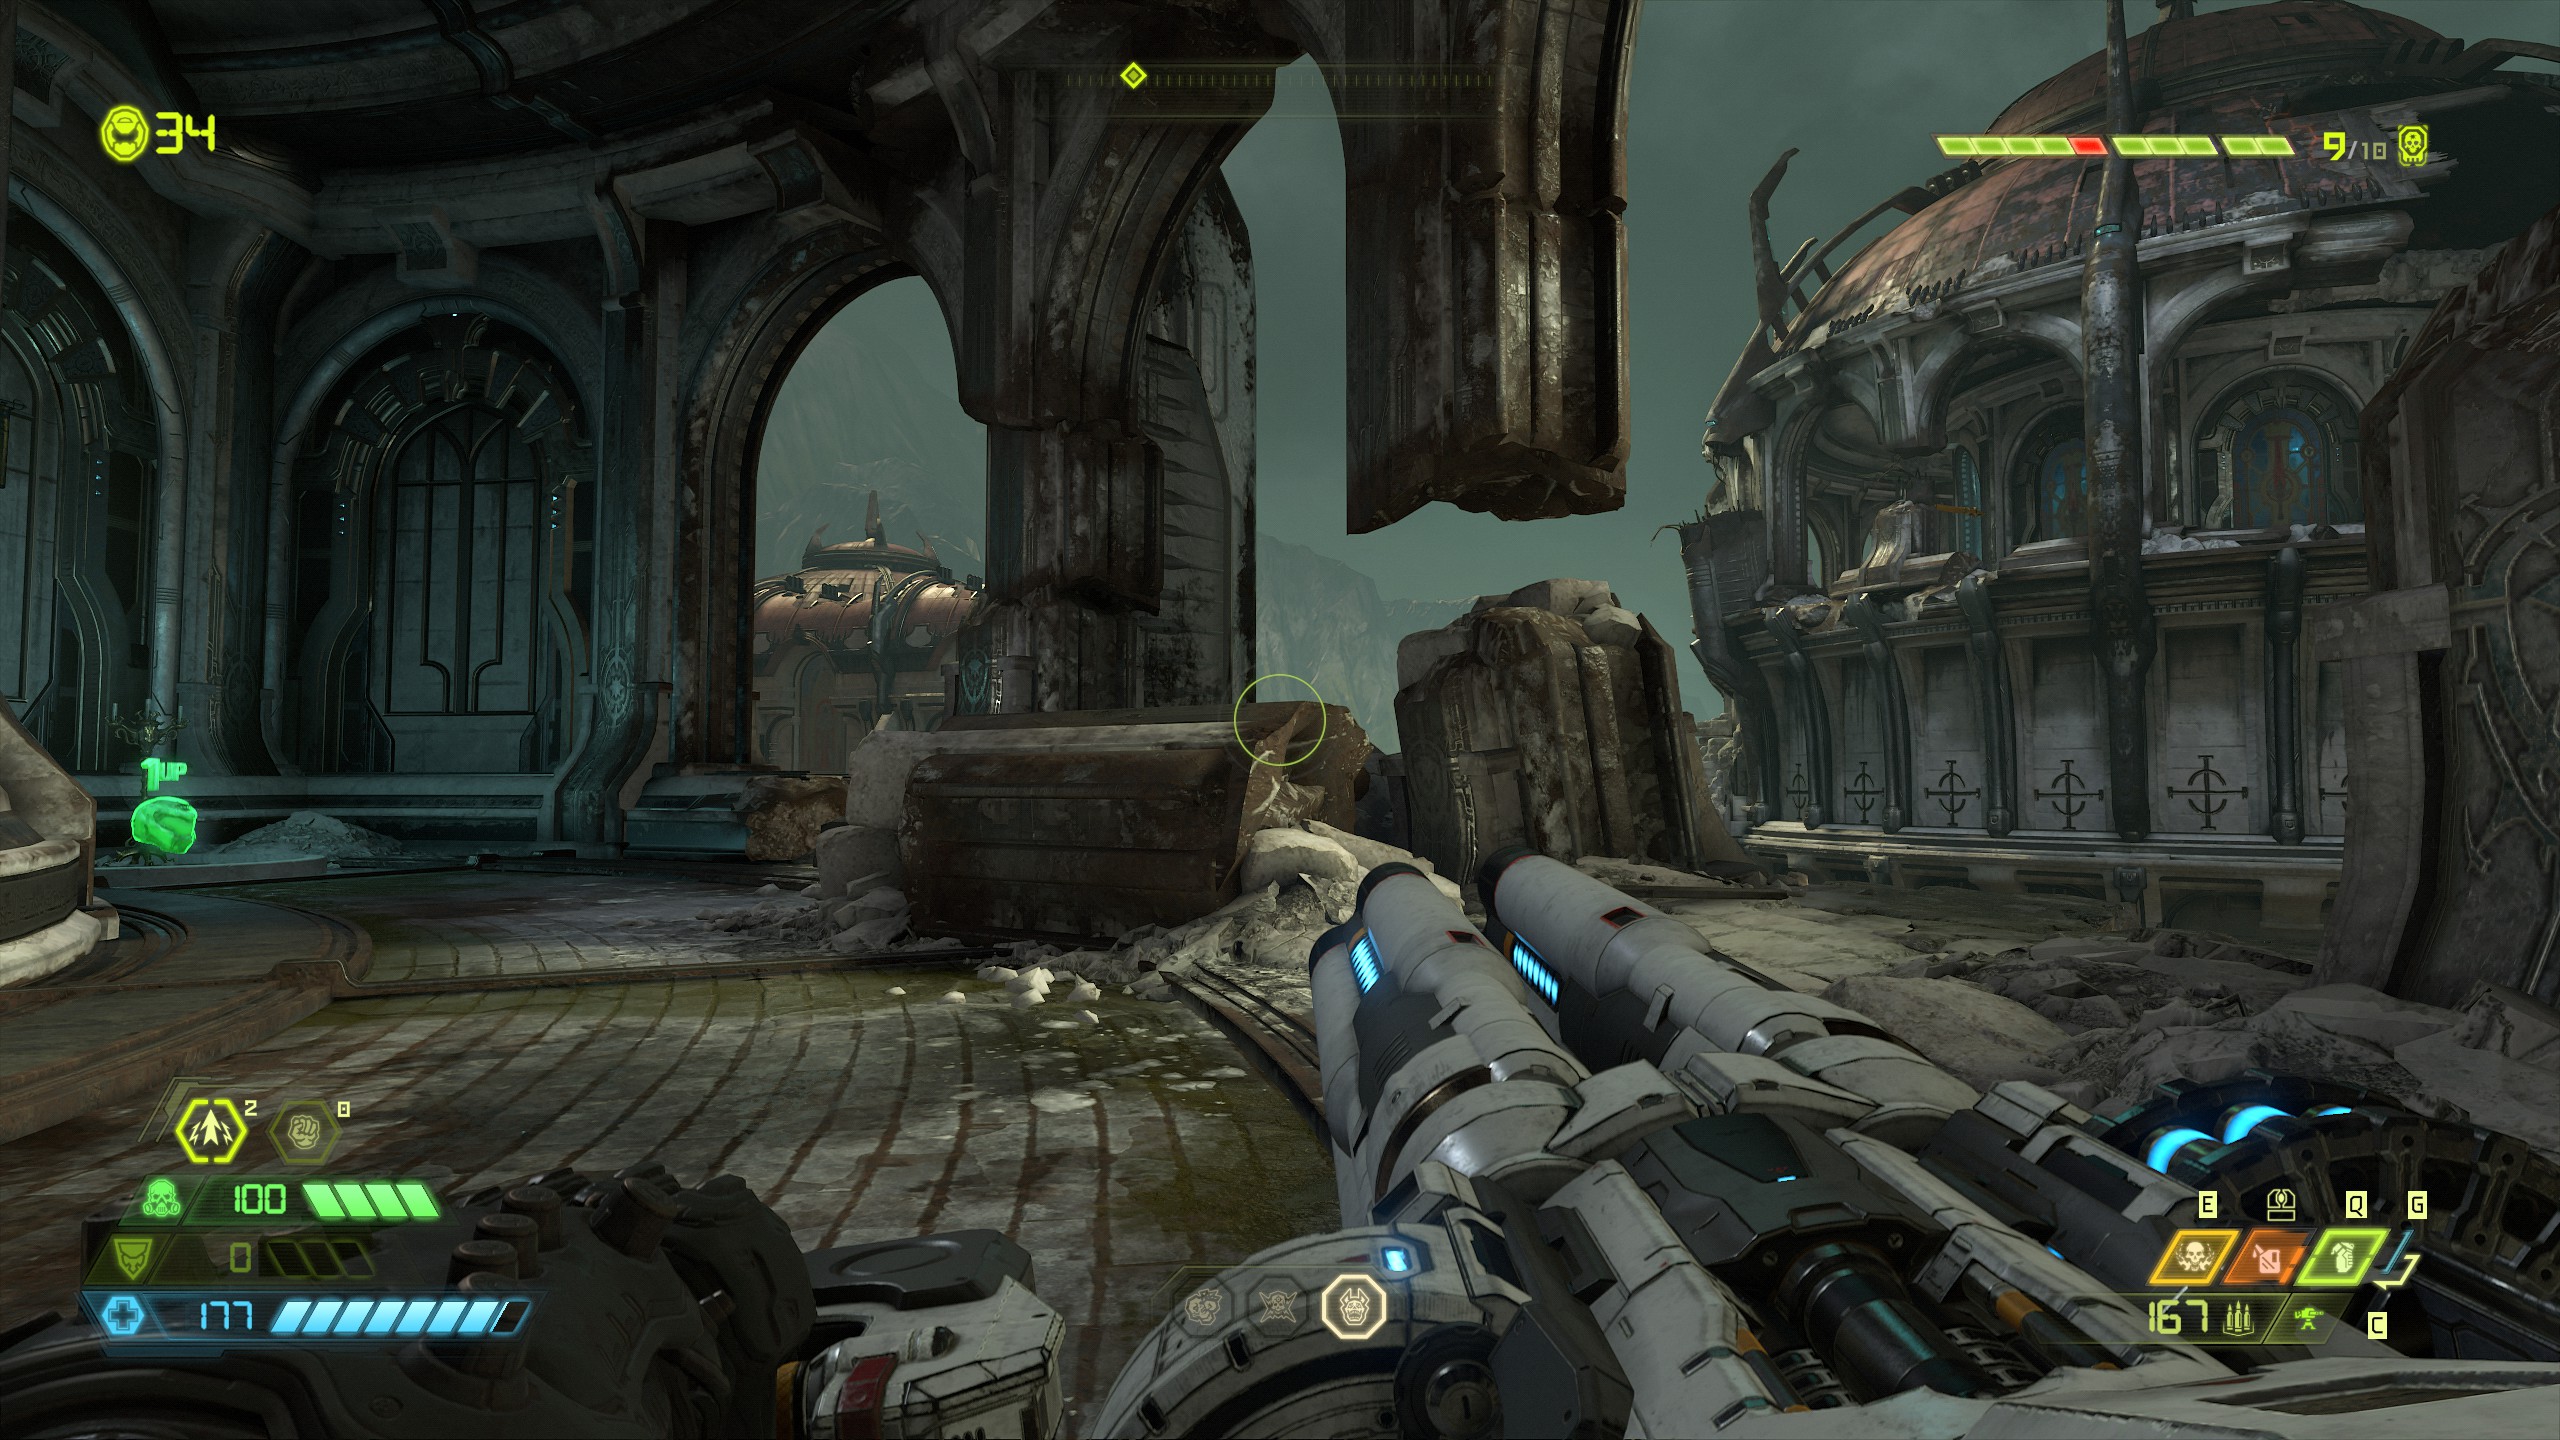
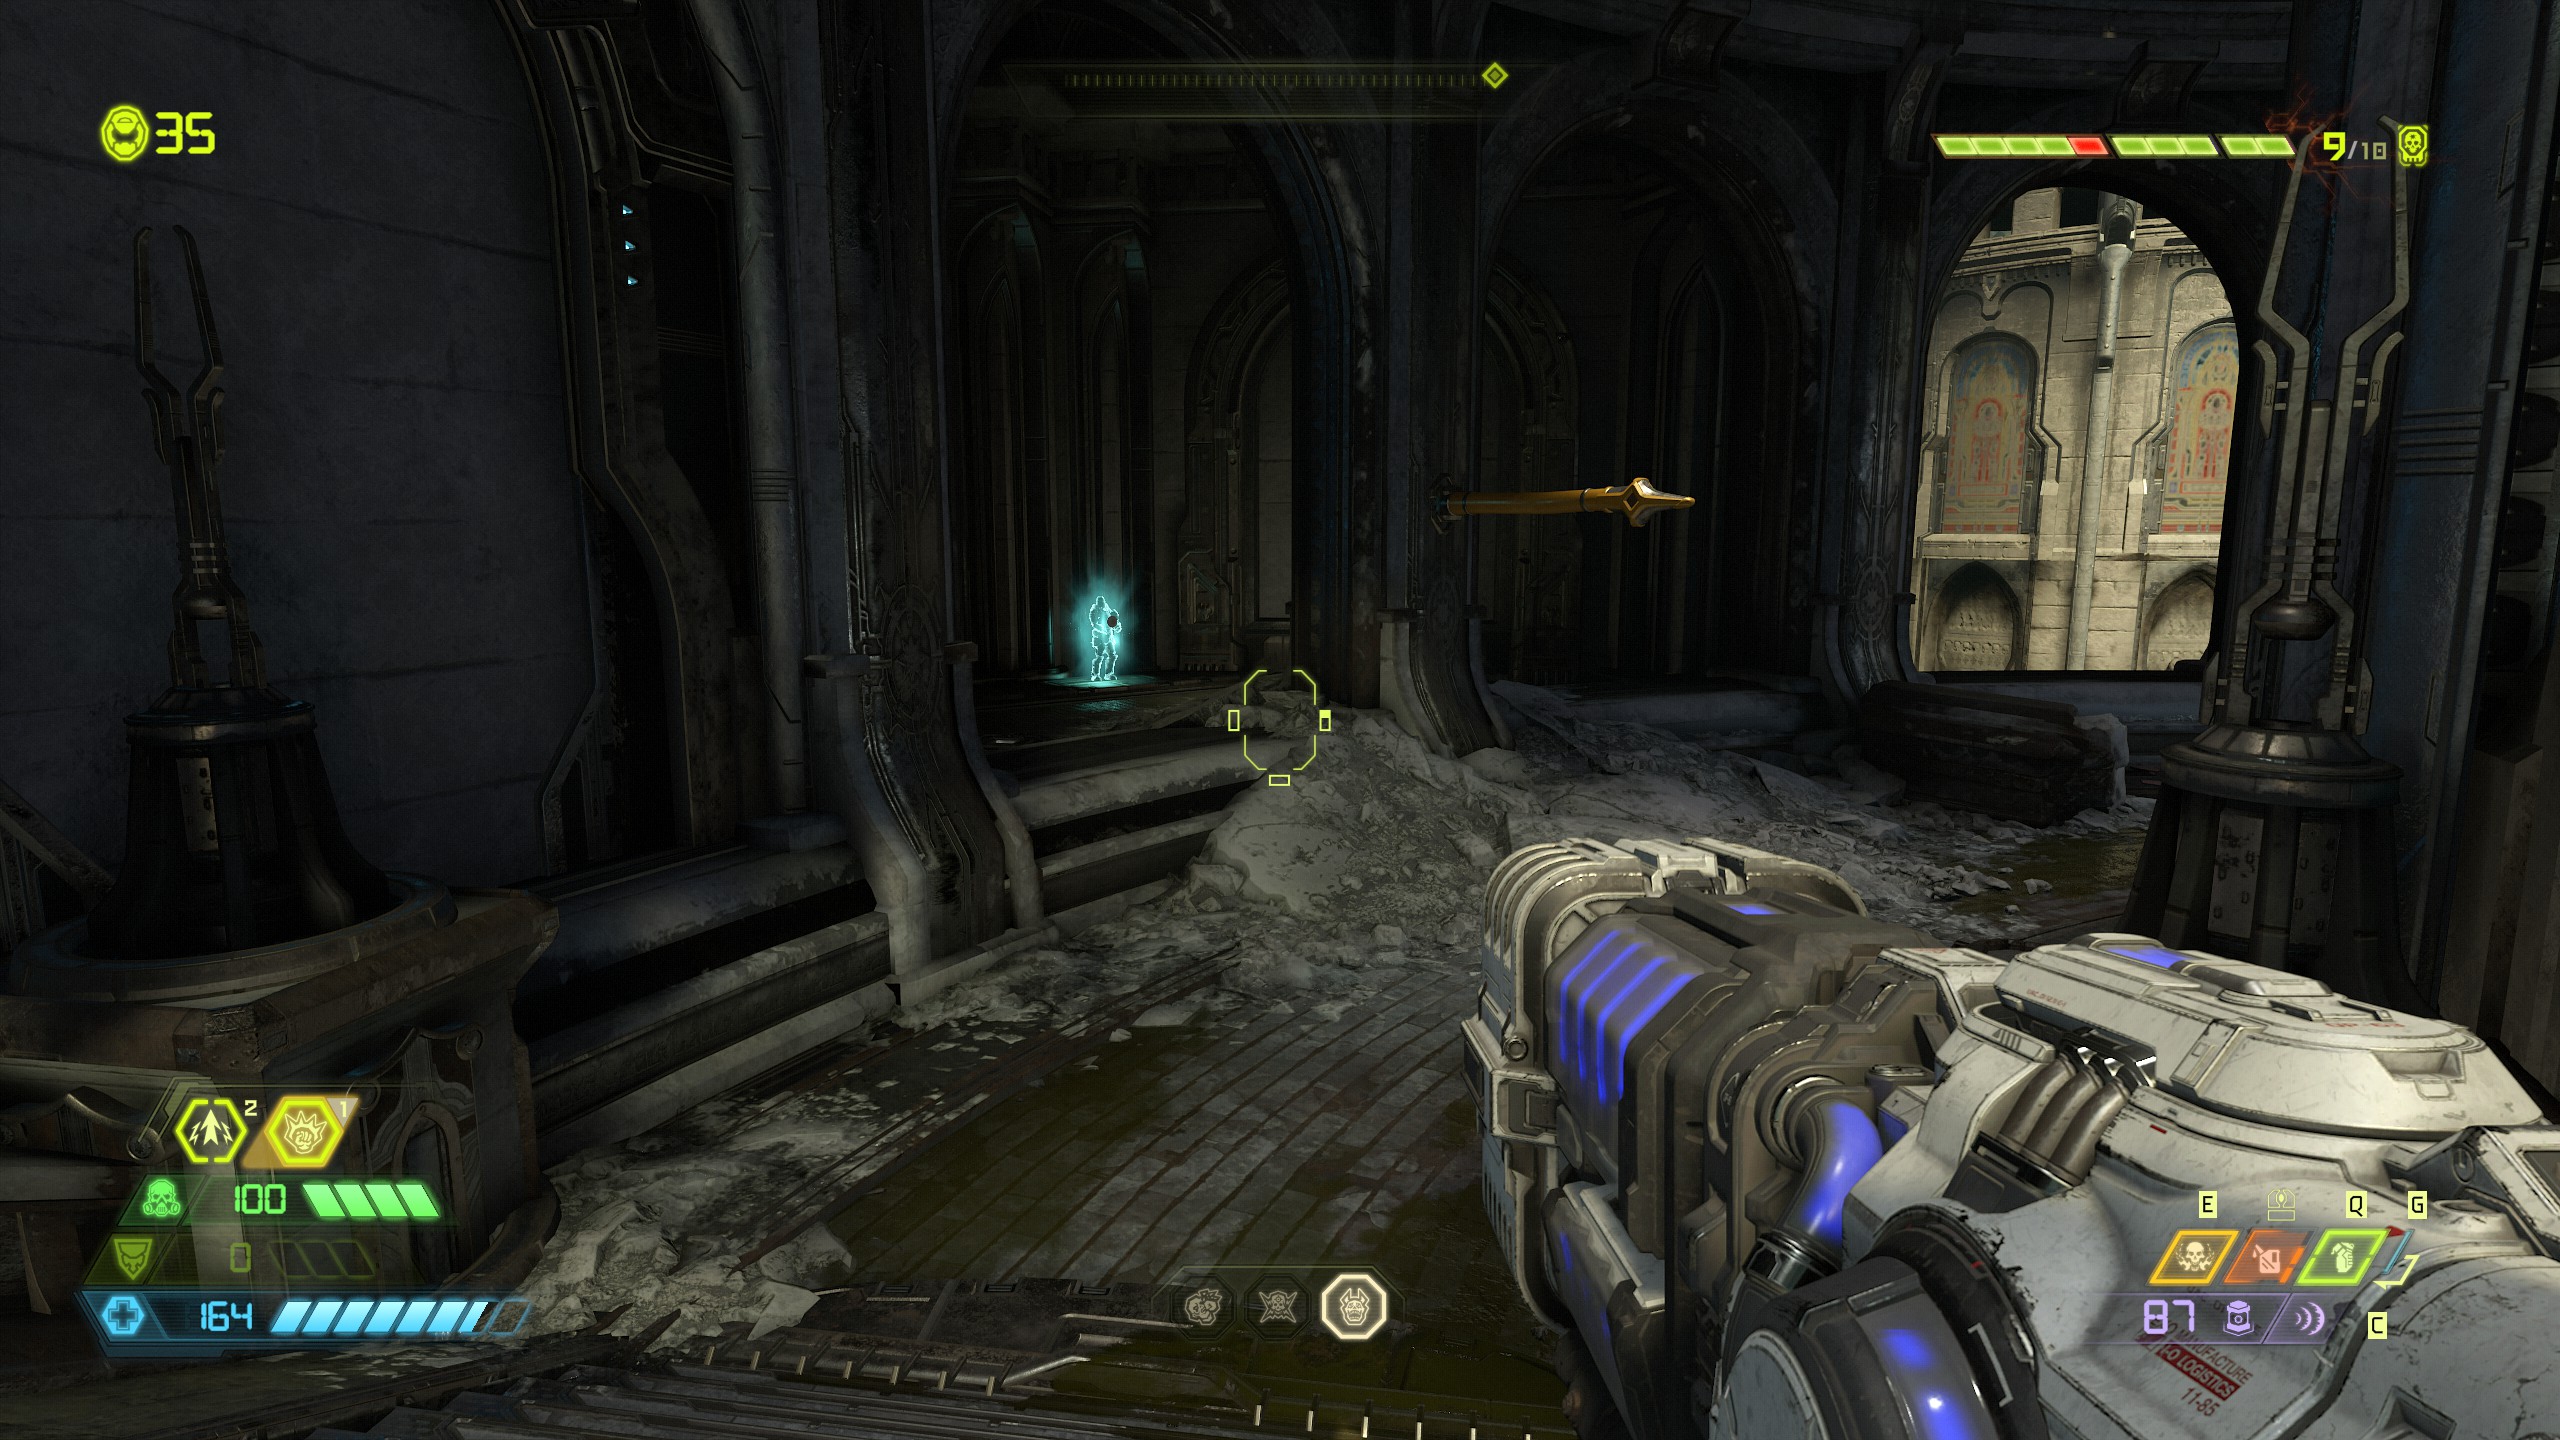
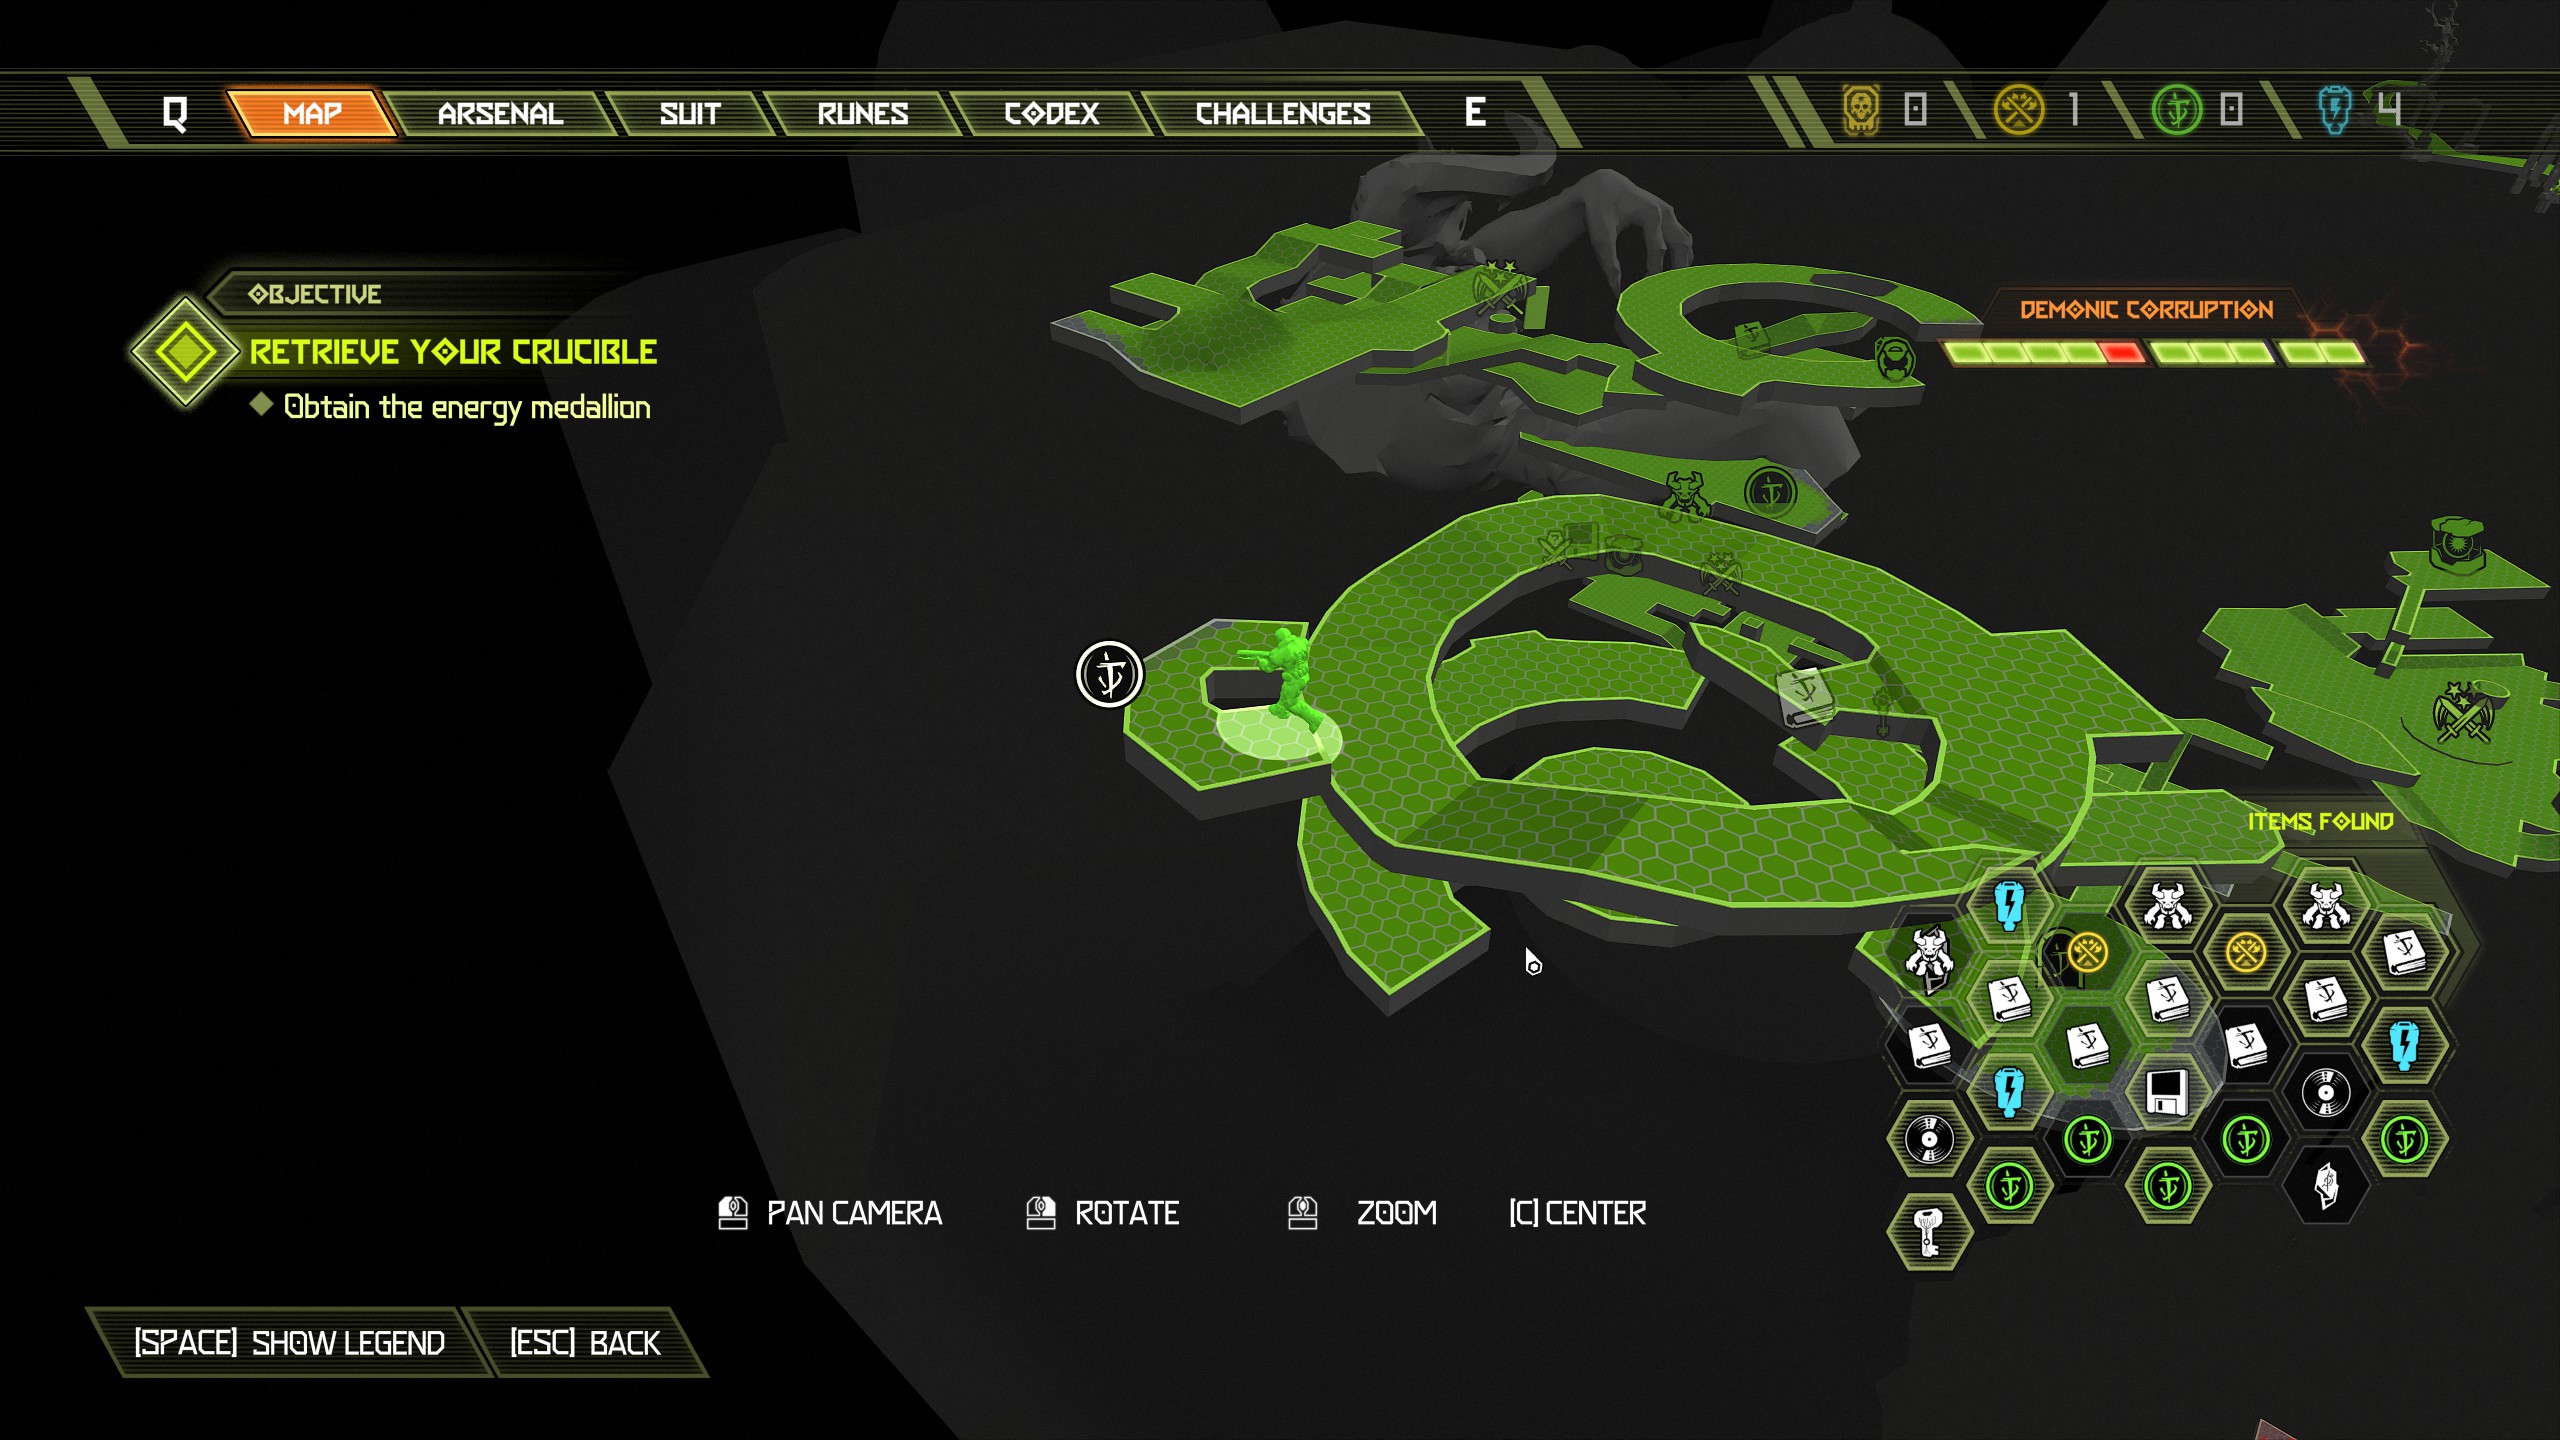
Now go back to where you stepped off the lift and look down over the edge of the building facing in the direction of the broken bridge opposite. Below is a platform that you can drop down onto, drop down and inside you will find a sentinel crystal and a codex page.
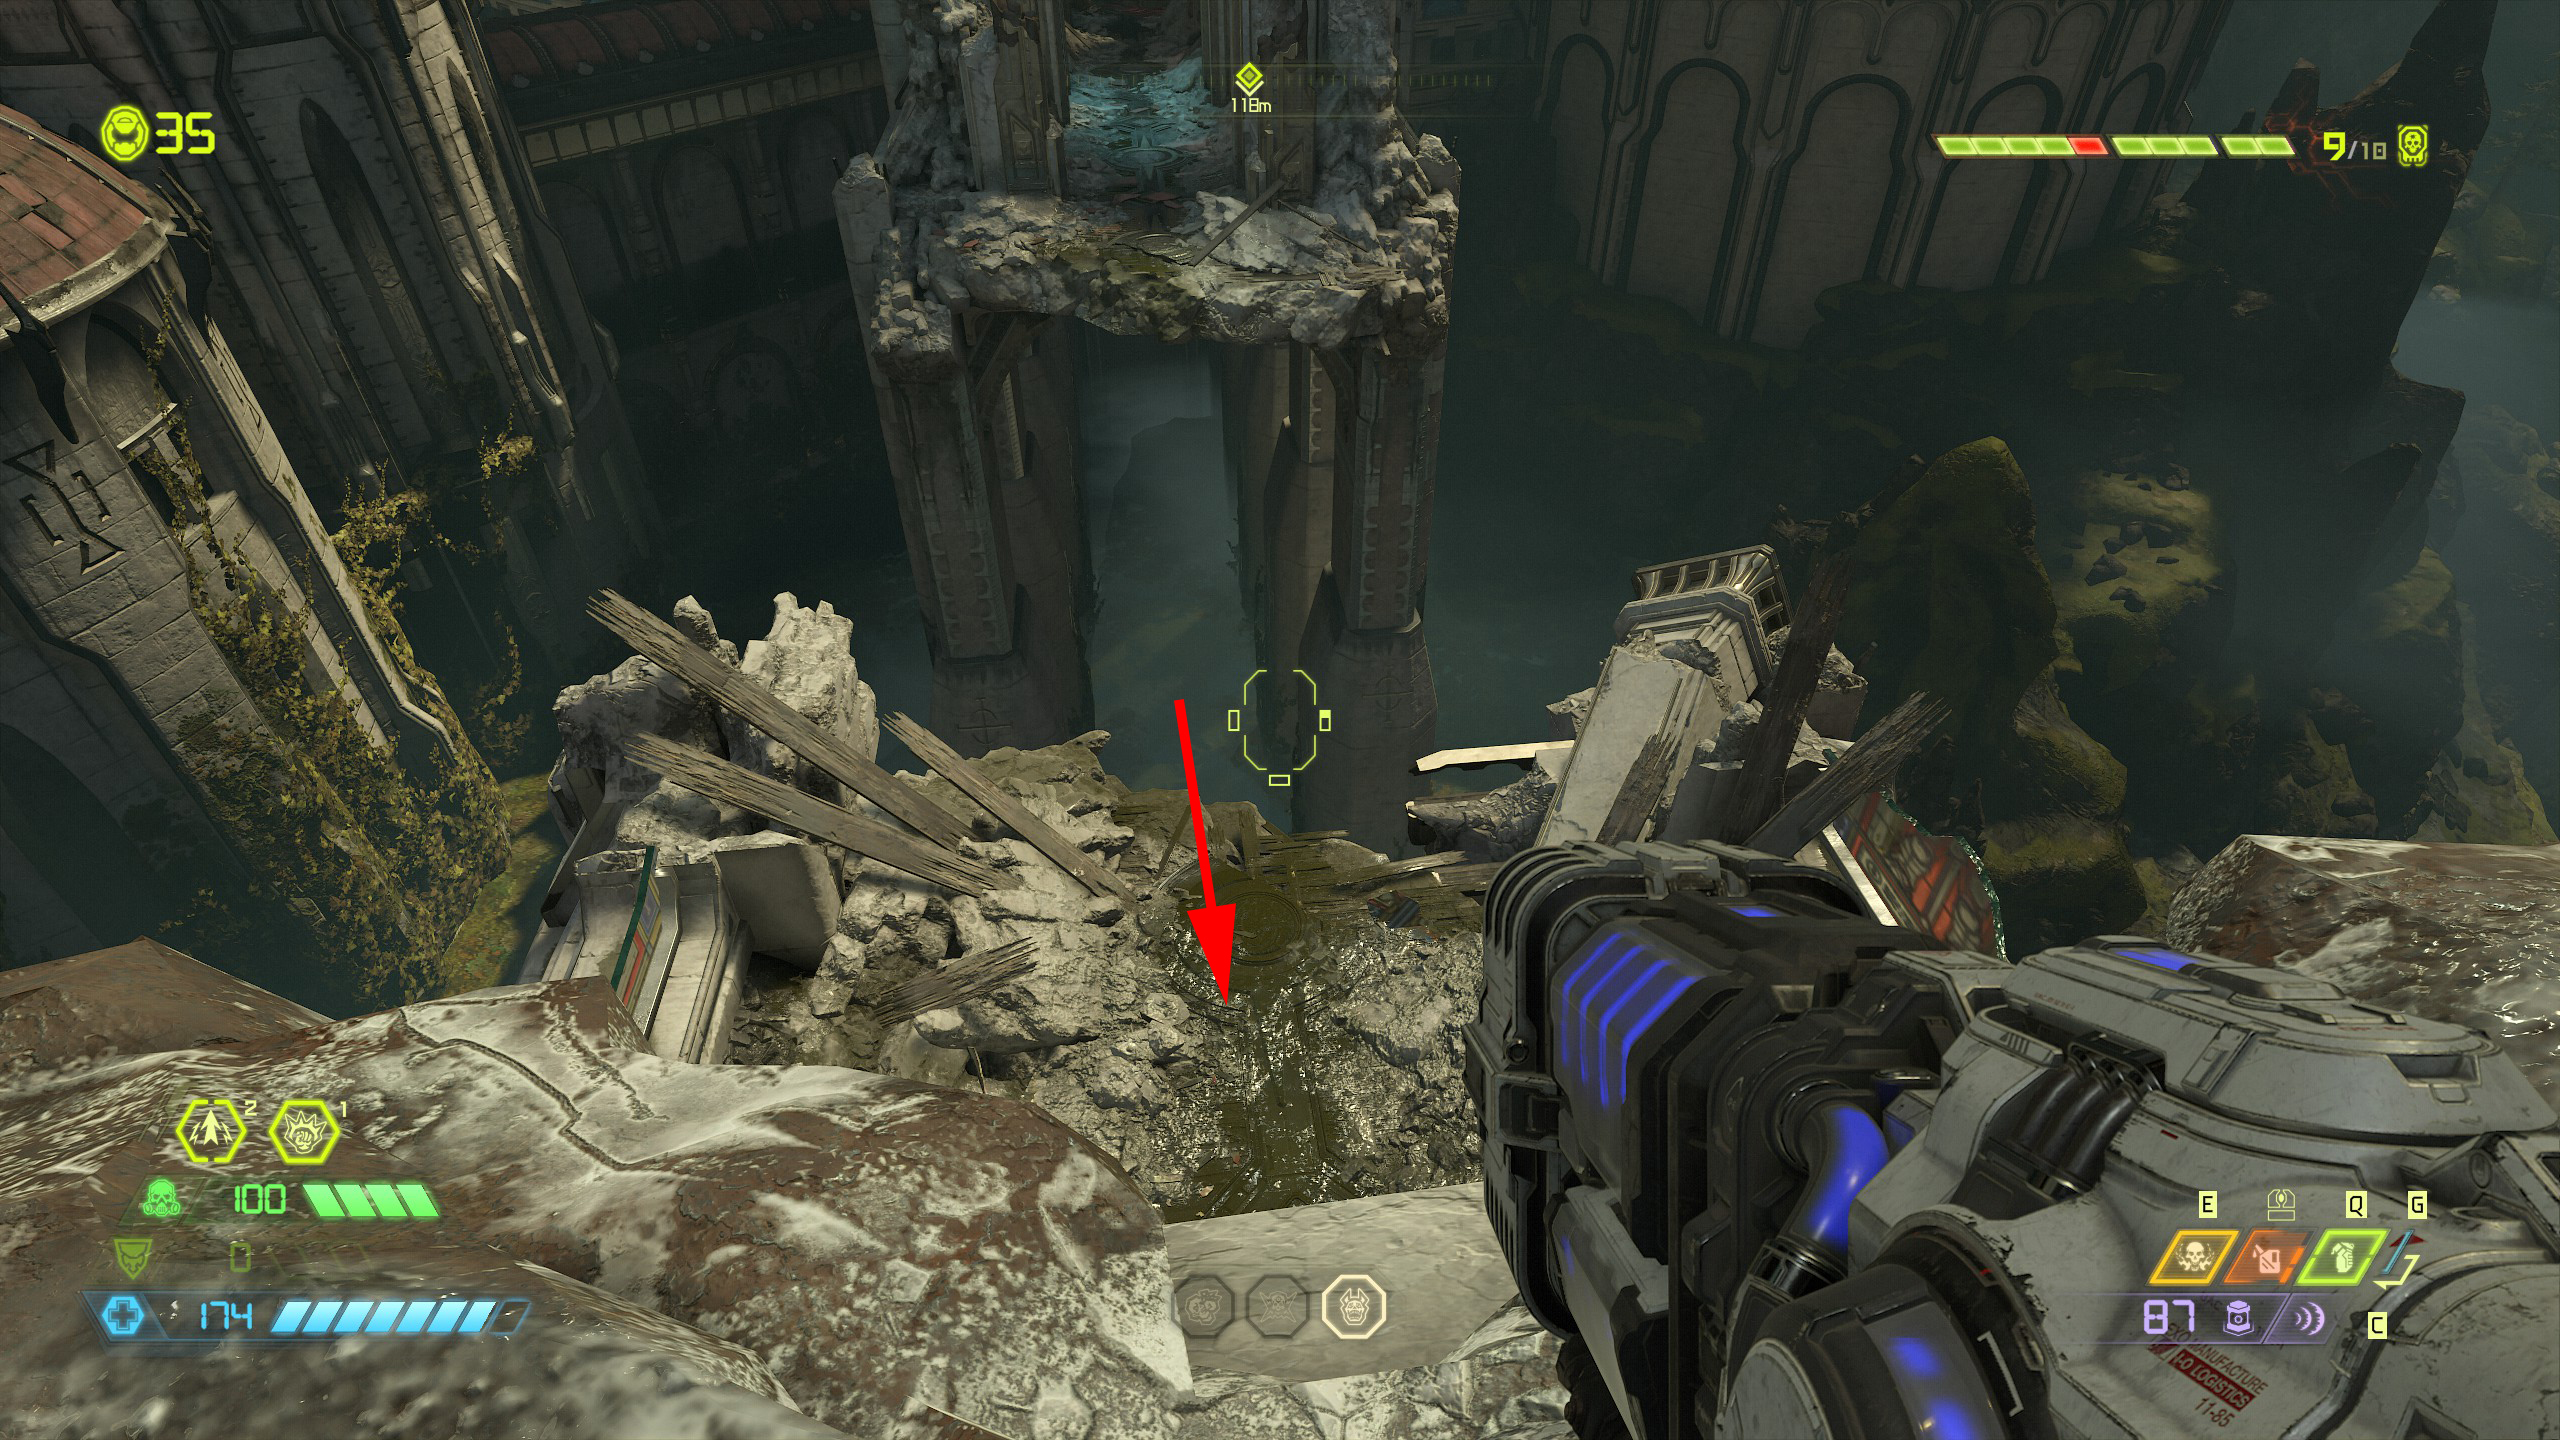
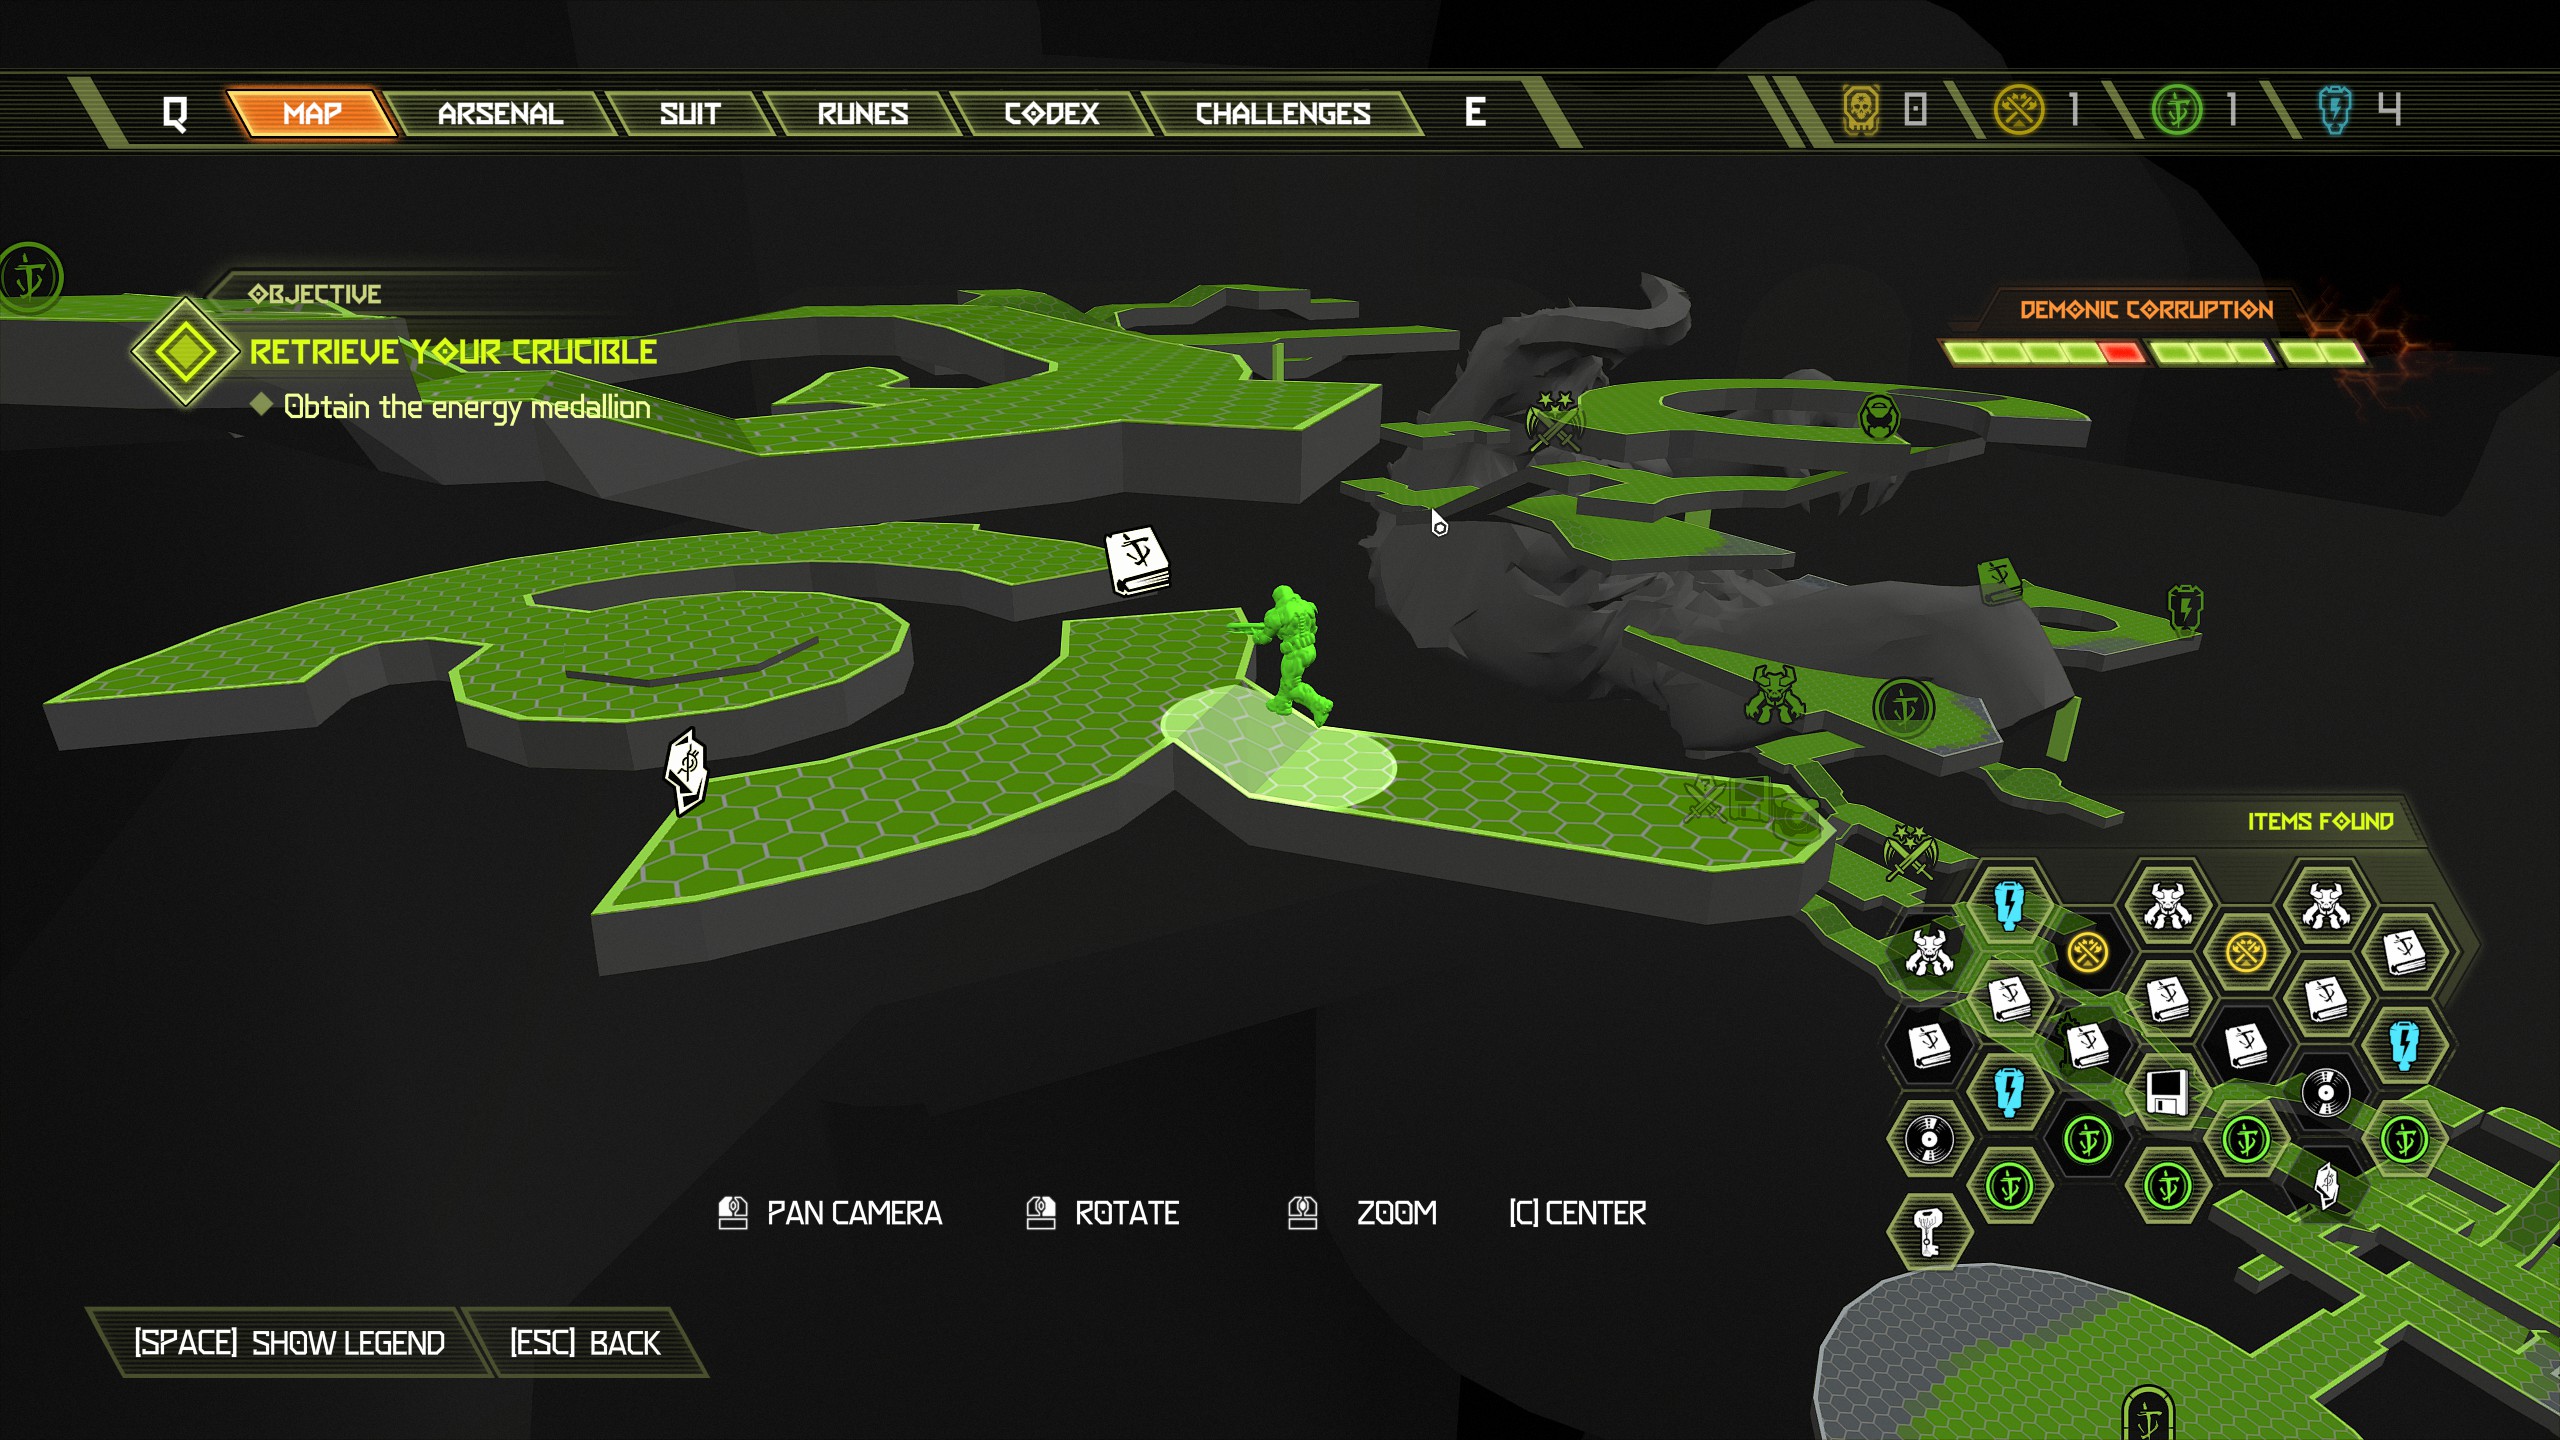
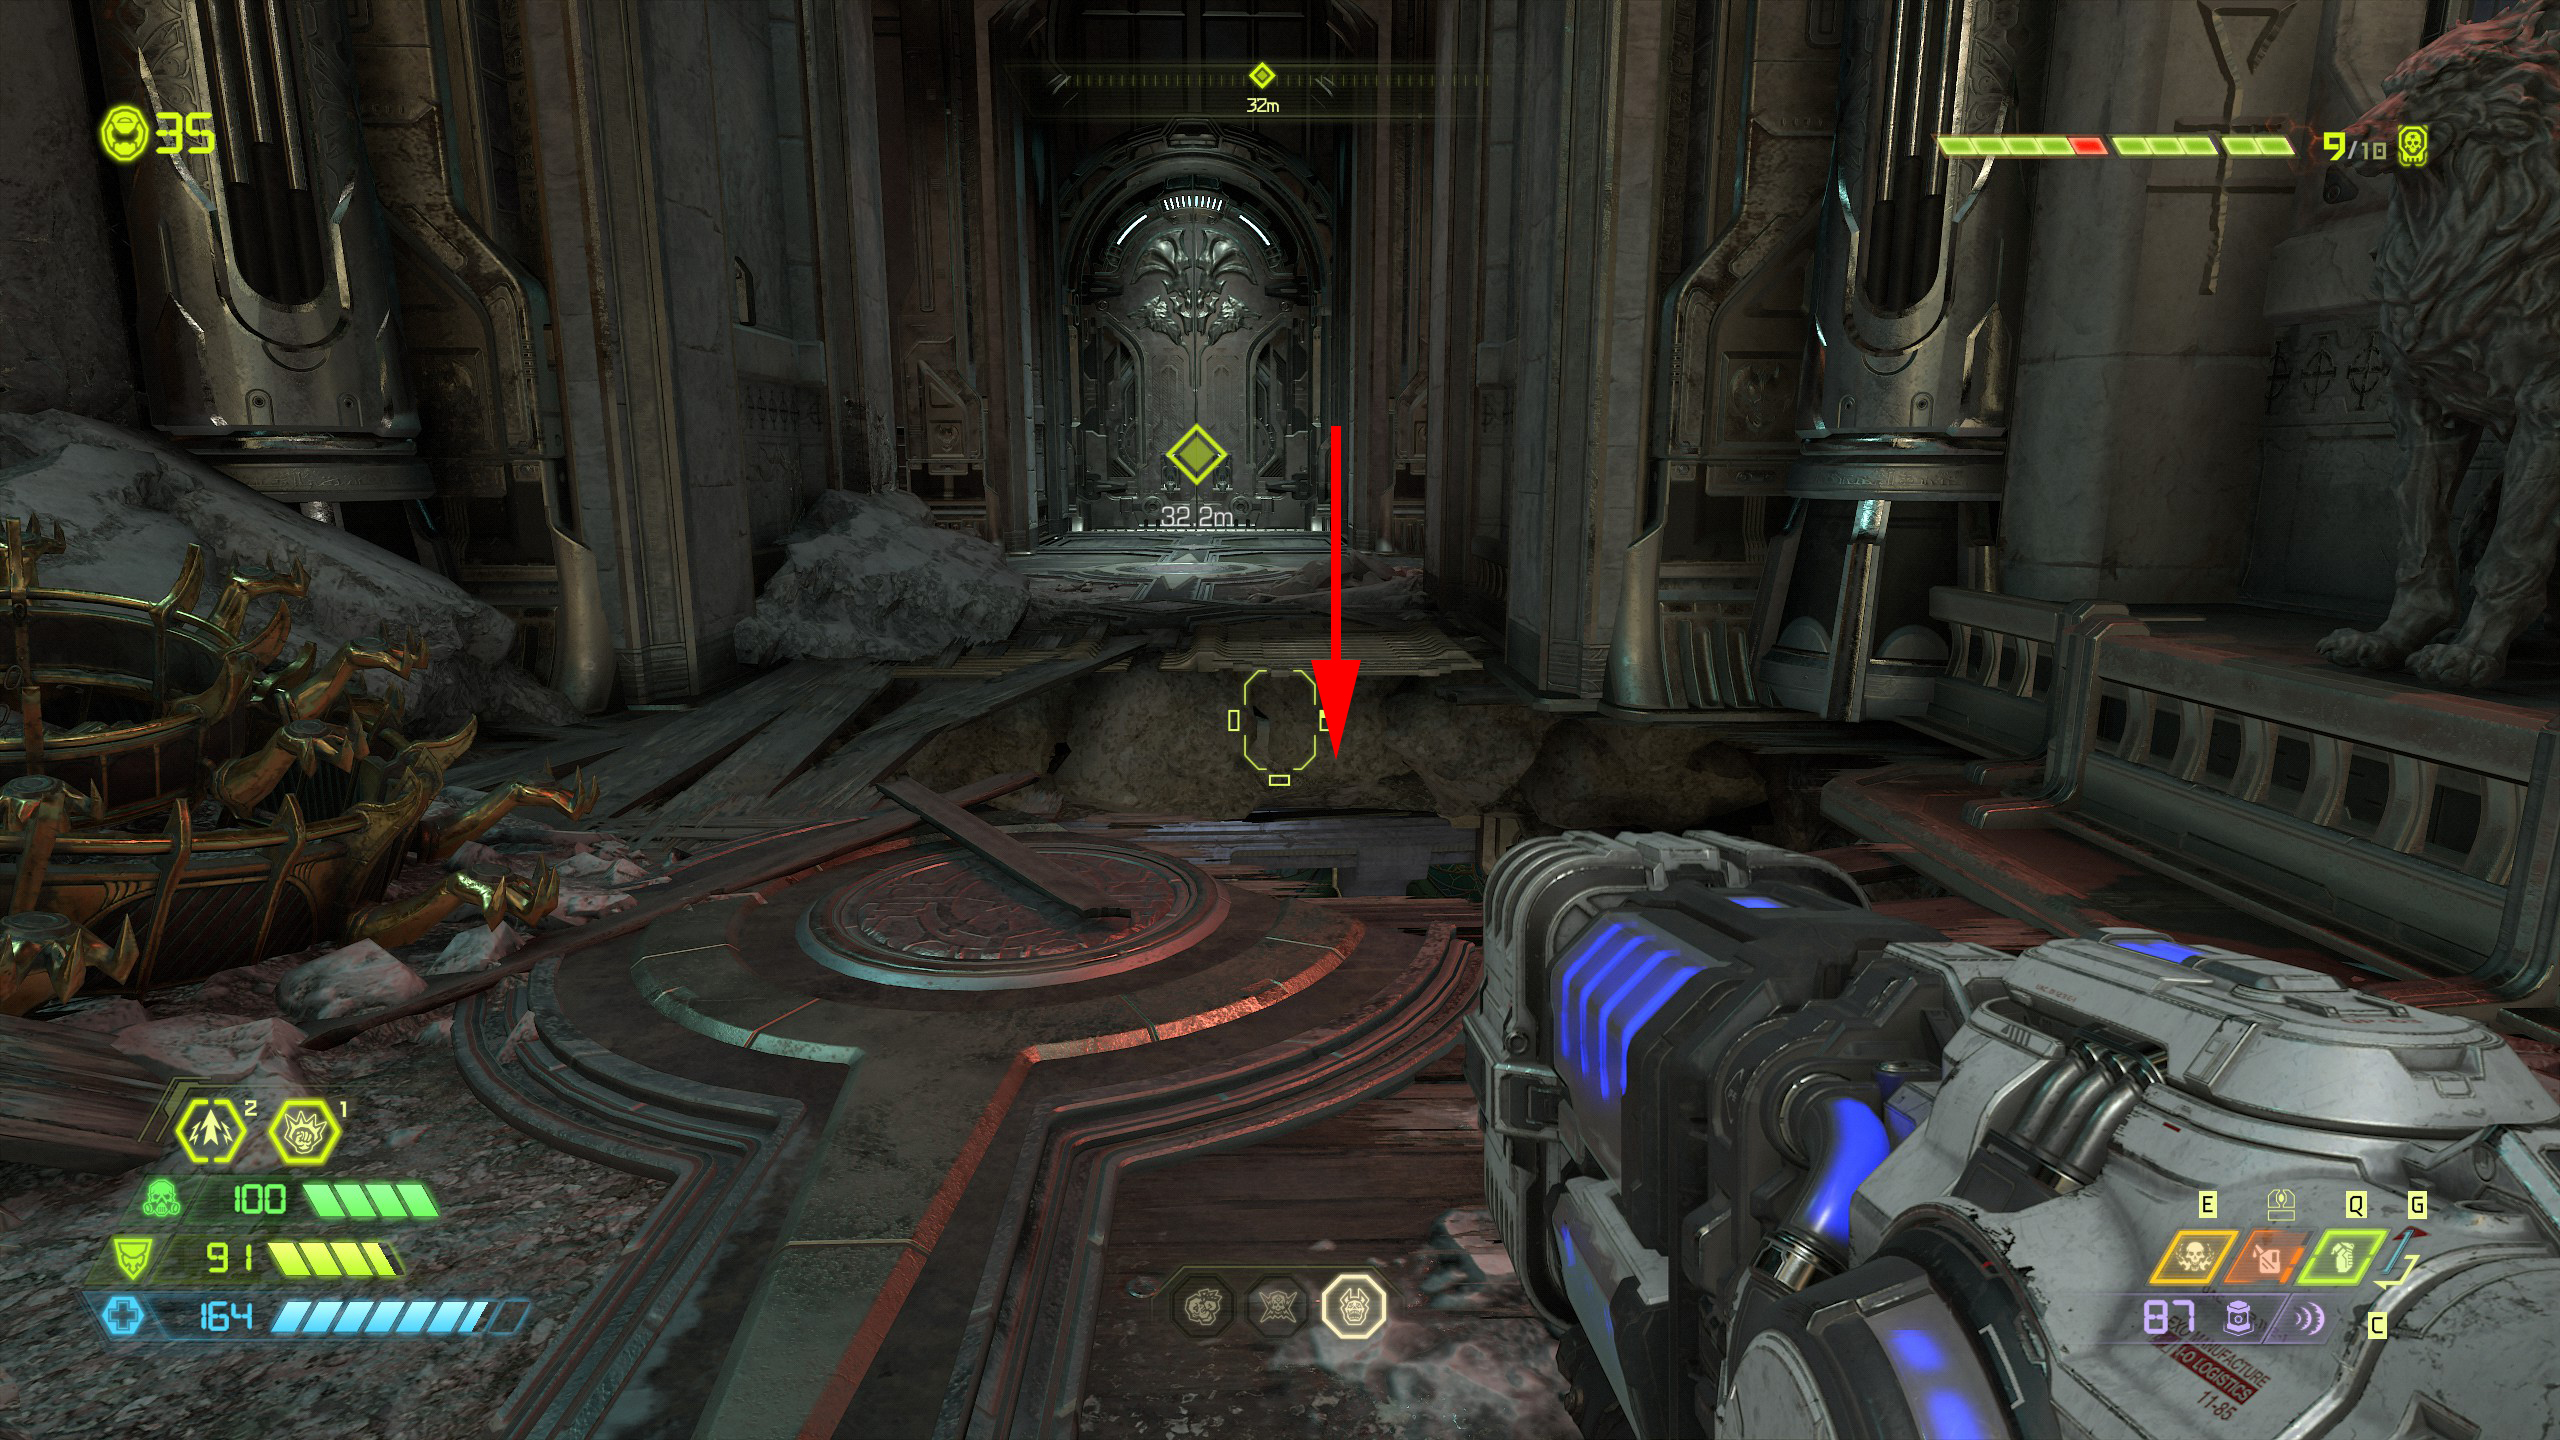
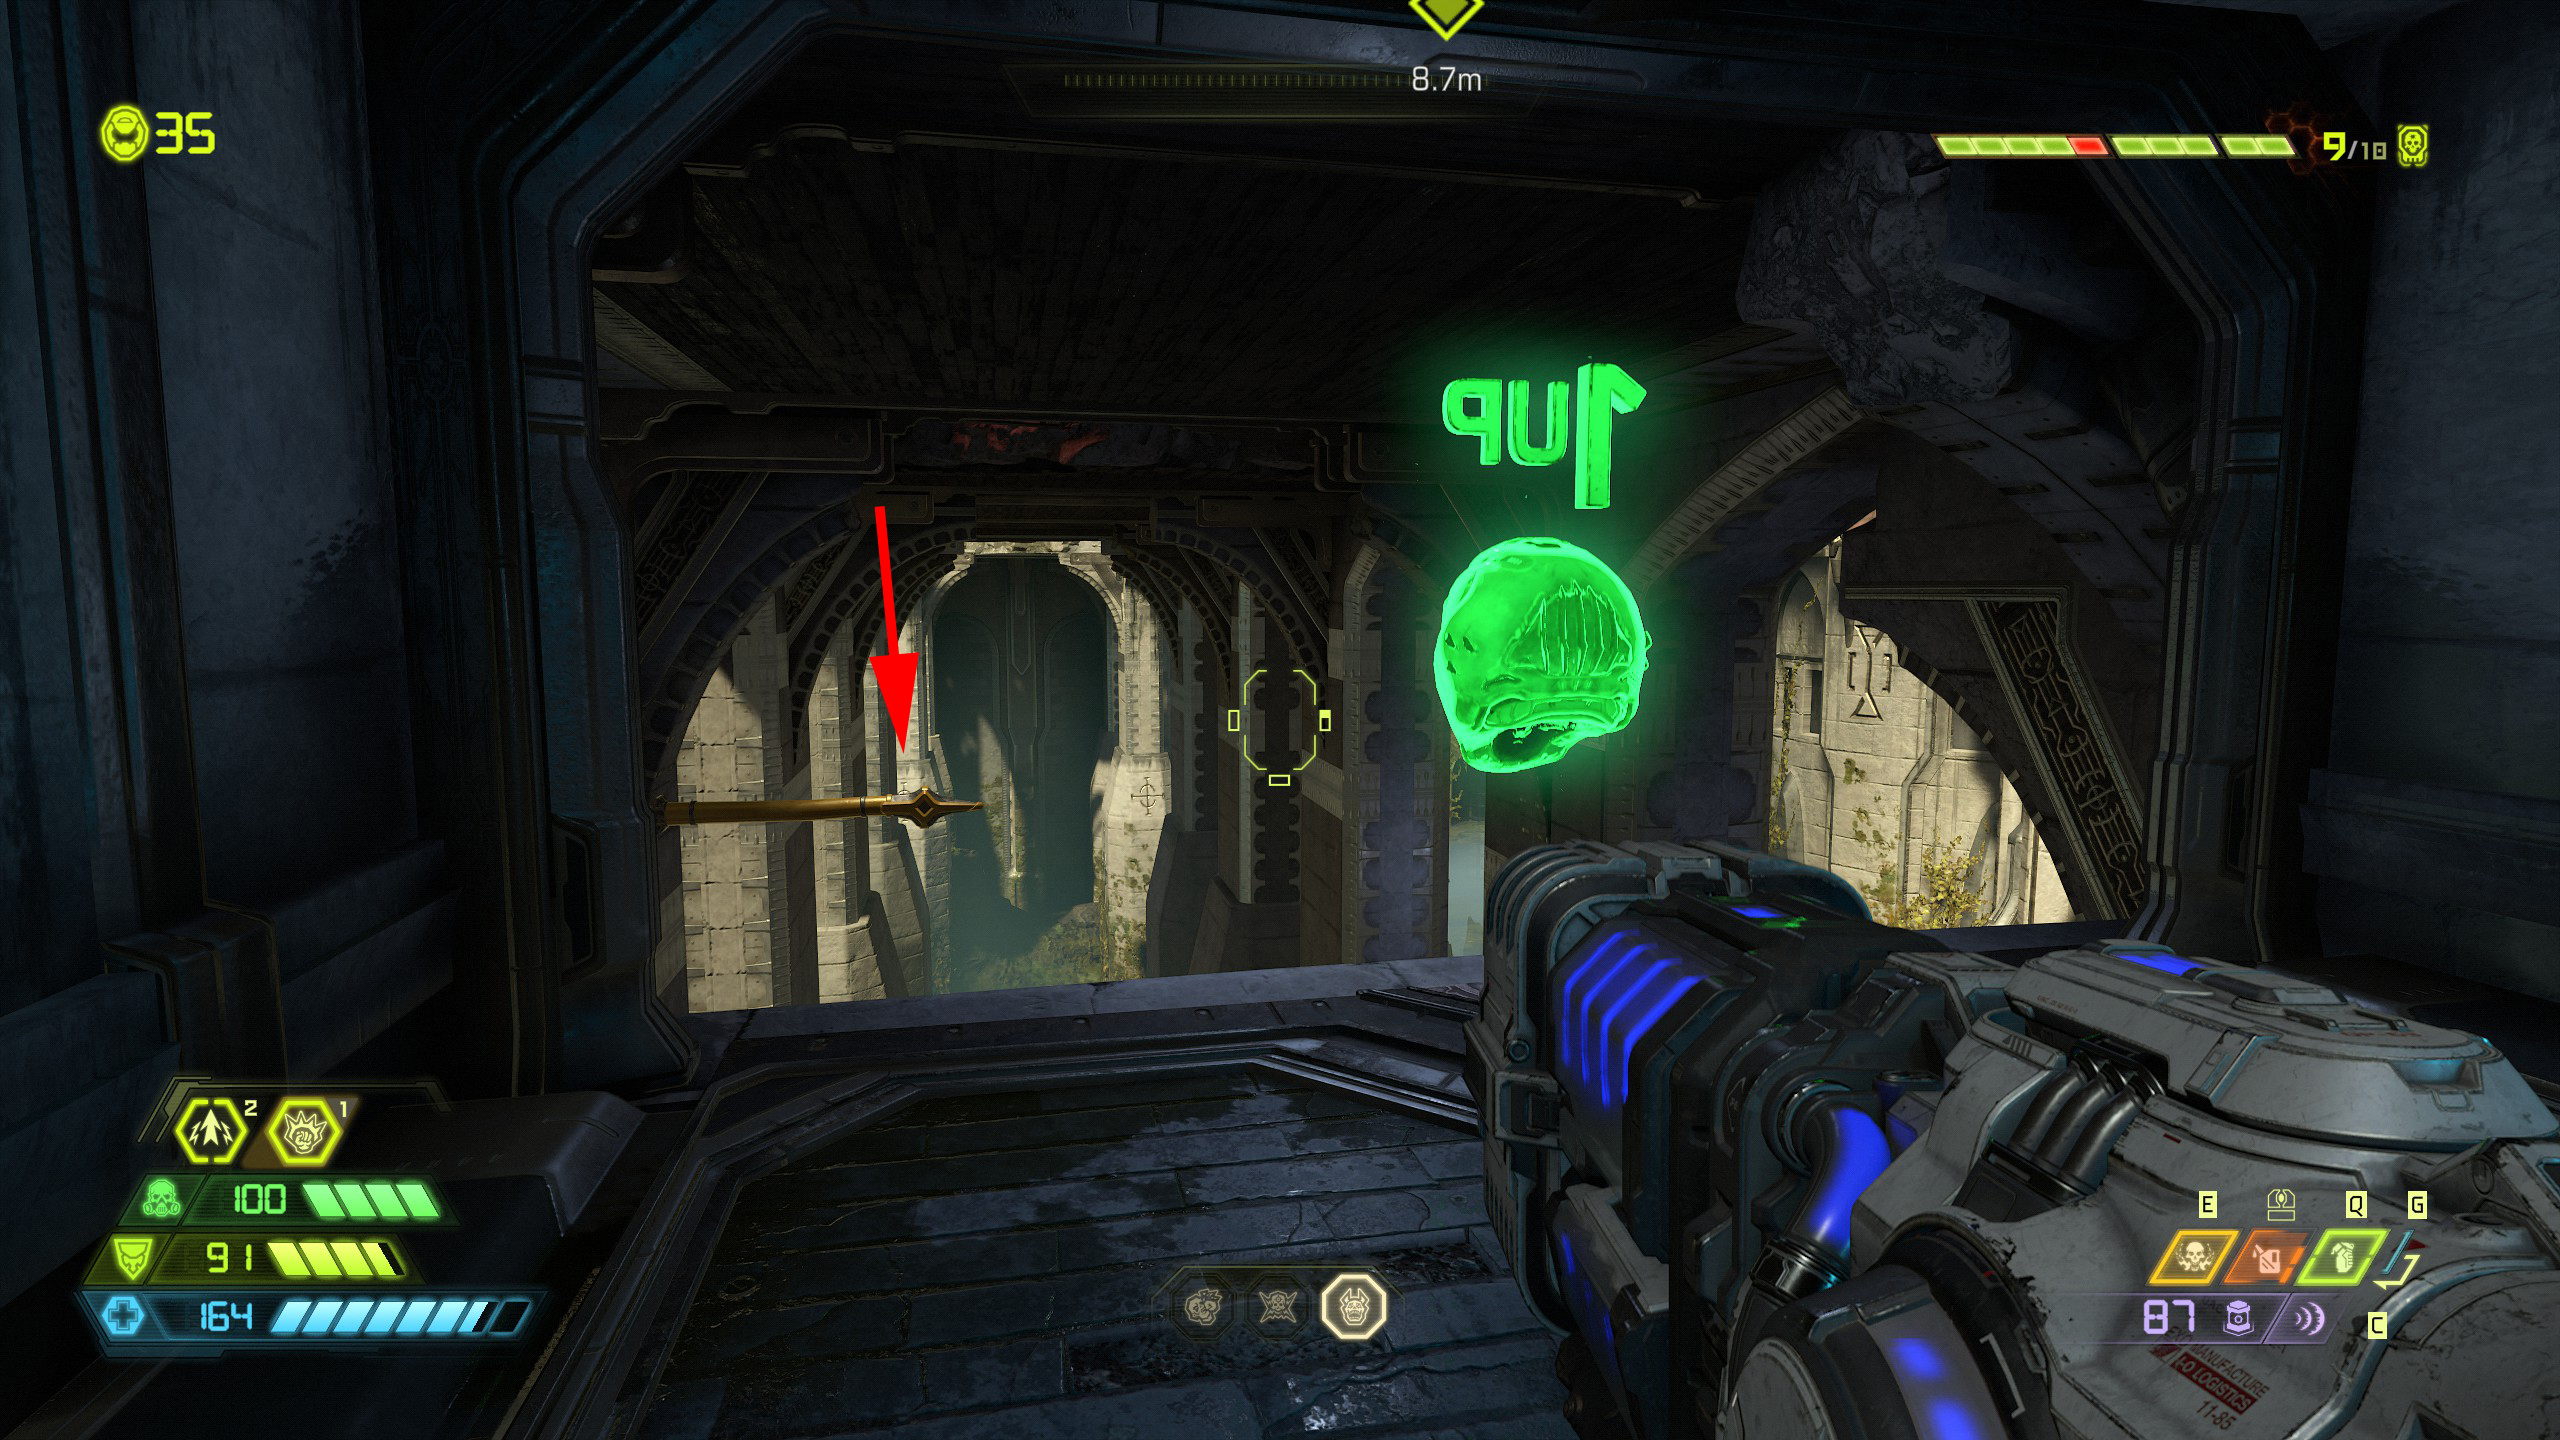
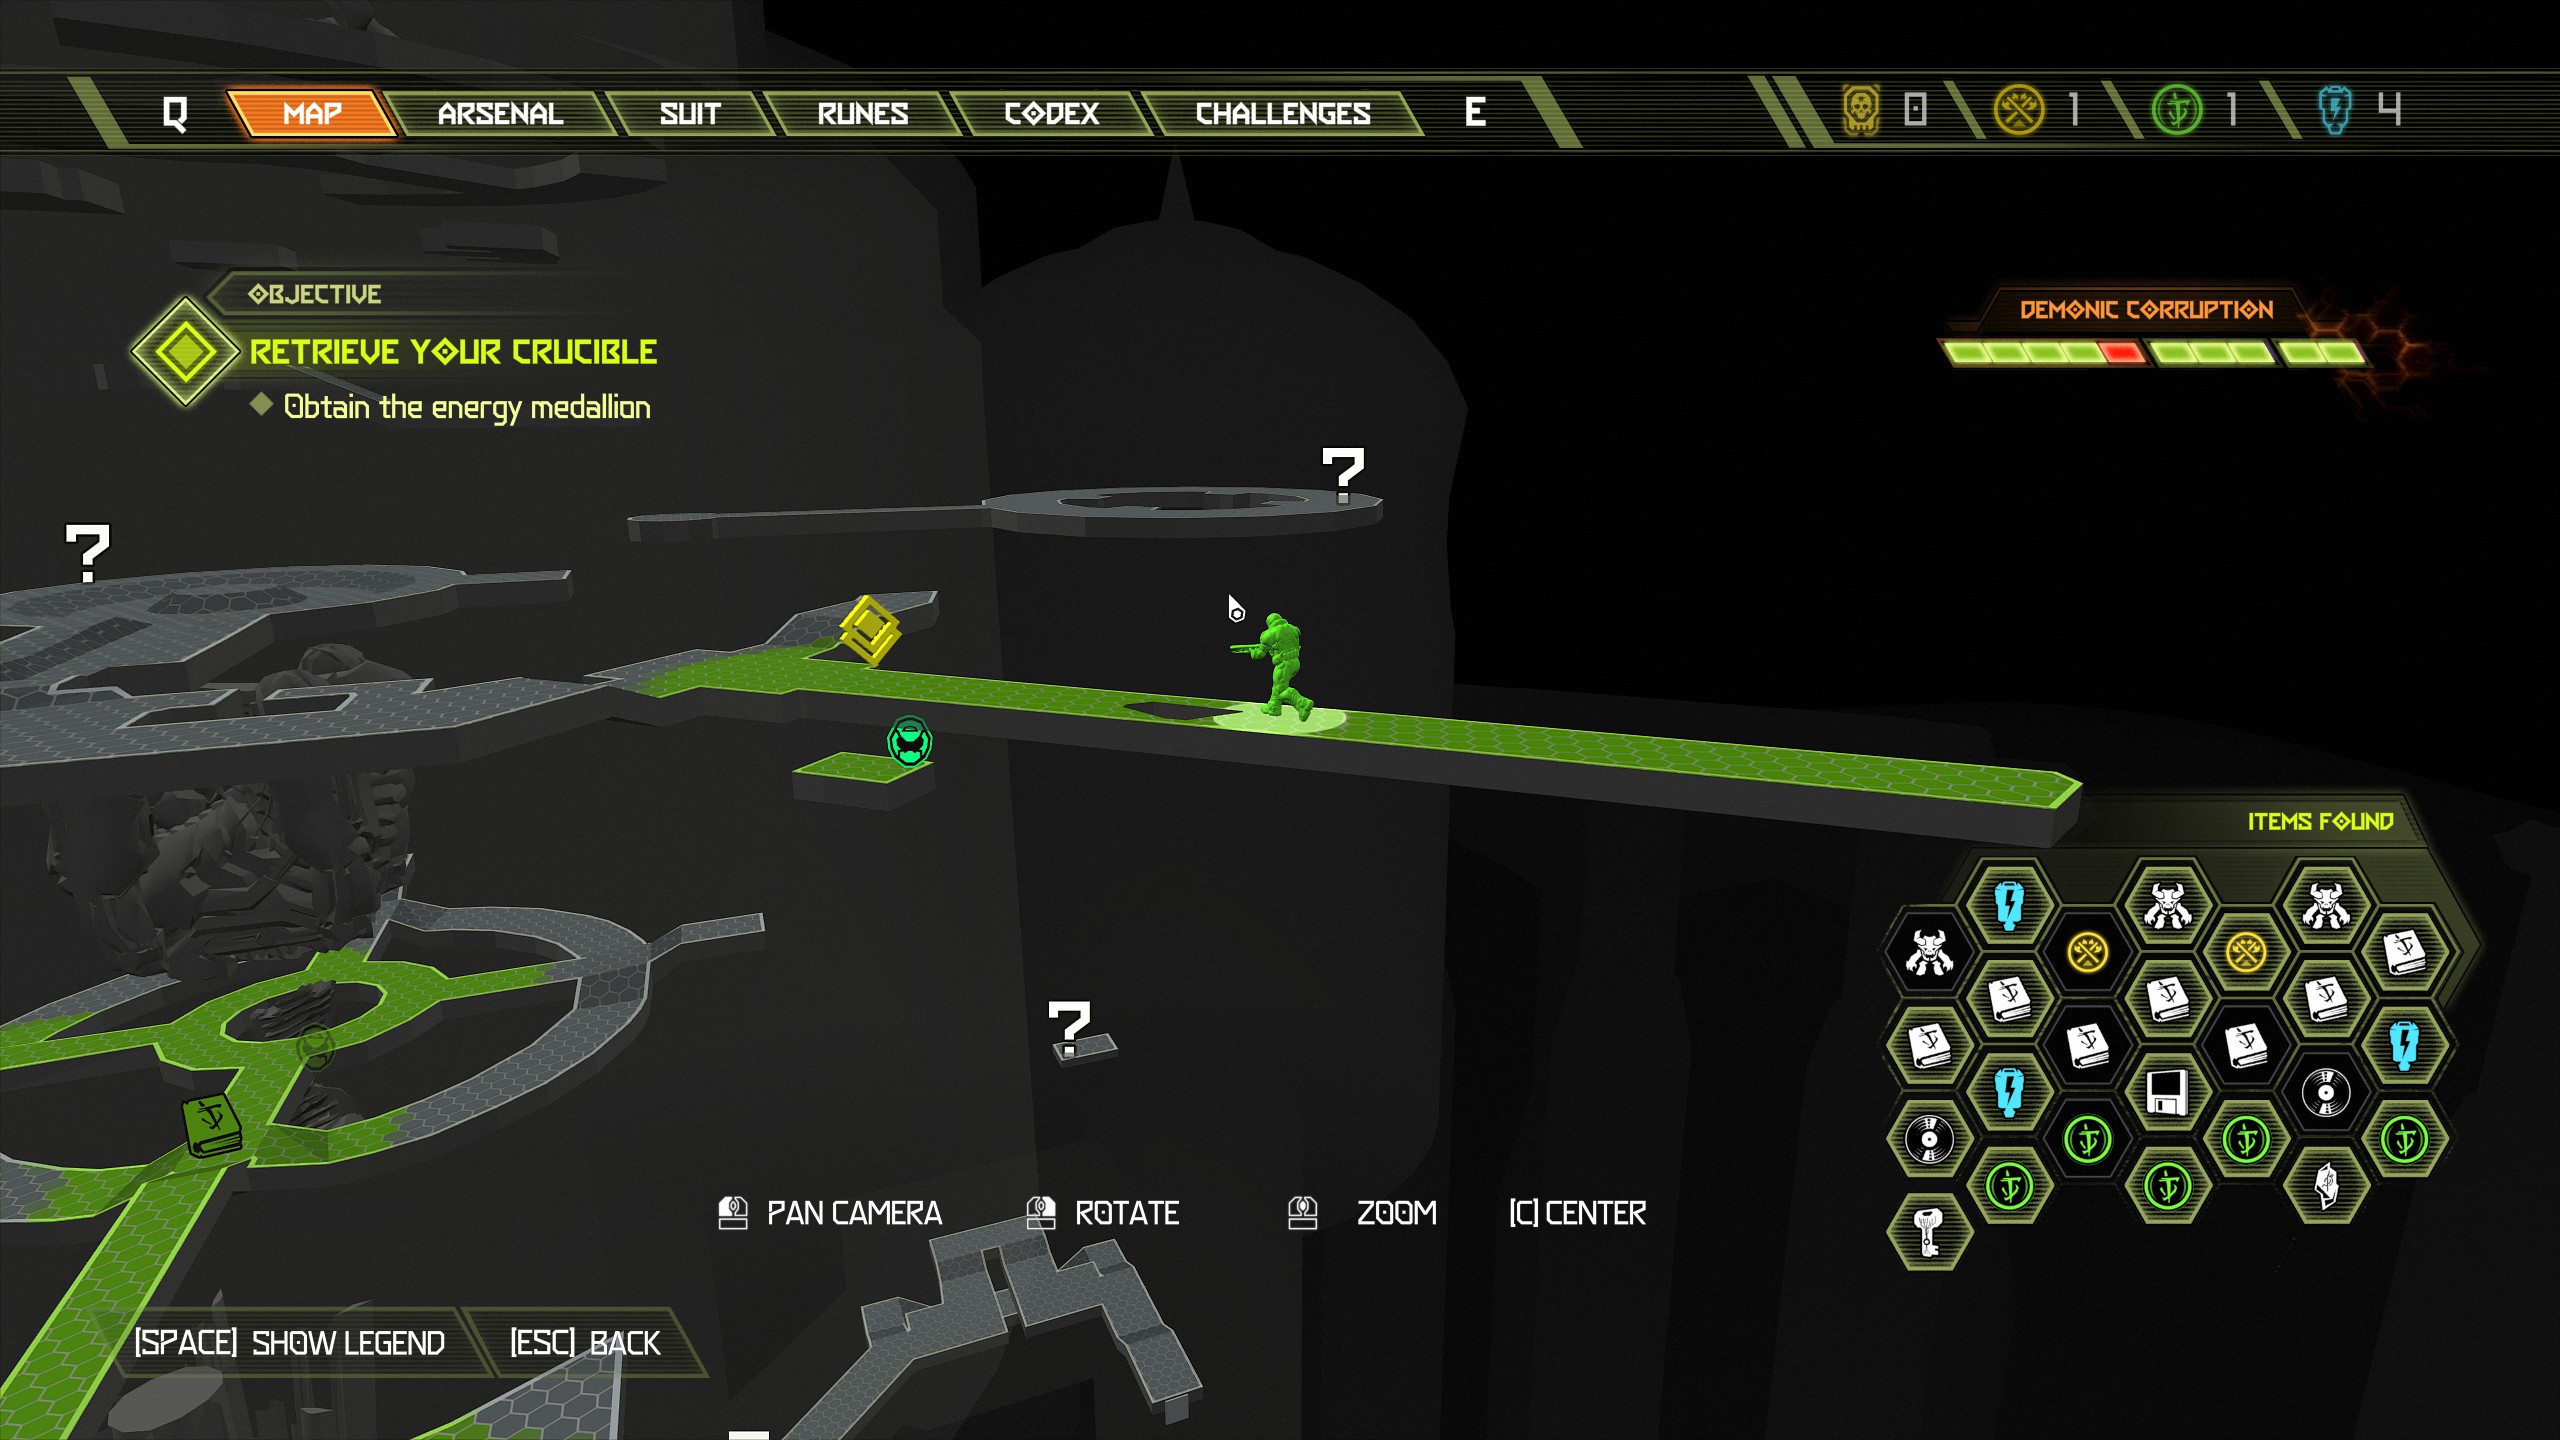
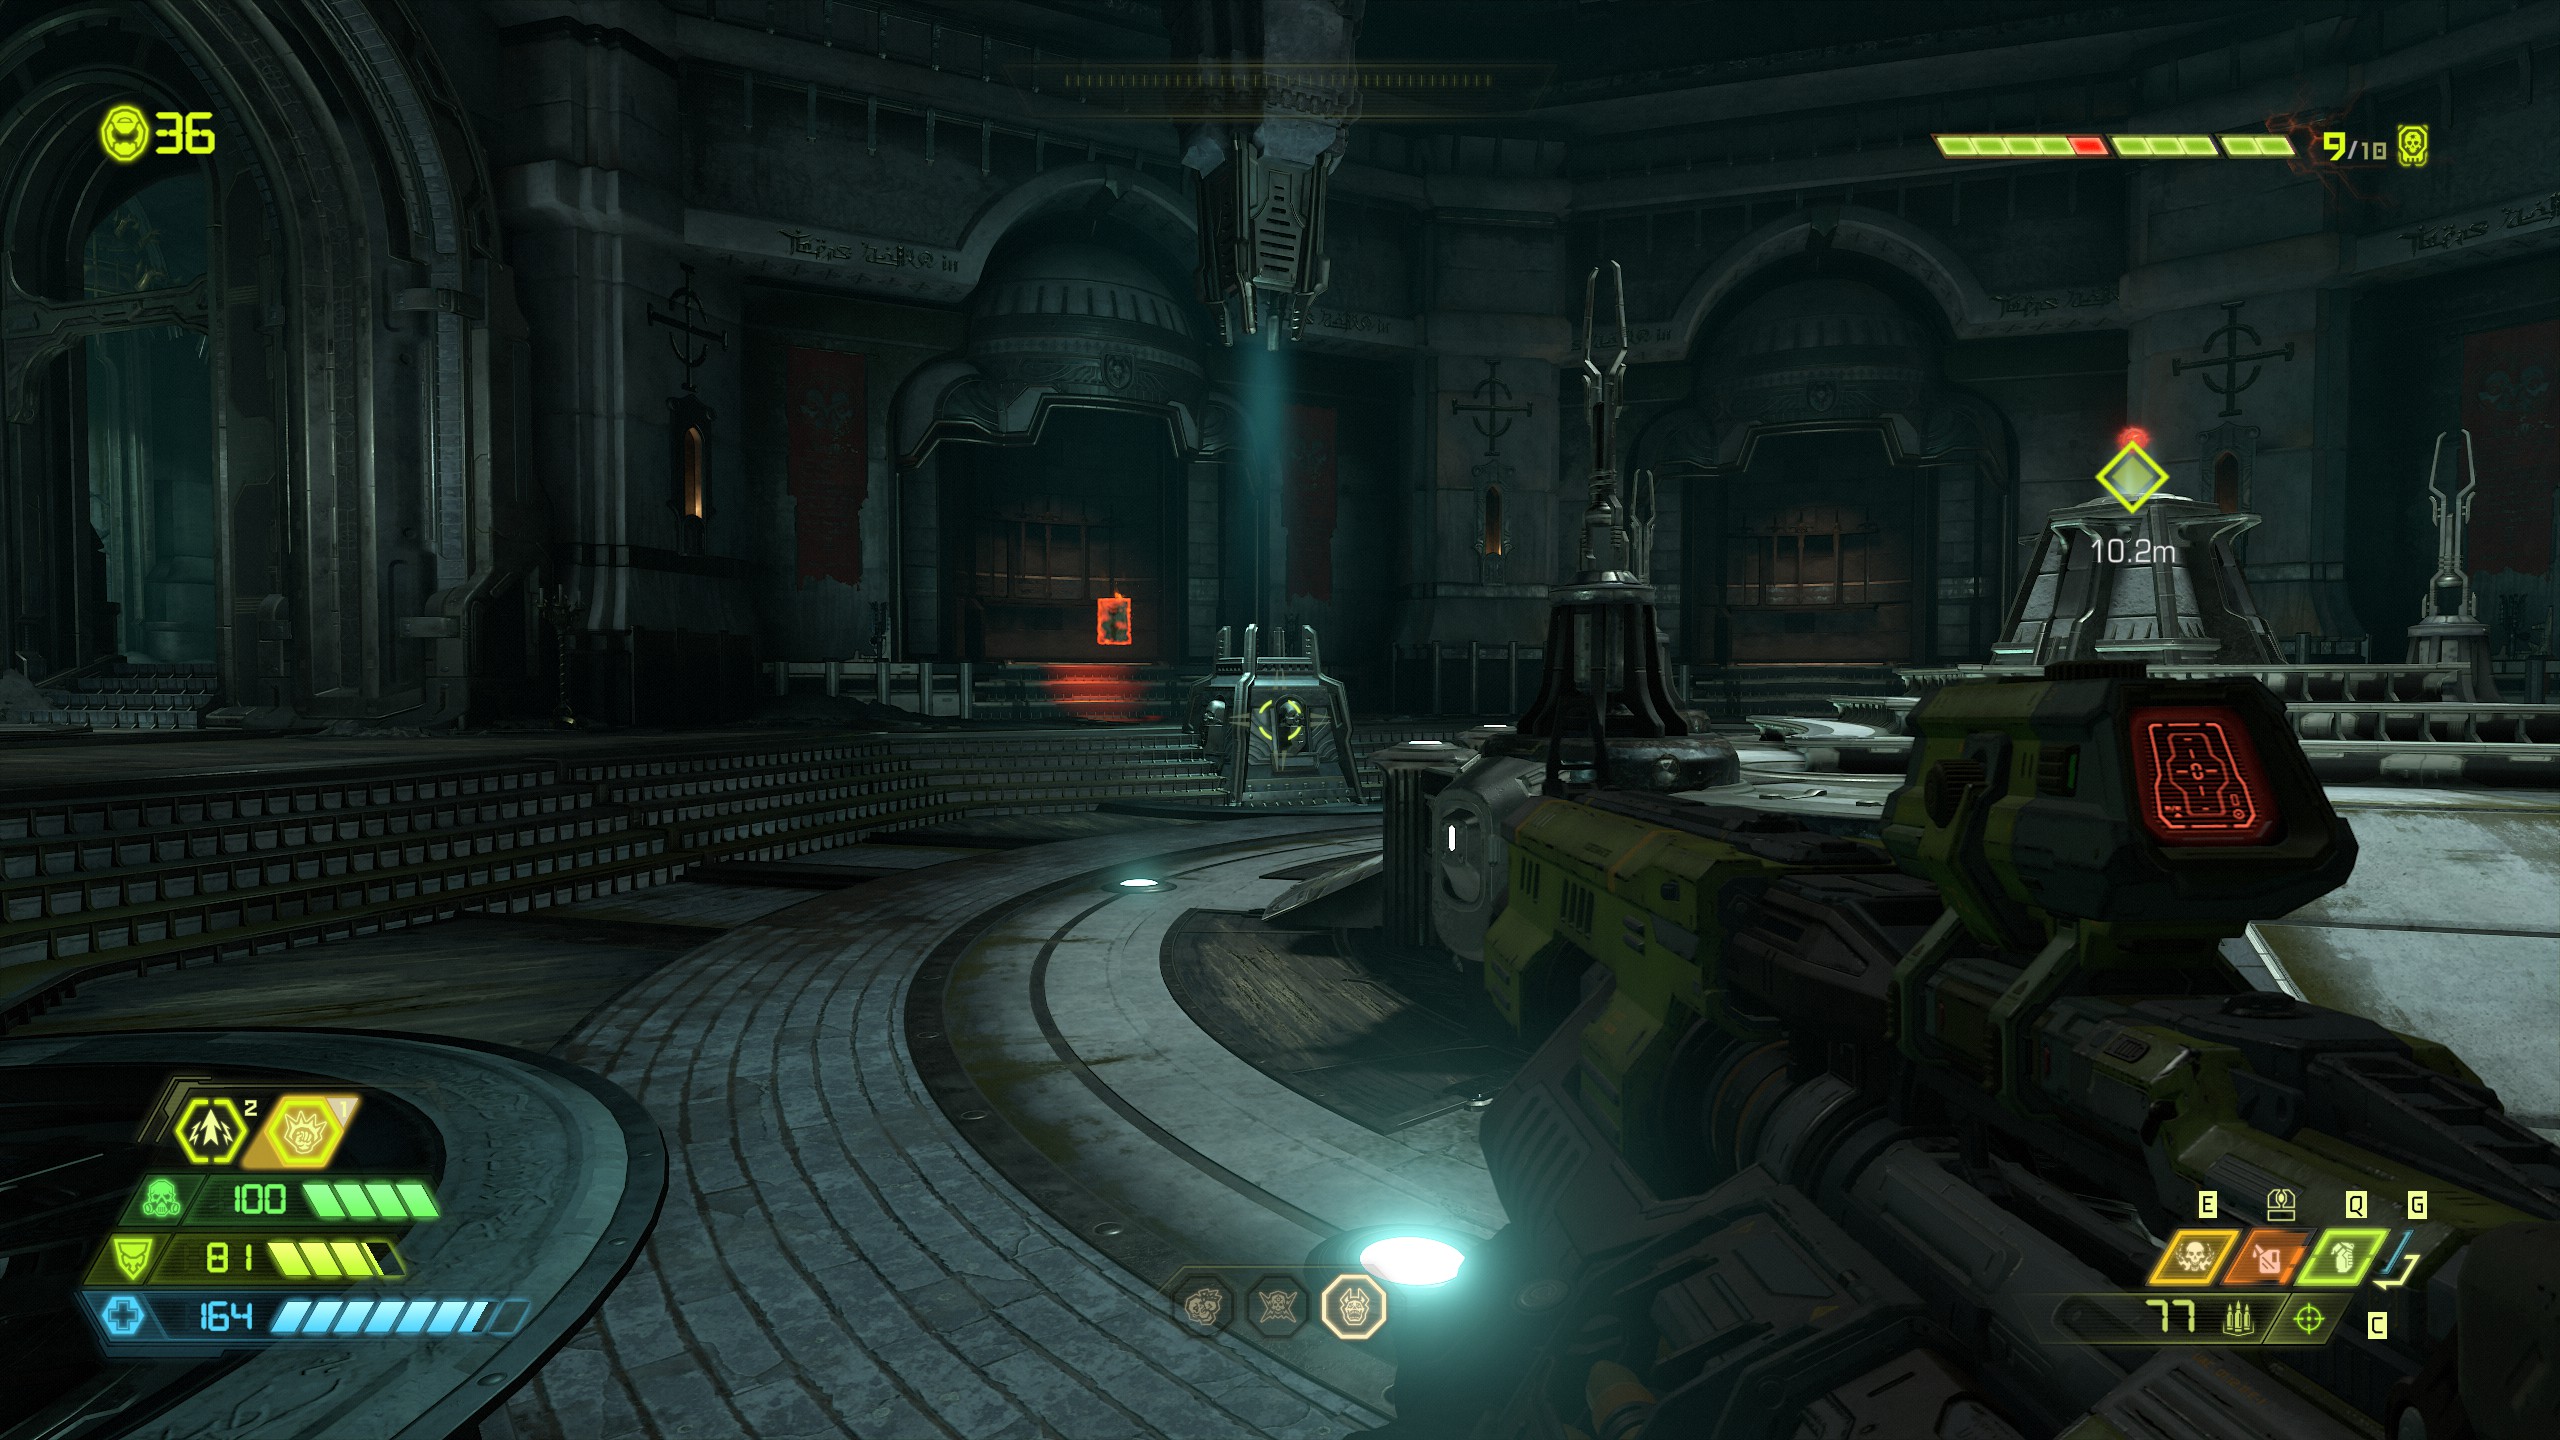
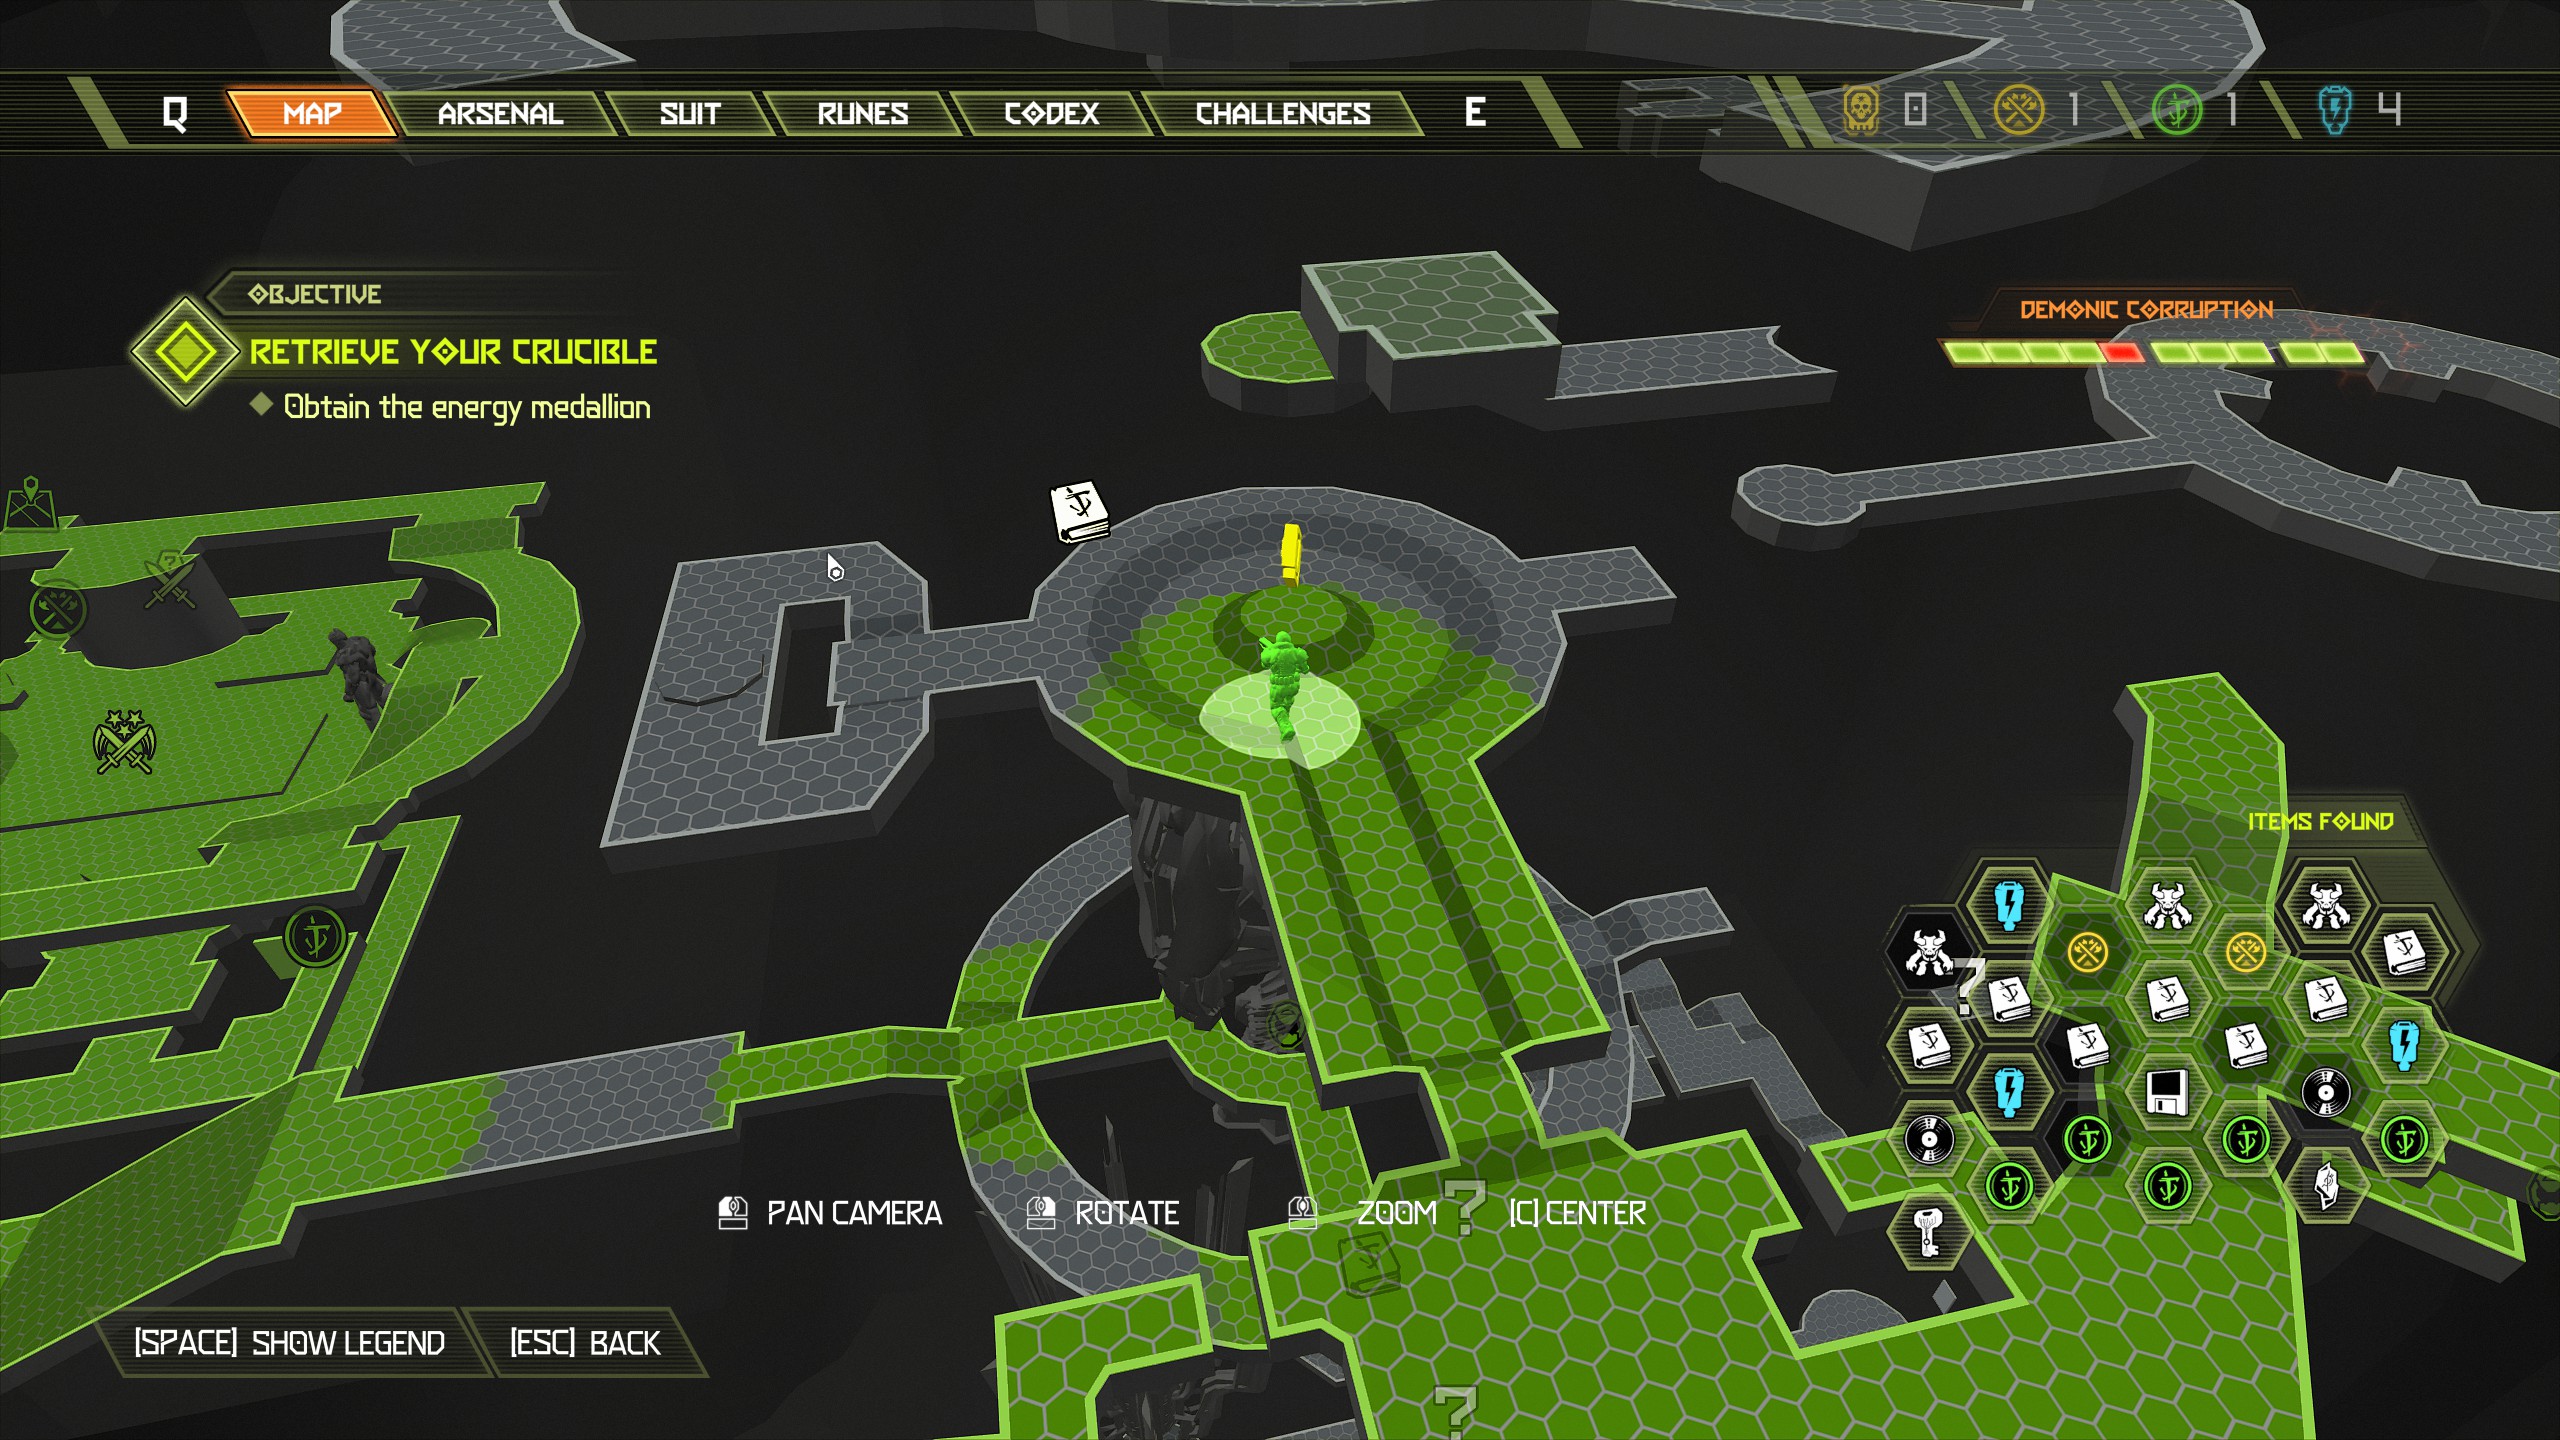
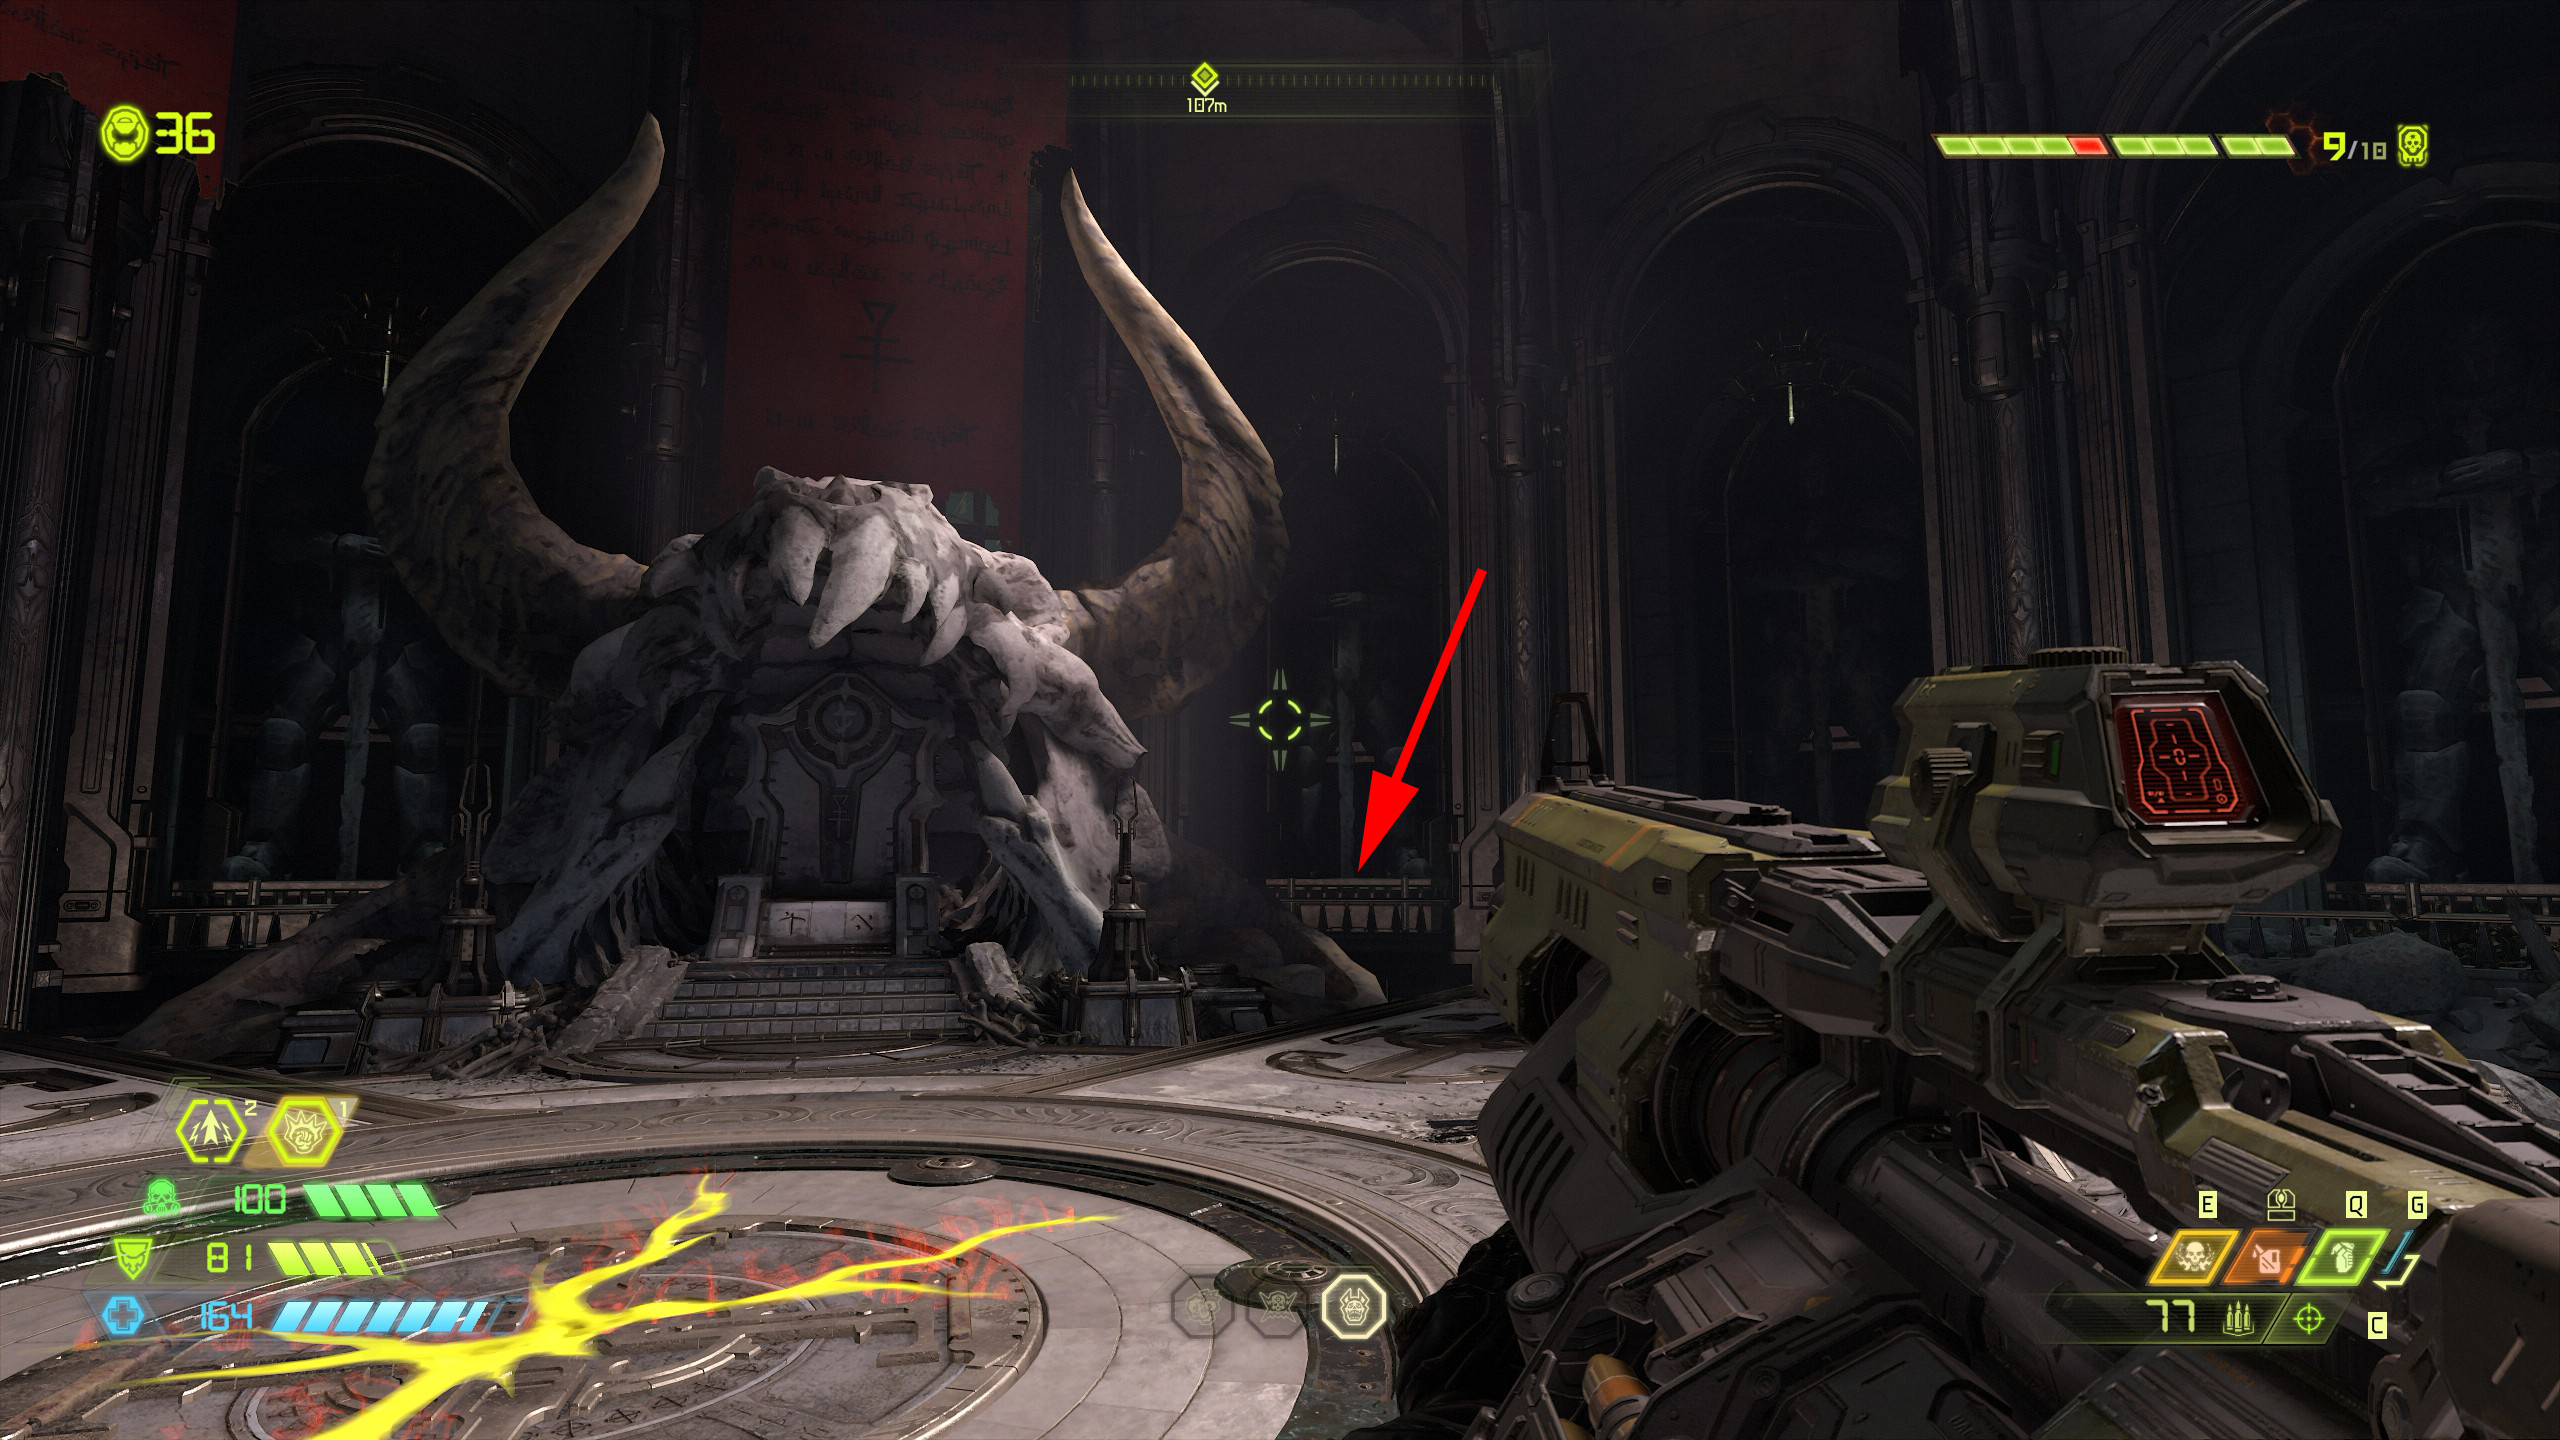
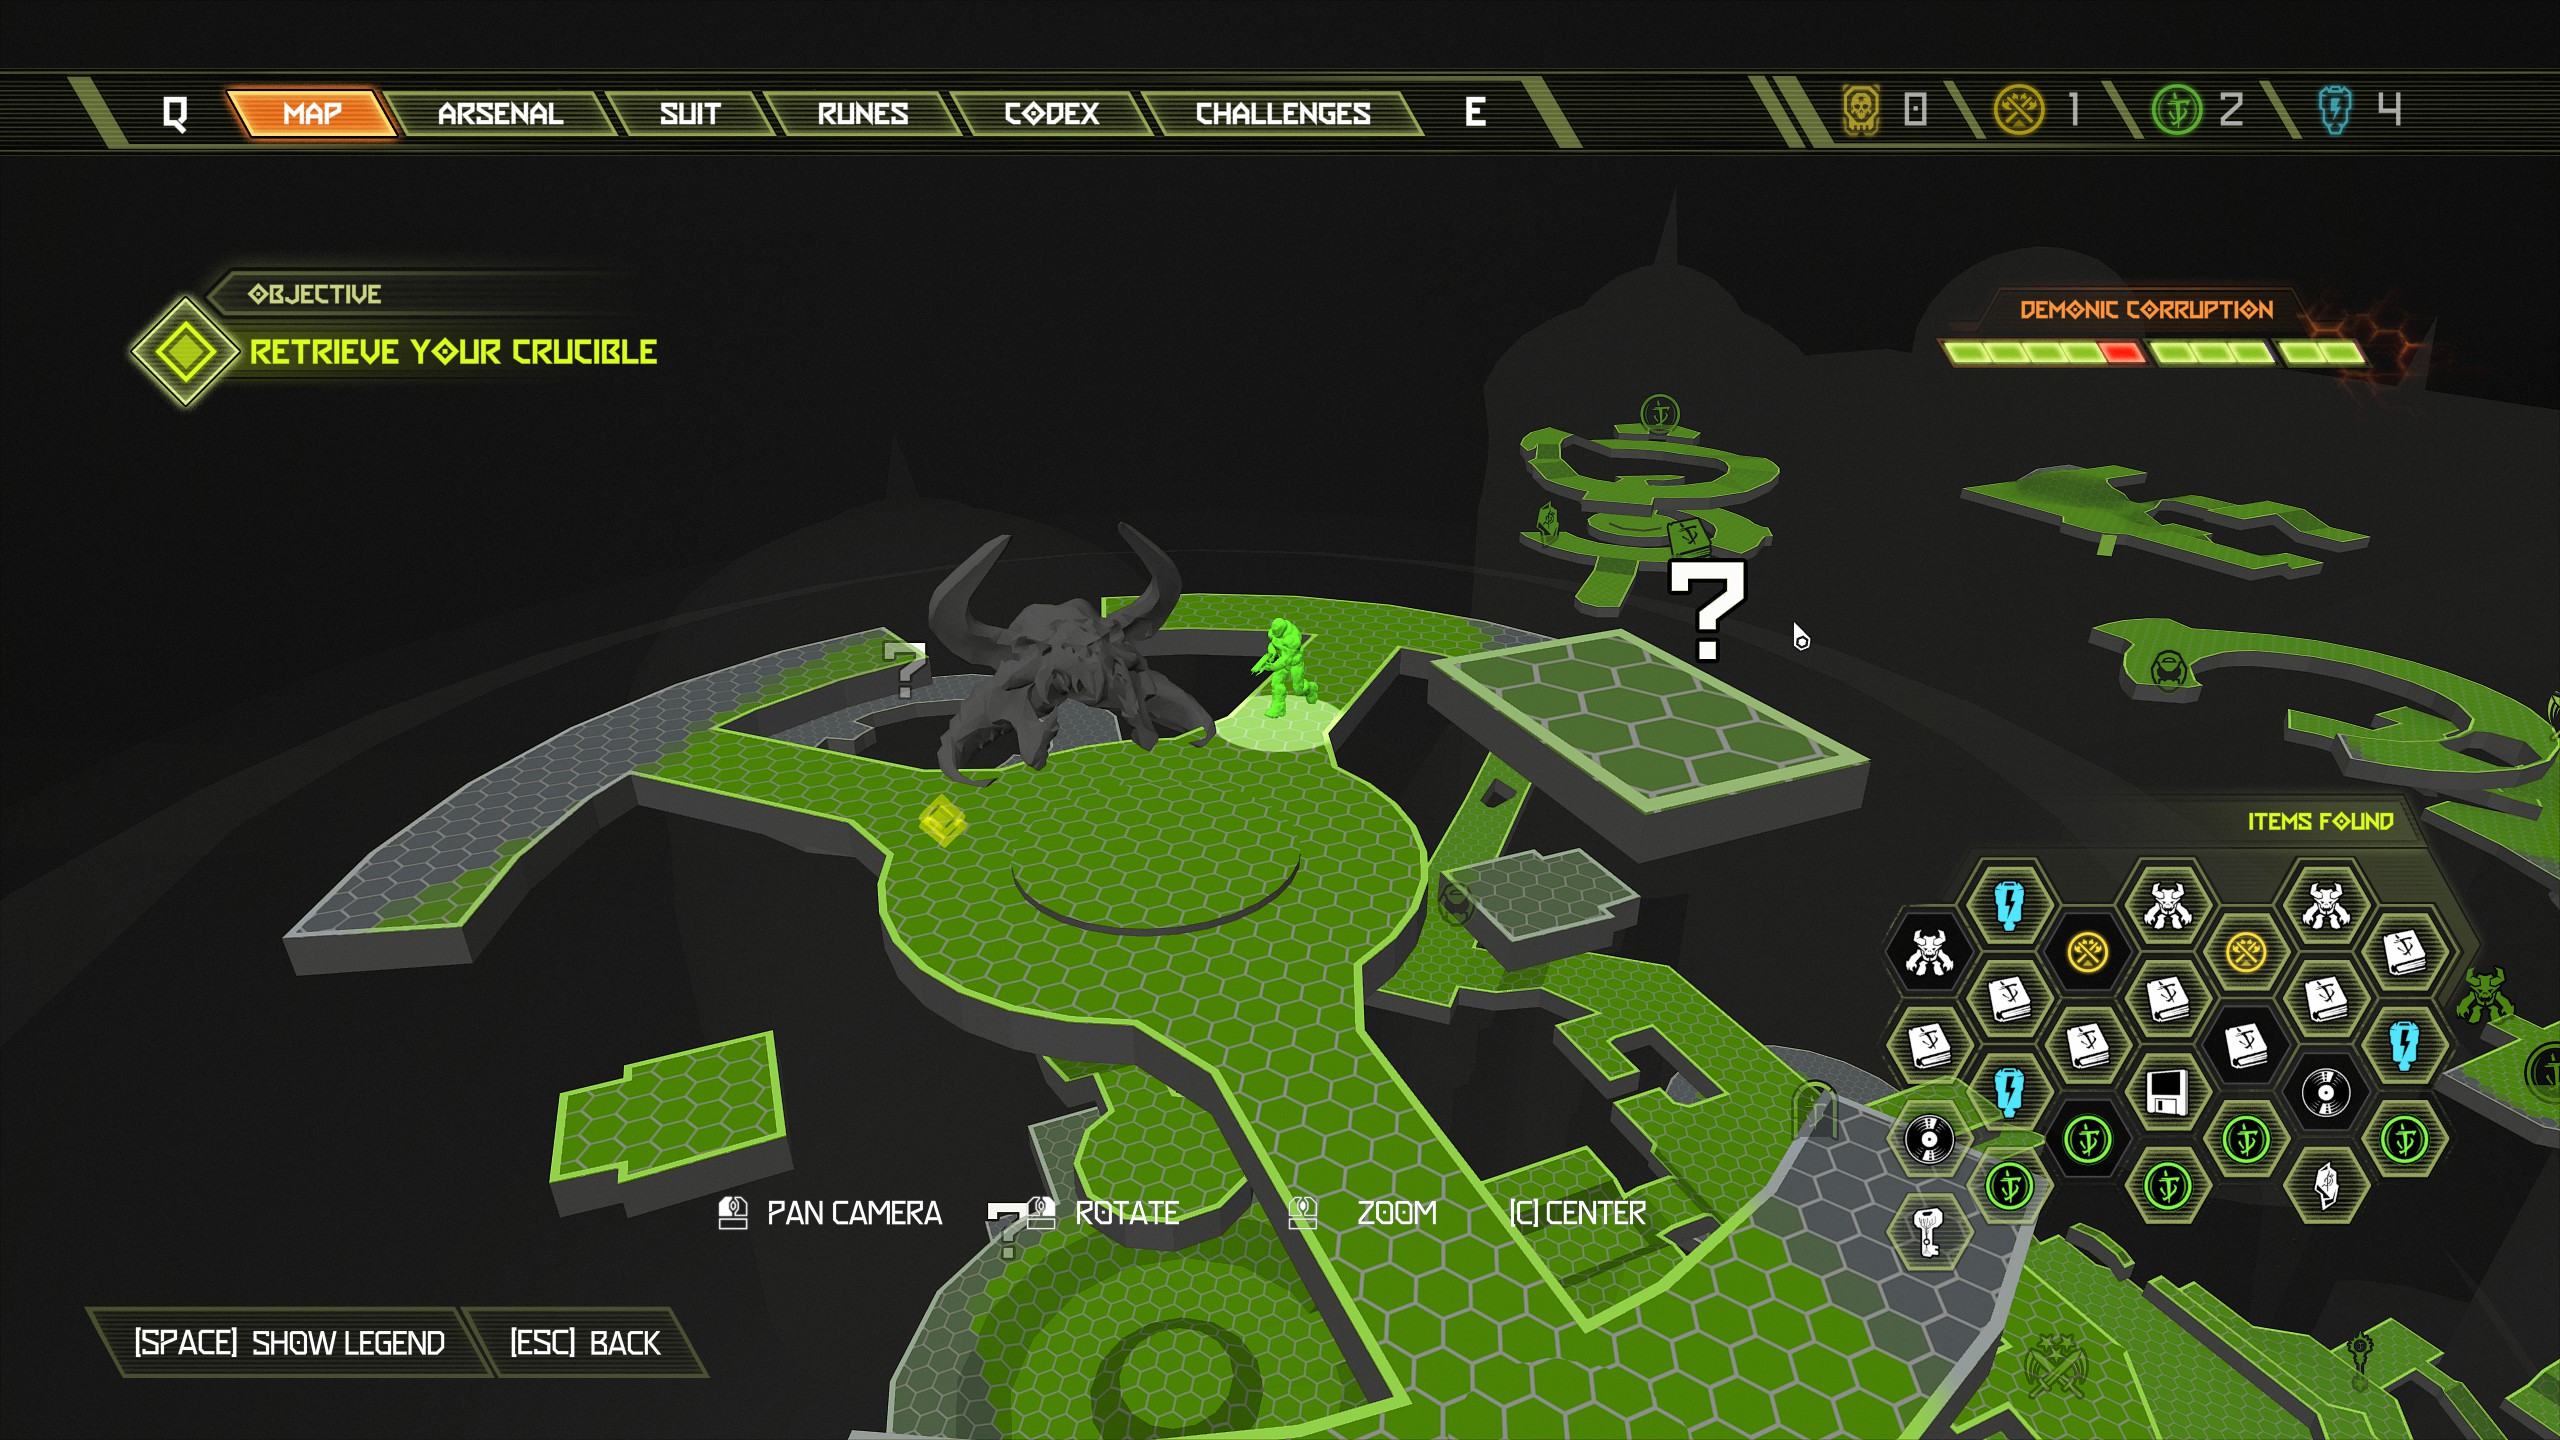
After breaking the chain and collecting the album drop down into the hole and take the next lift downwards.
NOTE II: One of the next secrets can be a pain to reach so don't worry if you miss it as you can come back at the end when we unlock fast travel, that way you can repeat it as many times as you need until we collect it. When you step off the lift follow the path around the hole and you will find a praetor suit token on the other side.
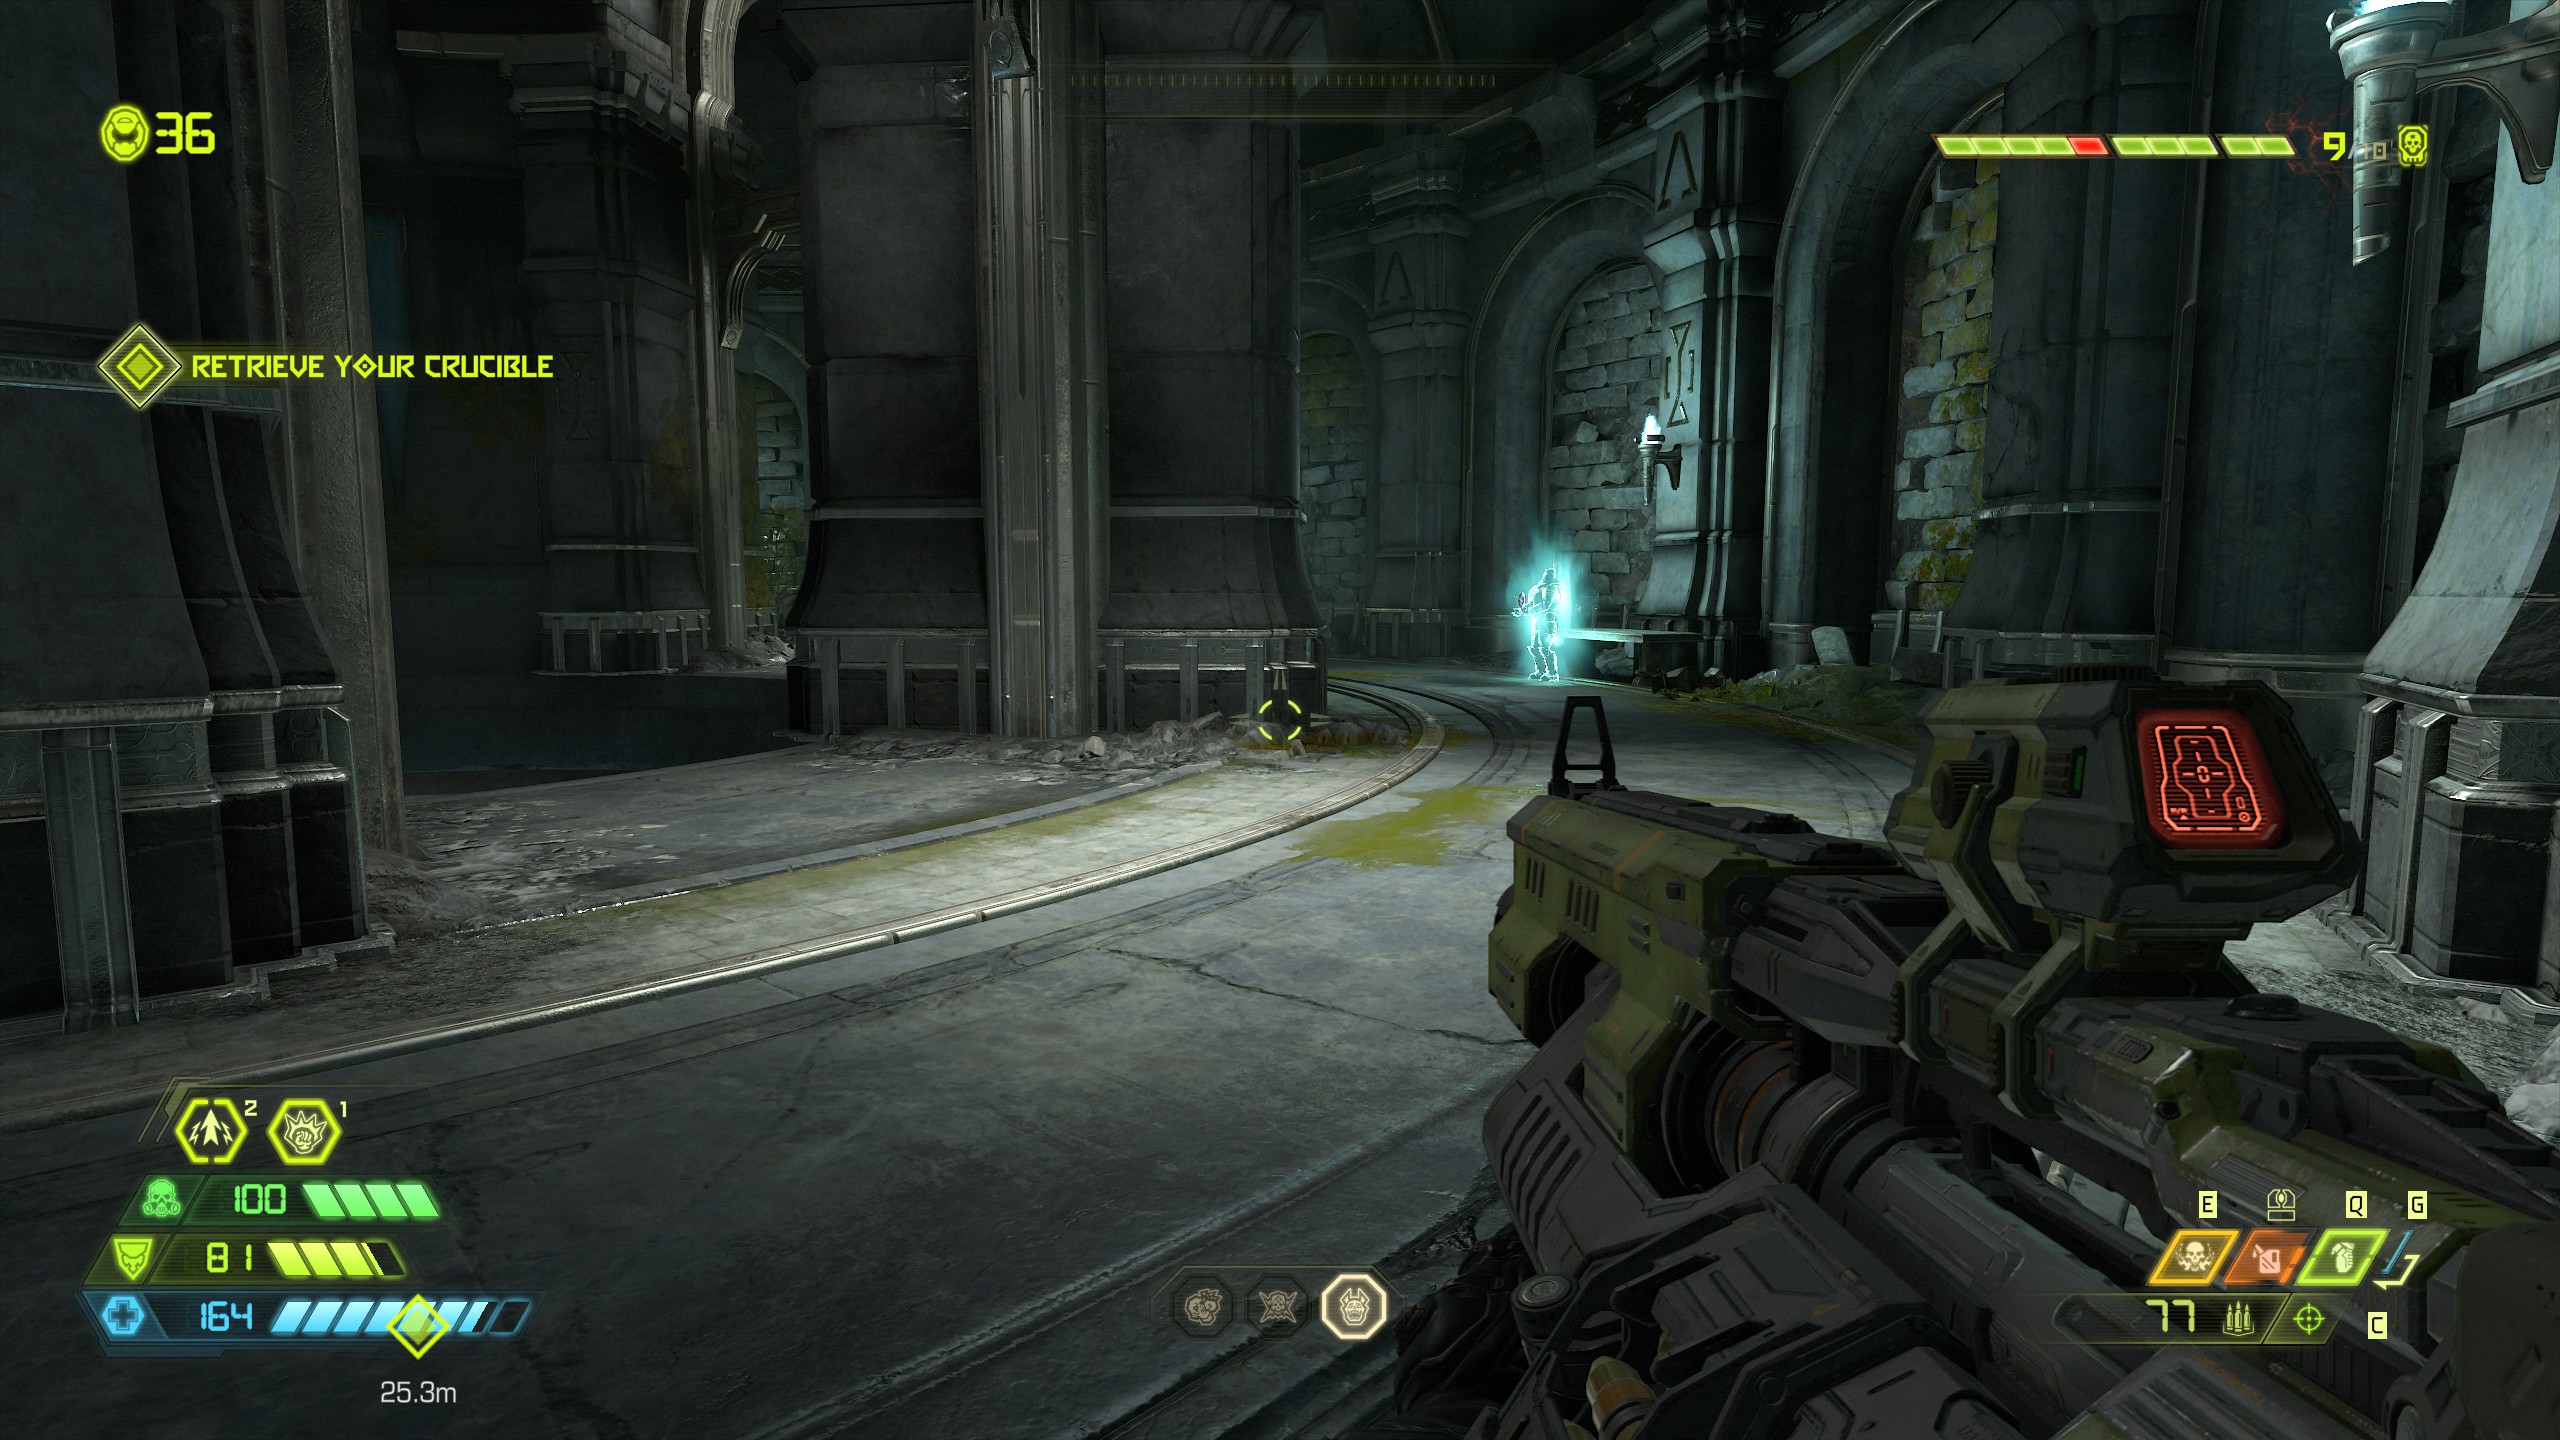
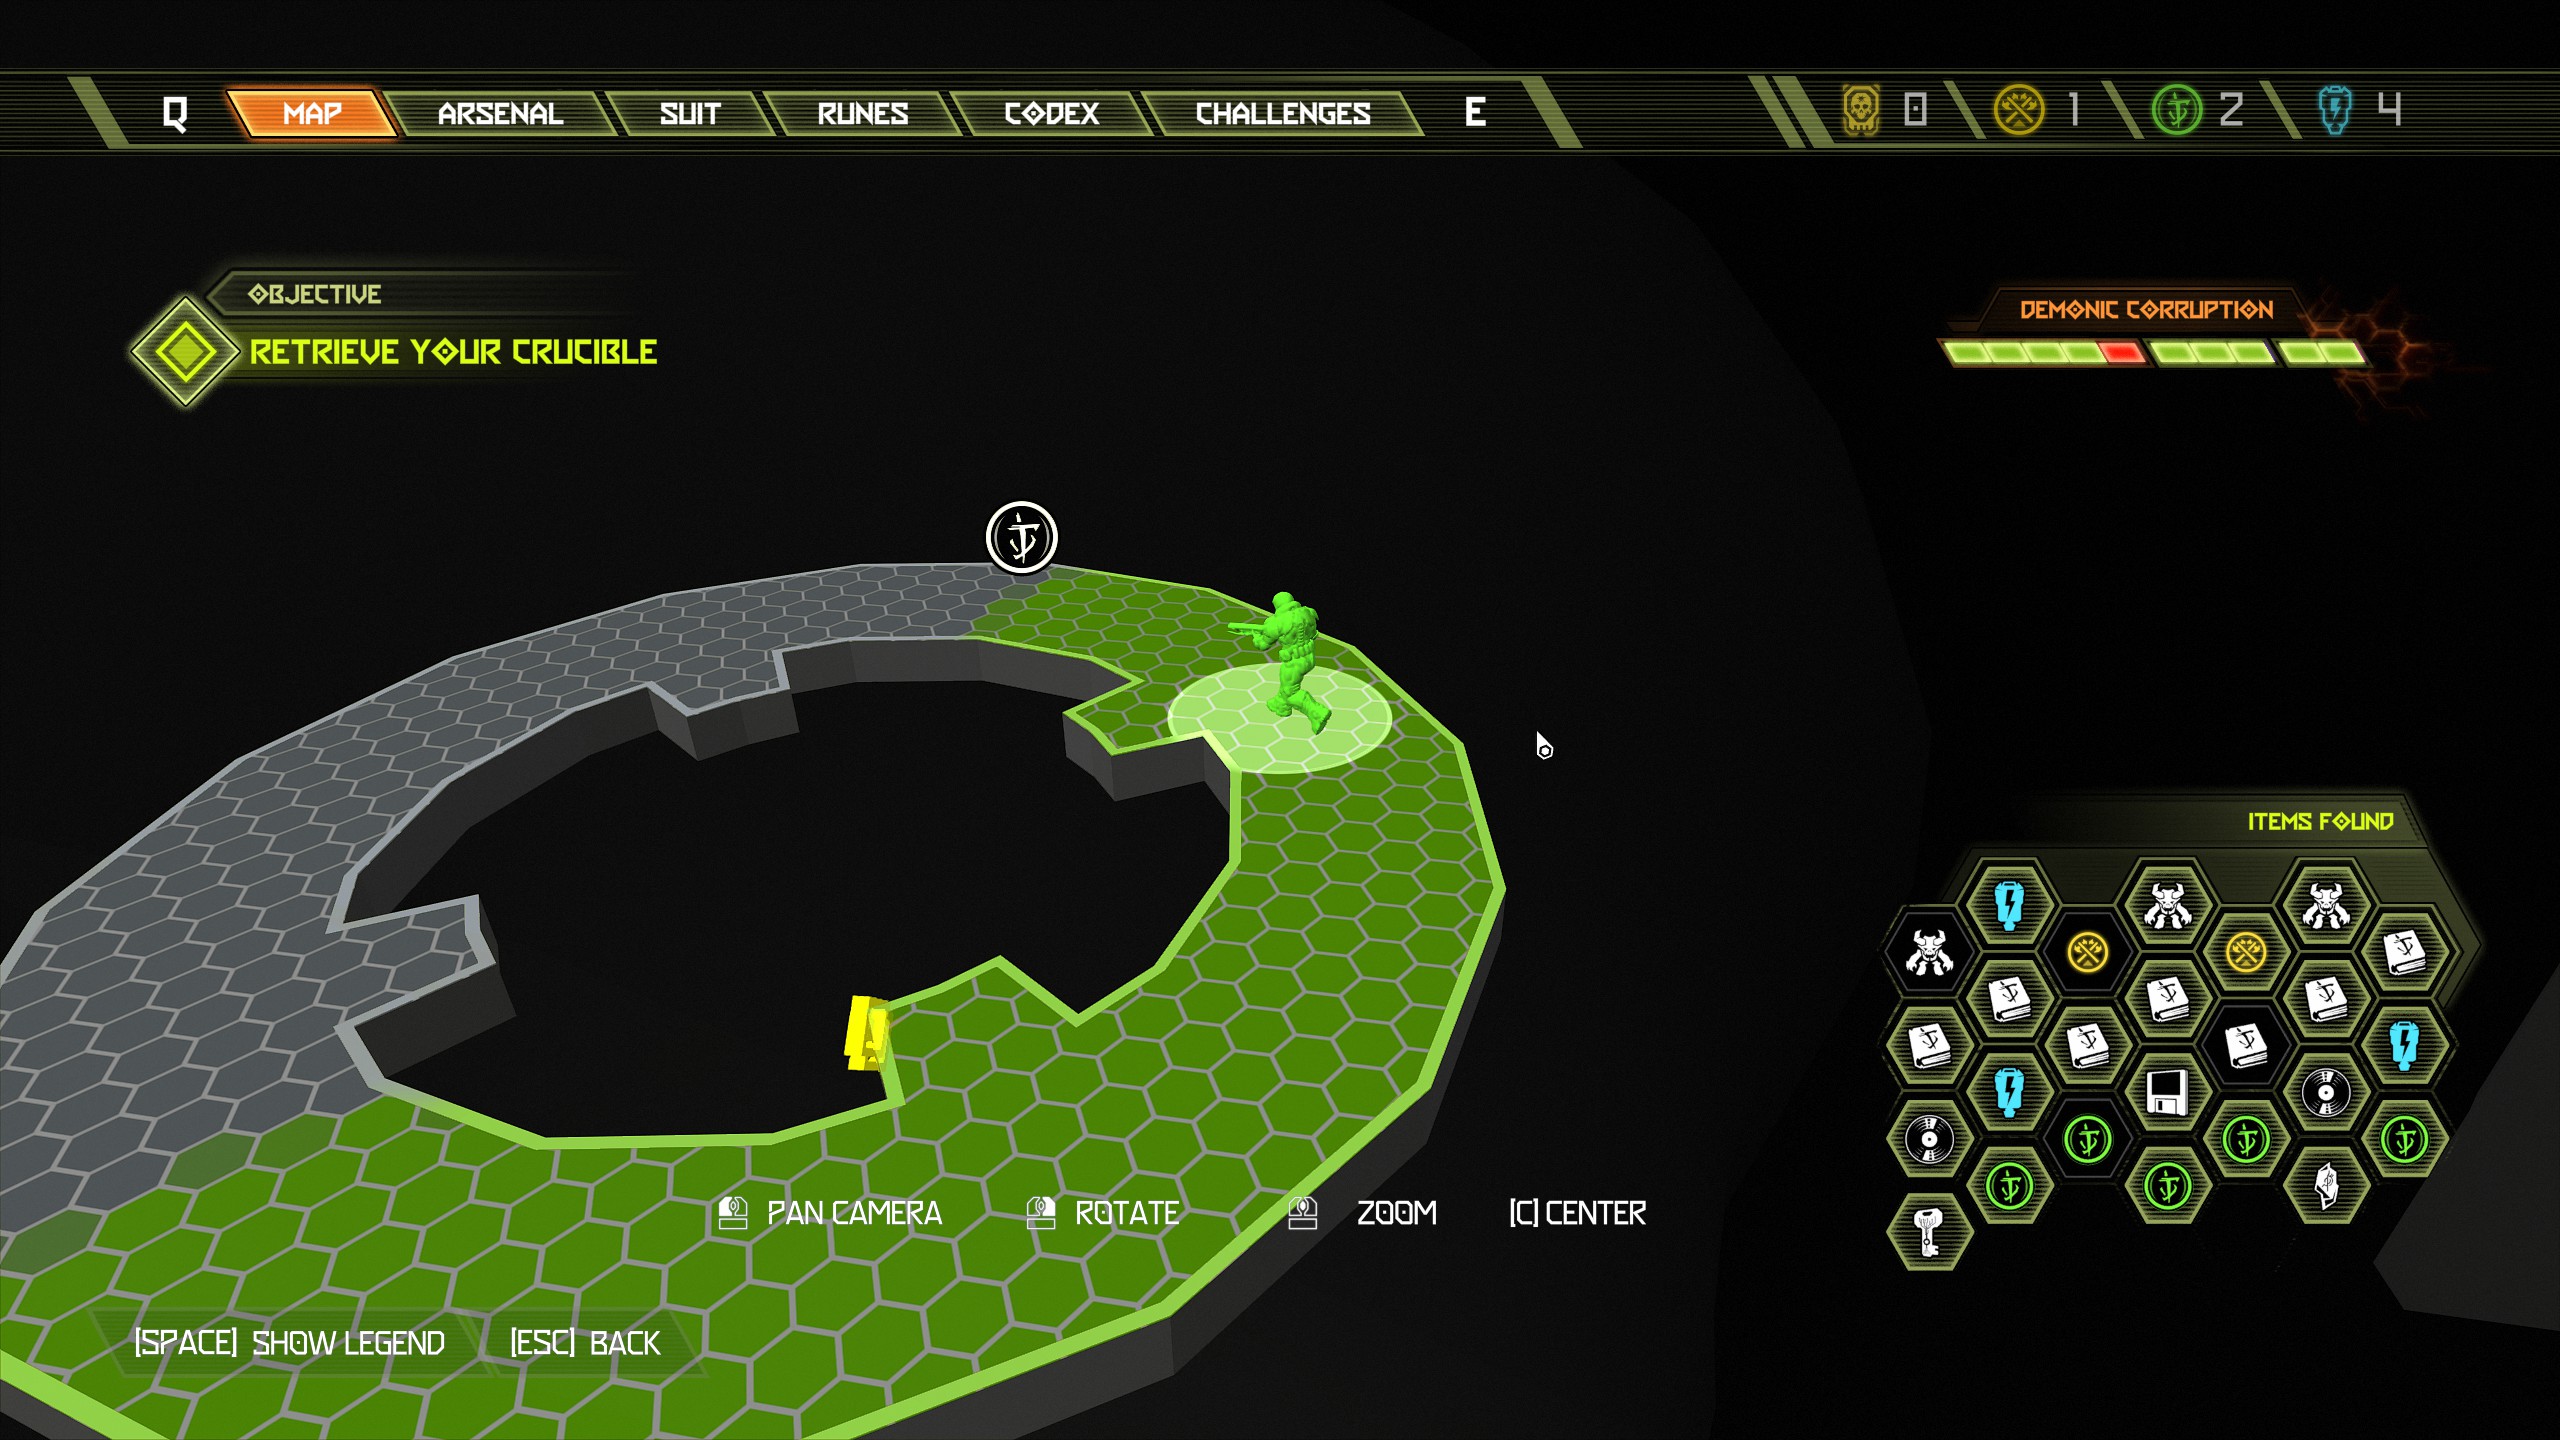
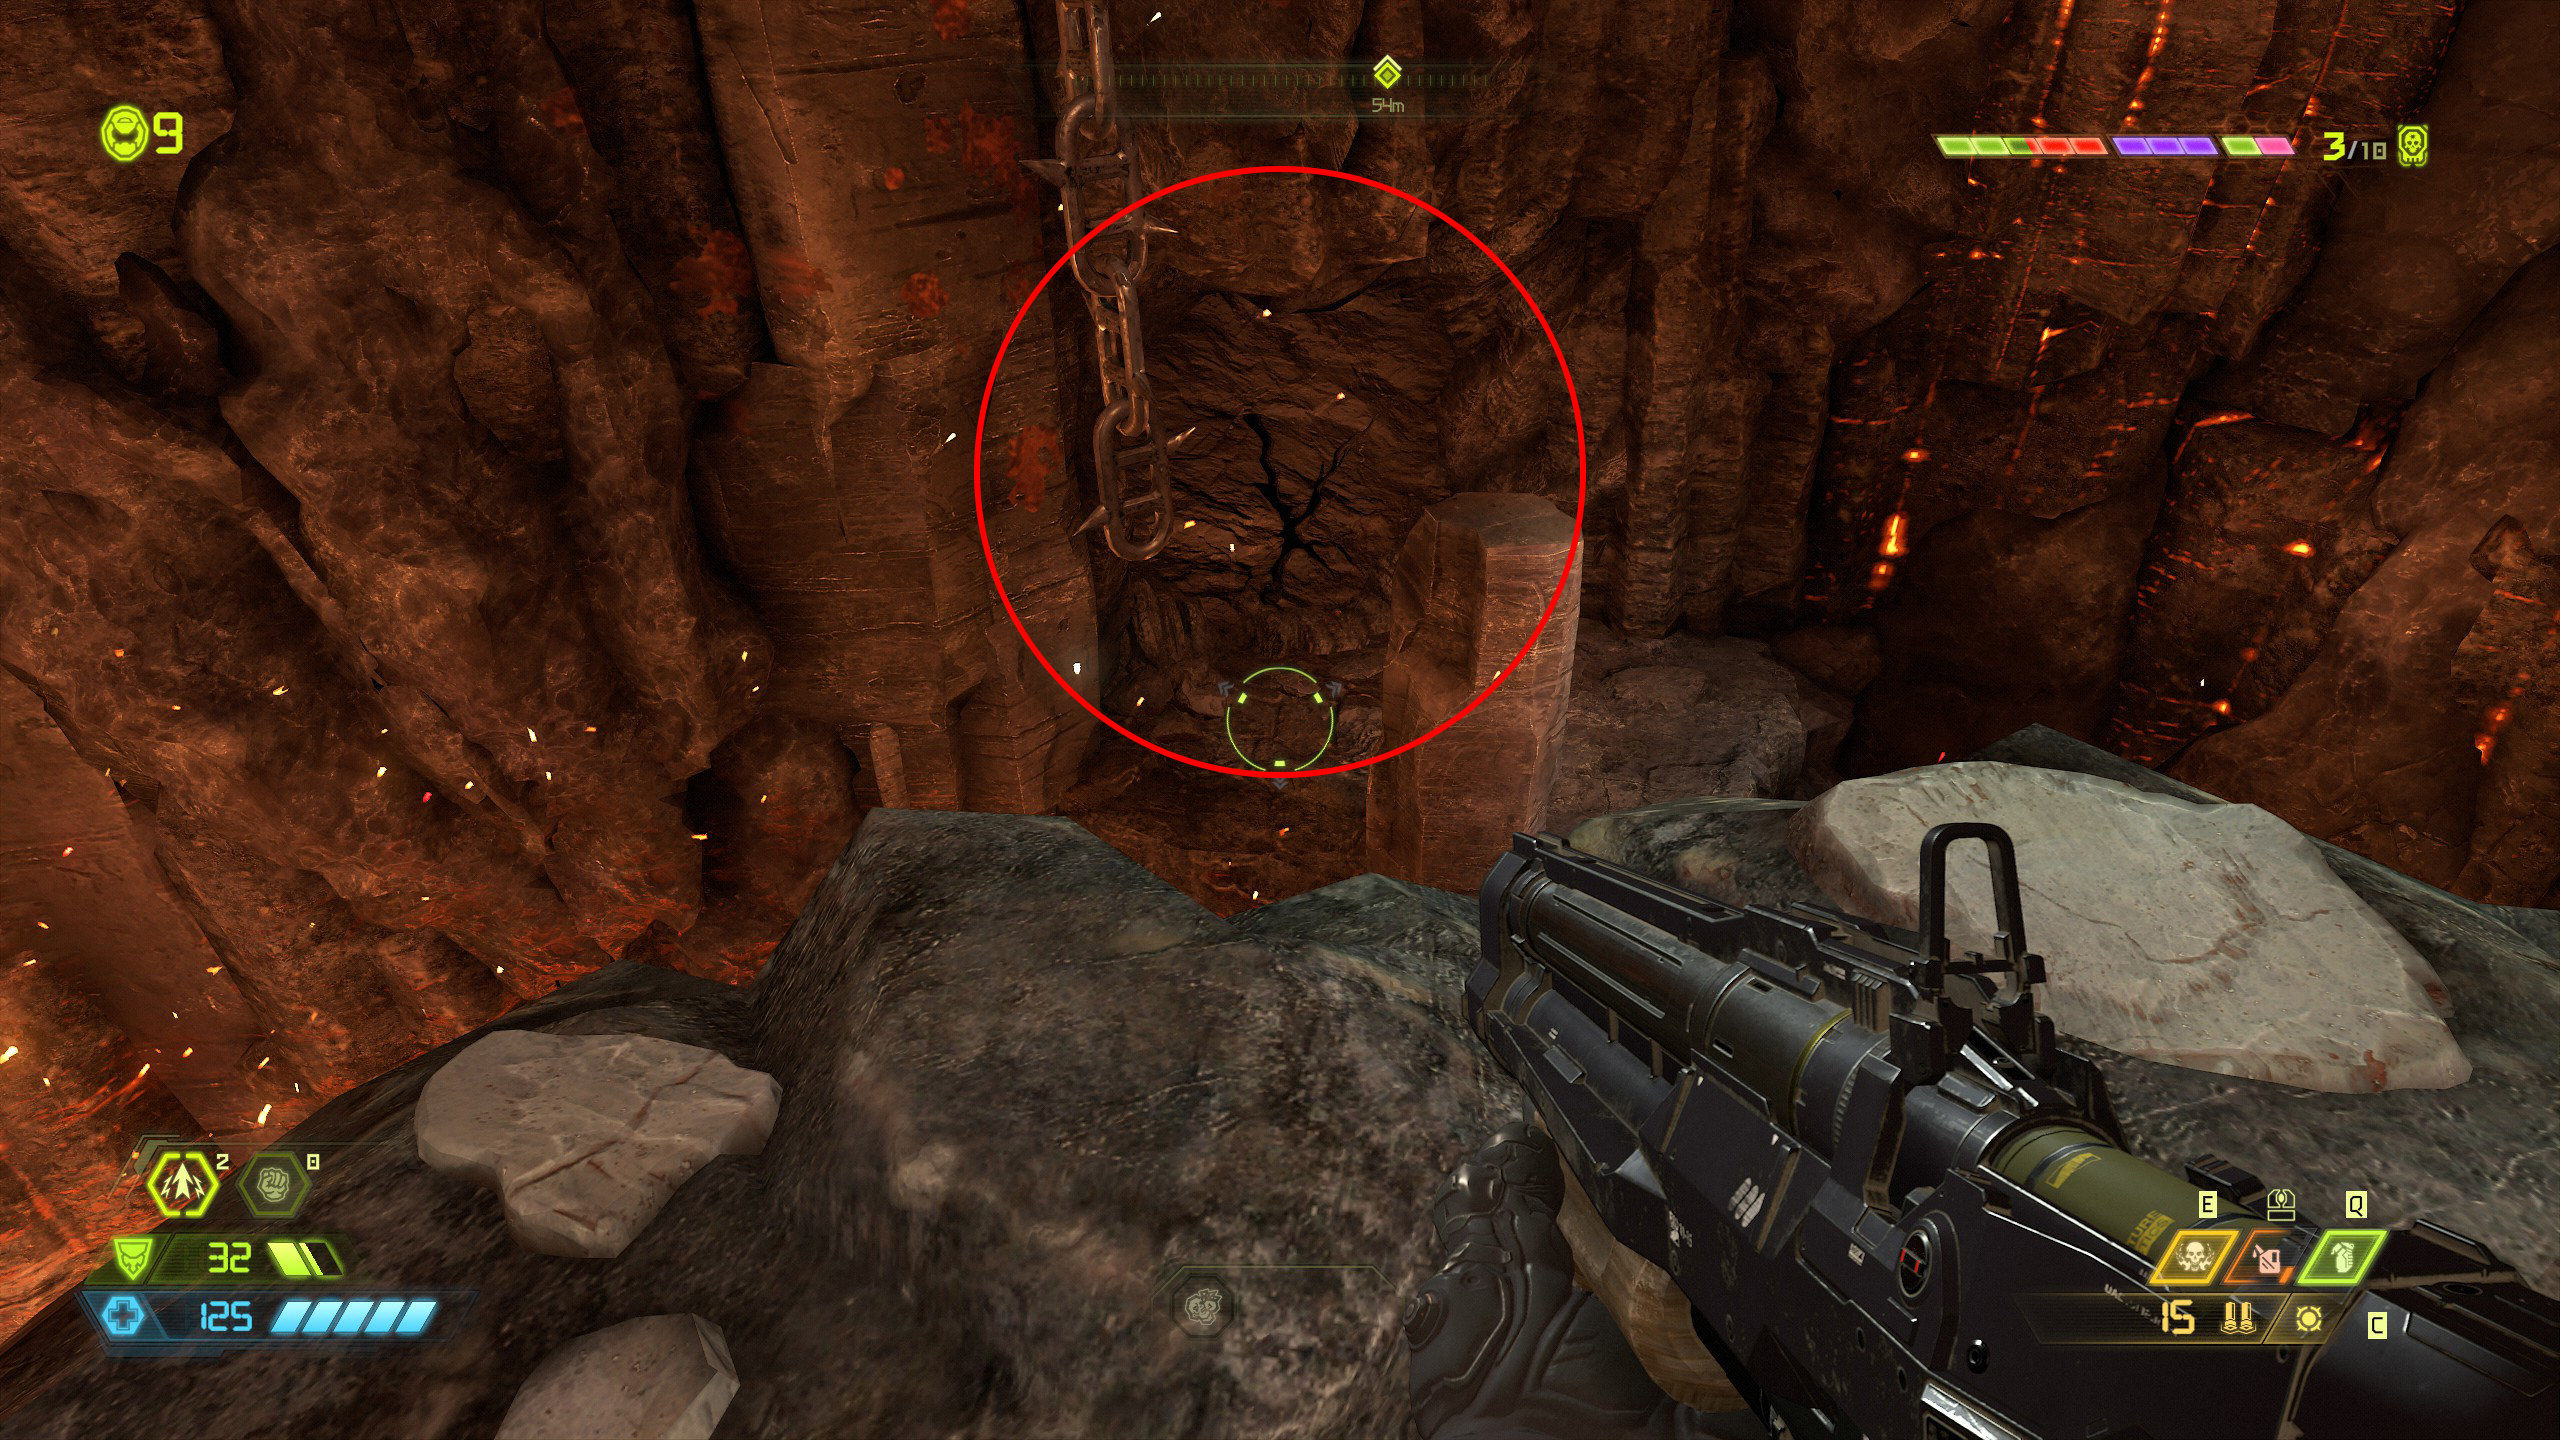
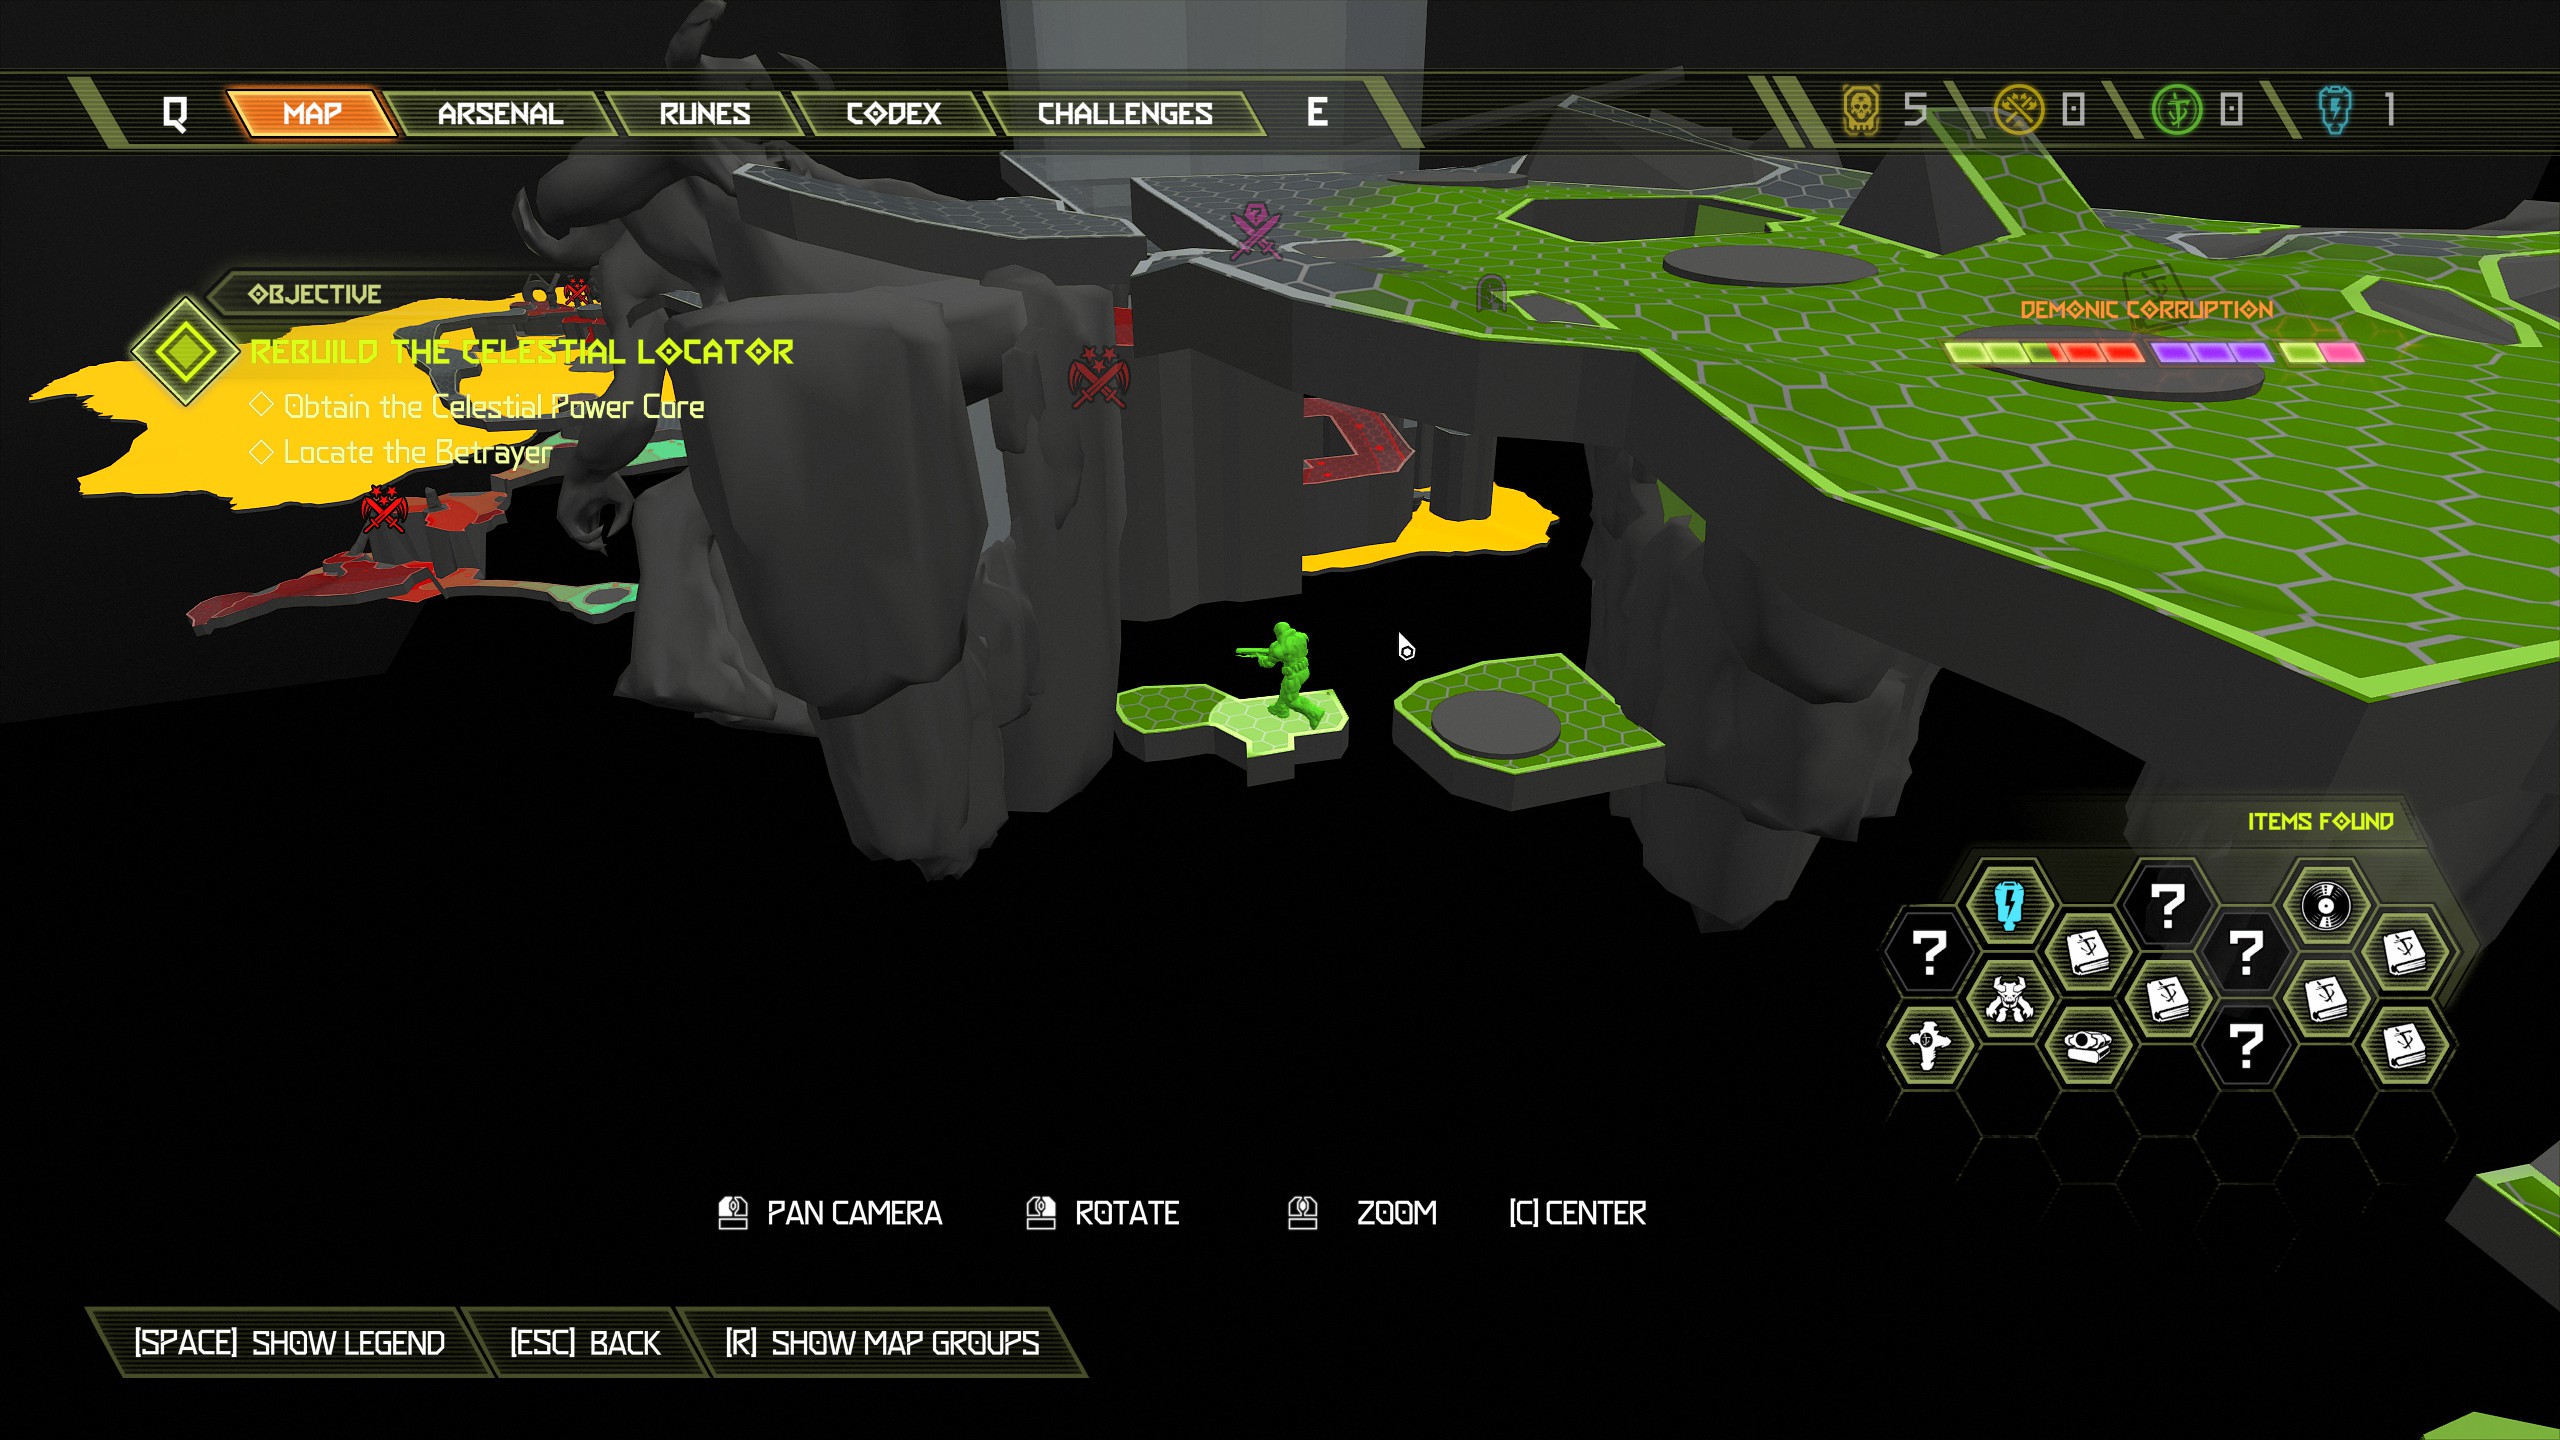
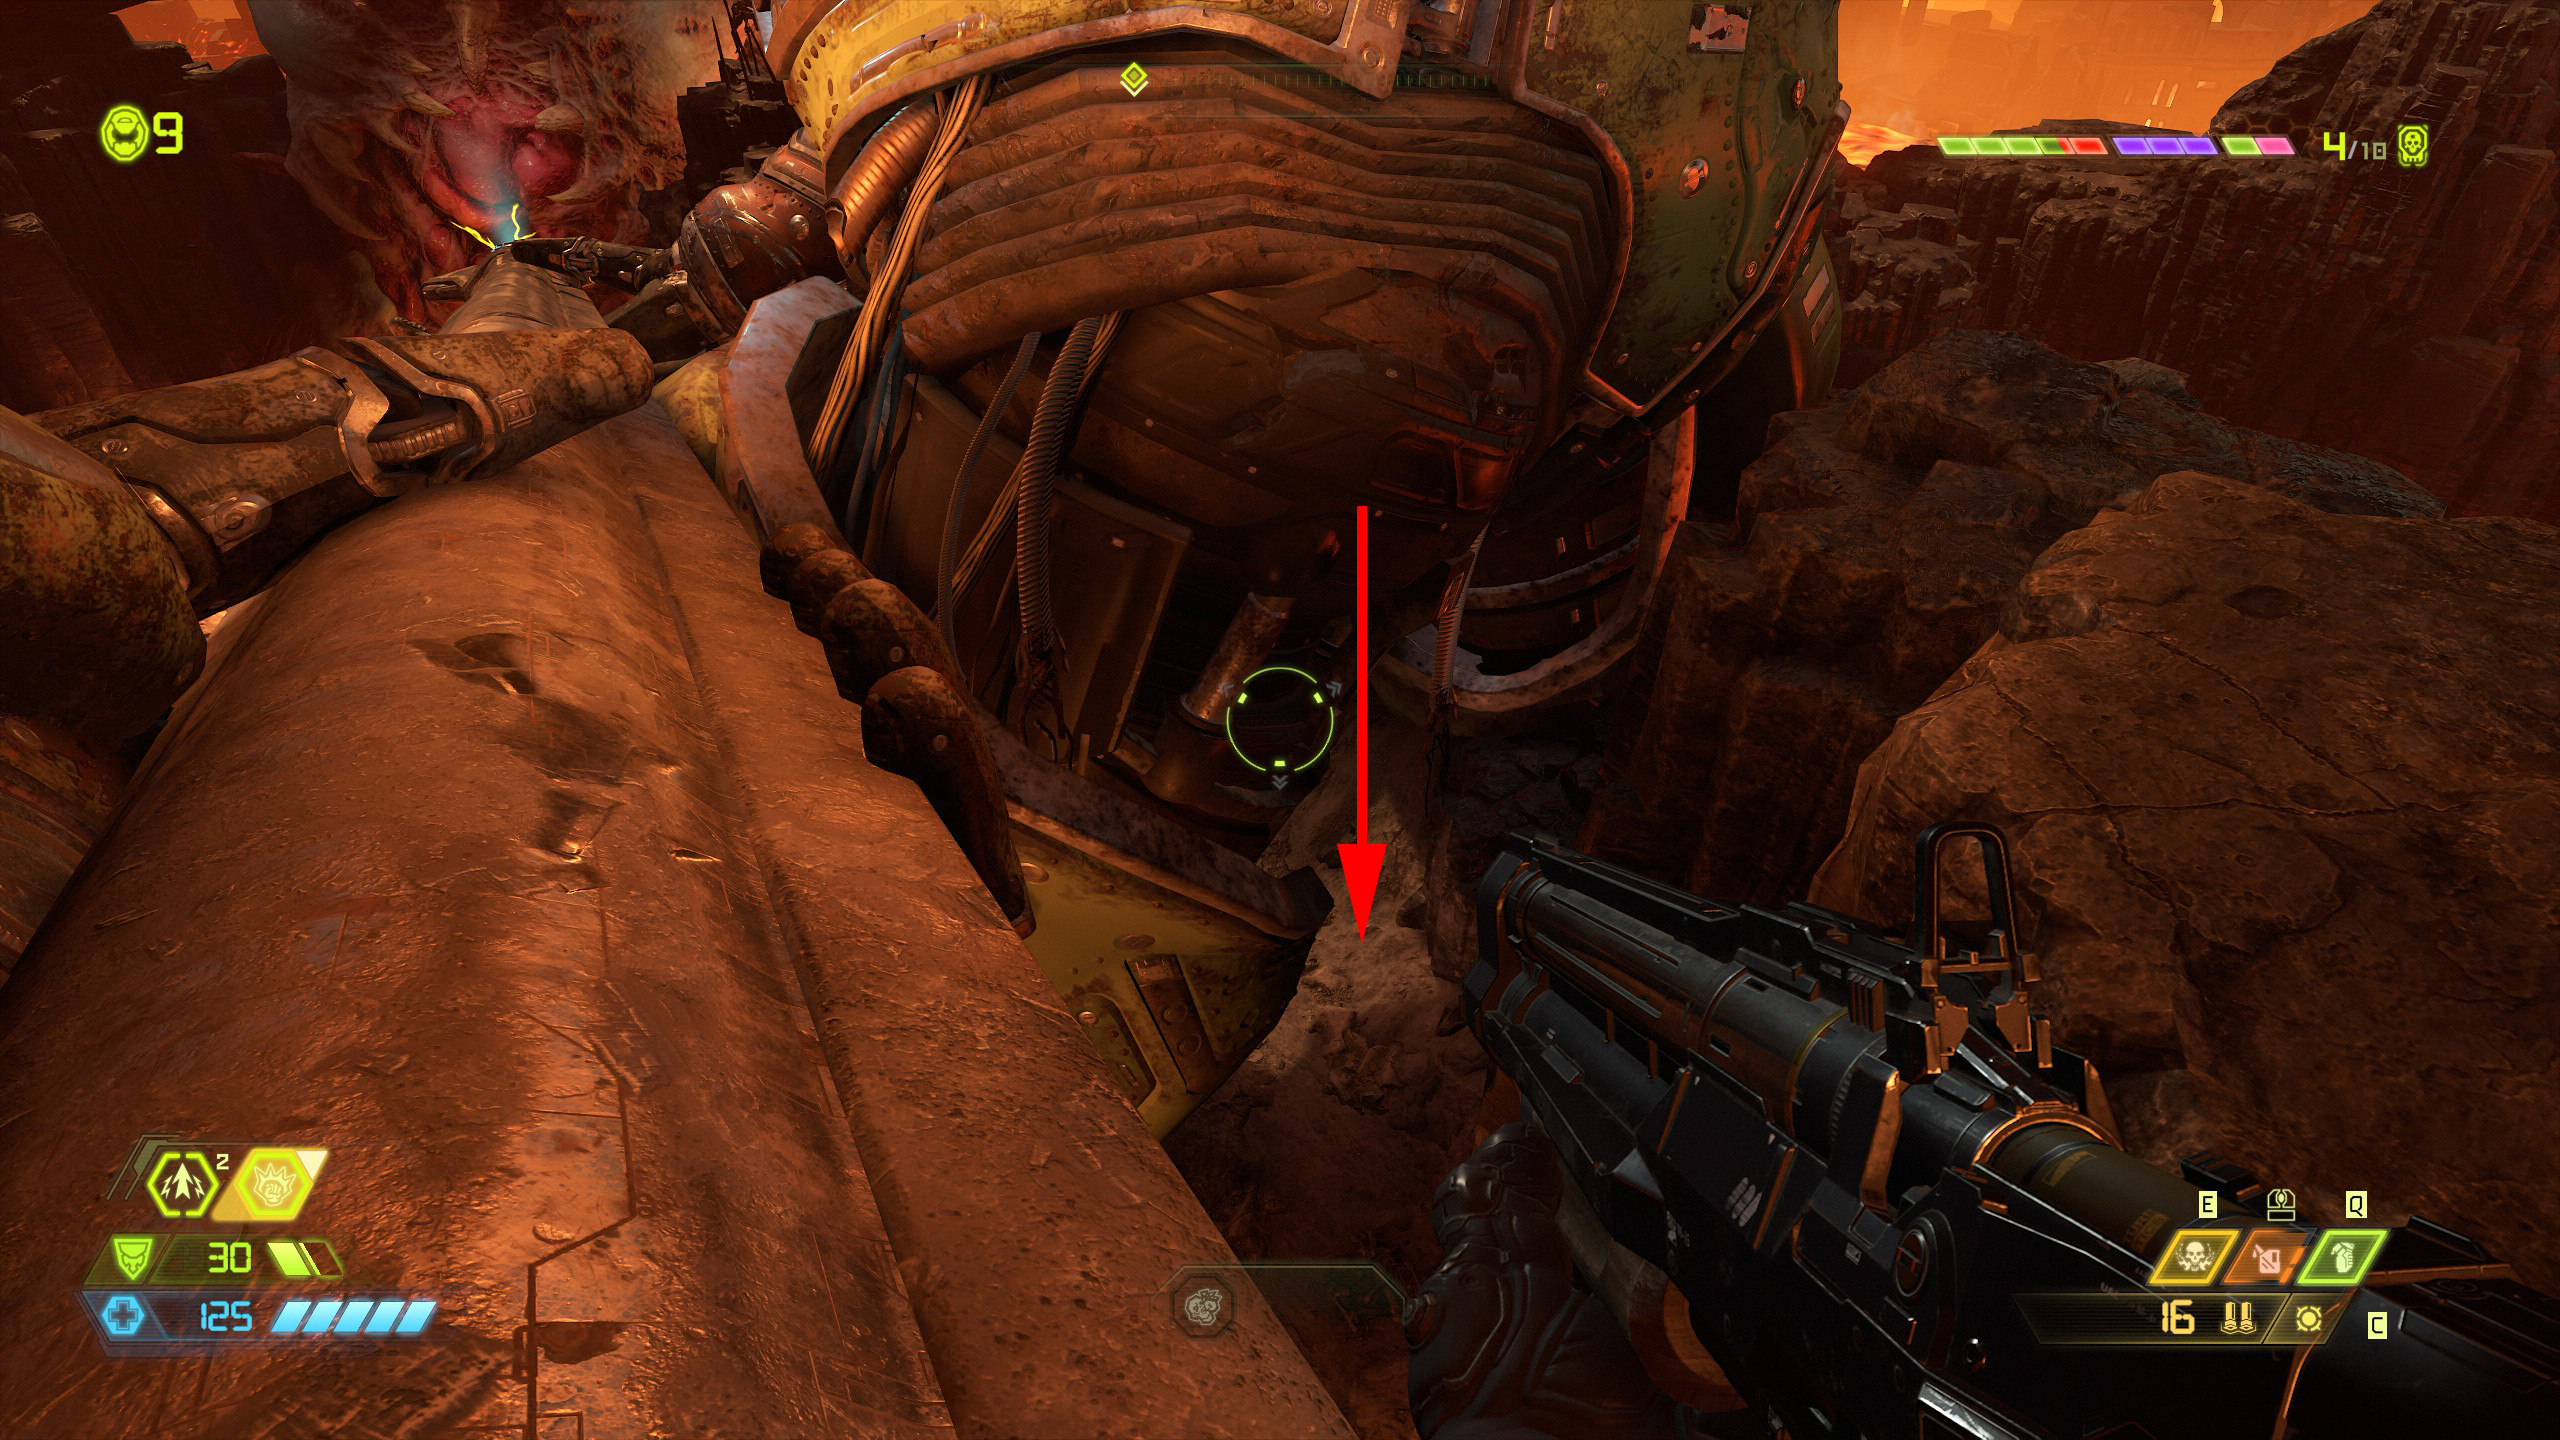
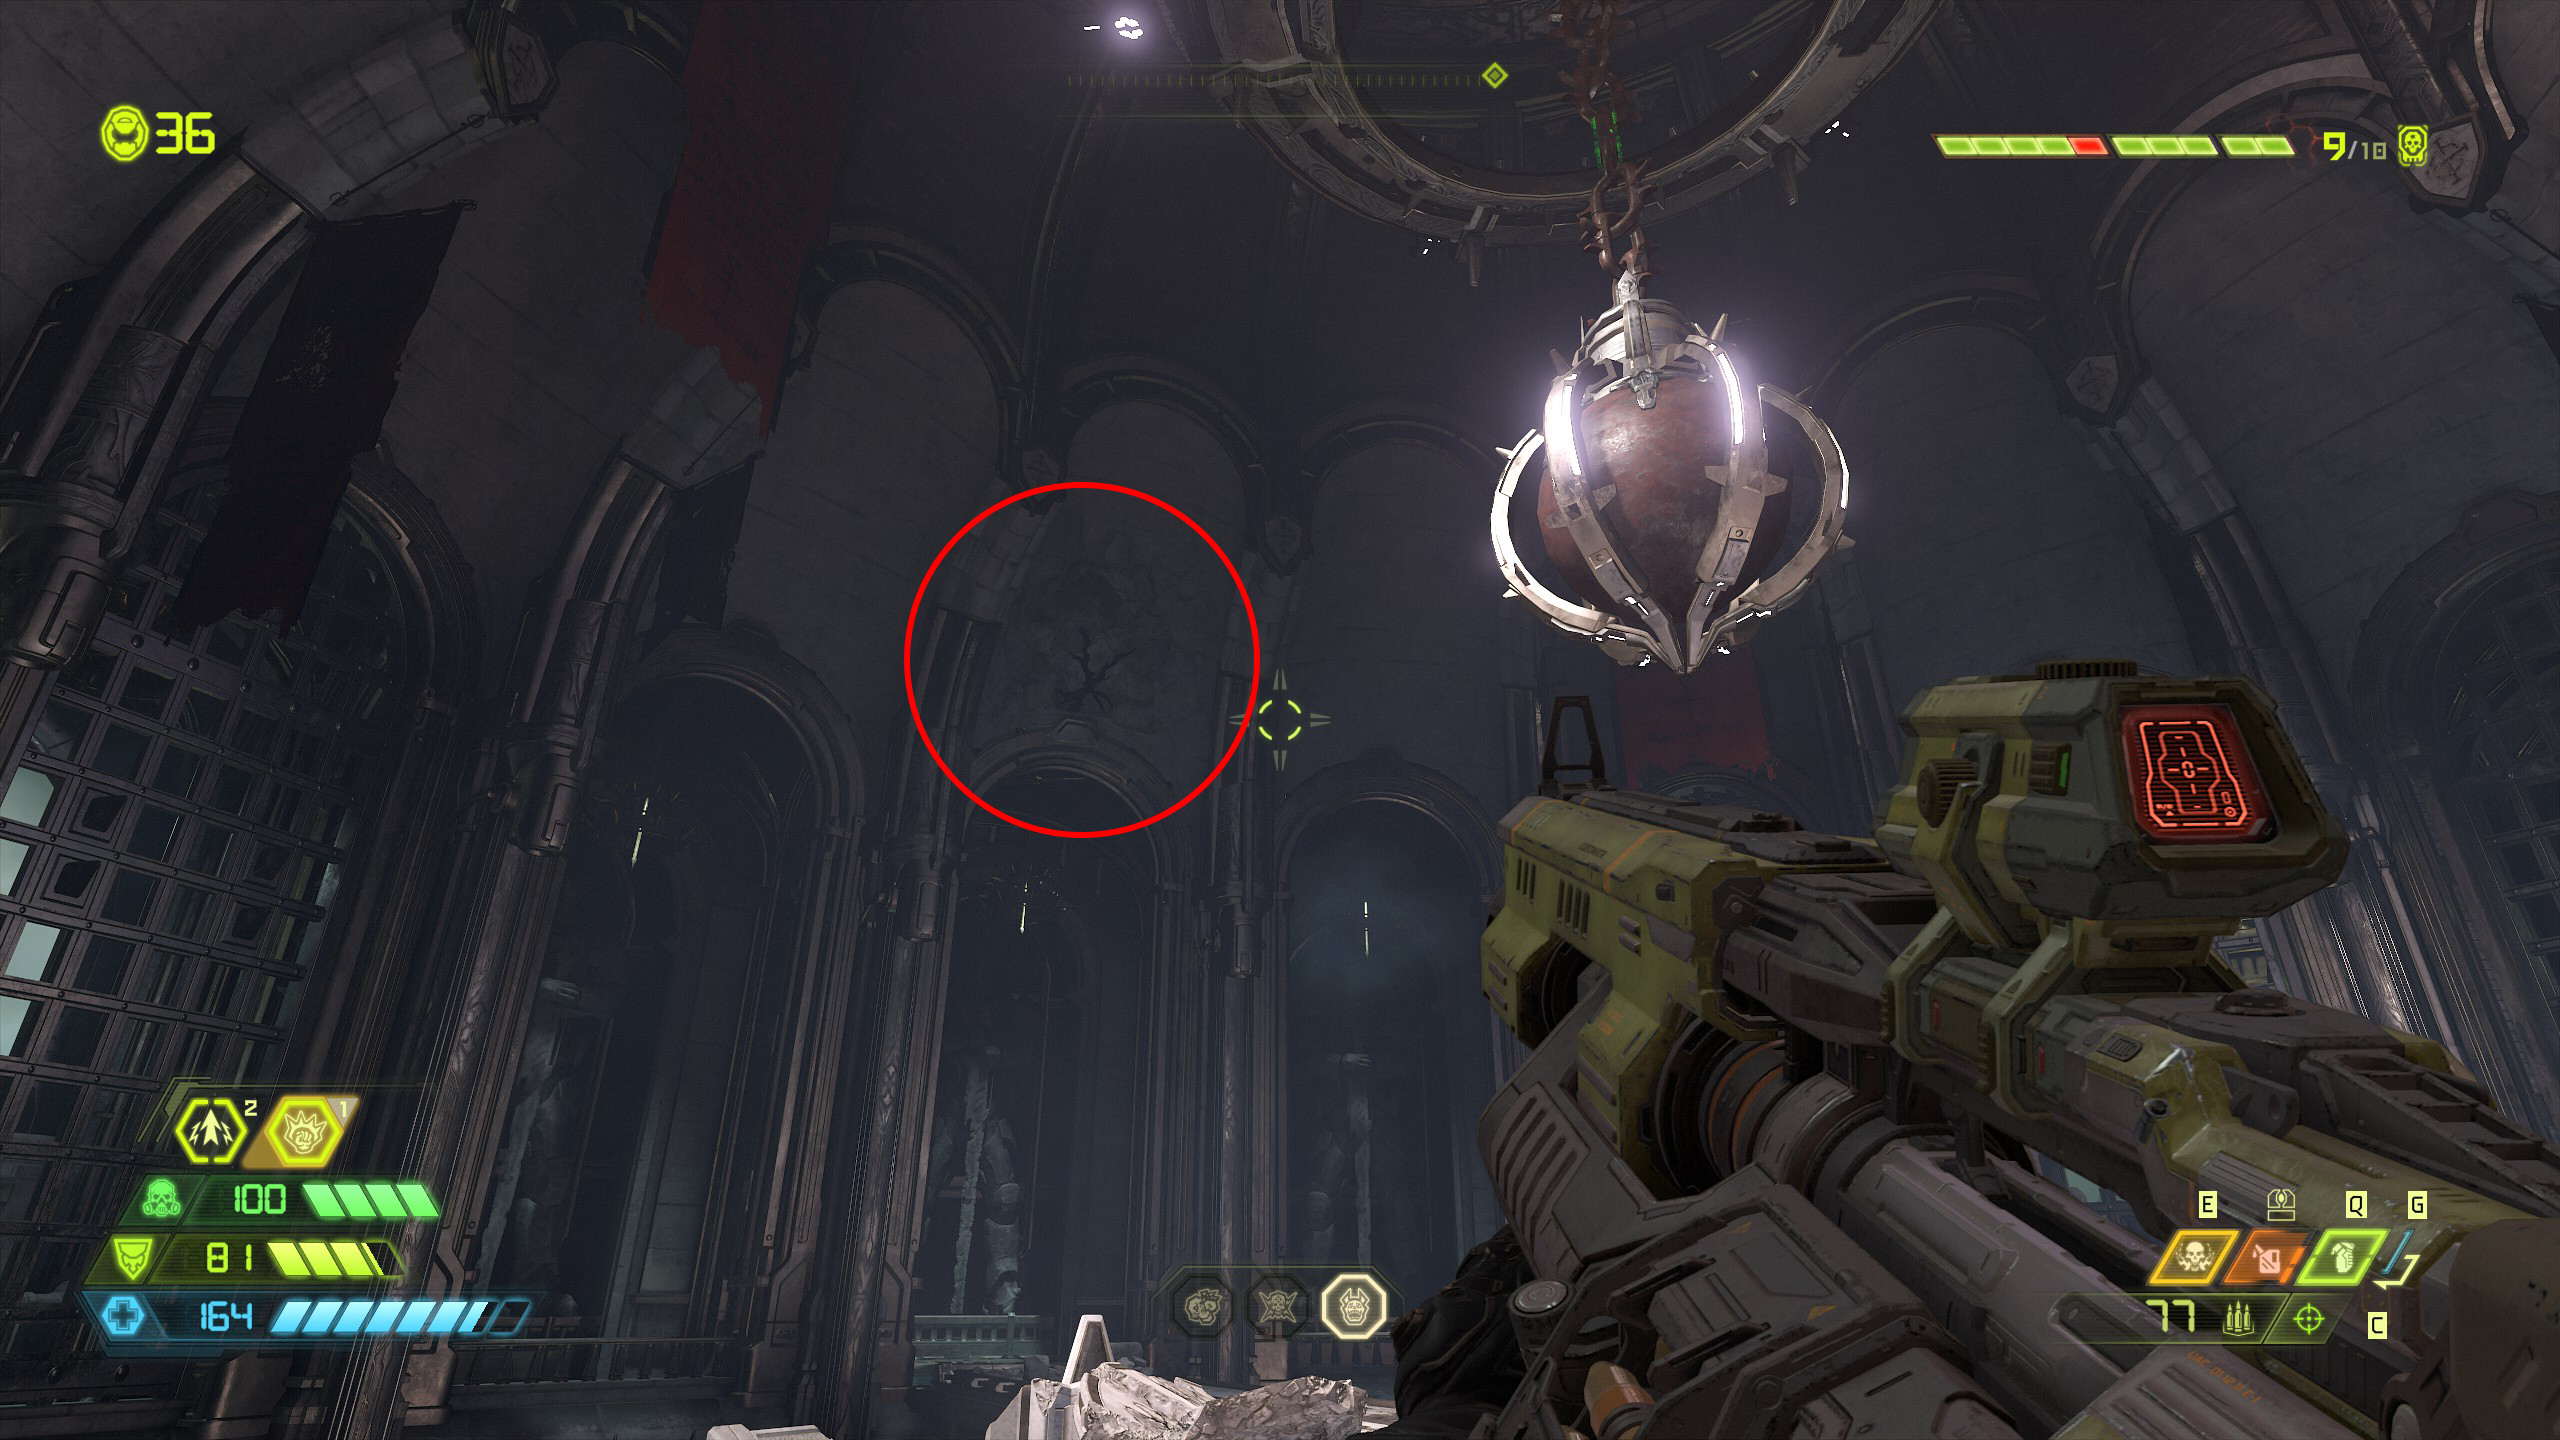
Now for the difficult part. Stand on the edge of the hole that's in the center of the room and make sure you stand on the side nearest to the praetor suit token. About half way down the hole is a wall you can break through, you're best to look at the images below to see the wall as it can be difficult to spot otherwise.
Once you see the wall, drop down and use the first dash to slow your fall and aim, then use the second dash to break through, don't bother with jump as it doesn't quite work.
If you miss the wall then as far as i'm aware you can't get back up without fast travelling to the throne room.
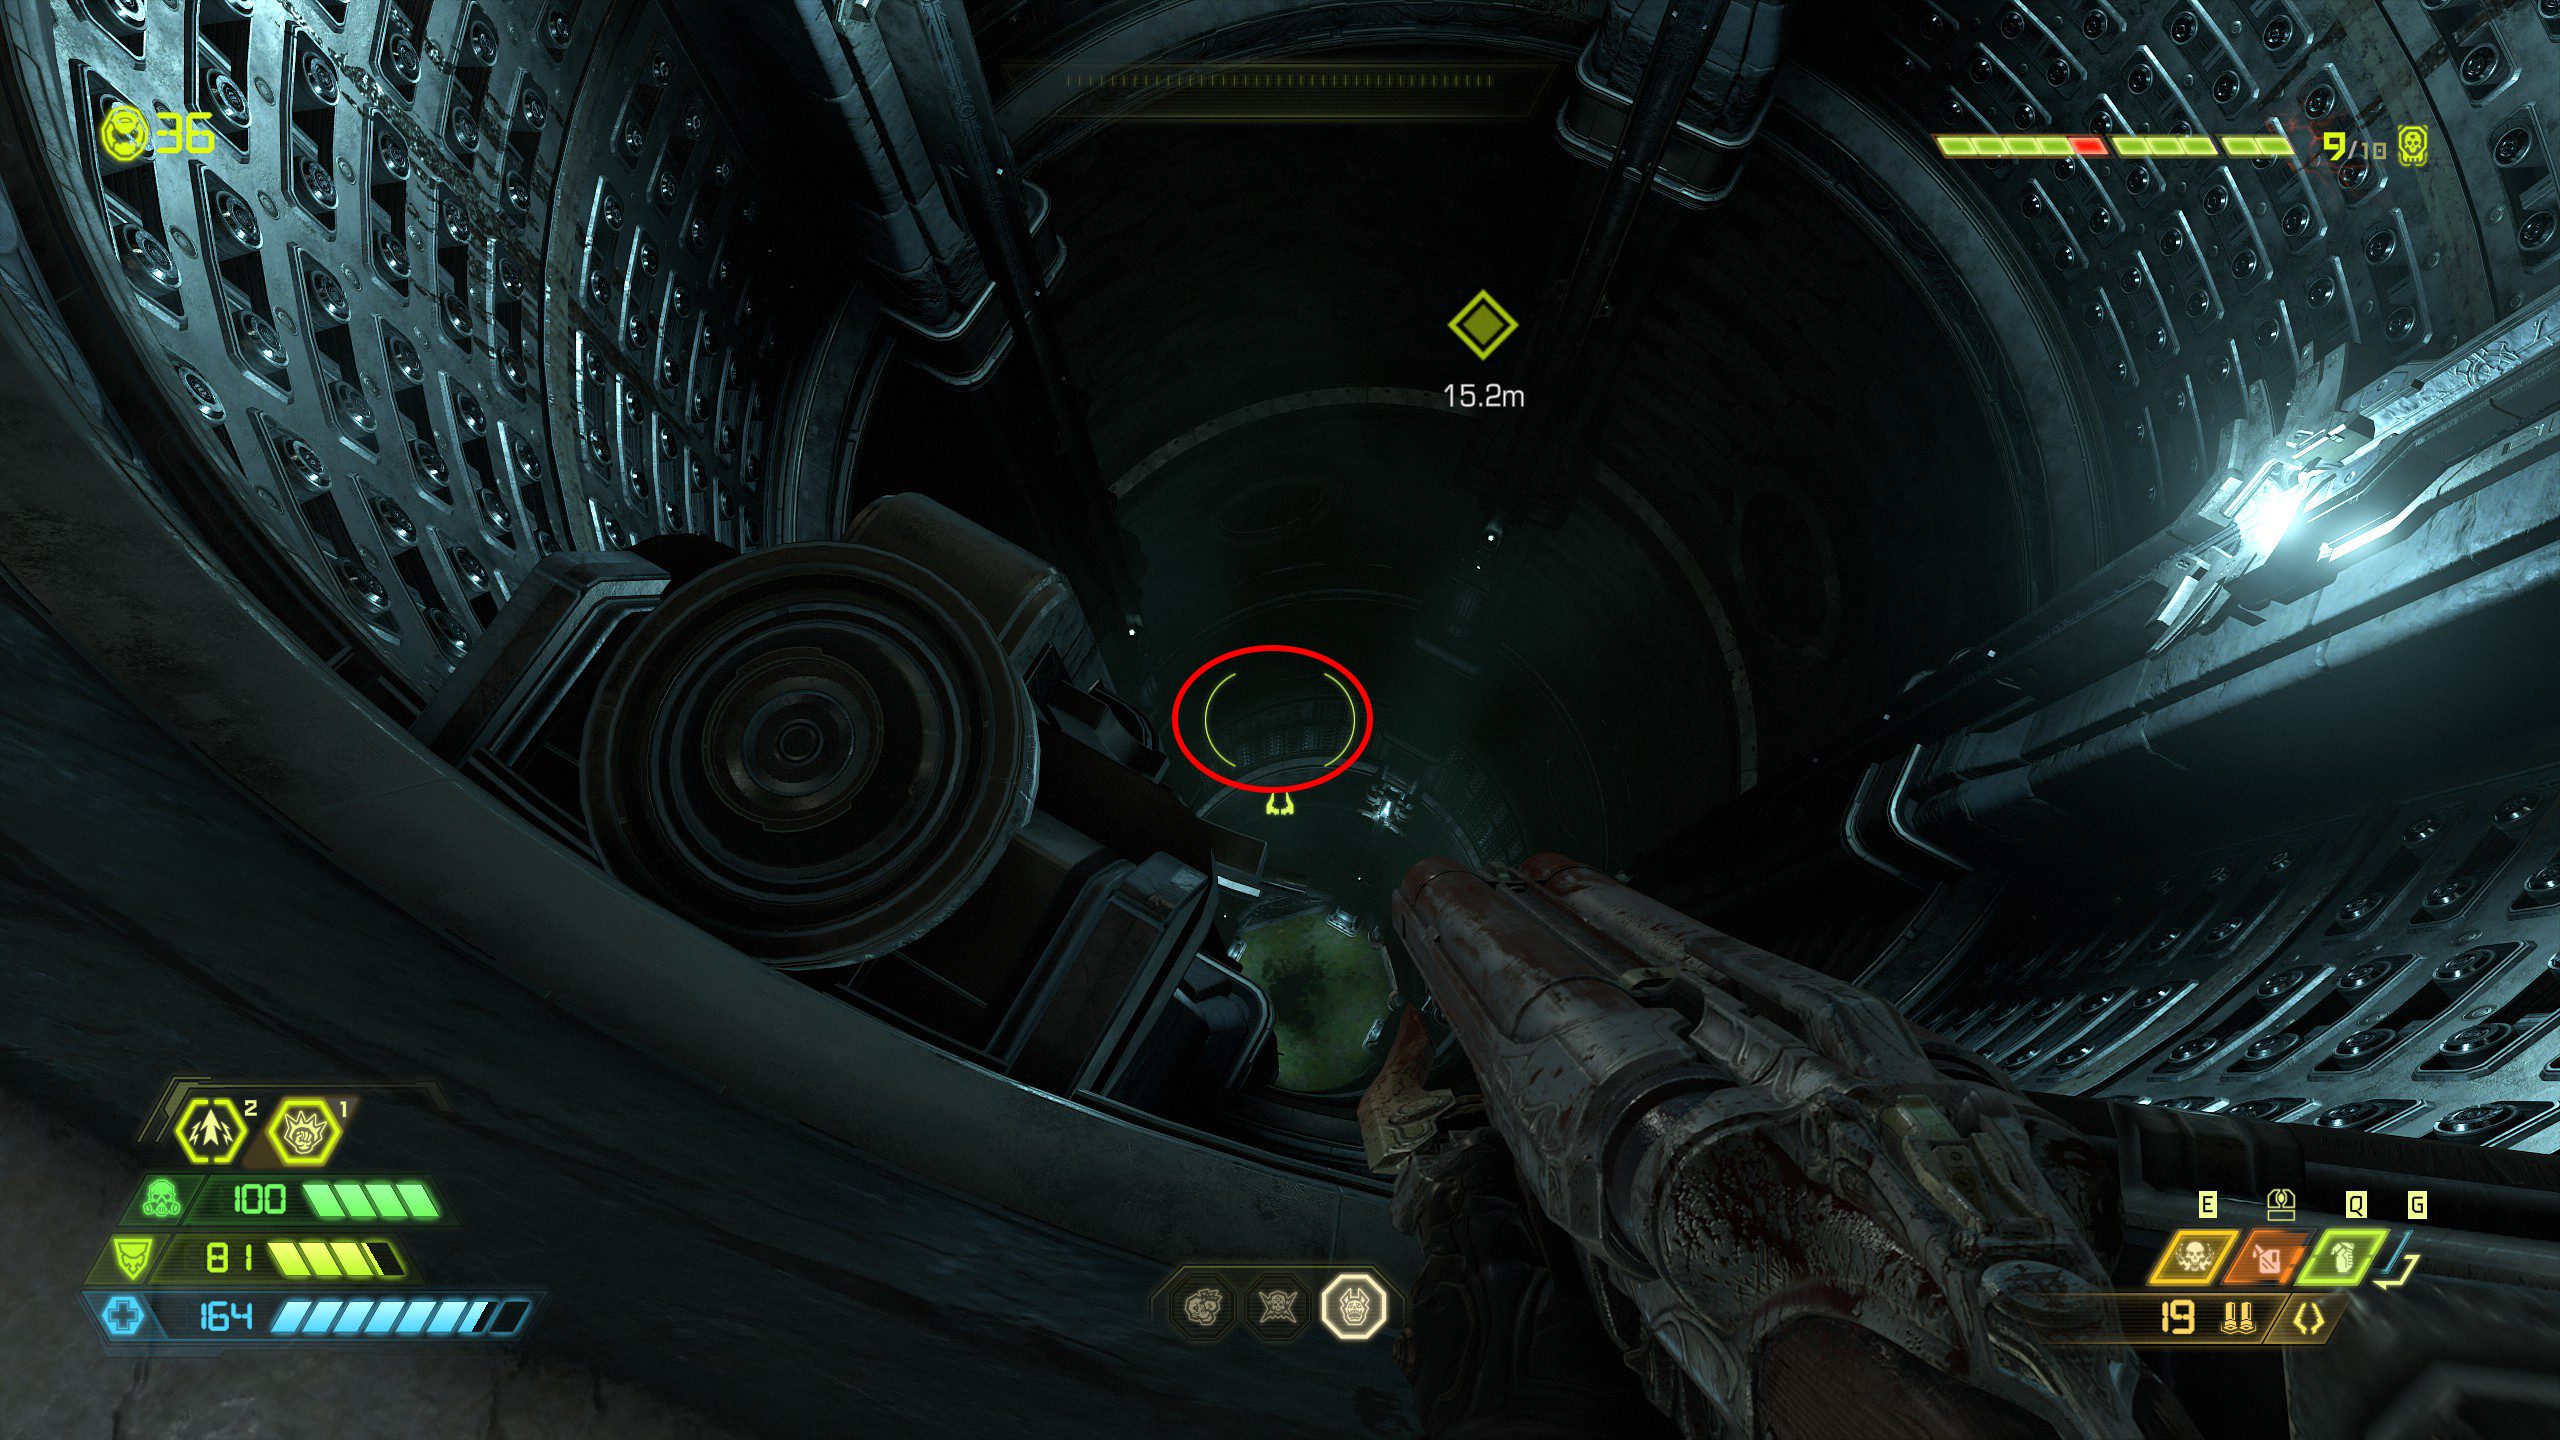
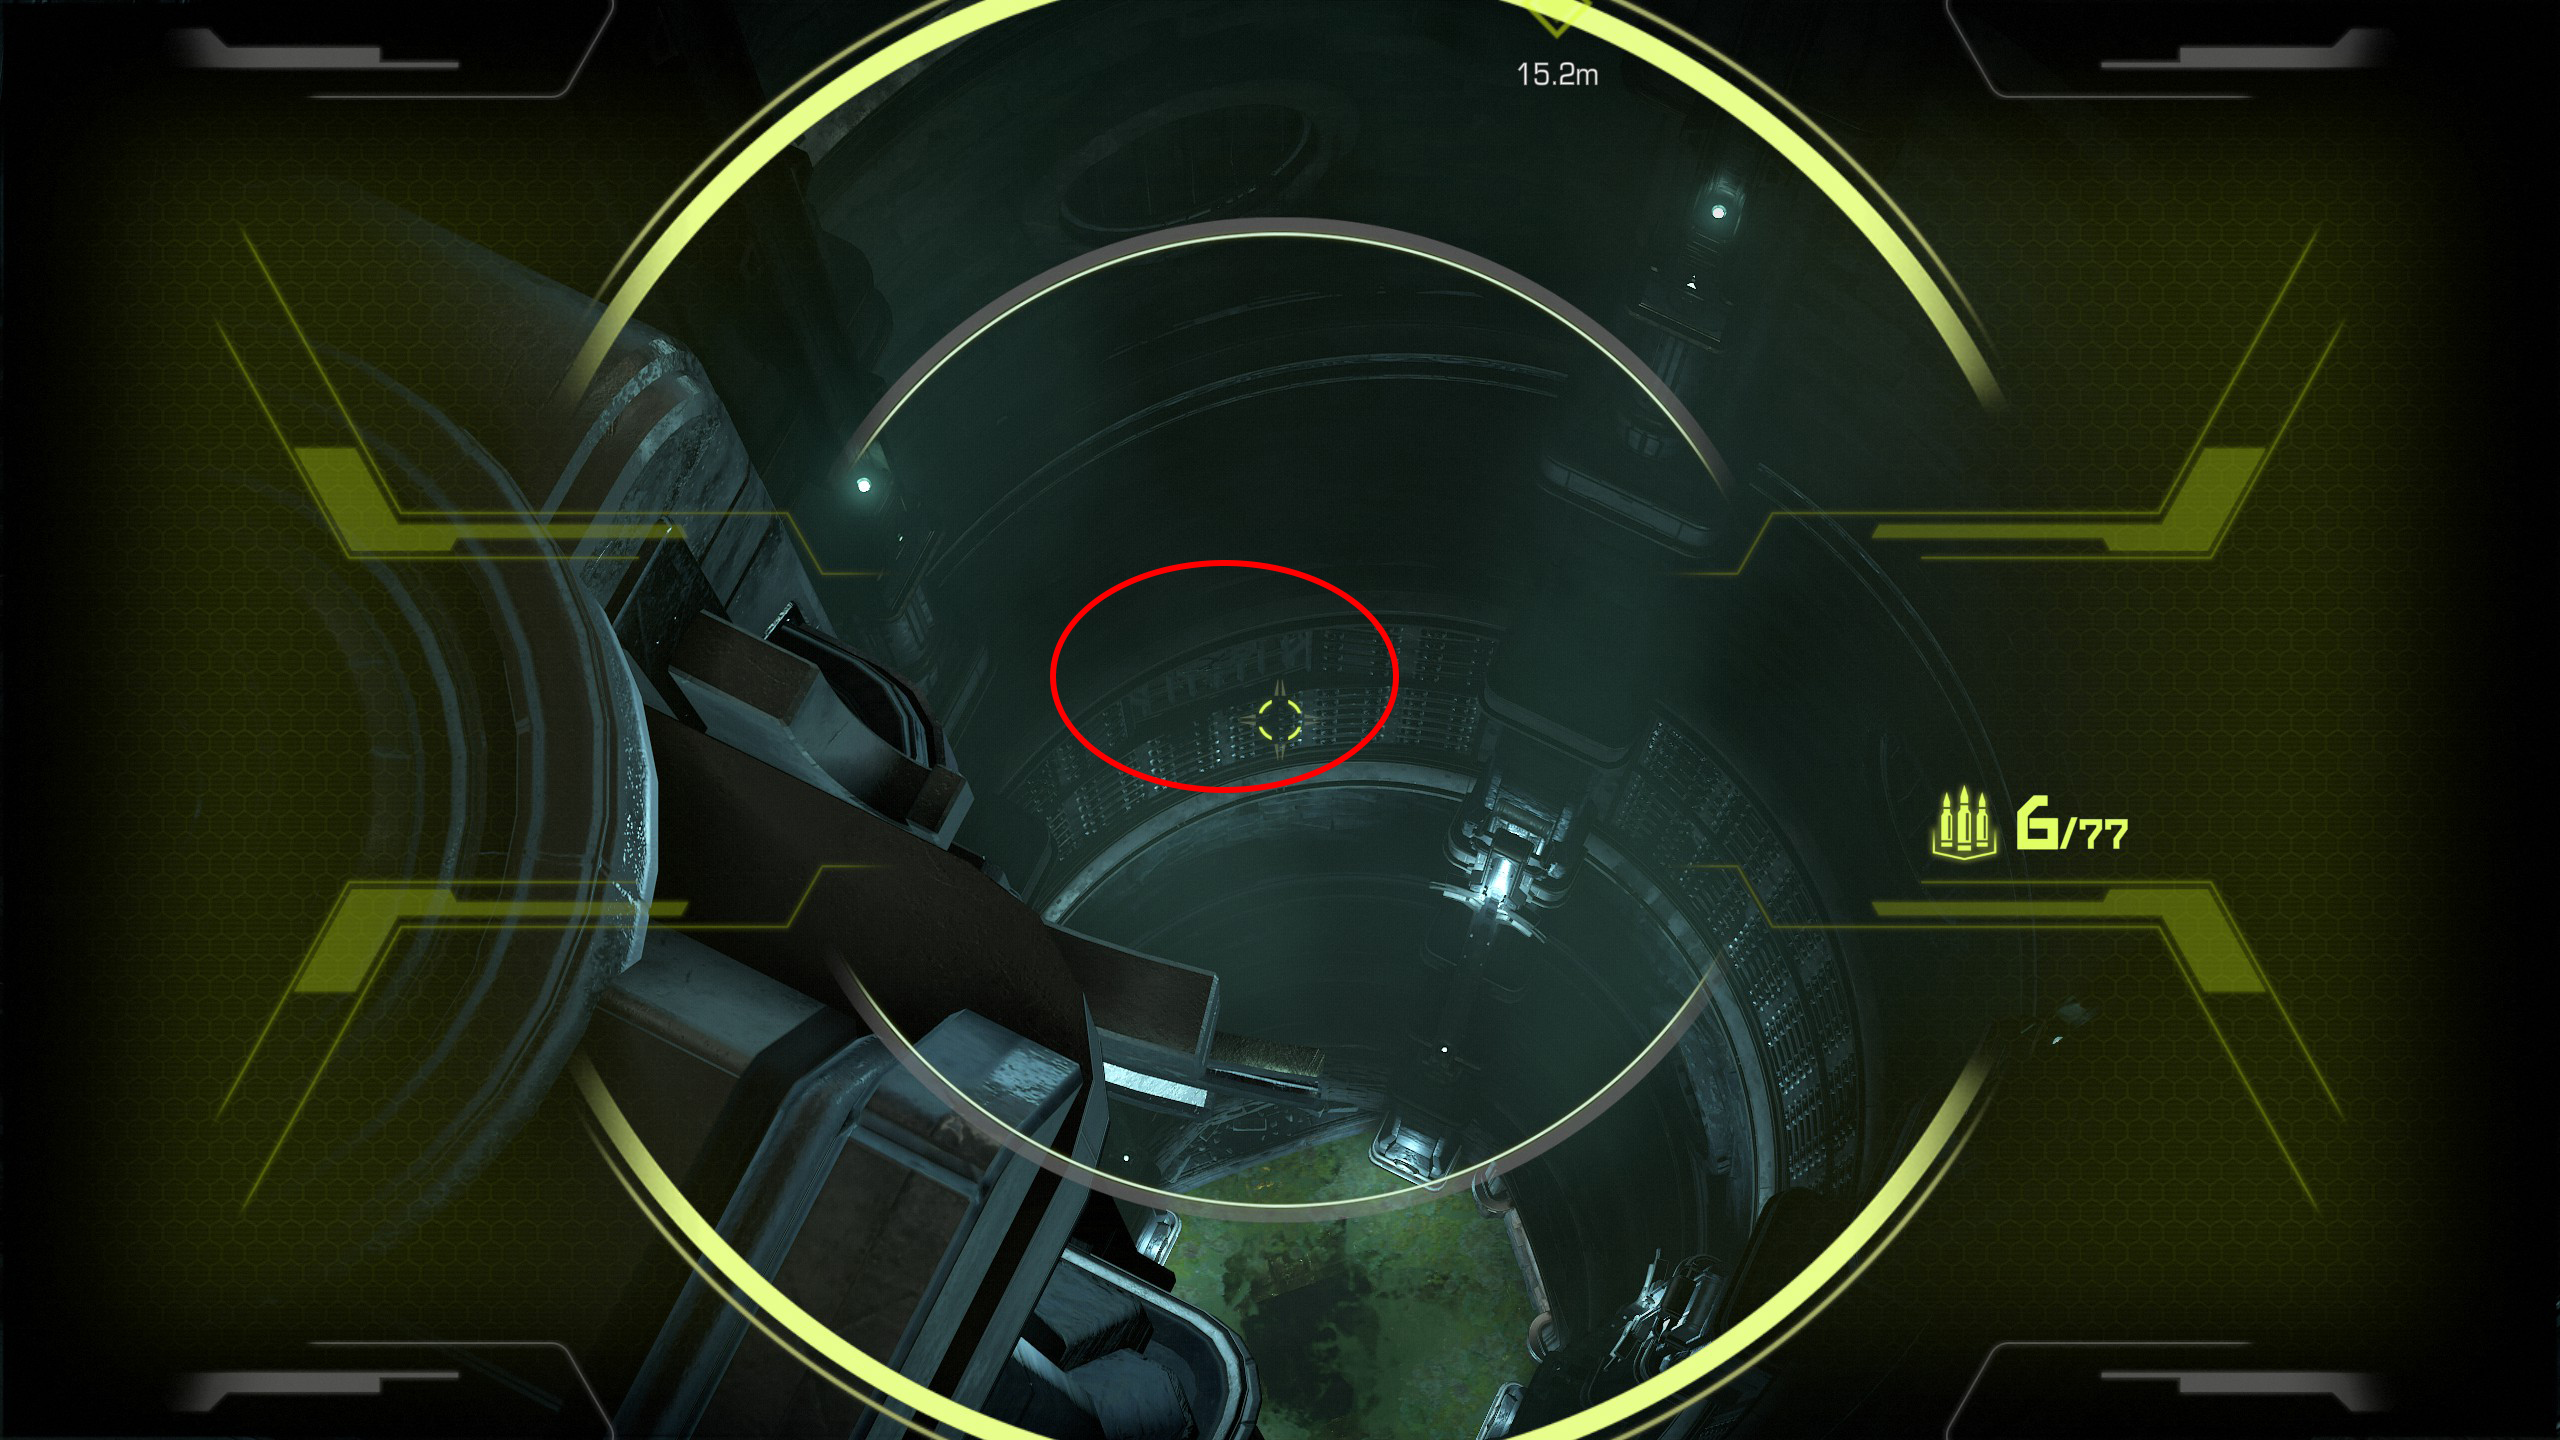
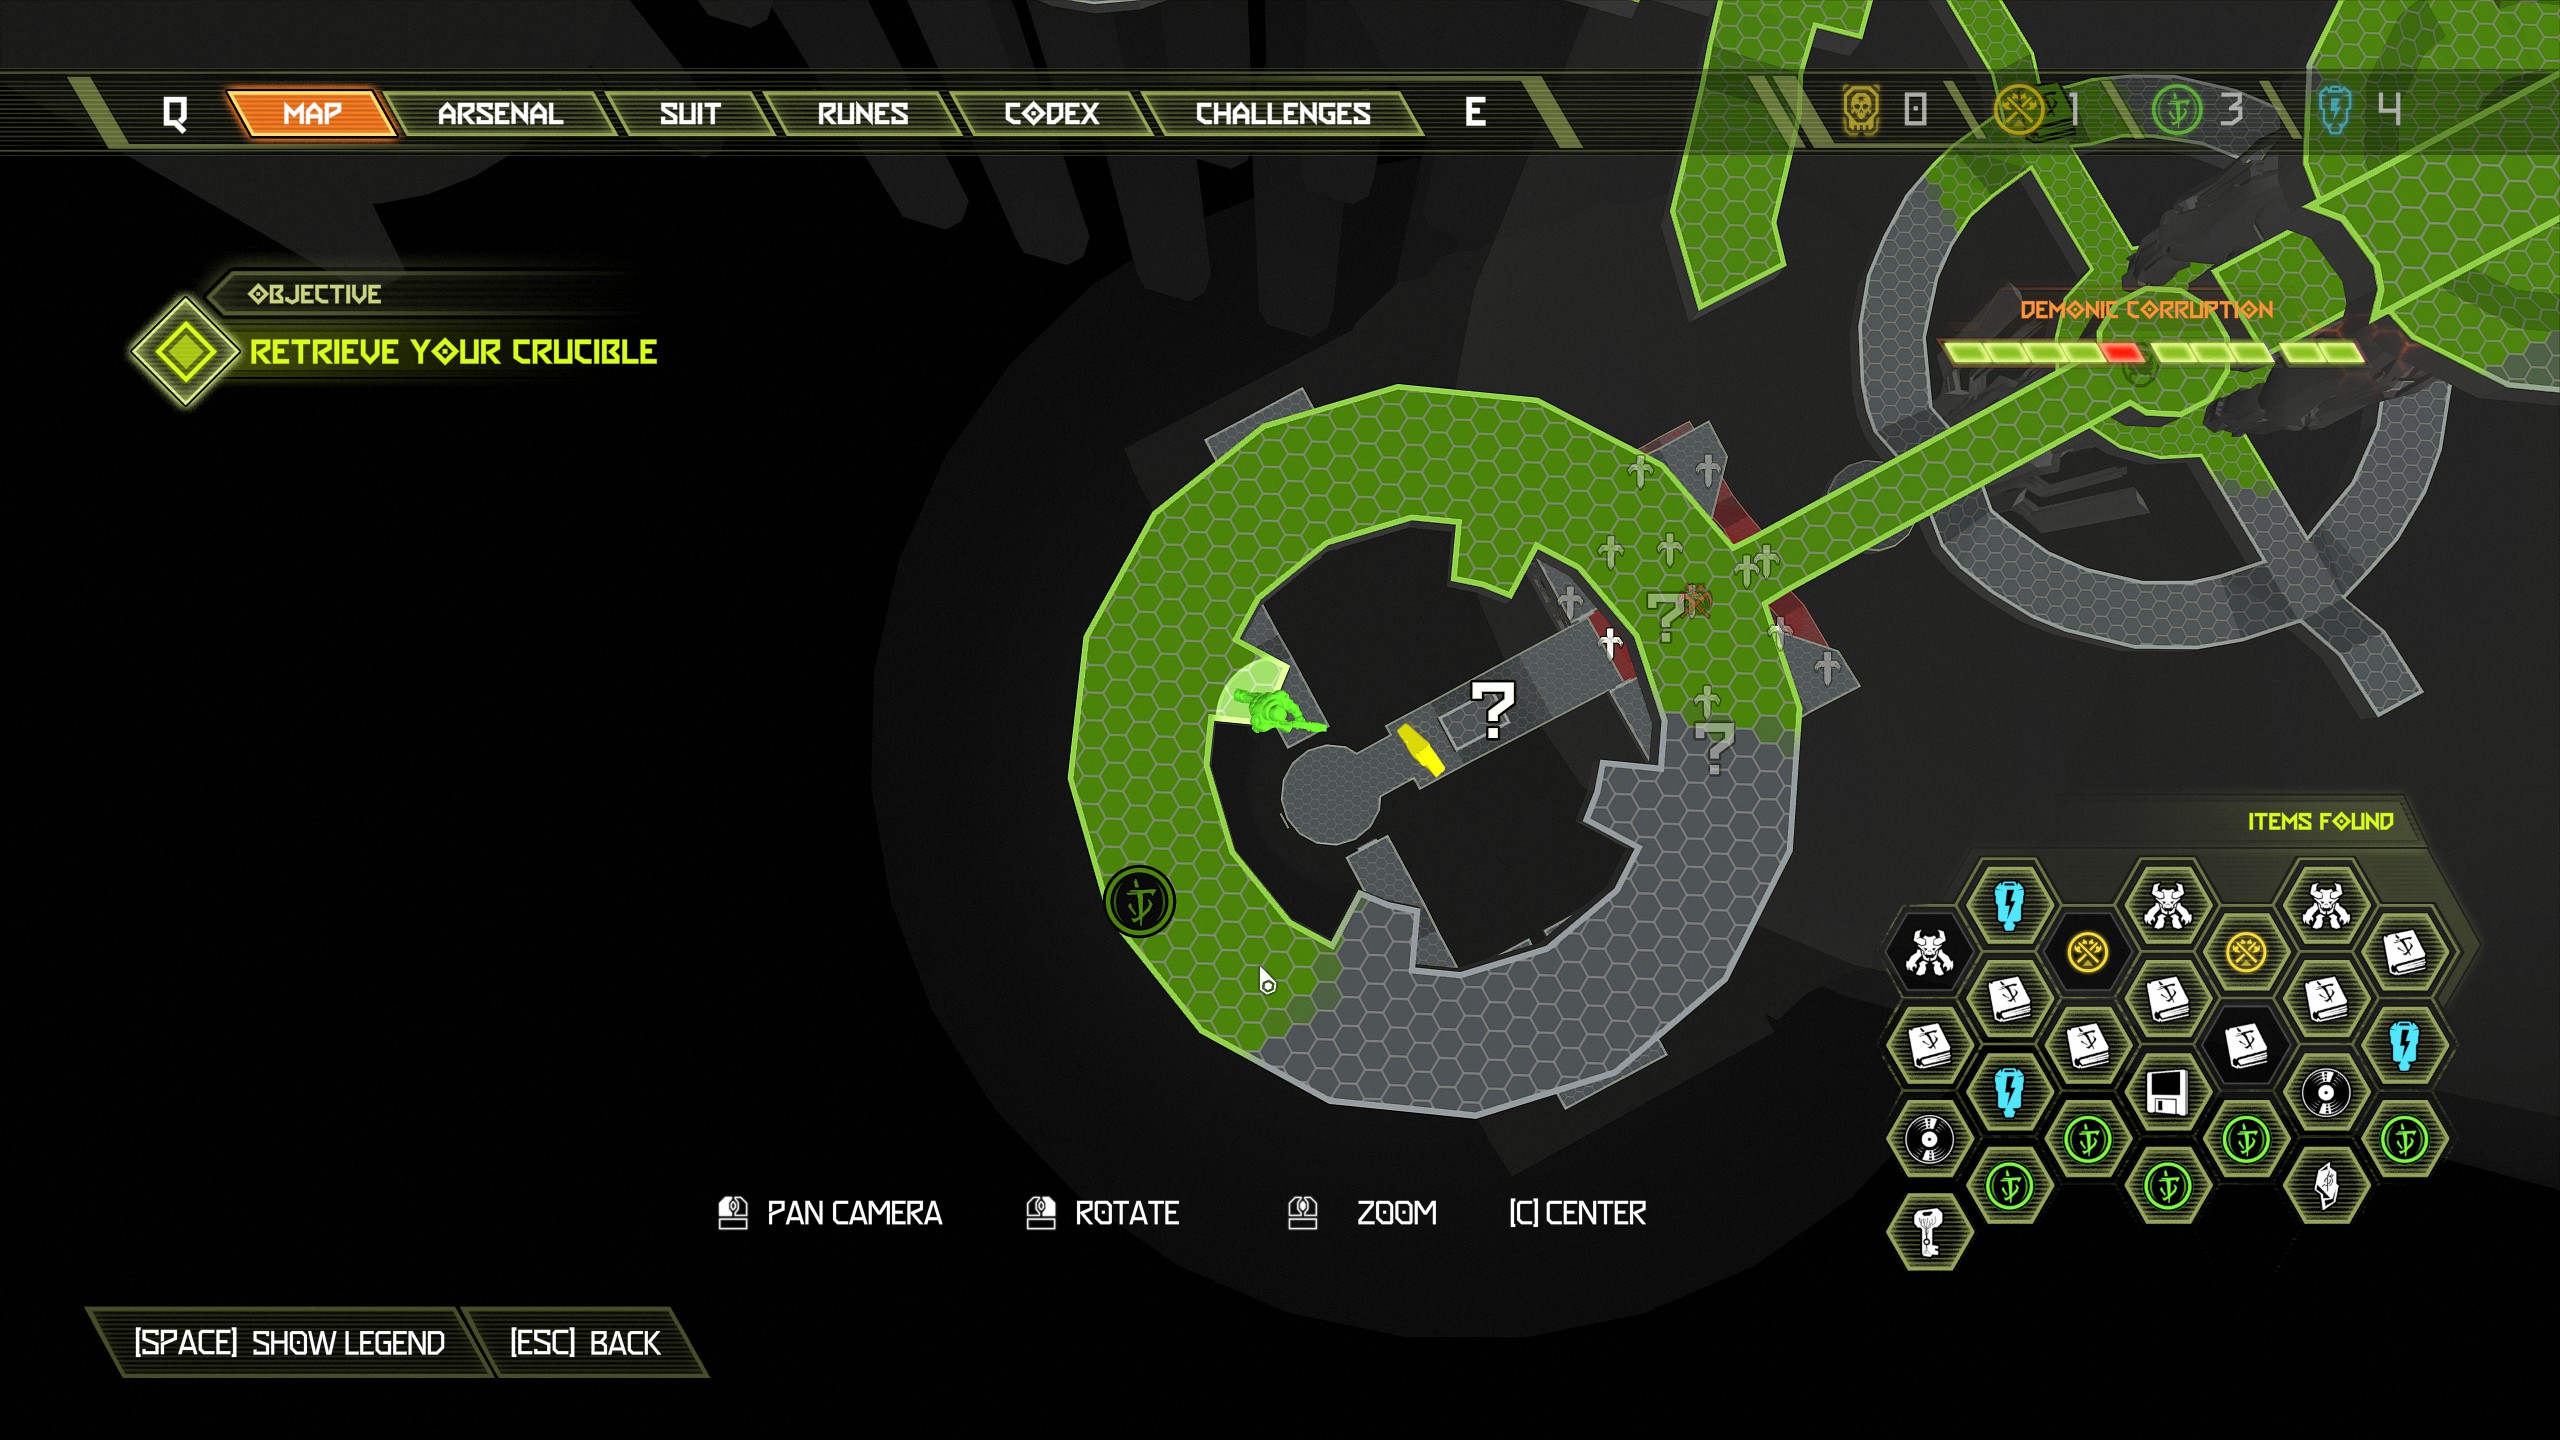
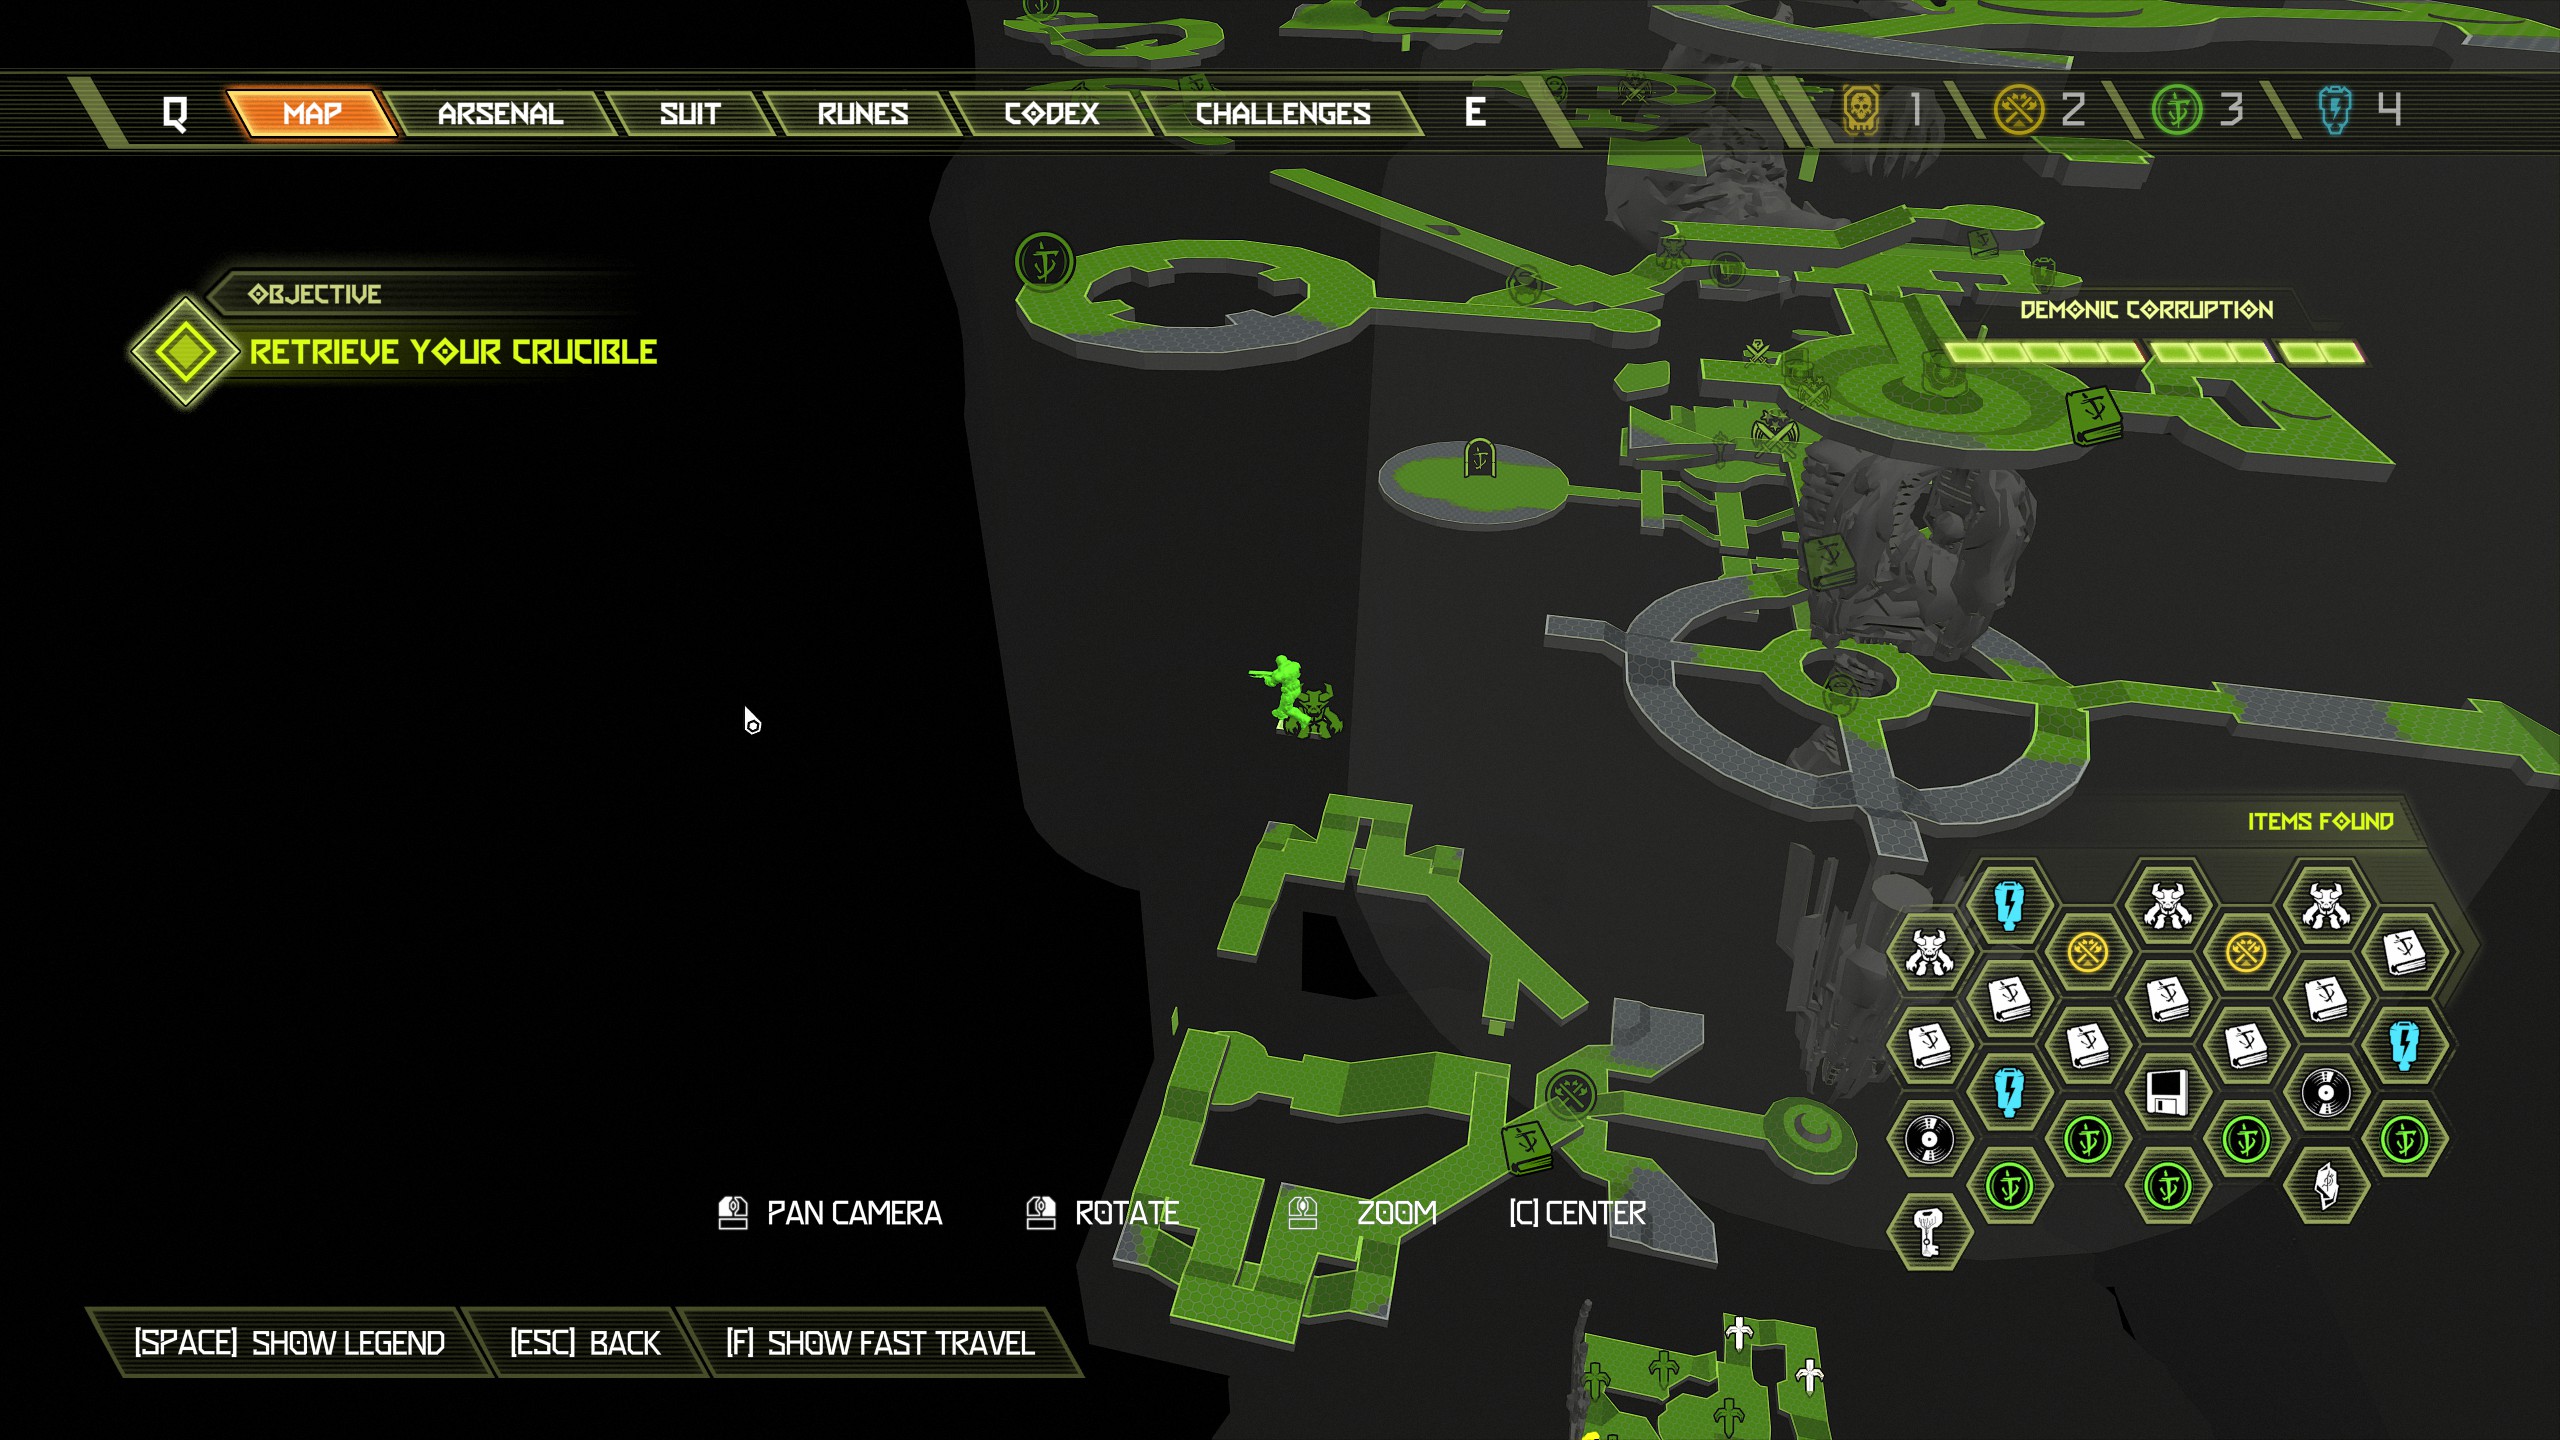
Continue the mission now until you finish draining the water.
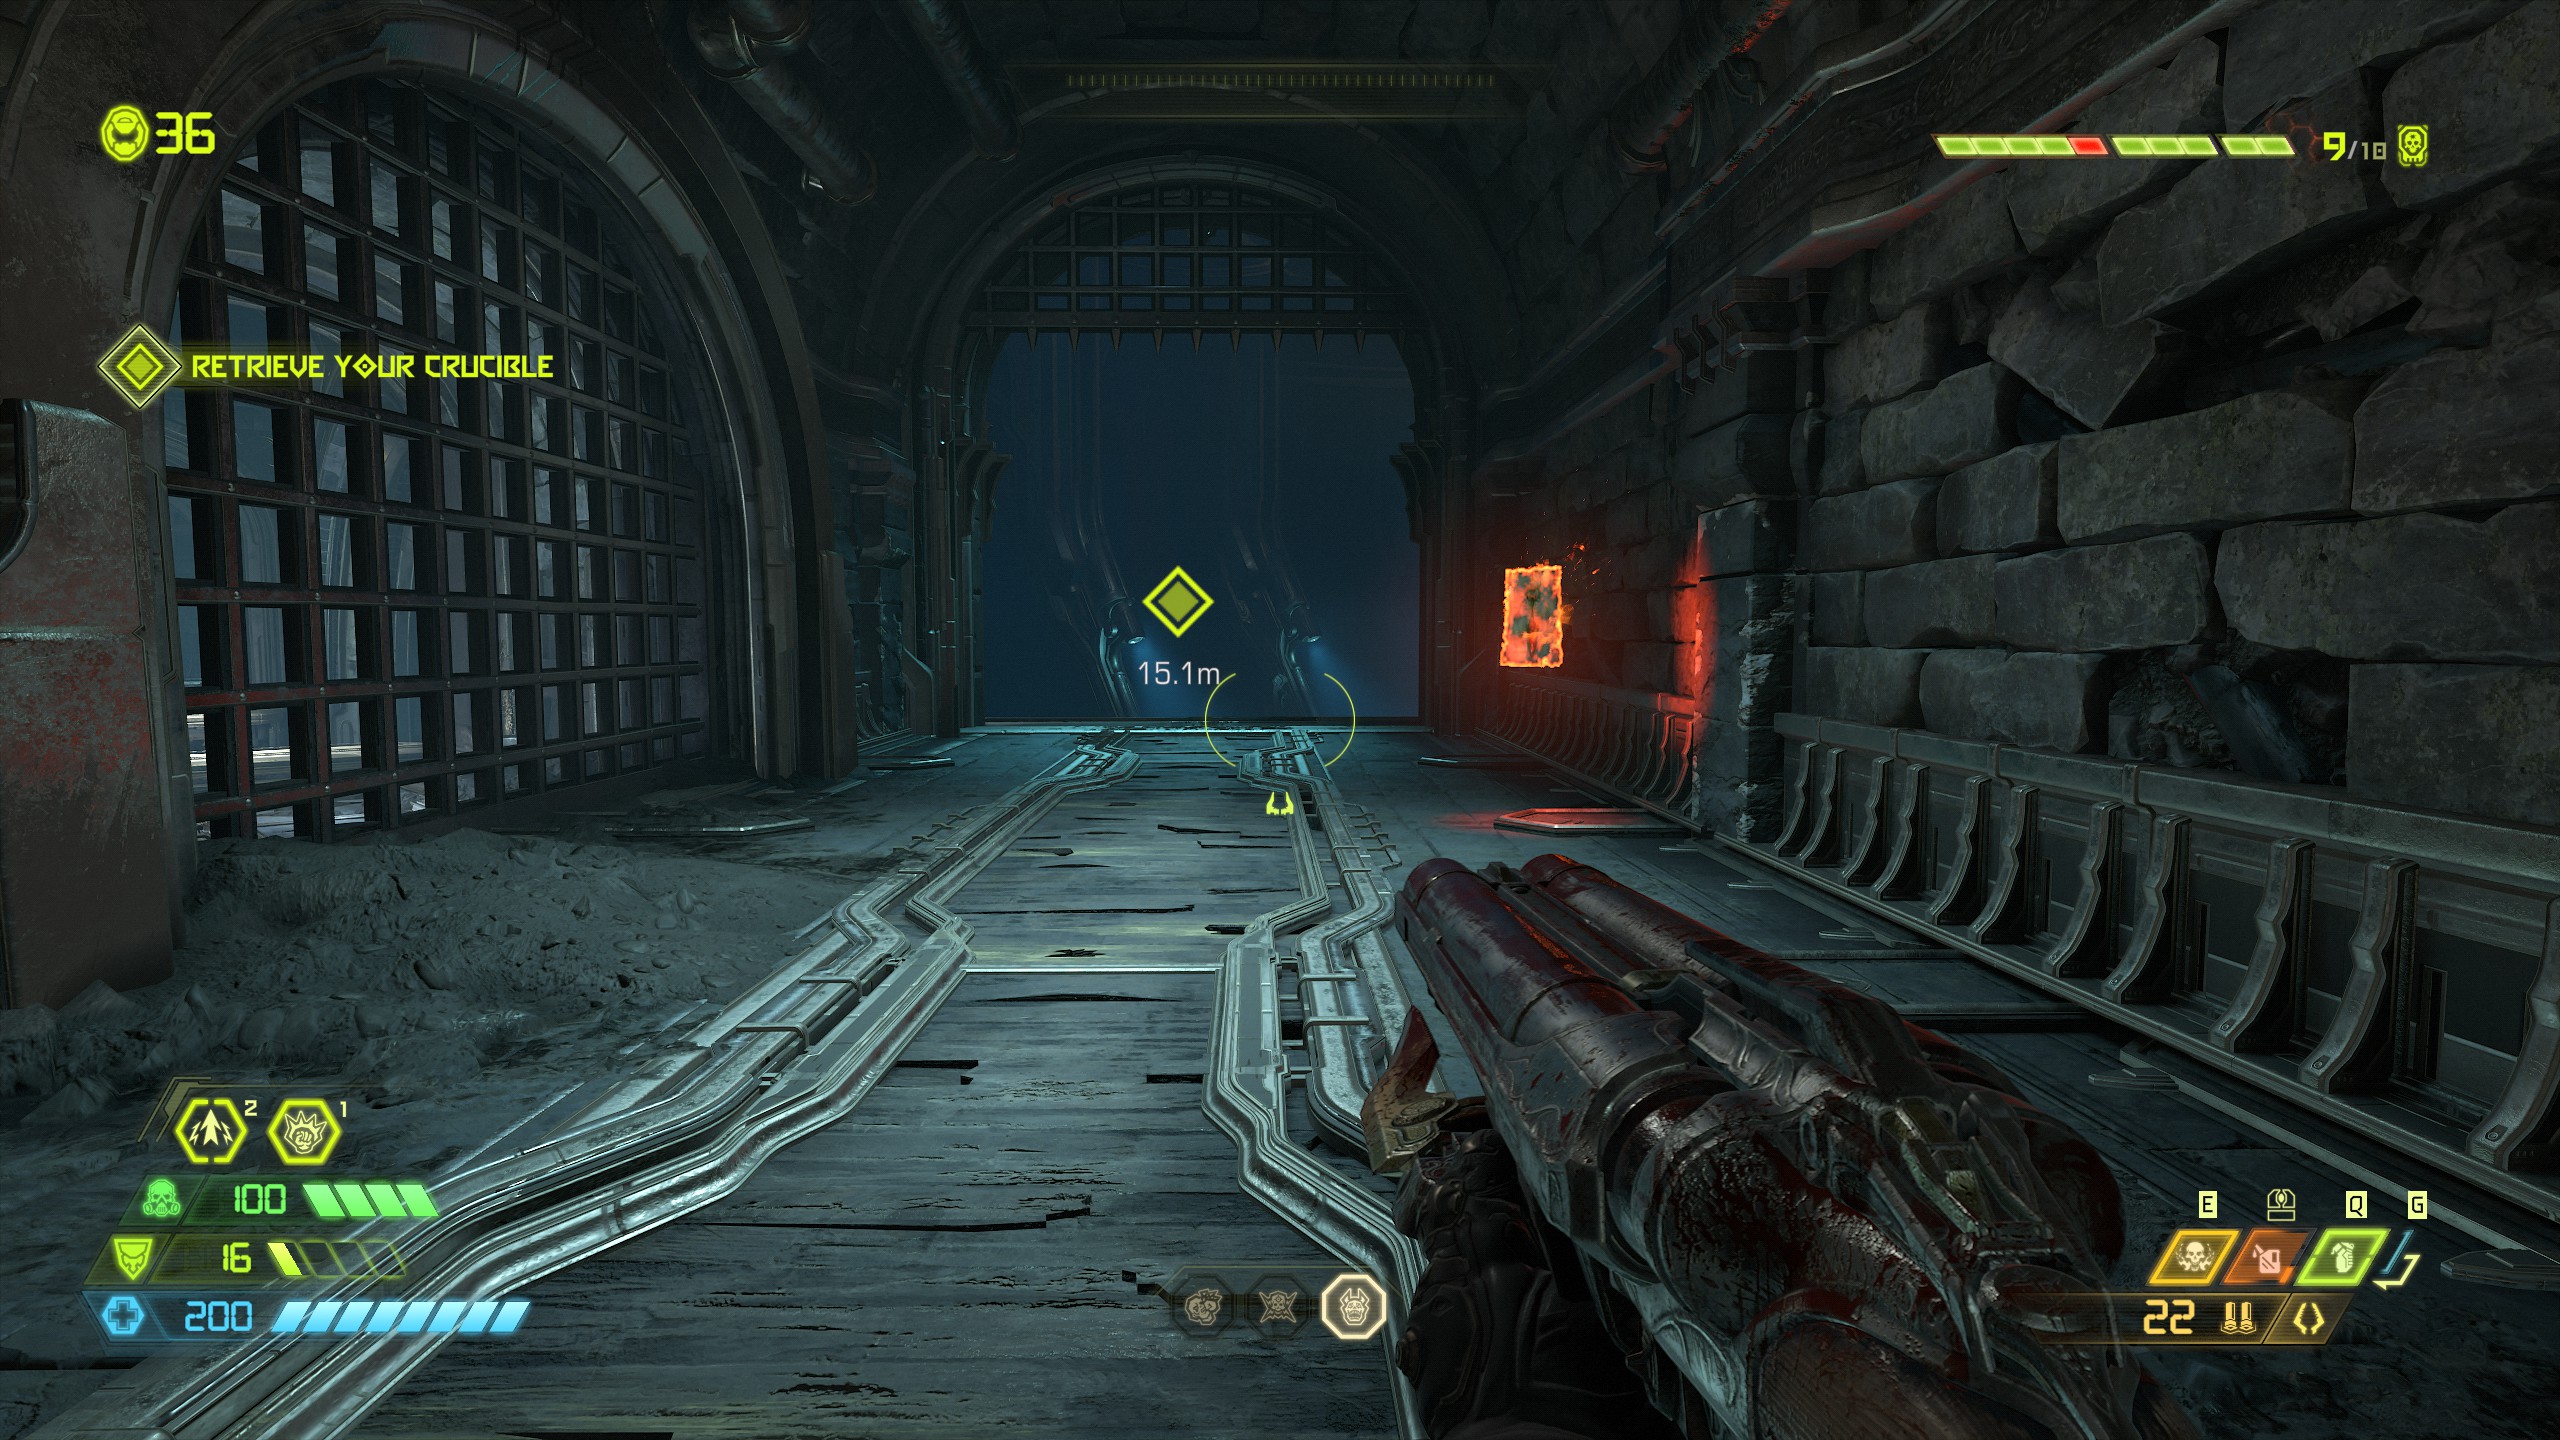
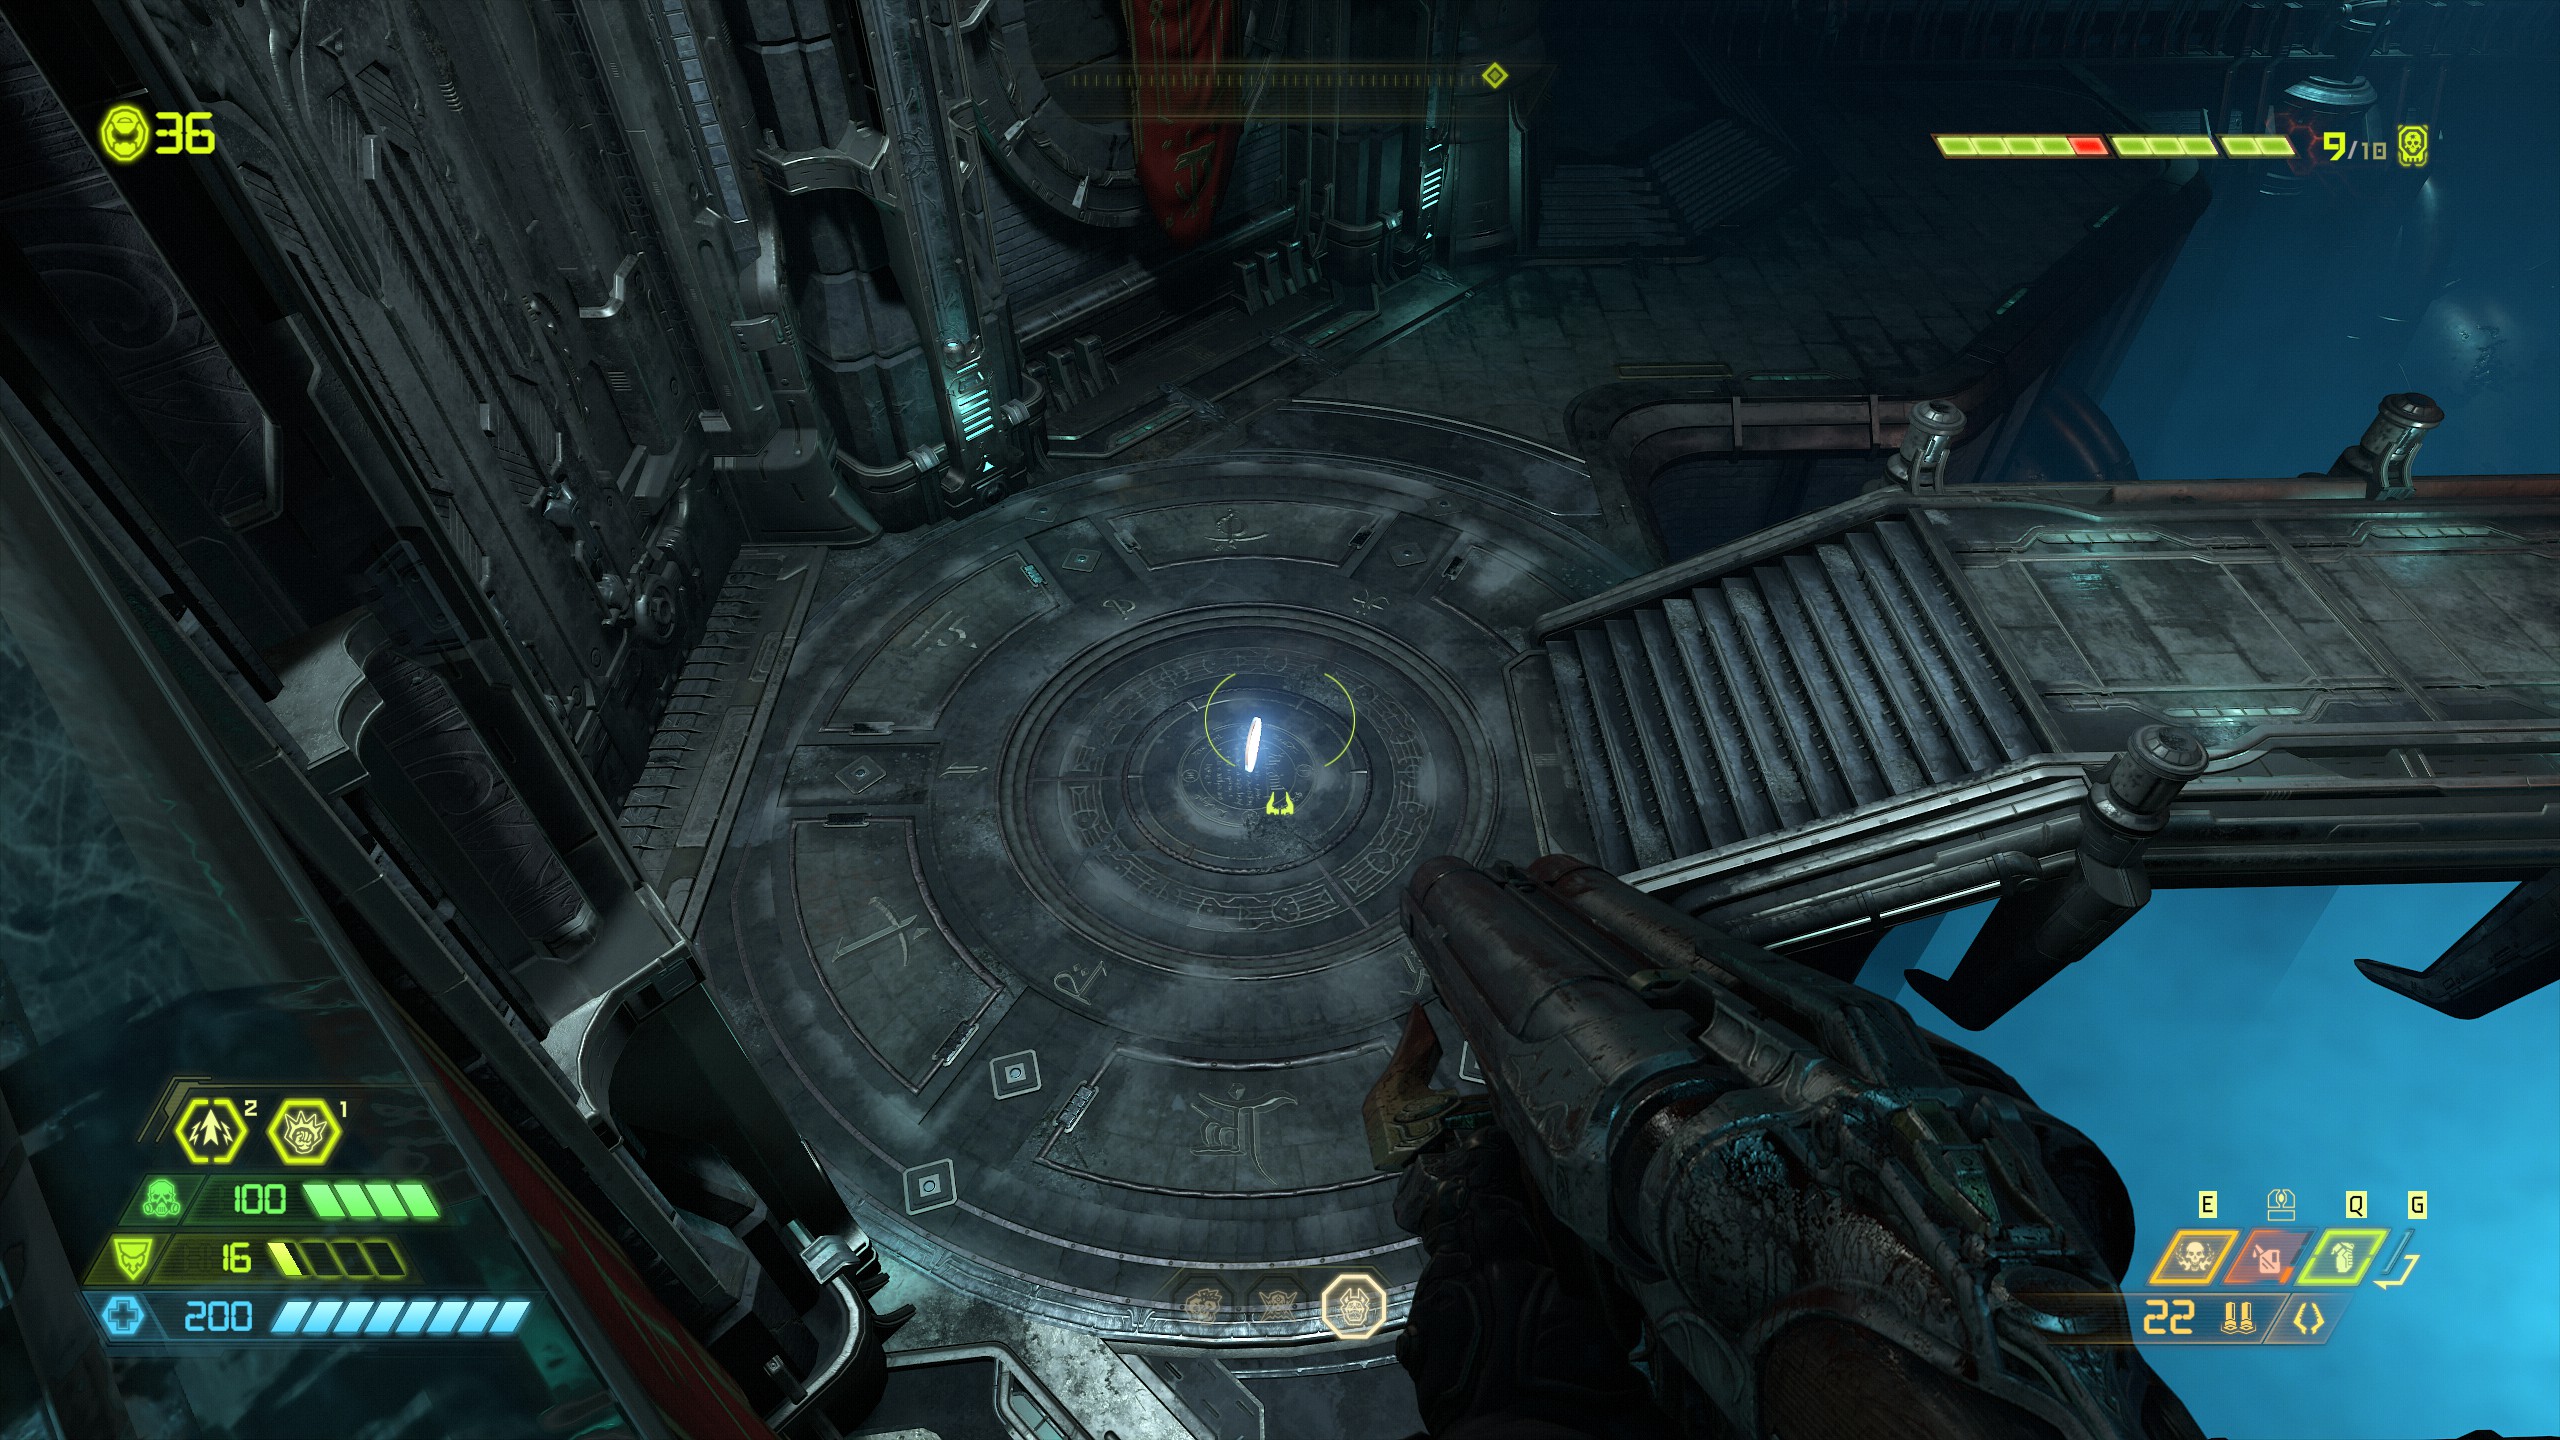
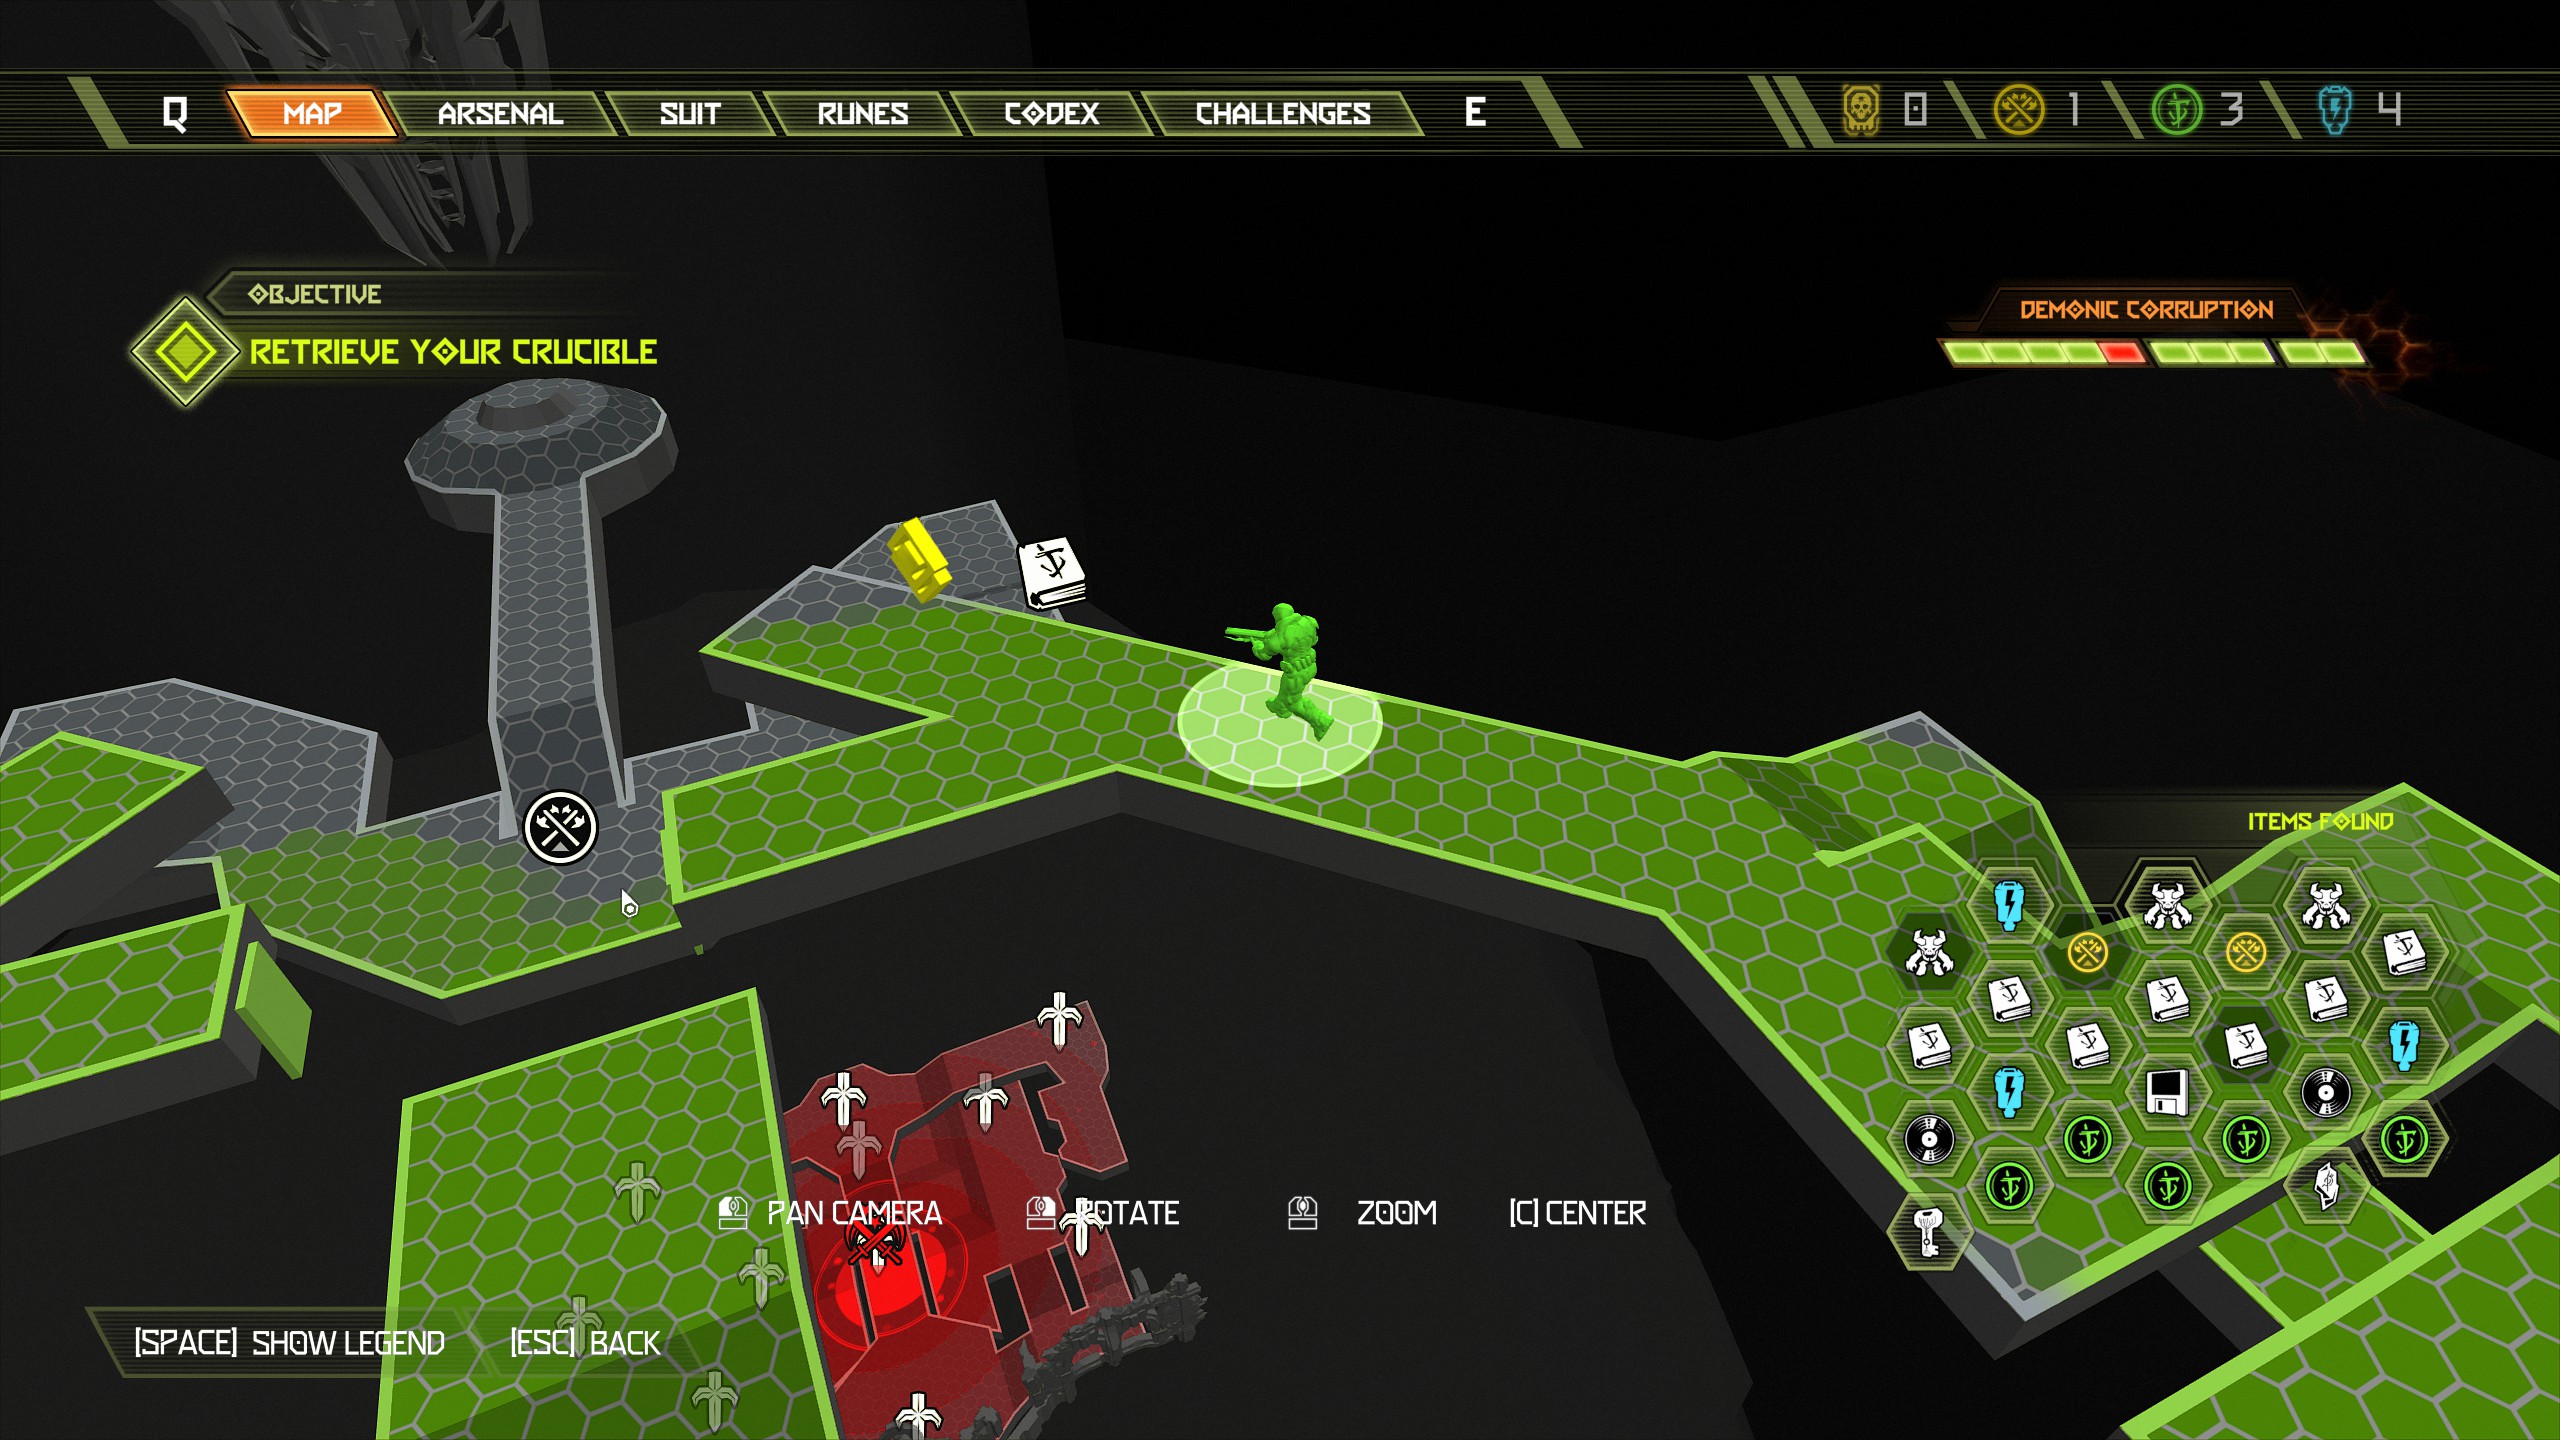
Now continue the mission into the lower level for the main fight, after the fight you will unlock fast travel, so if you missed the earlier secret go back and try again by fast traveling to the Throne Room. That will complete this mission. Don't forget to complete your challenges if you want the achievement.
Fortress of Doom [Part 7]
NOTE: We are now in the fortress for the last time until we reach the end of the campaign. If you're missing any slayer outfits i would suggest collecting them instead of the praetor suit token because from this point on you will no longer collect sentinel batteries. Current items to collect:
- 1 Praetor suit token
- or
- 1/2 Slayer Outfits
- 1 Arc Broadcast Log
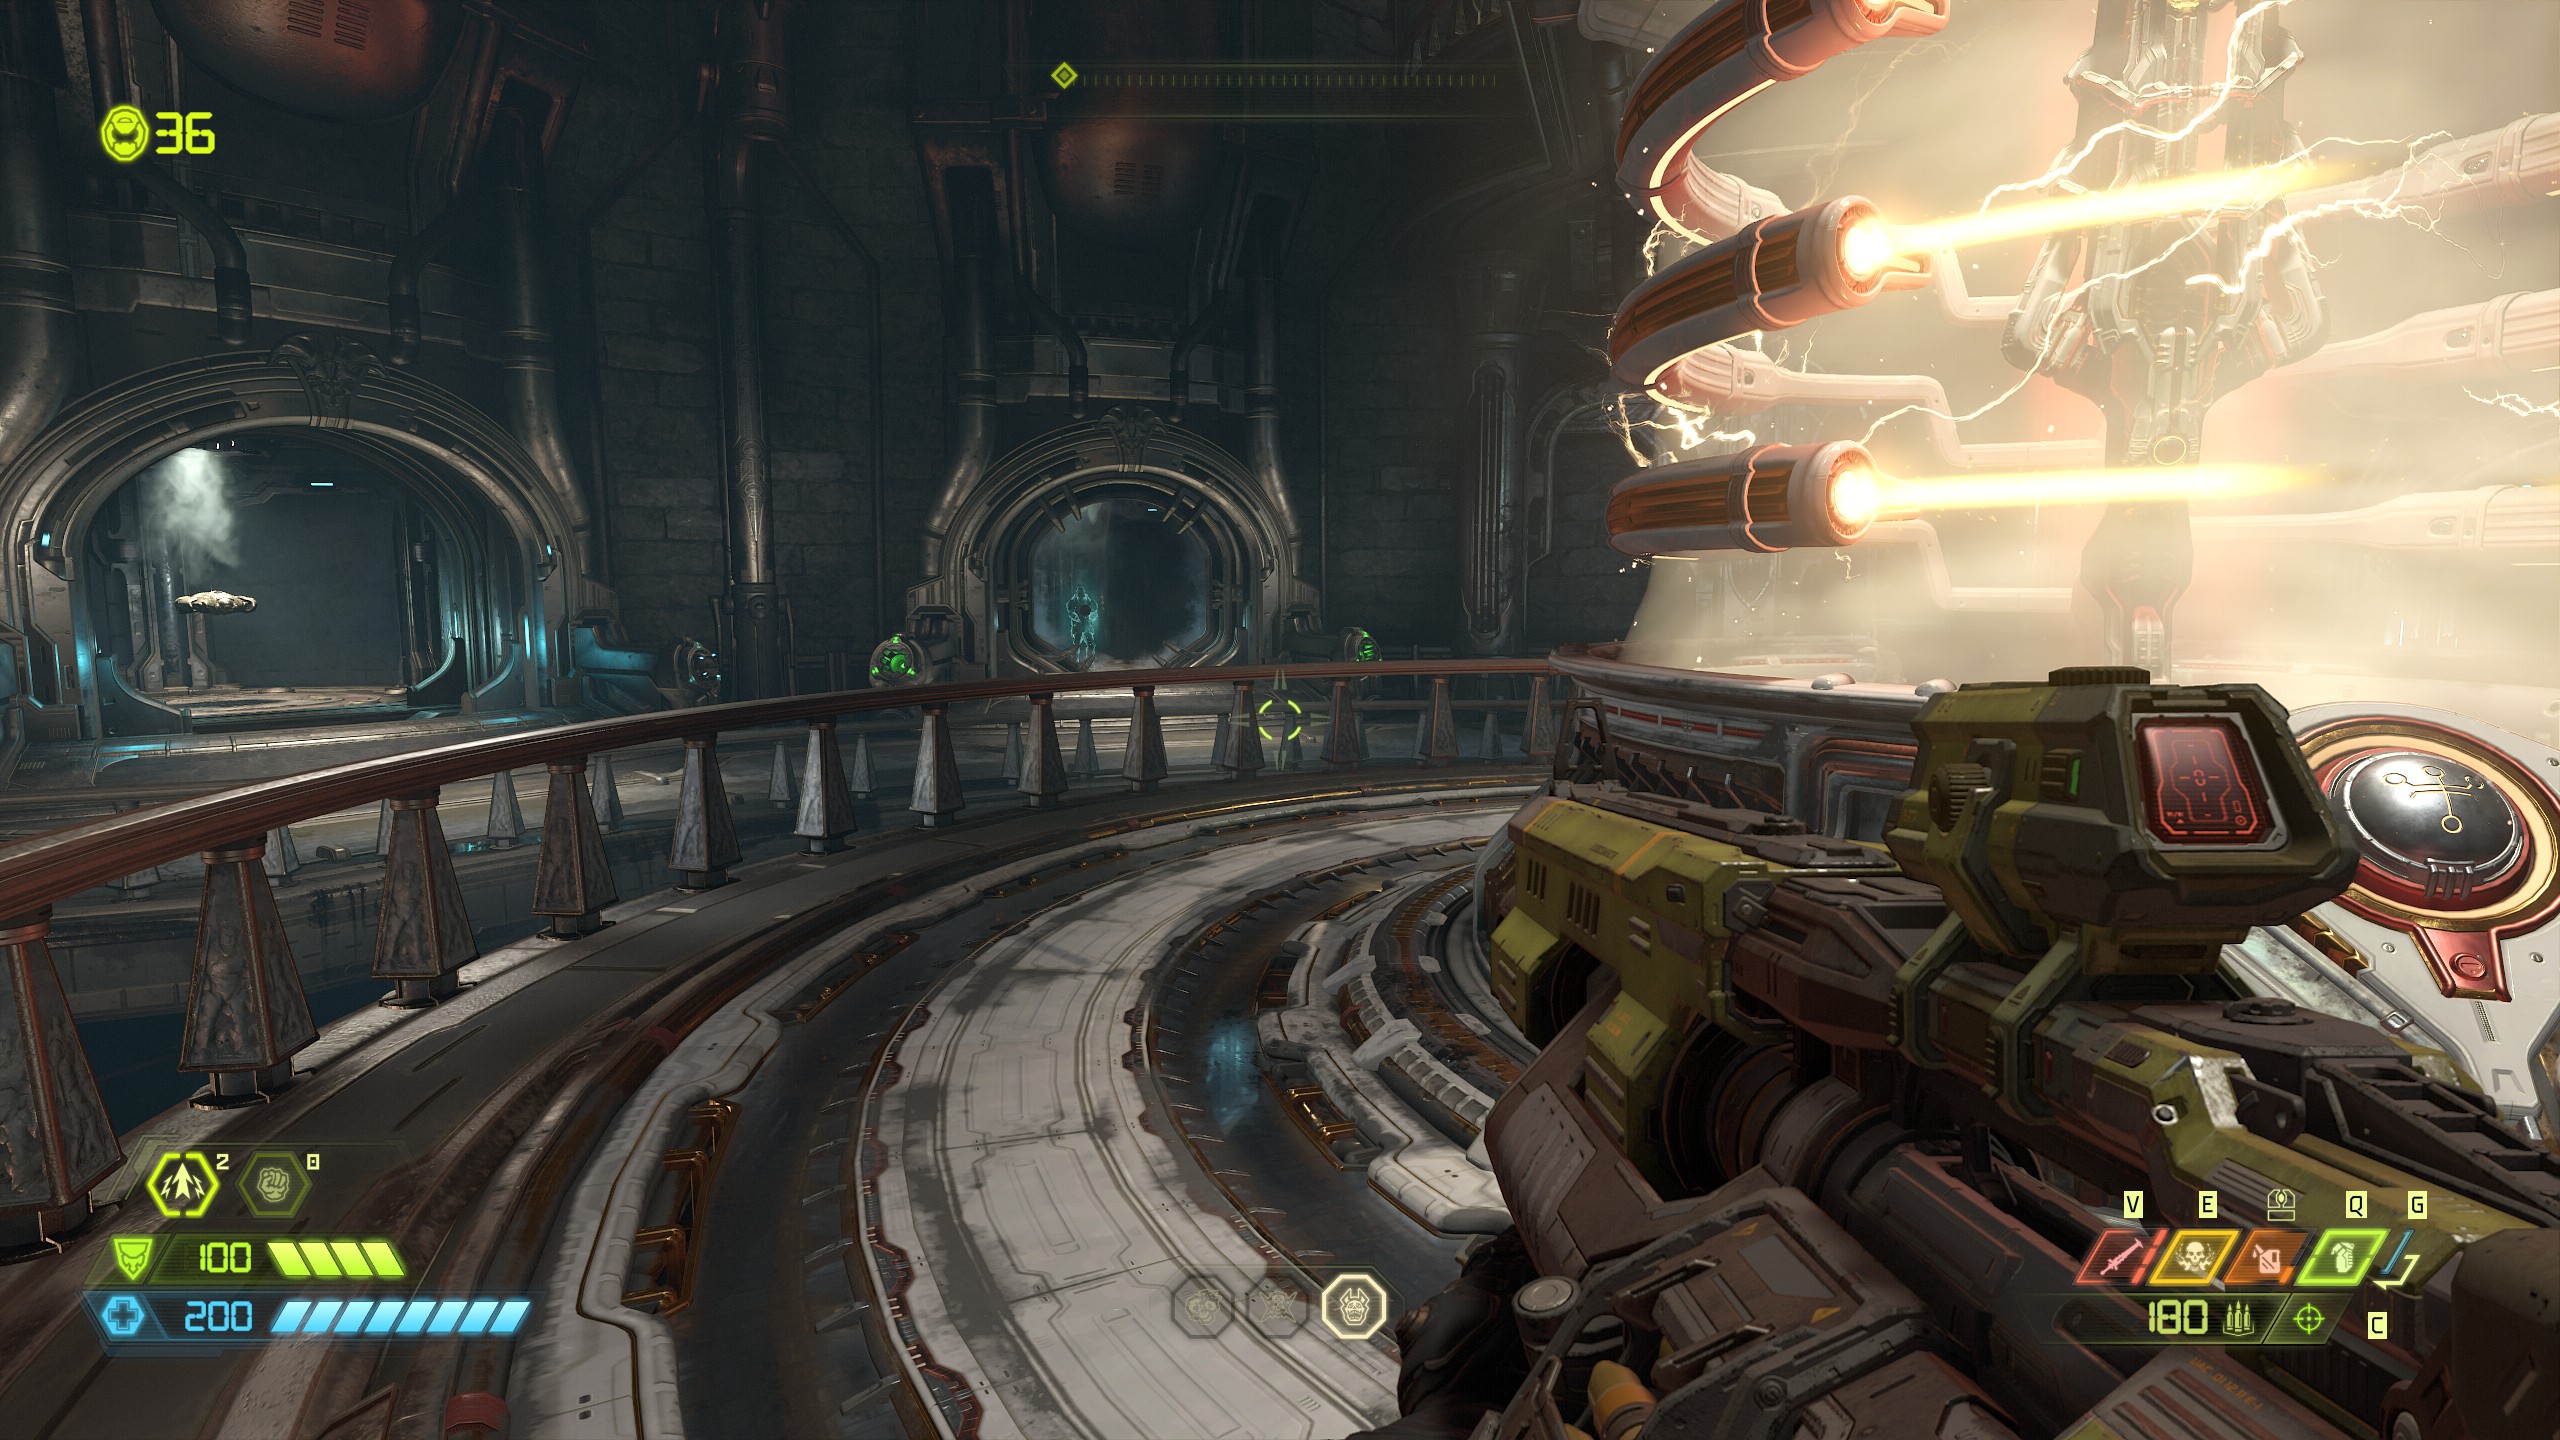
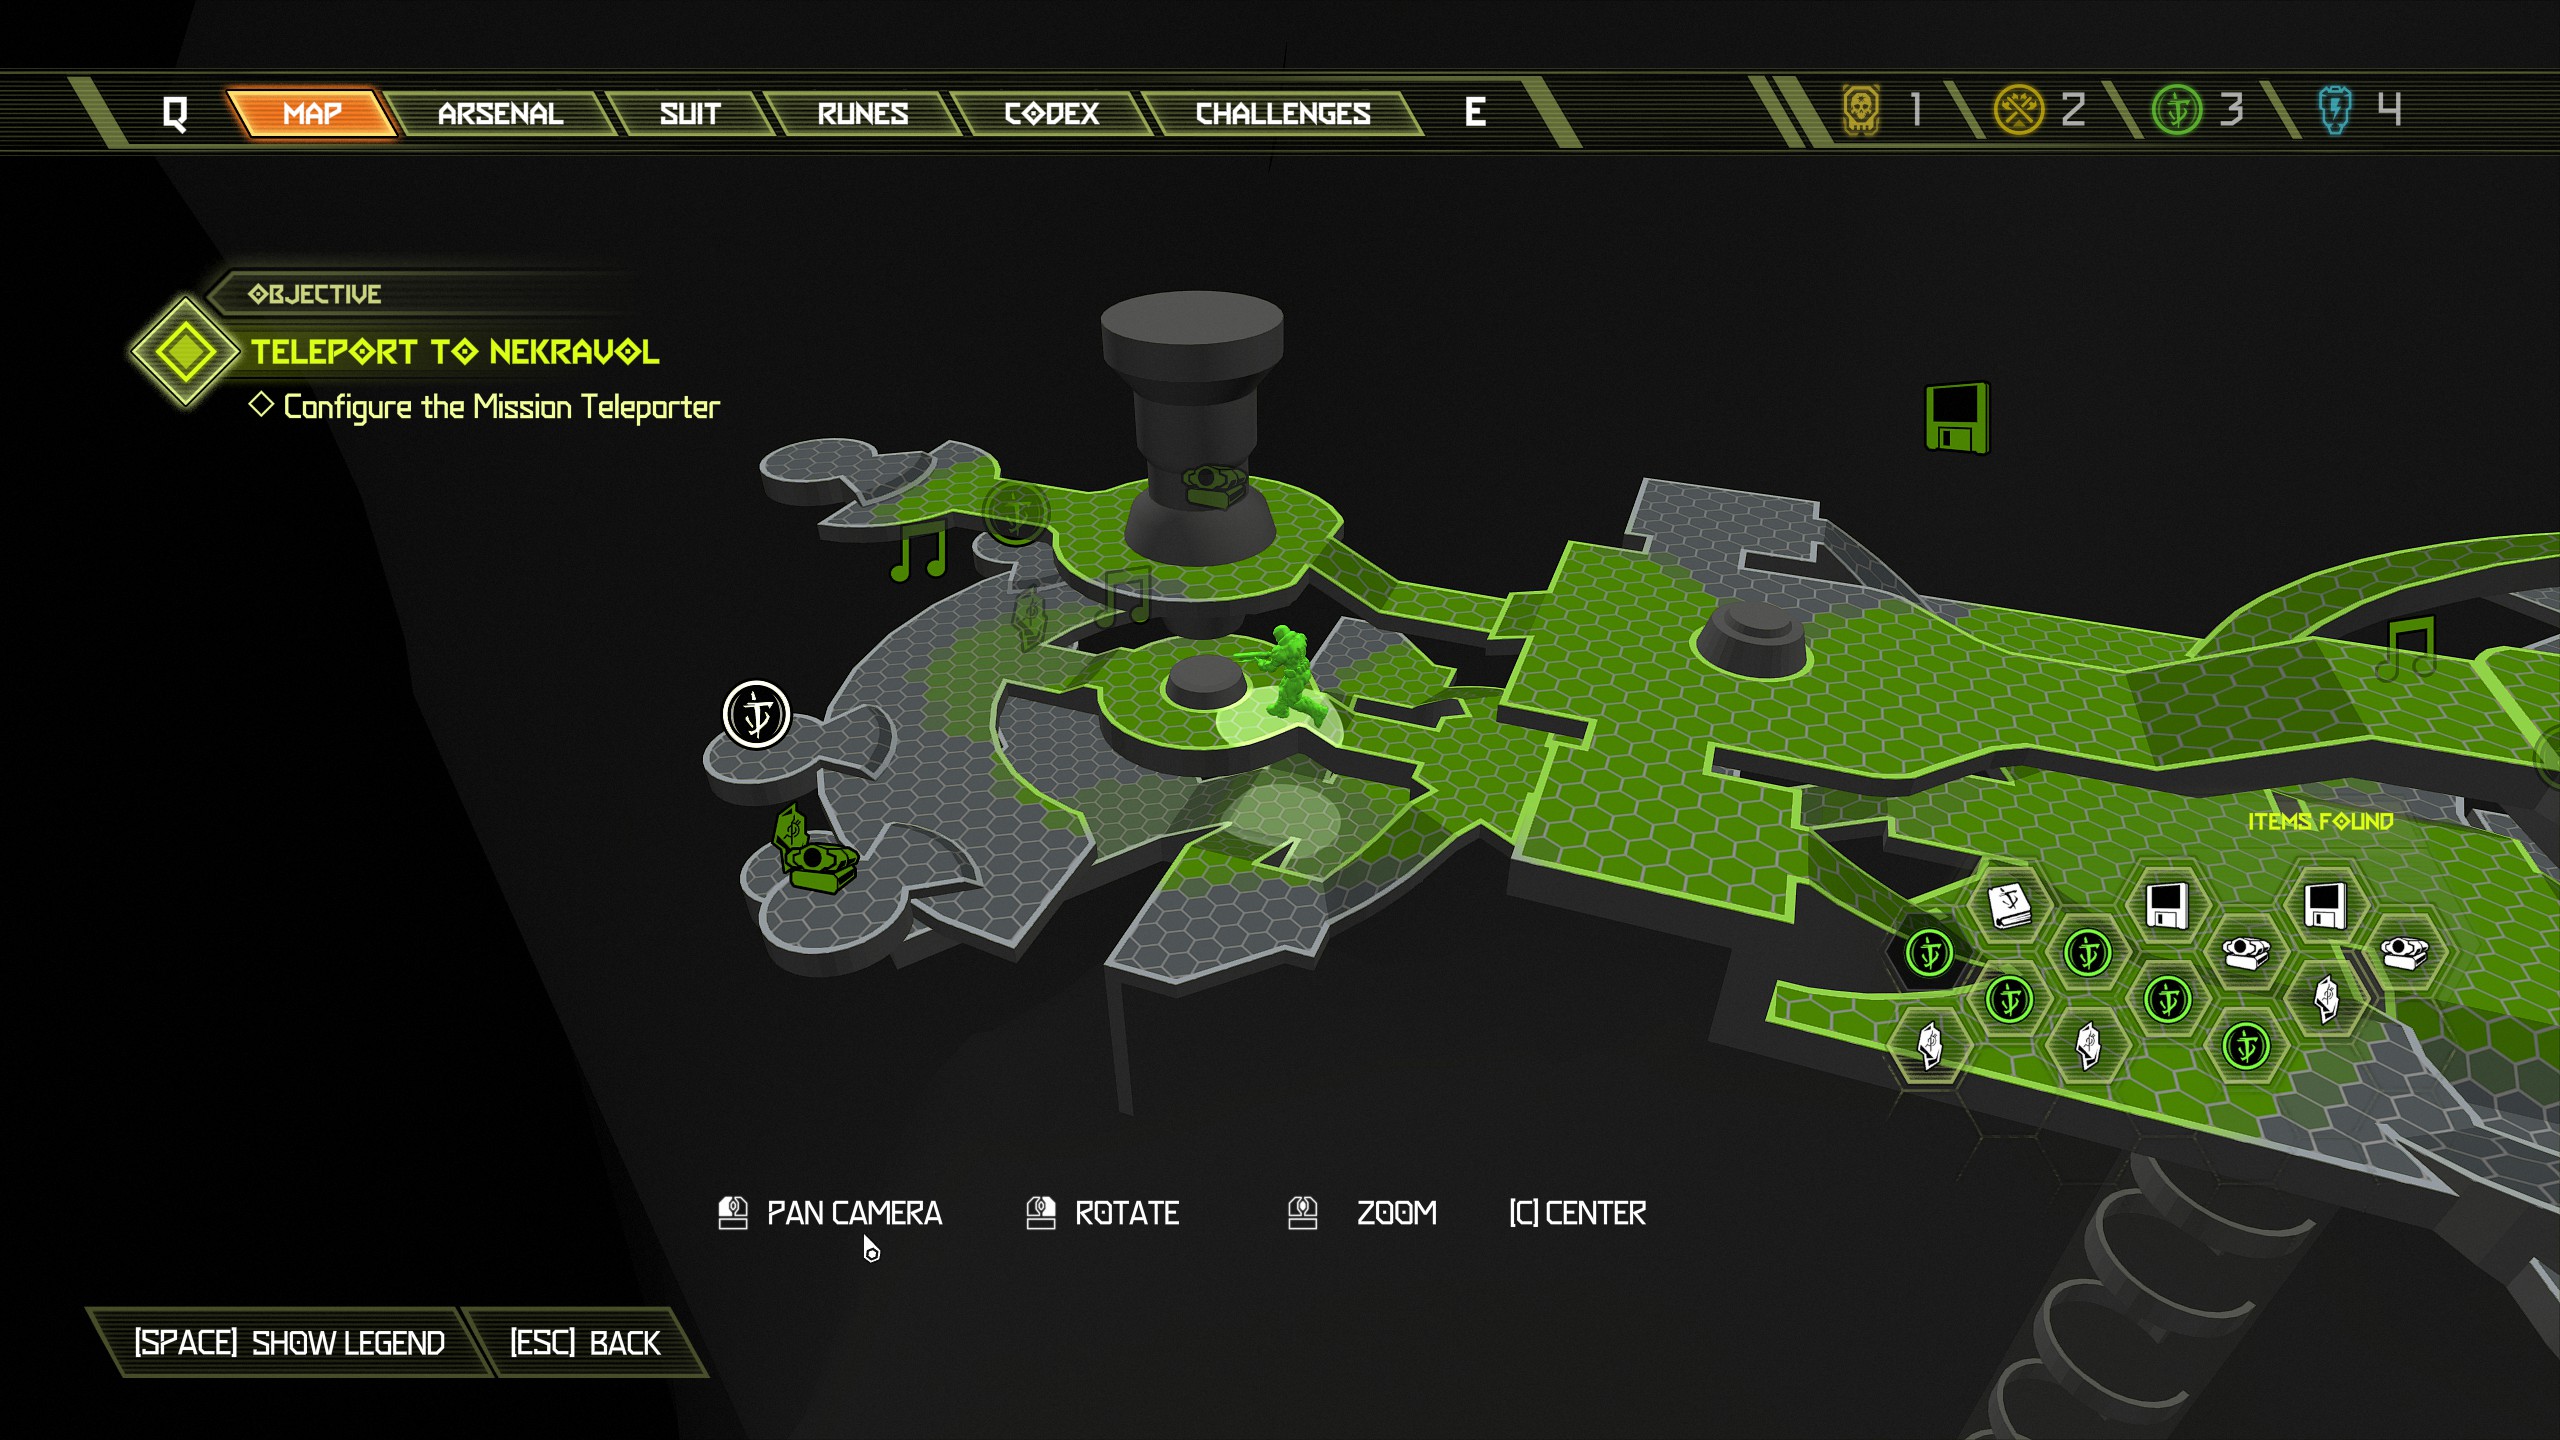
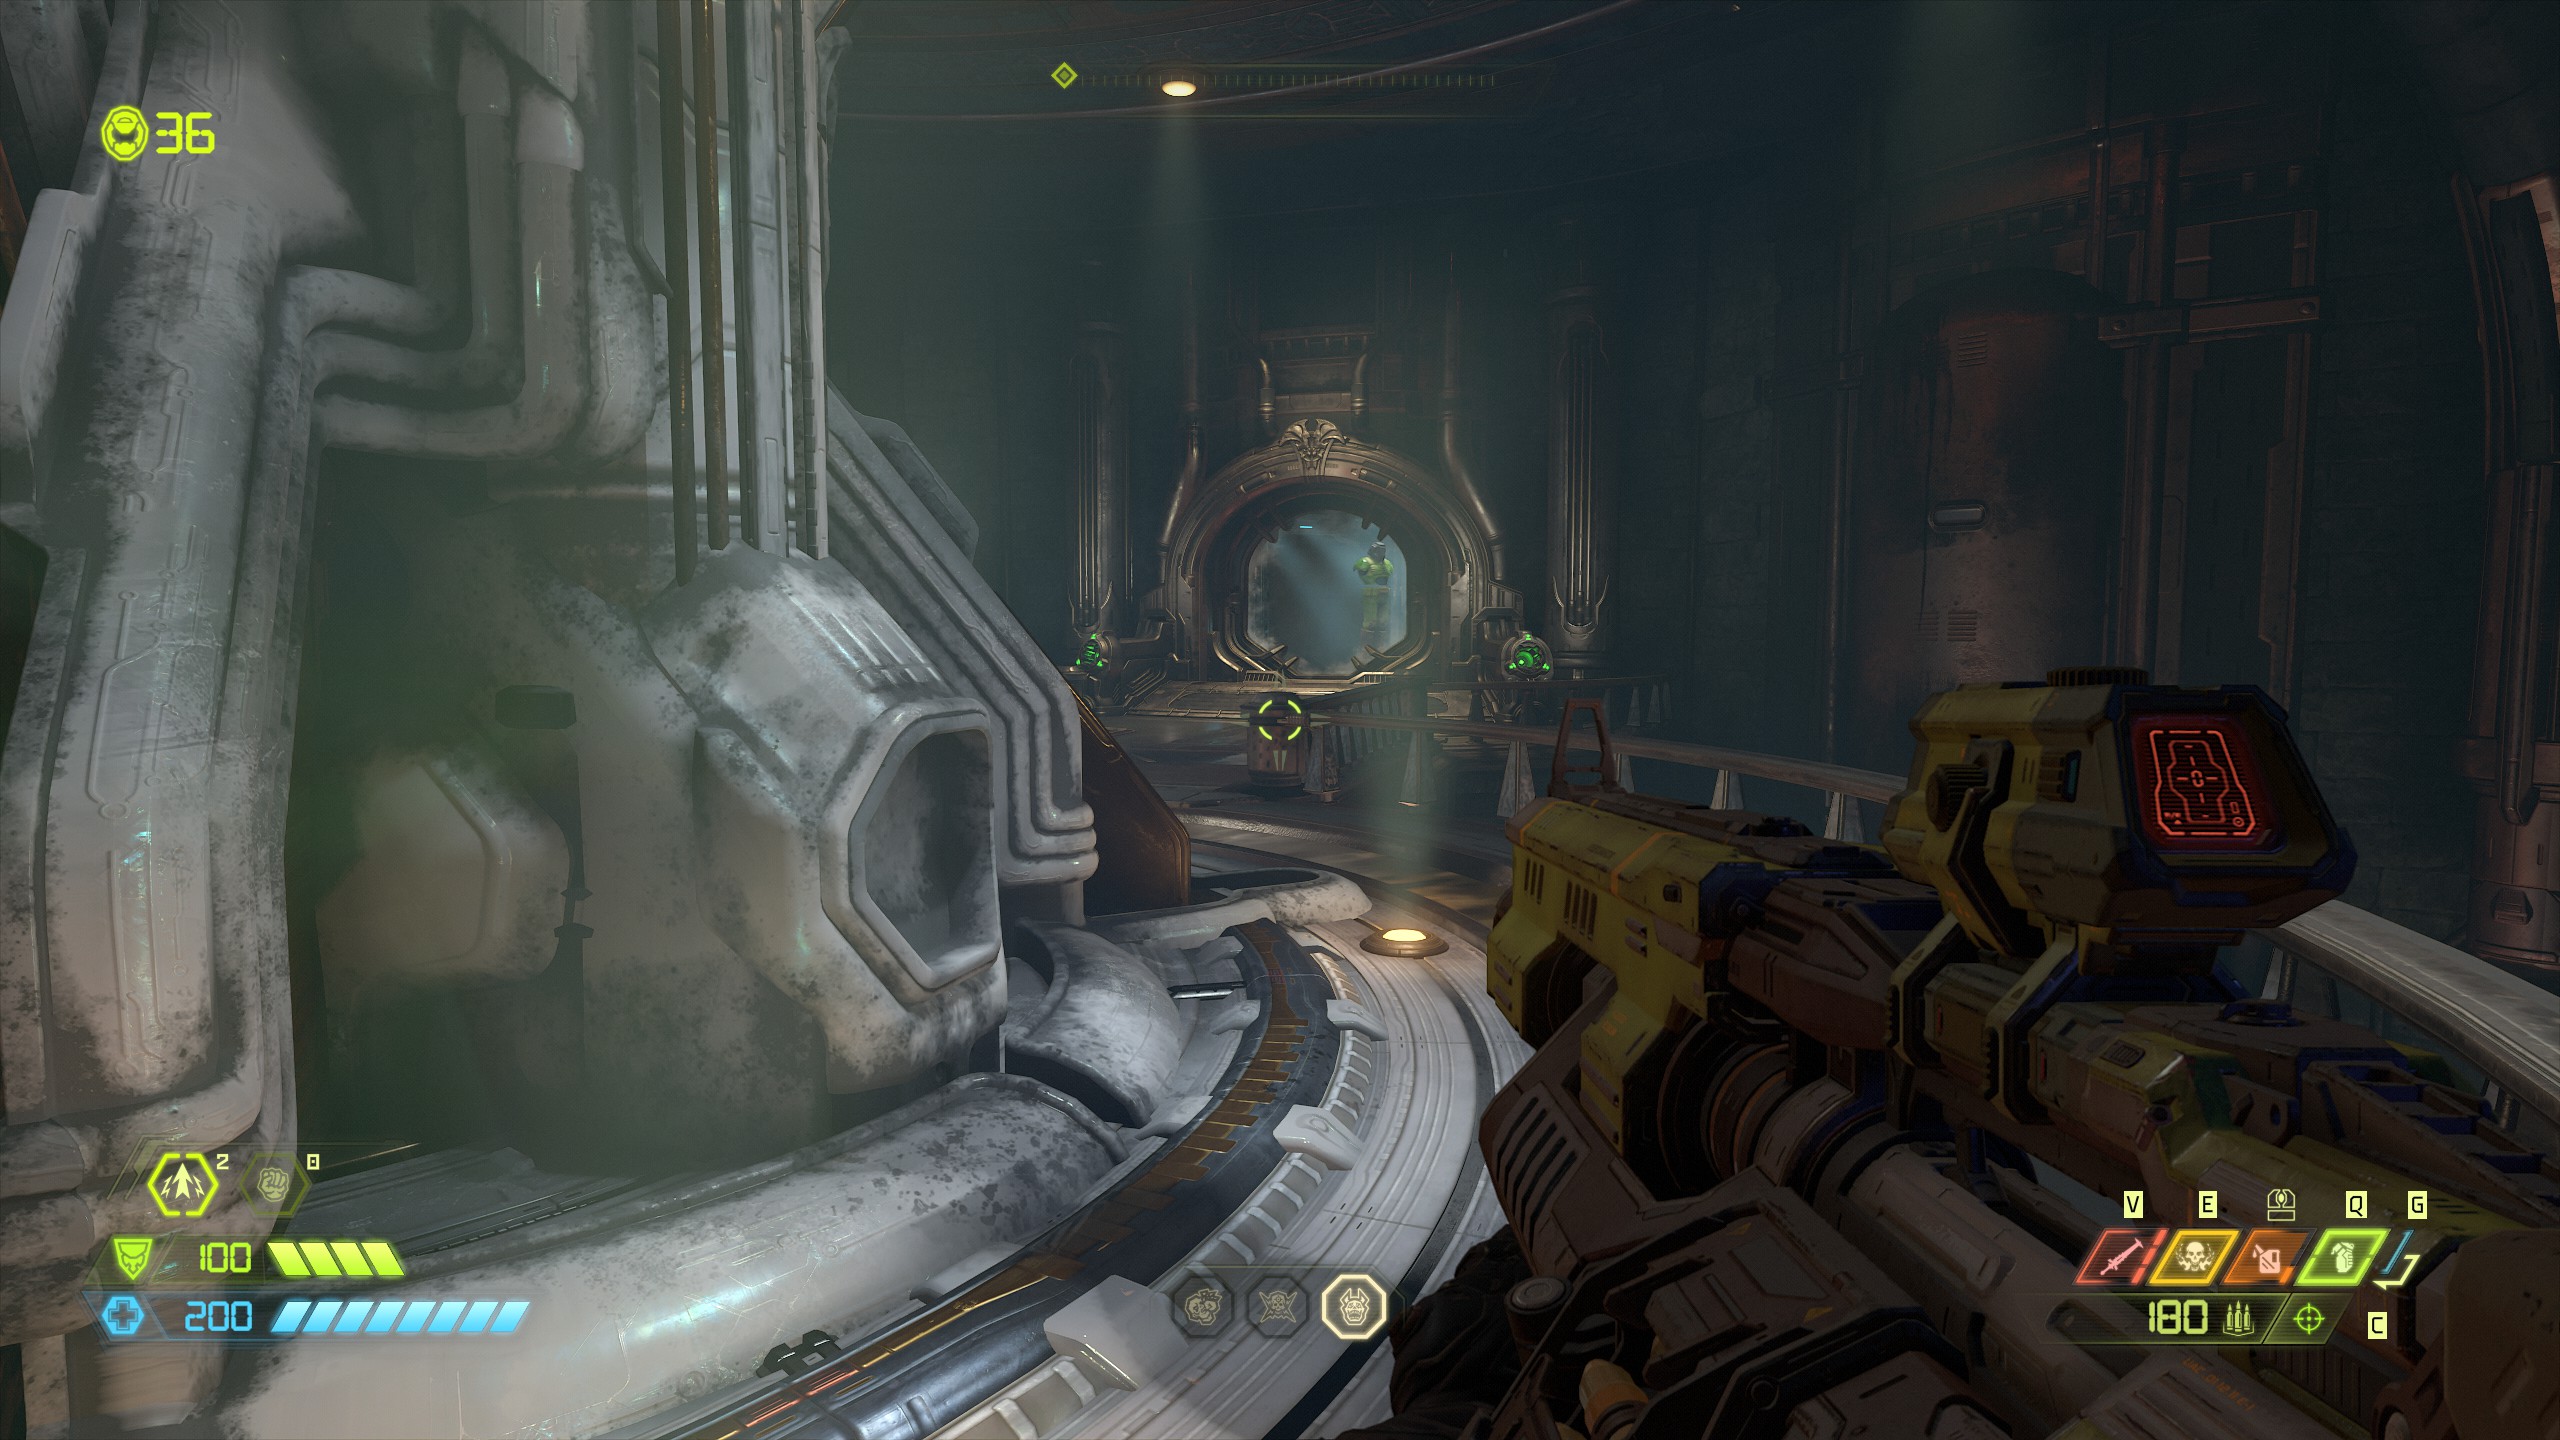
We will come back one more time at the end of the campaign and collect the last two items which will be another slayer suit and the Demaykr. Time to start another mission
Mission 10: Nekravol [Part 1]
NOTE: Ok, this is a good mission and one i enjoyed quite a bit but it can be tricky to find some of the items so don't move on too fast. There is no slayer gate on this mission so we won't be looking for a key. I will guide you as best i can as always. This mission contains:
- 2 Codex Pages
- 1 Album
- 3 Praetor Suit Tokens
- 2 Secret Encounters
- 2 Mastery Tokens
- 1 Automap
- 3 Doomtoys
- 3 Extra Lives
- 1 Cheat Code
- 1 Sentinel Crystal
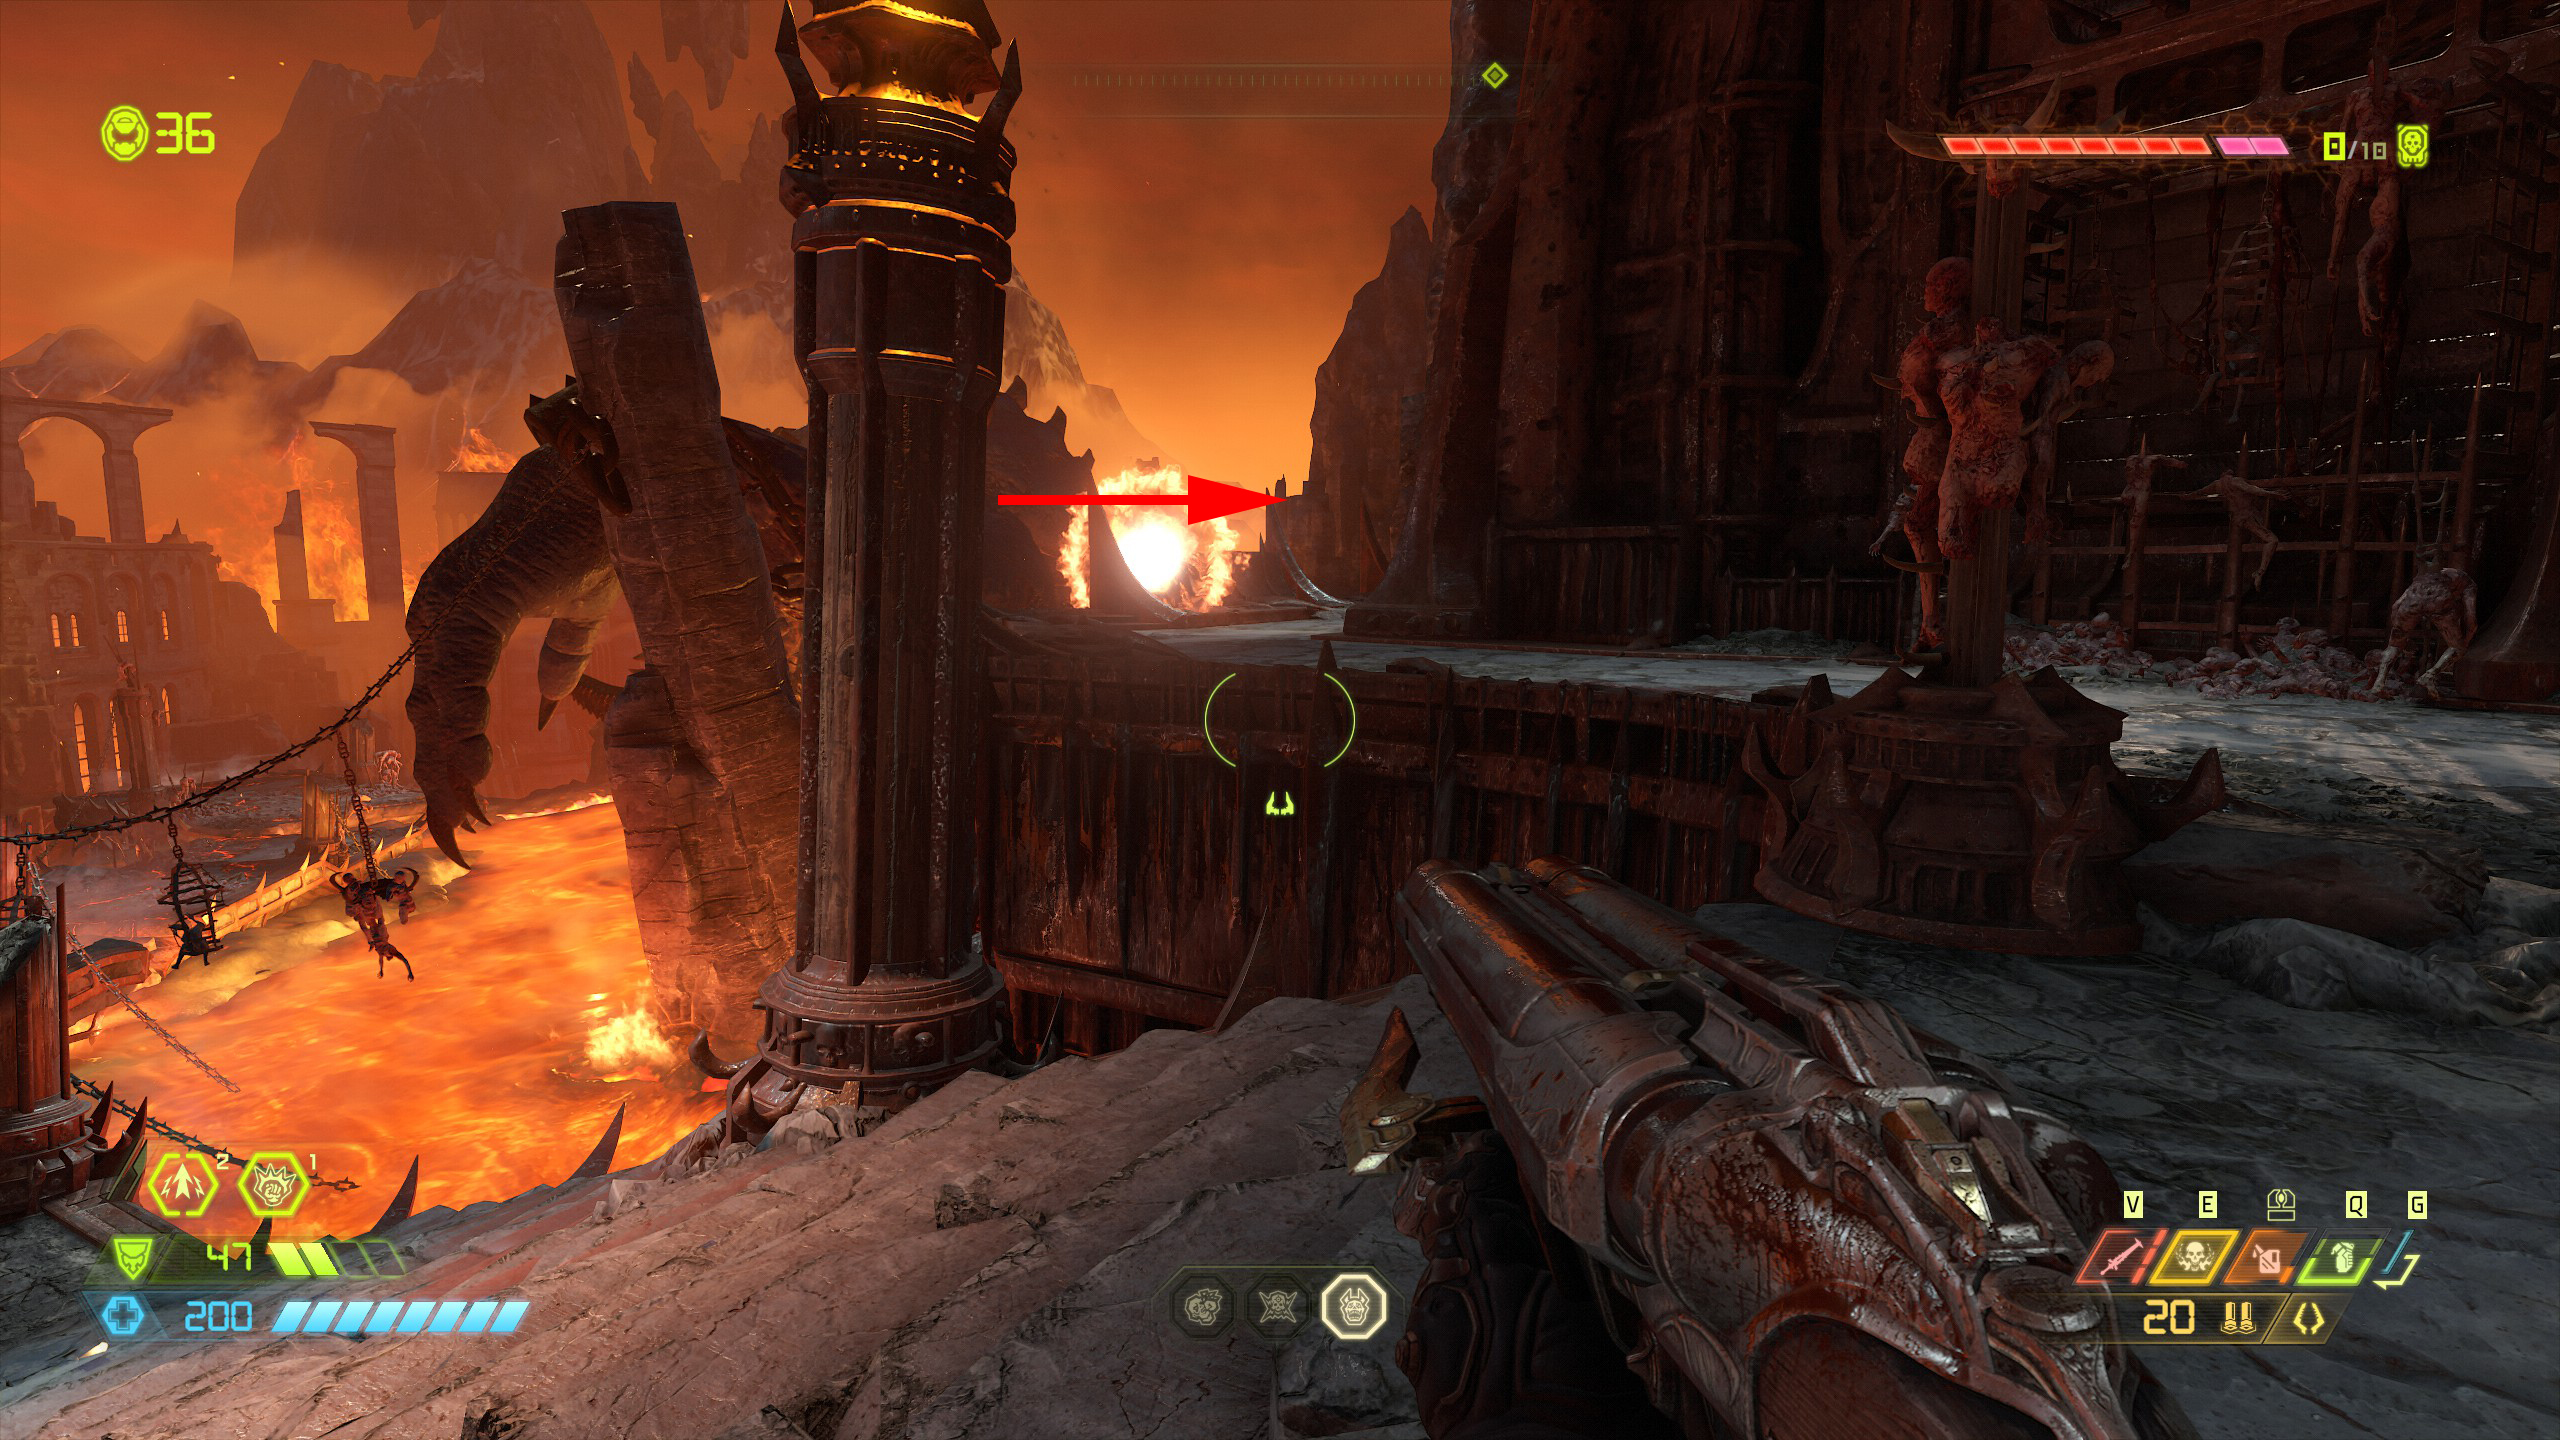
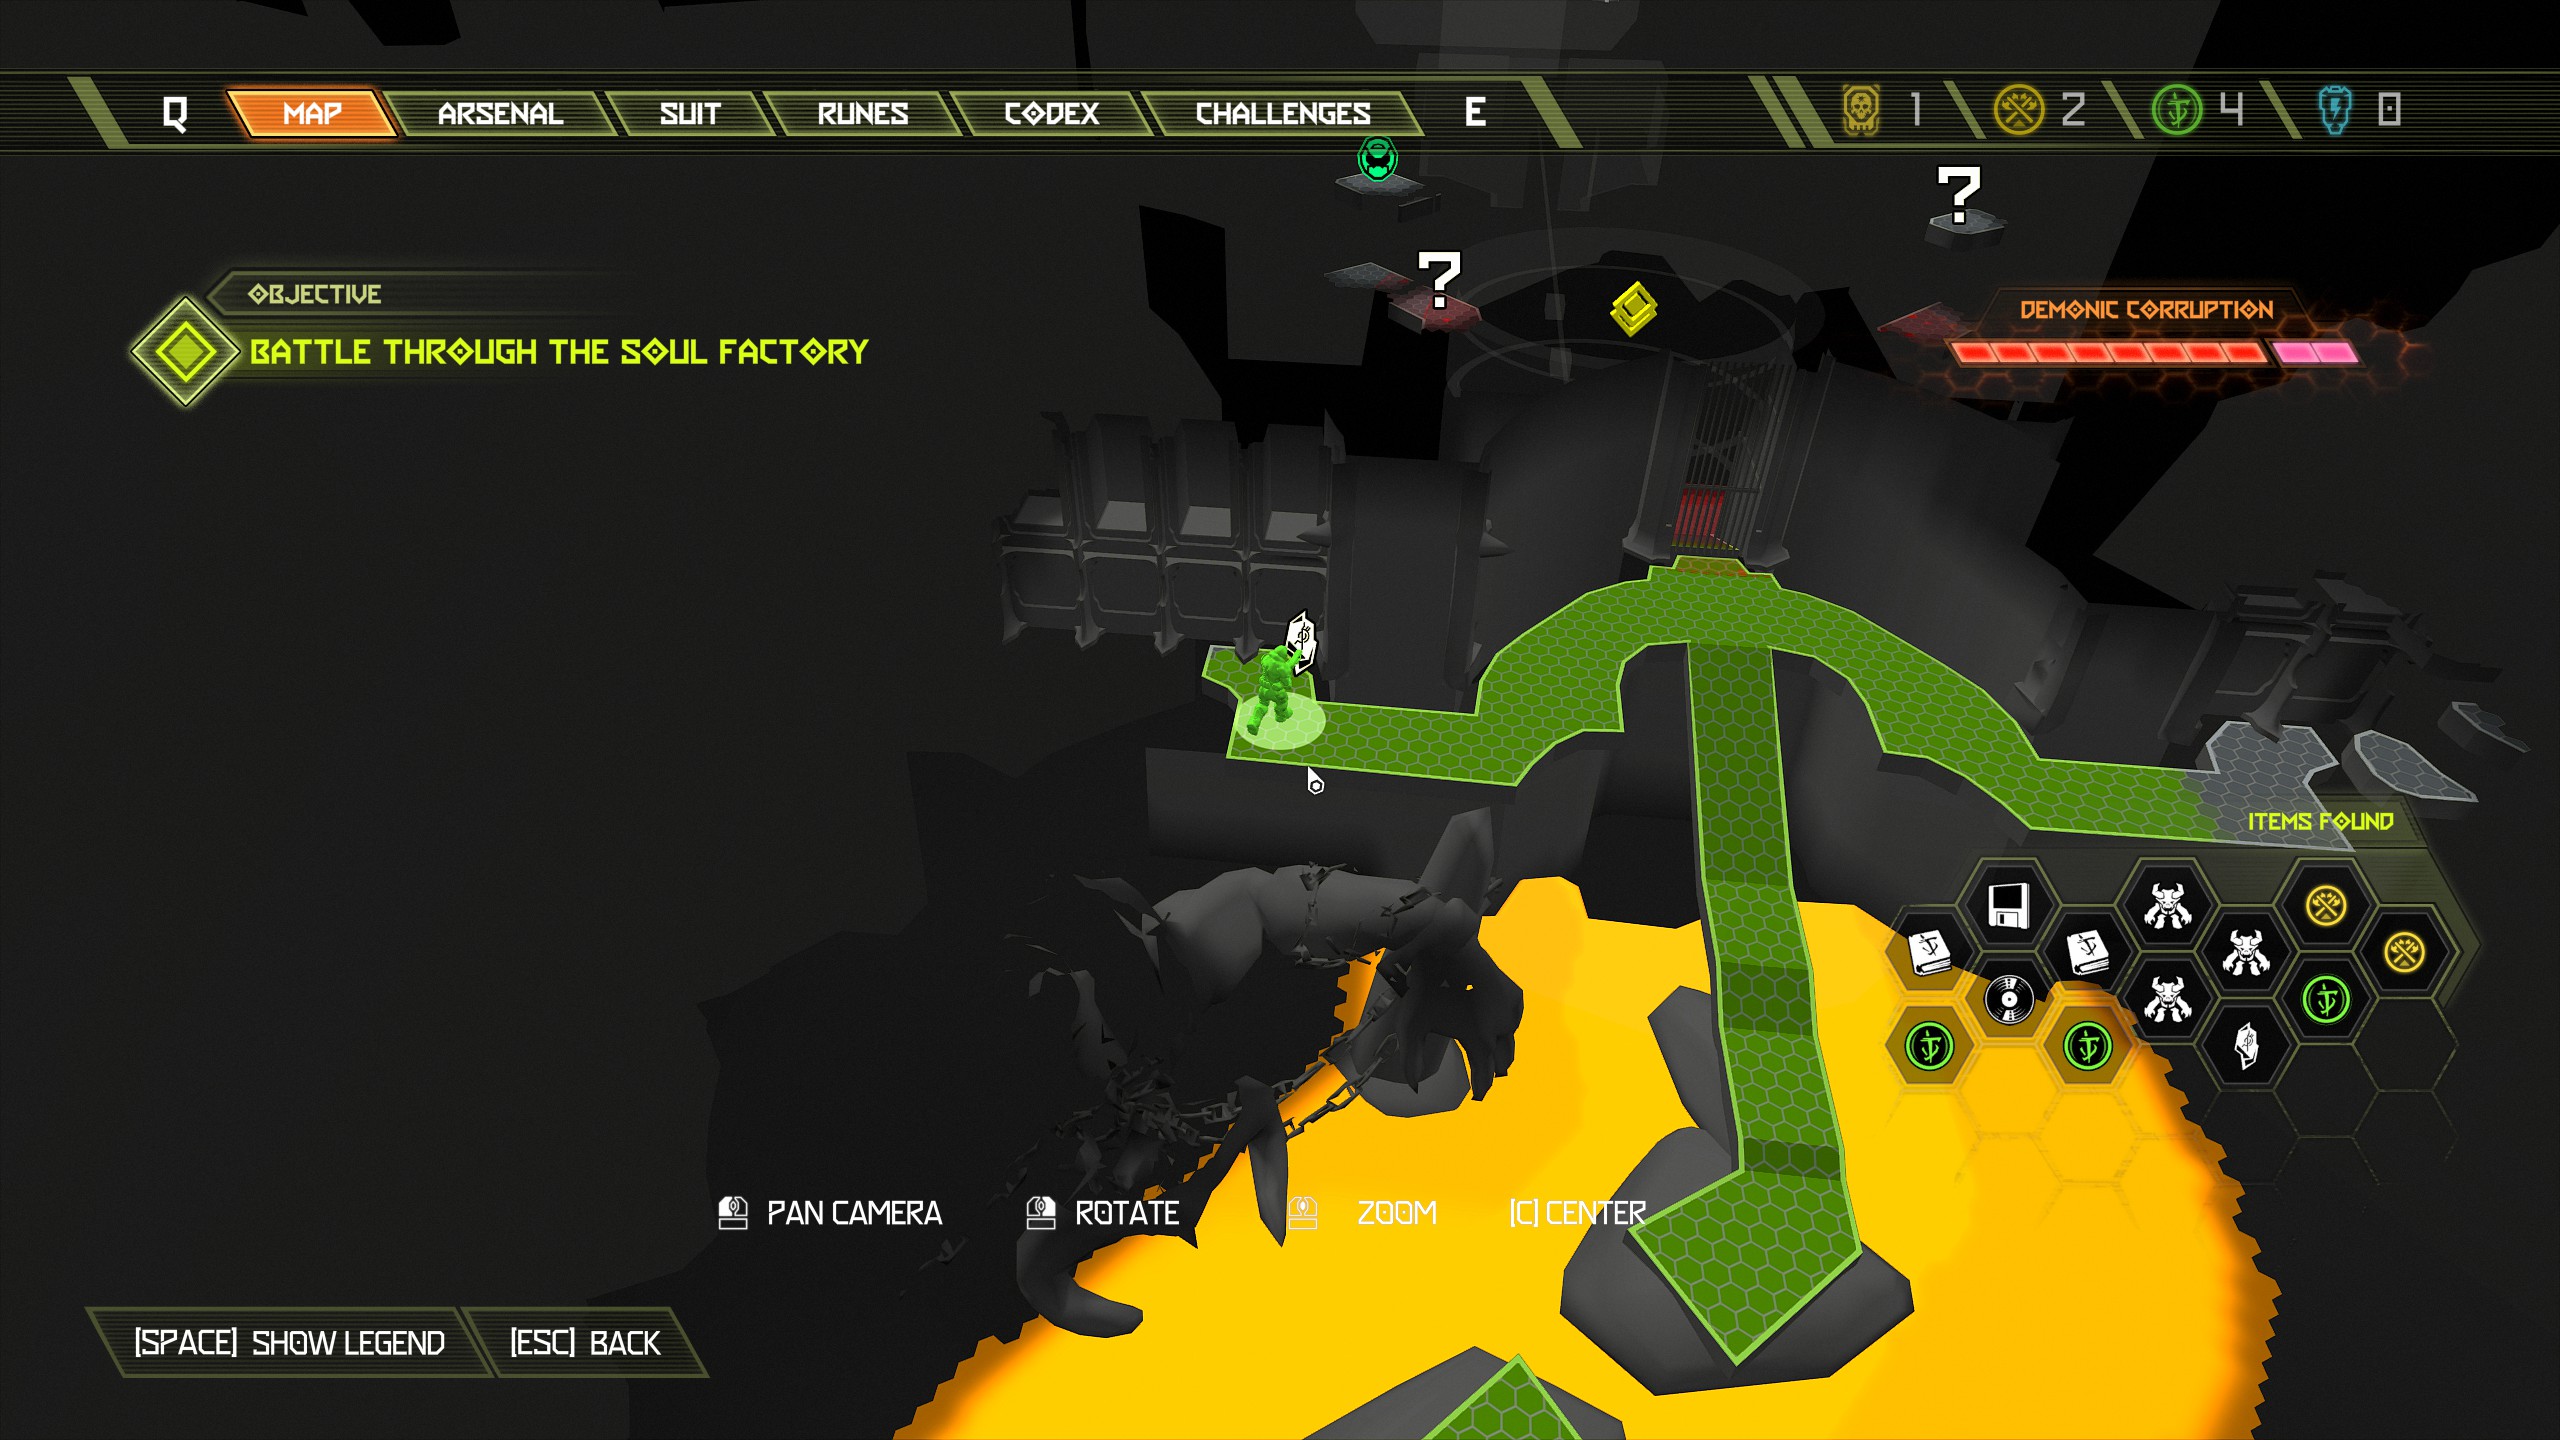
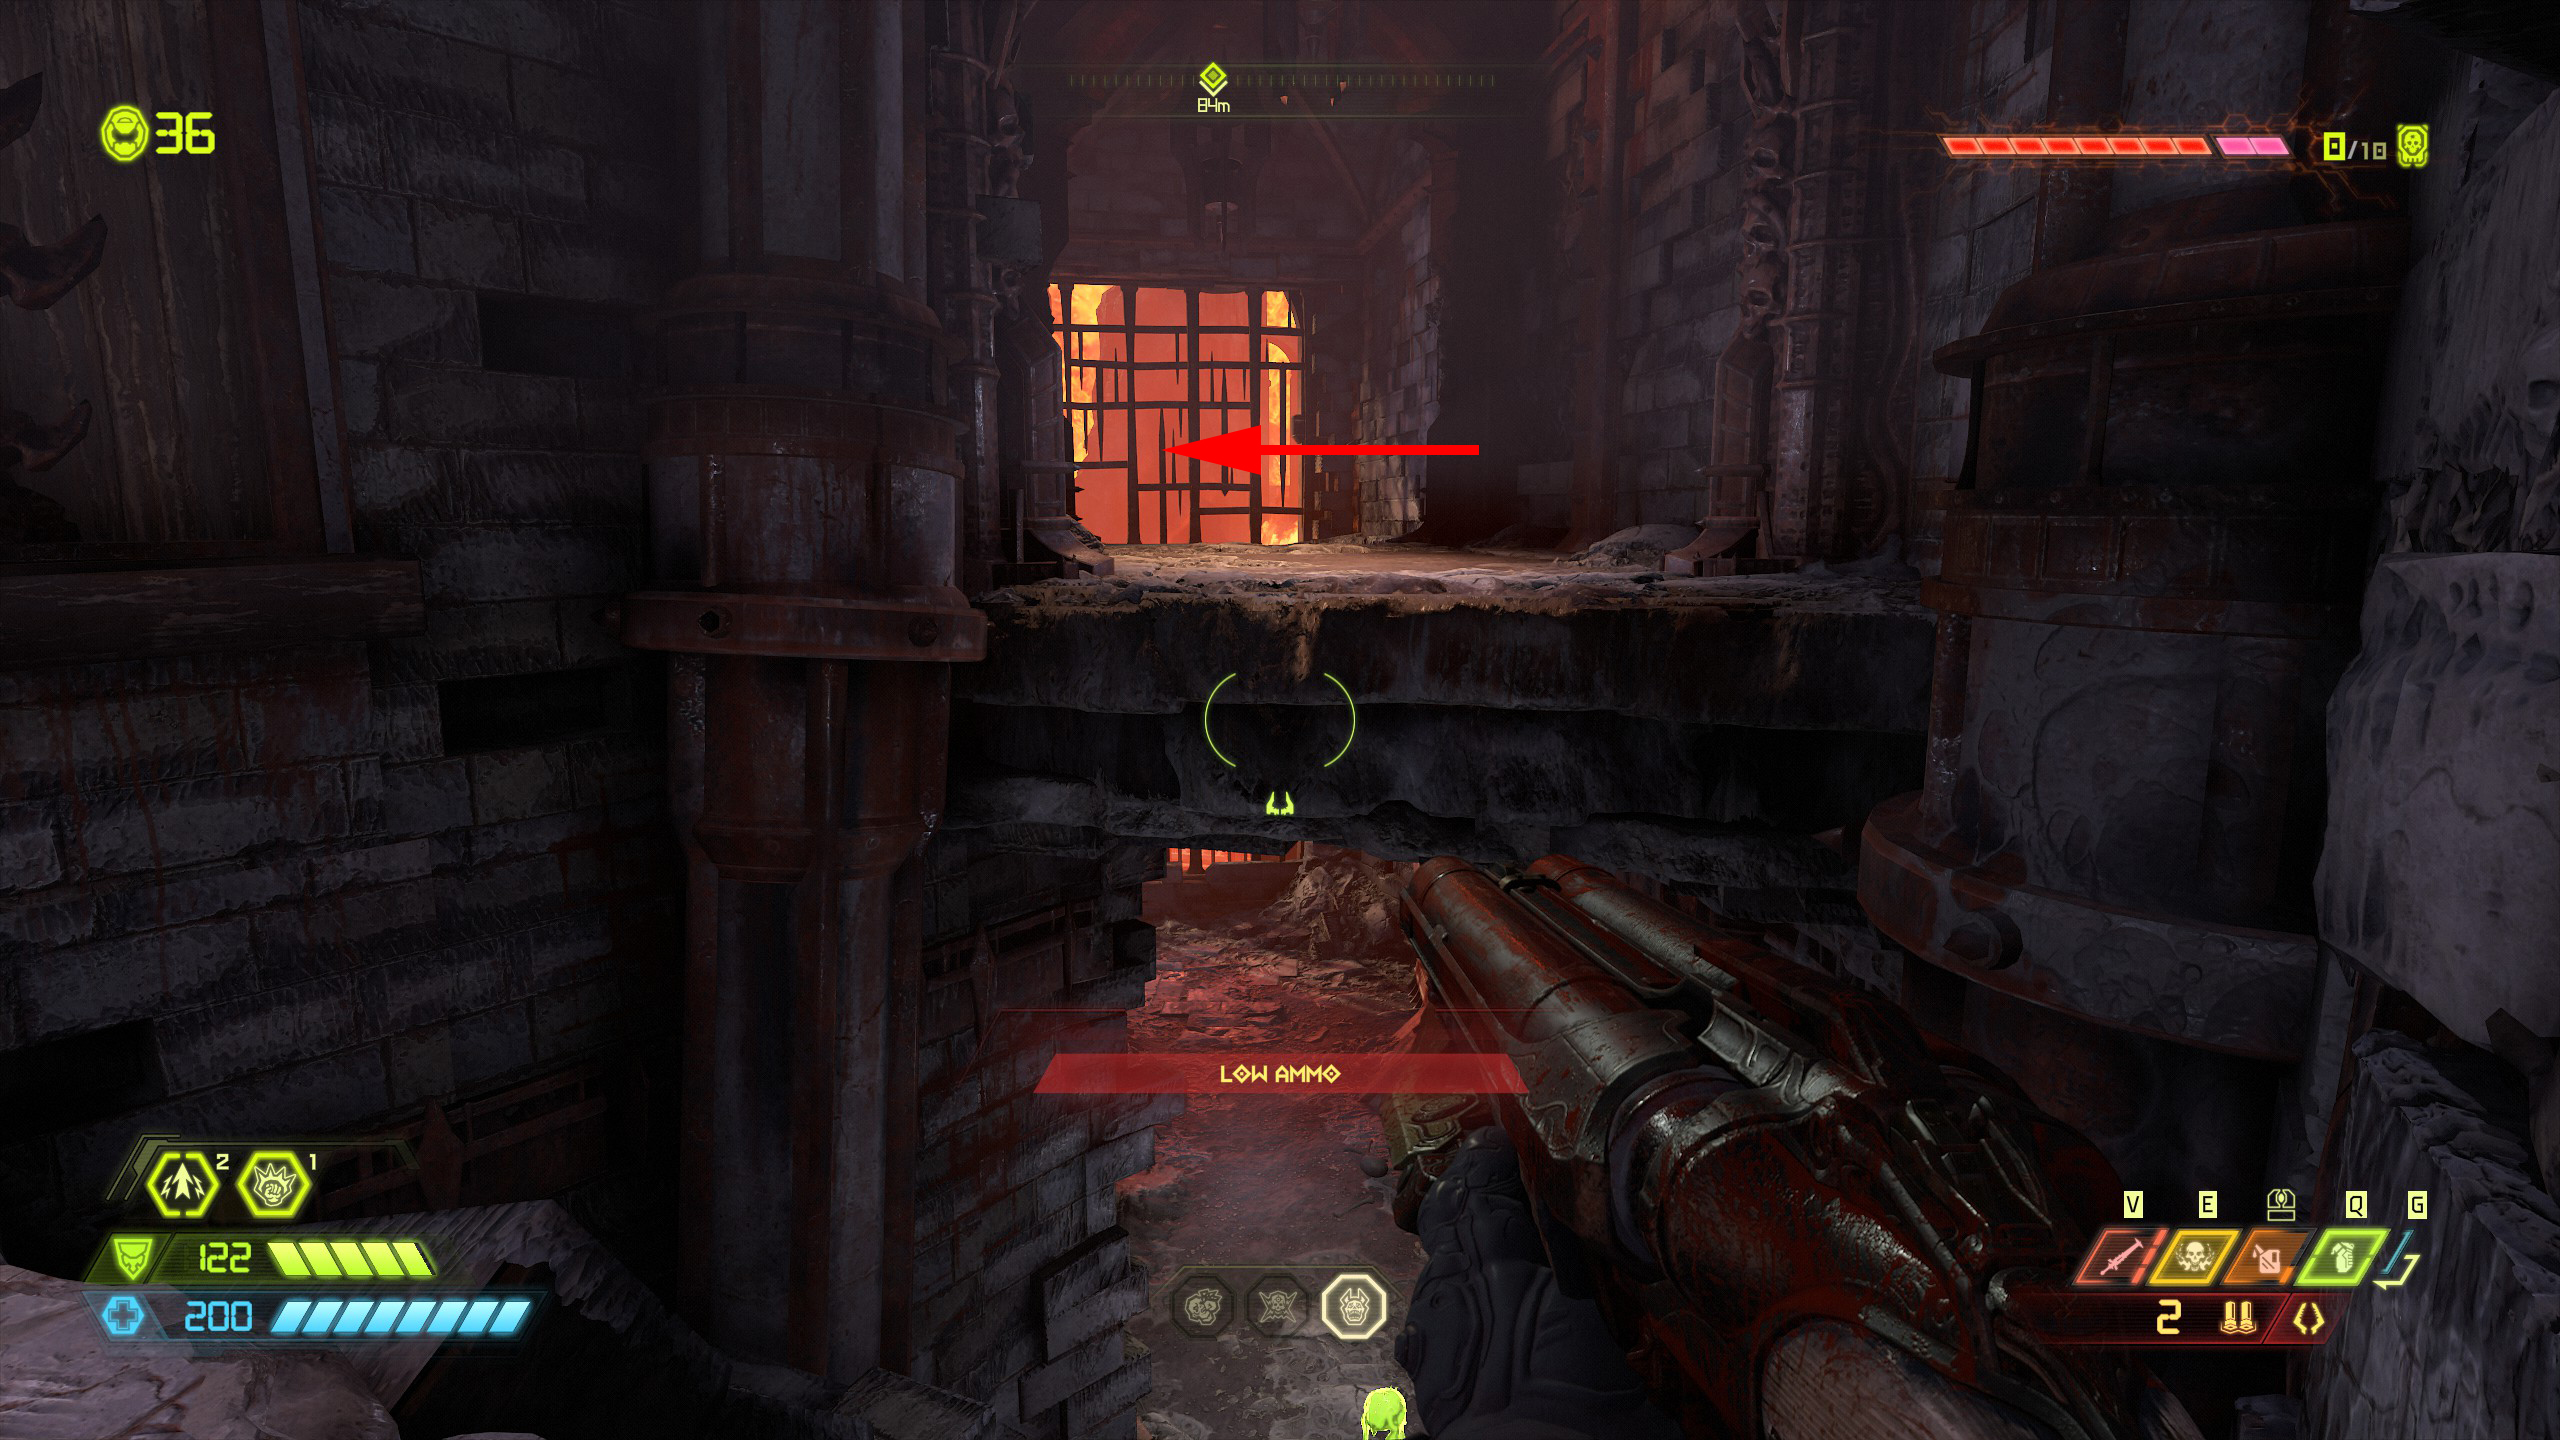
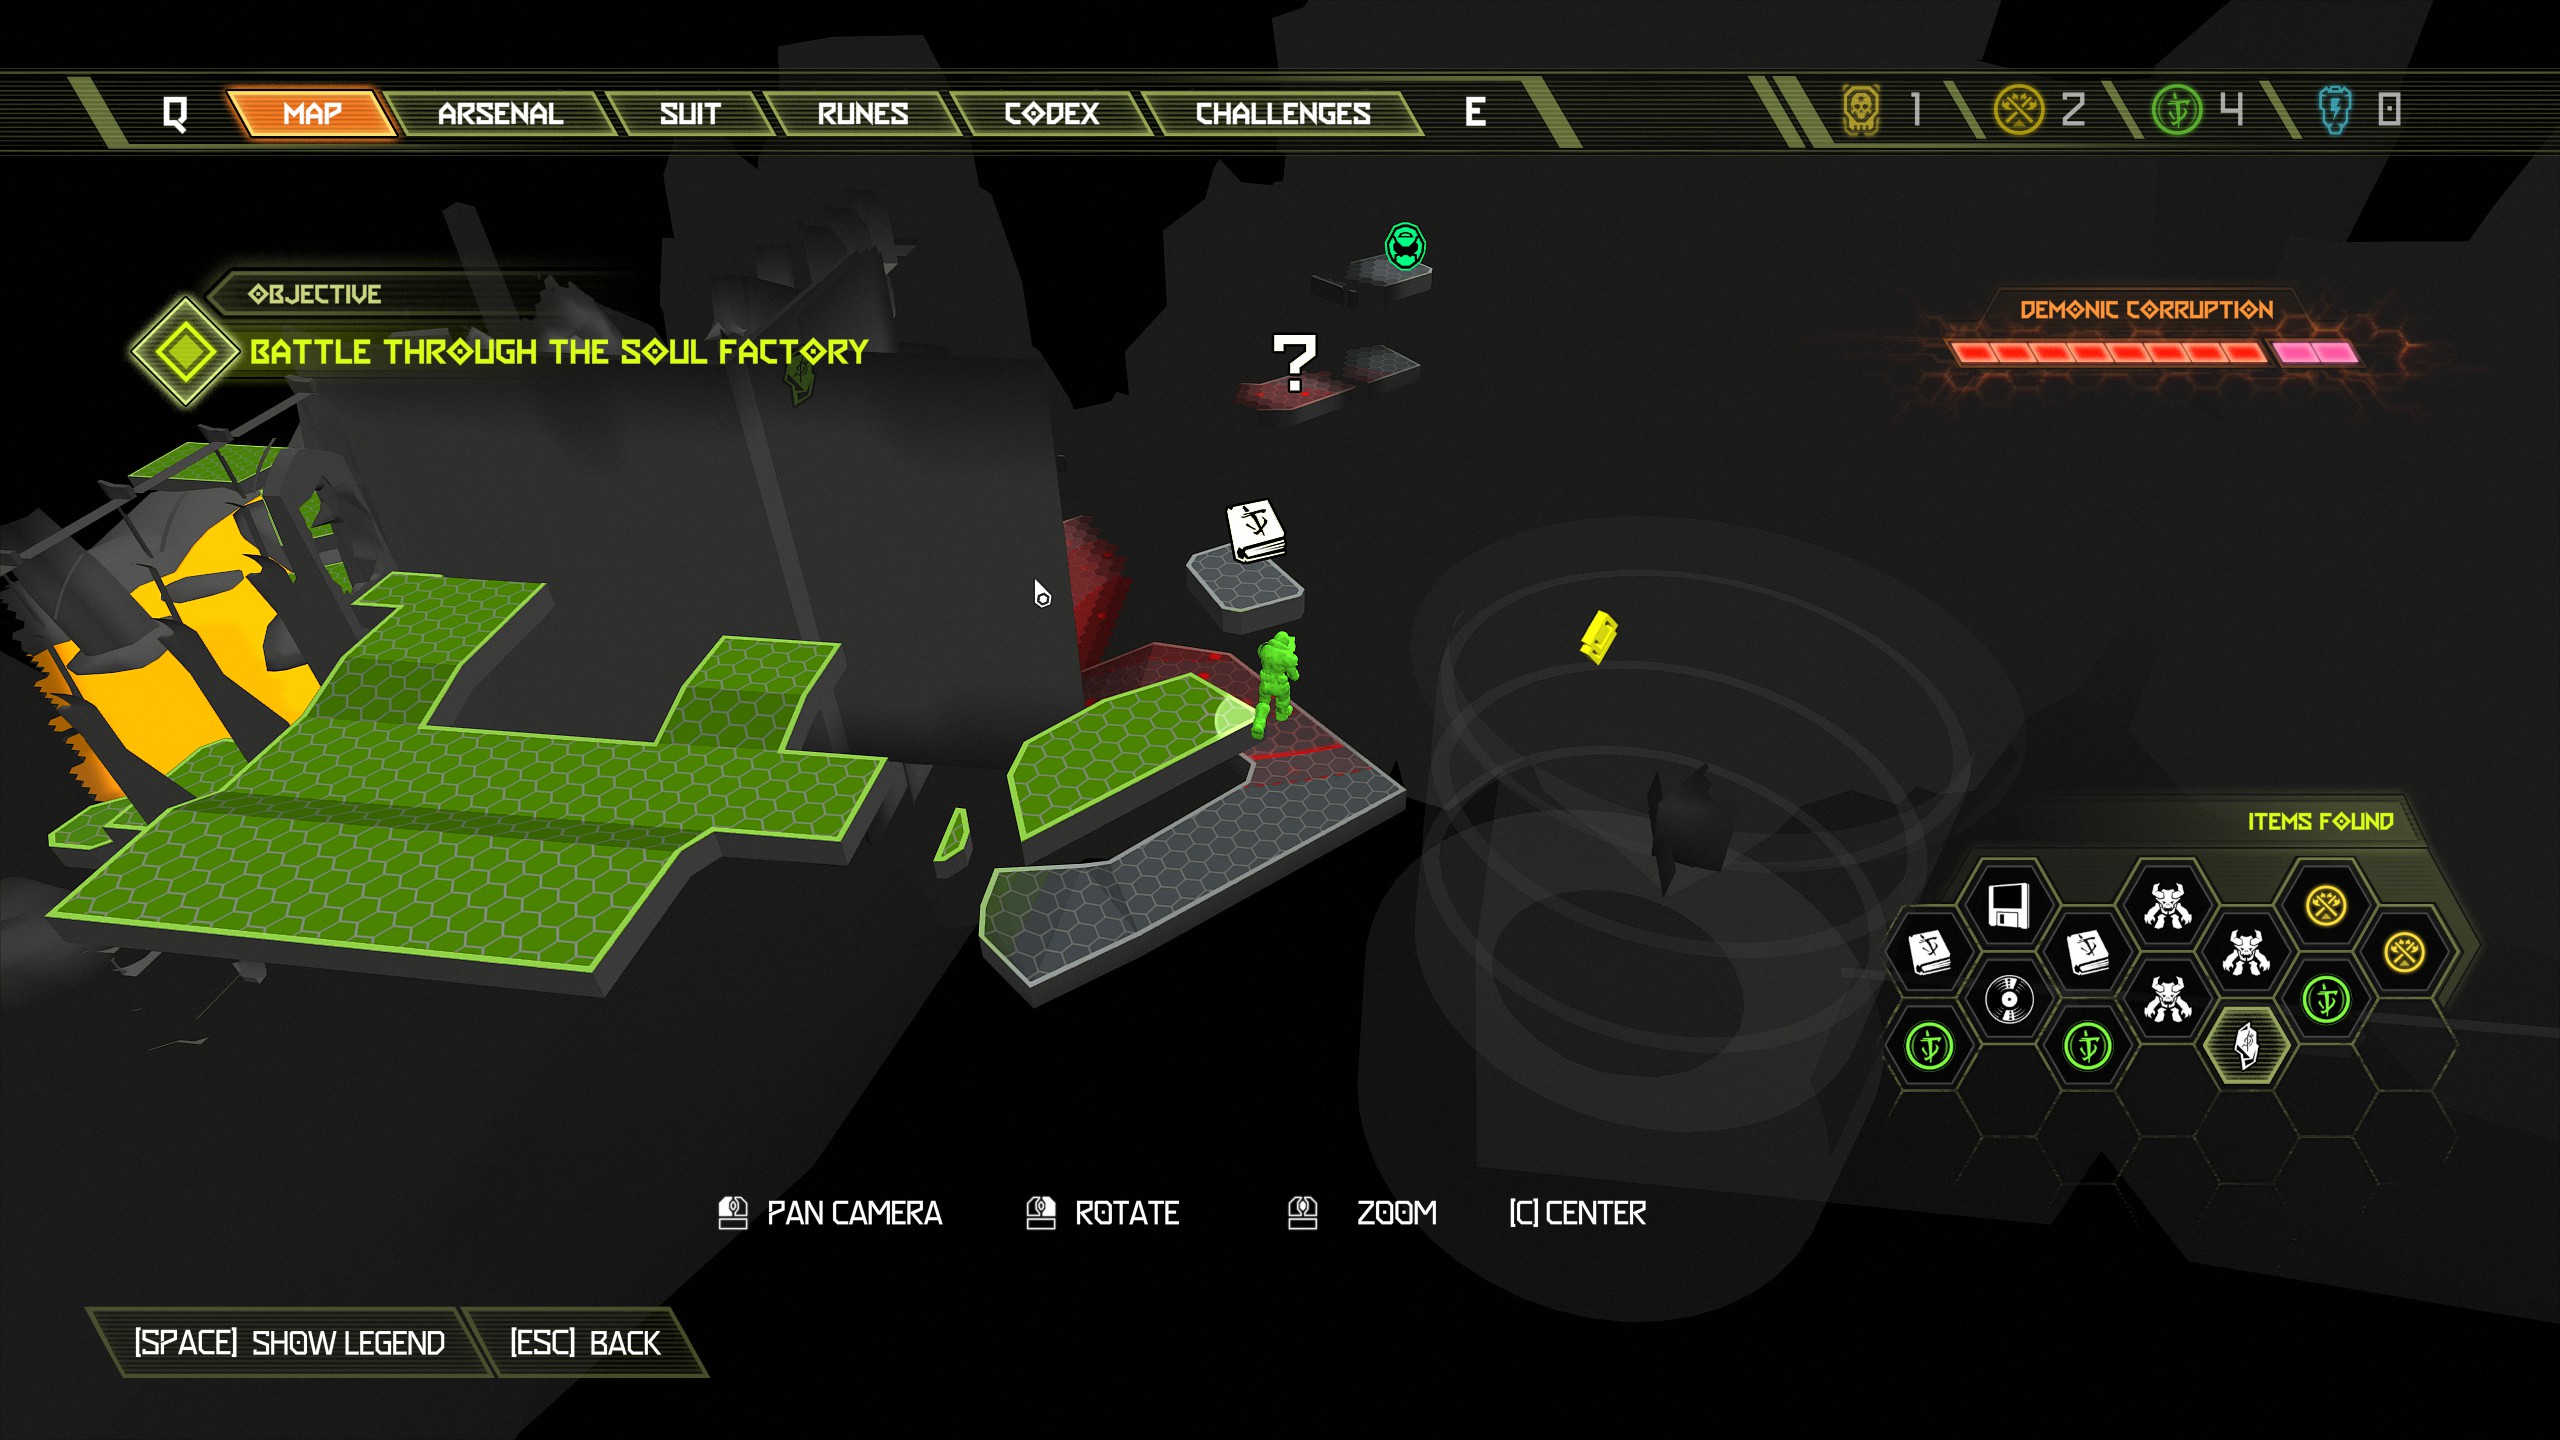
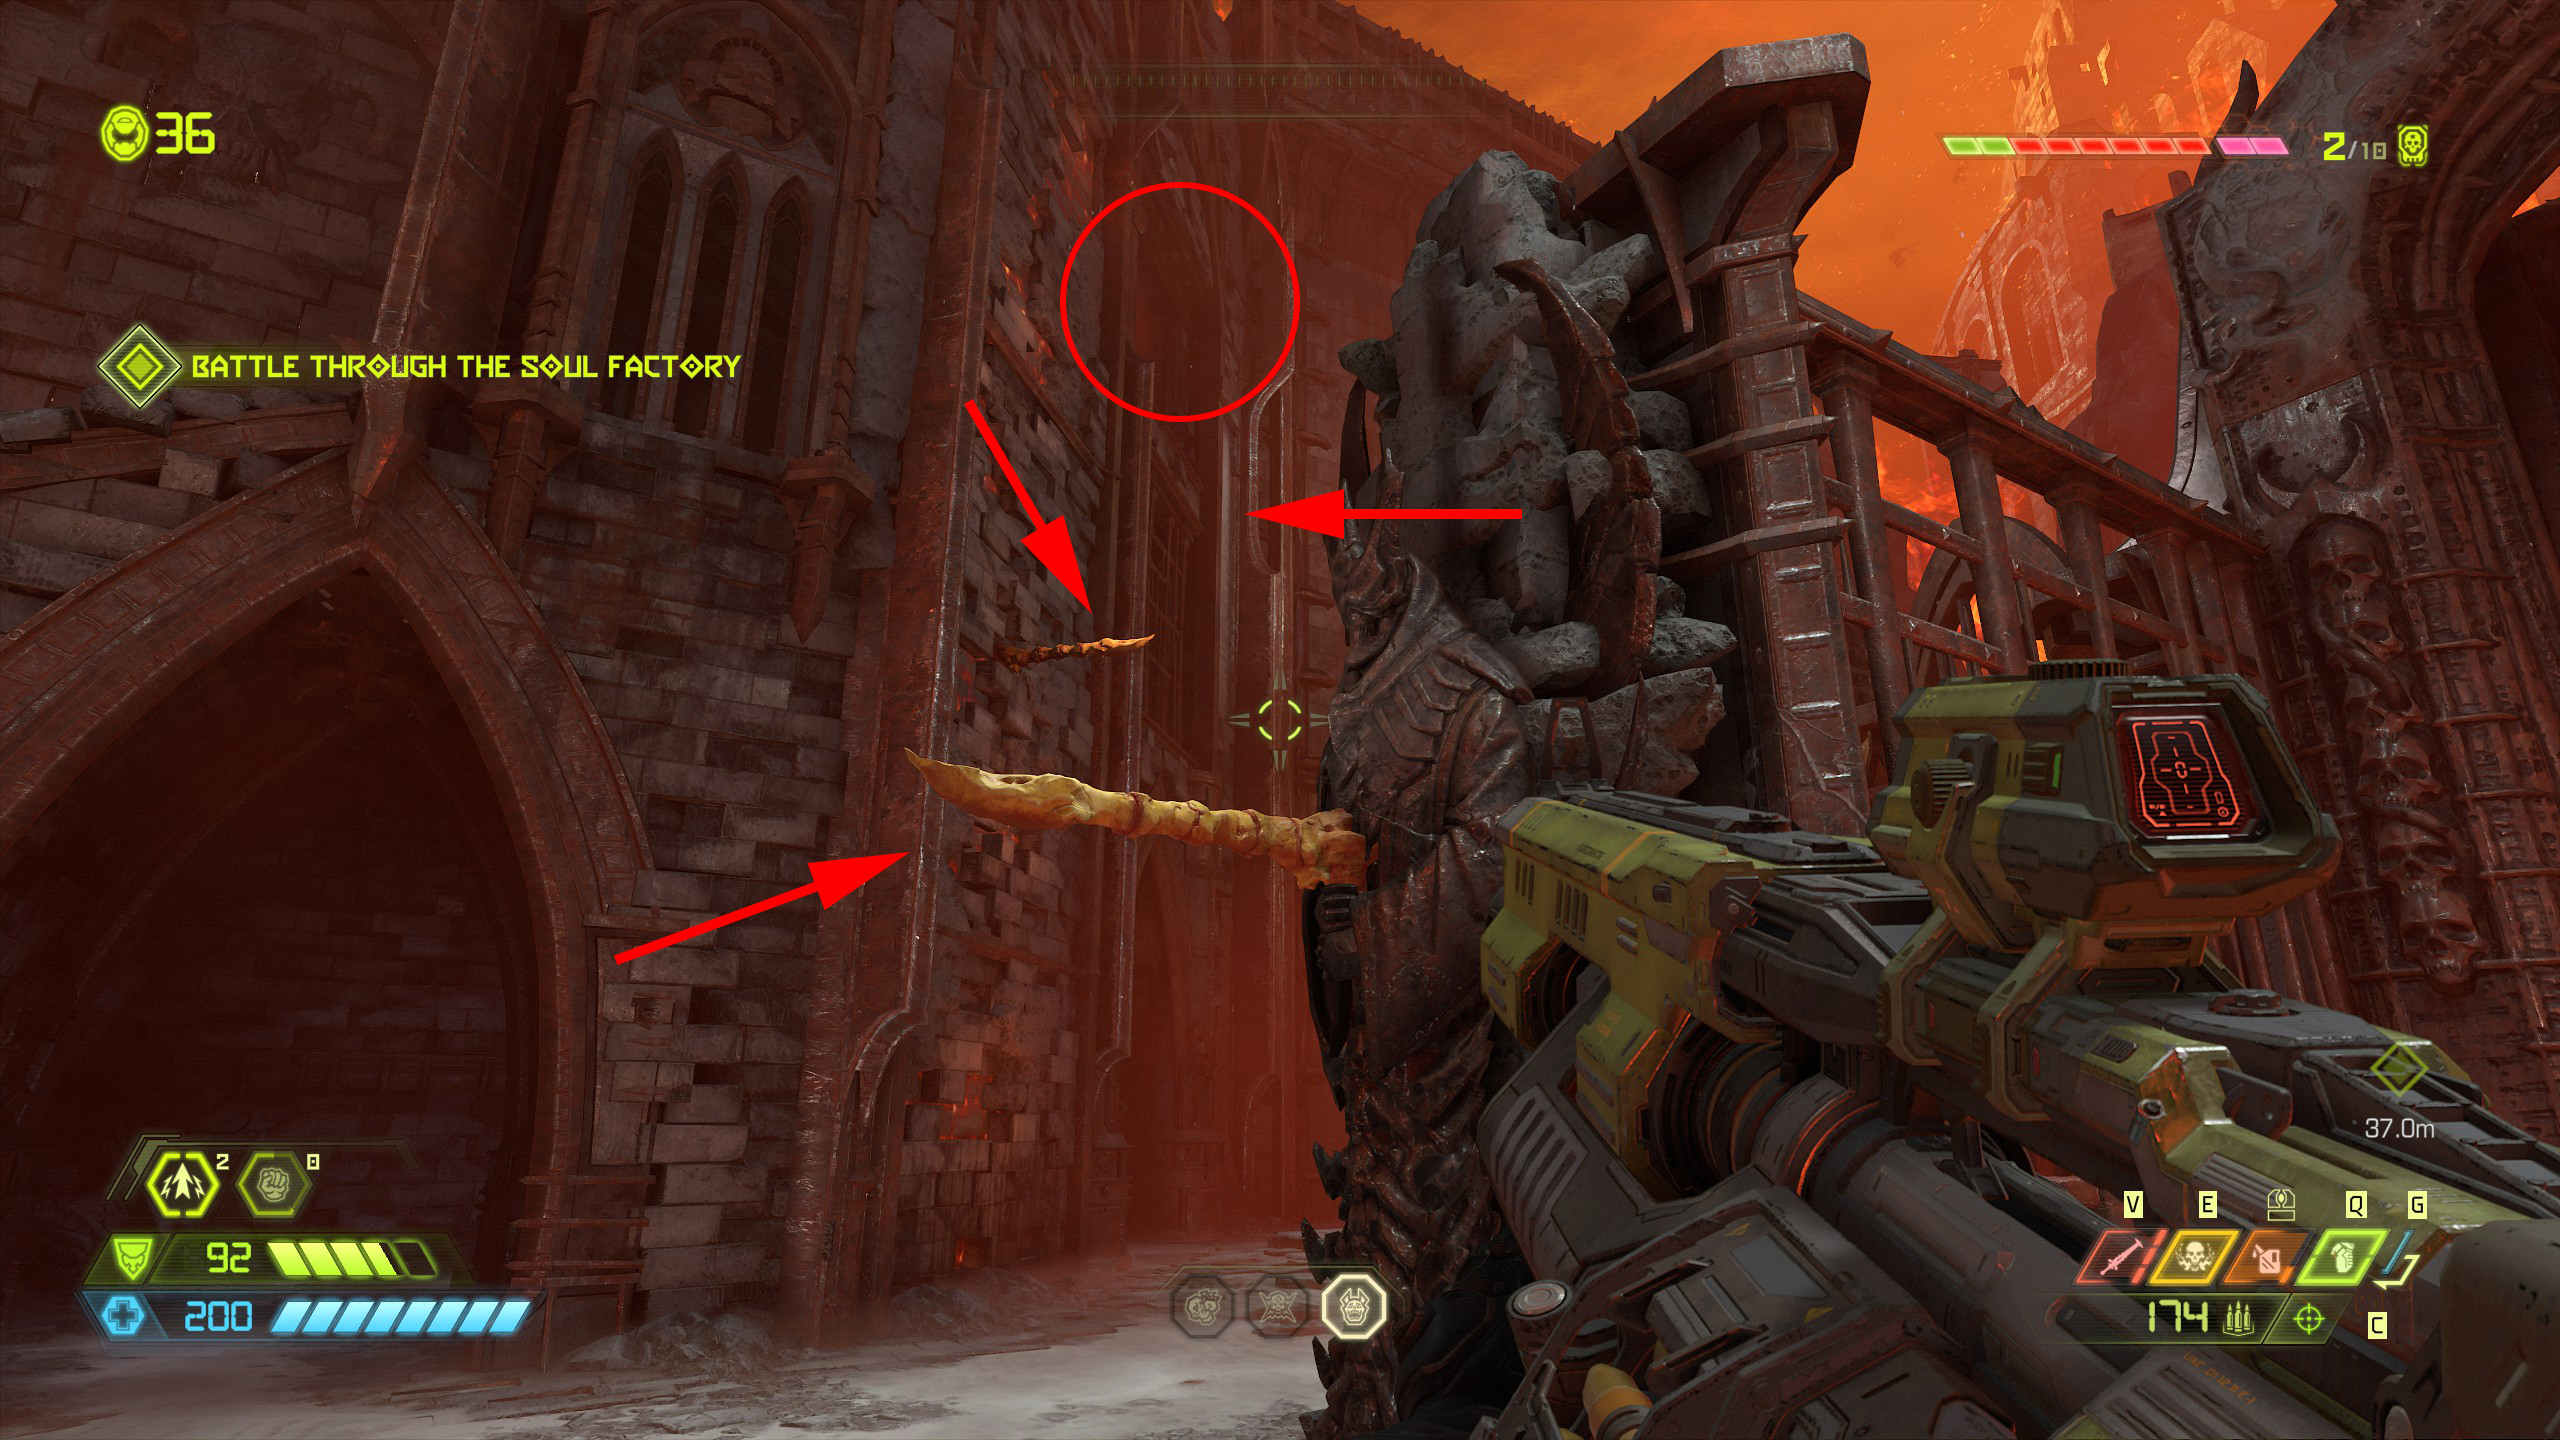
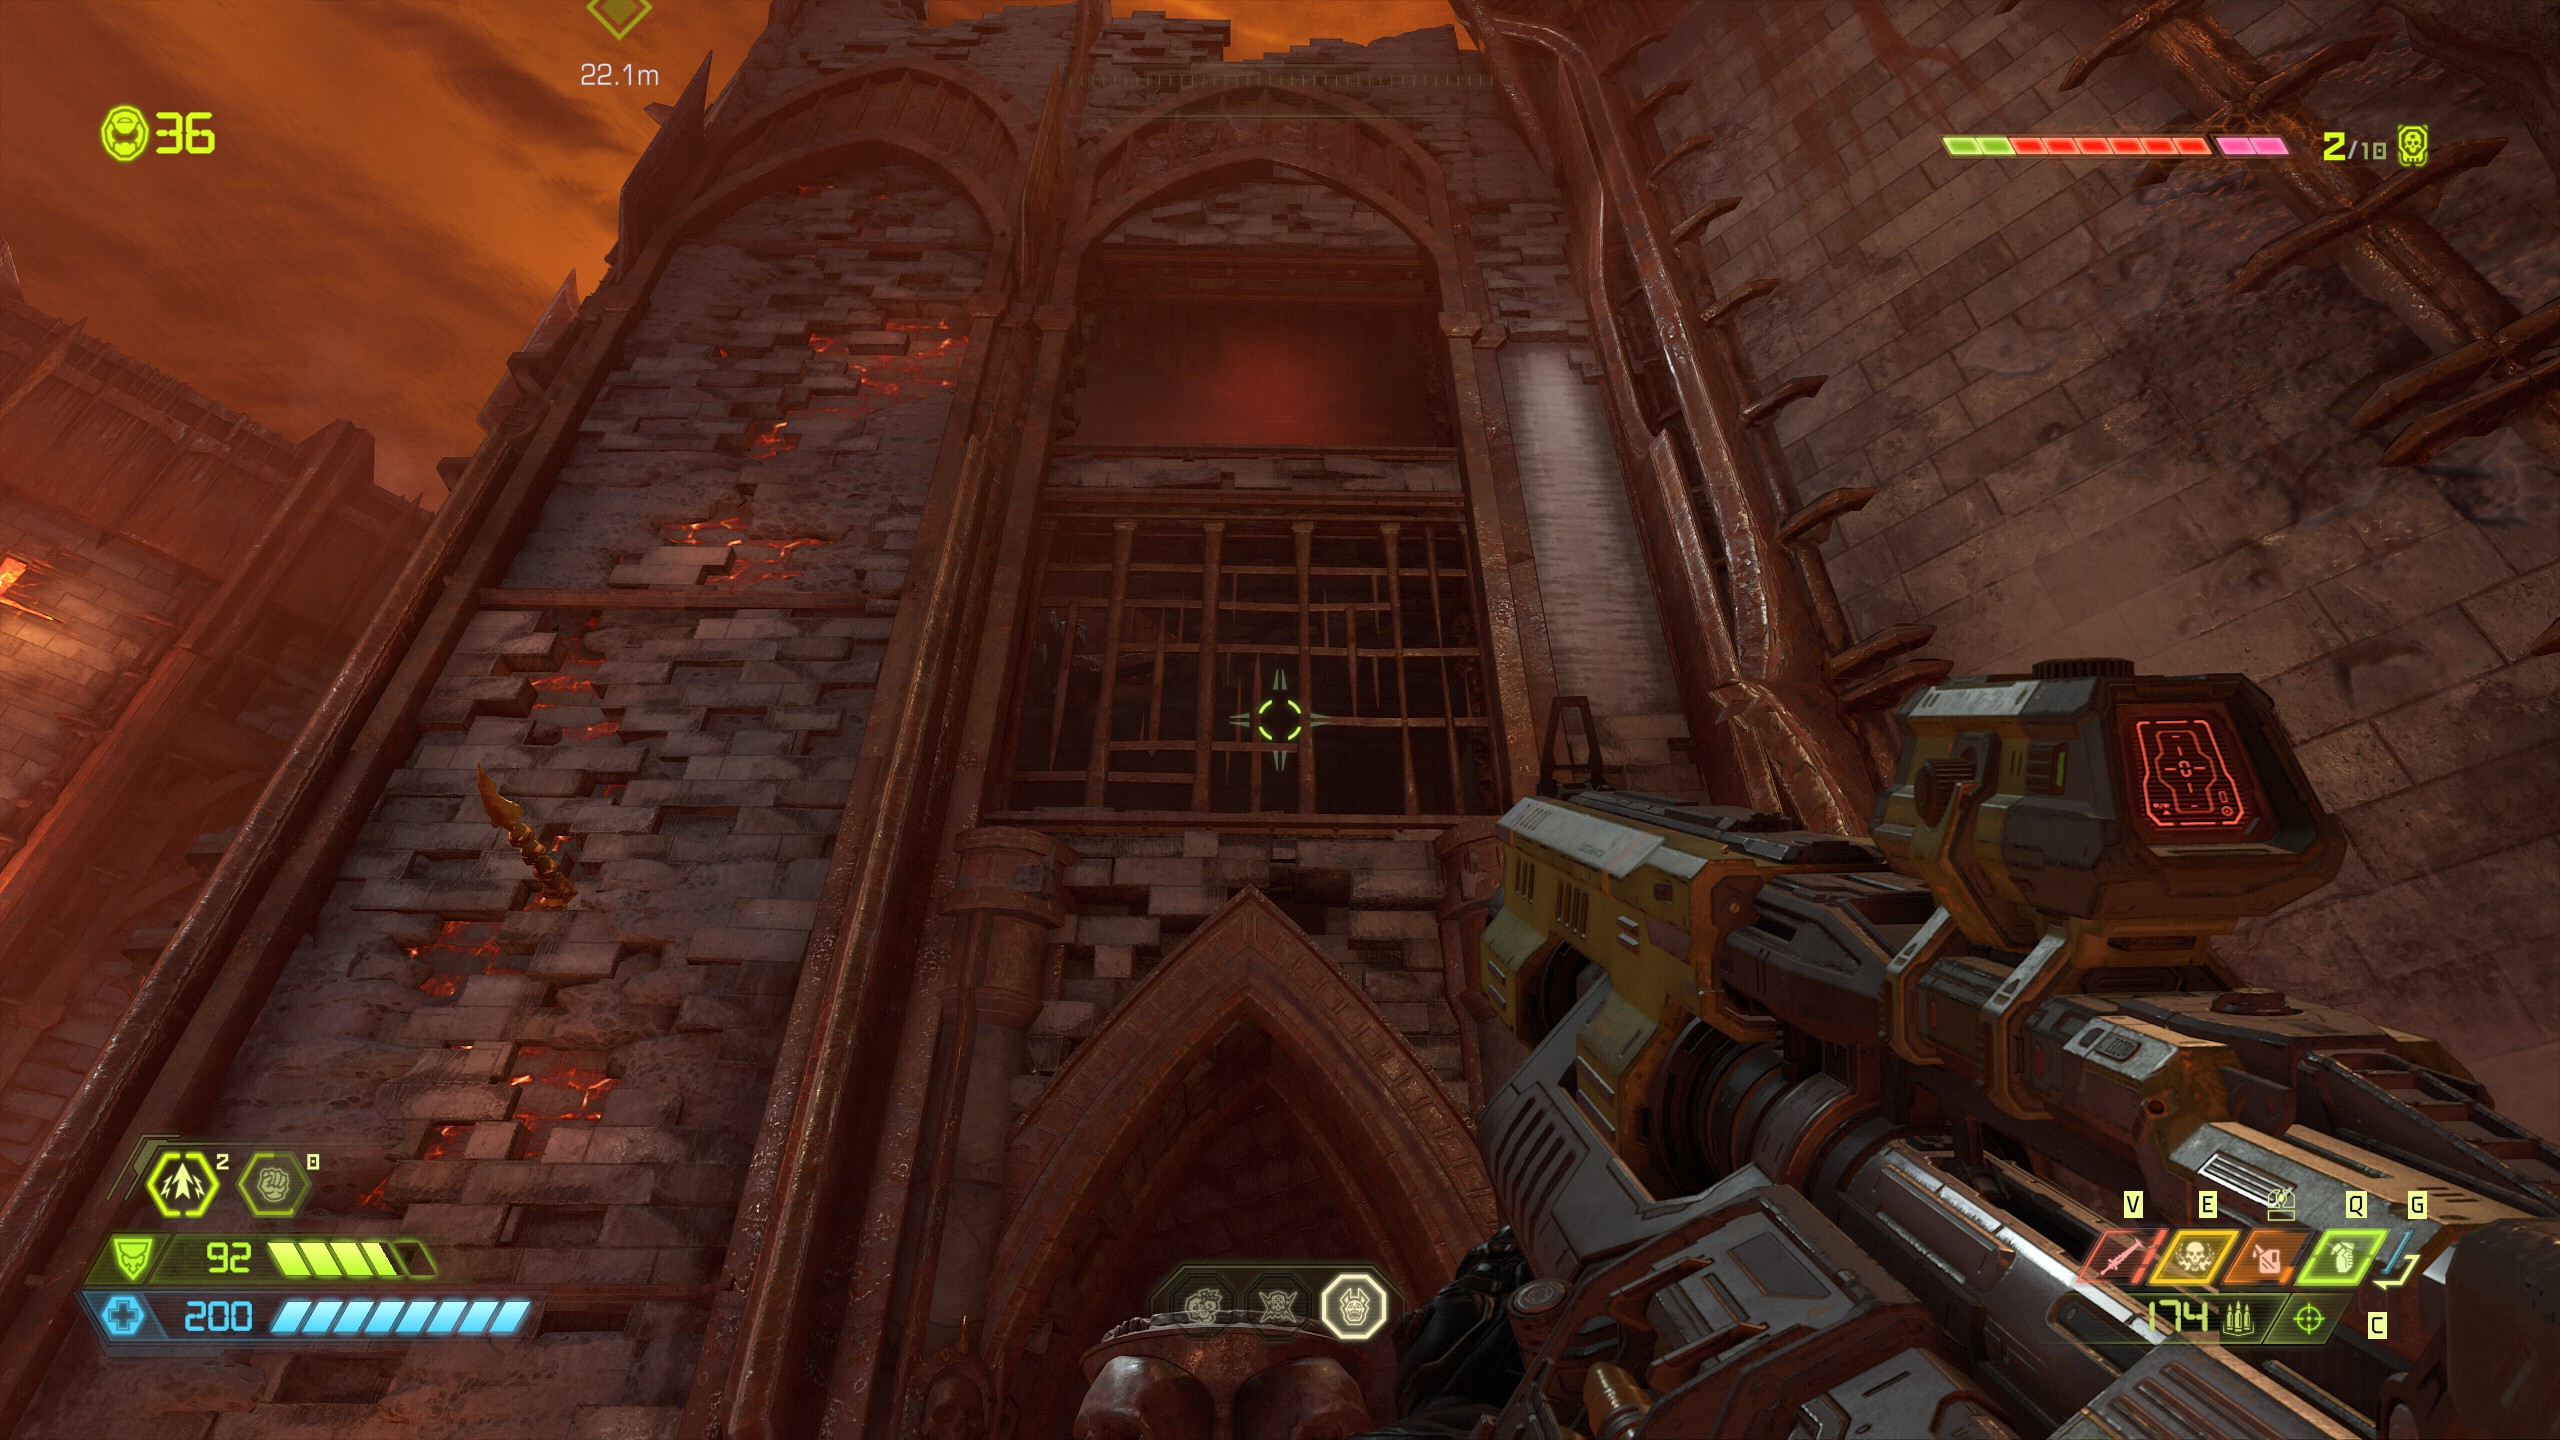
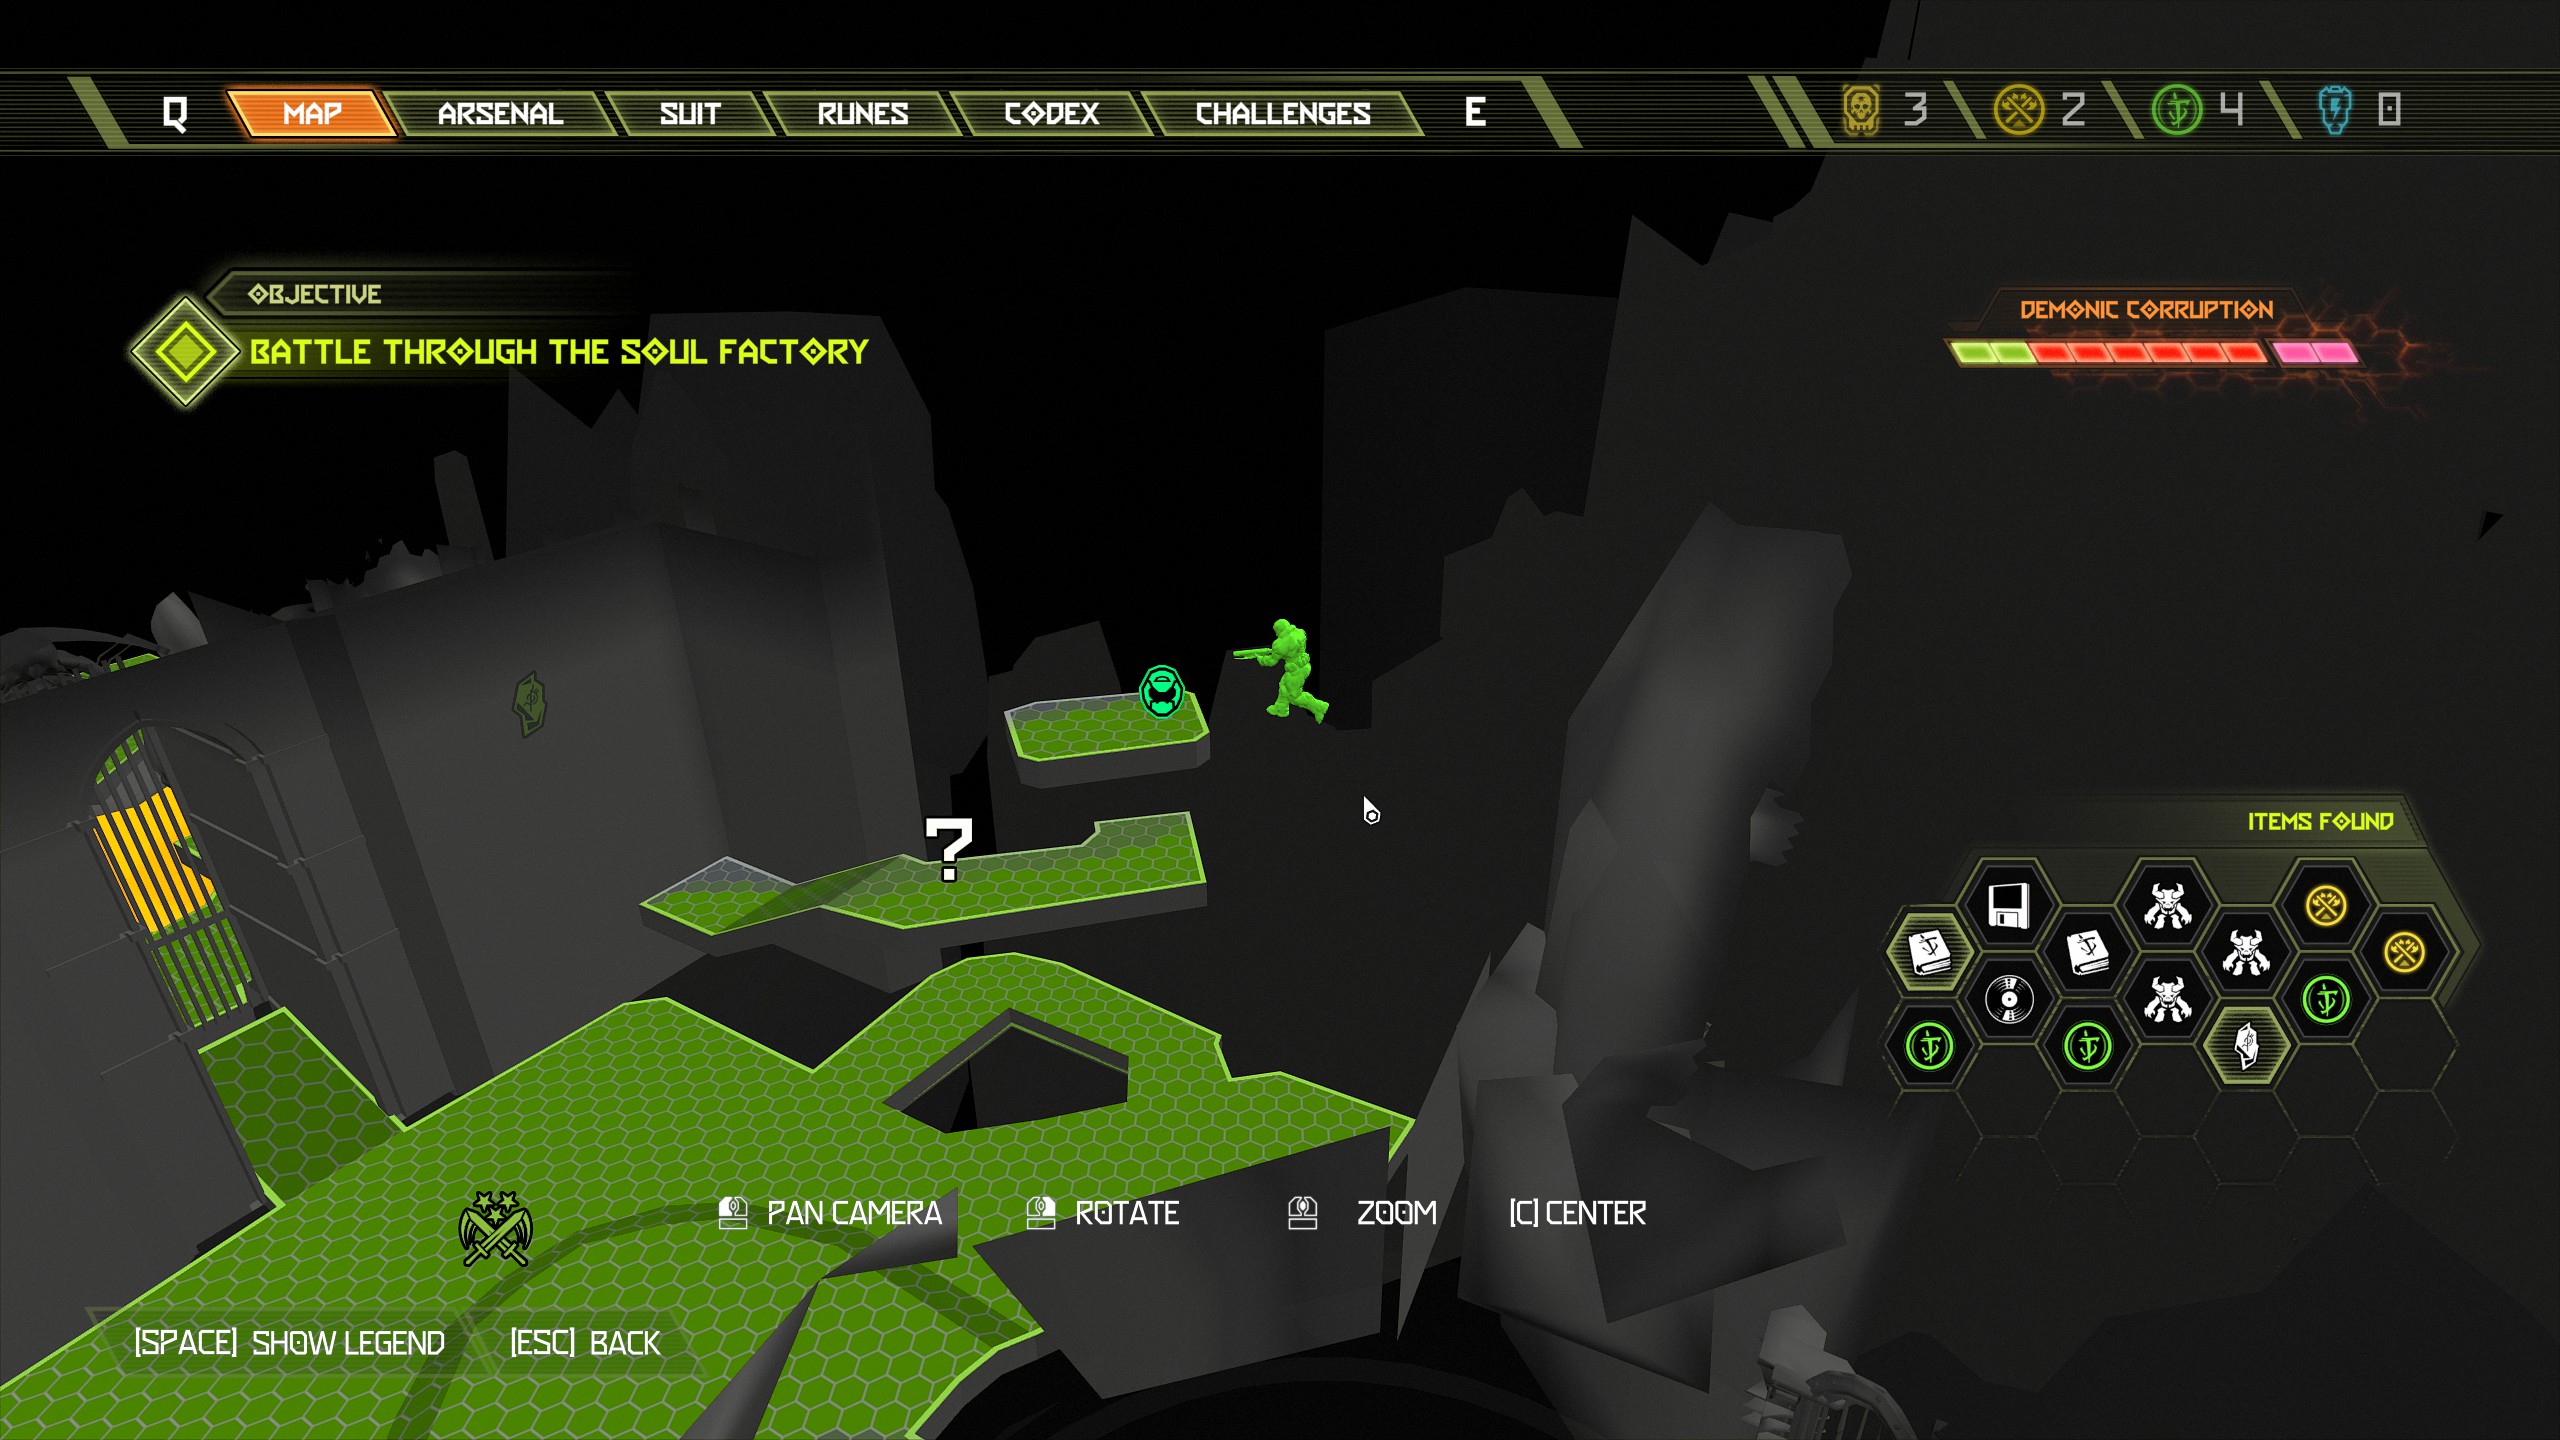
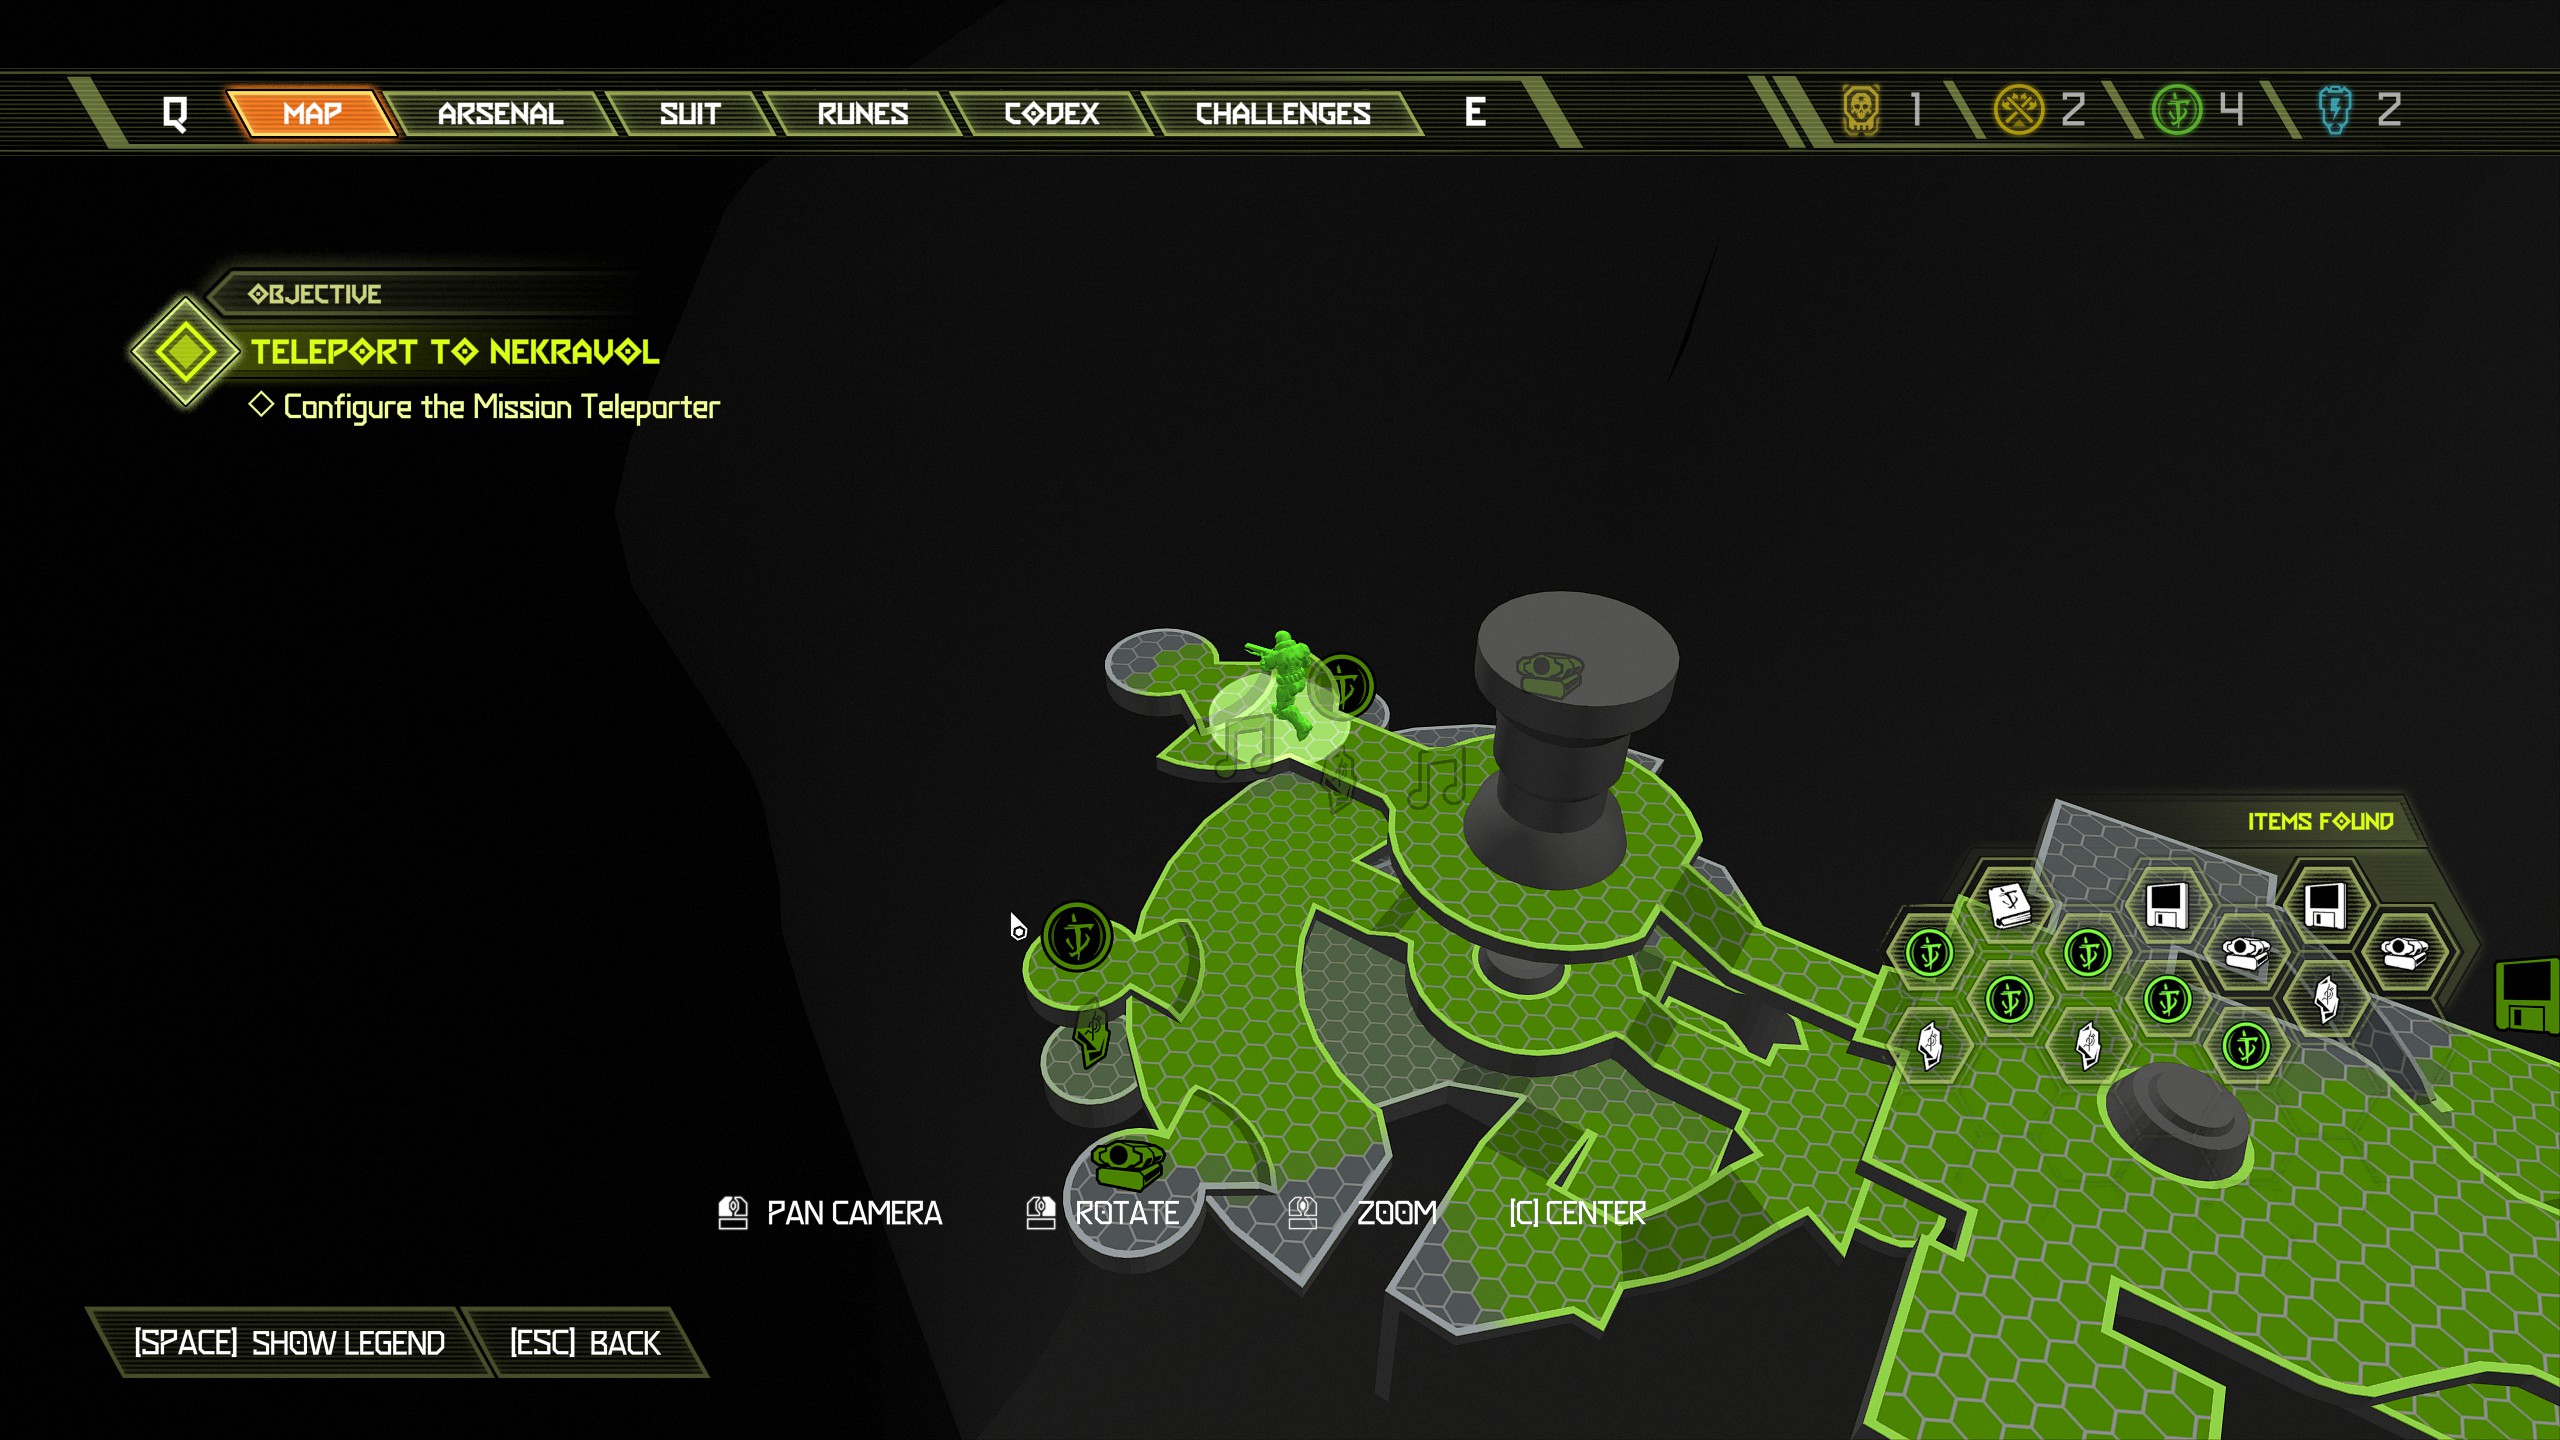
Continue the mission until you have passed the large room with the lava and sinking platforms, this is the area where you have to shoot the 4 eyes just after your little journey in the cage.
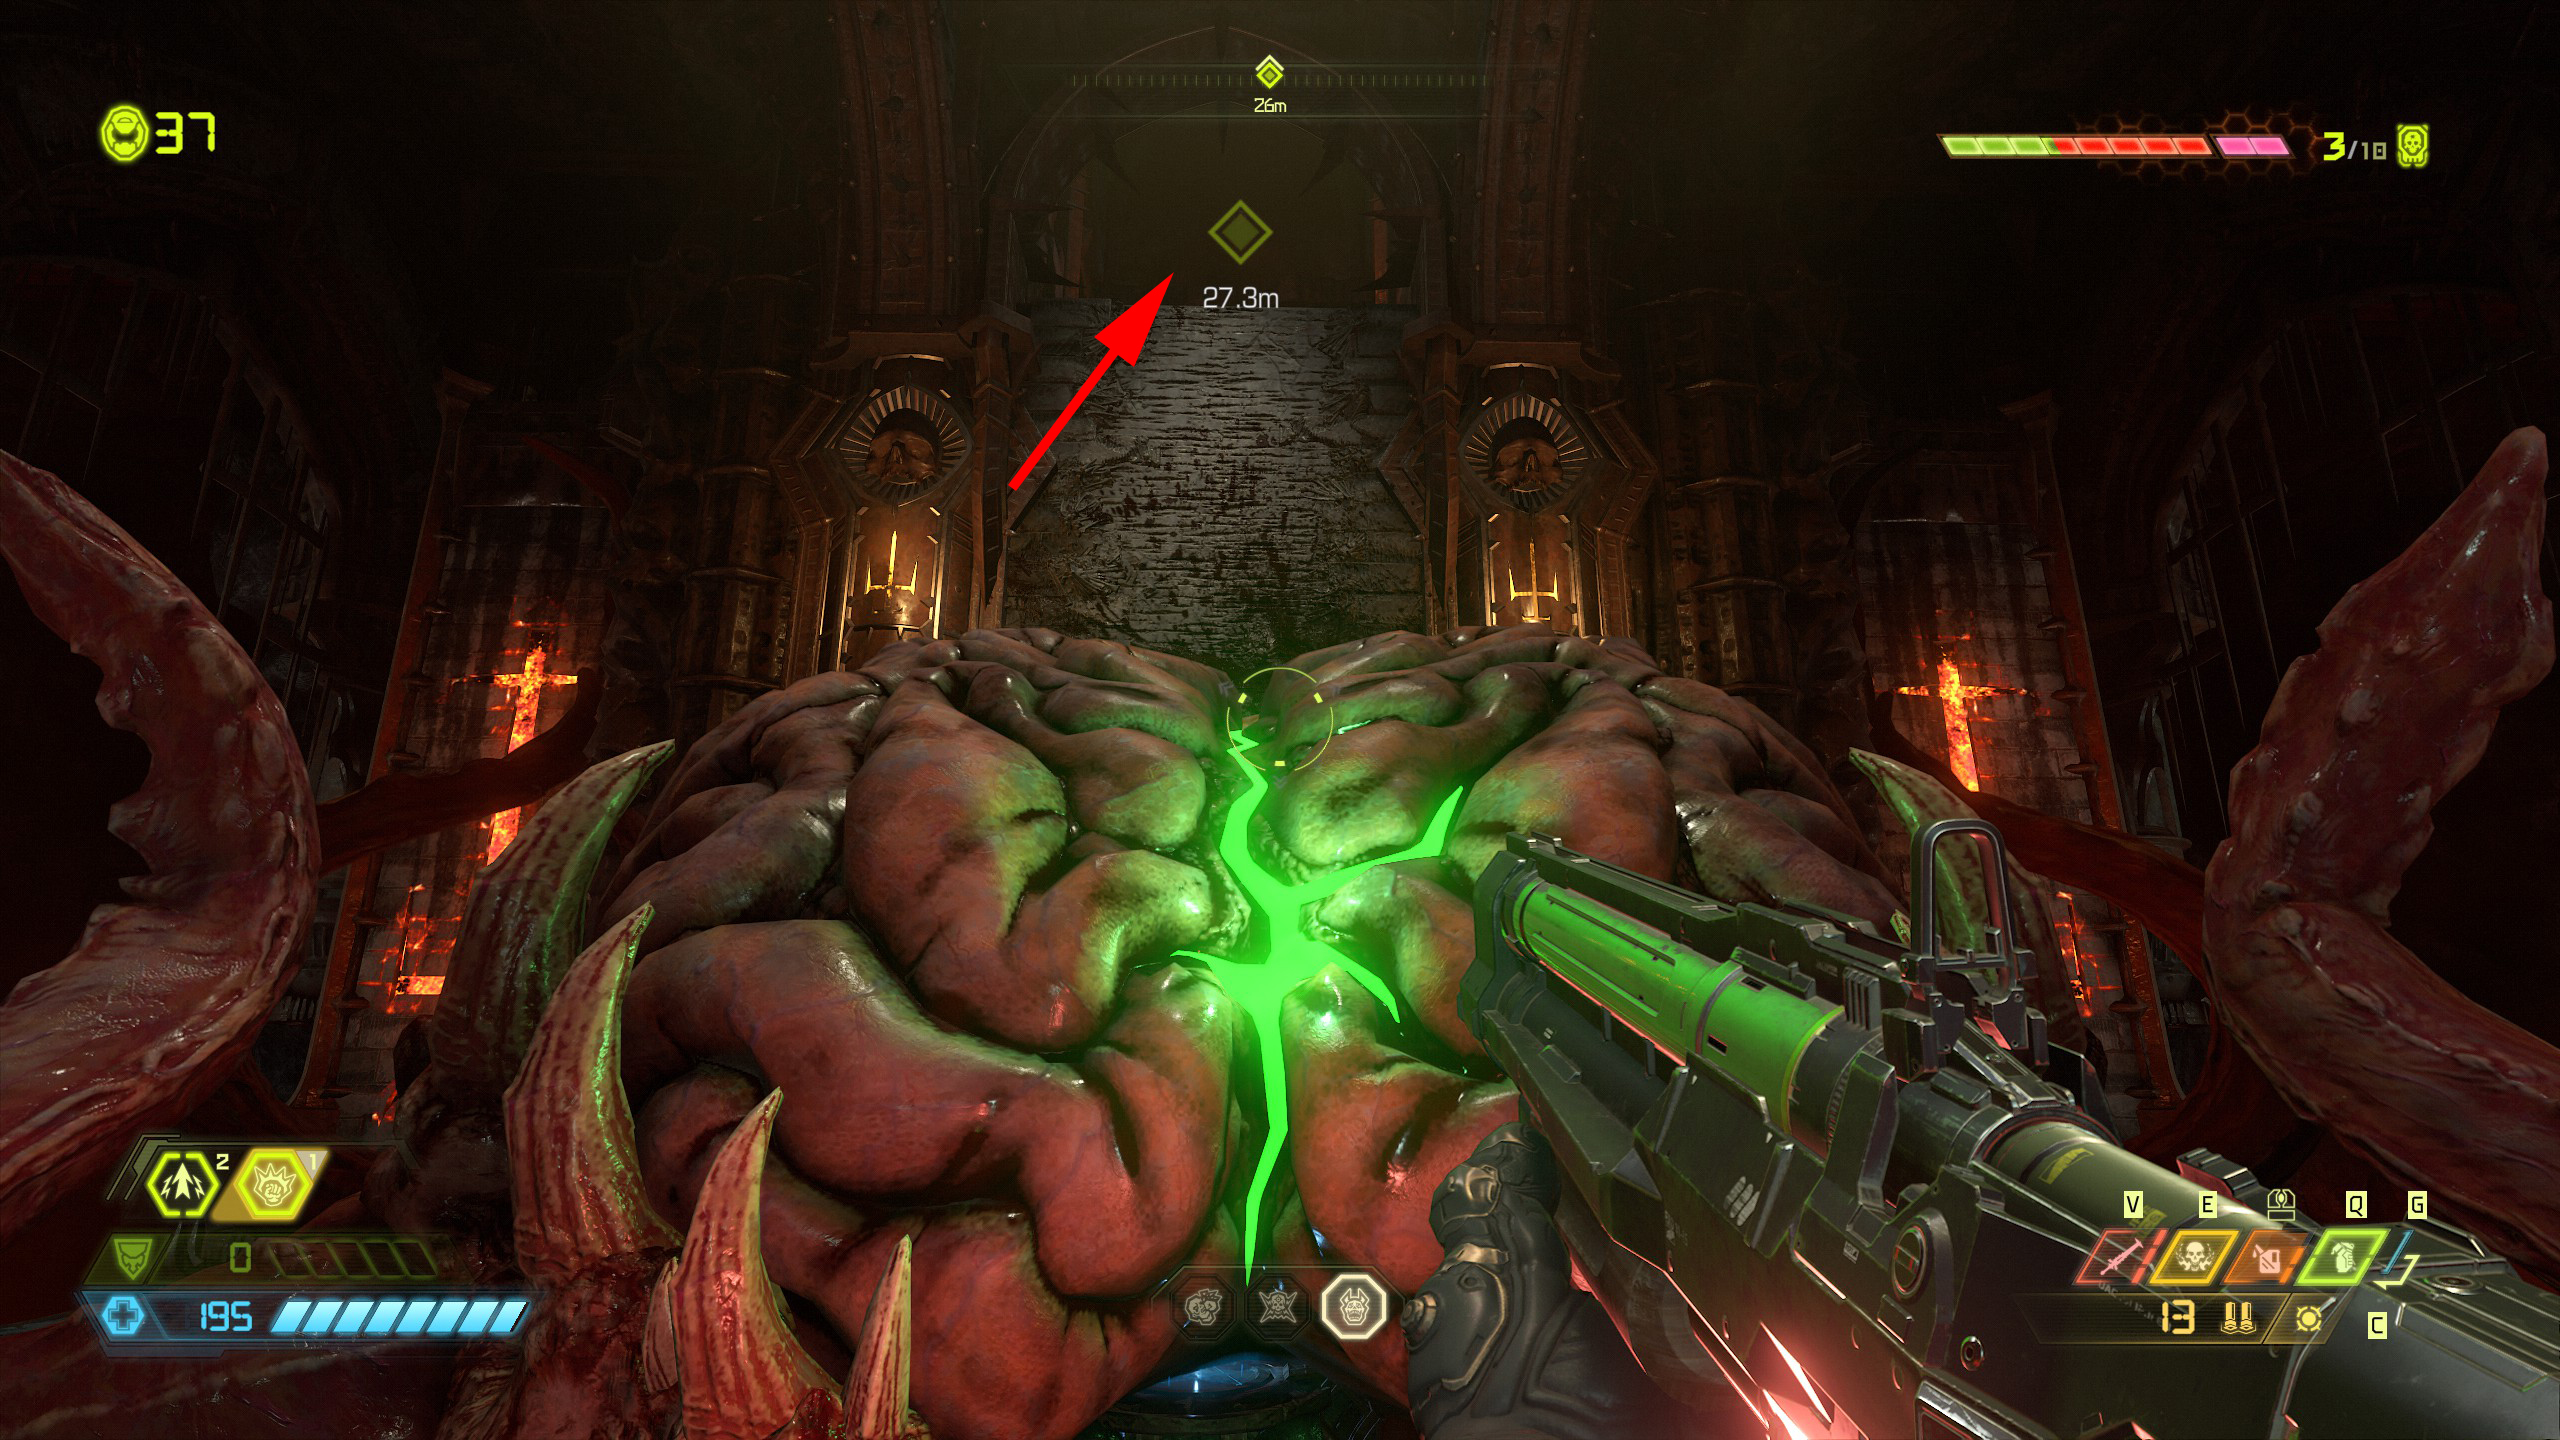
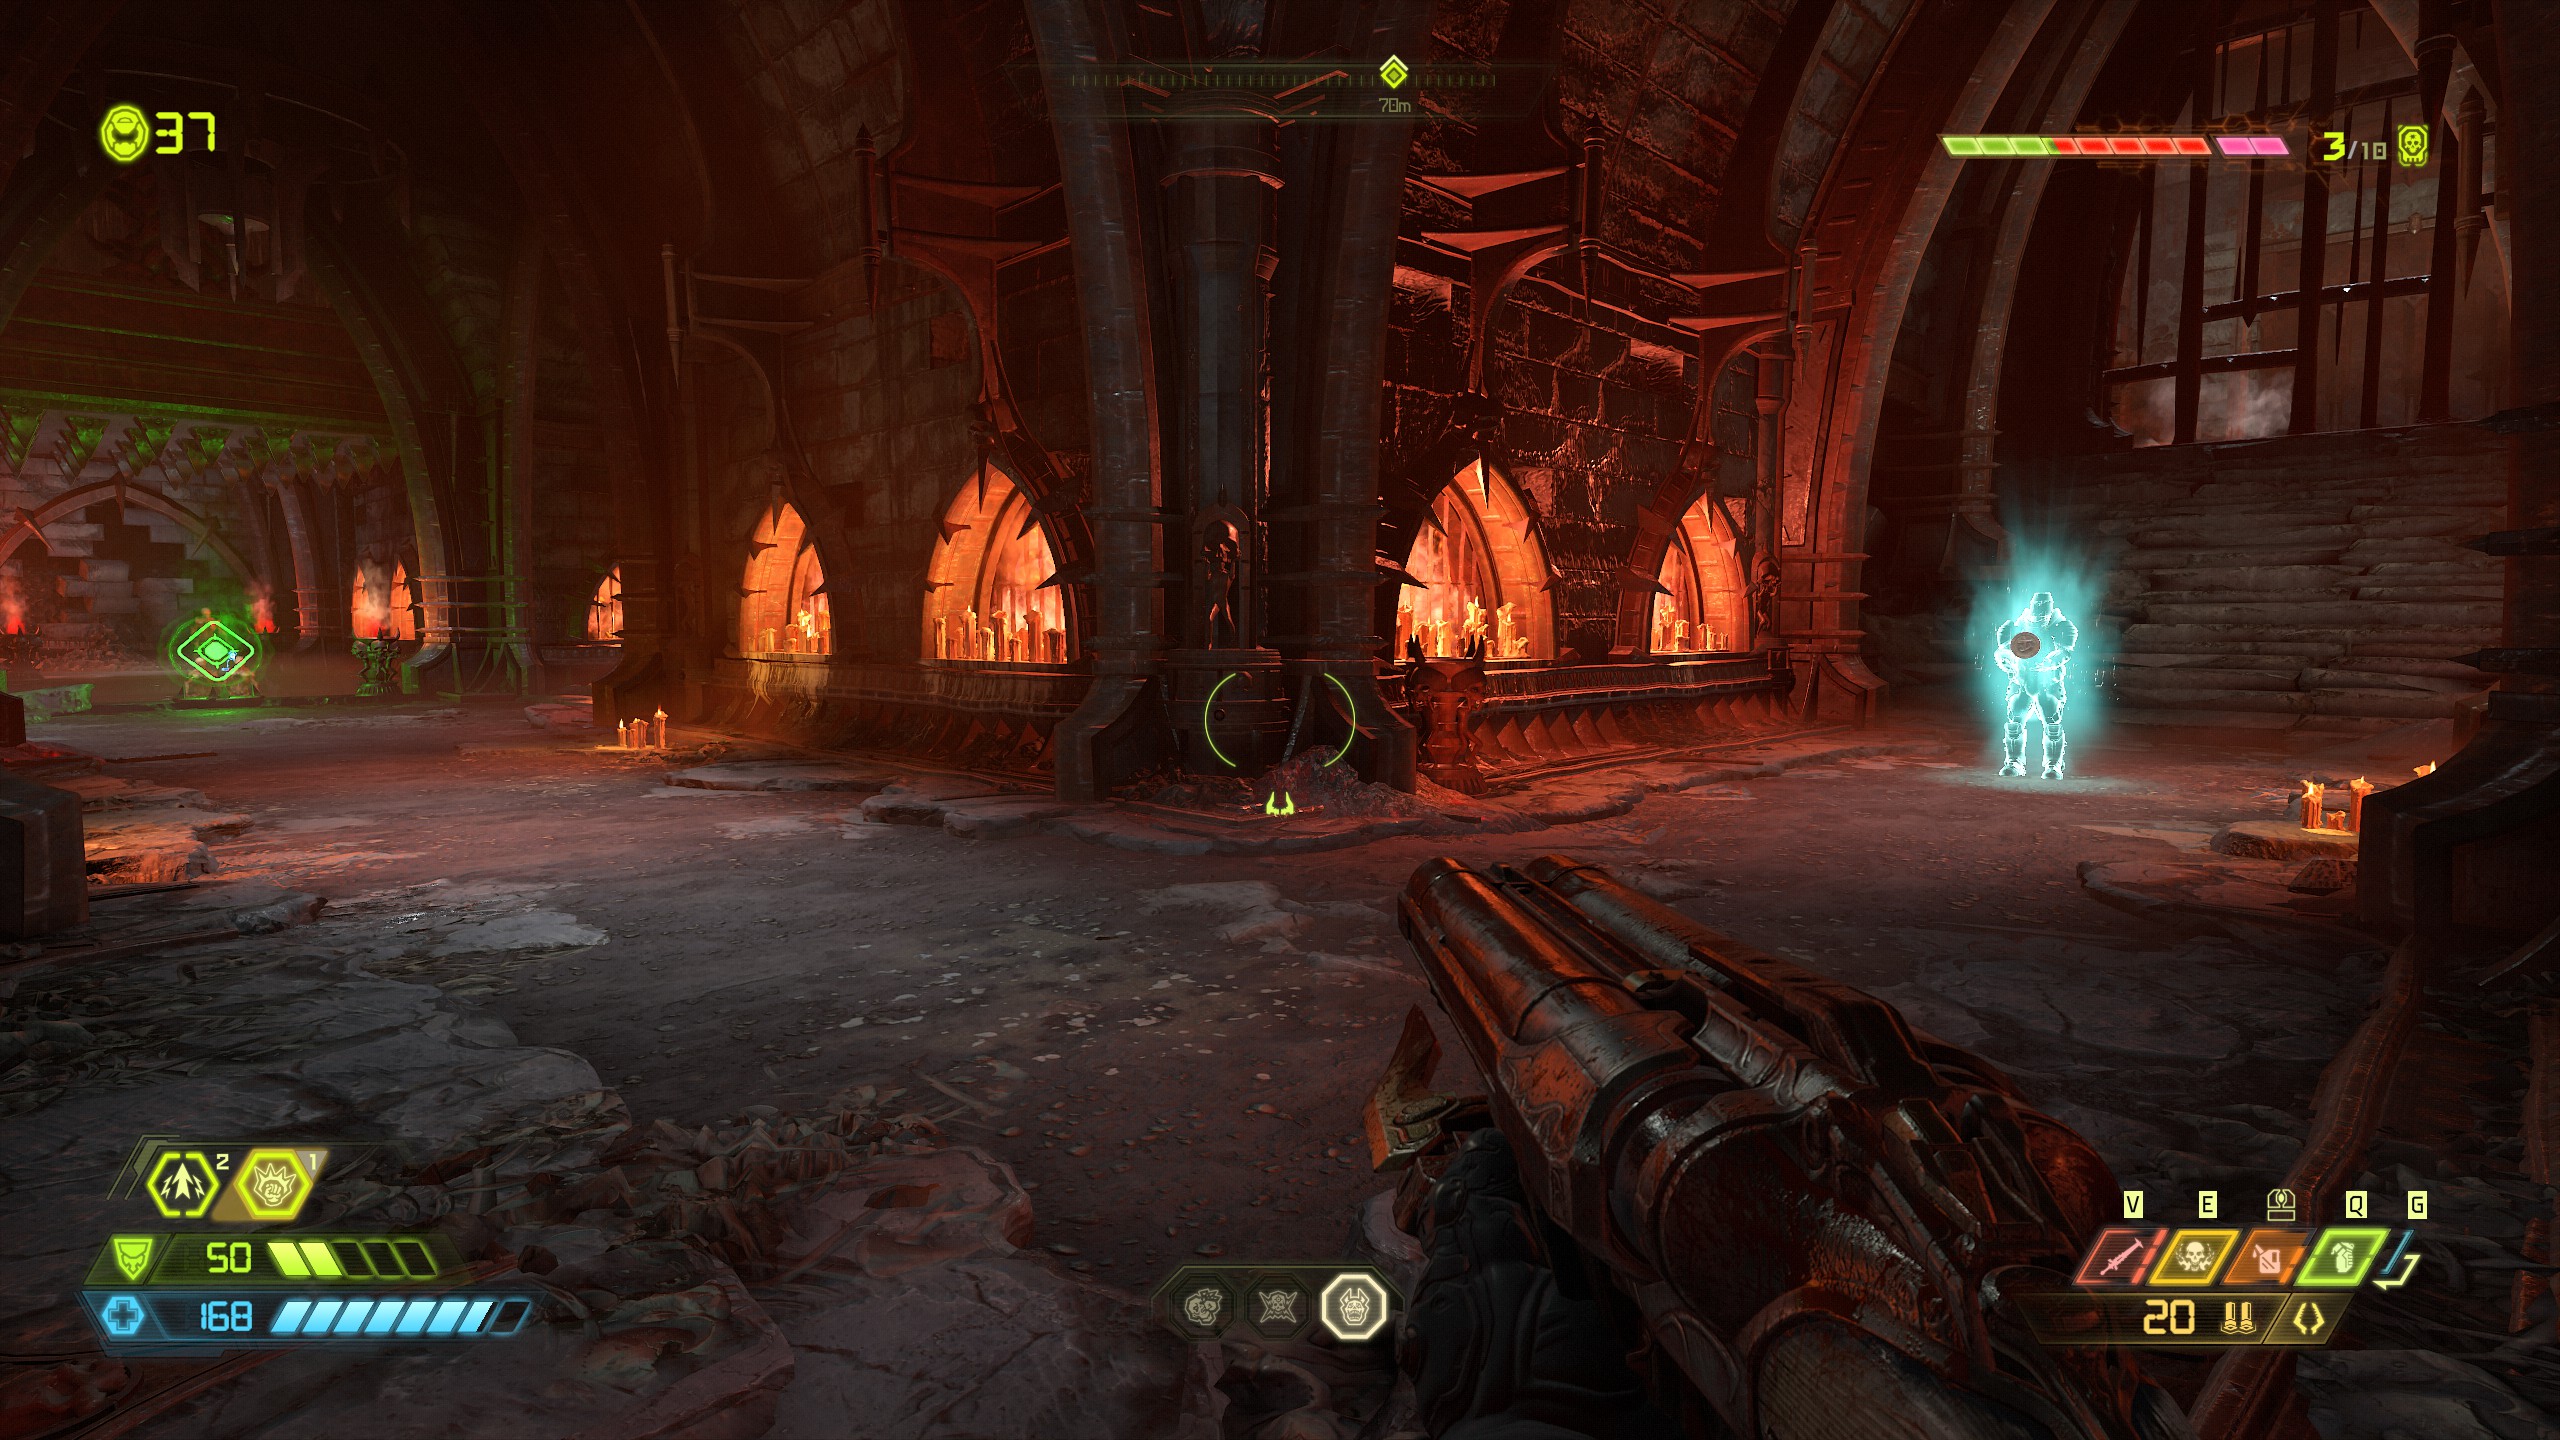
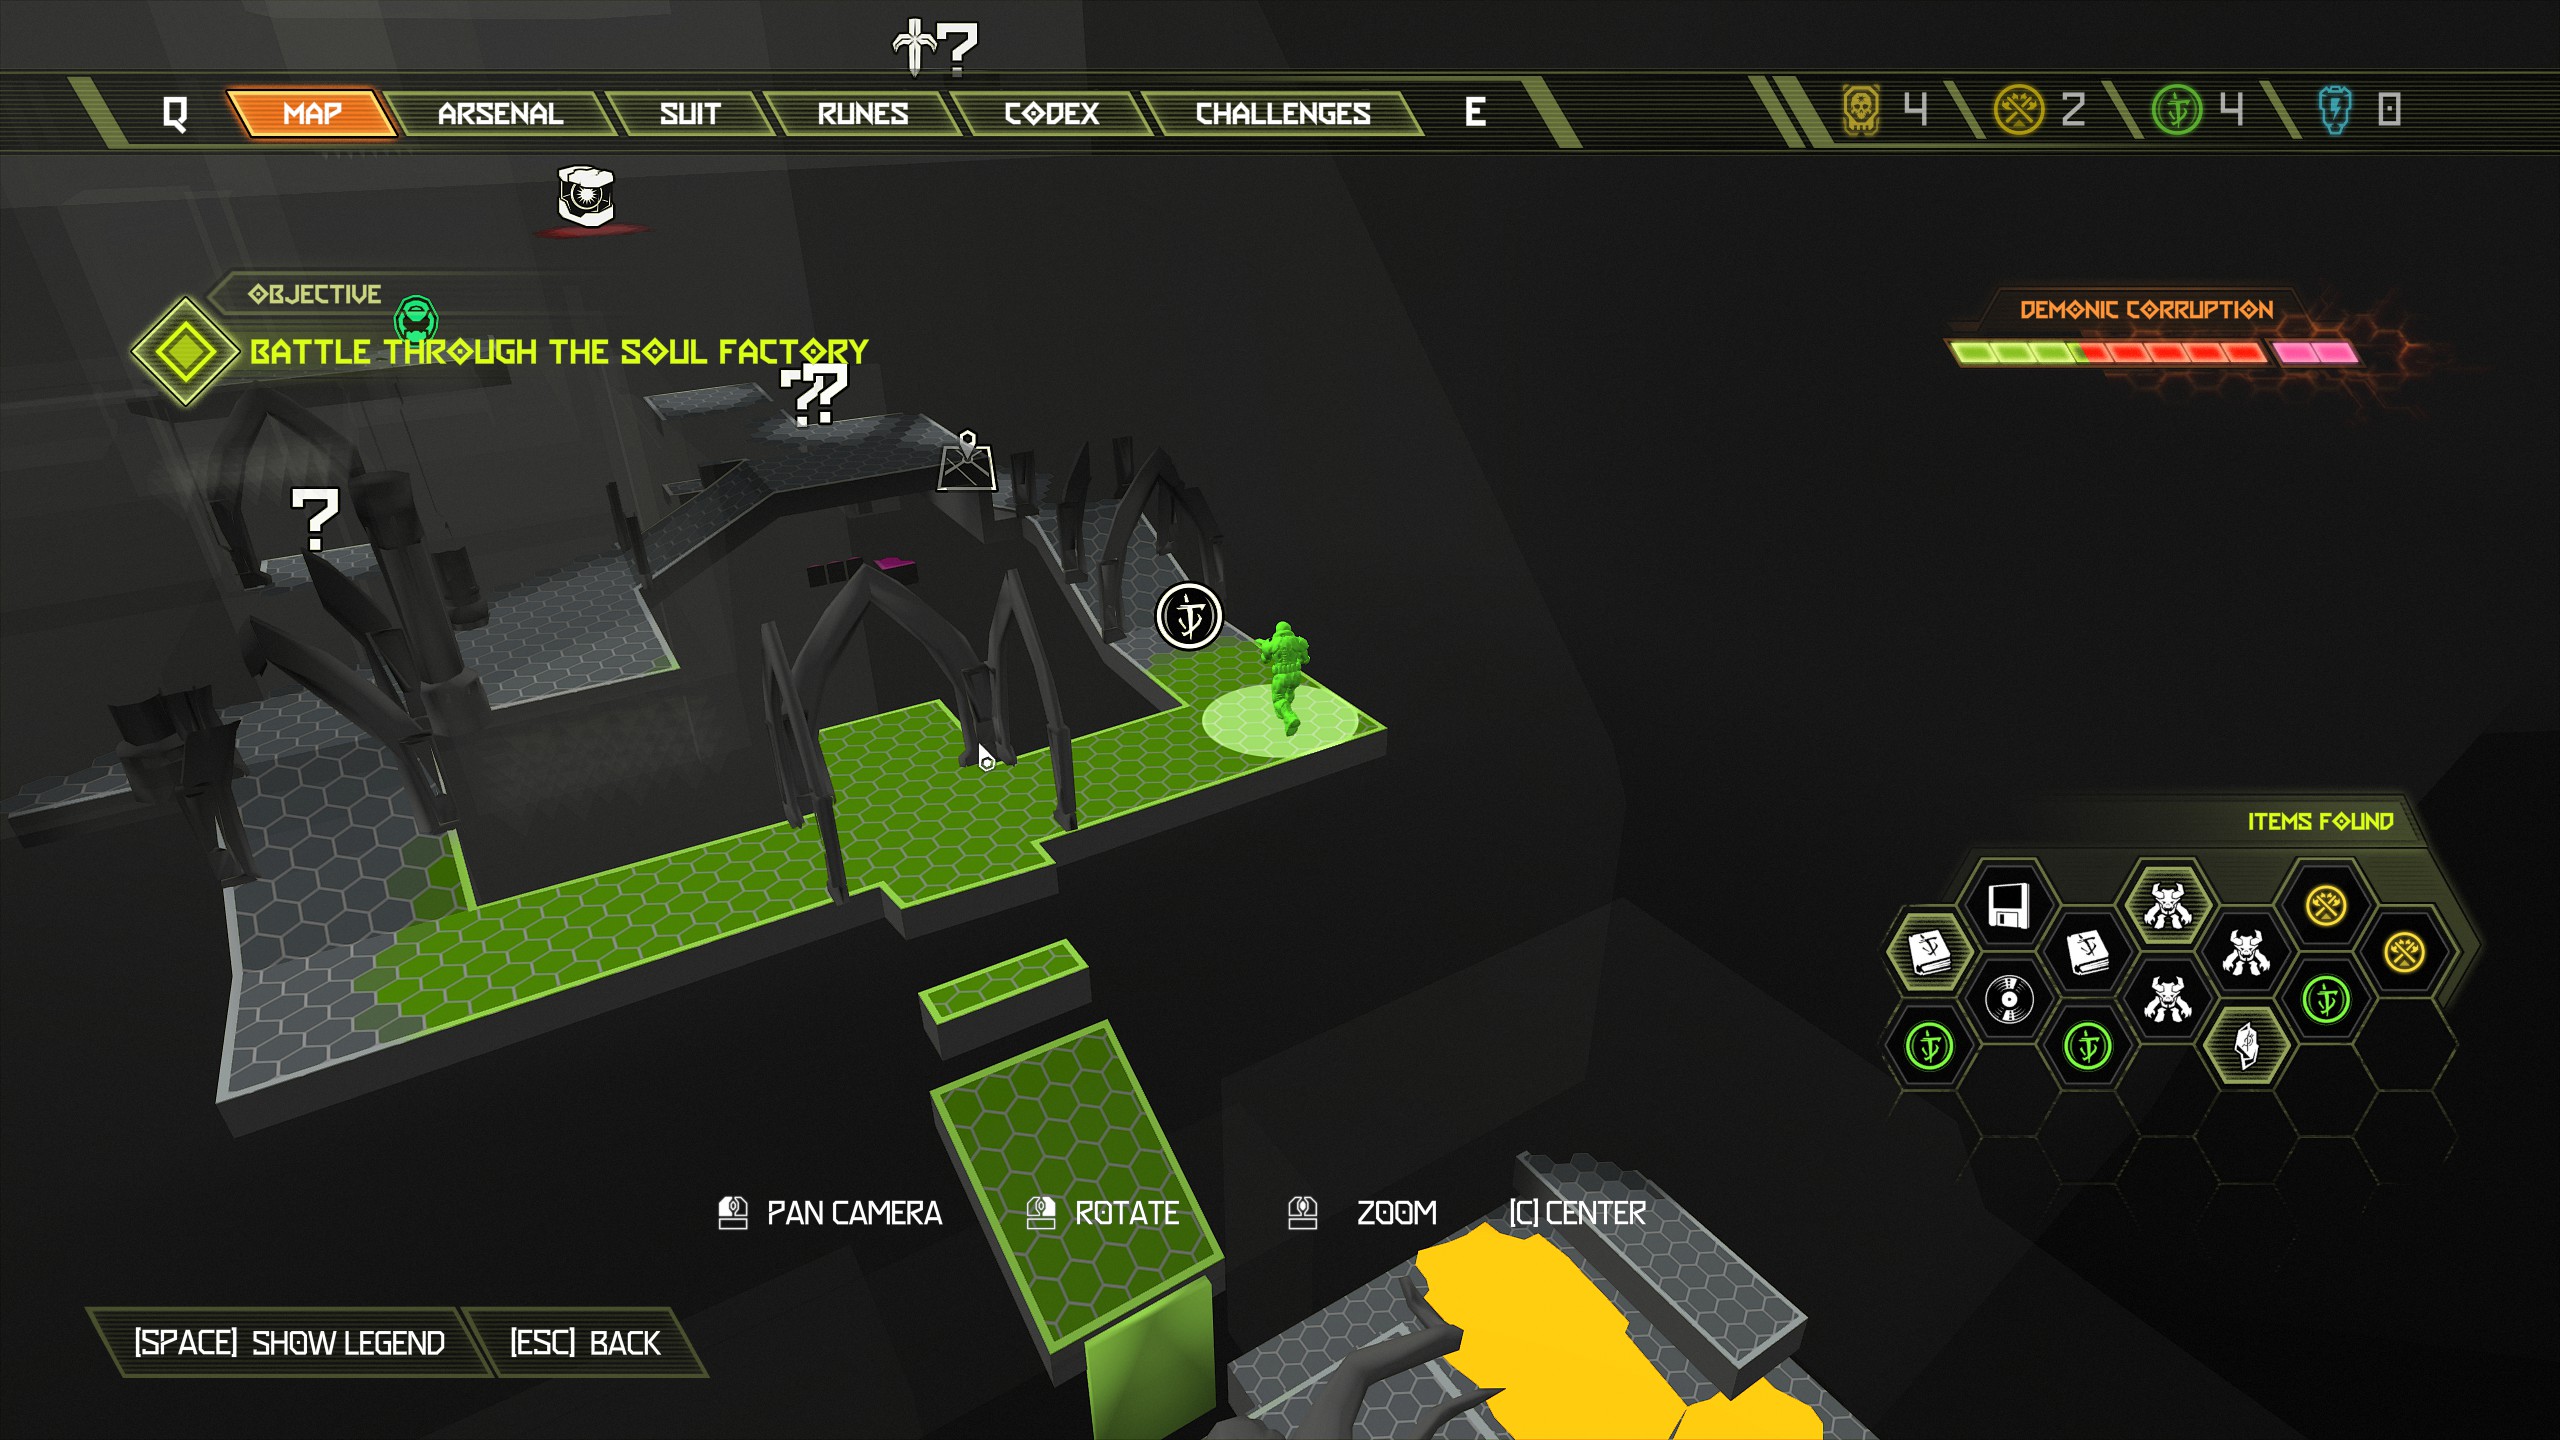 From the praetor suit token head back and take the other path under the crusher past the green target and in the next room on the opposite side will be a mastery token sitting in the alcove.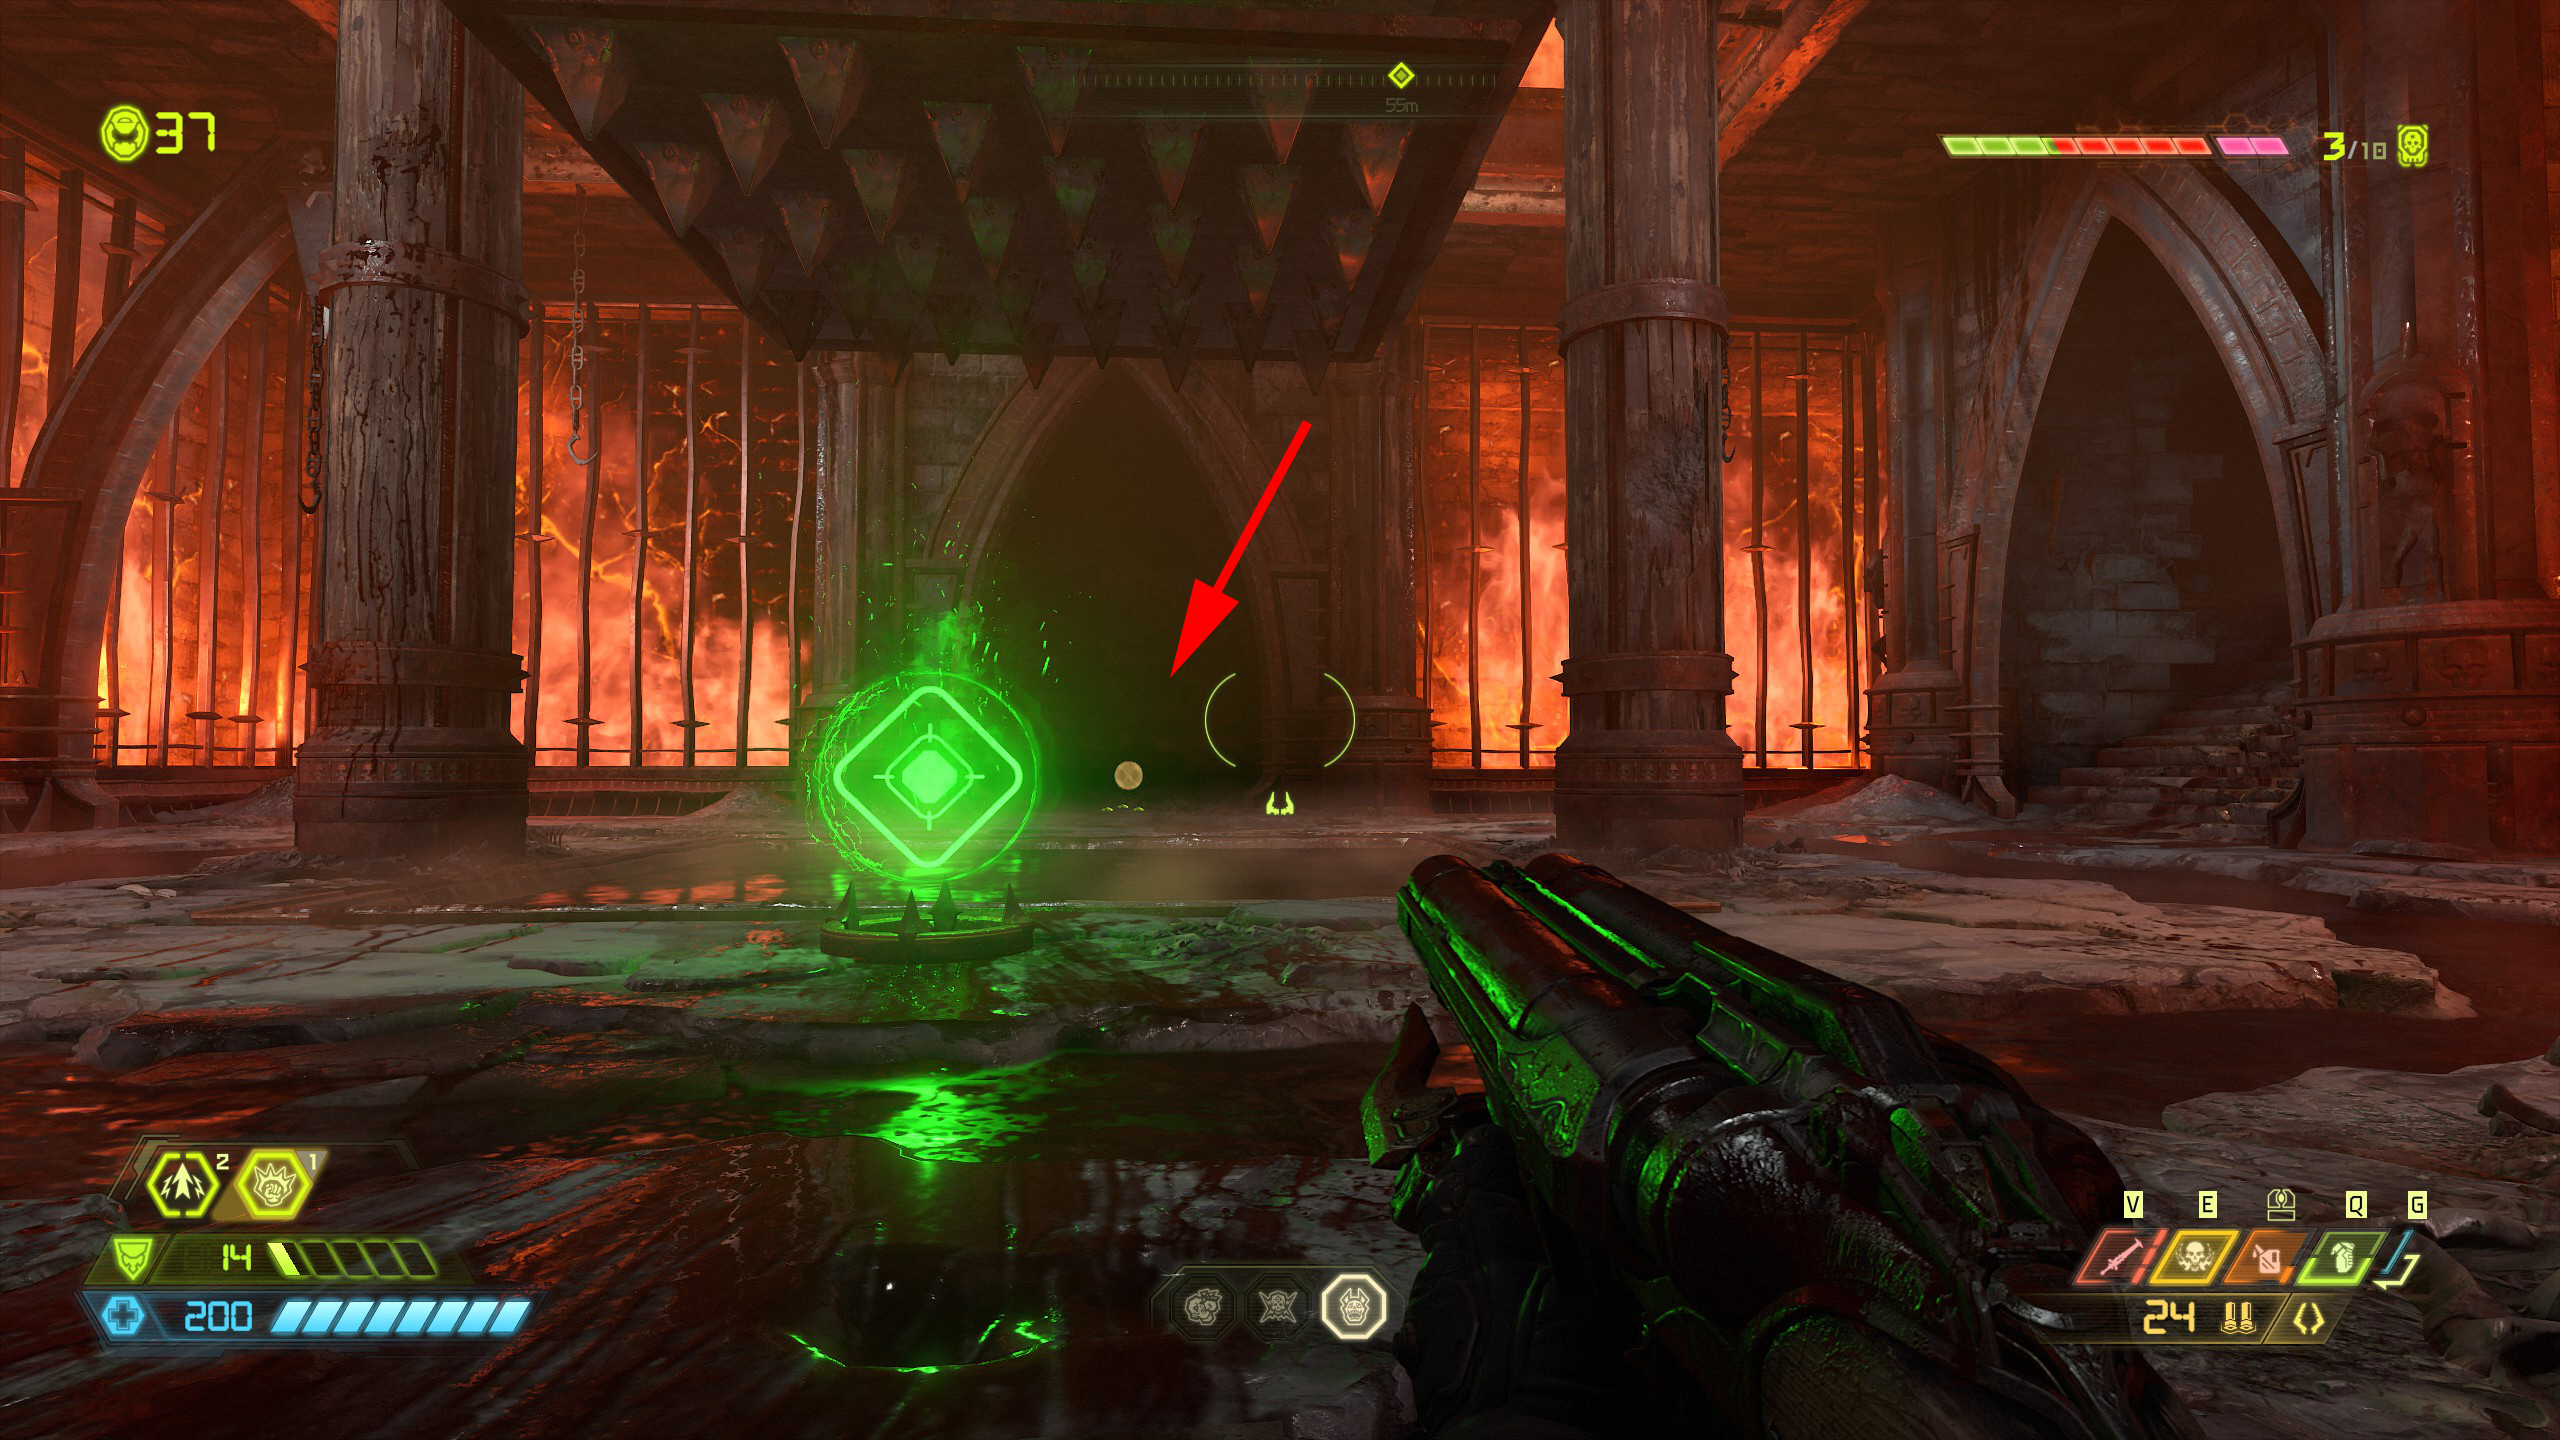
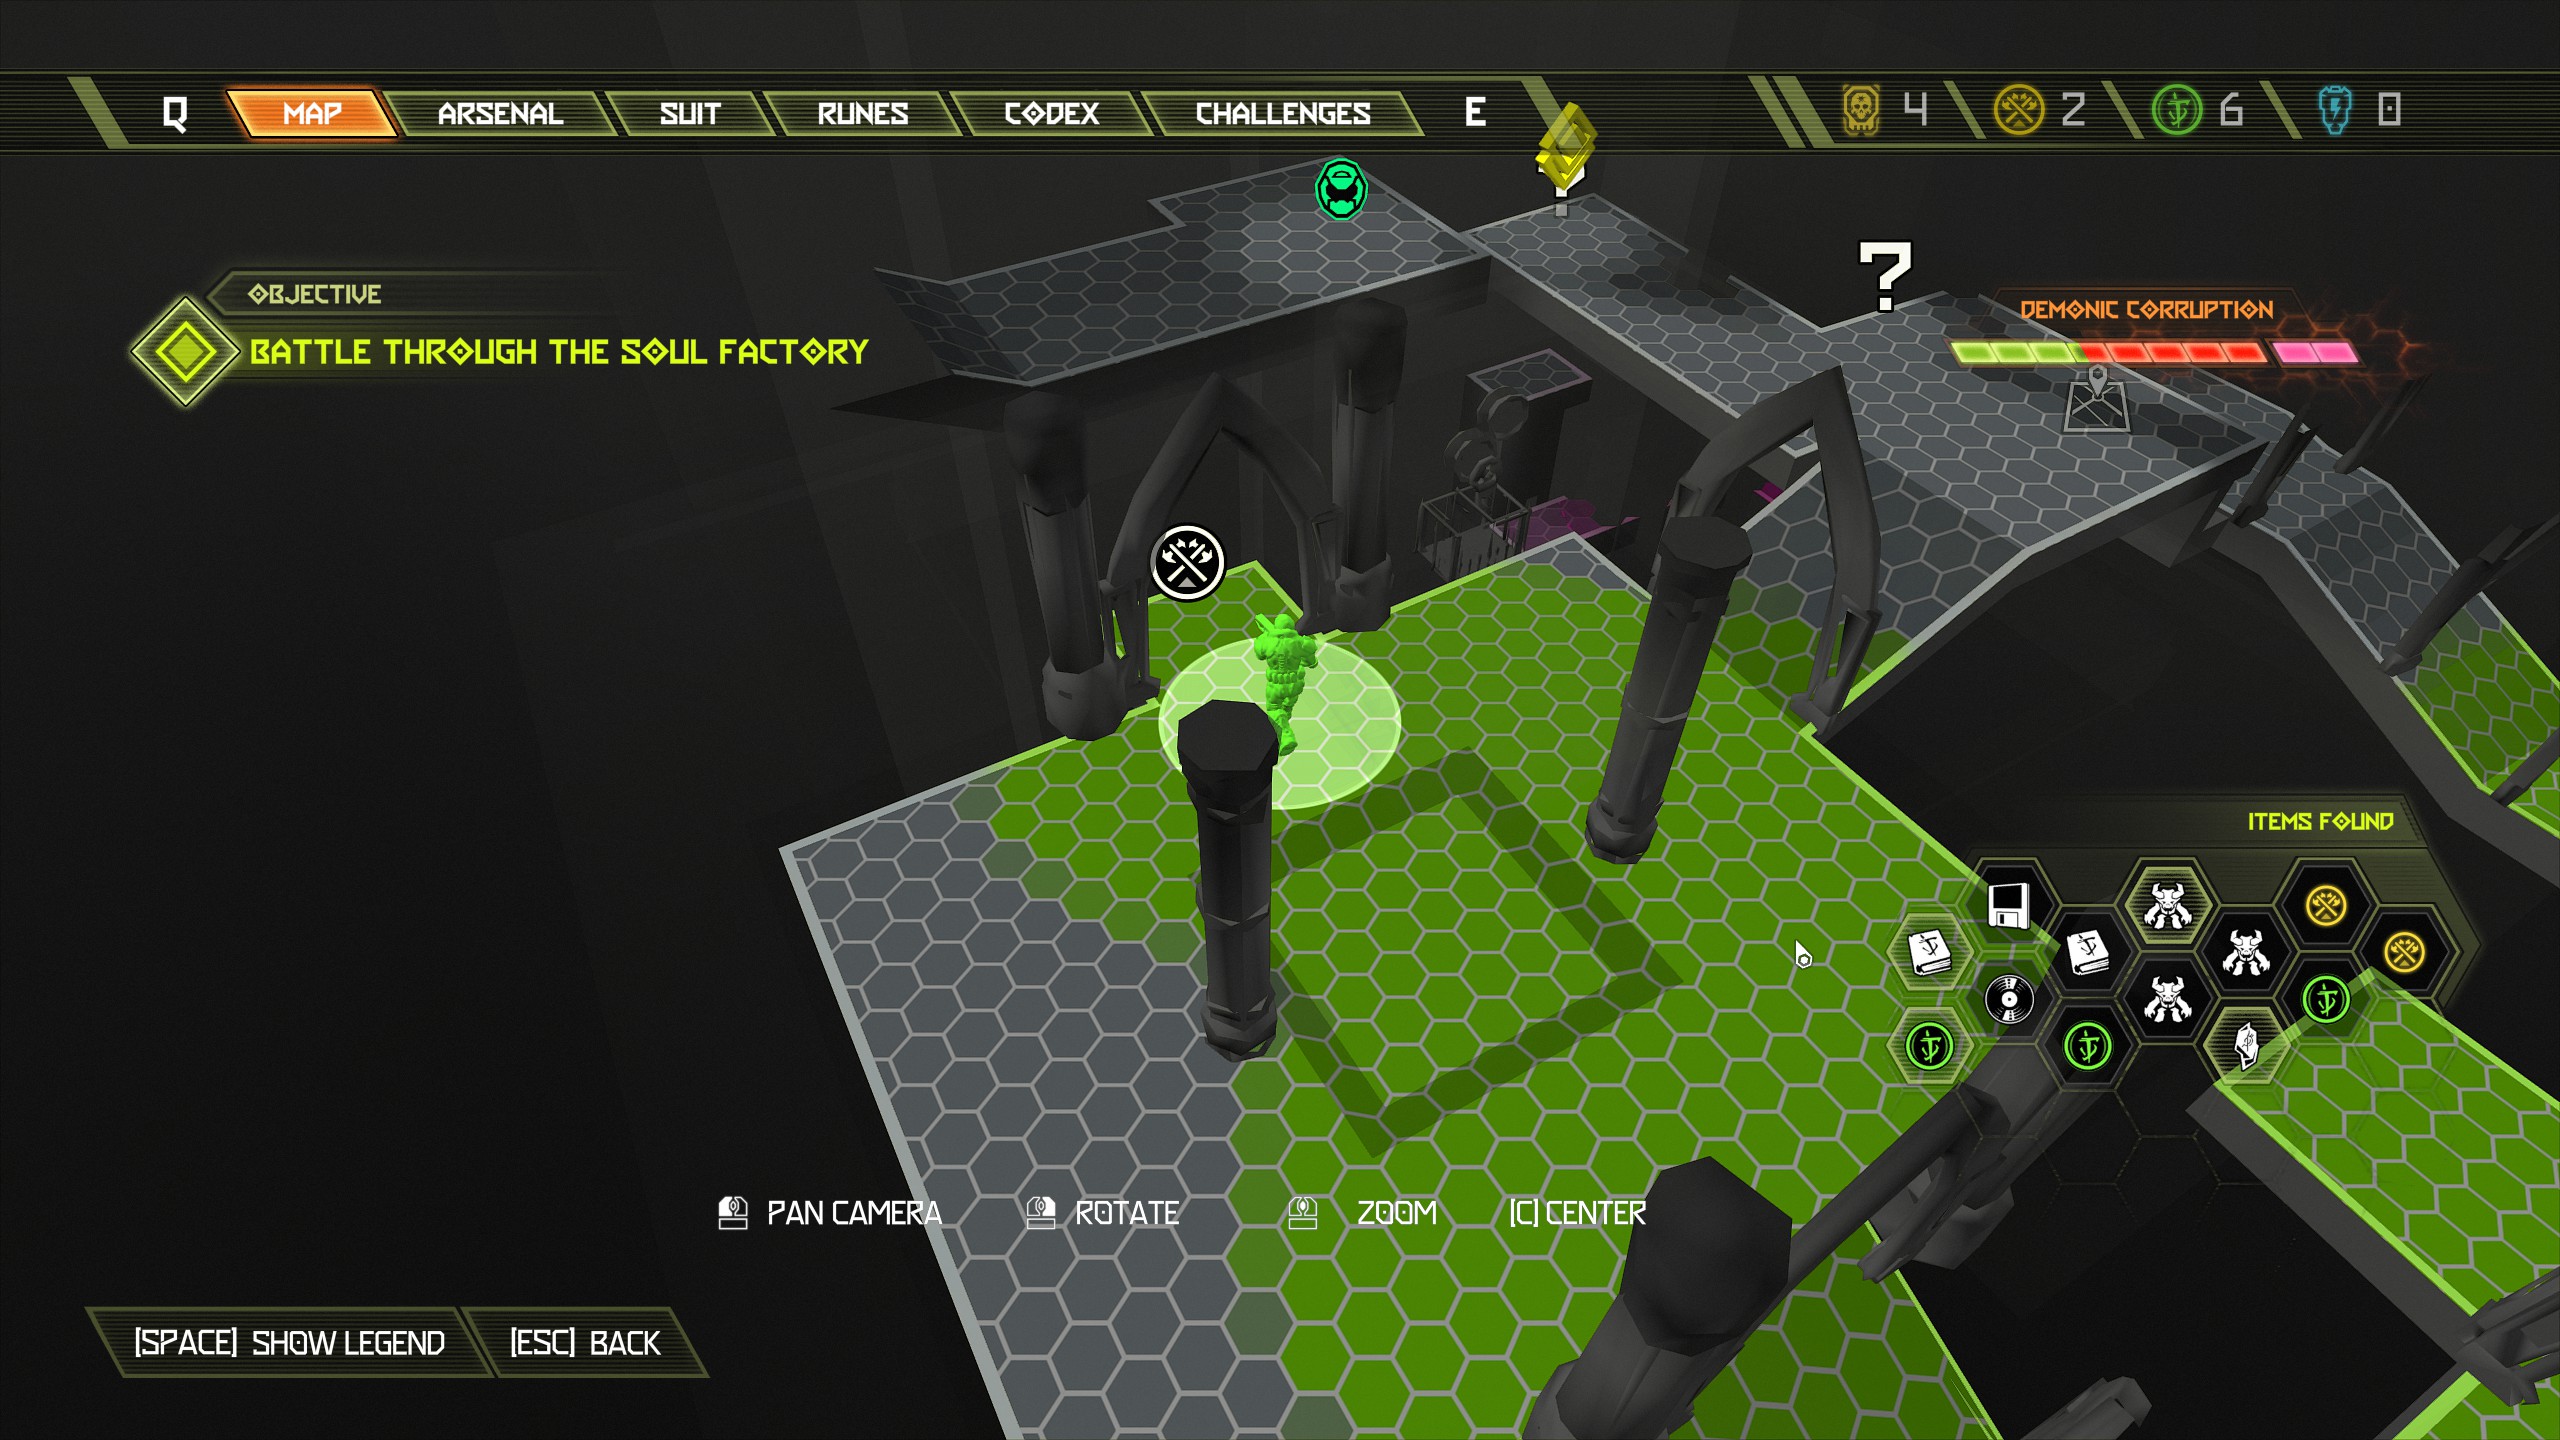 Once you have the mastery token take the nearby stairway and in the room at the top you will see another praetor suit token, you can't miss it.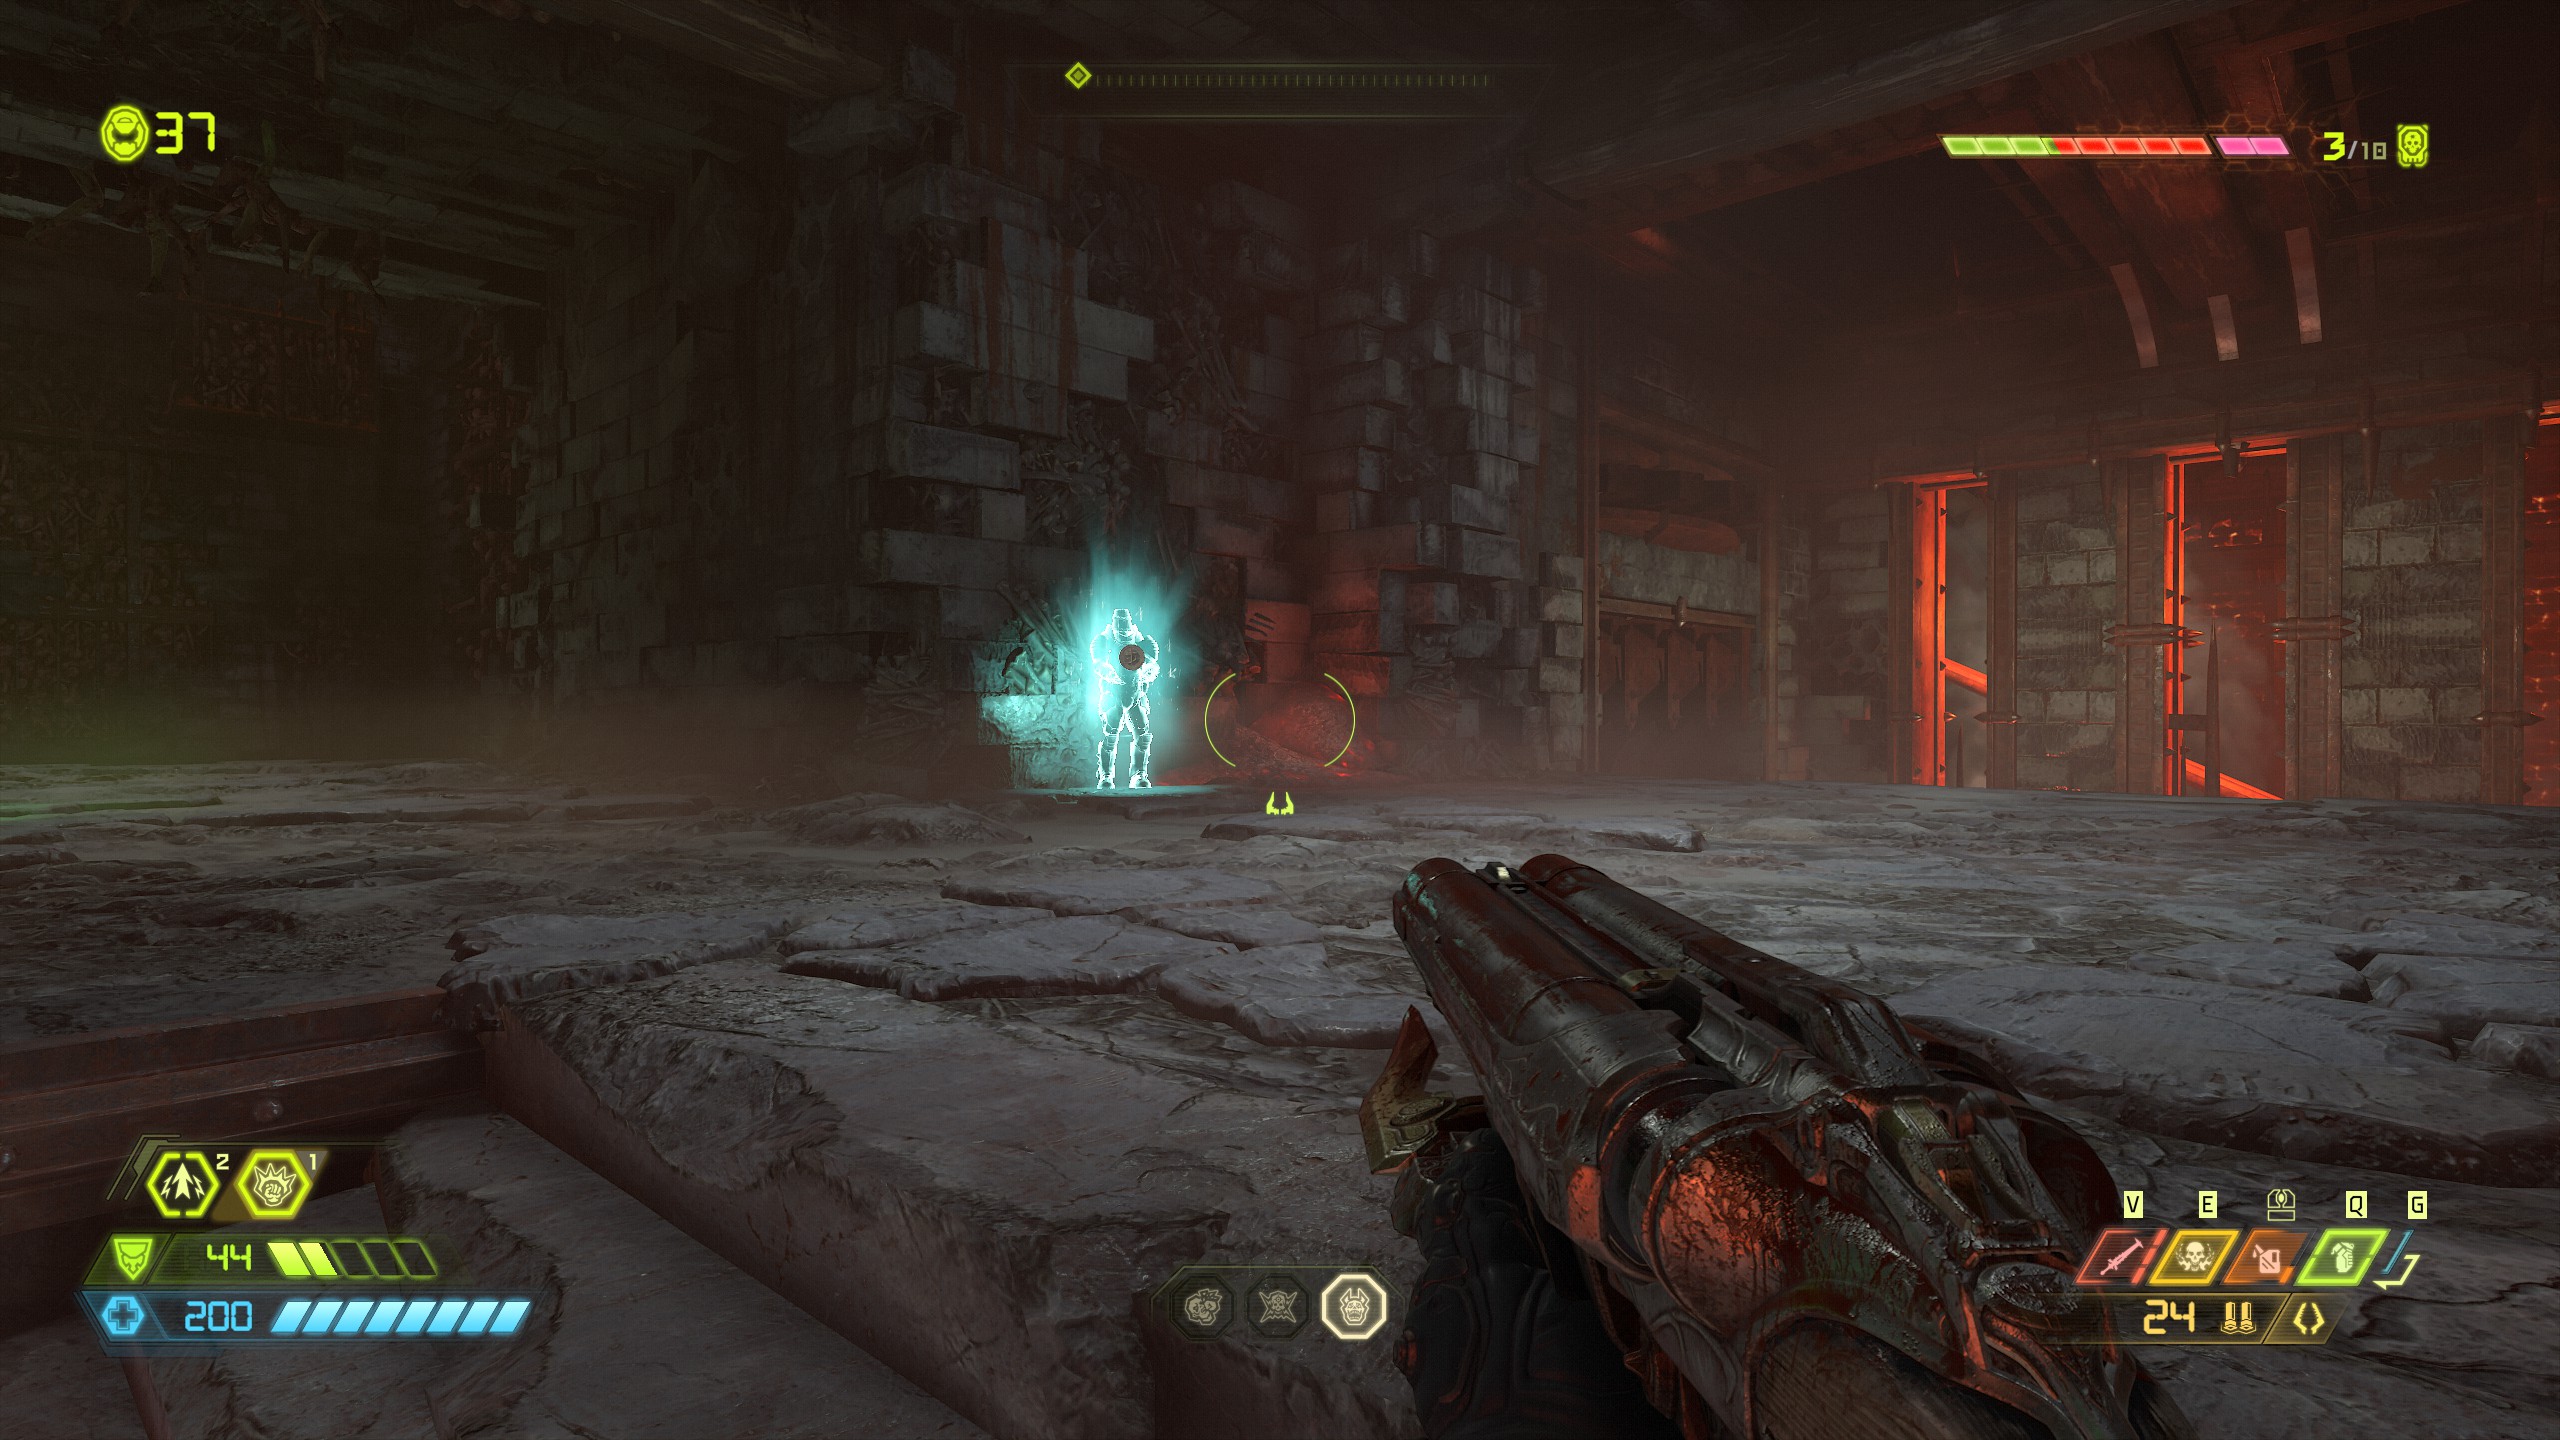
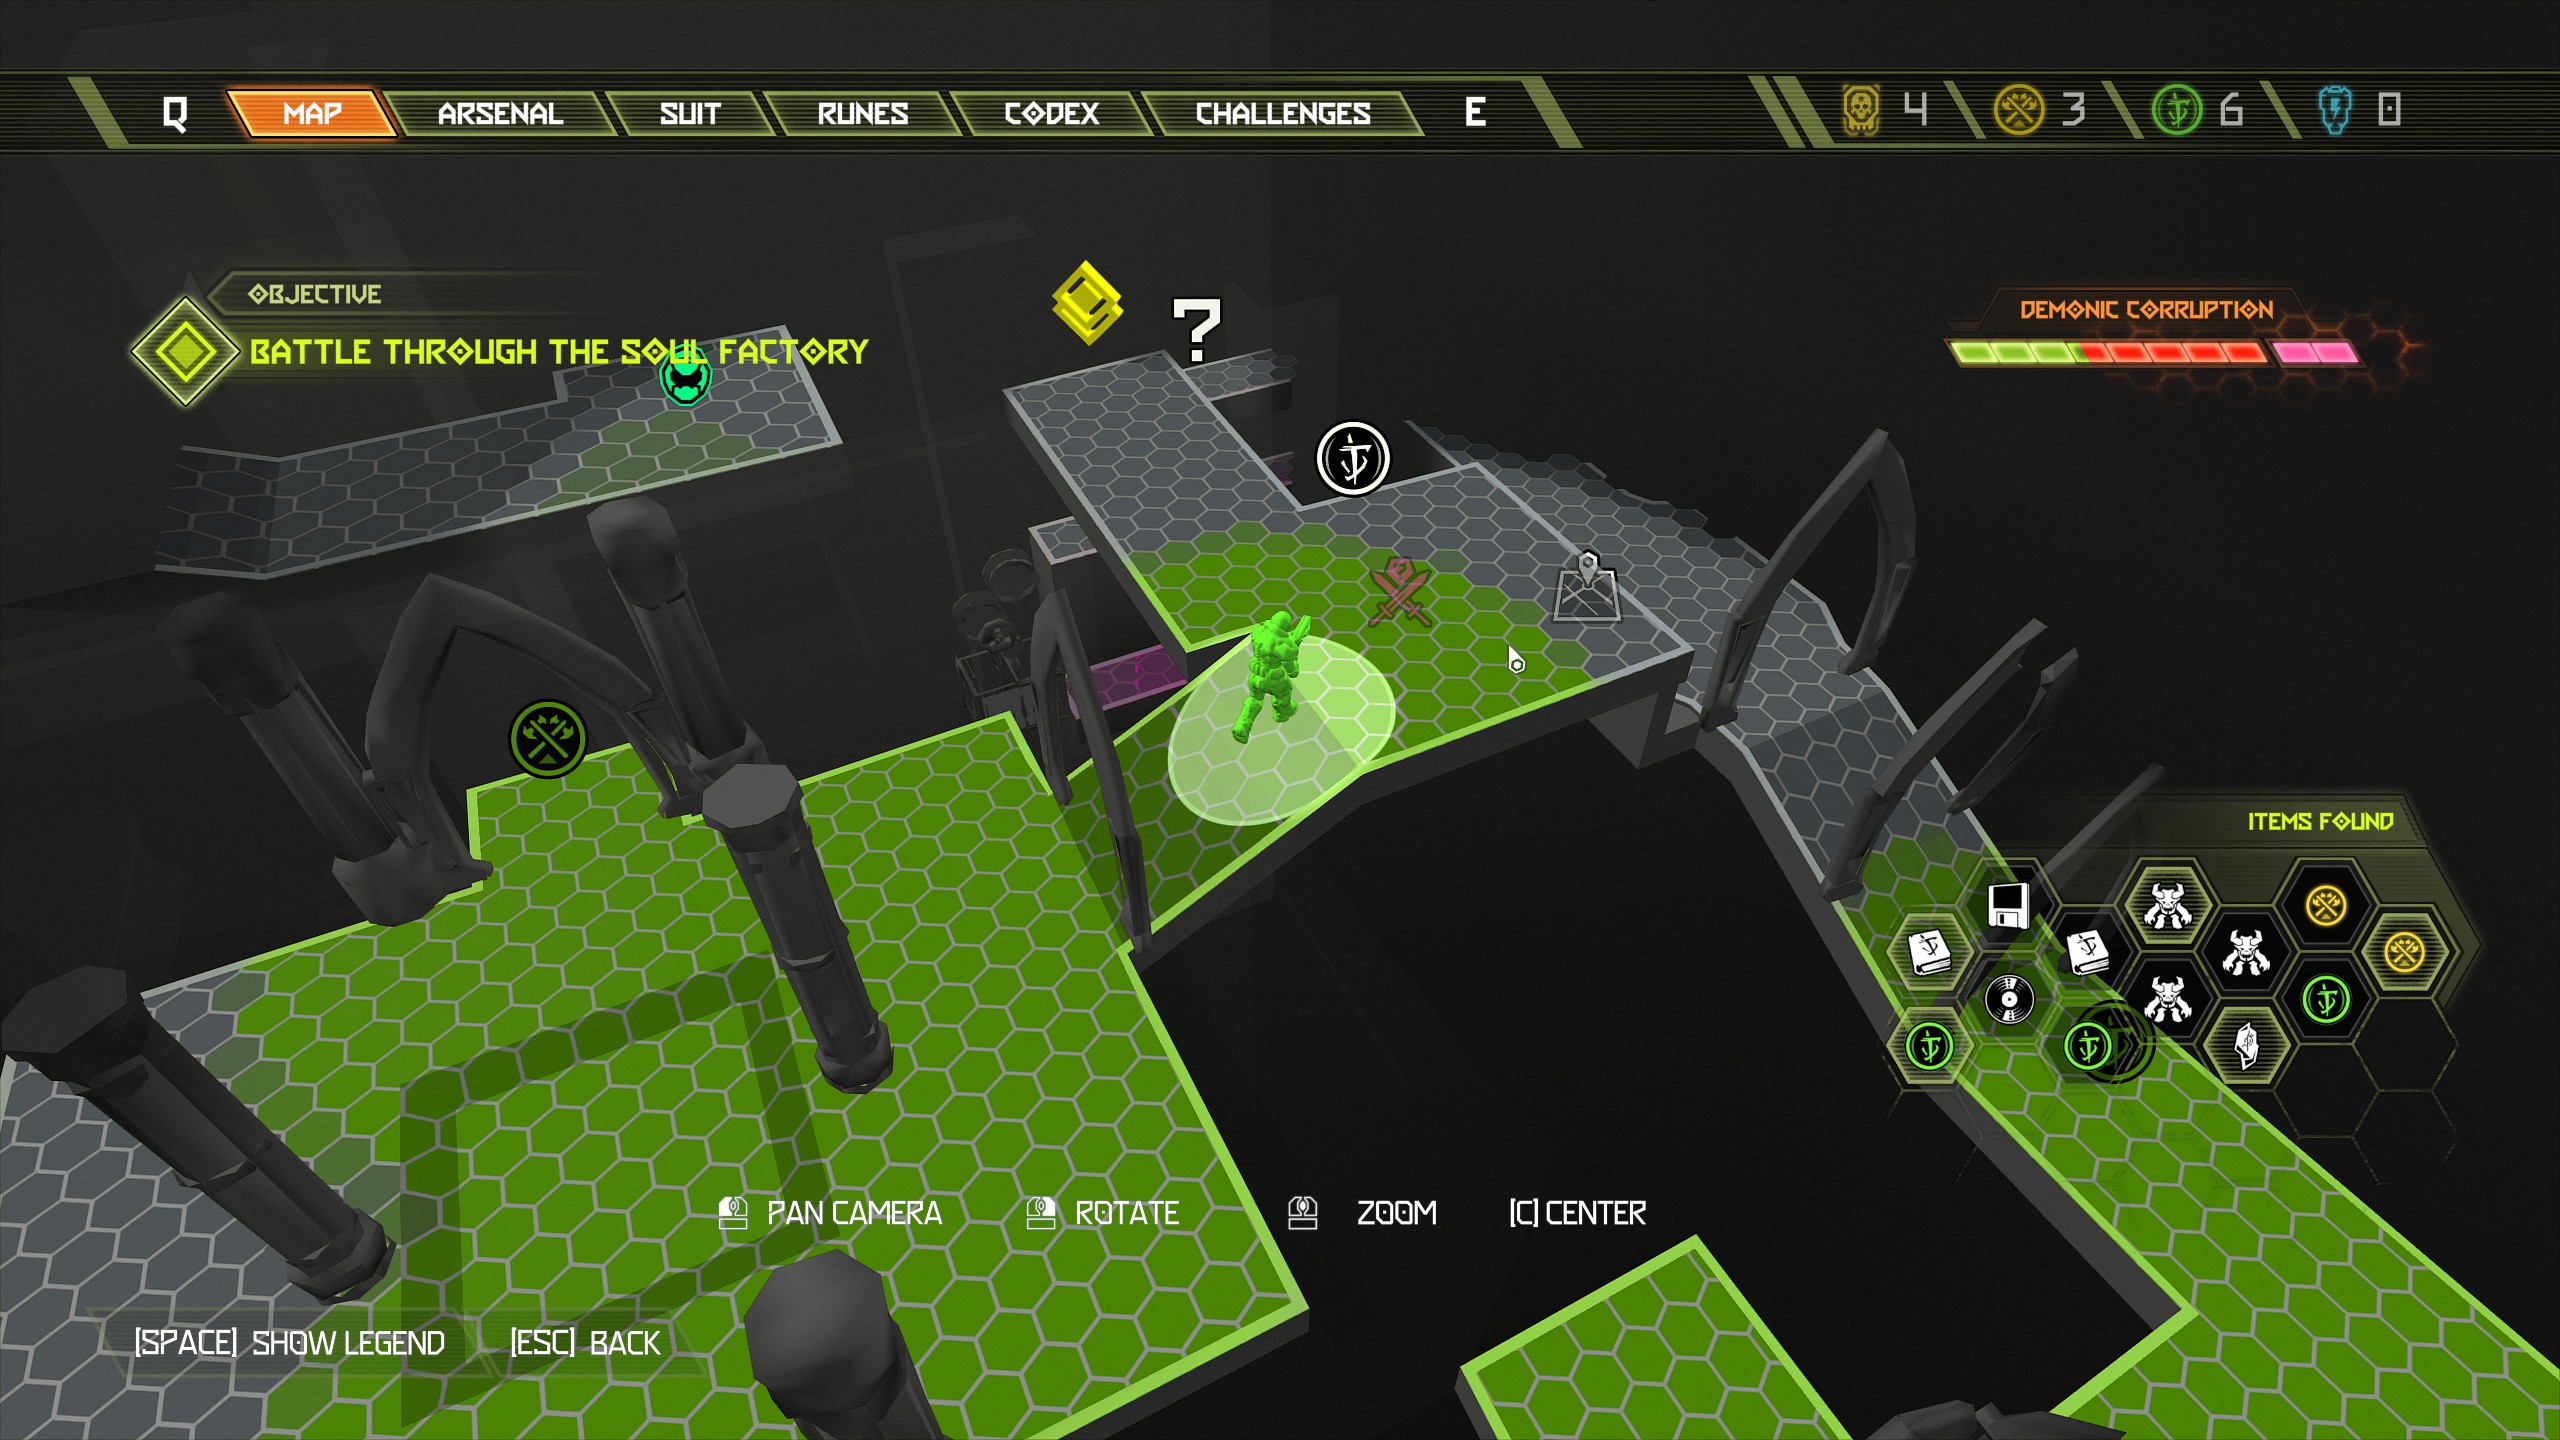 Immediately after collecting the praetor suit token look to the right side and drop down off the edge to find the automap below.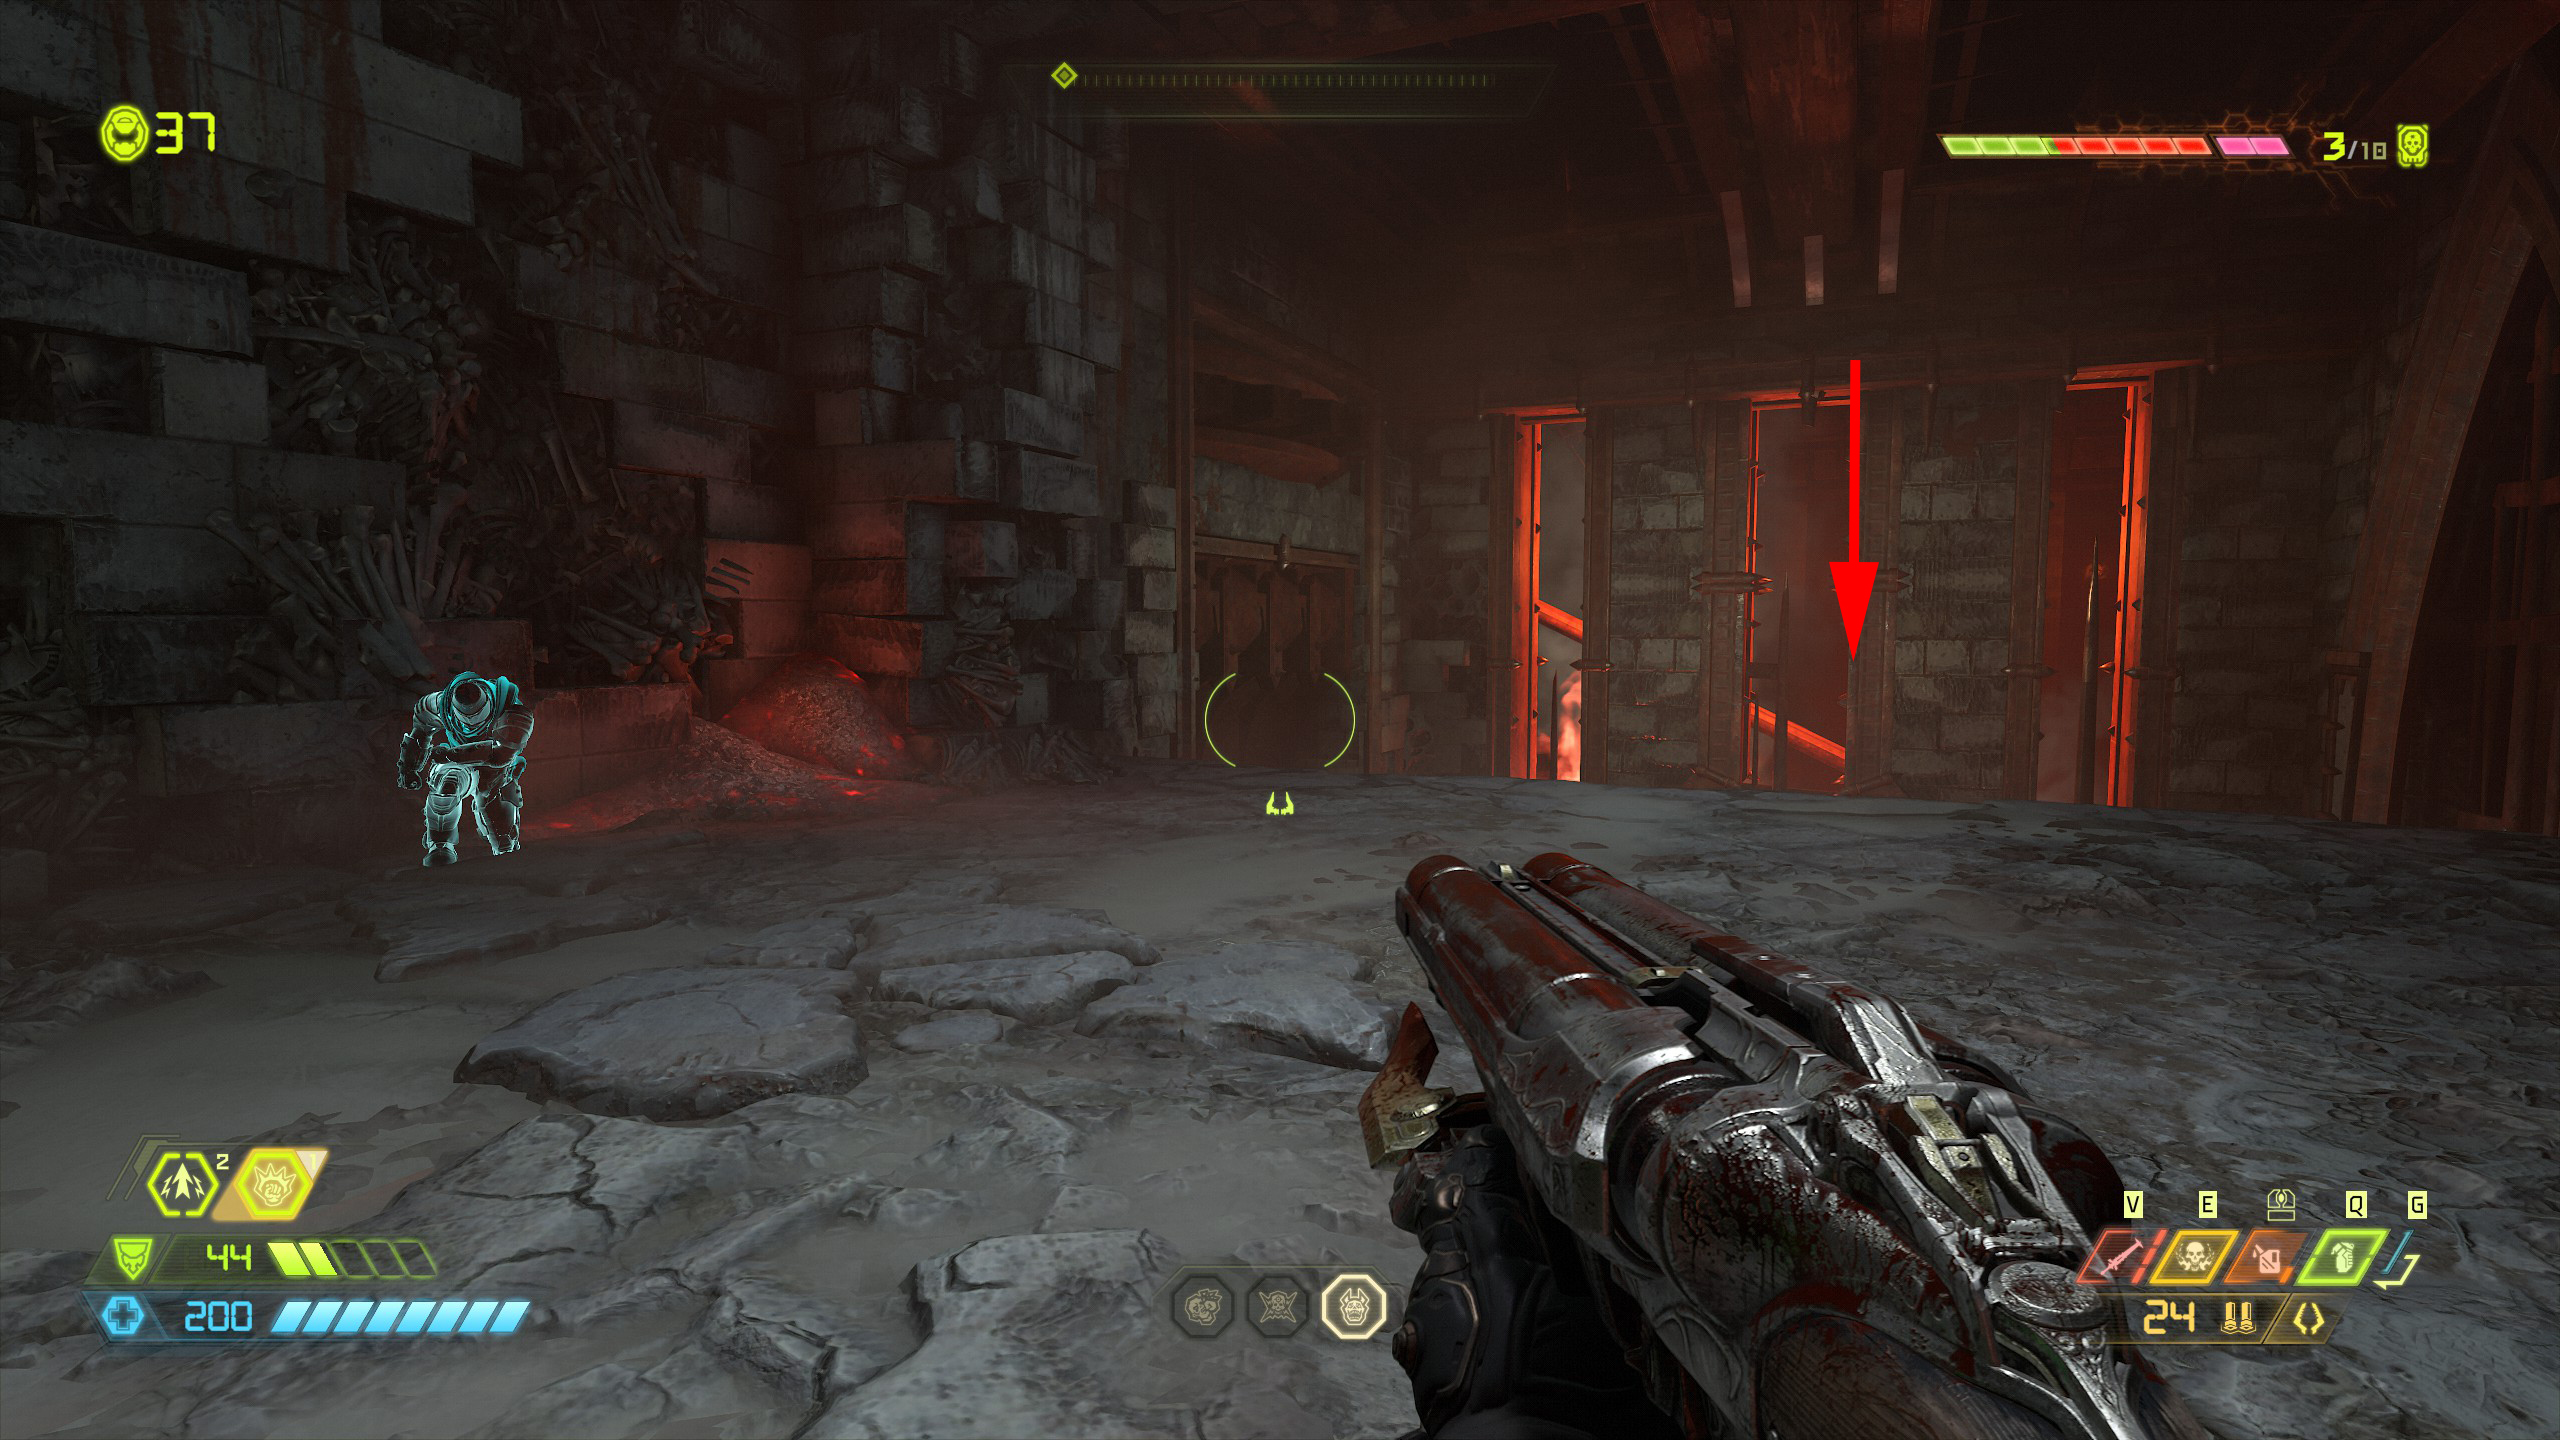
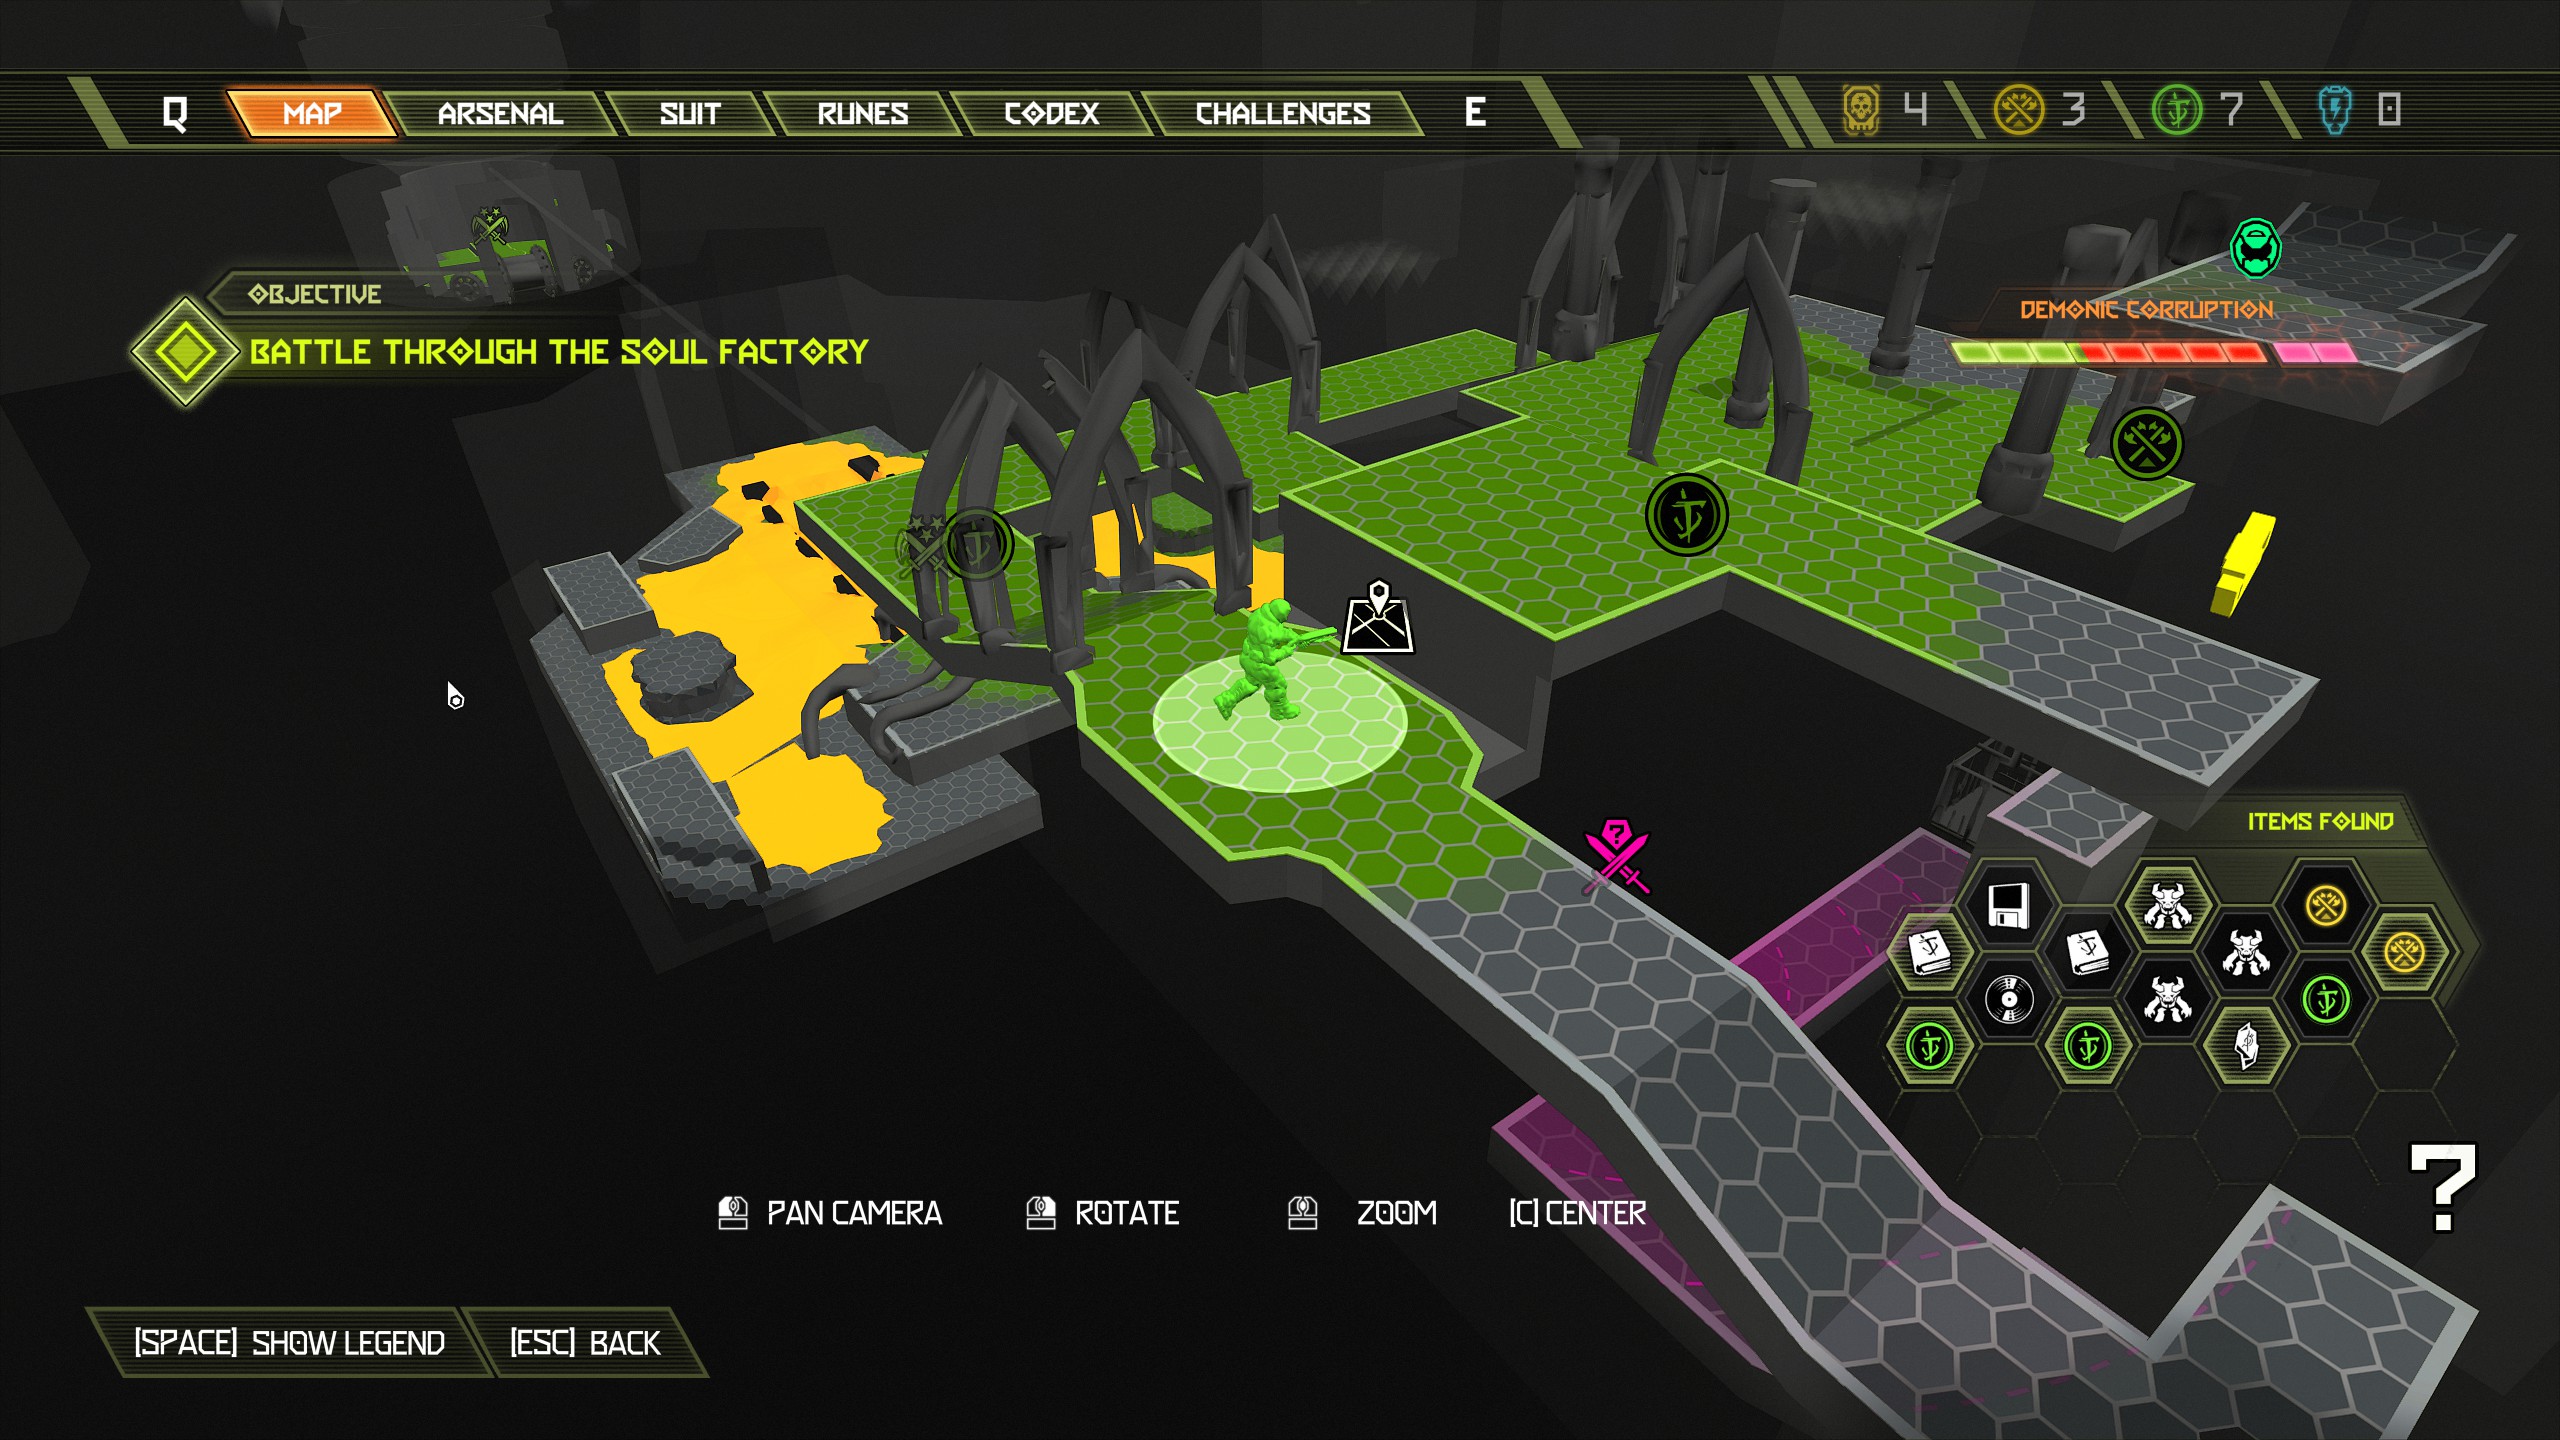
Secret Encounter:
For this encounter you will be attacked by 1 mecha zombies, 1 hell knight. After collecting the automap continue back up and you will come to a large gap, do not jump across. Underneath you over the edge is a breakable wall, you will need to drop off the edge and dash into the wall beneath you and inside you will find the secret encounter and a doomtoy. Do not jump across to the opposite side otherwise you cannot reach the breakable wall.
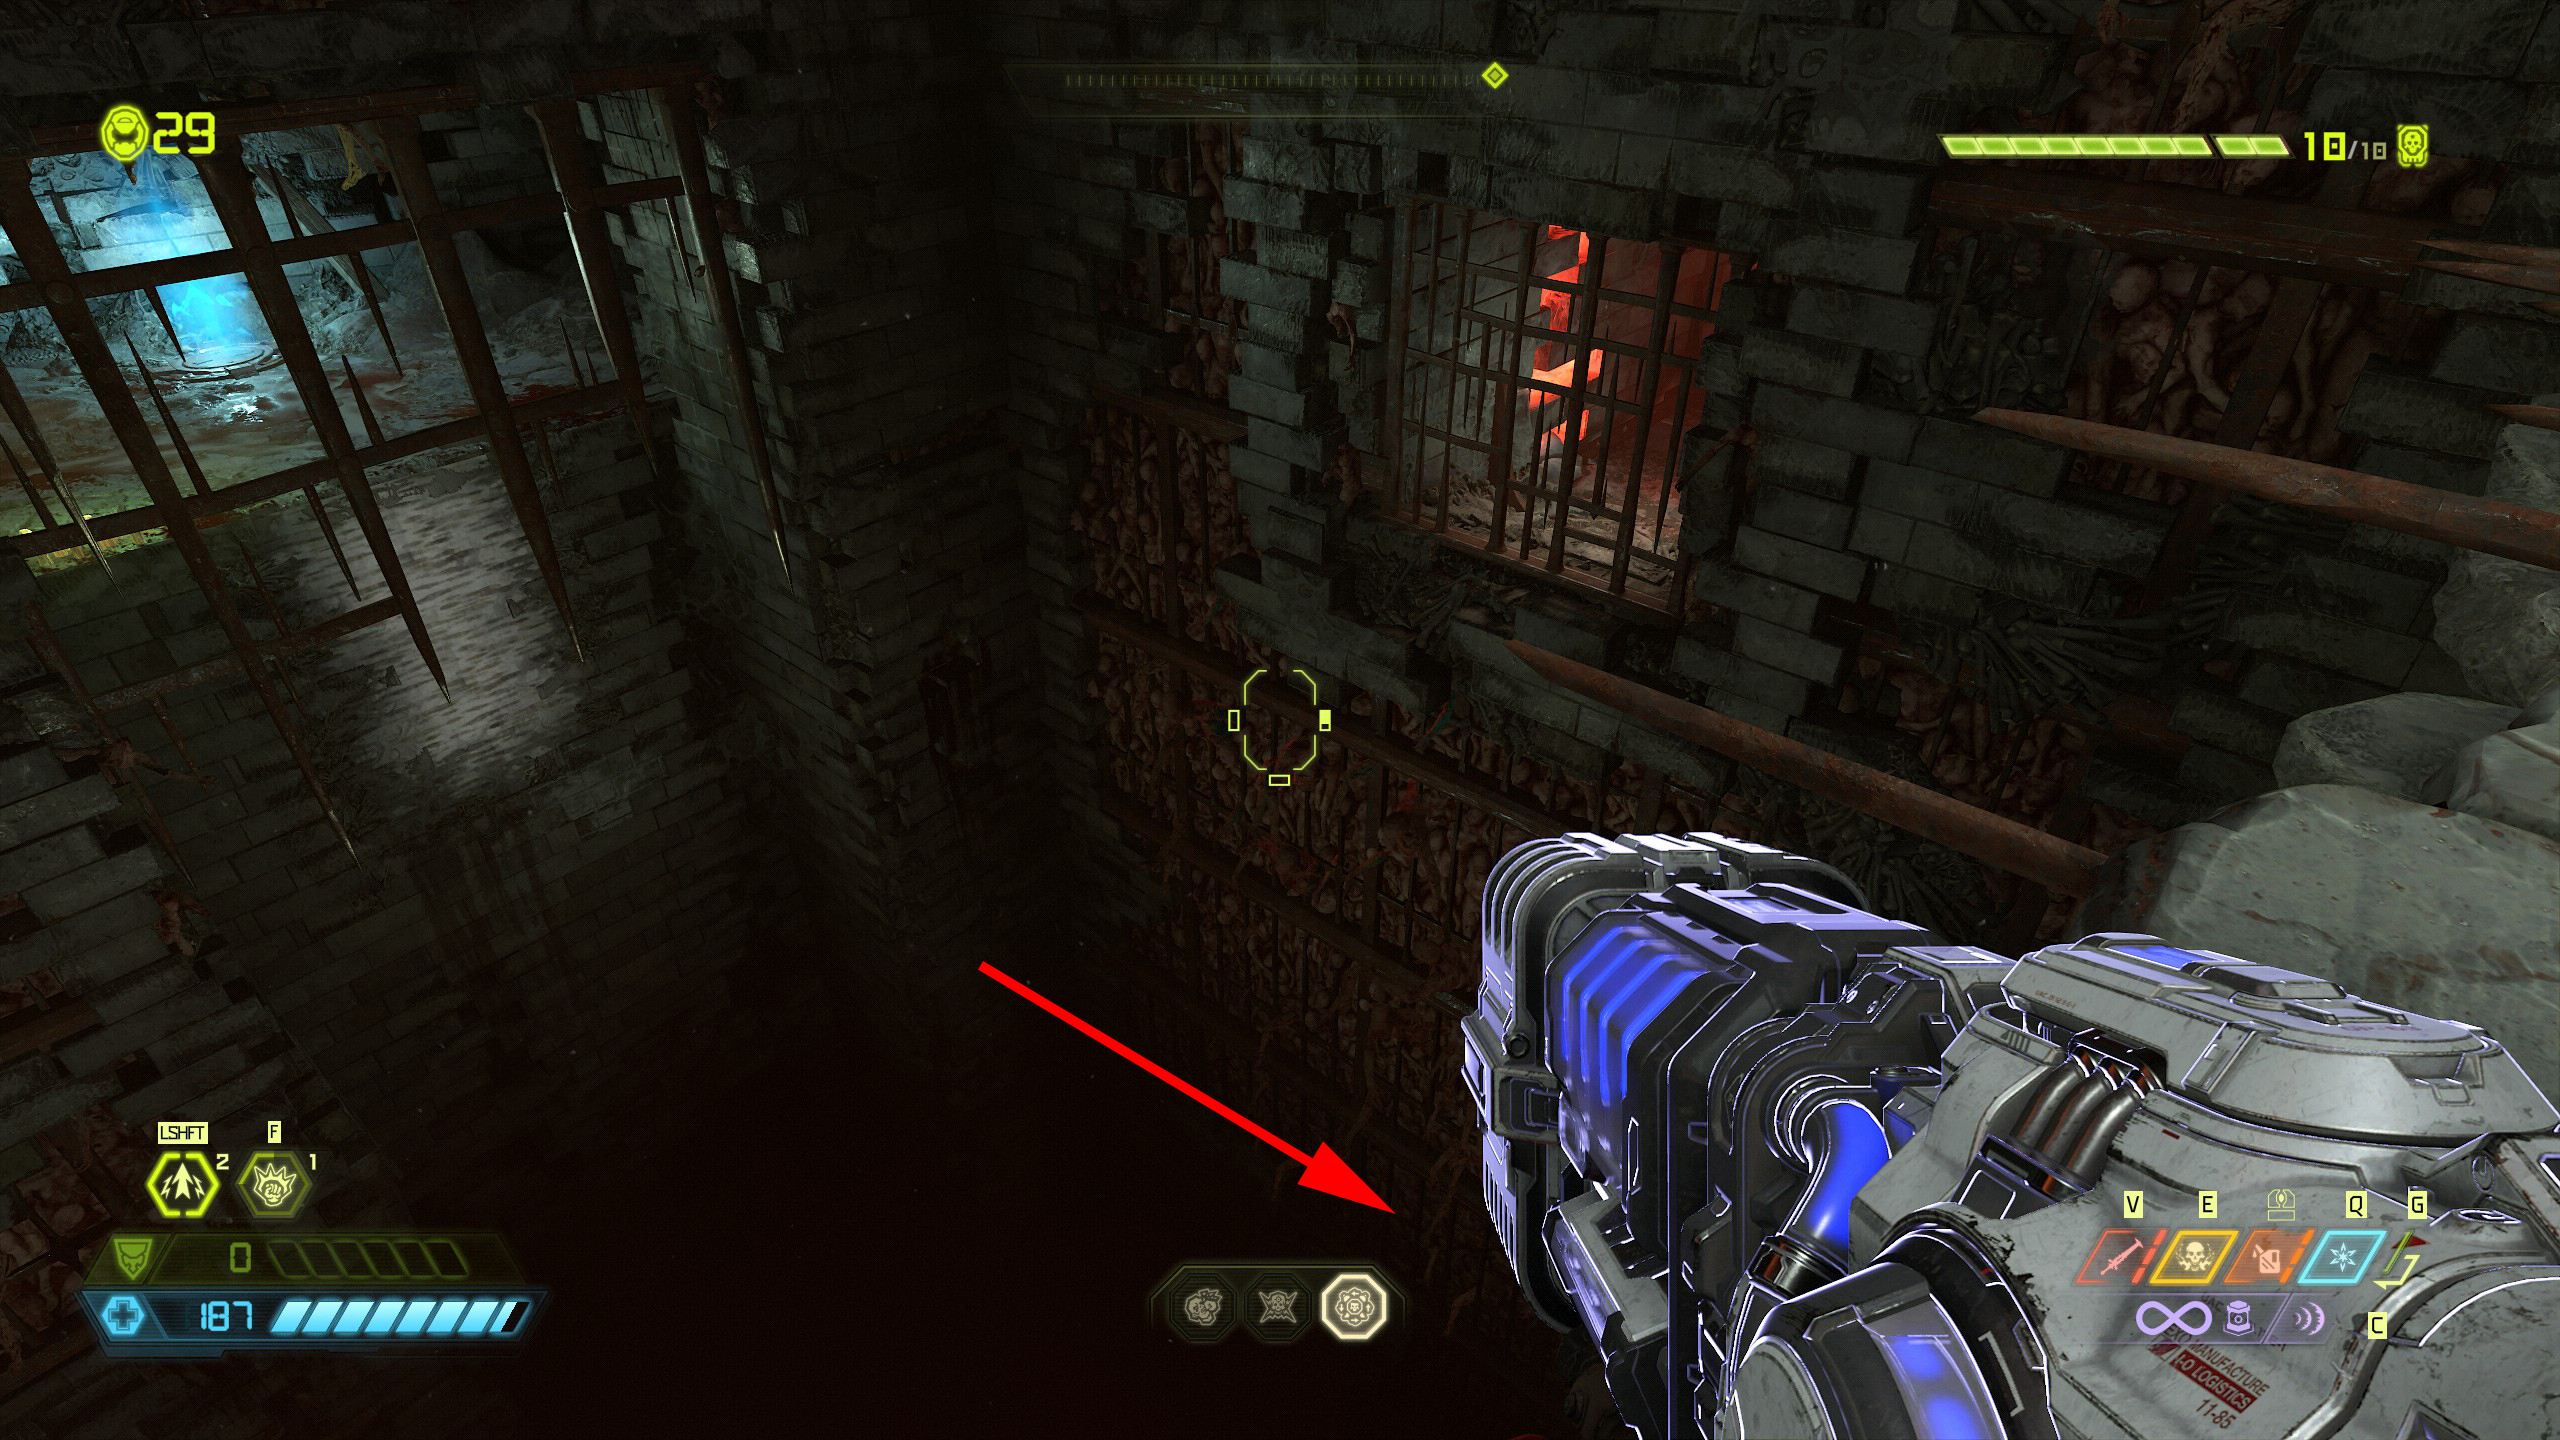
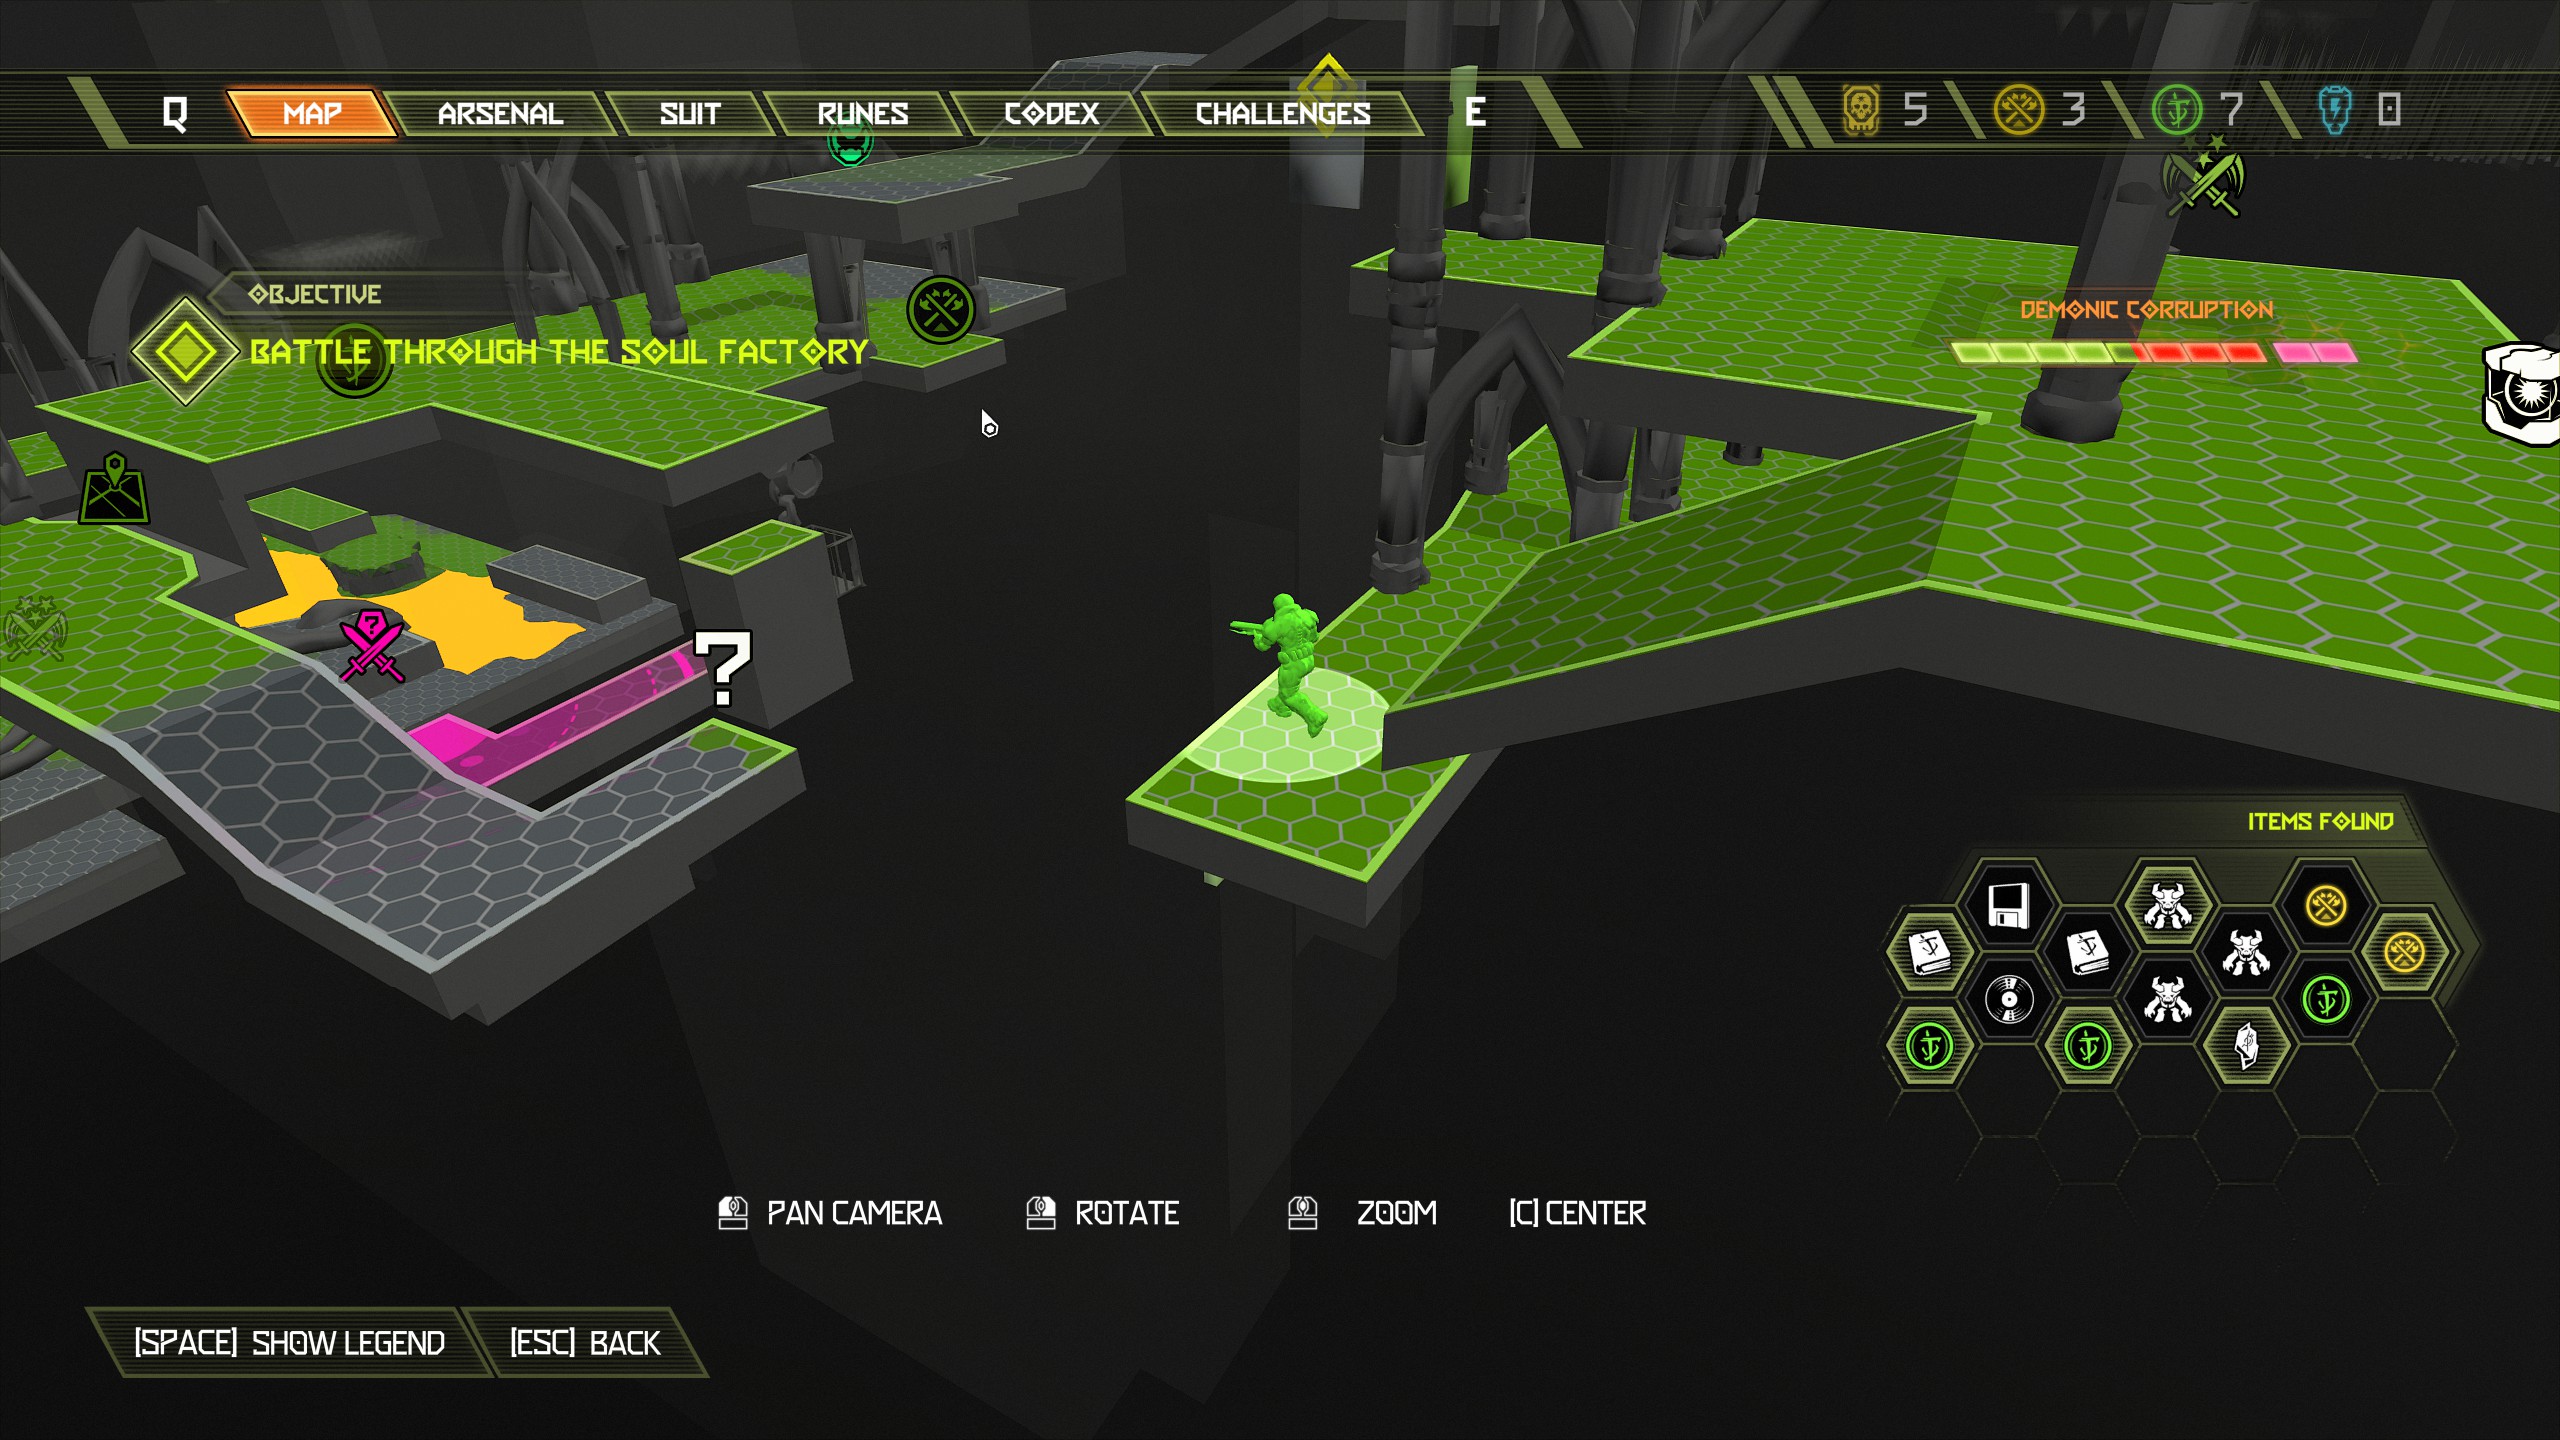 From the secret encounter follow it all the way through and back around to the large gap, this time jump across to the wall opposite and from there follow the mission objective. The mission will direct you to jump around a corner to another wall so jump across and make your way up and when at the top of the wall follow the path around to the left to find an extra life.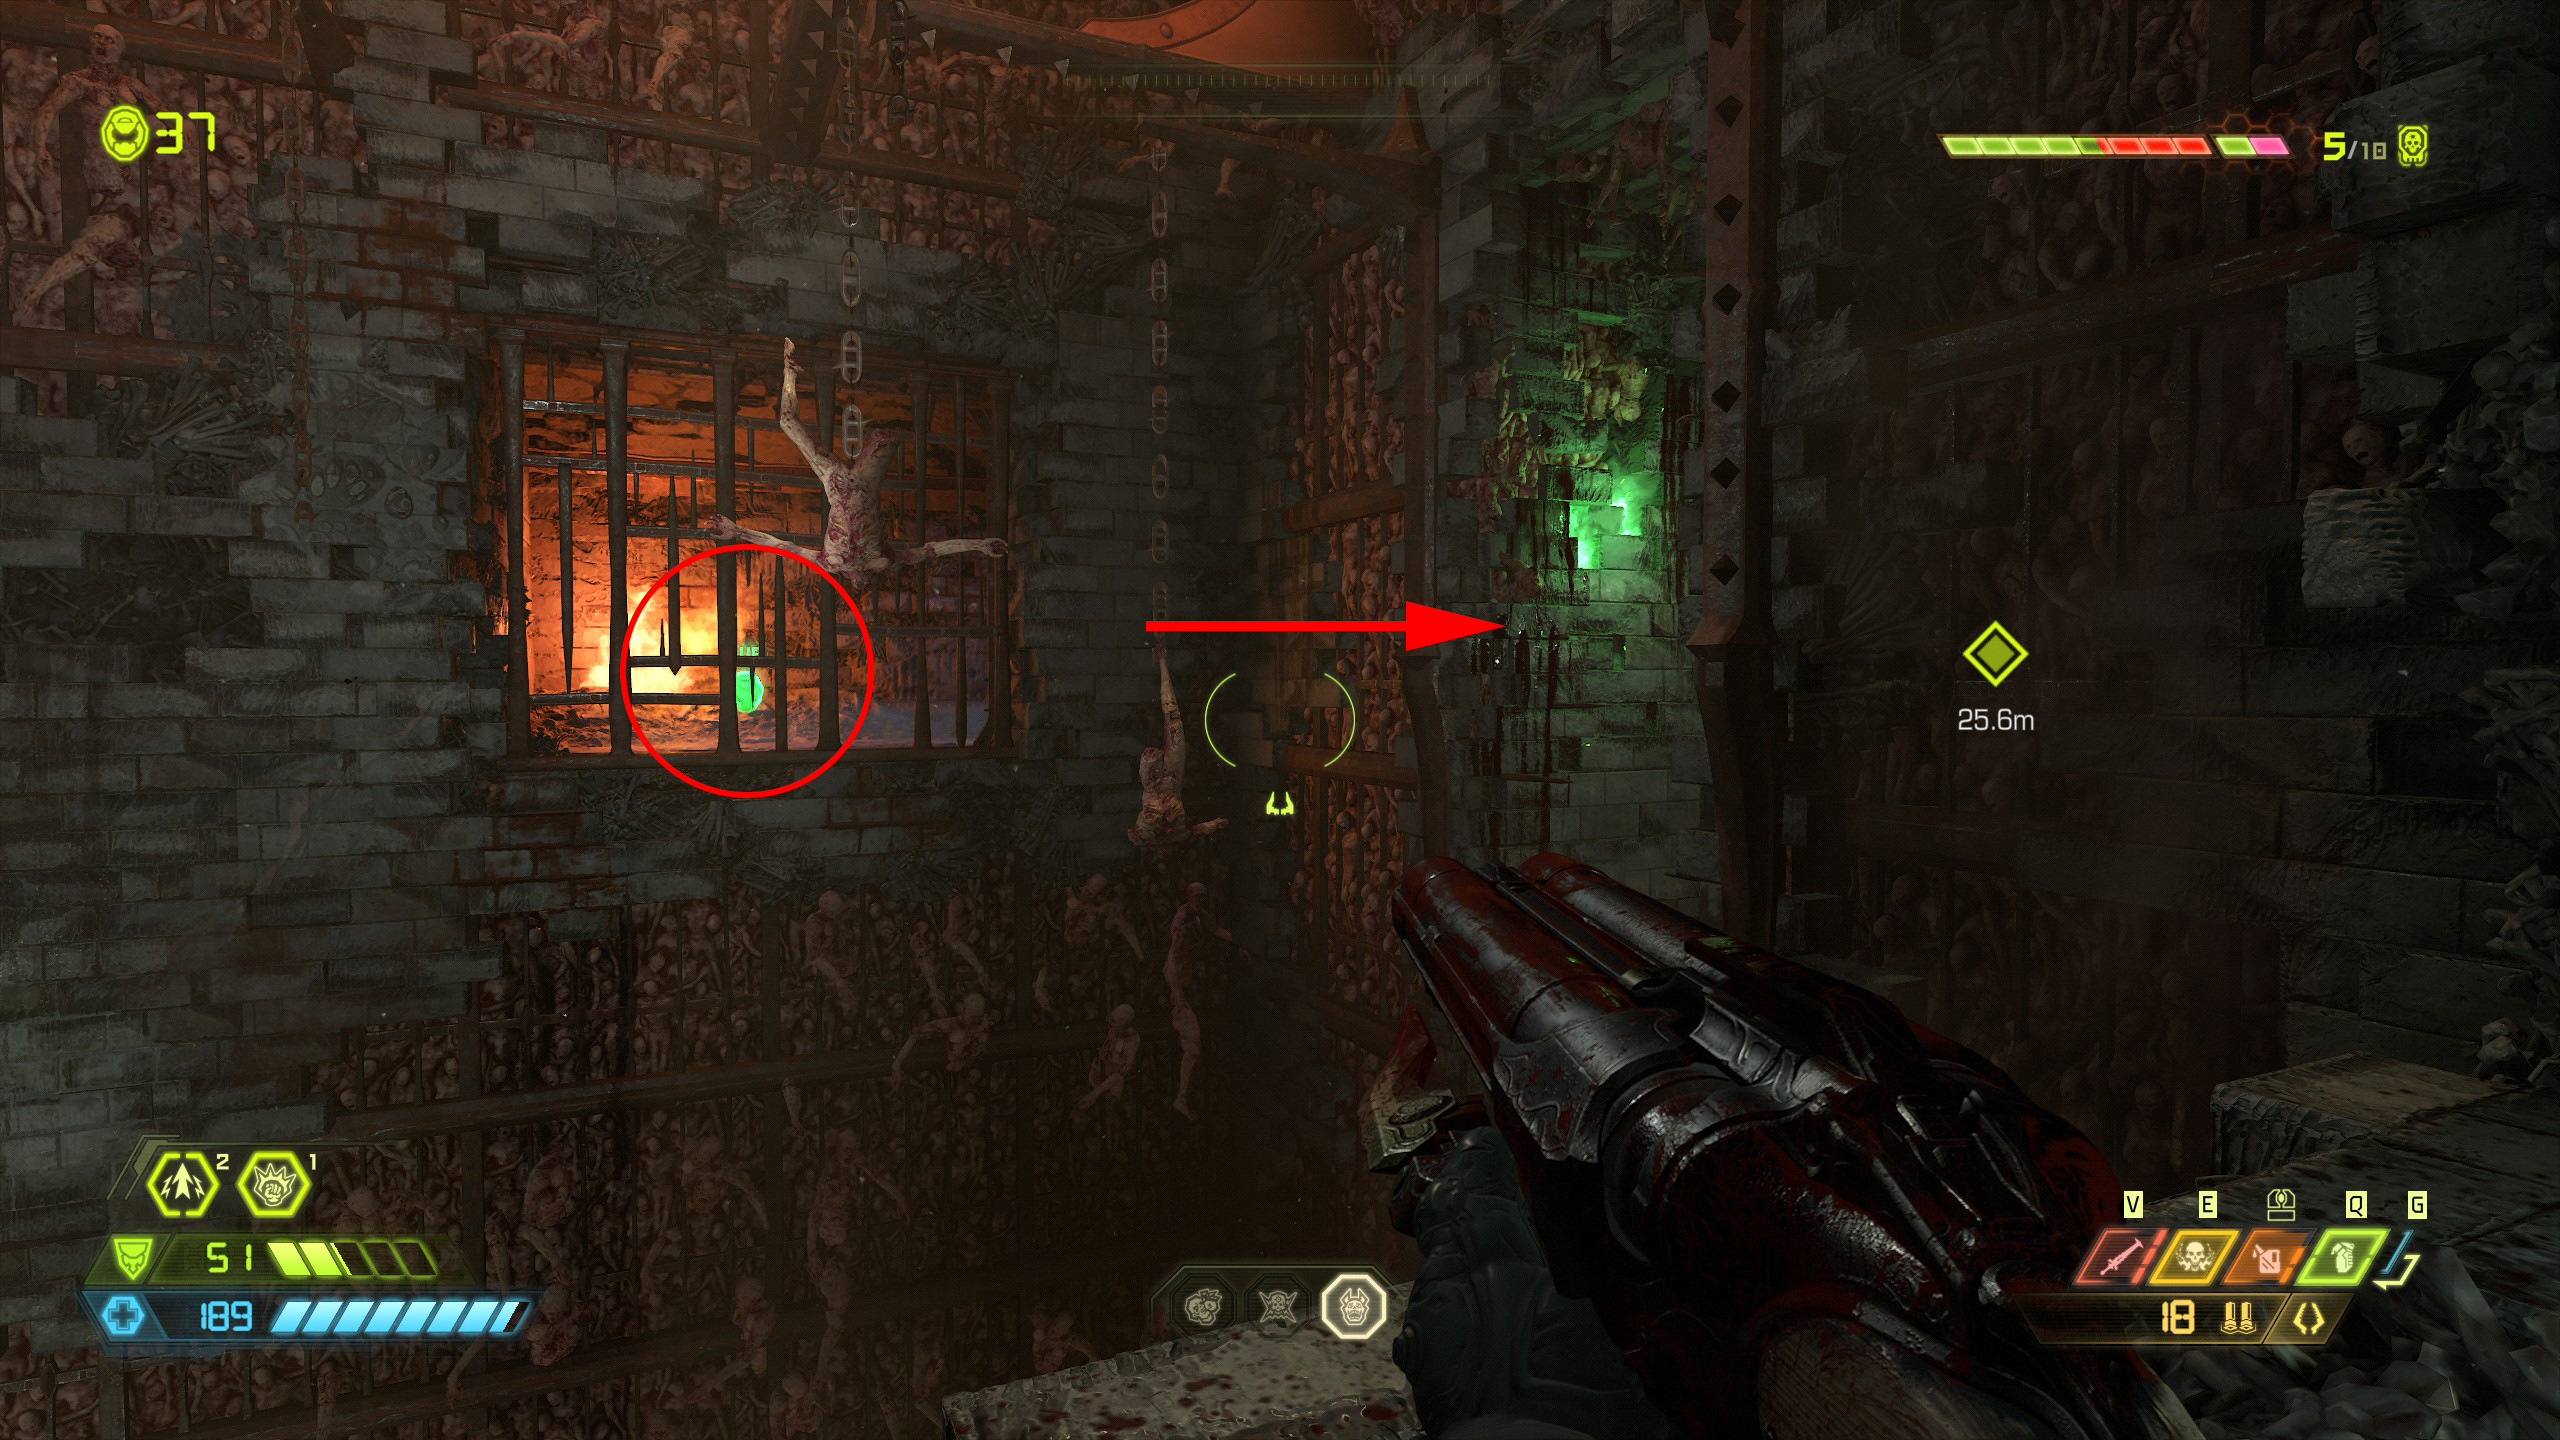
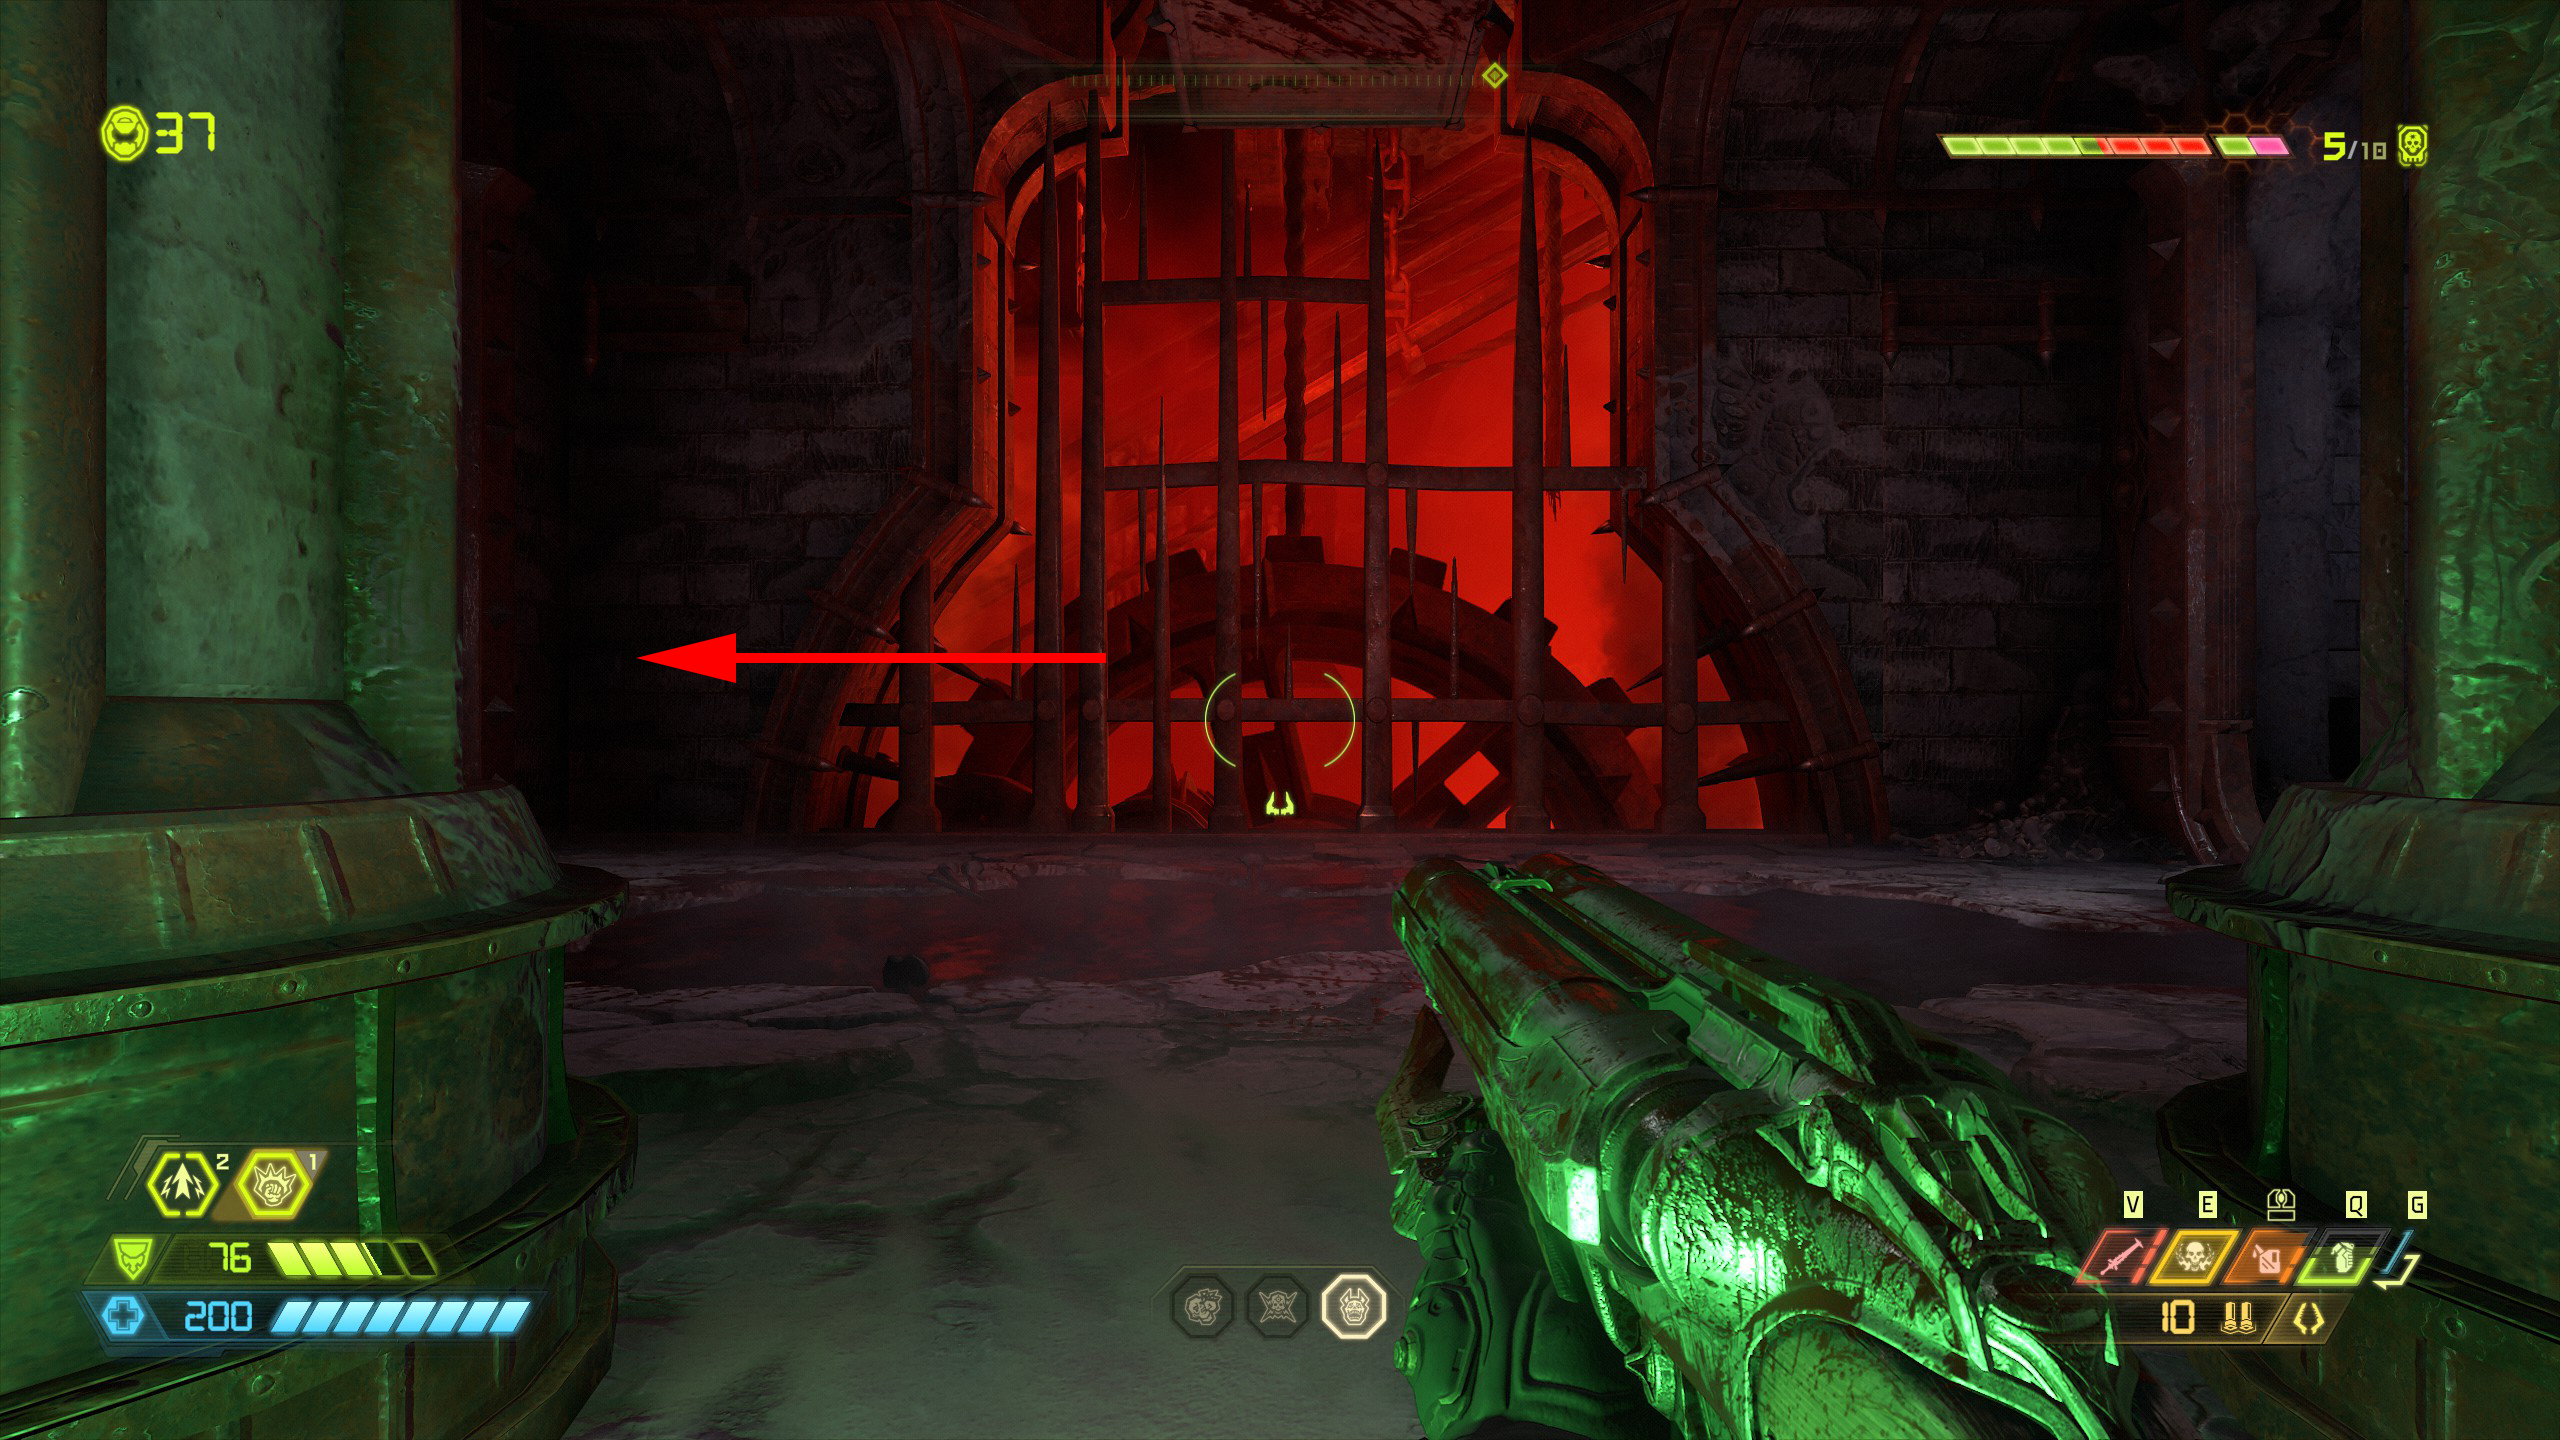
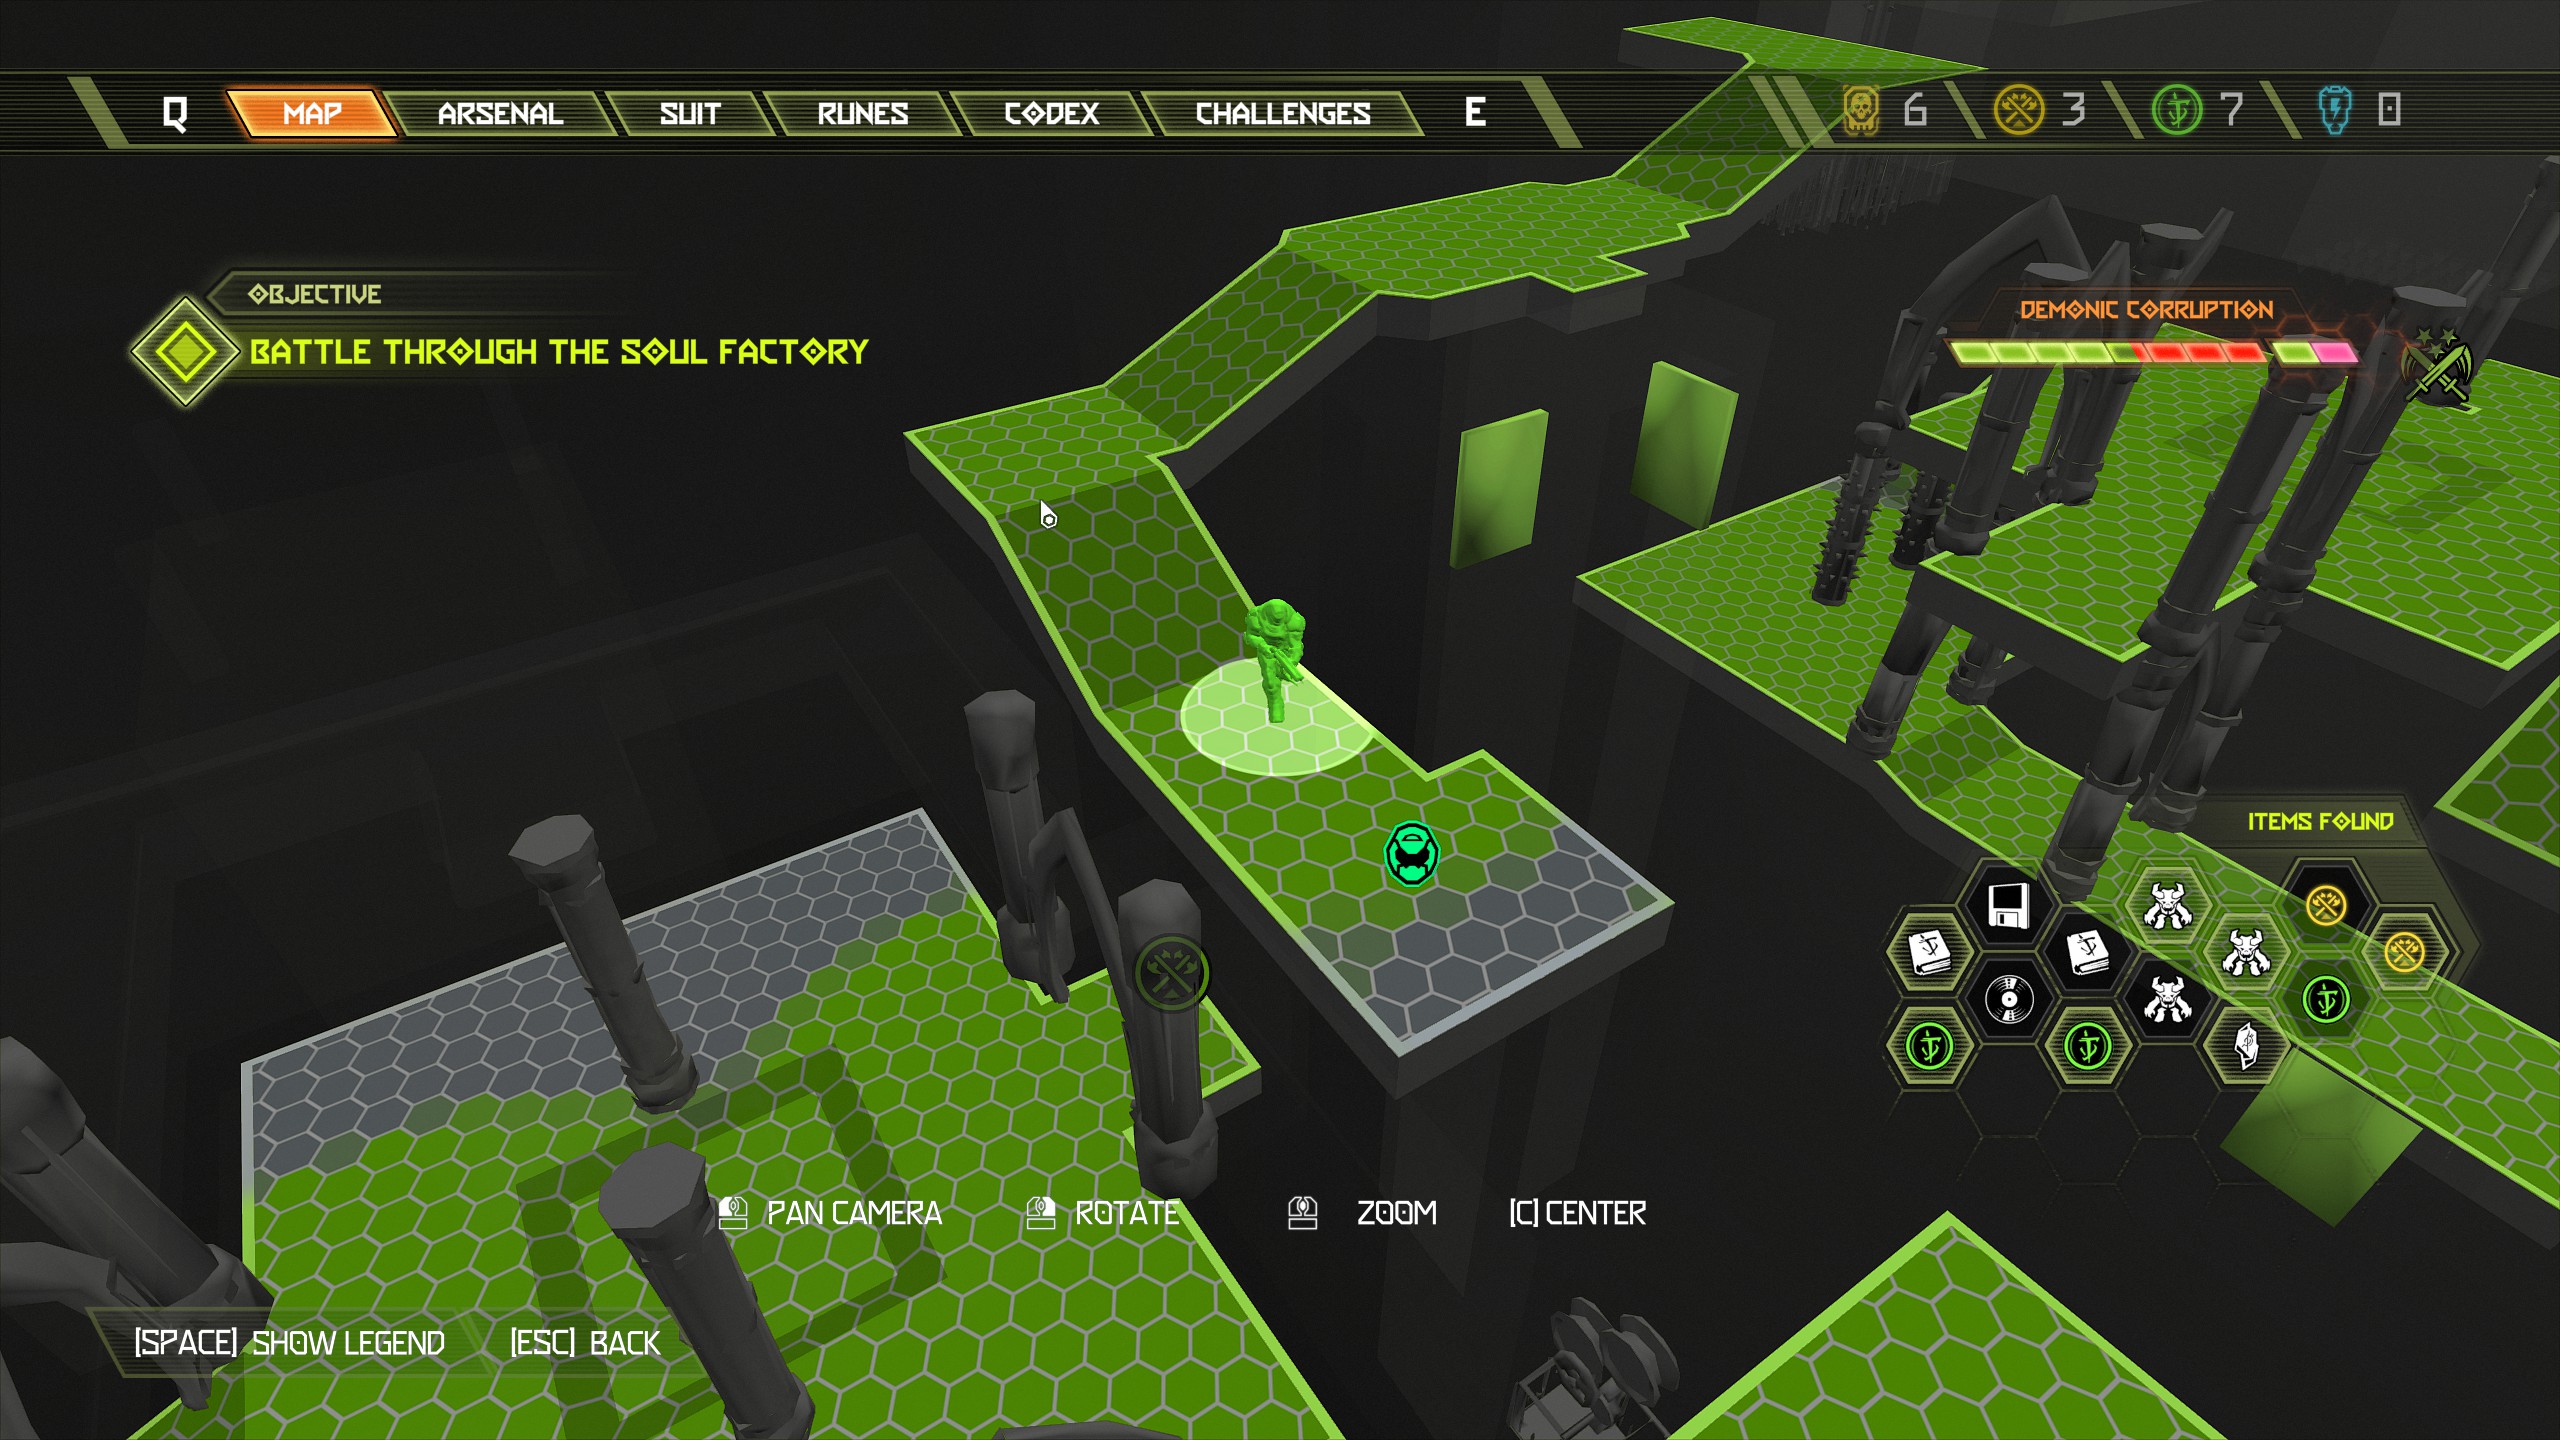
In the room you will notice cages moving up through the chutes, stand on one of them to take you up into another room.
Once you're up in the next room you will notice the crushers slamming to the ground, as the first crusher lifts look on the right wall and you will see that you can break through and inside you will find a mastery token and a doomtoy.
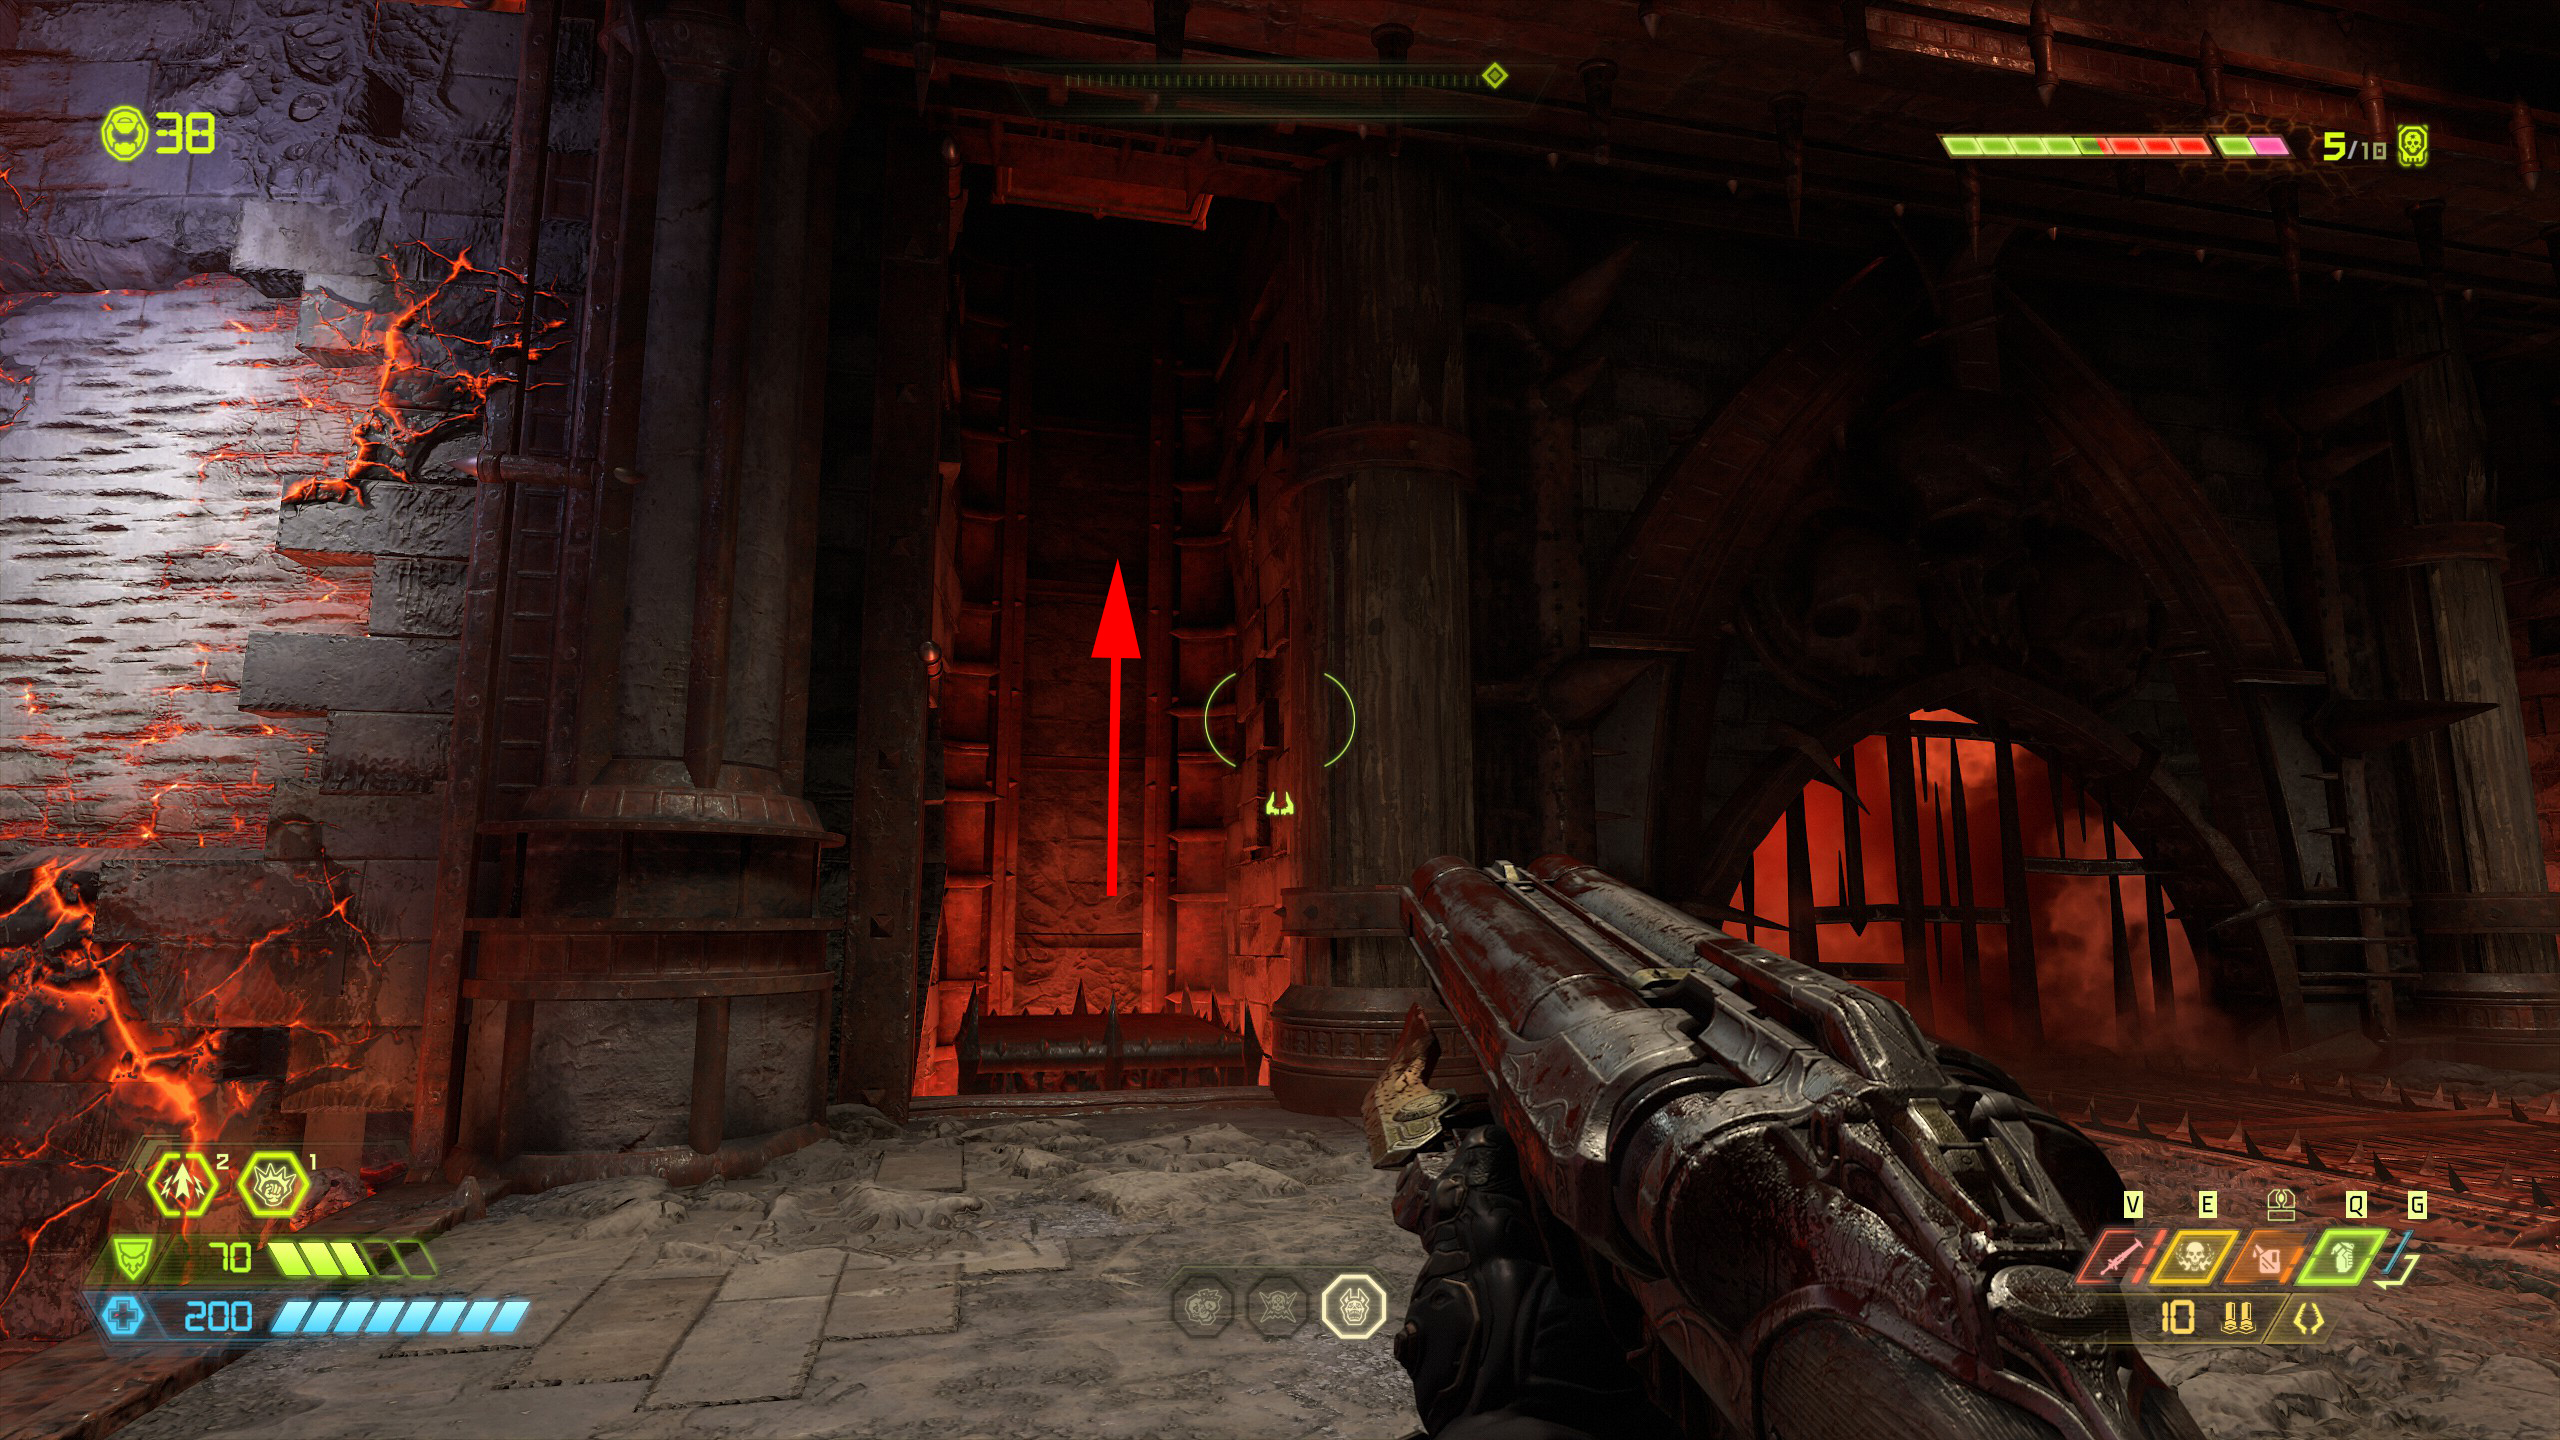
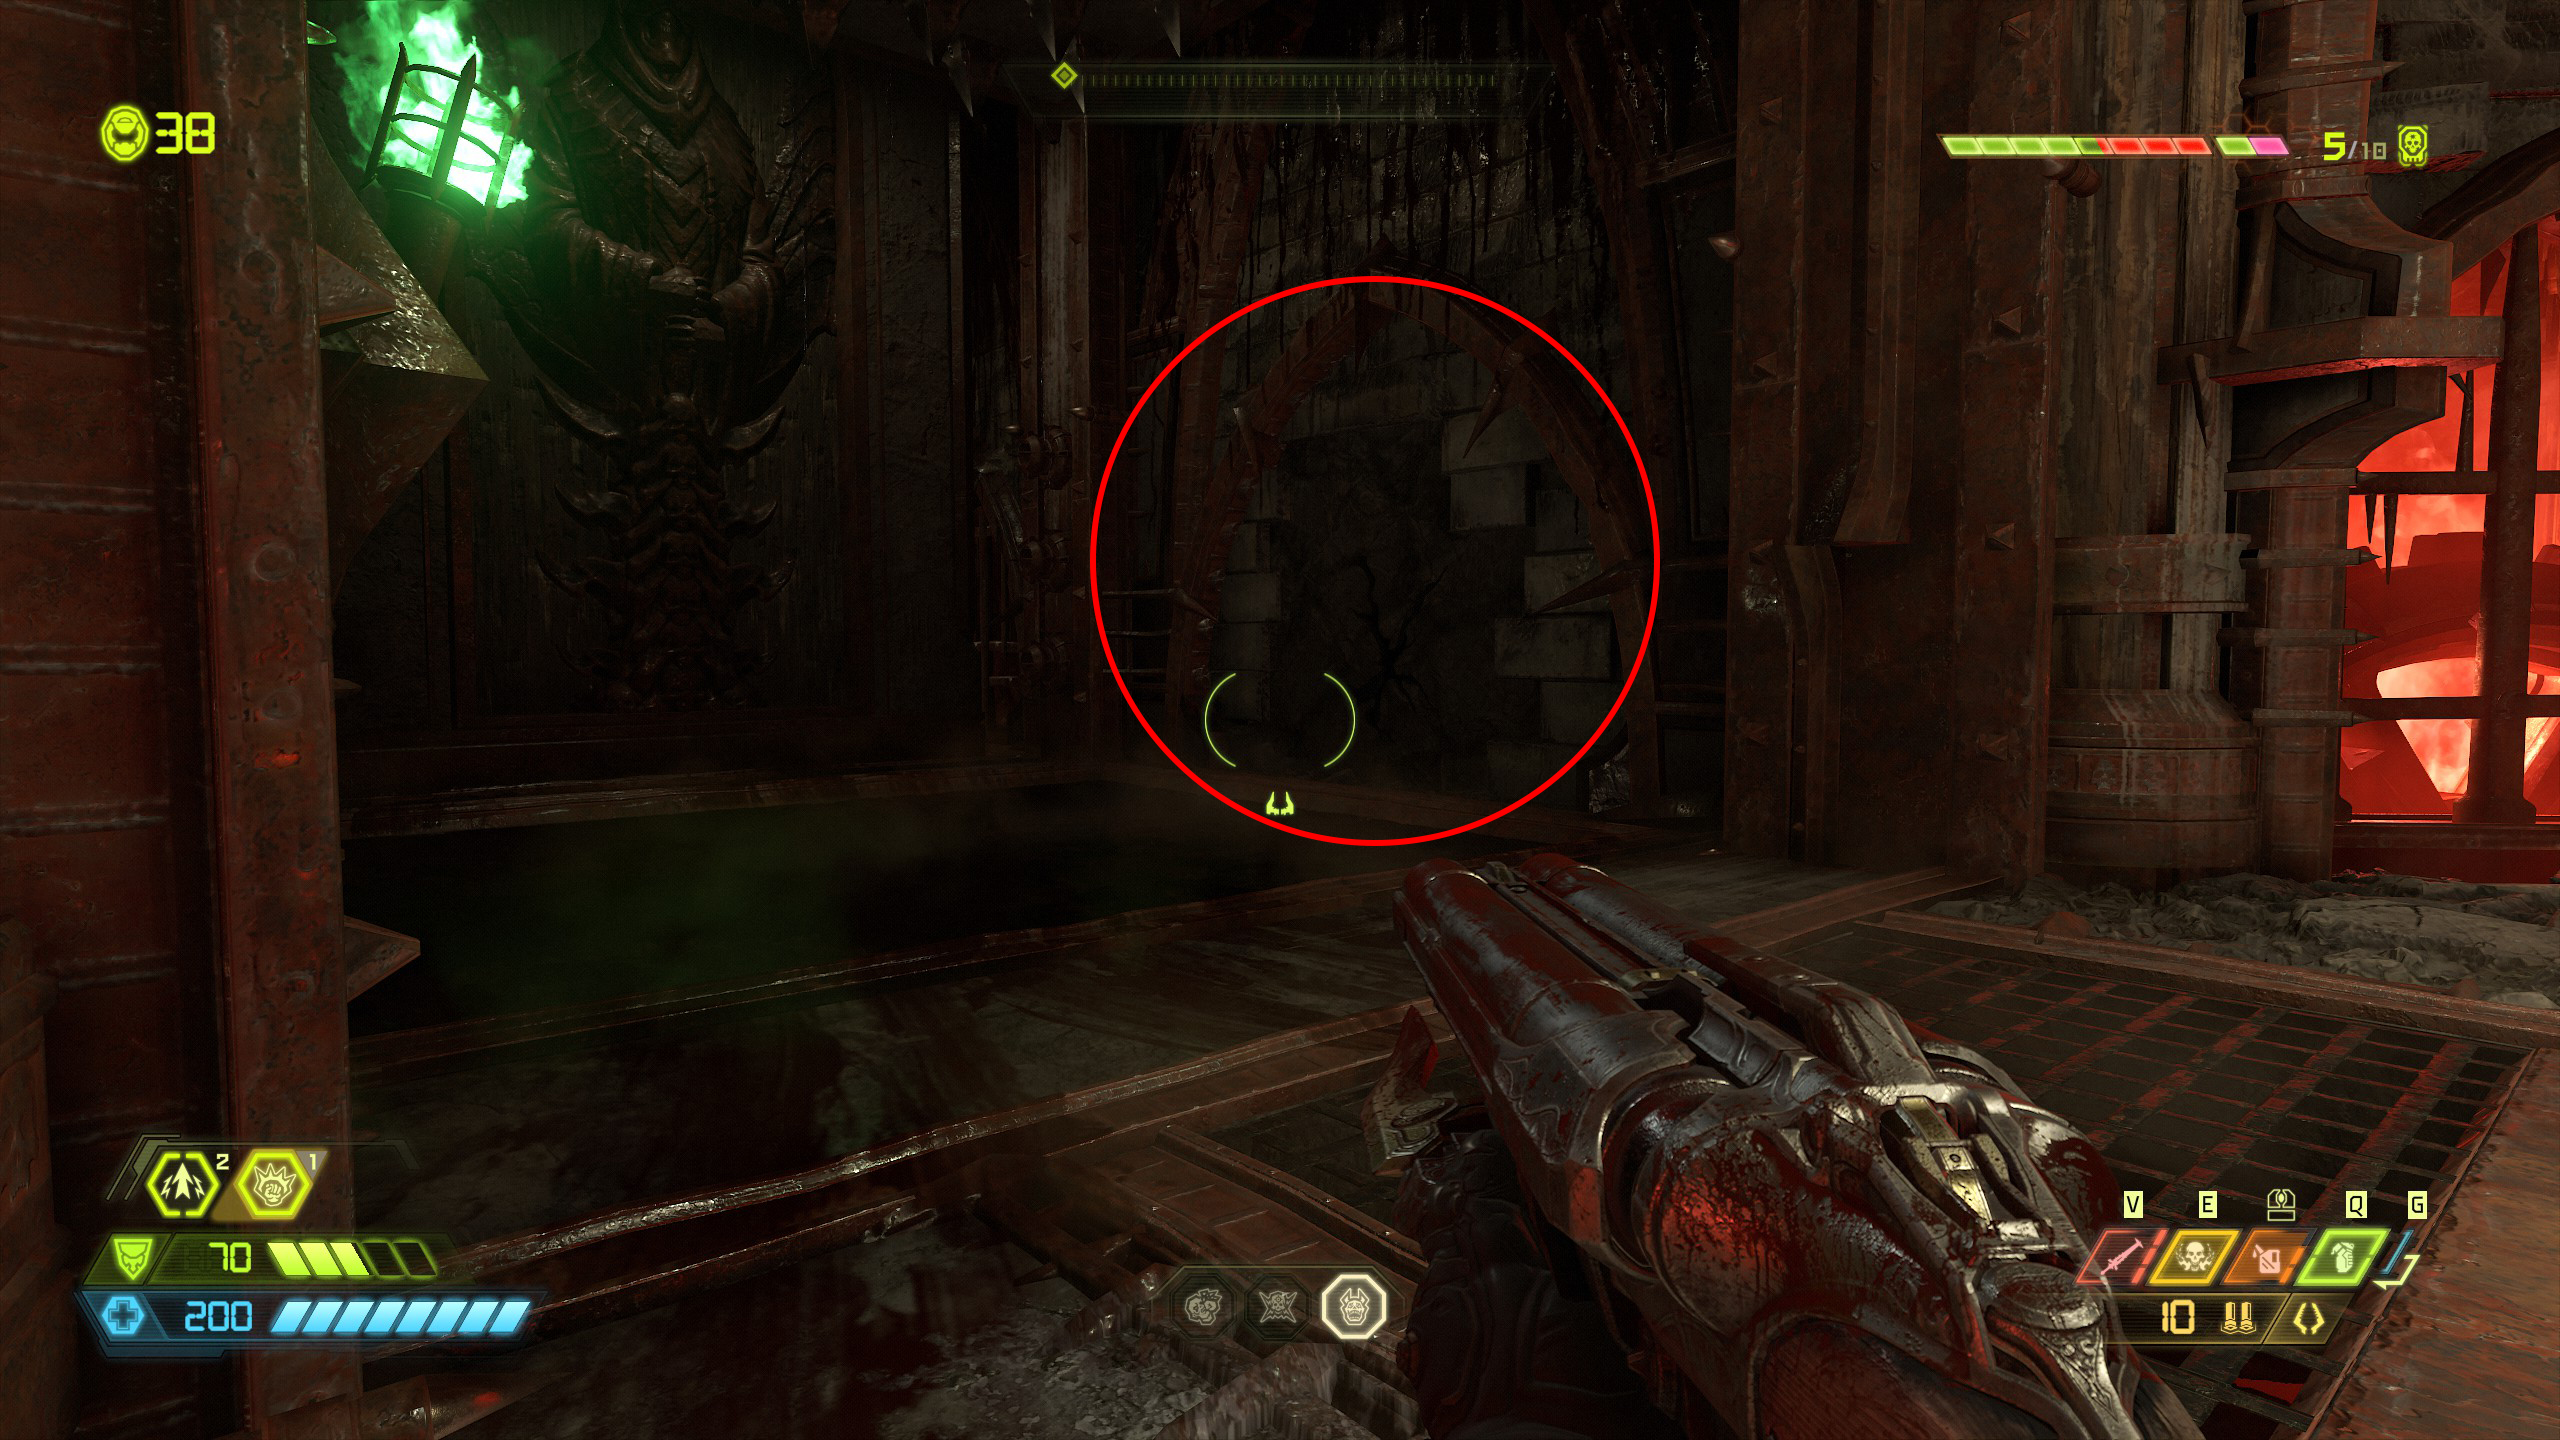
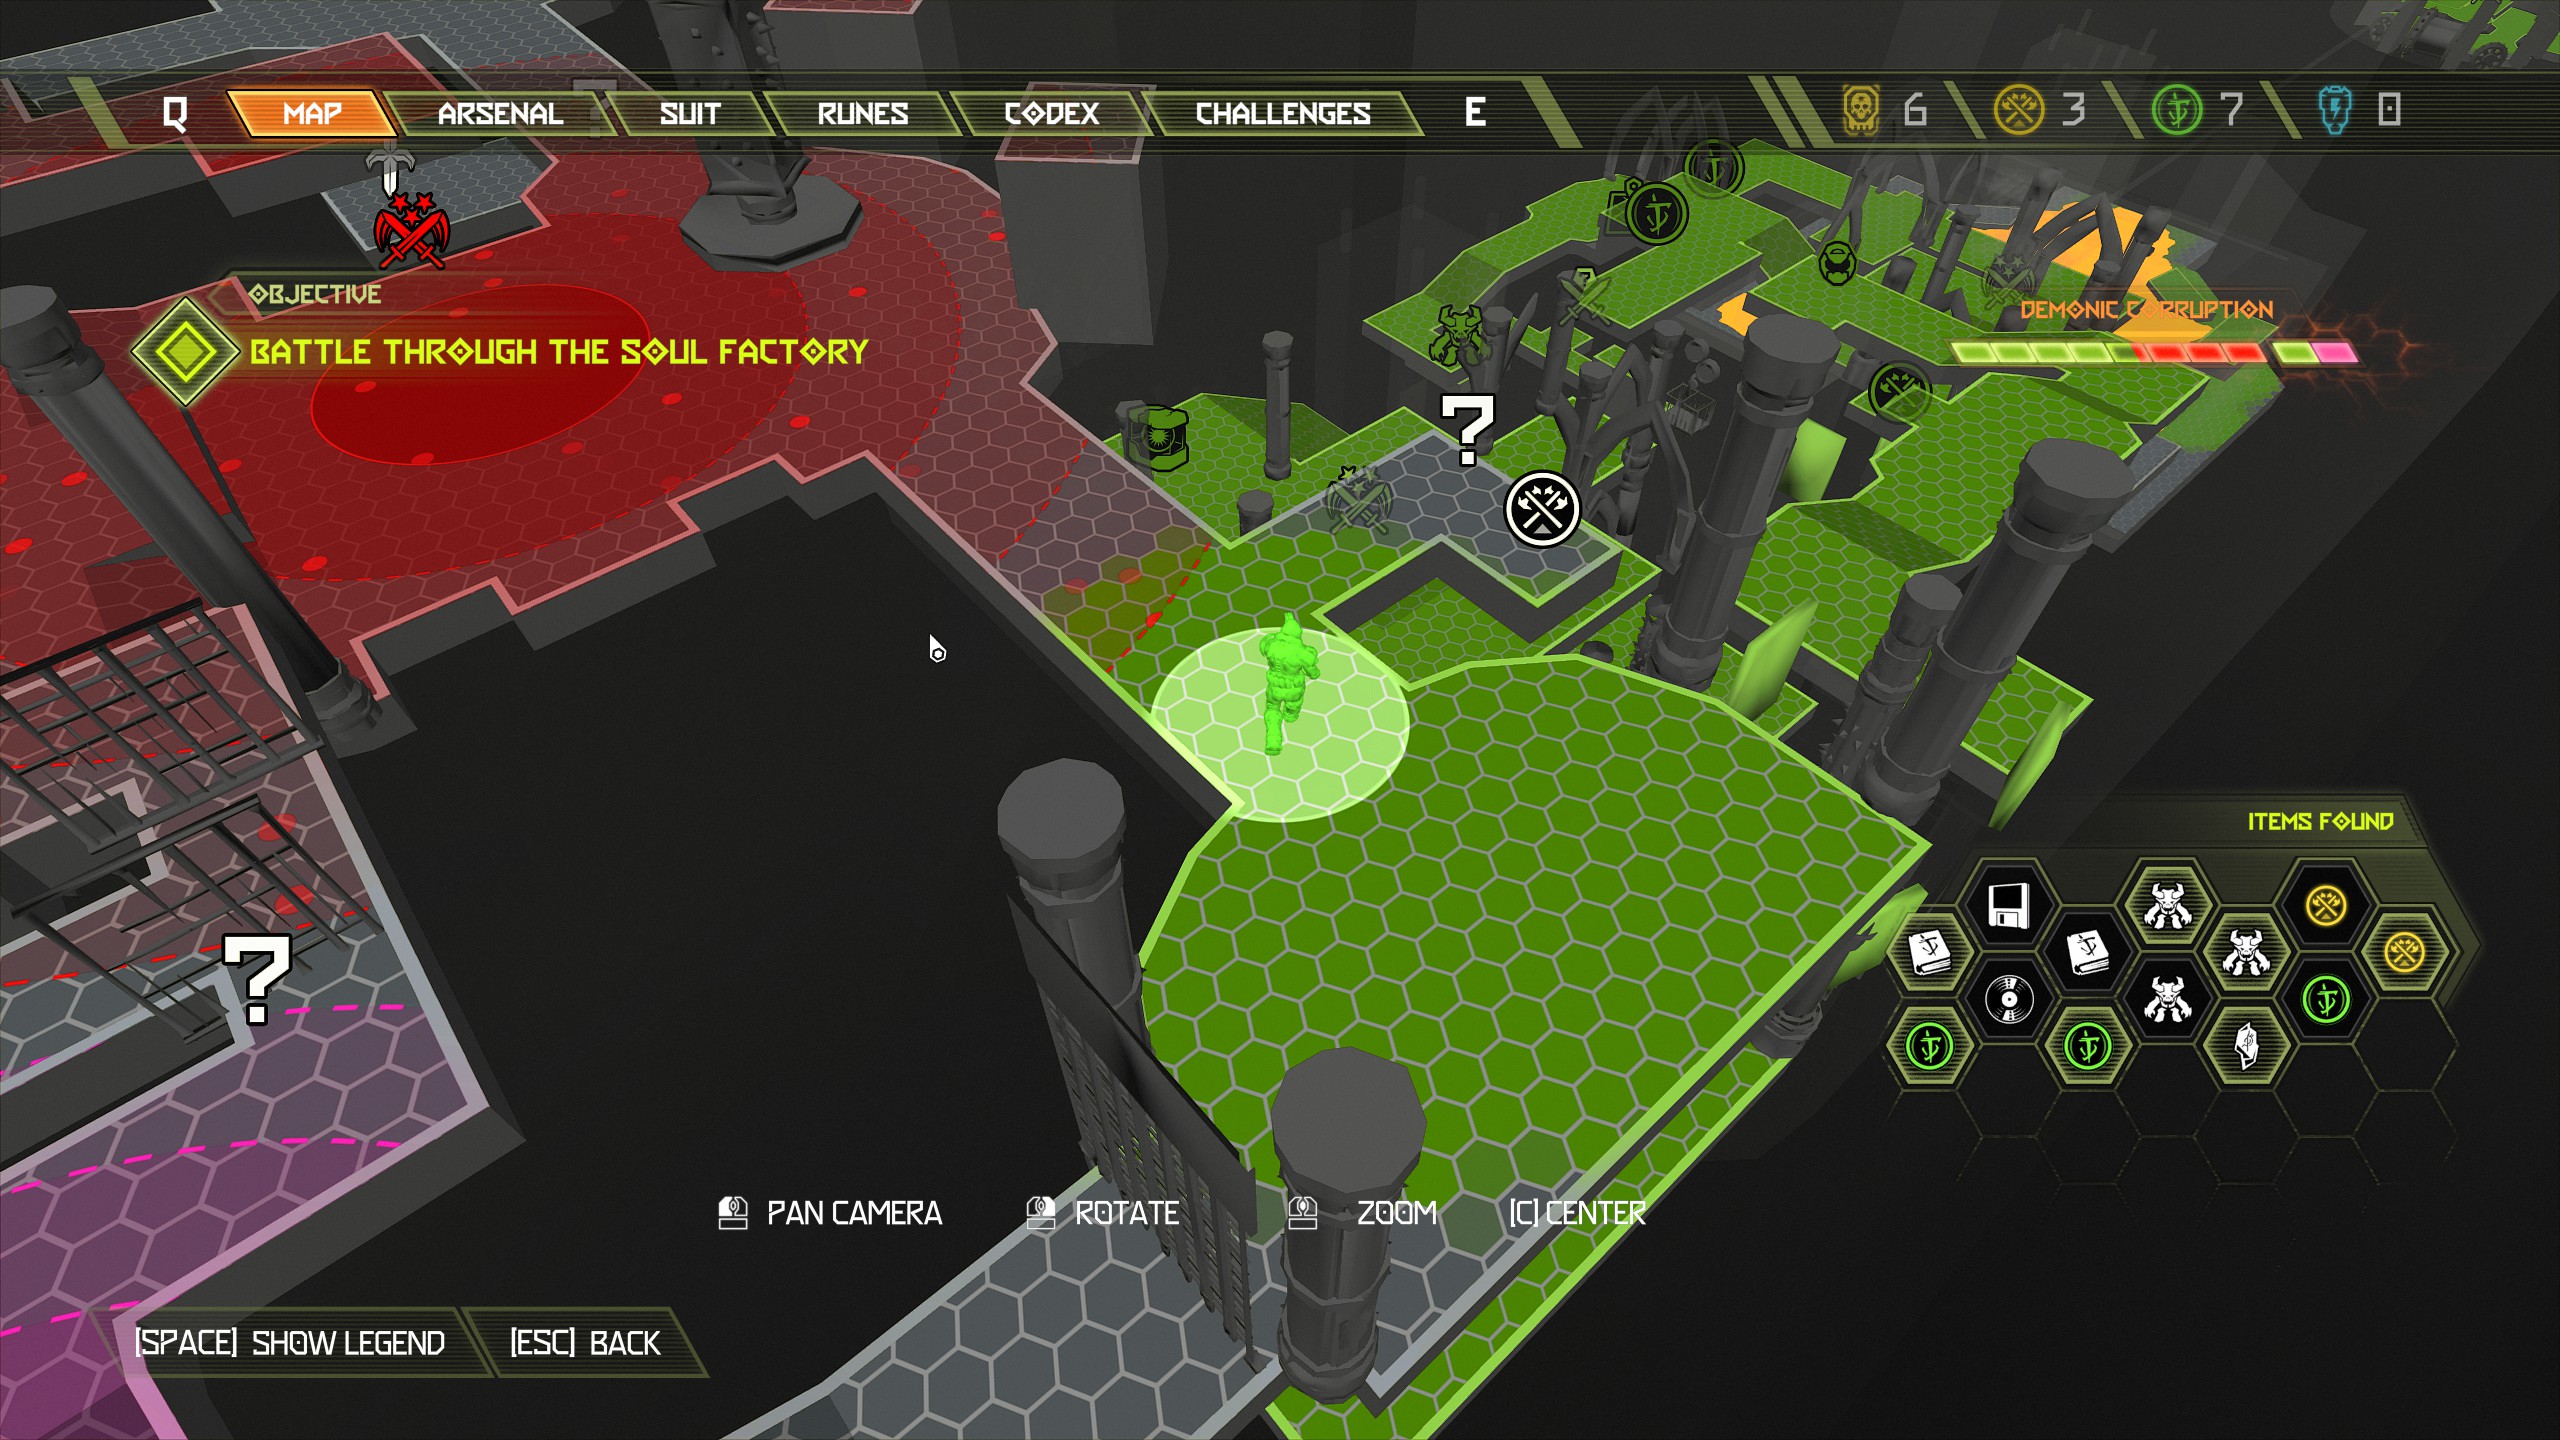
Mission 10: Nekravol [Part 2]
Secret Encounter:
For this encounter you will be attacked by 3 zombies, 1 baron of hell. Move through the crushers and into the next area, clear the demons and from the centre of the room face the large gateway. On the left side of the room you will notice a cage moving upwards through the chute, use the cage to lift you up and dash over to the small piece of wall opposite, from there jump through the gap at the side of you that is lit up green.
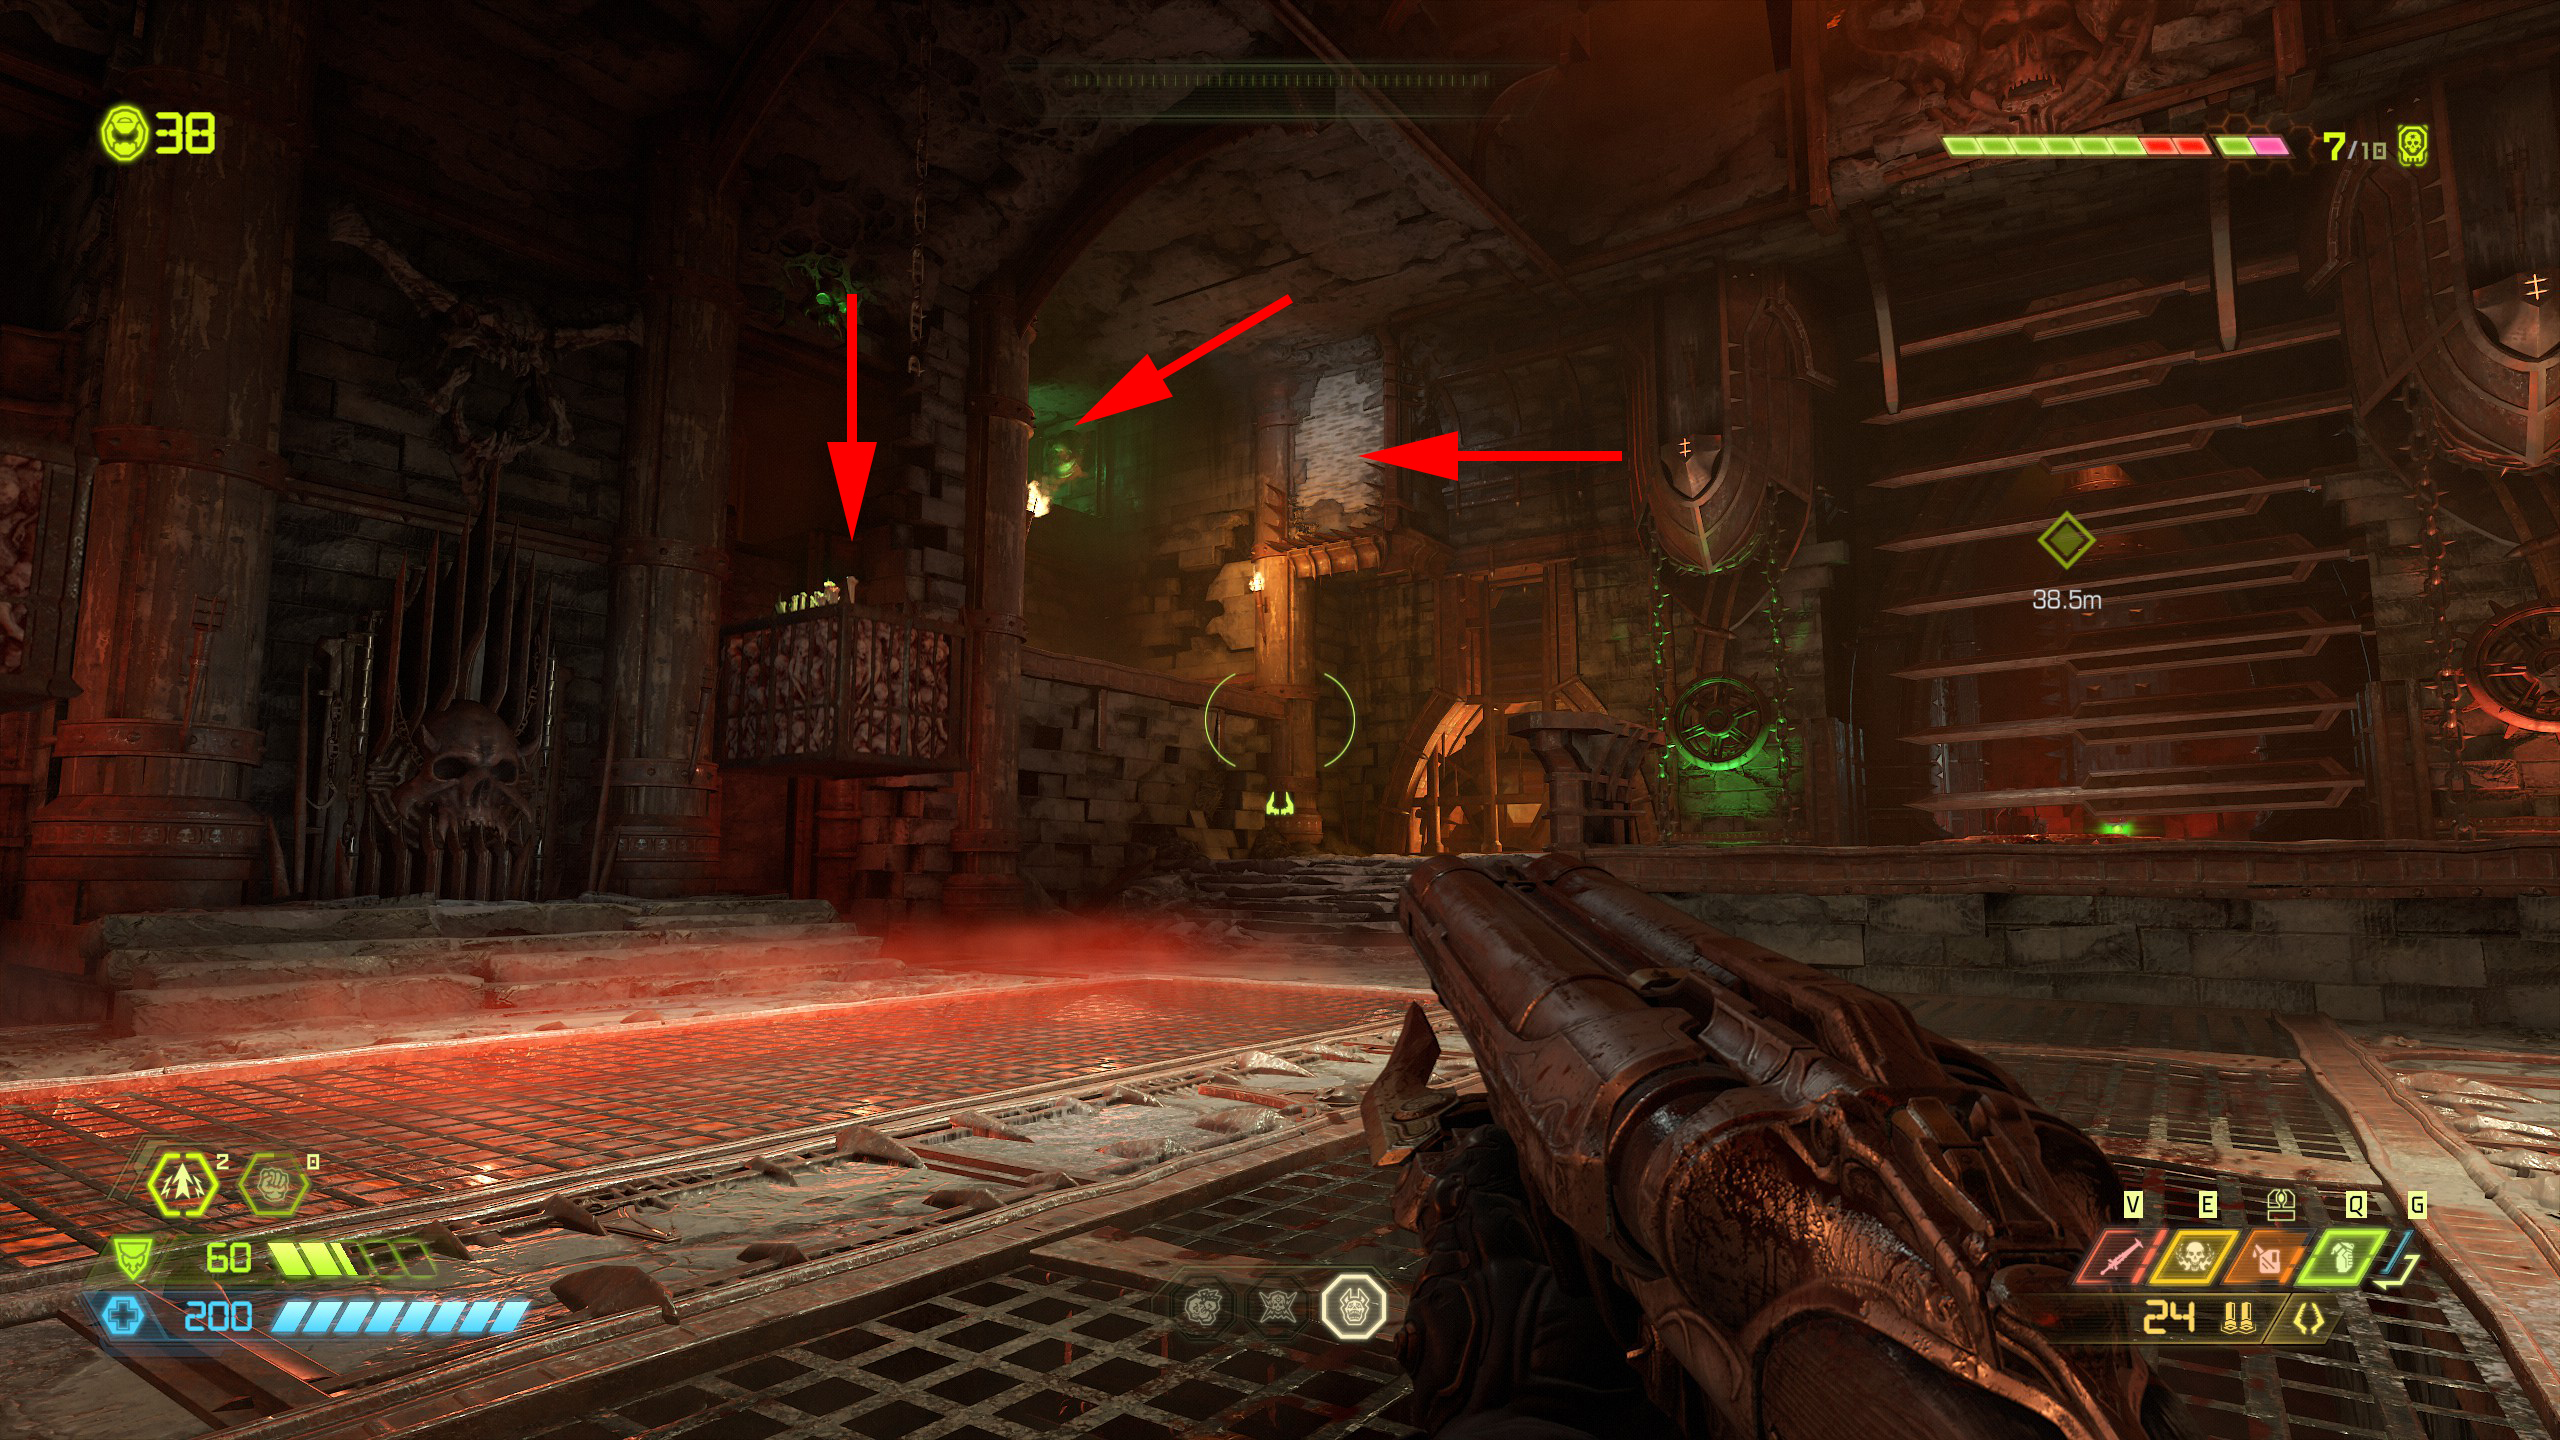
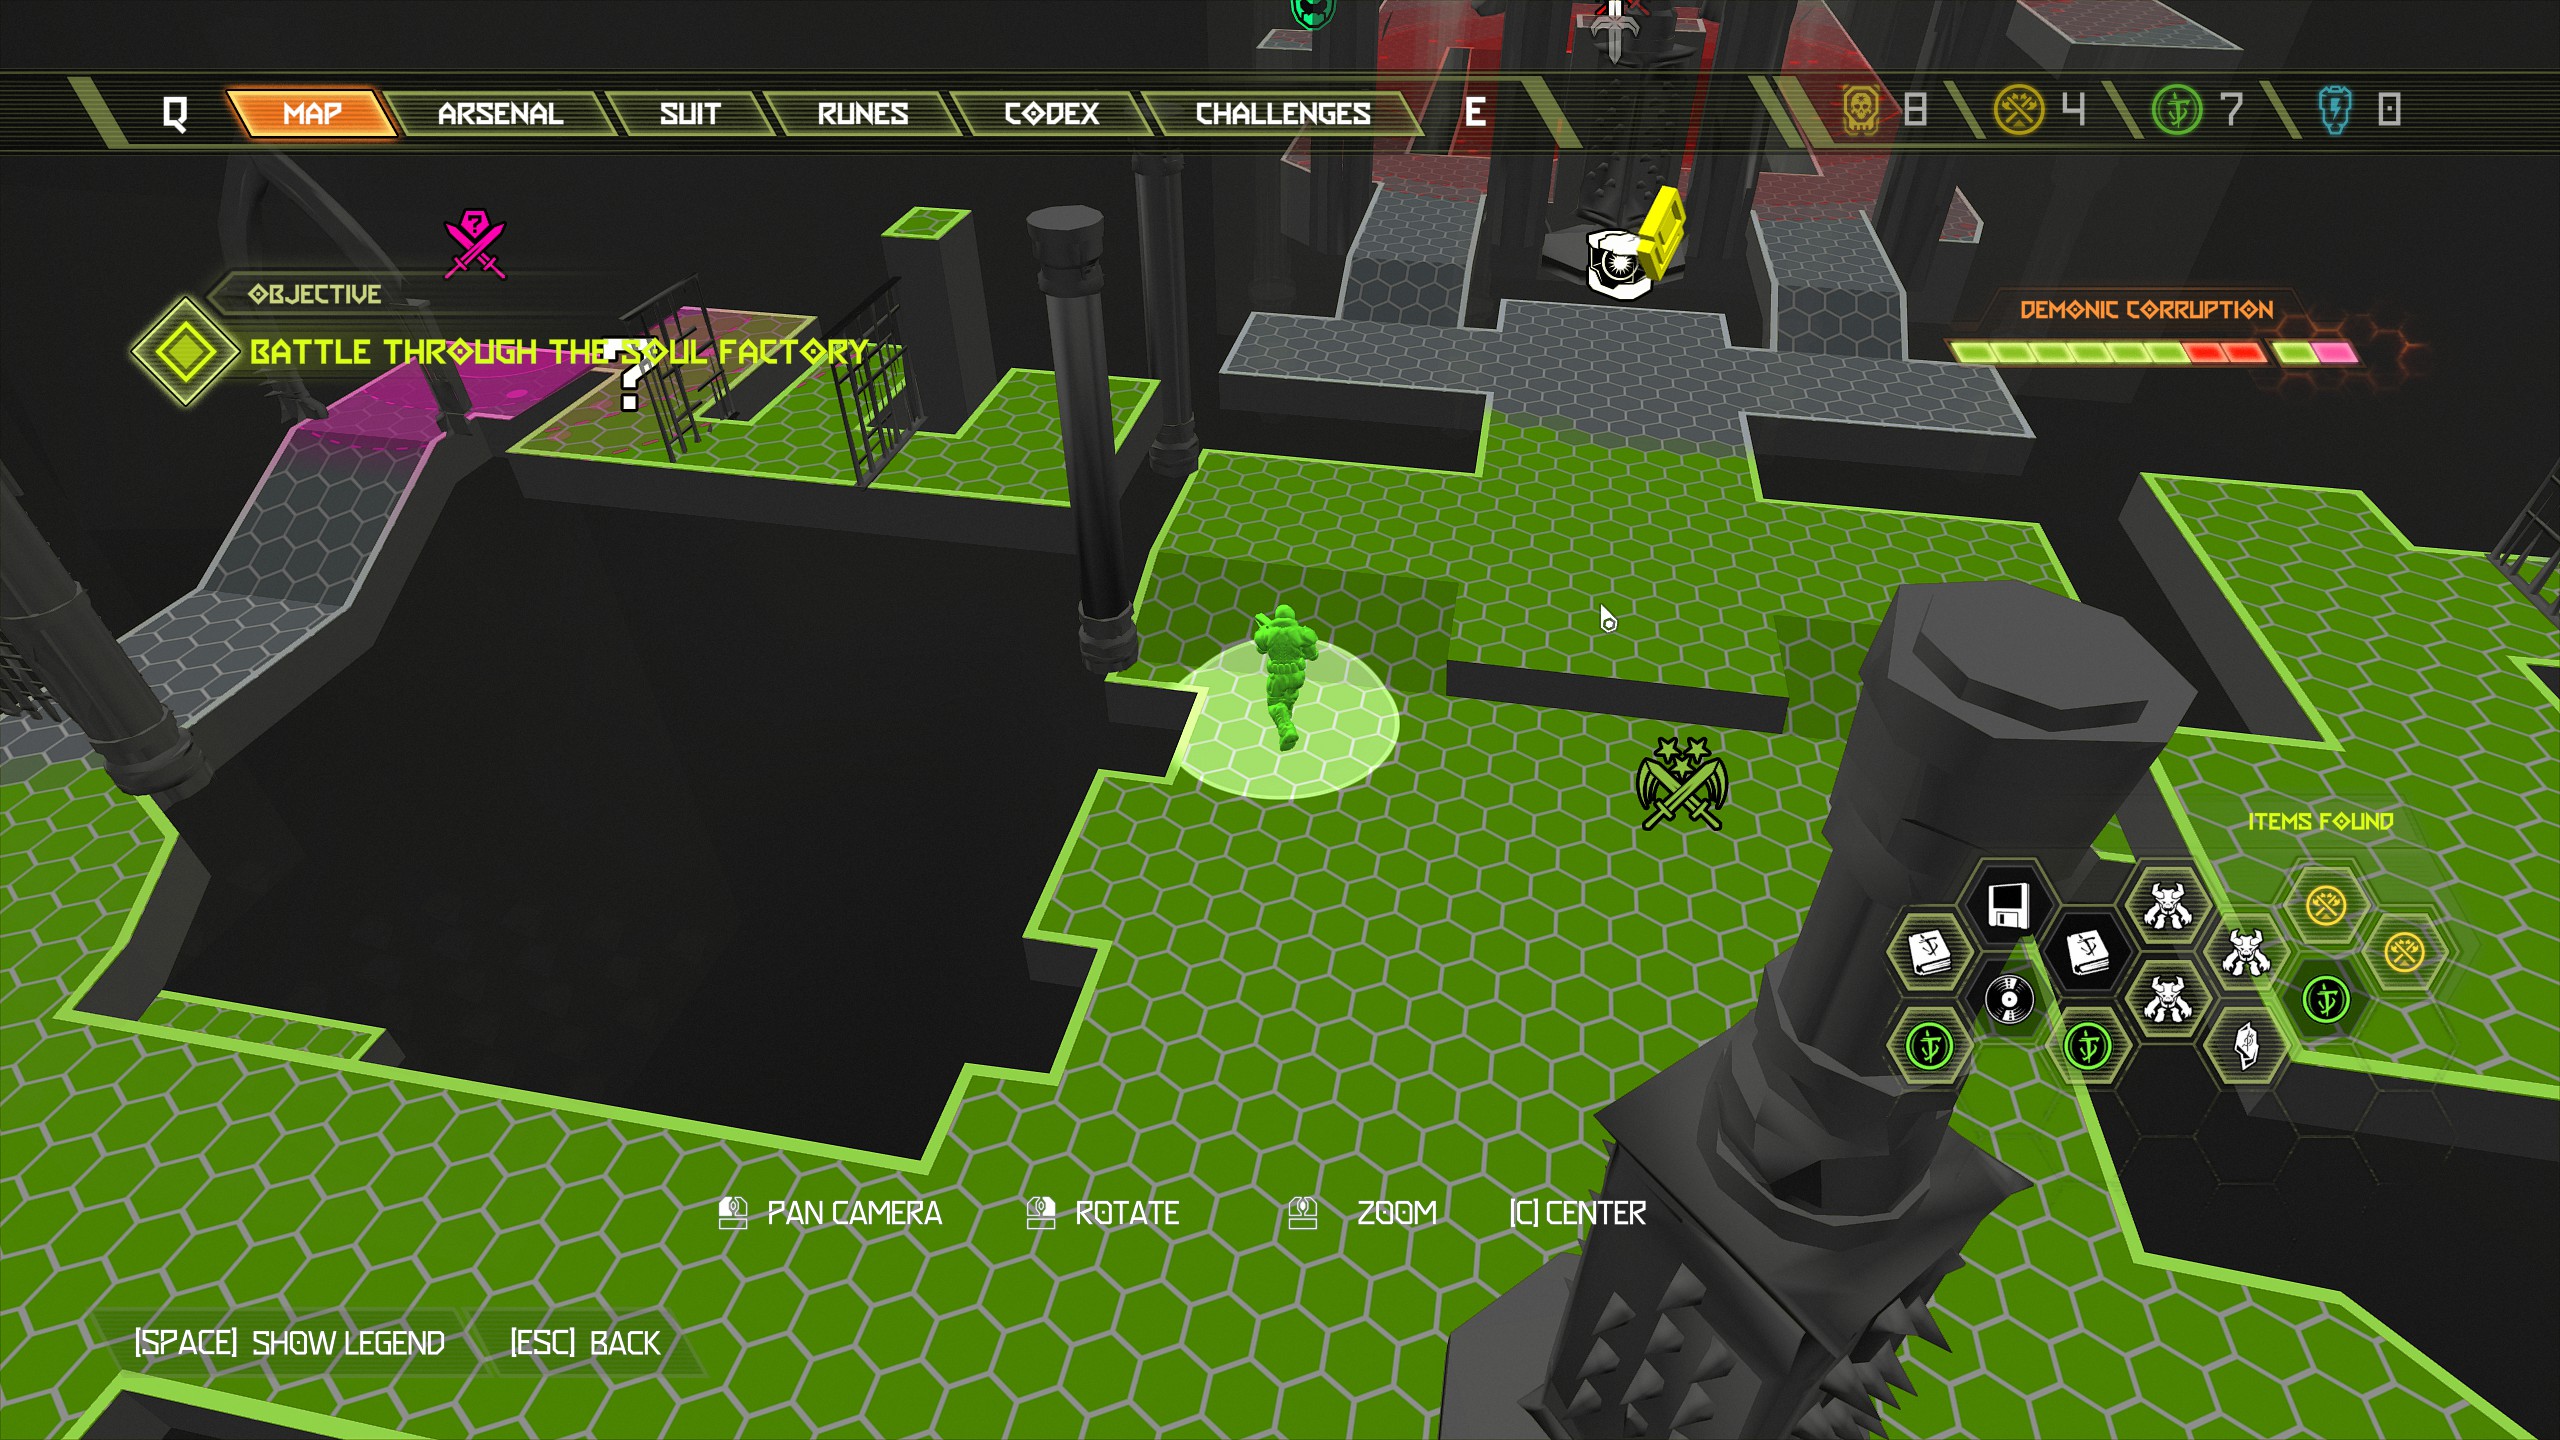
Once you have dropped through the gap, activate the skull pedestal and then go back through the crushers and into the previous room, from there you will see the gate has opened which gives us access to the secret encounter and an album vinyl a little further on inside.
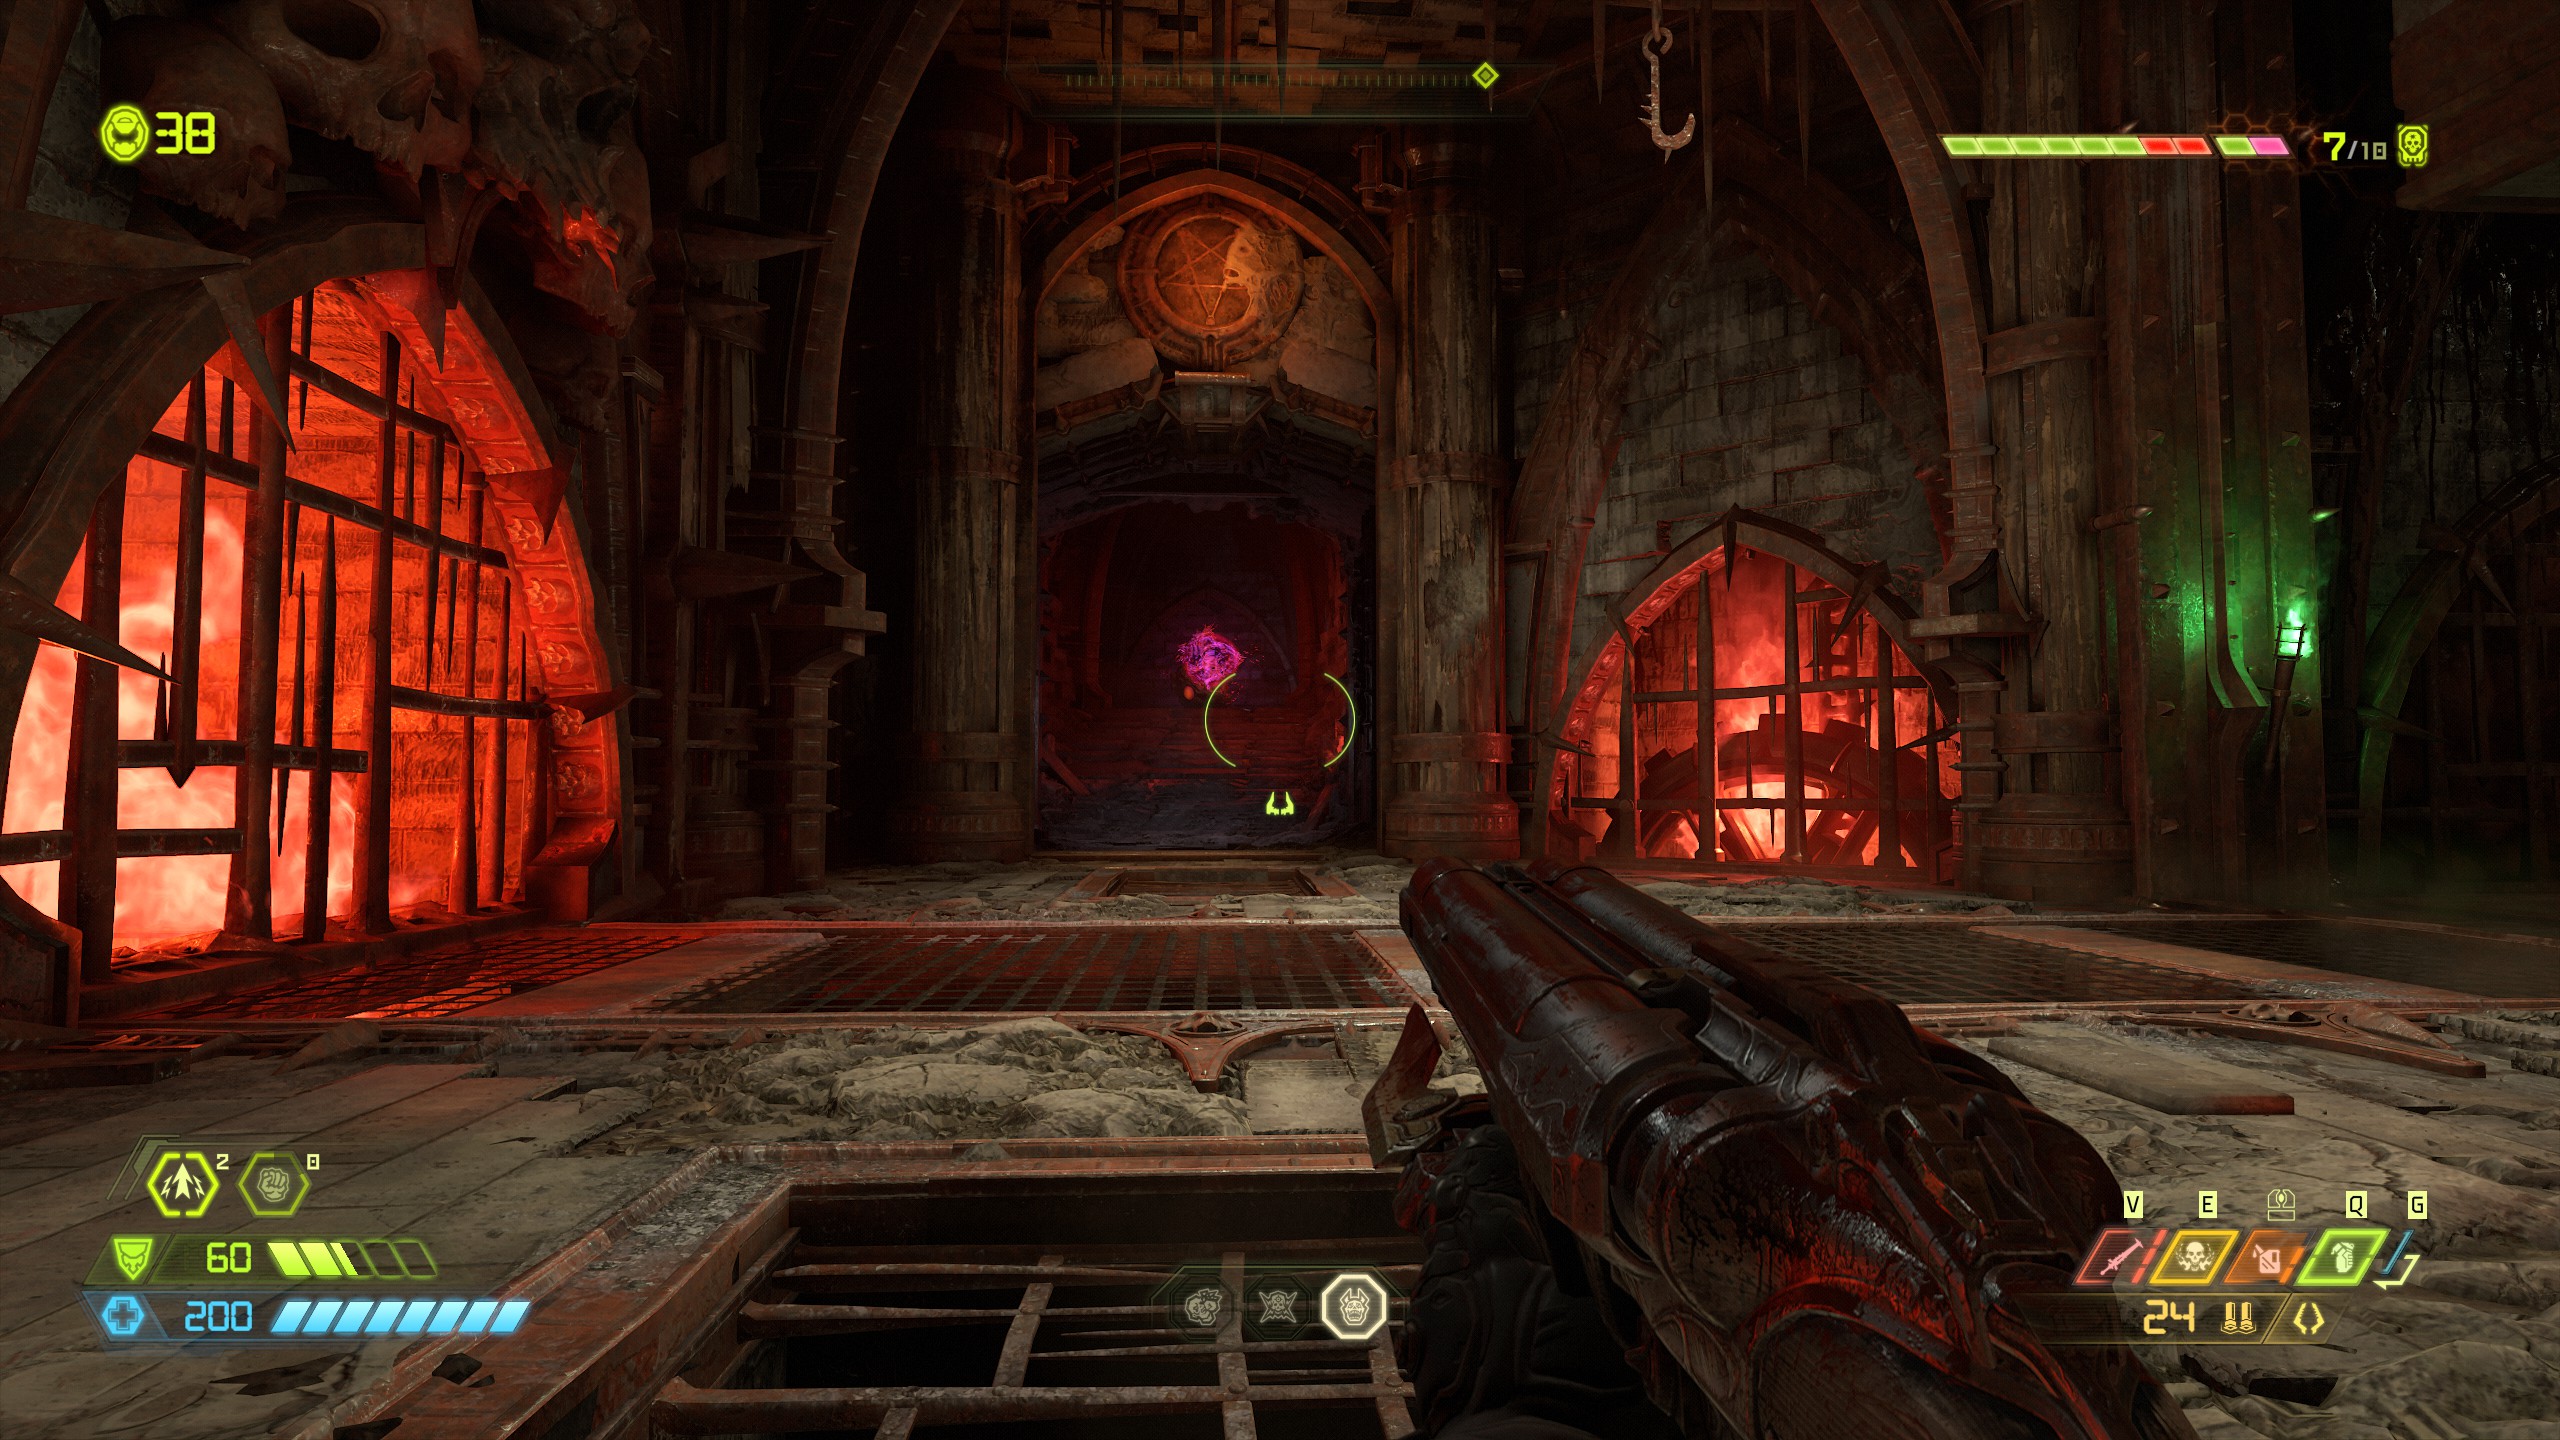
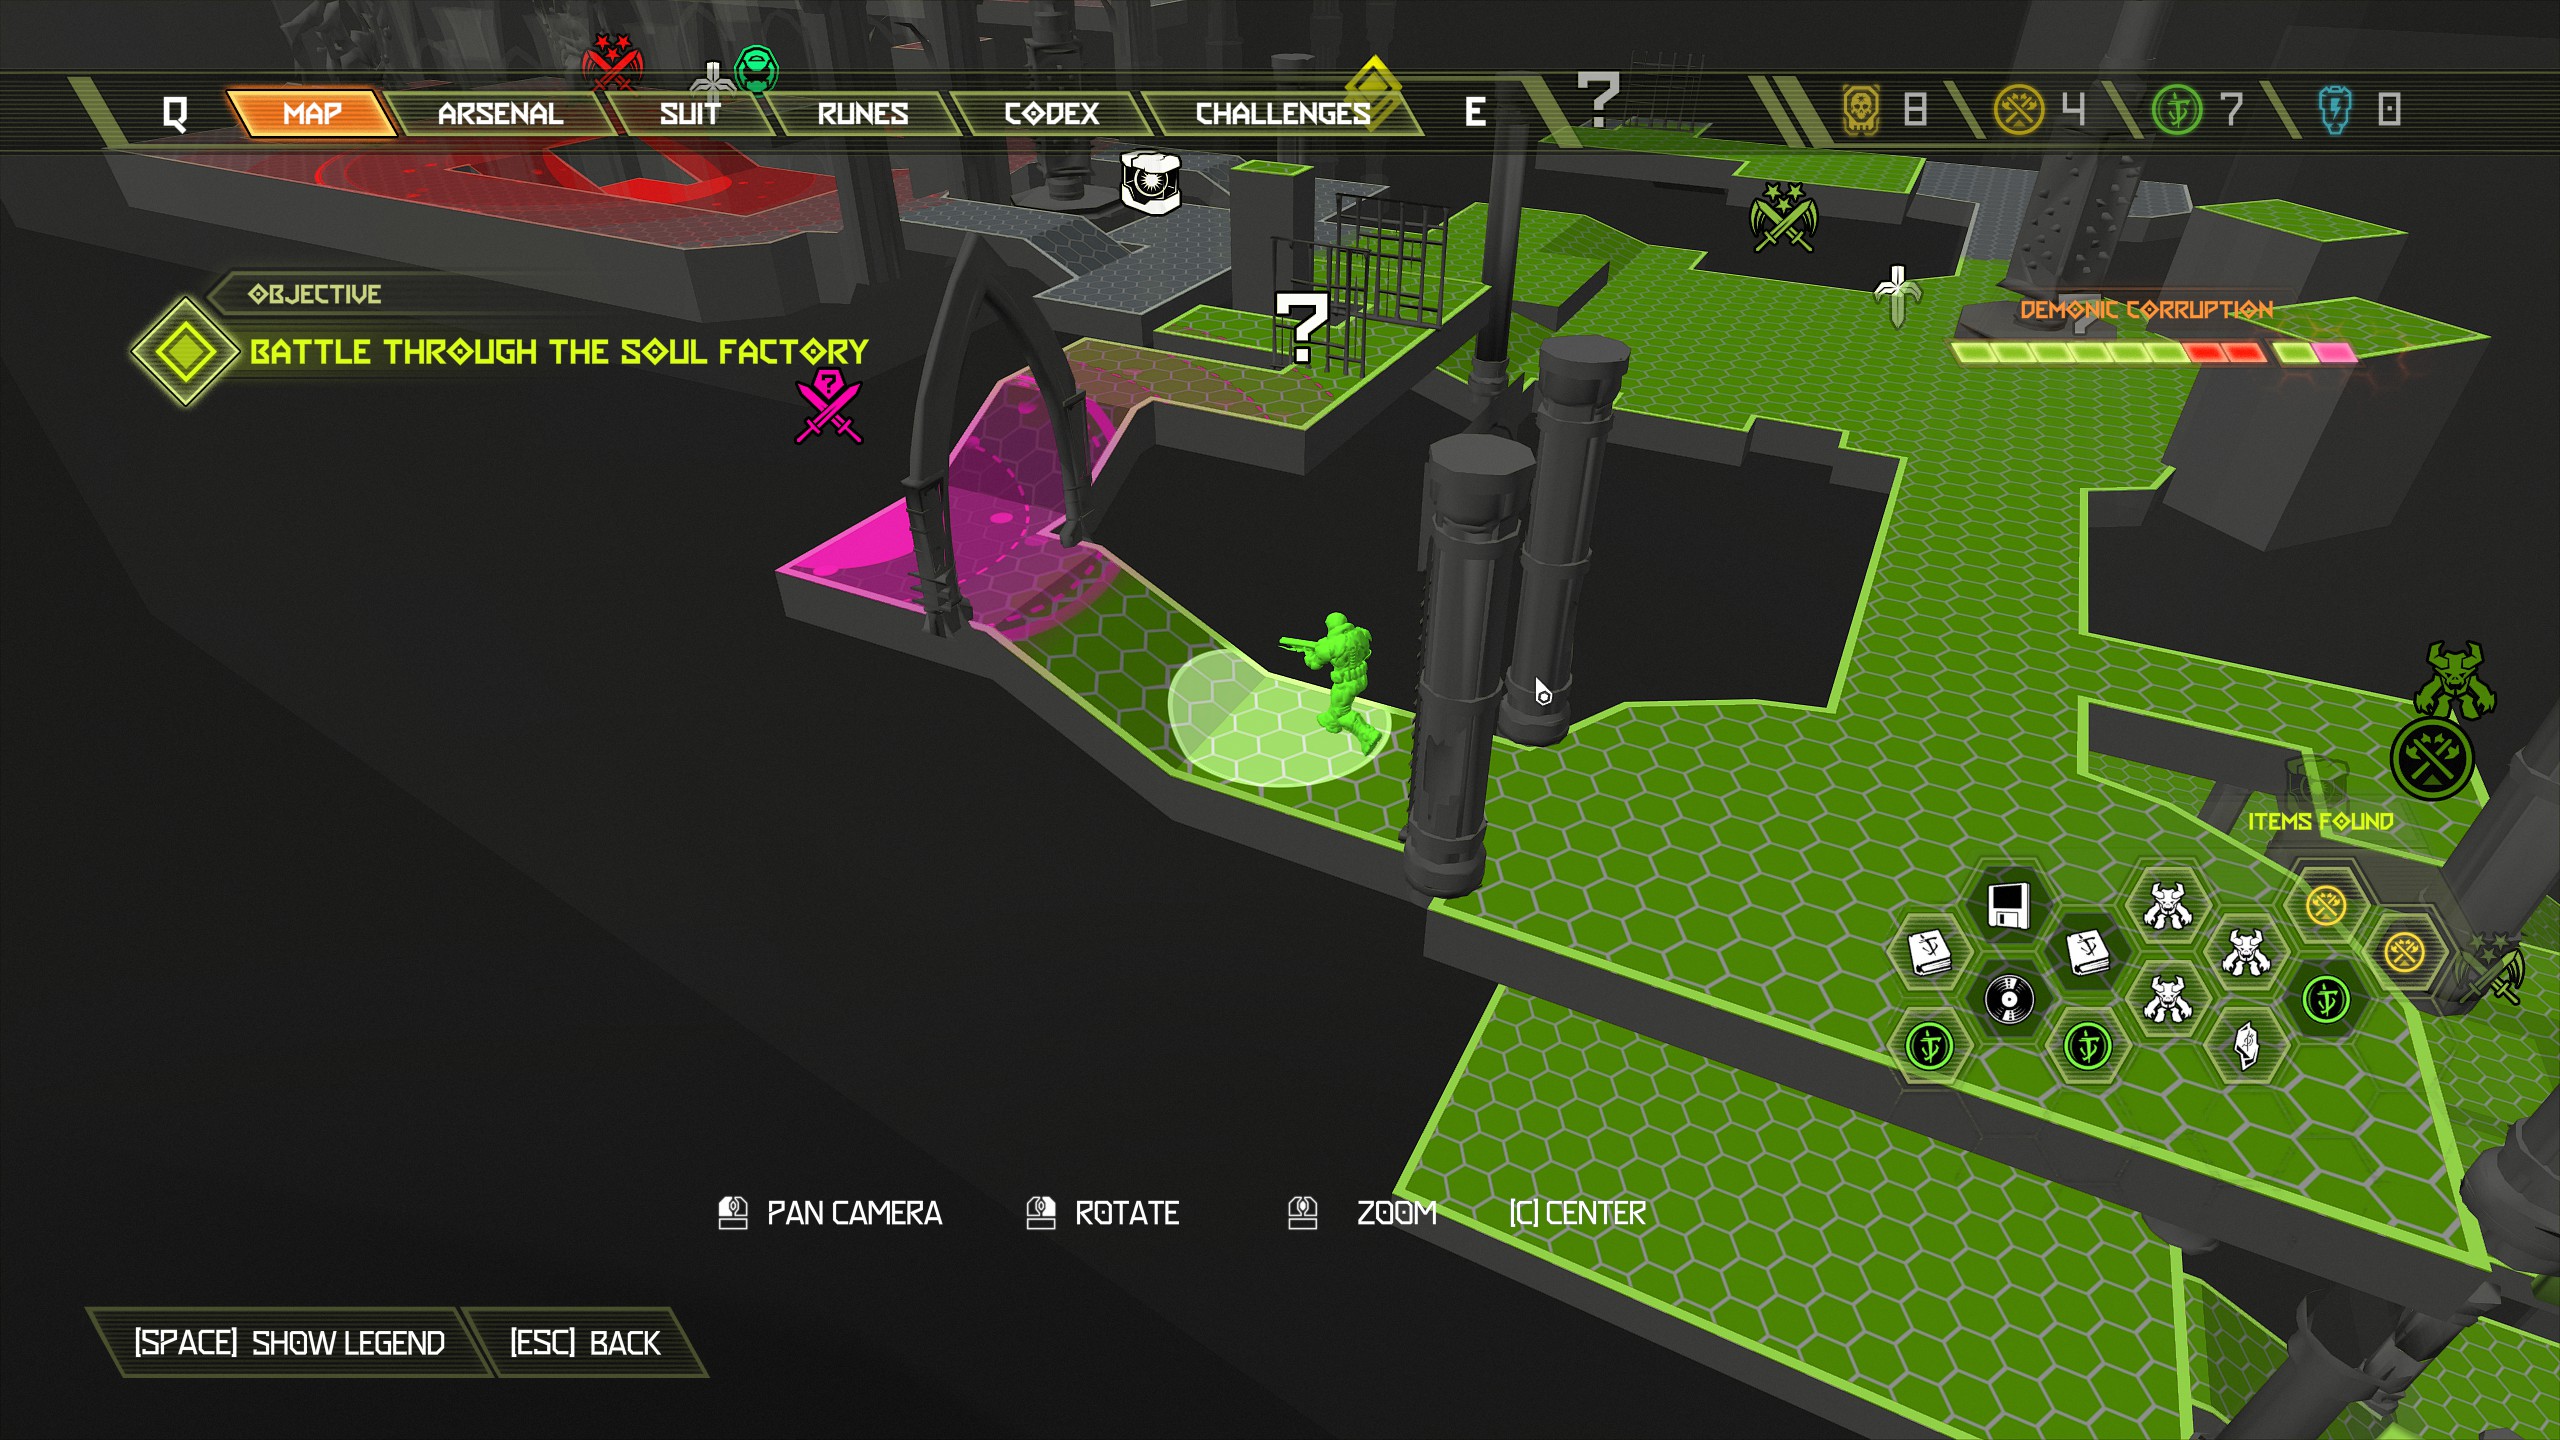
From the album vinyl you can go straight through into the main room again, from there head through the crushers on the far right corner into another room. Inside the room you will encounter a marauder and a whiplash, after killing them you will notice more cages moving through the chutes so this time drop down one of the chutes into to a room below and inside you will find another album vinyl.
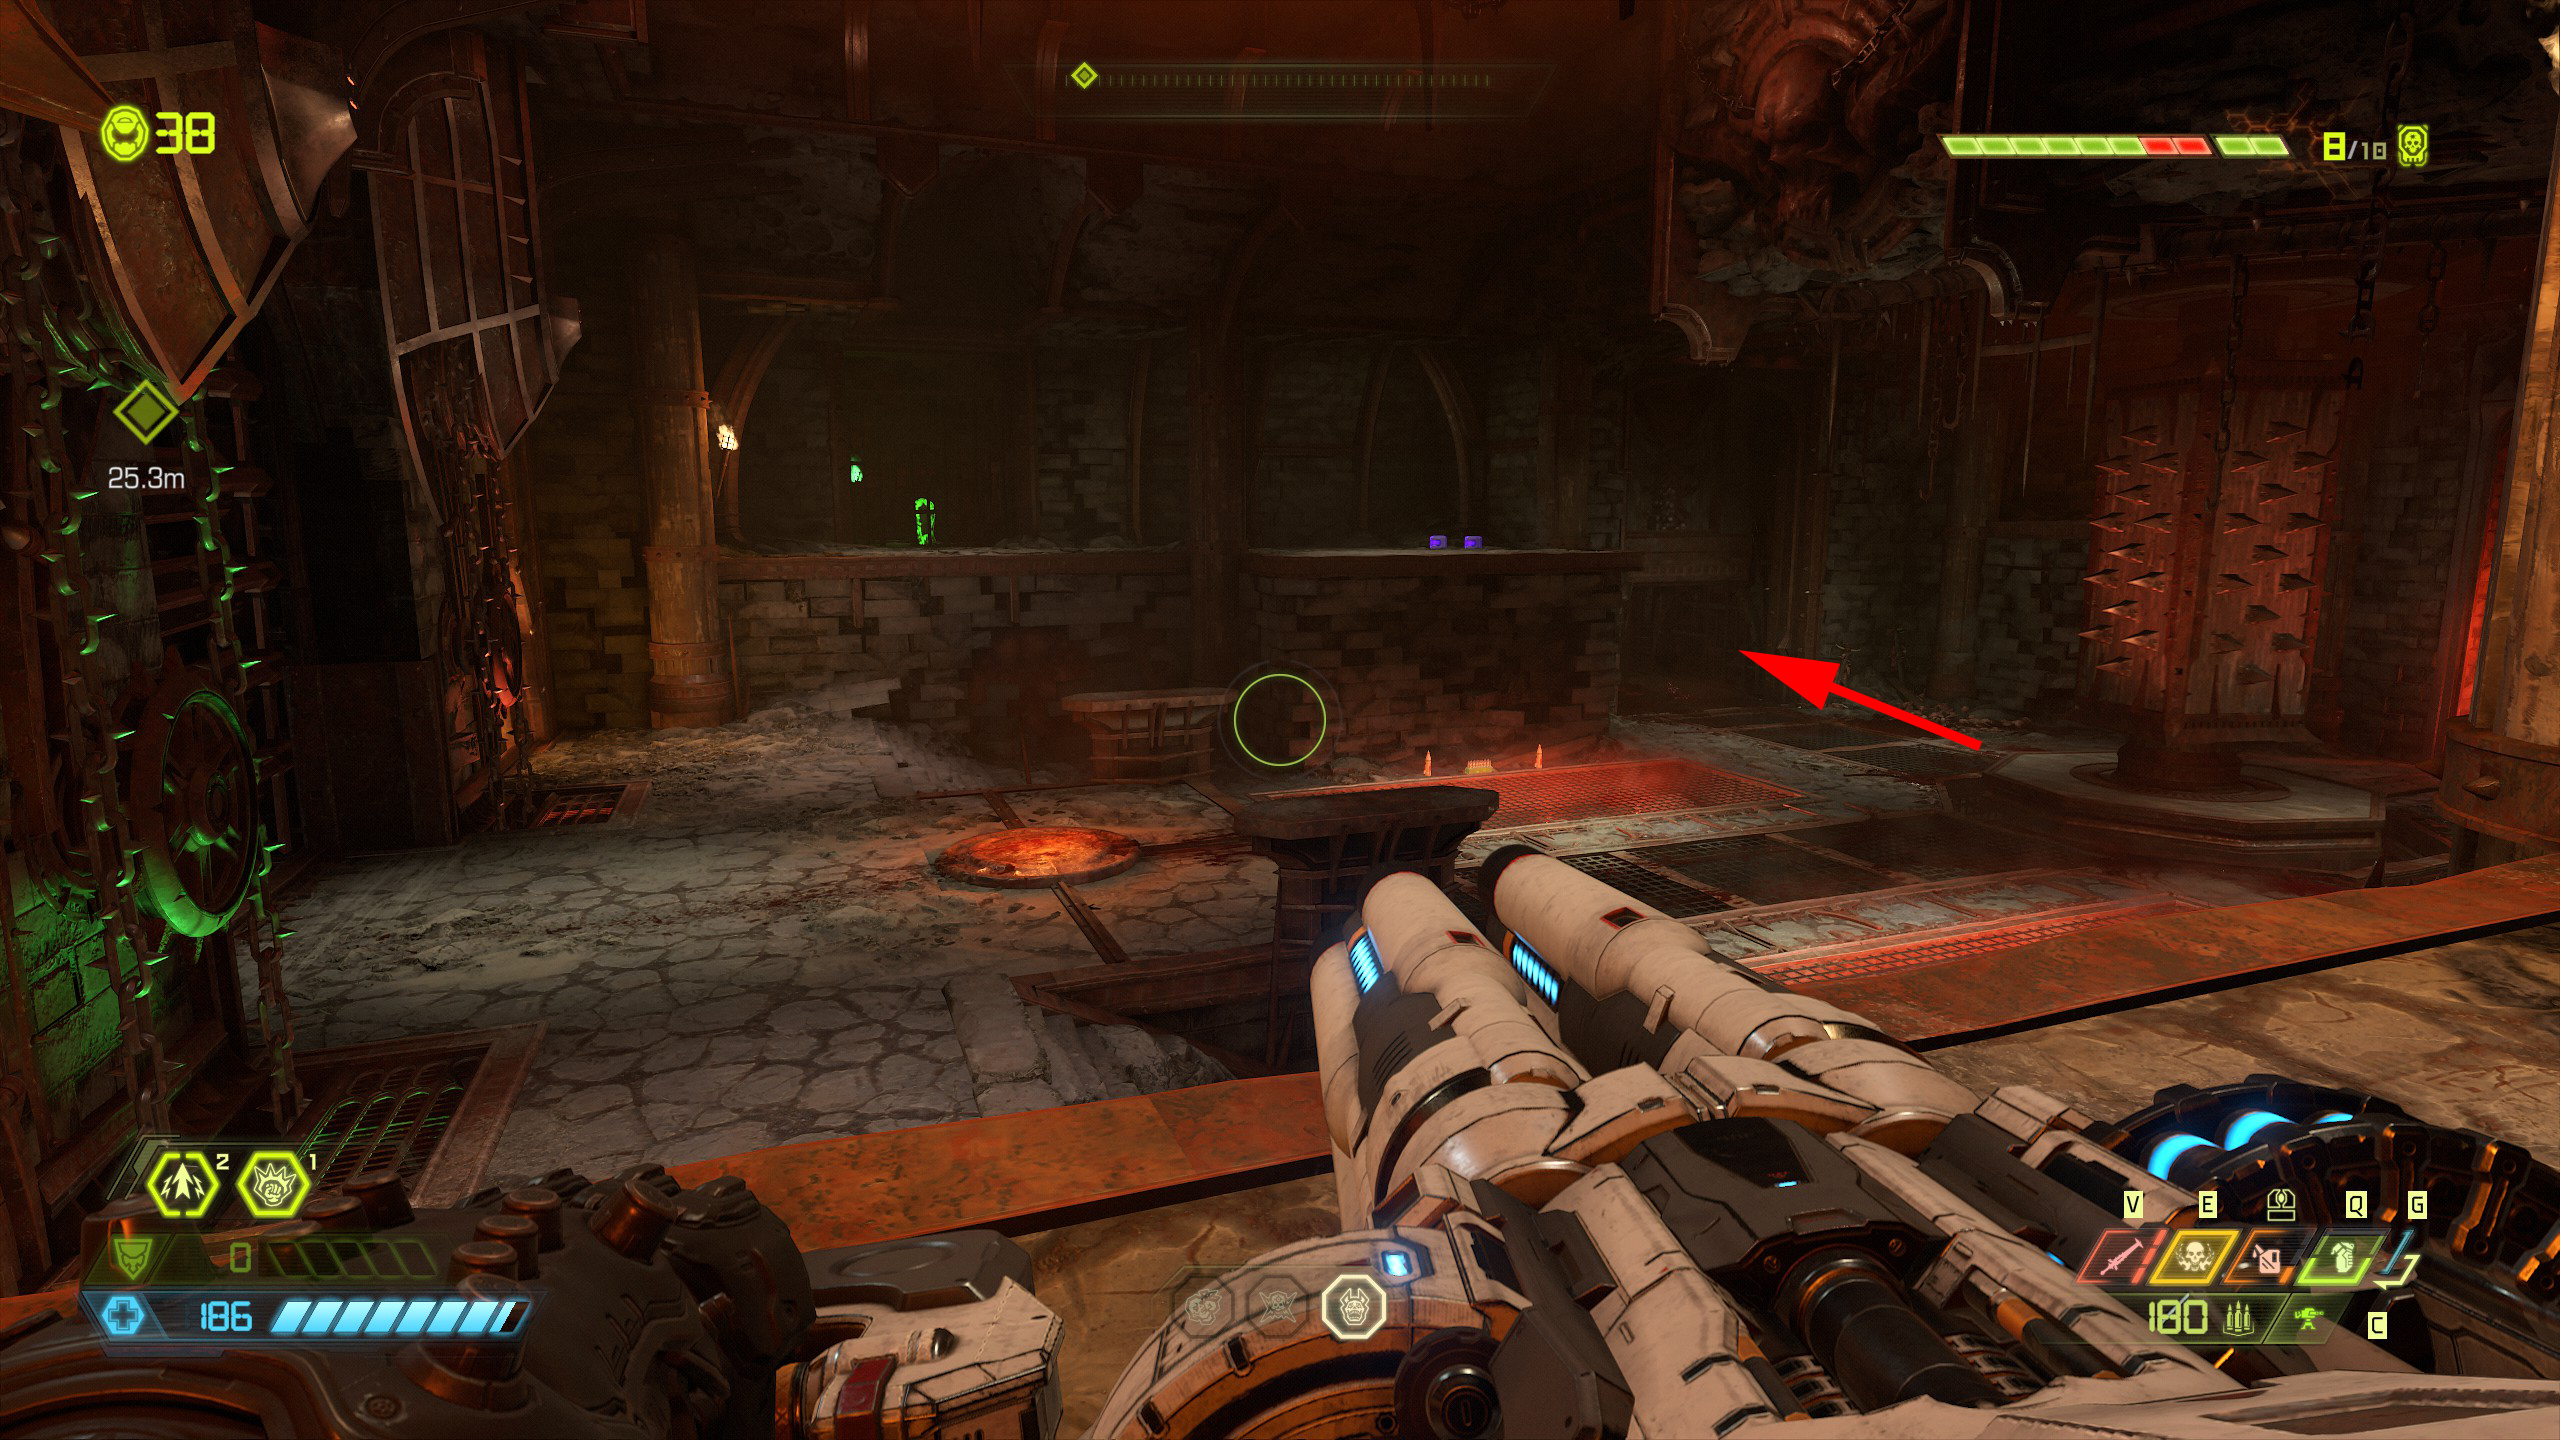
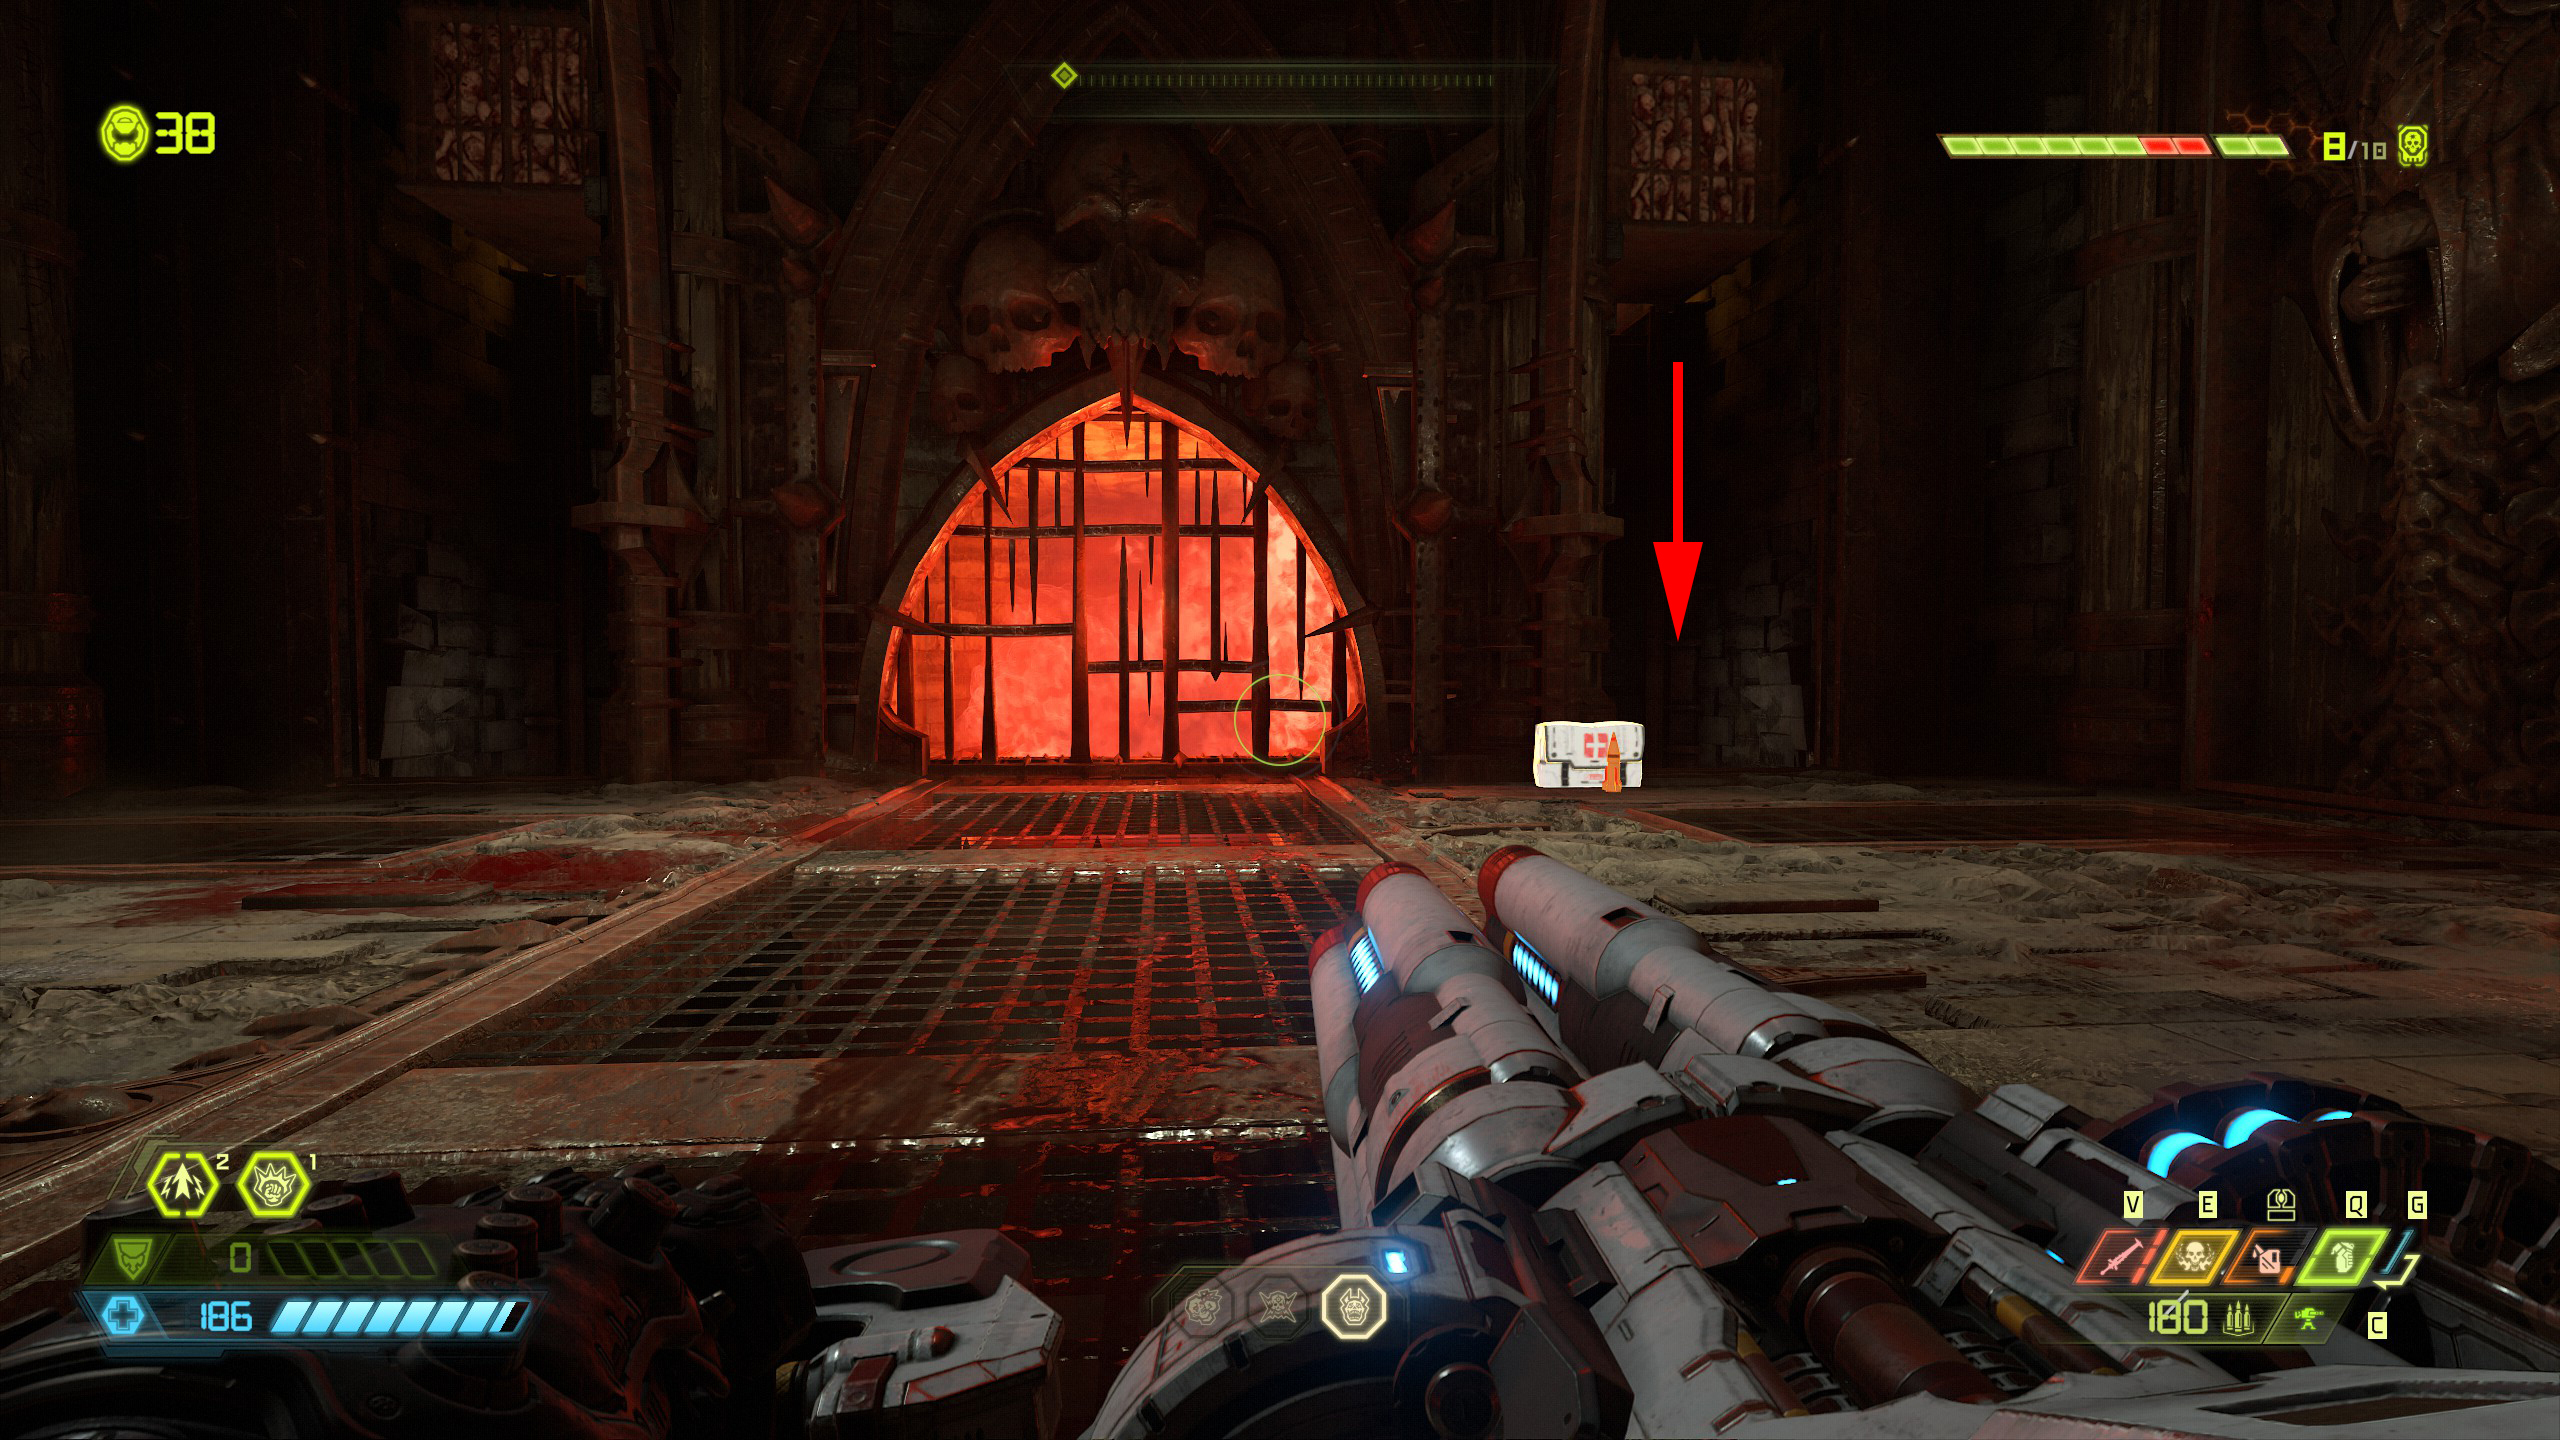
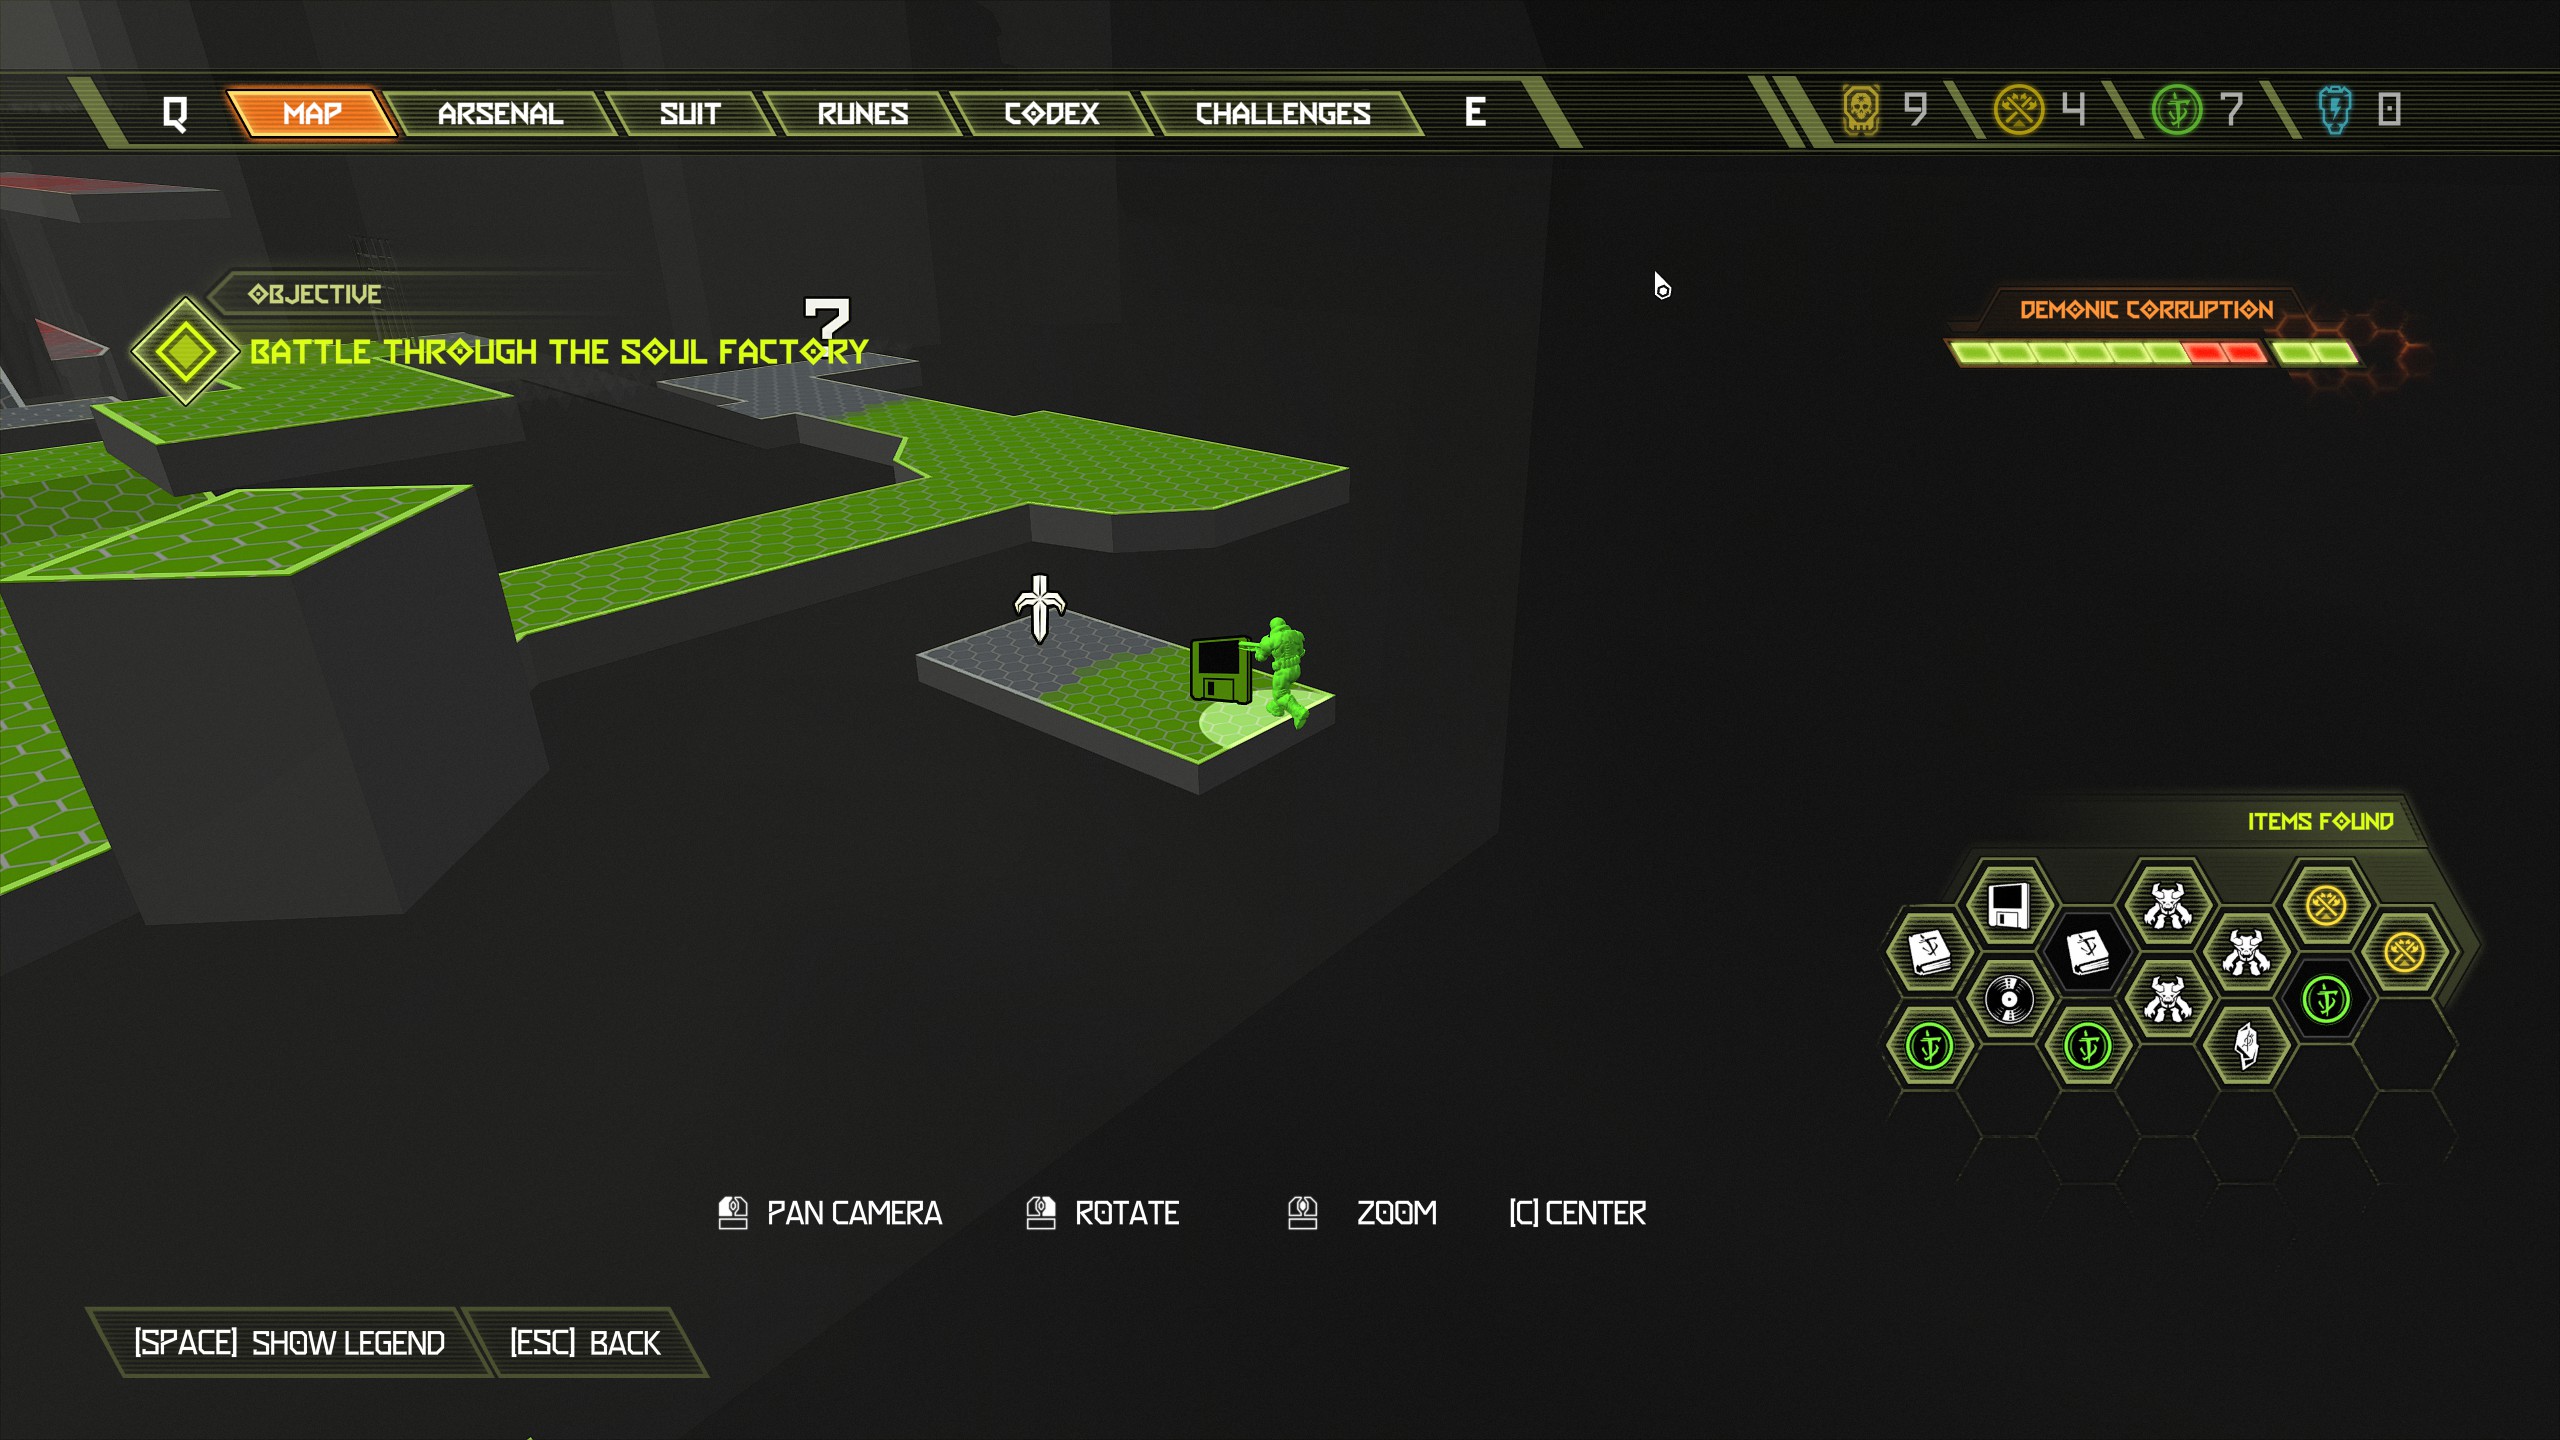
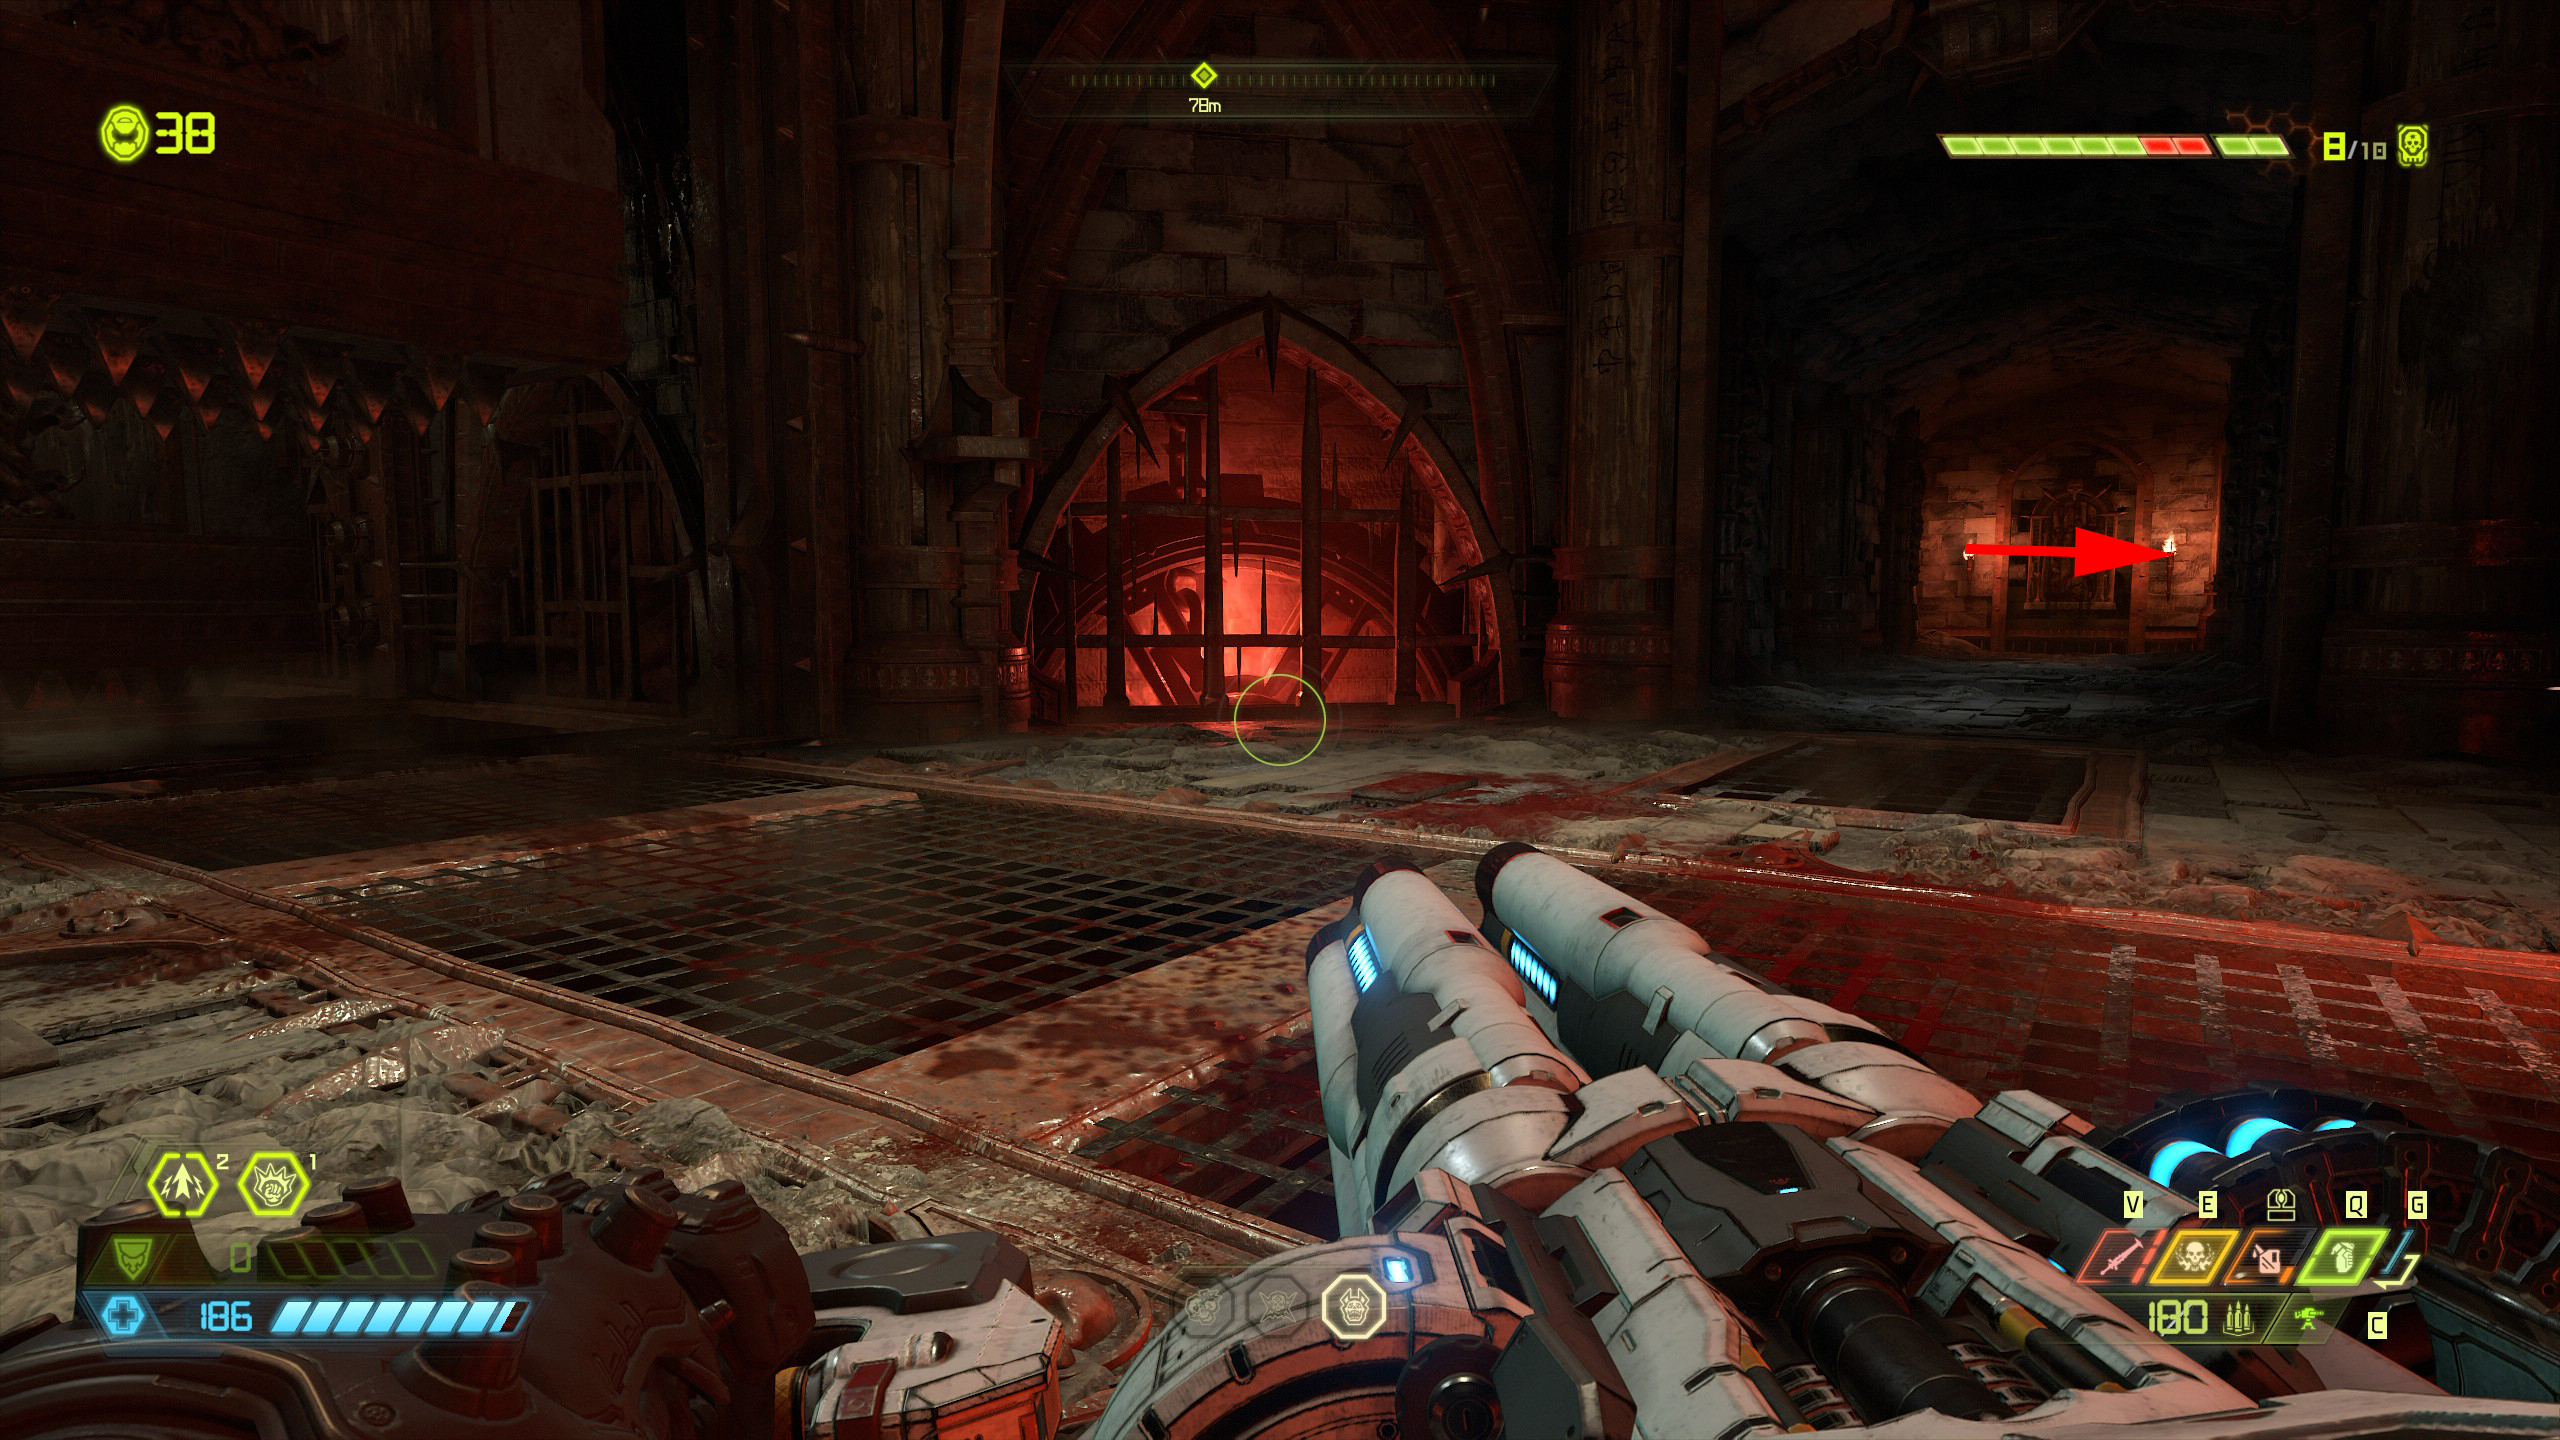
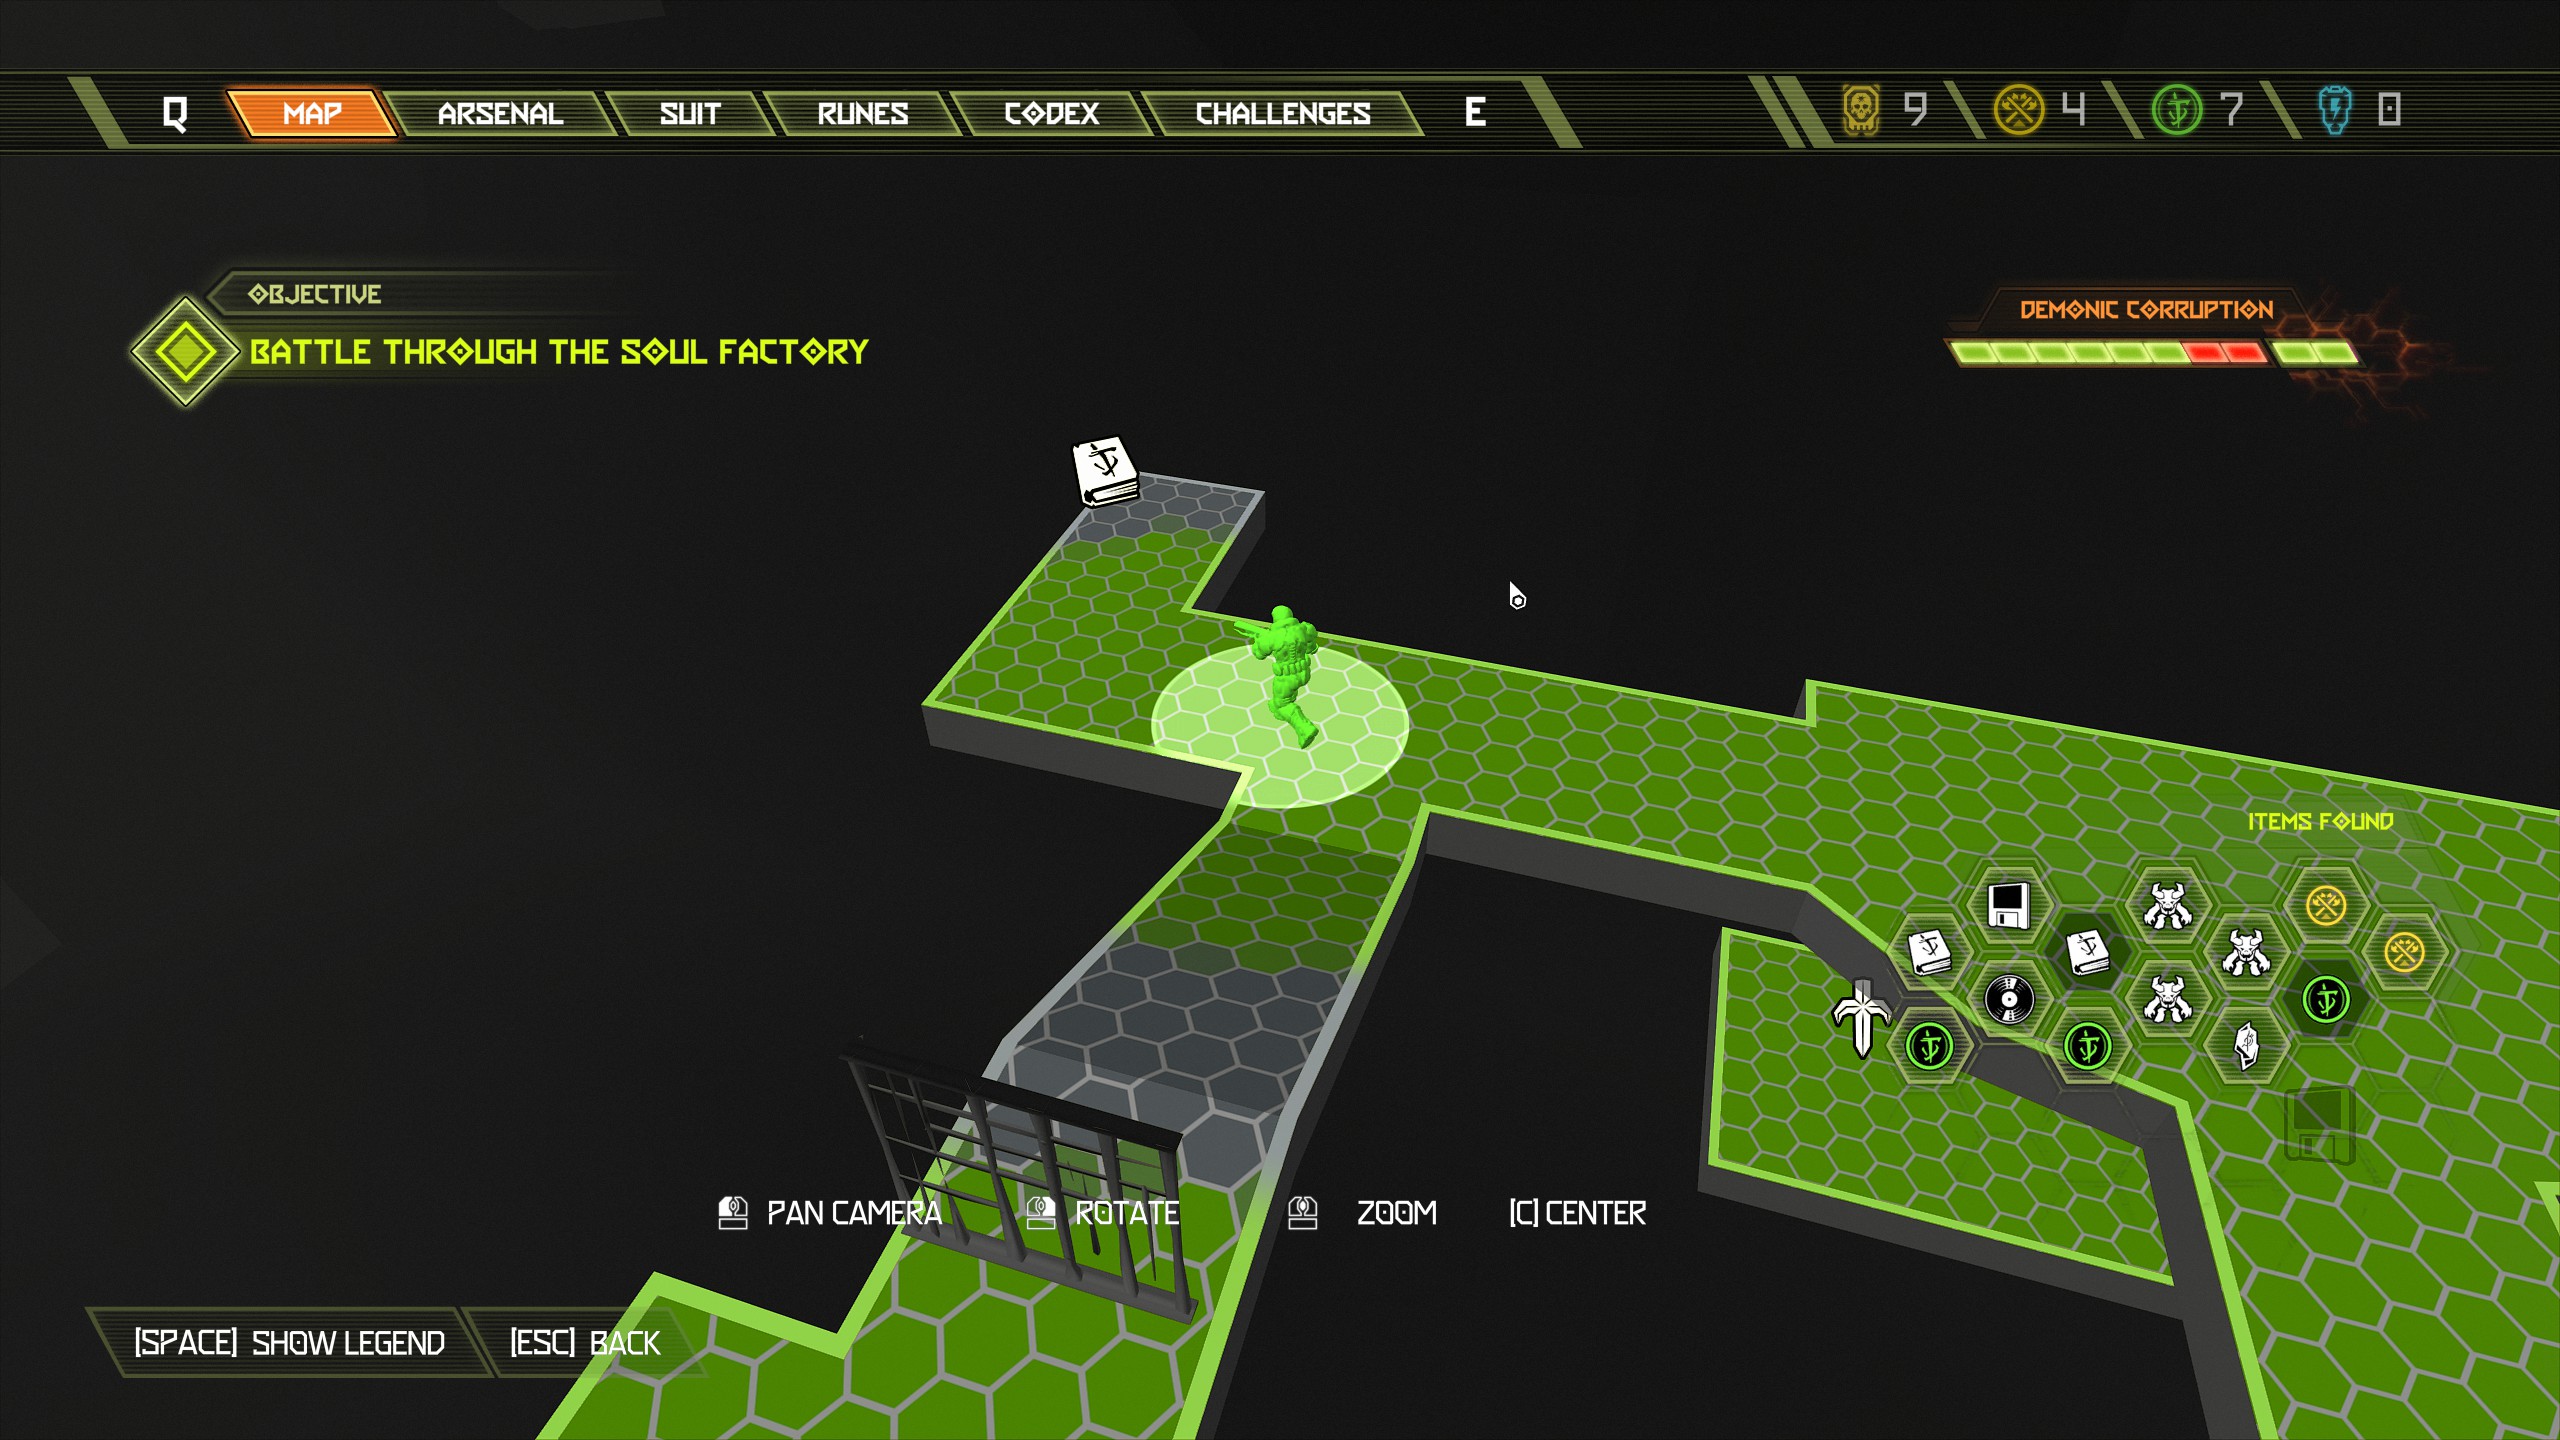
Once the room has been cleared you will see an extra life up above on a small platform in the corner, it is located on the left side from where you entered the room. Use the yellow bars to swing up and collect it but do not drop back down just yet. From here we will move to the next item which will also be our last for this mission.
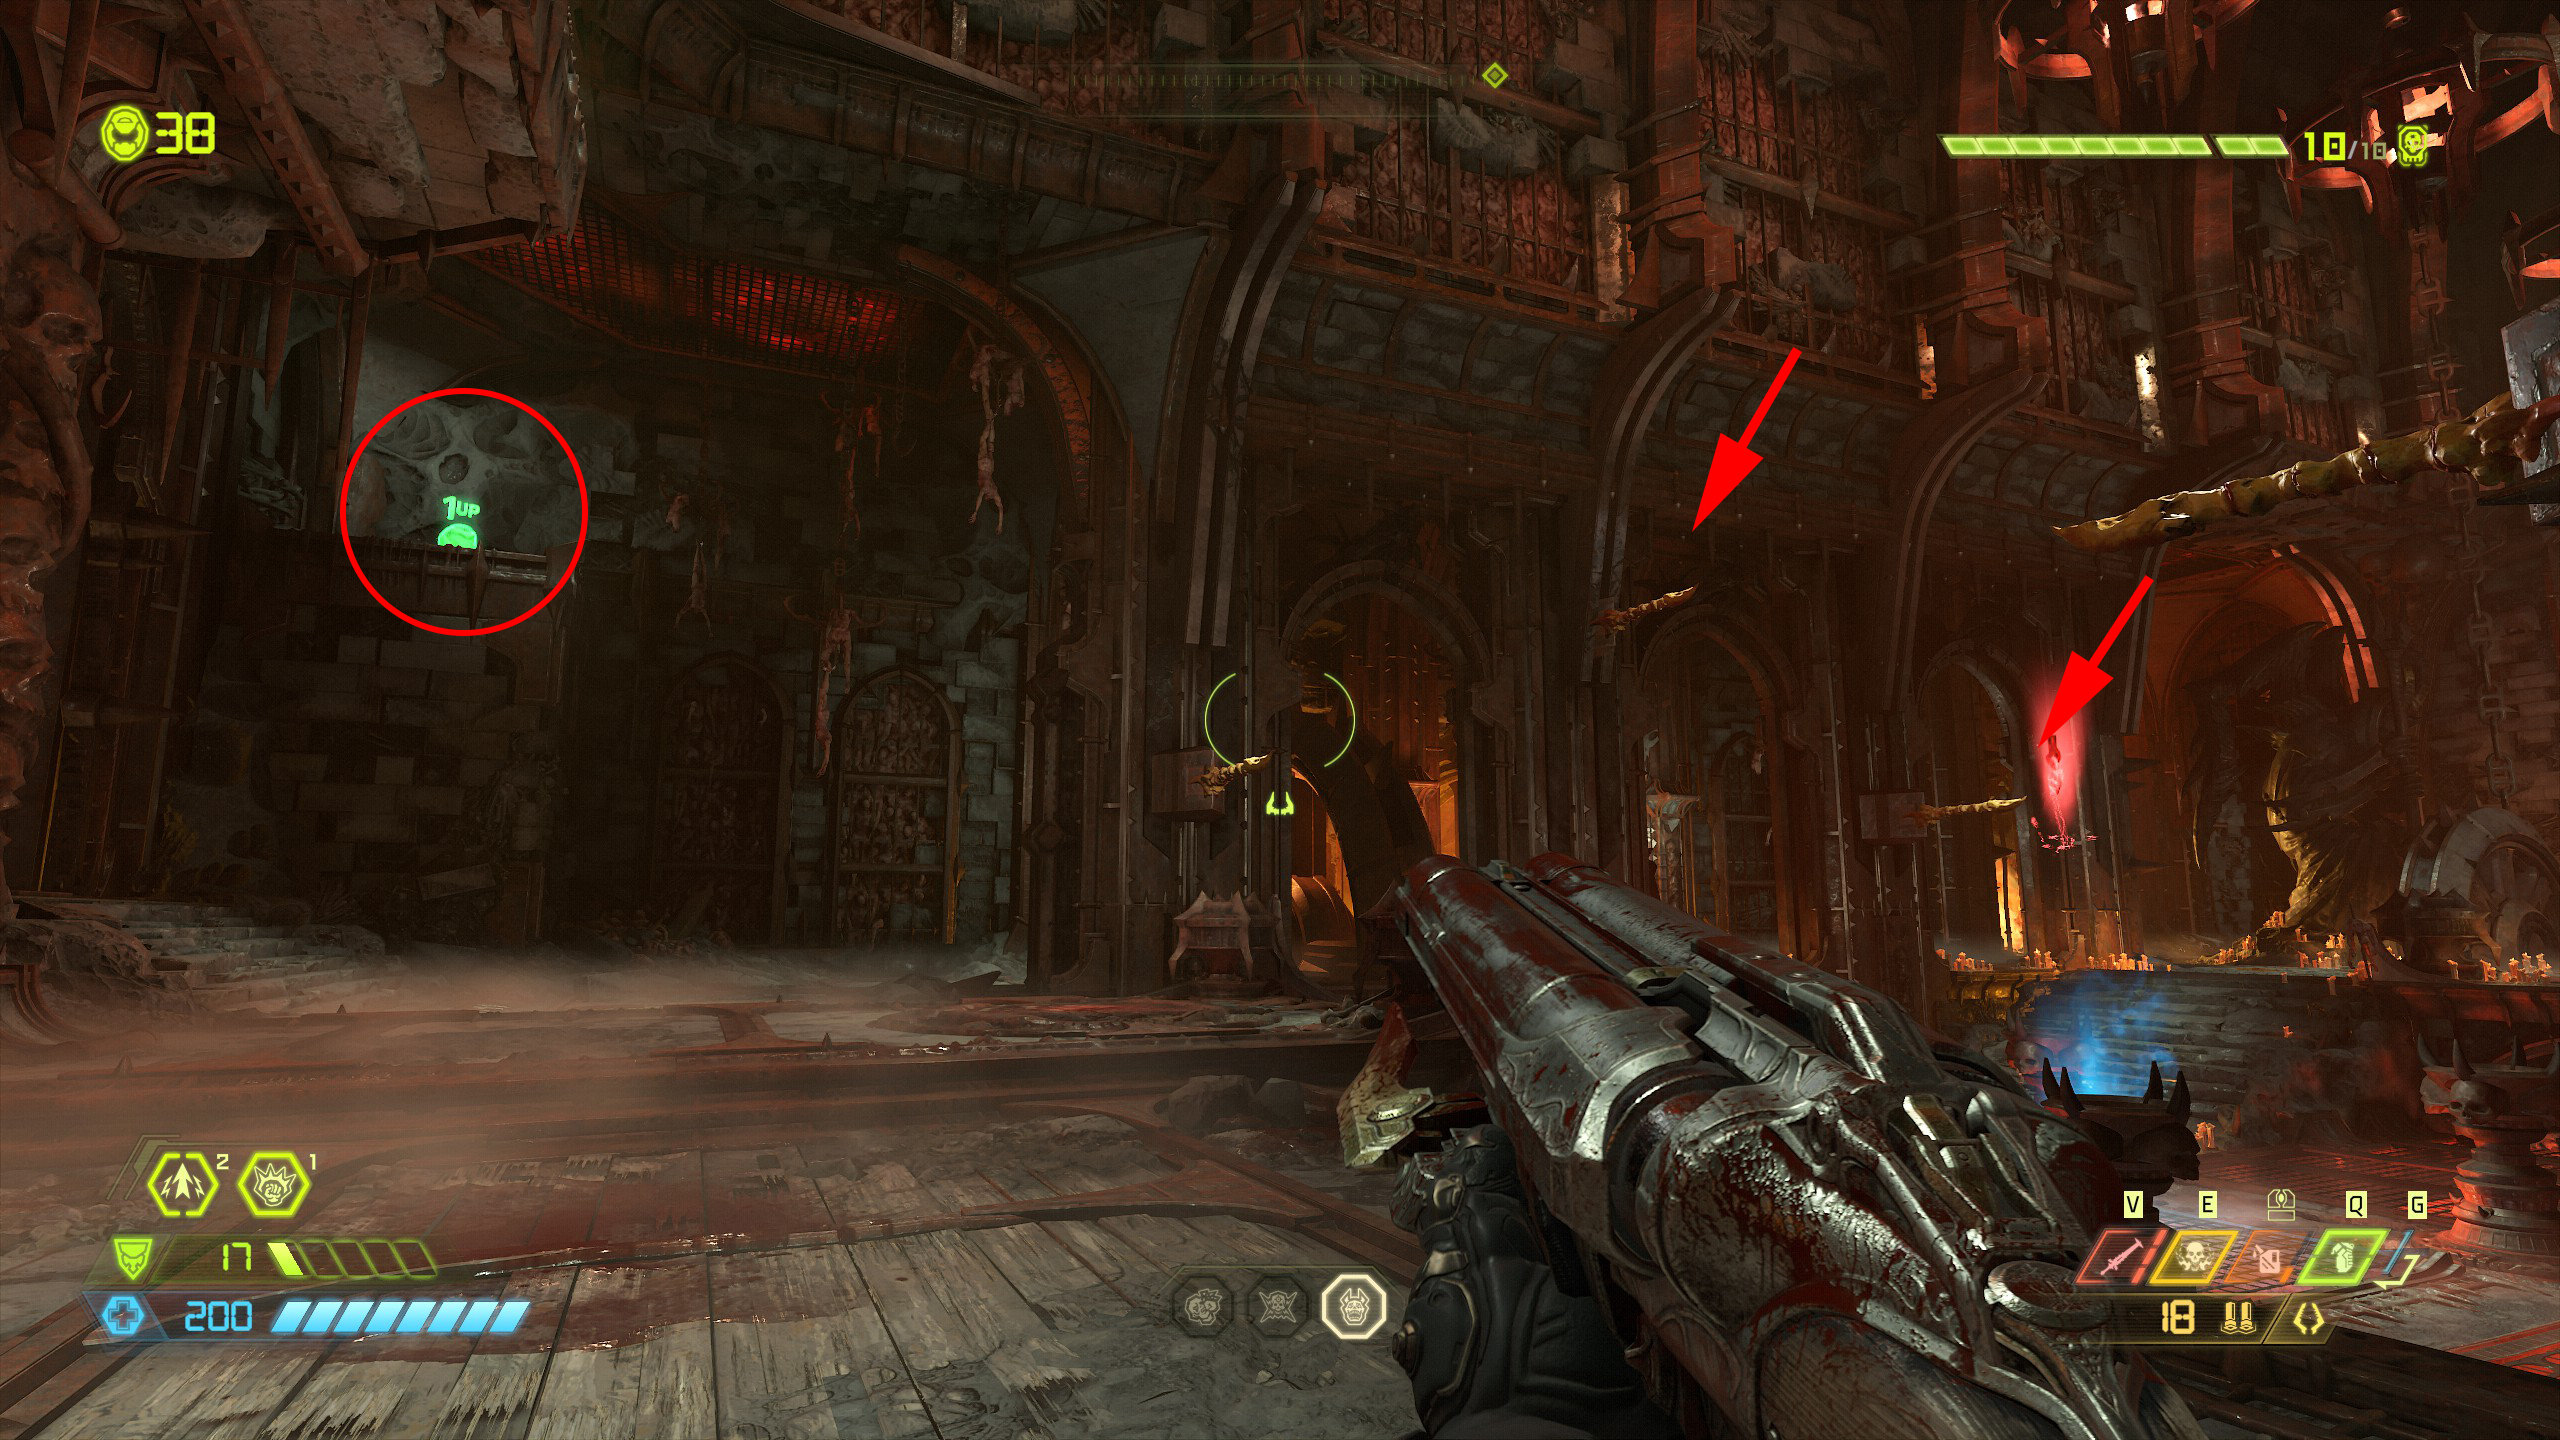
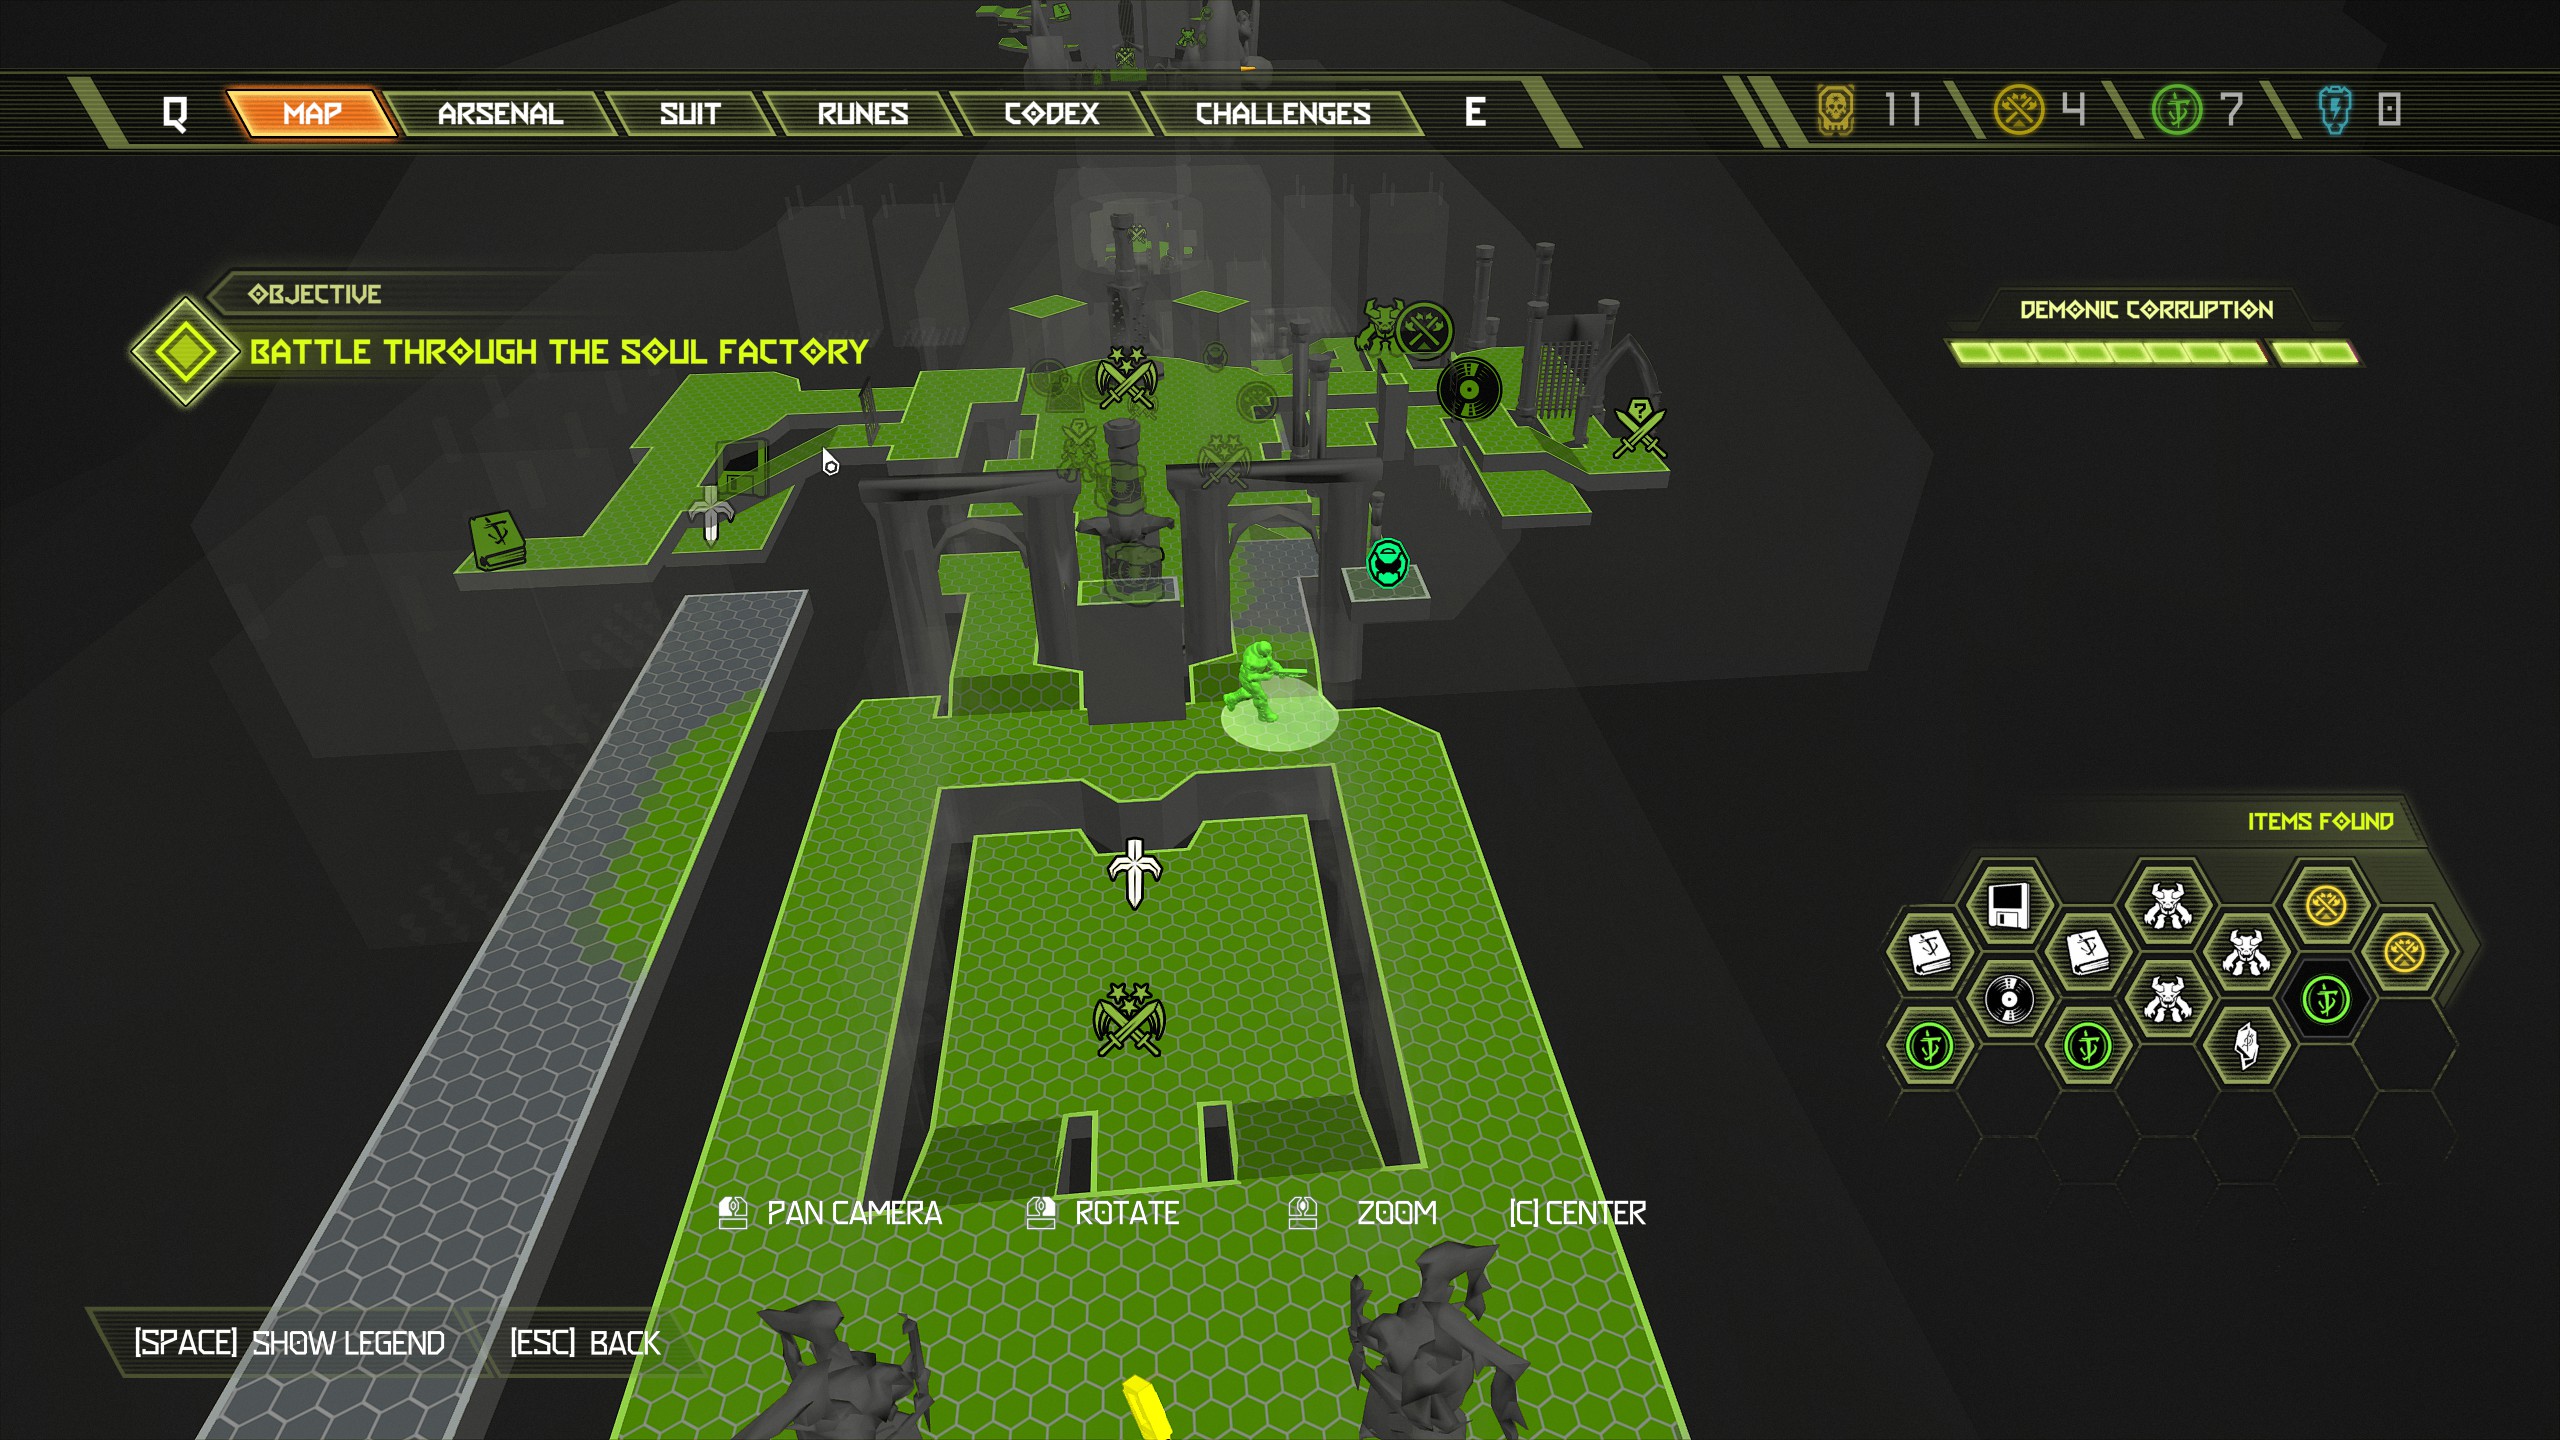
So immediately from the platform jump across to the next platform nearby and then onto the further platform where the crushers are located. Go through the crushers and at the opposite end you will find another praetor suit token, this path will also take you towards the mission objective so you shouldn't miss this.
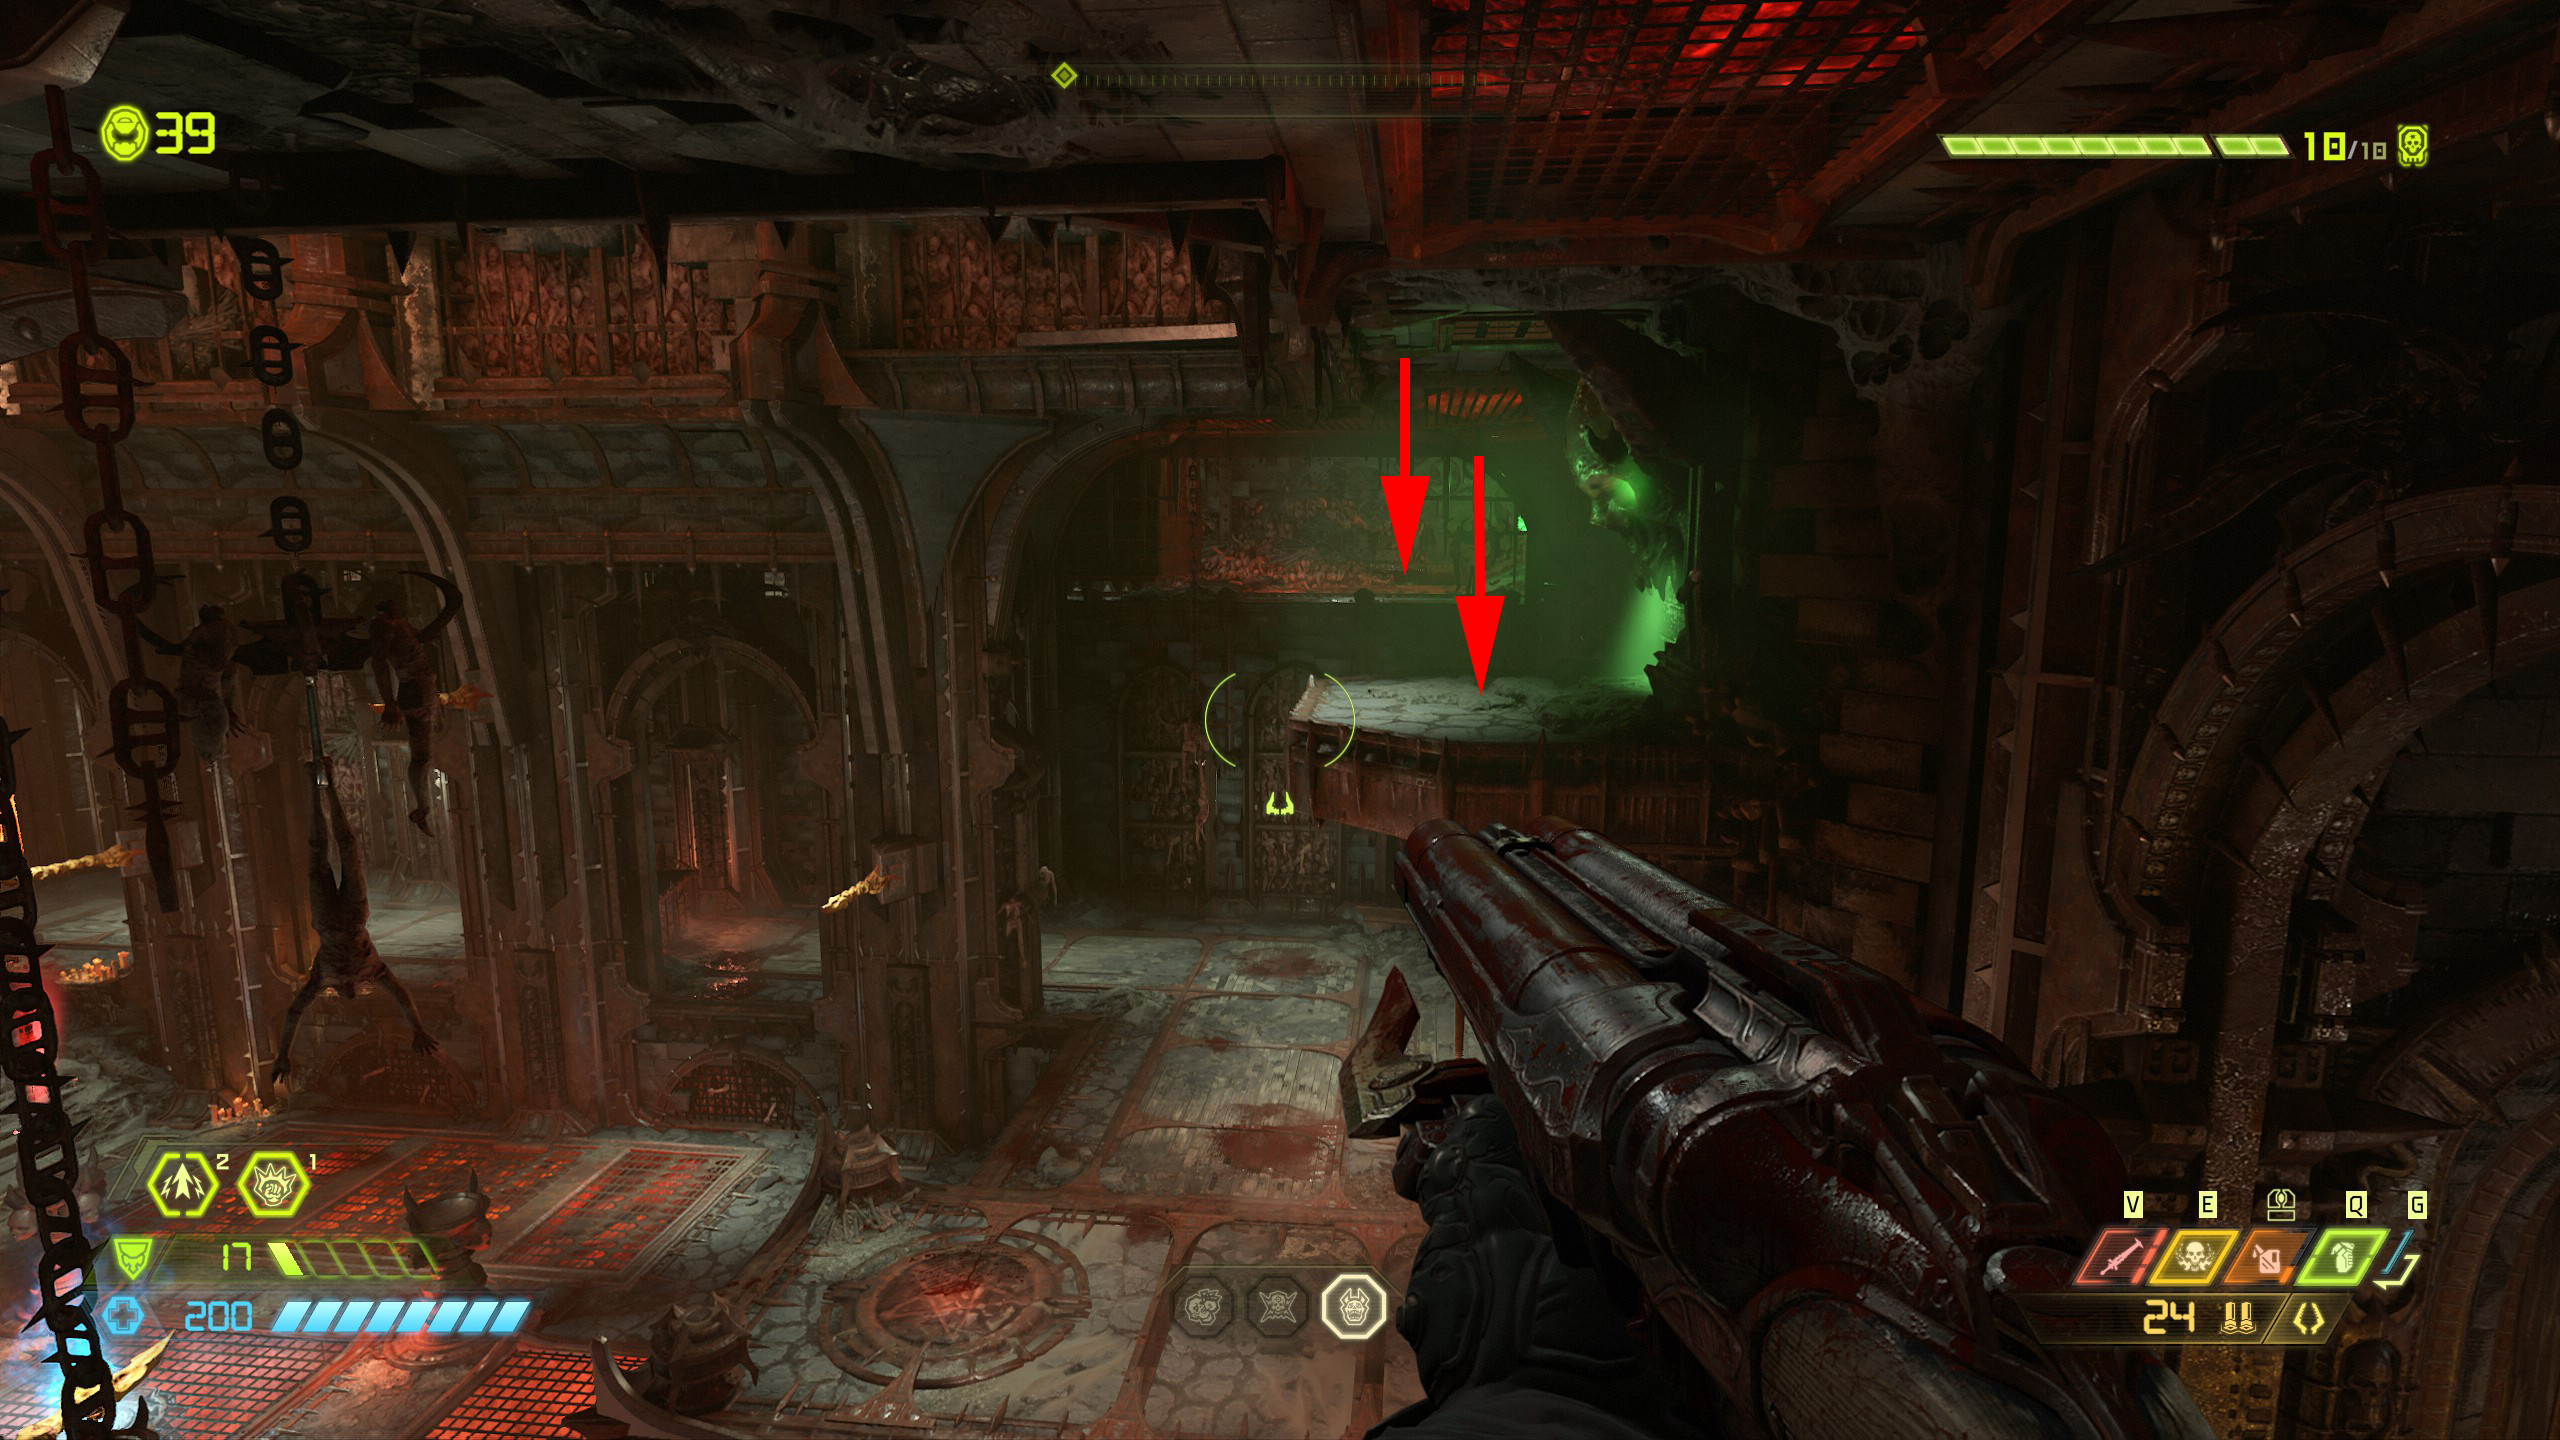
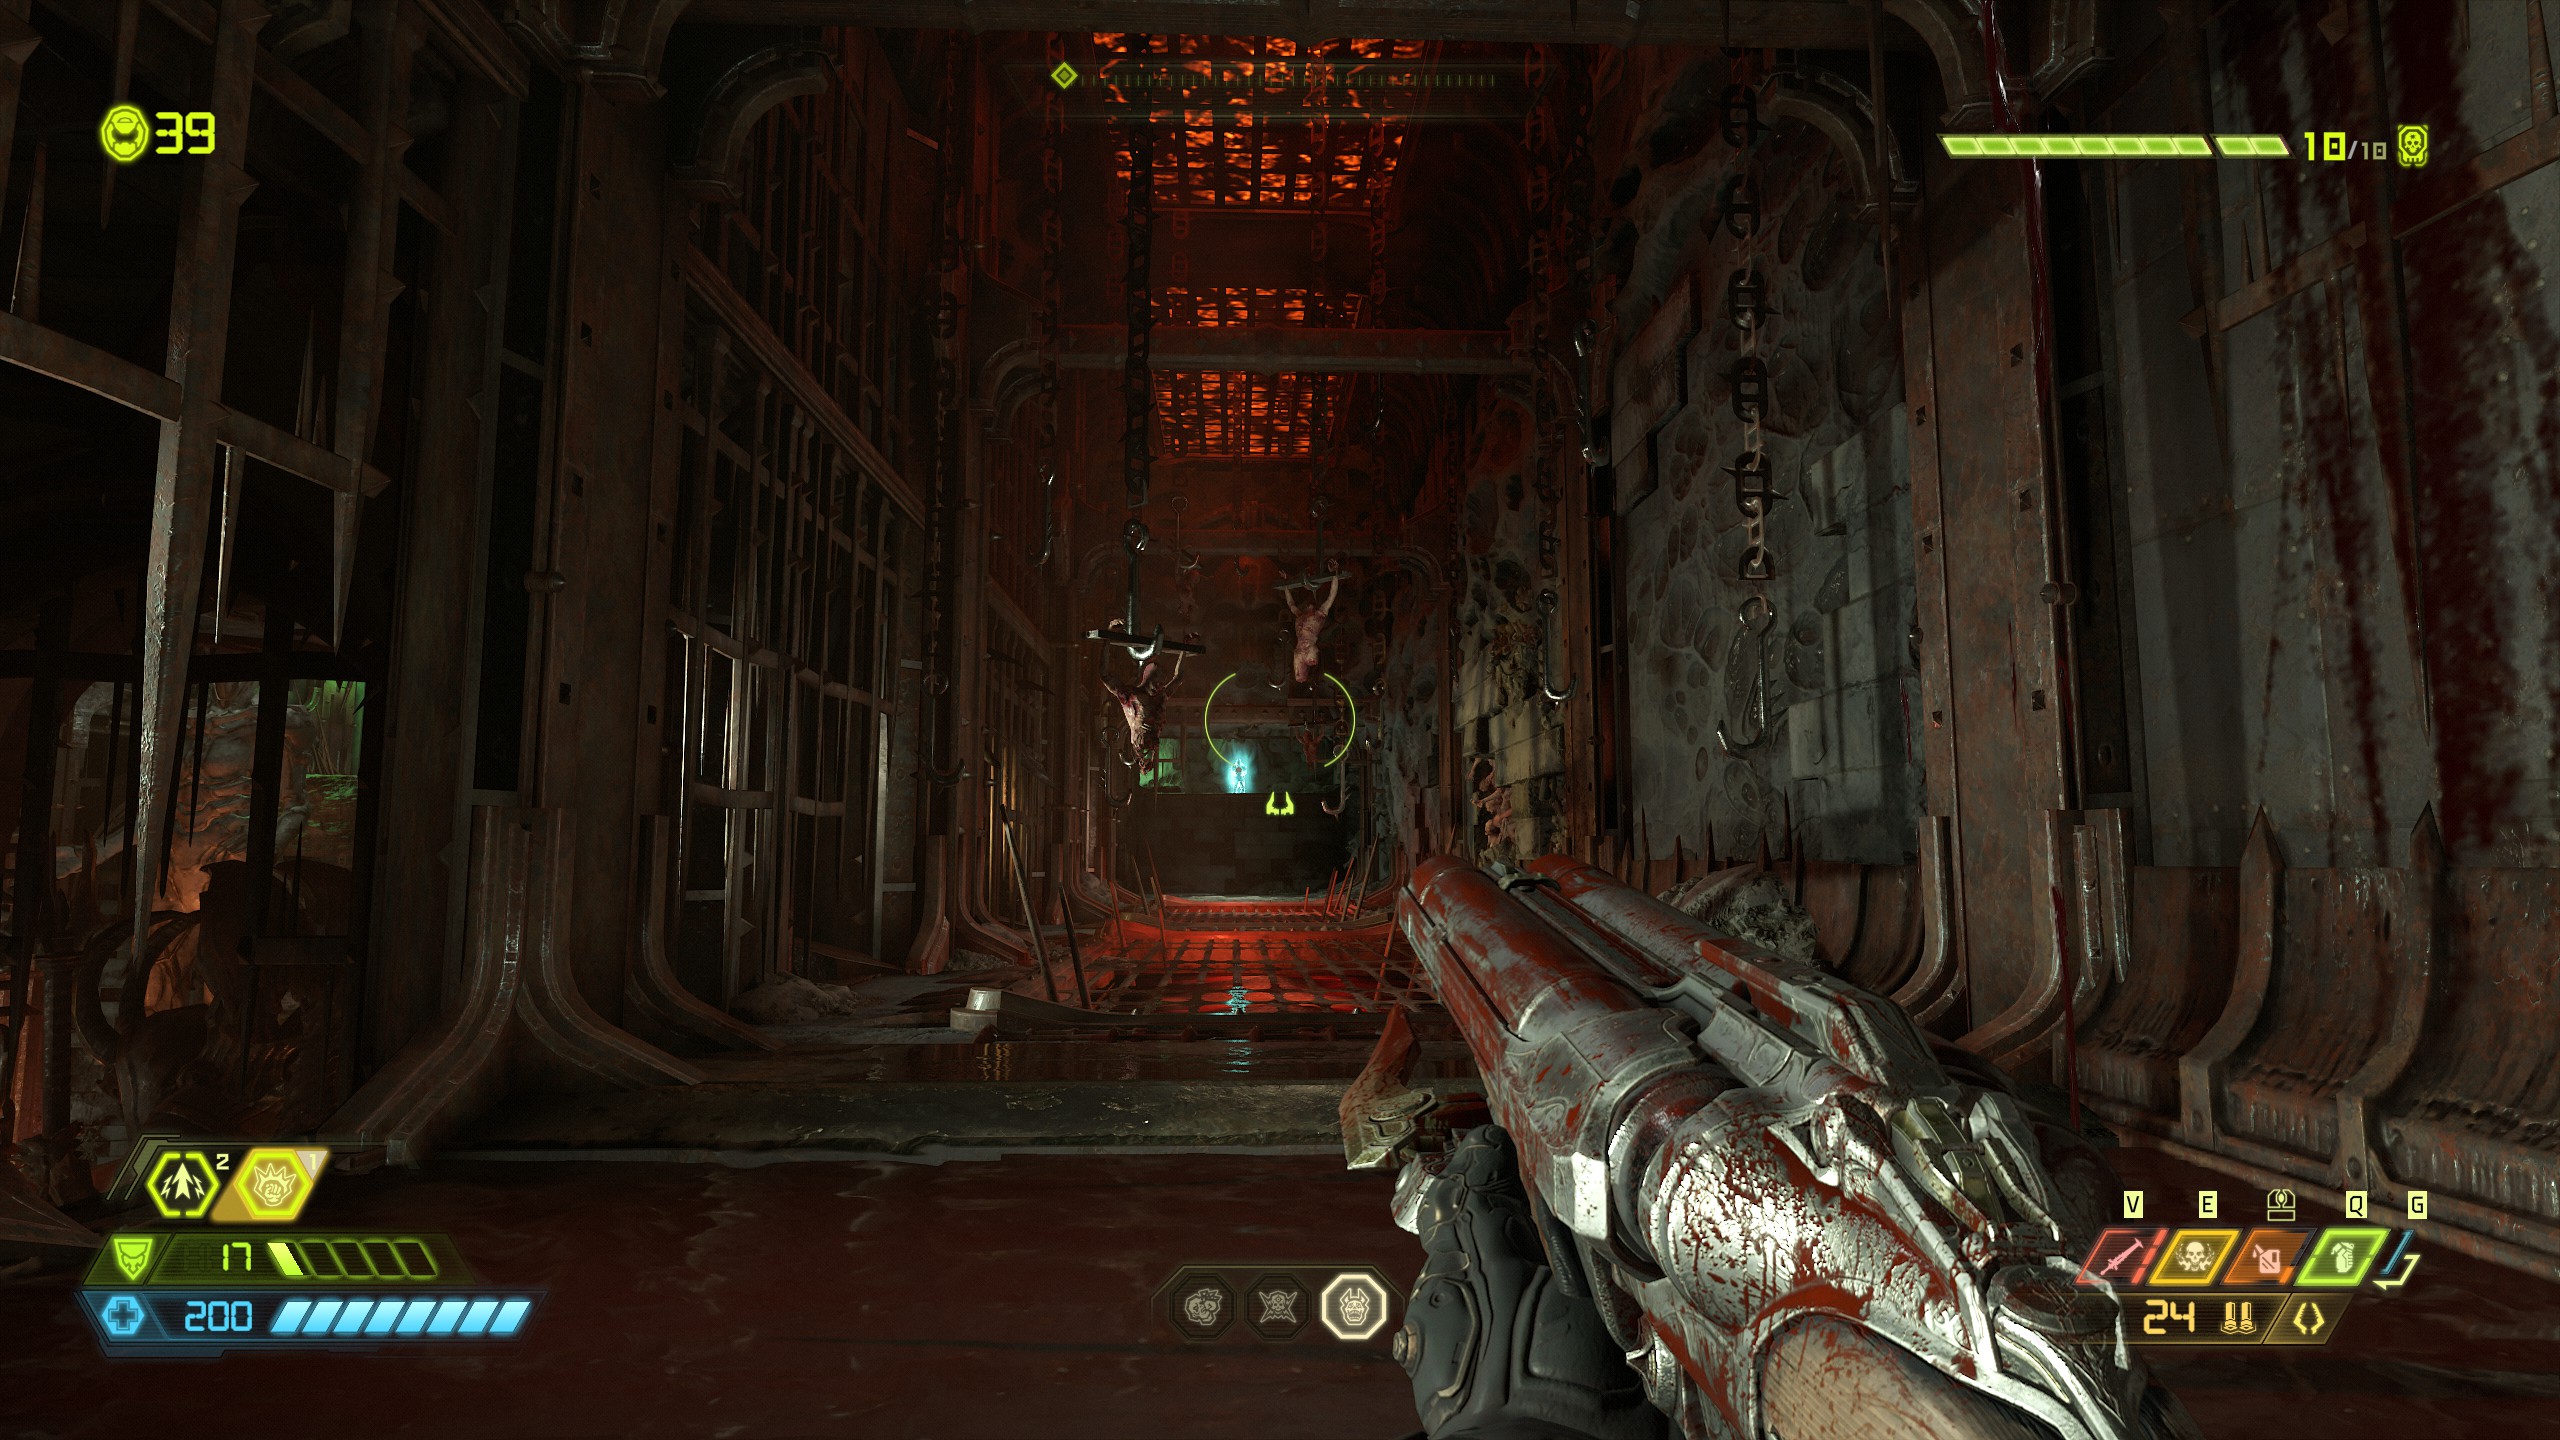
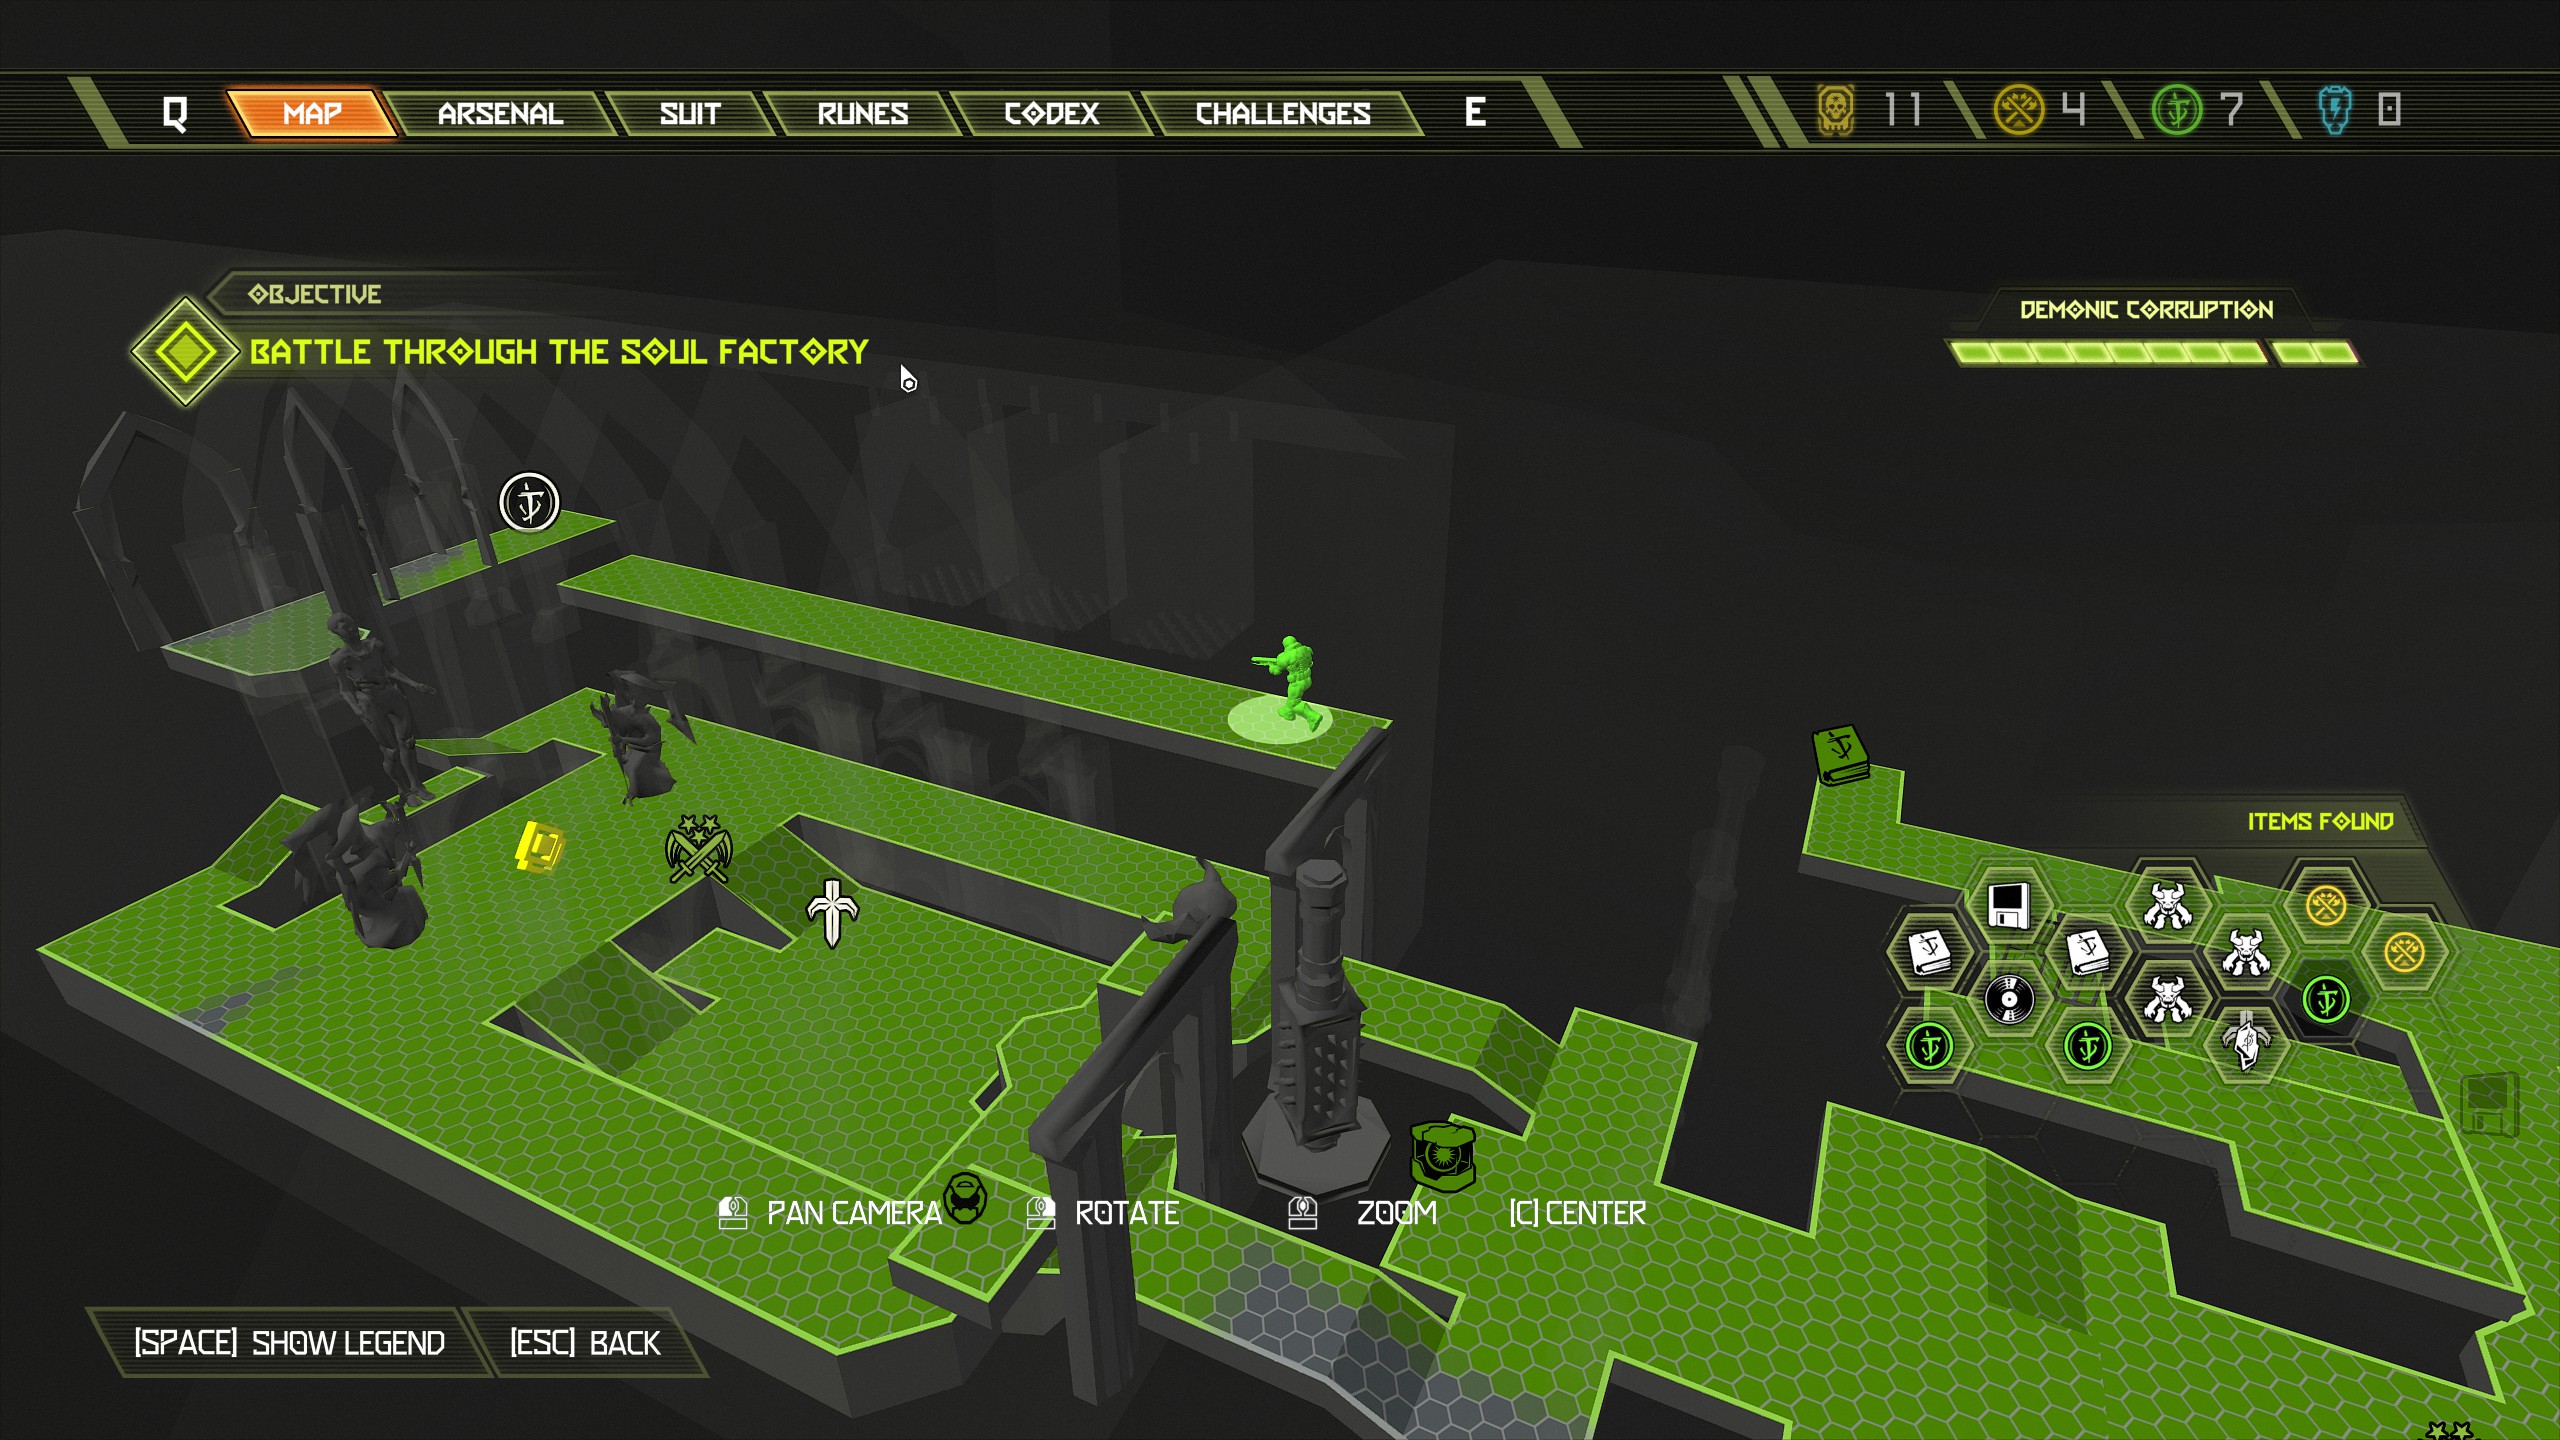
That completes all items for this mission. Continue and melee the statue to unlock fast travel, then you can port or finish the mission and move on to the next.
Mission 11: Nekravol Part II [Part 1]
NOTE: Another tricky mission to navigate and once again no slayer gate on this one. As with the last mission, again i would say don't move on too fast as a lot of items are close to each other here and some can be missed, at least until fast travel unlocks so take your time. This mission contains:
- 3 Codex Pages
- 2 Albums
- 3 Praetor Suit Tokens
- 2 Secret Encounters
- 1 Mastery Token
- 1 Automap
- 3 Doomtoys
- 3 Extra Lives
- 2 Cheat Code
- 1 Sentinel Crystal
Secret Encounter:
For this encounter you will be attacked by 2 pain elemental. The moment you start the mission follow the path ahead and as you go along the bridge stop at the second statue on the left side, look over the edge of the bridge and just below you will see a booster that you can drop down to and boost across to the platform opposite. On that platform you will find an extra life.
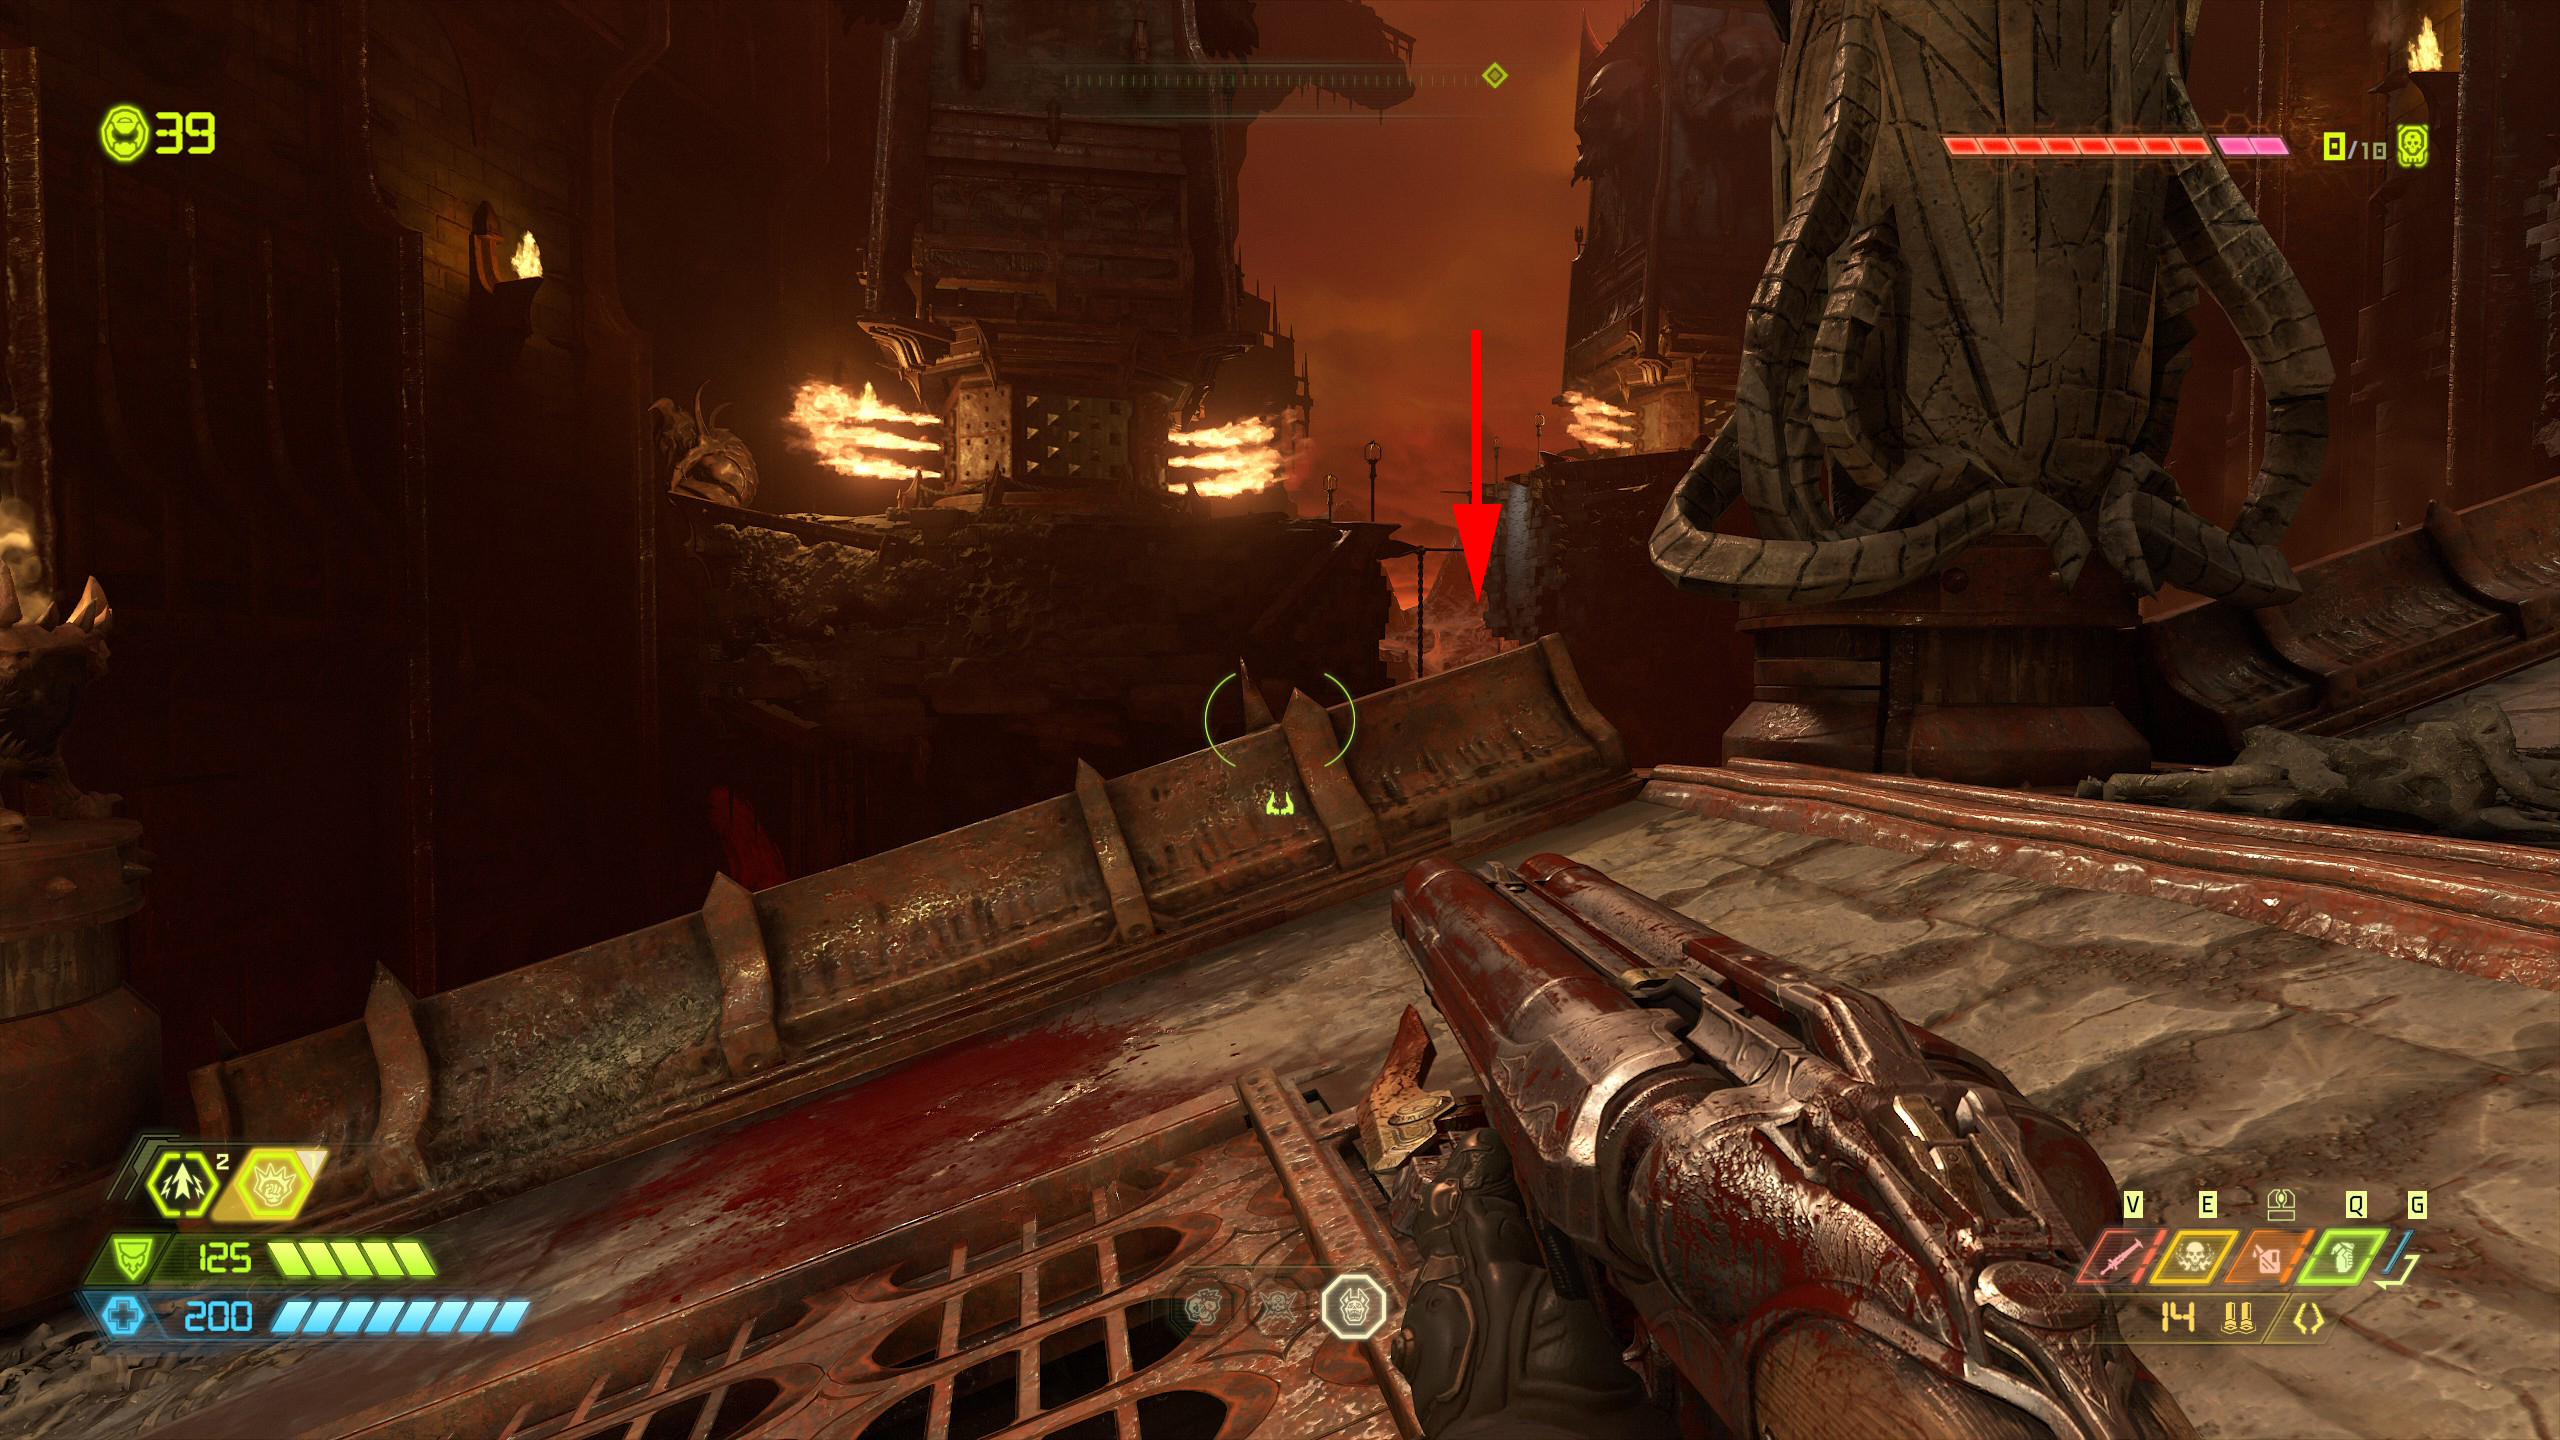
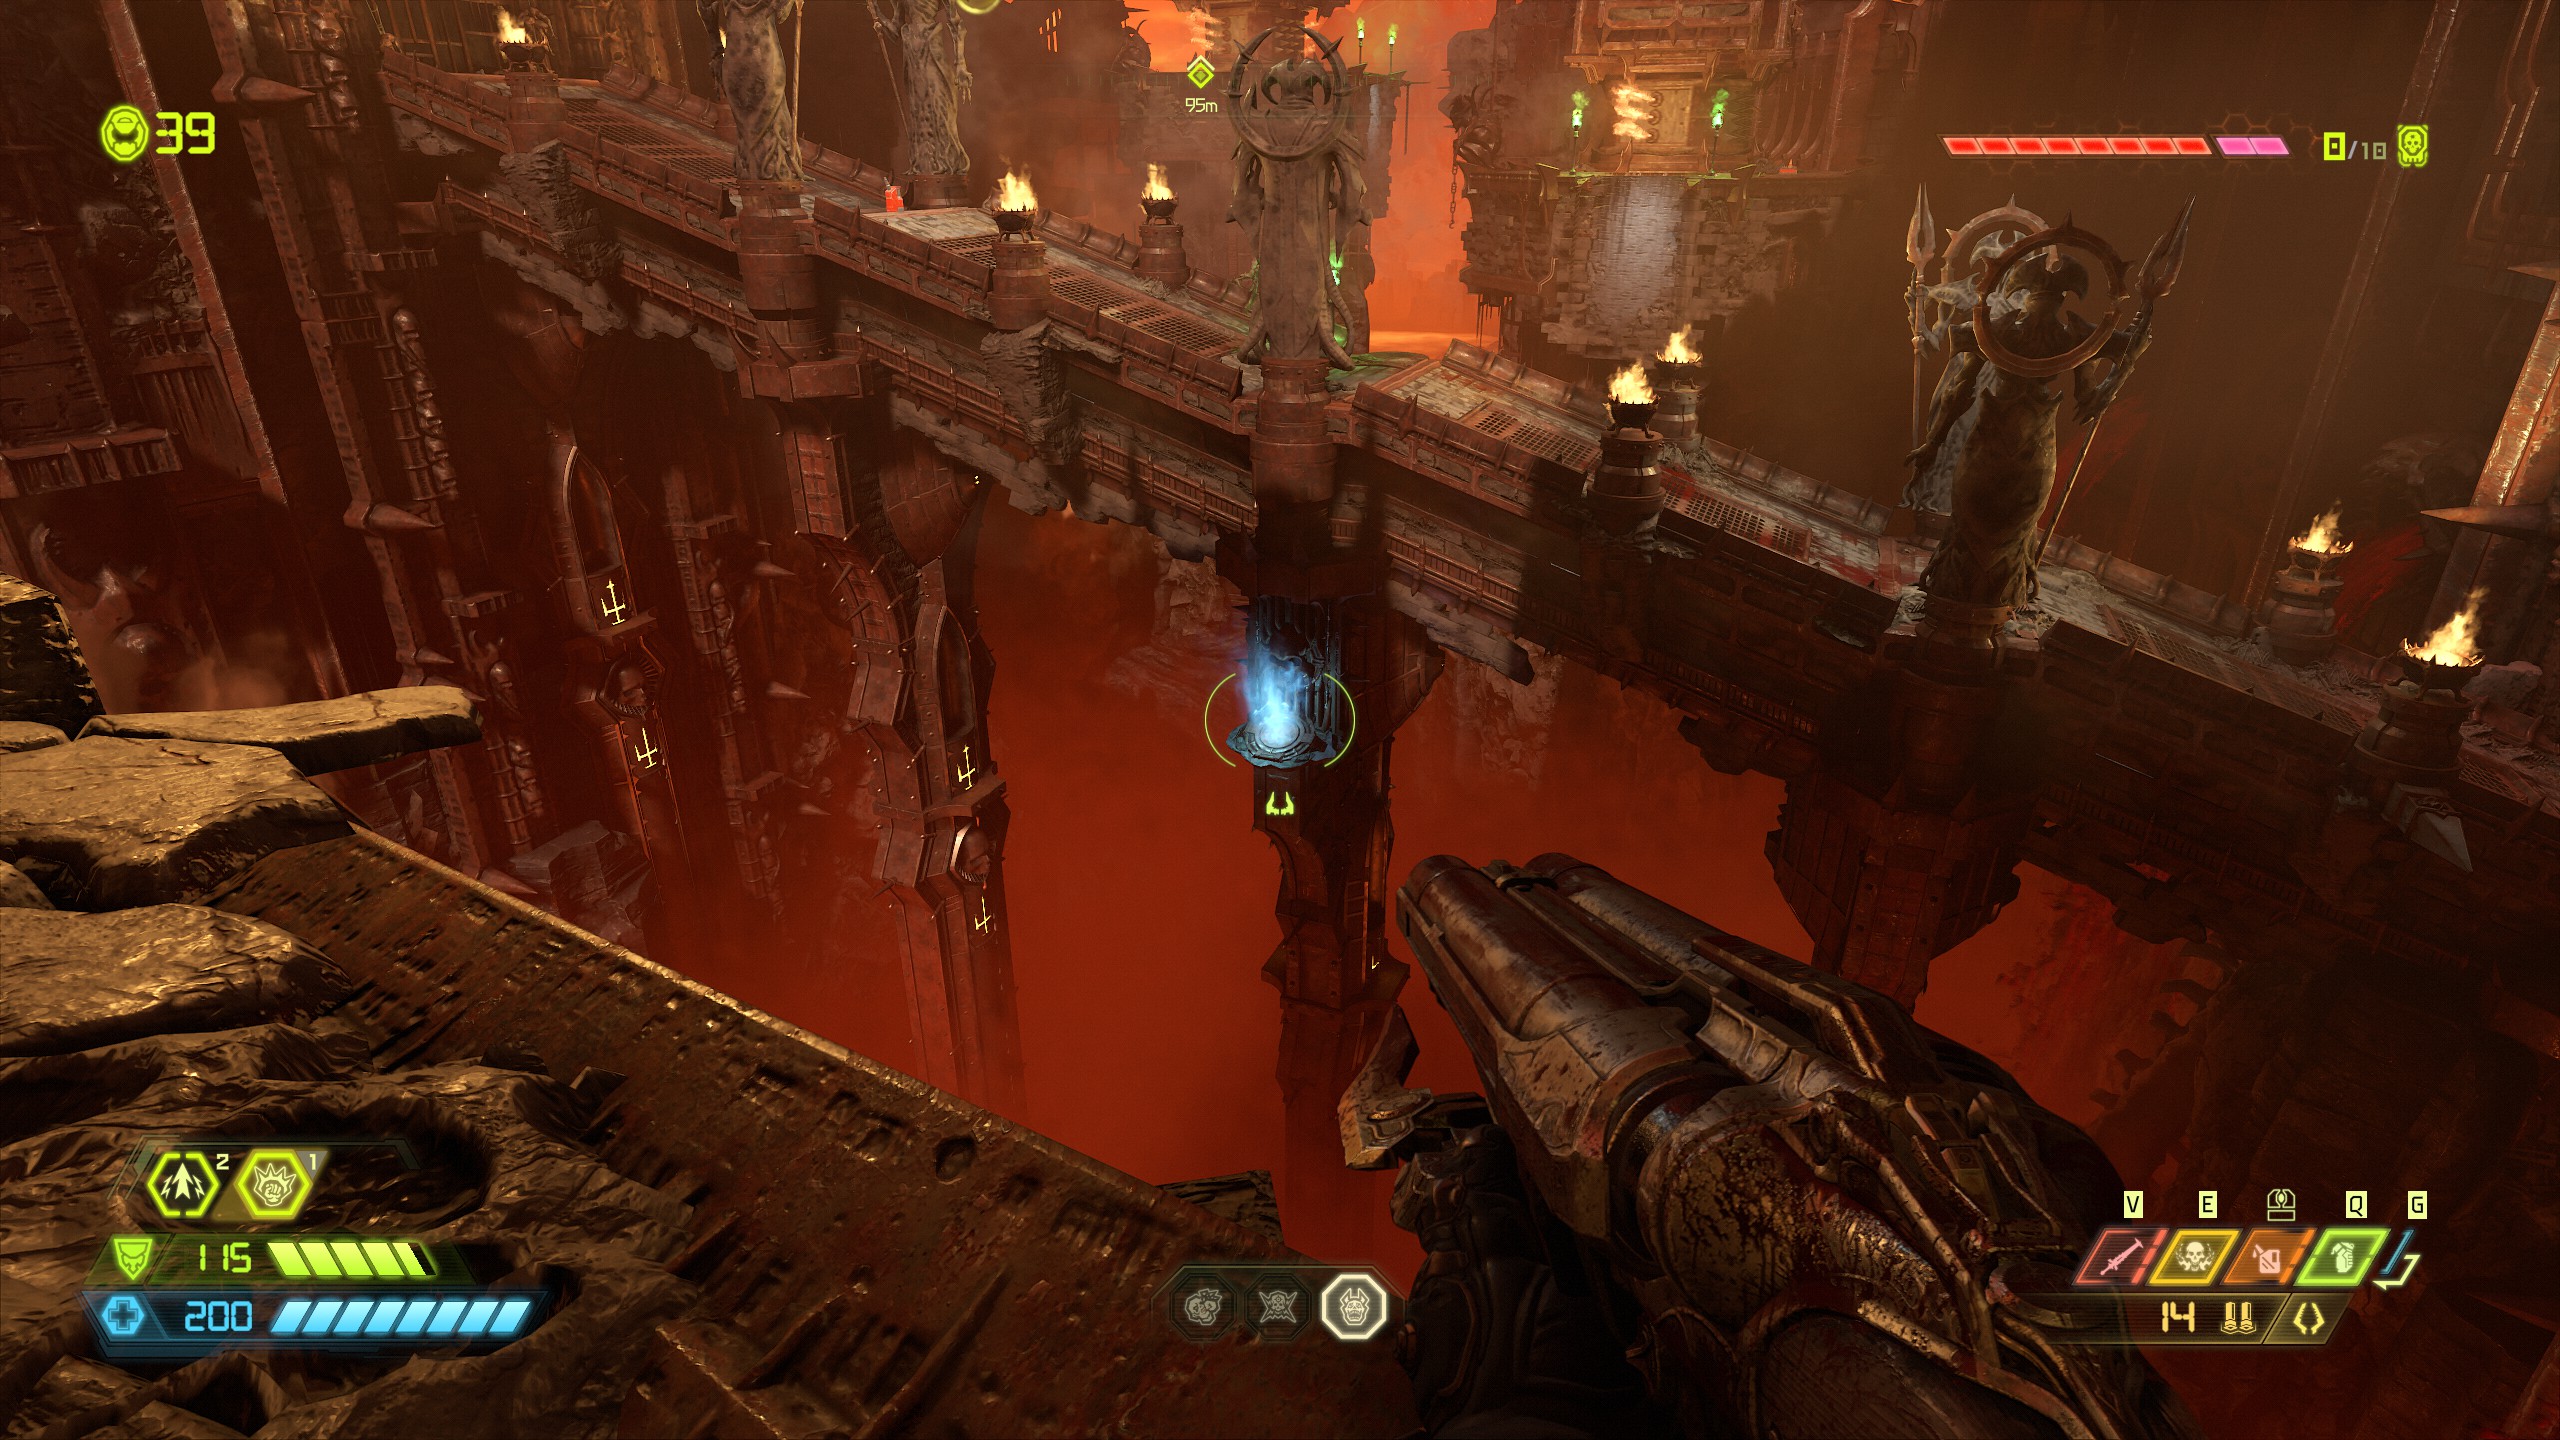
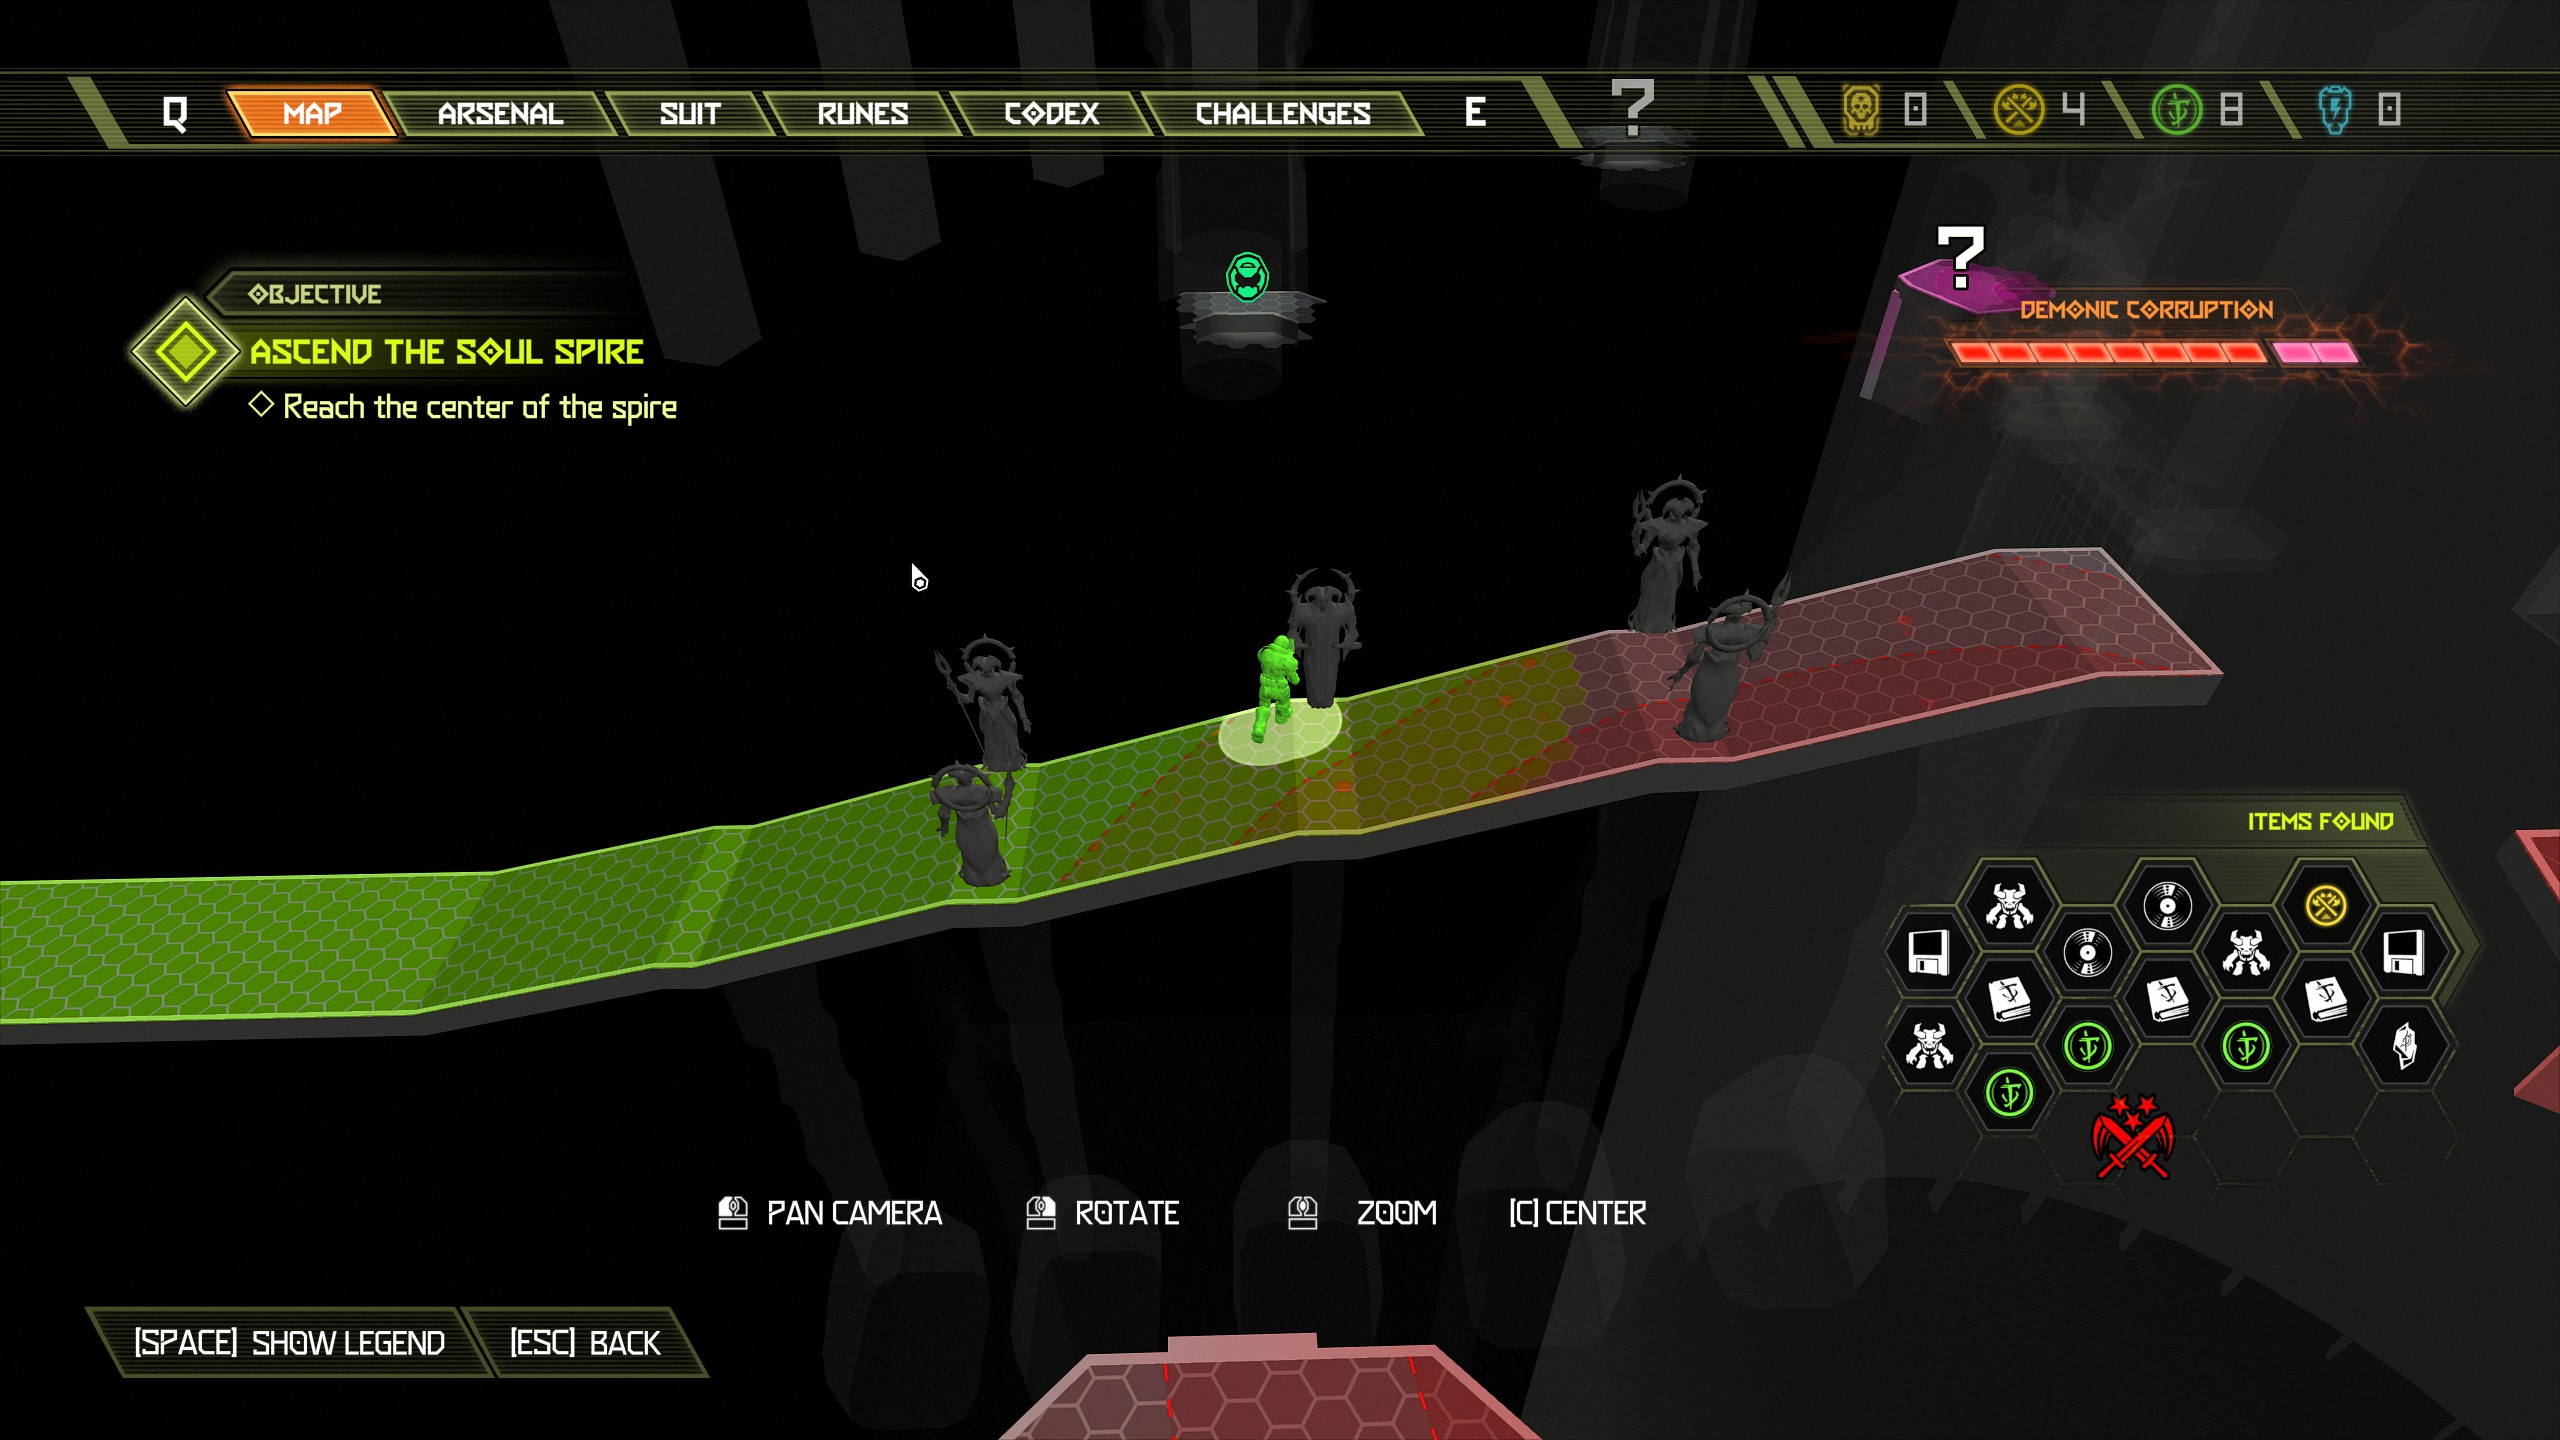 From the extra life jump over to the next platform with the rotating flames and on there will be a mastery token.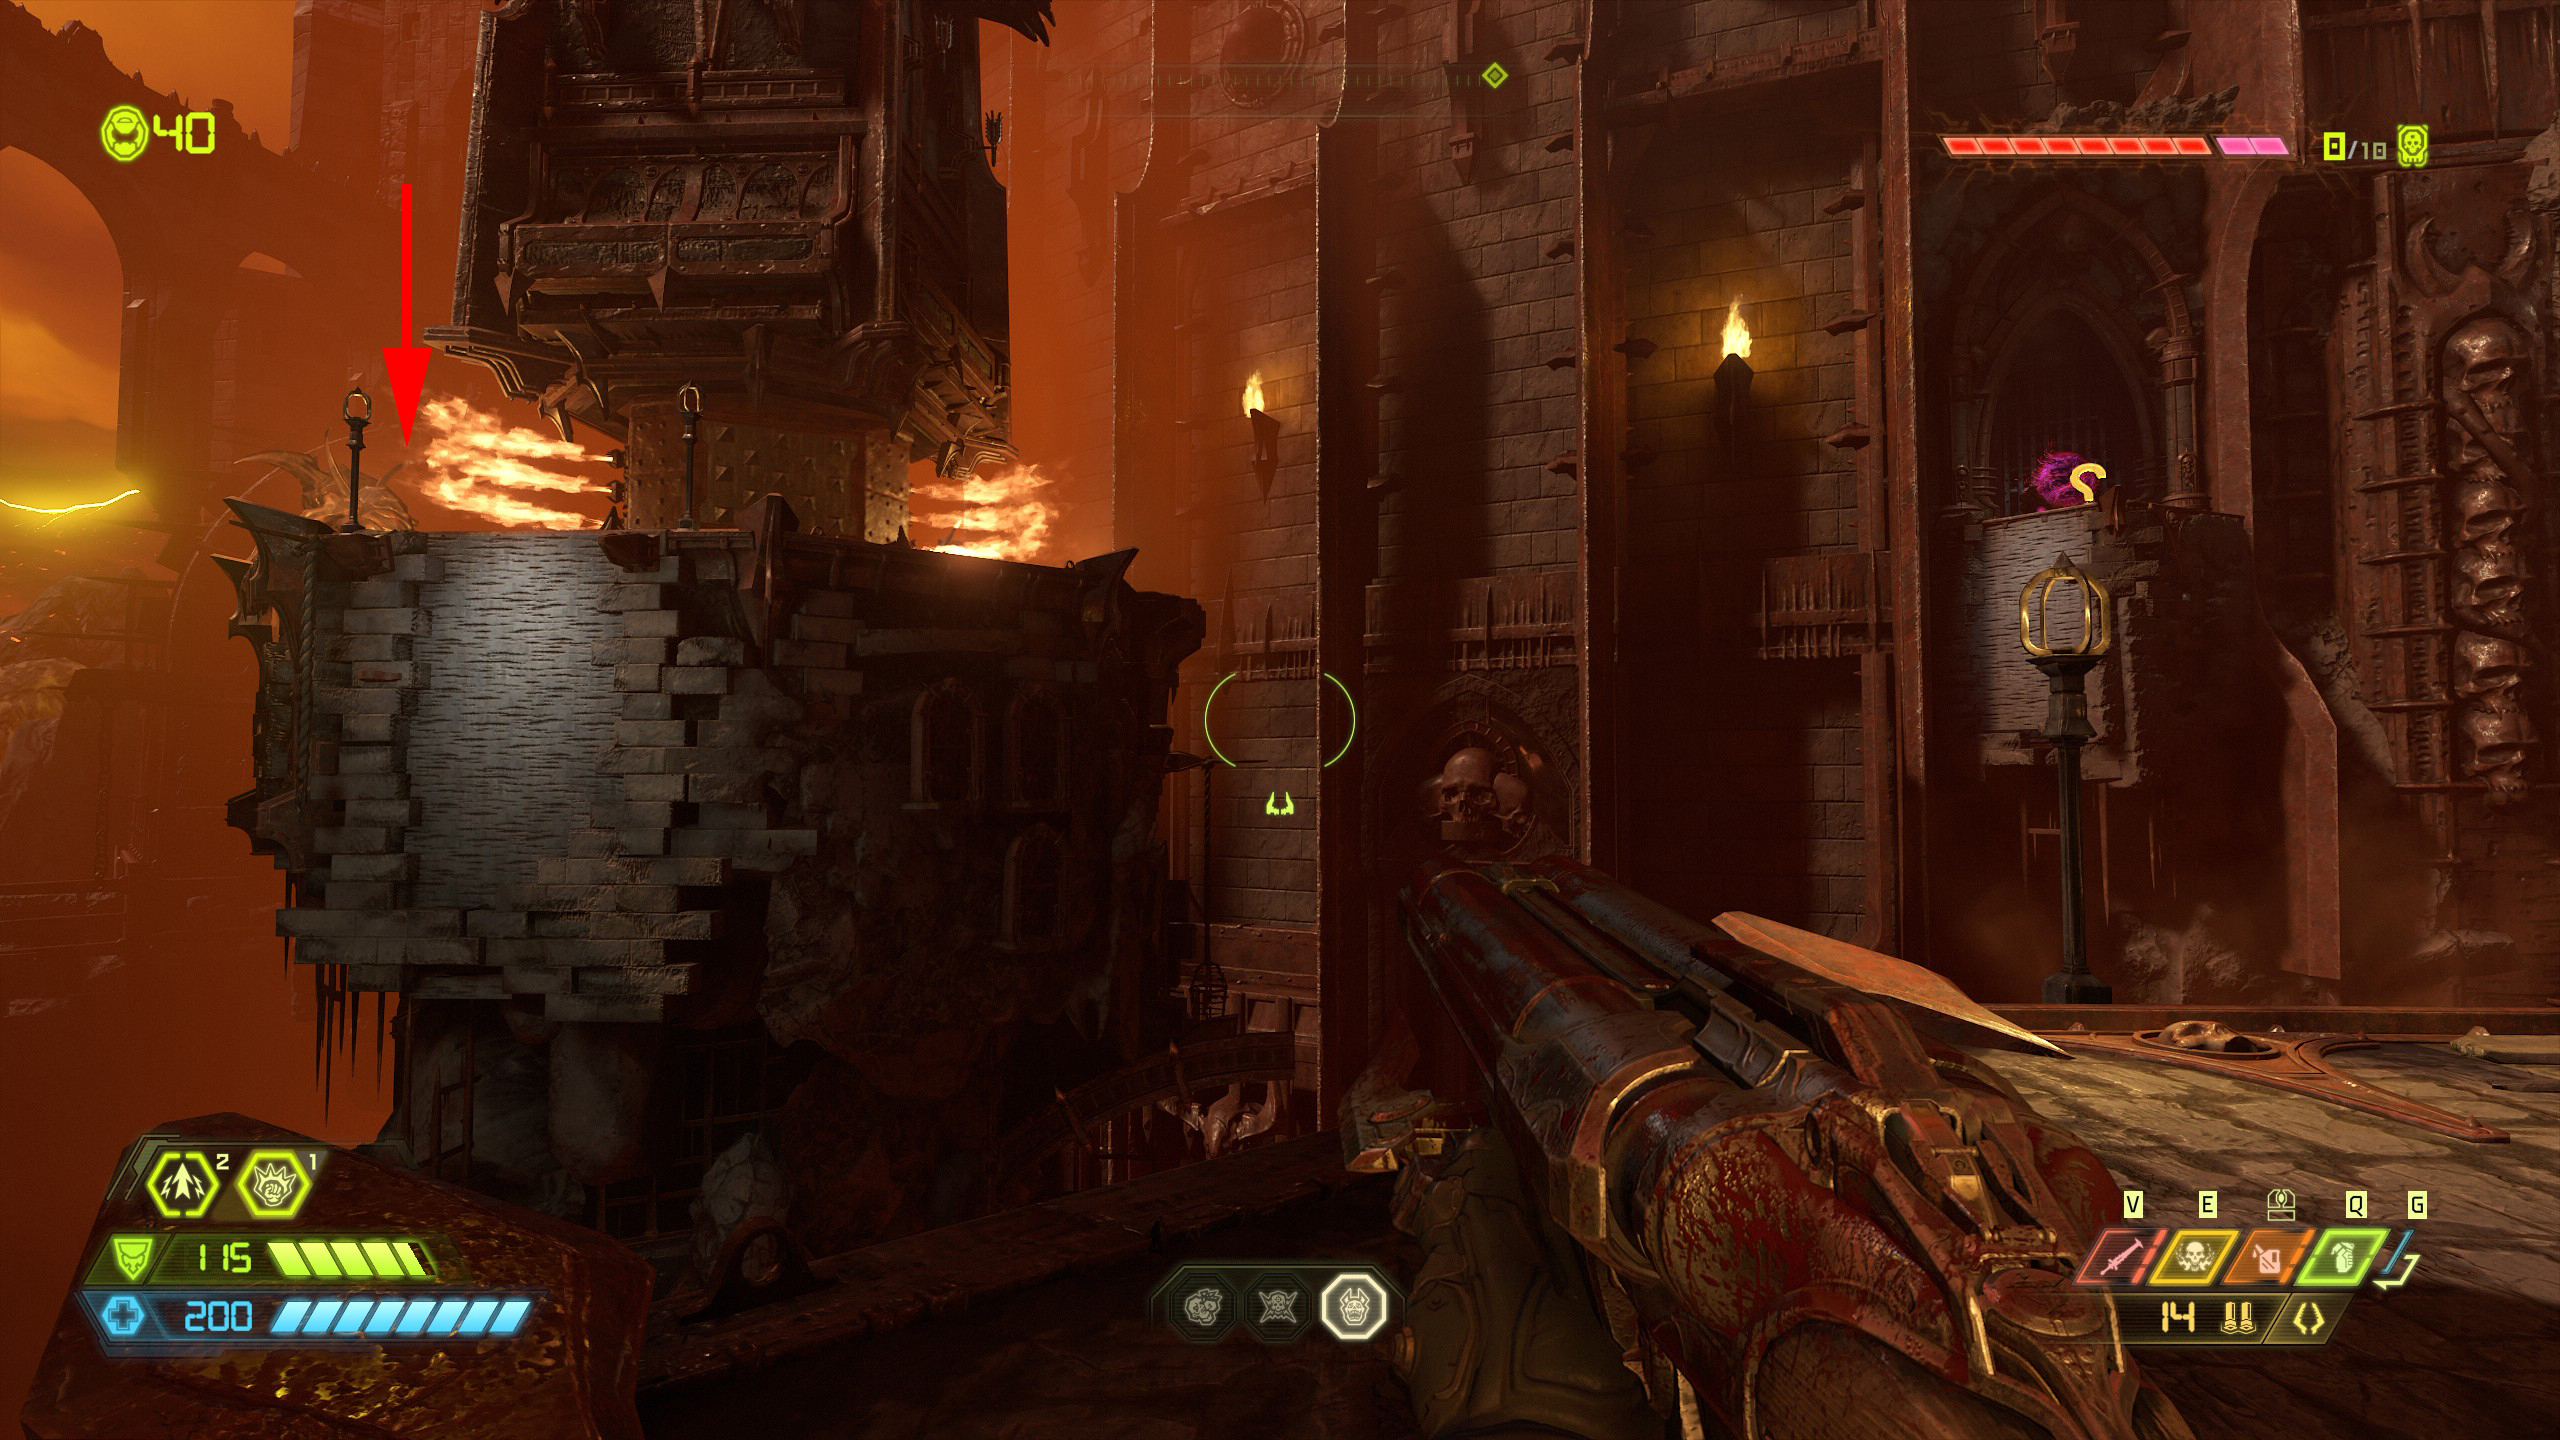
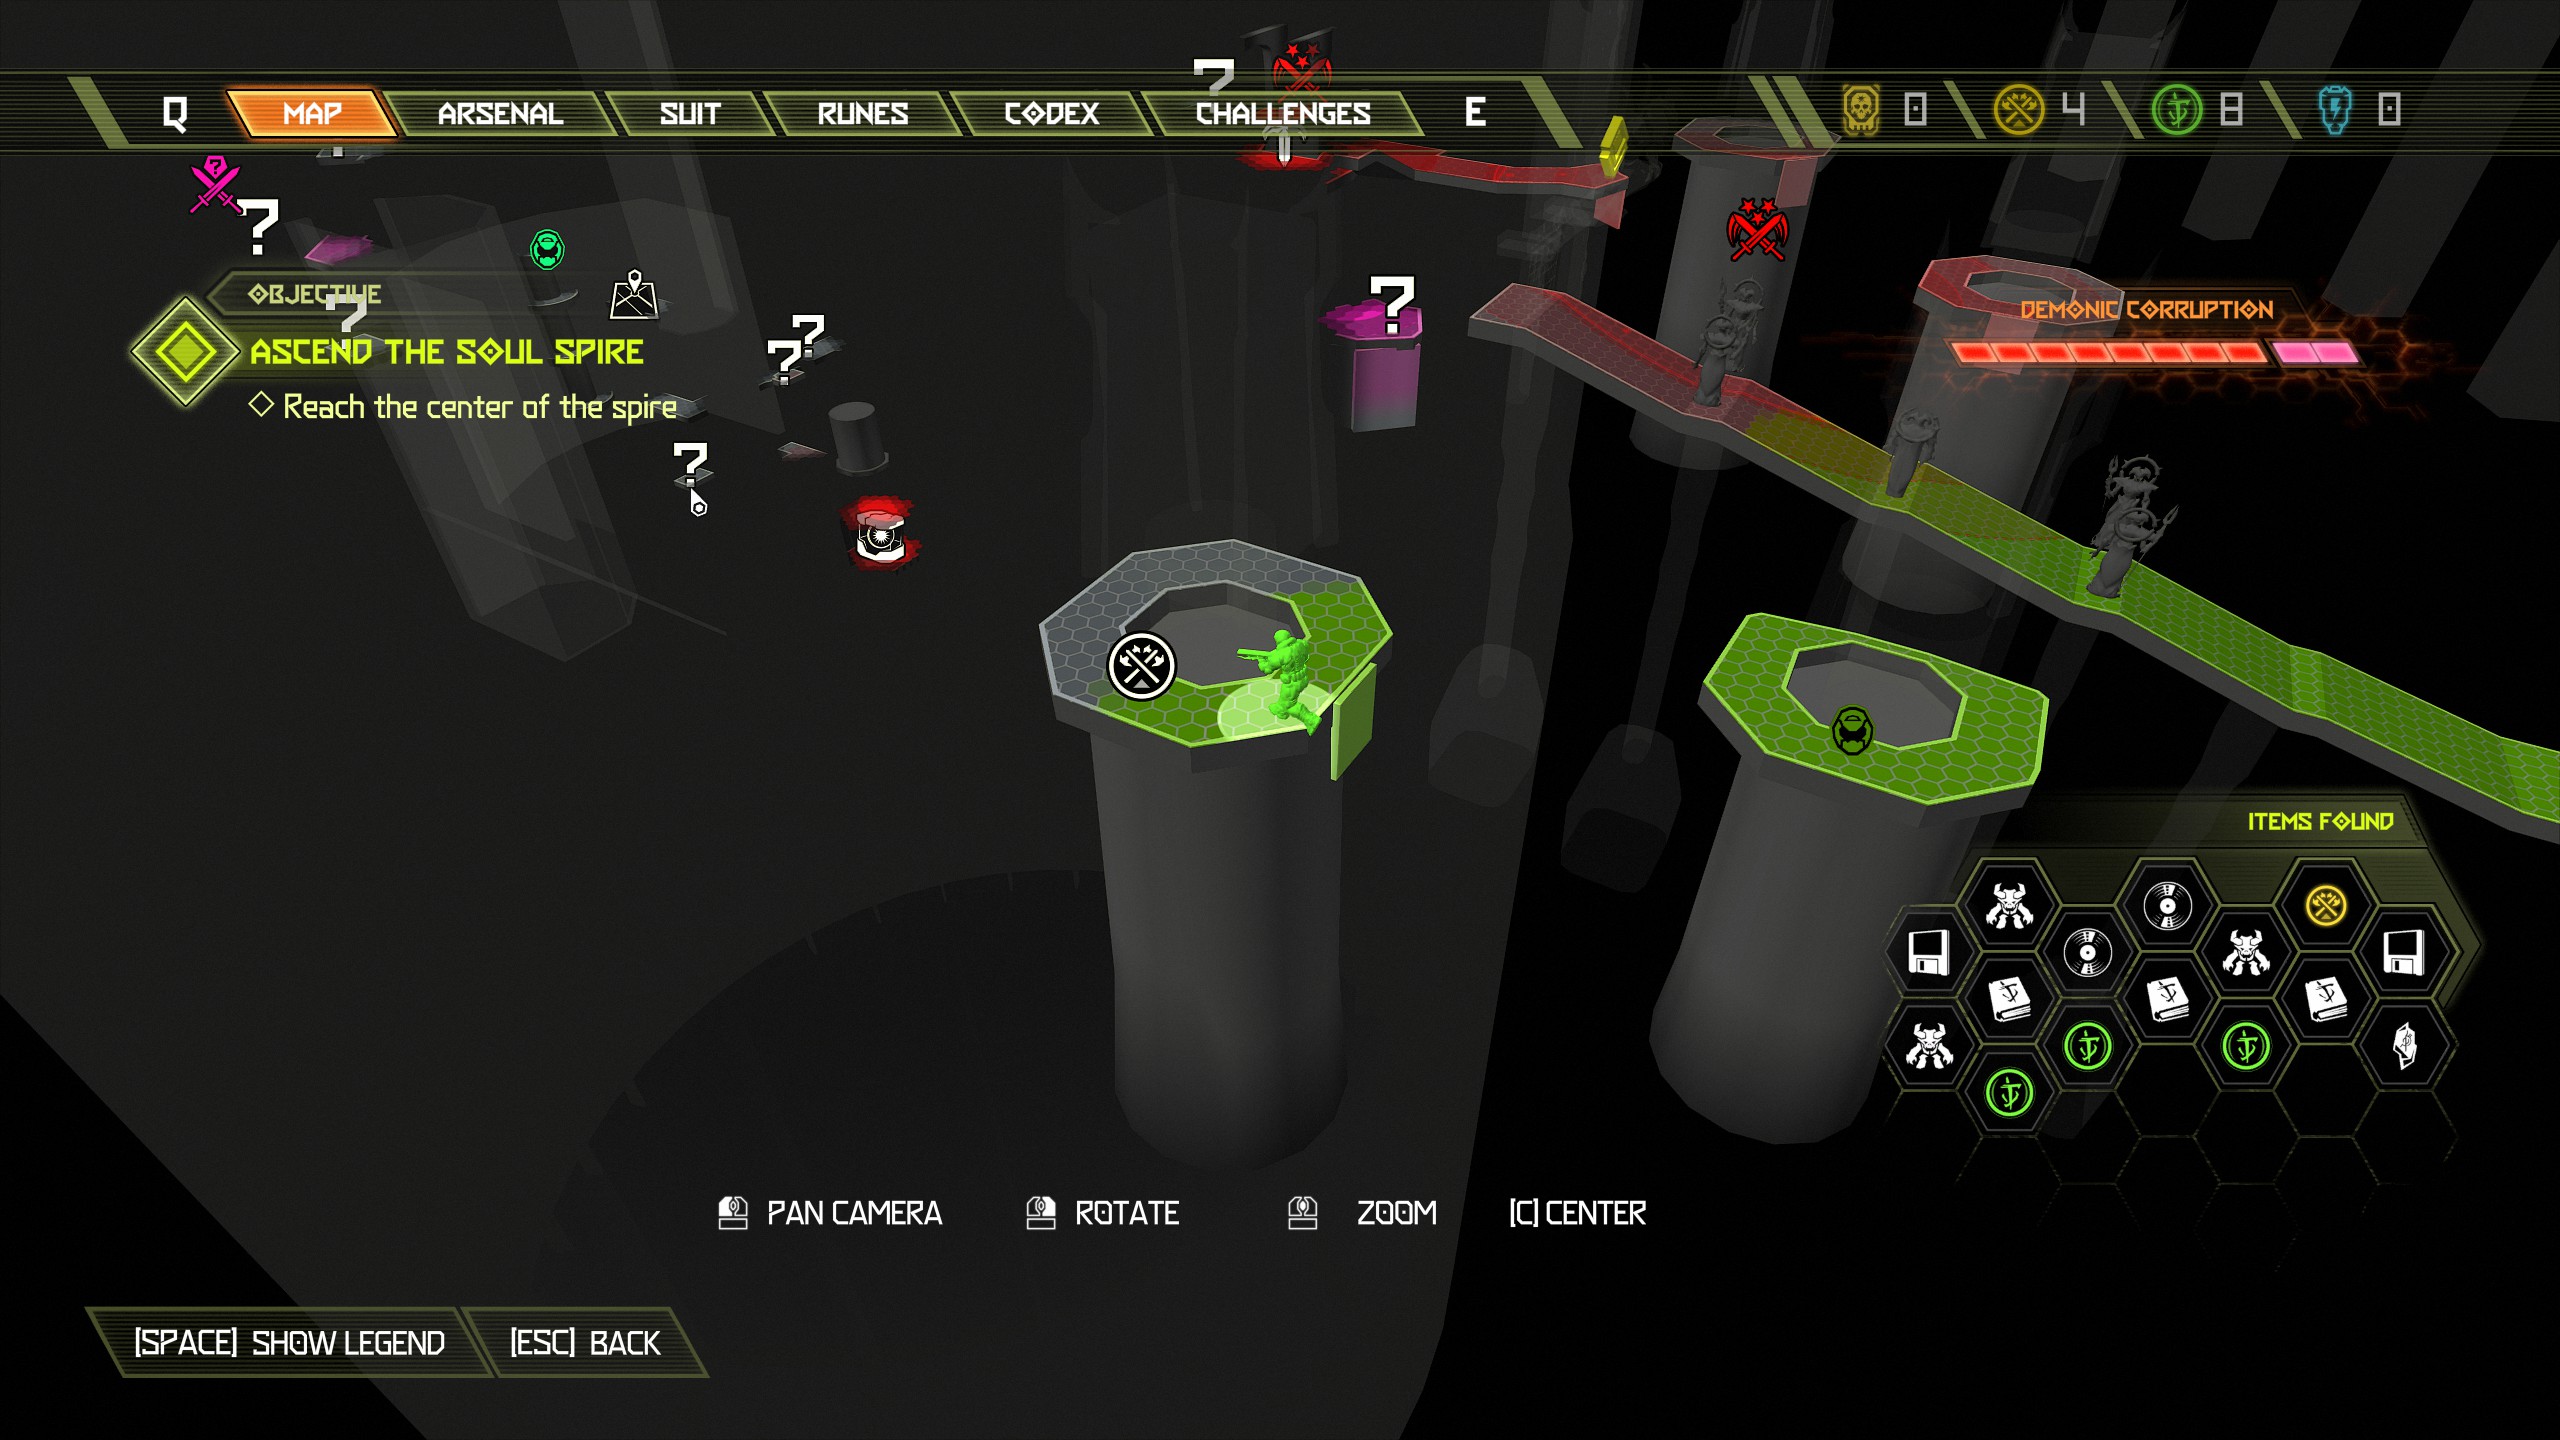
Now again from the platform you are on jump across to the smaller platform opposite connected to the wall, on there will be an album vinyl and the secret encounter.
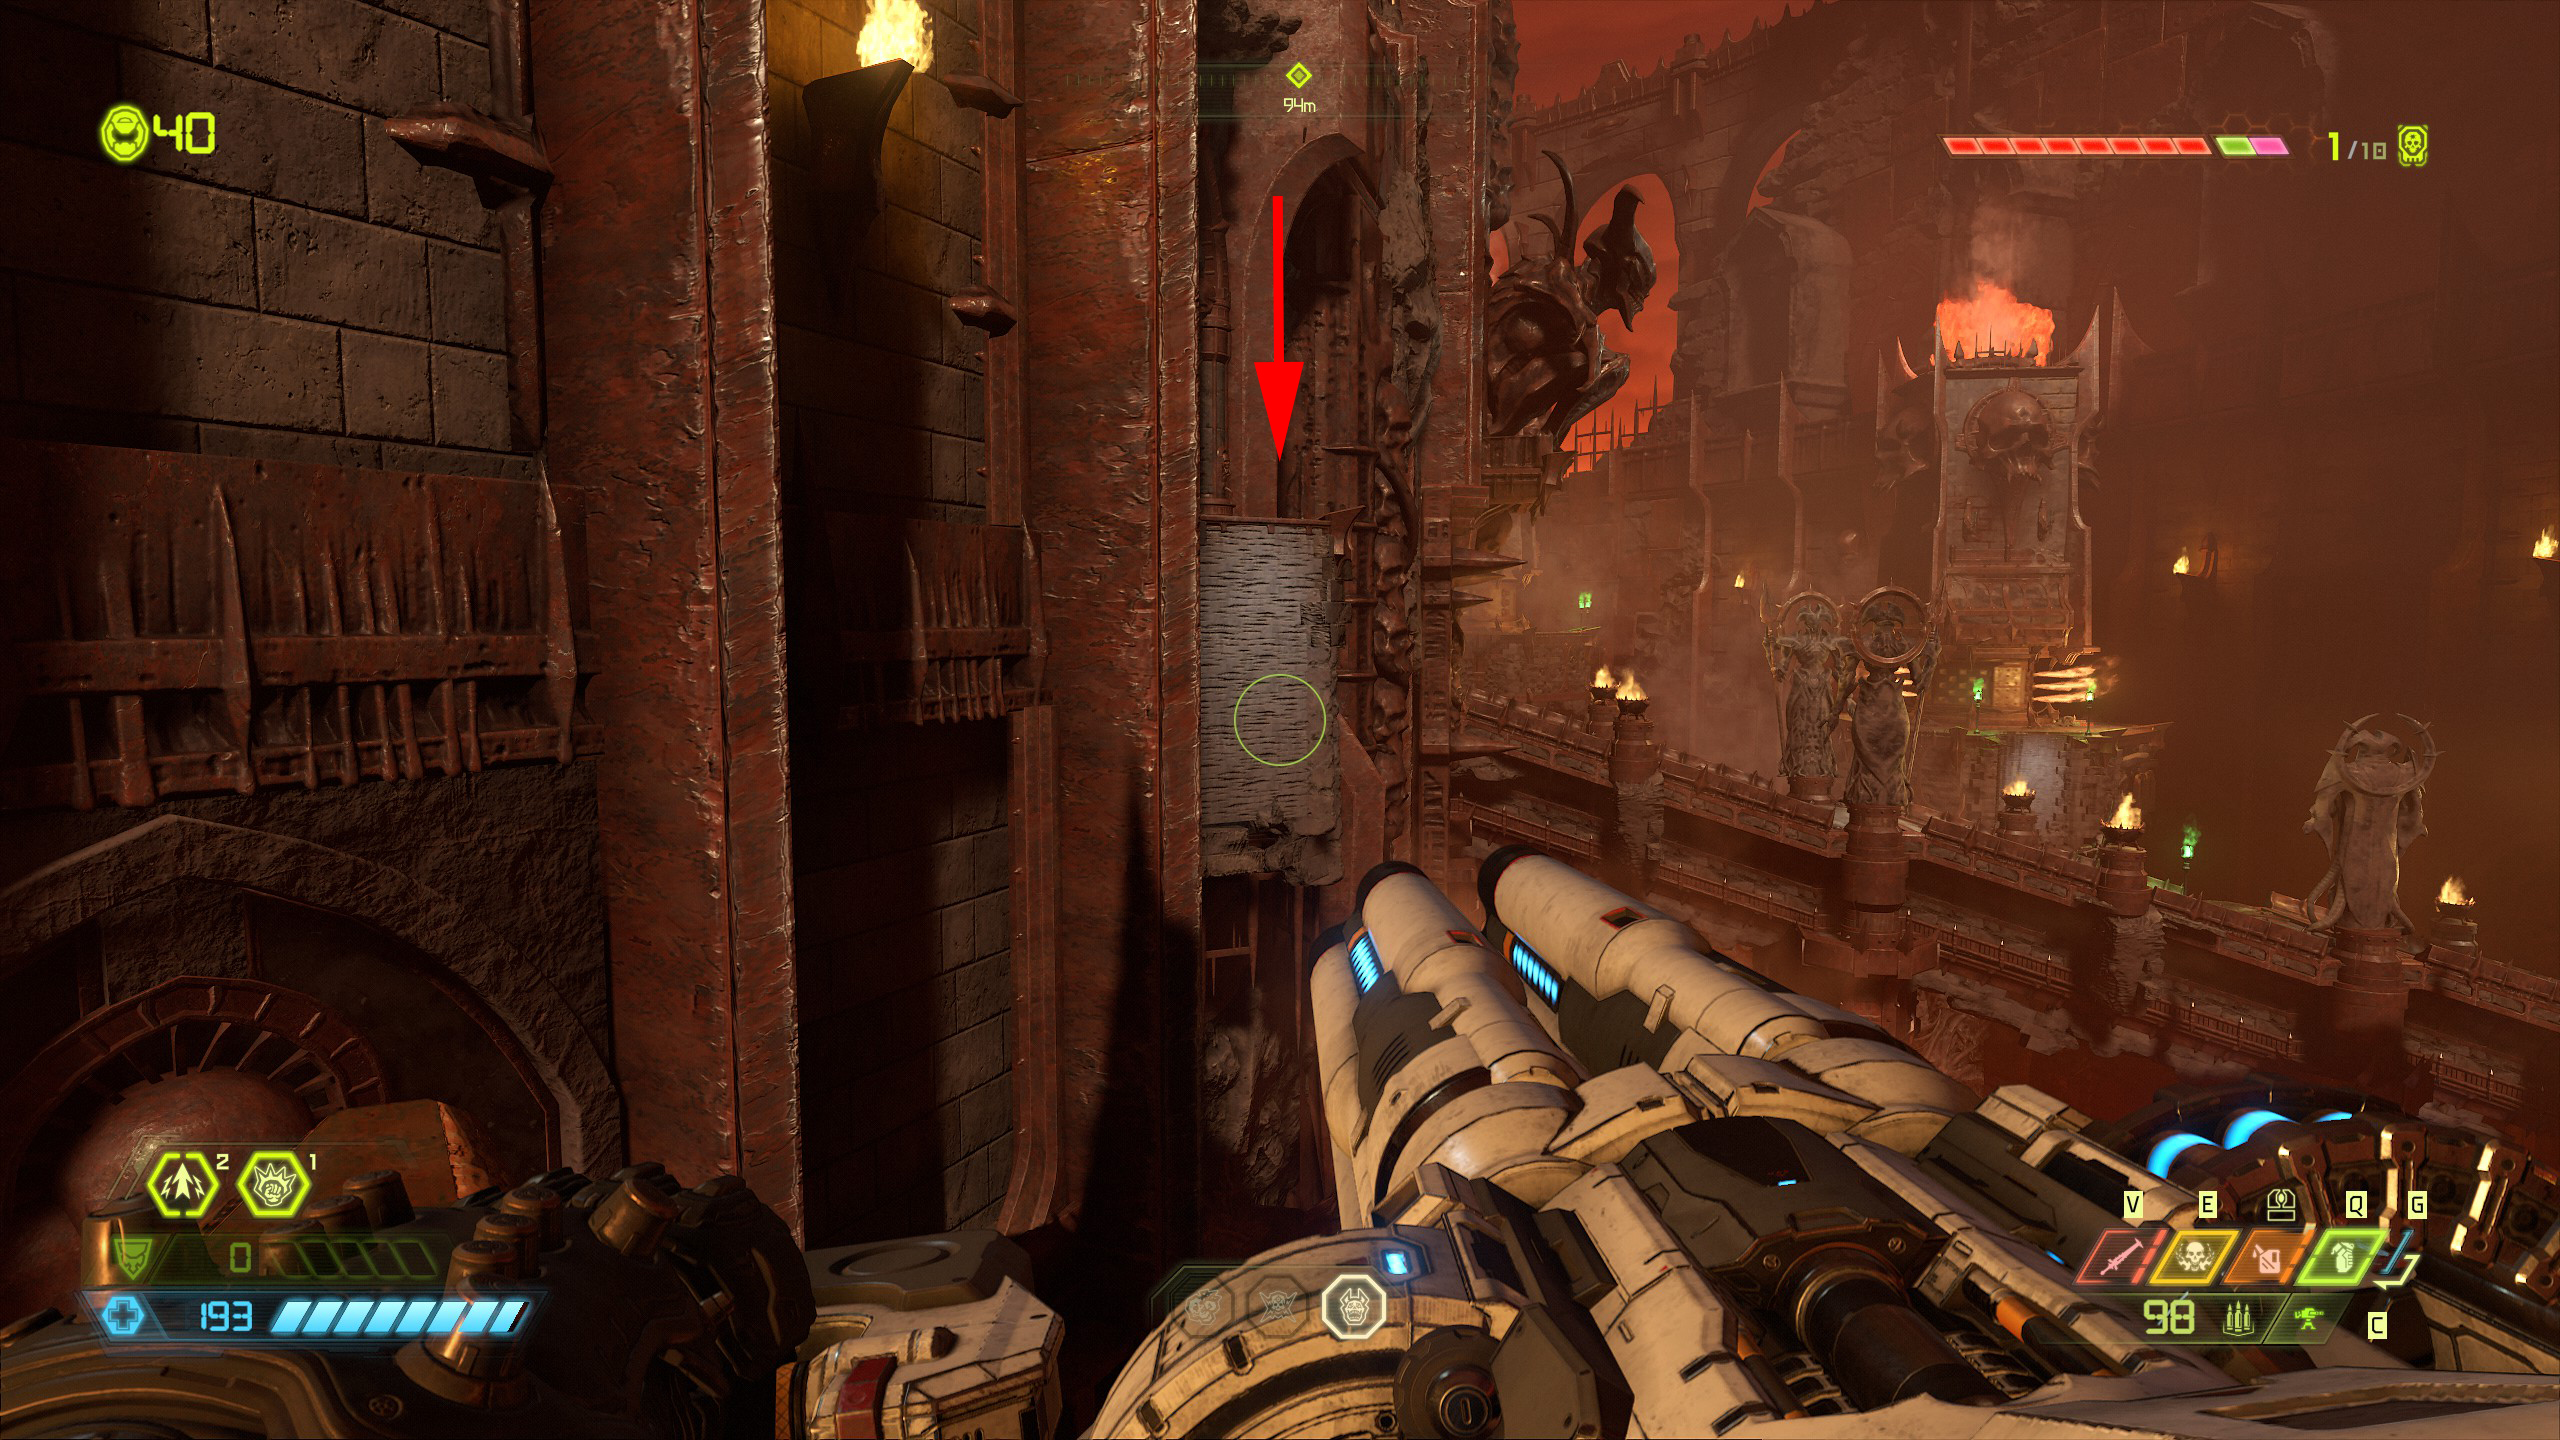
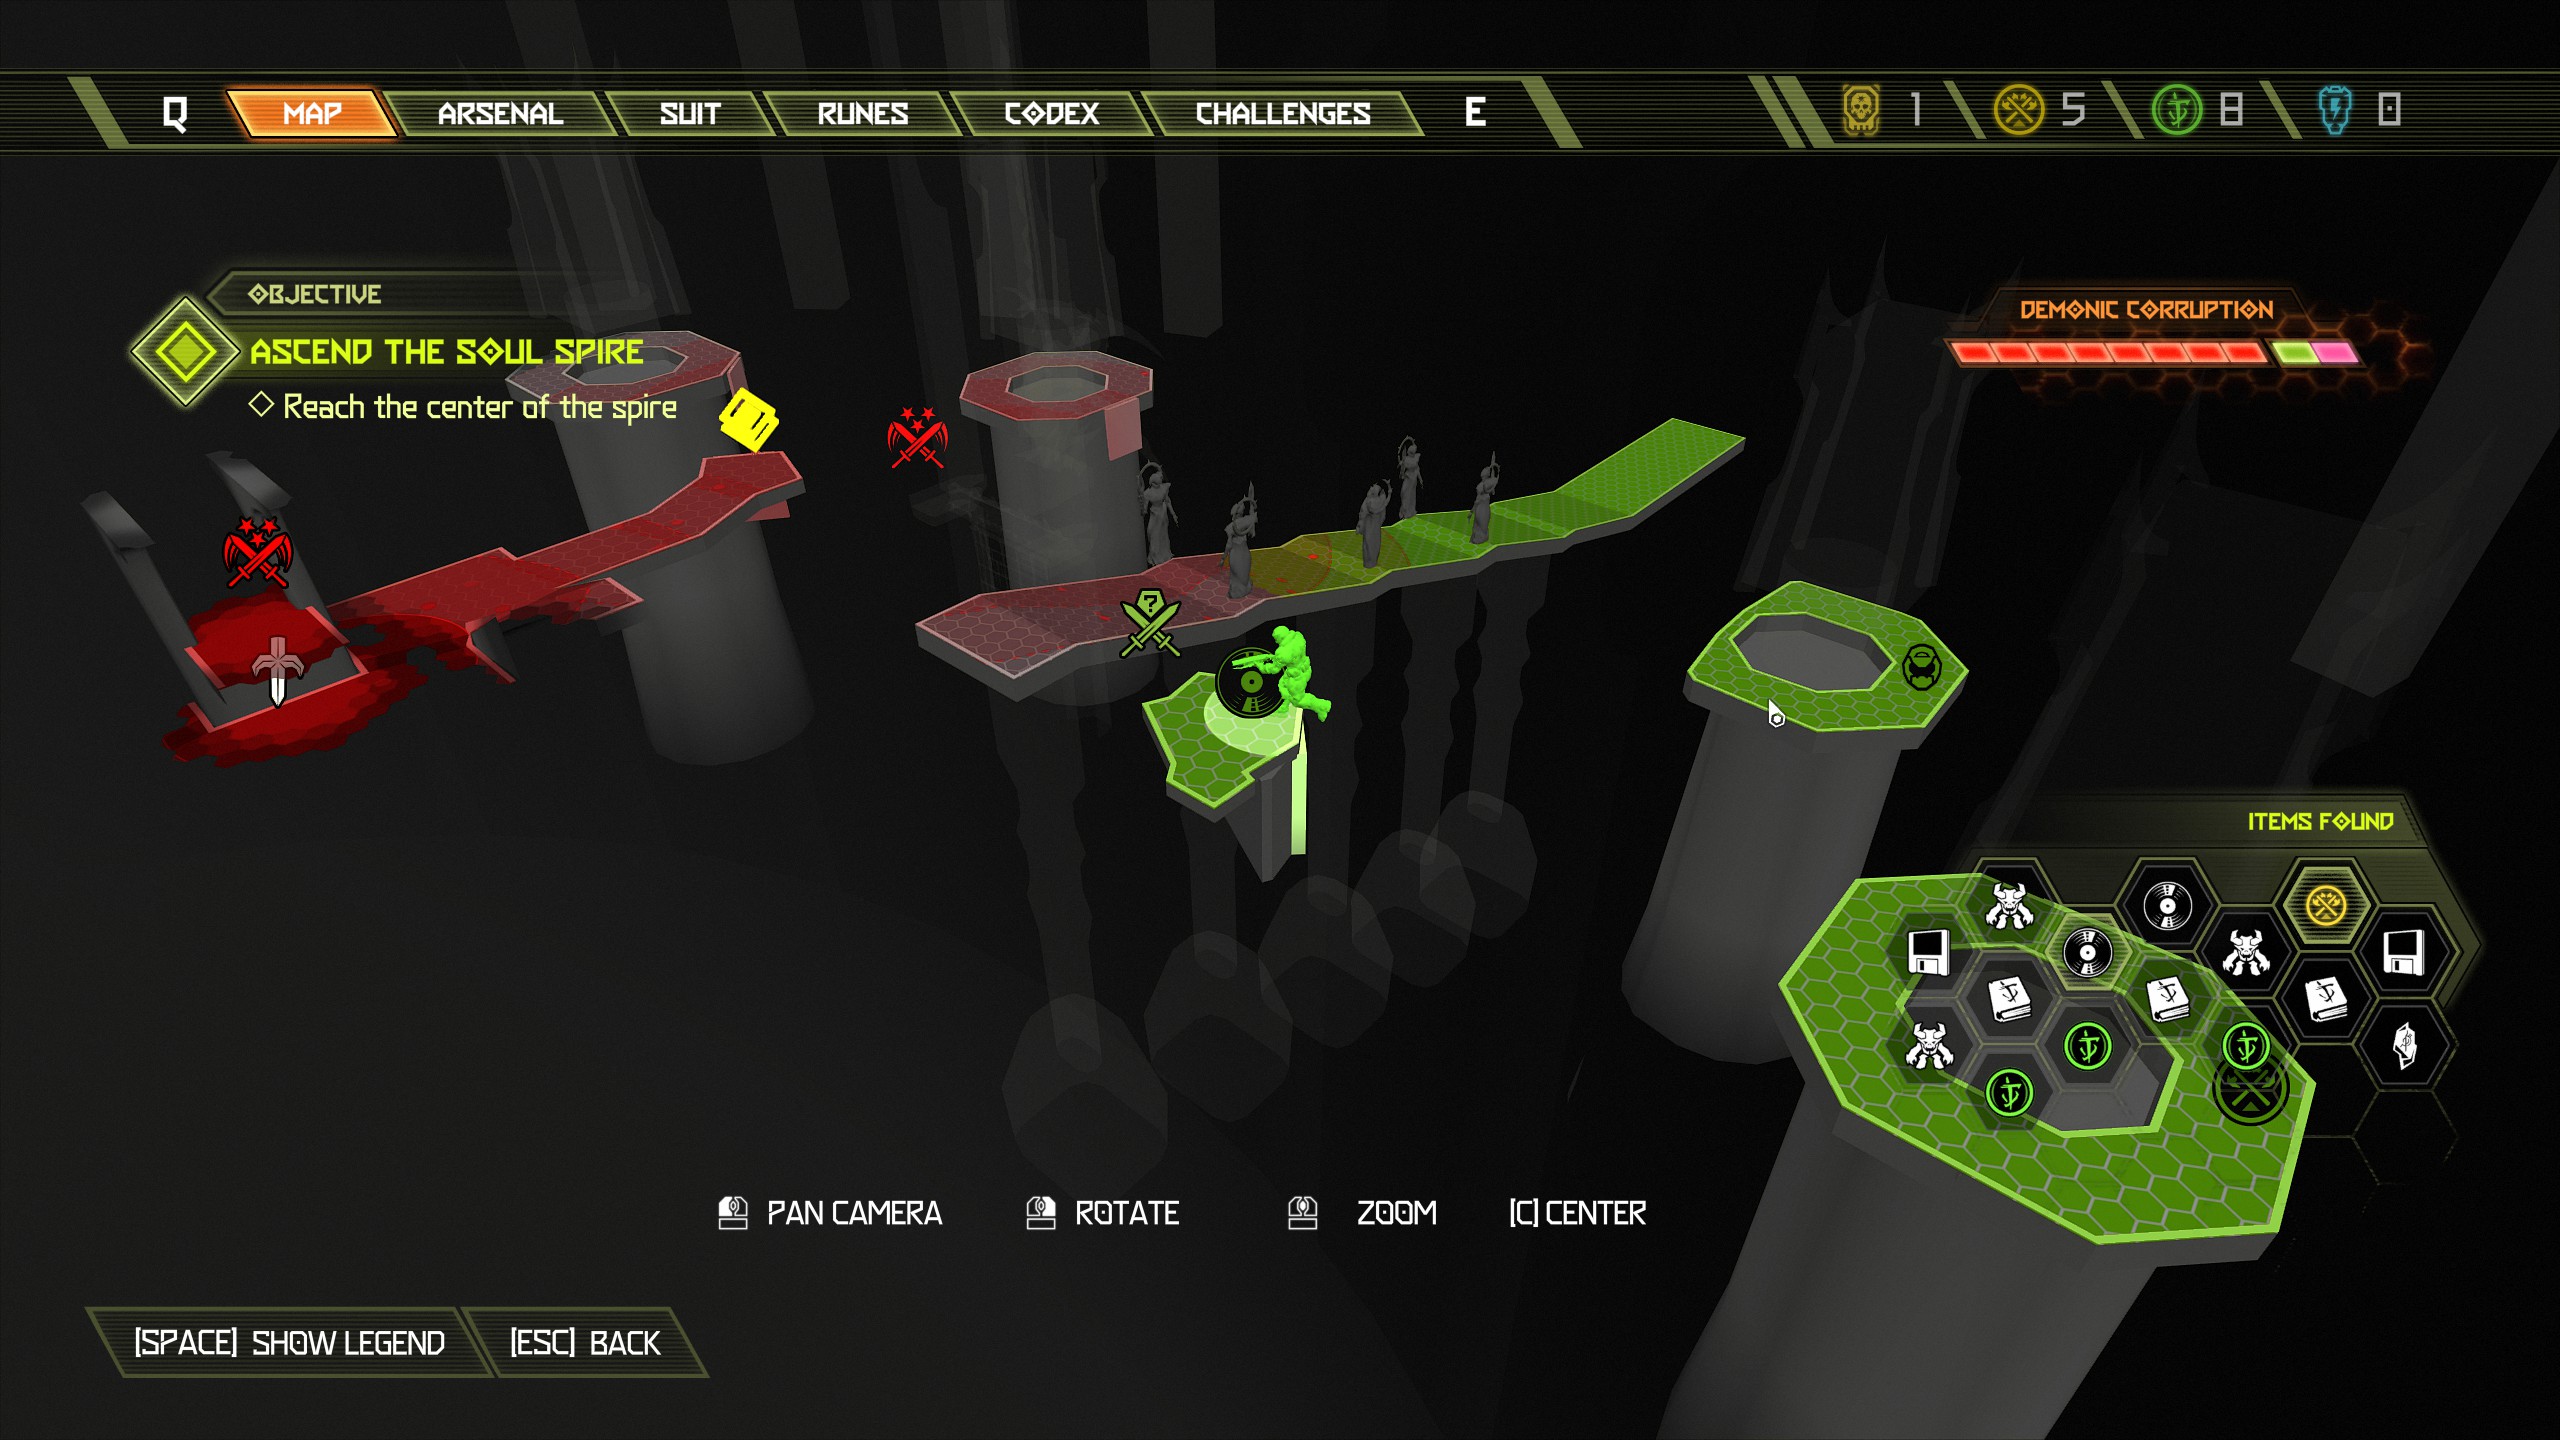
Move on from the encounter back onto the bridge and make your way across the platforms on the opposite side and up into the first room.
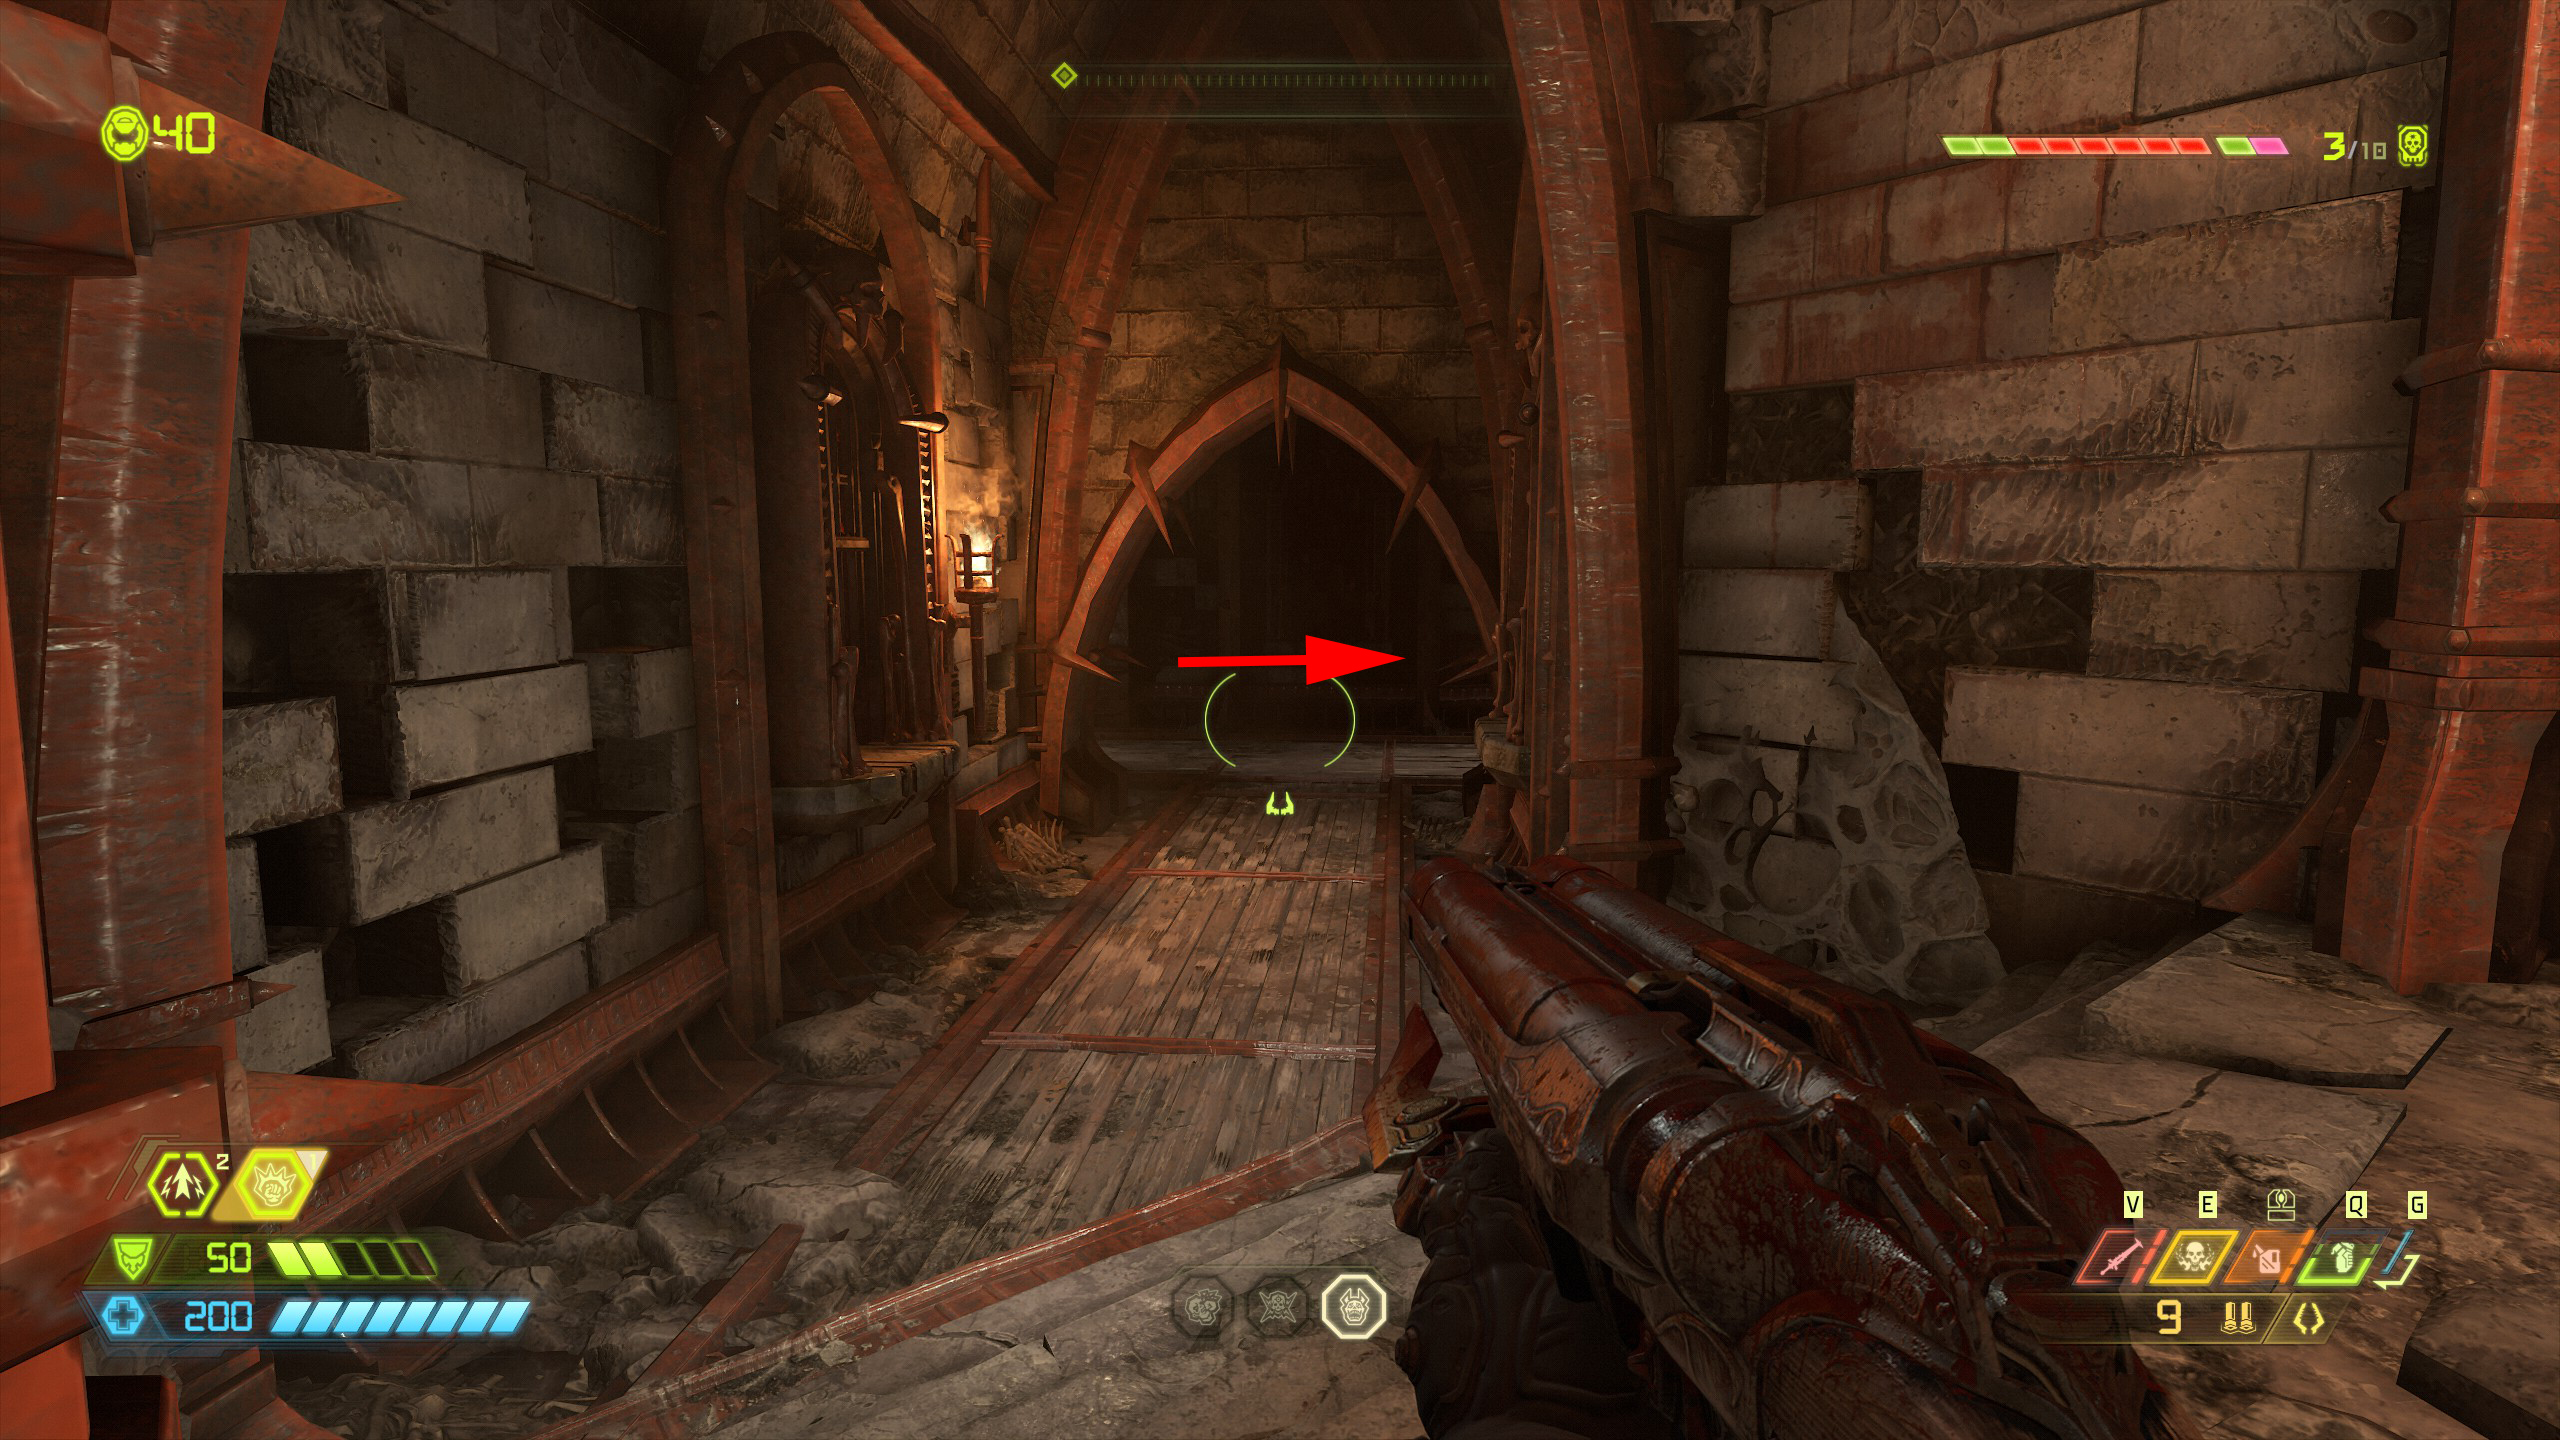
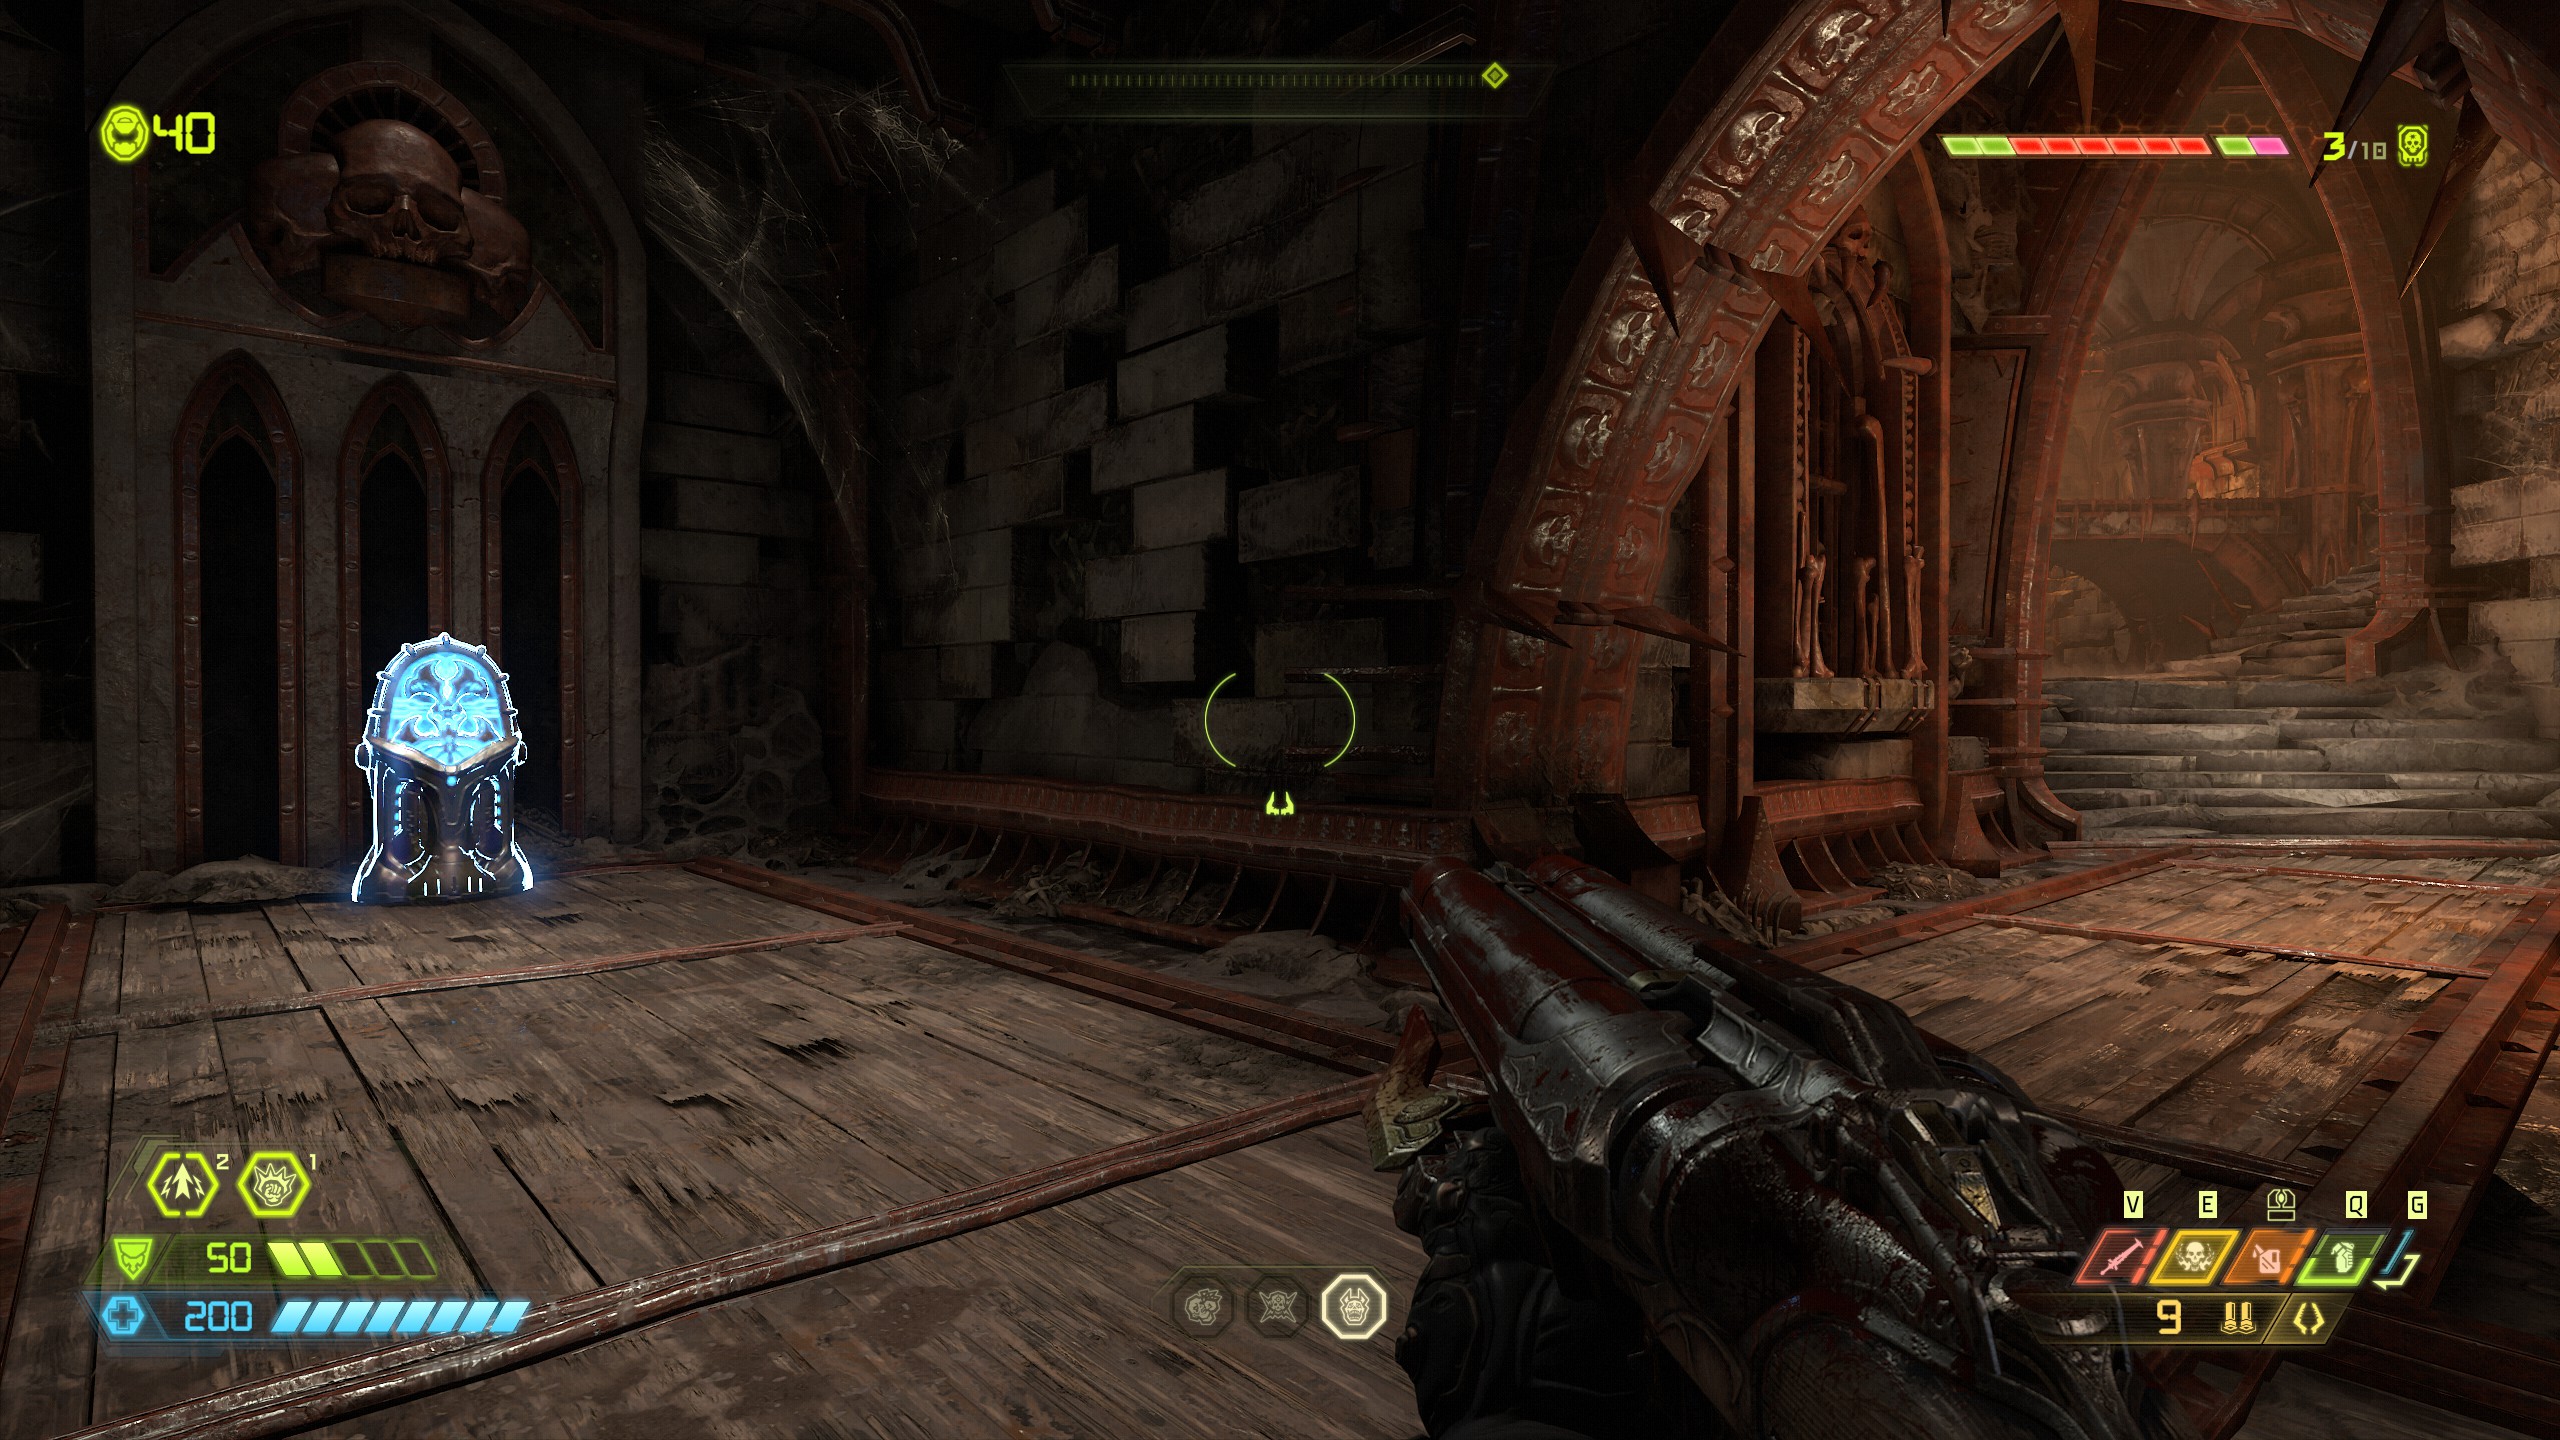
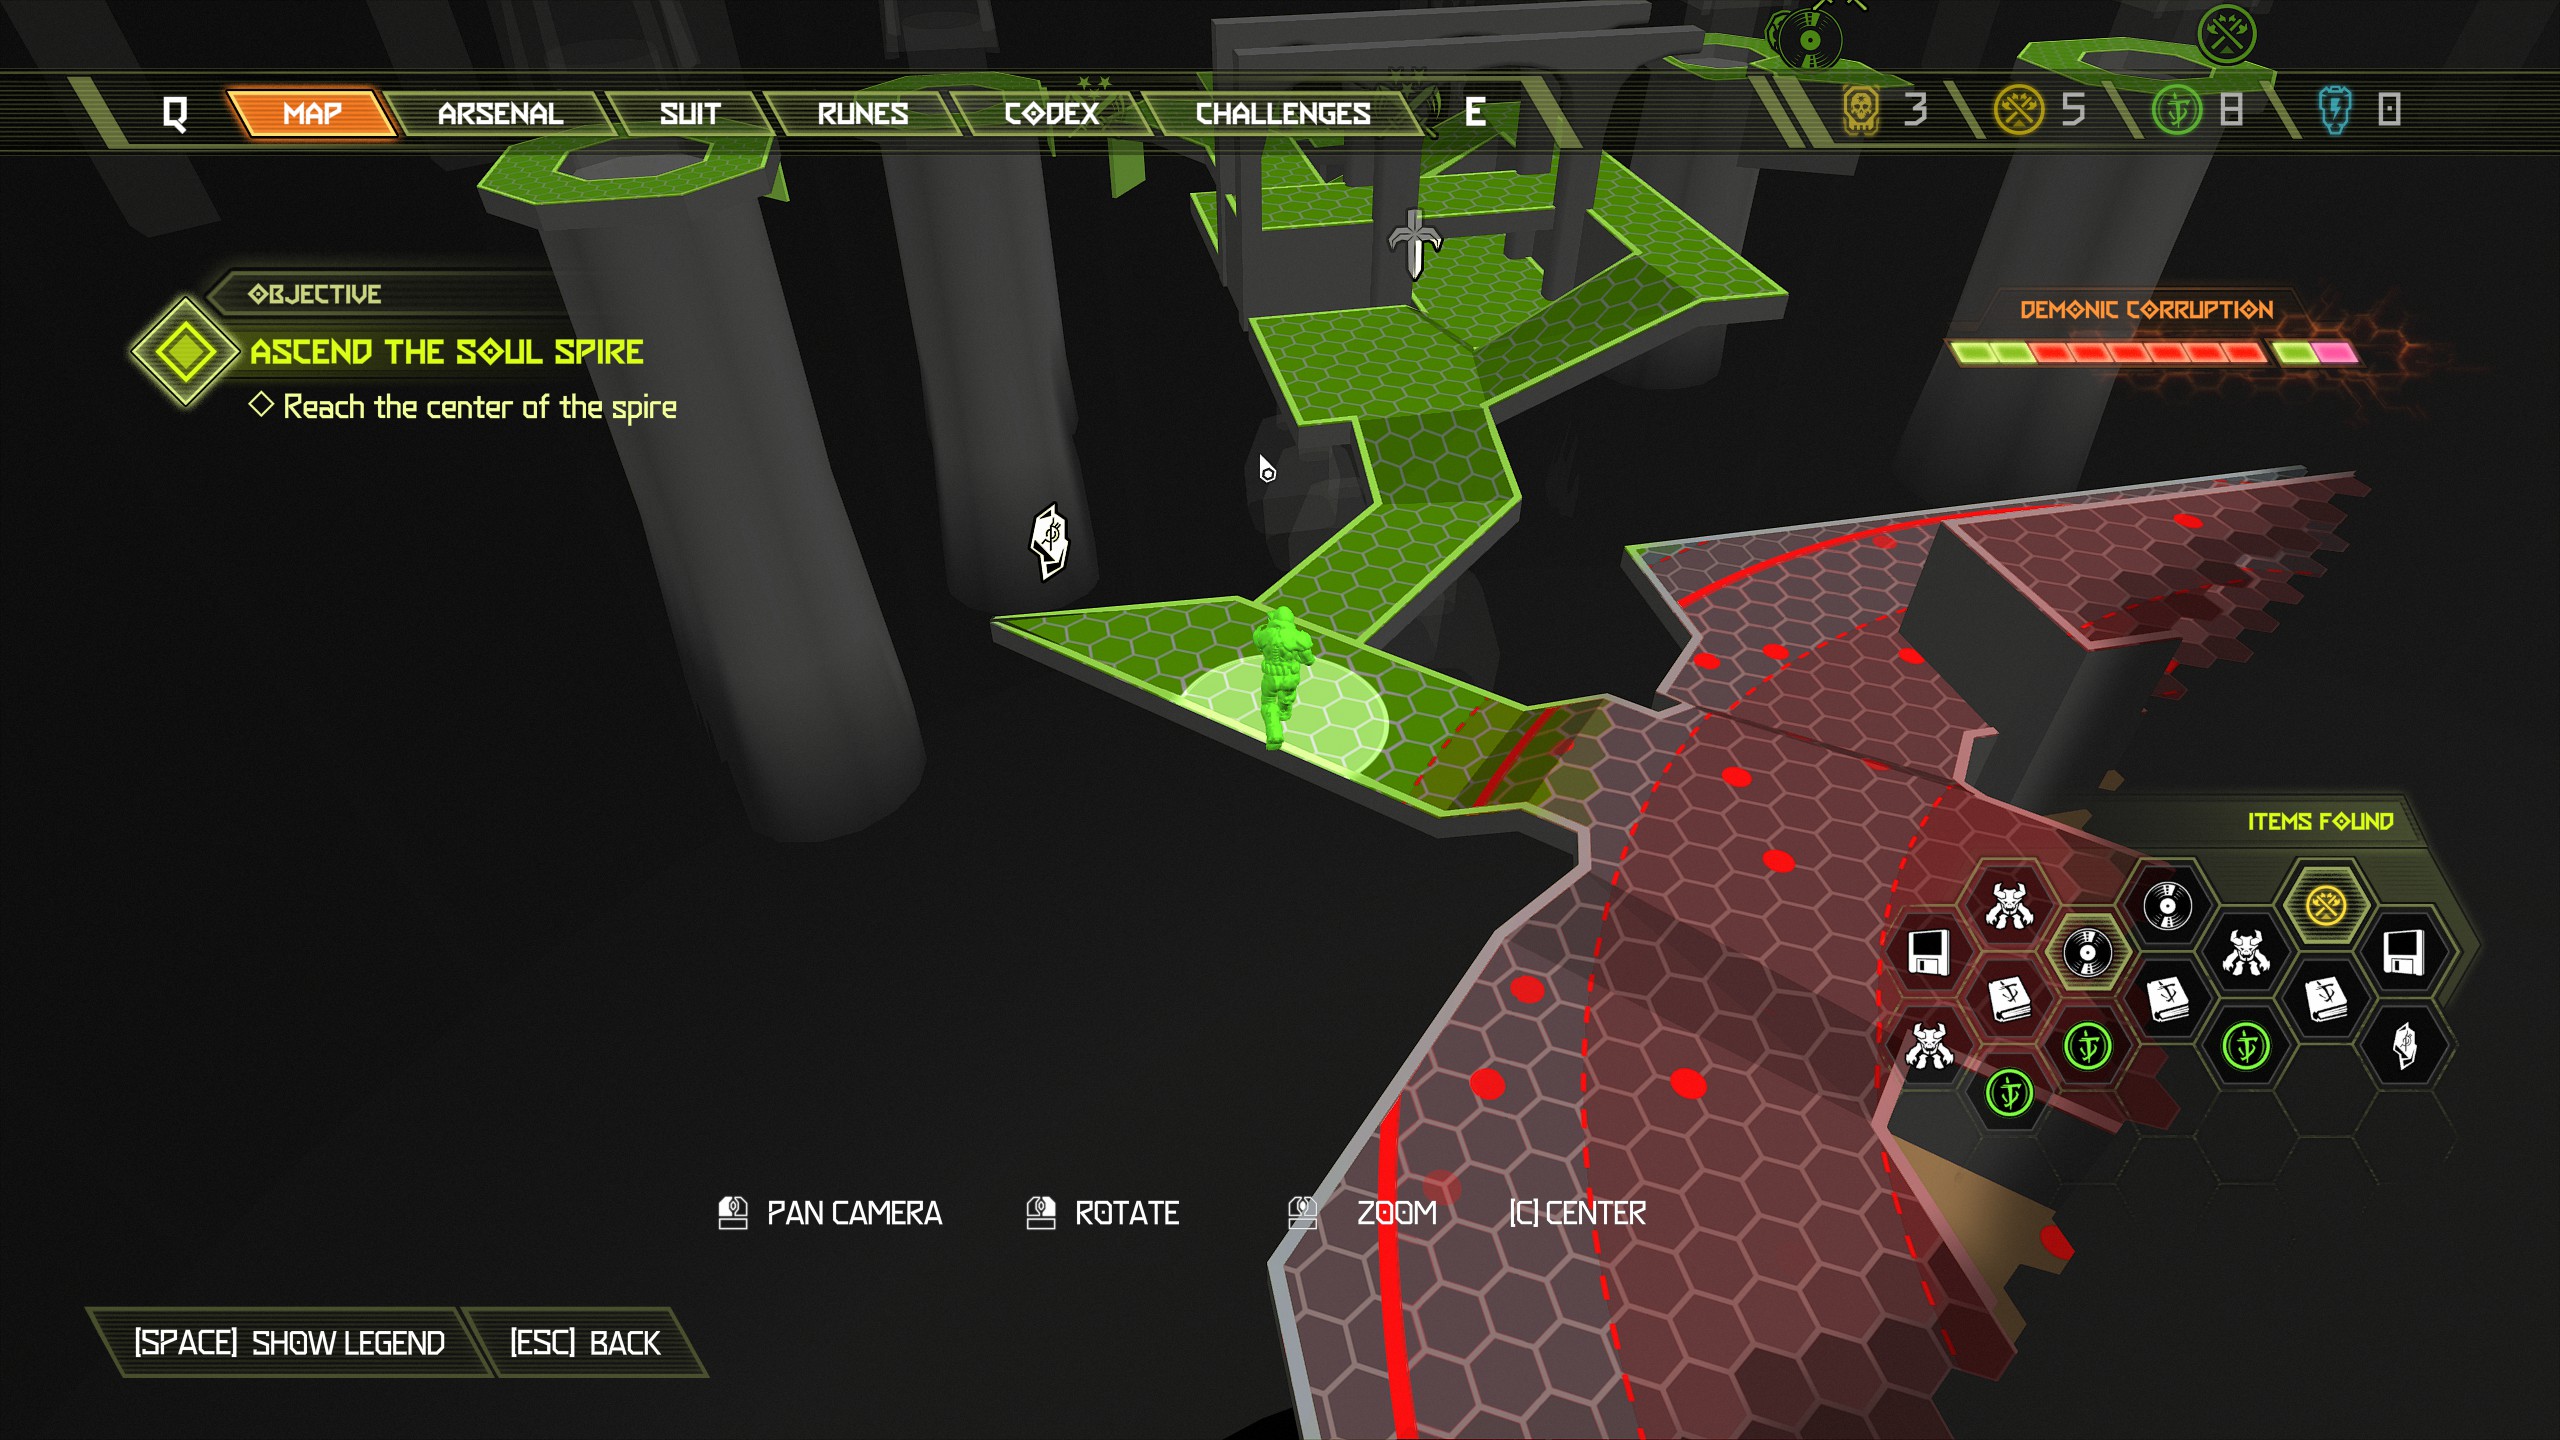
Secret Encounter:
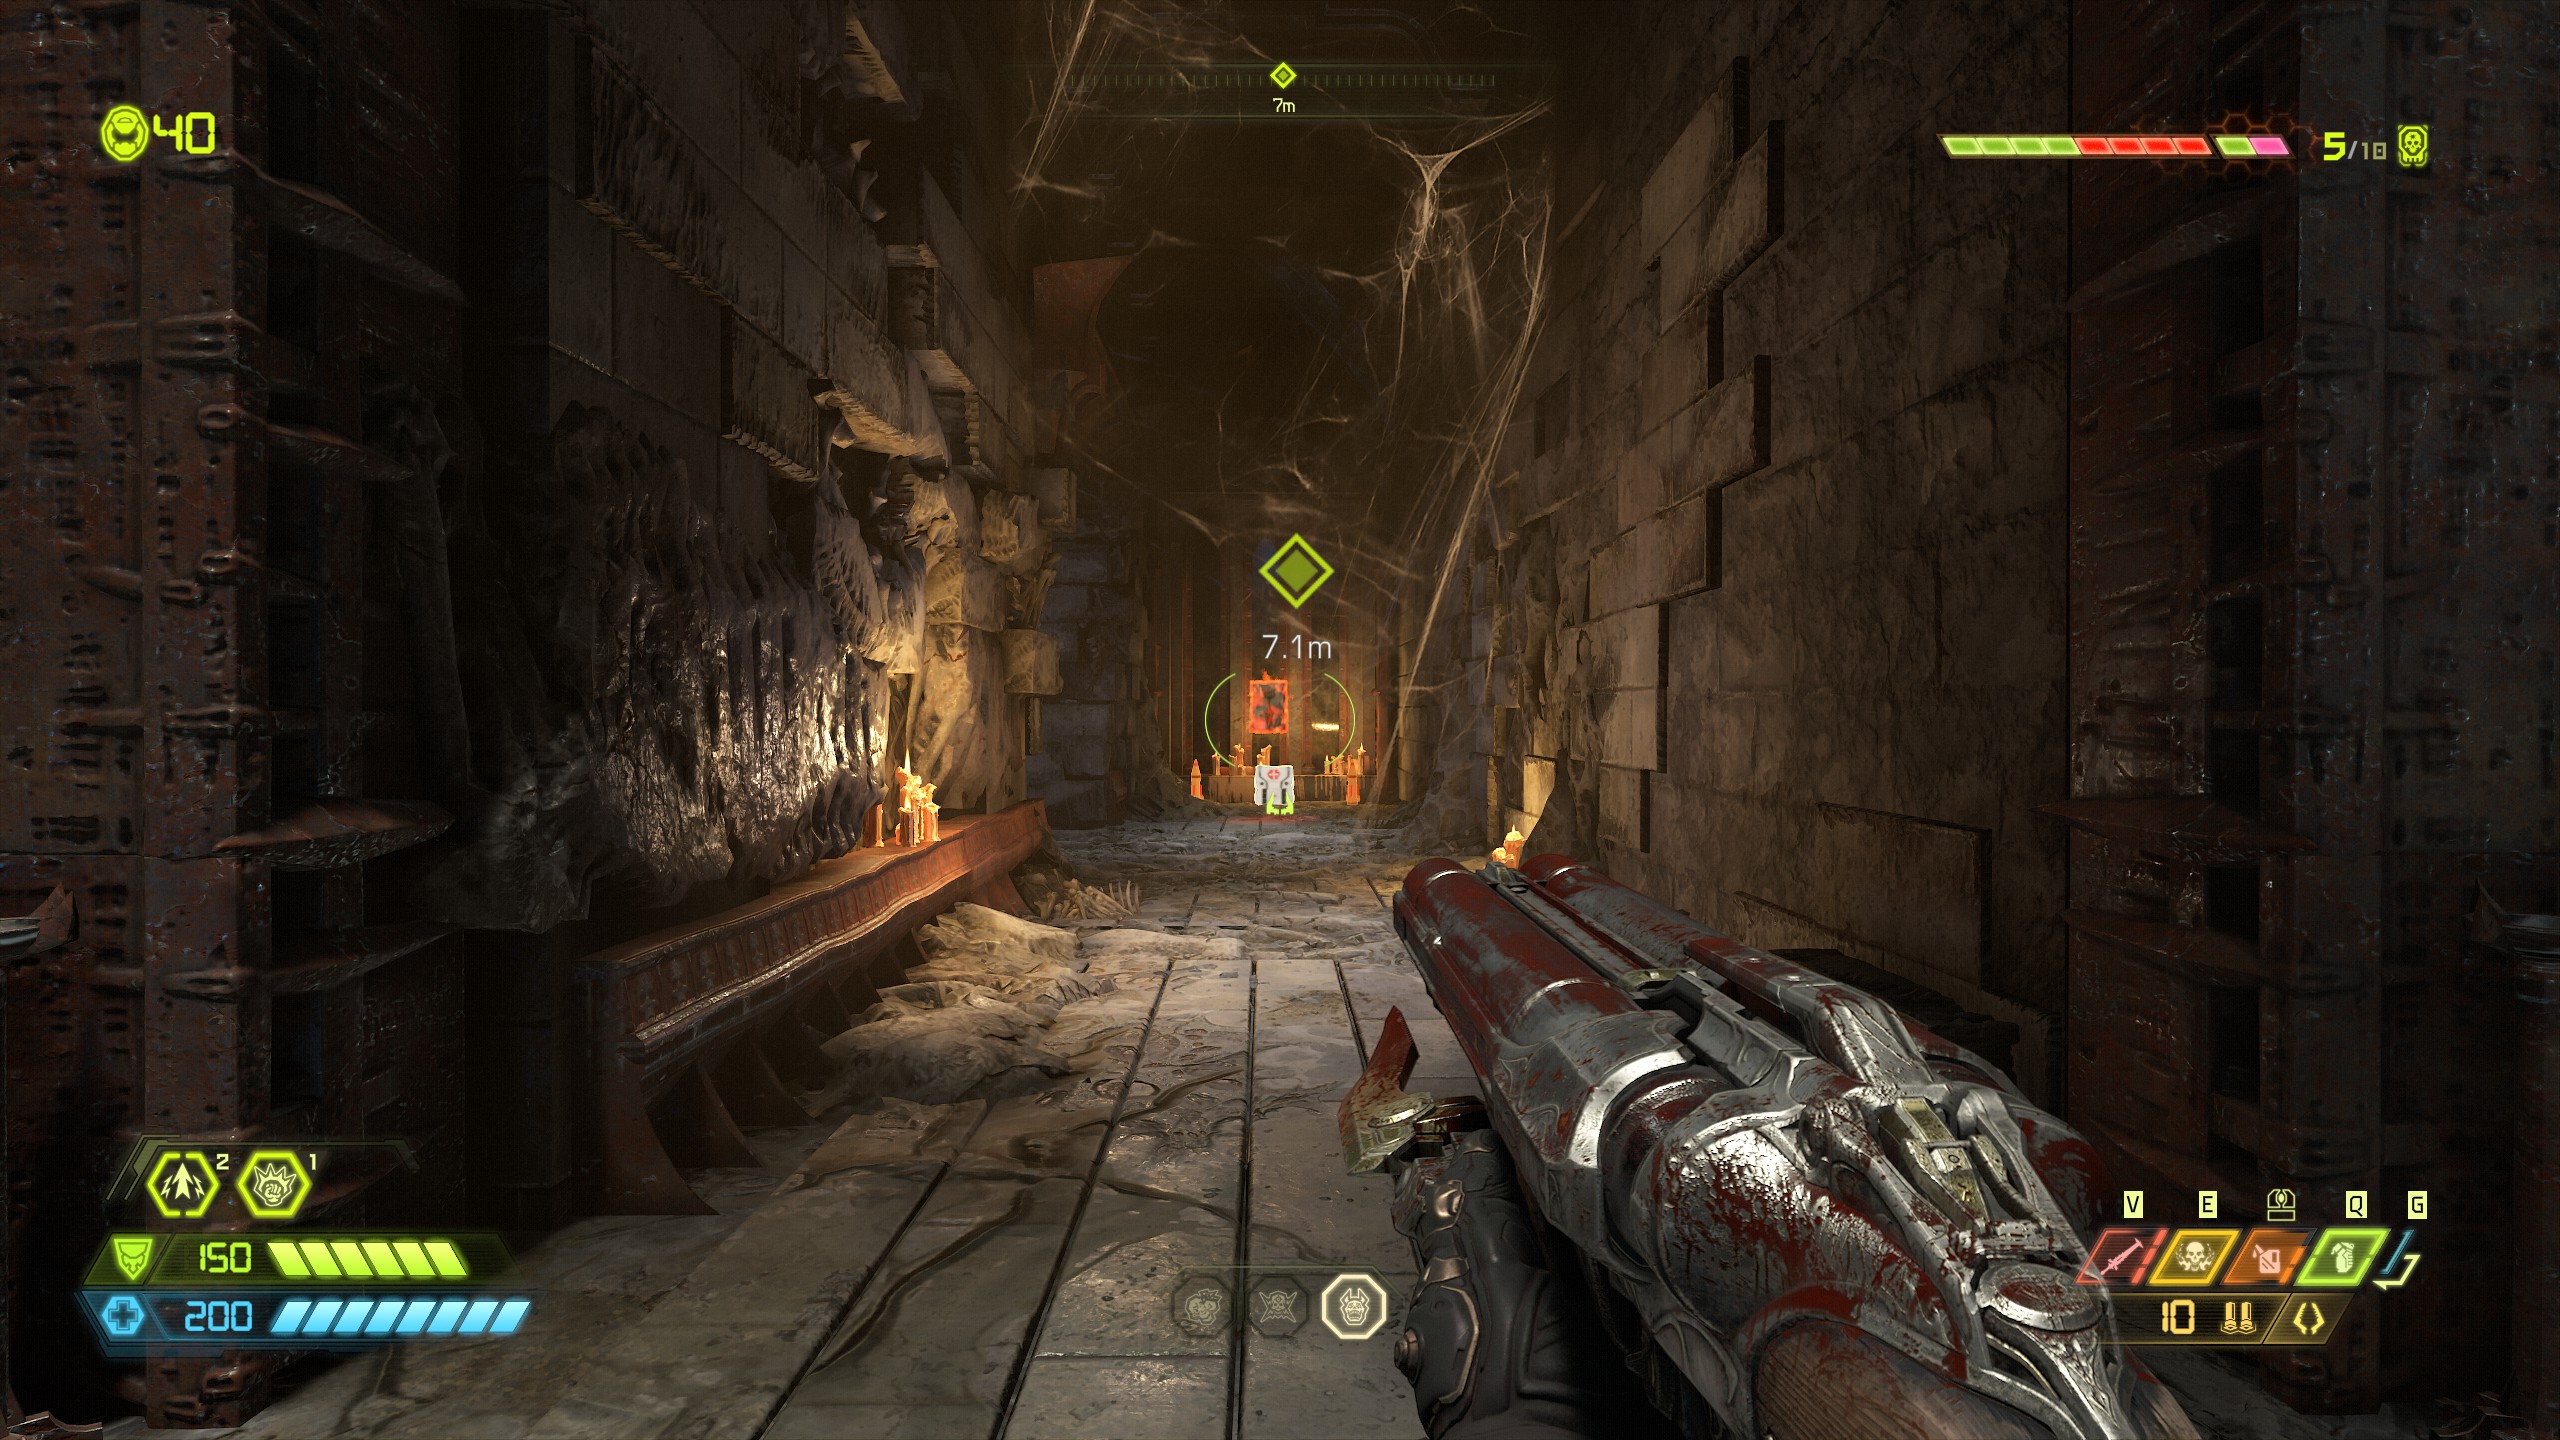
For this encounter you will be attacked by 1 hell knight and 1 cyber mancubus. Proceed into the next room and battle it out with the demons and another doom hunter, once clear continue to follow the mission marker and as you go through the next passage you will come across a codex page in the corner, you can't miss it.
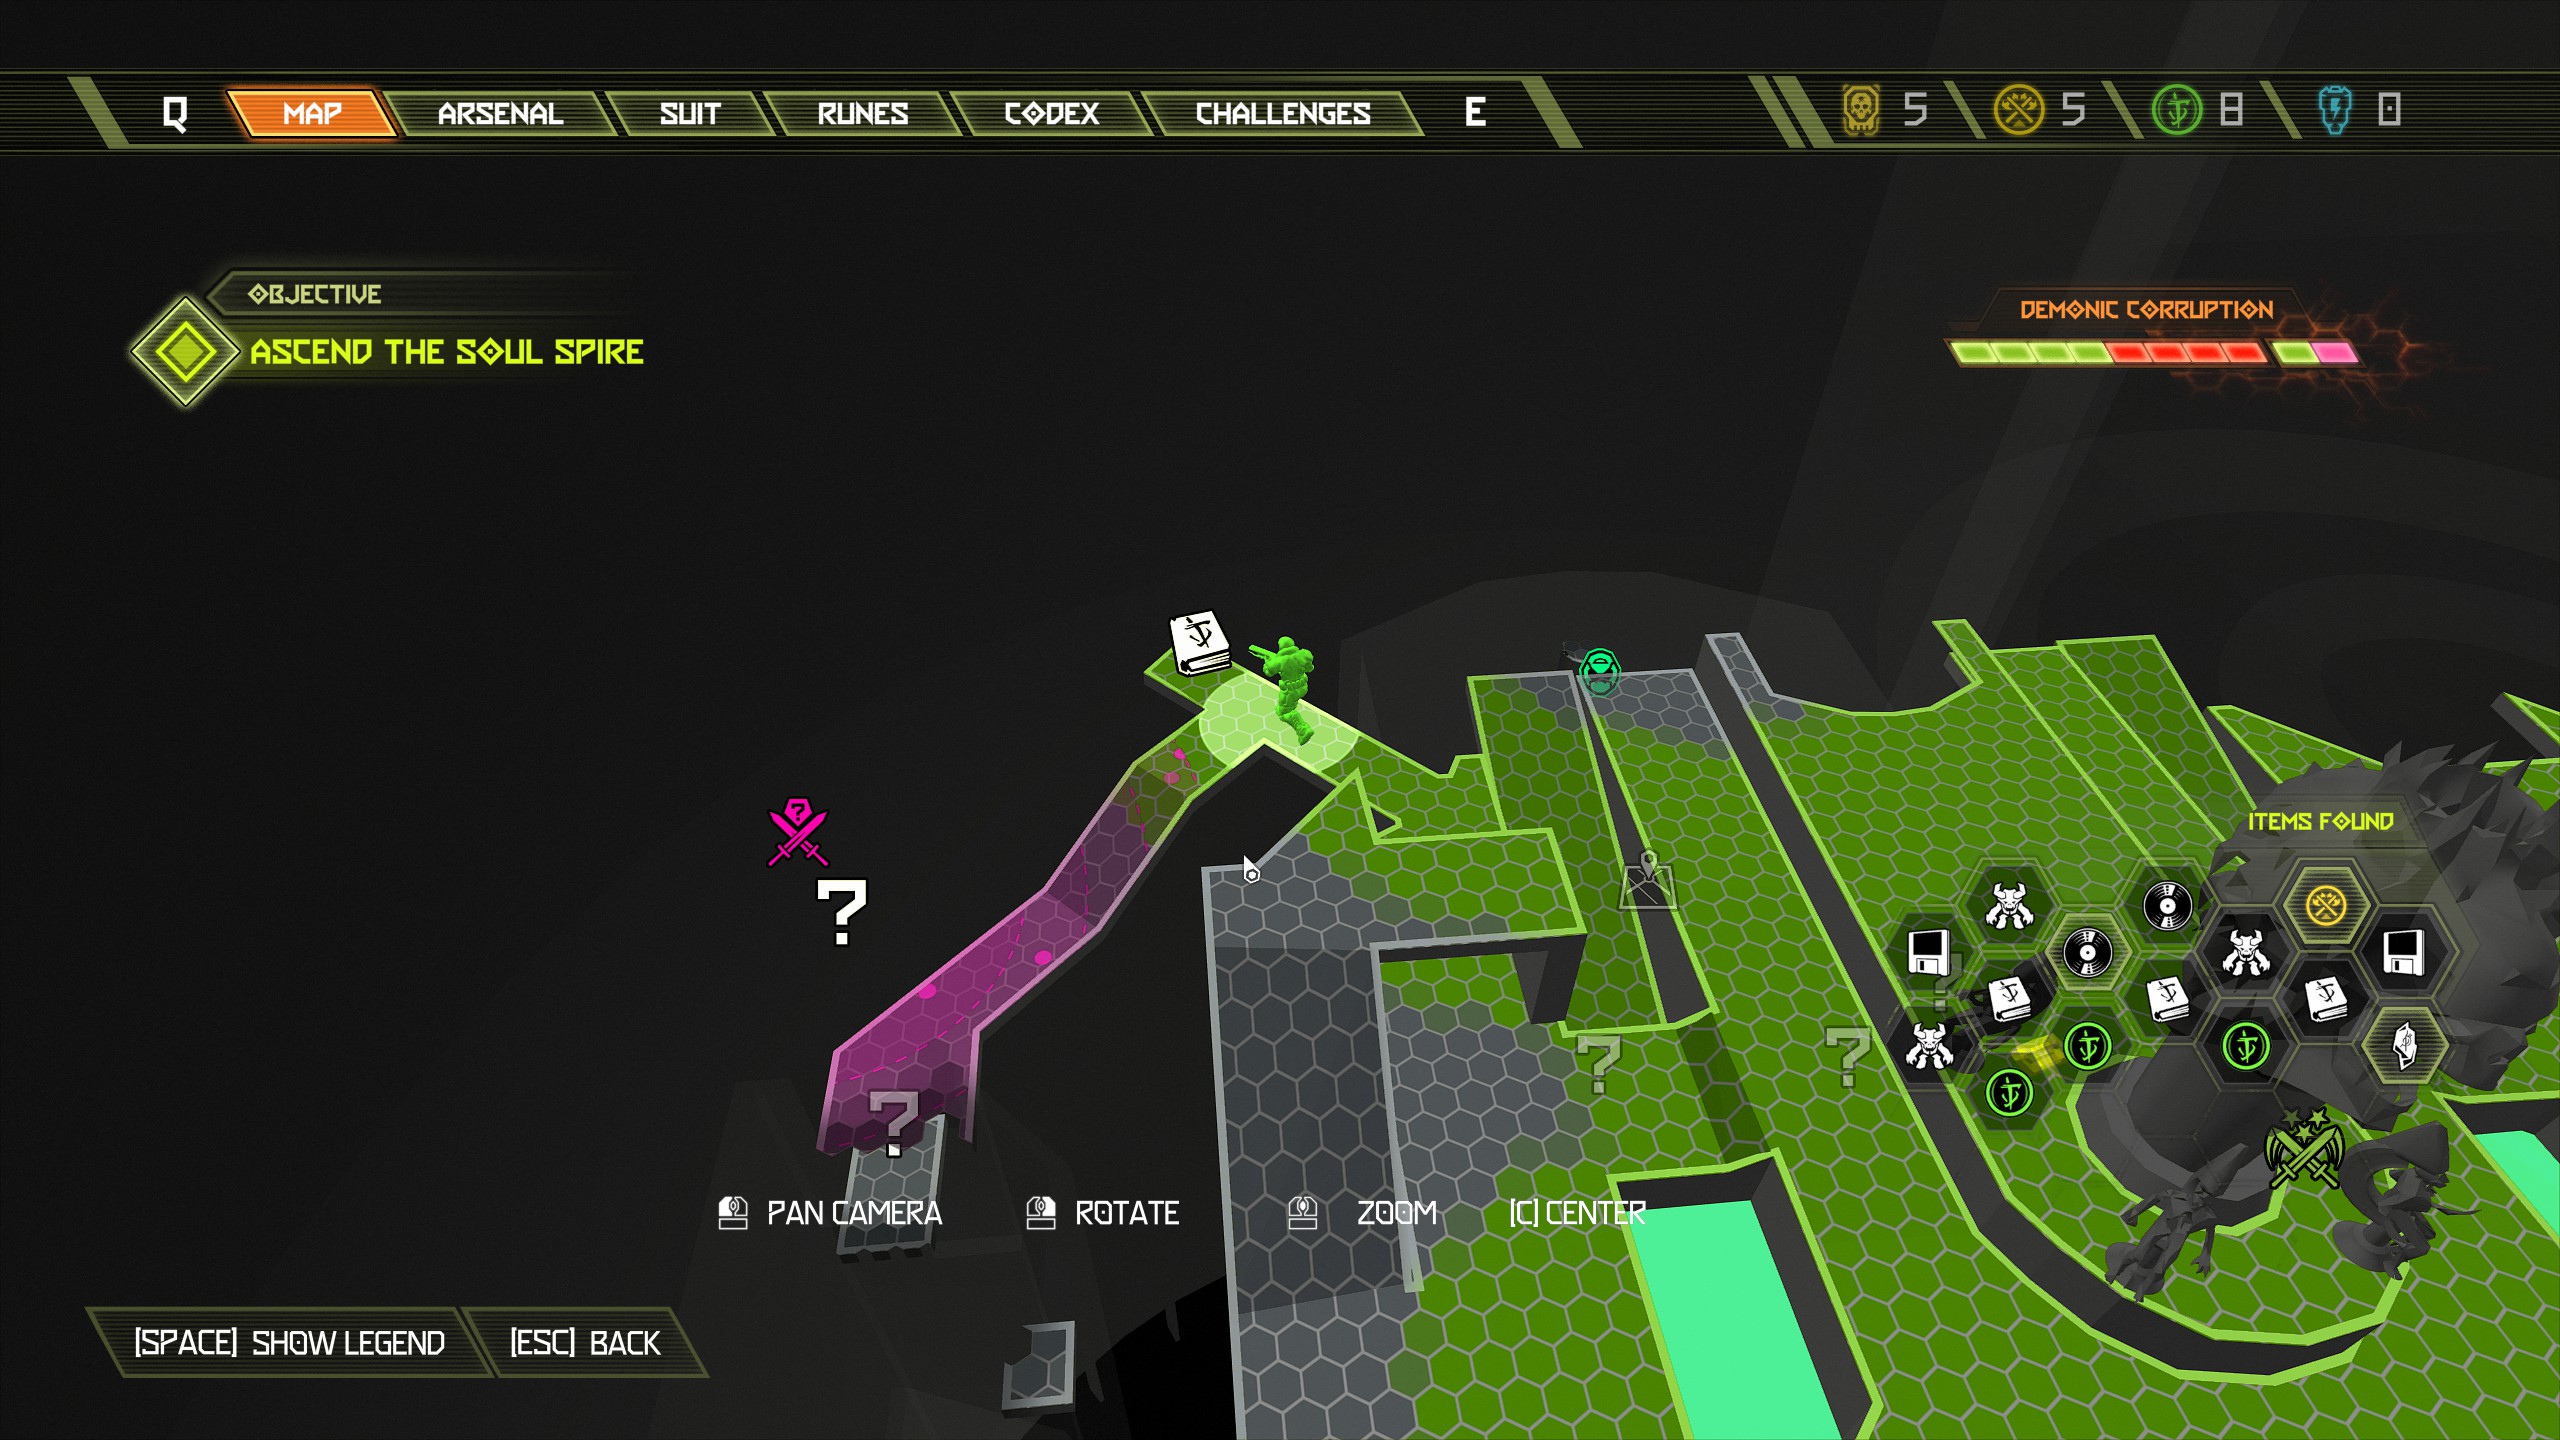
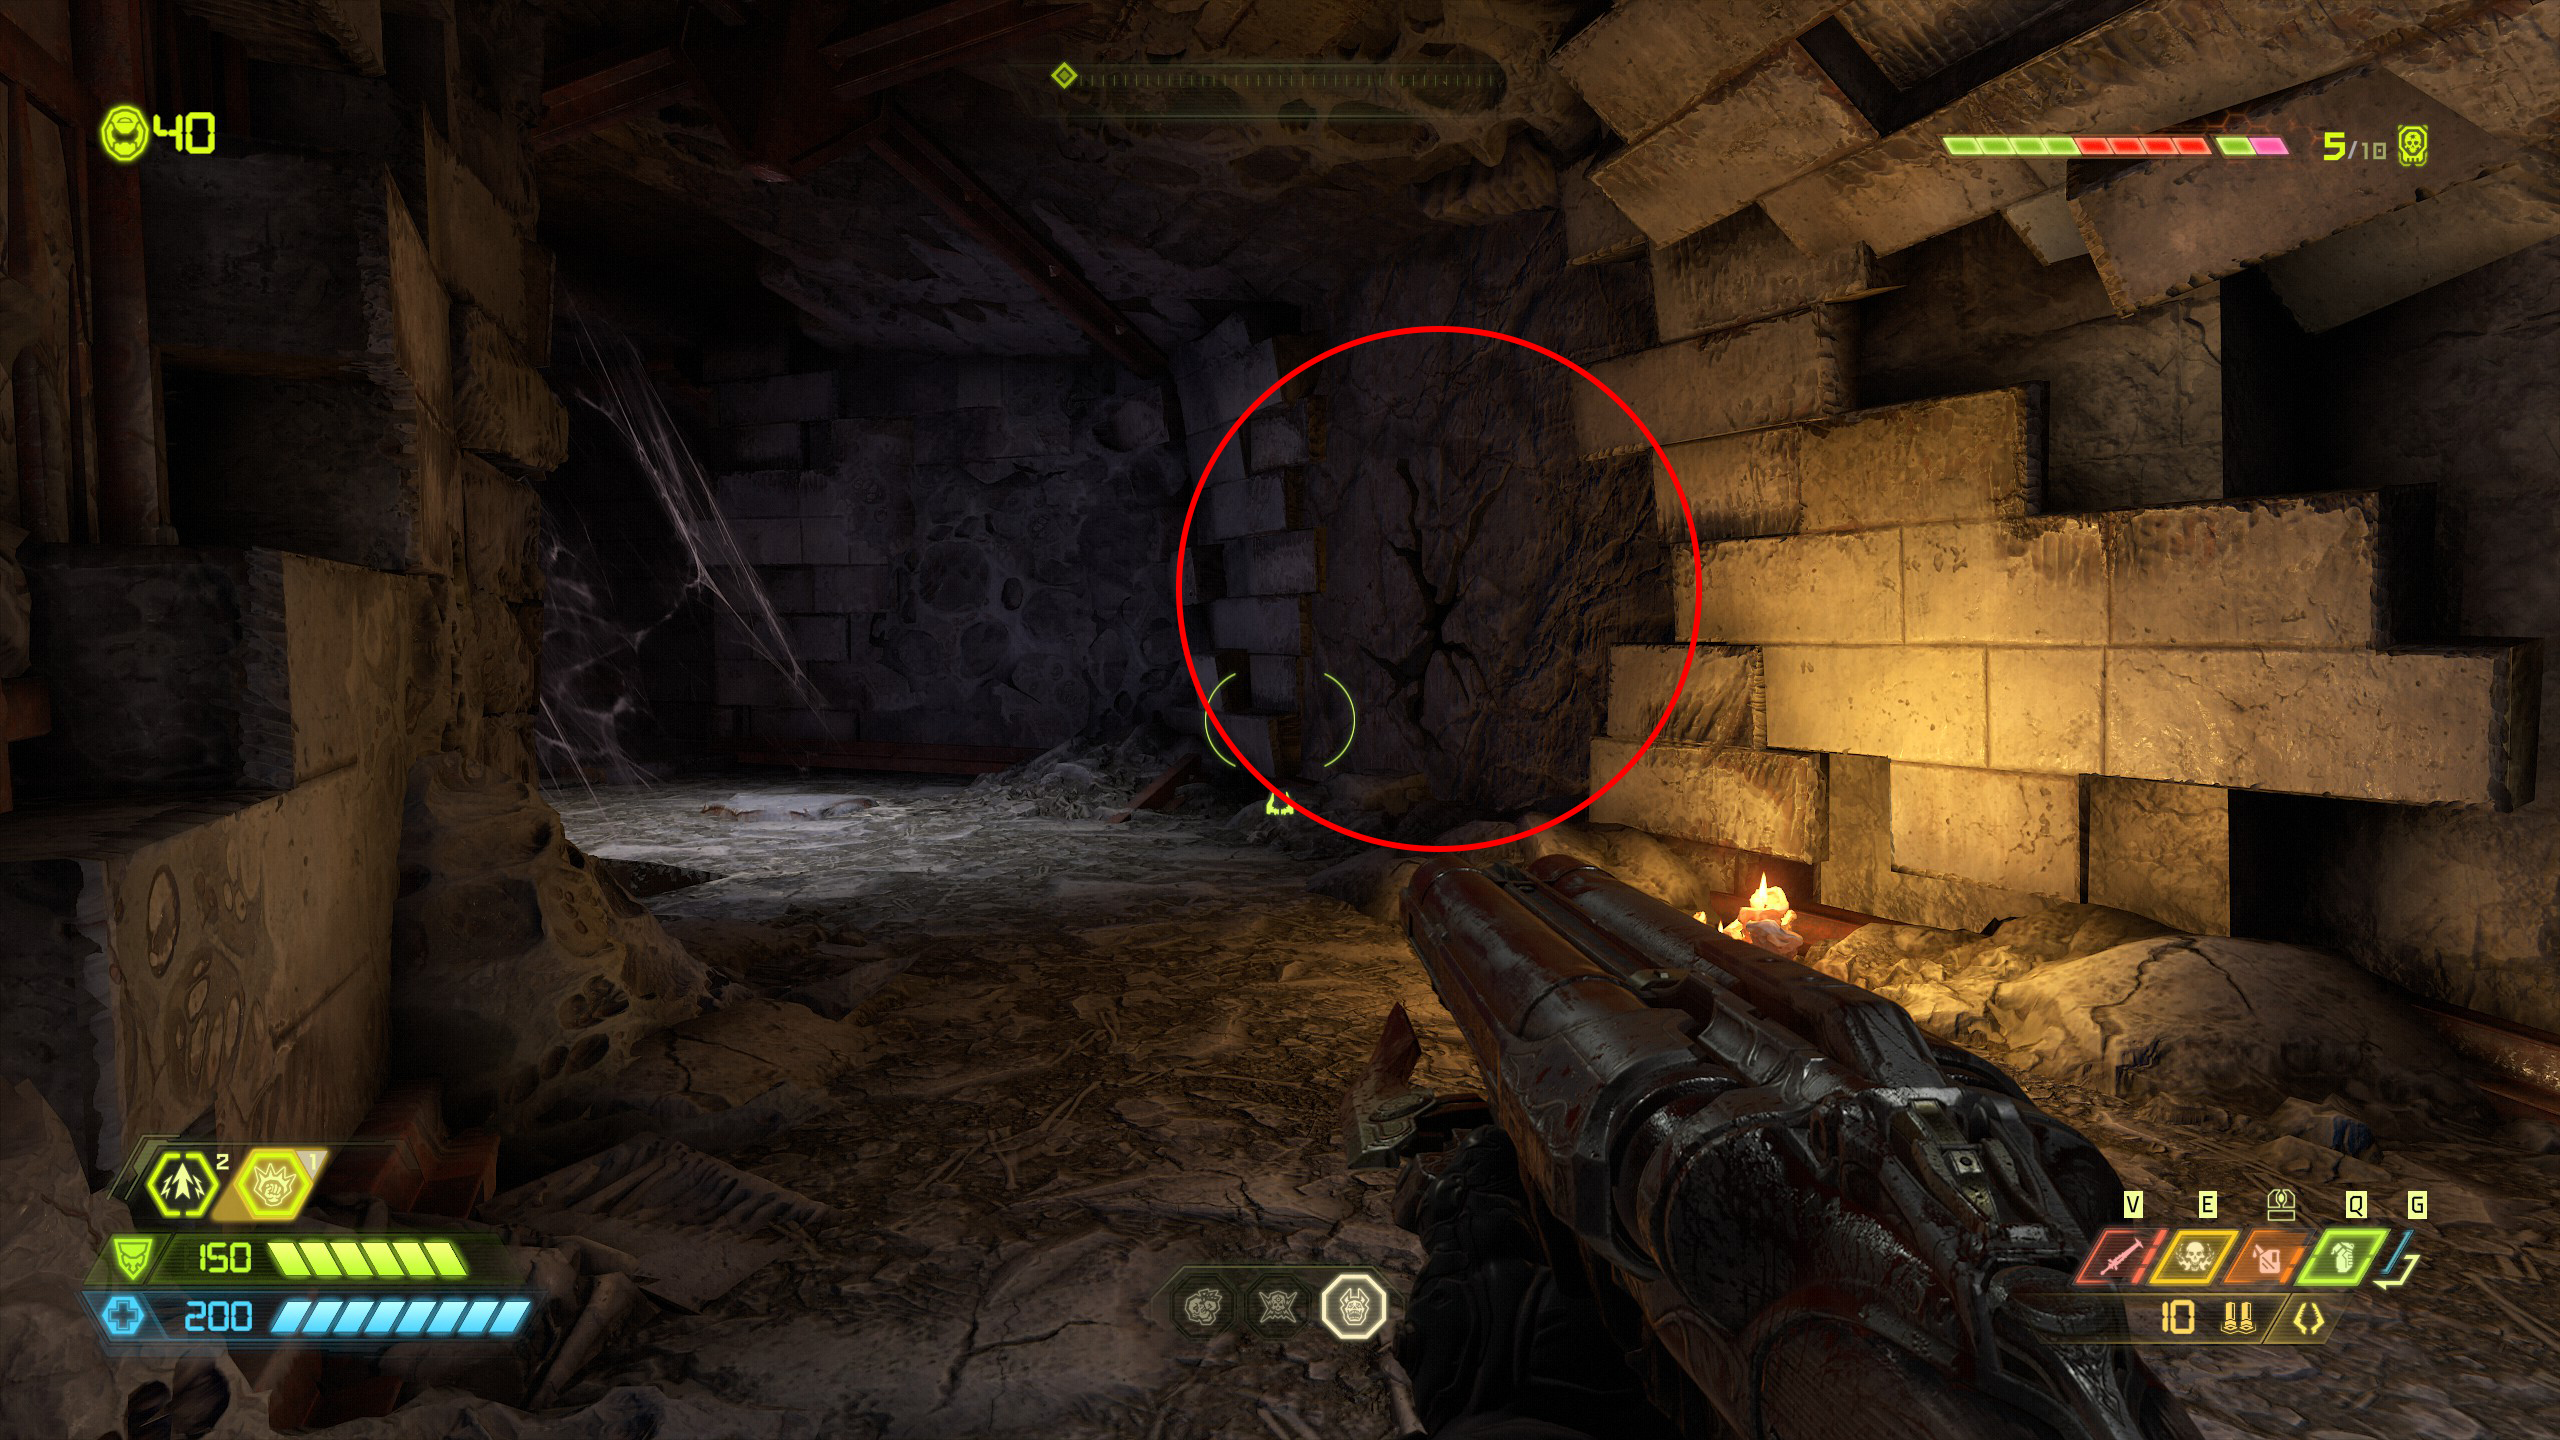
Immediately from the codex page continue further down the passage and on the right side you will find a breakable wall, break through and inside you will find a doomtoy along with the secret encounter.
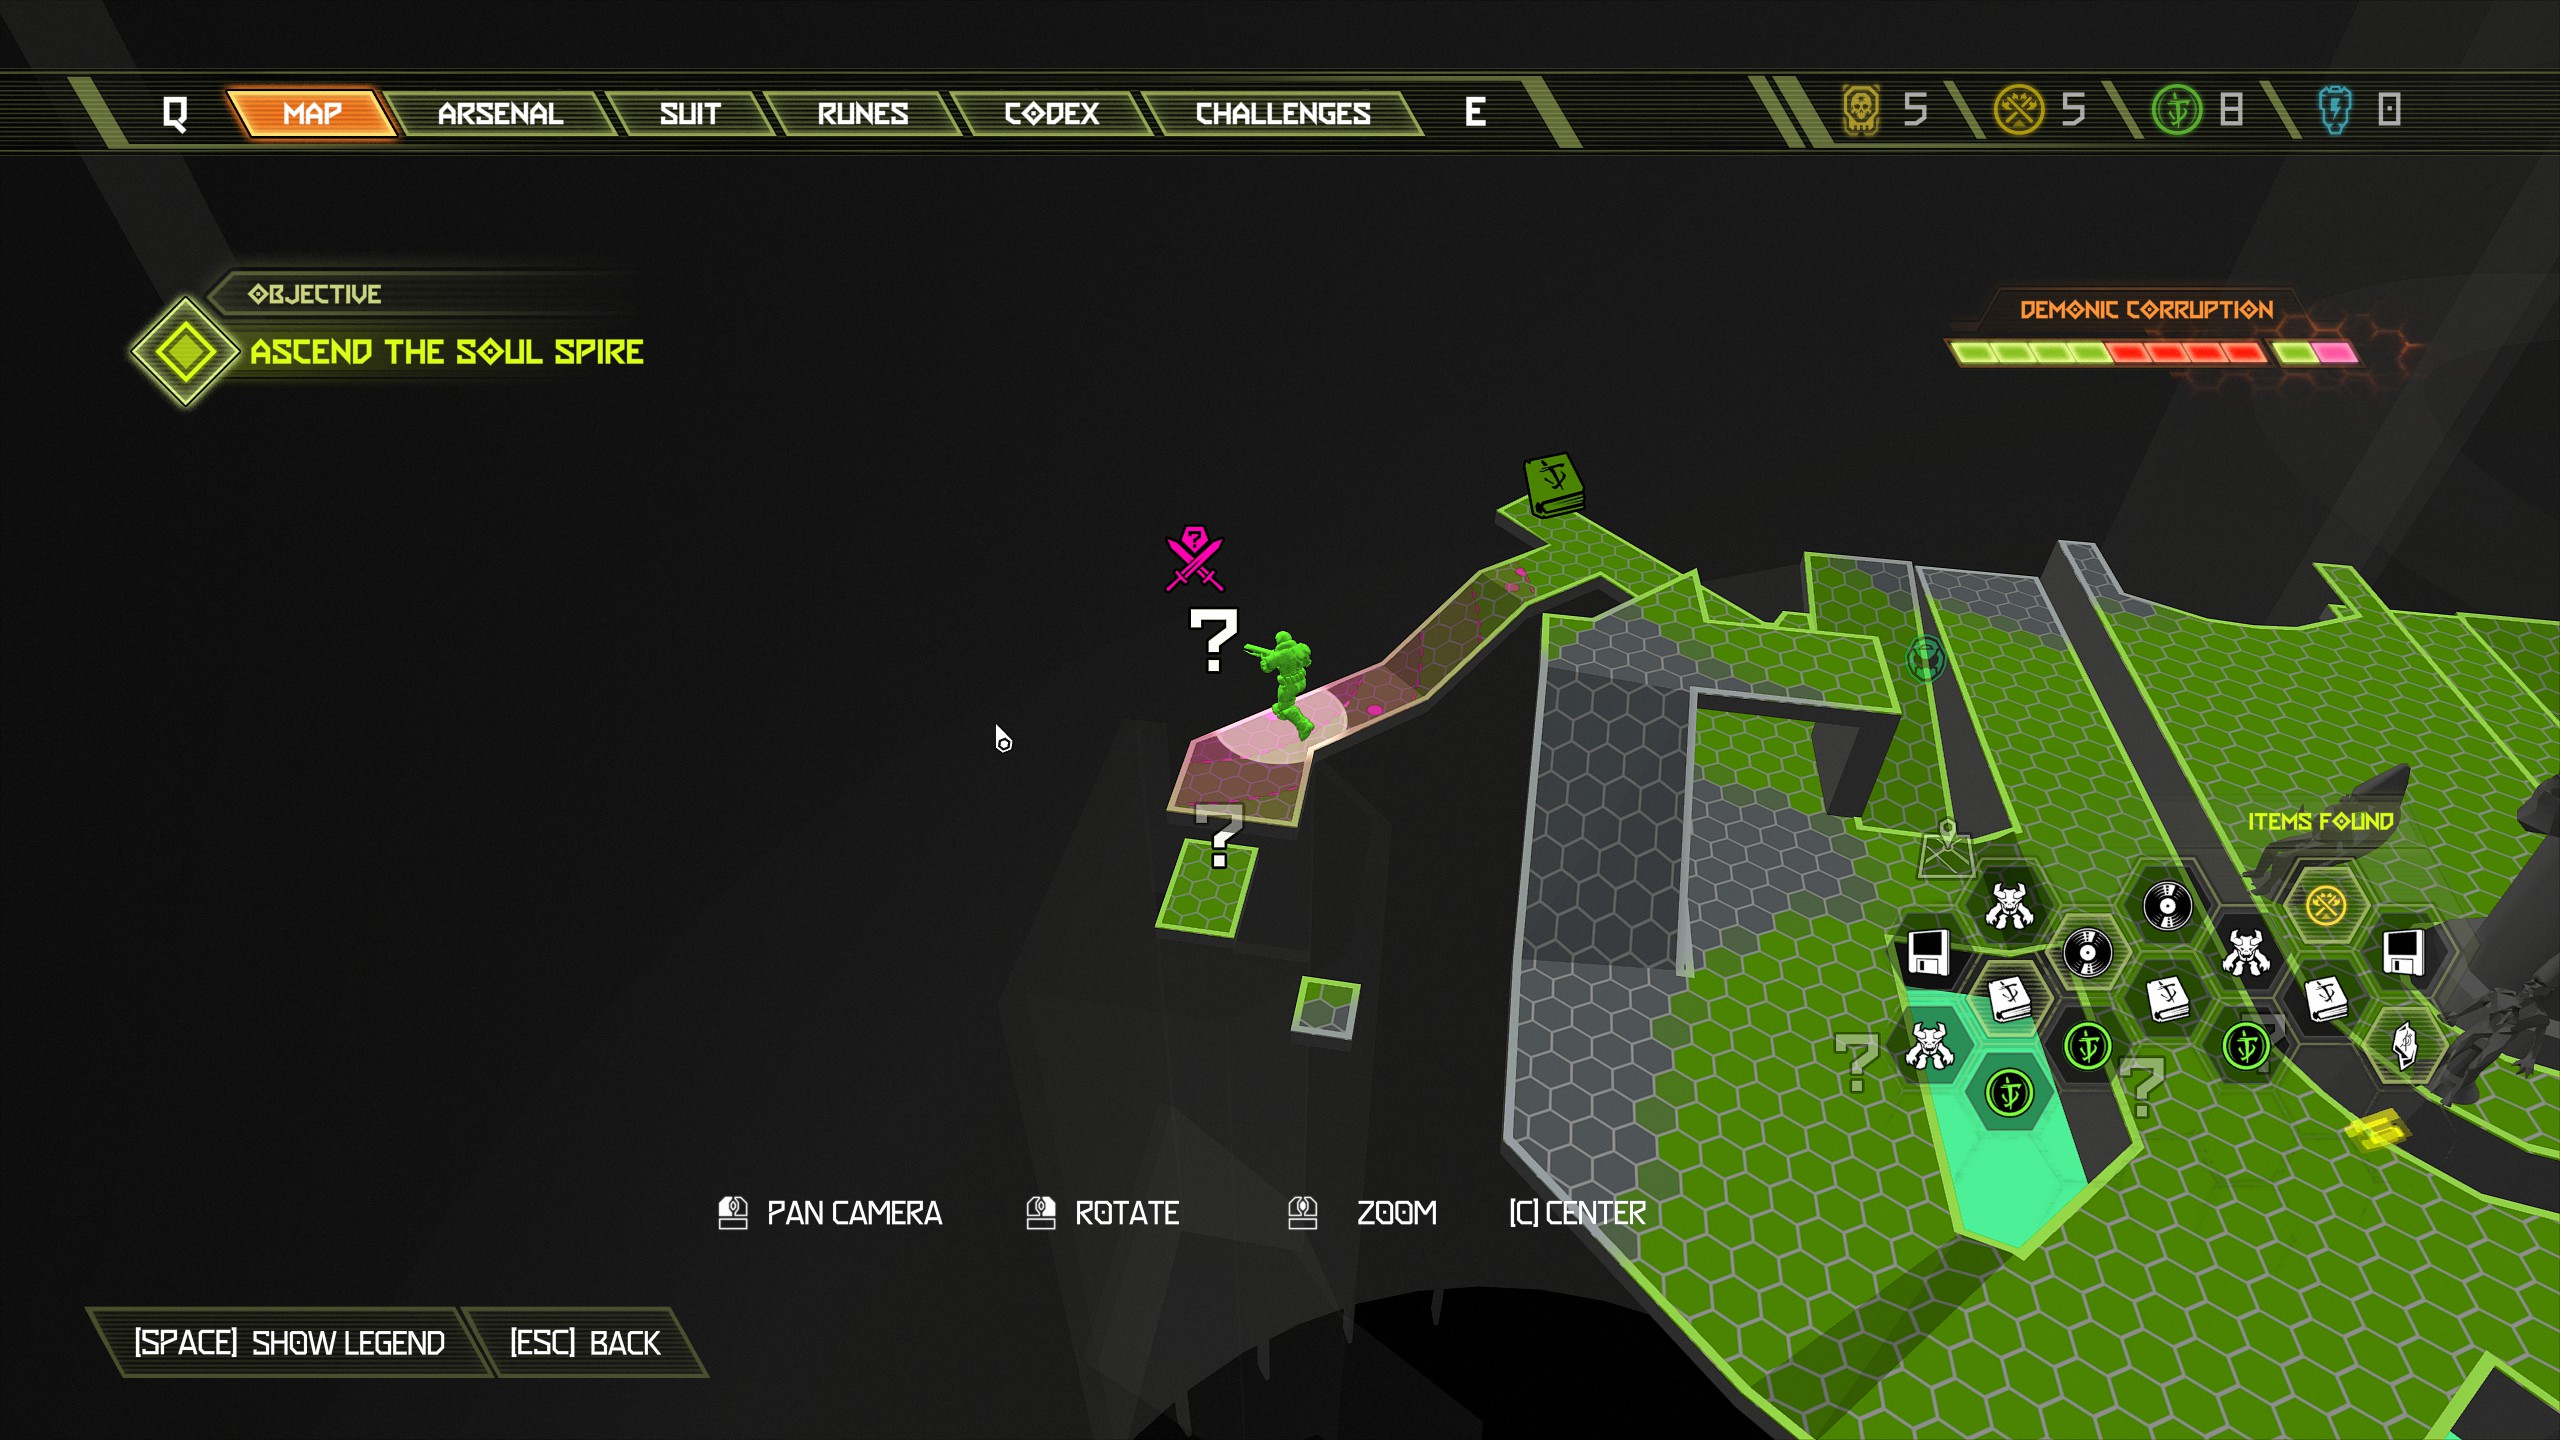
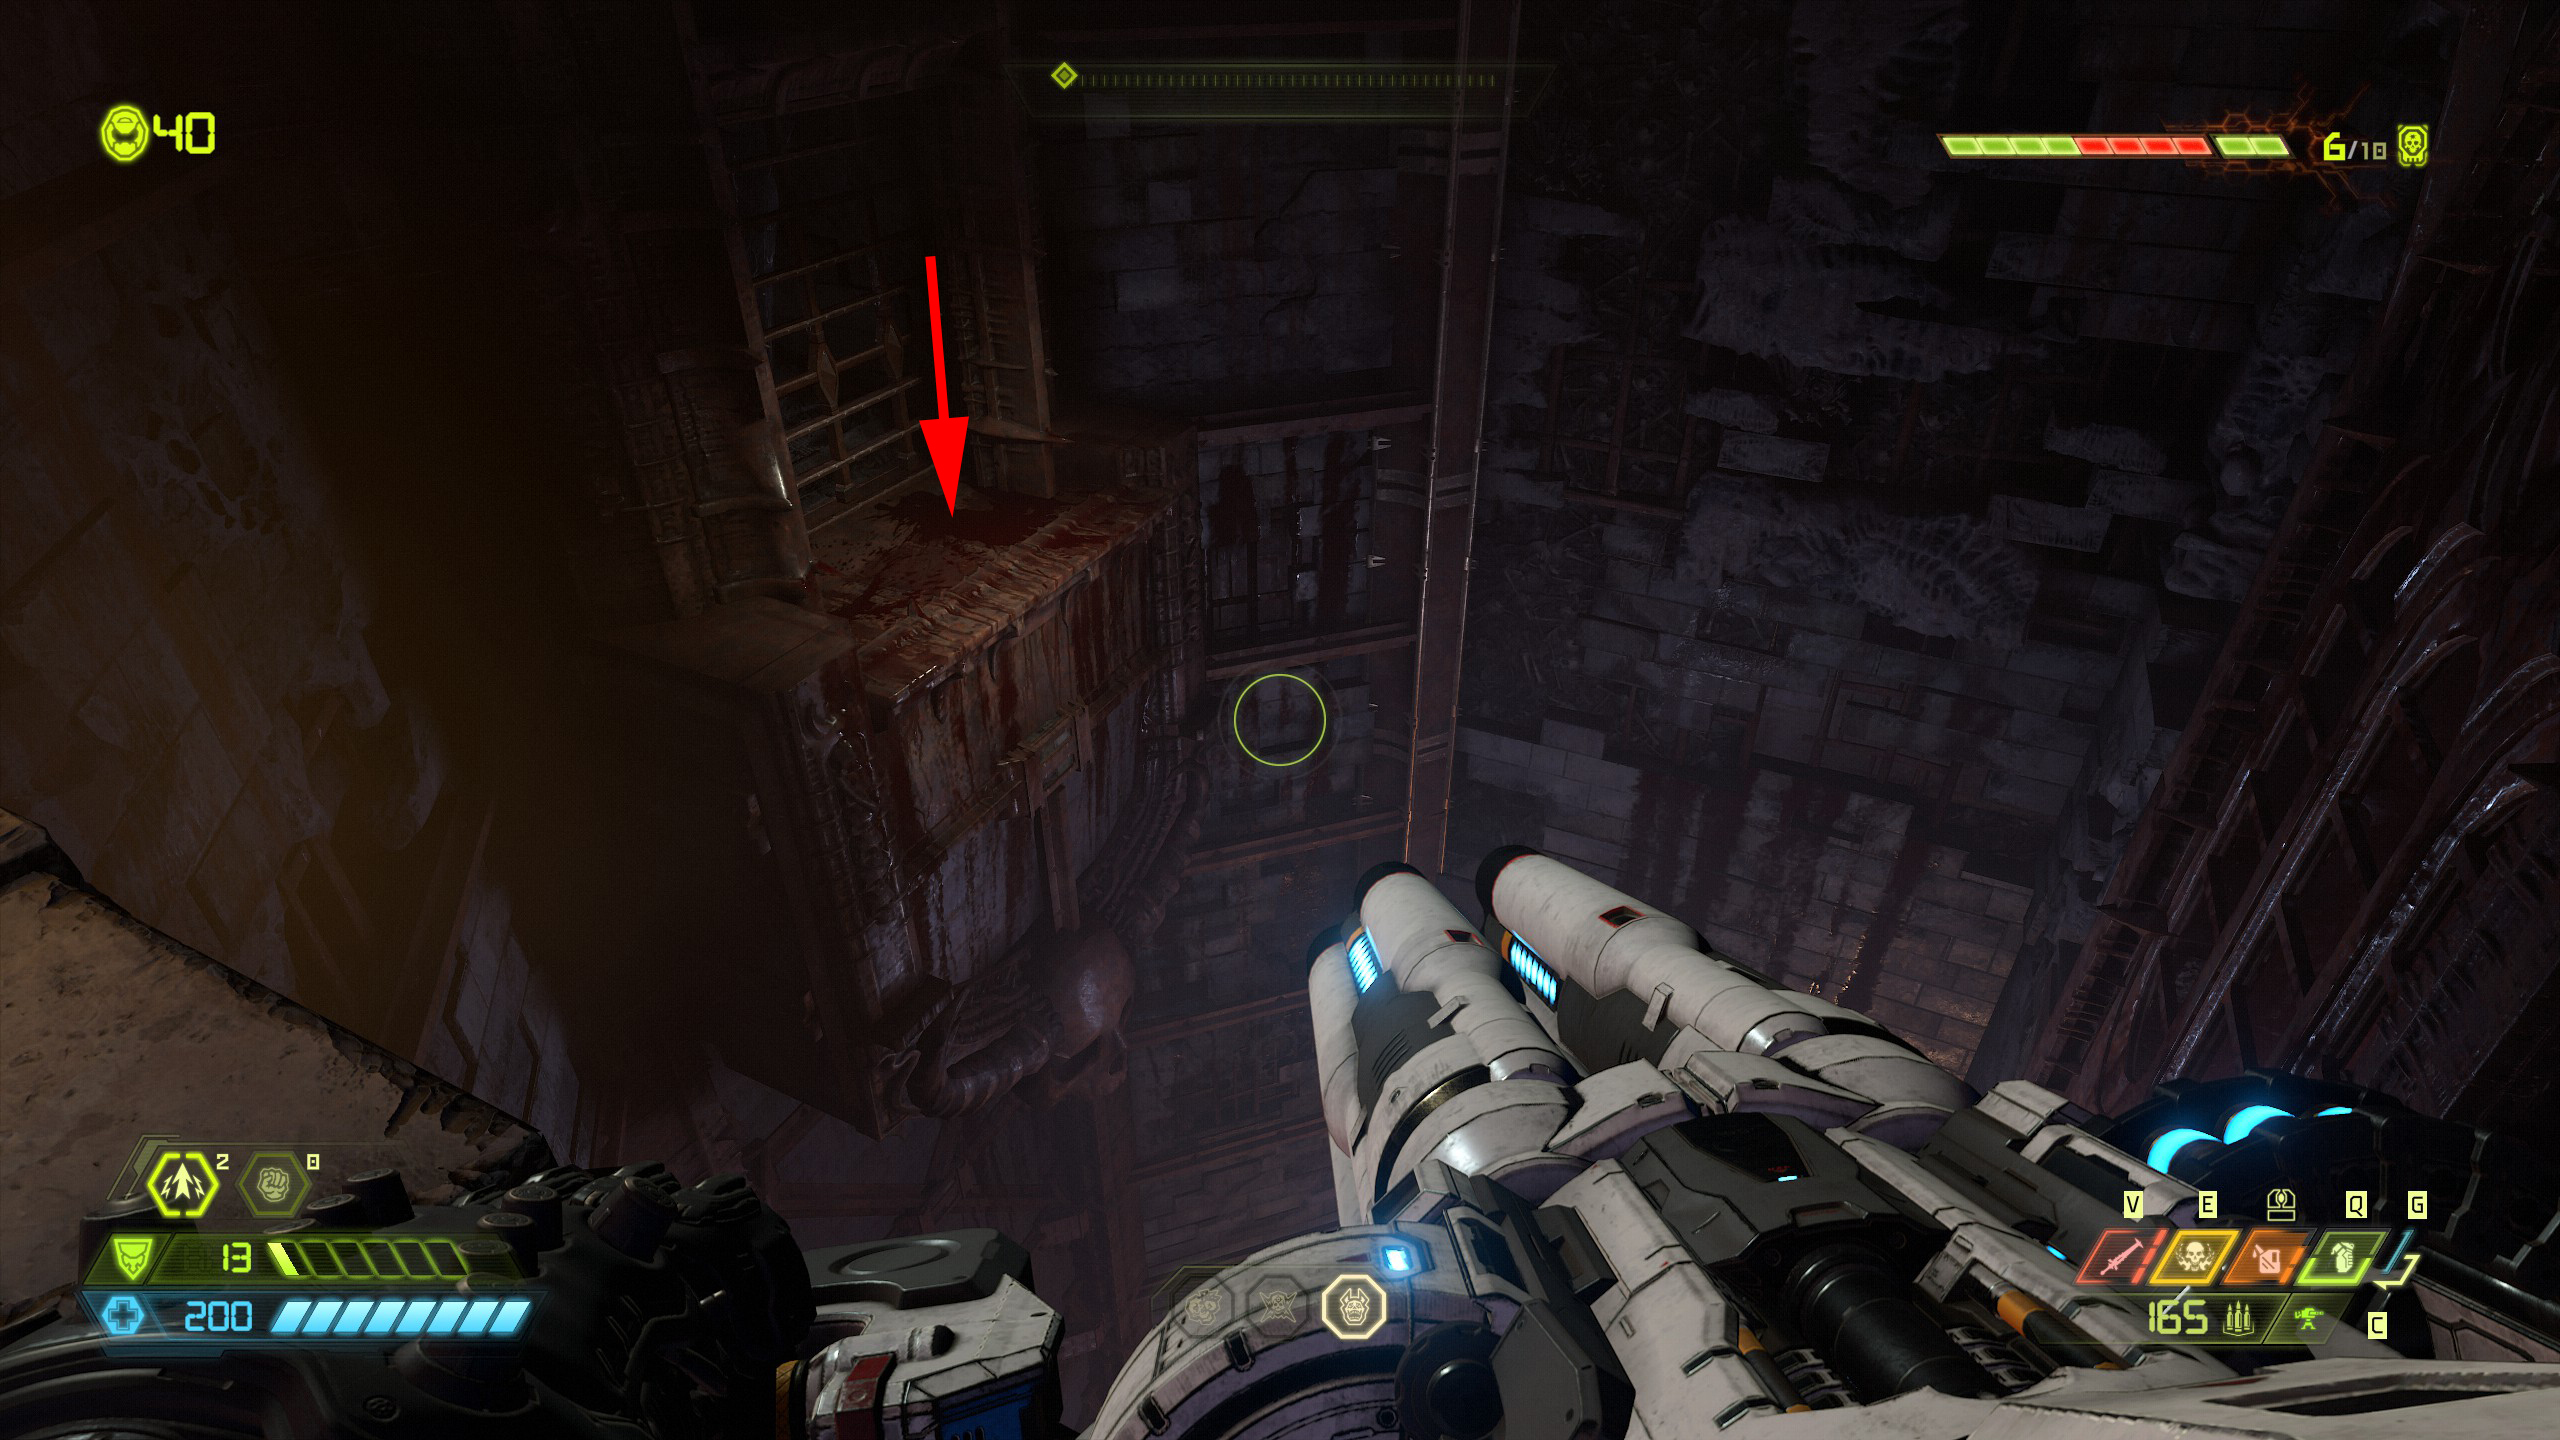
Now after the secret encounter you will come to a big drop. The next item is underneath you but to reach it you will need to jump across on to the bloodied platform first and then face the direction you jumped from. You will see a breakable wall lower down so jump across and break through the wall to collect the album vinyl, but be careful here because if you fall and miss the item you will need to fast travel back at the end of the mission.
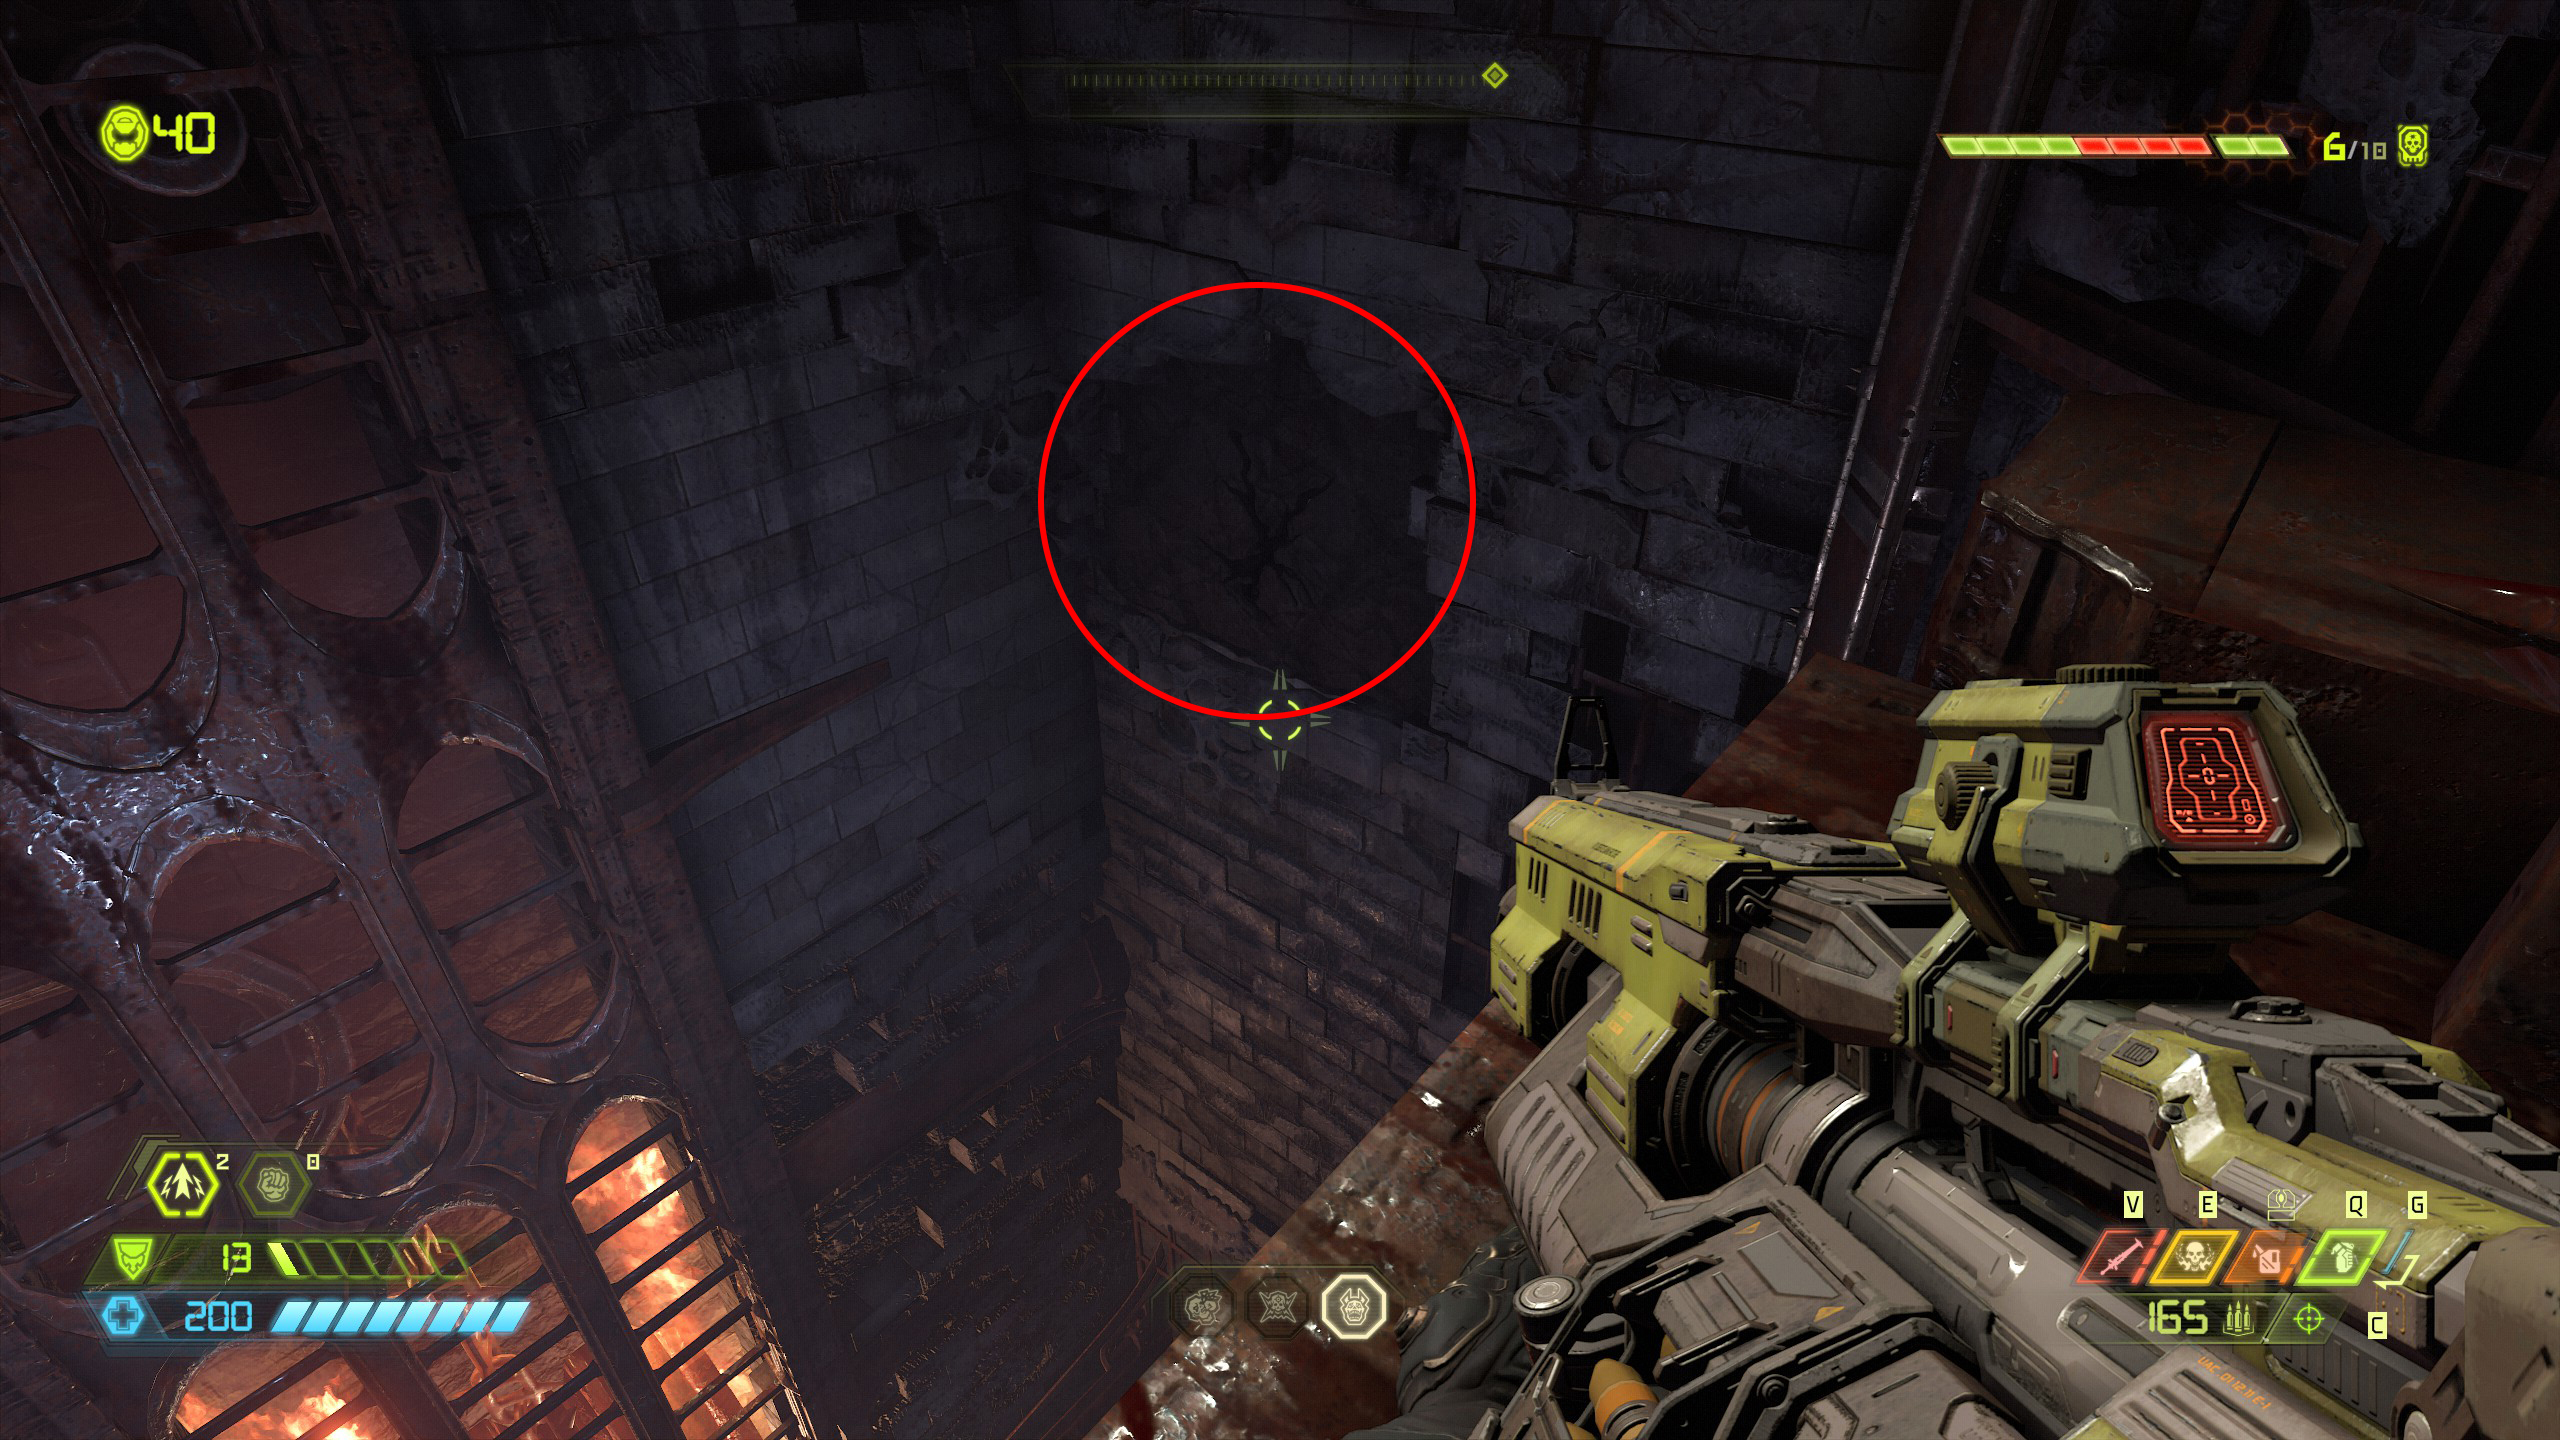
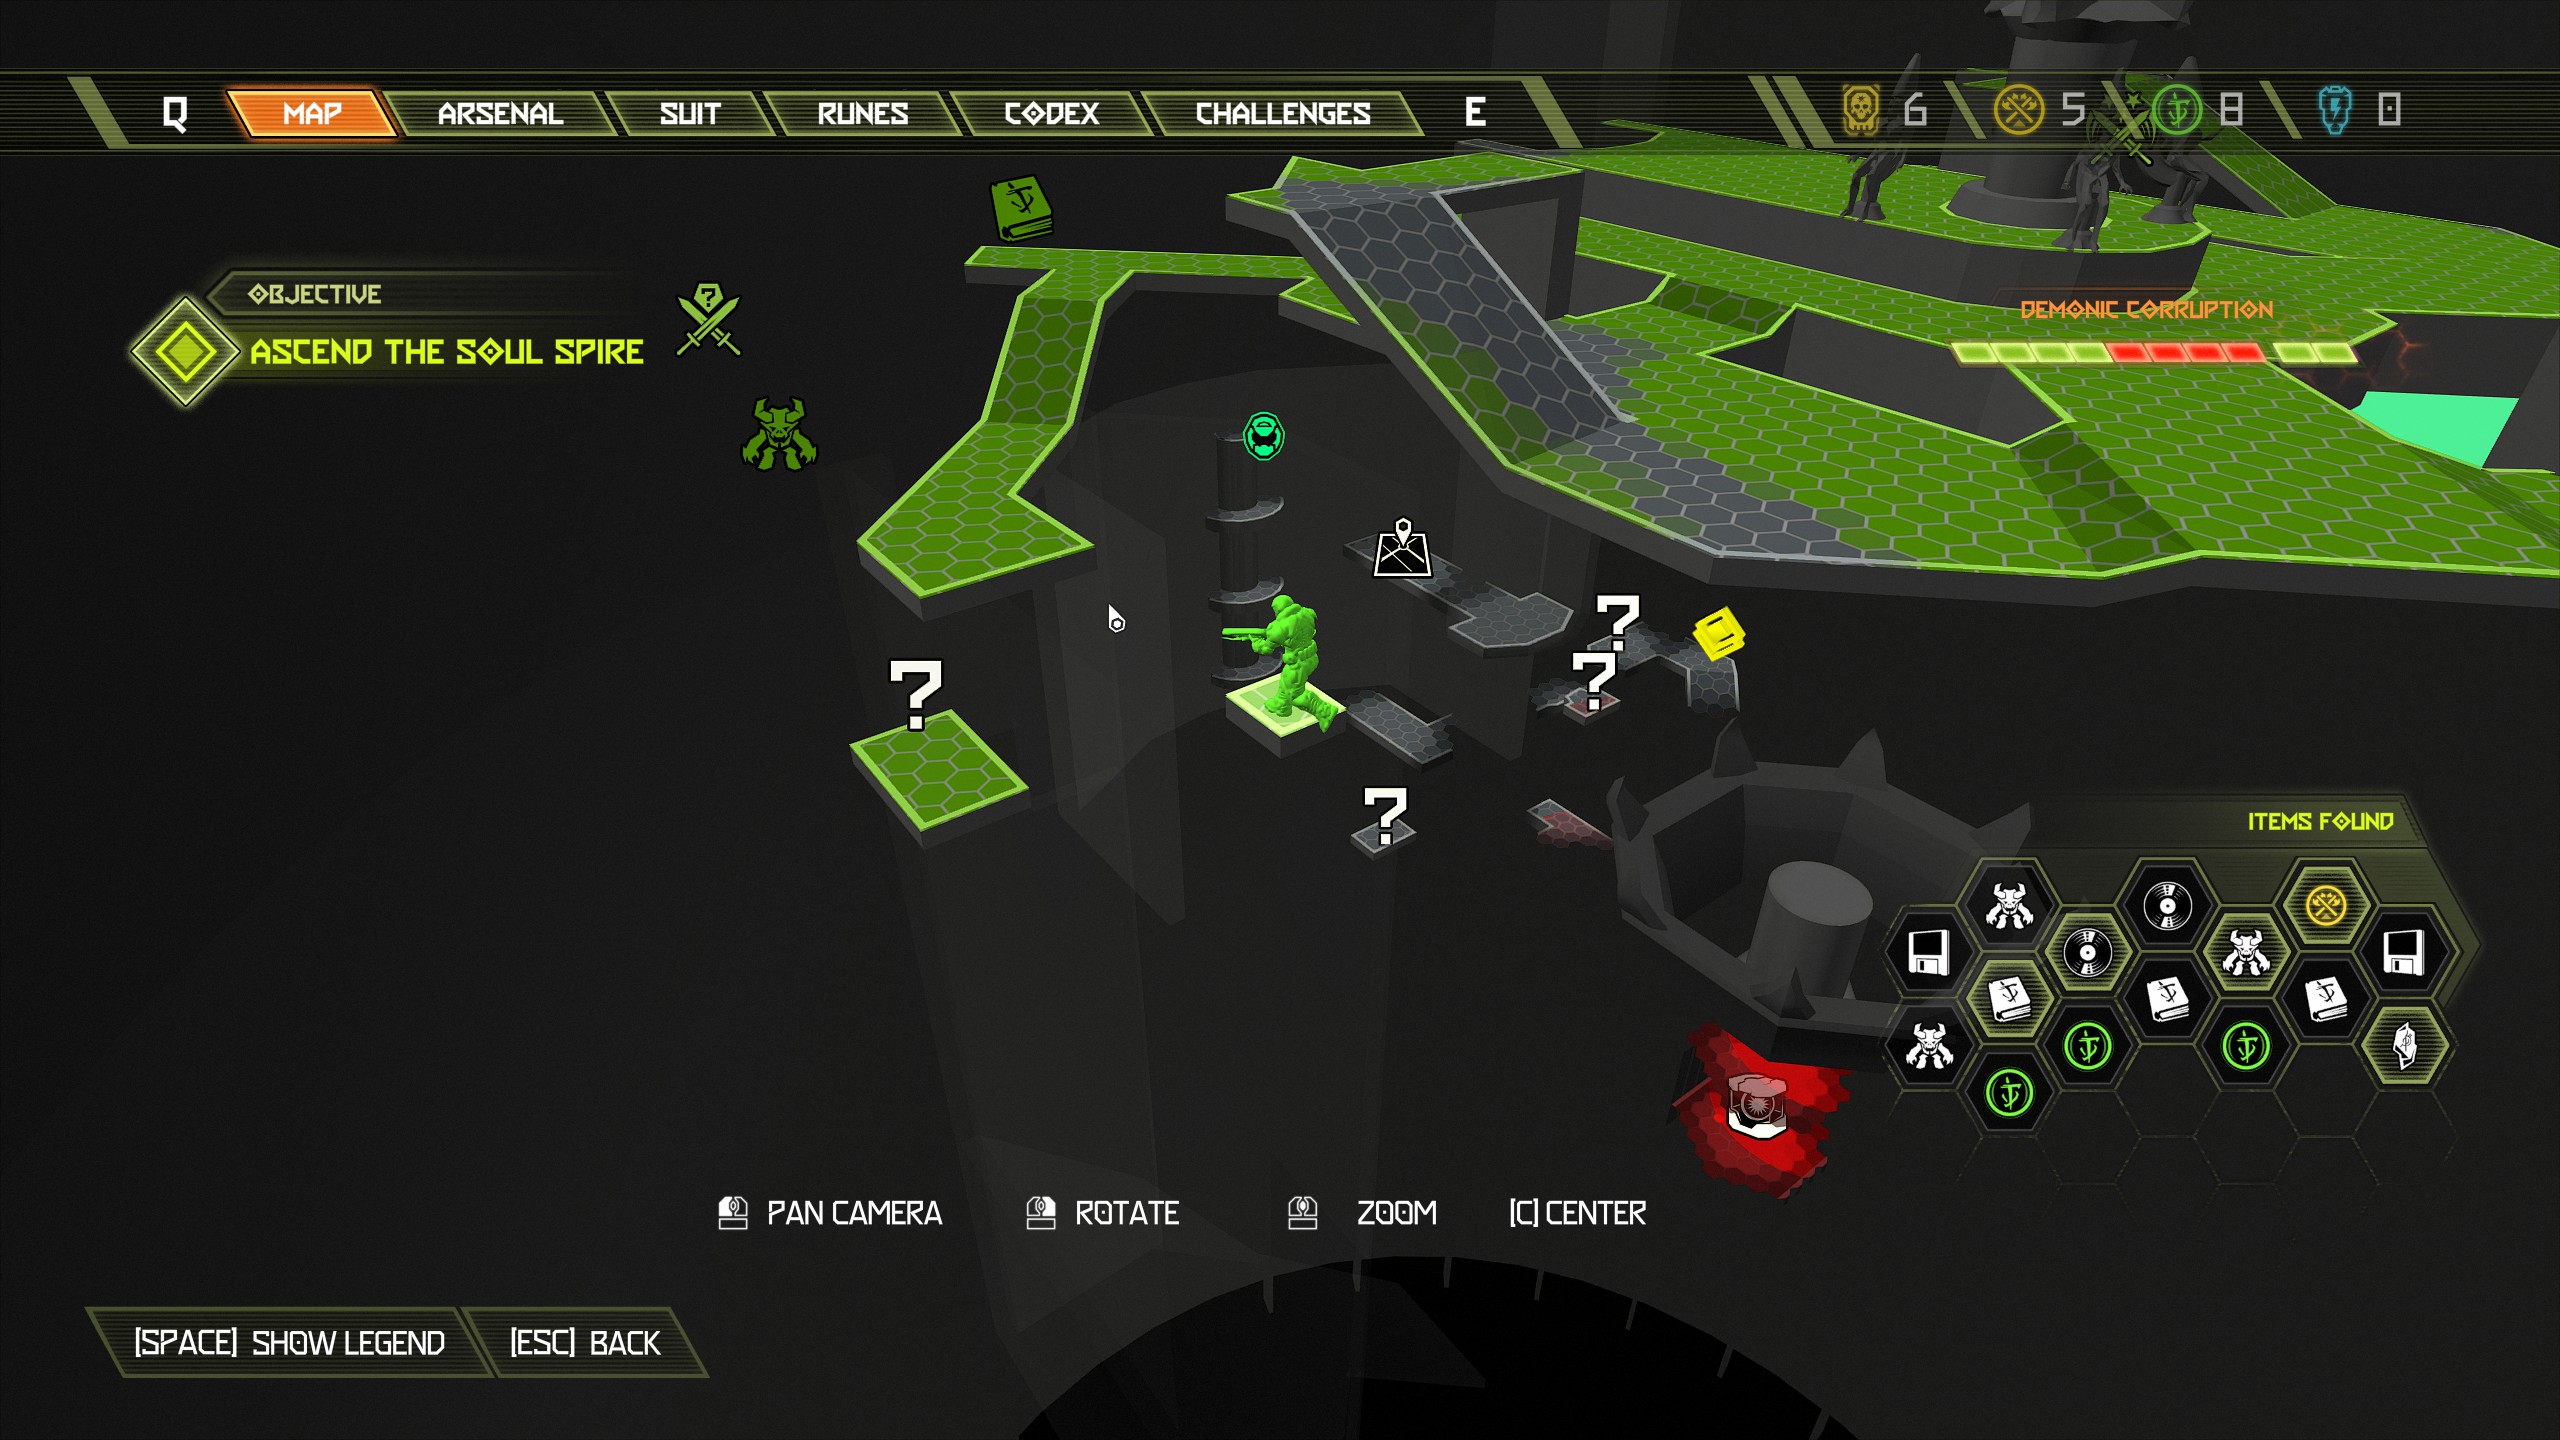
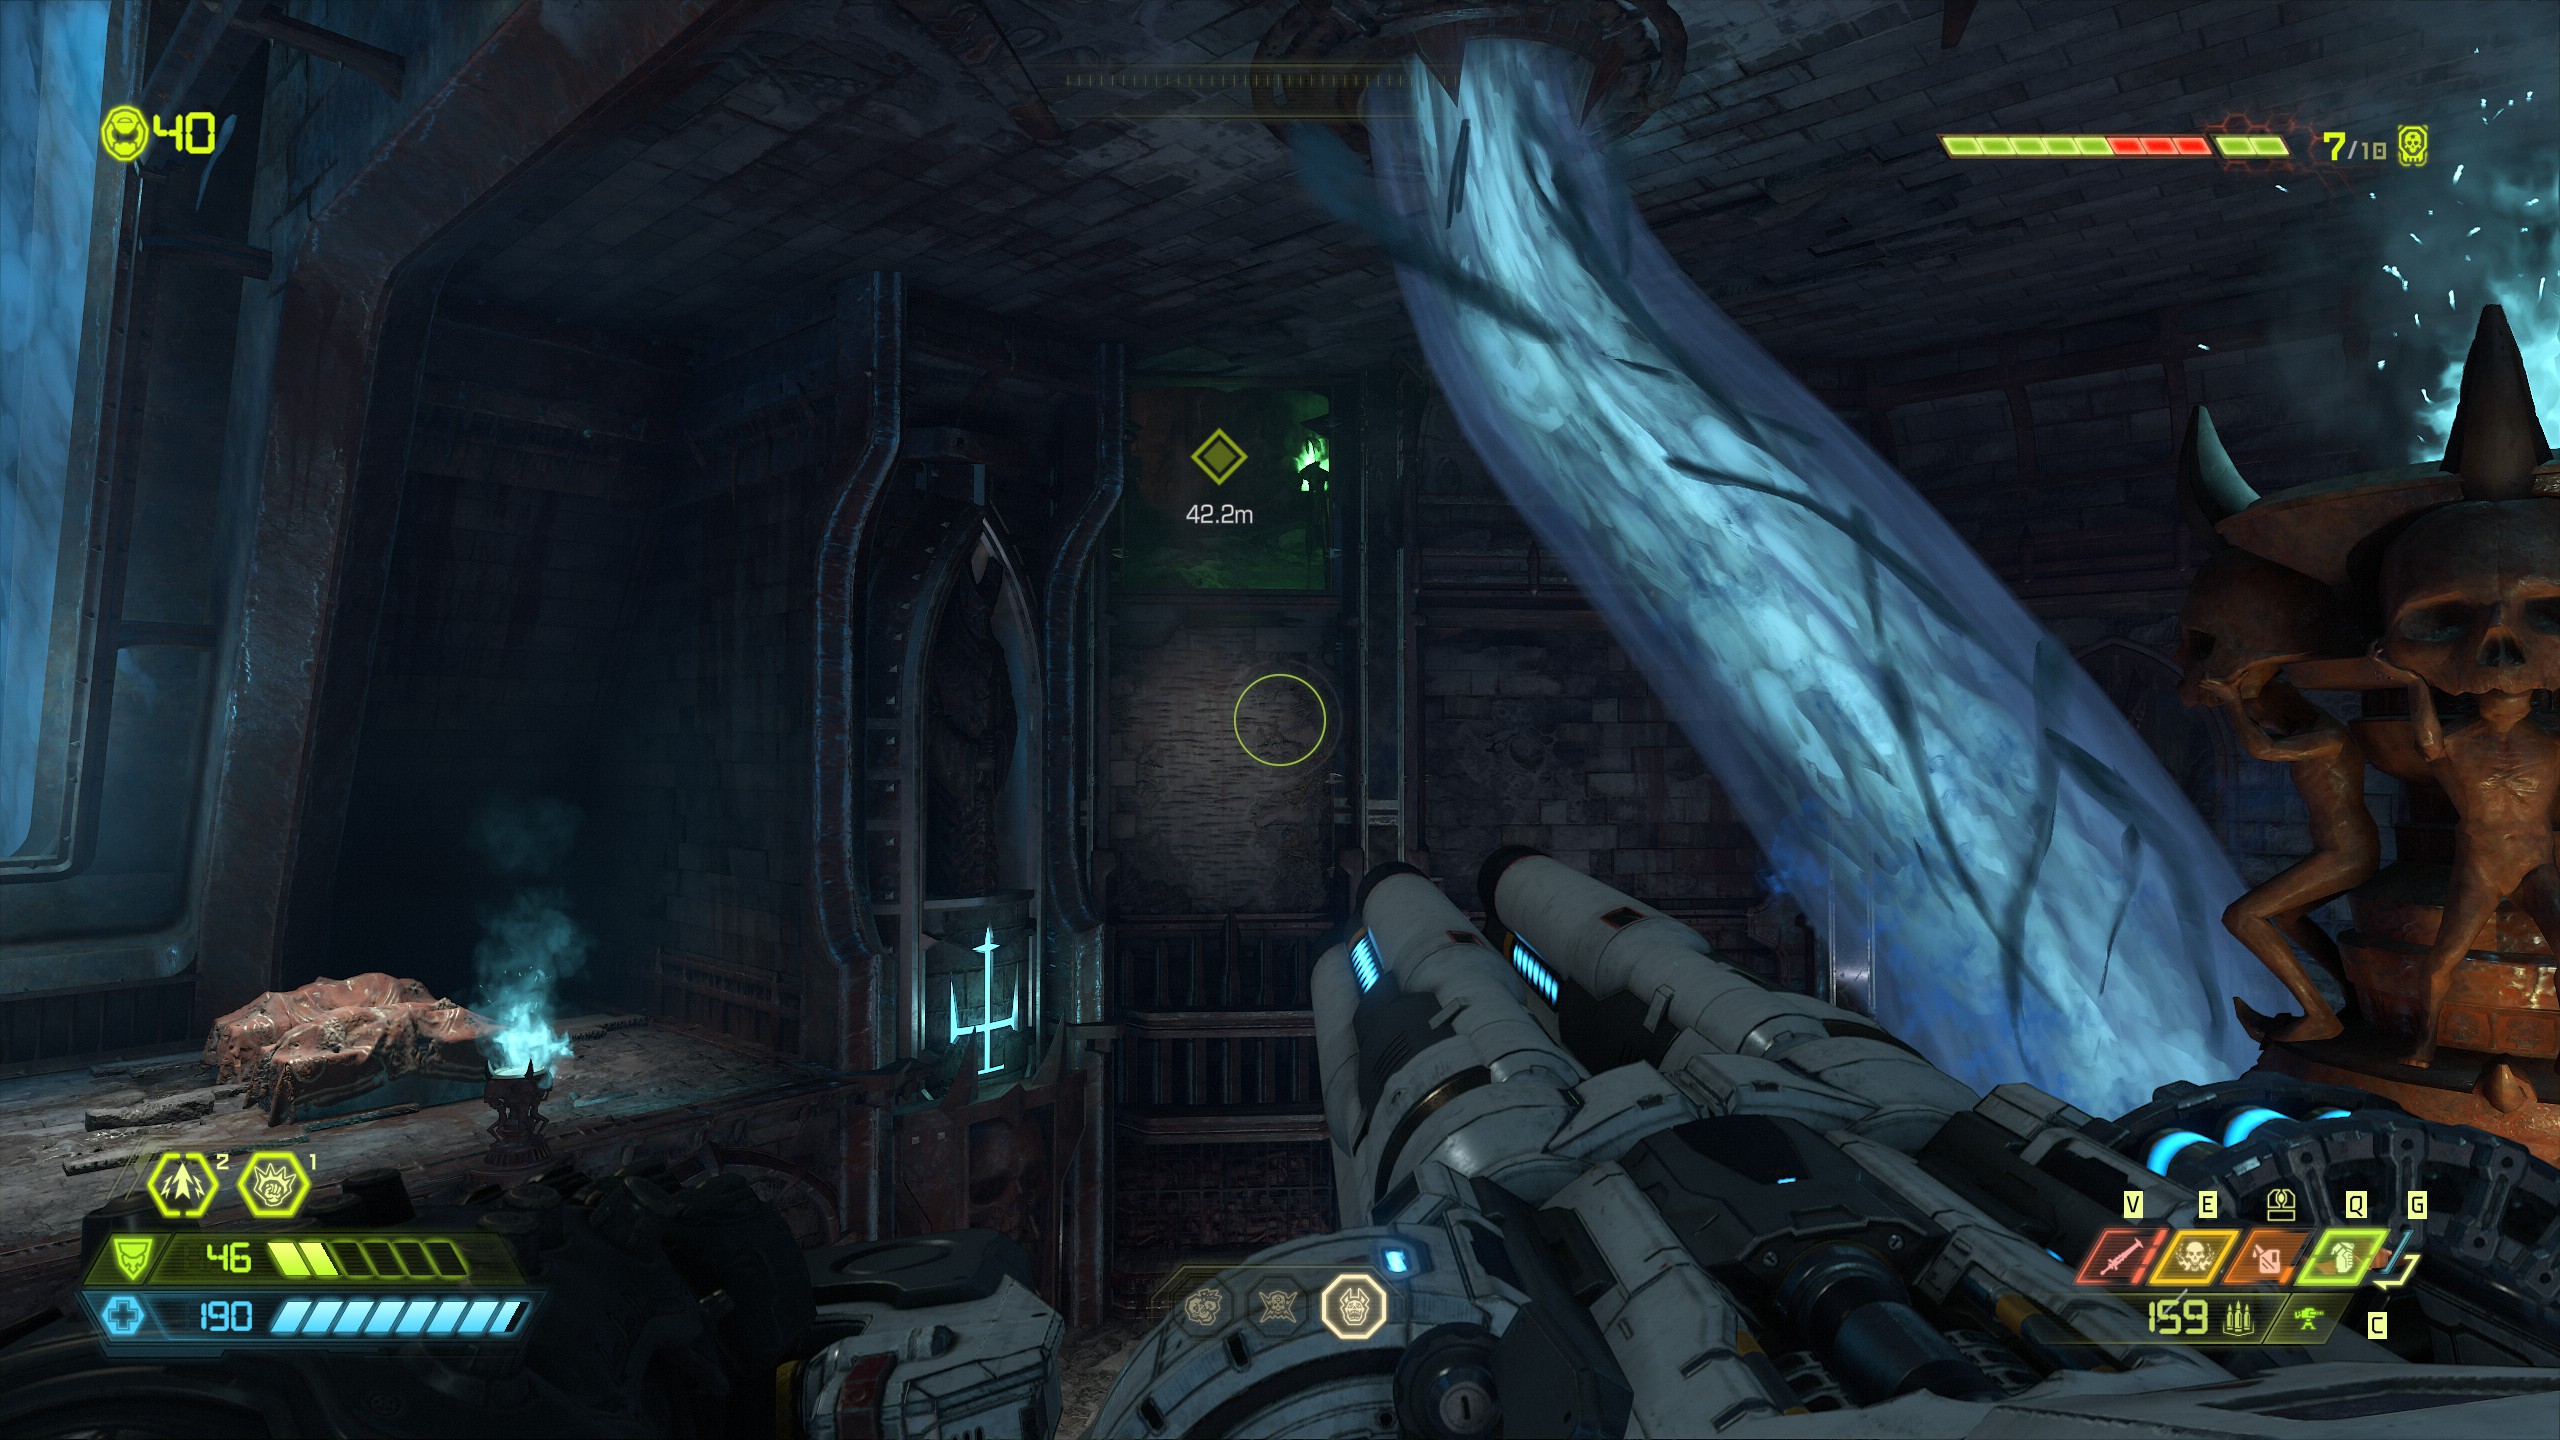
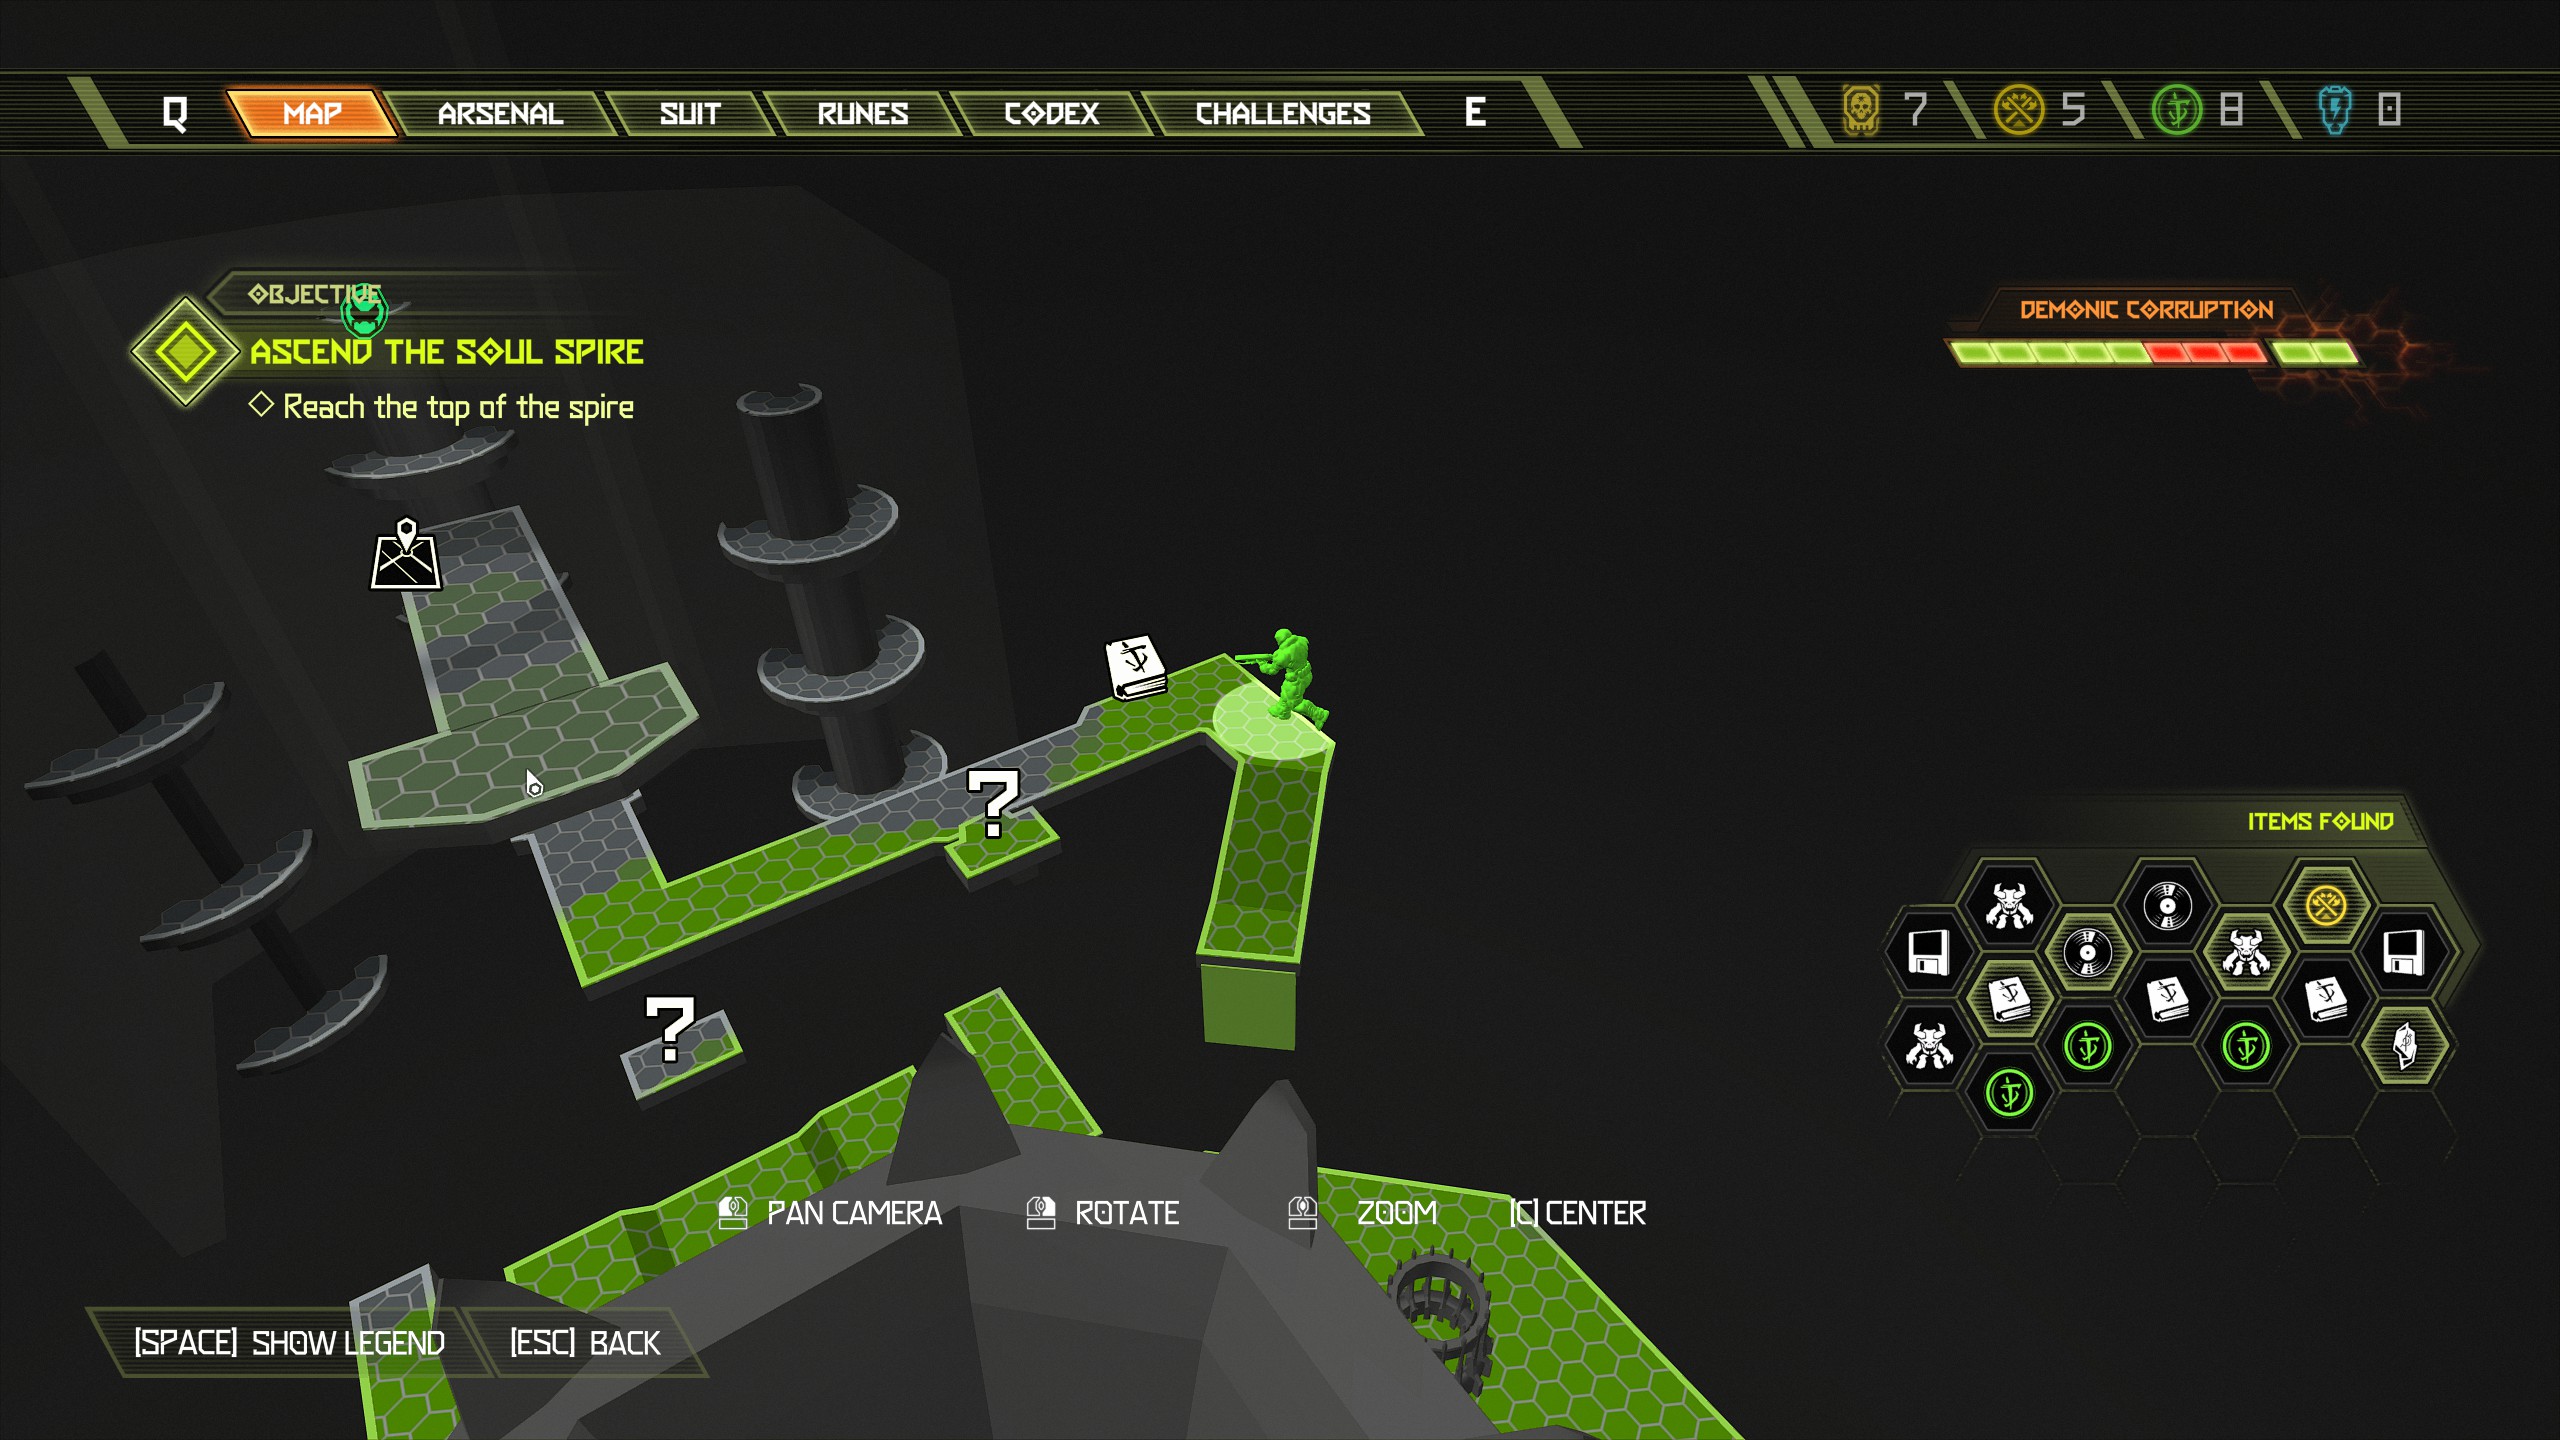
Now keep going and immediately after the codex page on the left side will be another breakable wall, break through to find another album vinyl.
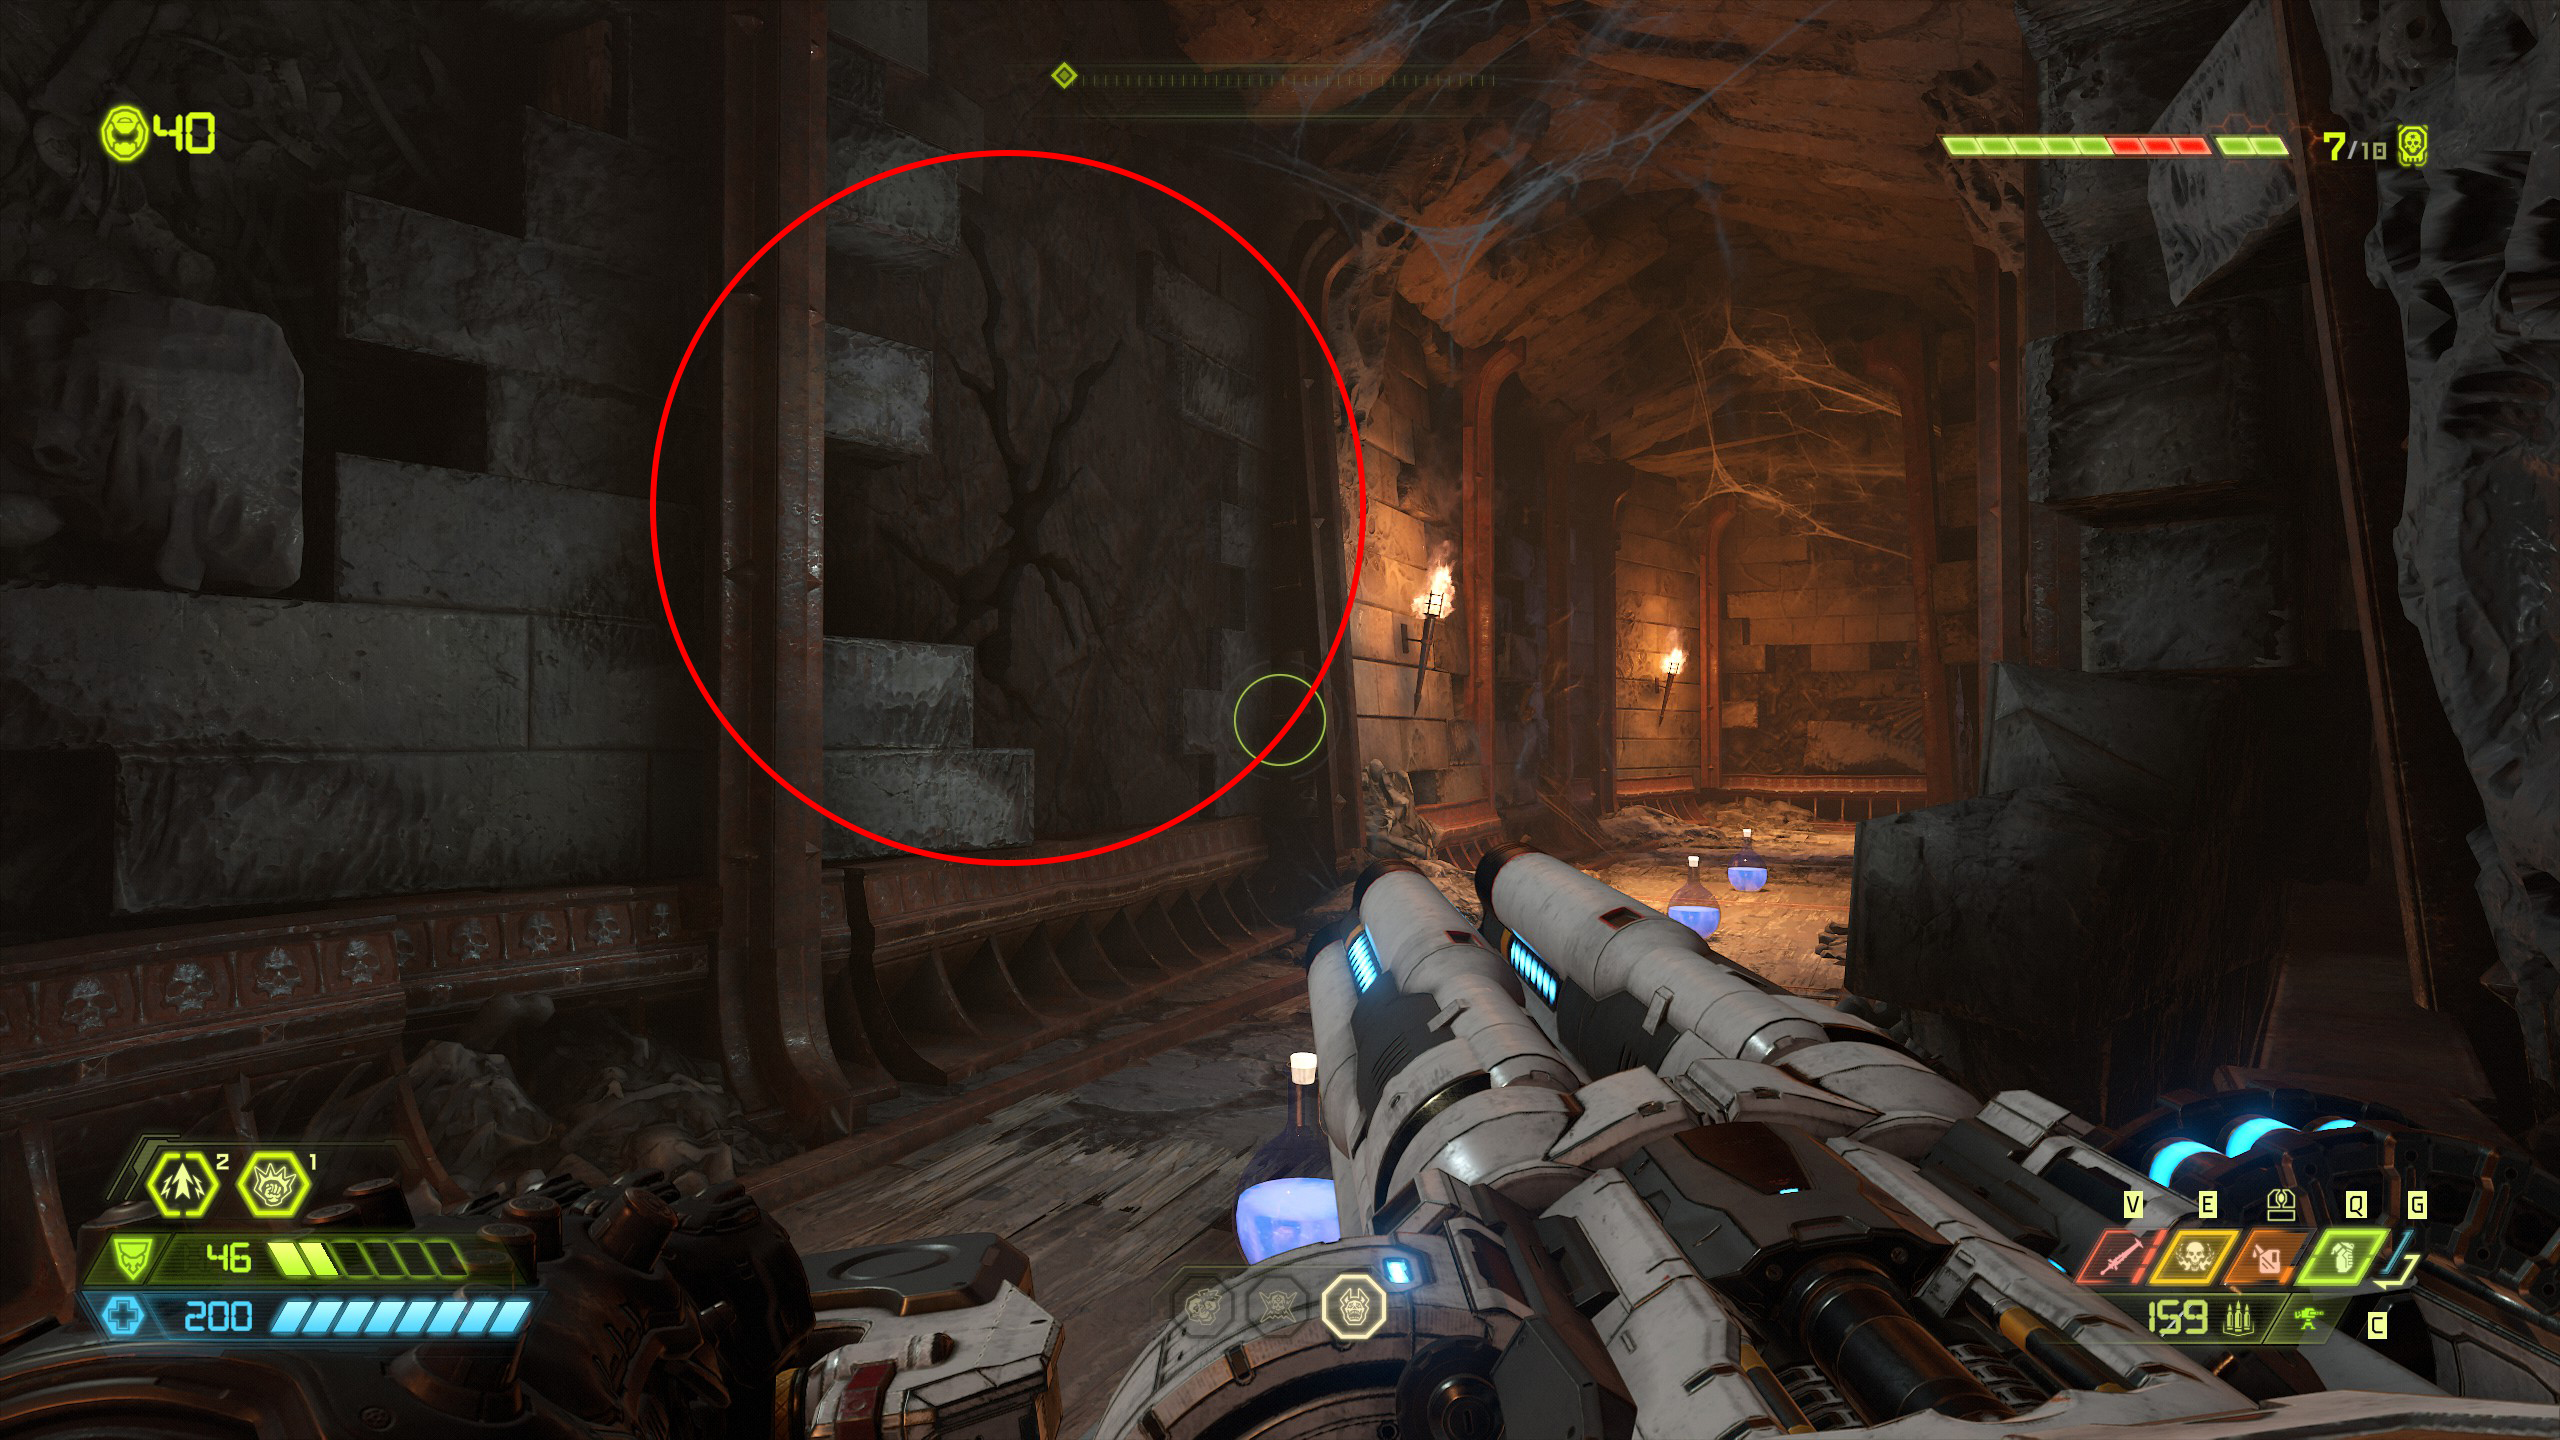
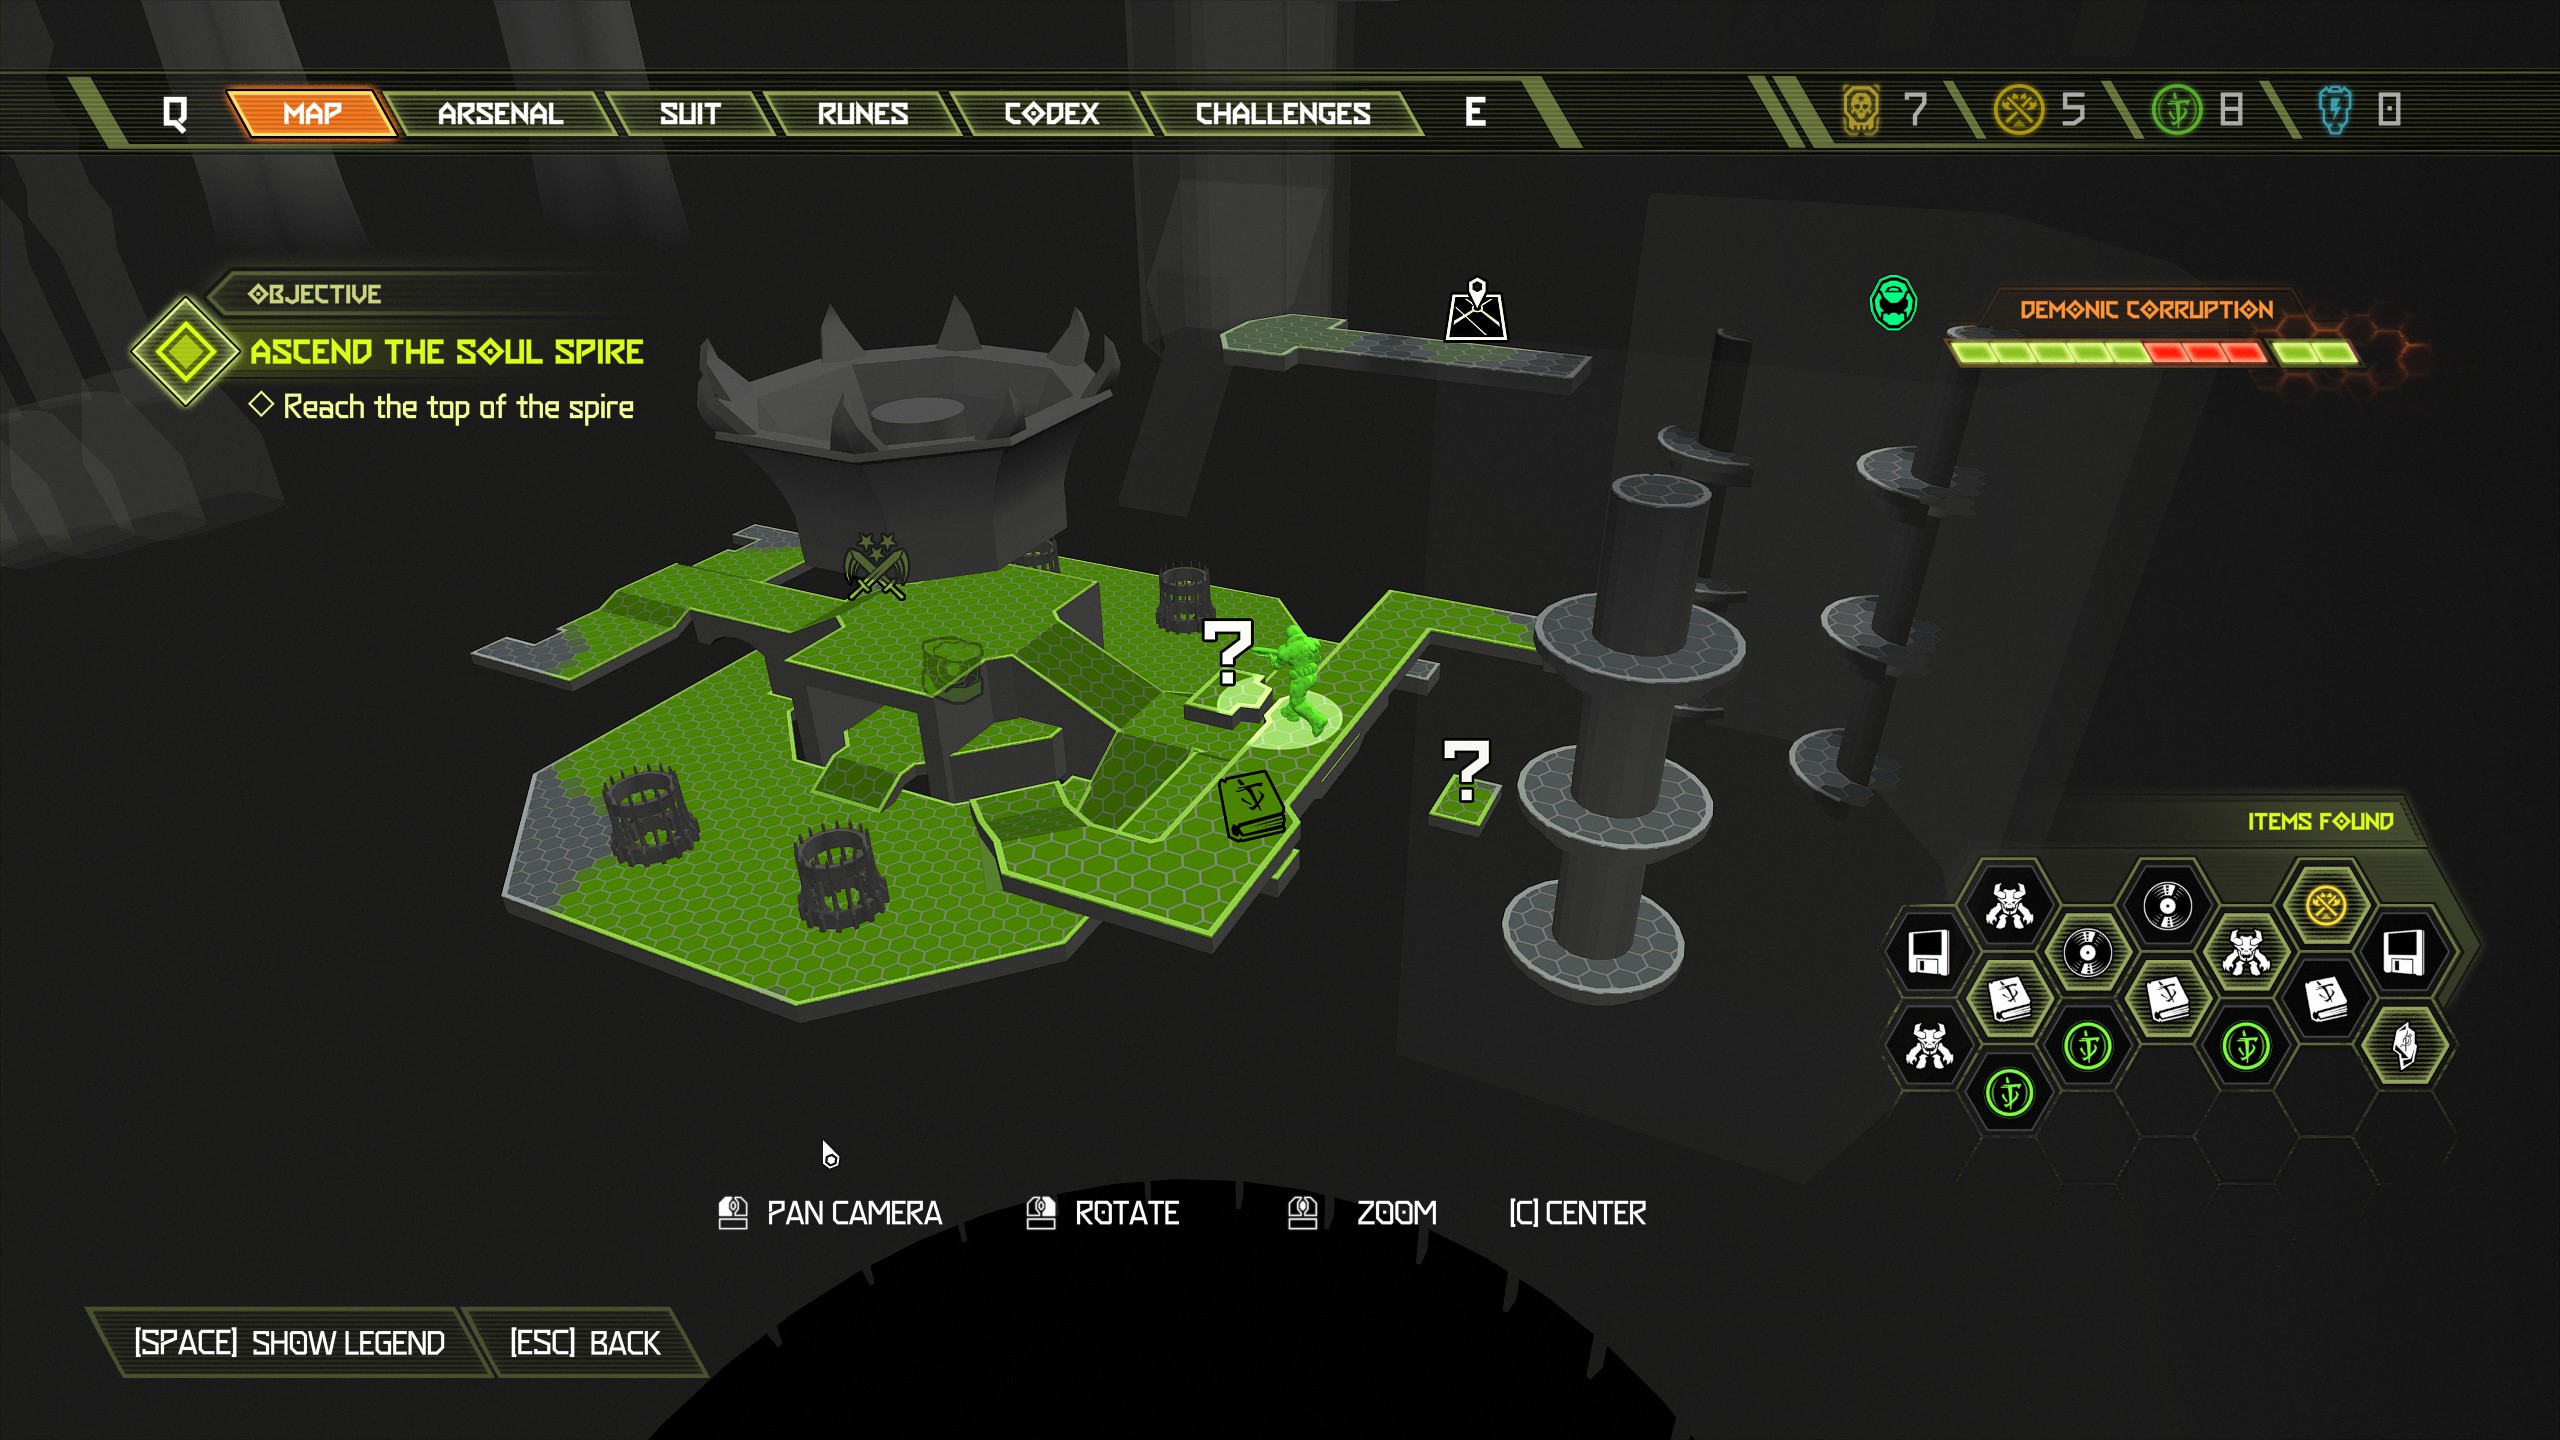
Continue on and you will come across another big drop with rotating flames/platforms. Once again the item is beneath you so you will need to jump across to the opposite platform a little lower down, then face the way you jumped from and directly opposite you should see a small opening in the wall. Jump and dash across to the opening to collect a doomtoy.
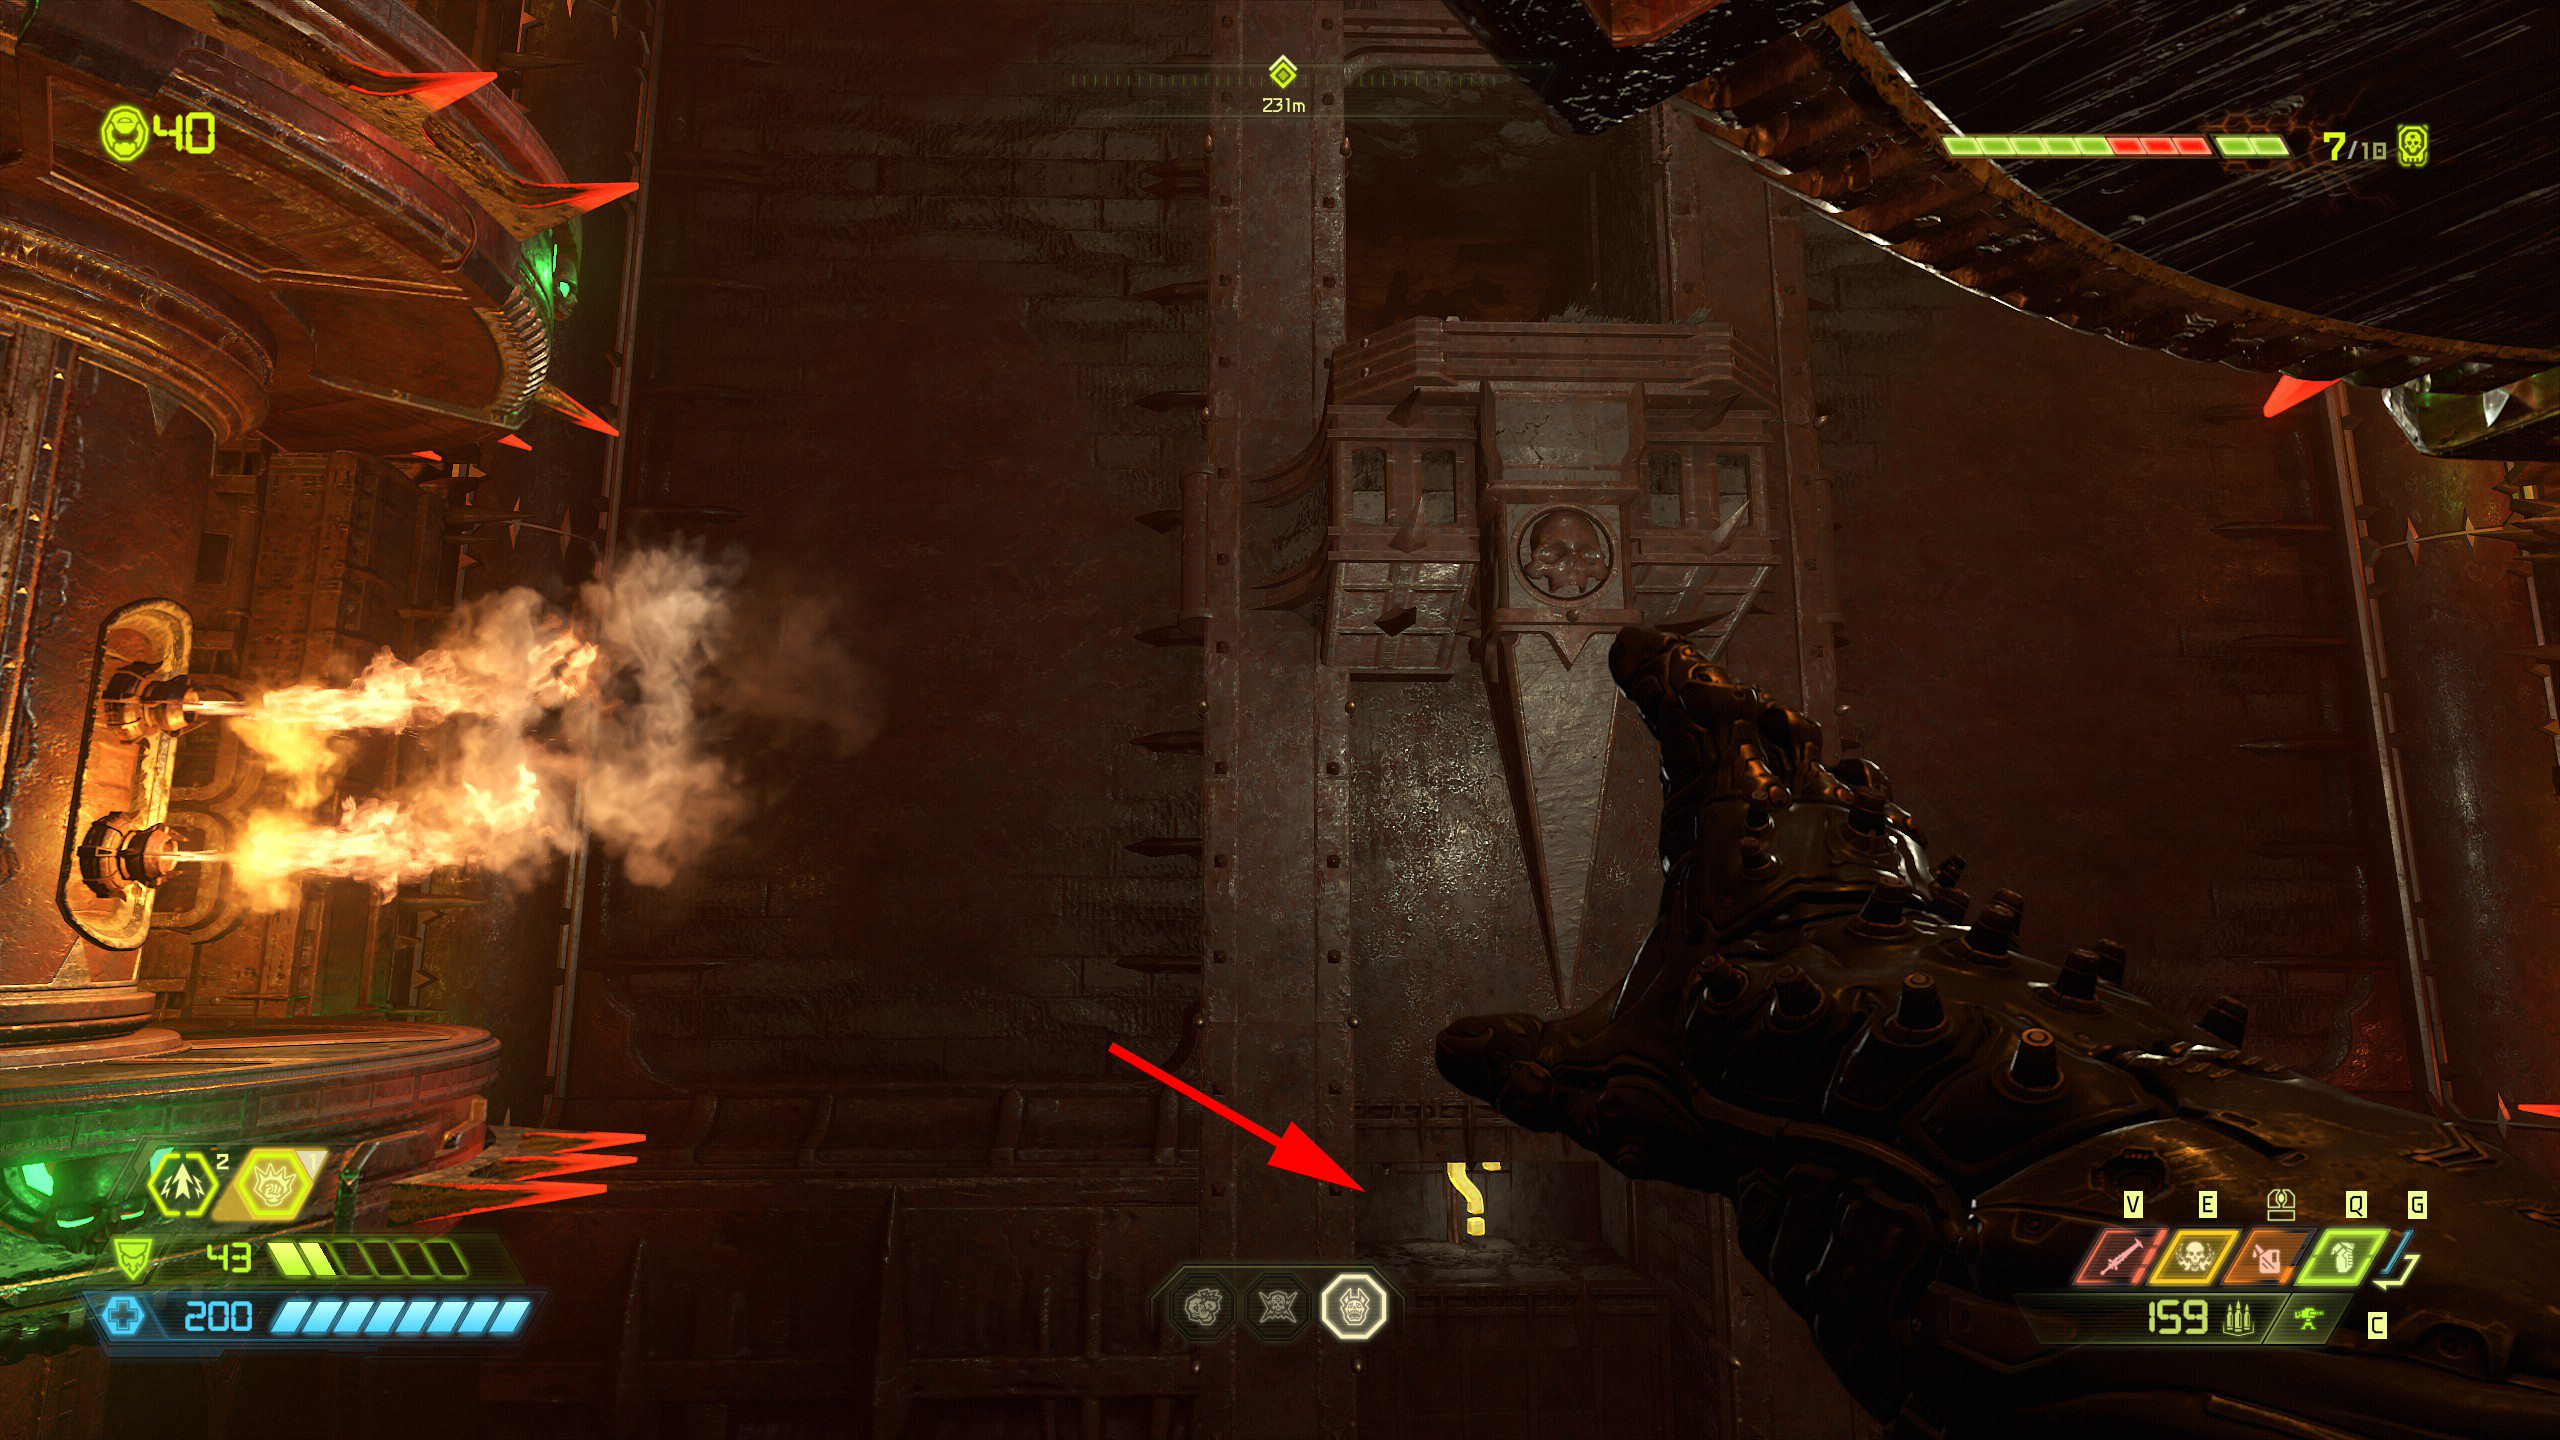
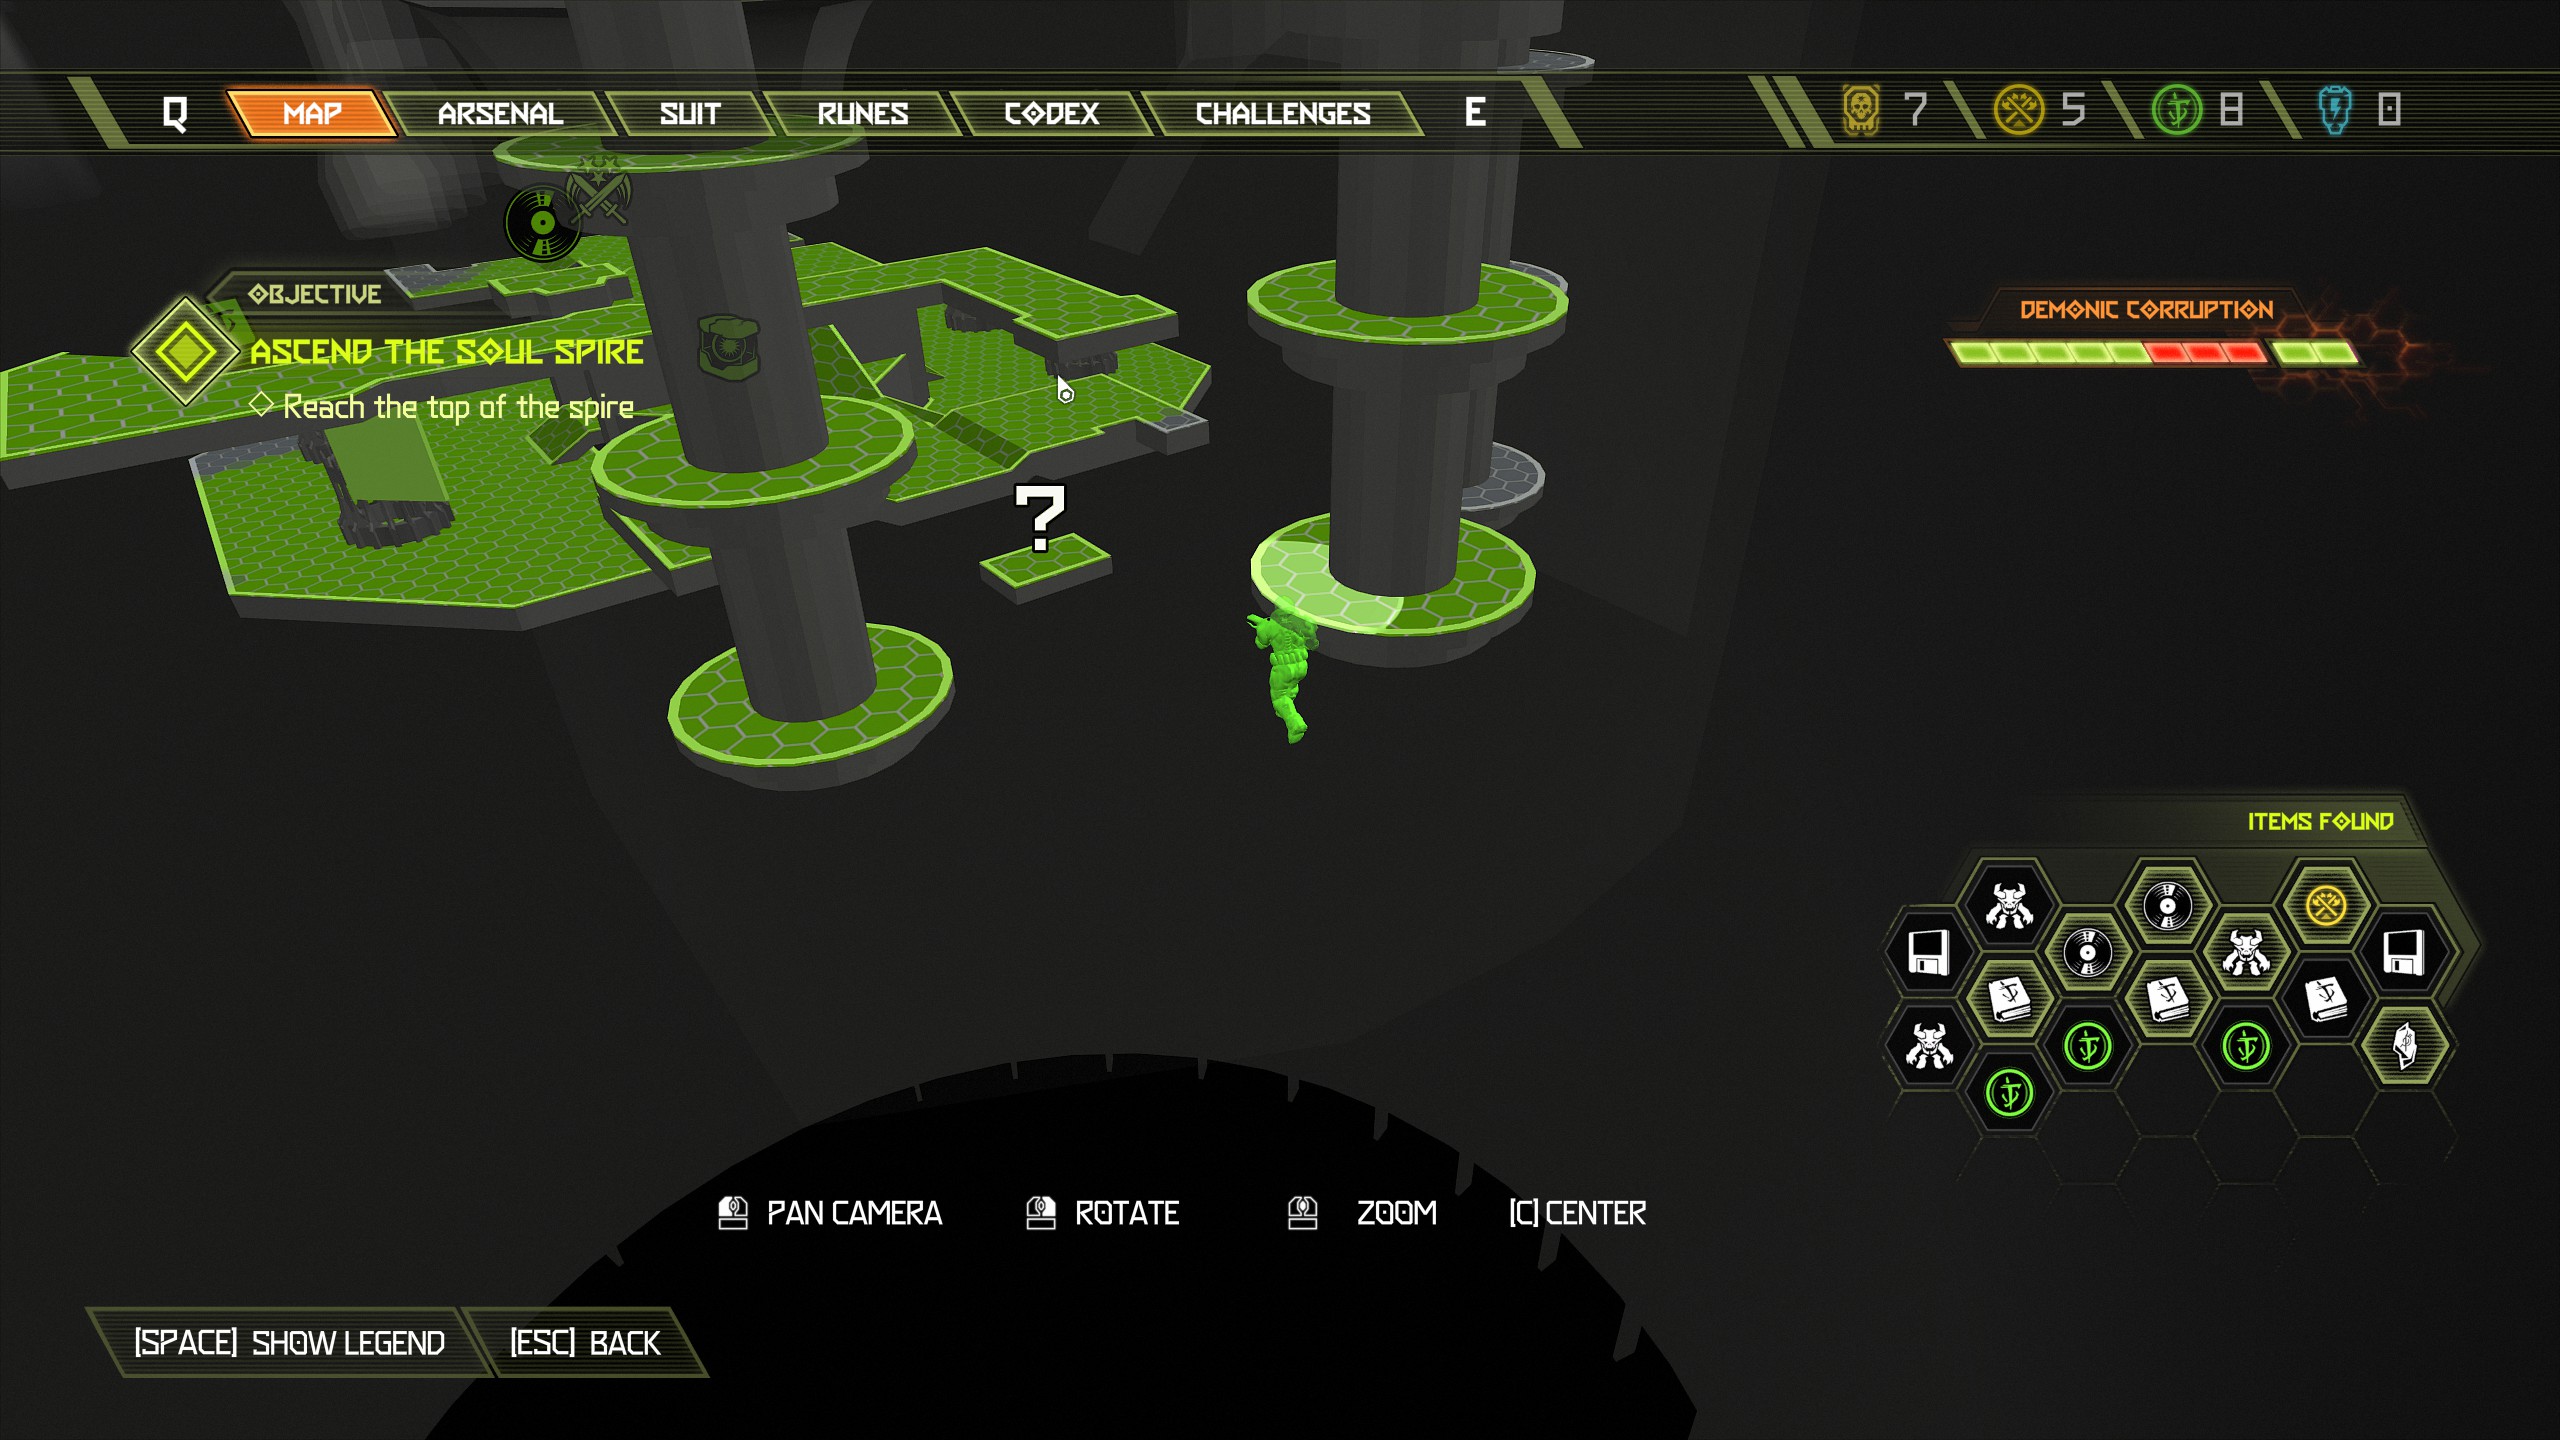
Now continue and make your way up to the very top using the platforms. Once at the top we will find two items, first you will see the automap in the opening and then from the automap face towards the rotating platforms you climbed and you will see an extra life at the top of the middle beam. After collecting both items continue the mission to the lift.
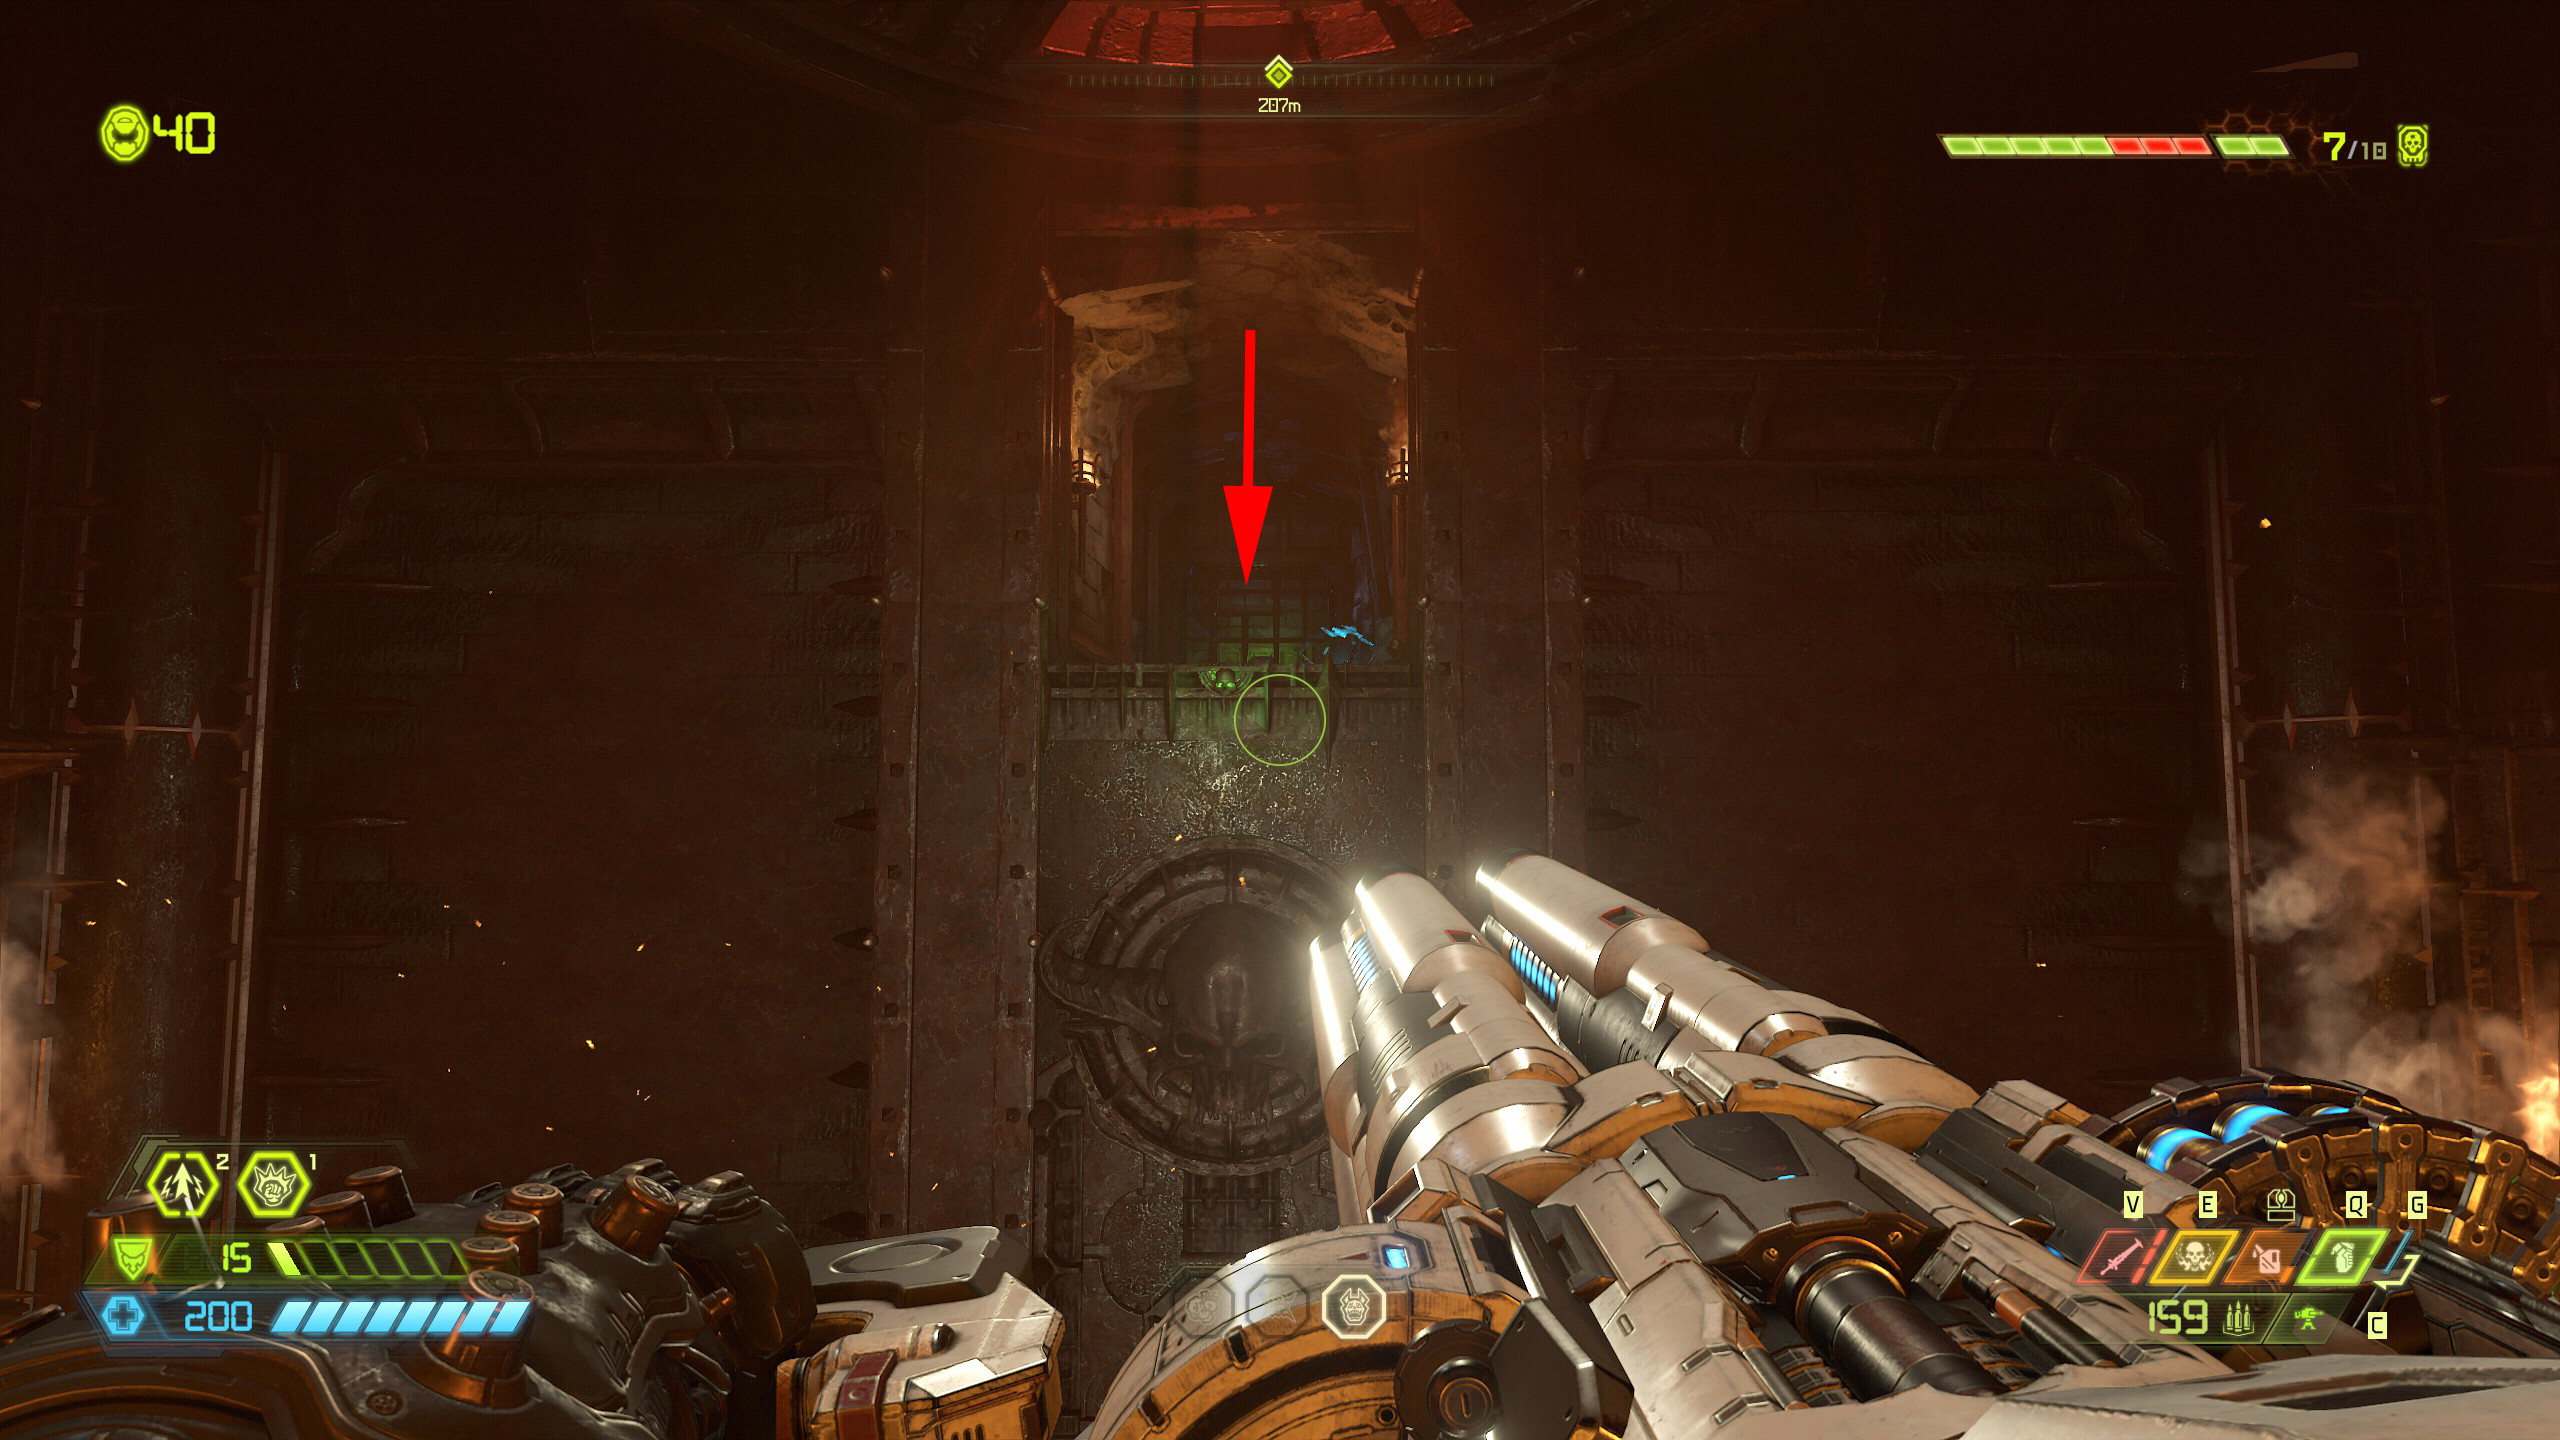
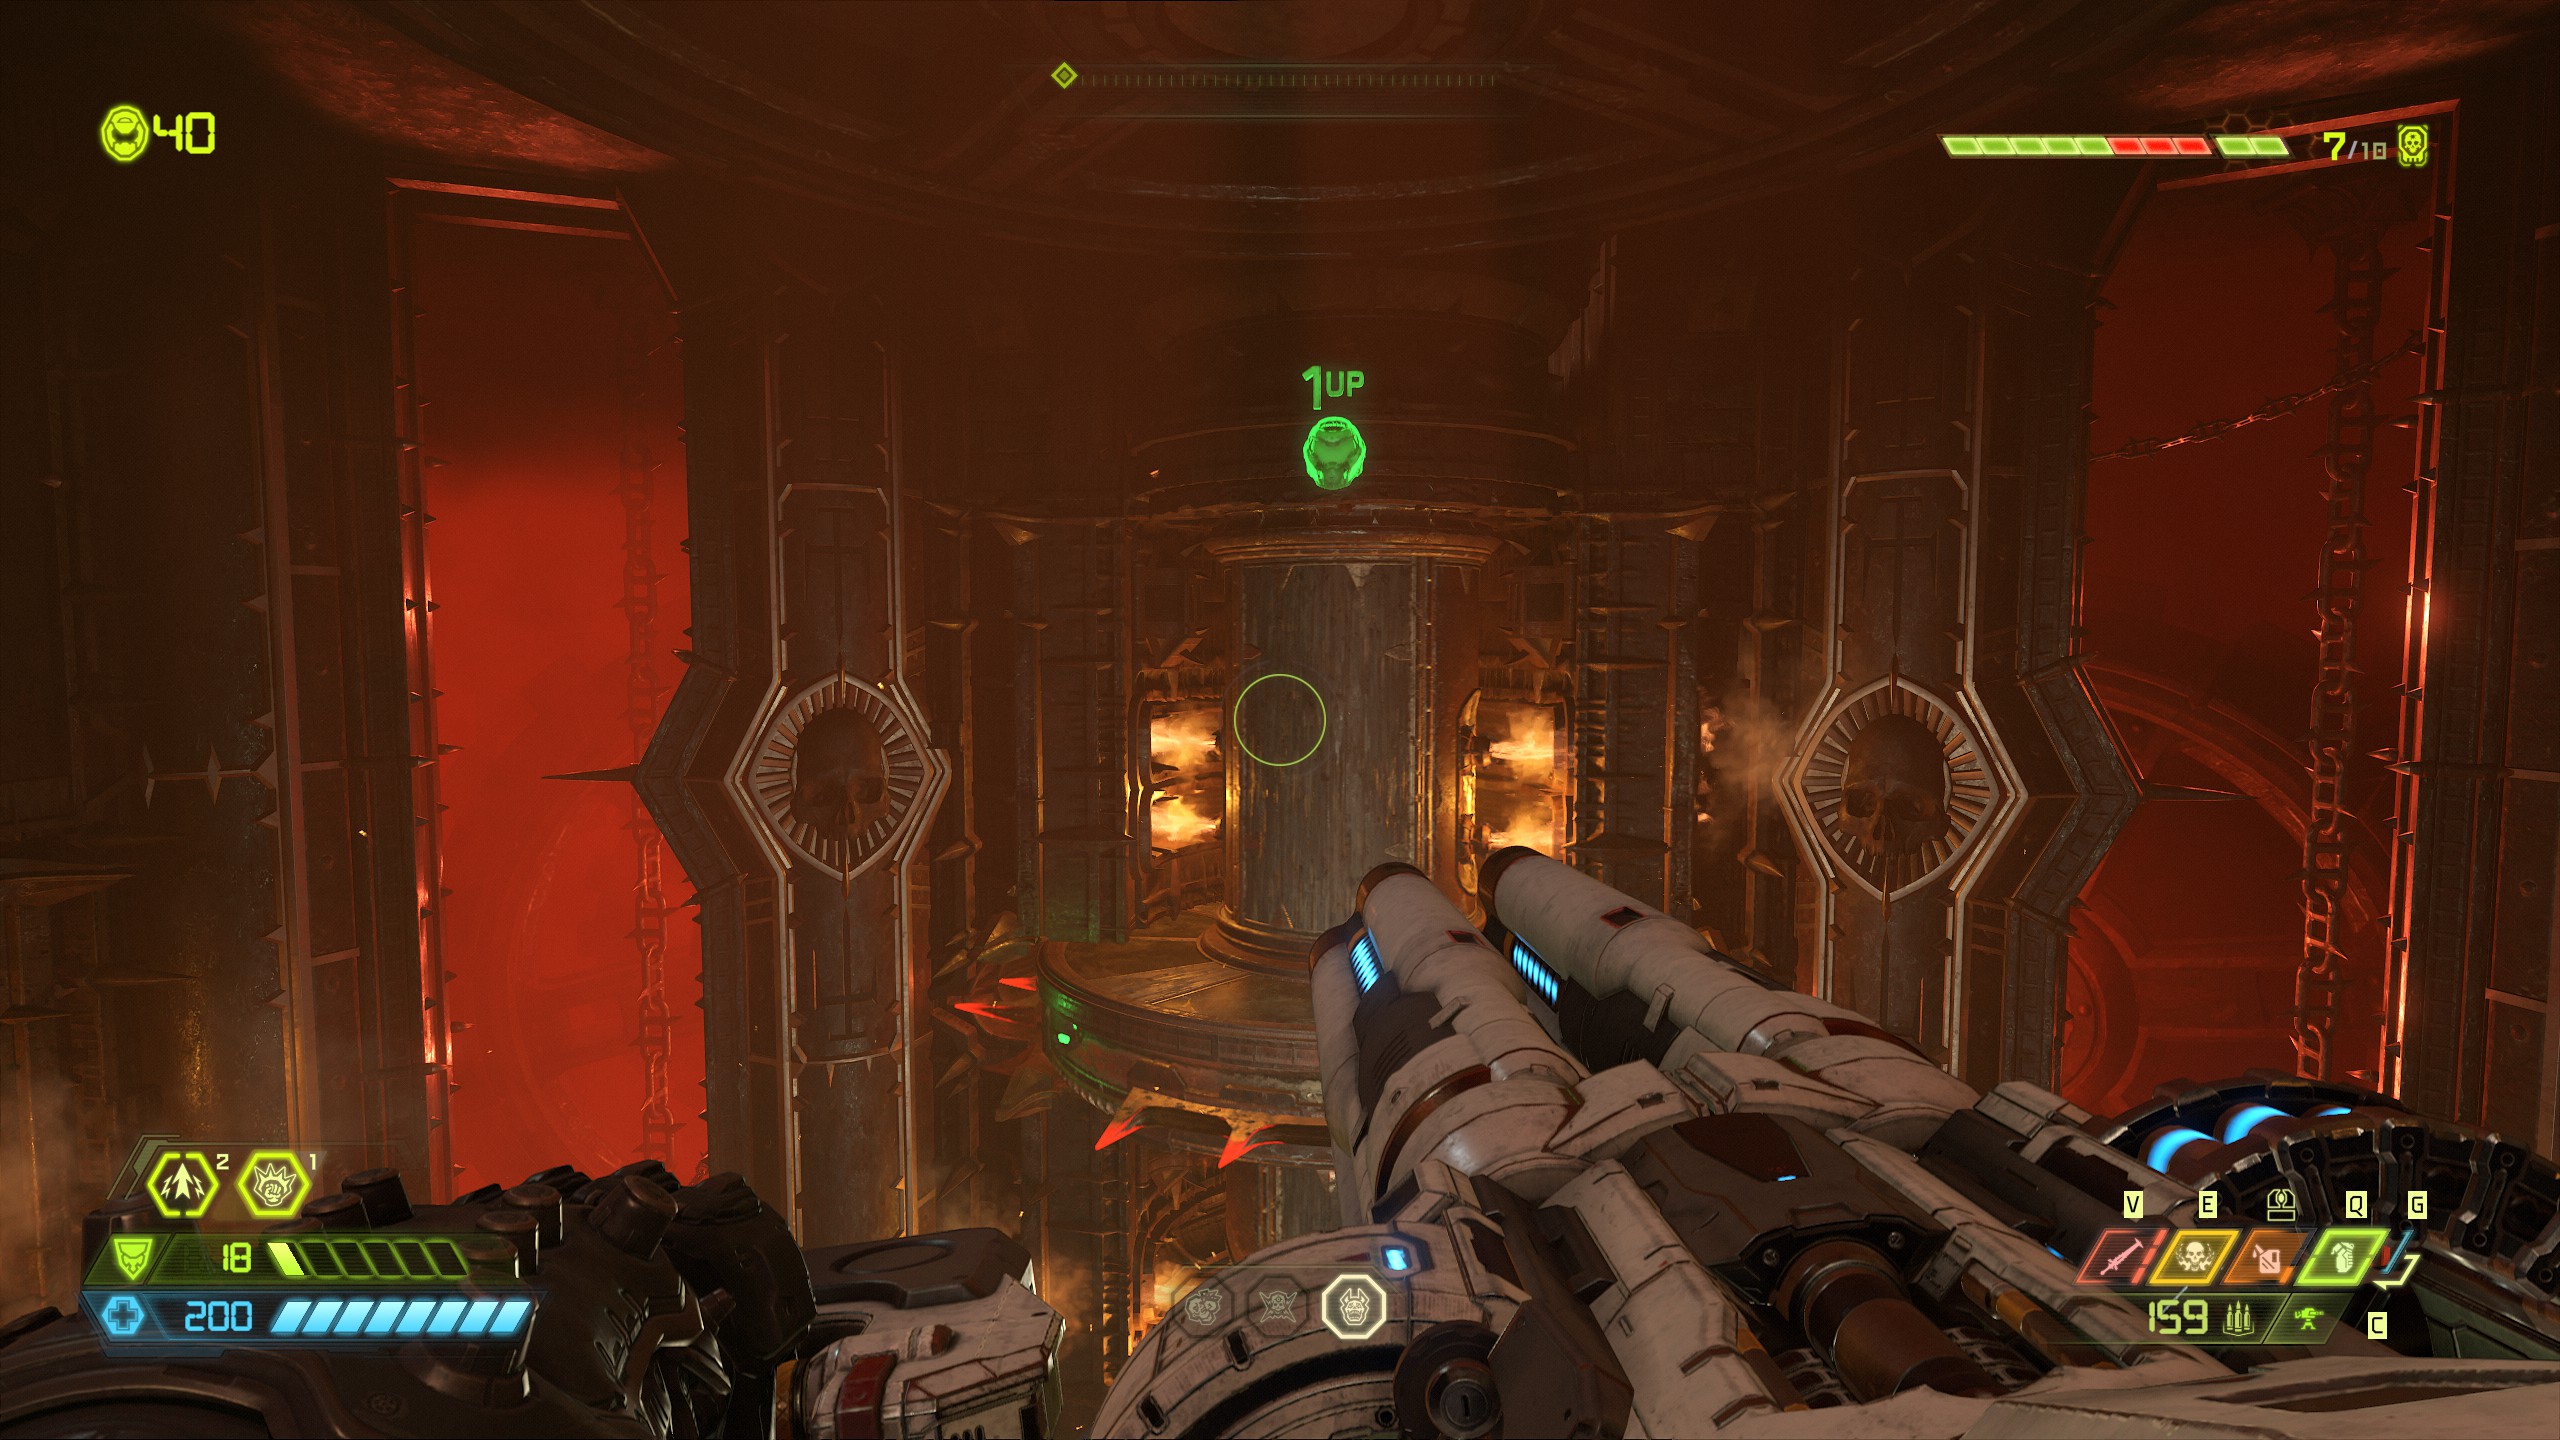
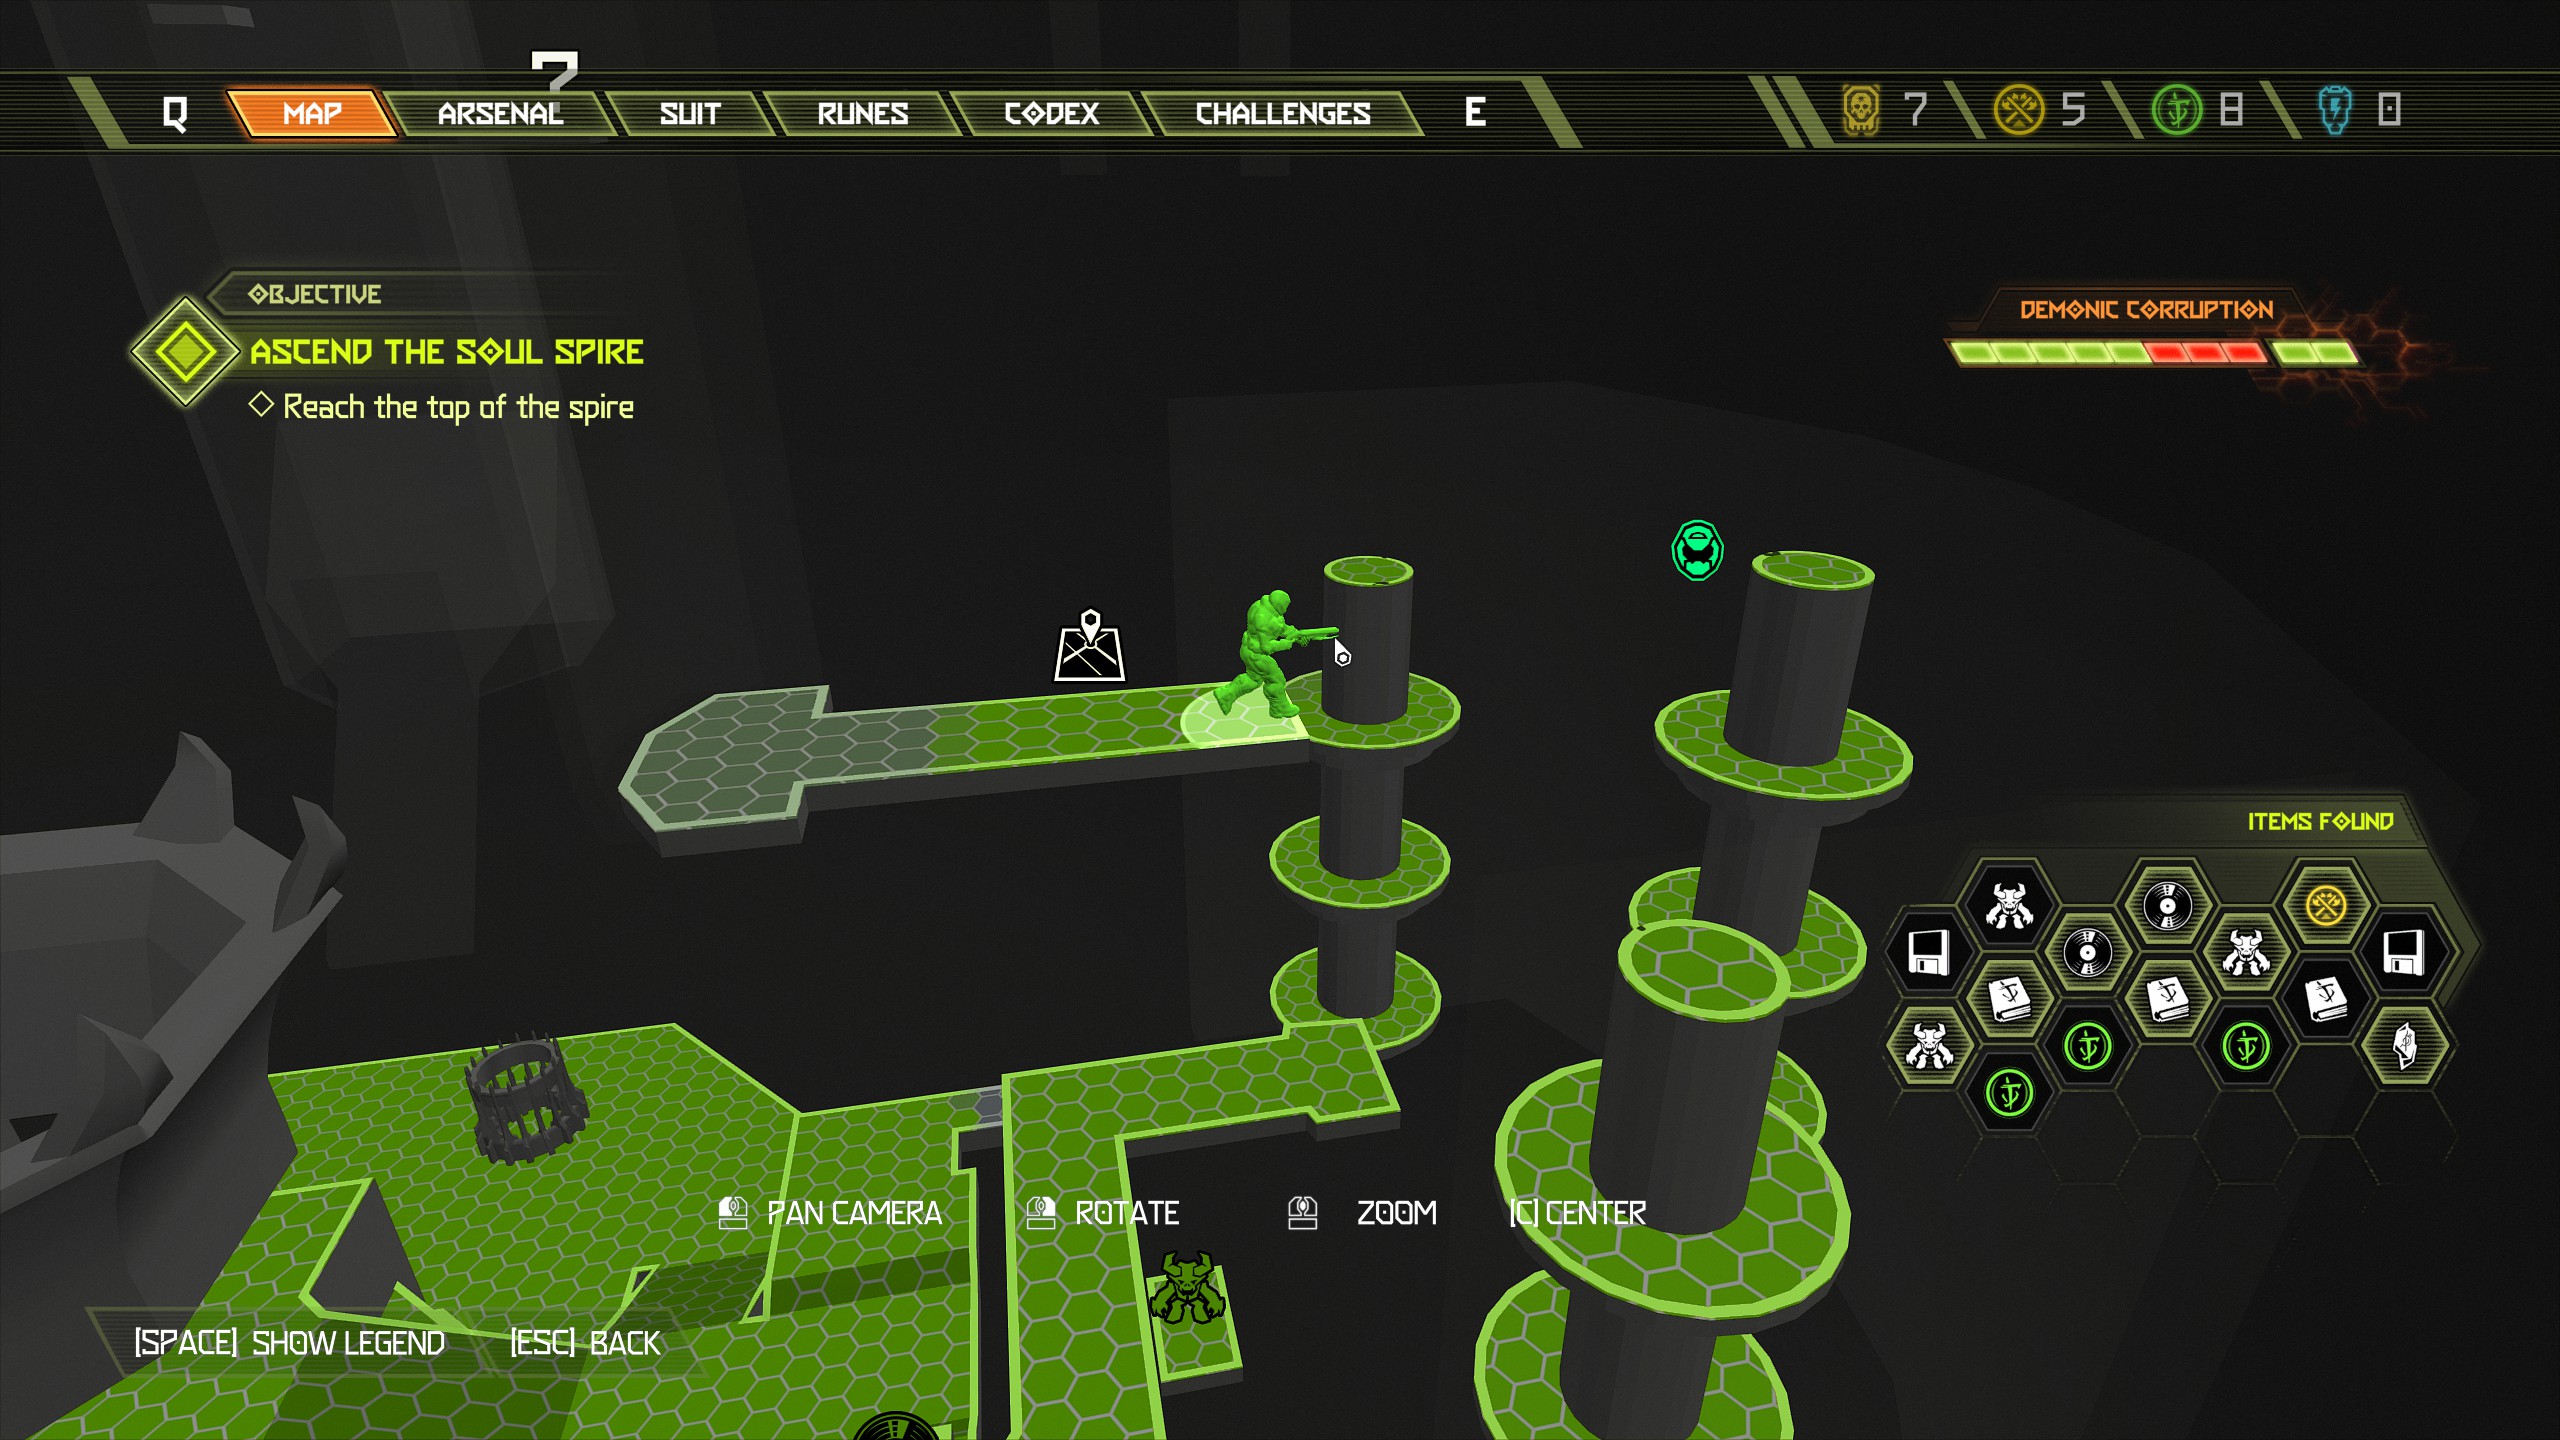
Mission 11: Nekravol Part II [Part 2]
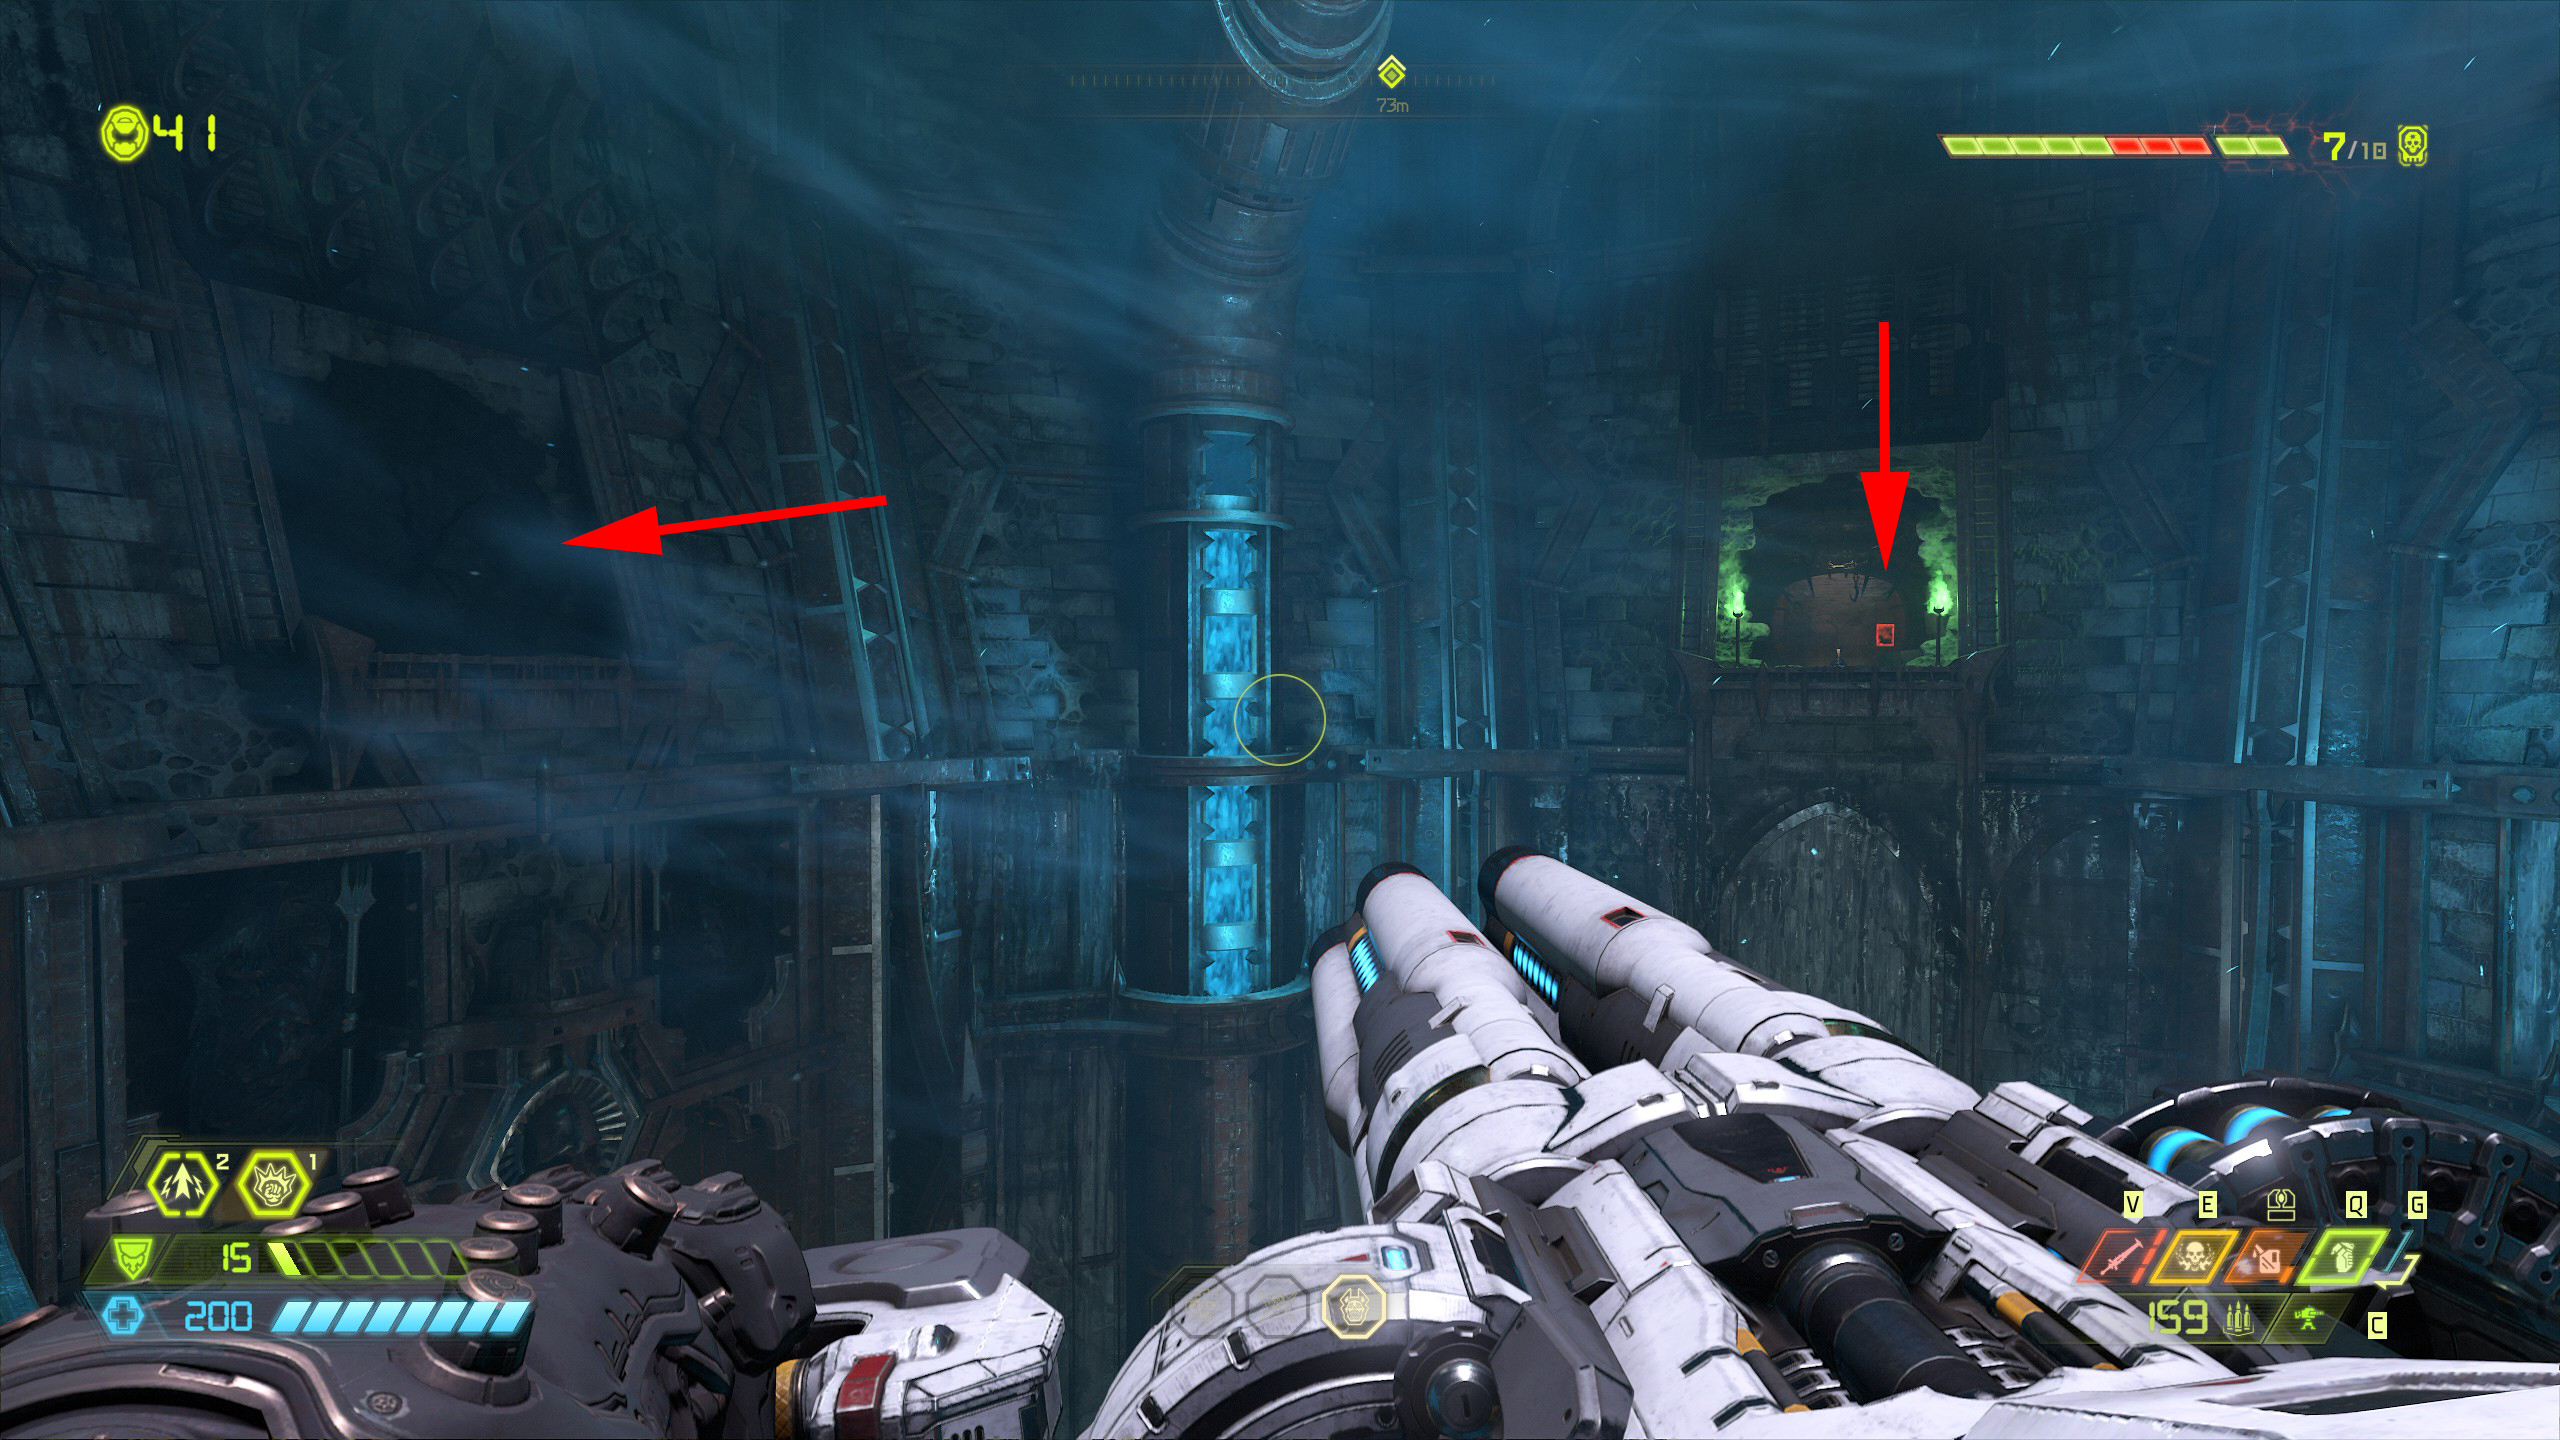
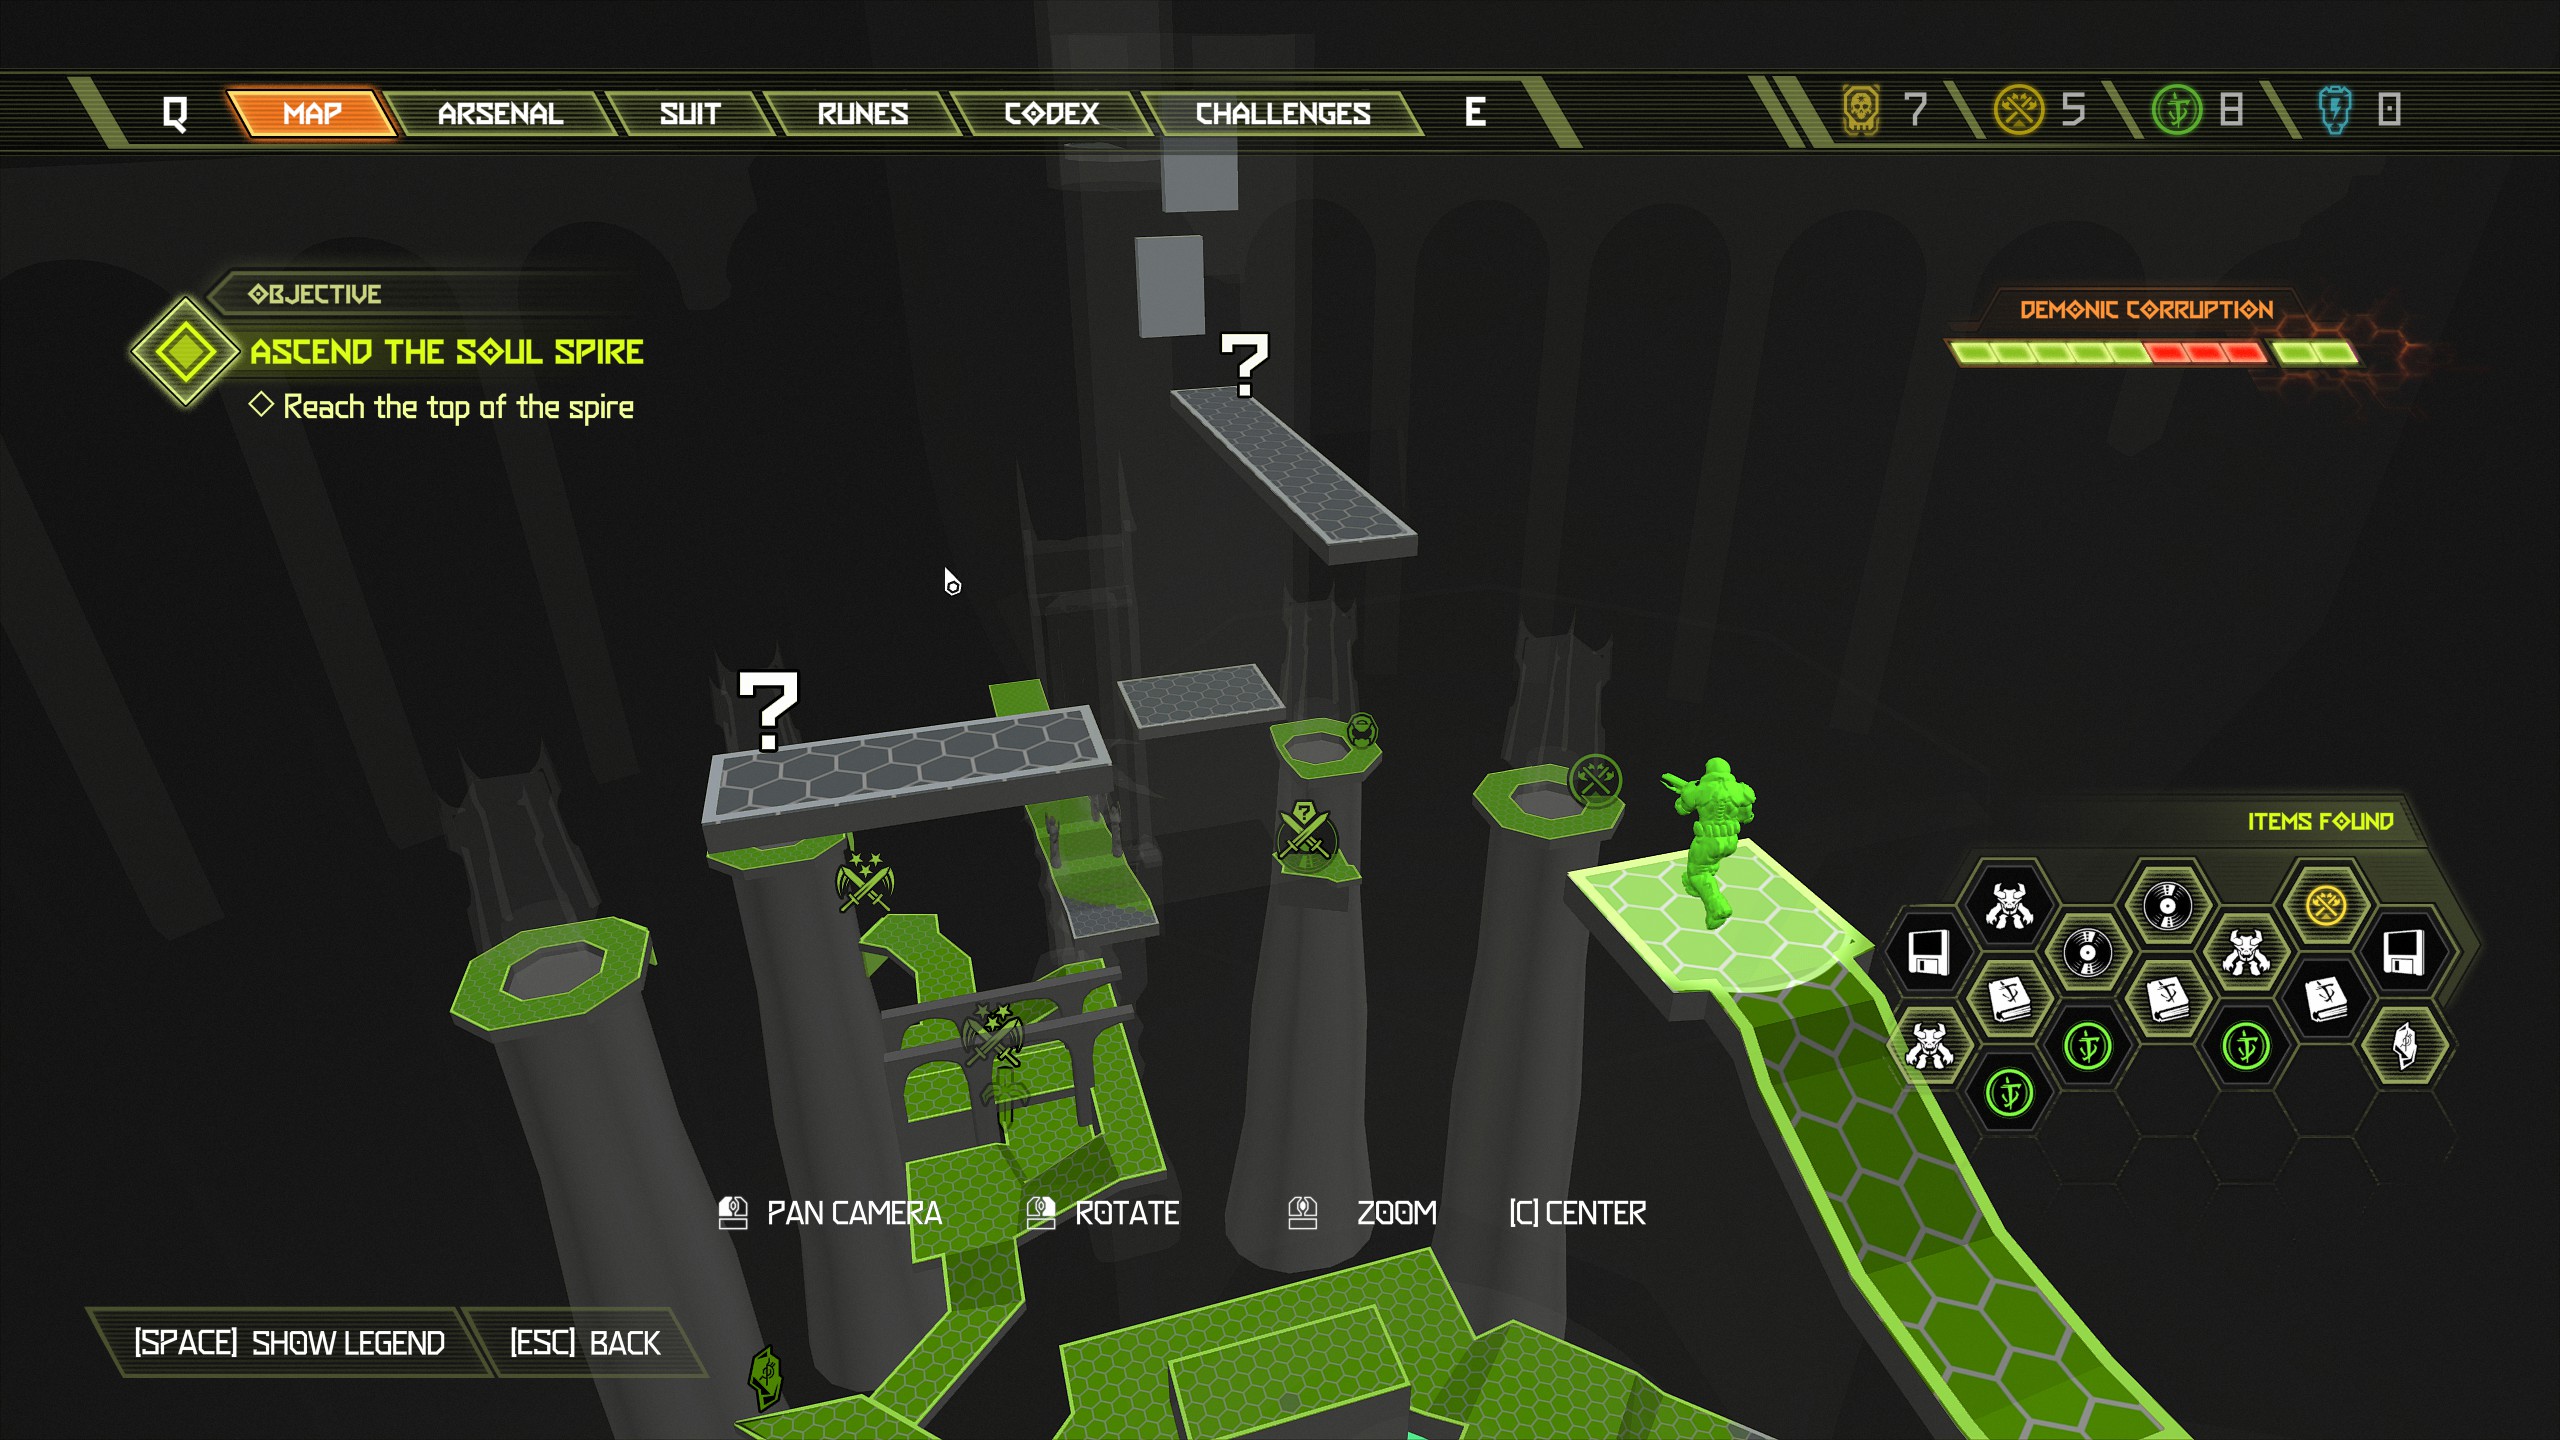
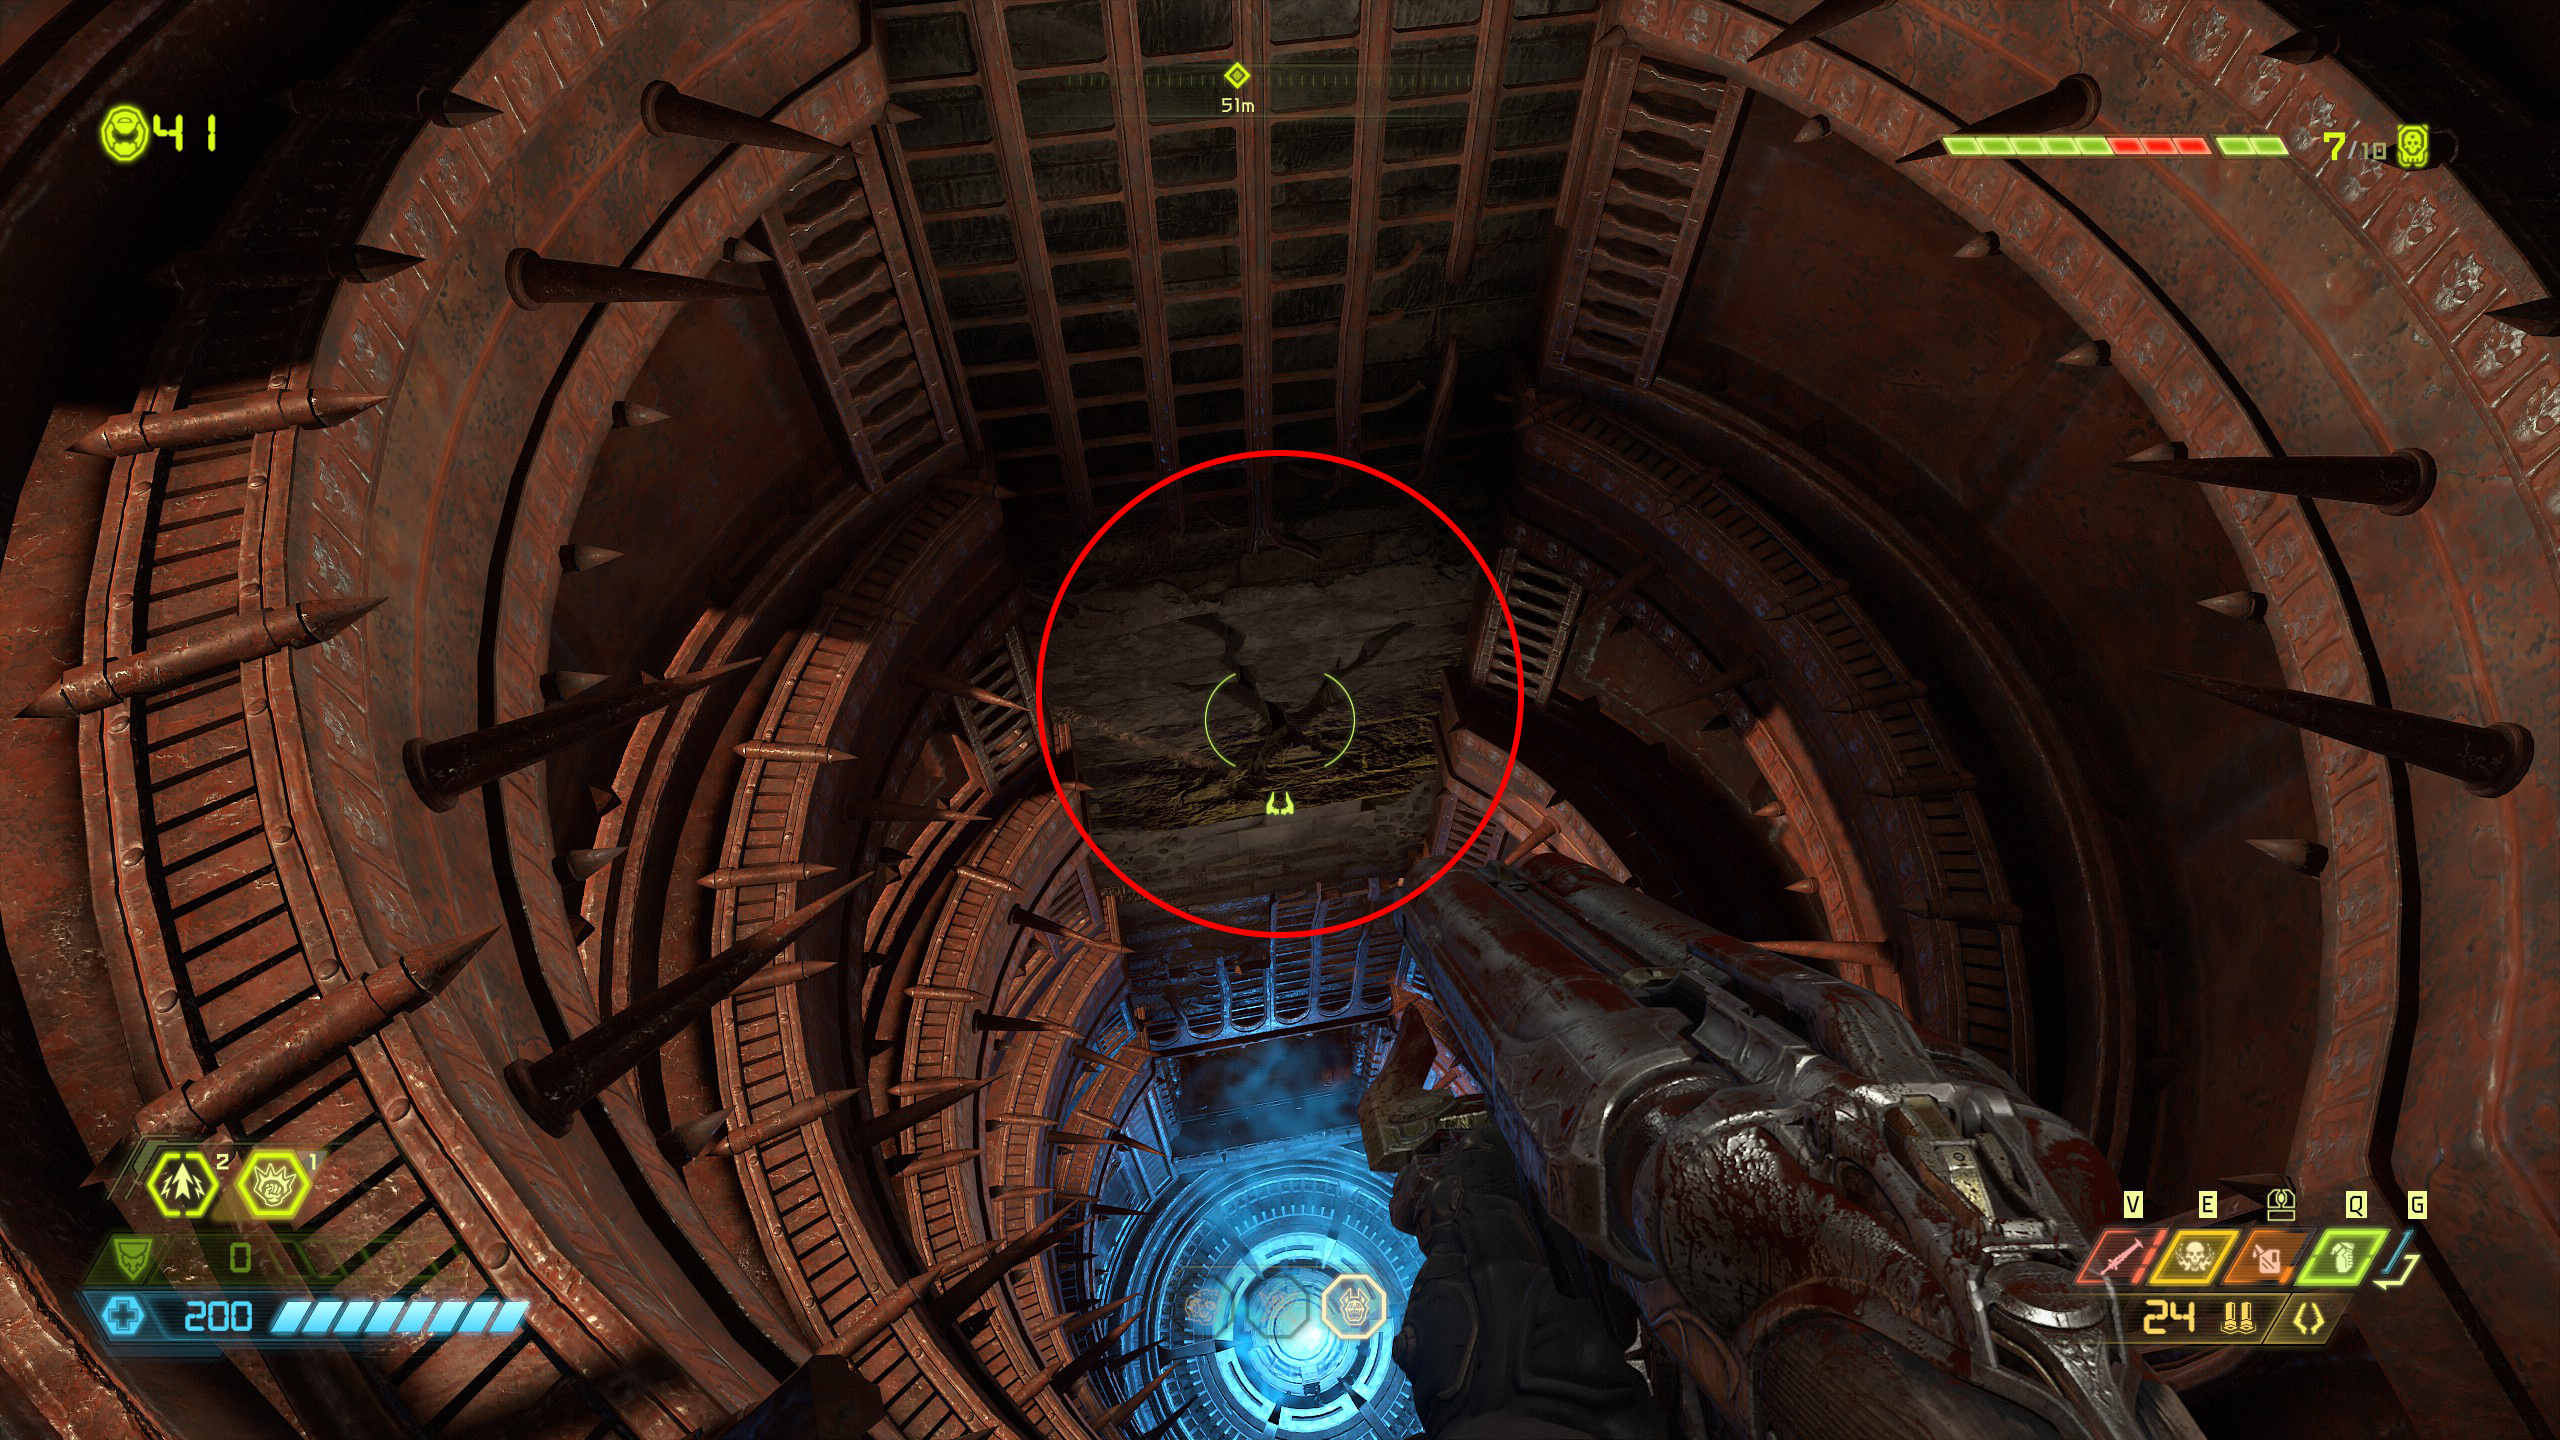
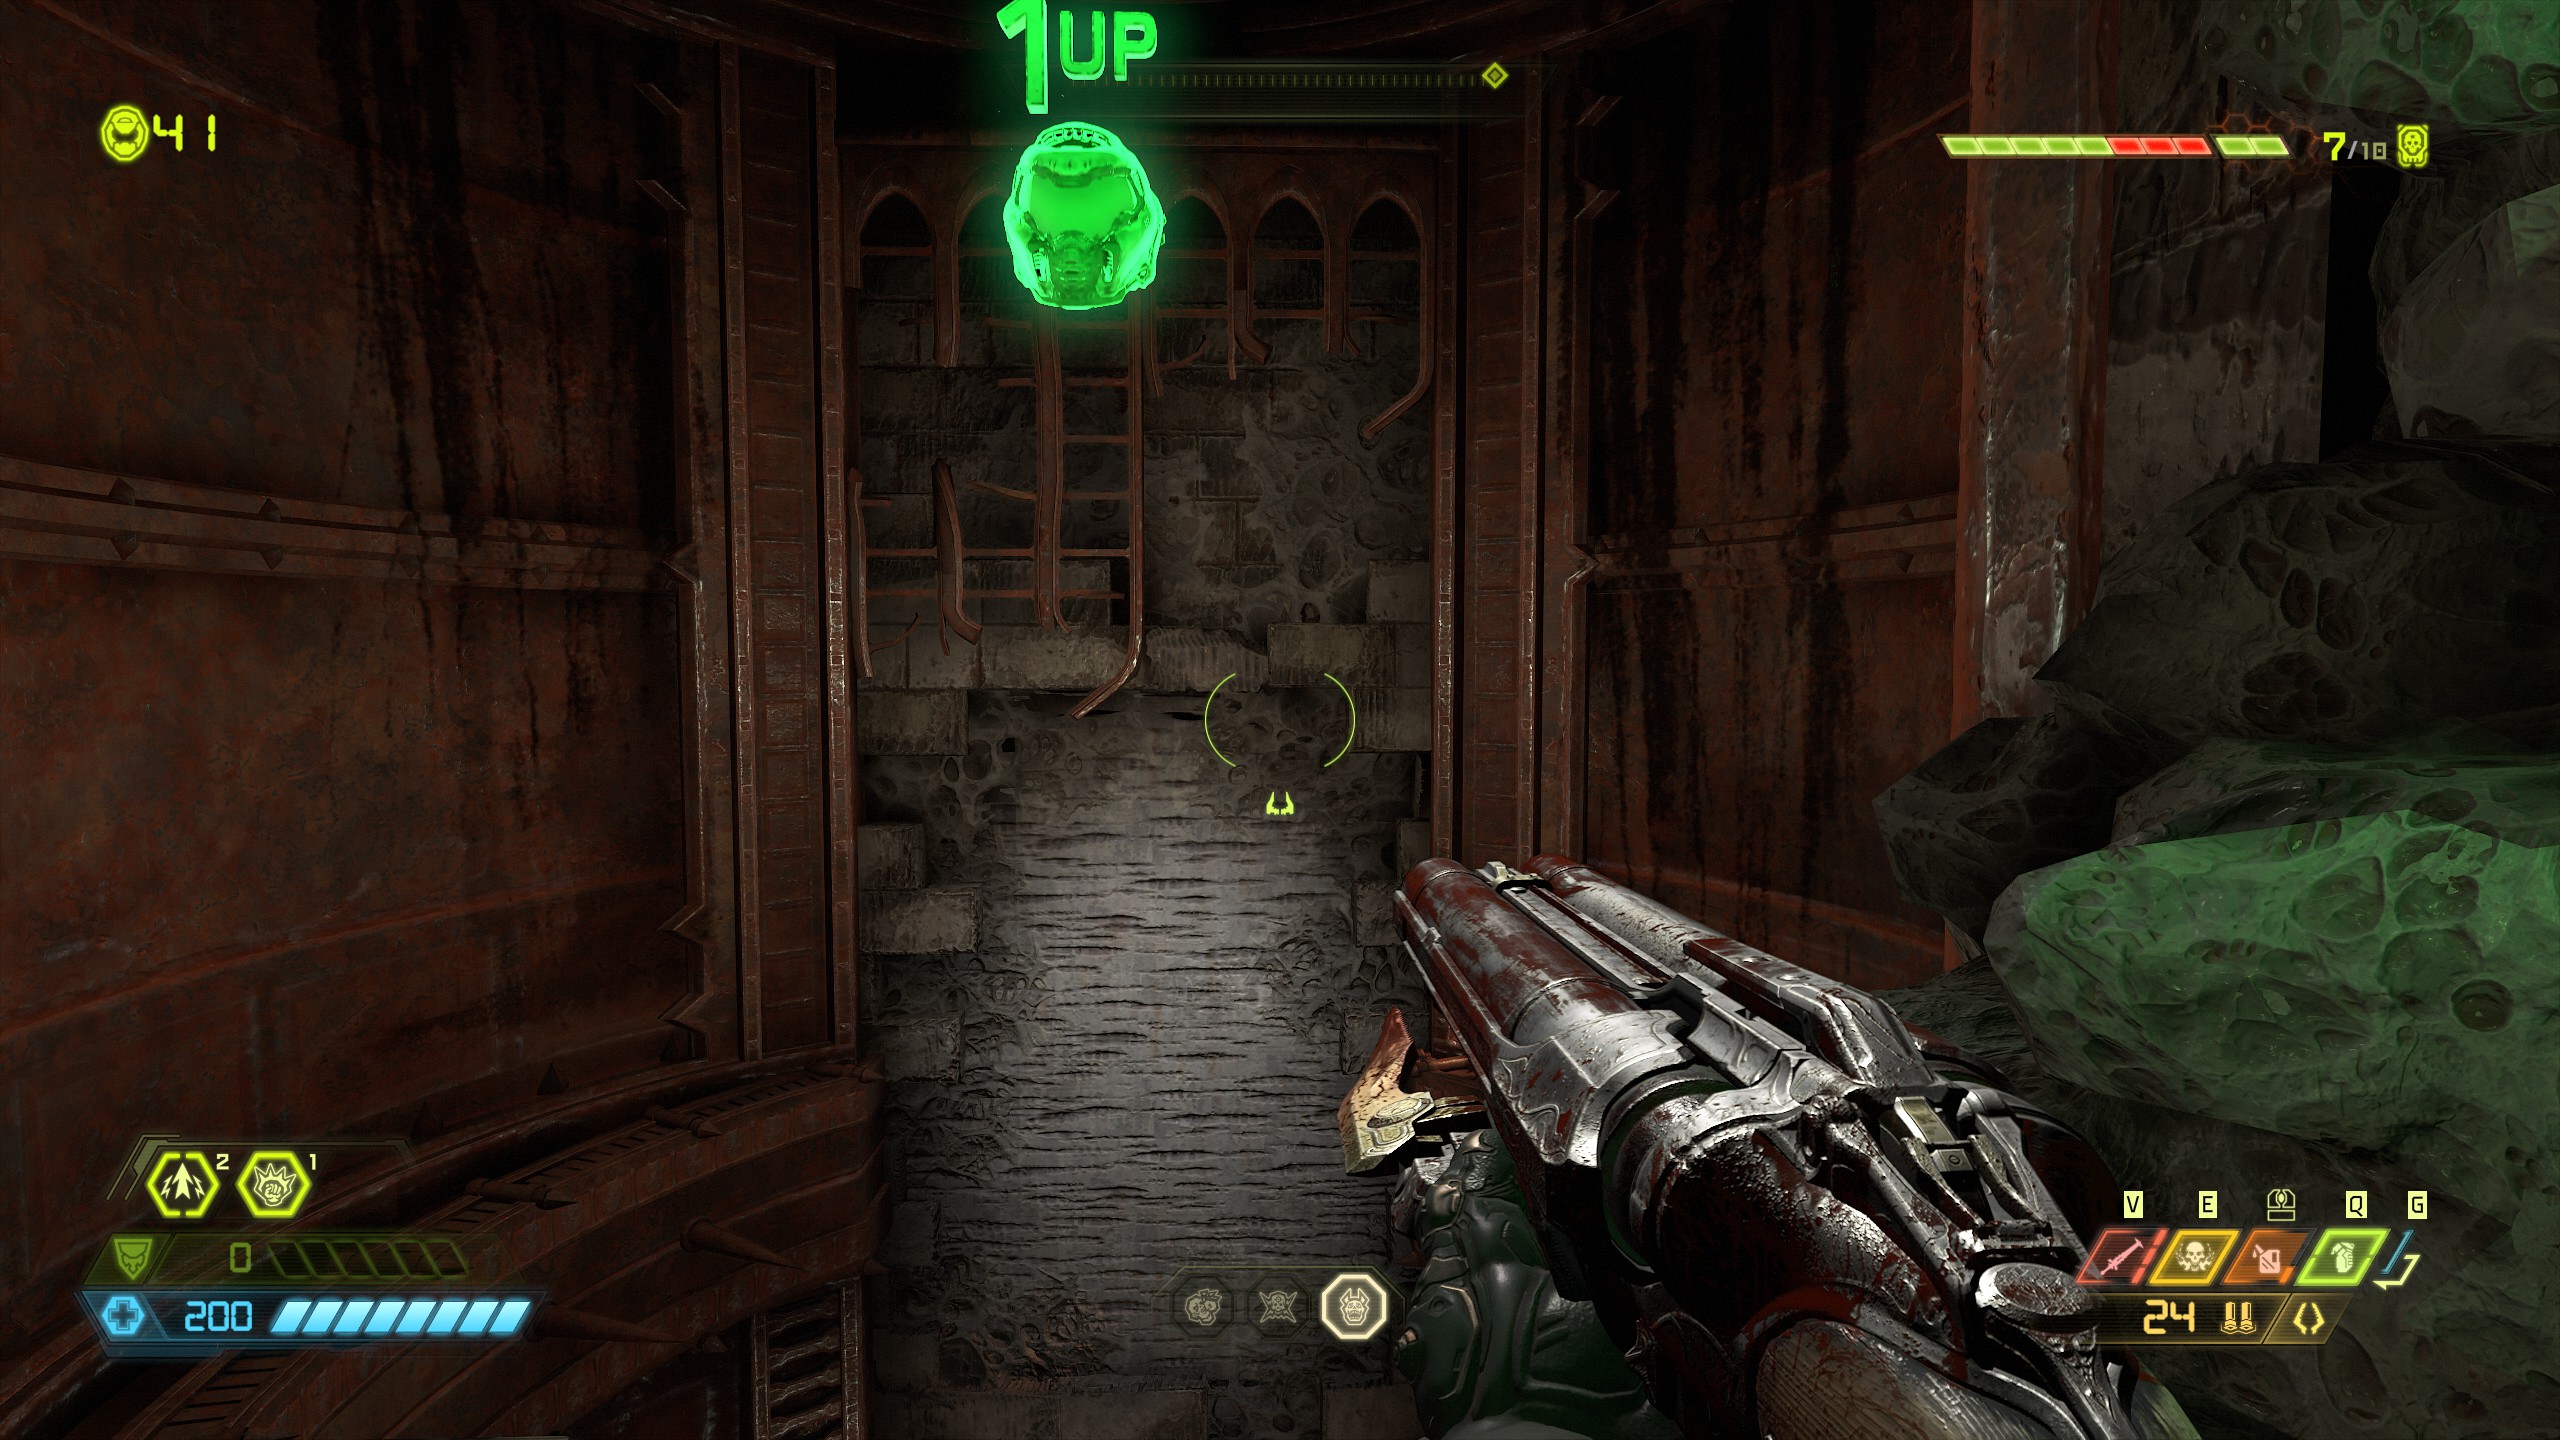
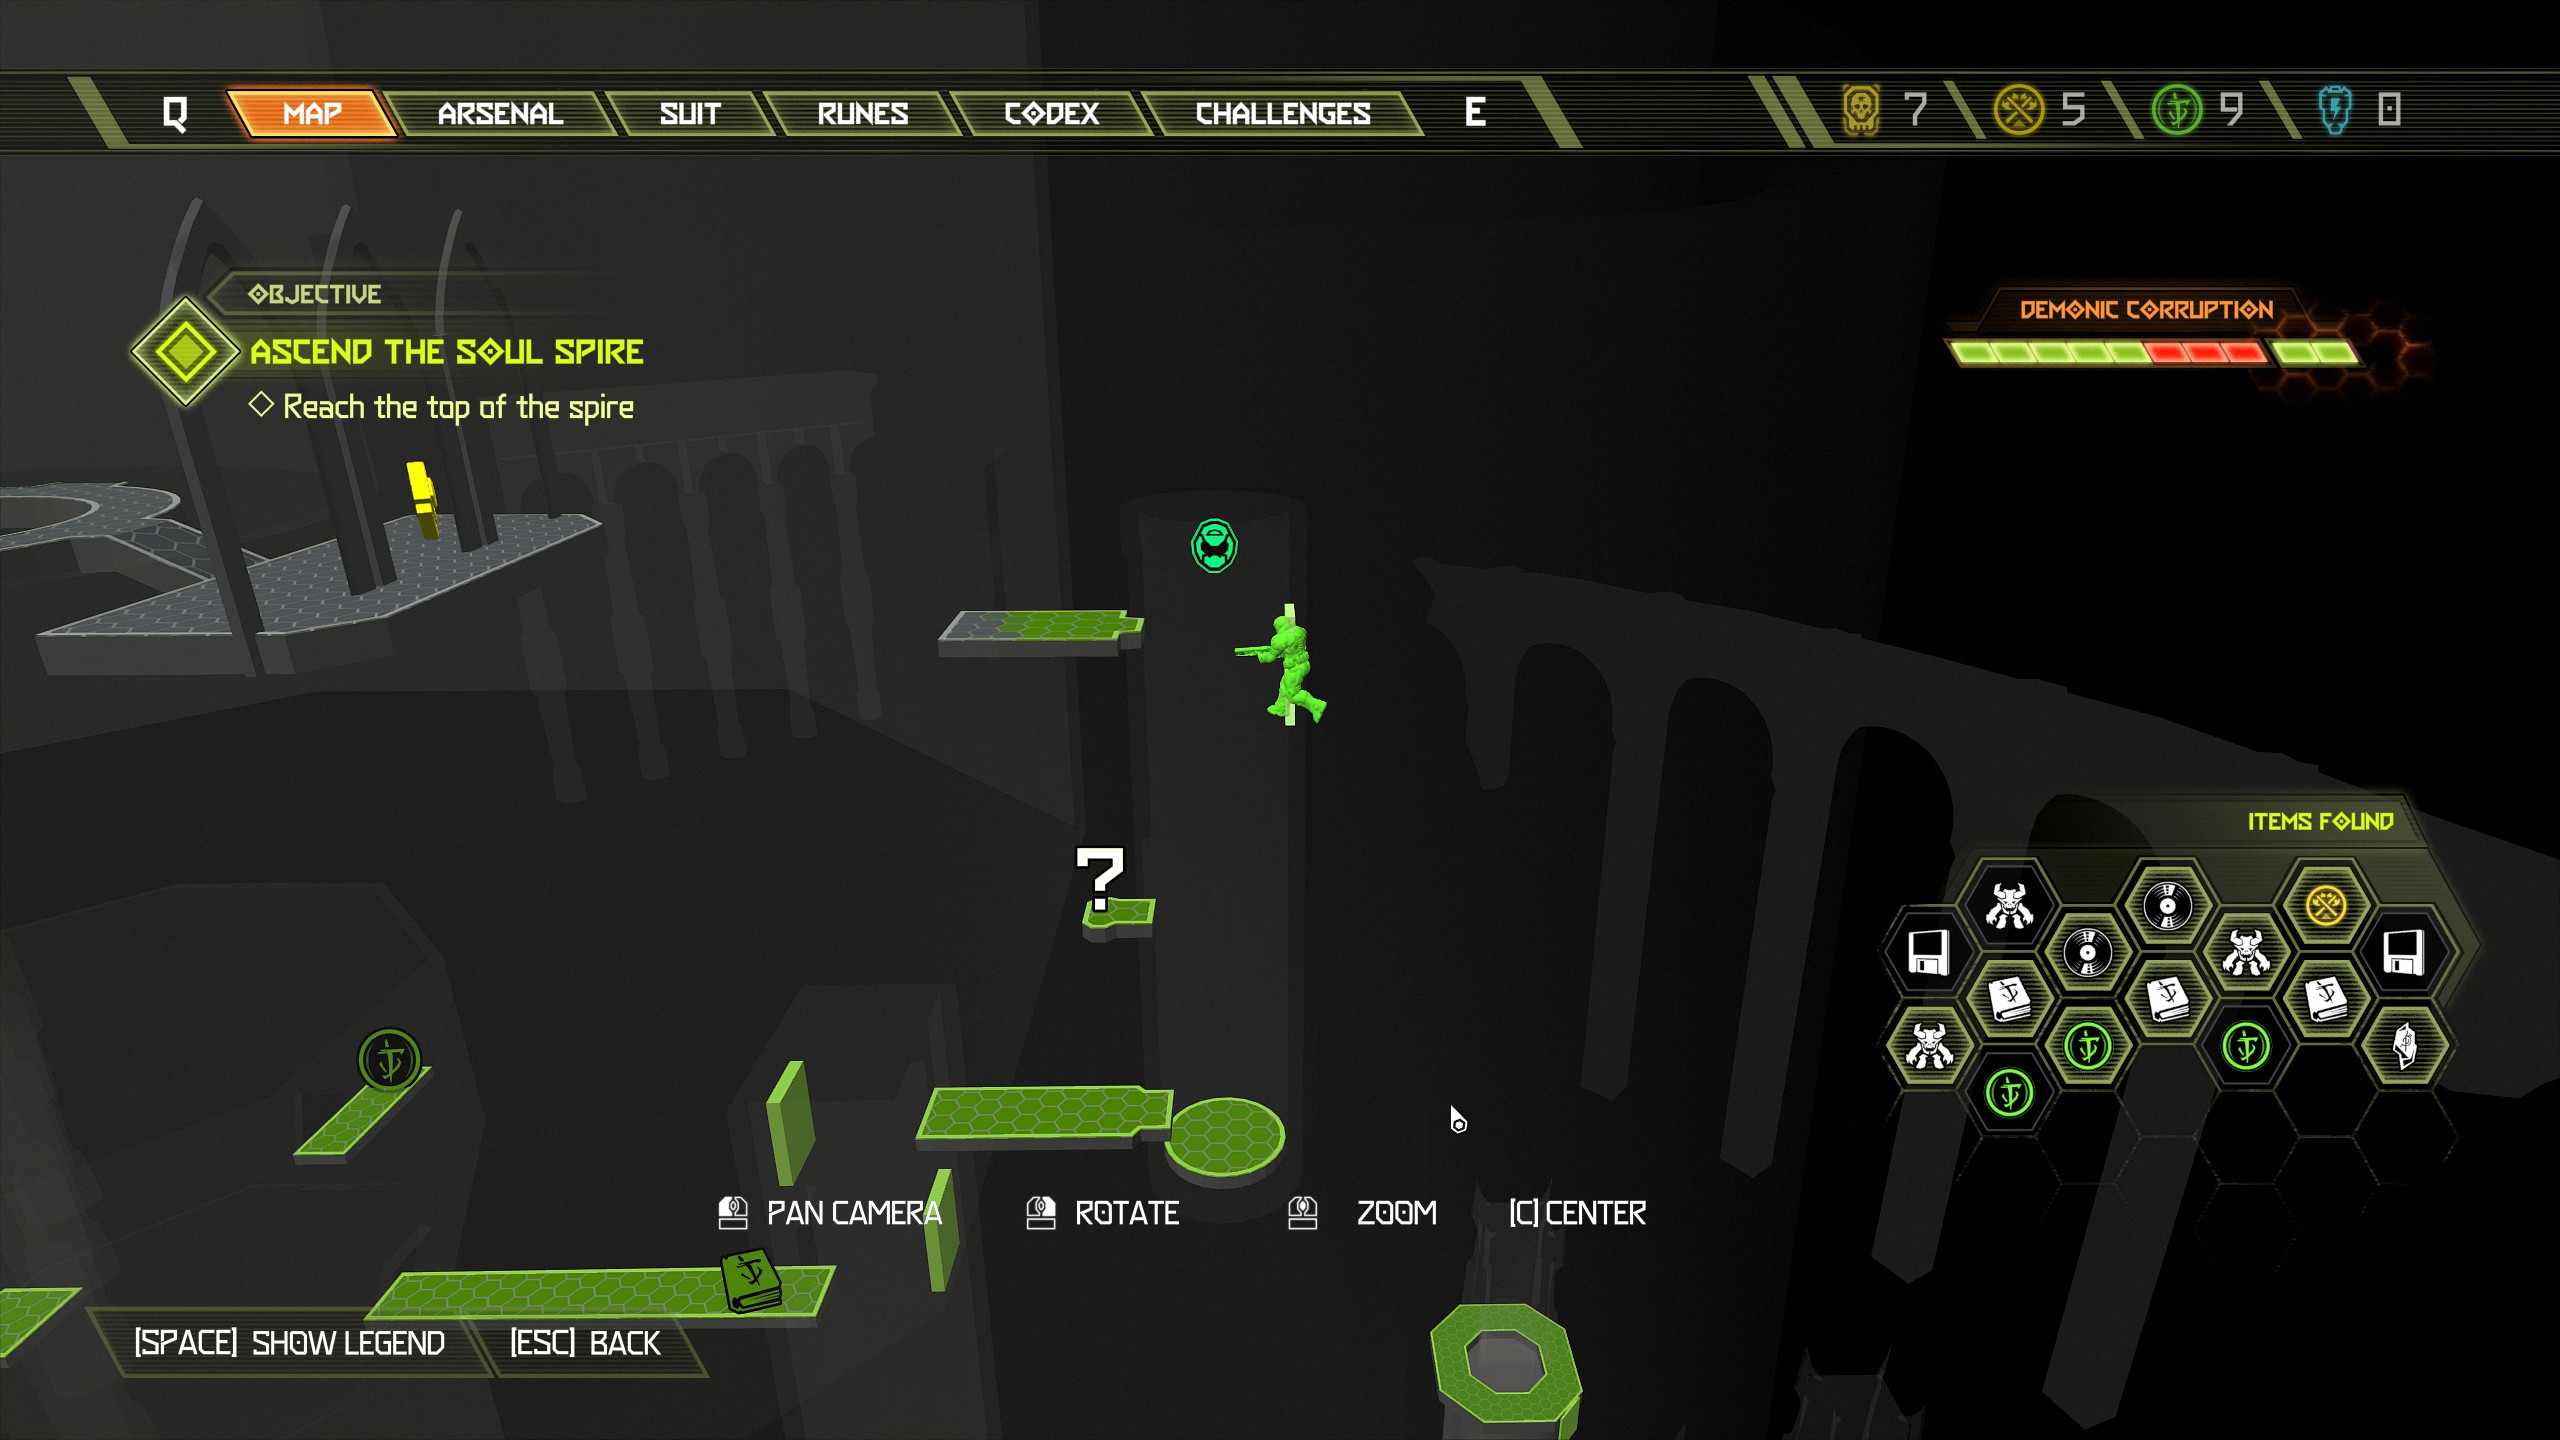
Now jump on the booster again and at the very top you will see an extra life floating above the hole, you can't miss it.
 At the top of the booster continue and make your way into the next room, jump across the large gap and once across make your way around to the other side of the machine/lift and there will be a praetor suit token waiting for you.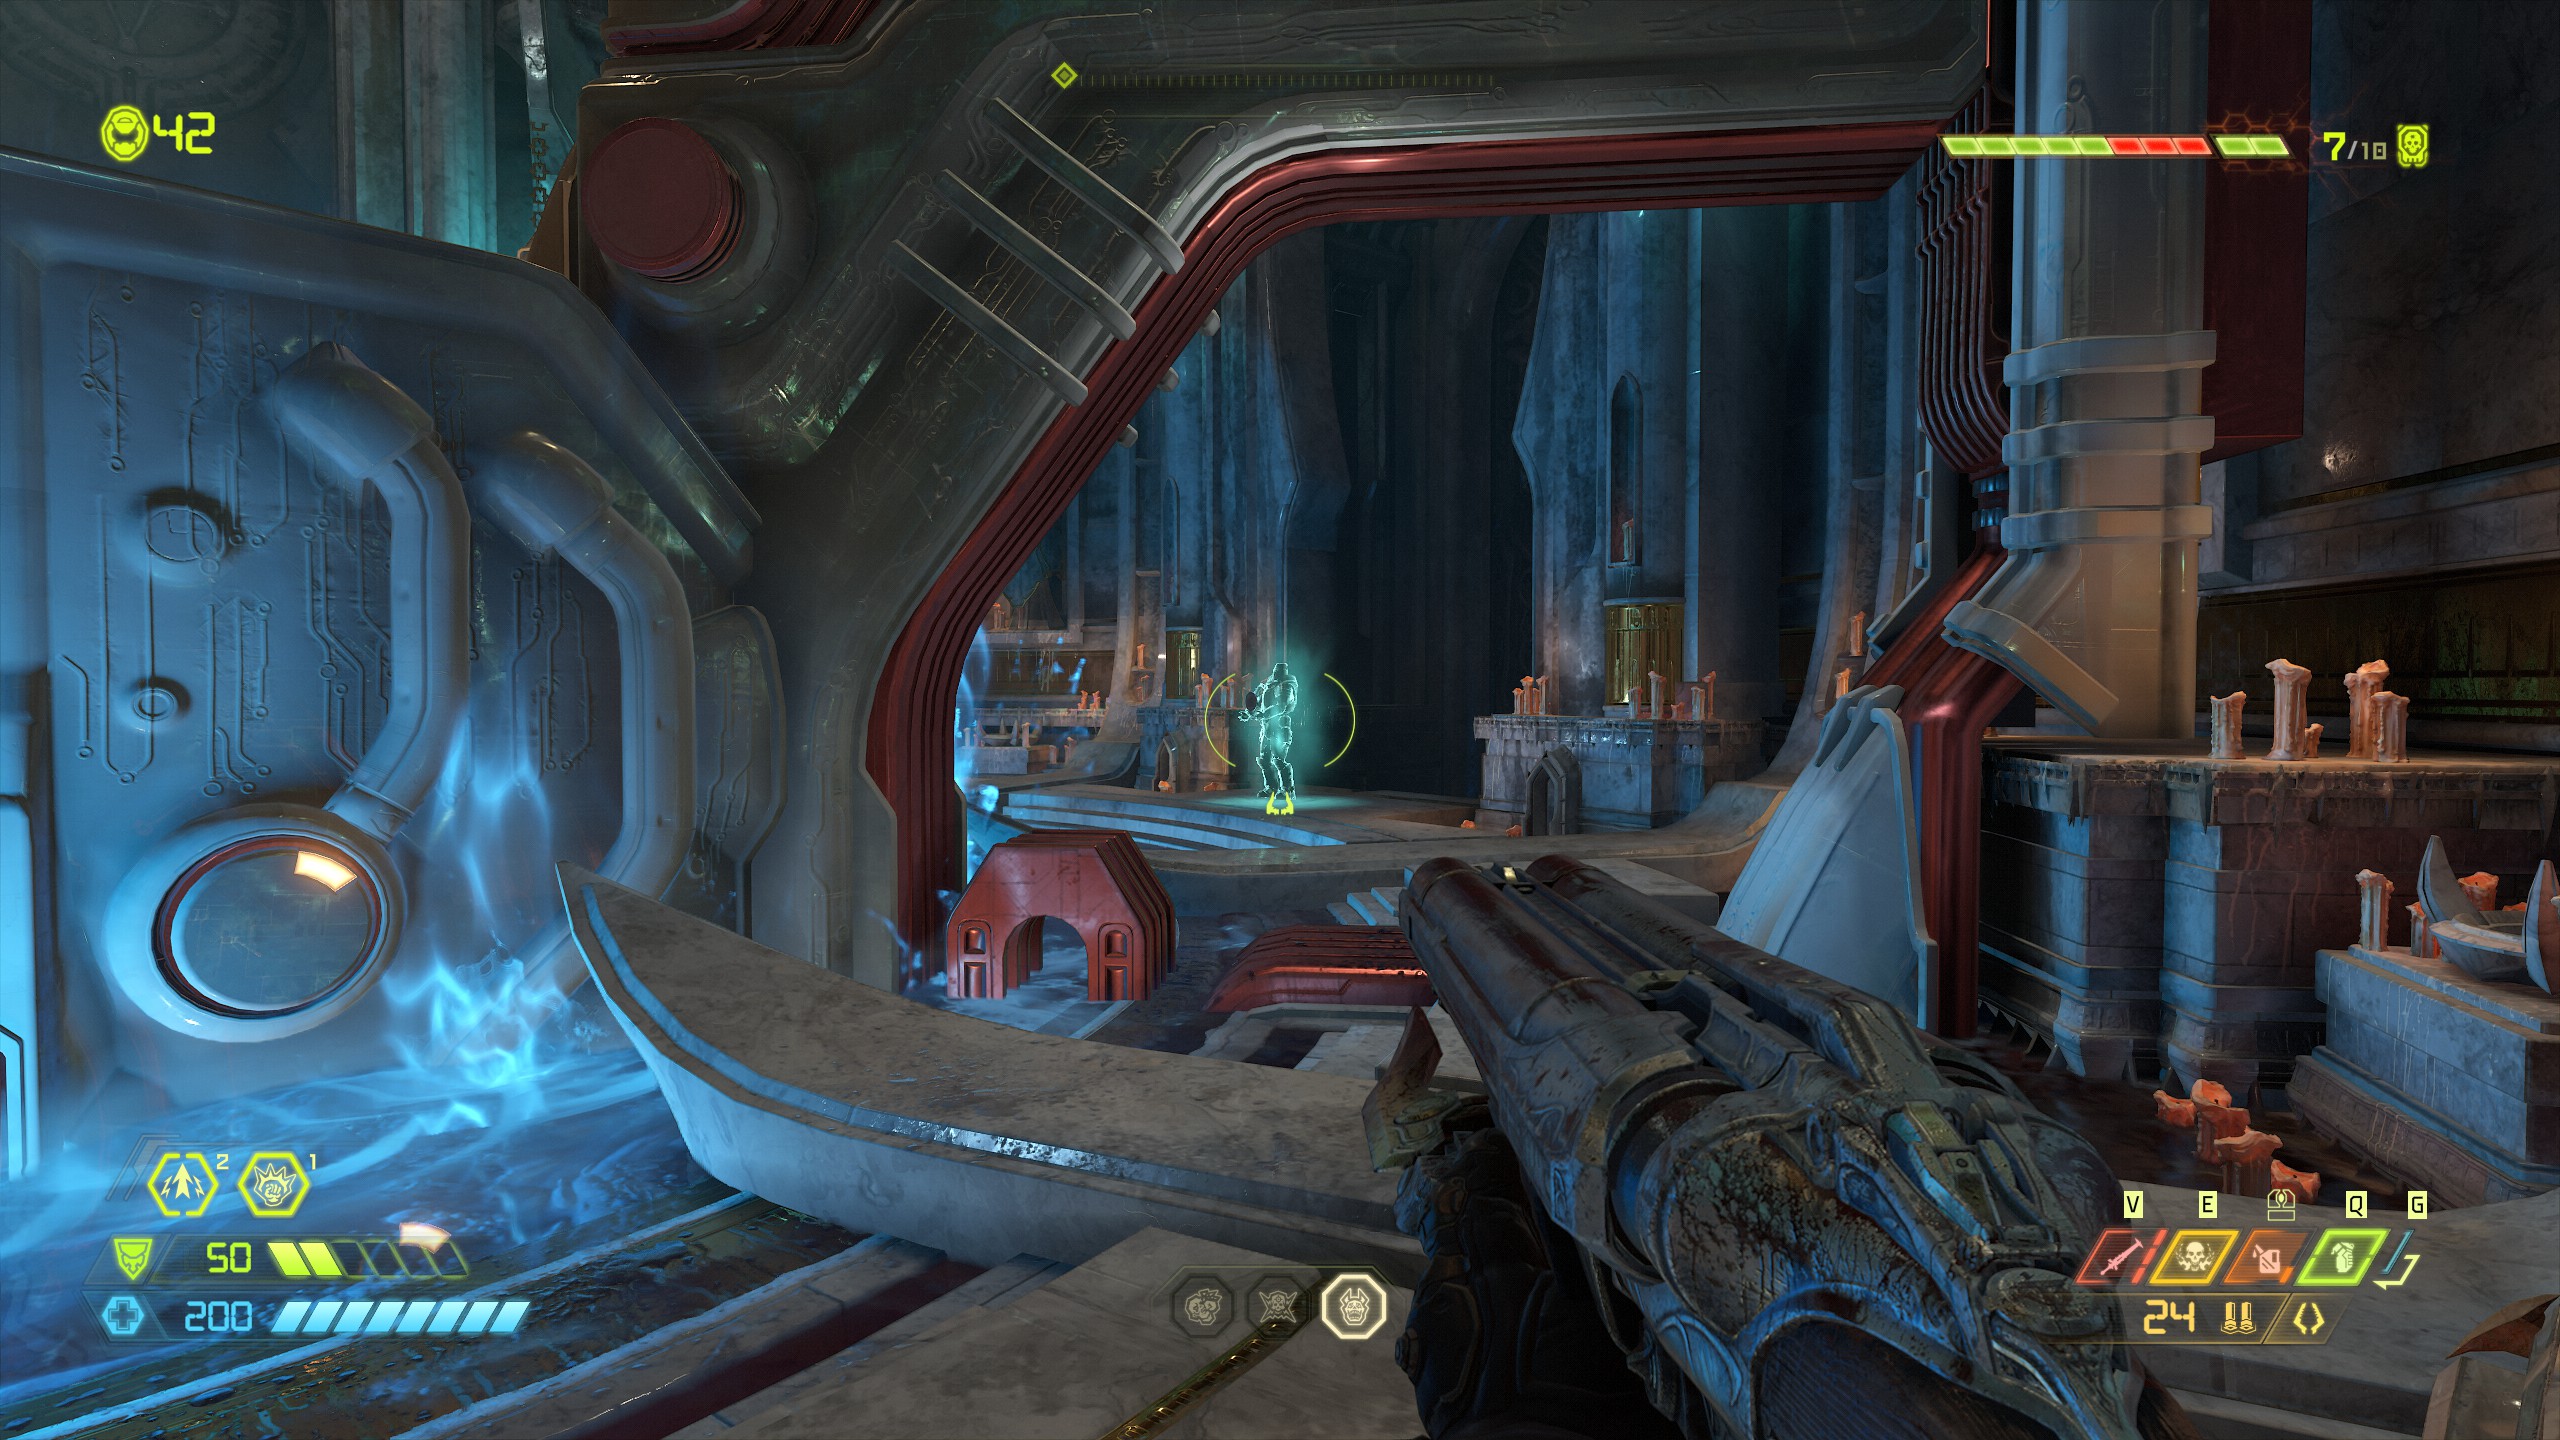
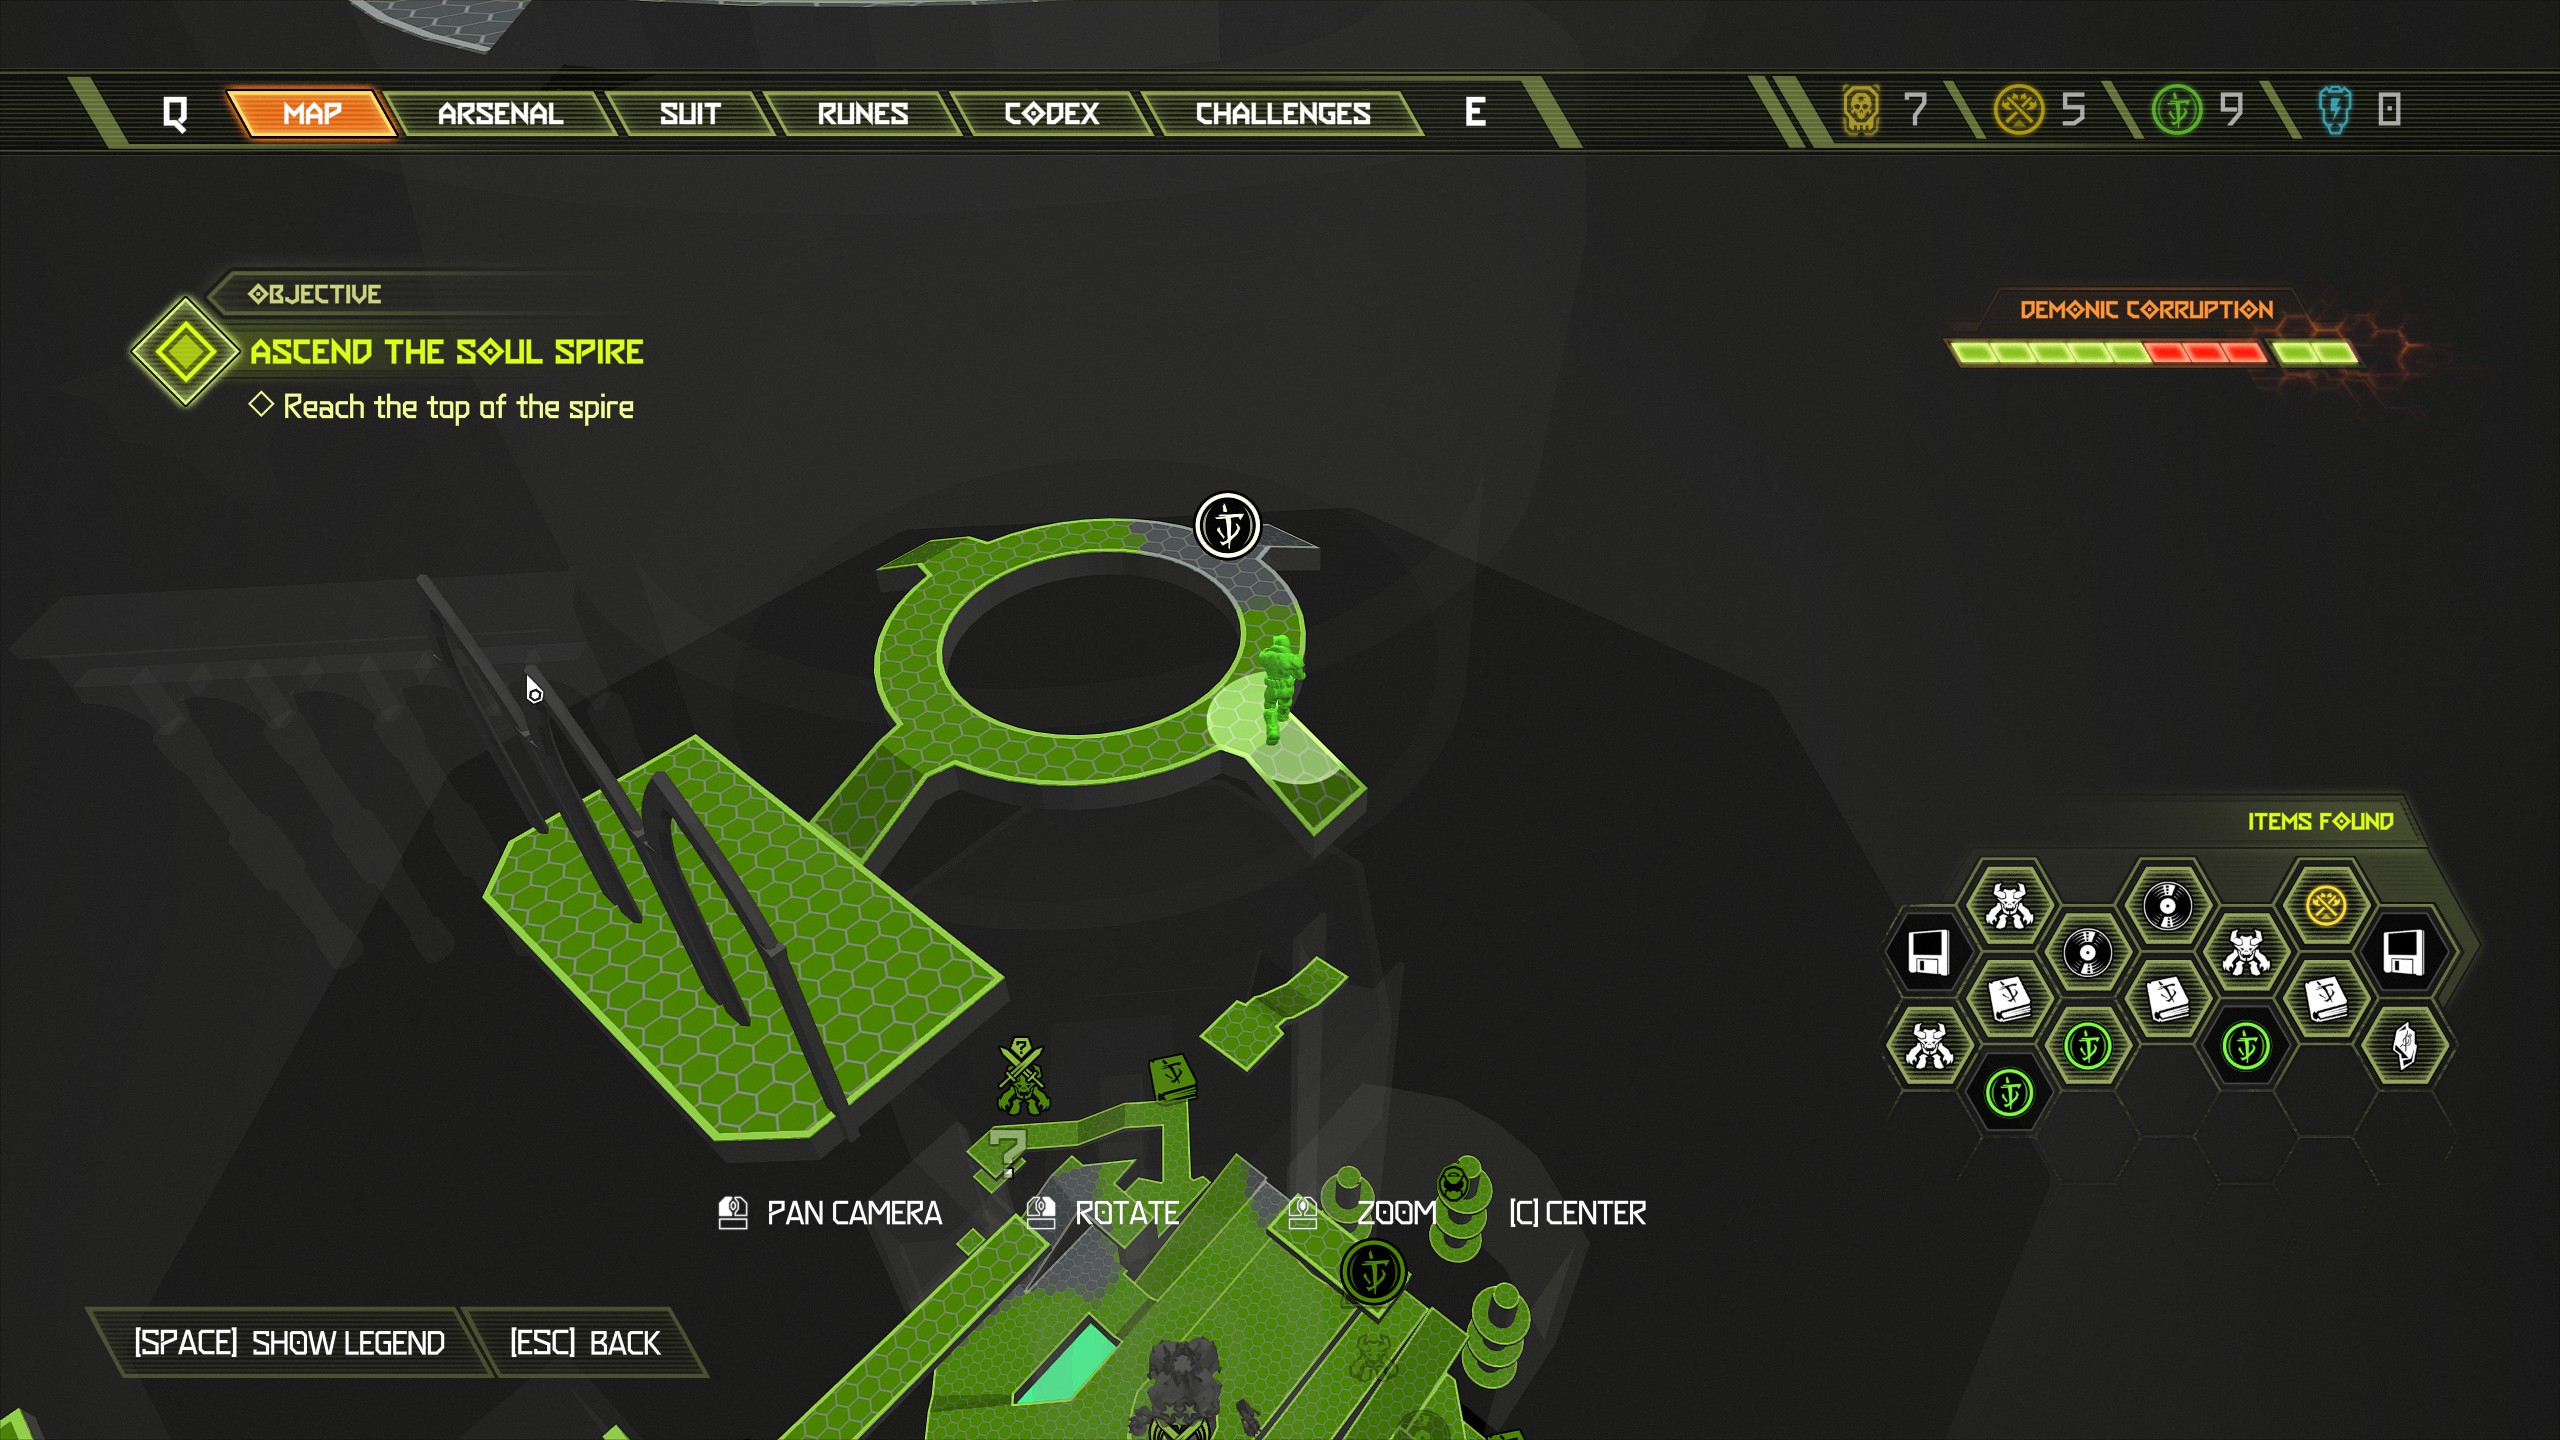
Continue the mission all the way until you reach the very top area outside.
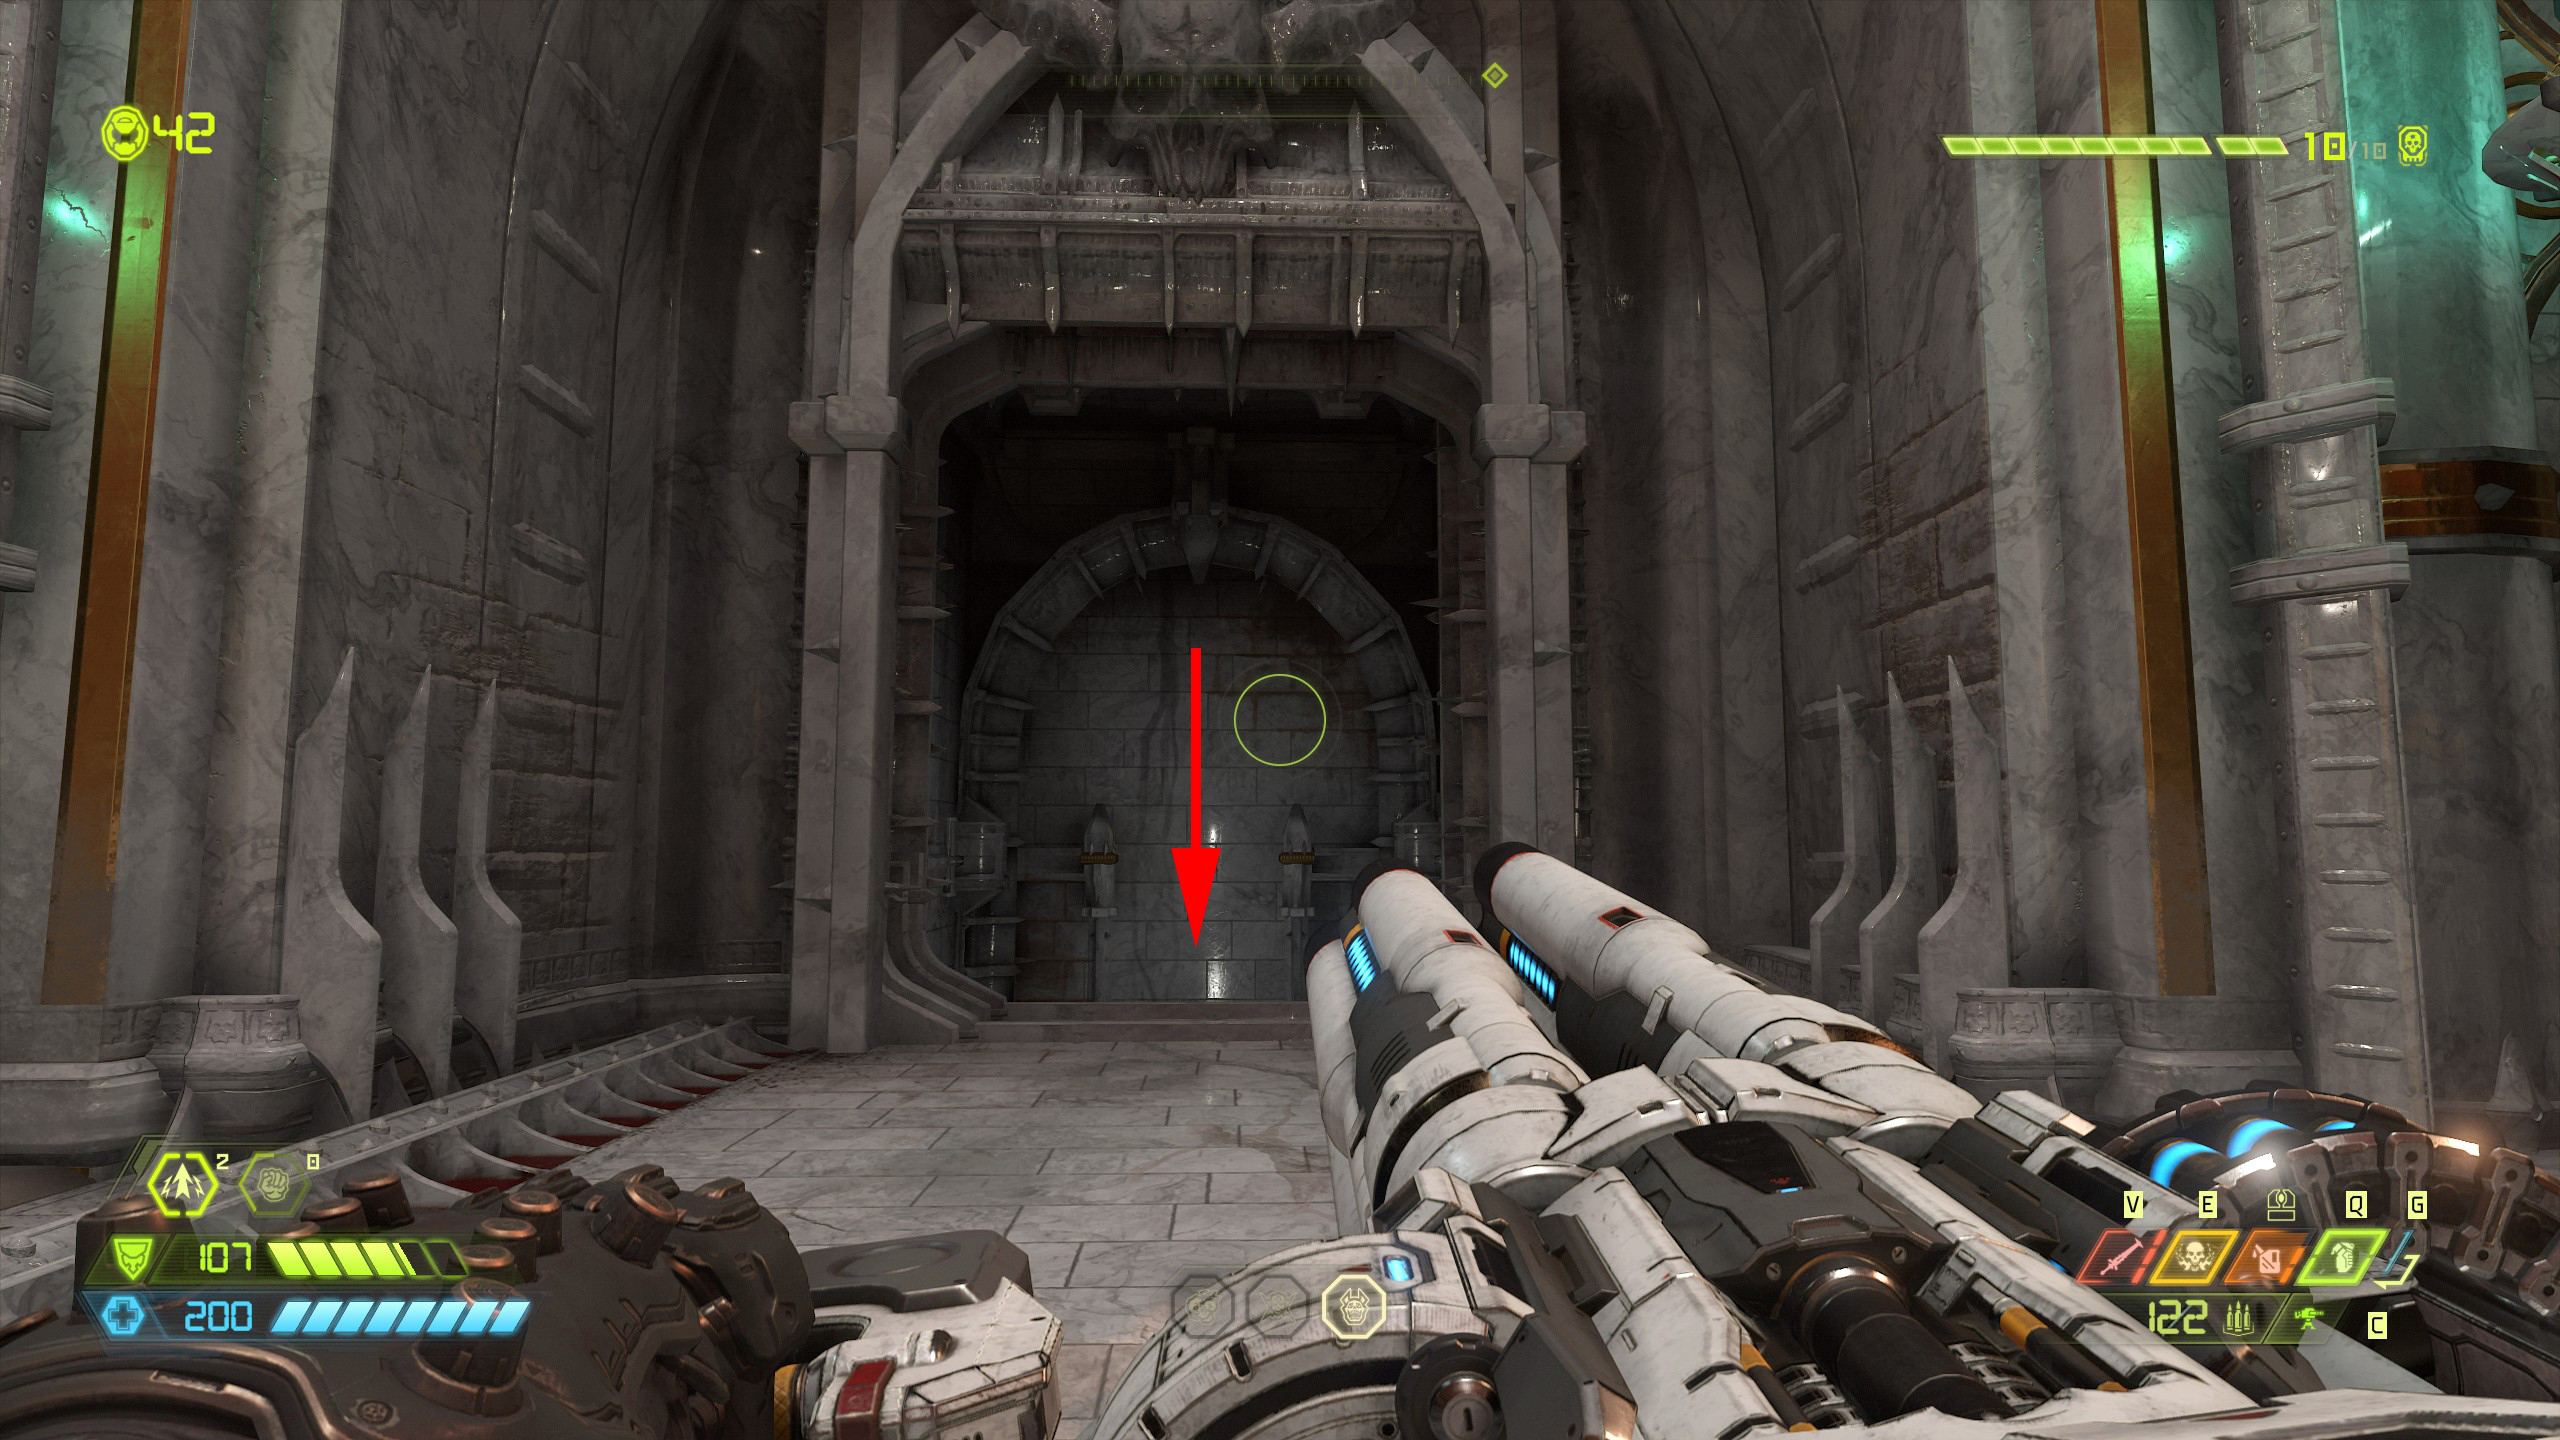
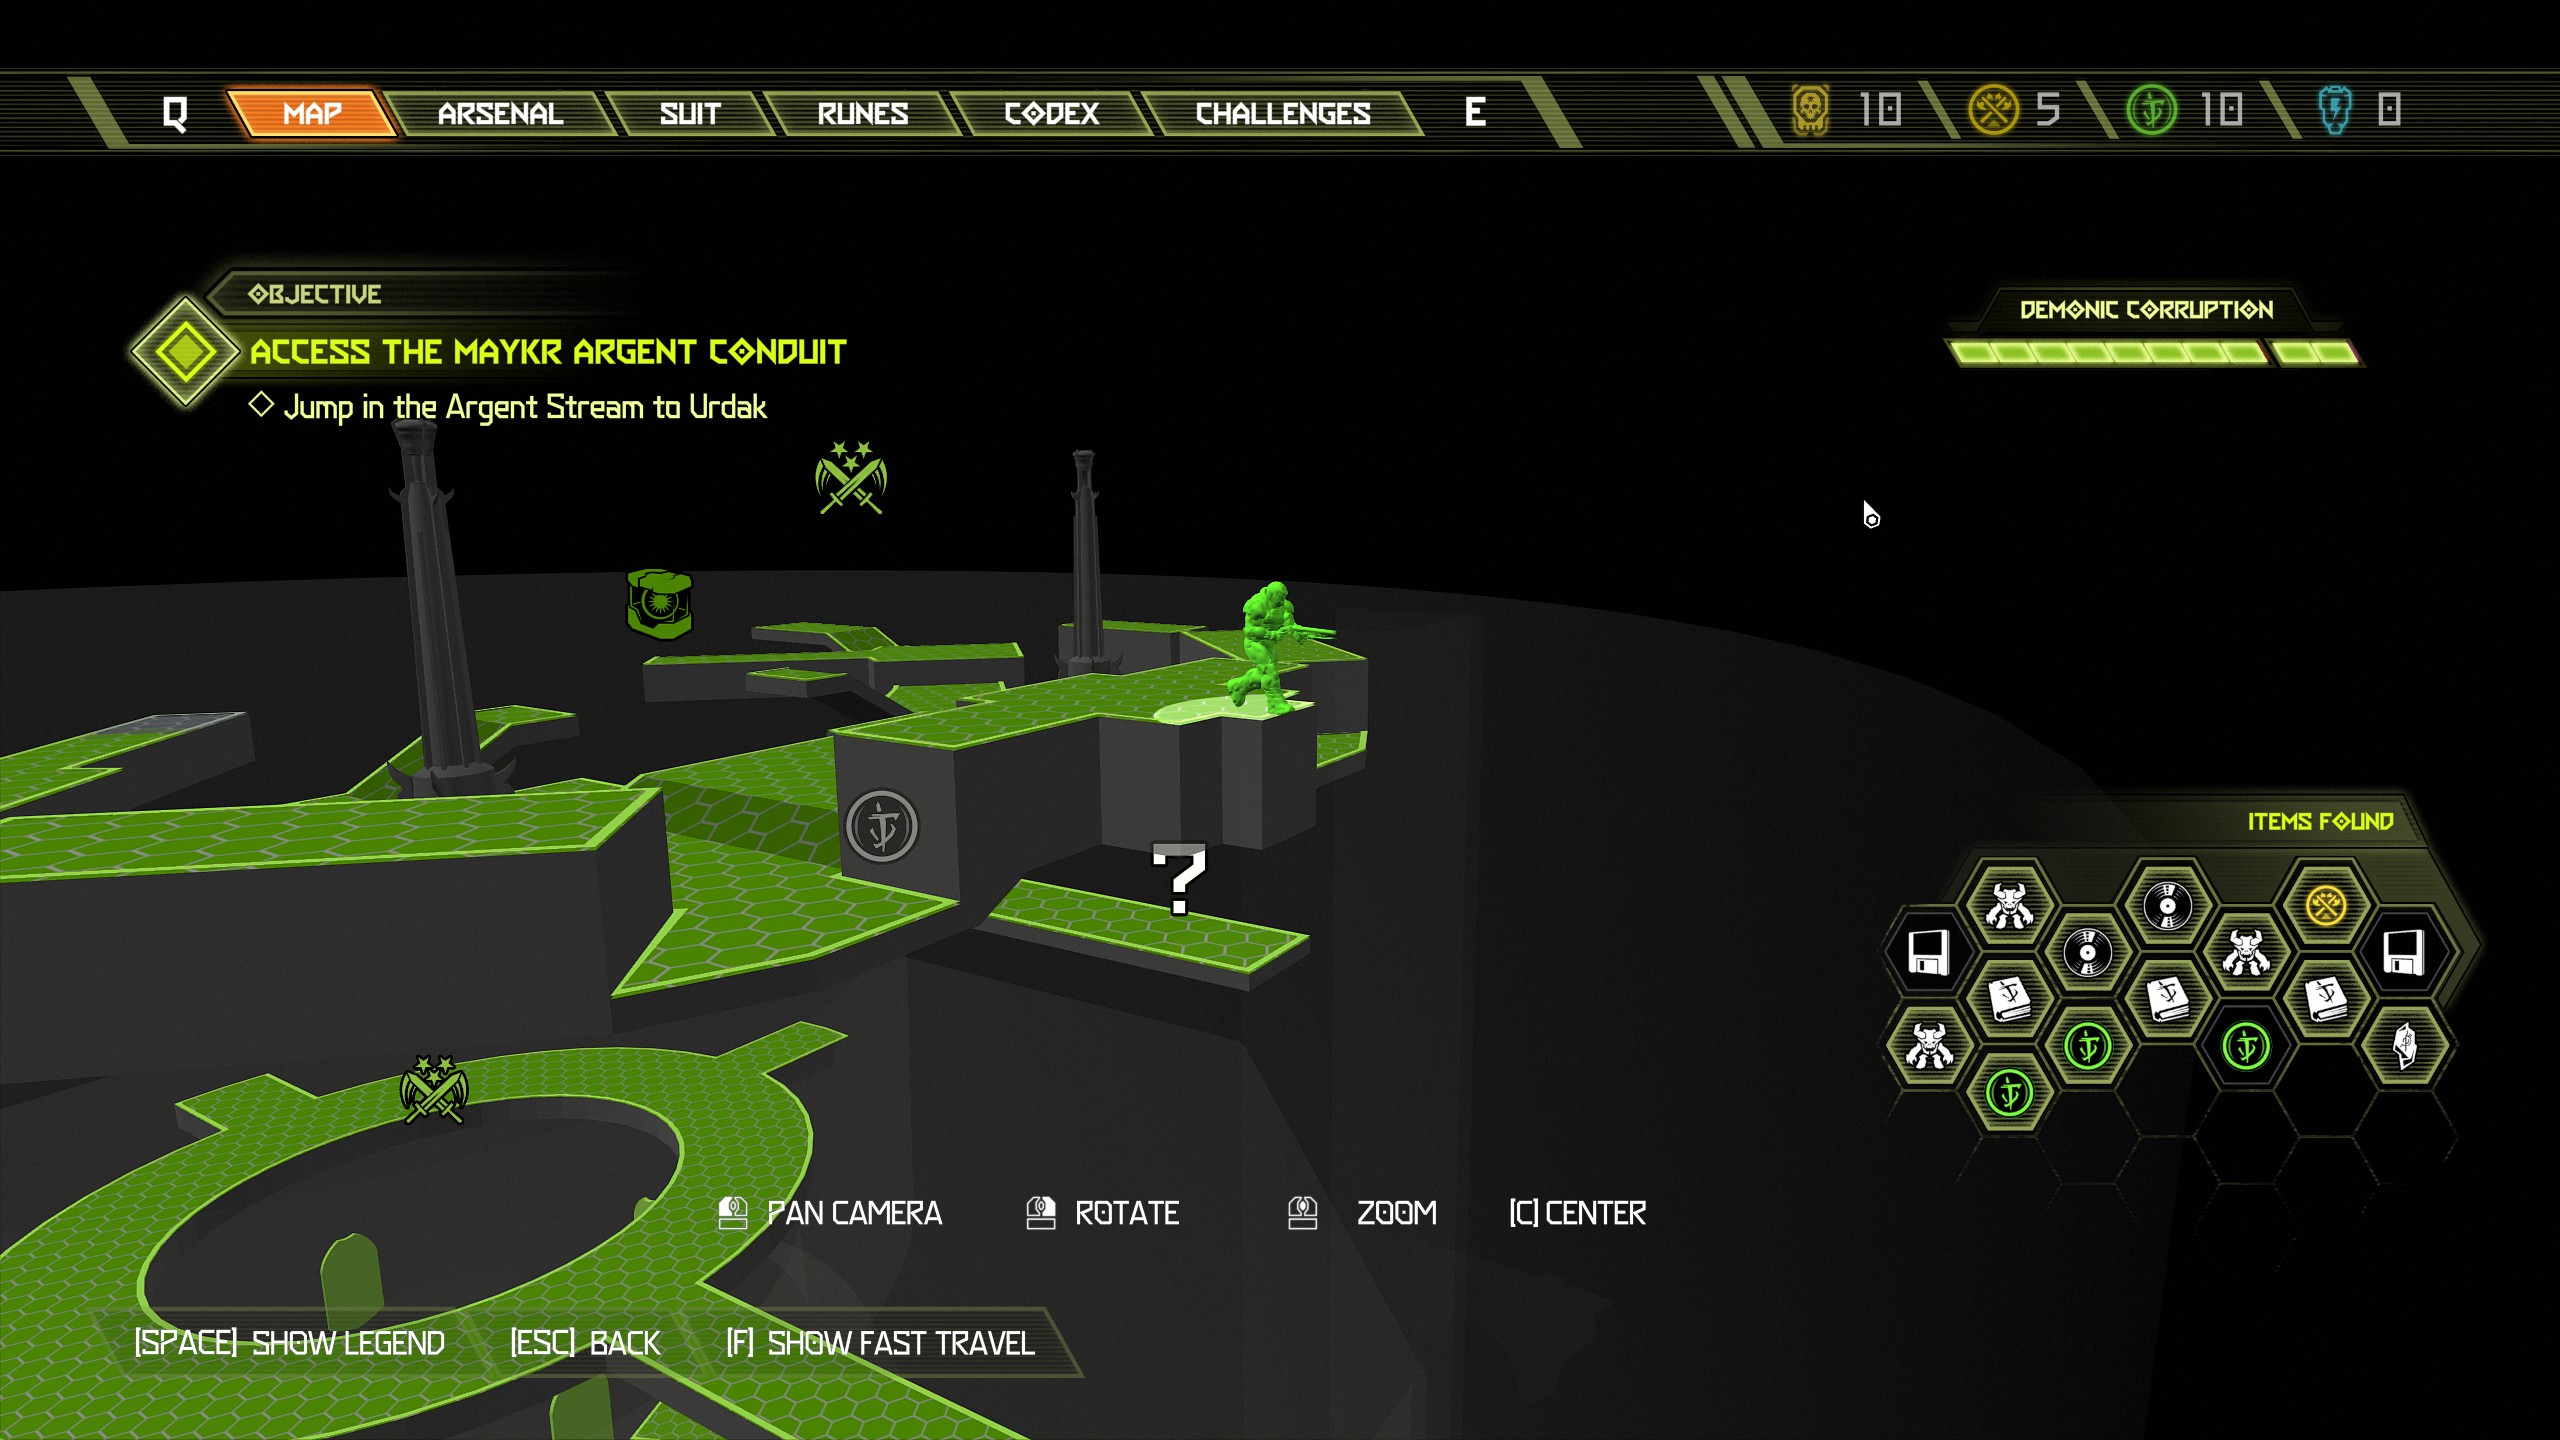
After collecting the cheat code you will find another praetor suit token at the end of the passage where you exit out, you can't miss it.
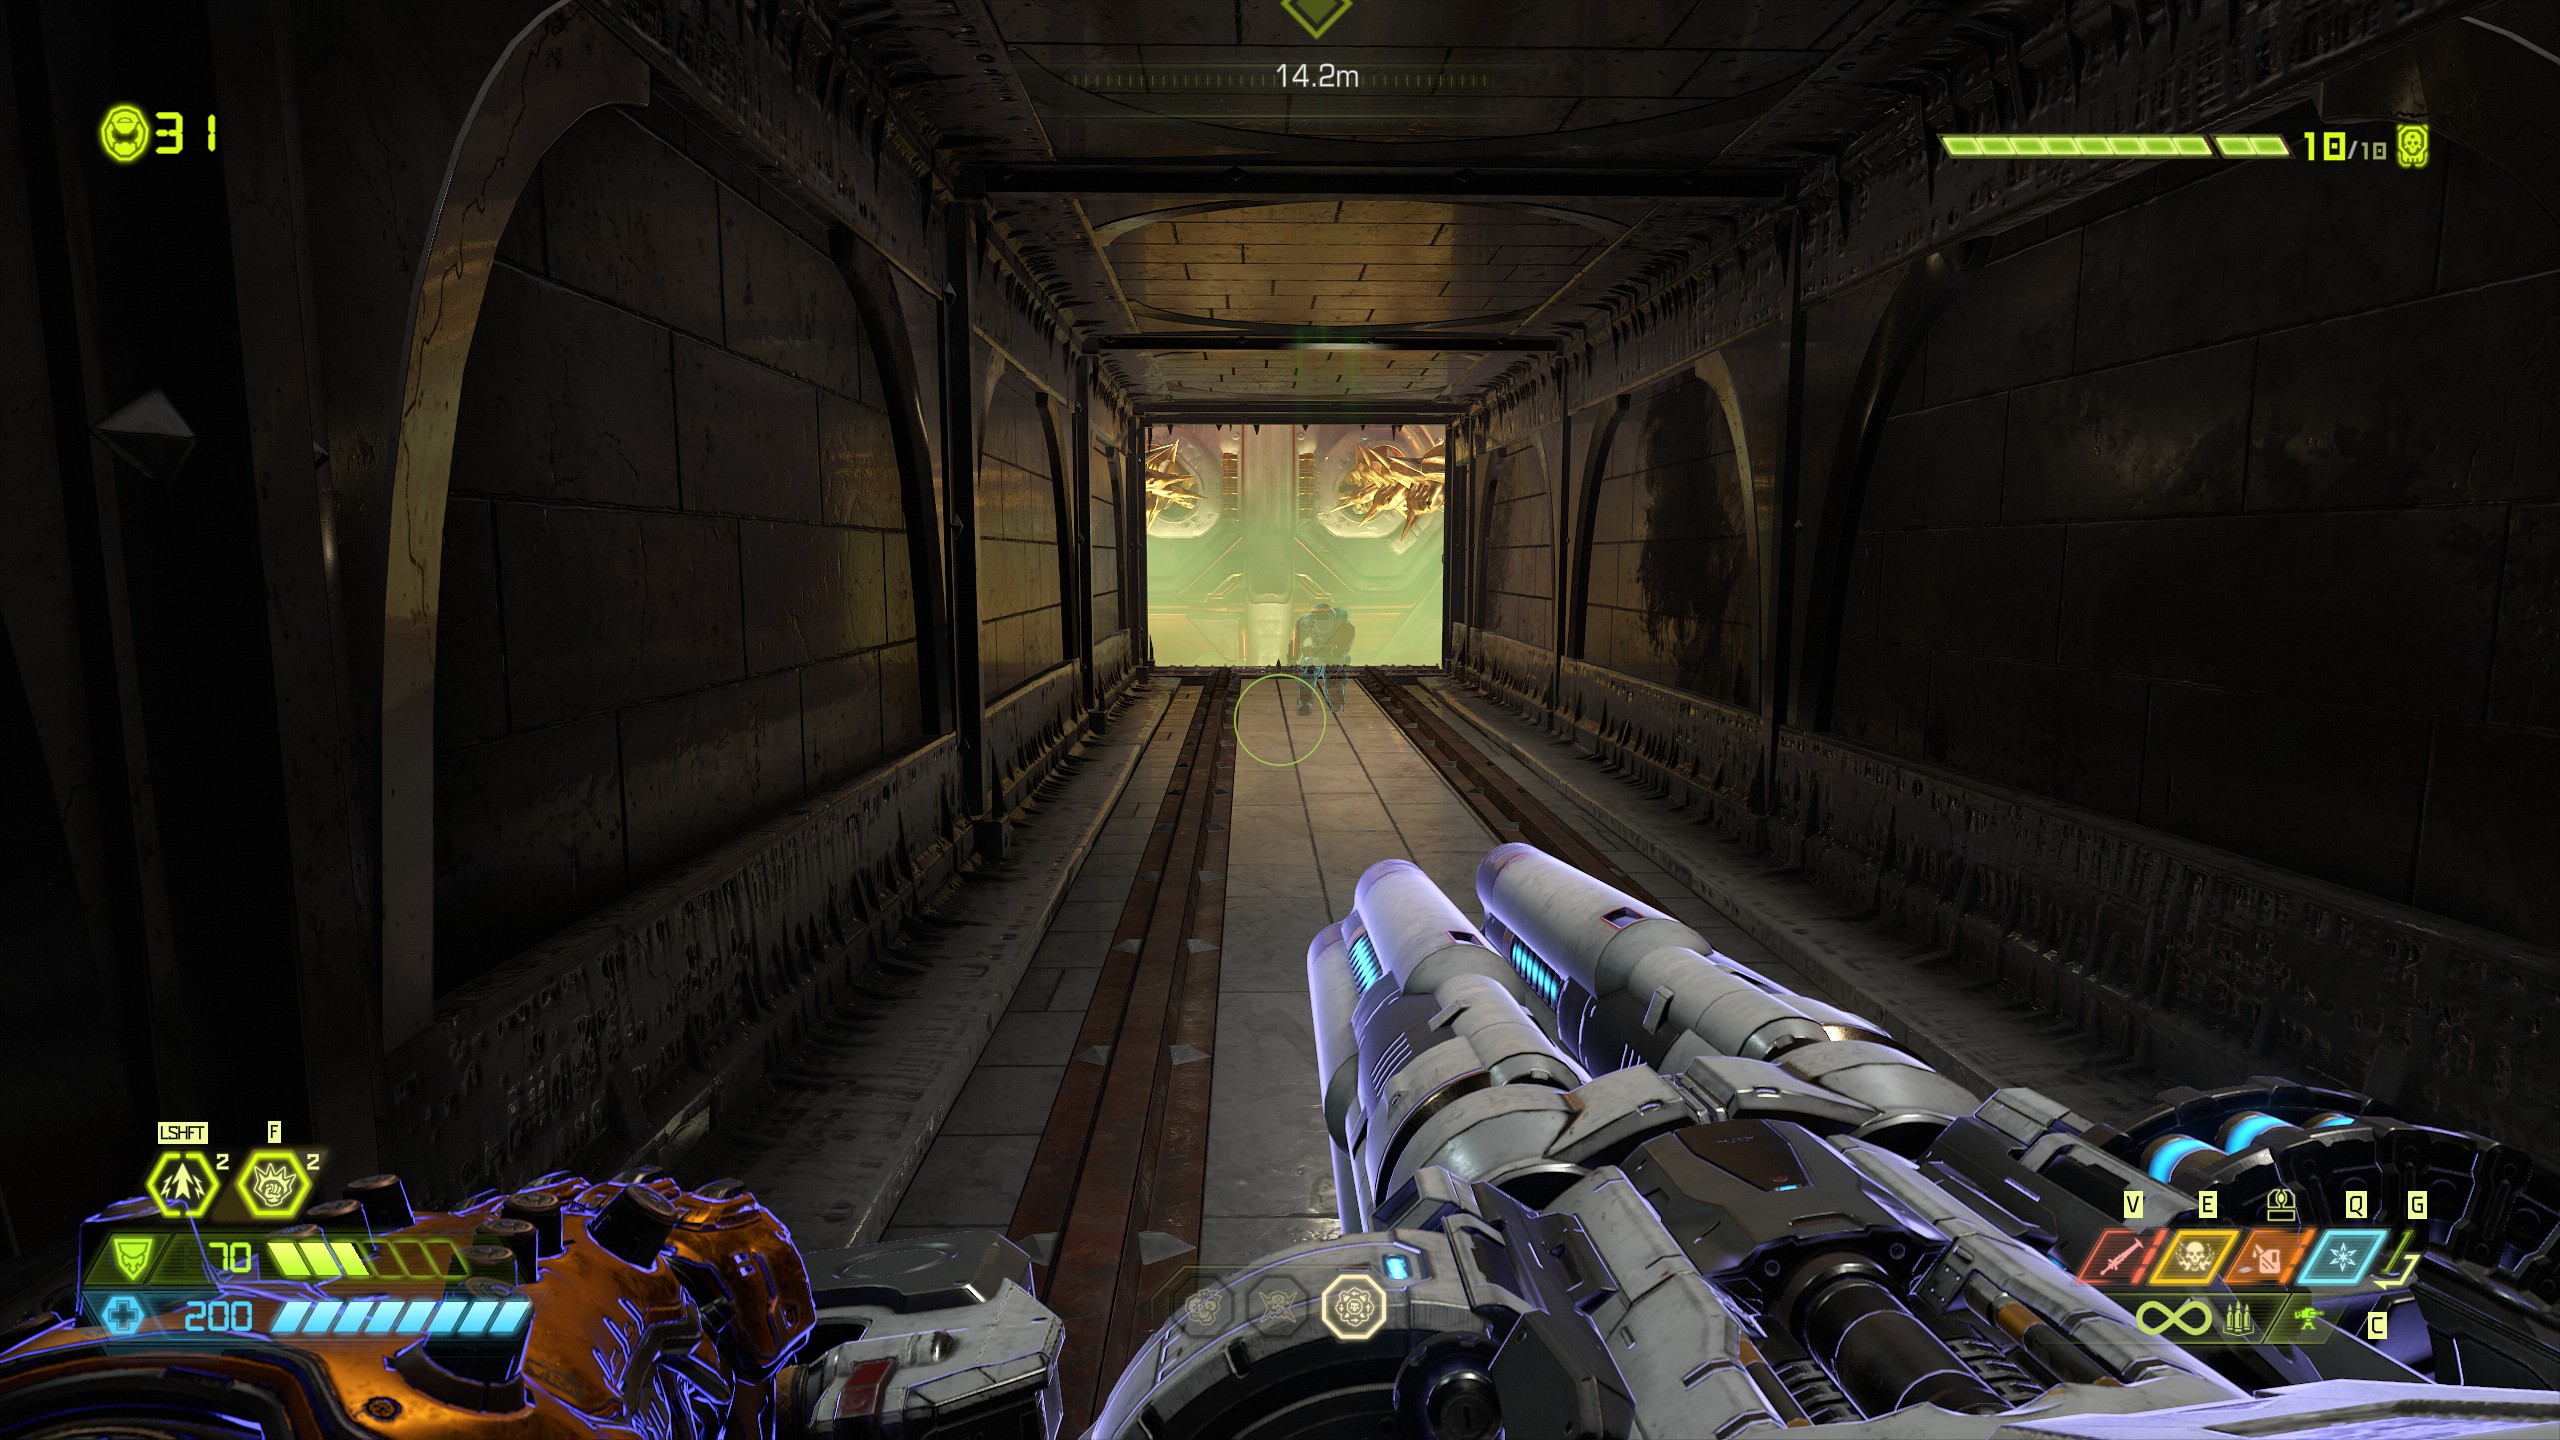
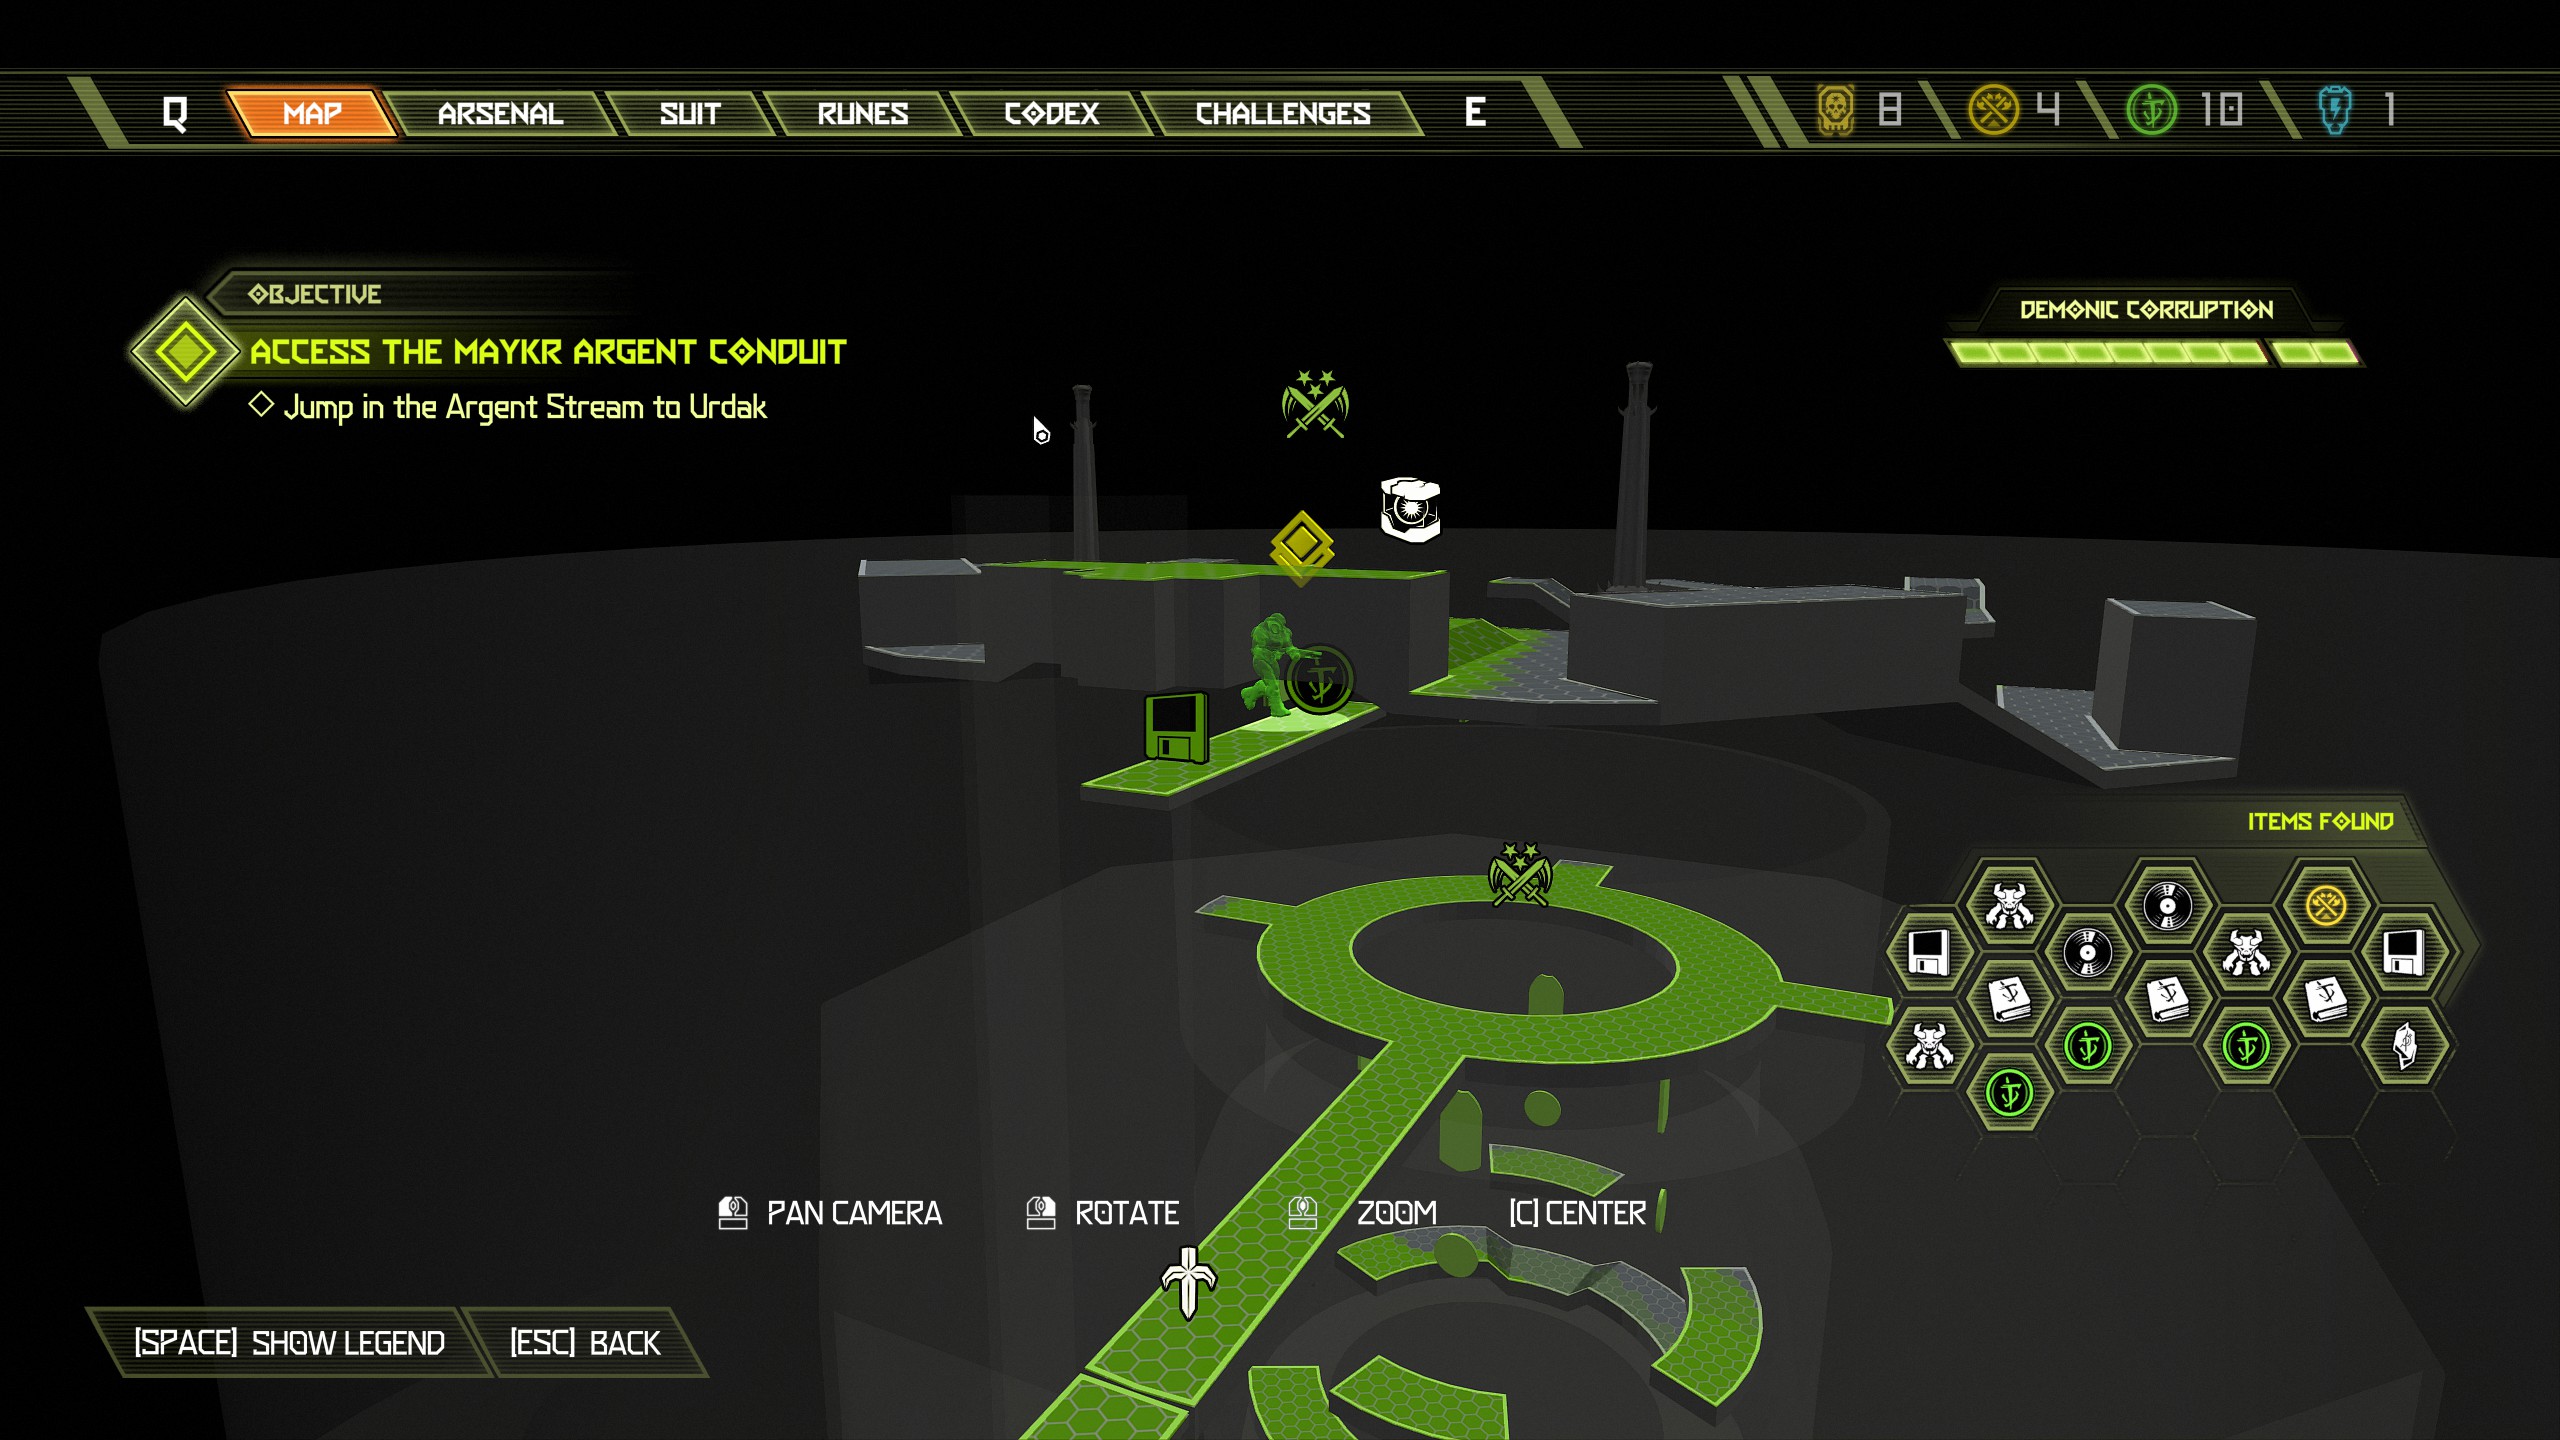
That is all items collected for this mission, you can now complete the mission or fast travel to any items you may have missed.
Mission 12: Urdak [Part 1]
NOTE: This is by far the best looking mission, it's truly beautiful, however, it is also one of the worst missions because it's full of platforming. This is difficult to navigate so follow carefully and i will try my hardest to point you in the right direction. This mission contains:
- 4 Codex Pages
- 2 Albums
- 2 Praetor Suit Tokens
- 2 Secret Encounters
- 2 Mastery Tokens
- 1 Automap
- 3 Doomtoys
- 3 Extra Lives
- 1 Cheat Code
- 1 Blue Orb
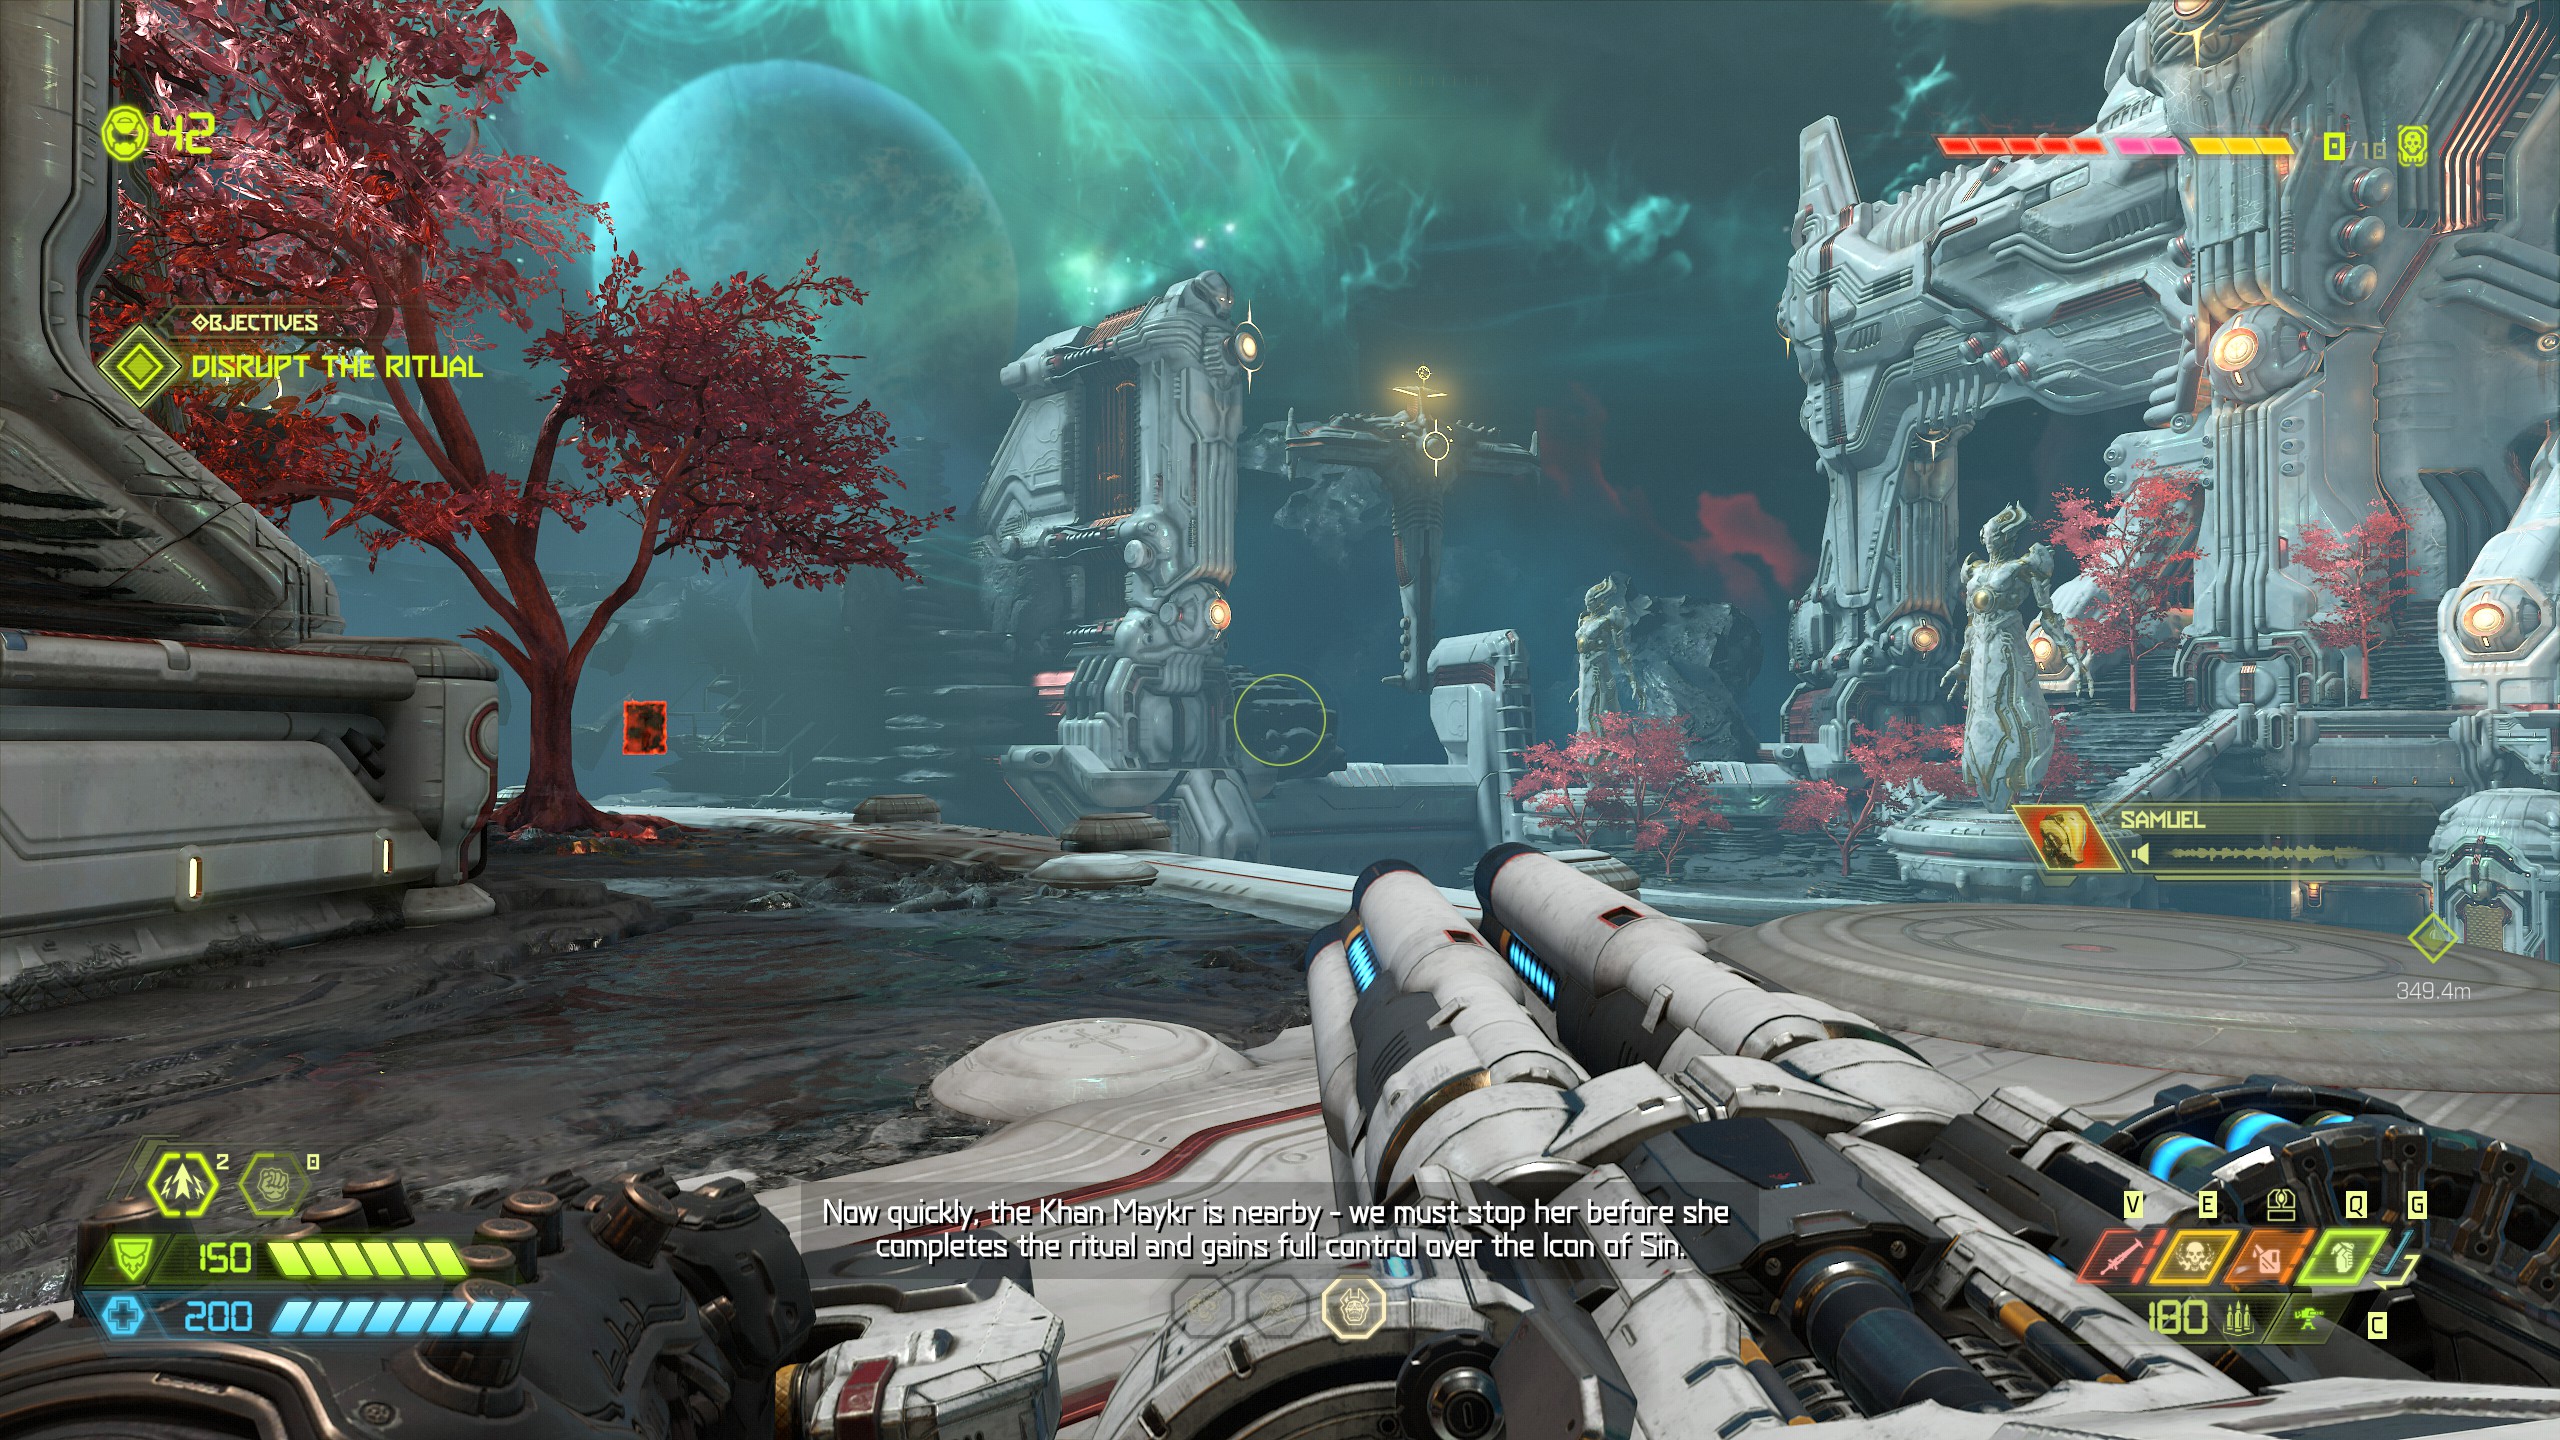
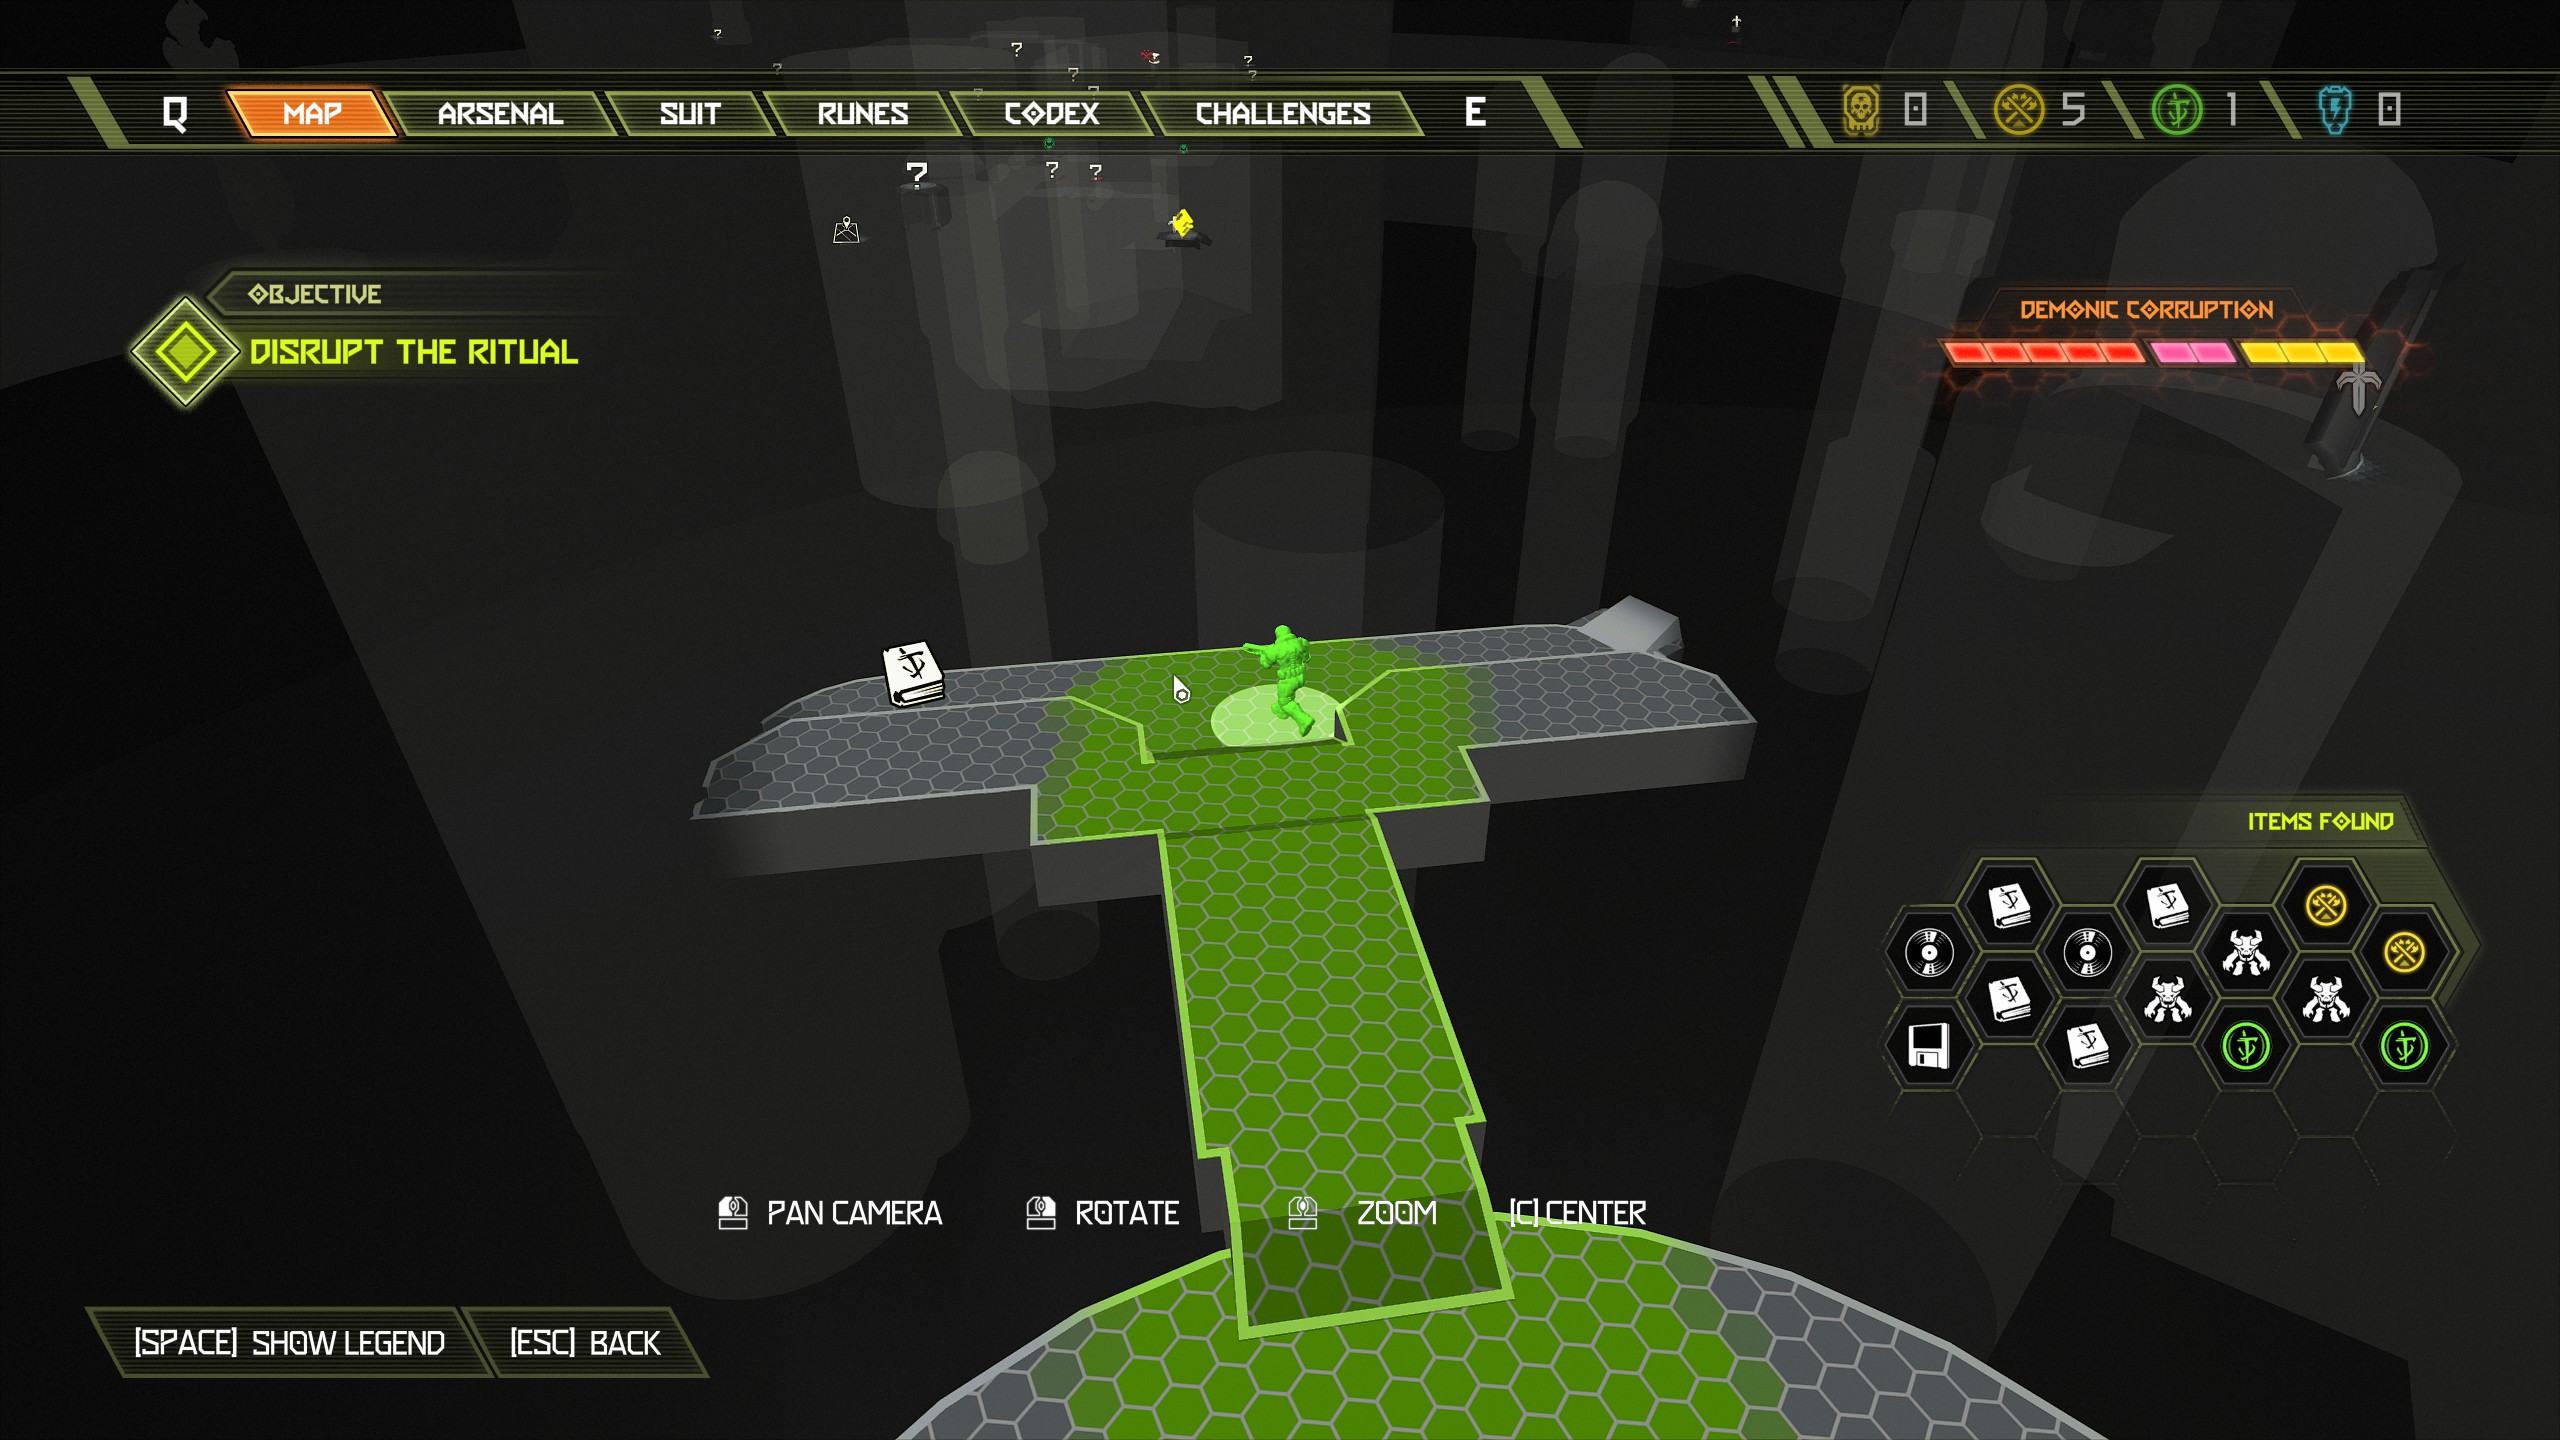
Continue the mission through all the hoops/portals and platforms until you are back inside.
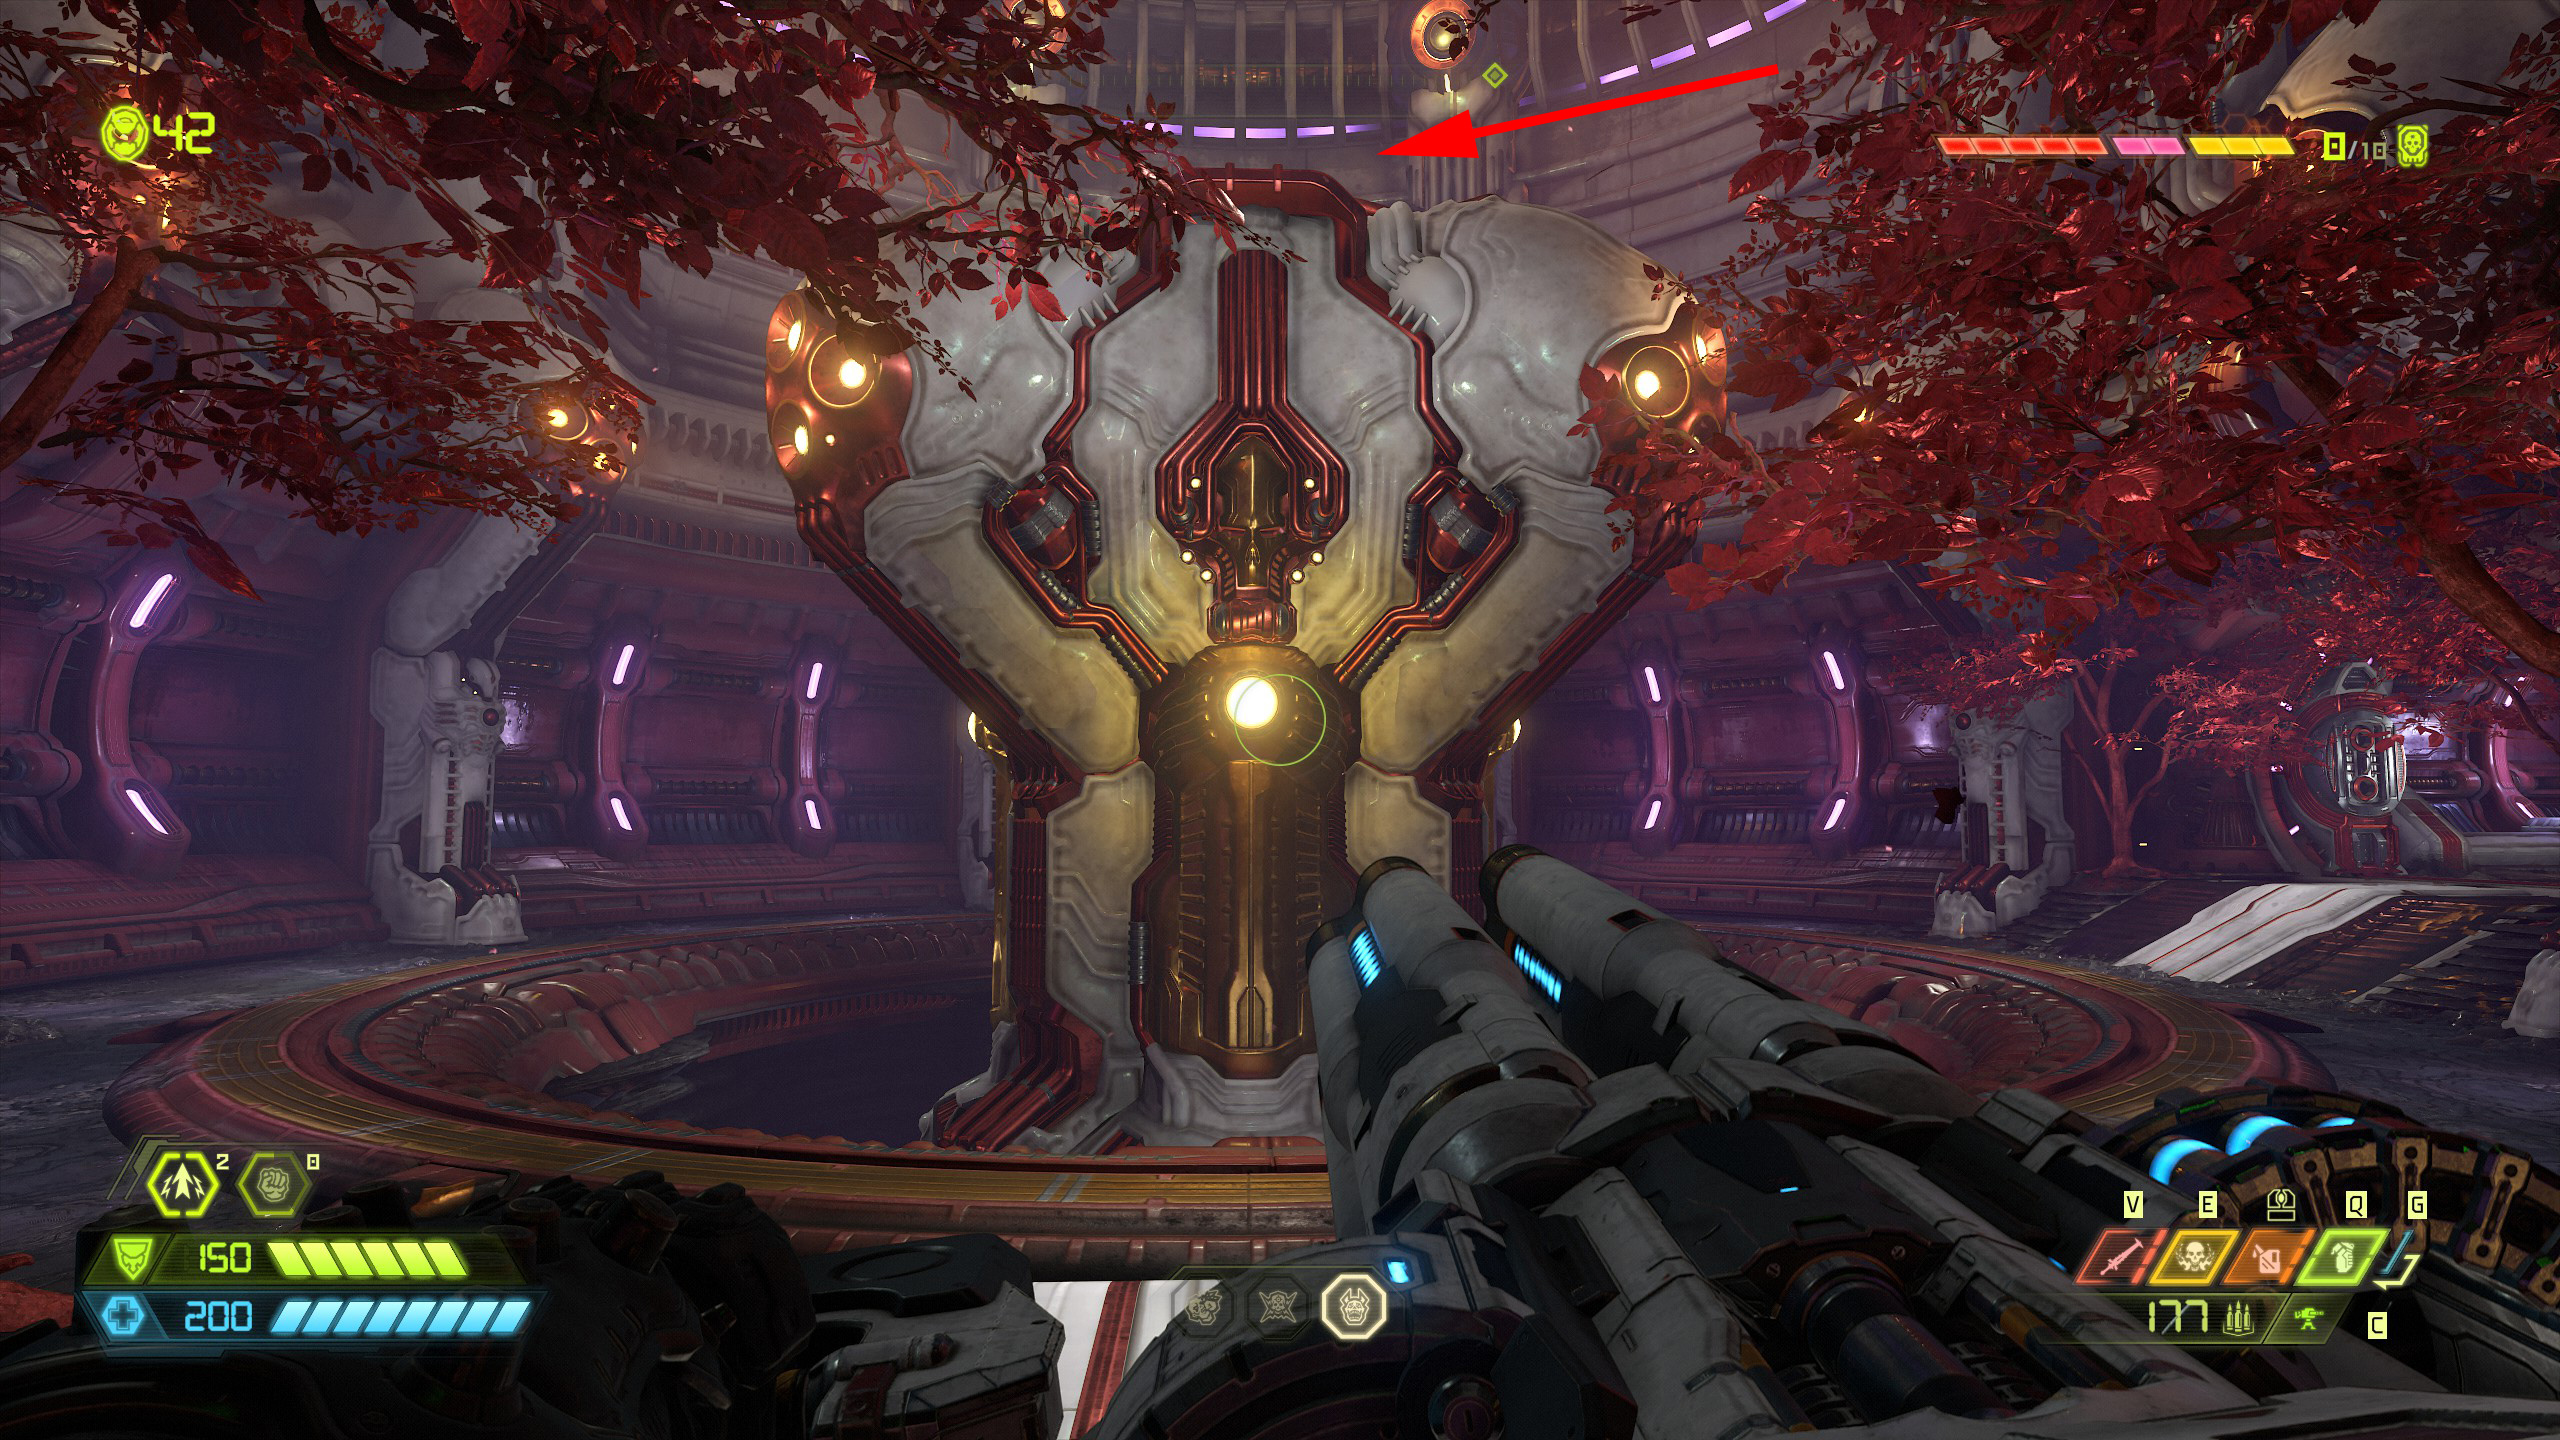
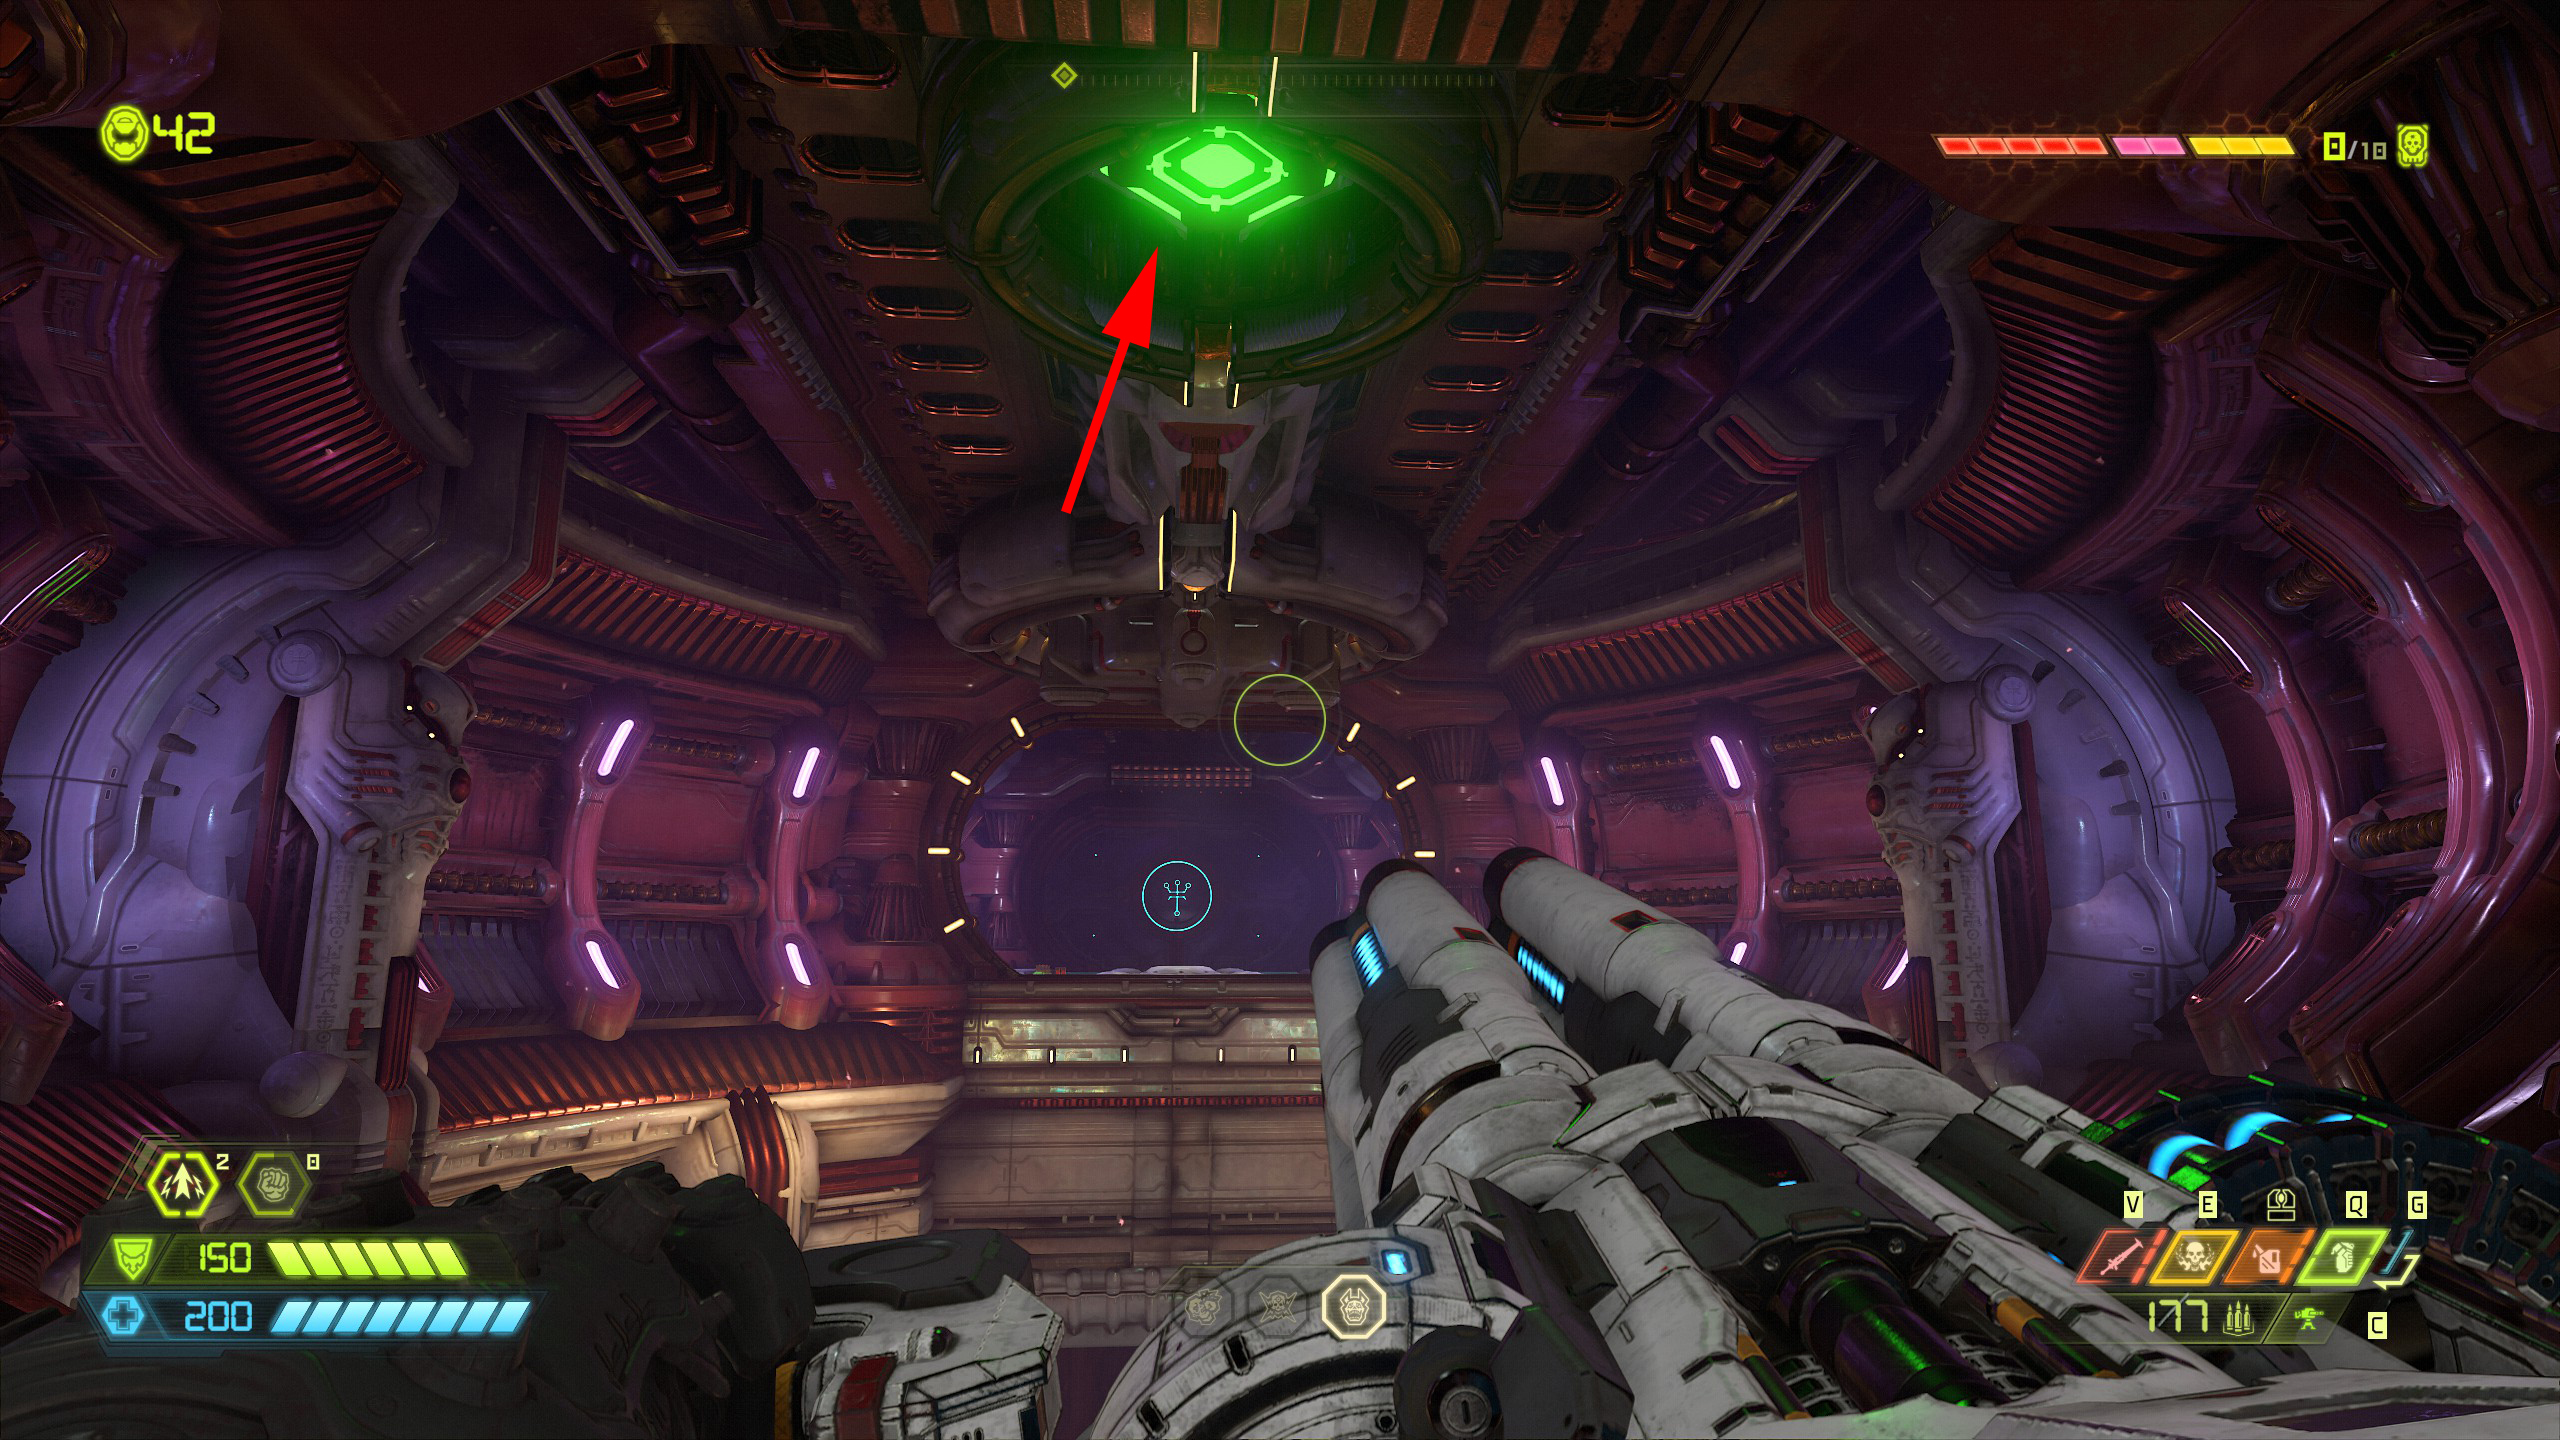
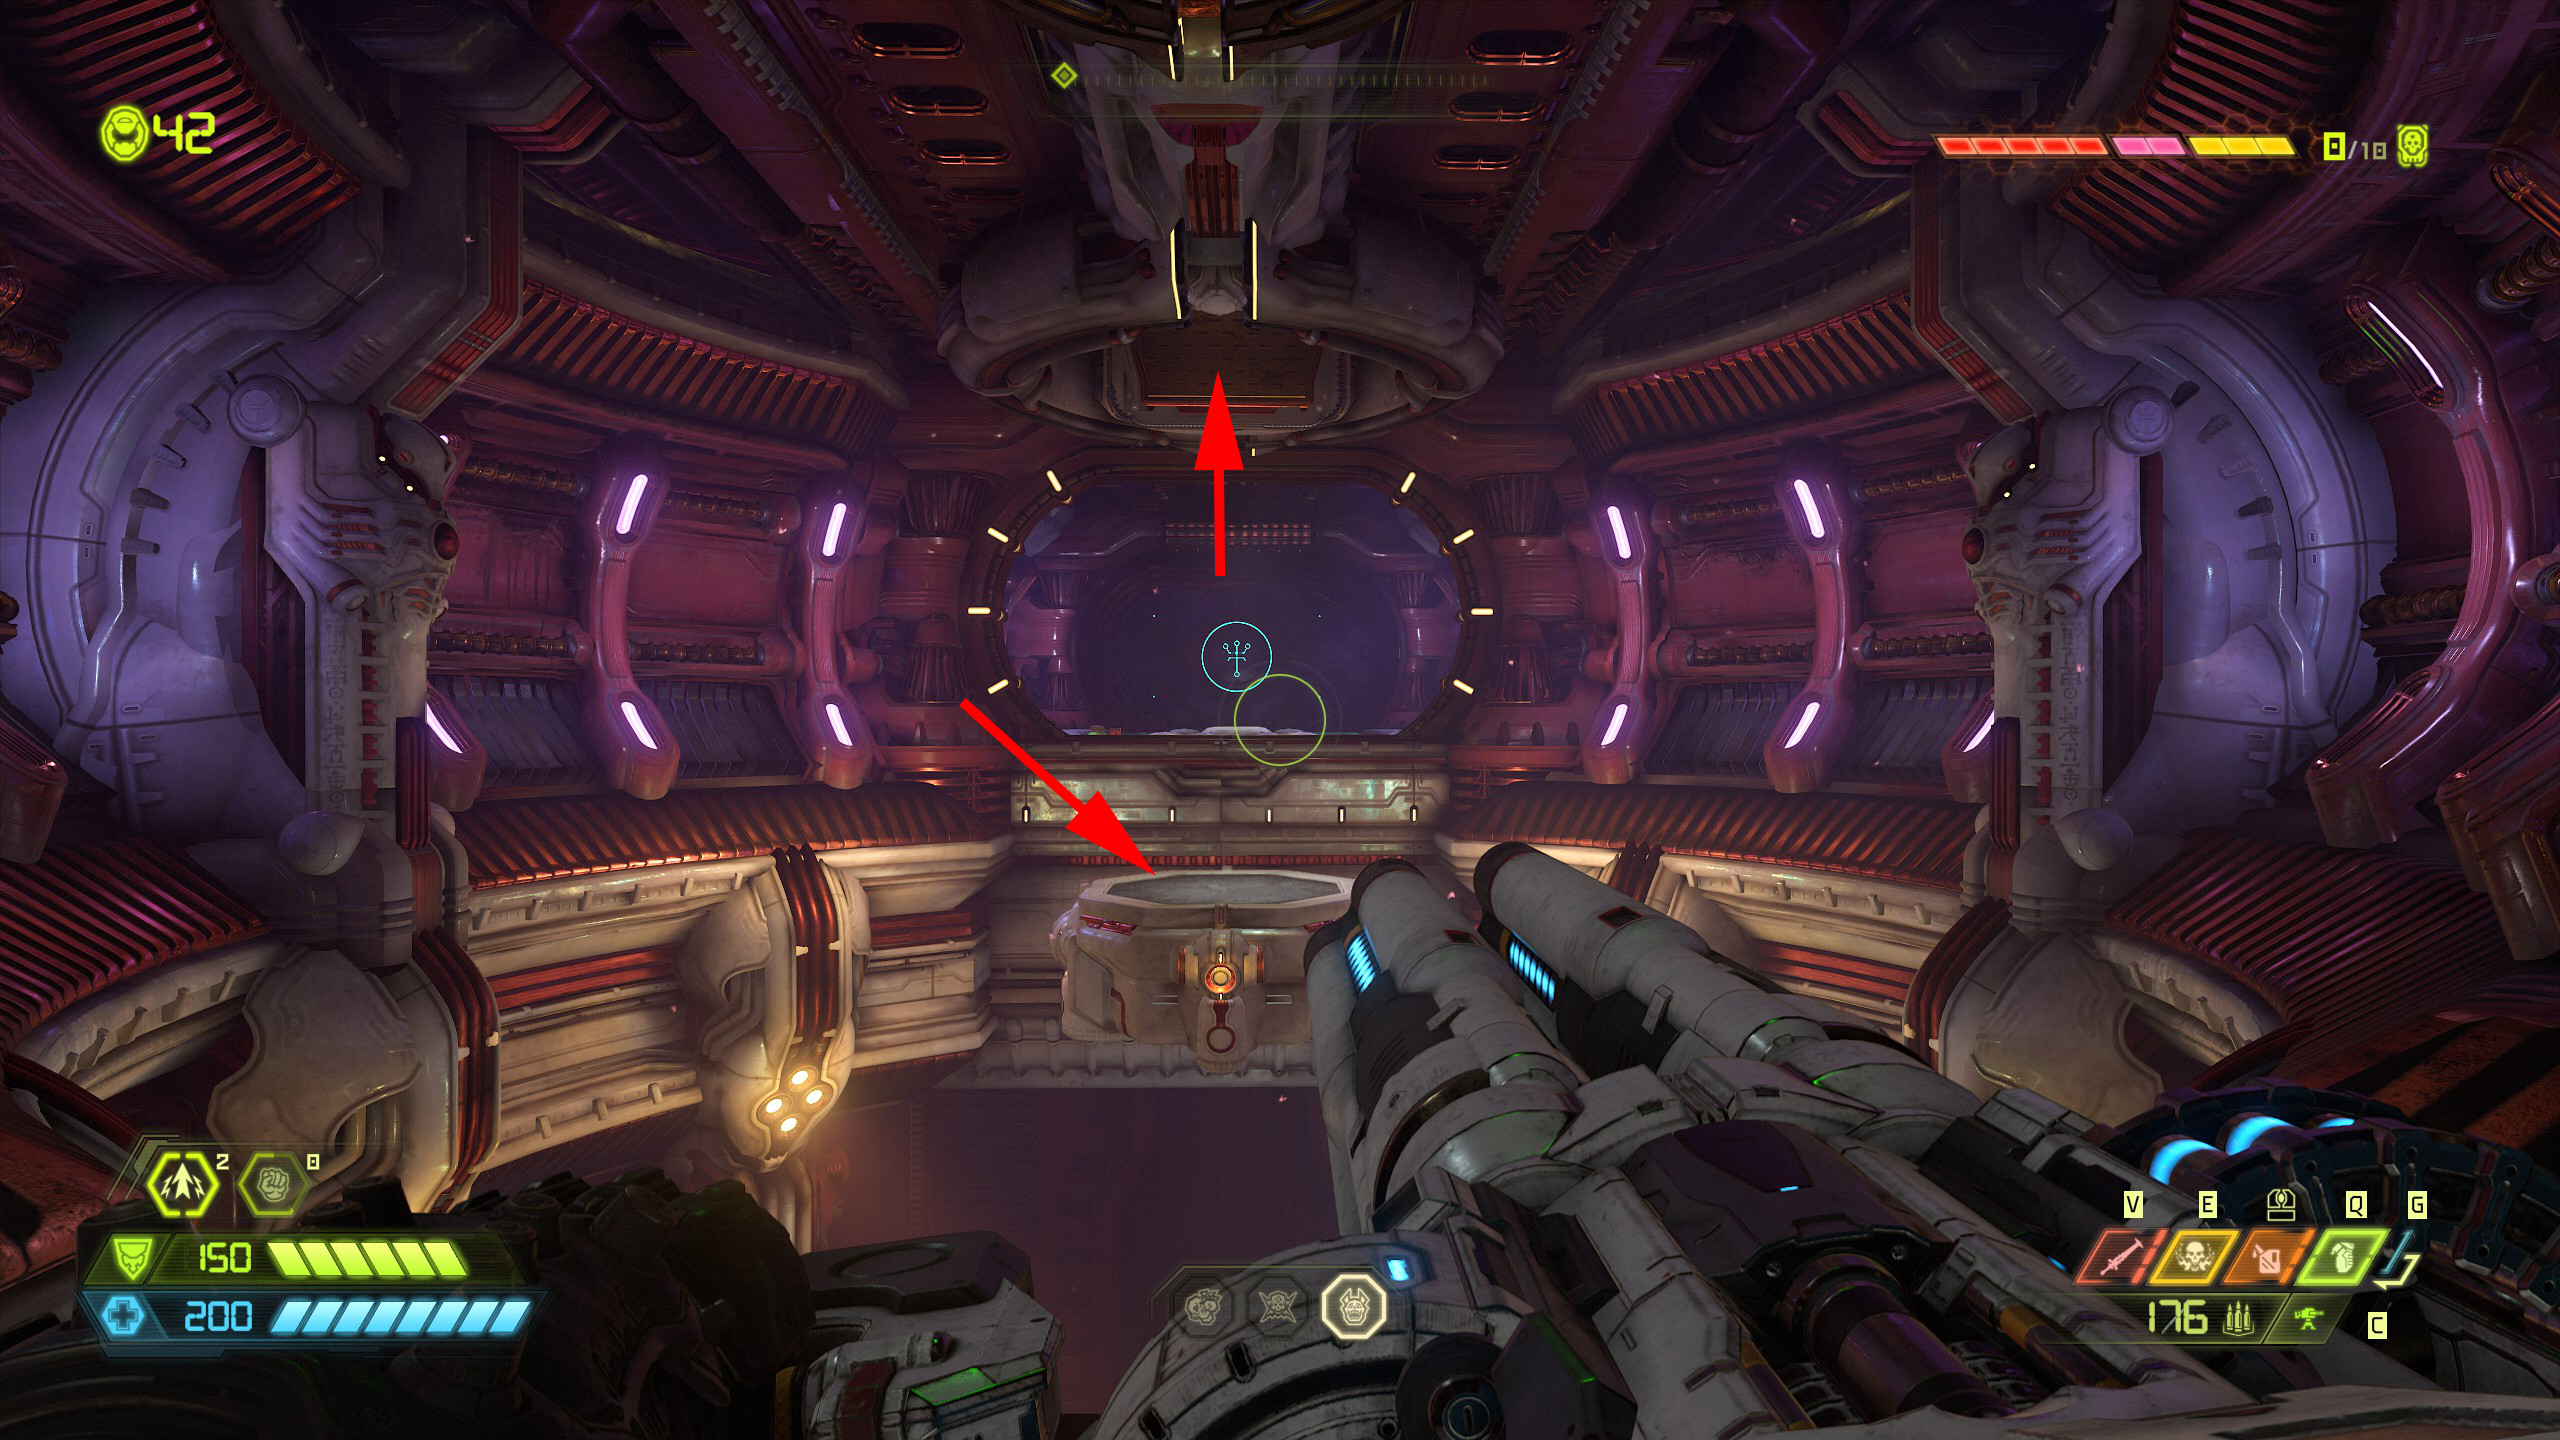
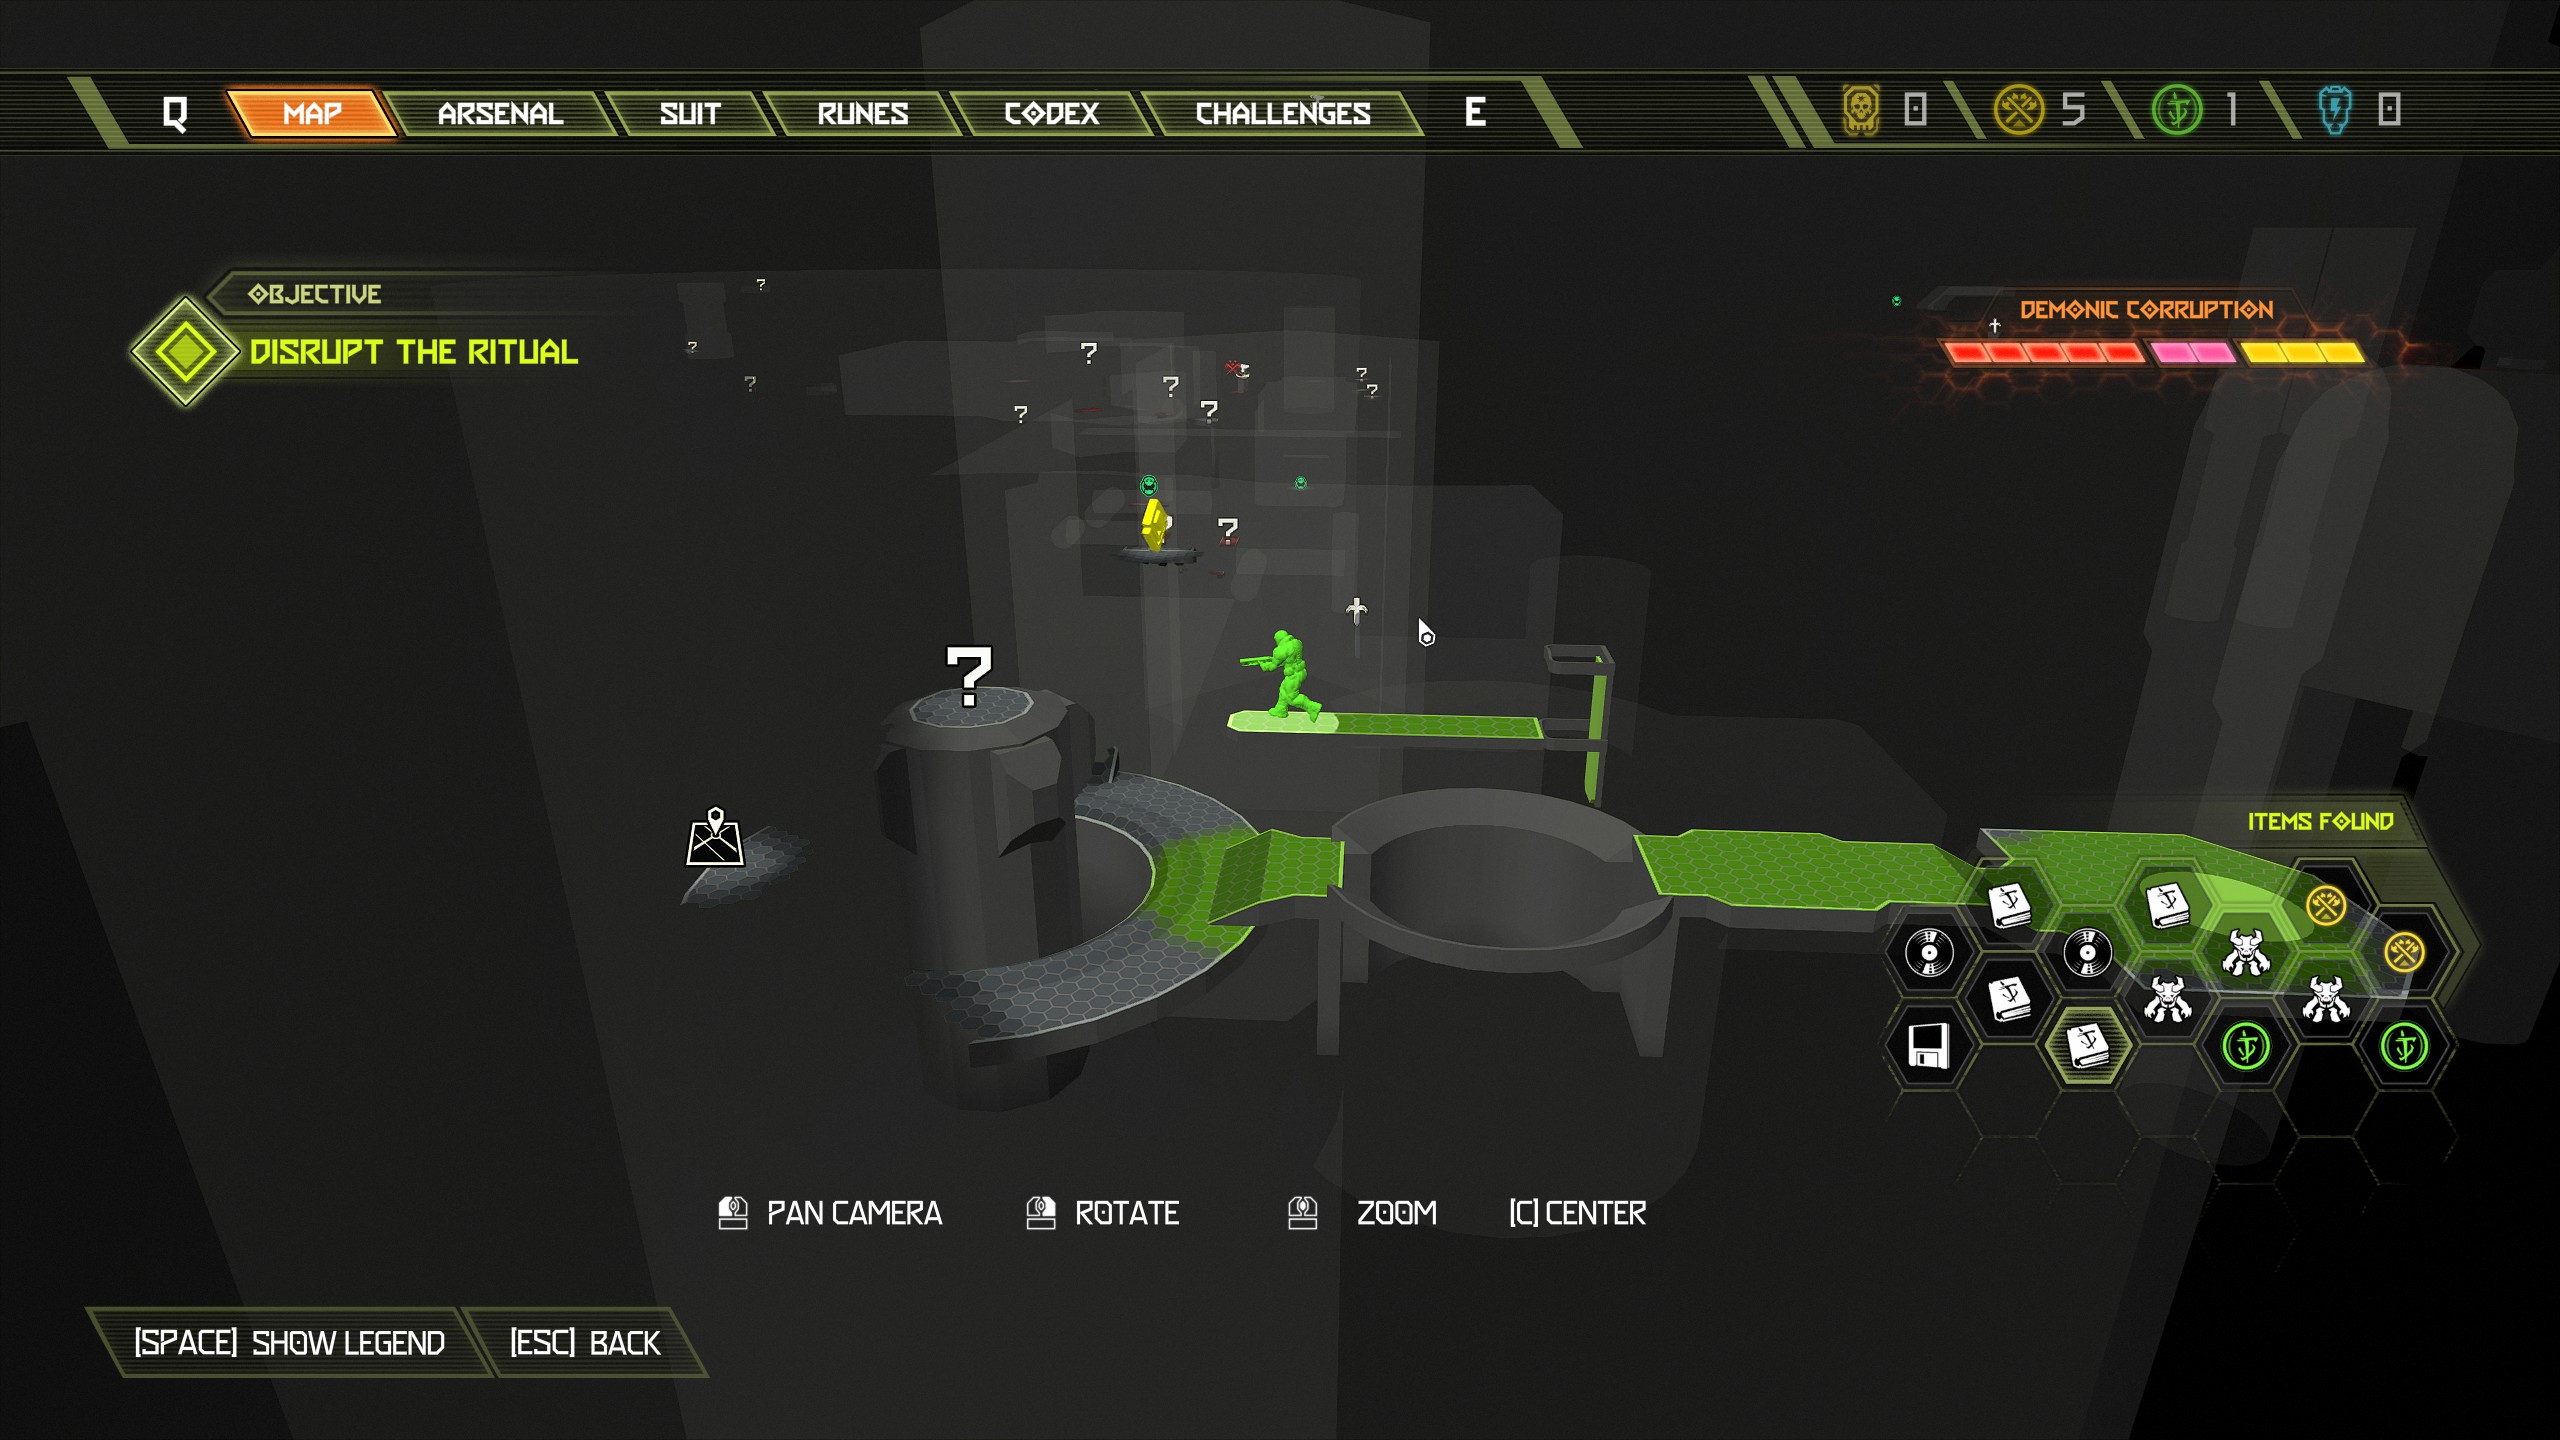
Once you have the mastery token immediately look down towards the back of the platform and you will see an automap, collect the automap and then move along into the next area.
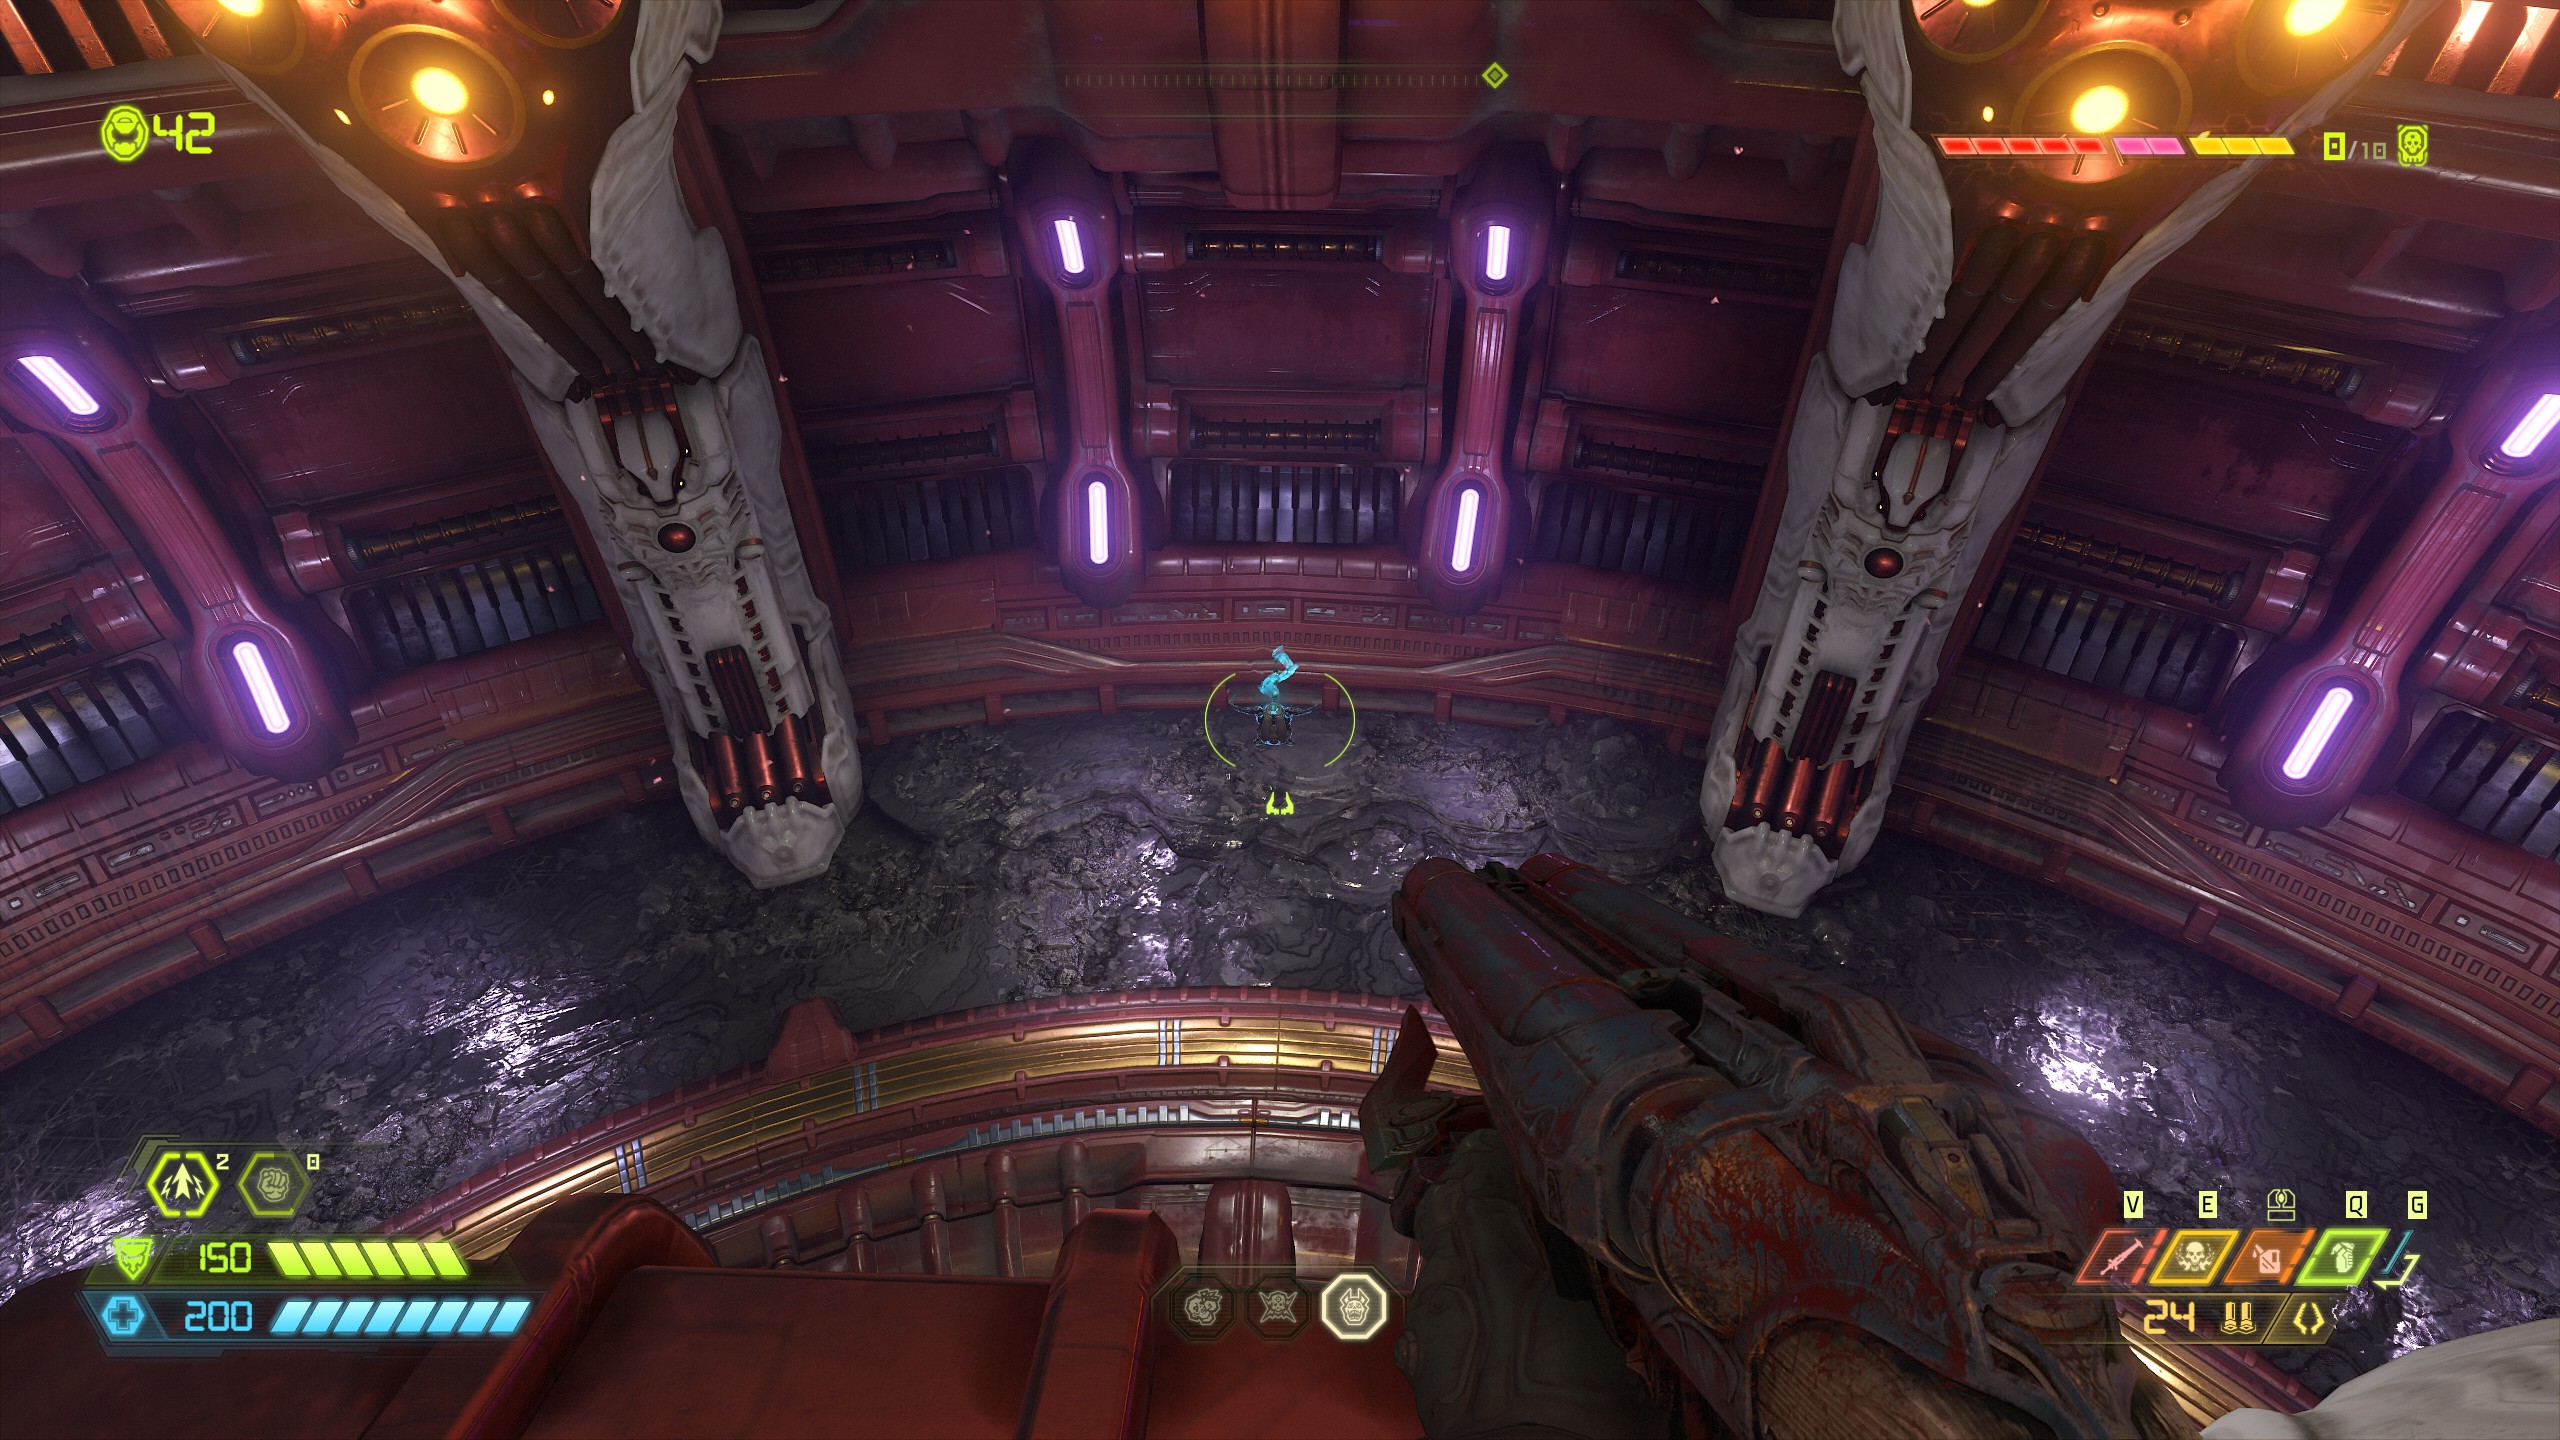
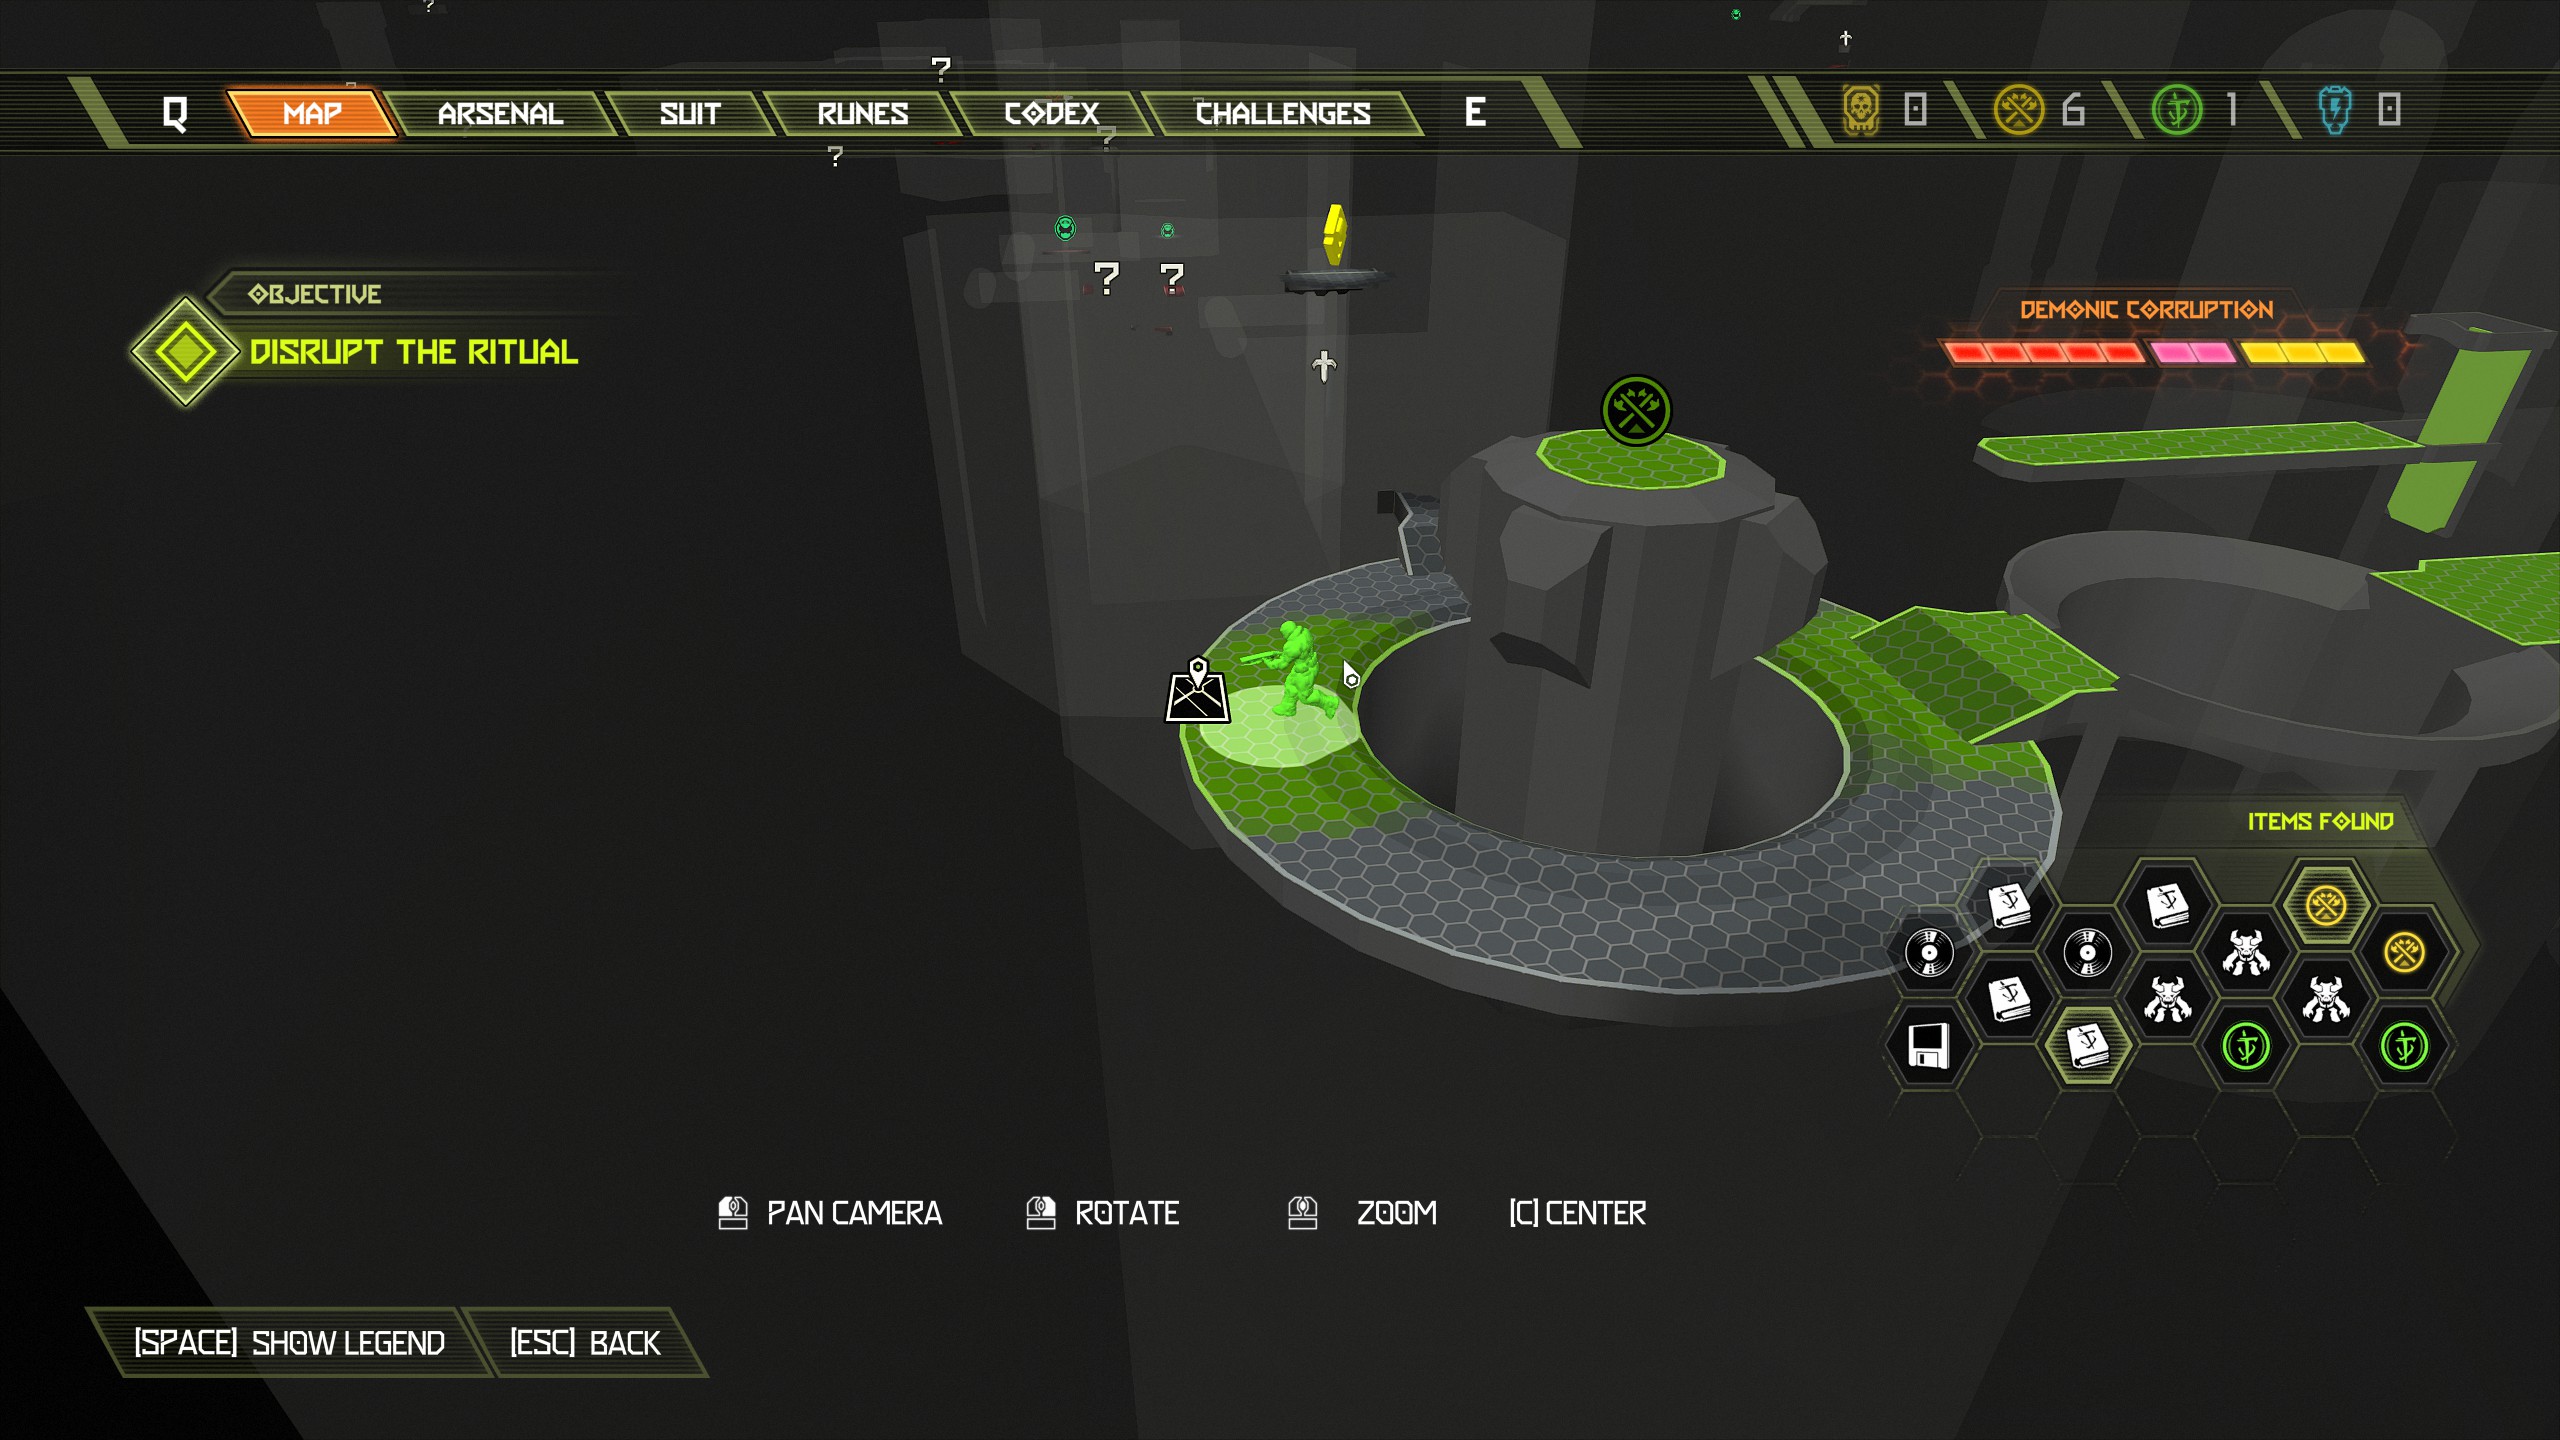
After clearing the next area make your way across the coffin shaped floating walls and break through into the chute and follow it through.
Once you're through the chute head towards the mission marker via the platforms. The mission will direct you to break through the green vent, but do not break through just yet and instead climb up to the left platform nearby and then from there jump across to the opposite platform to find a codex page. Immediately from the codex page jump up another level to the left side and inside will be a breakable wall with an album vinyl behind it.
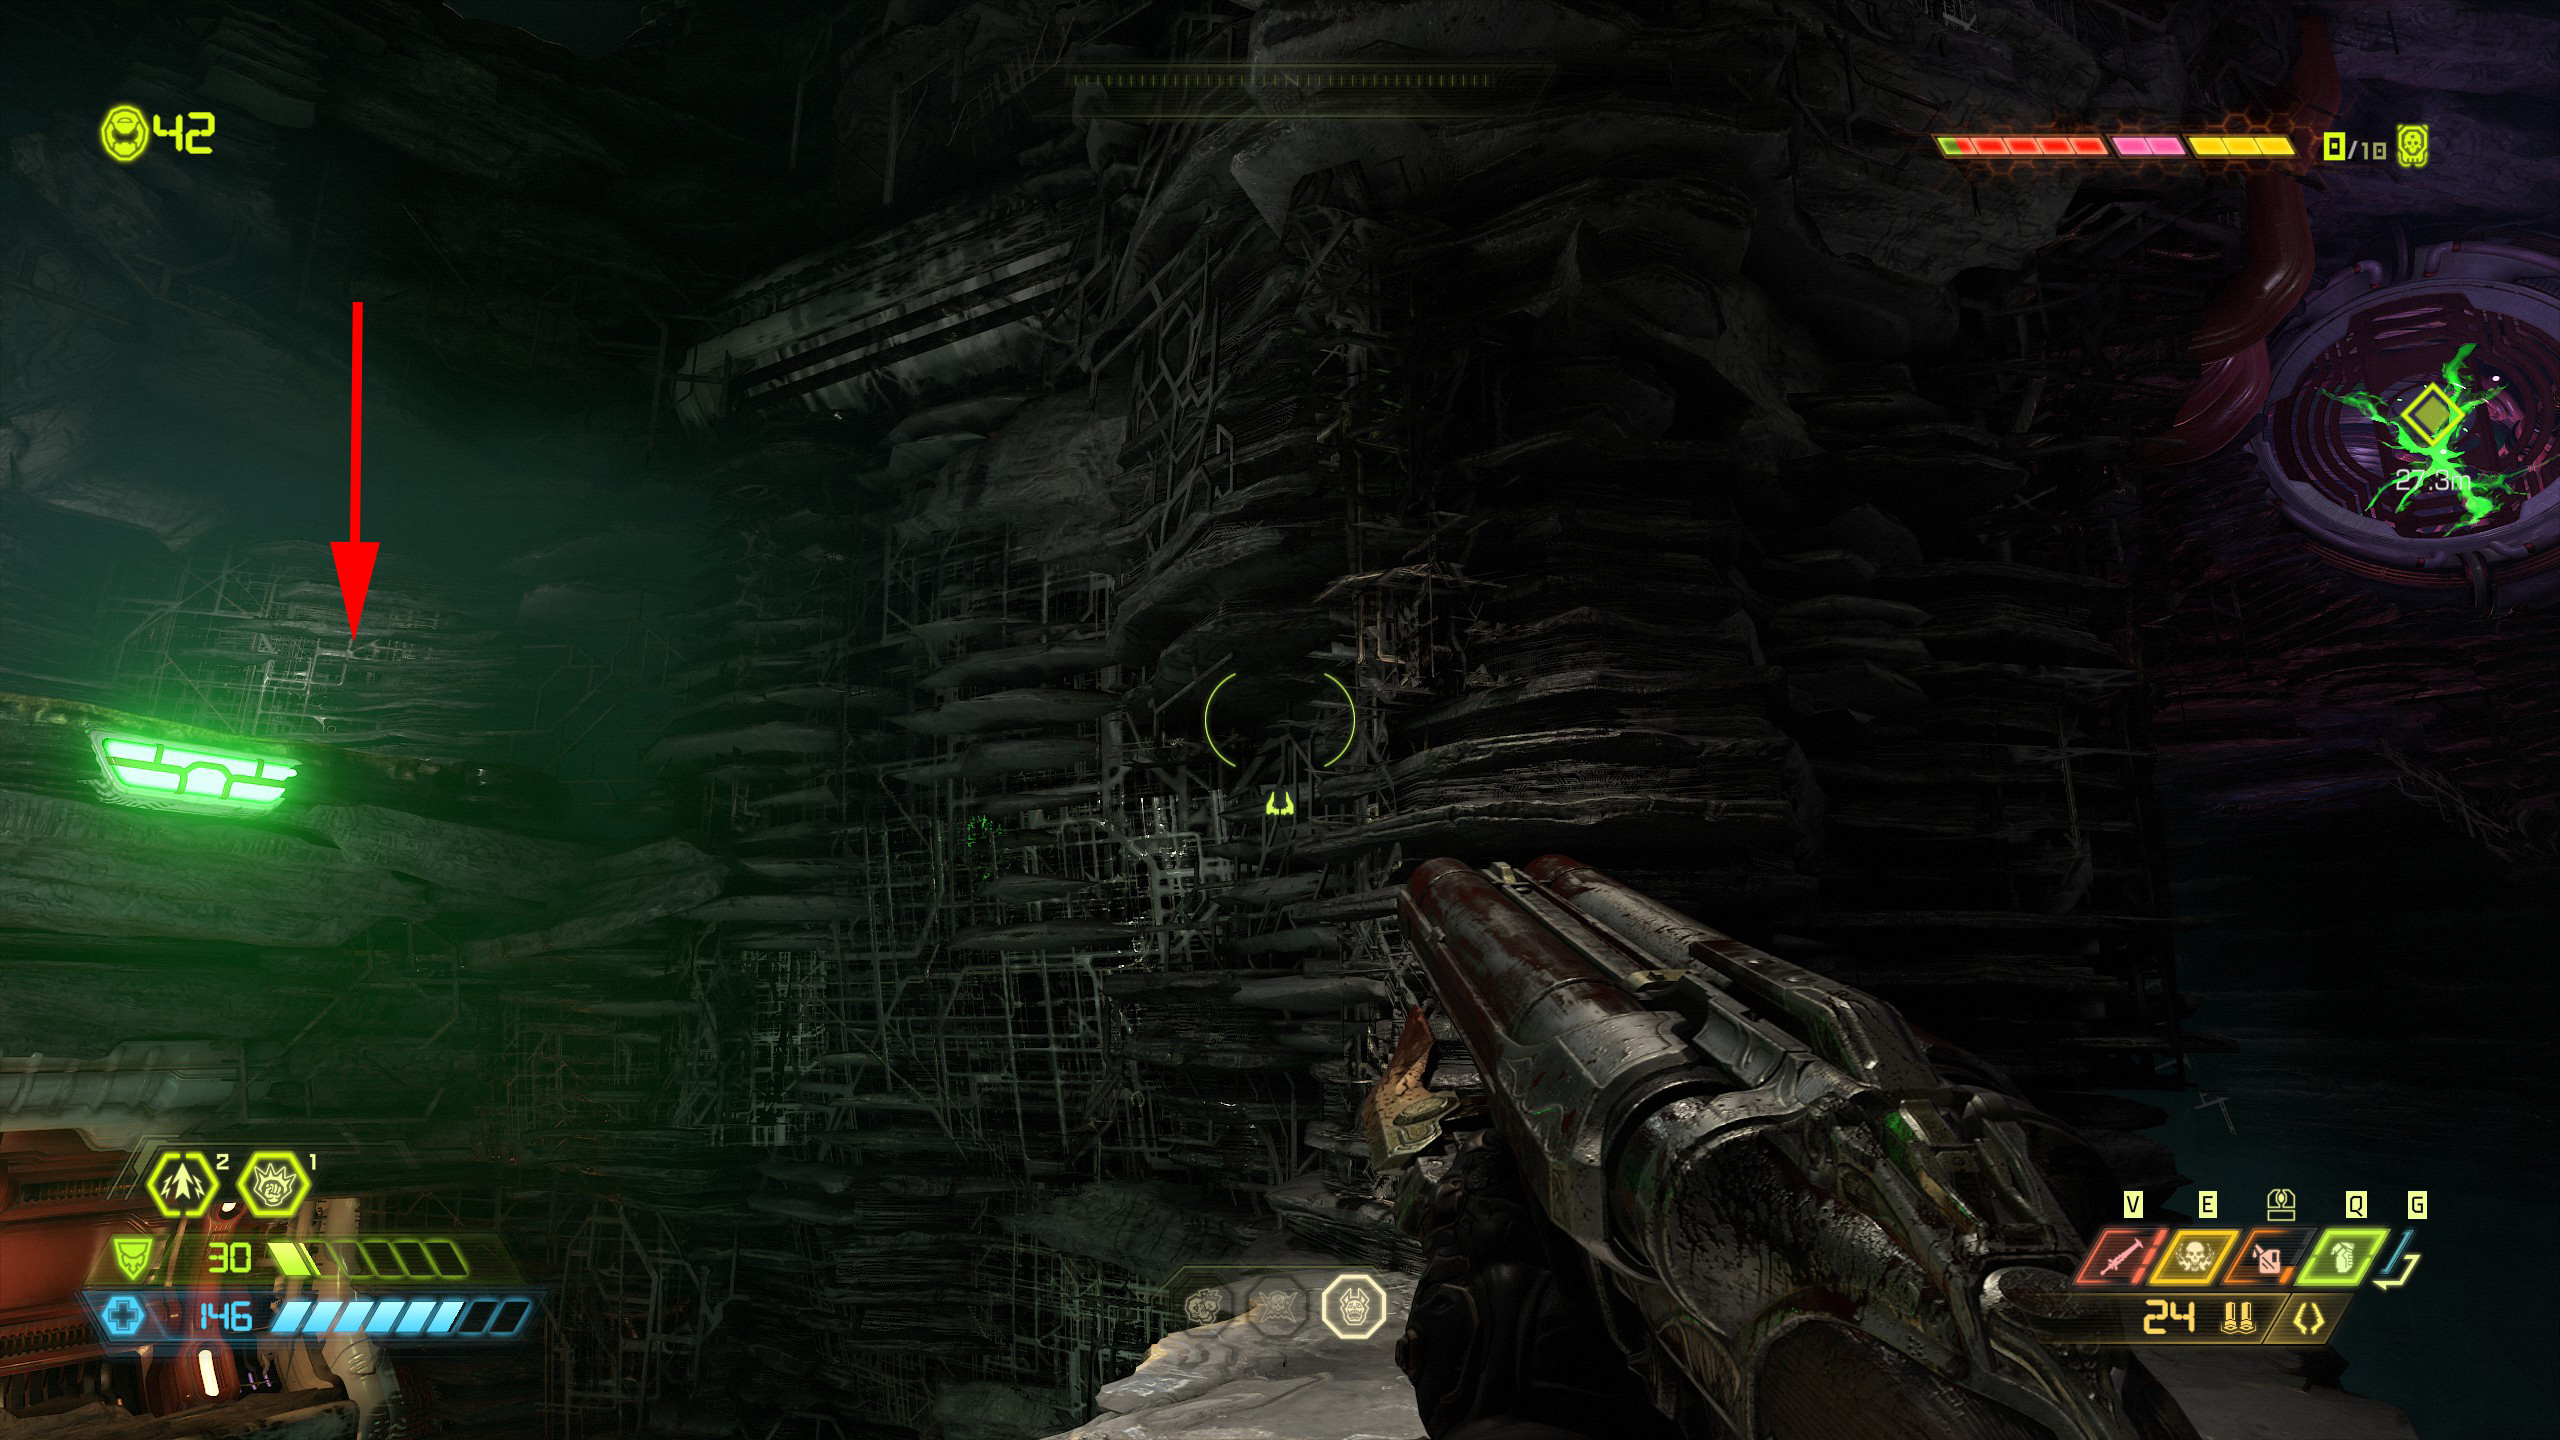
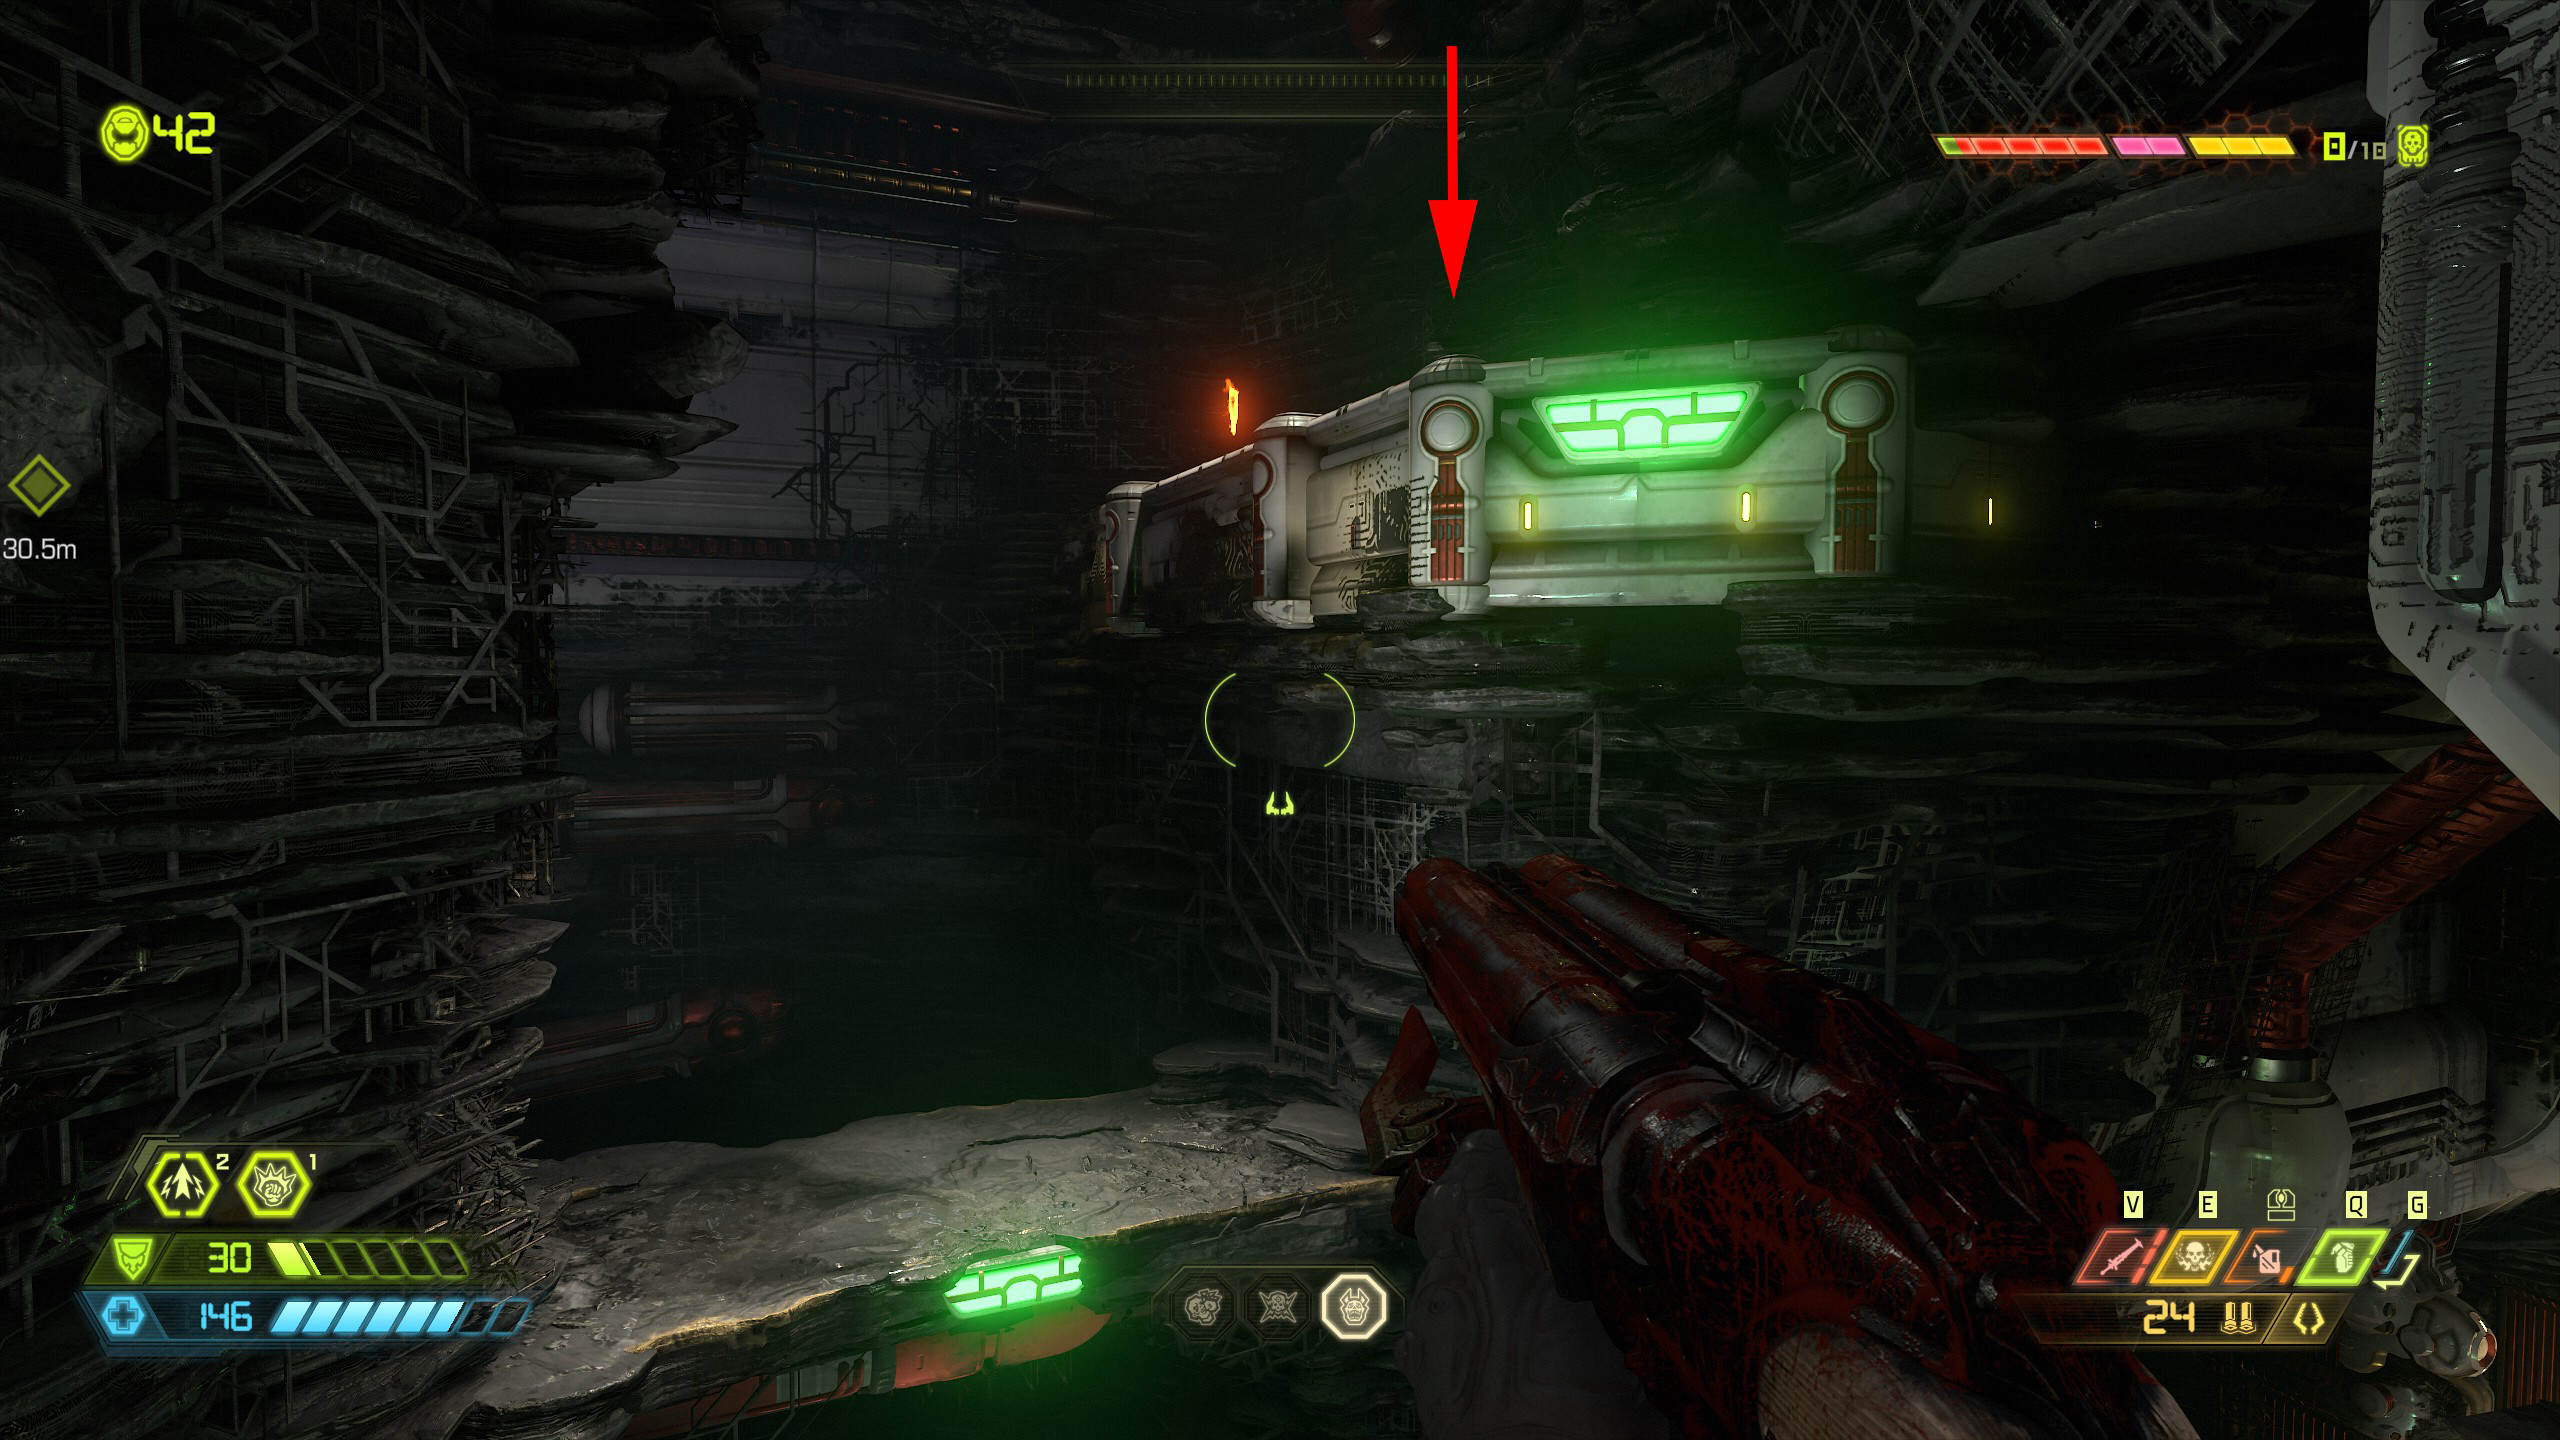
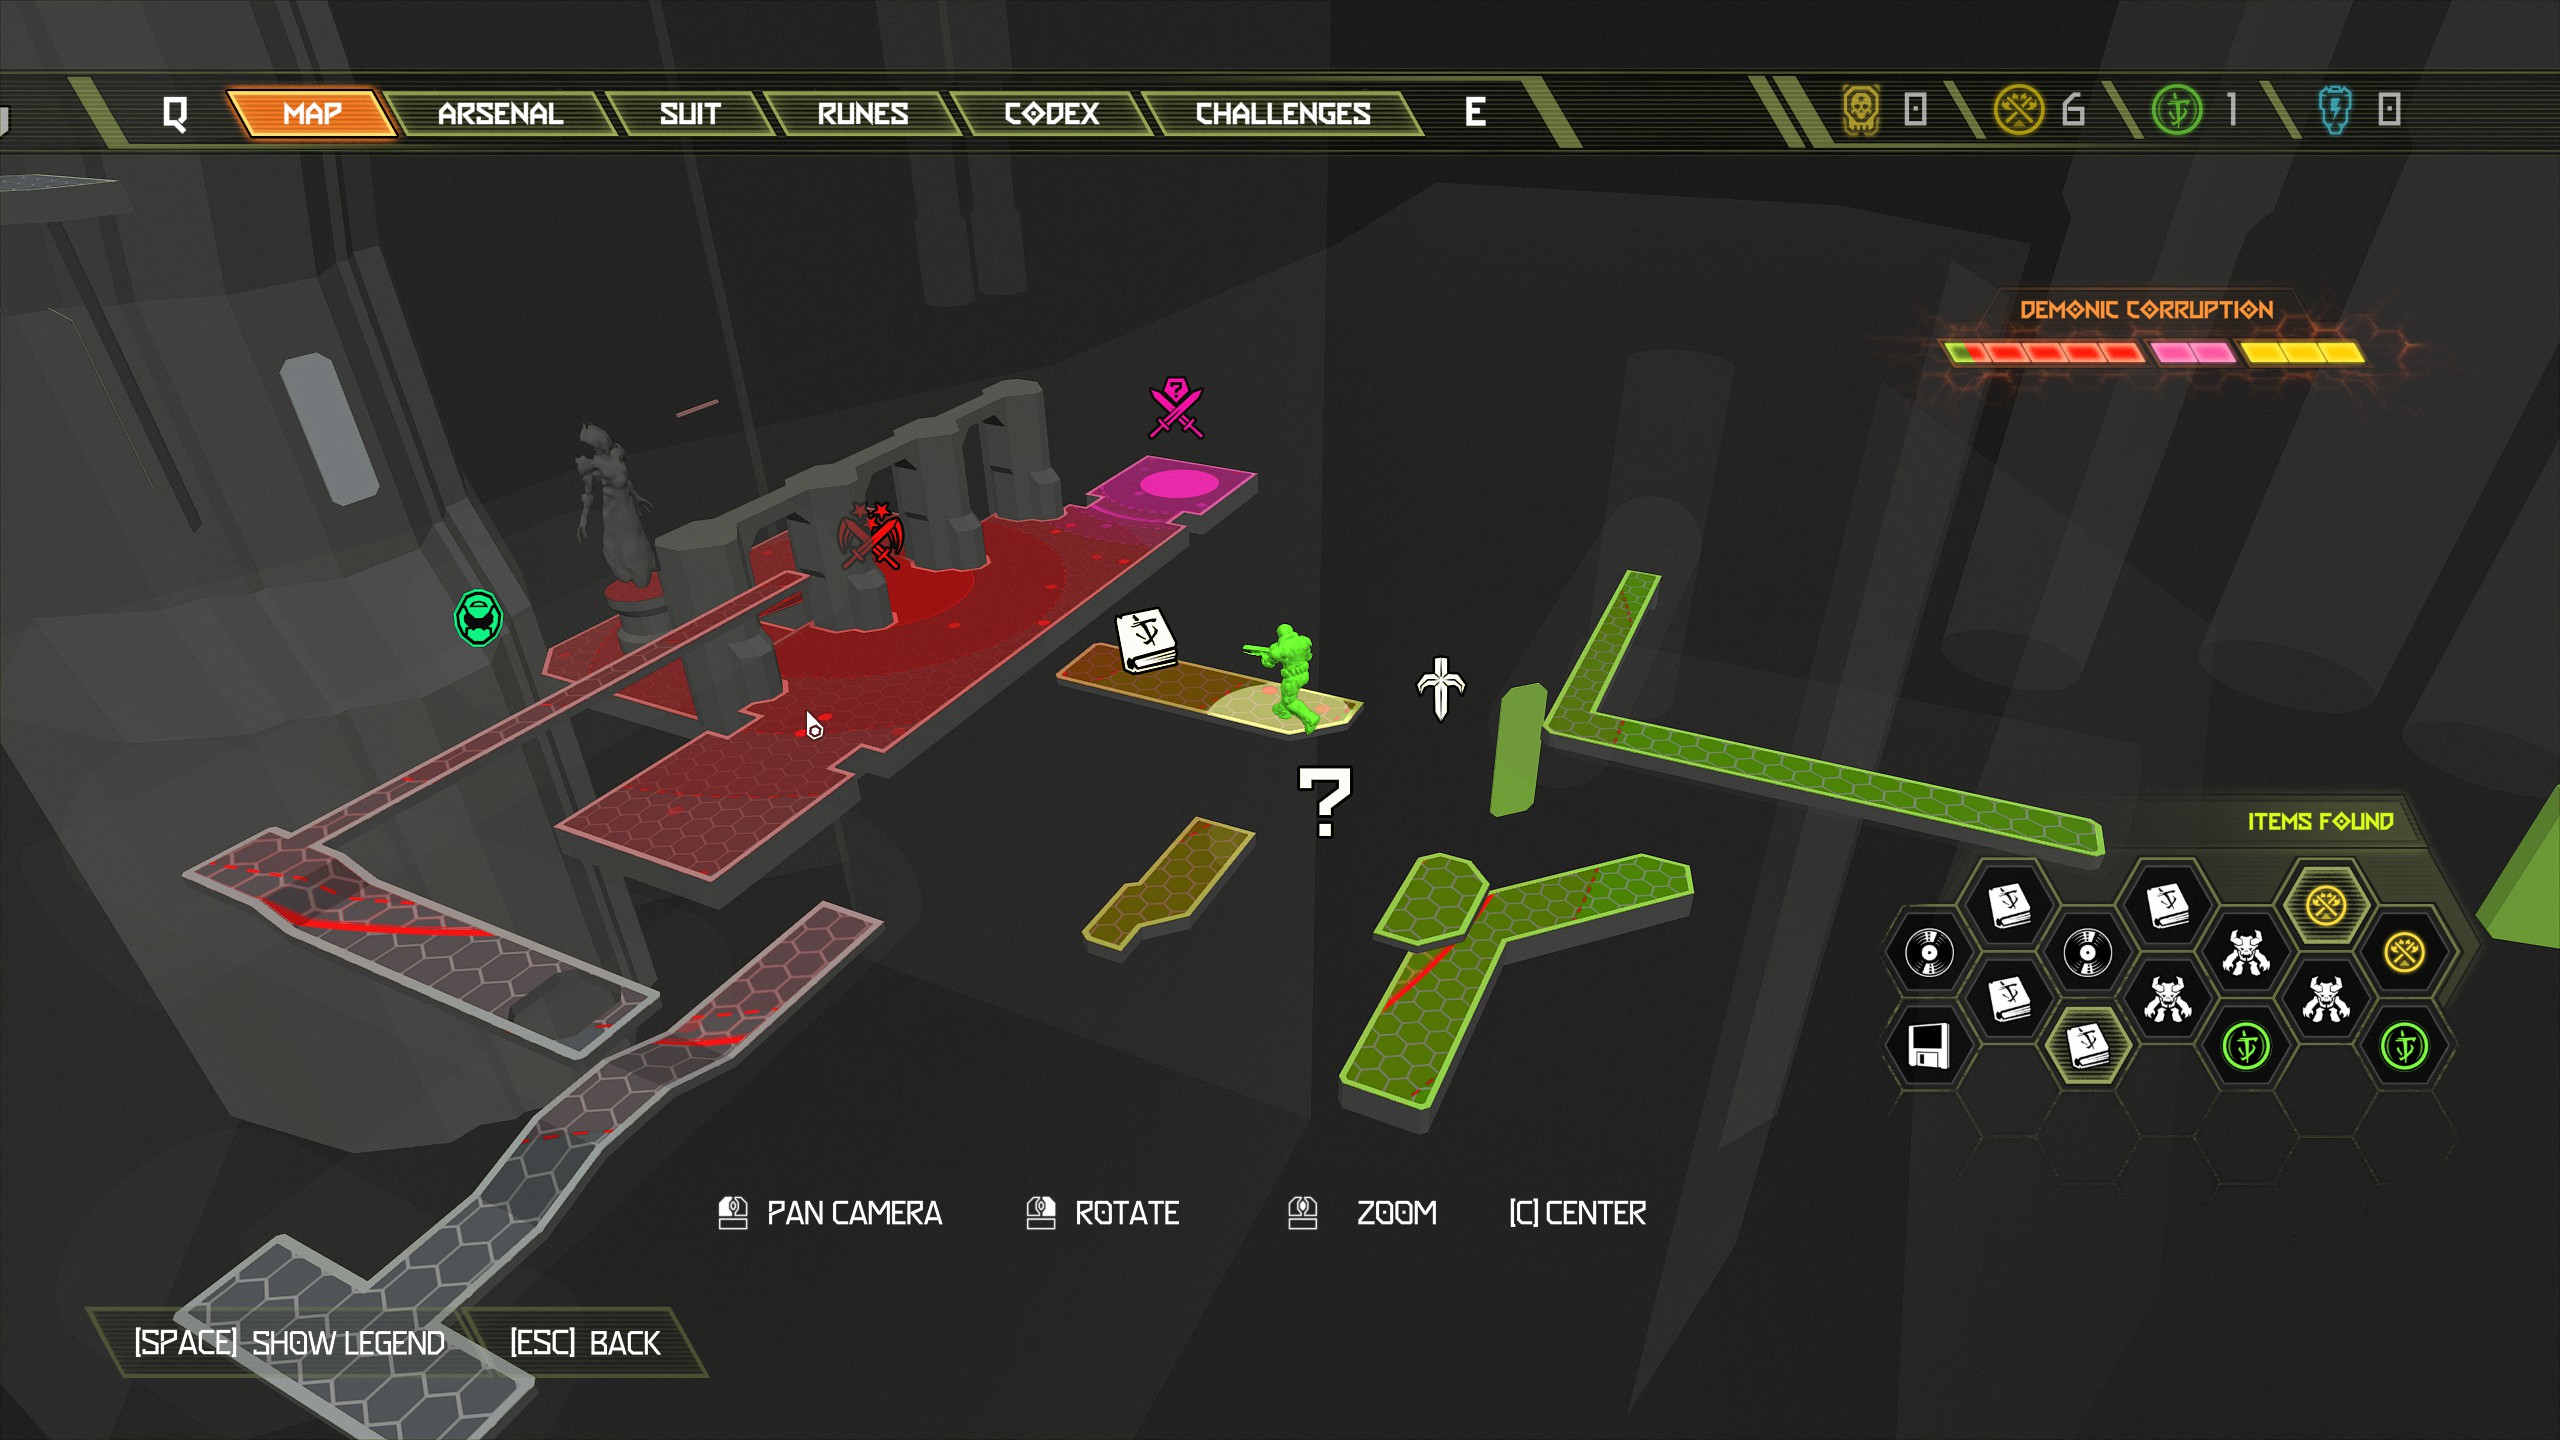
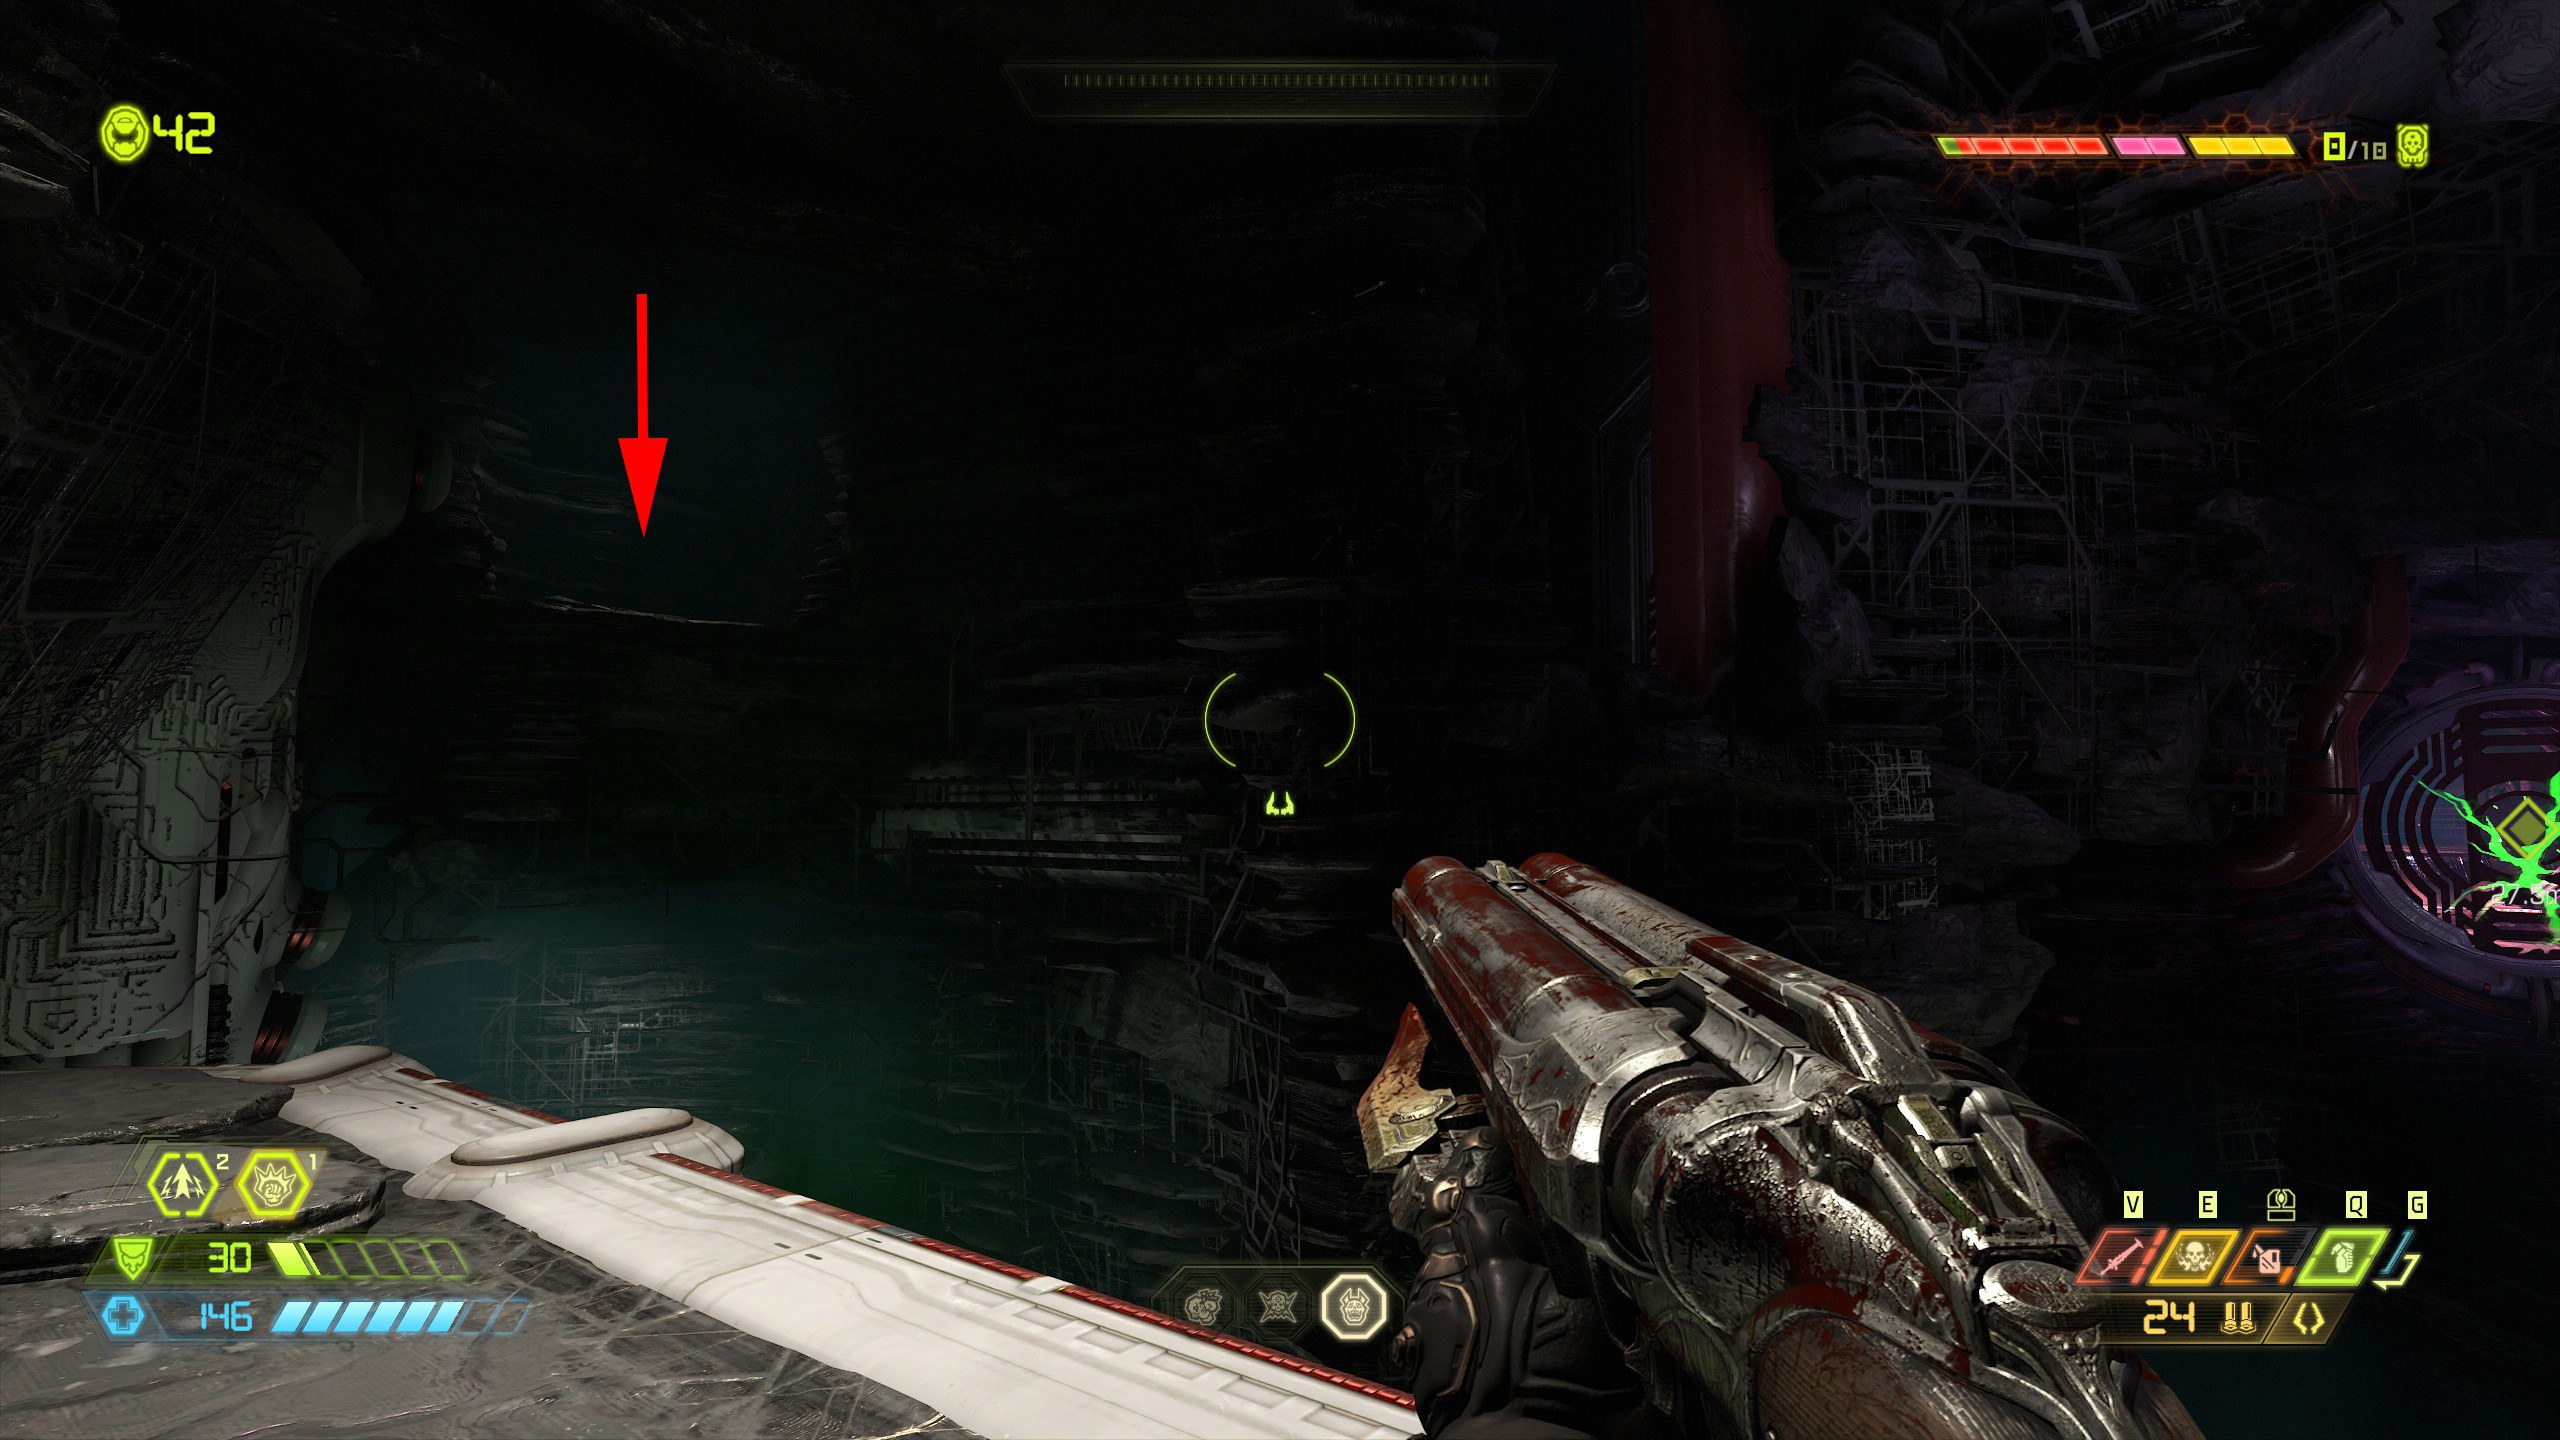
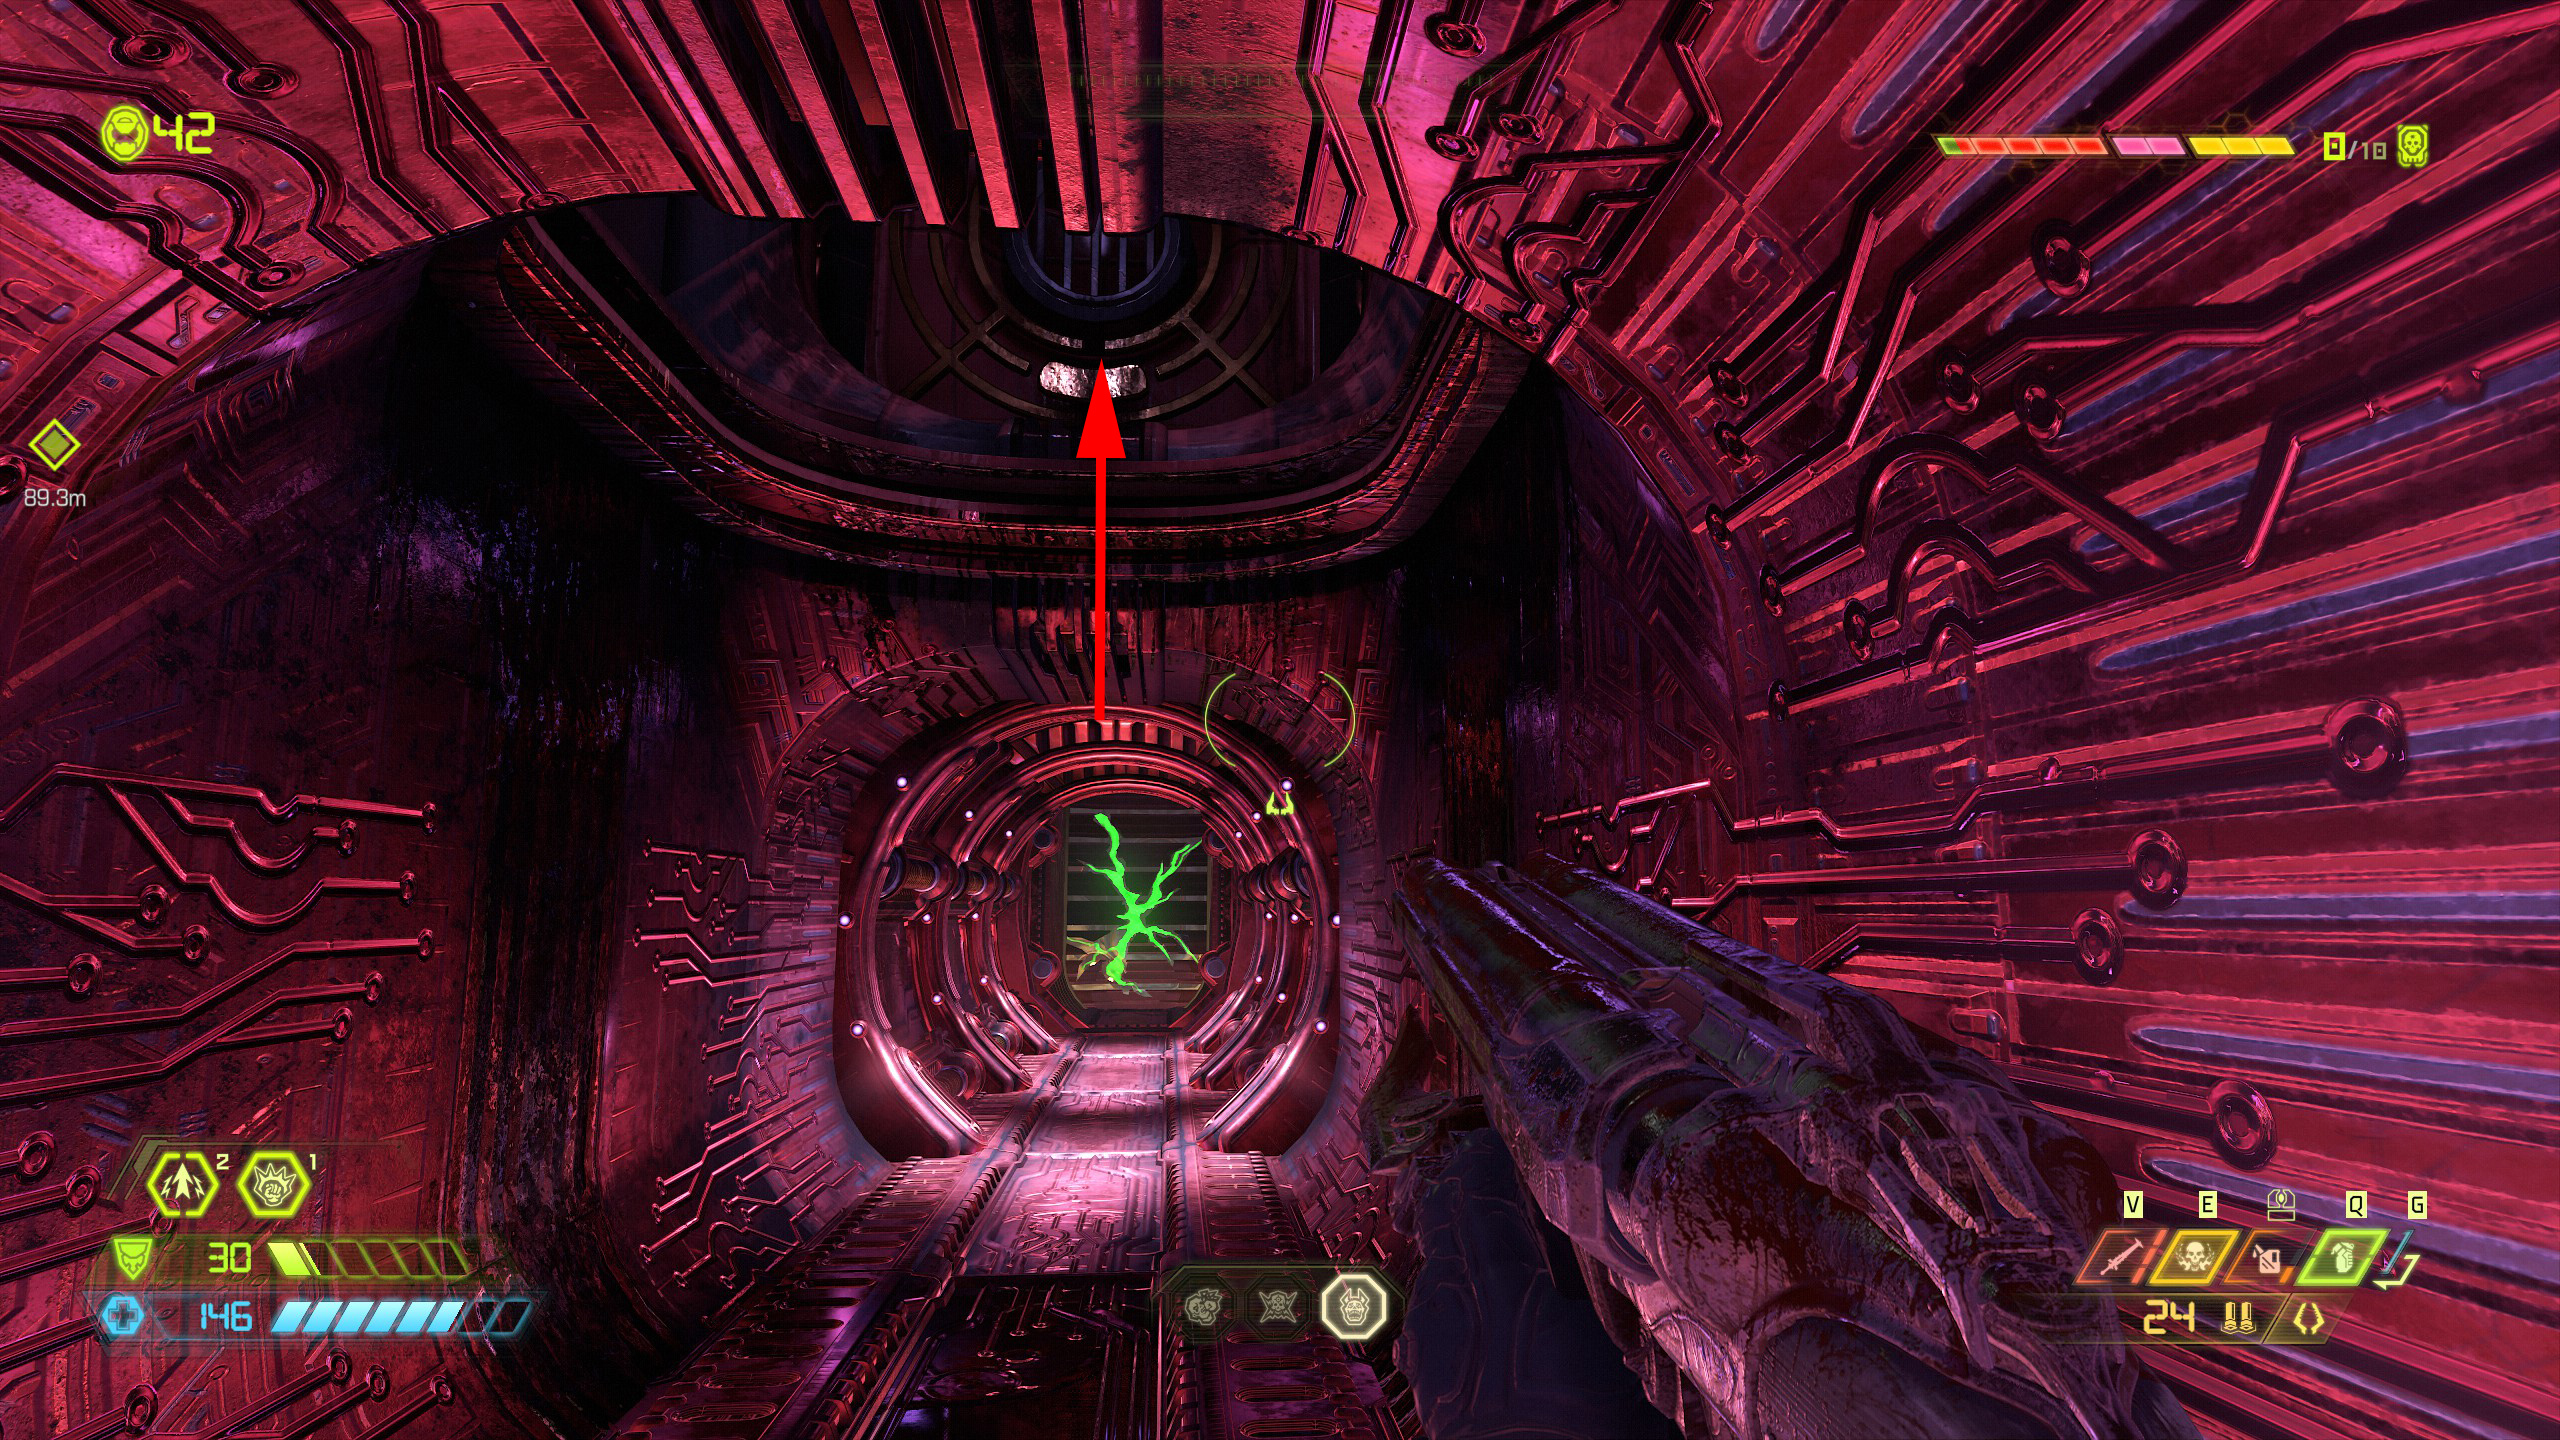
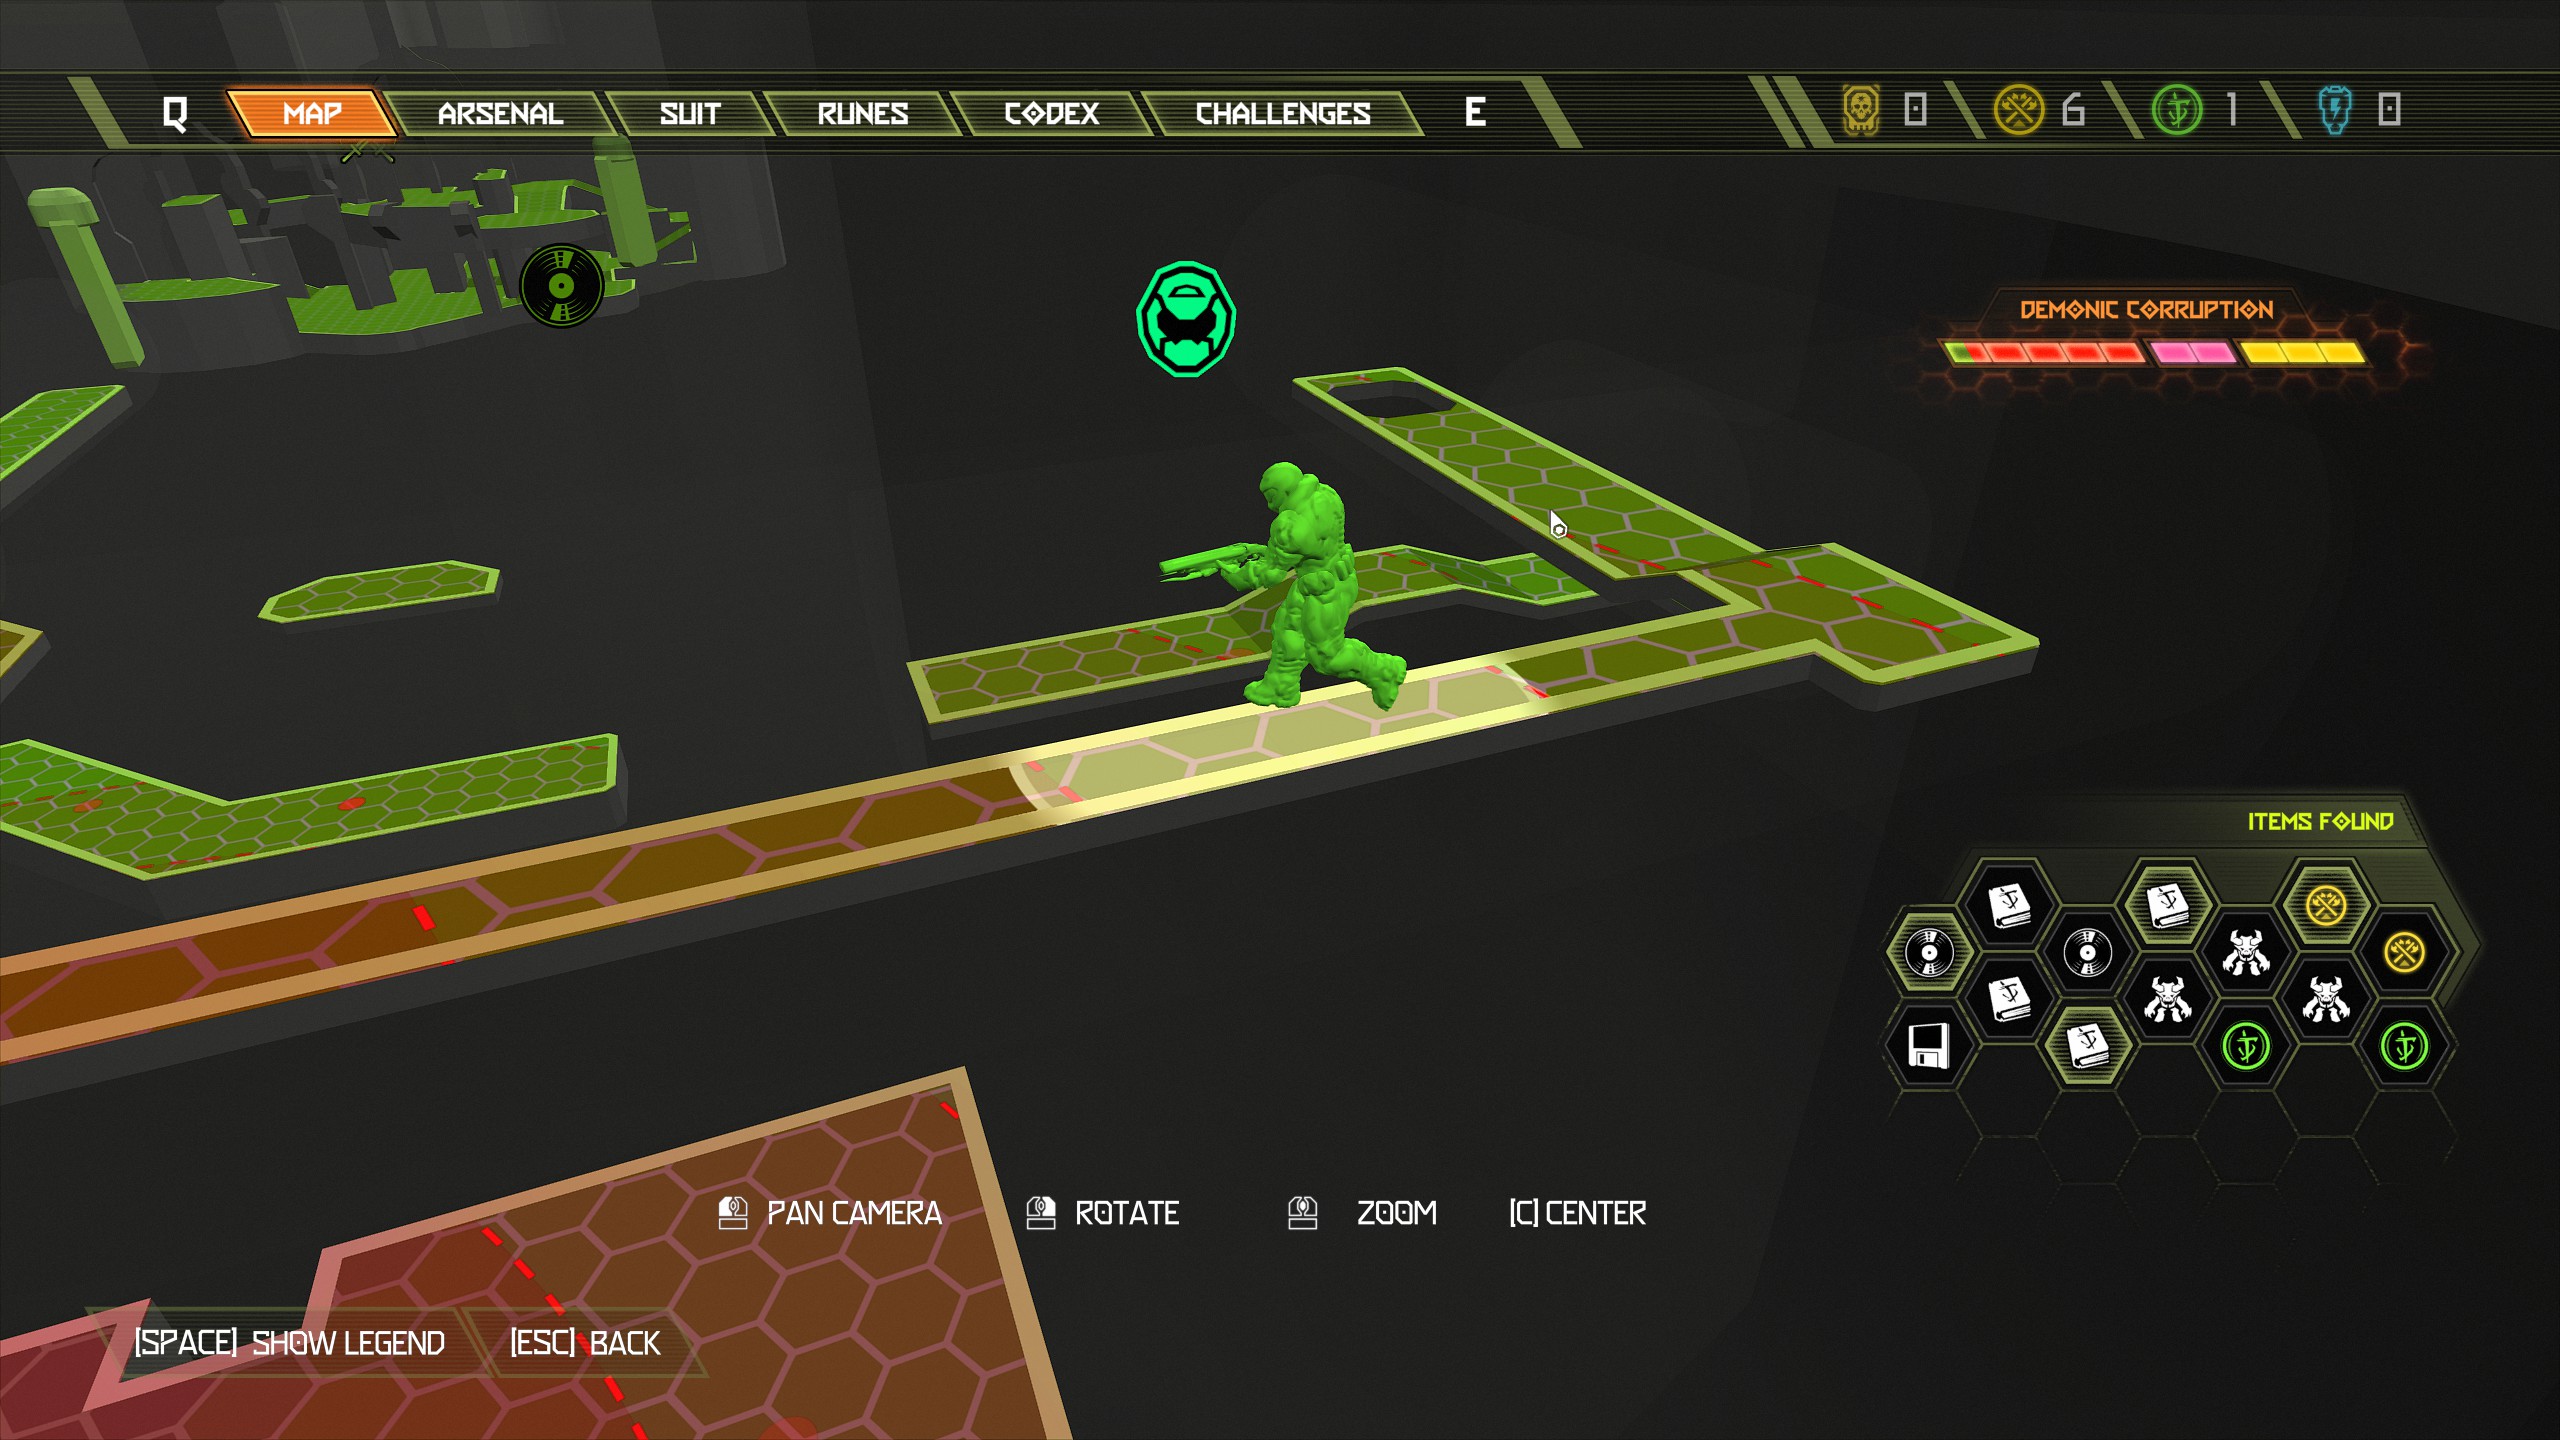
For this encounter you will be attacked by 2 zombies, 2 maykr drones, 1 cyber mancubus. Now continue and exit out of the vent and then melee the cube nearby, once the cube is in place climb on to the cube and jump into the opening above and inside will be the secret encounter, you will need to be quick with this encounter.
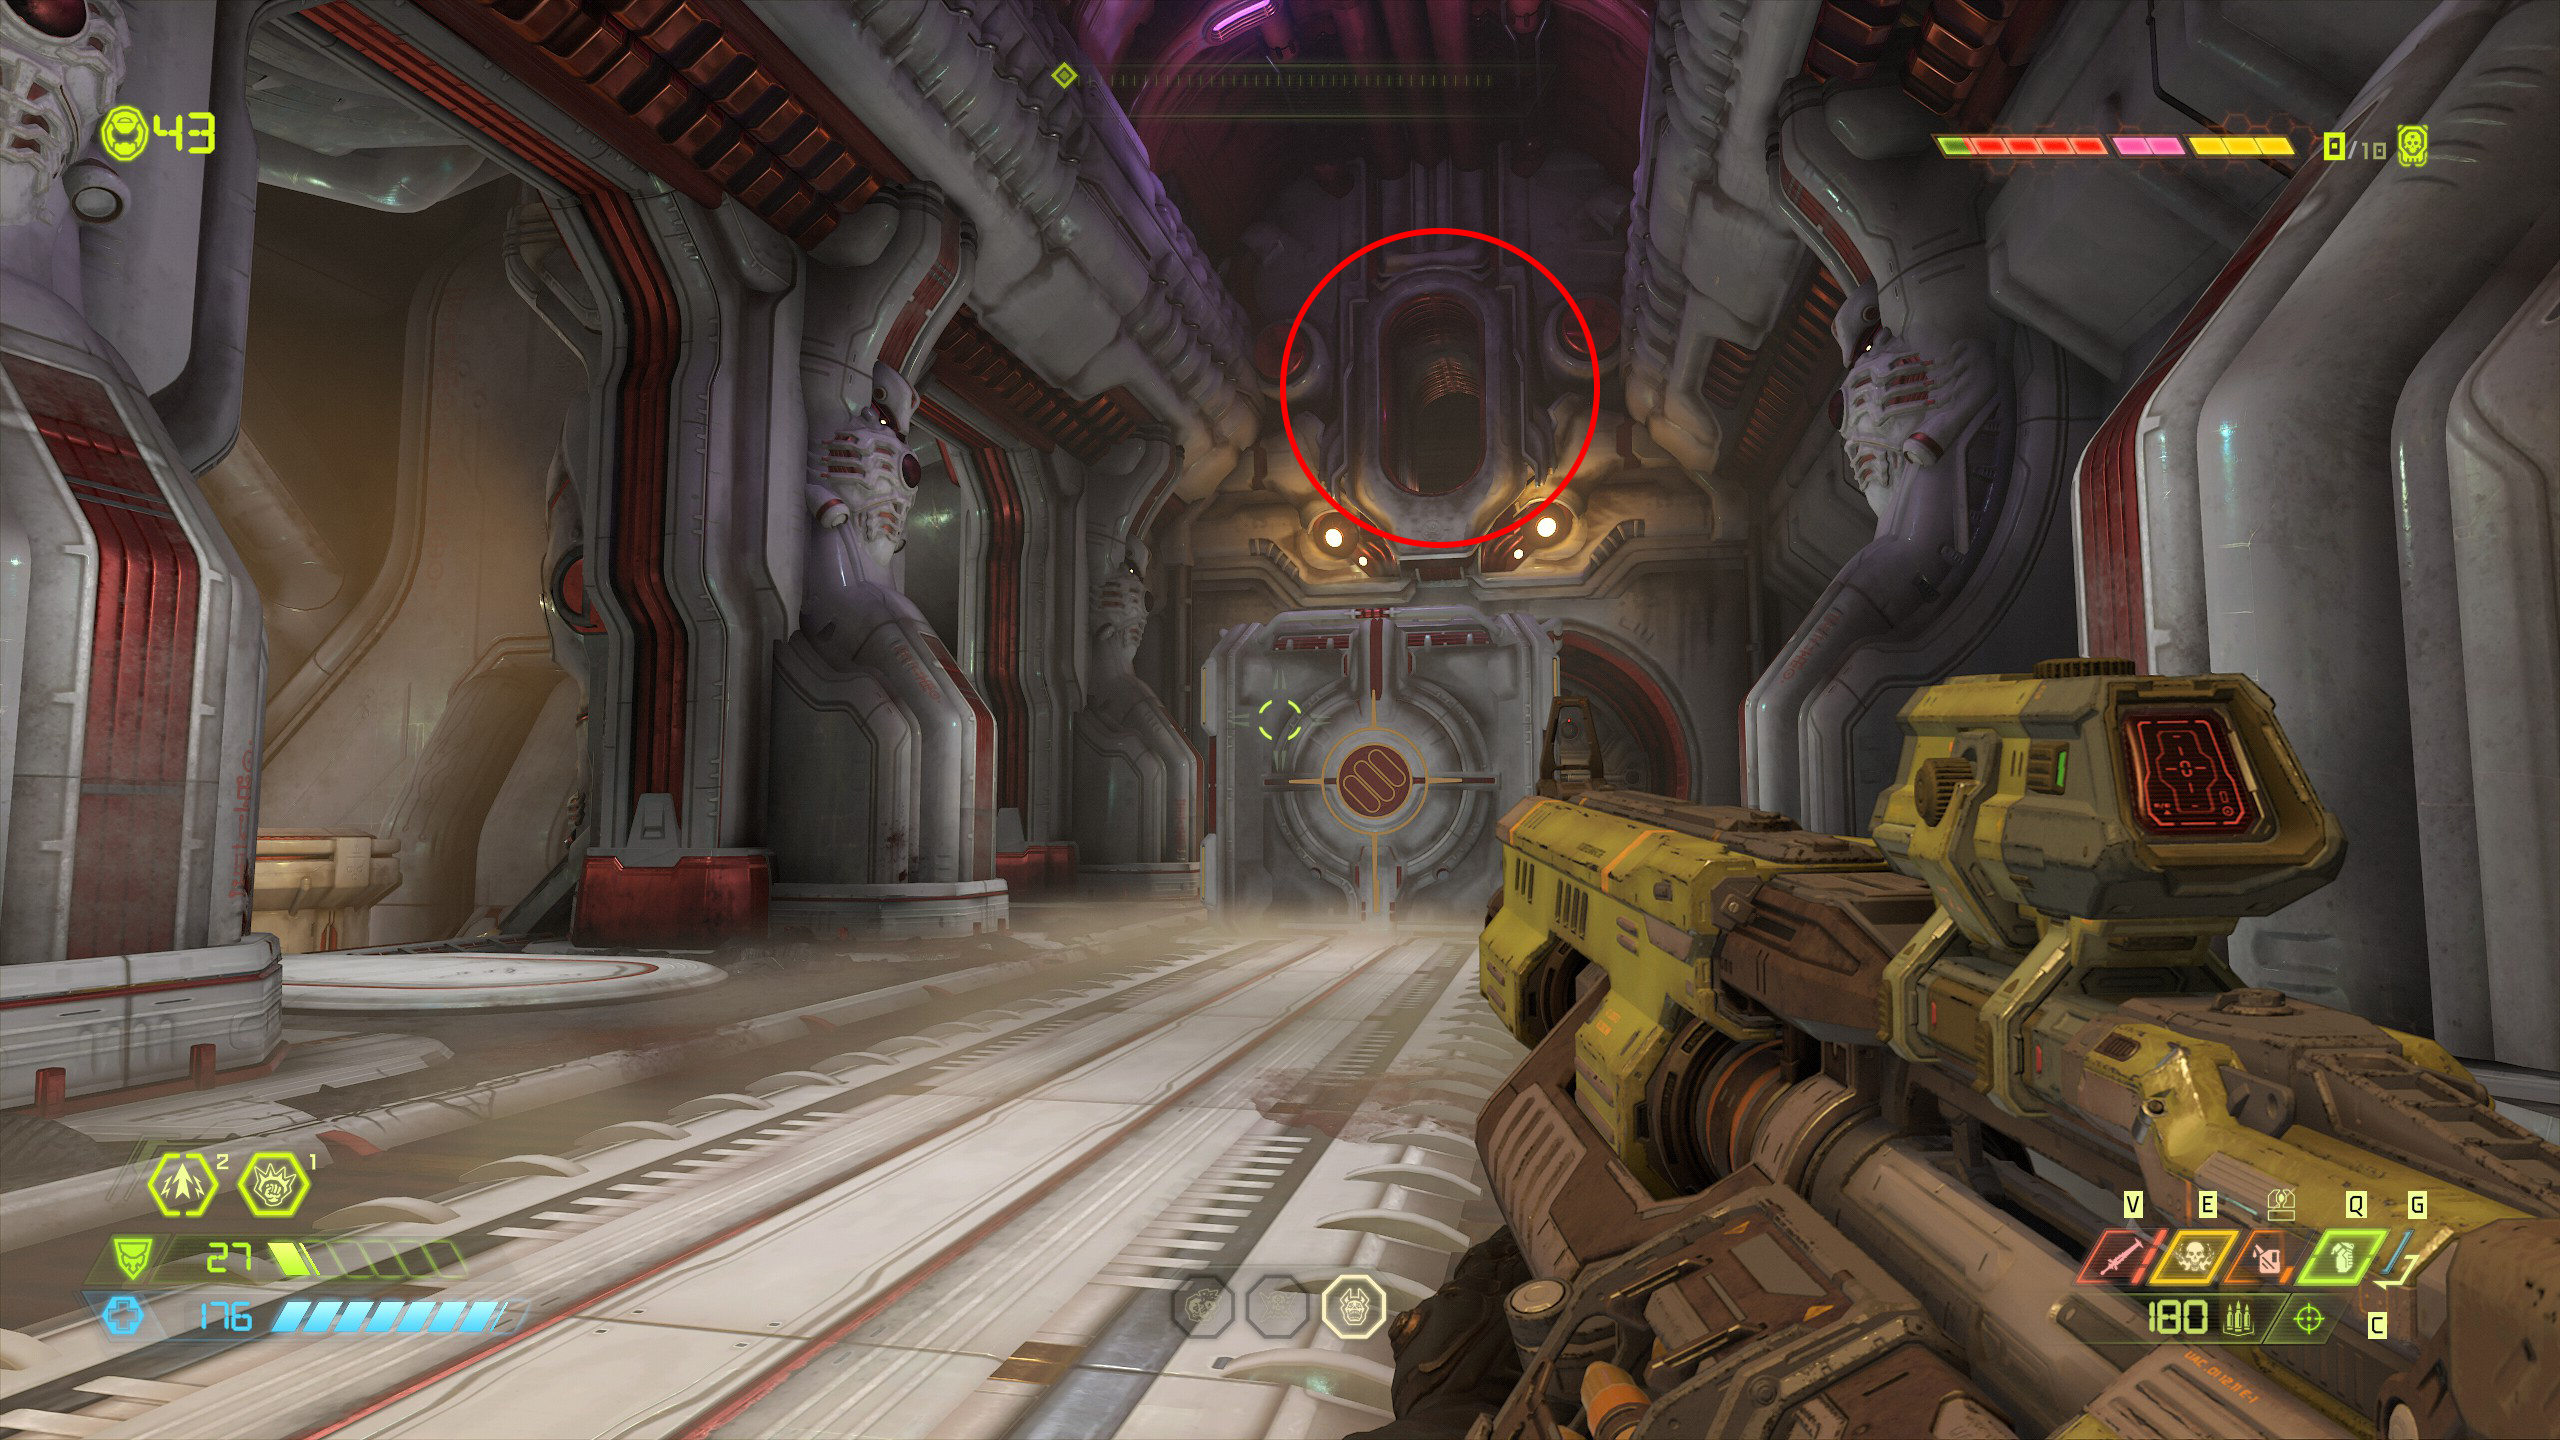
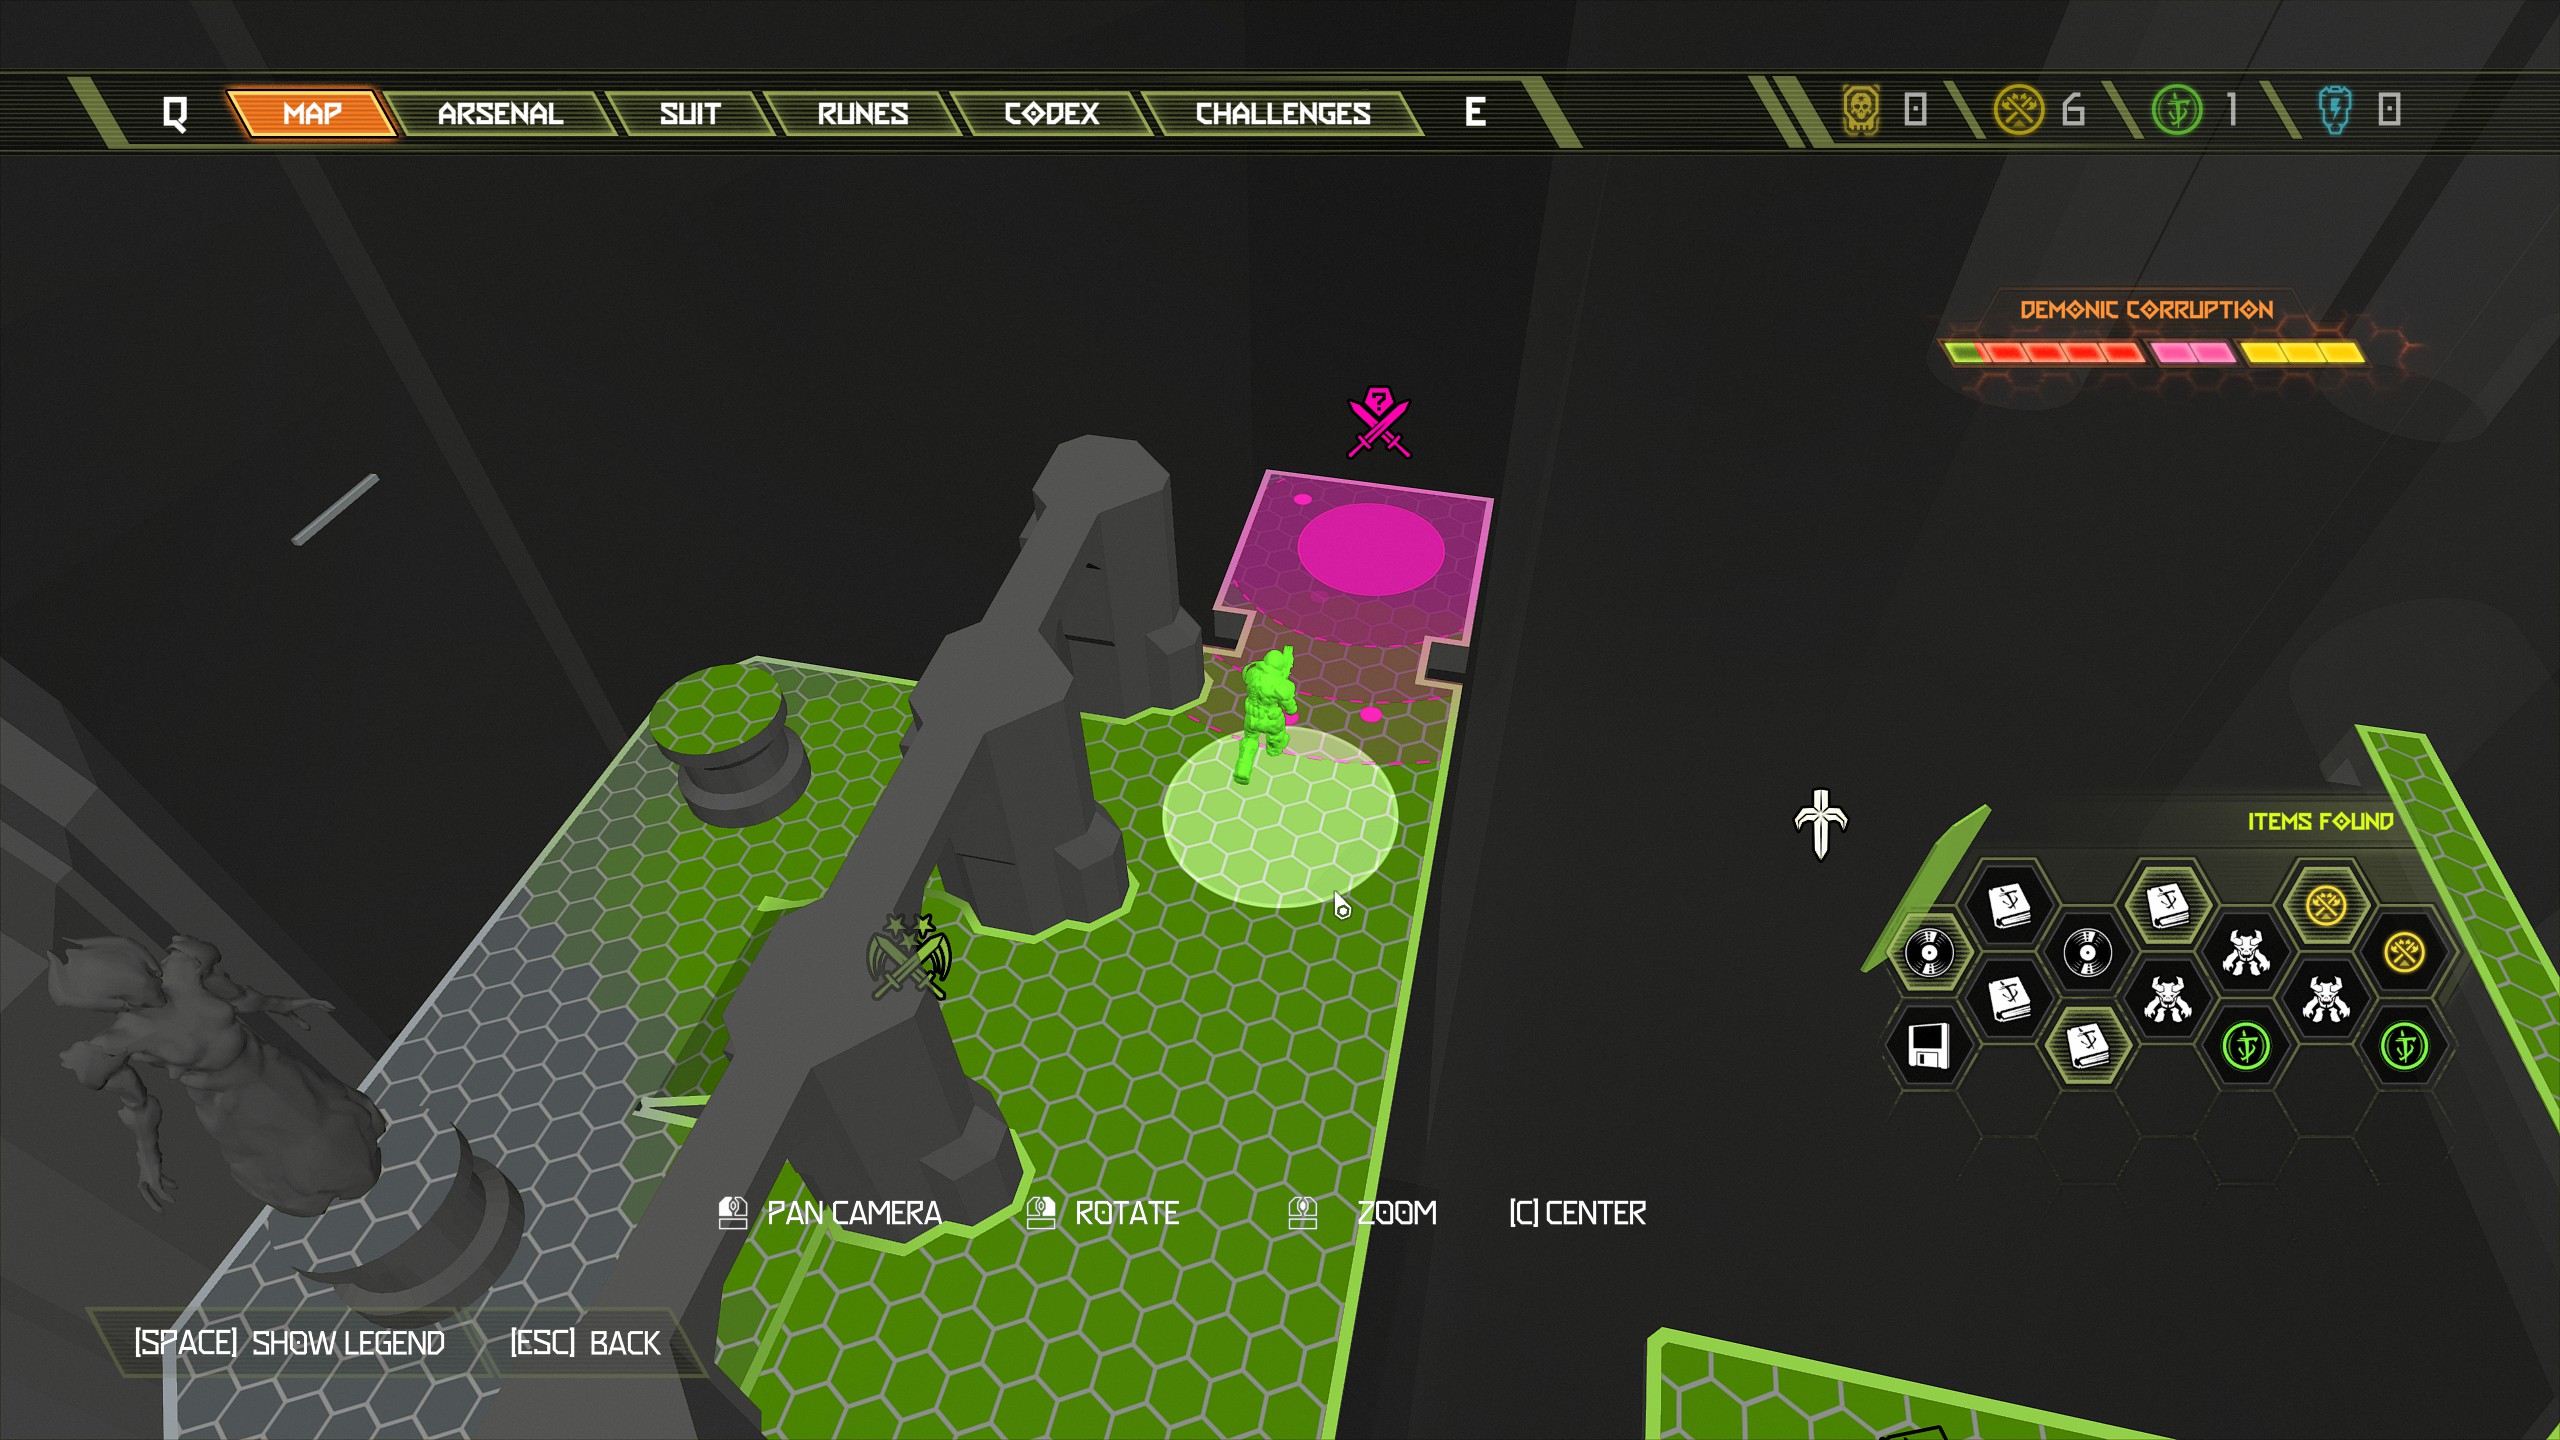
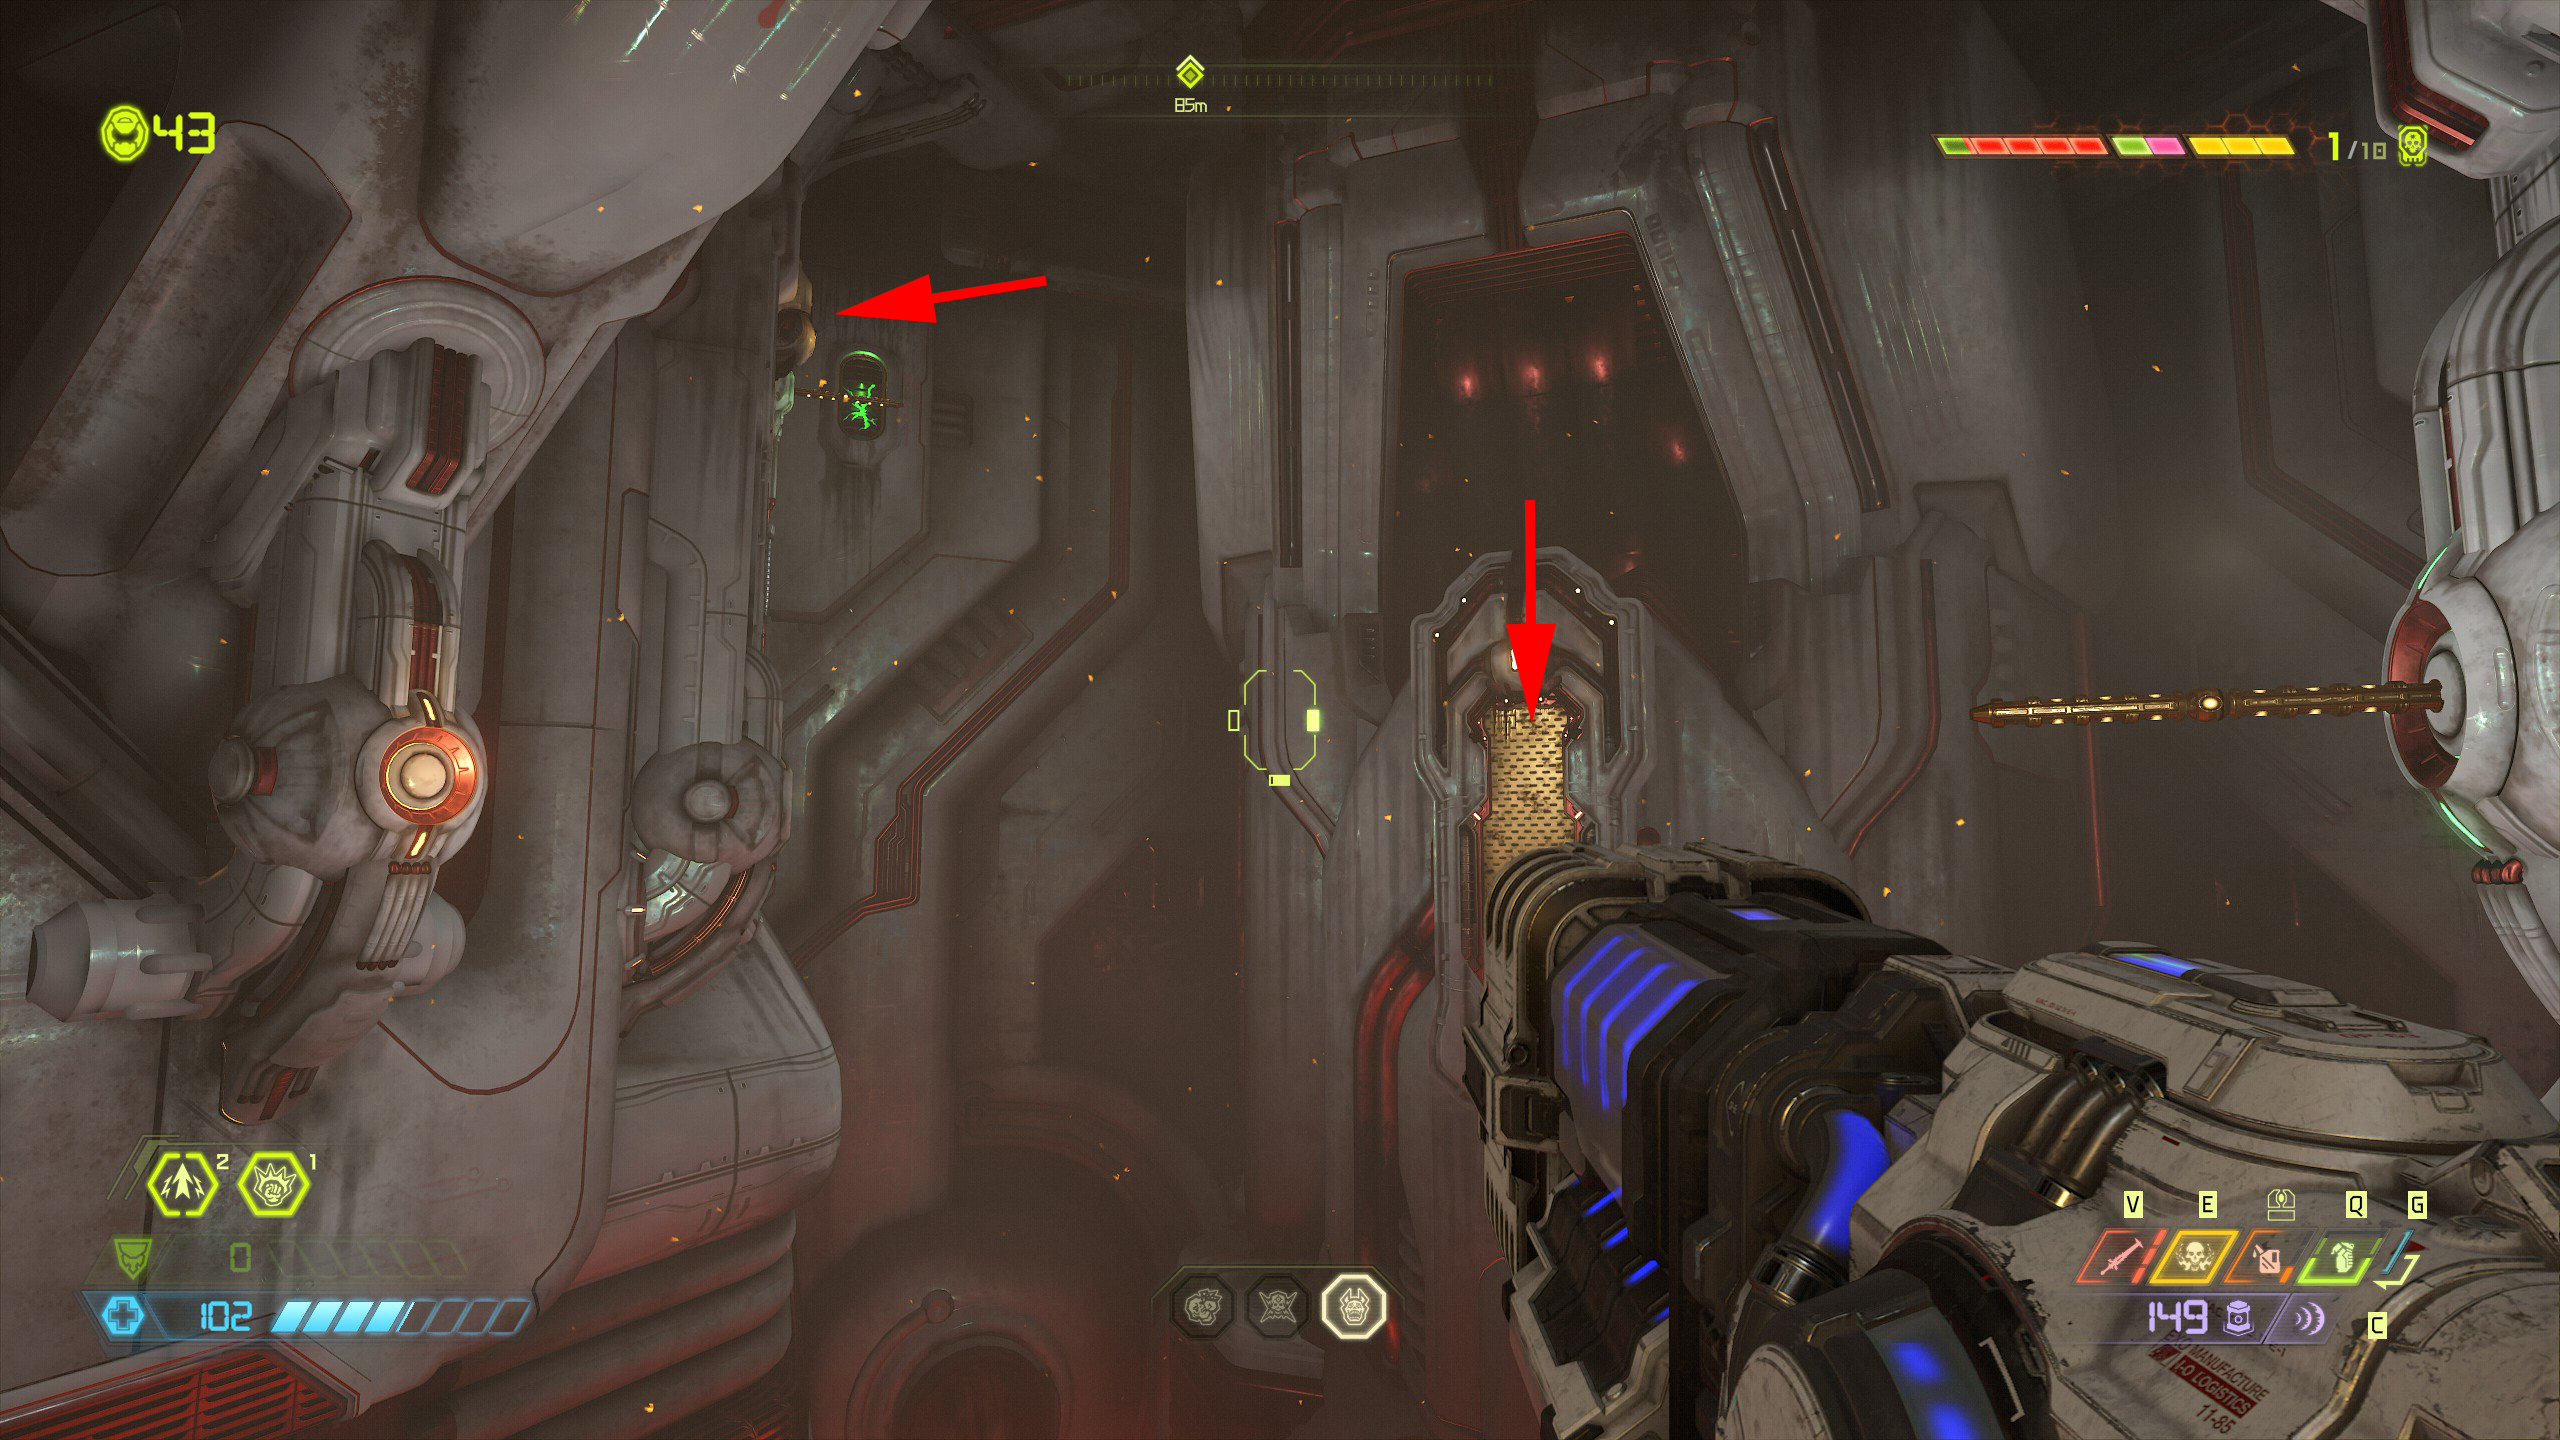
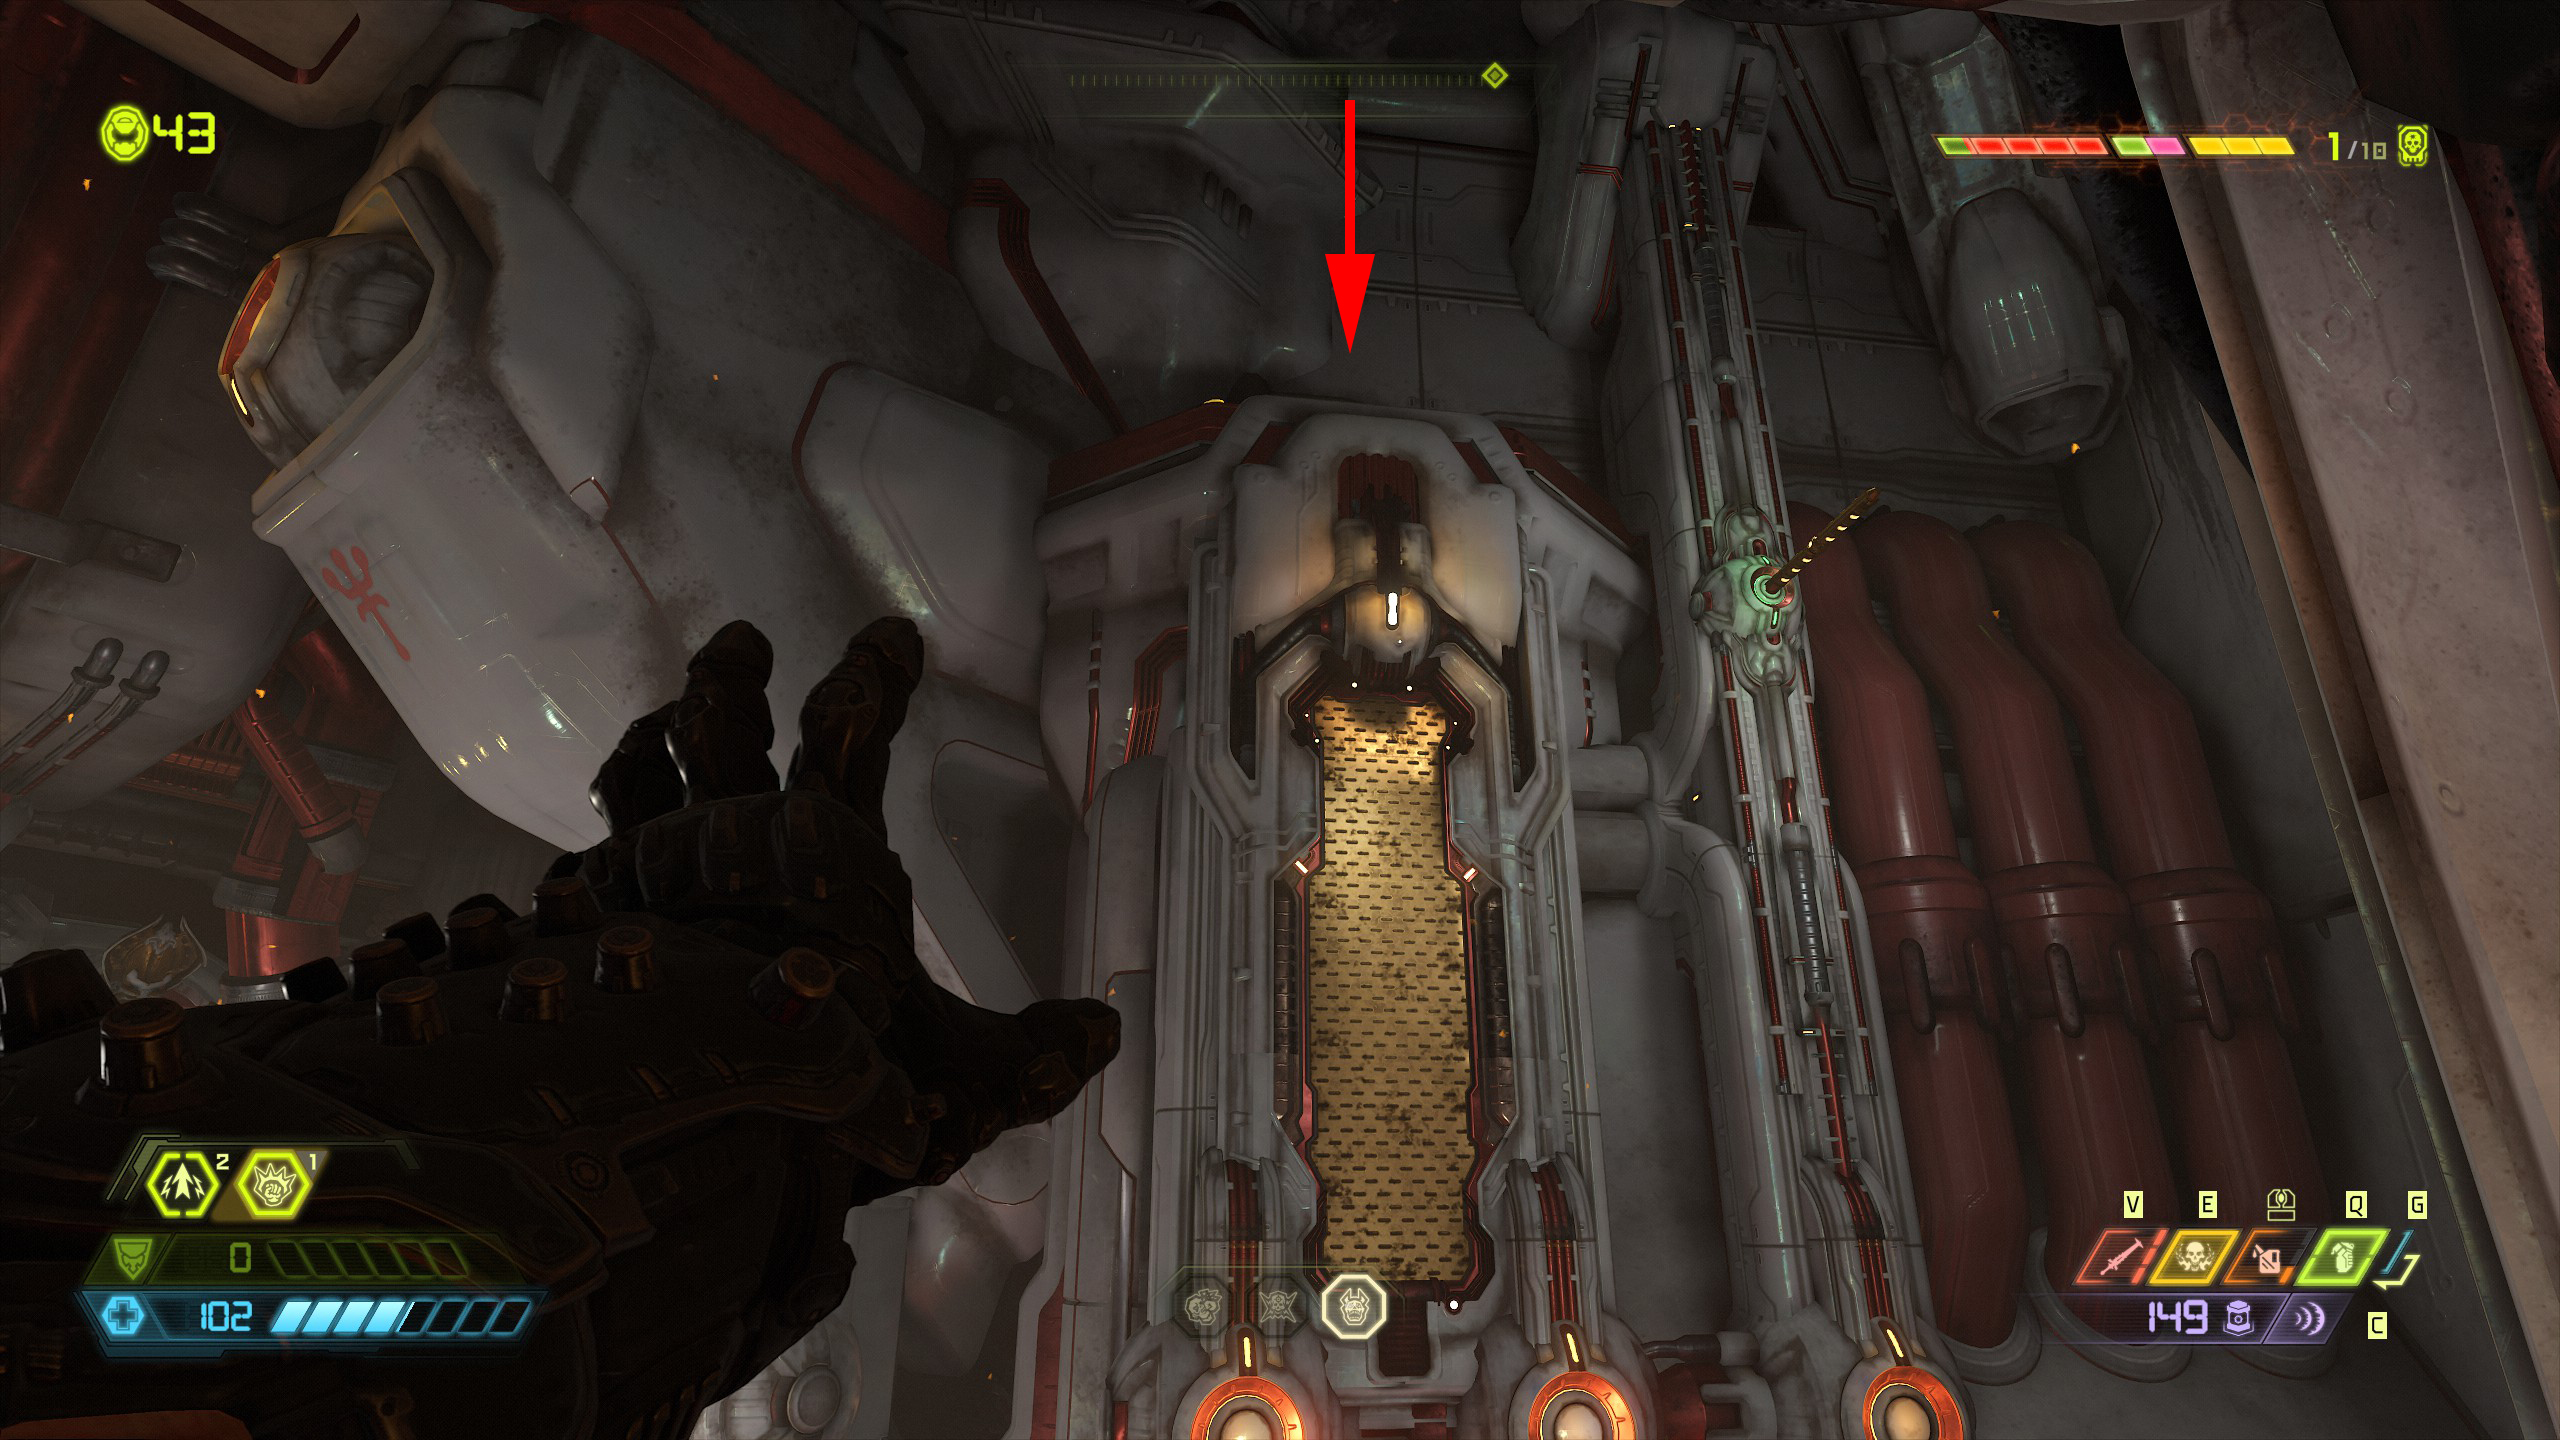
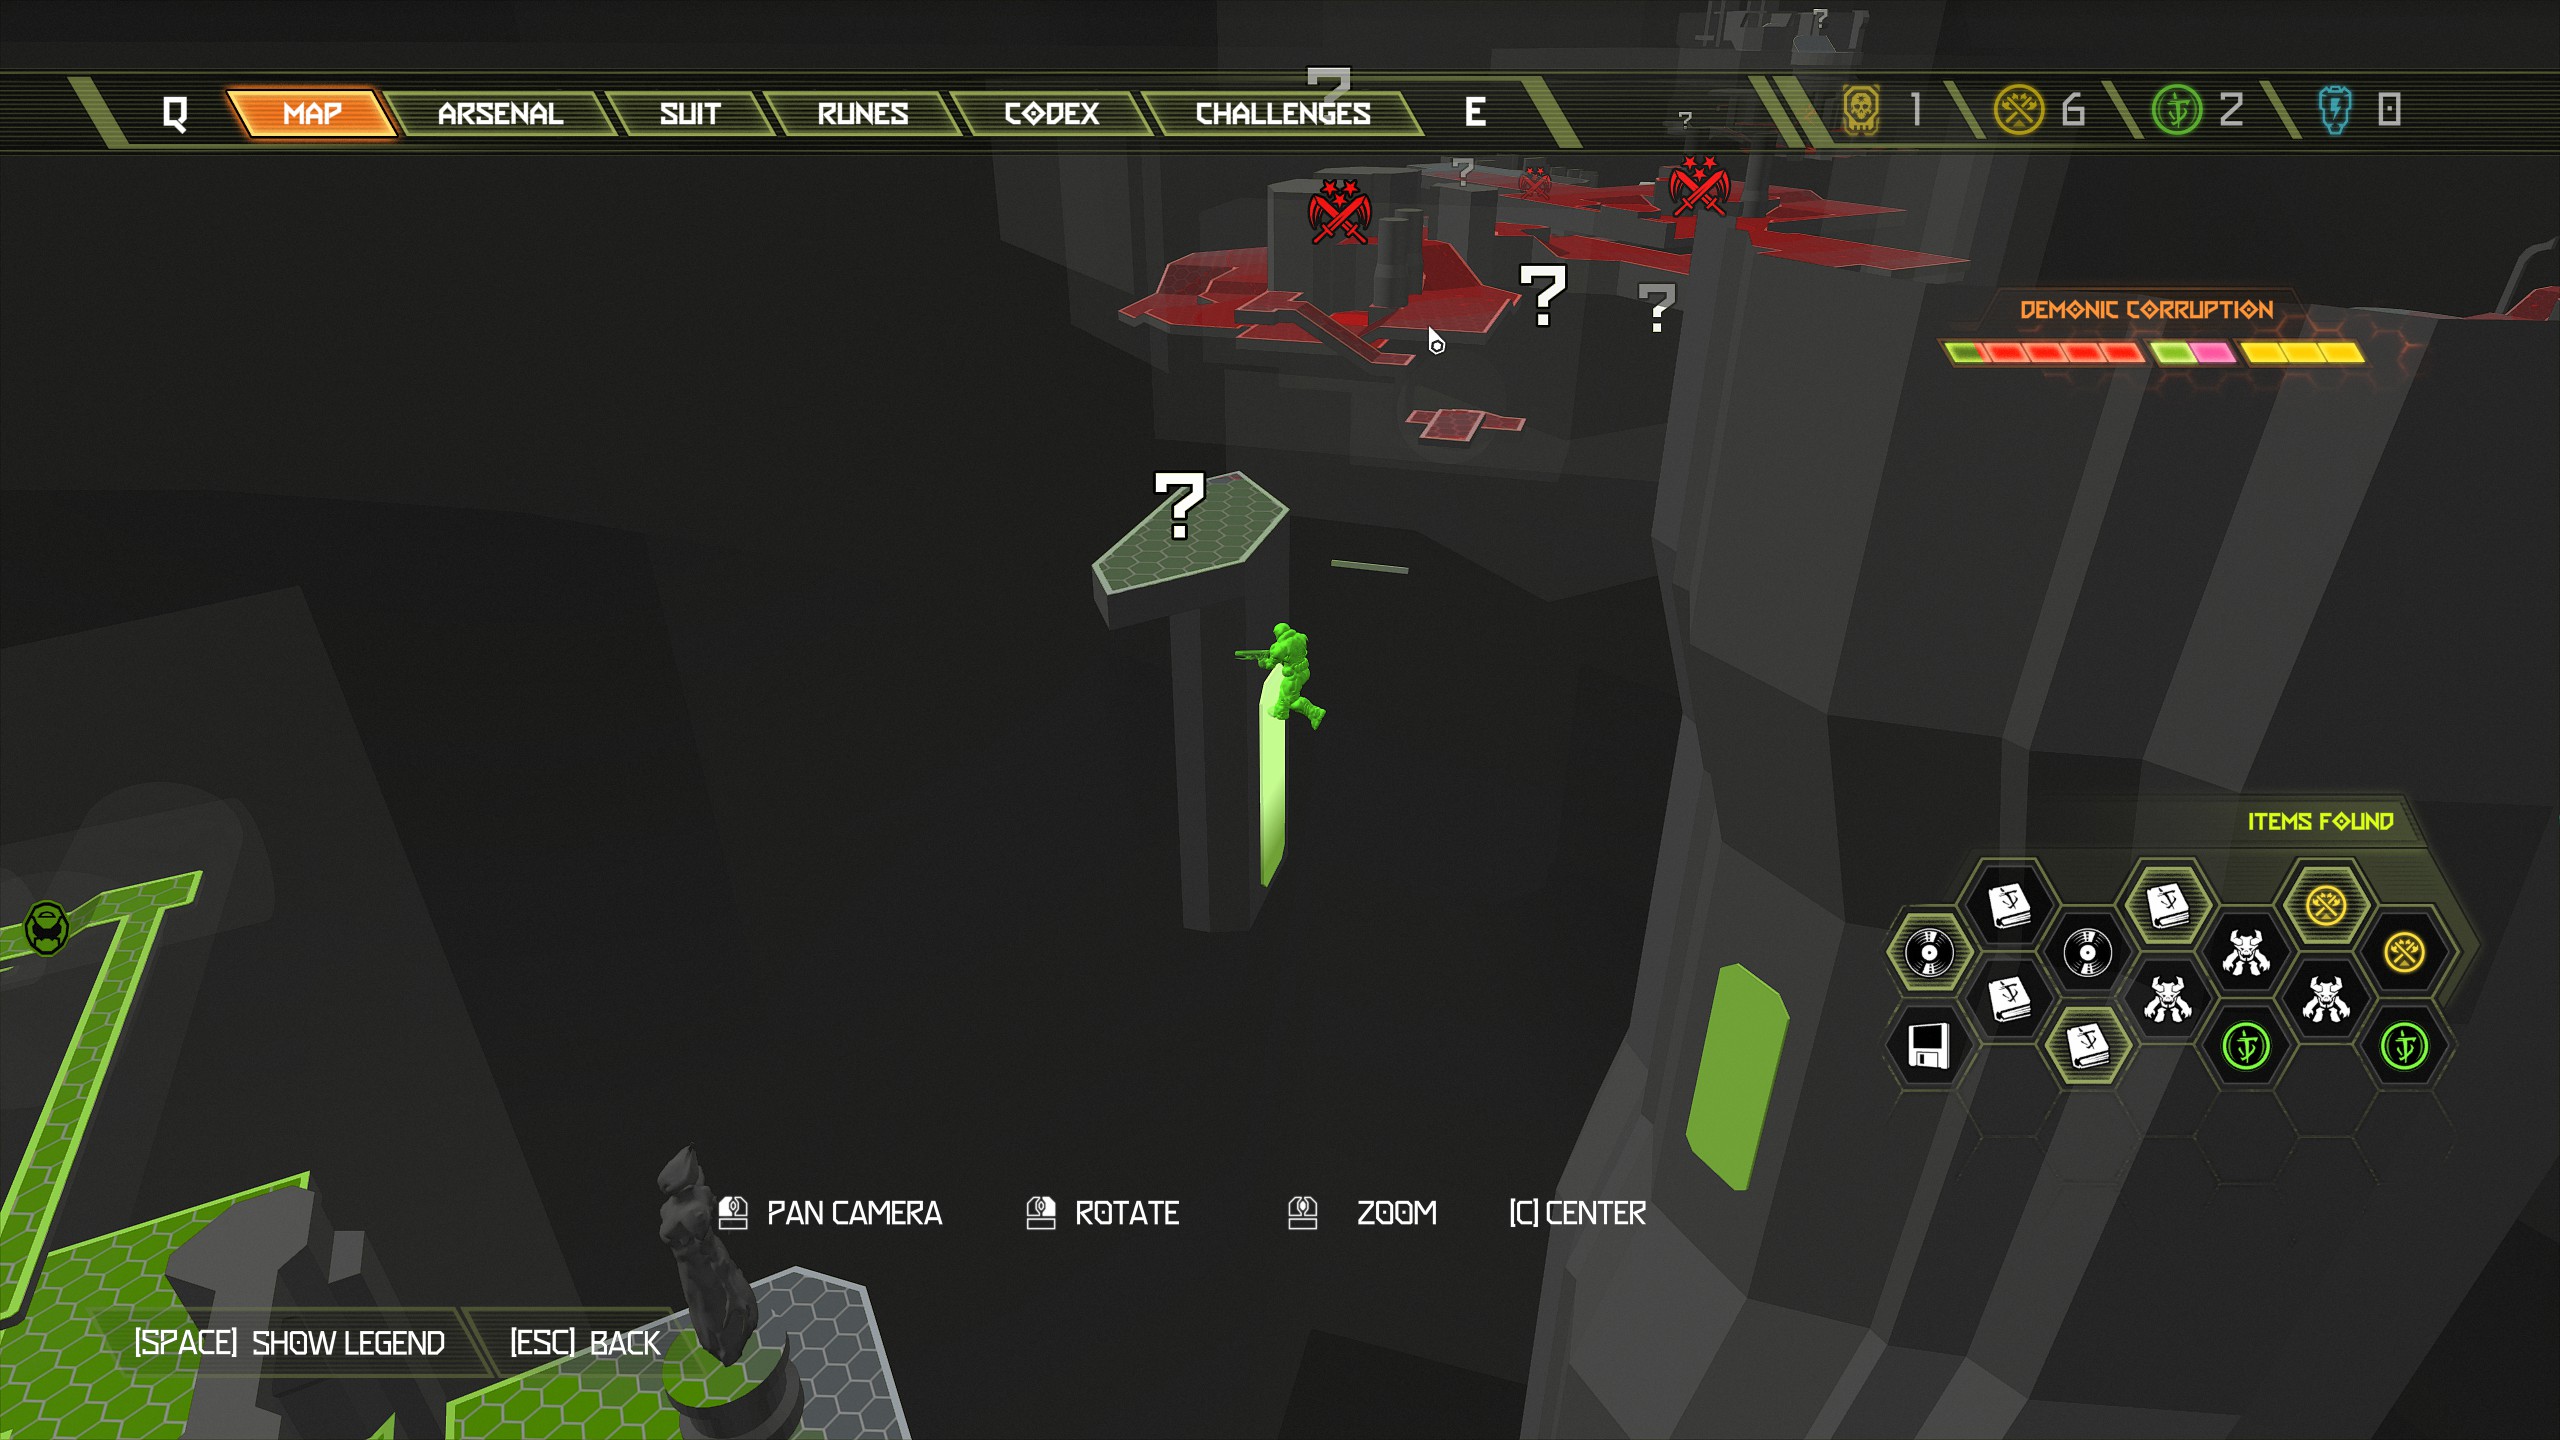
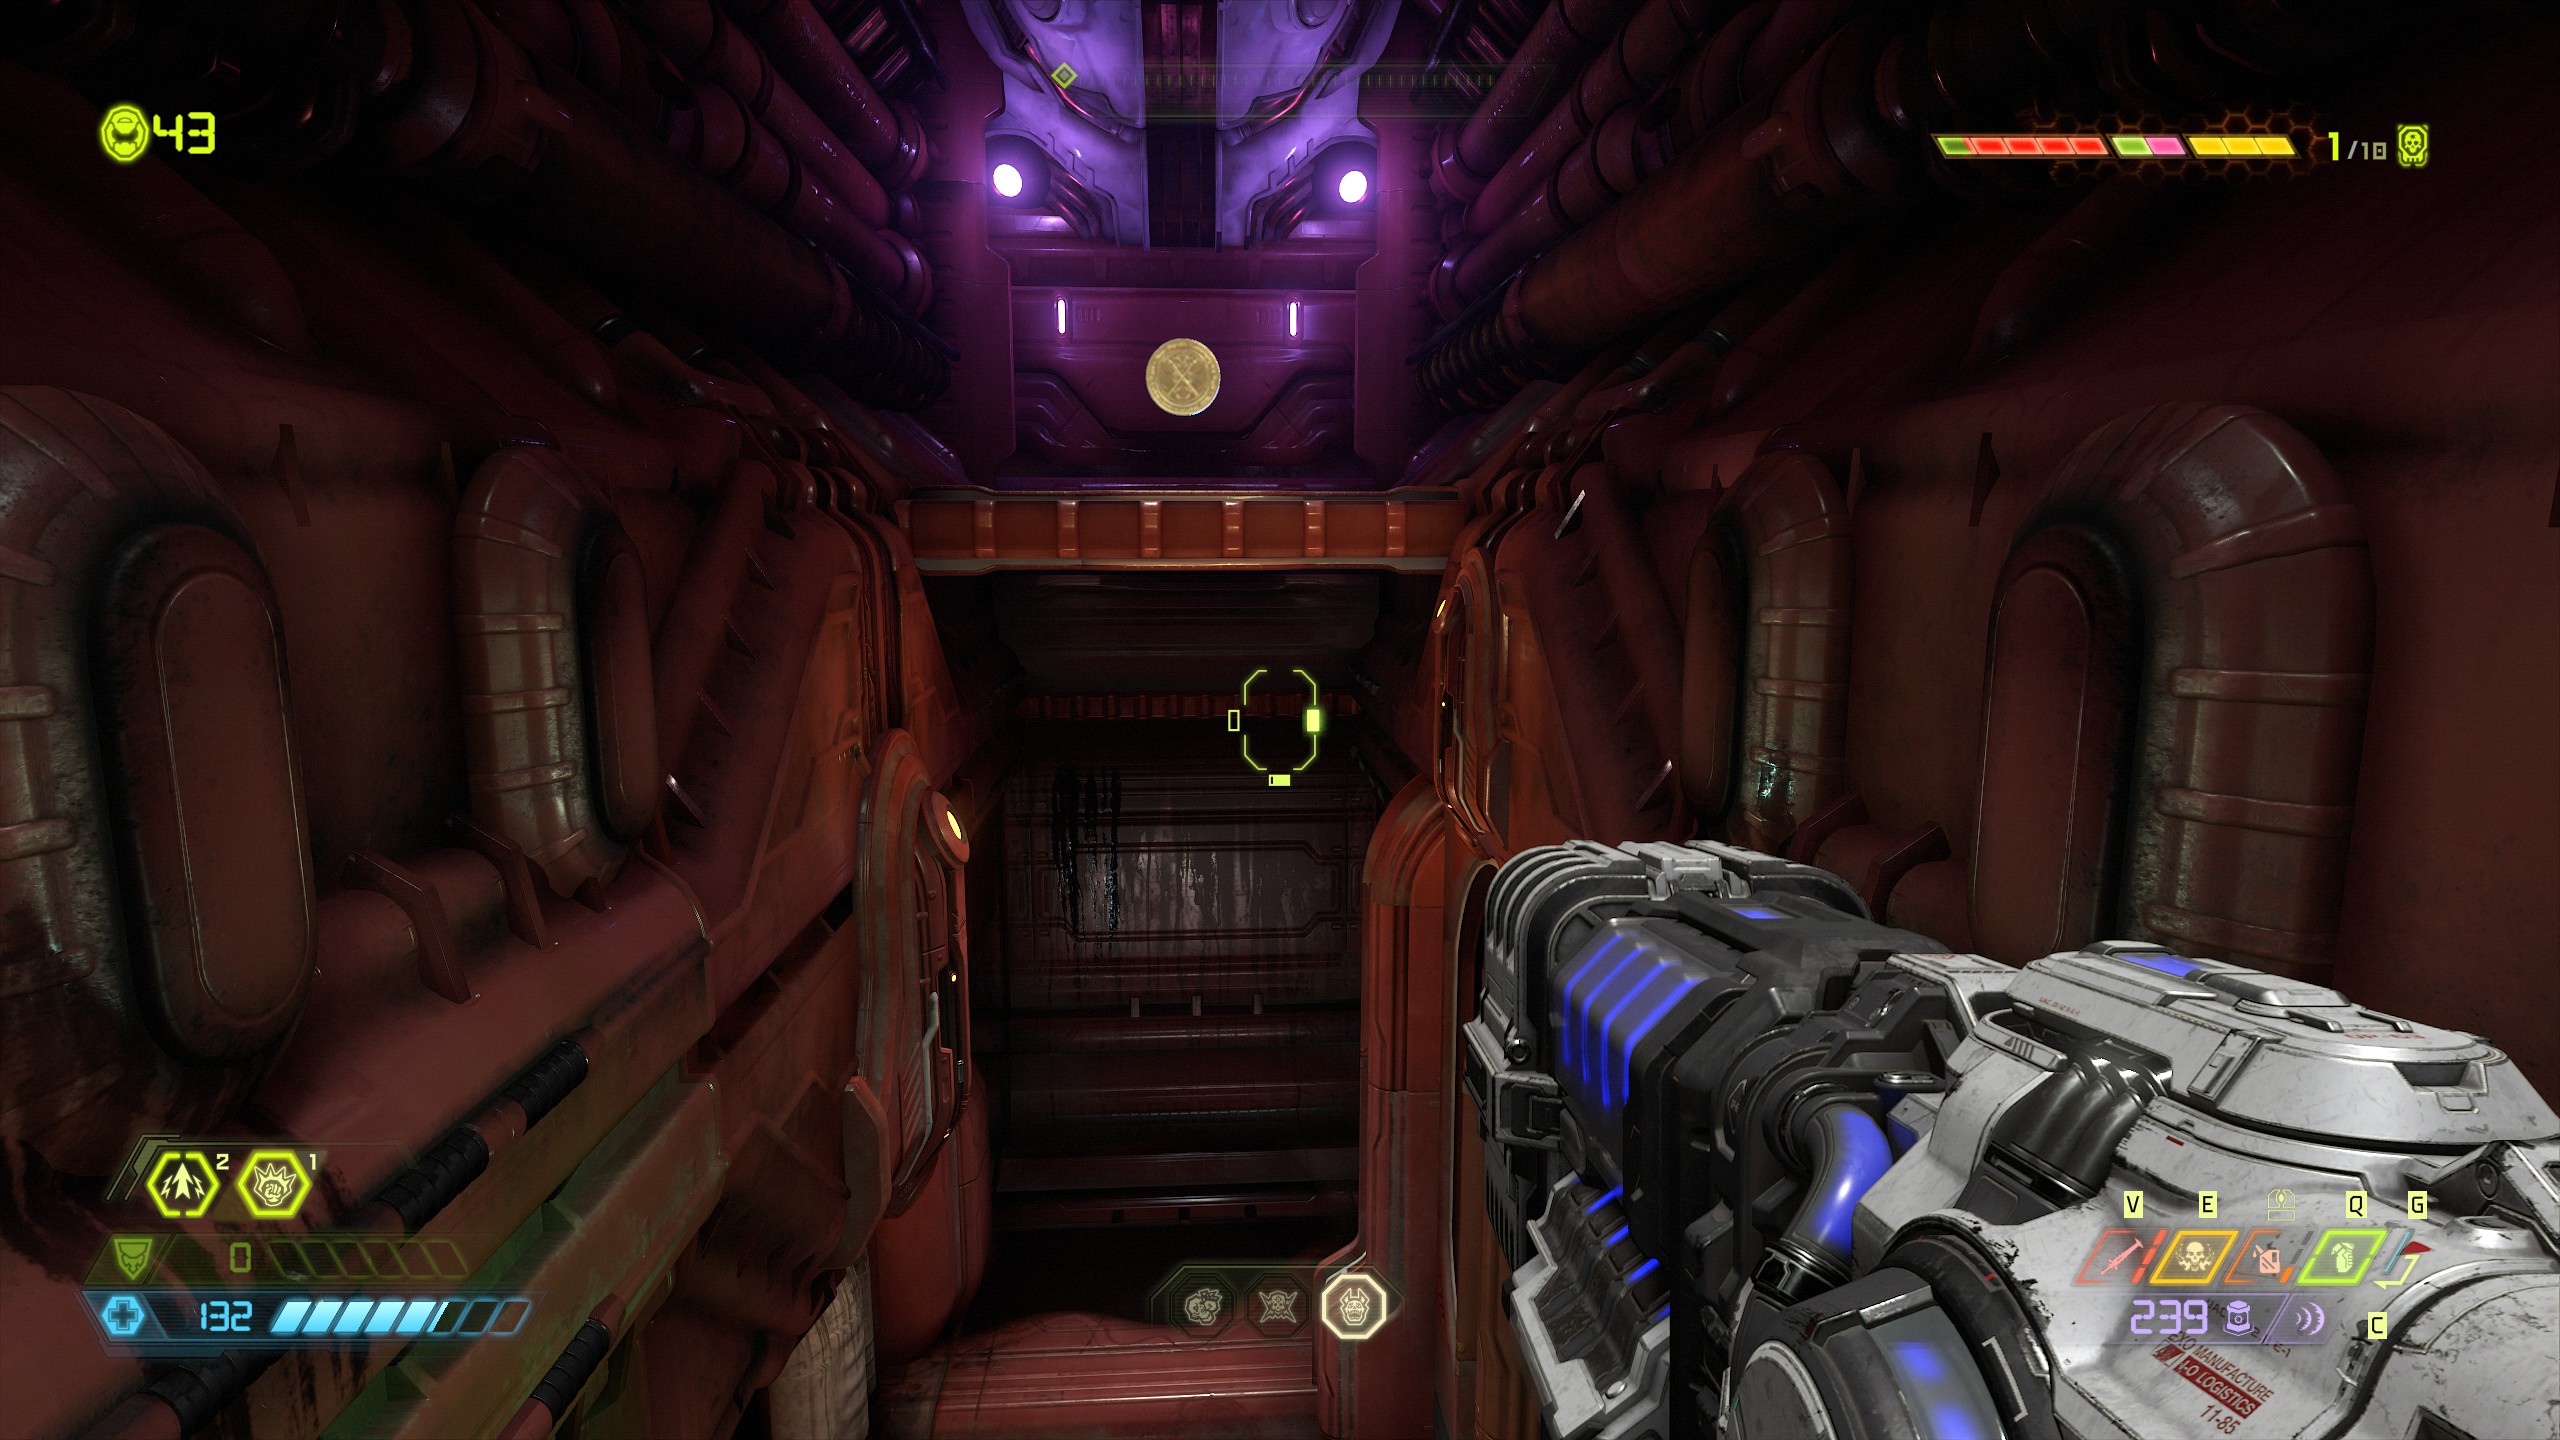
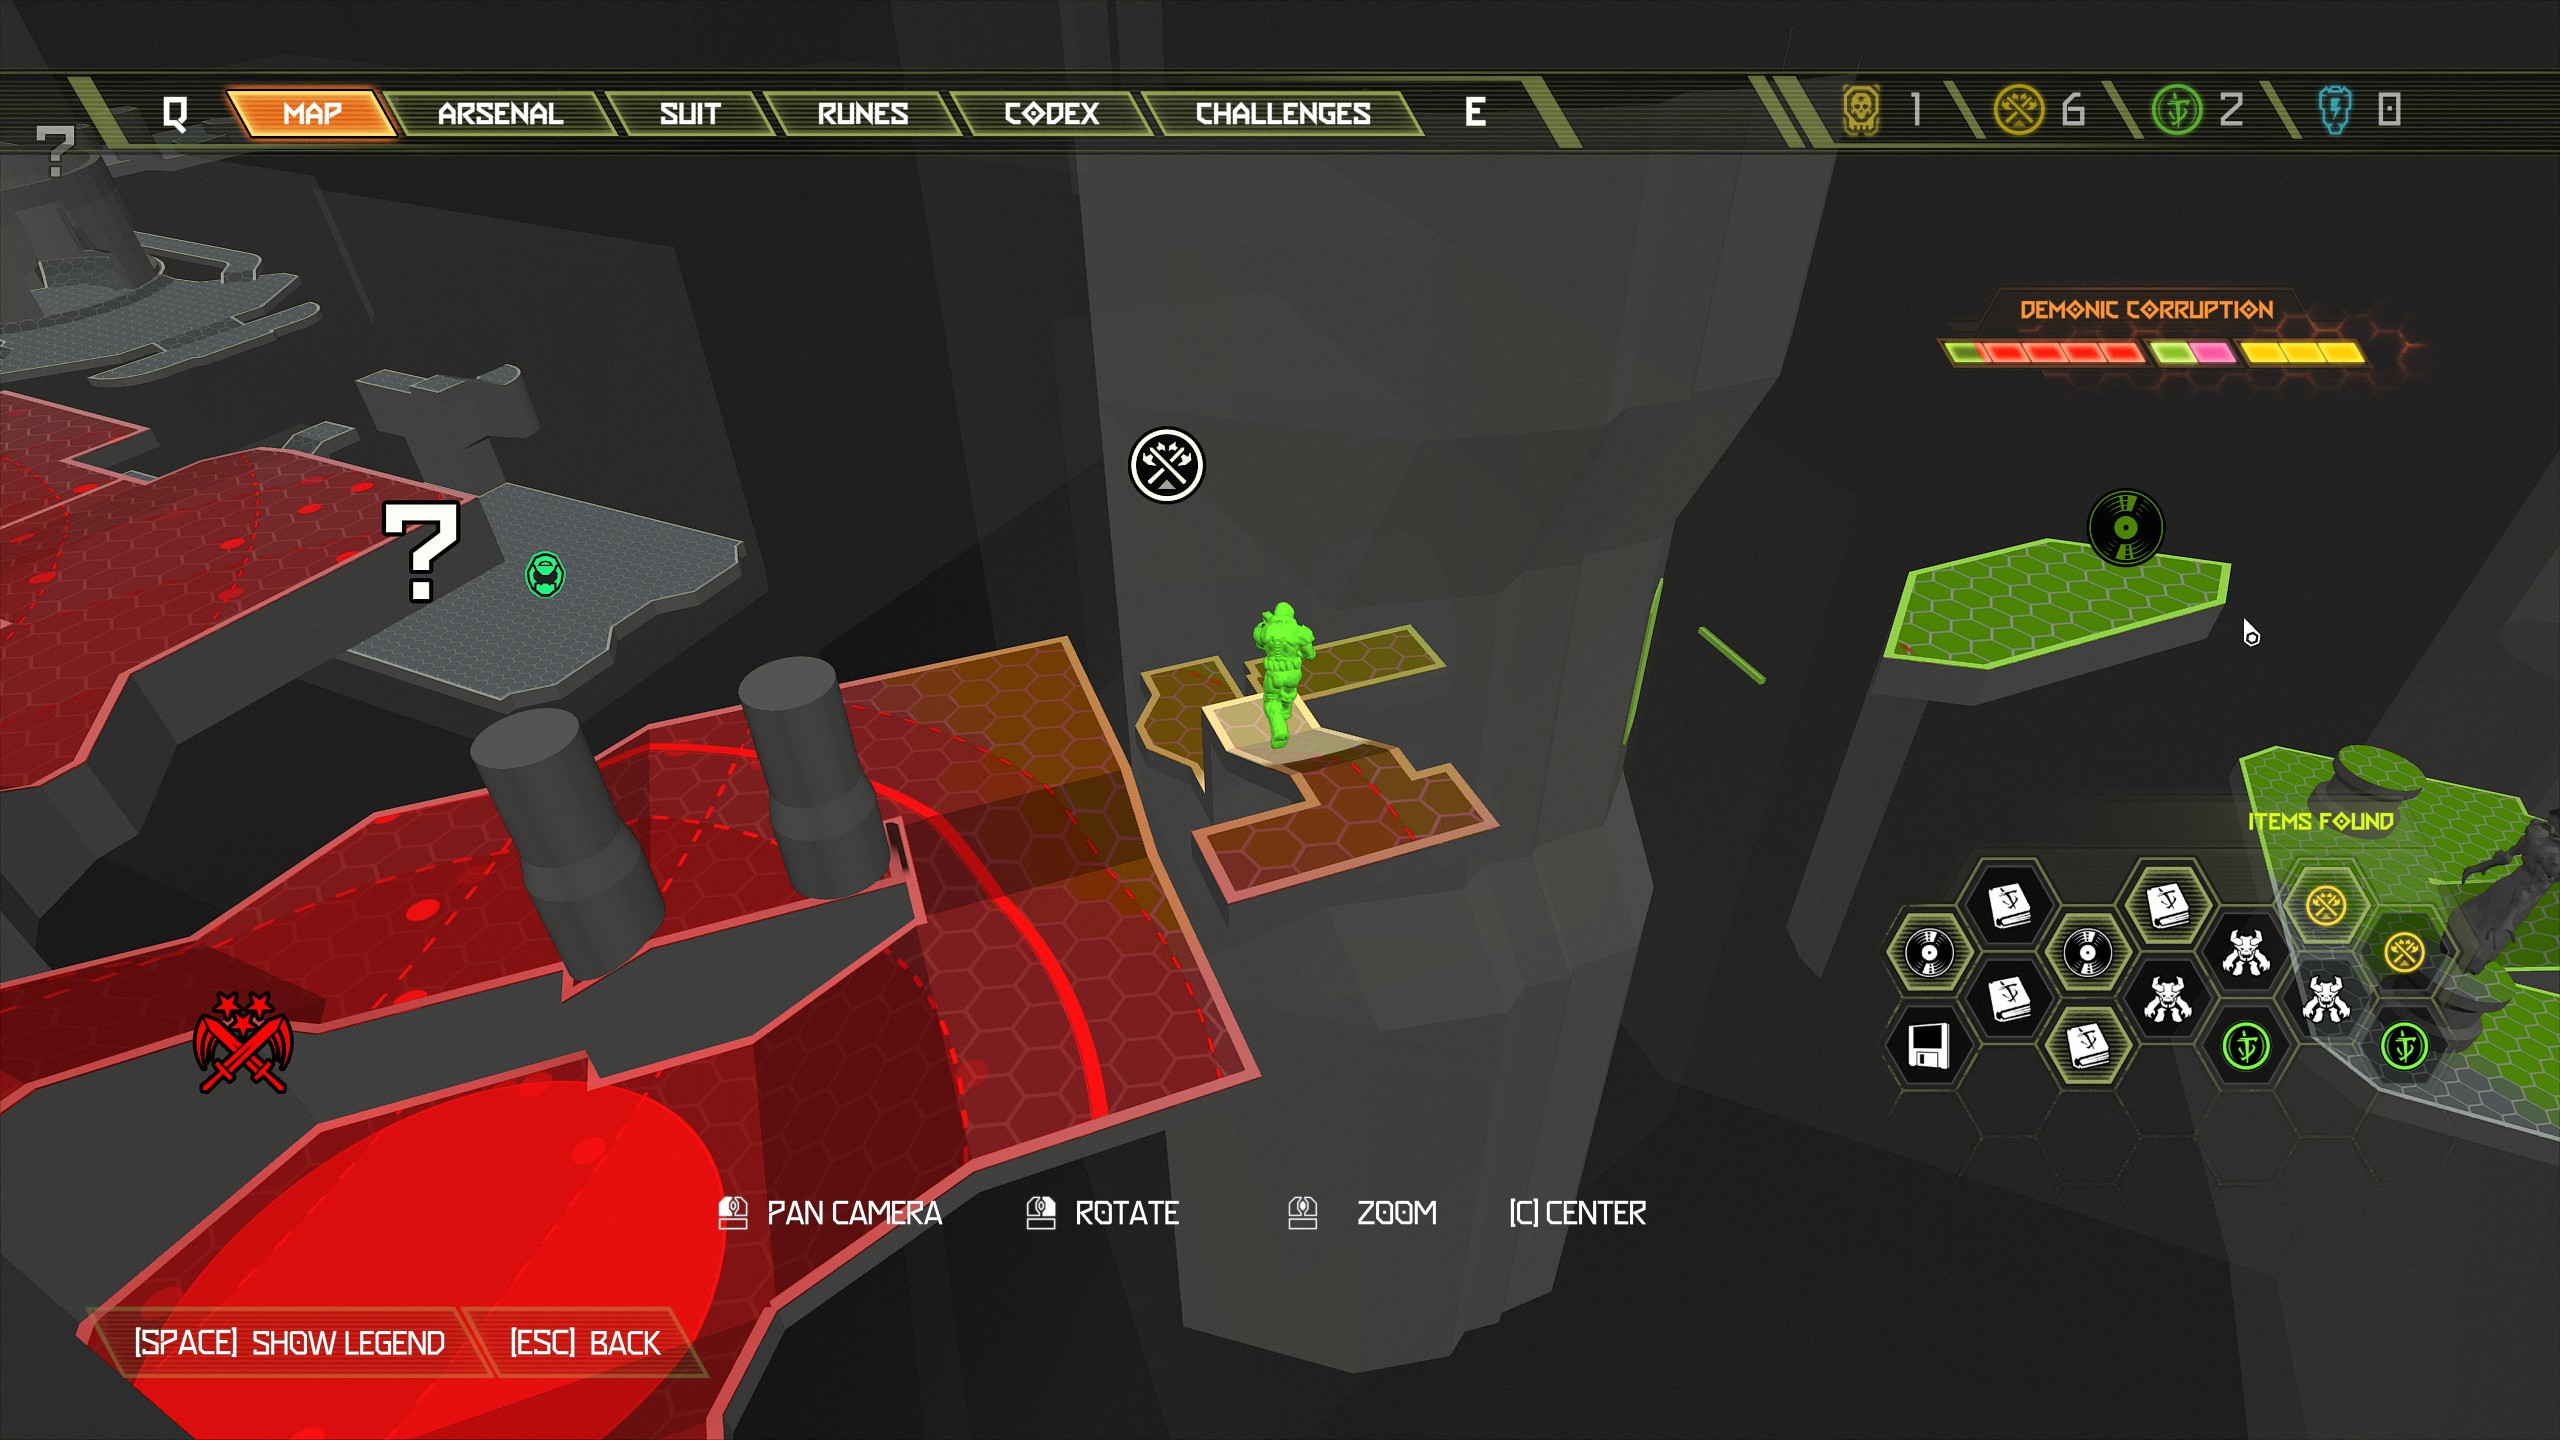
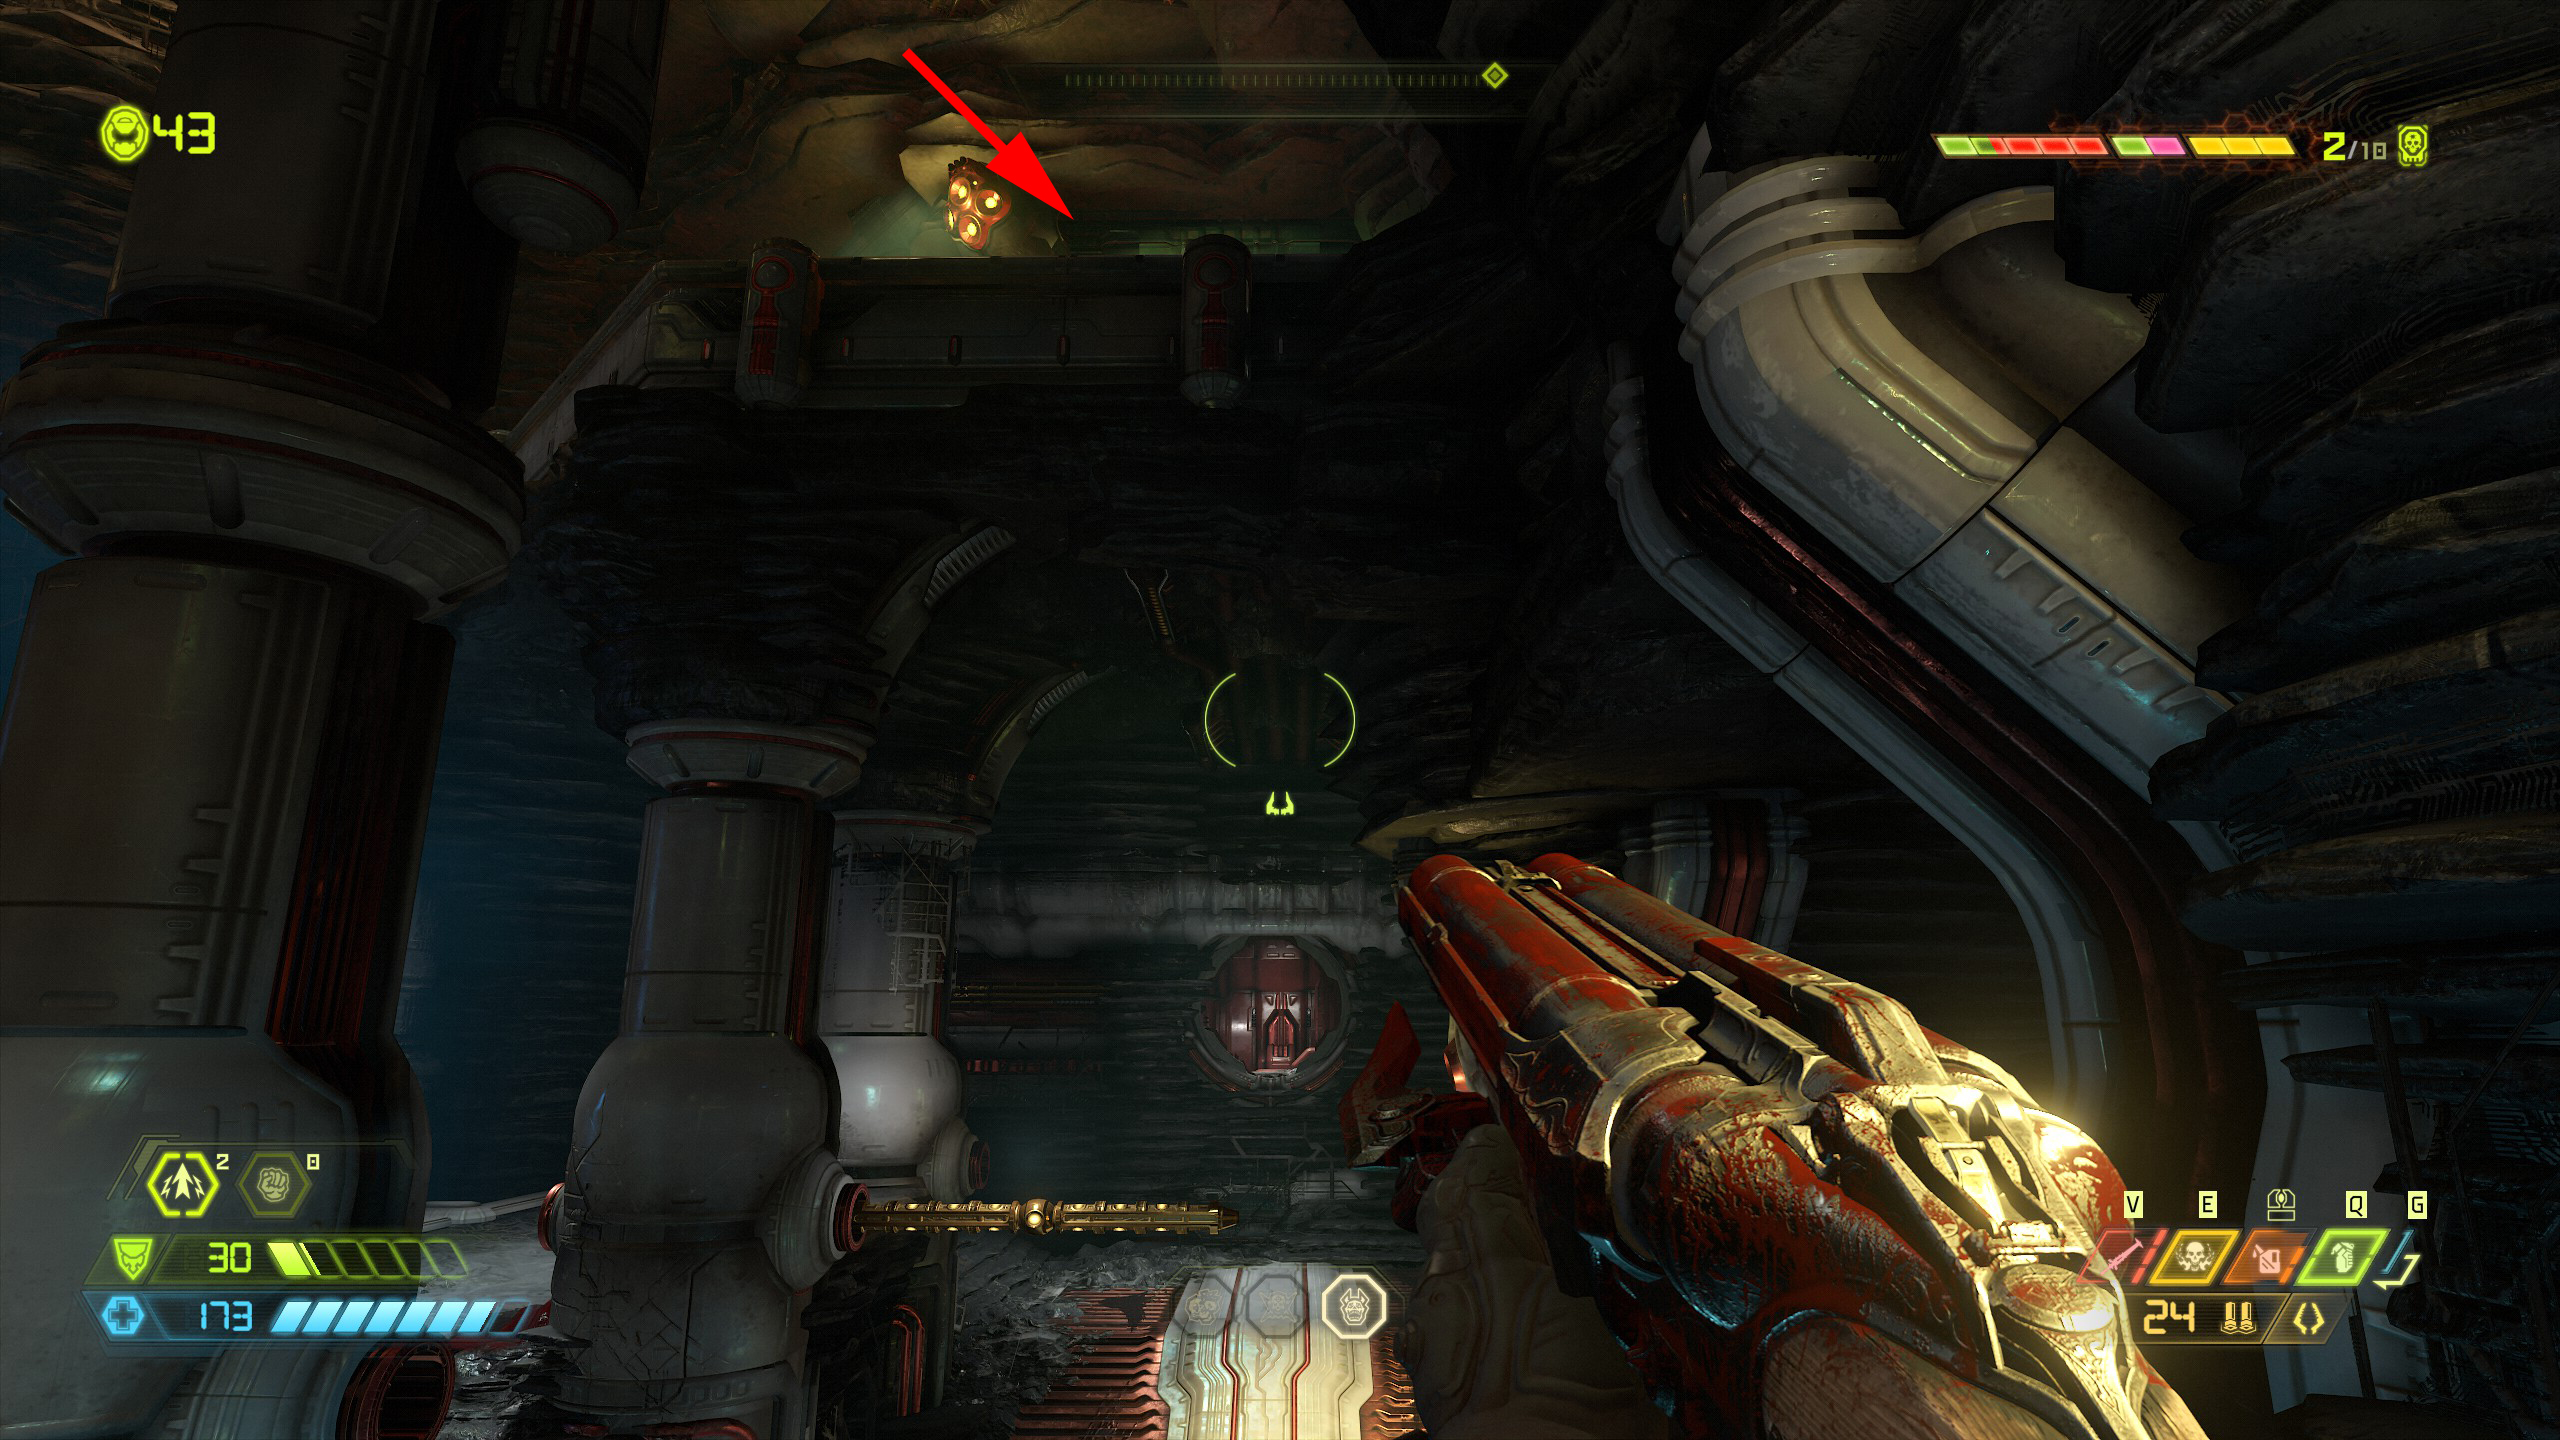
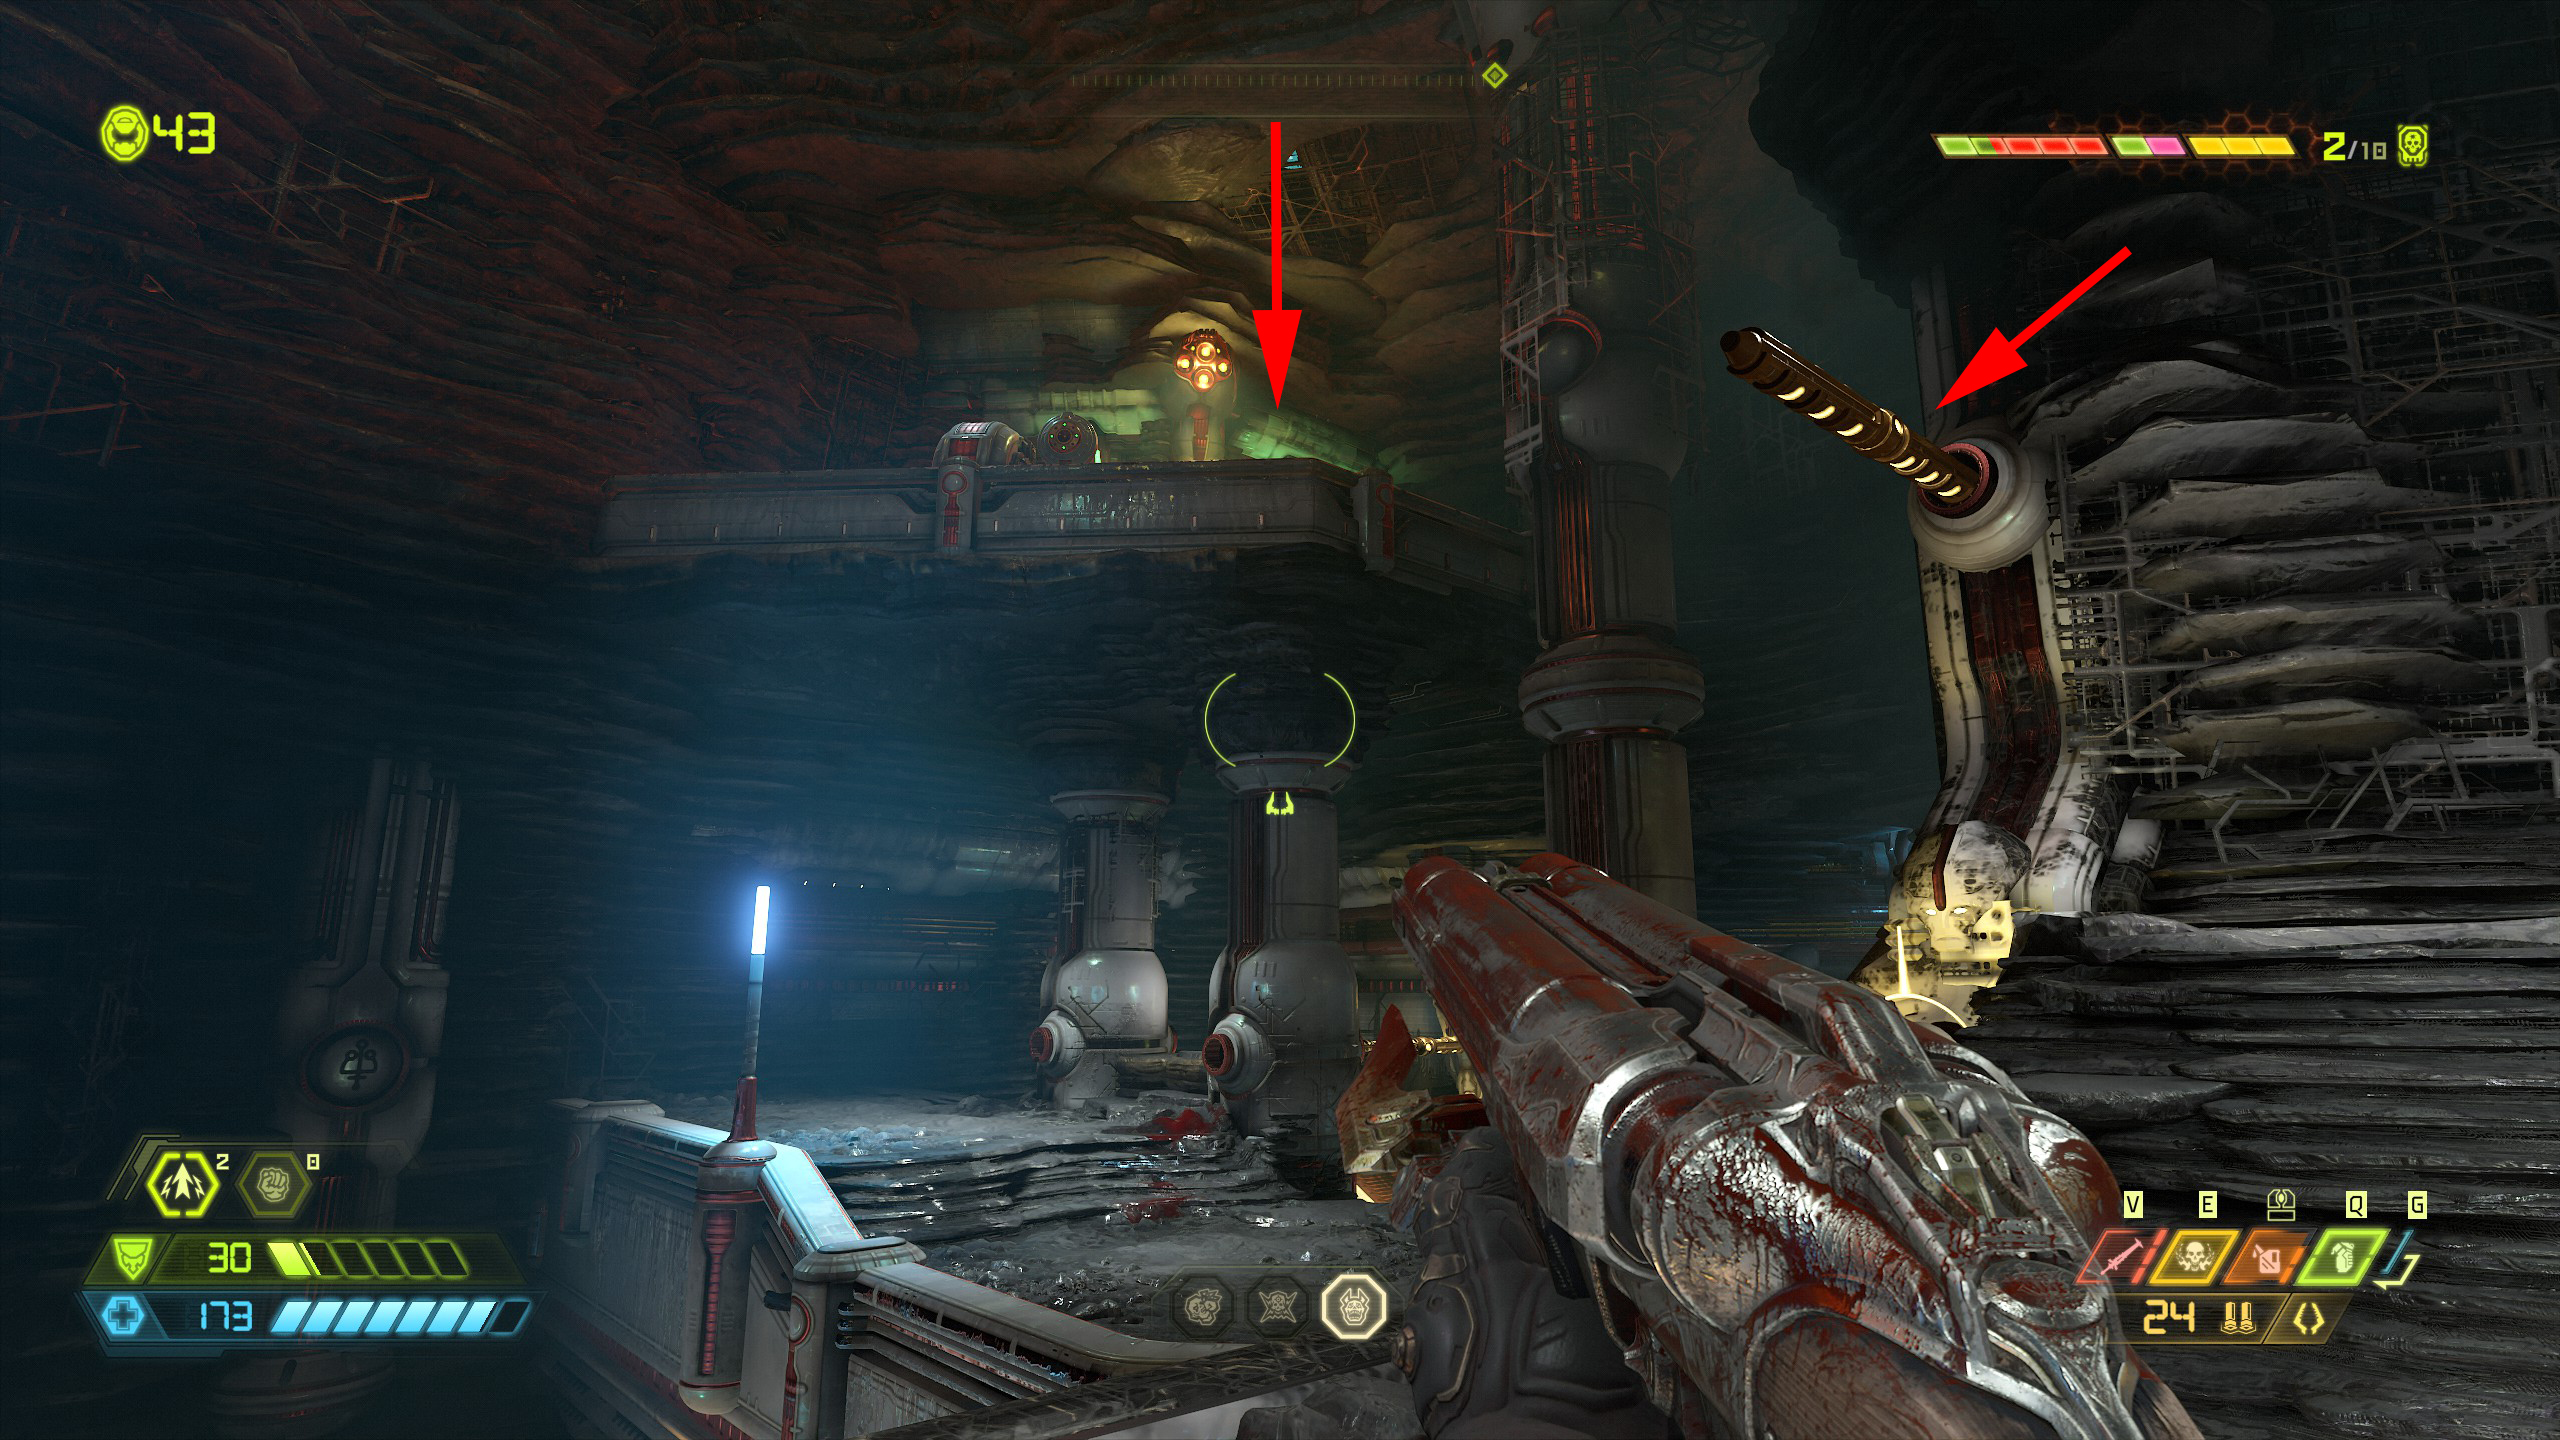
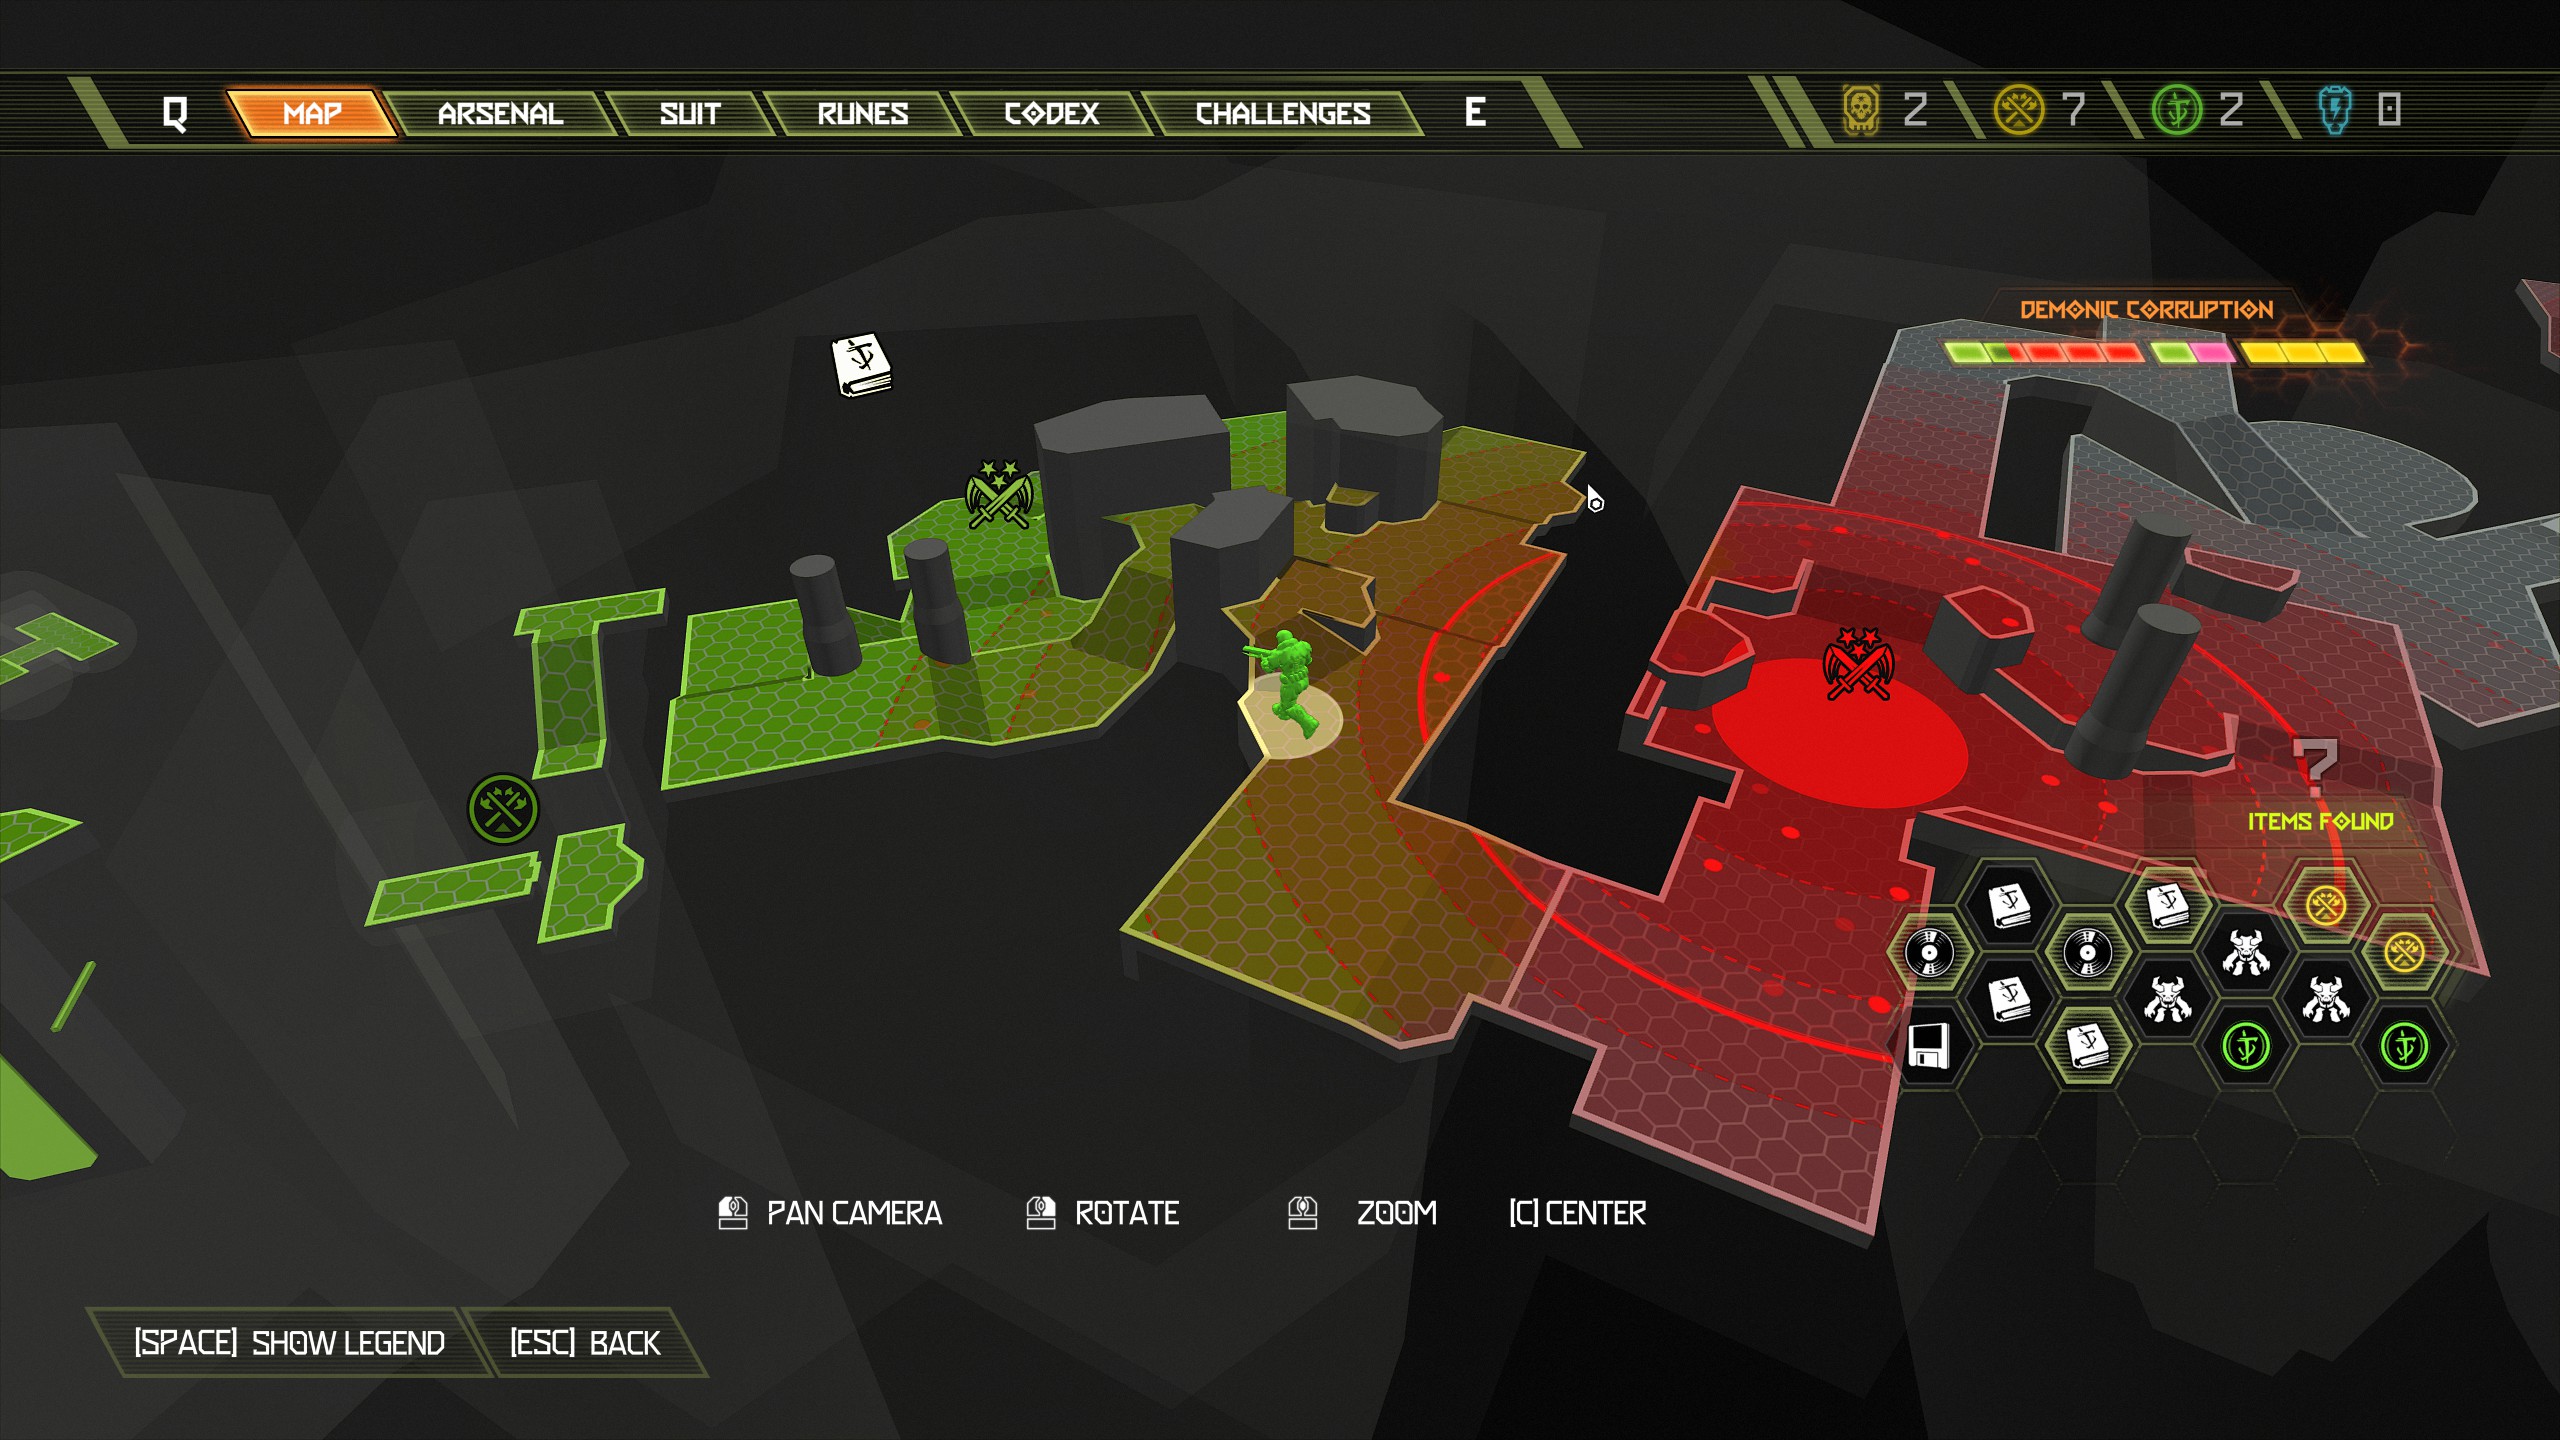
Continue the mission until you're back outside.
If you miss and fall you can just respawn and try again, just don't die.
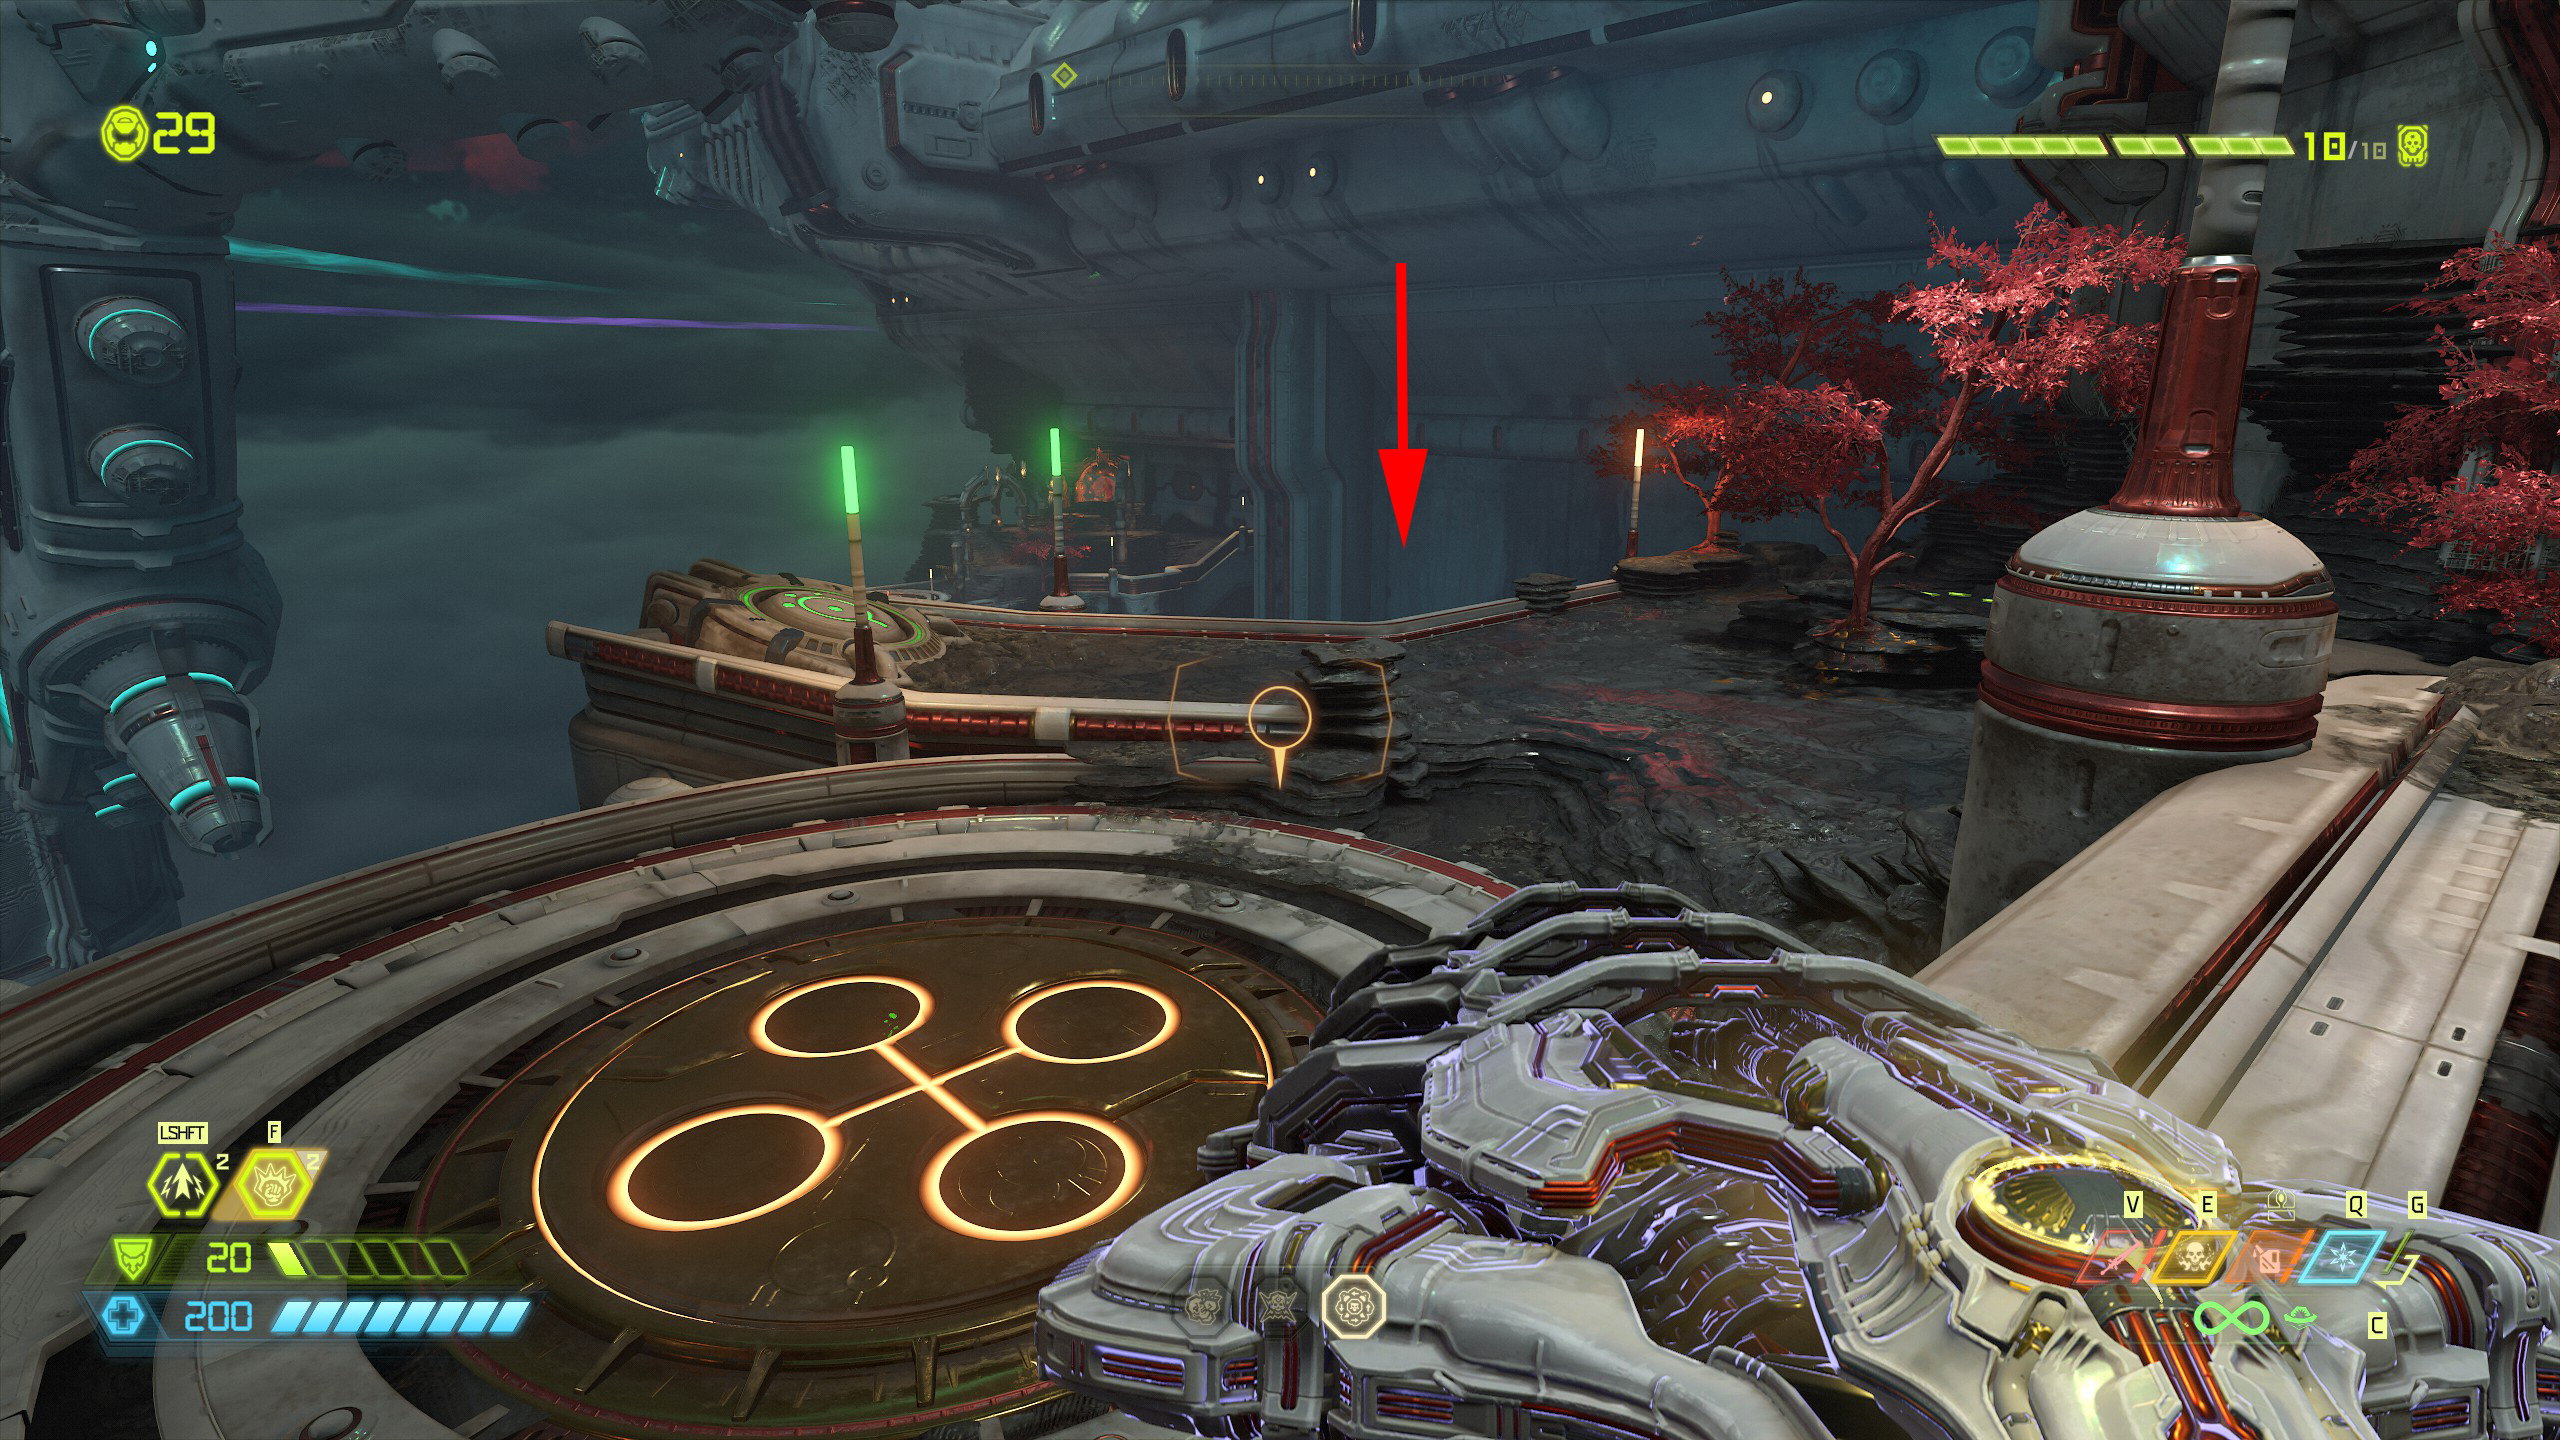
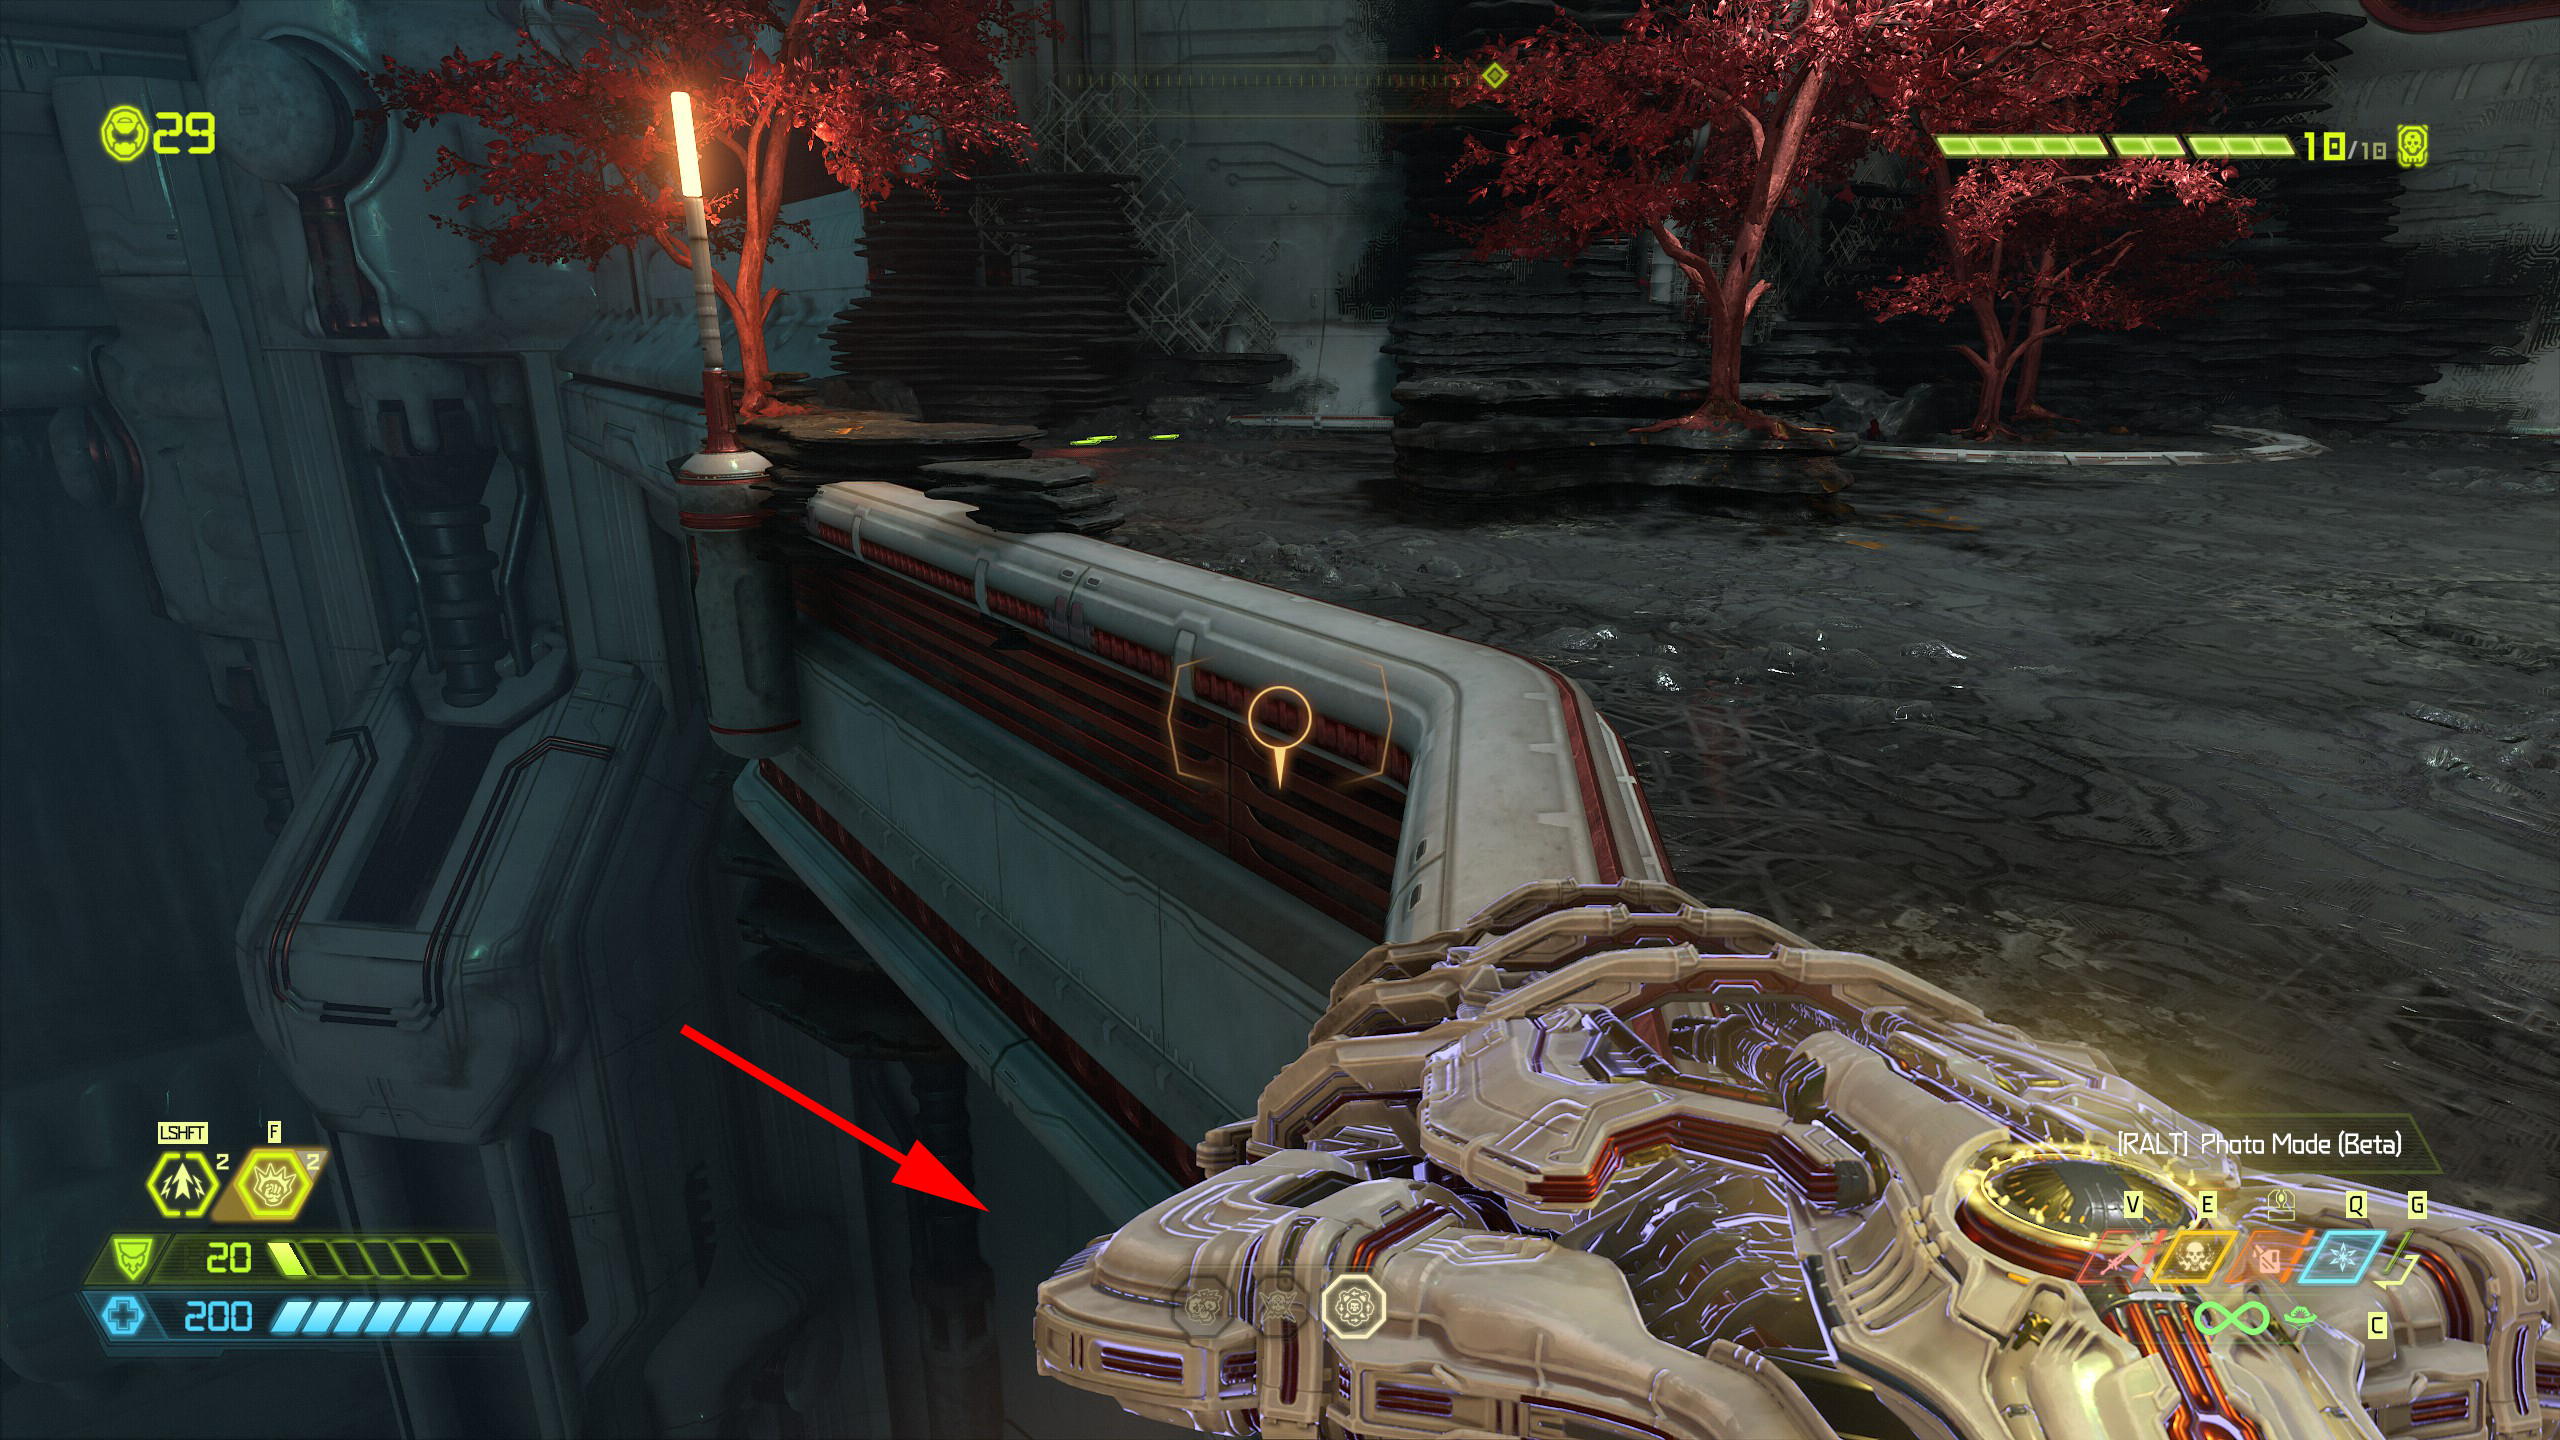
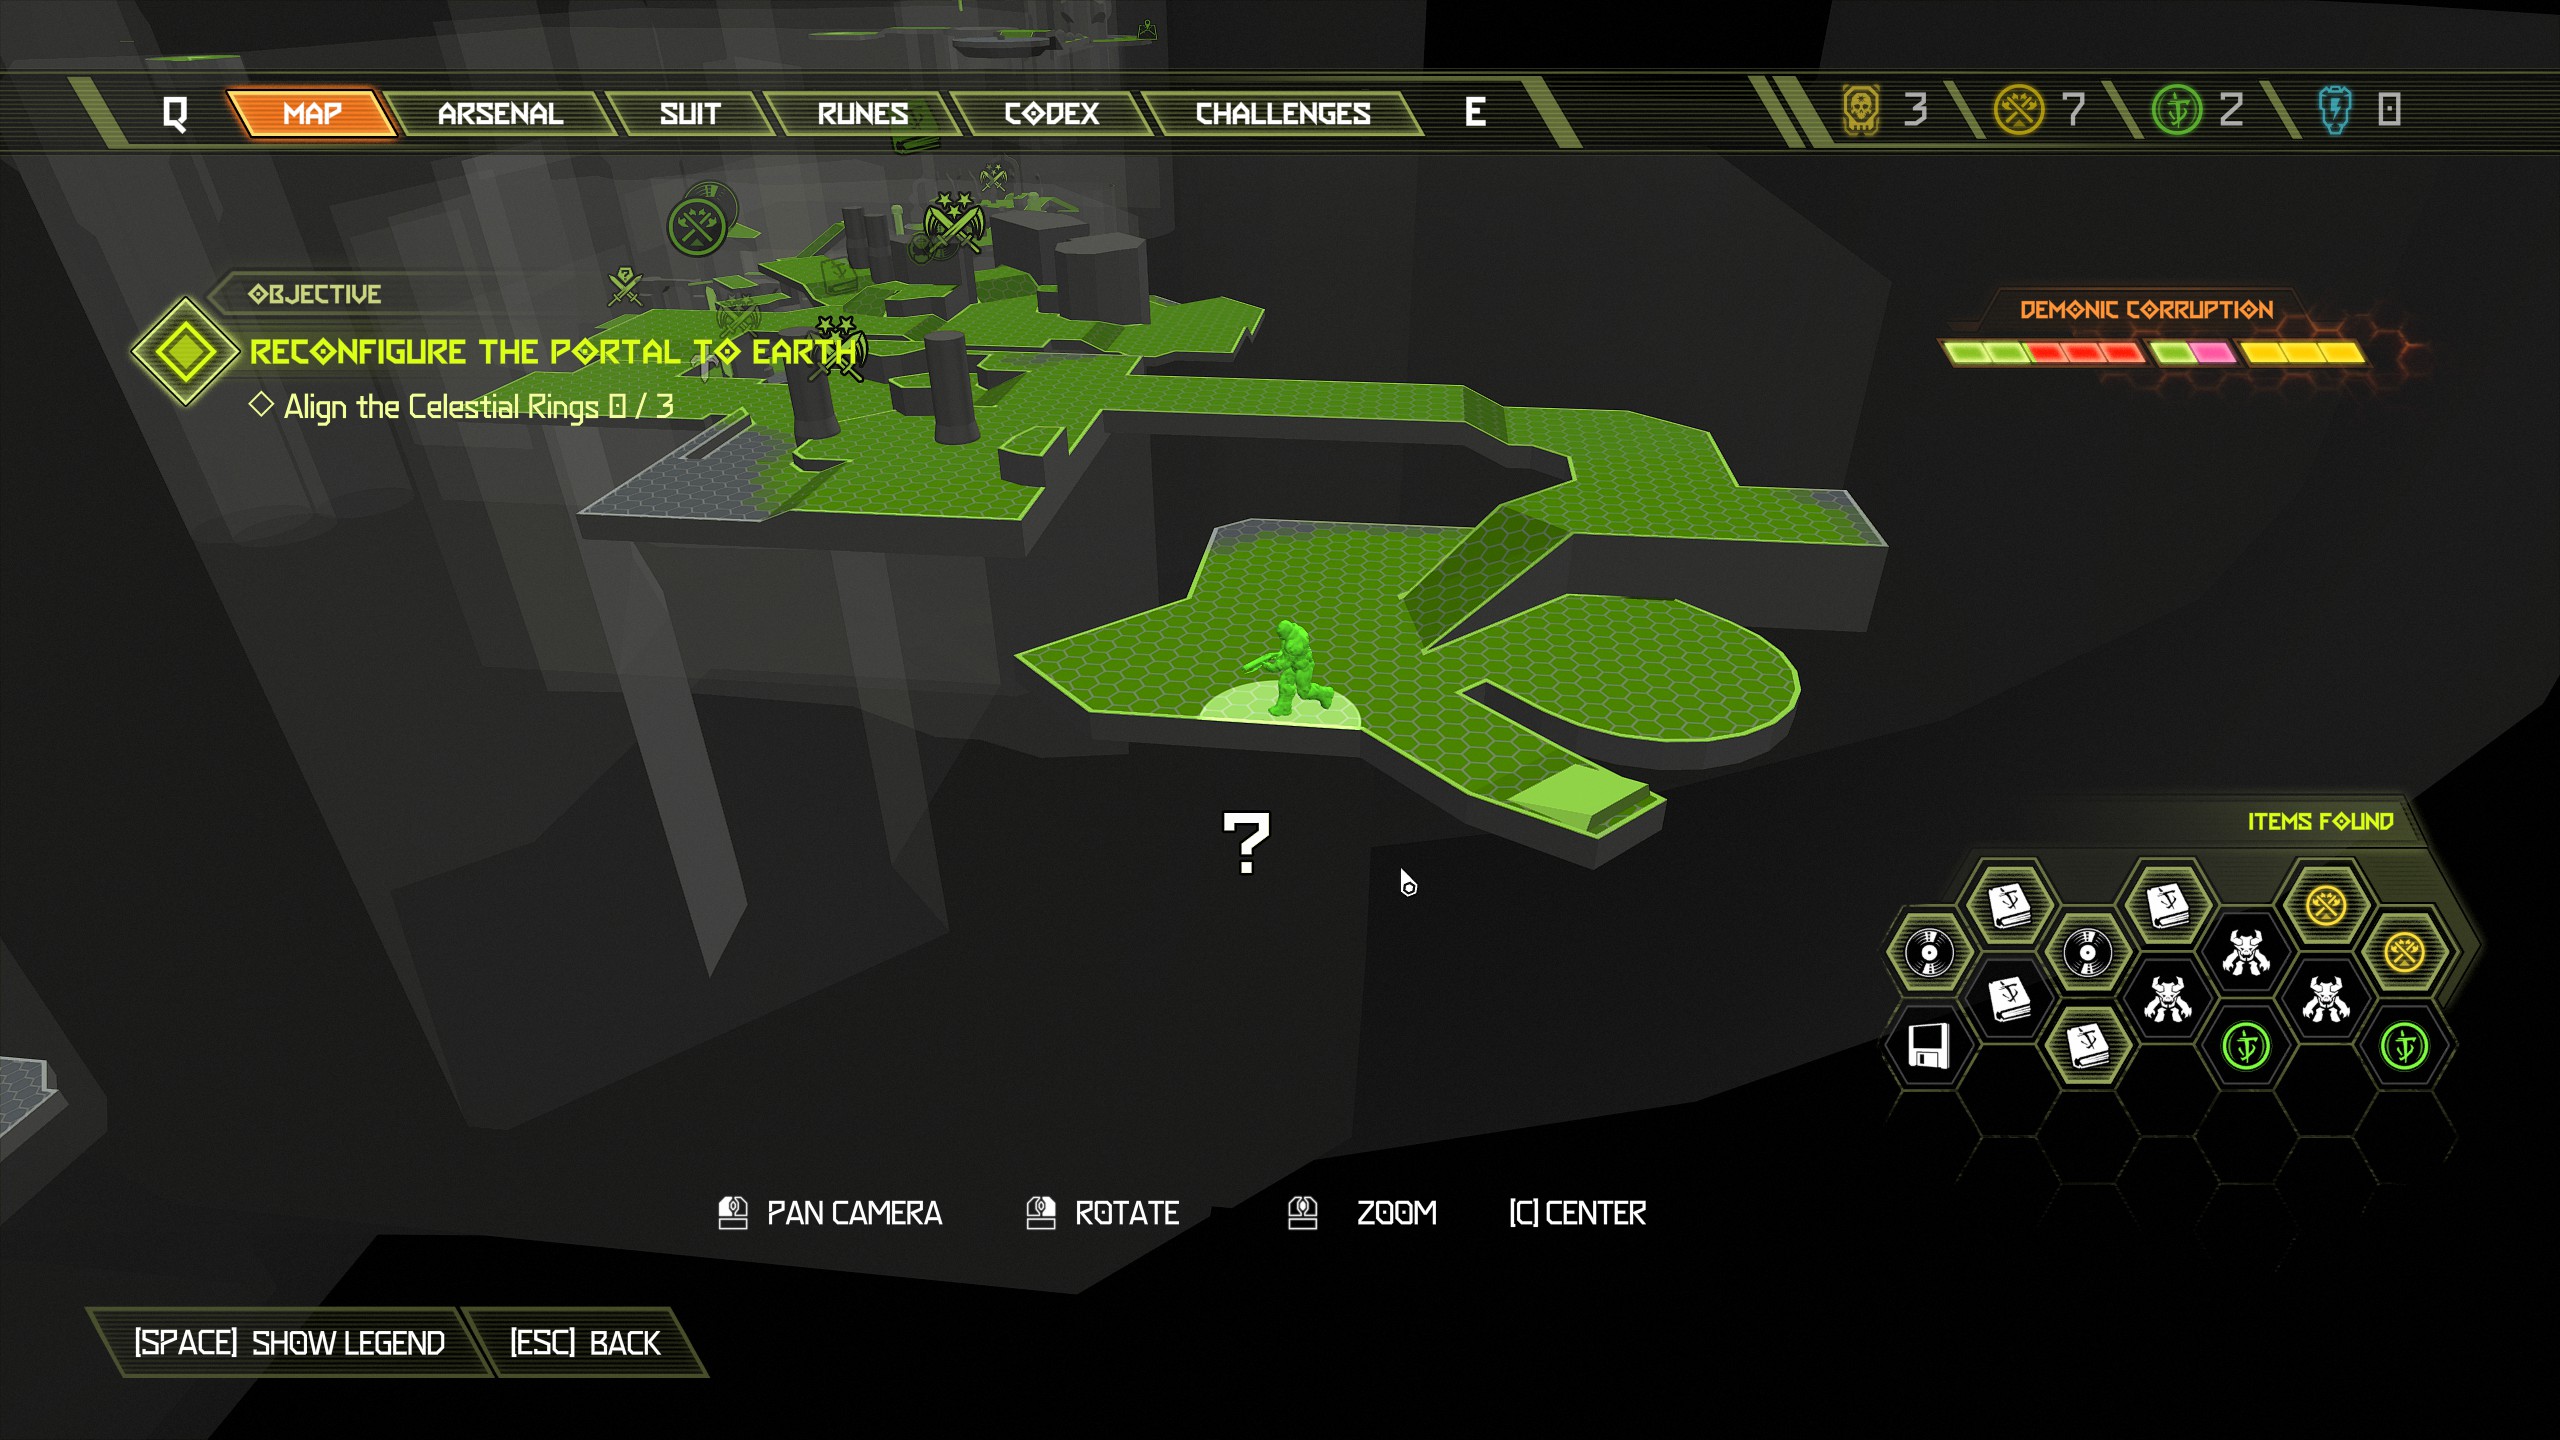
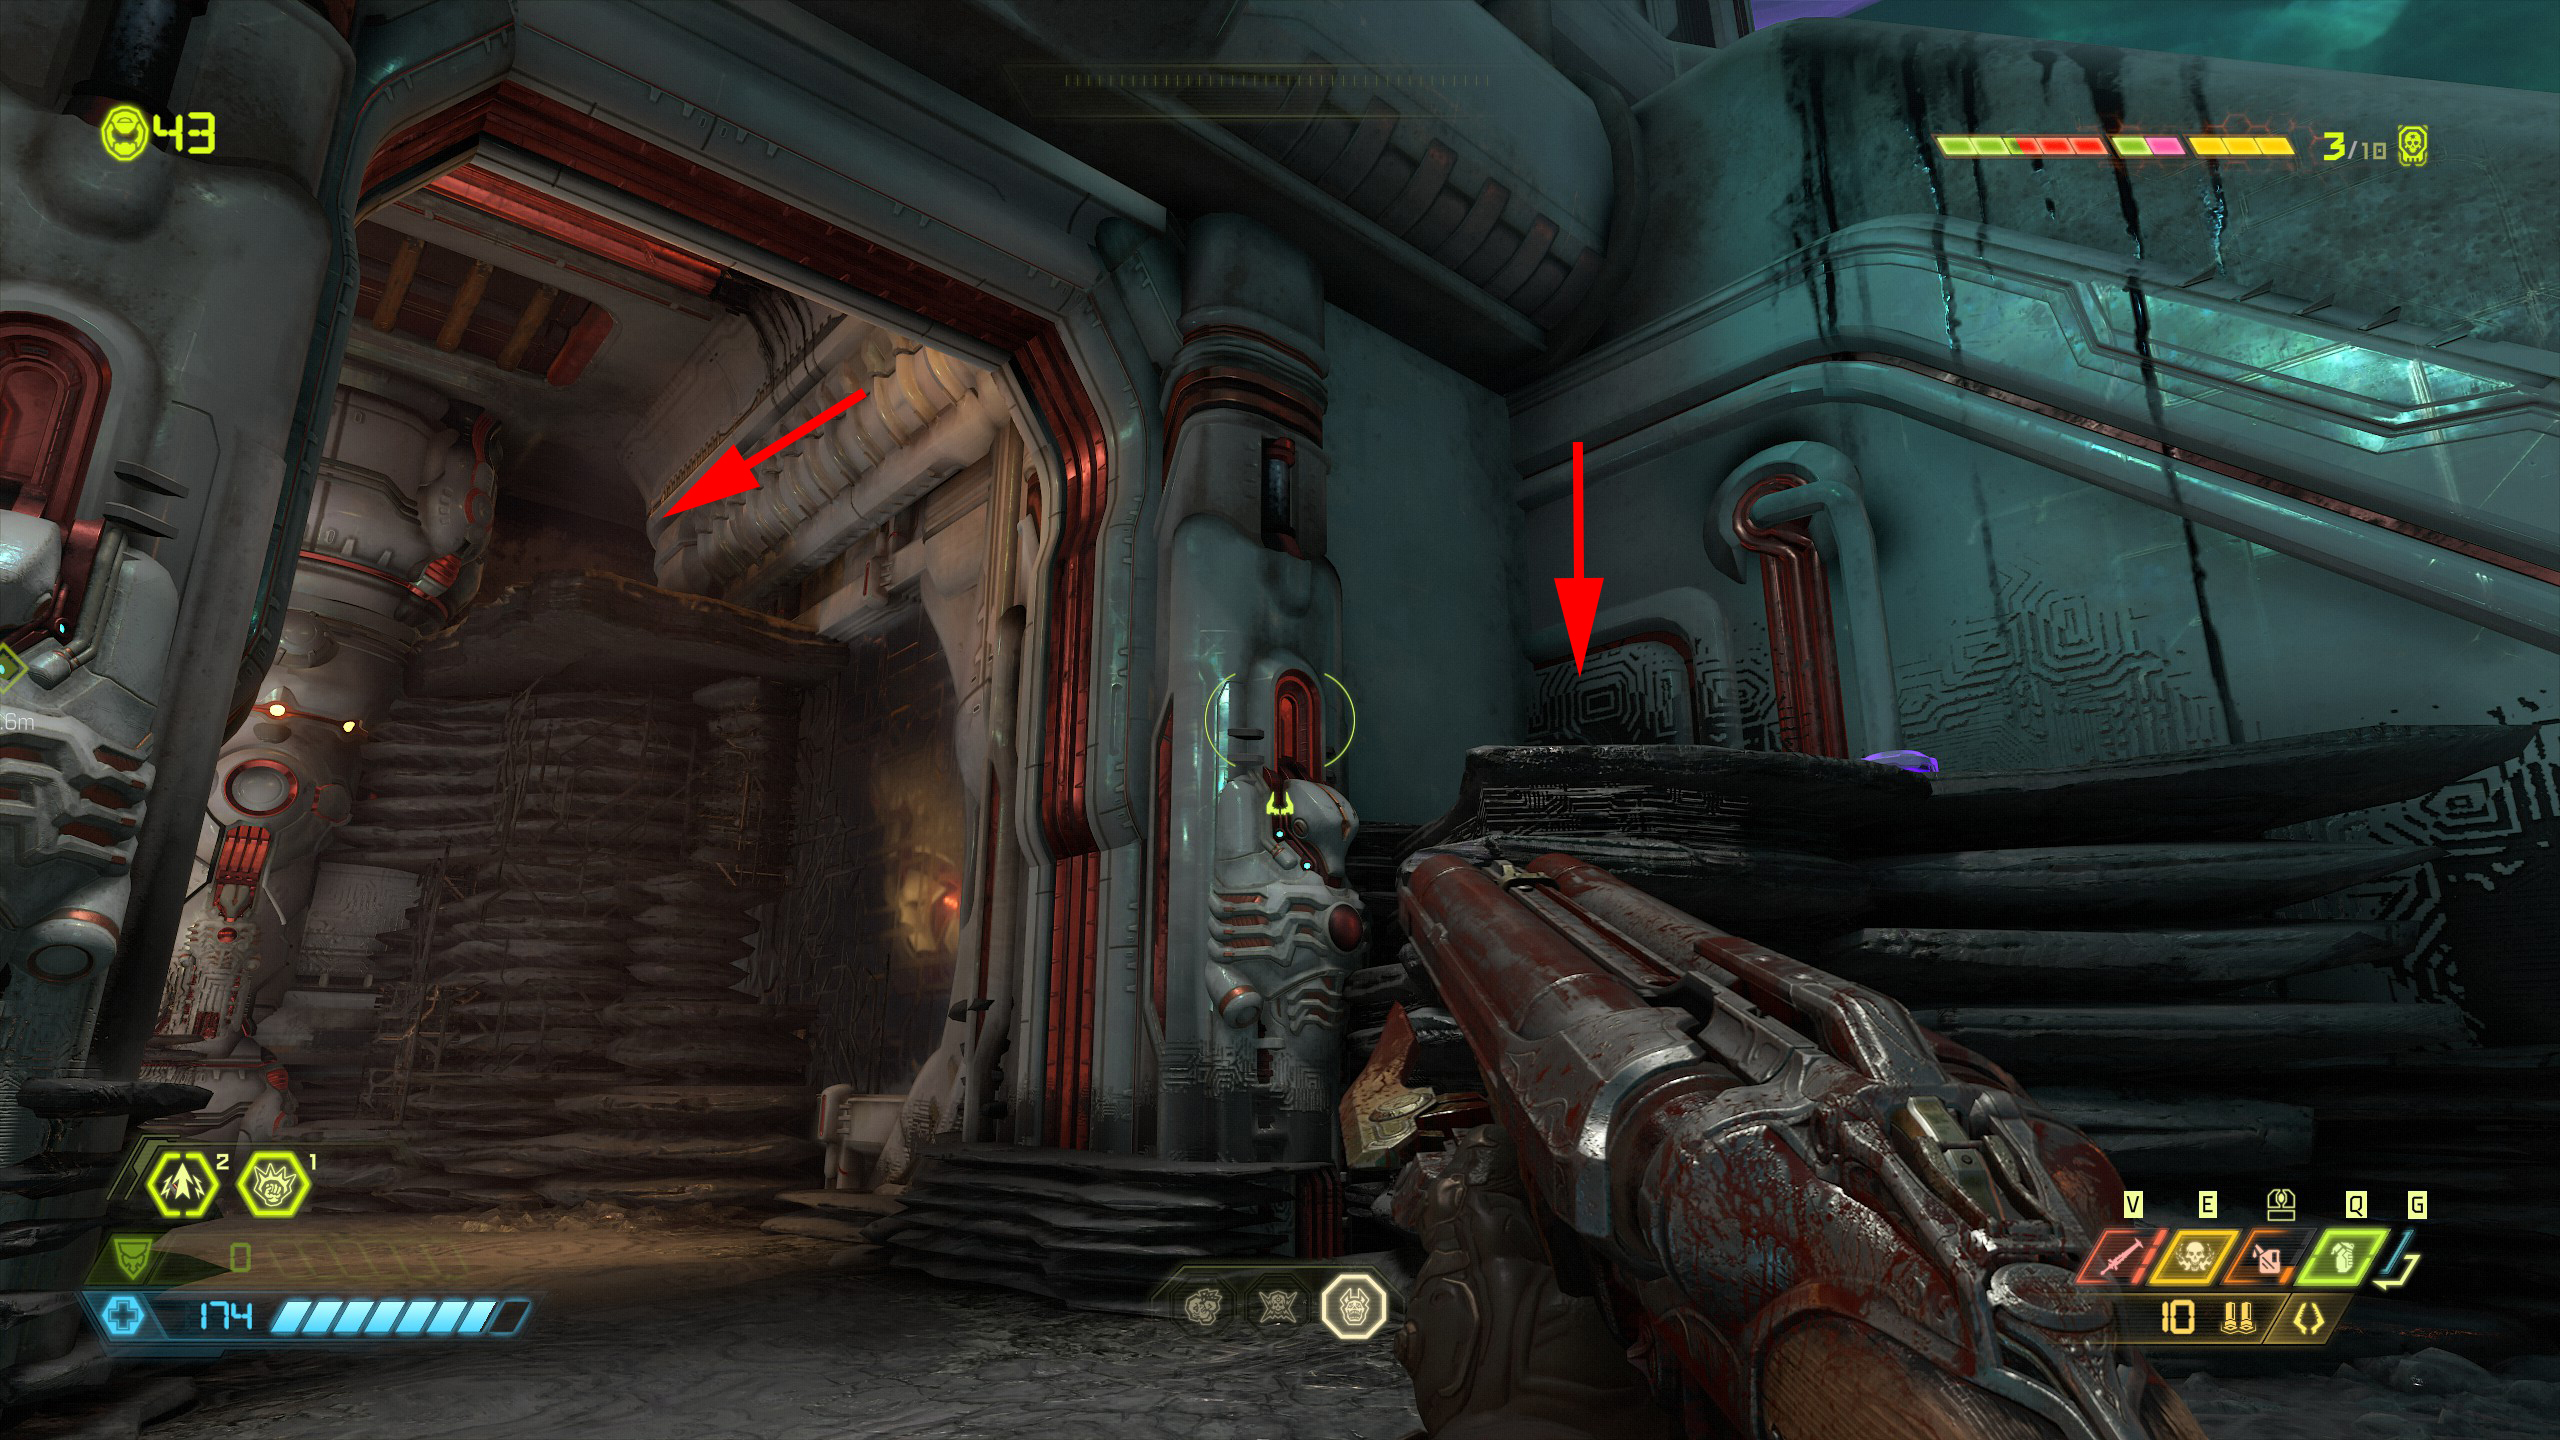
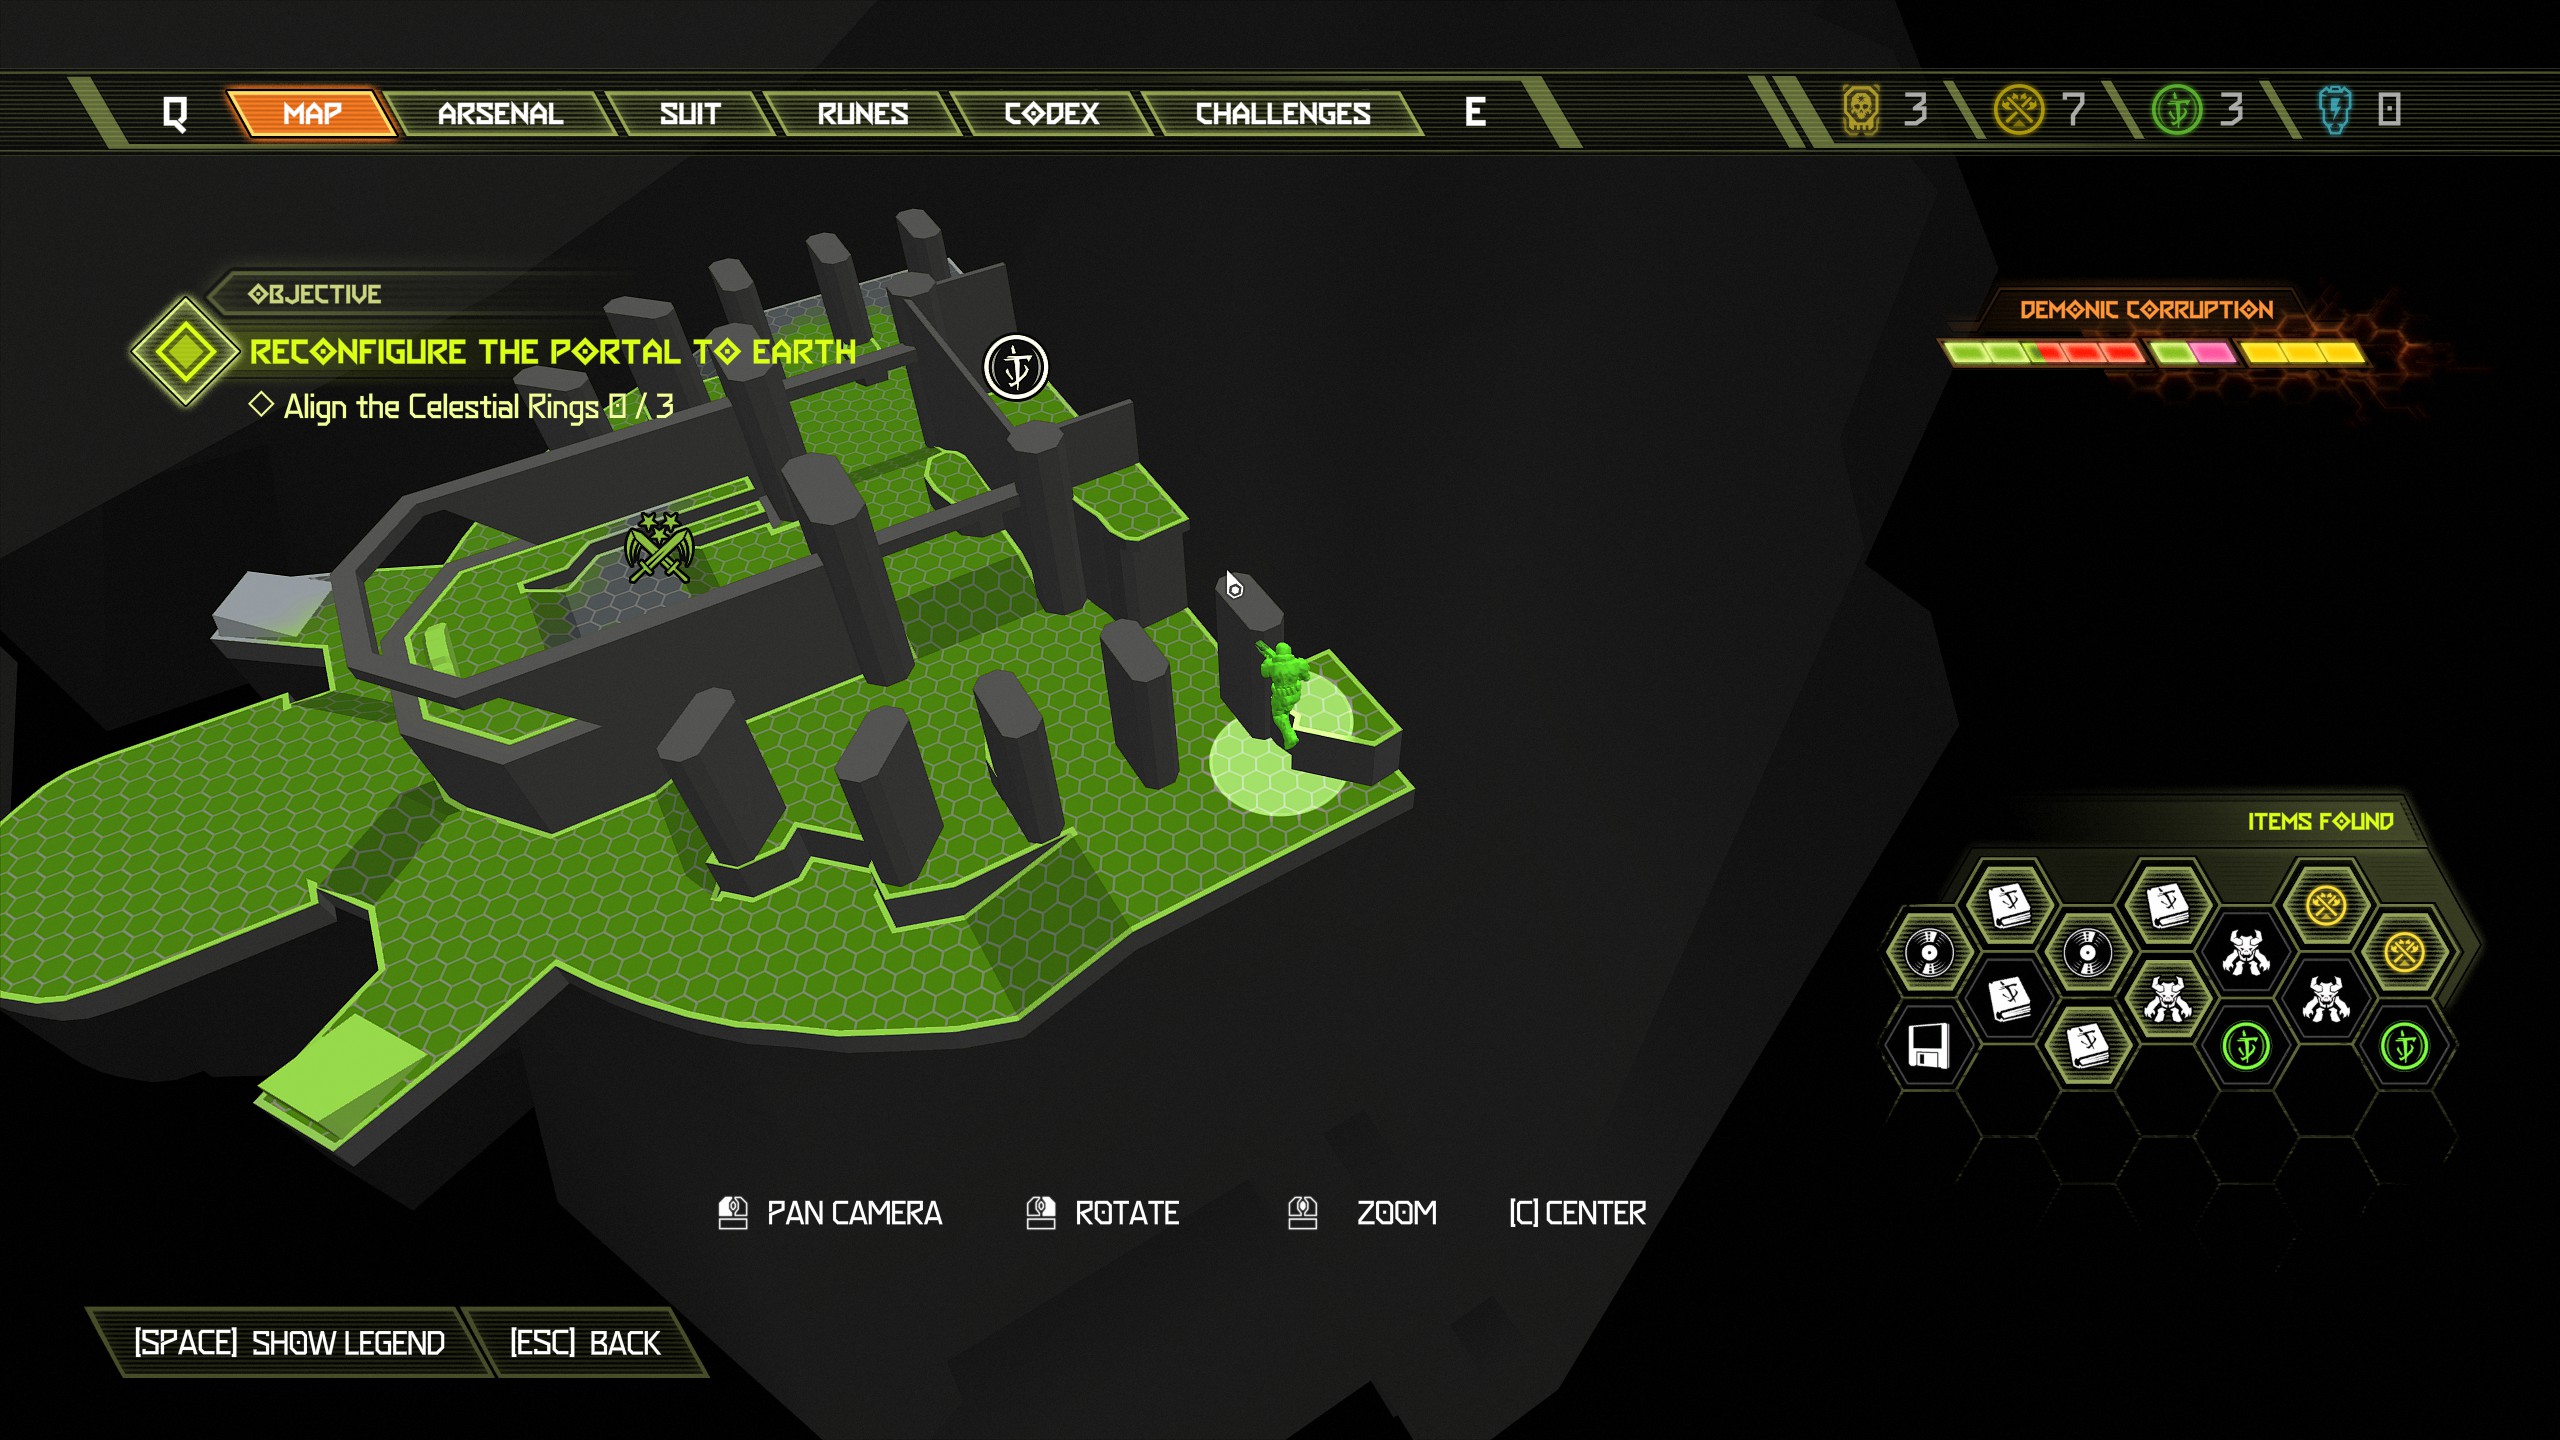
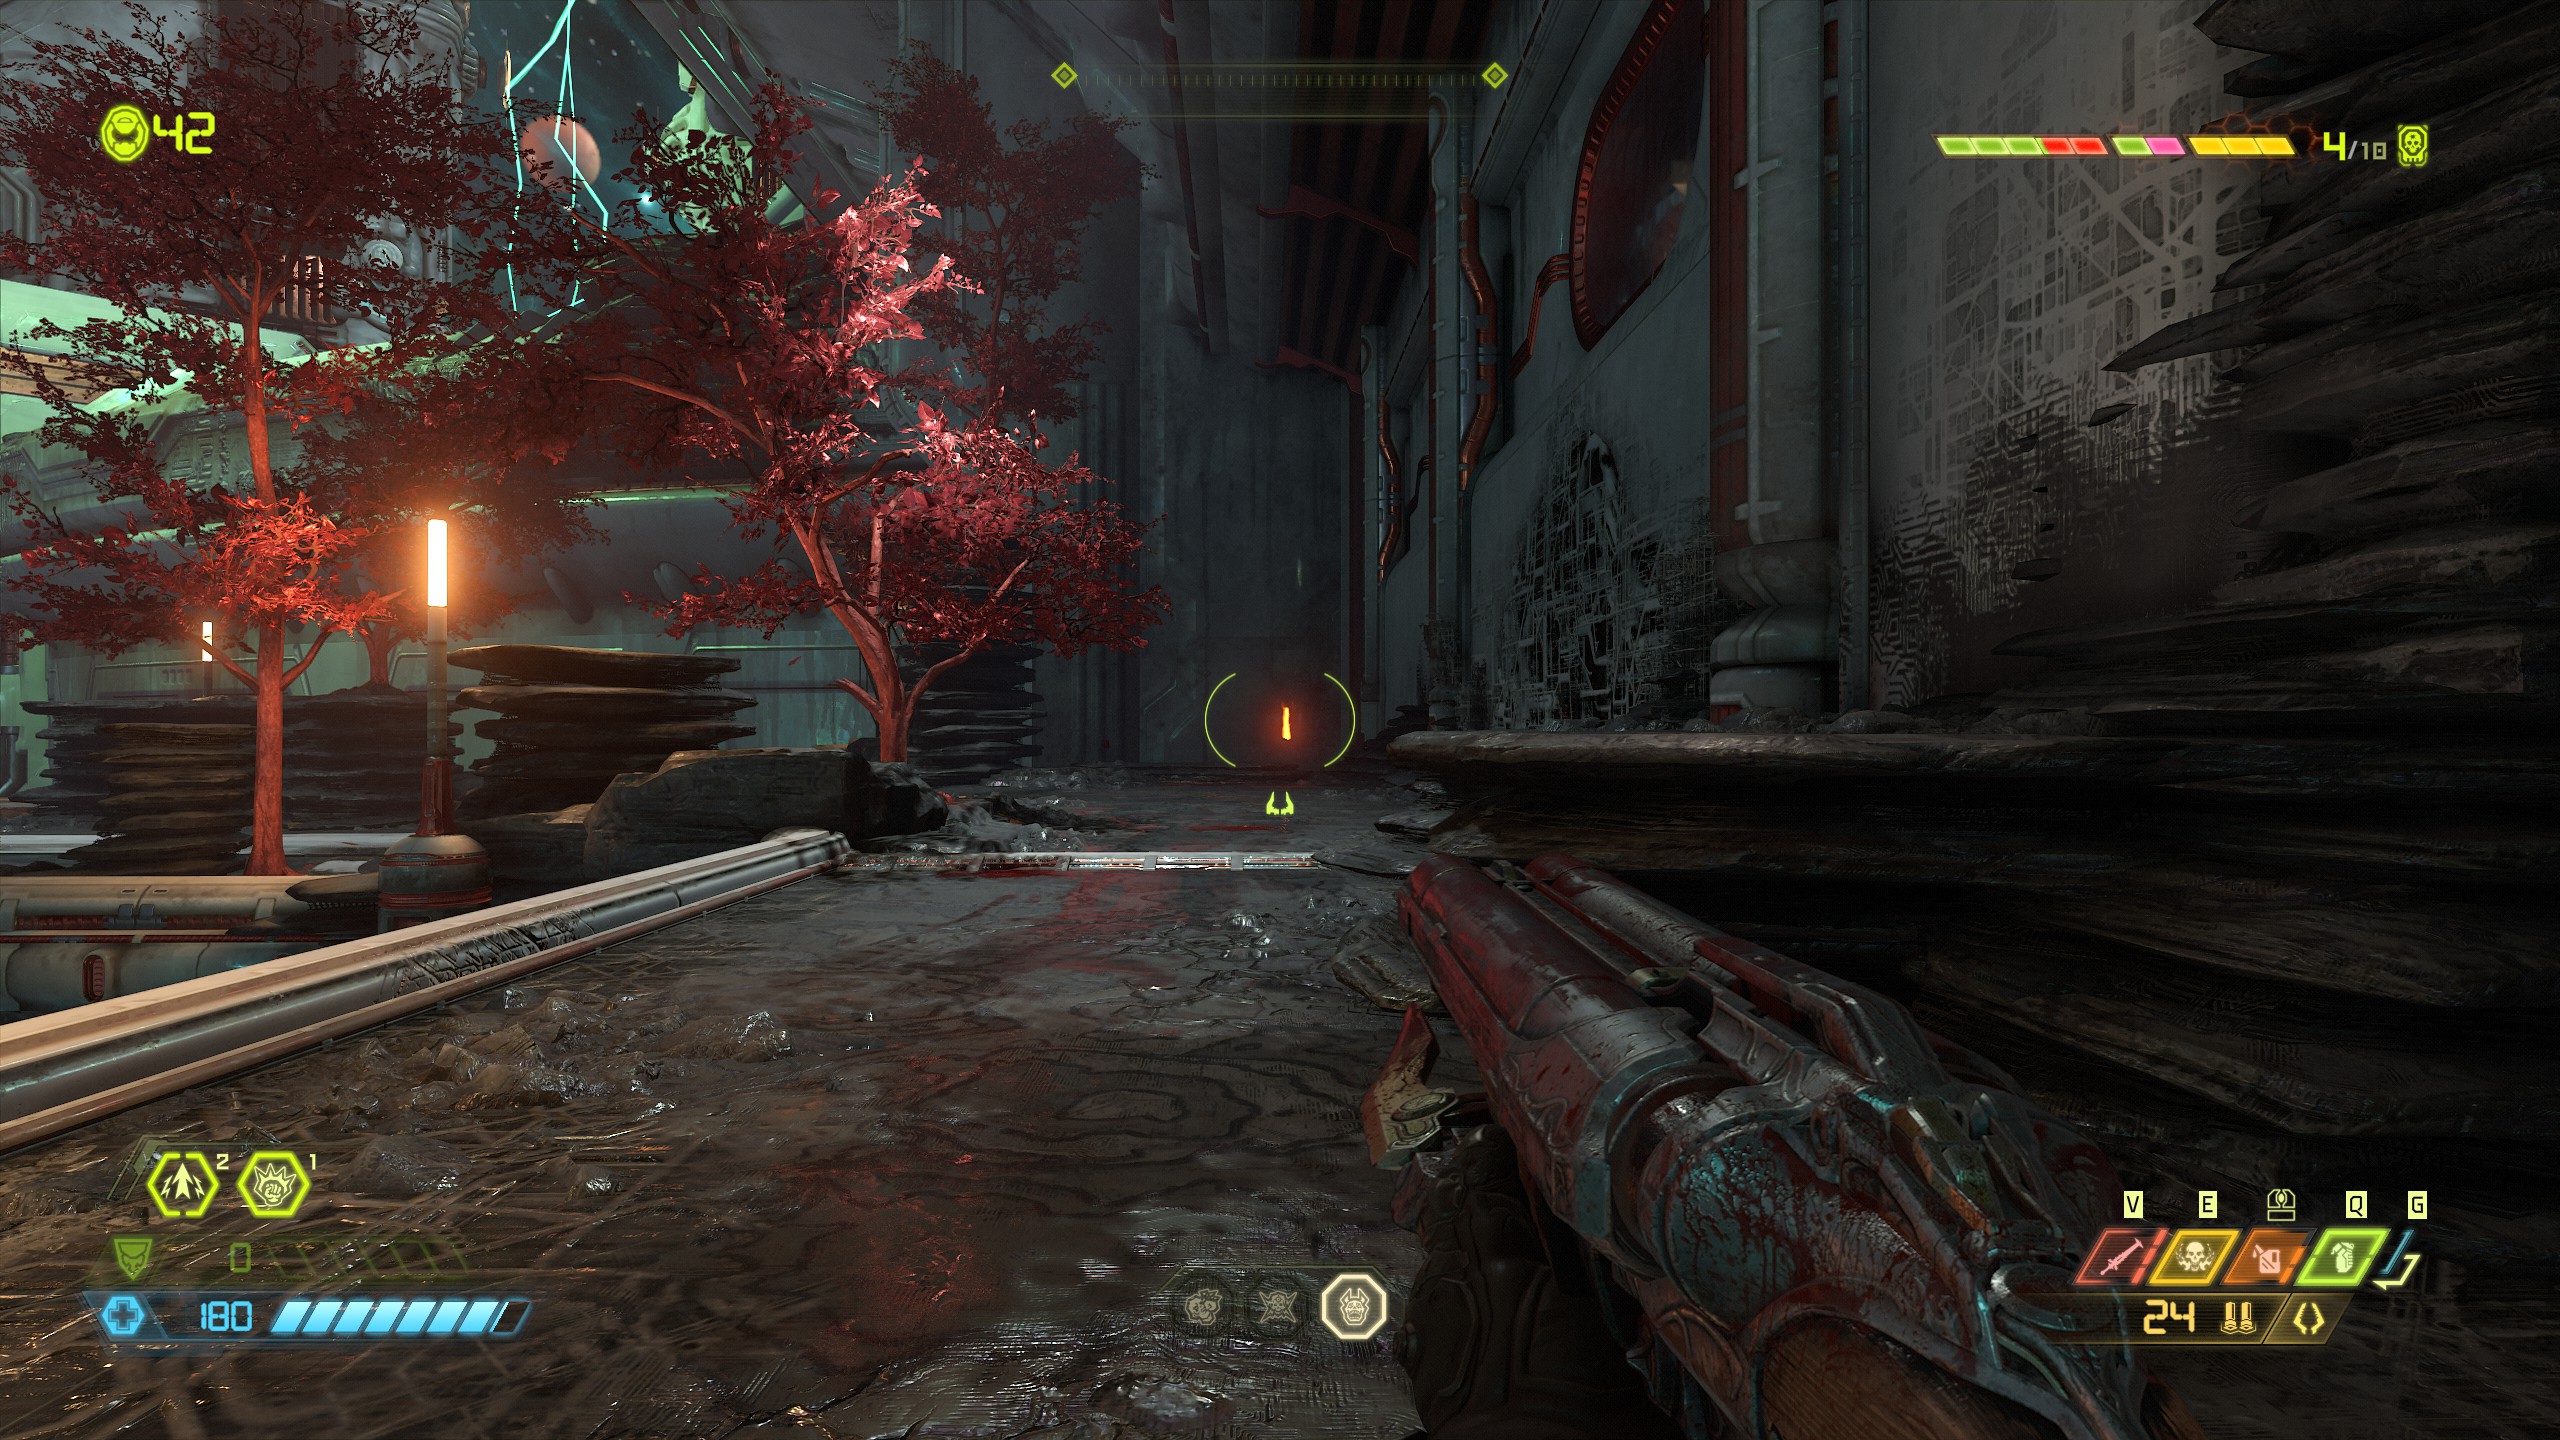
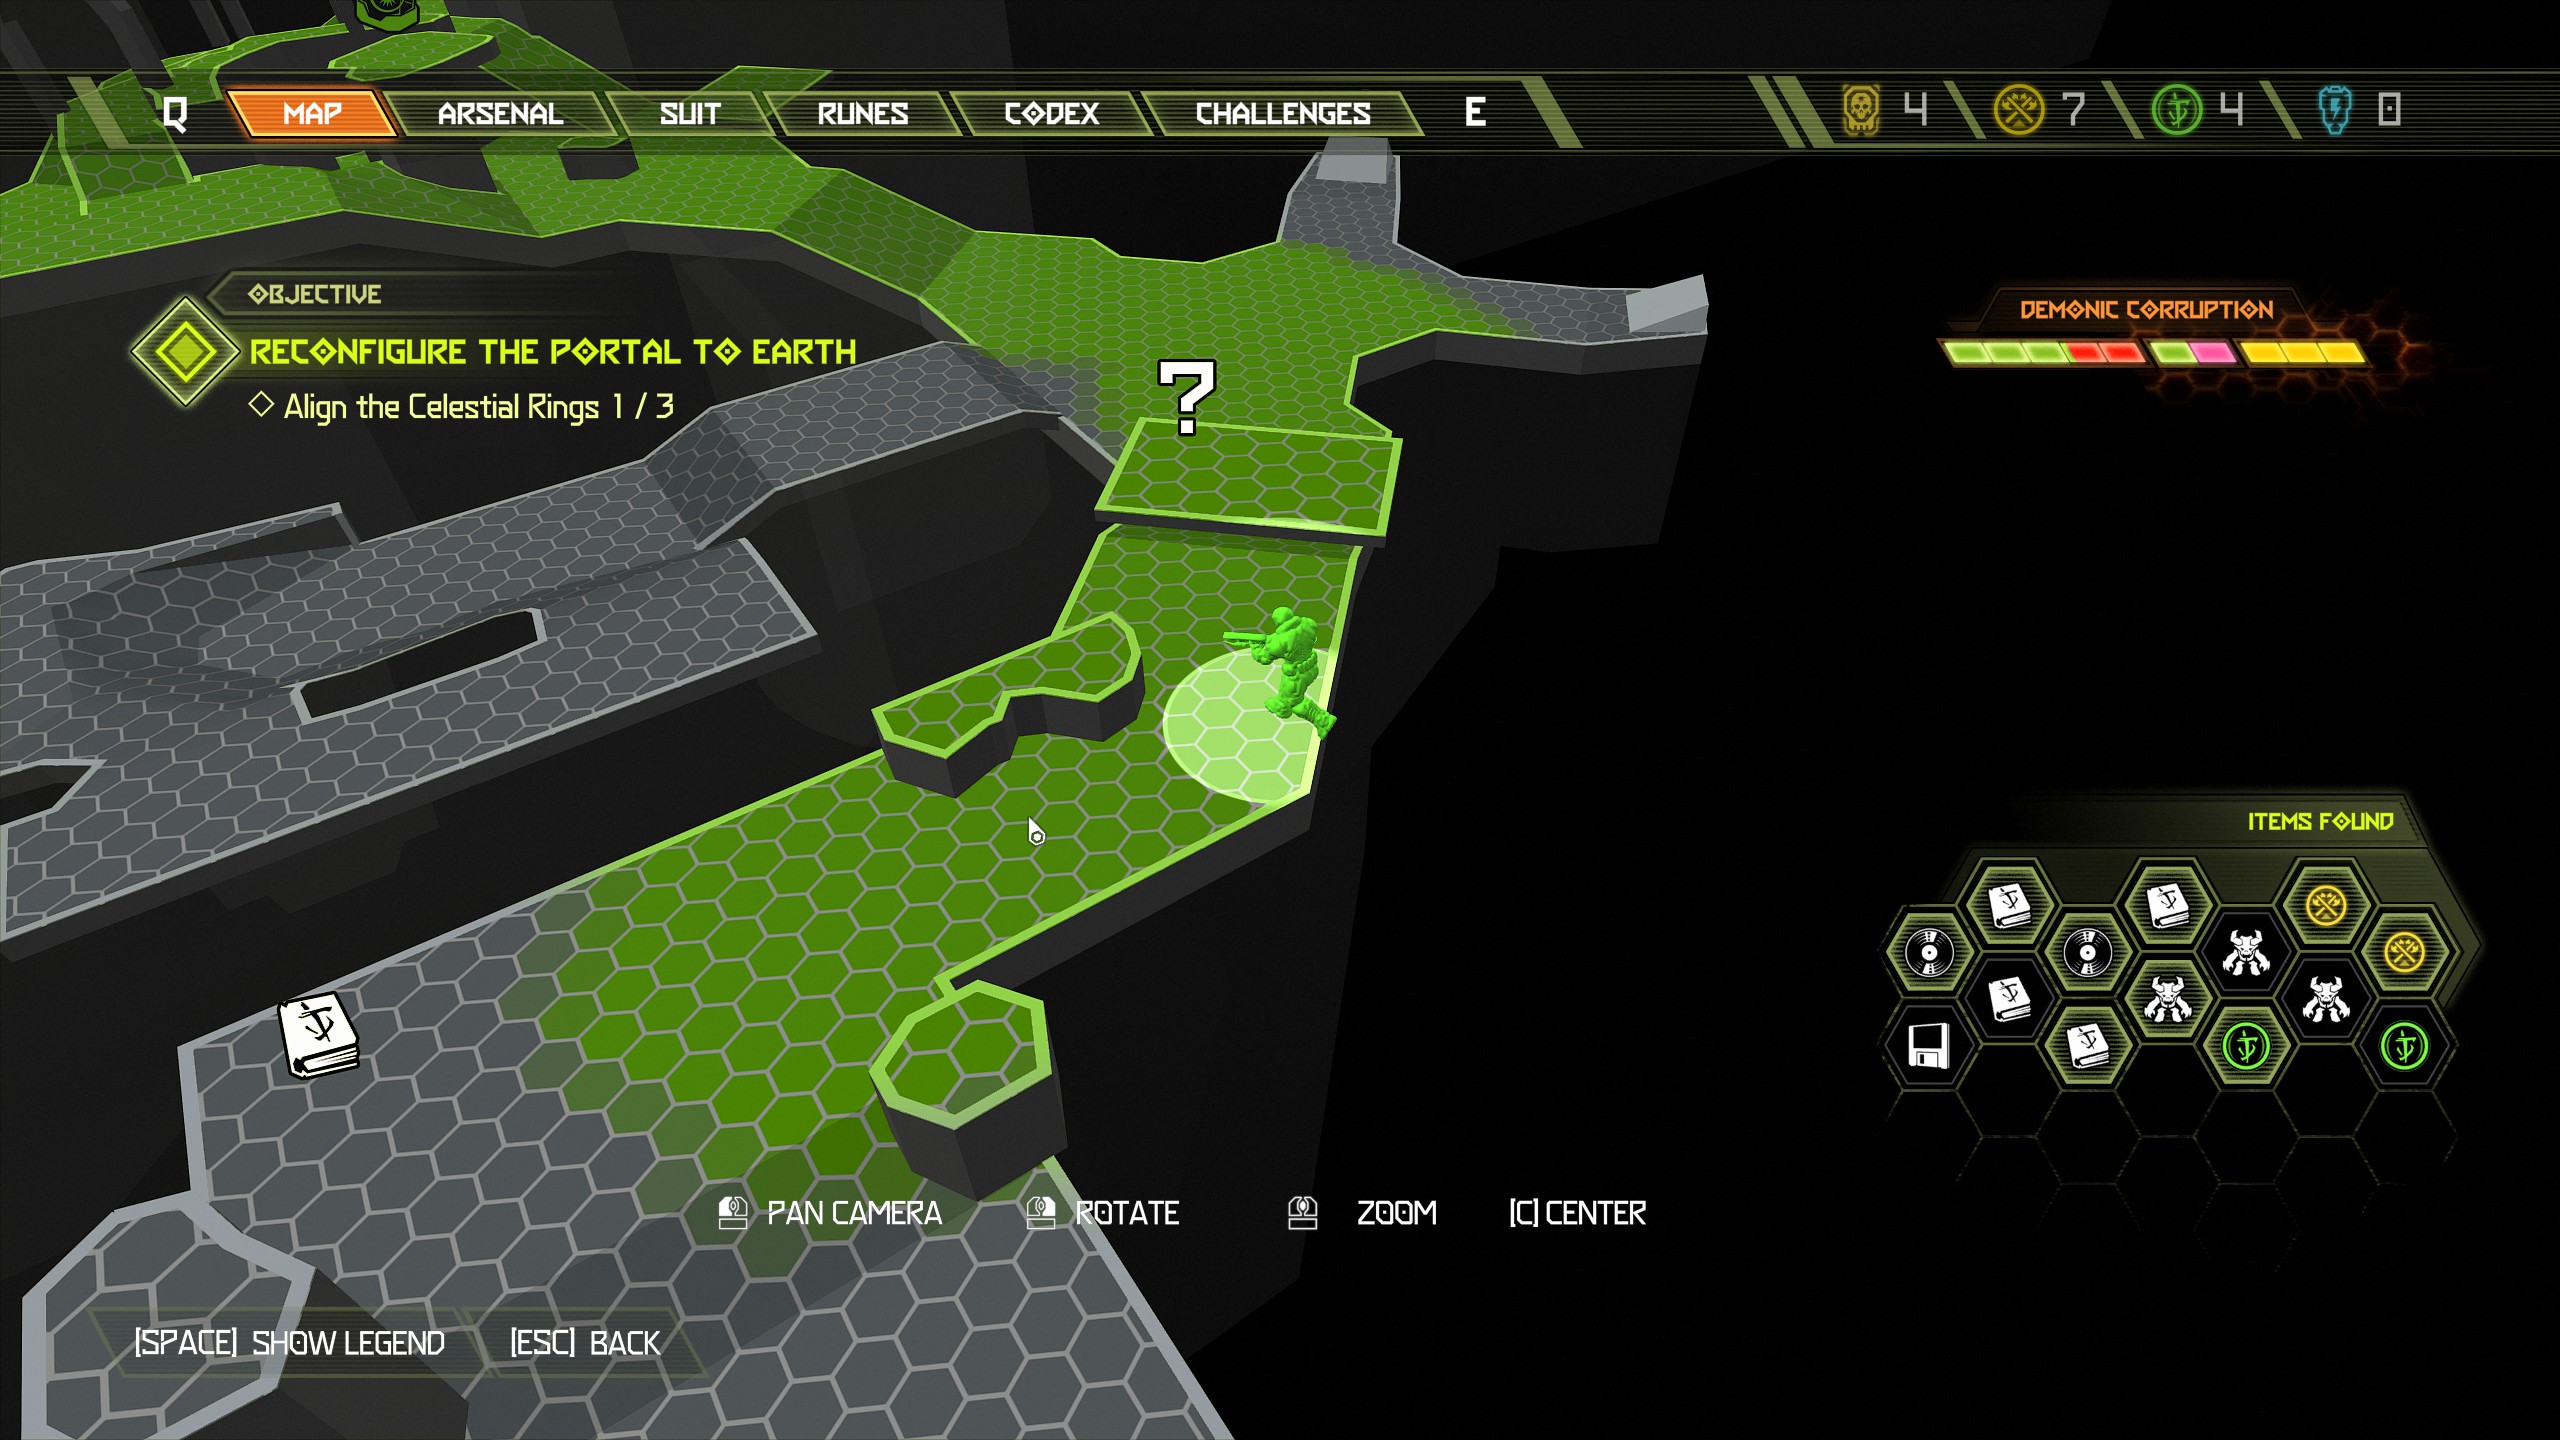
Immediately from the codex page turn around and face the direction you came from and you will see just ahead a platform up above with a doomtoy located on the top.
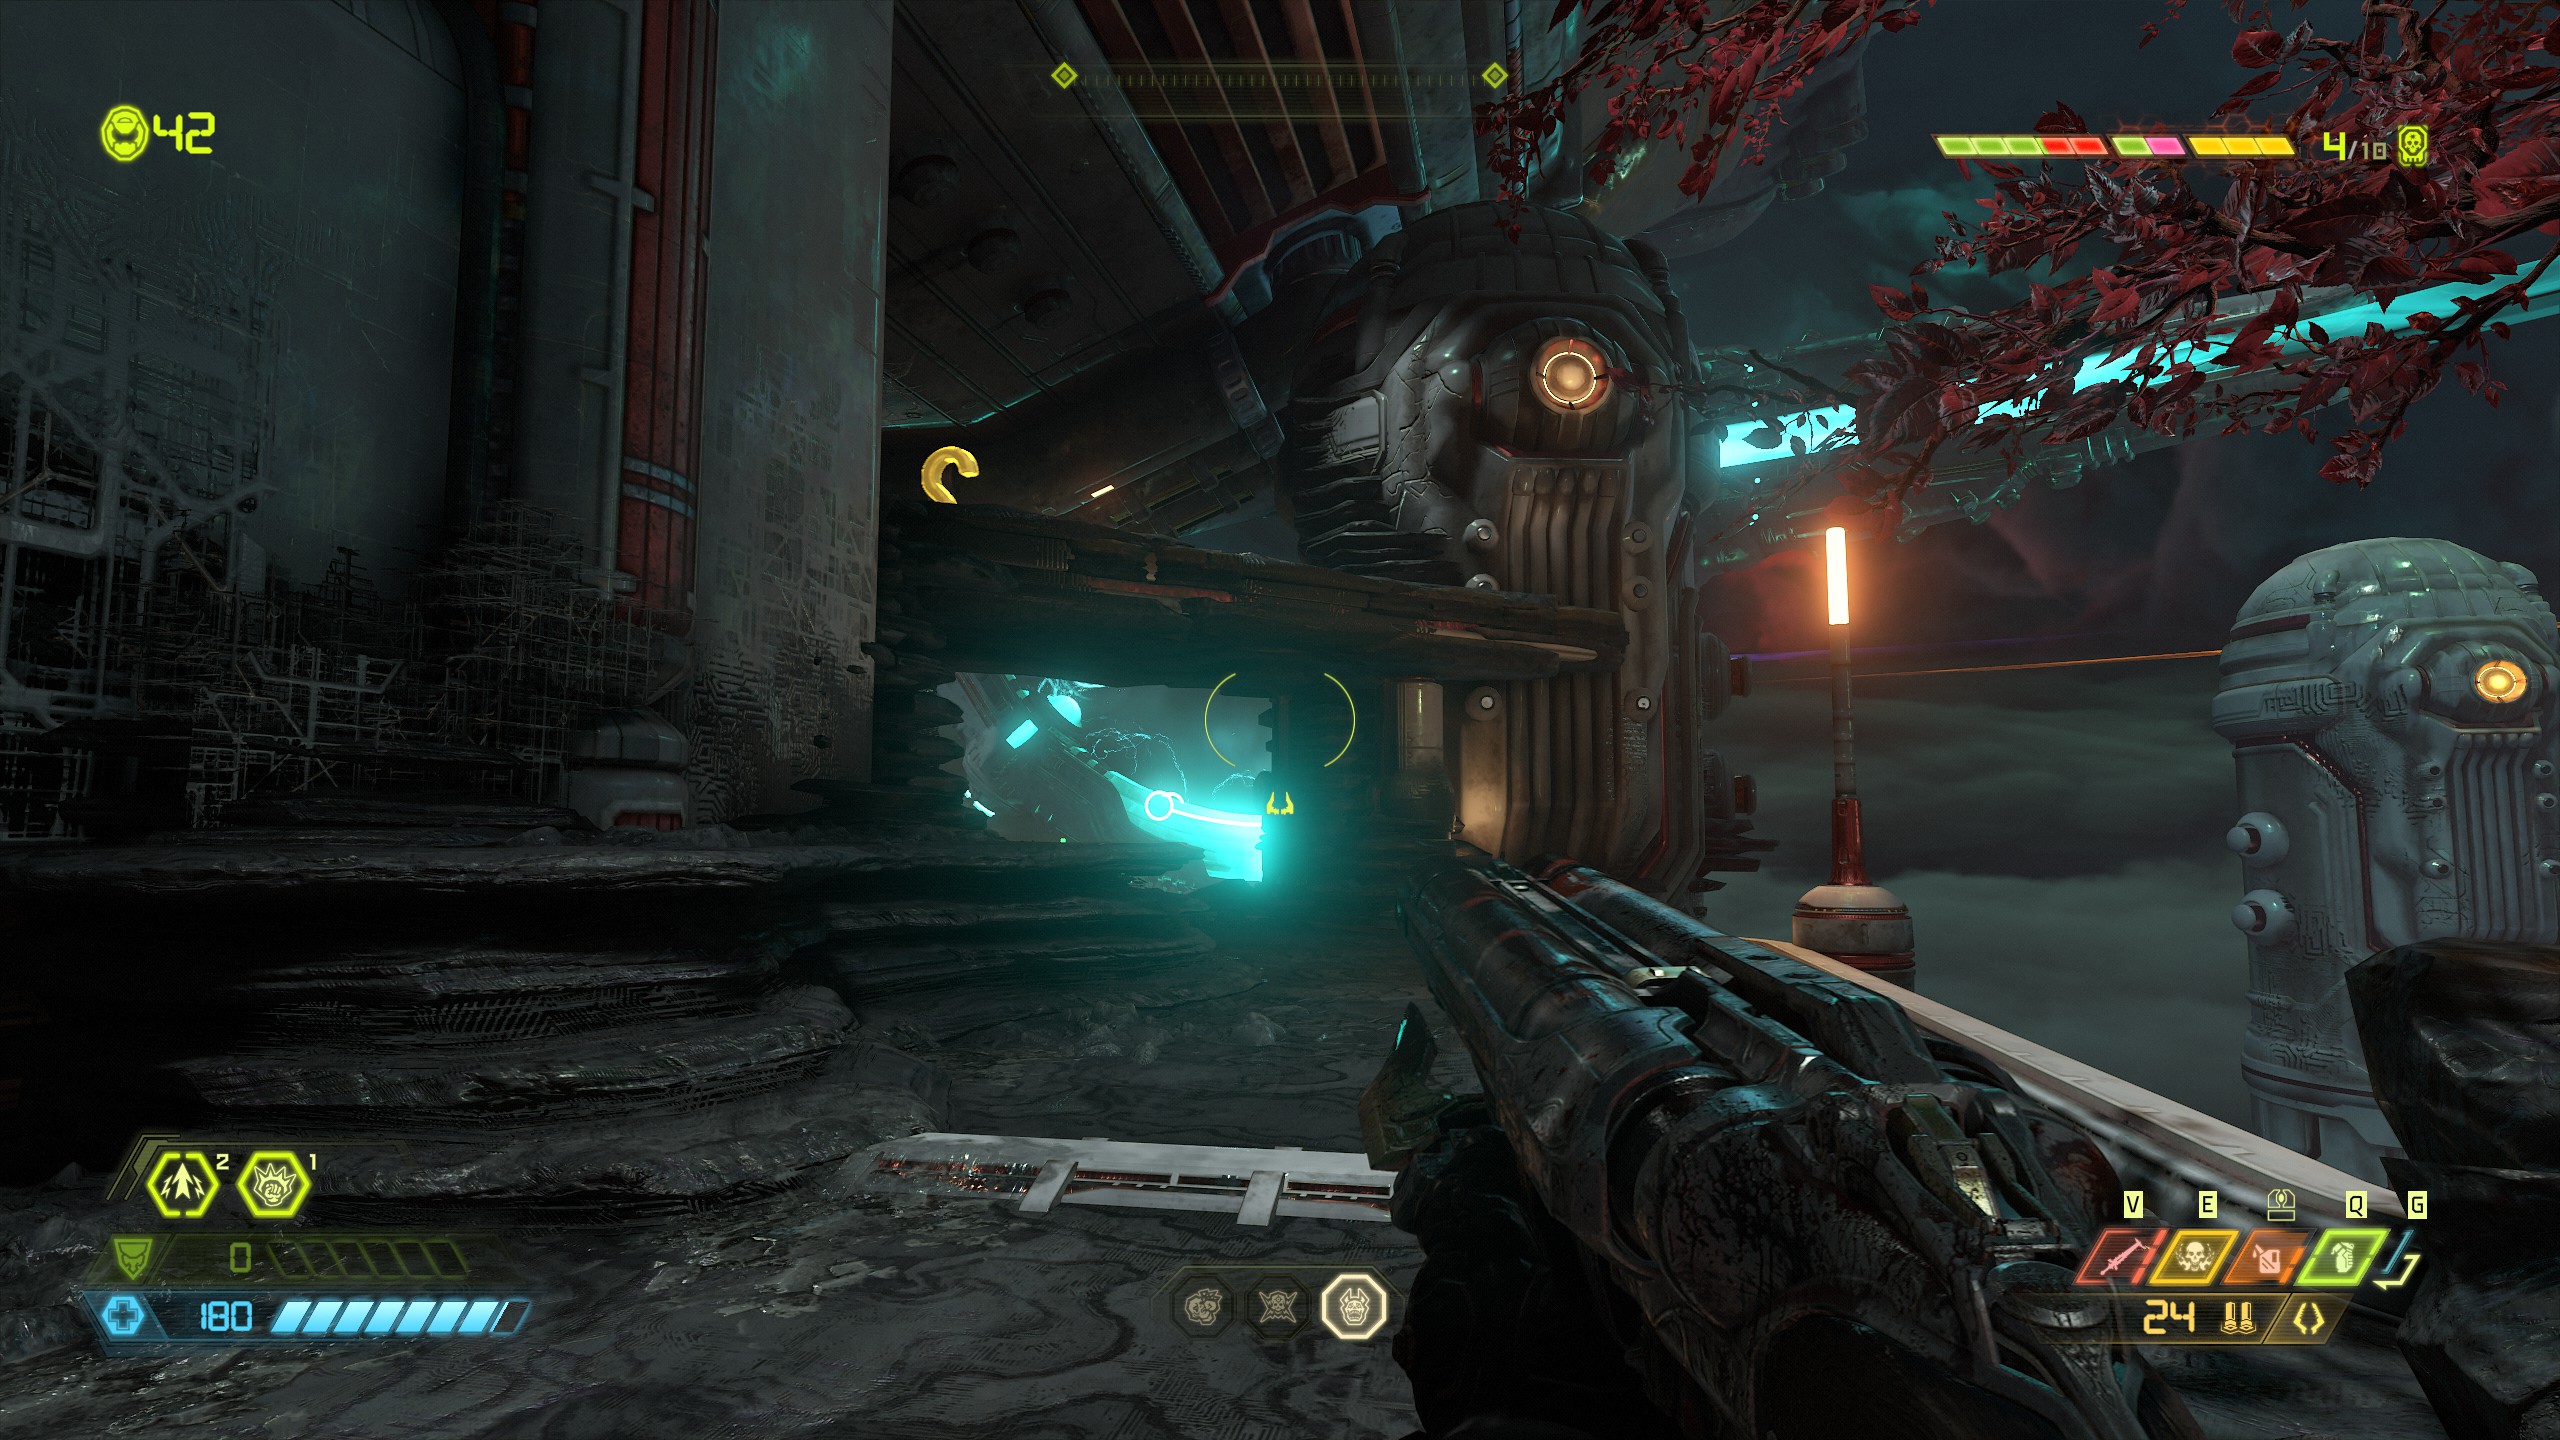
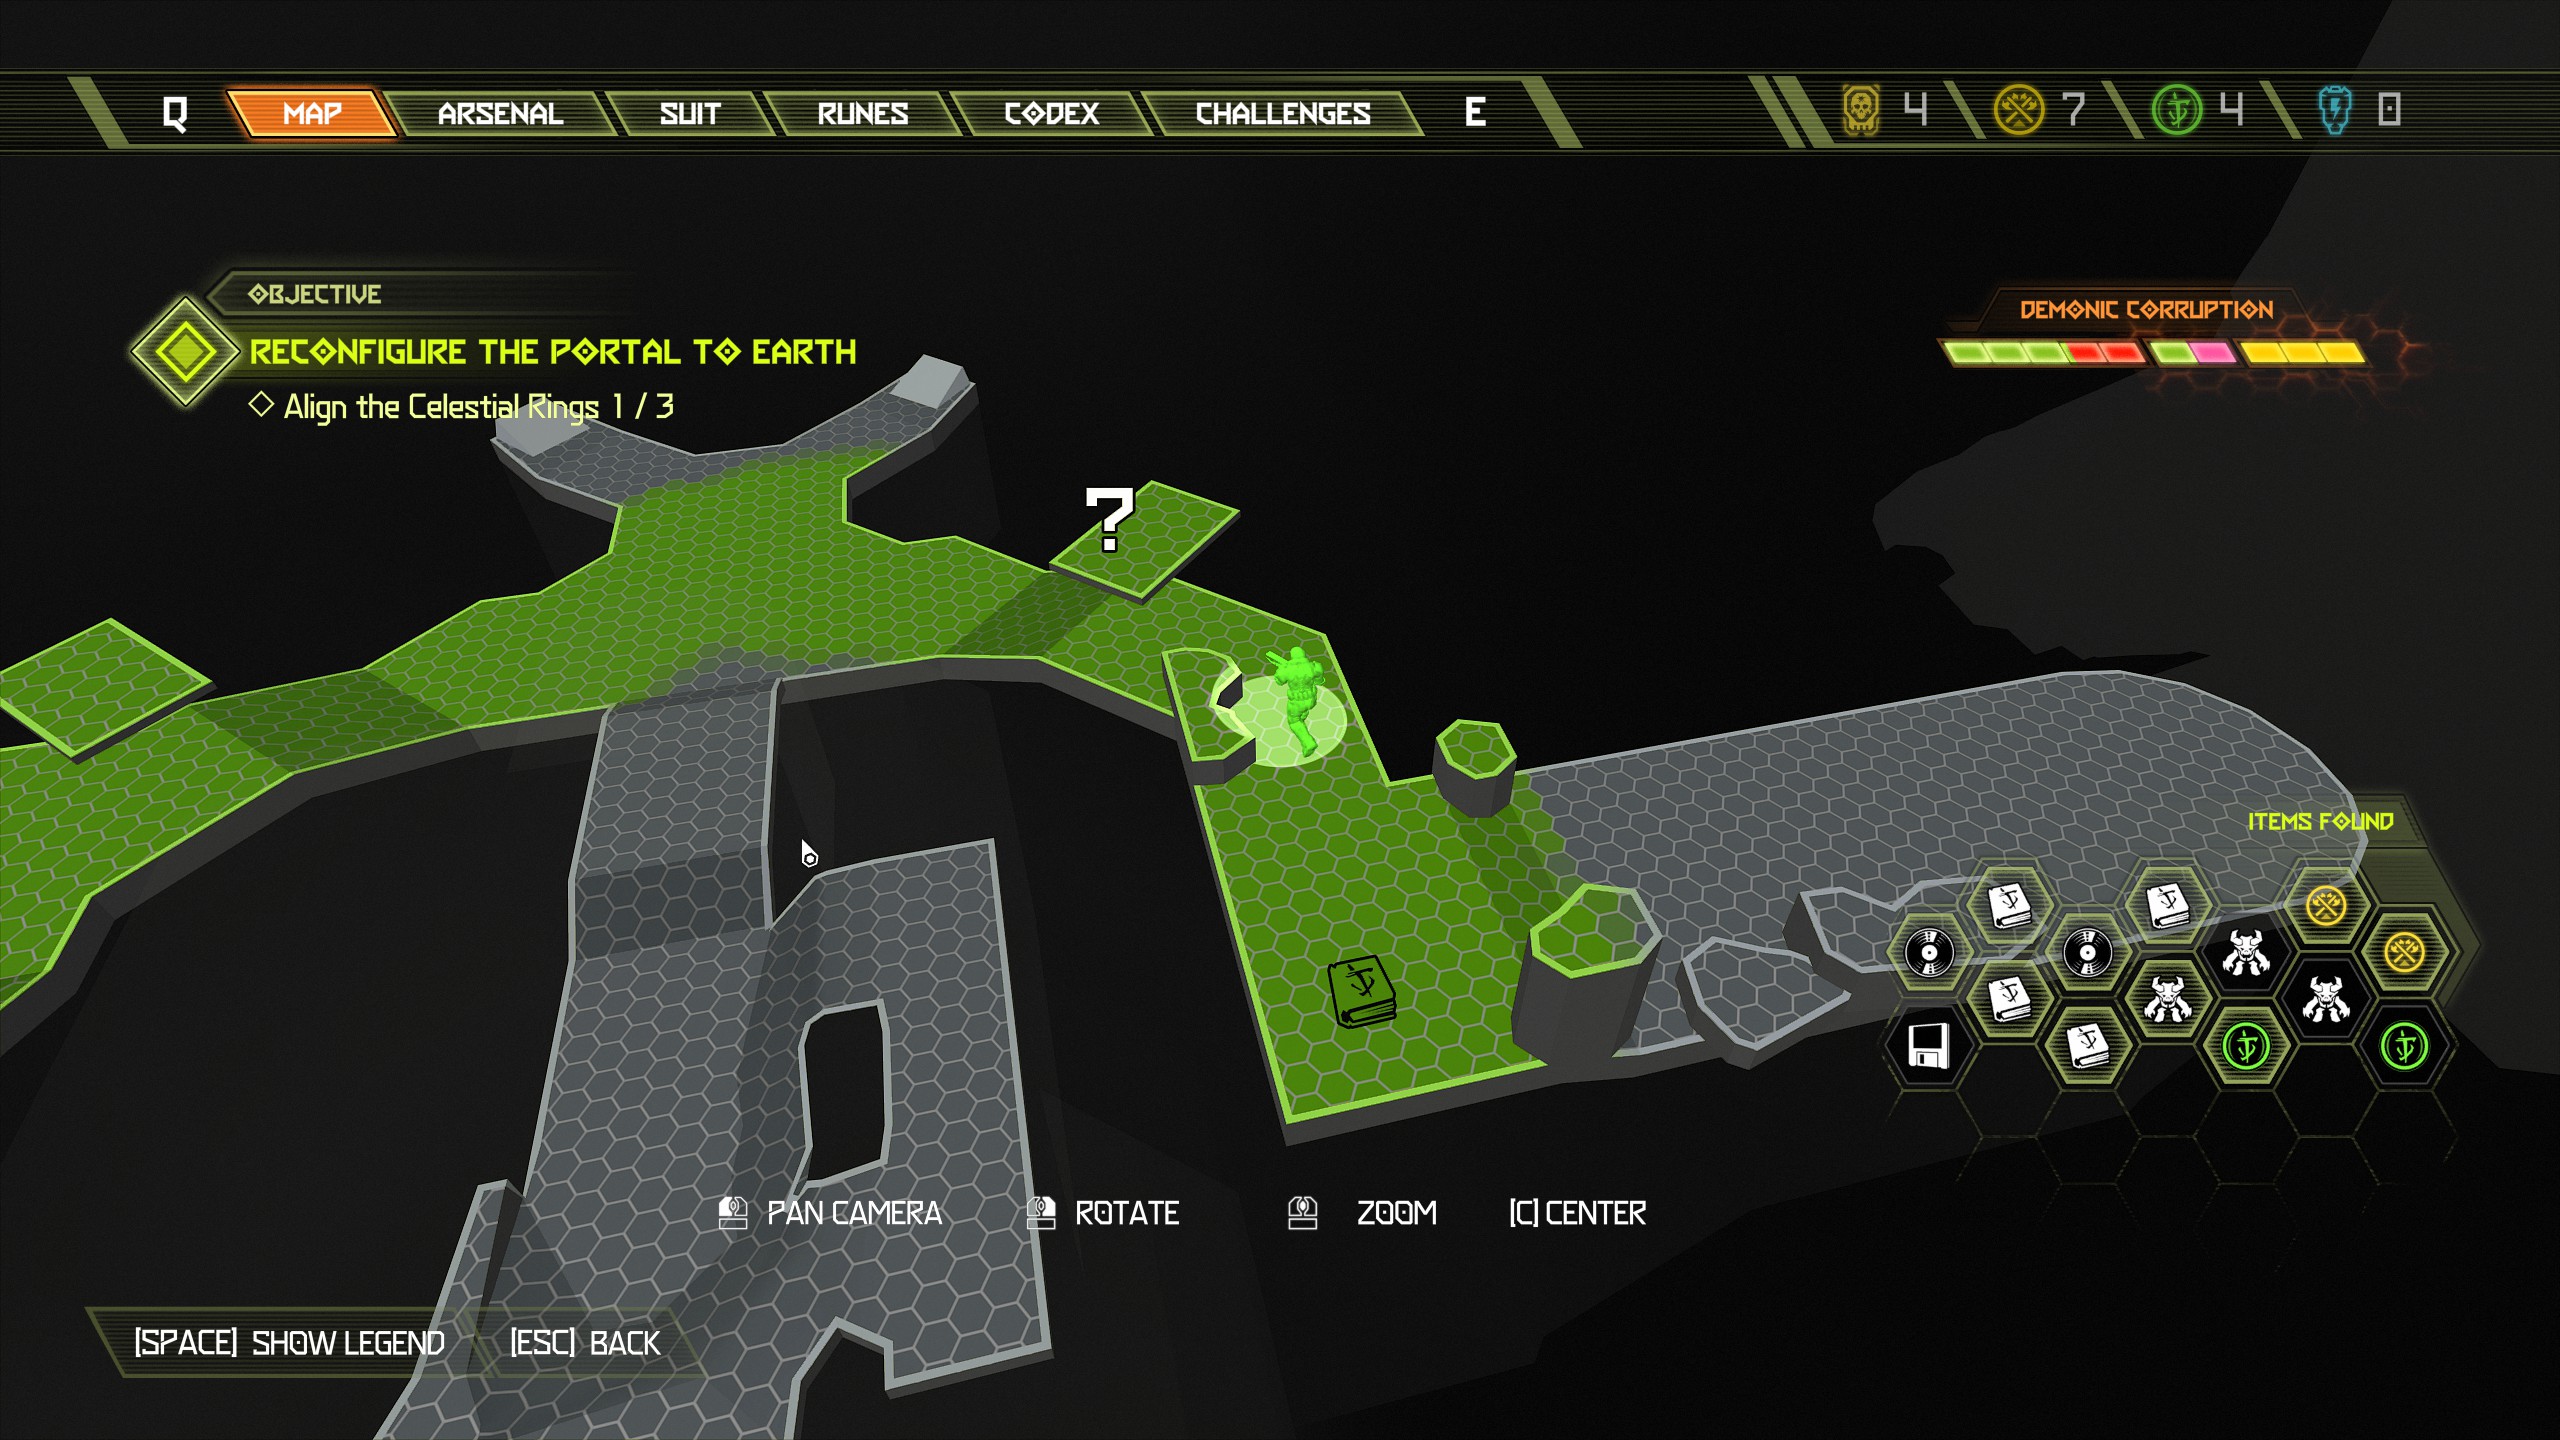 Now use the booster leading to the orange ring.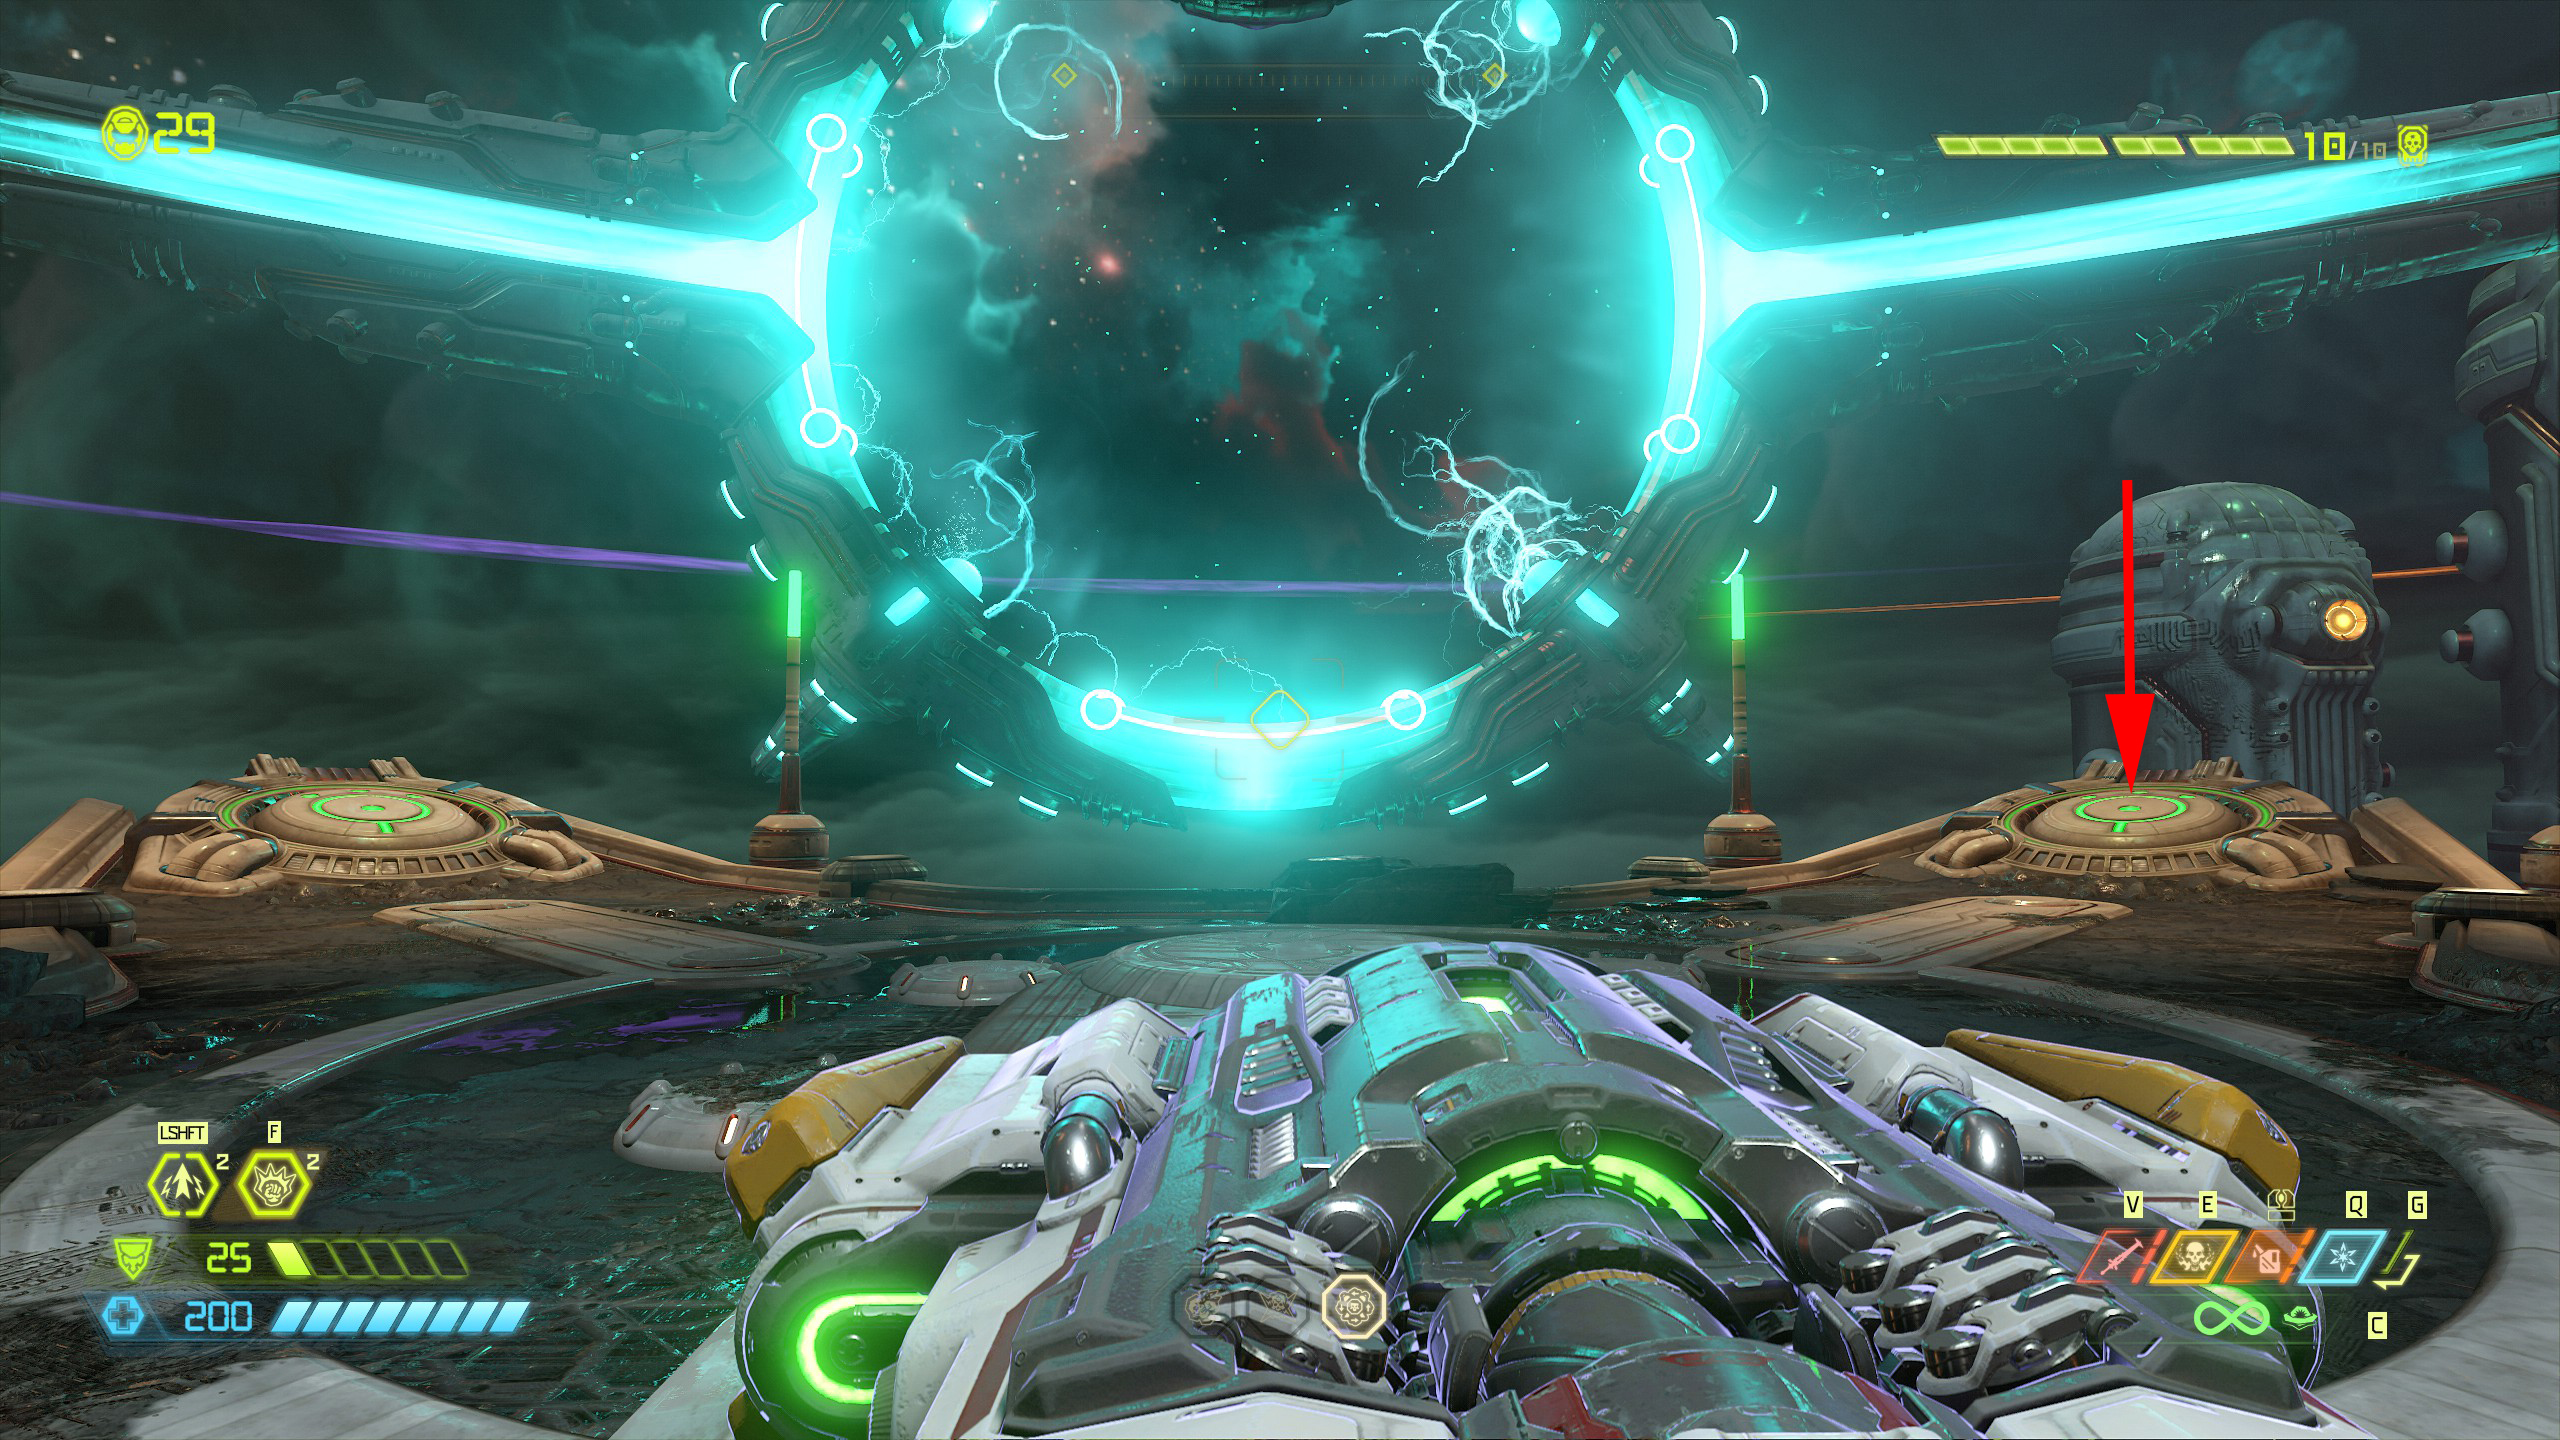
Mission 12: Urdak [Part 2]
Secret Encounter:
For this encounter you will be attacked by 1 doom hunter, 1 spectre, 1 whiplash. When you land after using the booster you will have to swing across to the next area. When you reach the next area stand on the edge of the platform and look outside to the right, you will see a breakable wall, break through it to find an extra life and the secret encounter.
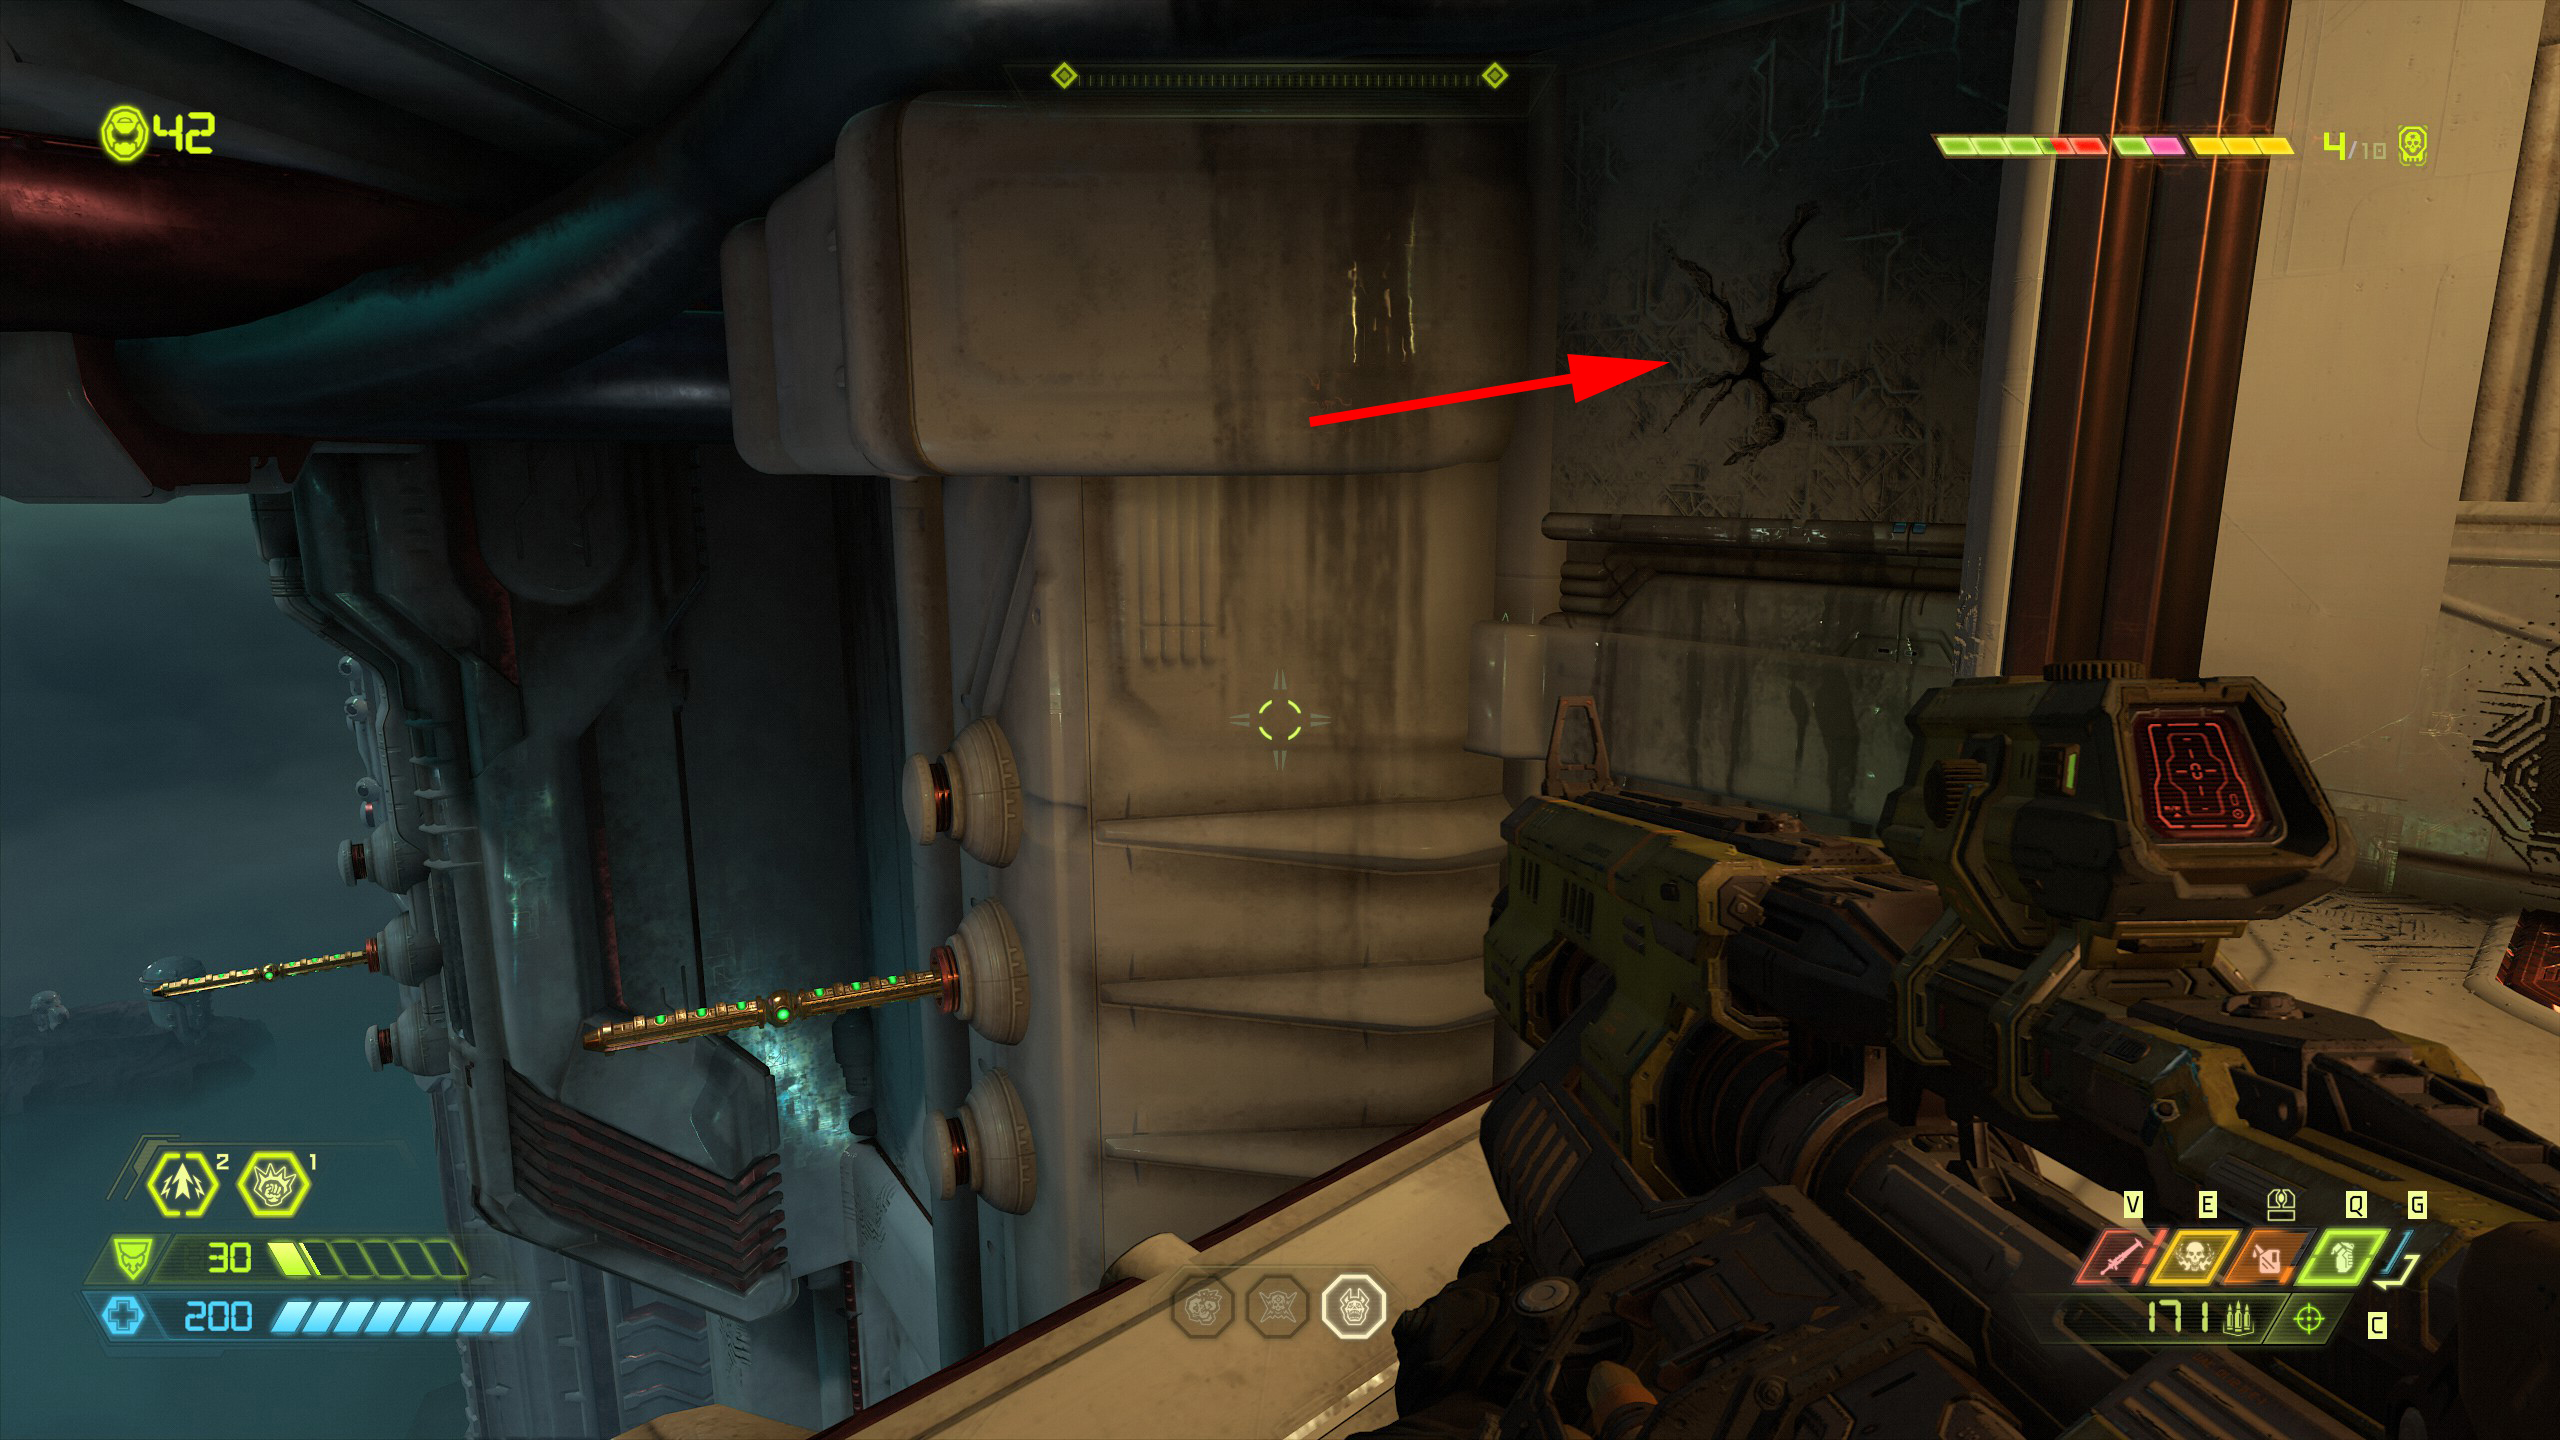
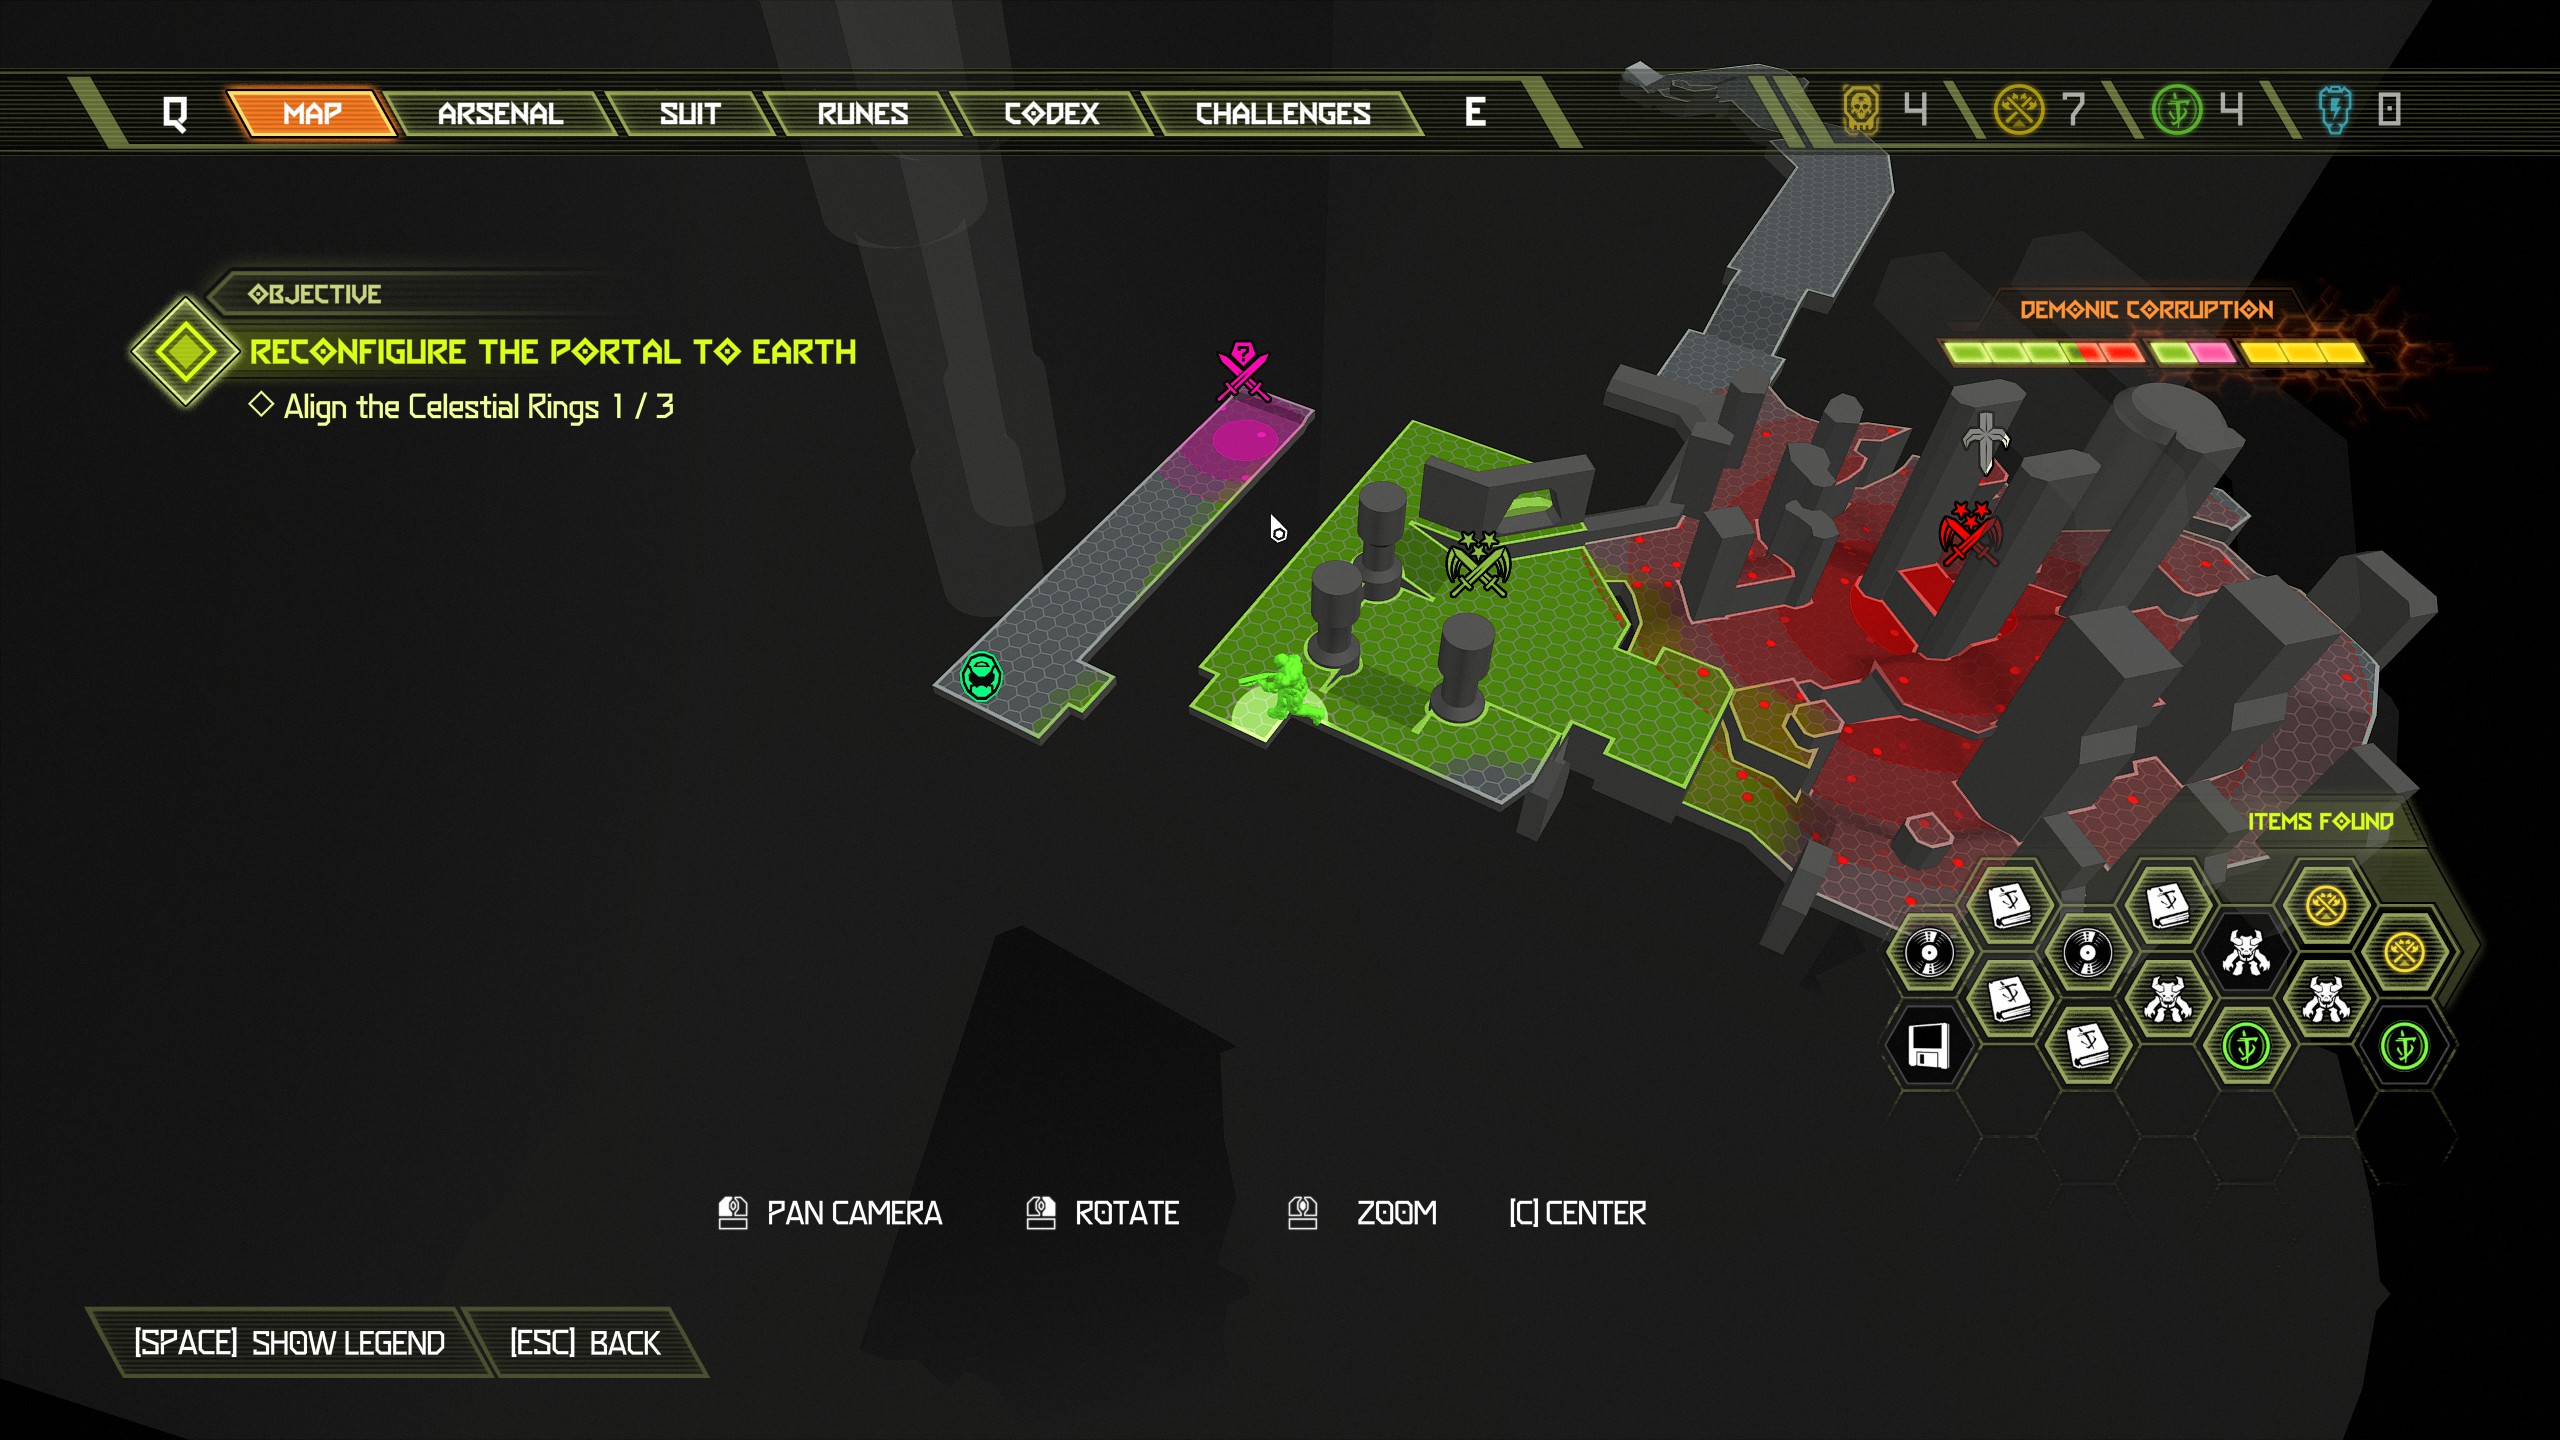
Continue the mission until you reach the next booster.
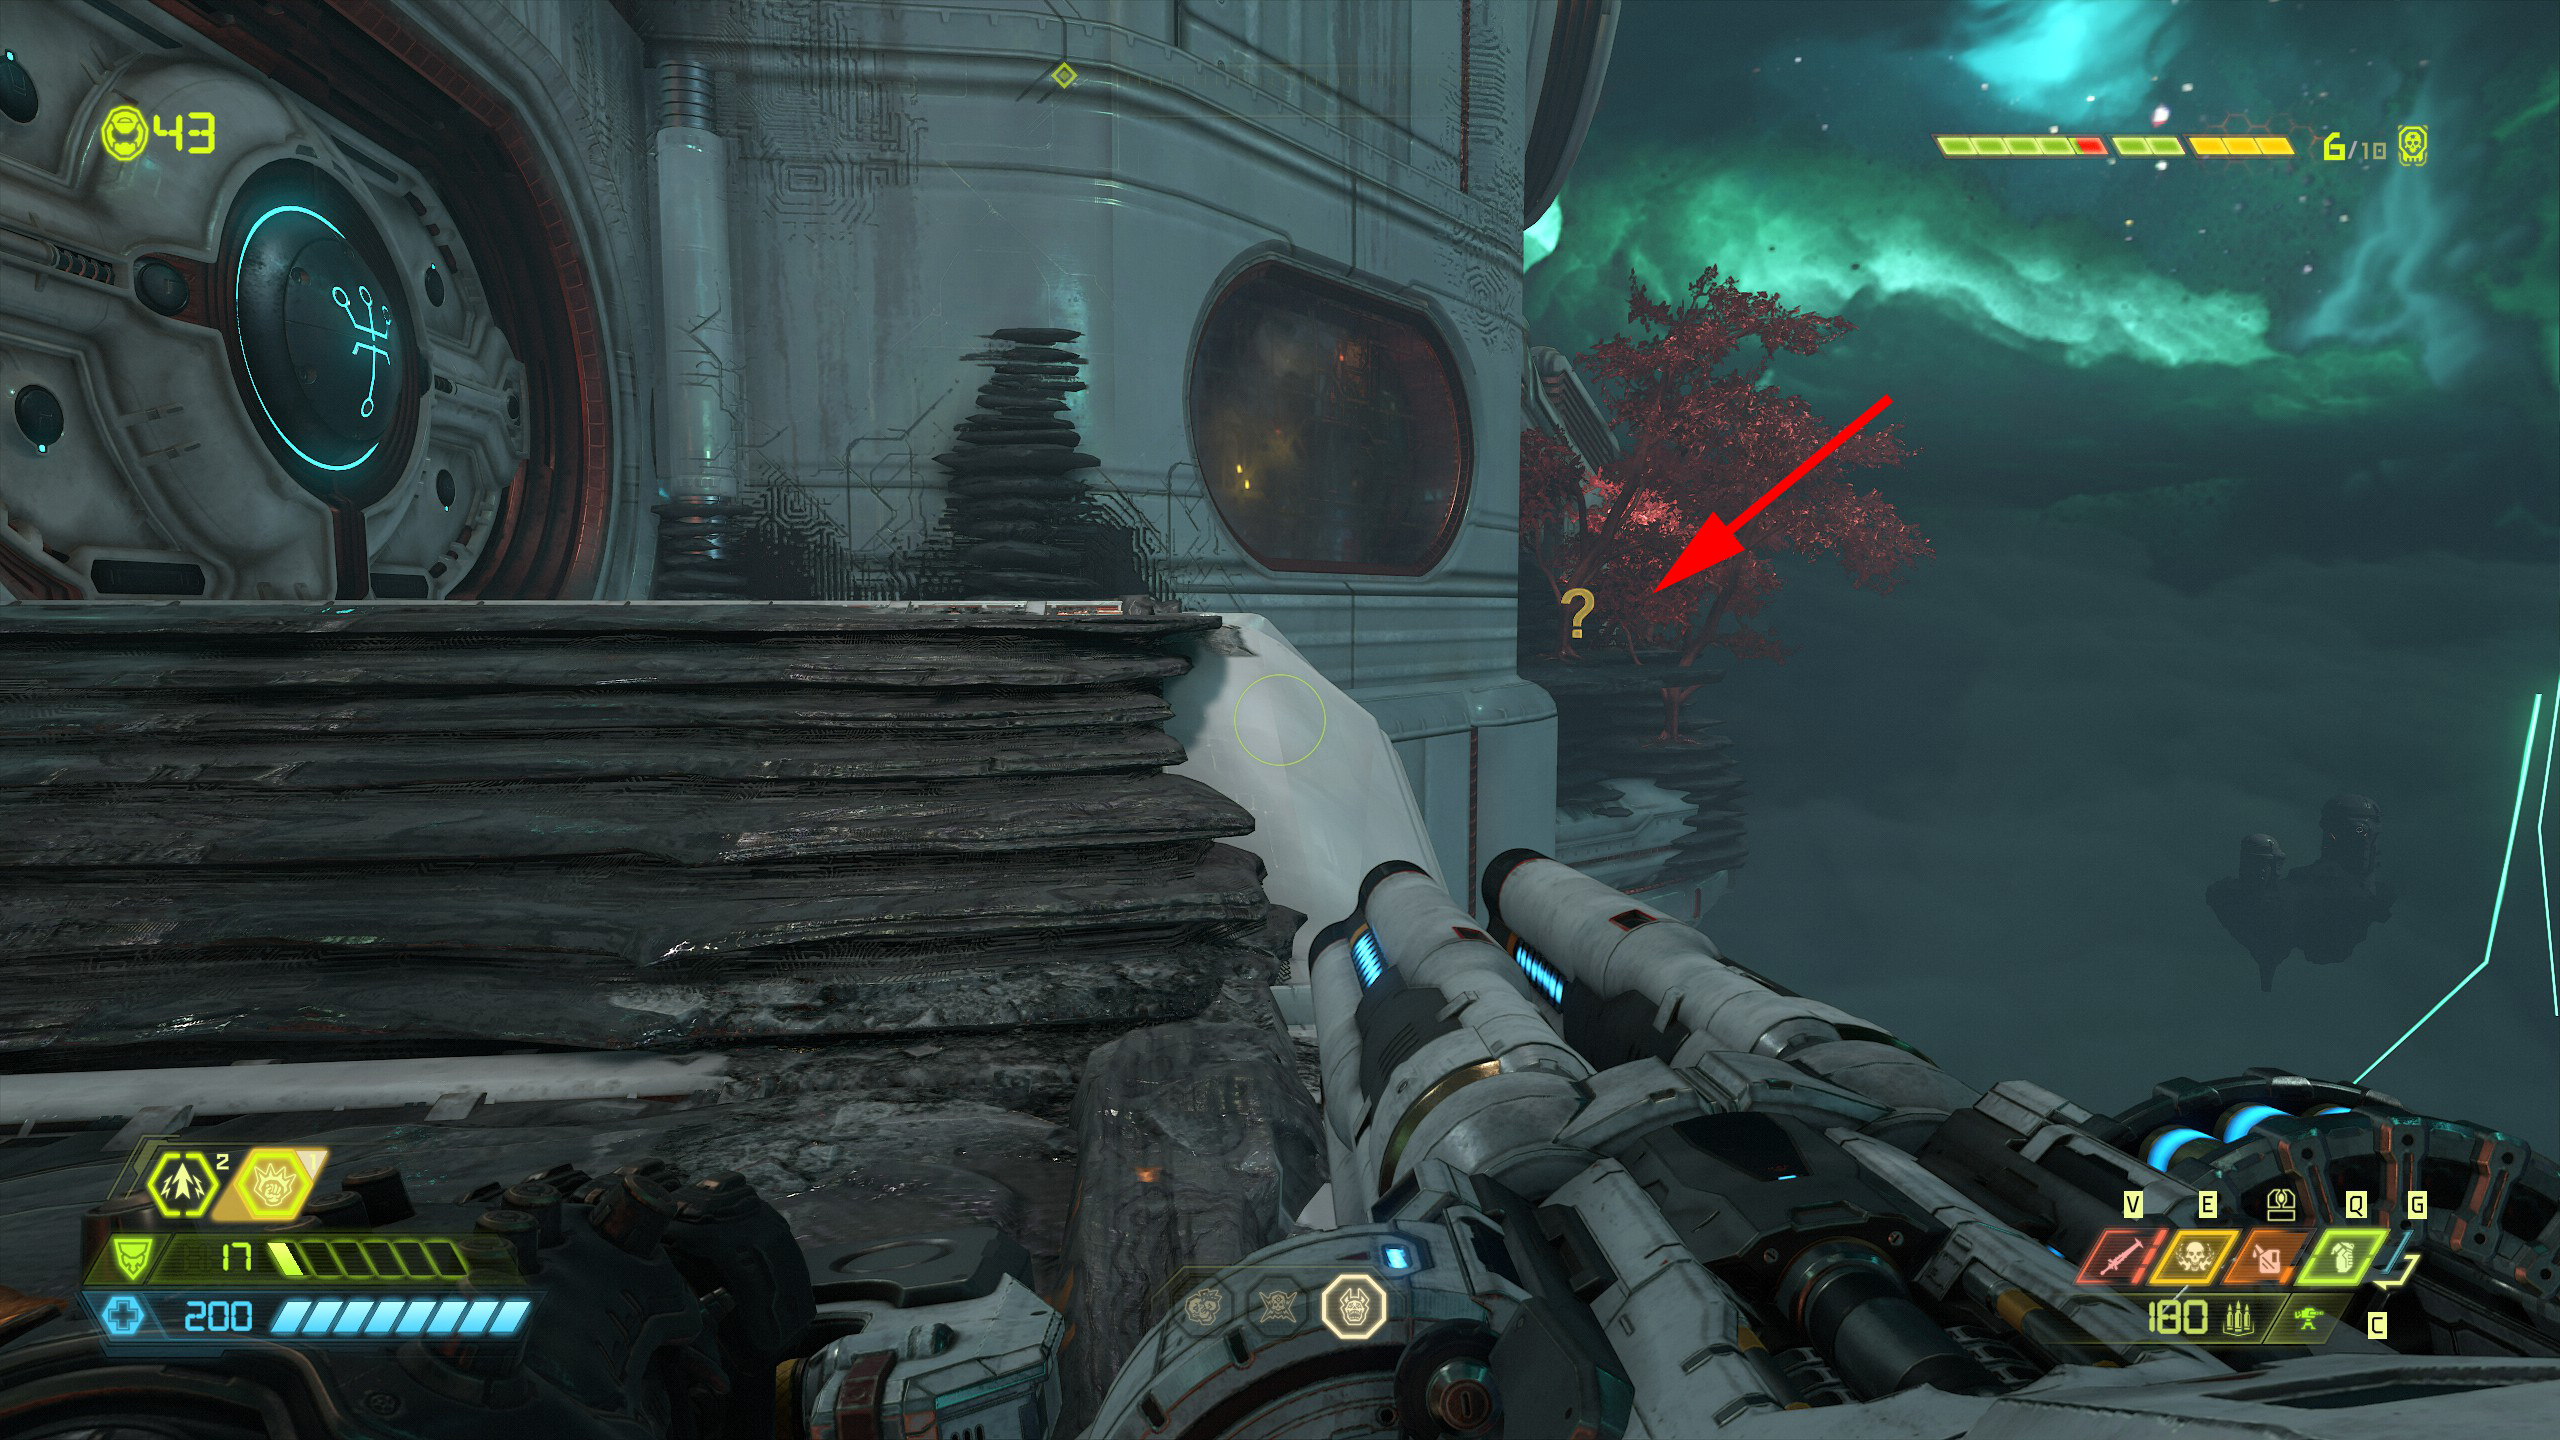
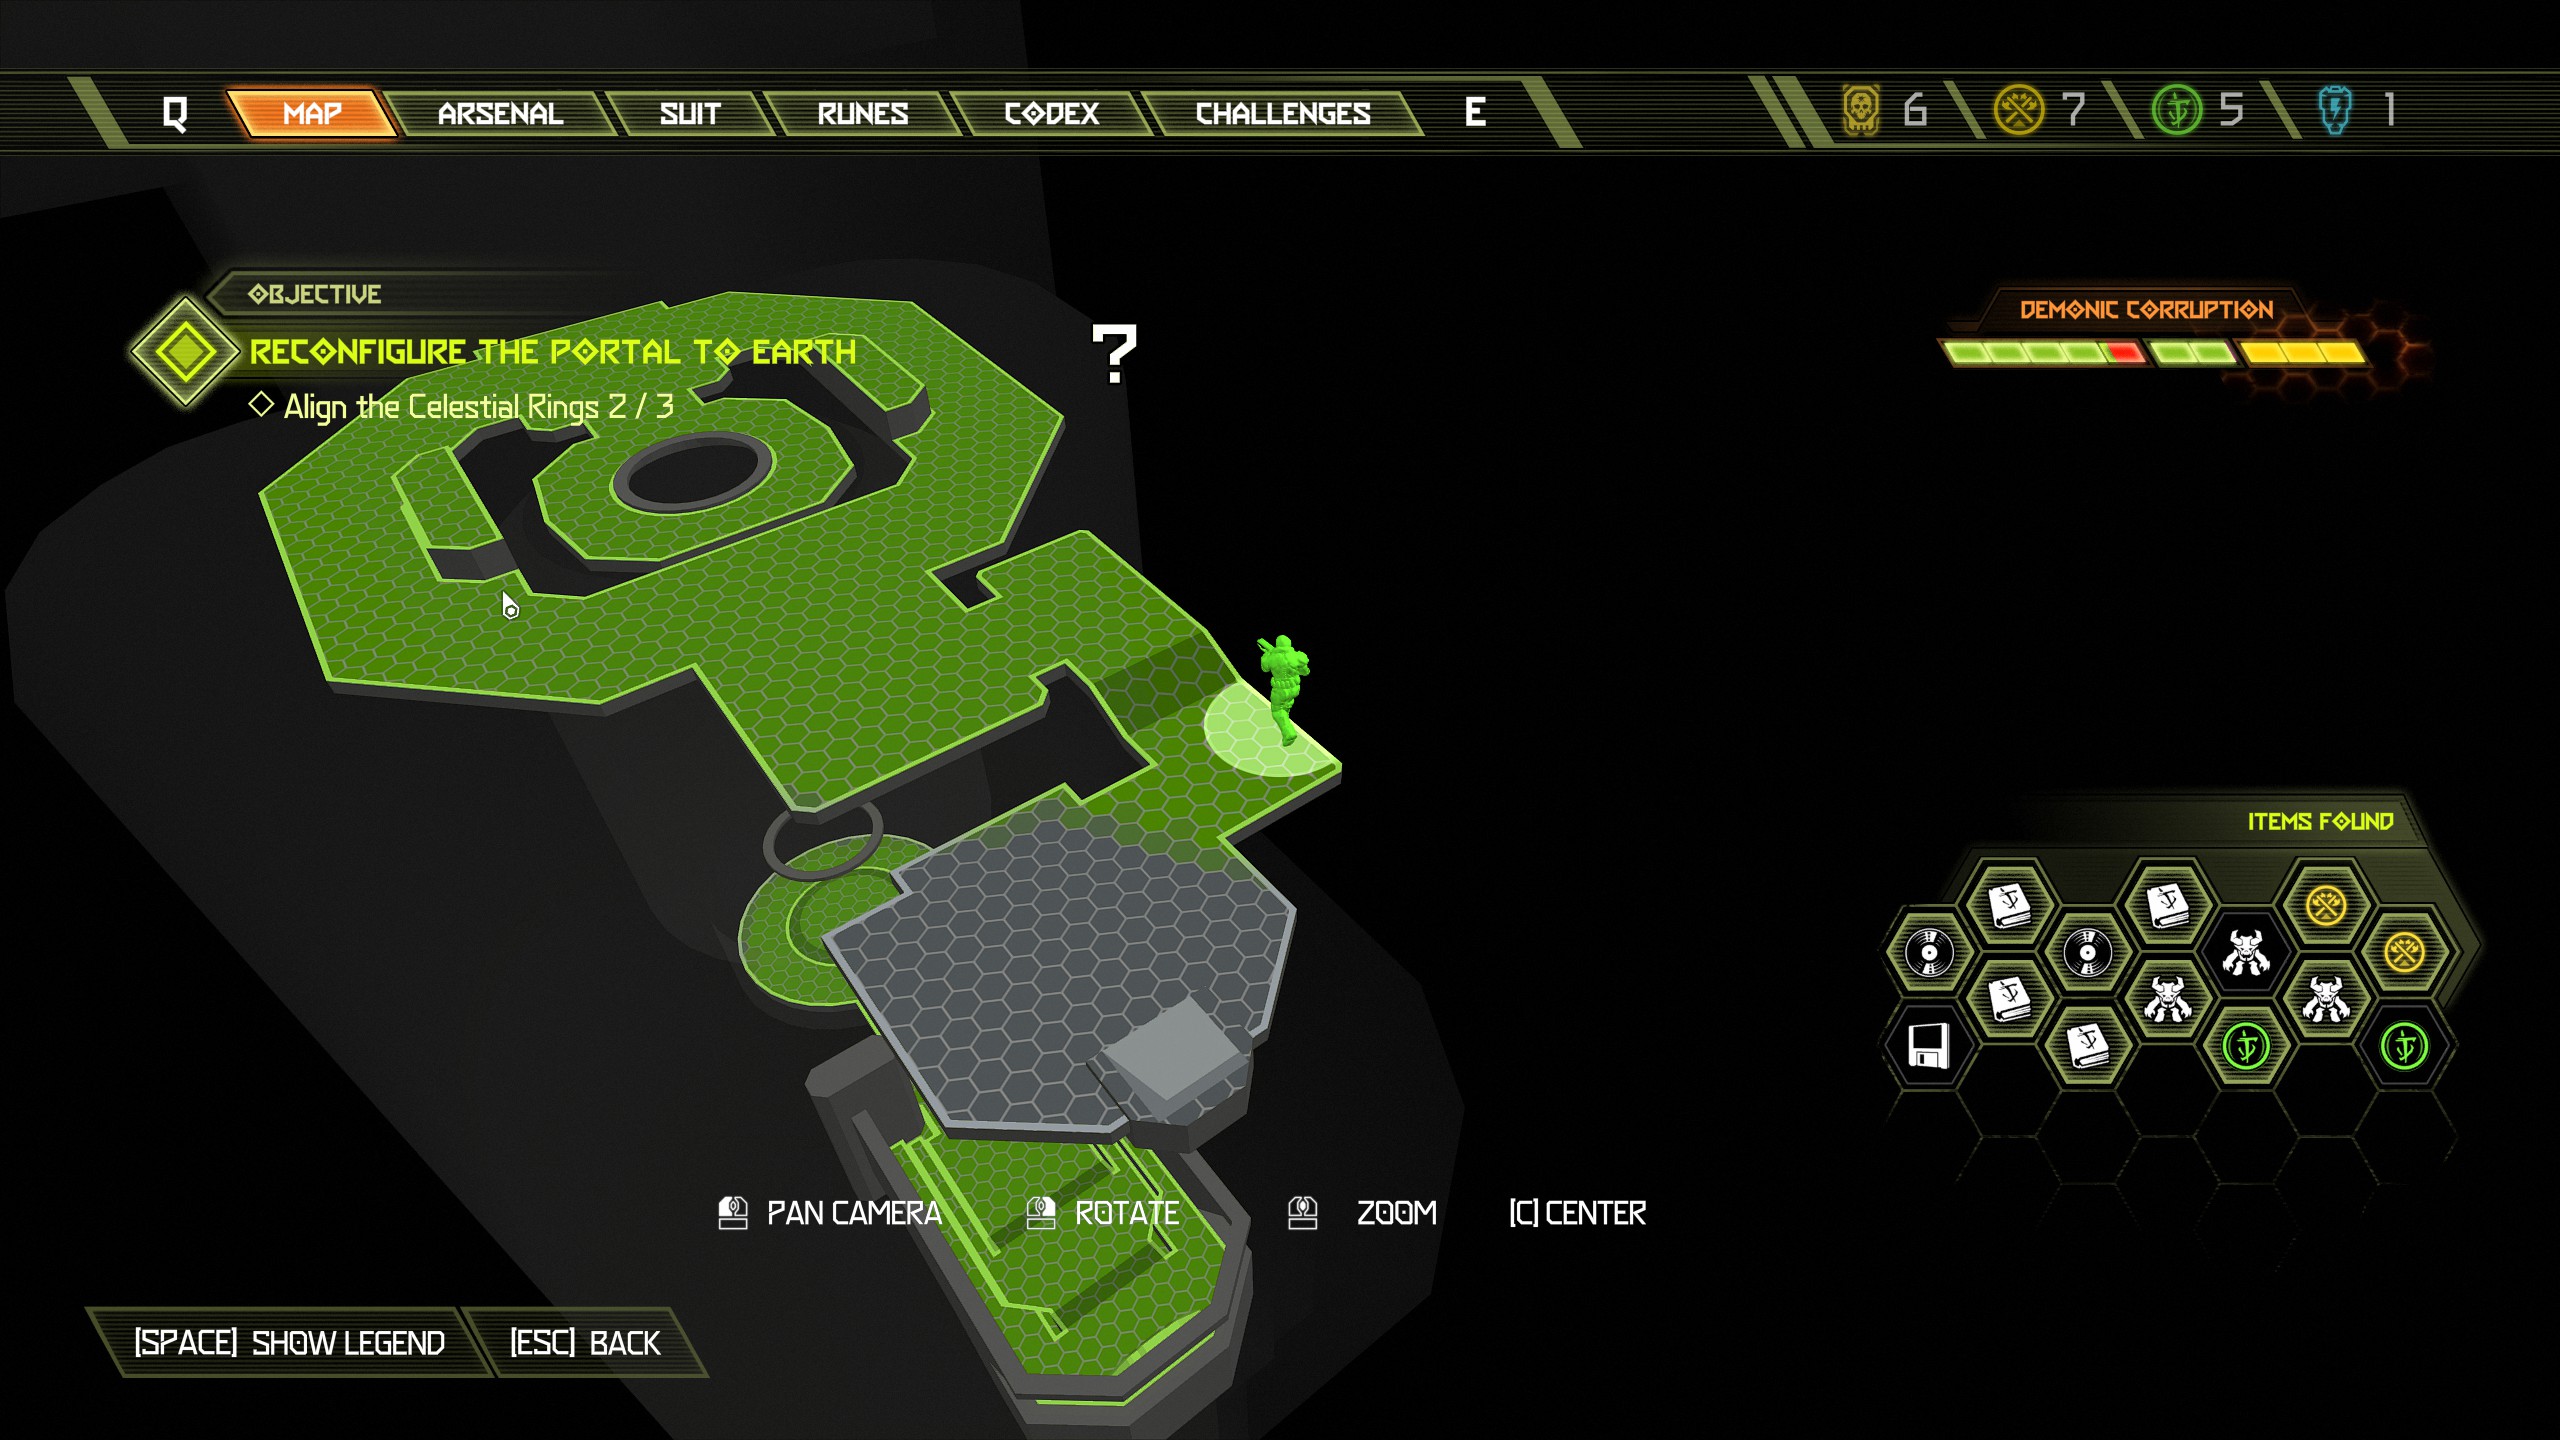 Now make your way across to the purple ring using the final booster.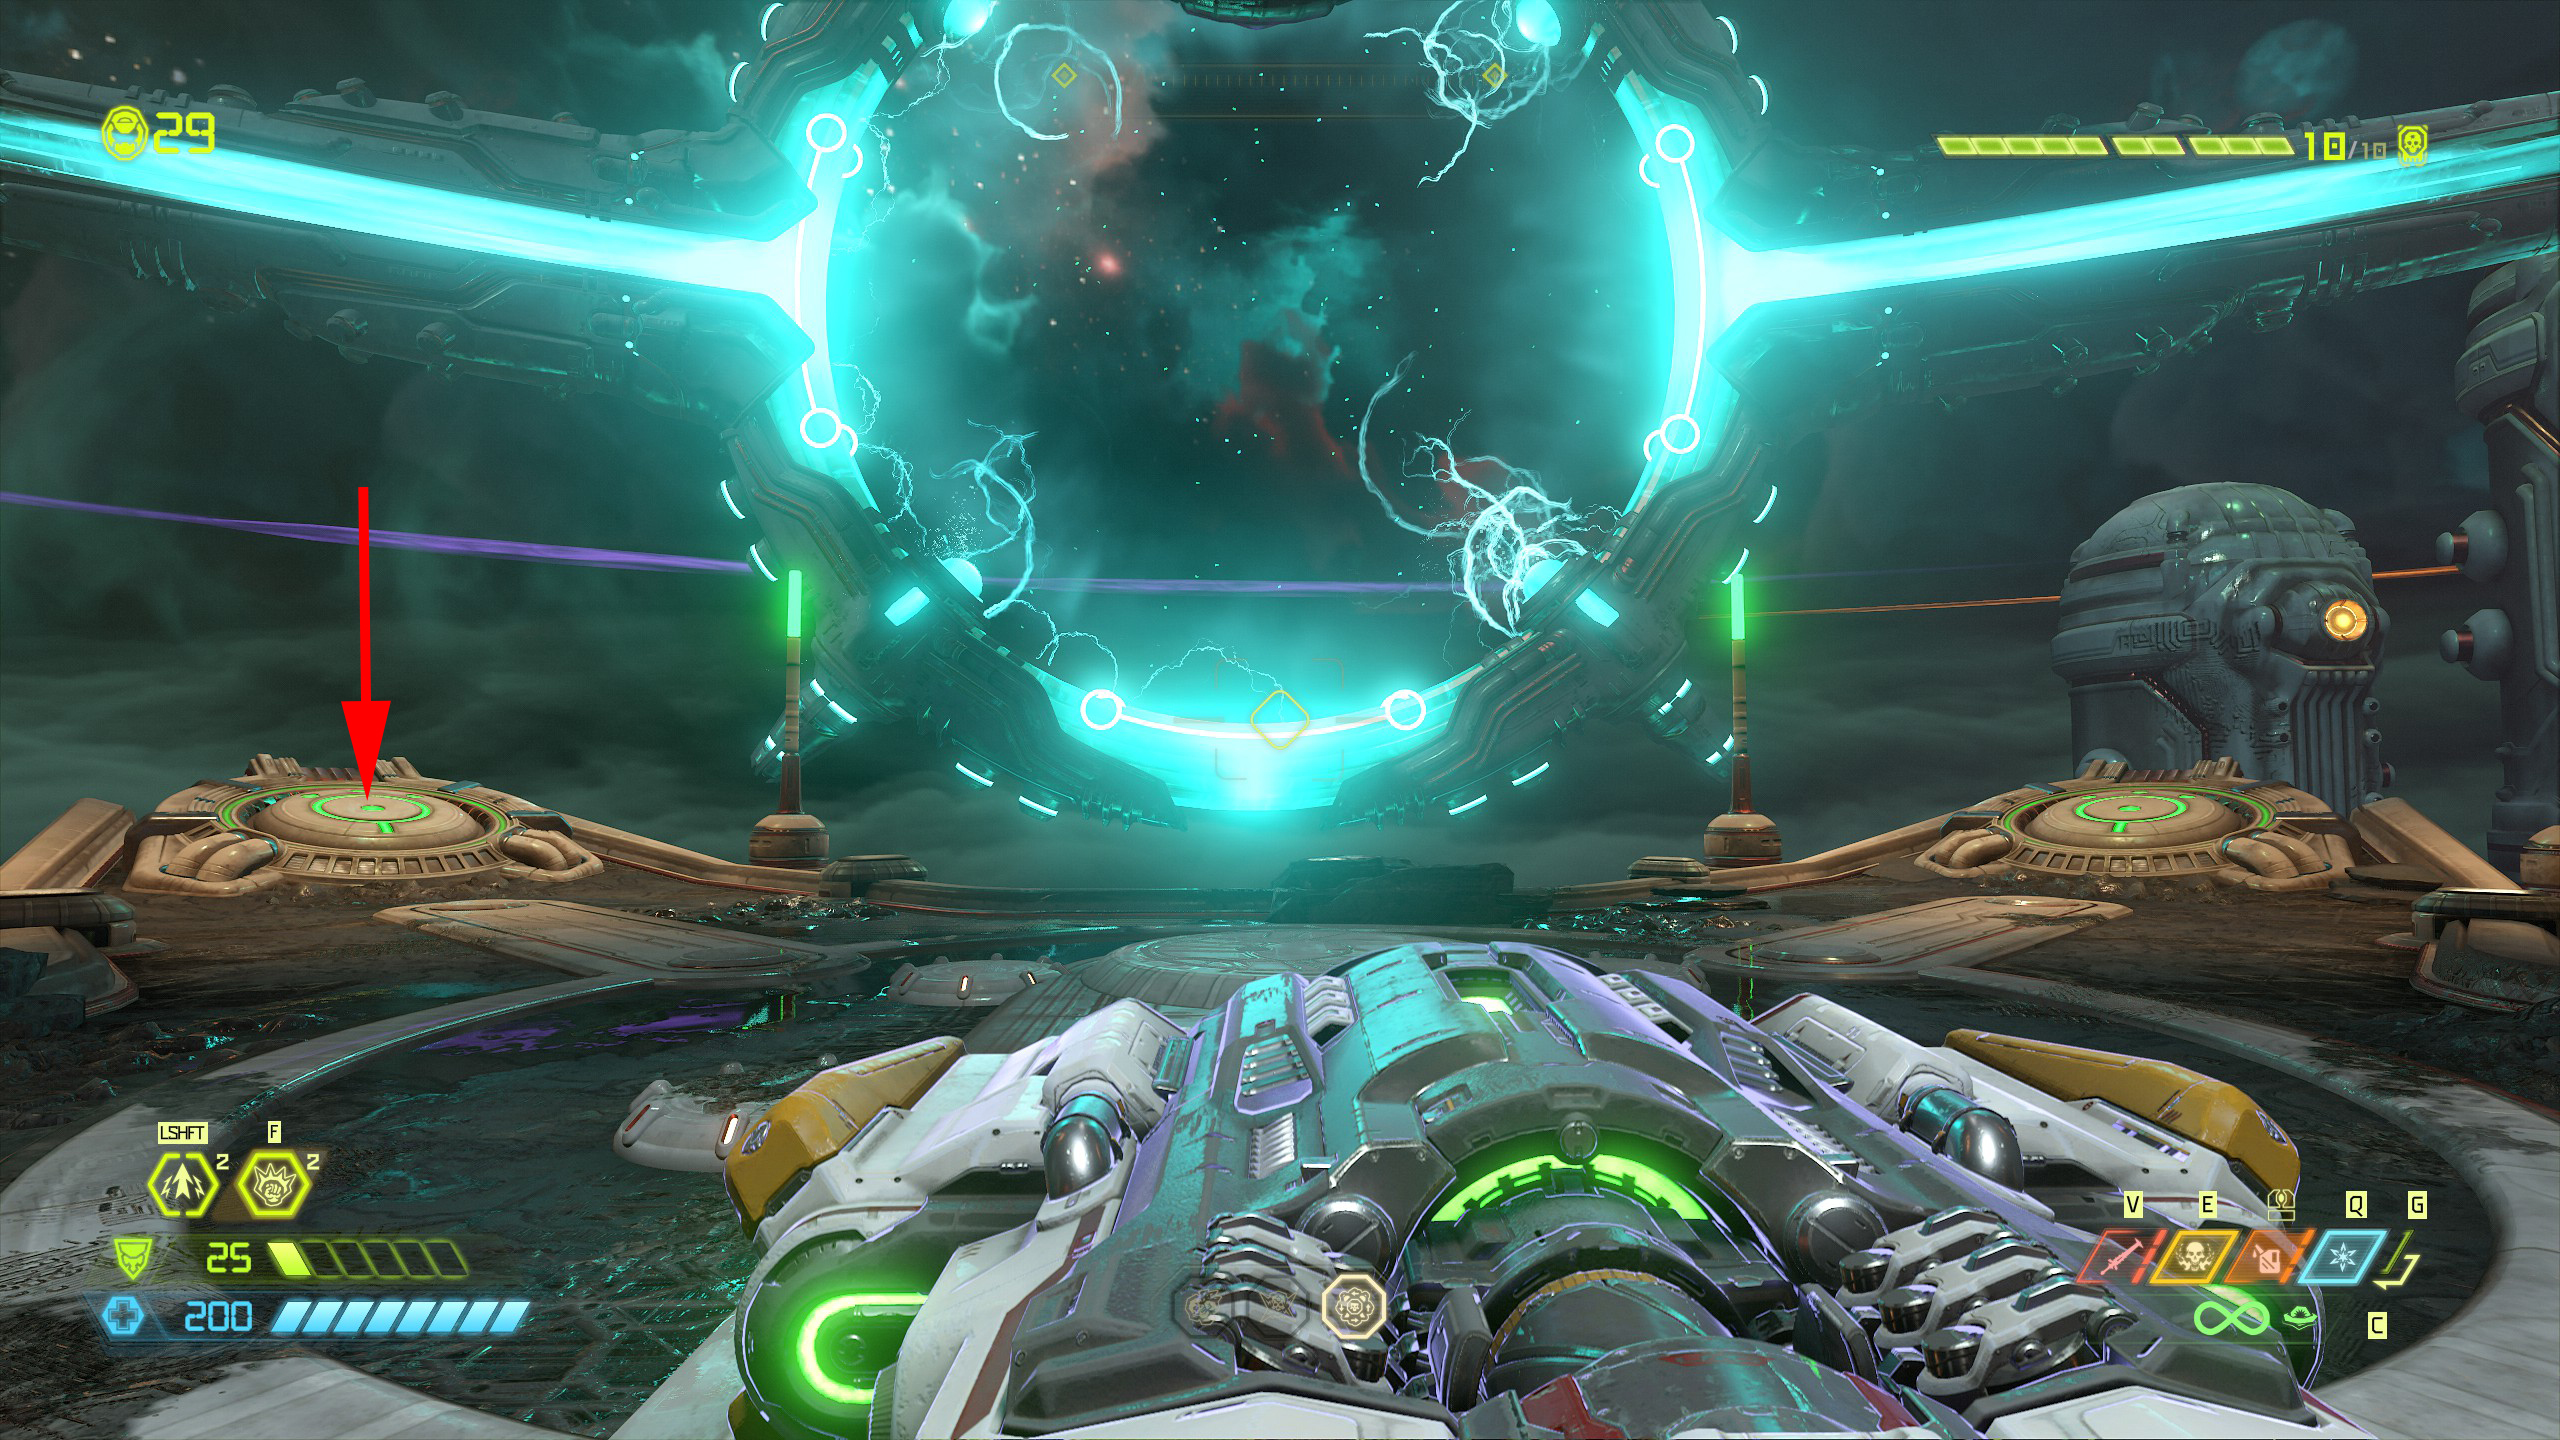
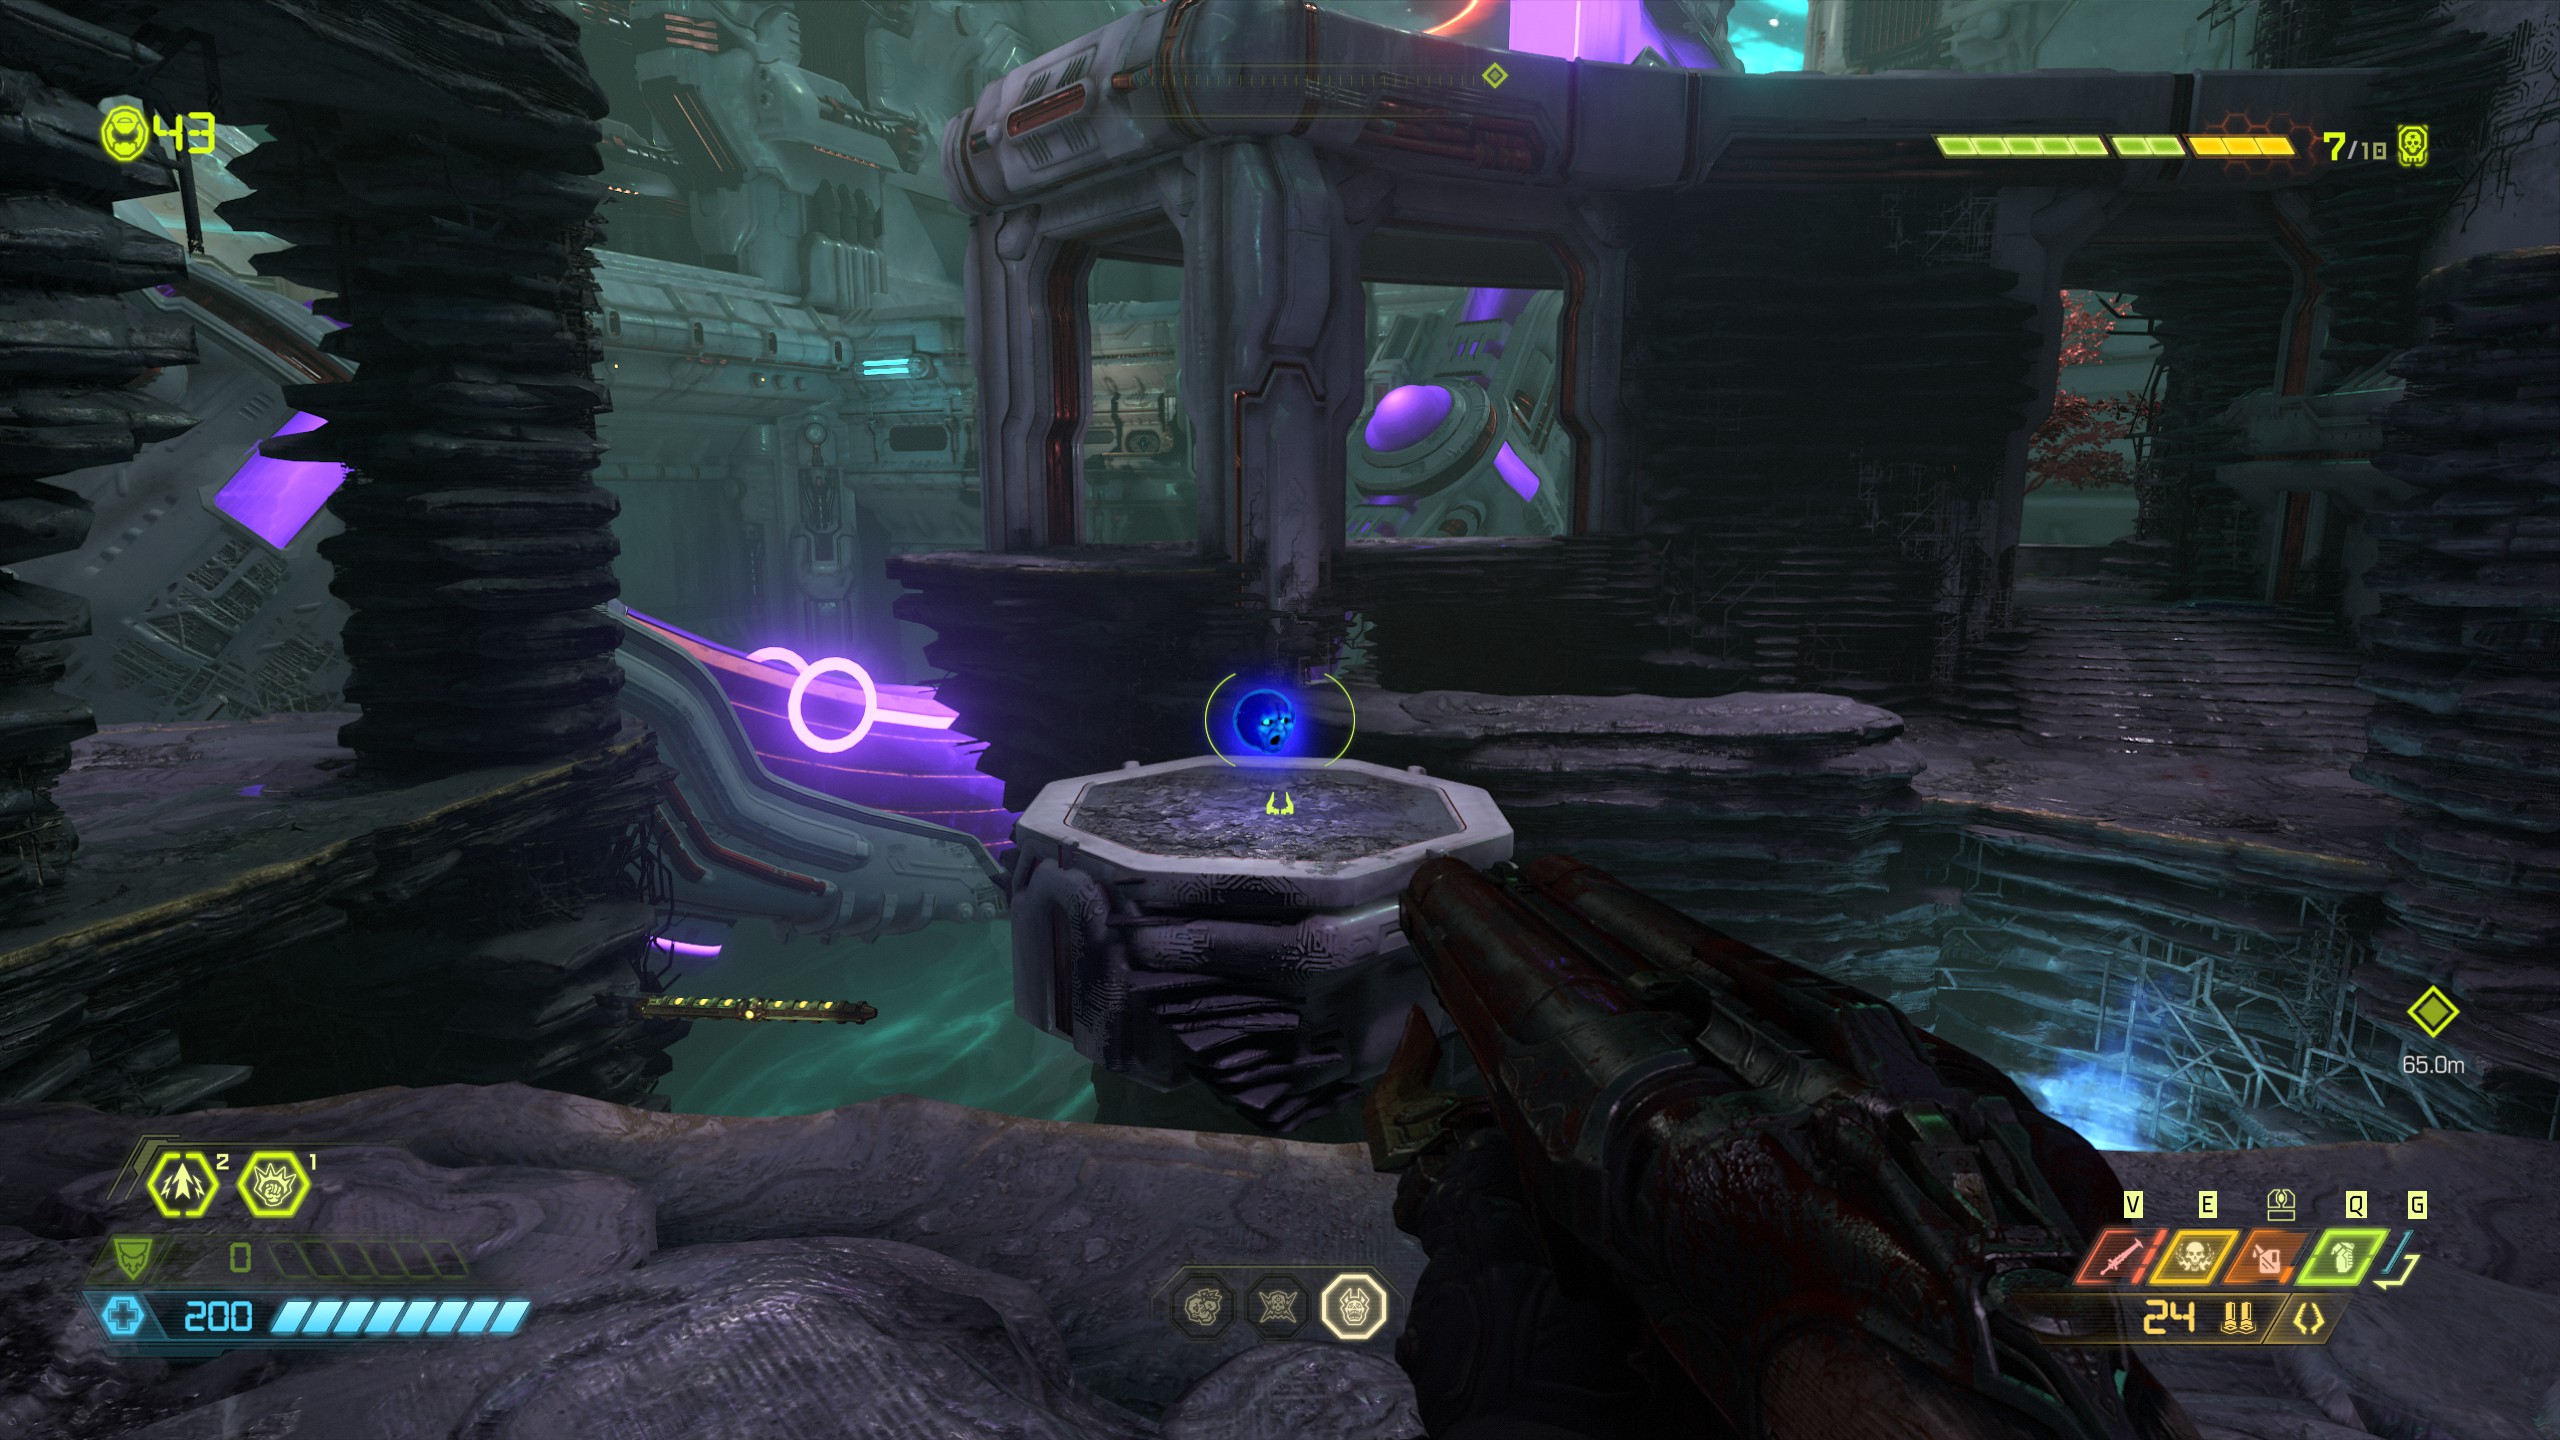
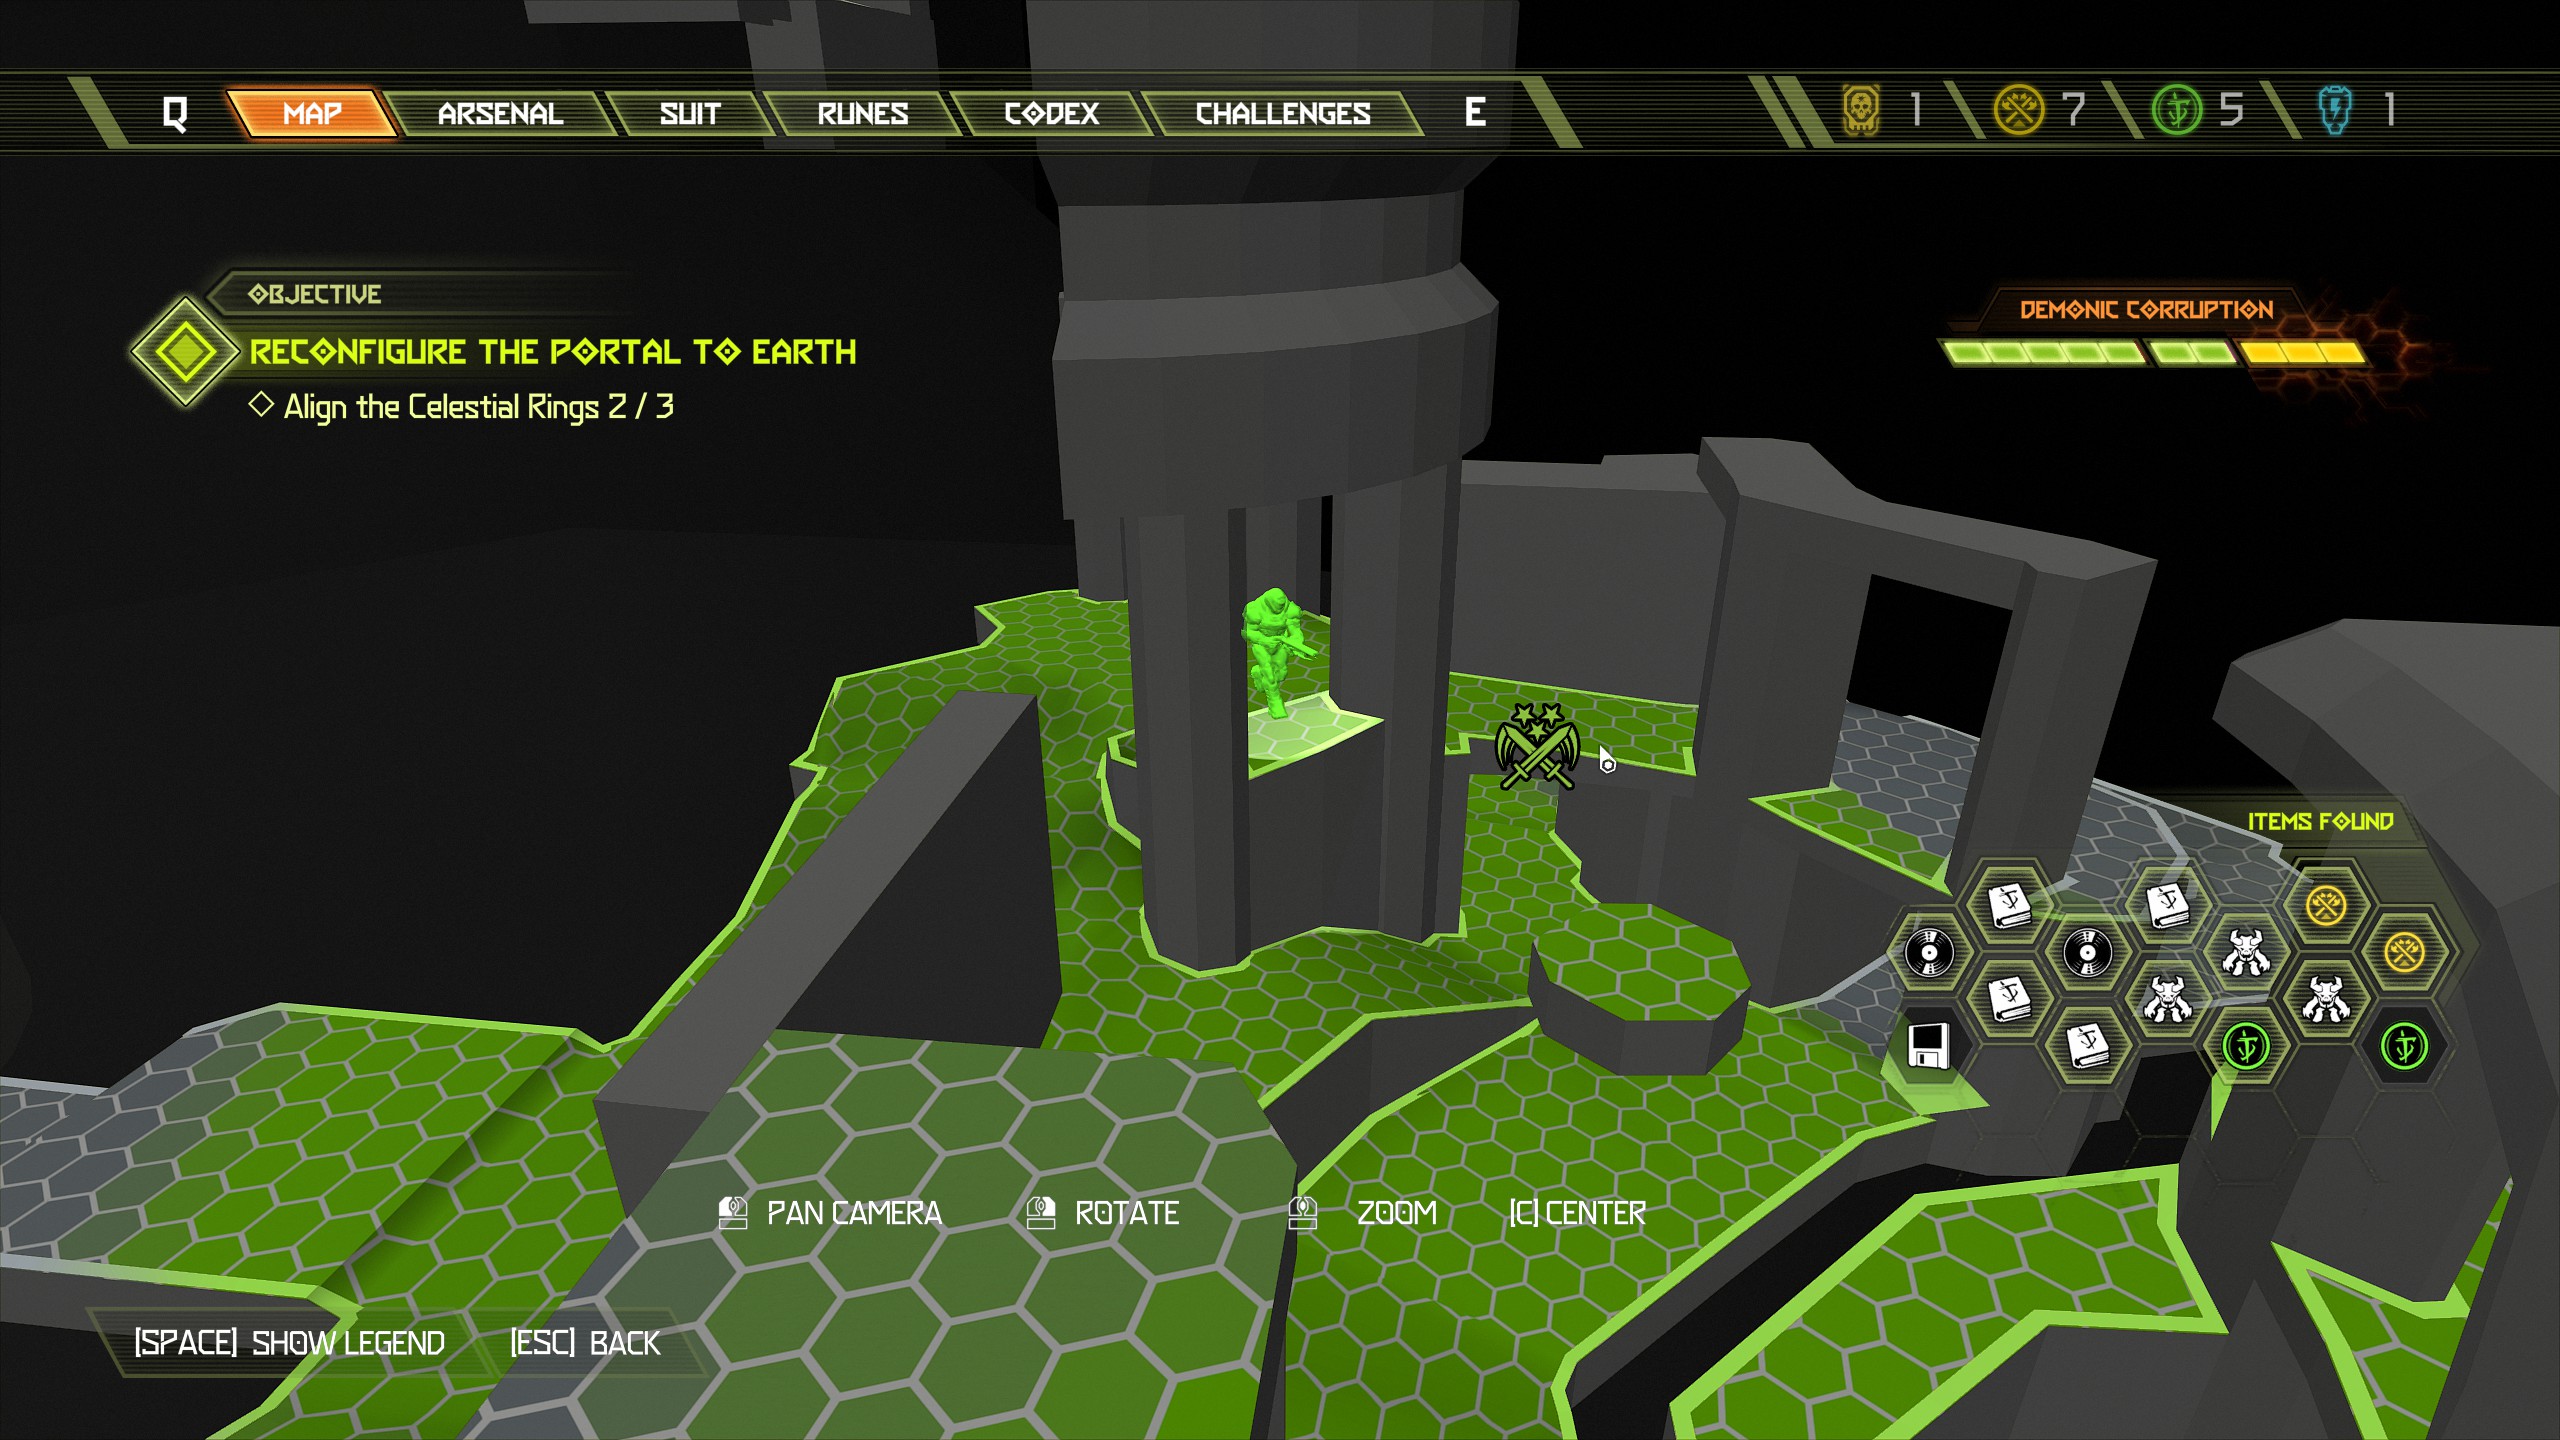
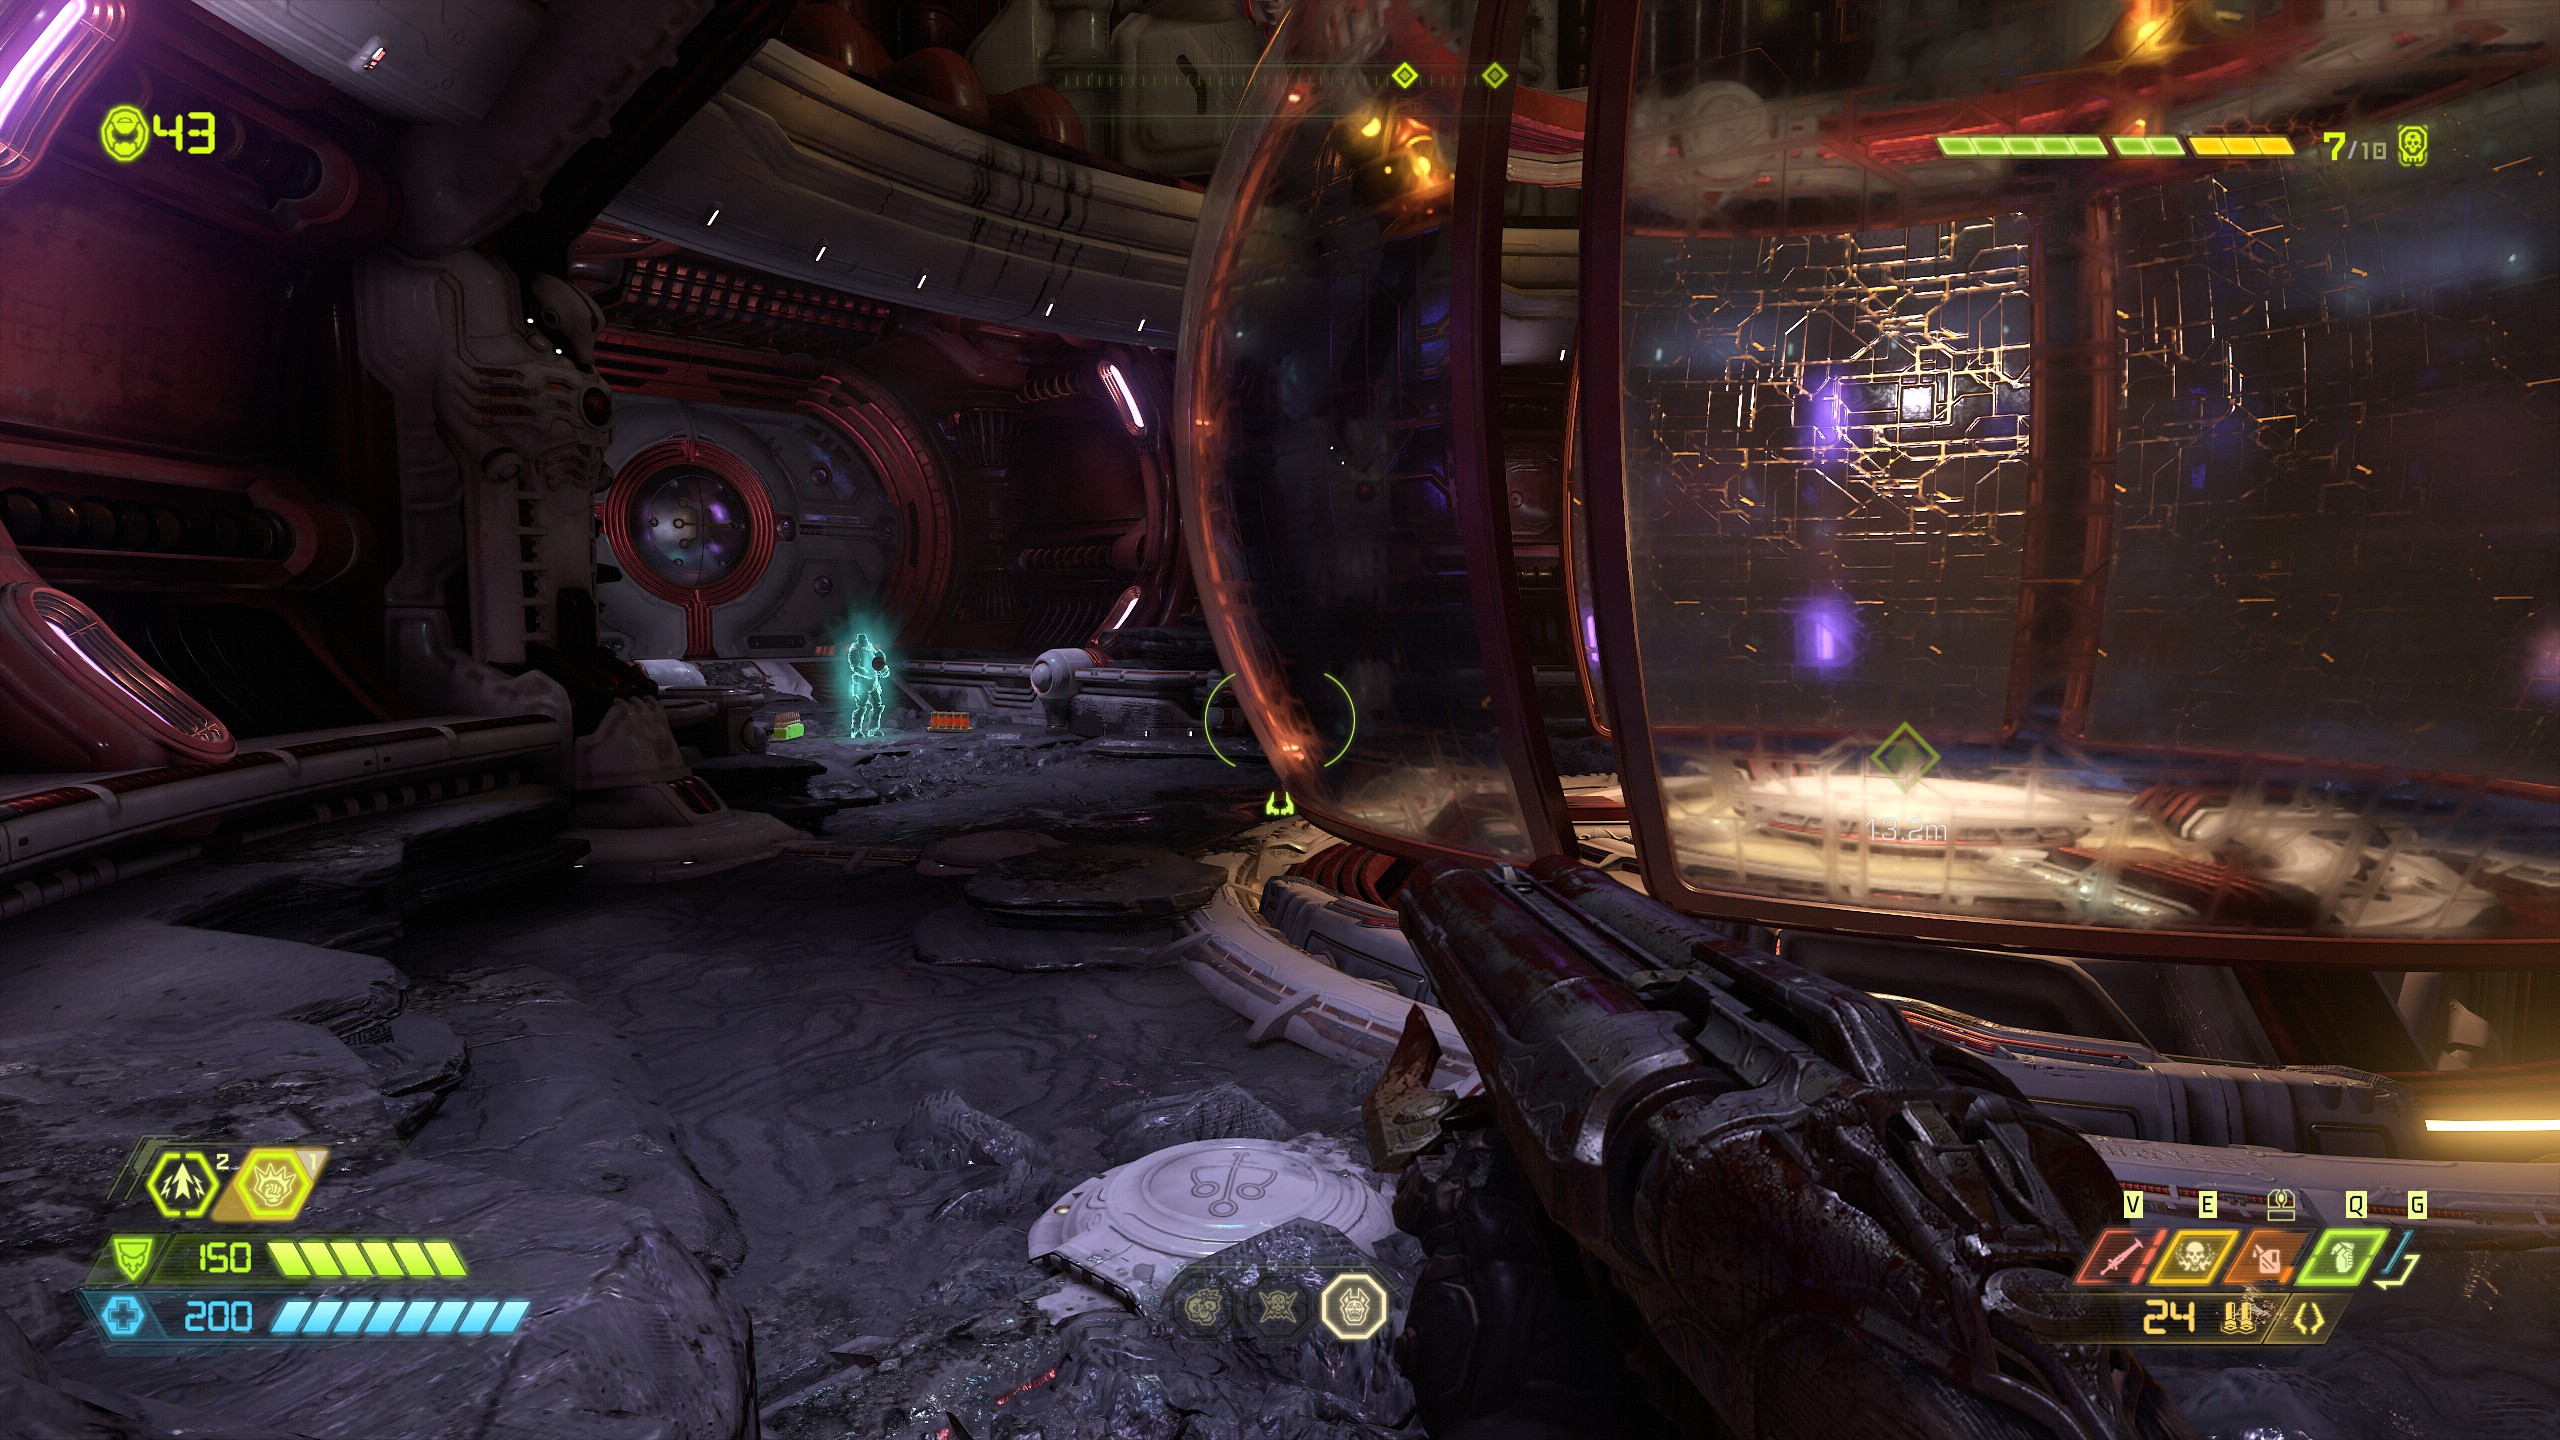
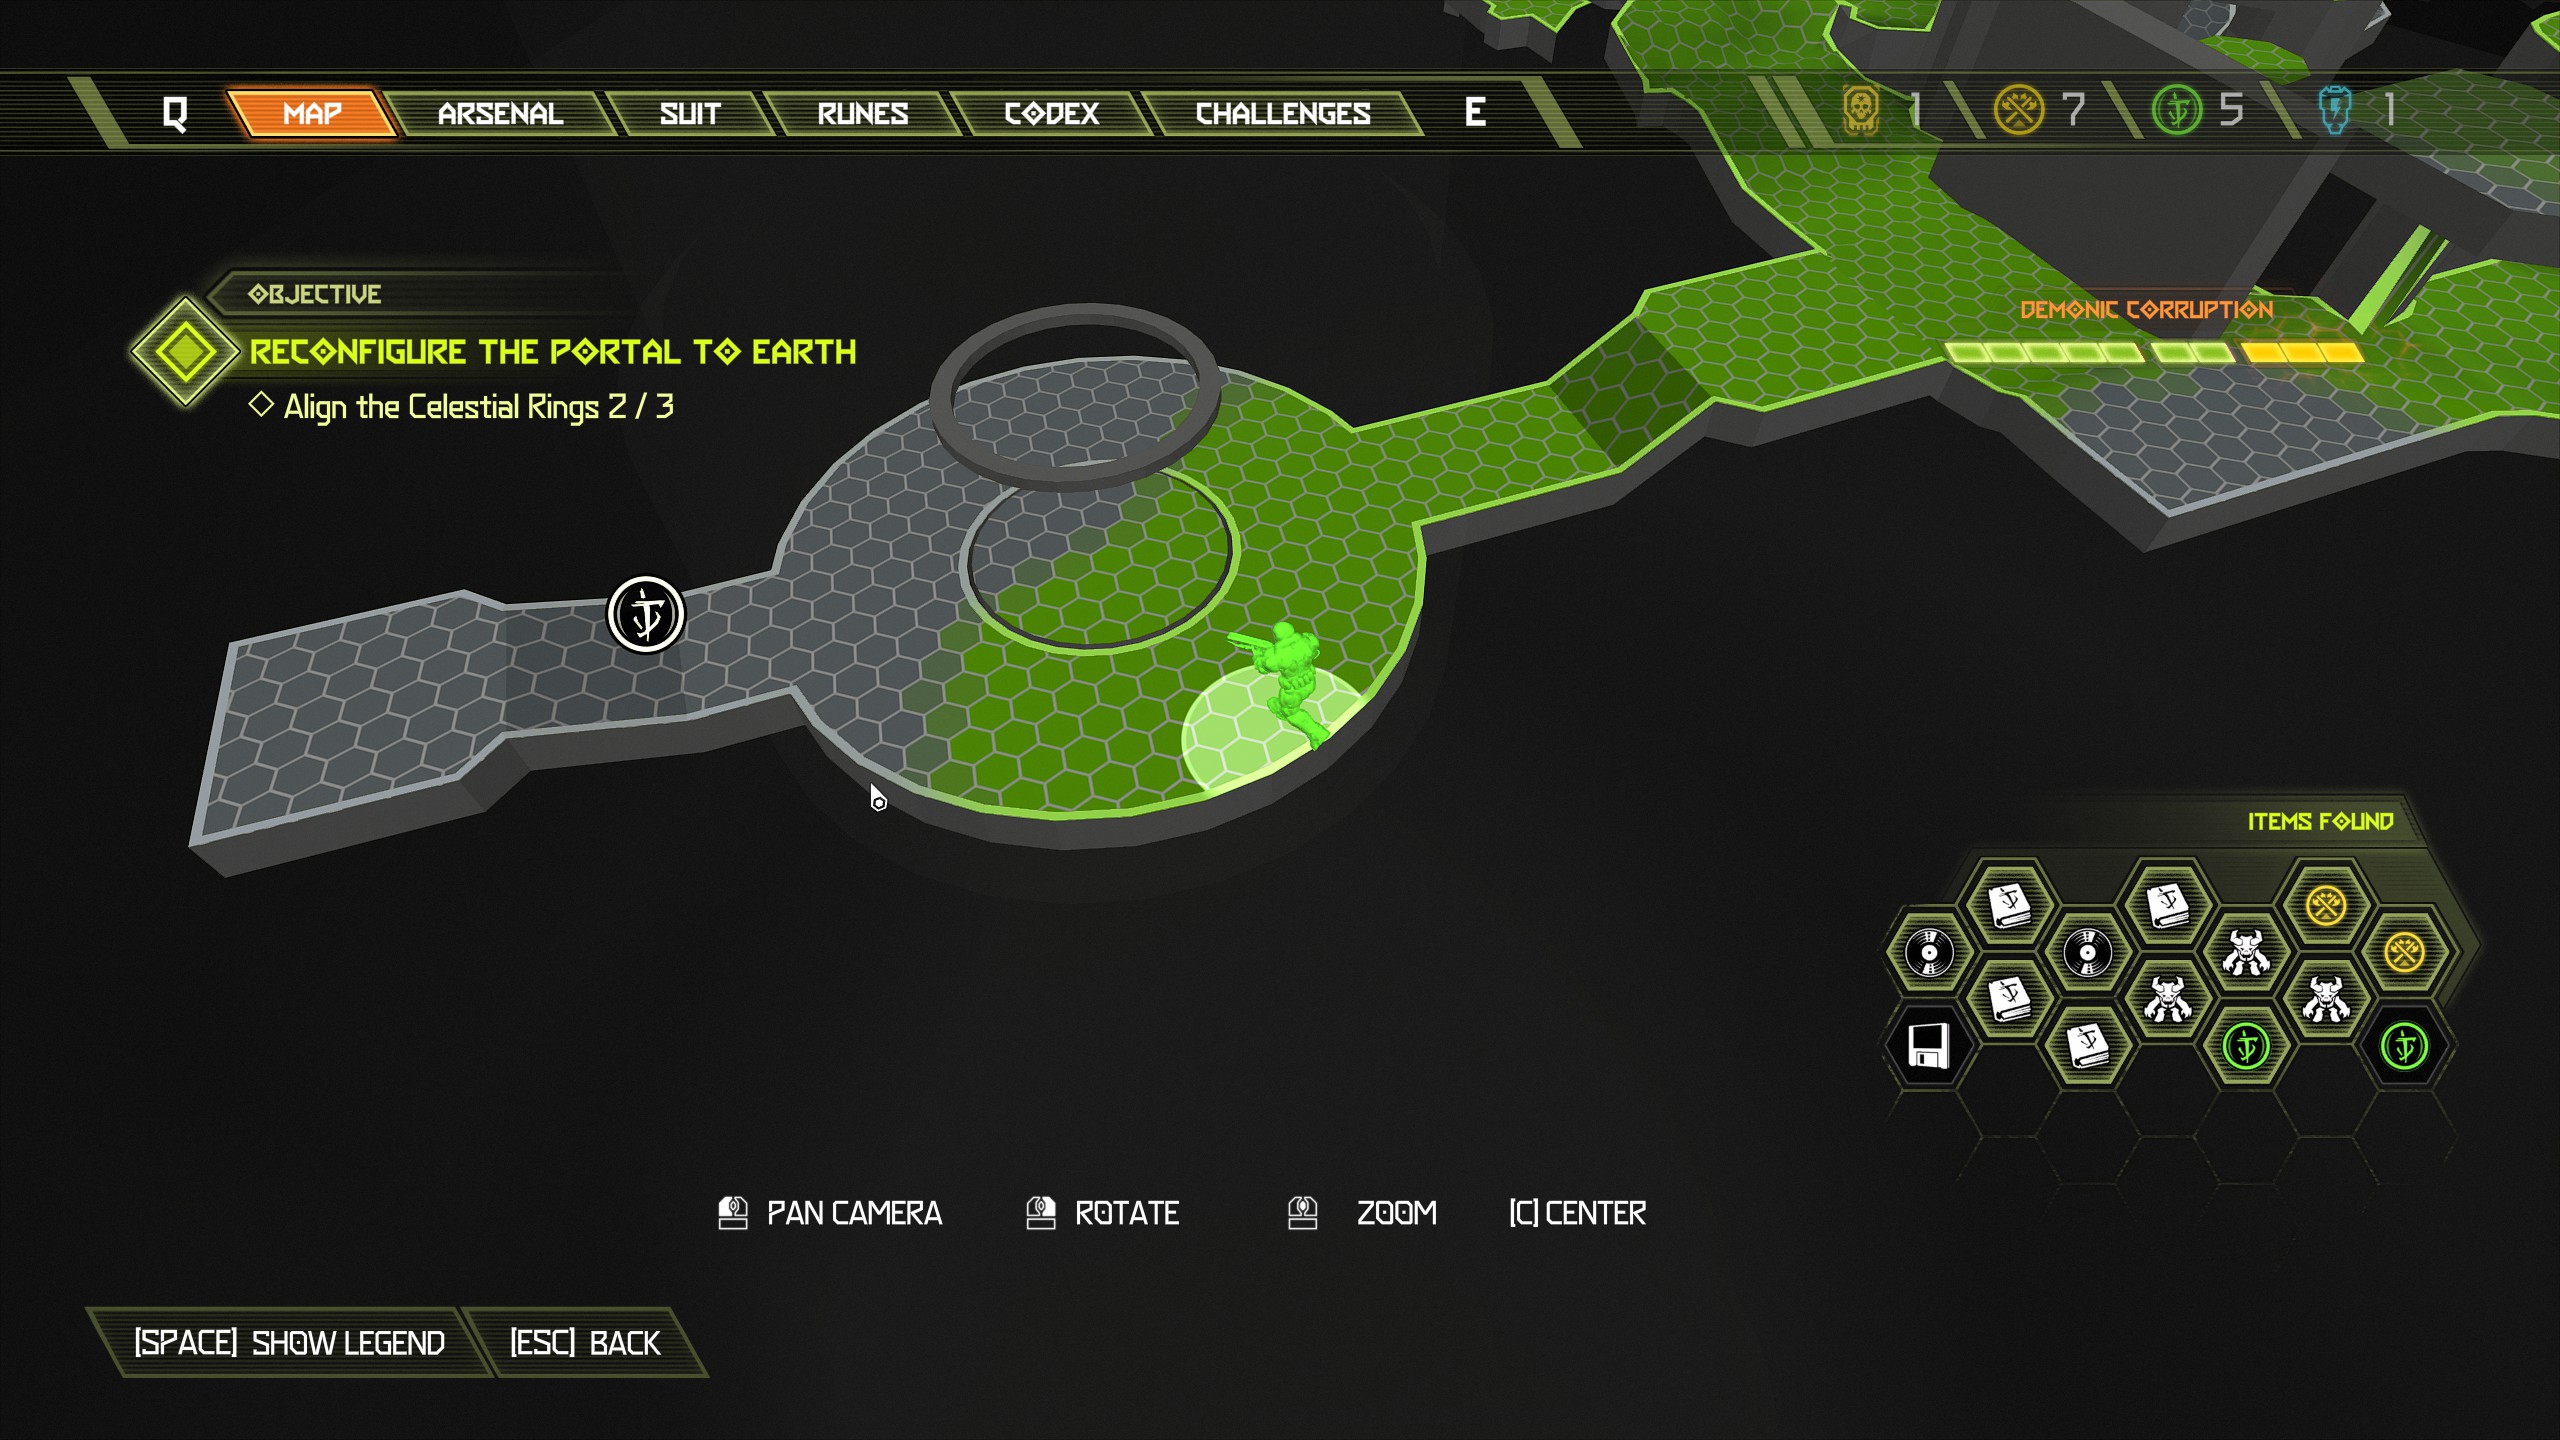
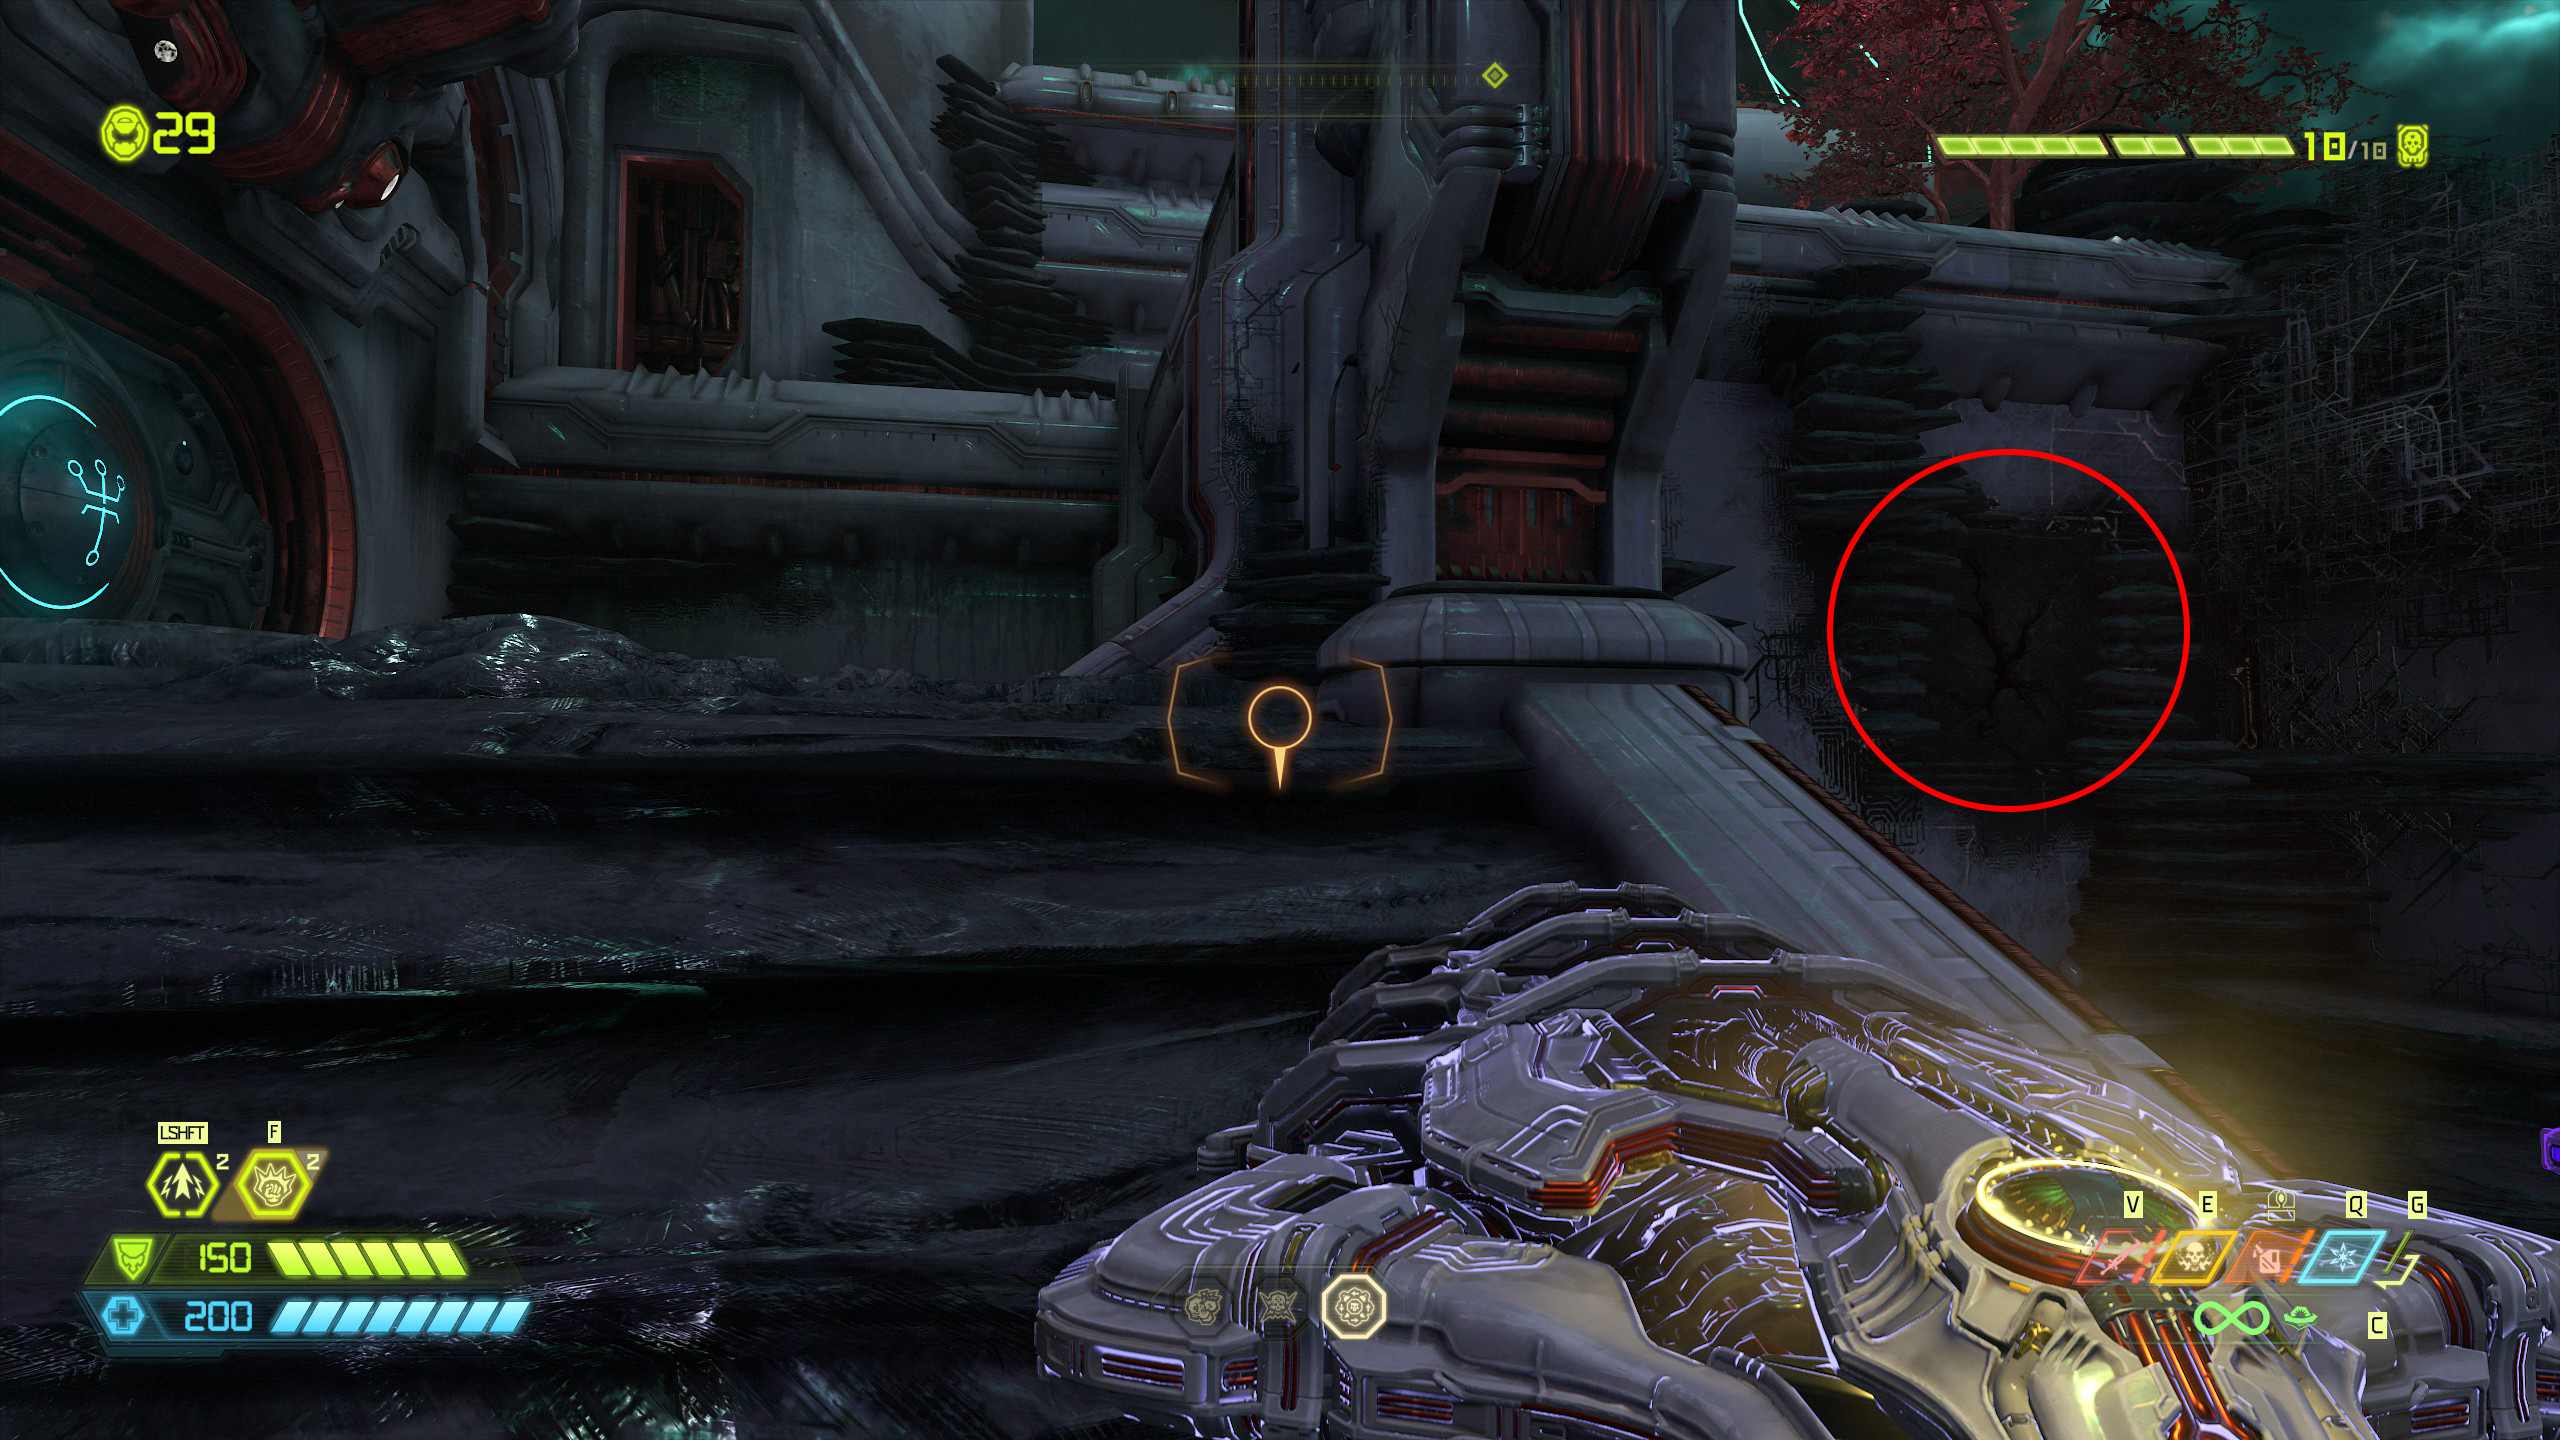
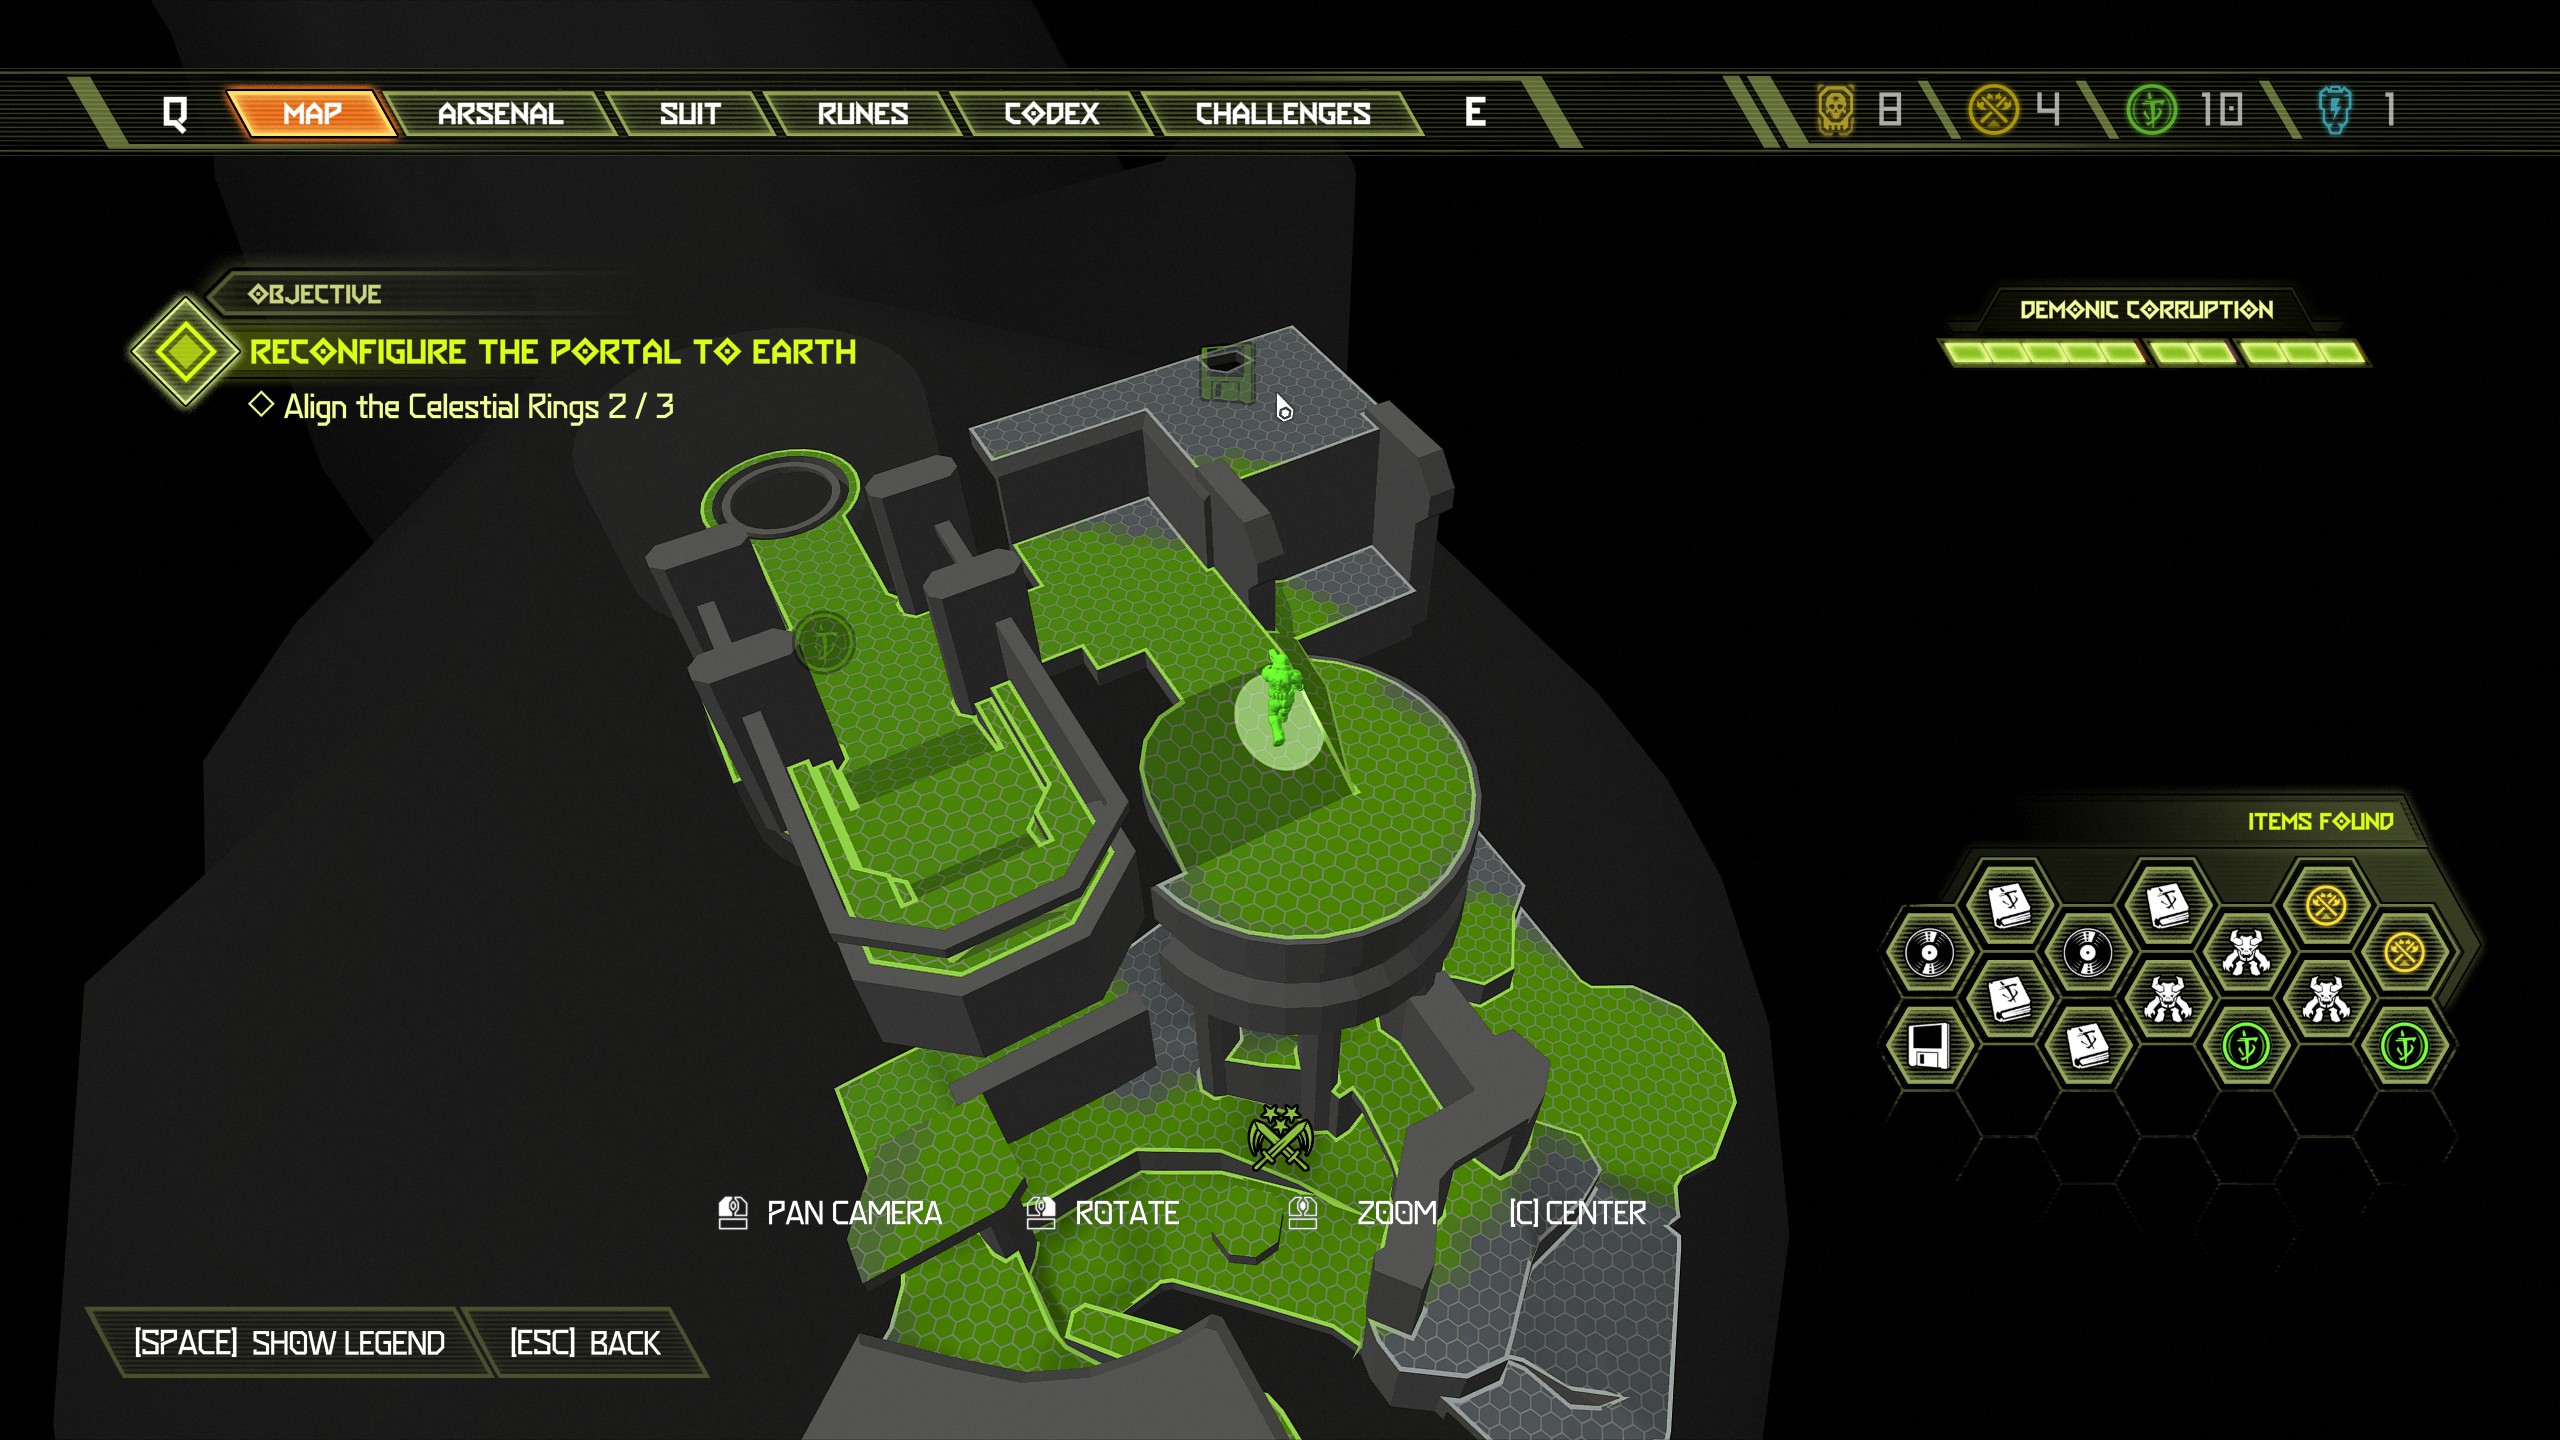
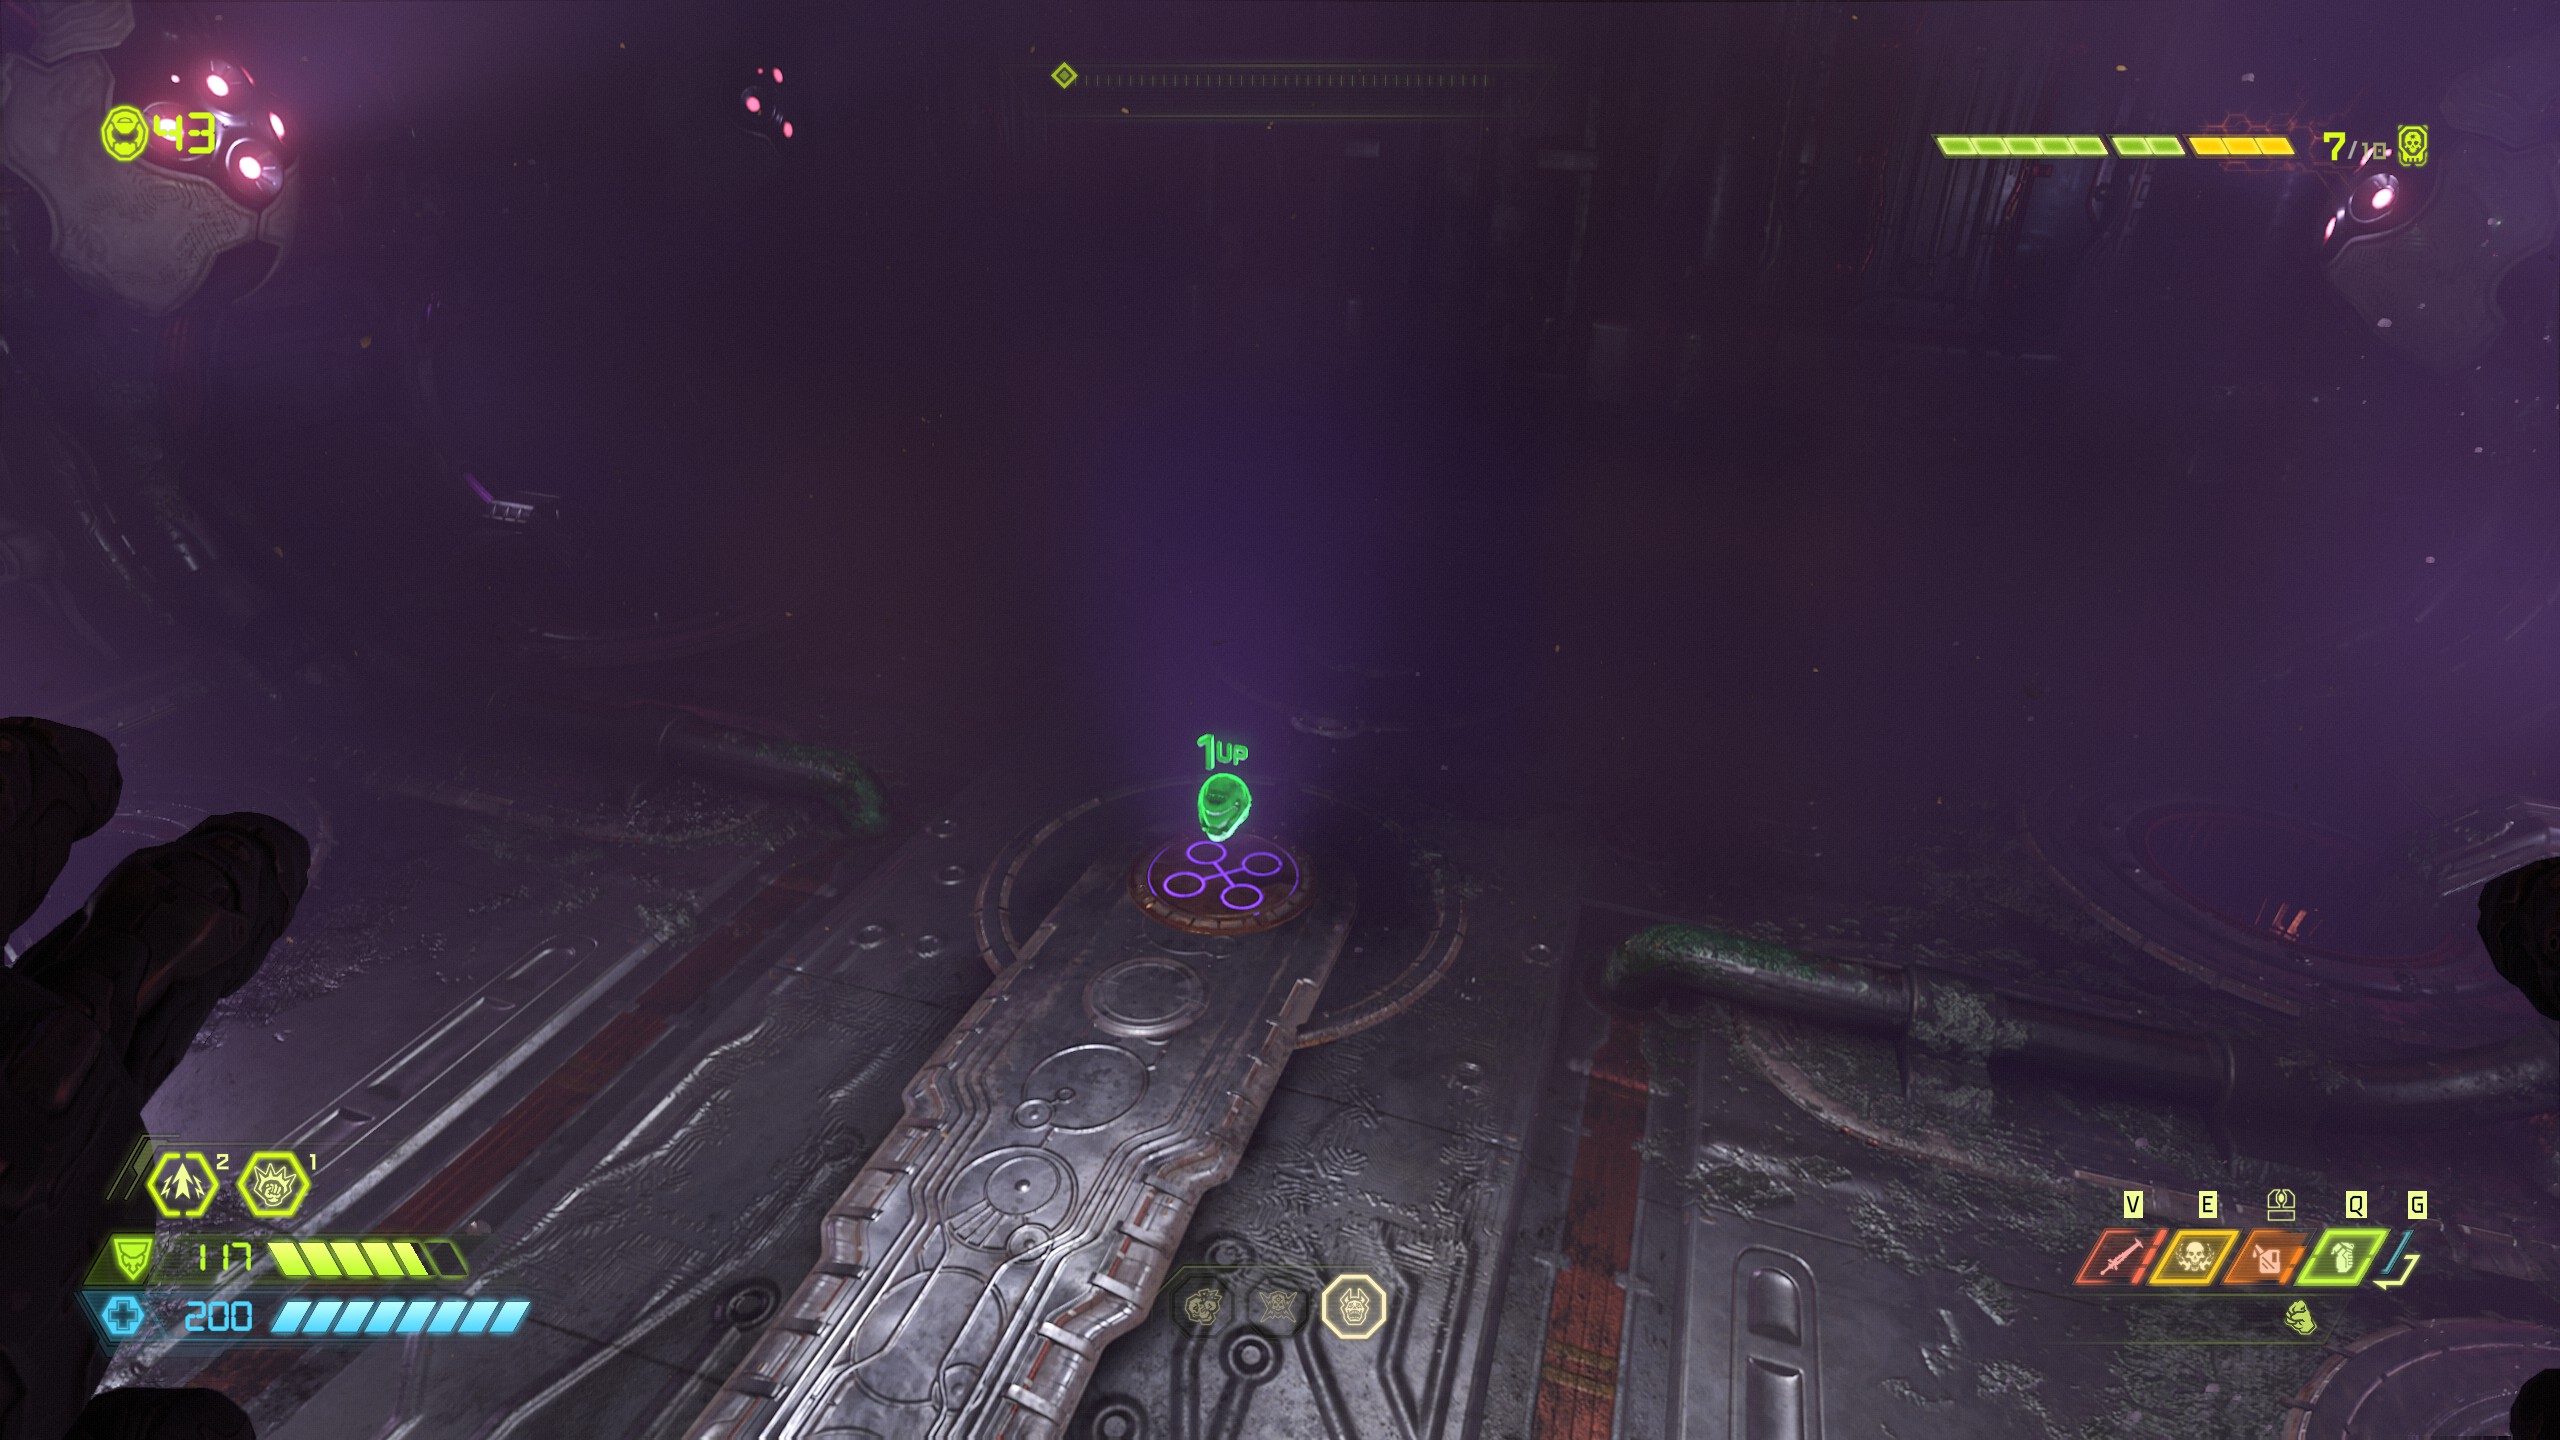
Continue up in the lift and activate the final ring, after activating the ring you will head back outside and down a few steps towards your next booster, as you go down the steps, on the left side will be a breakable wall, jump over to it from the steps and inside will be a cheat code.
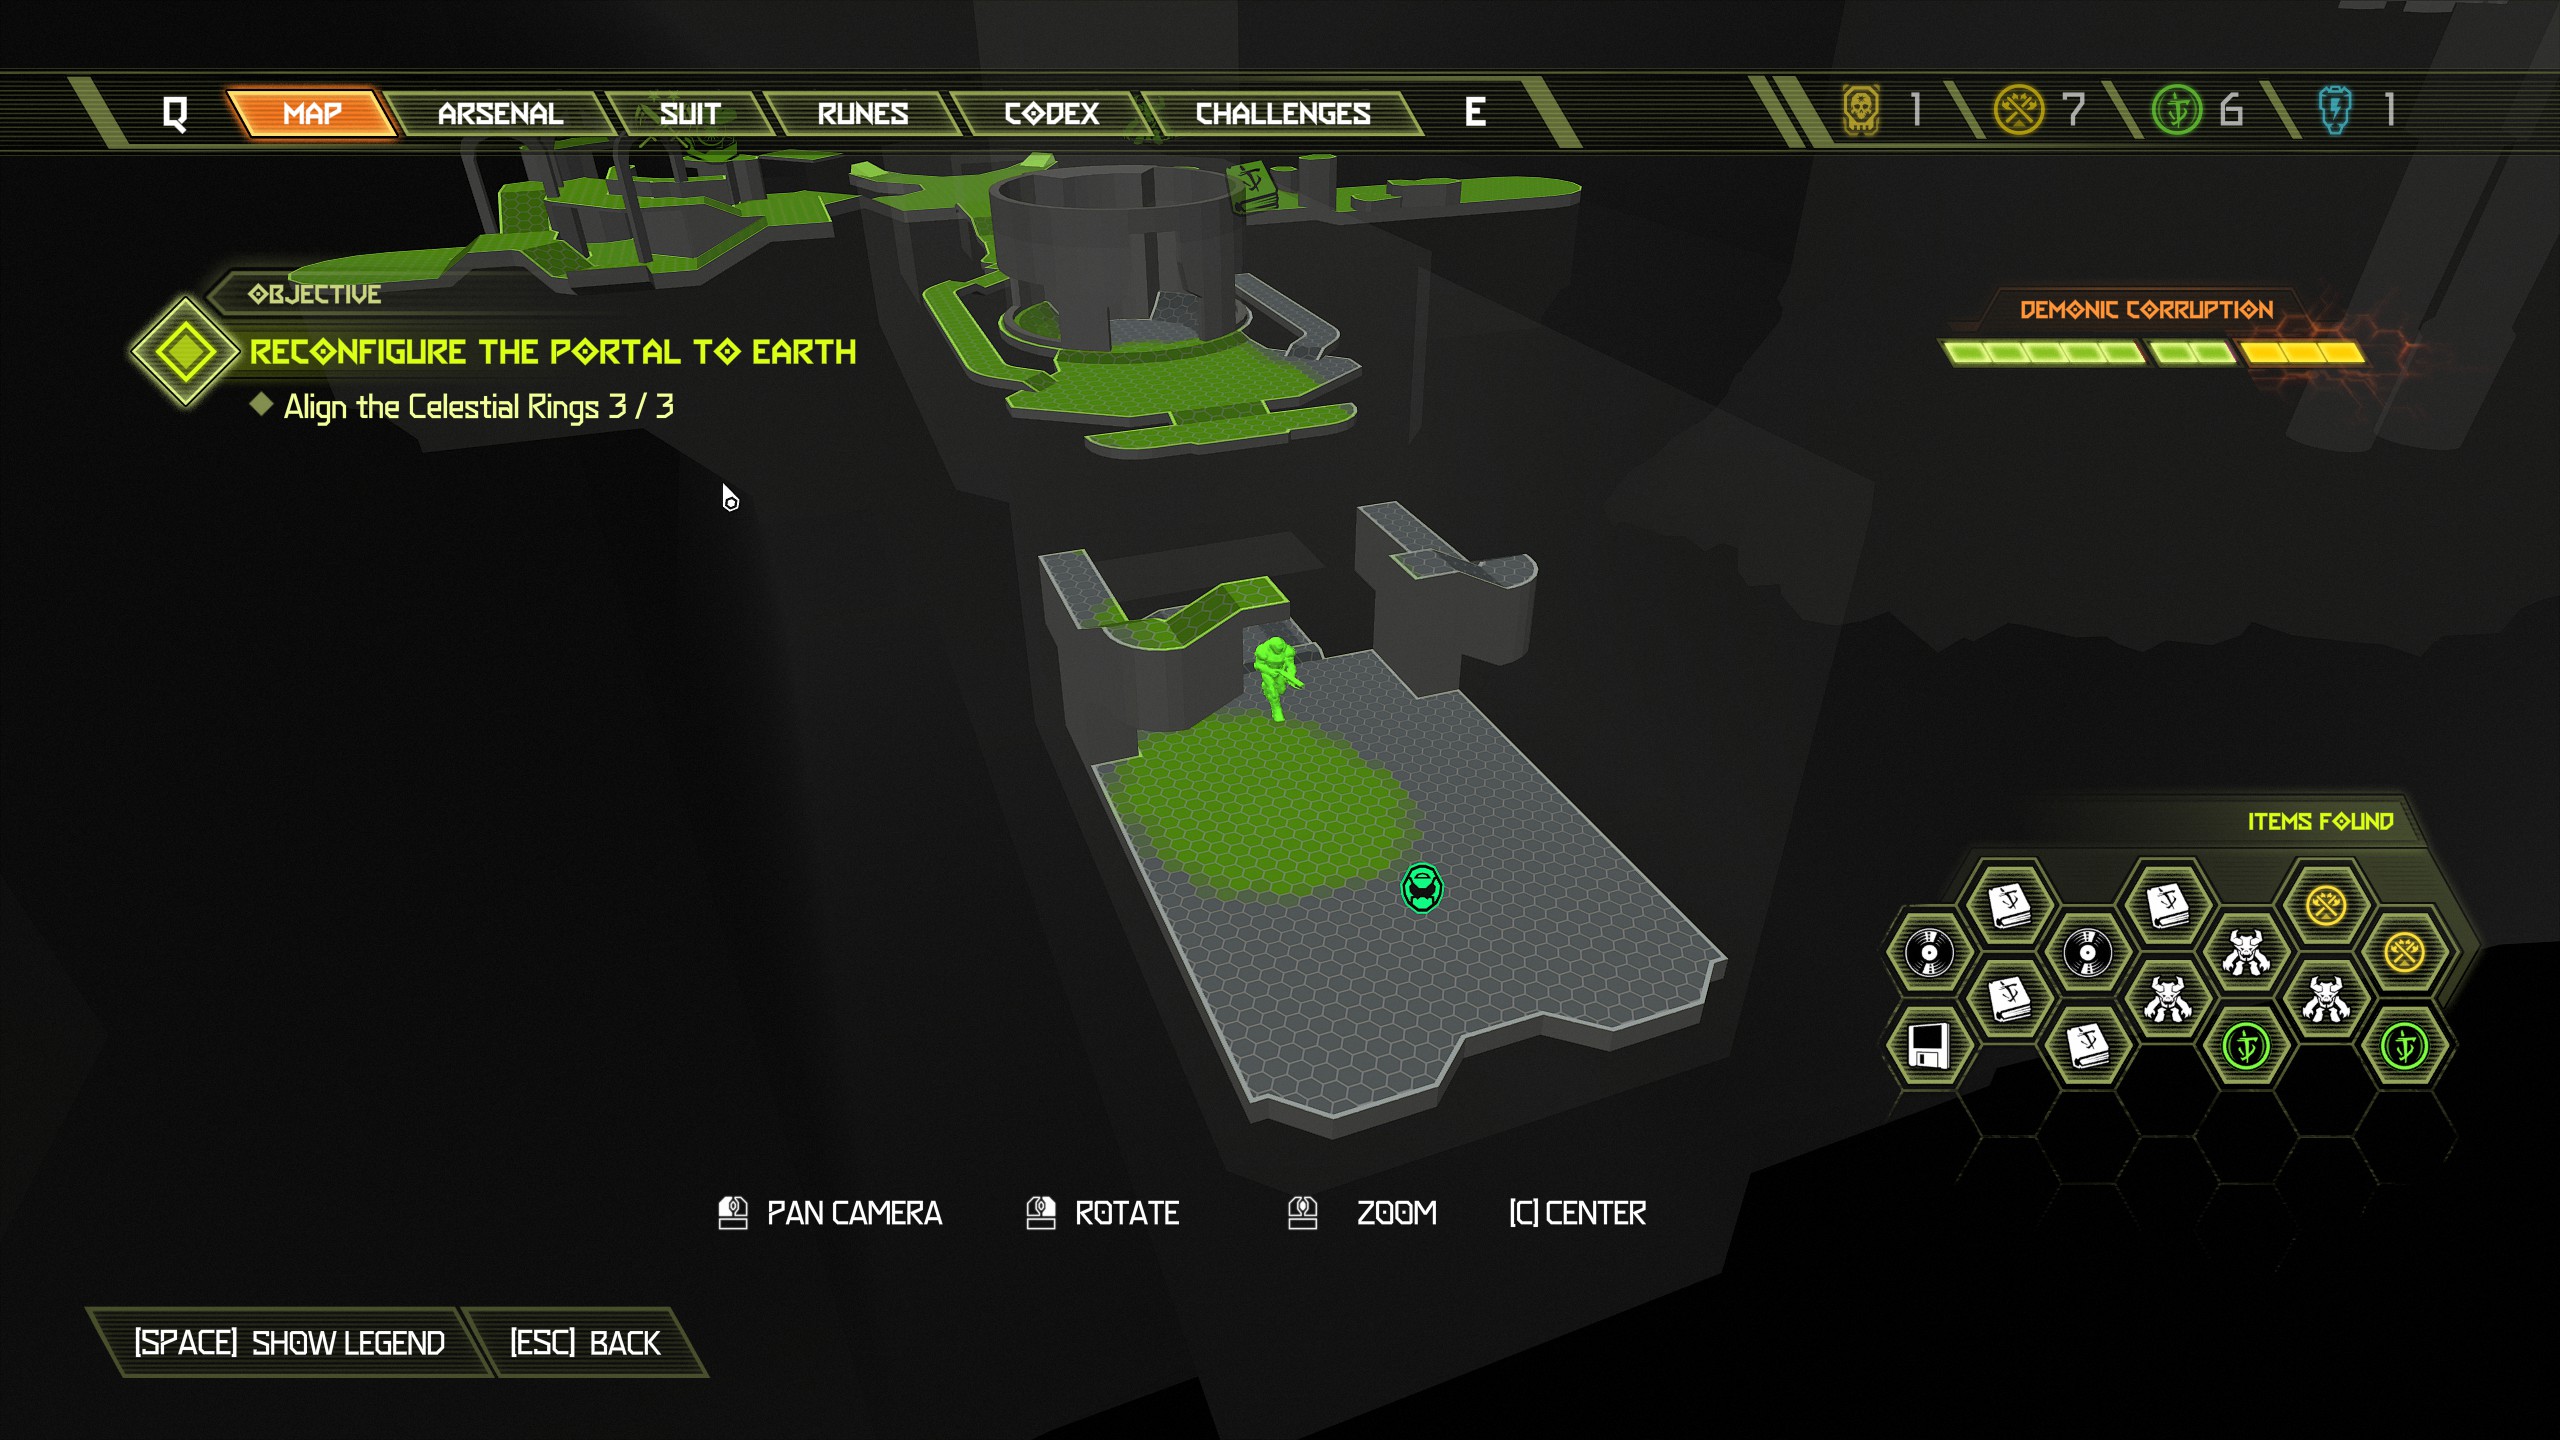
Time to move on to the final mission
Mission 13: Final Sin
NOTE: The final mission, finally! This is pretty quick and easy, you shouldn't have any issues finding everything on this one. Very few items here and most are extra lives. This mission contains:
- 1 Codex Page
- 1 Automap
- 4 Extra Lives
- 1 Blue Orb
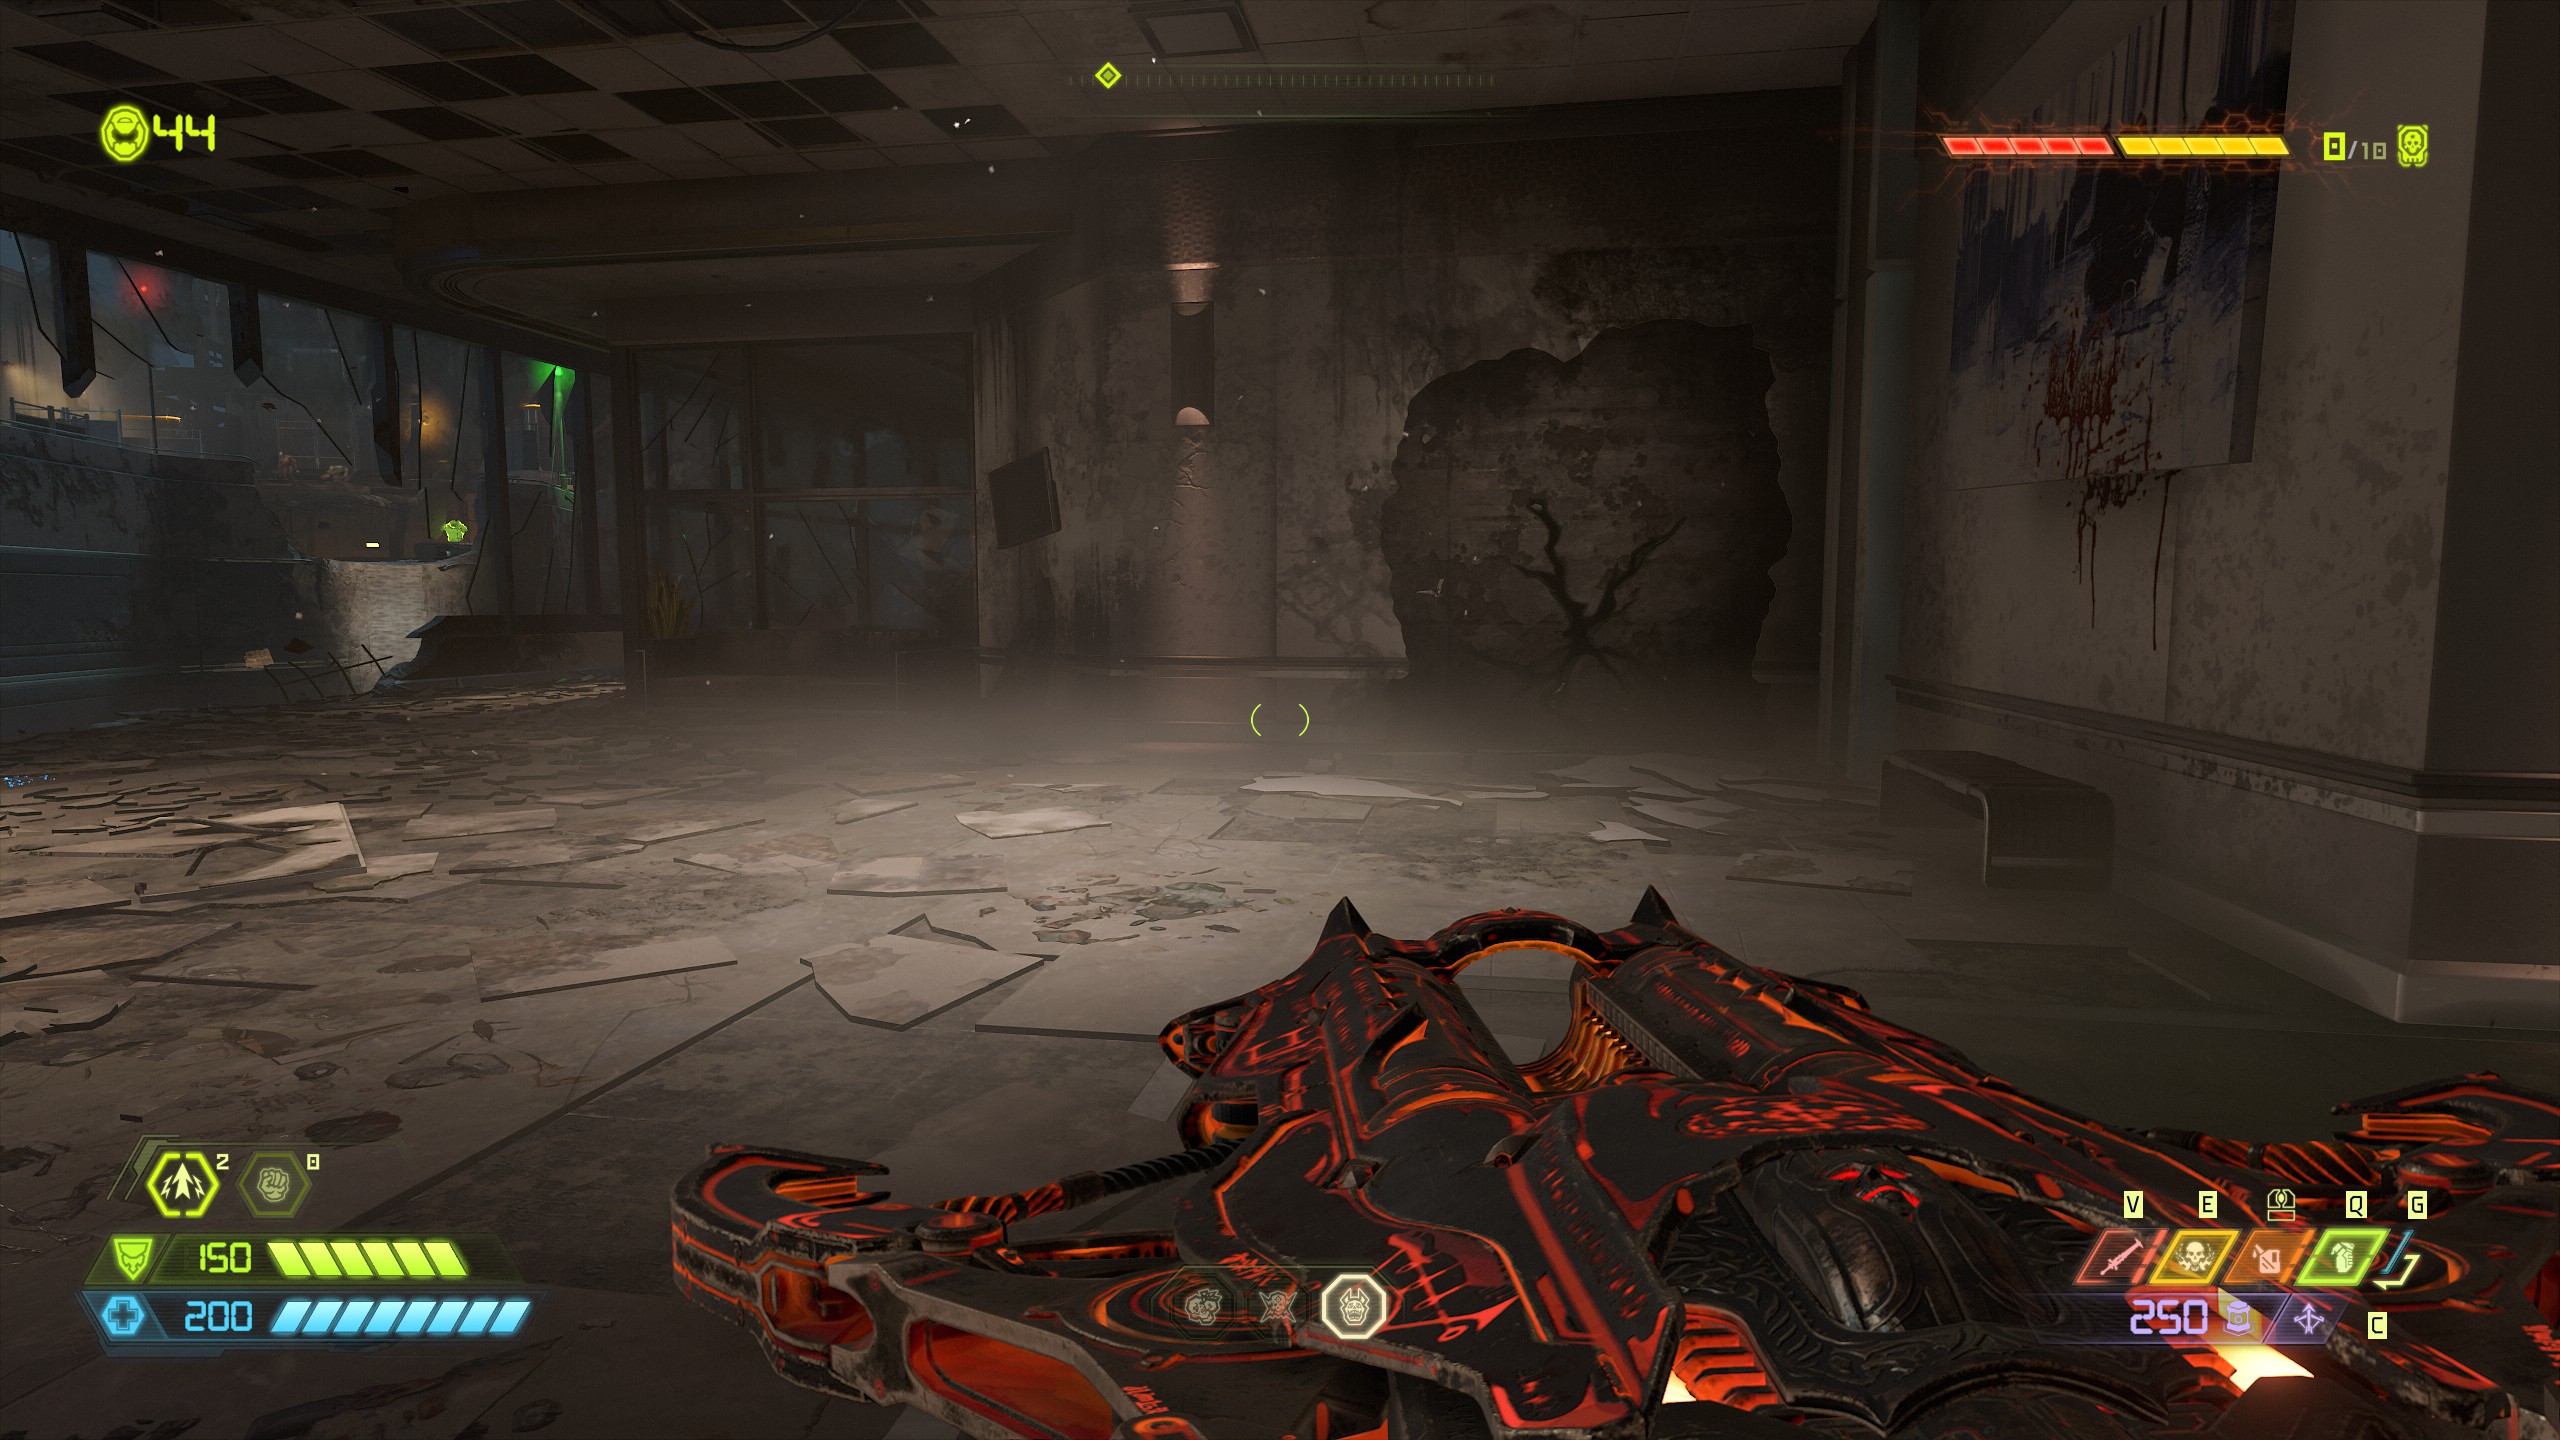
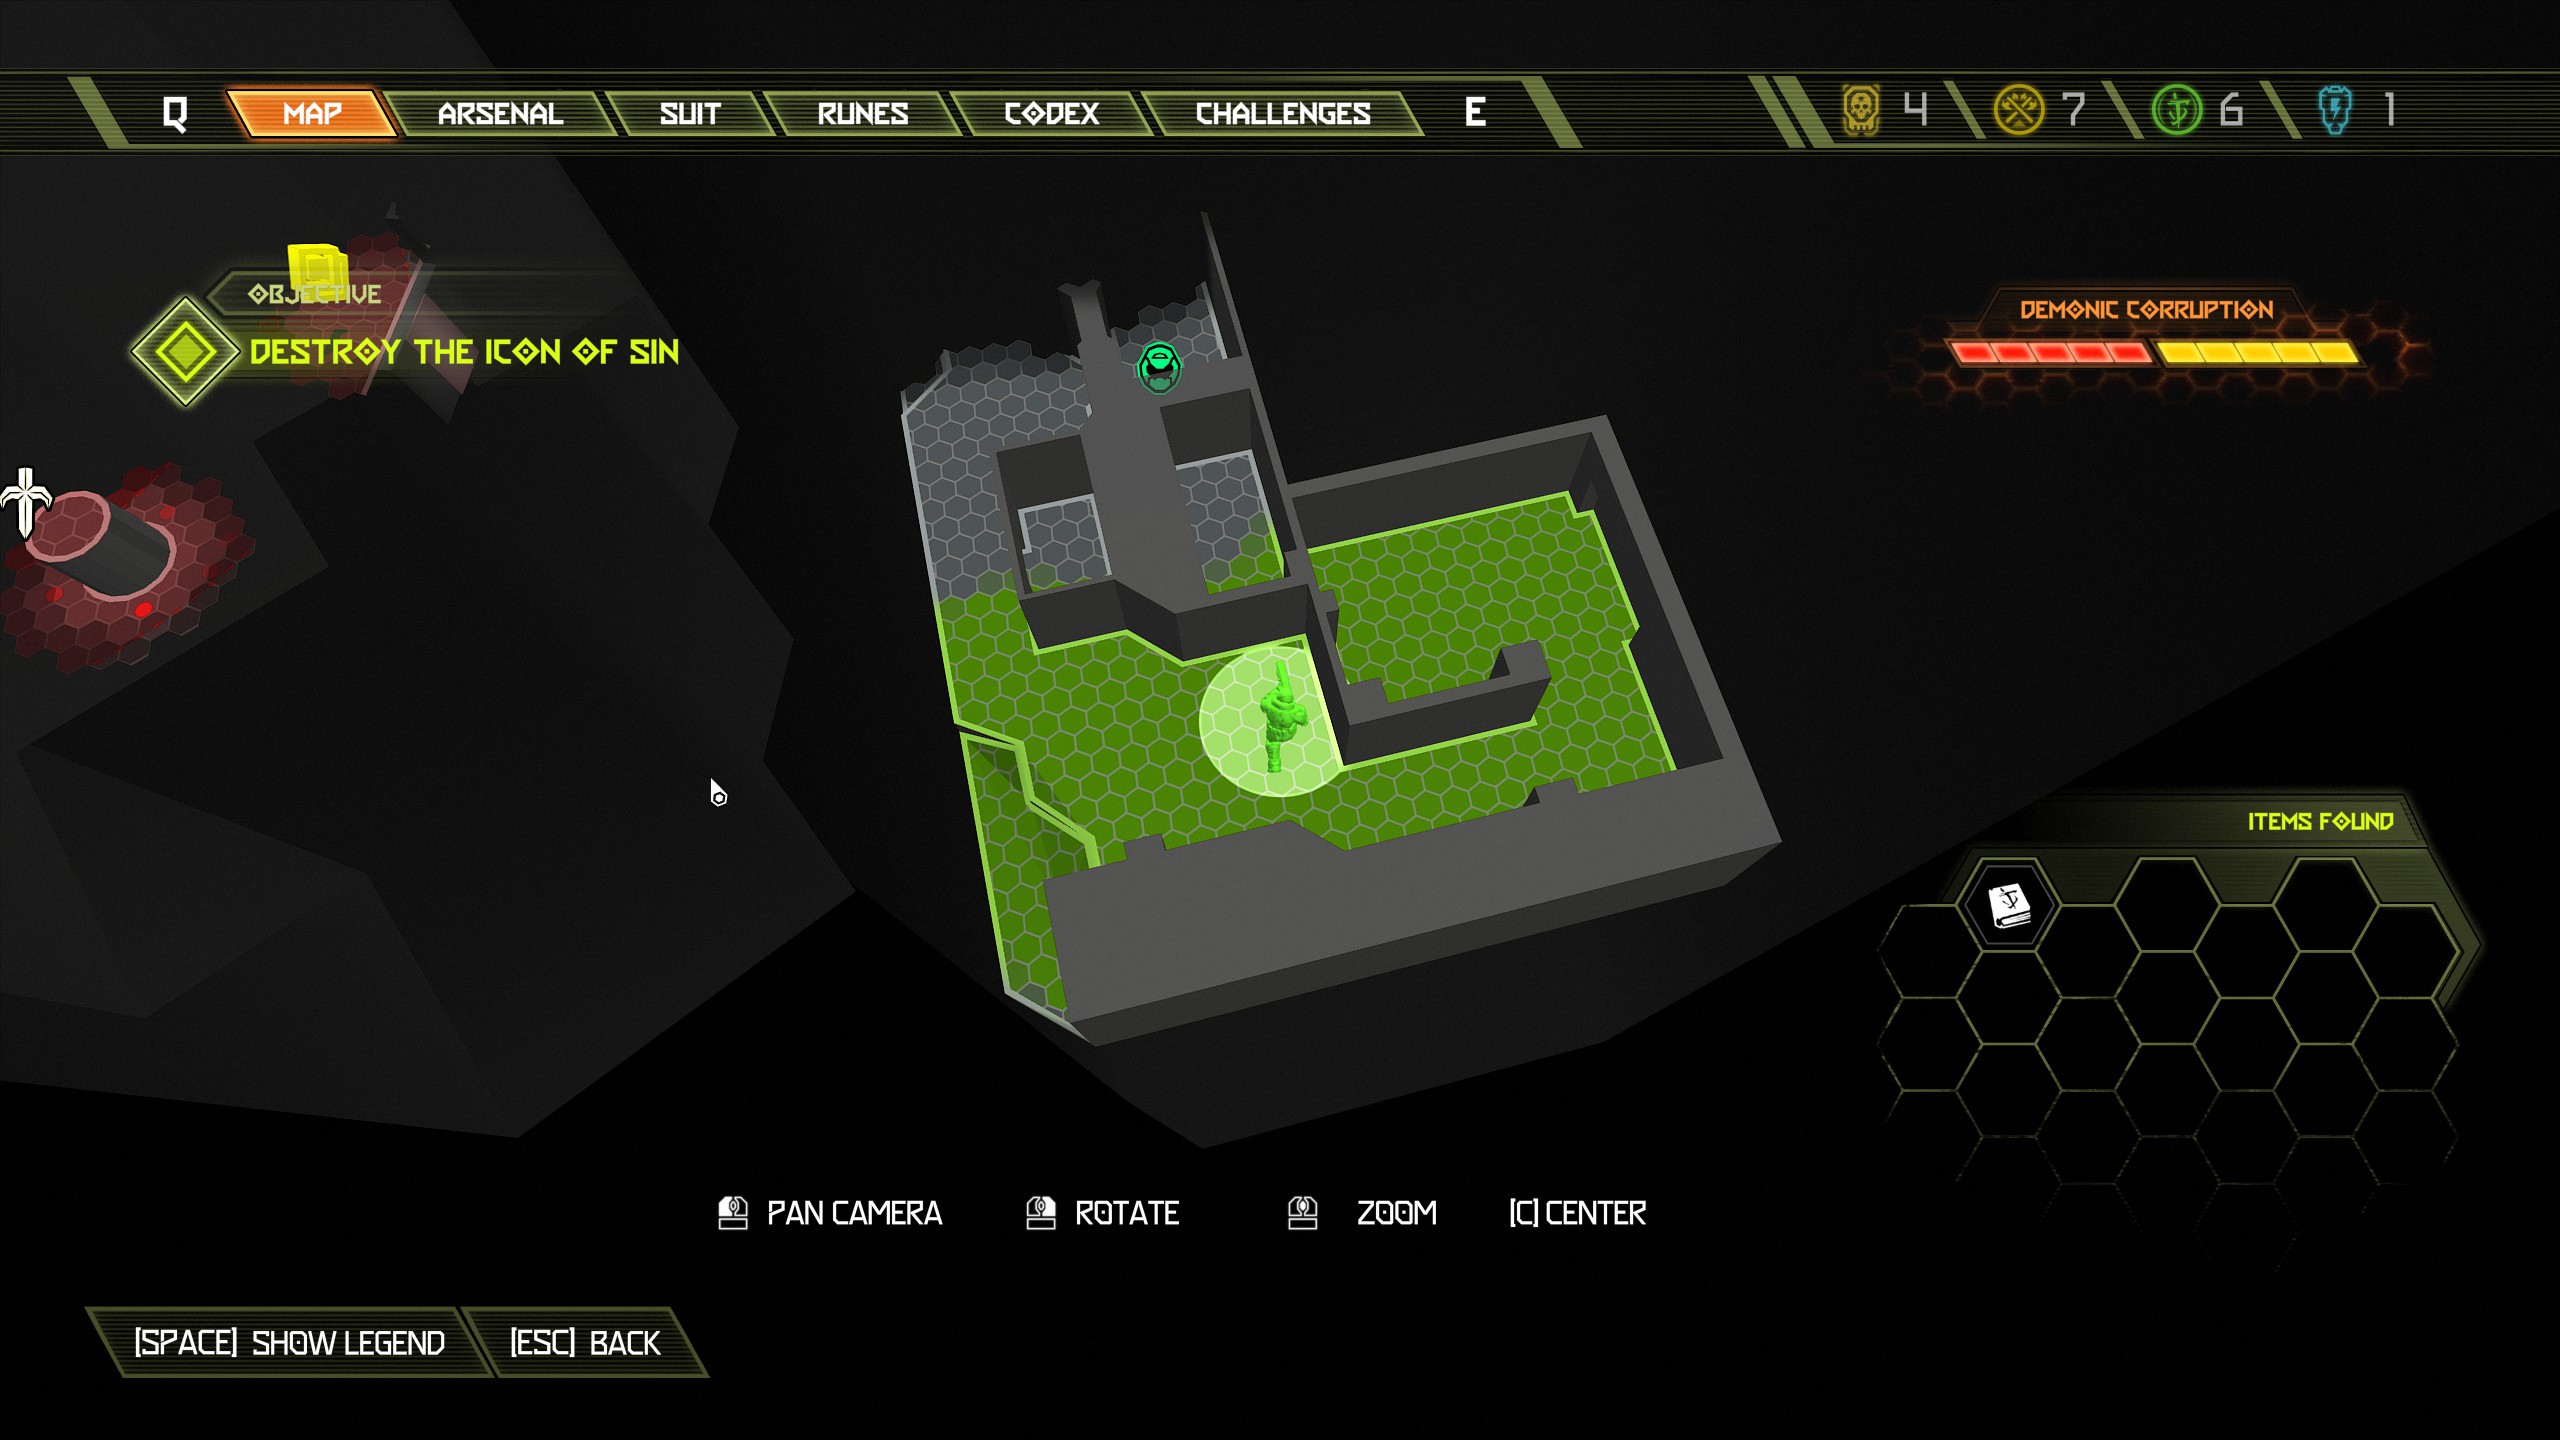
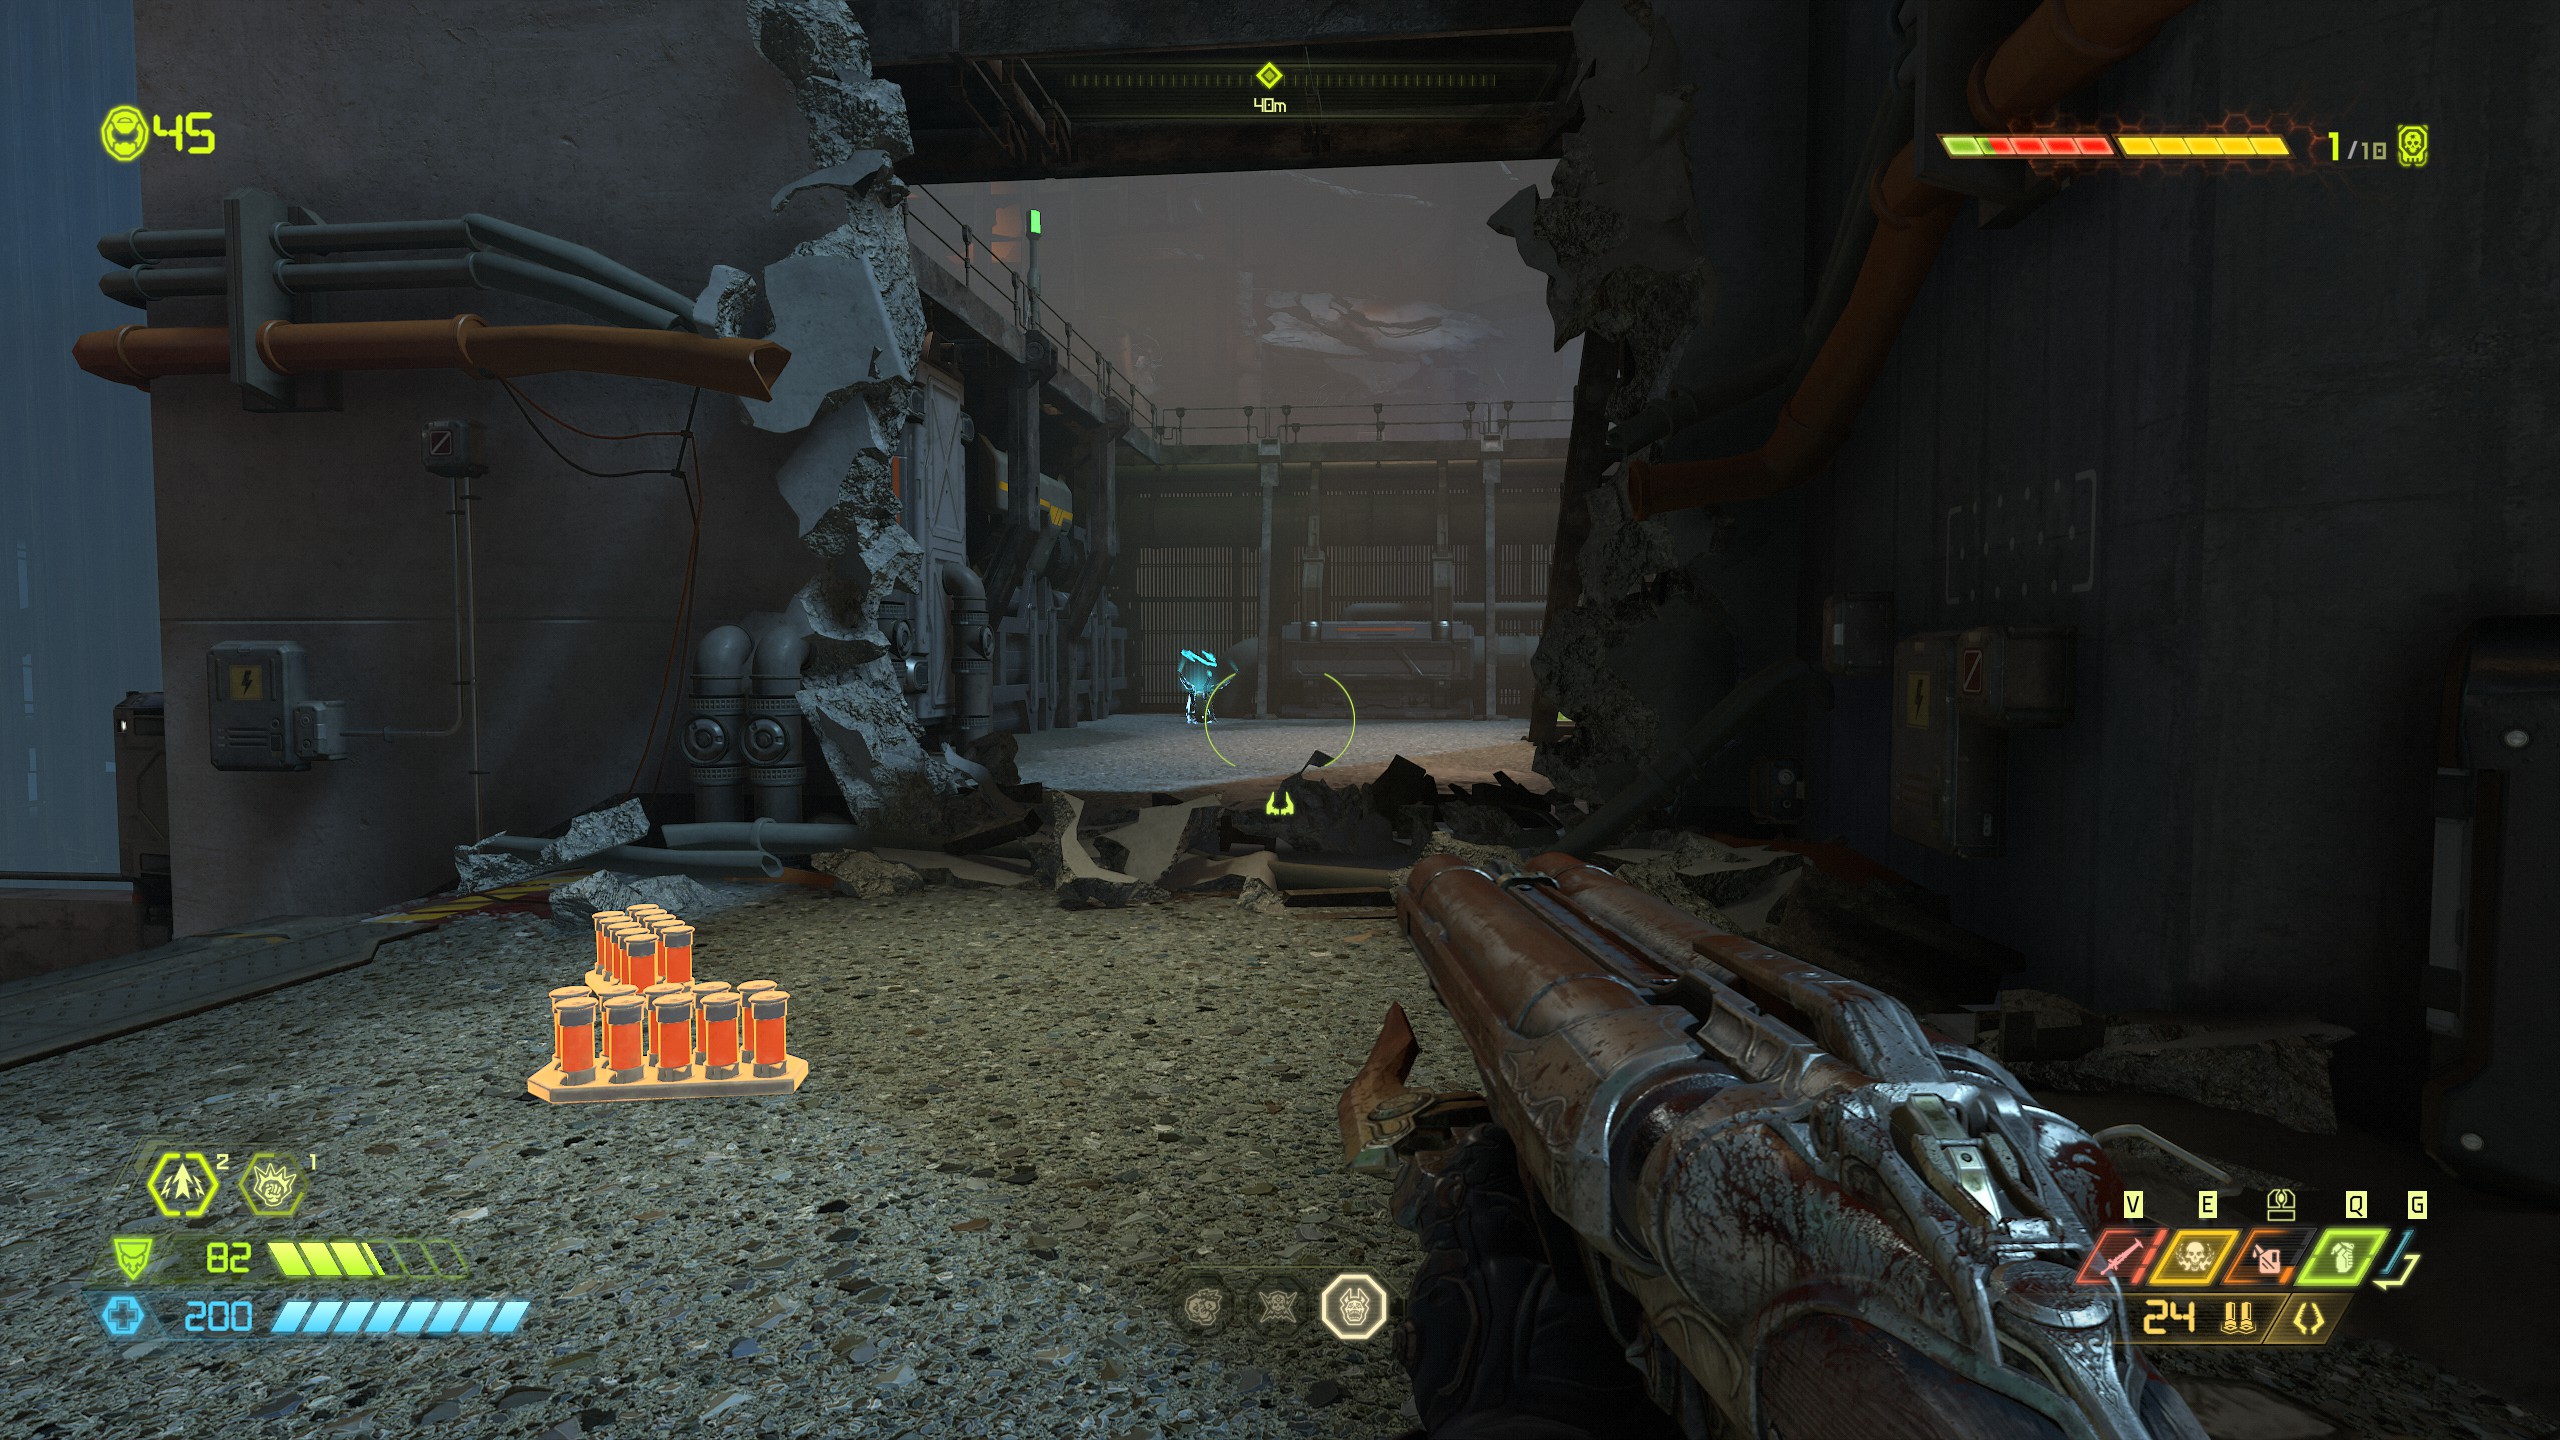
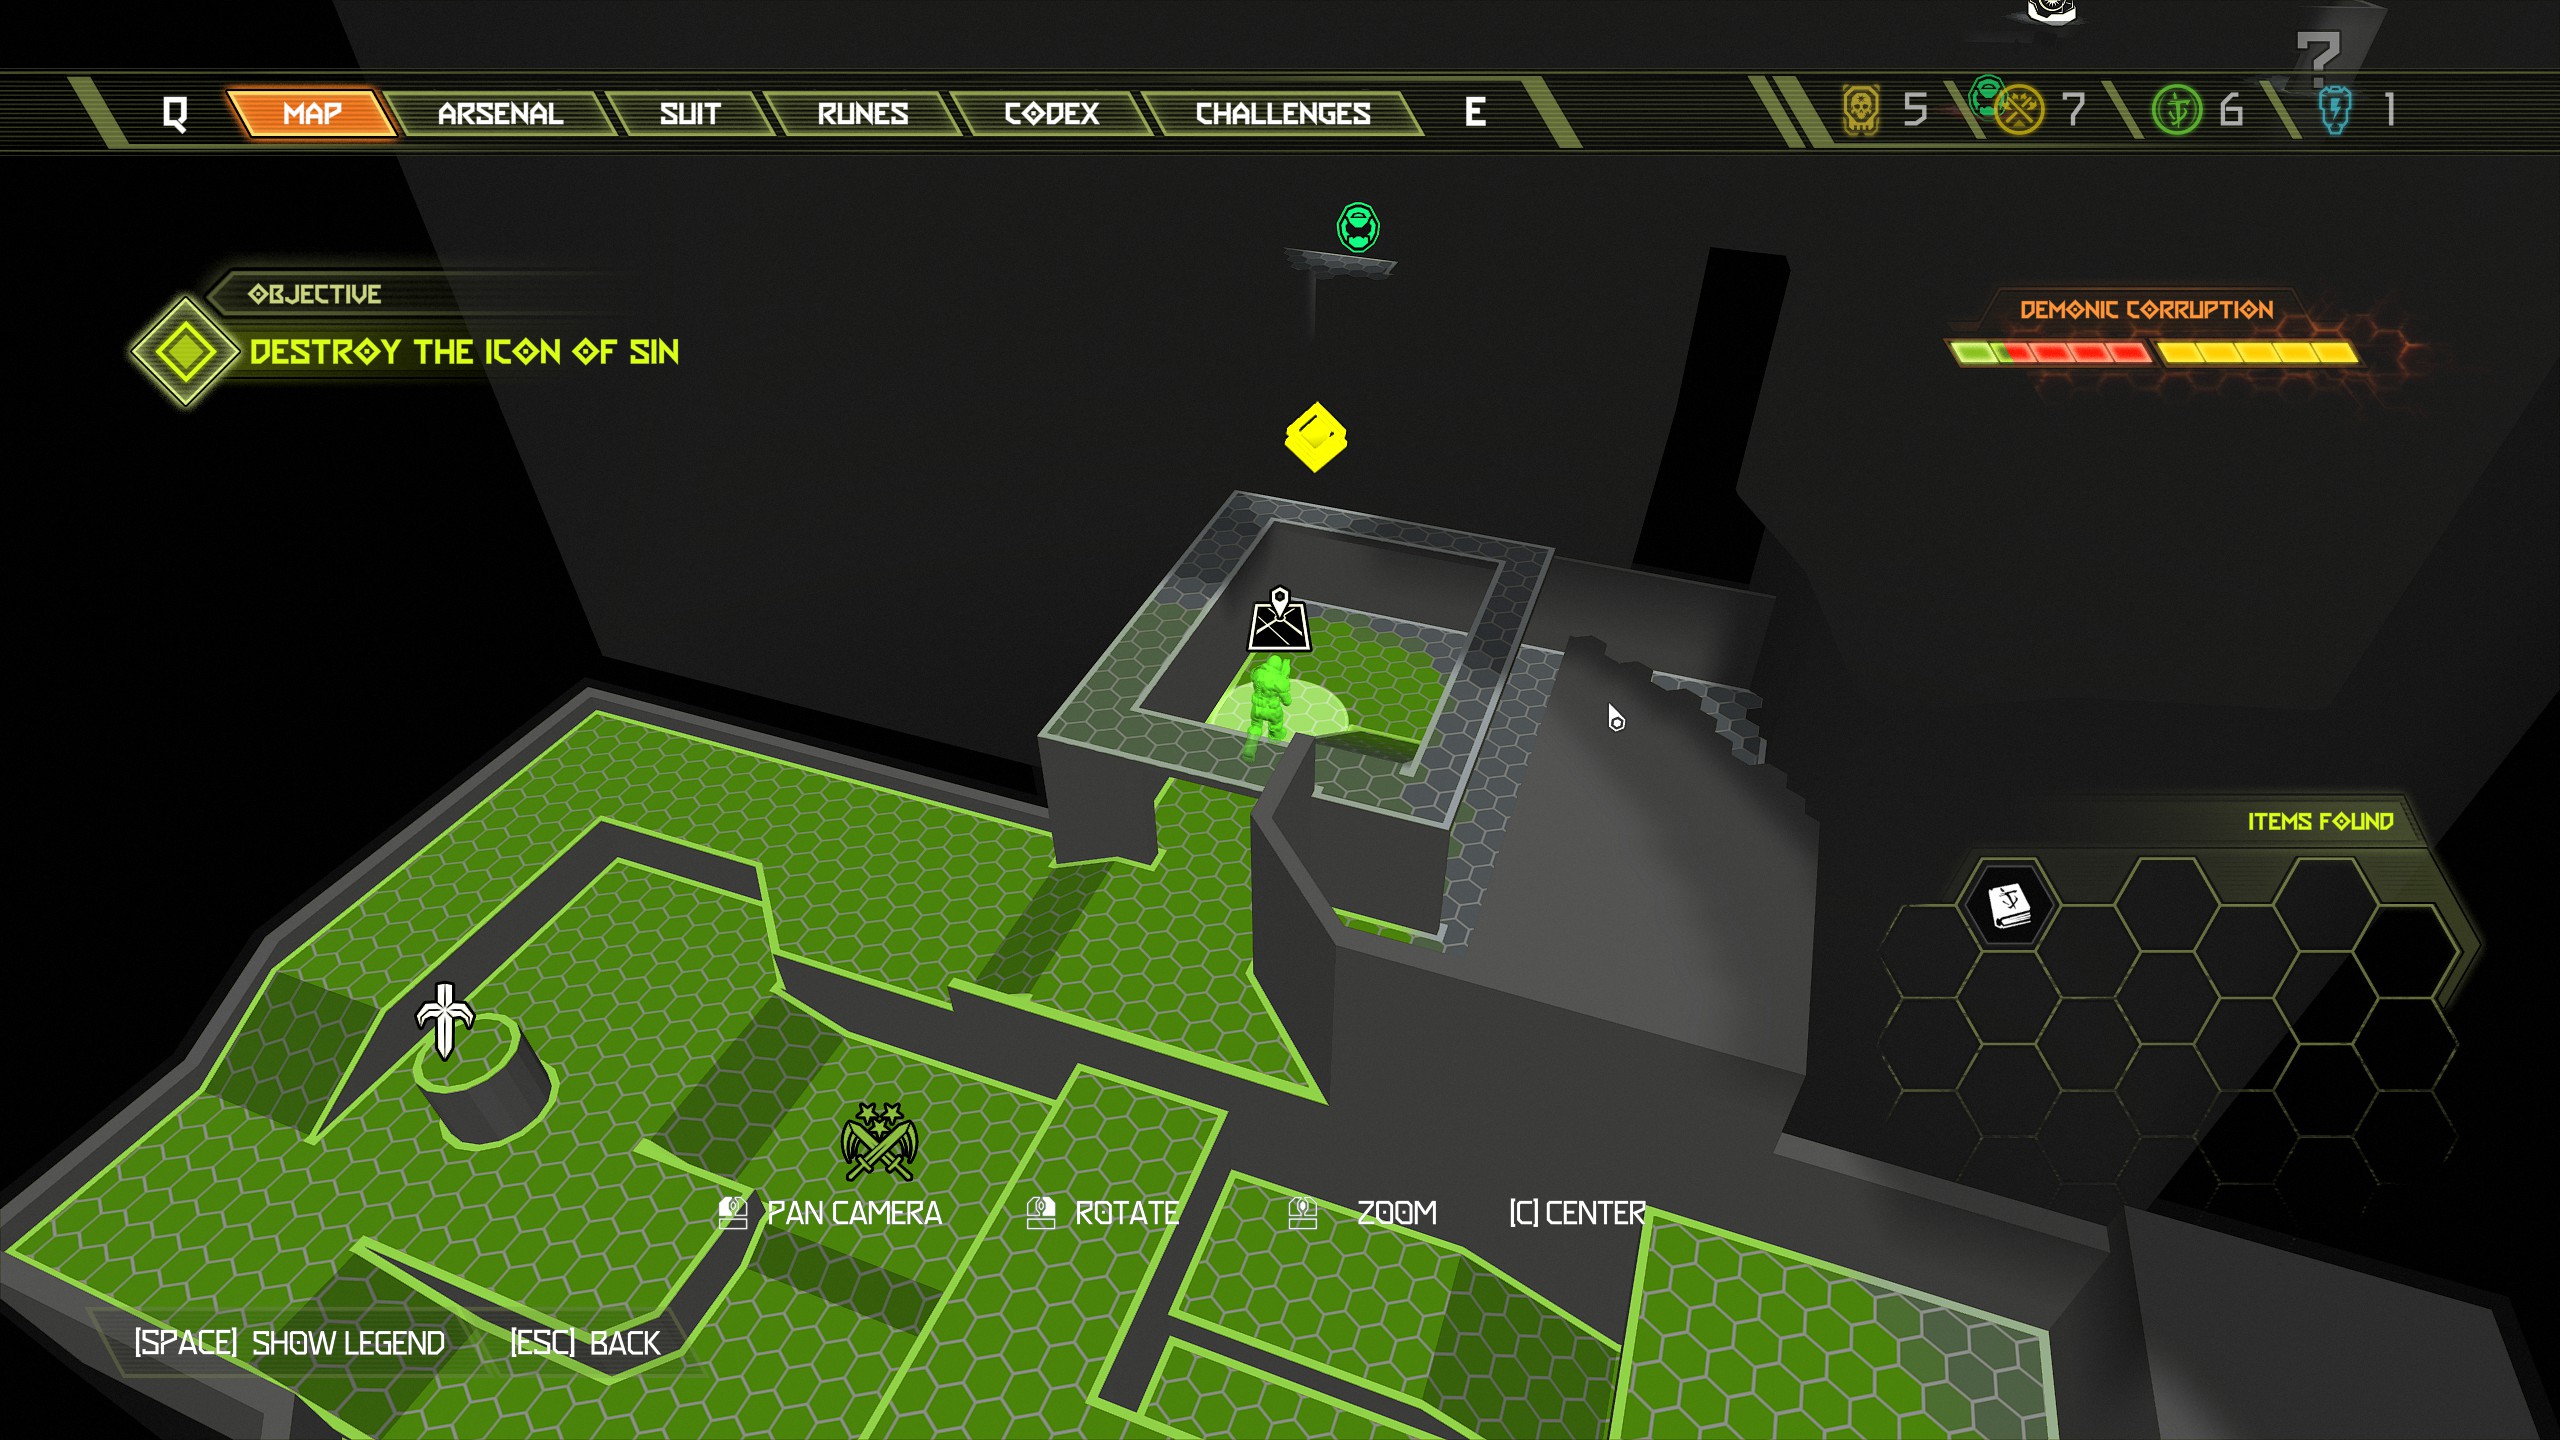
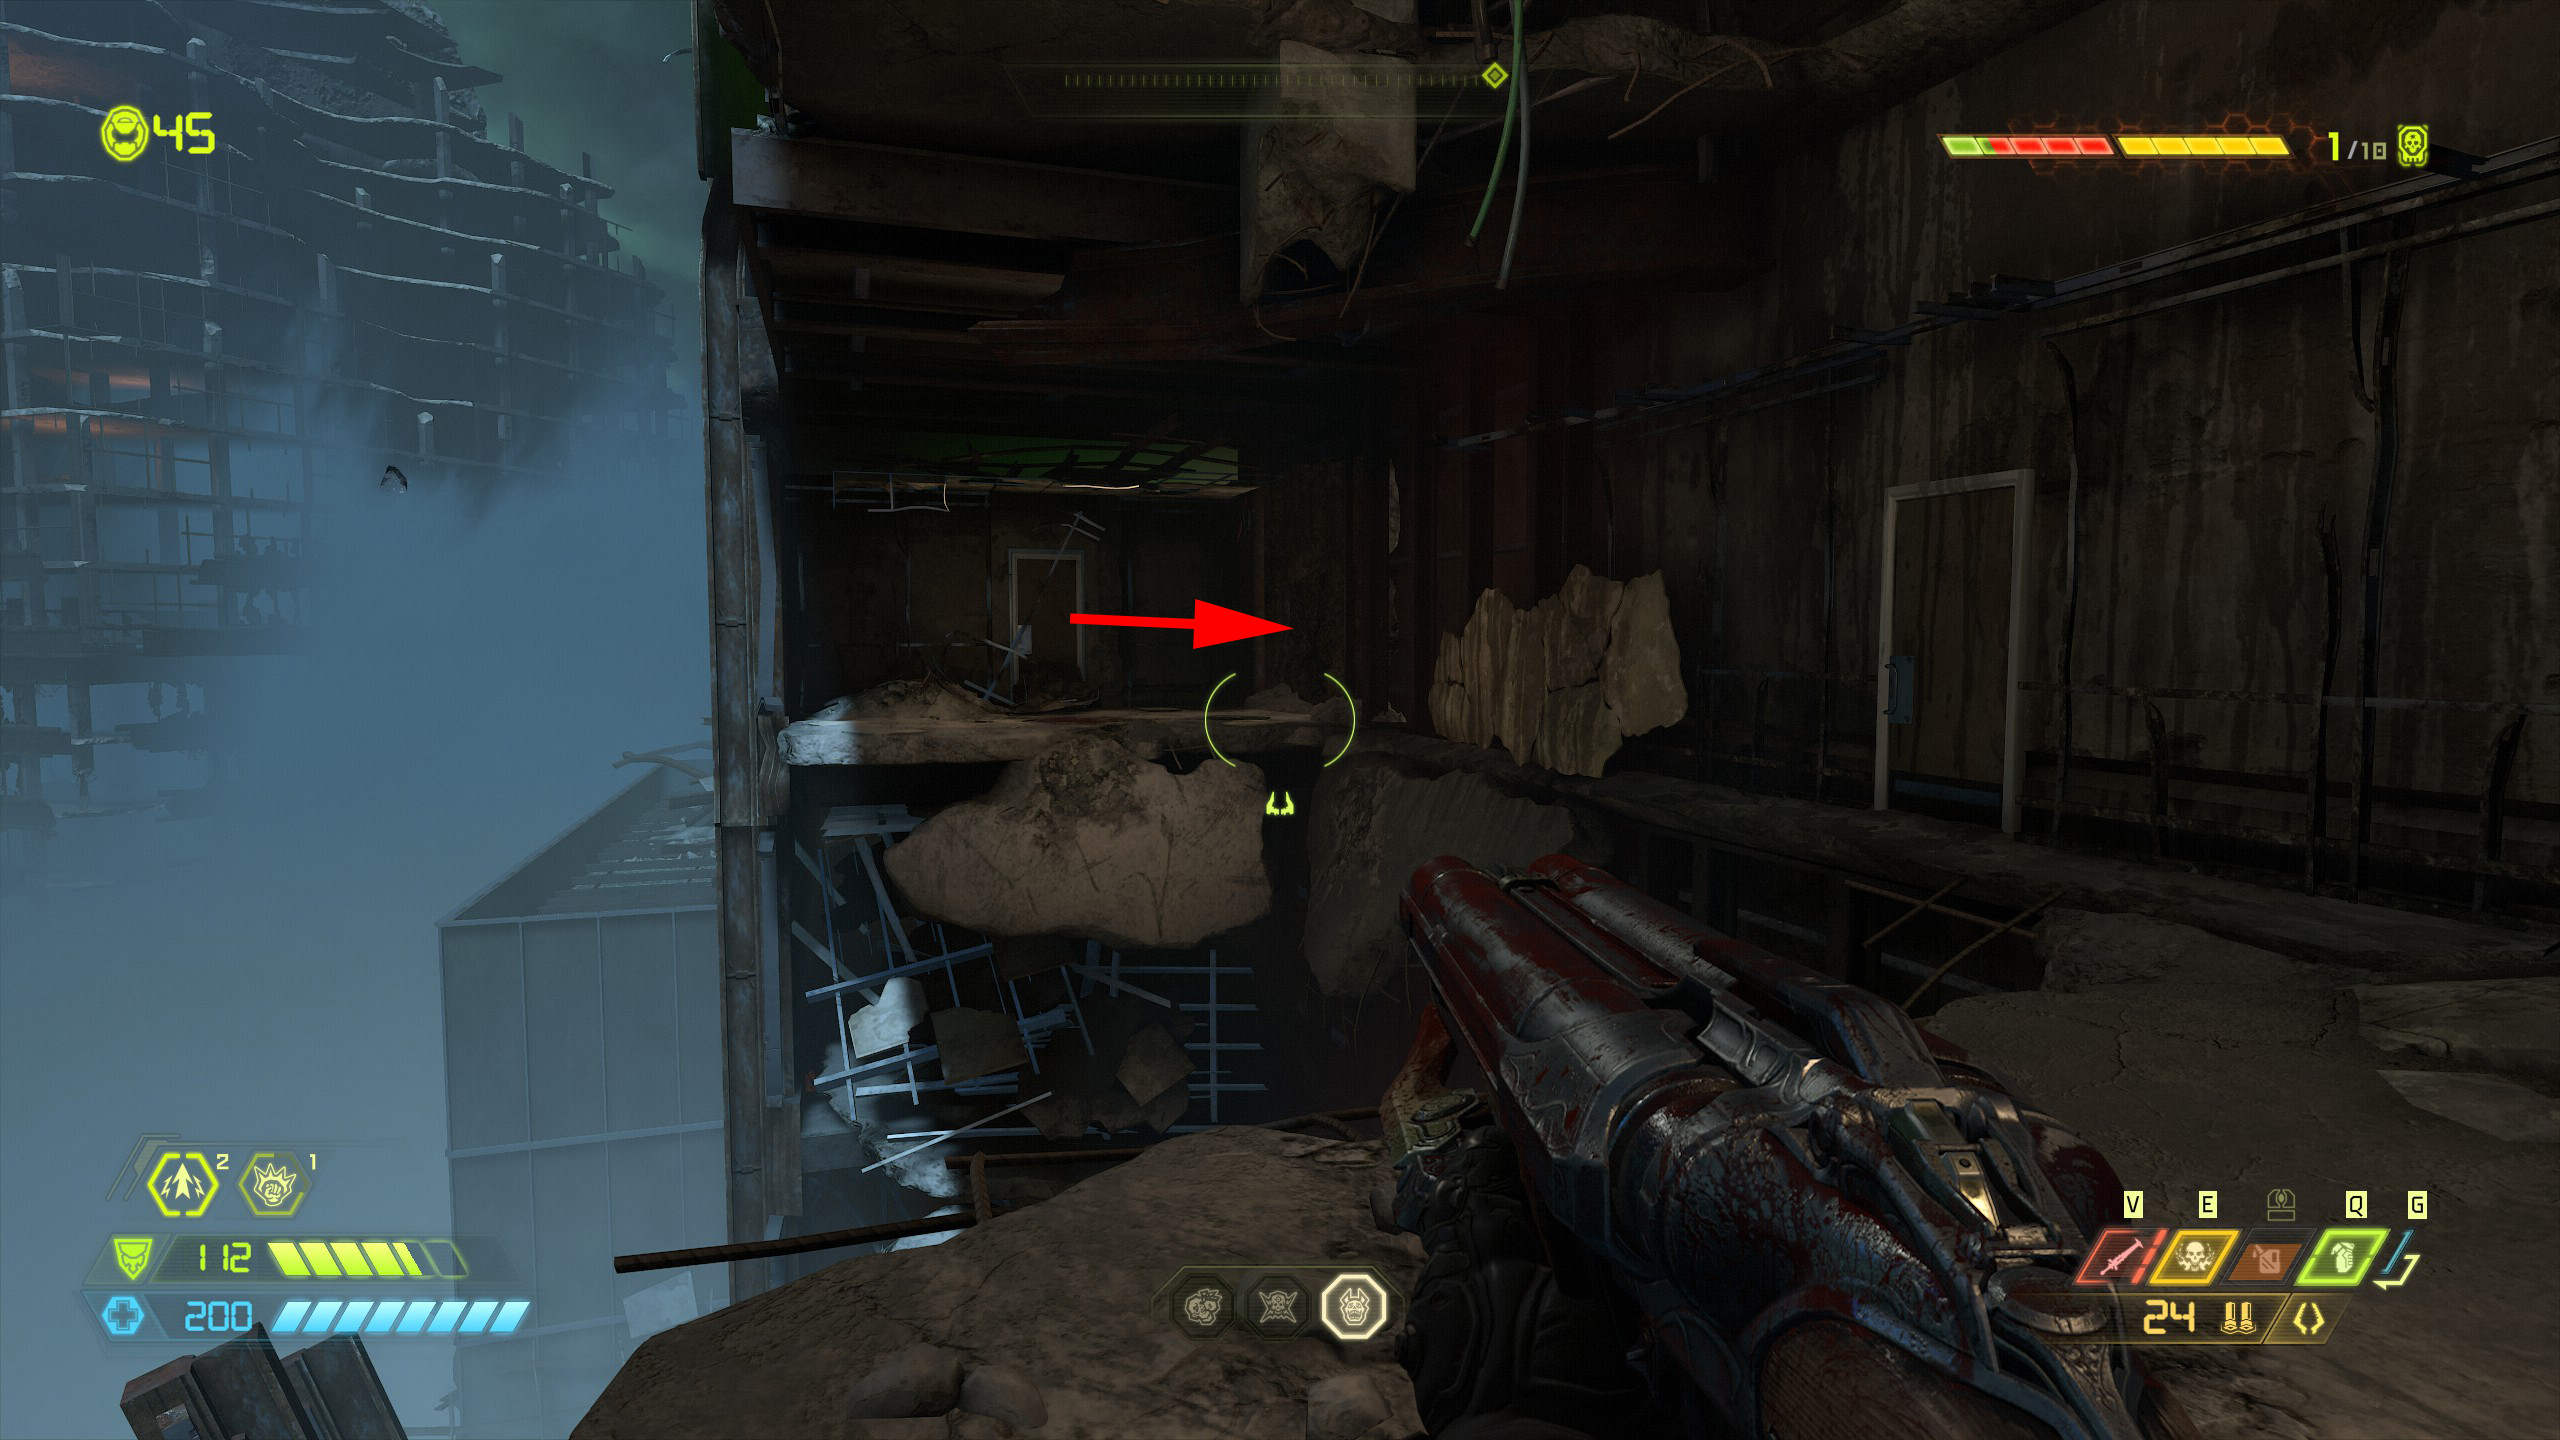
This should then bring you out to the upper platform.
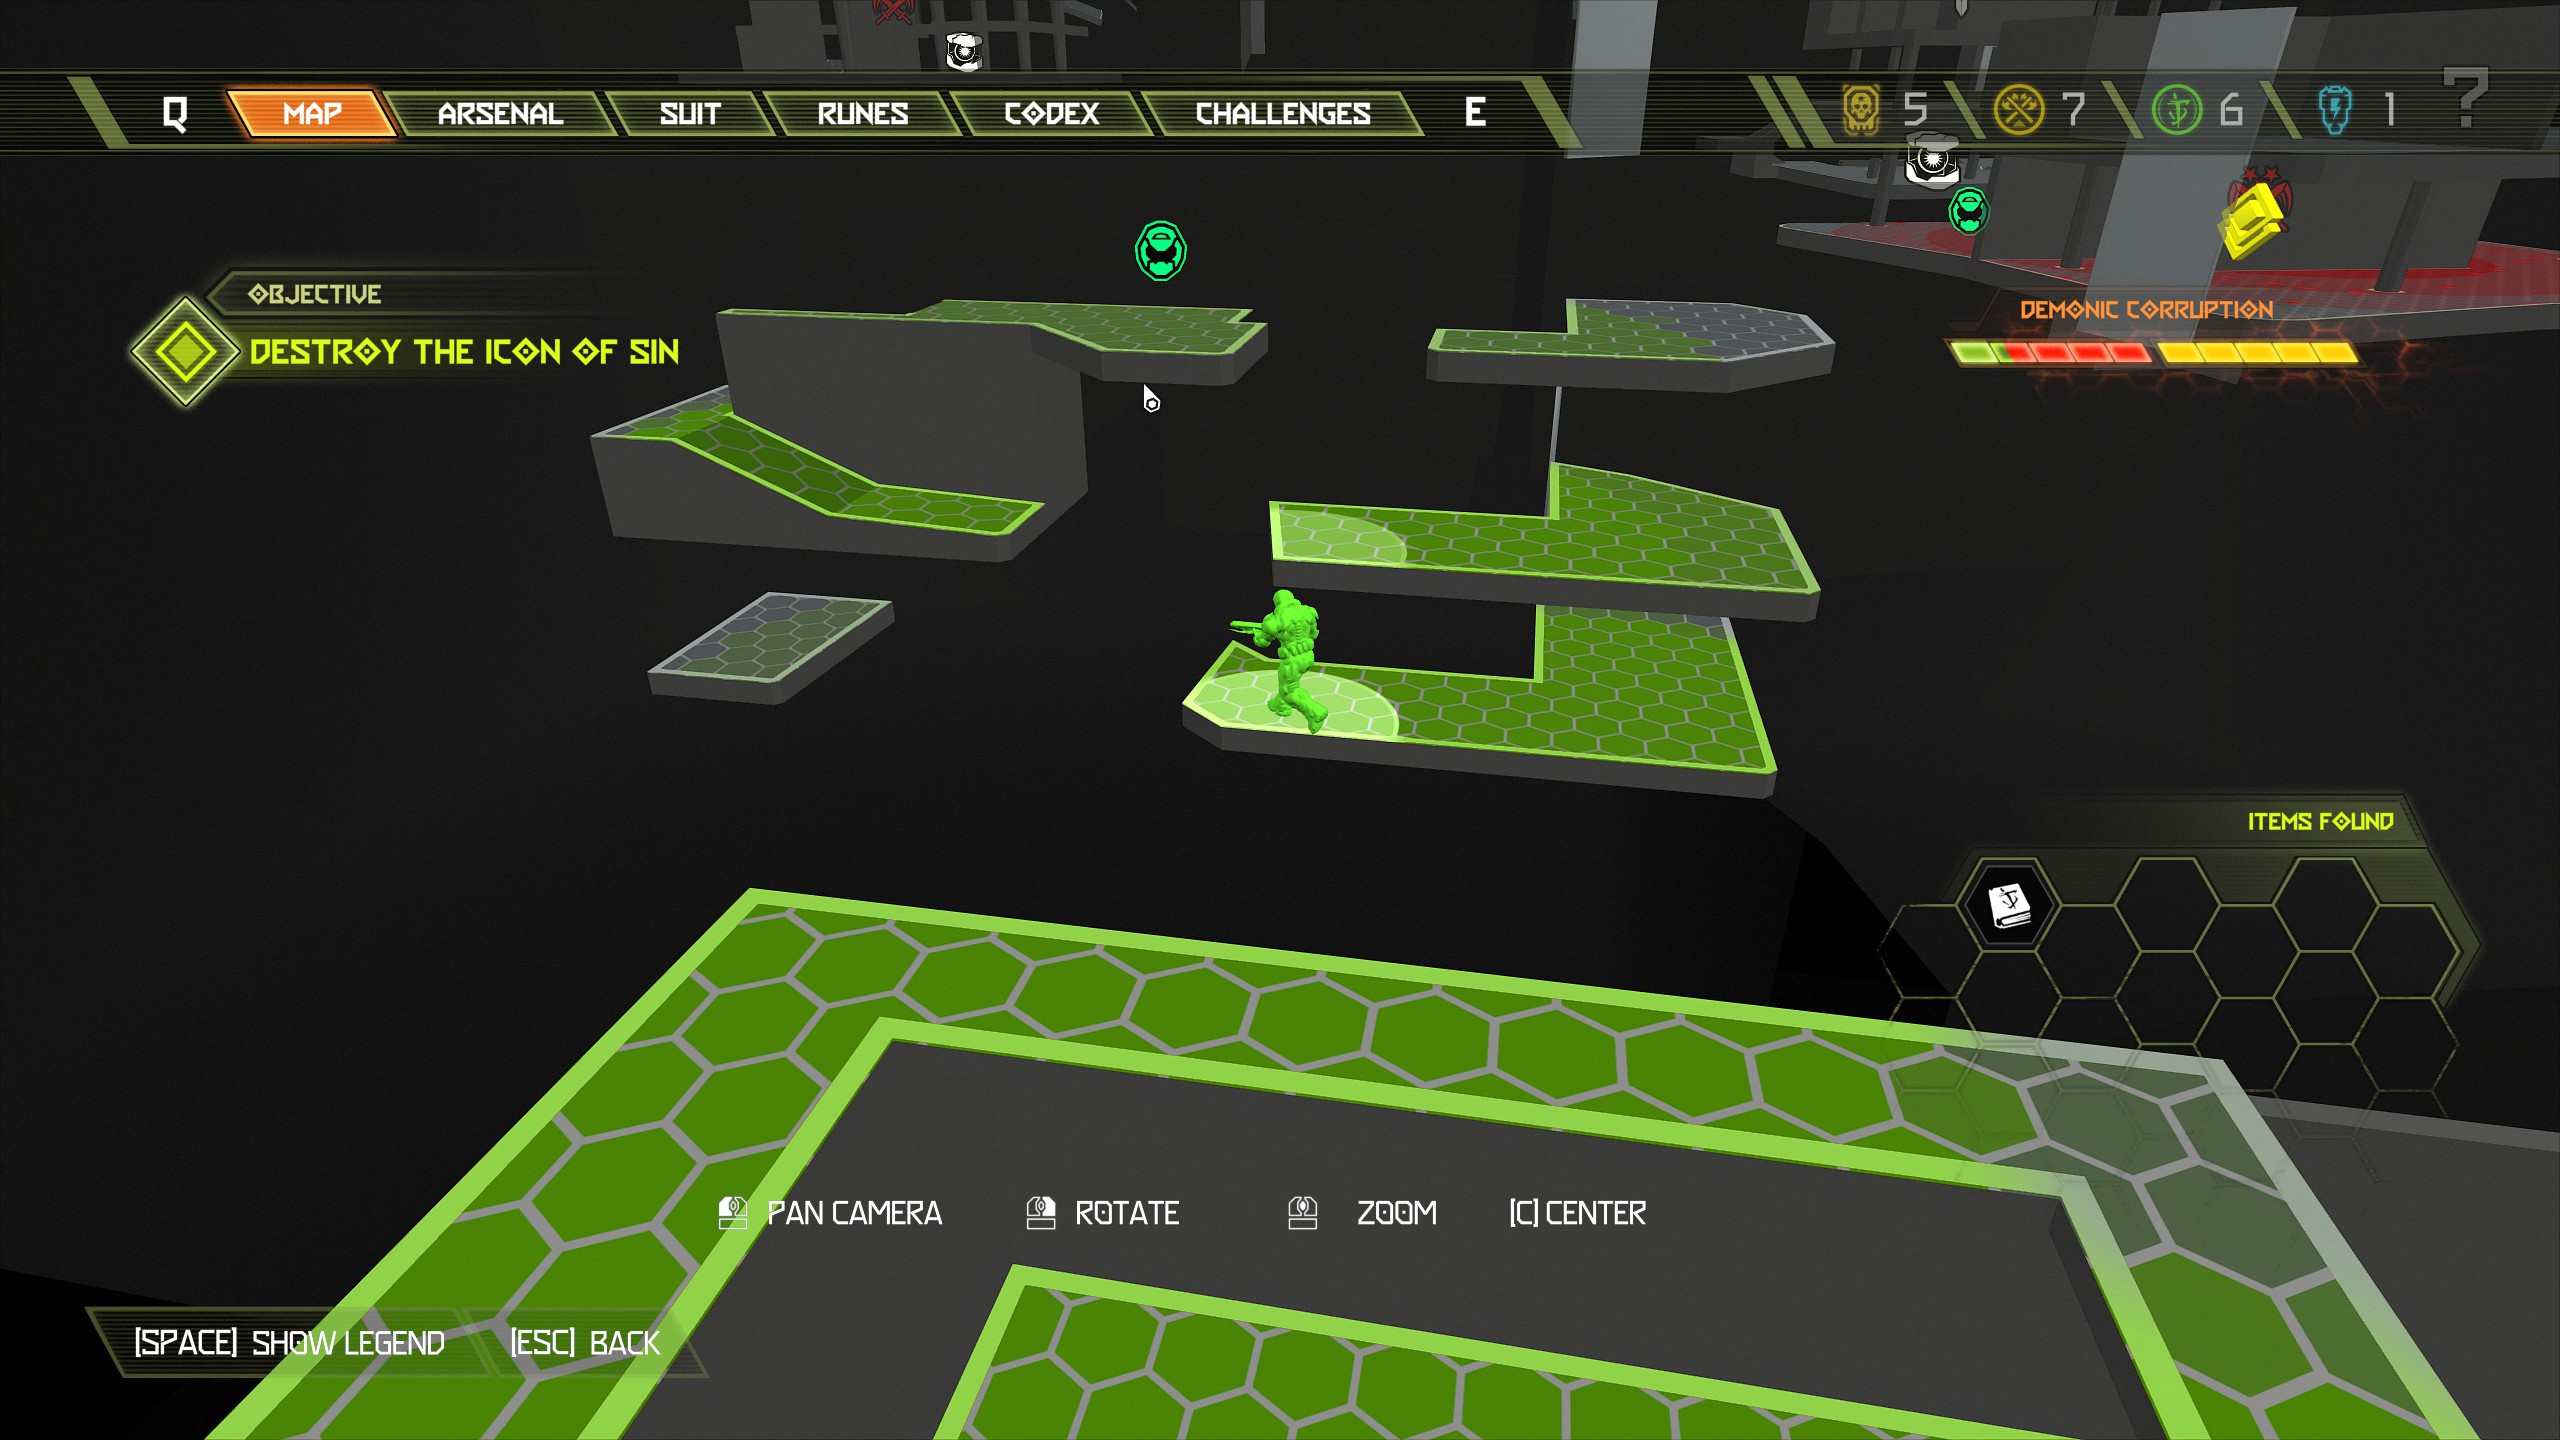
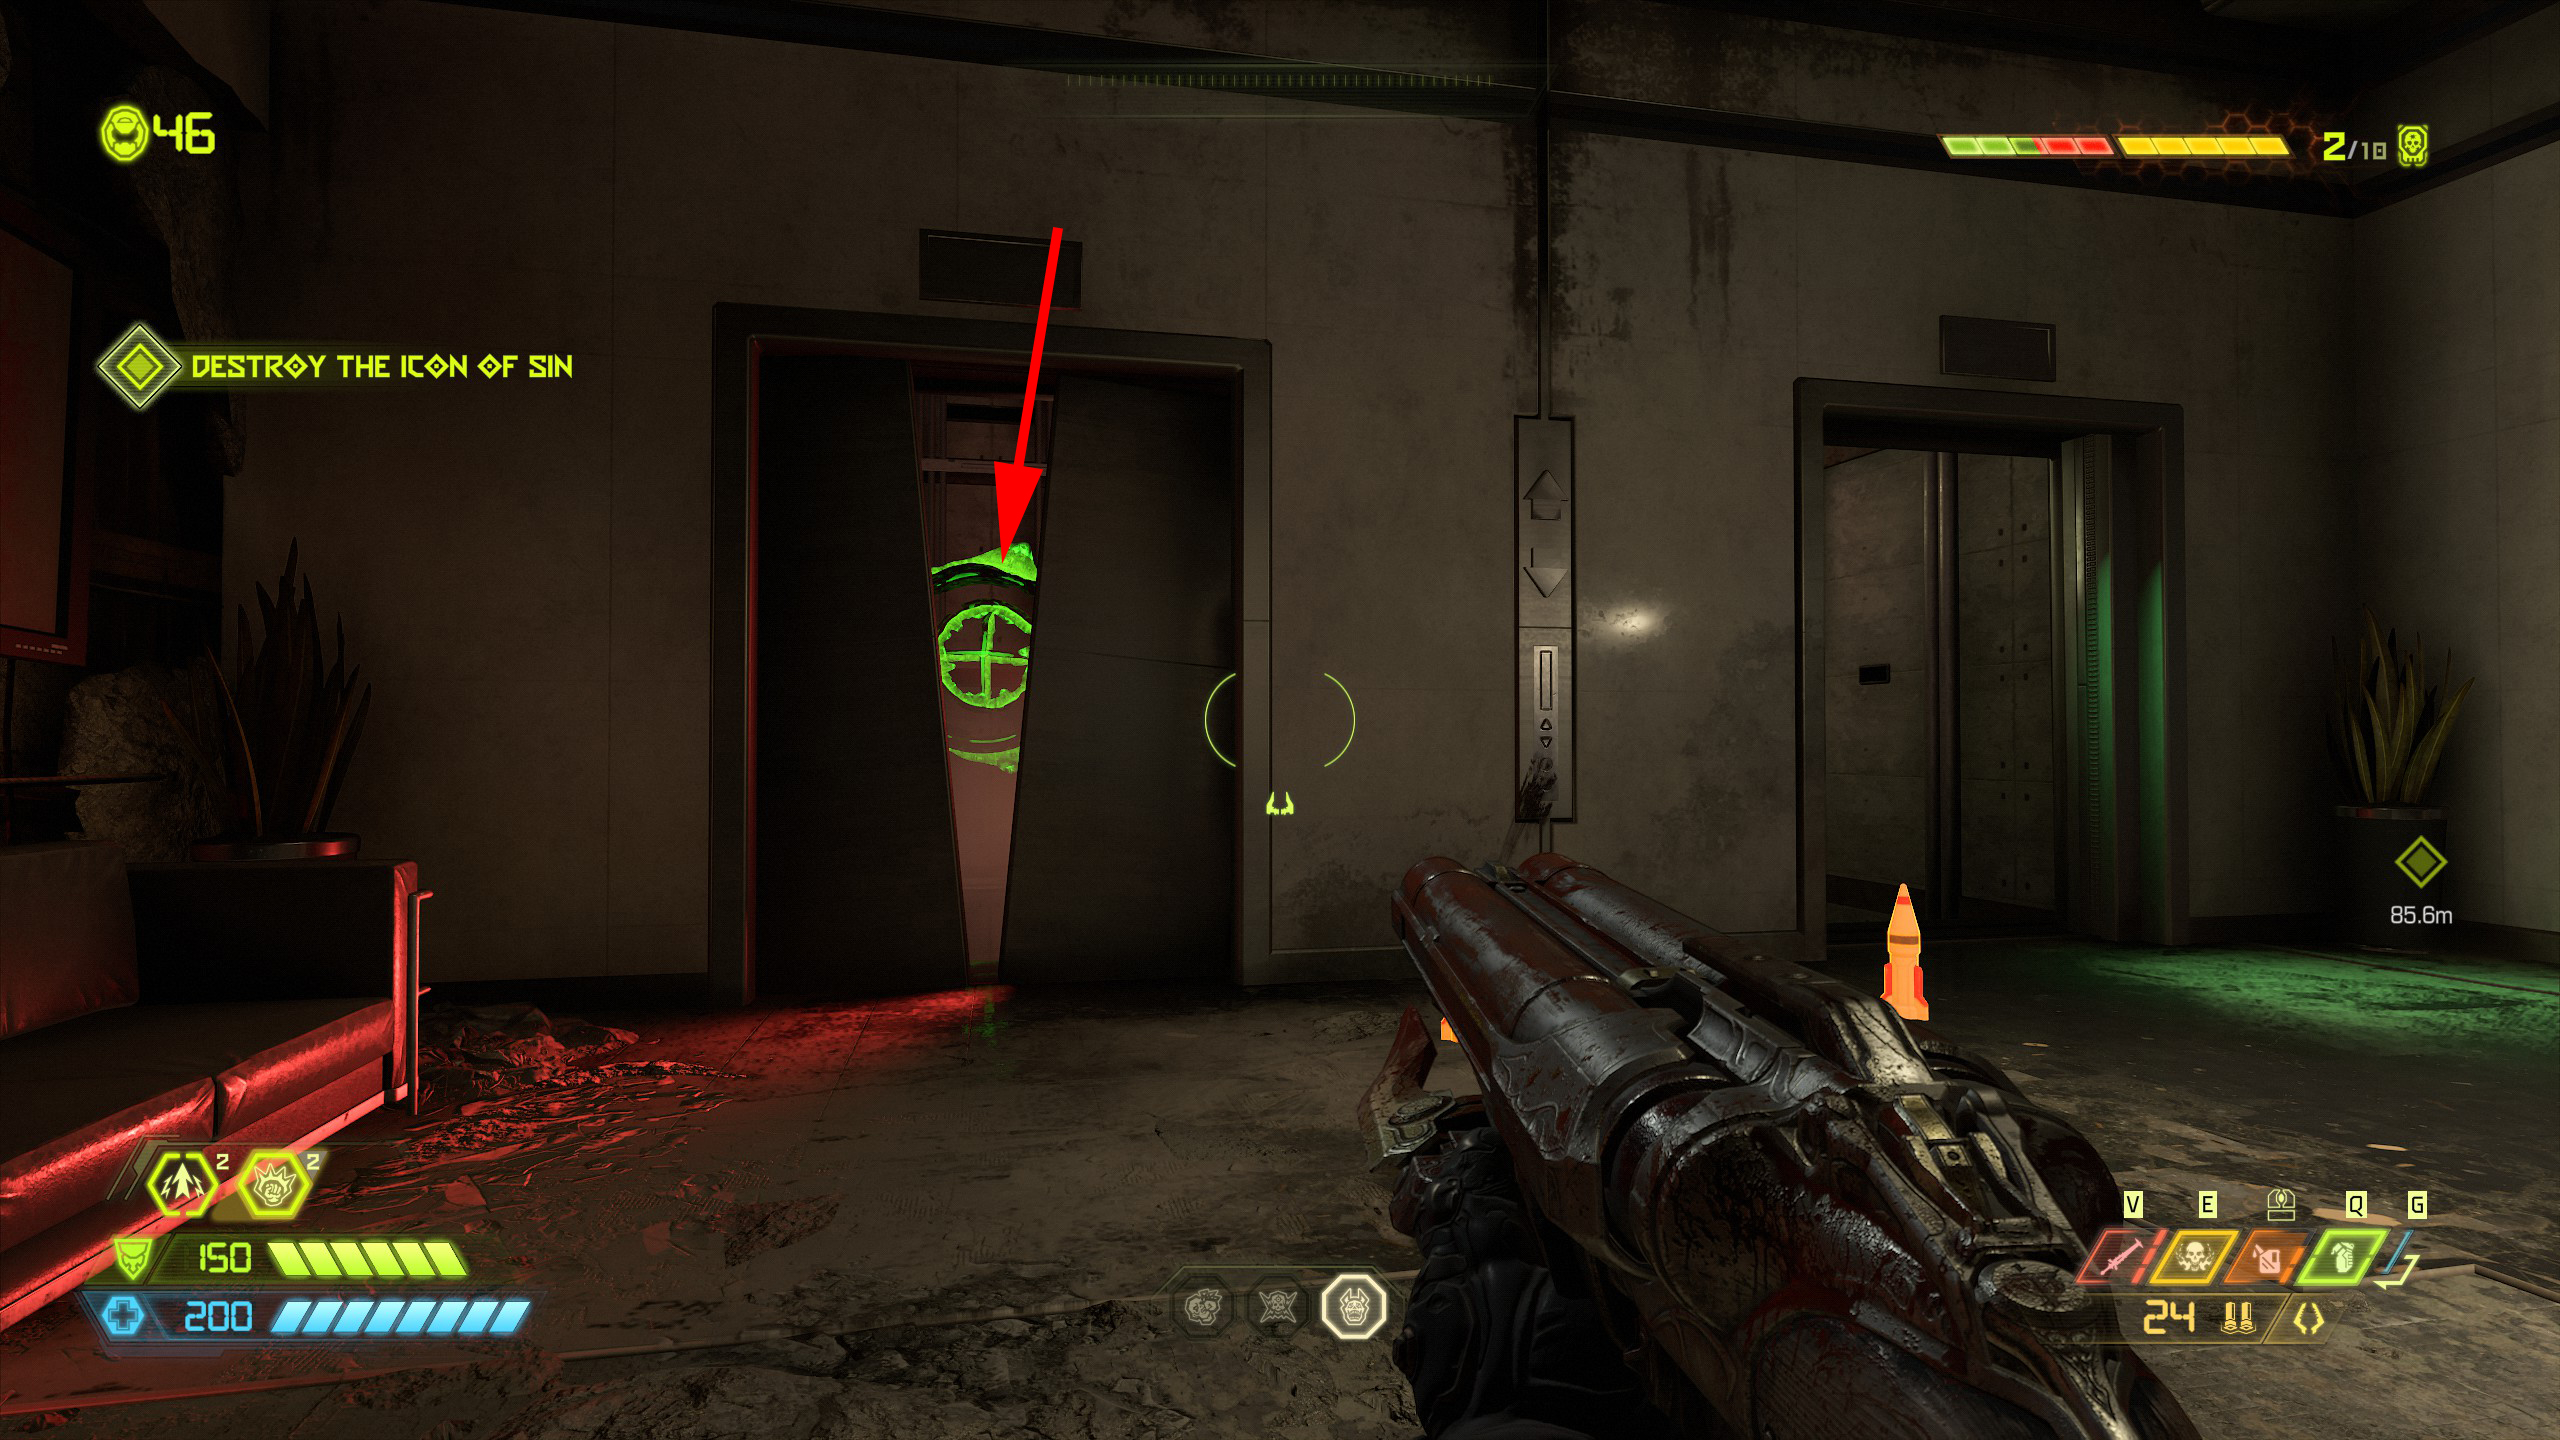
The elevator on the left side is out of service but has a green target inside, peak through and shoot it.
Now climb up into the elevator on the right side and when you reach the top you will see a codex page in front of you, immediately after the codex page look into the other elevator and you should be able to climb through and collect another extra life located inside.
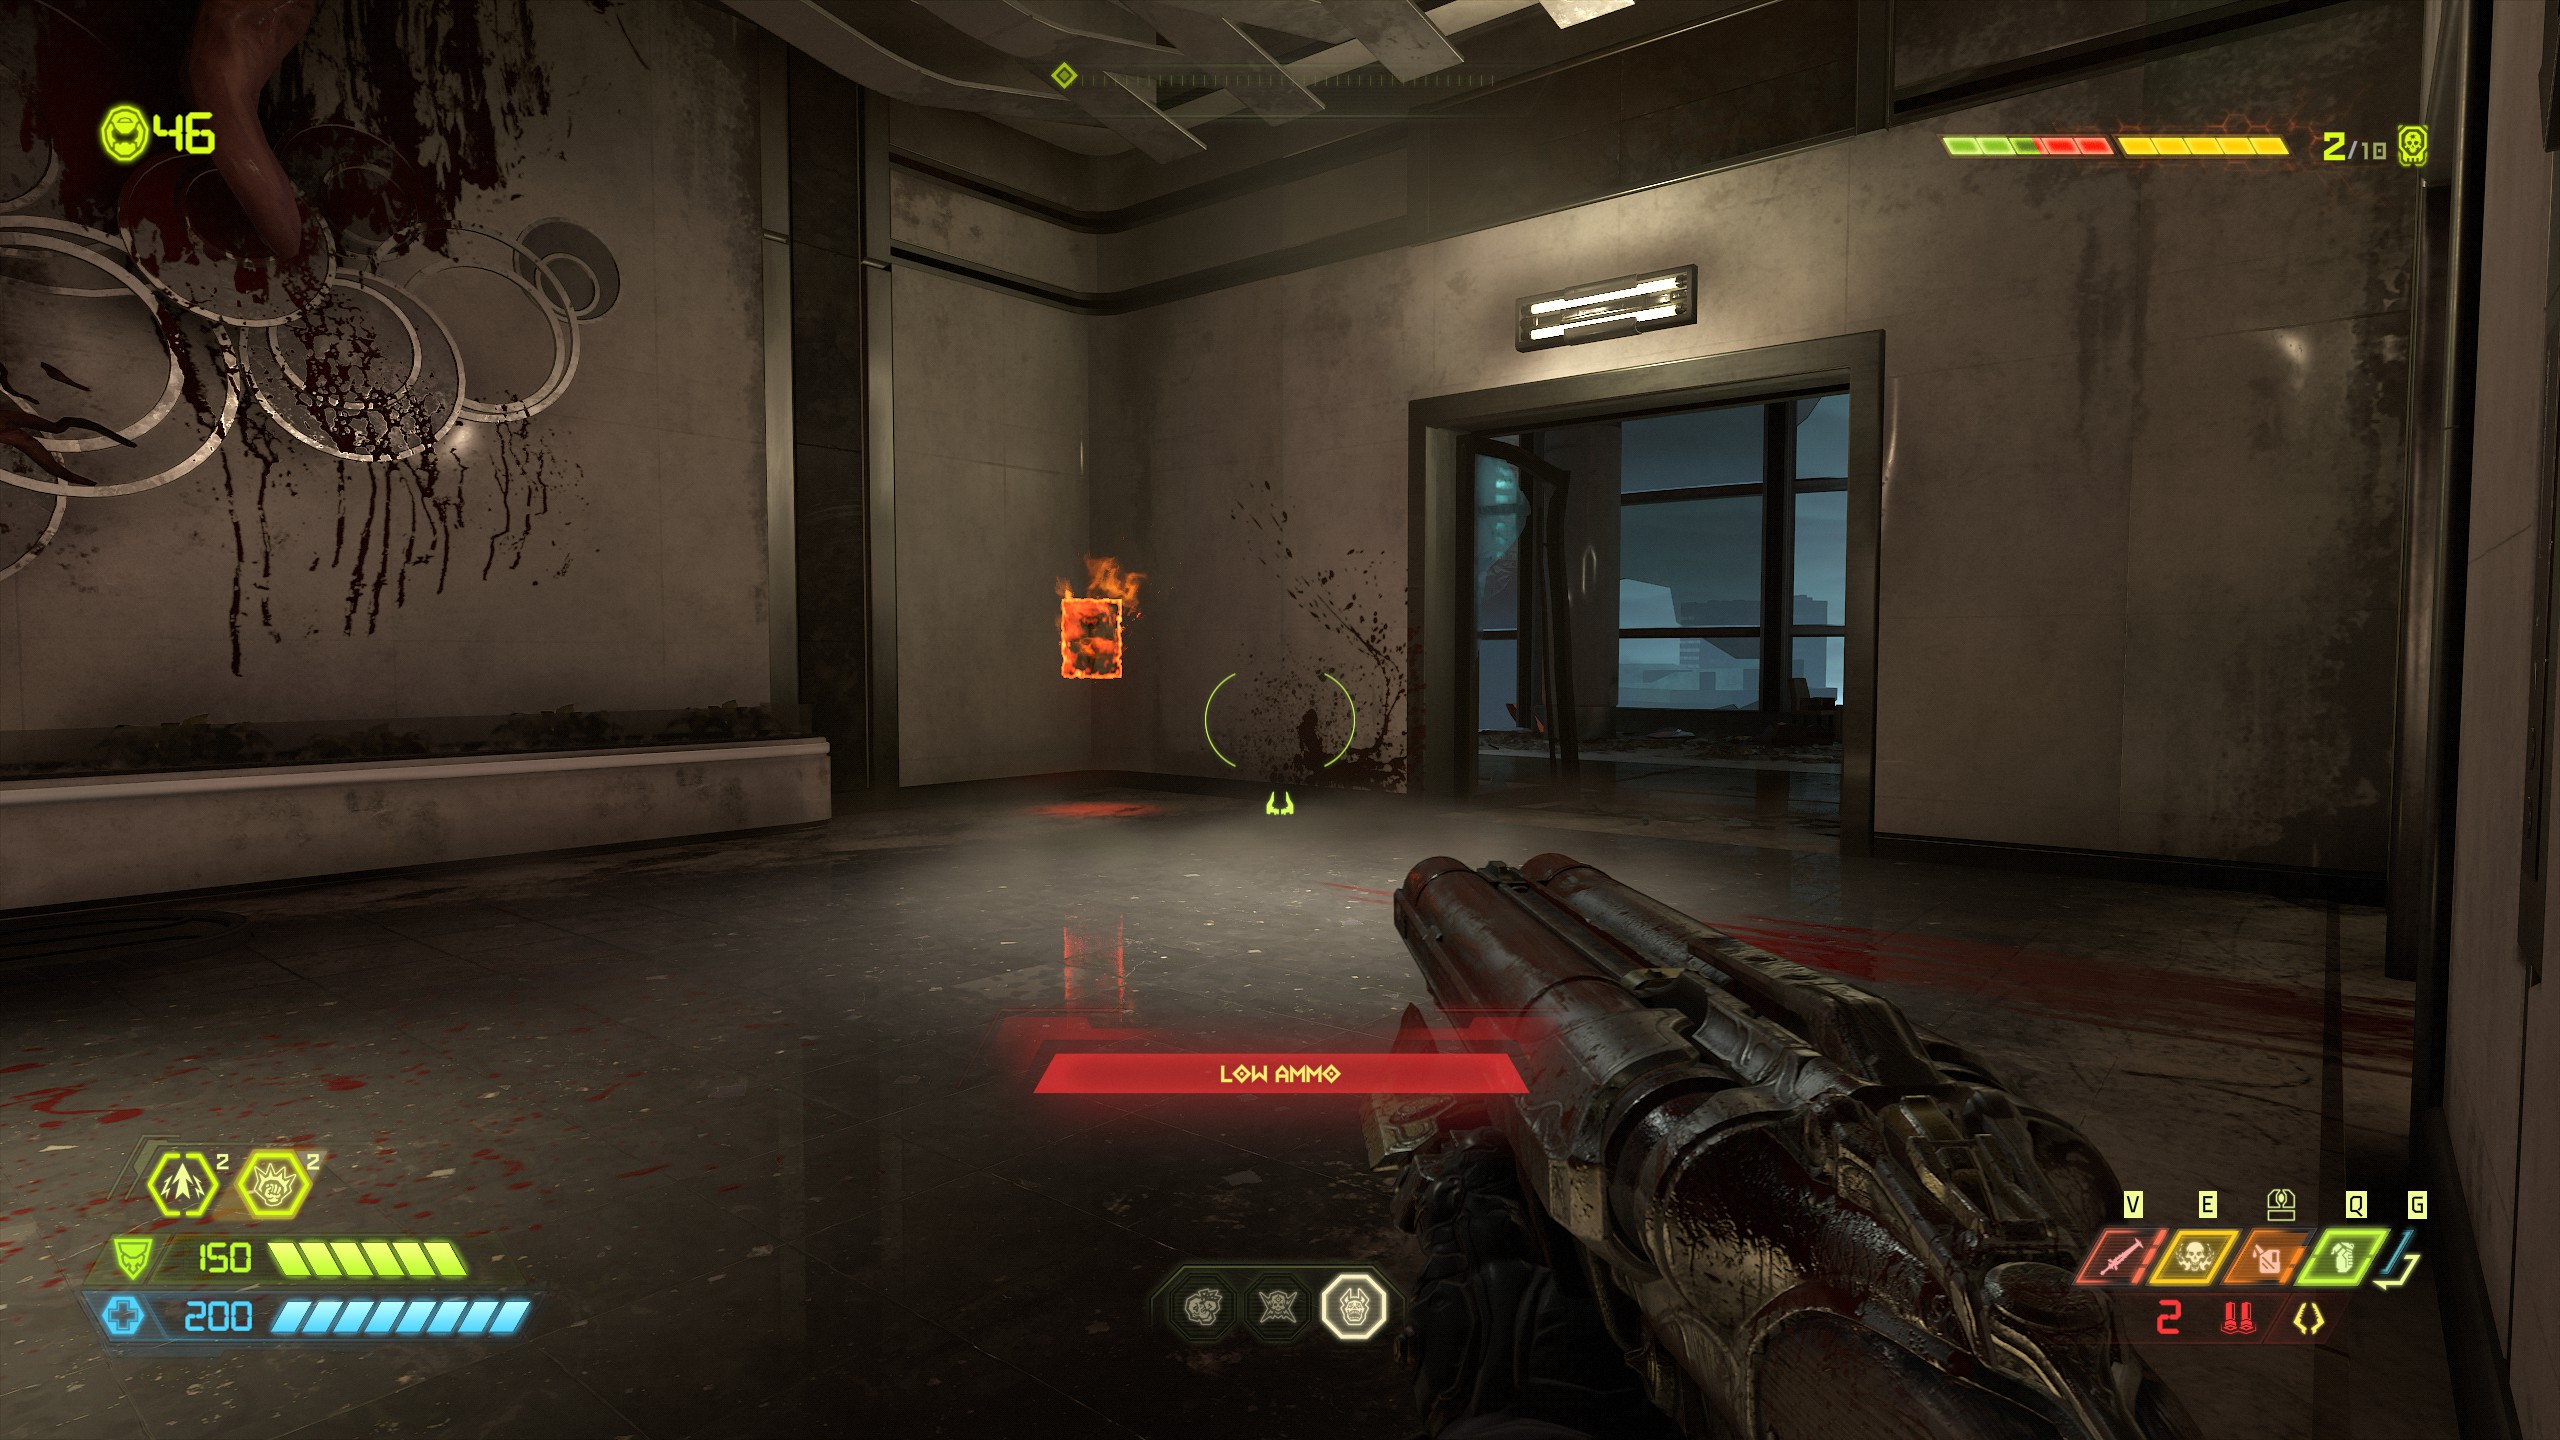
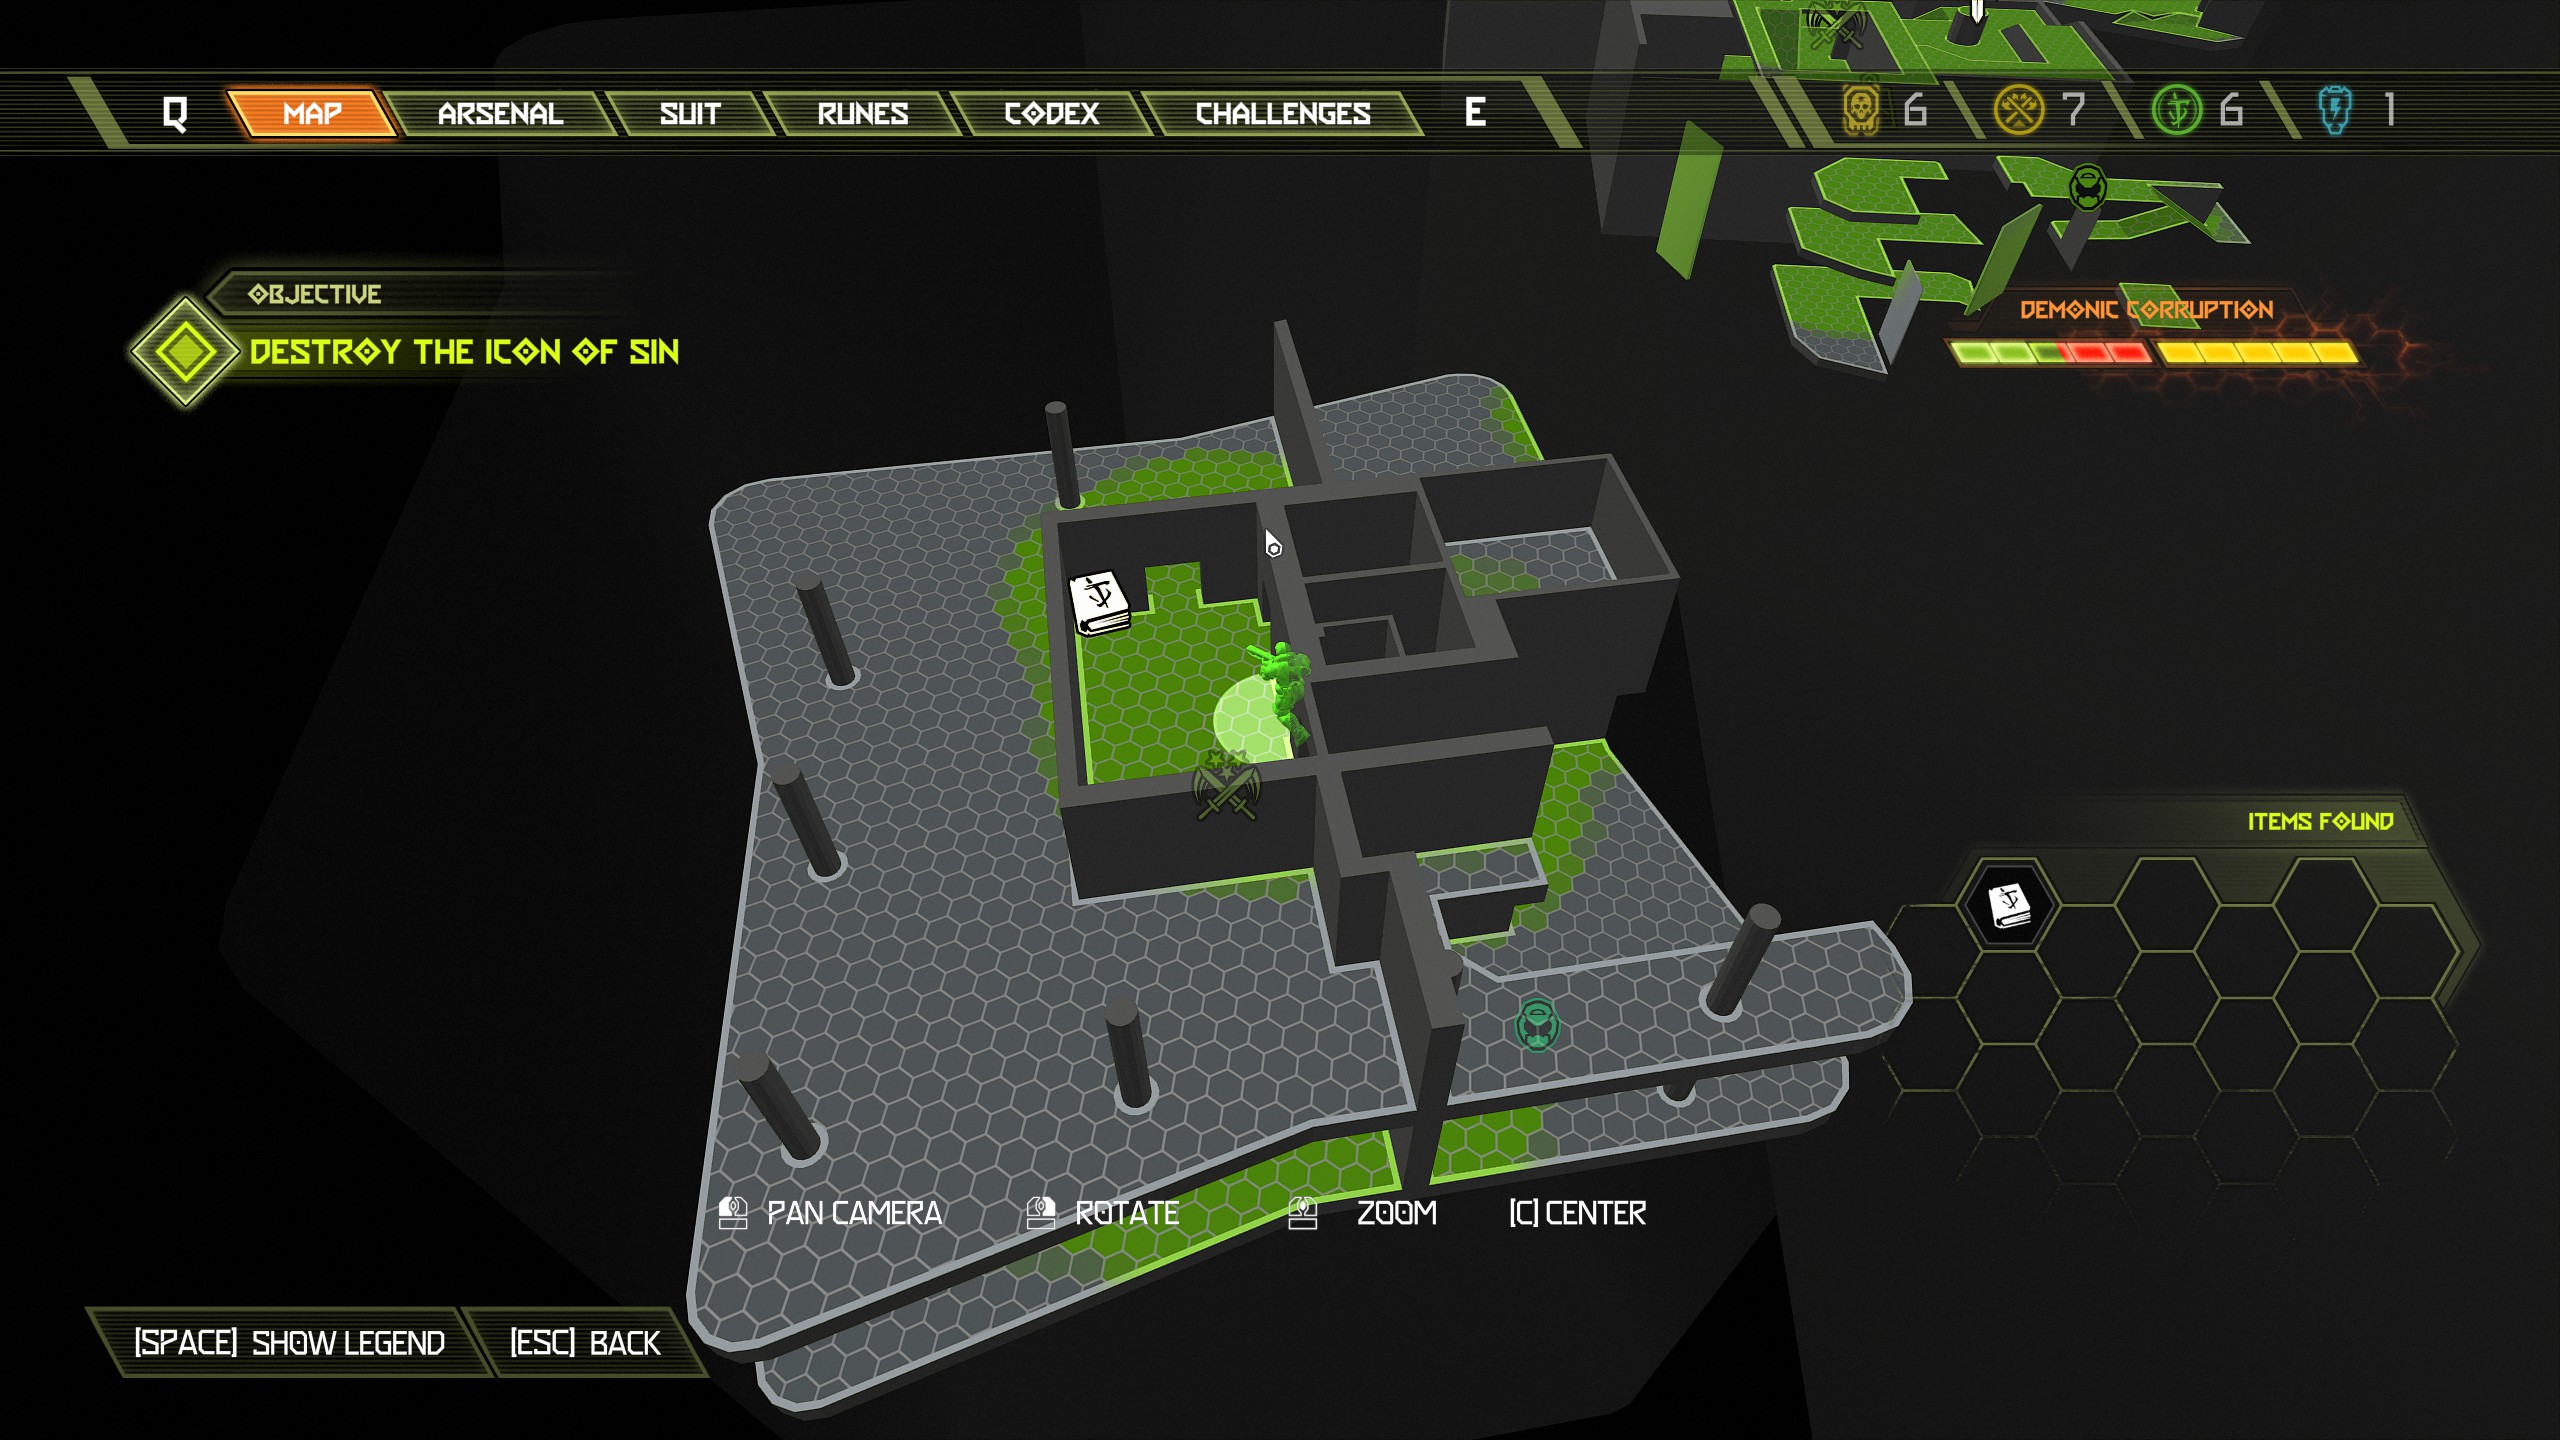
Proceed onward with the mission and you will reach a small cut scene where the bridge/platform gets destroyed. After this jump across to the opposite side and clear the room of demons, this room should contain a buff totem that you need to destroy.
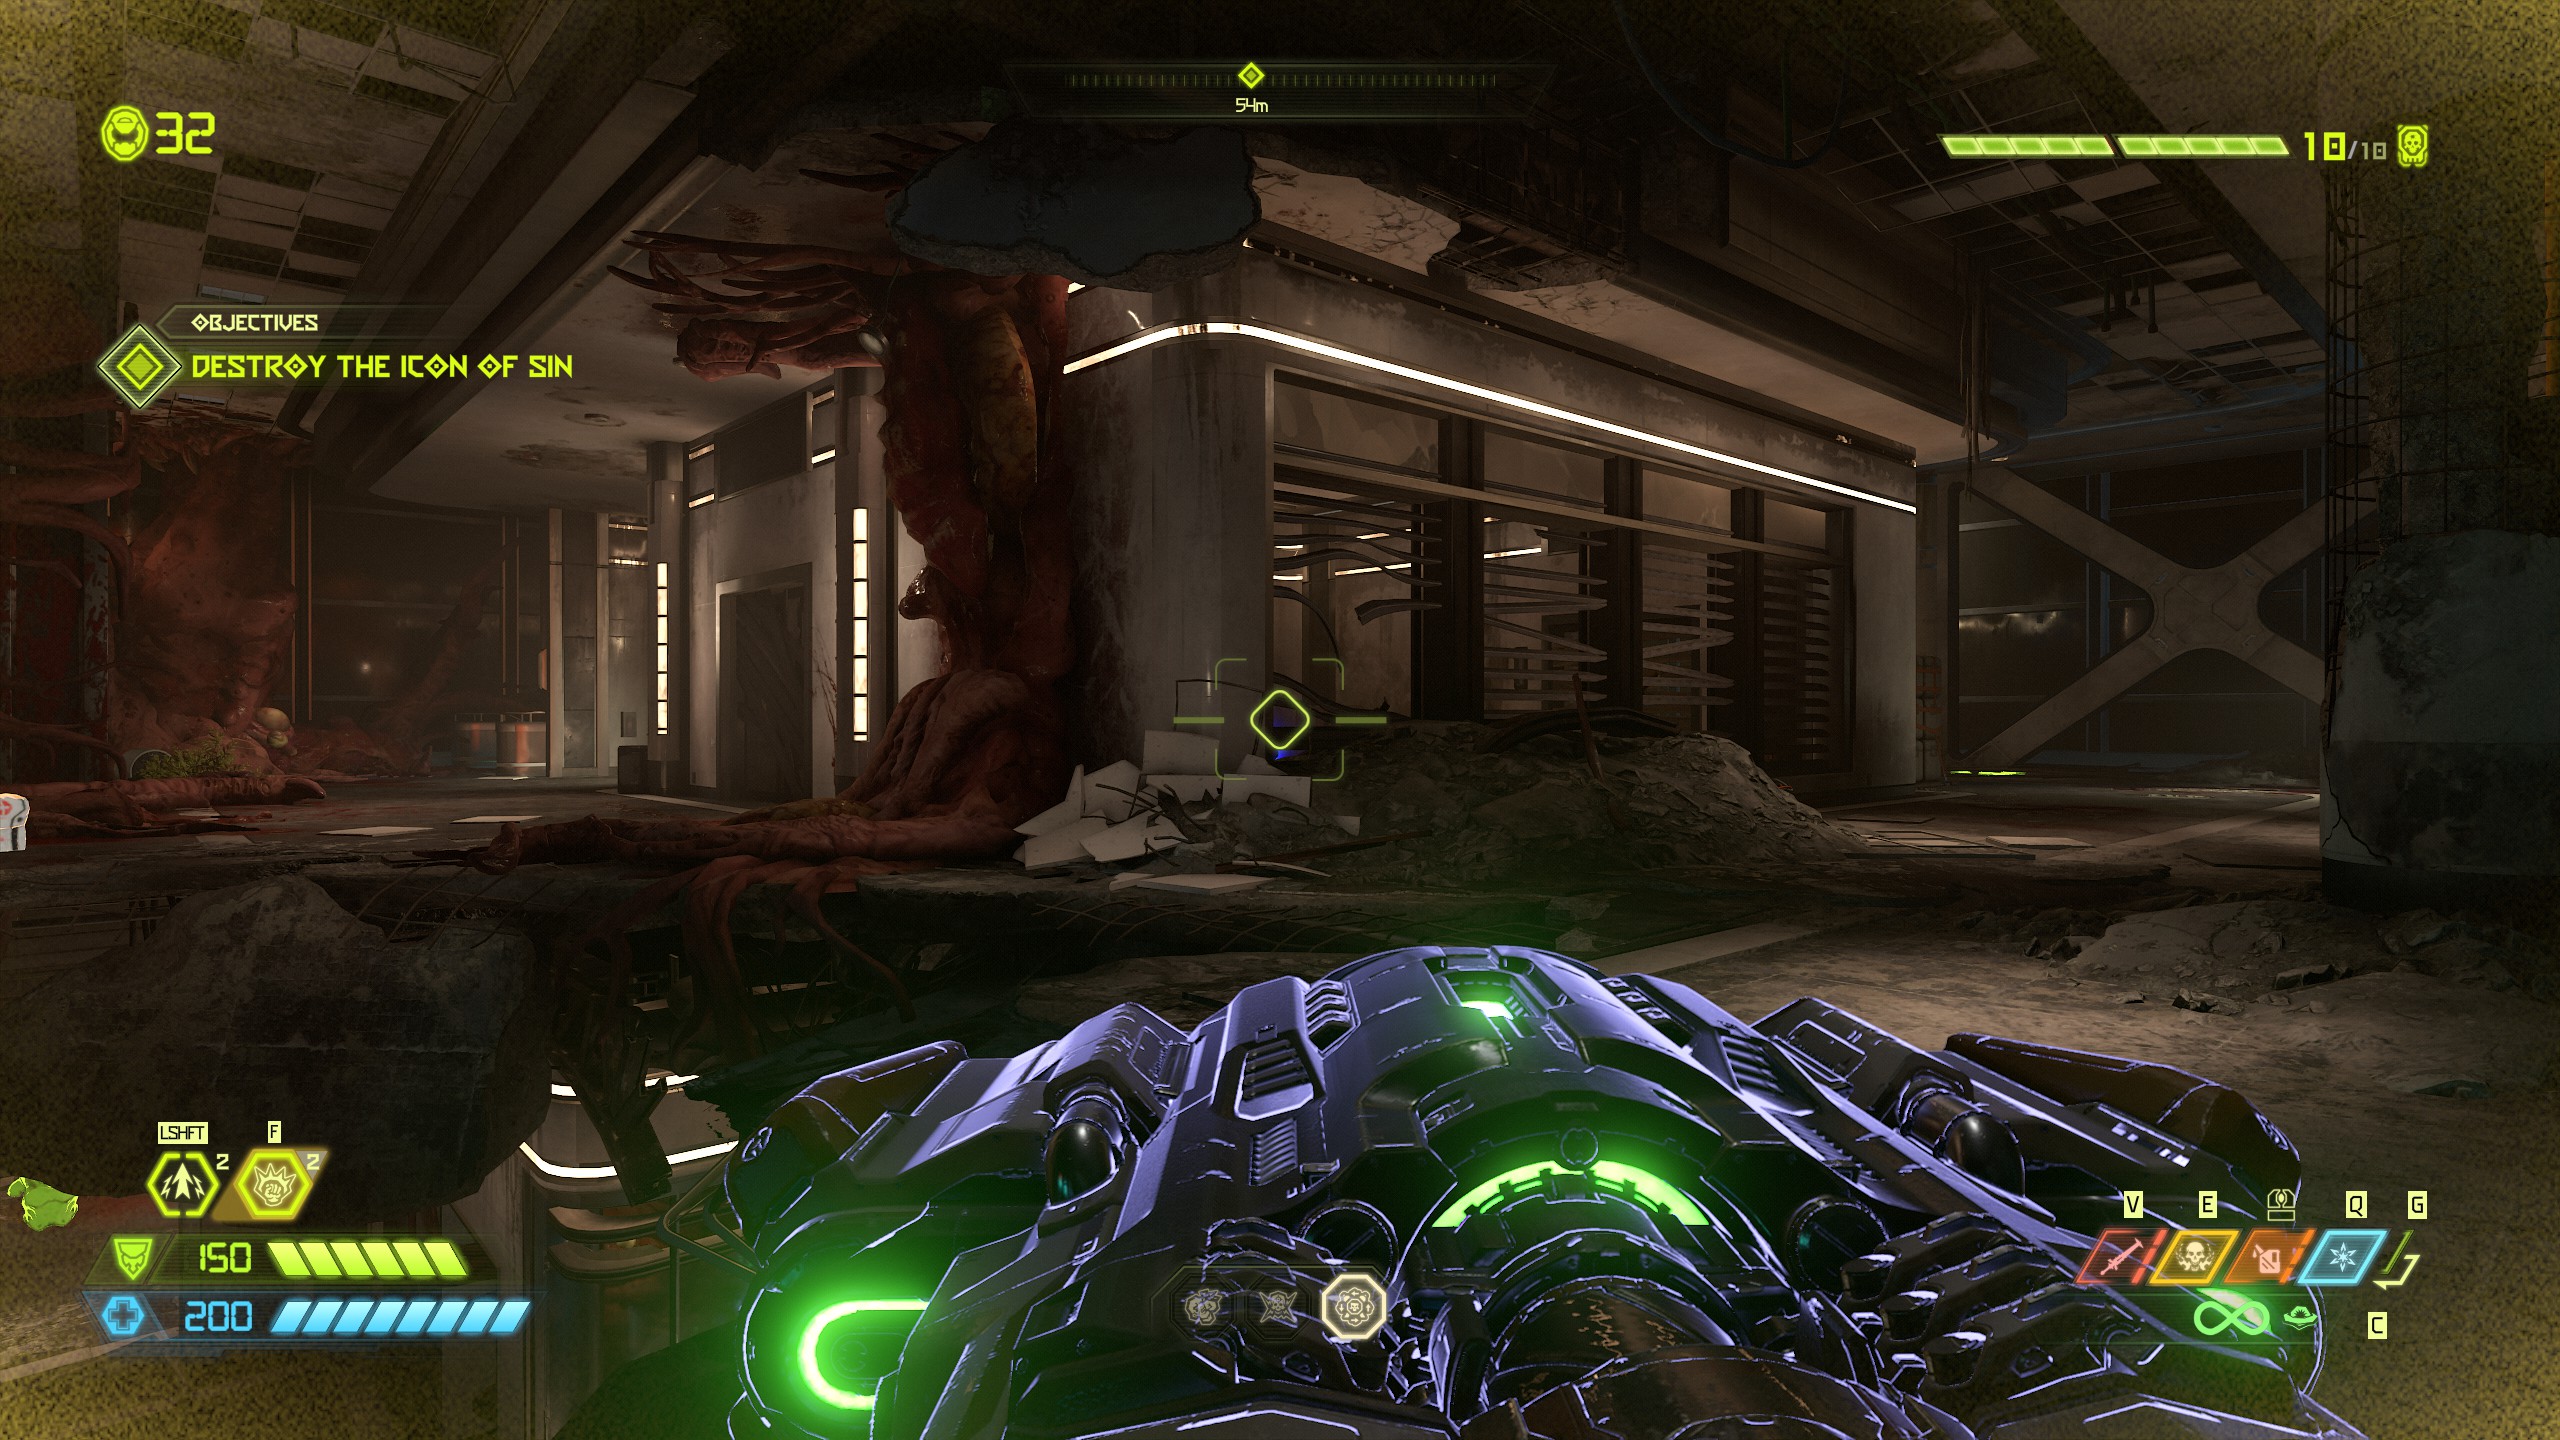
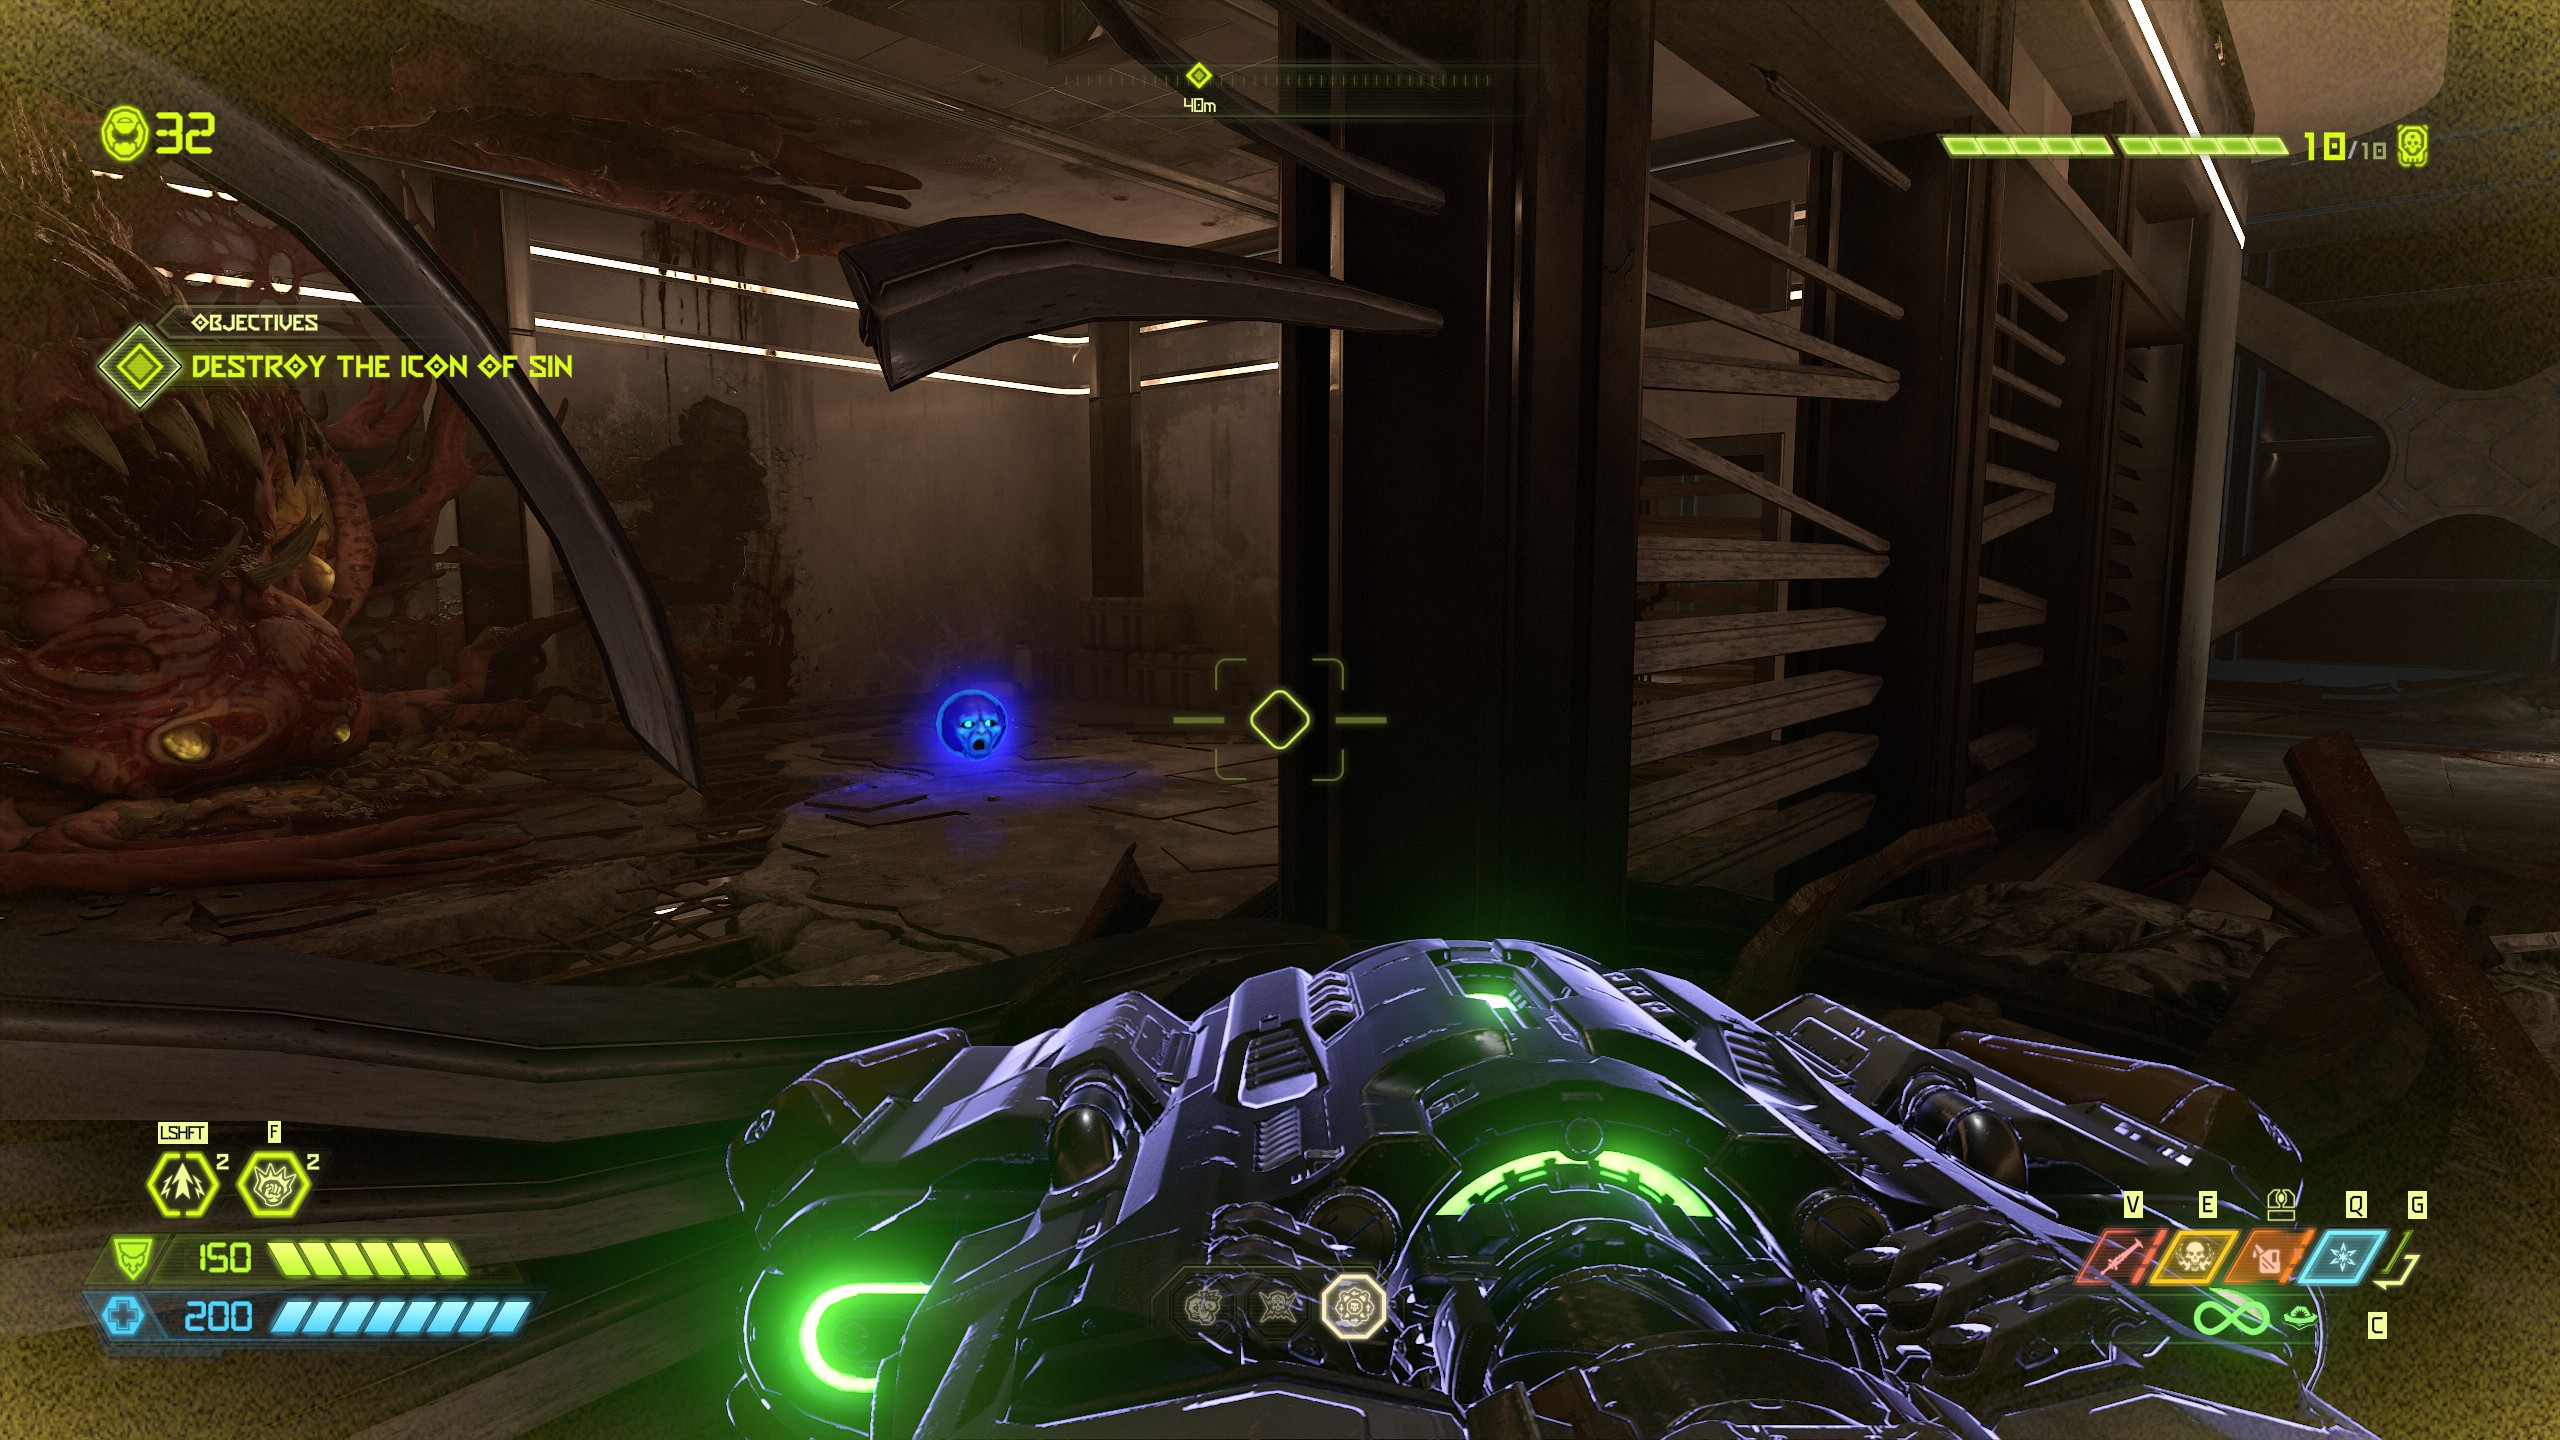
To access the orb keep following the path around and move up to the next floor by climbing the wall towards the quest marker, once you reach the next floor do not follow the quest marker and instead follow the path to the left side all the way around. At the end of the path tucked in the corner will be an open shaft, enter inside and break the vent to drop down and collect the blue orb in the room below.
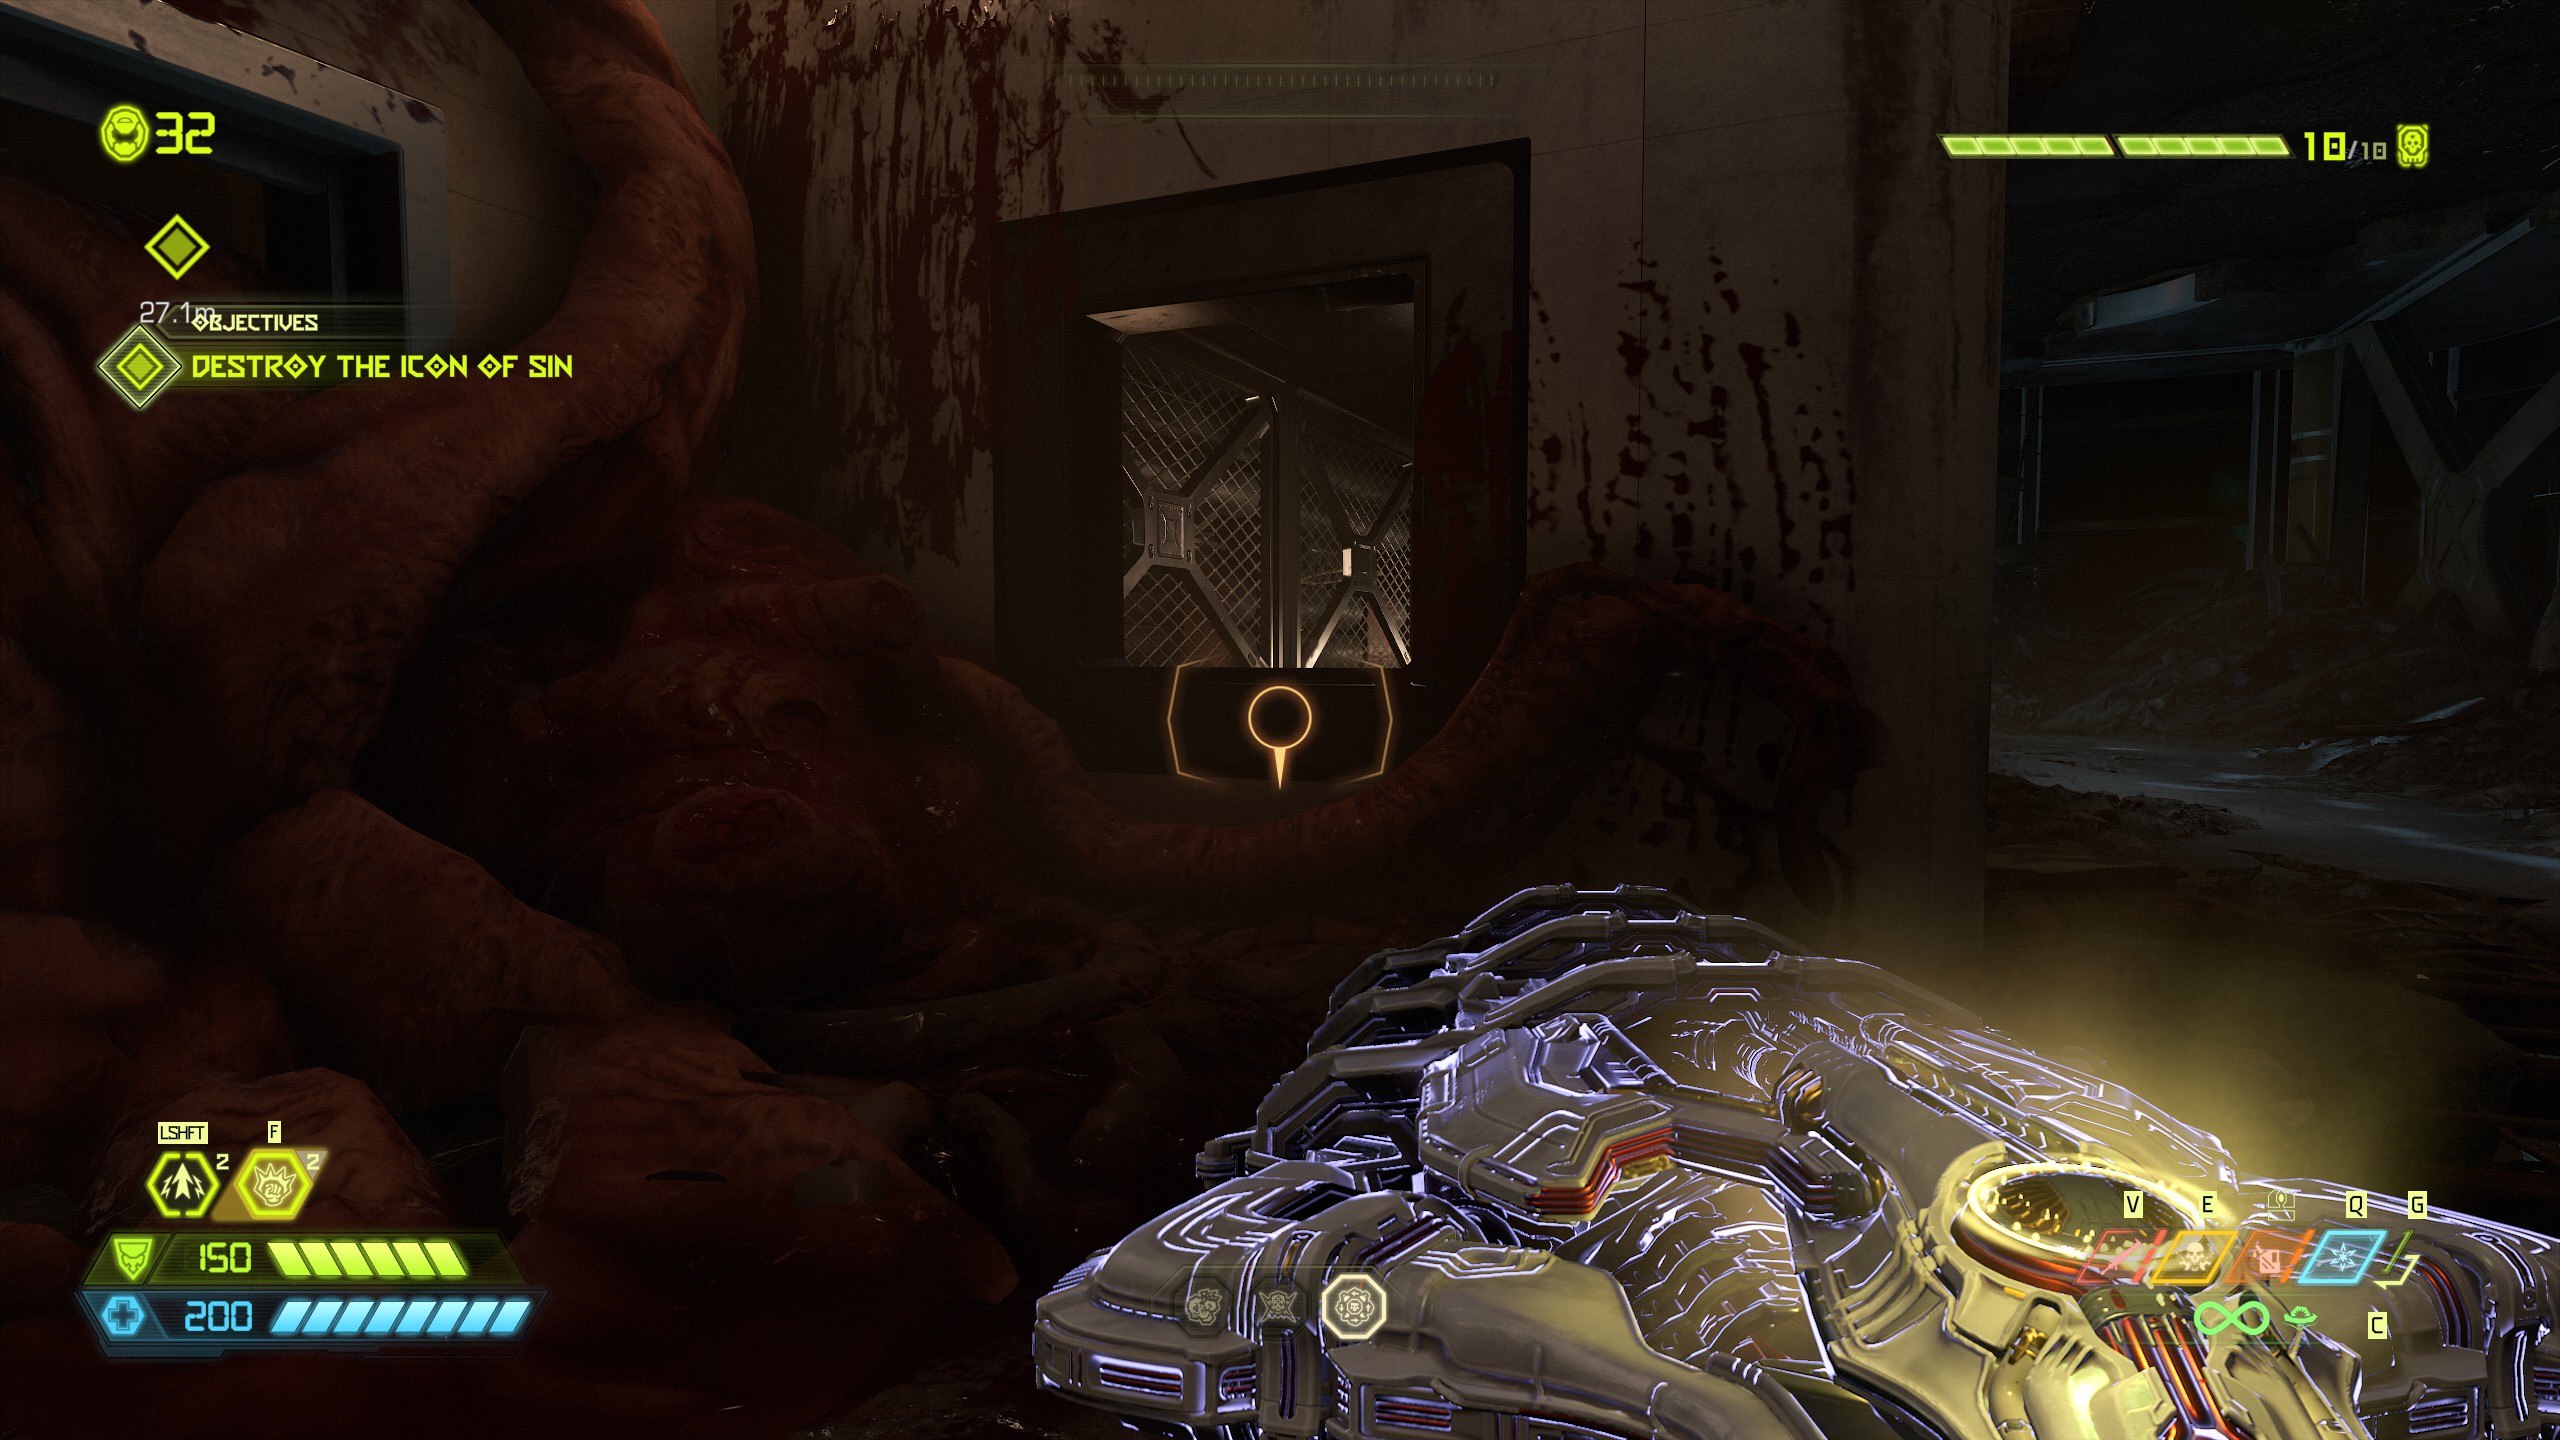
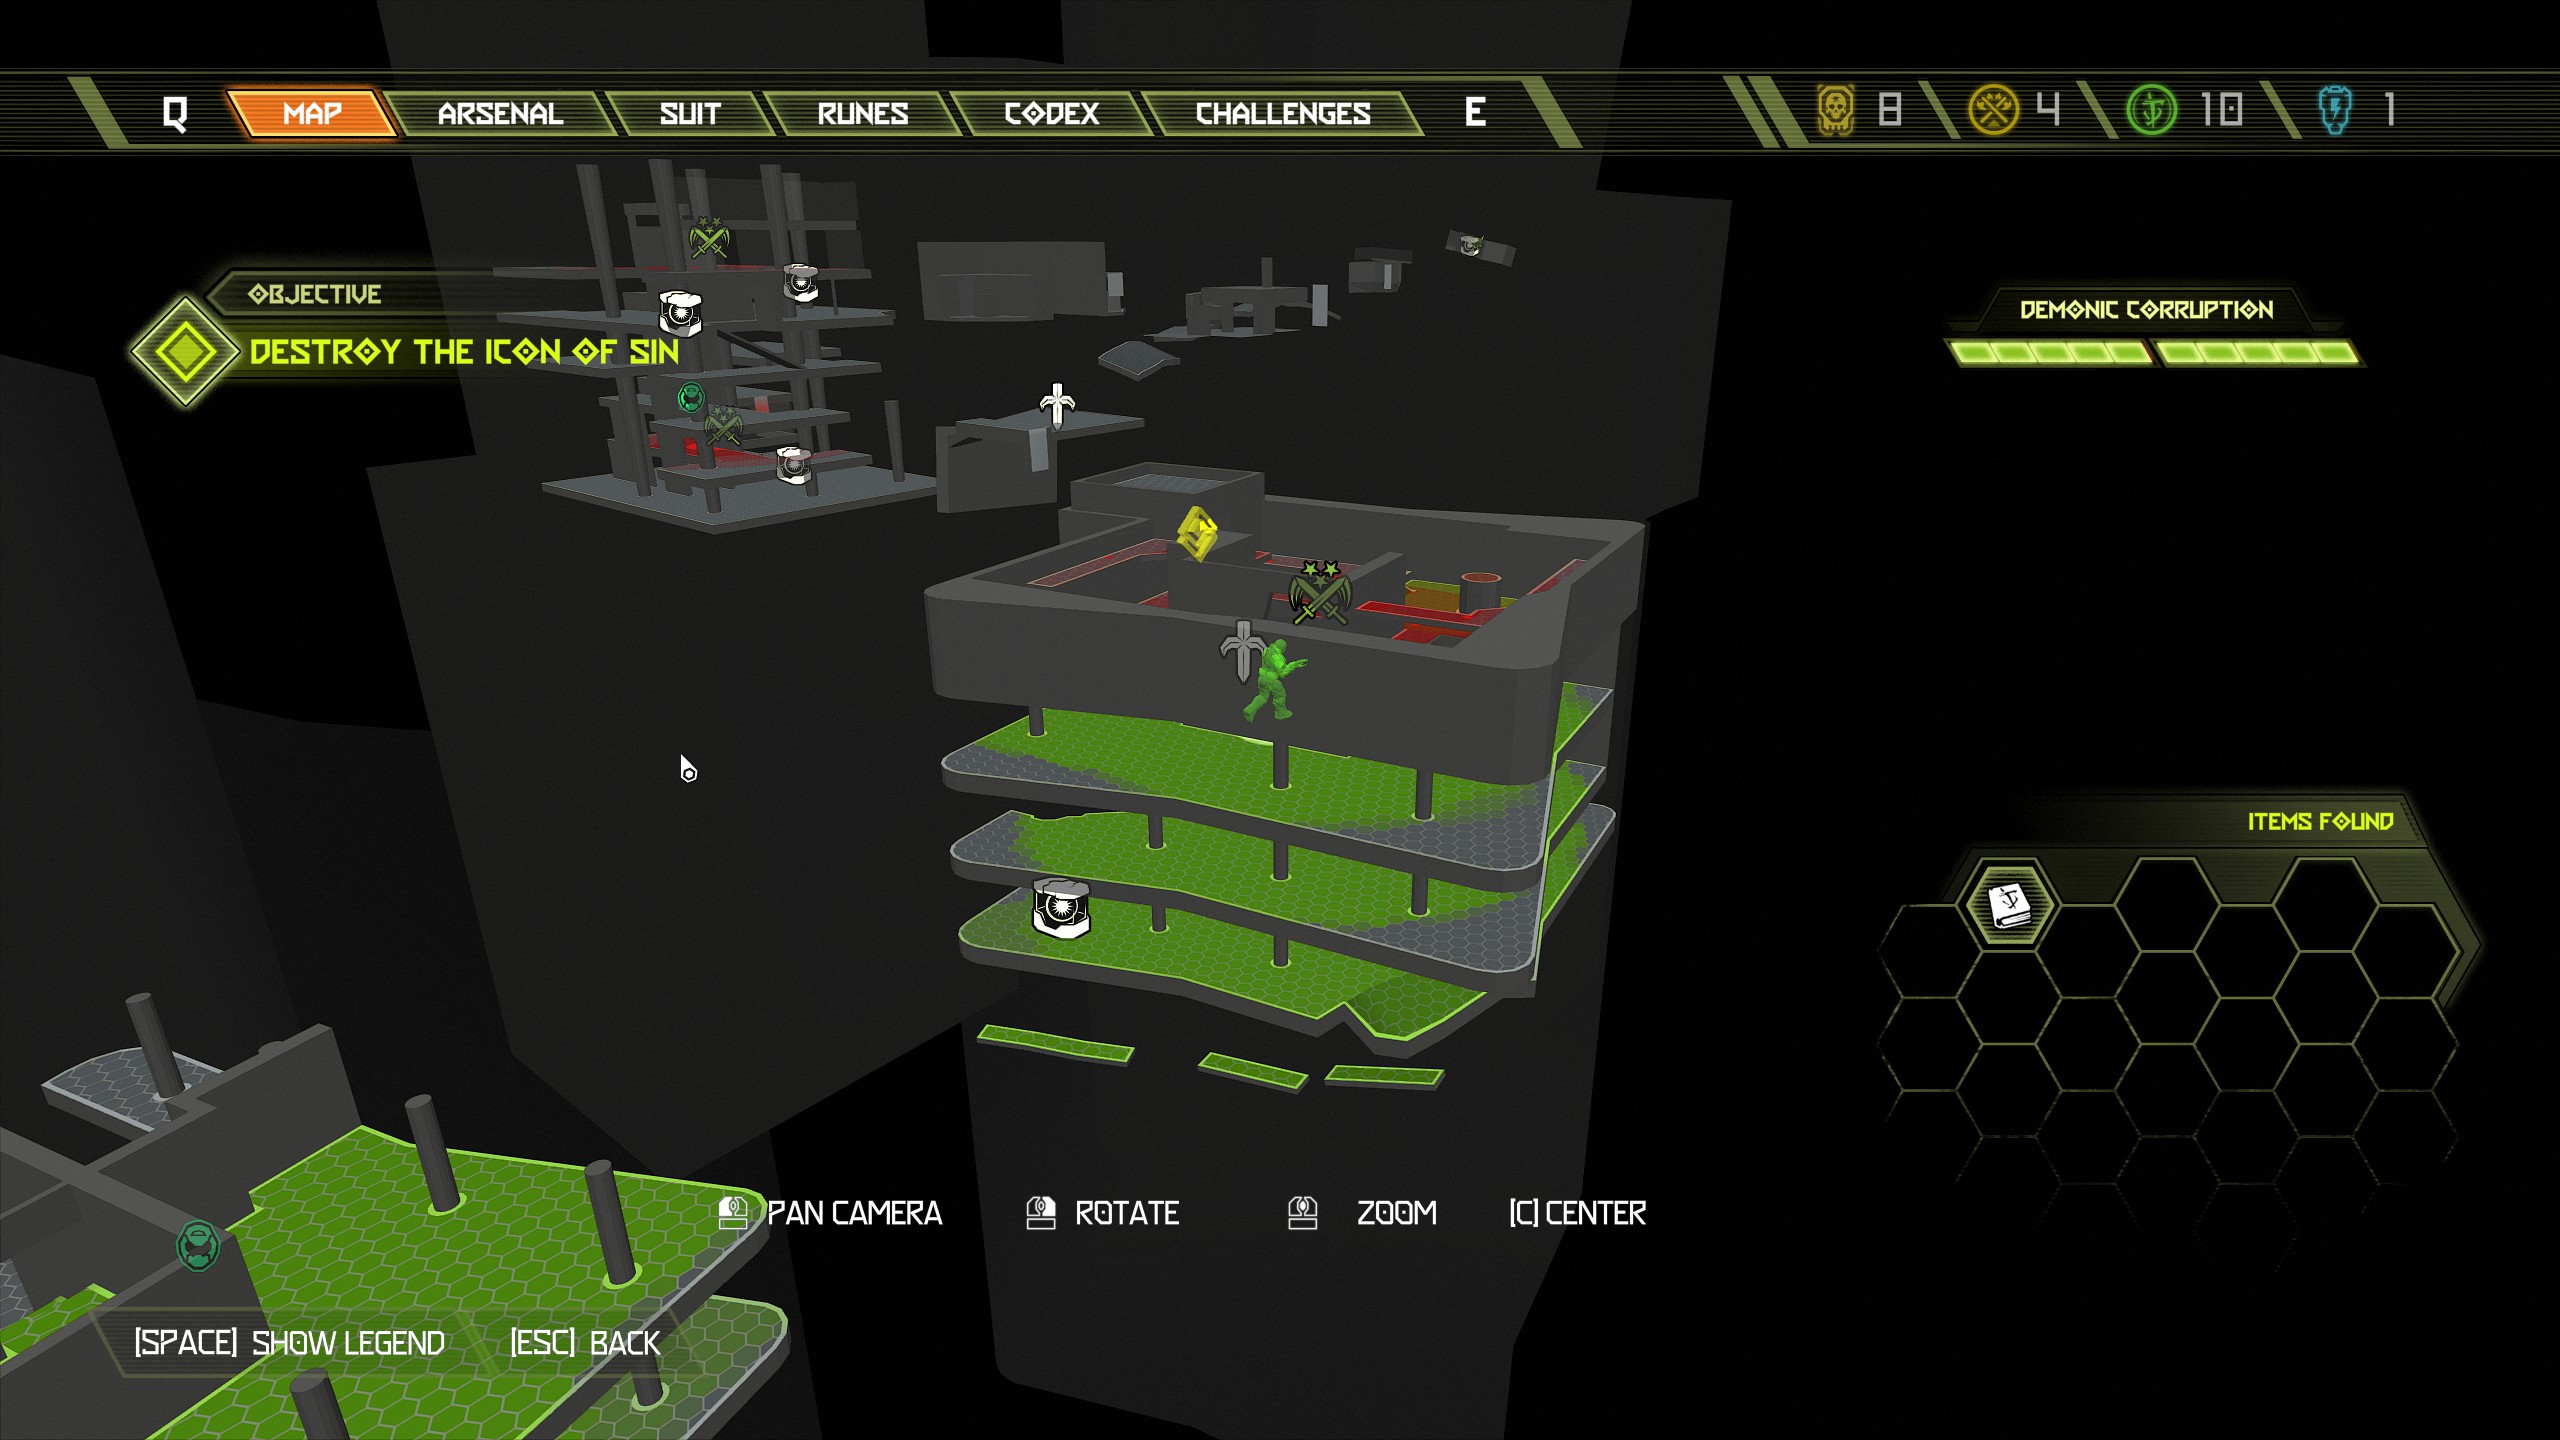
Continue the mission all the way until you have jumped across a few buildings and have a huge battle with 3 tyrants and tons of other demons, this should be in the last building you enter and it's about 3 or 4 stories high.
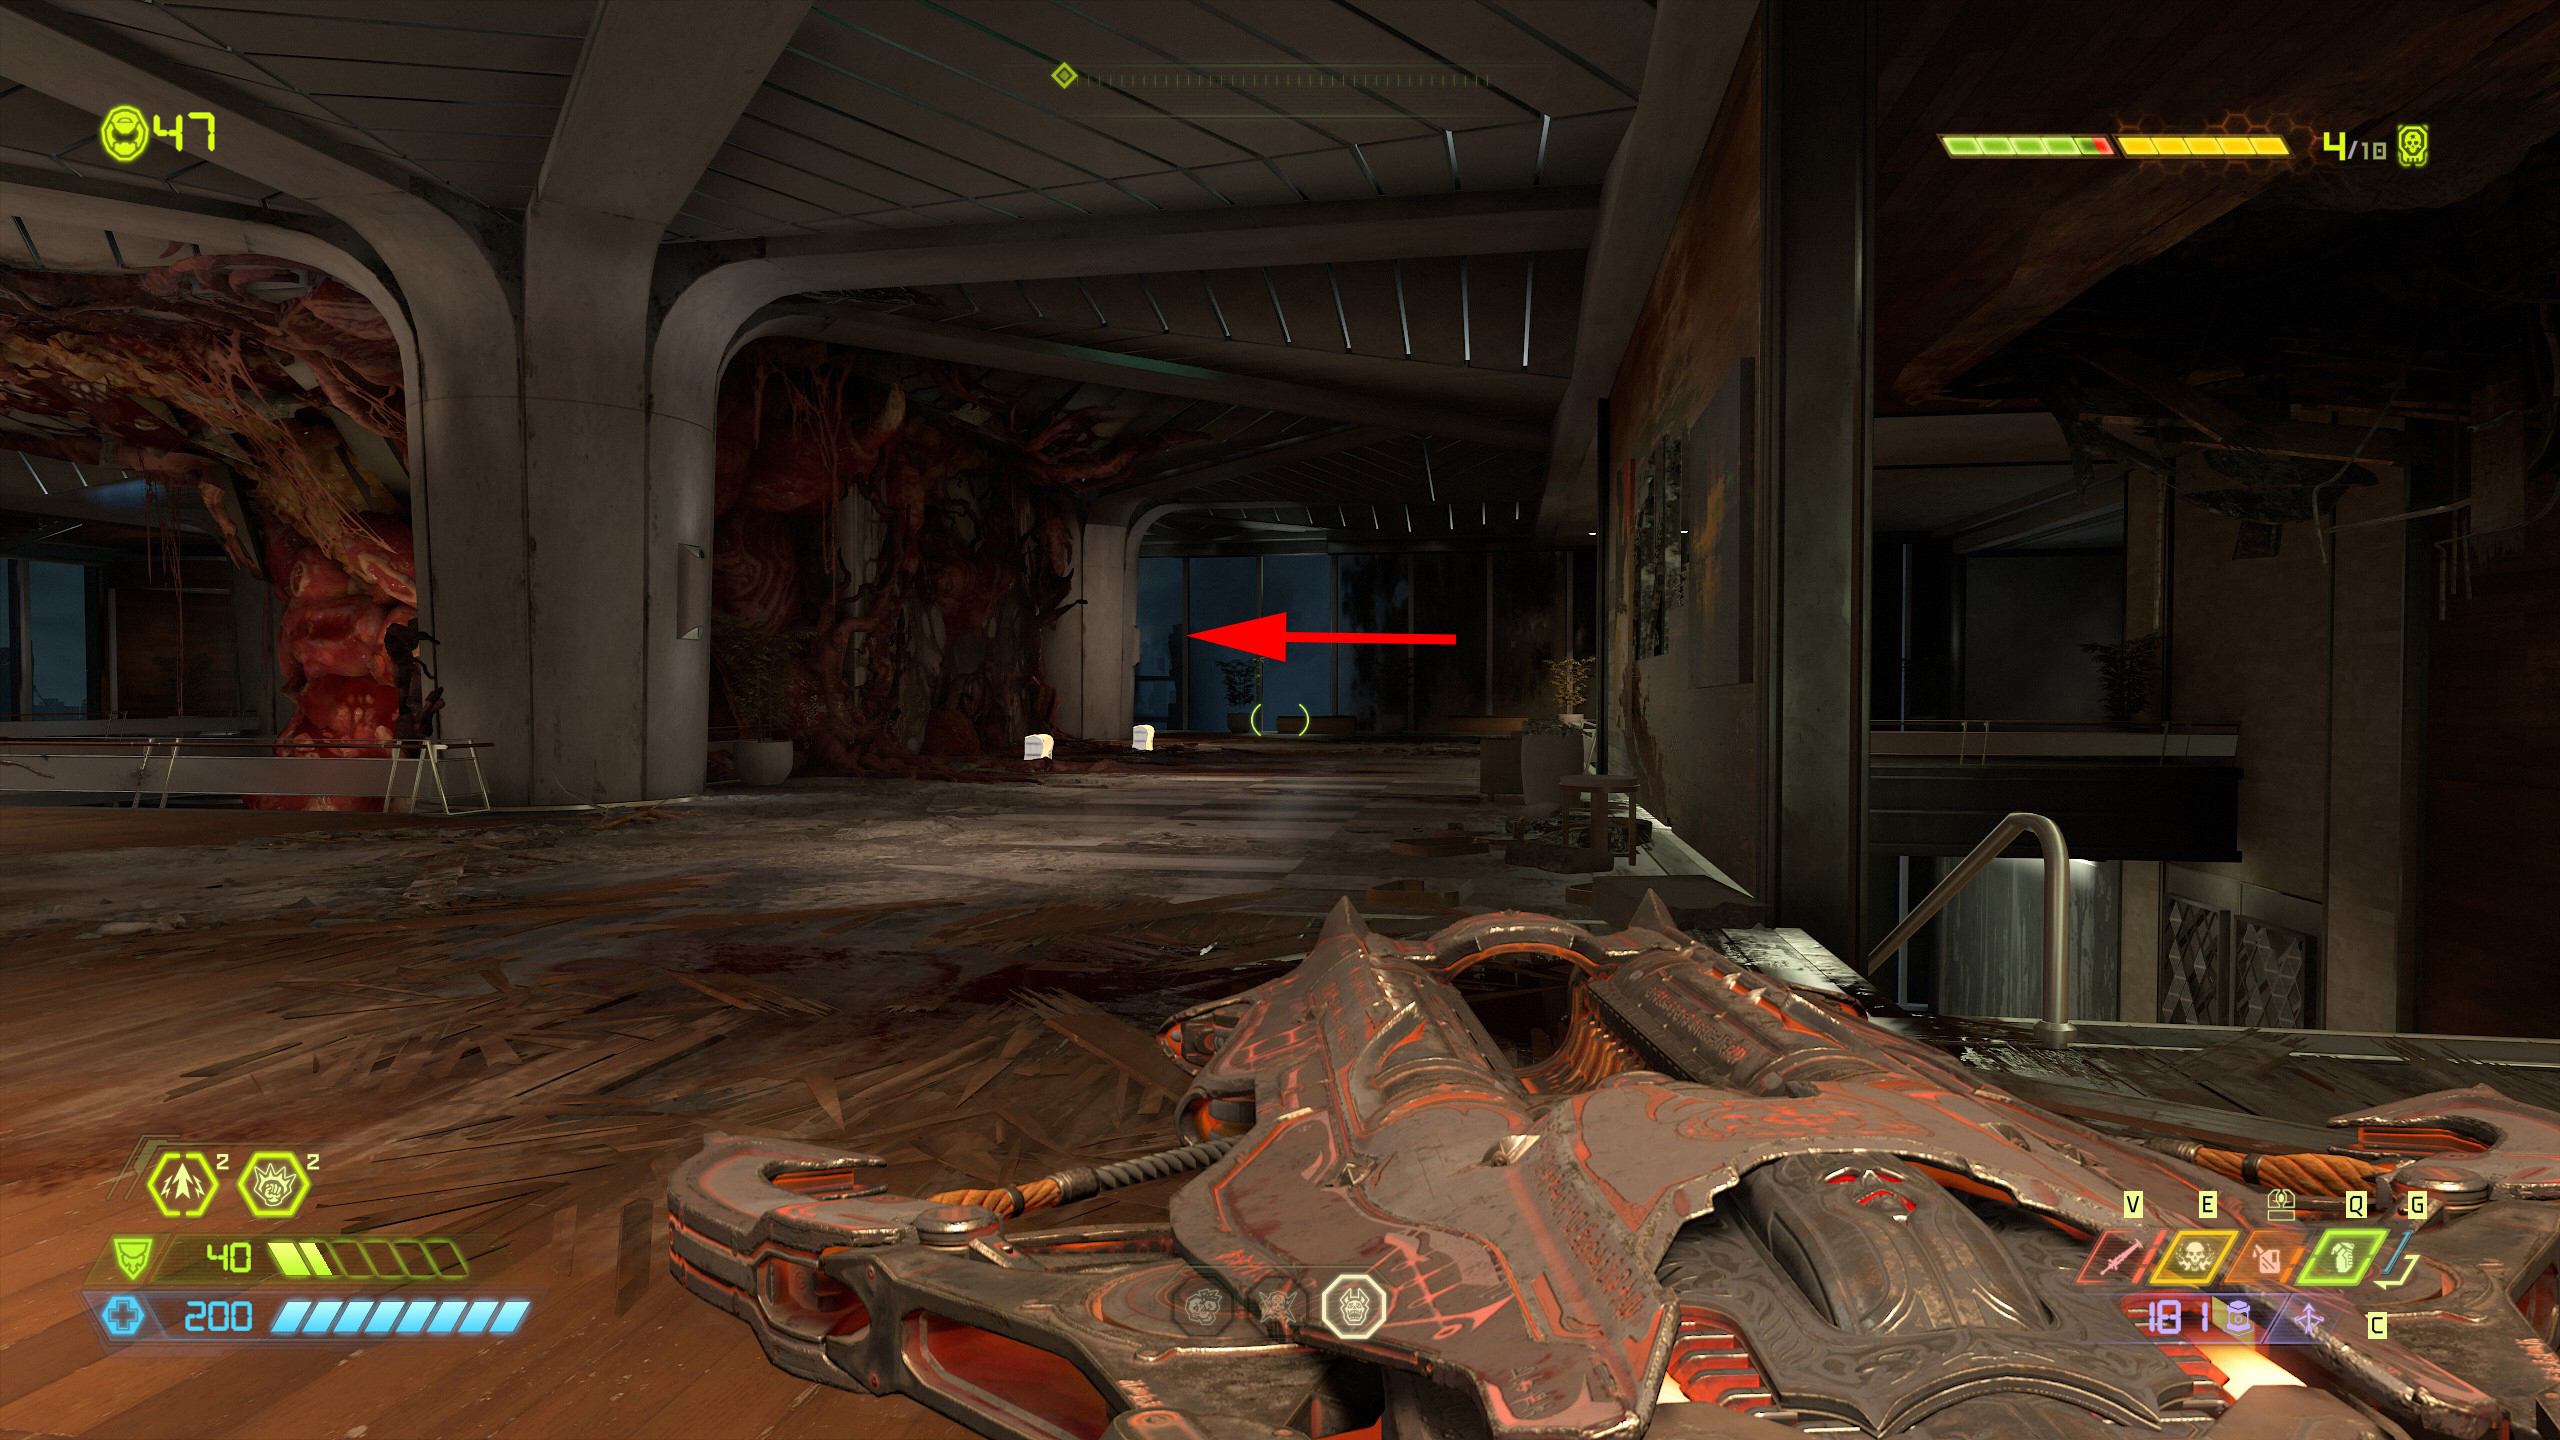
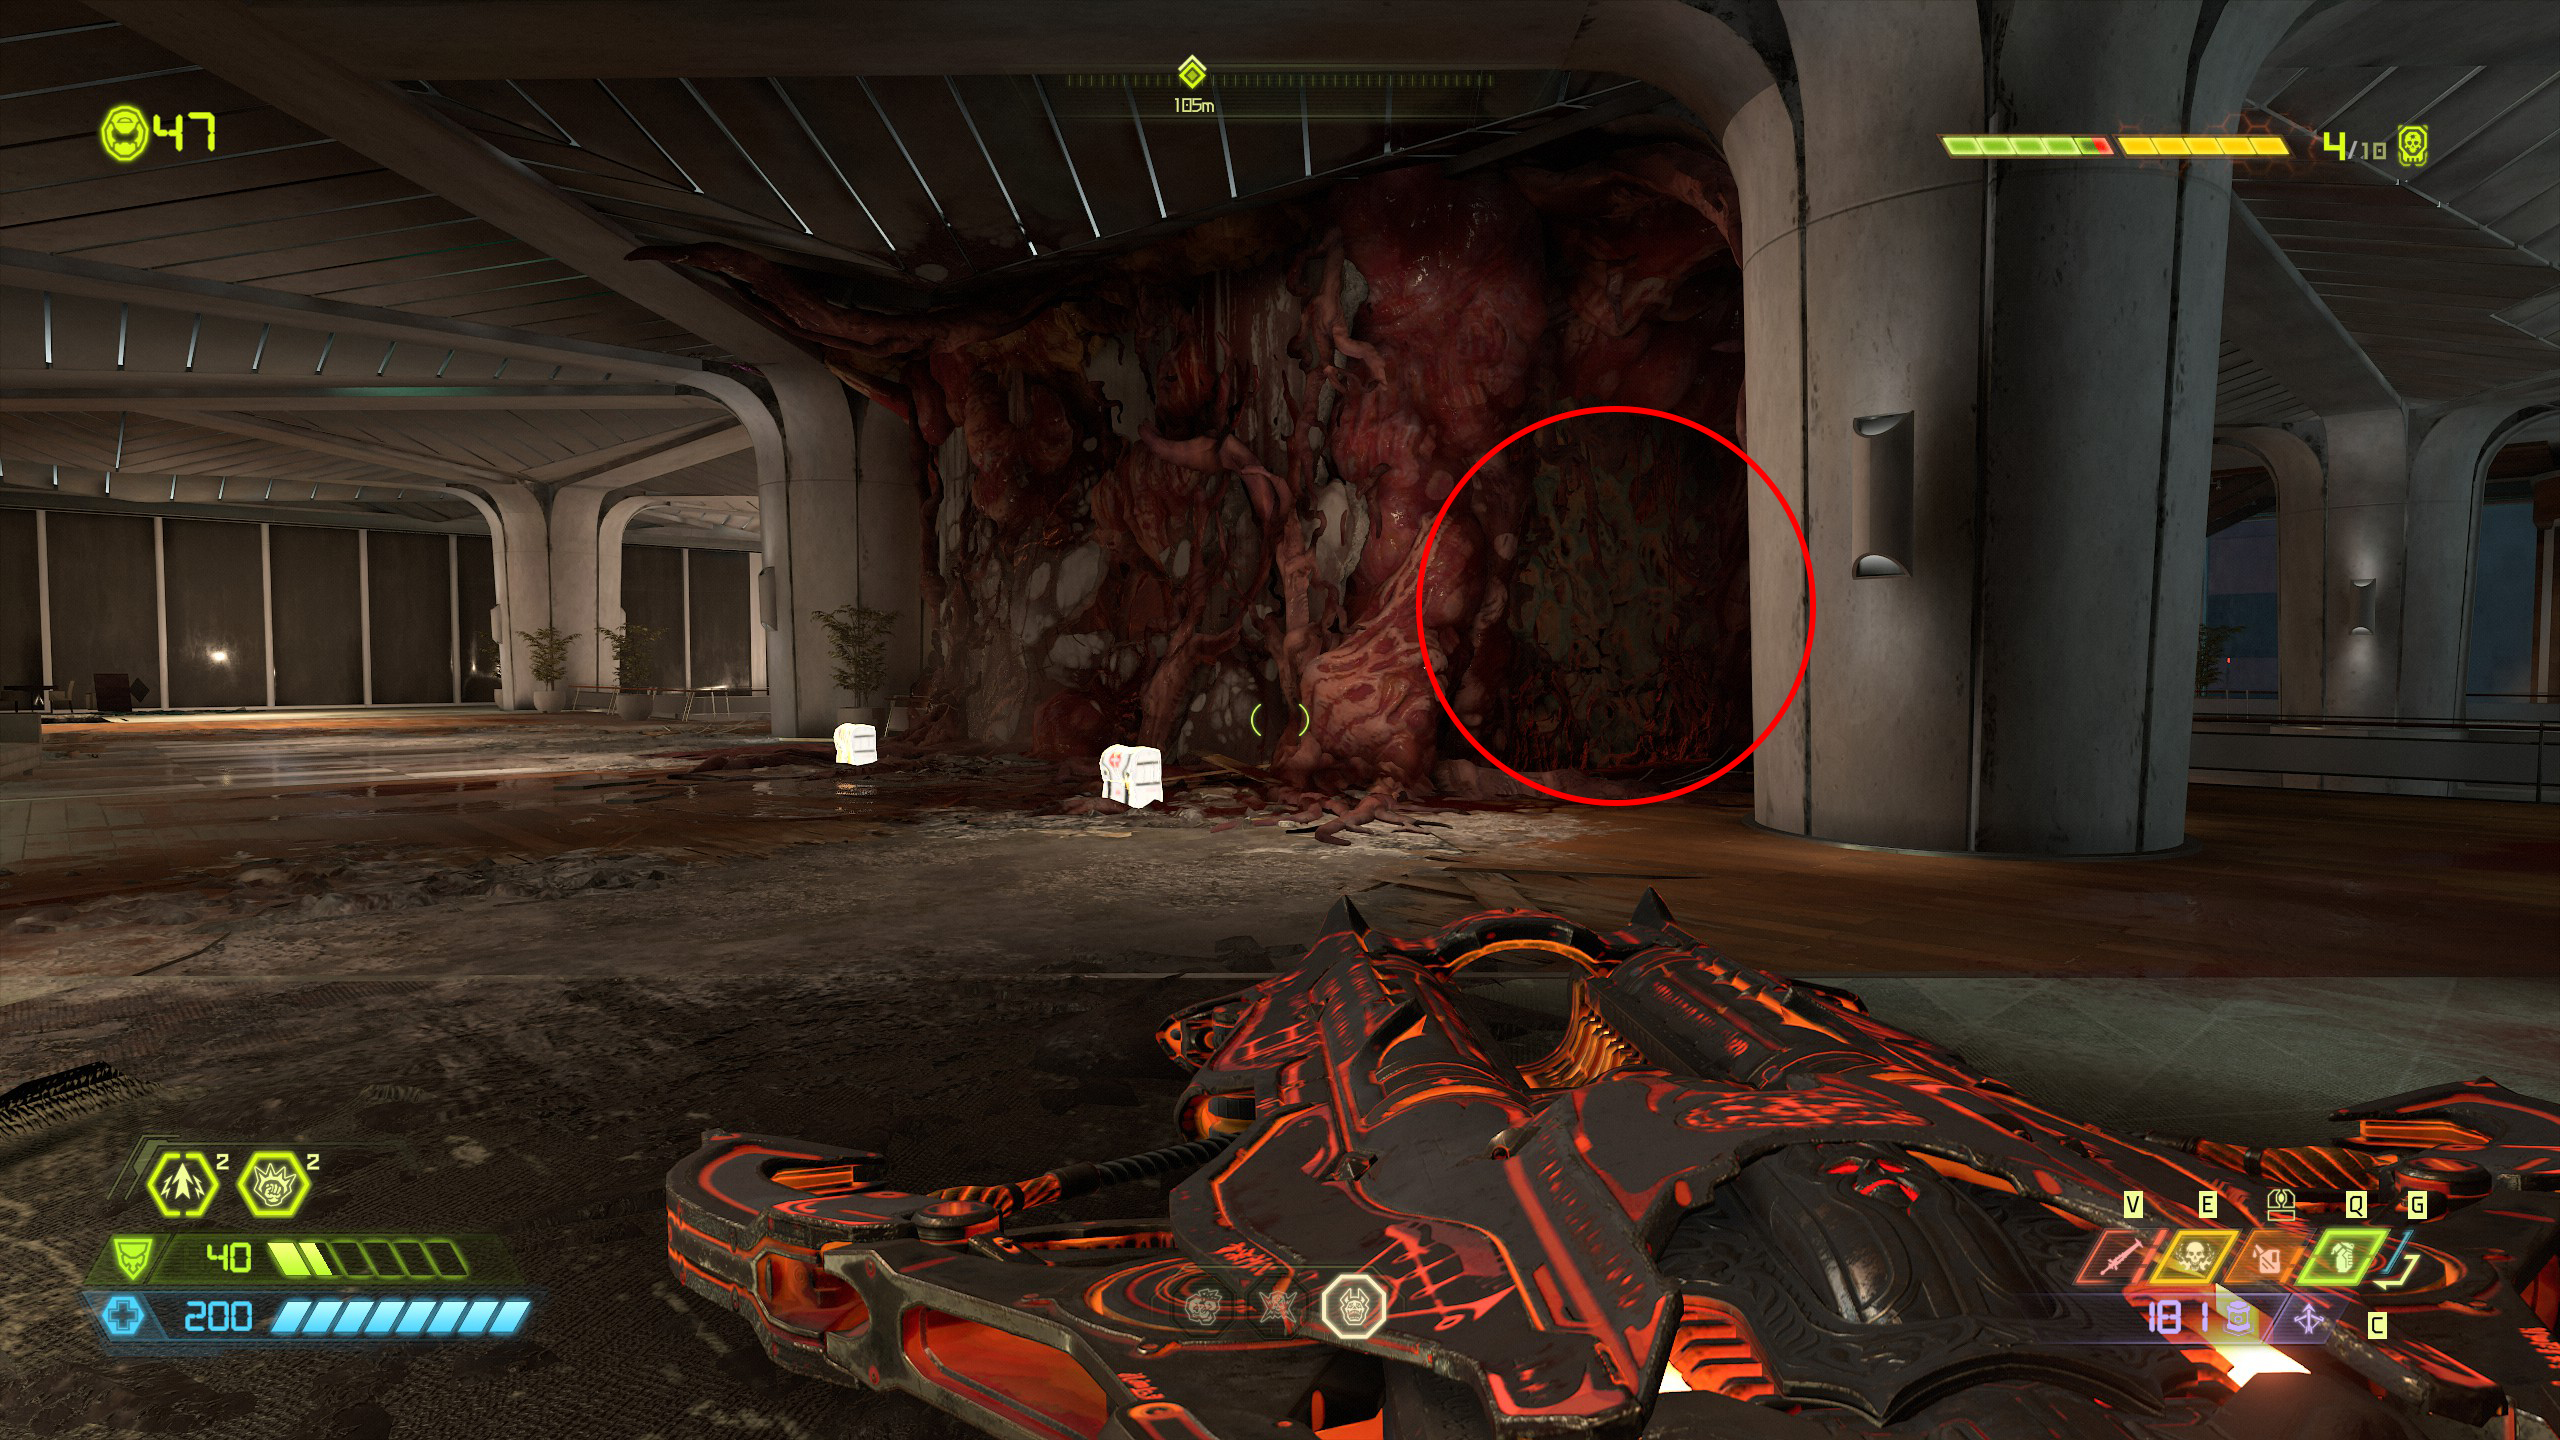
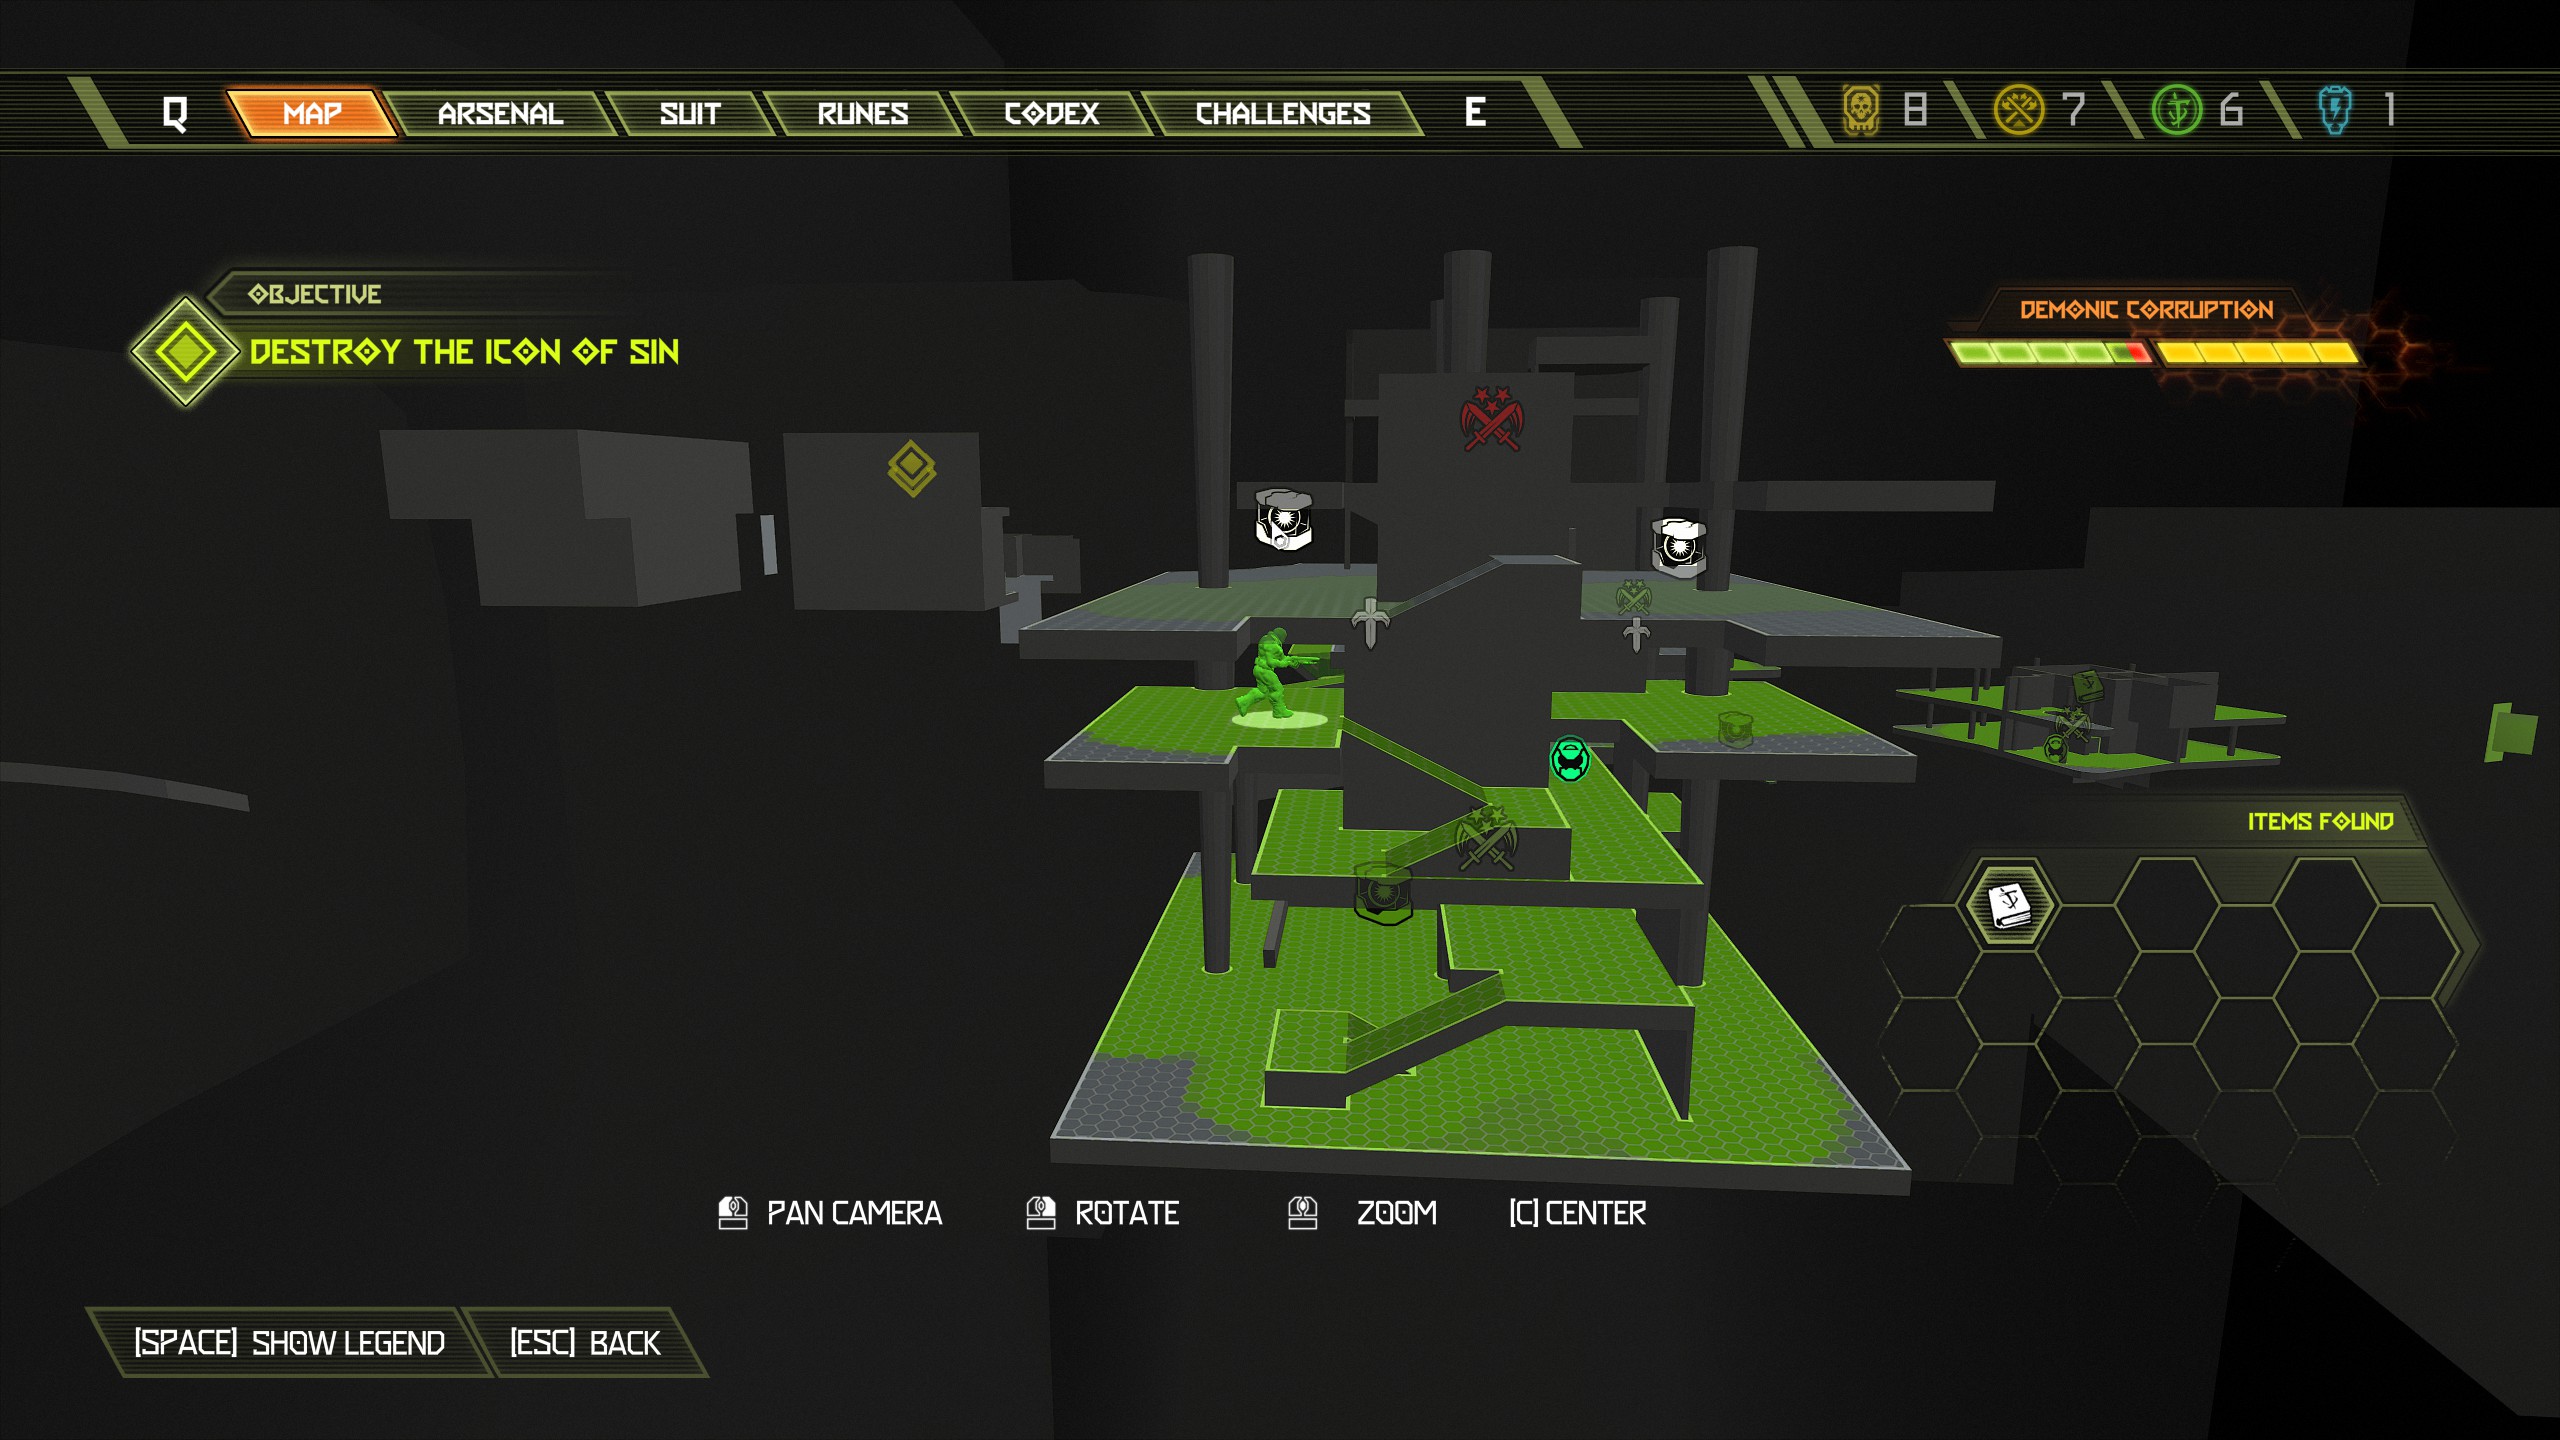
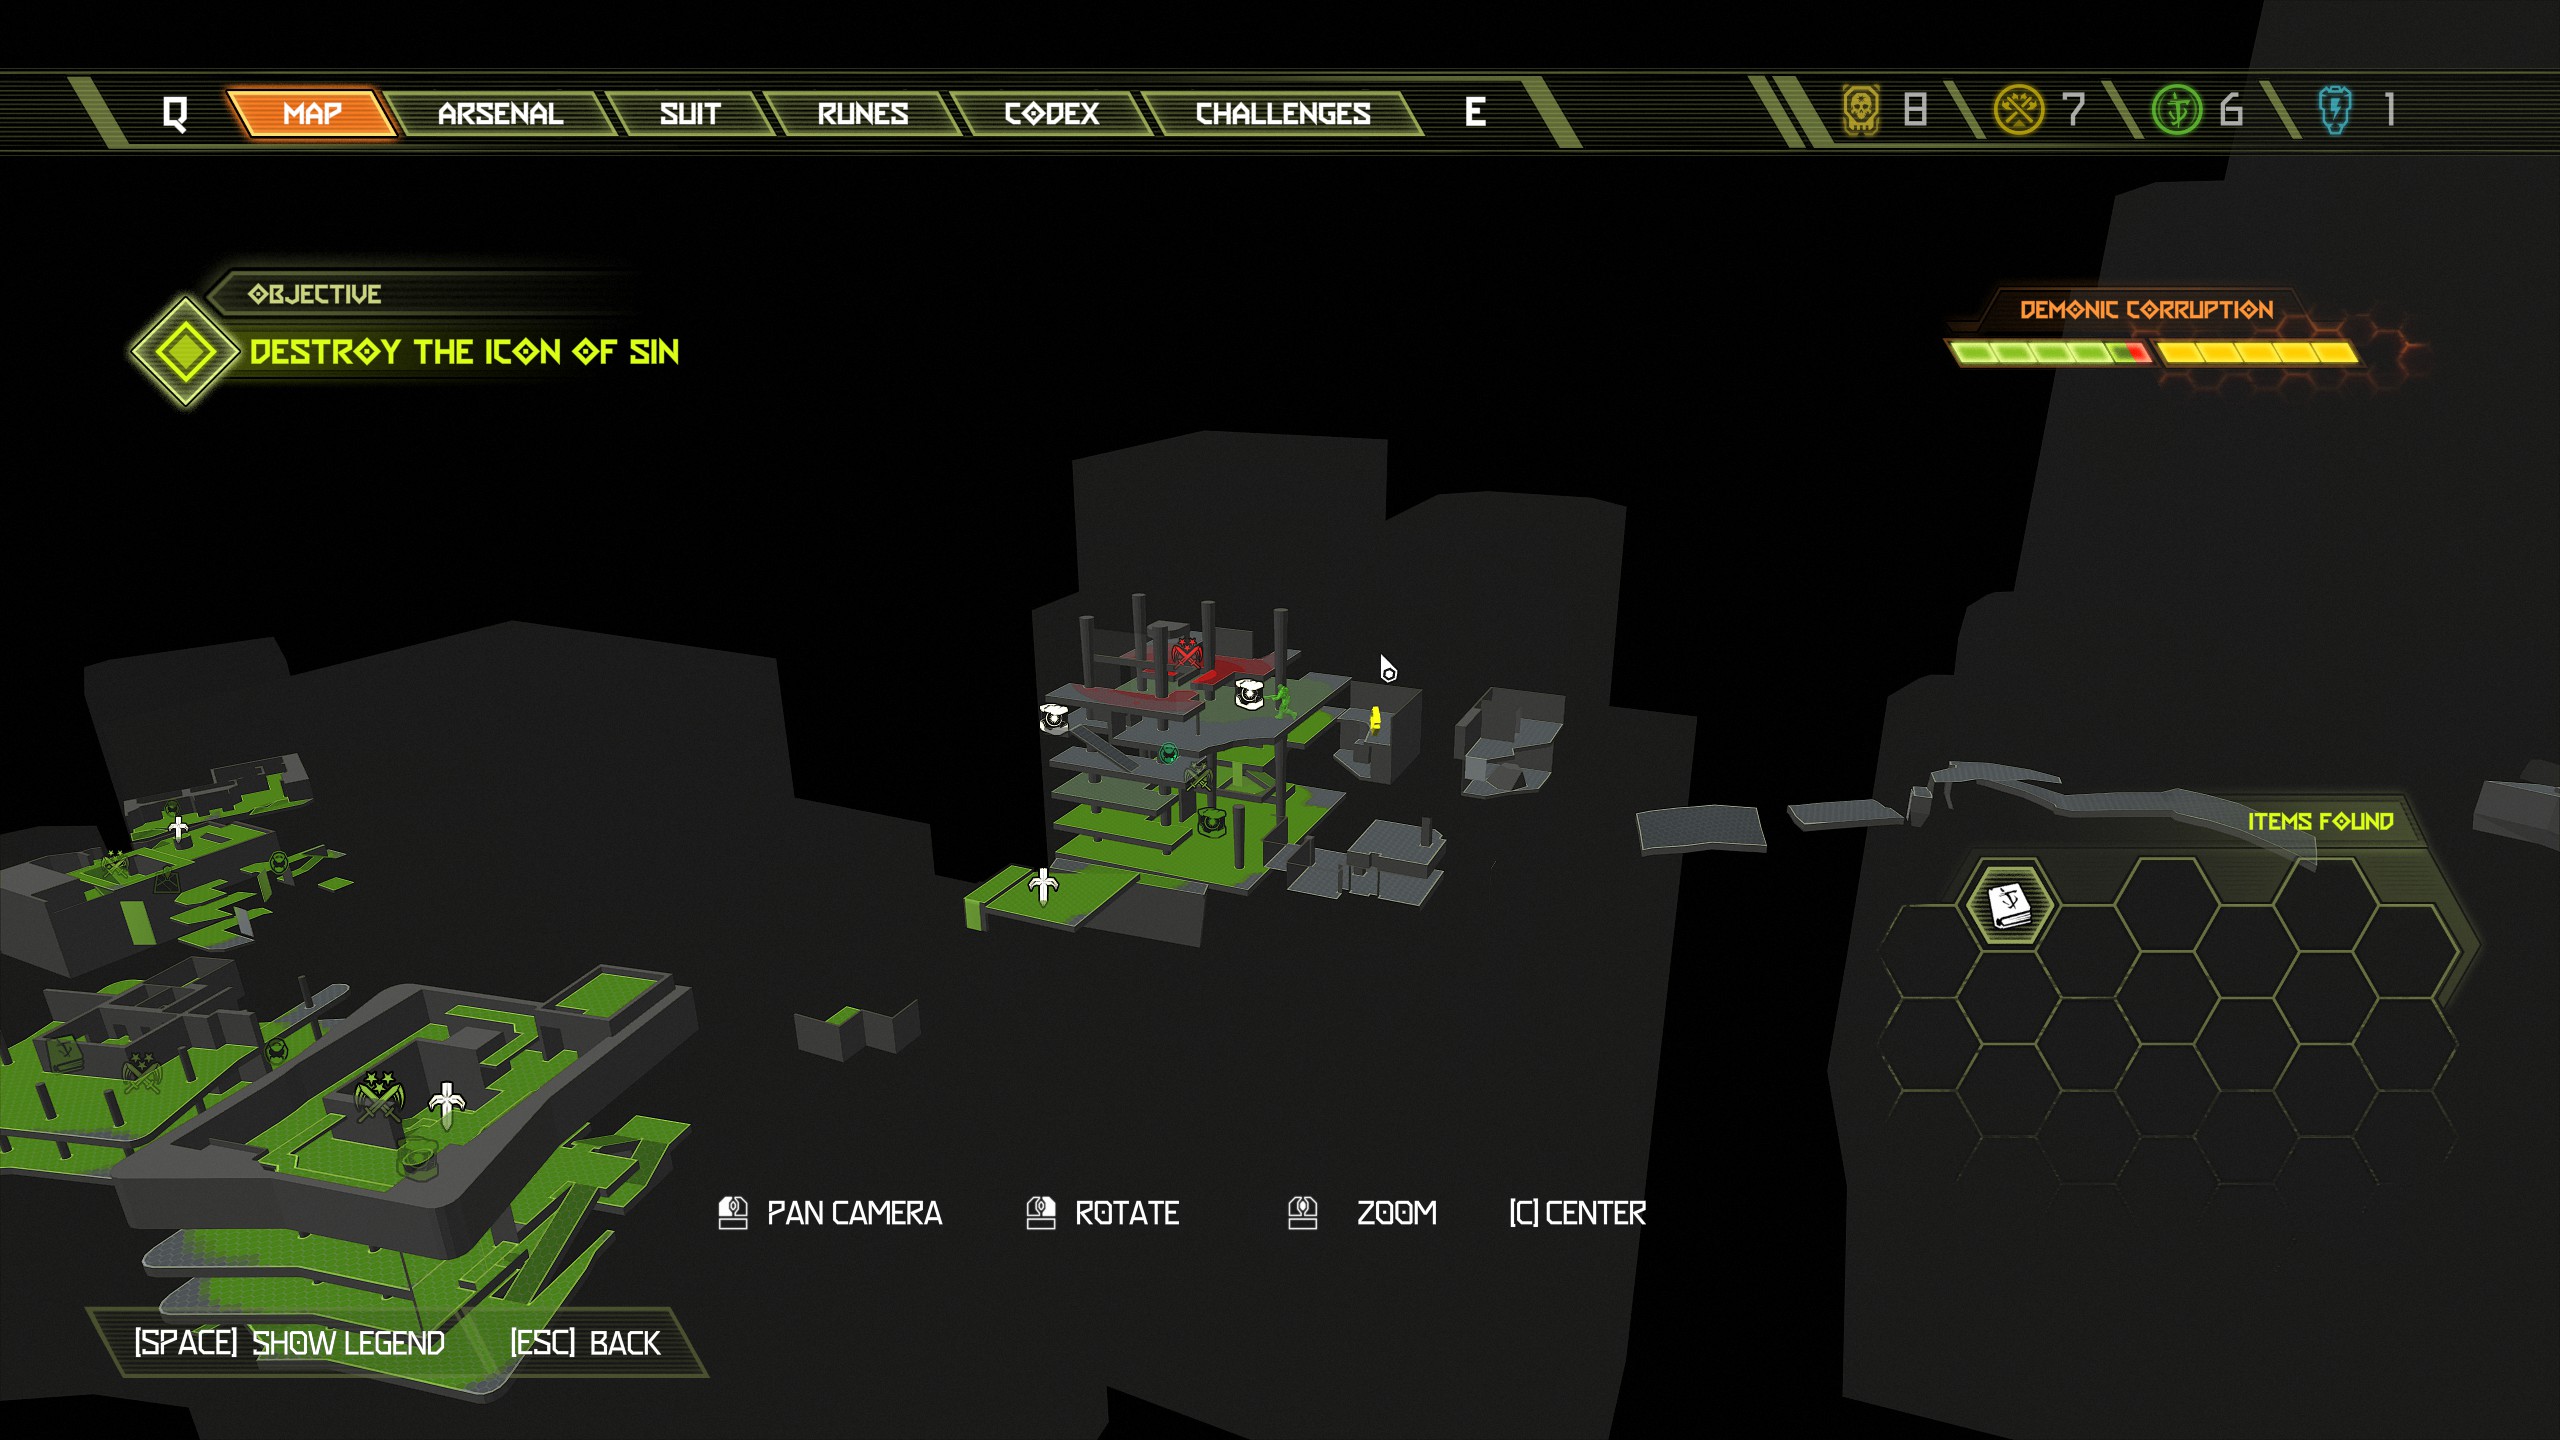
That completes all items for this mission and the entire campaign, phew! Now go kill the final boss!
Thank you for following my guide, i hope it has served you well.
DLC 1 - The Ancient Gods Part 1
Mission 1: UAC Atlantica Facility [Part 1]
NOTE: This mission is tons of fun and much harder than the original campaign. No doomtoys or cheat codes for this one but plenty to collect along with one item that is missable. This mission contains:
- 1 Automap
- 4 Codex Pages
- 4 Extra Lives
- 5 Blue Orbs
- 3 Secrets
- 2 Secret Encounters
- 1 Slayer Gate Key
- 1 Support Rune
Activate the button but do not head outside, instead head out the middle doorway towards the door that says red access and head down the stairway nearby, at the bottom will be your first codex page.
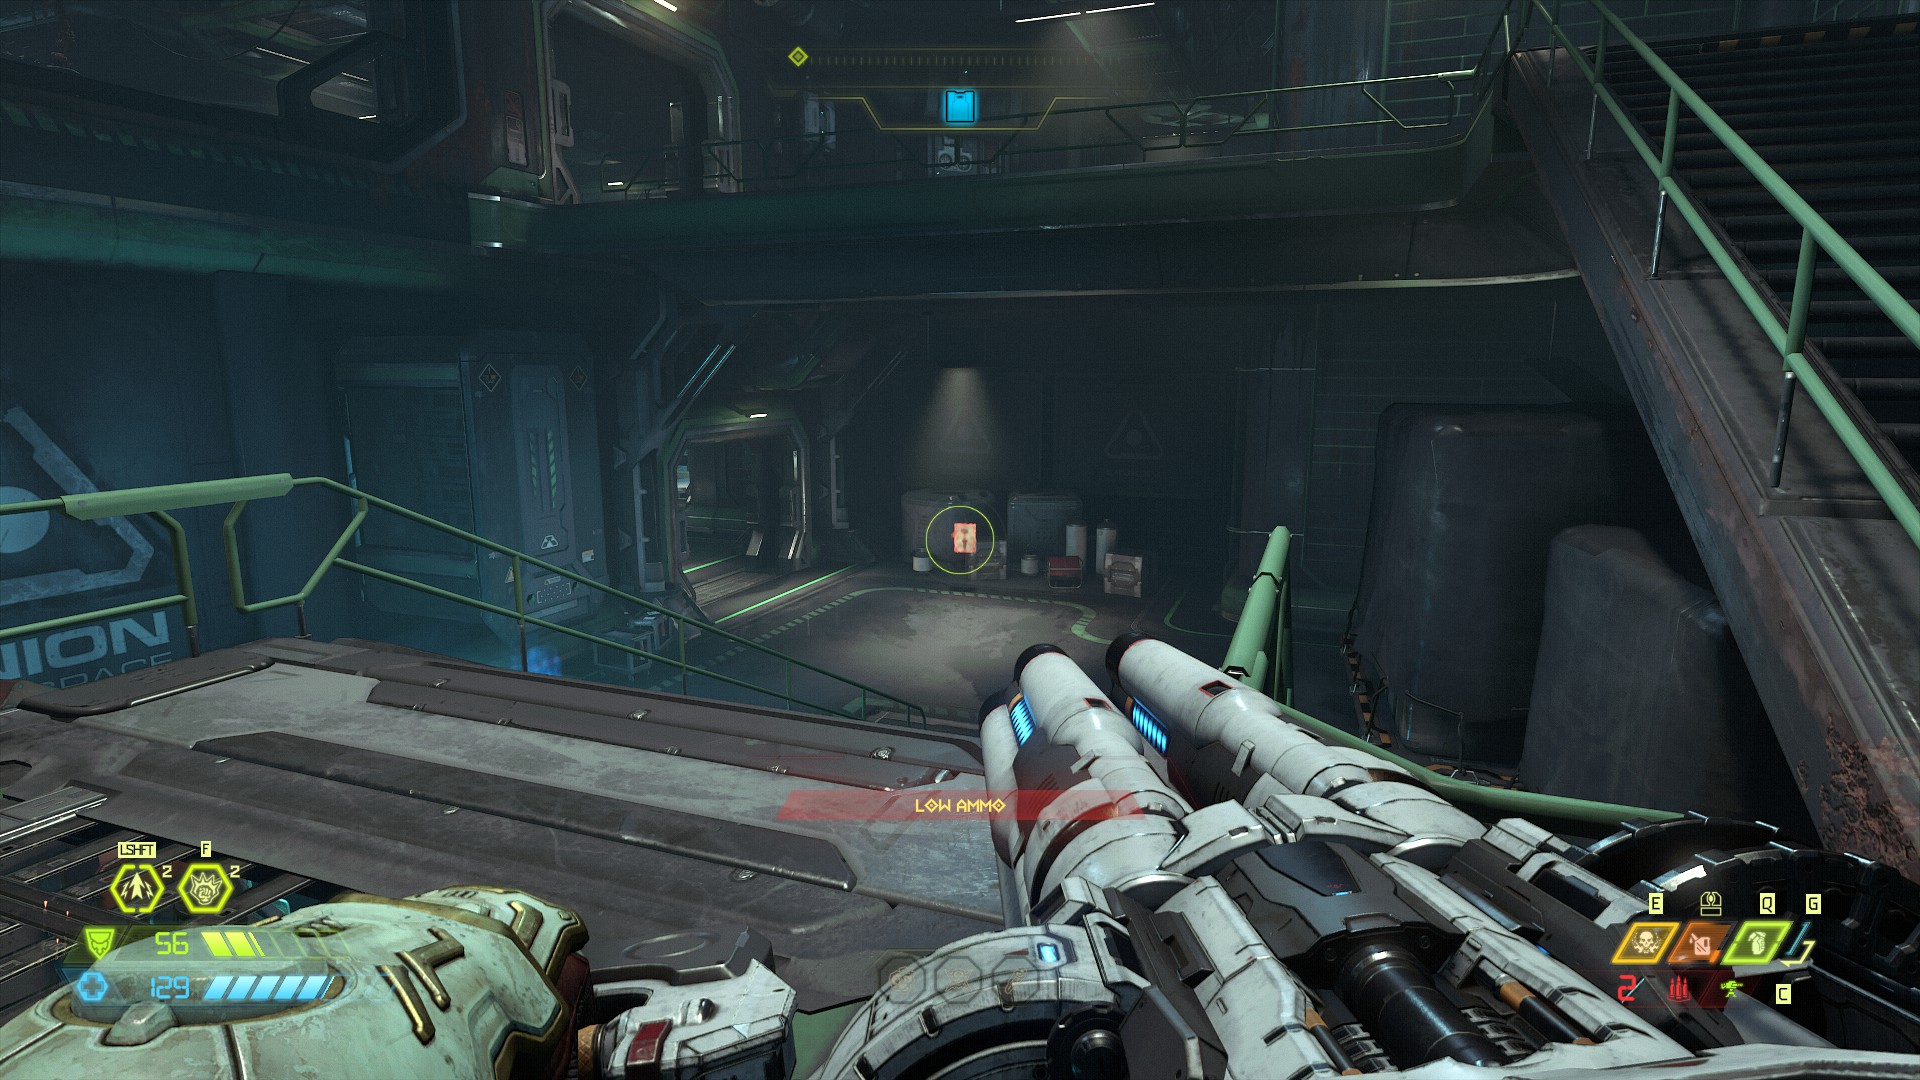
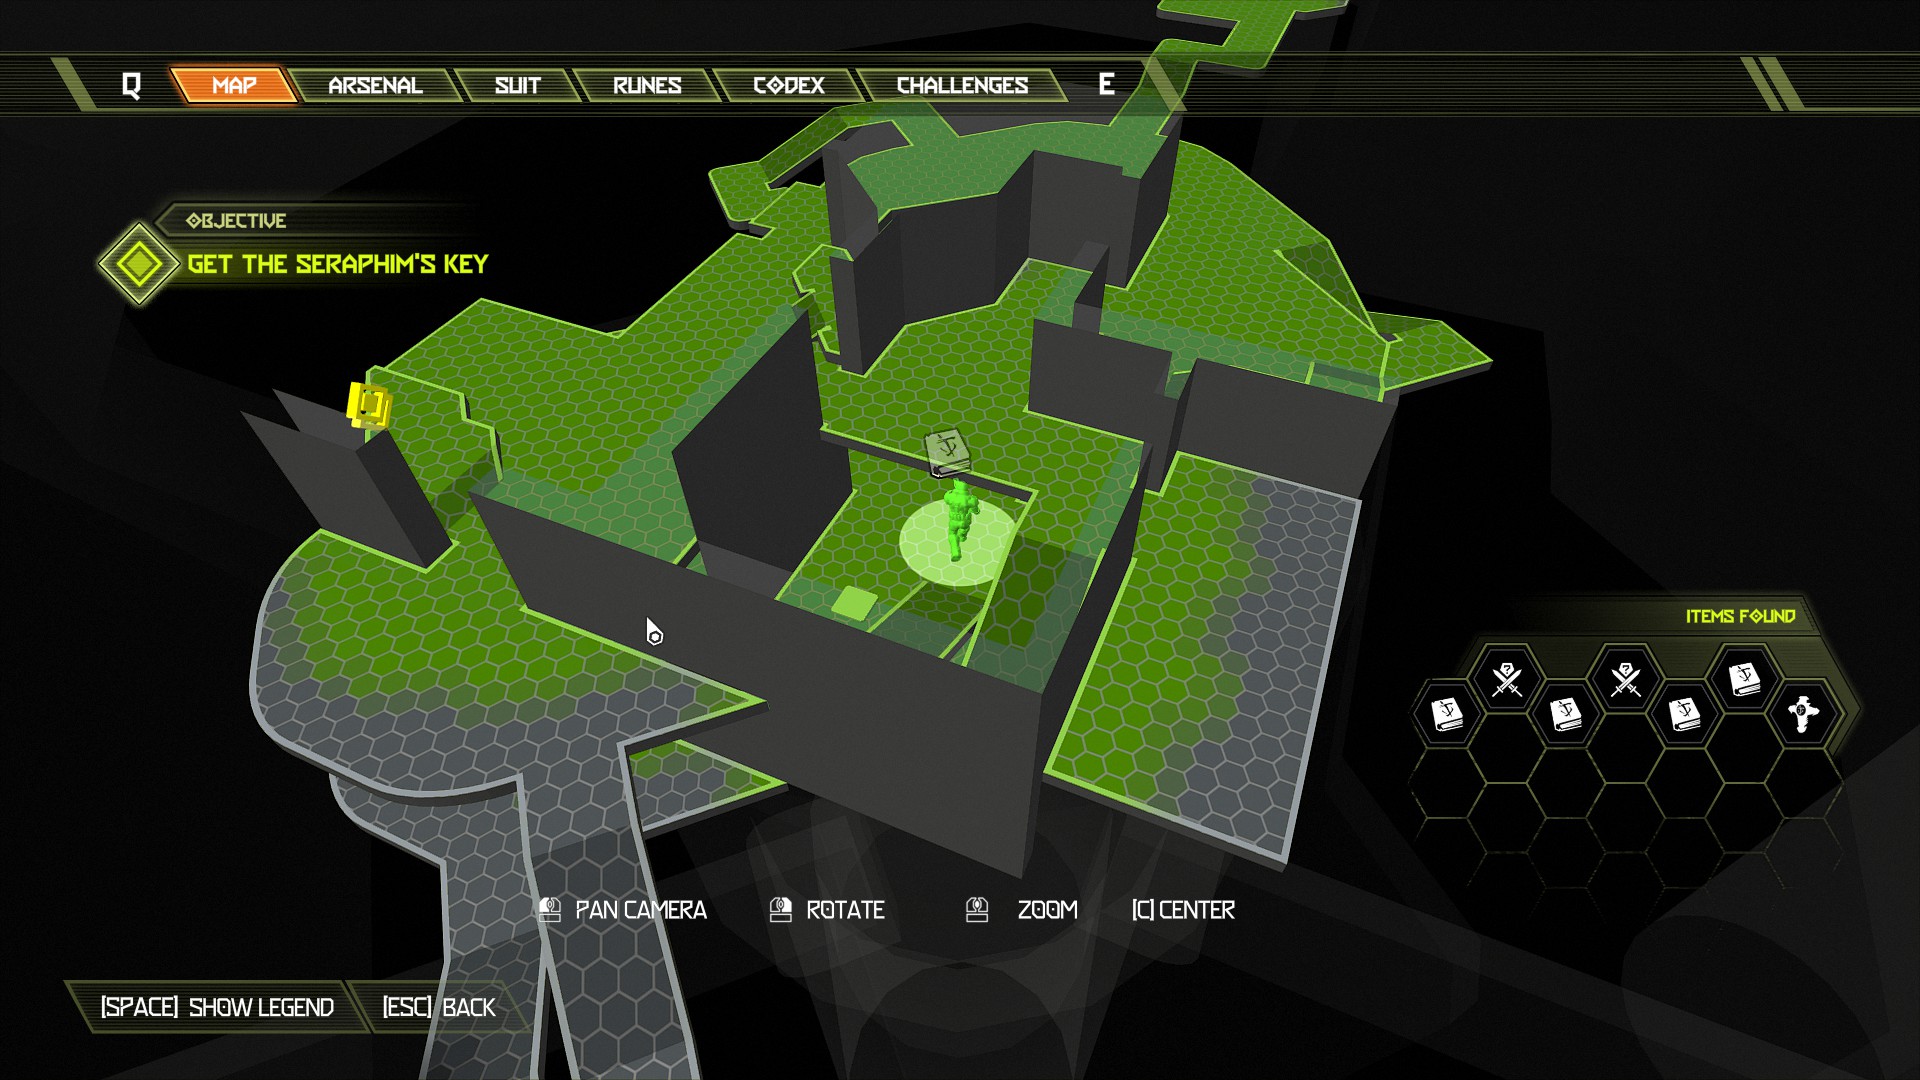
After picking up the codex page stay on the lower level and make your way outside, just at the side of the door that leads out will be a blue orb that you can now pick up, this is the door next to where you found the blue key.
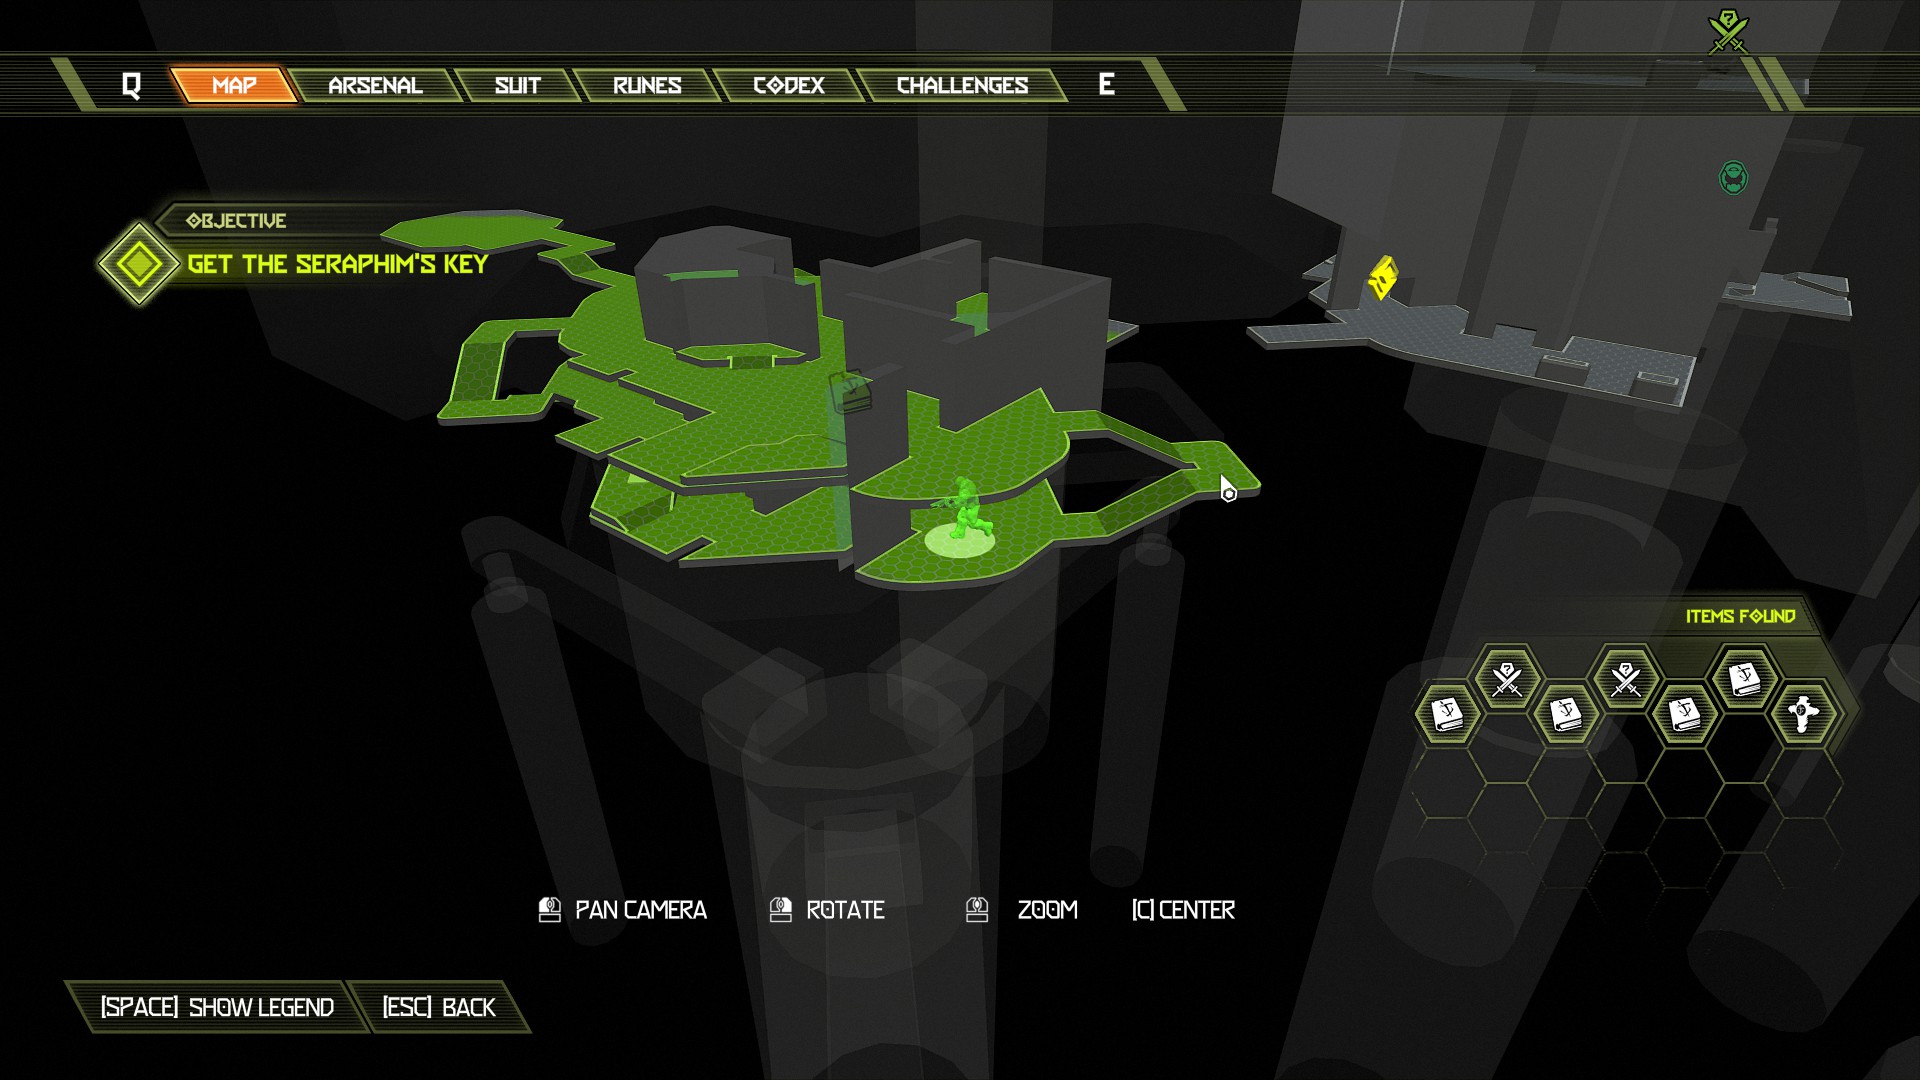
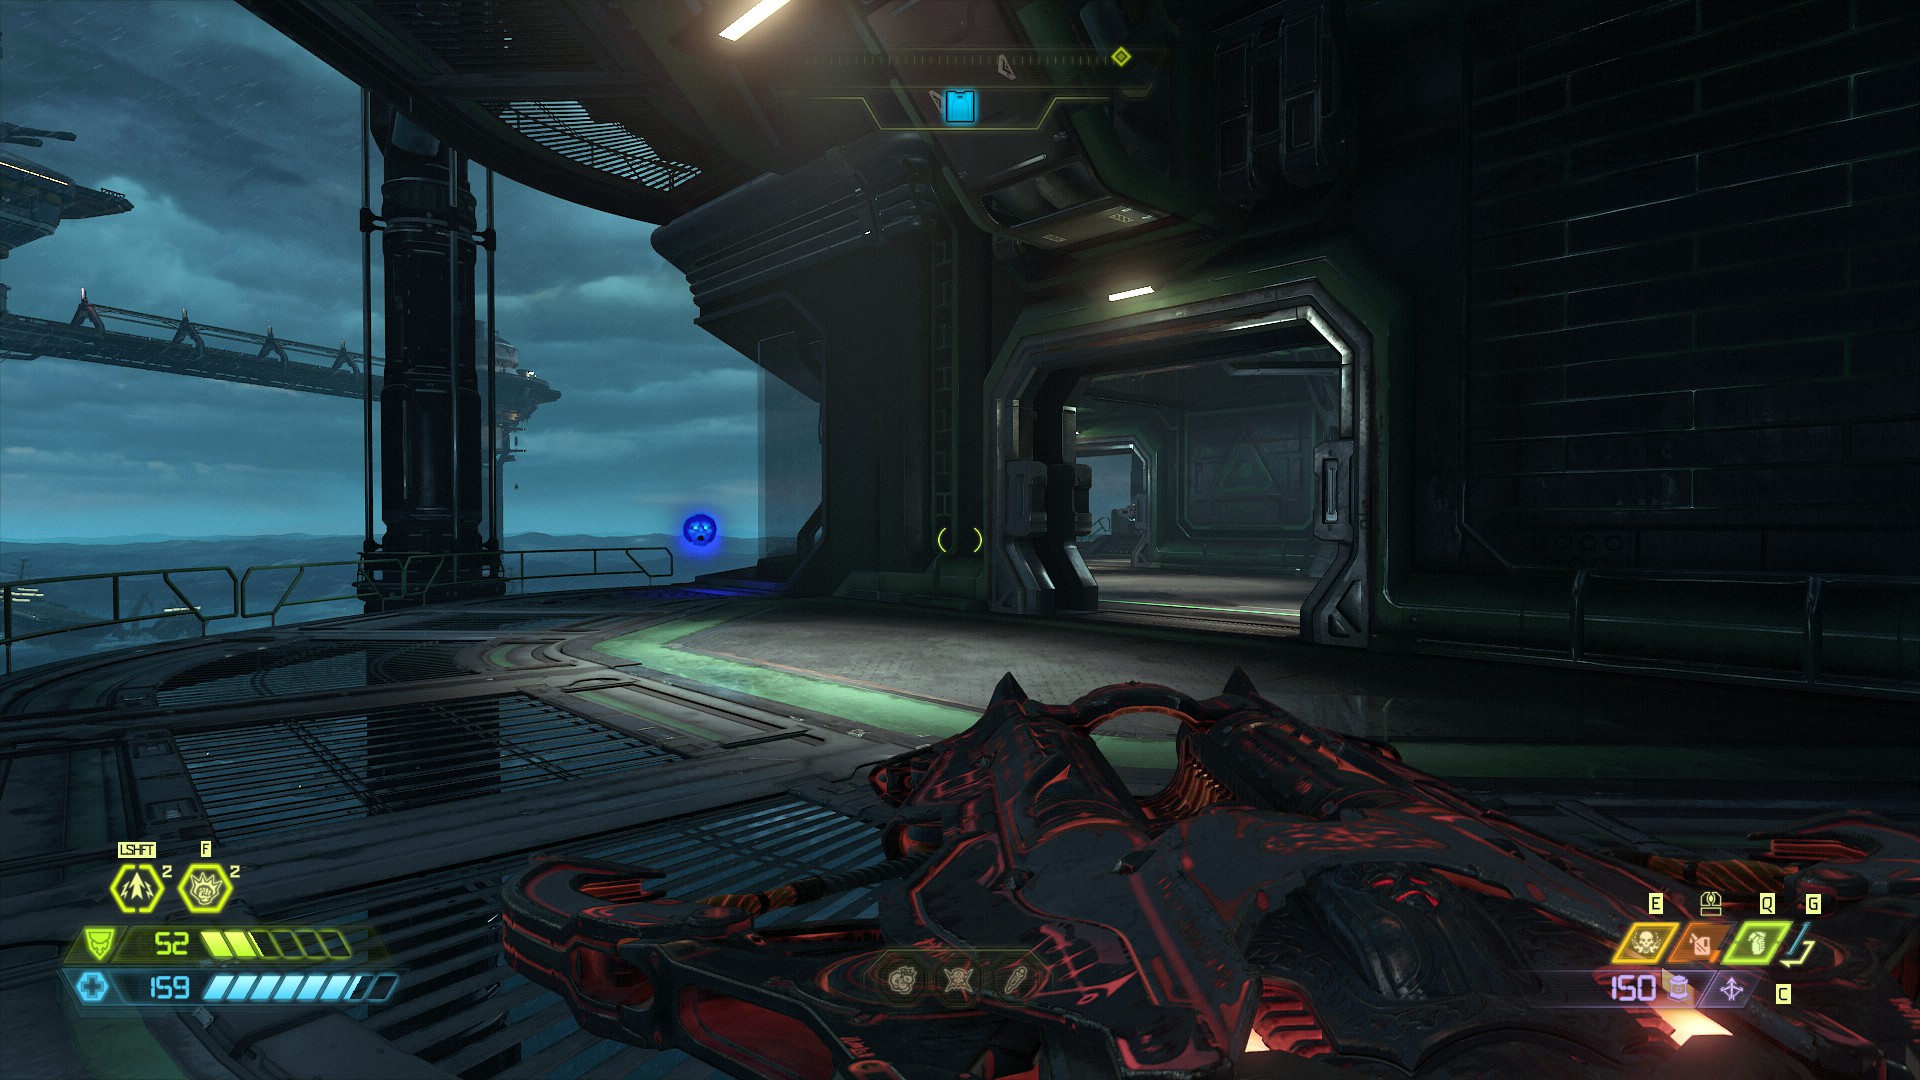
You will need to come back here shortly but for now continue the mission over to the other side.
Following the shaft drop down into another part of the shaft and turn left, you will find an Extra Life located in the shaft above further along. Now continue and drop out of the shaft to grab the red key.
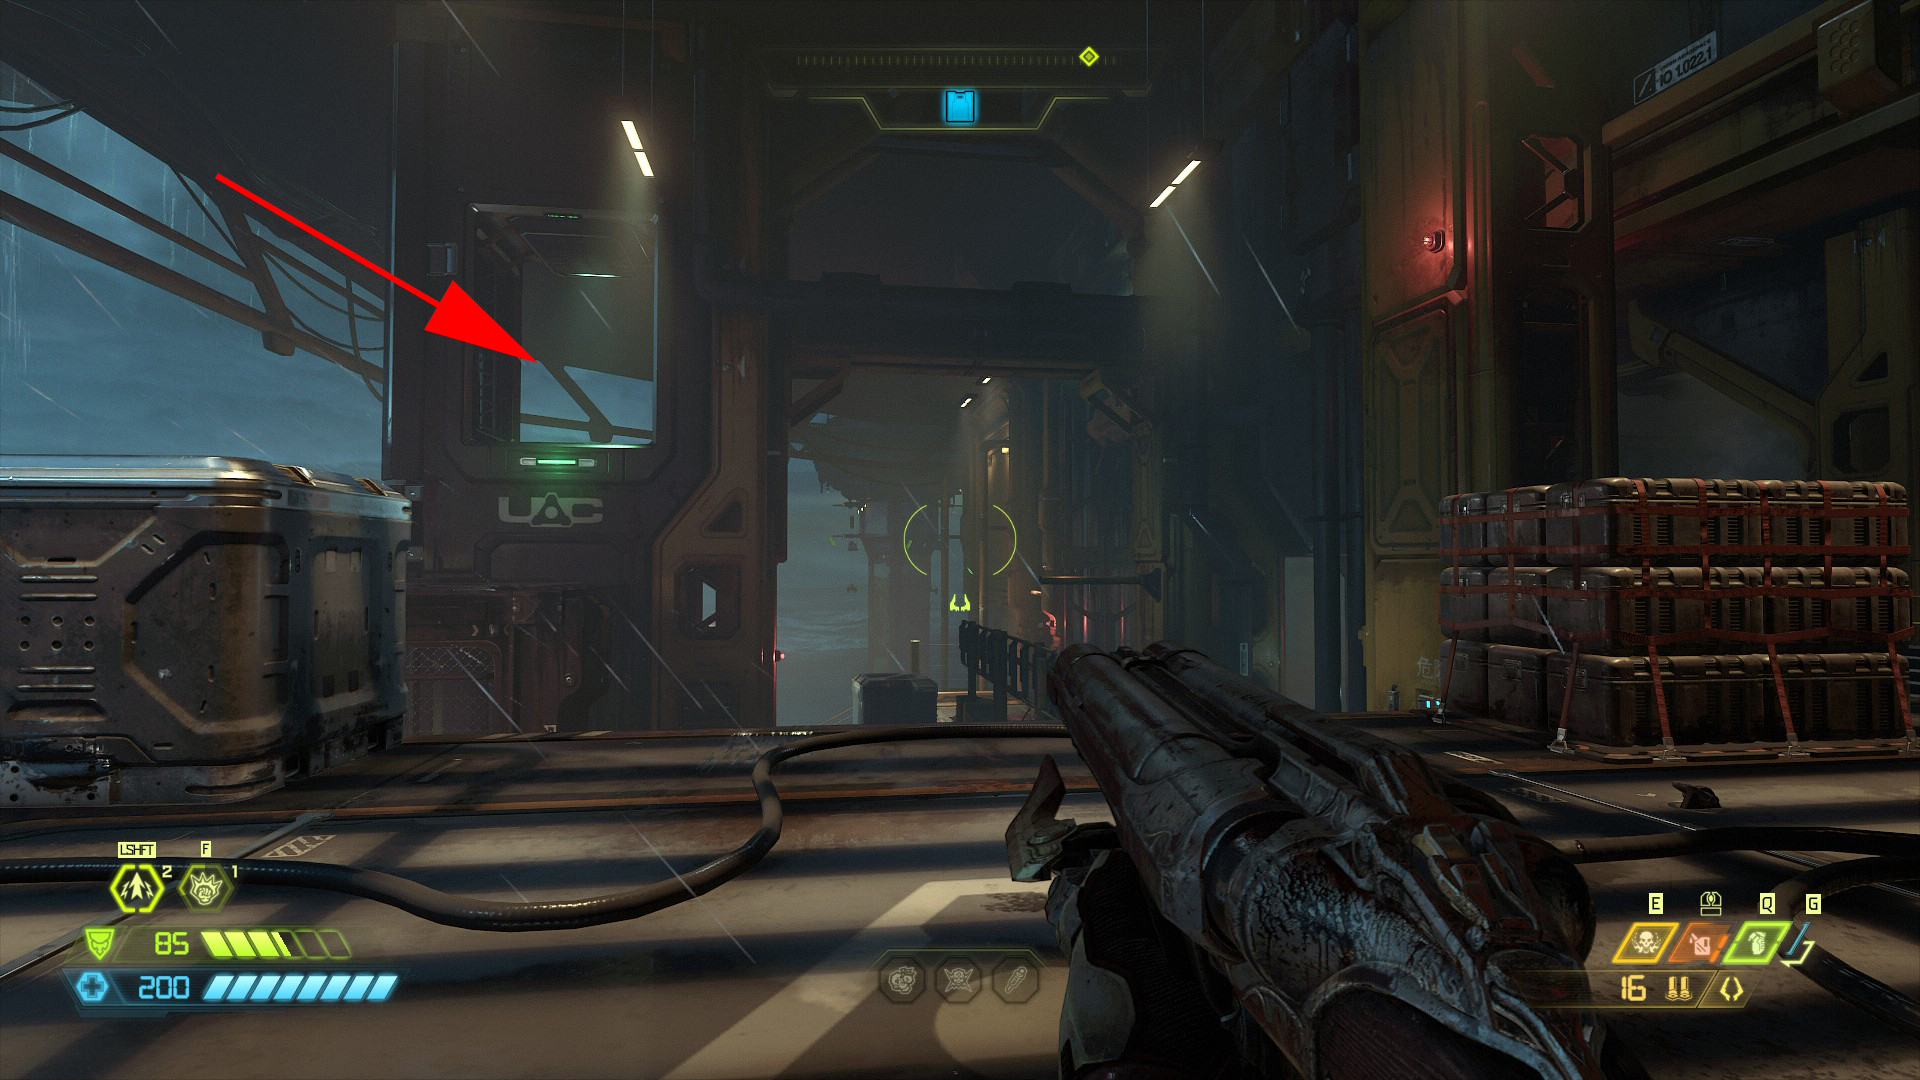
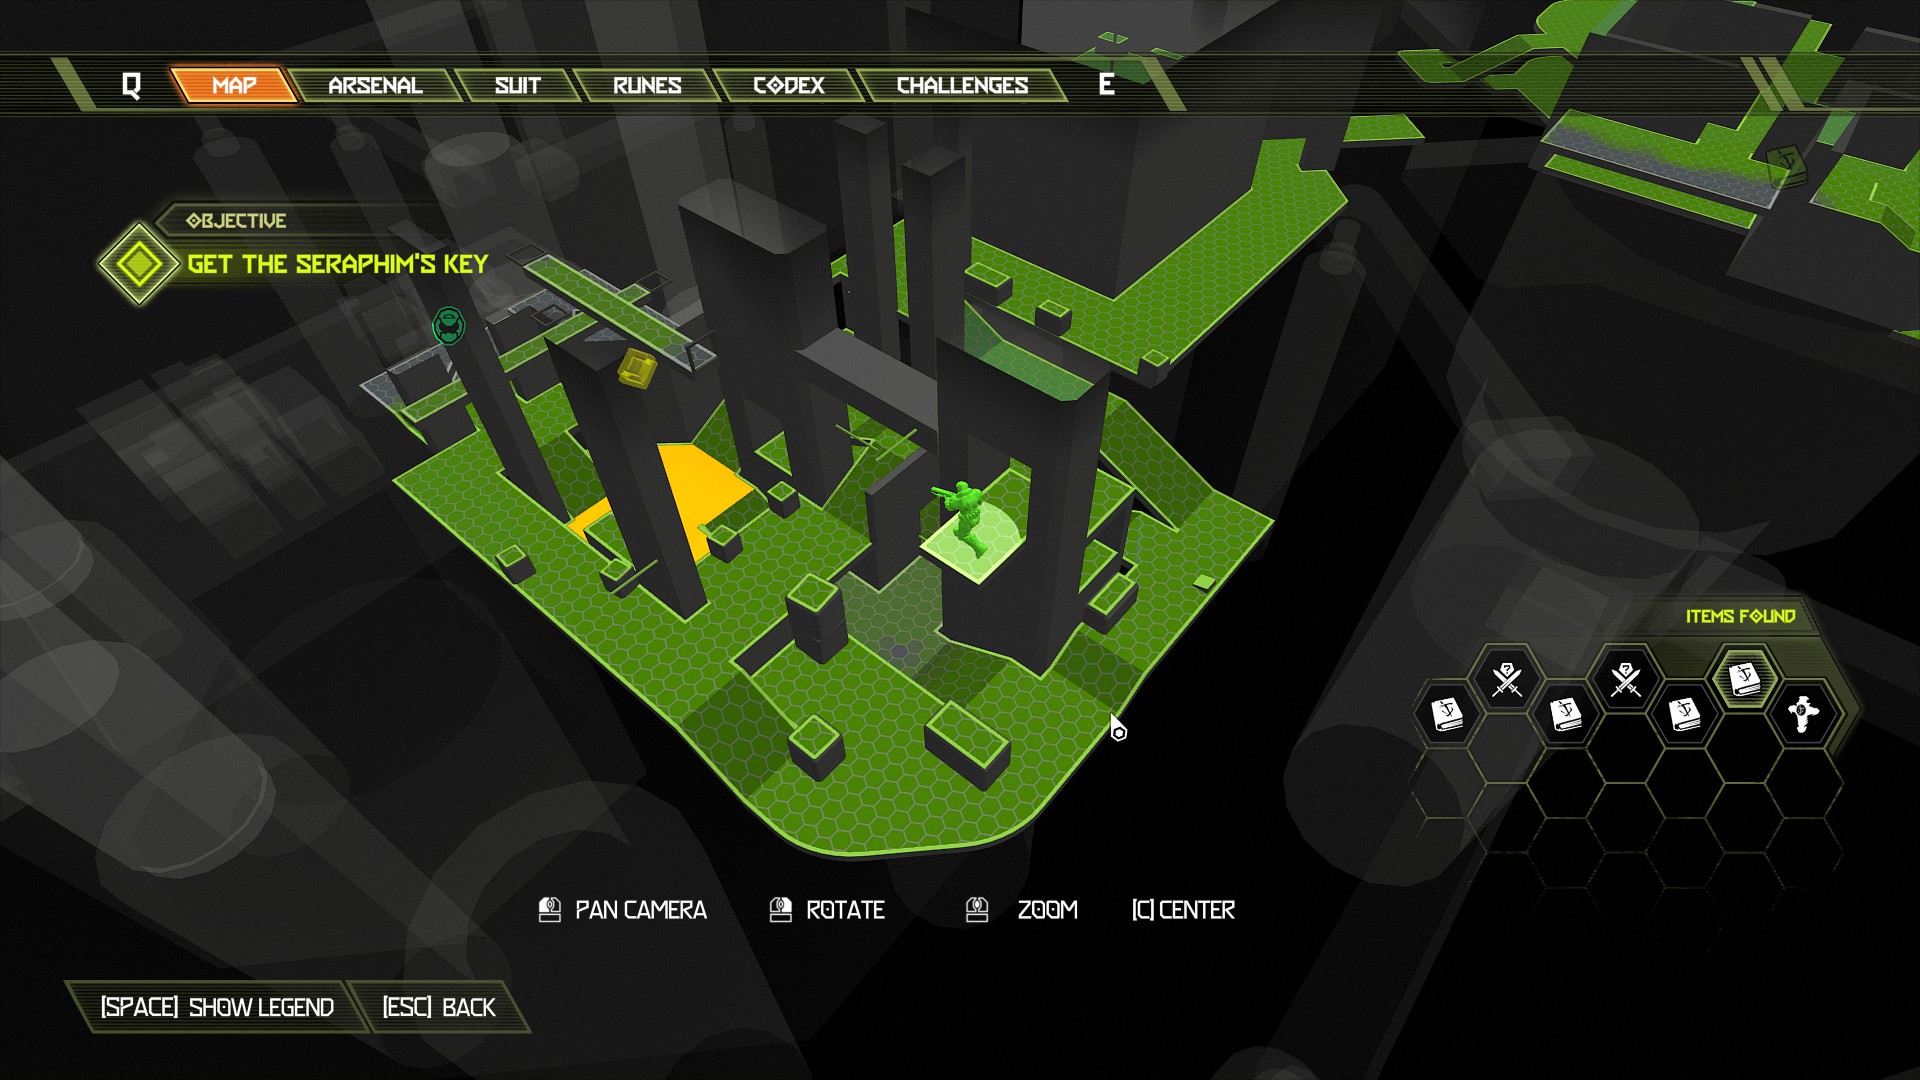
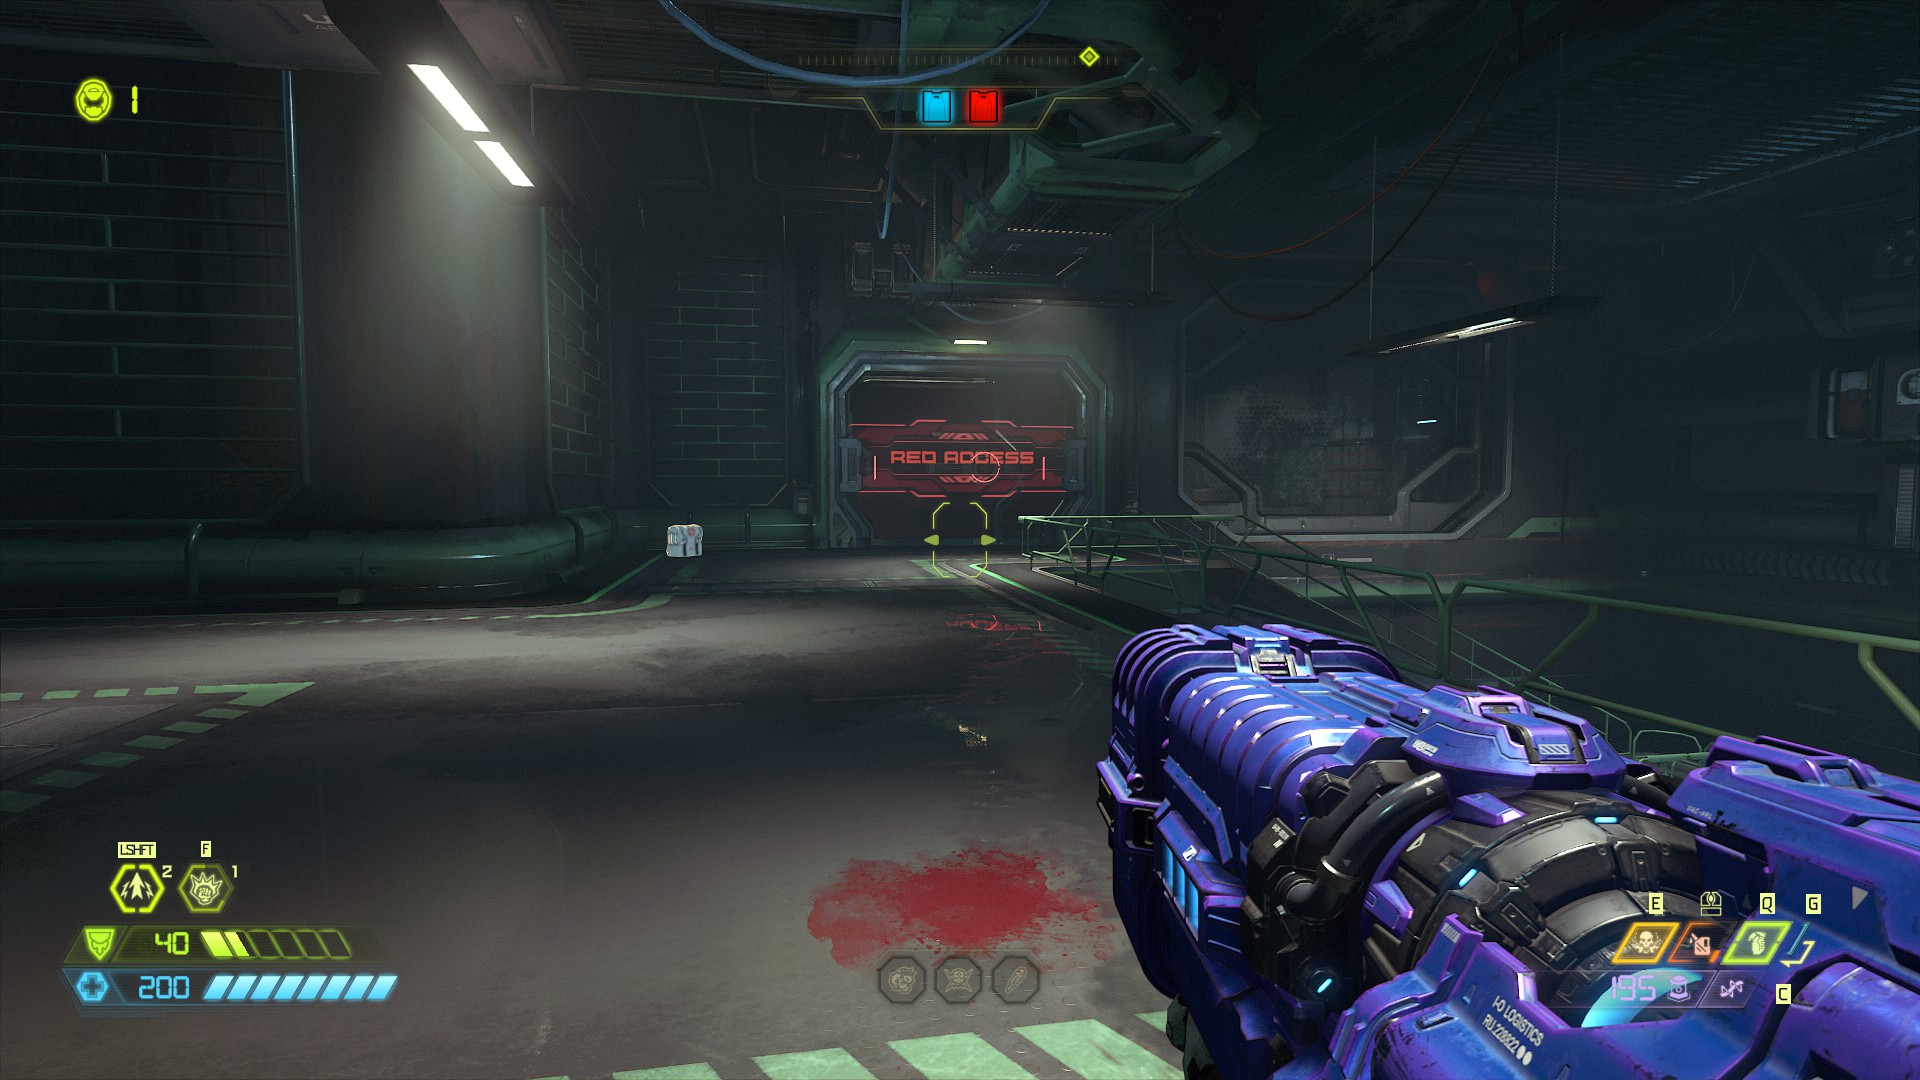
On the upper level you can now gain access to the red access door, this is located at the top of the stairway above where you found the codex page.
There isn't much inside other than ammo but it's a secret area non the less.
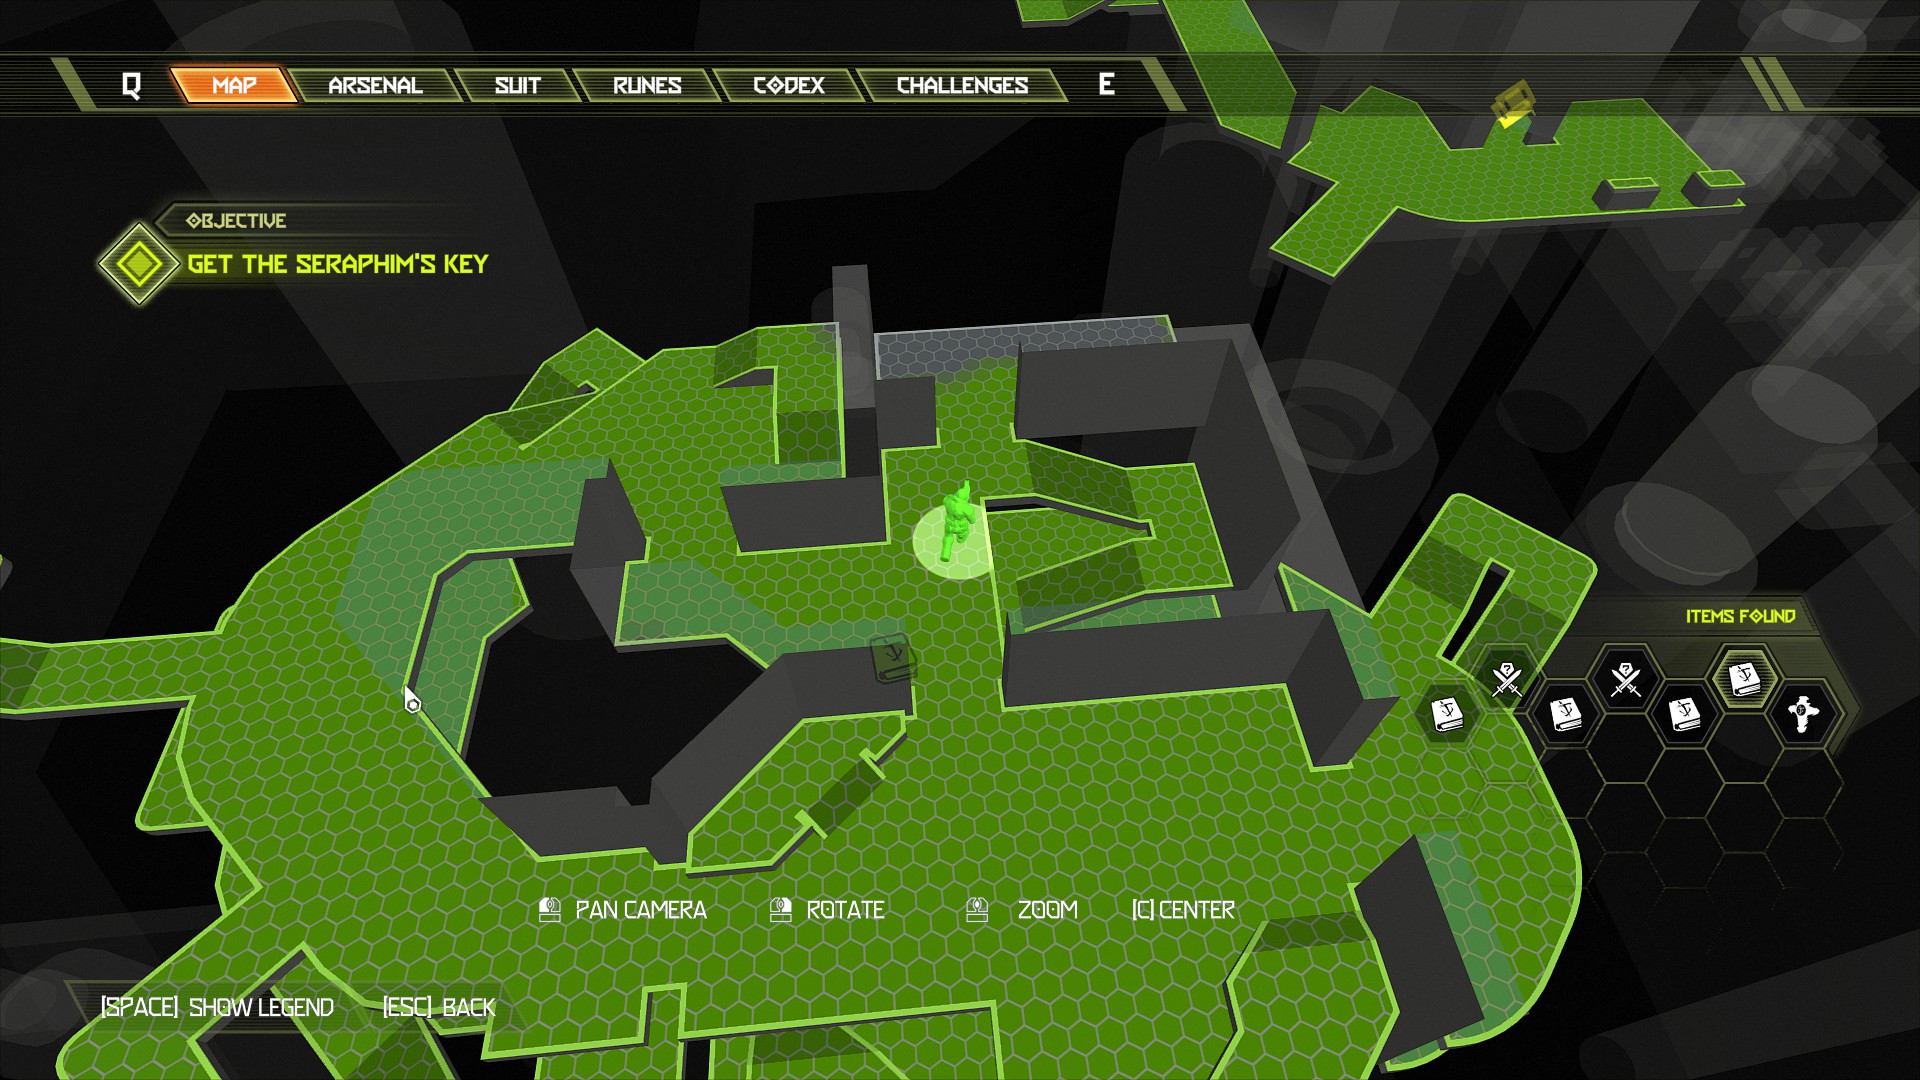
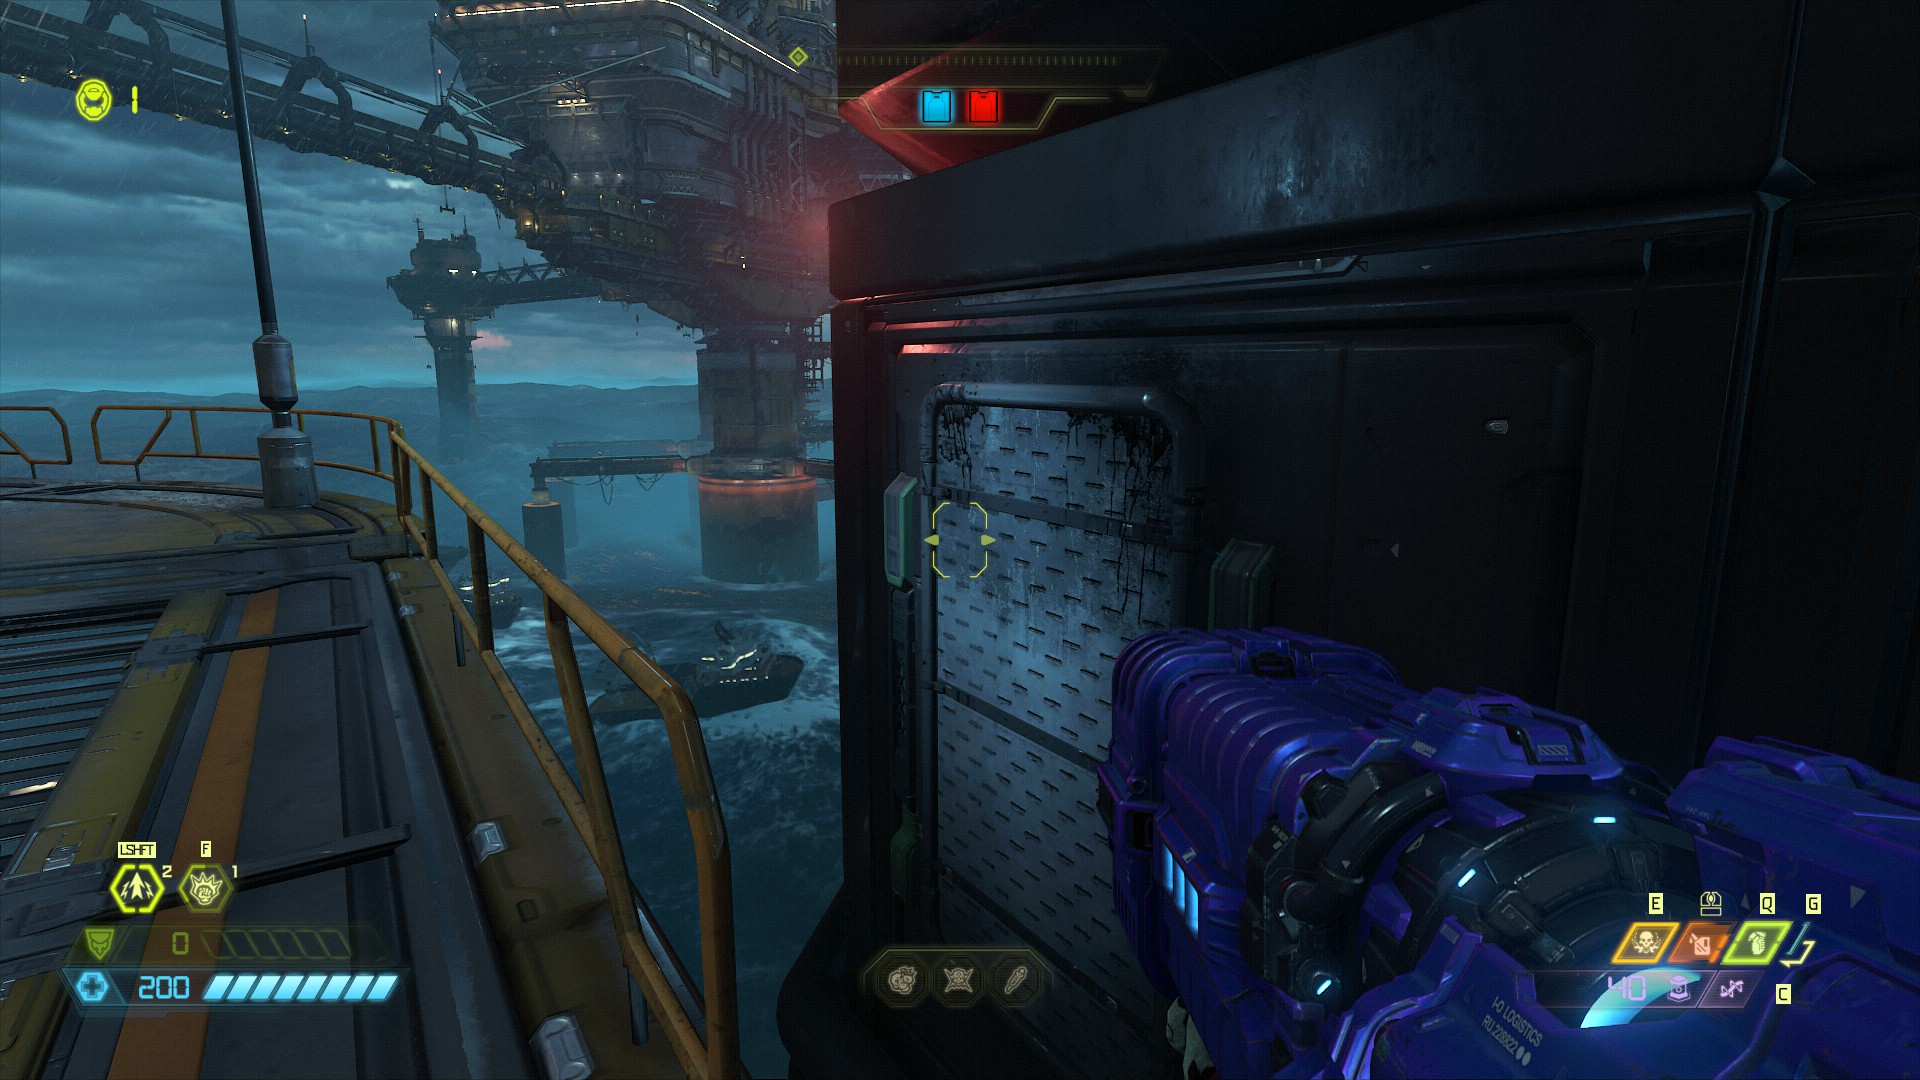
Now continue the mission back across to where the marauder was and head into the elevator.
Secret Encounter:
For this encounter you will be attacked by 1 mancubus, 2 carcass, 1 zombie. Once you exit the elevator look to the right and just over the edge of the platform you will see a wall you can grab, use it to drop down to the platform underneath you where you will find the secret encounter.
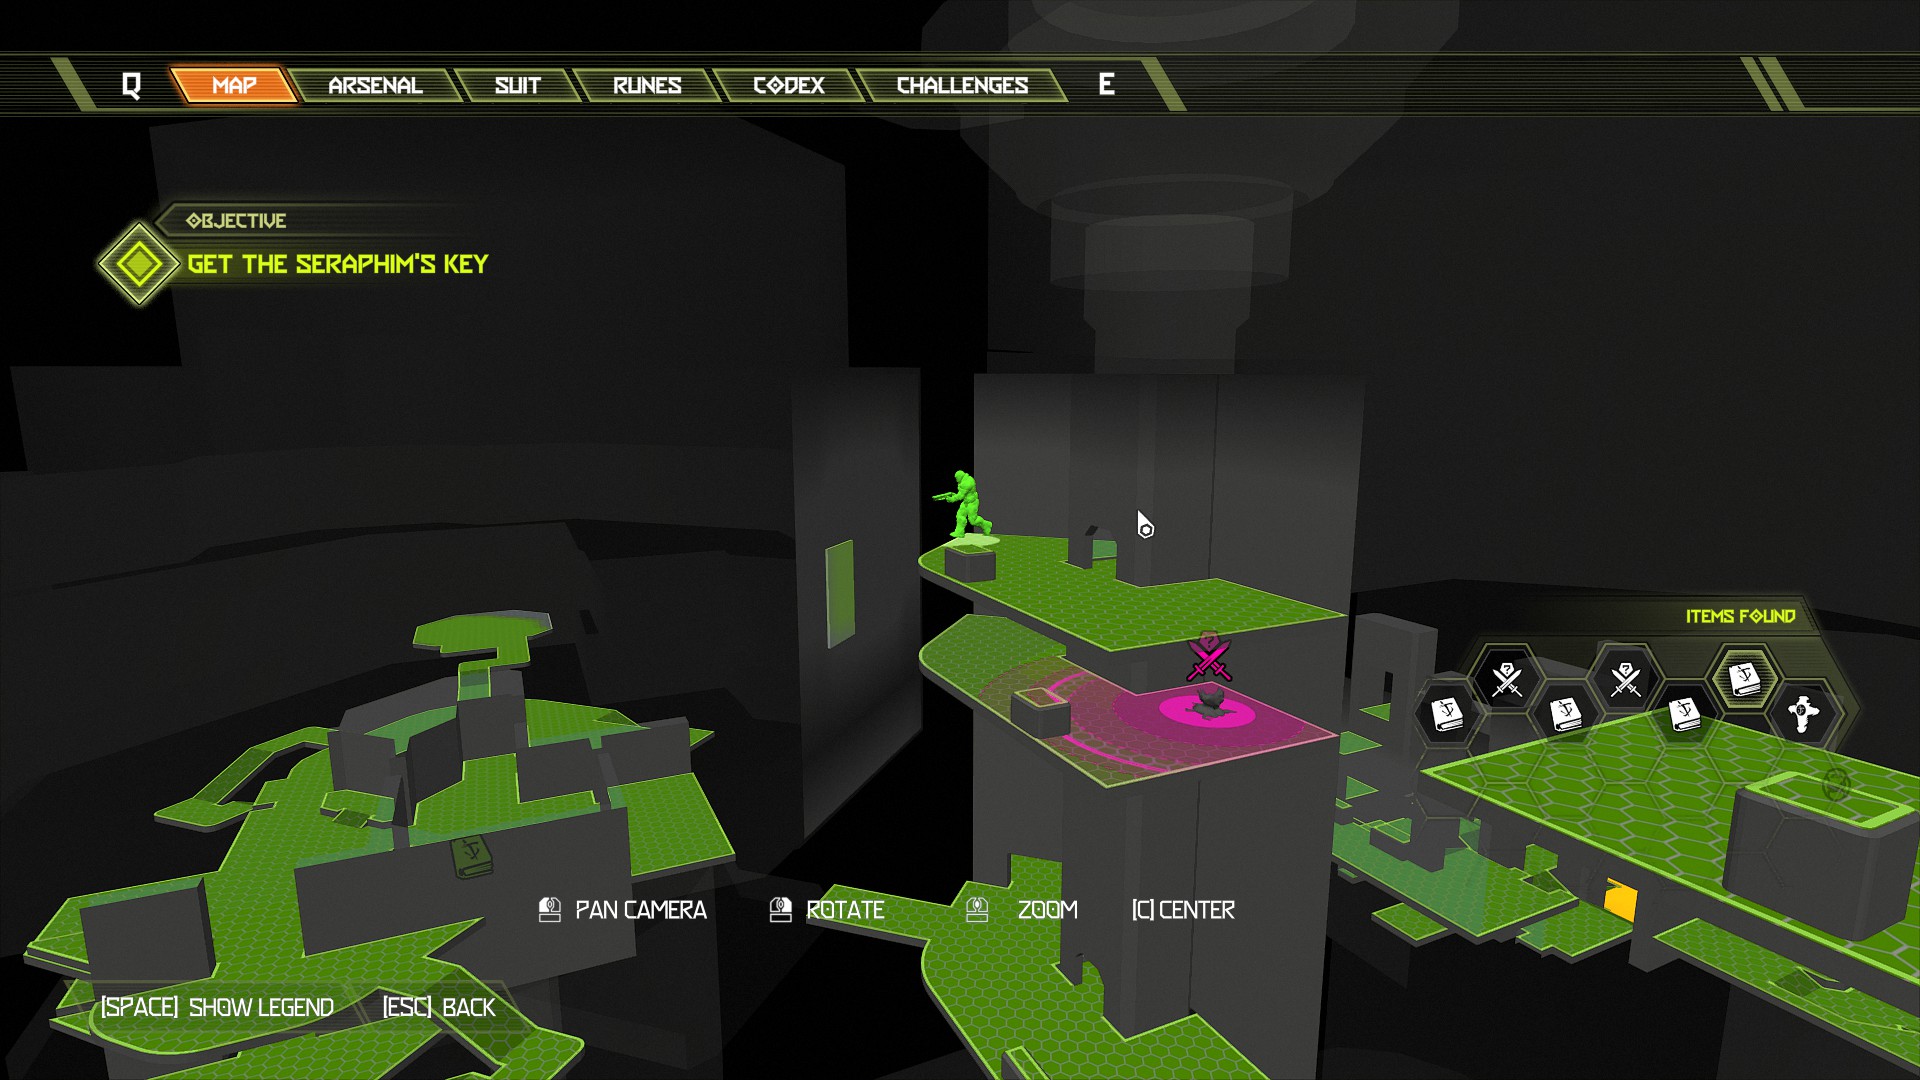
After the secret encounter go back up using the same wall and then proceed to jump the small gap to the other side (watch out for the fan). At the other side you will see the green mechanism, as you face the mechanism head left and you will find another codex page on the platform further up.
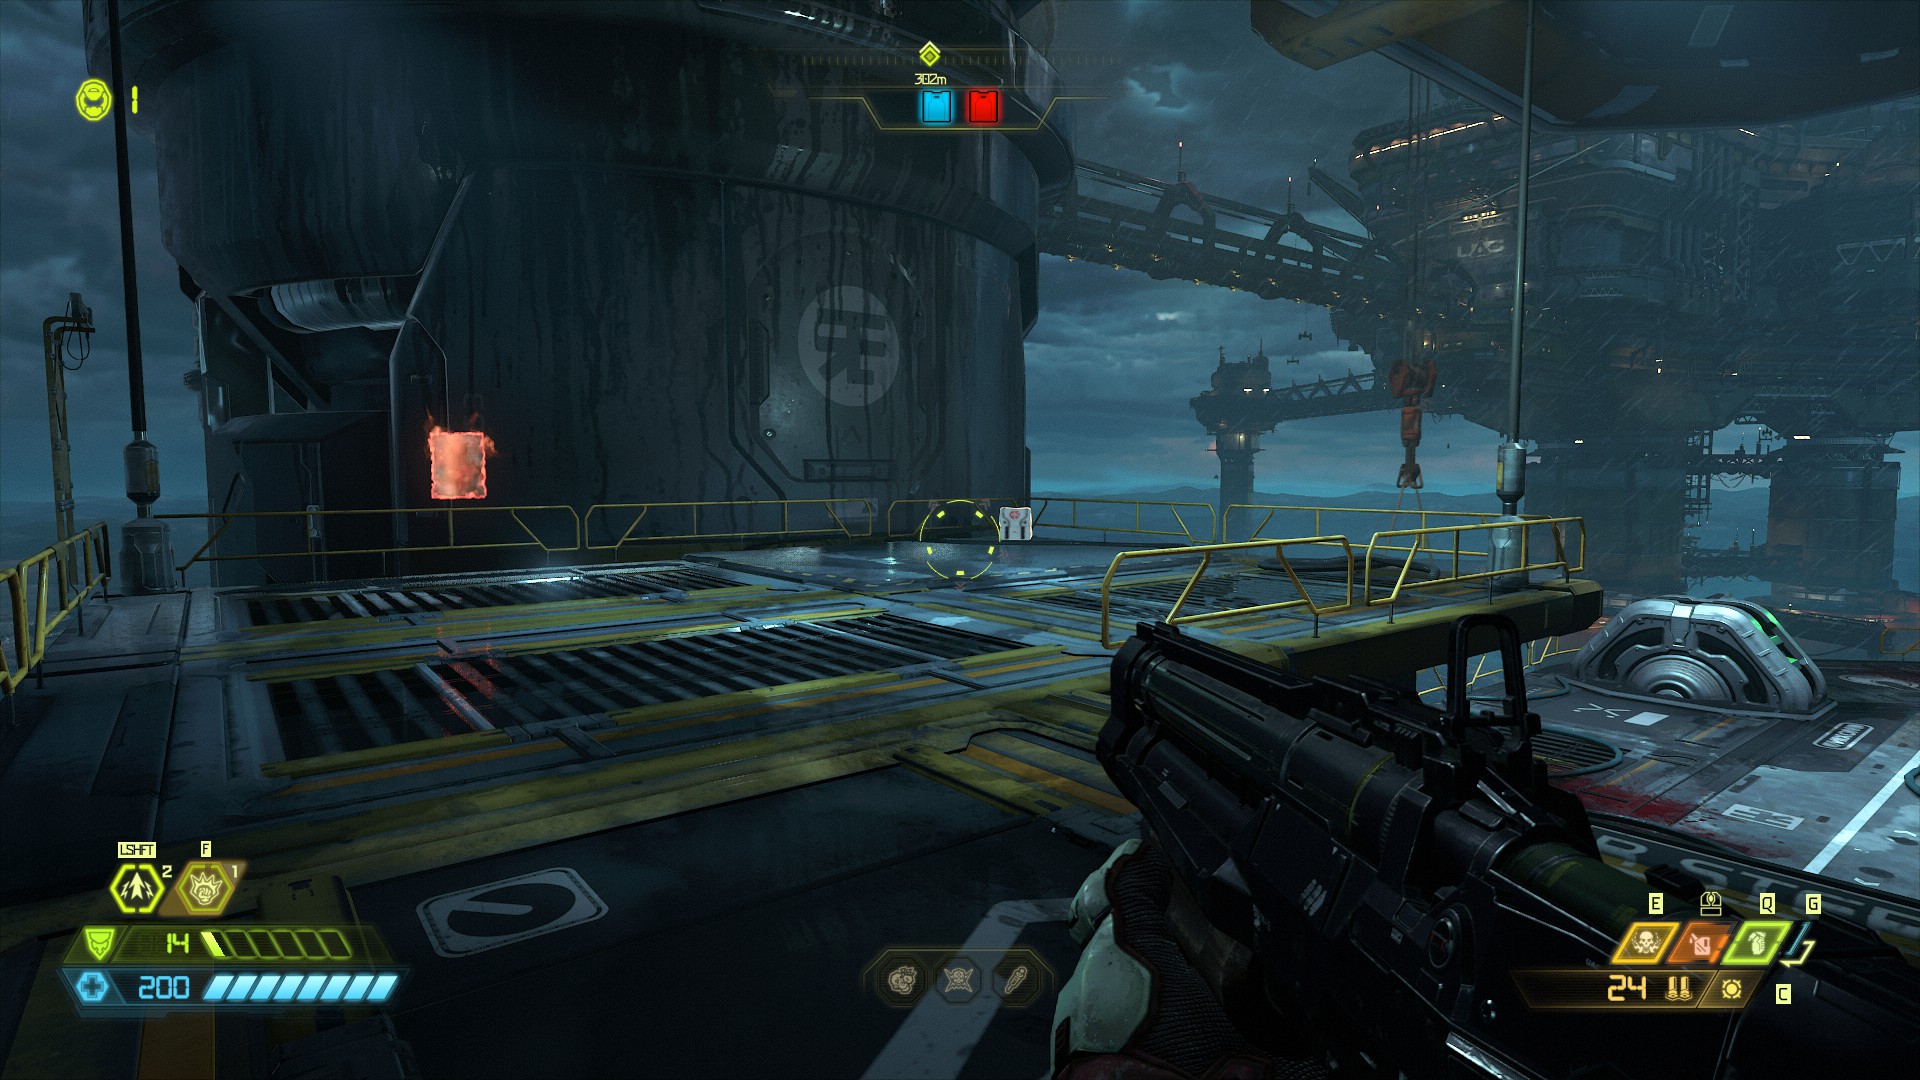
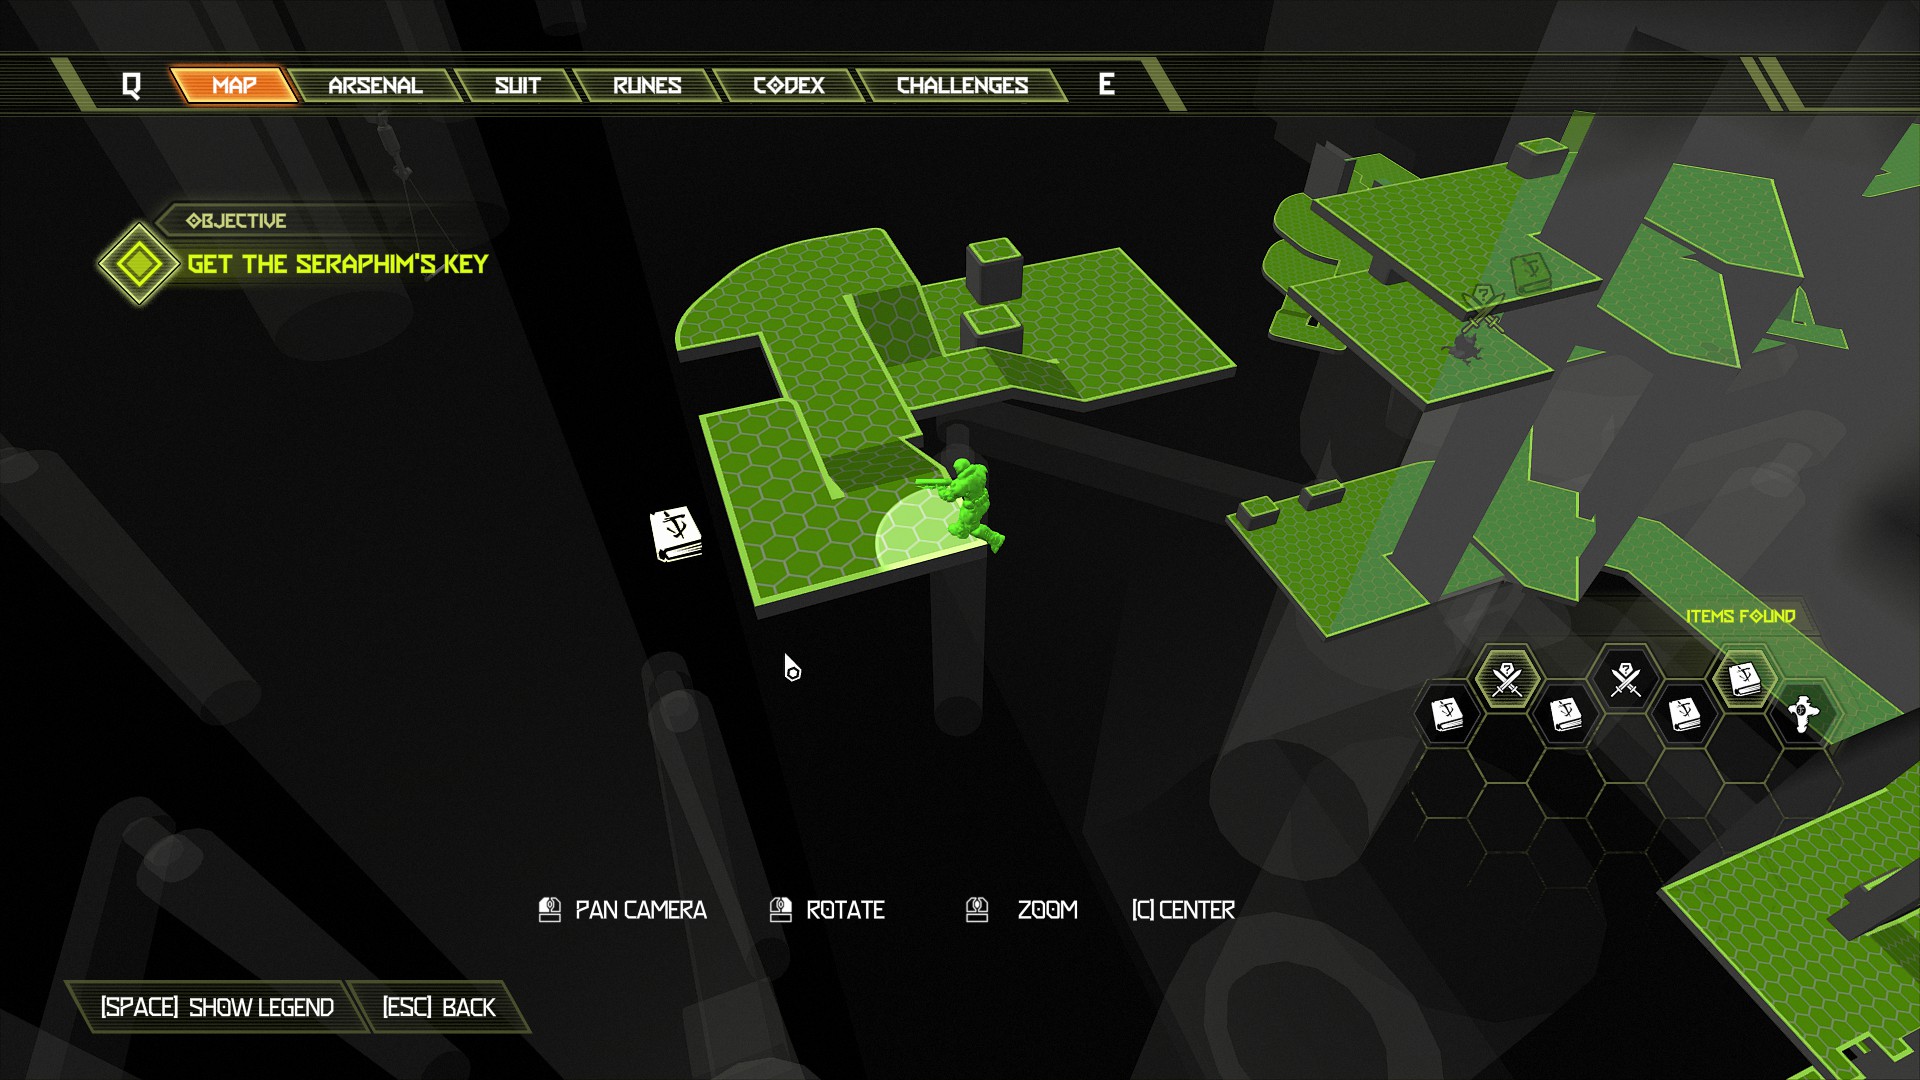
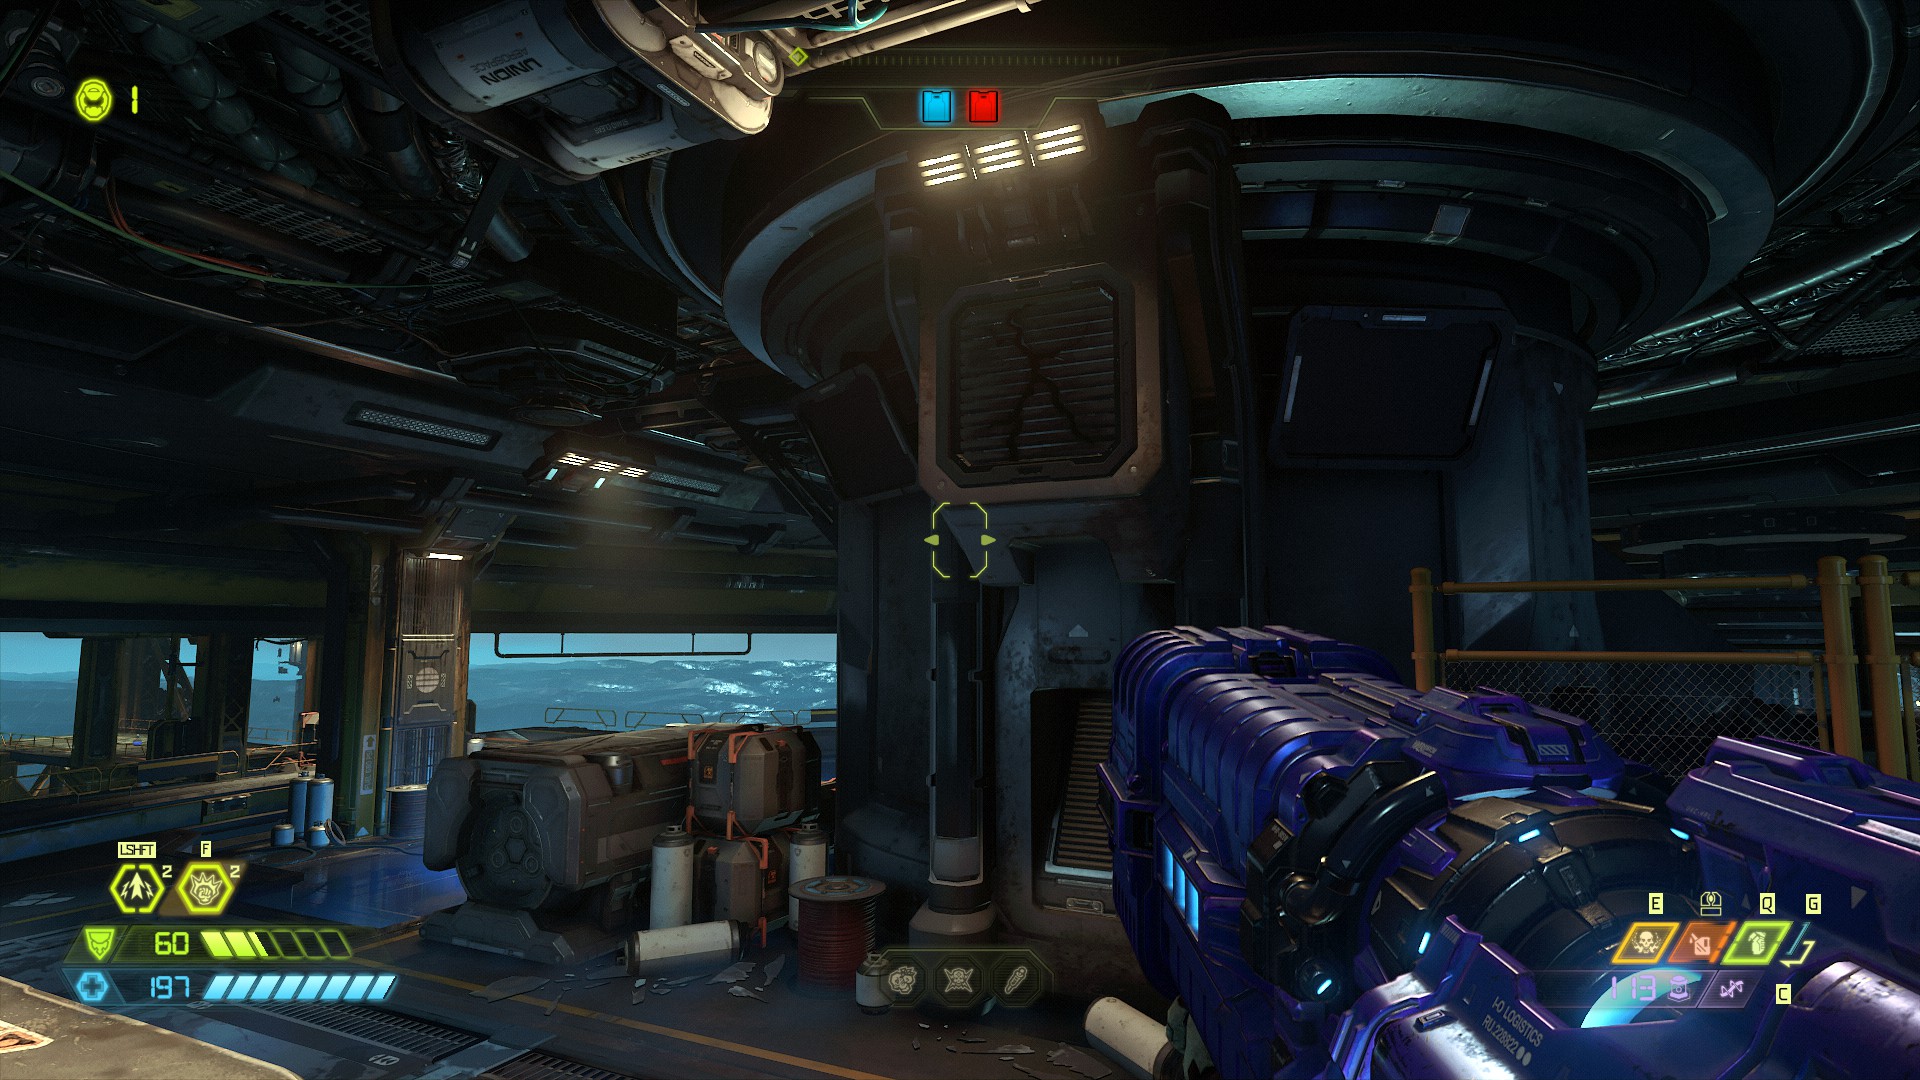
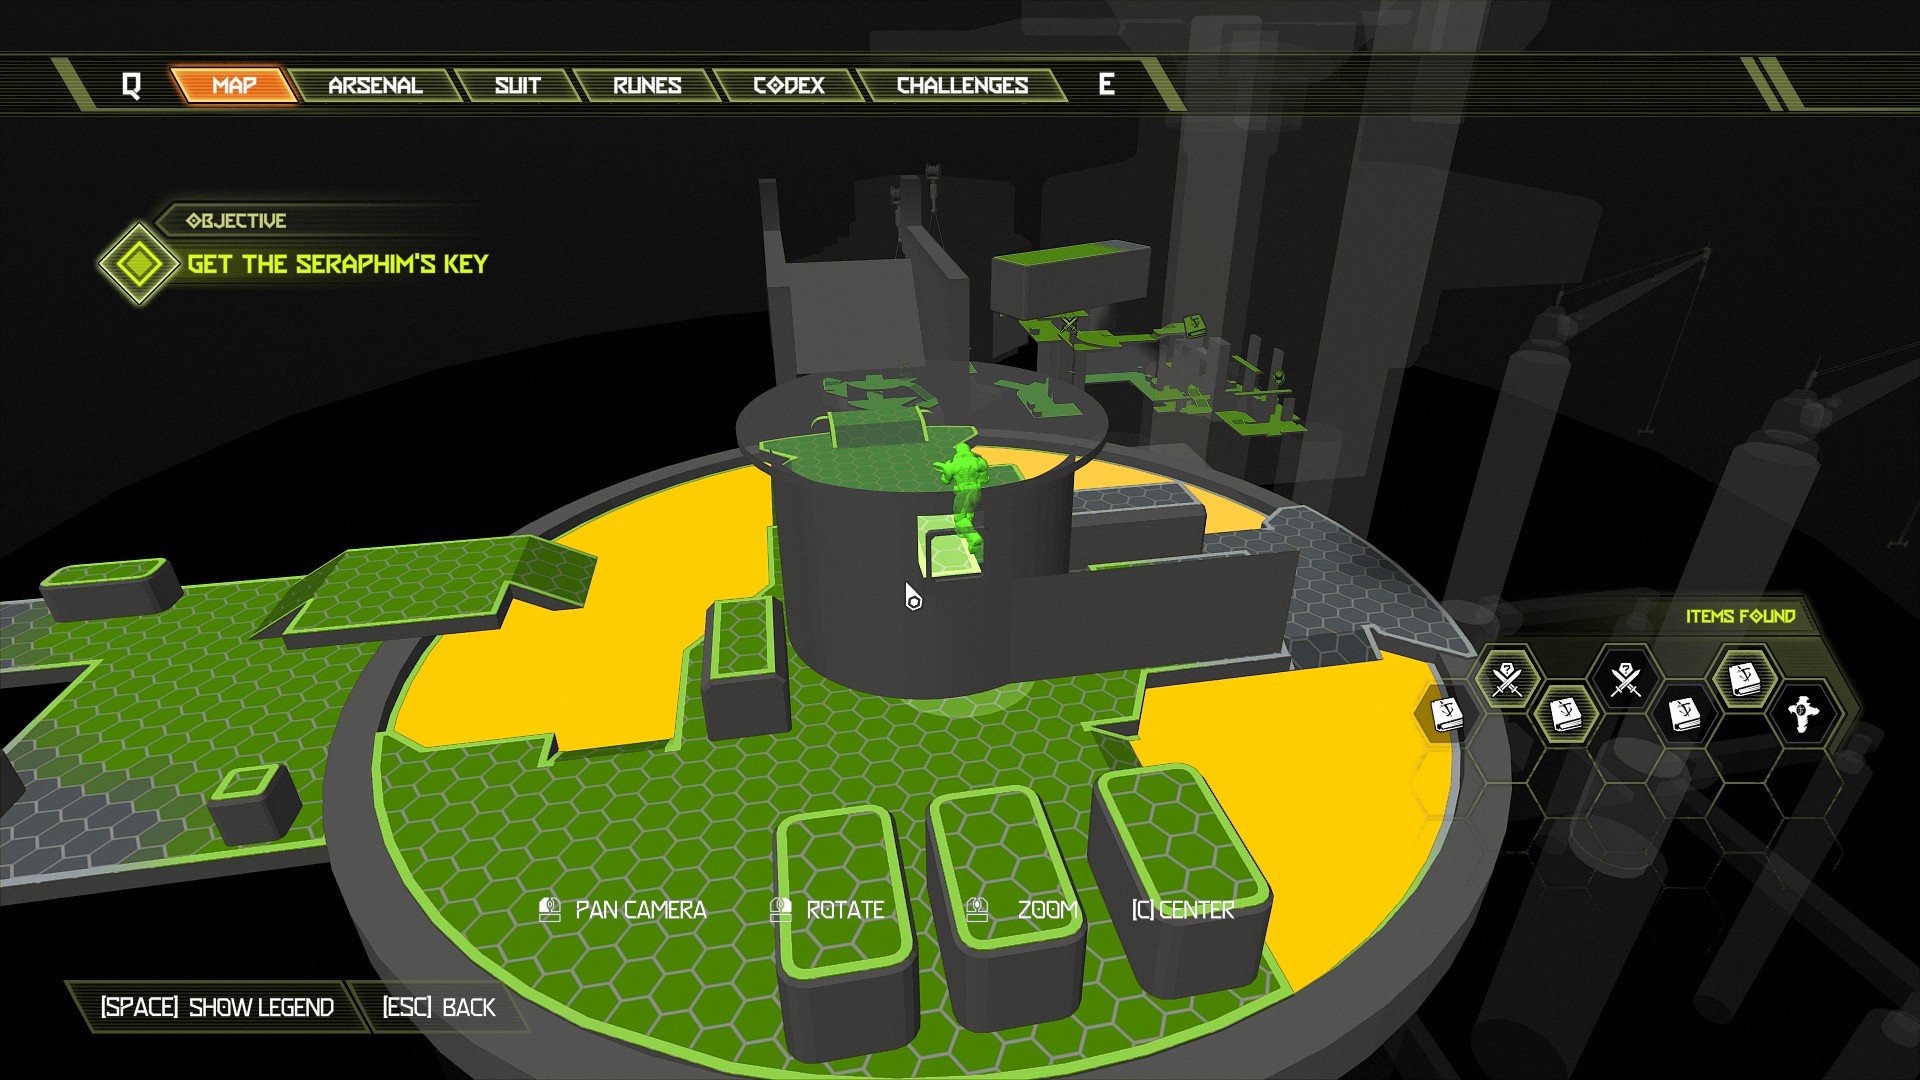
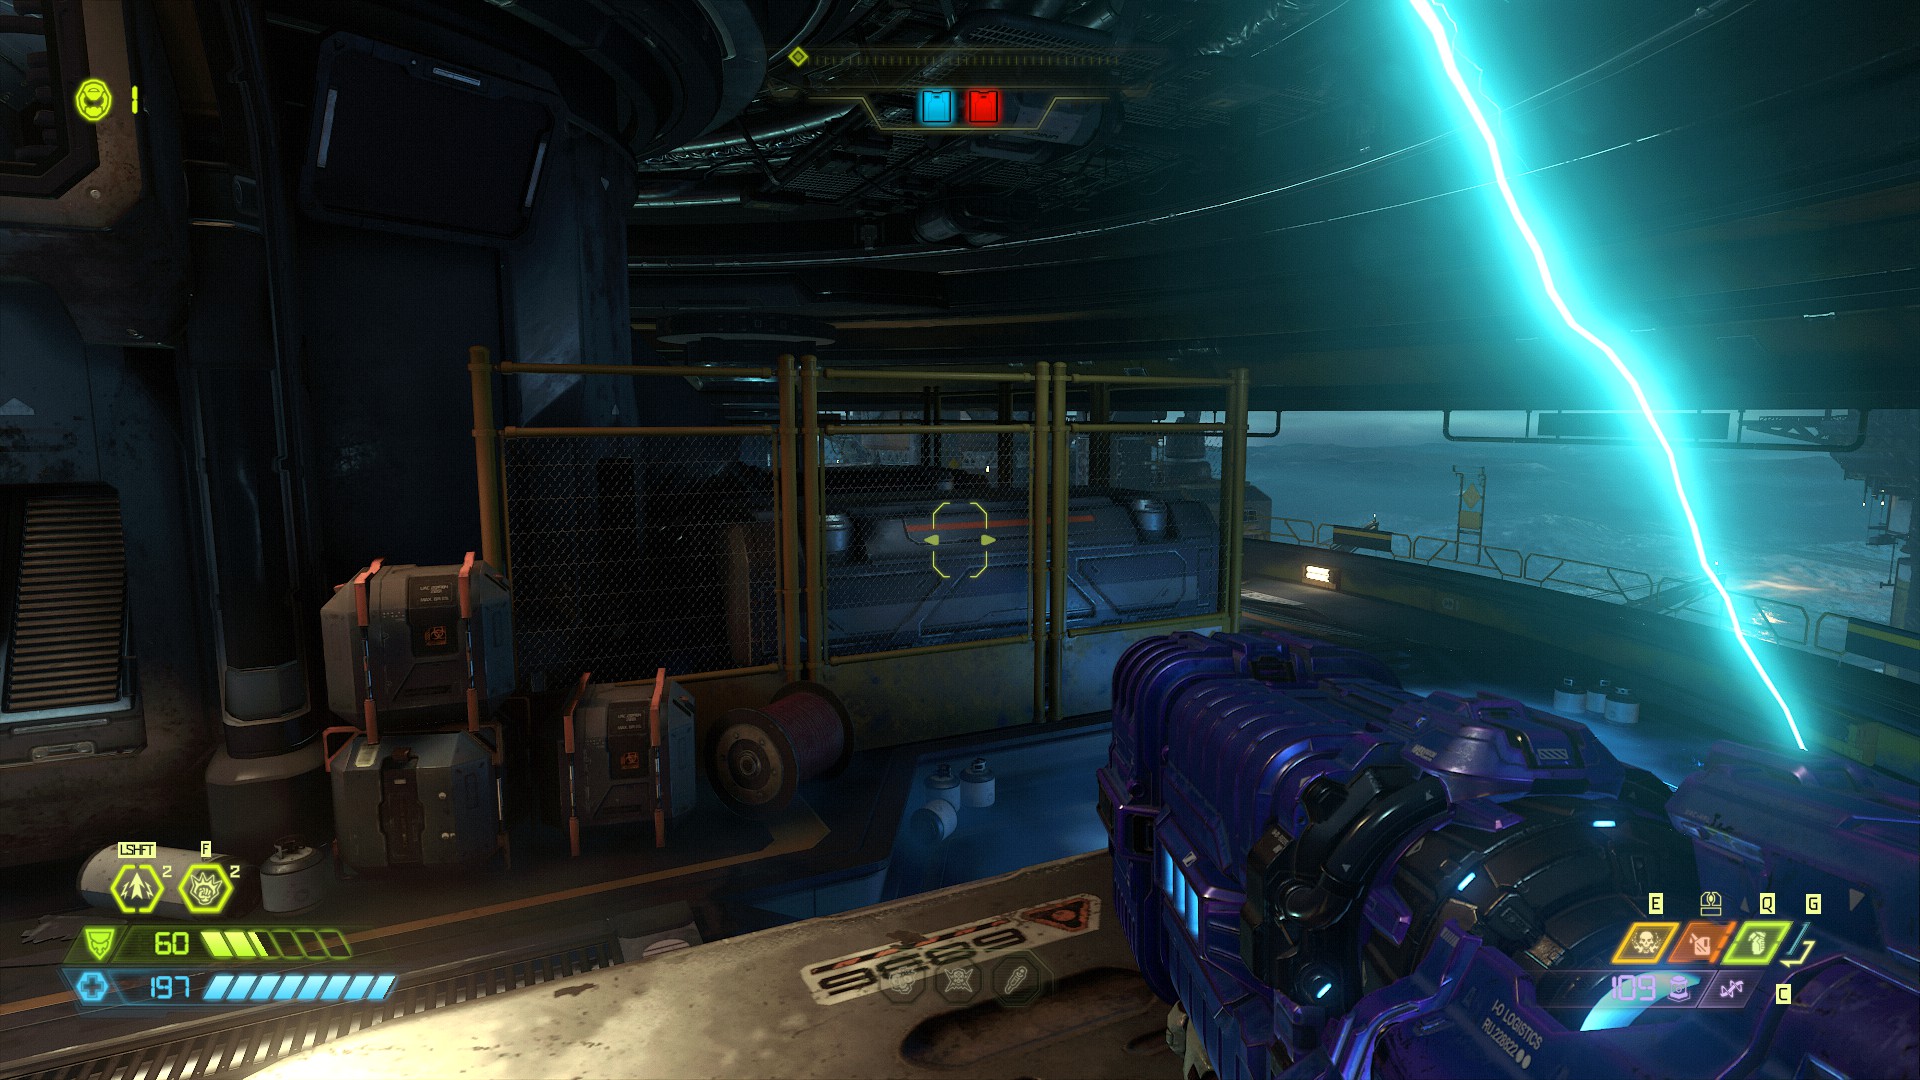
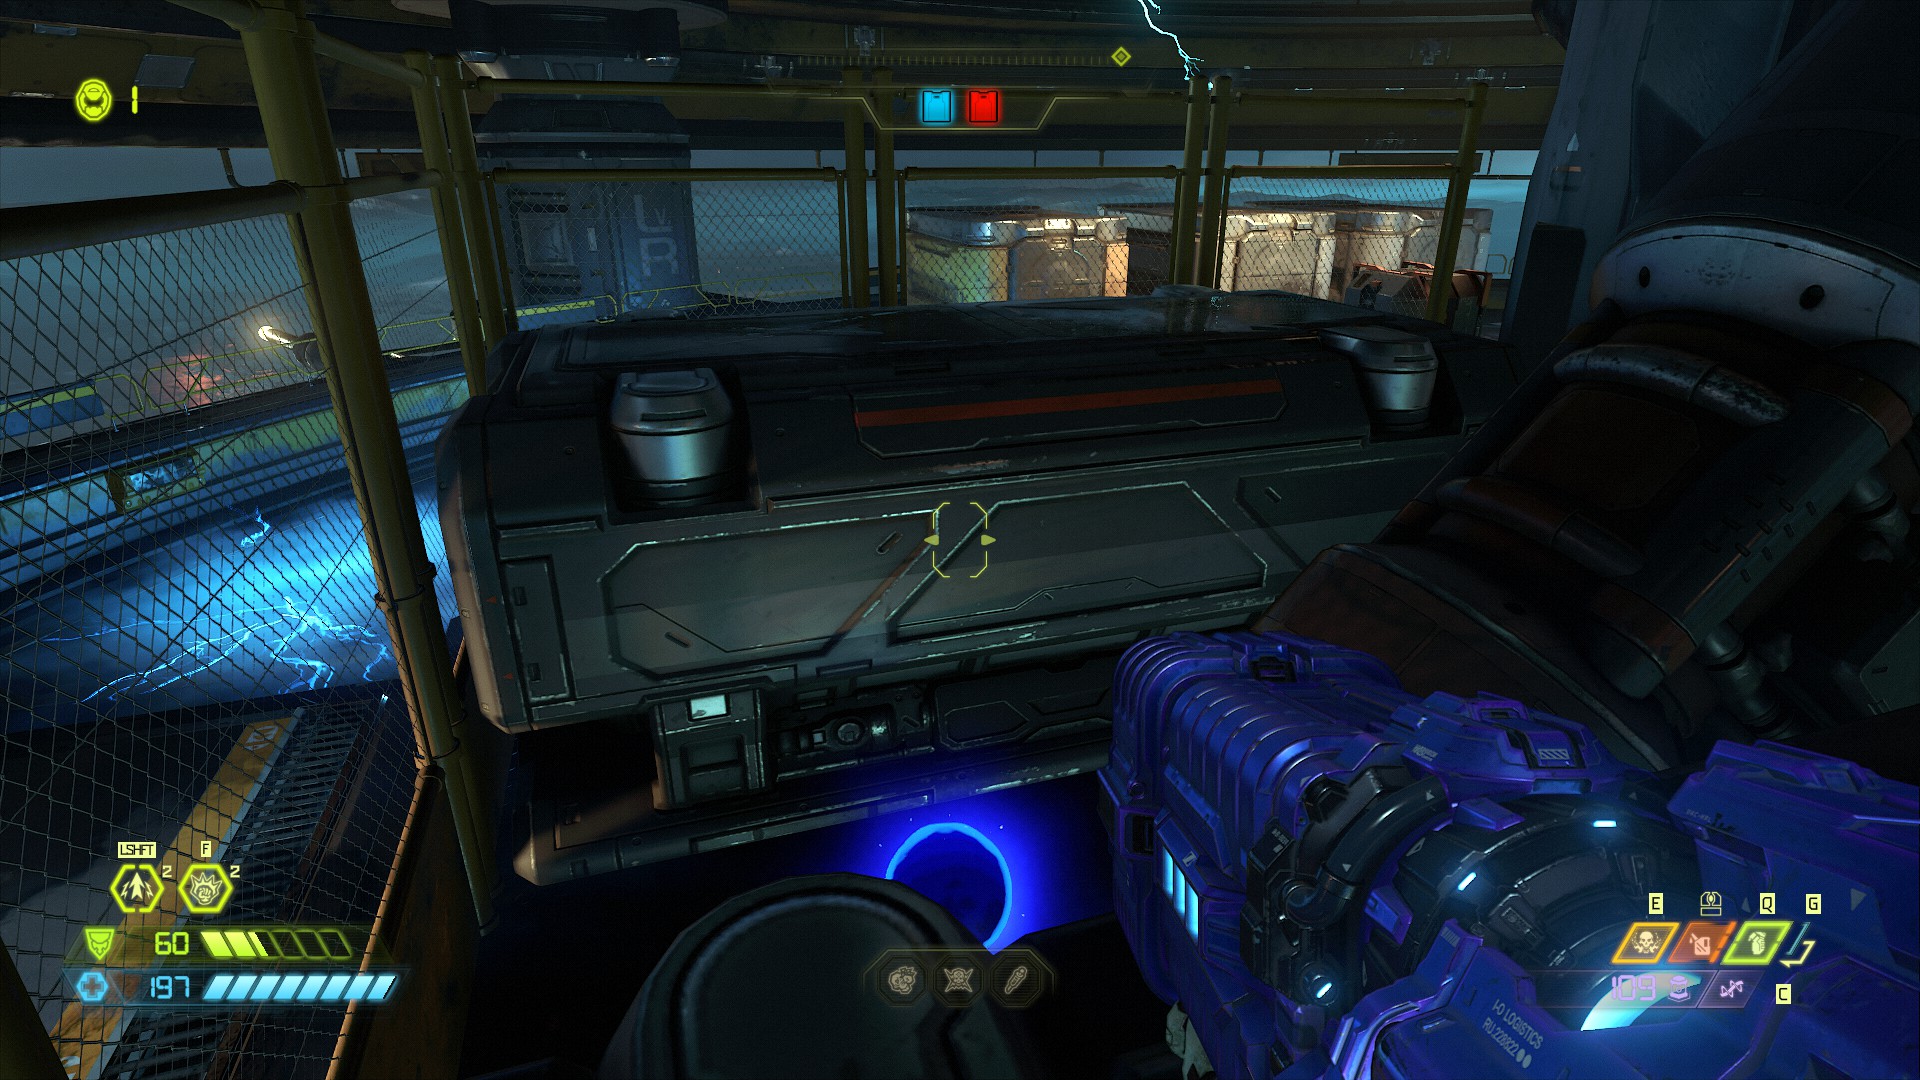
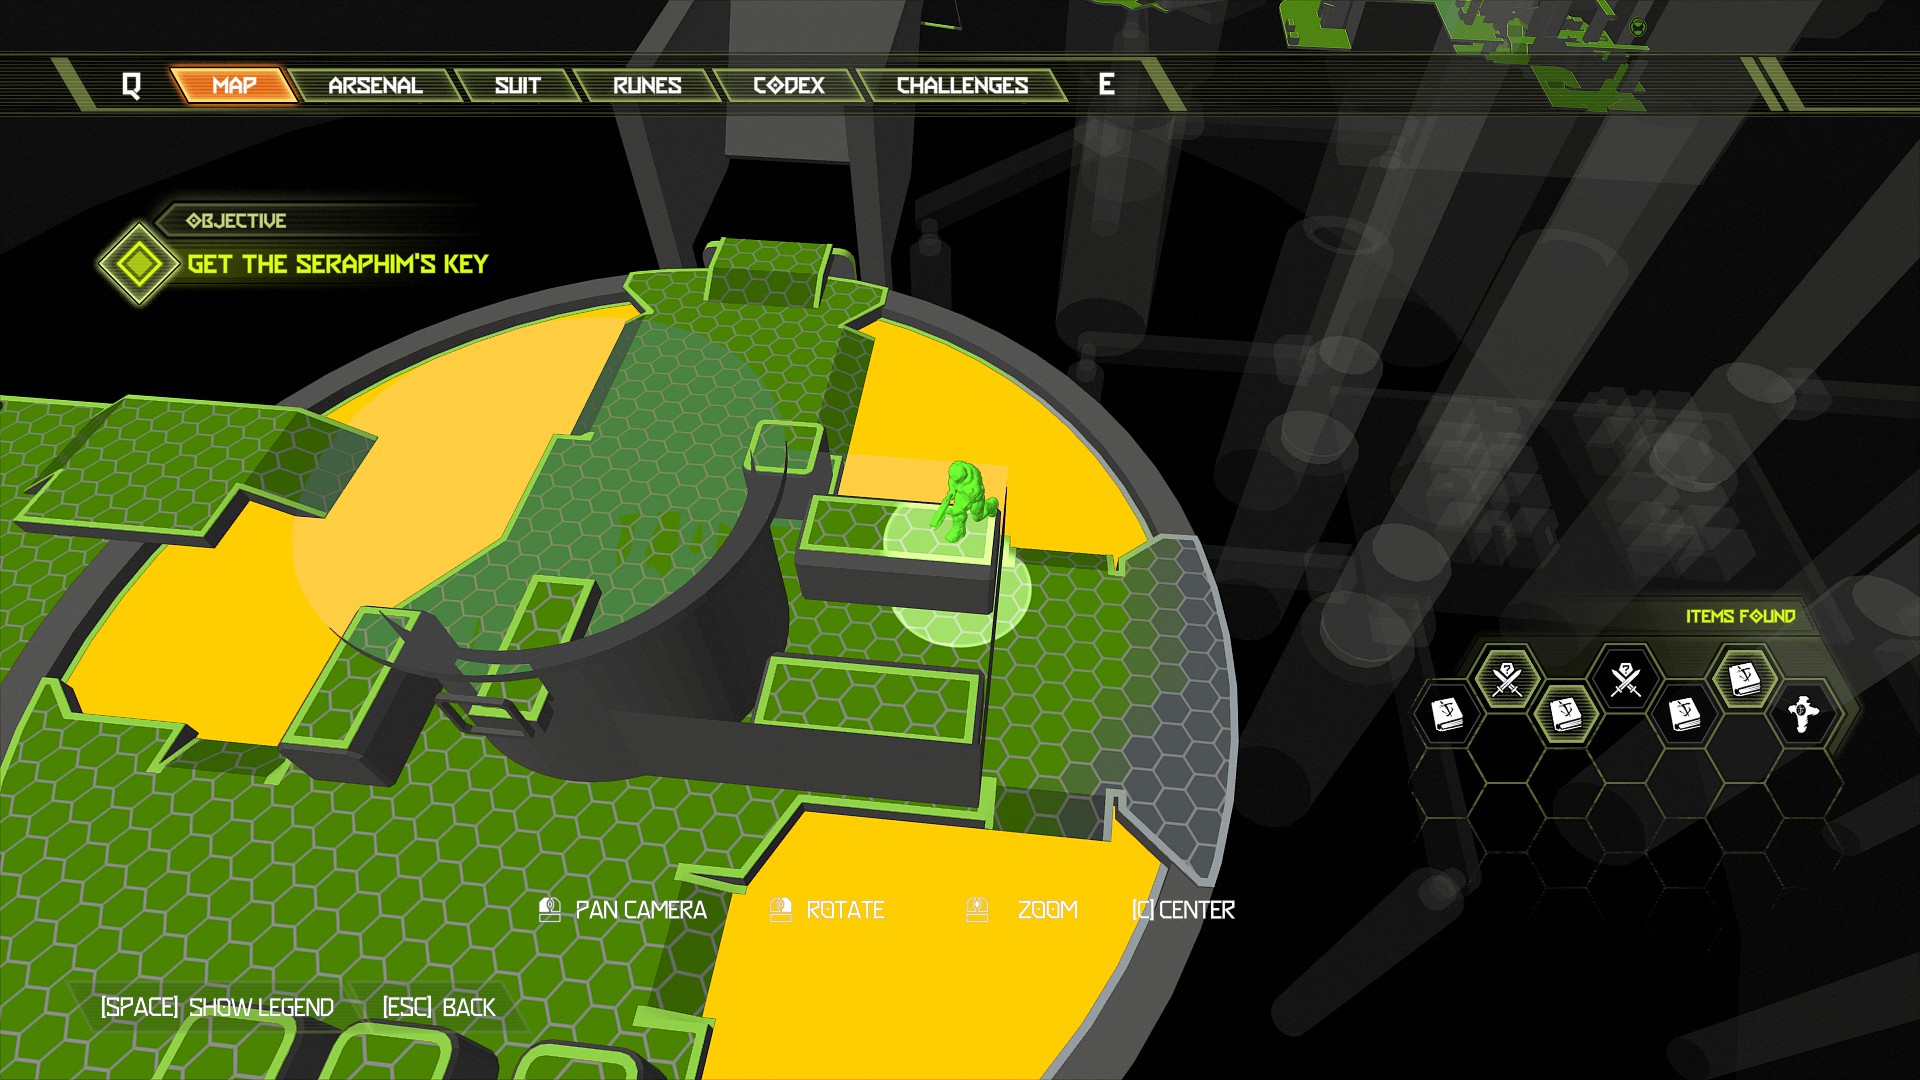
If you face the shaft again and look at the fencing to the right of it, jump over and inside will be a blue orb hiding low down.
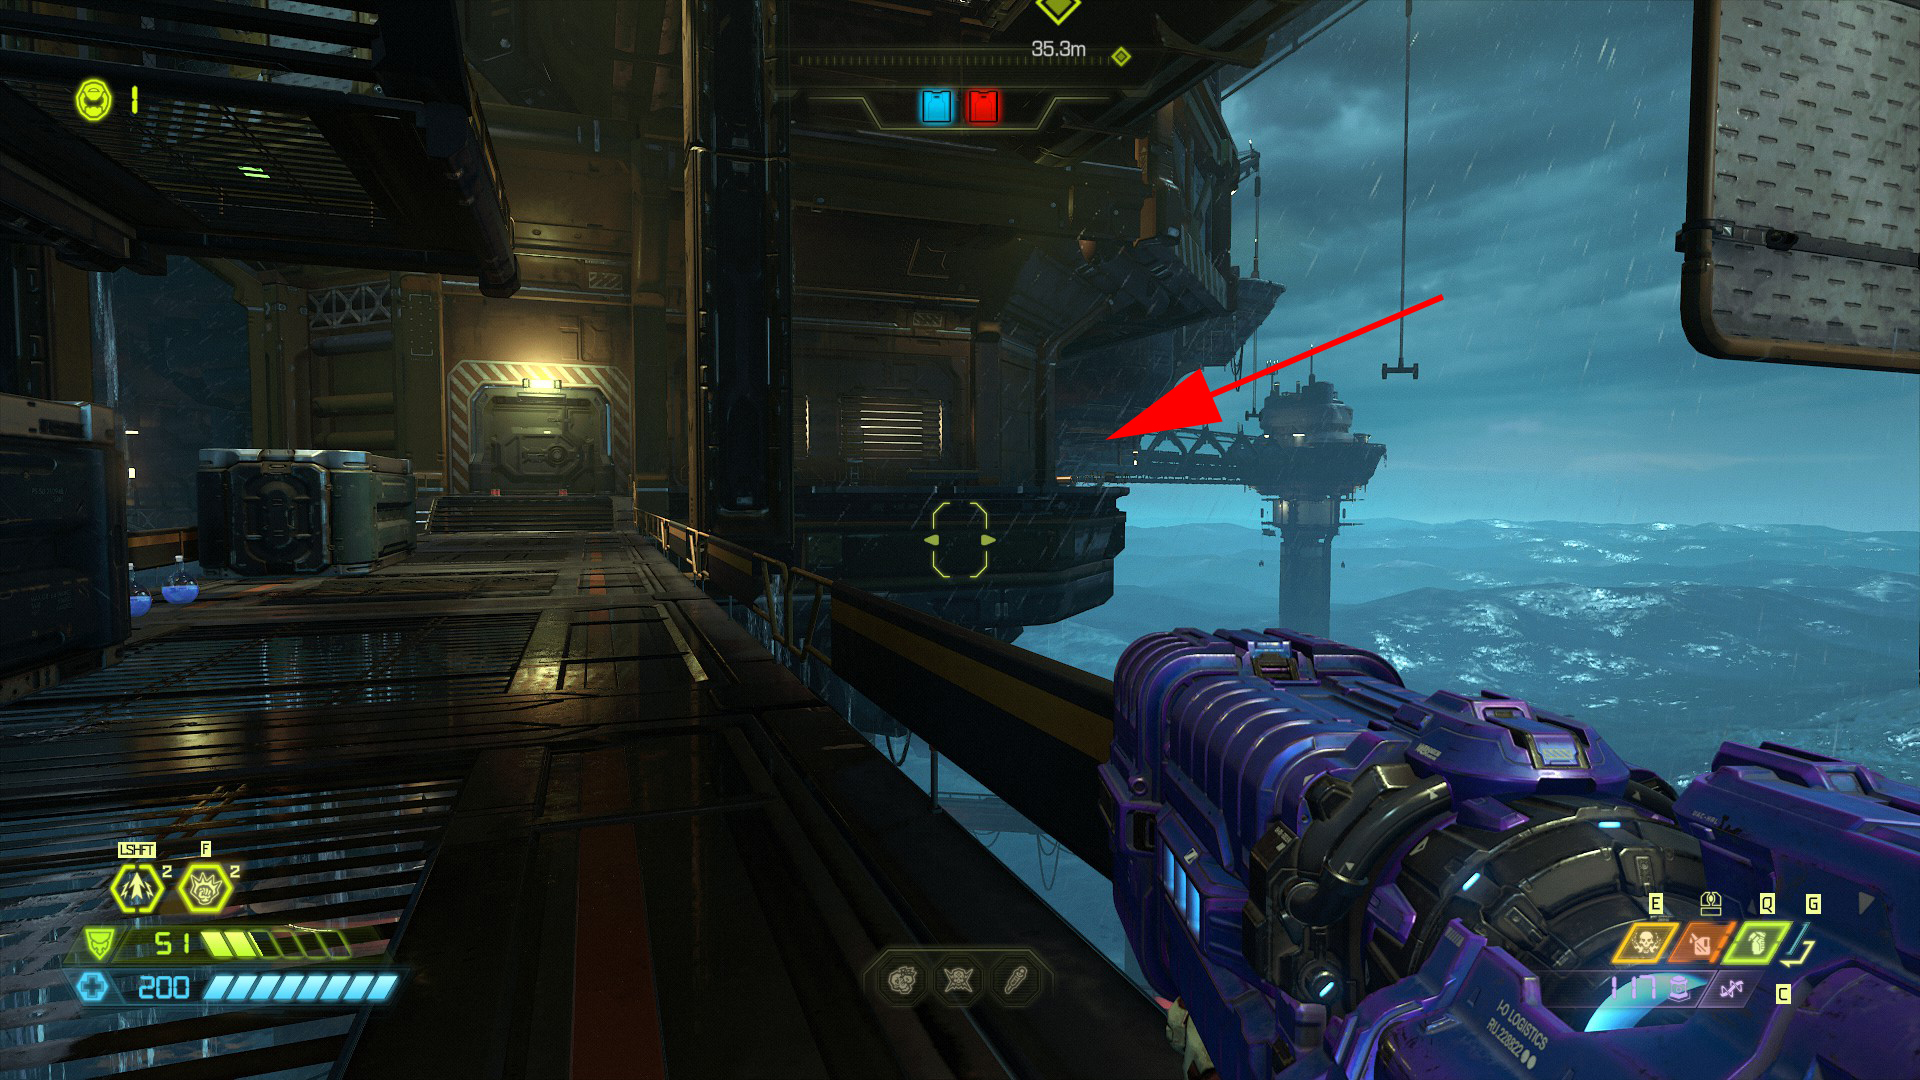
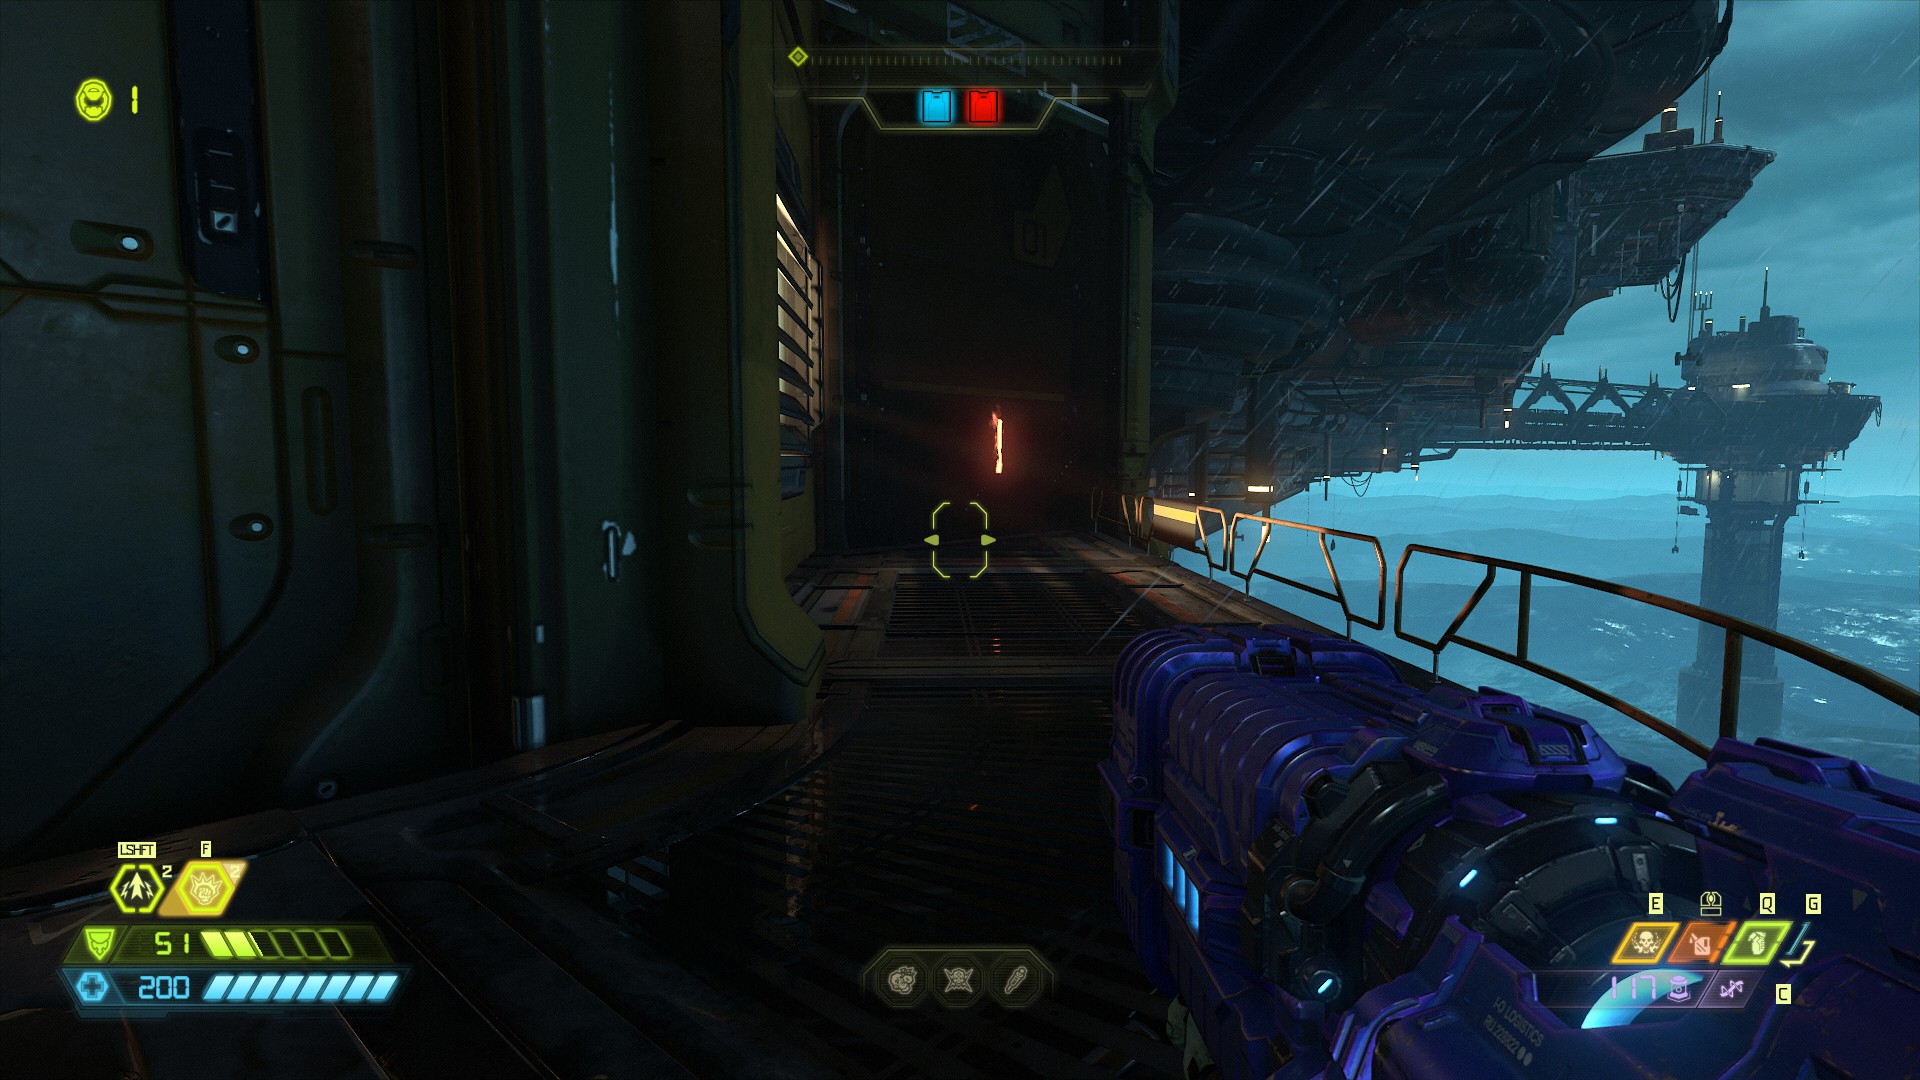
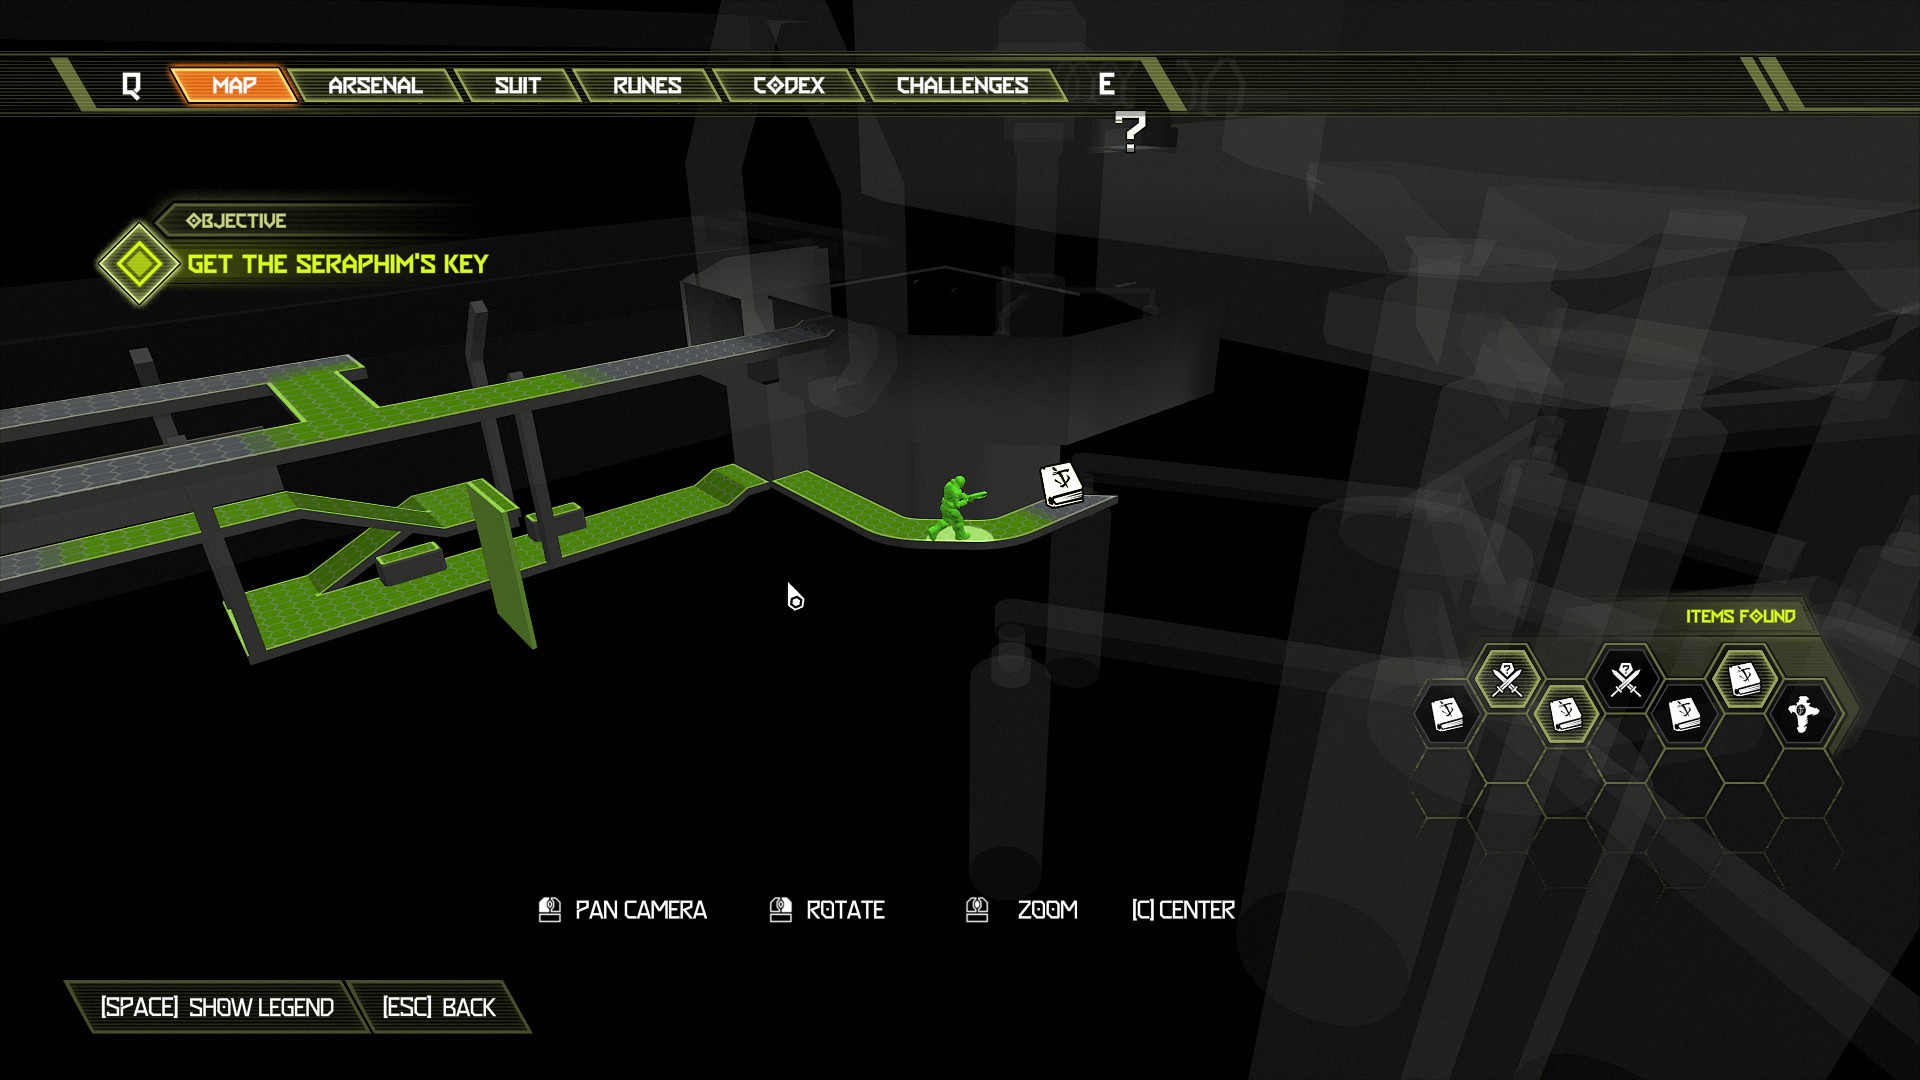
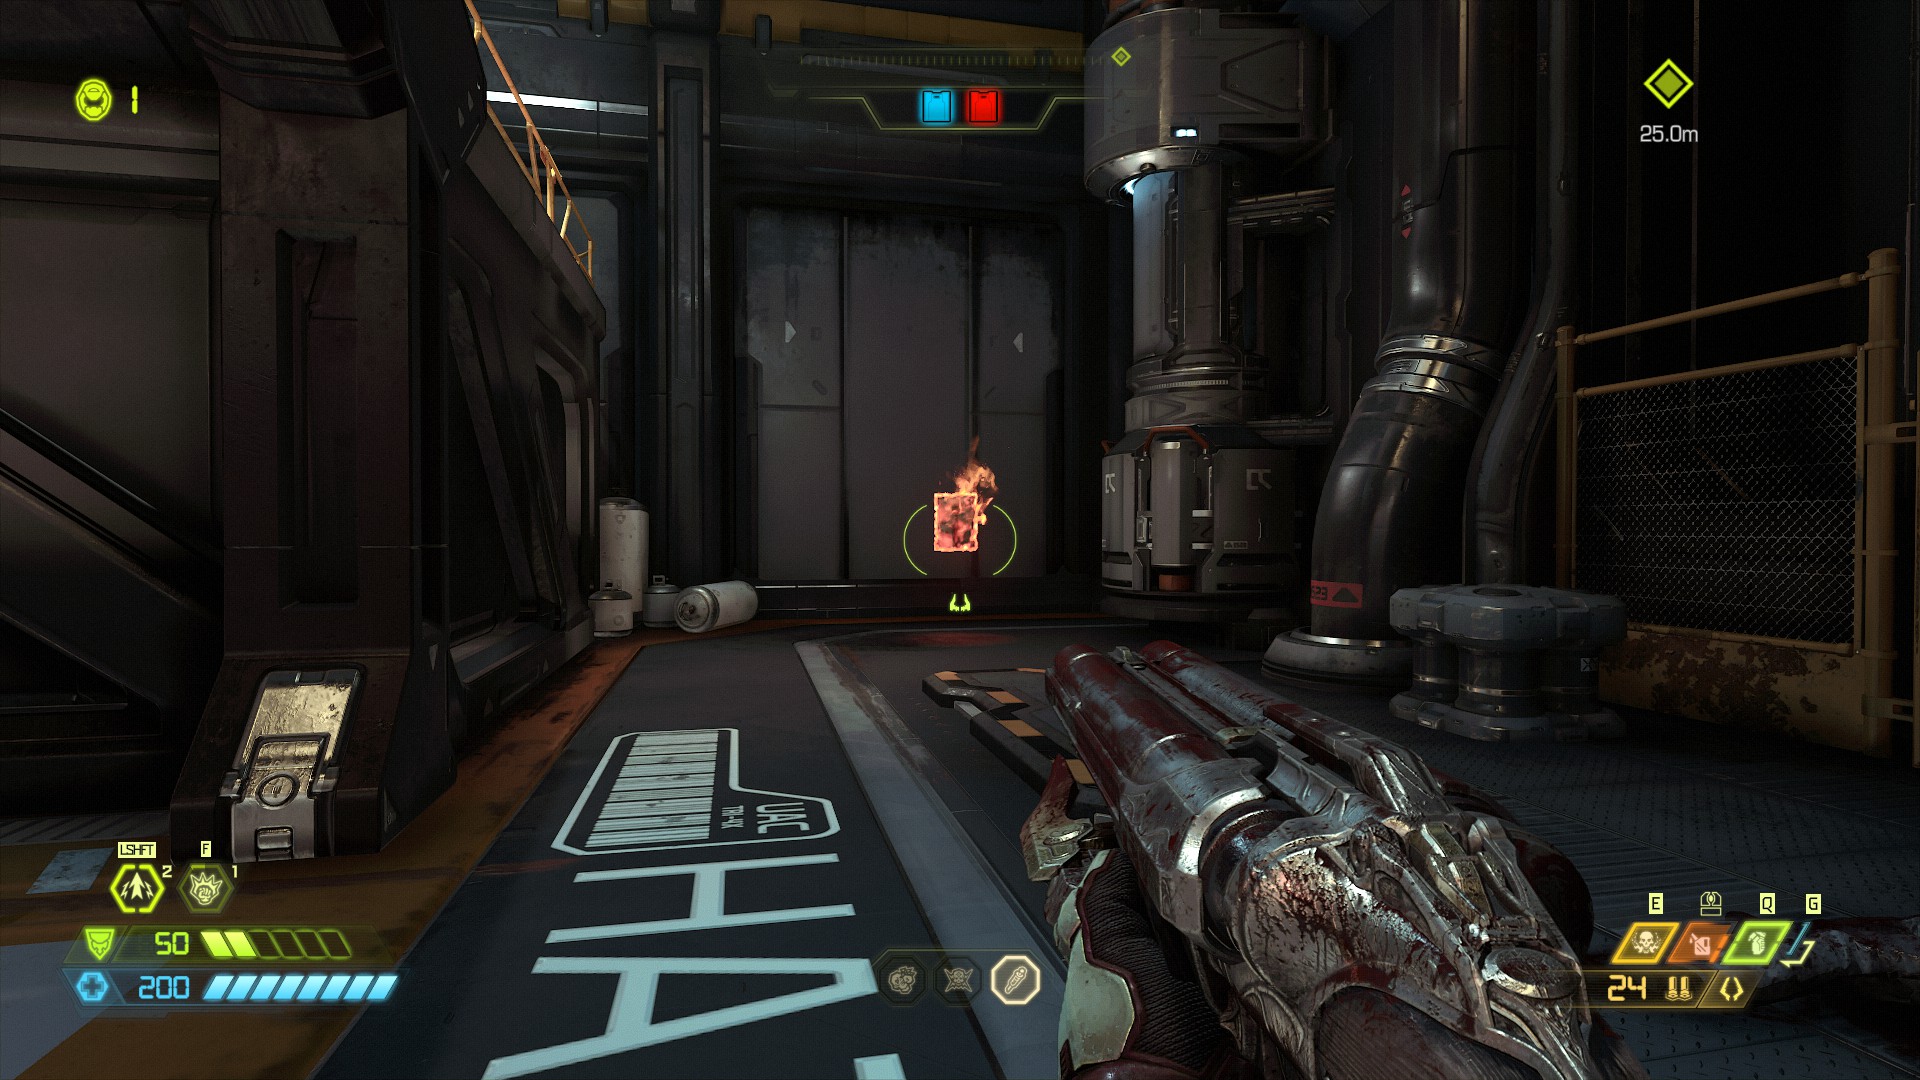
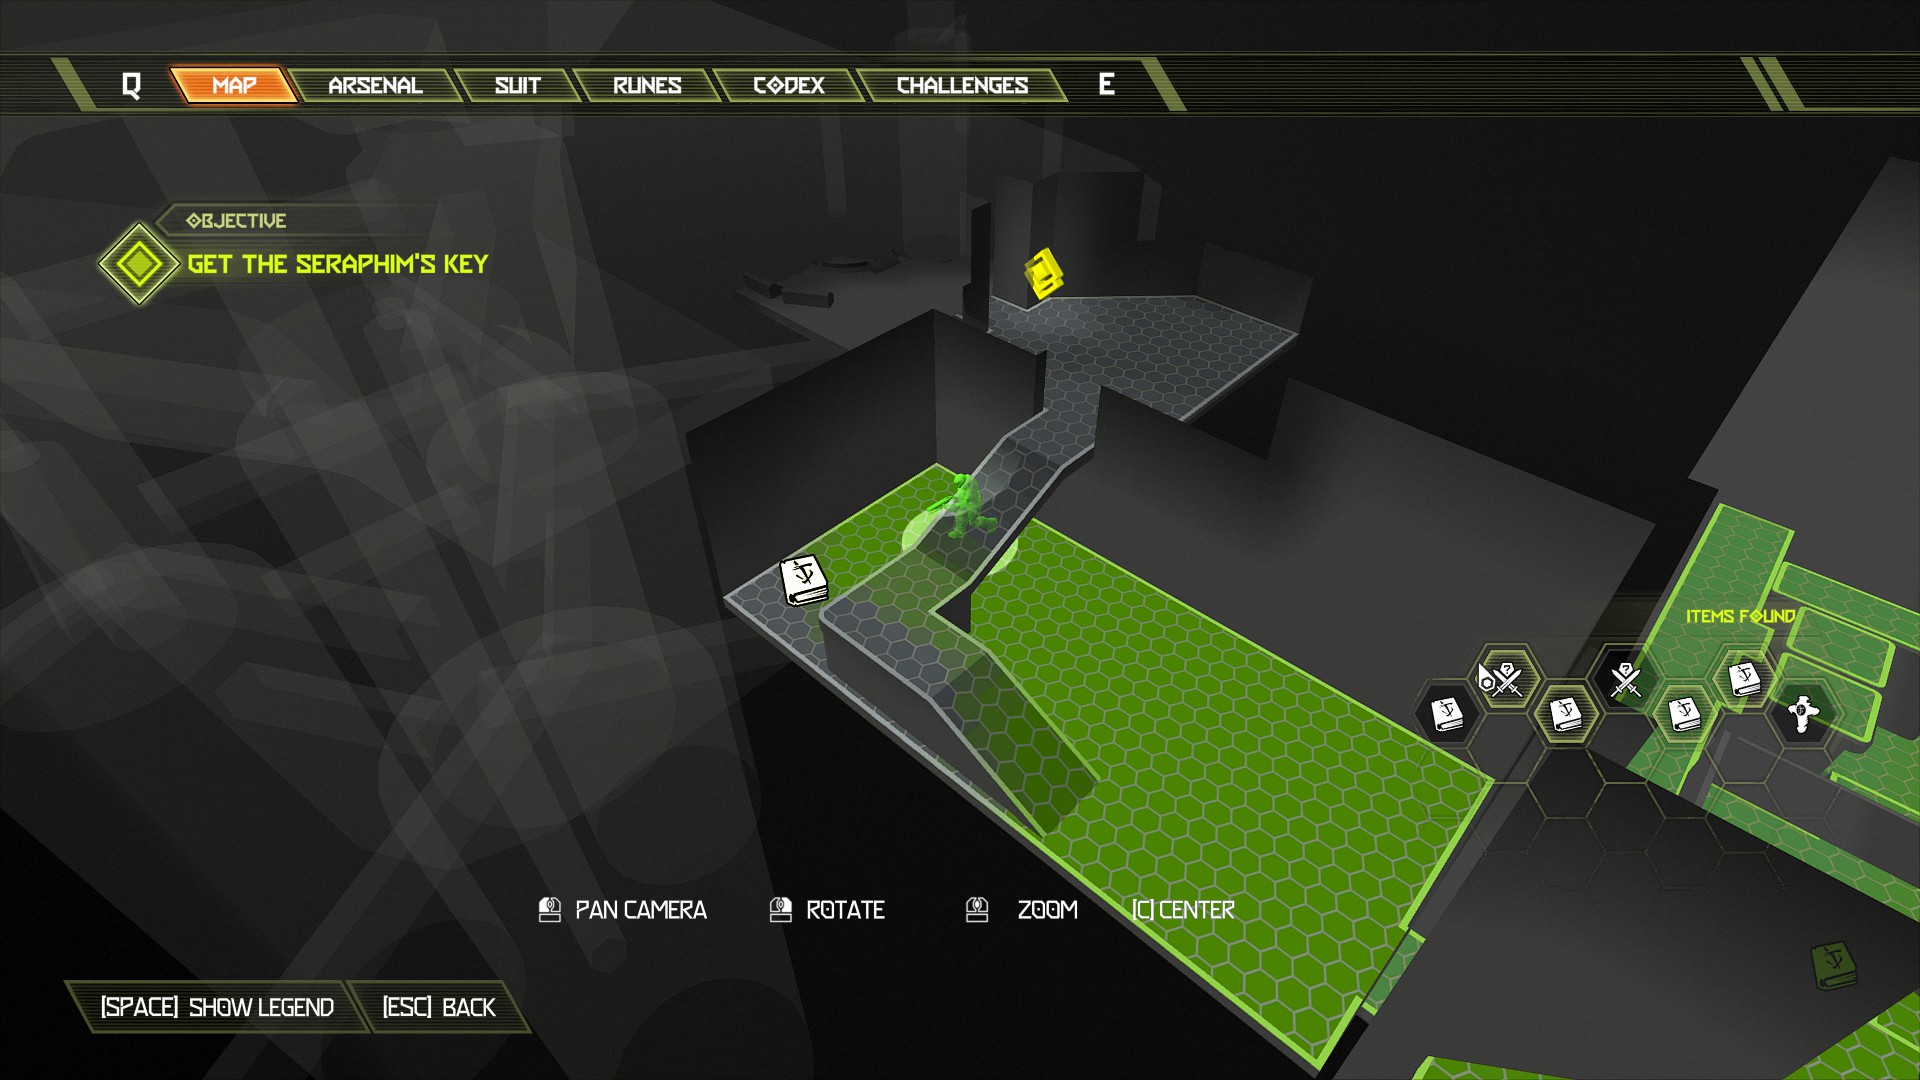
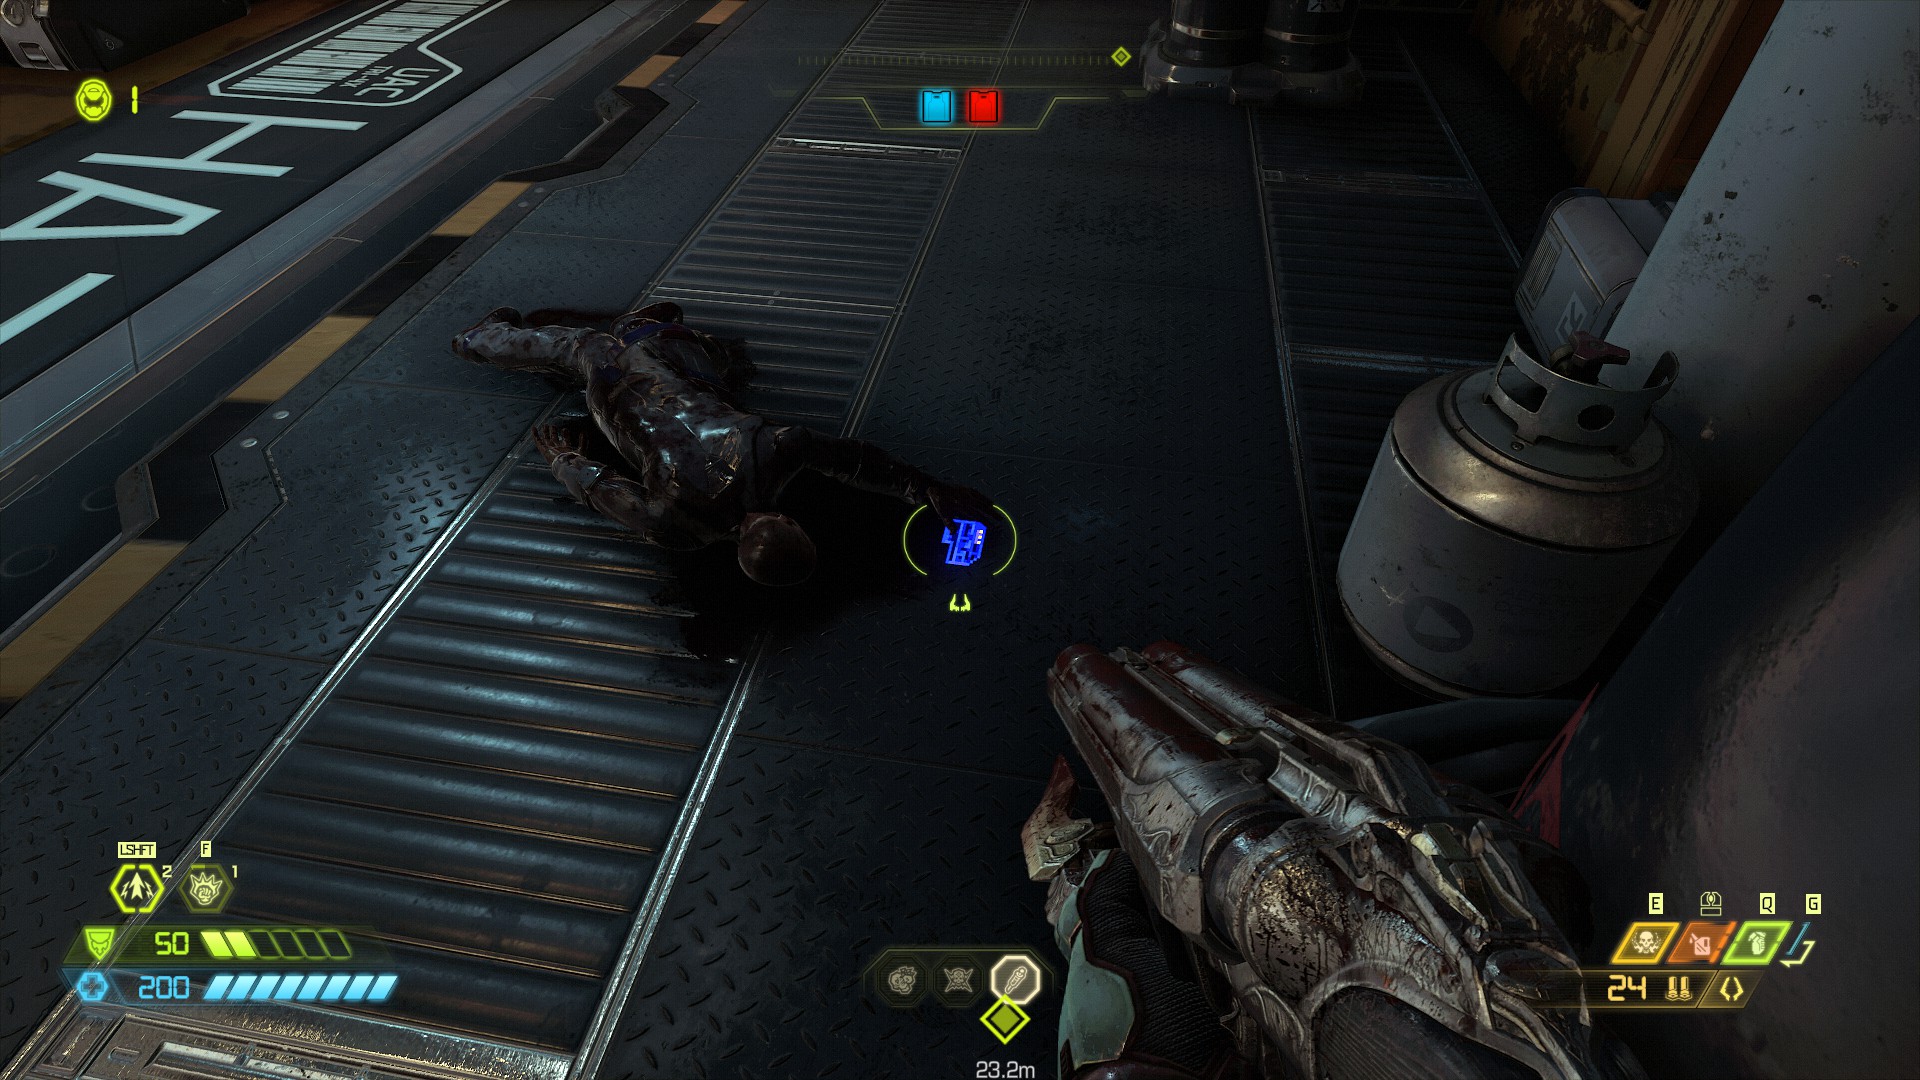
Now continue the mission through until you reach the room full of tentacles, this should be right after another big battle which is just after the short cut scene.
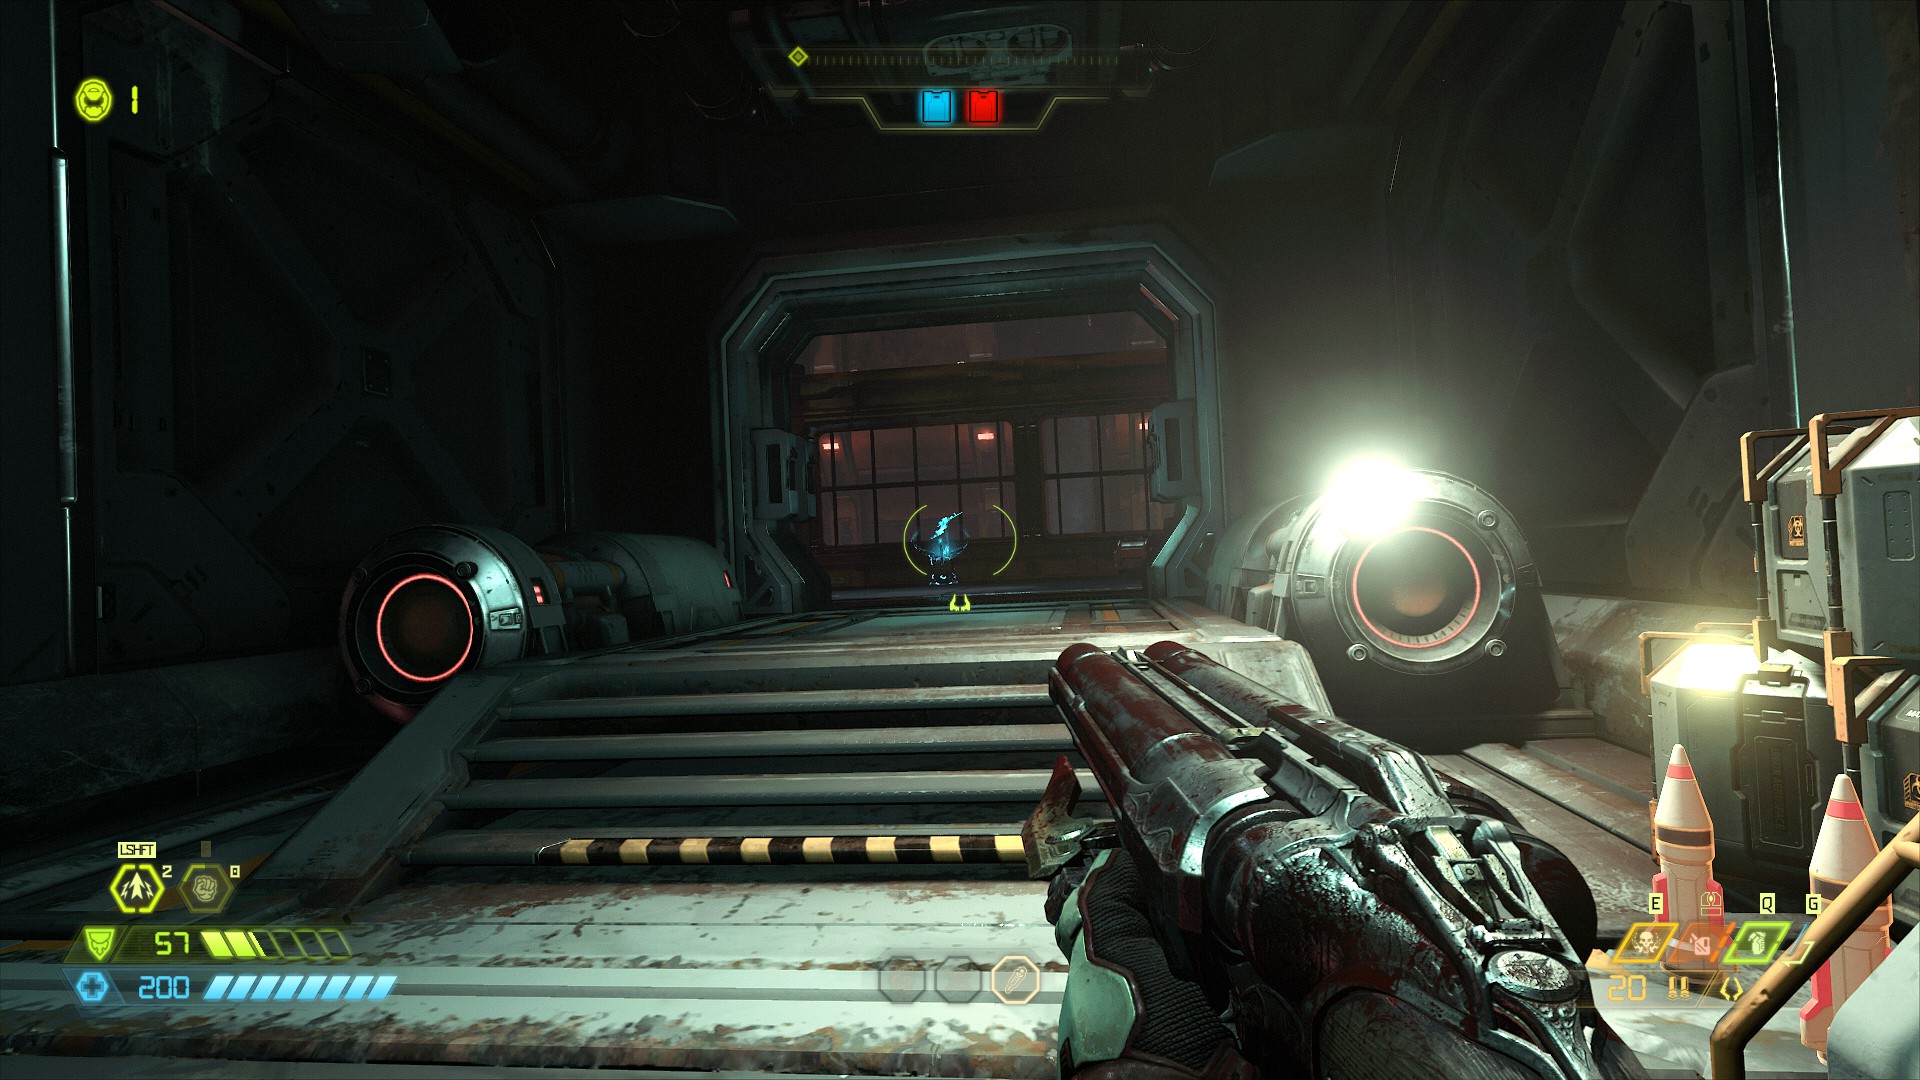
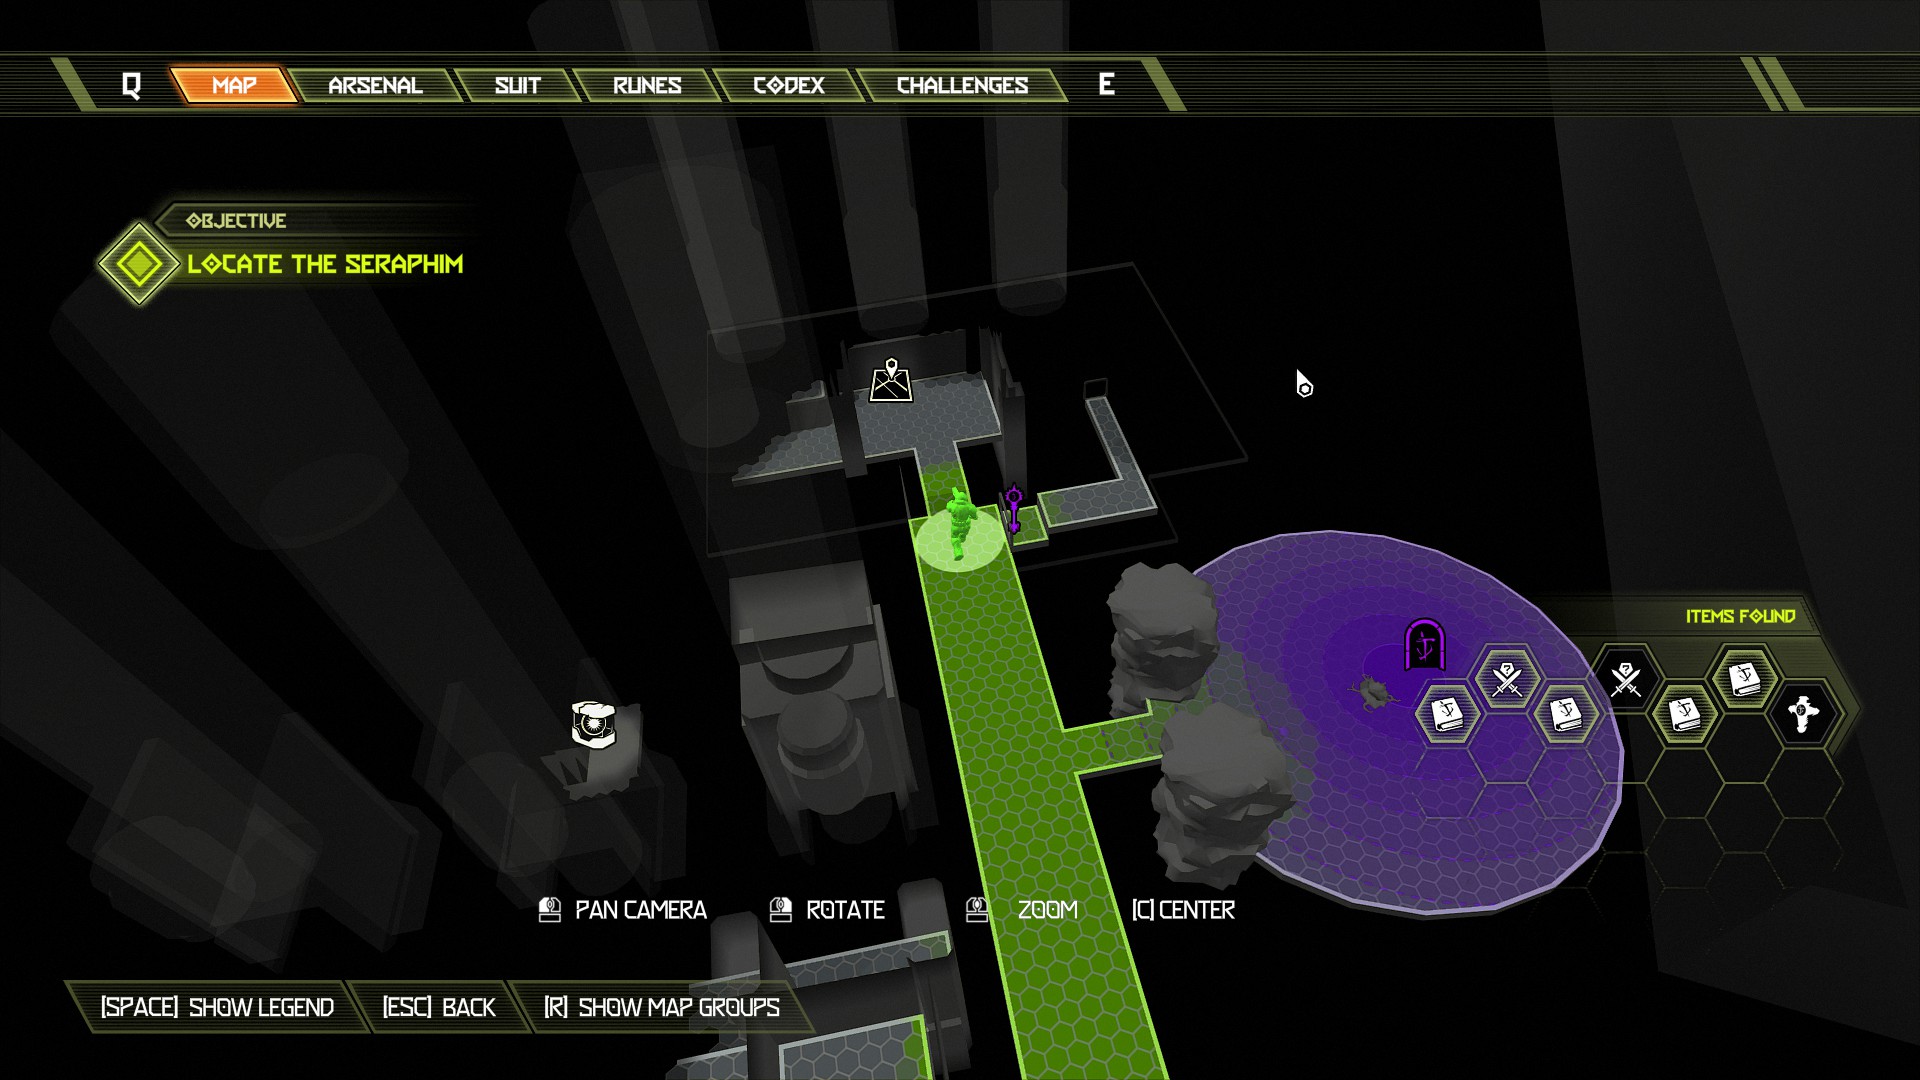
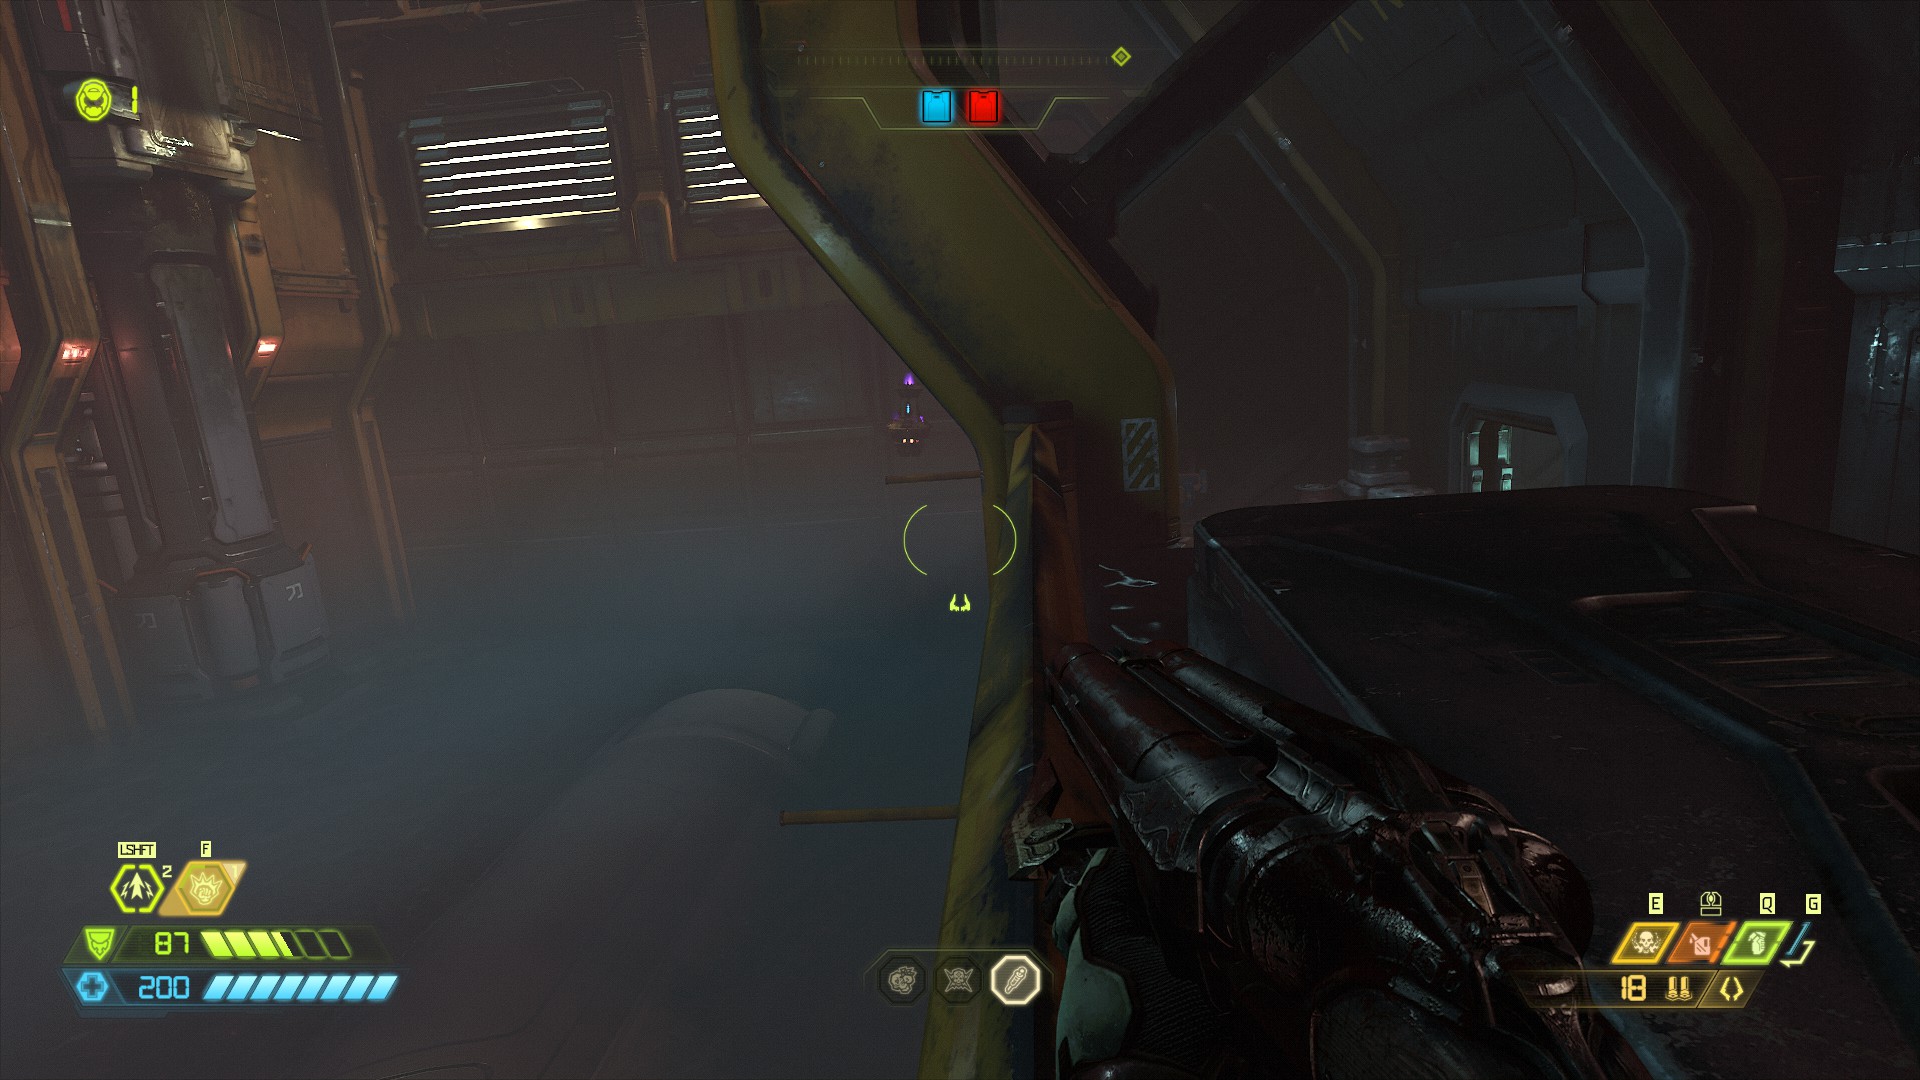
Immediately from the auto map climb the crates nearby and look down over the edge of the fence and you will see swing bars on the wall, use them to swing around to the right side and break through the vent to find the slayer gate key at the end (watch out for the turret).
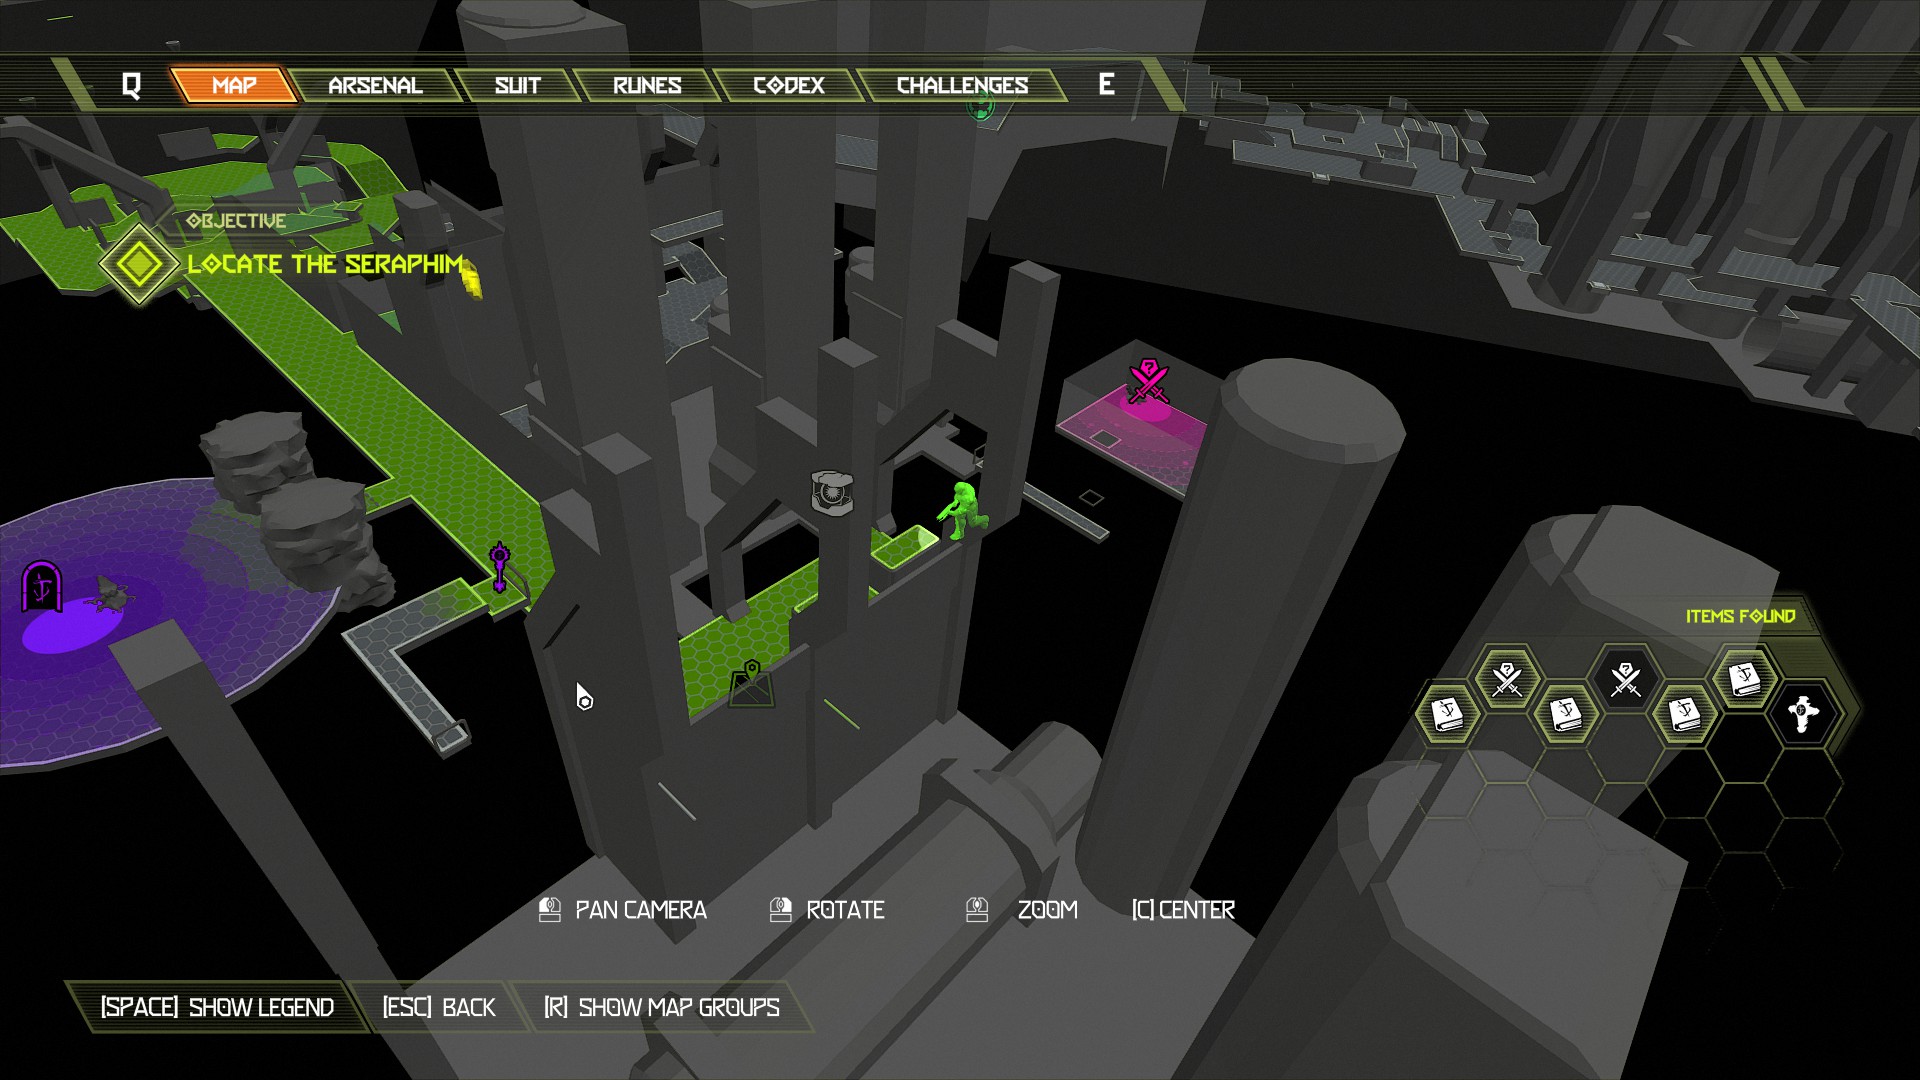
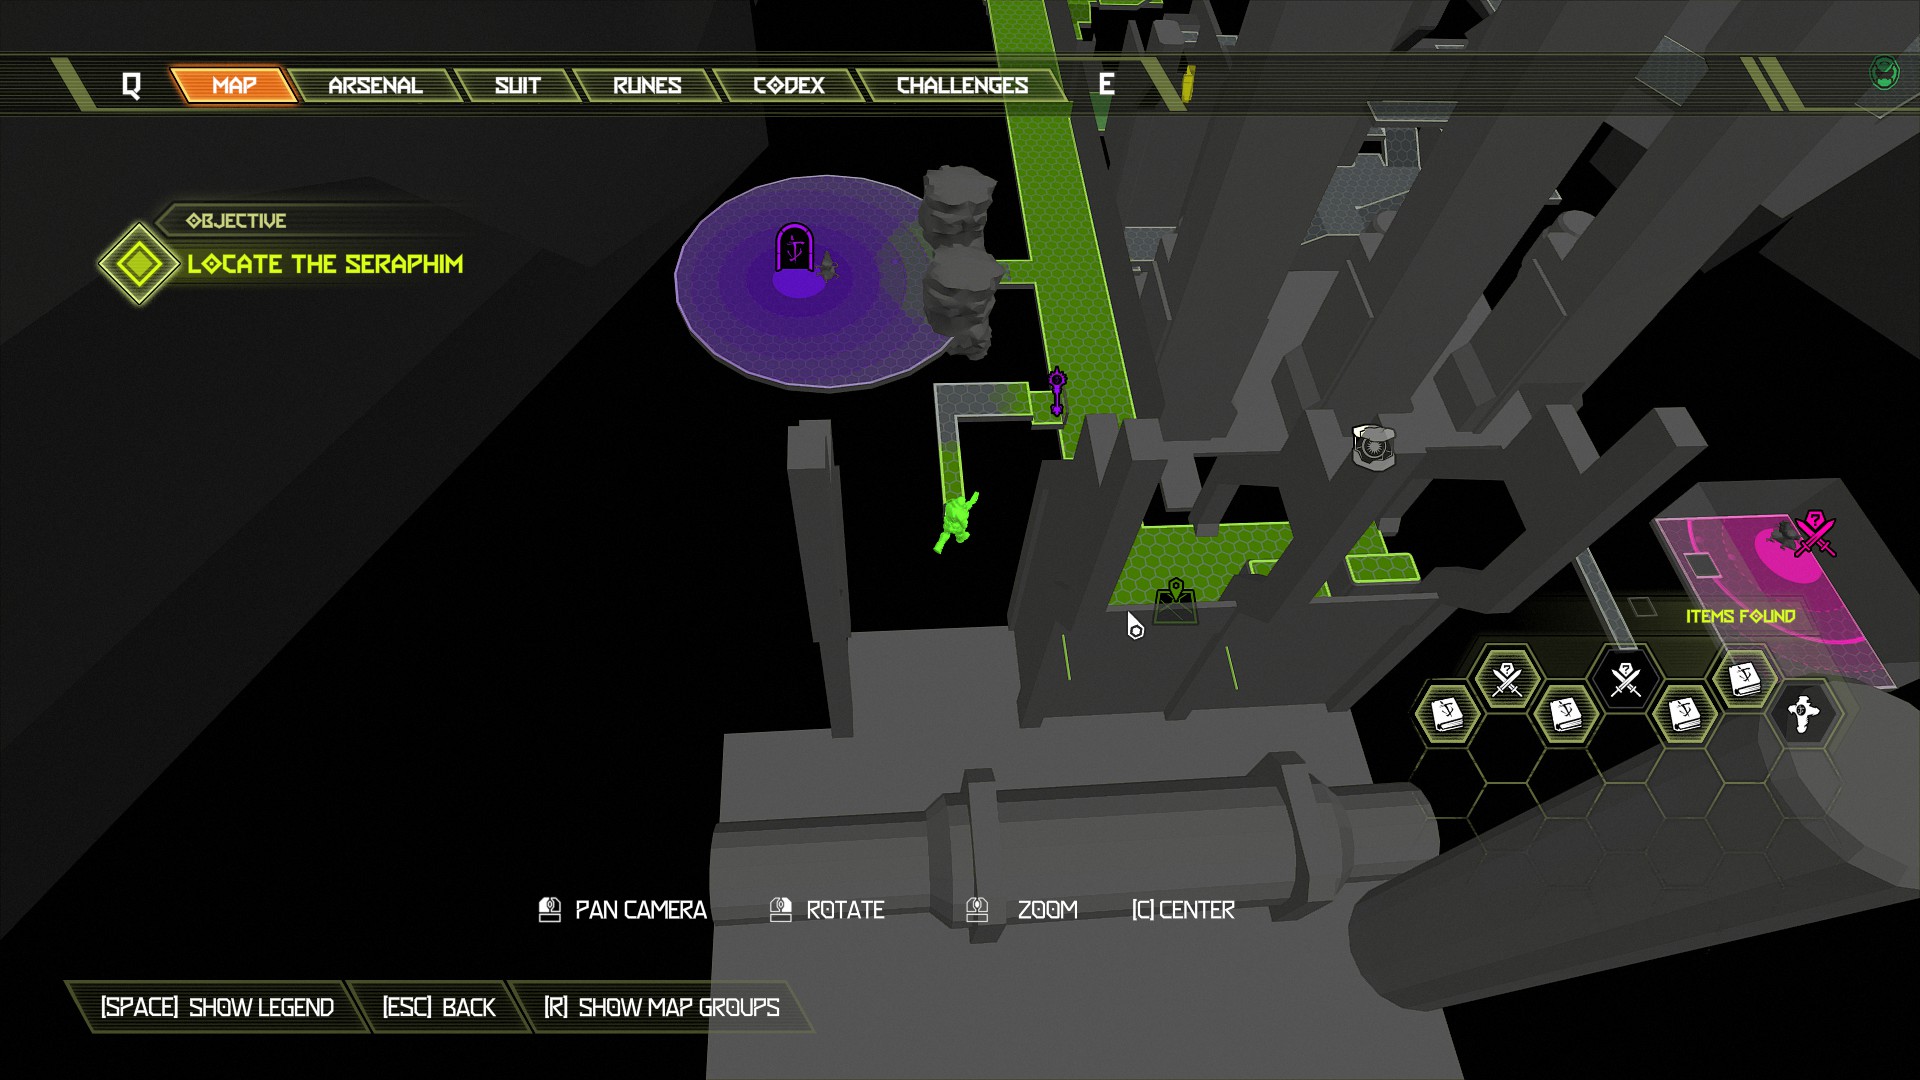
To gain the support rune you will need to complete the slayer gate, good luck!
Mission 1: UAC Atlantica Facility [Part 2]
Secret Encounter:
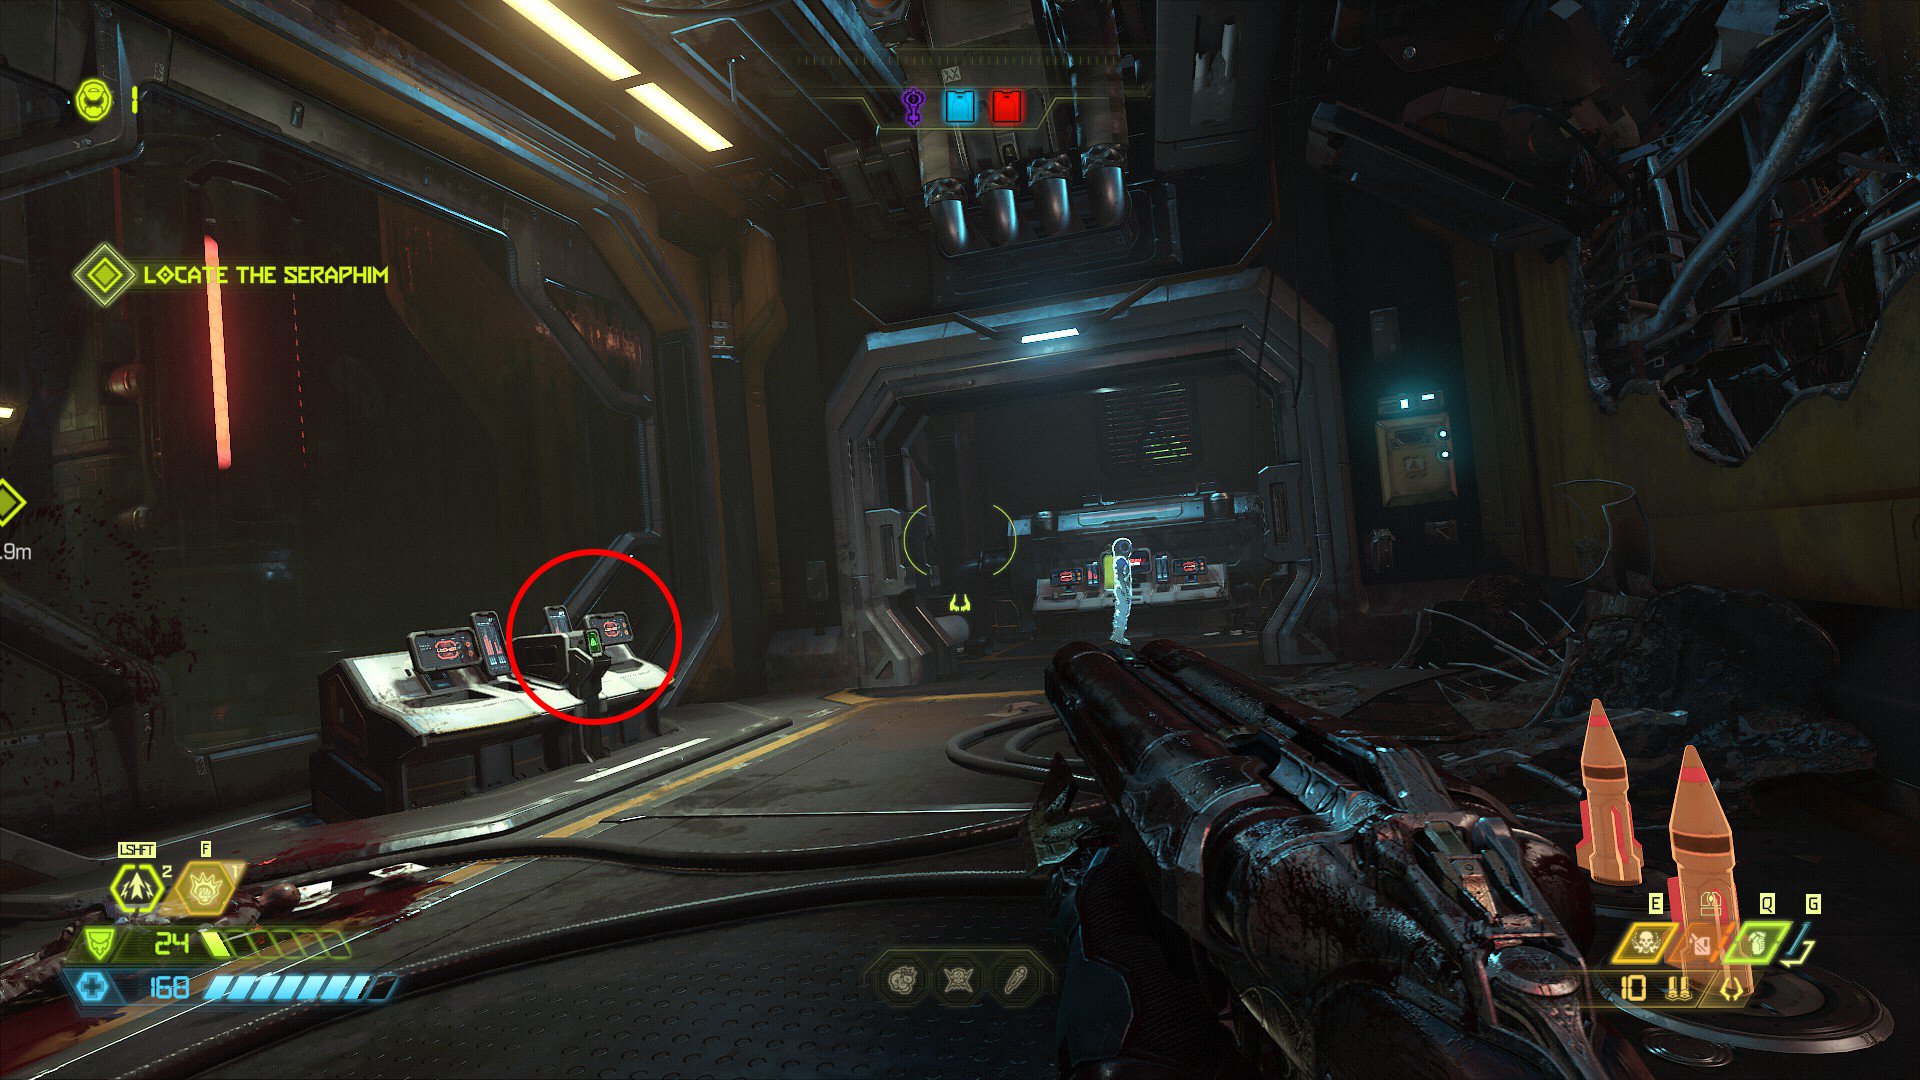
For this encounter you will be attacked by 5 spectre, 1 zombie. After the slayer gate continue the mission into the next area and clear the room as normal, once clear make your way up to the room above where you will find the dive suit, above the dive suit on the back wall you will see a vent you can break through to find a secret area and a piece of armor.
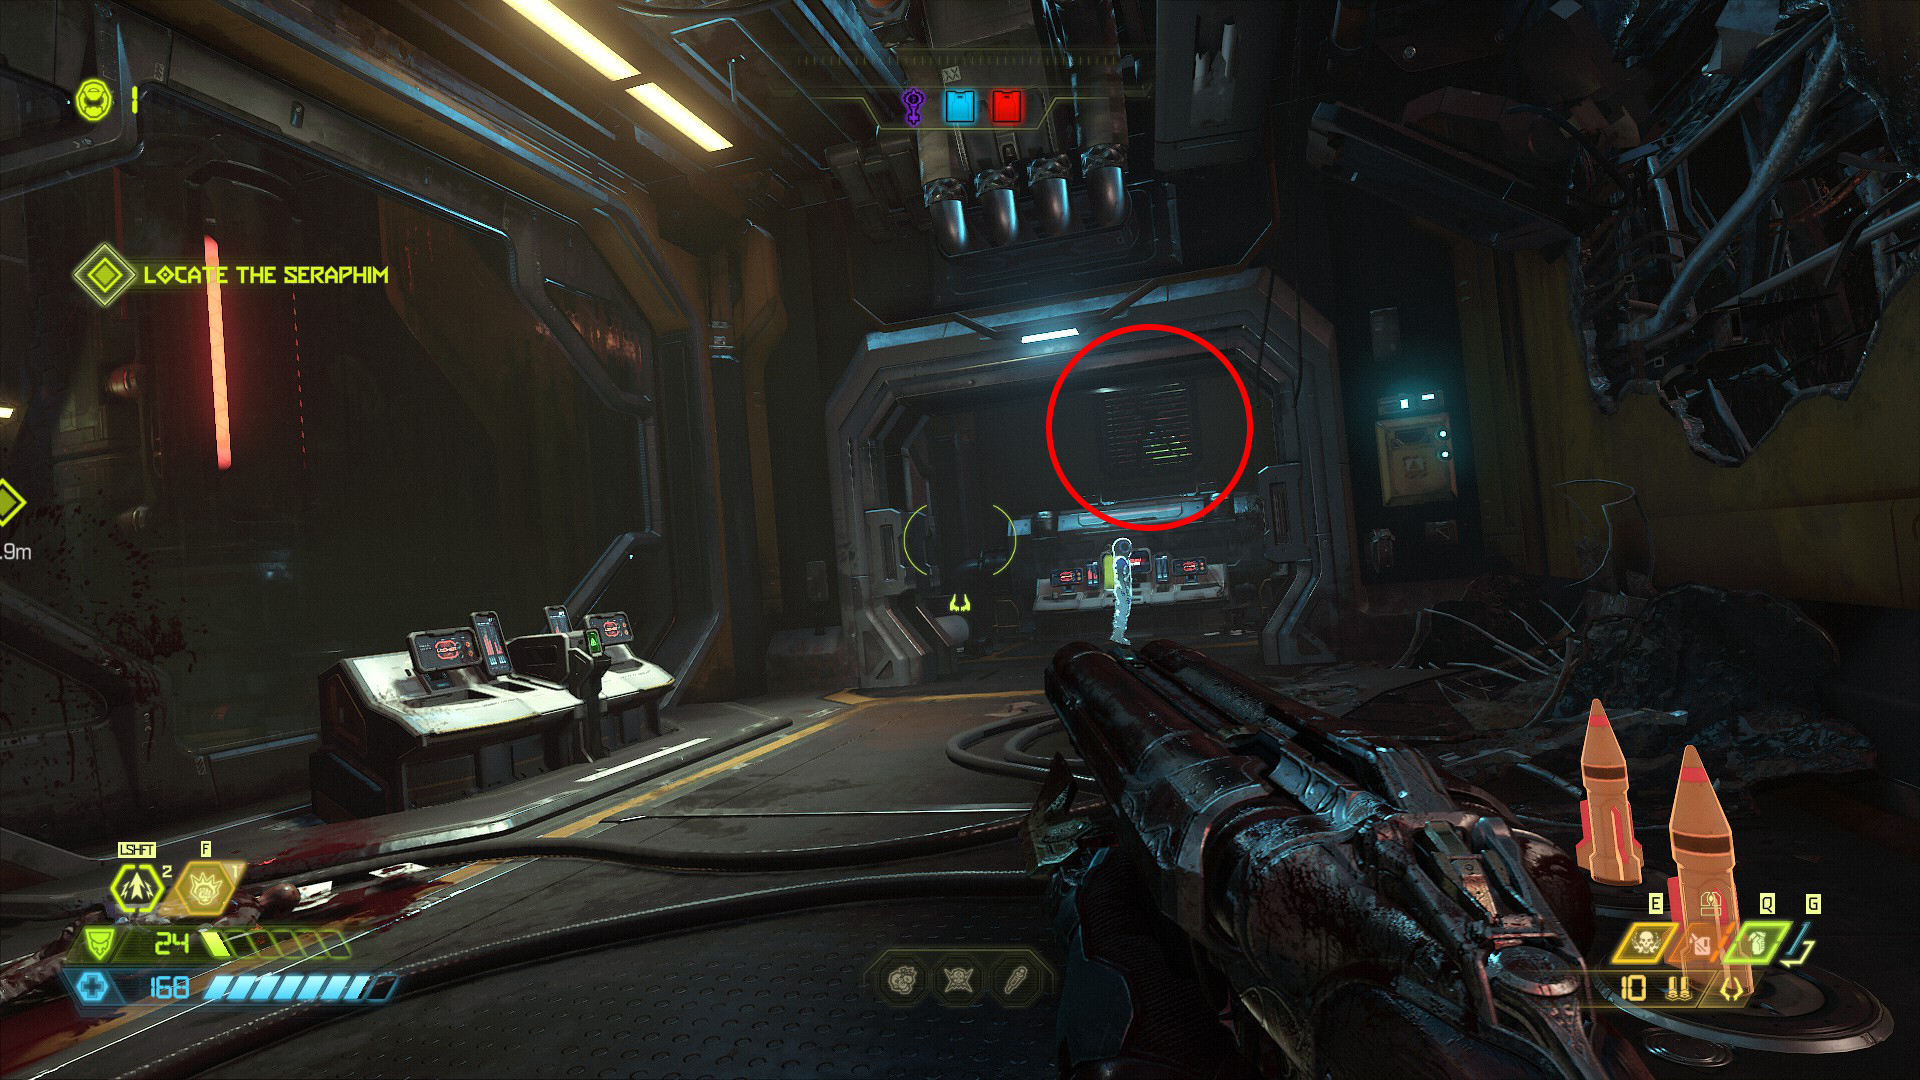
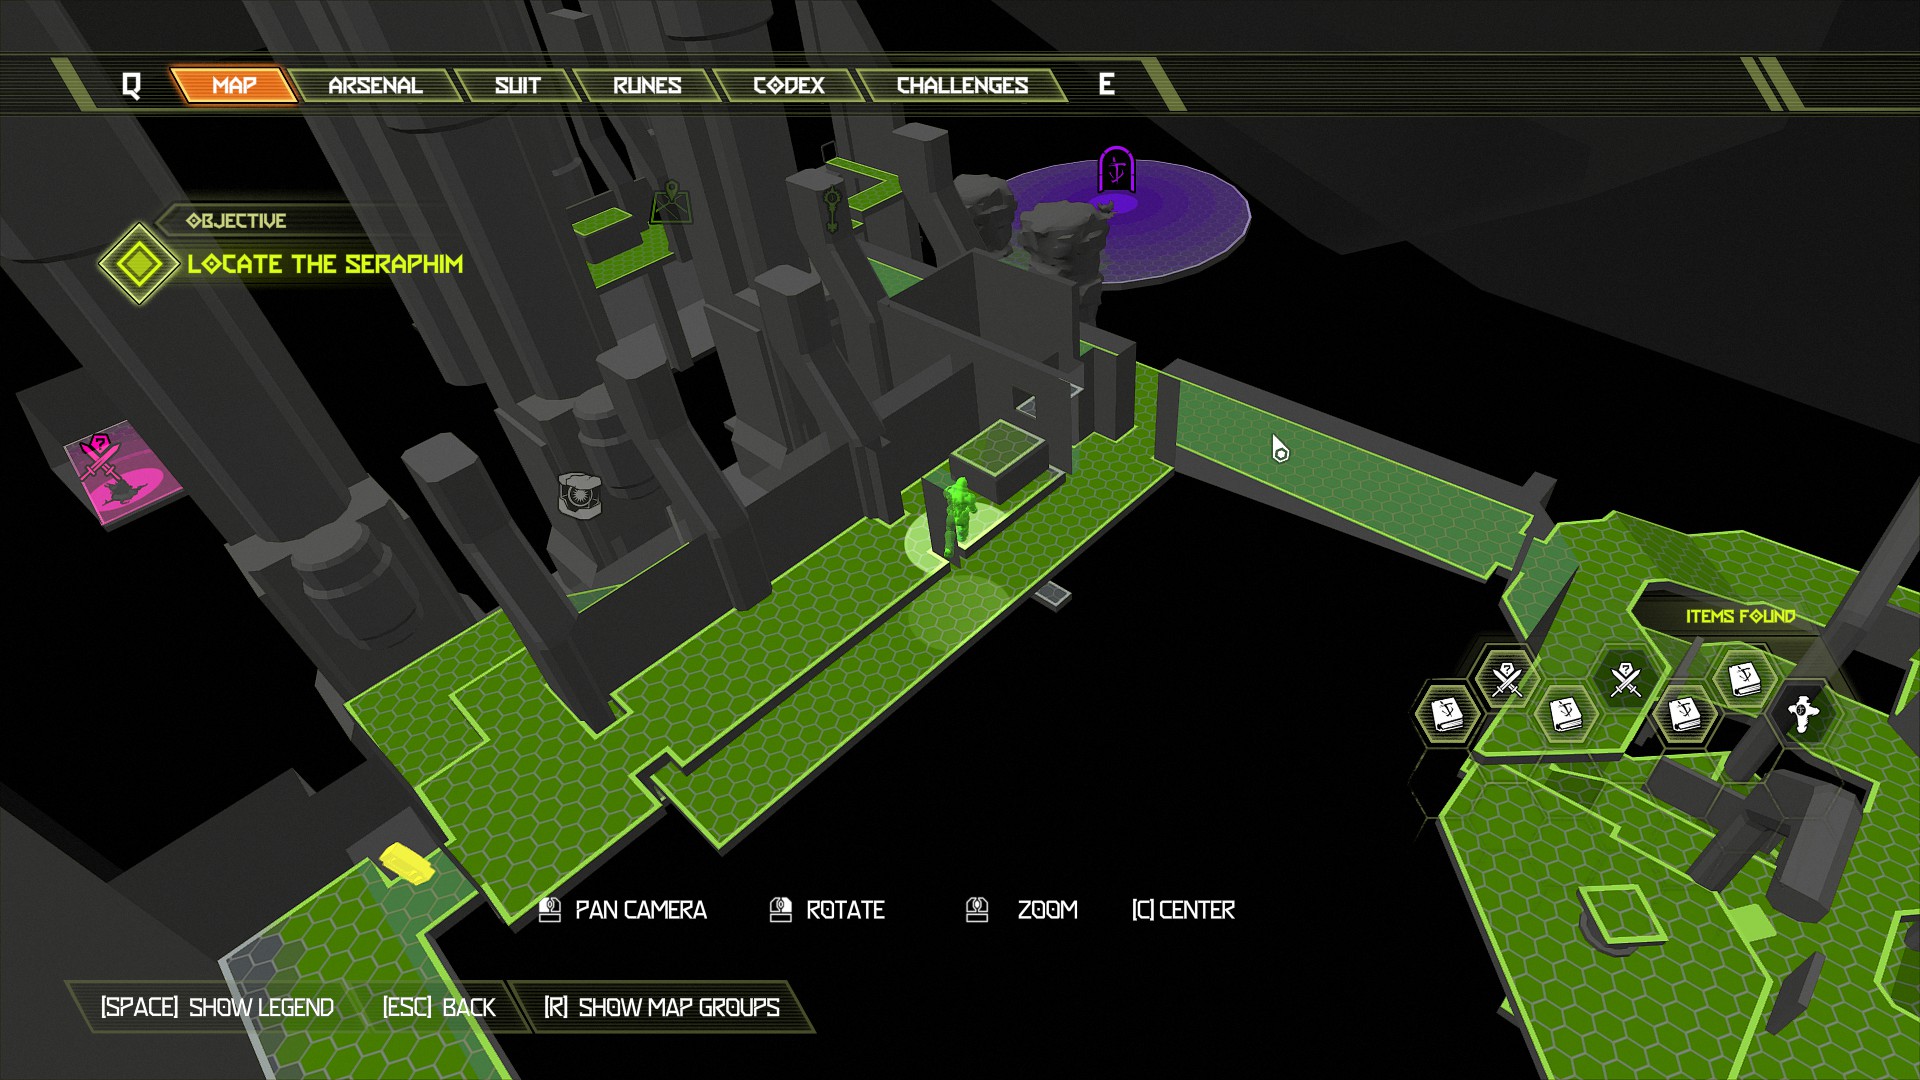
In that same area press the button on the computer nearby, this will unlock the tunnel under water leading to the next secret encounter. Head back down to the lower level and dive into the water, swim through the left tunnel and follow it through to reach the room with the secret encounter.
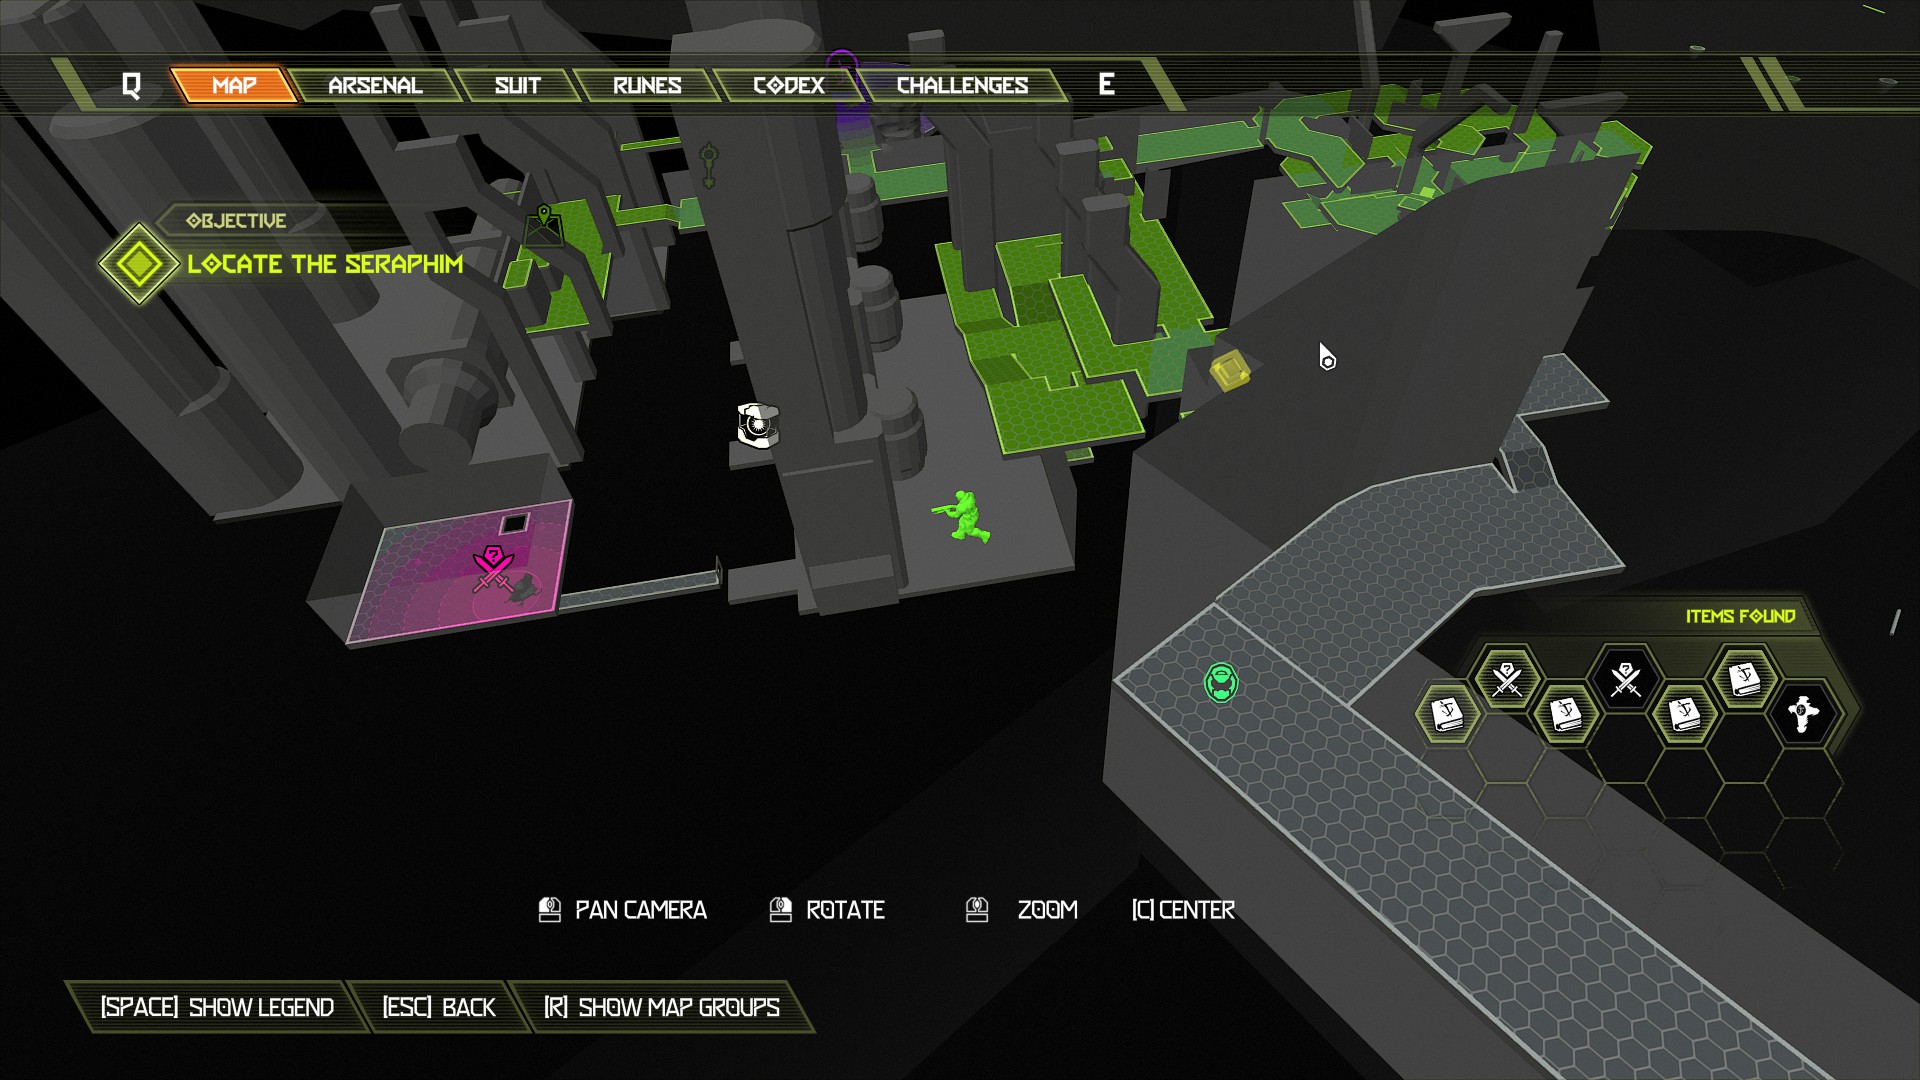
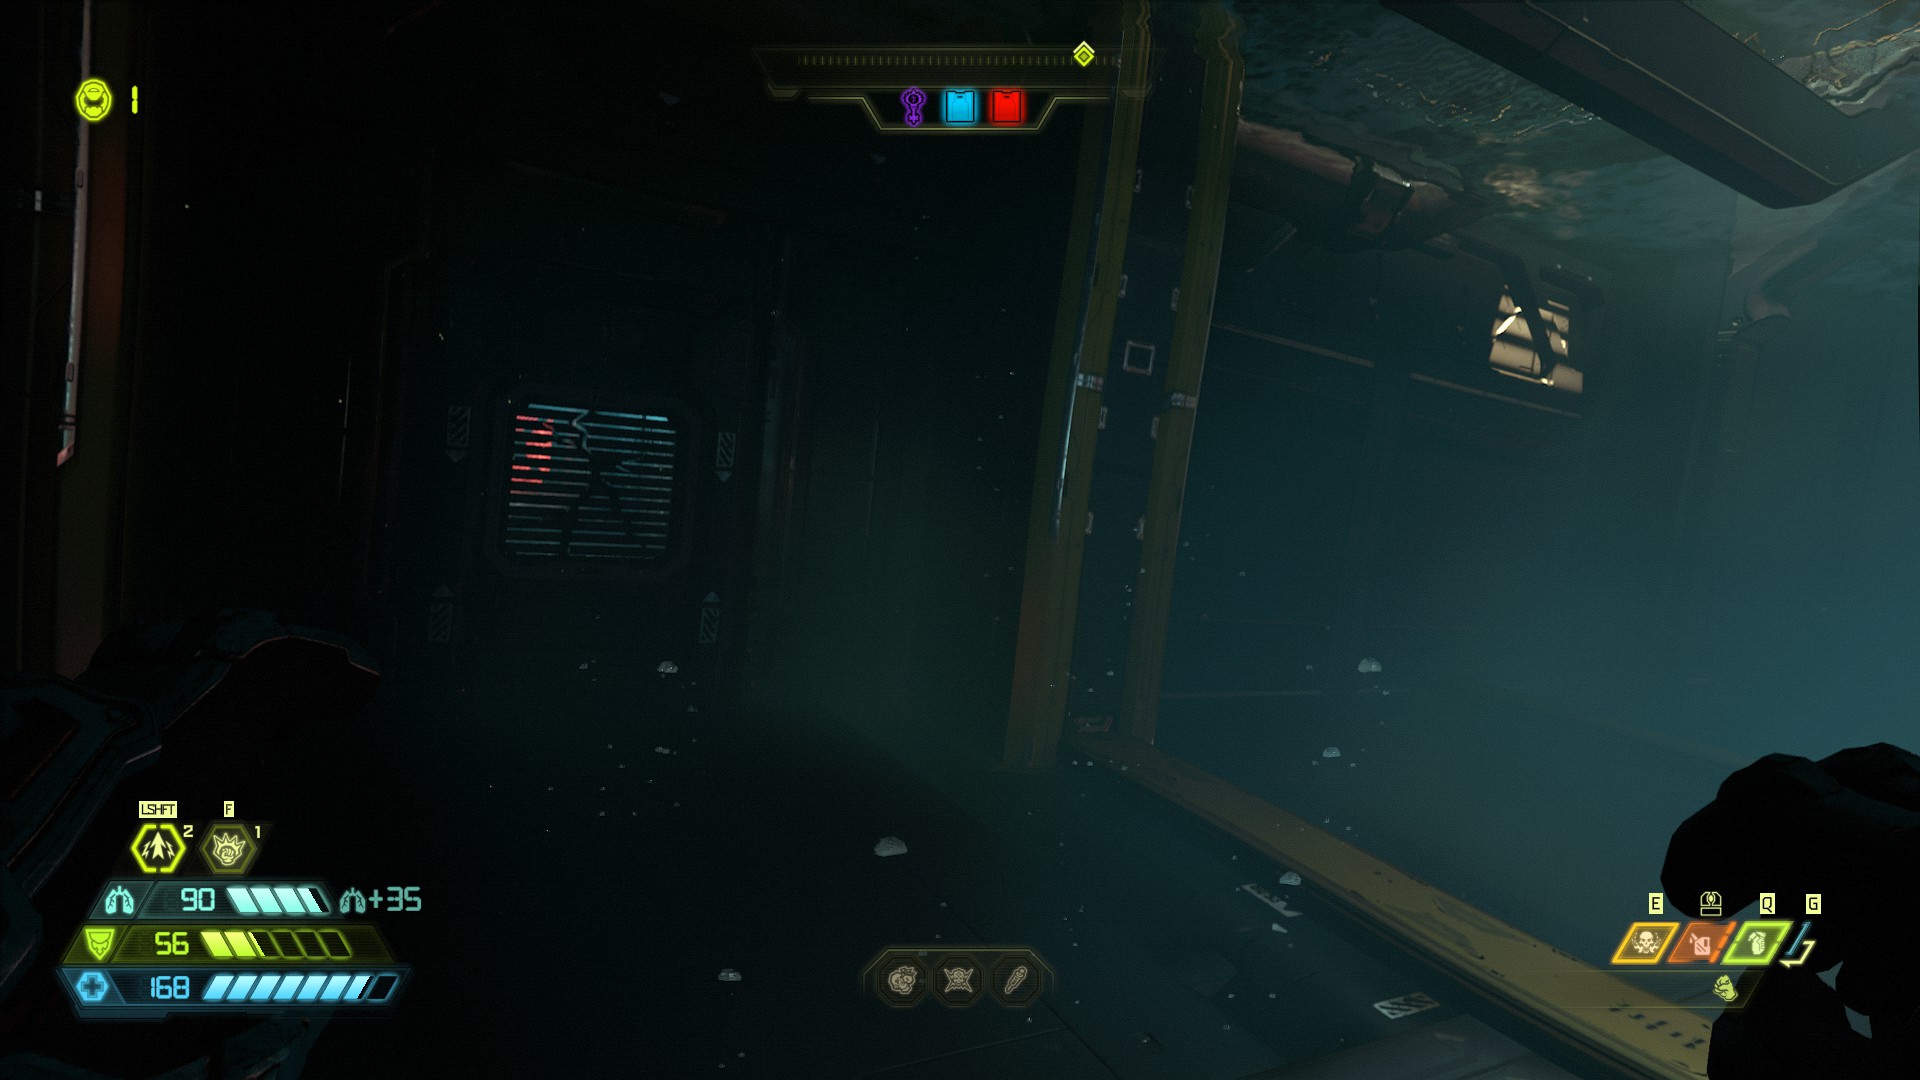
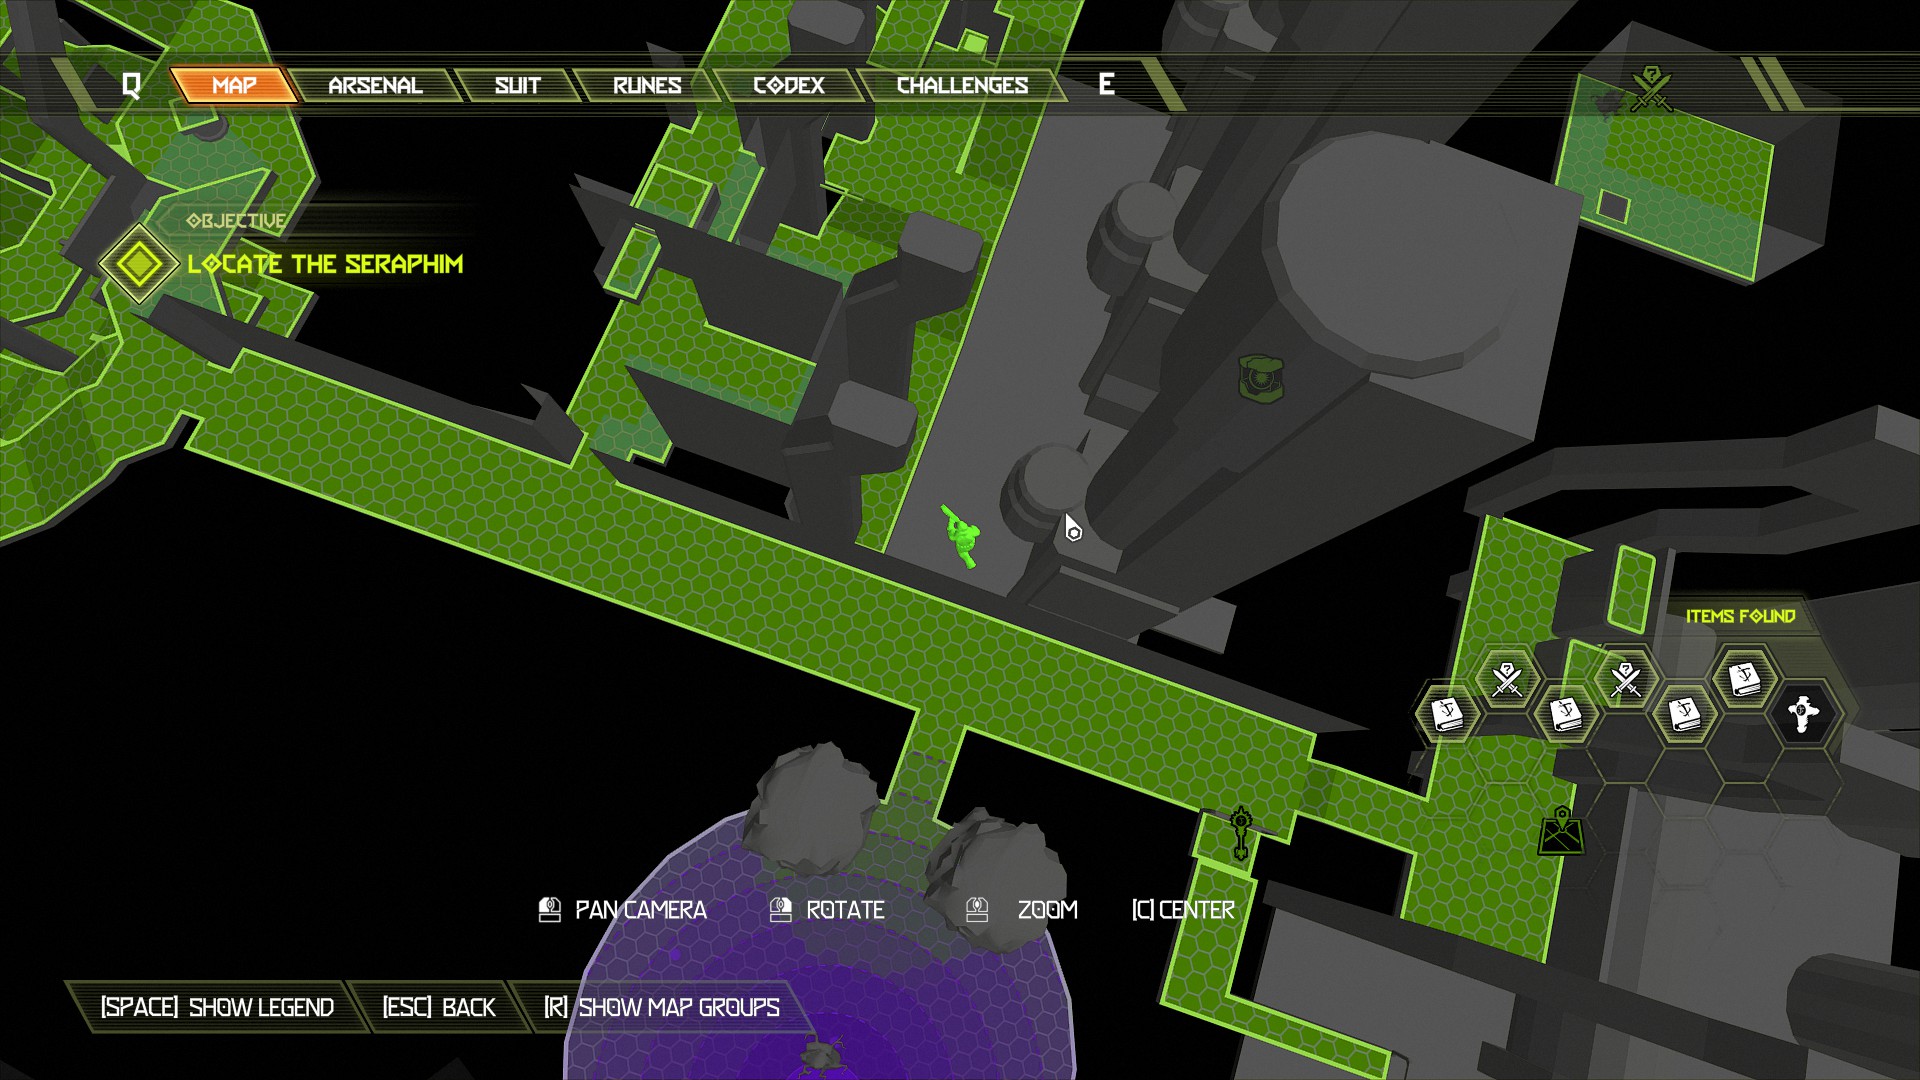
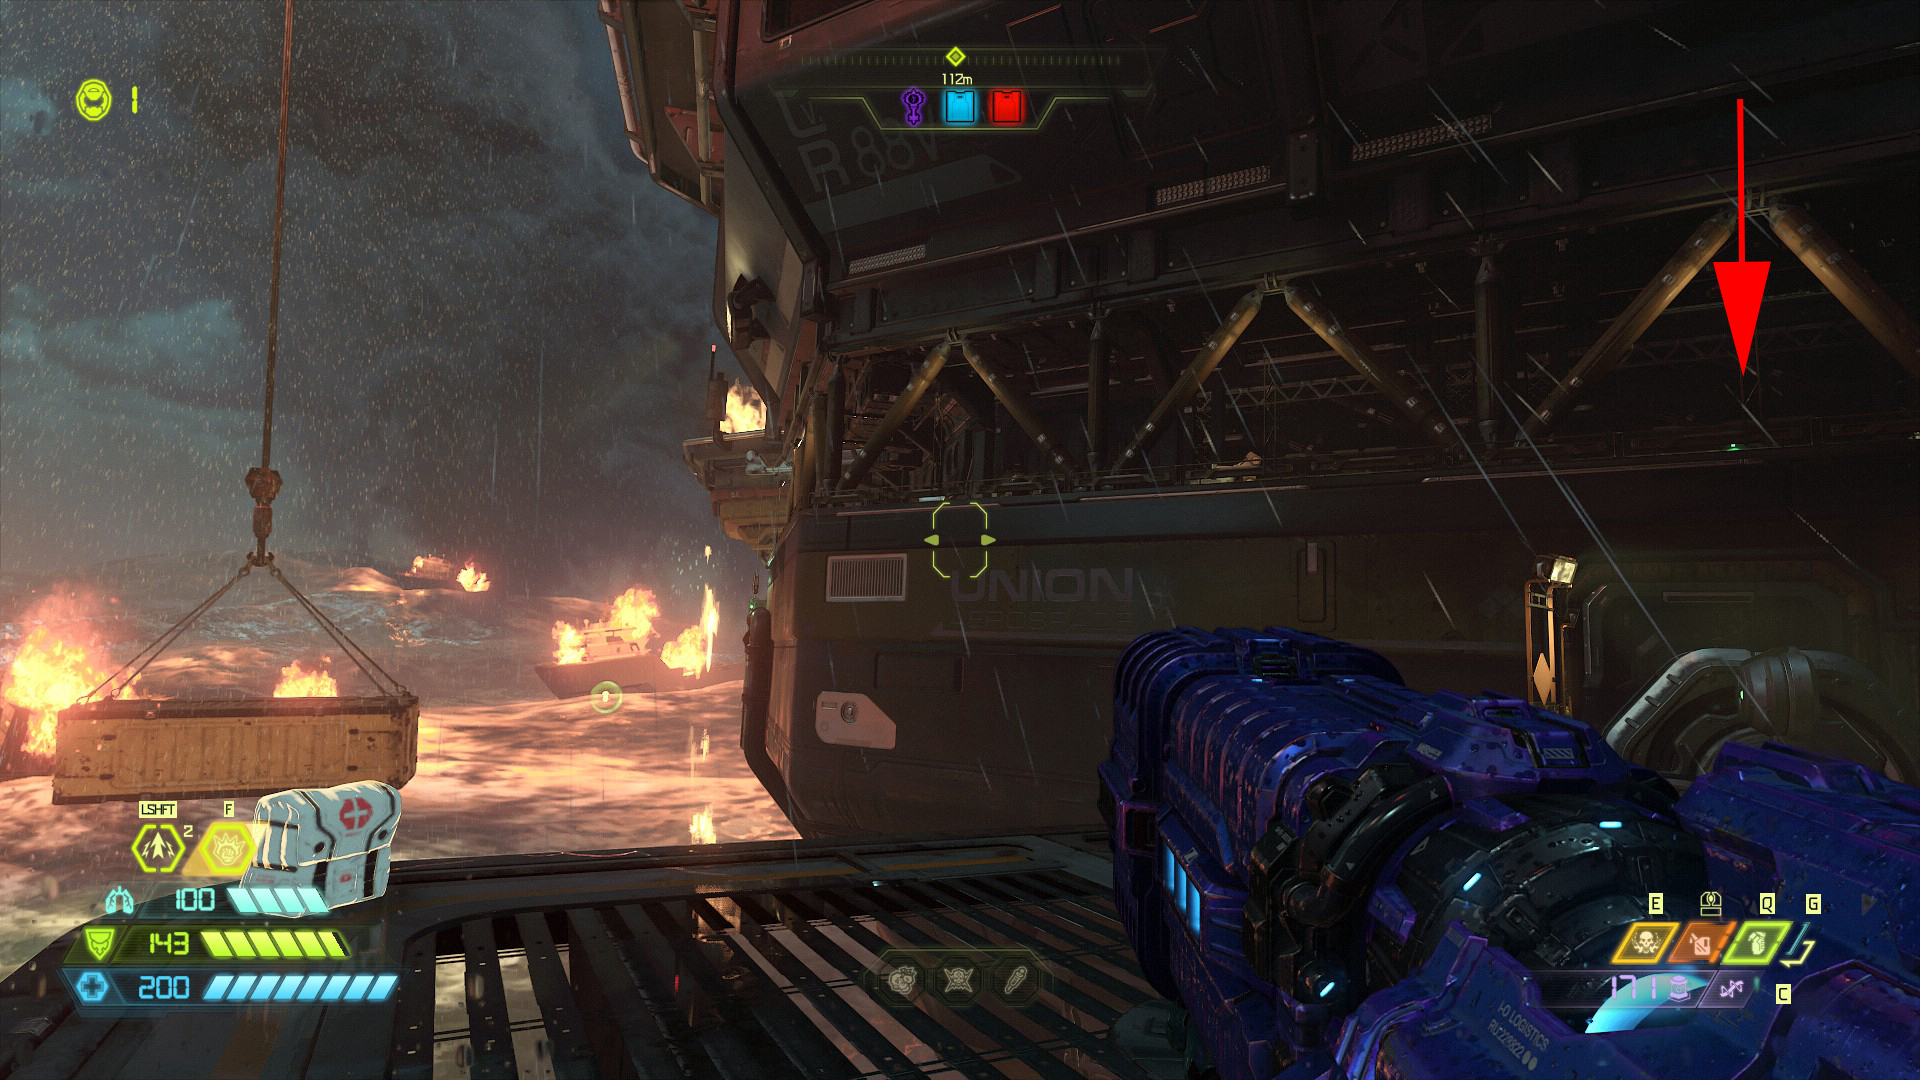
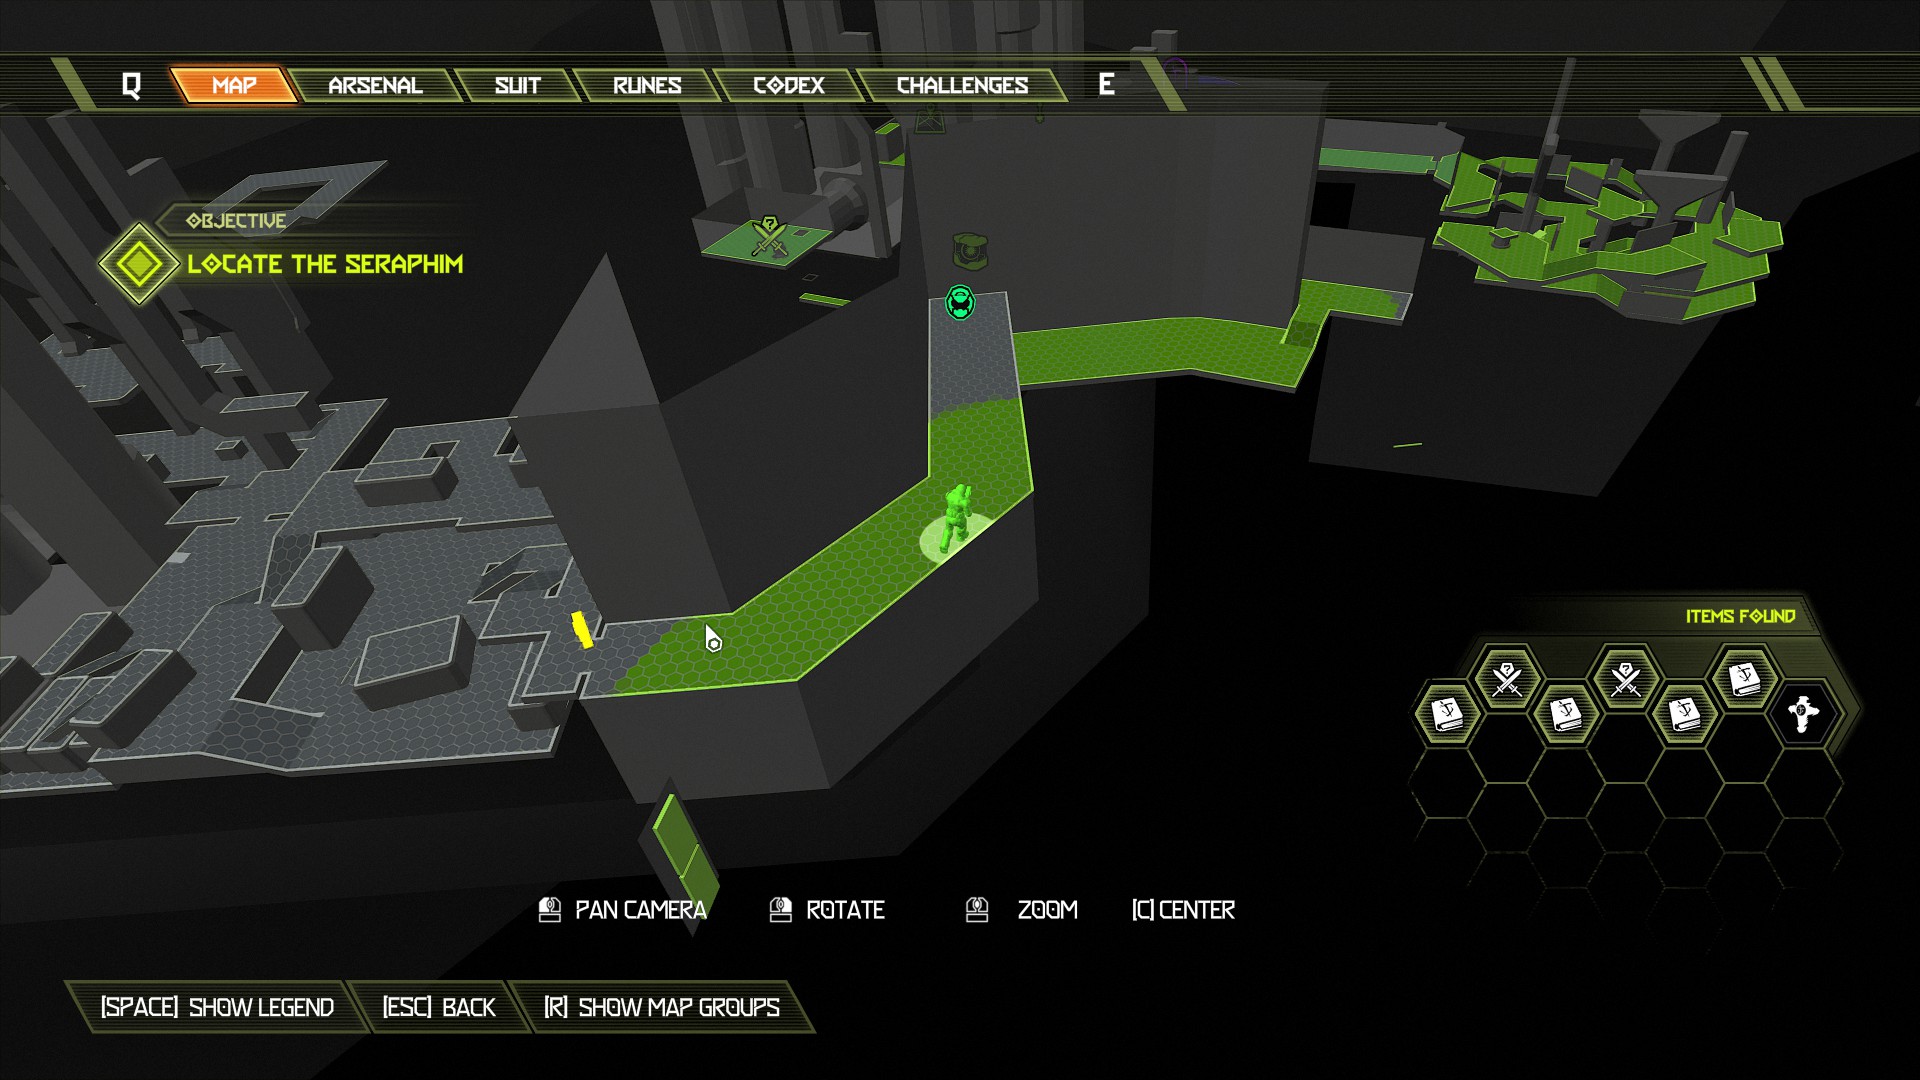
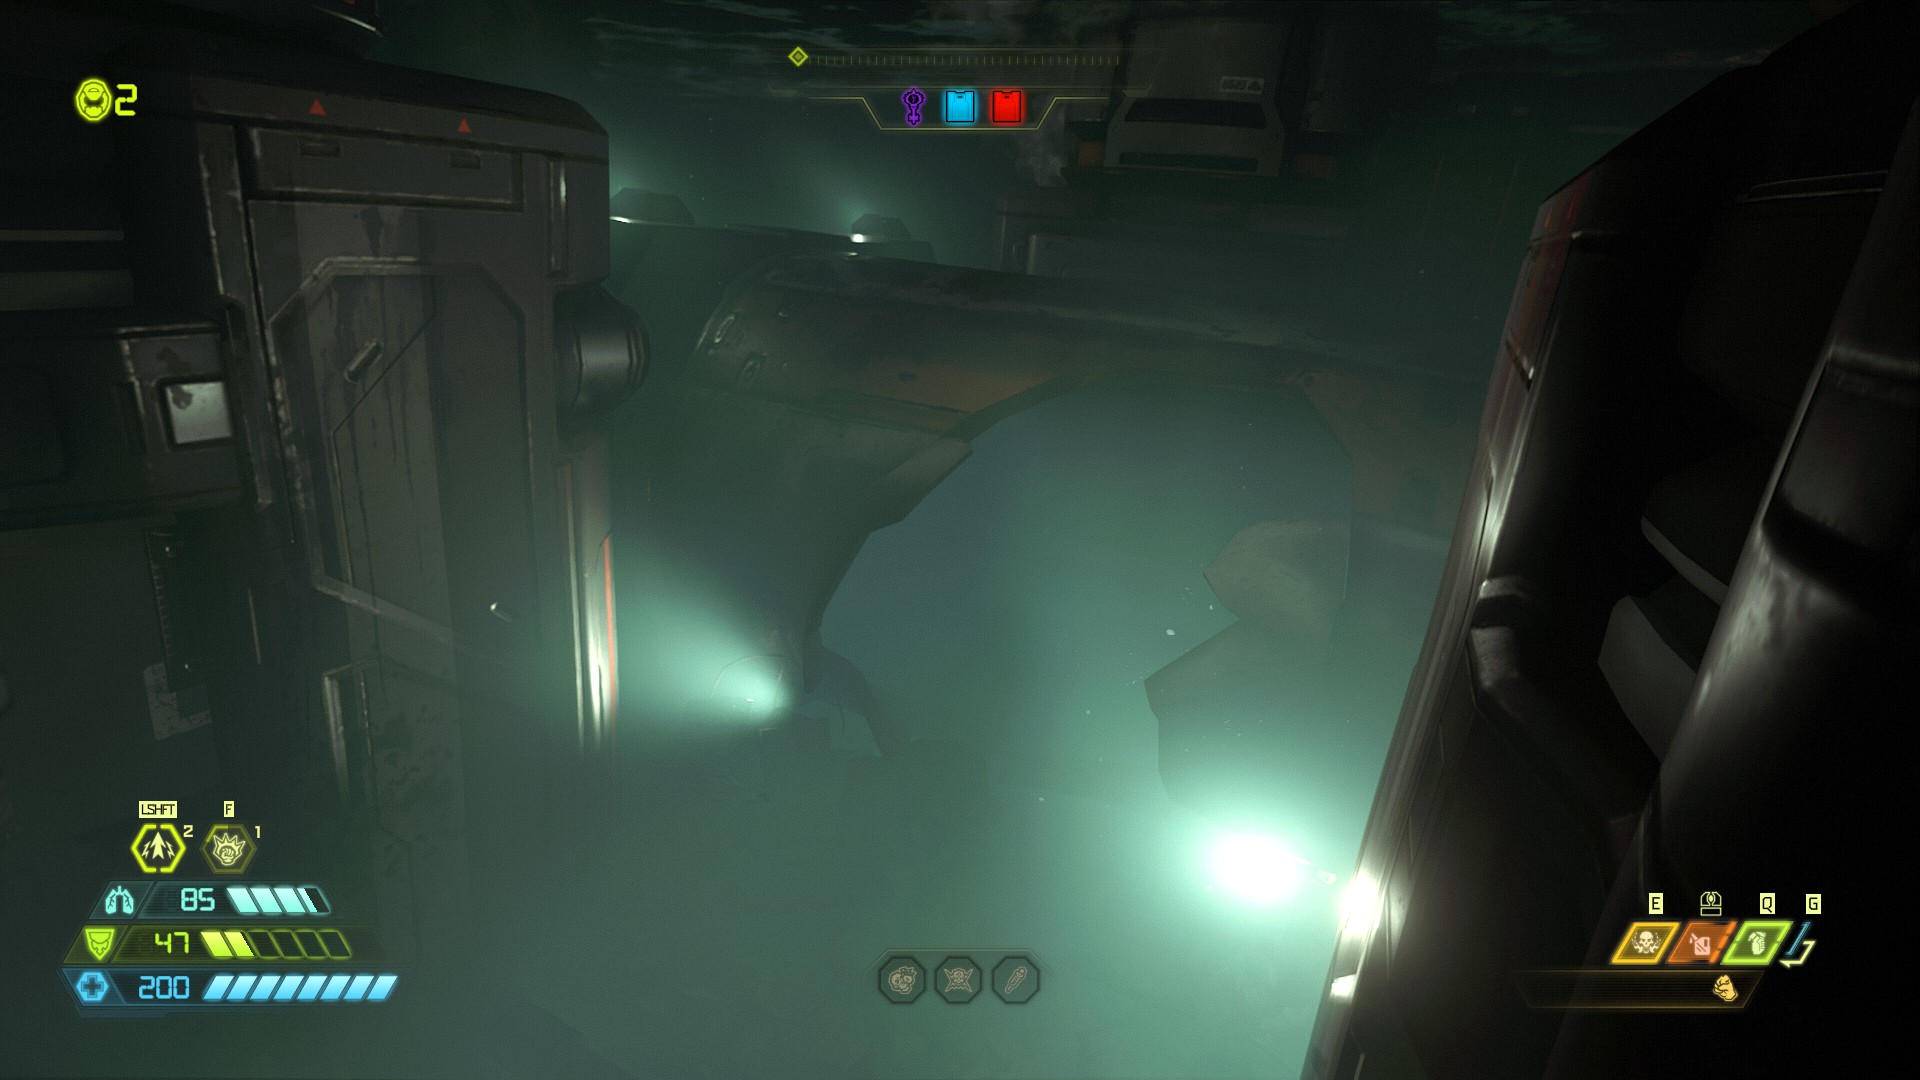
After the secret encounter go back under water and swim to the opposite side of the room, under the platforms where you entered the room you will find a vent on the wall that you can break through not far from the air canister and this will lead you to a blue orb.
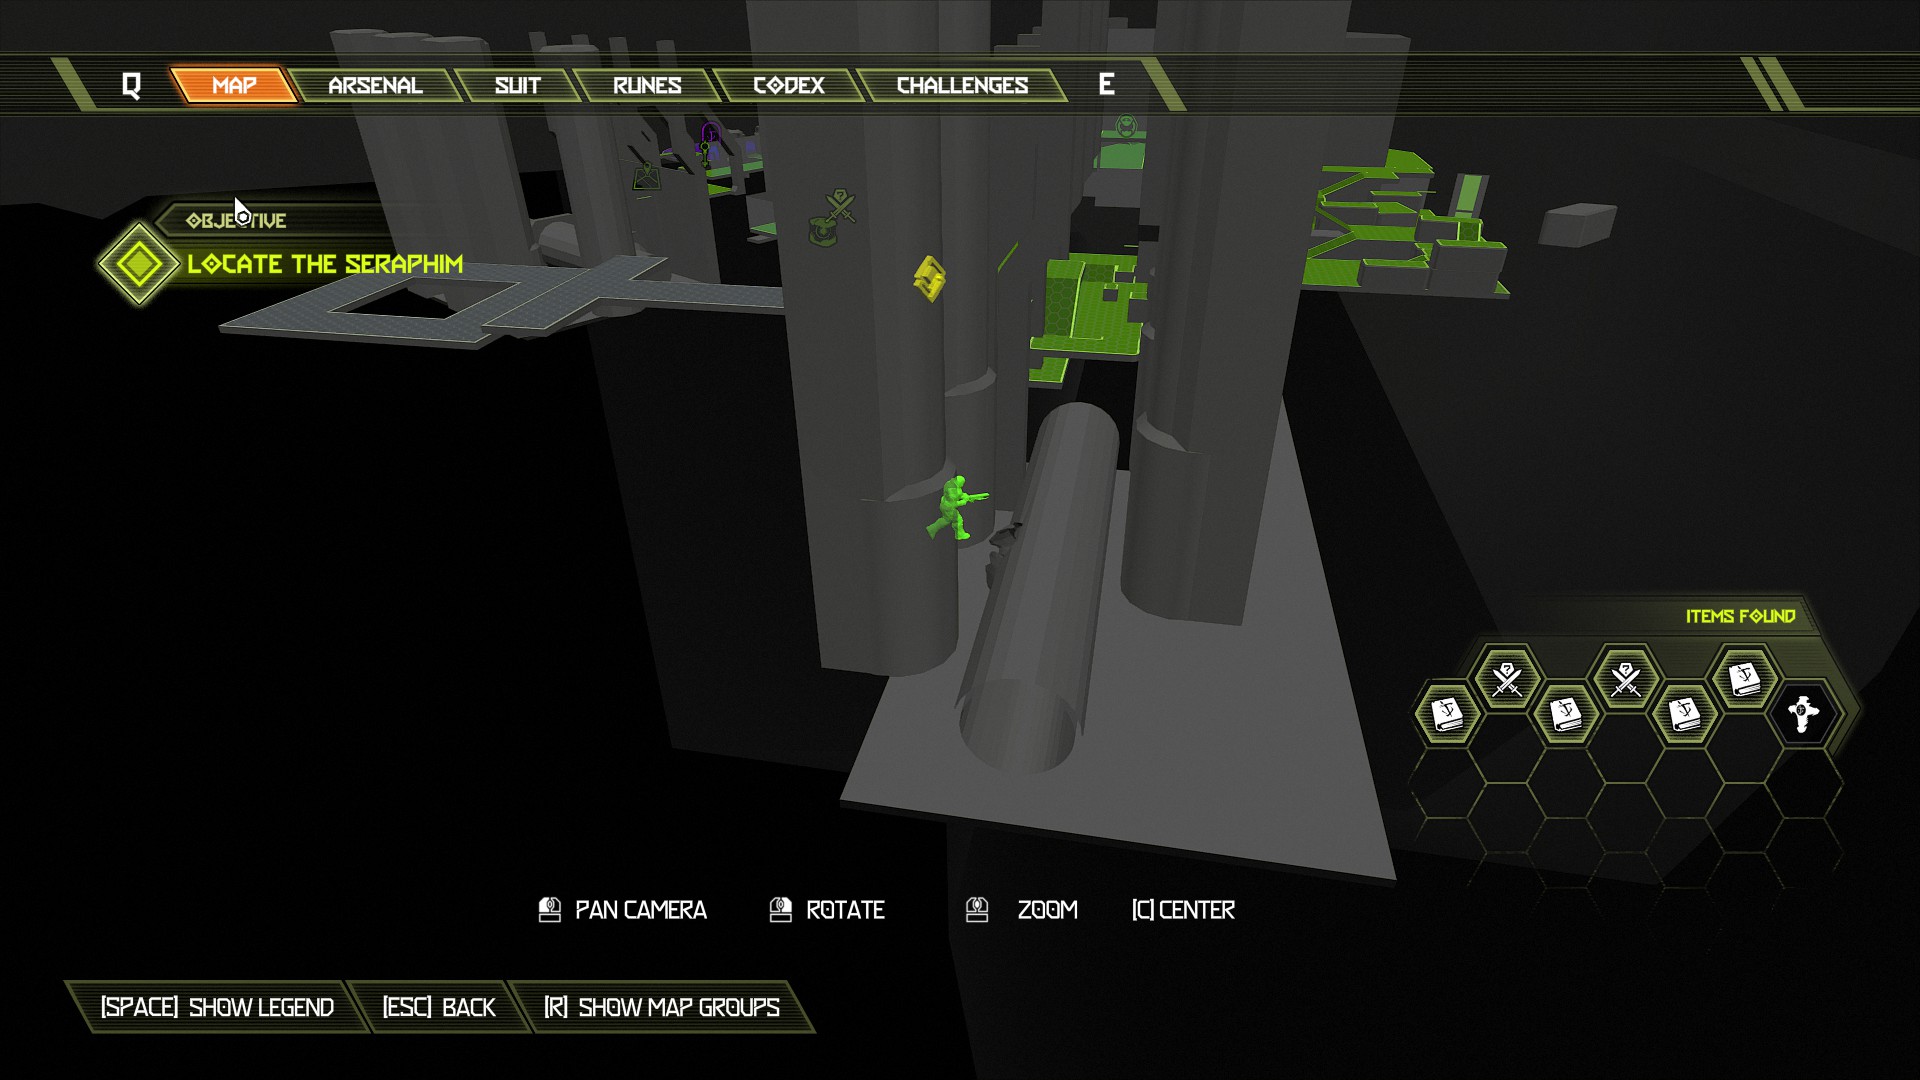
Continue the mission past the cut scene and swim through the water into the under water building.
WARNING: If you climb out of the second entrance and continue the mission you cannot get back to this location, even with fast travel. Ok, for this part follow carefully.
Make your way through the under water building and it will direct you to exit back out and into the water. Once in the water it will direct you to another entrance, swim over to the next entrance and climb up but immediately drop back down into the water; this will hit a checkpoint and unlock another entrance further along, head over to the next entrance and that will allow you to follow it along and grab the 2up extra life.
If you don't climb up to the second entrance first then the third entrance will remain locked.
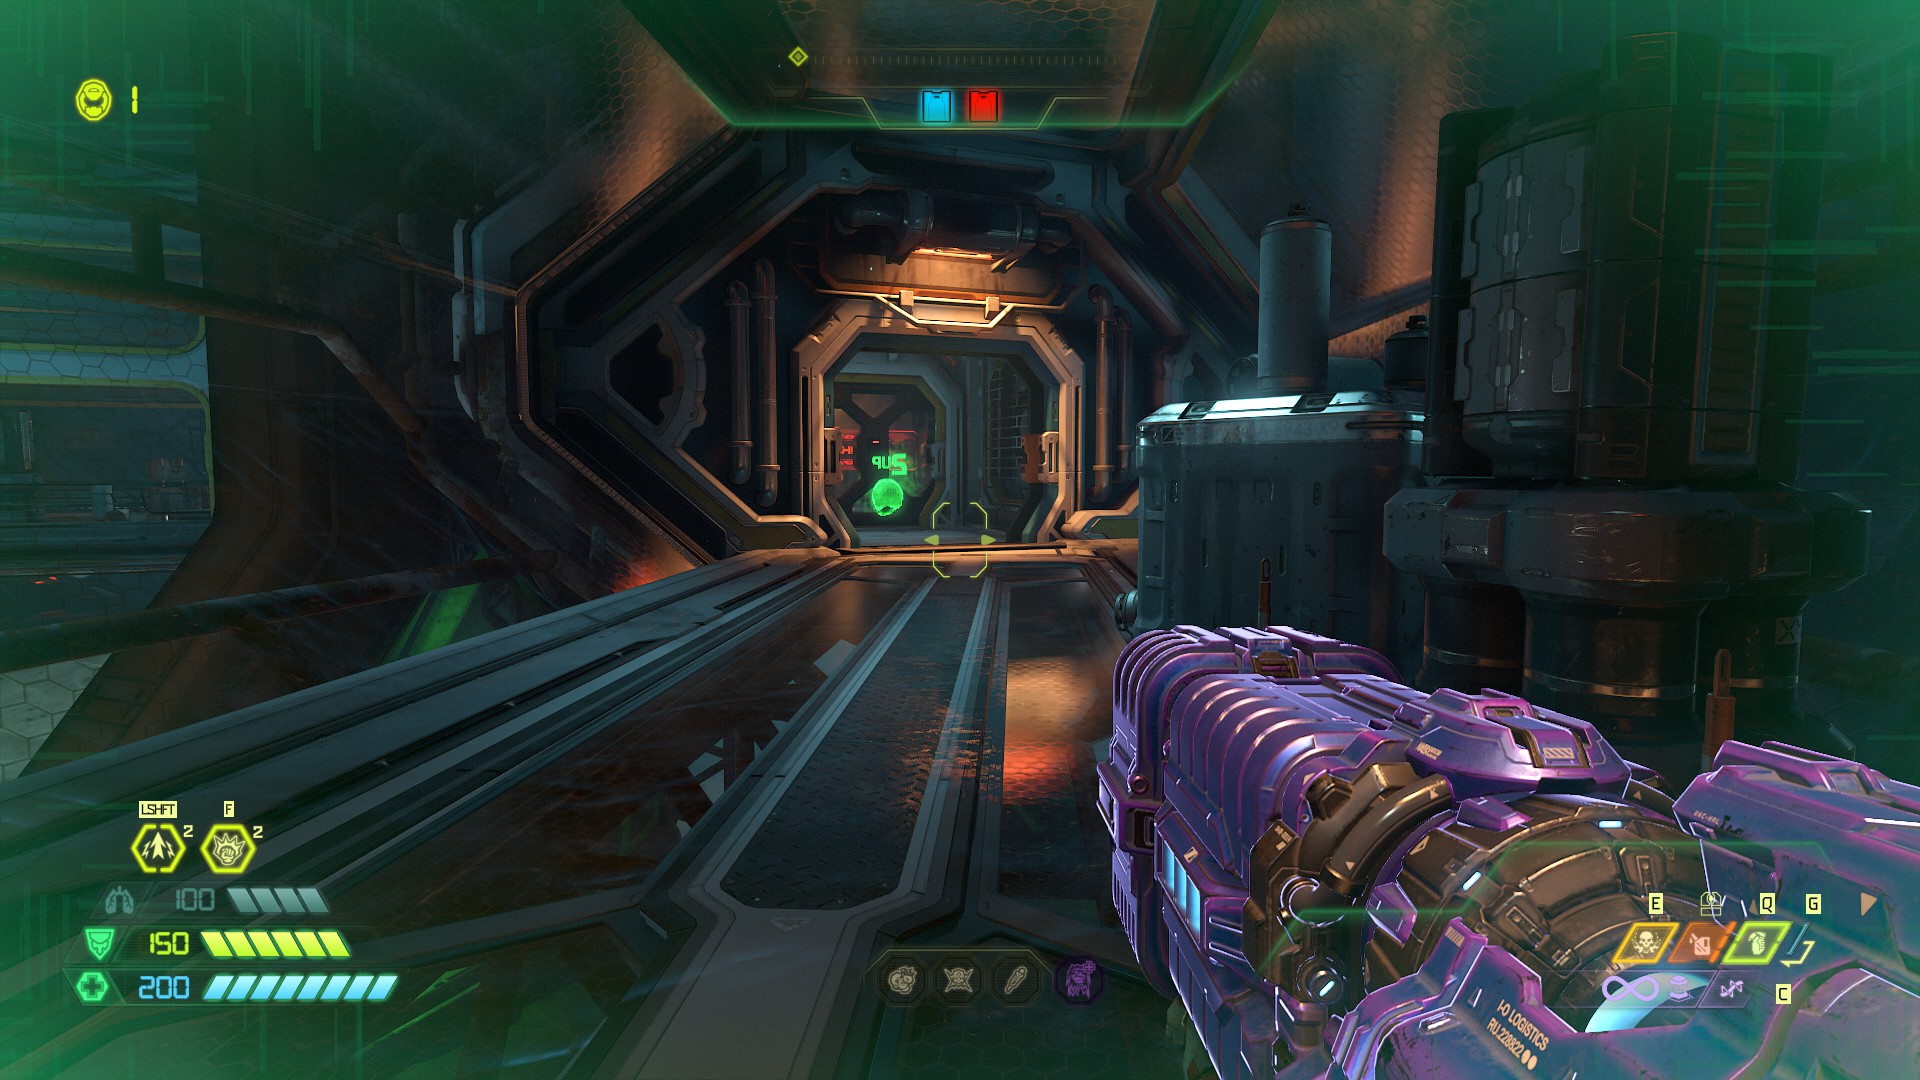
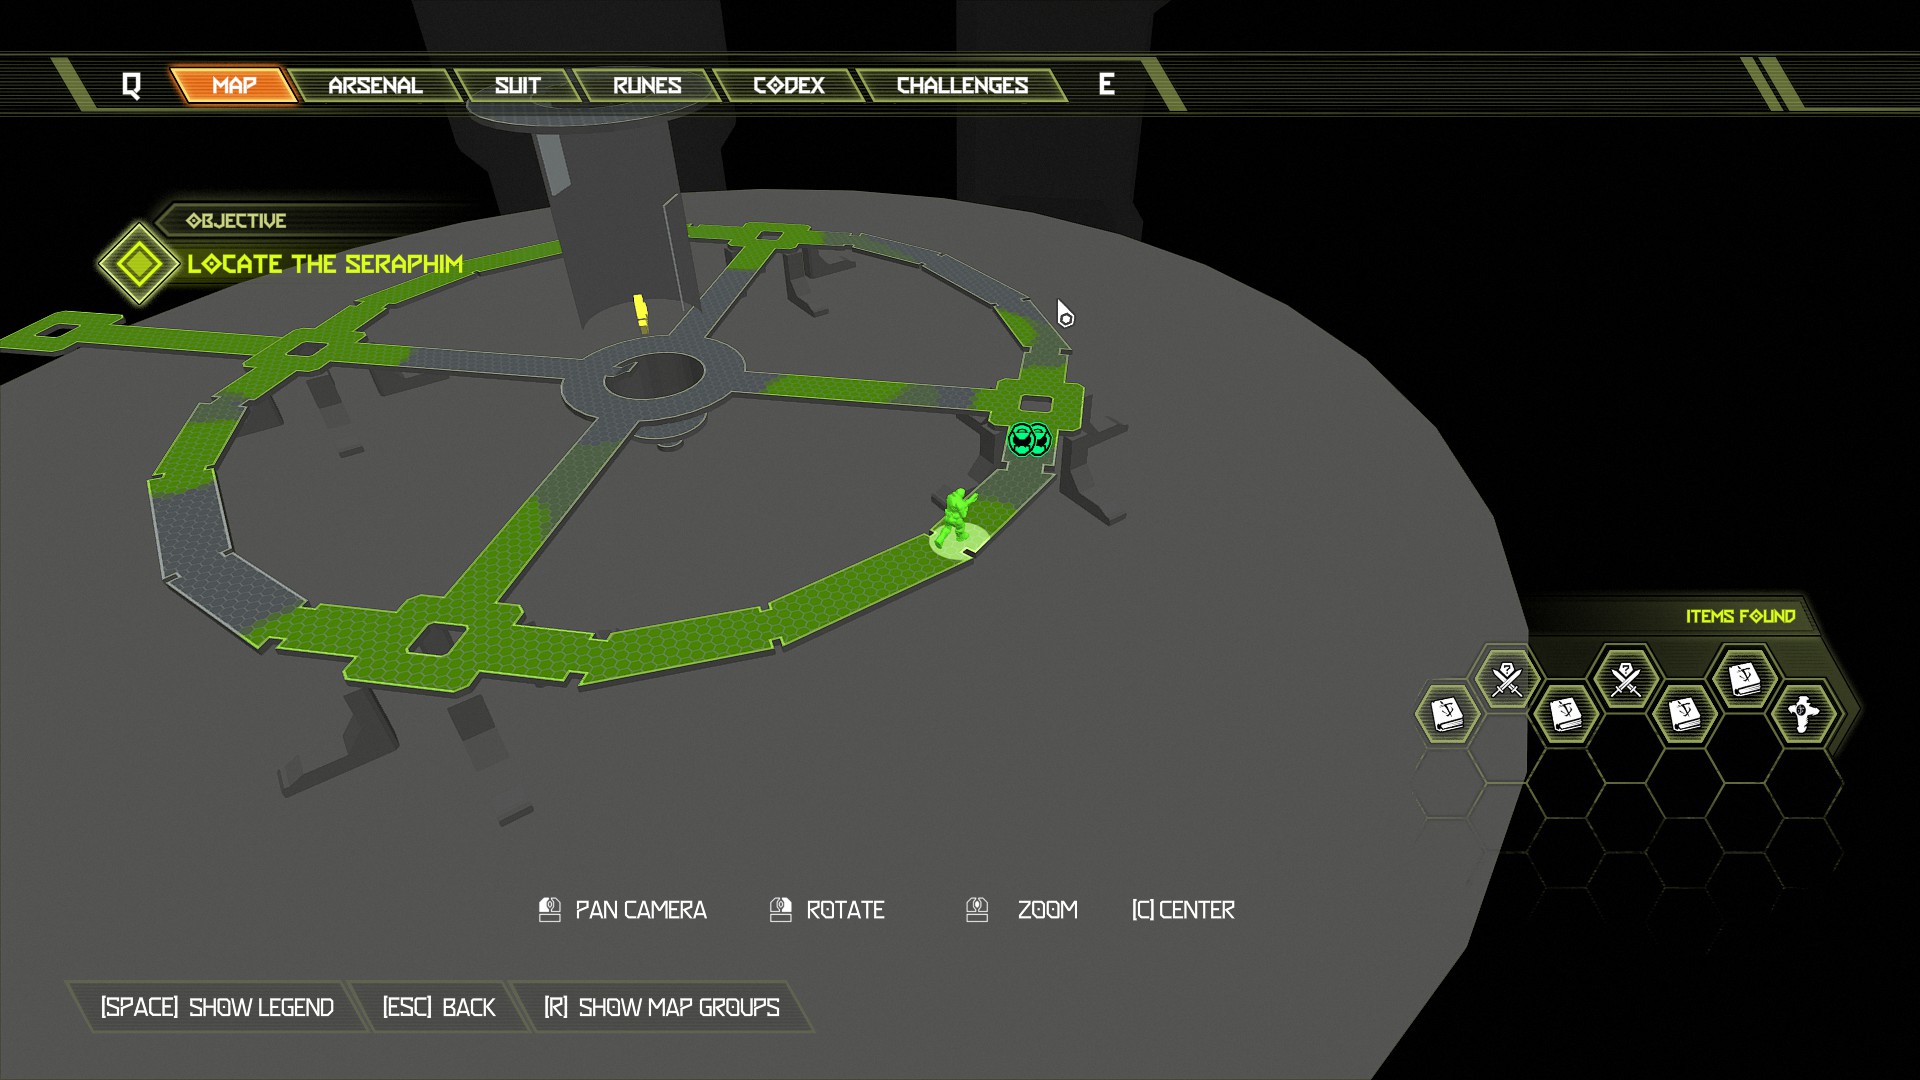
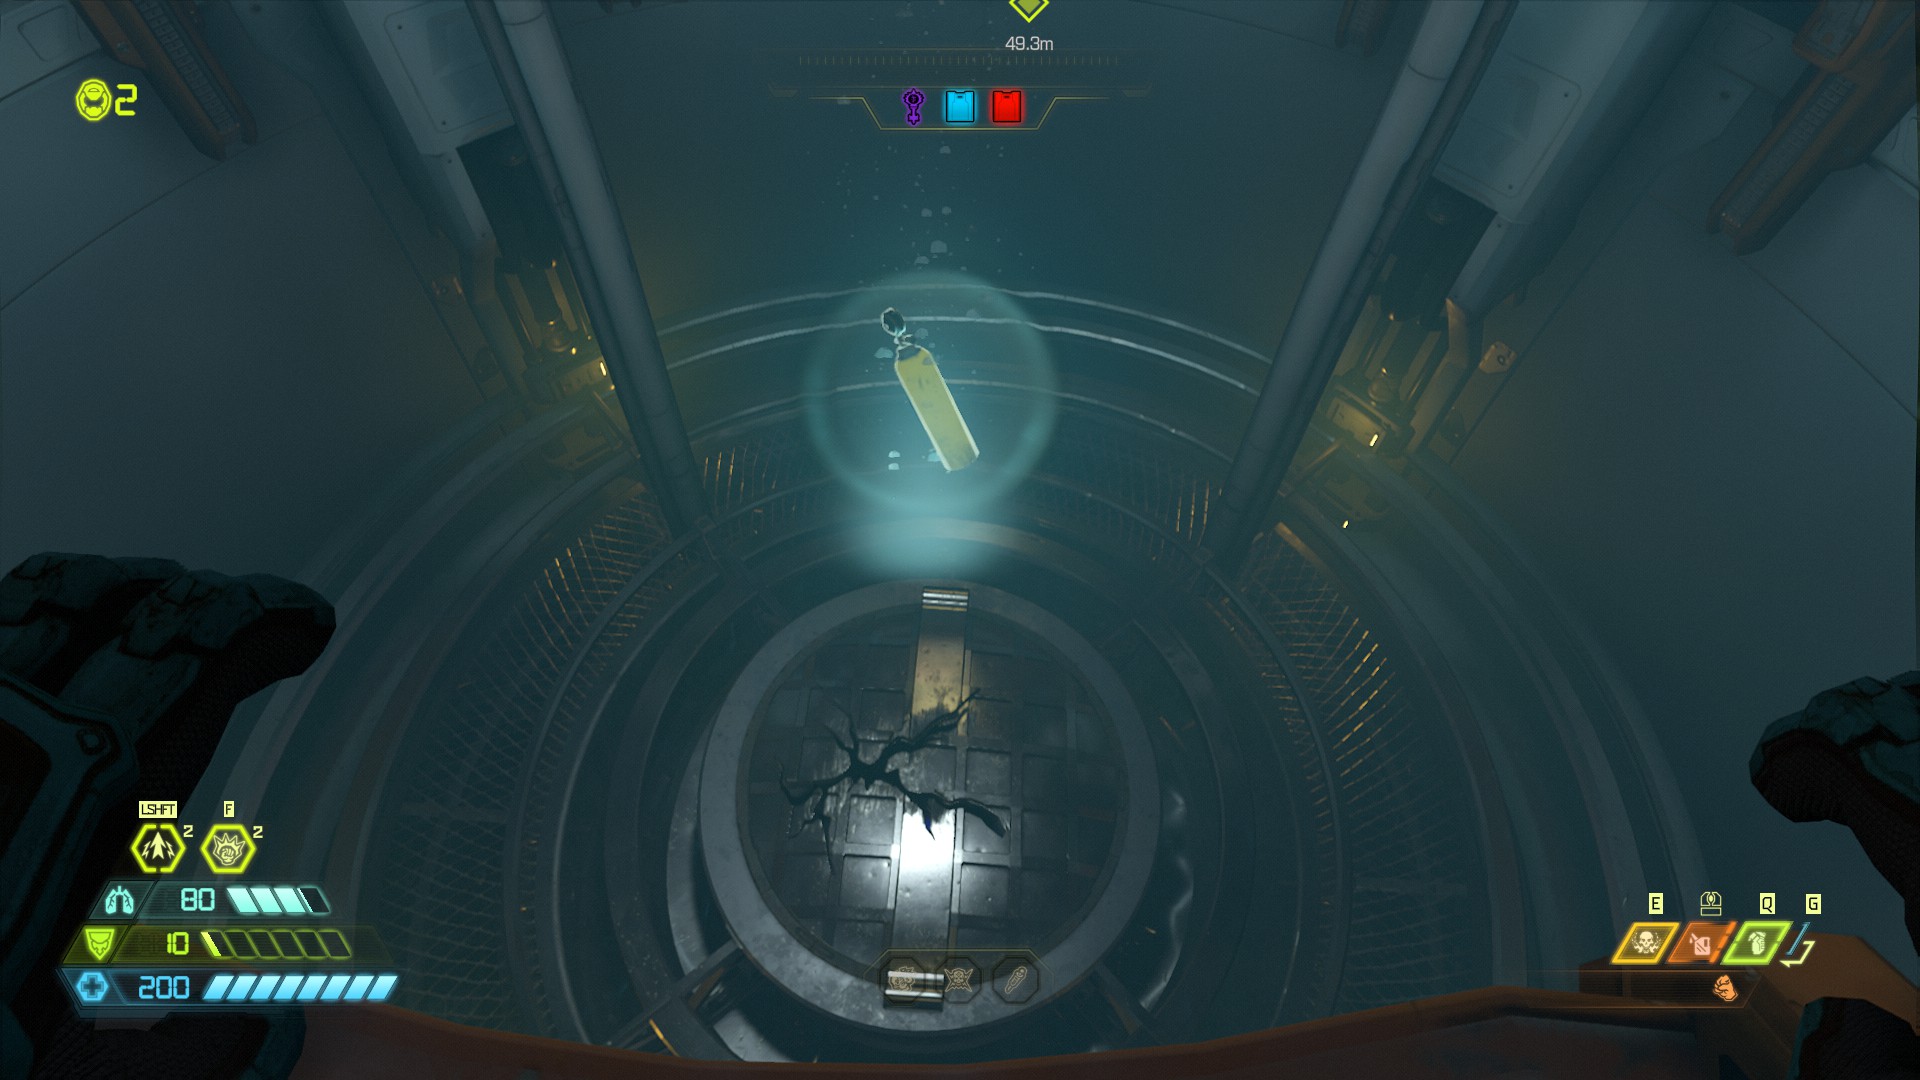
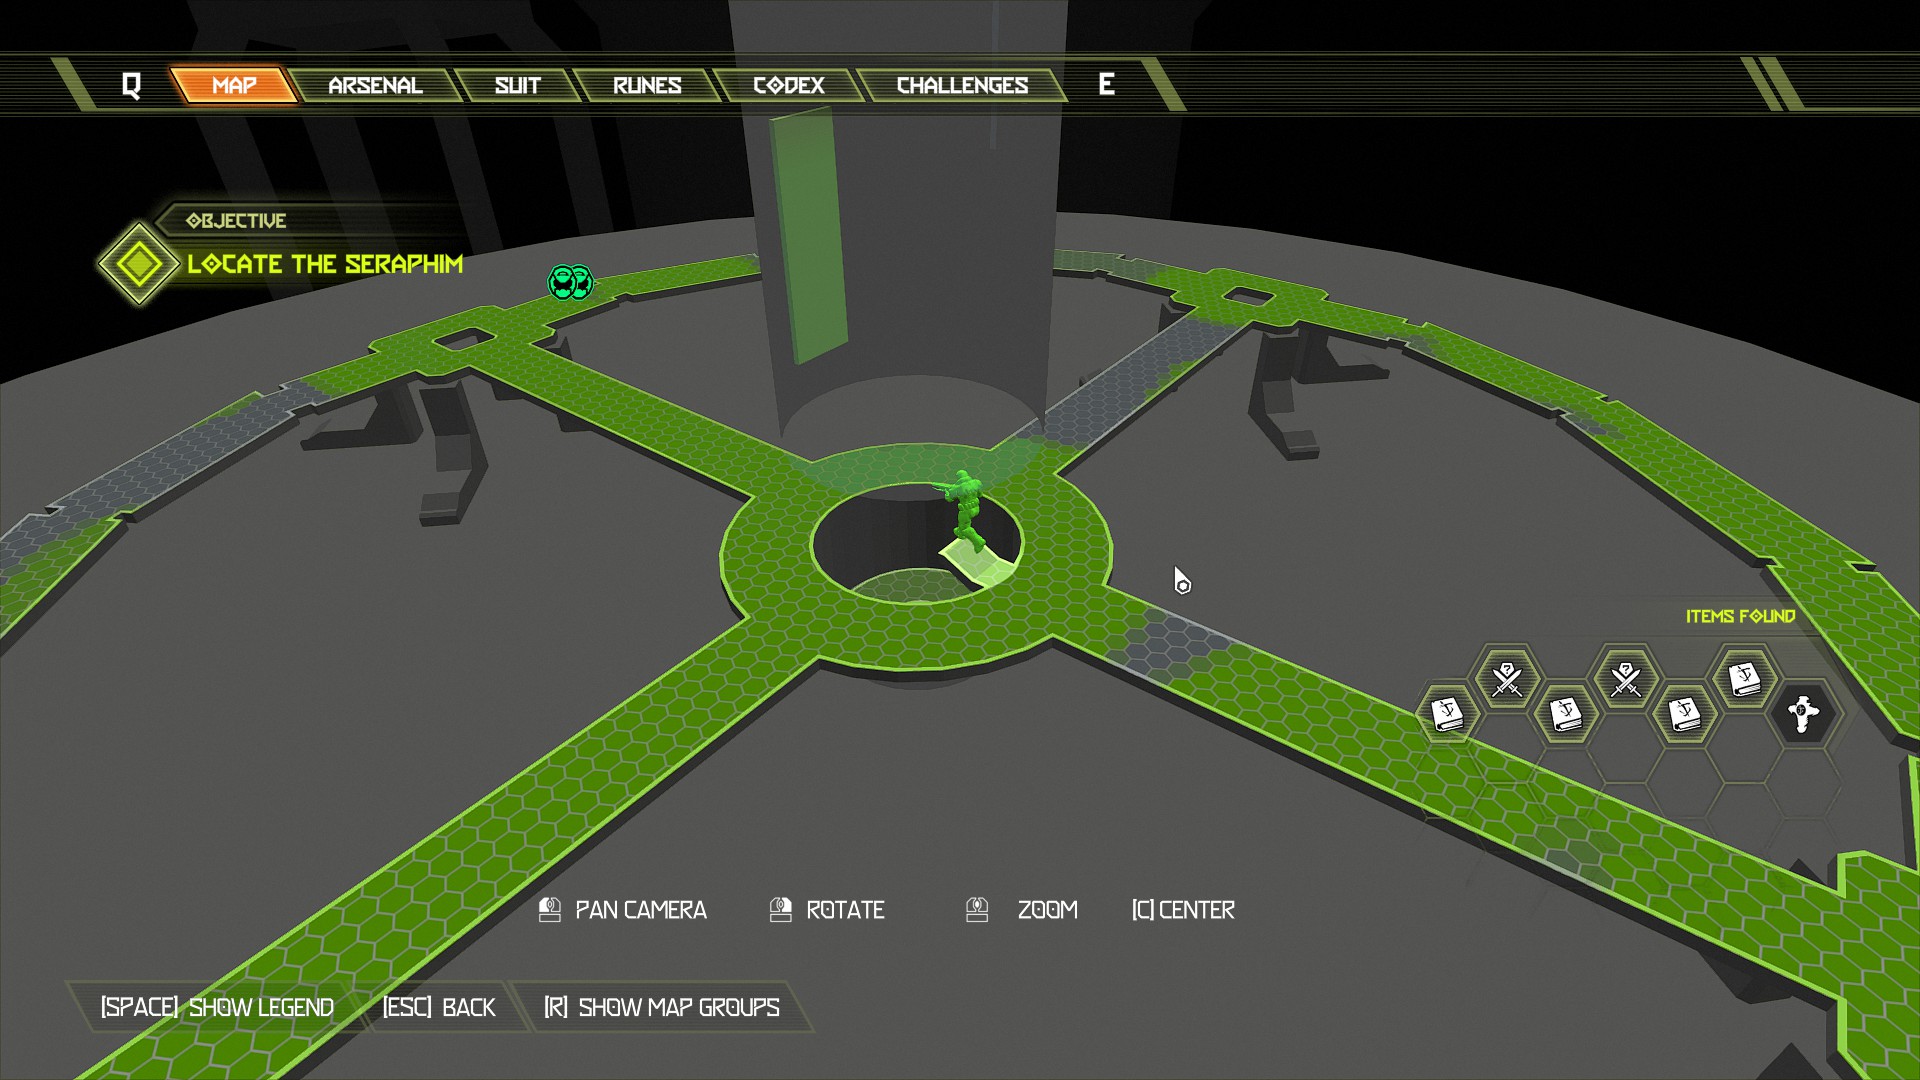
Mission 2: The Blood Swamps [Part 1]
NOTE: Another good mission that will definitely test your eyesight, and I think a little less to collect this time around. Fairly straight forward with some slight backtracking but no slayer gate on this one. This mission contains:
- 1 Automap
- 4 Codex Pages
- 3 Extra Lives
- 2 Blue Orbs
- 5 Secrets
- 2 Secret Encounters
- 1 Support Rune
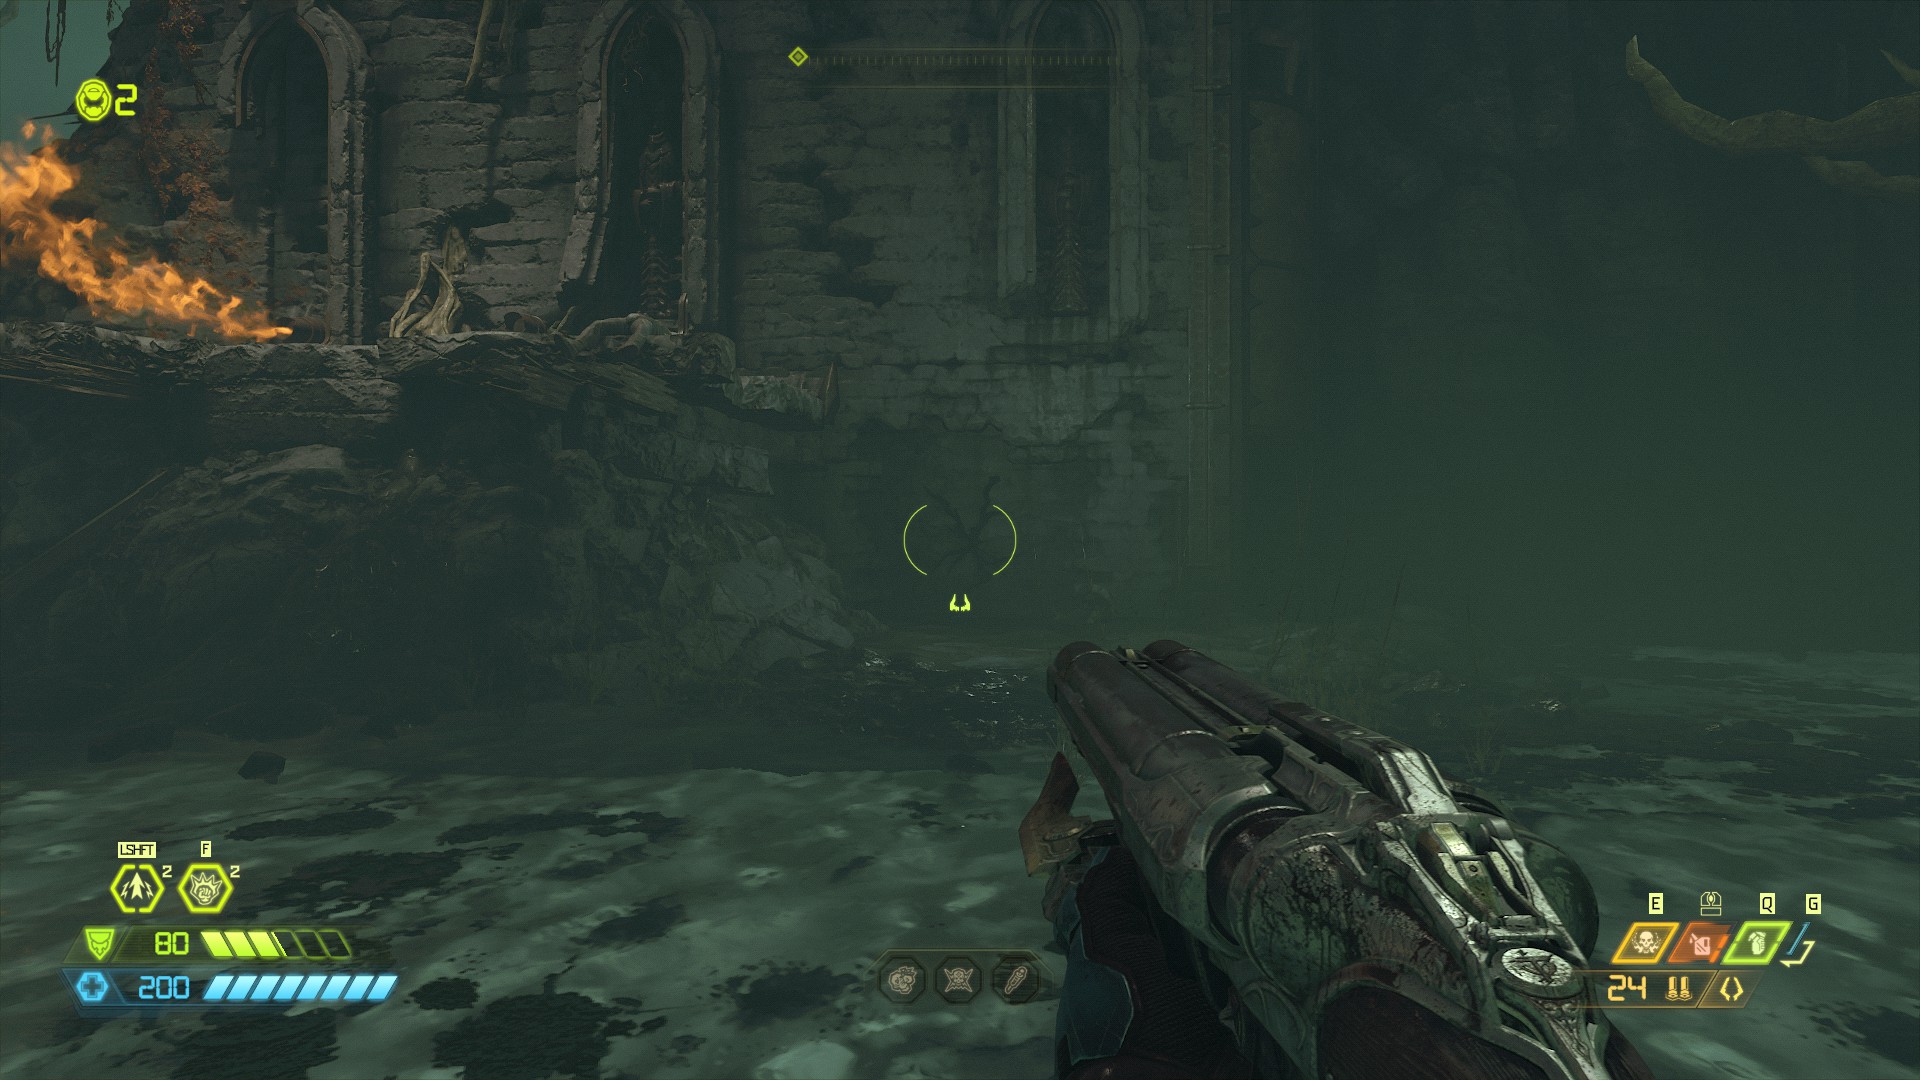
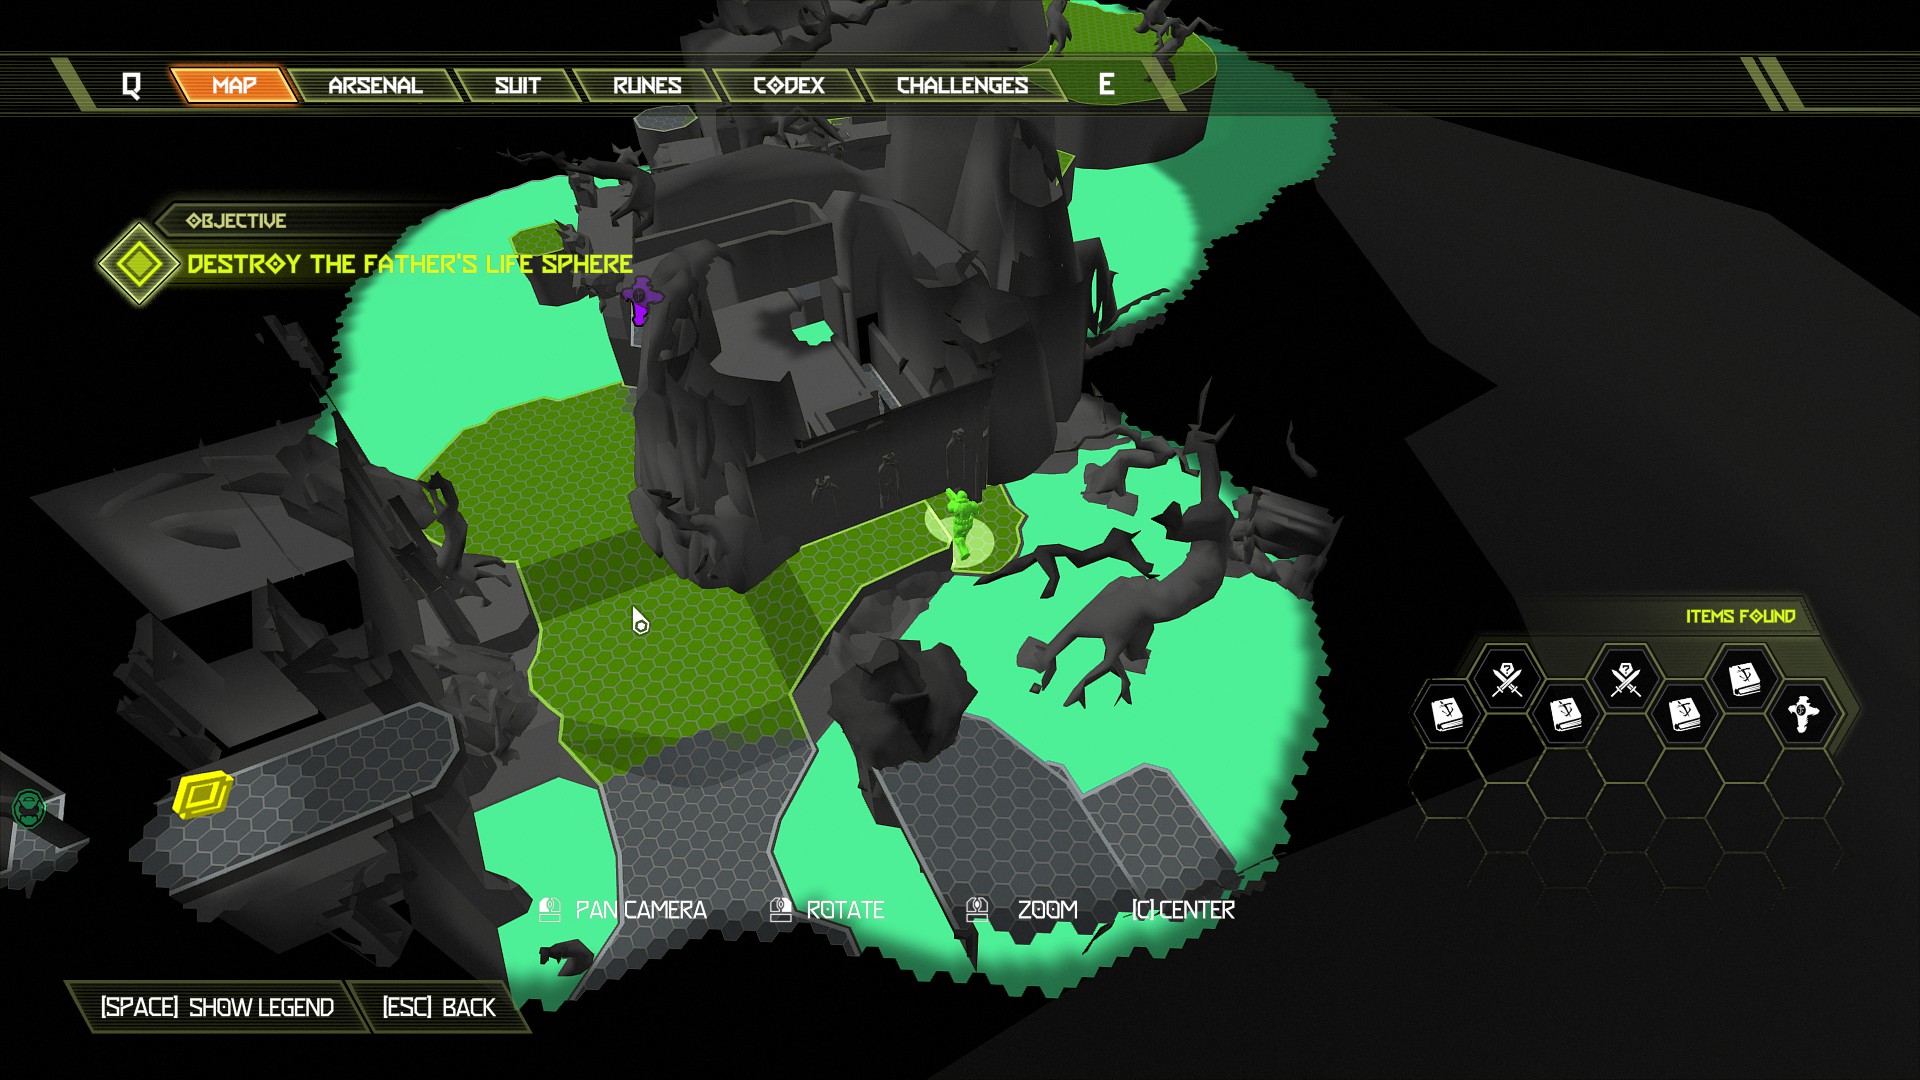
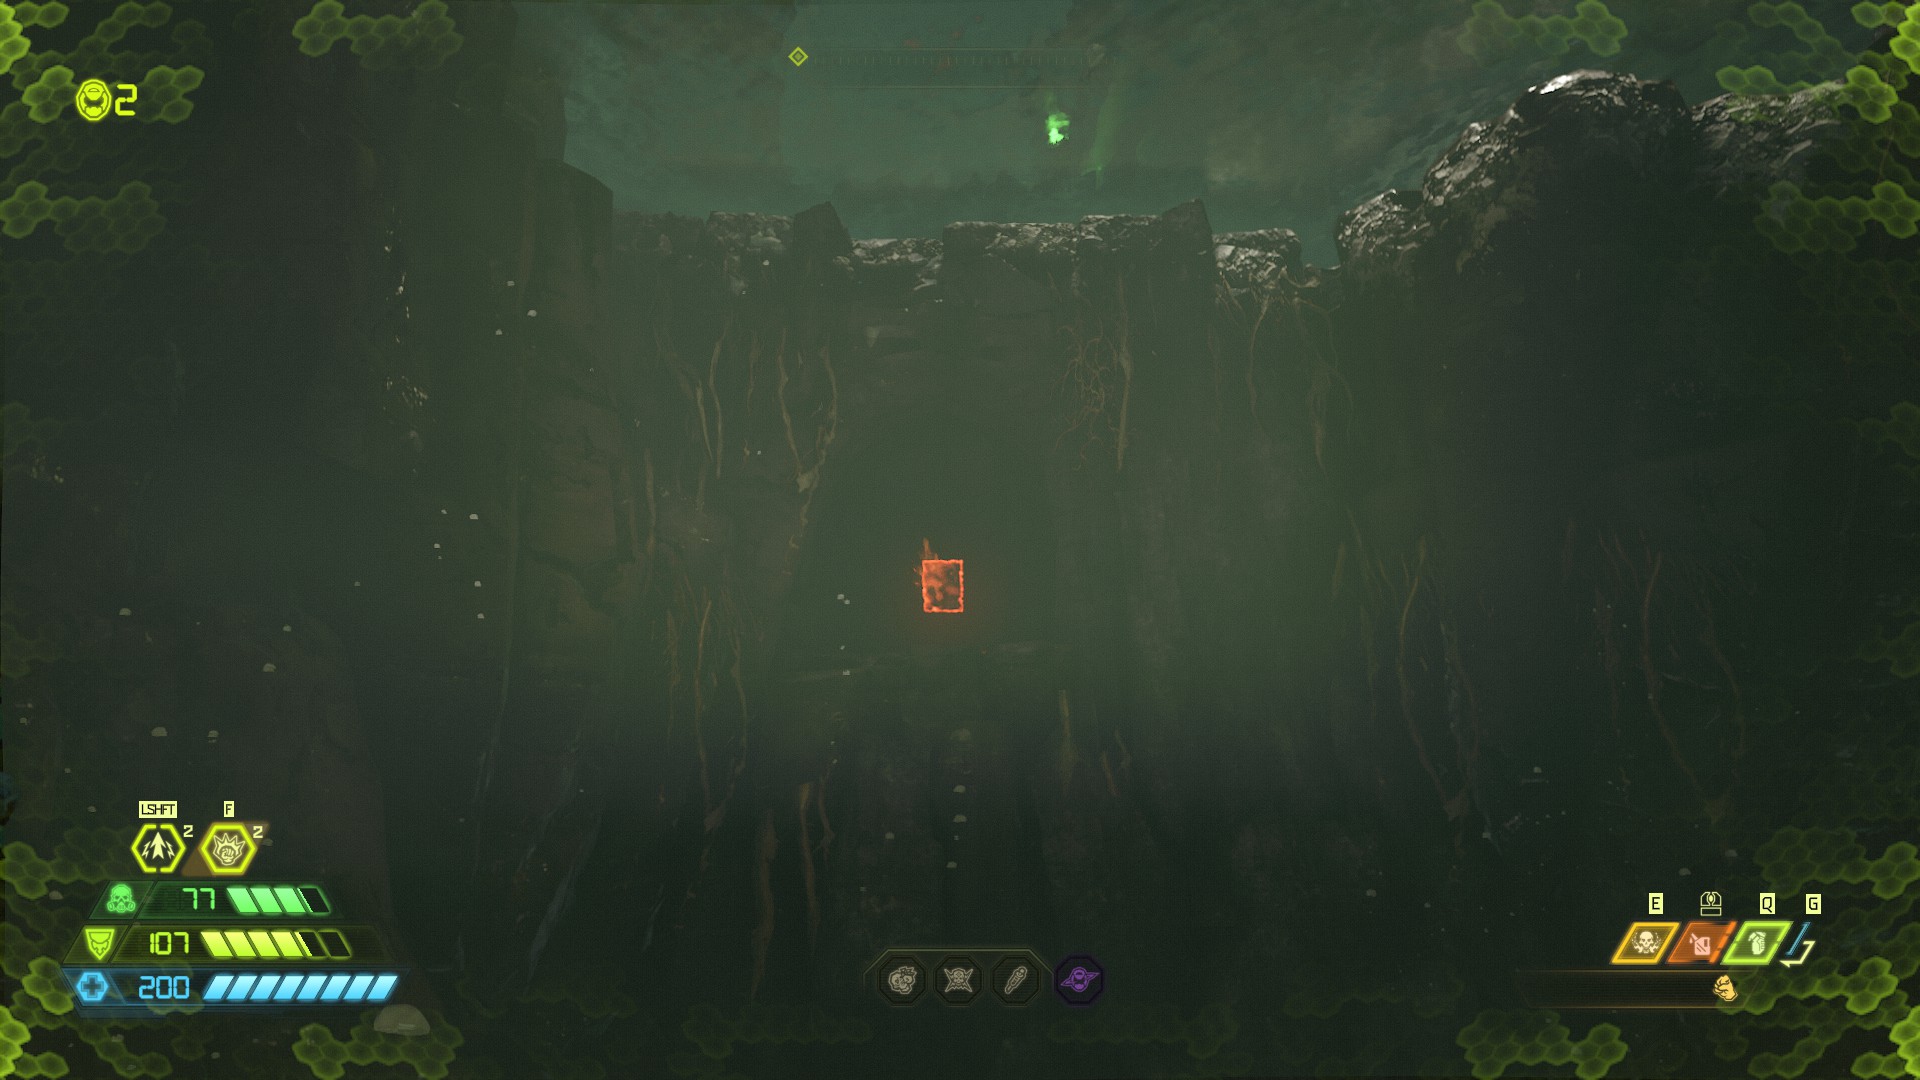
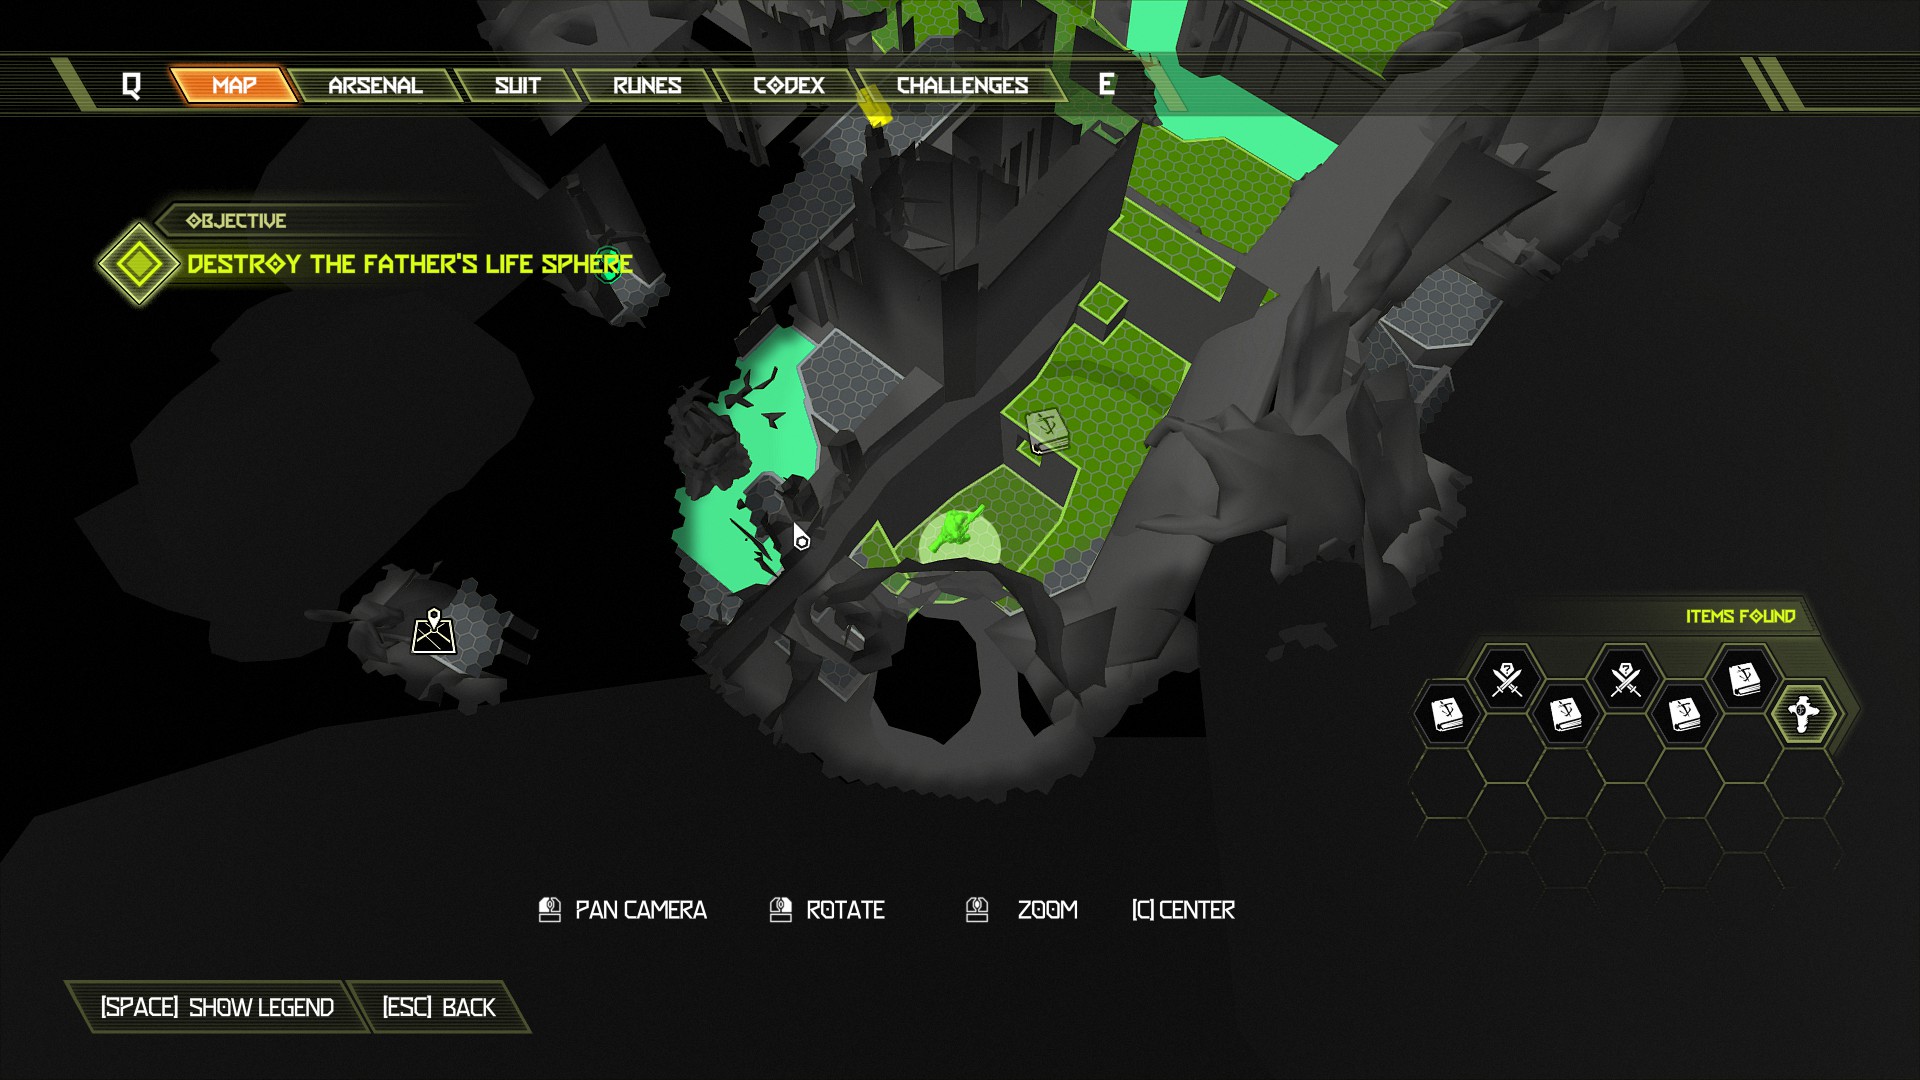
Now follow it through and as soon as you exit the water you will find the automap on the platform you climb out onto.
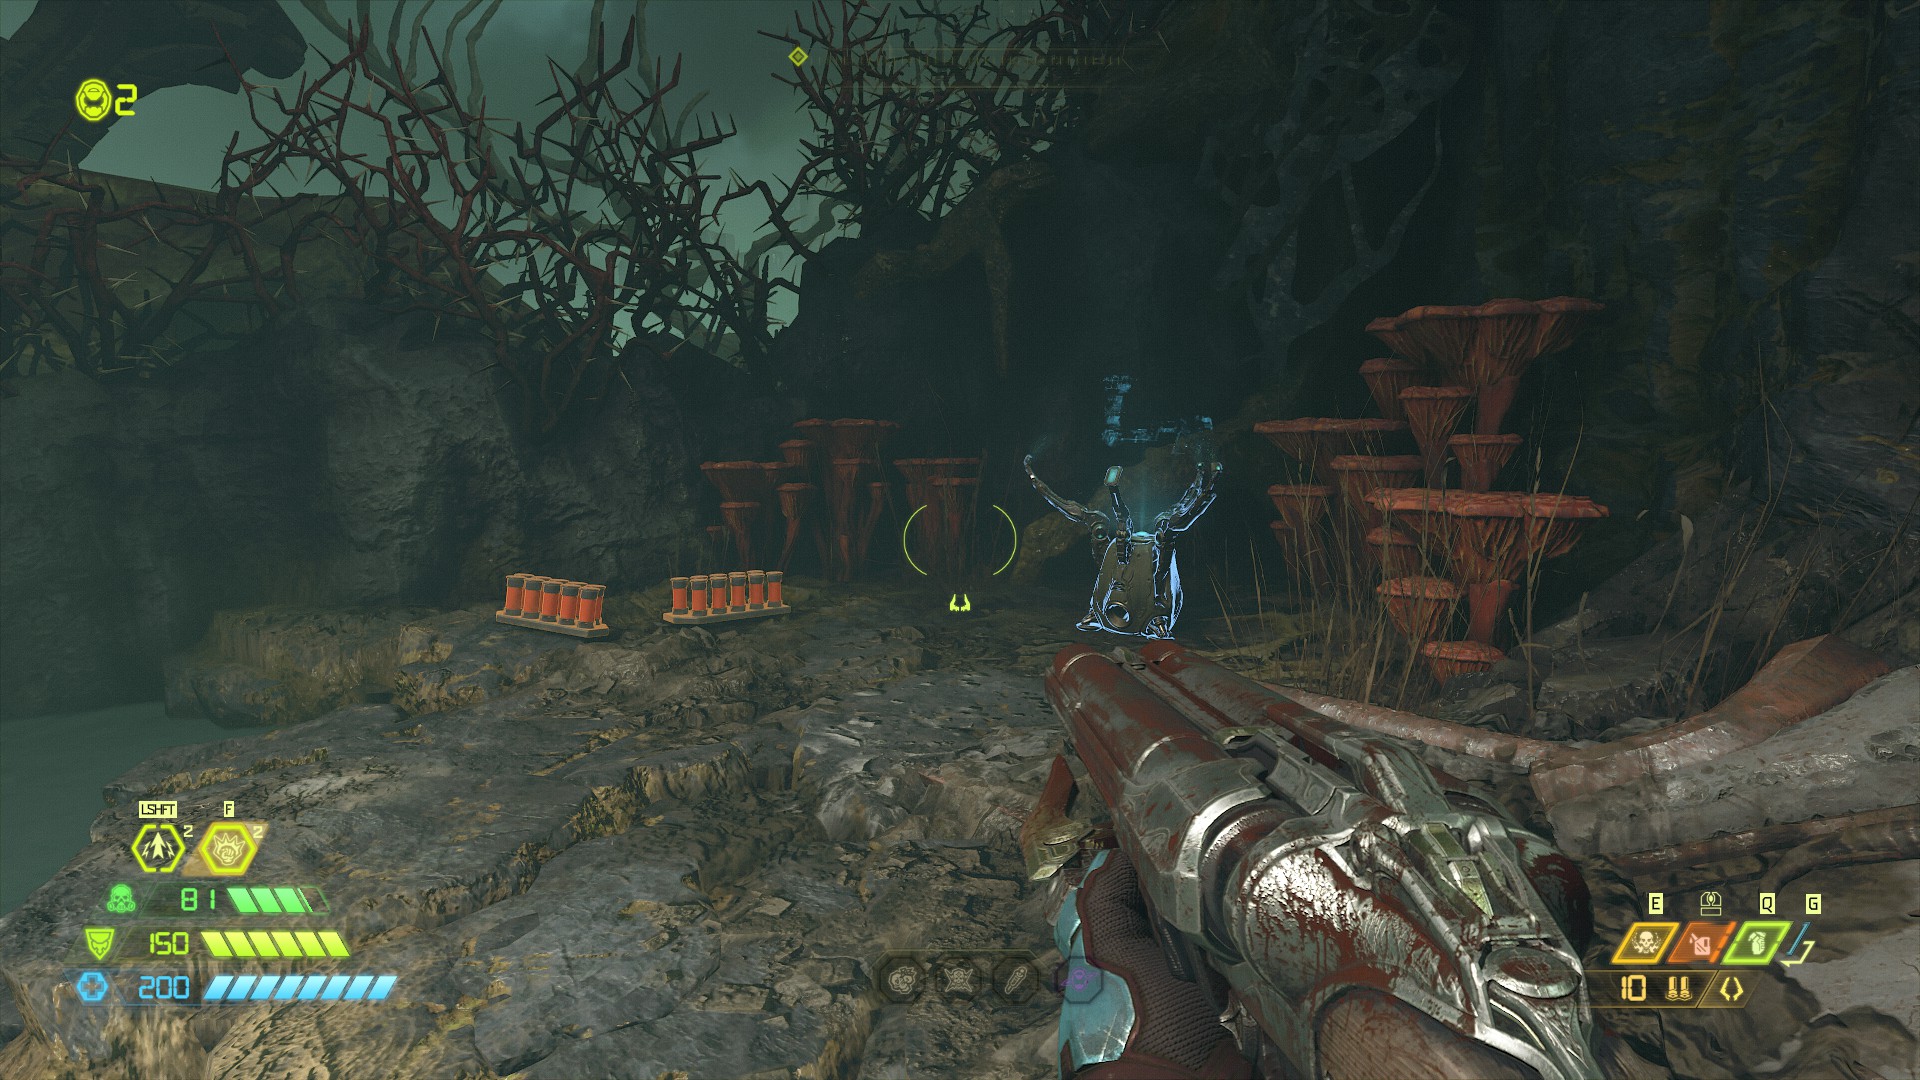
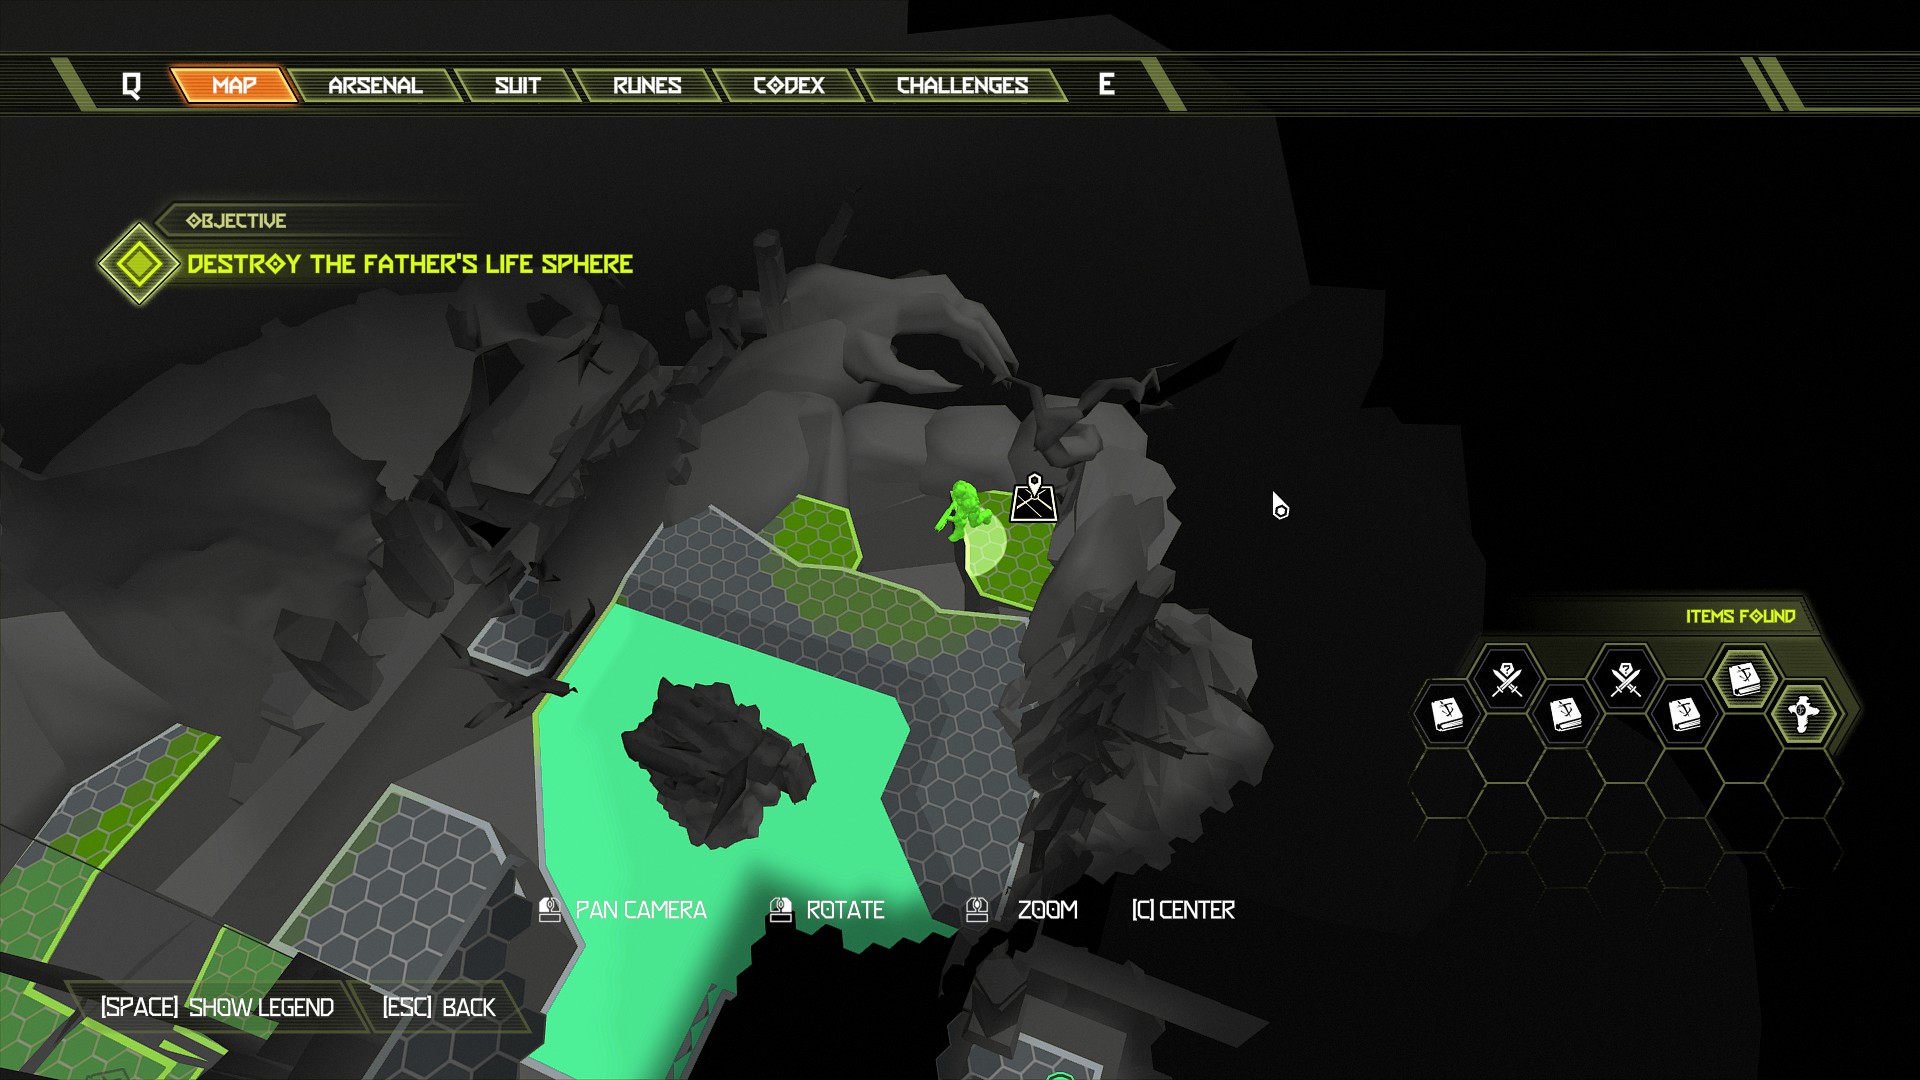
Continue over to the upper platform and in the far left corner is a breakable wall that contains an extra life. Kill the enemies and then collect the extra life.
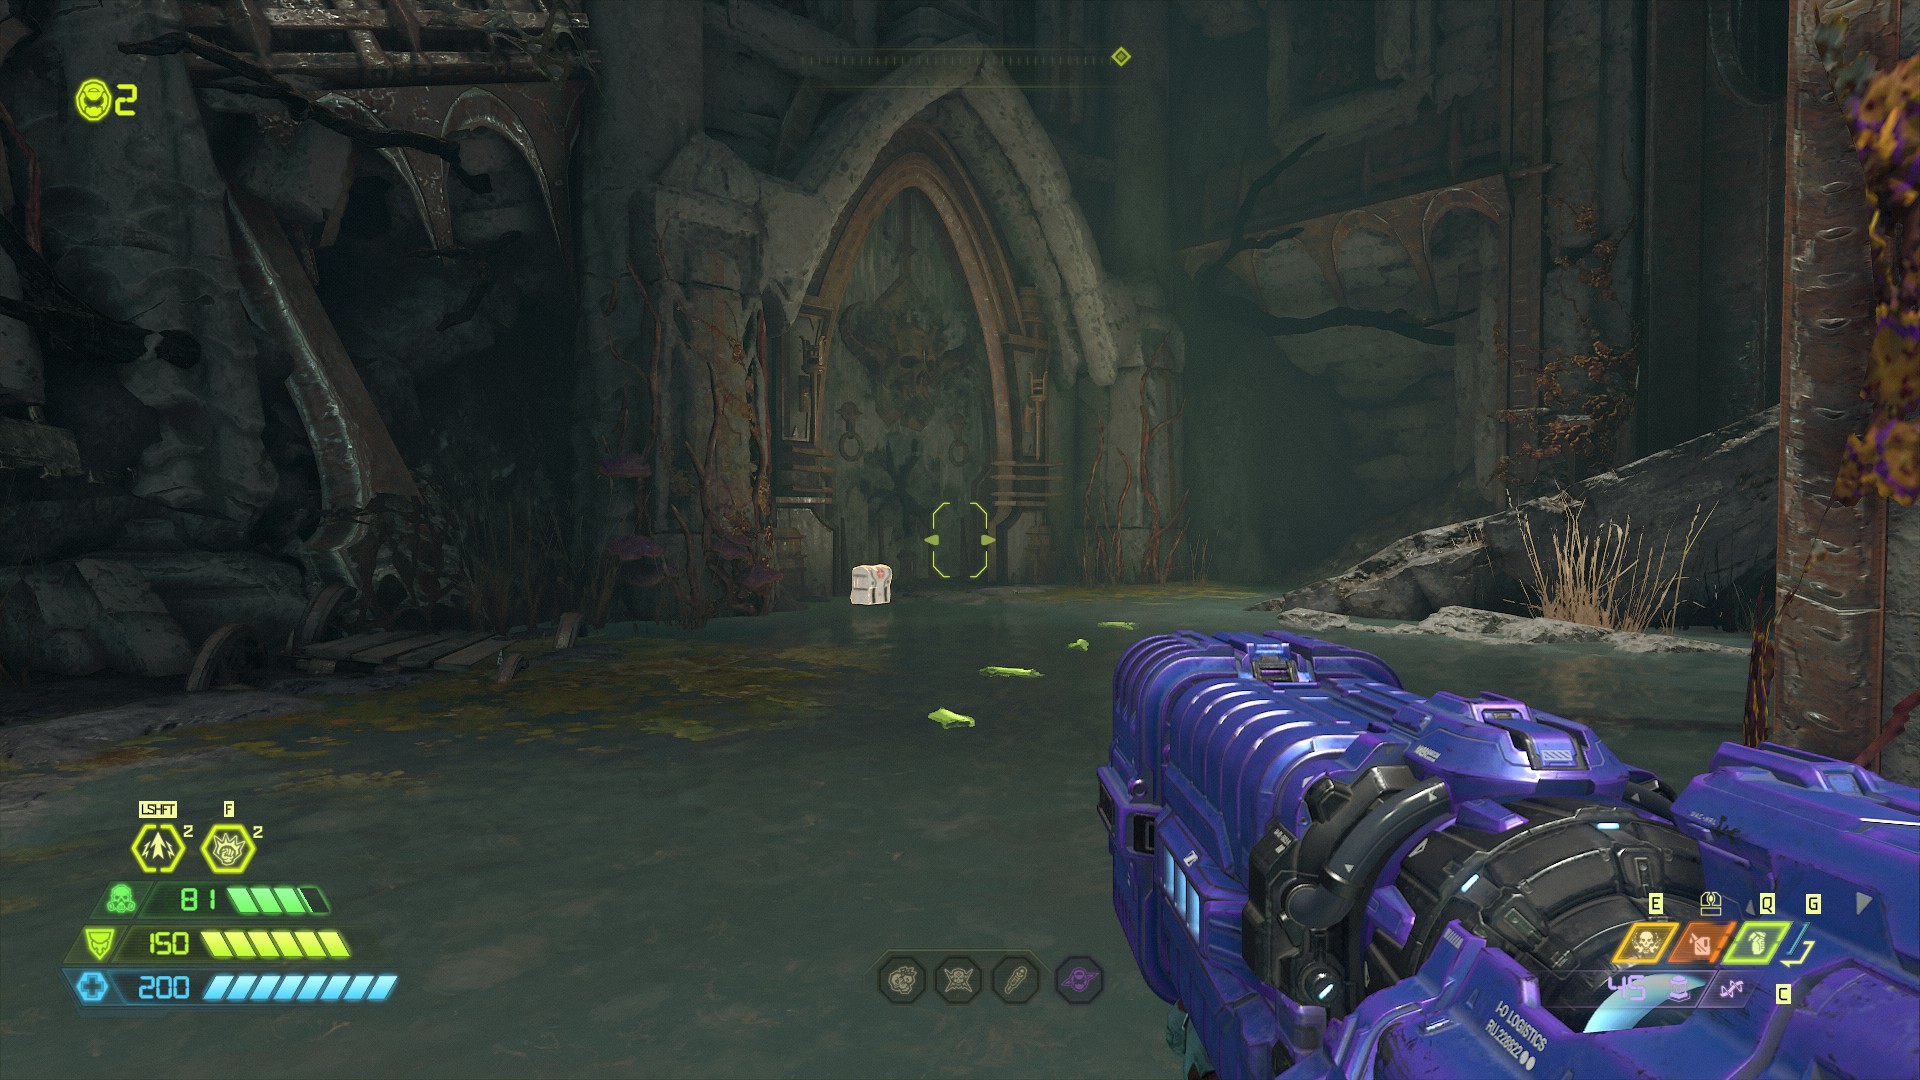
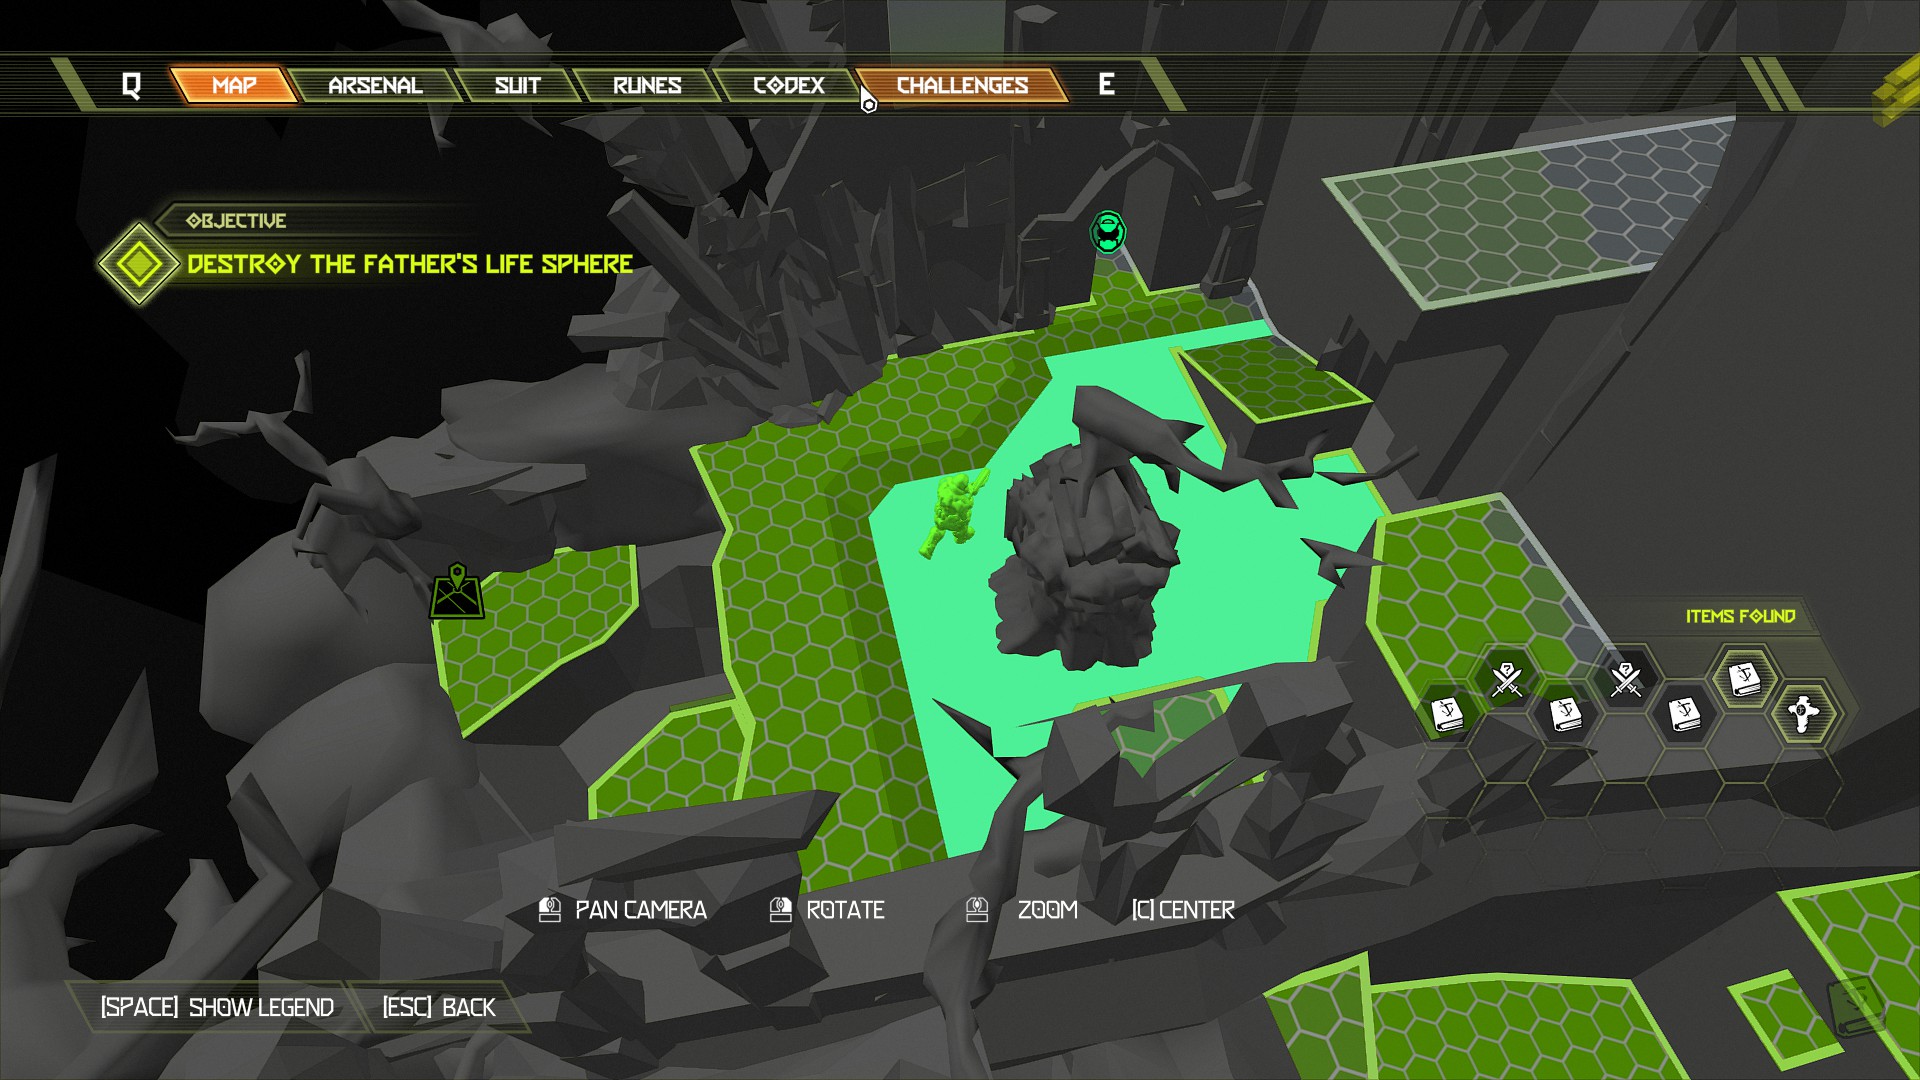
Now continue the mission and activate the skull pedestal, then head through the main gates and into the circular area that contains the tomb. Two gates will open near the cubes so take the right side first.
NOTE: For this encounter you will be attacked by 3 imps, 1 baron of hell, 1 mancubus, 1 cacodemon. Head through the right side gate and follow it along until you reach the green hound, complete the battles following the hound until the area is clear and you're able to freely roam, the battles should finish at the main gate.
At the main gate do not unlock it just yet, instead go back following the path you came from towards the secret encounter, skip past the secret encounter and follow the path even further; as you pass through the doorway you will see an arch shaped rock with a codex page sitting on the top that you can climb up and collect.
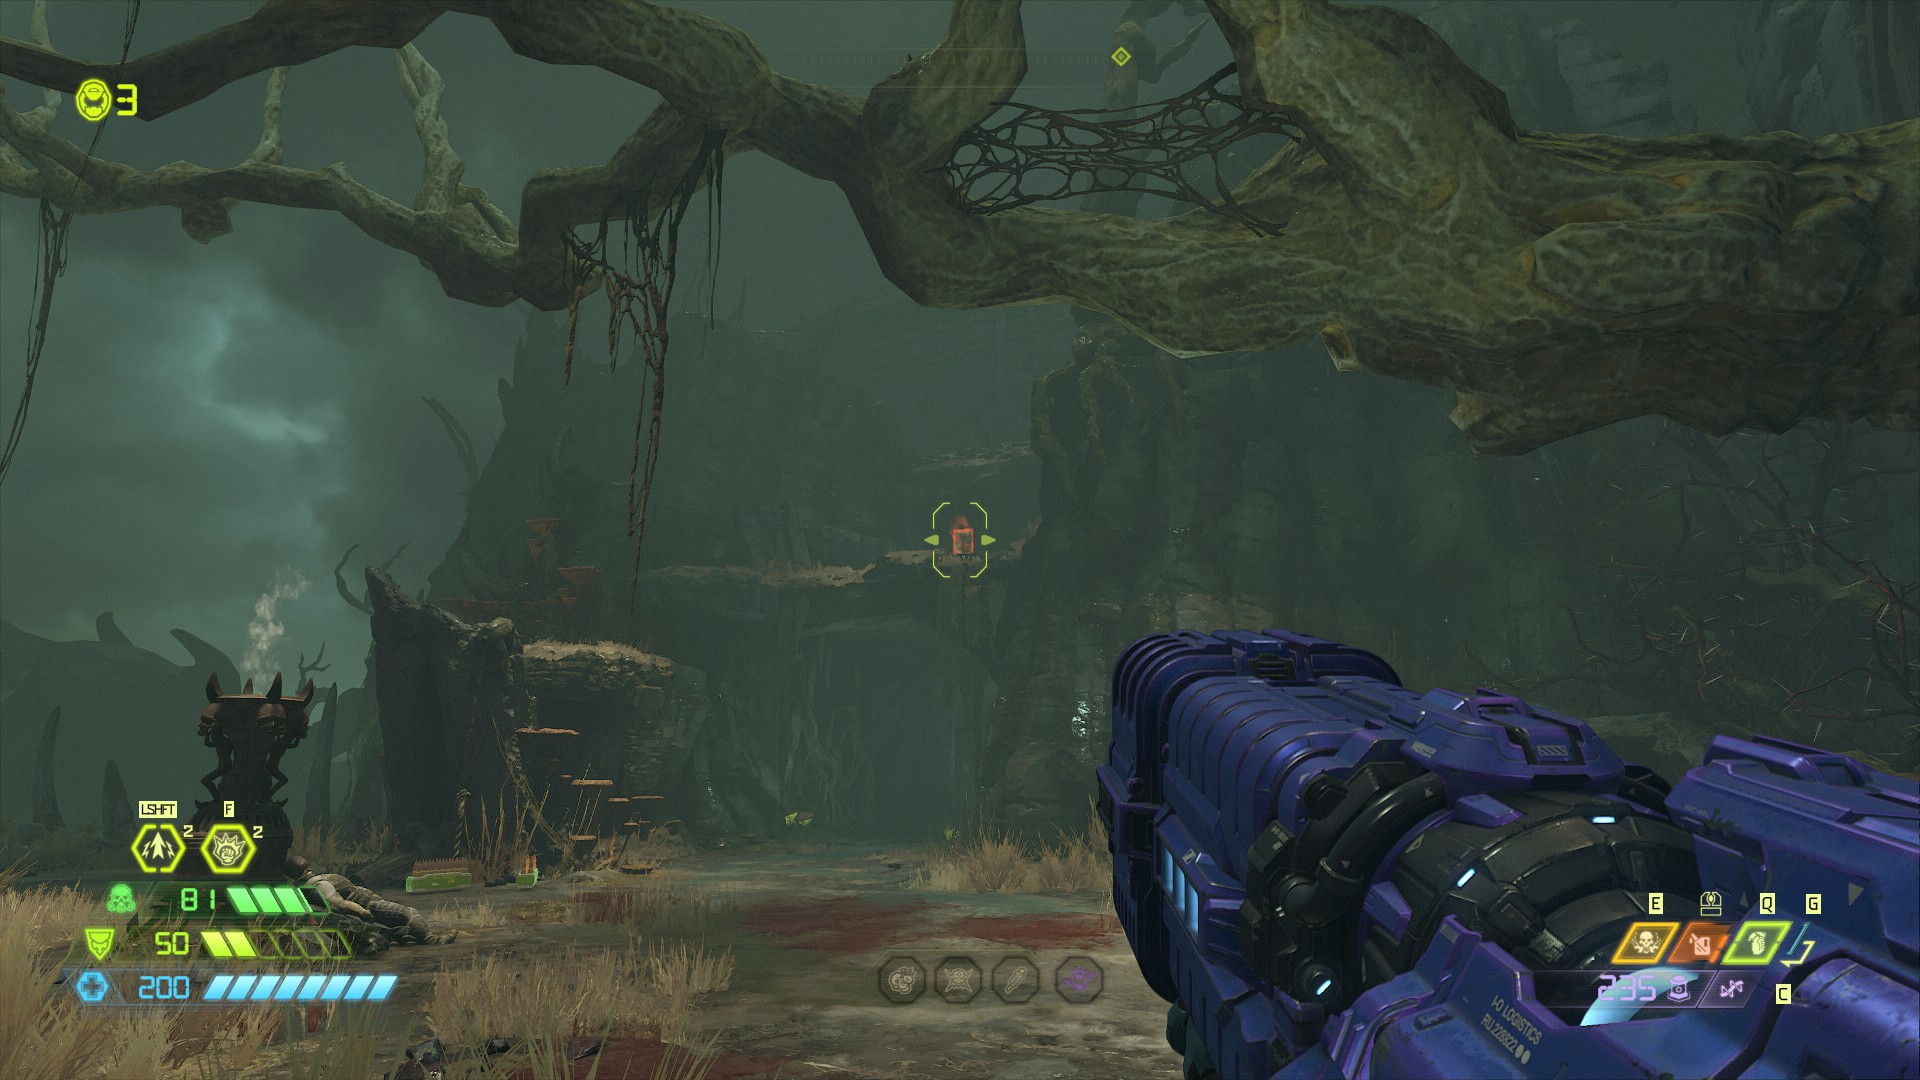
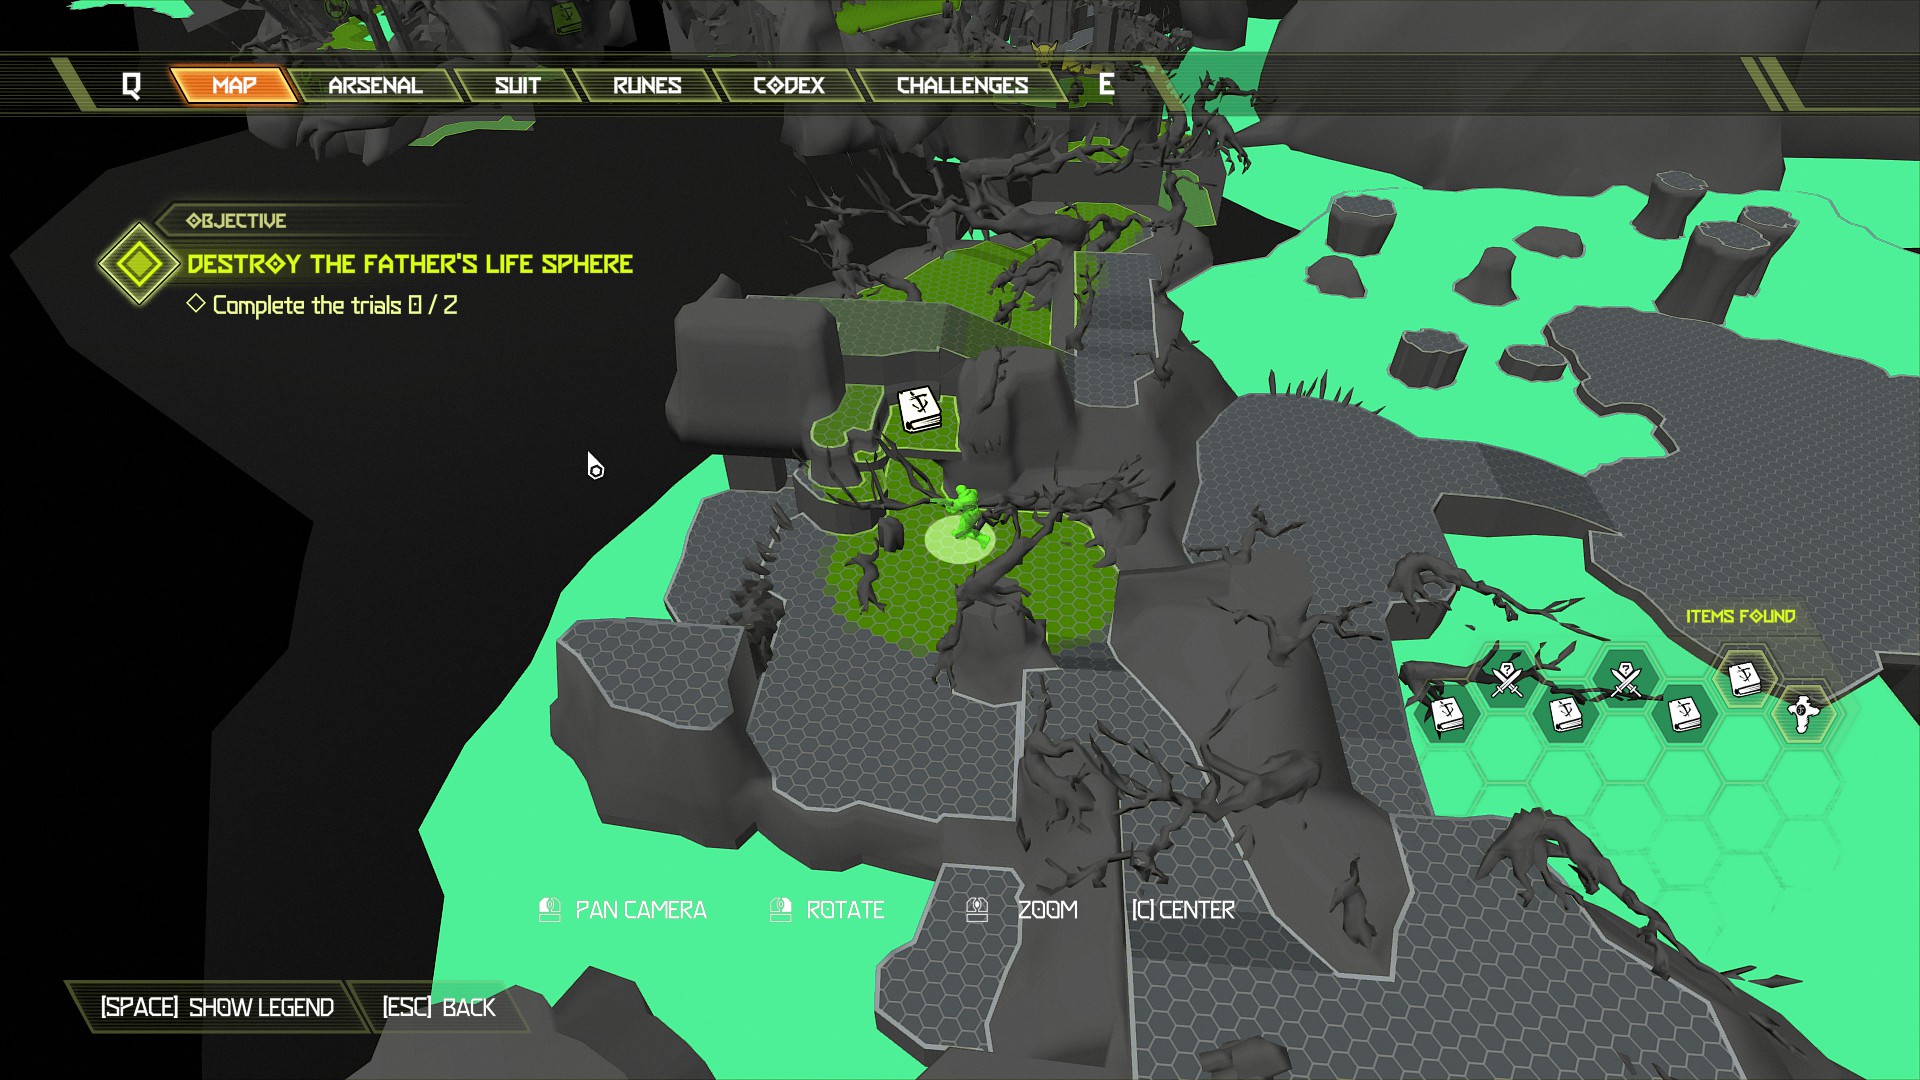
Once you collect the codex page head back to the main gate and as you enter that area you will see the skull pedestal in front of you and the gate to the right side, head left and follow the path into the swamps.
In front of you should be two small platforms, one with a poisonous egg sitting on it. Climb up to the egg and use that platform to jump over to the yellow swing bar in the distance and then swing over to the wall and climb up.
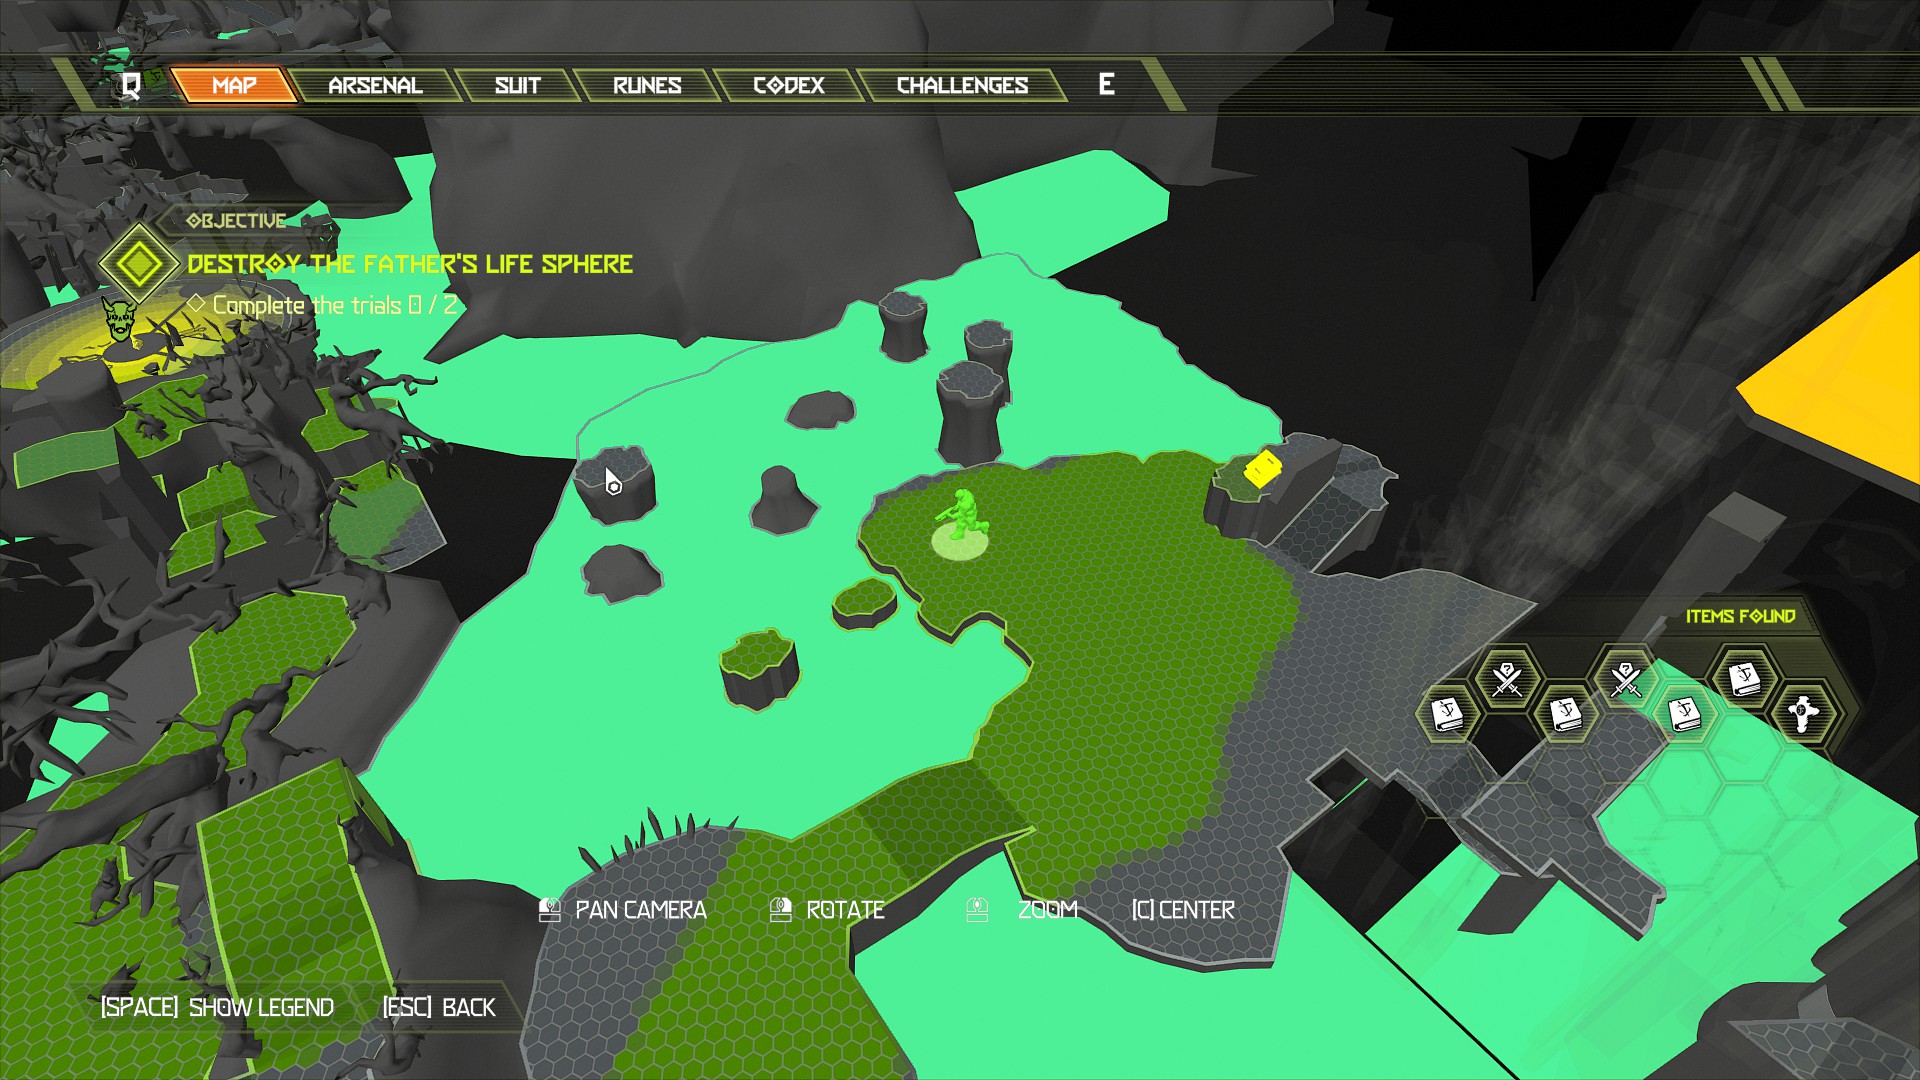
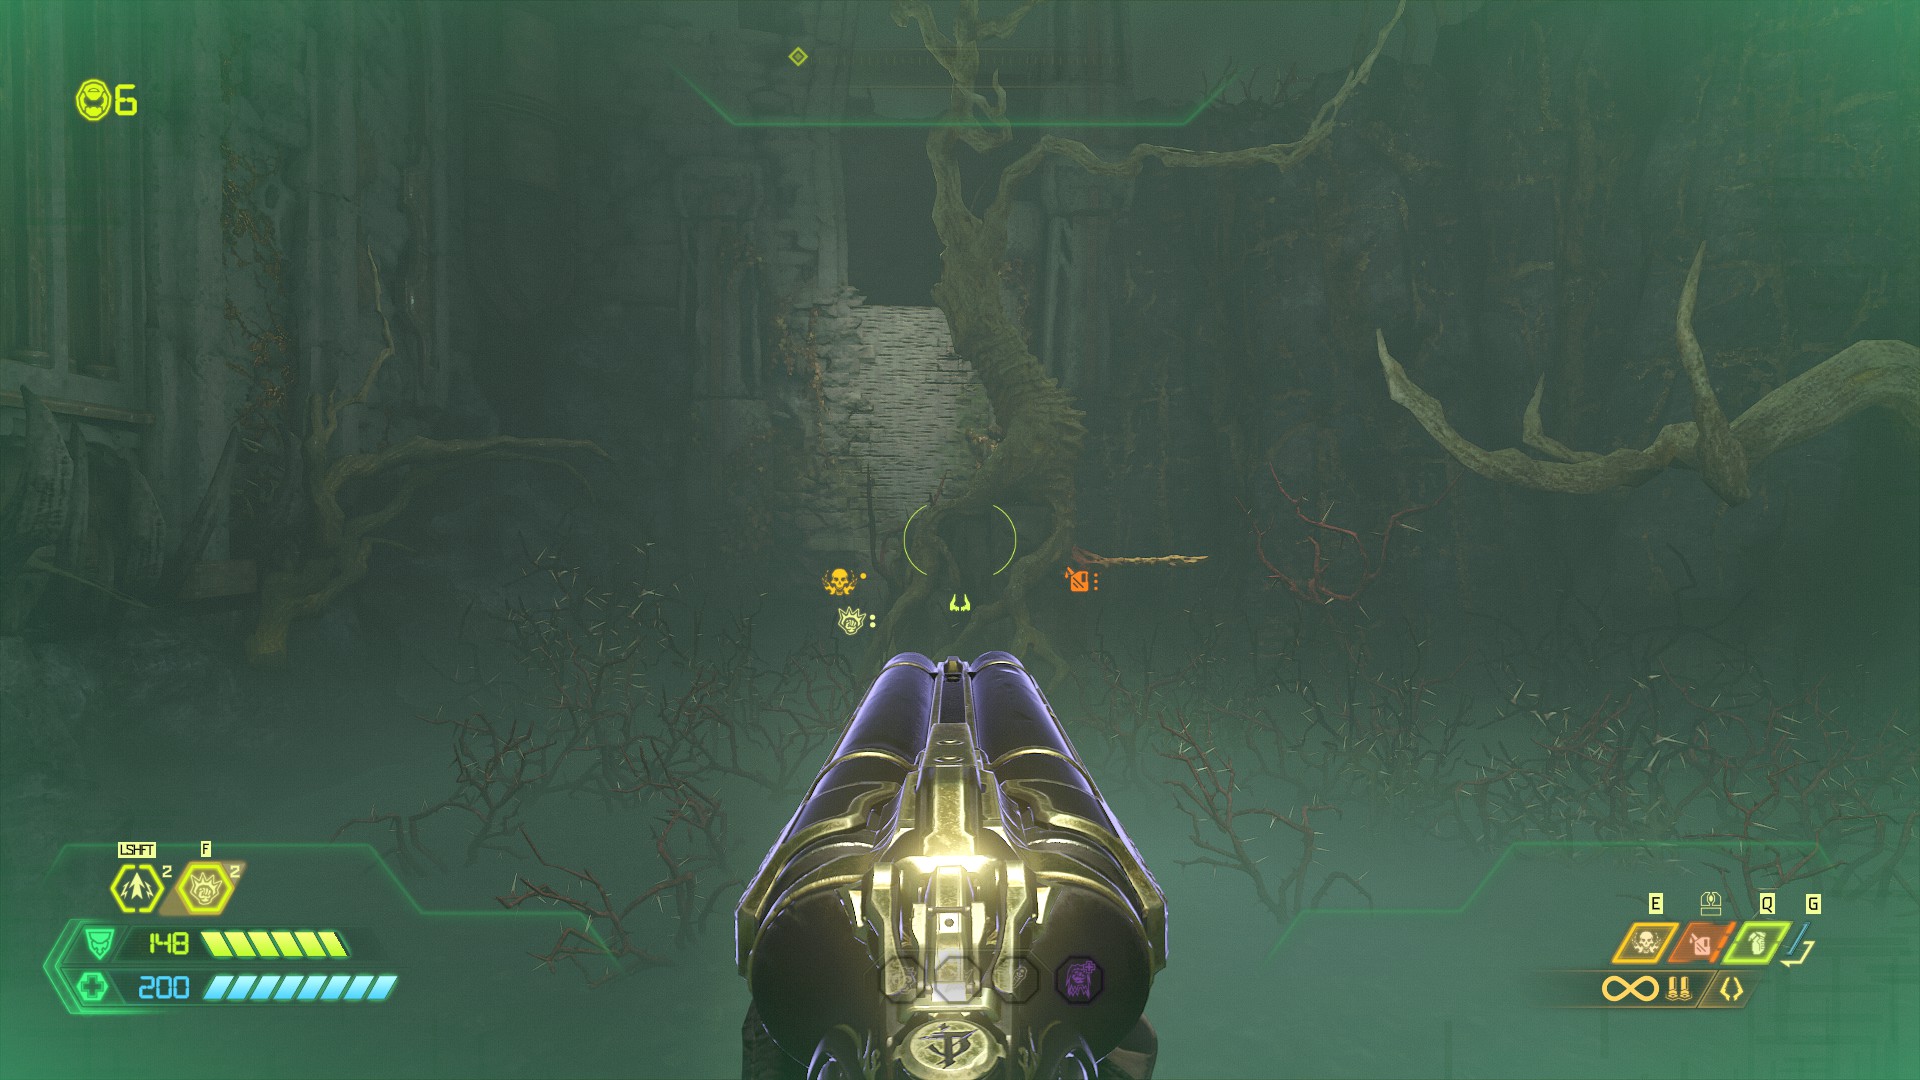
After climbing the wall and follow the path around dropping down into the nearby hole, follow it along and climb the wall then melee the cube at the top, this should unlock the nearby gate and allow you to access the secret encounter via the path around the side.
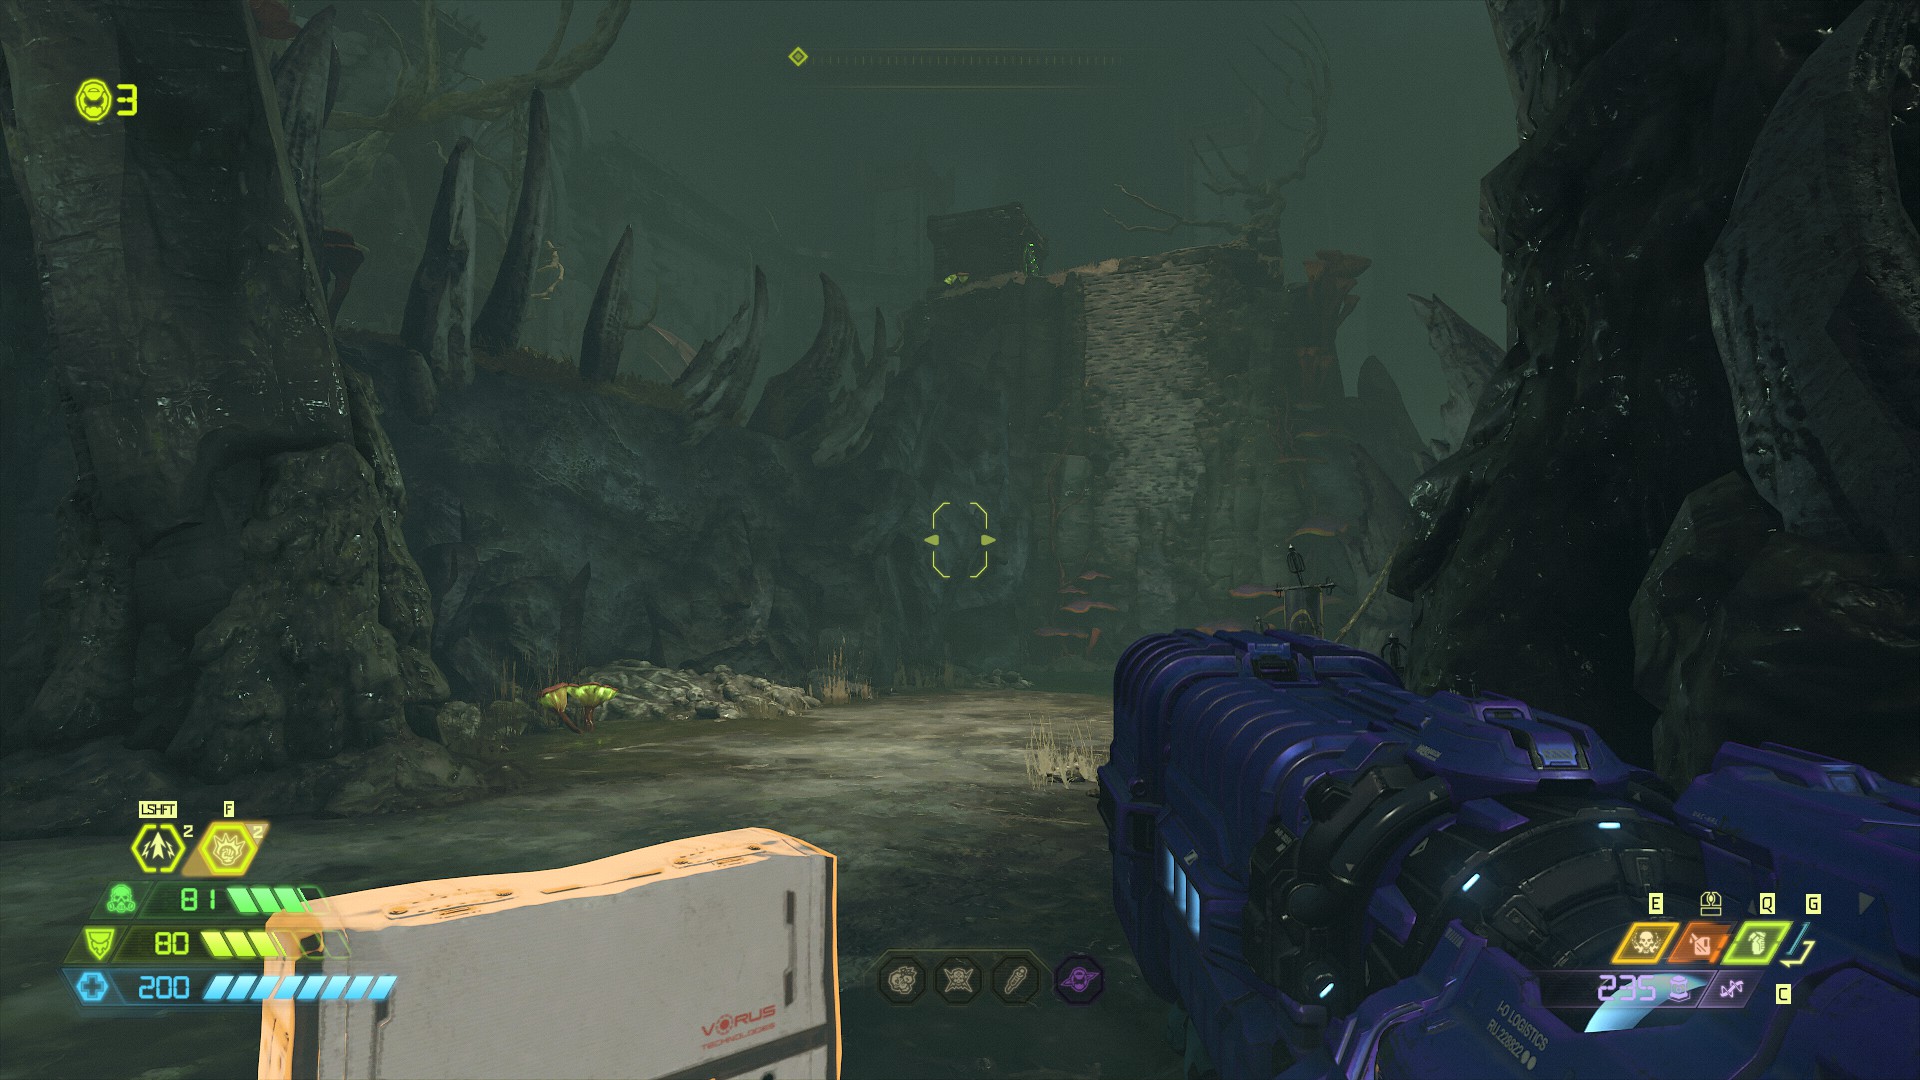
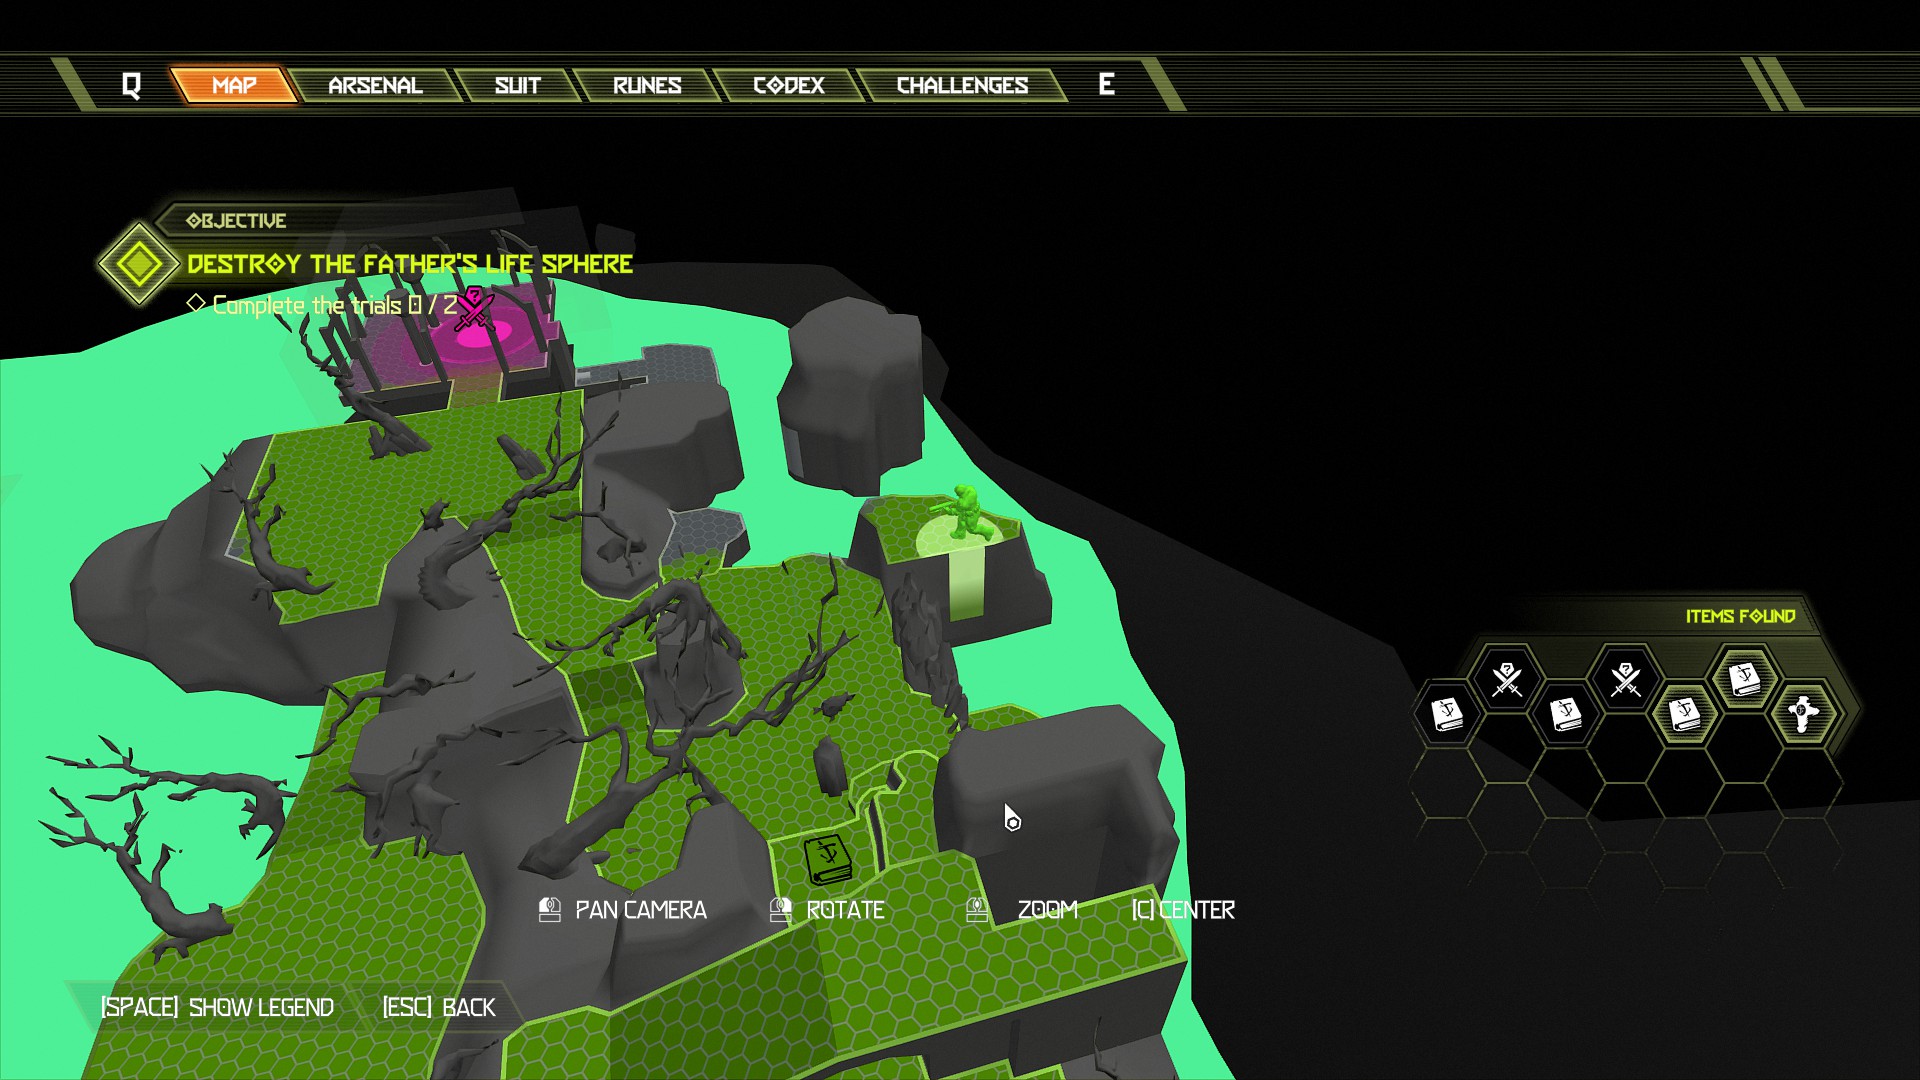
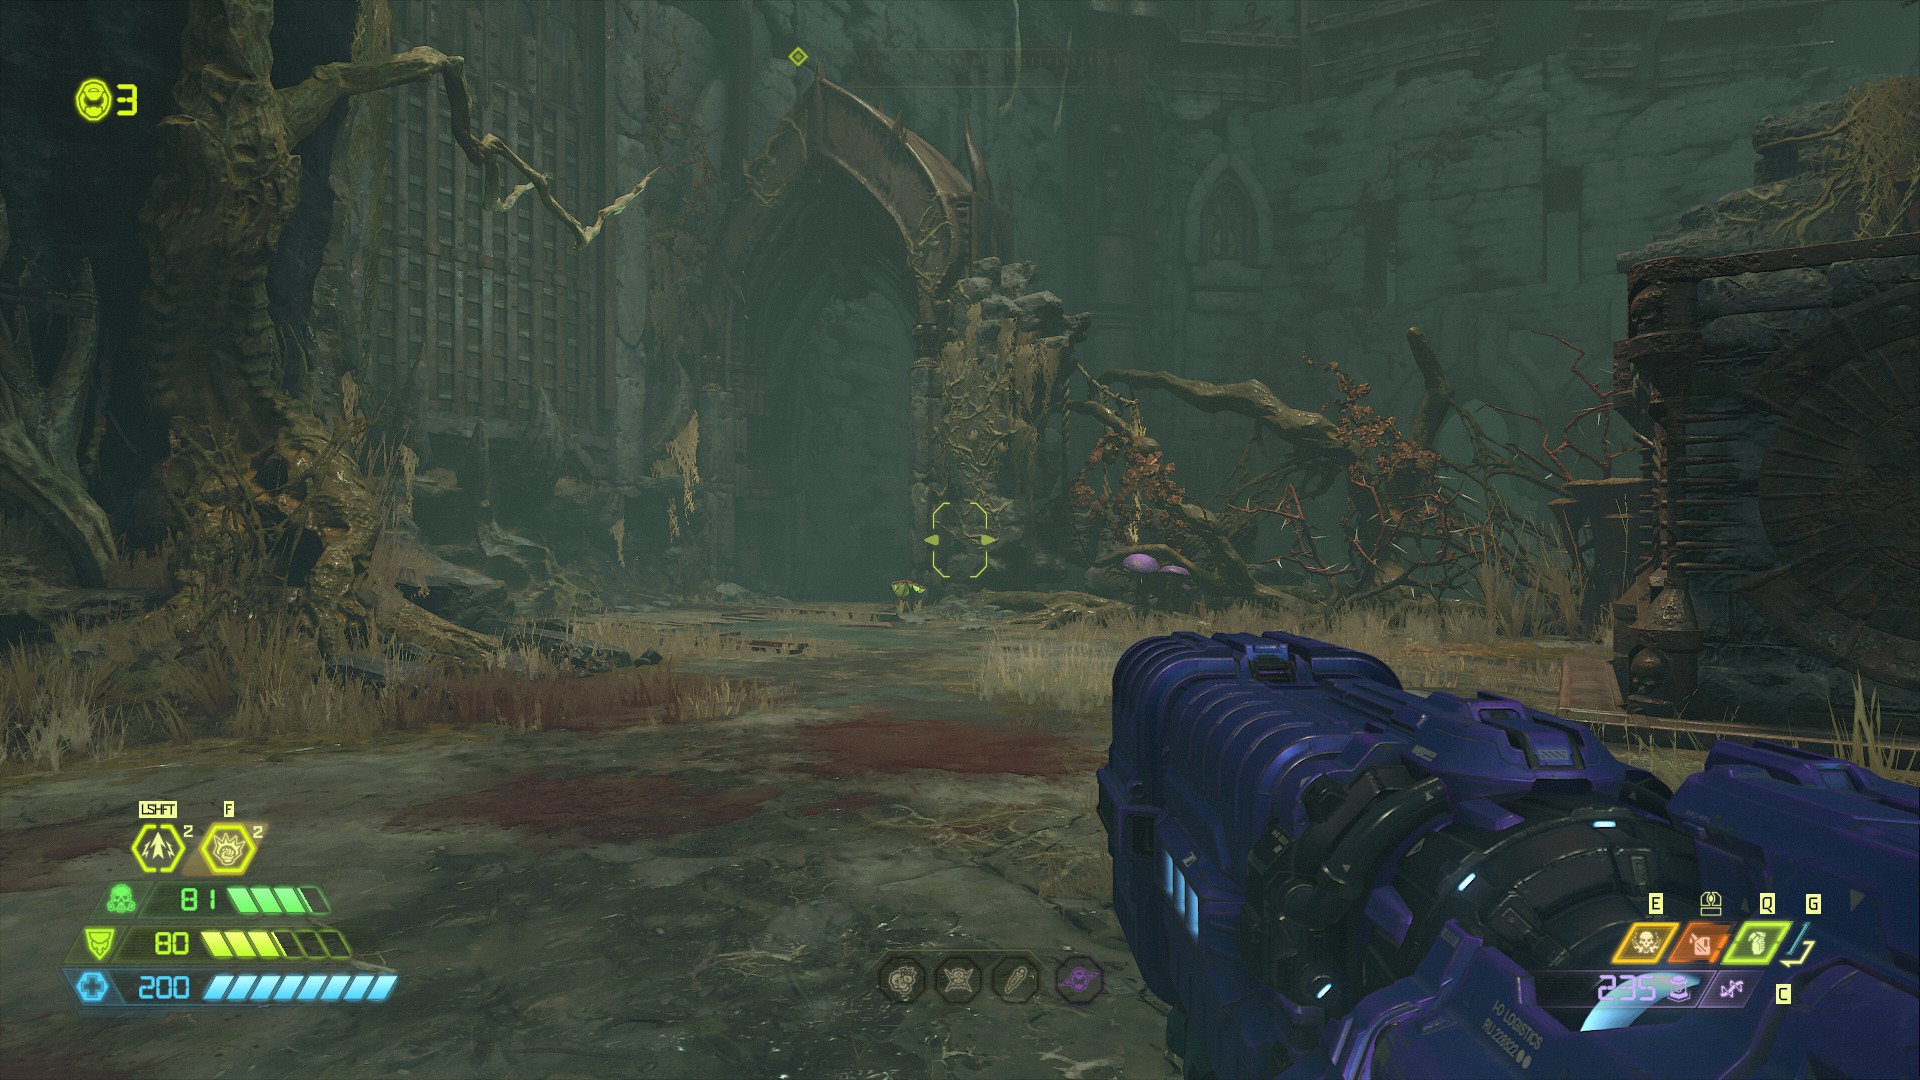
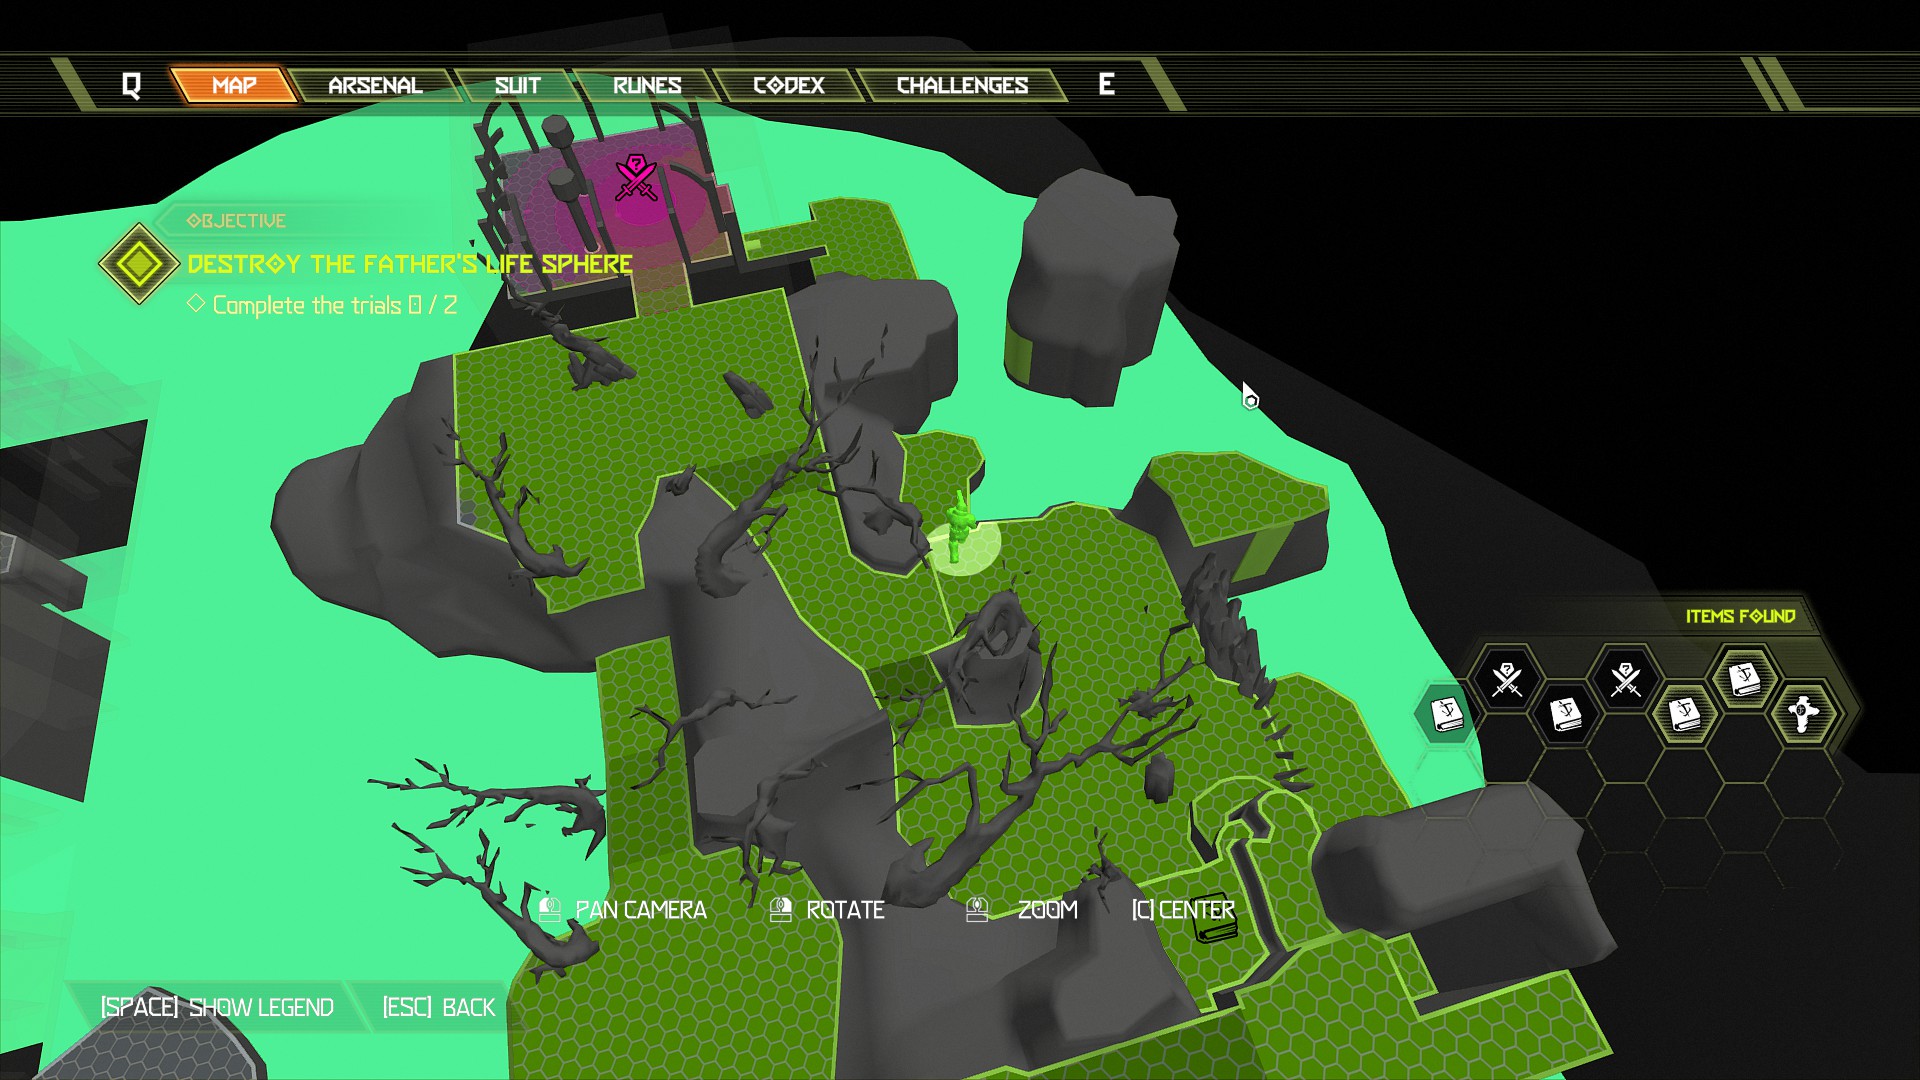
Now head back and continue the mission, go through the main gate and make your way to the very top past the unstable platforms and the yellow swing bars.
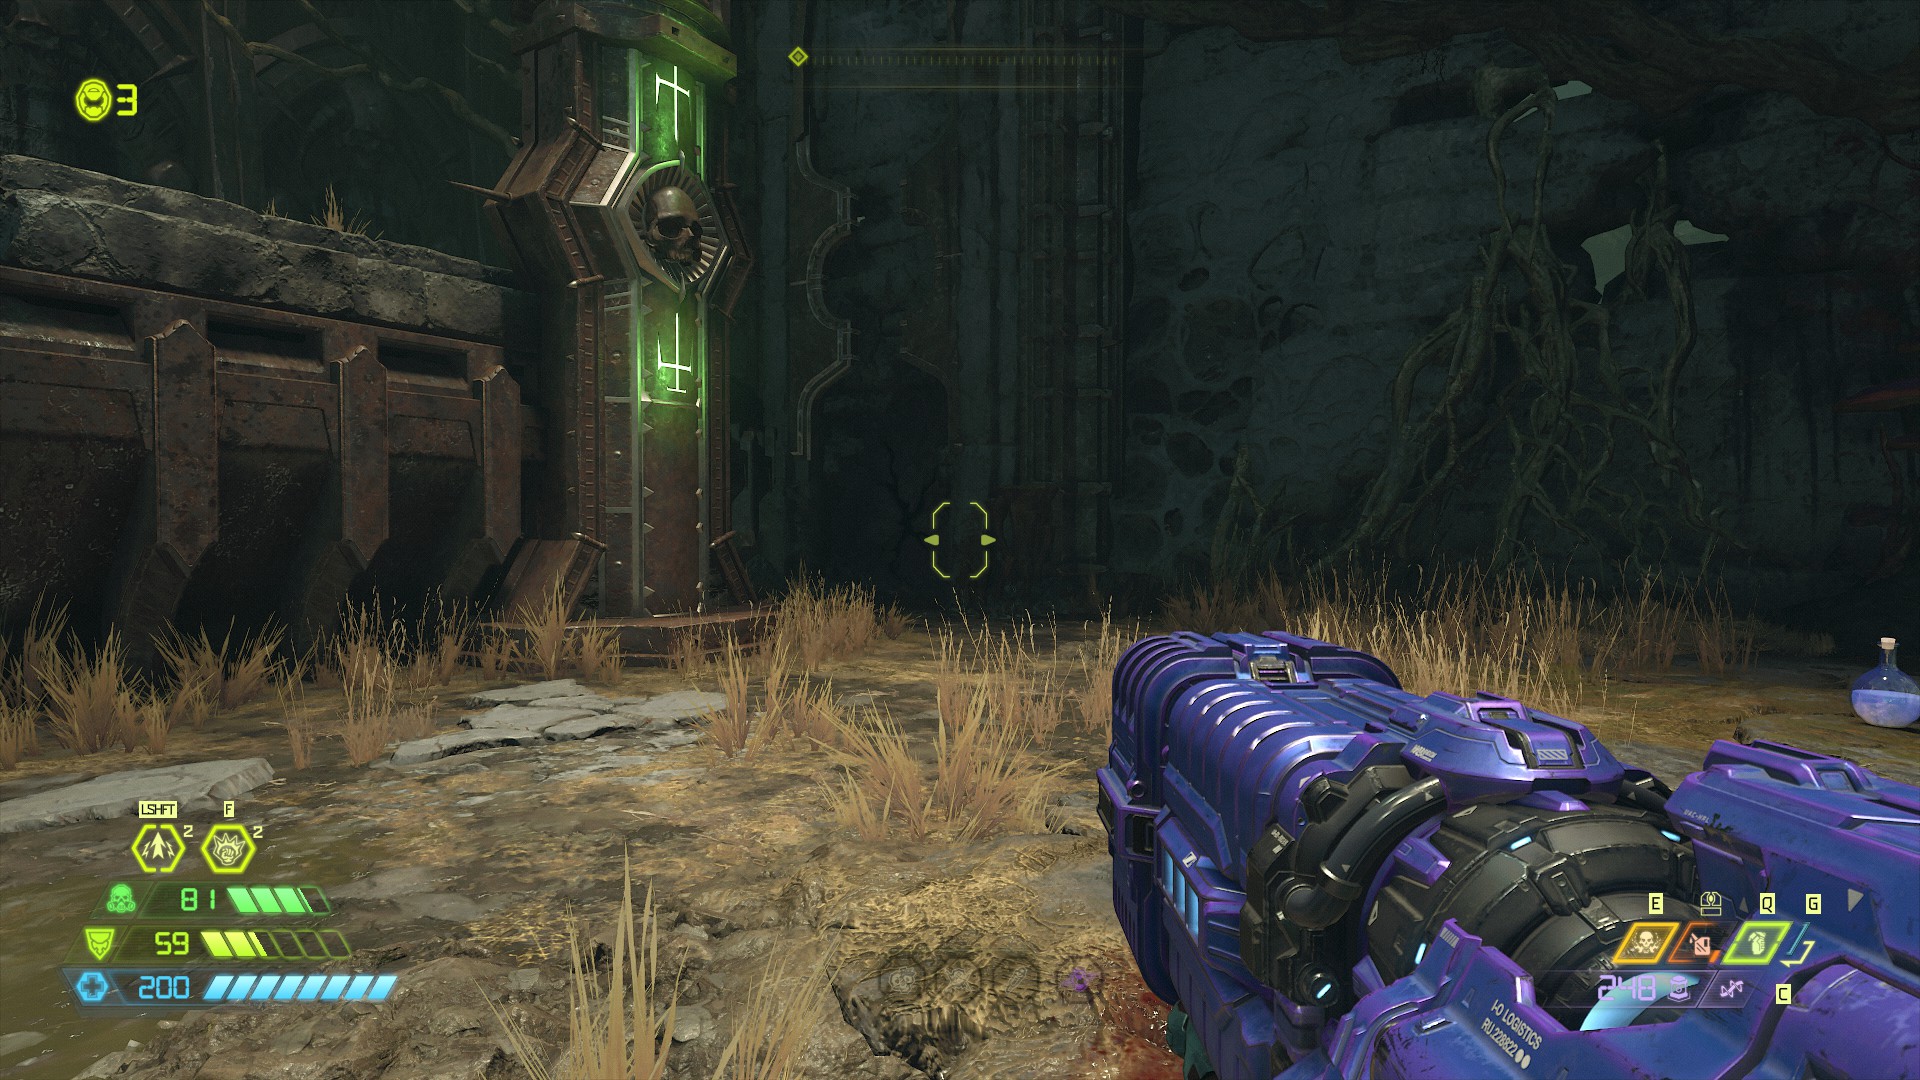
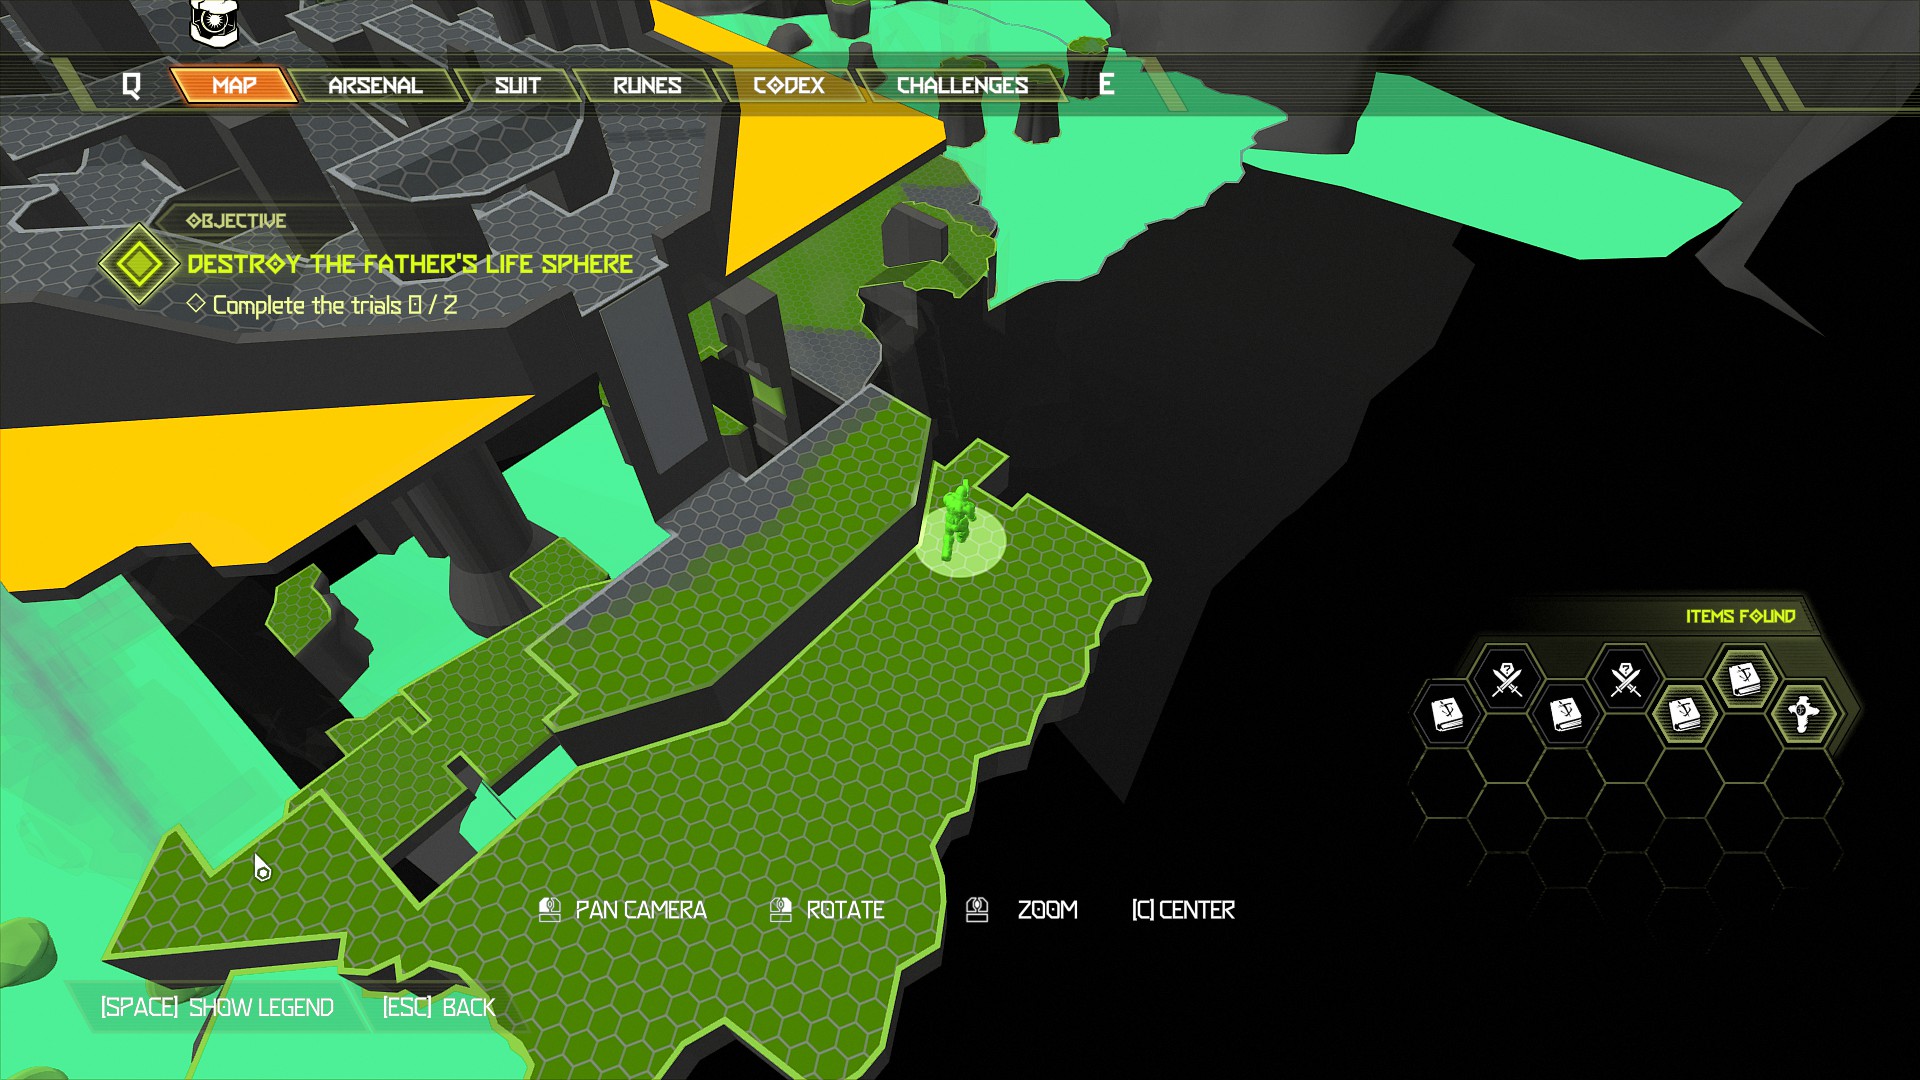
Now complete the arena further up and get yourself ported back to the central tomb area, and this time head through the left gate as that's your only option.
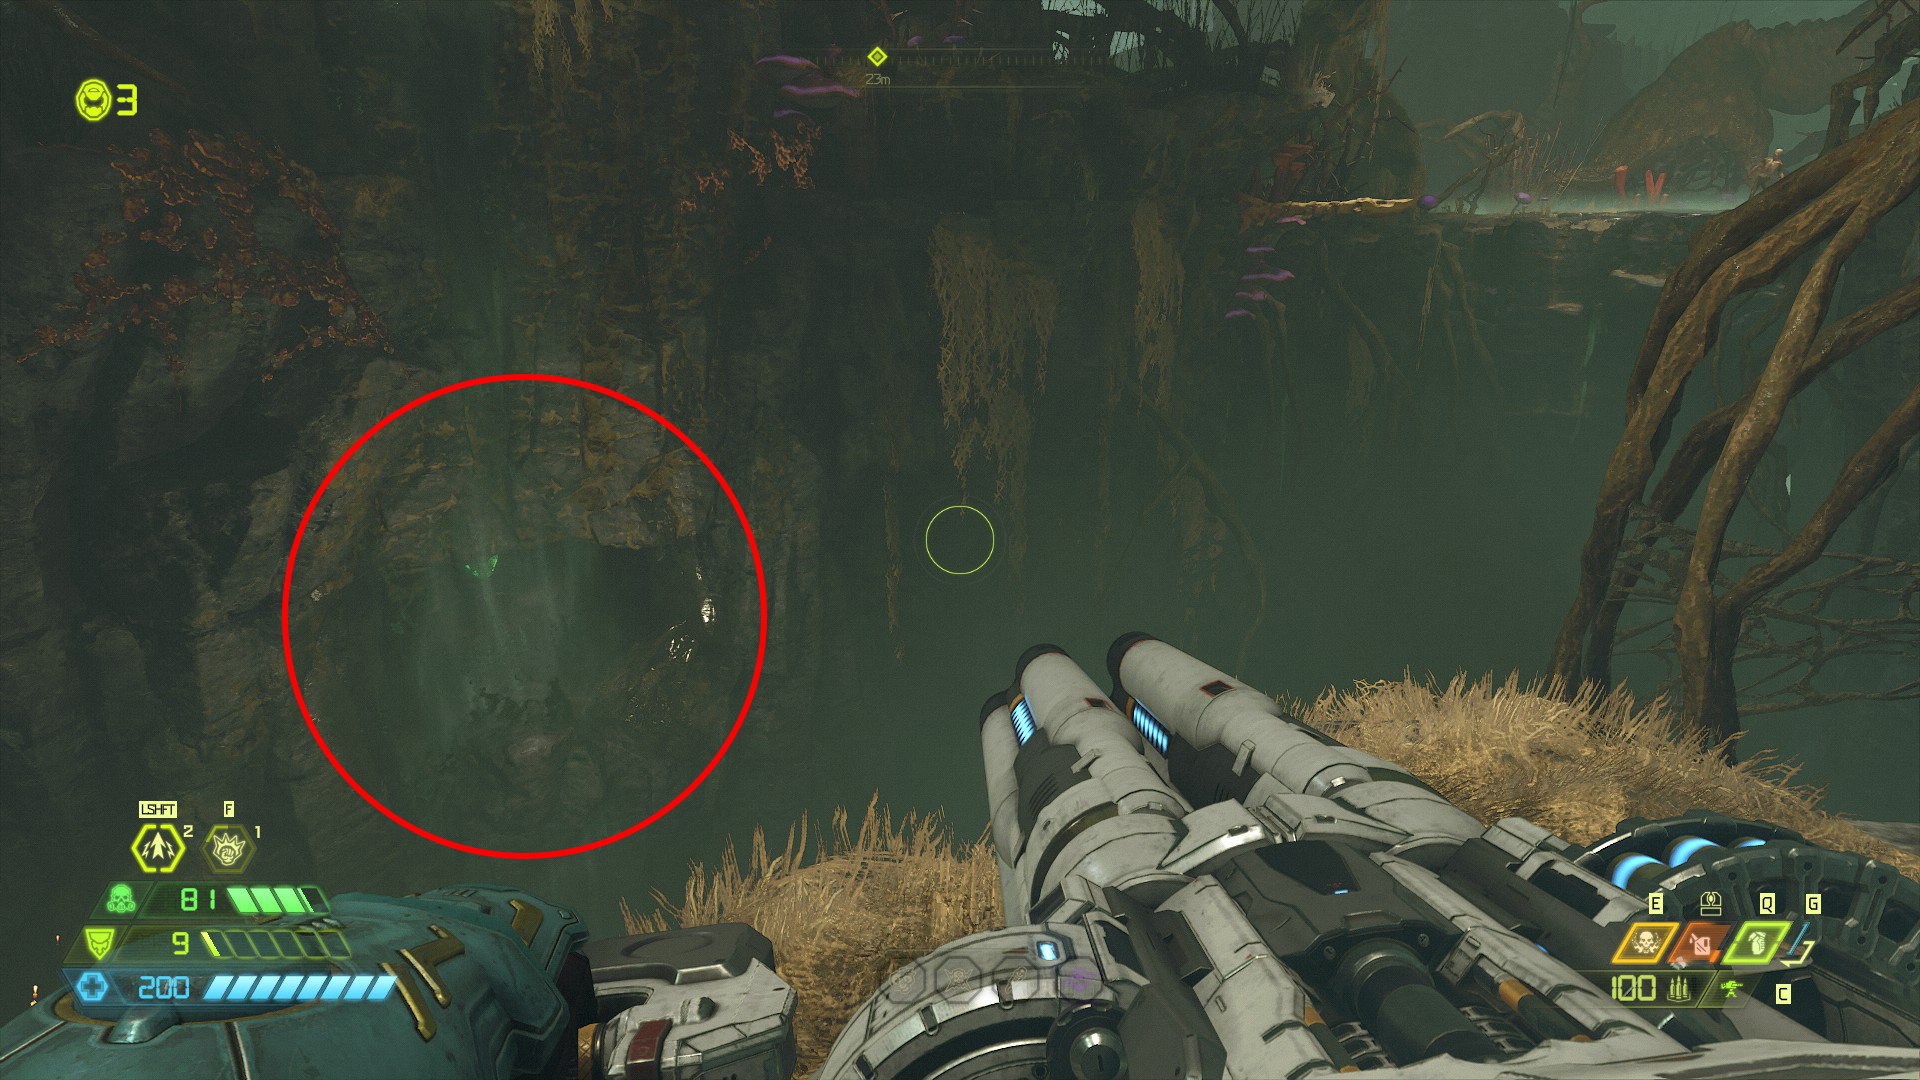
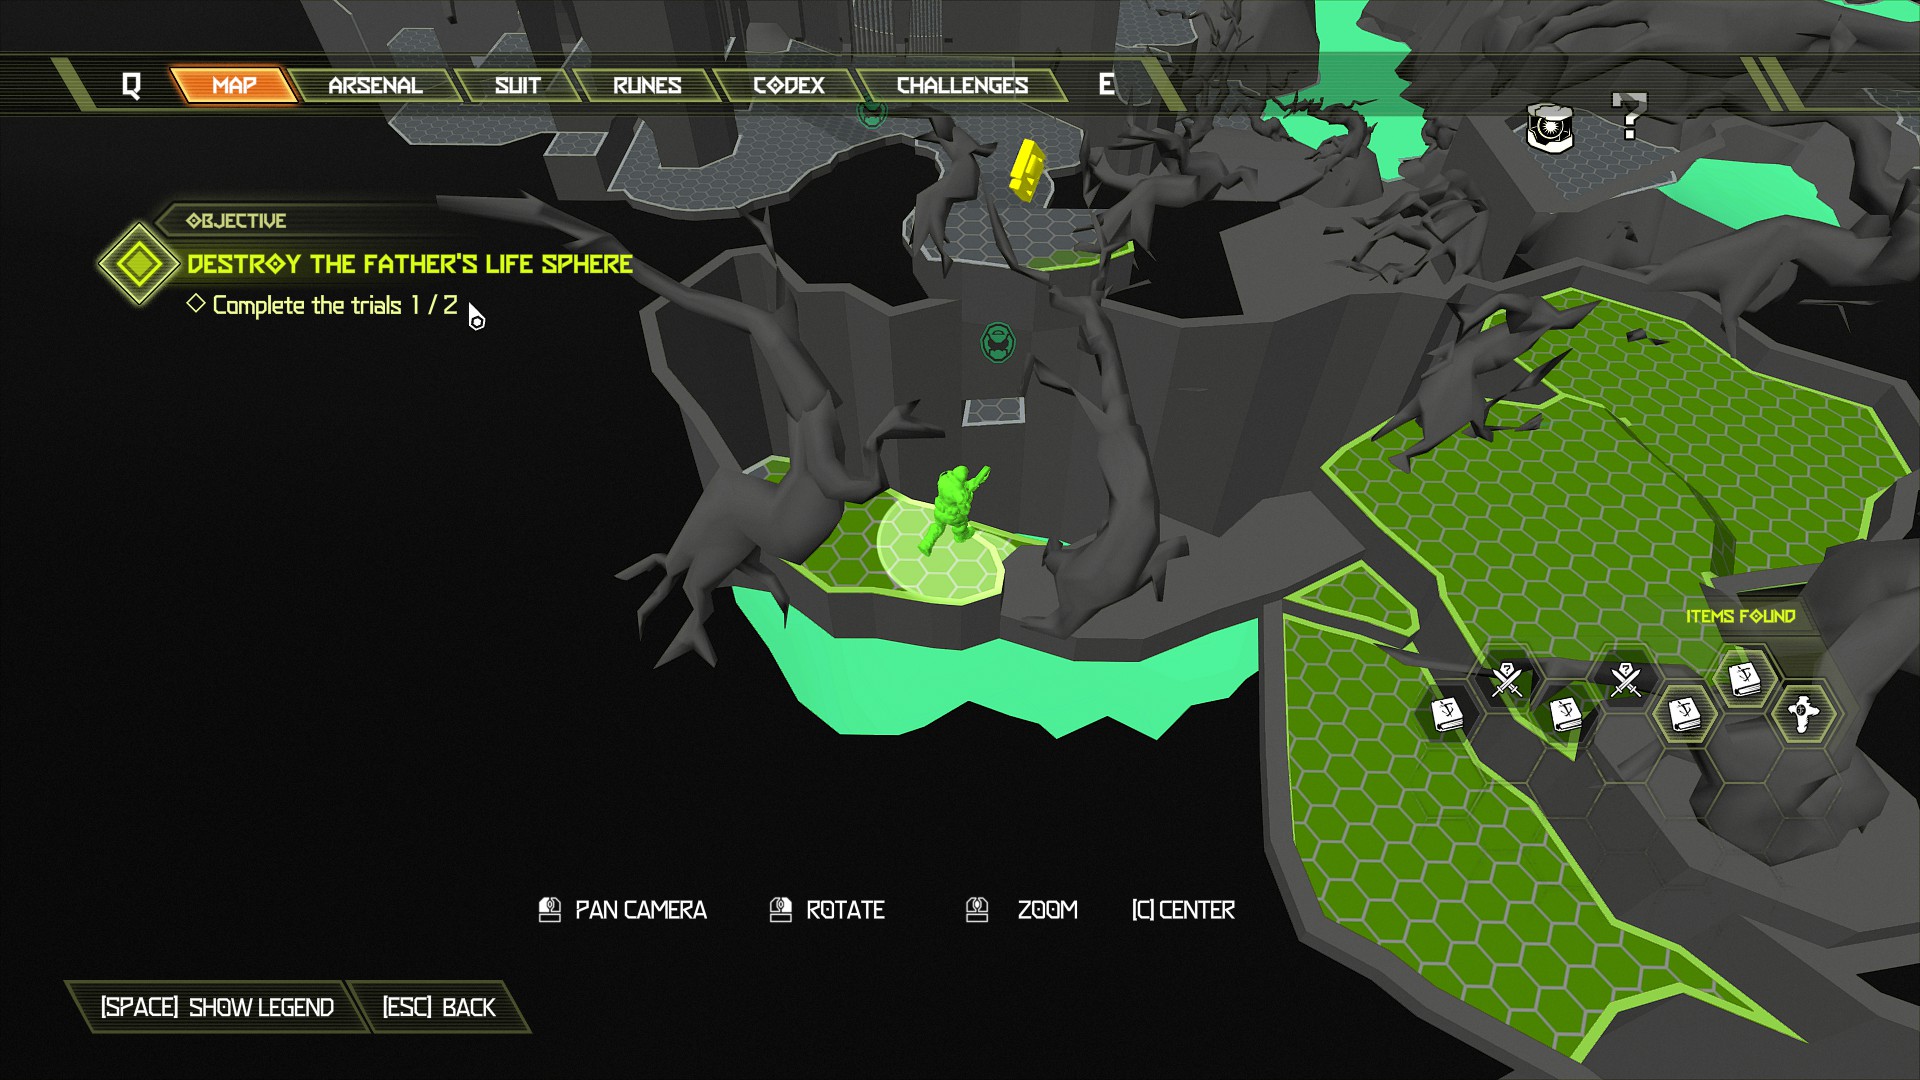
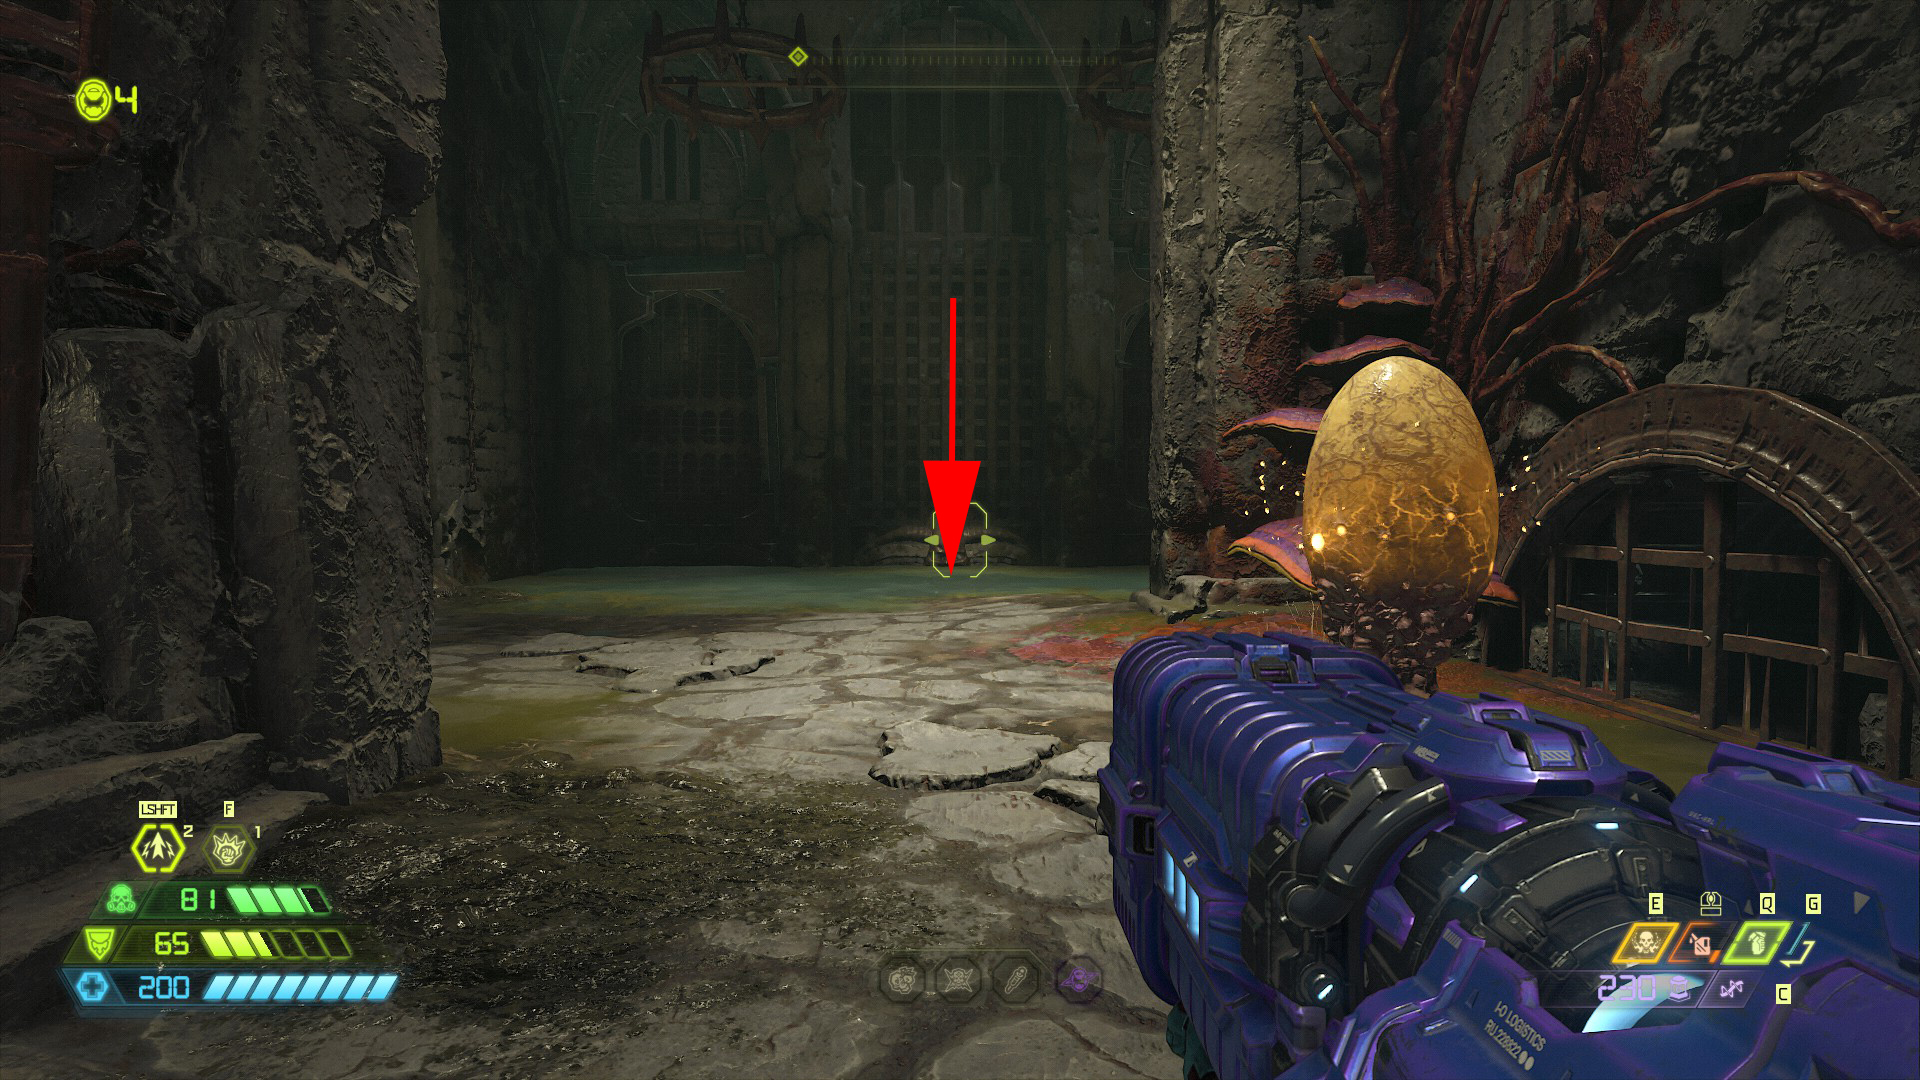
Continue the mission until you get past the marauder and destroy the buff totem, then melee the cube into place and move into the next area.
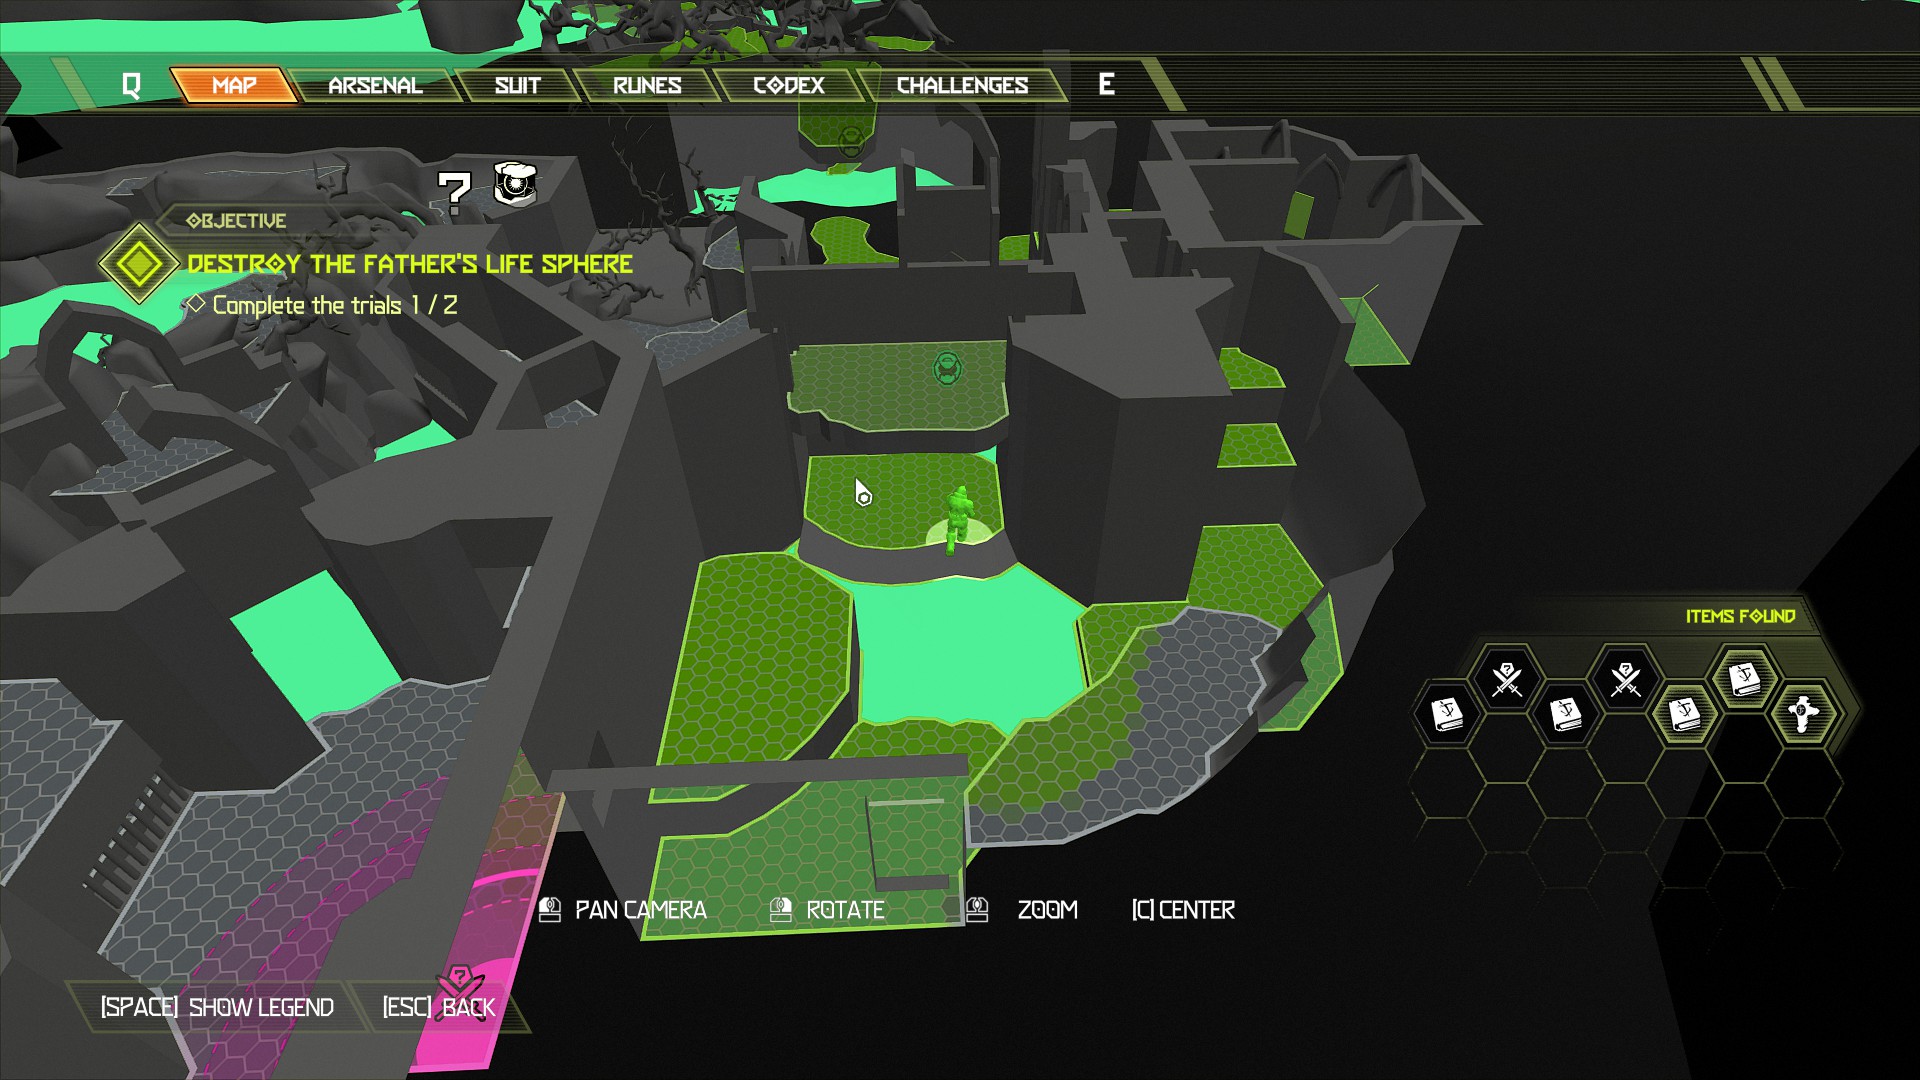
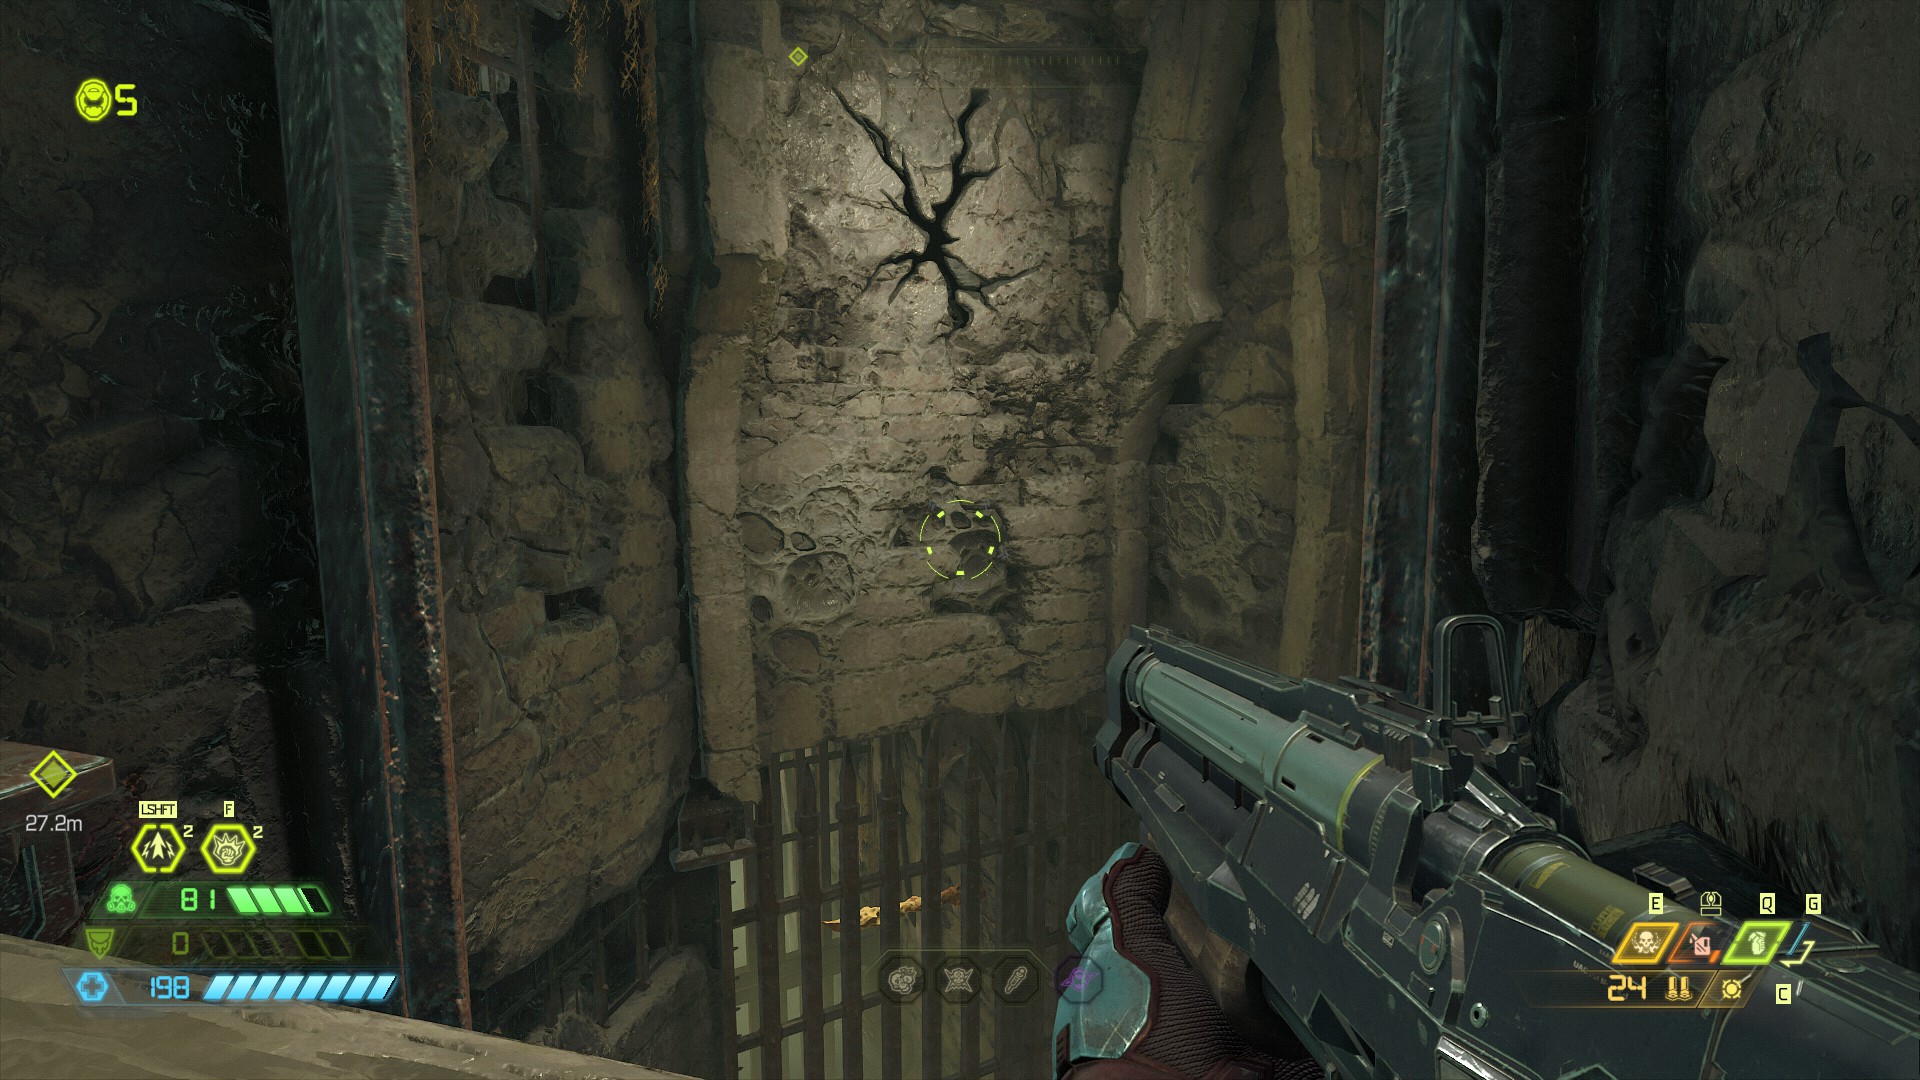
Continue on and get the cube into place and then move into the next area that has almost zero visibility.
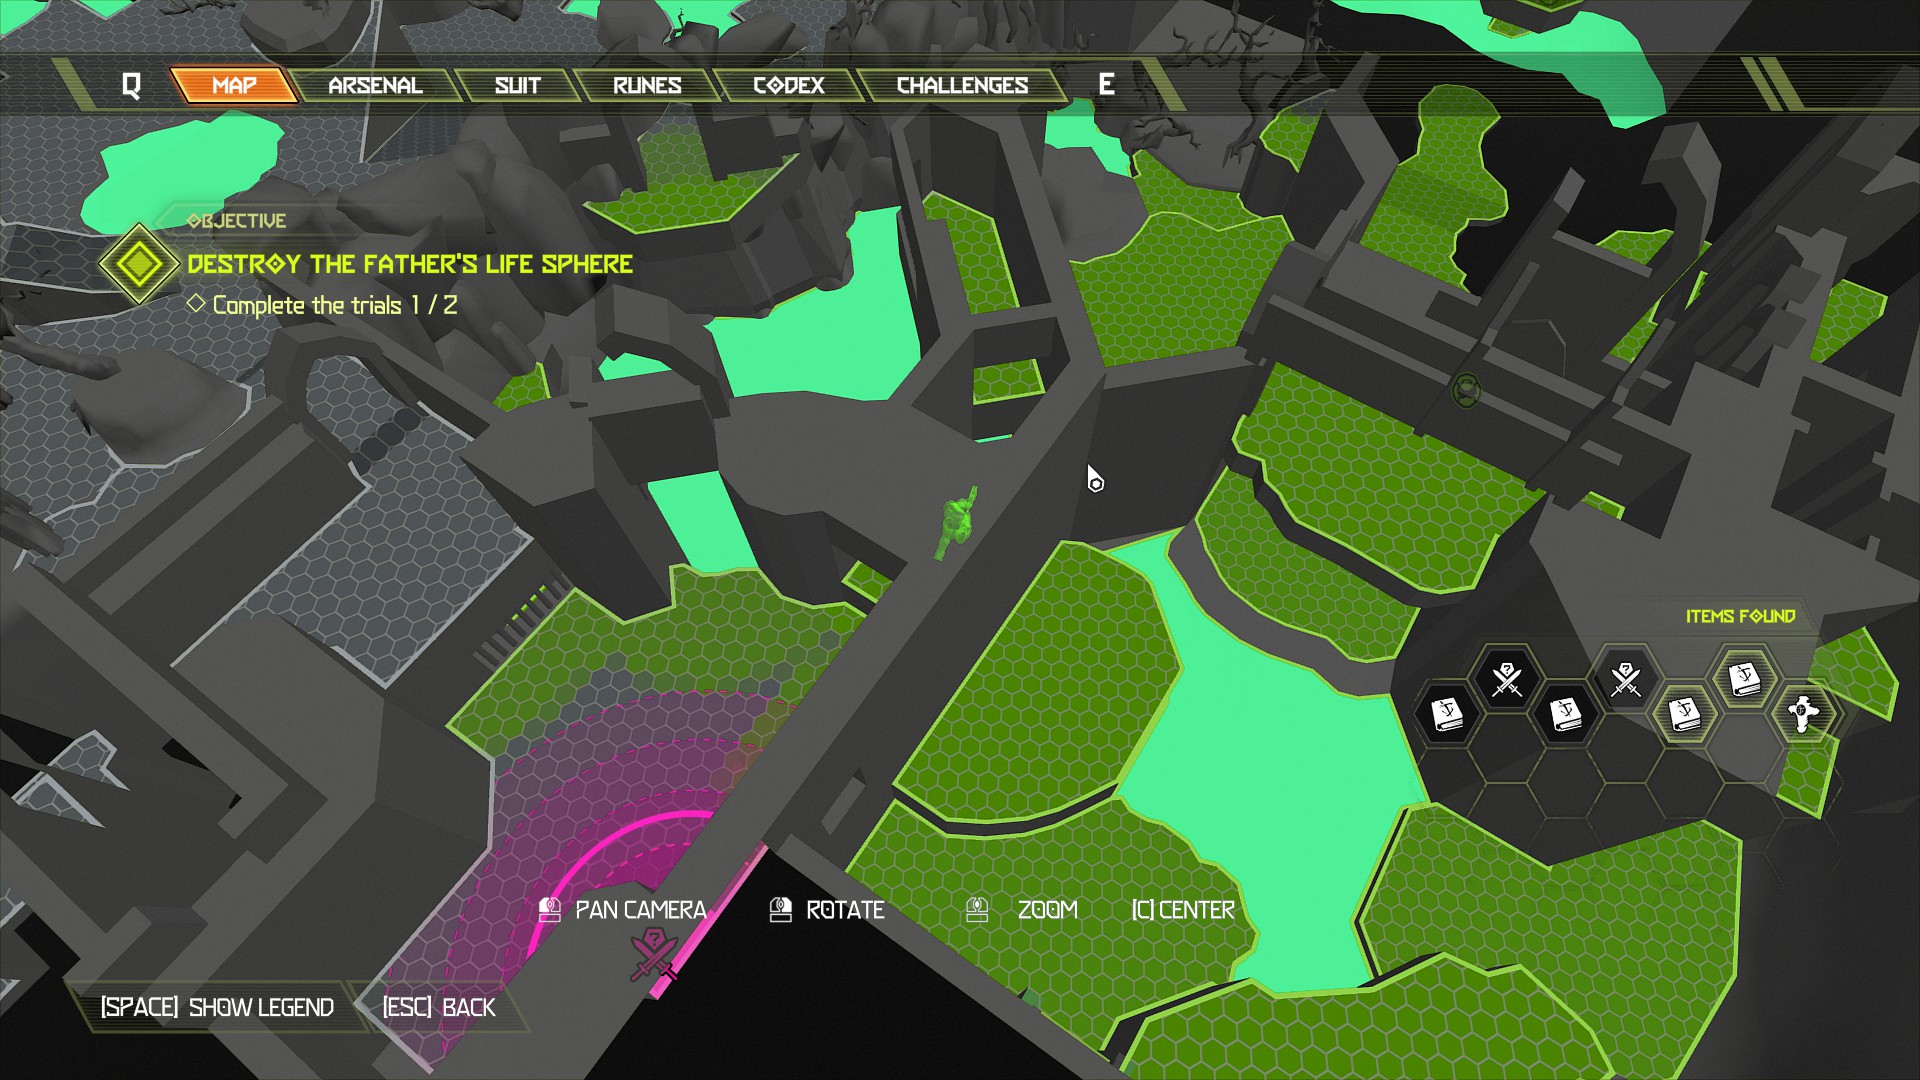
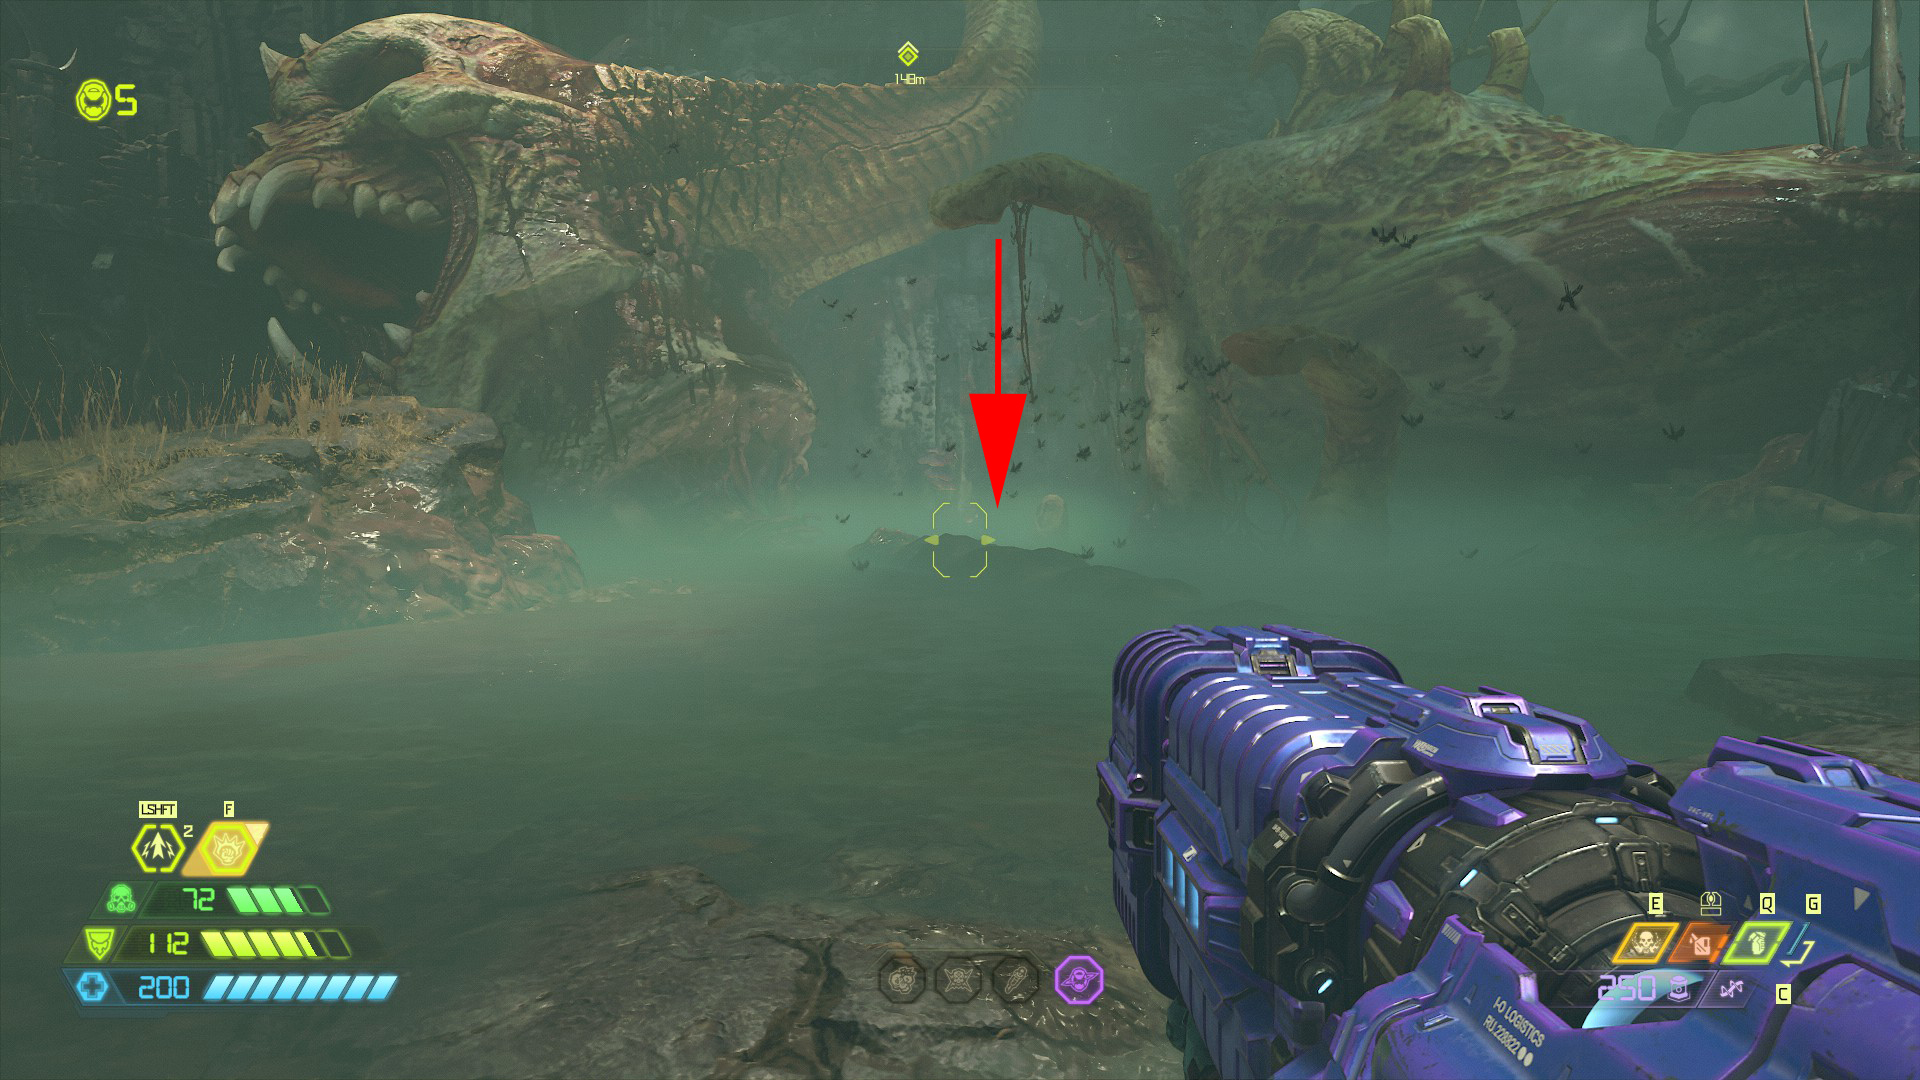
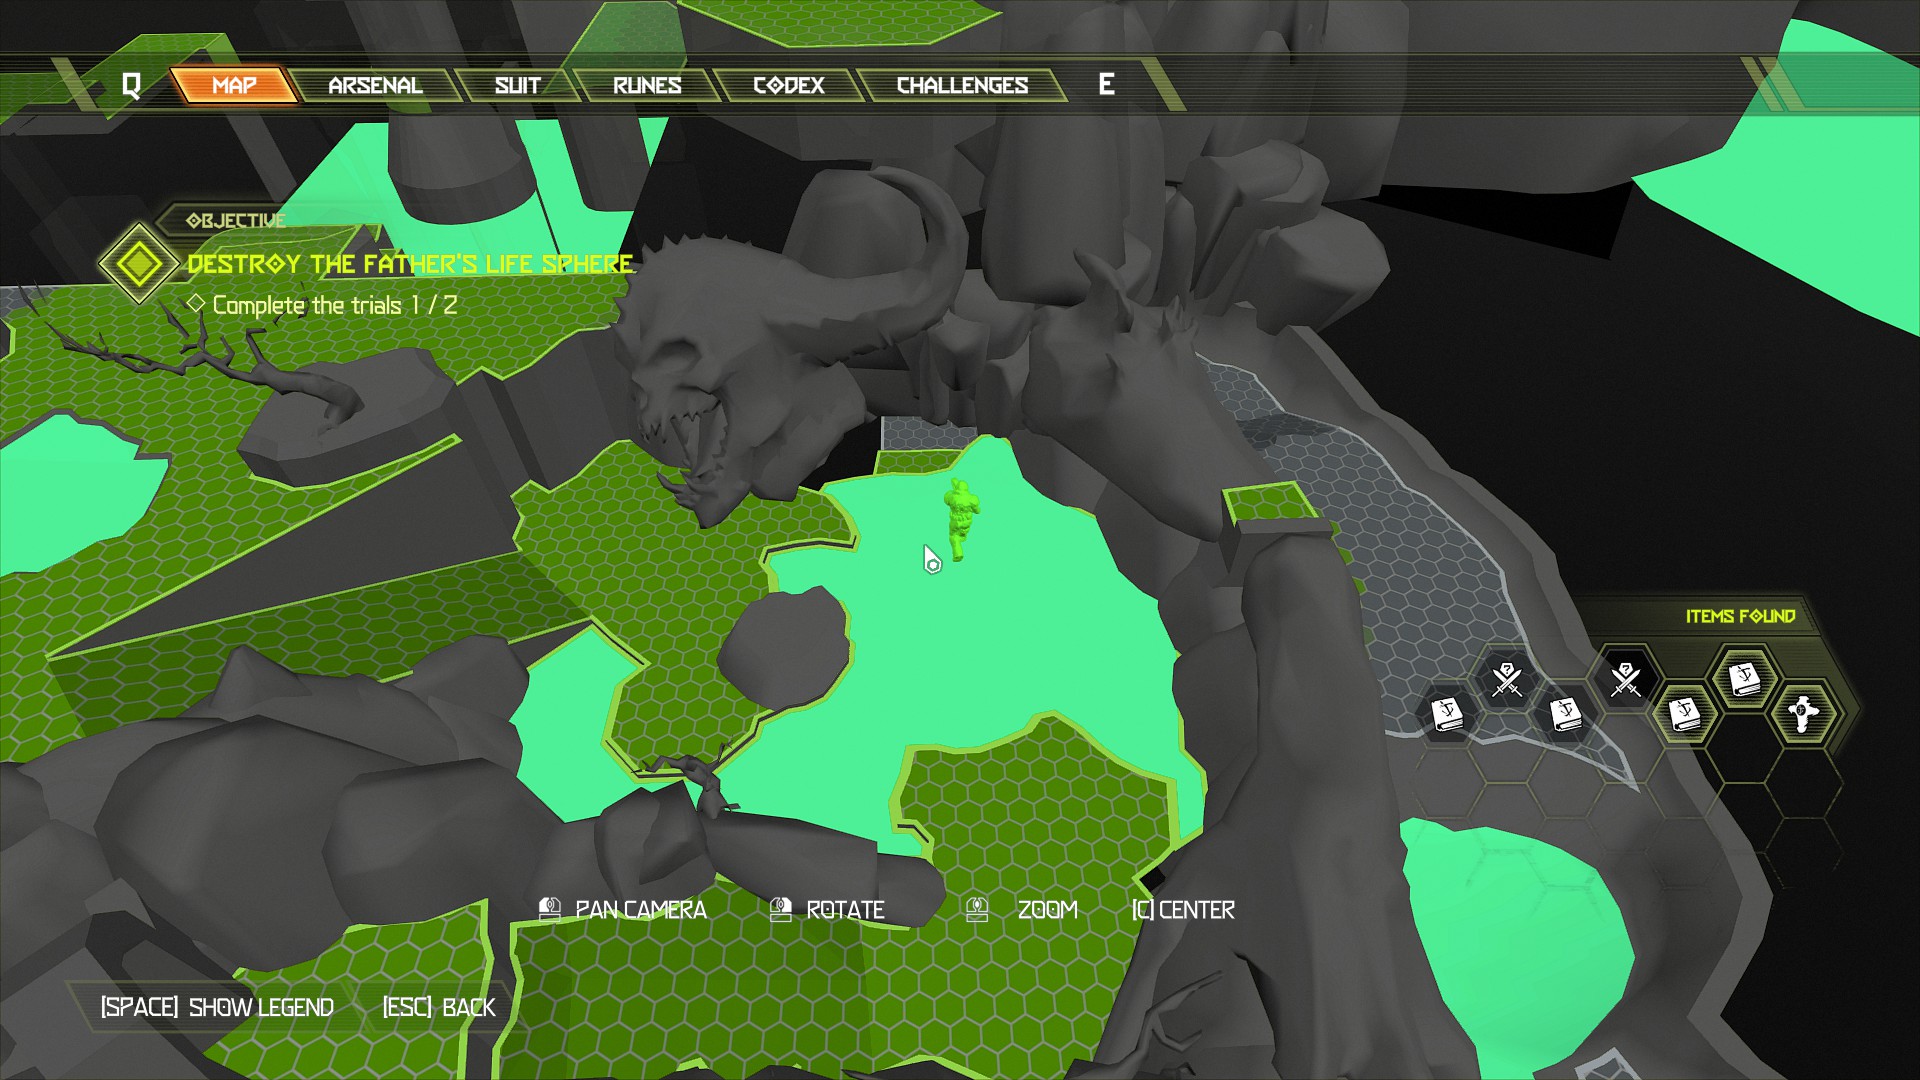
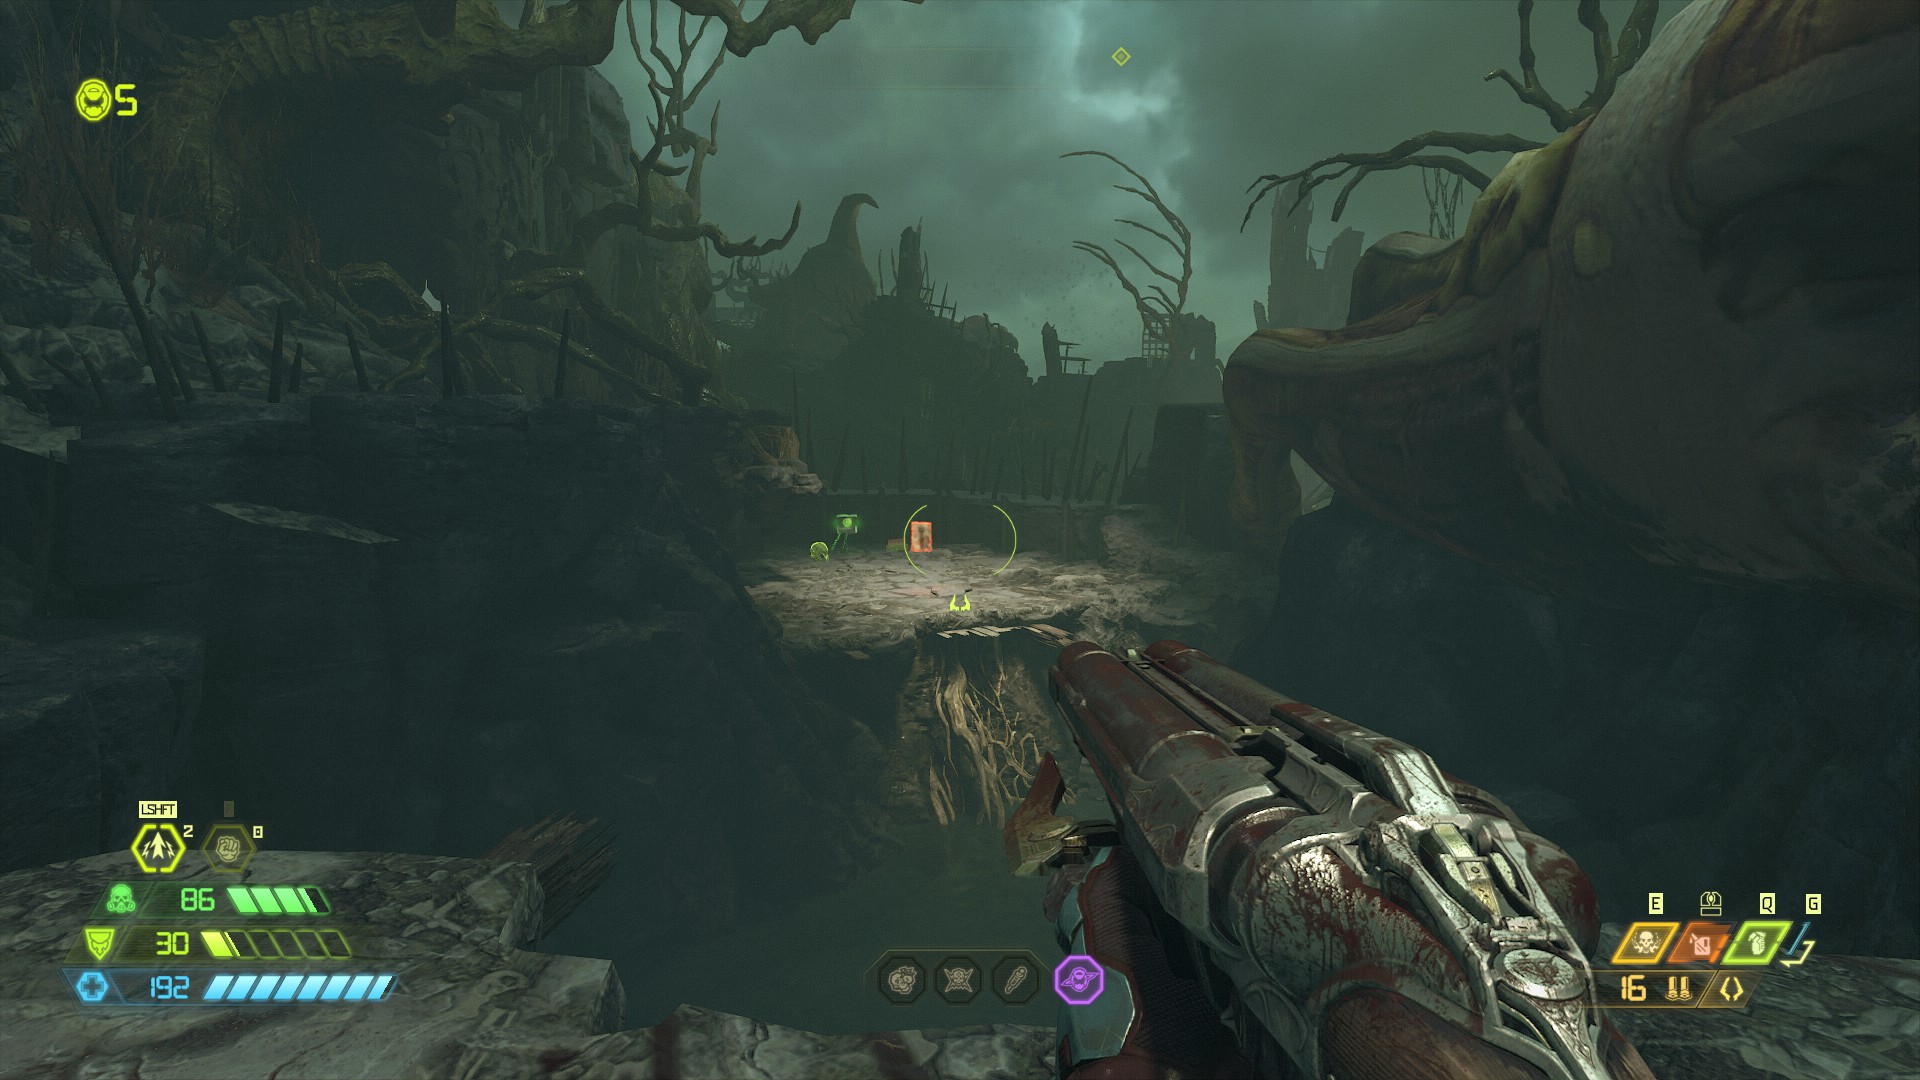
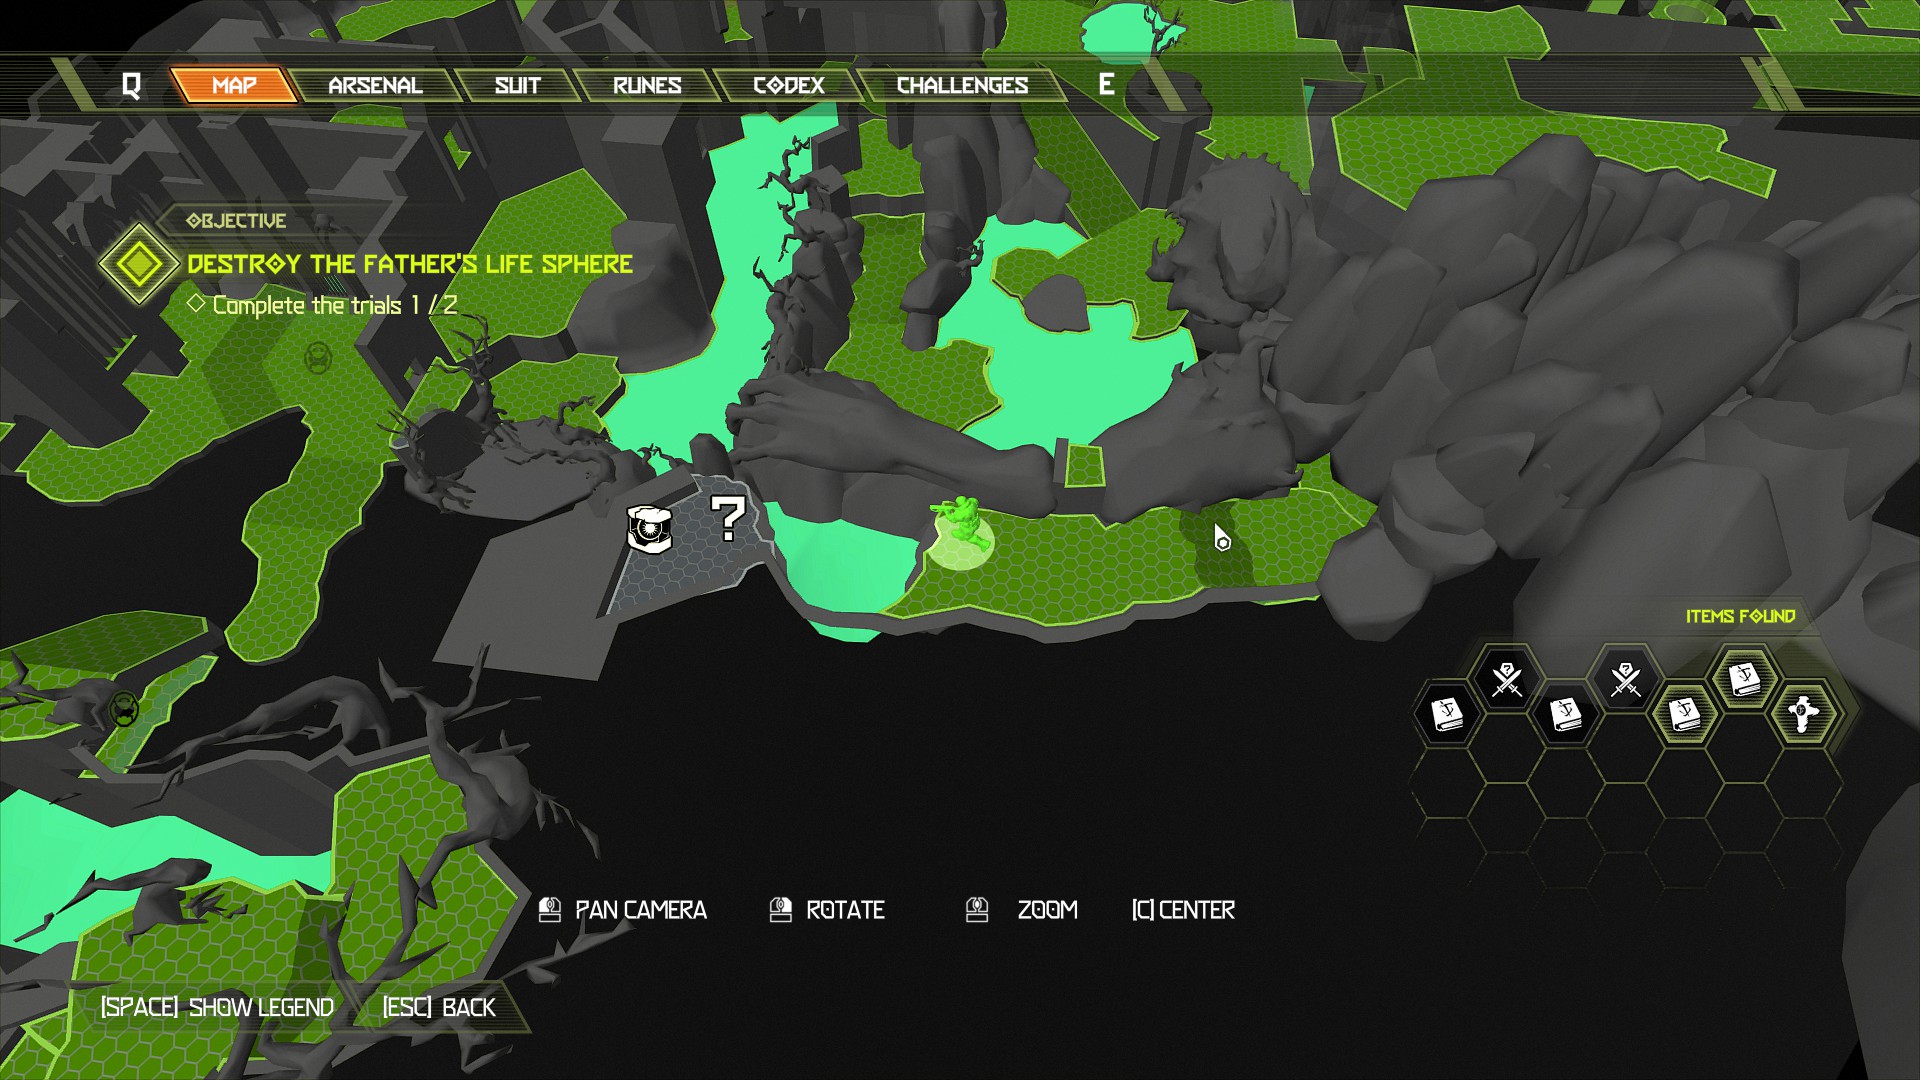
Mission 2: The Blood Swamps [Part 2]
NOTE: For this encounter you will be attacked by 2 whiplash, 2 imps, 1 baron of hell, 1 mancubus. After collecting the codex page continue on with the mission back to the main gate further along.
Do not unlock the gate just yet and instead head left as you face the skull pedestal and follow the path all the way around and through a green breakable wall to find a secret area and another skull pedestal.
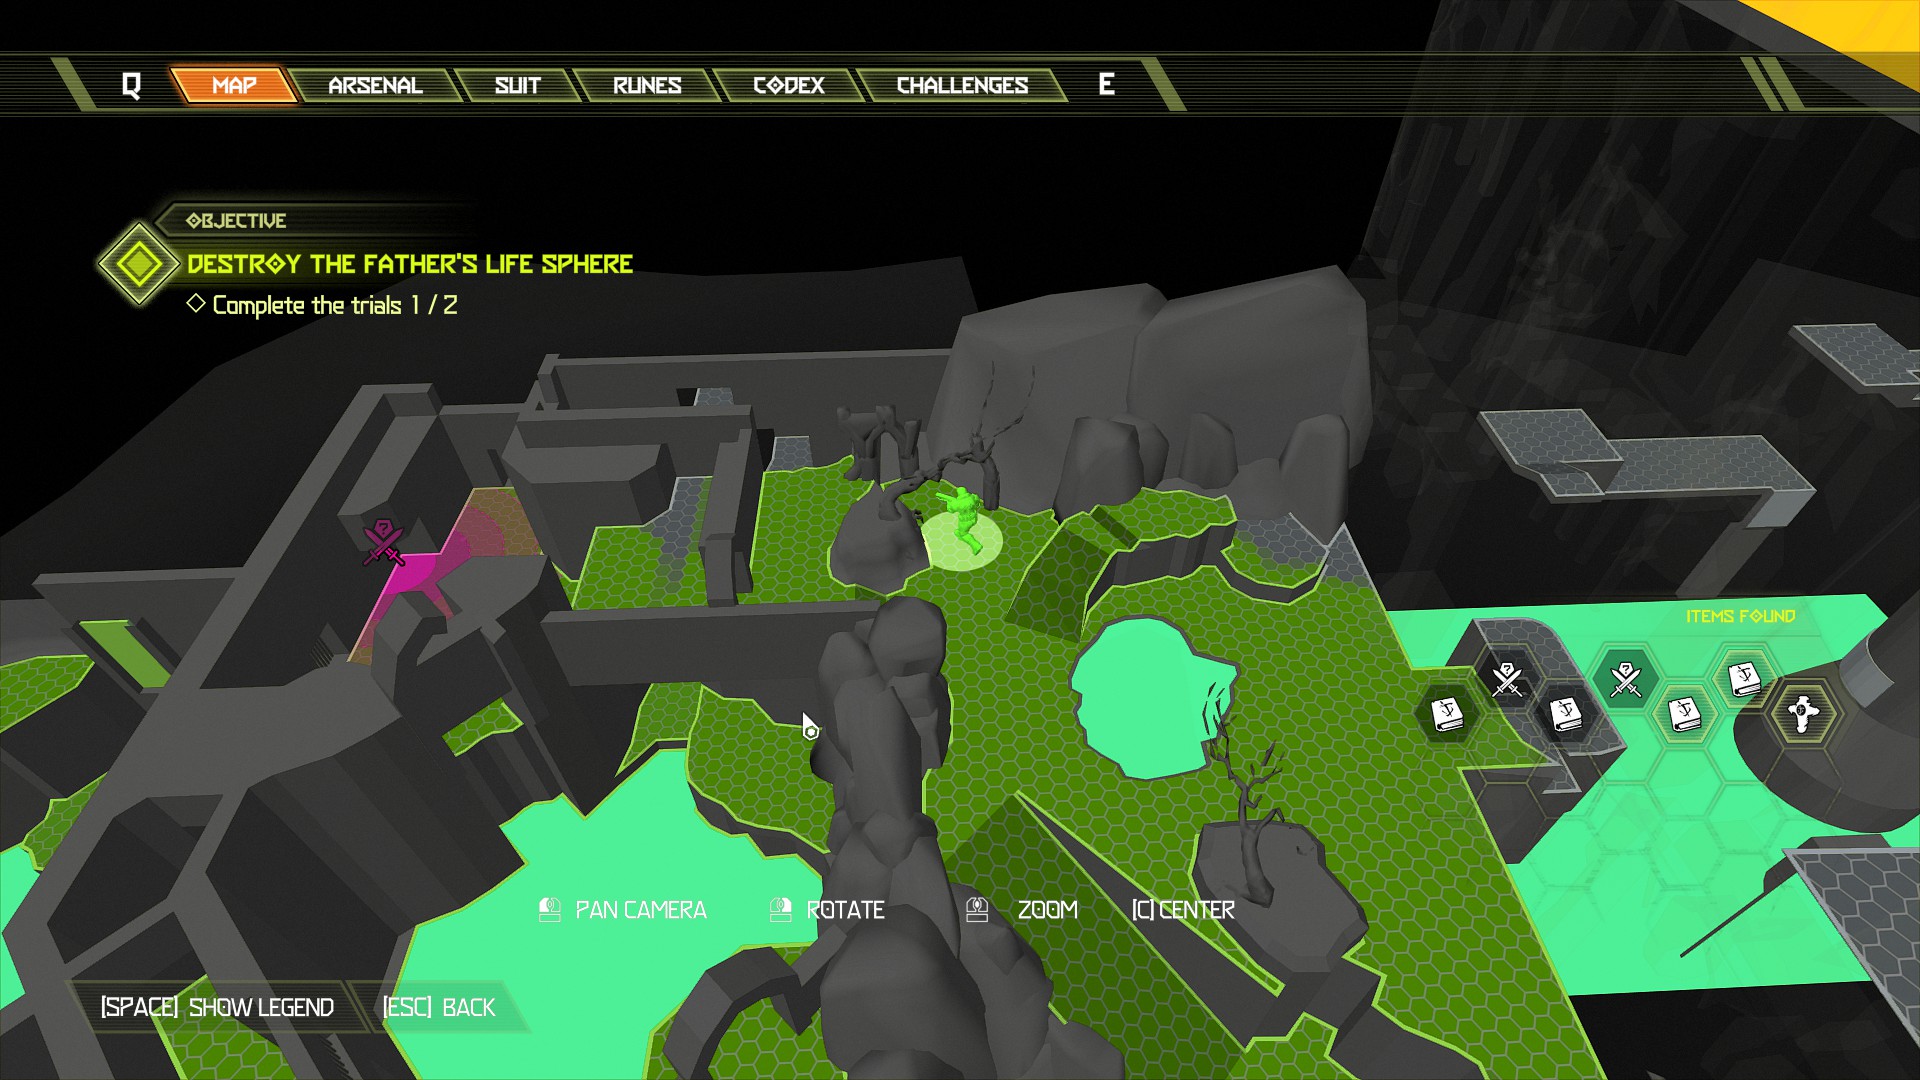
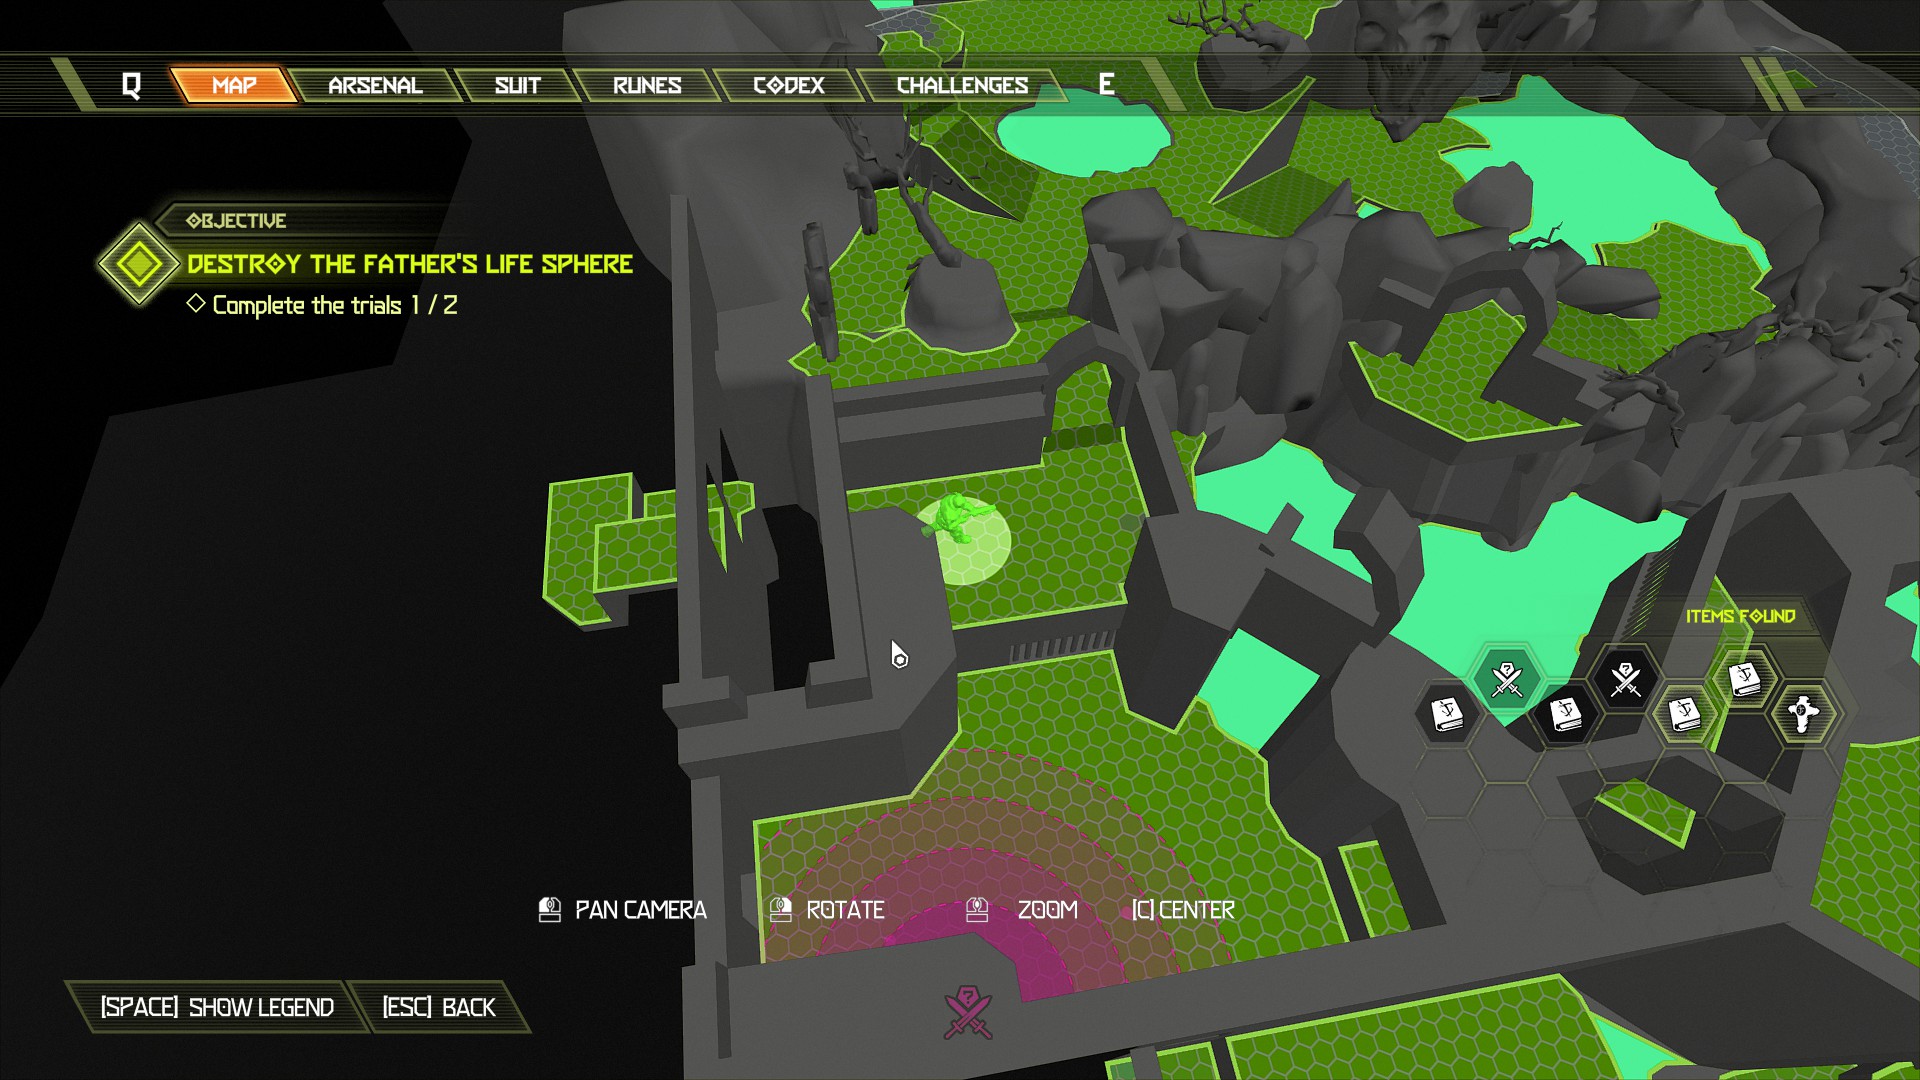
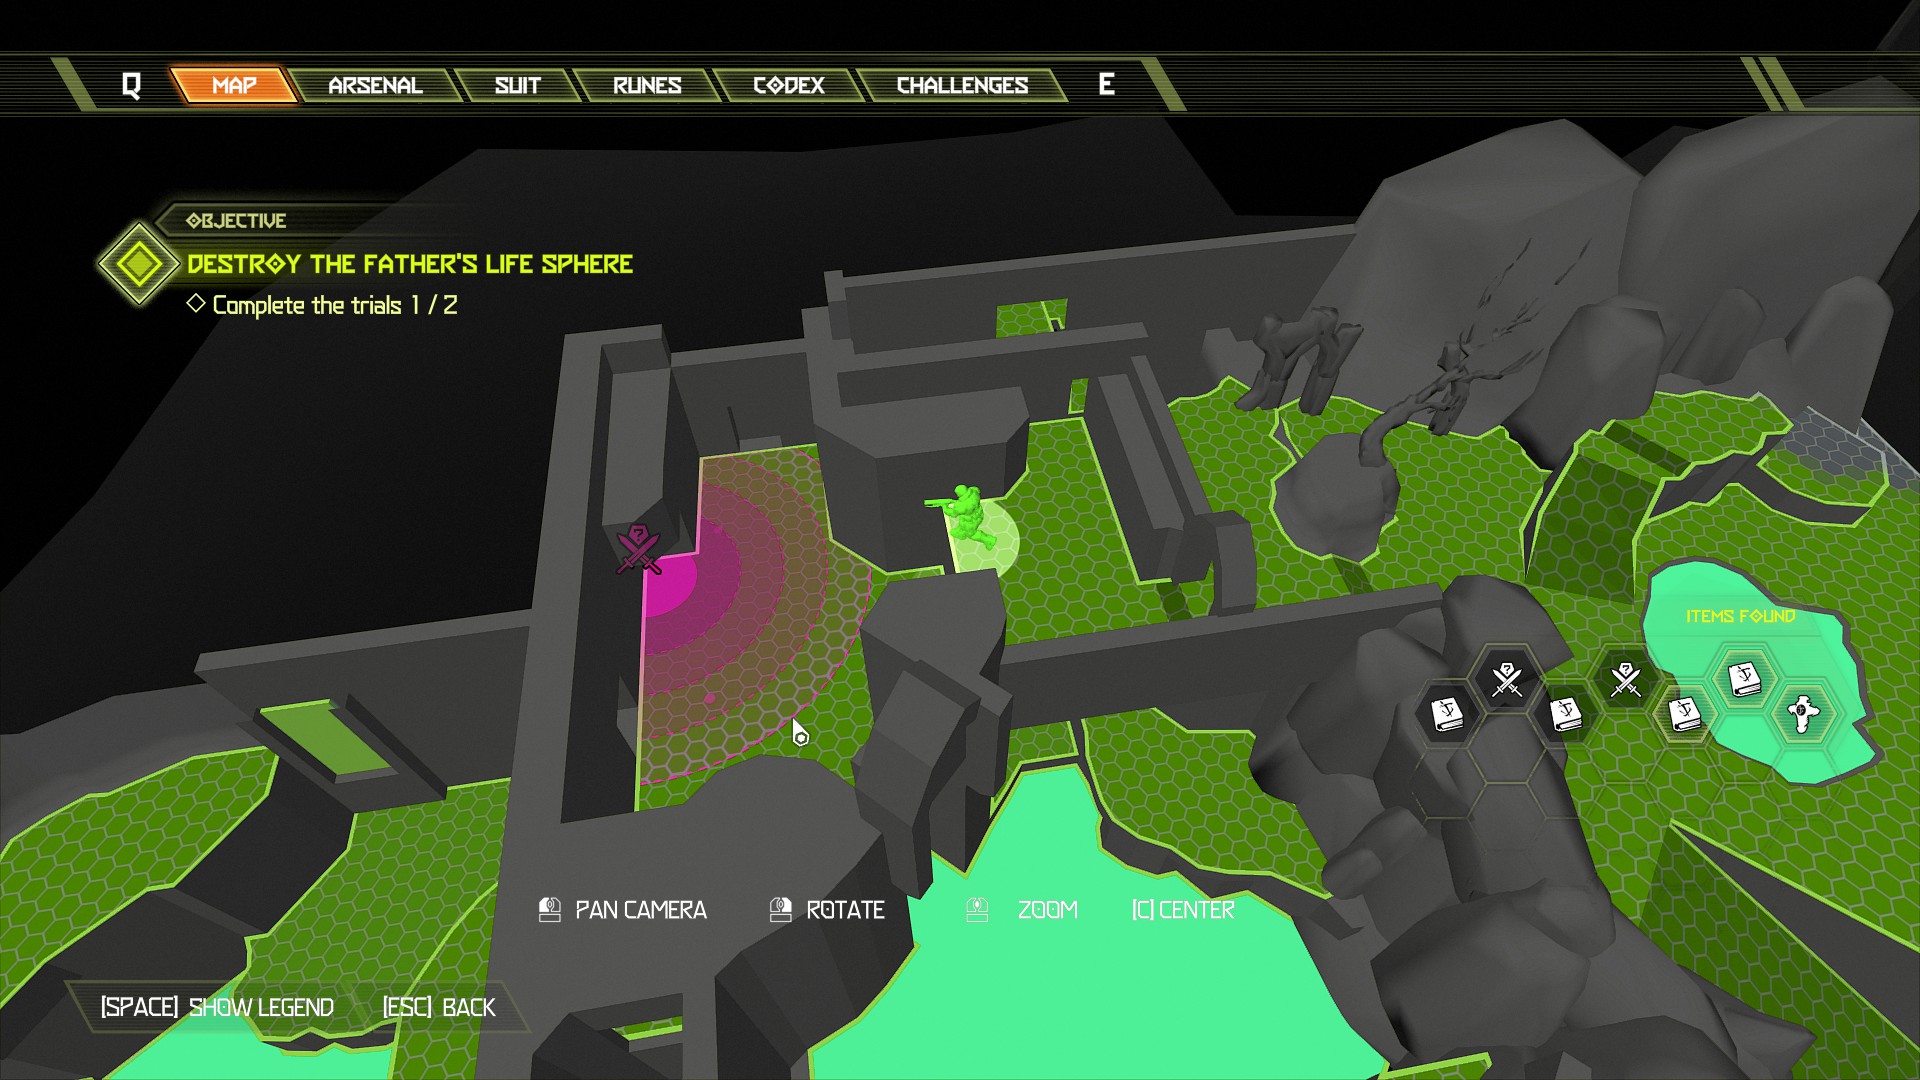
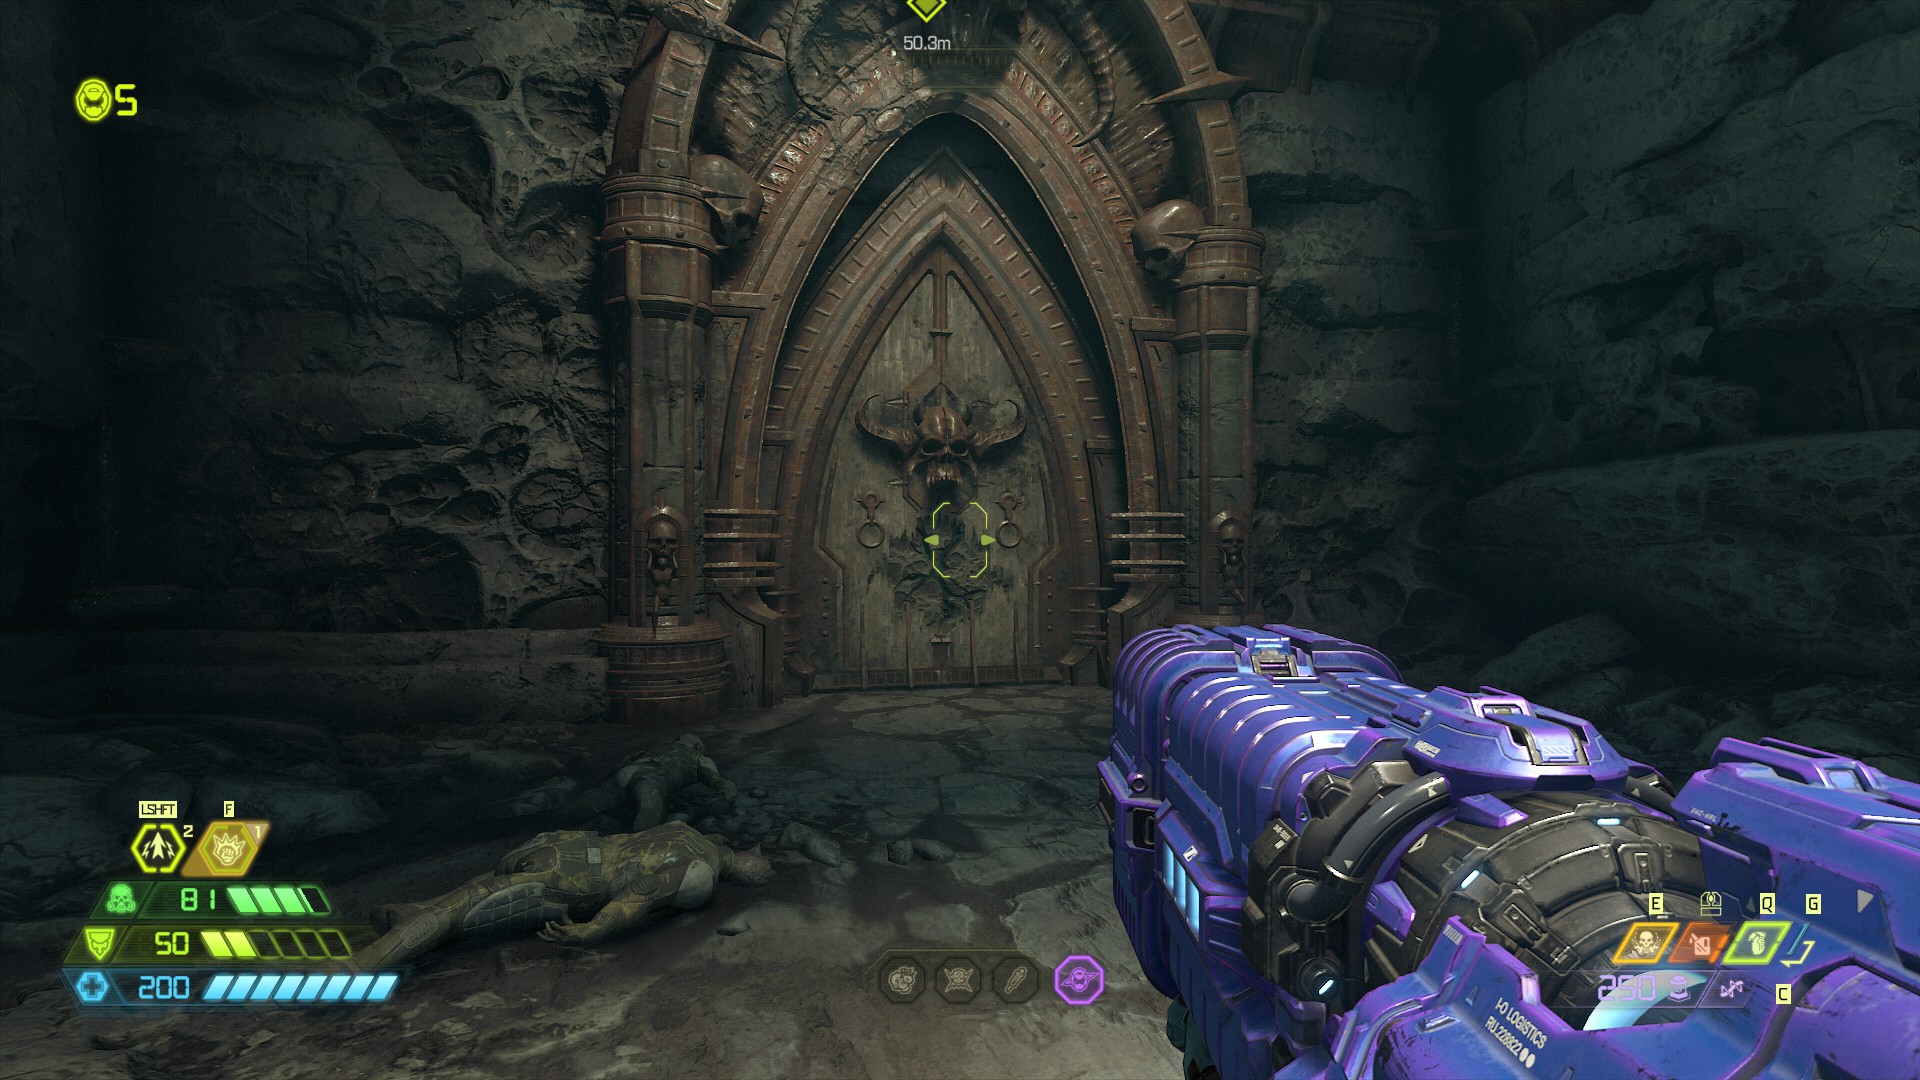
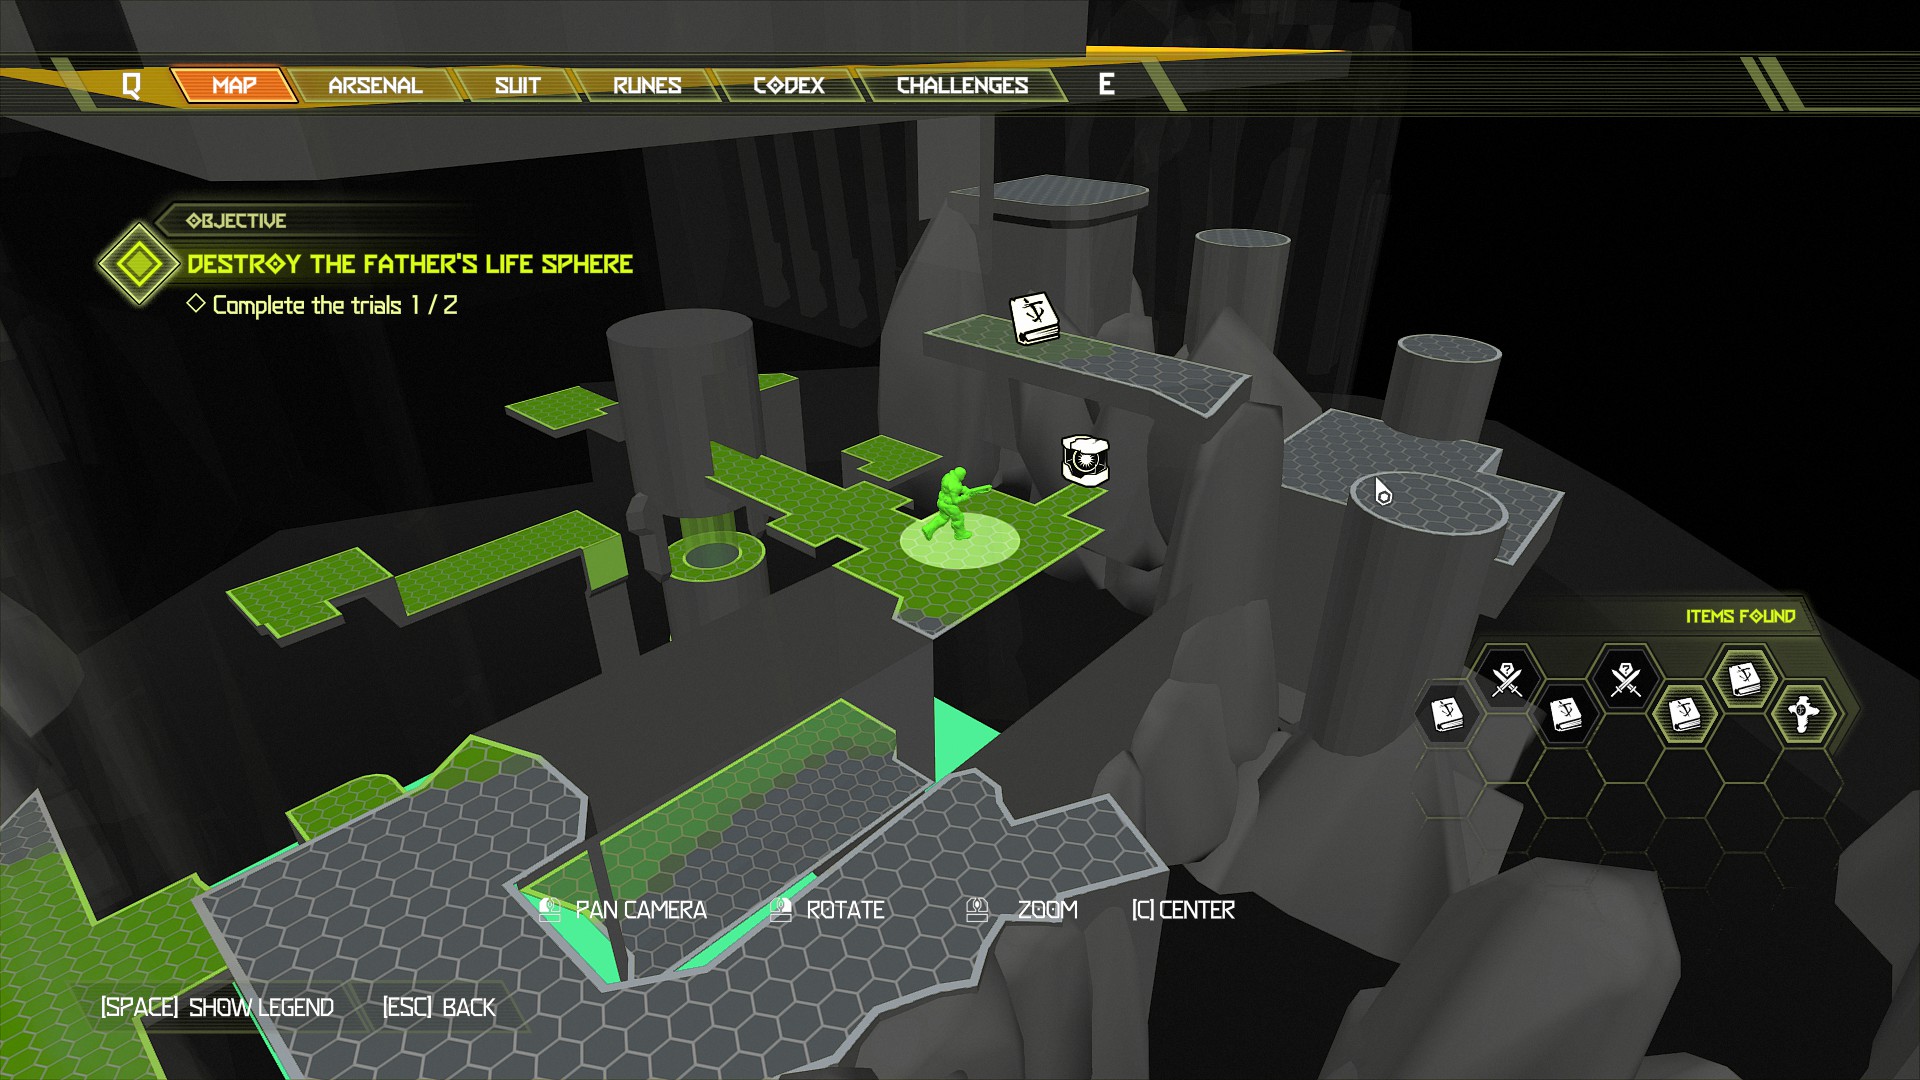
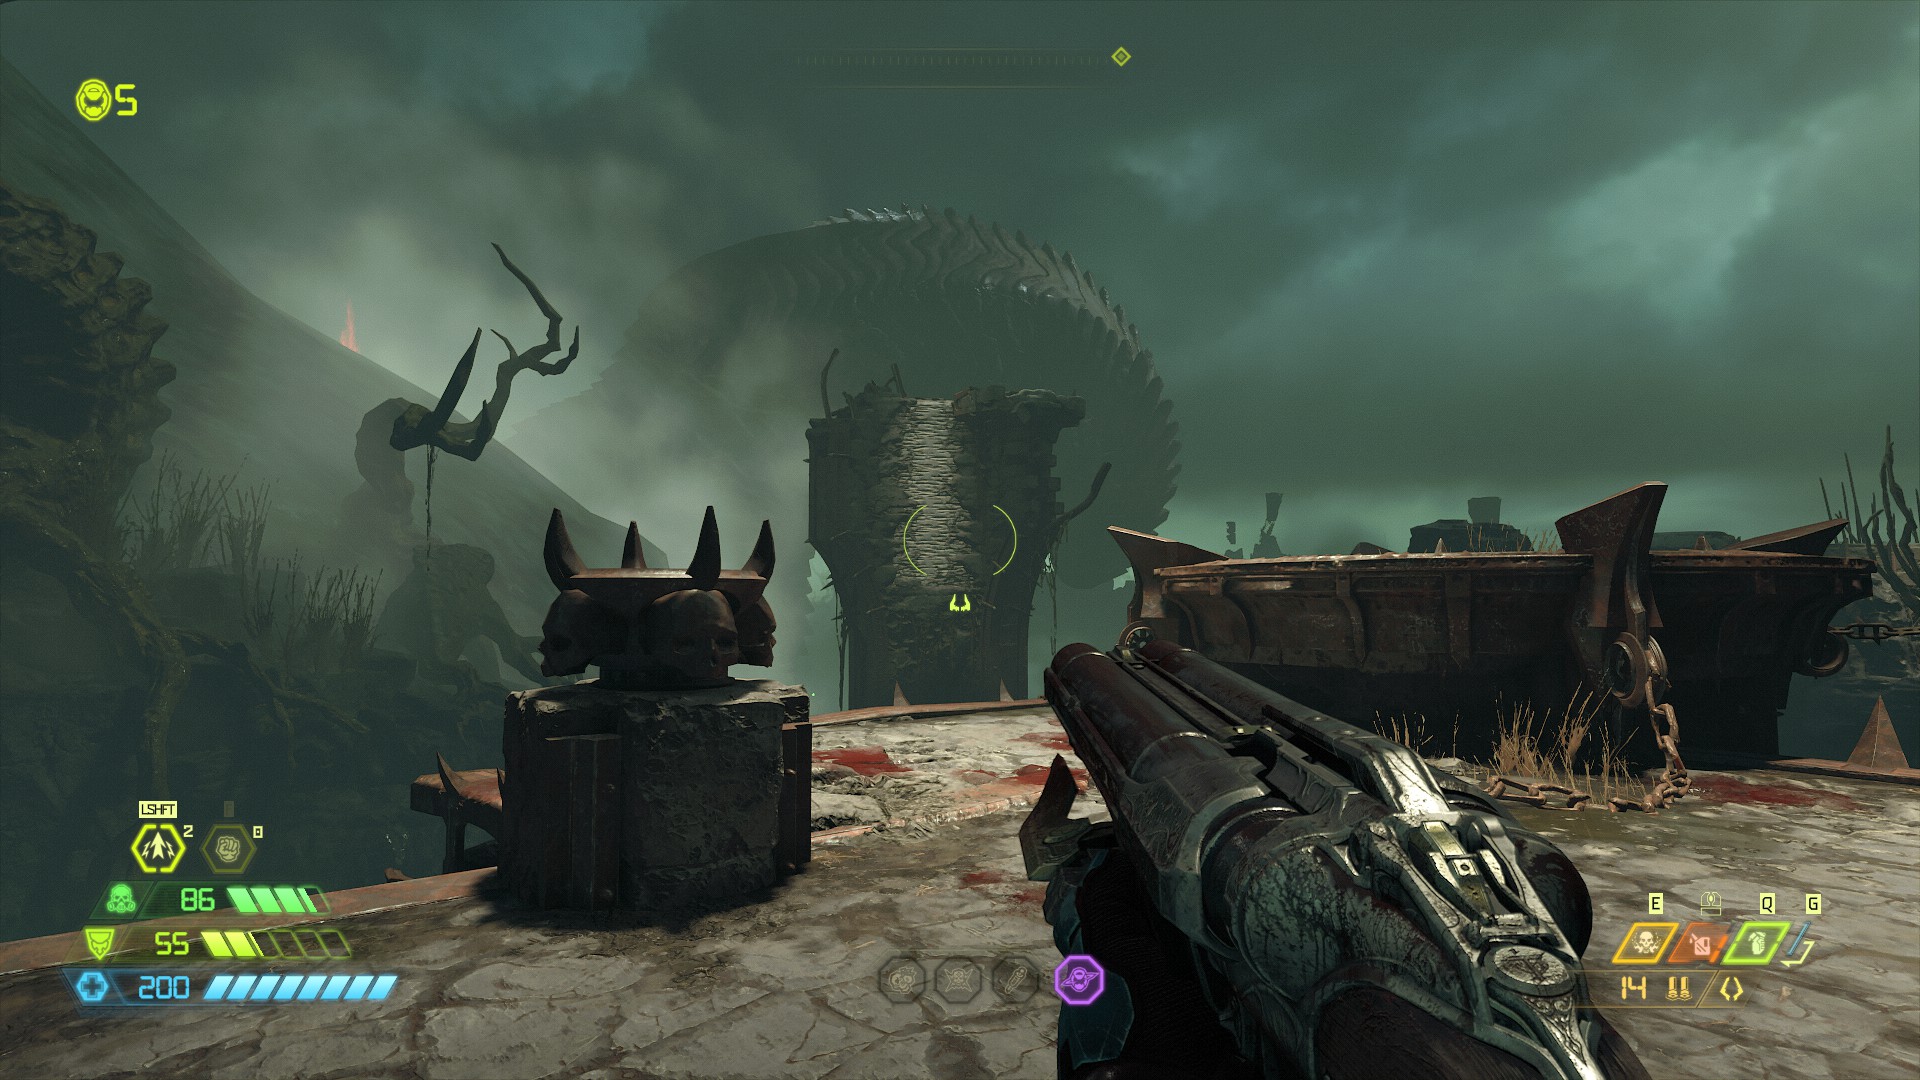
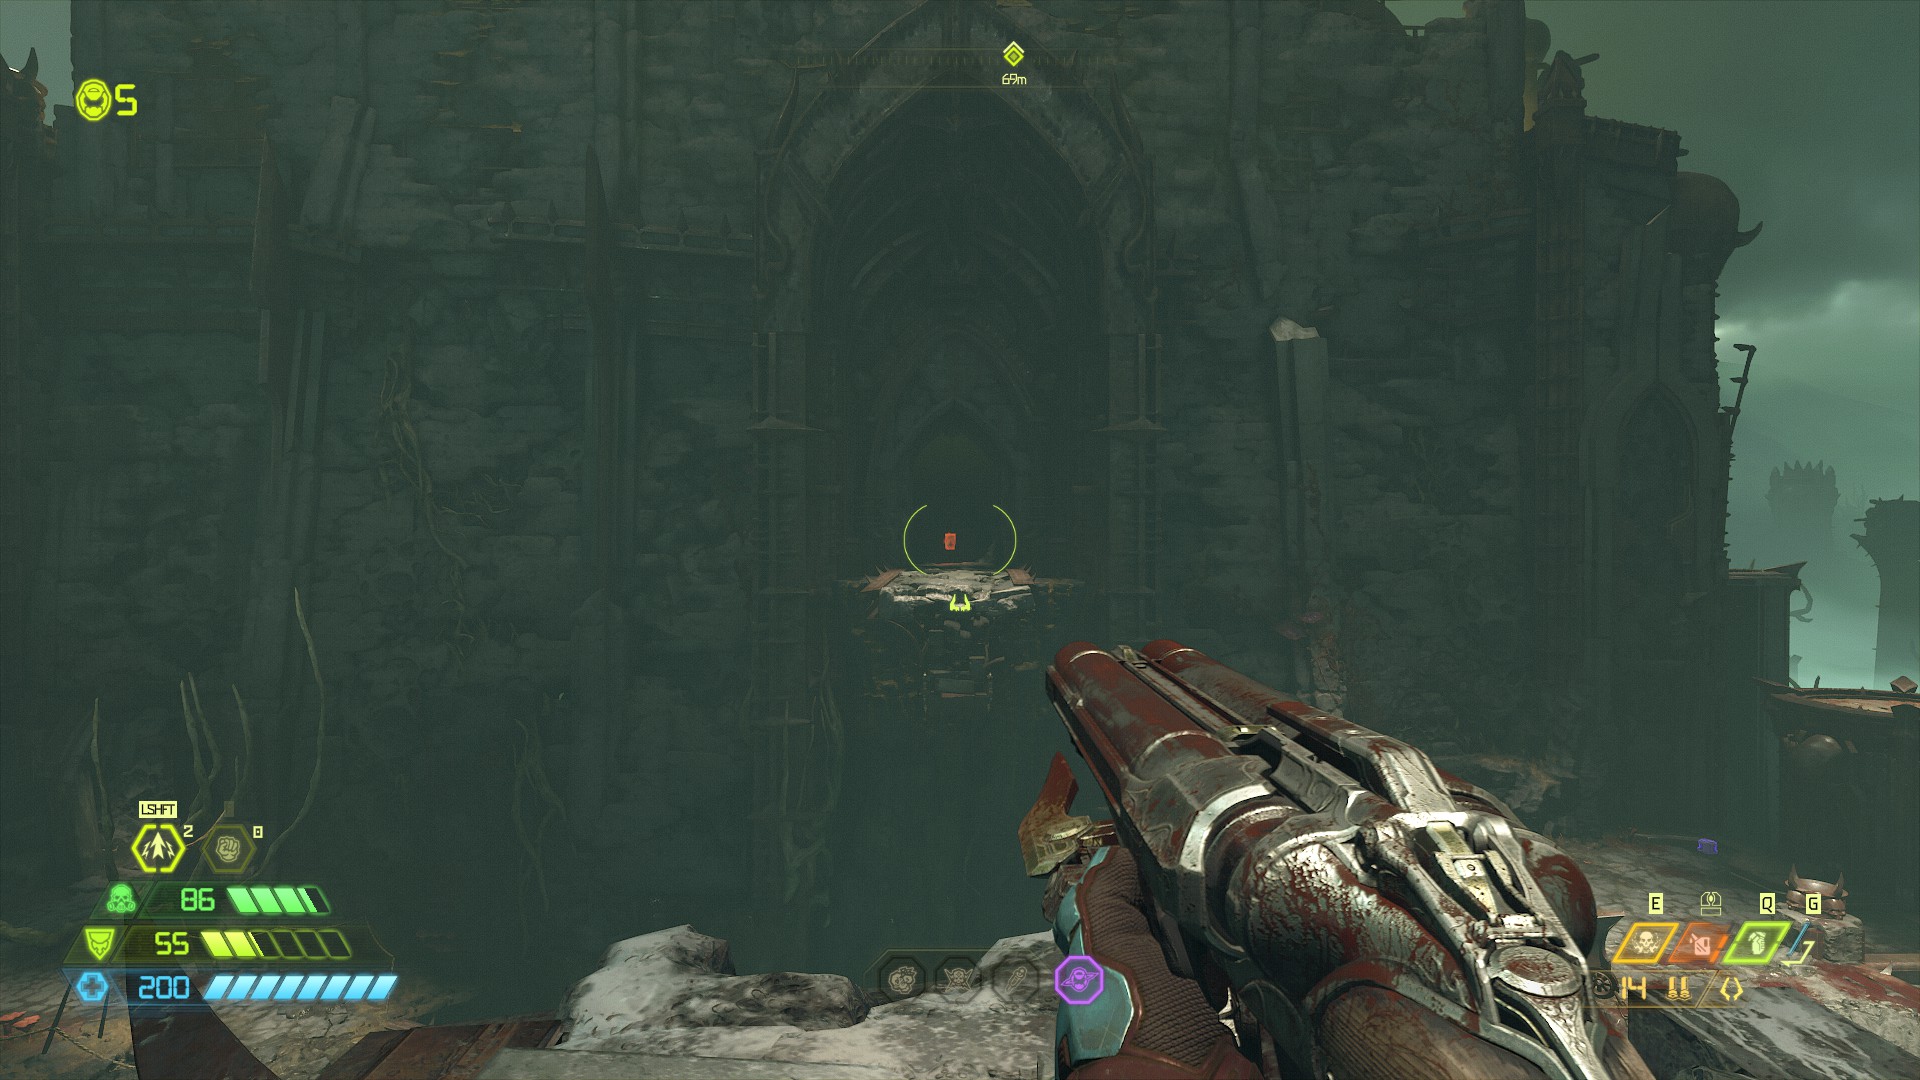
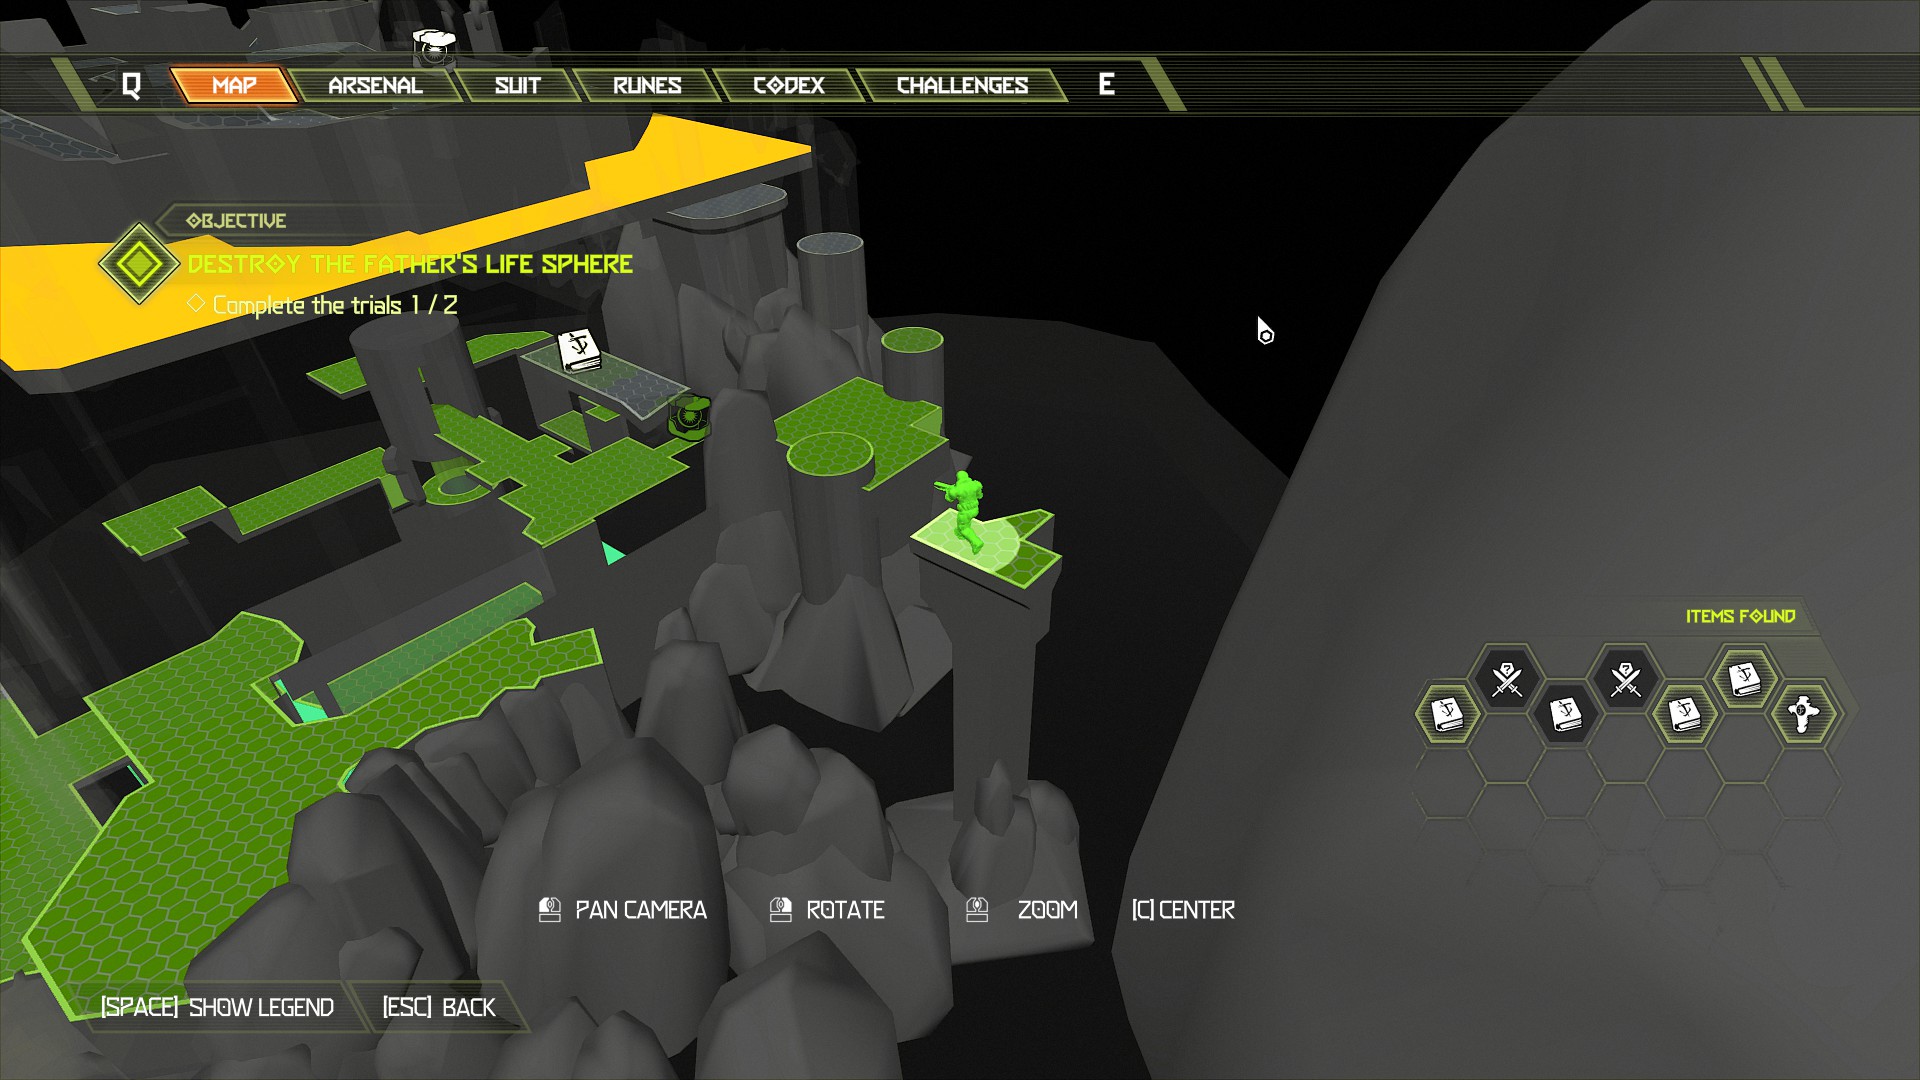
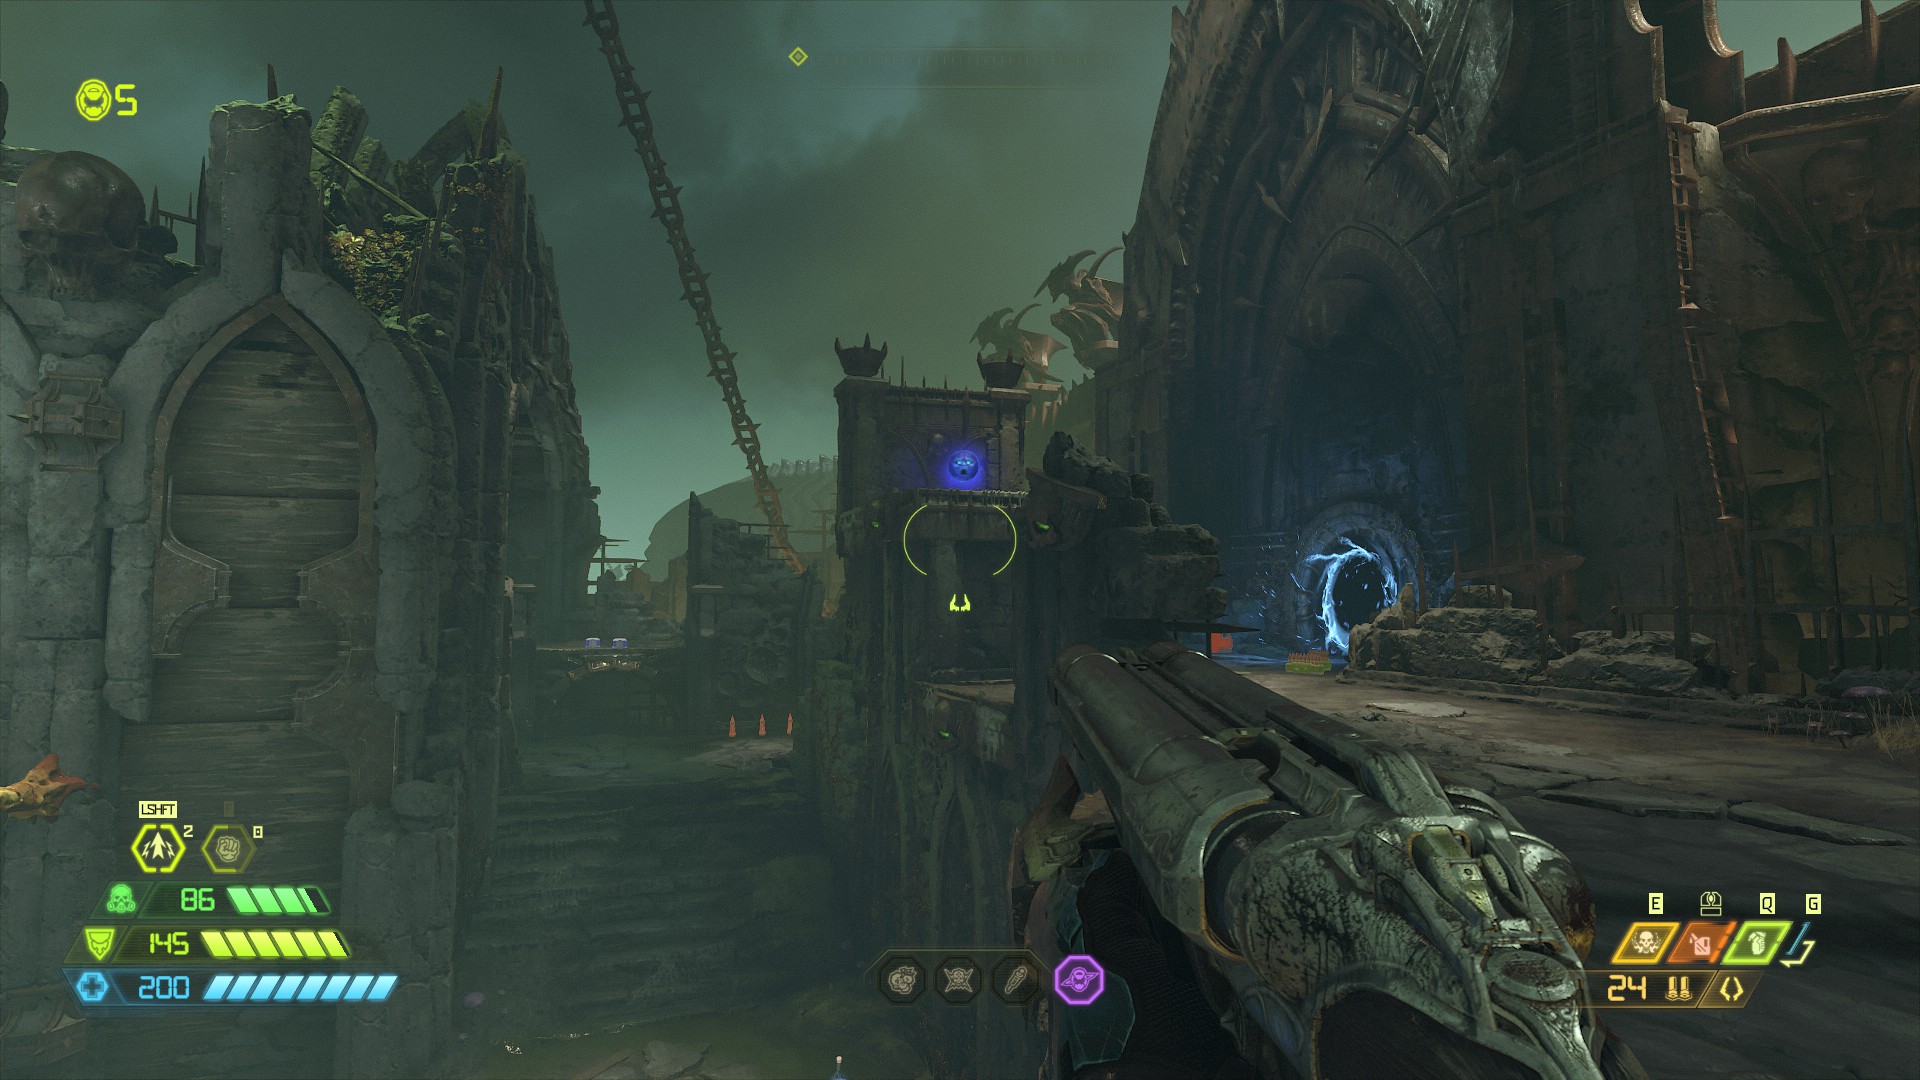
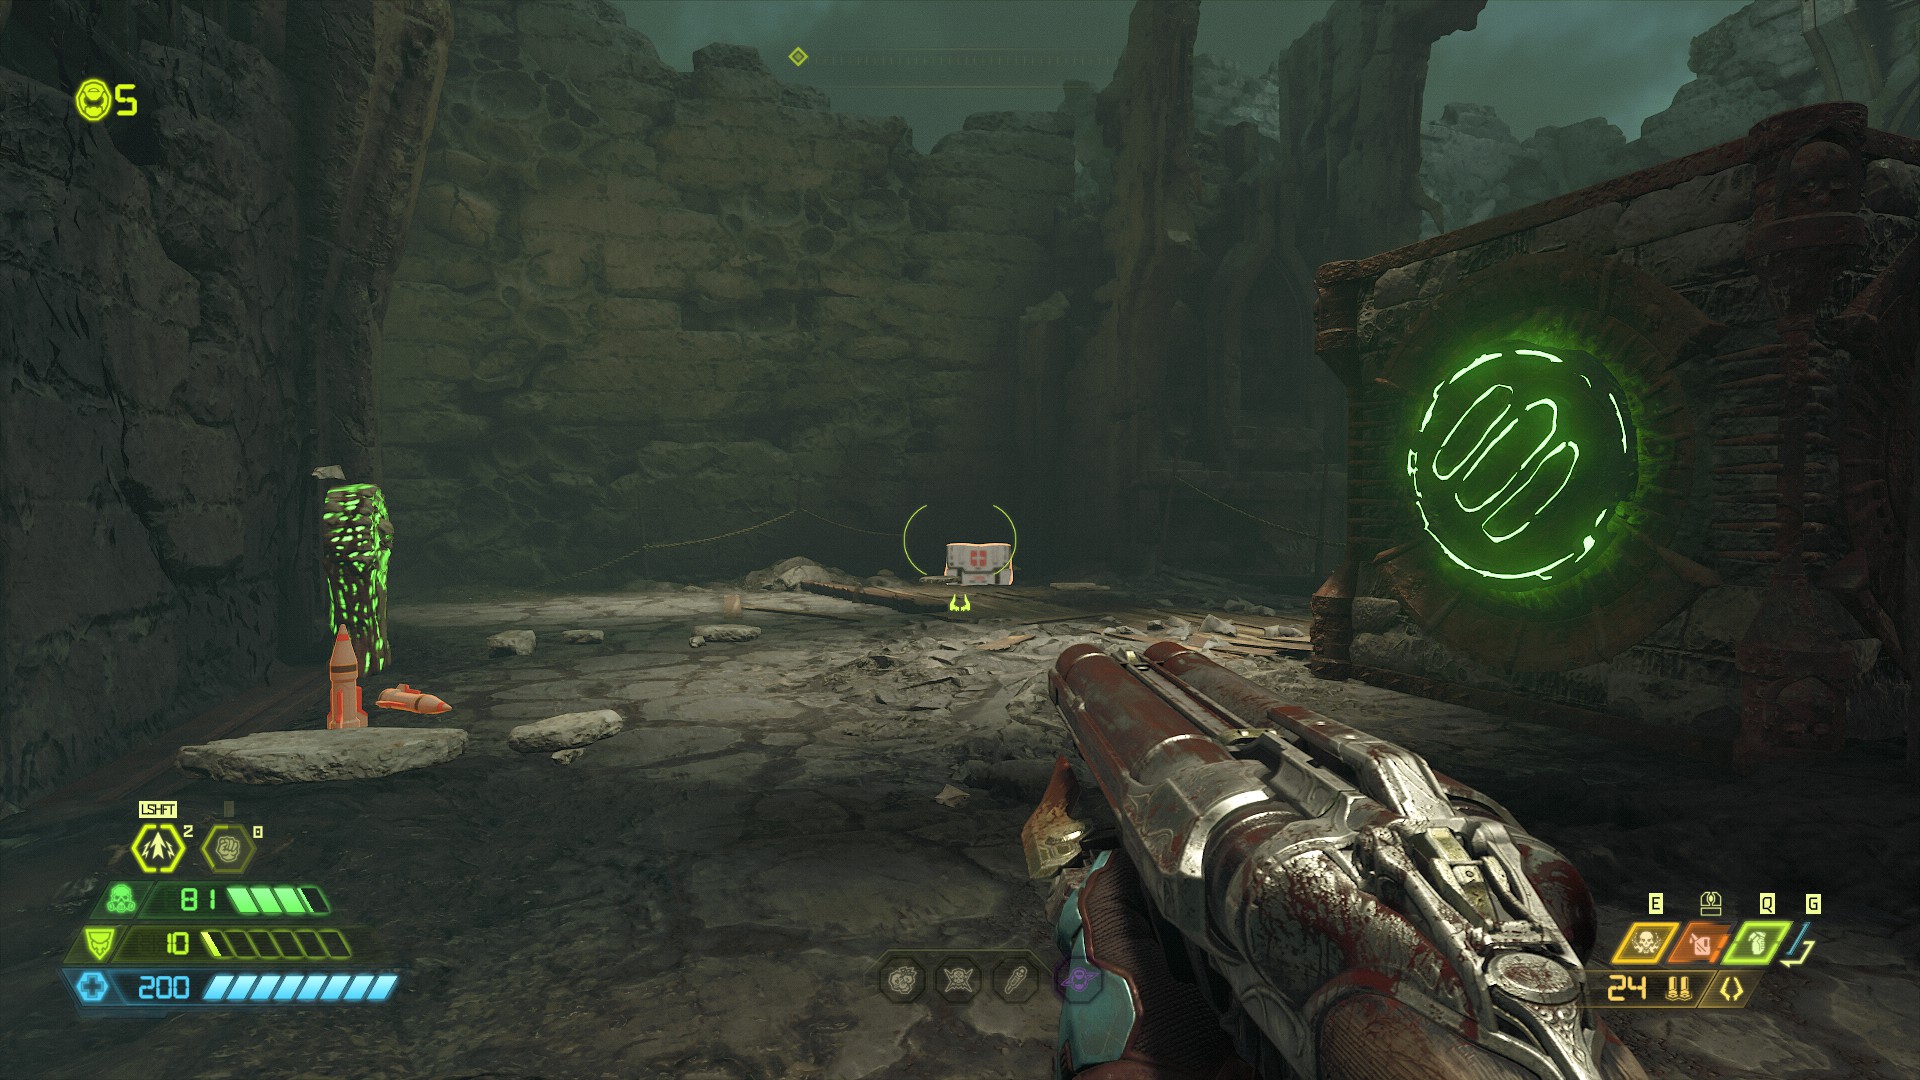 Activating the skull pedestal will unlock the nearby gate whilst the cube will drop down and unlock the secret encounter. Go ahead and clear the secret encounter opposite the cube and then proceed back to the main gate and open it up.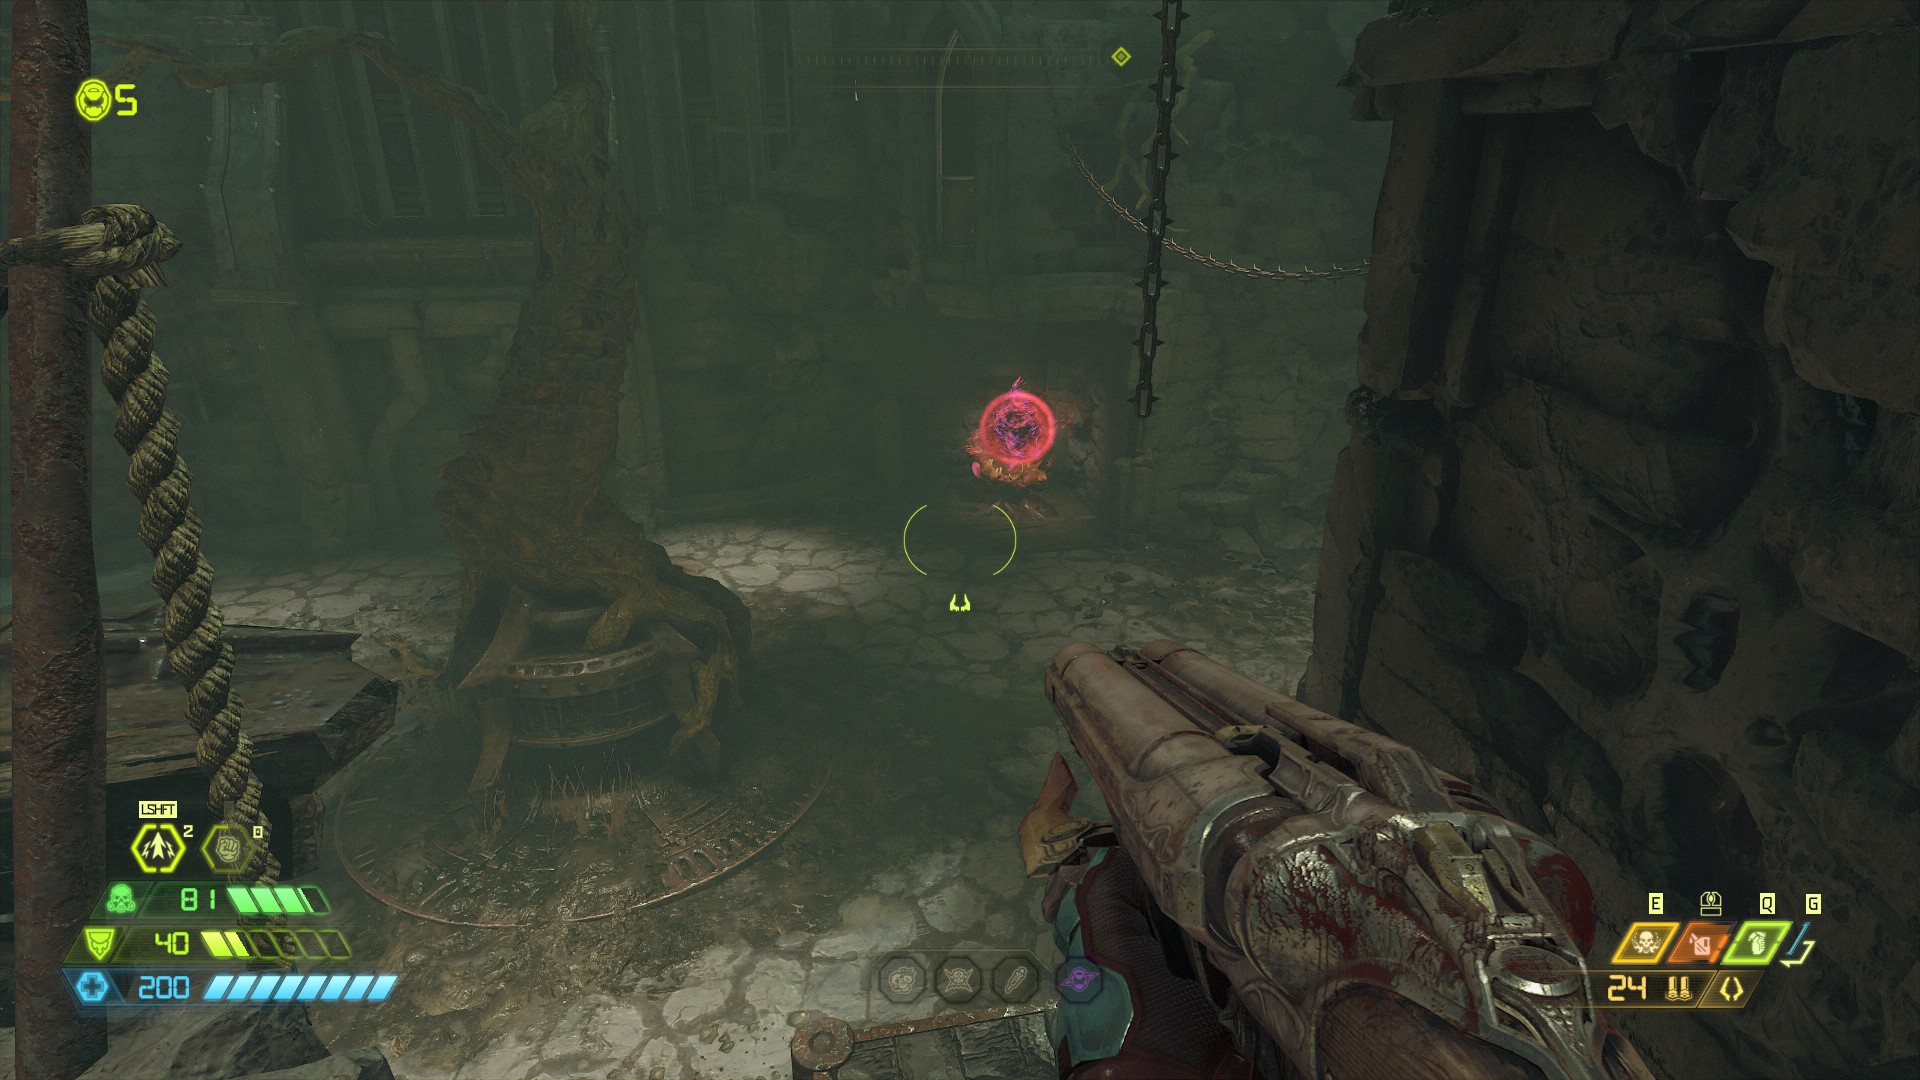
Mission 3: The Holt [Part 1]
NOTE: This is the final mission for this DLC and what can be a tough boss fight at the end. It can be a little difficult at times to navigate this mission so I will try to explain as best I can but overall it should be straight forward enough. This mission contains:
- 1 Automap
- 5 Codex Pages
- 4 Extra Lives
- 4 Blue Orbs
- 1 Secret
- 2 Secret Encounters
- 1 Support Rune
- 1 Slayer Gate Key
Secret Encounter:
For this encounter you will be attacked by 3 zombies, 1 spectre, 1 cyber mancubus possessed. The first lot of items are fairly close to each other which makes life a little easier.
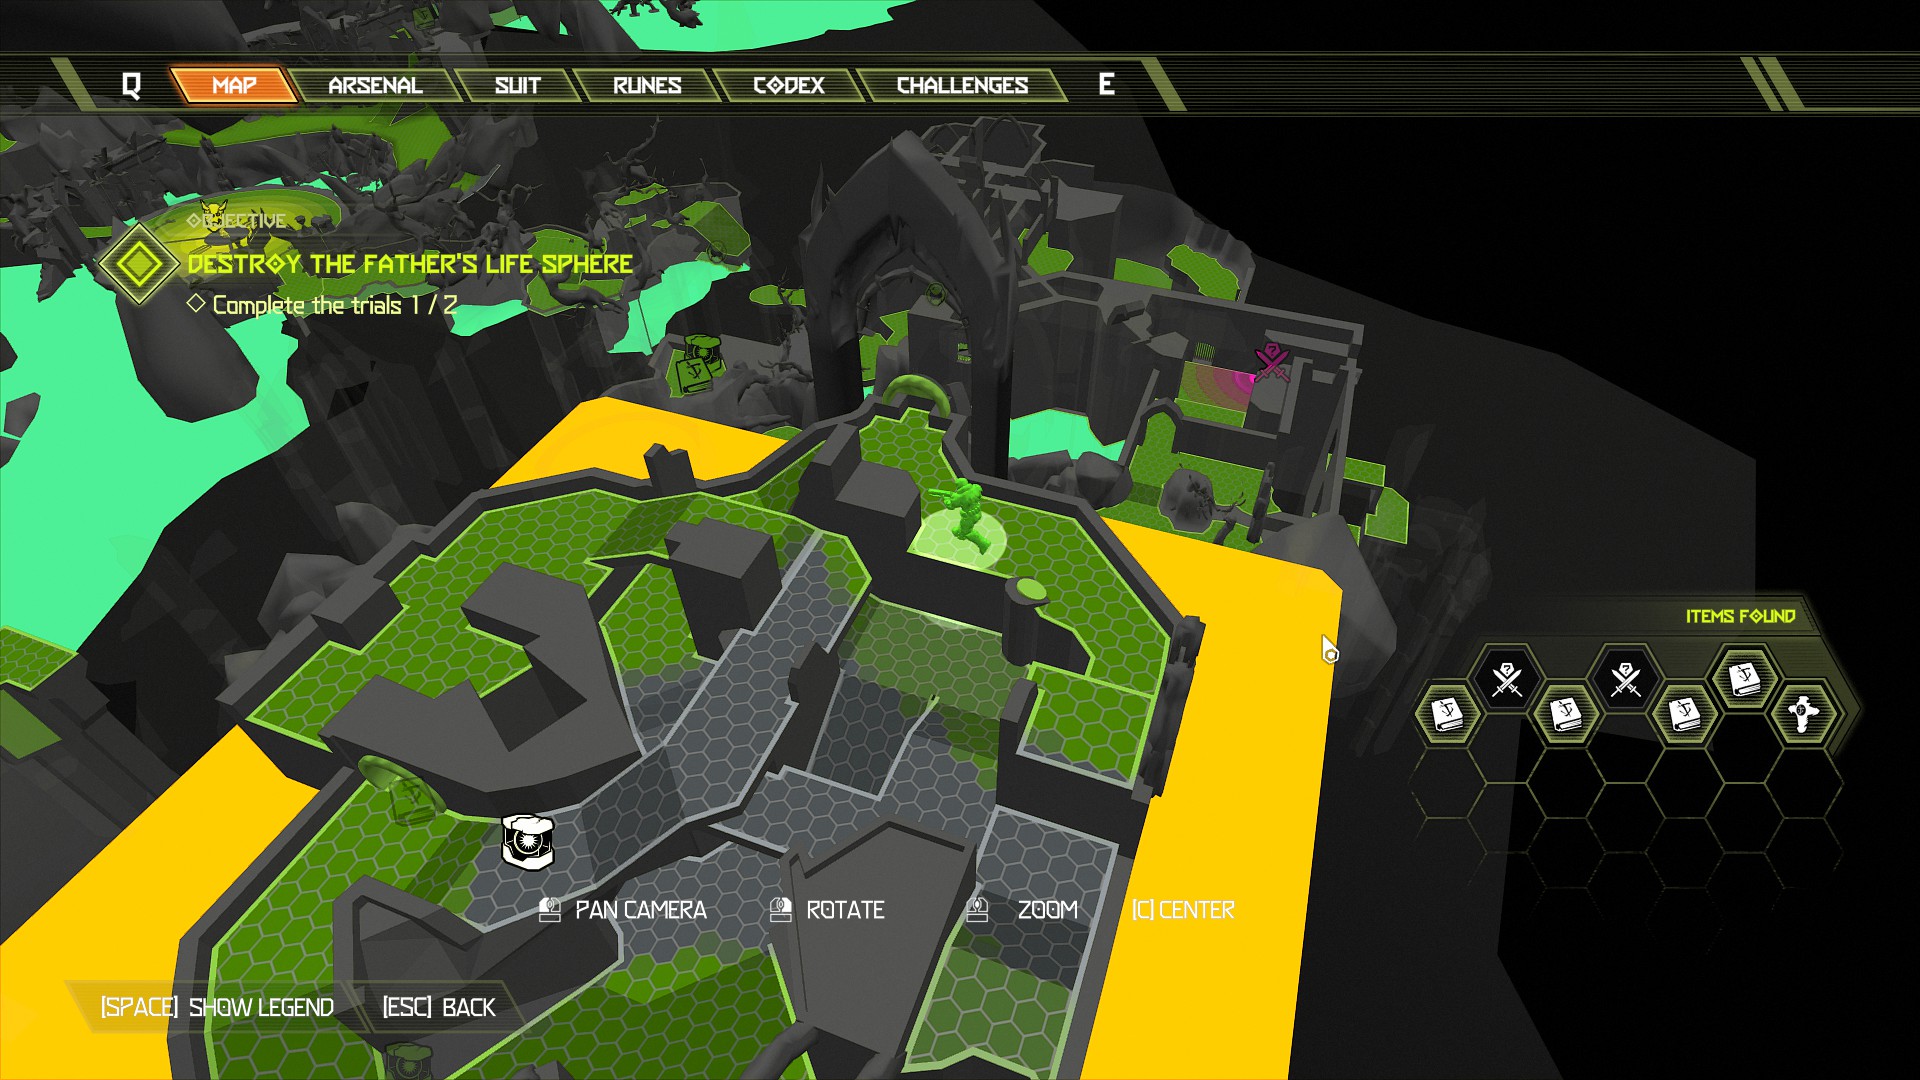
So, begin the mission and proceed through until you reach your first big battle with the marauder and tyrant, this should be the area just after the green exploding platforms. Once clear continue through the path and you will notice the slayer gate key up above, ignore that for now and in the next area follow it around to the left side and up onto a pathway, at the end of the path will be an extra life.
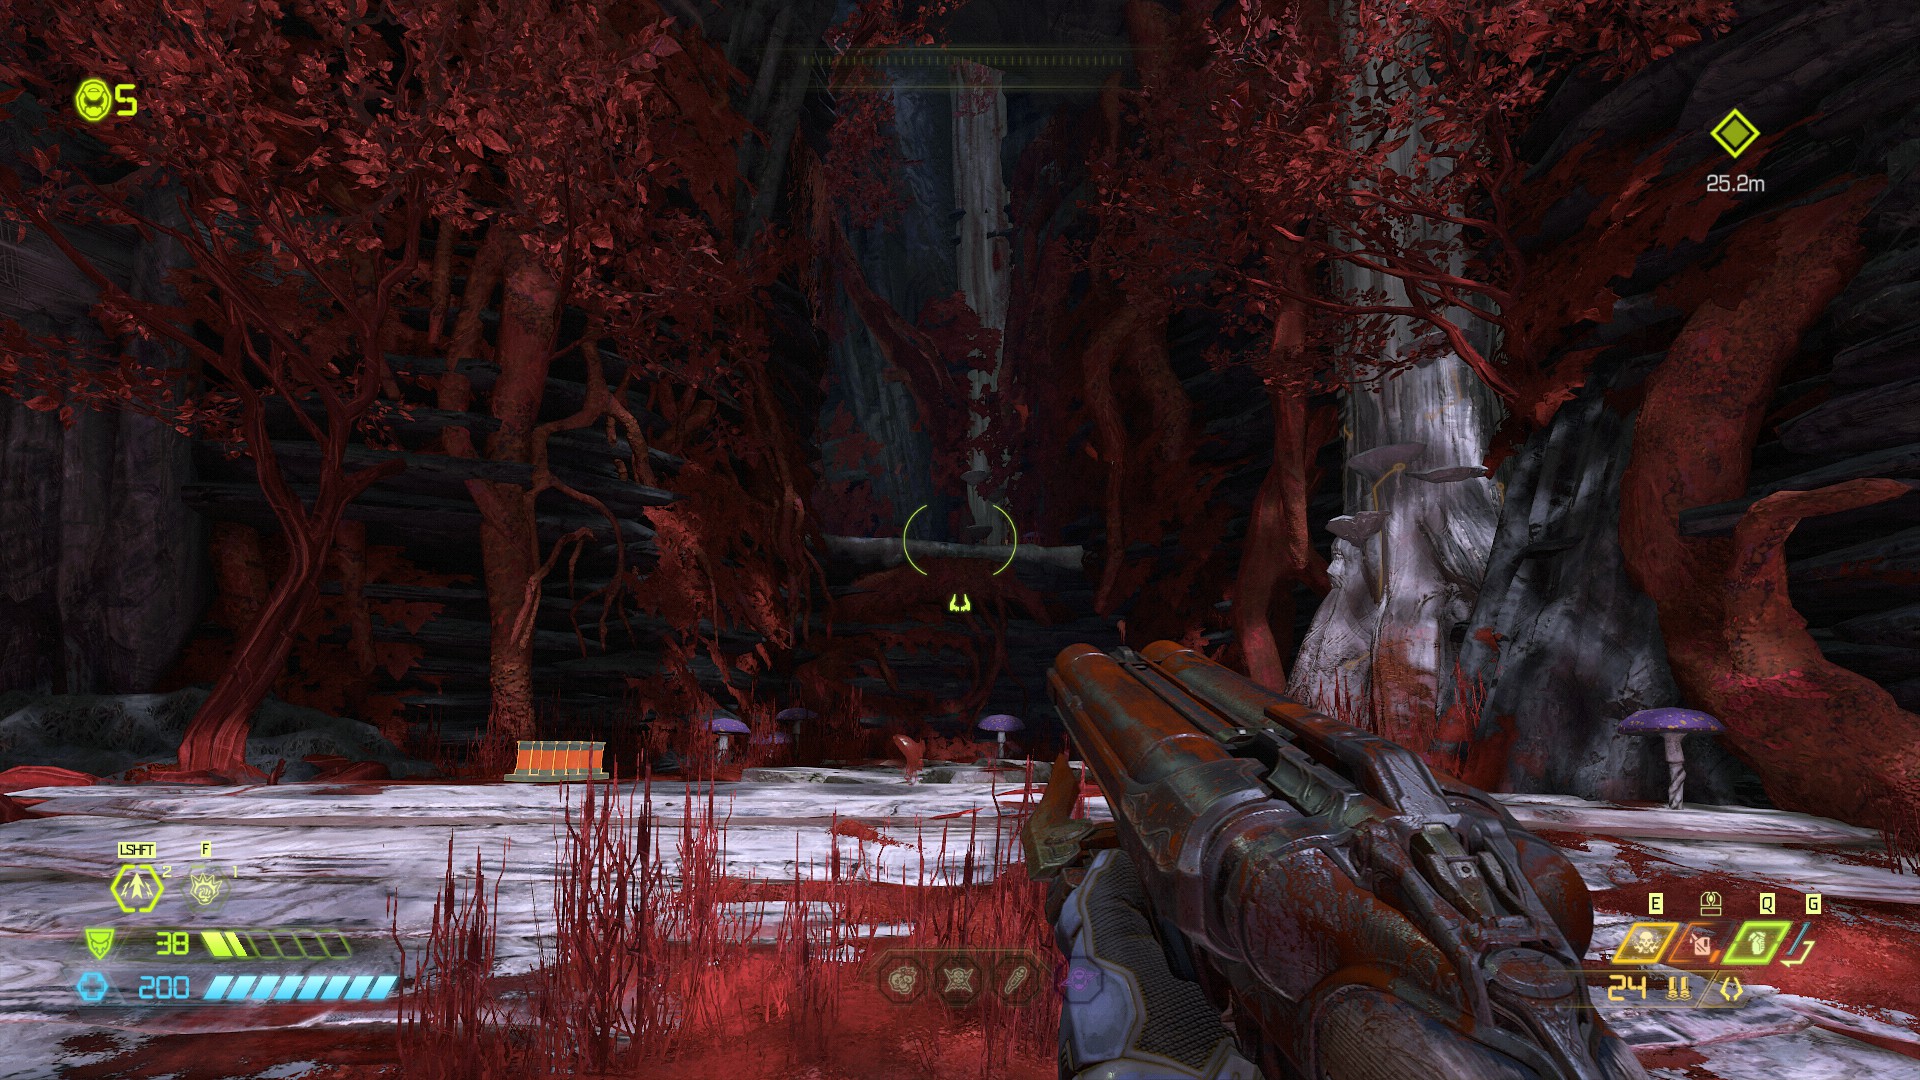
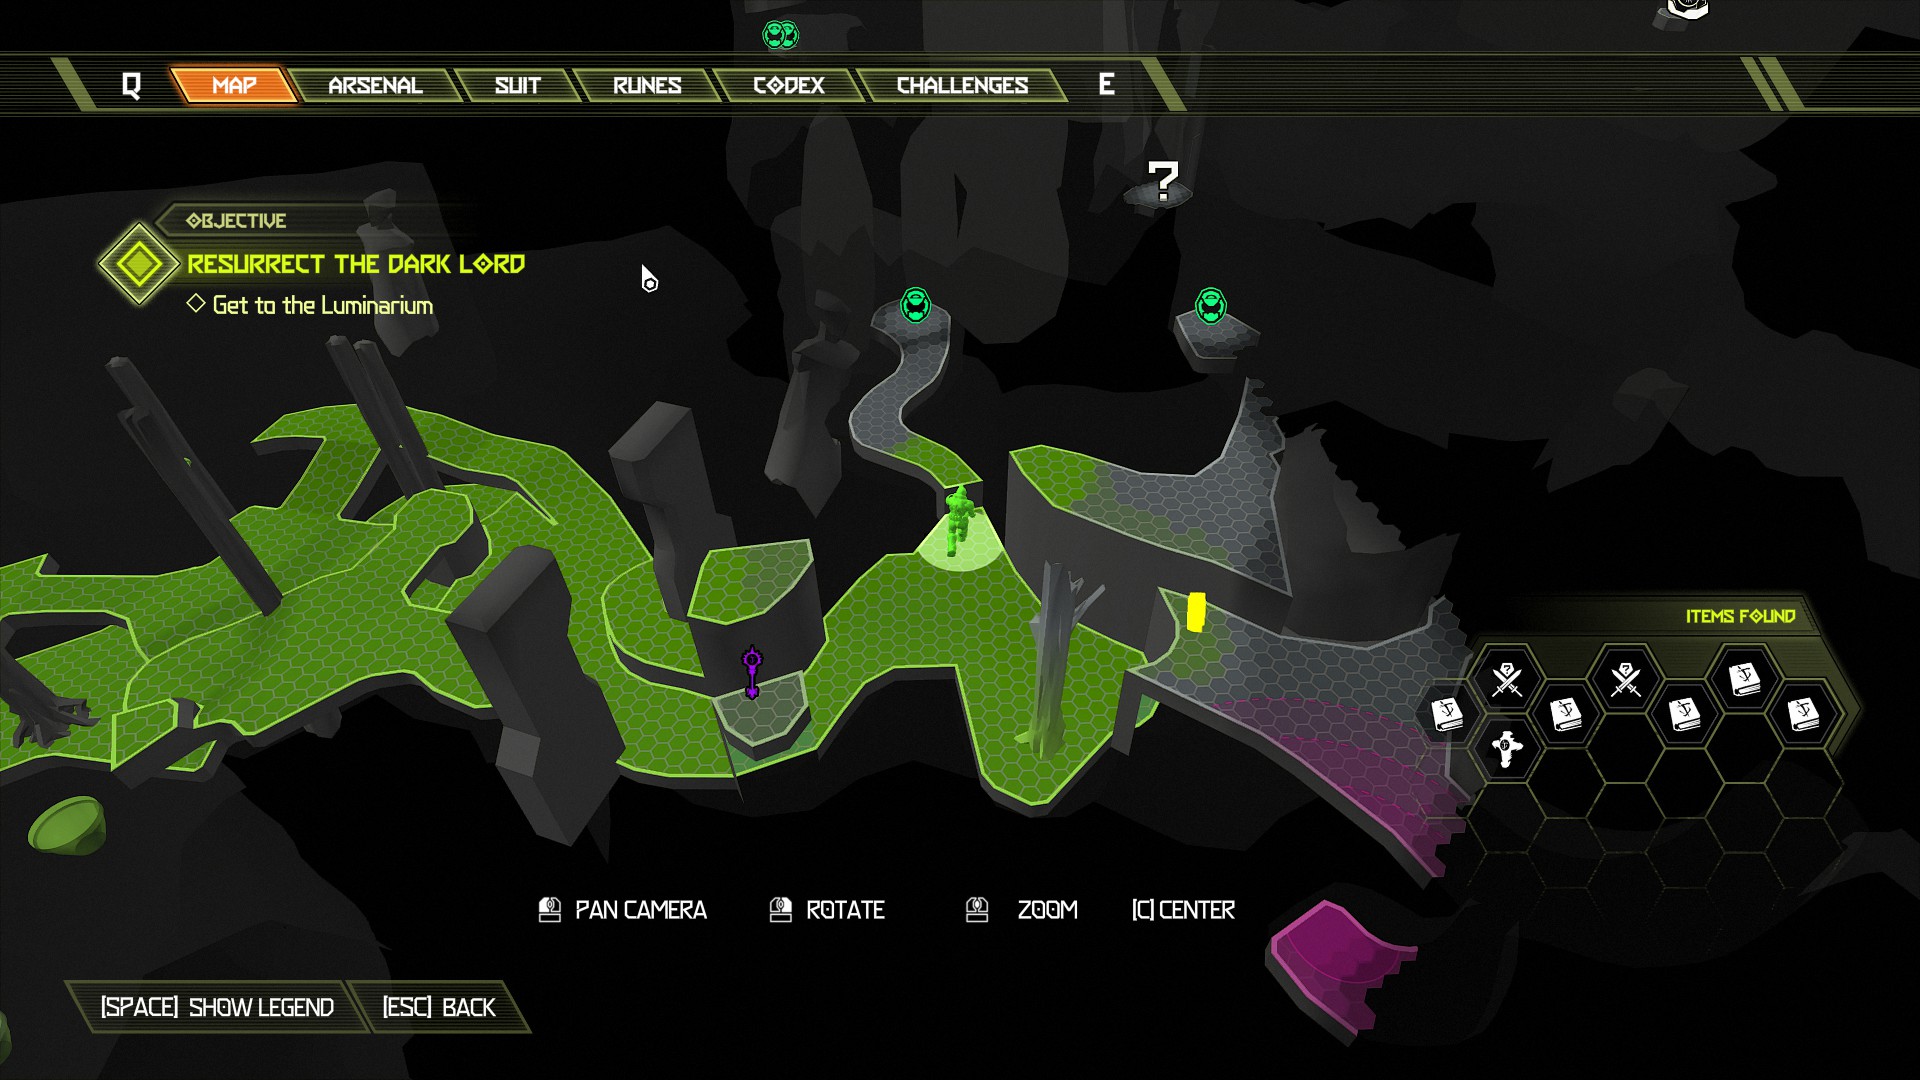
Now go back and melee the tree that will allow you to climb upwards, once you're up climb even further up onto the left side platform and follow the path ahead to find a breakable wall with another extra life behind it.
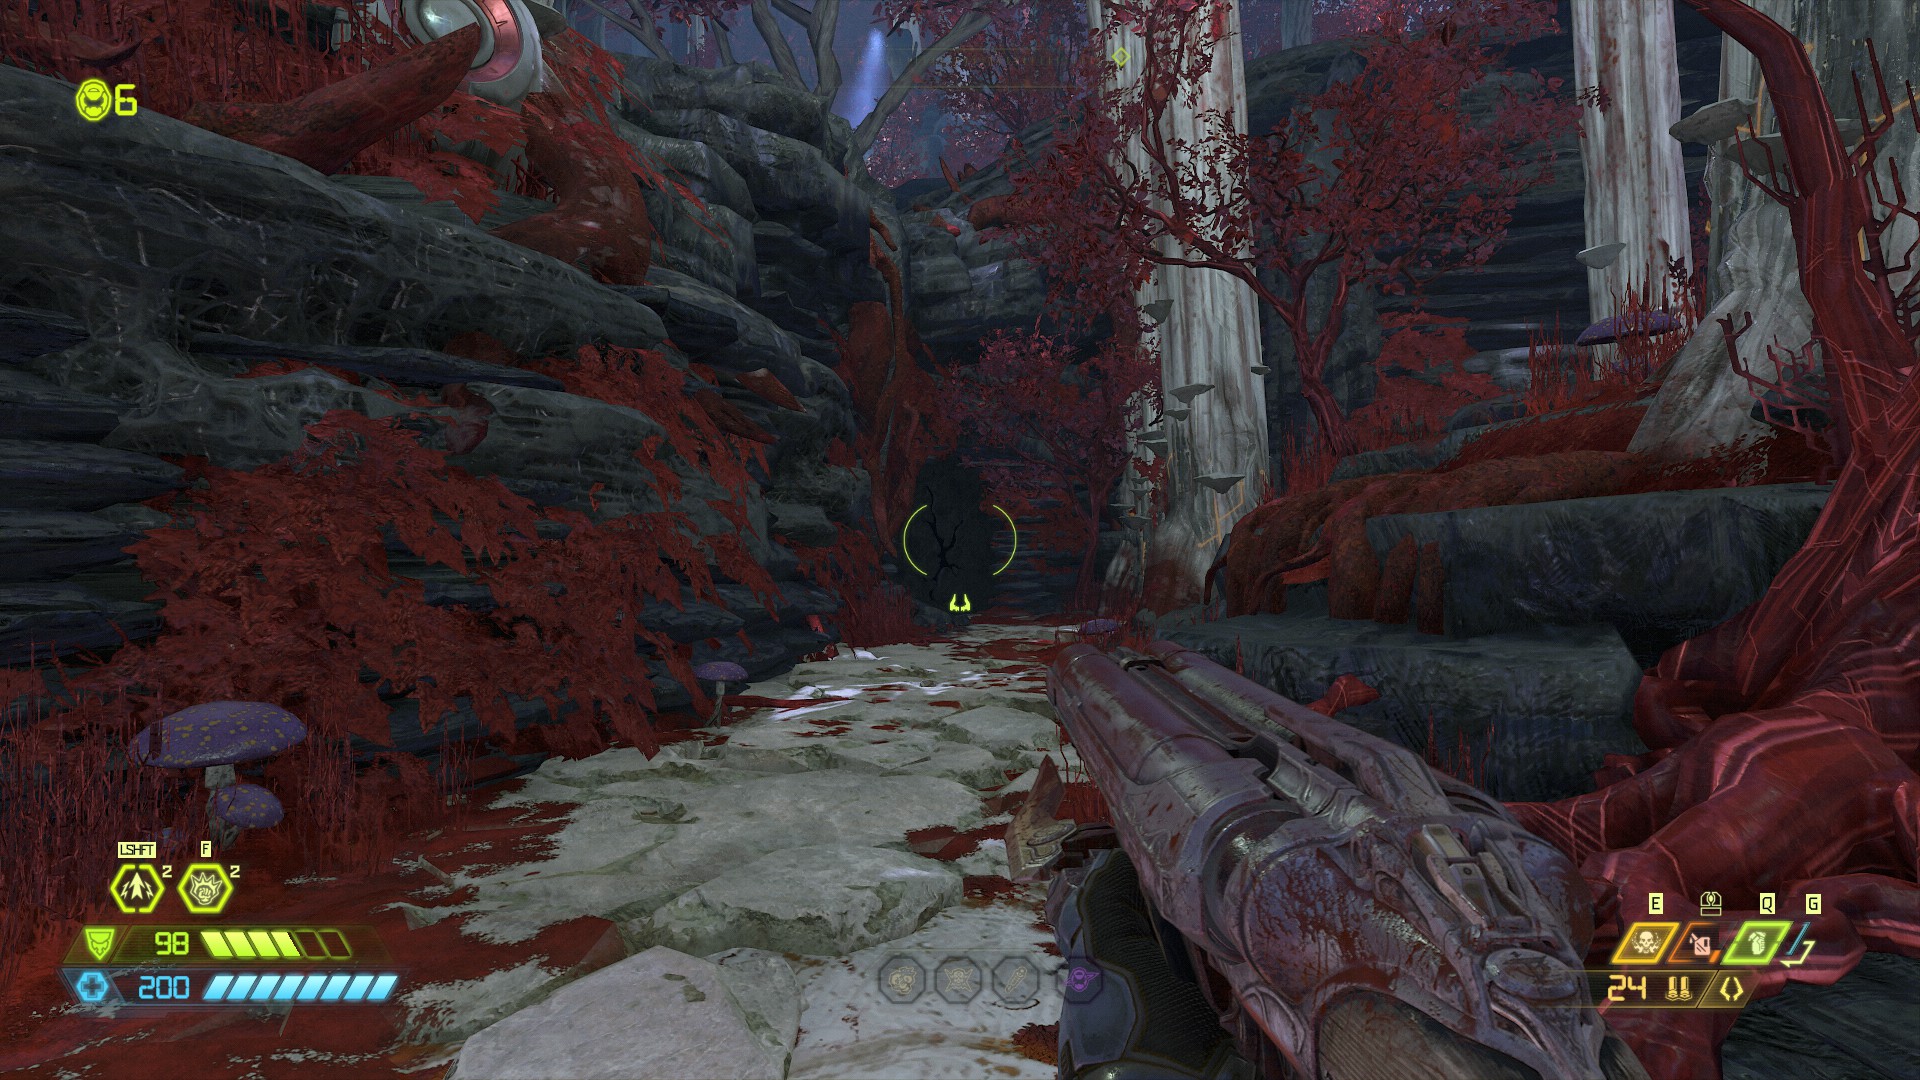
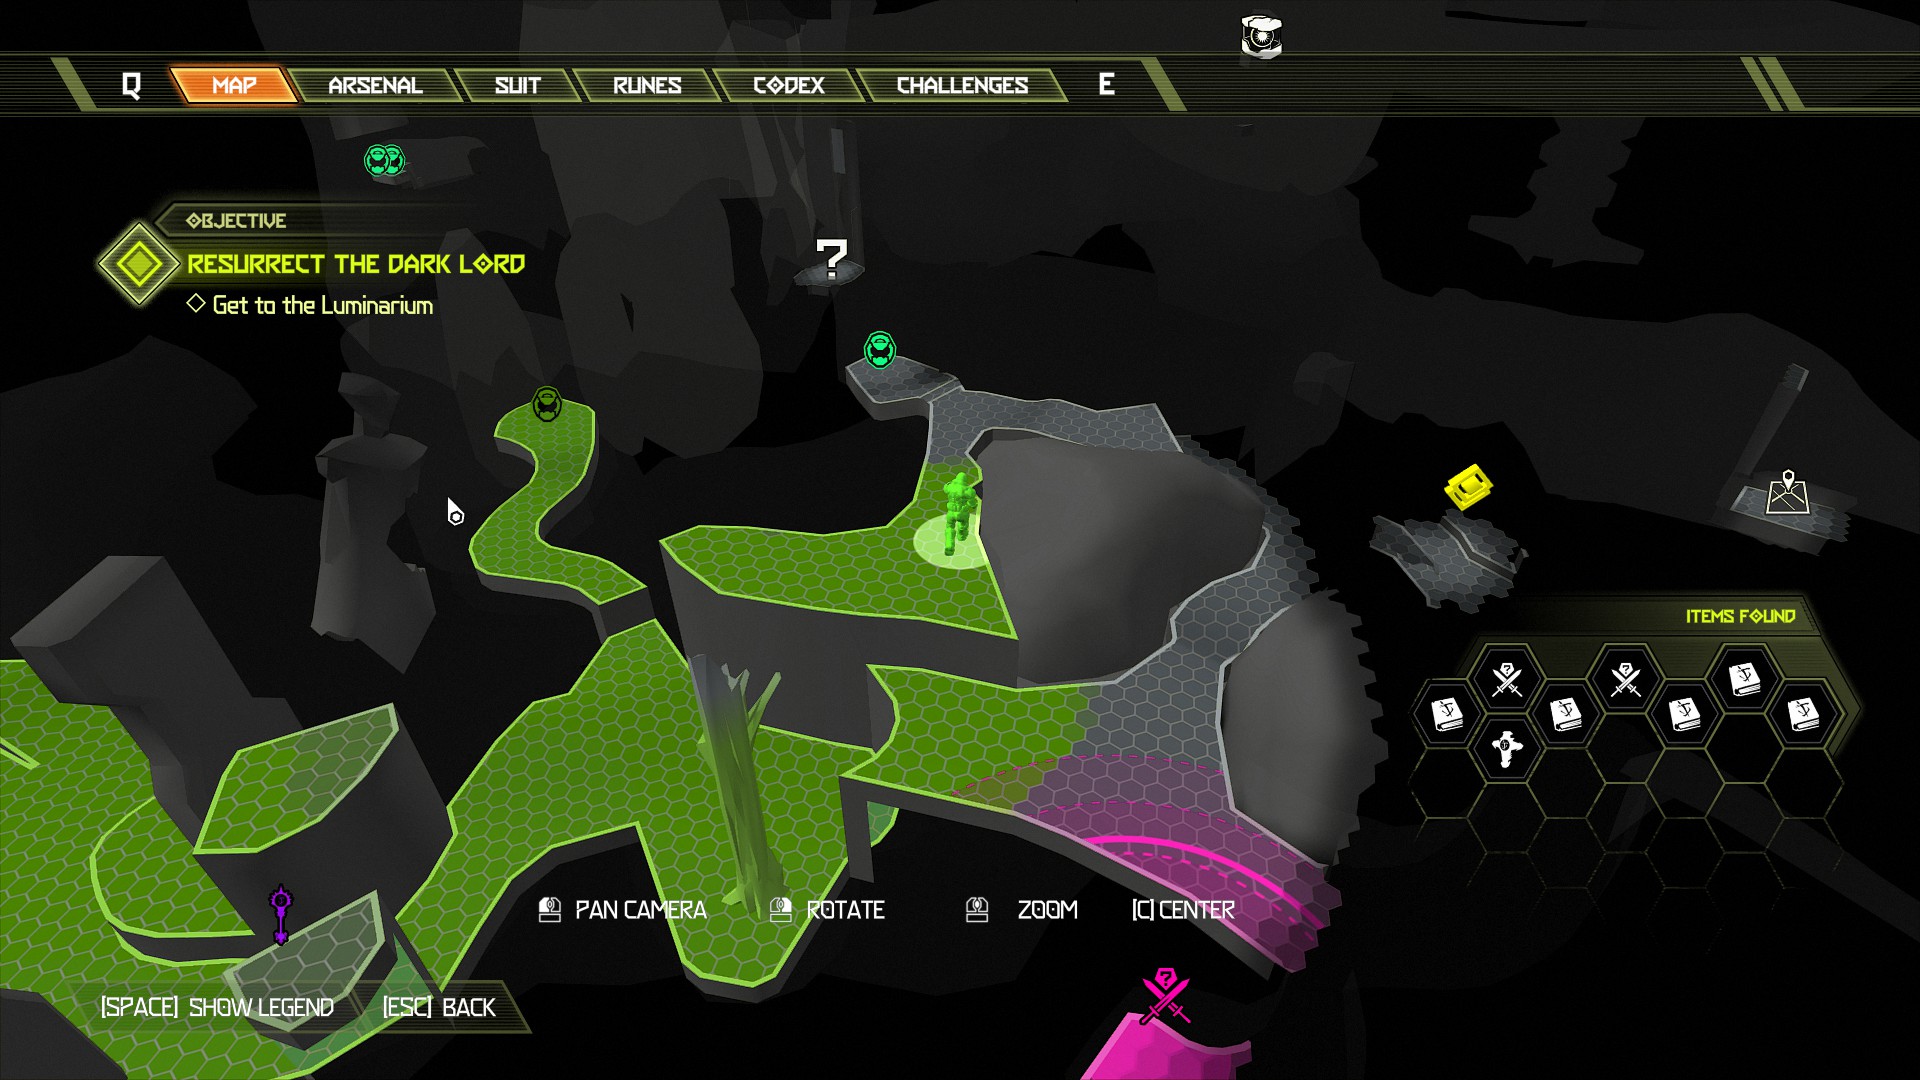
After collecting the extra life head back towards the tree but follow the path around to your right and you should be able to jump across to the opposite platform and collect the slayer gate key on the other side.
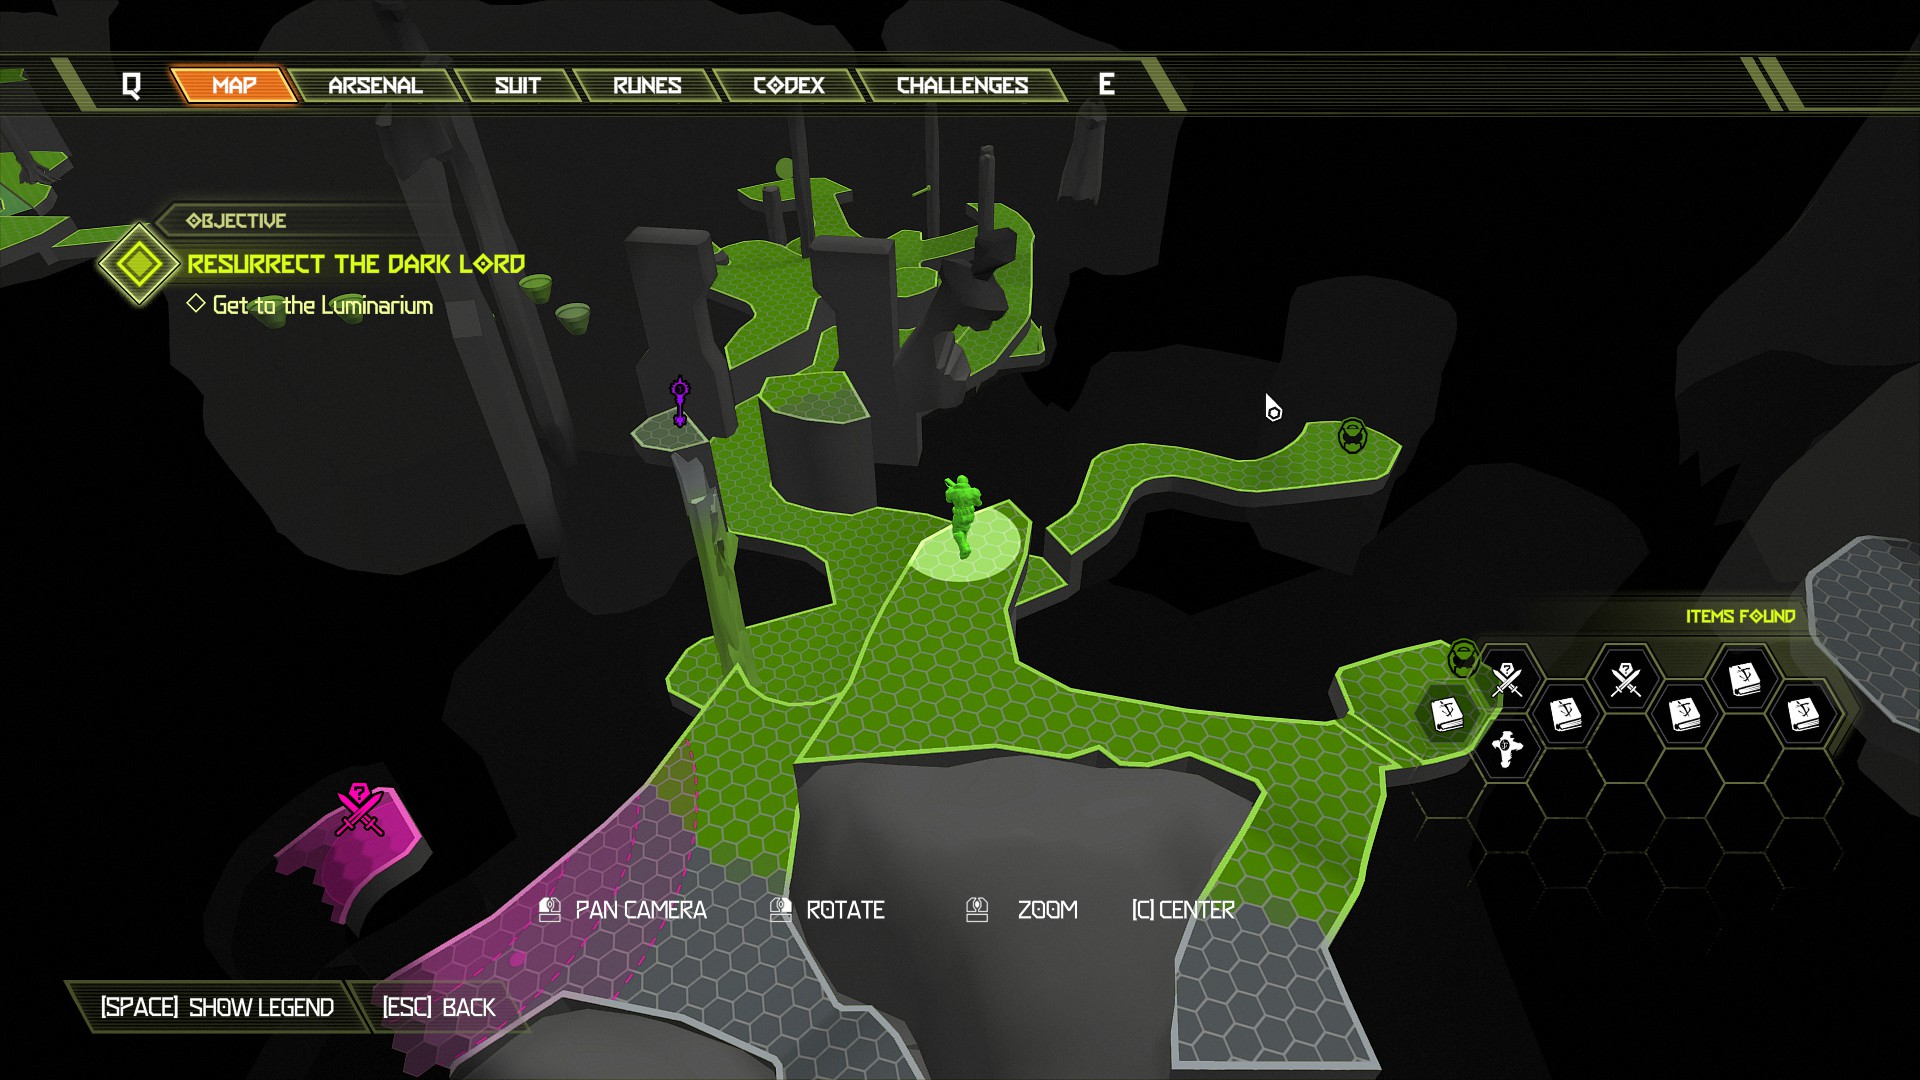
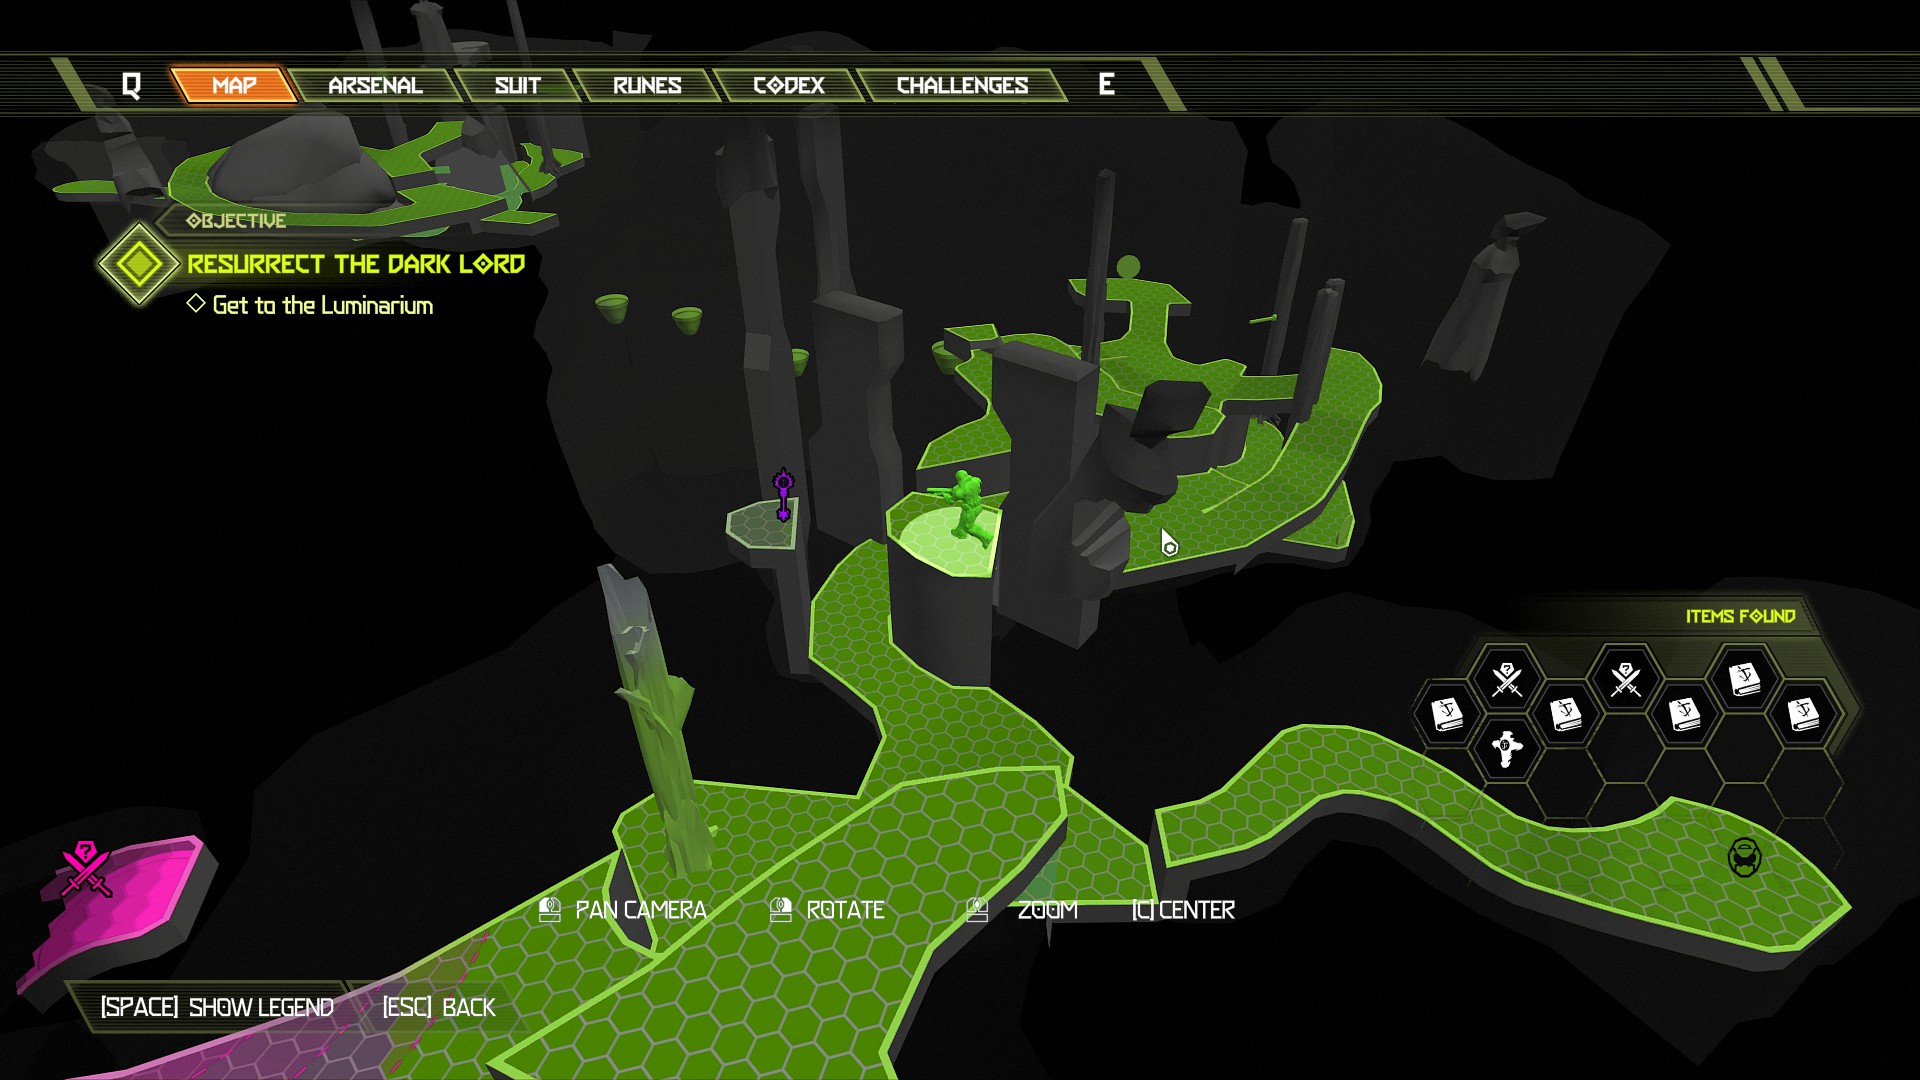
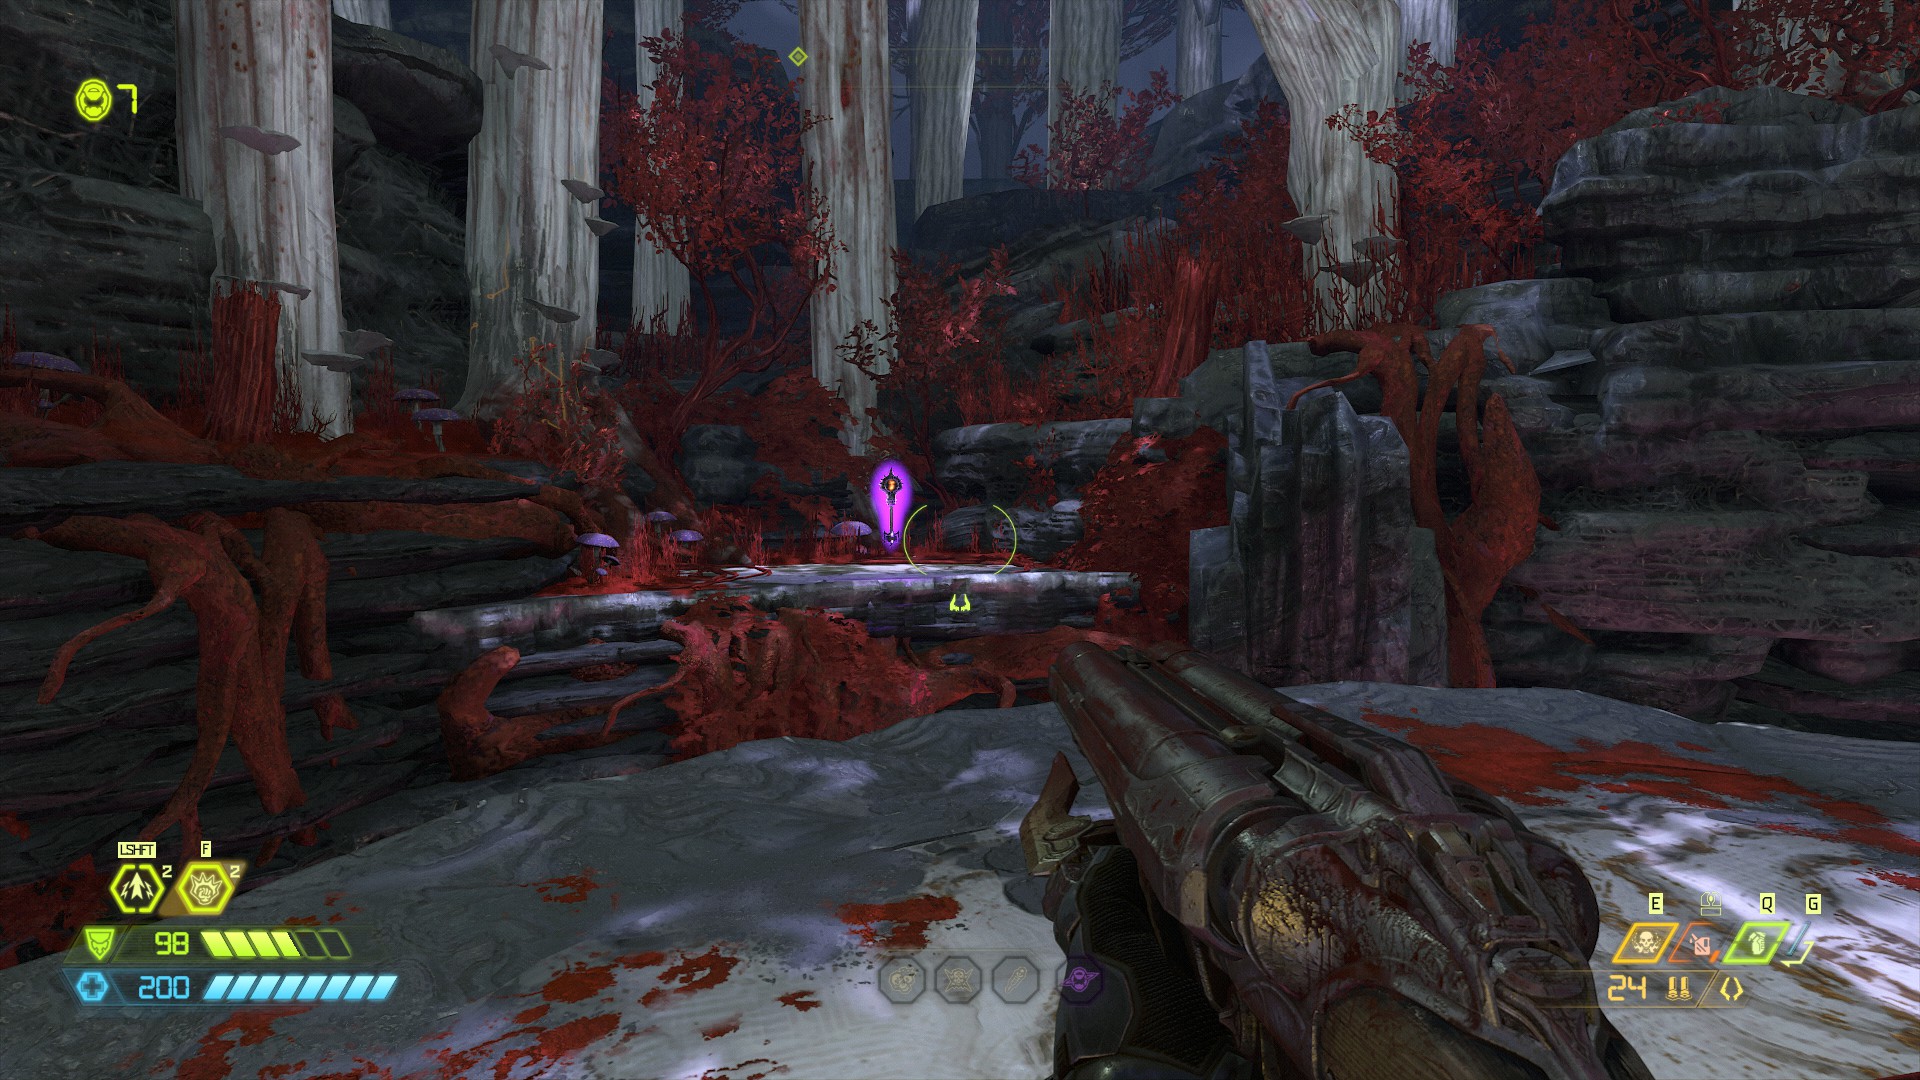 After collecting the slayer key go back once more to the area at the top of the tree and this time go straight ahead from the direction you originally climbed up from, on the right side wall will be a breakable wall and inside you will find the first secret encounter.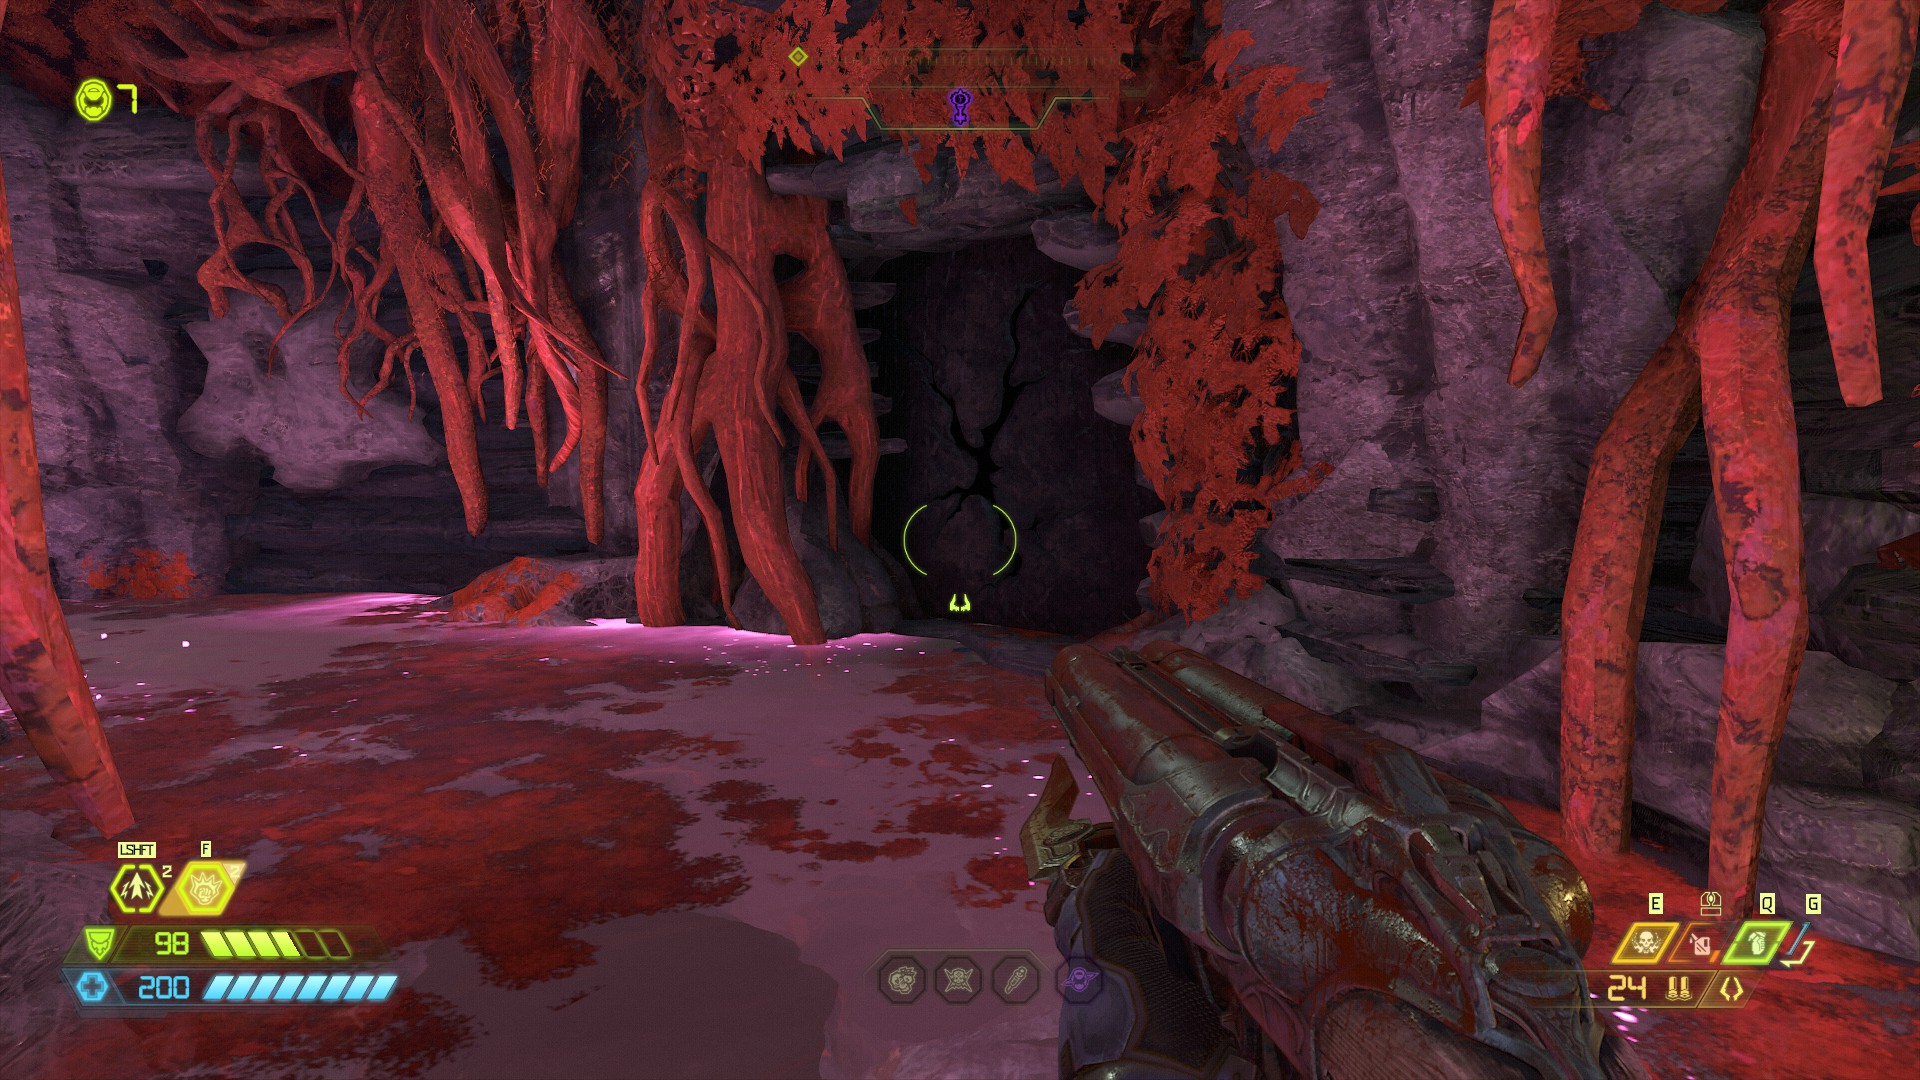
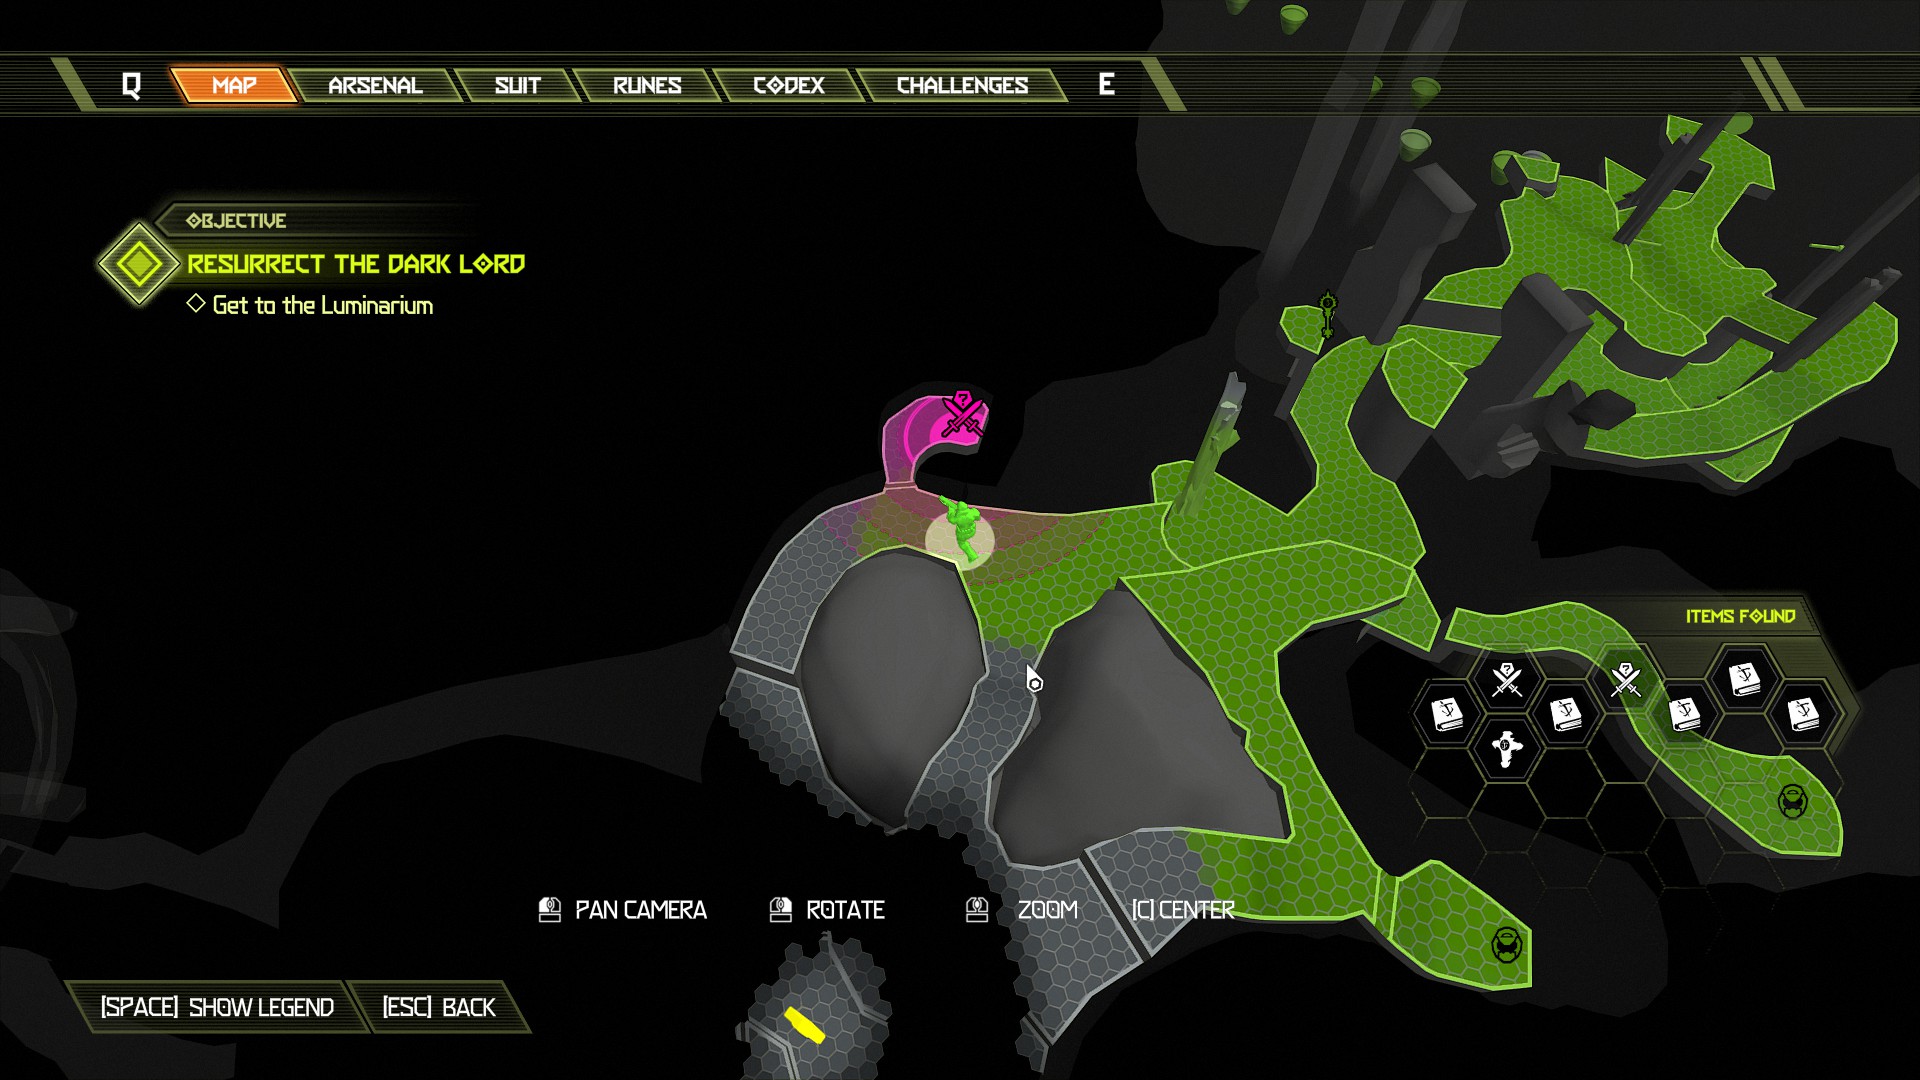
From the secret encounter head towards the mission marker and you will see a waterfall below it in the lower section, behind it is a breakable wall containing a blue orb.
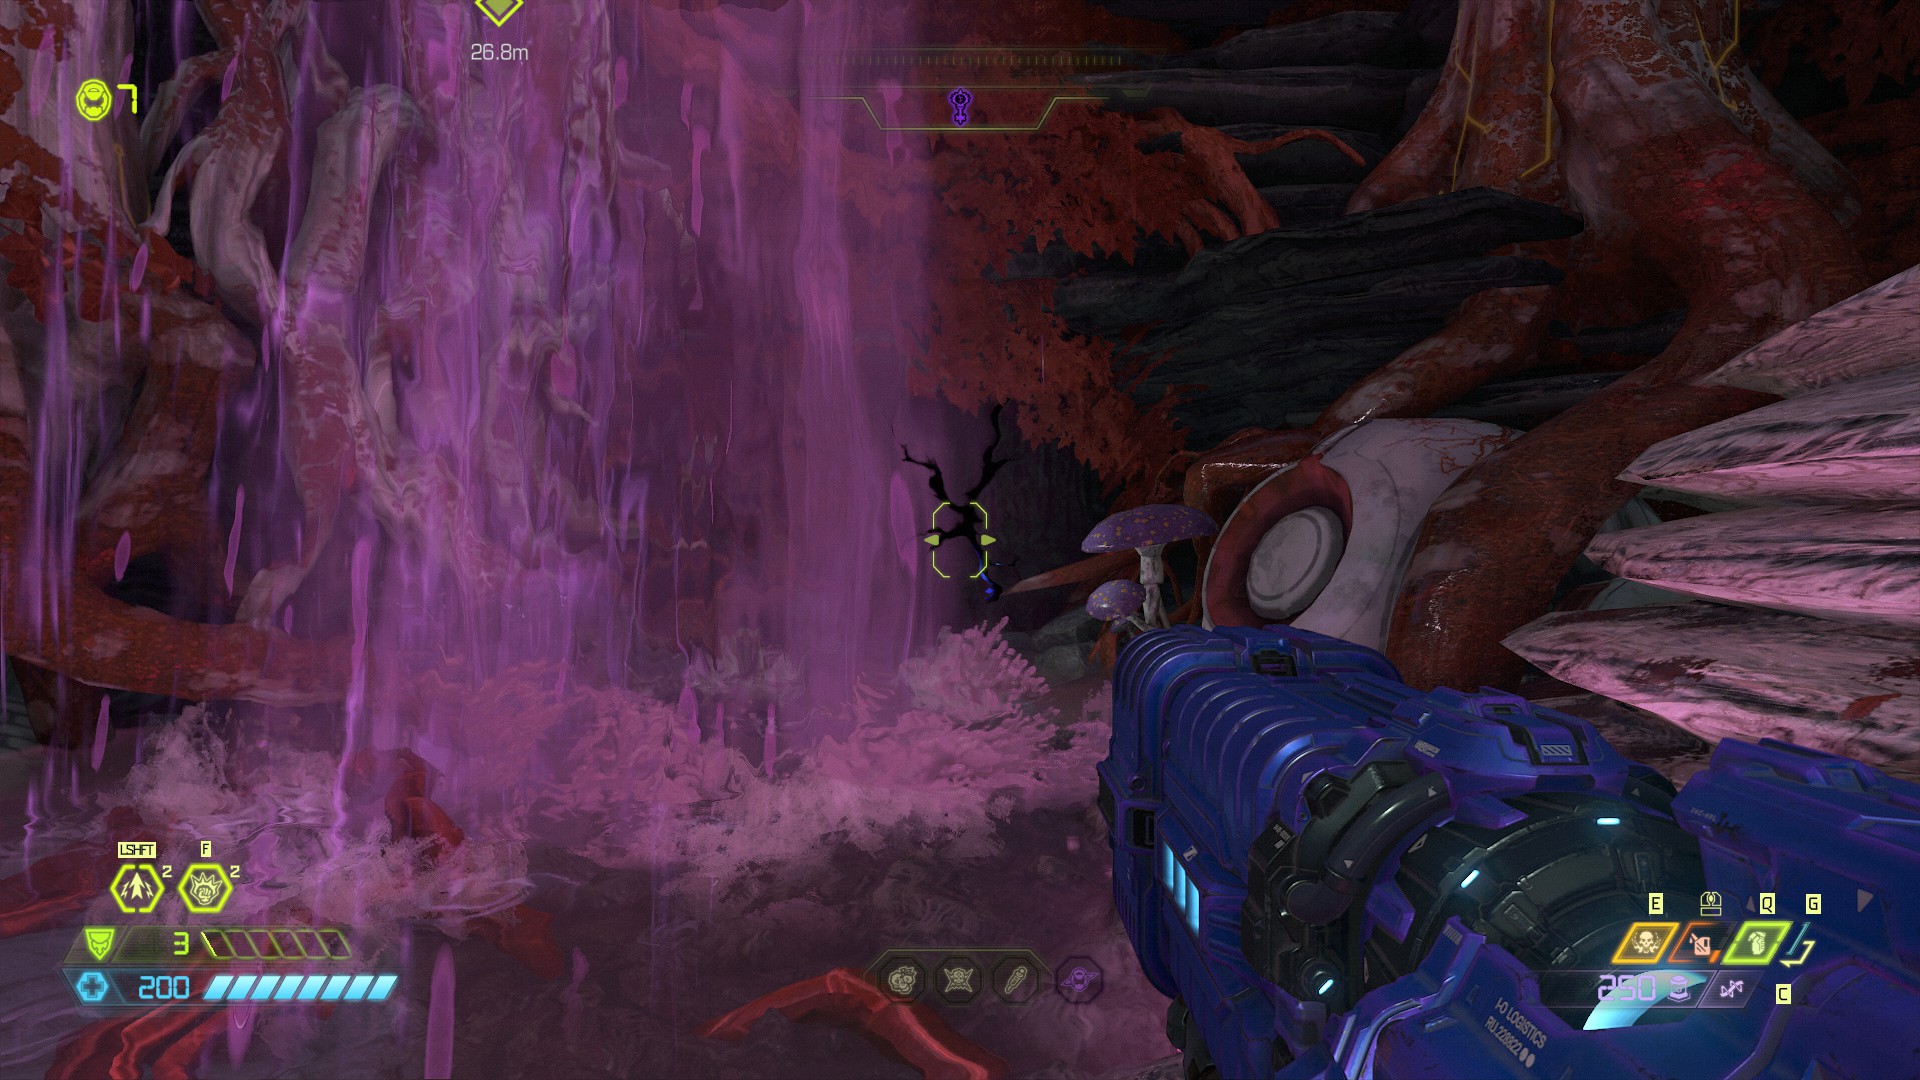
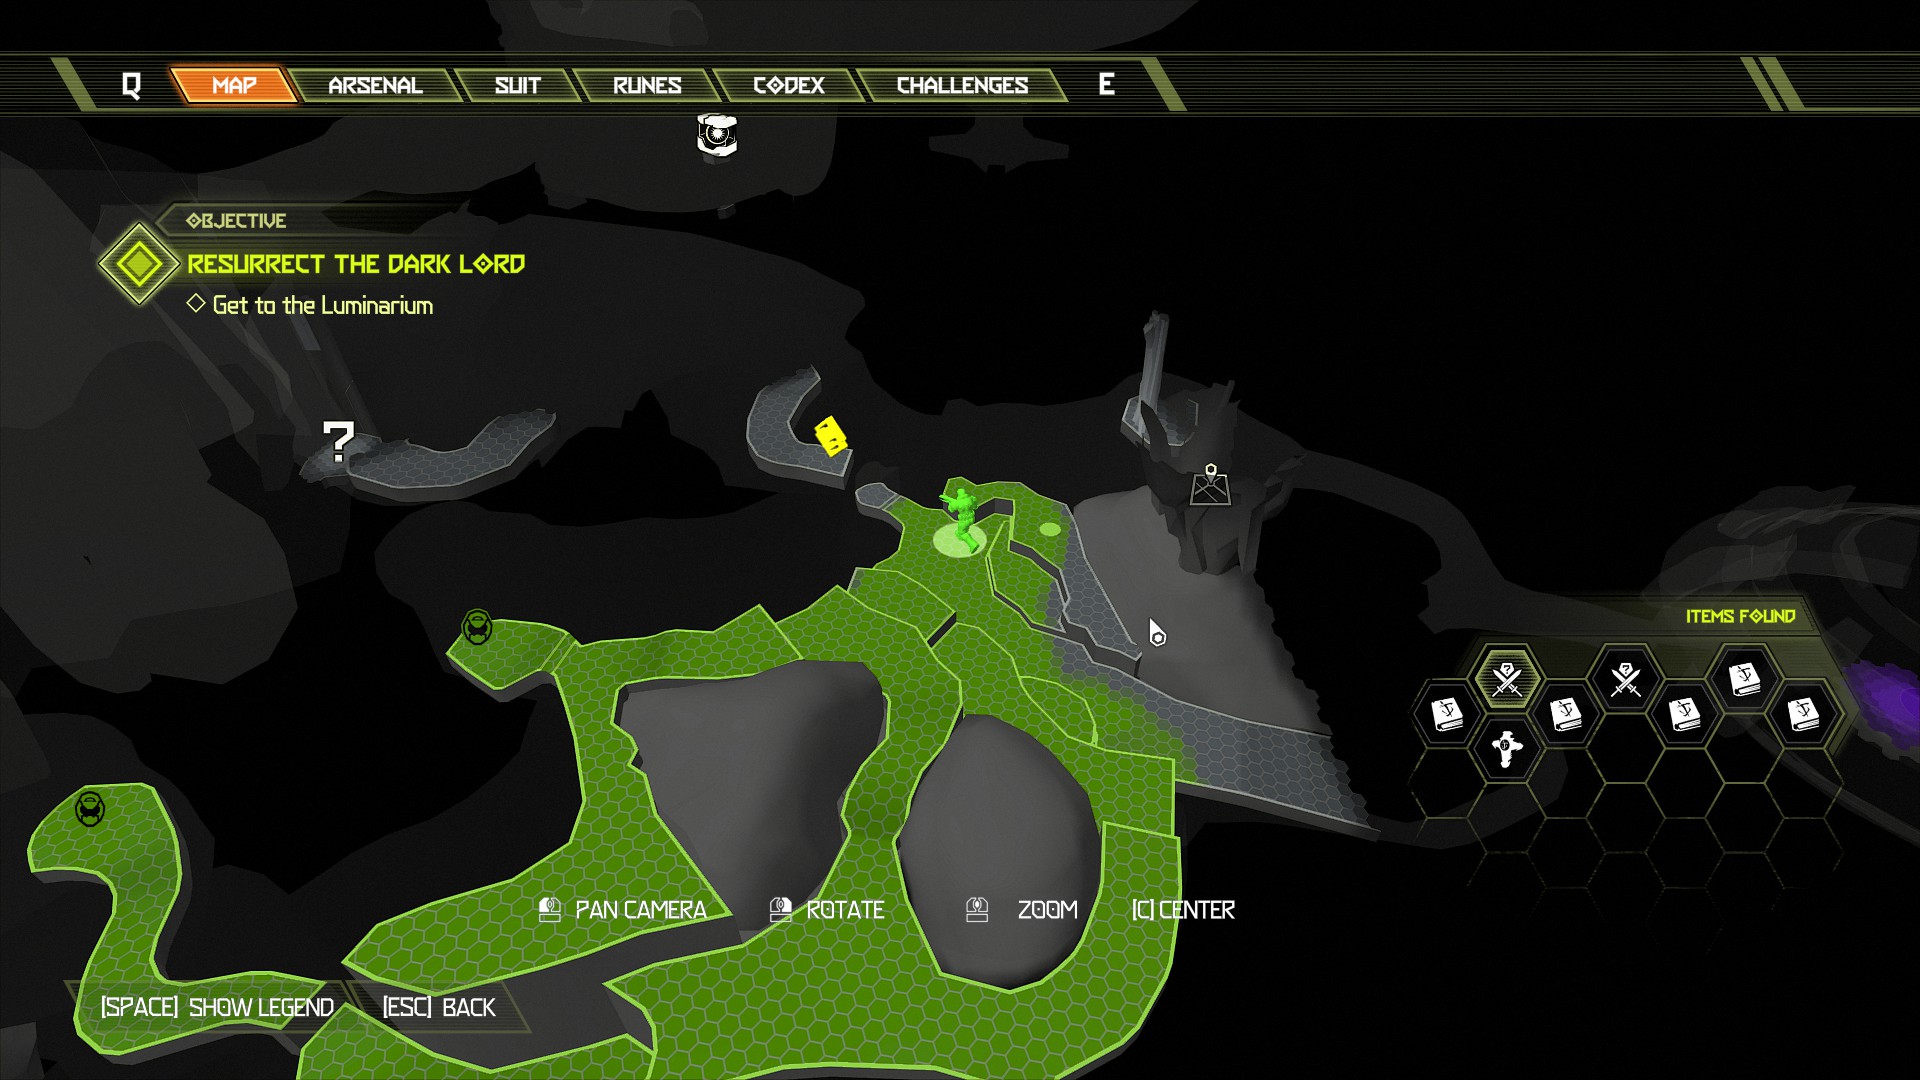
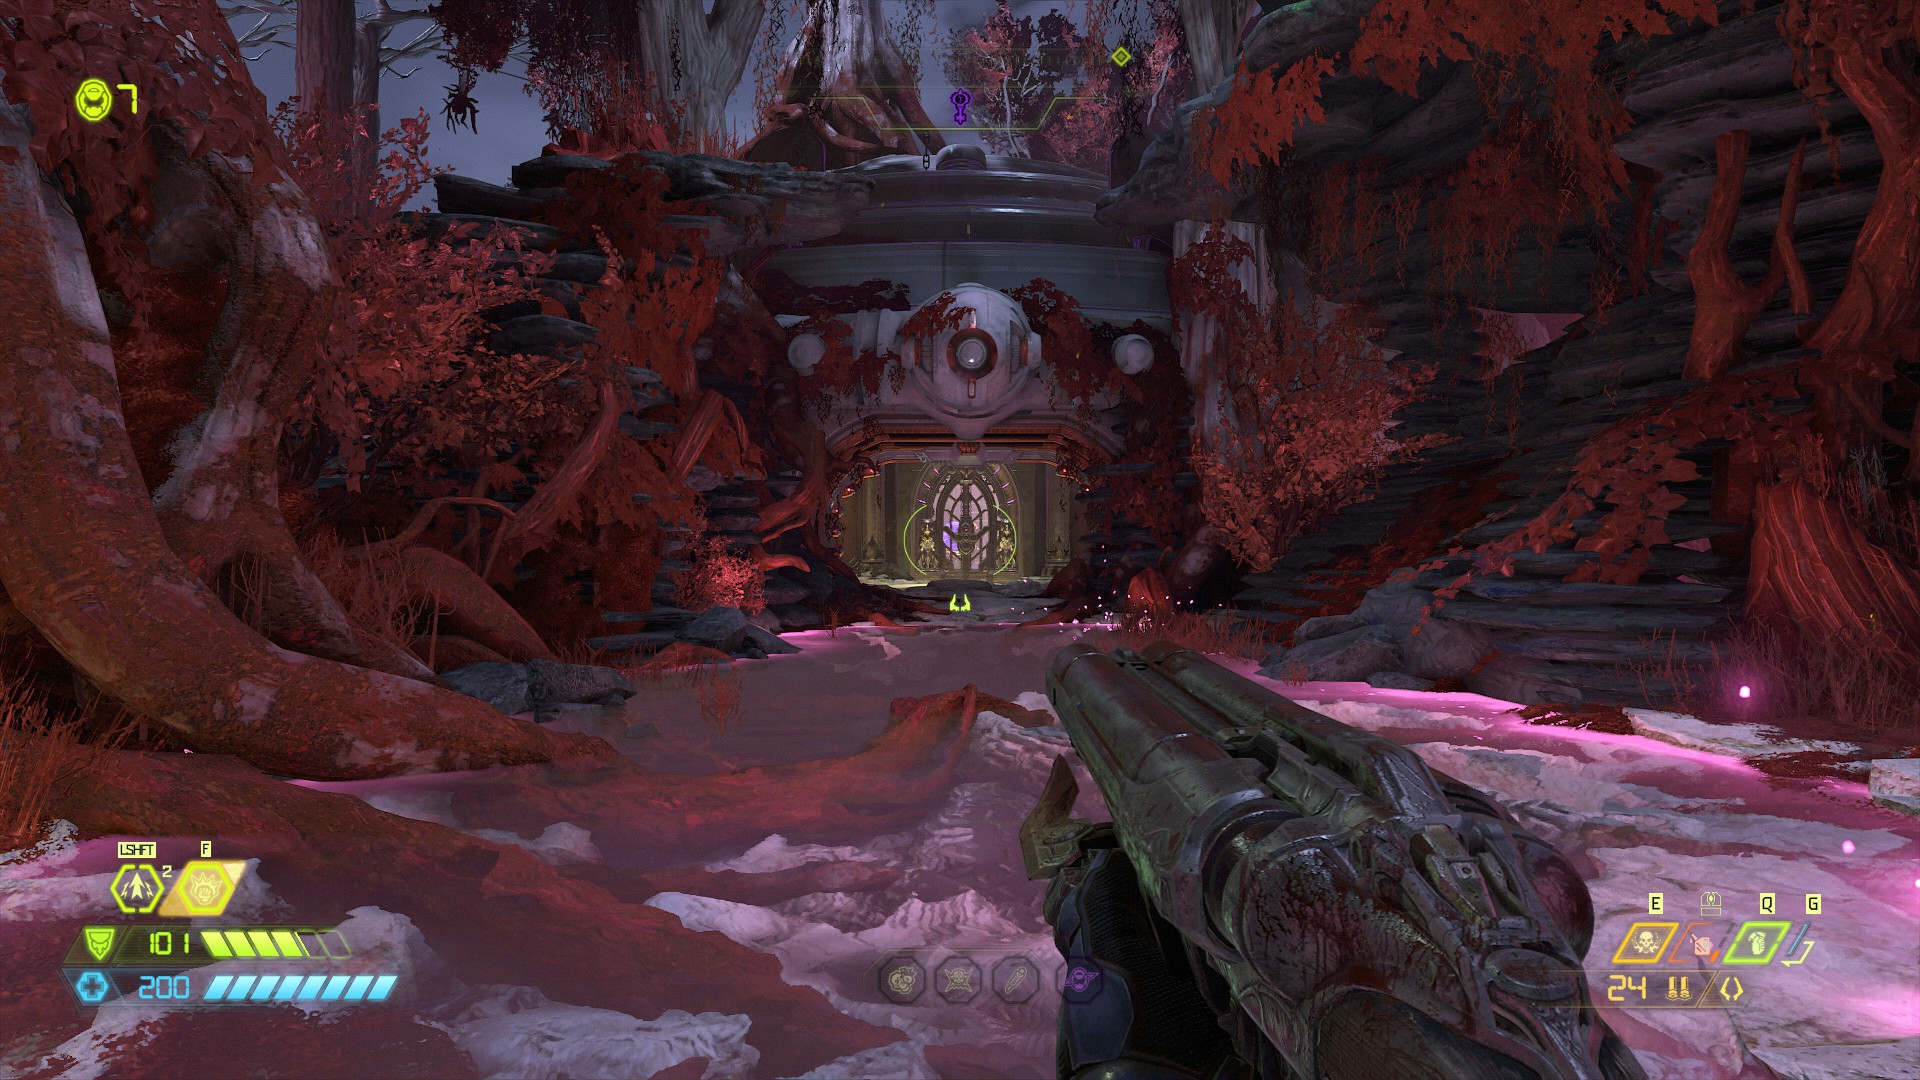
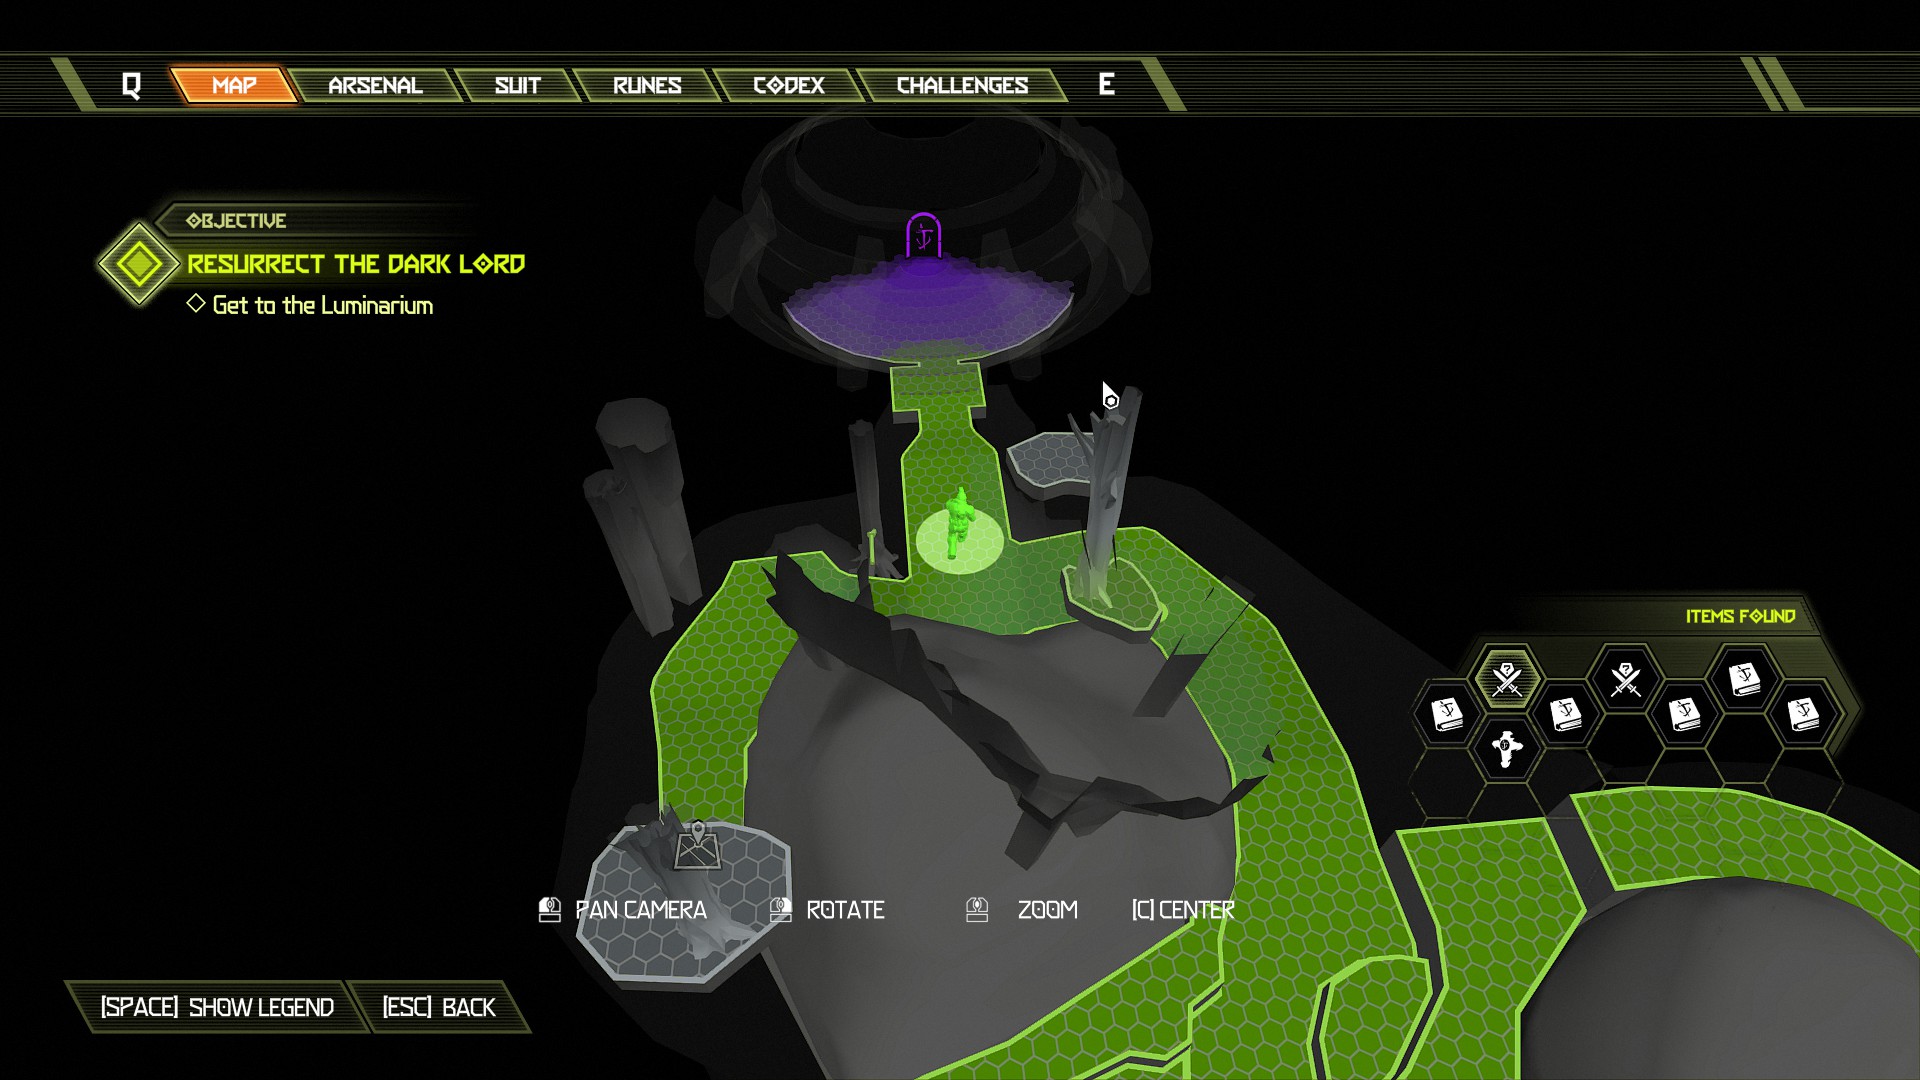
Continue further along past the slayer gate to find the automap sitting at the dead end.
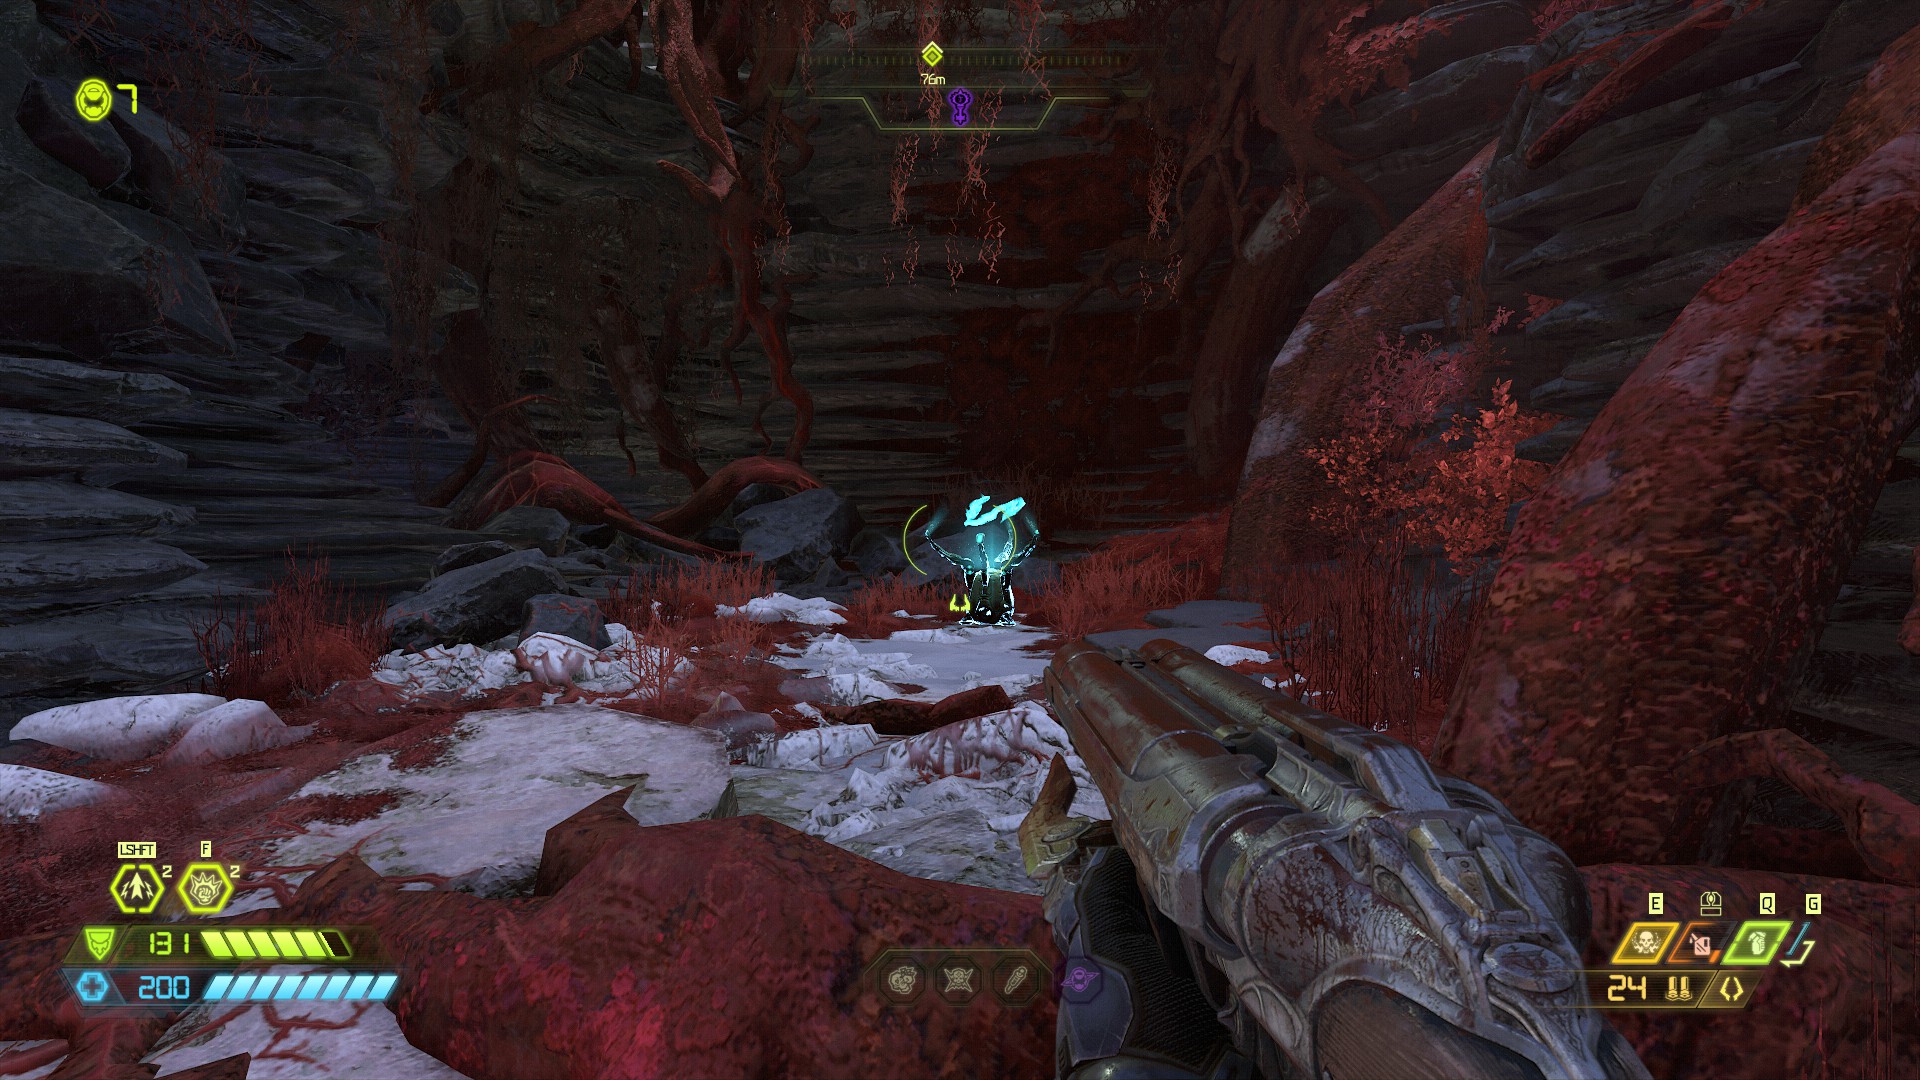
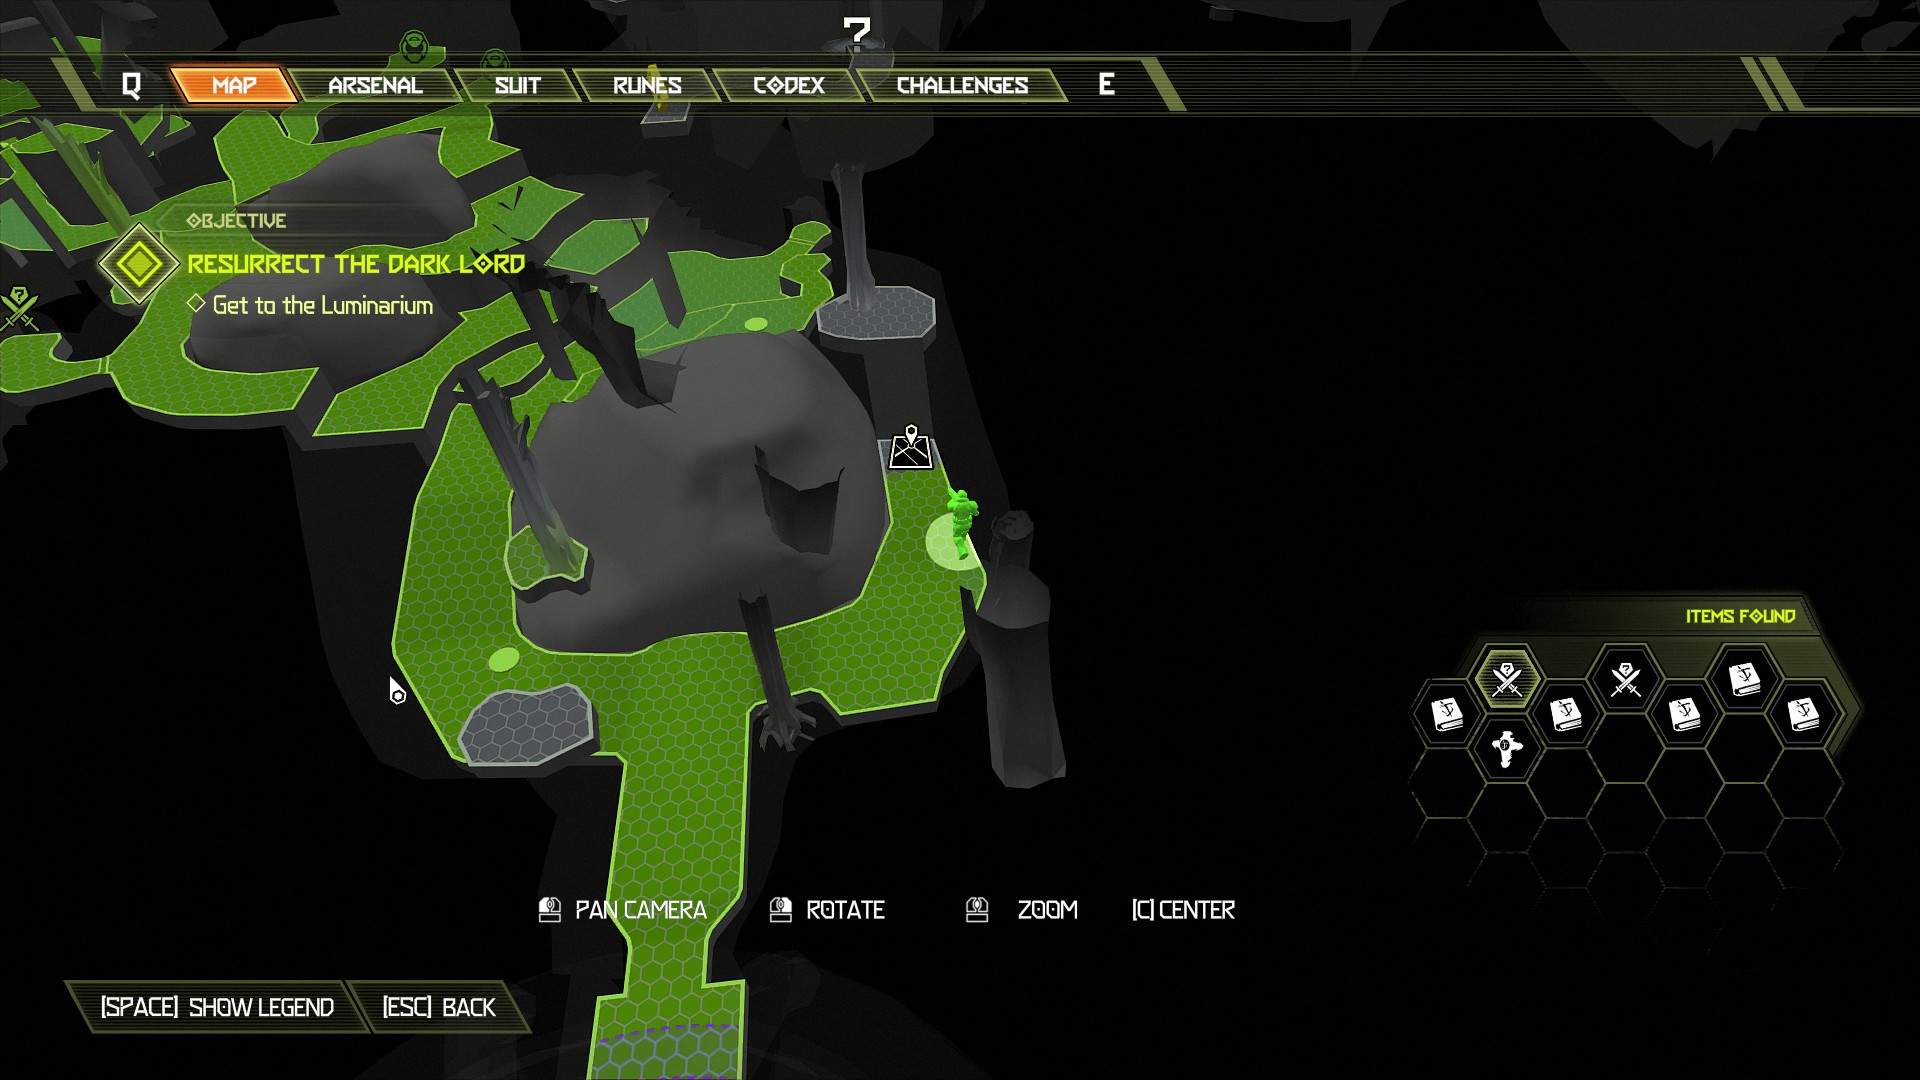
Now continue the mission up and across the trees etc.
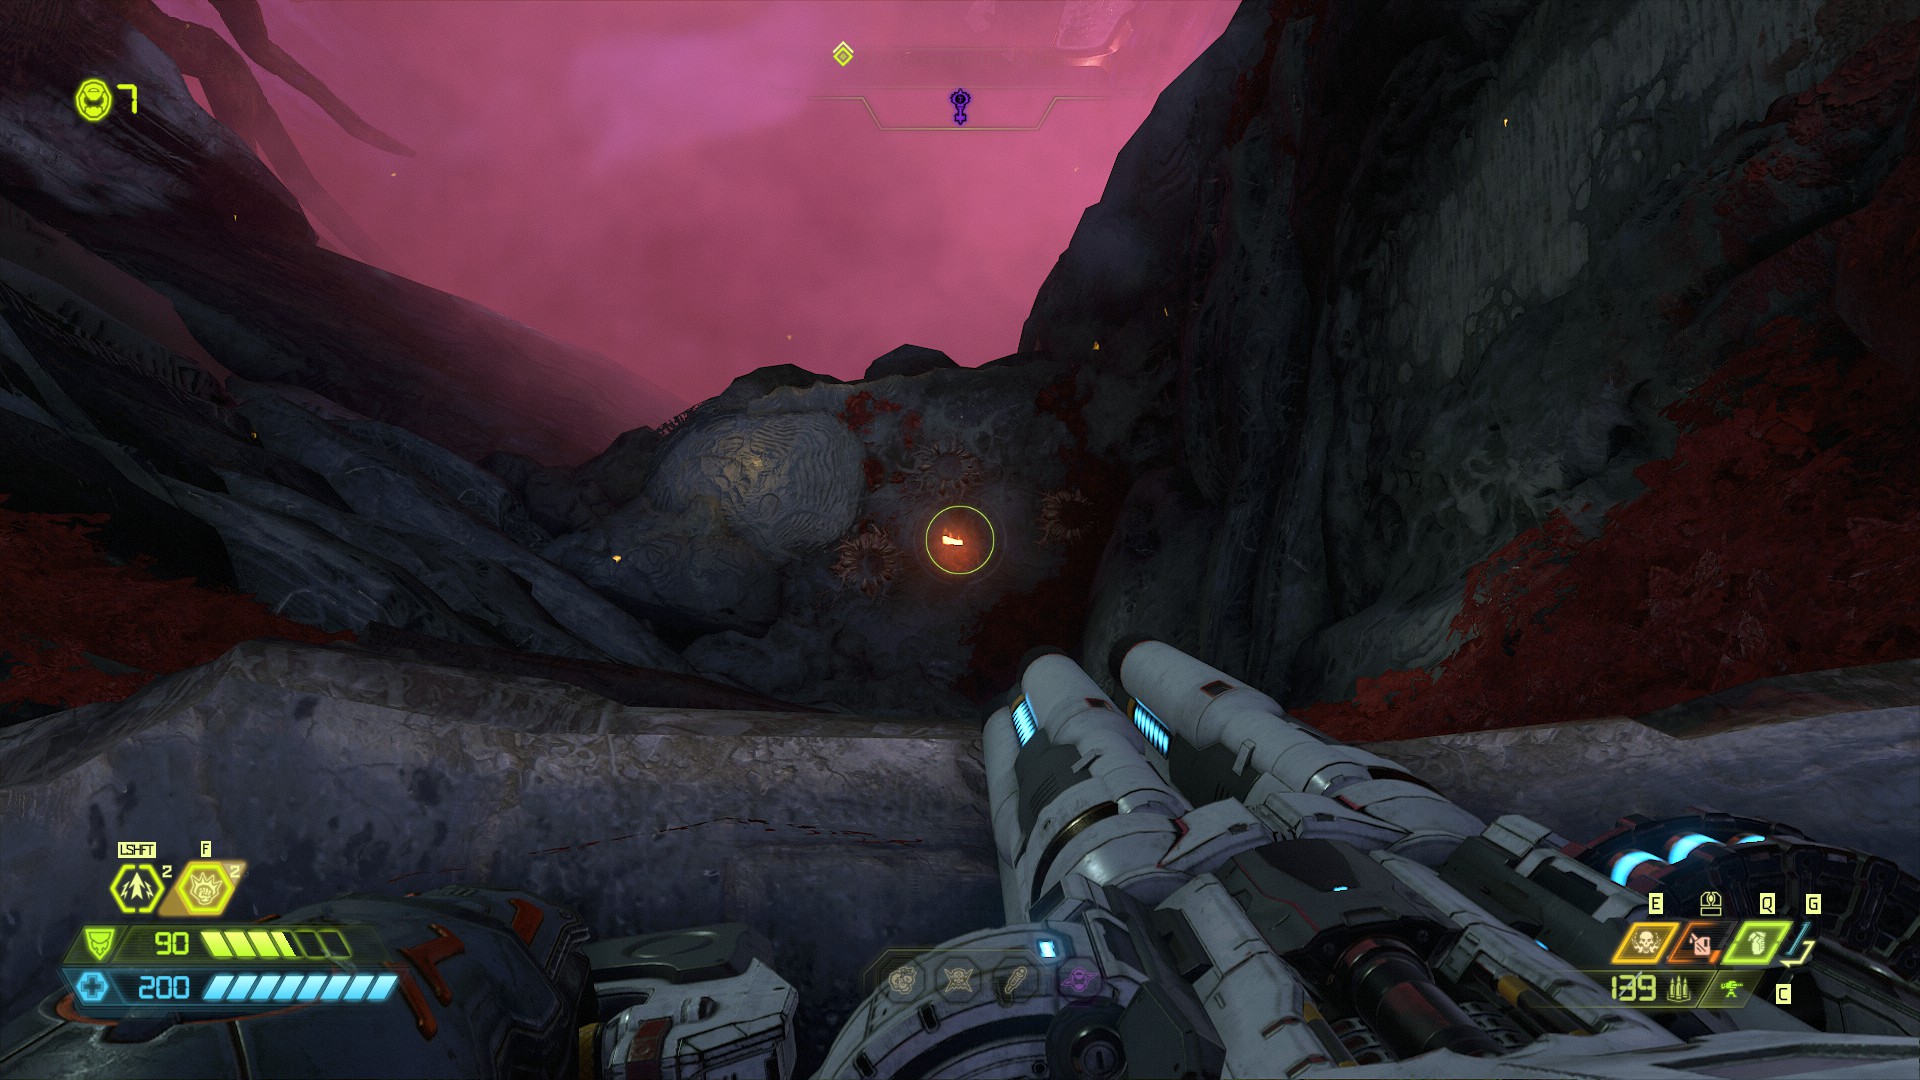
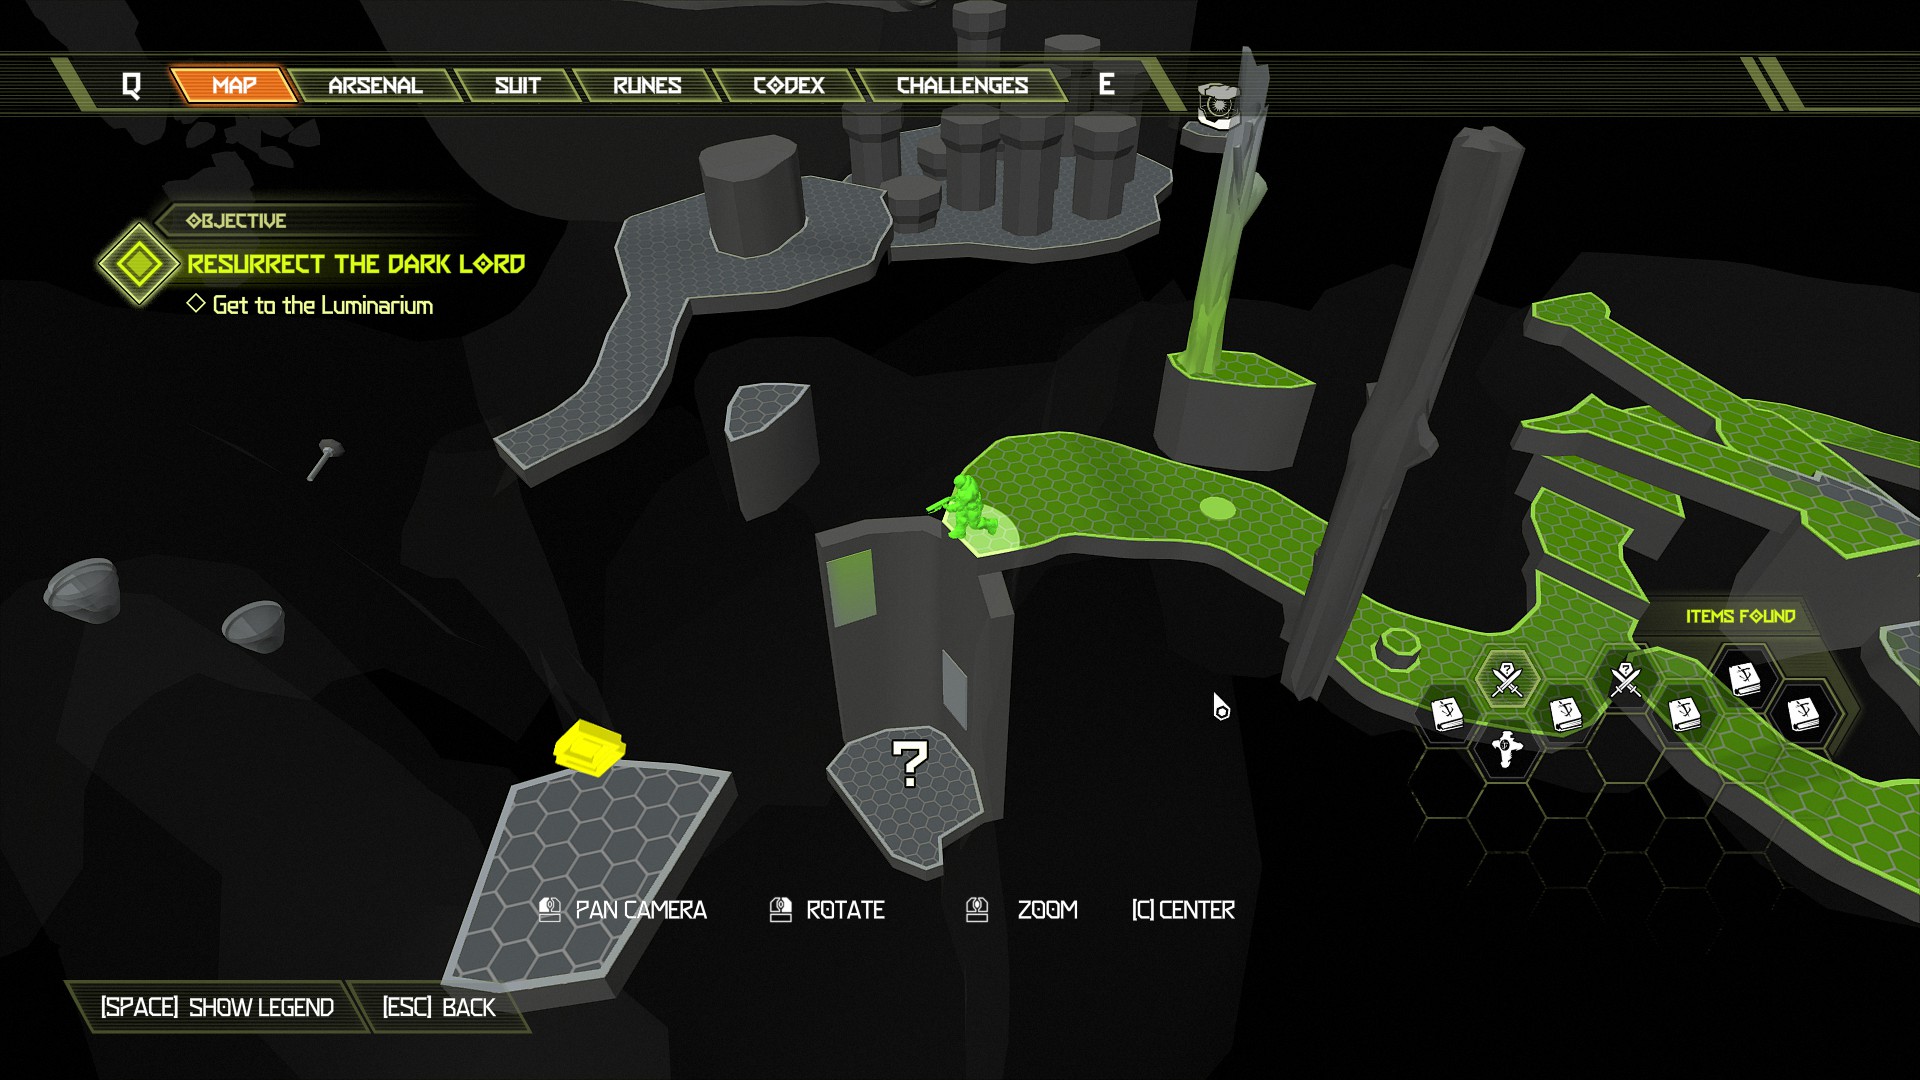
After the codex page head back and work your way up to the mission marker, proceed with the mission until you reach the platform next to the 2up extra life.
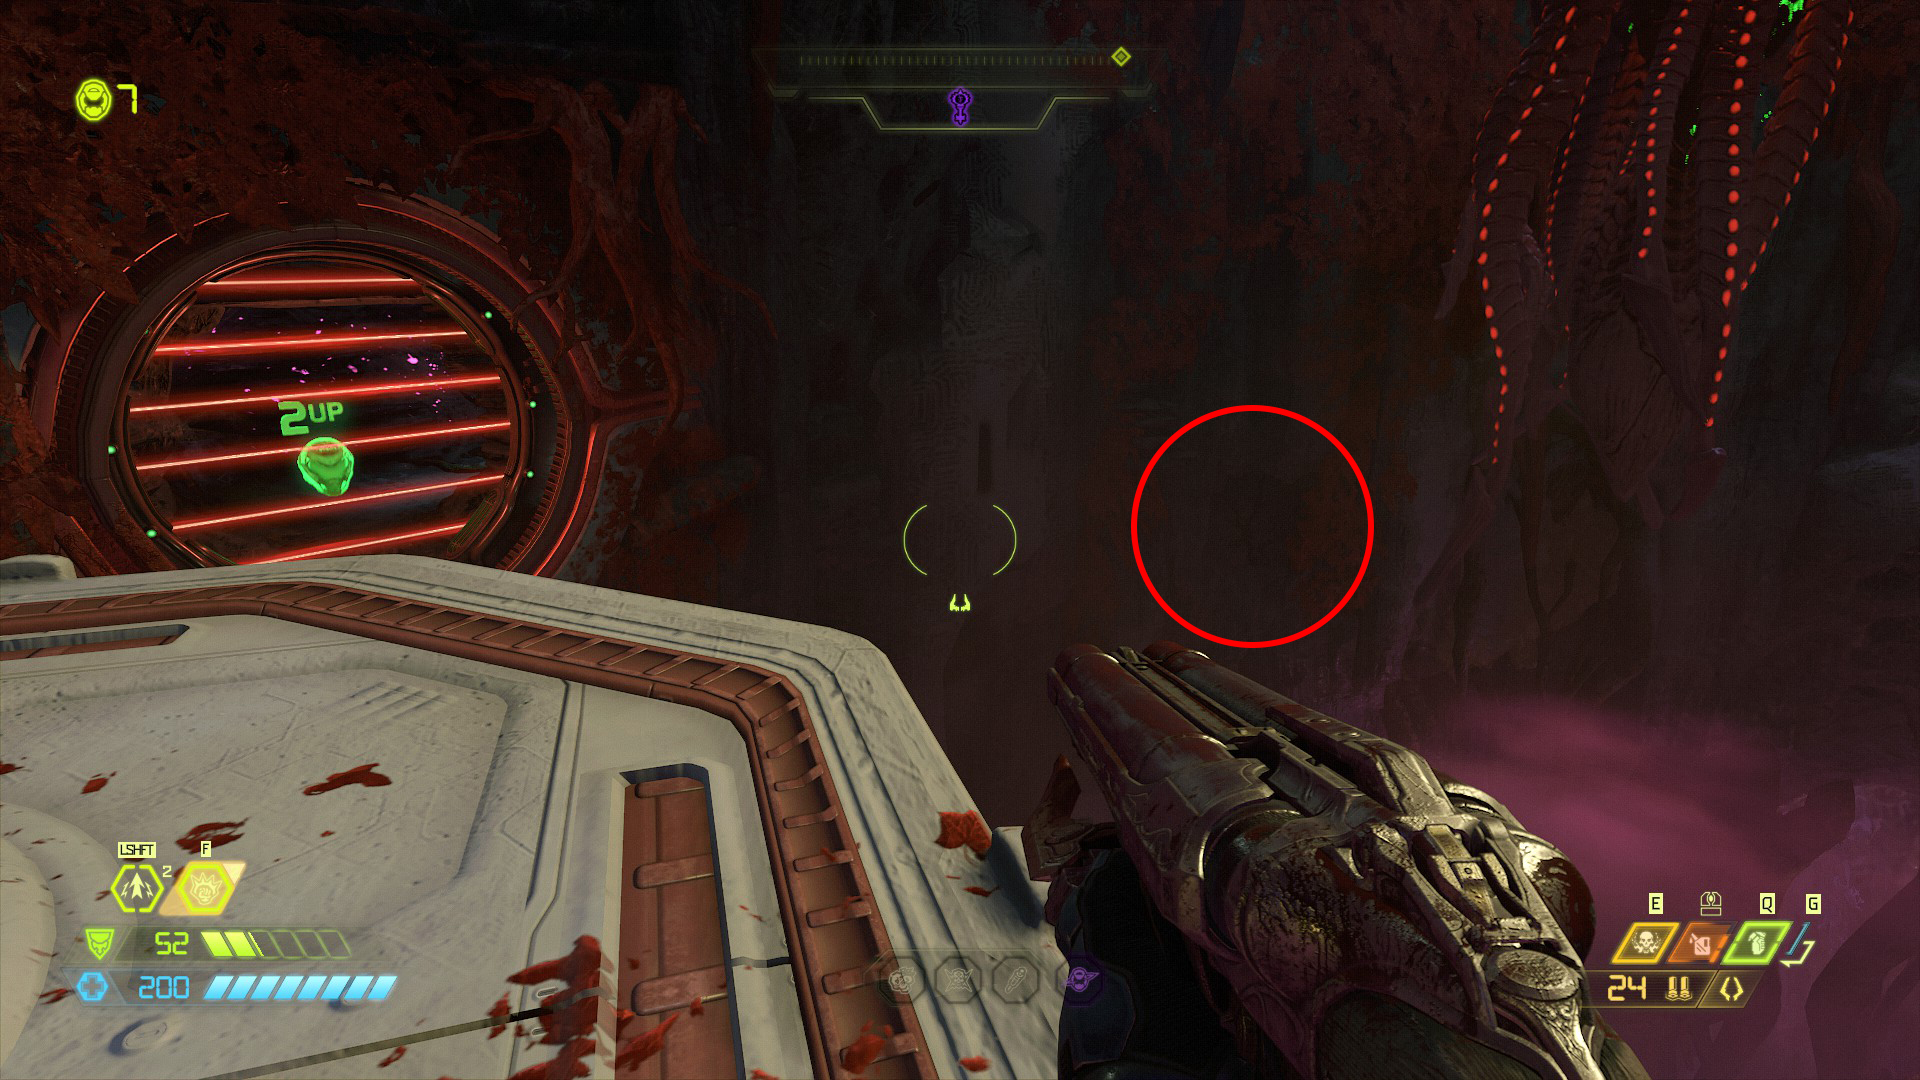
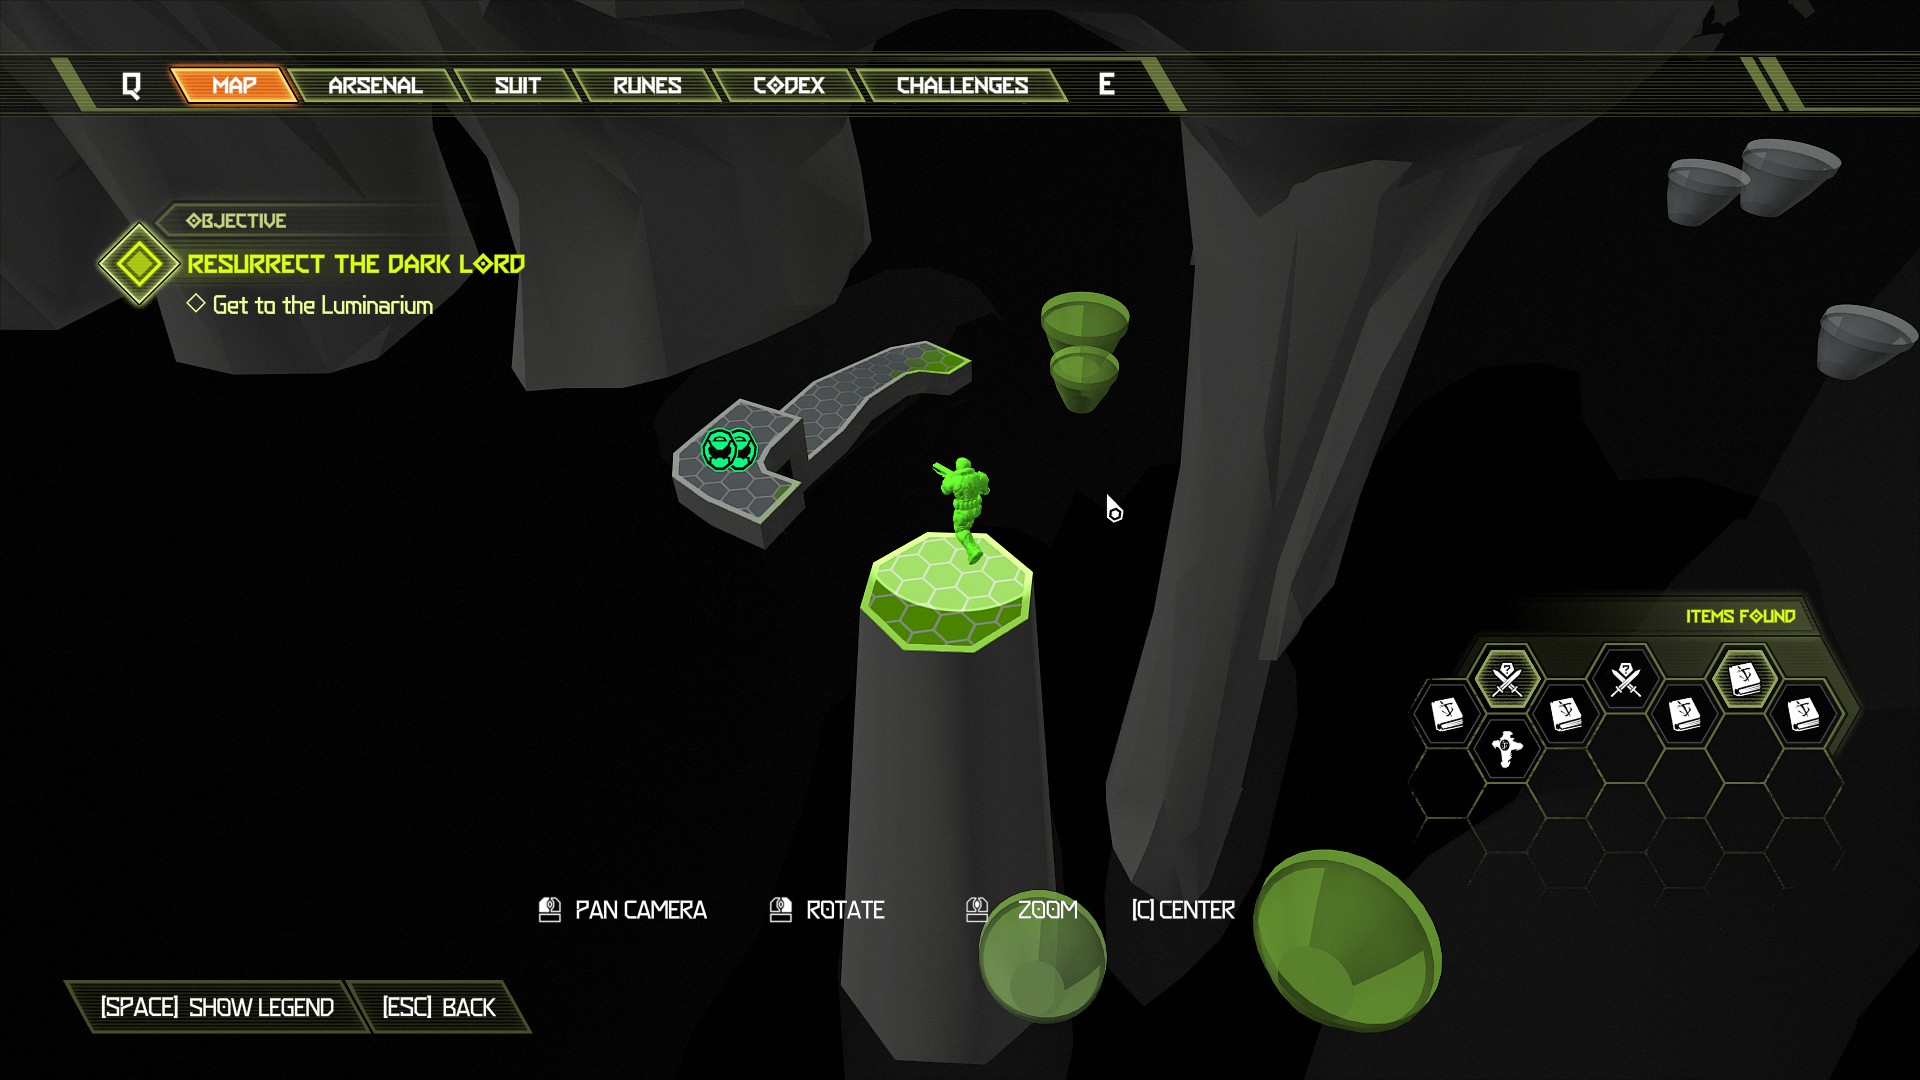
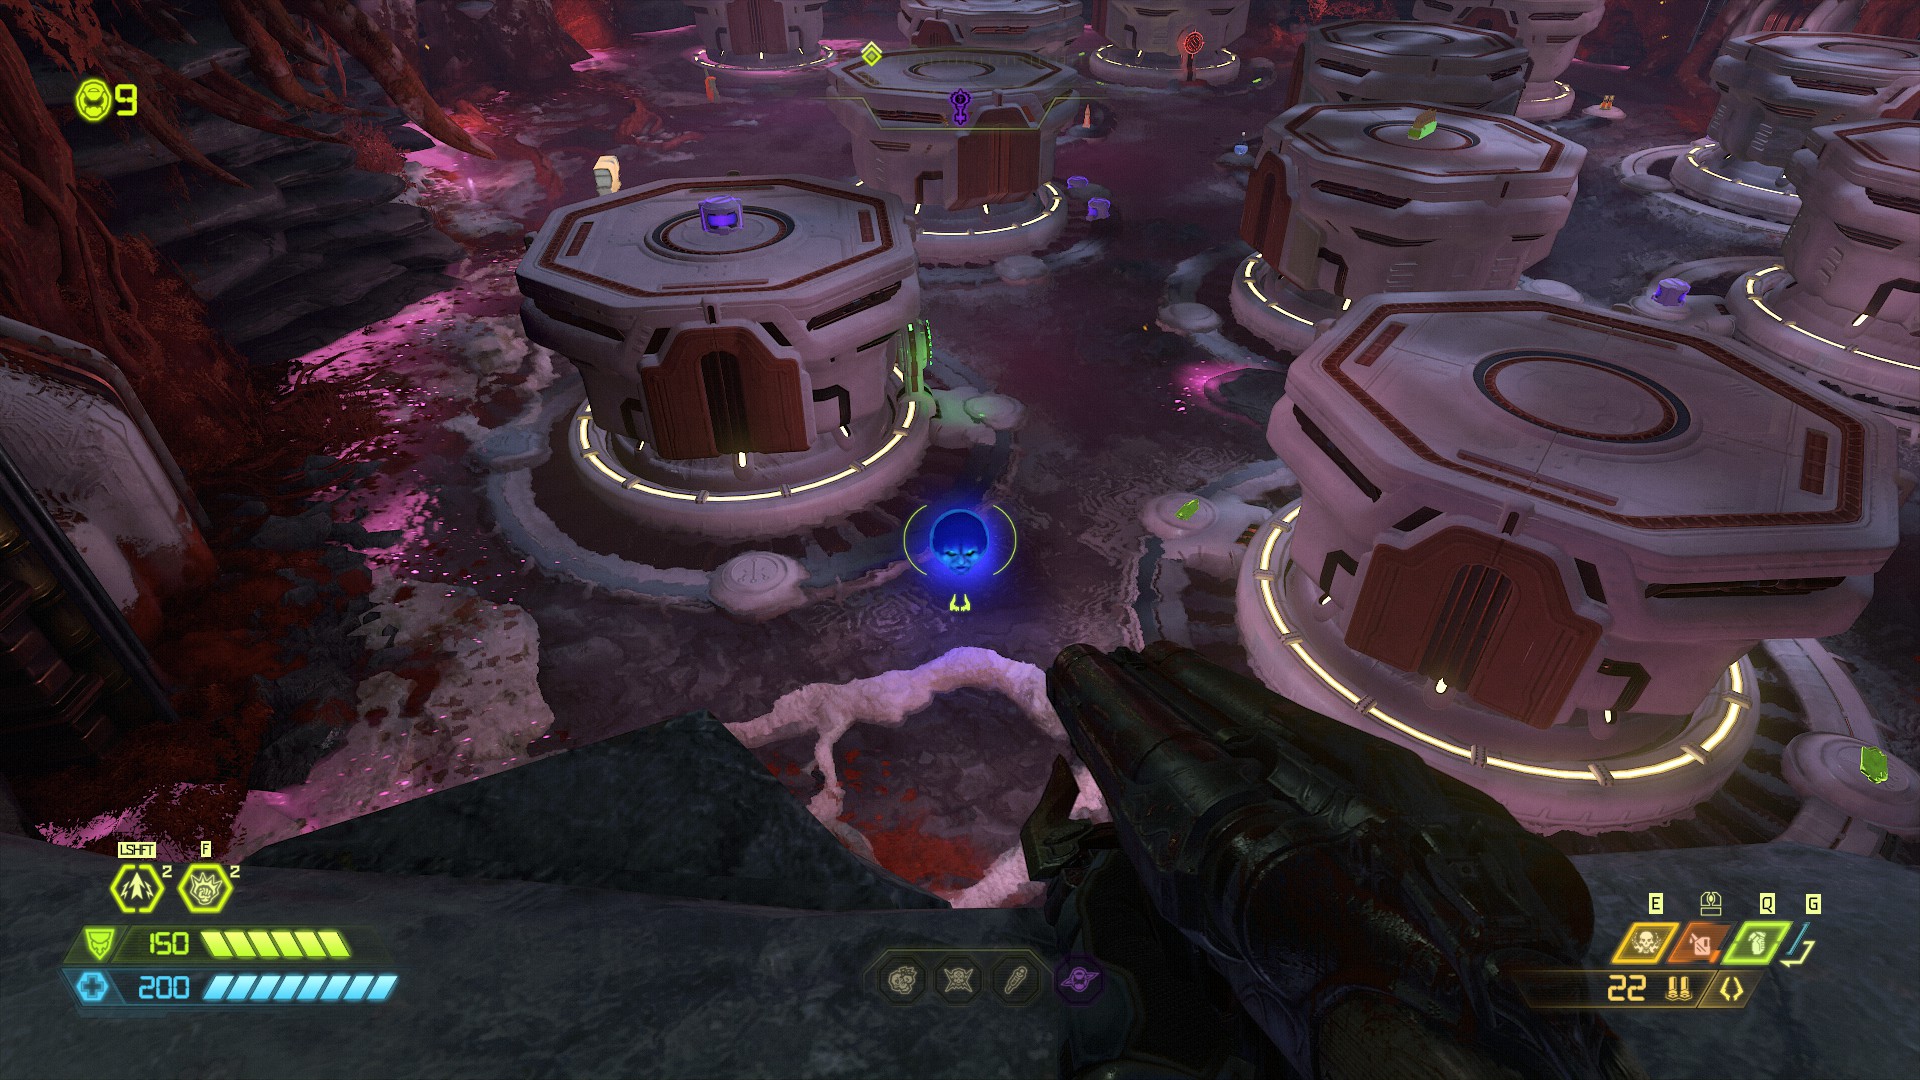
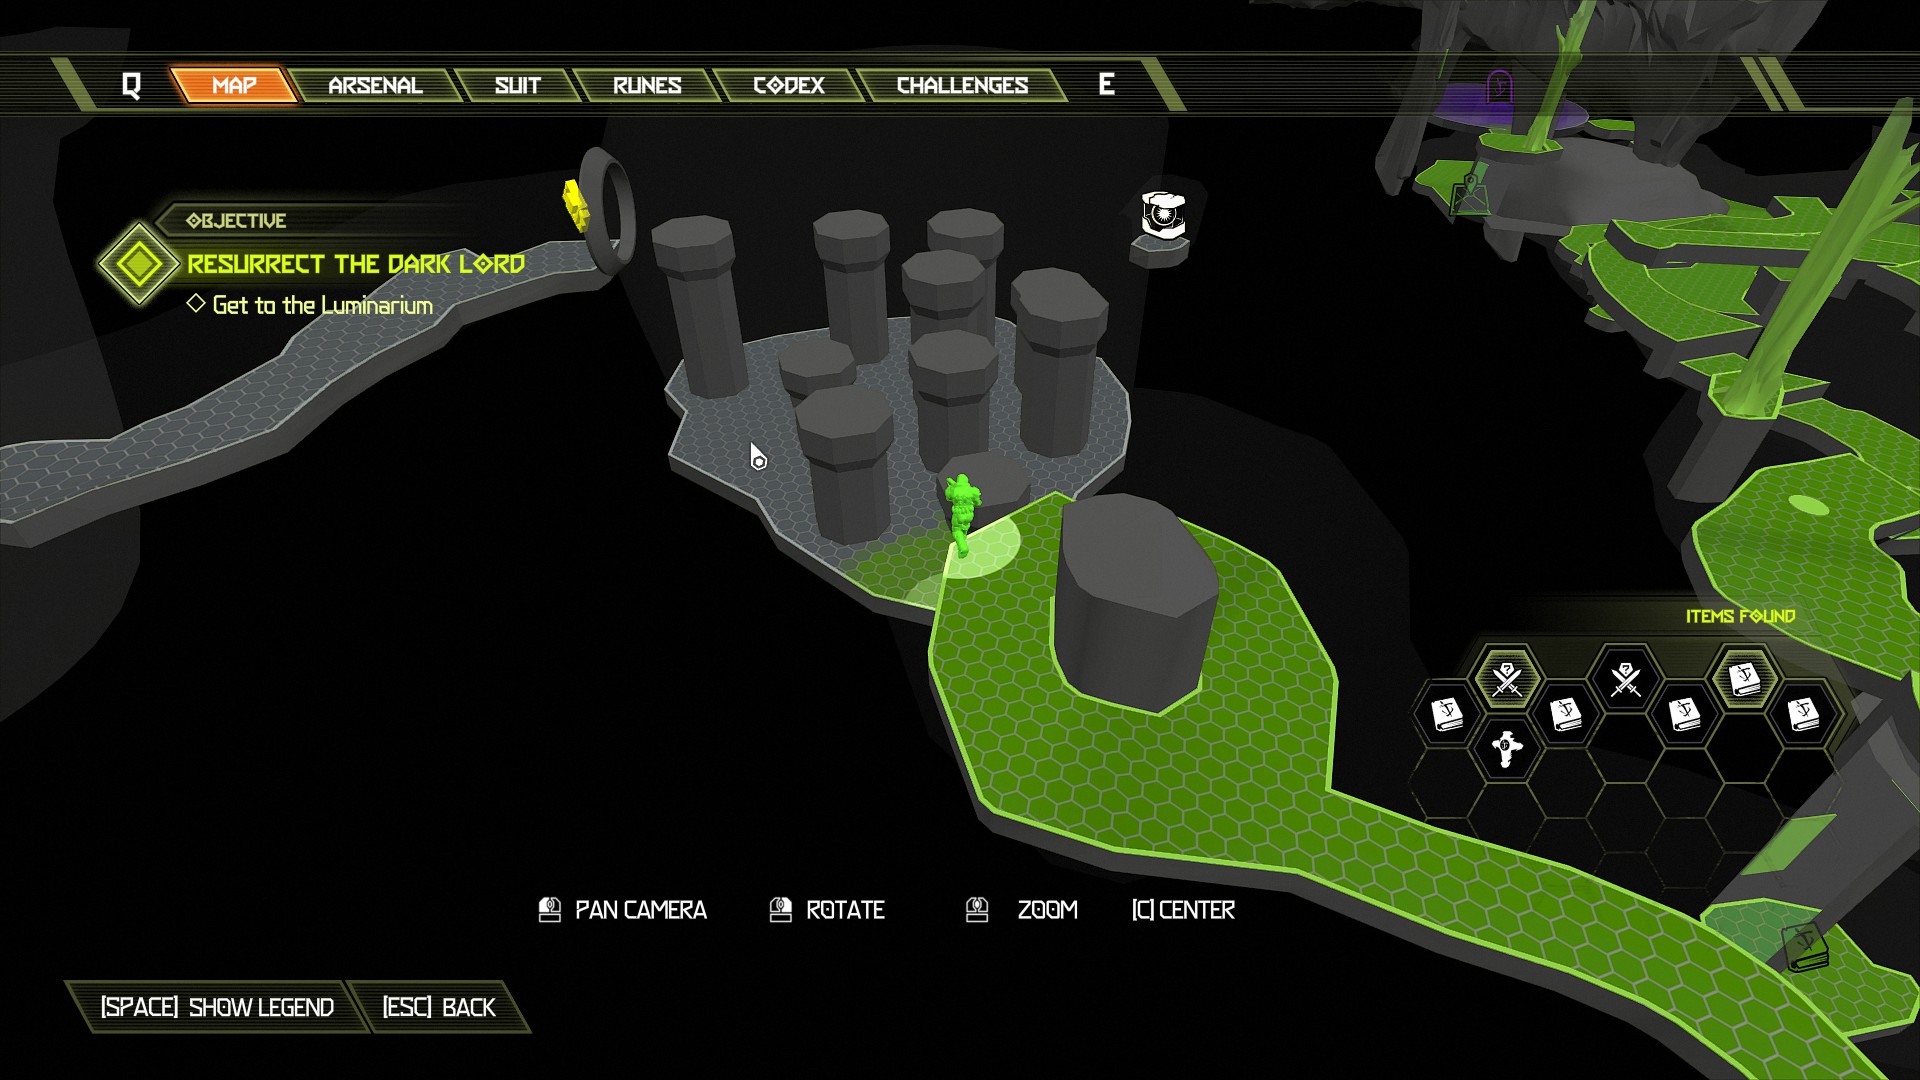
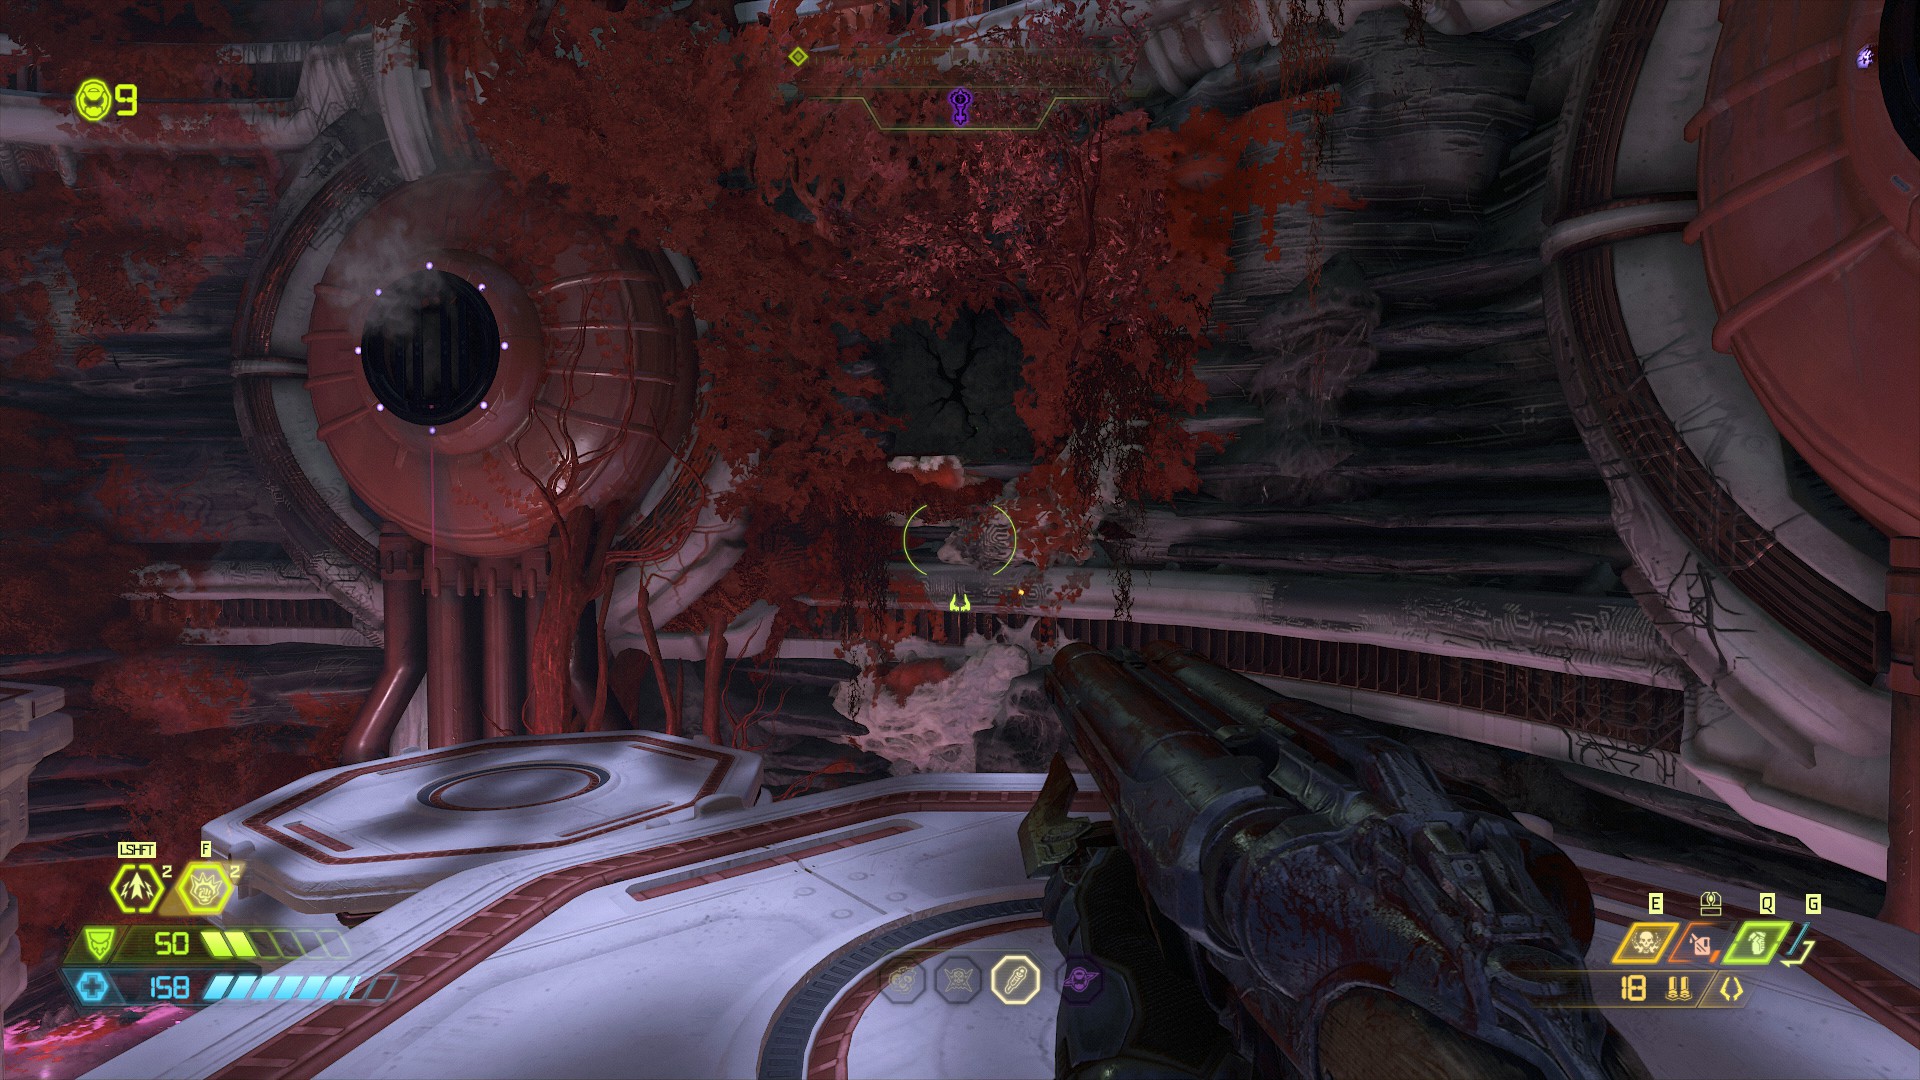
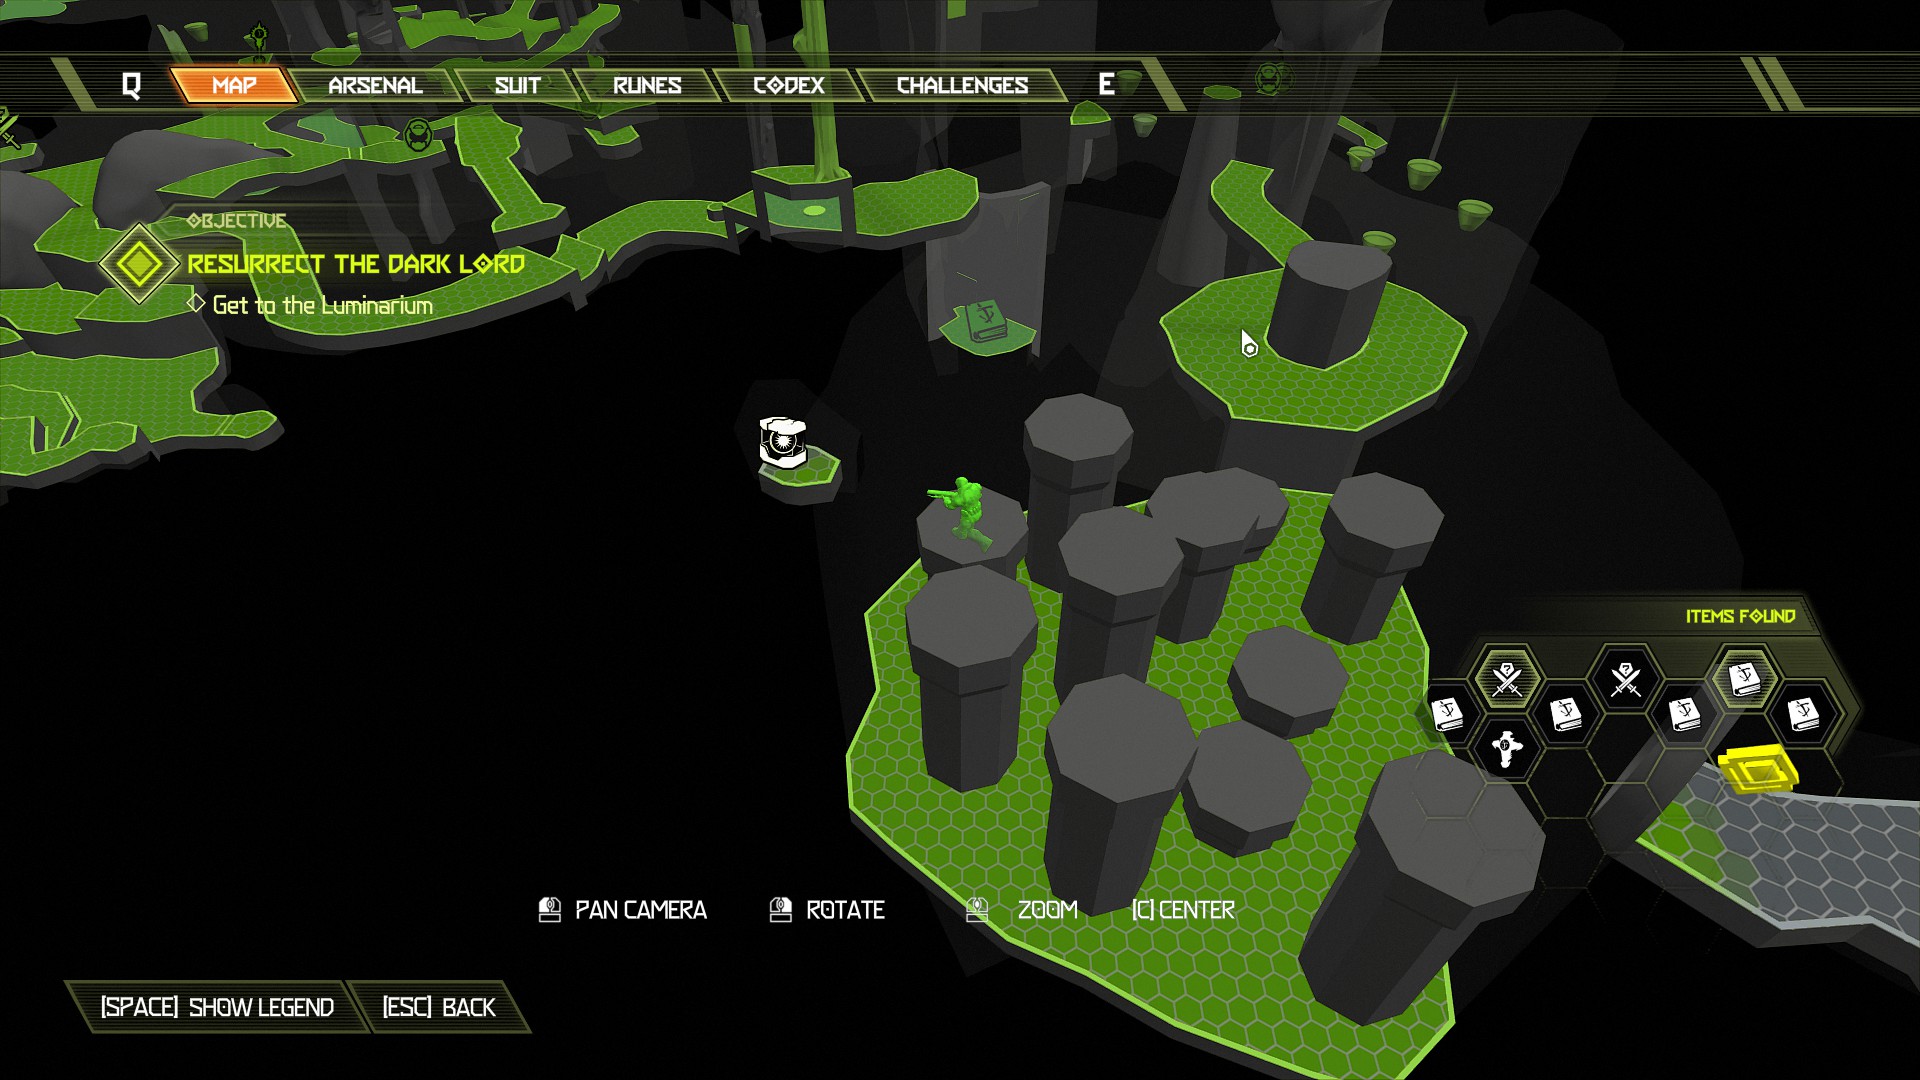
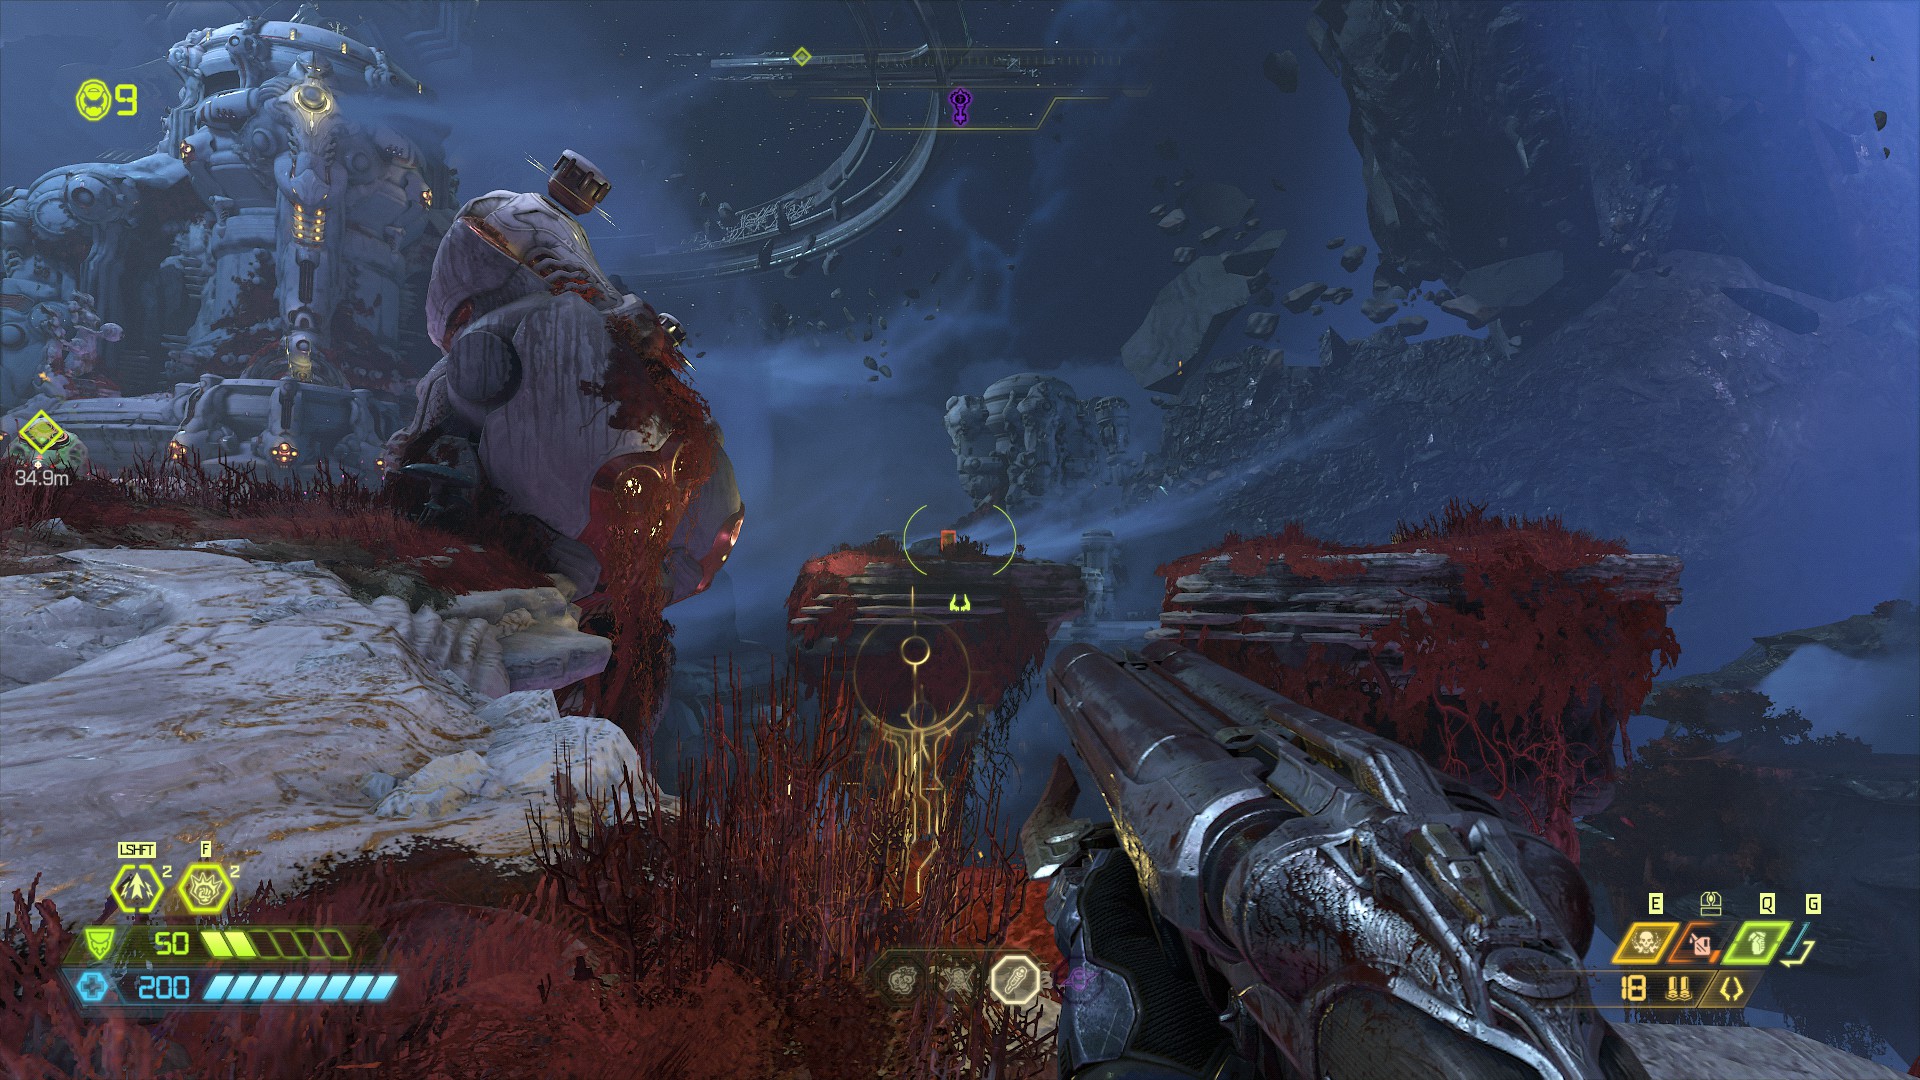
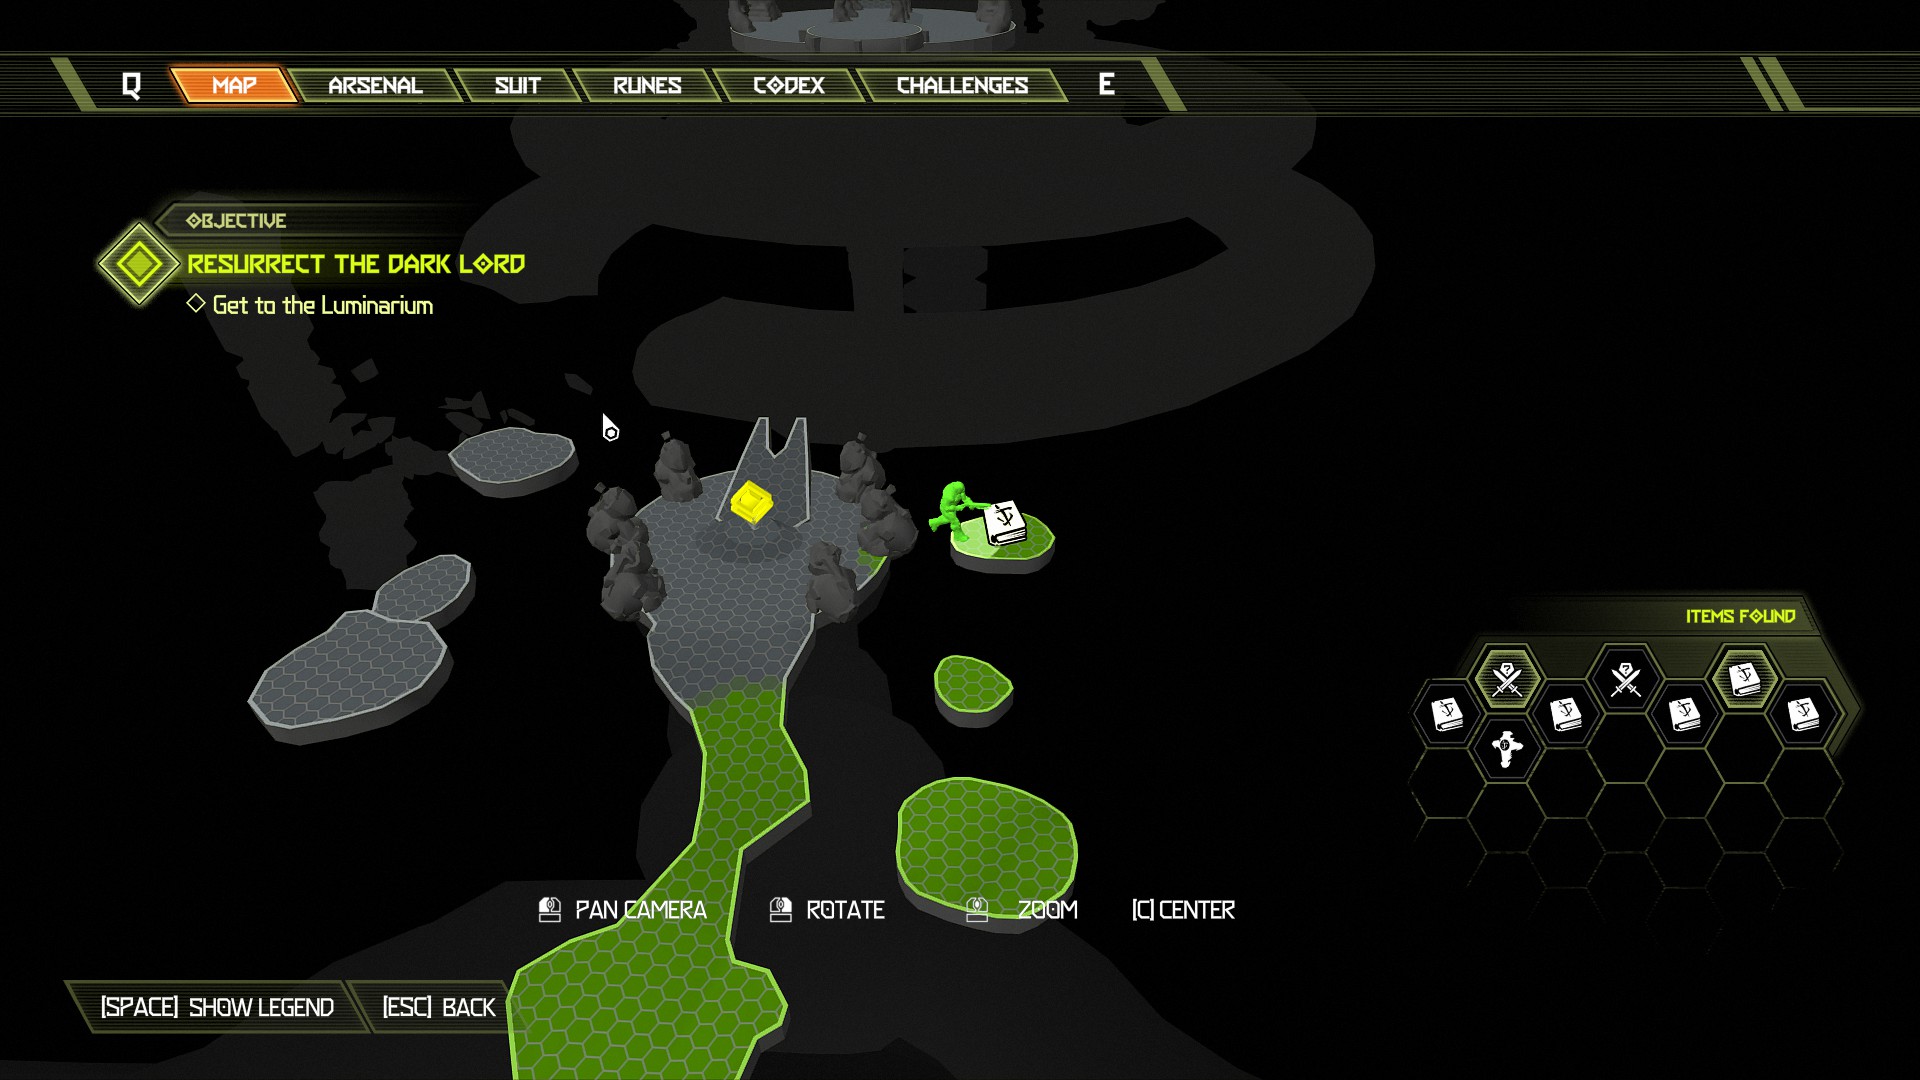
From the codex page head to the opposite side and on another platform you will find a blue orb.
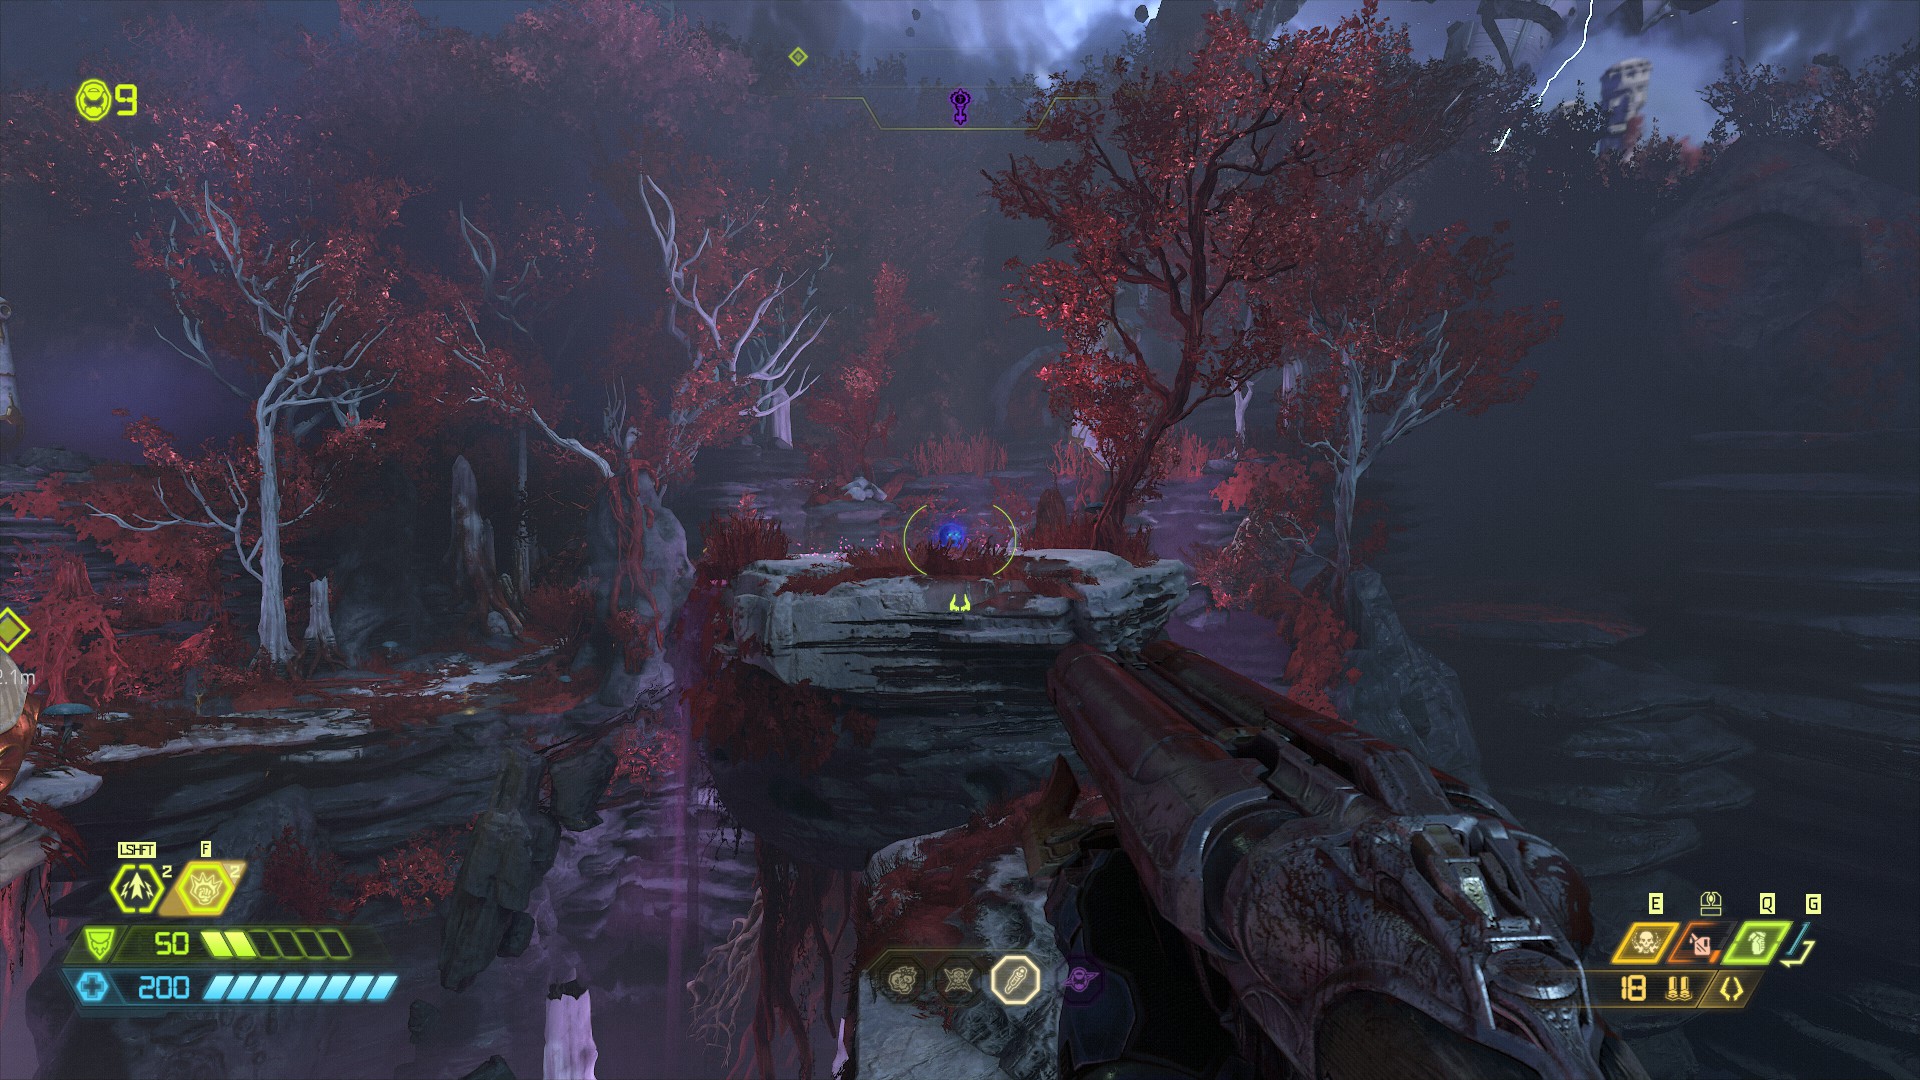
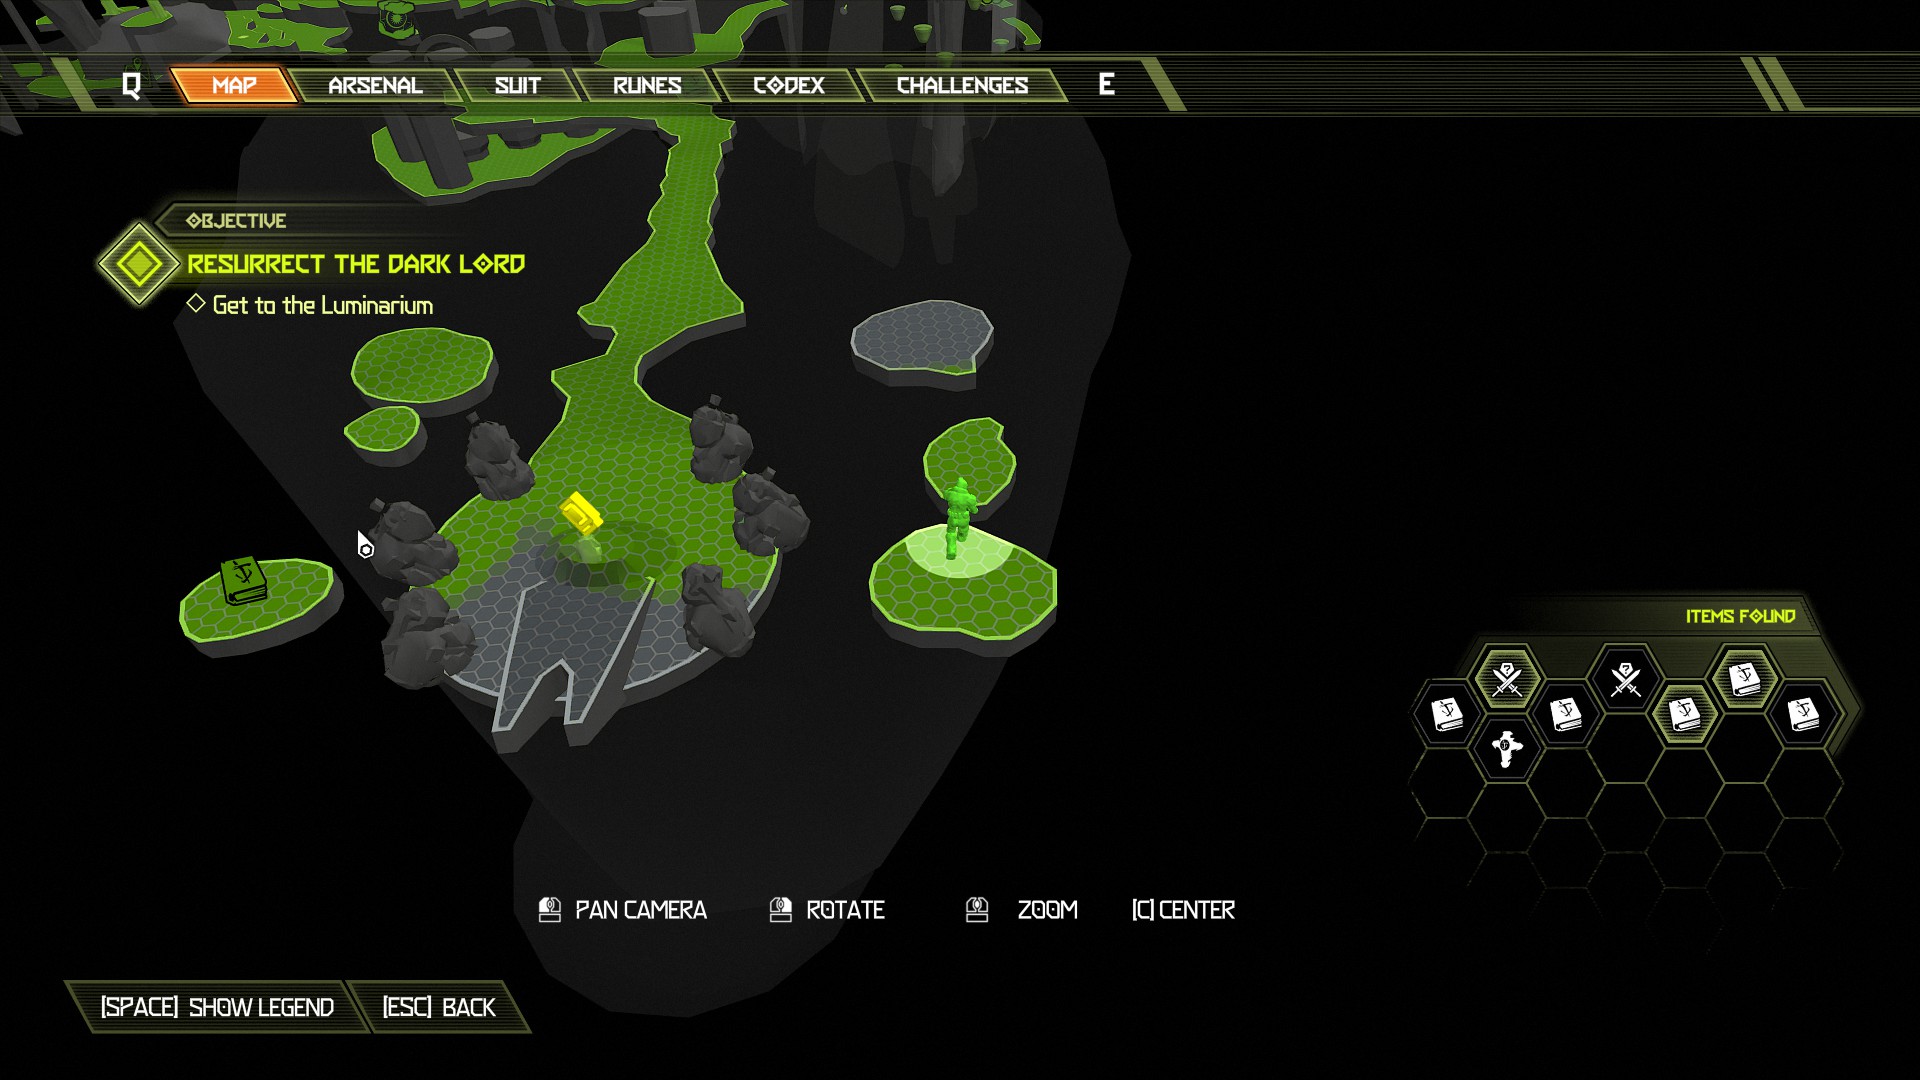
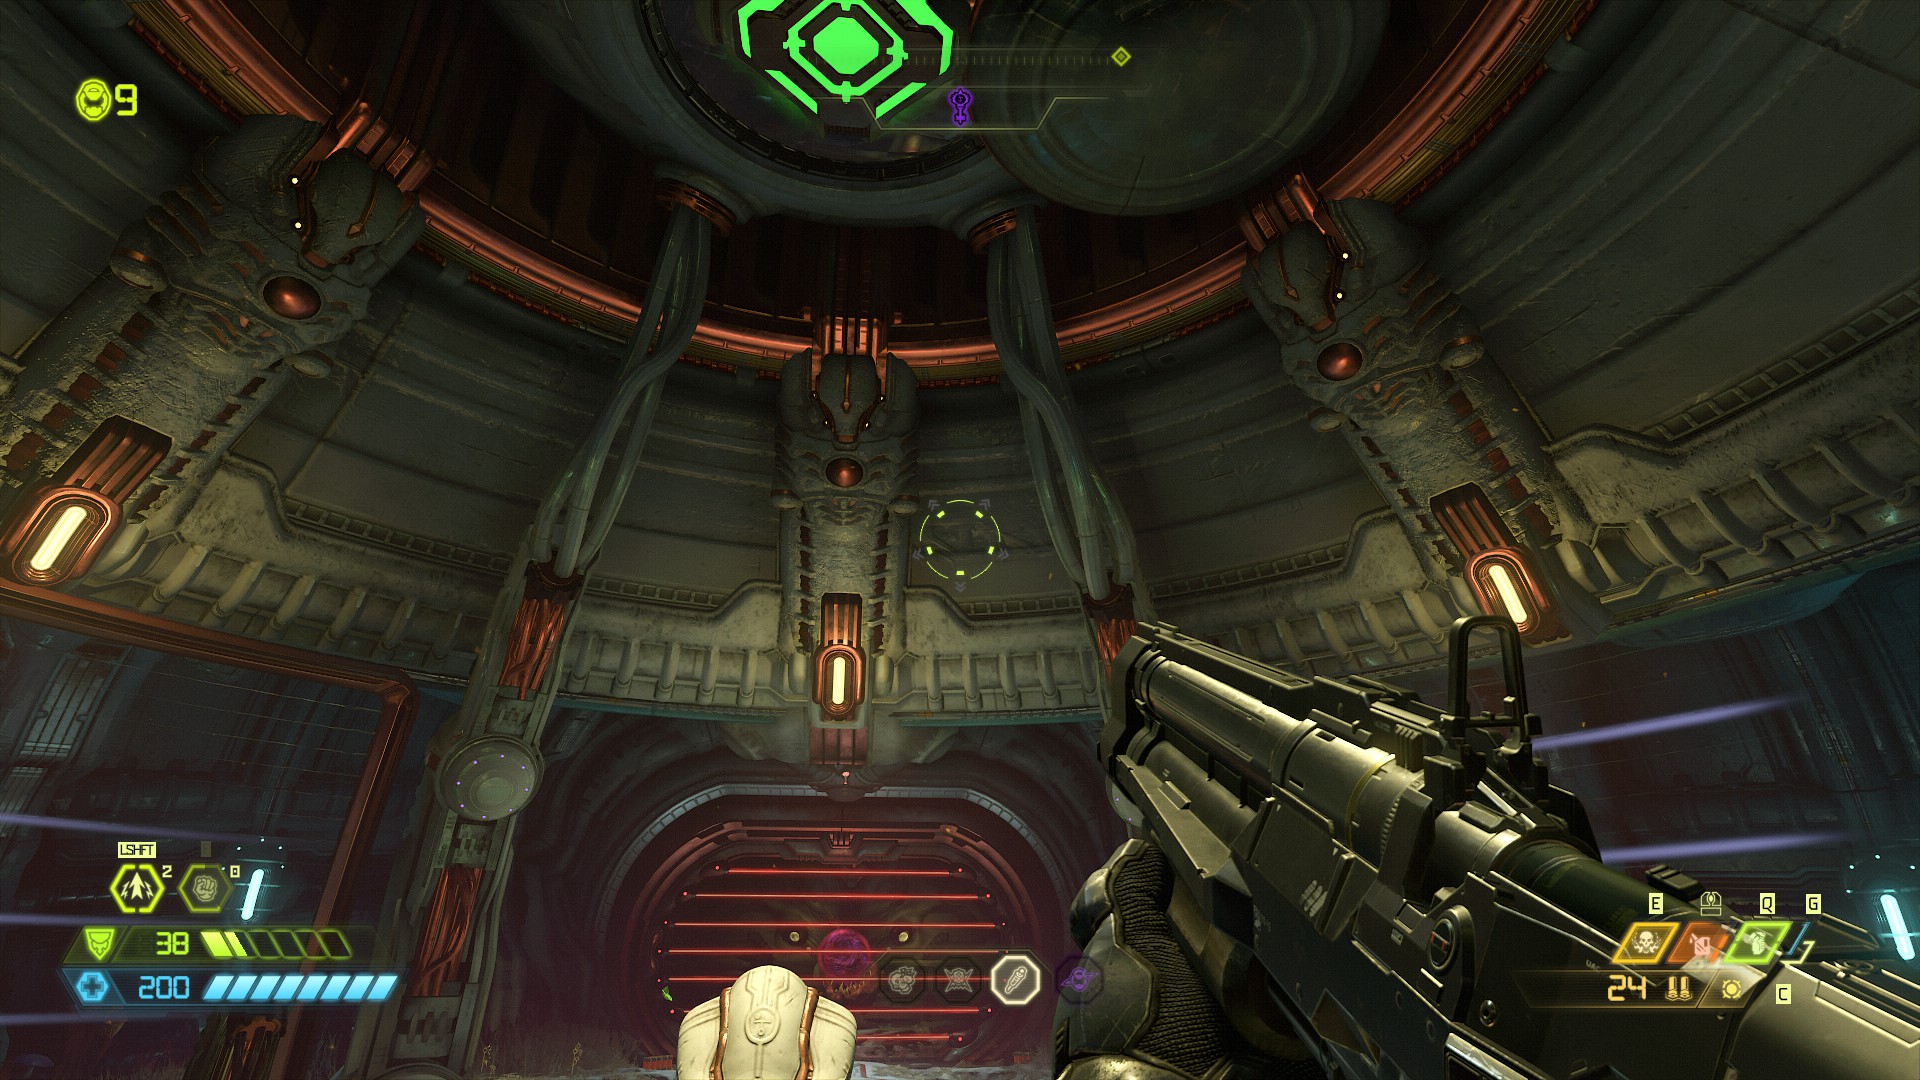
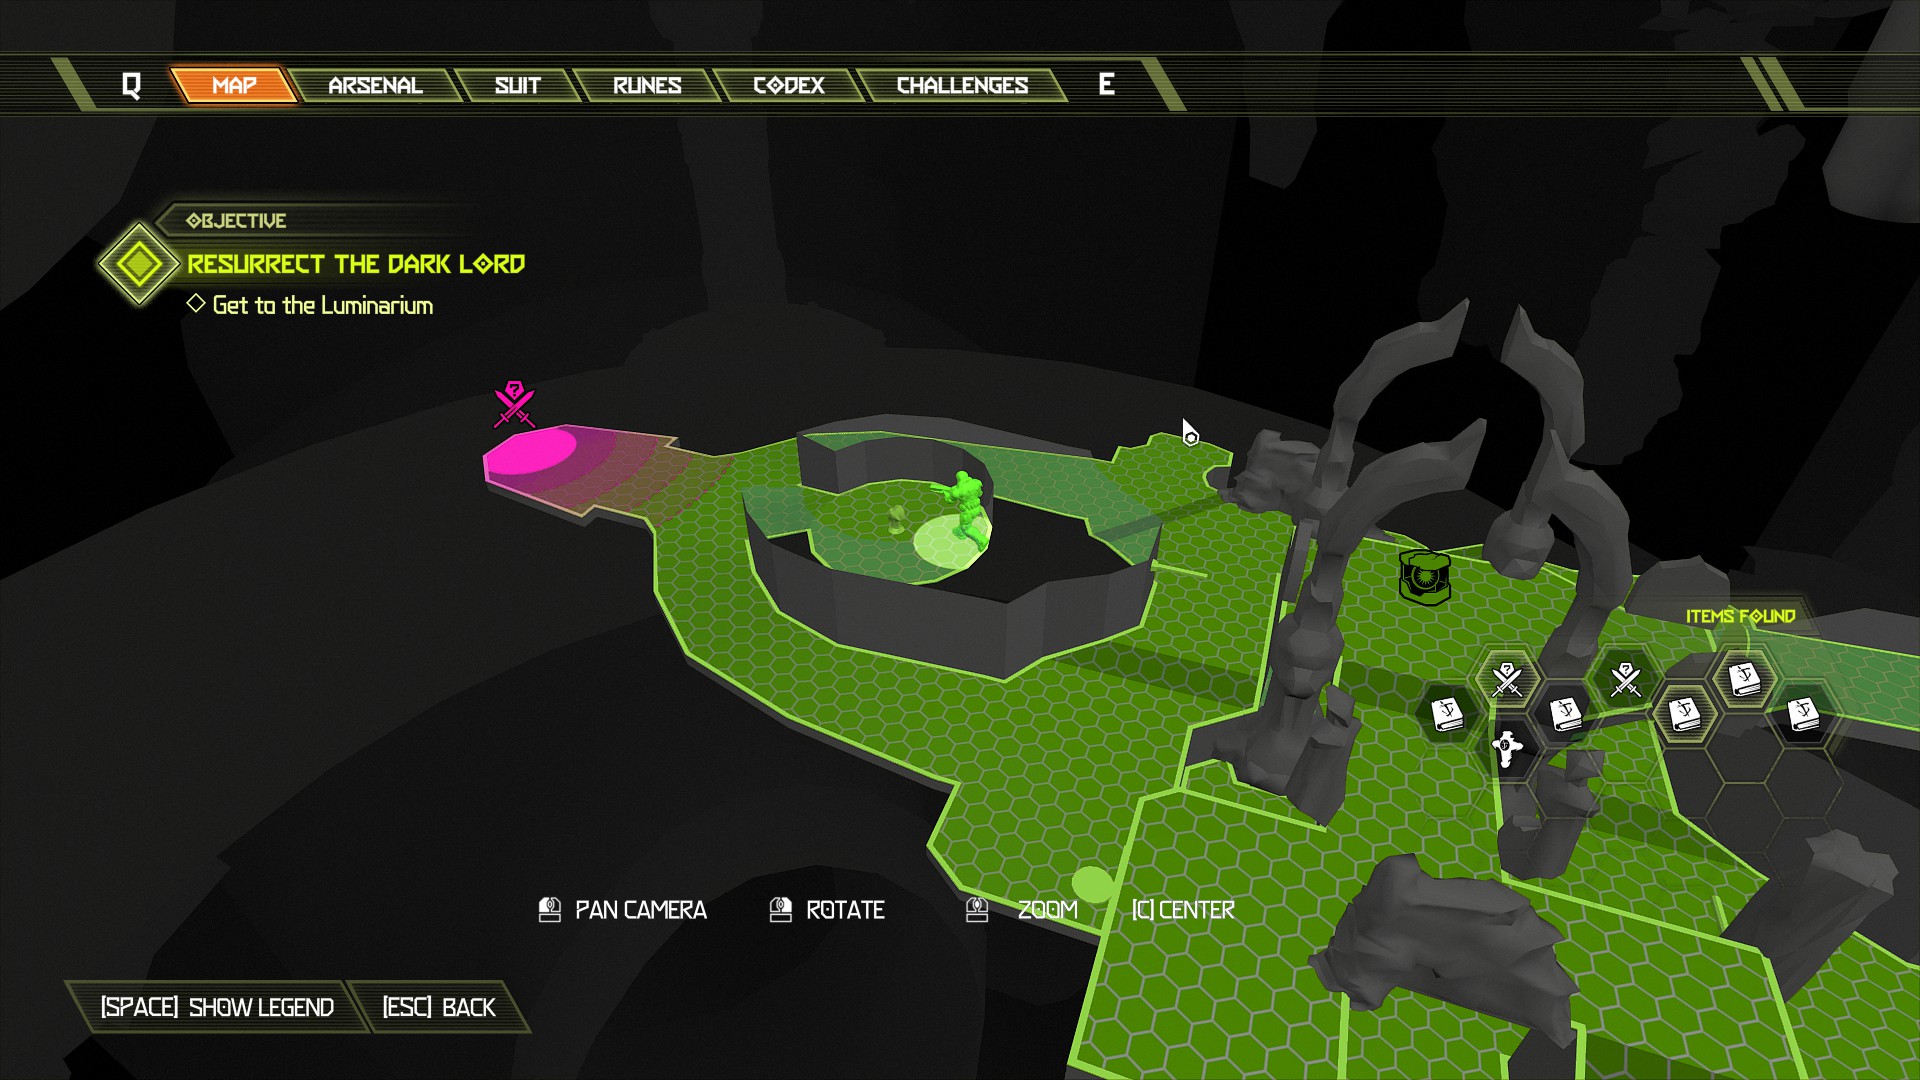
Now continue the mission by activating the podium next to the secret encounter and outside will be a booster you can use to jump high up and grab a floating wall which will allow you to proceed.
Mission 3: The Holt [Part 2]
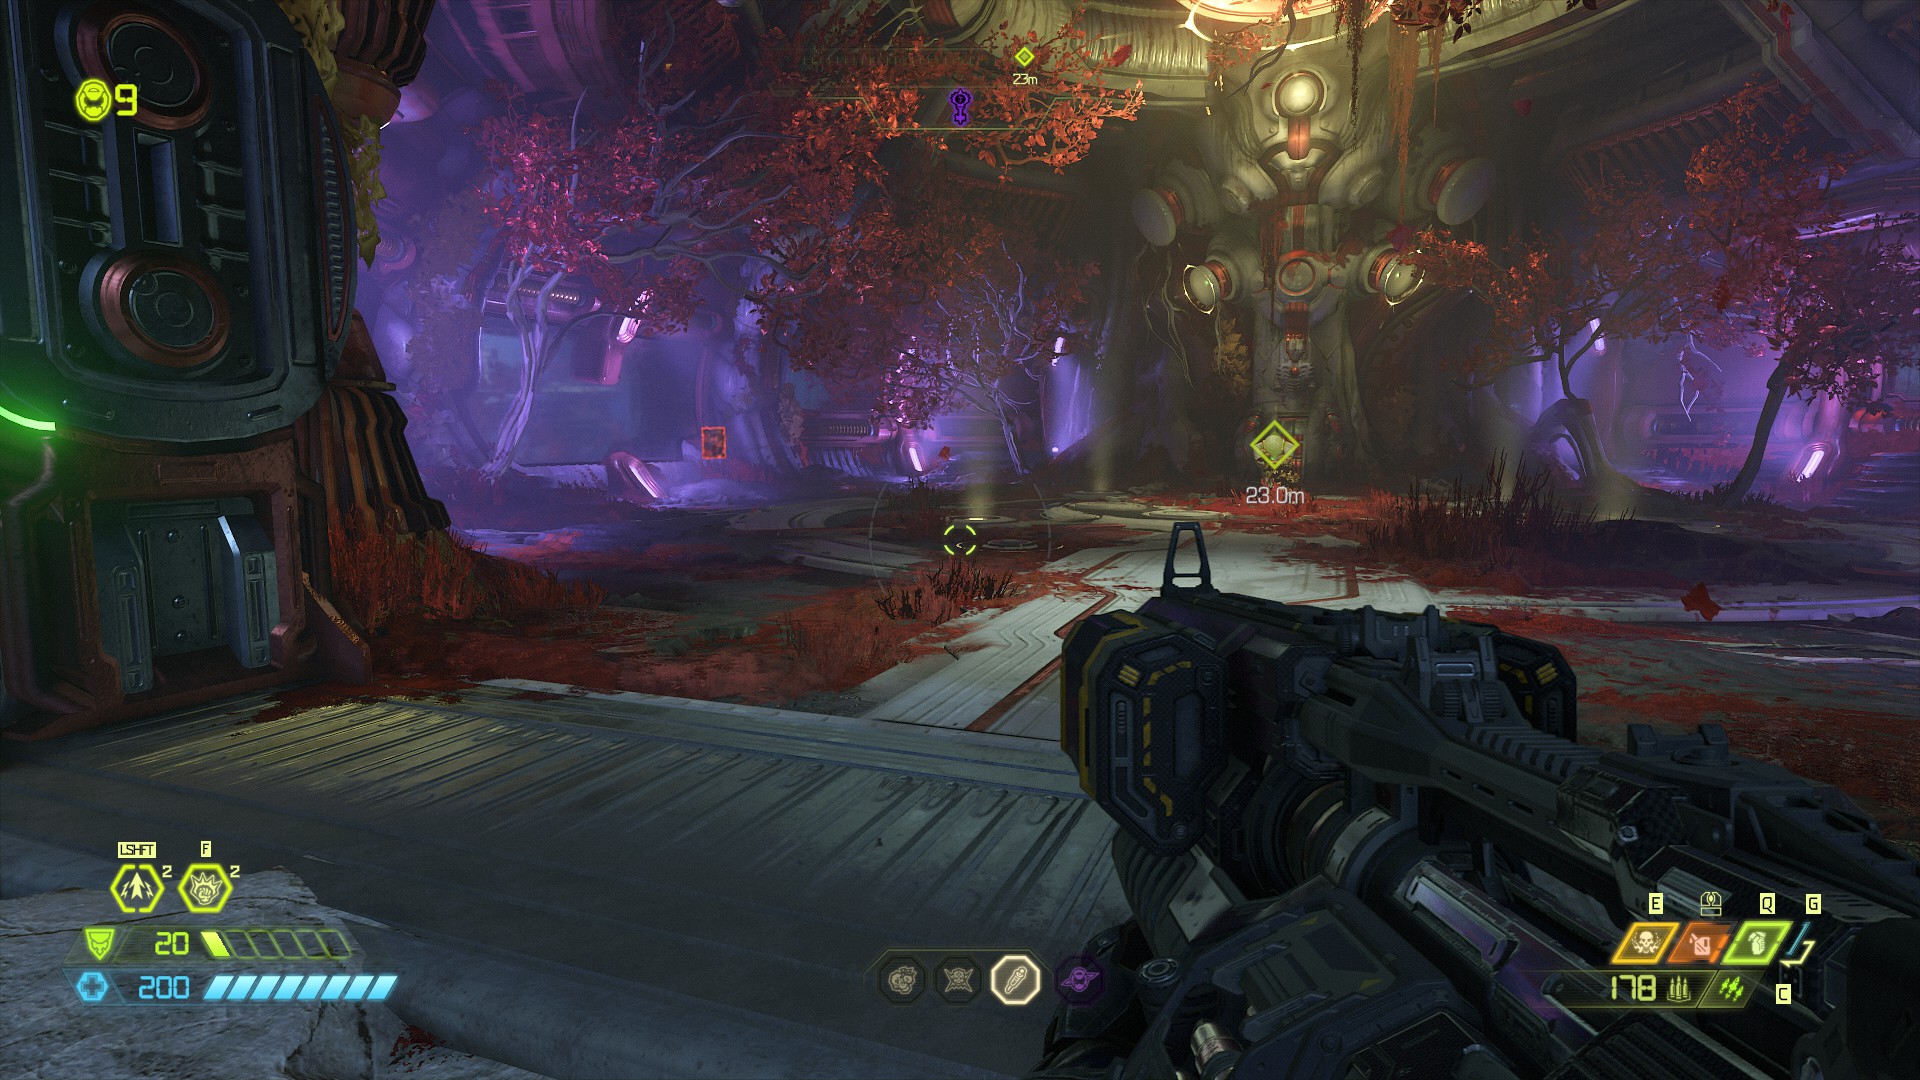
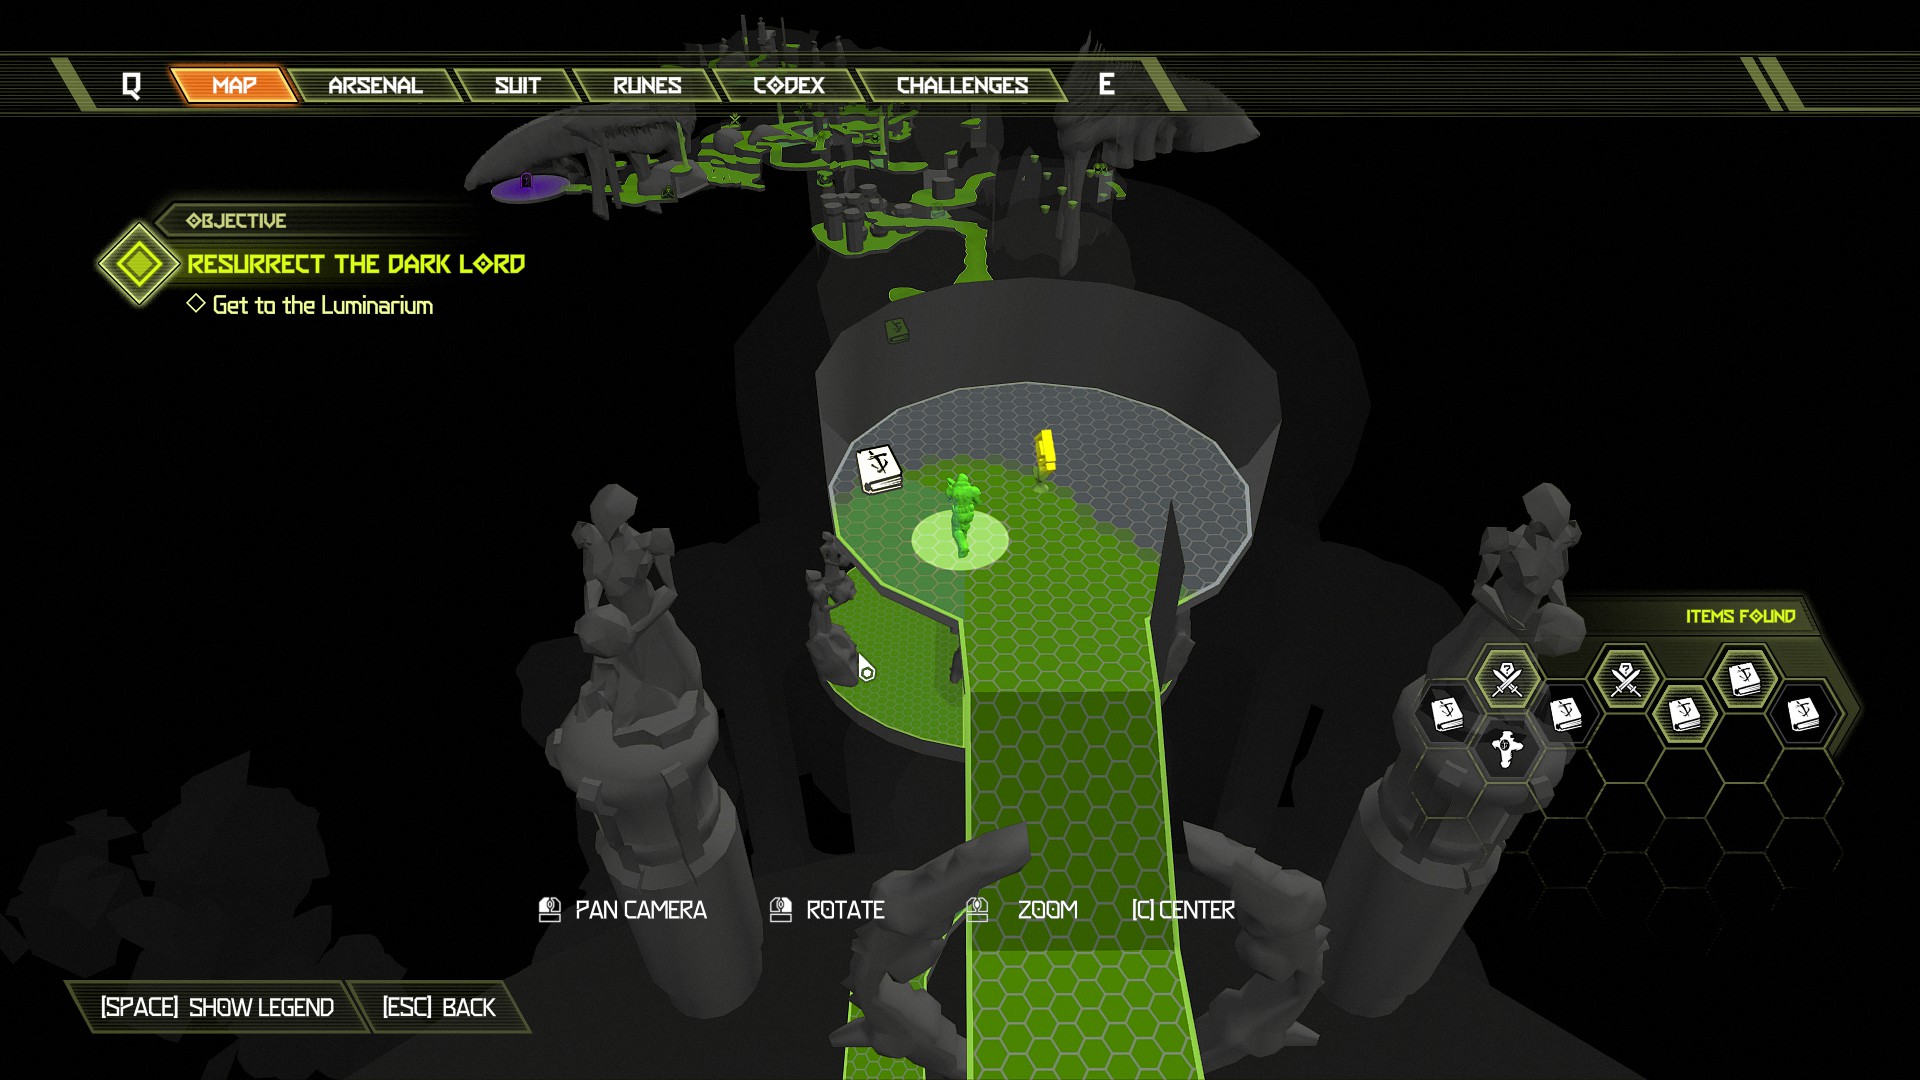
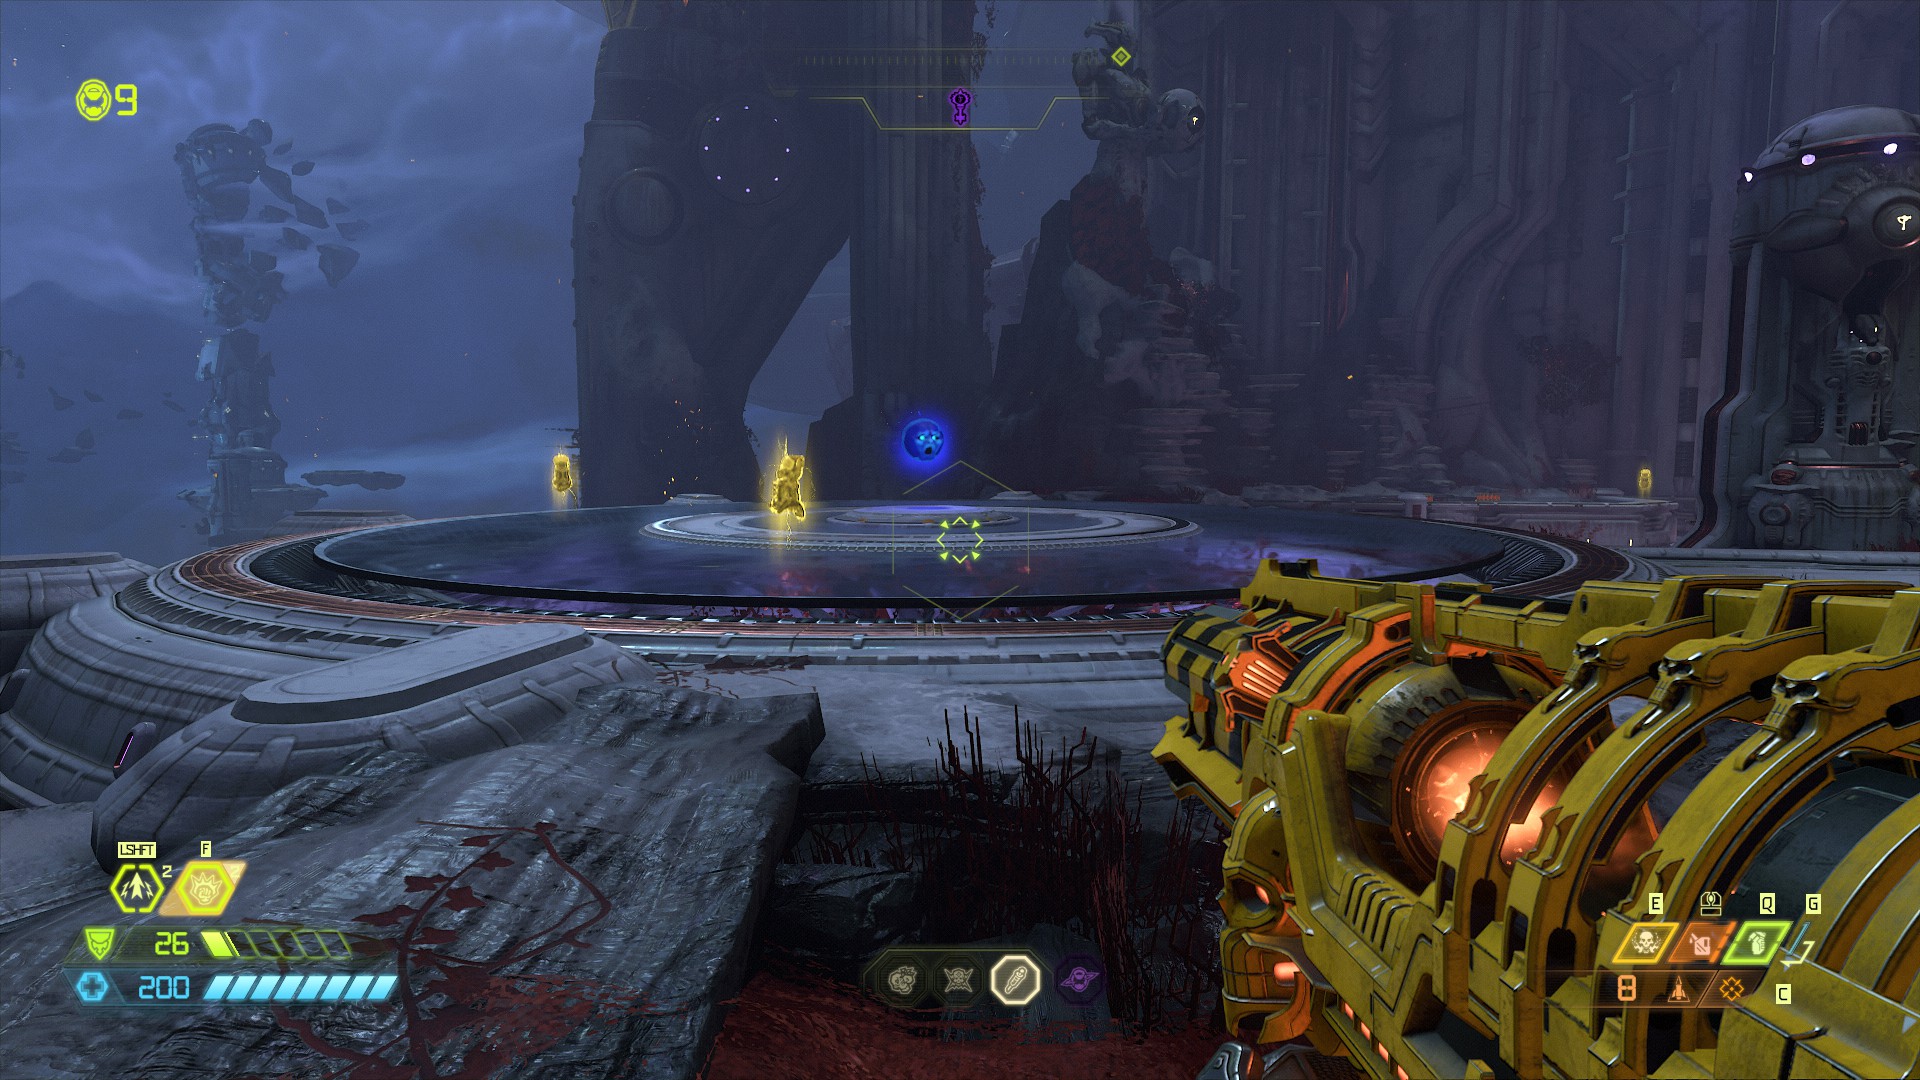
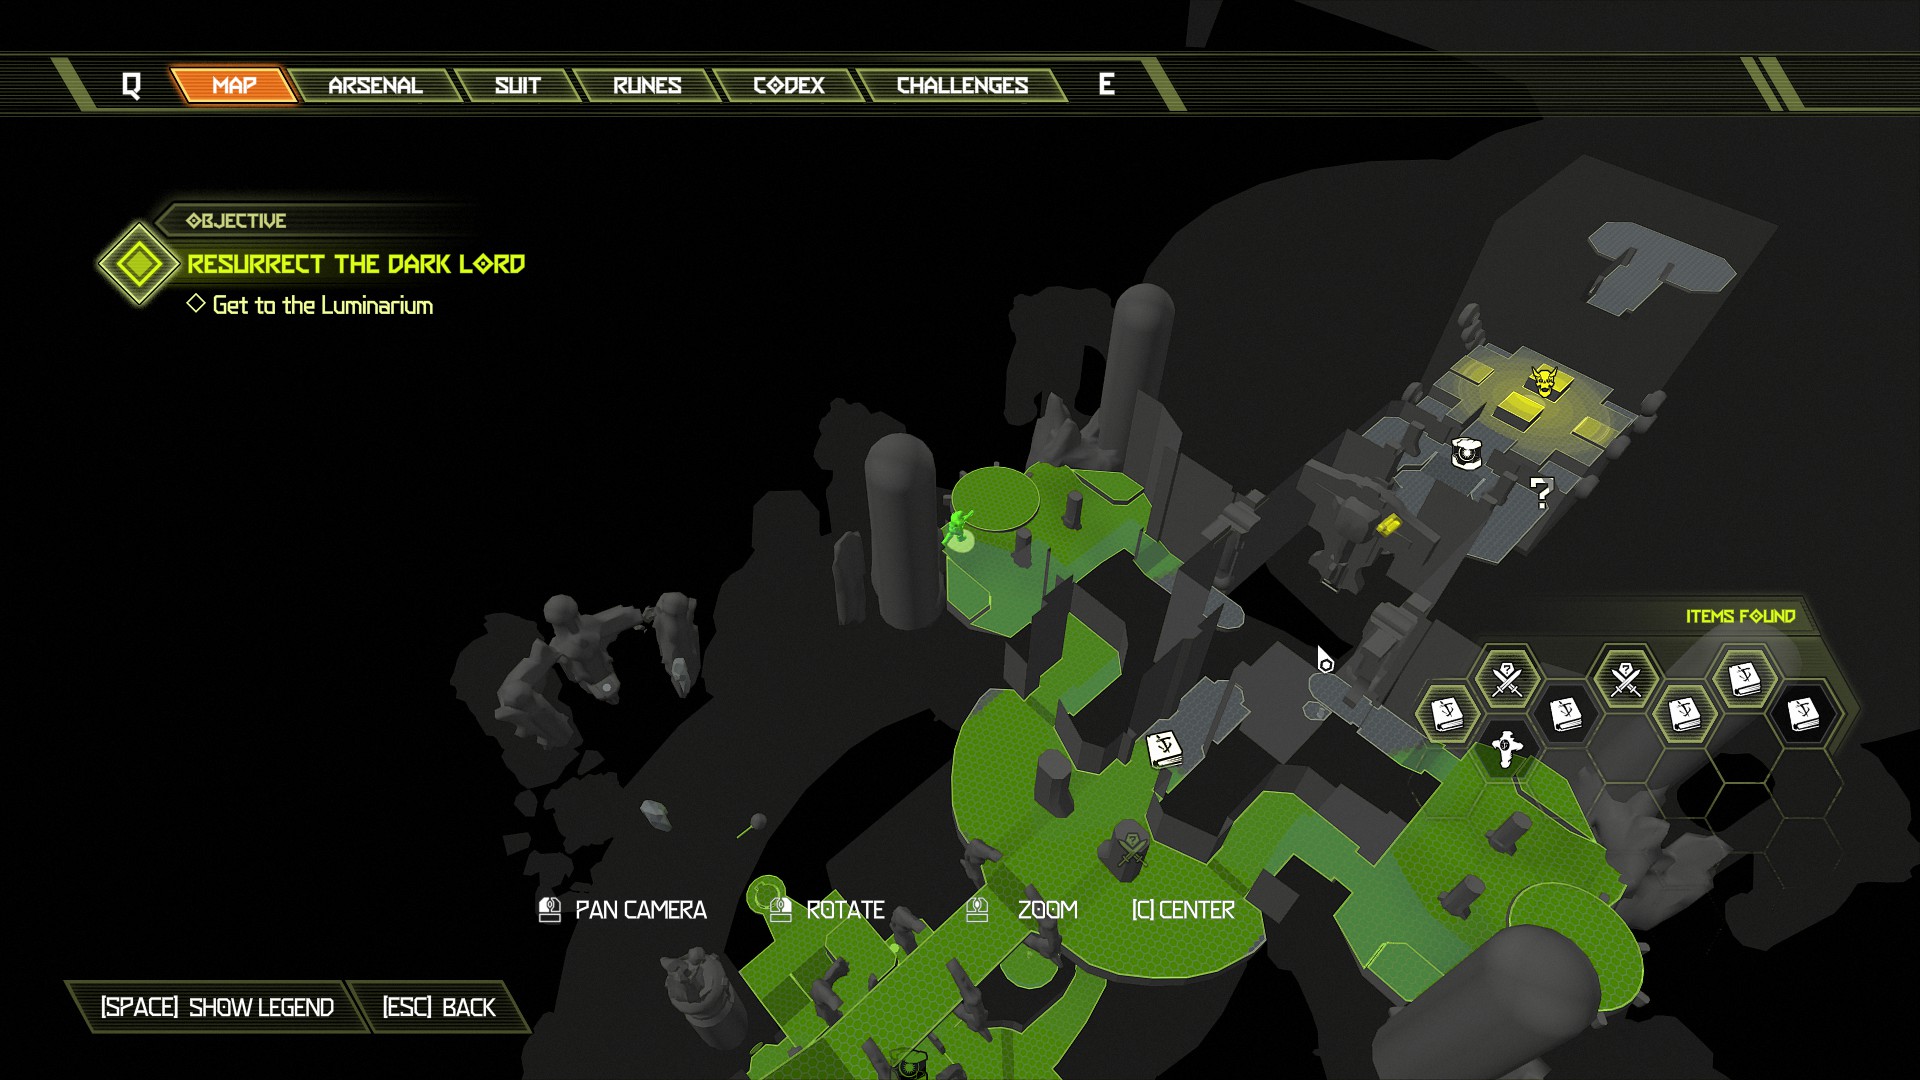
Continue through and you will need to activate the mechanism on the opposite side, this will activate the booster near the central door and allow you to boost across towards the mission marker.
As soon as you land and break through the wall turn around and look up towards where the swing bar was located, you will see another green target that you can shoot. Shoot the target and then jump back to the other side and now you can access the central door to collect the codex page inside.
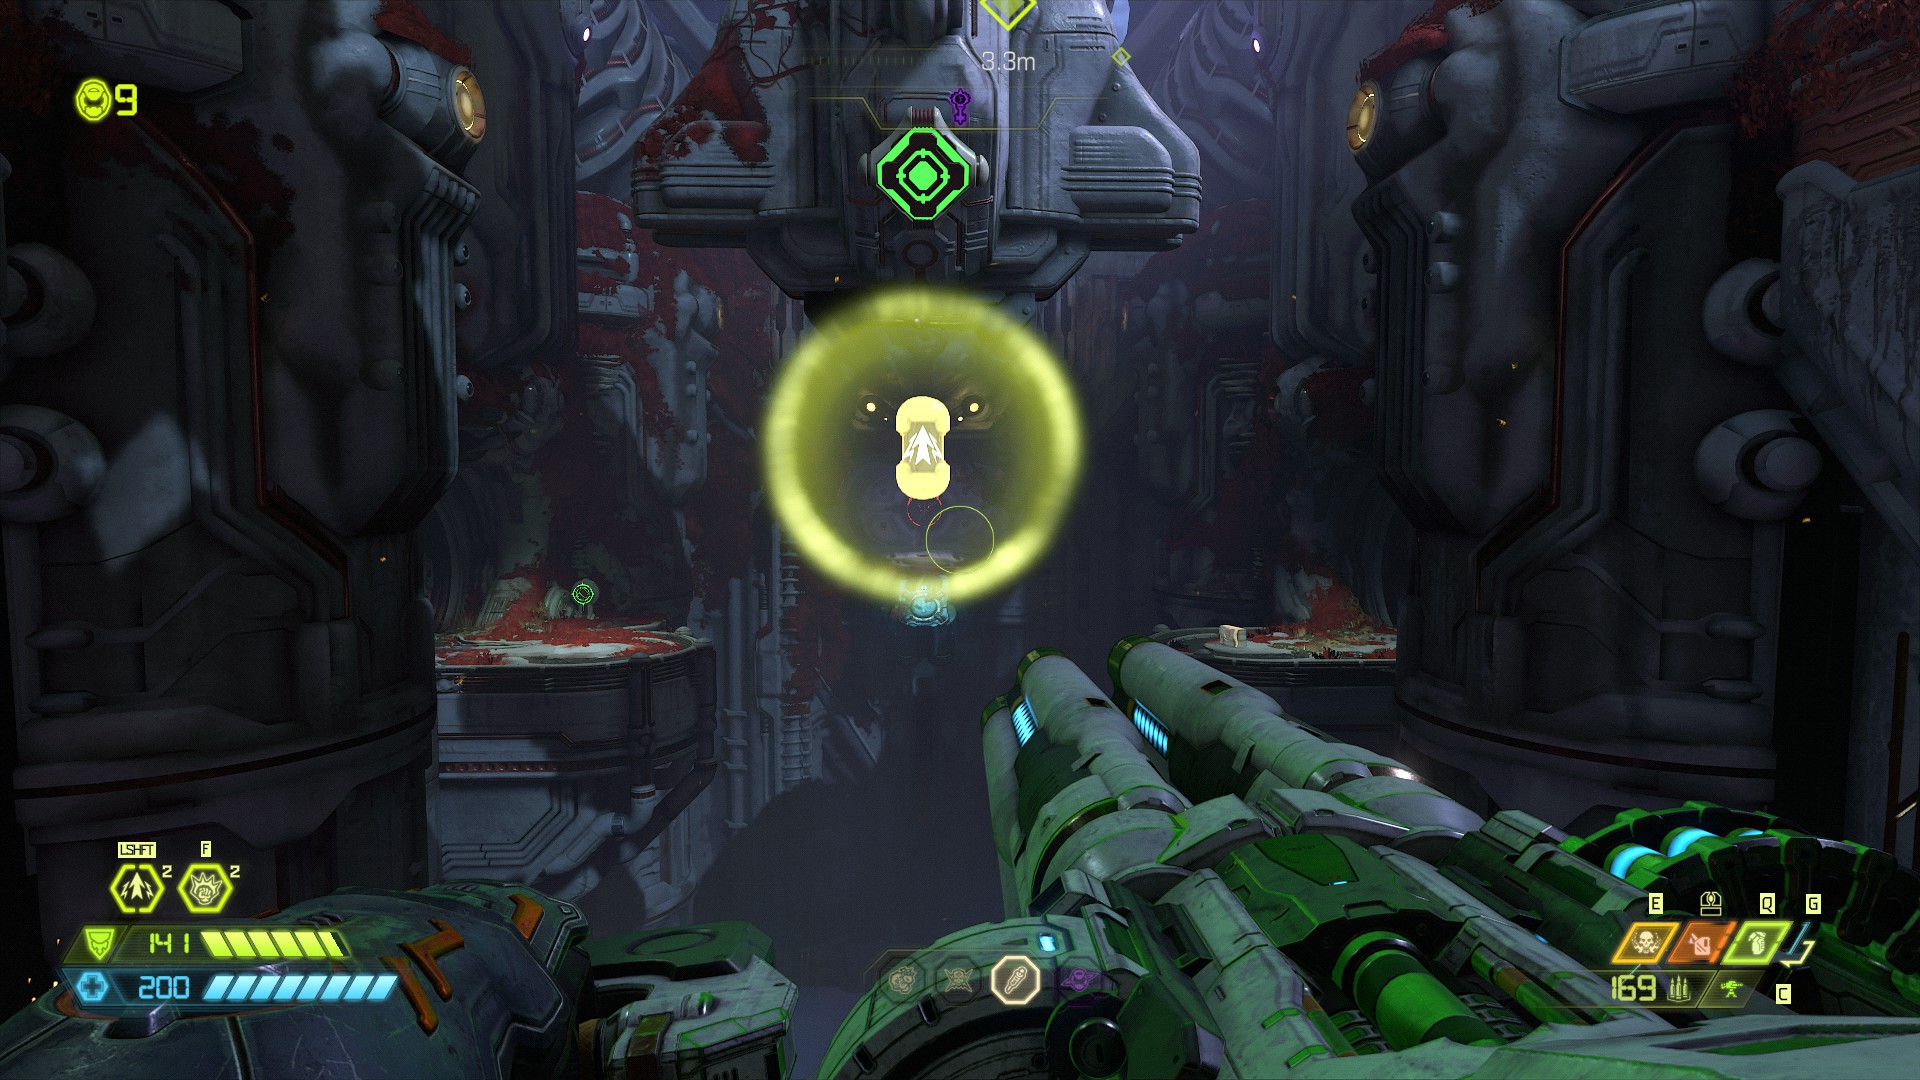
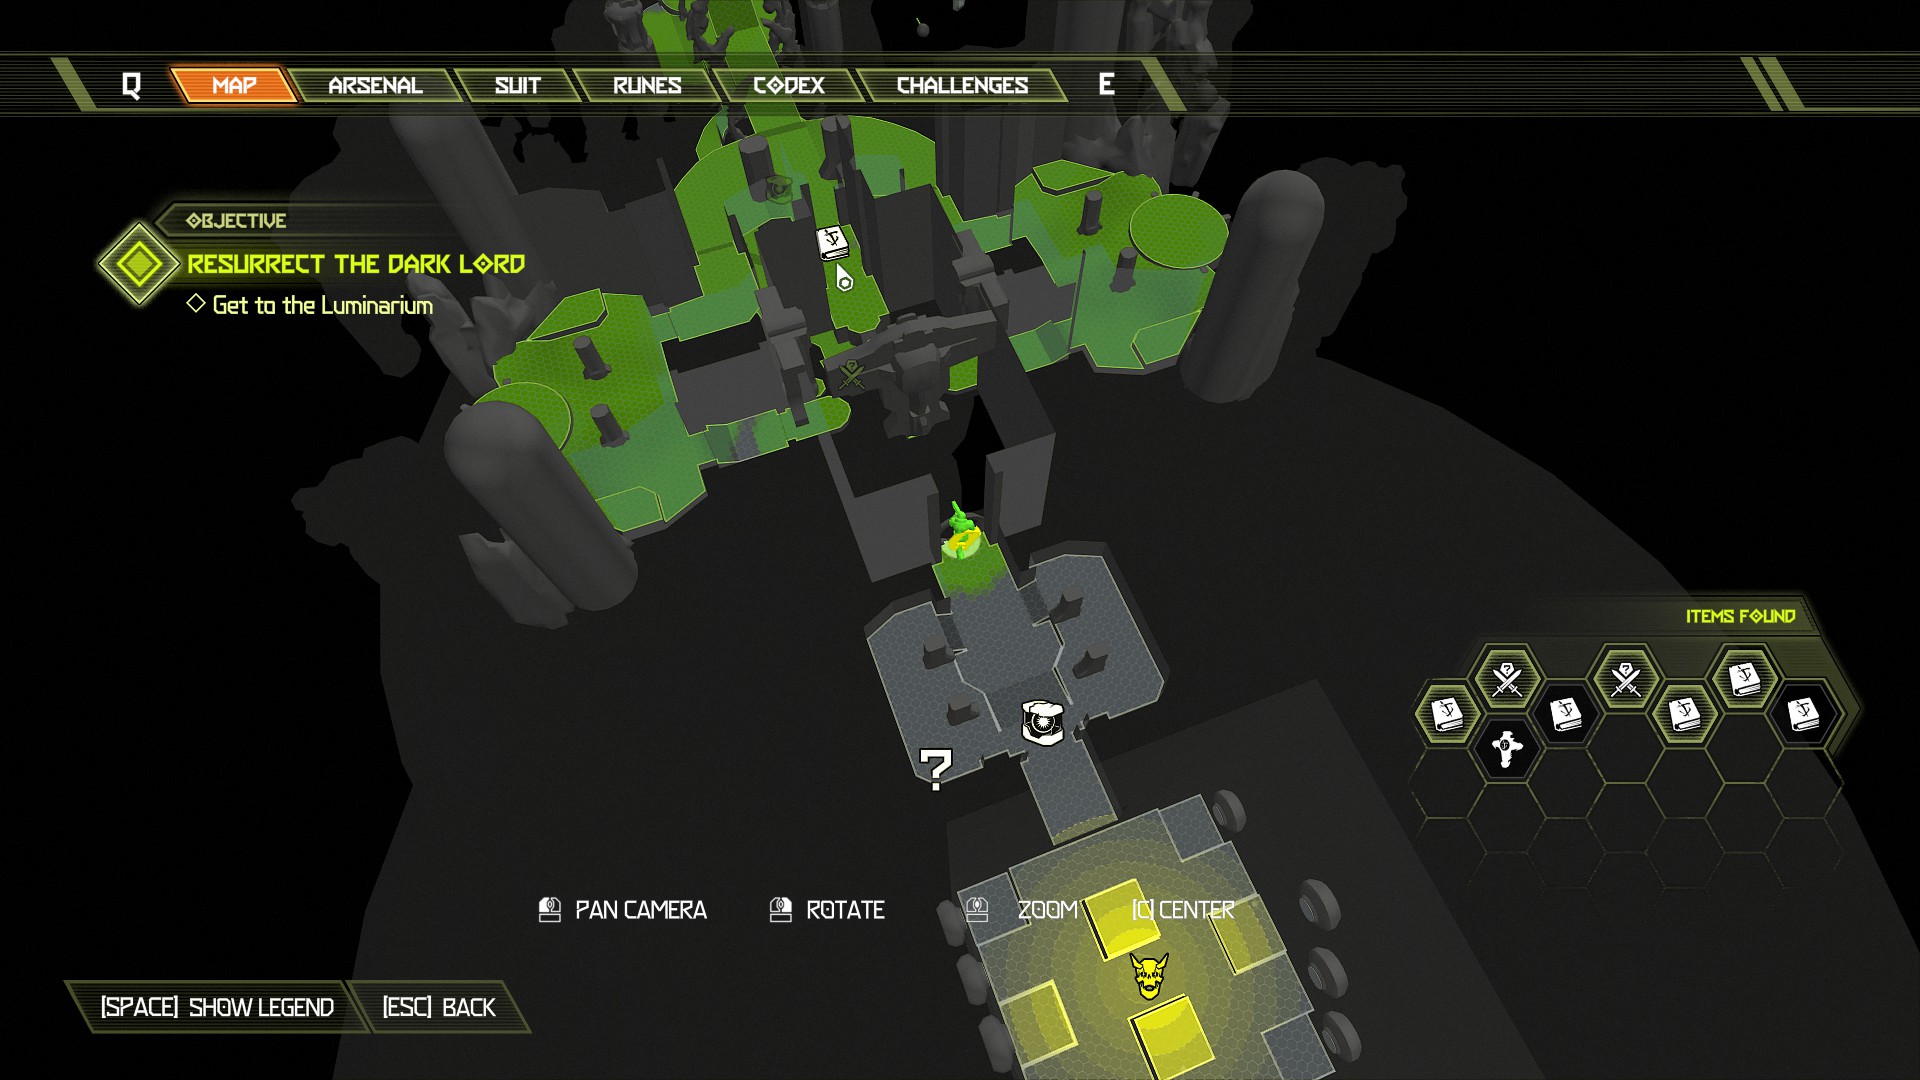
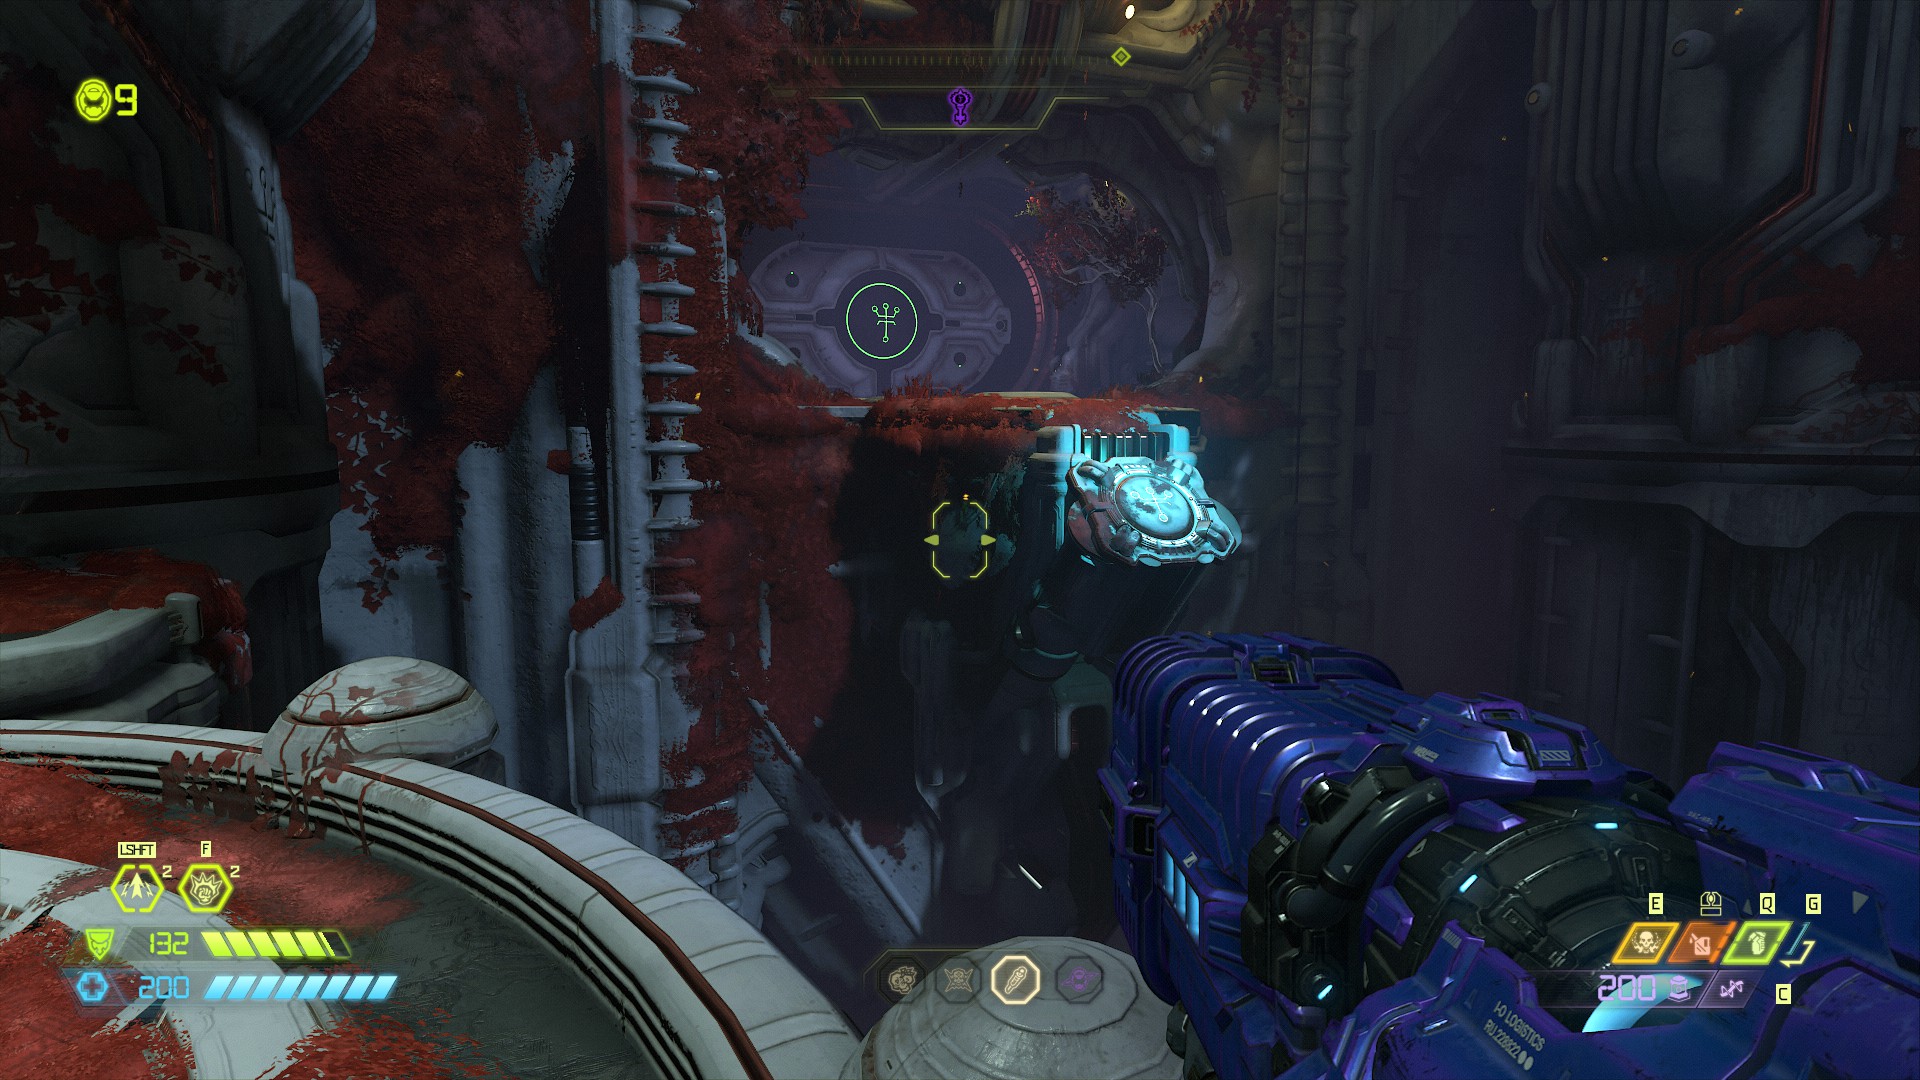
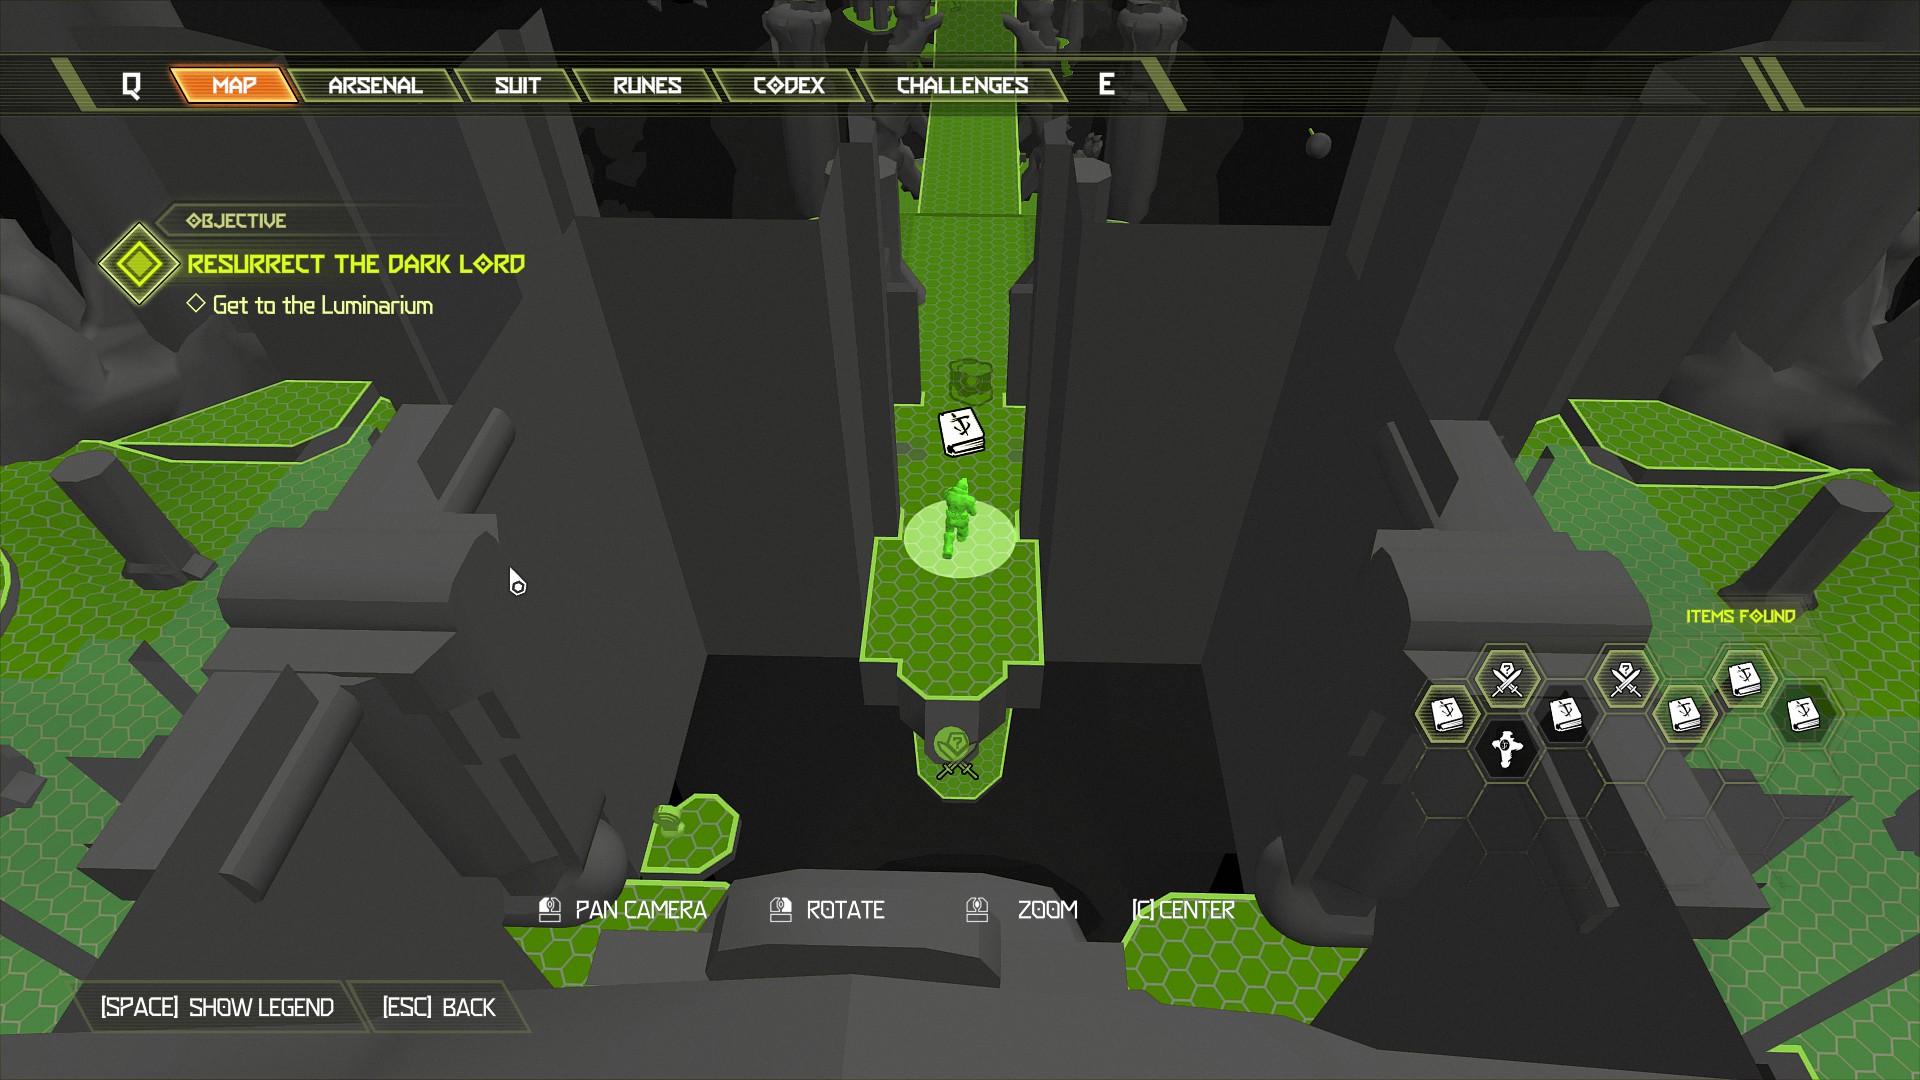
After collecting the codex page you can now again jump back across using the mechanism once more, this time when you land on the other side you will find the final codex page in the far right corner of the room. This will be the last item for this mission and fast travel should now be unlocked.
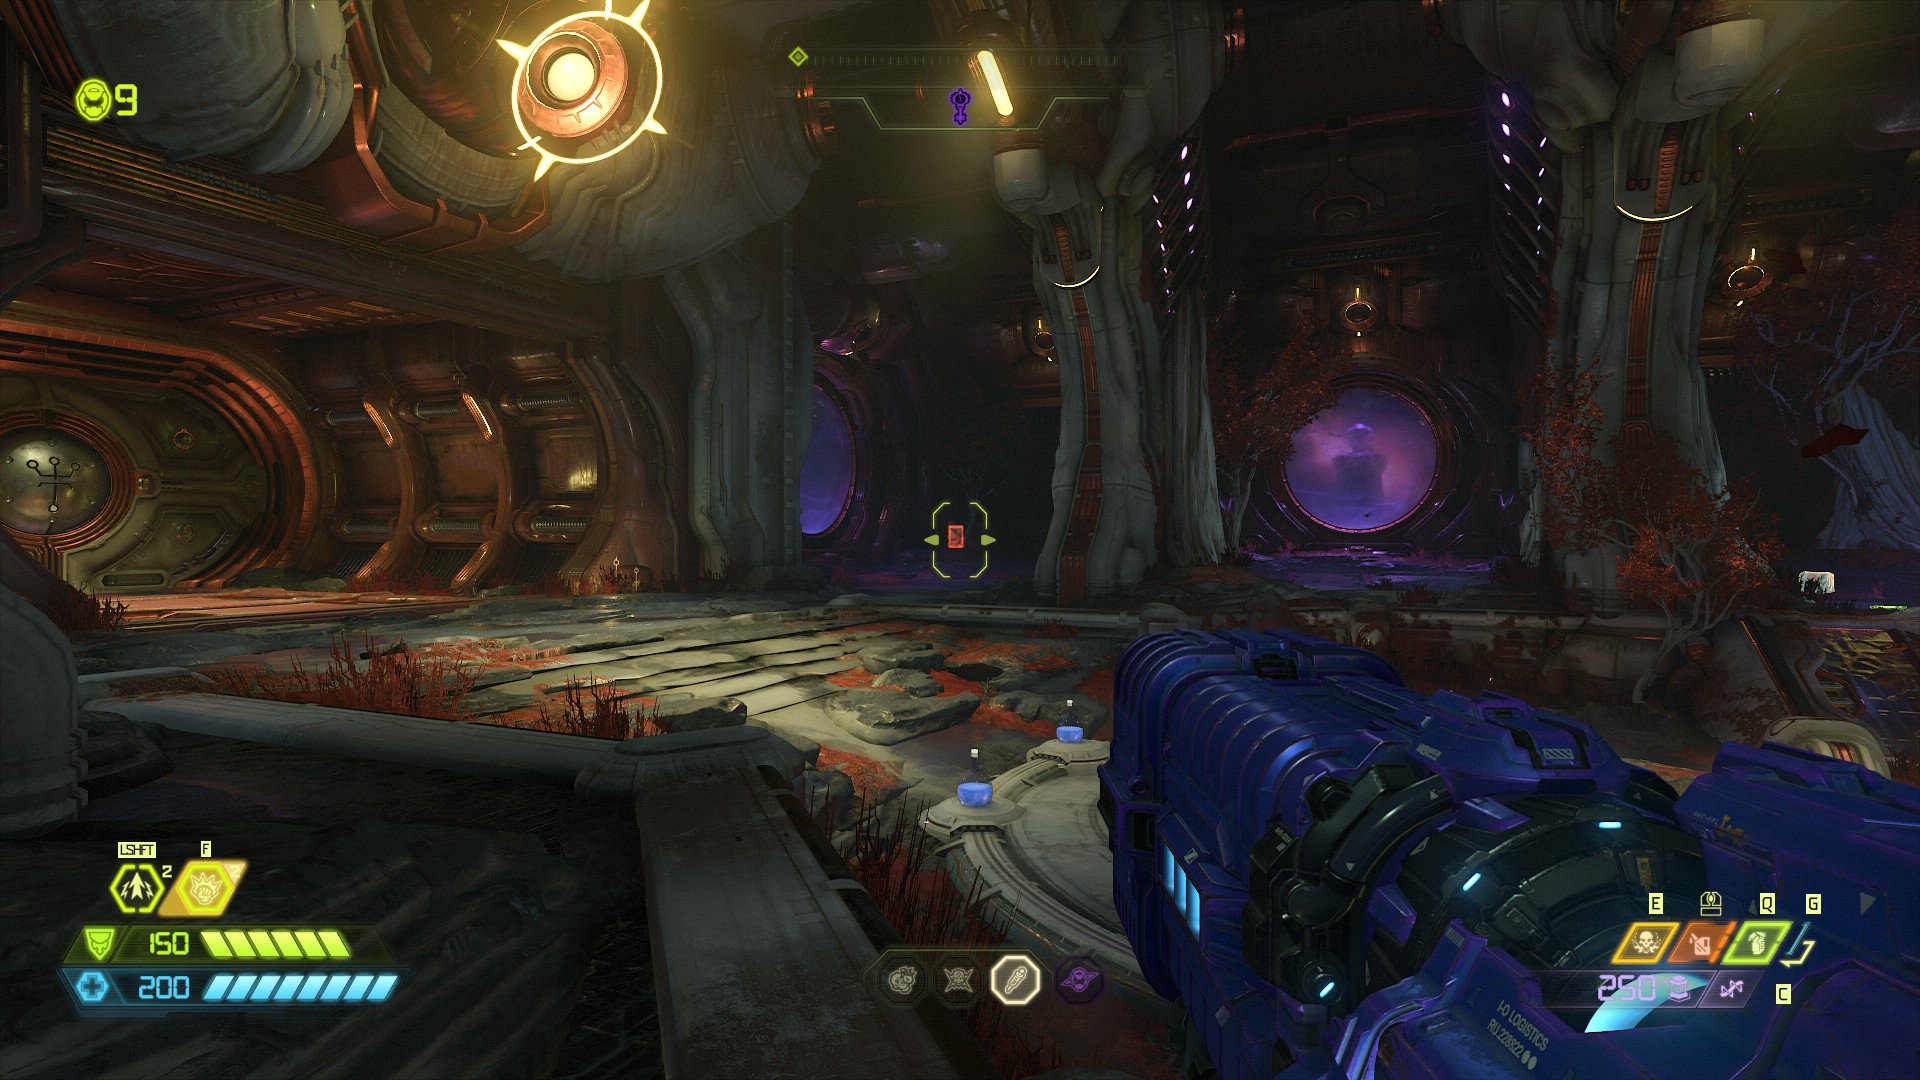
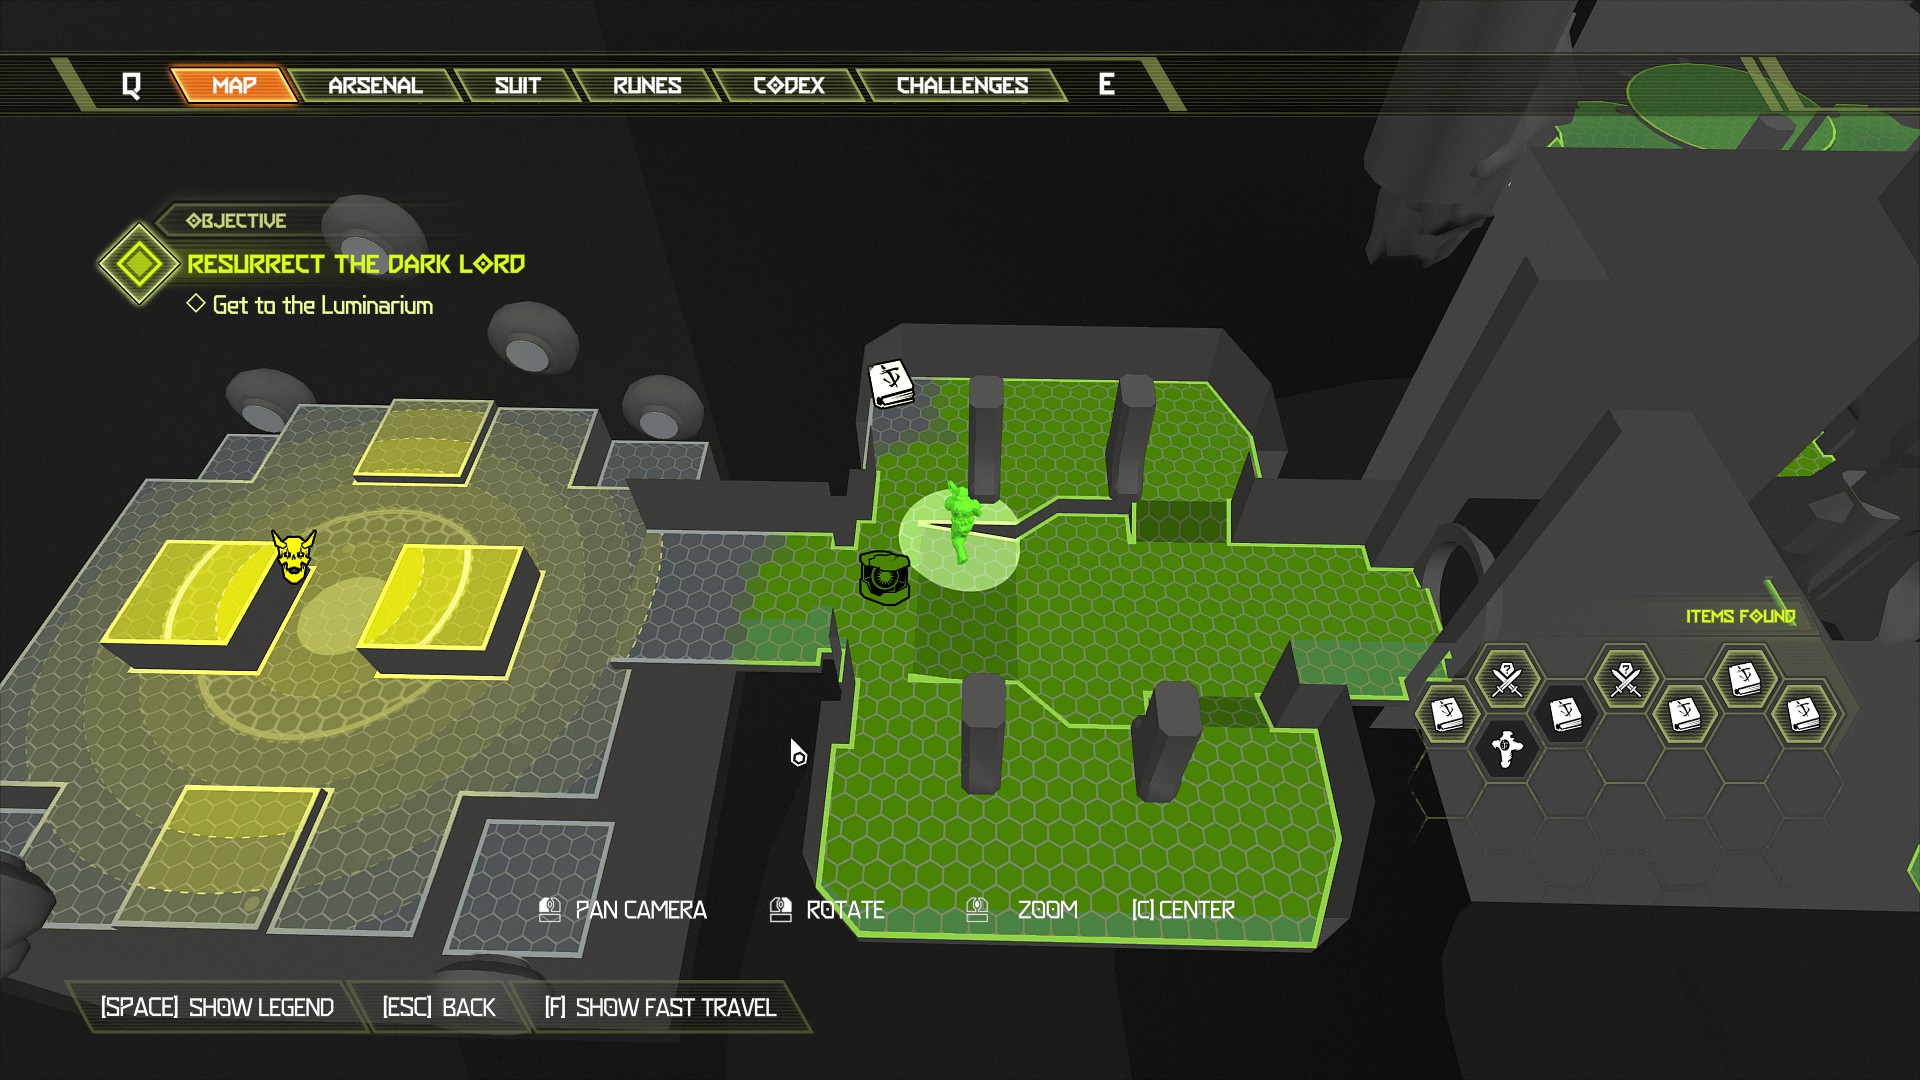
Now go beat 10 bags of hell out of the final boss and compete this DLC once and for all.
DLC - The Ancient Gods Part 2
Mission 1: The World Spear
NOTE: New day, new DLC. Not the greatest DLC but it is still fun with a few changes I'm still not so sure about. These missions are very light on items so not much to collect at all and doesn't take up too much time.
There are new escalation encounters which are like the slayer gates but they are not hidden or secrets of any kind so I won't be adding them to this guide. There is only one escalation encounter per mission, but after completing each one be sure to activate it again for a second harder run which will give you a slayer suit upon completion. Aside from that have fun and enjoy the new content. This mission contains:
- 1 Automap
- 2 Codex Pages
- 4 Extra Lives
- 1 Blue Orbs
Clear all mobs and when heading towards the mission marker you will notice an extra life behind a locked gate.
To access the gate stay outside and head to the opposite corner diagonally and you will find a skull pedestal tucked behind the wall, activate it to unlock the gates and give you access to the extra life.
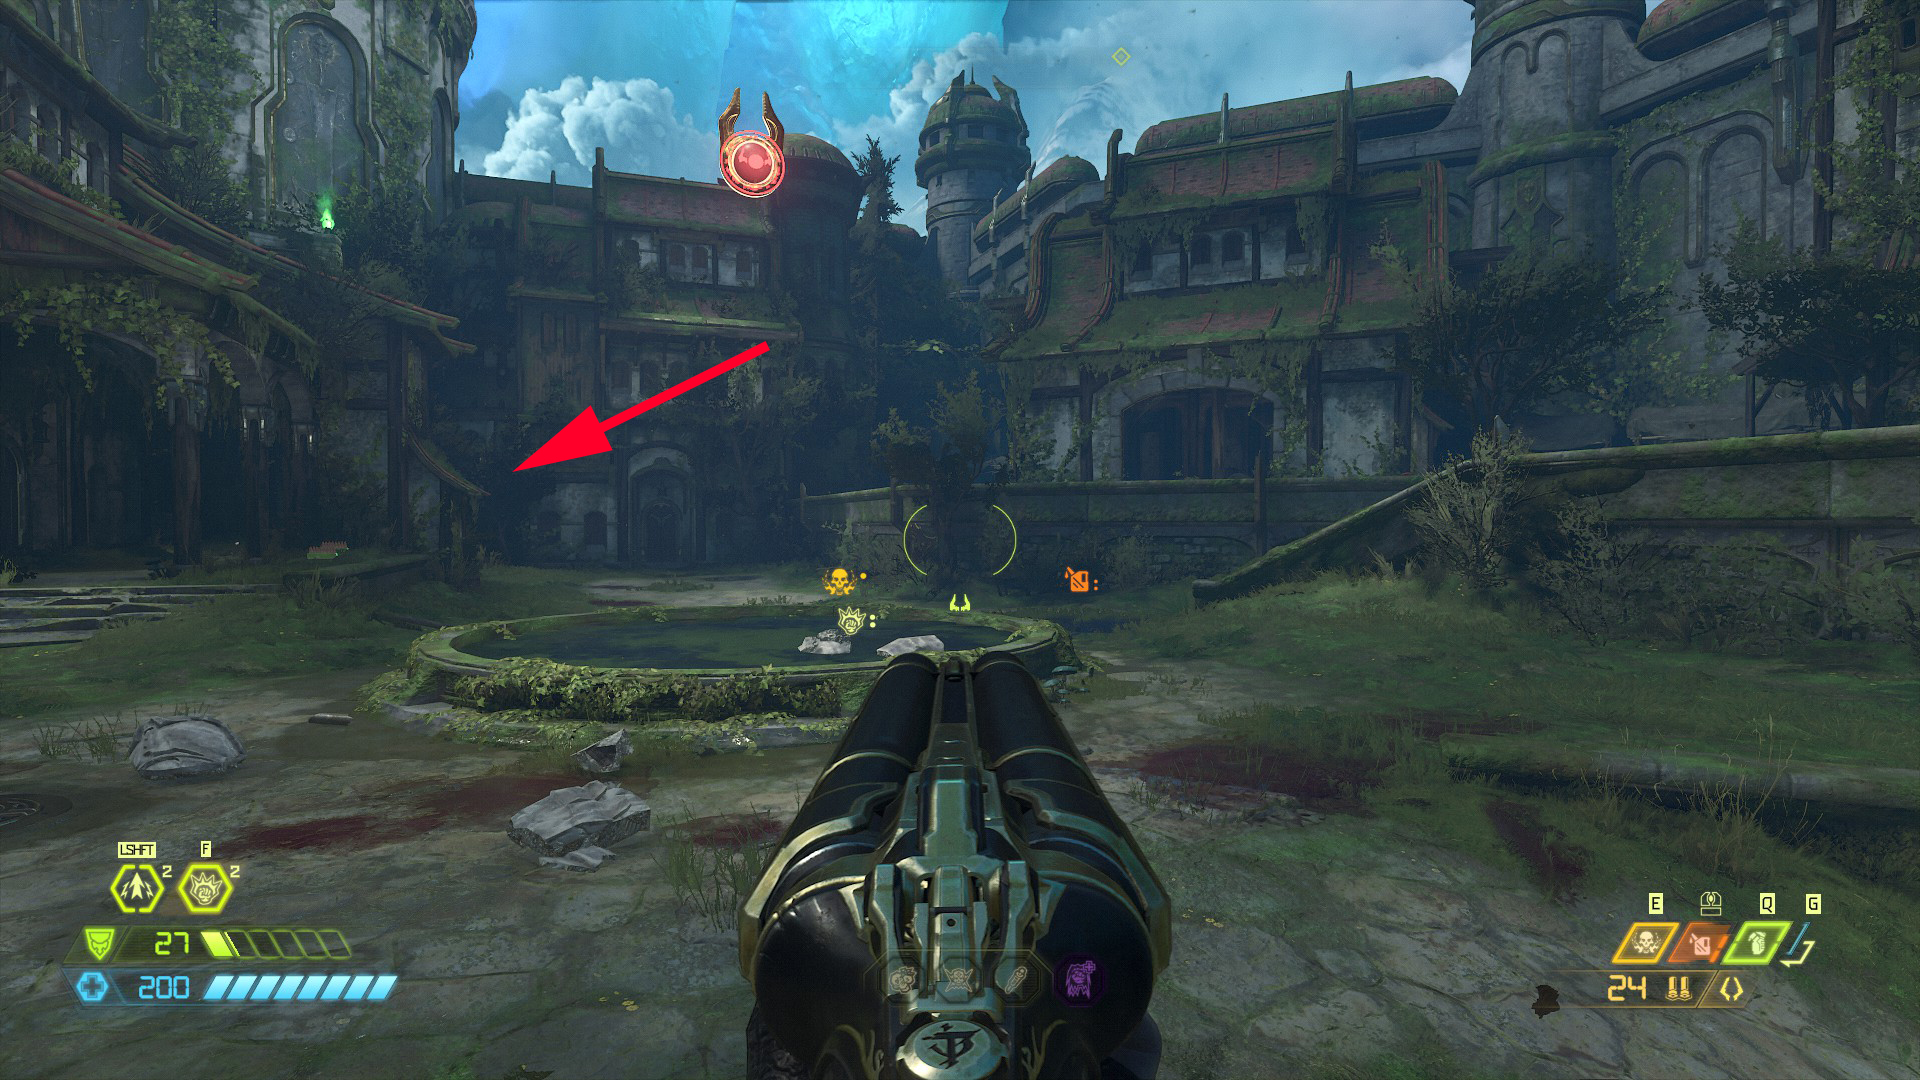
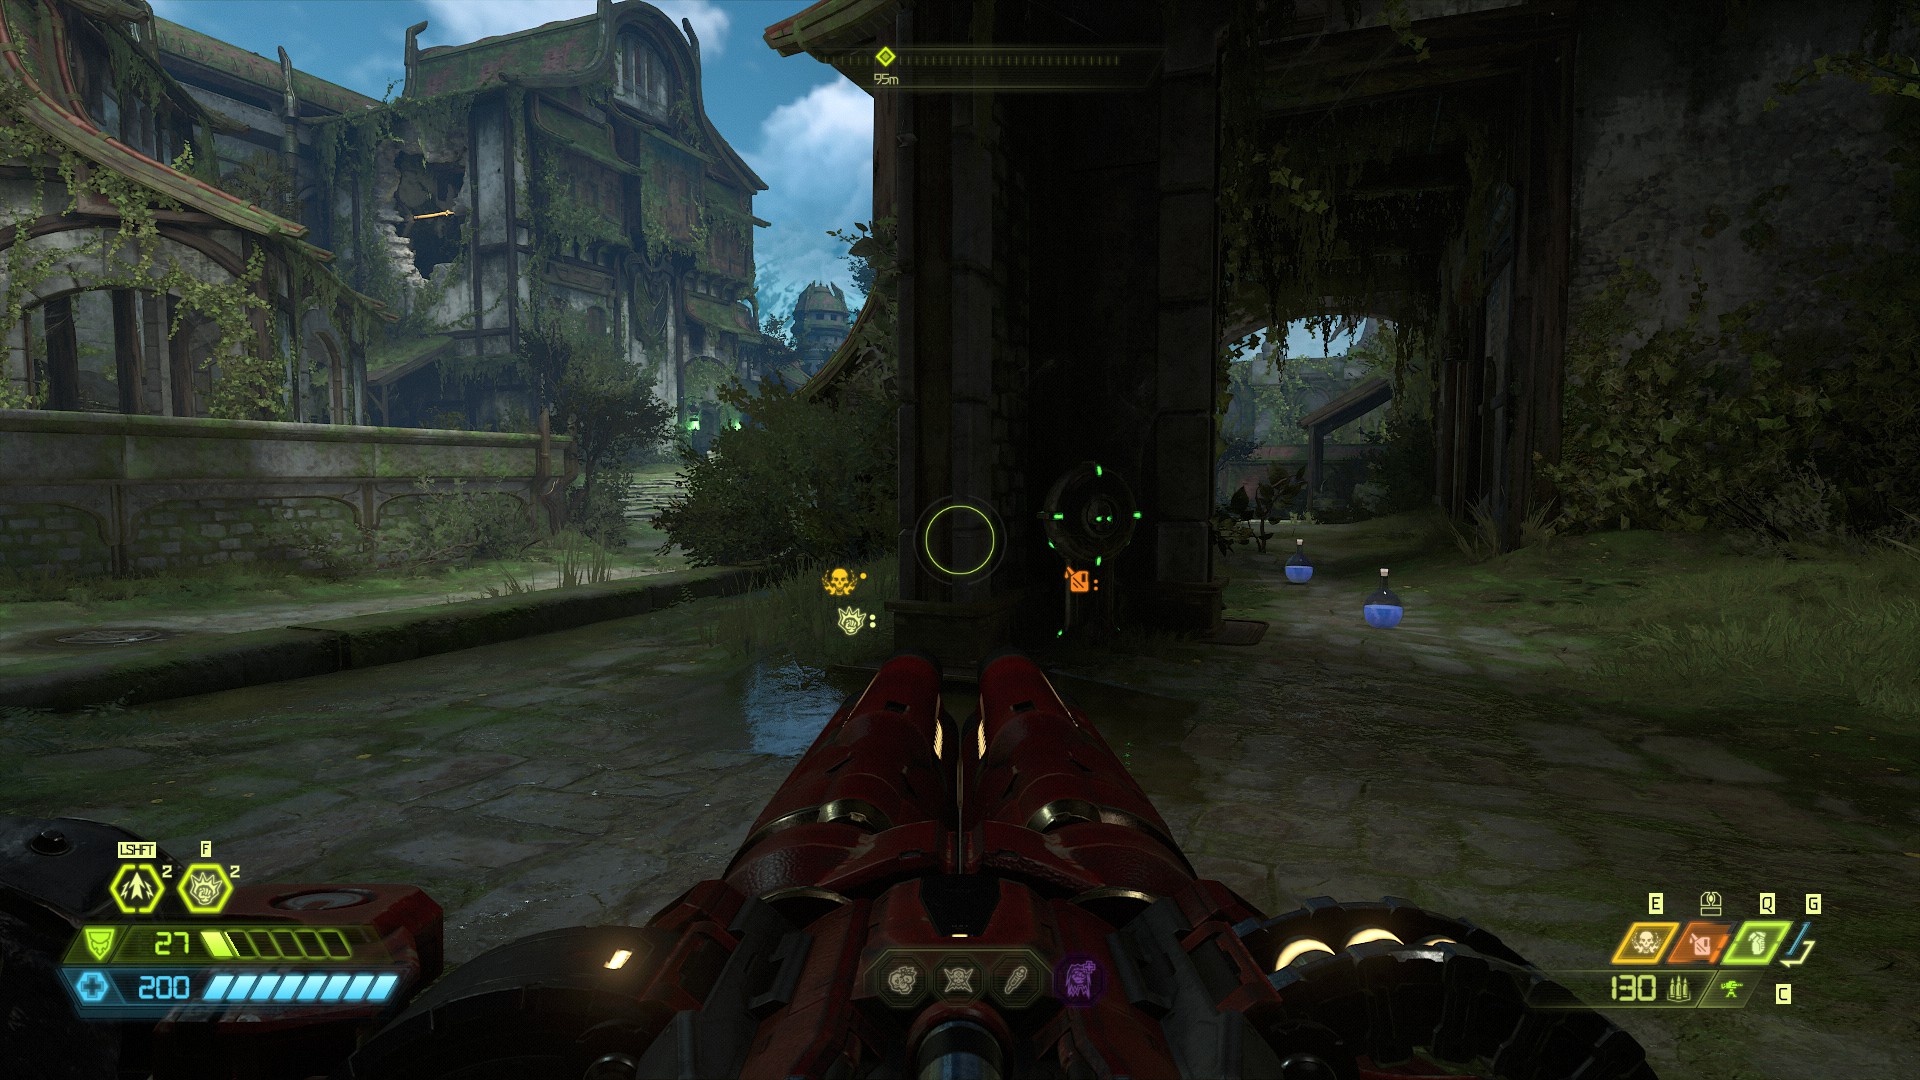
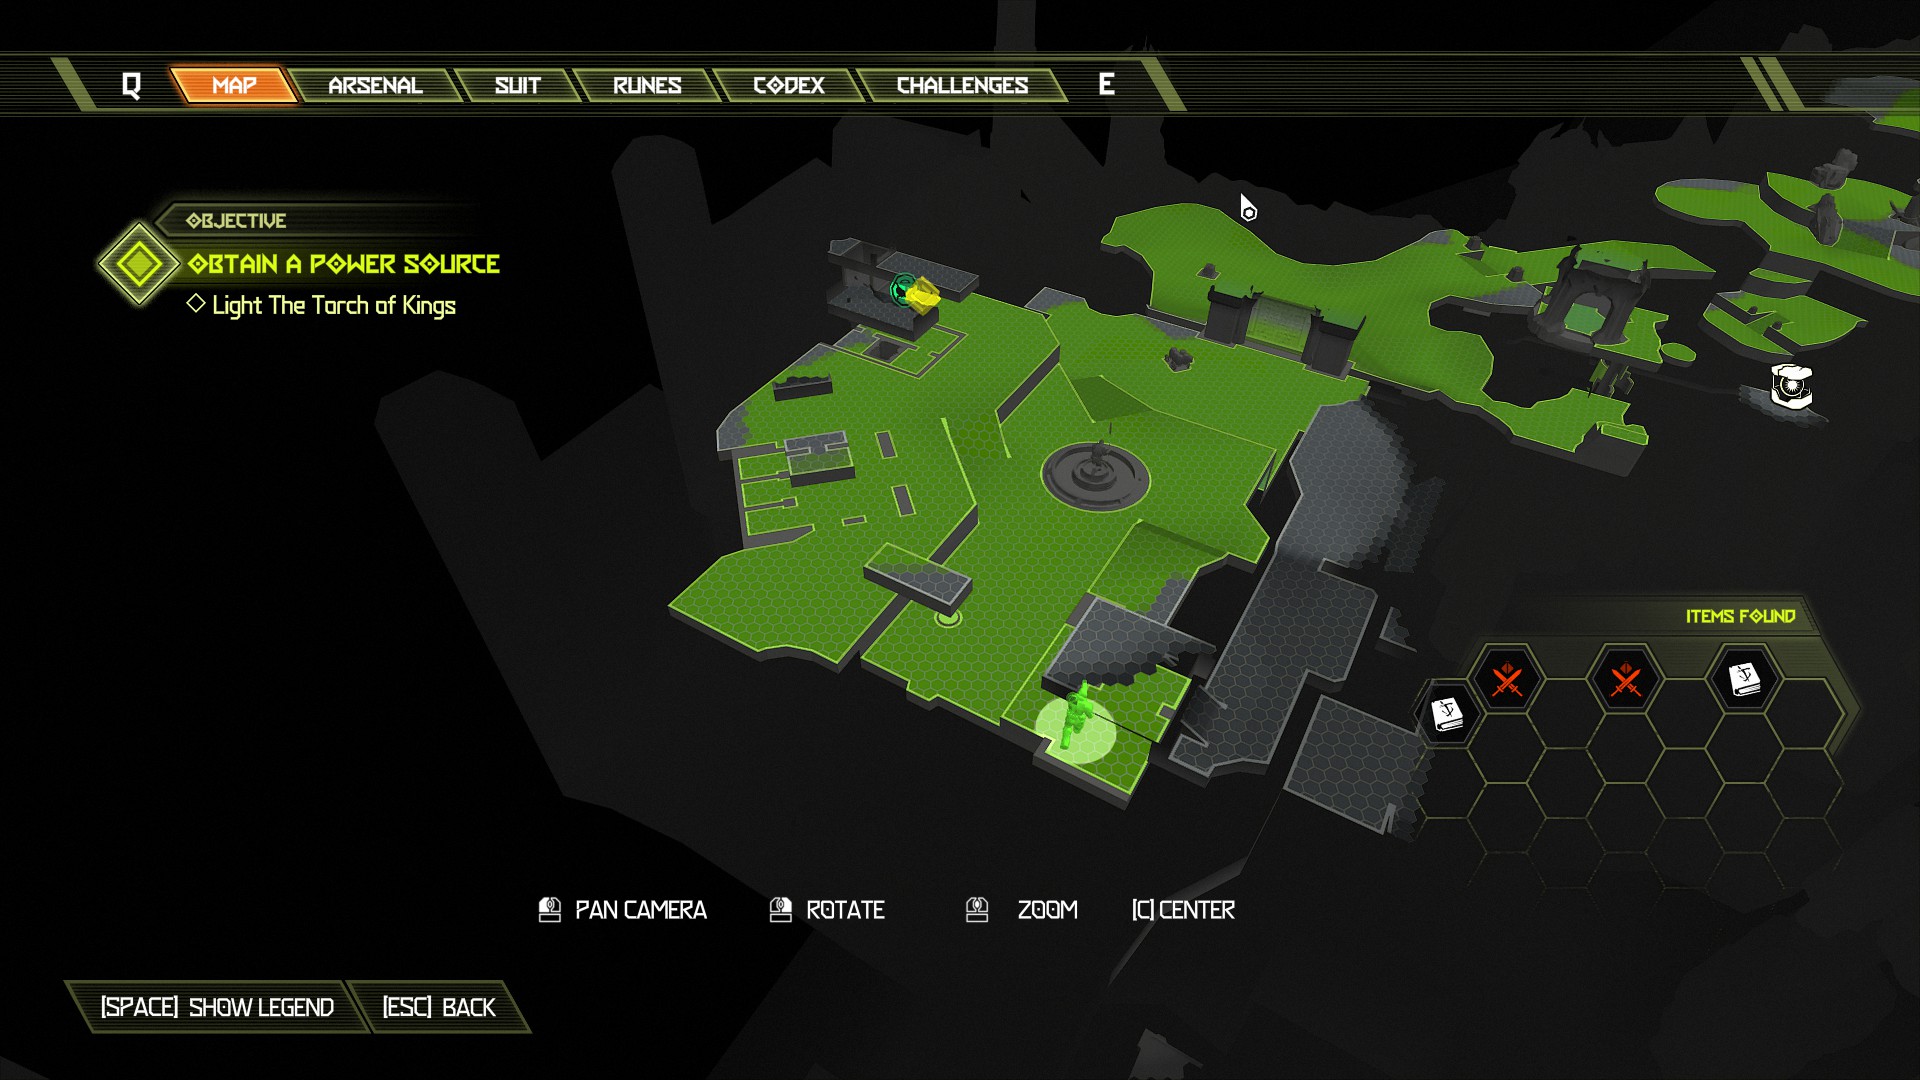
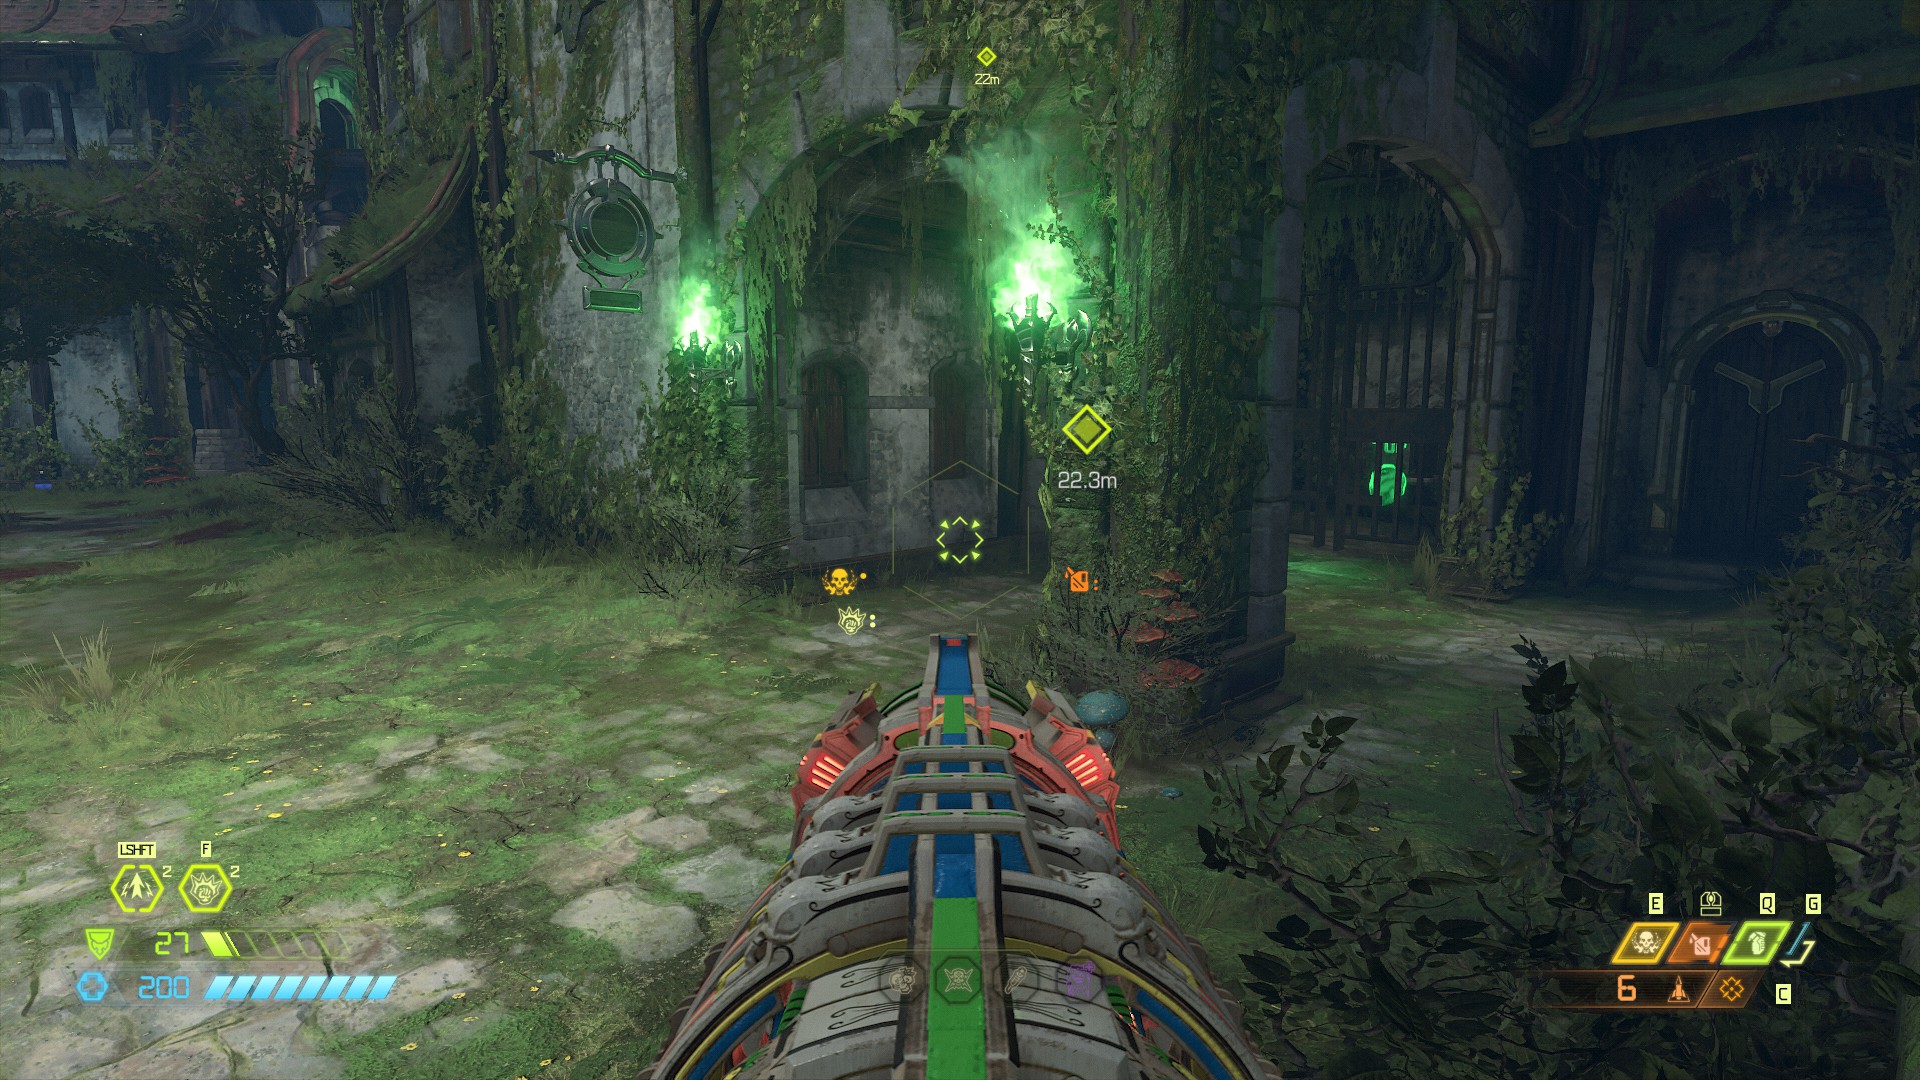
Now follow the mission marker inside and drop down the hole at the back of the room. Make your way around and up until you reach the hole in the wall with the yellow swing bar going across it that leads outside. Do not swing across and instead use the booster below you inside the room to reach the highest platform opposite, on there will be a blue orb for you to collect.
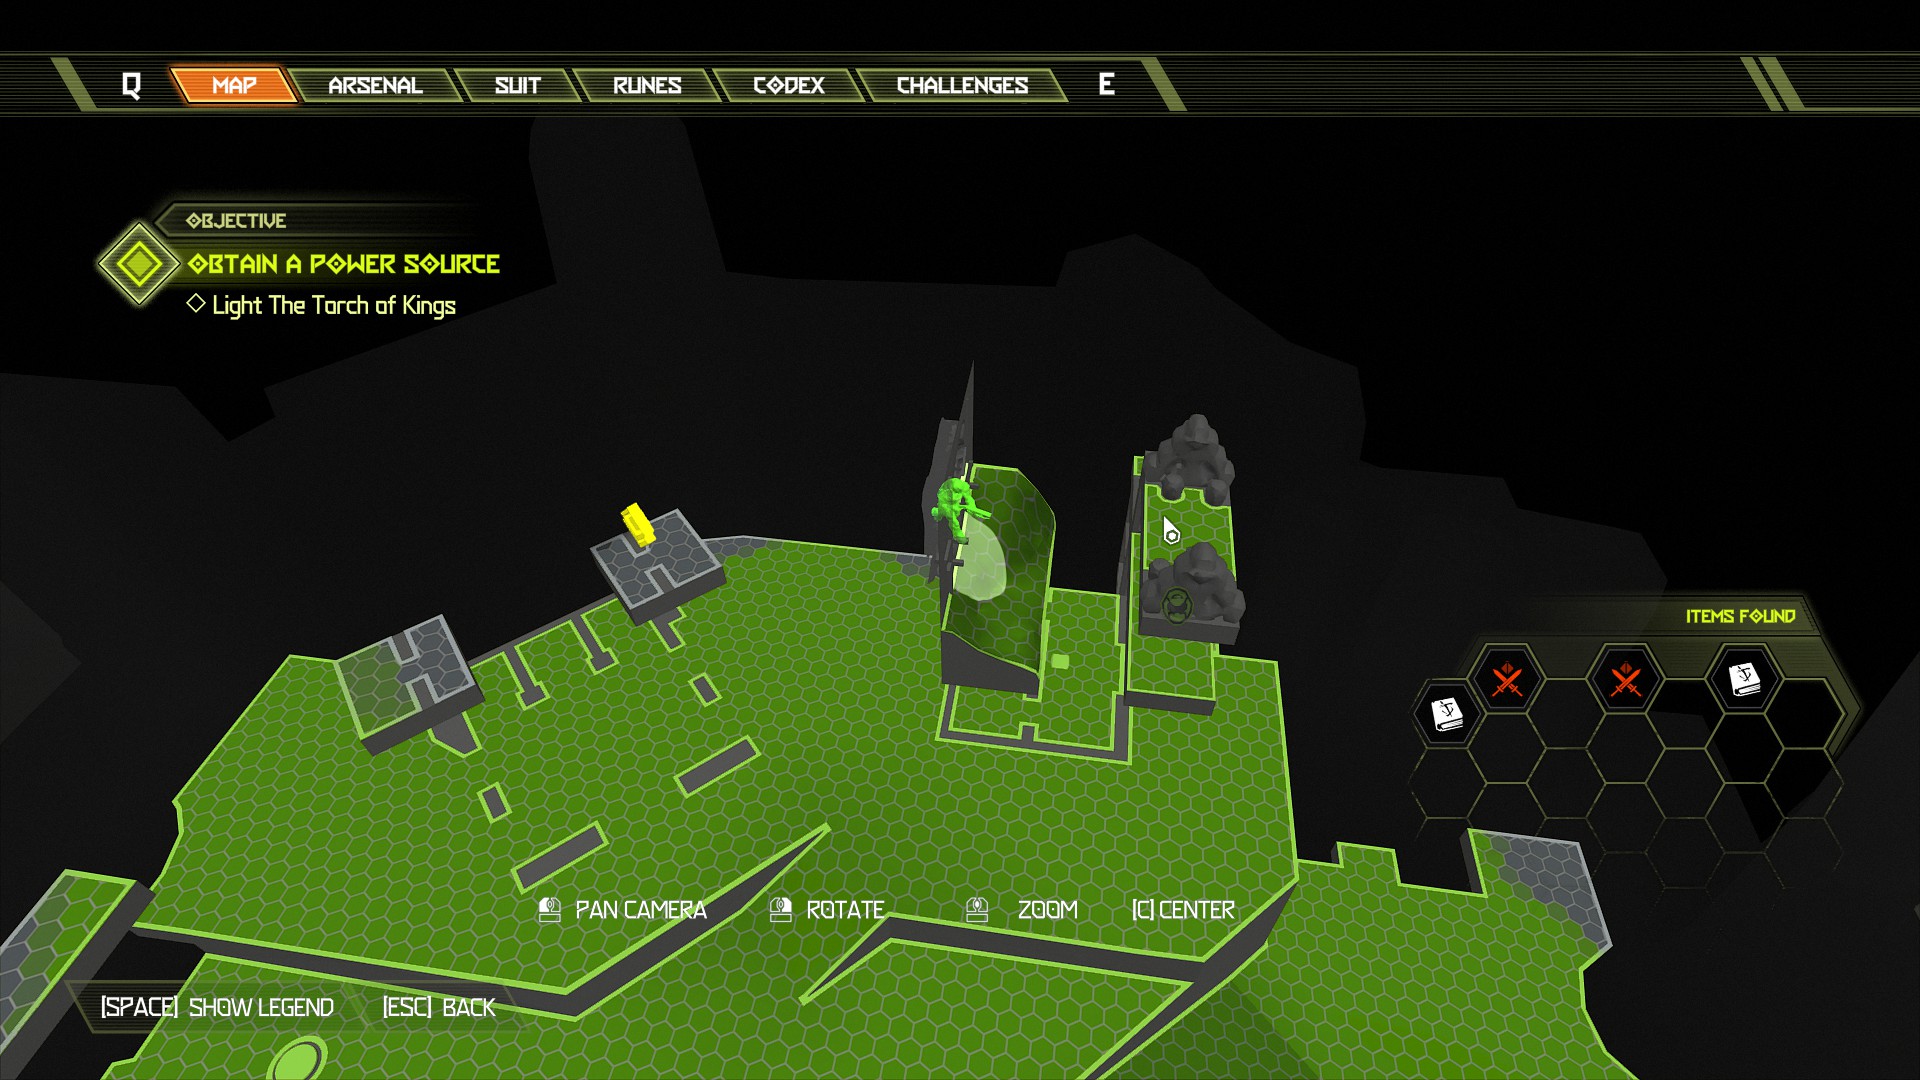
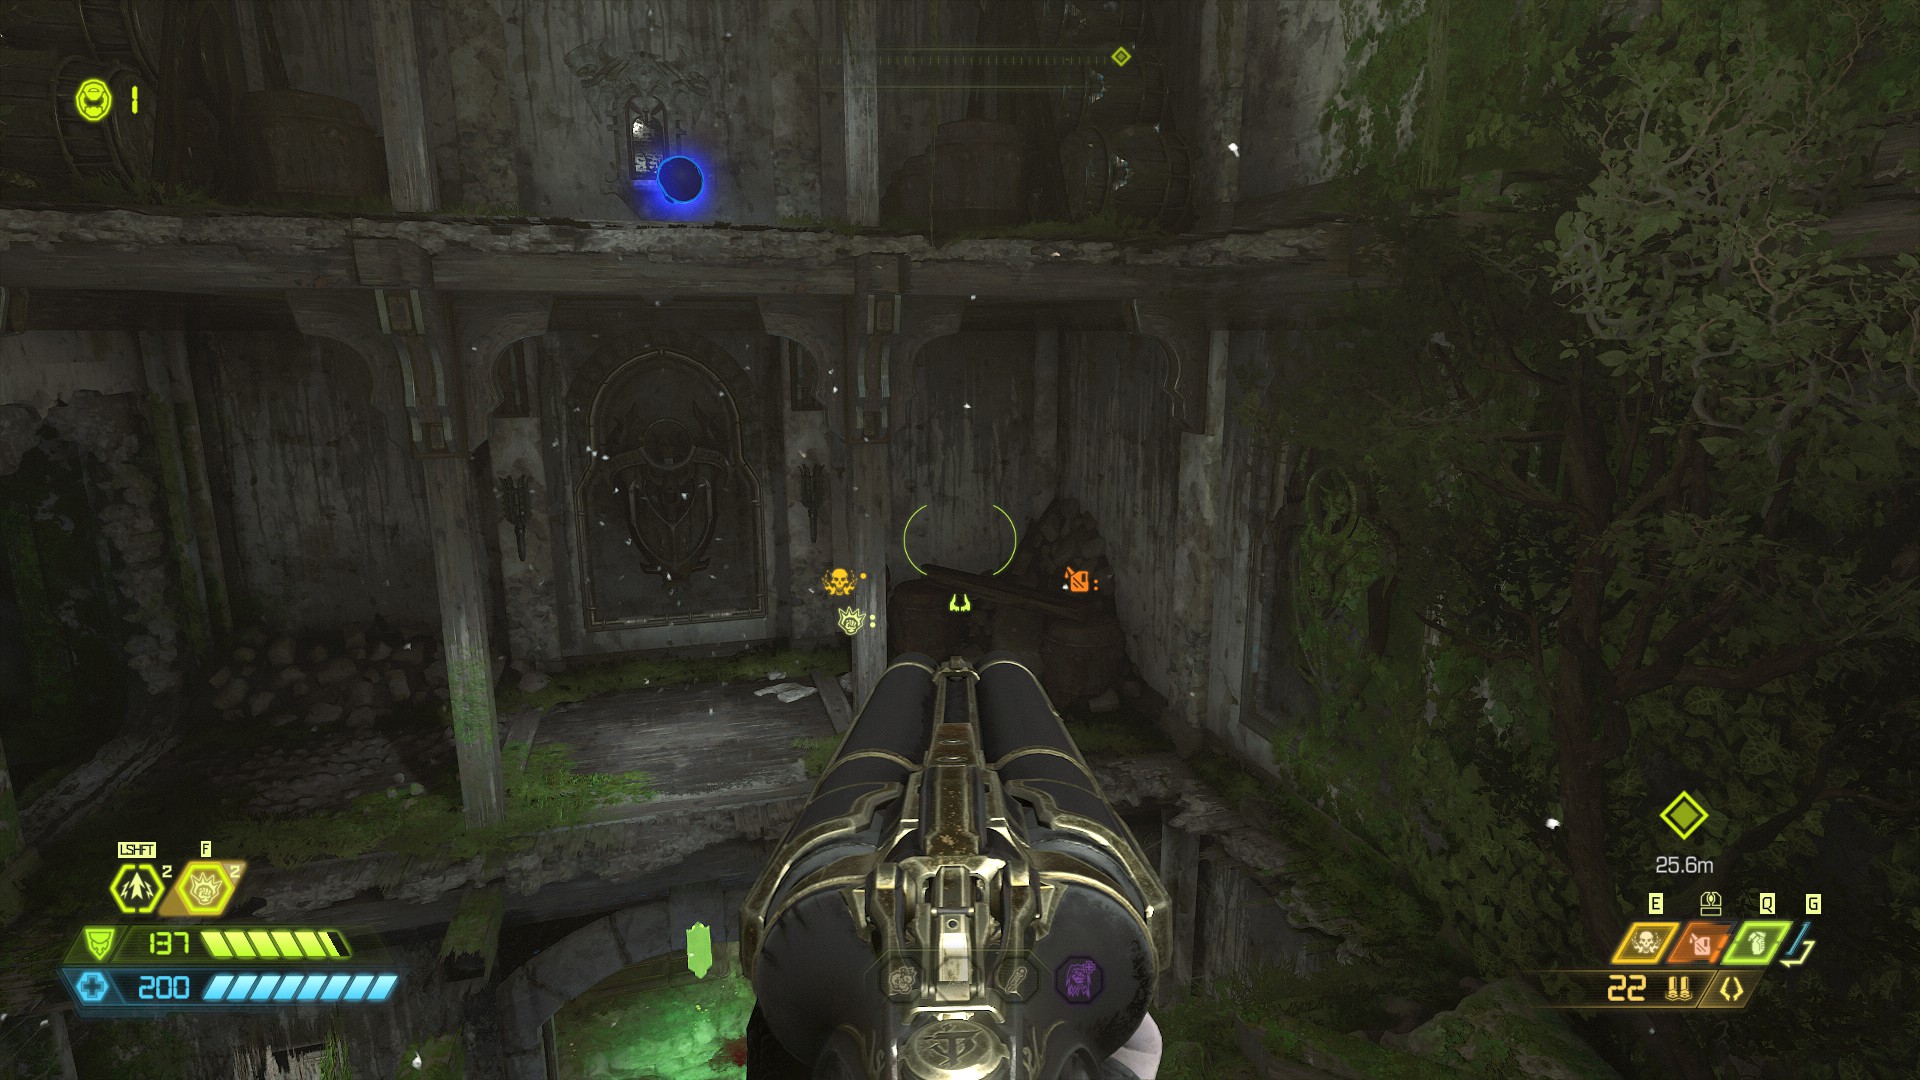
Continue on with the mission into the next zone until you reach the encounter with the stone imps for the first time.
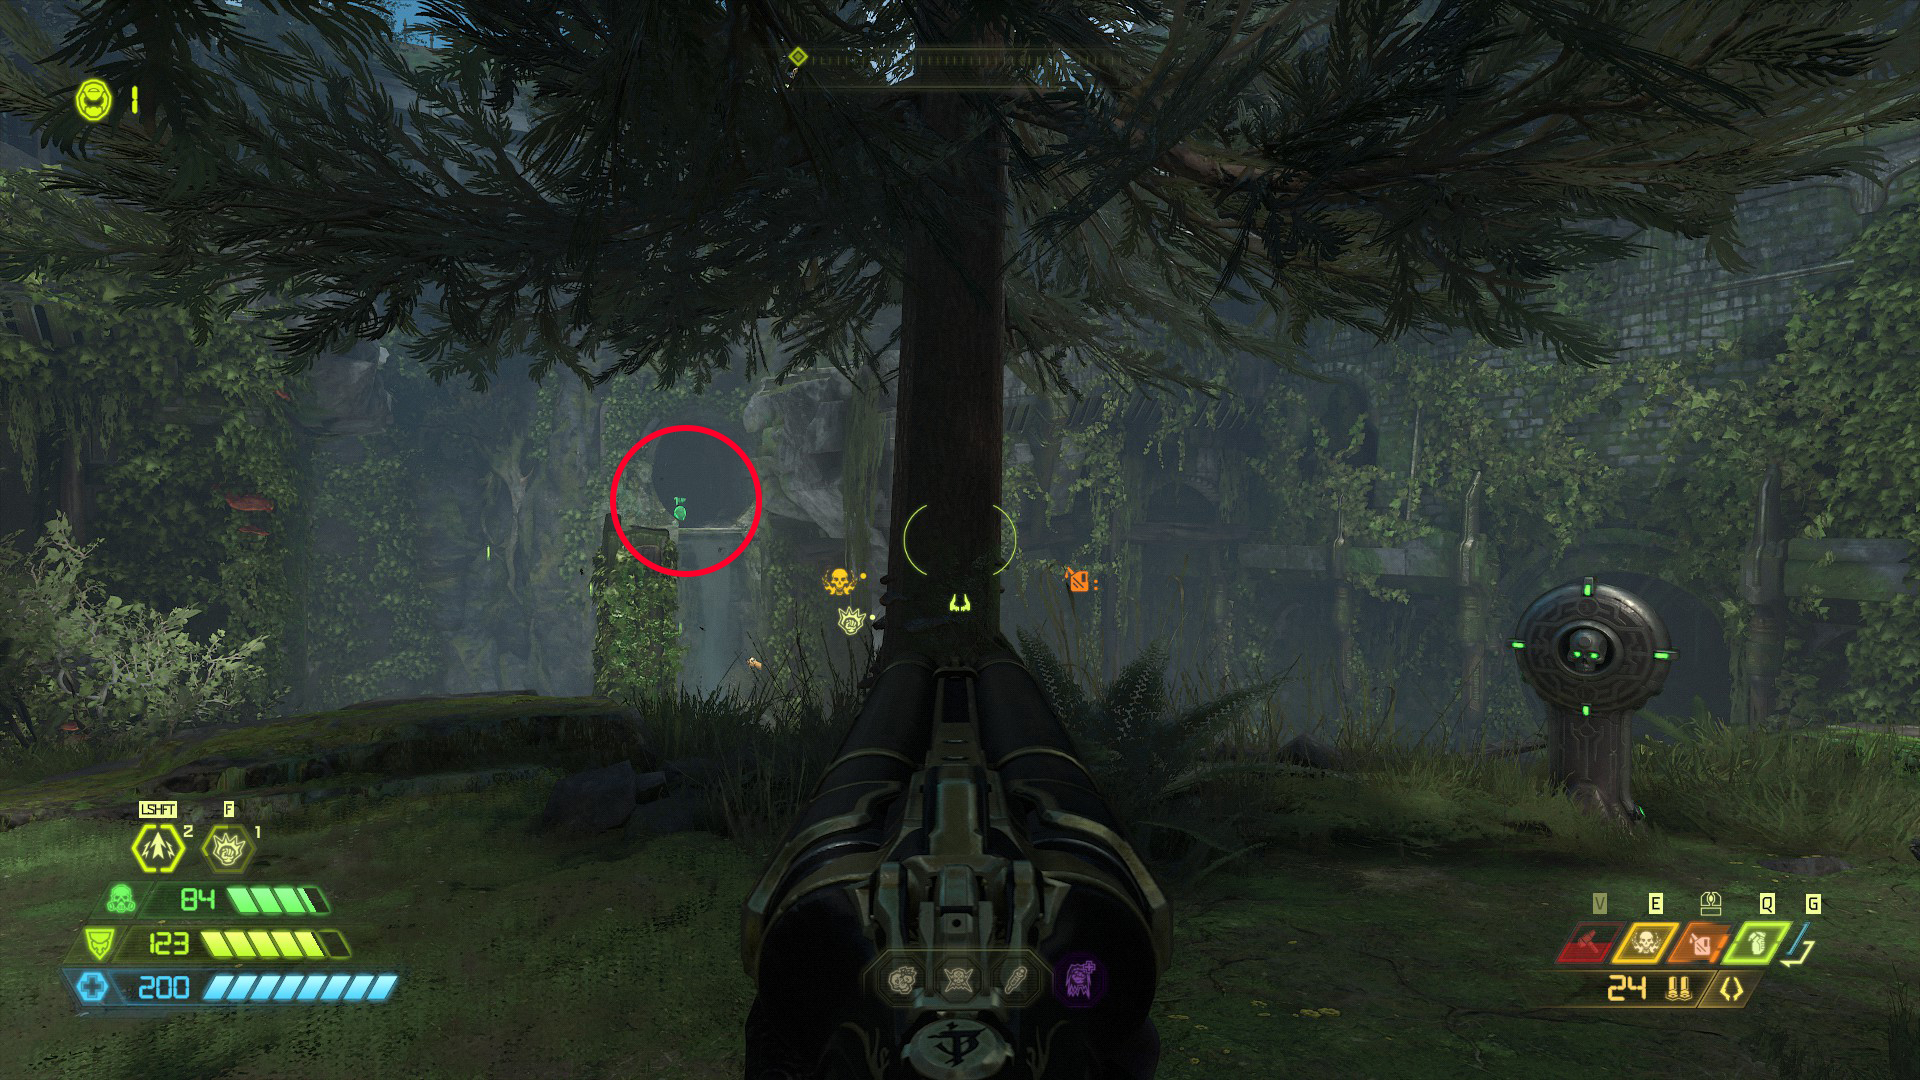
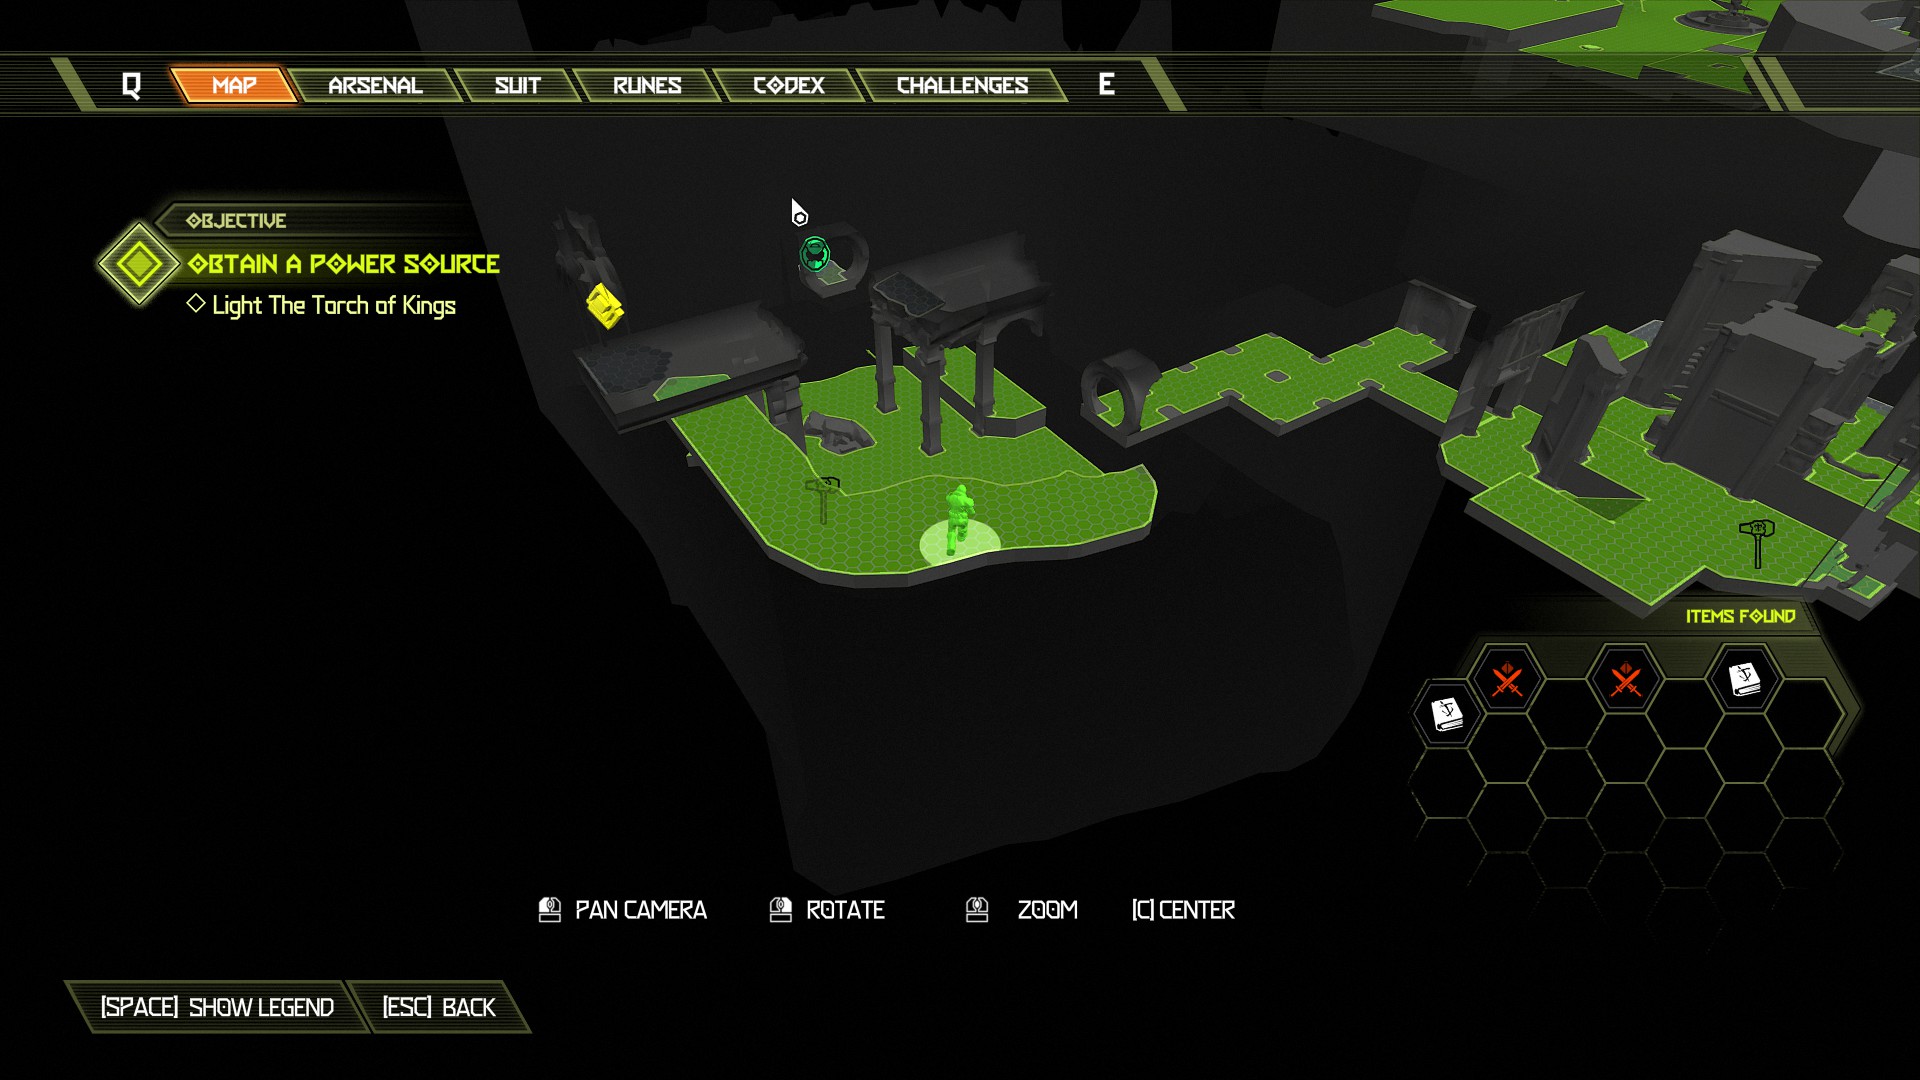
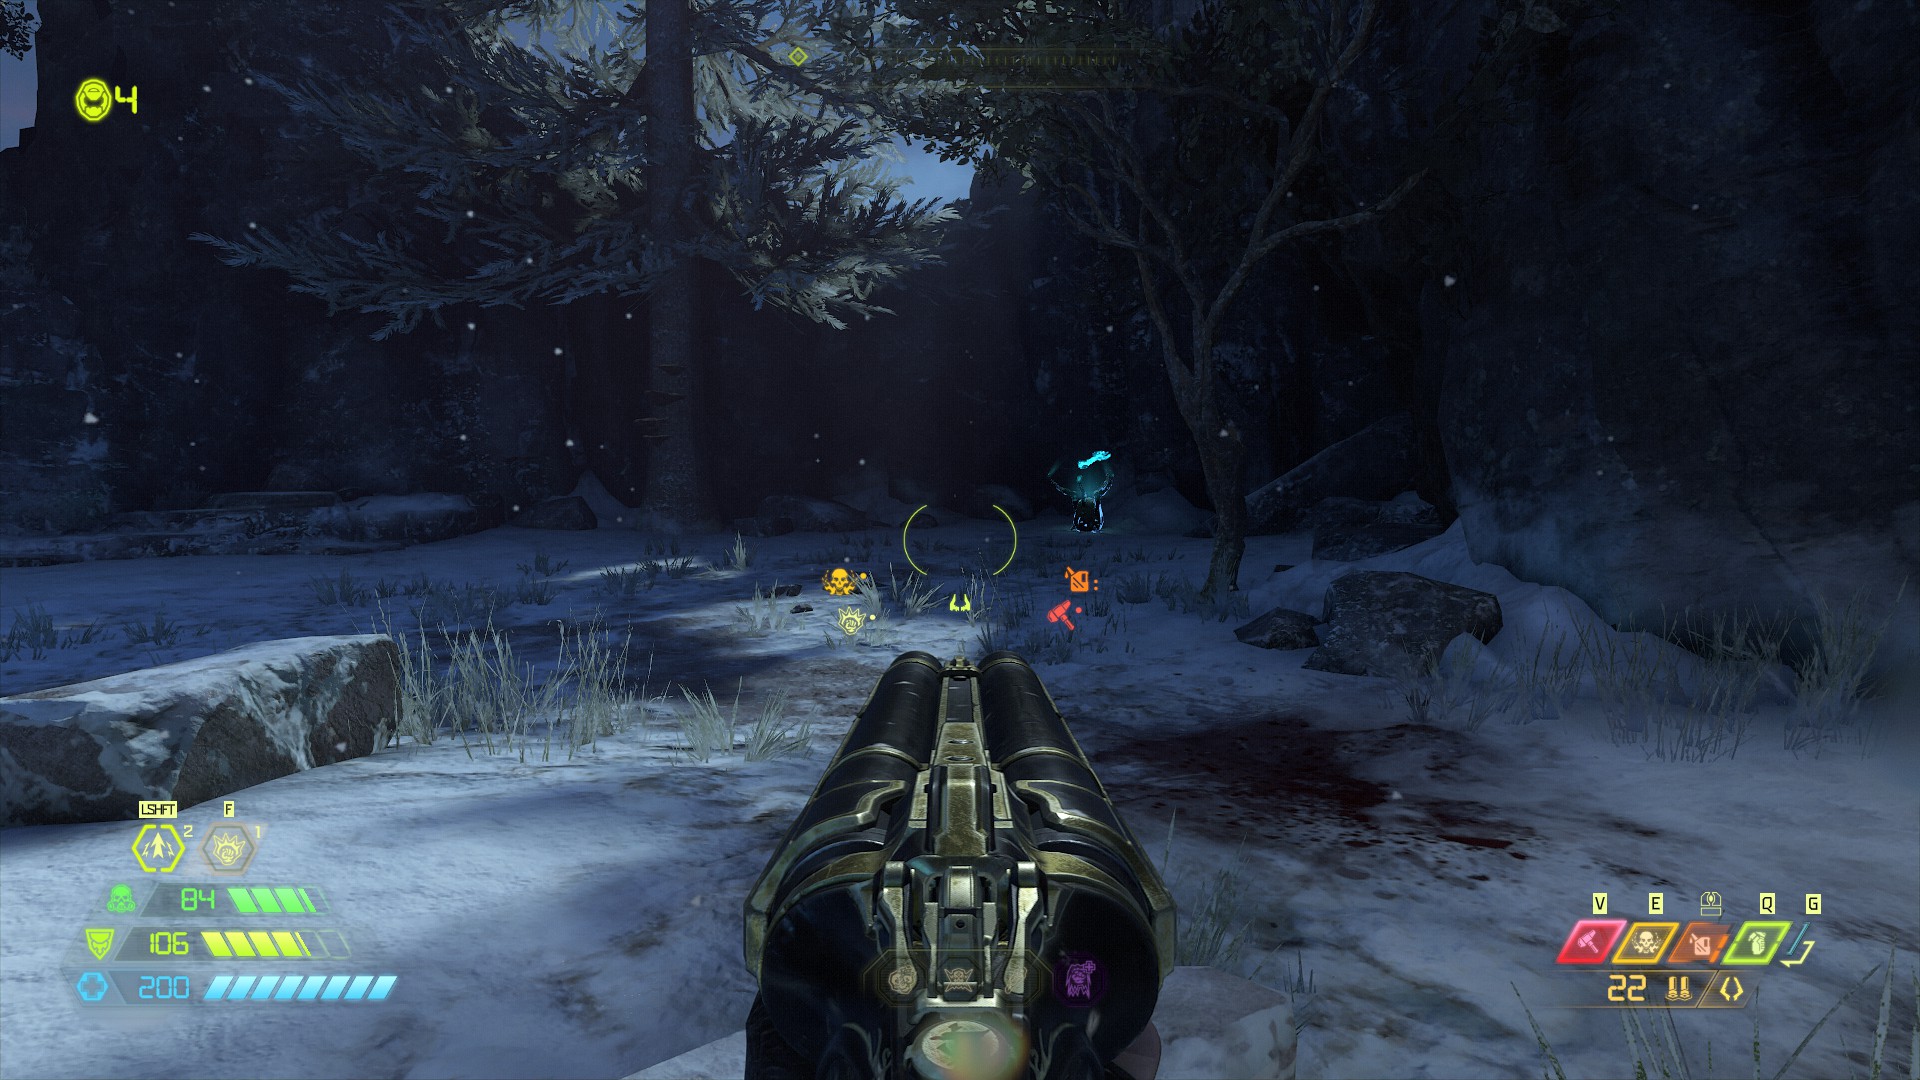
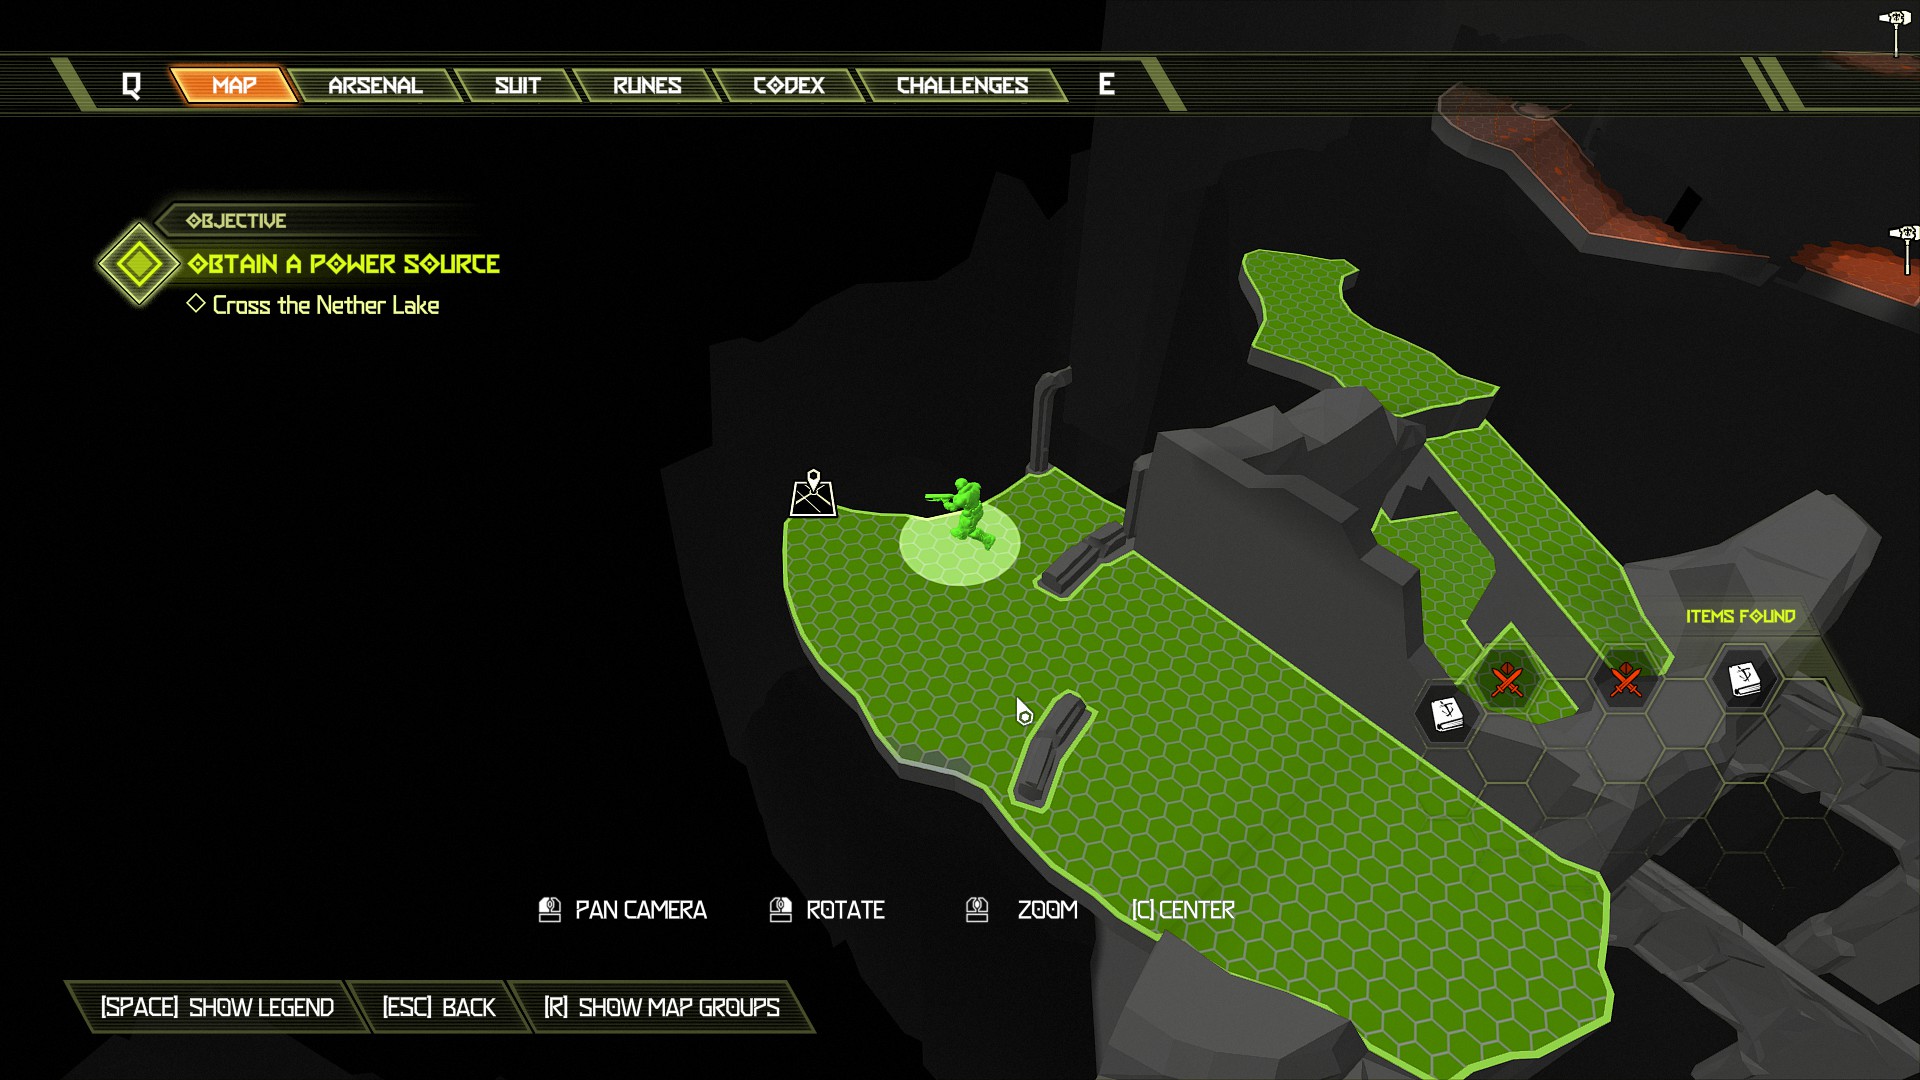
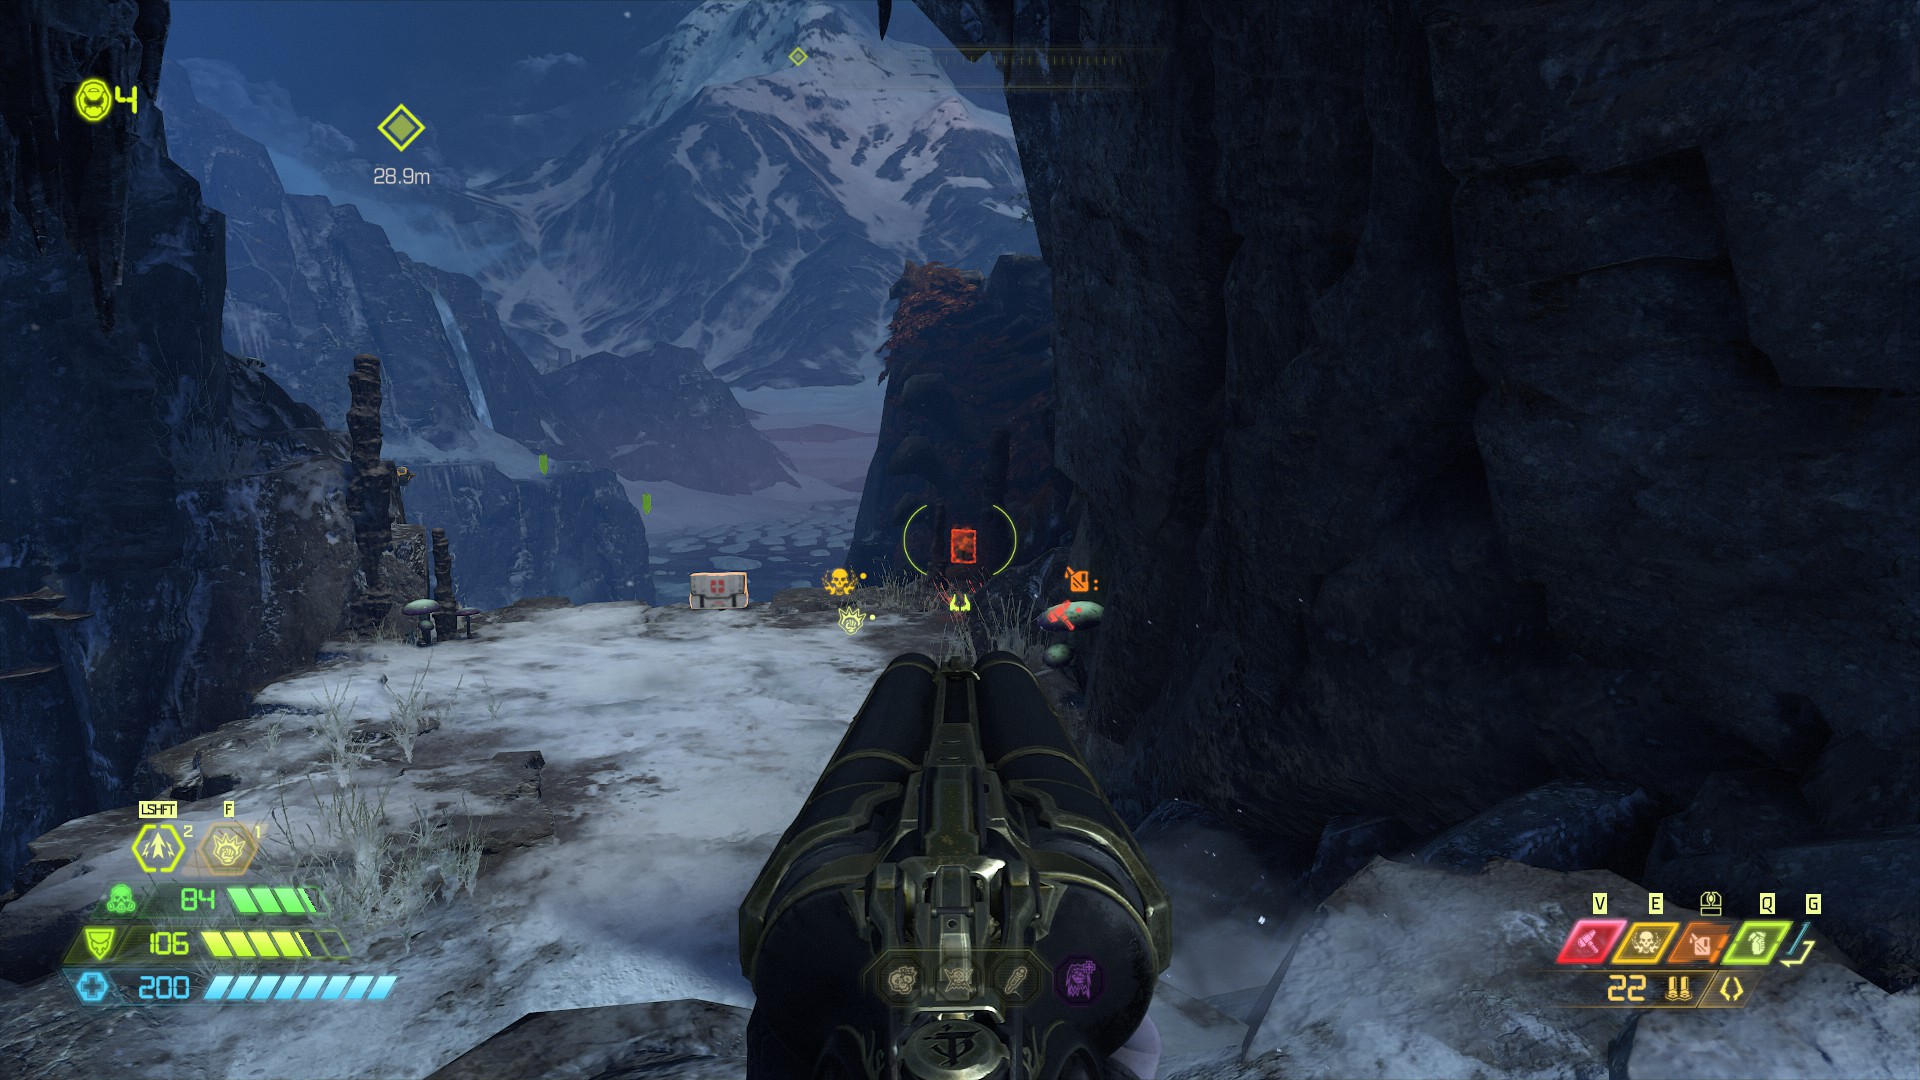
After the automap continue on and you will see the higher grapple point which will now be active, use it to reach the extra lives above.
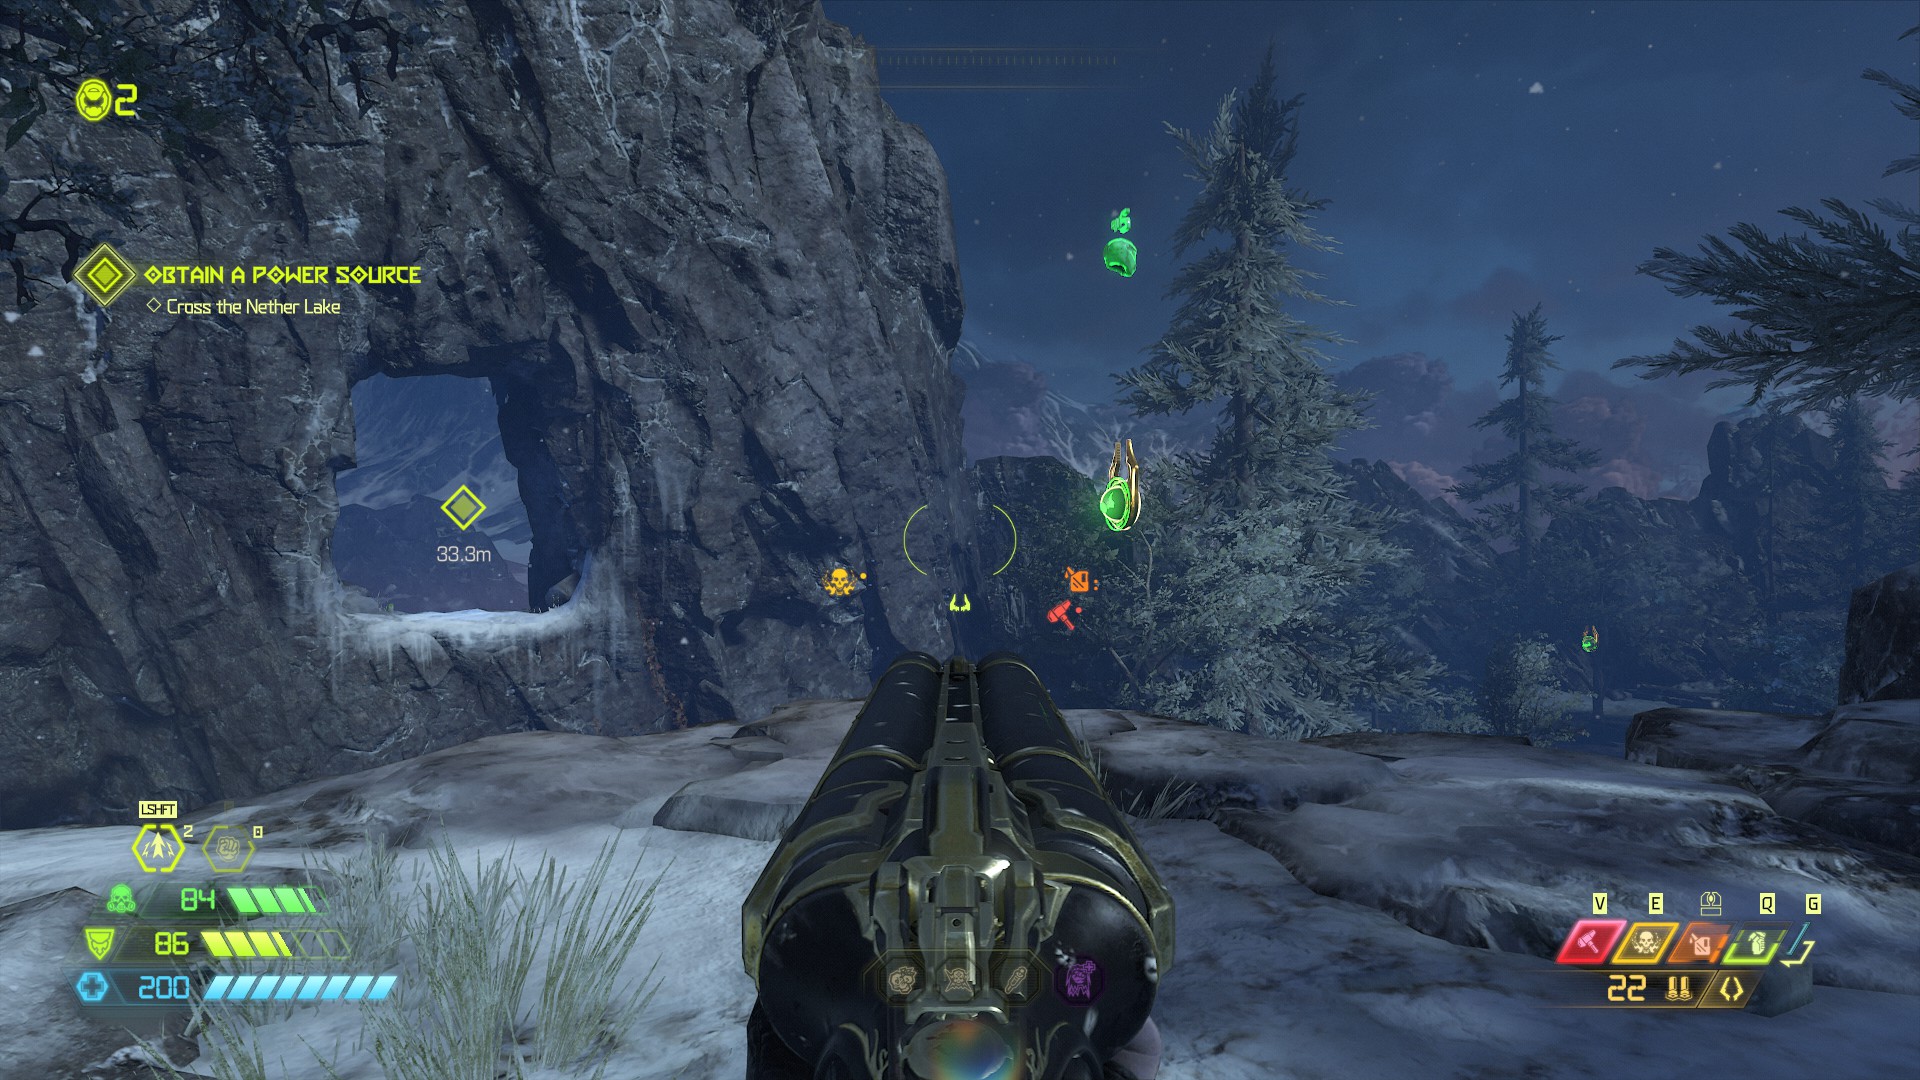
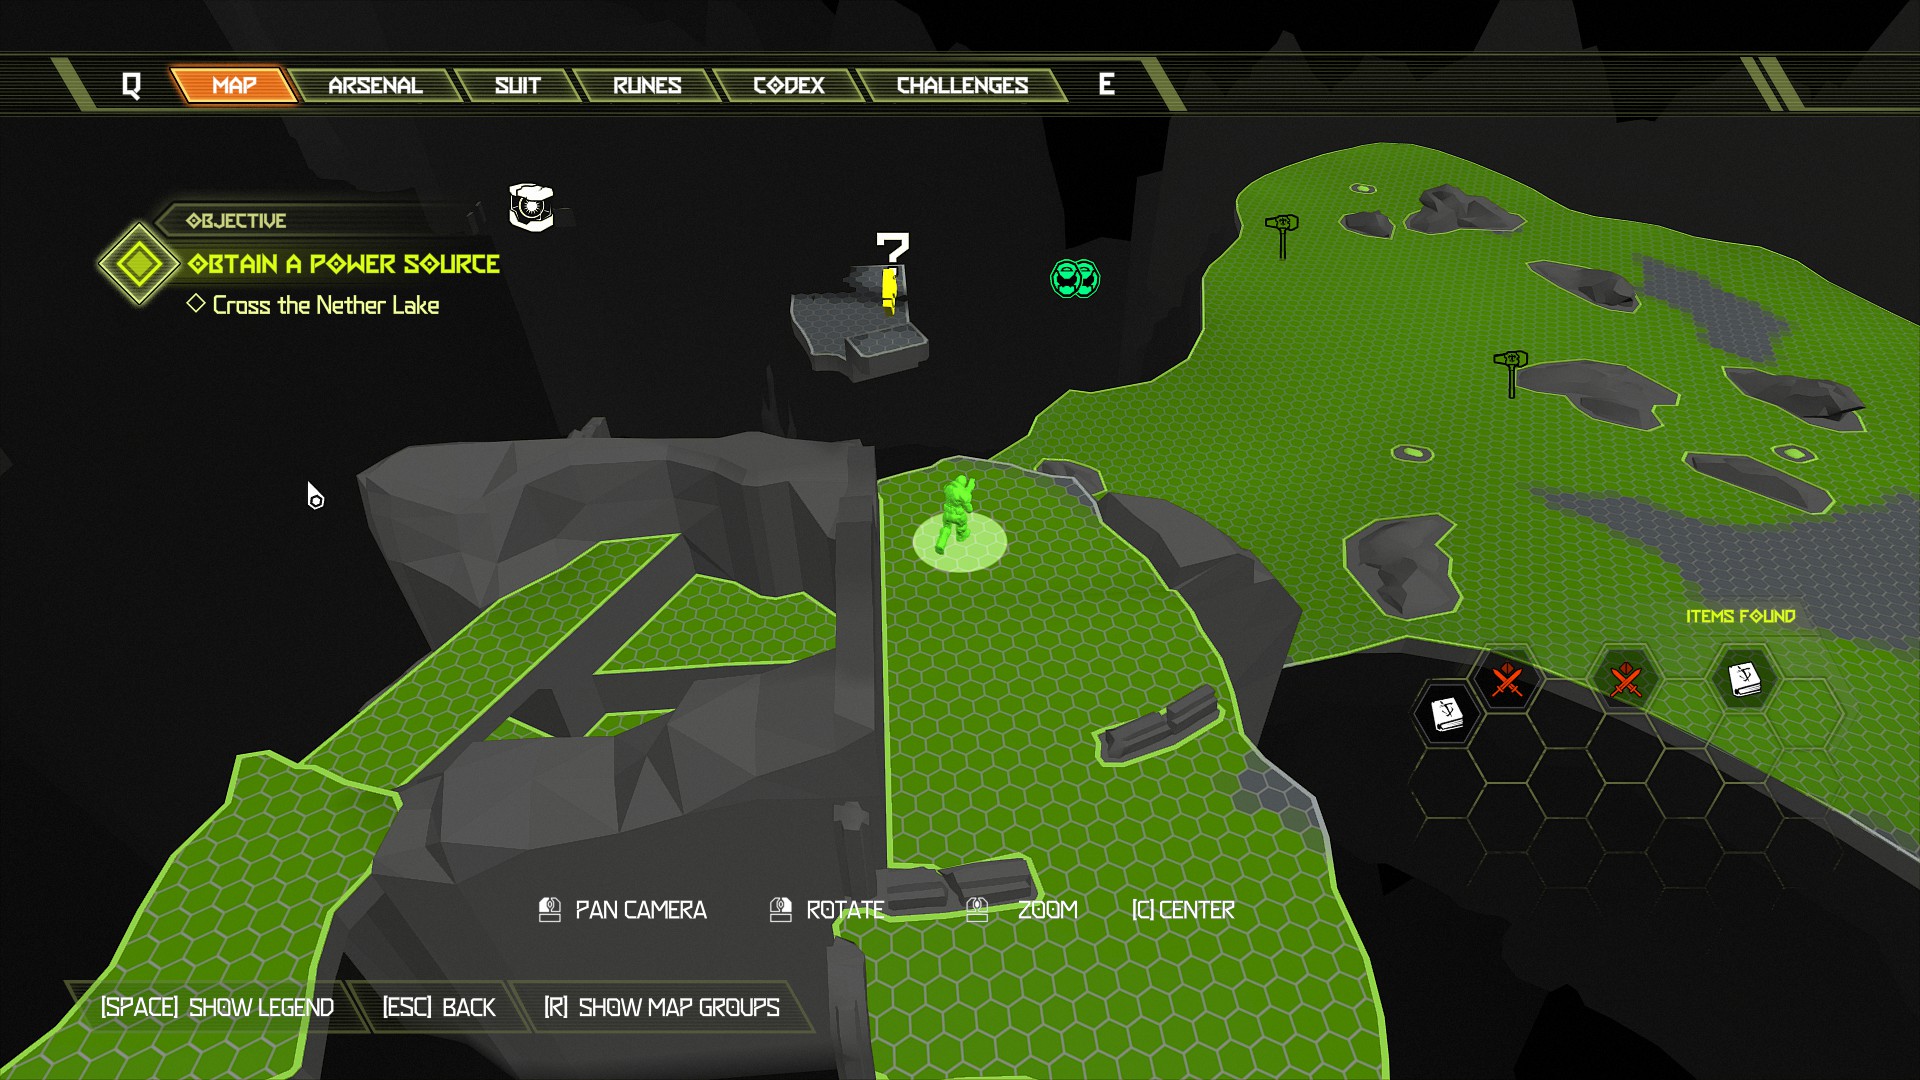
Once you have collected the extra lives go back and jump across the gap where the extra lives were floating and immediately in front of you on the right side will be the first of the codex pages.
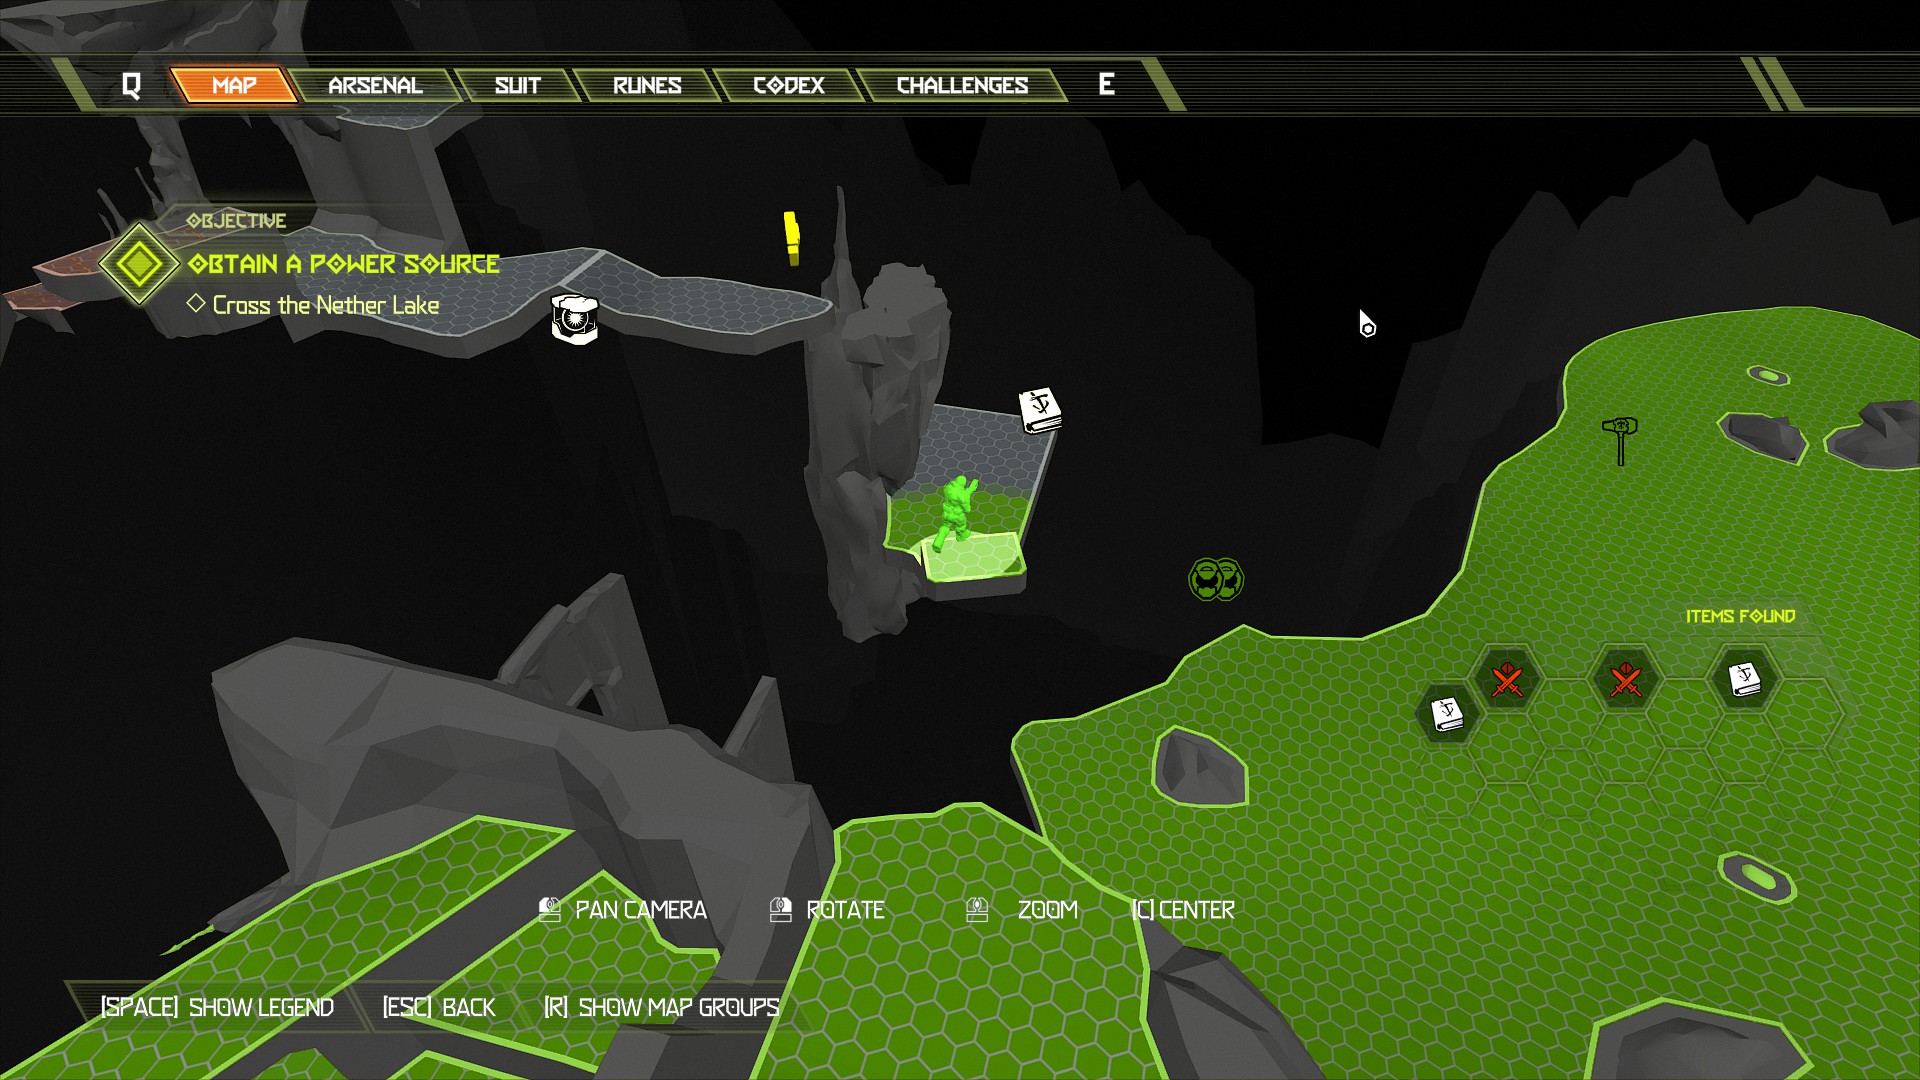
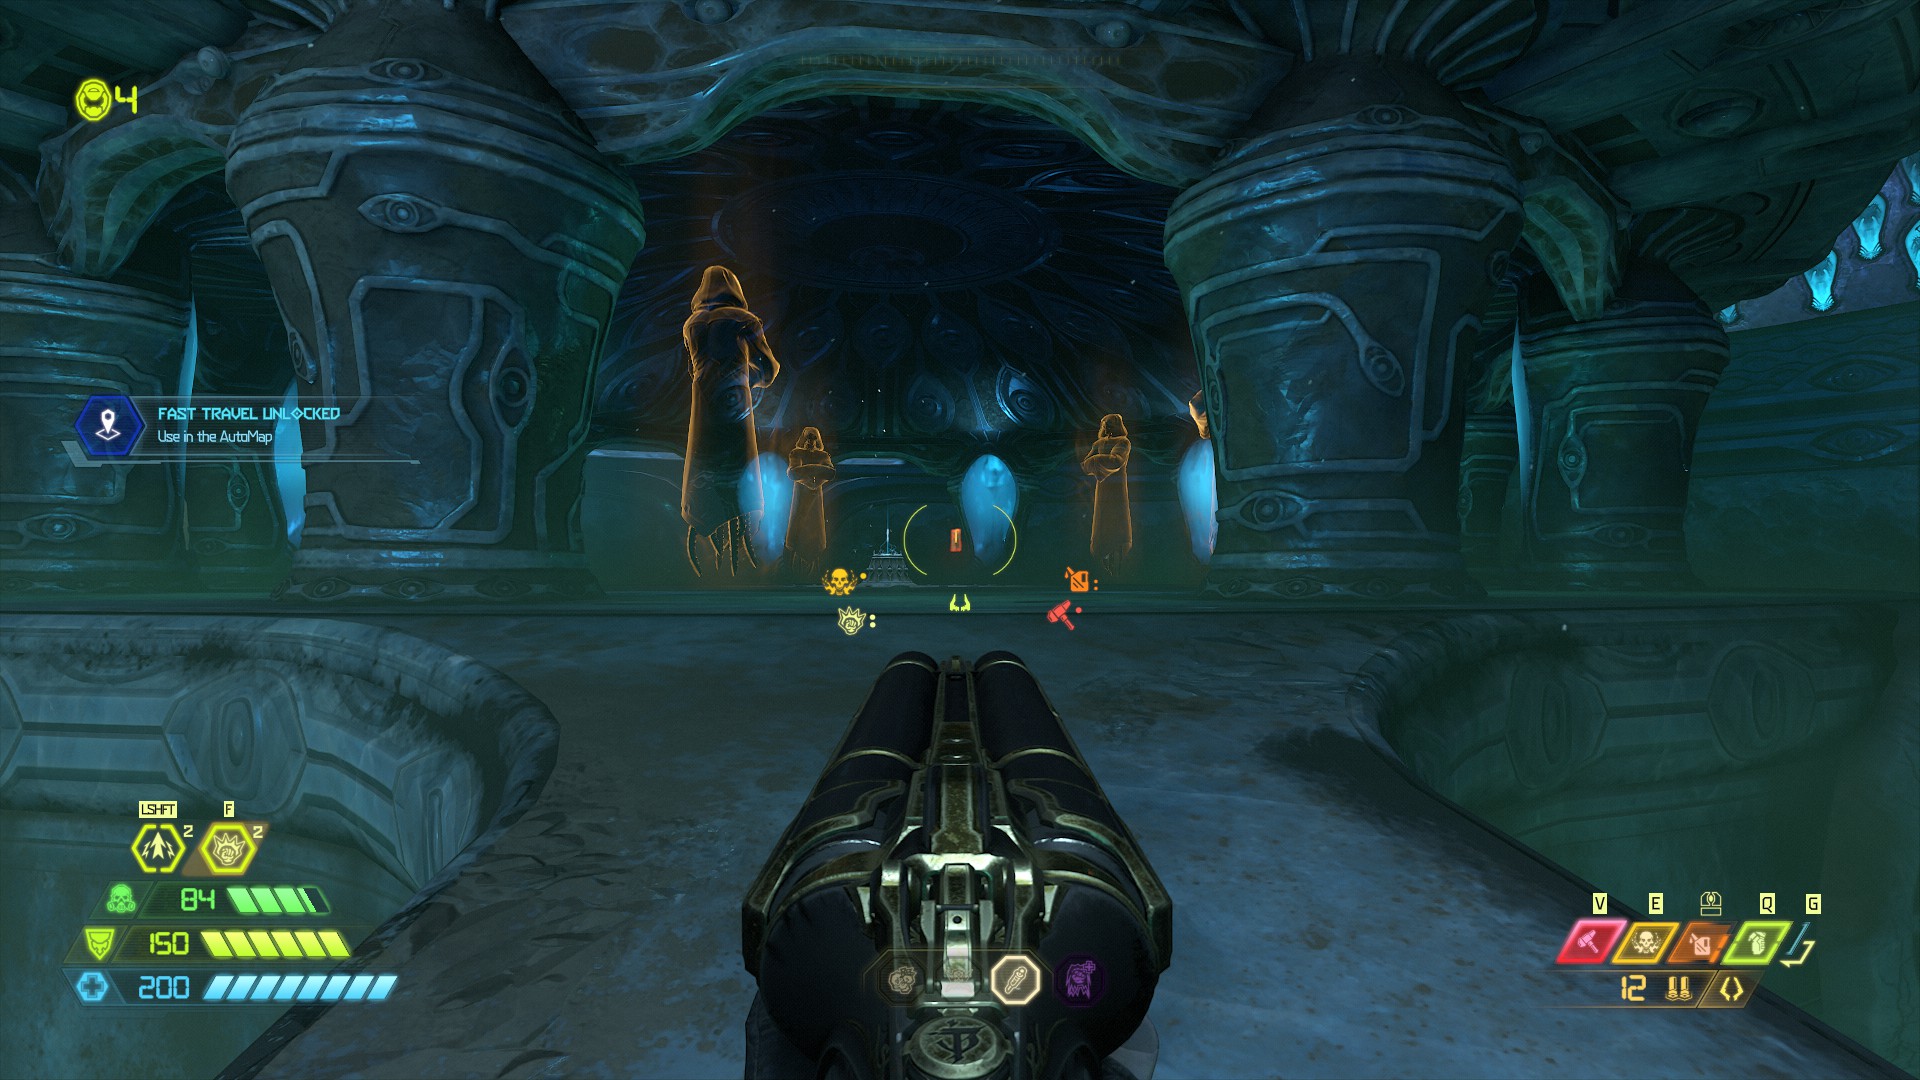
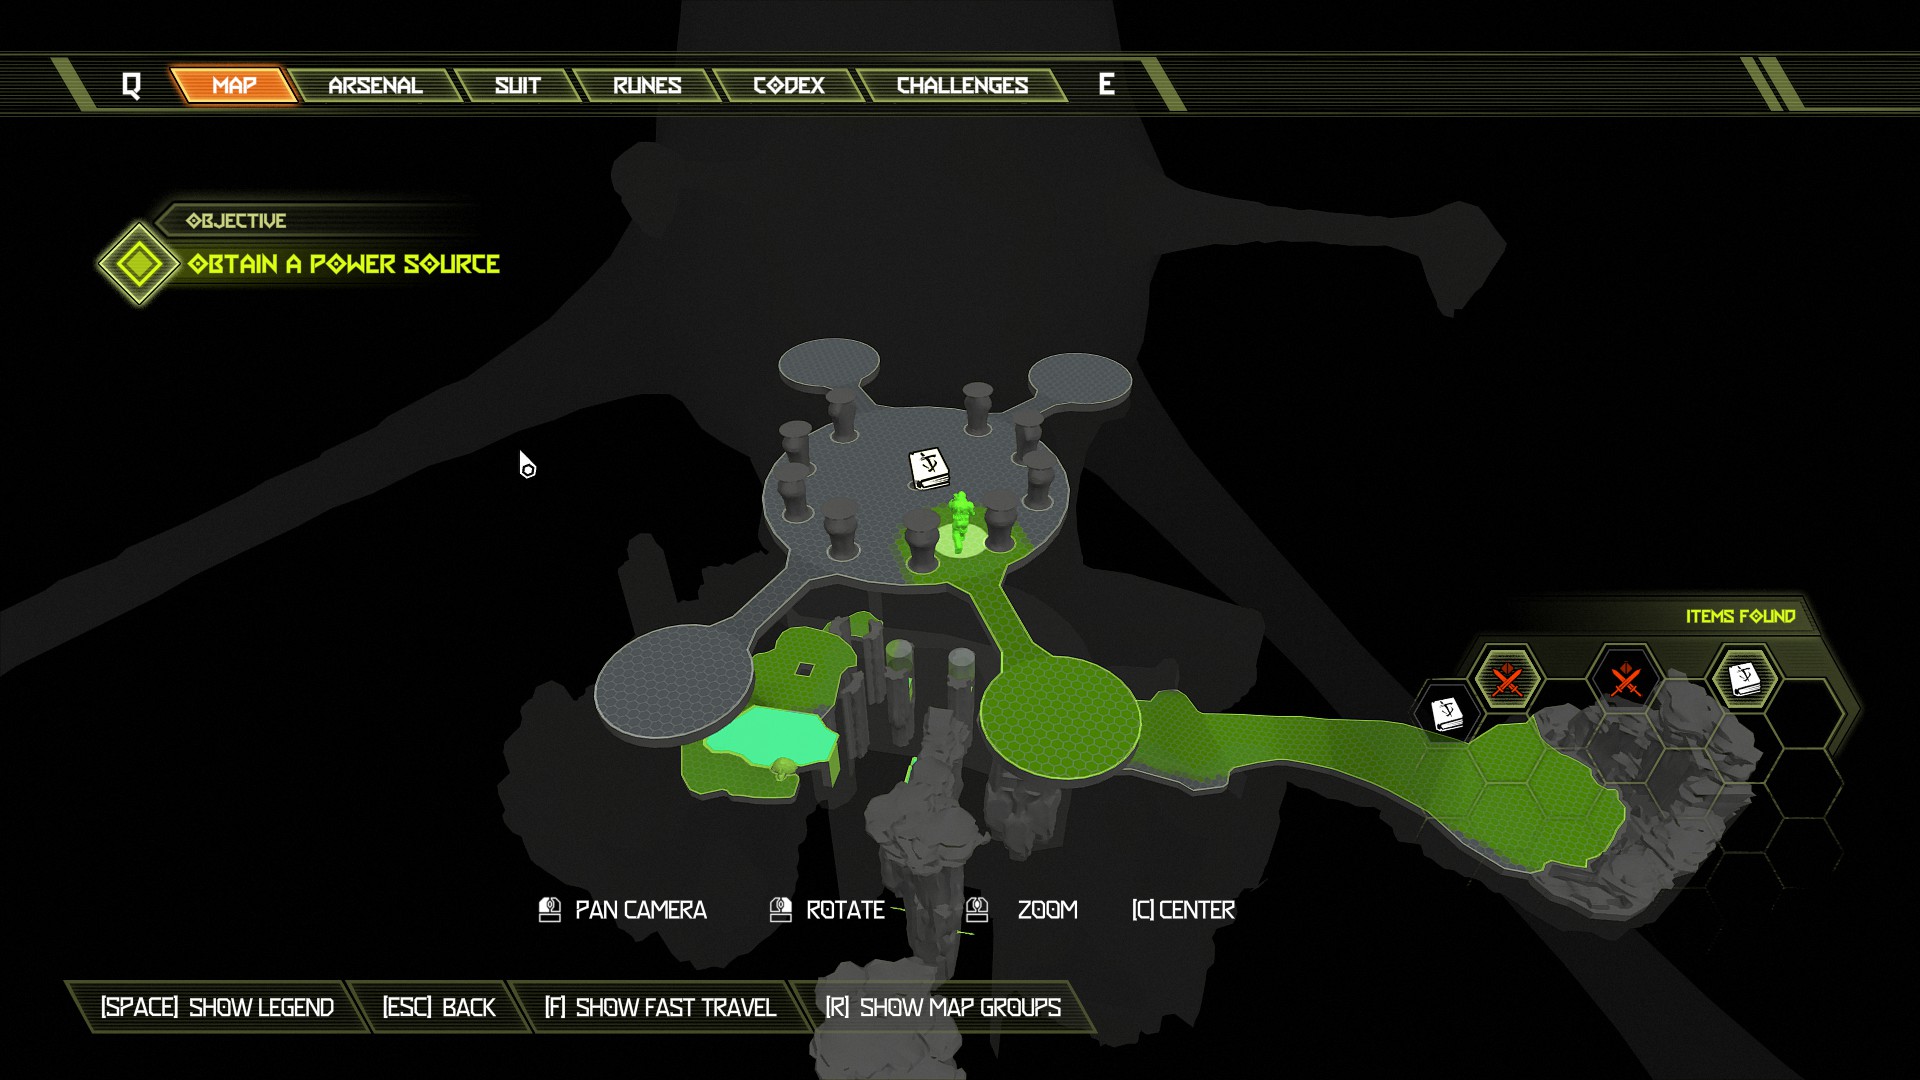
That is all for this mission, let's move on.
Mission 2: Reclaimed Earth
NOTE: Possibly my favourite mission out of the three but once again low on items and secrets, nothing much else to add I'm afraid.
Once again I will not be adding the escalation encounters to this list because they are unmissable and not hidden. Just remember you will need to activate the same escalation encounter again once you complete the first so you can claim the second and get your armor set. This mission contains:
- 1 Automap
- 4 Codex Pages
- 3 Extra Lives
- 1 Secret
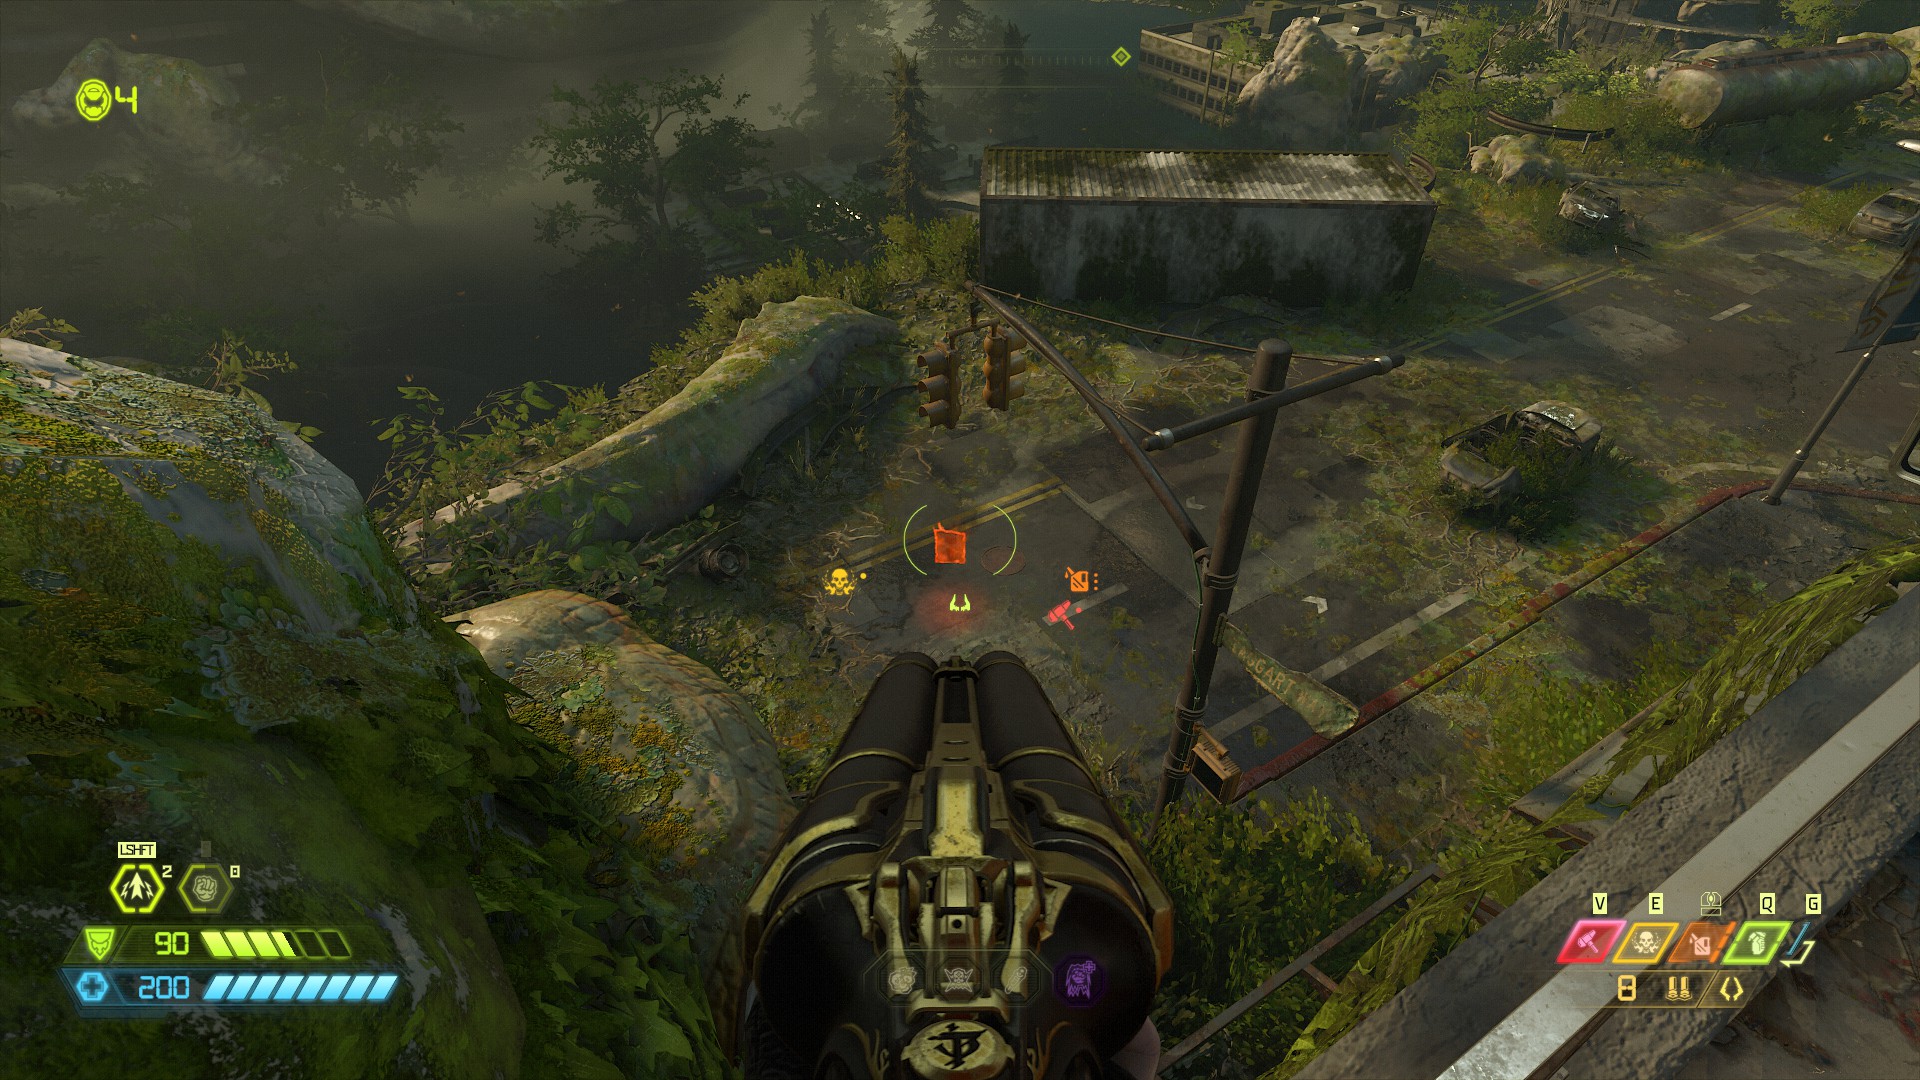
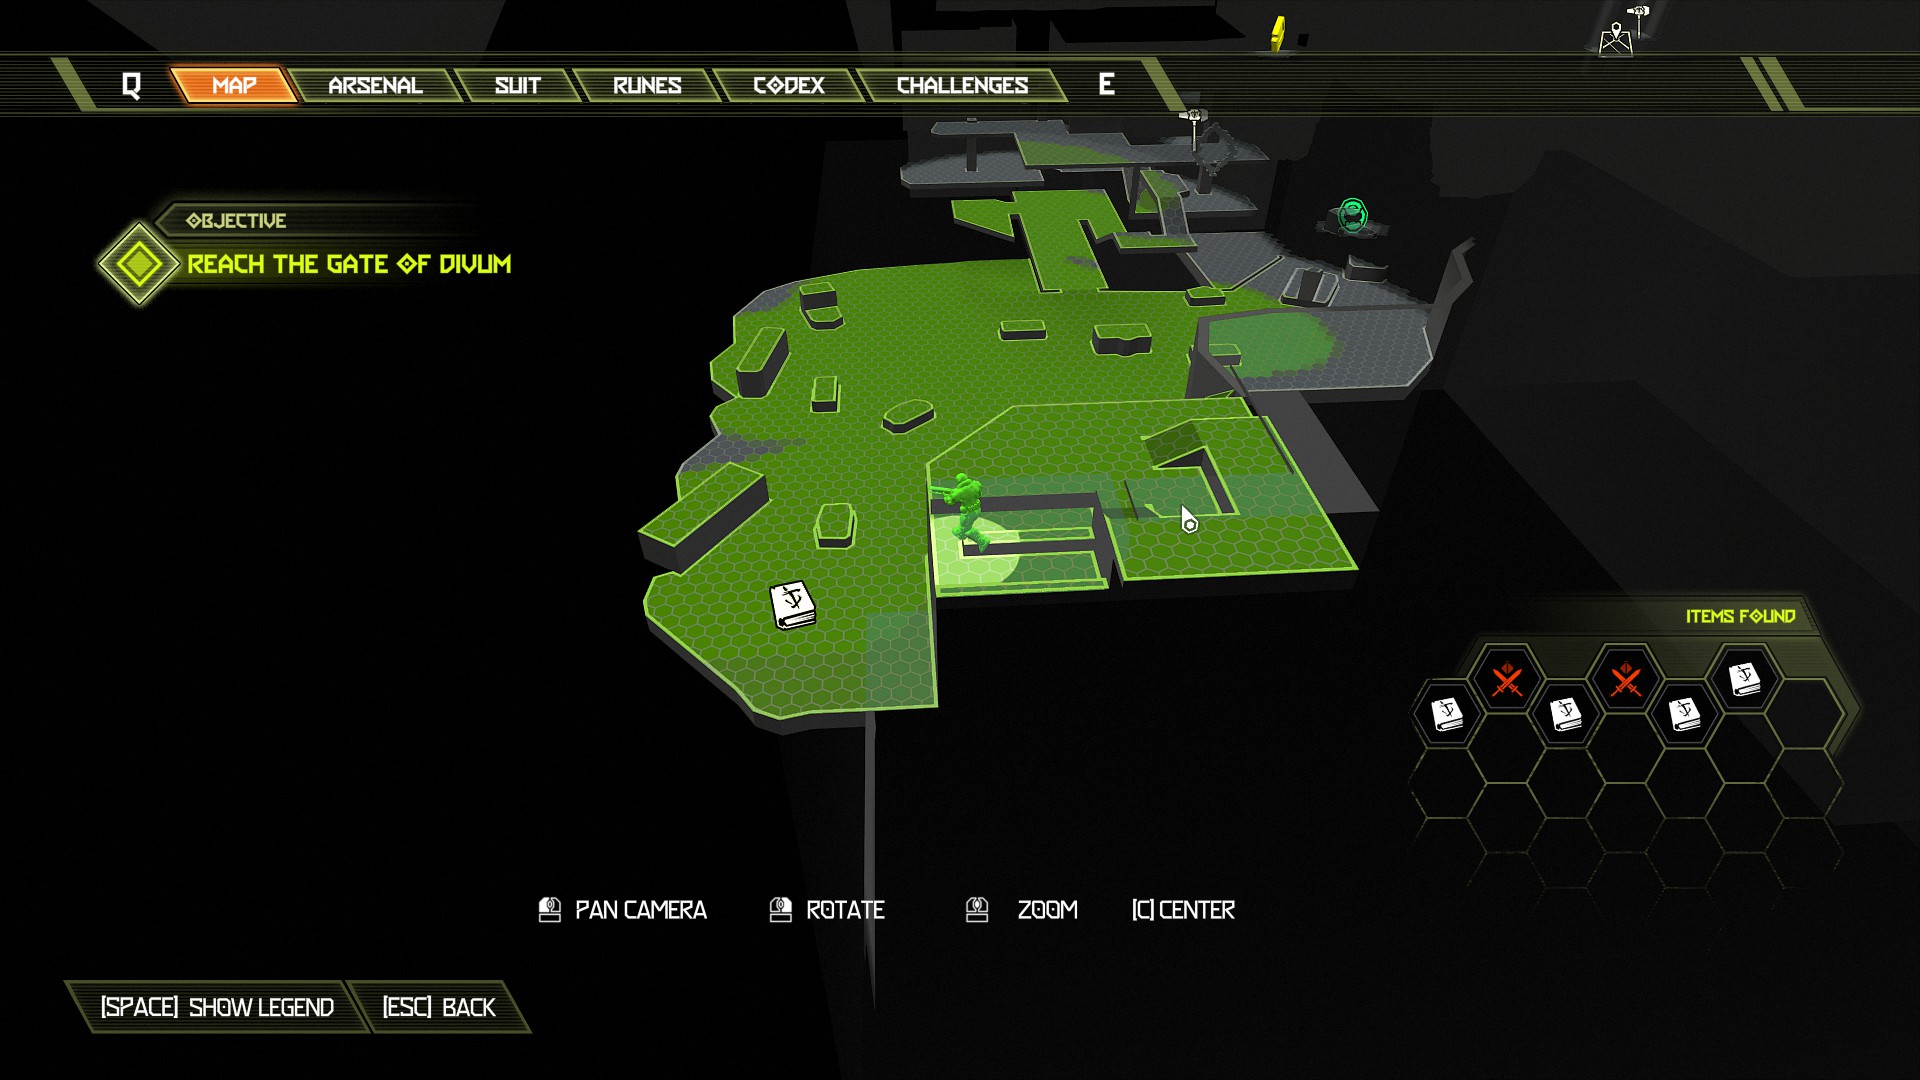
Once you have the codex page head to the far right side of the area which looks to be a dead end. Hiding behind a truck at the very edge of the map will be an extra life.
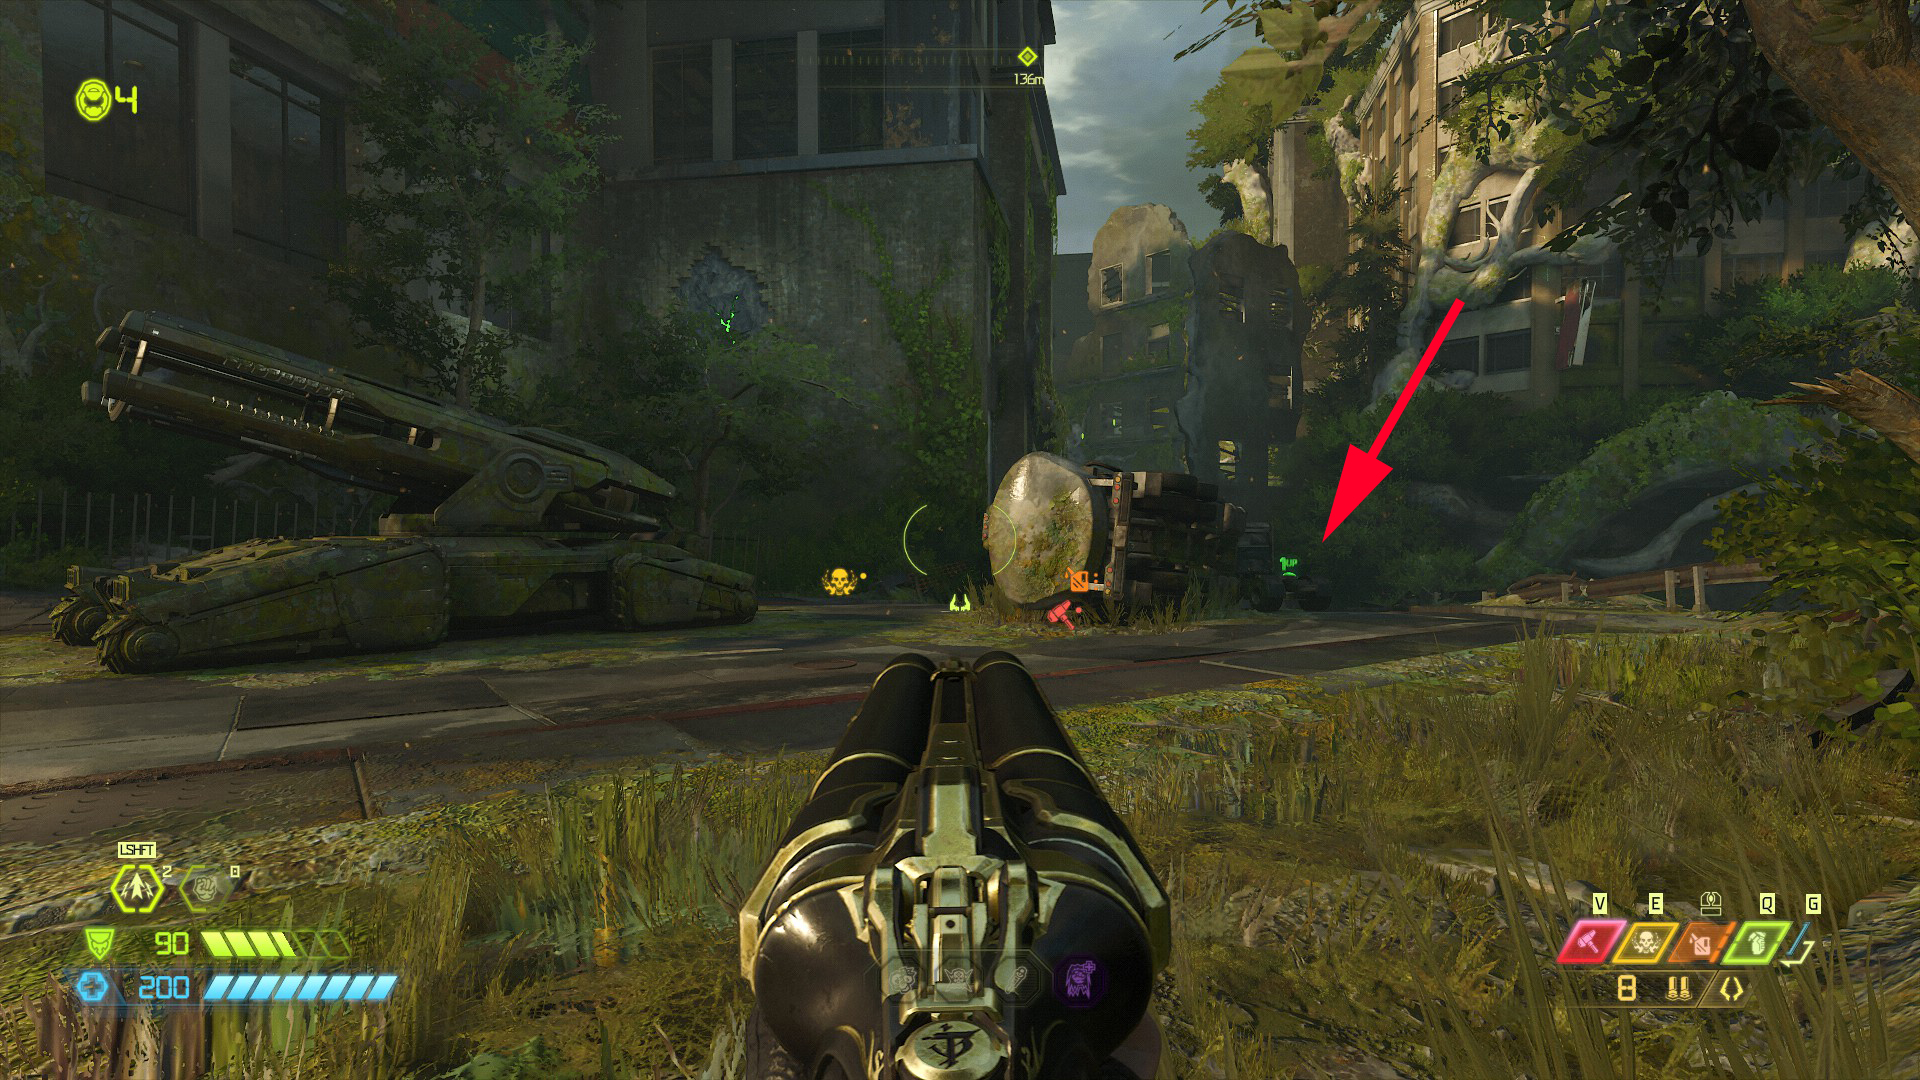
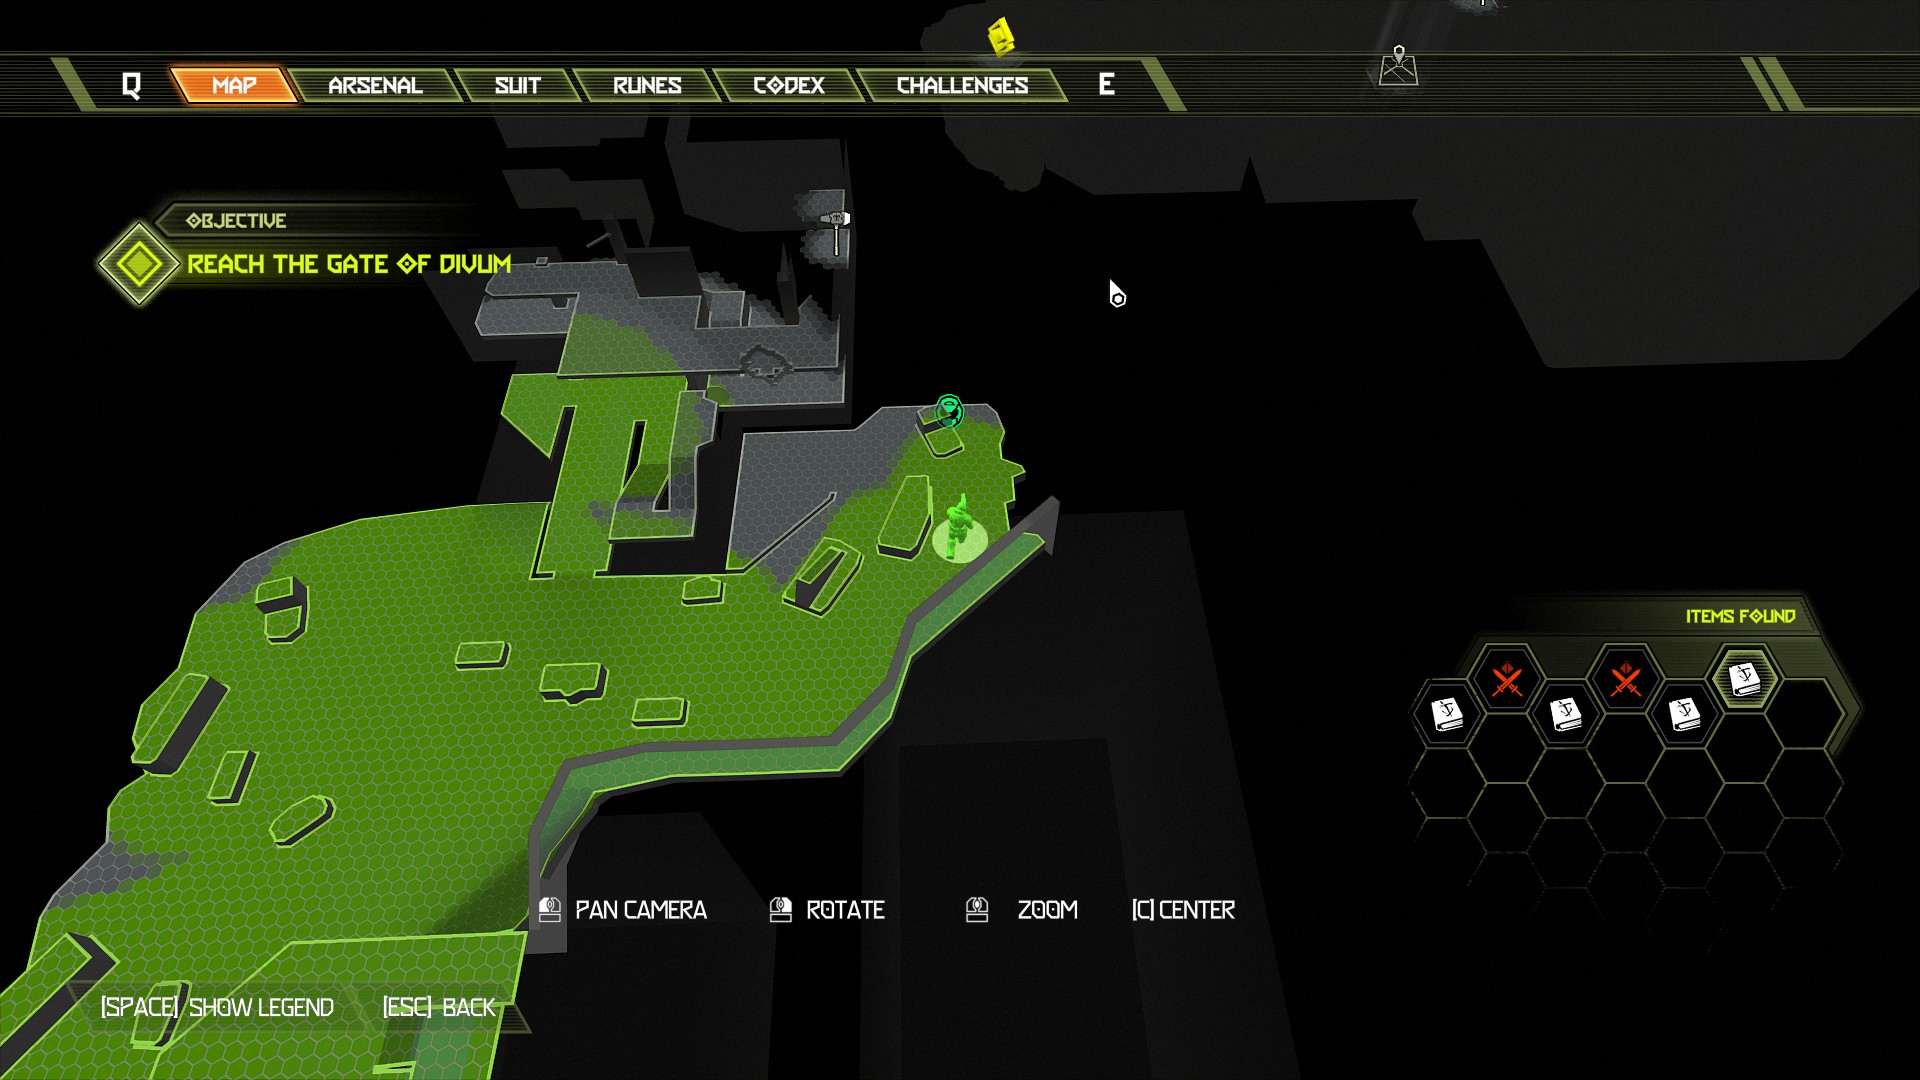
Continue with the mission.
After the cut scene face towards the red door and tram, and on the lower right side just tucked around the corner is the automap.
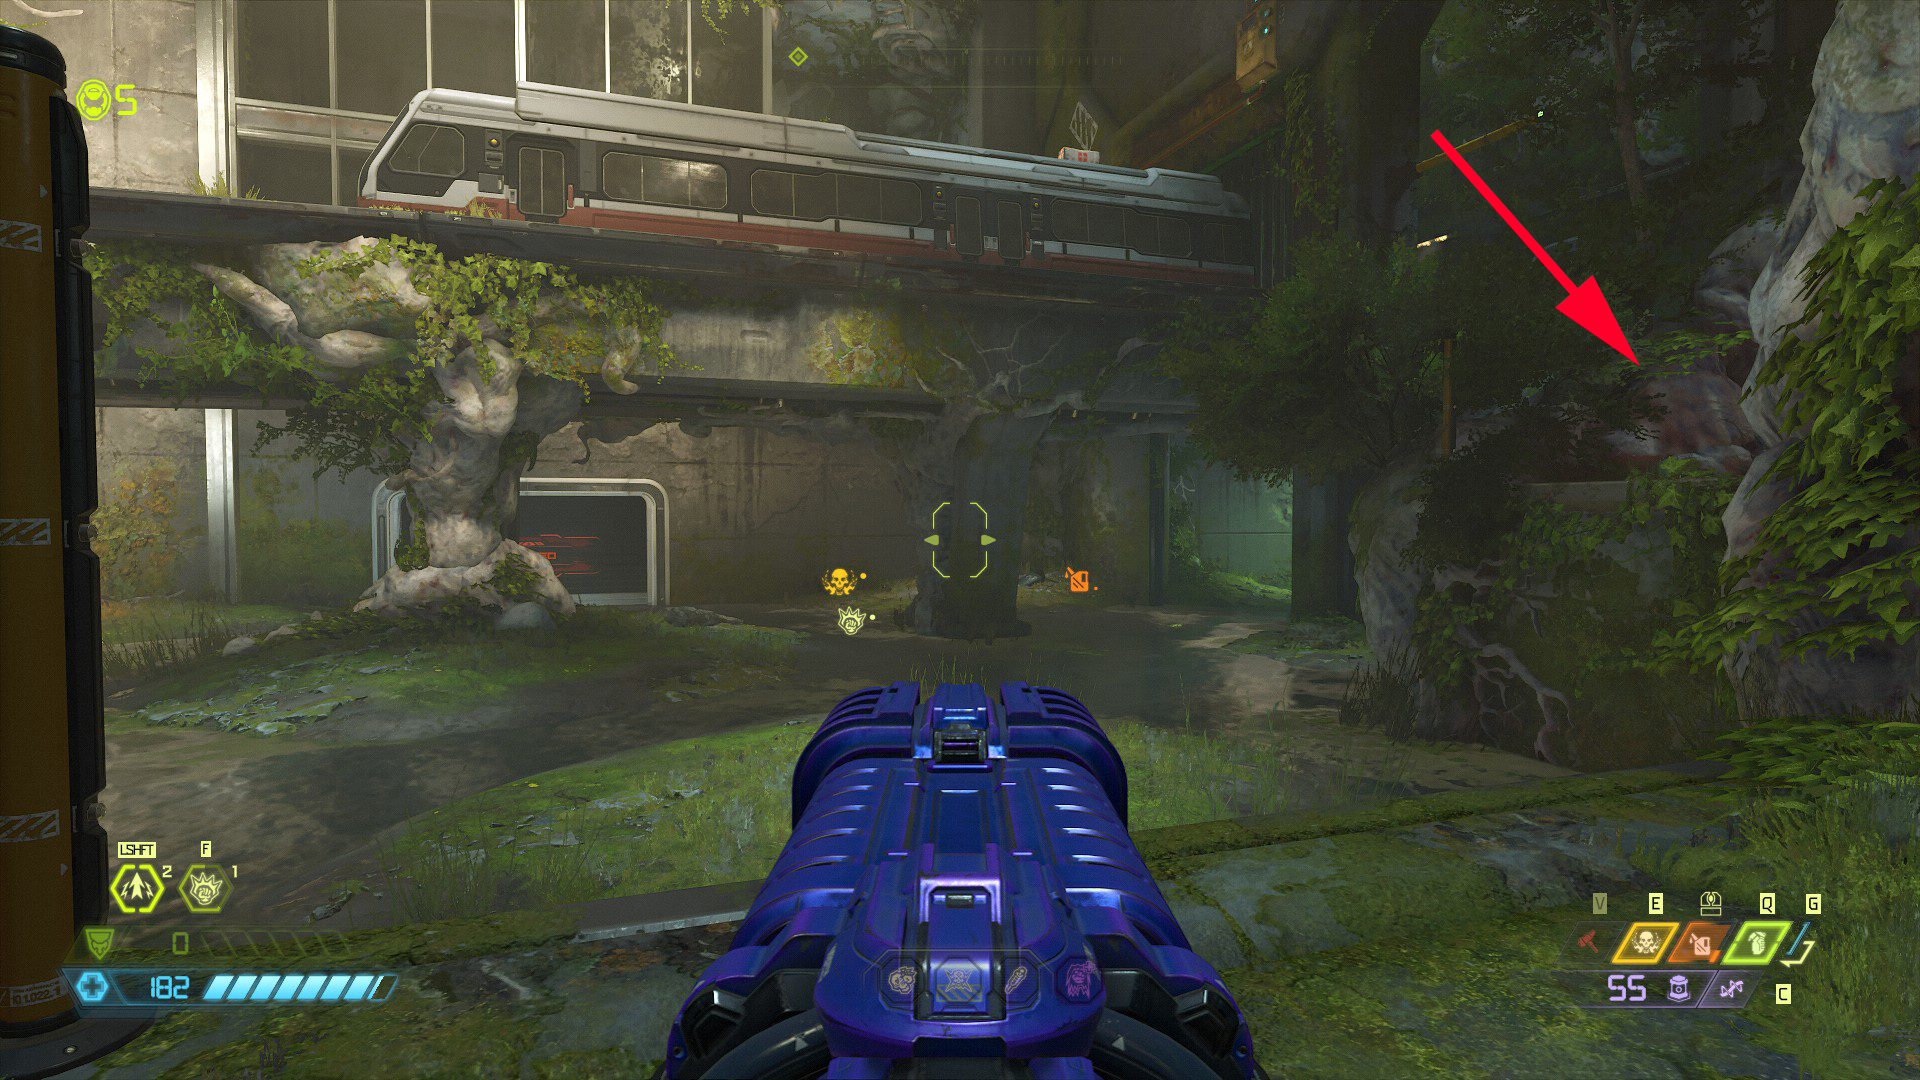
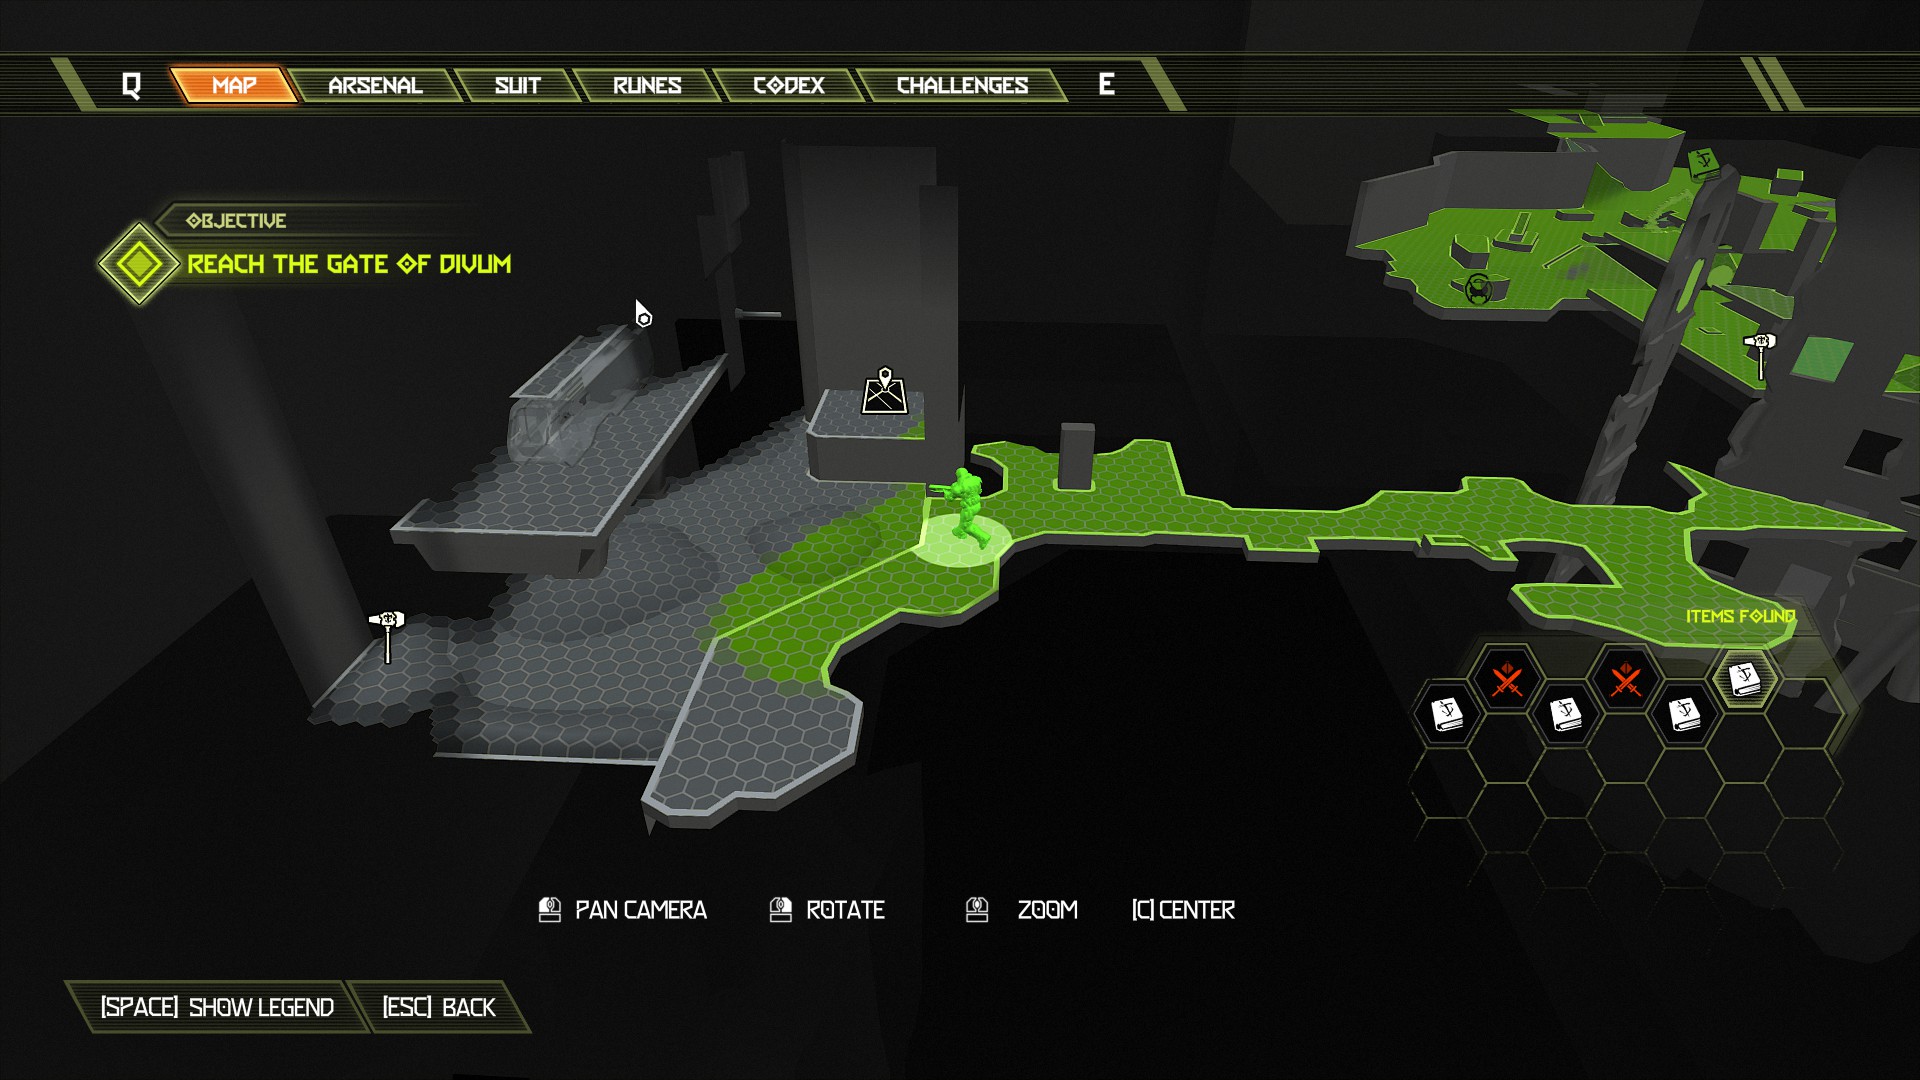
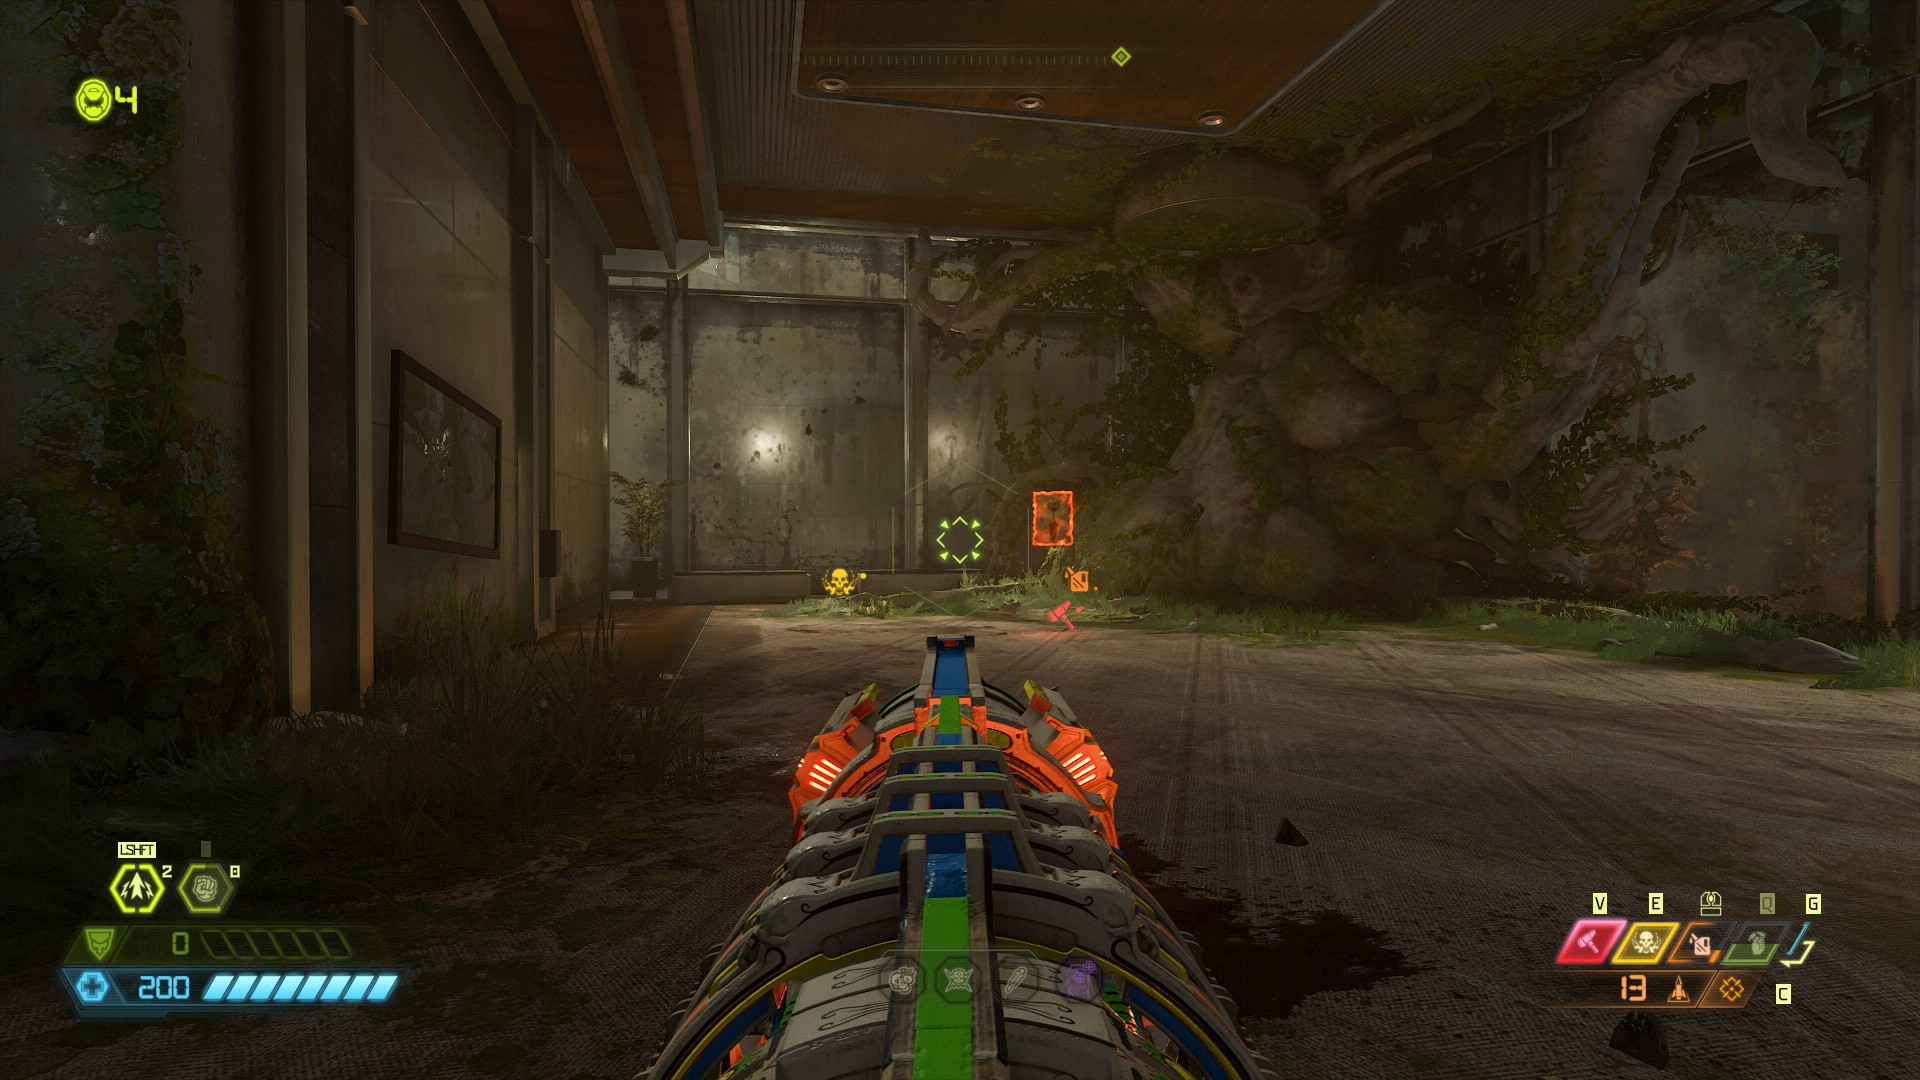
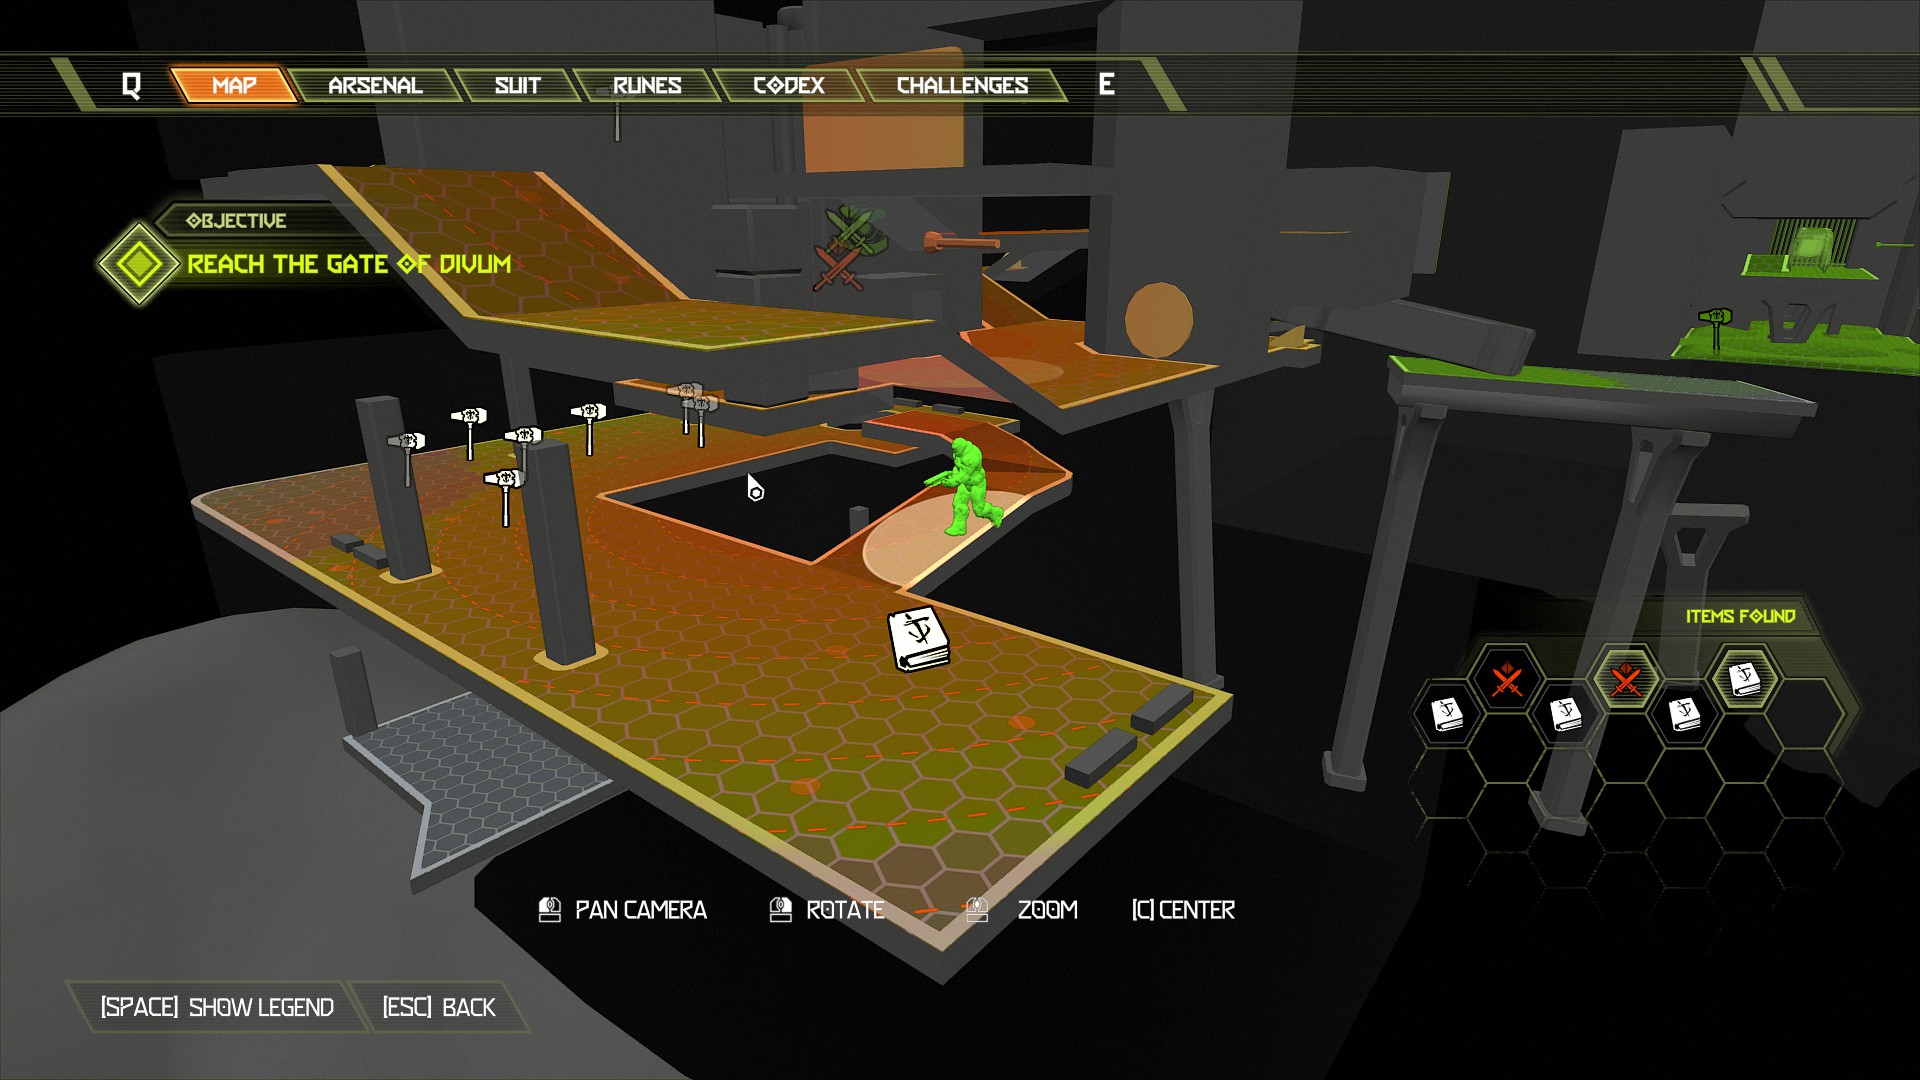
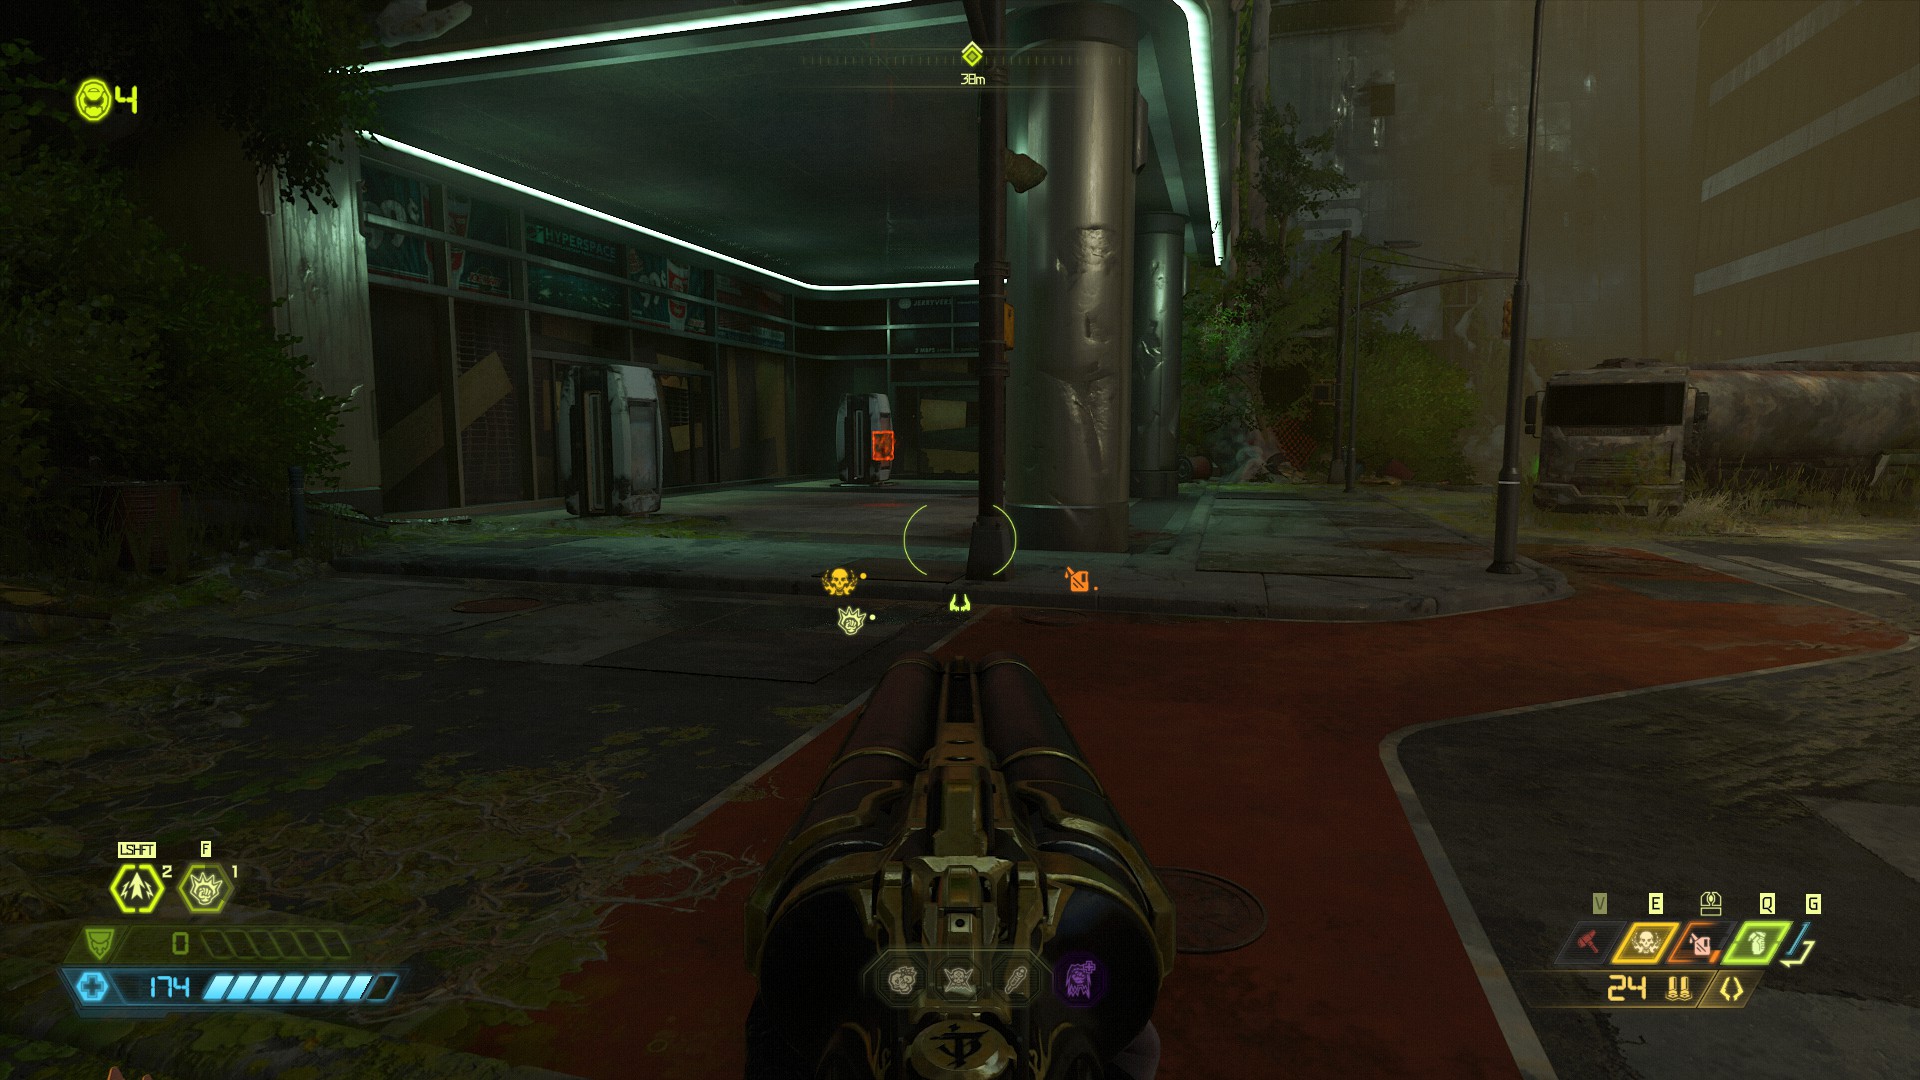
When the cut scene ends head over to the left side and you should find a codex page behind the pillars under the building.
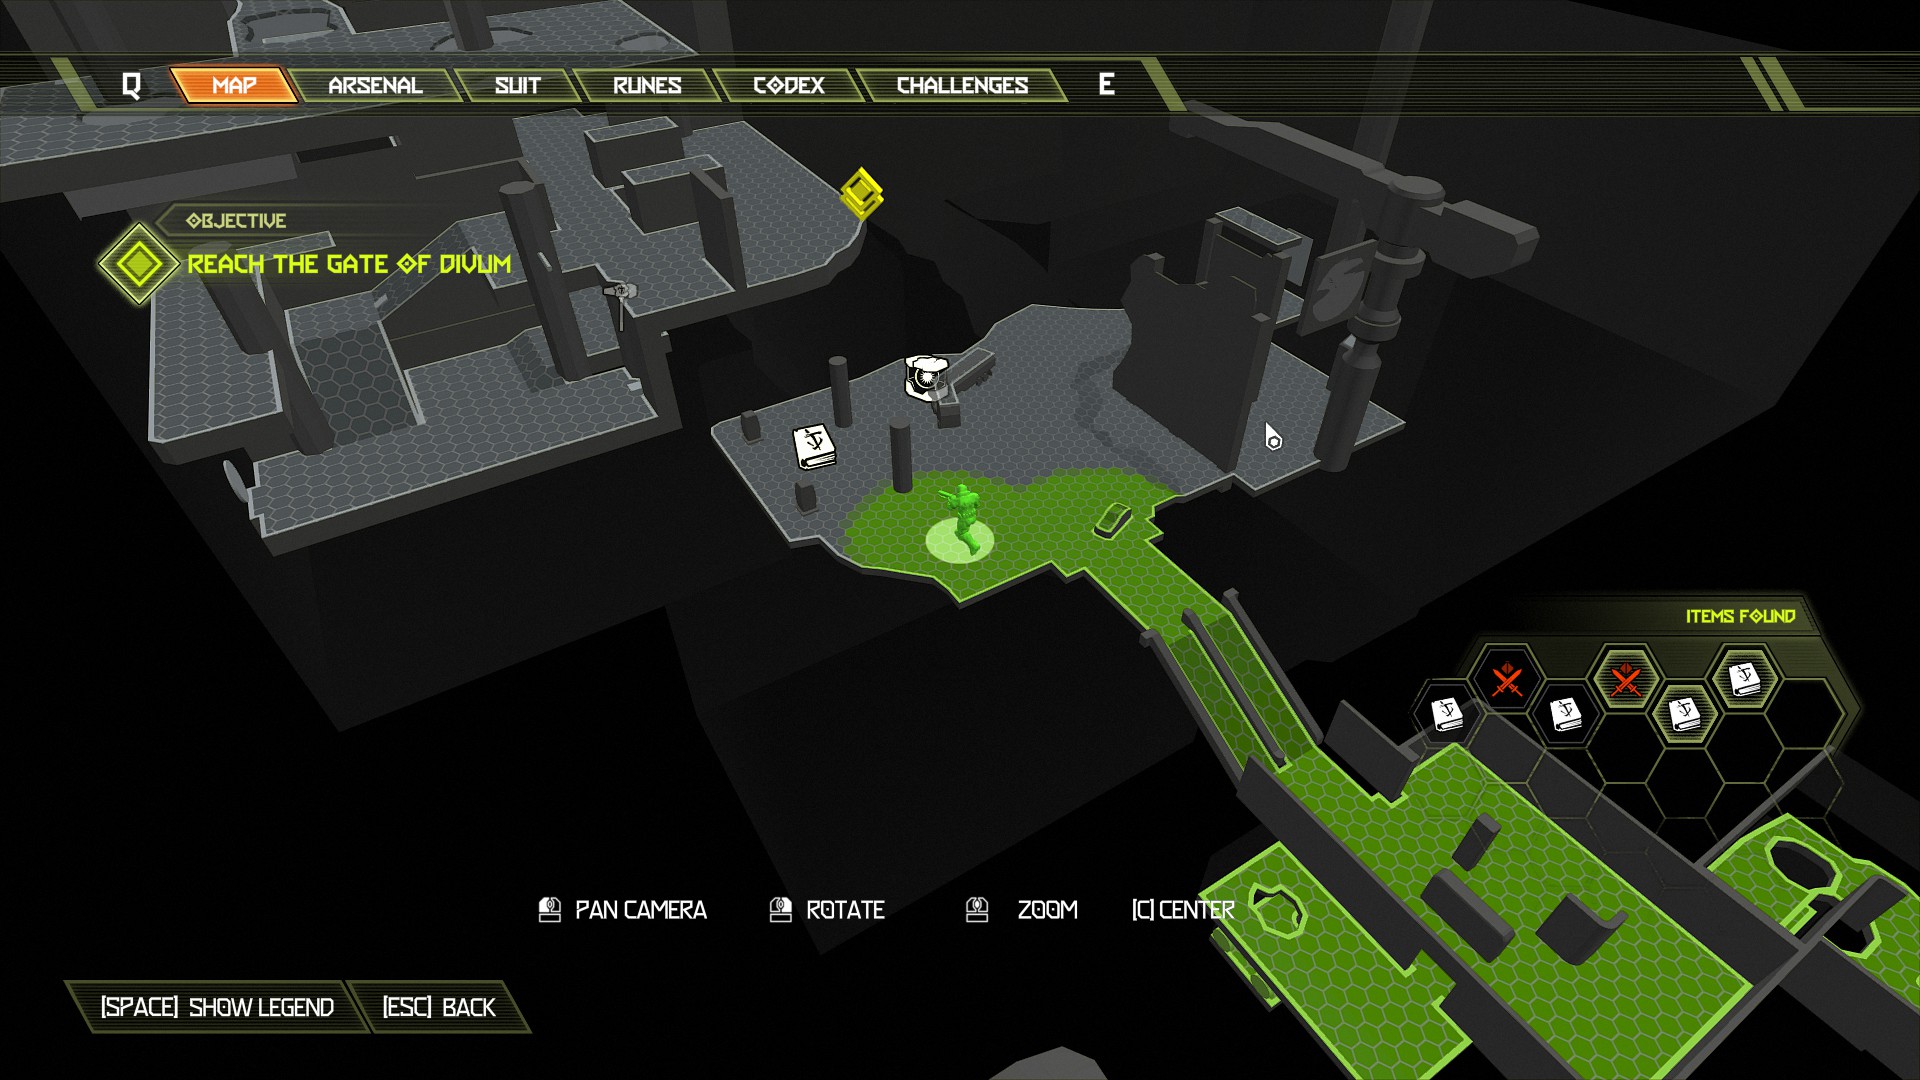
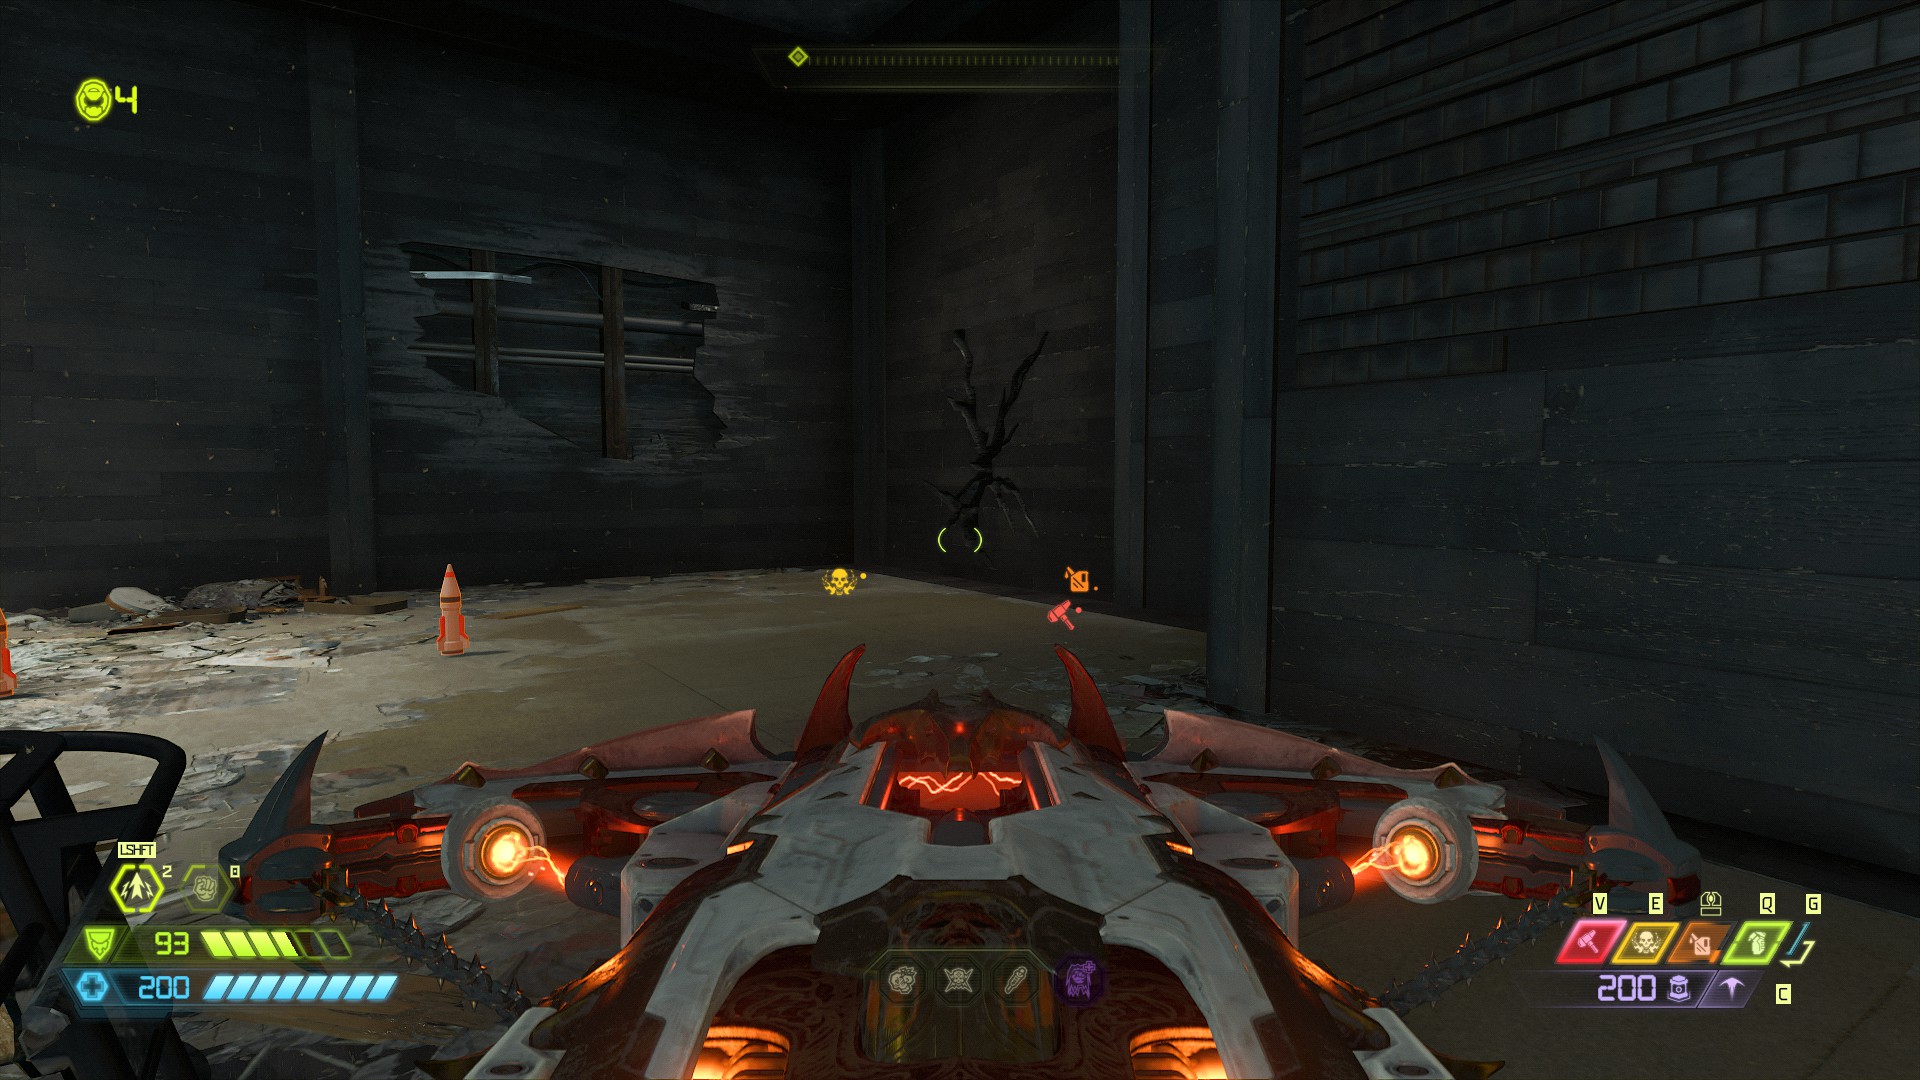
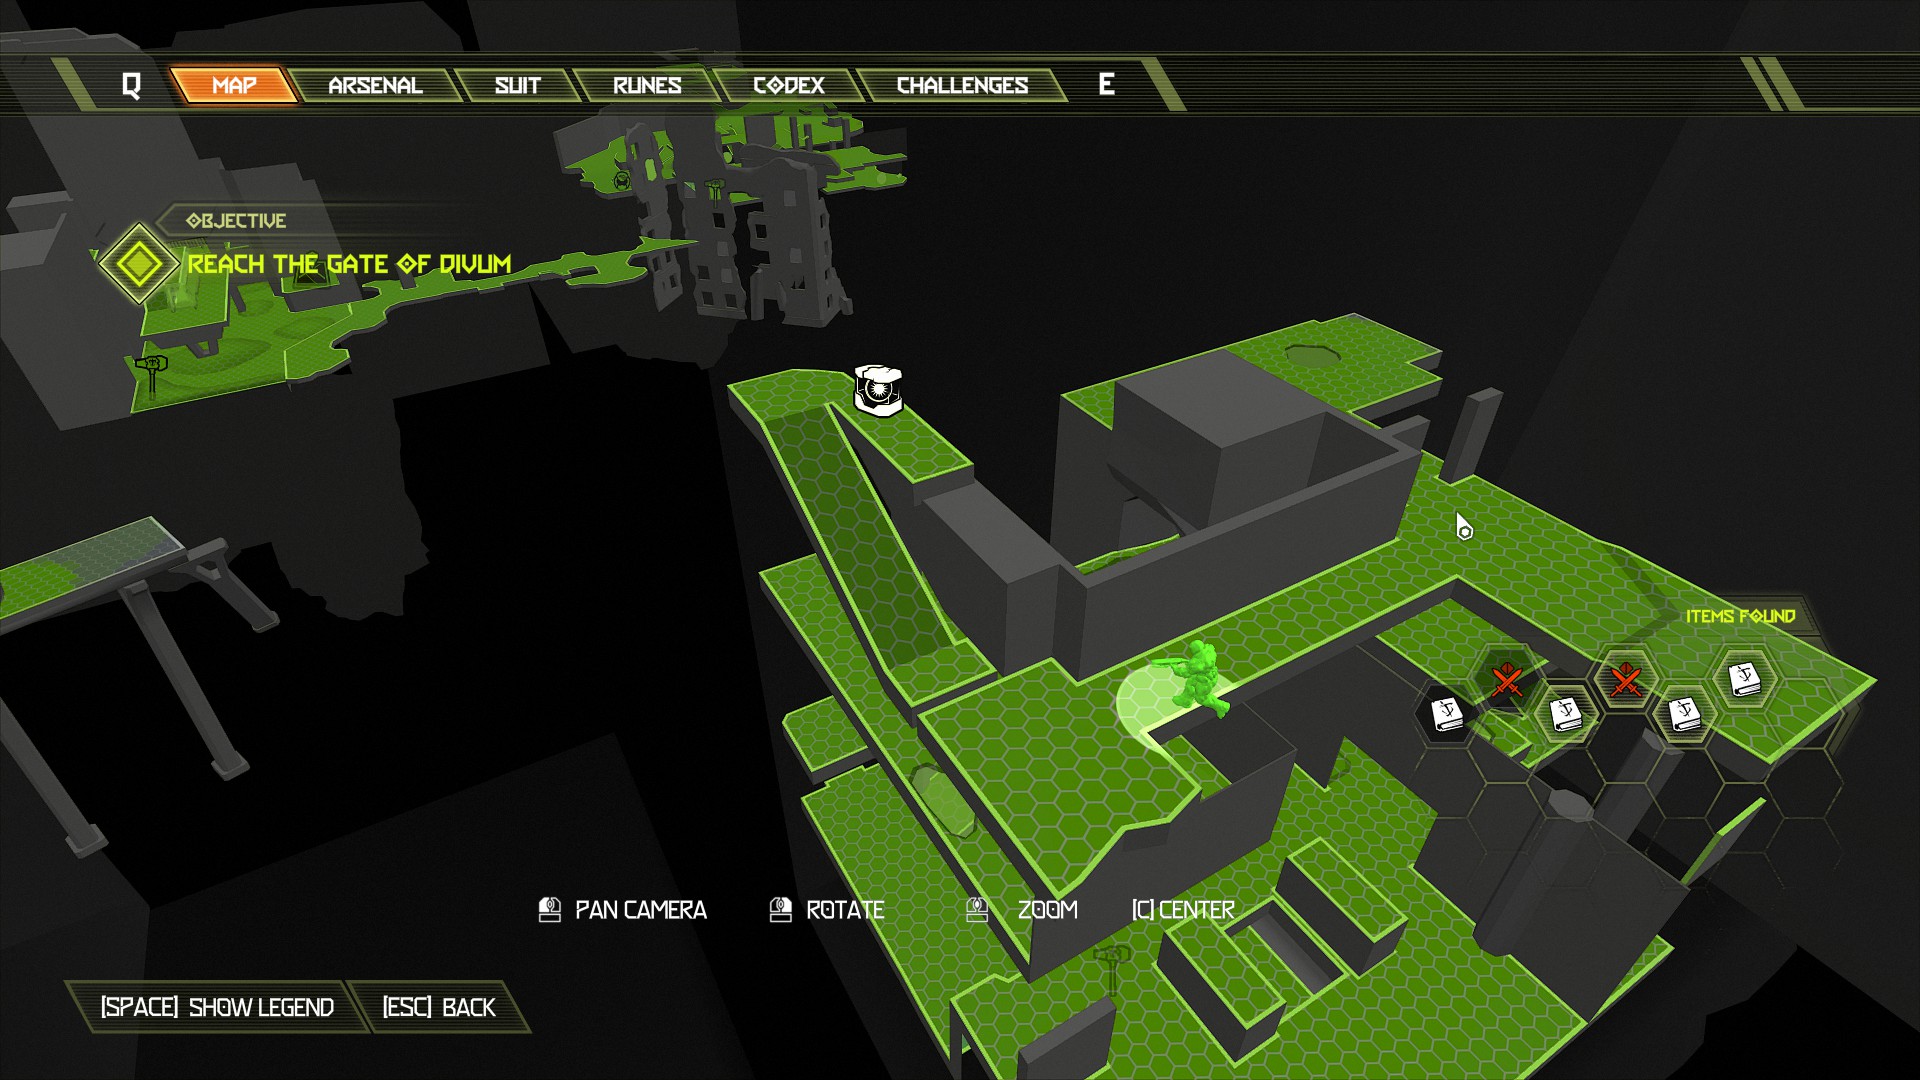
Now jump out of the building to the small hanging platform opposite and make your way across into the next building. In the next building clear the mobs and opposite where you entered is a small room with an extra life inside, access it by breaking the wall at the side further along. From here continue the mission.
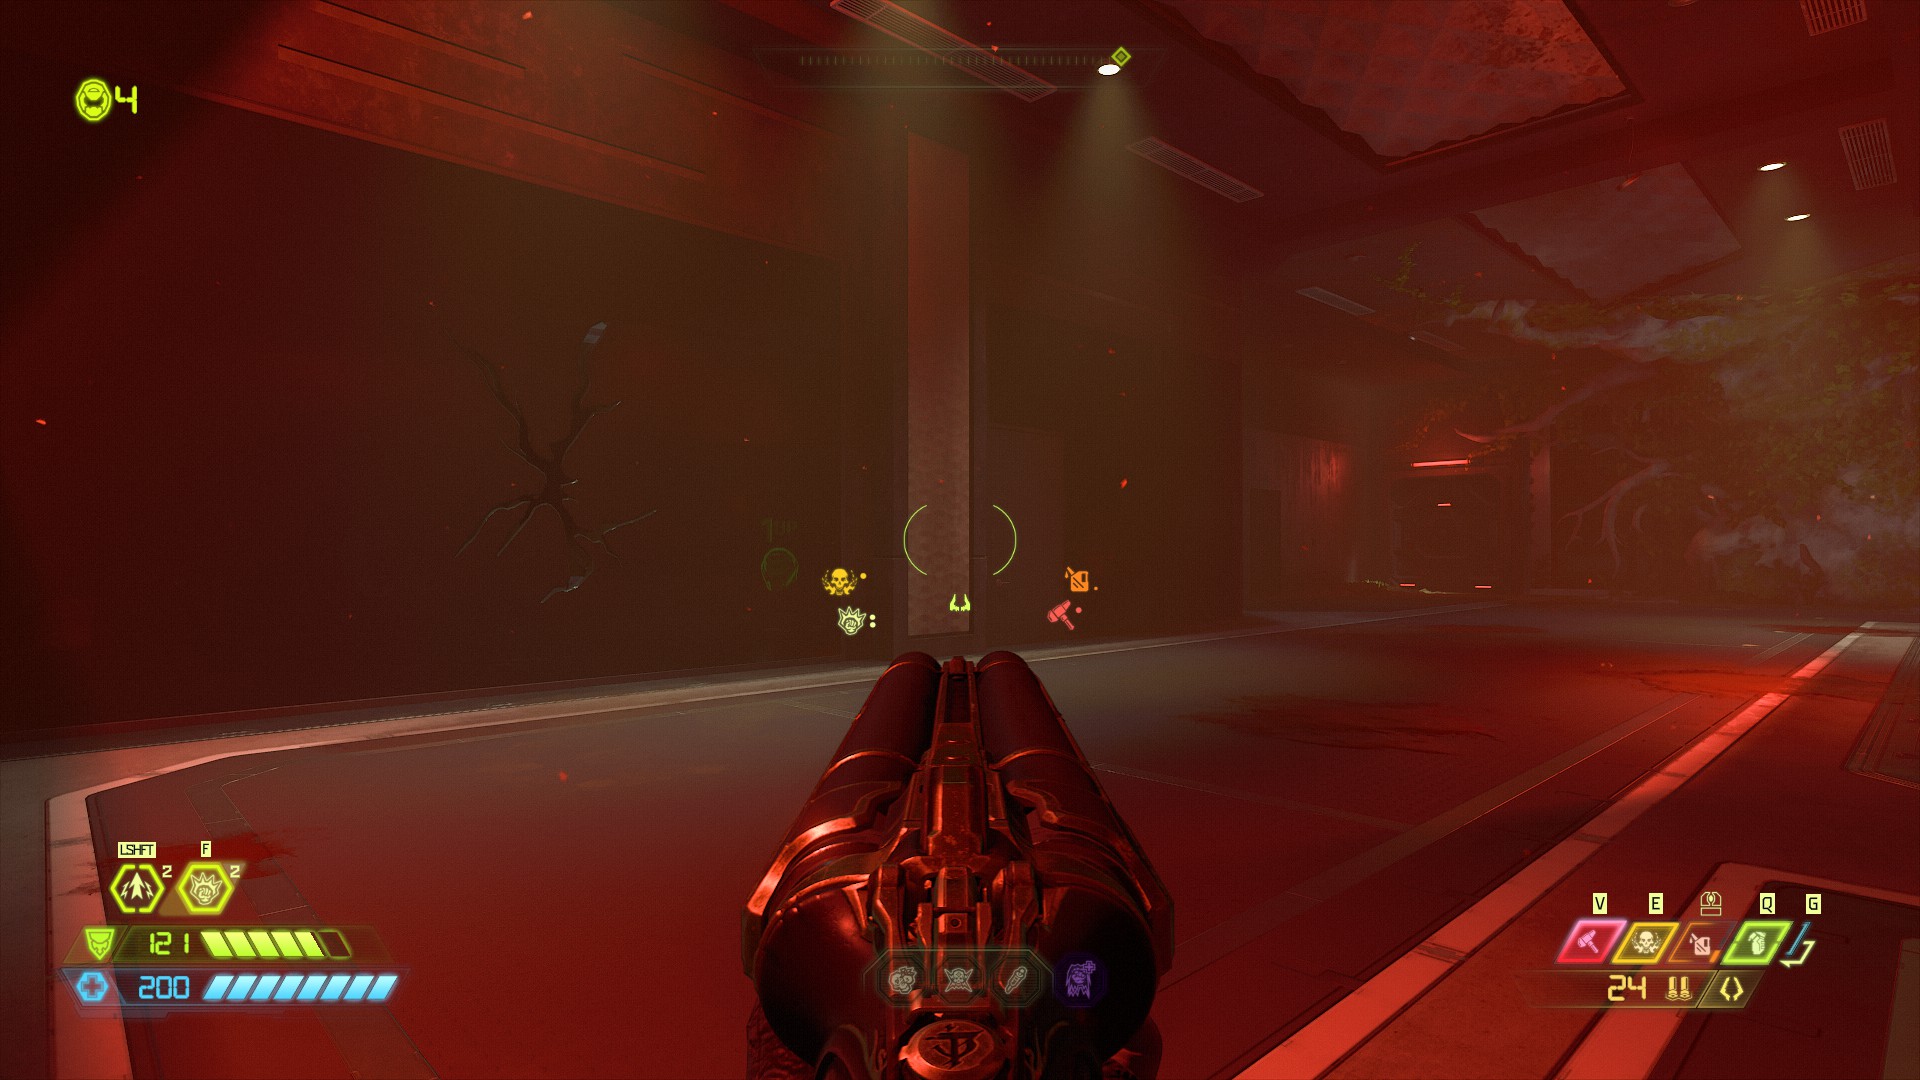
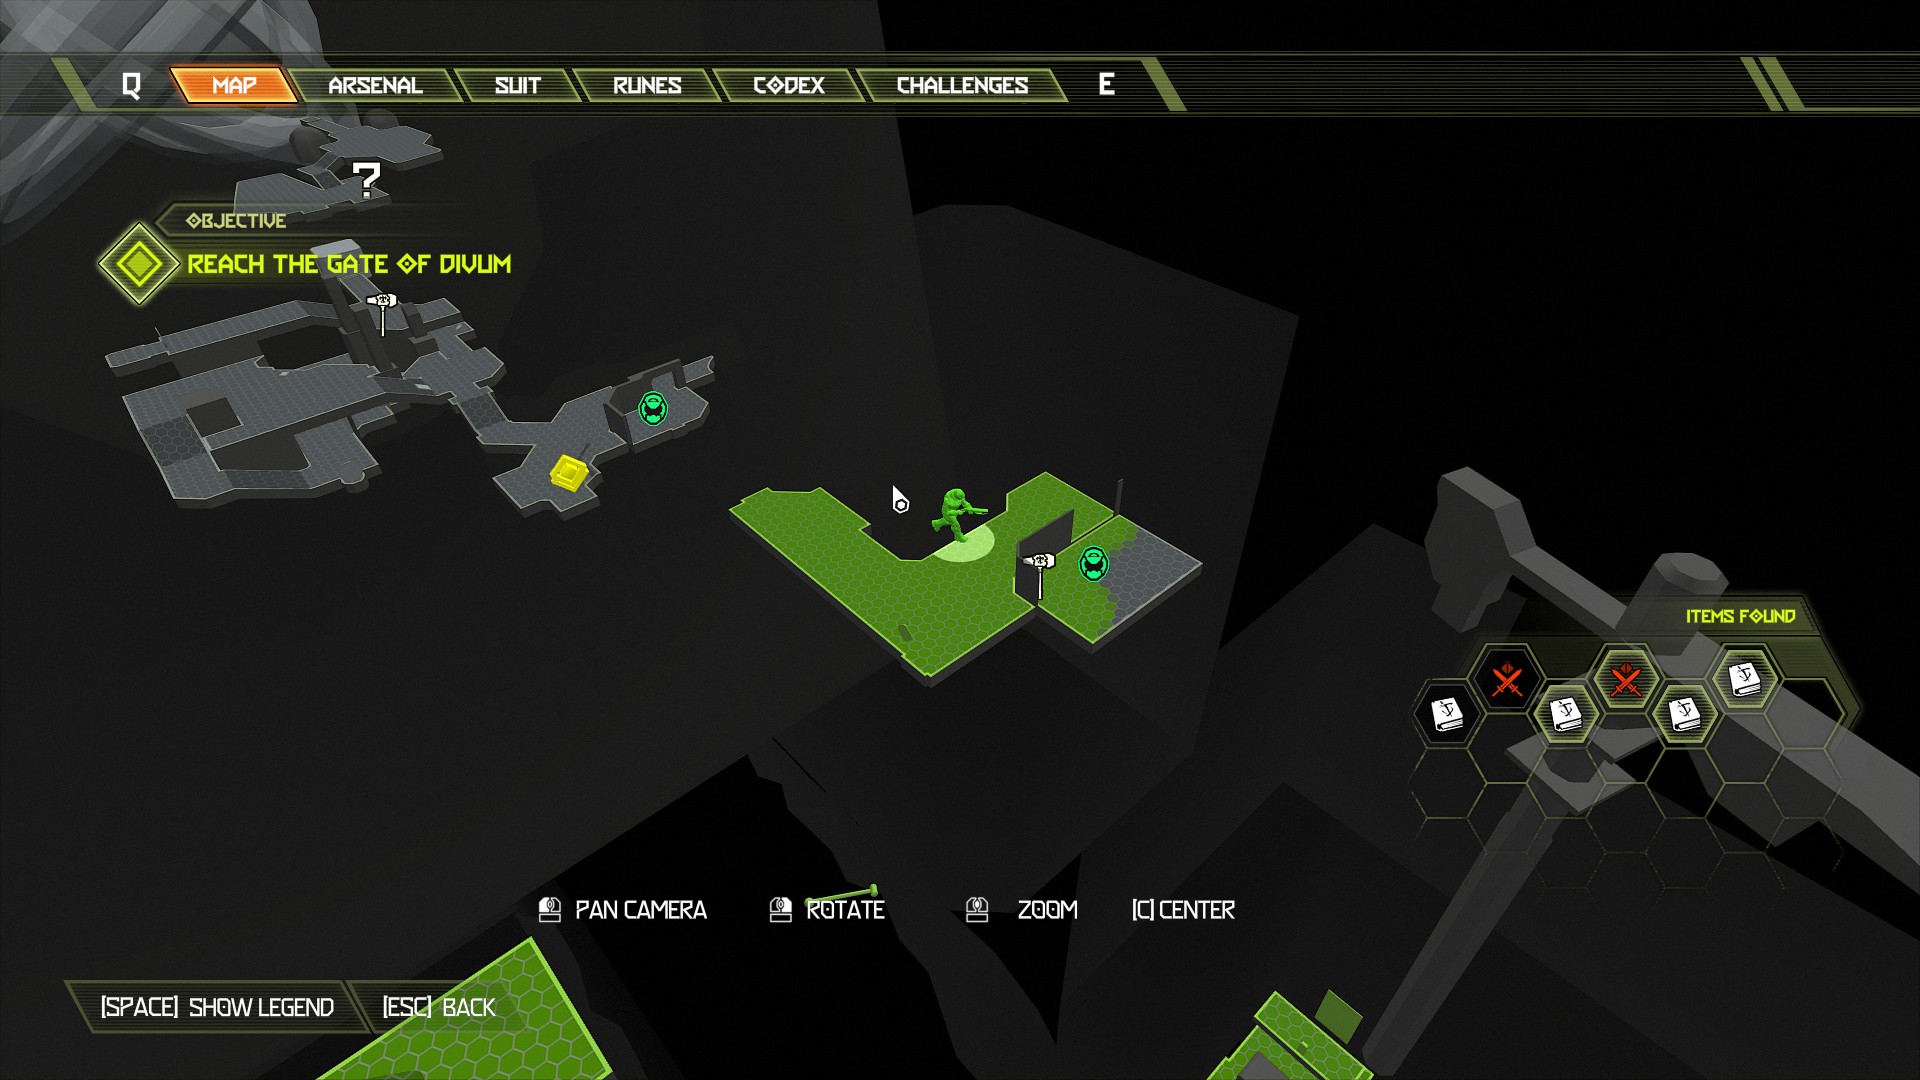
After jumping the large gap into the next area, you will notice a red locked door. Ignore the door for now as we will fast travel later and come back to collect the extra life inside.
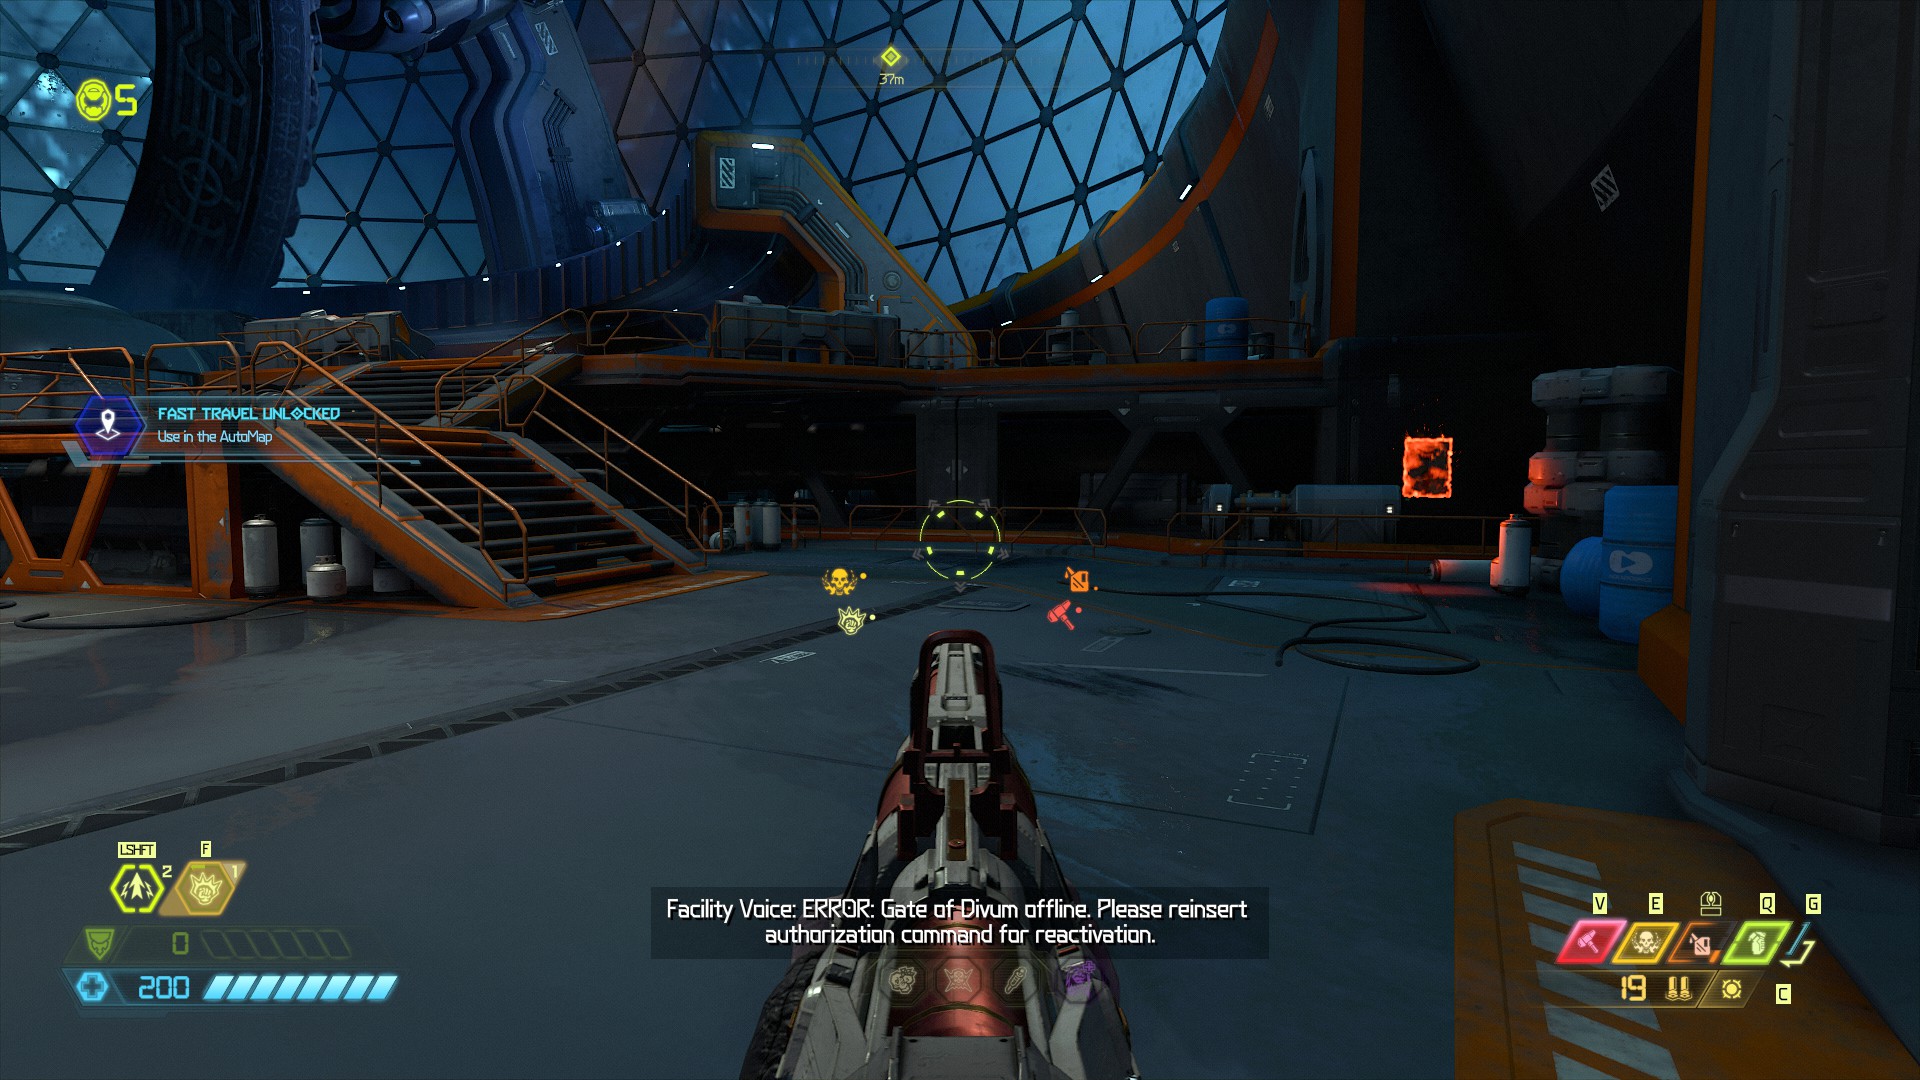
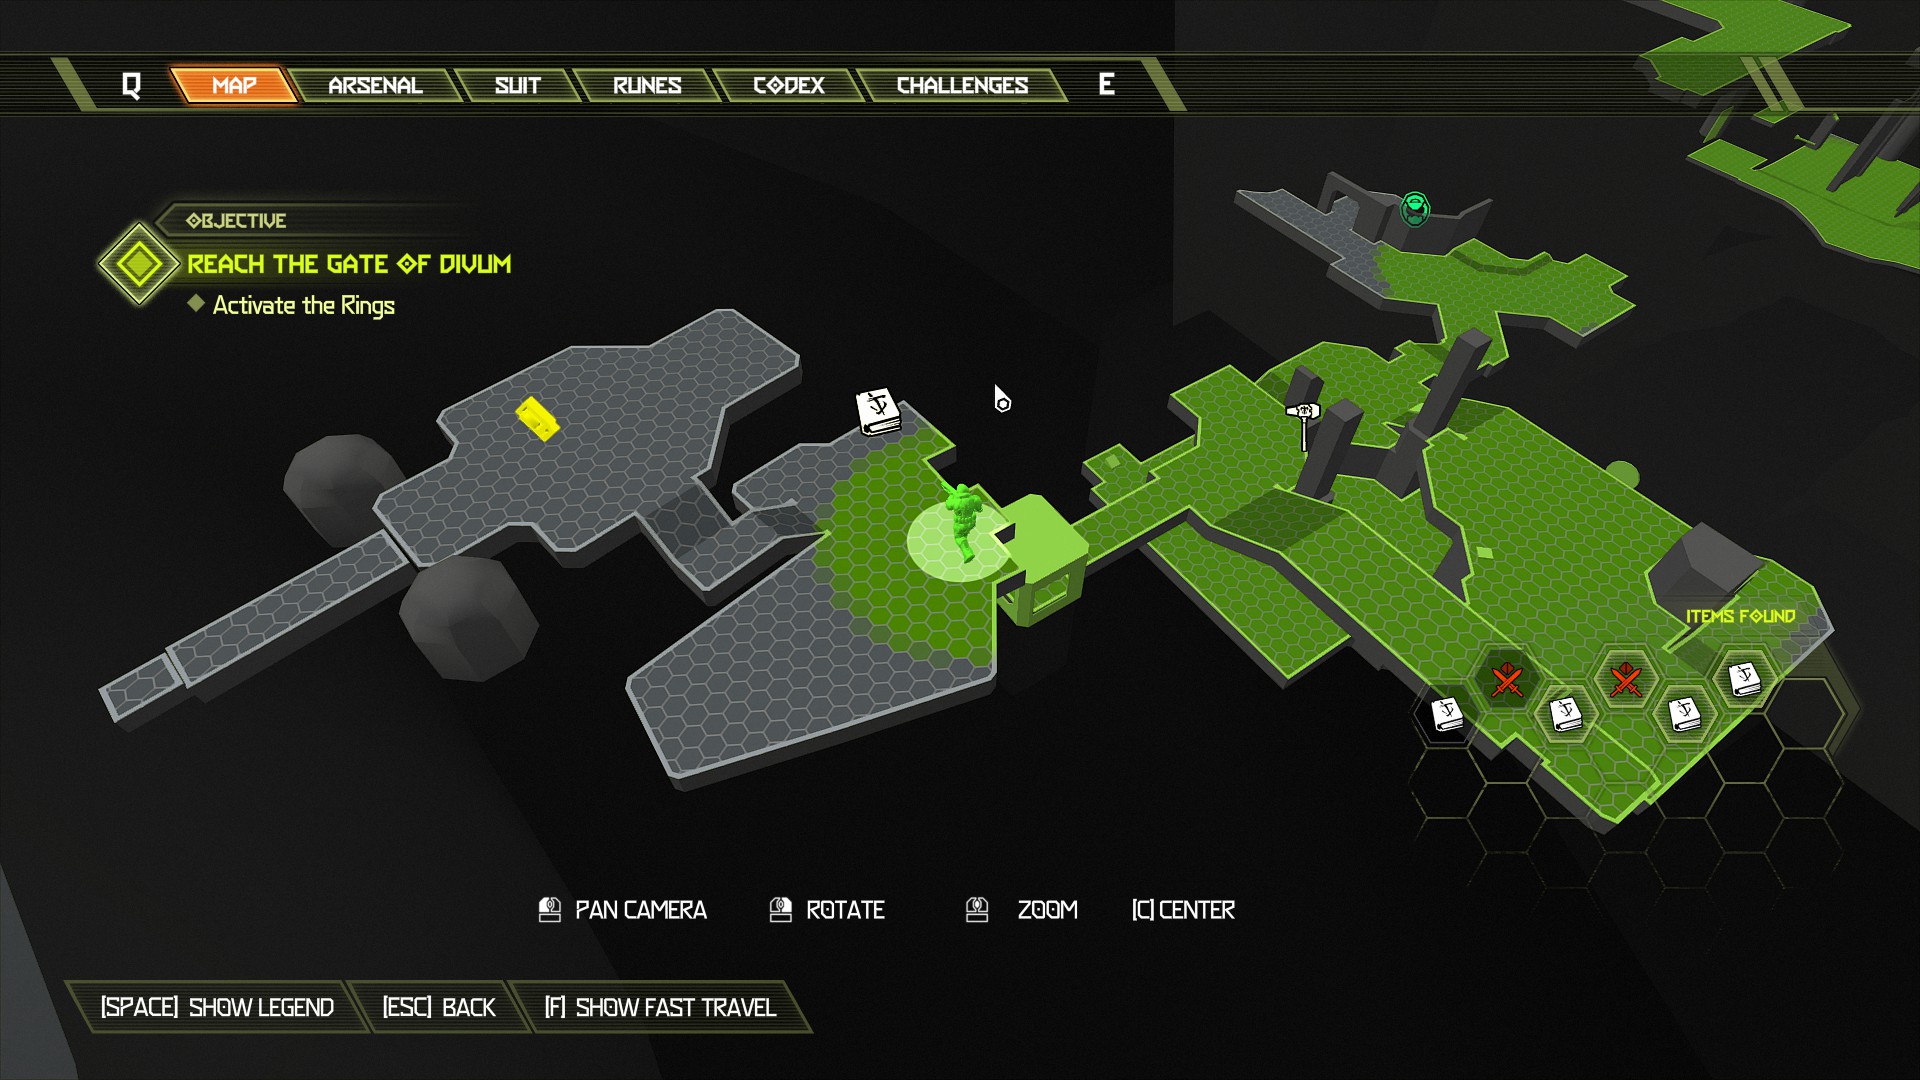
Now do not continue the mission just yet as this will end everything, so instead fast travel back to the location called 'Lockdown'. At the lockdown location once again jump the gap and enter what used to be the red locked door on the right side, inside will be an extra life which is the last item we needed to collect. Now you can continue and complete the mission and move on to the third.
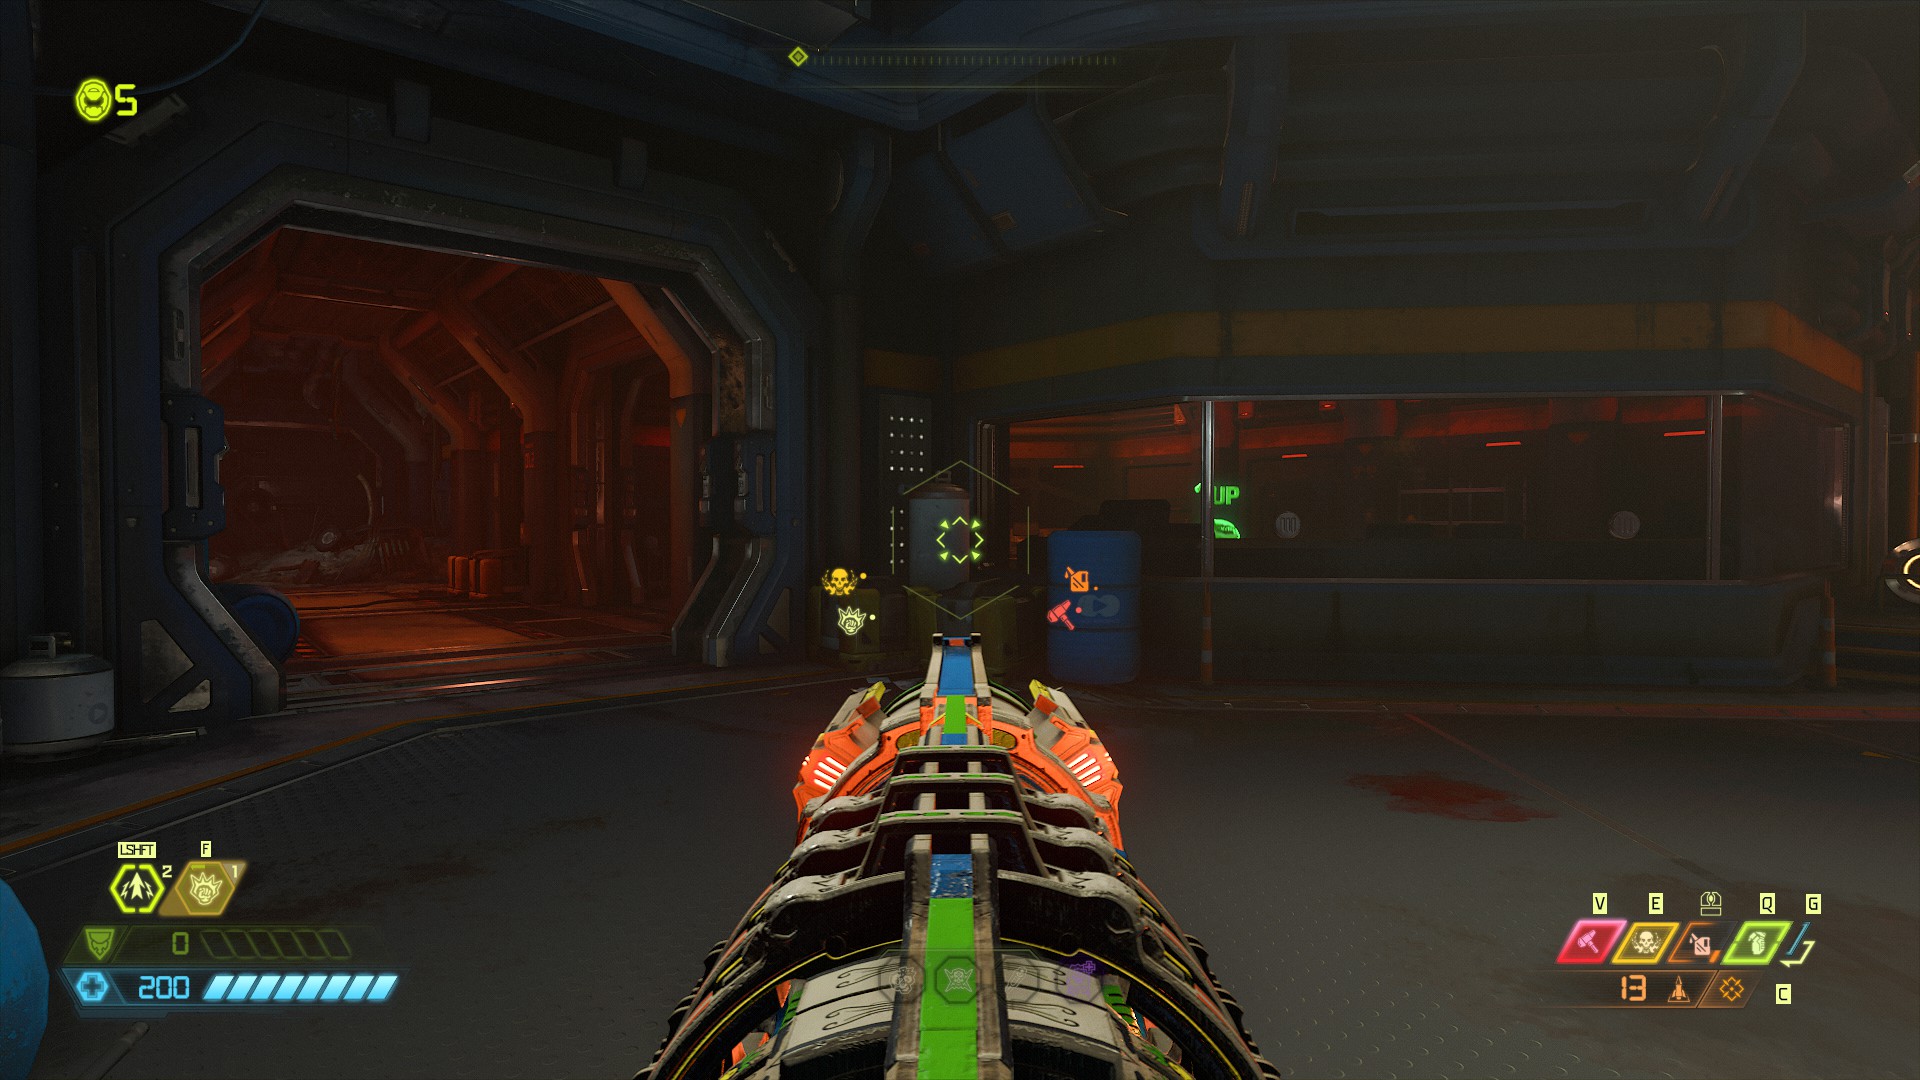
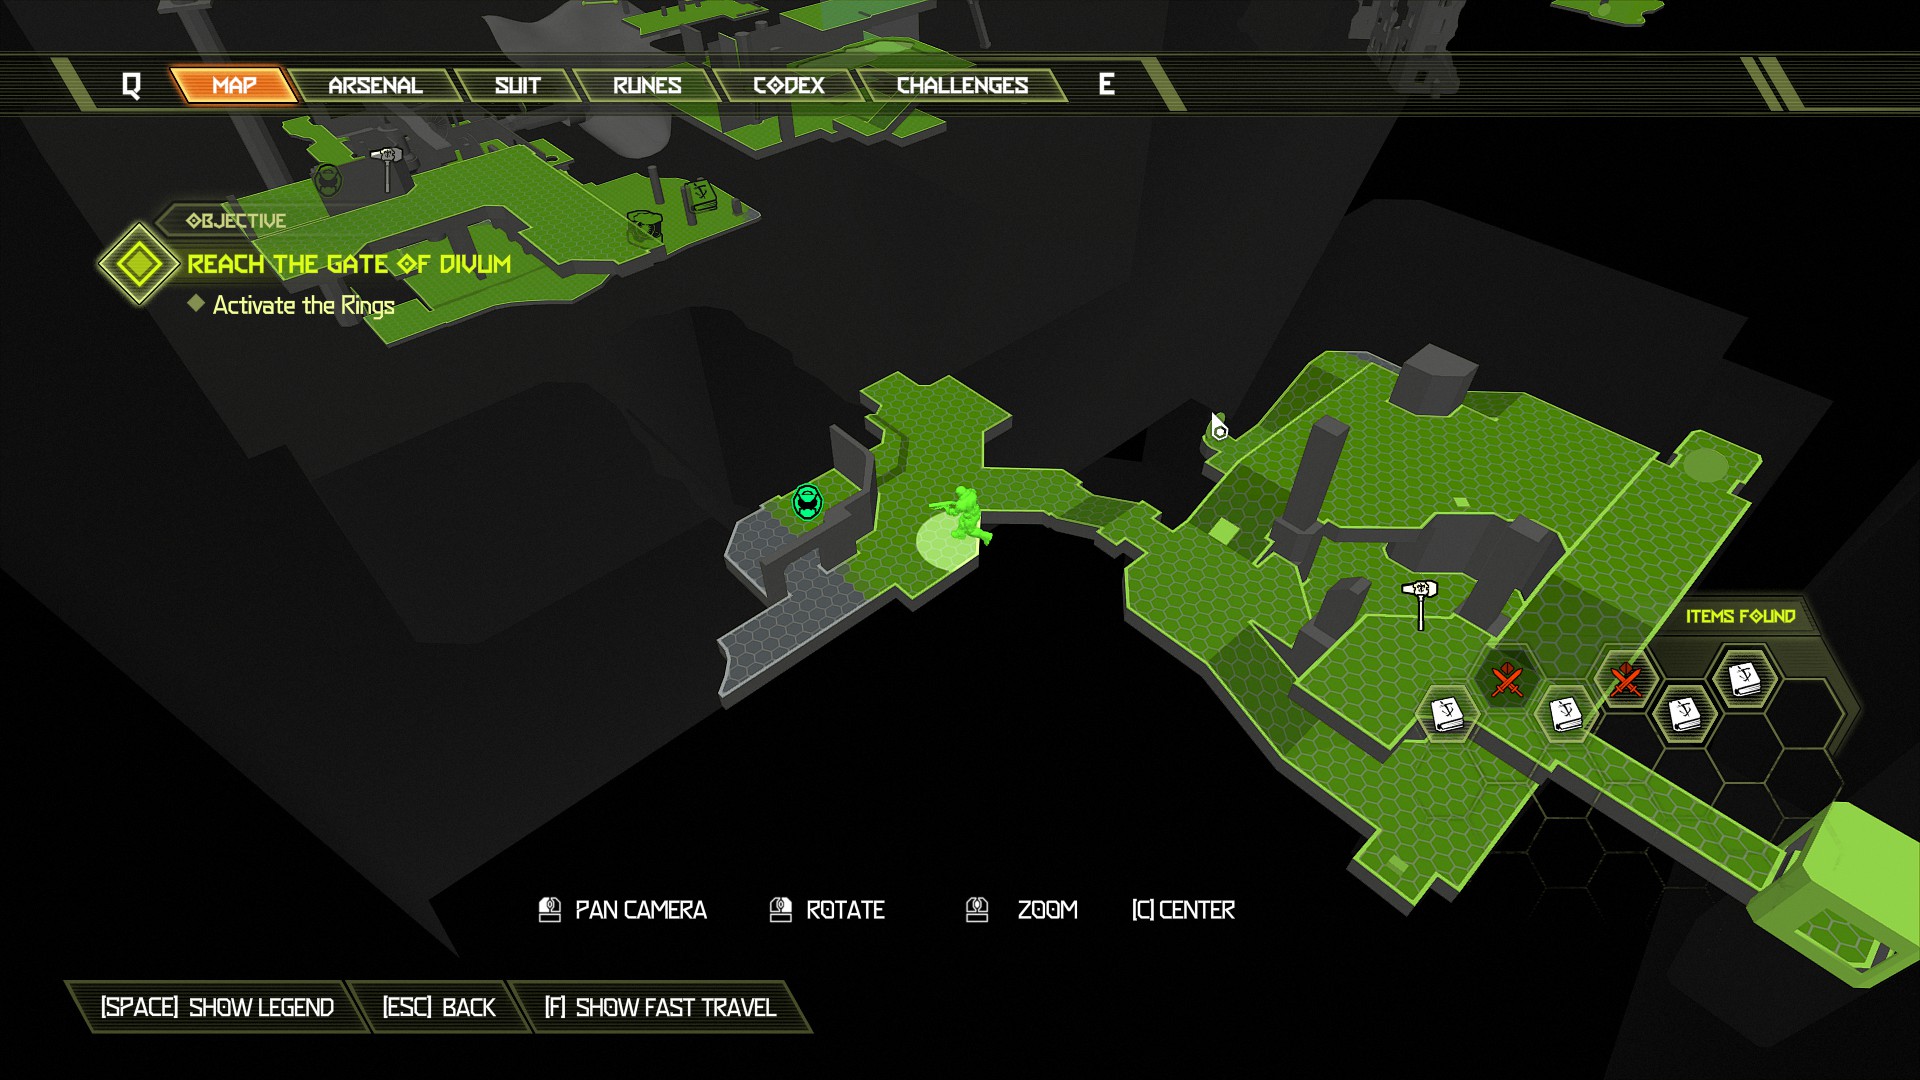
Move on to the third mission.
Mission 3: Immora
NOTE: Nothing much to add to this mission, pretty much everything from the previous missions apply. As mentioned before, this DLC has very few collectables compared to the rest of the game, which makes life easier for me but less fun for those treasure hunters out there.
The final mission which comes after this is a boss fight only, no collectables are found beyond this mission so this is the last one for this guide. This mission contains:
- 1 Automap
- 4 Codex Pages
- 3 Extra Lives
- 1 Secret
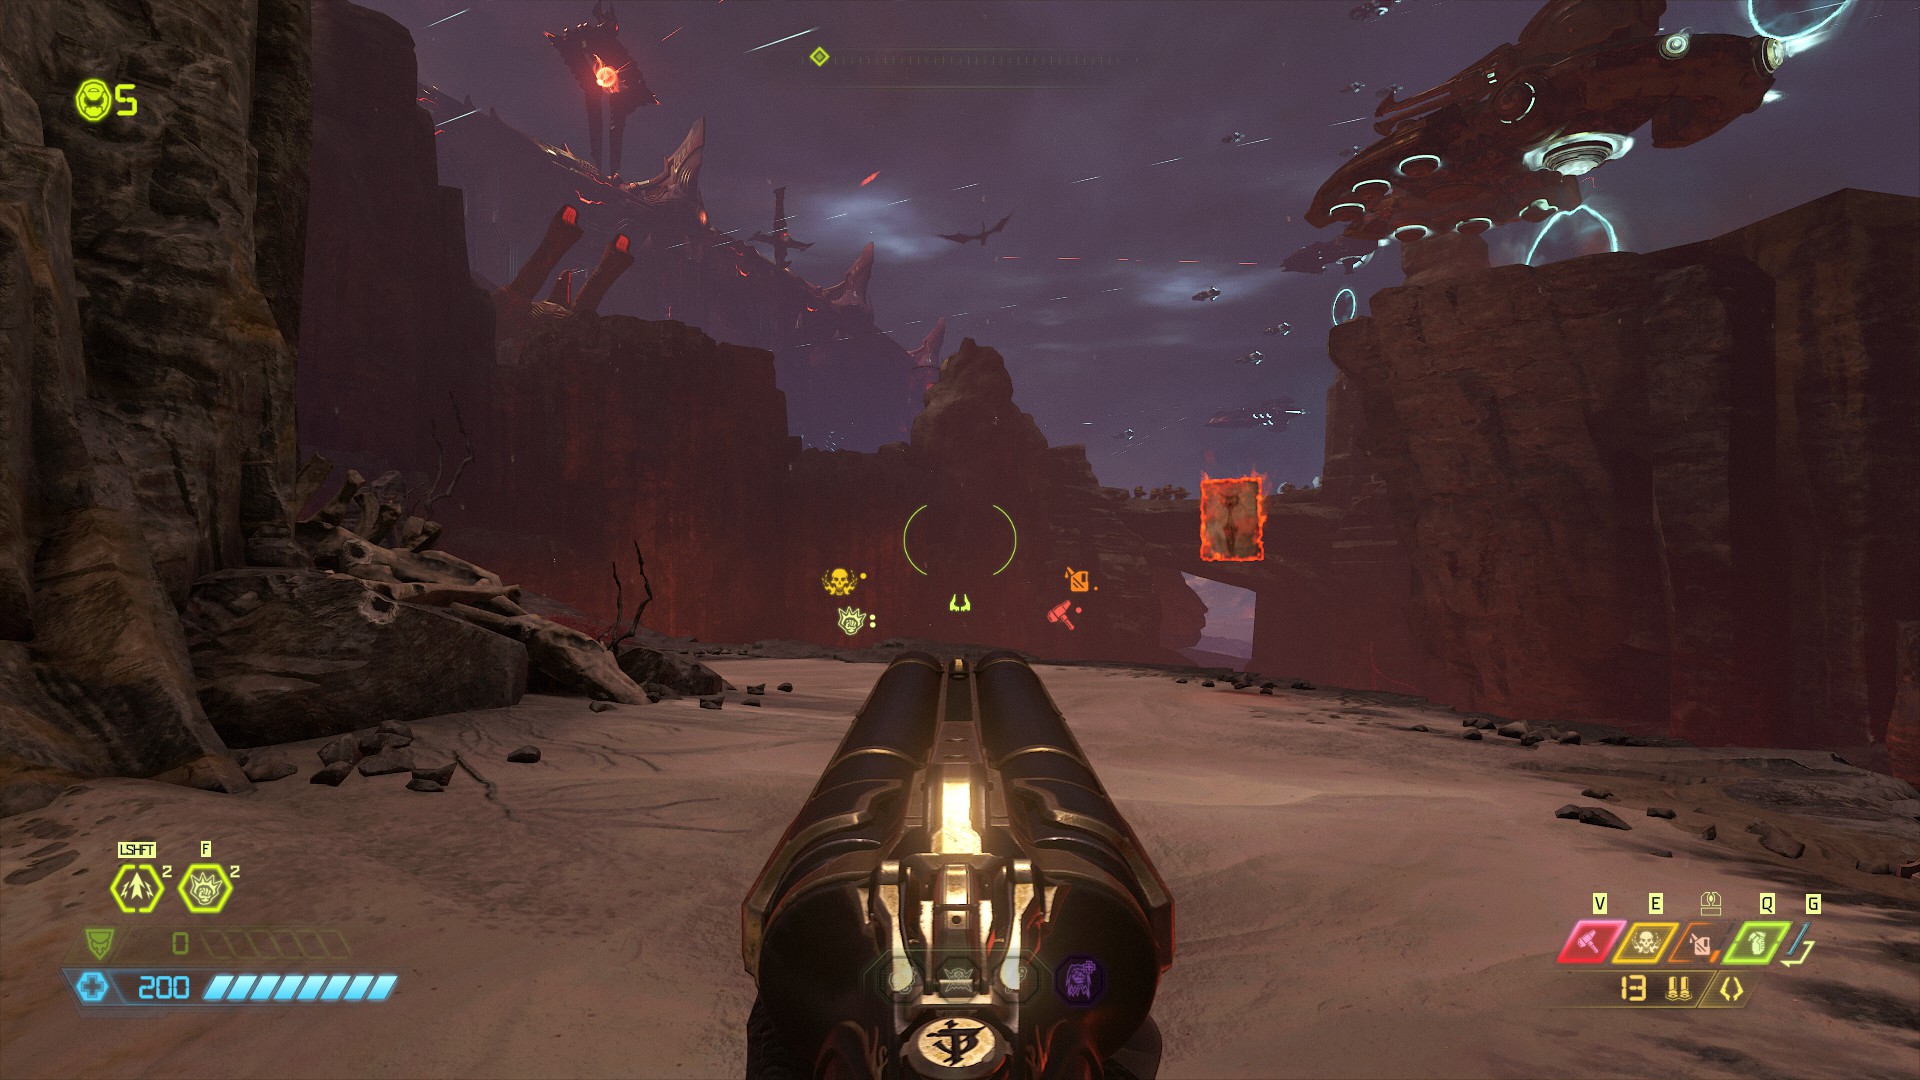
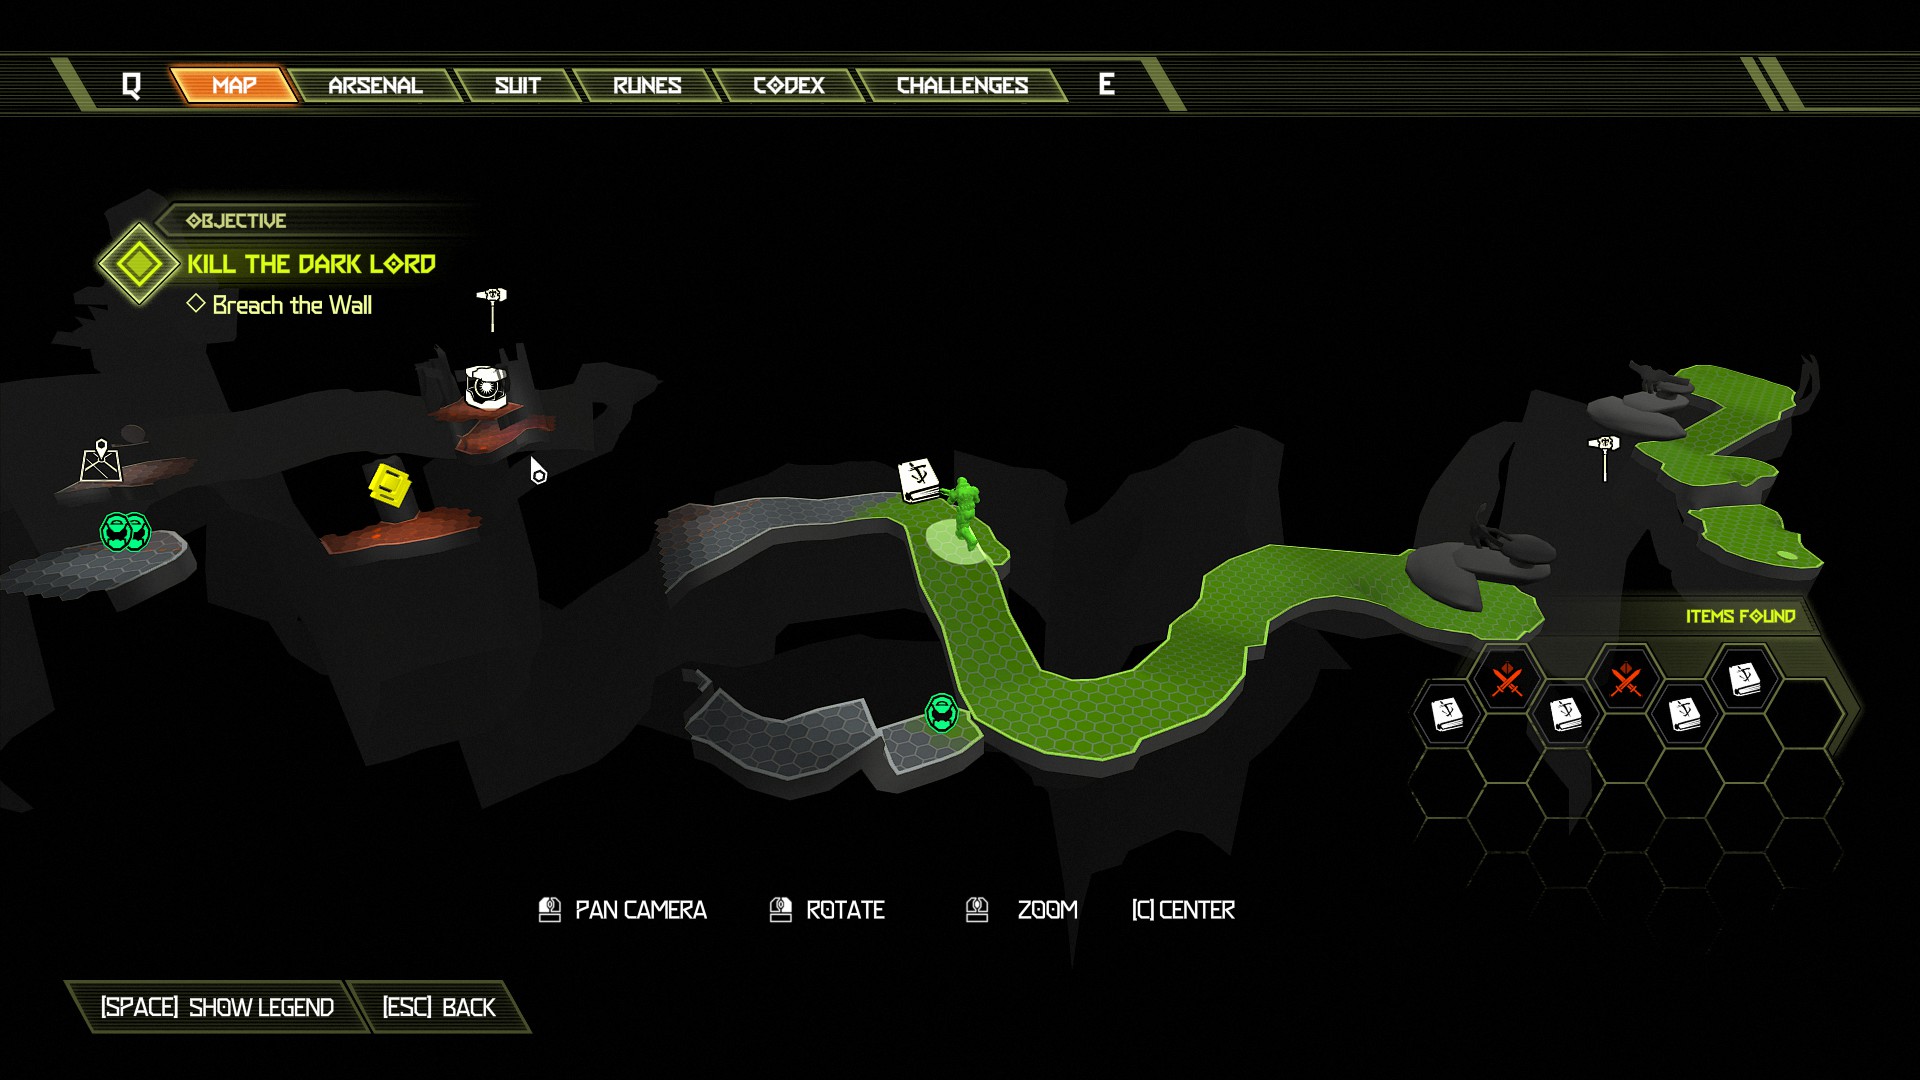
Immediately after the codex page on the left side is a platform you can climb, climb up and break the wall and follow the path along to find an extra life at the very end.
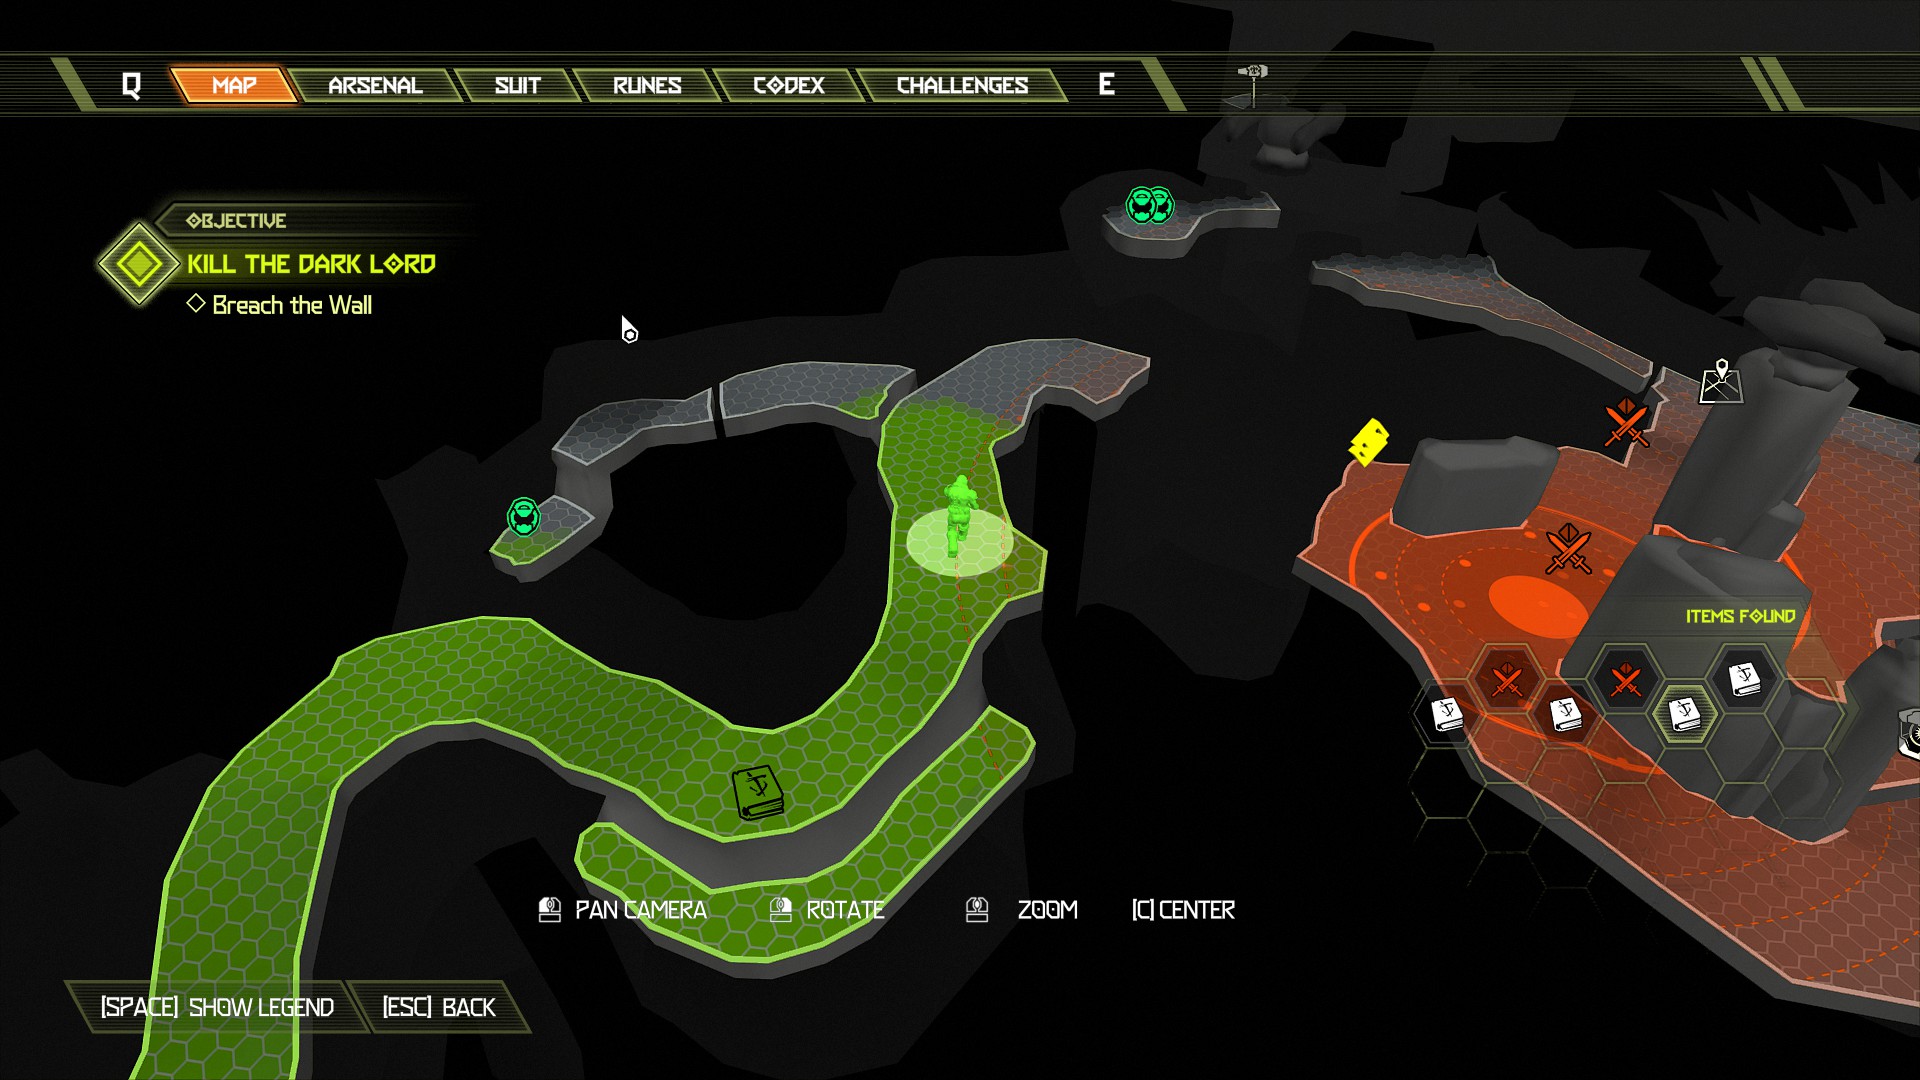
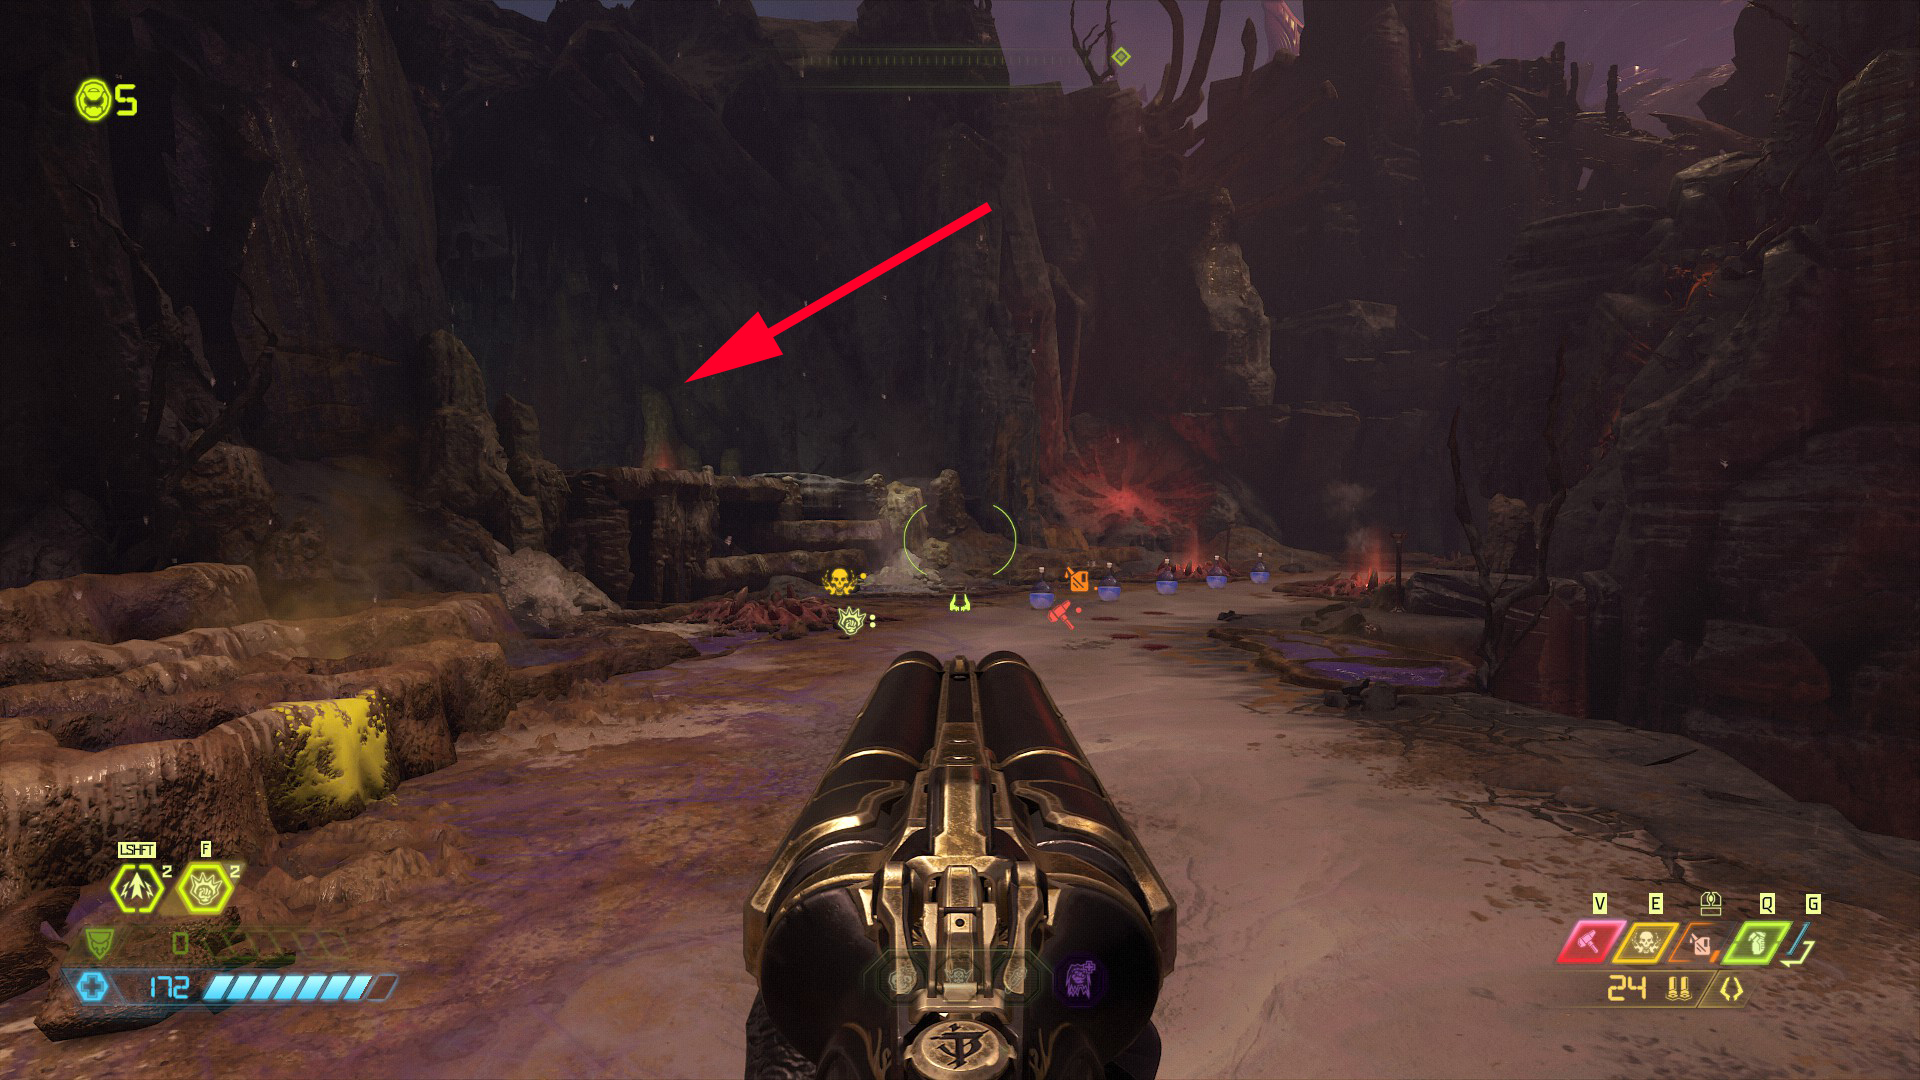
Now complete the escalation encounter in the next area, once complete follow the mission marker and just before the green wall that you need to break through will be the automap.
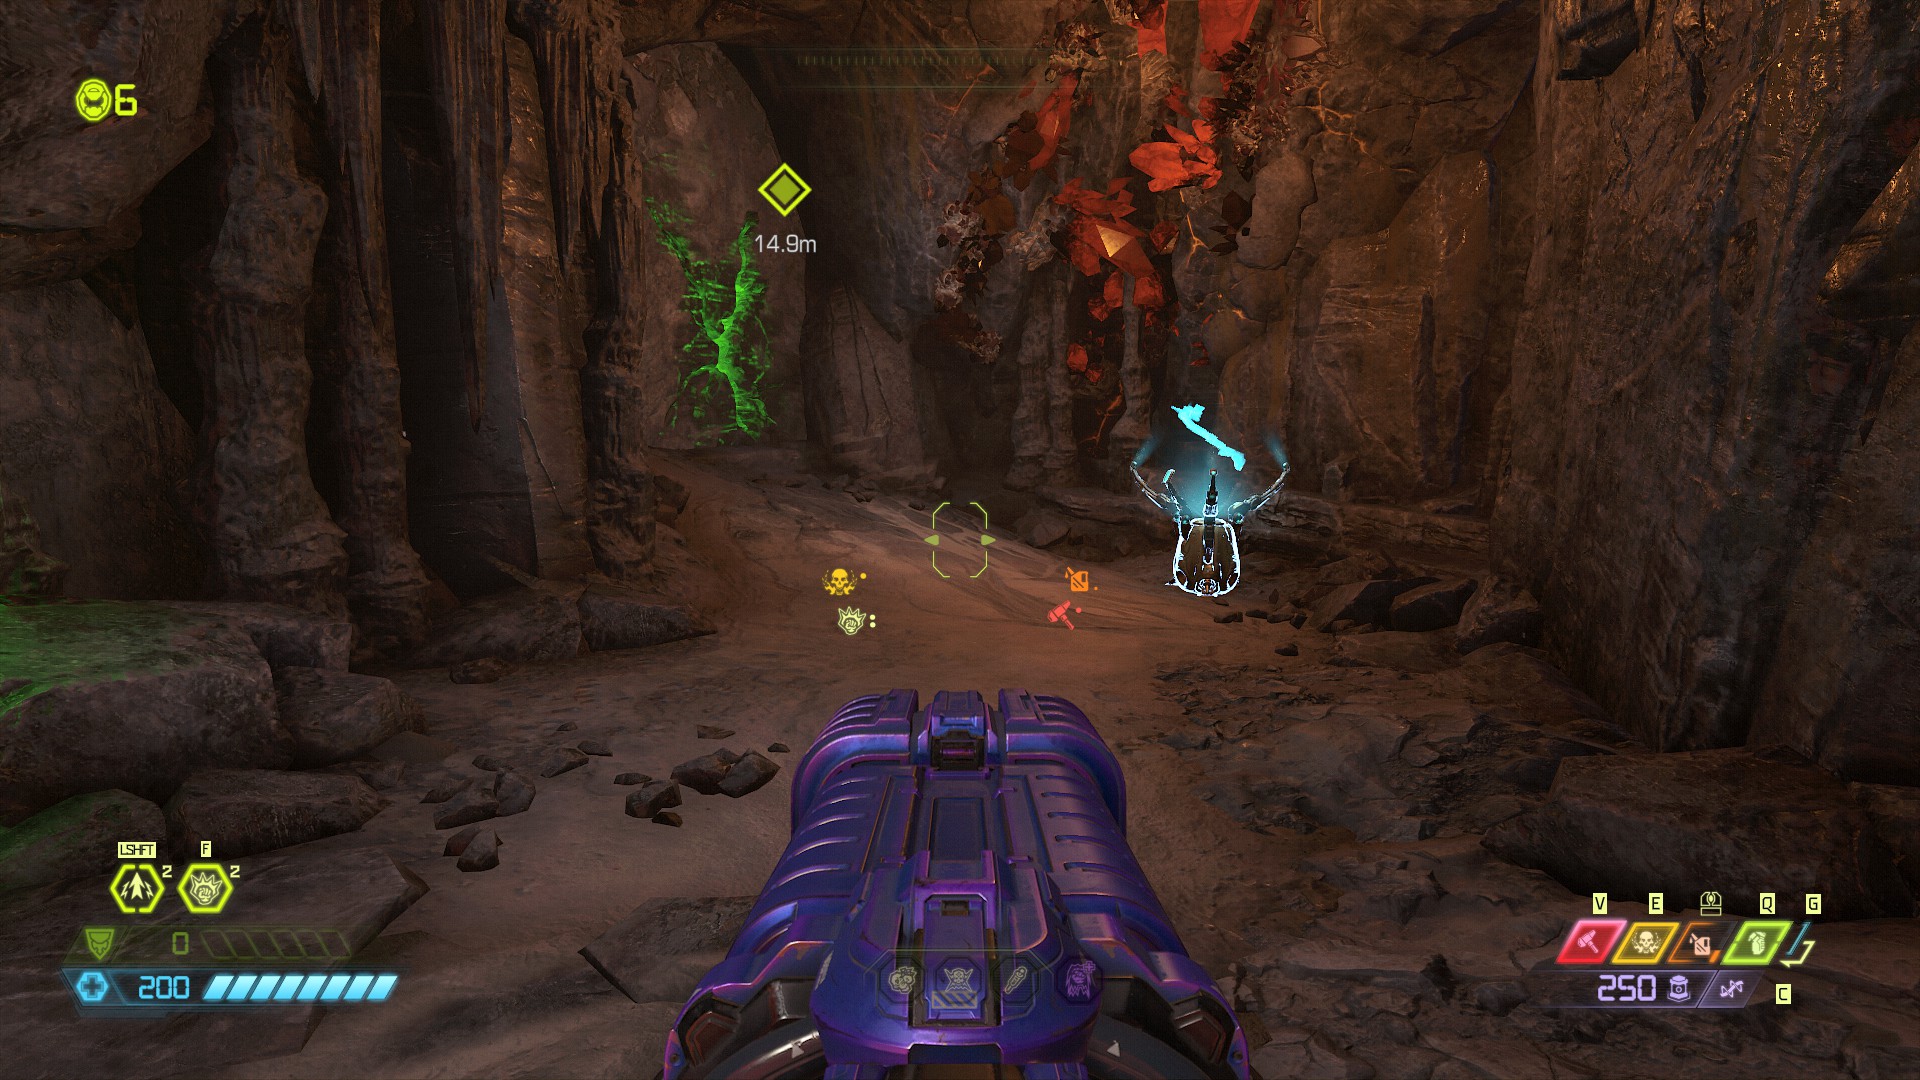
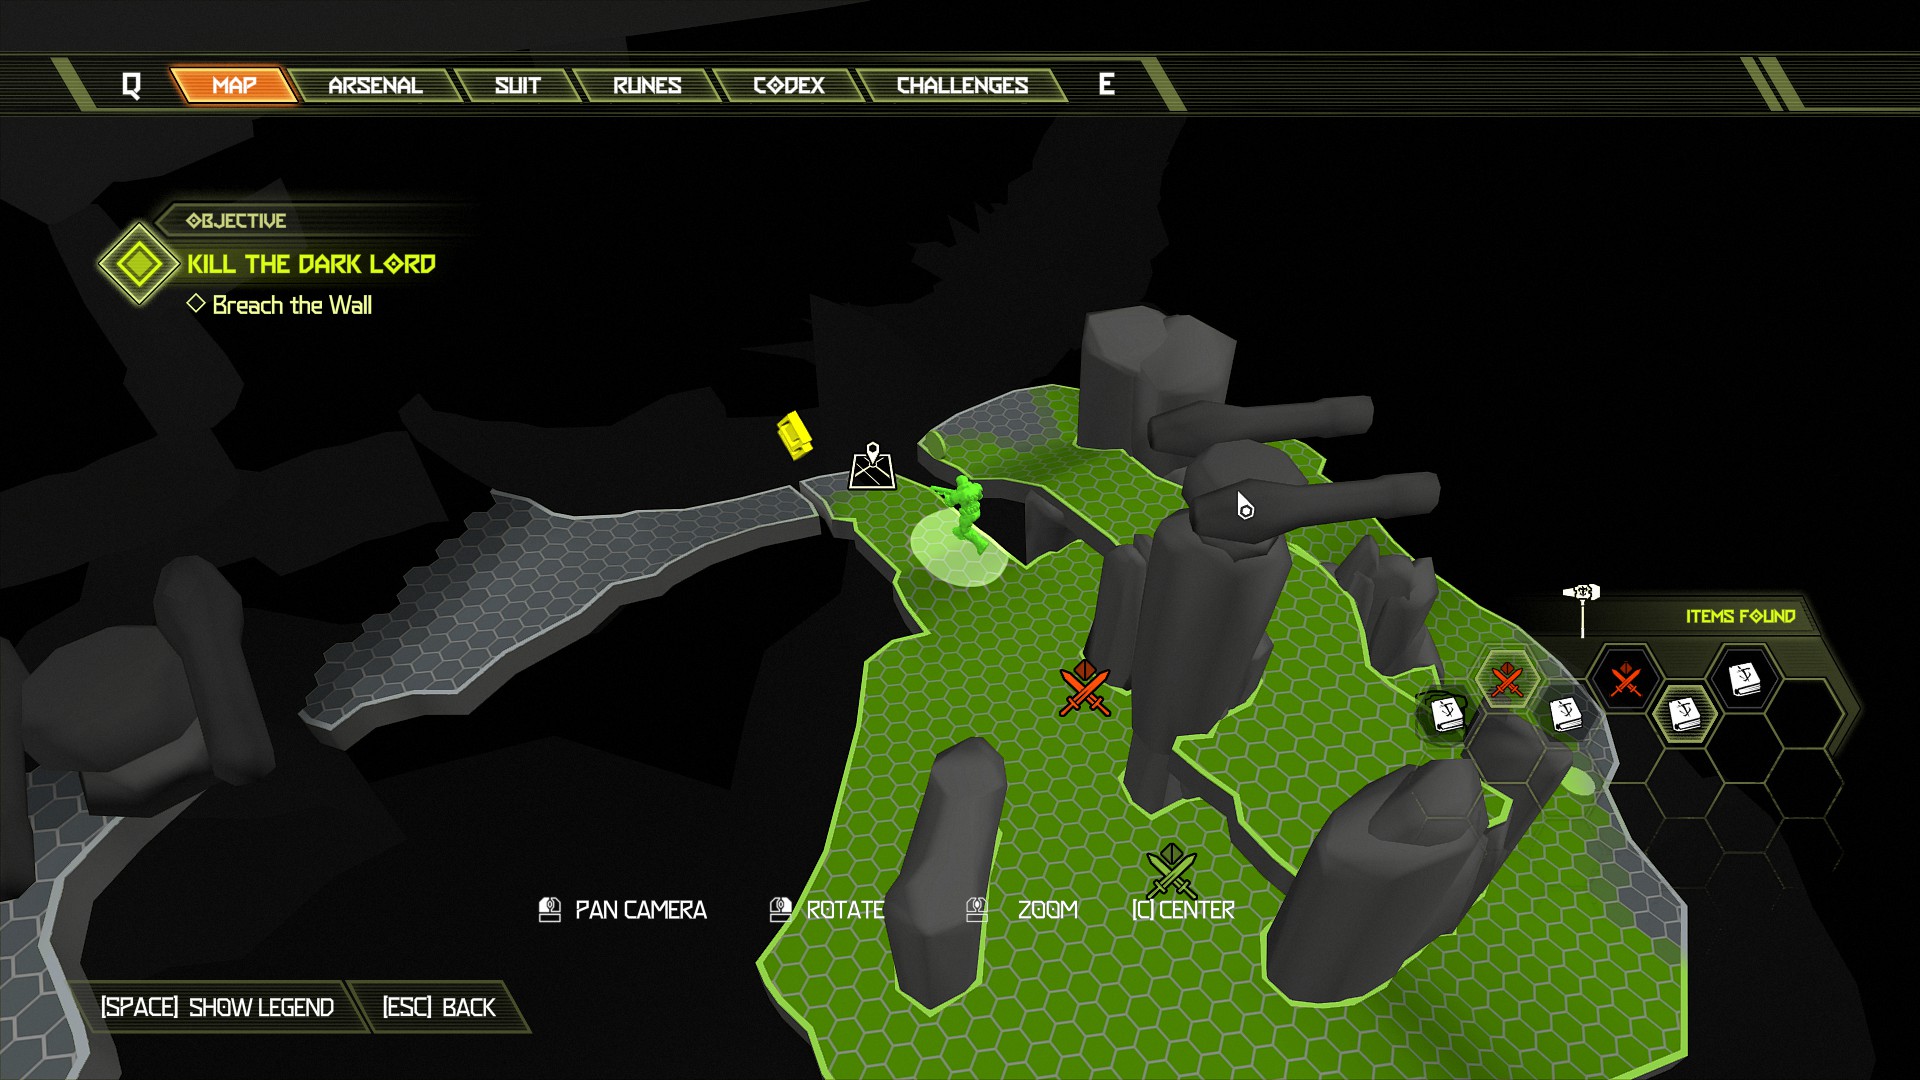
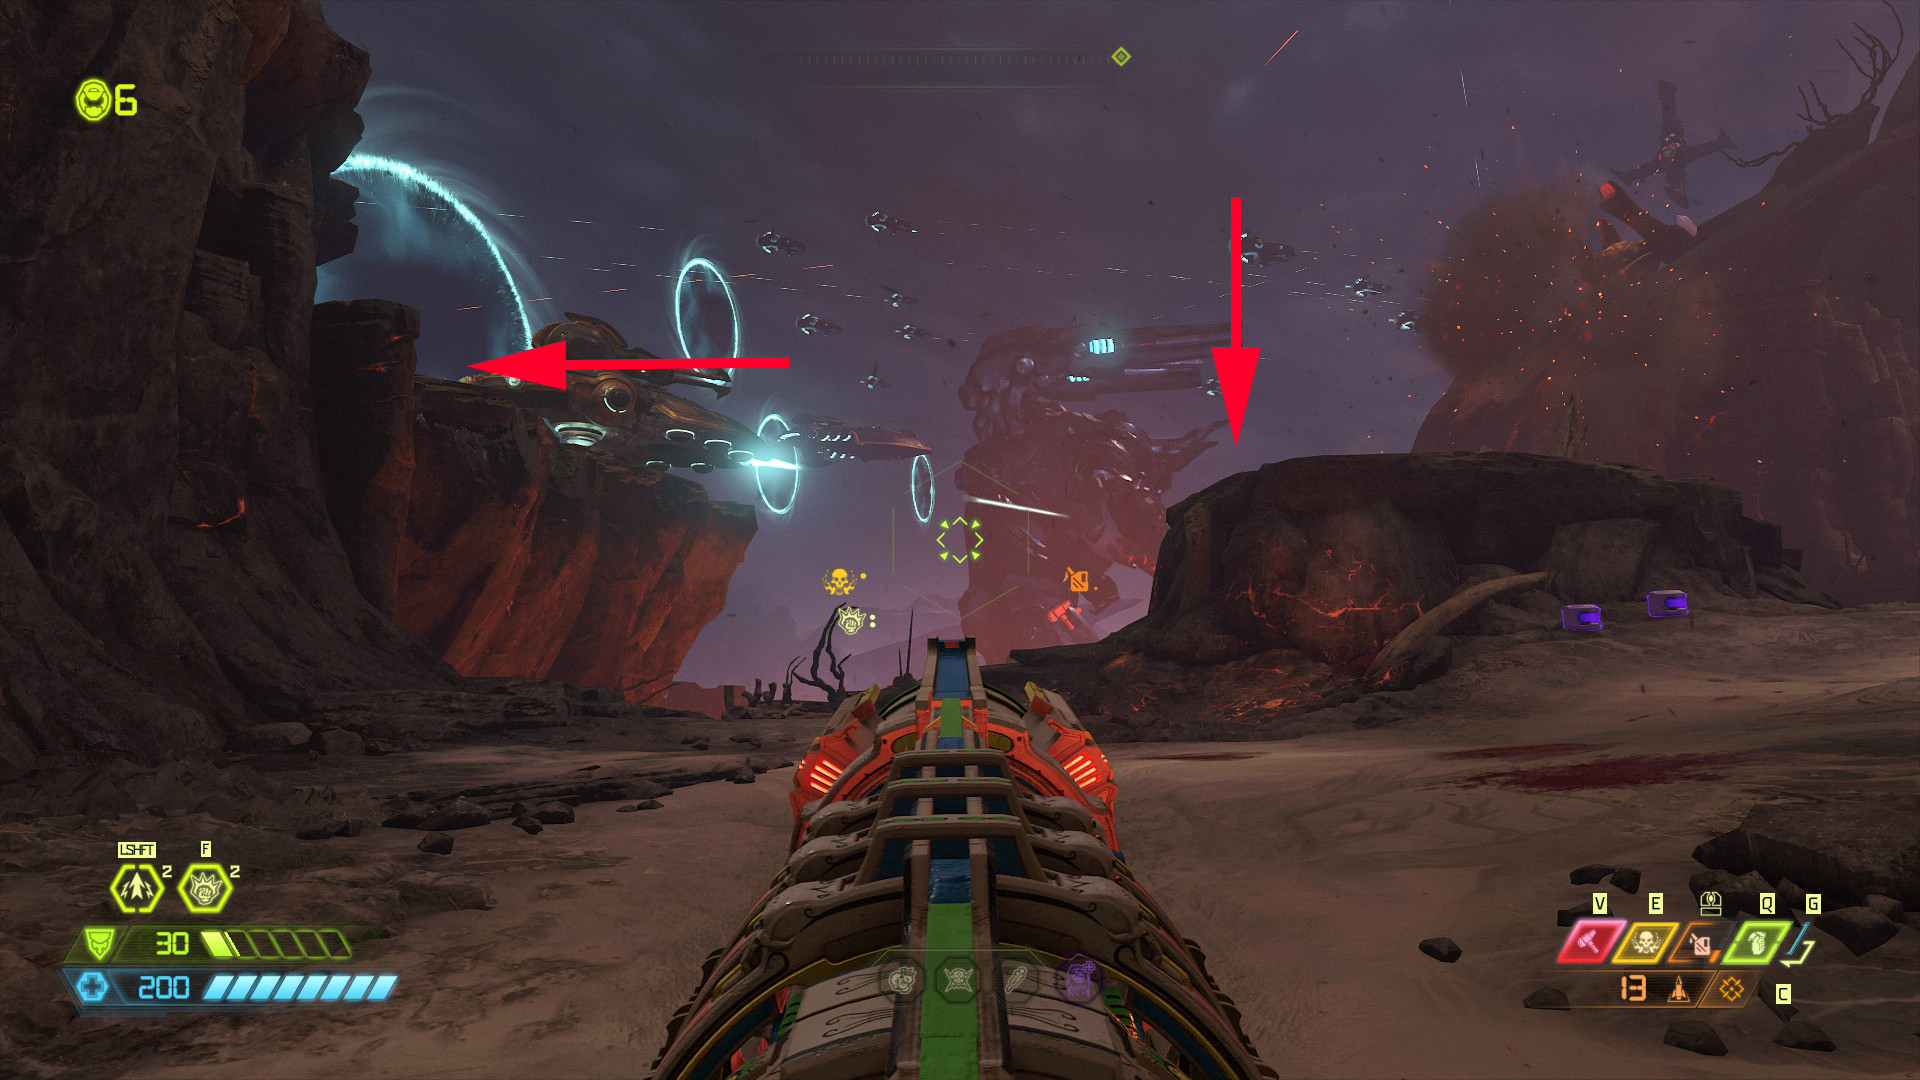
After the automap smash through the green wall and immediately in front of you will be a platform you need to reach at the top left side. Use the platform on the right side to jump across and collect the 2up extra life that's sitting there.
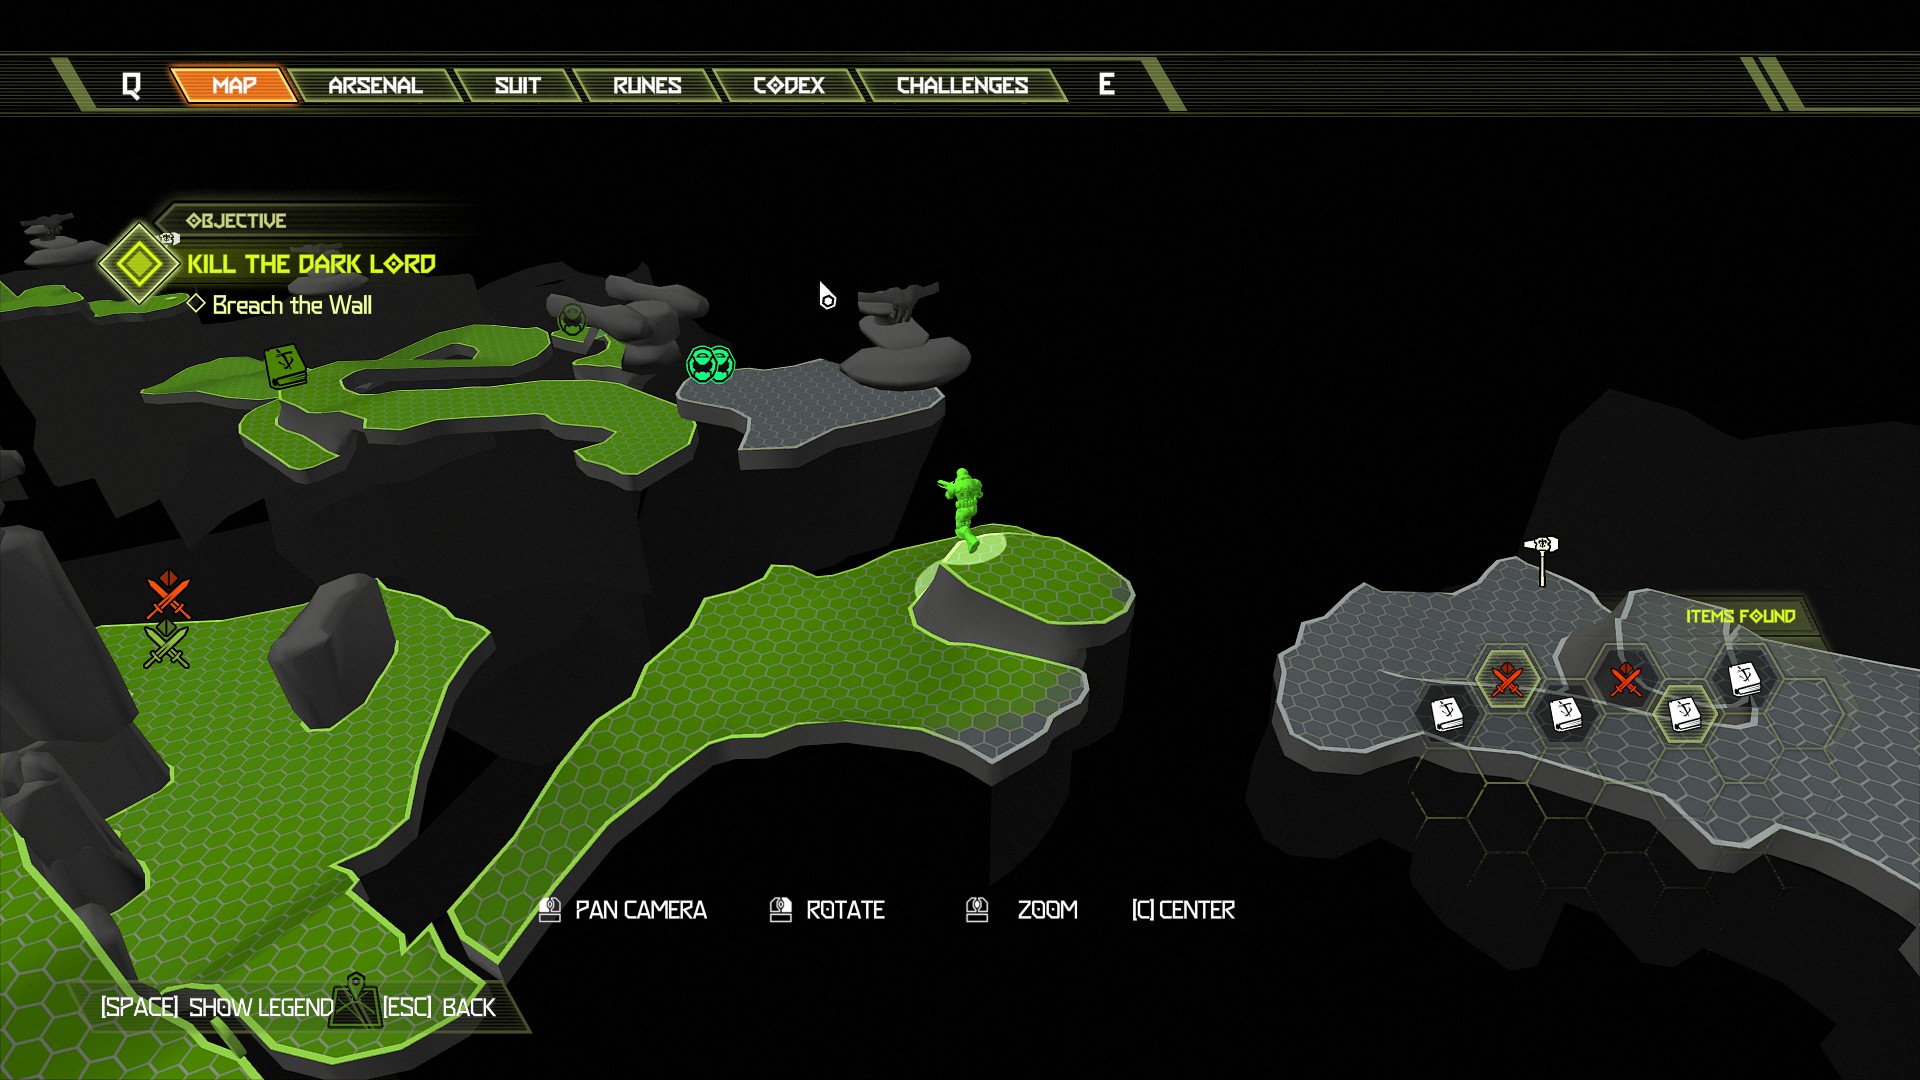
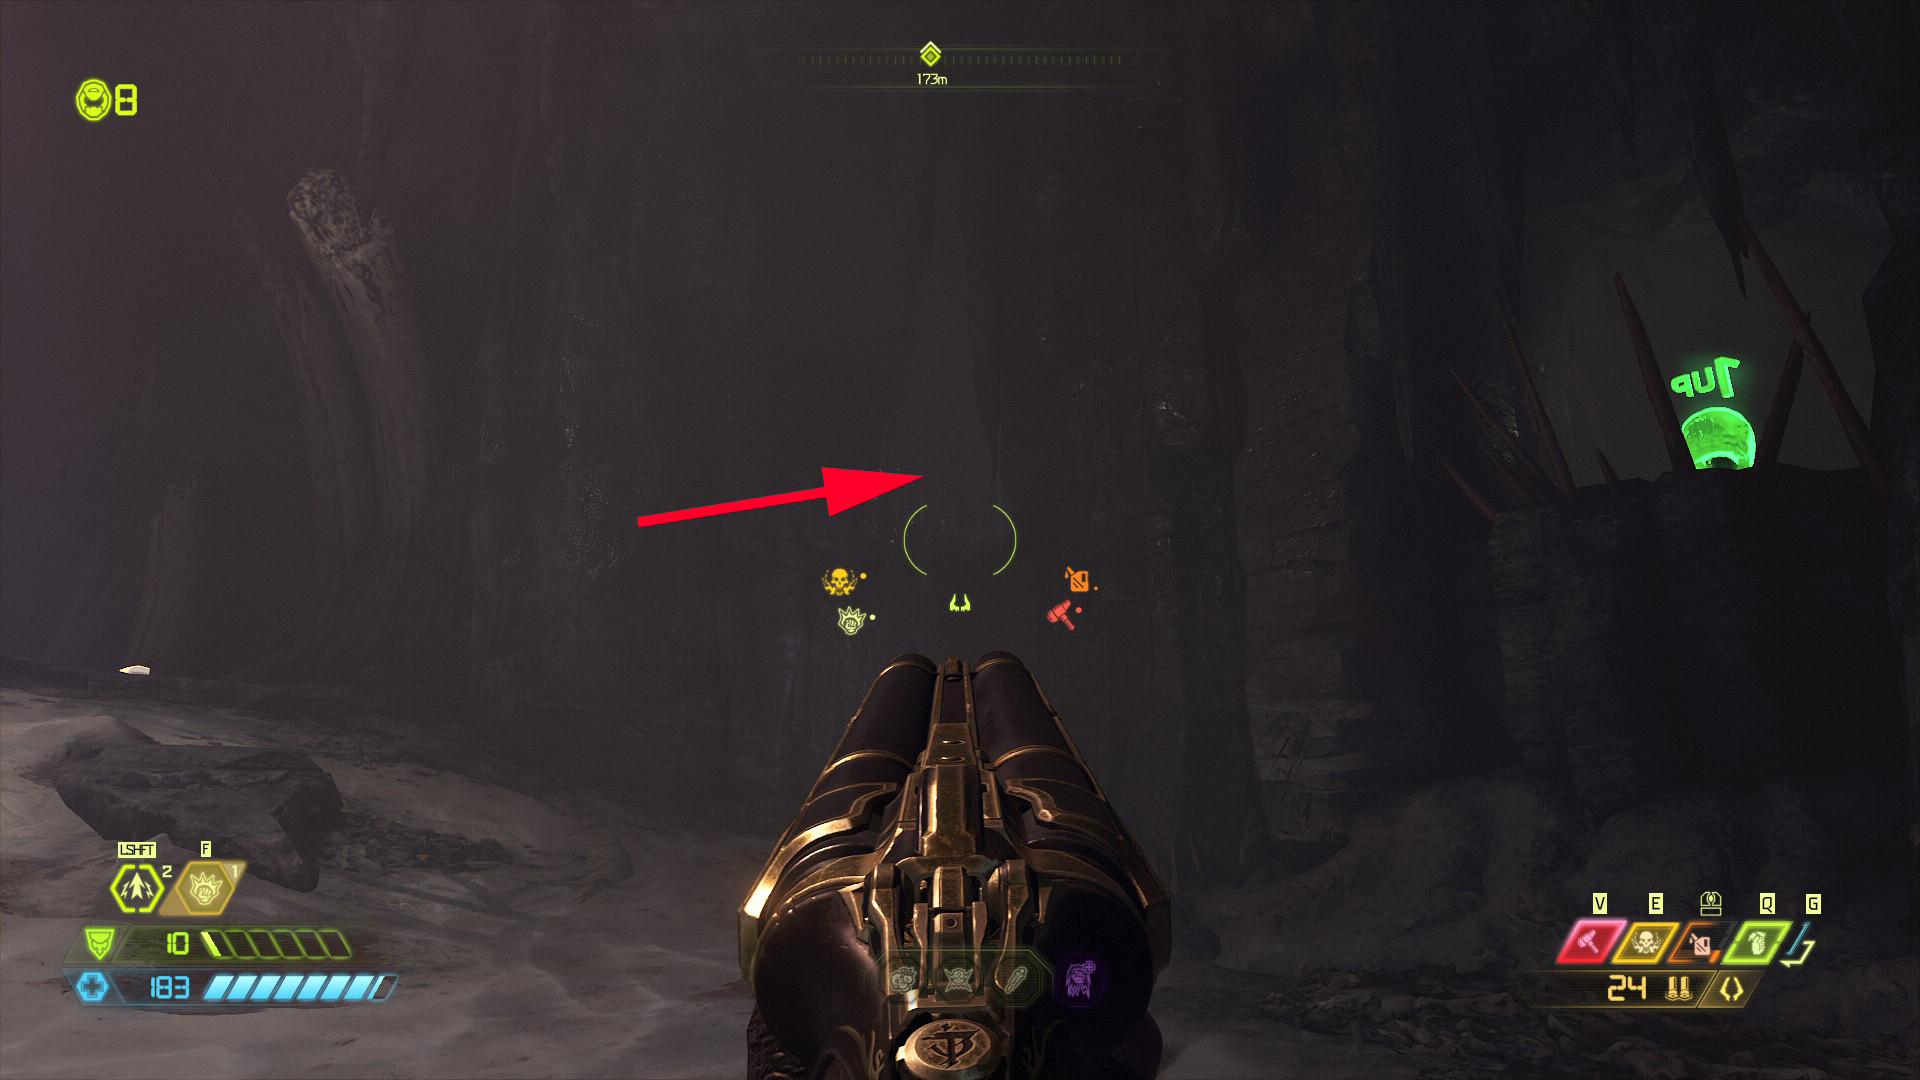
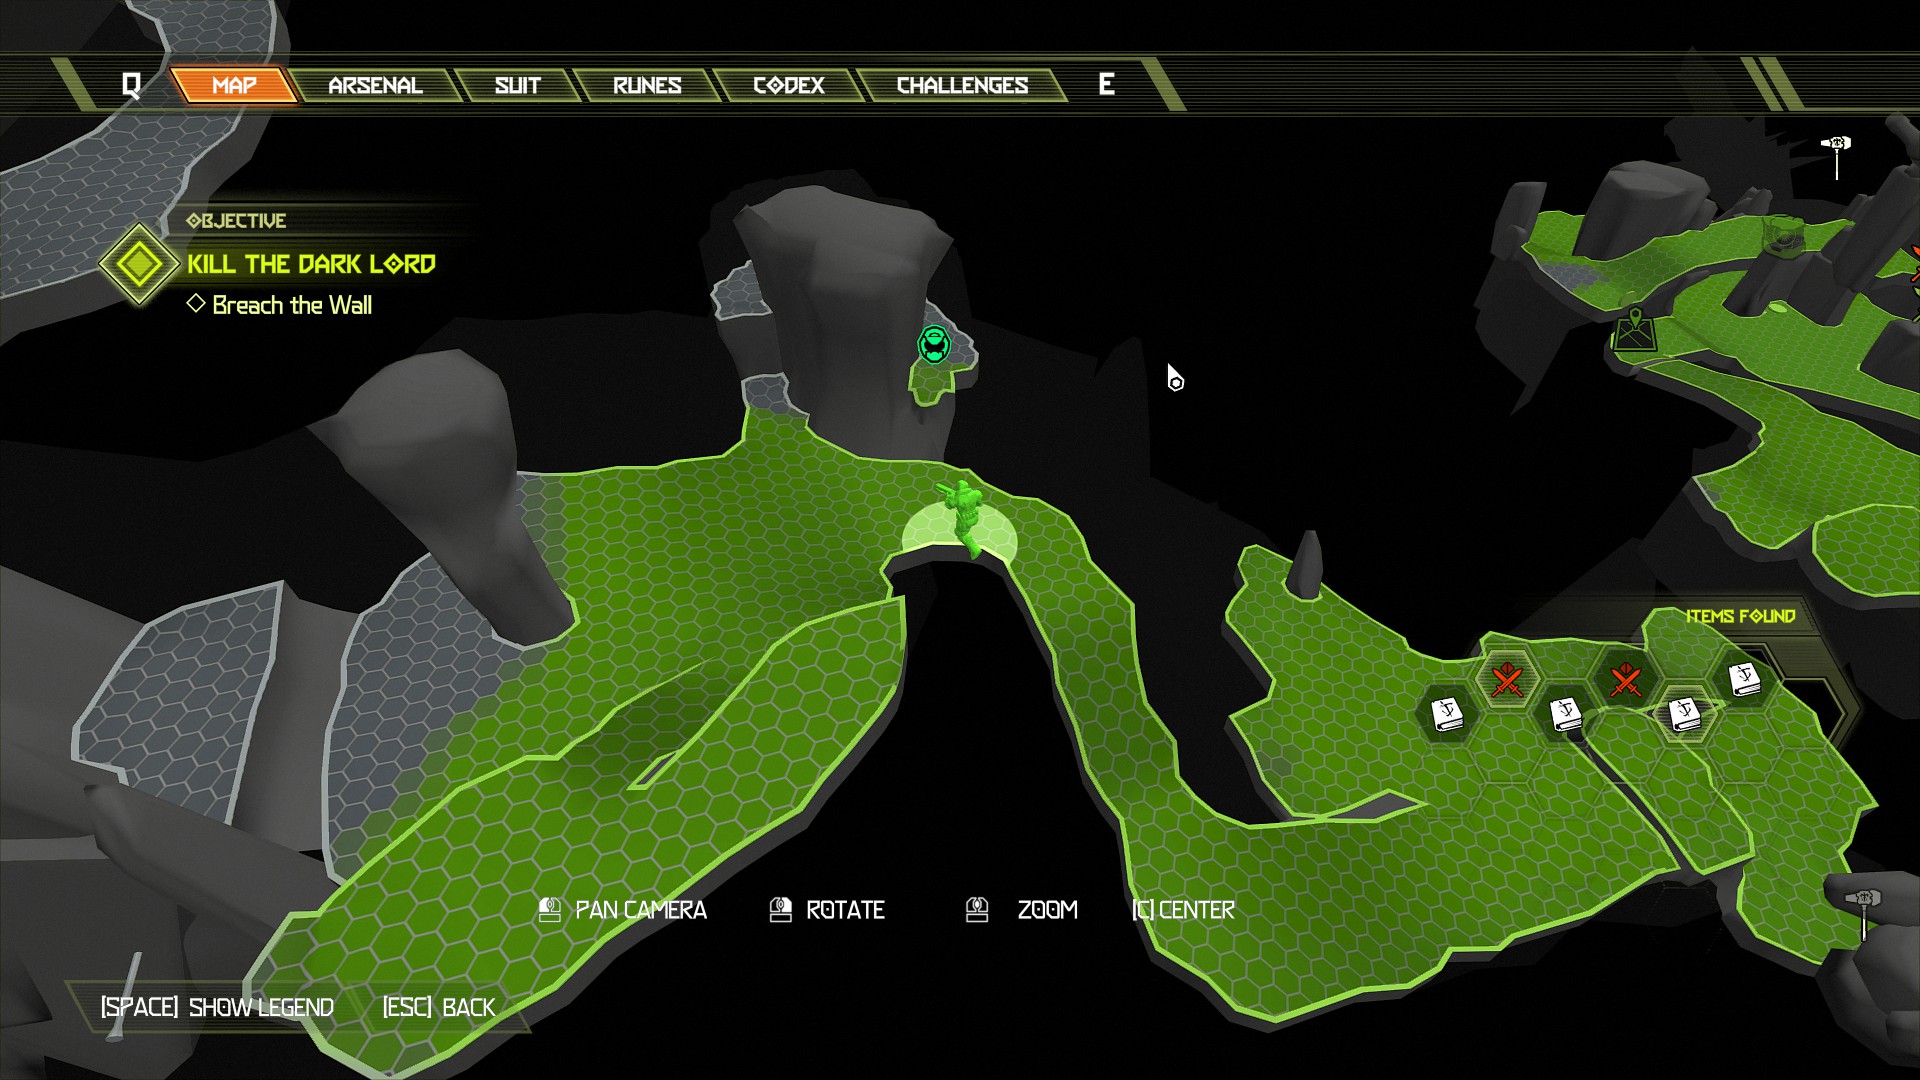
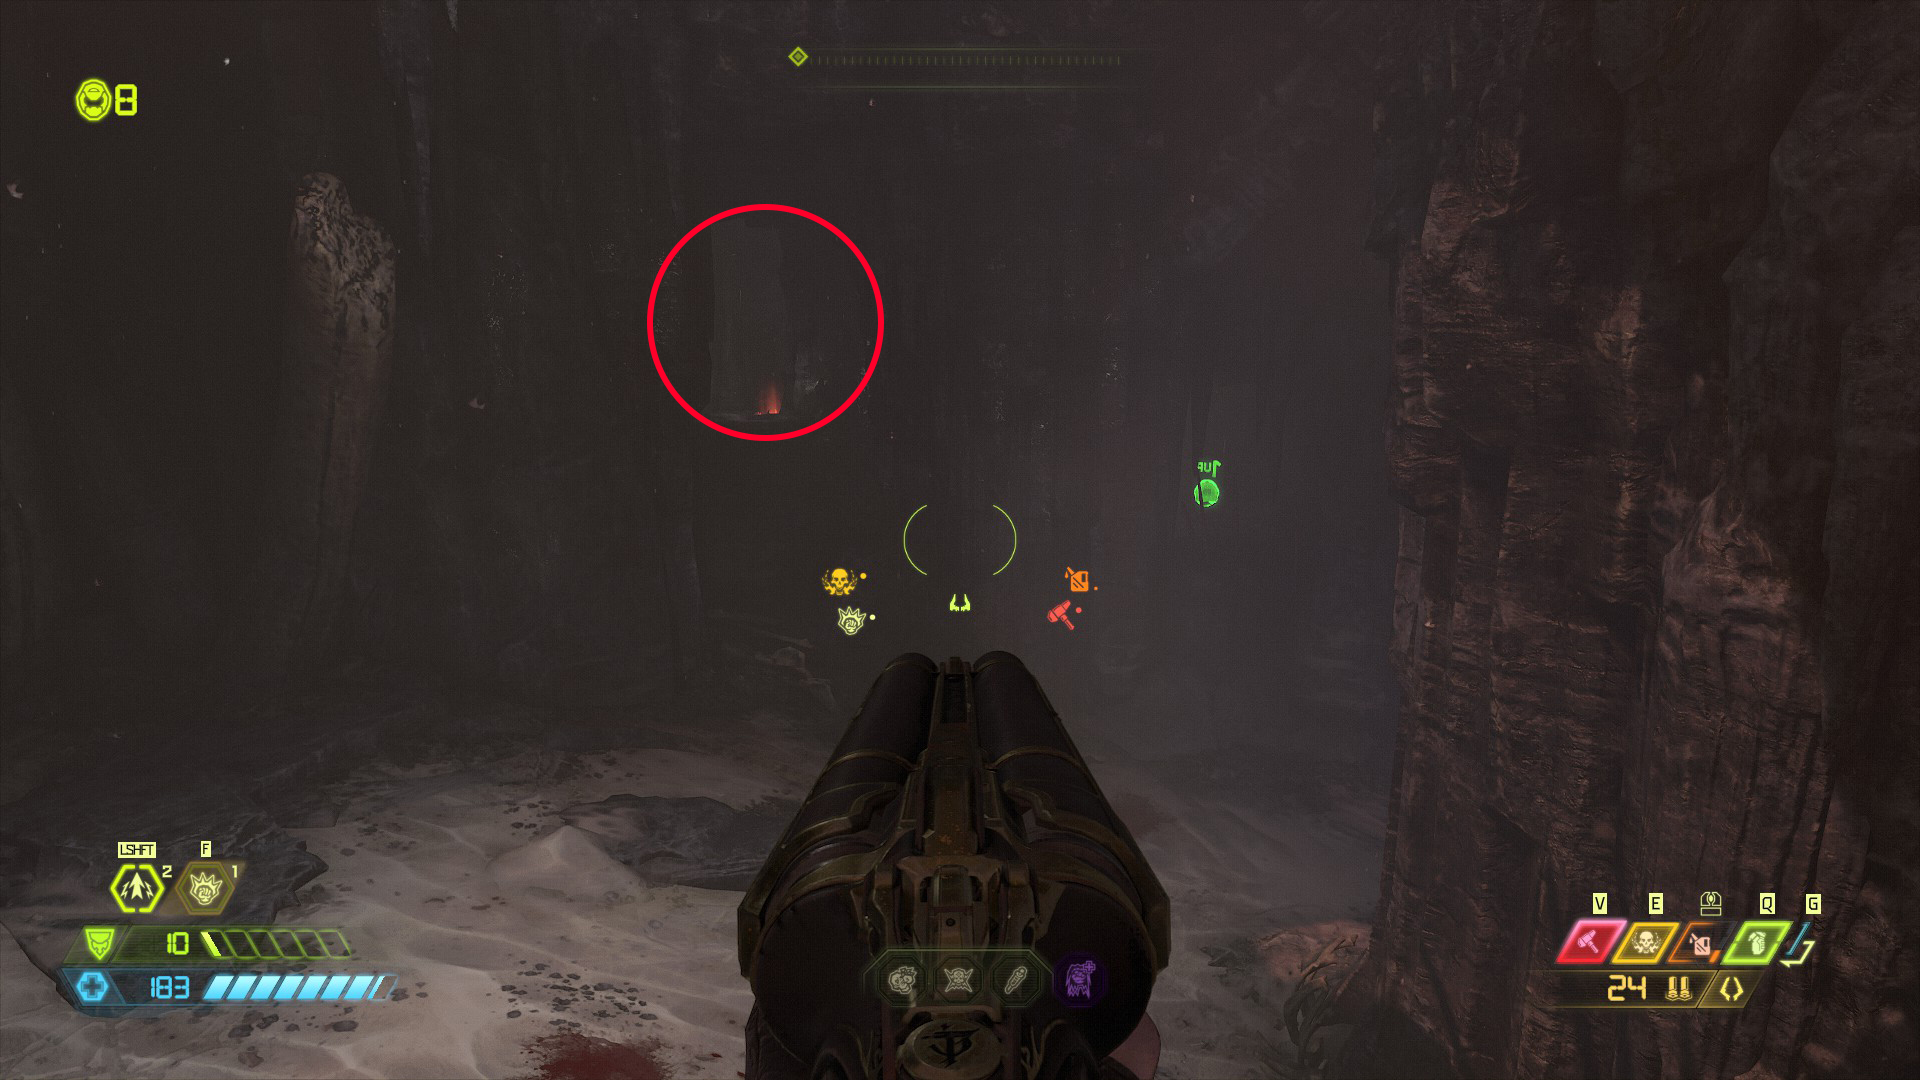
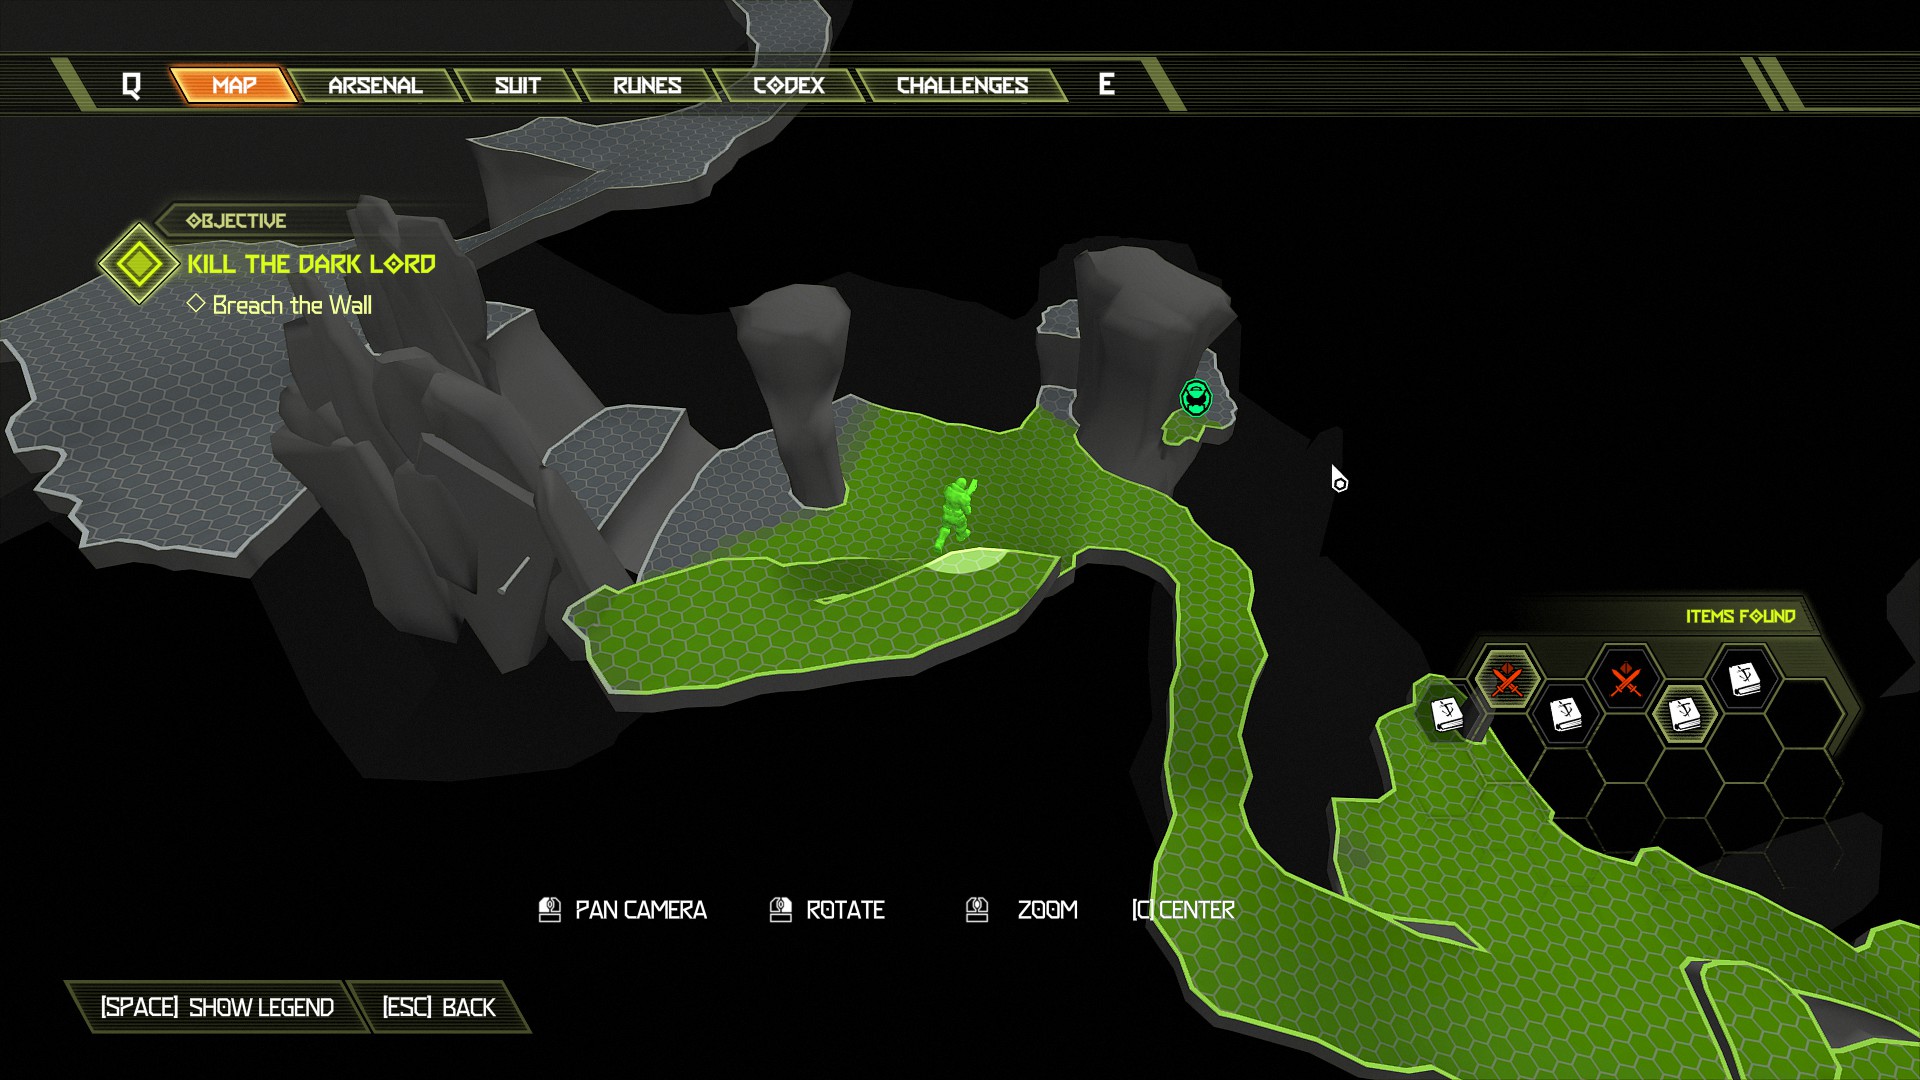
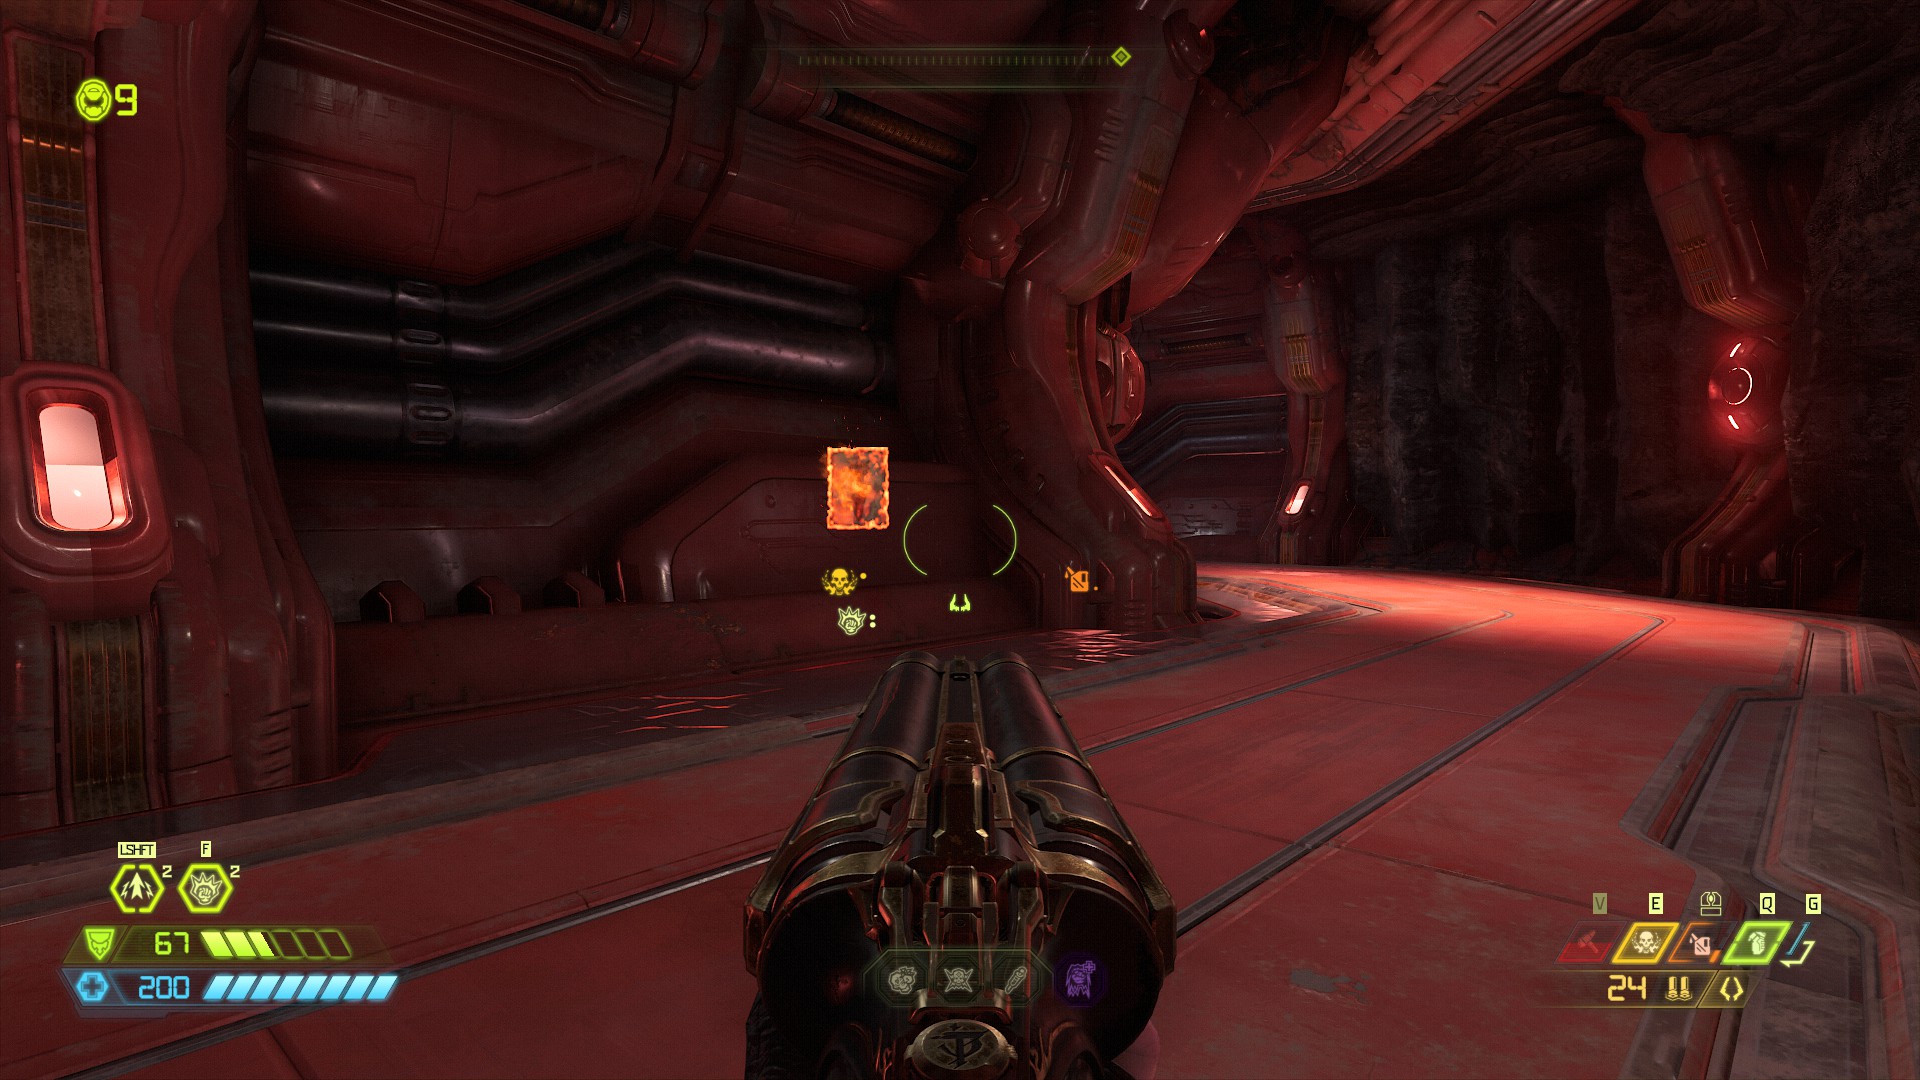
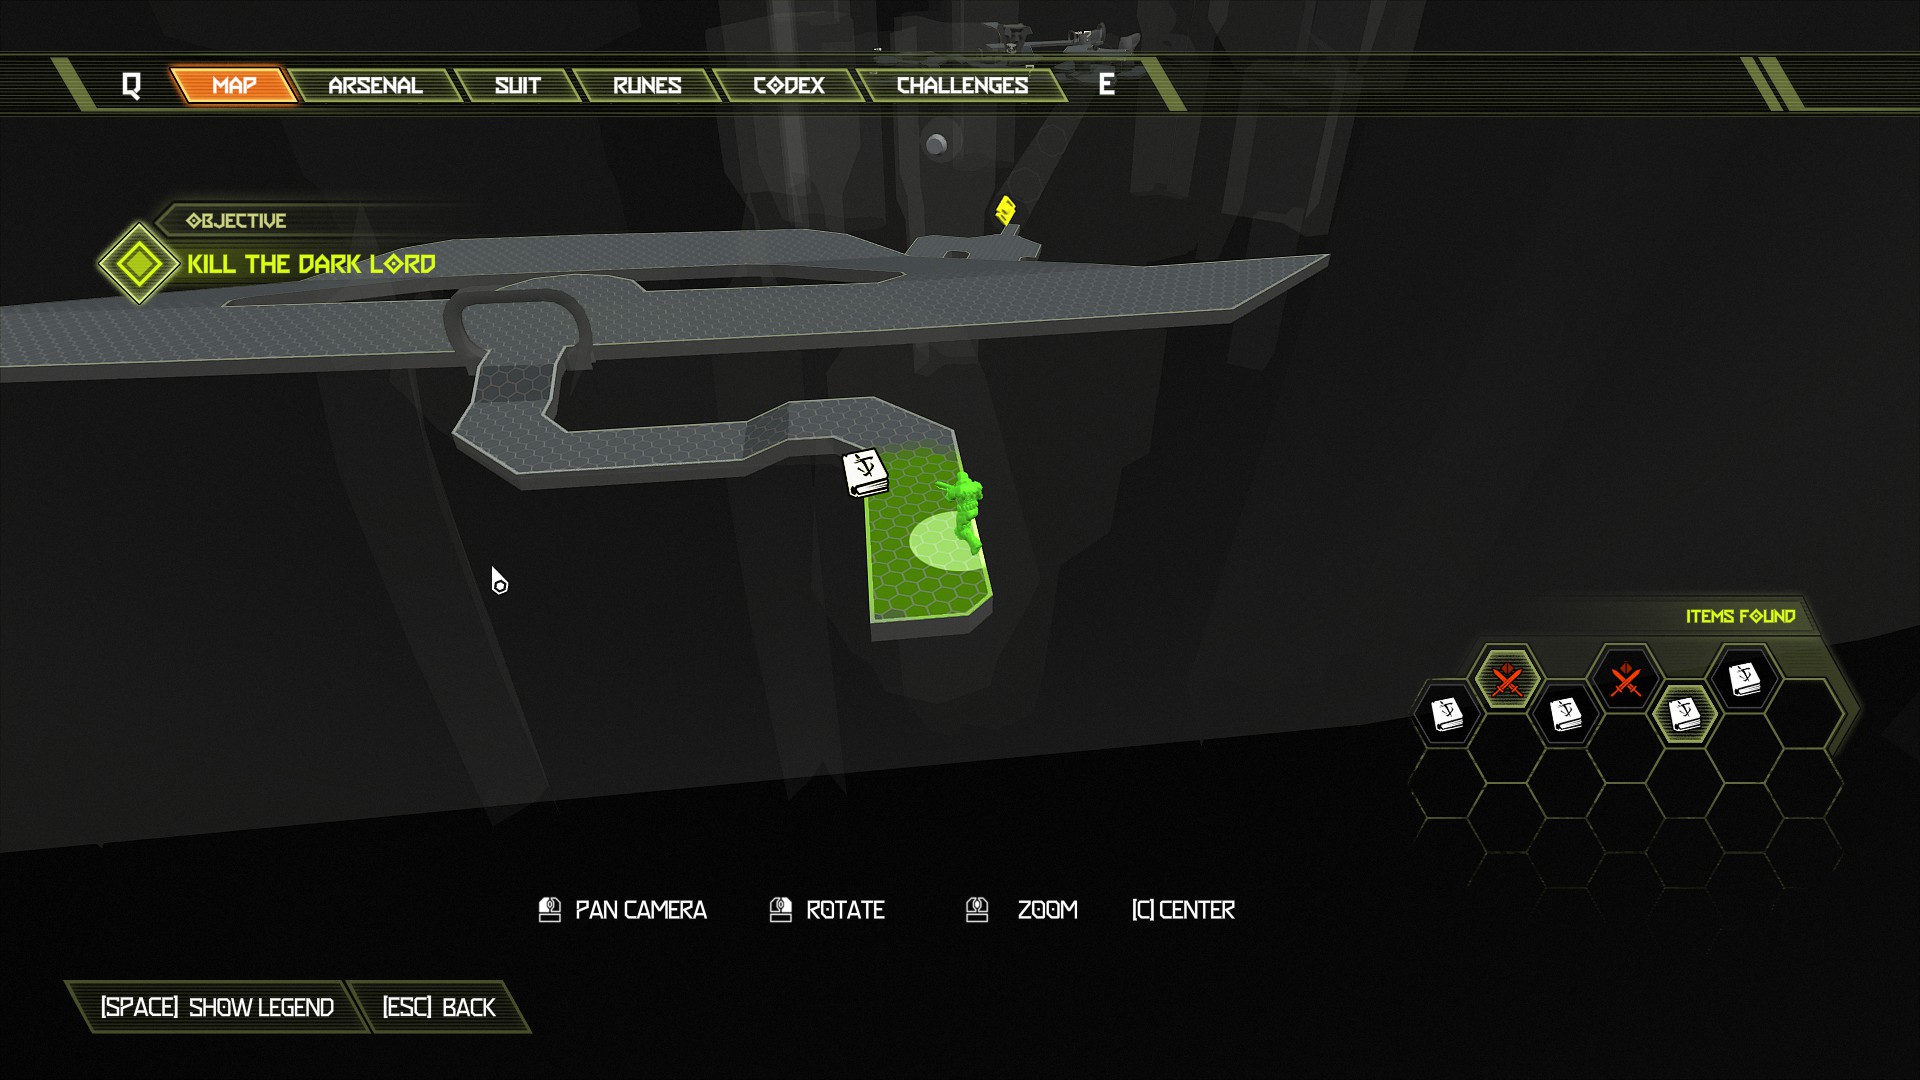
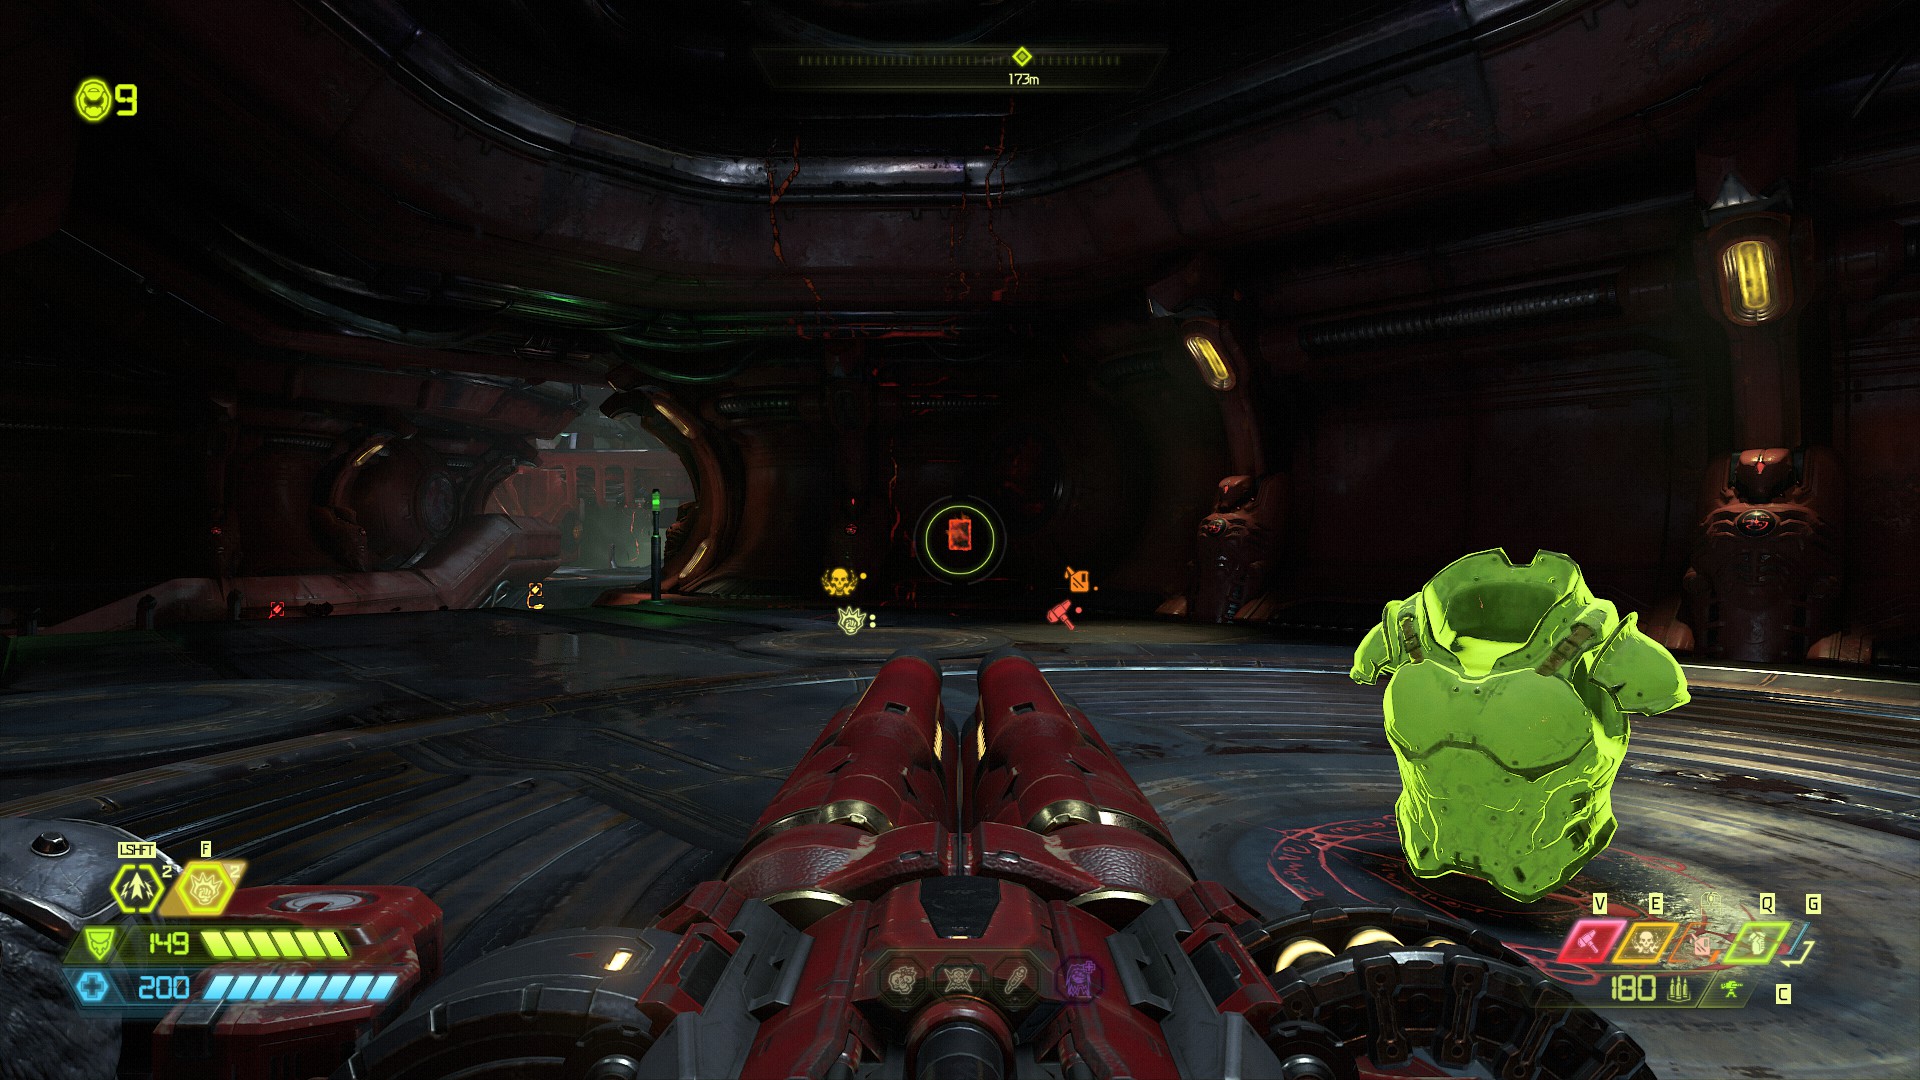
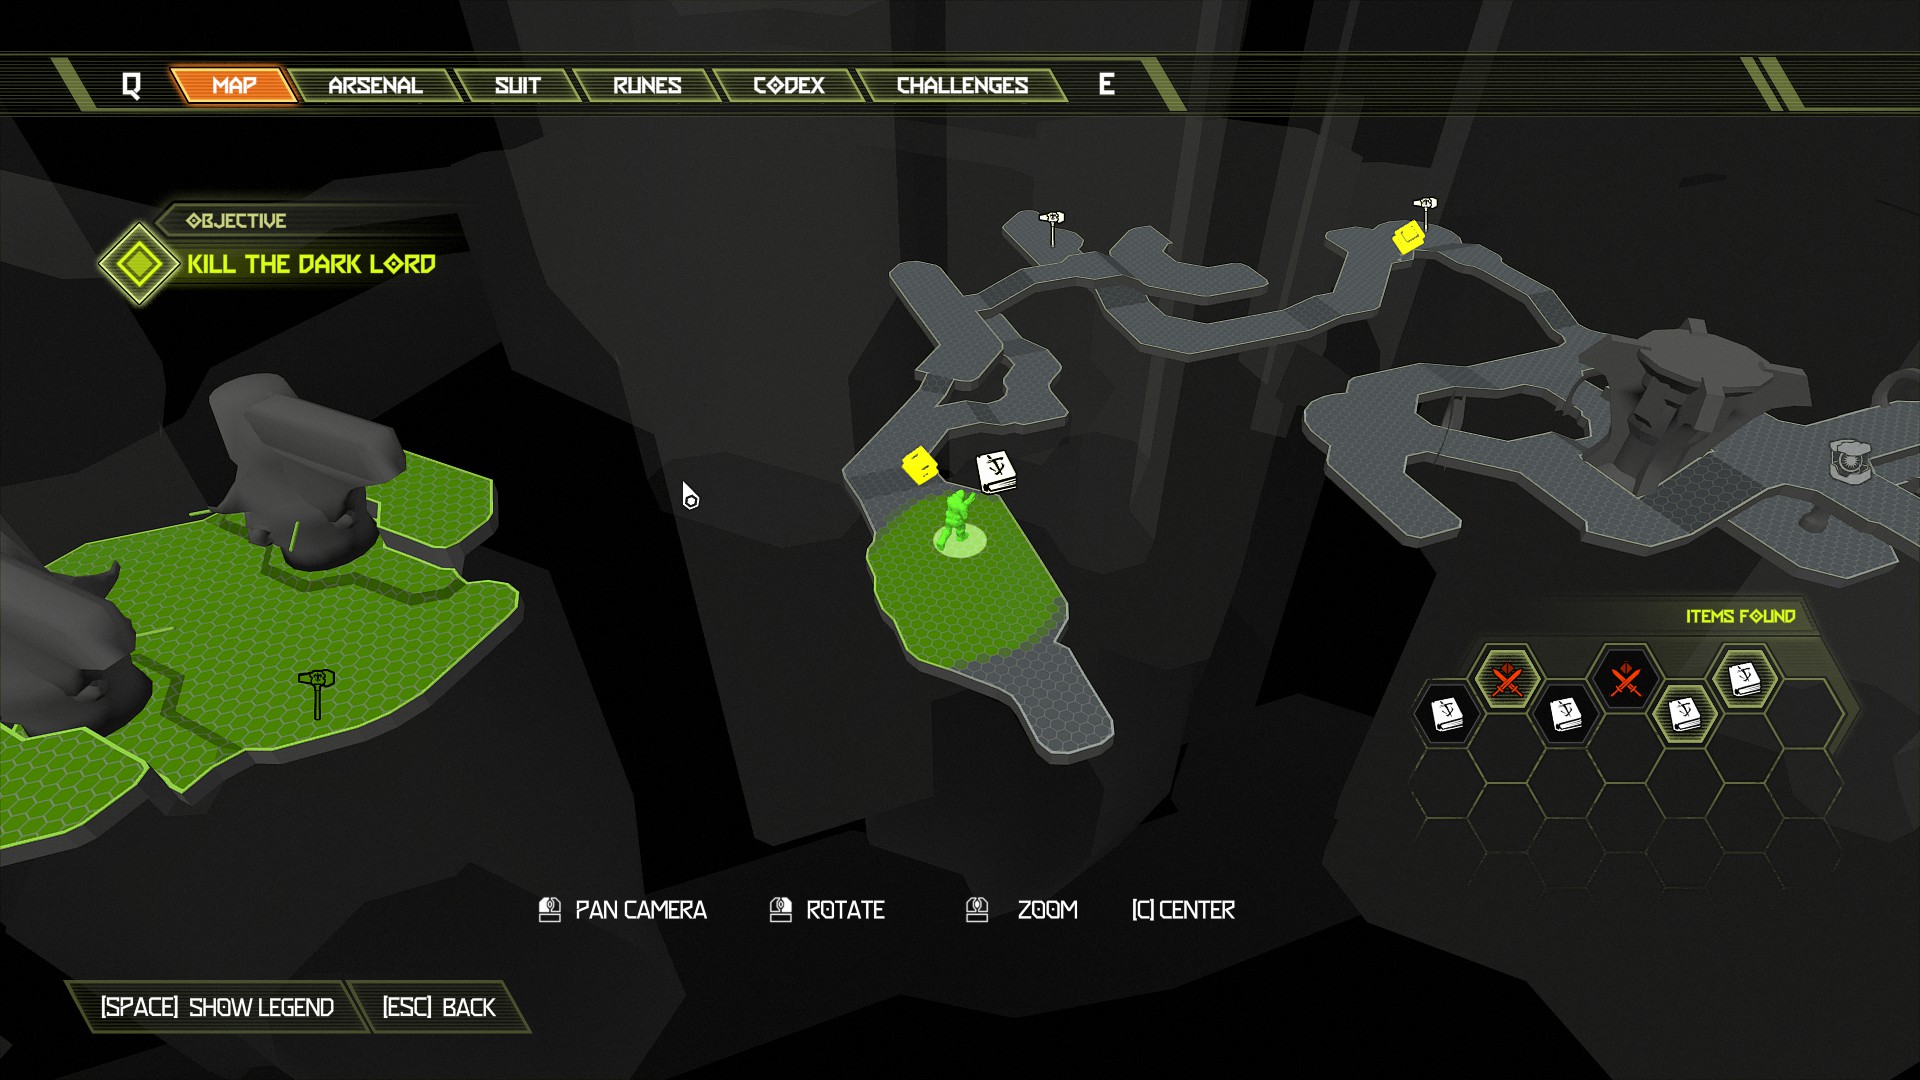
At the back of the room behind the pillar is a button you can activate, activate it to unlock the laser fence inside the room which gives access to the BFG ammo and the secret.
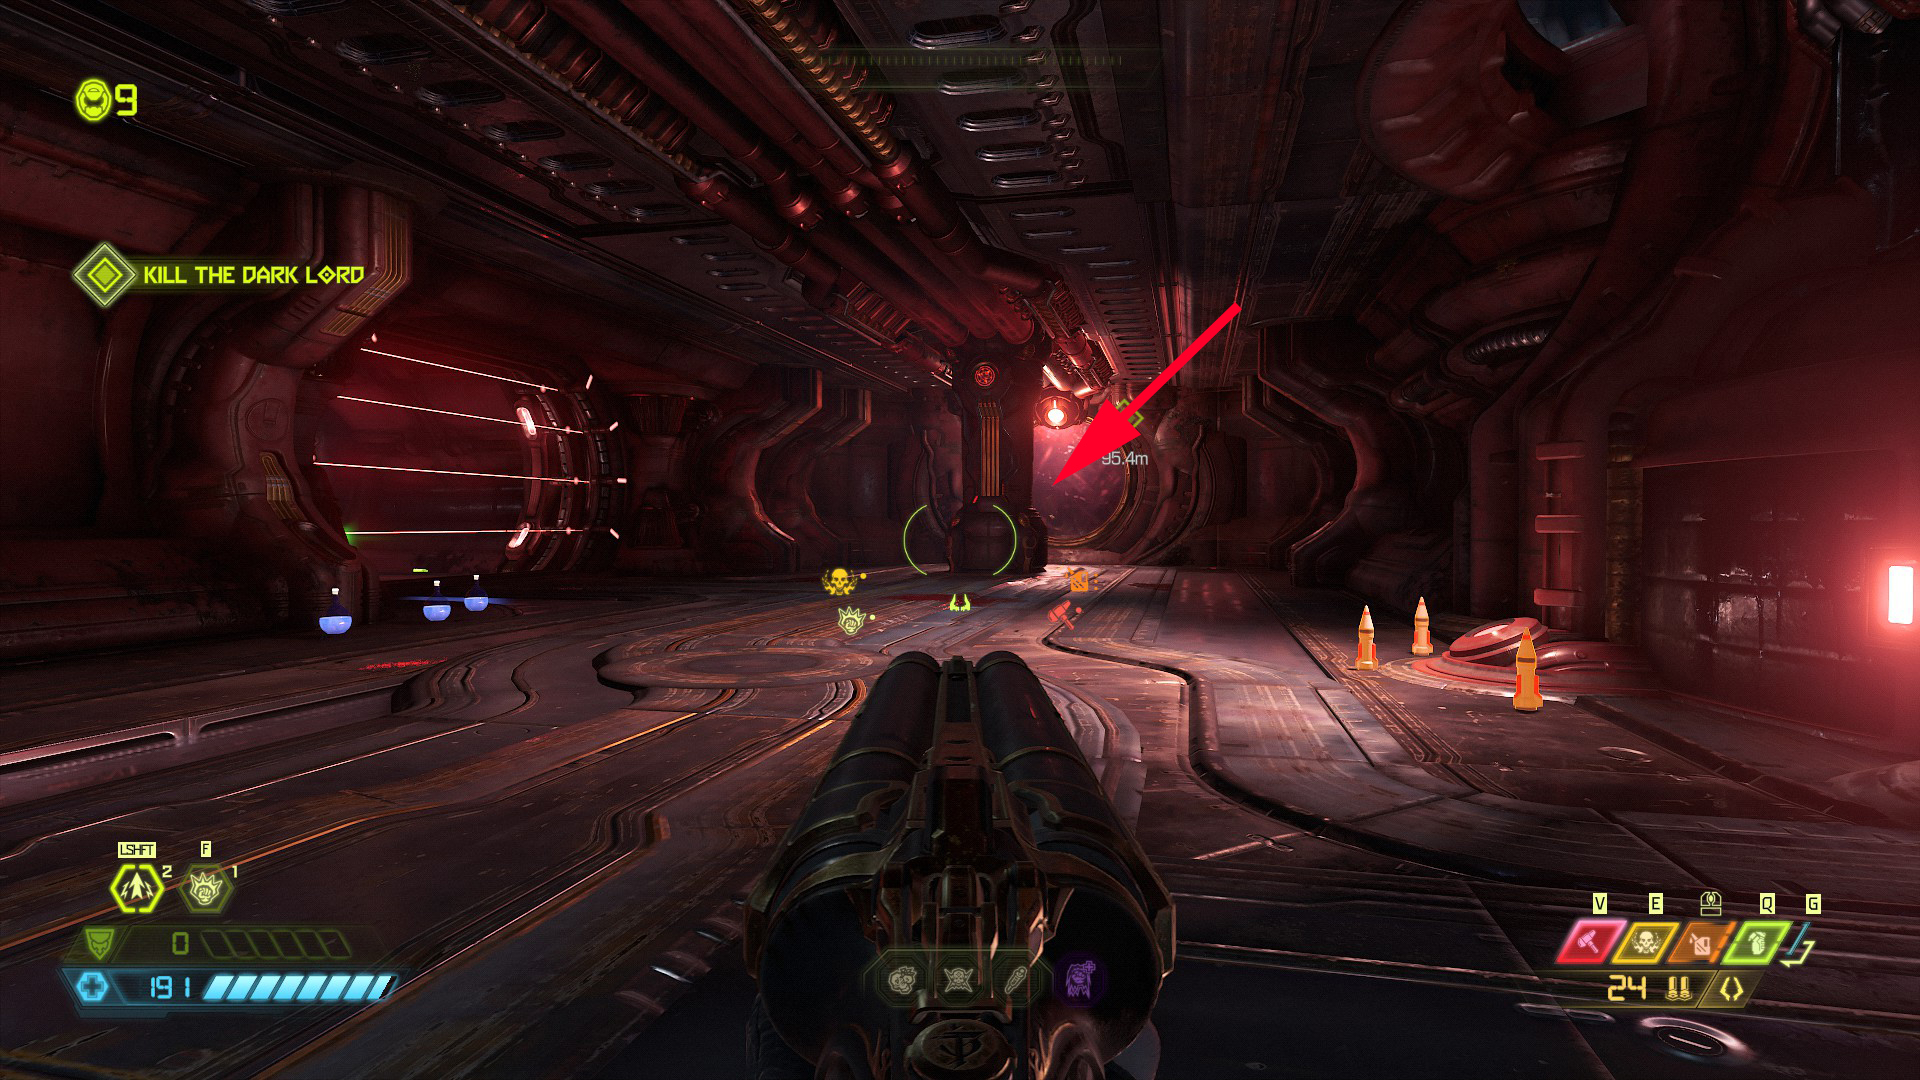
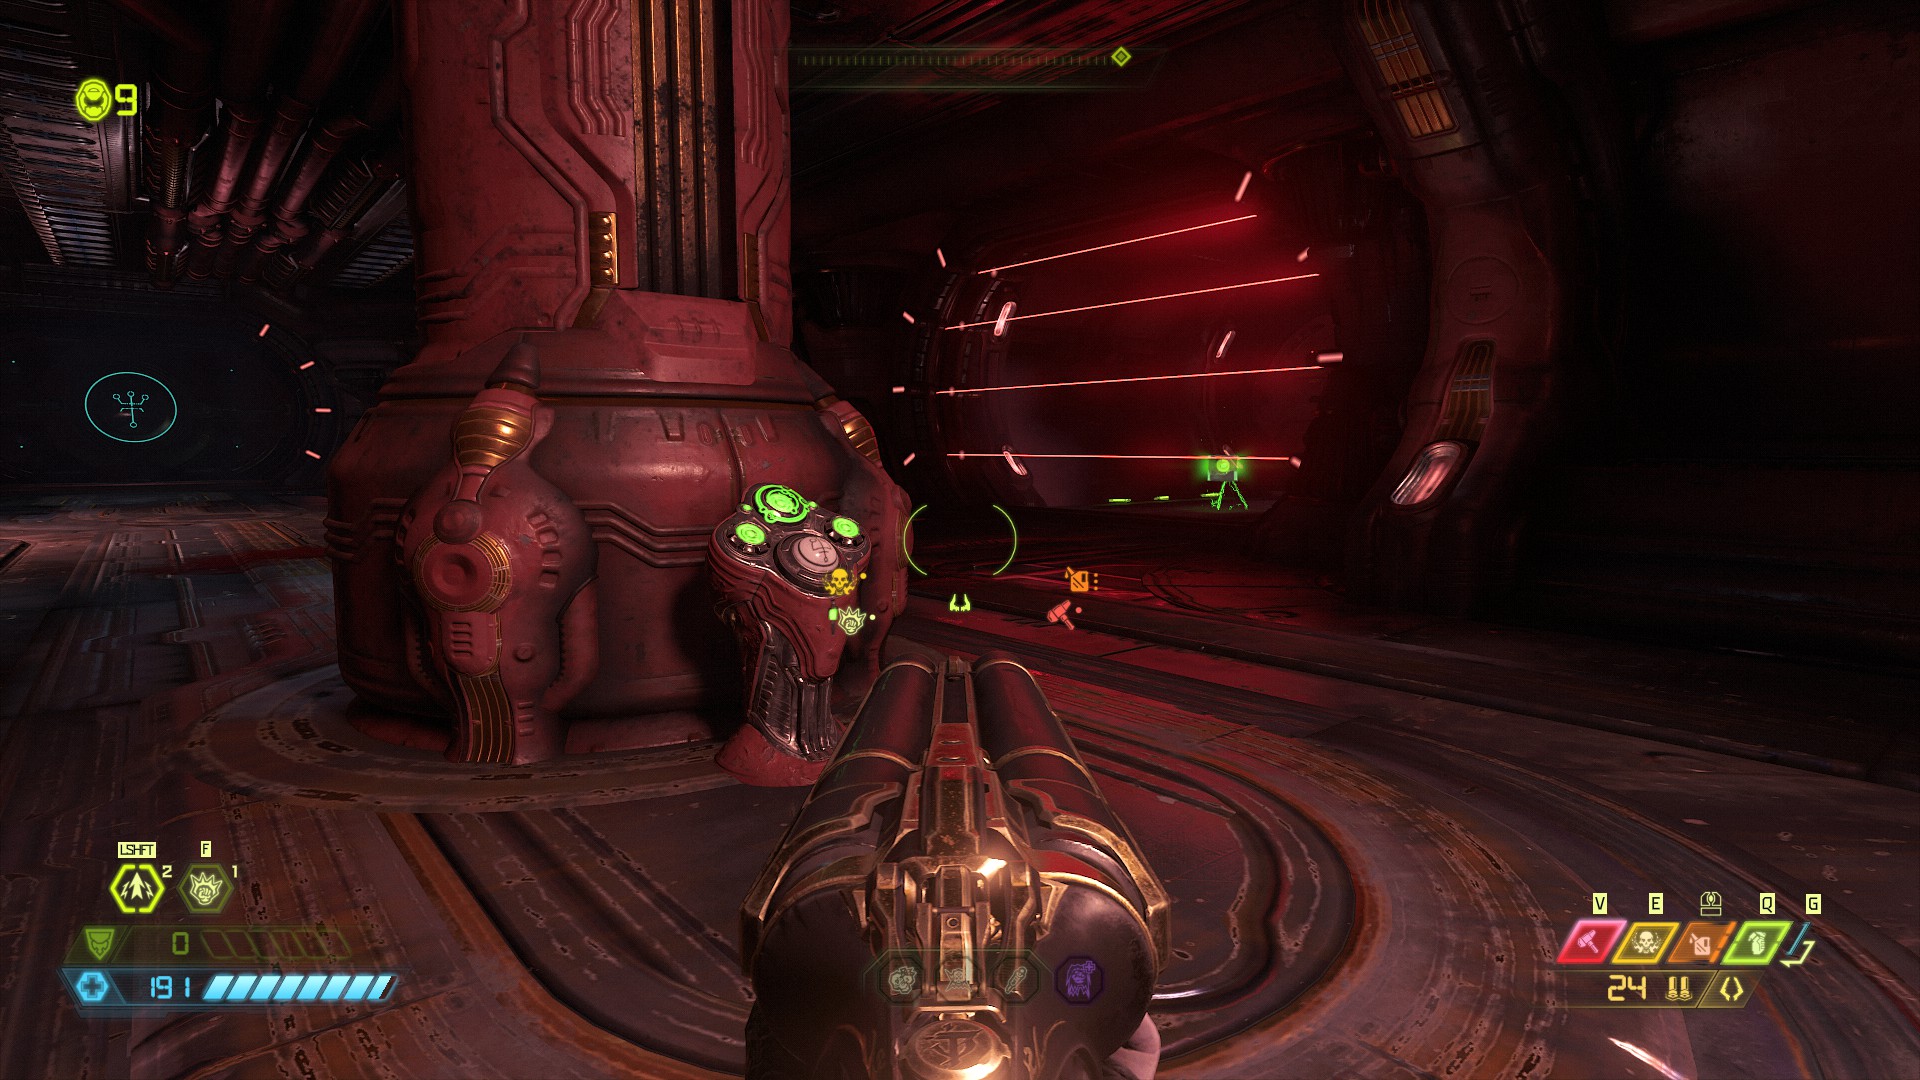
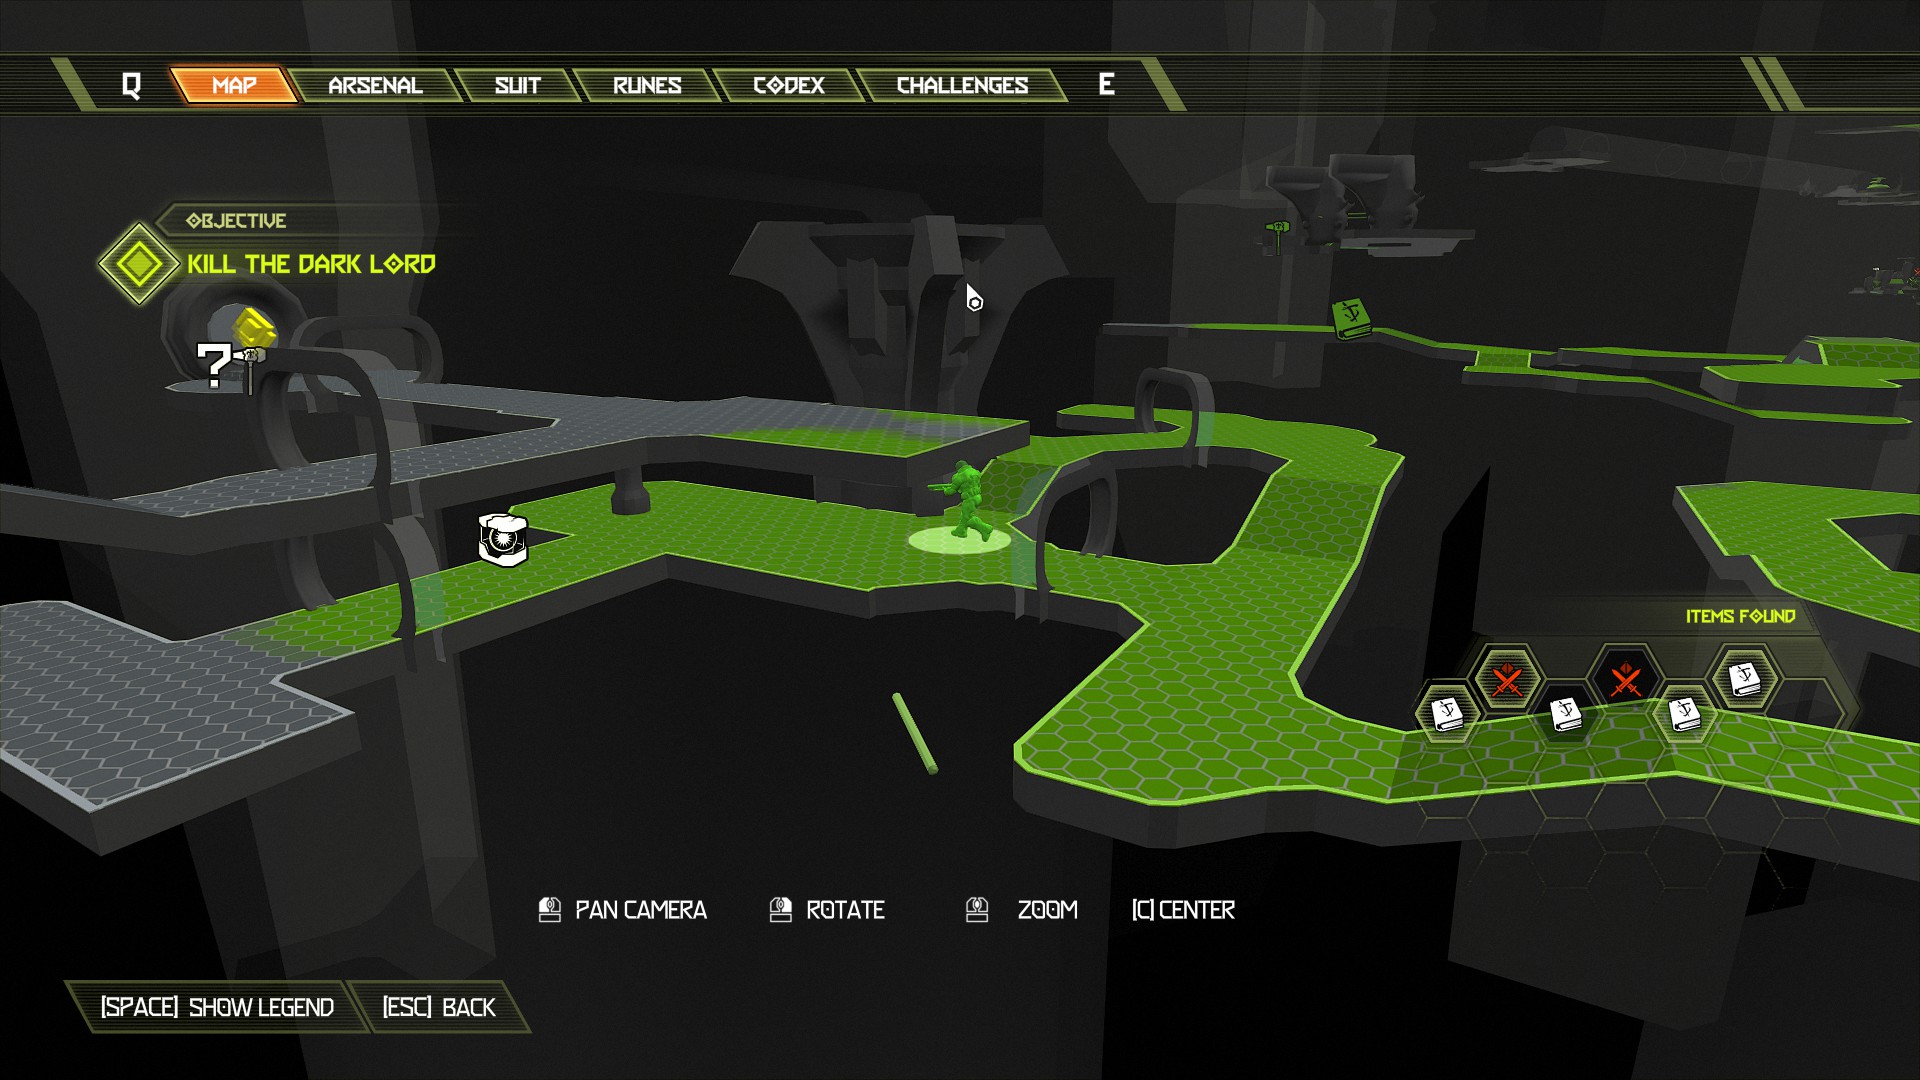 From here continue the mission up to the portal, when reaching the portal you will find the final codex page to the left side of it. This is also our final item of the mission and DLC.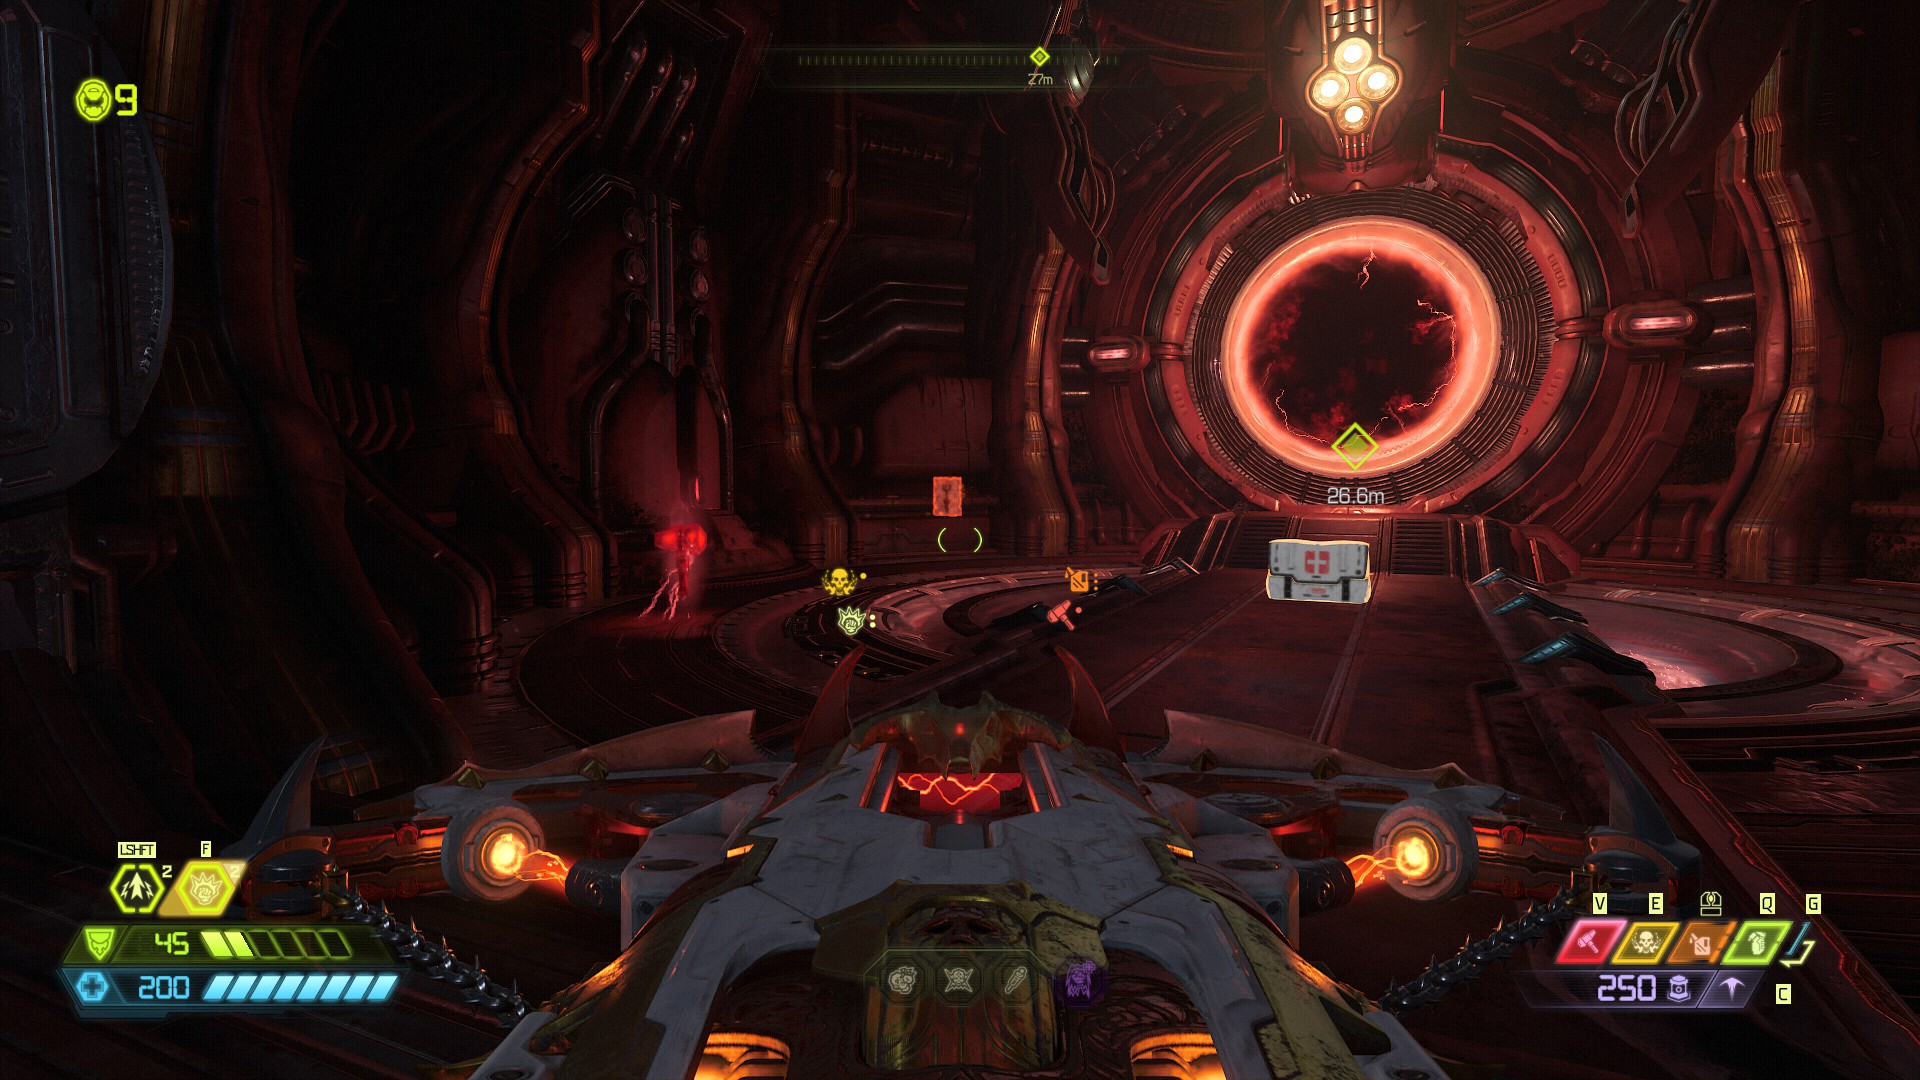
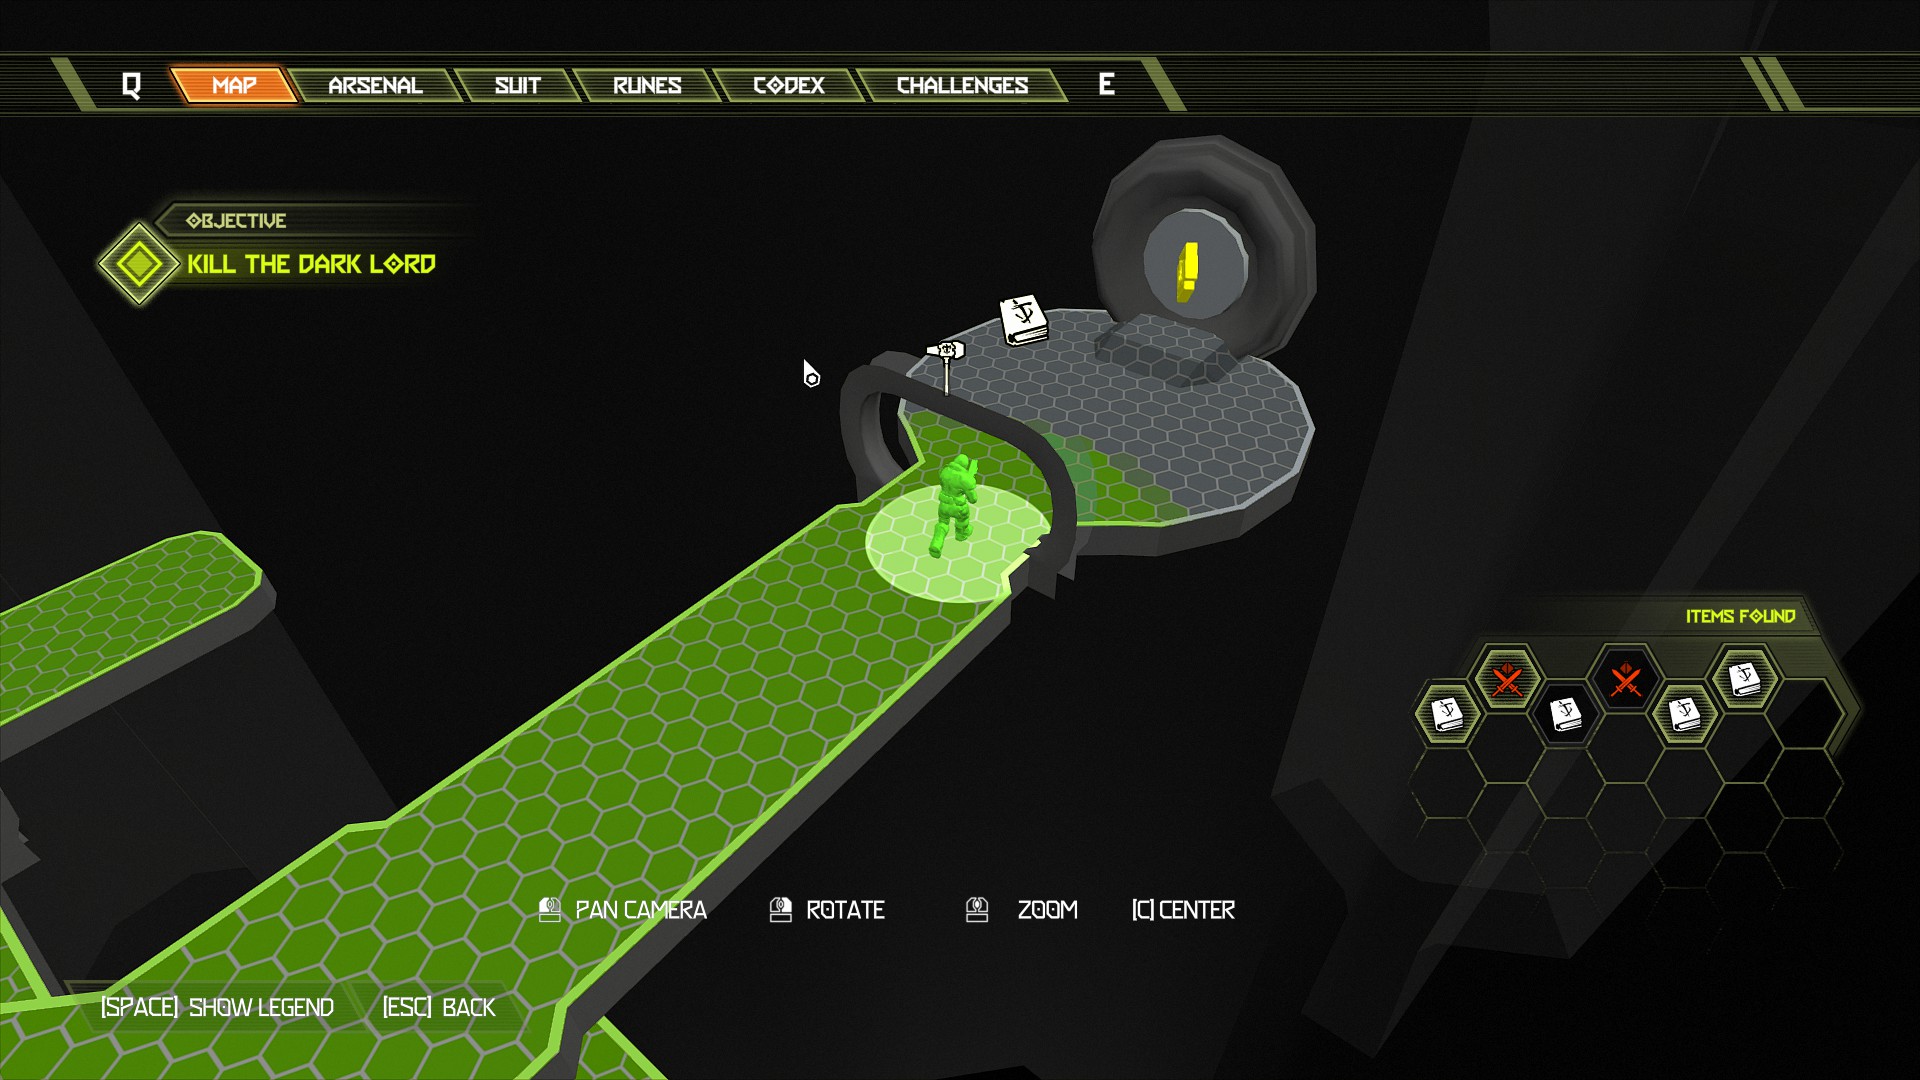
The final boss mission doesn't contain any collectable items so that is it for this DLC, well done!
If this guide has helped you then please help me out and give it a thumbs up. Much love!
More related video guides
https://youtu.be/MN4HV3aHLwo
DOOM Eternal Base game collectables:
https://youtu.be/yRLYR_jUgwA
- DOOM Eternal 100% Achievement Guide★ 5 (677)39k views1.6k ♥15 minUpdated Apr 9, 2024
- Секреты Doom Eternal★ 5 (874)32k views1.7k ♥23 minRussianUpdated Apr 17, 2023
- Console Commands for DOOM Eternal★ 5 (213)29k views502 ♥18 minUpdated Mar 30, 2021
- Collectibles and Secrets Guide 100% DOOM Eternal★ 4 (370)26k views589 ♥1 minBulgarianUpdated Apr 2, 2021
- DOOM for Dummies [Tweaks, Fixes, Problem solving] [EN]★ 5 (720)23k views878 ♥15 minUpdated Jun 18, 2020
- Exhaustive step-by-step guide for Ultra Nightmare, Base + DLC + Master levels (Pre Update 6.66)★ 5 (779)19k views1.5k ♥330 minUpdated Sep 3, 2024



- Upgrading to PremiumTeam Fortress 2★ 5 (20k)1441k views11k ♥6 minUpdated May 11, 2022
- No More Room in Hell Official ManualNo More Room in Hell★ 5 (2.8k)569k views2.1k ♥29 minUpdated Apr 22, 2019
- NMRiH Community Hosting GuidesNo More Room in Hell★ 5 (526)351k views653 ♥1 minUpdated Aug 10, 2022
- ULTIMATE GUIDE FOR GAME DEV TYCOONGame Dev Tycoon★ 5 (5.8k)326k views10k ♥4 minUpdated 23 Jan, 2014
- How to 'Git Gud' Soon™MORDHAU★ 5 (2k)318k views3k ♥68 minUpdated Nov 16, 2024
- Лучшие кооперативные игры SteamPAYDAY 2★ 5 (1.5k)315k views2.1k ♥56 minRussianUpdated Apr 27, 2025






This guide was created by its original author on the Steam Community. Are you the author and want it removed? Request removal.