Exxie's Lighting Guide
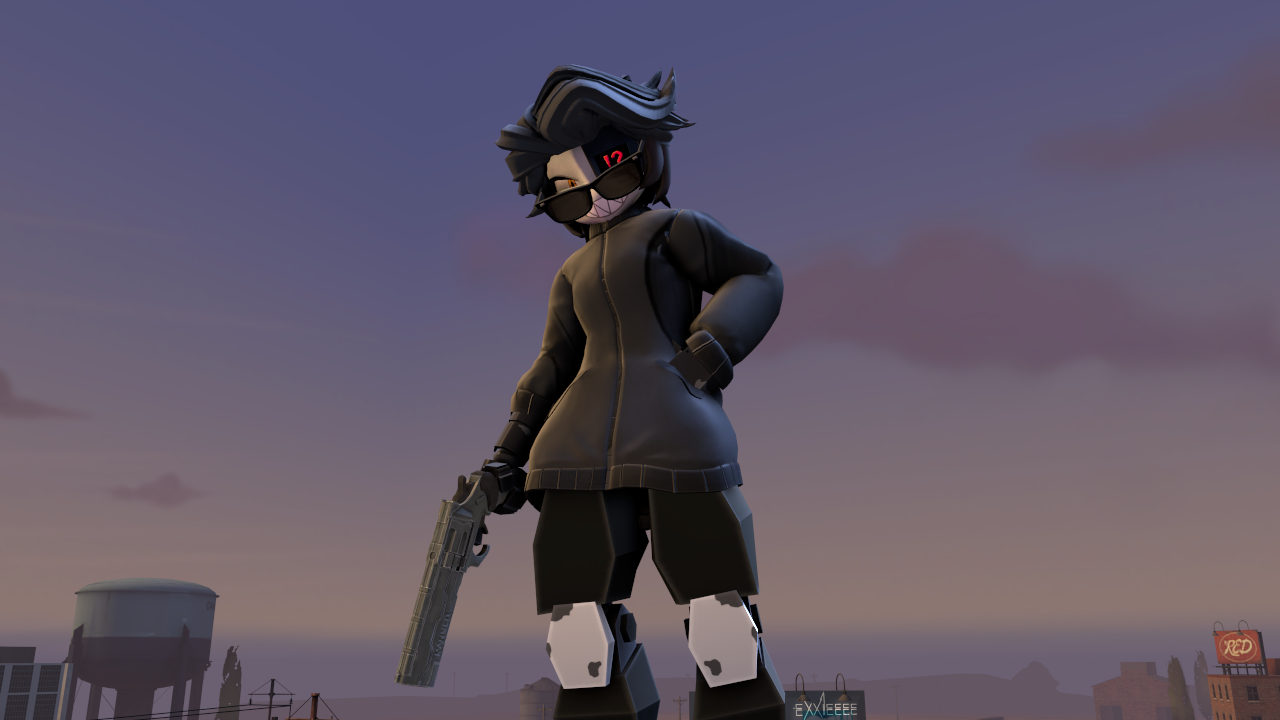
The Result
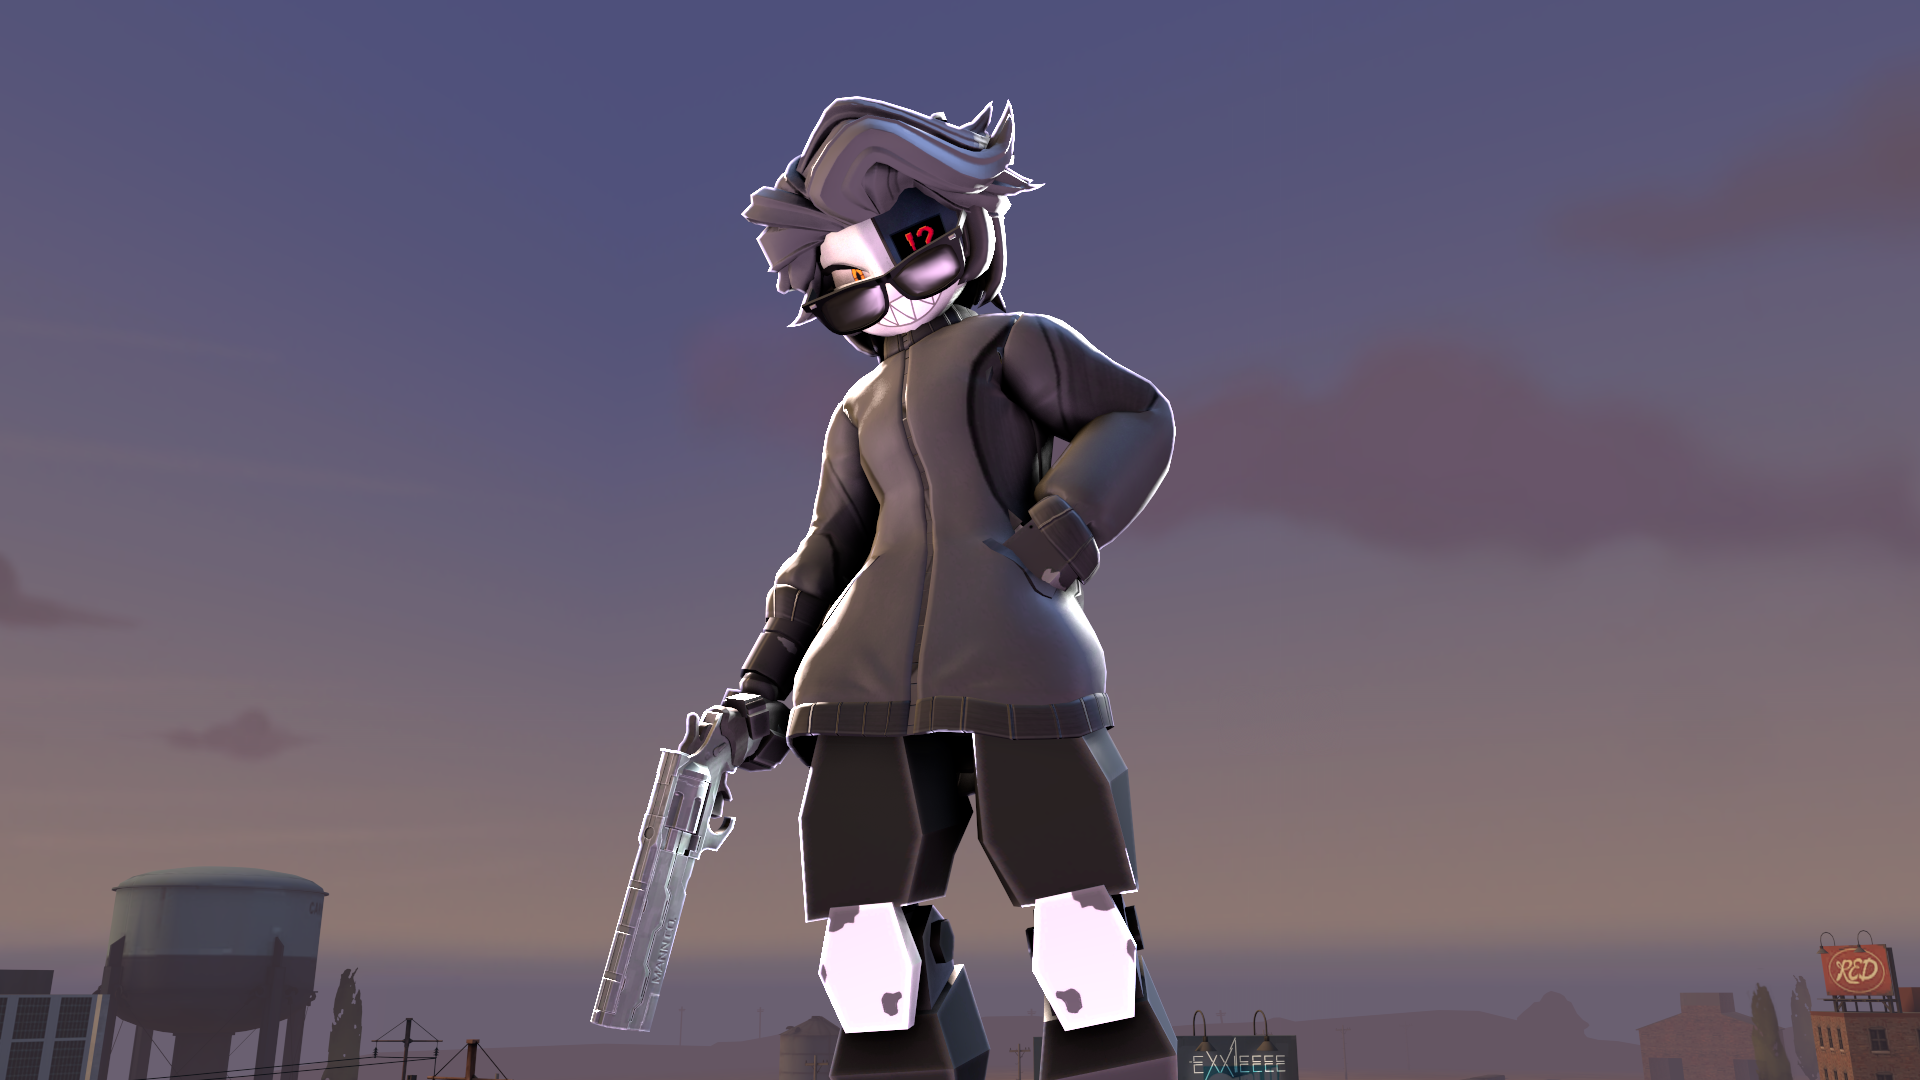
You want your poster to look like that right?
Don't worry I got you...
Camera Settings
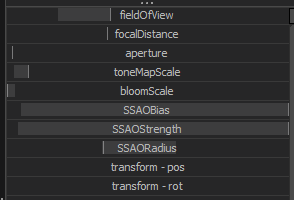
- fieldOfView: Fiddle around with it and see what suits you but I recommend to slide it to the left but not entirely depending on perspective and mood of your shot.
- toneMapScale: 0.0771639, I slide it slightly bit to the left making the brightness a bit darker
- bloomScale: I disabled it because it doesn't suit me well but if you want to use it then keep it at default value and do whatever you want with it to suit you.
- SSAOBias and SSAOStrength: I slide it entirely to the right, because in this case with darker shadow would not make the picture looks clean but this is clearly depends on the scene.
- SSAORadius: 0.344828
The Lightings
Alright, let’s kick things off with the classic: three-point lighting. This is one of the most common and reliable ways to light a scene, and it works in SFM just like in film or photography. It gives your characters depth, shape, and that cinematic look we all crave.
There are three main lights in this setup:- Key Light
- Fill Light
- Rim Light
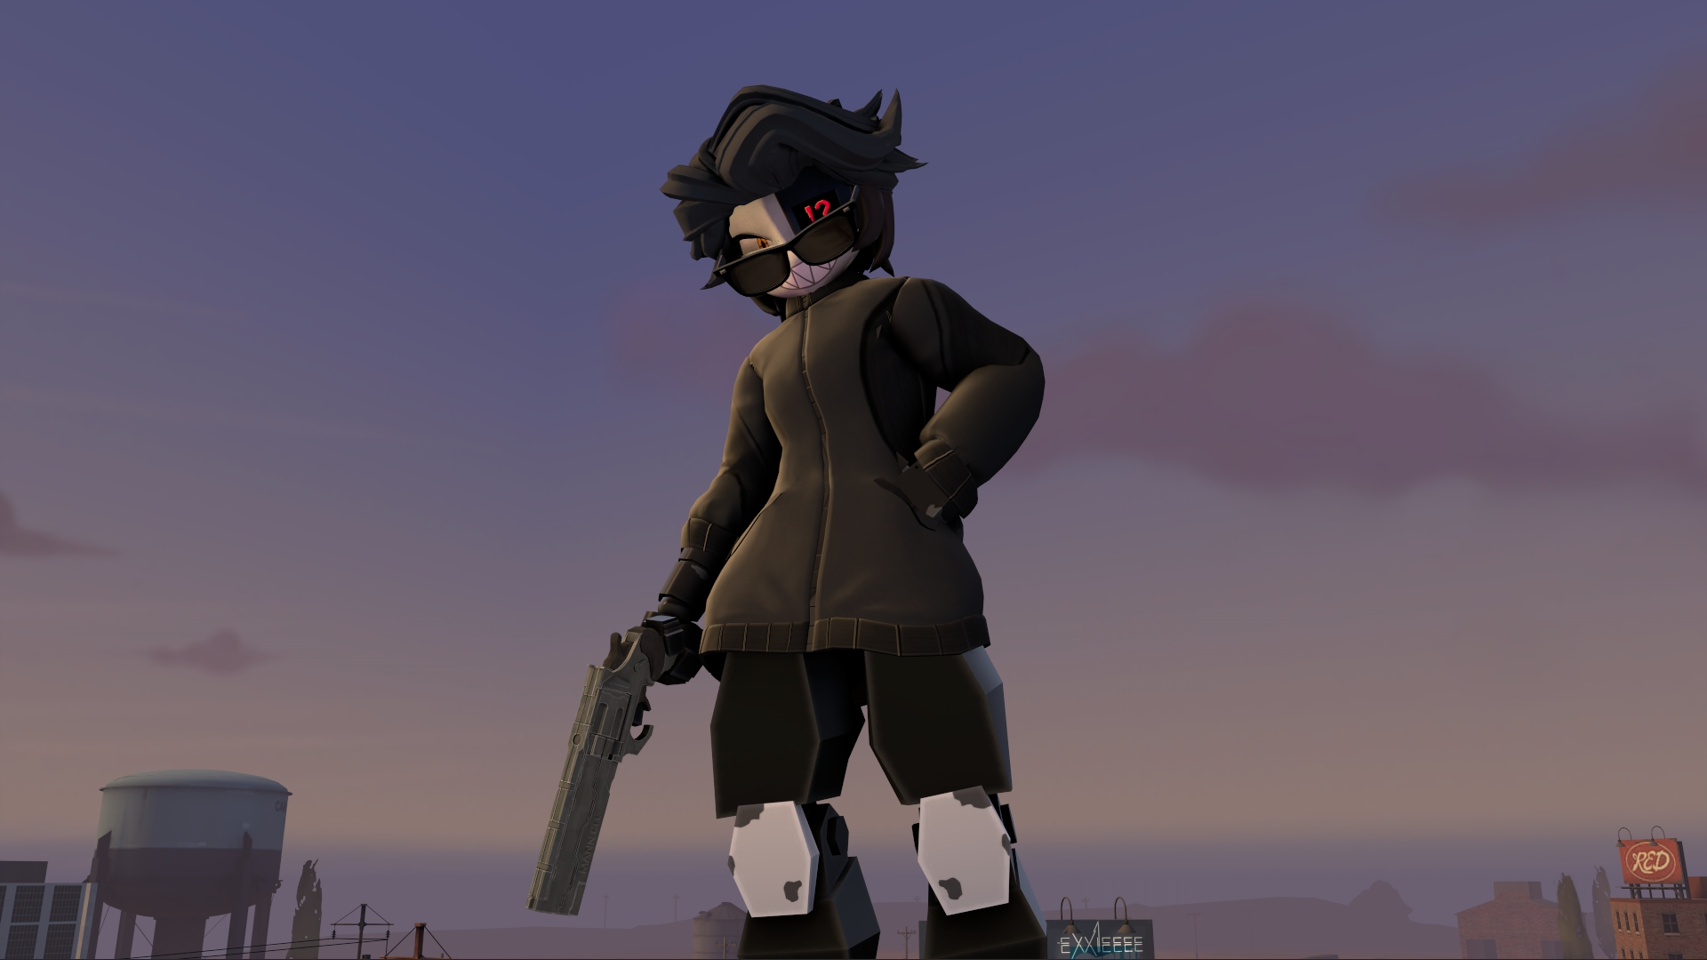 Looks hella ugly right?
Now, Let's get start off by adding the key light to your character. This is your main light. It lights up your character and defines the overall mood. Think of it like the sun in your scene where it shines, people look.
Looks hella ugly right?
Now, Let's get start off by adding the key light to your character. This is your main light. It lights up your character and defines the overall mood. Think of it like the sun in your scene where it shines, people look.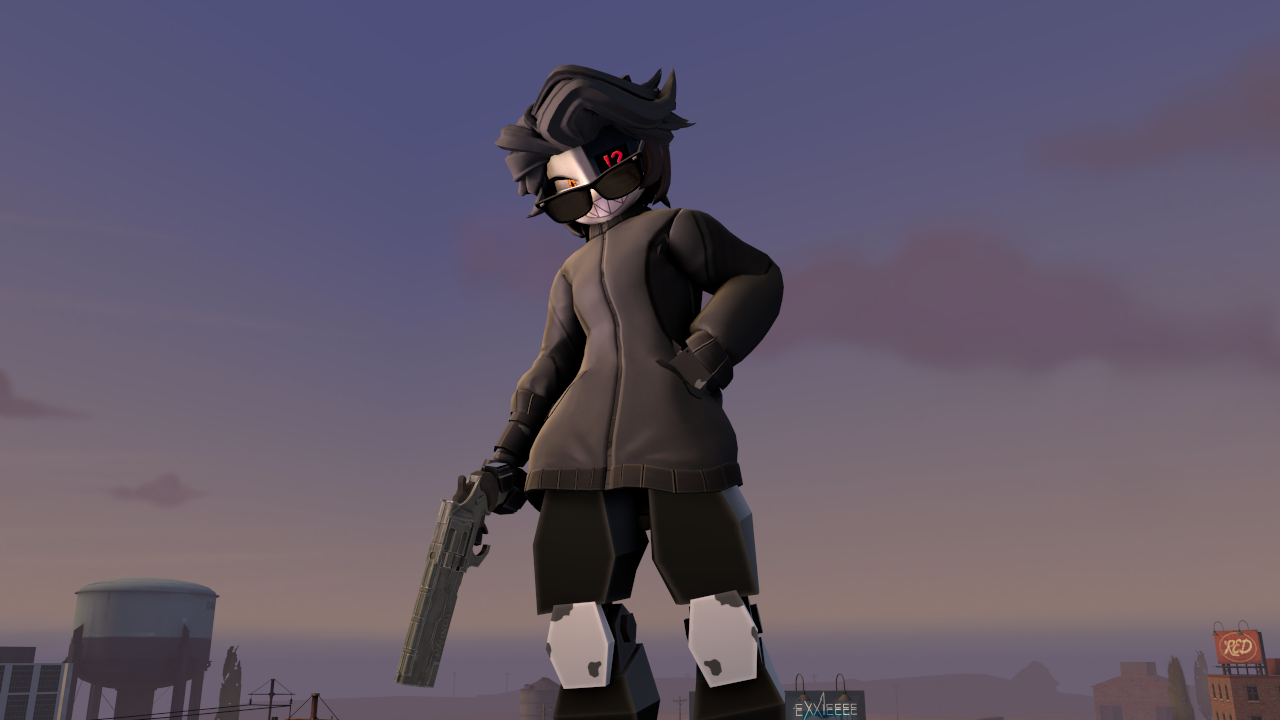
This is where the Key Light would be placed in relation to the object:
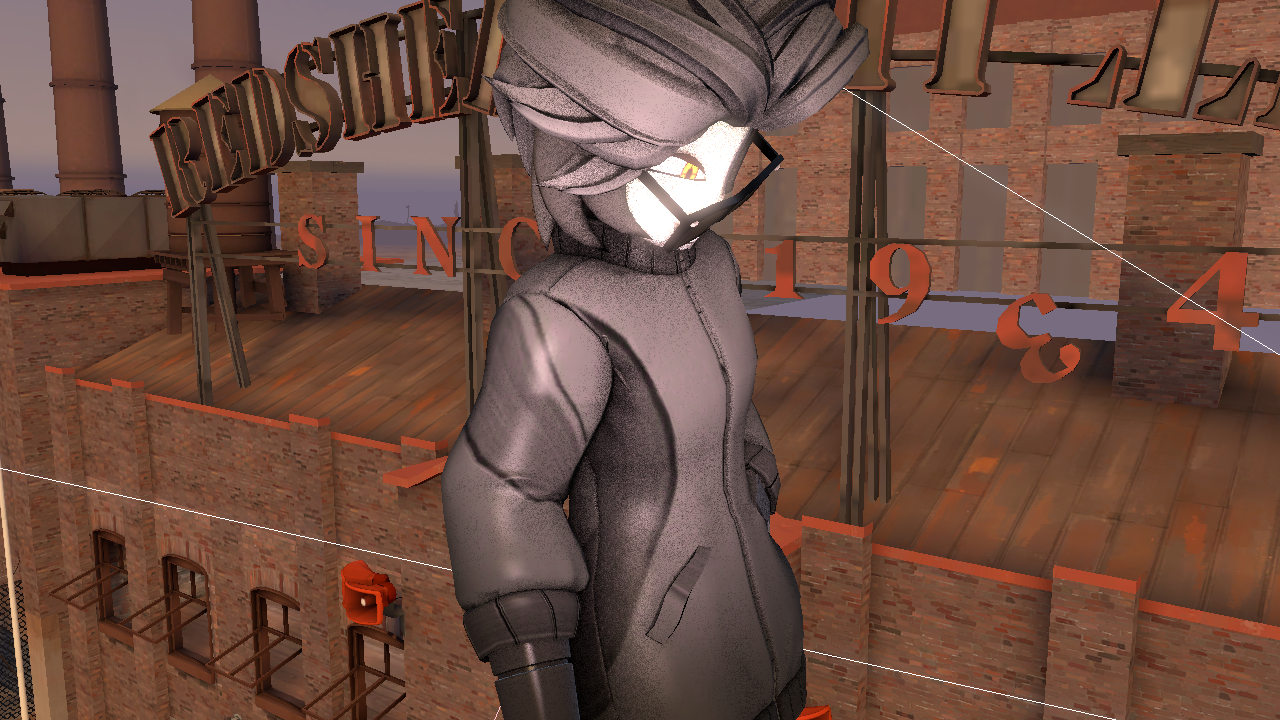
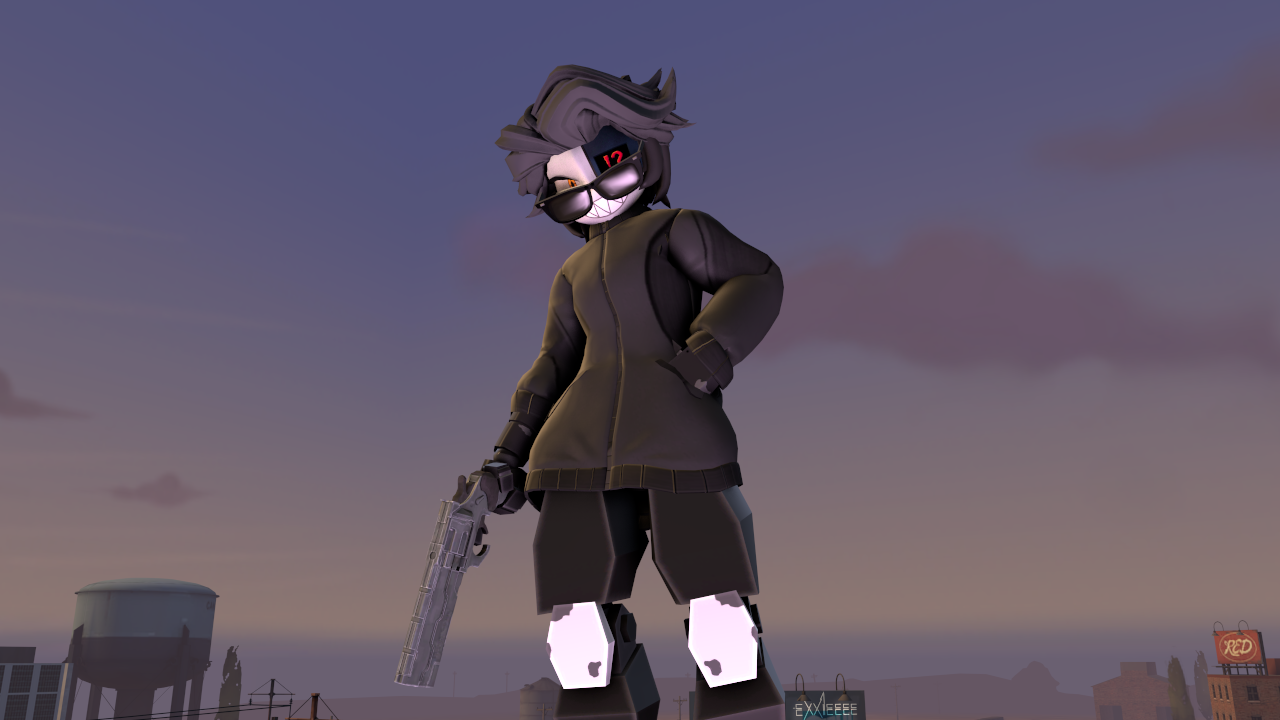
This is where the FIll Light would be placed in relation to the object:
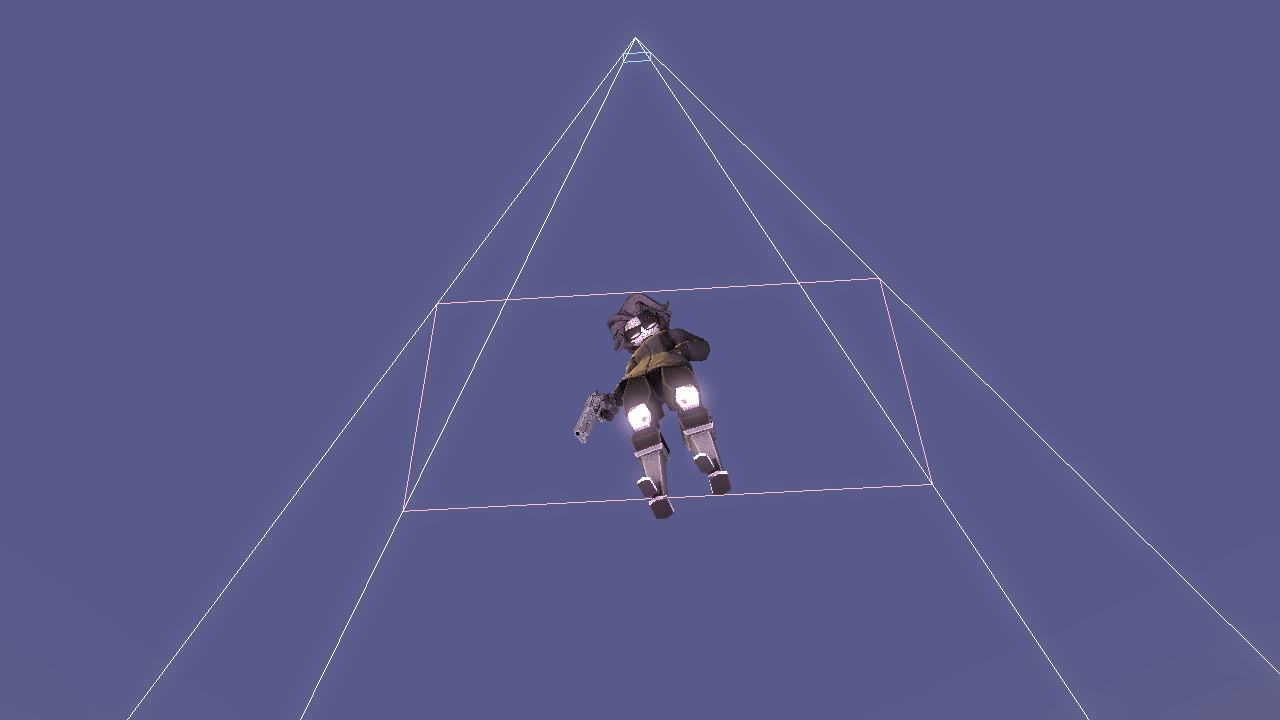
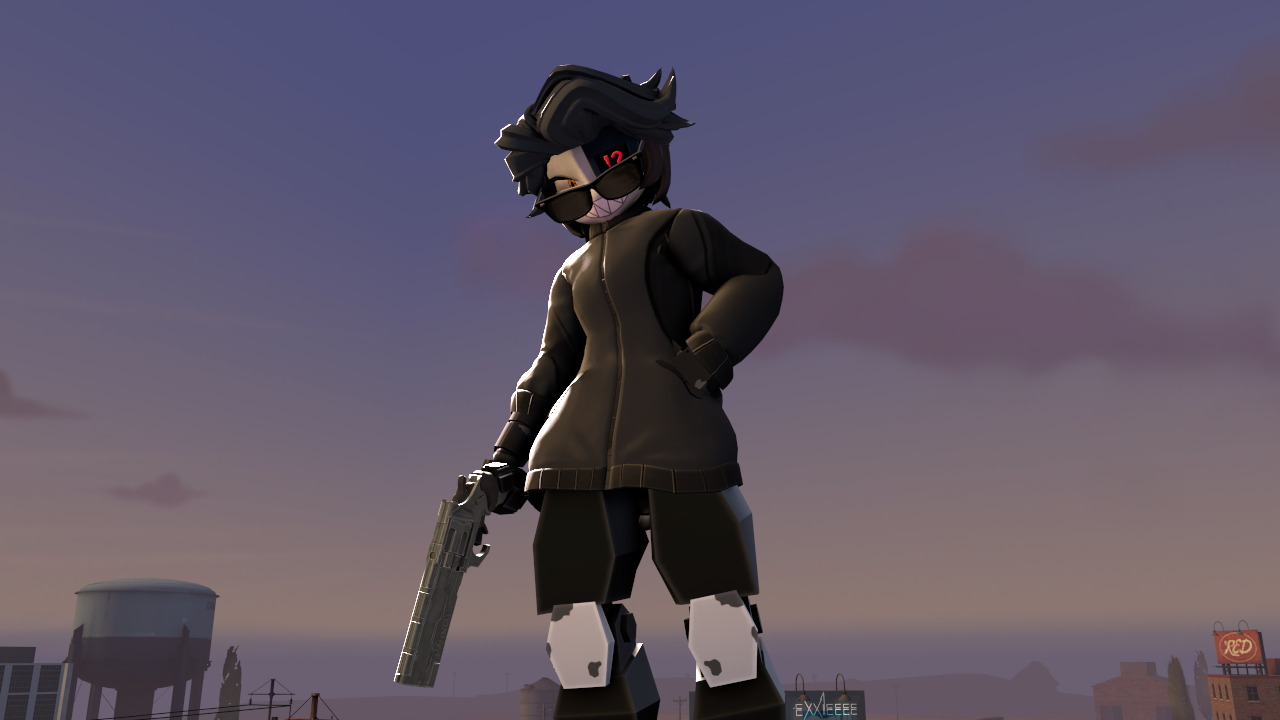
This is where the Rim Light would be placed in relation to the object:
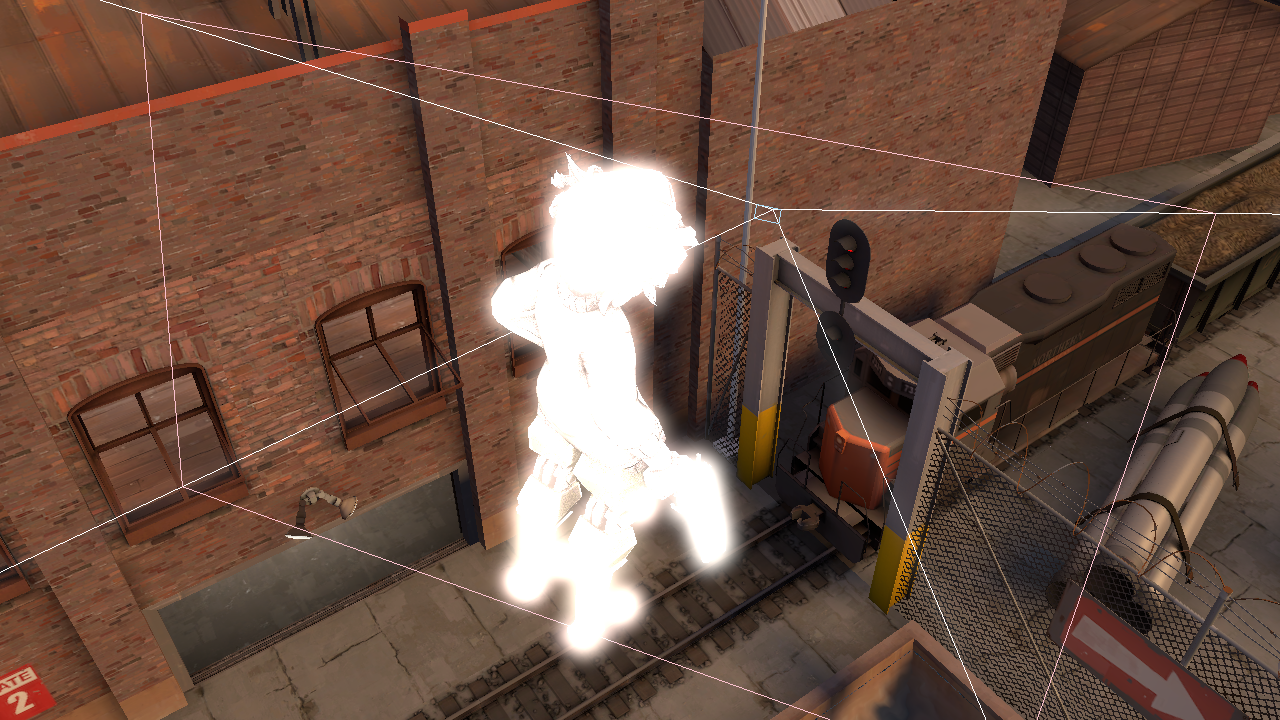
The Lightings 2
These extra lights give you more flexibility to craft a specific mood or style. Think of them as seasoning you add more if the scene needs extra flavor.
This is where the Top Light would be placed in relation to the object:
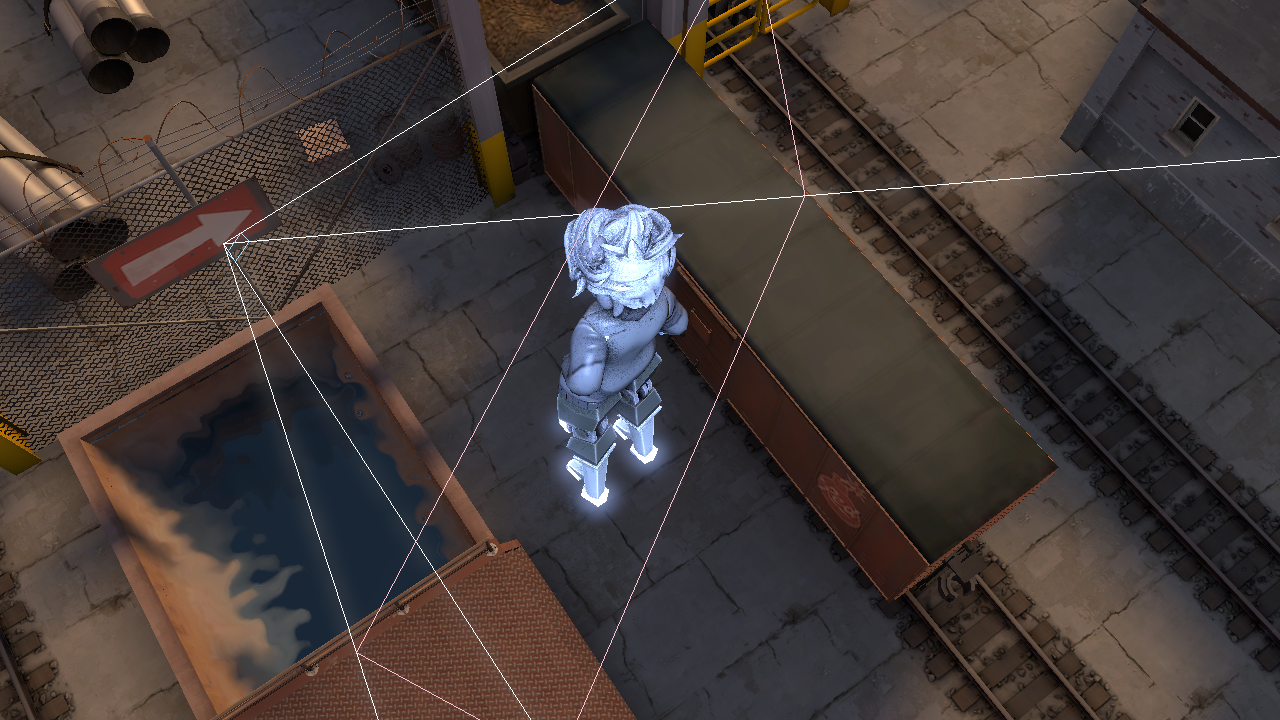
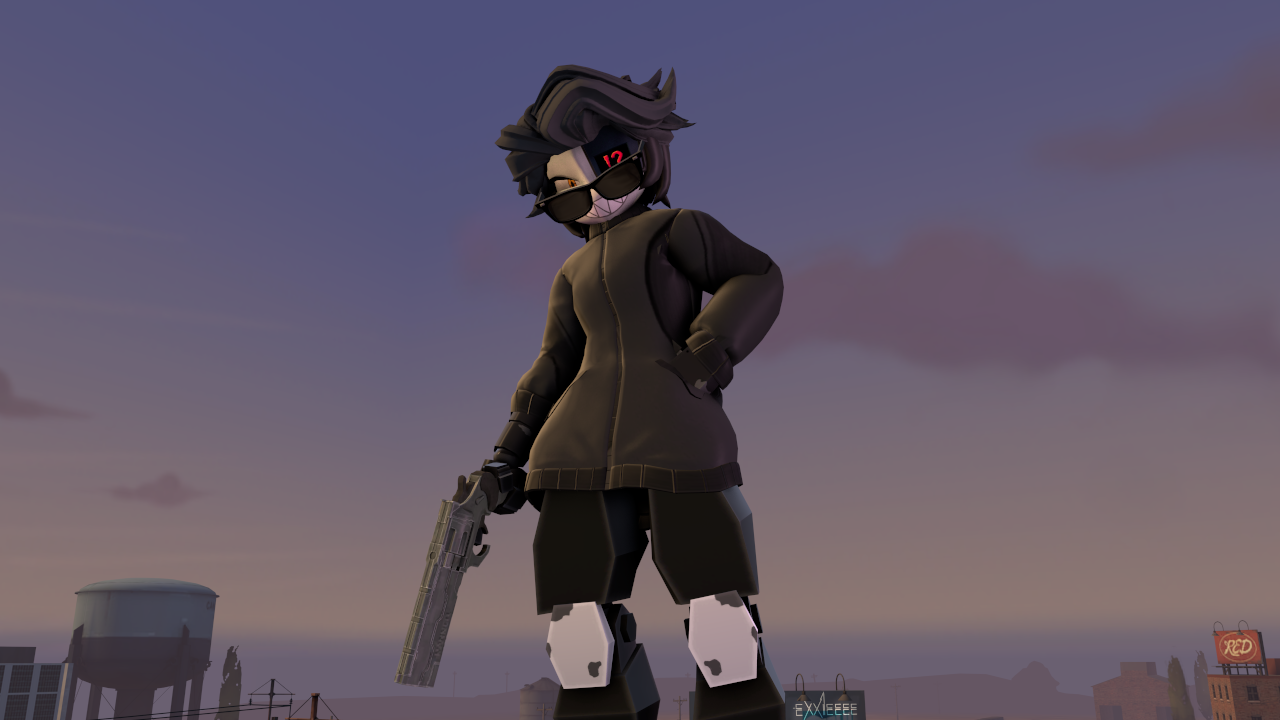
This is where the Ambient Light would be placed in relation to the object:
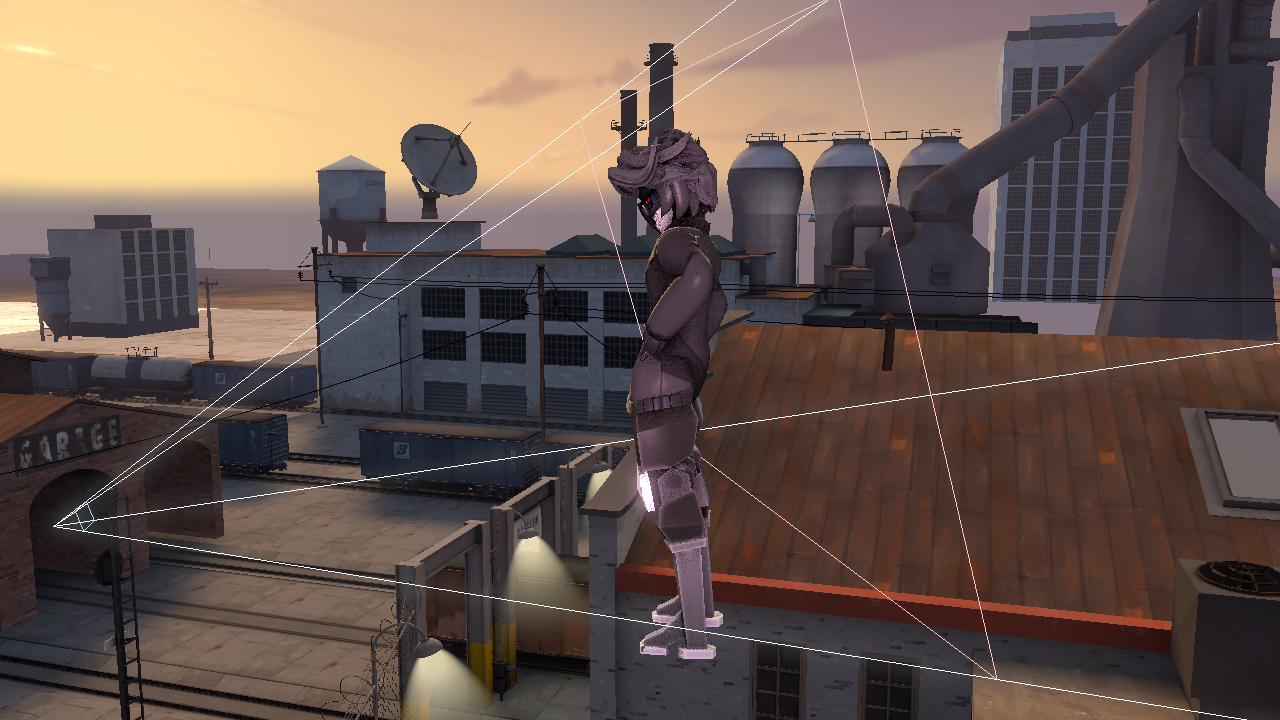
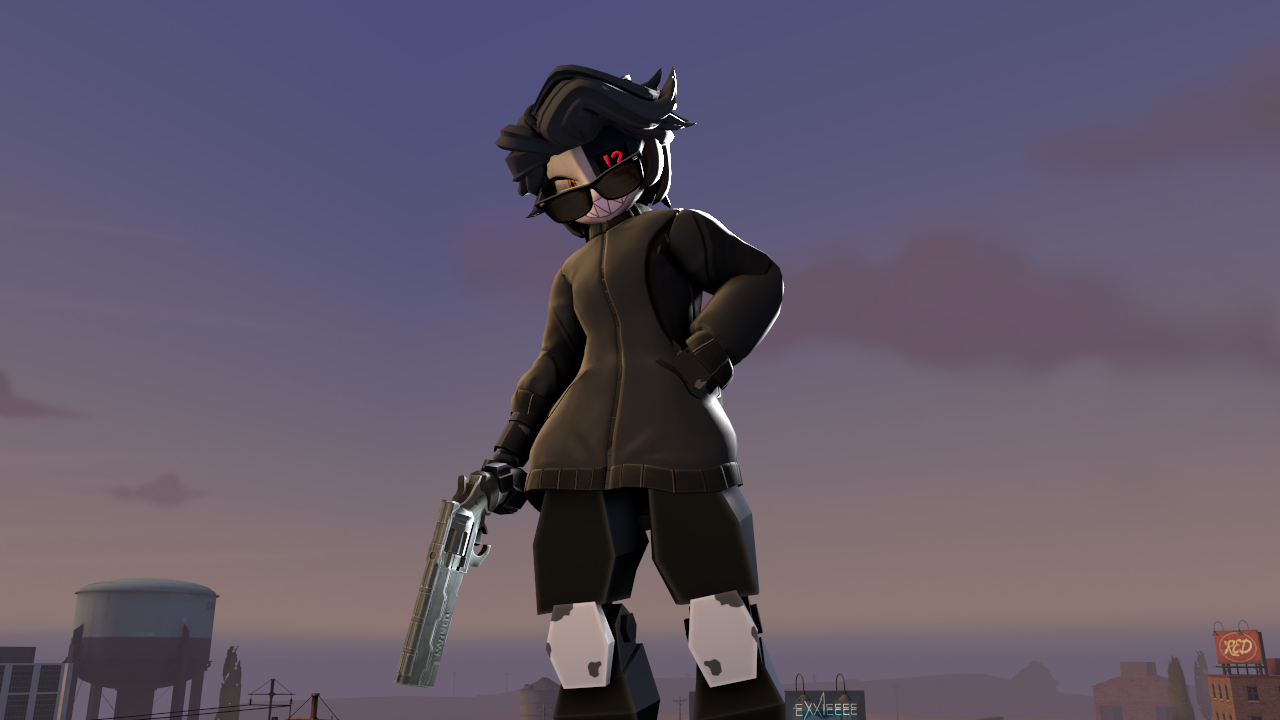
This is where the Second Rim Light would be placed in relation to the object:
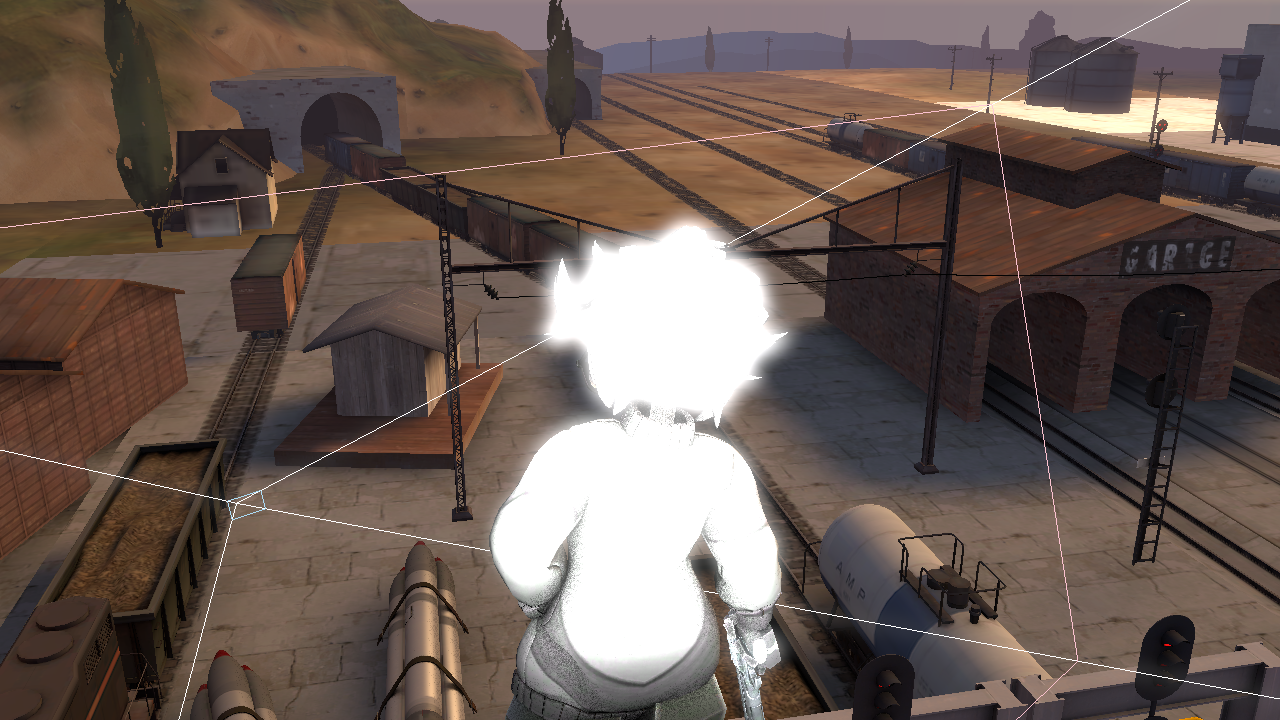
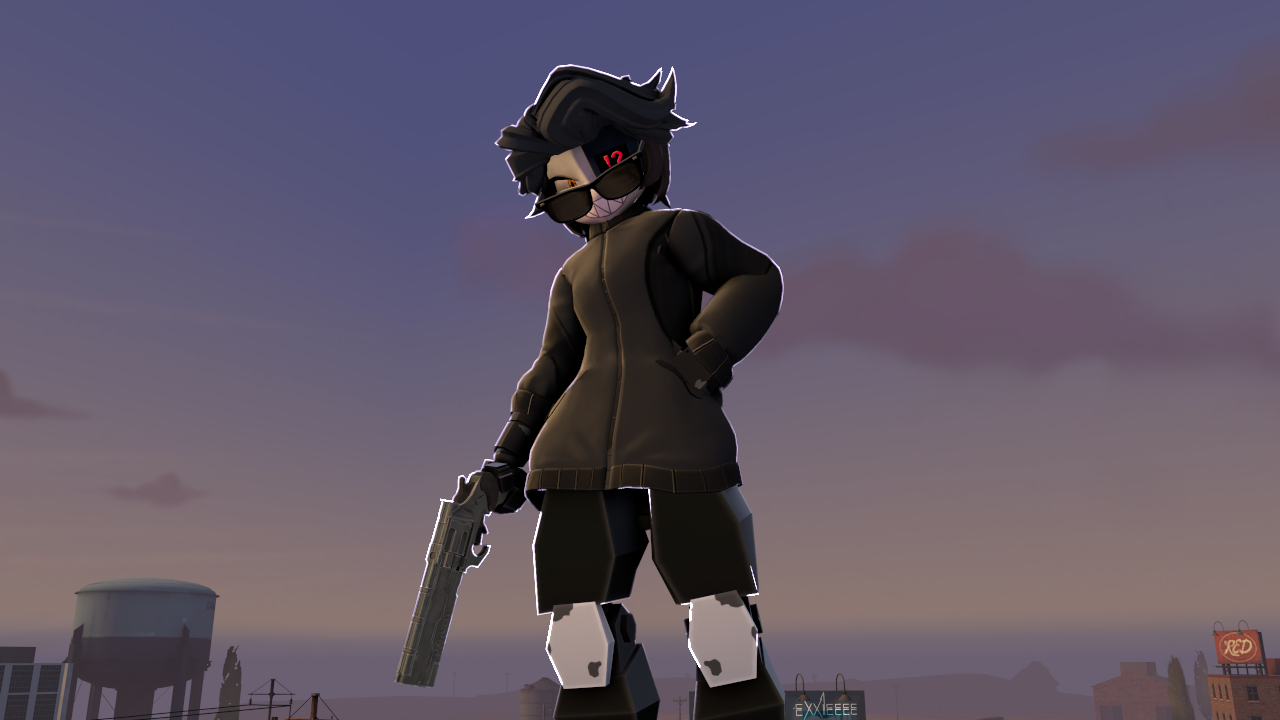
Don't place or move this light anywhere, just let it stay at it's default point.
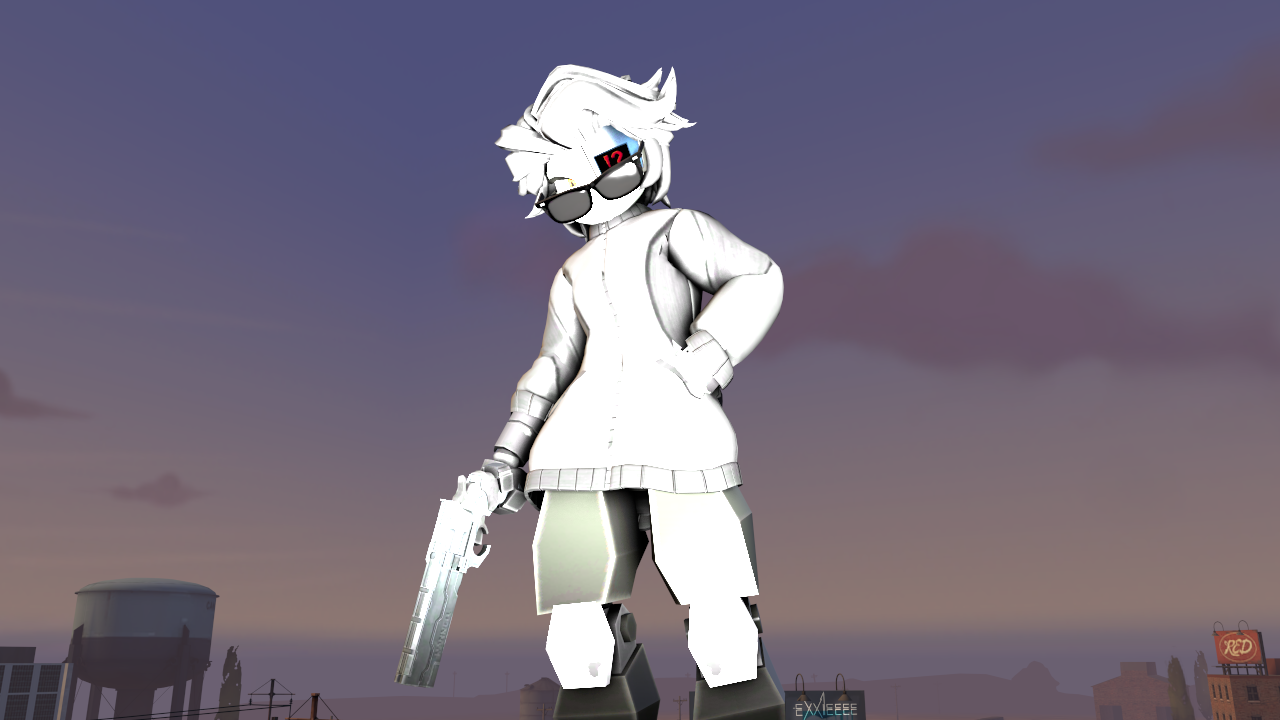
This is how it looks like before you apply the outline rimlight settings, yes I know it bright up your character but don't worry about it... once you apply the settings for this light, it'll work how it's meant to, but like I said just don't move this light anywhere, let it stay at it's default position
Light Settings
These are just the settings I personally like to use for each light. They work well for my style, but they might not be perfect for everyone and that’s okay, since there are a bunch of sliders for you to play around with, so feel free to tweak things and see what looks best for your scene.
Also, ignore the horizontalFOV and verticalFOV since it was like that when I added them and I didn't touch them, I think those are following my camera settings but yeah.
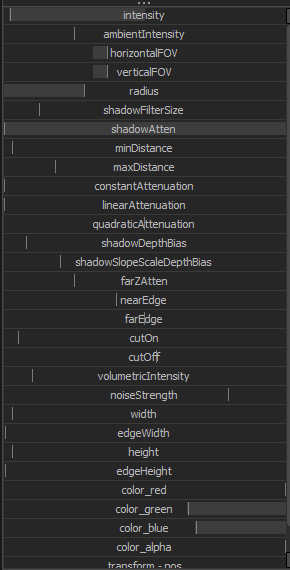
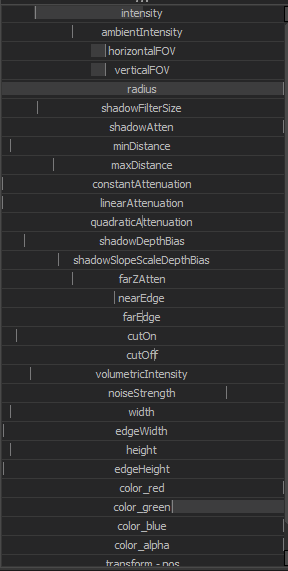
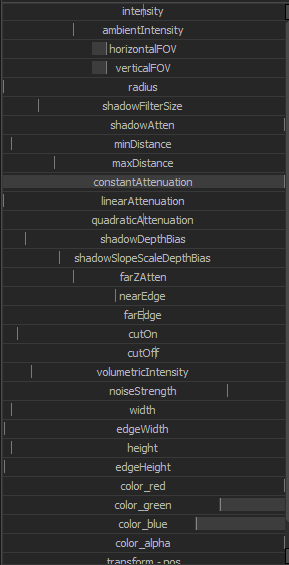
Light 2 Settings
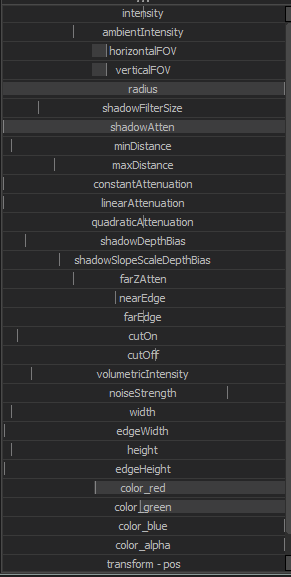
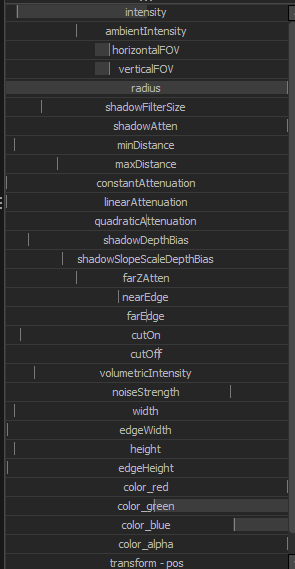
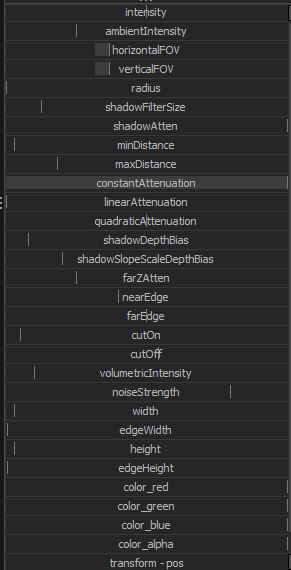
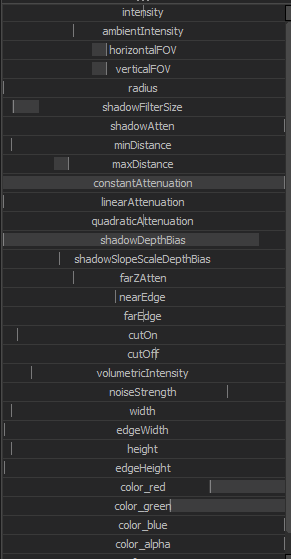
NOTE: it is very important to follow these exact settings ( constantAttenuation and shadowDepthBias ) for the Outline Rim Light otherwise the outline won’t show up correctly.
use shadowFilterSize to adjust the scale of the outline.
 Next is change the Min value to -0.01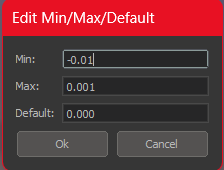
After that, now you slide it all the way to the left.
Thanks to this helpful video
https://www.youtube.com/shorts/gUz5auVHzls
Alternatively, you can subscribe to this workshop right here
https://steamcommunity.com/sharedfiles/filedetails/?id=2873014451
this way you don't need to remap the slider, Thanks to Red Fennec for this
Render Settings
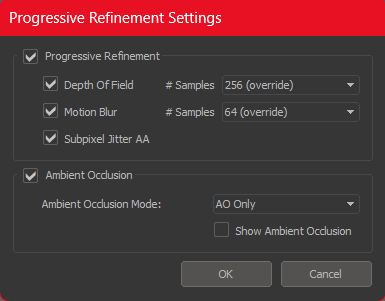
Done!
Hope it helped and good luck
- Changing Textures Using Material Overrides★ 5 (1.4k)41k views2.7k ♥5 minUpdated Jul 26, 2014
- Manually Updating TF2 Content★ 5 (1.3k)35k views1.9k ♥2 minUpdated Nov 26, 2025
- The Fundamentals of SFM: For Beginners★ 5 (1.3k)25k views3.3k ♥55 minUpdated Apr 29
- Ваш первый постер★ 5 (1.1k)22k views2k ♥5 minRussianUpdated Oct 22, 2024
- Getting Gmod Workshop stuff too SFM★ 5 (510)15k views1.3k ♥1 minBulgarianUpdated Aug 4, 2015
- Animation Guide★ 5 (704)14k views1.9k ♥6 minUpdated Apr 9, 2023




- Upgrading to PremiumTeam Fortress 2★ 5 (20k)1441k views11k ♥6 minUpdated May 11, 2022
- No More Room in Hell Official ManualNo More Room in Hell★ 5 (2.8k)569k views2.1k ♥29 minUpdated Apr 22, 2019
- NMRiH Community Hosting GuidesNo More Room in Hell★ 5 (526)351k views653 ♥1 minUpdated Aug 10, 2022
- ULTIMATE GUIDE FOR GAME DEV TYCOONGame Dev Tycoon★ 5 (5.8k)326k views10k ♥4 minUpdated 23 Jan, 2014
- How to 'Git Gud' Soon™MORDHAU★ 5 (2k)318k views3k ♥68 minUpdated Nov 16, 2024
- Лучшие кооперативные игры SteamPAYDAY 2★ 5 (1.5k)315k views2.1k ♥56 minRussianUpdated Apr 27, 2025






This guide was created by its original author on the Steam Community. Are you the author and want it removed? Request removal.