Moose Herd Management And Stacking (Medved Taiga)
Introductions
If you enjoyed this guide and learned something from it, please rate it and give it a like!
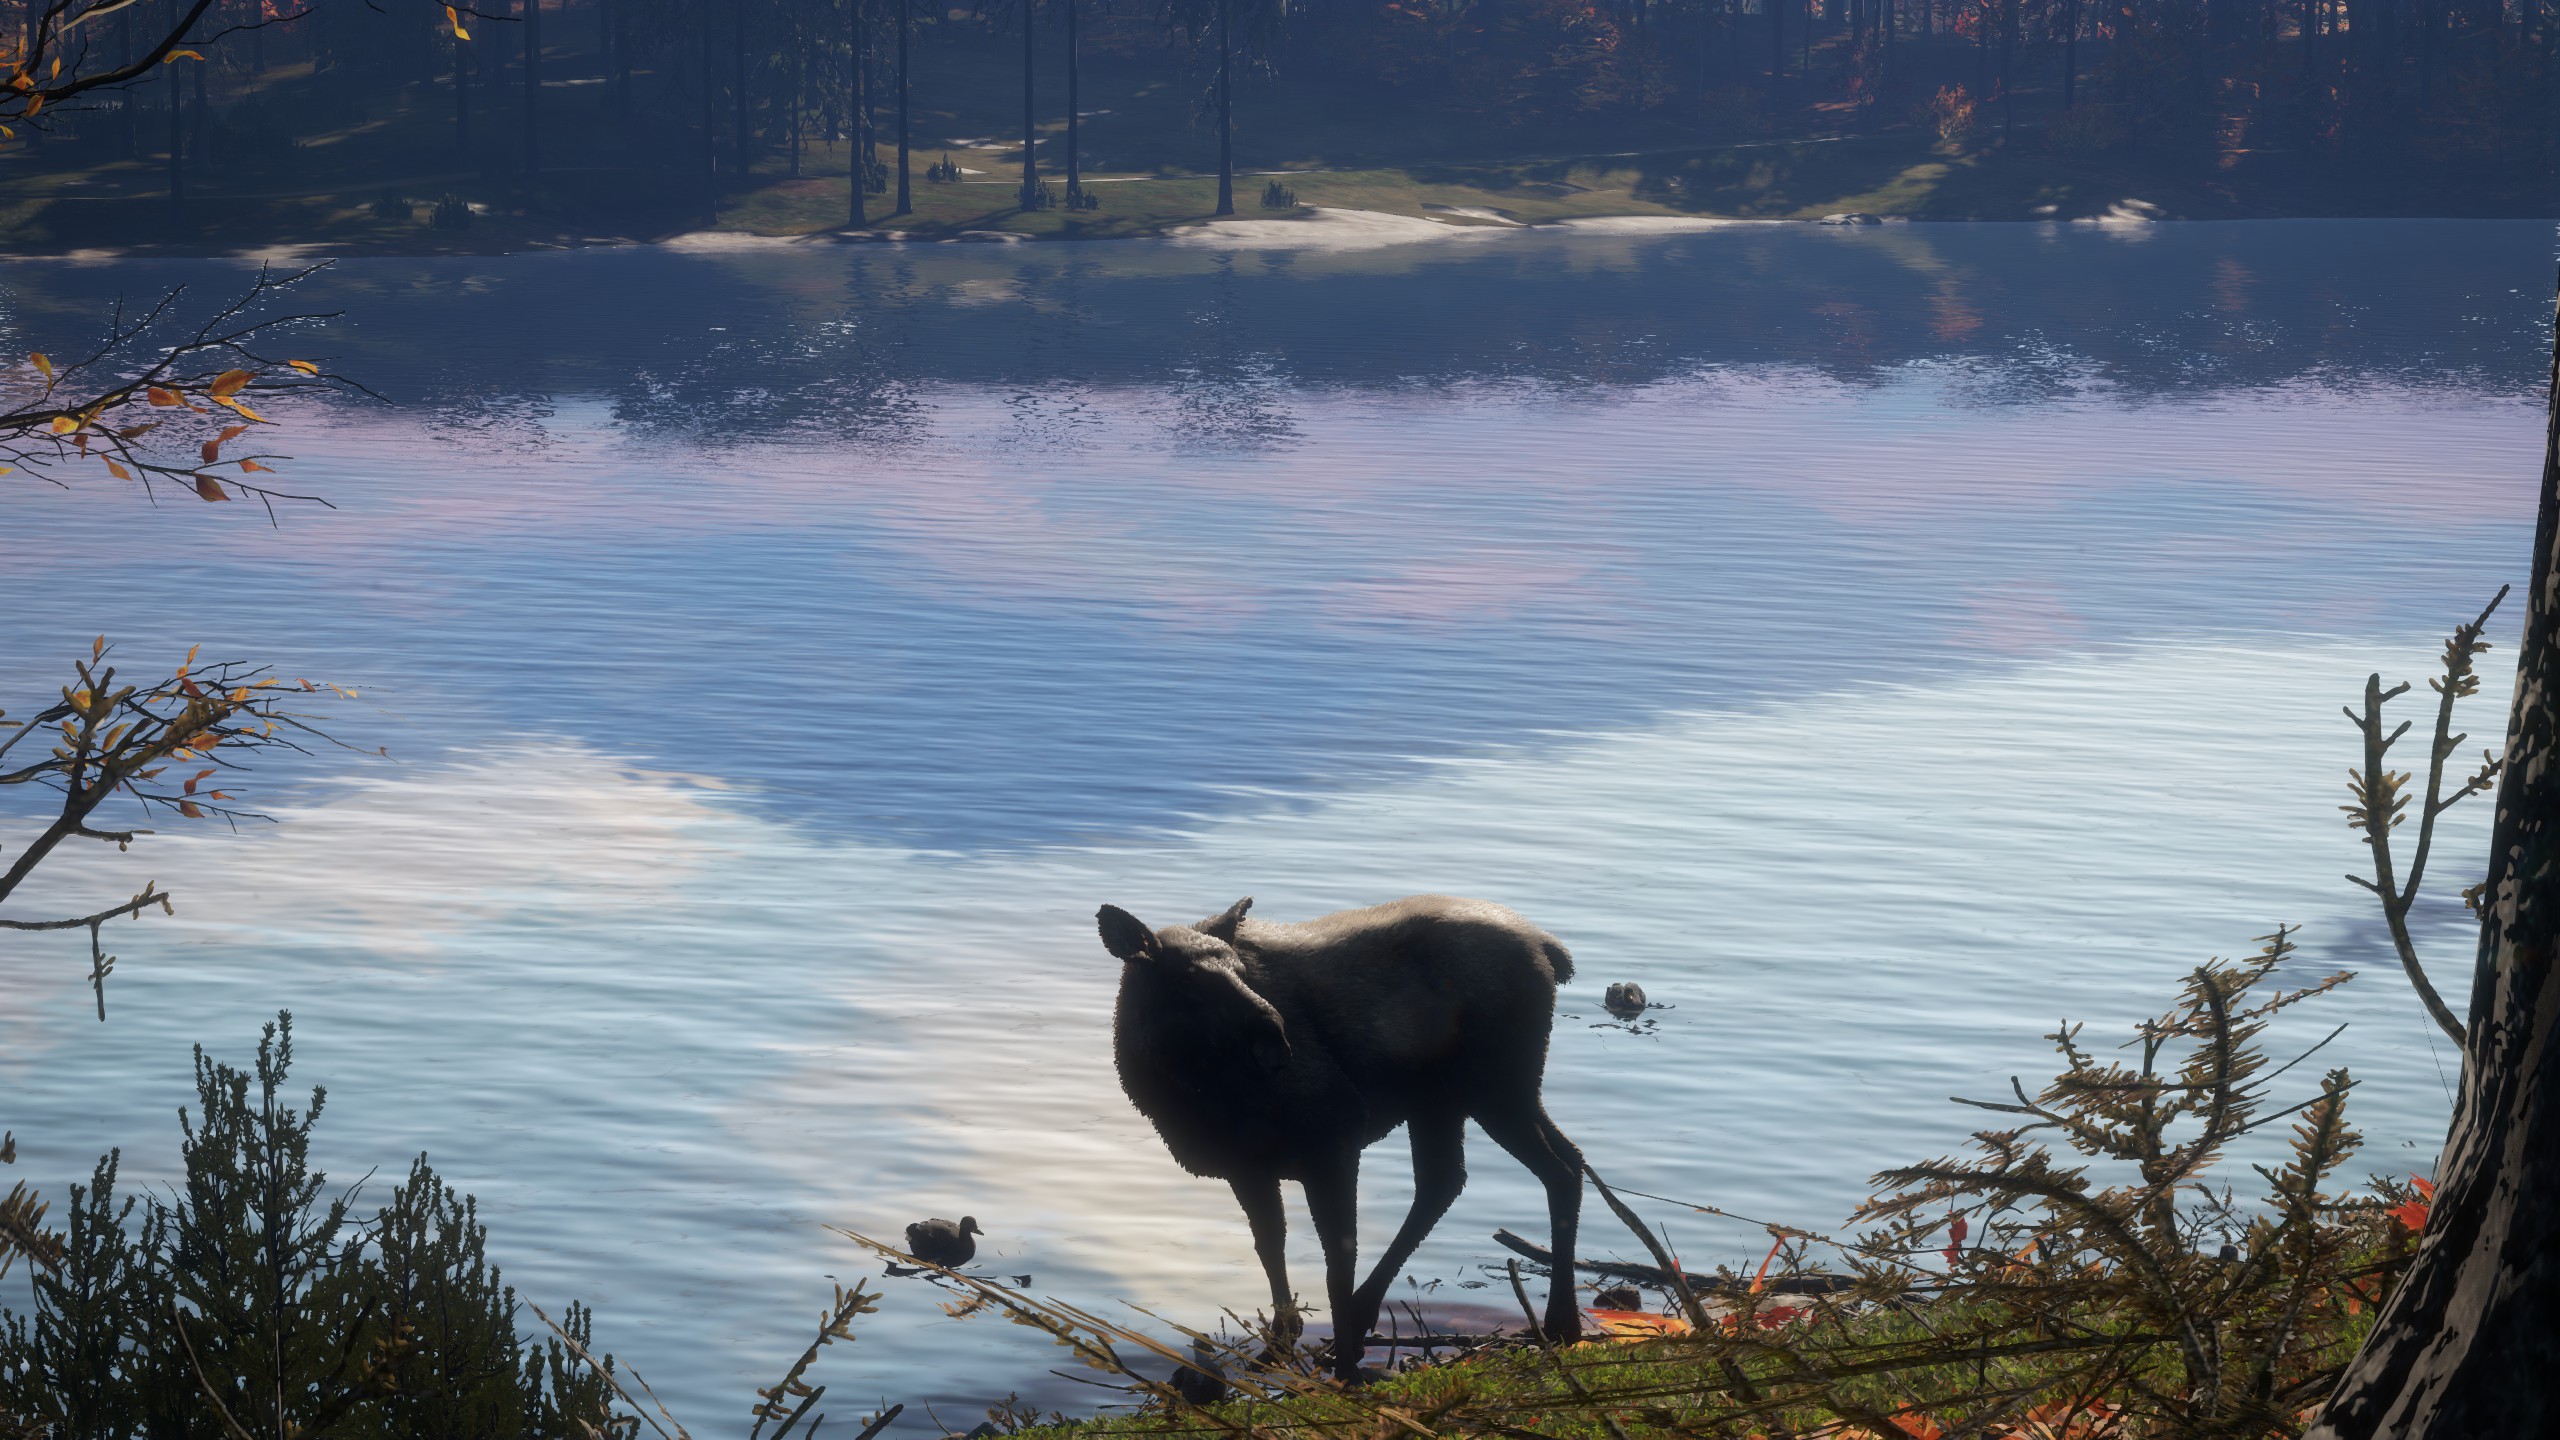
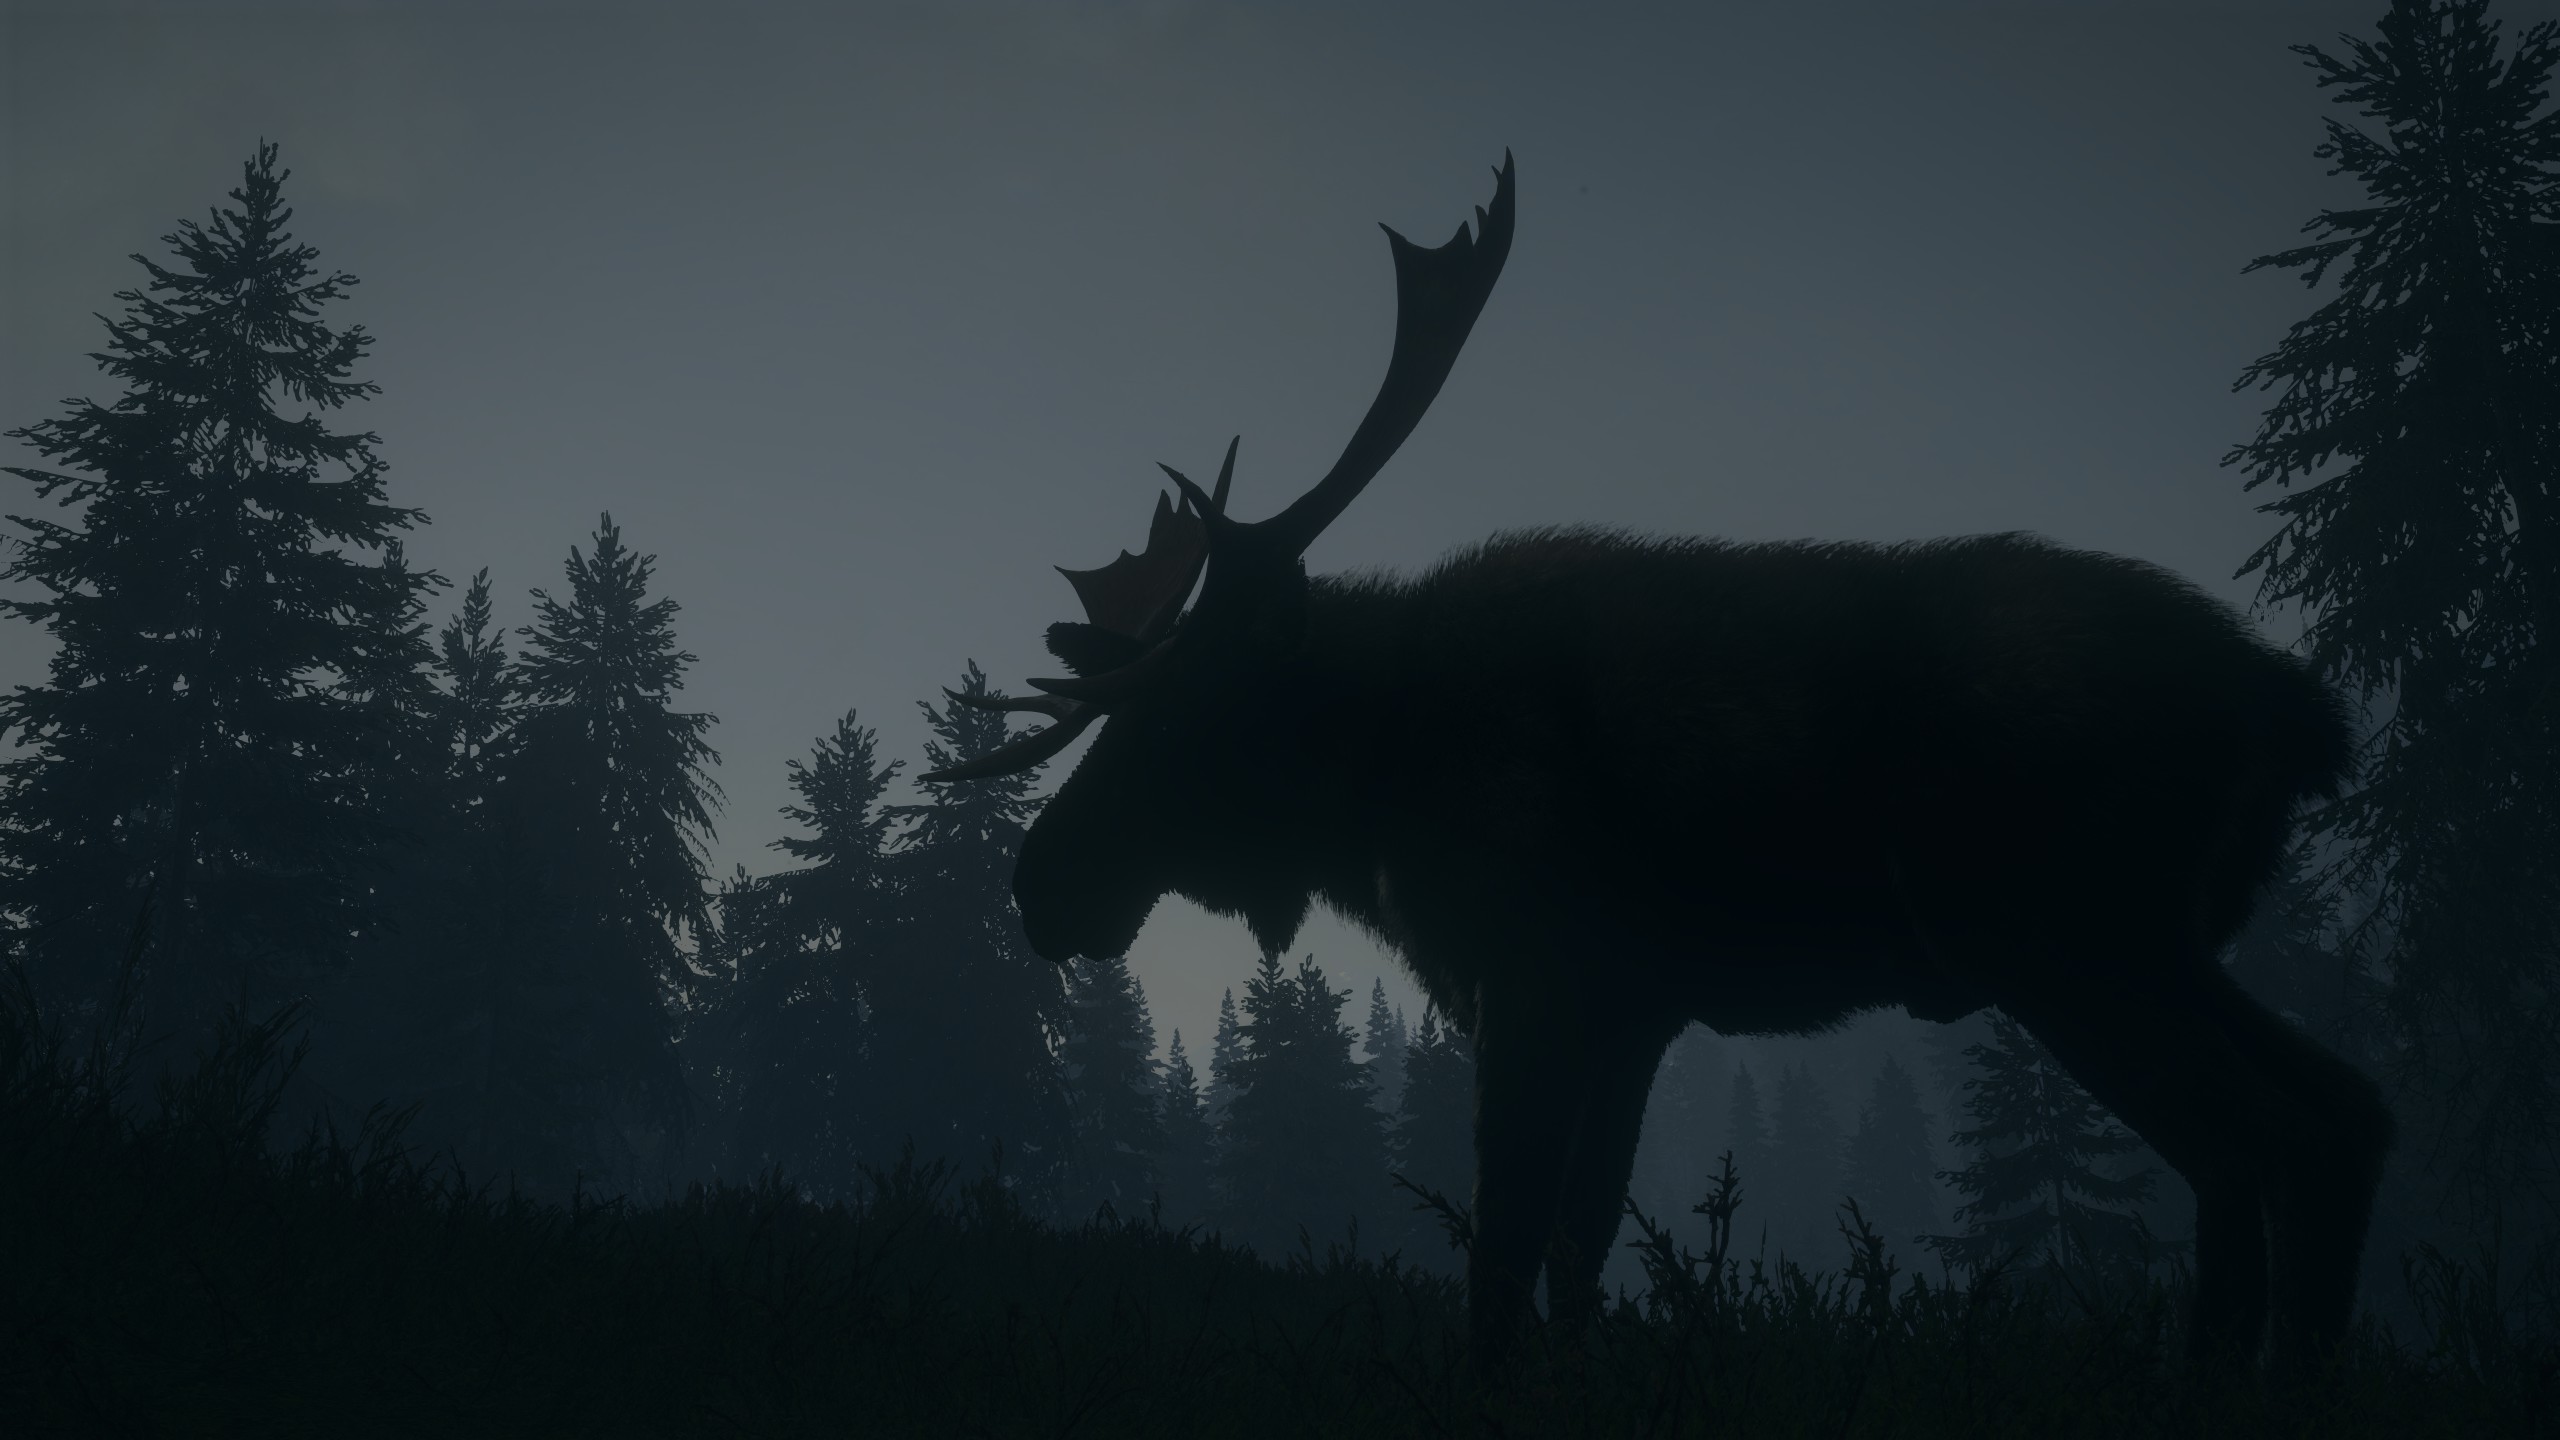
Moose Basics
In case you know nothing about moose, but still love them anyway, here are the basics of moose. (You can skip this section if you already know everything about moose.)
Trophy Rating
Levels
Fur Types
Weight Estimate
All animals have trophy ratings that must be a certain level to reach a high score. The scores they have are none, silver, gold, diamond, and Great One. There are numbers indicating how high your animal's rating is, and how high it needs to be to reach a good score. Here are the trophy ratings for moose.
(Great One trophy ratings actually are lower than diamond scores, because the trophy rating is measured in the antler's palm size, in which case the Great Ones do not have large palms like other diamonds. The score, however, will always be Great One. Unless ya miss.)
Basically, in order to get the rating to be as high as possible, you have to first find a good looking moose and complete all trophy requirements. In this guide, we won't be talking about those. But here are the levels/sizes for moose and pictures showing what you might expect to see according to those levels.
LEVEL- 1 TRIVIAL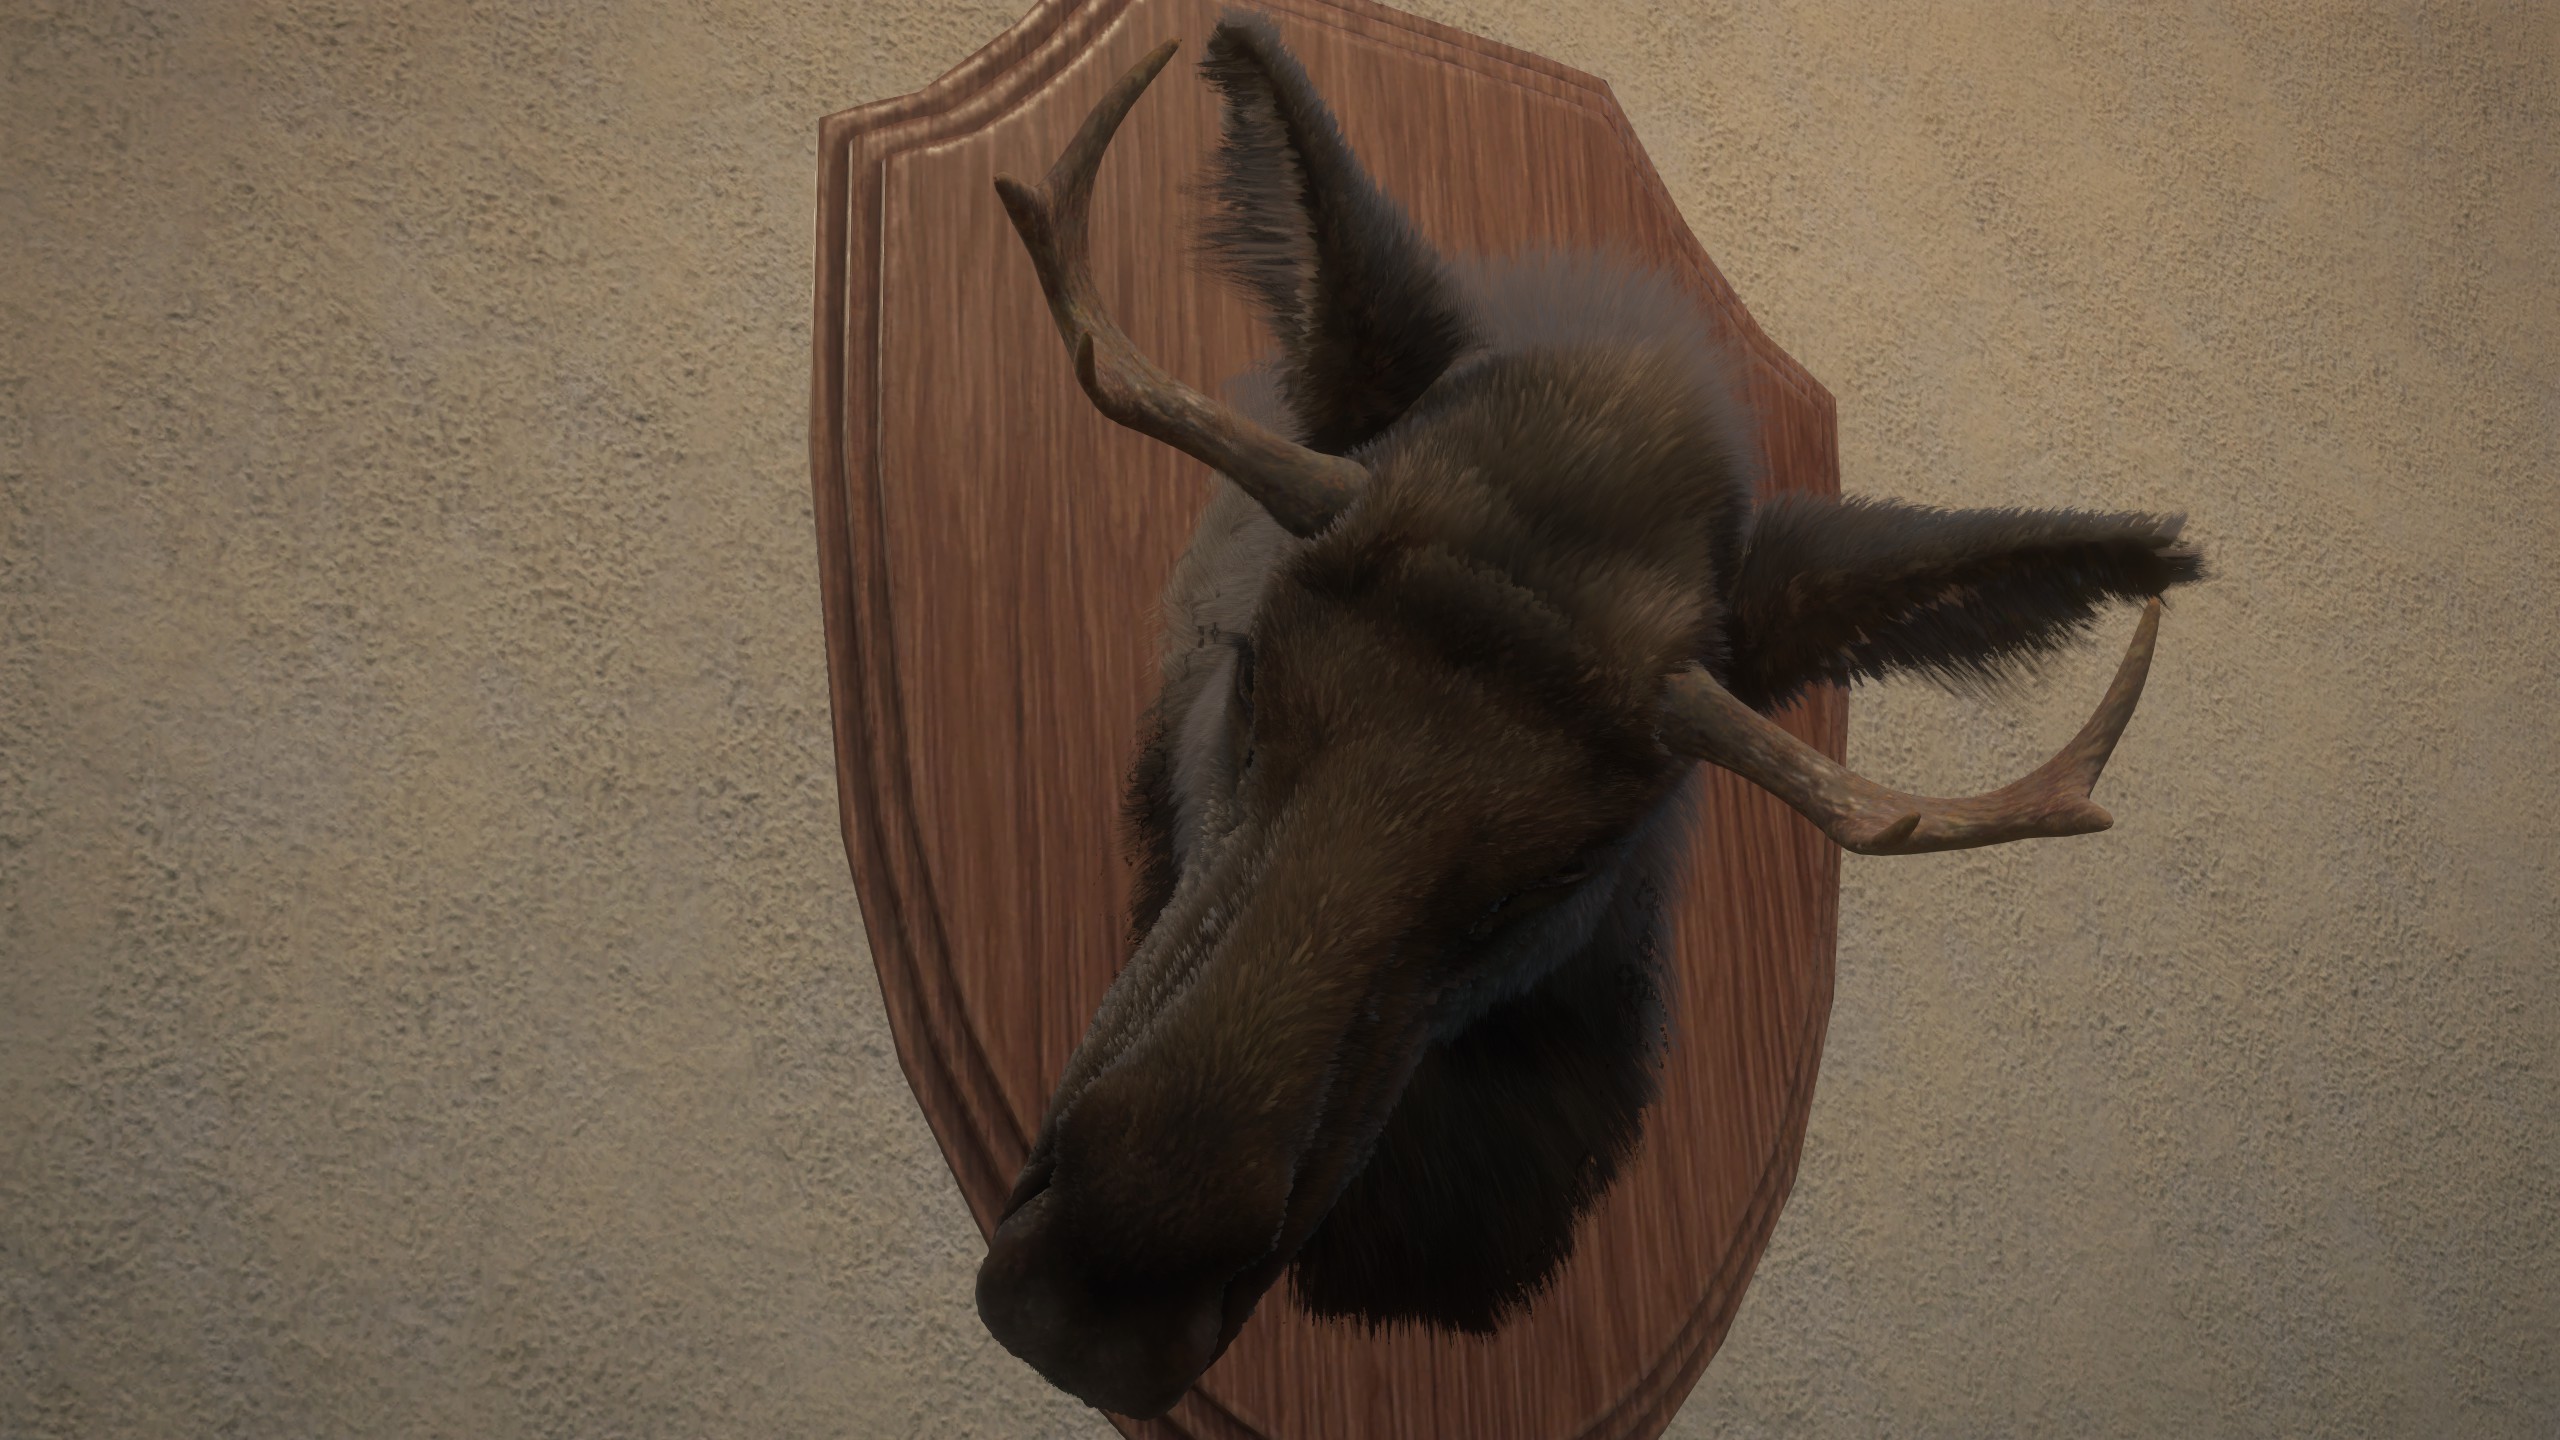 LEVEL- 2 MINOR
 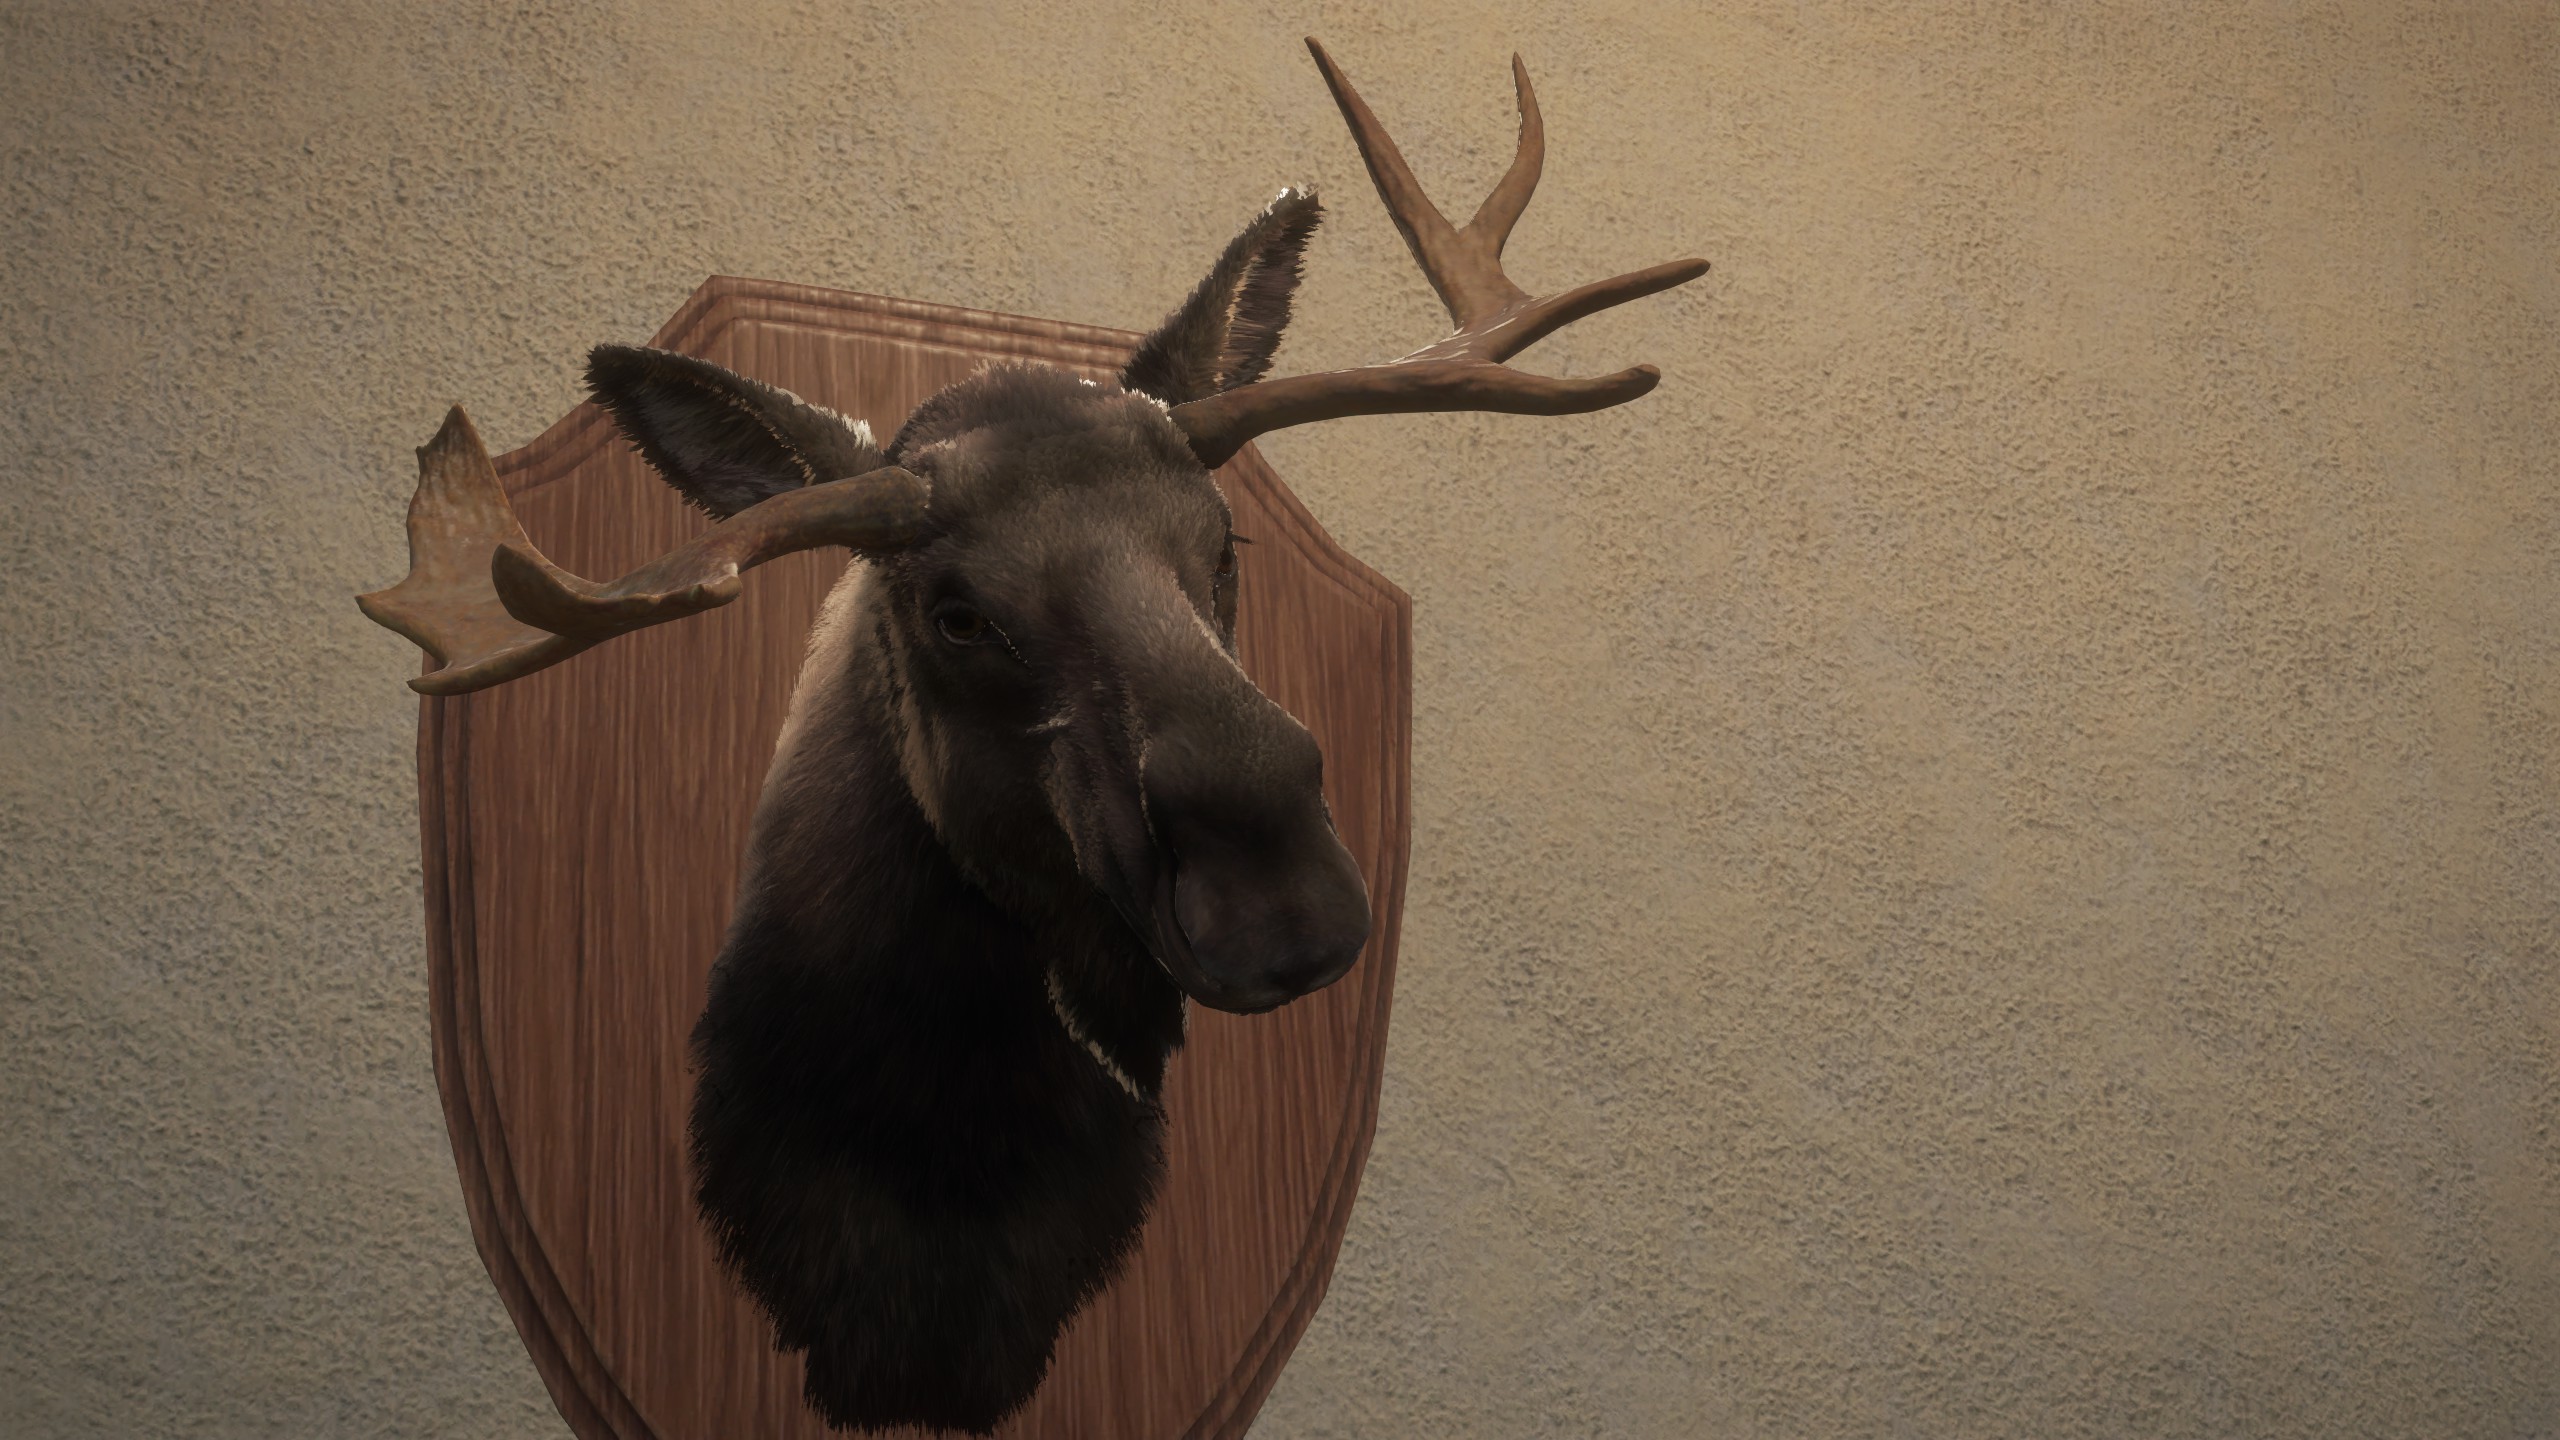 LEVEL- 3 VERY EASY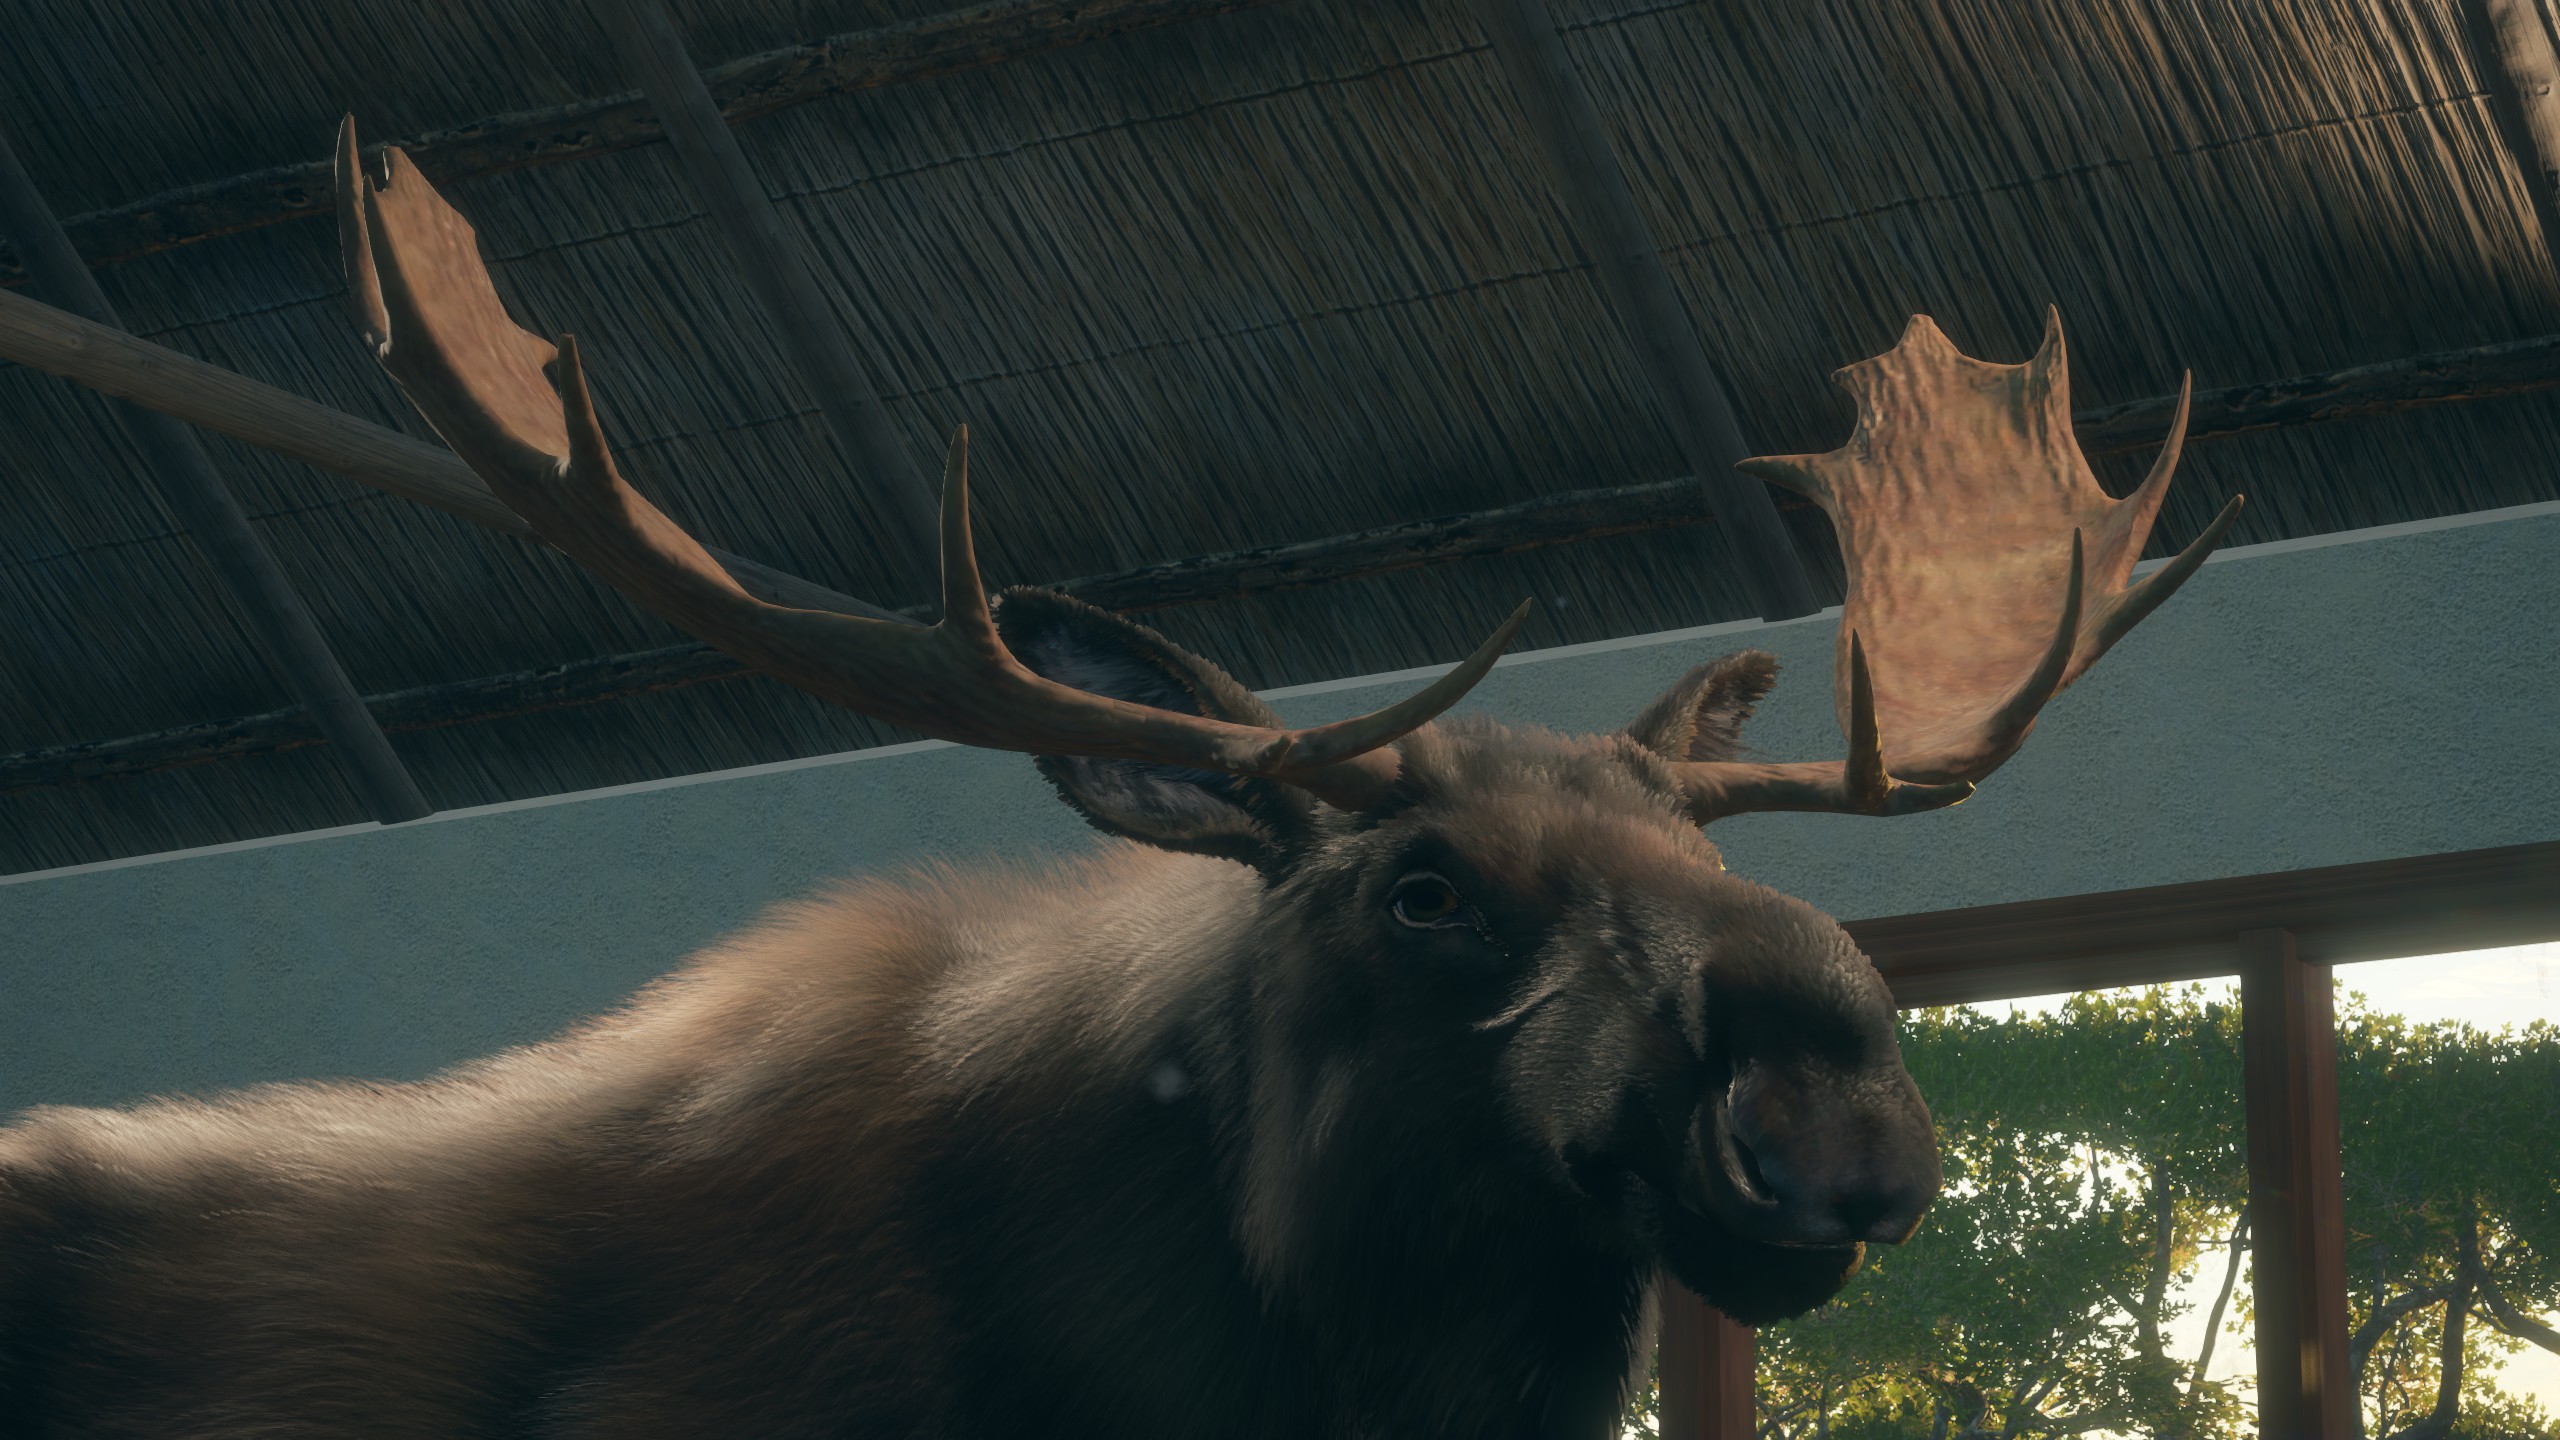
LEVEL- 4 EASY
N/A
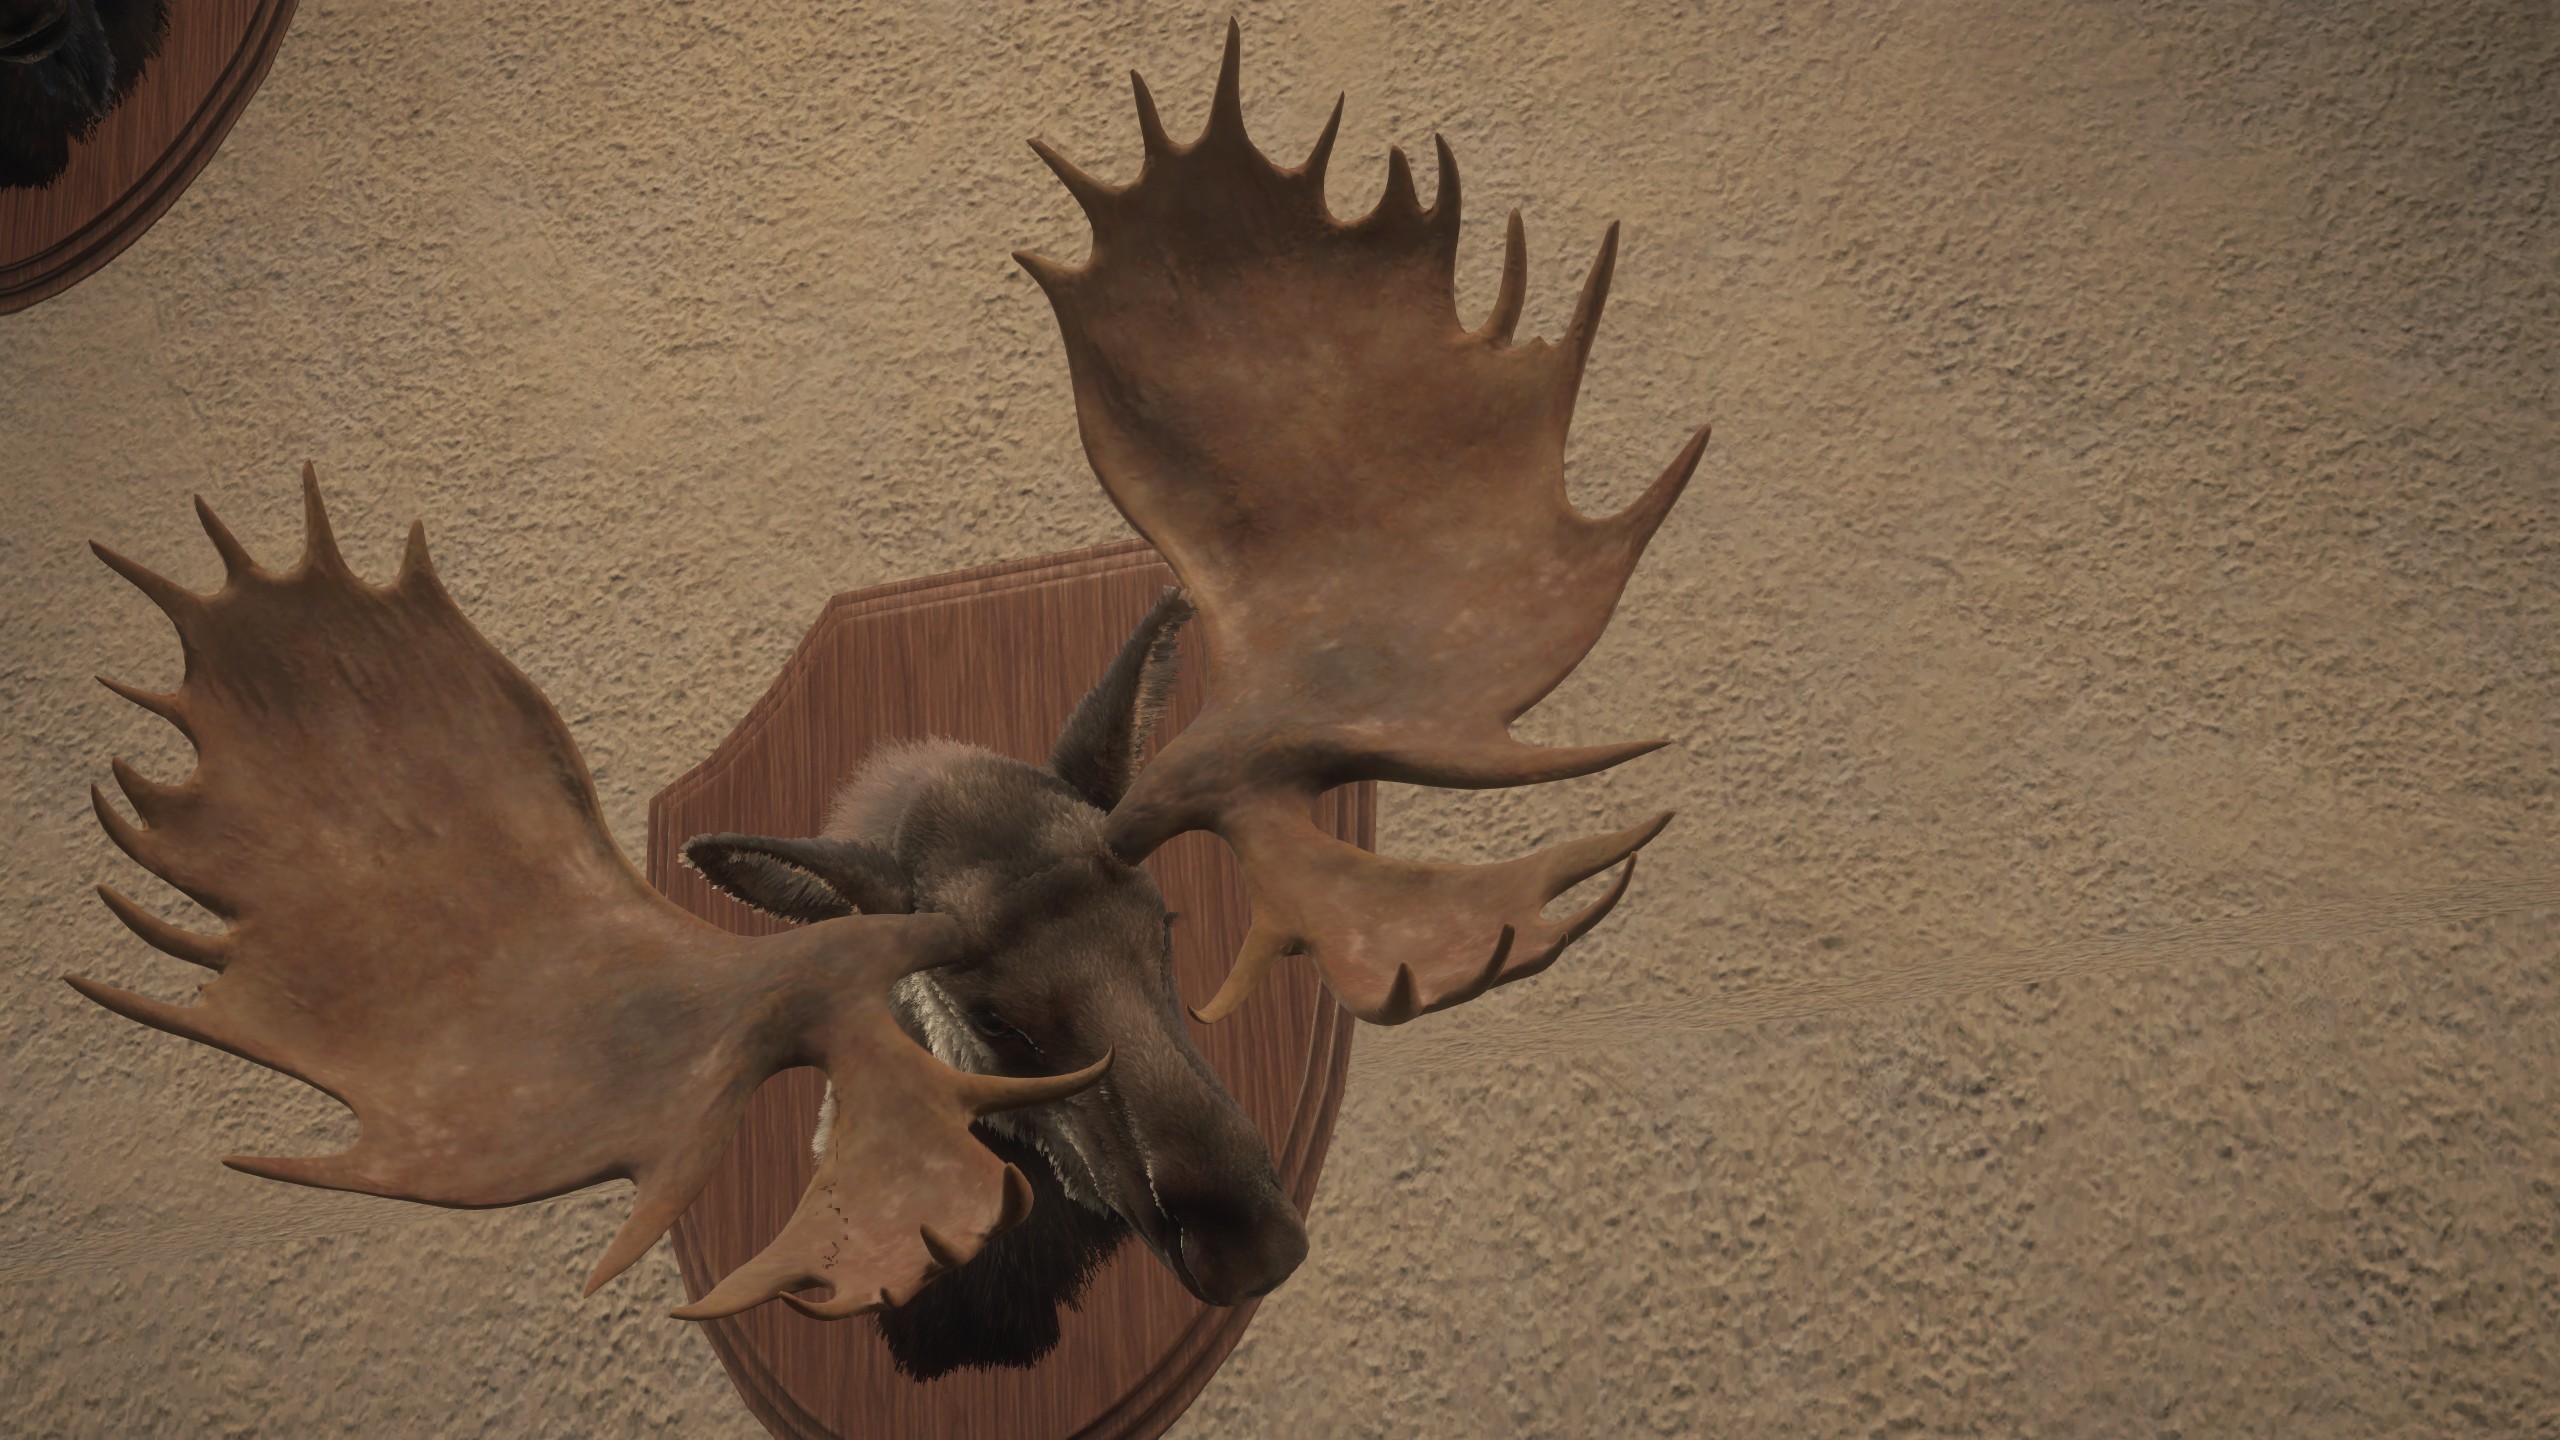
Notice how it skips all of 6-9 and goes straight to 10, indicating Great One score: (Commons cannot spawn on 10 FABLED moose; this is an old pic from before the common Great Ones were removed :)
Now, moose also have different fur types. There's quite a few common fur types but we won't go them over much. Learn to recognize these so it's easier to spot them in-game, especially the dark melanistic moose. Here is the rarity level of the fur types.
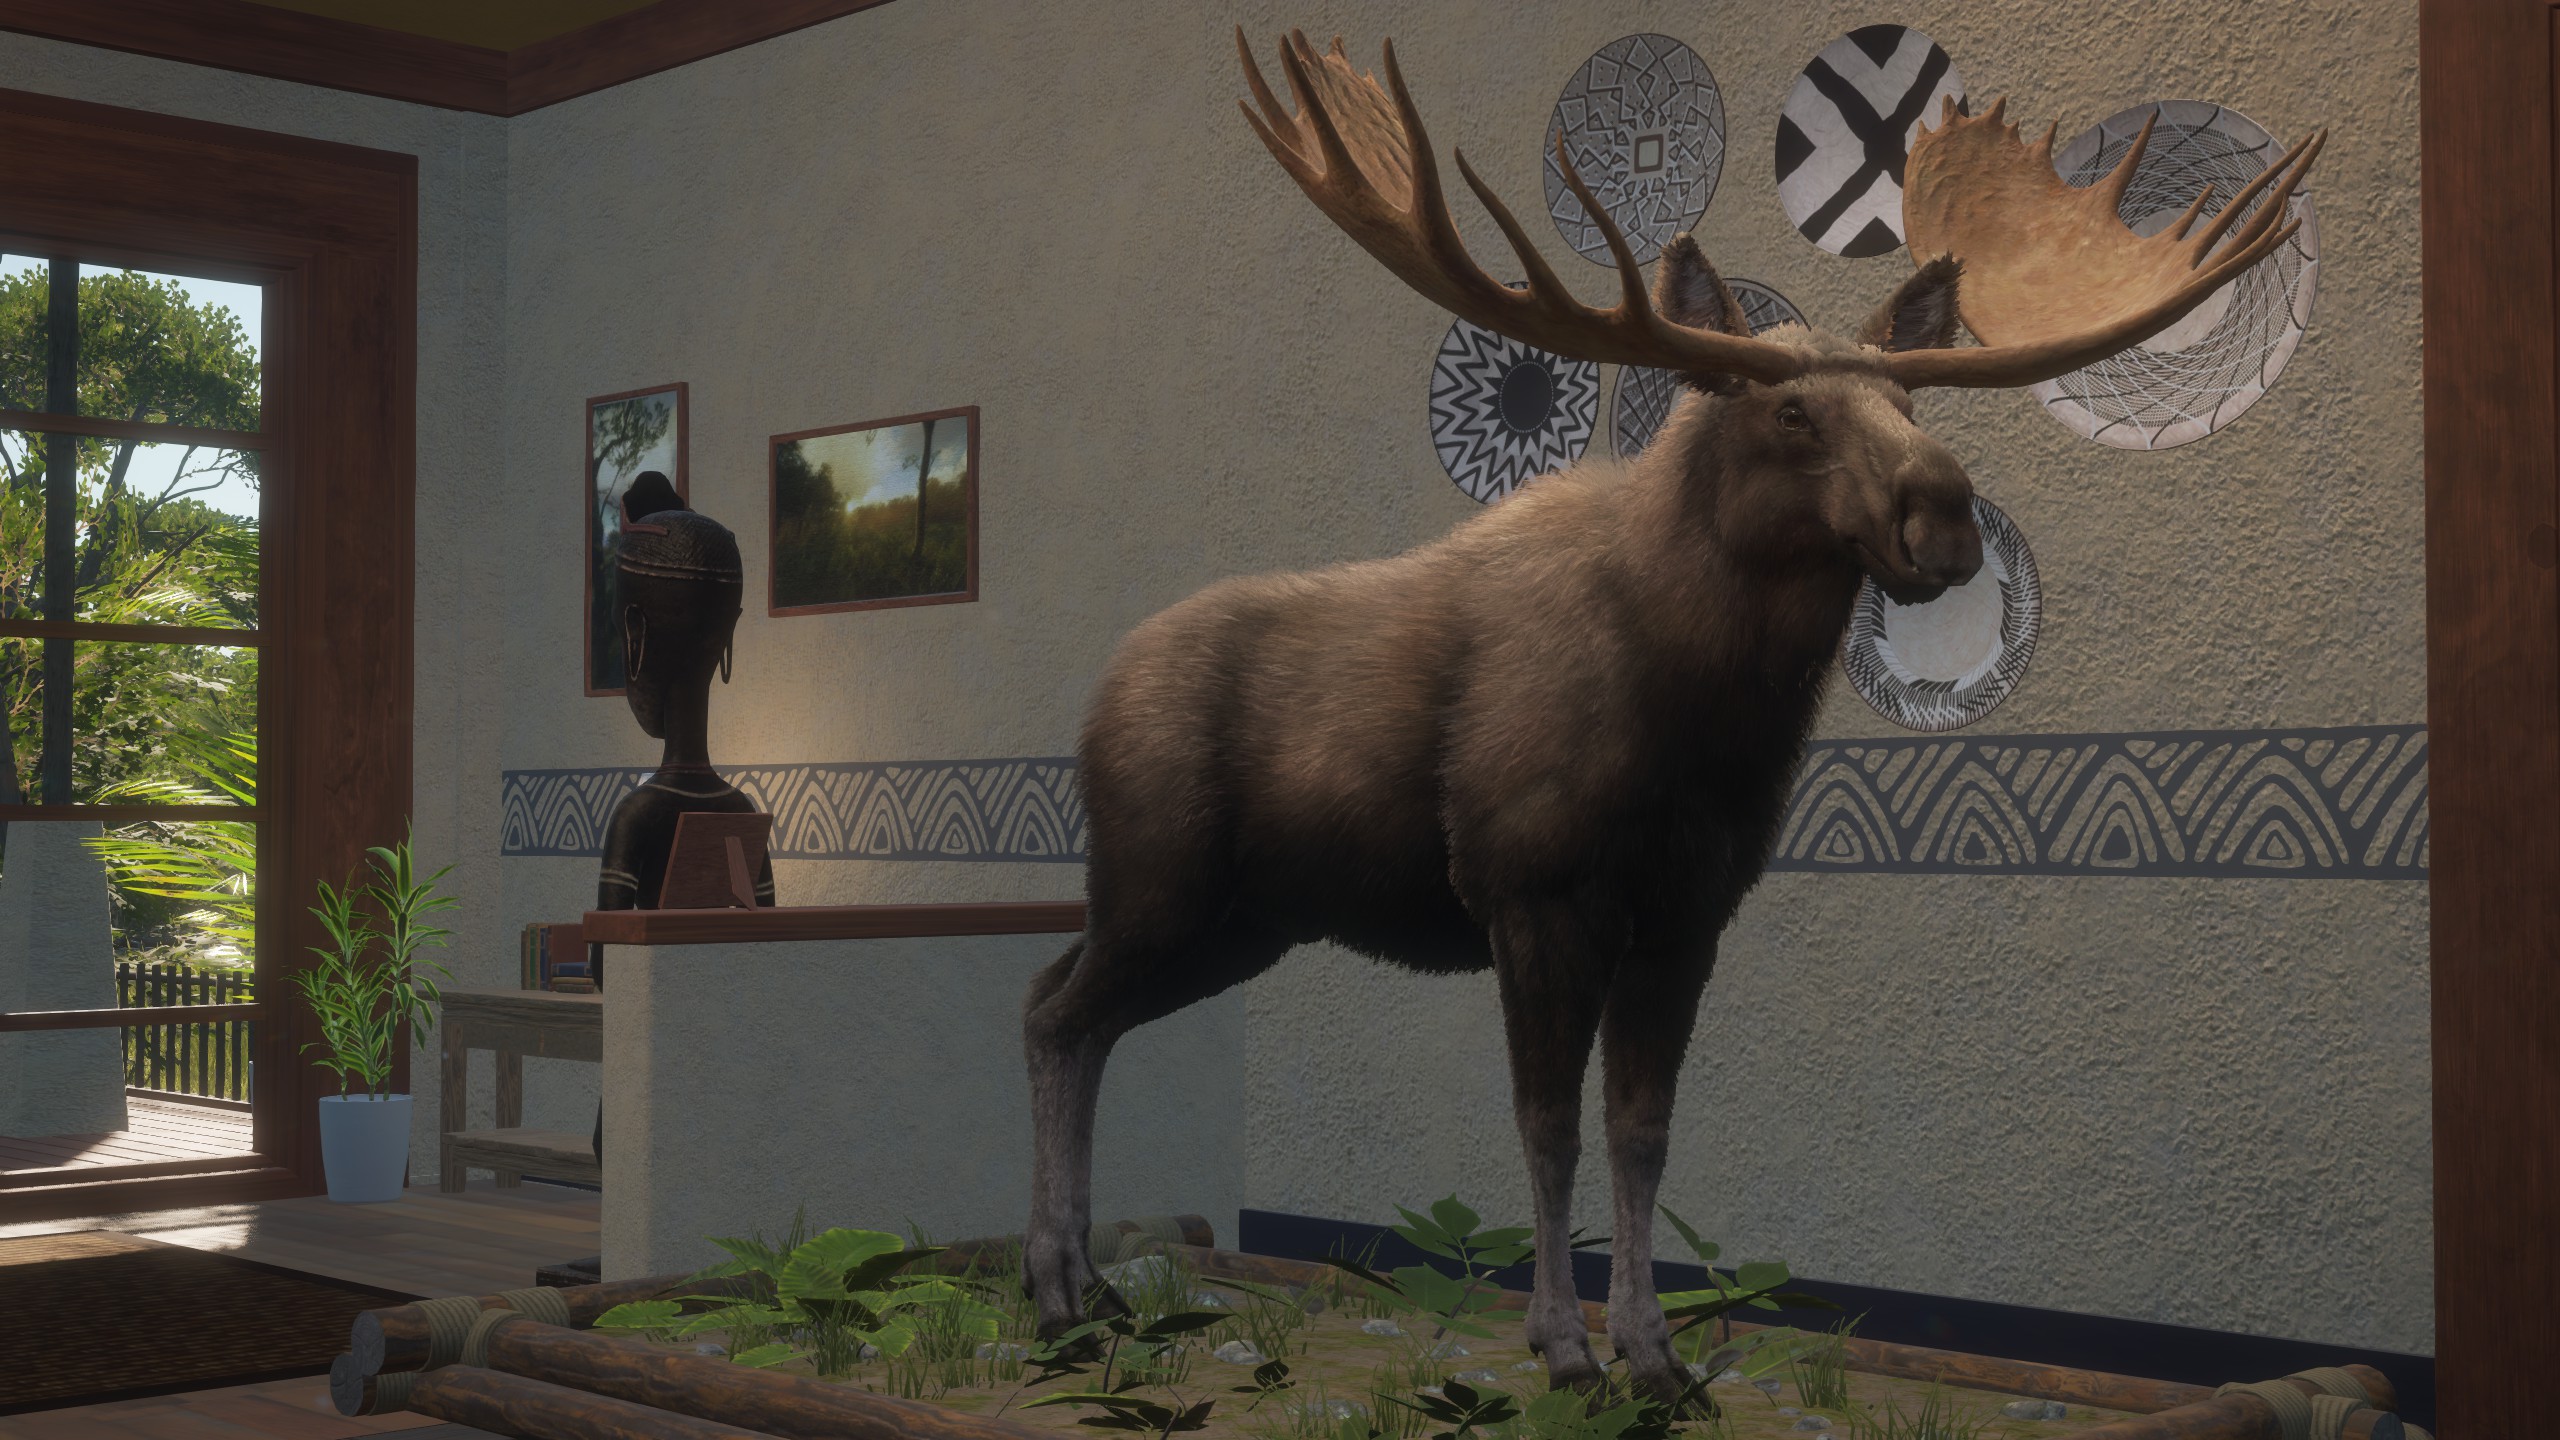
Here are some pictures showing the differences between the fur types. COMMON, brown, light brown, dark brown, tan
A large, level 4 common coat moose.
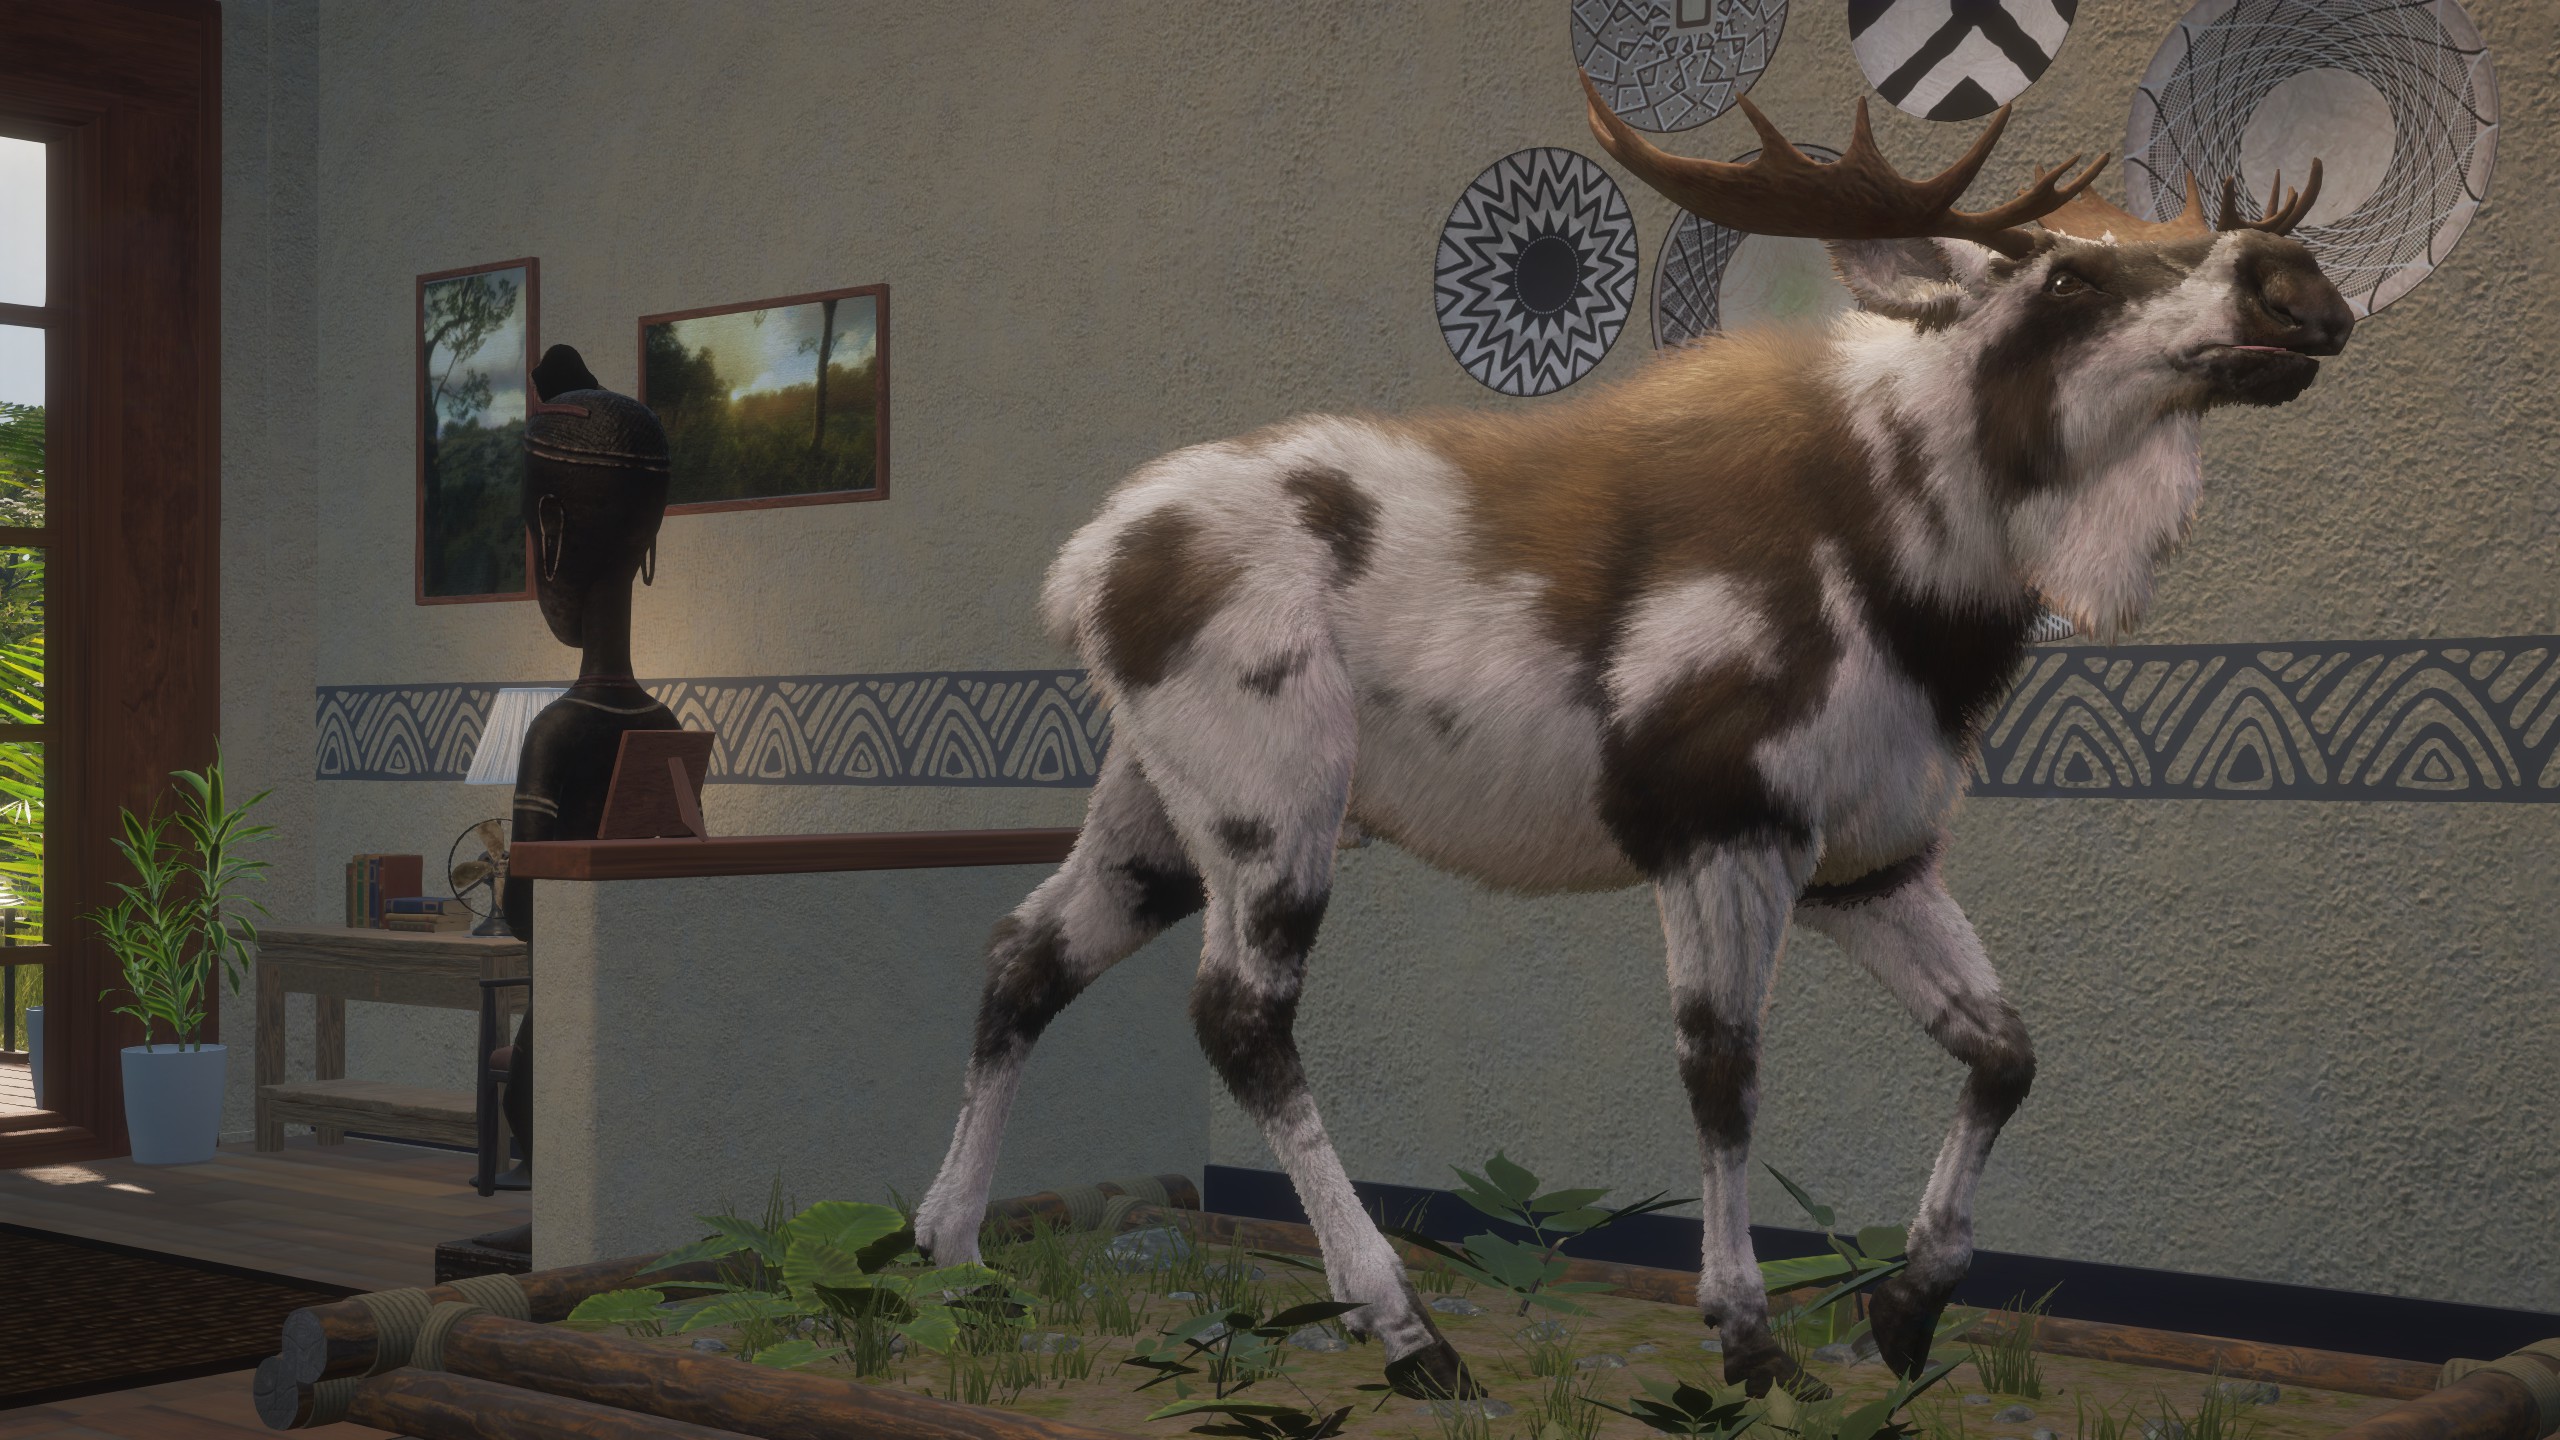
 PIEBALD
 An average-sized level 3 piebald bull.
 ALBINO
 An average-sized level 4 albino moose.
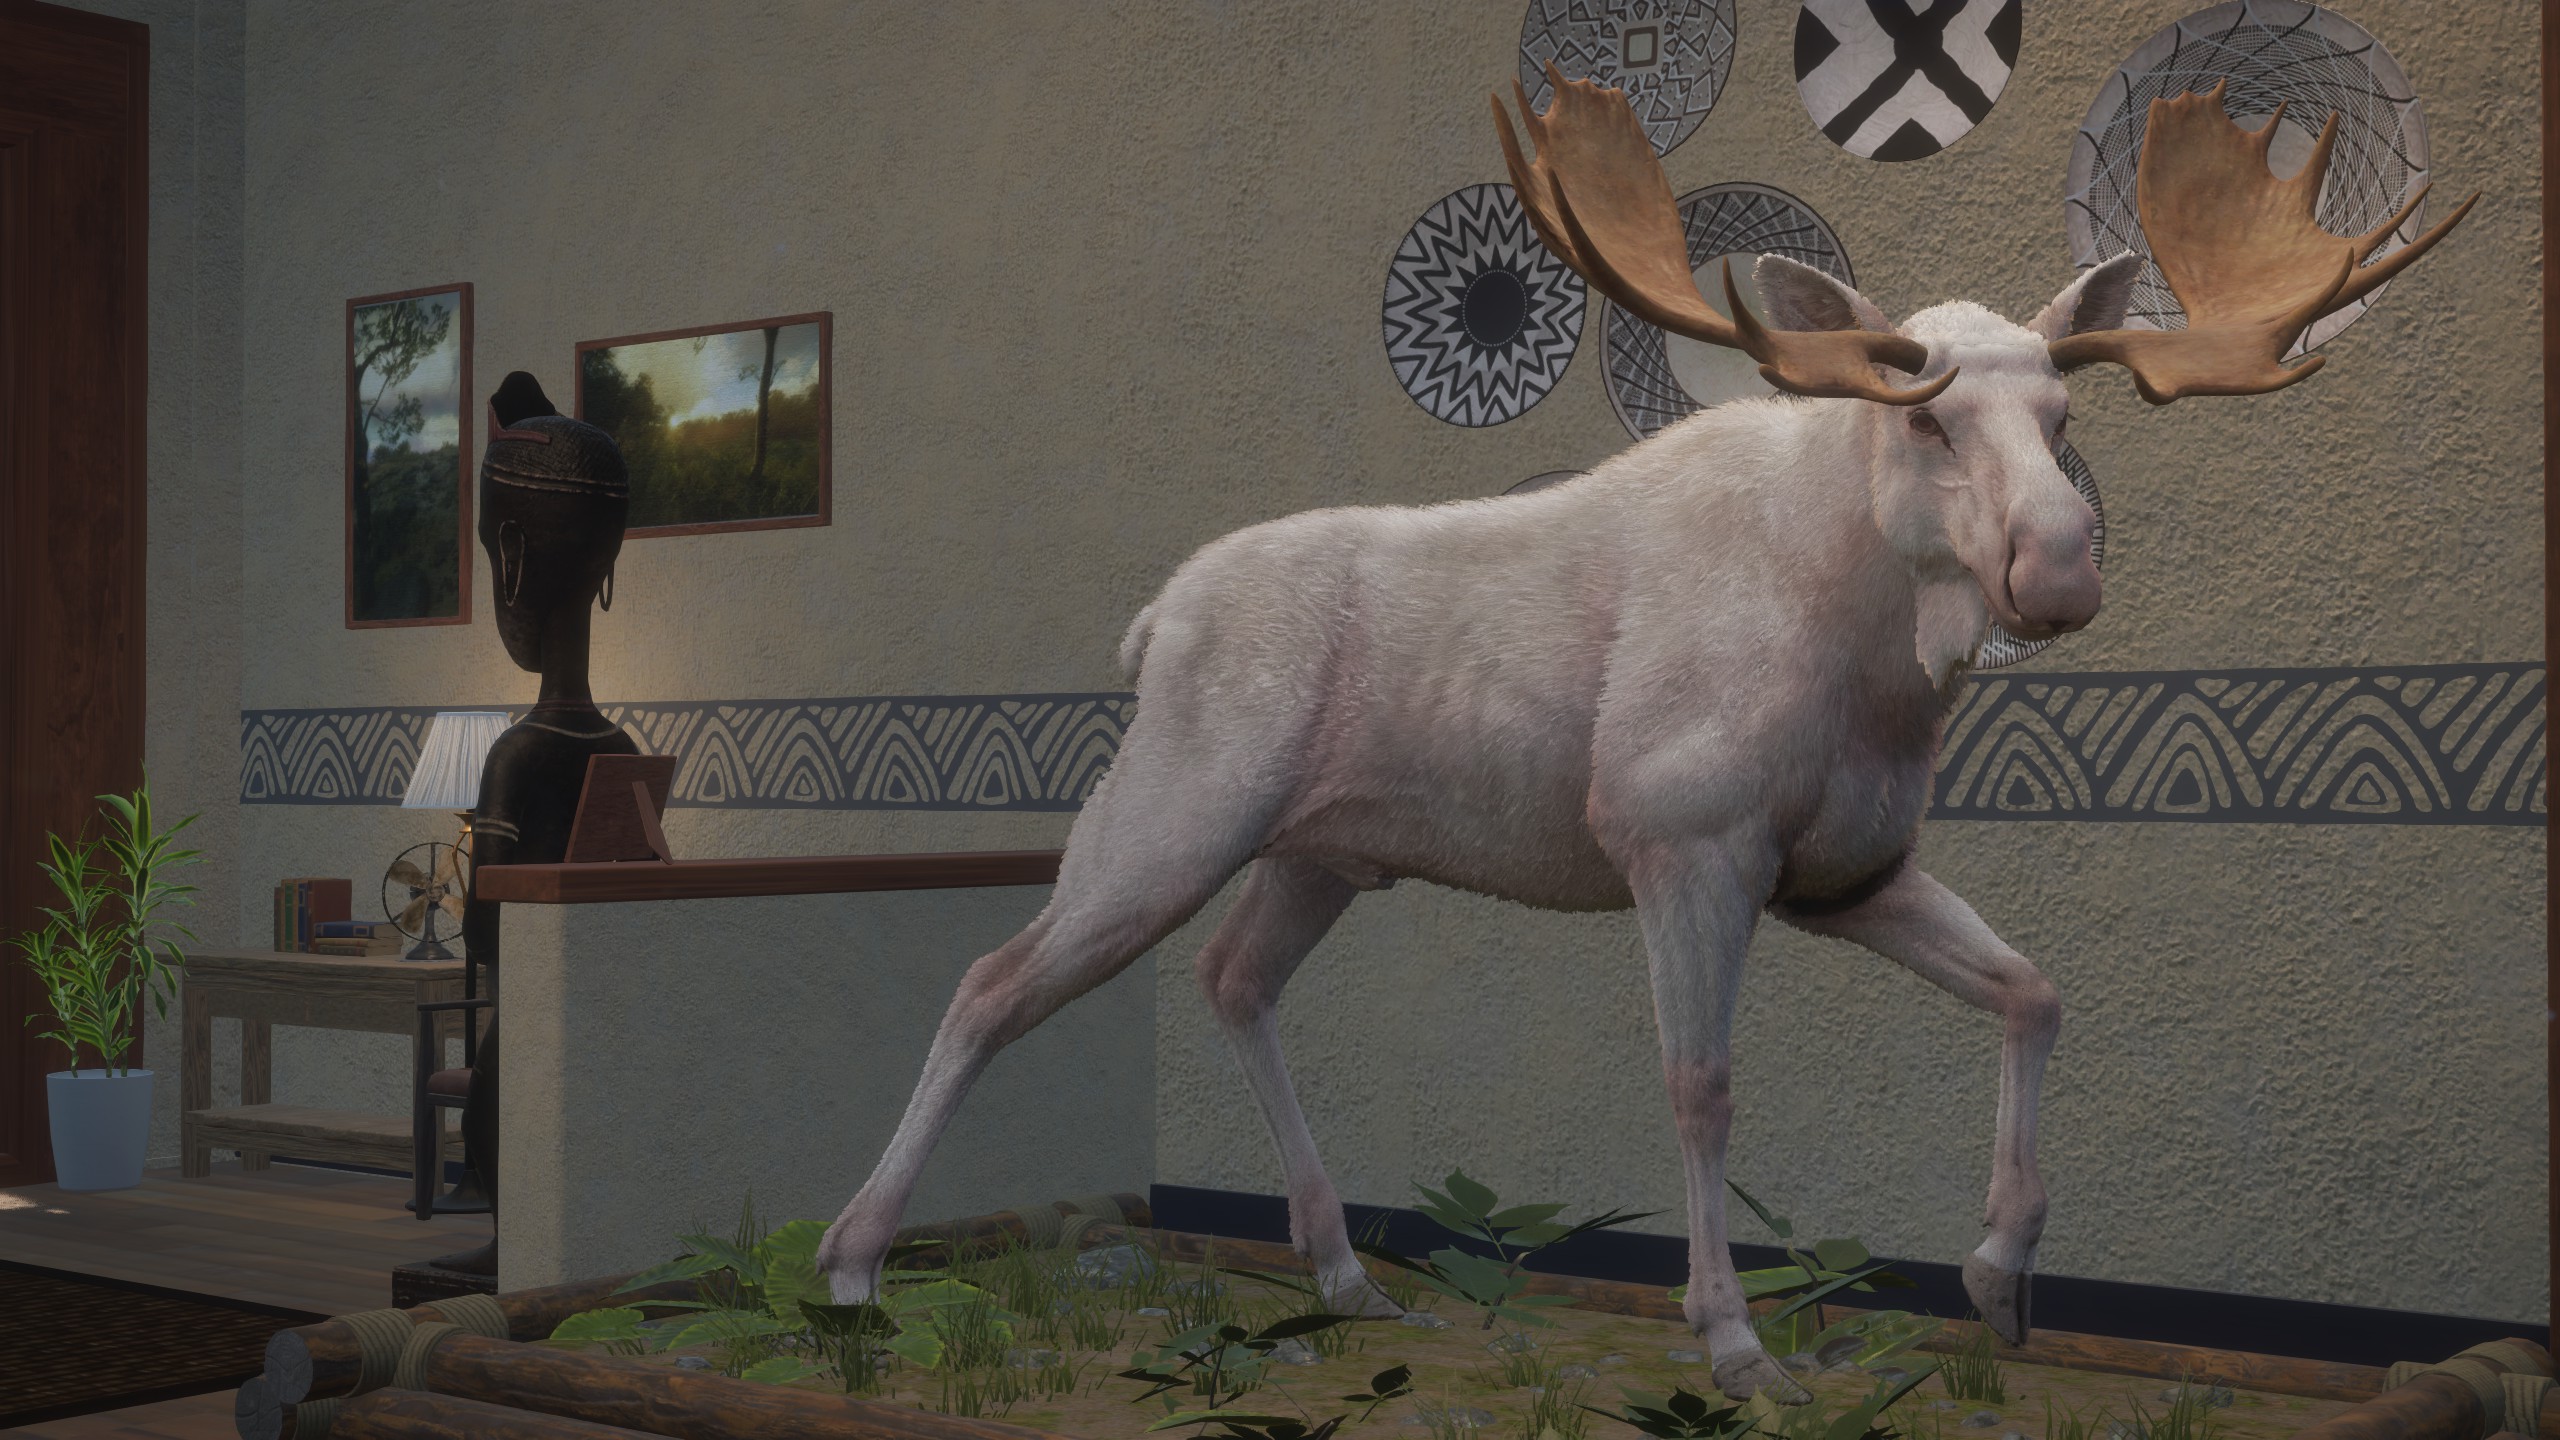 ACROMELANISTIC
 Female acromela.
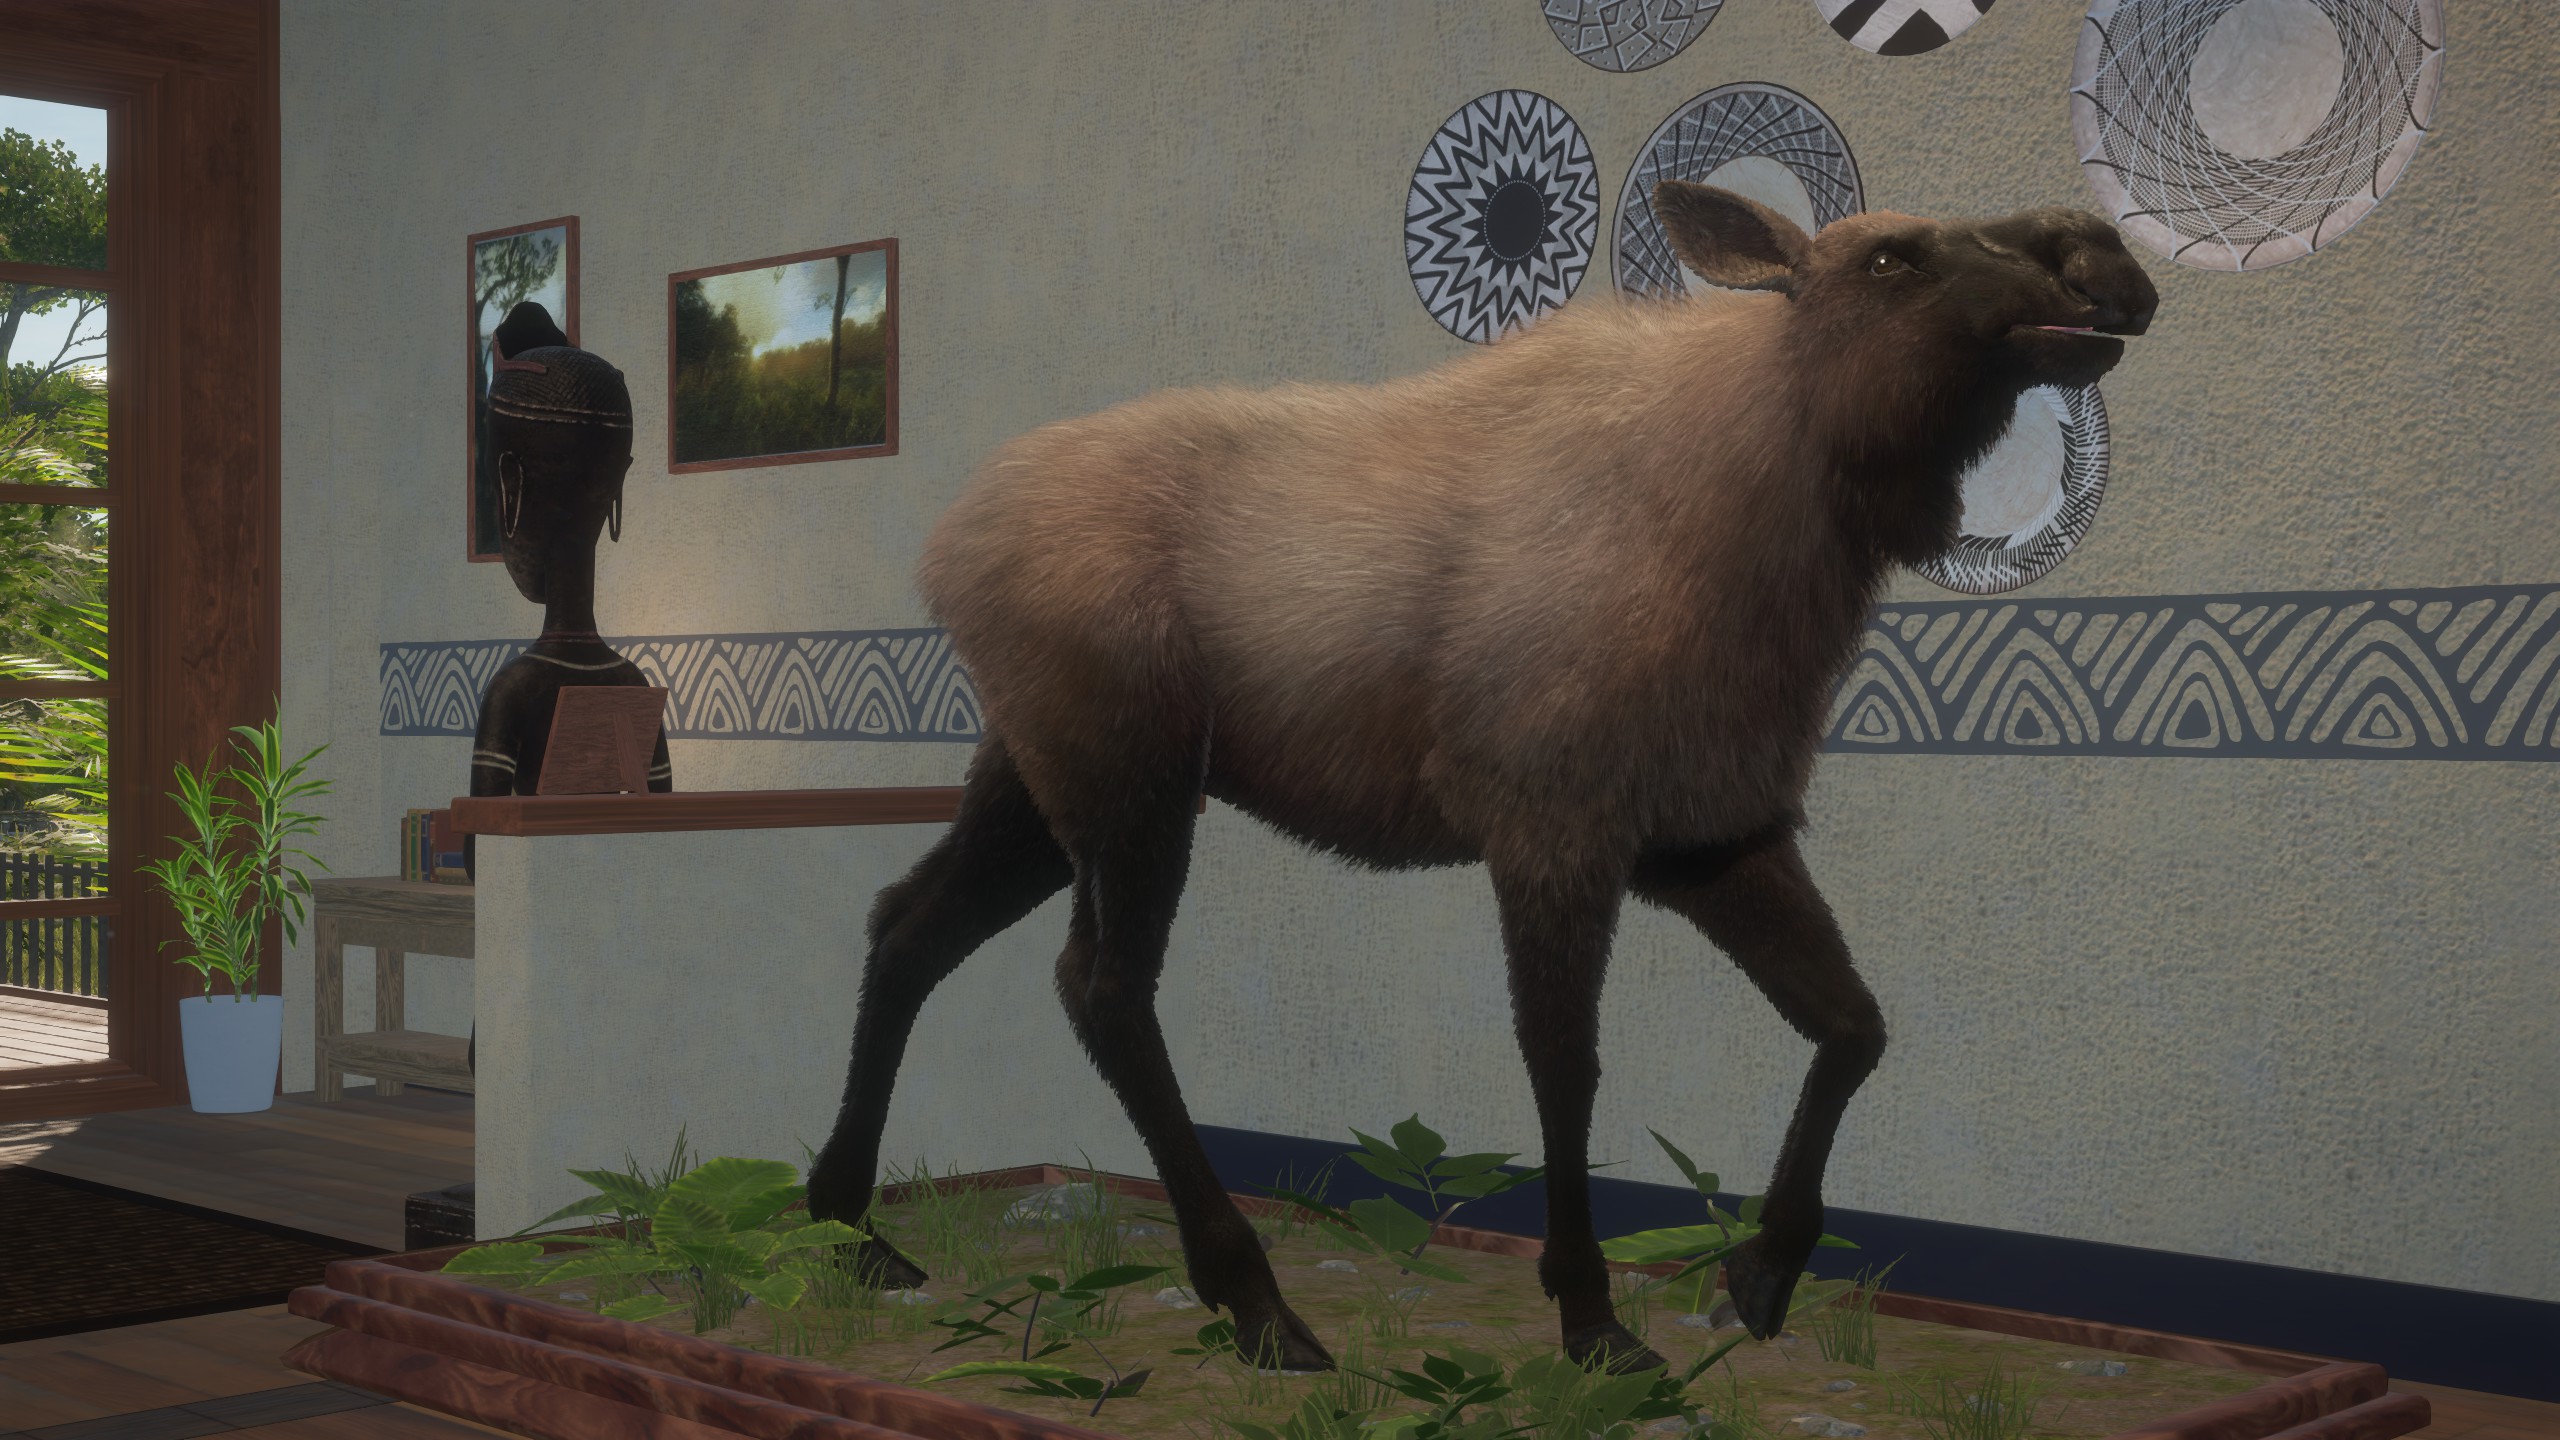 MELANISTIC
 Rather large-ish level 4, gold scoring melanistic male.
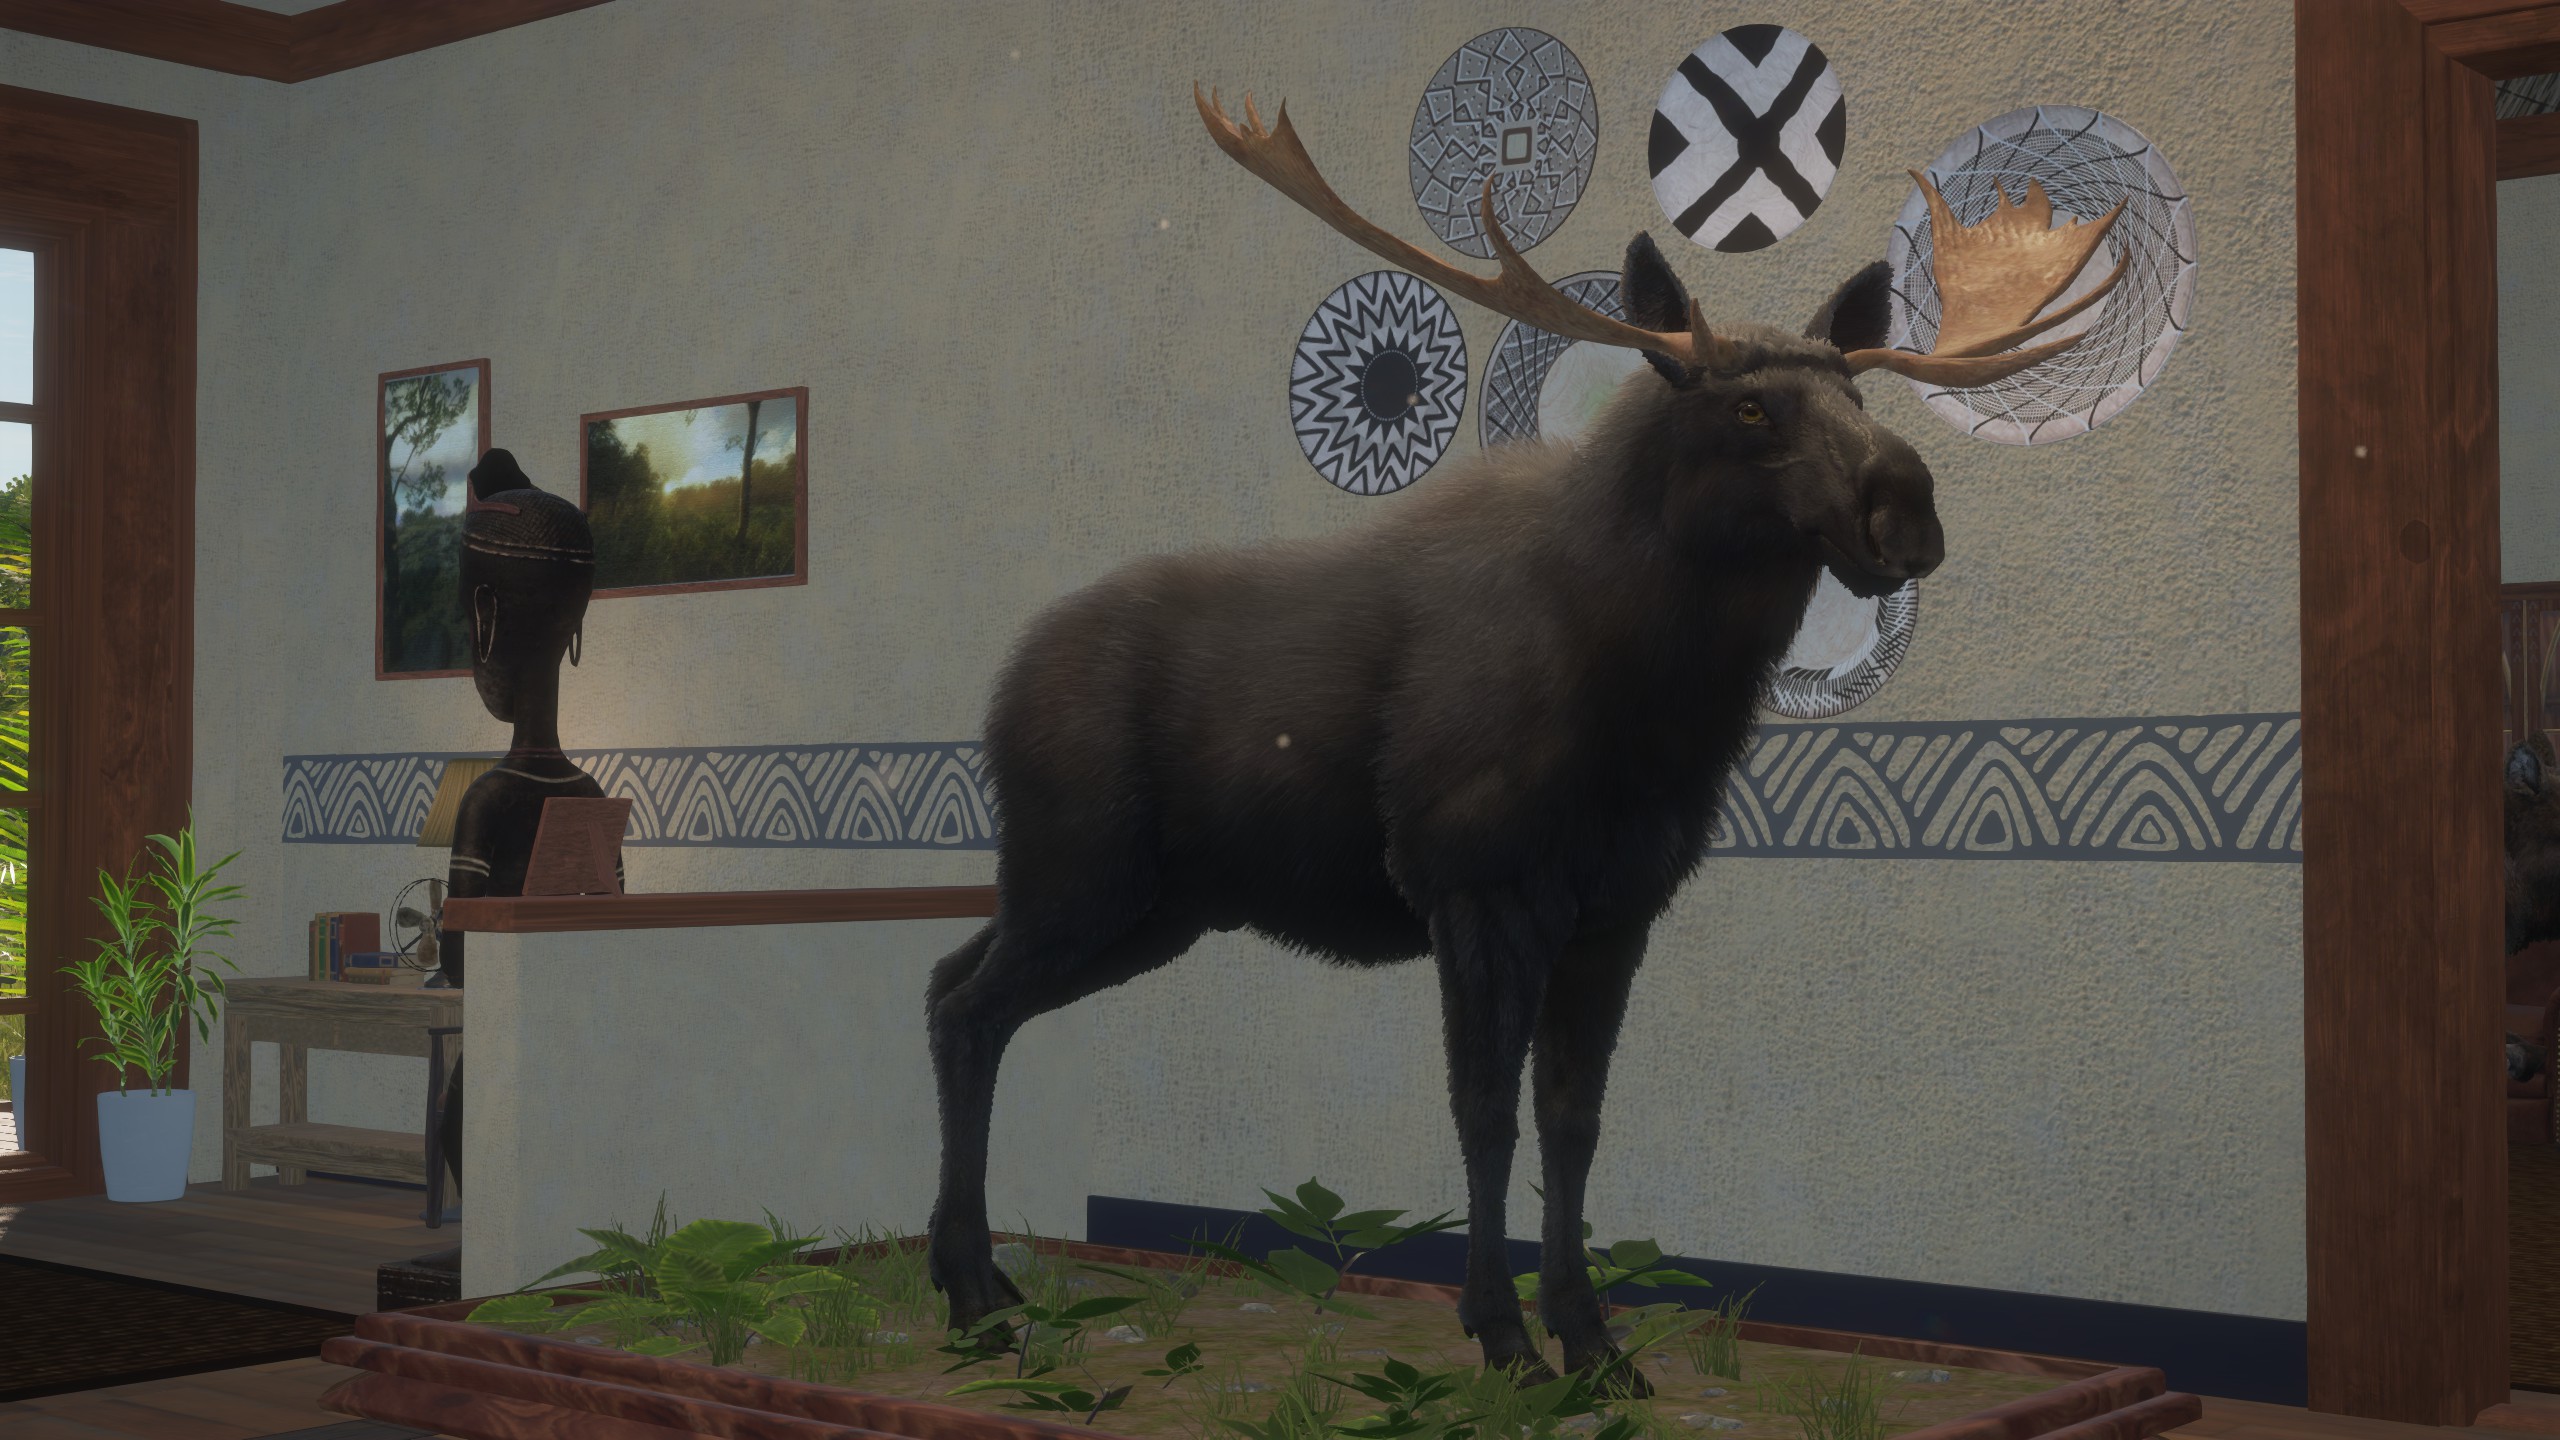
MOSAIC (males only)
Large level 4 mosaic moose.
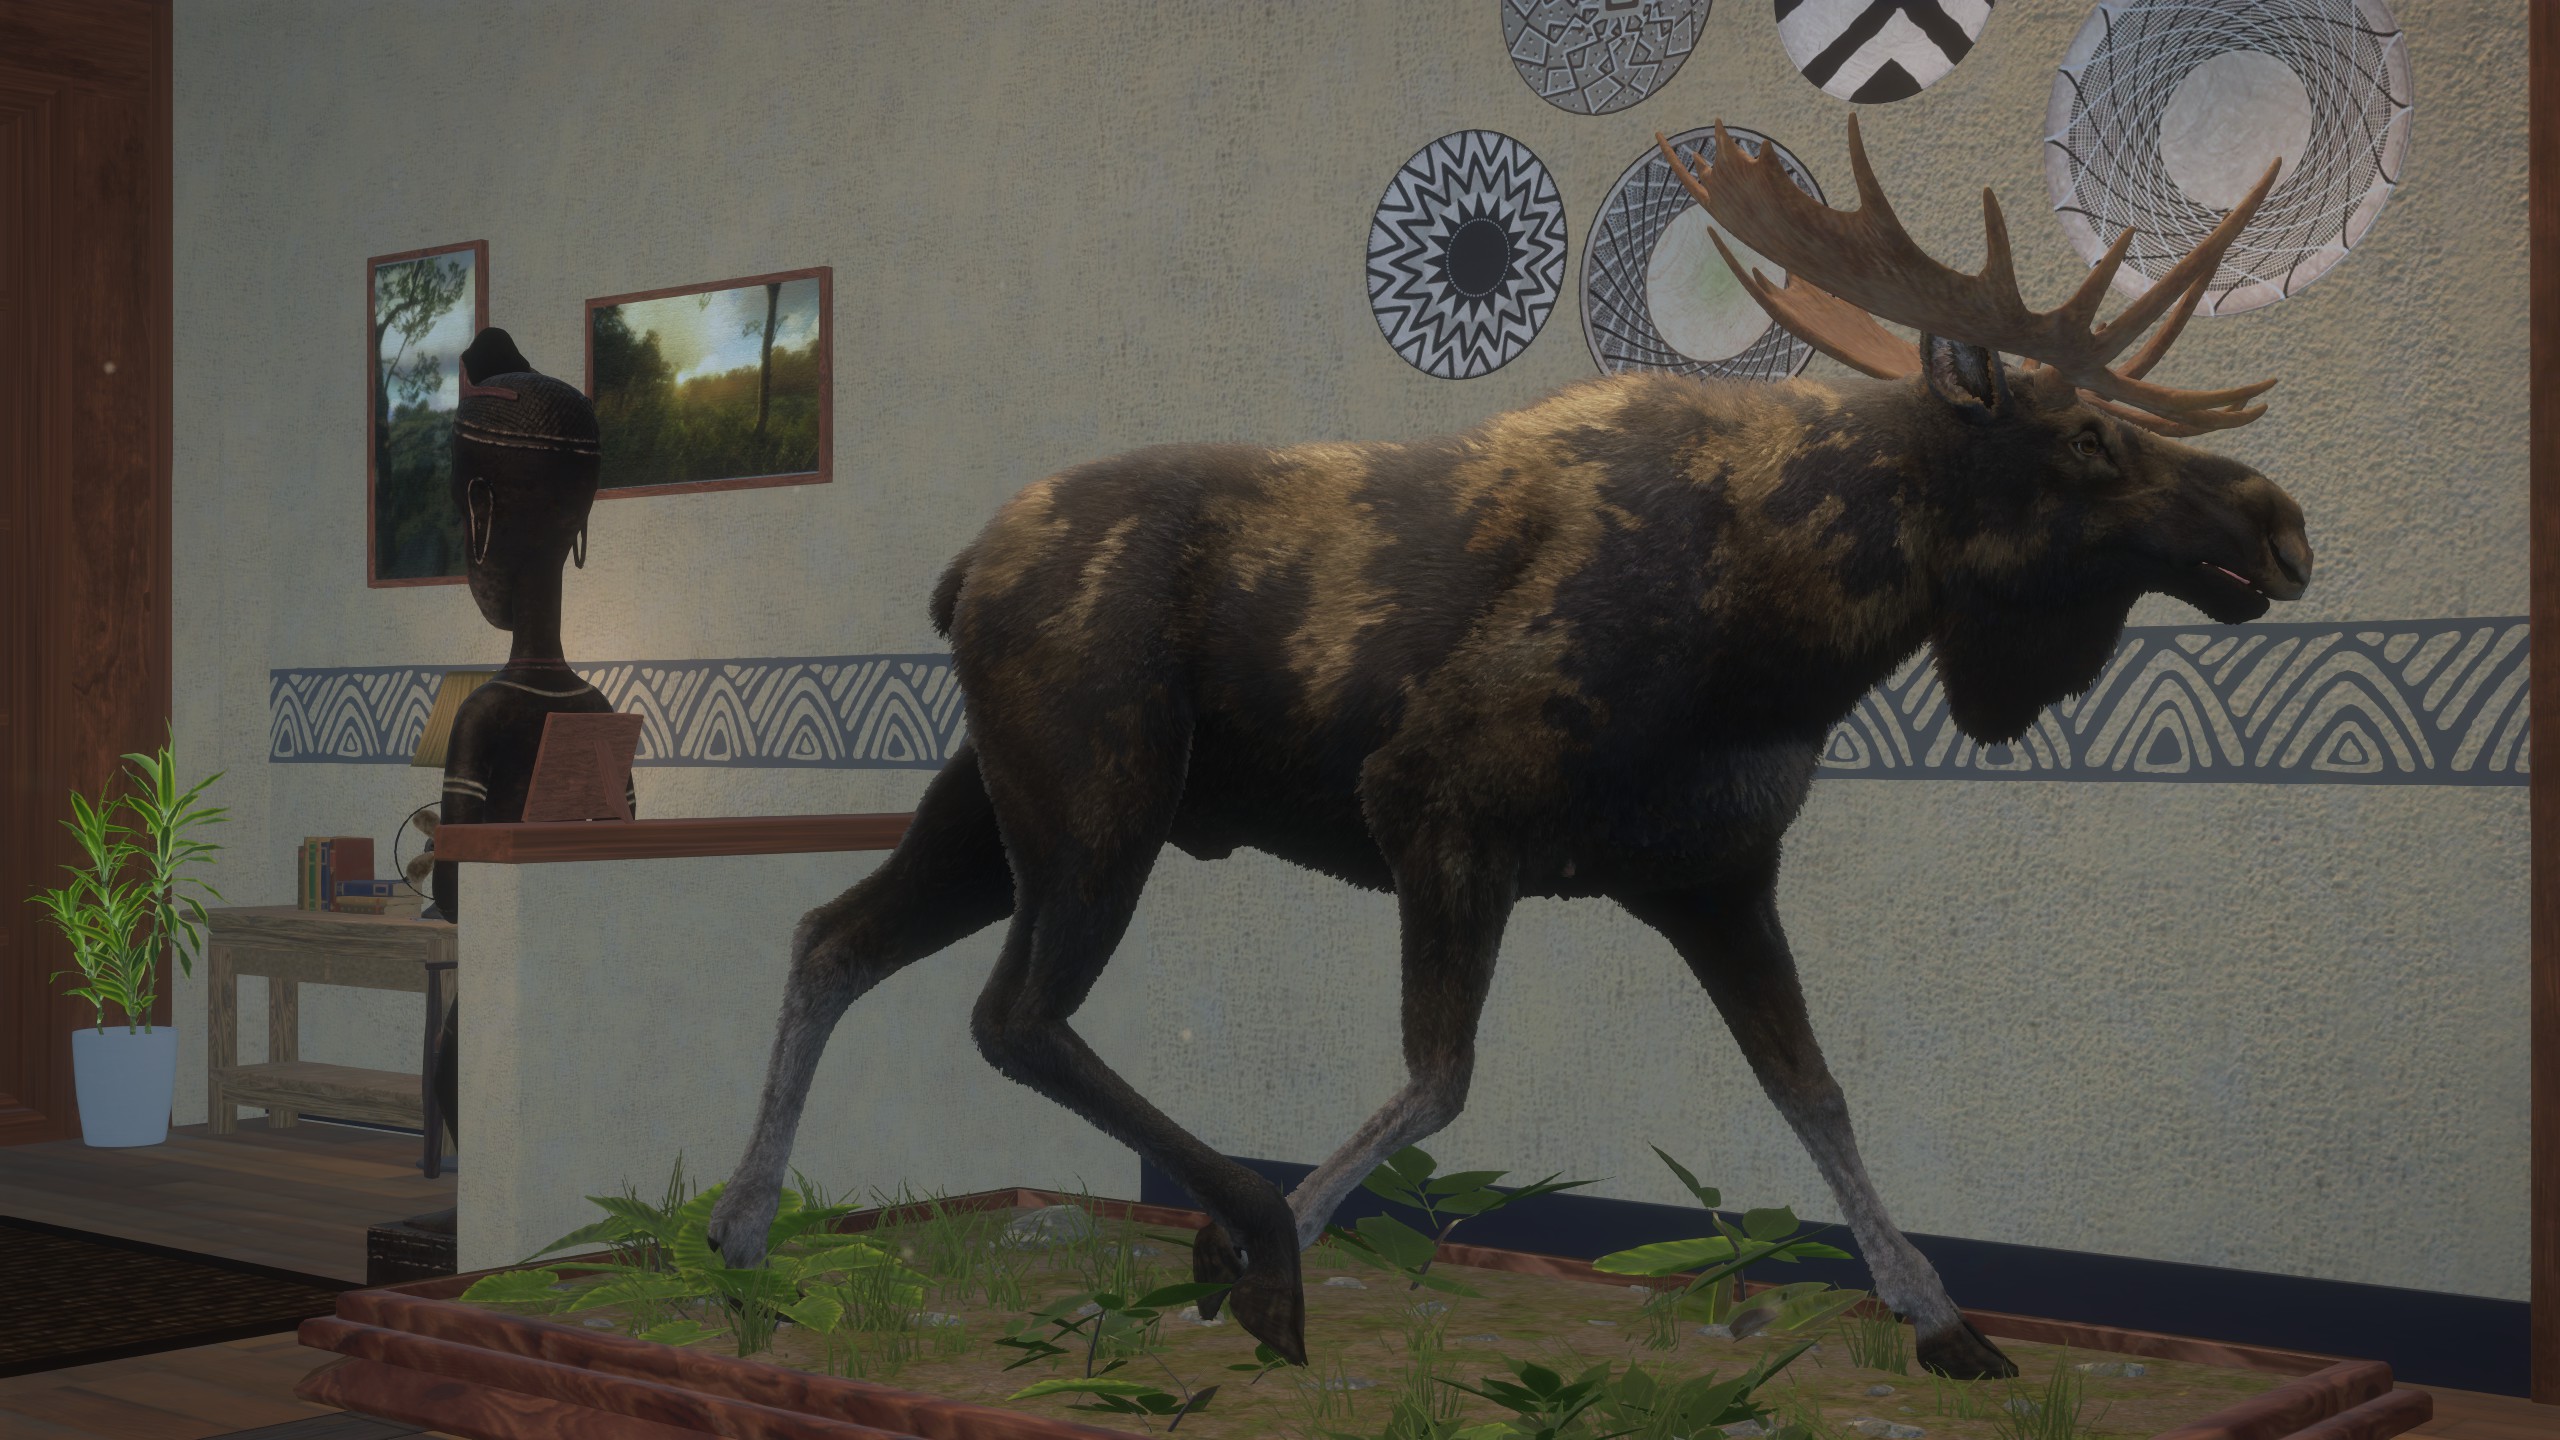 MOCHA (Found in the Te Awaroa missions)
 A large and unique Mocha furred moose.
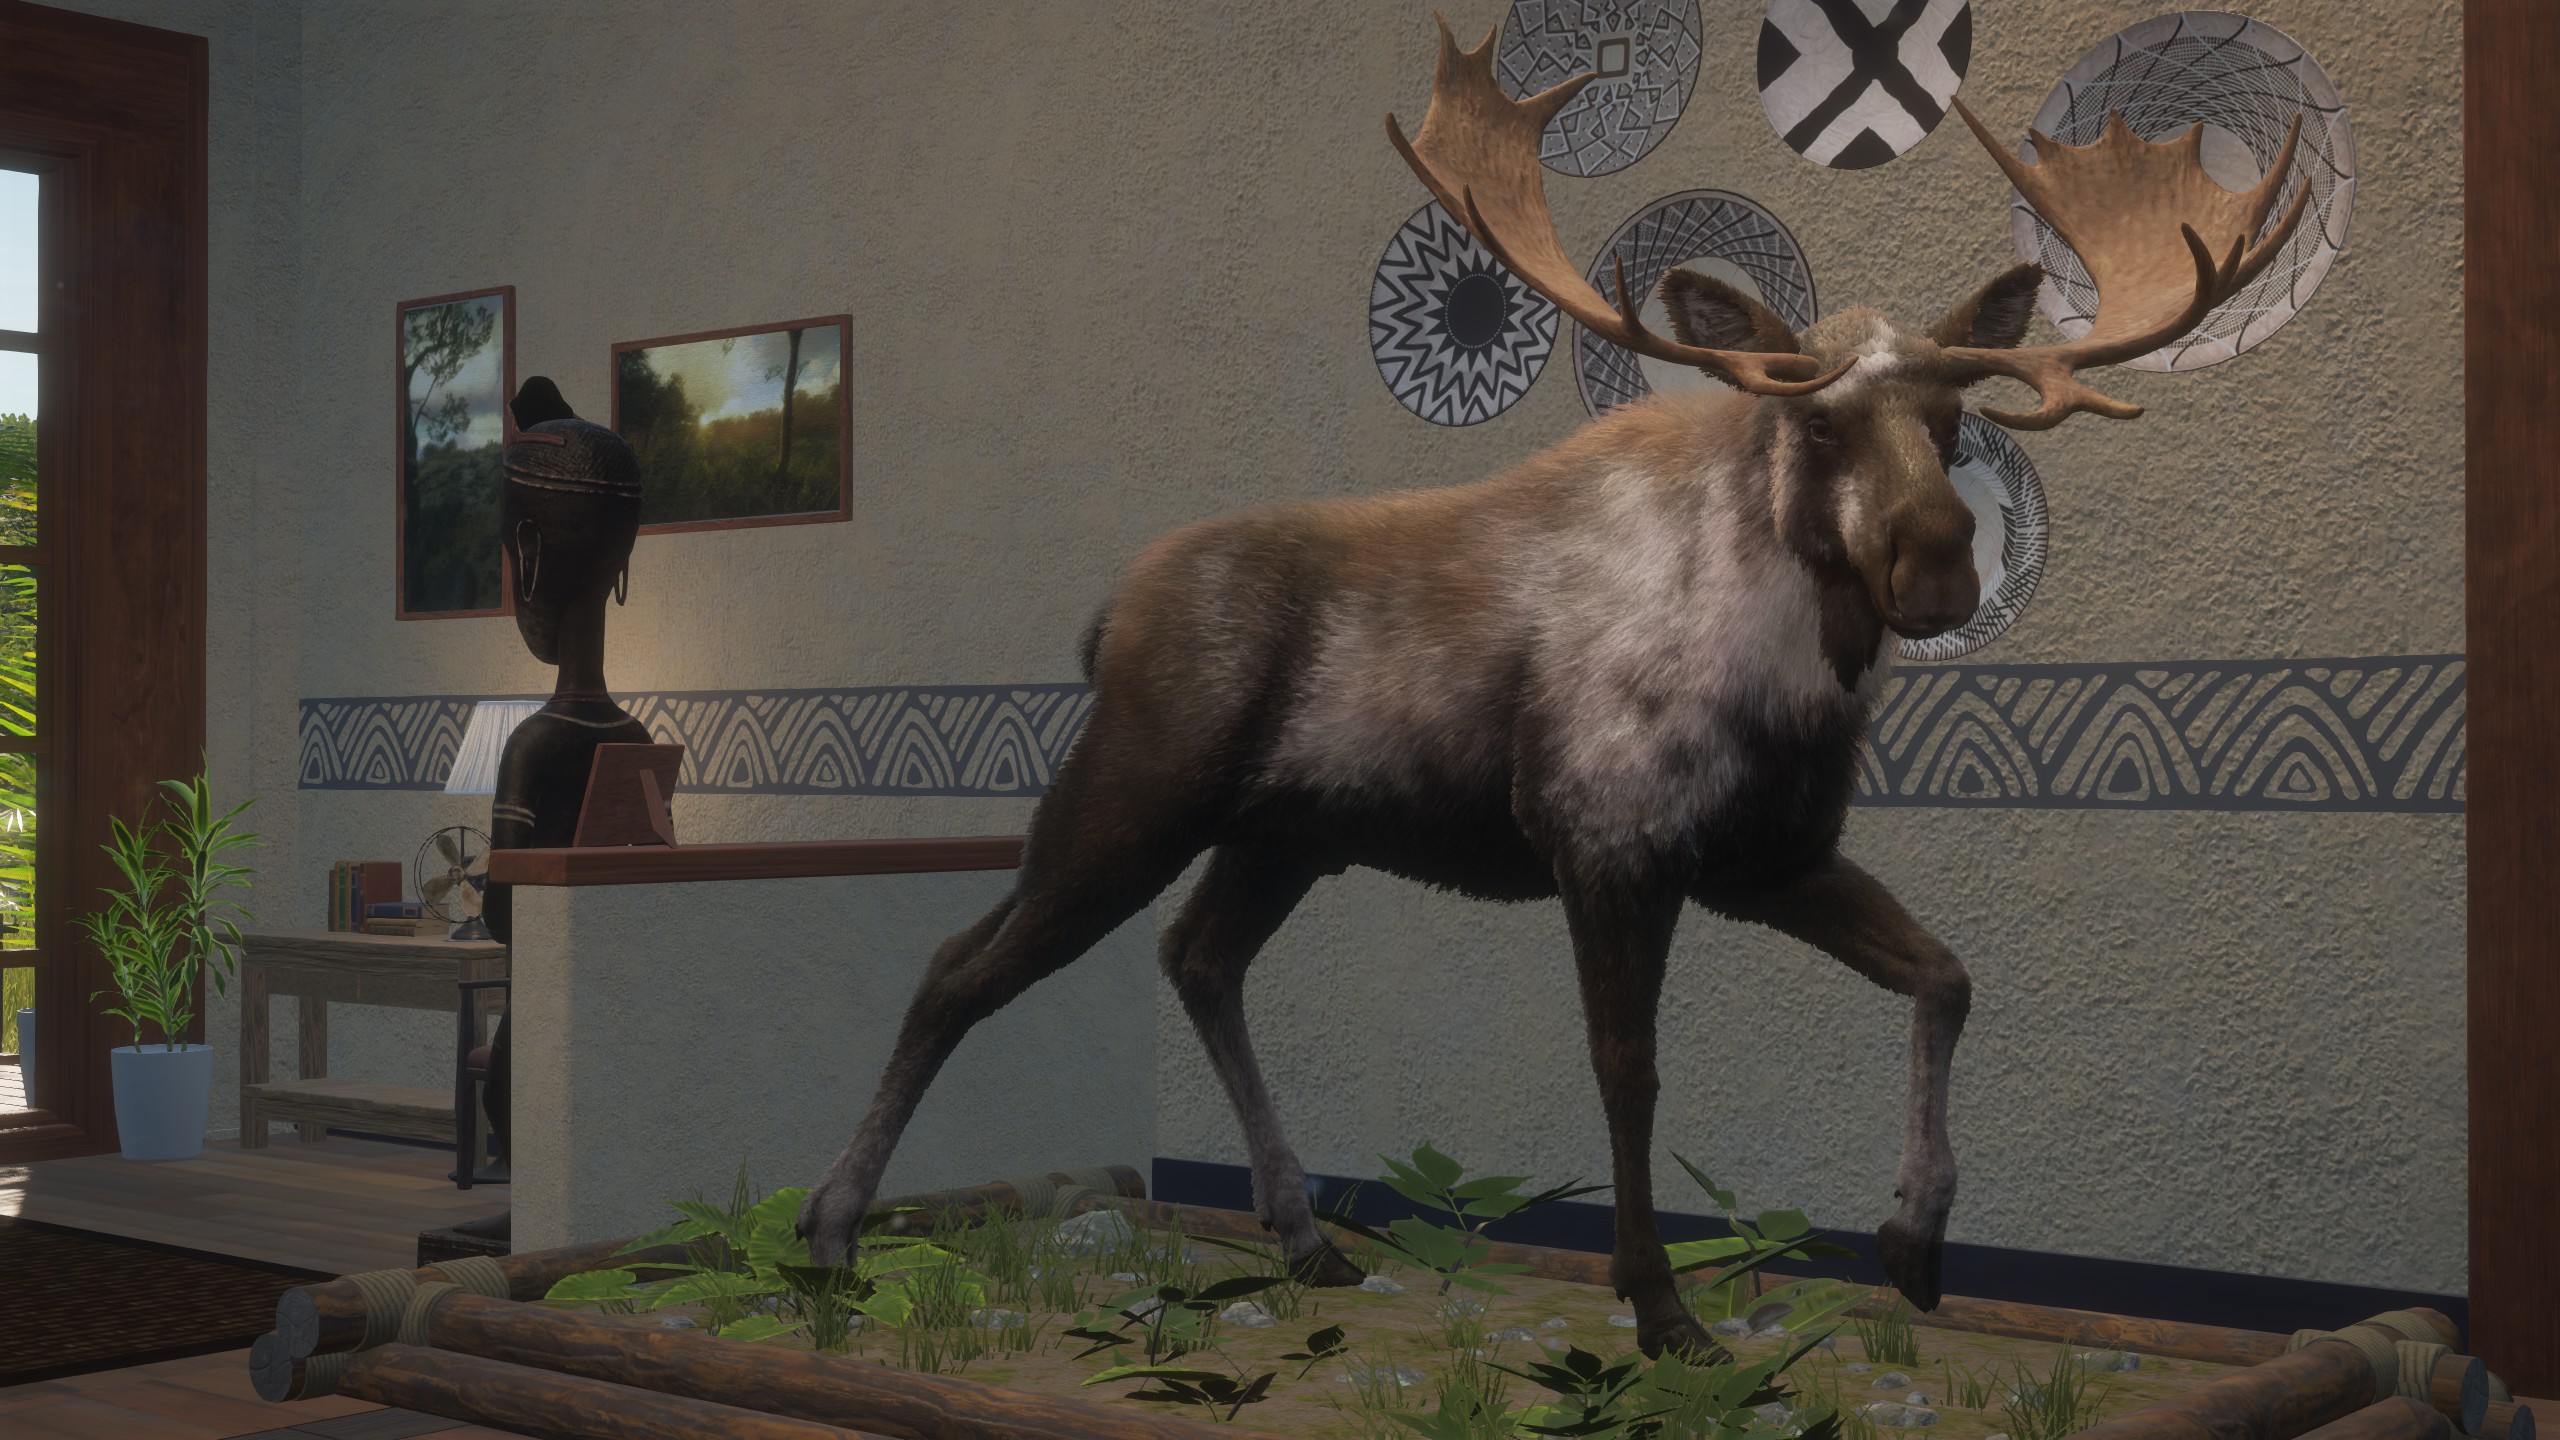
FABLED ASHEN
https://steamuserimages-a.akamaihd.net/ugc/2064376690976846462/297A05A9C55CBE2AEF3254E11C6DF98A7030927D/?imw=5000&imh=5000&ima=fit&impolicy=Letterbox&imcolor=%23000000&letterbox=false
Great One moose also have a different variety of antlers. They are exclusive only to the Great One moose, and there are four of these rack types in total. In this guide, we won't be going over them.
Moose have different weights which indicate the level and size of the moose. If you come across a track, you should know what the approximate level of the animal would be based on the weight of the track. In order for the moose to be a potential diamond, the animal has to be at least 590 kg or 1300 lbs.
Moose that weight 545-620 kg or 1201-1366 lbs. are either large levels 4's which score gold, or level 5 moose that score diamond (or gold if they troll you.)
Moose that are guaranteed to be Great Ones weigh 605-700 kg or 1333-1543 lbs. If you spot one of these moose, they are definitely going to be a Great One score.
Herd Mangement
Herd management is when you shoot only the level 3's and 4's or 1's and 2's depending on which lakes you've chosen to destroy or grow. Let me explain.
In Medved Taiga, you need to select around 10 main lakes to grow and spawn your diamonds into, and around 5 or 6 lakes to destroy. When some lakes only have small moose, such as level 1's and 2's, that will force your other lakes to only spawn large 4's and 5's, which is what you will want to happen. The 10 shooting lakes you choose are the ones you feel comfortable going to very often and should be easy to reach and move around on. And your 5 exterior lakes probably shouldn't be as large as your shooting lakes and should be more along the outskirts of the map. Here is my shooting and exterior lake setup:
https://cdn.discordapp.com/attachments/991500715547701339/1117160313381466223/GO_Moose_Grind_20230610113546.png
If the image doesn't show, you can find other people's images of their setups online or in one LadyLegendXO's videos and see hers.
The ones marked in yellow are my best shooting lakes. Next, find ALL of your moose drink zones in those areas. Now, how do you get your shooting lakes to spawn diamonds and your exterior lakes to spawn small moose?
In your shooting lakes, ONLY shoot male moose that are levels 1 and 2, in order for the opposite 4's and 5's to spawn. And in your "shoot down" lakes, ONLY shoot male moose levels 3 and 4 and troll 5's, so that only 1's and 2's can spawn.
So basically, smaller = bigger / bigger = smaller.
In my lakes surround by red and yellow, I will only shoot male 1's and 2's. In my lakes surrounded by black, I will destroy those lakes by only shooting male 3's and 4's.
After you've shot the required moose for each lake, you should have only 1's and 2's in your exterior lakes, and so there's no point at going back to those lakes! And DO NOT shoot the wrong moose at either of your lakes, because this will setback your system by a little.
(Of course, if a rare female or male spawns, you can may shoot it if you want, despite the fact that it might not be the right shooting level for your certain lake. You can make an exception by one or two moose if you make a mistake :)
By killing the opposite of what you want in those lakes, you will force the system to spawn big moose in your shooting lakes and very small moose in your exterior lakes. This method of shooting is called herd management and it is the fastest way to spawn diamond and large 4's at your favorite lakes. Medved is one of the easiest, if not the easiest, map to use this method on due to the low-ish number of moose drink zones.
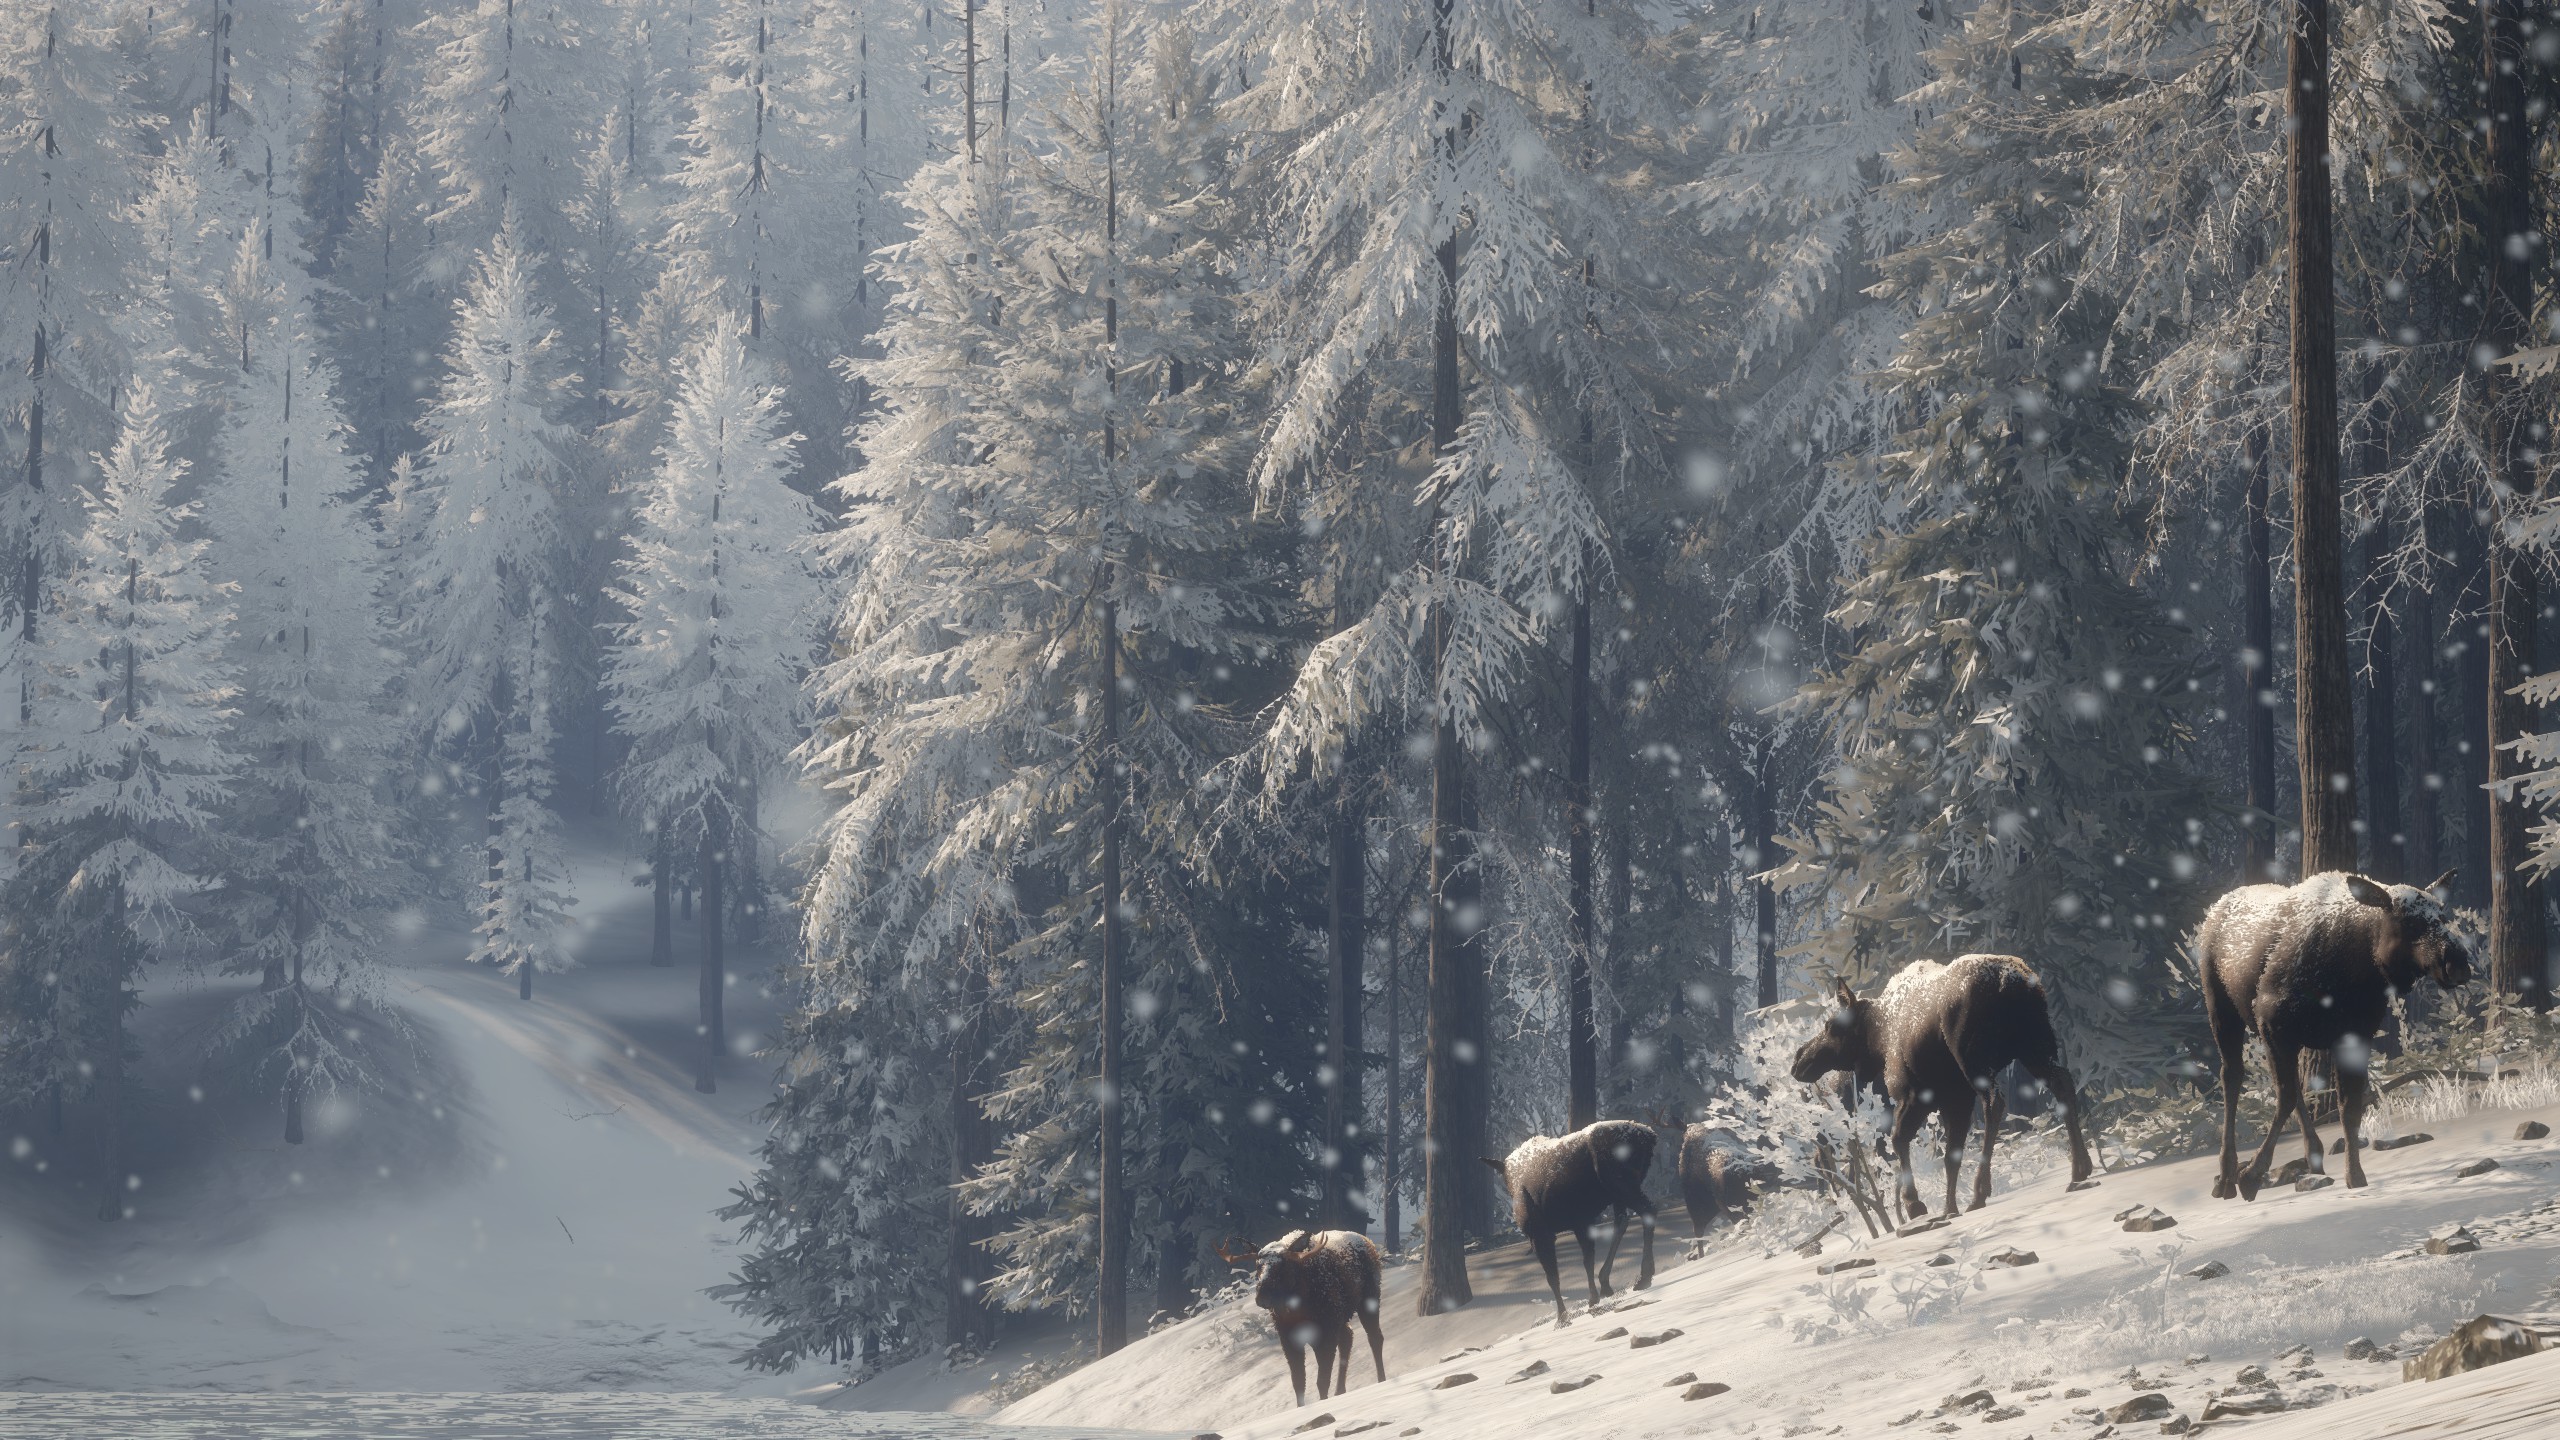
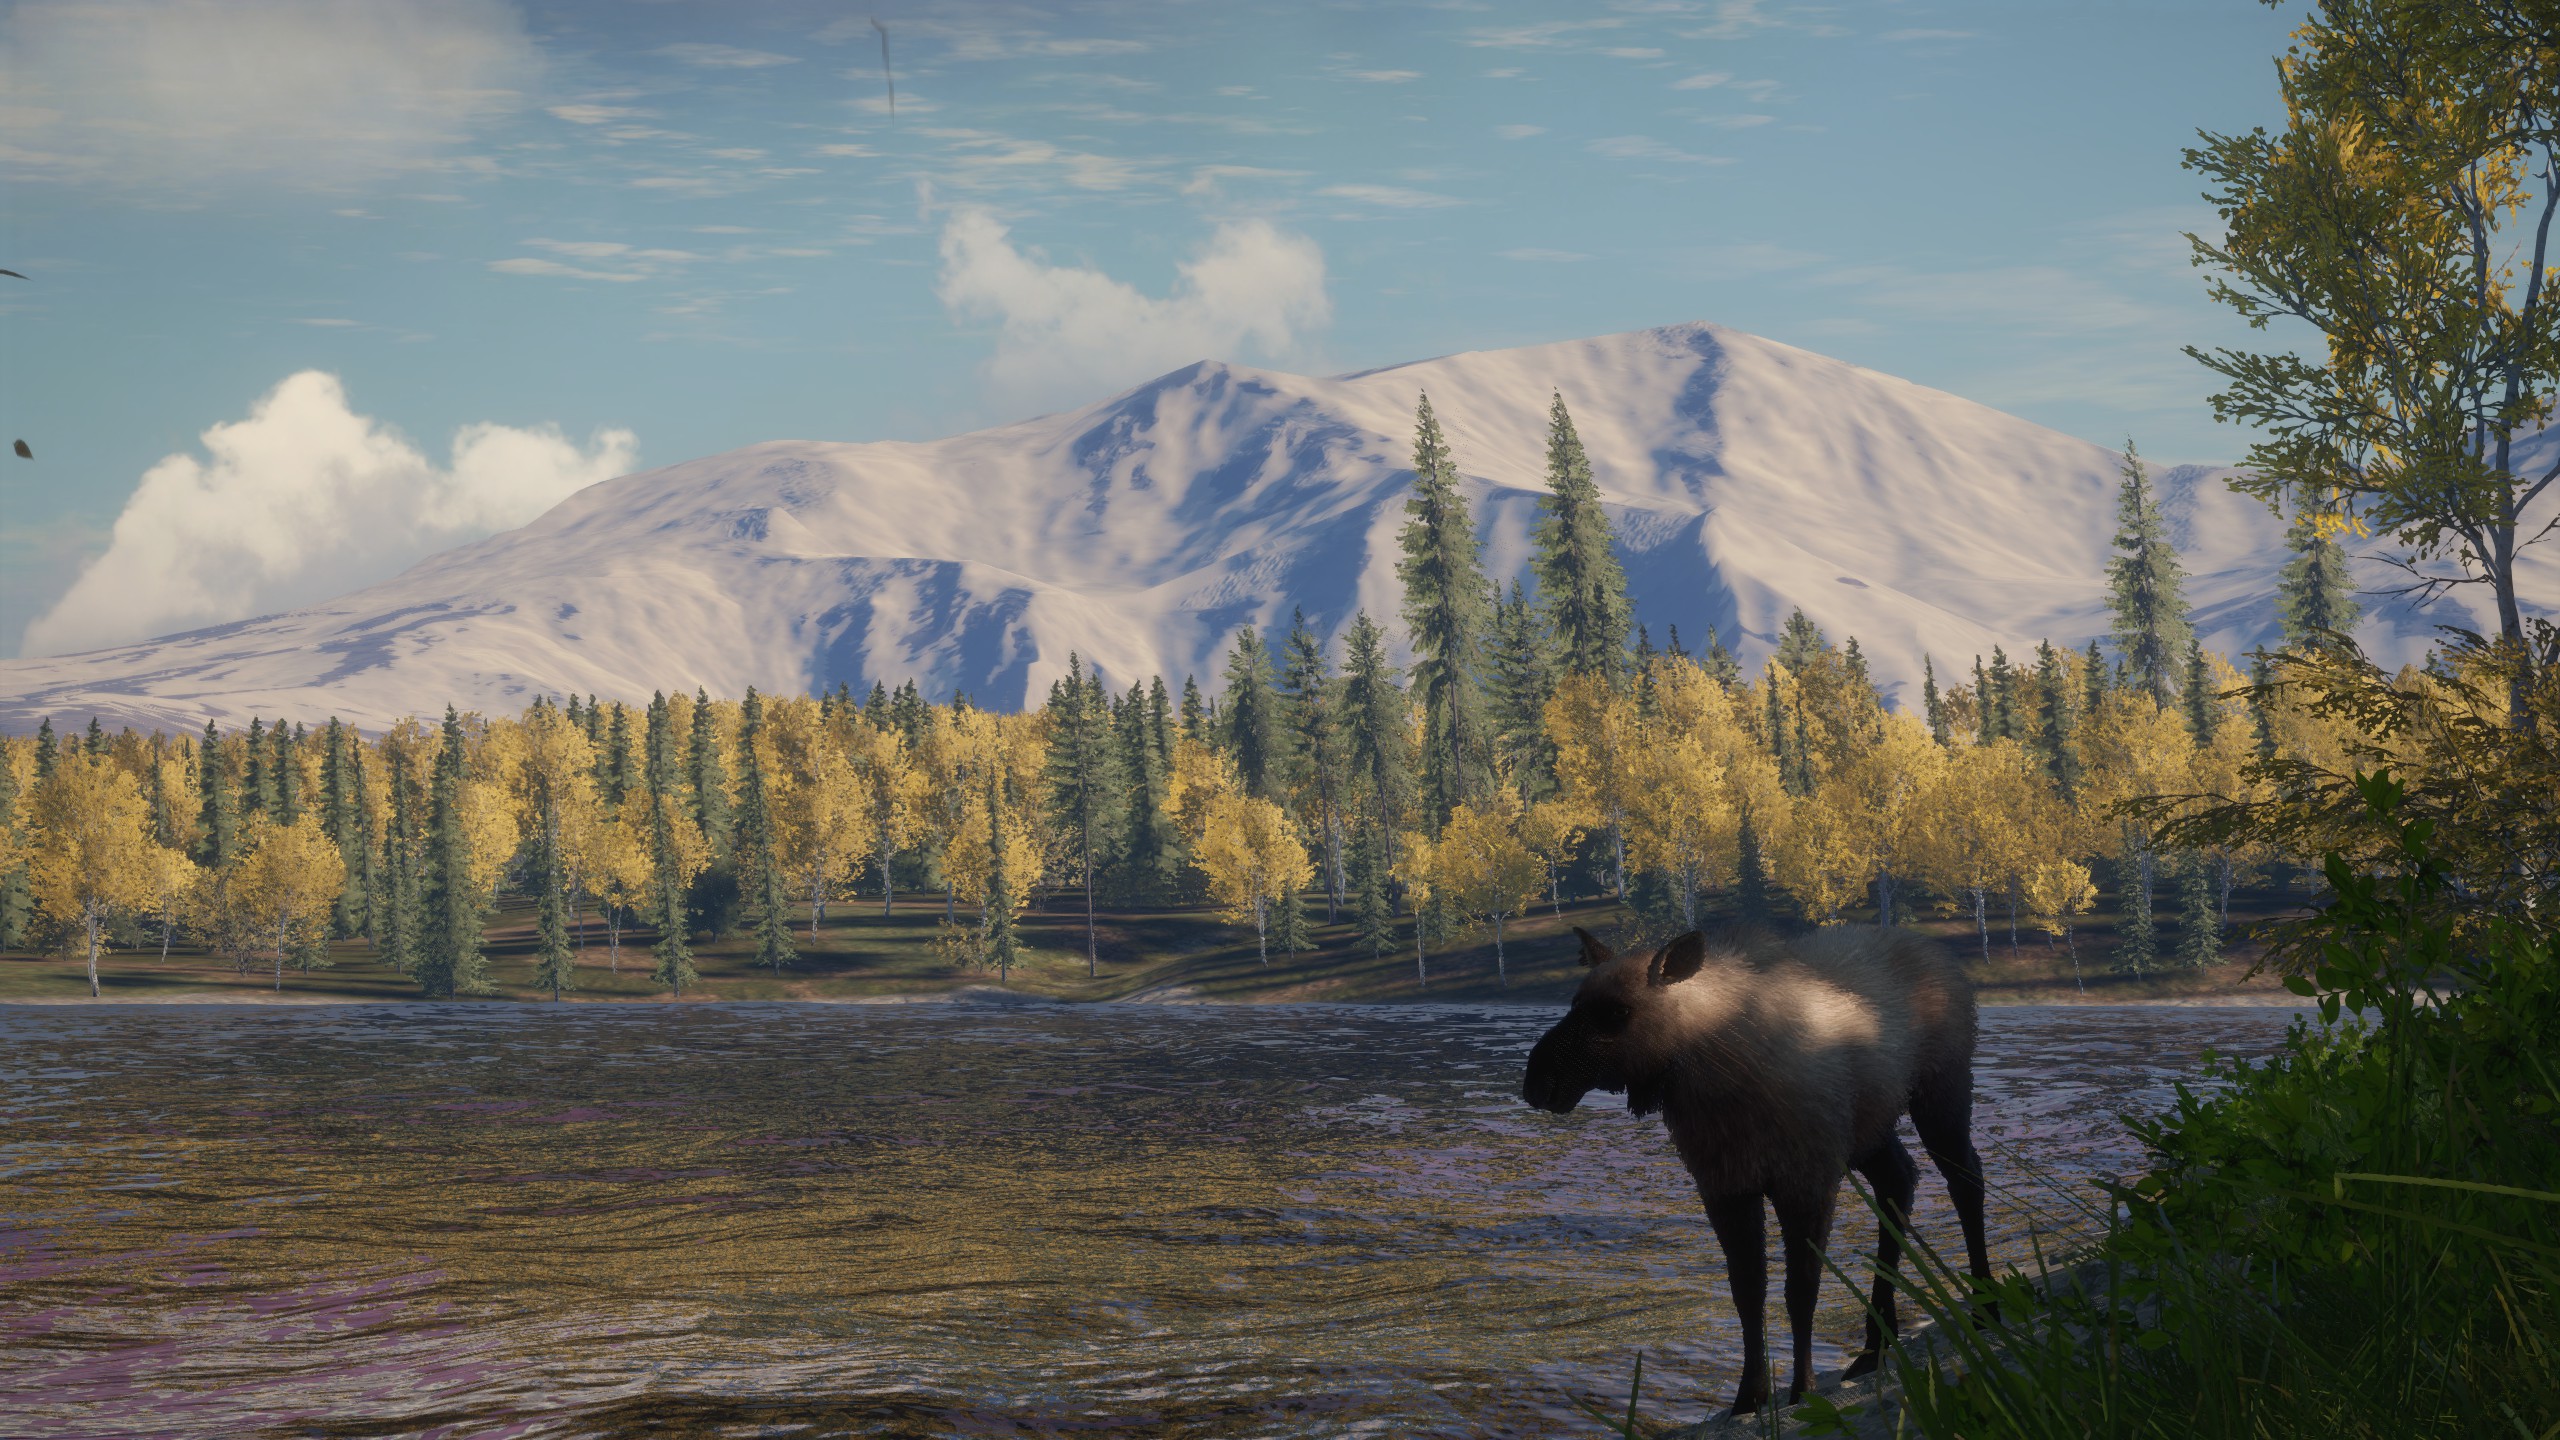
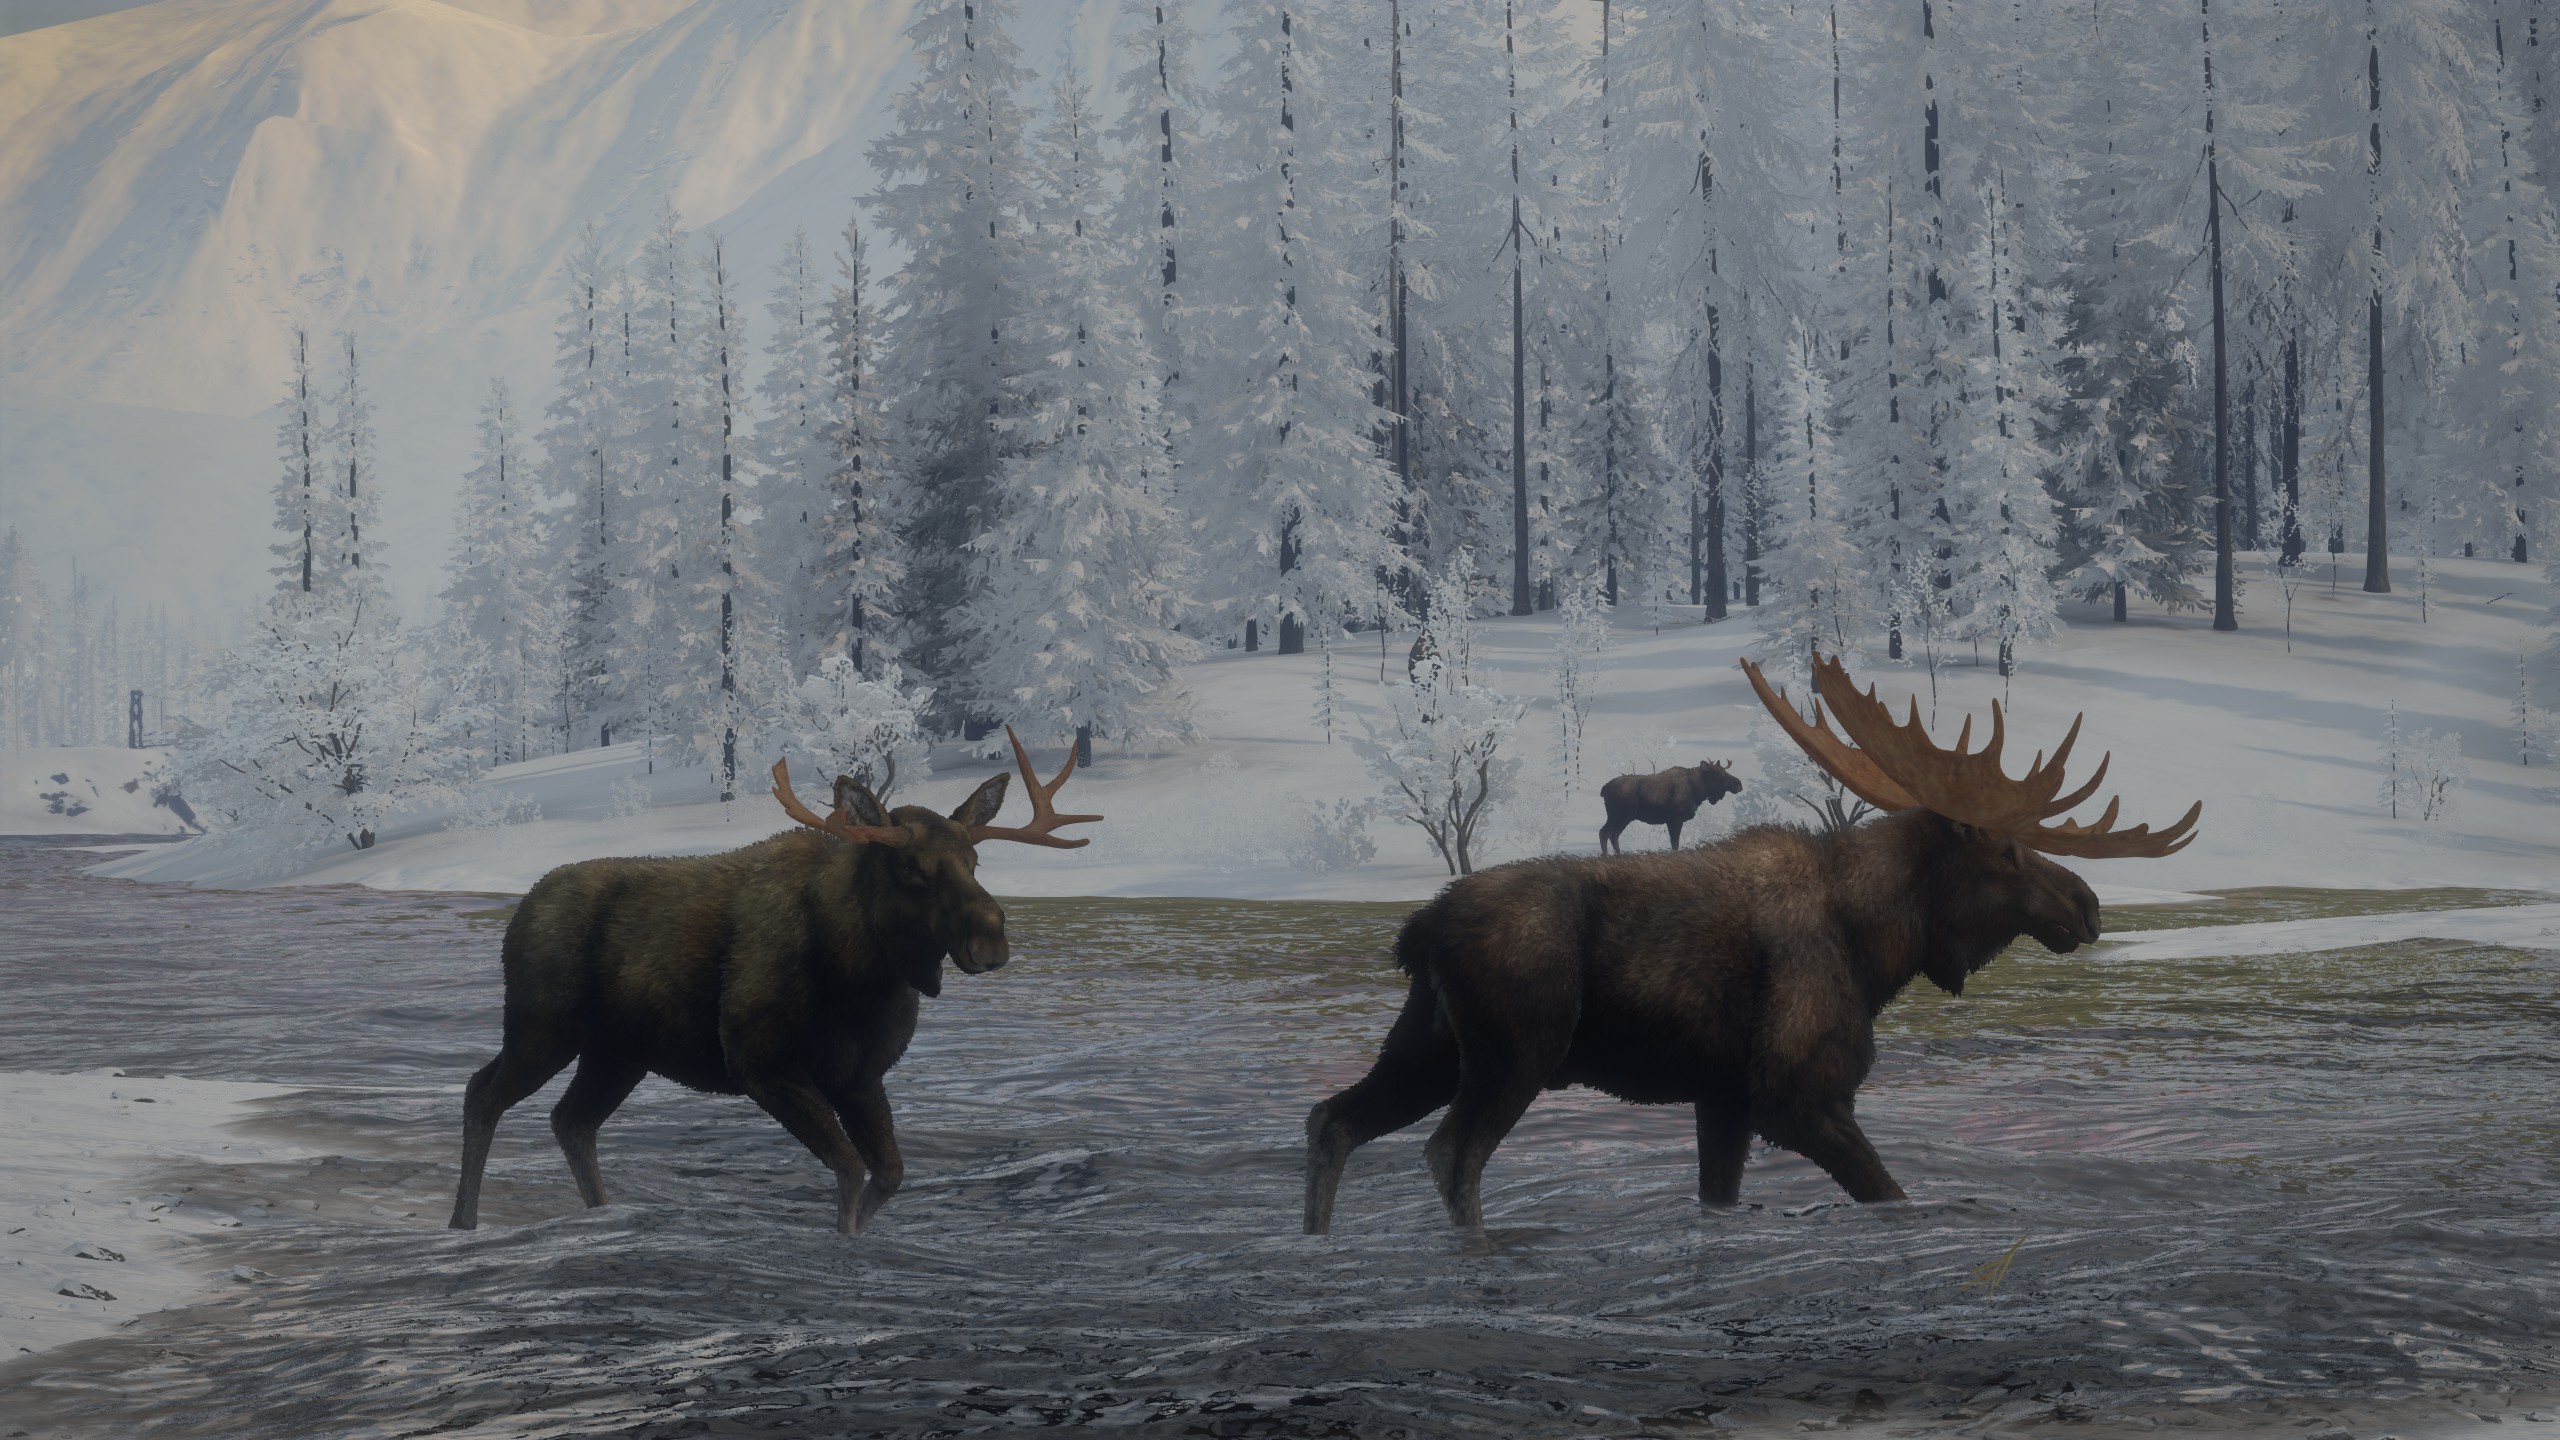
Great Ones will not spawn more often using this method, because they are RNG spawns (random number generator: they spawn by rare chance). But you will get a LOT more diamonds and super rares in the meantime as you look for your Great One! The Great One may spawn at any of your lakes, including your small exterior lakes.
After you have used this method for a while, you should have a pile of diamonds at your shooting lakes and very small moose at your exterior lakes. You can shoot your diamond(s) whenever you want, but I recommend another method called stacking which we'll go over in the next section.
REVIEW:
- Choose your 10 shooting lakes and your 5-6 exterior lakes.
- Find all of your drink zones.
- Shoot the required male moose for certain lakes.
Let the diamonds pour in!
(Herd management is not considered cheating, for anyone wondering :)
Stacking
Stacking is basically when you leave your diamond OR Great One animals on the map and not shooting them so more and more can spawn. I recommend using this method along with herd management at the same time to get as many high level animals to spawn.
When you manage to get a diamond to spawn, by using herd management or any other method, if you leave the diamond on the map and don't shoot it, it let's other diamonds and Great Ones spawn without a setback to your system. When you claim a diamond, your grinding system gets a little refreshed and a setback will occur that will make it harder for more diamonds to spawn. But, by not shooting your diamonds, that allows more and more to spawn all the time. Same works for Great Ones.
Then, when you can't find any more moose to shoot for your lakes (if you're using herd management), you can finish your grind by shooting all of your stacked diamonds and giant 4's and Great Ones. Personally, I might not stack my Great Ones (only if they're ugly >:( and just shoot them when they spawn, but if you want them to spawn faster, don't shoot!
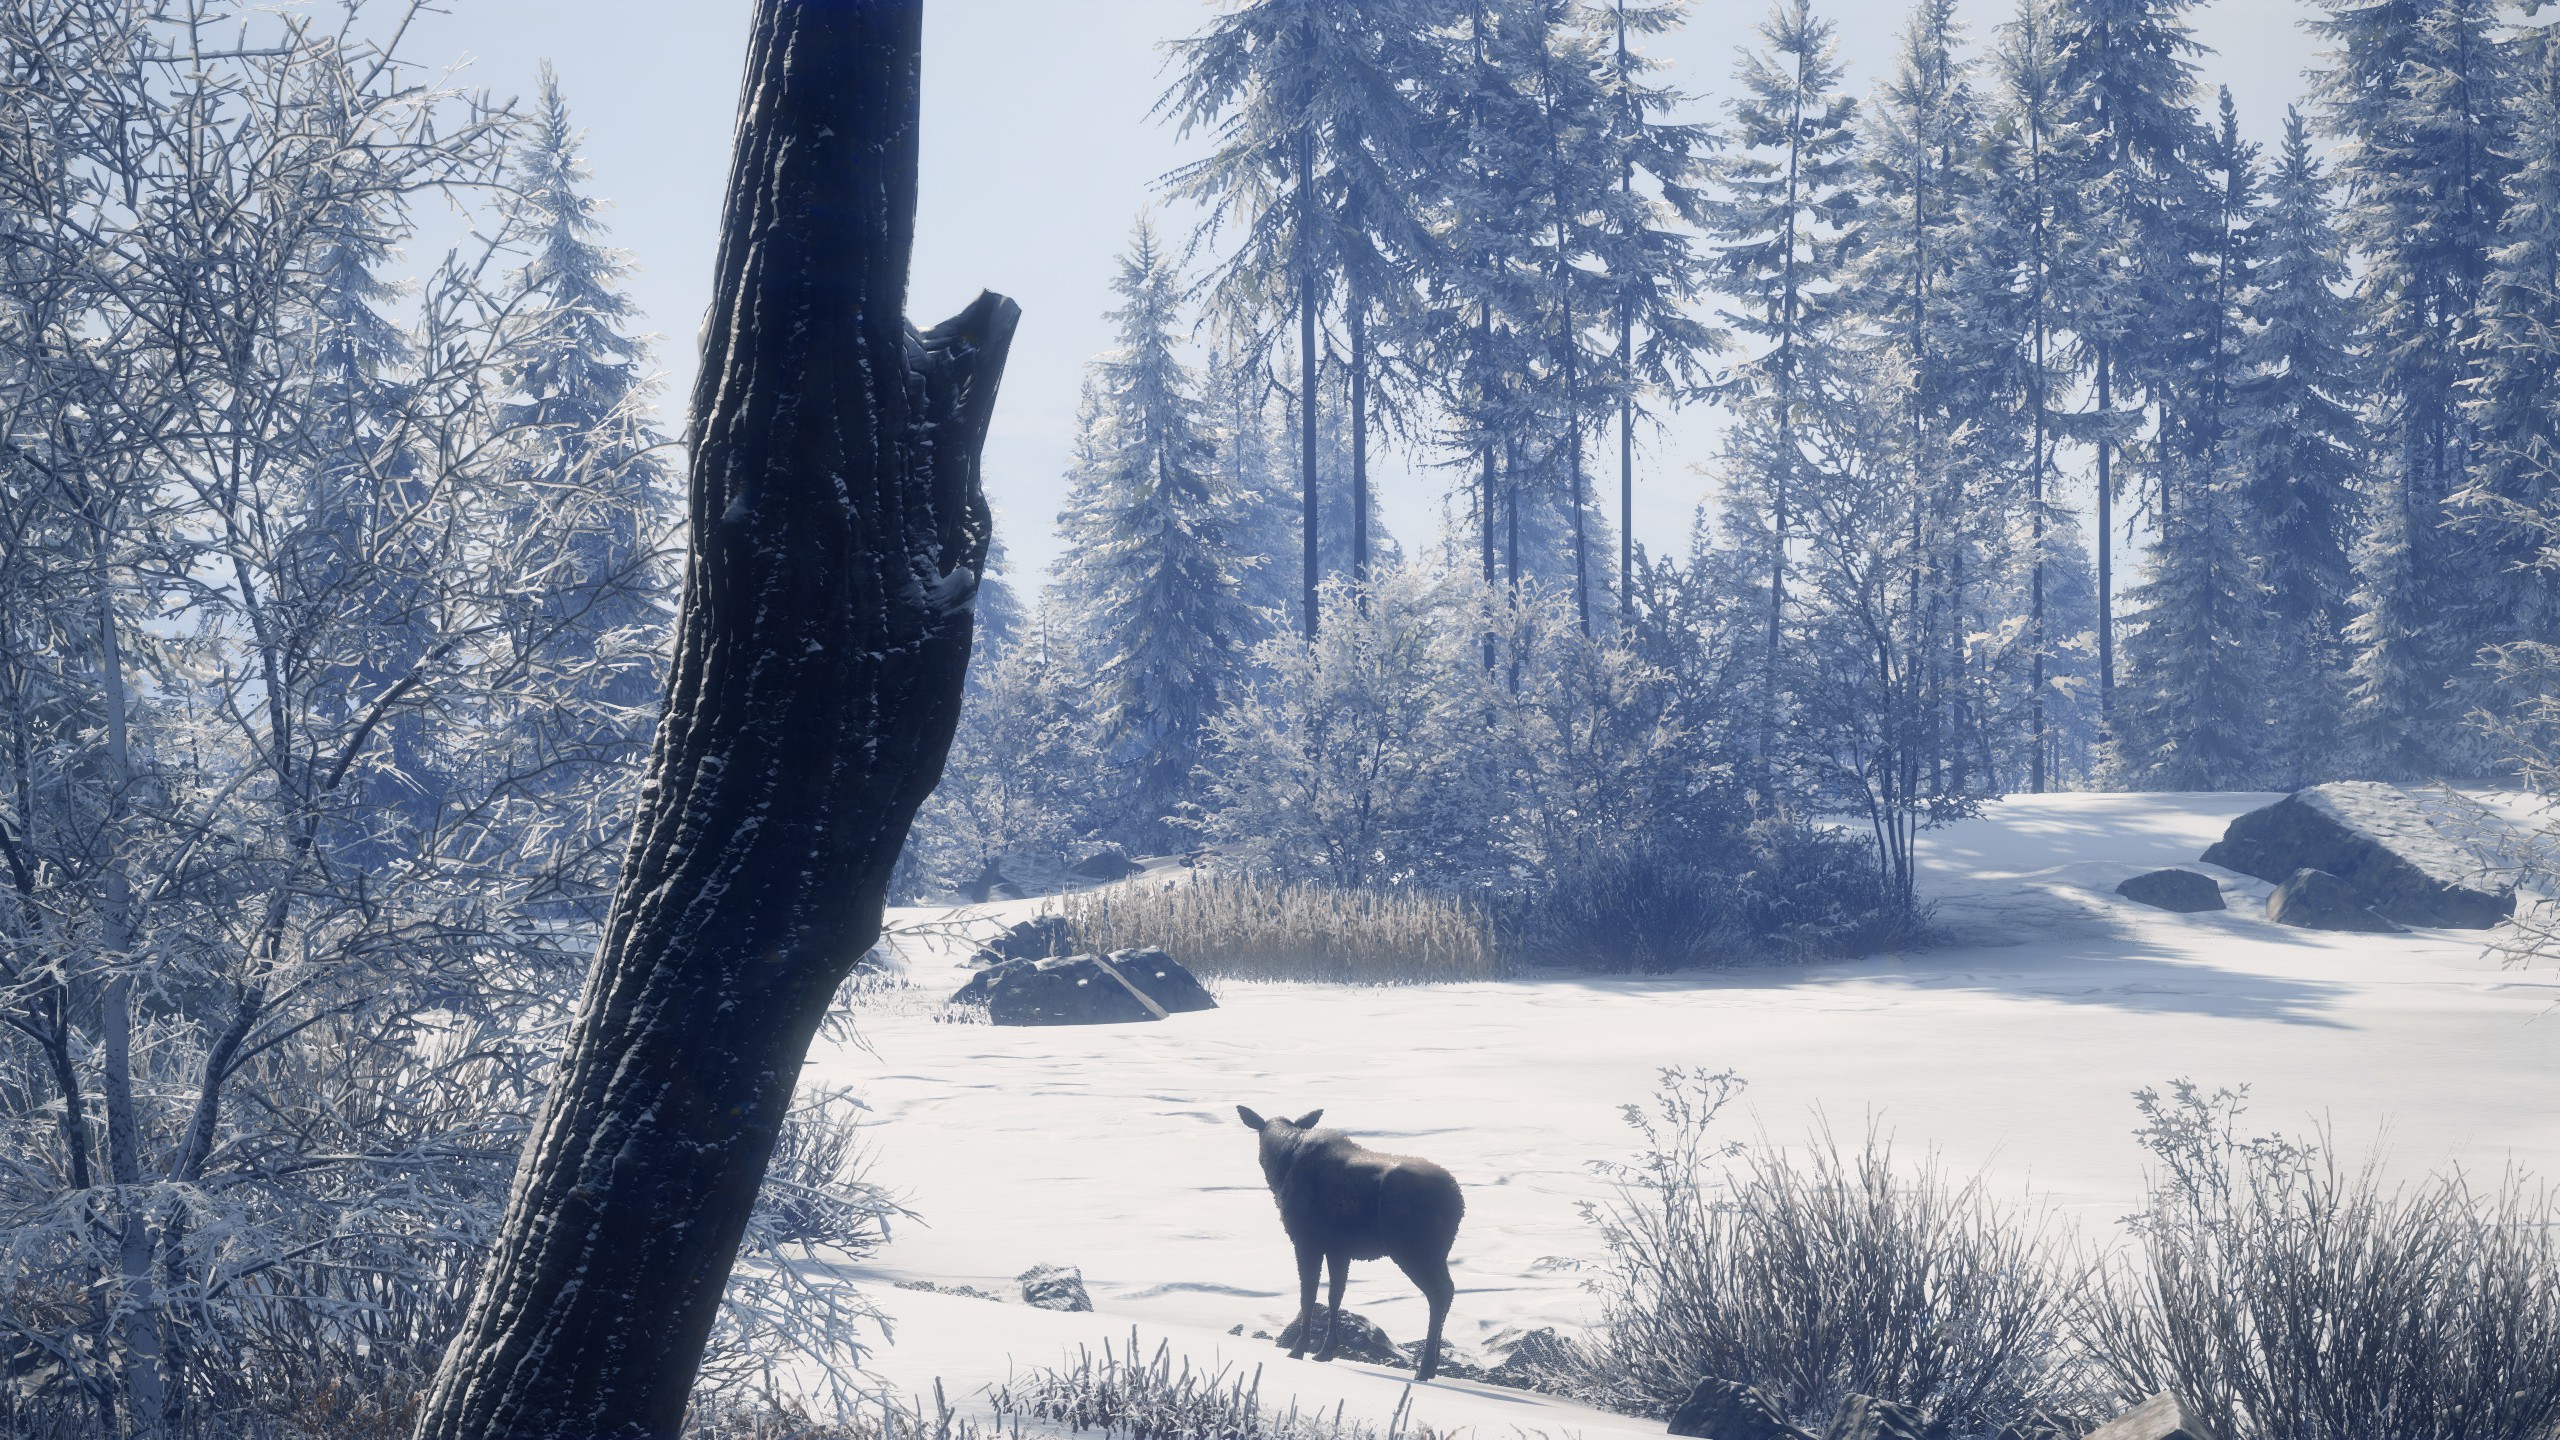
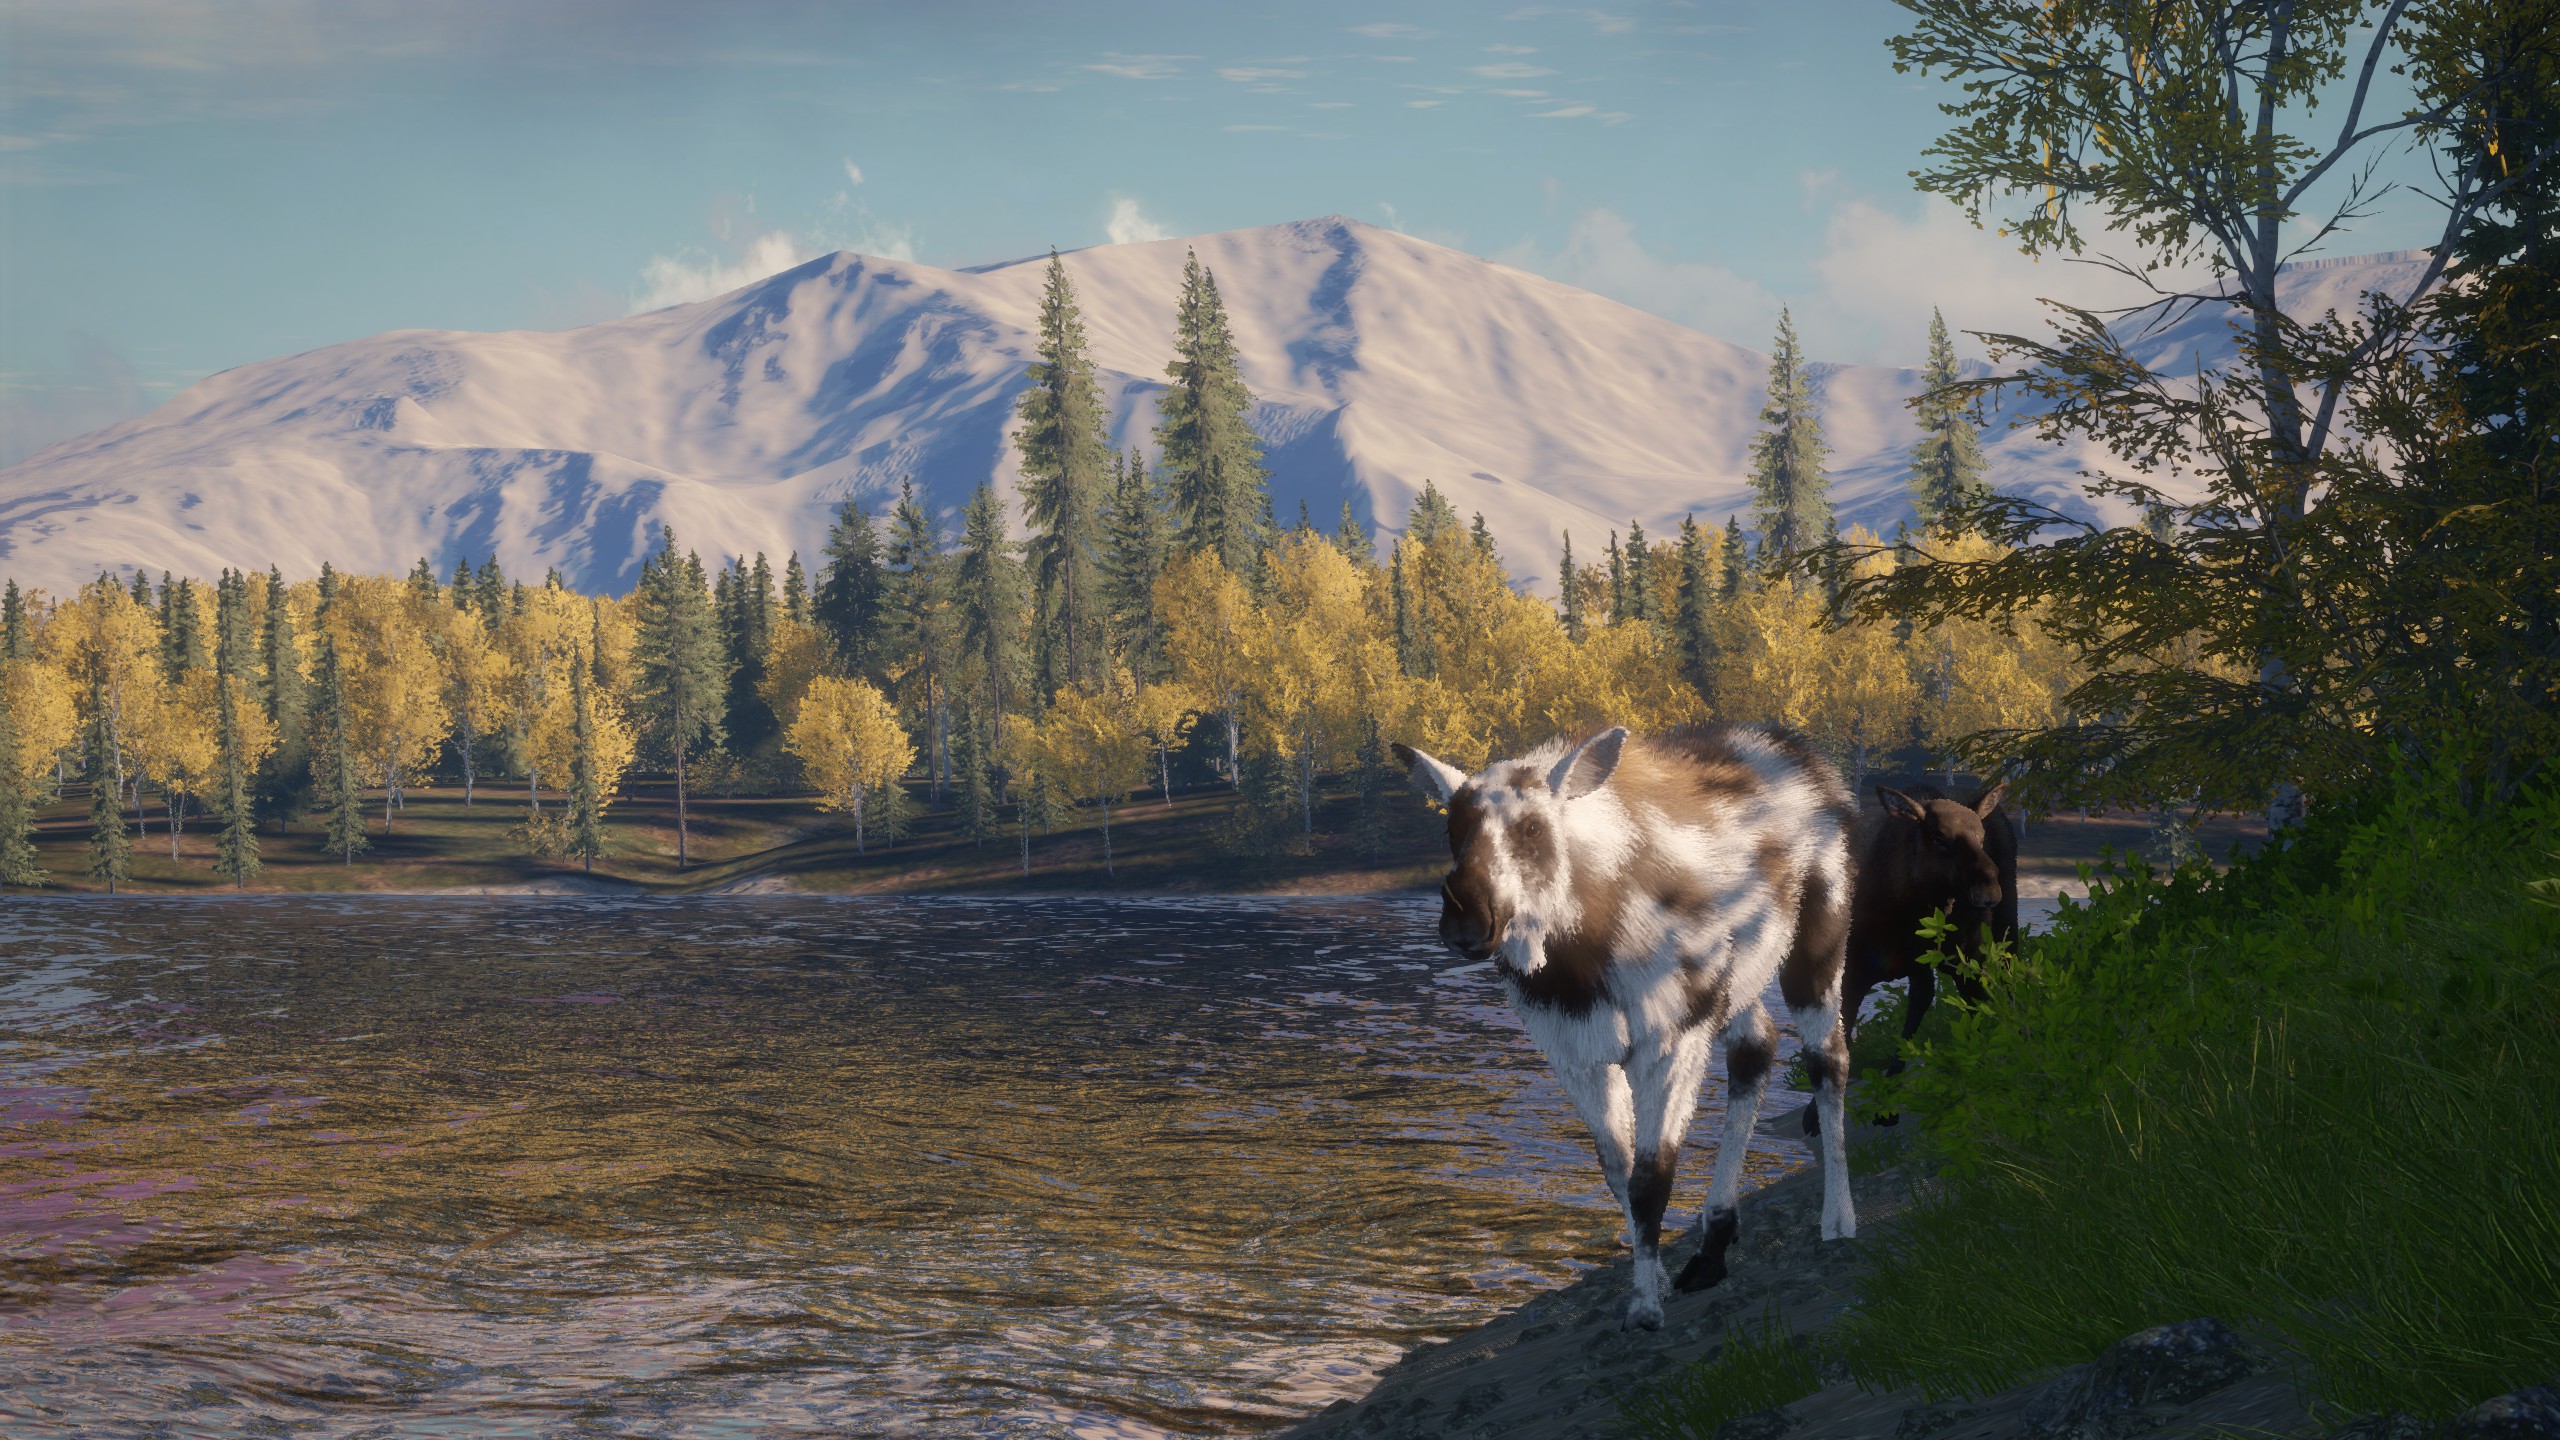
UPDATED NOTE:
UPDATED NOTE: i actually tried only shooting the males level 3 and above (besides small 3s which are technically 2s) on the ENTIRE map (including solo zones) and it actually spawned me level 5s. it took me up to a week and a half (playing several hours a day but some days i didnt play at all) to spawn my first level 5. i spawned 5 level 5s on my map and 2 were diamond. my friend ended up getting 2 great one wolves just by shooting the largest males in every group on the whole map (she didnt even stack, i did). so this def works too! it probably took me longer to spawn my diamonds but it was more fun for me to do rather than the typical herd management cuz herd management can kinda suck the fun out of hunting especially if ur new to the game. i literally could not get diamonds to spawn using the methods i listed in this guide. i was just writing what ytbers have said and put it in a guide lol. but i hope it works for other ppl! the method i tried def spawned more diamonds but no great one in sight yet! and in case ur wondering i did it on yukon which has SO many moose zones. medved sucked the fun out of it for me personally. the moose i shot (especially in solo zones) jumped around a lot but i didnt worry too much cuz i wasnt trying to be super careful with which moose were in which zones and stuff cuz the only objective i had was to exterminate all moose on my map level 3 and above. All this shooting and management resulted in the respawn system squeezing a bunch of my large respawns in one area of the map (cuz the rest of the map was just tiny moose). so that area ended up getting 3 level 5s. rlly cool :)
i also noticed i MAY be wrong about some of the info i listed here but im not even sure what to delete or change so ill just add the new method i heard here:
- find all your moose drink zones on ur entire map.
- select 10-12 of the BEST zones (zones with at least 2 males and 2 females in it and large herds with large moose). i kept saying "lakes" over and over when it's actually individual drink zones rather than an entire lake area.
- manage those 10-12 zones down to small 3s and under by shooting the males that are large 3s and up
- leave all small moose on your map
- (optional but it speeds up the process and gives you better results, however people have gotten great ones without doing this) while youre managing your best zones (or even after youre done), manage all the other zones around the same way (eventually youll manage every zone on the map.)
- once youve started spawning diamond potential moose in your best 10-12 zones, go and manage your solo zones. (what it means: a zone that only has one animal is called a solo zone and if you shoot it, it results in the zone disappearing and you have to re-find it again.) If you try to manage solos early in the grind, it could take a long time to shoot the moose down to a low level if your best zones still have smallish moose in them. you need to have extremes on your map in order to spawn diamonds faster and faster (extremes: only really small levels so that the map can only spawn really large levels.) (however i shot solos and everything all at once when i did my grind cuz i didnt care. at some point i also left all the diamonds i spawned in whatever zone they spawned in whether it was in my good zones or not. [besides solo zones, i shot the diamonds in solo zones.] when i saw a diamond spawned in a zone, i marked that zone as a new best zone, and i didnt touch any of the other moose in that zone anymore, even if they were lvl 3+ [cuz i was too scared to mess with it any more teehee.])
yes, you will have to go and find all the solo zones you shoot cuz they respawn somewhere else. its tedious but its how you herd manage correctly.
ladylegend managed to spawn a great one wolf by only find the 12 best zones and managing those. she didnt even stack her diamonds. but i know some great ones are rarer than others and some maps give more diamonds and rares than other maps too. my yukon map has always given me good results so i decided to move my grind there and it was a great choice cuz i got 2 acromelanistic moose, 2 albino moose, 2 mosaic moose, 3 piebald moose, and one melanistic moose. i also found 3 other diamond moose (one was 300+ score) besides the ones i spawned during my grind and 2 diamond grizzlies and 1 diamond wolf and 3 level 5 caribou that i either lost or botched or were trolls. so different maps work for different people. DEF choose one that you have a lot of fun hunting in even if its maybe not the best for moose grinding. i also marked the ENTIRE map with color coded dots which made it so much easier to know which moose were where so i dont visit a female solo zone and waste time by accident. i sadly cant add the image cuz the file is too large but imagine a yukon map image with a dot on it for each and every moose drink zone. i had my female-only zones be pink dots, my "need to shoot this zone down cause theres big moose" dots were white. black dots were zones i managed down to small moose. yellow dots were zones i wanted to keep and not touch and check on once in a while to see if a diamond spawned (i ended up just shooting those zones down anyway so it doesnt matter anymore). blue dots were for zones with moose that were way too big to live so those were my "come back to this asap" zones. and purple dots for zones that show up as a need zone on the map but i dont exactly know what moose go there, so those were my "not sure what's here" zones. and i circled my zones in hot pink for where i spawned a diamond and i wrote the score estimate next to it as well as all the levels of the moose in that herd, so that i could keep track of which moose i shot and which ones were new respawns after. so like "3 males, lvl 5 (269-232 score estimate), lvl 3, another lvl 3, and 2 females in this zone".
BECAUSE i decided to go crazy and shoot all the big males on the whole map all at once, towards the end of my grind i noticed some female zones or shot-down zones started getting bigger moose randomly spawn in. i had to go and re-check some black dot zones that i already herd managed in case some strays were there. so its harder to keep track of what moose are where when you do it my way, but it made it fun and interesting for me at least.
i actually shot down and destroyed a few of my drink zones in areas that i wanted to reset when i came back to yukon (i originally had a grind set up on yukon before, and then gave up, and then came back to a broken grind cuz i did it wrong to begin with lol. so i destroyed some zones i didnt like to kinda "restart". and it probably made my grind last a bit longer but i didnt care. just something to note that you can try if you like.)
PRO TIP: i wish i knew this before. NEVER shoot a zone down to 1 animal, because that zone will never get respawns again. i heard this from ladylegend in one of her videos. some of my zones that had 1 female and 1 male where i shot the male, the male never respawned and the zone turned into a female solo zone. however some of those zones DID get male respawns back into them later on but that couldve been a solo male that jumped into that zone after i killed it. not sure and i didnt even bother to be sure because it can get really exhausting if you try to be technical about it! however if you do wanna be exactly sure how respawns and herds work, go check out one of ladylegends or ibuypremium's videos because they know and they explain it.
and yes i did shoot small male moose that were rare, and rare females, even if that messed with the system. and it didnt do much to ruin the system to be honest. ive also missed shots and killed a random small male before and i didnt notice much change to the system. everything was still fine after, but its possible it did slow down the process SLIGHTLY and i just didnt care enough to notice. for maximum efficiency, only be shooting male moose large level 3 and up.
Extras
Thank you for reading this guide and if you have any questions, tips, or if you noticed anything wrong with the guide, please let me know in the comments! Please rate this guide and happy hunting.
⠀⠀⢀⣀⠀⠀⠀⠀⠀⠀⠀⠀⠀⠀⠀⠀⠀⠀⠀⠀⠀⠀⠀⠀⠀⠀⠀⠀⠀
⠀⣶⣼⡸⣾⢻⣠⣄⢠⣤⡀⠀⠀⠀⠀⠀⠀⠀⠀⠀⠀⠀⠀⠀⠀⠀⠀⠀⠀
⠀⠙⡏⠁⠉⠘⠿⢻⠘⣎⣇⣿⡆⠰⣟⢦⣤⢦⣰⣿⣠⢻⠇⣤⠀⢀⡀⢀⠀
⠀⠀⢻⡀⠀⠀⡀⠸⣼⠟⠈⠁⣇⡼⡎⣇⠉⠘⠁⠙⢡⡯⣴⢽⣰⢏⣿⣻⠃
⠀⠀⠈⠑⠶⠶⠿⣆⠀⠀⠀⠀⠉⠁⣇⣈⣳⠴⣒⣆⣈⠇⣉⠈⣡⠾⠞⠁⠀
⠀⠀⠀⠀⠀⠀⠀⠀⠉⠙⠛⣿⣉⣑⡖⠟⠈⠉⠻⣯⡥⠞⠛⠛⠁⠀⠀⠀⠀
⠀⠀⠀⠀⠀⠀⠀⠀⠀⠀⠀⠀⢉⡿⡅⠀⠀⠛⠃⠈⠙⠲⣄⠀⠀⠀♡ˎˊ˗⠀⠀⠀
⠀⠀⠀⠀⠀⠀⠀⠀⢀⣤⠦⣴⡞⠀⠈⢢⣀⠀⠀⢠⠀⣄⢙⡆⠀⠀⠀⠀ ١٥٧٤🫎
⠀⠀⠀⢀⣀⣀⡤⢾⠇⠀⠀⠈⠧⠀⠀⠀⠀⠉⣻⡗⢽⡶⠞⠁⠀⠀⠀⠀⠀
⠀⡴⠊⠁⠀⠀⠀⢻⠀⠀⠀⠀⠀⠀⠀⠀⢠⡇⢱⣷⠀⠀⠀⠀⠀⠀⠀⠀⠀
⣼⠁⠀⠀⠀⠀⠀⠈⠢⠀⠀⠀⠀⠀⠀⠀⢀⣷⢚⡿⠀⠀⠀⠀⠀⠀⠀⠀⠀
⡧⡞⠀⠀⢡⠀⠀⠀⢰⠀⠀⠀⠀⠀⣘⠀⢸⡟⠛⠁⠀⠀⠀⠀⠀⠀⠀⠀⠀
⢹⣸⠀⠀⣸⠀⠀⠀⠘⣇⠀⠀⠀⡠⠻⣧⡟⠁⠀⠀⠀⠀⠀⠀⠀⠀⠀⠀⠀
⠀⢻⡇⢠⠟⢻⠛⢻⠋⠙⣦⠀⣰⡇⠀⢹⠁⠀⠀⠀⠀⠀⠀⠀⠀⠀⠀⠀⠀
⠀⣼⠃⢸⡀⢸⡀⢸⠀⠀⡿⠒⡏⢸⡄⠸⡀⠀⠀⠀⠀⠀⠀⠀⠀⠀⠀⠀⠀
⠀⠘⡆⢸⠃⠀⣿⠌⡆⠀⢣⡰⡟⠘⣇⣠⠇⠀⠀⠀⠀⠀⠀⠀⠀⠀⠀⠀⠀
⠀⠀⡿⠈⢧⠀⢸⠀⠘⡄⢸⡇⡇⠀⢹⠘⡆⠀⠀⠀⠀⠀⠀⠀⠀⠀⠀⠀⠀
⠀⠀⢧⣀⣸⡆⠈⢳⣶⣷⢼⠀⢳⡀⣿⠀⢹⡀⠀⠀⠀⠀⠀⠀⠀⠀⠀⠀⠀
⠀⠀⠈⠛⠿⠇⠀⠀⠀⠀⠸⣦⣠⡇⢸⣦⣼⣇⠀⠀⠀⠀⠀⠀⠀⠀⠀⠀⠀
⠀⠀⠀⠀⠀⠀⠀⠀⠀⠀⠀⠙⠛⠛⠀⠙⠛⠋⠀⠀⠀⠀⠀⠀⠀⠀⠀⠀⠀
- Animal Location Maps (Parque update!)★ 5 (1.7k)84k views4.4k ♥1 minUpdated 1 Jan, 2019
- NEW Animal Location Maps (Hi-Res) - INTISUYU PERU UPDATE!★ 5 (1.6k)55k views4.3k ♥1 minGermanUpdated 24 Jun
- Limit FPS using only Nvidia Control Panel42k views53 ♥1 minUpdated 24 Nov, 2024
- ALL NEED ZONE TIMES FOR EVERY ANIMAL (SUNDARPATAN NEPAL)★ 5 (754)36k views2k ♥19 minUpdated 28 Jun, 2024
- Beginner's Guide: New Players, New Hunters★ 5 (405)24k views681 ♥33 minUpdated 3 Jan, 2023
- Trophy Ratings & Fur Types★ 5 (800)24k views2k ♥36 minUpdated 10 Jun




- Upgrading to PremiumTeam Fortress 2★ 5 (20k)1441k views11k ♥6 minUpdated May 11, 2022
- No More Room in Hell Official ManualNo More Room in Hell★ 5 (2.8k)569k views2.1k ♥29 minUpdated Apr 22, 2019
- NMRiH Community Hosting GuidesNo More Room in Hell★ 5 (526)351k views653 ♥1 minUpdated Aug 10, 2022
- ULTIMATE GUIDE FOR GAME DEV TYCOONGame Dev Tycoon★ 5 (5.8k)326k views10k ♥4 minUpdated 23 Jan, 2014
- How to 'Git Gud' Soon™MORDHAU★ 5 (2k)318k views3k ♥68 minUpdated Nov 16, 2024
- Лучшие кооперативные игры SteamPAYDAY 2★ 5 (1.5k)315k views2.1k ♥56 minRussianUpdated Apr 27, 2025






This guide was created by its original author on the Steam Community. Are you the author and want it removed? Request removal.