Official Guide to Creating Weapon Skins
Overview
Downloading Required Files
You can download the weapon skin files here:
Primary
Download from GDrive[drive.google.com]
Free Mirrors
Location 1[www49.zippyshare.com]
or
Location 2[fs12n2.sendspace.com]
MIRROR 1[www49.zippyshare.com]
MIRROR 2[www.sendspace.com]
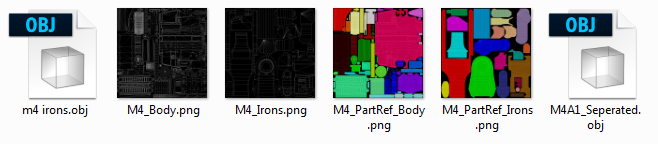
The files are sorted by weapon with each weapon folder containing:
- obj files
- UV unwrap files
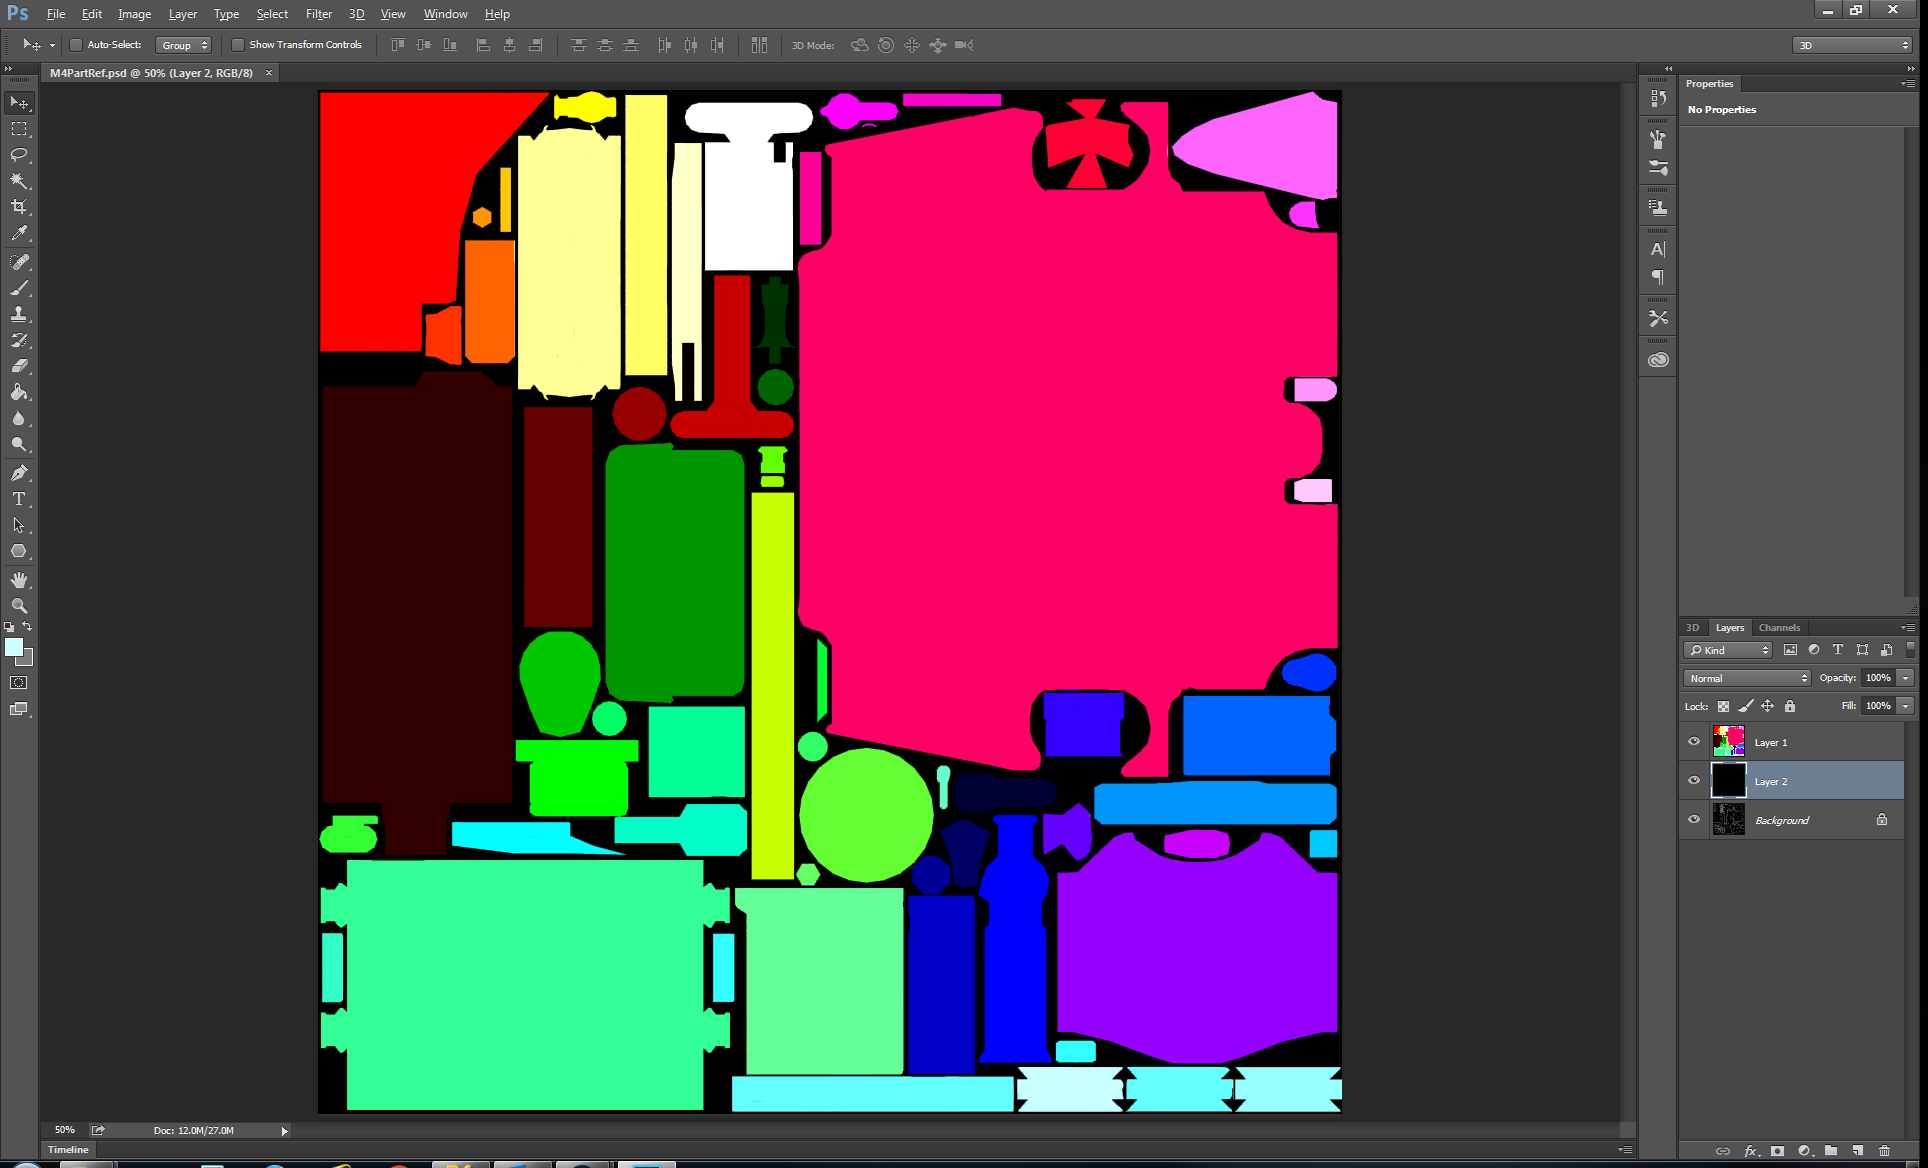
- Color coded unwraps for easier part reference
Each weapon has a file for the main body. Additionally, some weapons also contain files for iron sights and other weapon components. A successful weapon skin requires a main body file. While completing the other files is optional, we recommend it for a more comprehensive look to your custom weapon skin.
We also provide all of our base weapon textures for use. You can find them here: http://forum.americasarmy.com/discussion/6175/aa-pg-base-weapon-skins
Creating Your Skin
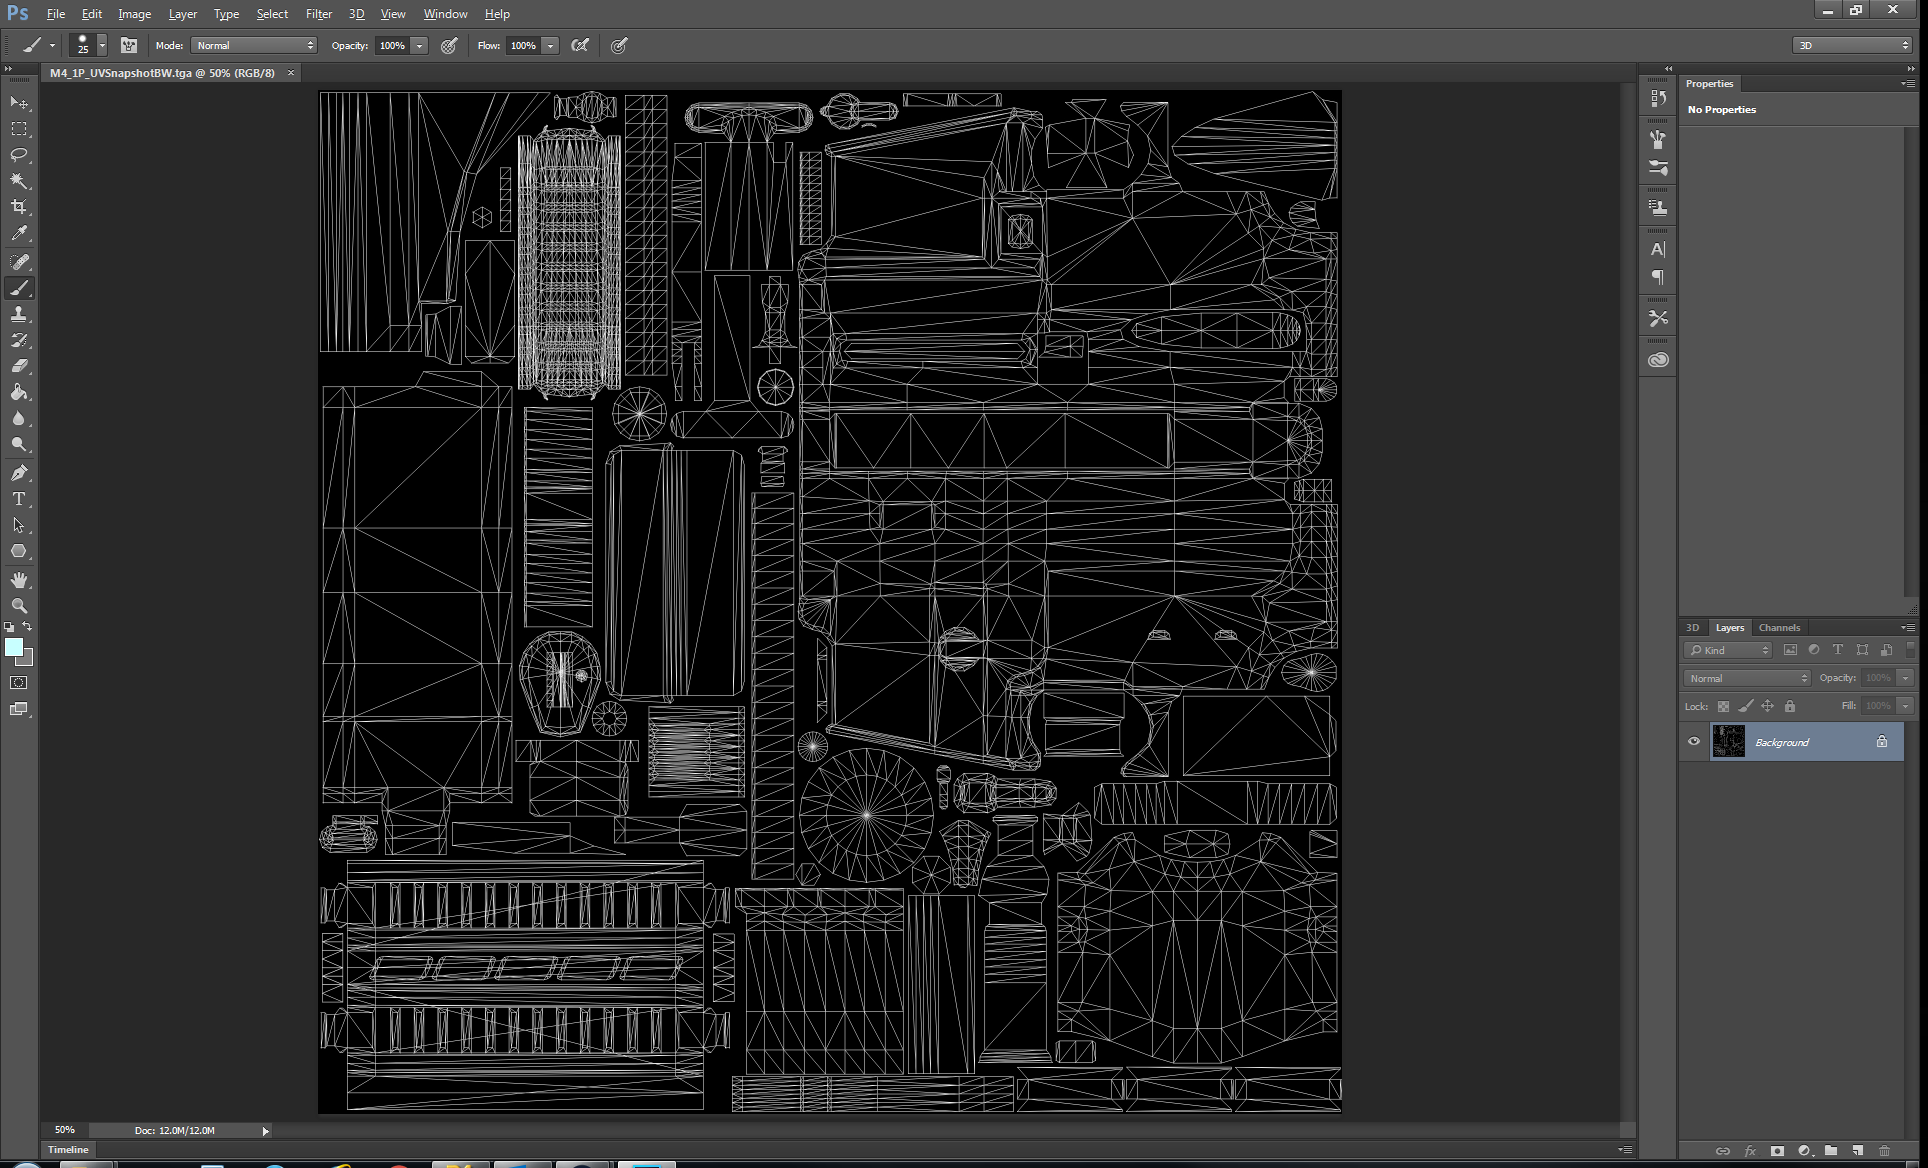
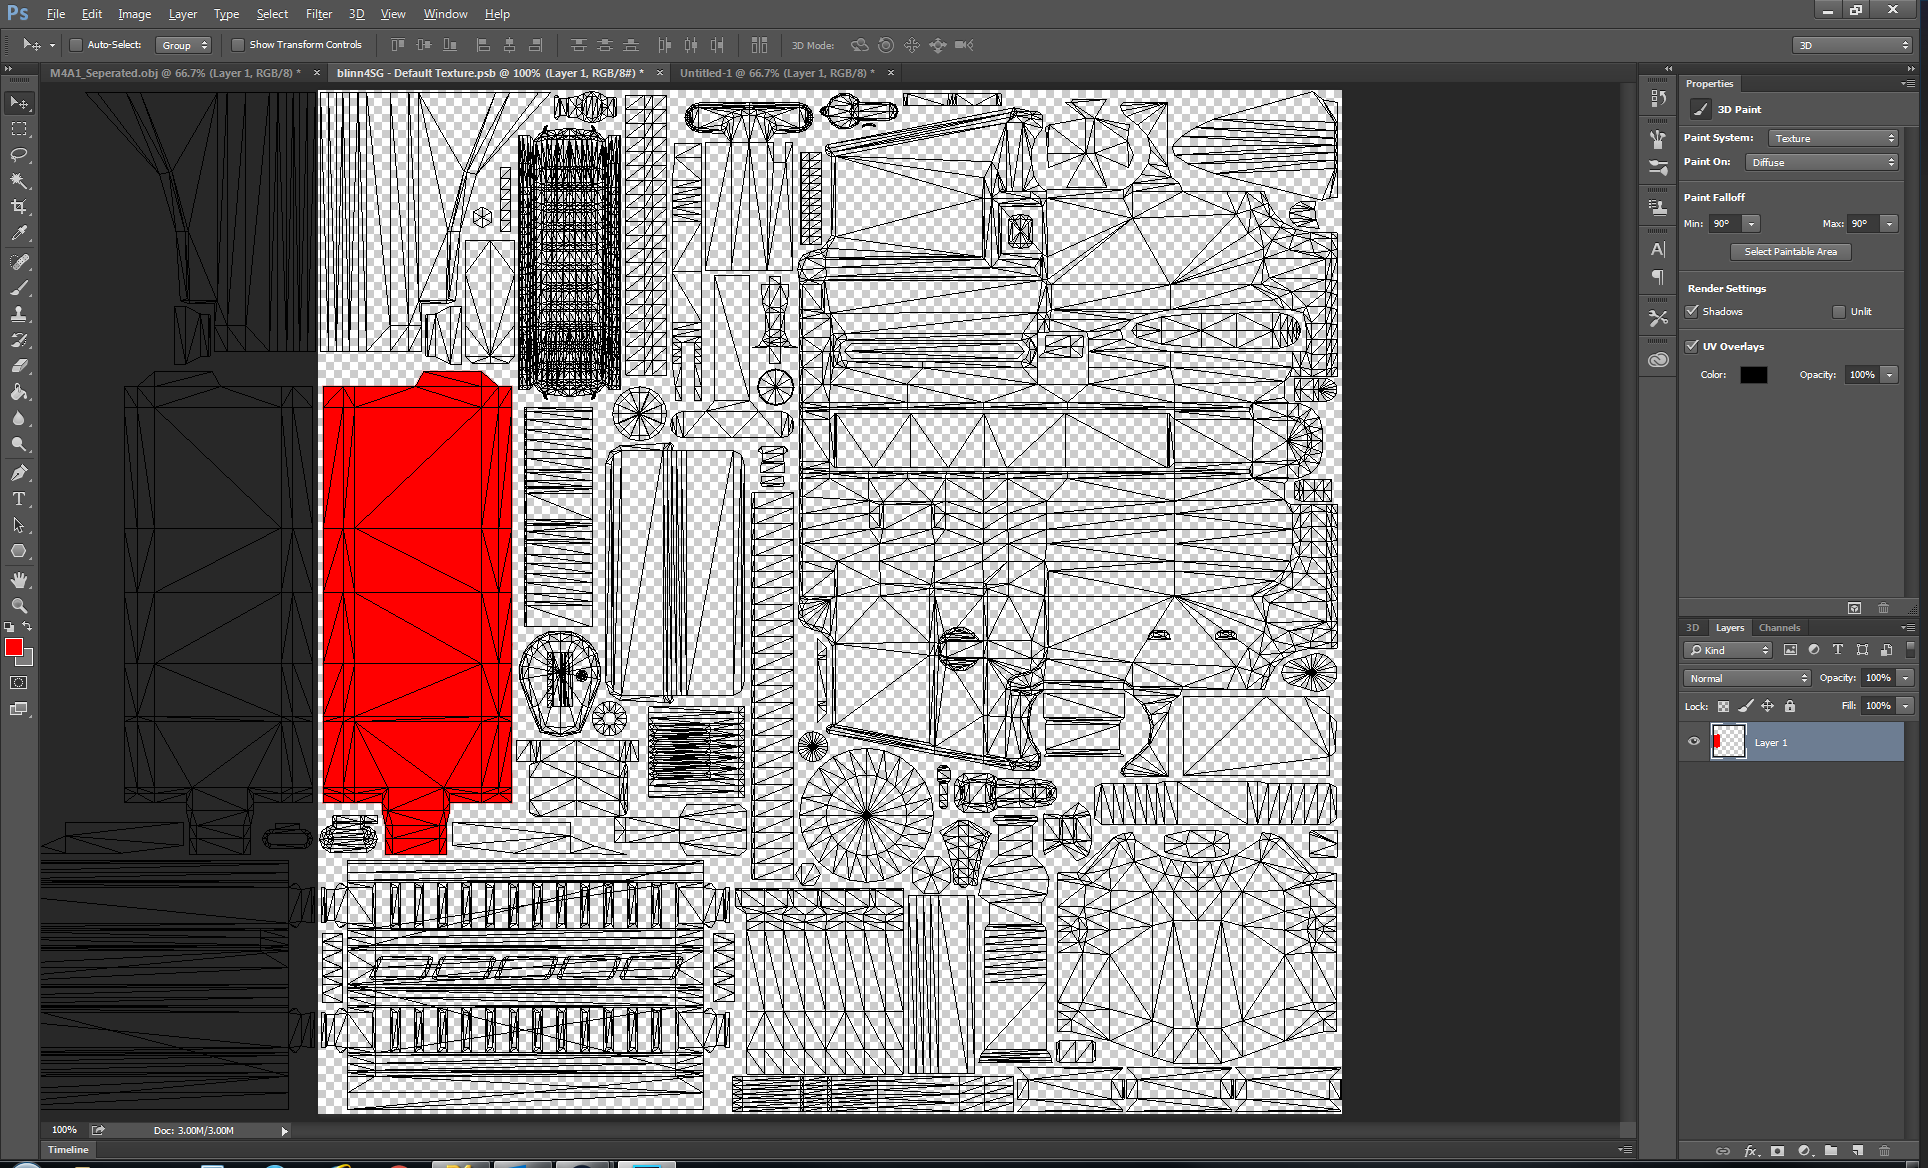
Creating a new skin is as simple as opening the UV file for your chosen weapon and painting over that file.
First, open the UV file in the painting tool of your choice. The UV file shows a broken up wireframe view of the weapon. This lets you know where on the image you should paint to affect a specific portion of the weapon.
Once you locate the areas of the weapon you want to paint, simply paint over top of the UV file. Save your final results as a .png file.
Previewing Your Skin
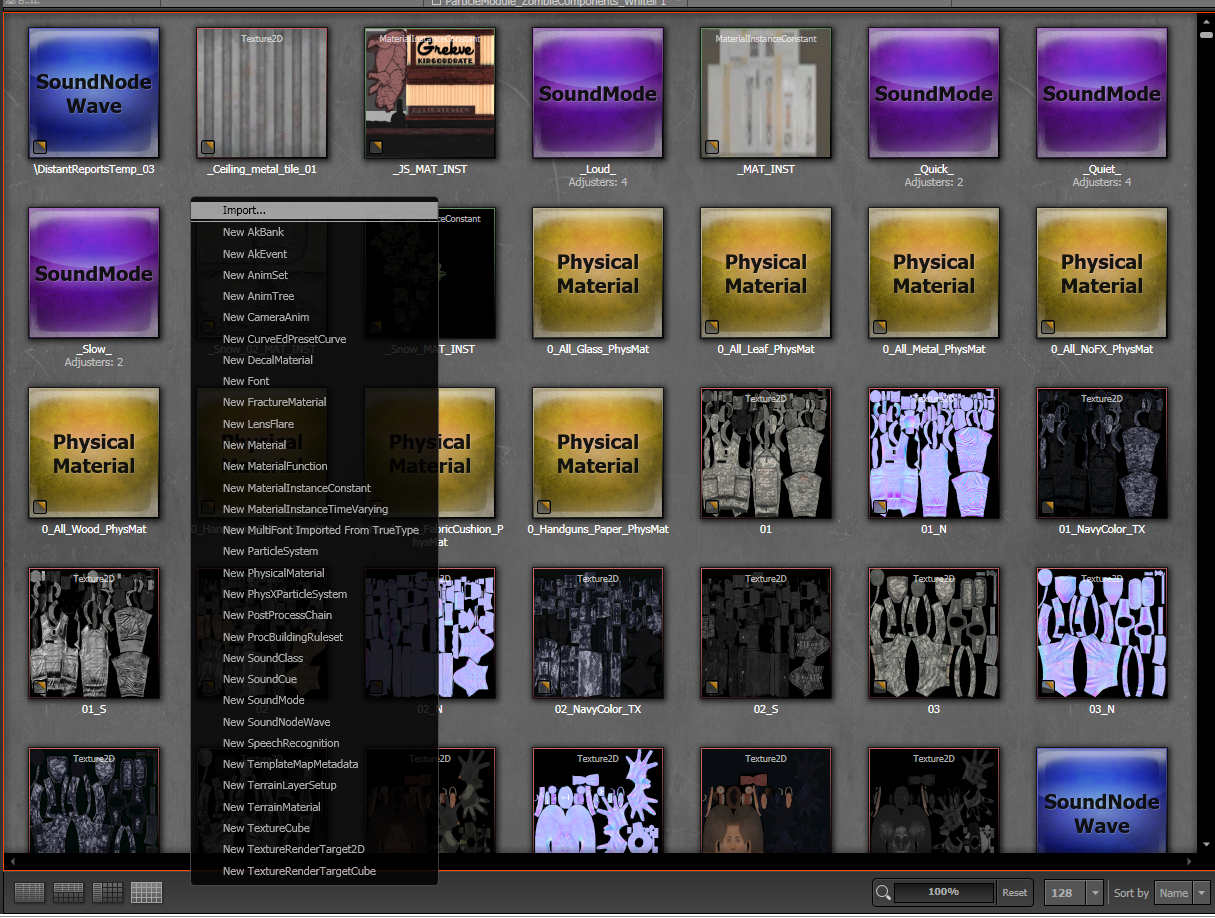
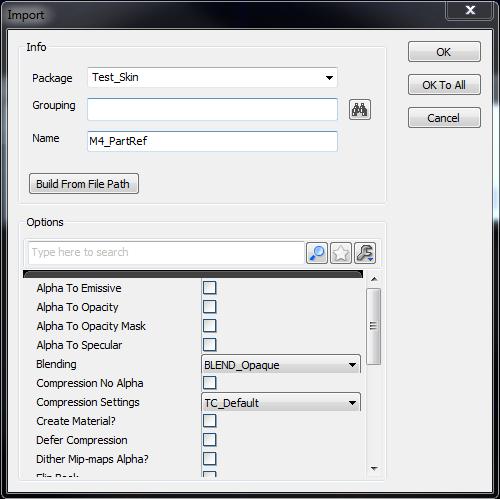
The Full Editor provides an easy means for viewing your weapon skin on the actual weapon mesh. Open the editor and pull up the Content Browser. Right click in the main panel and select 'Import'. Import your .png file in to a new Package.
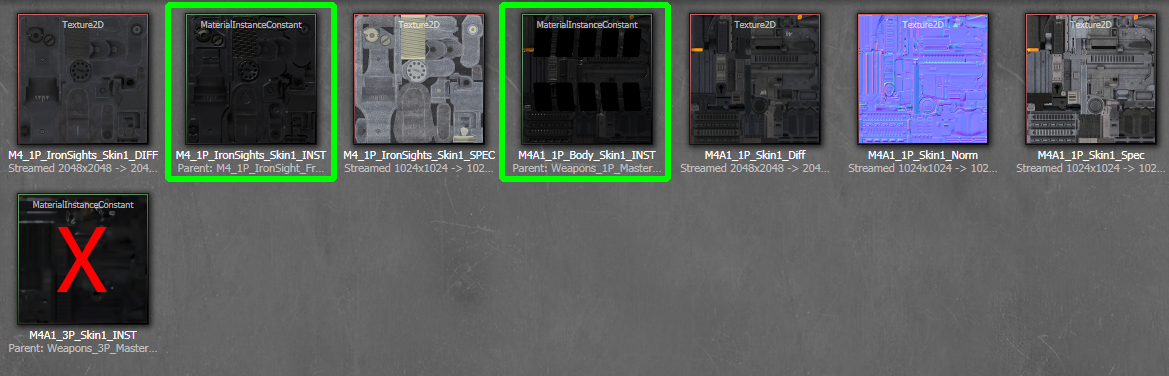
After importing your weapon skin, search for the folder containing the weapon you are modifying. Find the Material Instances for the weapon skin with 'Skin1' in the name. Note each weapon has multiple Material Instances with 'Skin1' in the name. Each correspond to a specific portion of the weapon. For example, the M4 has a material instance used for the main body of the weapon and an additional material instance used for the weapon's iron sights. They are named 'M4_1P_Body_Skin1_INST' and 'M4_1P_IronSights_Skin1_INST' respectively. It also has a Material Instance for the third person version of the skin (it has '3P' in the name), but you do not need to worry about creating this portion of the weapon skin. Open the 1P Material Instance that corresponds to the portion of the weapon skin you are working on.
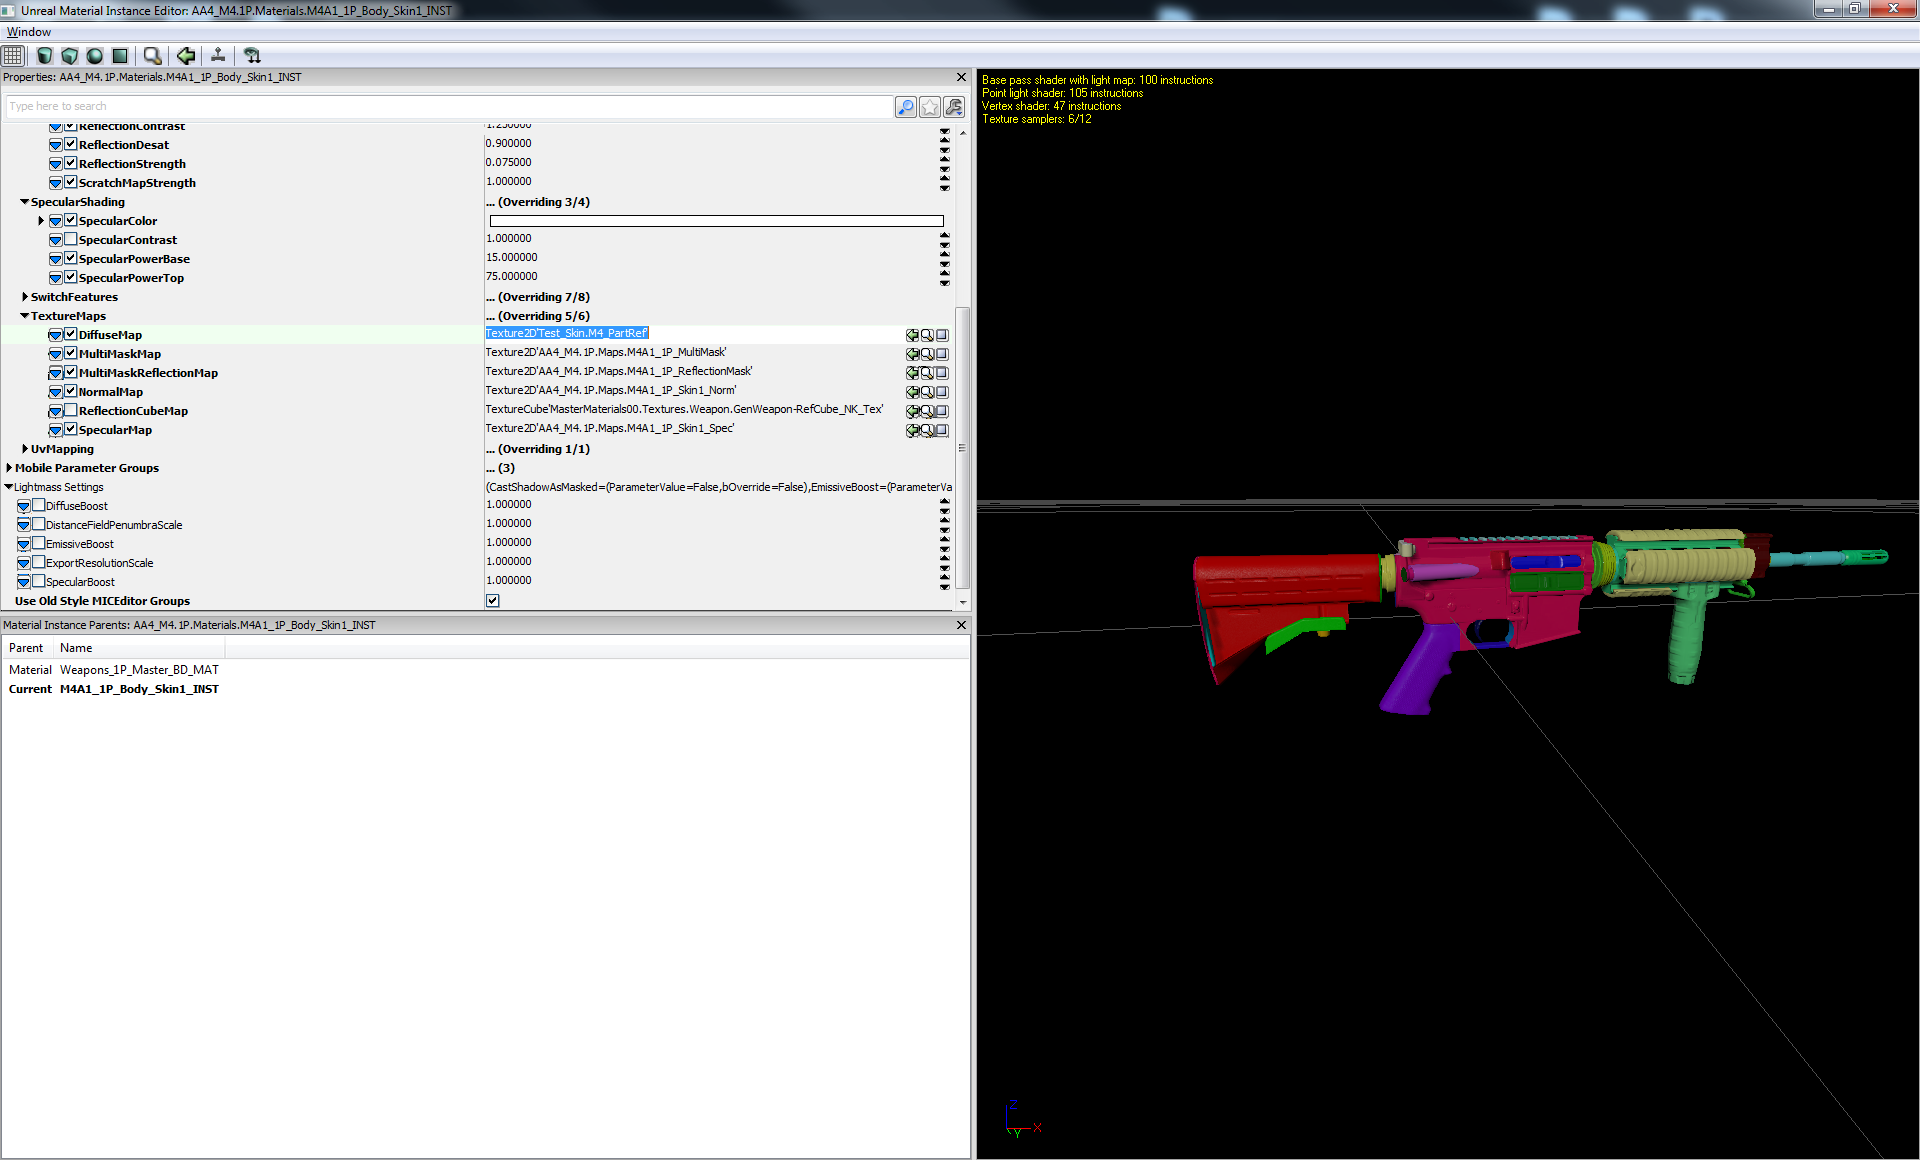
On the left pane, find 'DiffuseMap' property under the TextureMaps rollout. Replace the texture there with your newly imported weapon skin. You will now see your texture on the weapon mesh in the right pan. Use the mouse to rotate the weapon around and check out your work!
Alternative Workflow
Submitting Your Skin
Once you are happy with your skin you can submit it for review on the forums. A submission includes:
- Your new unwrap files for the weapon
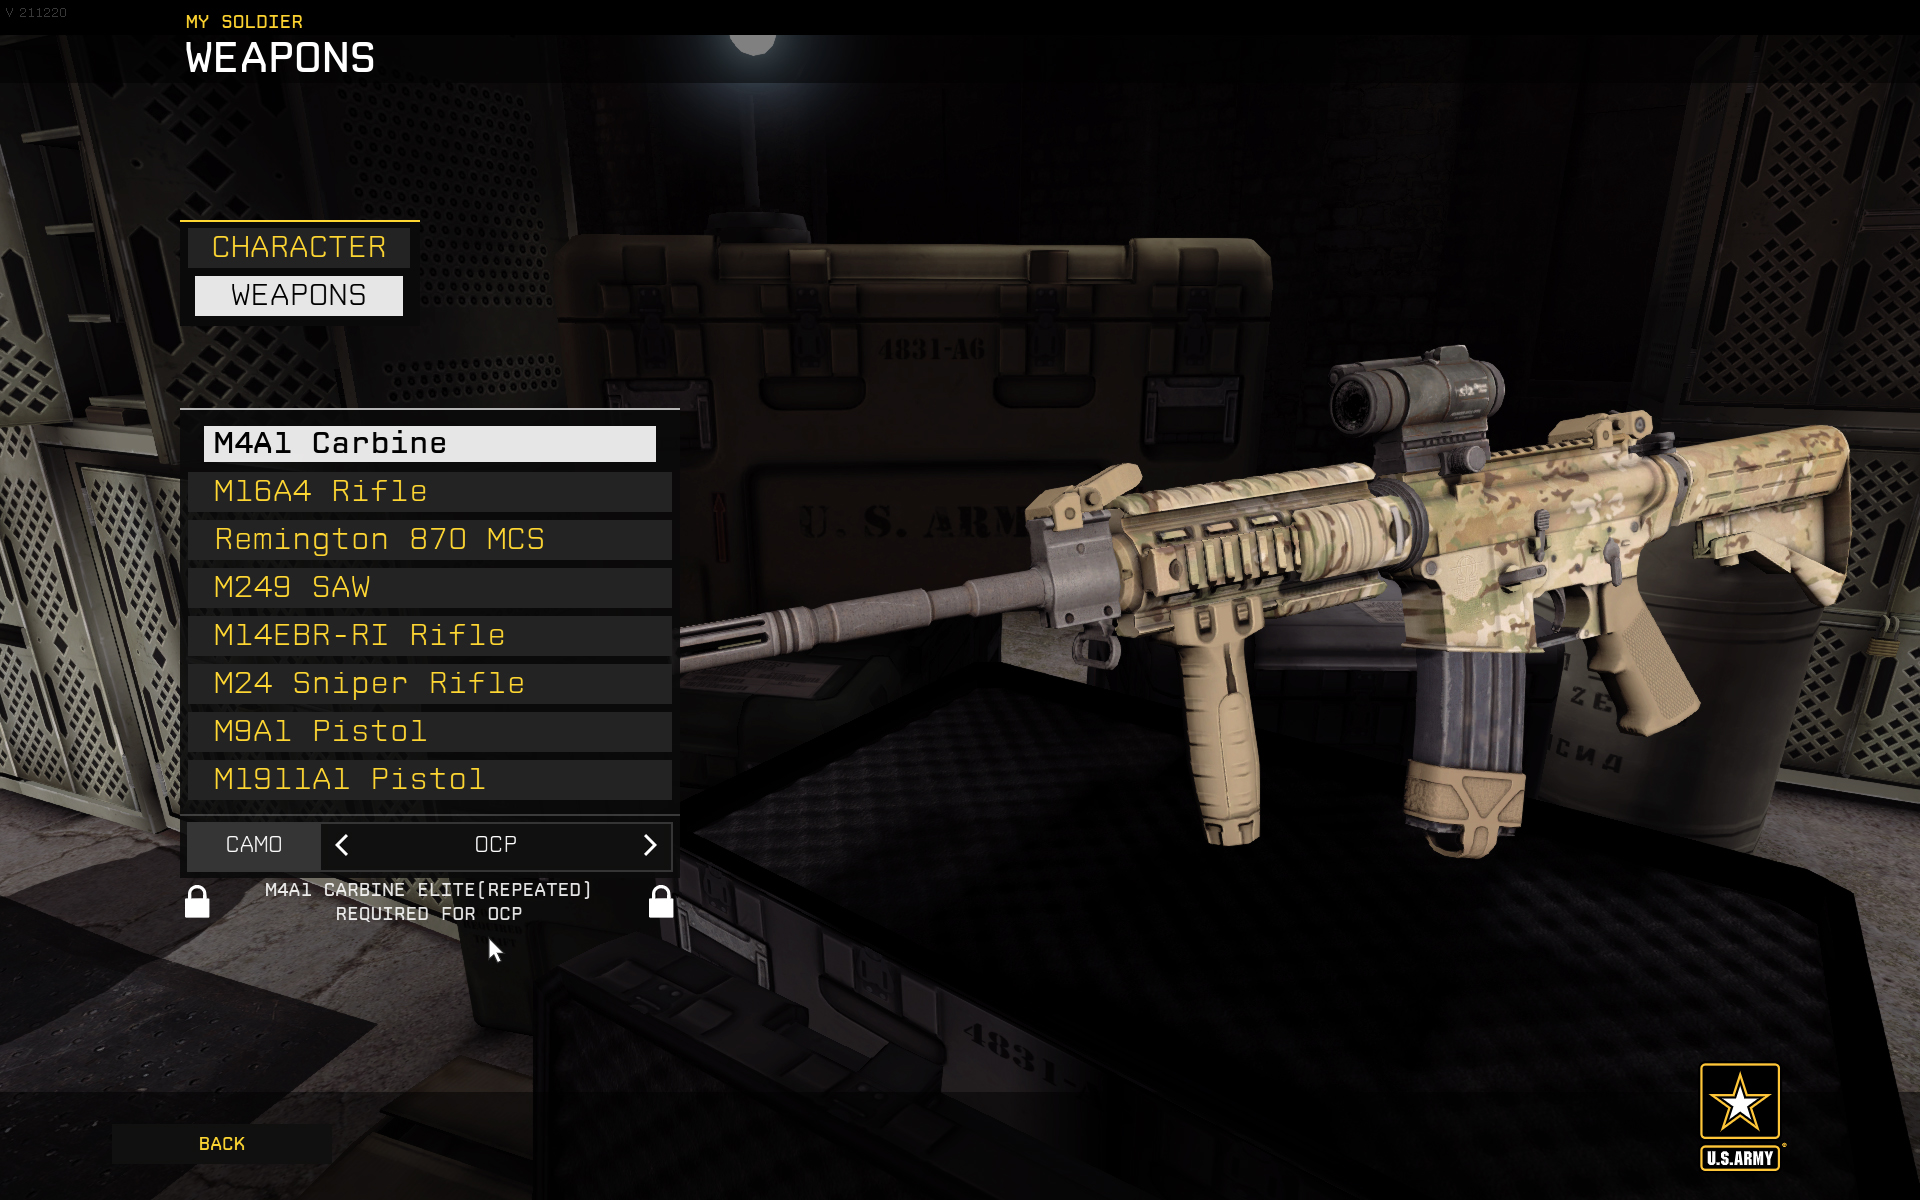
- An image showing the weapon skin on the weapon in editor
This means you should have between two and four .png files to submit, depending on the weapon you created the skin for. Upload these in the Weapon Skin Challenge section of the official forums: HERE[forum.americasarmy.com]
Be sure to check out the 'Example Weapon Skin Submission' to ensure your submission is correct.
This allows the community to view your submission and comment on it. Skins that are well received by the community and the development team will be added to the game for all players to use! We are looking for high quality skins that fit with the general style and aesthetic of our current weapon skins.
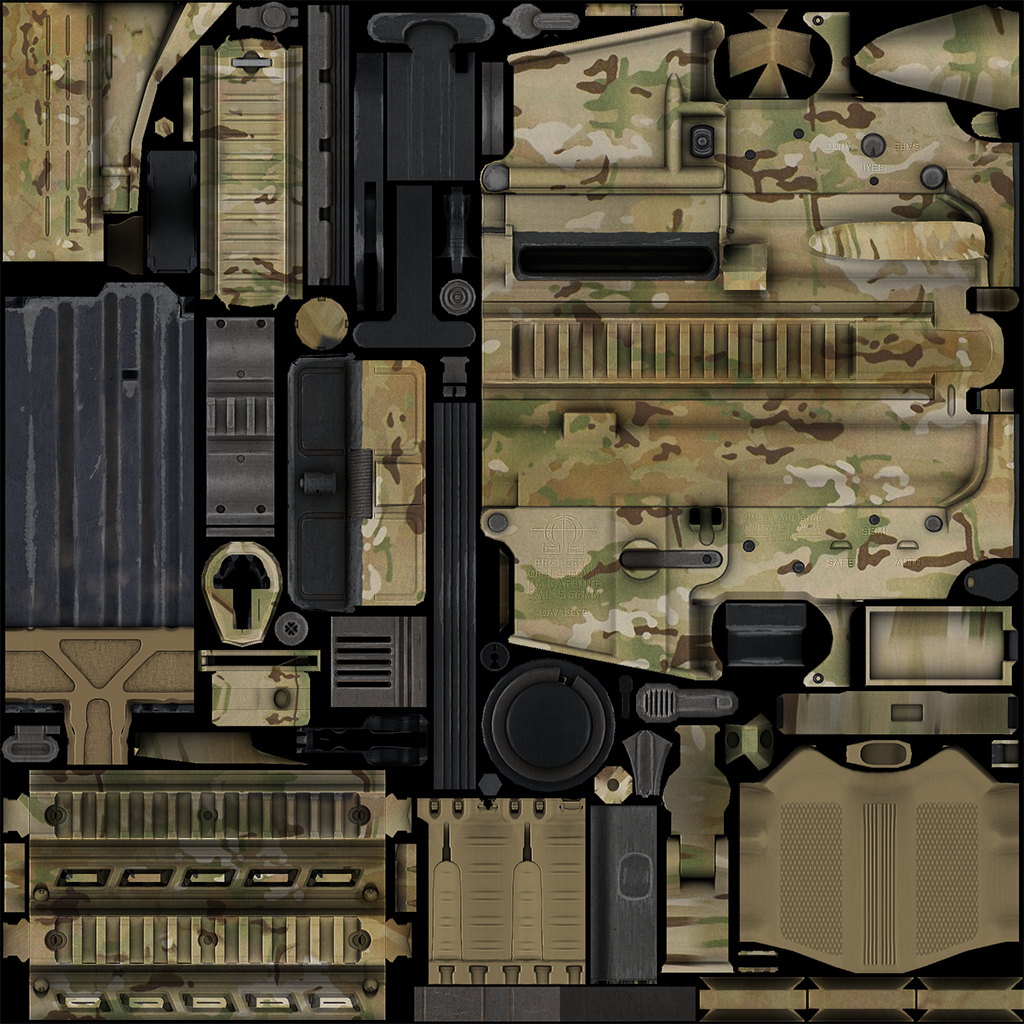
Example Skin
- America's Army: Proving Grounds Quick Start Guide★ 5 (203)11k views121 ♥14 minUpdated Jul 2, 2014
- Official Weapon Challenge Guide★ 5 (215)9k views250 ♥13 minUpdated Mar 4, 2016
- The Art of Takedown★ 4 (91)7.4k views59 ♥11 minUpdated Dec 30, 2023
- FPS improvement (AASystemSettings.ini tweaking)★ 4 (93)7.4k views157 ♥8 minUpdated Nov 22, 2015
- Using the nVidia Override for Anti-Aliasing★ 3 (33)5.7k views22 ♥4 minUpdated Jul 2, 2014
- Official XP and Leveling Guide★ 4 (80)3.8k views94 ♥2 minUpdated Dec 9, 2015





- Upgrading to PremiumTeam Fortress 2★ 5 (20k)1441k views11k ♥6 minUpdated May 11, 2022
- No More Room in Hell Official ManualNo More Room in Hell★ 5 (2.8k)569k views2.1k ♥29 minUpdated Apr 22, 2019
- NMRiH Community Hosting GuidesNo More Room in Hell★ 5 (526)351k views653 ♥1 minUpdated Aug 10, 2022
- ULTIMATE GUIDE FOR GAME DEV TYCOONGame Dev Tycoon★ 5 (5.8k)326k views10k ♥4 minUpdated 23 Jan, 2014
- How to 'Git Gud' Soon™MORDHAU★ 5 (2k)318k views3k ♥68 minUpdated Nov 16, 2024
- Лучшие кооперативные игры SteamPAYDAY 2★ 5 (1.5k)315k views2.1k ♥56 minRussianUpdated Apr 27, 2025






This guide was created by its original author on the Steam Community. Are you the author and want it removed? Request removal.