Creations inside Tiles
Introduction
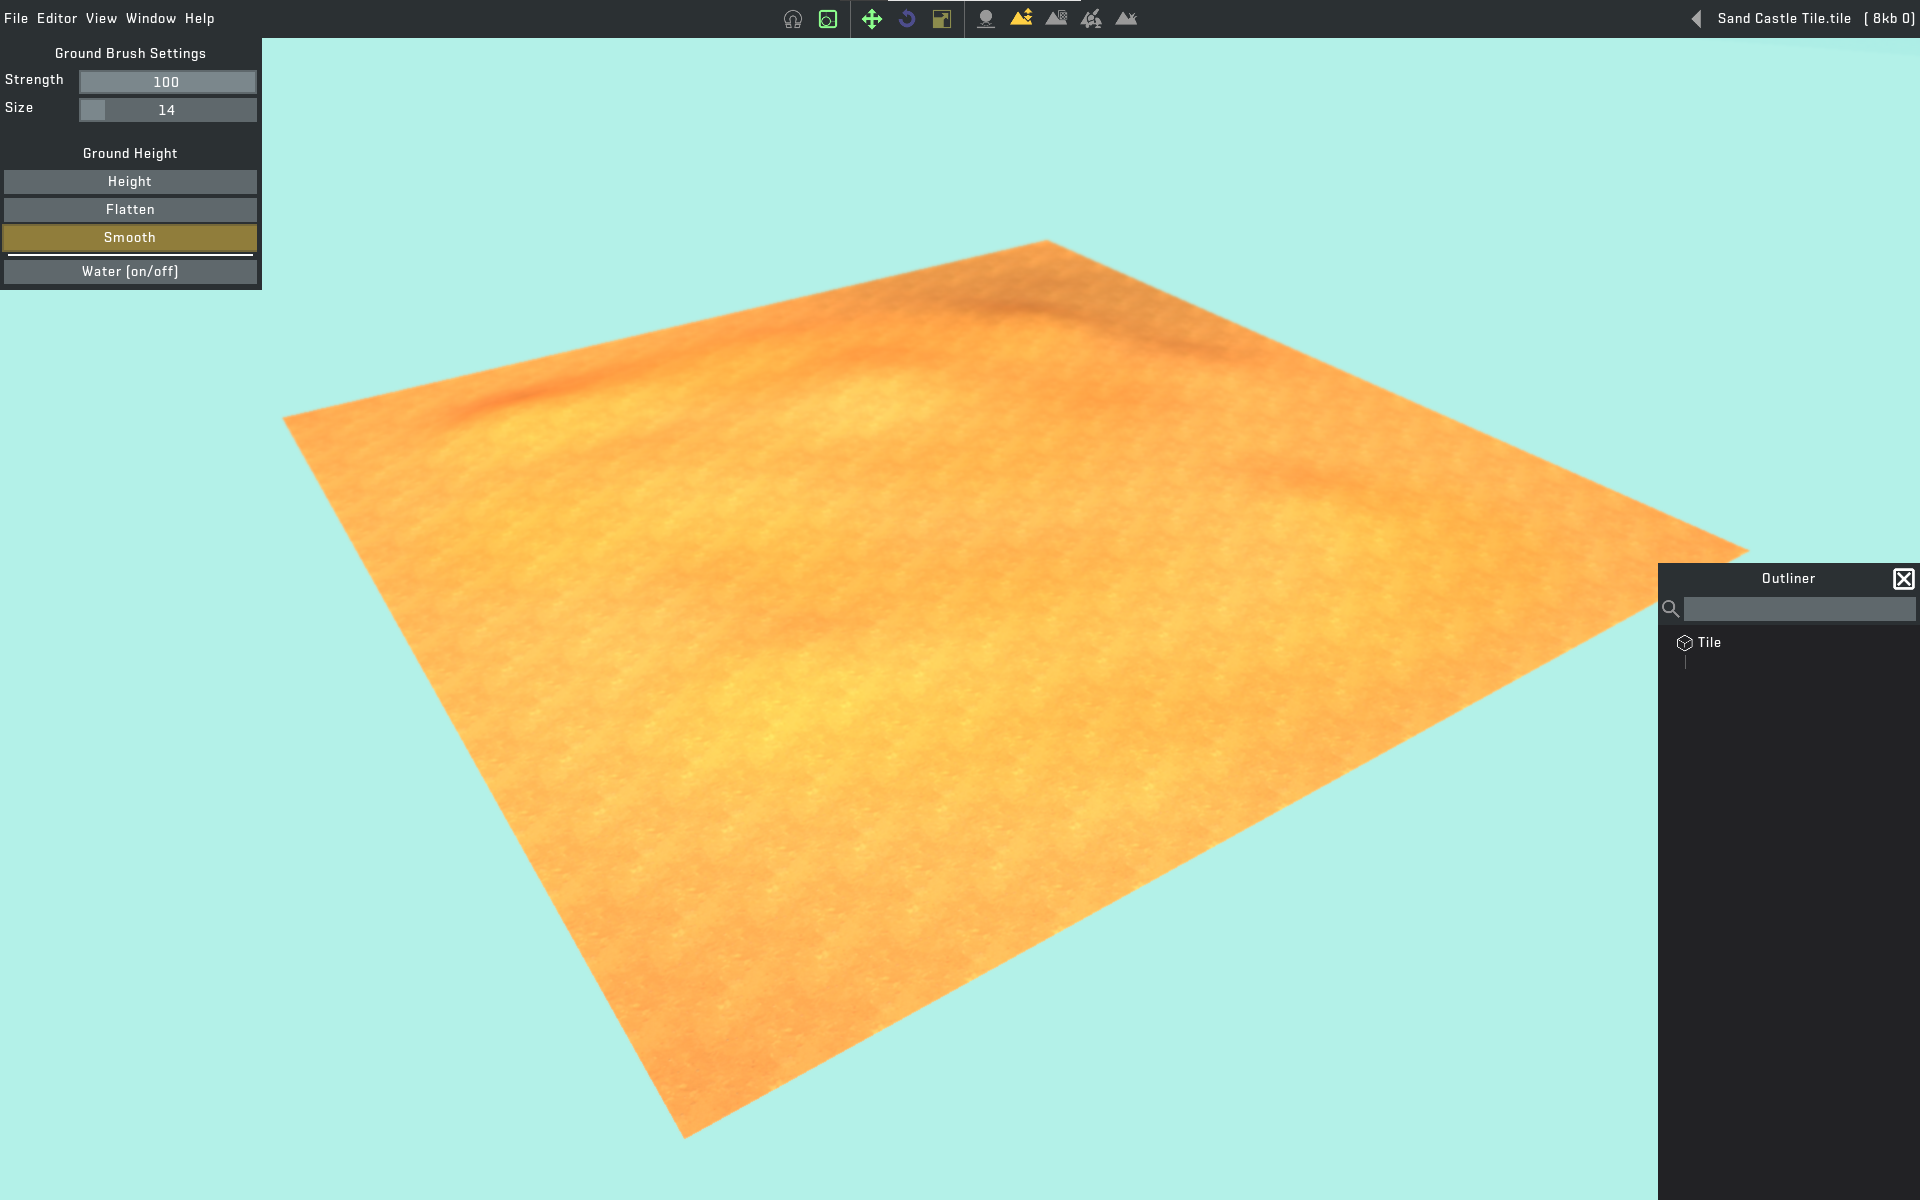
Generally speaking, in Scrap Mechanic's Tile Editor you can't directly put blueprint inside a tile.
But it is possible in Scrap Mechanic Mod Tool's Tile Editor for Custom Game. When you edit tiles here, blueprints are referred to the Custom Game ID. Then we have to replace the tile ID with the Custom Game ID. This is to reference the blueprints in the tile, not the blueprints in the Custom Game.
The guide describes multiple ID swaps. In theory this should help when you have already posted a tile in workshop and want to add blueprints to an existing tile. If you change the original UUID of a tile, you will lose the connection between it and the worlds containing this tile.
Careful! Resaving tile in normal Tile Editor will result in loss of blueprints.
Detailed Guide Contents
1.1. Create a tile
1.2. Write down your tile UUID
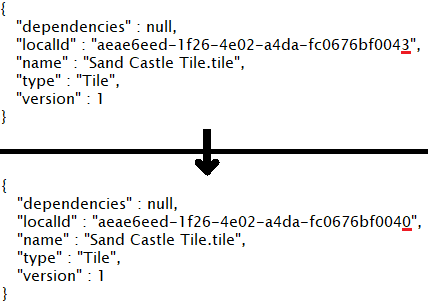
1.3. Temporary change tile UUID
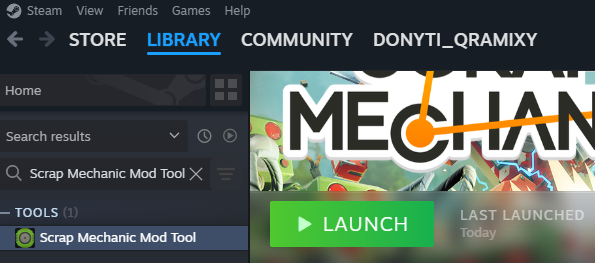
1.4. Launch Scrap Mechanic Mod Tool
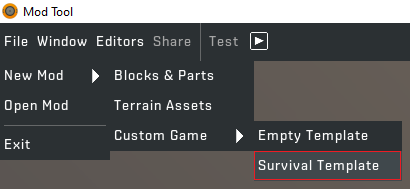
1.5. Create Survival Template custom game
1.6. Change custom game UUID to tile's original UUID
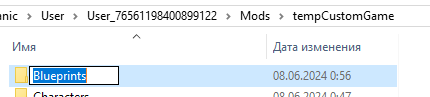
1.7. Create "Blueprints" folder in custom game
1.8. Terrain Assets from Workshop
2. Blueprints
2.1. Find your blueprints
2.2. Copy your blueprint
2.3. Change .json to .blueprint
2.4. Rotation and Position (Recommended)
2.5. Blocks and Parts from Workshop
3. Tile Editor
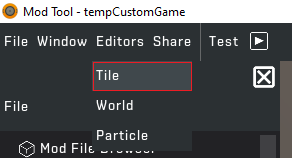
3.1. Open Tile Editor in Mod Tool
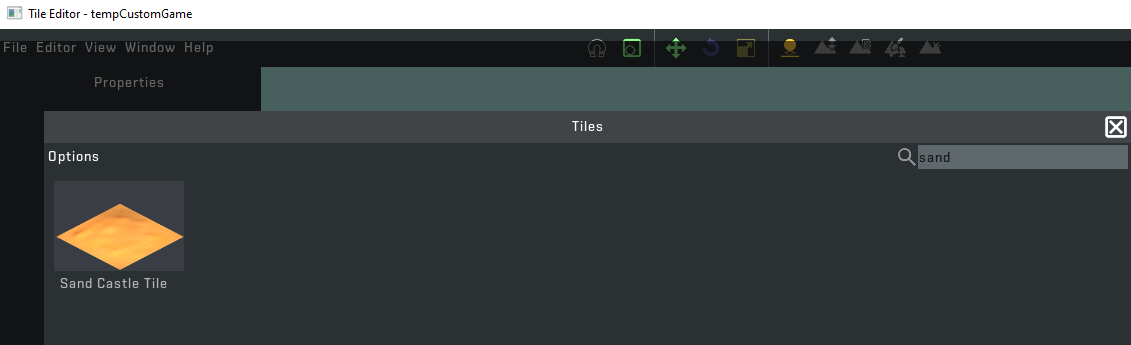
3.2. Open your tile
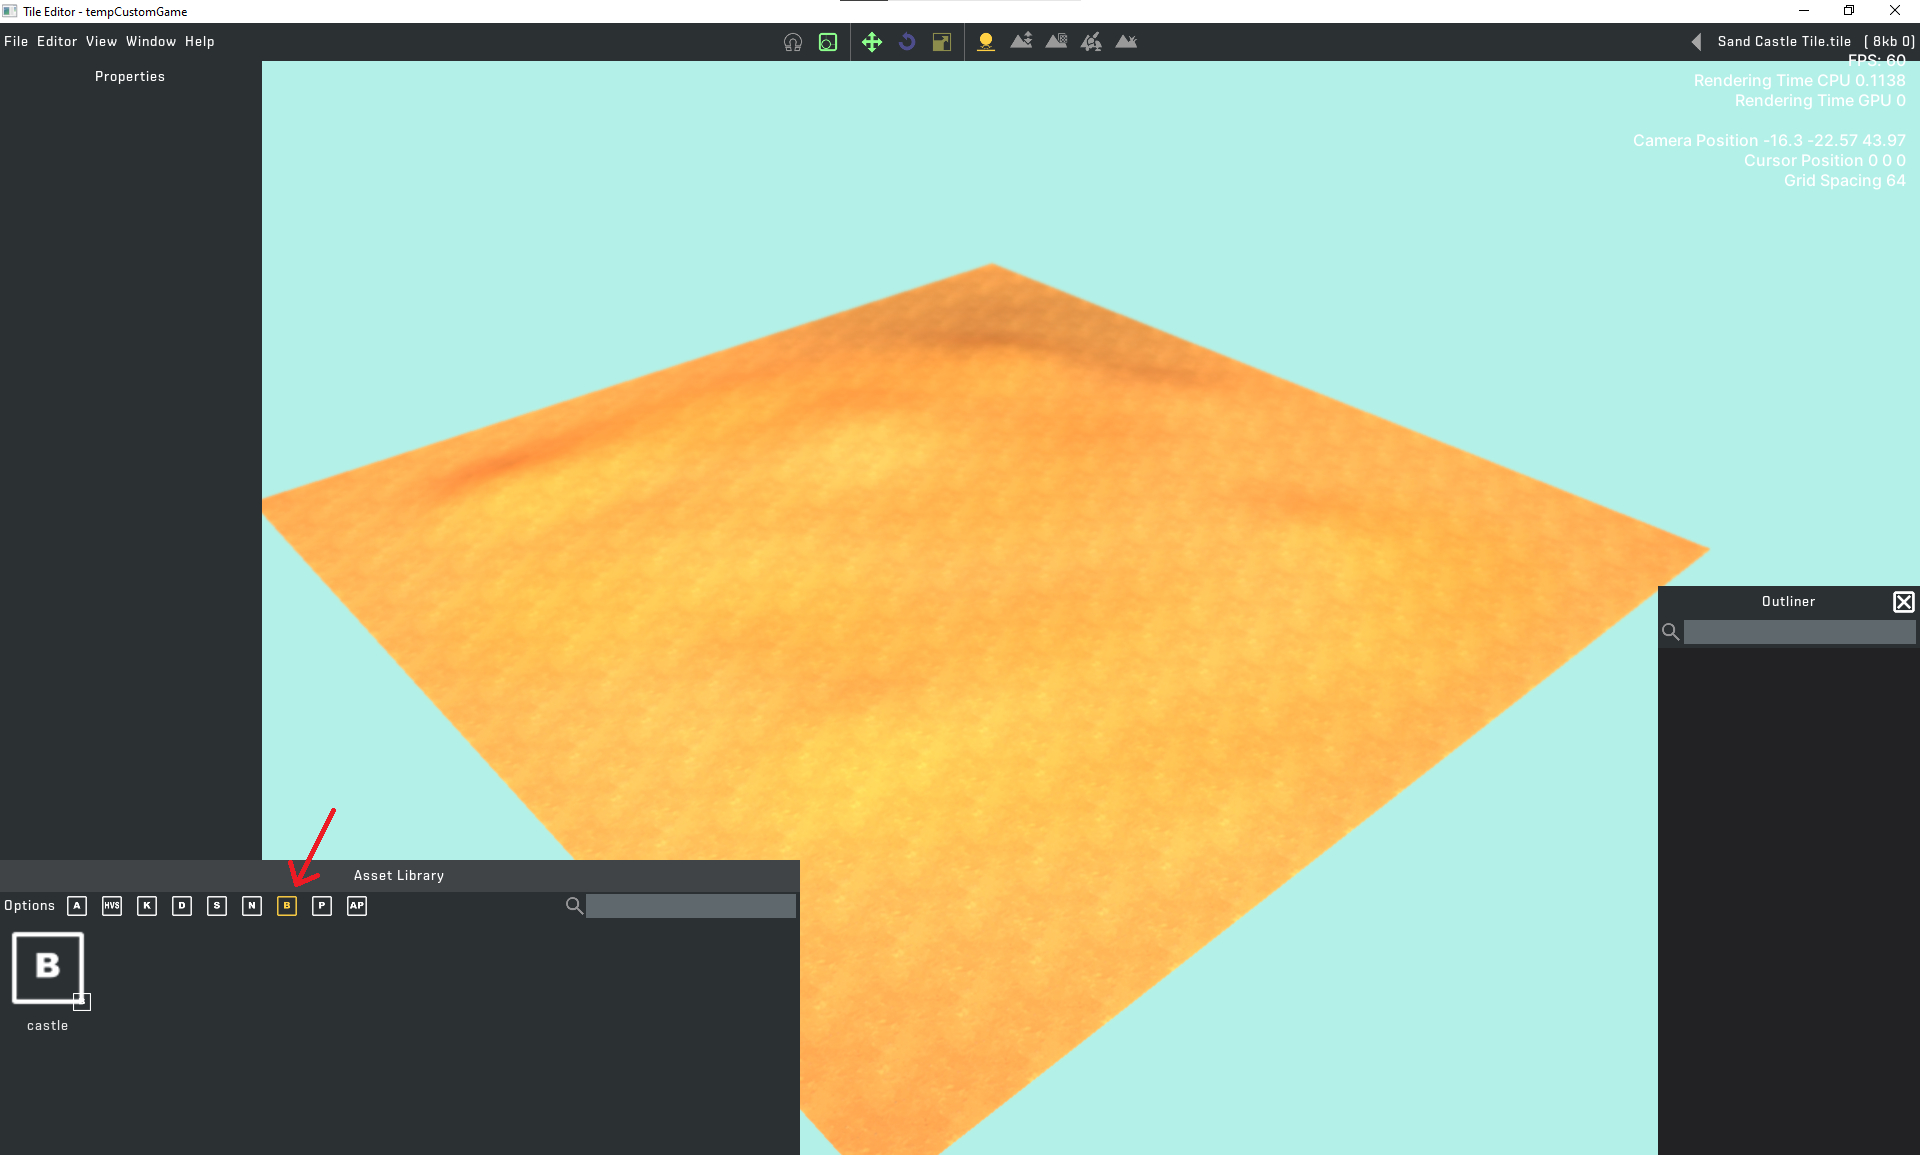
3.3. Open blueprints tab
3.4. Place your blueprint
3.5. Duplicates of blueprints (Recommended)
3.6. Tile rotation (Optional)
3.7. Save the tile with "Save"
4. Completing the Tile
4.1. Change tile UUID back to original
4.2. Copy "Blueprints" to tile folder
4.3. Blueprints Correction
4.4. New UUID for custom game
4.5. Create a world with your tile
4.6. Upload to Workshop (Optional)
1. Preparation
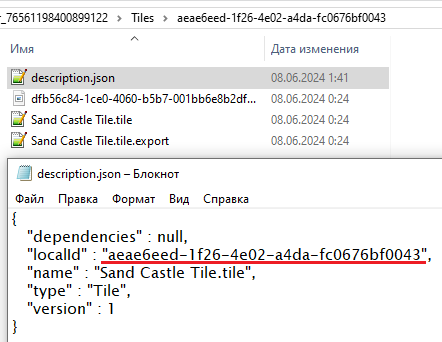
Find your tile and open its folder. Open "description.json". "localId" is the tile's UUID. Write it down for the steps 1.6 and 4.1.
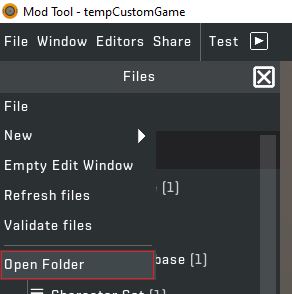
This custom game is temporary. It is necessary to access blueprints in tile editor.
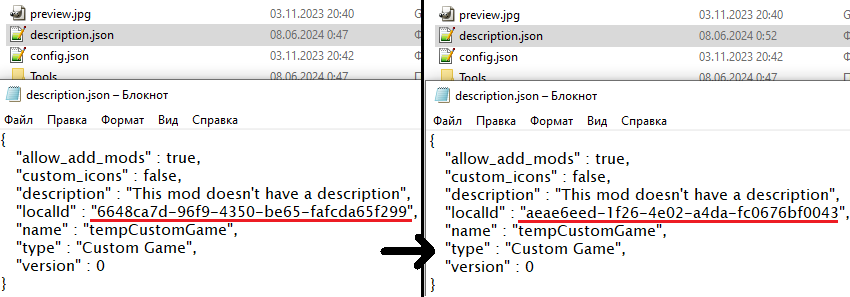
Open "description.json". Replace custom game localId with the original tile UUID (from step 1.2.).
To use Terrain Assets from Workshop in the tile, you need to copy them in custom game, so they don't disappear.
Dependencies (links to terrain assets) can be found in tile's "description.json":
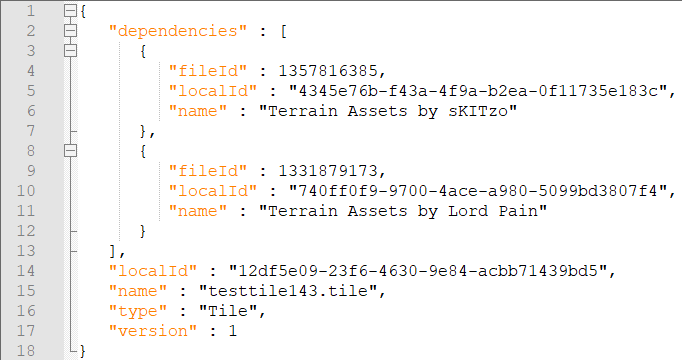
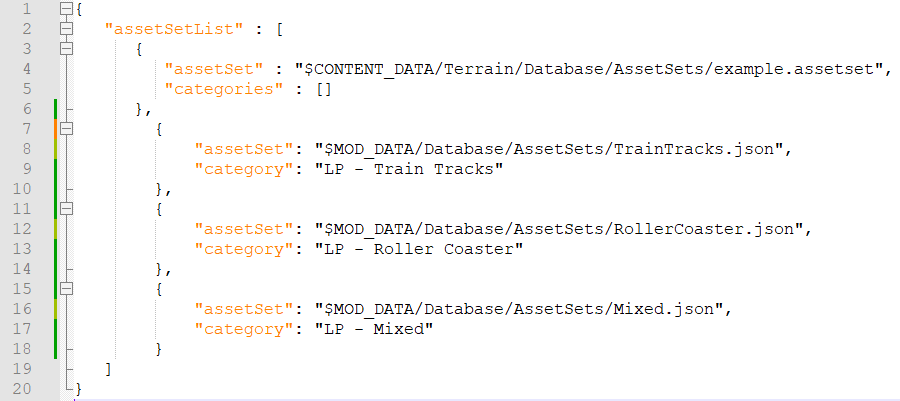
Go to "...\Mods\[CustomGameName]\Terrain\Database" and open "assetsets.assetdb". At first, assetsets look like this:

For example, let's go with Terrain Assets by Lord Pain. Its fileId is 1331879173. To find it locally, go to Steam > Library > Scrap Mechanic > Properties > Installed Files > Browse. You are now in "...\steamapps\common\Scrap Mechanic". Go to "...\steamapps\workshop\content\387990\1331879173" - that's the folder of Terrain Assets by Lord Pain. Go to "...\1331879173\Database\assetsets.json":
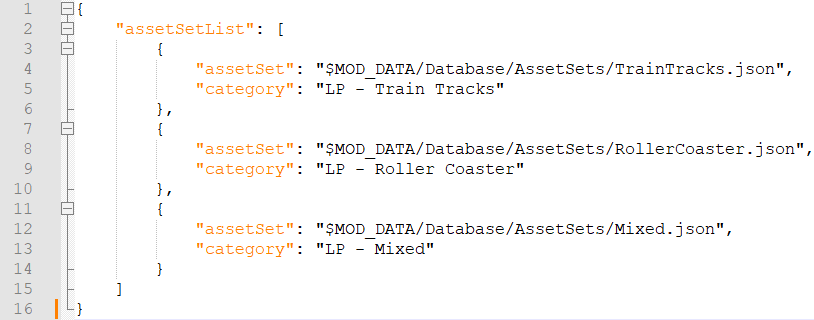
Add assetSetList from "assetsets.json" to "assetsets.assetdb":
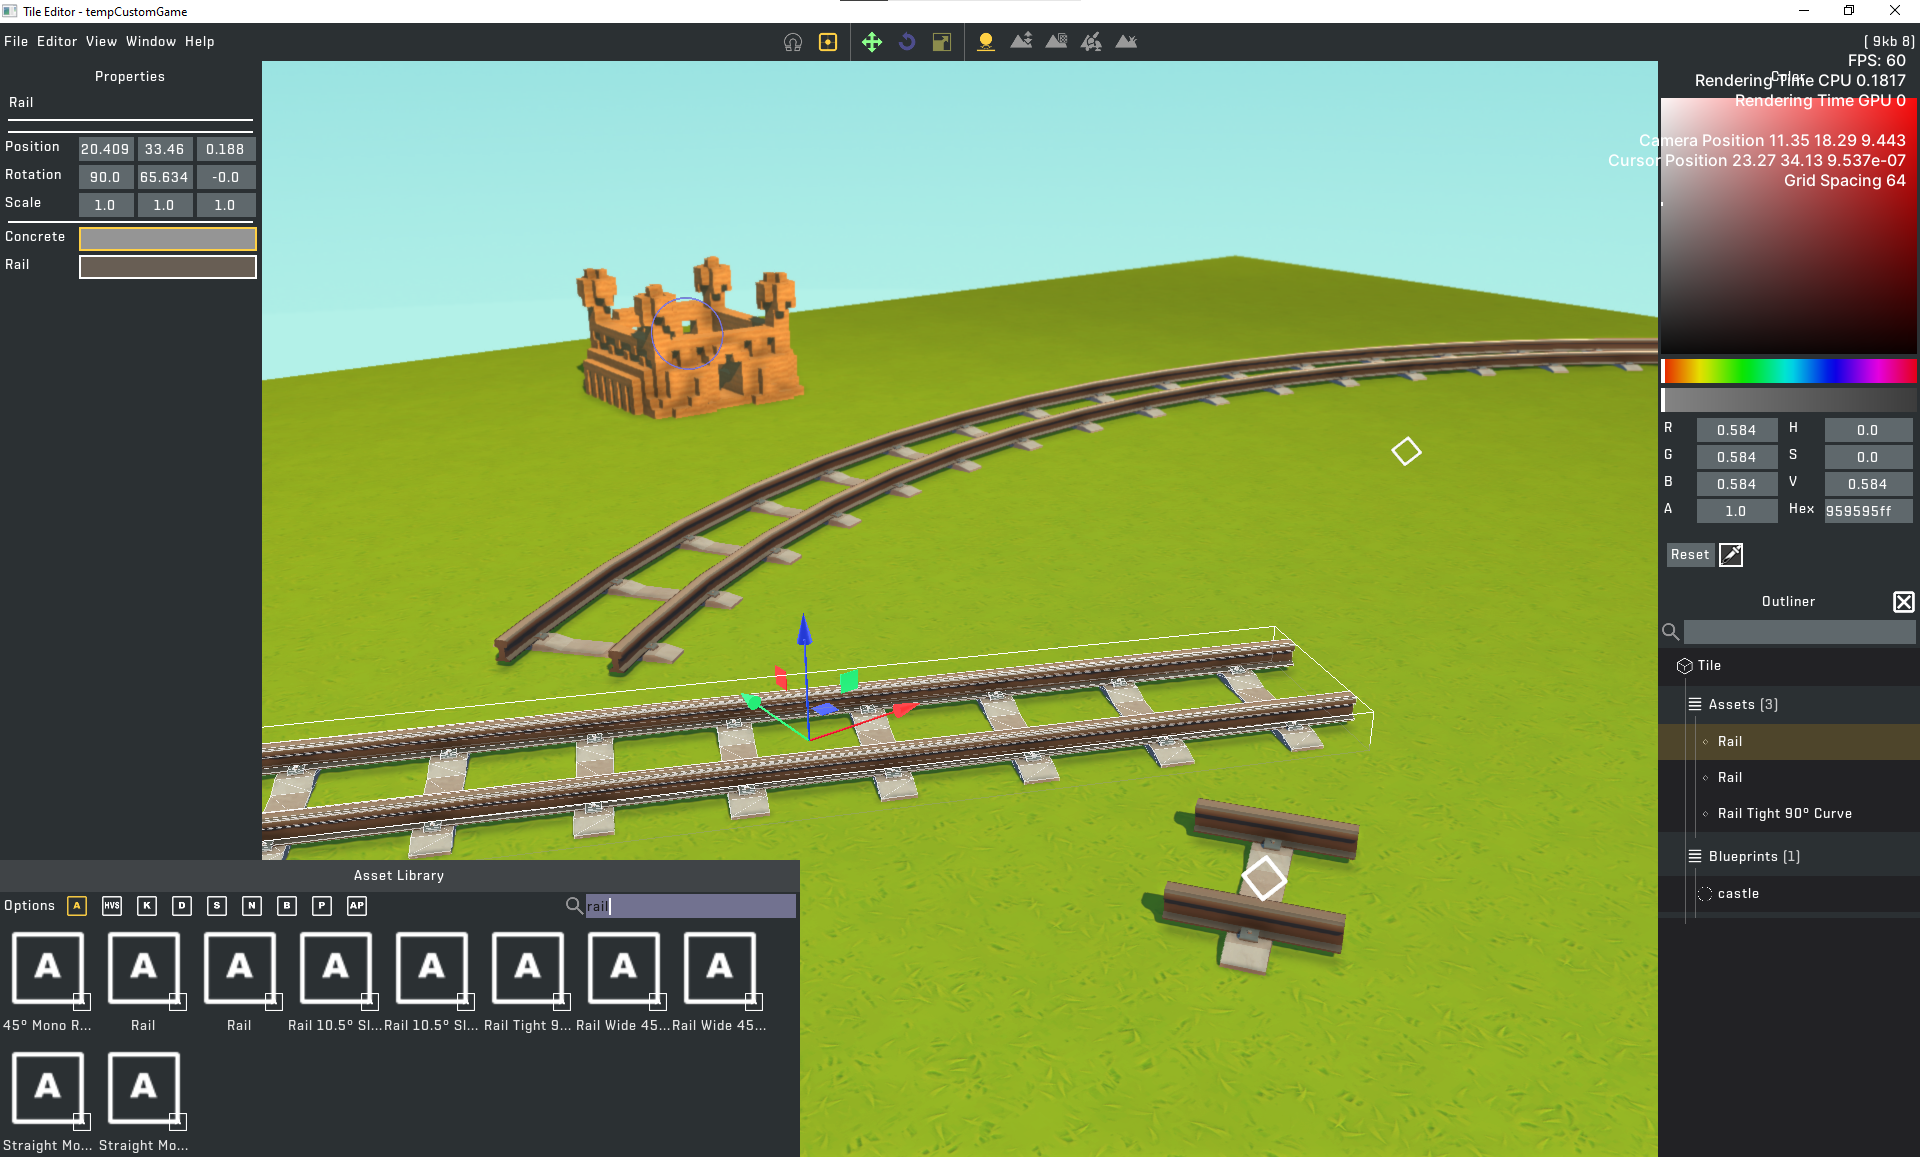
From "...\1331879173" copy folders Collision, Database, Mesh, Textures to your custom game folder. Congrats, now you have Terrain Assets by Lord Pain in the Tile Editor!
2. Blueprints
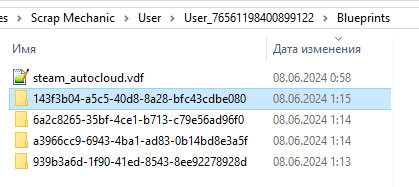
Sort folders by date in descending order to find the latest blueprints.
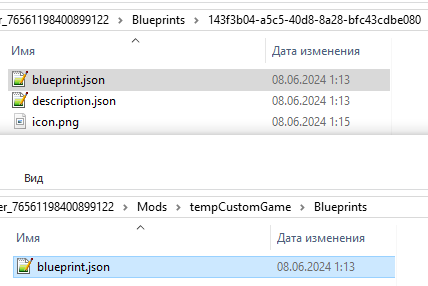
Extension .blueprint is necessary to display blueprint in the Tile Editor.
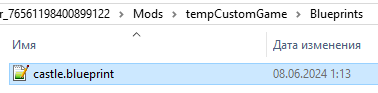
How to make file extensions visible in Windows 10:
- Click the View tab in File Explorer.
- Click the box next to File name extensions to see file extensions.
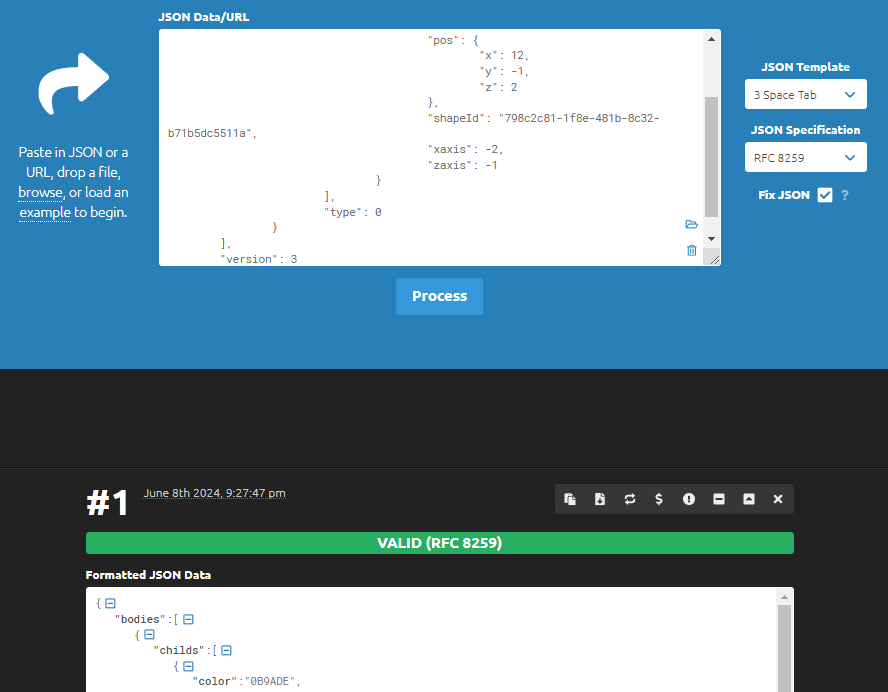
To solve this problem and do more flexible rotation and position, you can edit blueprint. For convenient blueprint editing you can make blueprint more readable with the help of json formatter: jsonformatter.curiousconcept.com. As an example, we look at a blueprint that contains several bodies and shapes. Simply put, there are bodies in creation: wheels, doors, etc. Each body contains many blocks and shapes. To move and rotate objects freely in Tile Editor, it is necessary to add parameter "type": 0 at the end of each body.
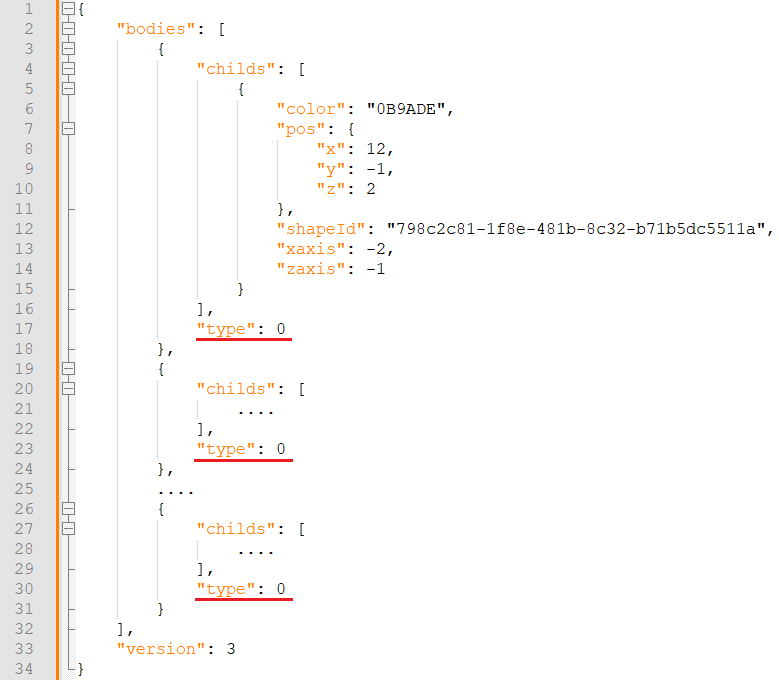
After editing don't forget to validate your blueprint.
3. Tile Editor
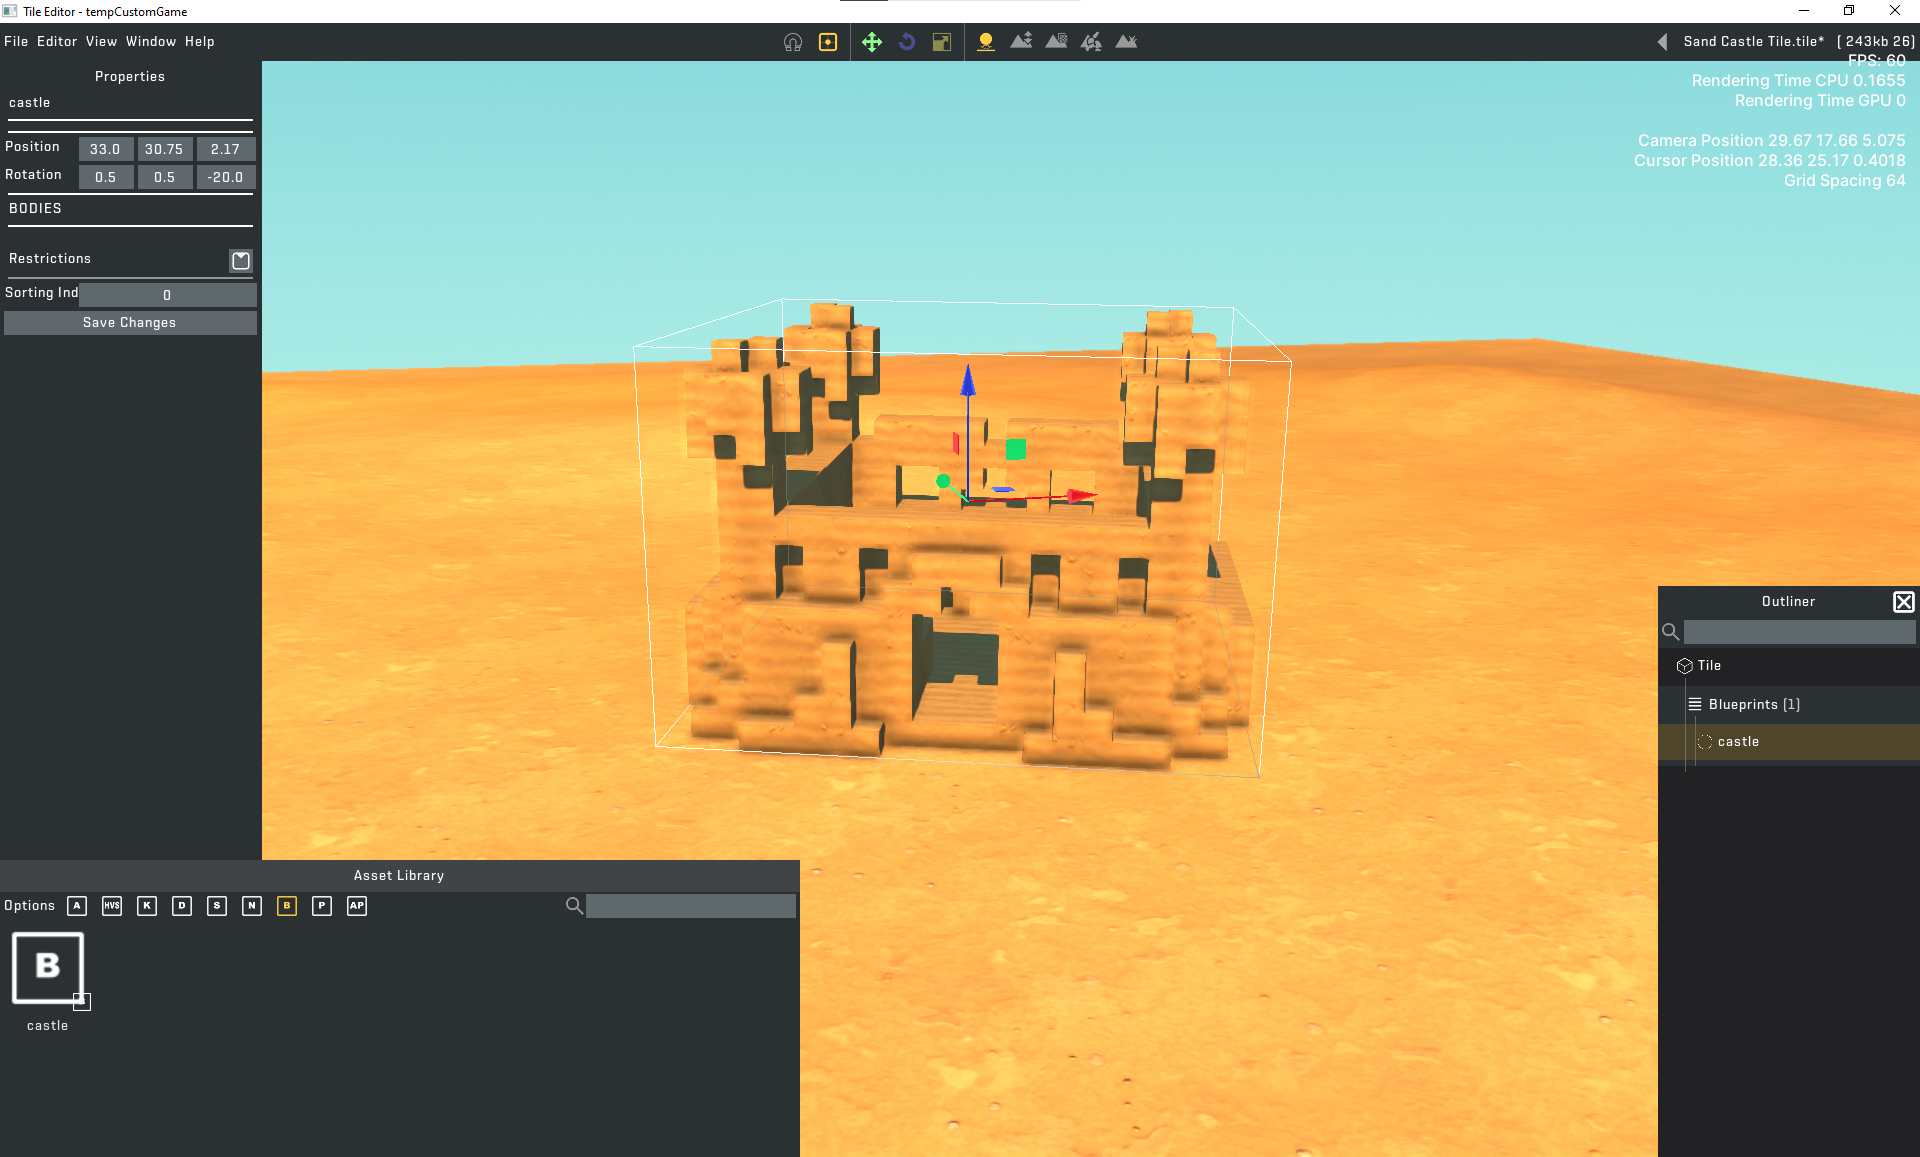
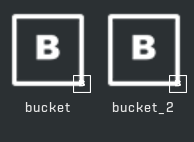
If you want more than 1 identical objects with different properties (restrictions, rotation offset, grid position offset), then create different blueprints.
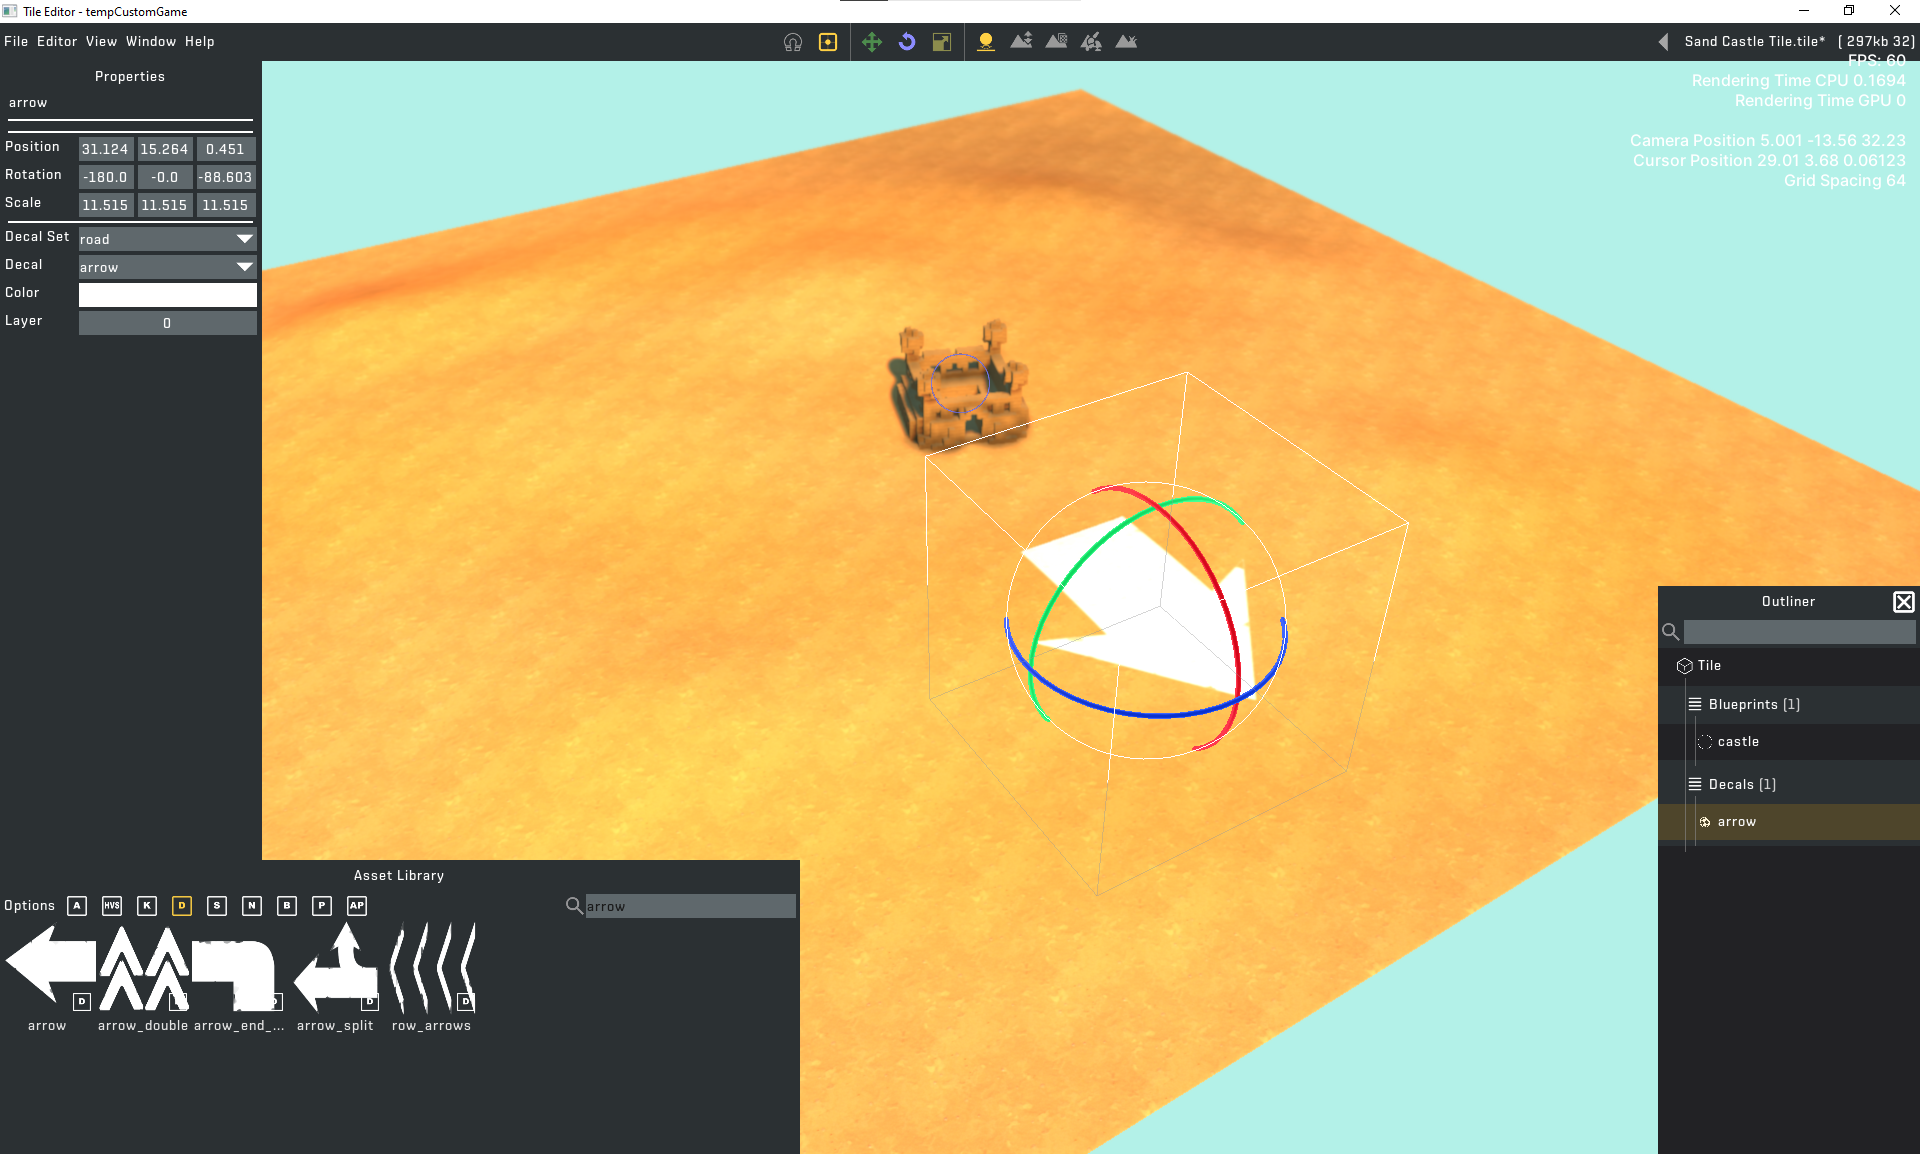
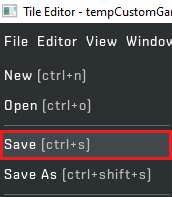
4. Completing the Tile
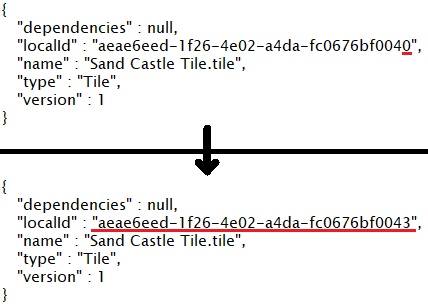
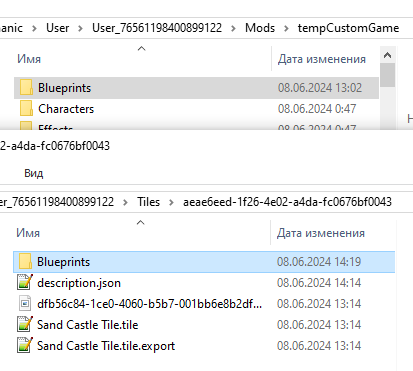
Check blueprints, there should be no "type":1 in body if you don't want it to be static and snapped to grid. You need to change it to "type":2 to make it static and free-placed. For the objects that are meant to be dynamic, just leave "type":0.
https://steamcommunity.com/sharedfiles/filedetails/?id=3264007062
When you are completely done, you may delete custom game or save it for later.
Conclusion
Let me know if you found any mistakes or inconsistencies.
- How raids actually work (Version 0.5.1)★ 5 (550)19k views867 ♥3 minUpdated 7 Apr, 2021
- Как пройти выживание?★ 5 (448)18k views700 ♥25 minRussianUpdated 12 Aug, 2020
- Все команды для скрап механик★ 5 (259)15k views475 ♥1 minRussianUpdated 1 Dec, 2023
- Robots and weapons concept proposal★ 5 (421)10k views182 ♥3 minUpdated 1 Apr, 2022
- How Does Fuel Consumption Work? Which Engine Is the Most Efficient?★ 5 (182)10k views152 ♥3 minUpdated 16 Oct, 2020
- Русификатор для Scrap Mechanic by Pro100DarkTV (v2.5)★ 5 (317)9.9k views516 ♥1 minRussianUpdated 19 Jun, 2021


- Upgrading to PremiumTeam Fortress 2★ 5 (20k)1441k views11k ♥6 minUpdated May 11, 2022
- No More Room in Hell Official ManualNo More Room in Hell★ 5 (2.8k)569k views2.1k ♥29 minUpdated Apr 22, 2019
- NMRiH Community Hosting GuidesNo More Room in Hell★ 5 (526)351k views653 ♥1 minUpdated Aug 10, 2022
- ULTIMATE GUIDE FOR GAME DEV TYCOONGame Dev Tycoon★ 5 (5.8k)326k views10k ♥4 minUpdated 23 Jan, 2014
- How to 'Git Gud' Soon™MORDHAU★ 5 (2k)318k views3k ♥68 minUpdated Nov 16, 2024
- Лучшие кооперативные игры SteamPAYDAY 2★ 5 (1.5k)315k views2.1k ♥56 minRussianUpdated Apr 27, 2025






This guide was created by its original author on the Steam Community. Are you the author and want it removed? Request removal.