How to turn a canvas into a beautiful masterpiece | Decoration Guide
Editing Tools
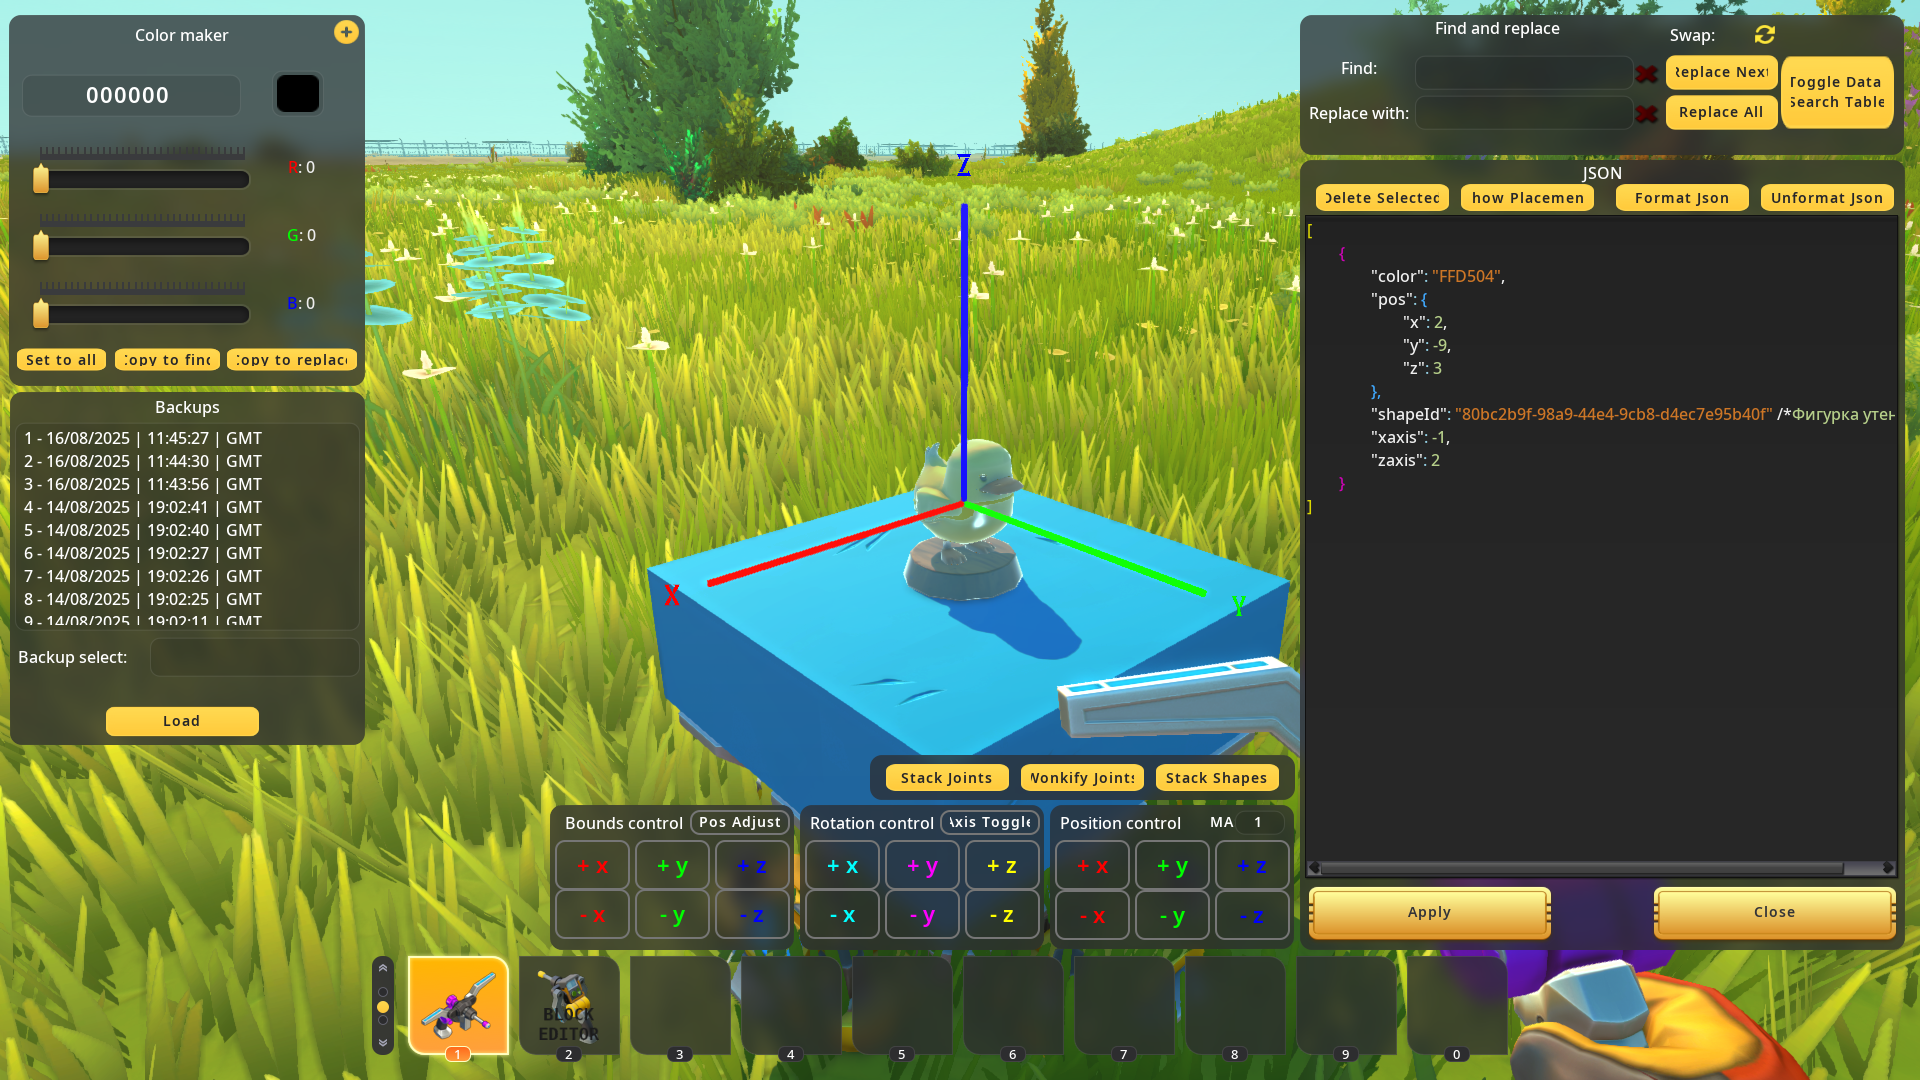
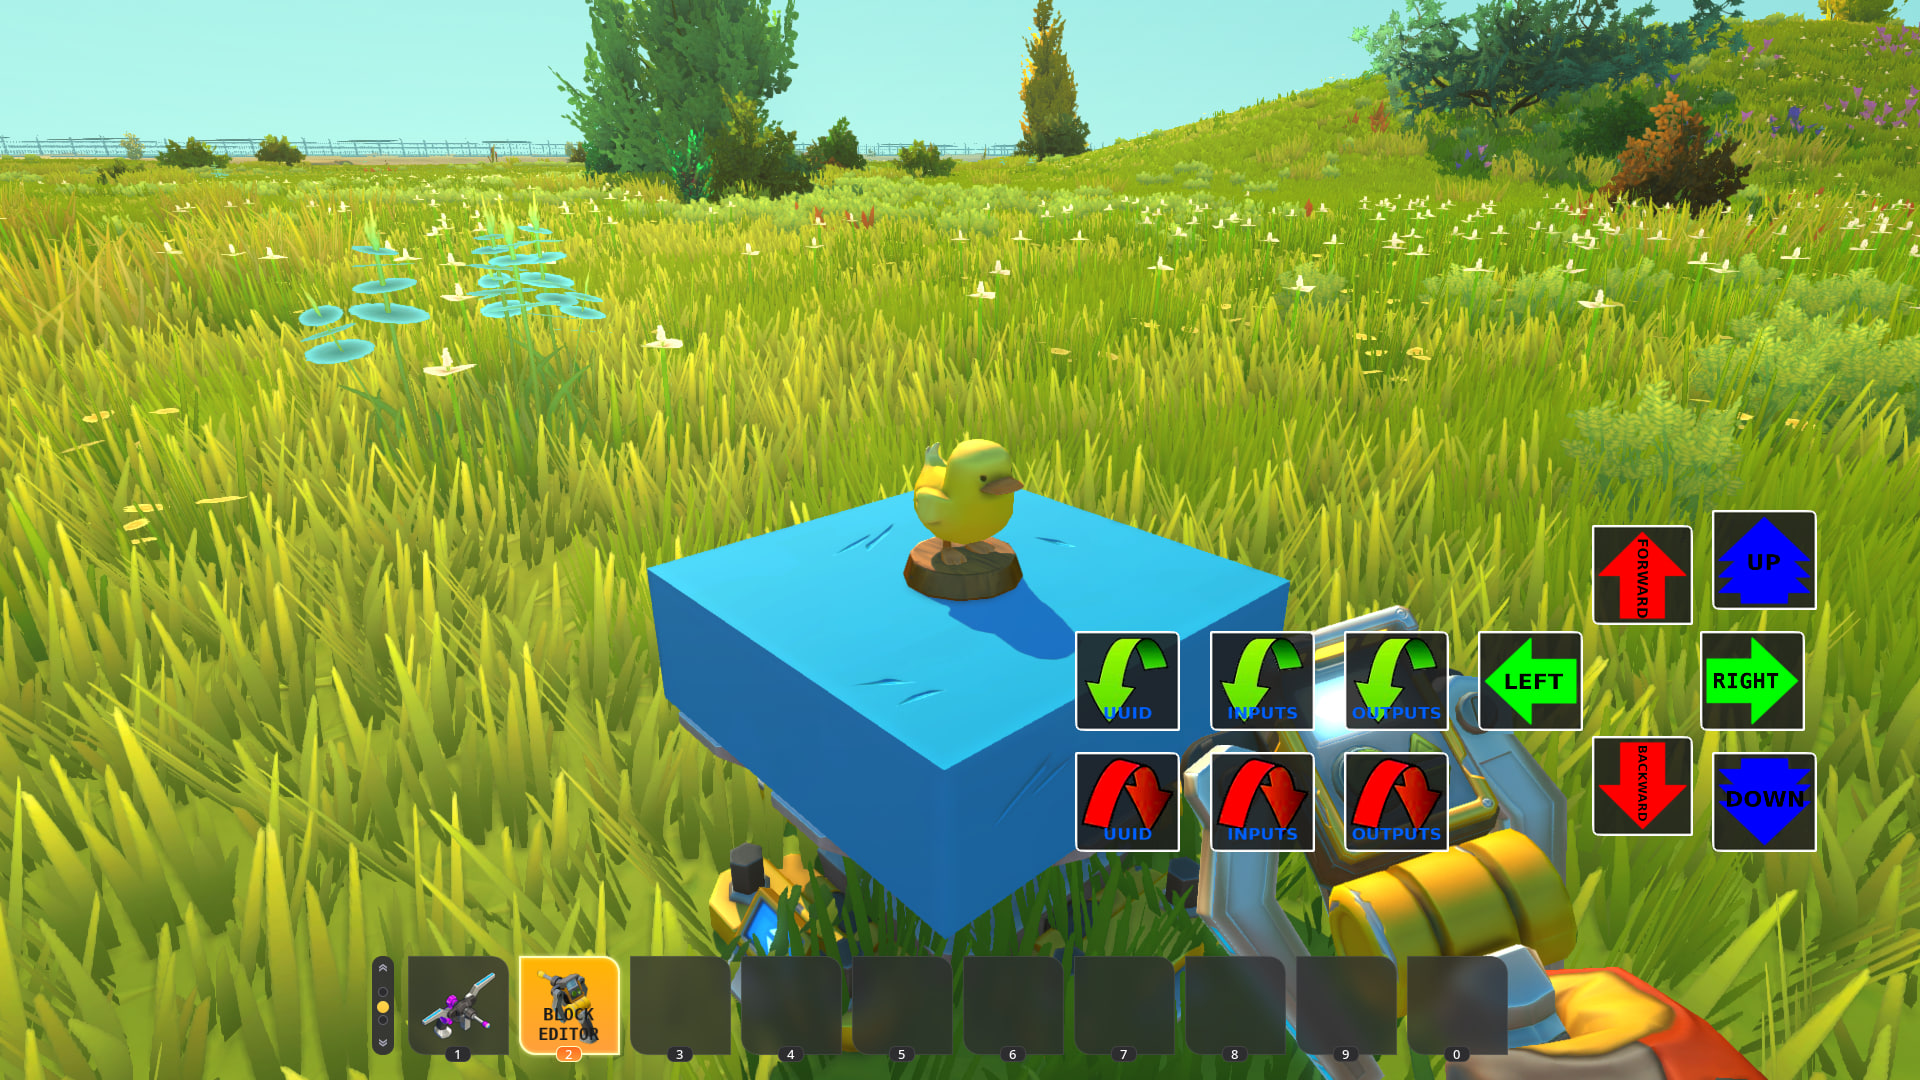
As mentioned in the description, if you want to create higher-quality builds, it's better to use editing tools. Both allow glitching, but their functionality differs significantly.
- Bingo's Block Editor – More complex, but with in-depth study, it not only enables glitching but also allows editing the code of both regular blocks and interactive elements. You can shrink blocks to zero values, unlocking endless possibilities for decoration and mechanics. For example, you can make a Tier 1 engine perform like a Tier 5 (while keeping the Tier 1 sound). The same applies to pistons (increasing their speed) and other parts.
- Advanced Tools – Much simpler. Offers more tools, but its functionality is more limited. Glitching is possible, but that’s about it. It has a handy painting tool, but it doesn’t surpass the first mod.
Proportions and Build Size
Proportions
If you don’t want your build to look like an amoeba, avoid building from memory. Here are some tips:- Start by finding reference images of the object you want to recreate in-game and build by eye - though be aware the results might not be perfect. If you don't trust your eyeballing skills, move to the second method.
- Here's the technique I personally use (some might recognize it from AgaliX): It involves overlaying grid guides on reference images. Simply put, I search for something like 'LADA 2104 proportions' (replace with your subject, obviously), find a suitable image, load it into my editor (Photoshop in my case), and enable guide lines to simplify the building process. Any photo editor works, but Photoshop specifically has customizable guides that make this easier.
*Always consider all angles when building - this way you'll achieve results that actually look proper, not just boxy.
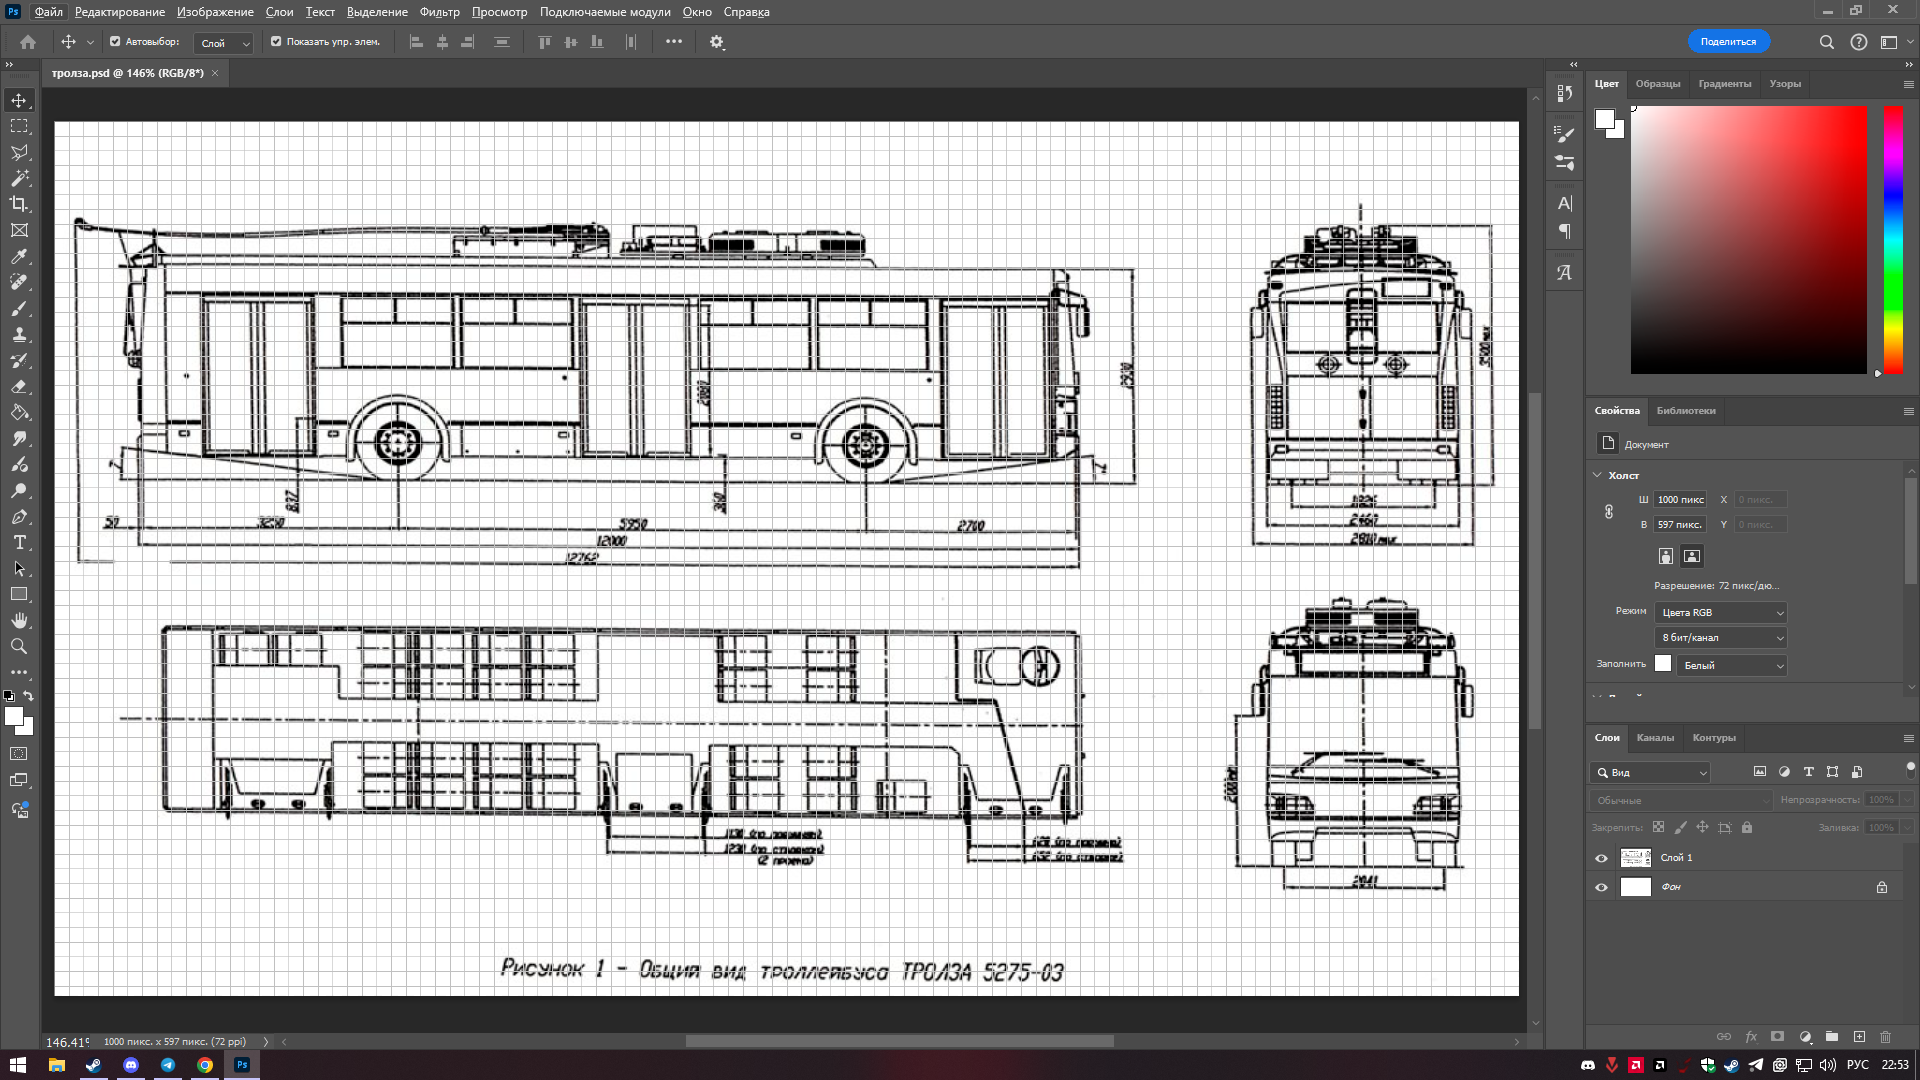 For full detailing, search for additional terms like "LADA 2104 side/rear/front view" or "LADA 2104 interior". Study the subject thoroughly. This applies to more than just cars.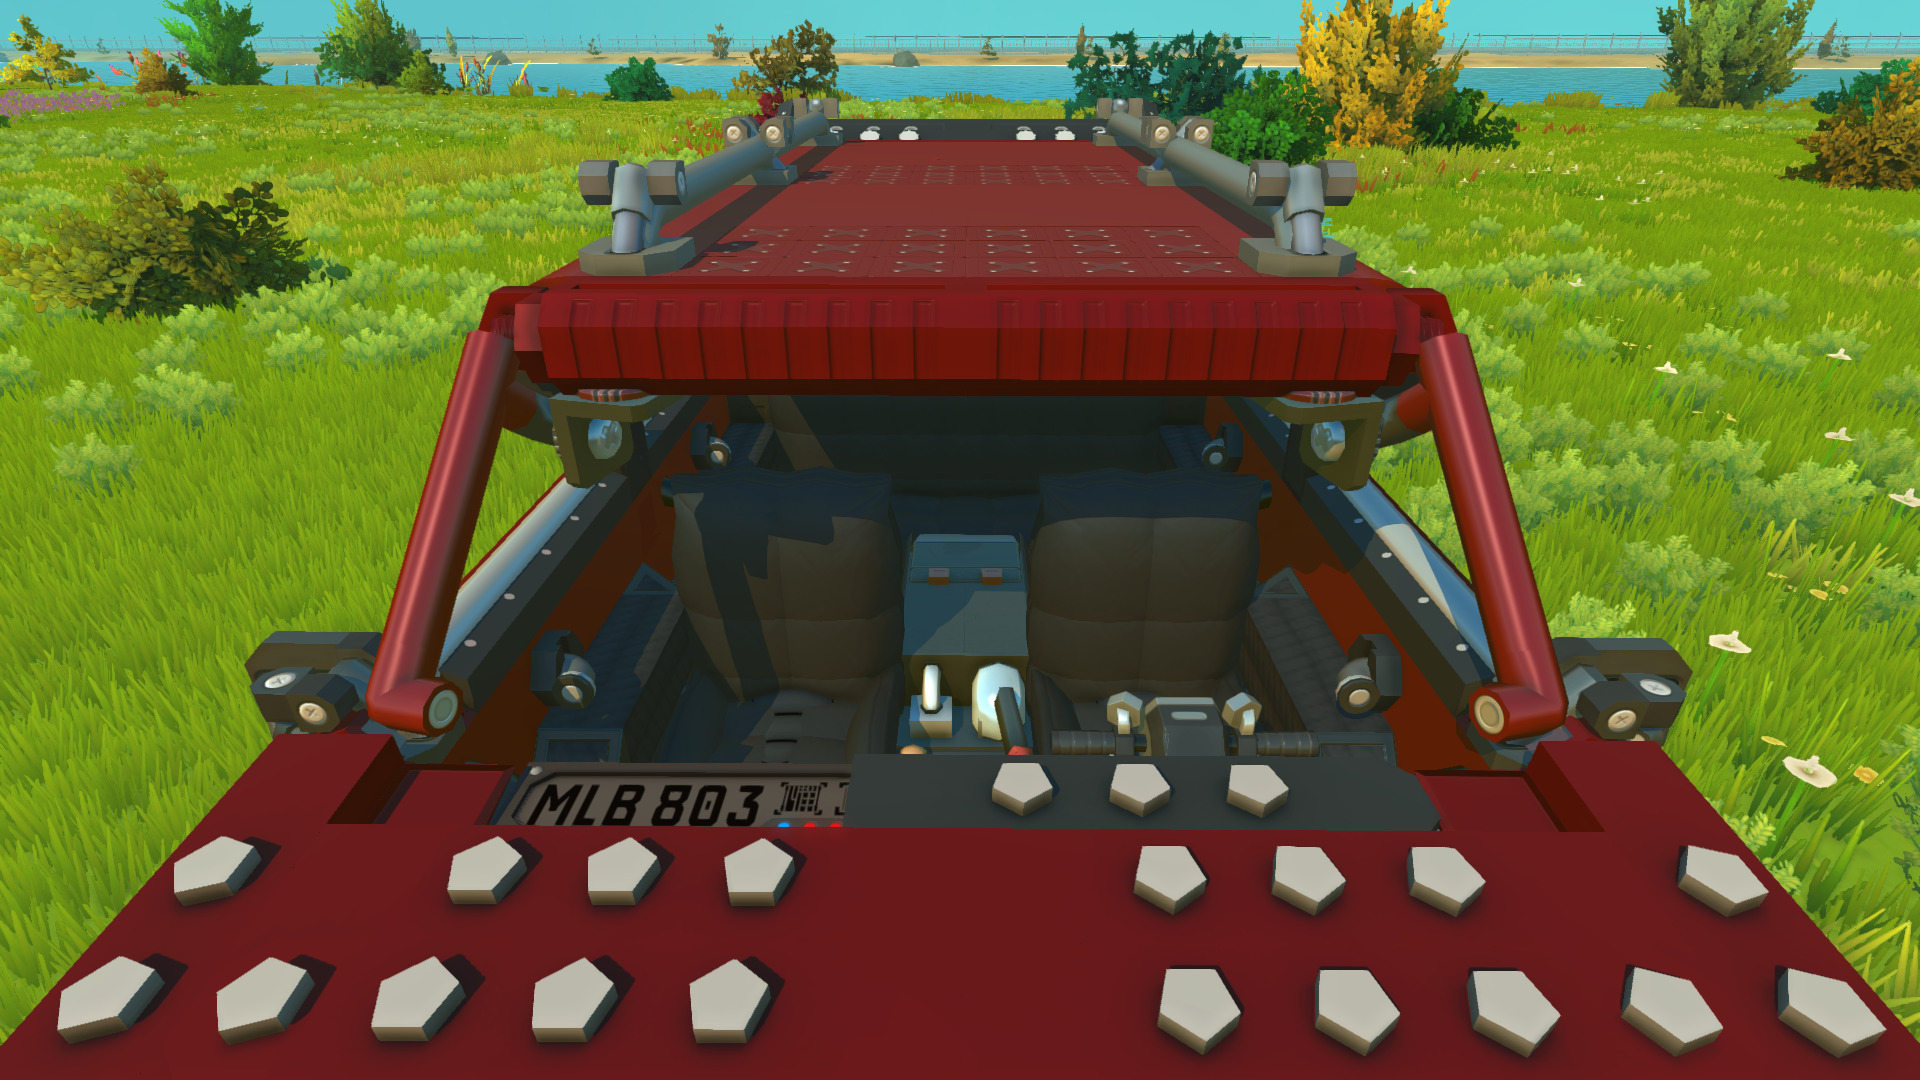
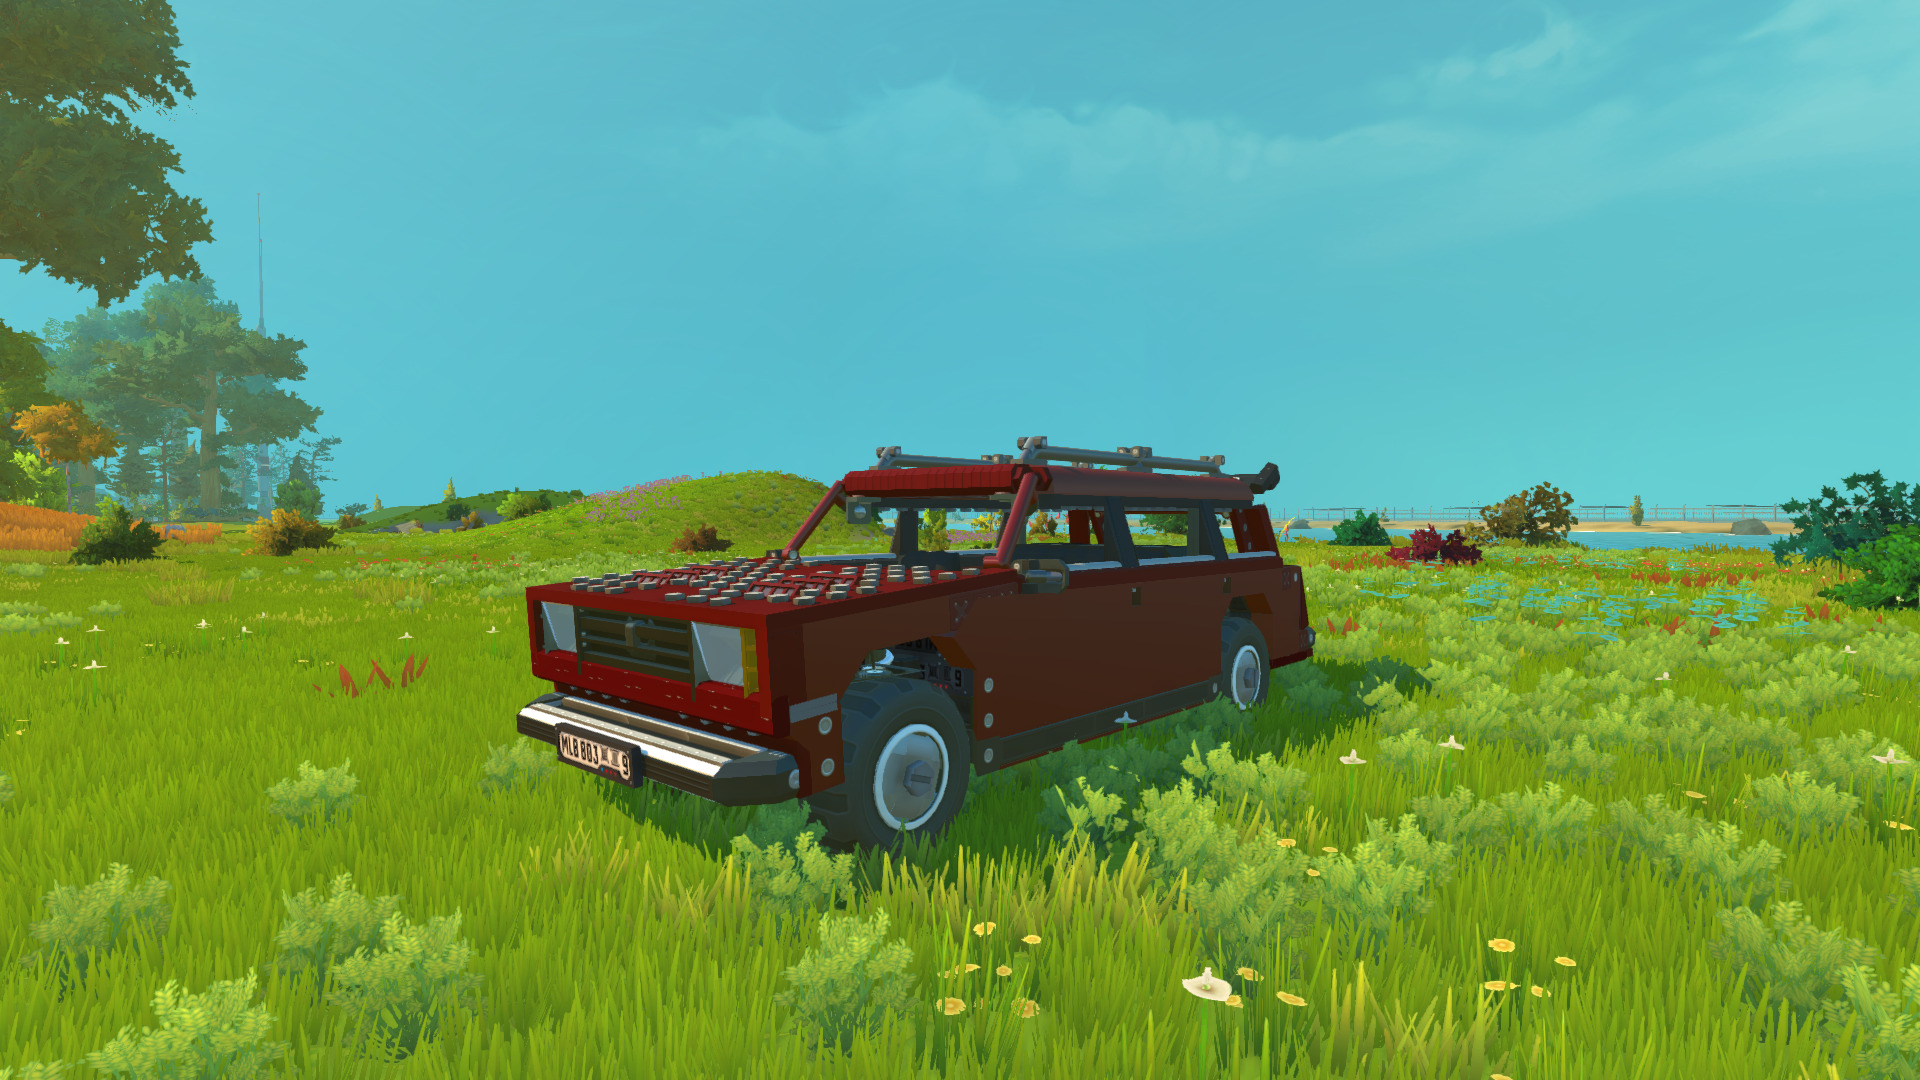
Size
Most of you probably know that 4 blocks = 1 meter. But! I don't recommend rigidly sticking to these measurements. For example, when working on large builds, I and many others often find ourselves lacking space for proper detailing. This standard frequently limits your builds' functionality too. Do you really need that? I don't think so. You can safely scale it up by 1.5x, making 1 meter = 6 blocks - this opens up way more possibilities for creative ideas. But don't go overboard with it. Bottom line: build at whatever scale works best for you. Don't limit yourself.
Blocks and Wedges
Blocks
A tip that improves the appearance of a building by several orders of magnitude. This won't apply to every situation, but using basic blocks often makes your build look rushed. For vehicle construction, use standard blocks only temporarily - for final detailing, switch to:I-beams (all types), Duct Holder, and Shelf Support. While other blocks might work, I recommend these three specifically because of their smooth, scratch-free textures without weird patterns.
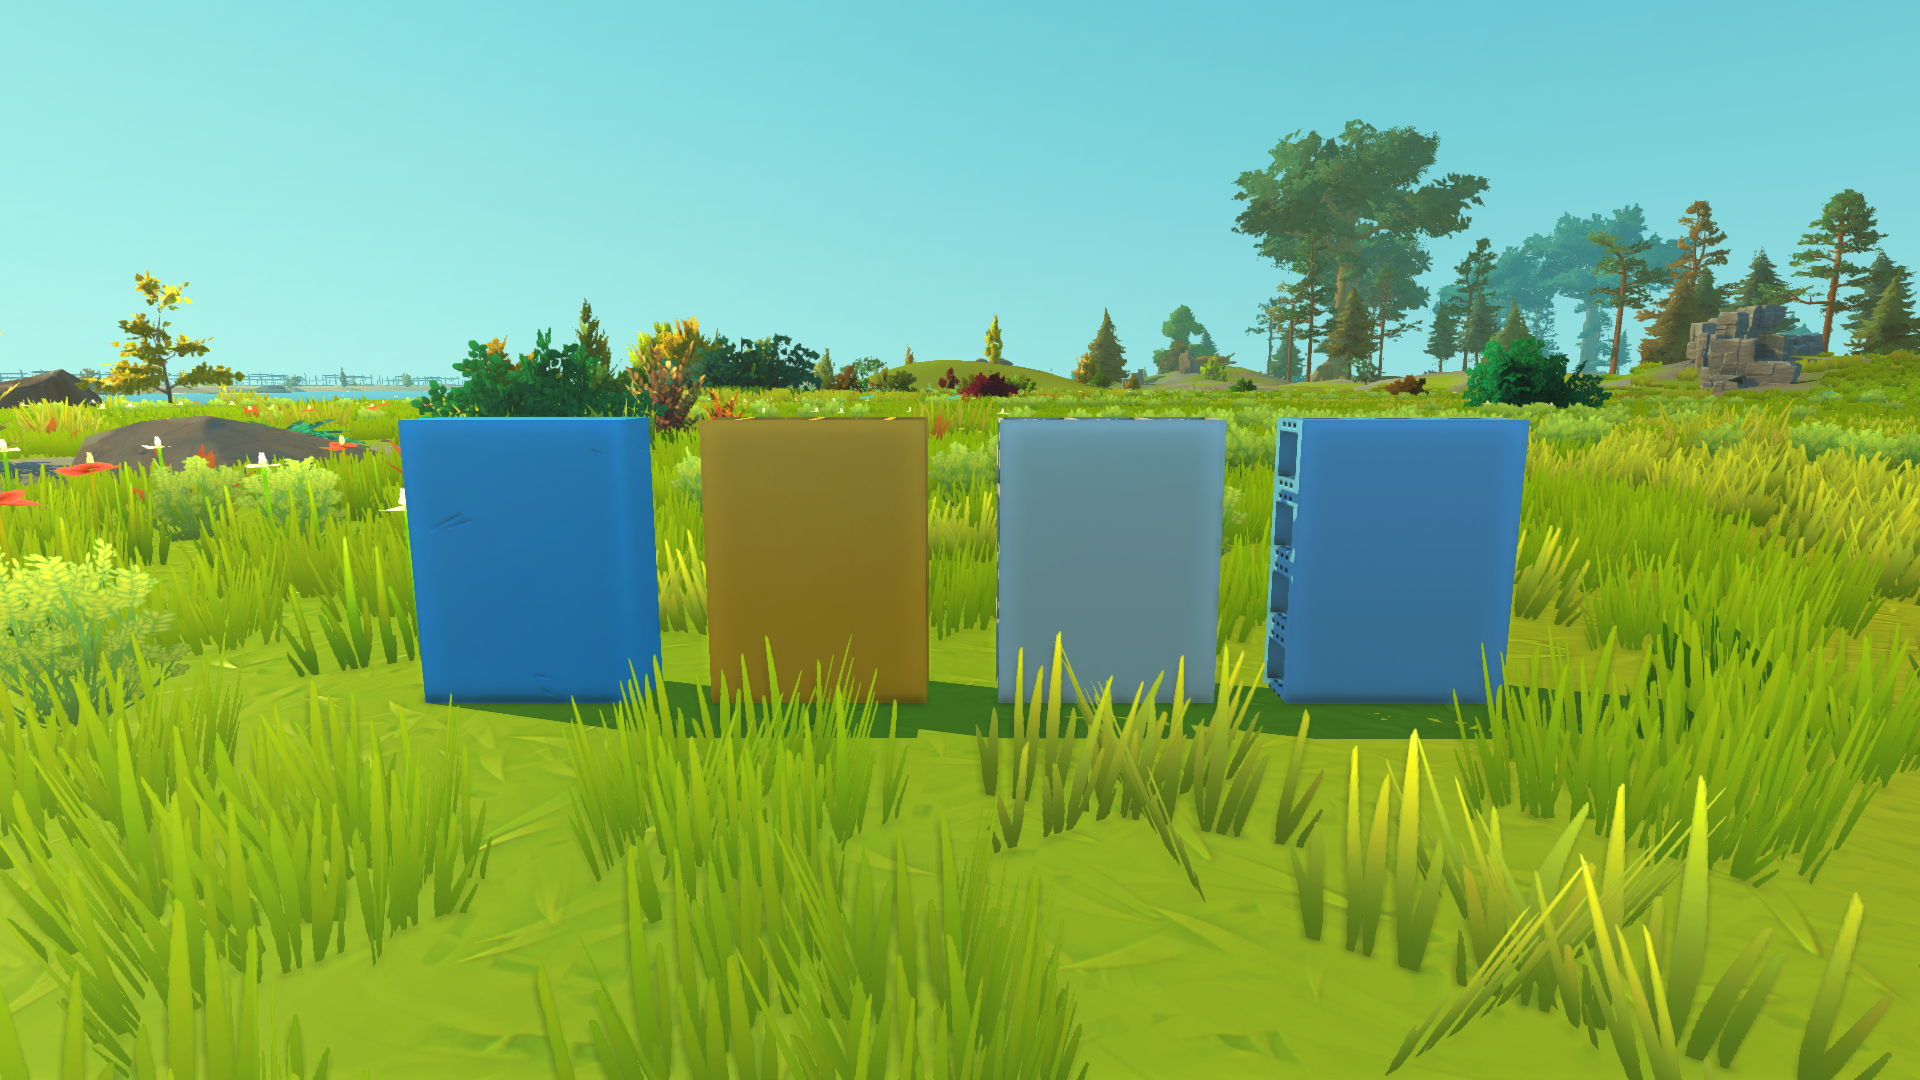 *Note: I-beams and Duct Holders show visible seams at angles (a developer-side issue with no known fix). Shelf Supports barely have this problem, making them my current favorite. Tweaking anisotropic filtering settings may help, but won't eliminate it completely.
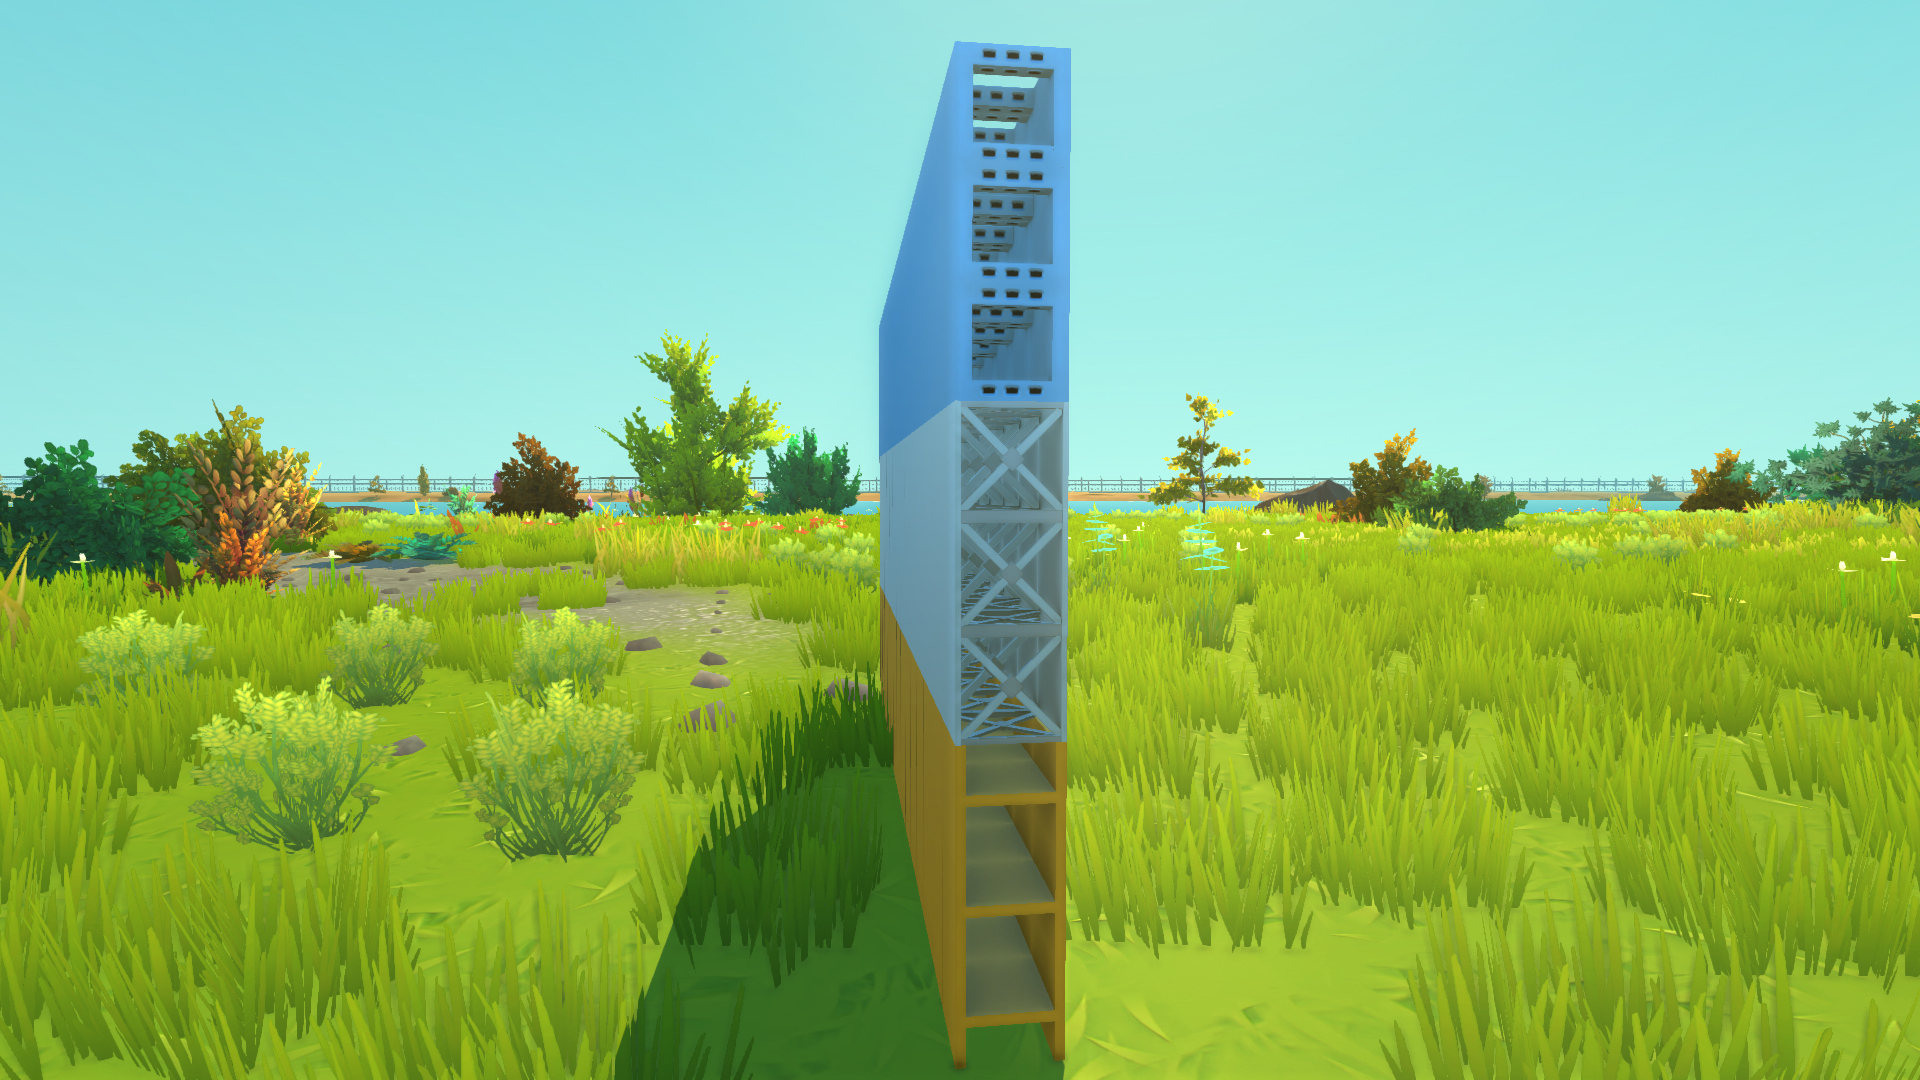 Again, this isn't universal - thematic builds may require specific textured blocks.
Tier 2 pistons work great for detailing since they're collision-free and fully paintable on one side. Perfect for wheel arches, doors (which sometimes glitch), and other complex elements.
Wedges (Draggable)
I've identified one main issue with them - the frame (why it can't be removed is known only to the Axolotls). My advice is: don't spam wedges everywhere, as the frames stand out way too much. If you can replace a wedge with something else in a particular section of your build - take the time to do it. Use wedges, but don't place them haphazardly in massive quantities.
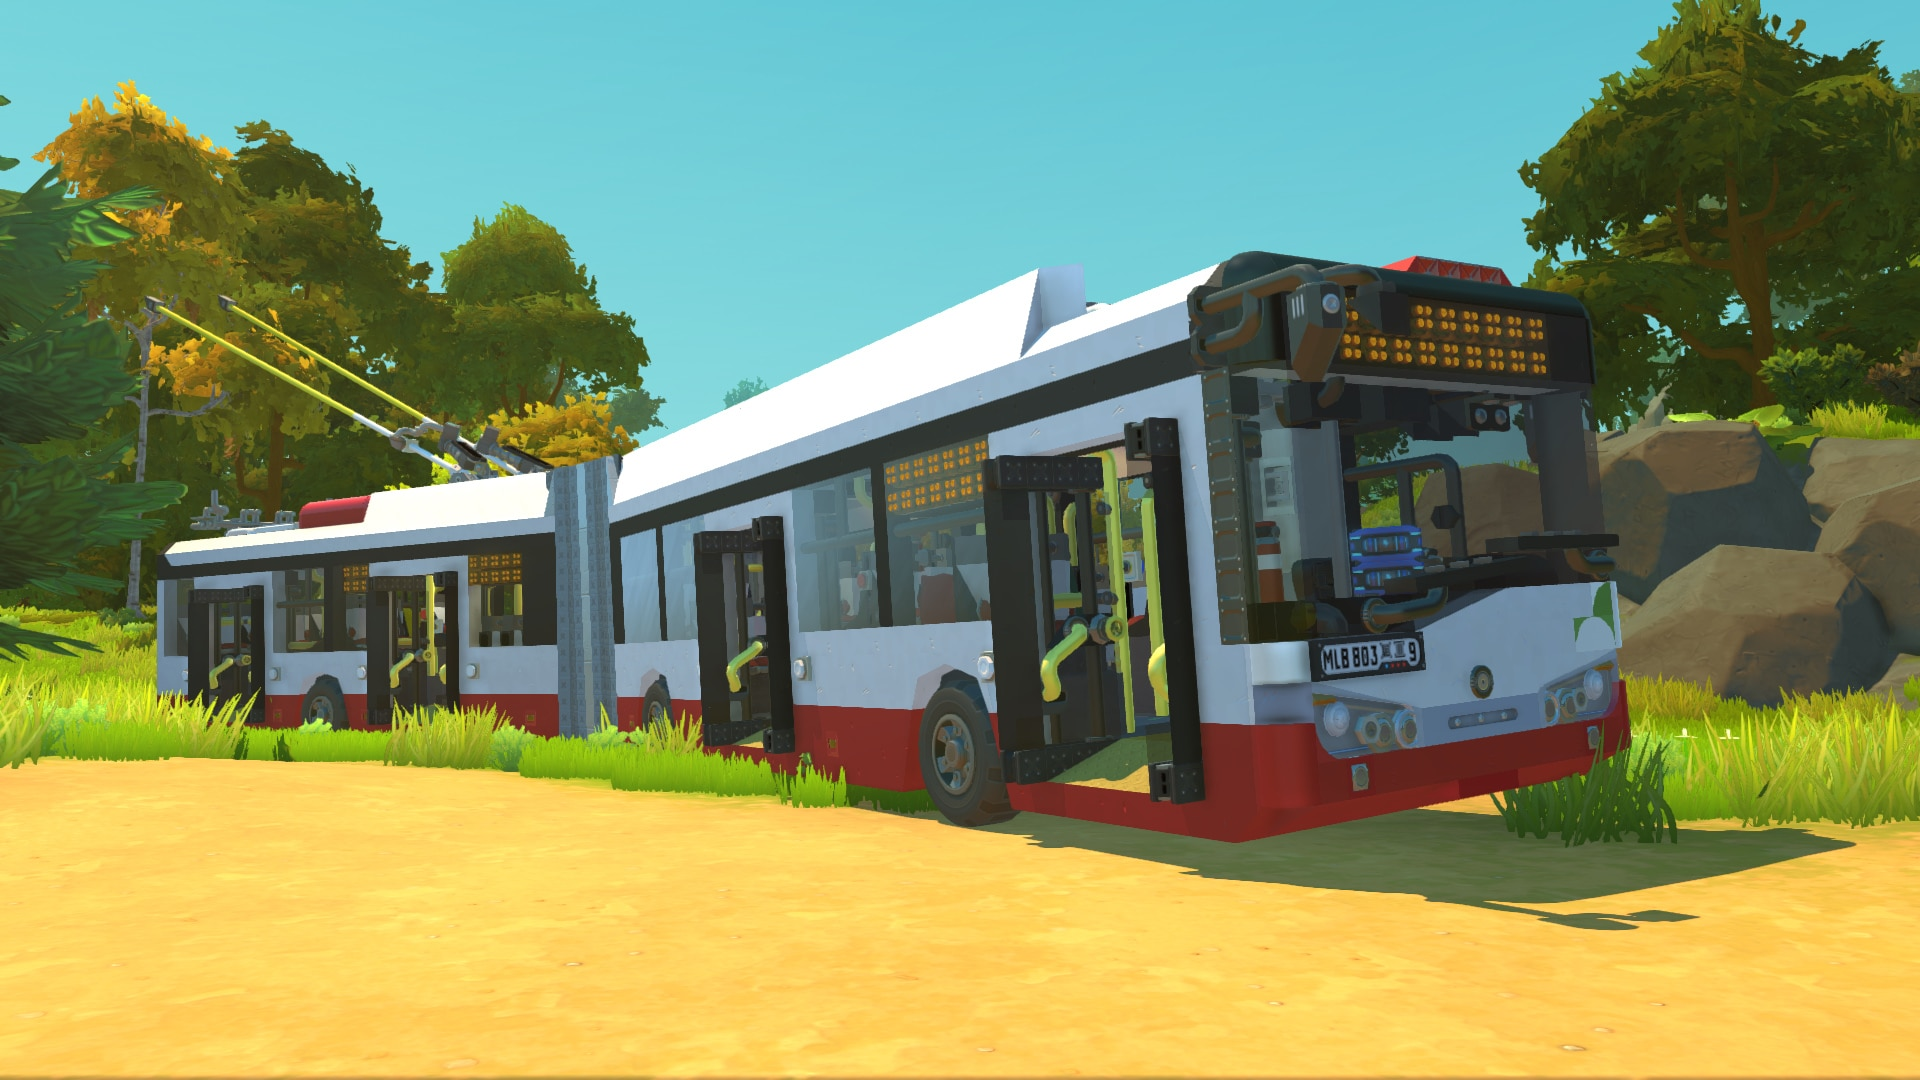
However, wedges have their advantages too - that same frame, ironically. Talk about a double-edged sword. If used strategically, you can actually turn this frame to your advantage. For example, I've used these frames to simulate service hatches in a trolleybus interior: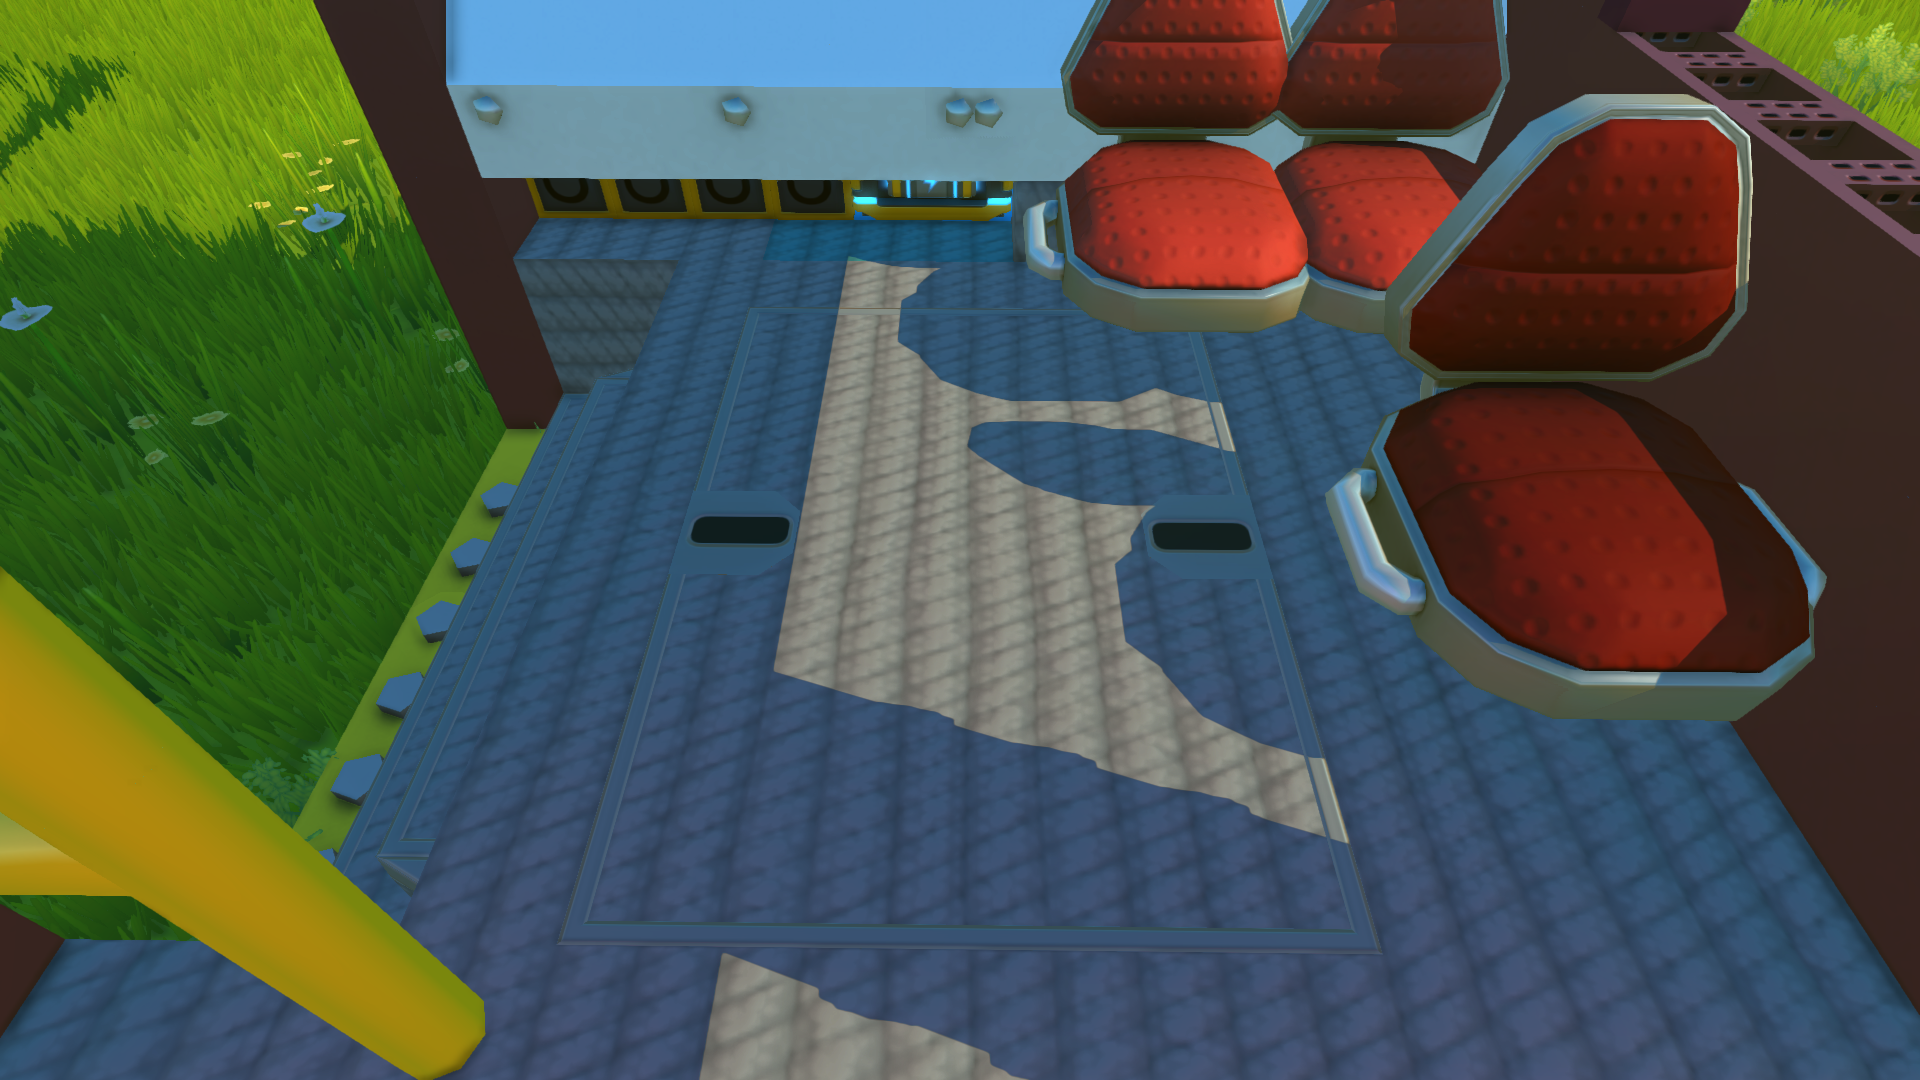 And window frames:
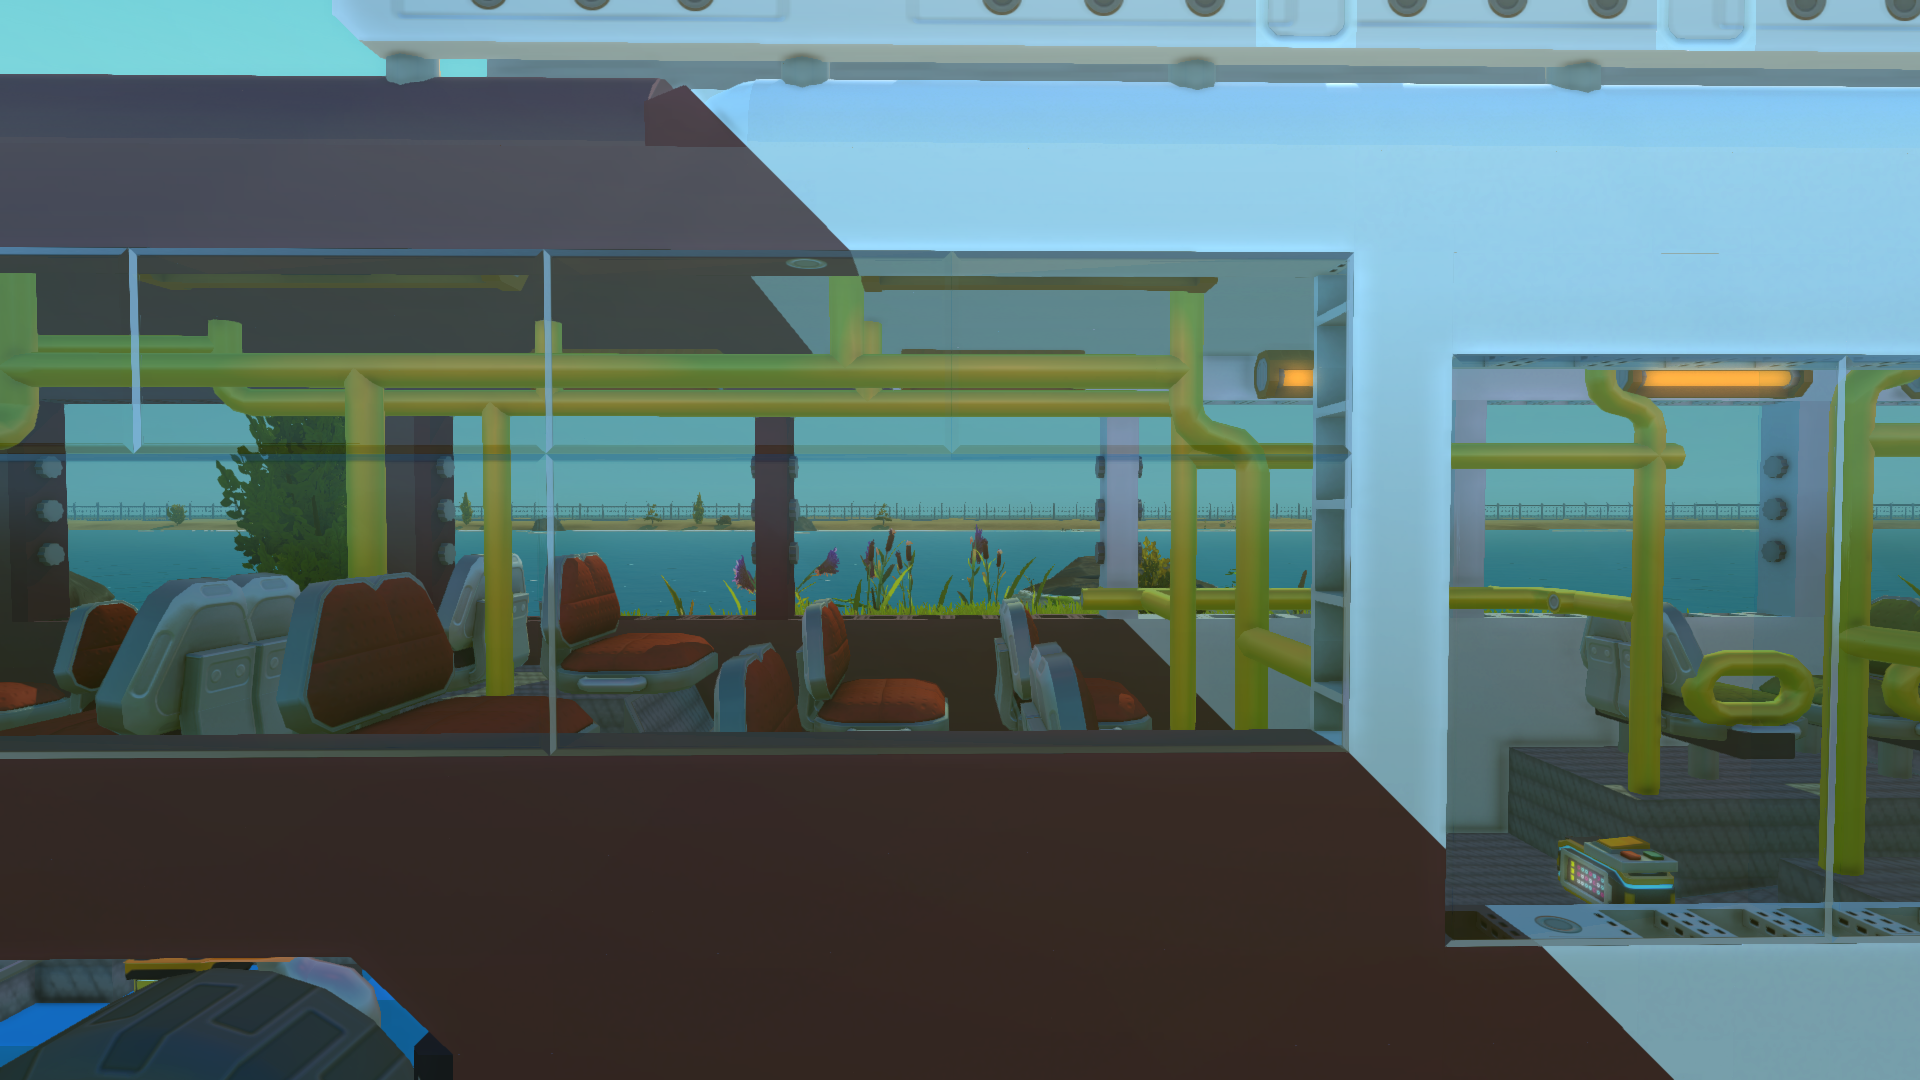 Experiment, try, but don't forget the advice above.
Glitches and various details
Glitches
Where would we be without them? Let me explain how to work with them properly (though the concept is quite vague).Essentially, it doesn't matter what or how you glitch, as long as it looks good.
For example, I needed to make nice-looking headlights, which would be impossible without glitches. Here's my process: first I examine reference photos to determine what to create. I start by shaping the headlights using glitches to combine regular and concave wedges as I see fit.
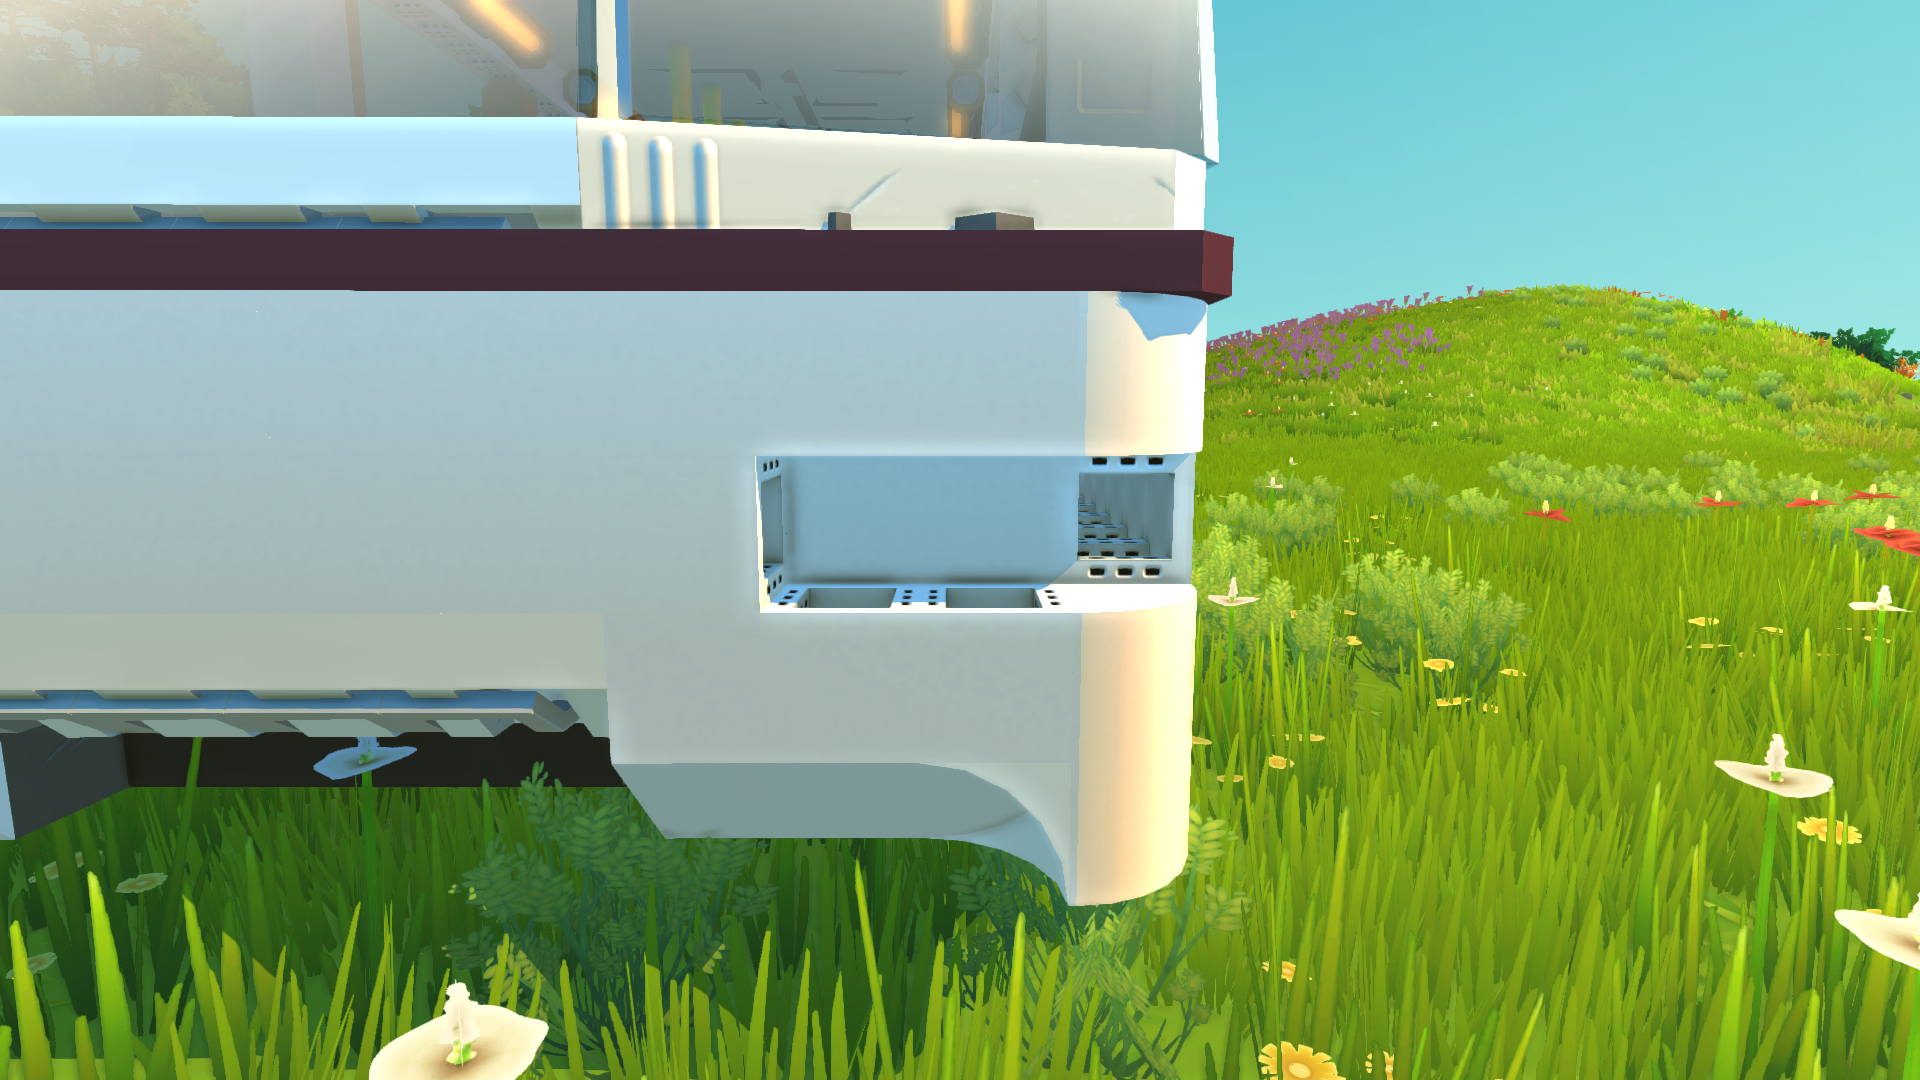
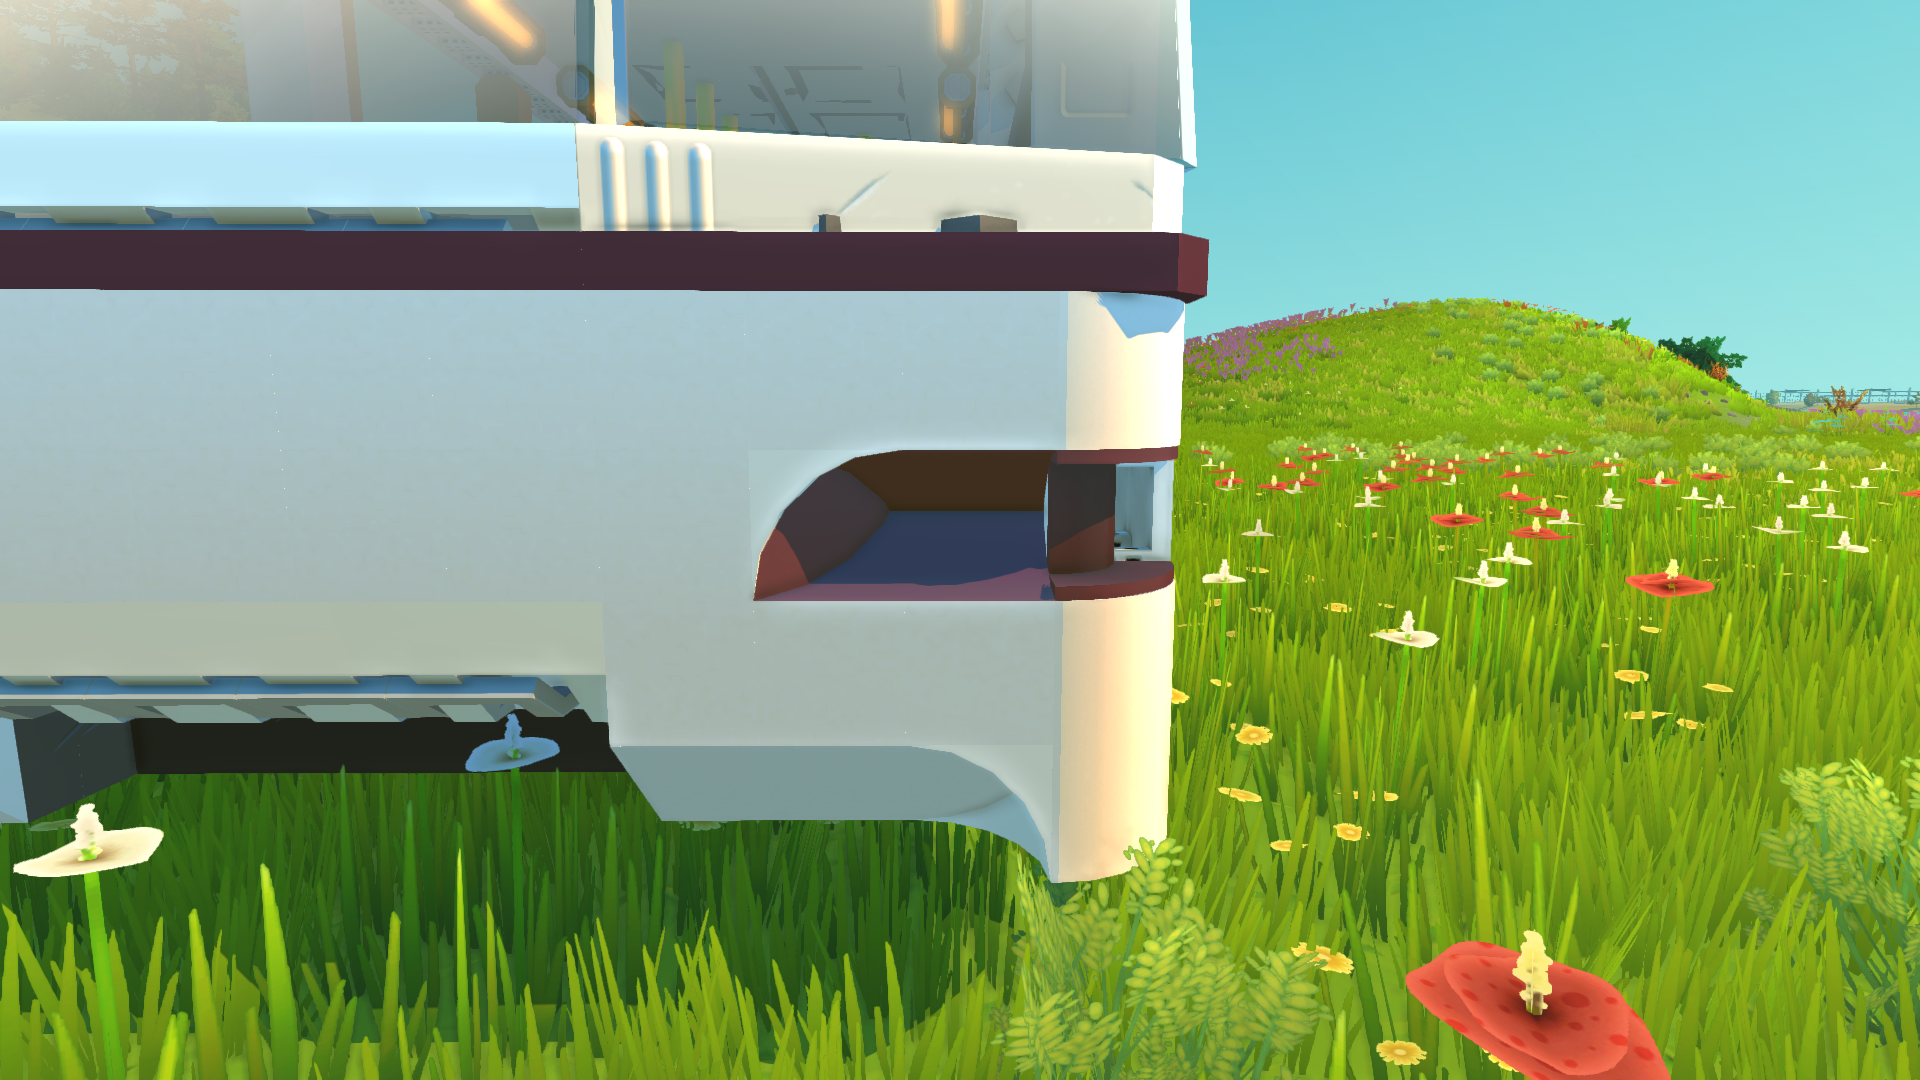 After finalizing the shape, I test different headlight options to see what works (same goes for turn signals, as shown):
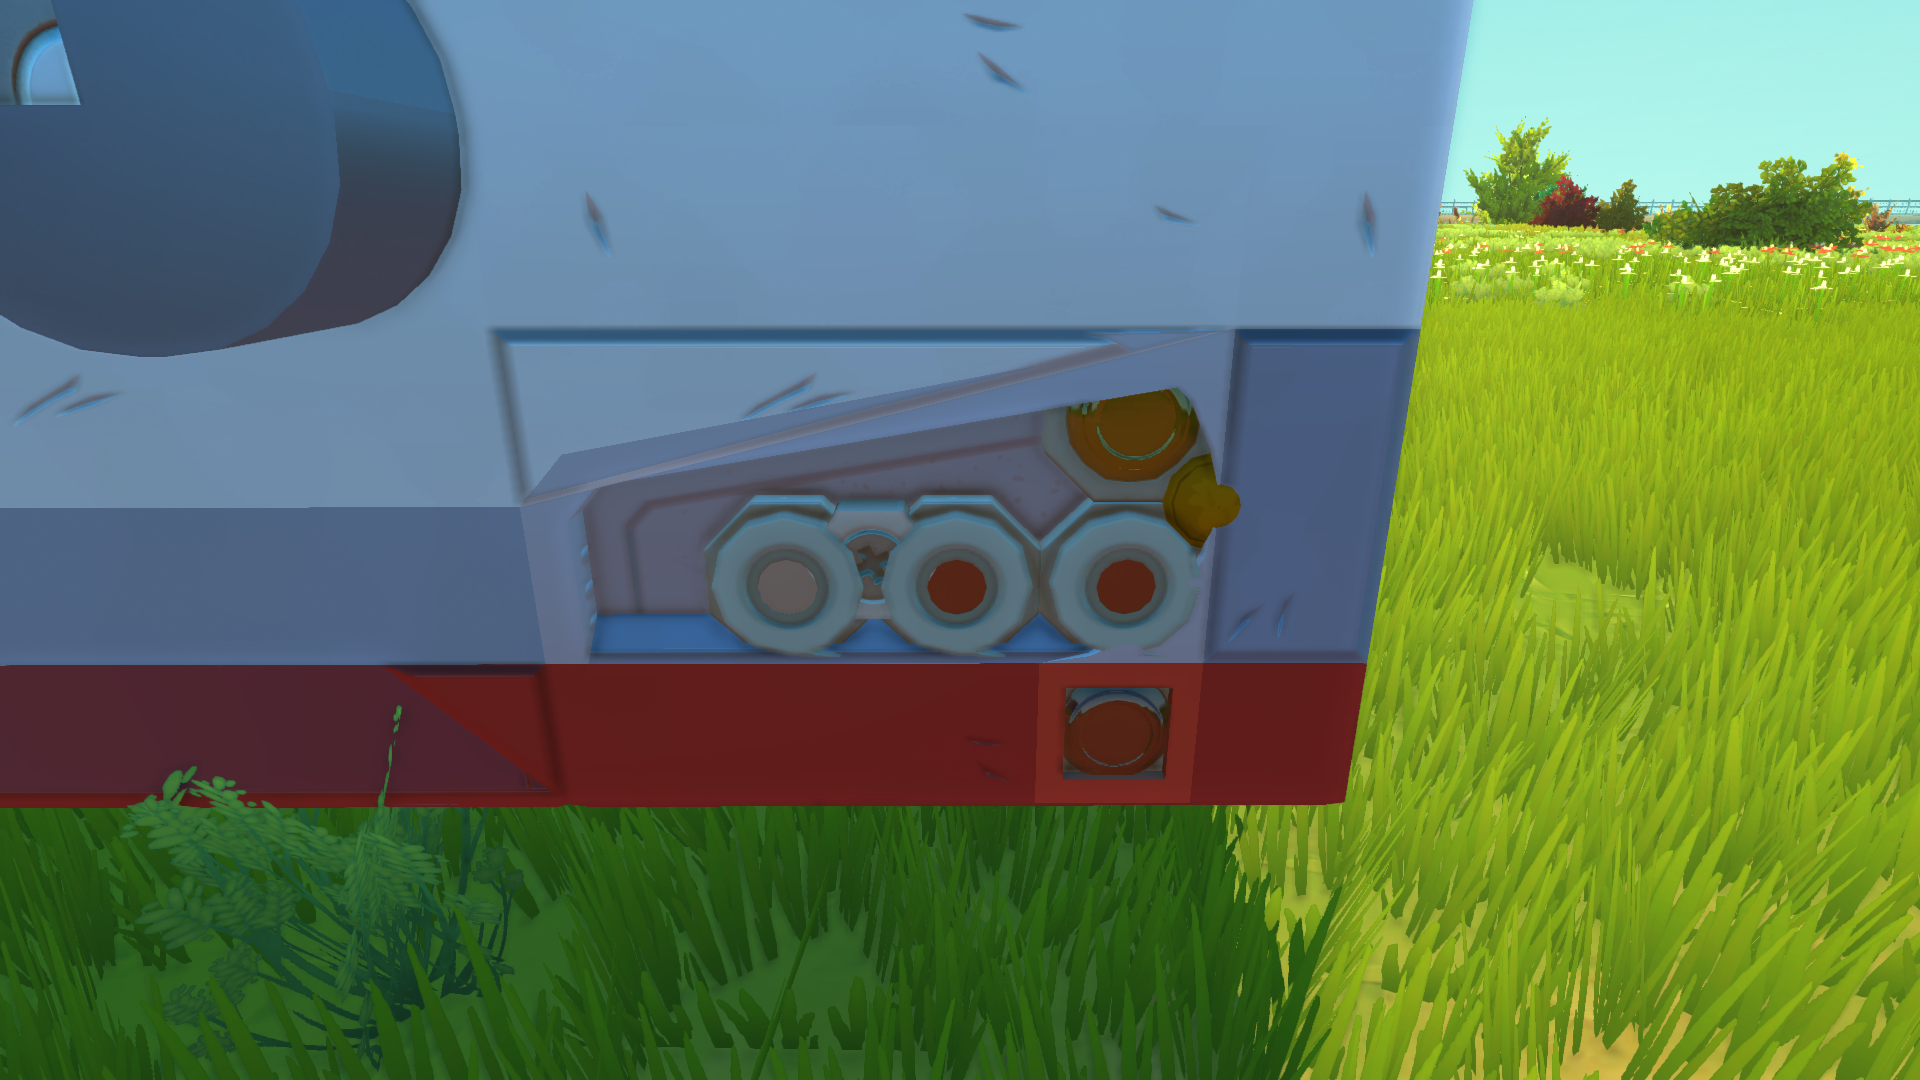
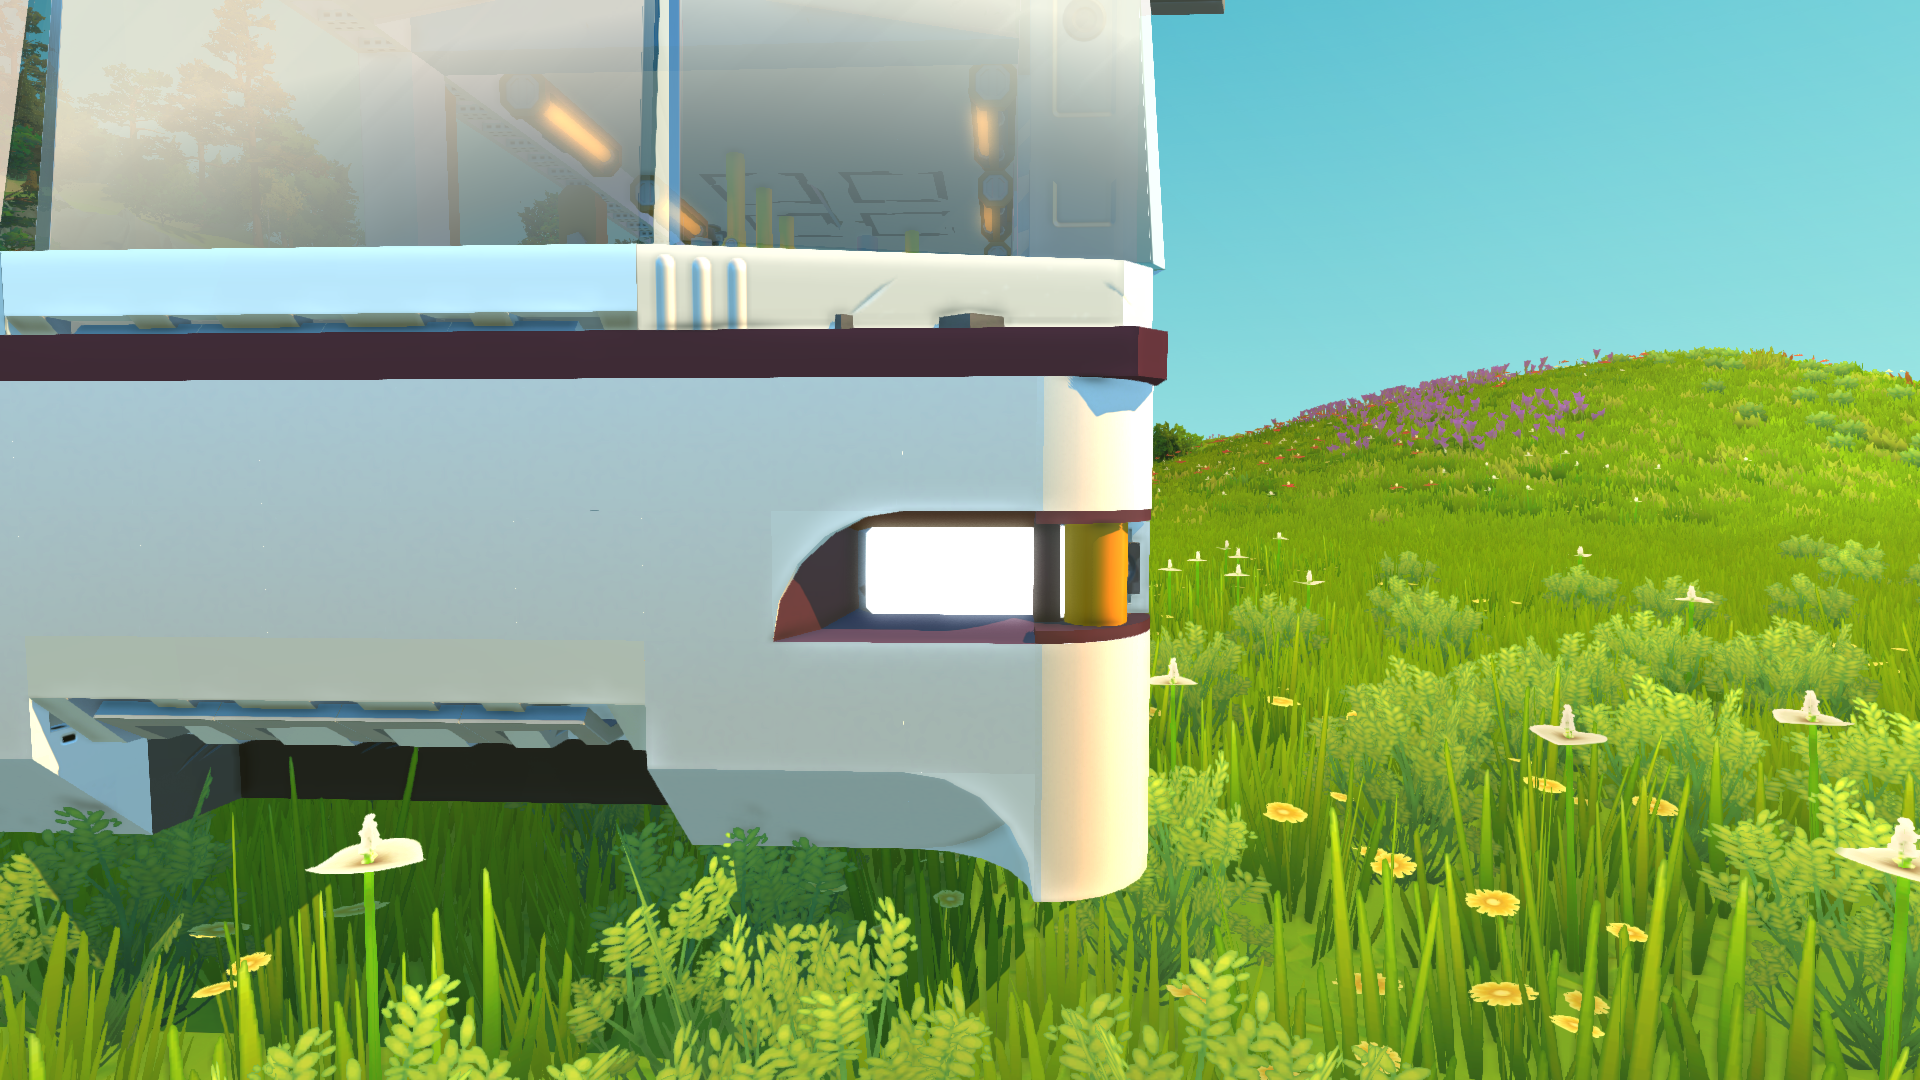 Then I use glitches again to add small details - in my case, I added a Calendar item to make the headlight resemble its real counterpart.
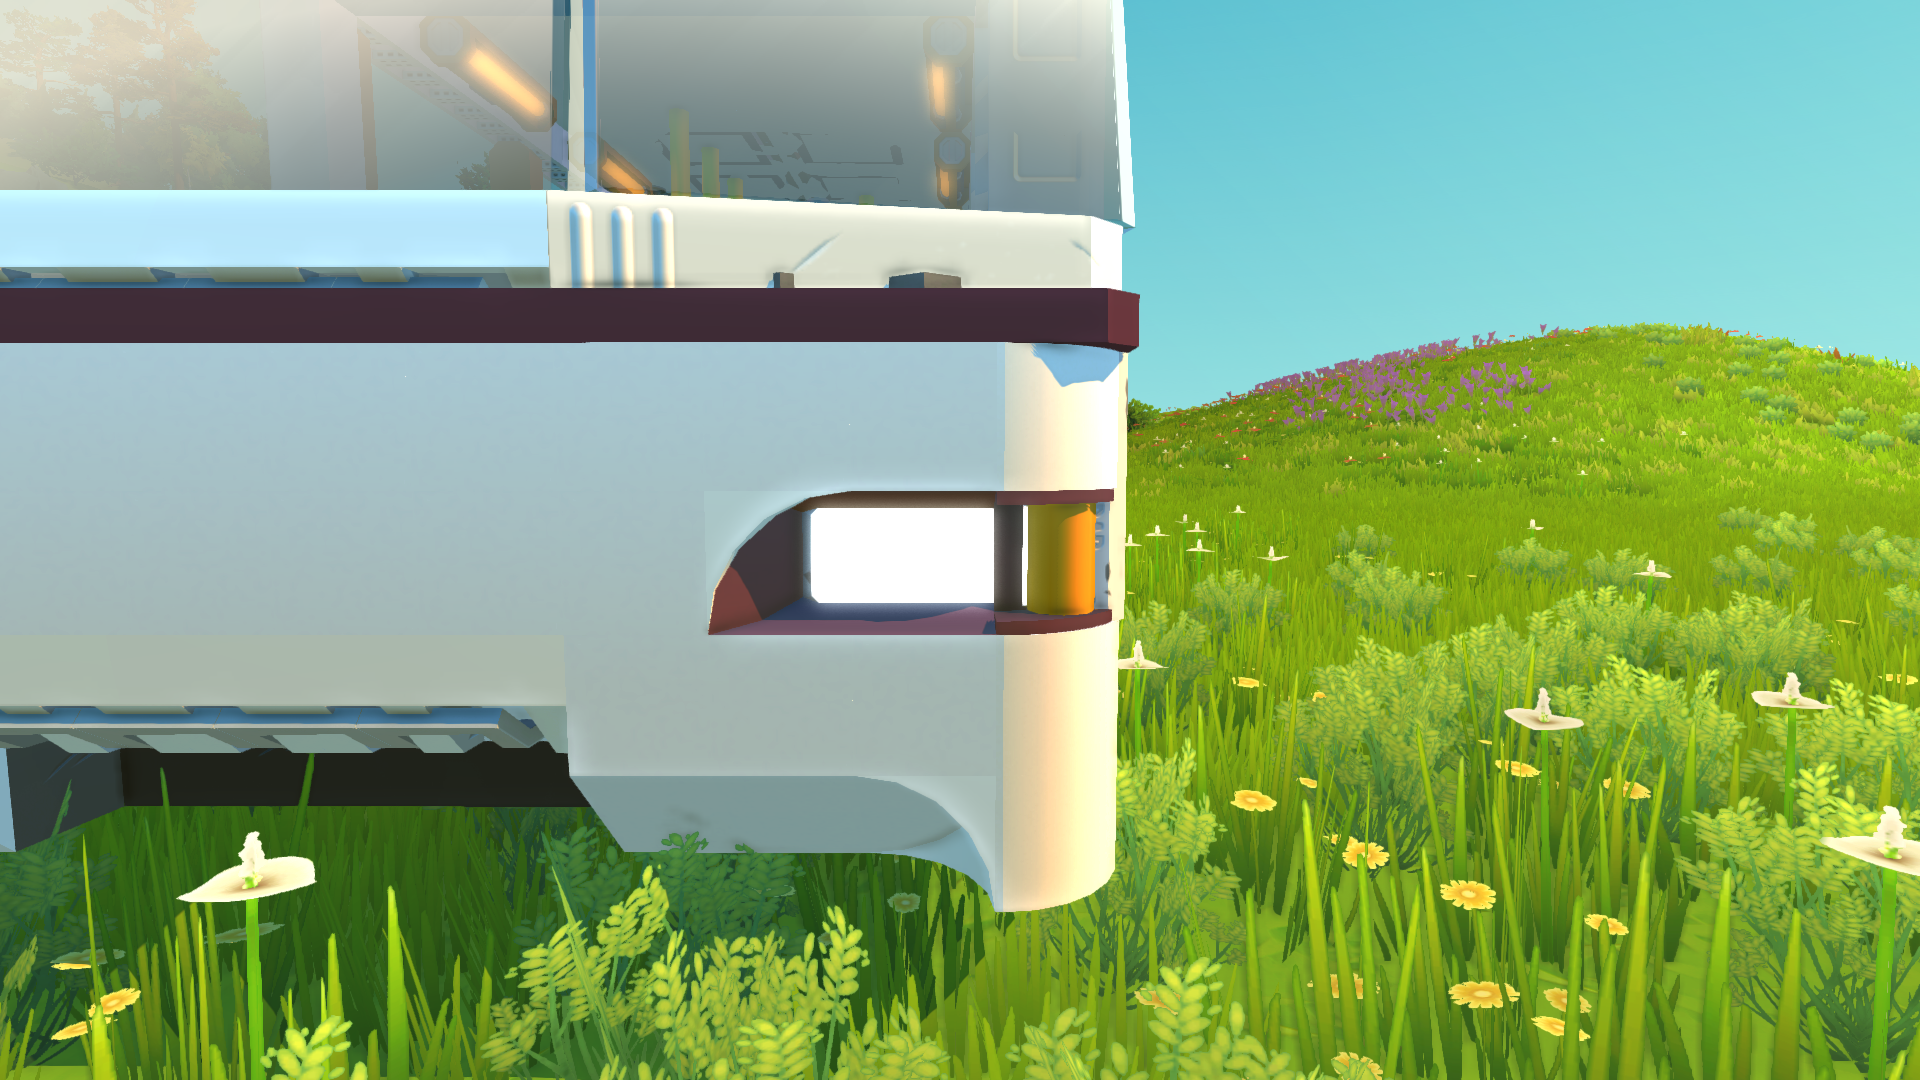 Glitches aren't hard to understand. Again, the key is choosing the right parts.
Details
This topic naturally follows from glitches, so there won't be much new info here (probably).For example, say I want to make a door handle. Some might use pipes, but I prefer something unconventional - like a Bucket. Why a Bucket? Well, it has its own handle, and with glitches you can make just that part visible (assuming you have enough space - this is just an example).
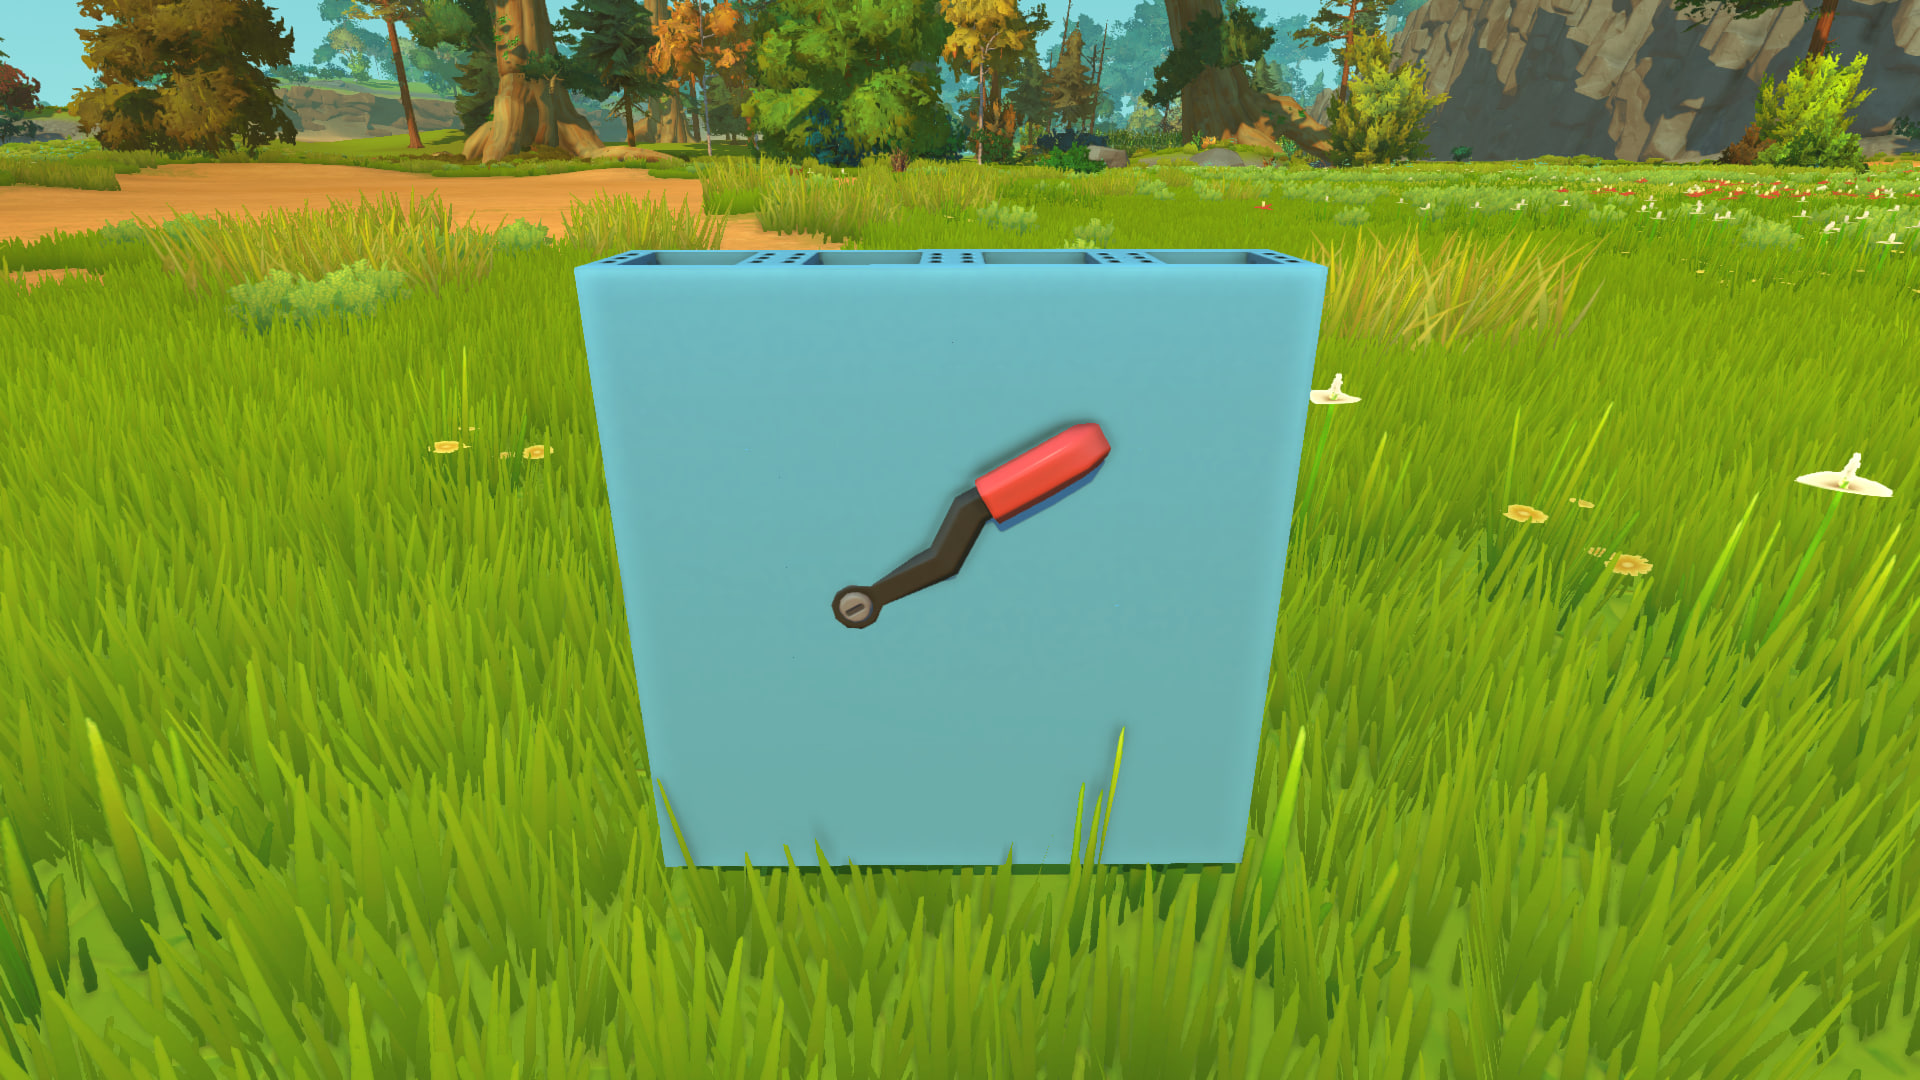 If you're creative, this approach is for you. Study all in-game items and use them whenever possible (when appropriate) to instantly improve your builds.
Examples from my builds:
- Speedometer imitation made from Broken Clocks
- Gearshift lever made from a Plunger and parking brake from a Mop Set
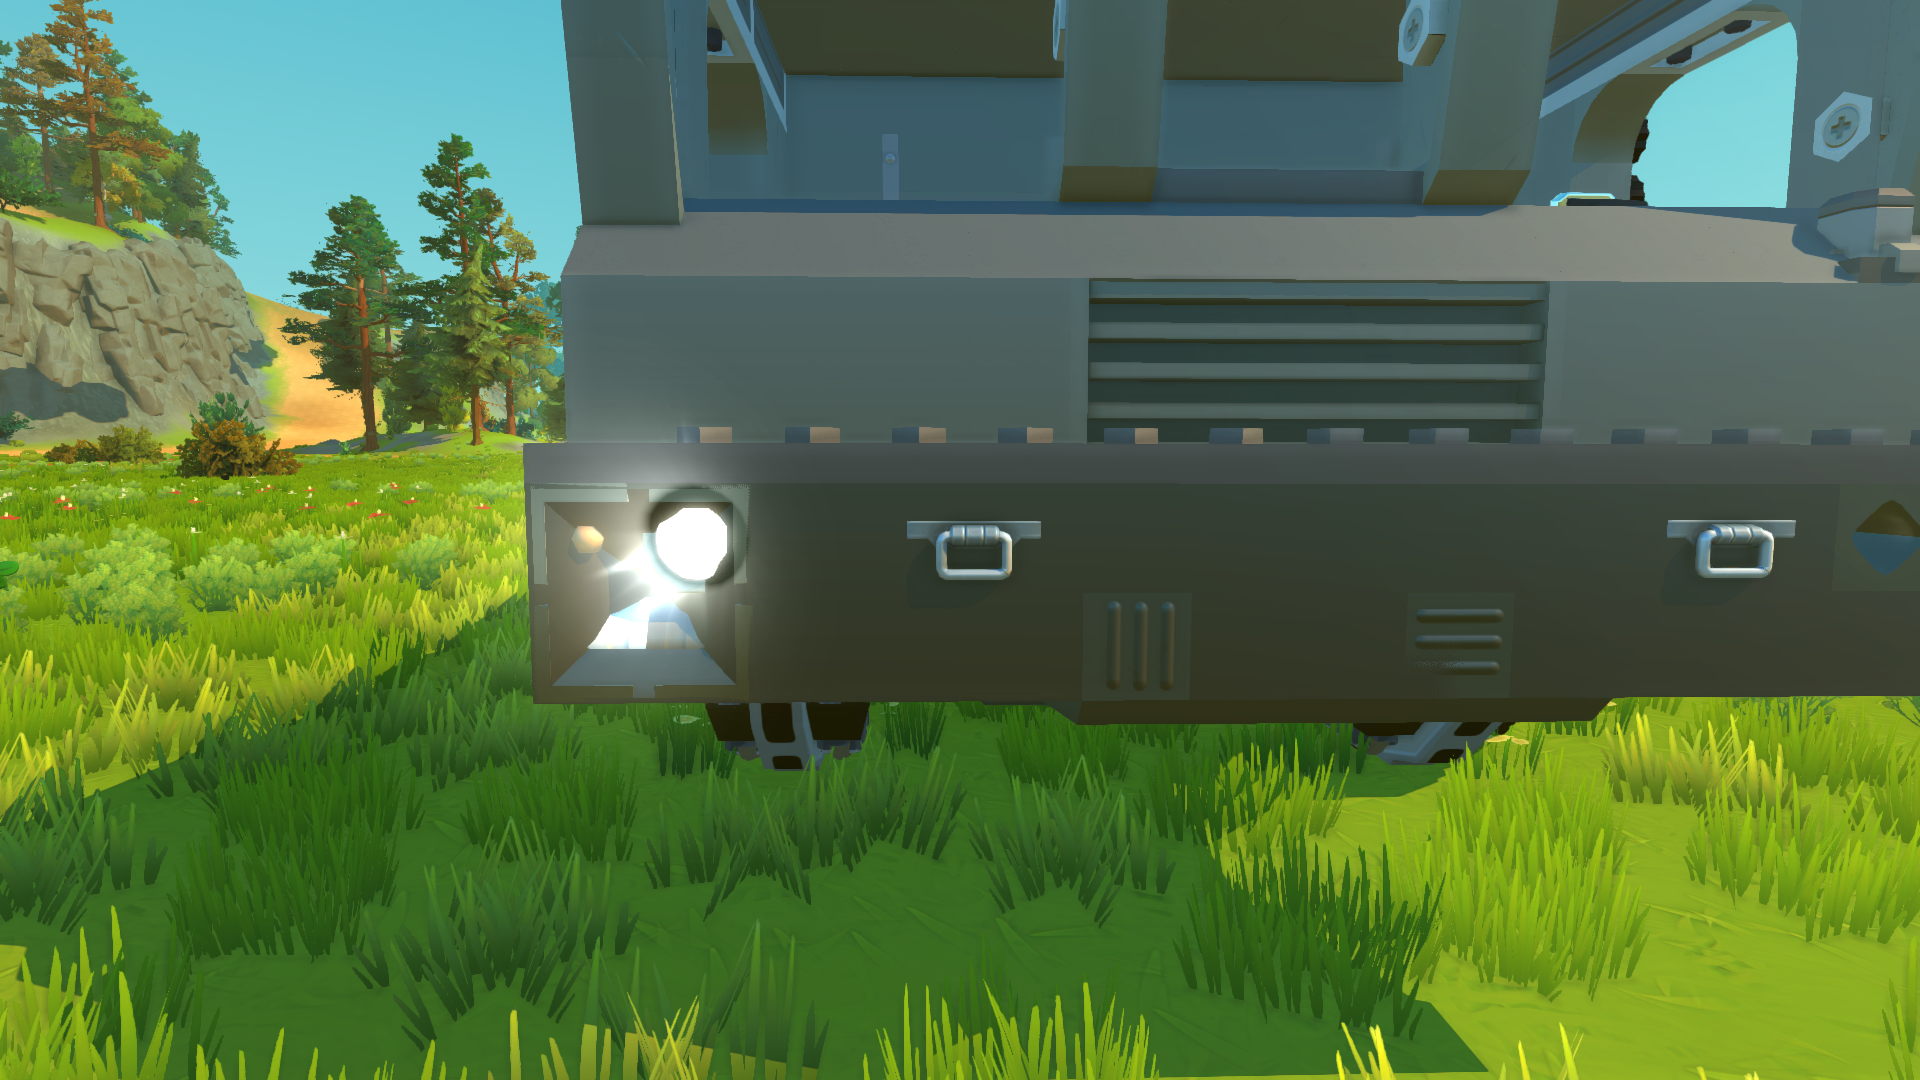
- Headlight made from an Exit Sign and turn signal from a regular small T-shaped pipe
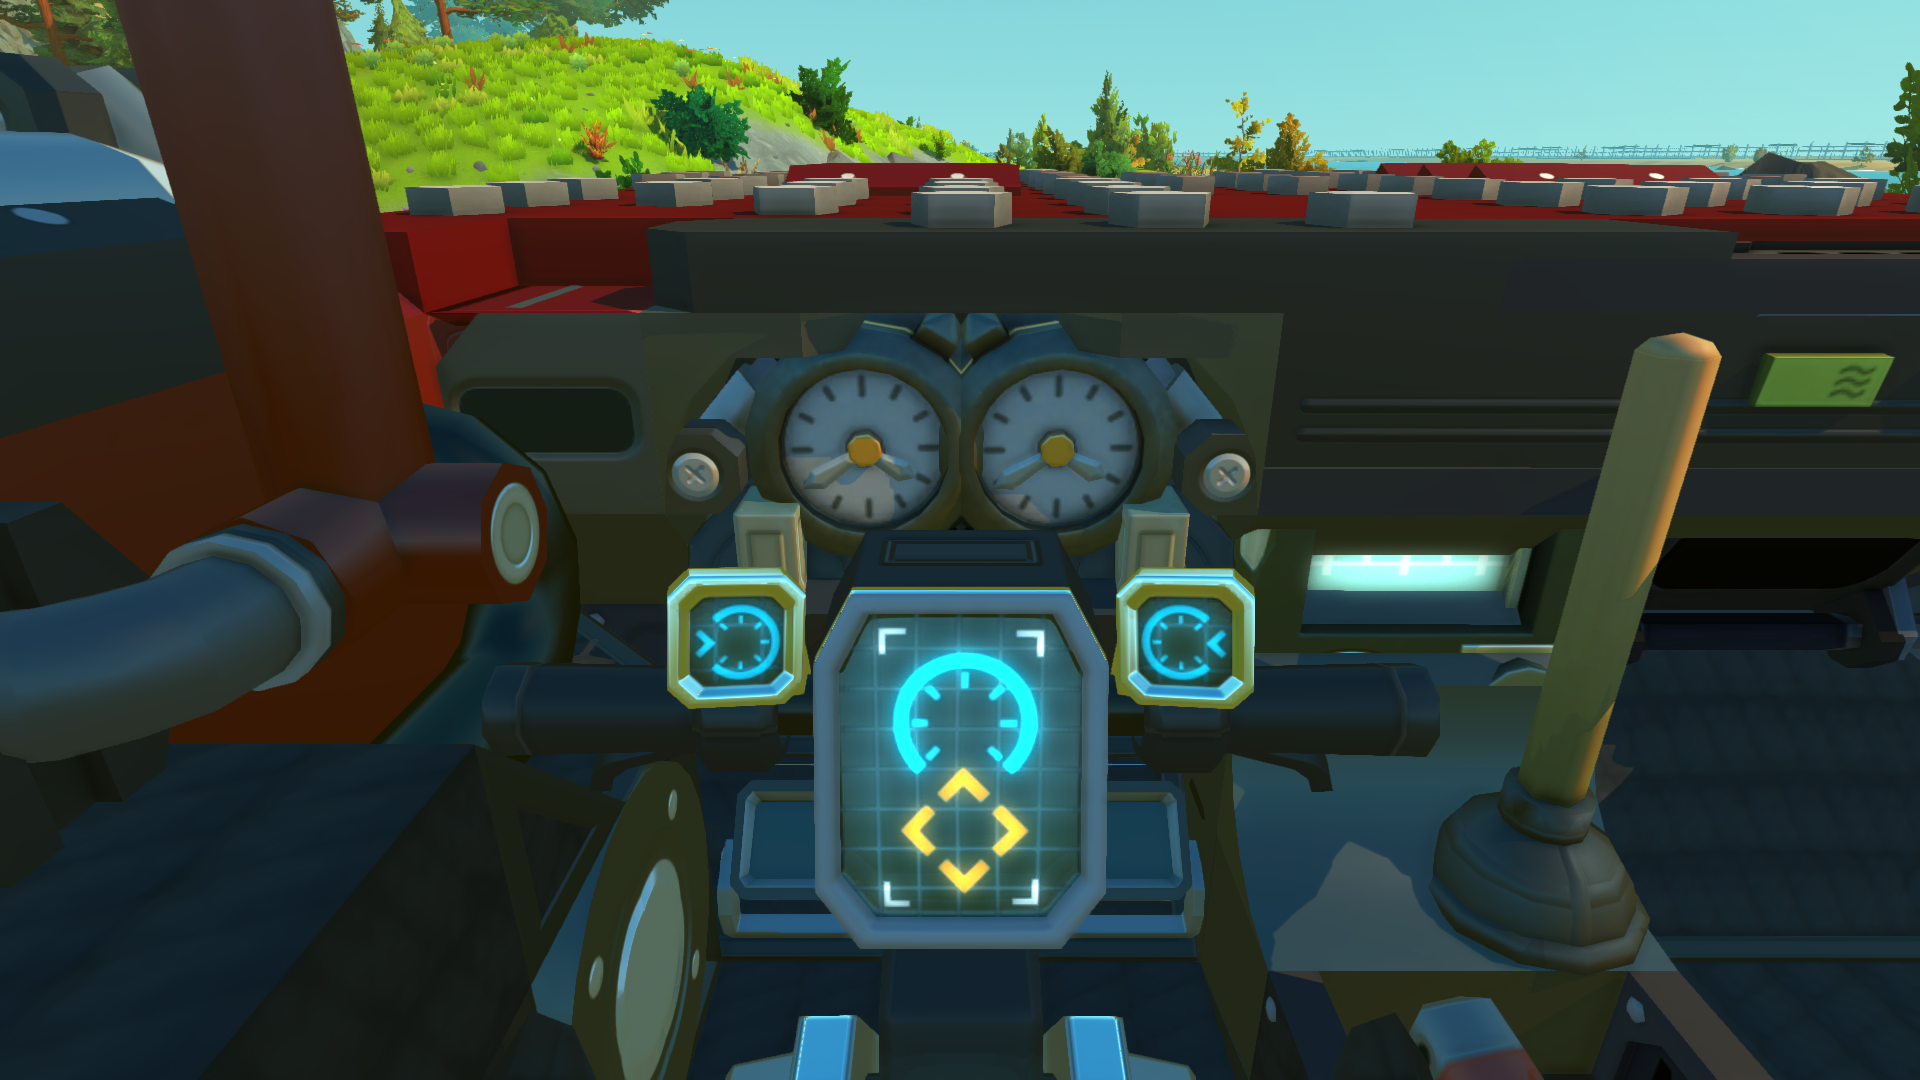
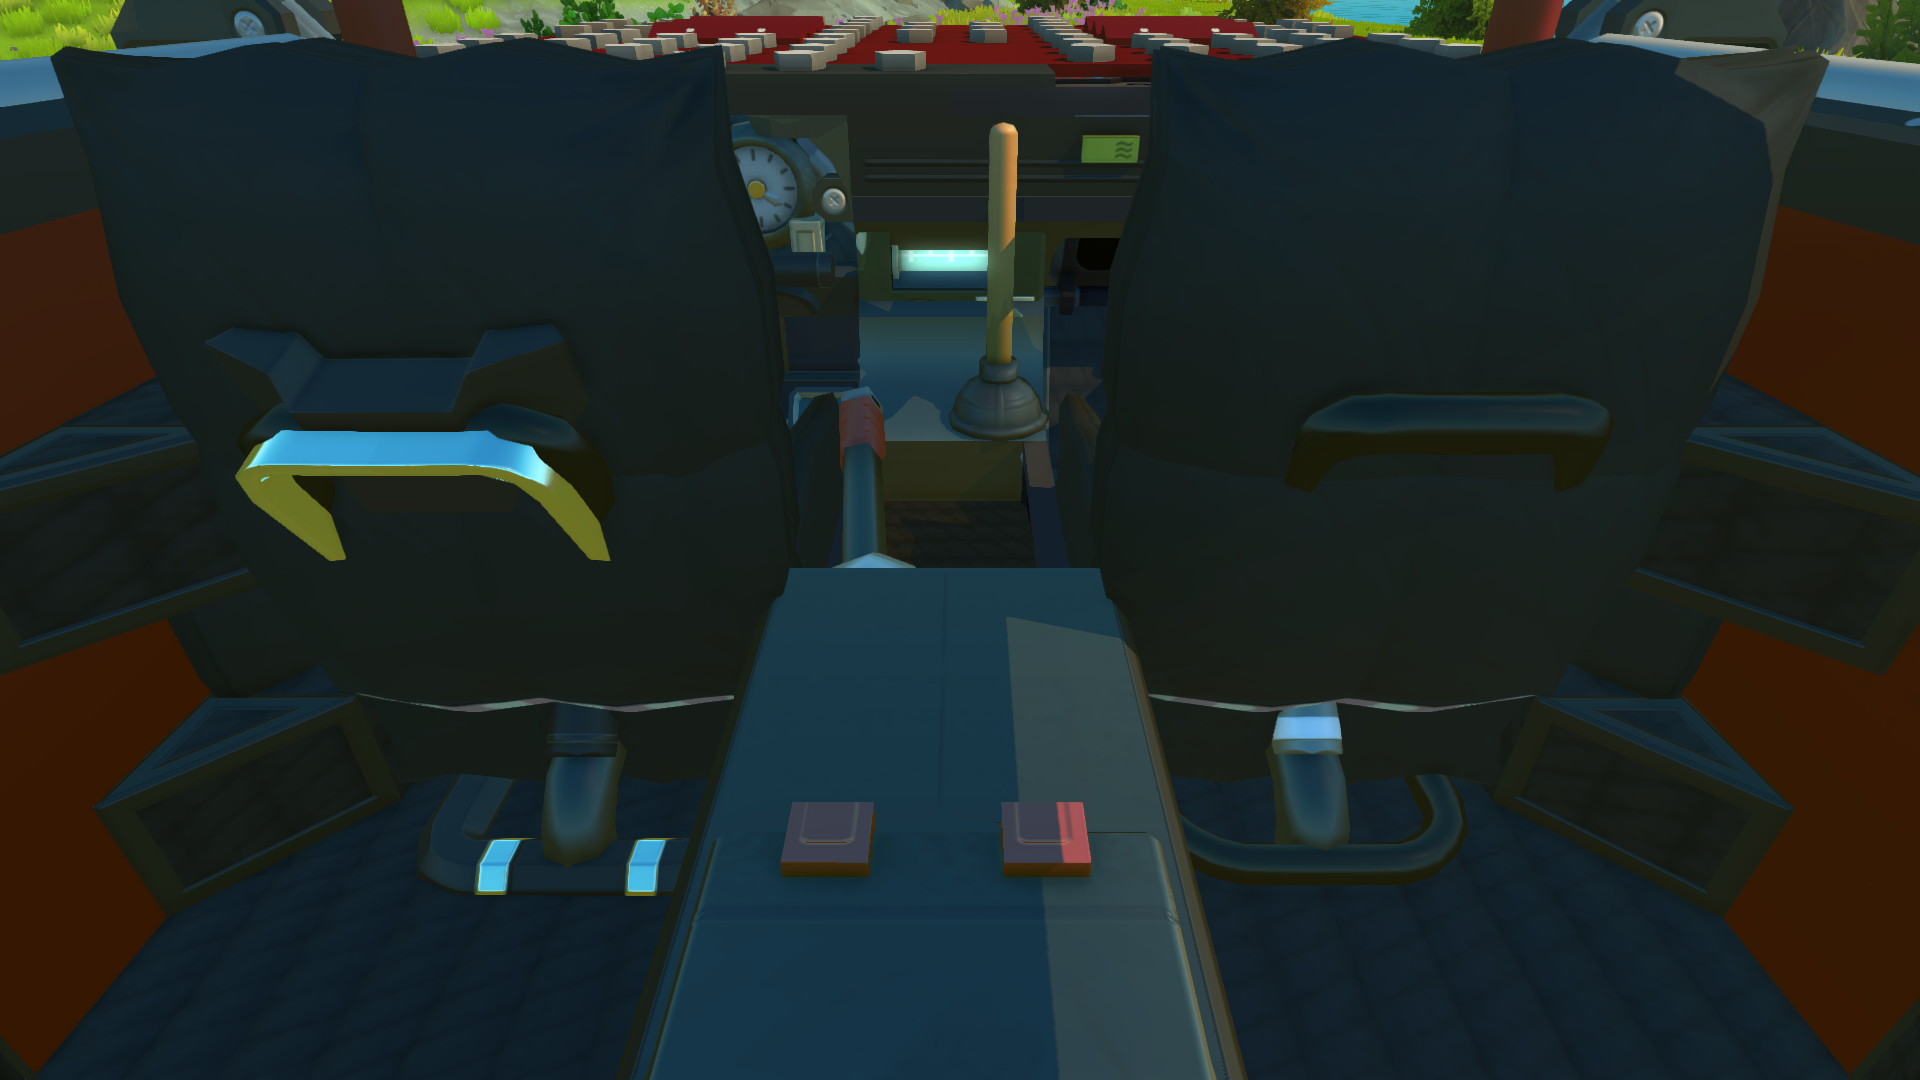
- Community examples:
- Information display made from a Glowsticks Škoda 27Tr Gen III
- Toilet Paper for headlight shapes
- Cable rings made from a Component Kit СПУ 9П78-1 ОТРК «Искандер-М1»
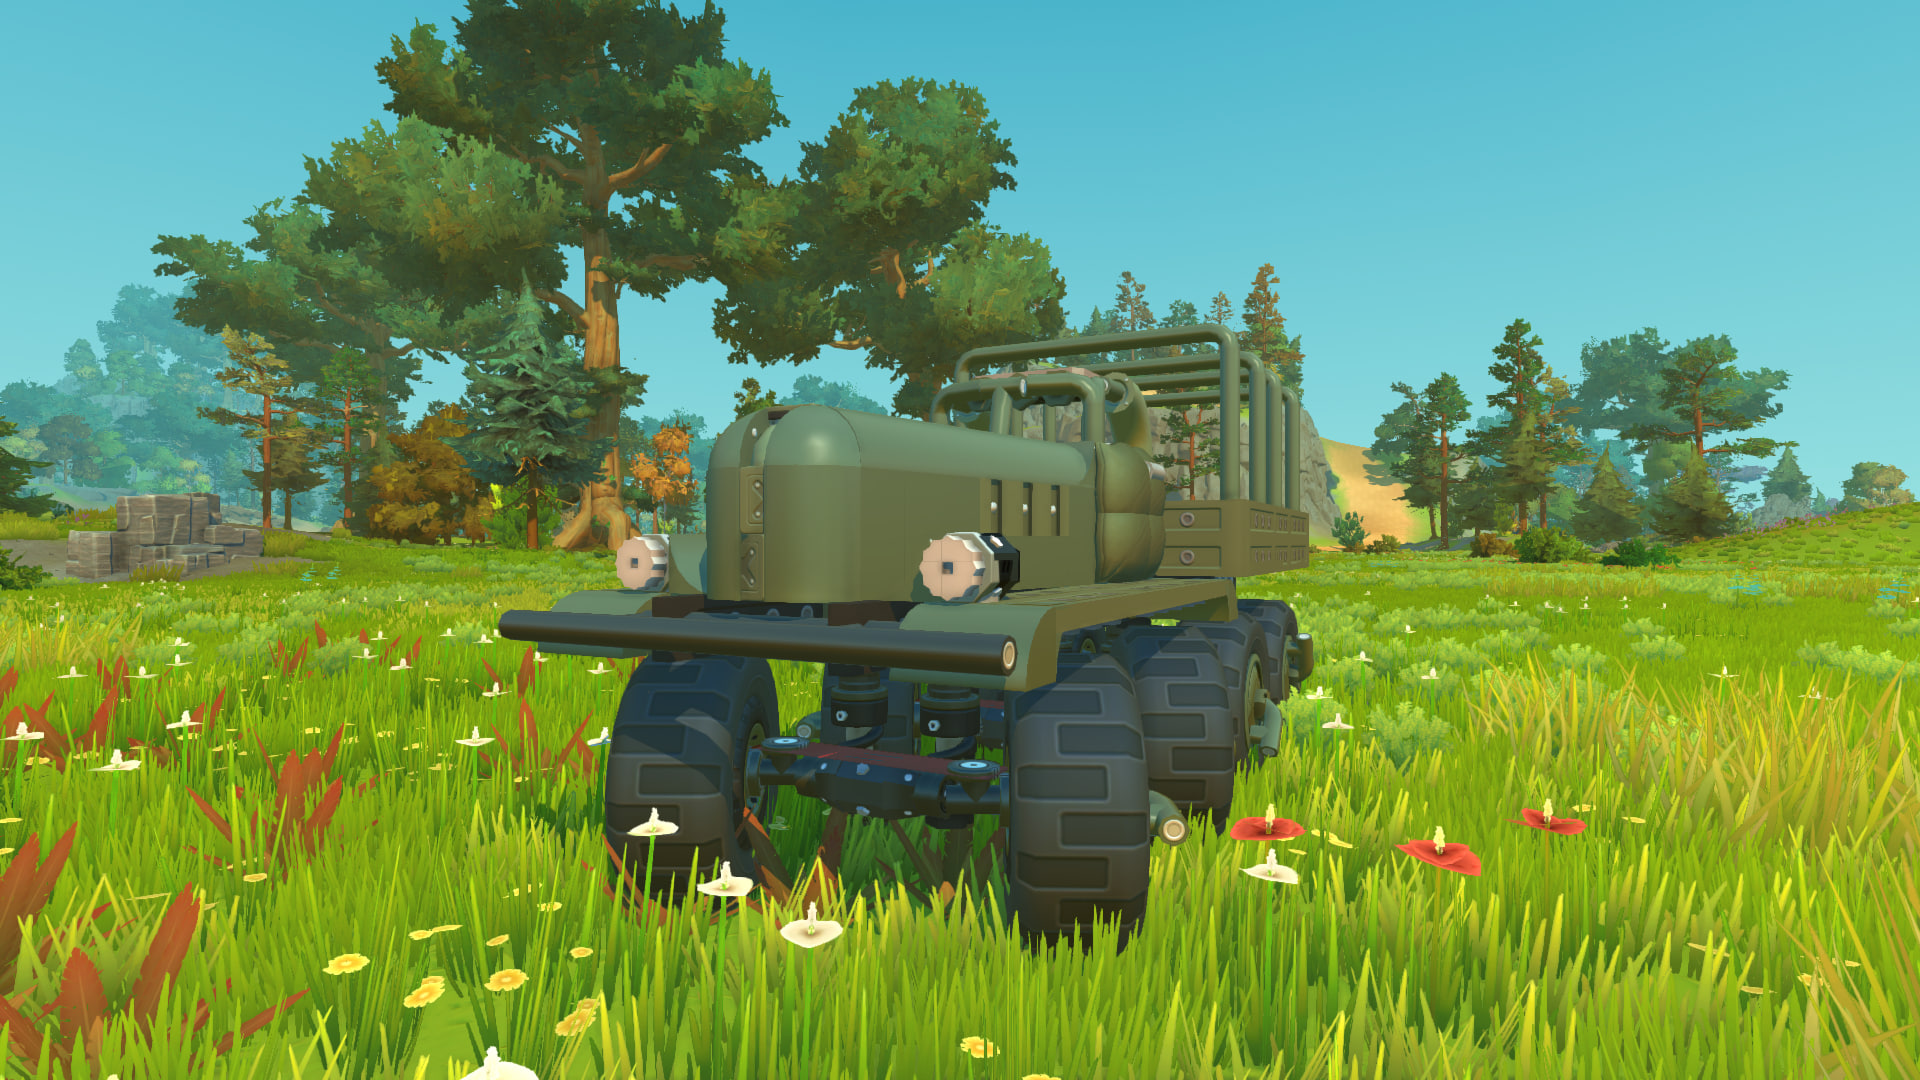
- Headlights made from Screws ЗИС-Э134
Conclusion
I hope this information, though not very detailed, will help you create more beautiful projects. As this is my first guide, it may contain grammatical errors (sorry, my English isn't strong, so I used a translator) and could likely present the information more clearly. I'd greatly appreciate if you point out any mistakes in the comments or share your own decoration tips, as I'm far from being a professional at this.
Thank you for taking the time to read this guide!
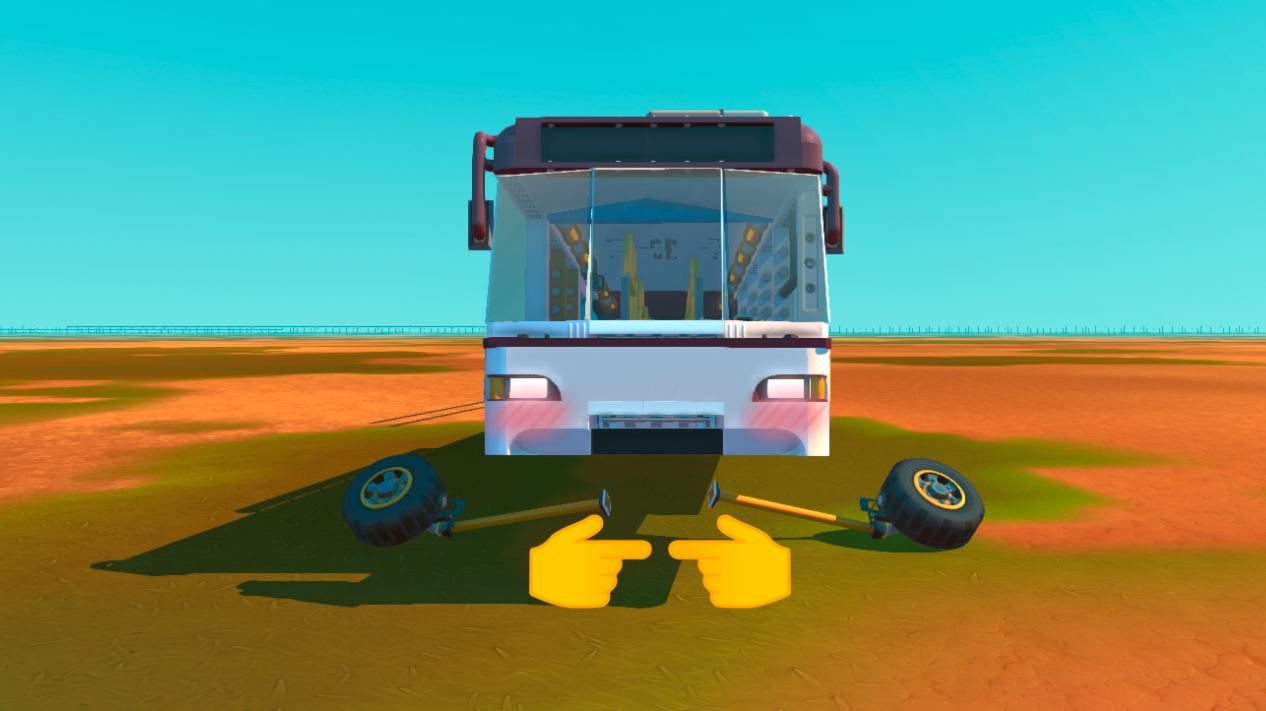
Thank you for taking the time to read this guide!
More Scrap Mechanic guides
- How raids actually work (Version 0.5.1)★ 5 (550)19k views867 ♥3 minUpdated 7 Apr, 2021
- Как пройти выживание?★ 5 (448)18k views700 ♥25 minRussianUpdated 12 Aug, 2020
- Все команды для скрап механик★ 5 (259)15k views475 ♥1 minRussianUpdated 1 Dec, 2023
- Robots and weapons concept proposal★ 5 (421)10k views182 ♥3 minUpdated 1 Apr, 2022
- How Does Fuel Consumption Work? Which Engine Is the Most Efficient?★ 5 (182)10k views152 ♥3 minUpdated 16 Oct, 2020
- Русификатор для Scrap Mechanic by Pro100DarkTV (v2.5)★ 5 (317)9.9k views516 ♥1 minRussianUpdated 19 Jun, 2021



🔥 Popular guides
- Upgrading to PremiumTeam Fortress 2★ 5 (20k)1441k views11k ♥6 minUpdated May 11, 2022
- No More Room in Hell Official ManualNo More Room in Hell★ 5 (2.8k)569k views2.1k ♥29 minUpdated Apr 22, 2019
- NMRiH Community Hosting GuidesNo More Room in Hell★ 5 (526)351k views653 ♥1 minUpdated Aug 10, 2022
- ULTIMATE GUIDE FOR GAME DEV TYCOONGame Dev Tycoon★ 5 (5.8k)326k views10k ♥4 minUpdated 23 Jan, 2014
- How to 'Git Gud' Soon™MORDHAU★ 5 (2k)318k views3k ♥68 minUpdated Nov 16, 2024
- Лучшие кооперативные игры SteamPAYDAY 2★ 5 (1.5k)315k views2.1k ♥56 minRussianUpdated Apr 27, 2025






This guide was created by its original author on the Steam Community. Are you the author and want it removed? Request removal.